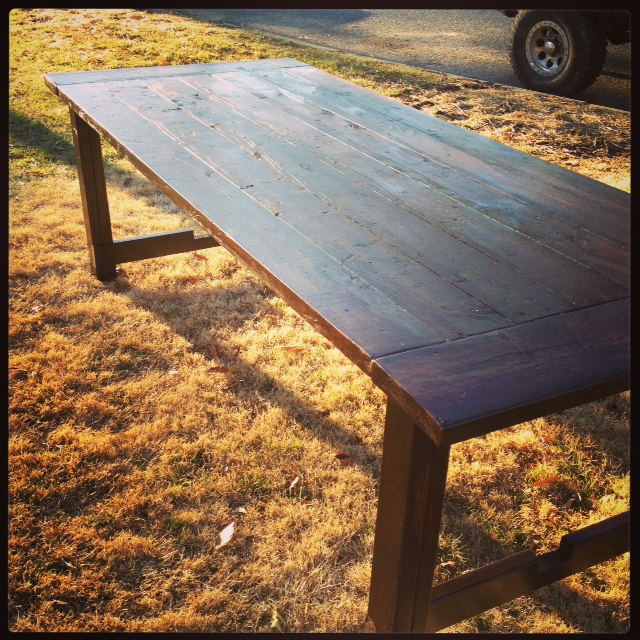
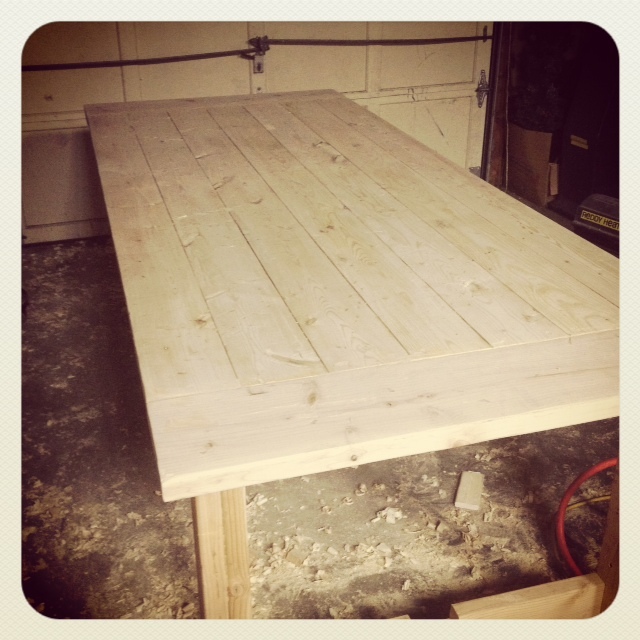
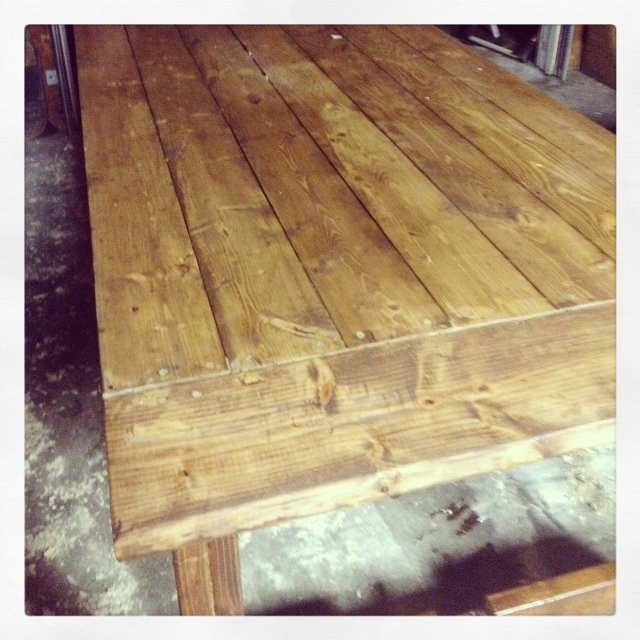
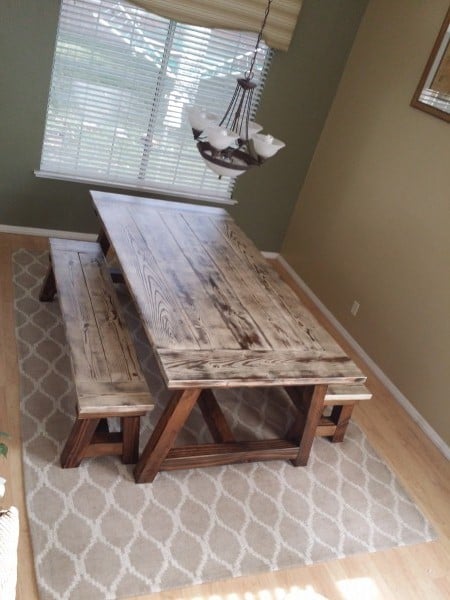
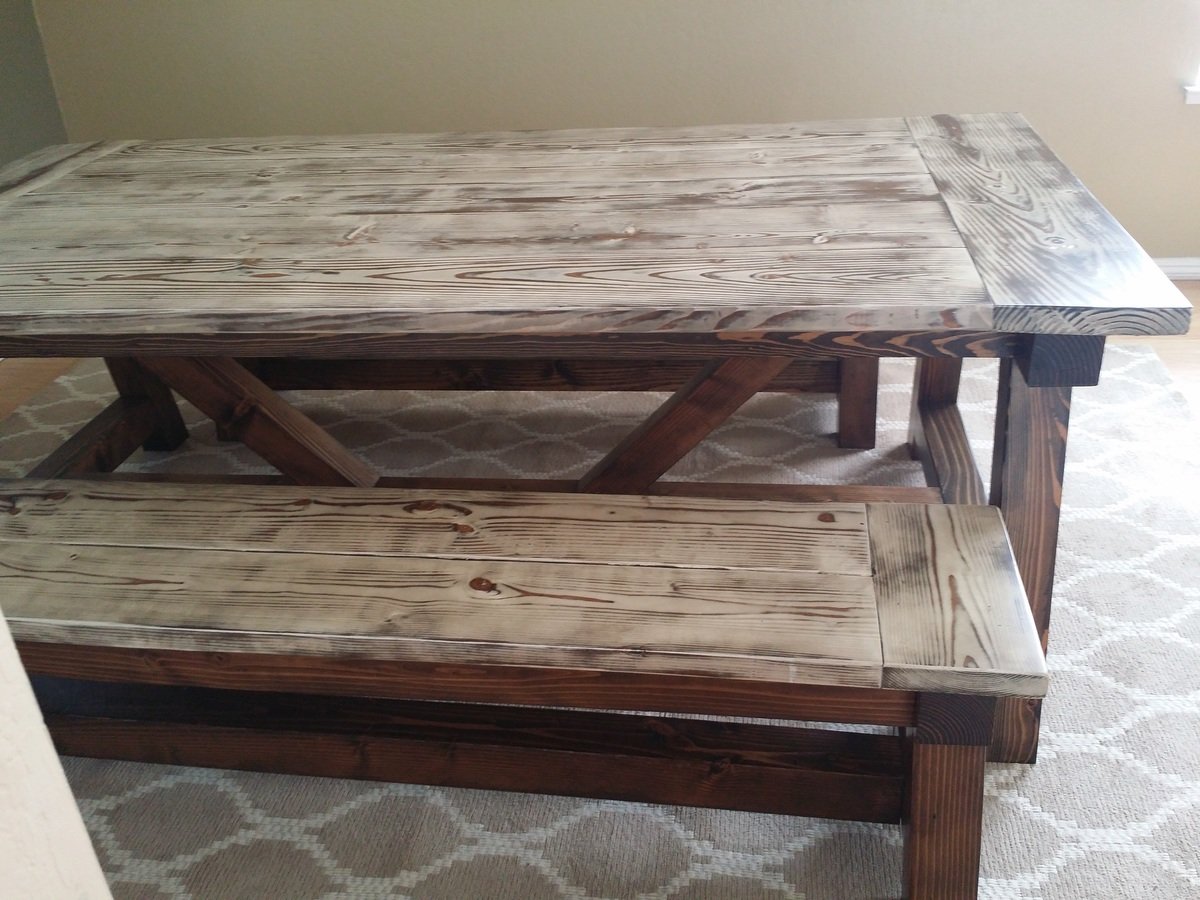
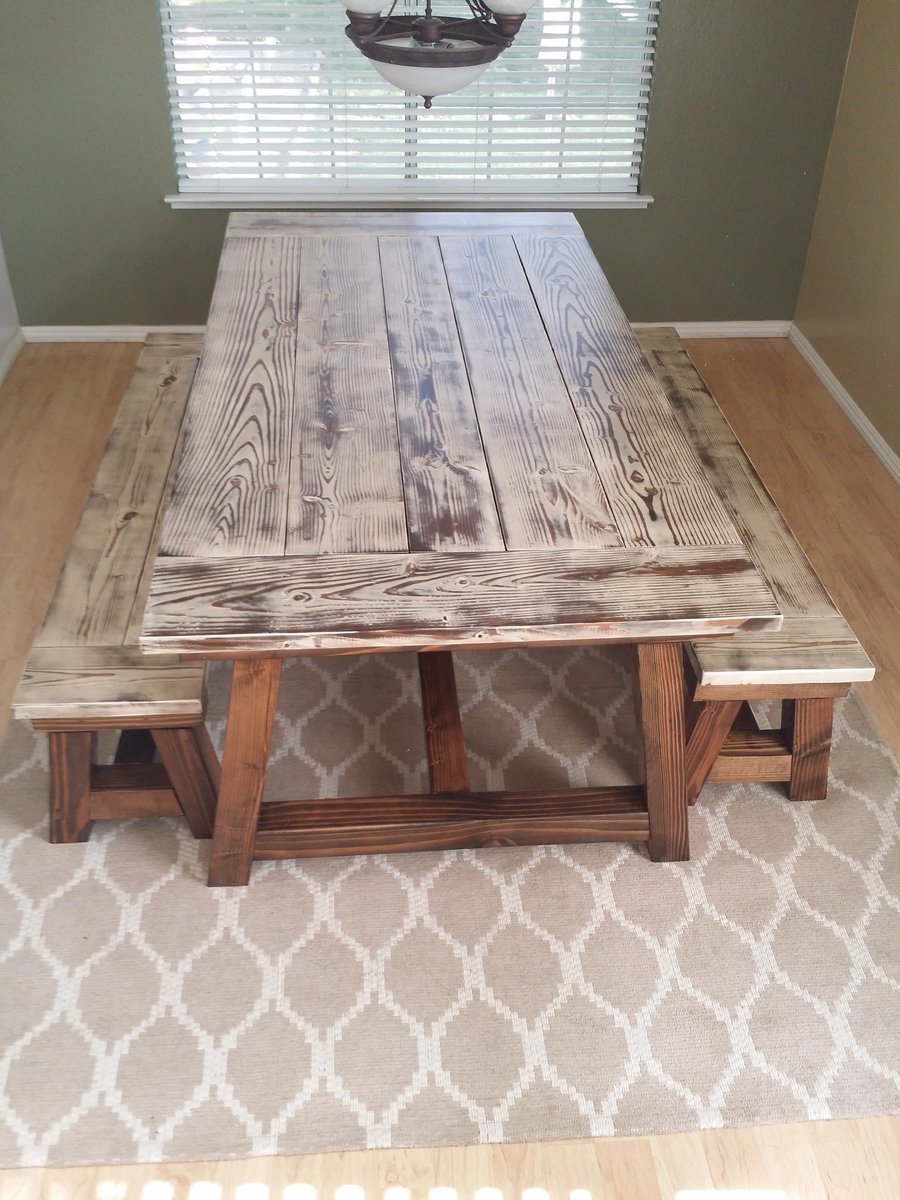
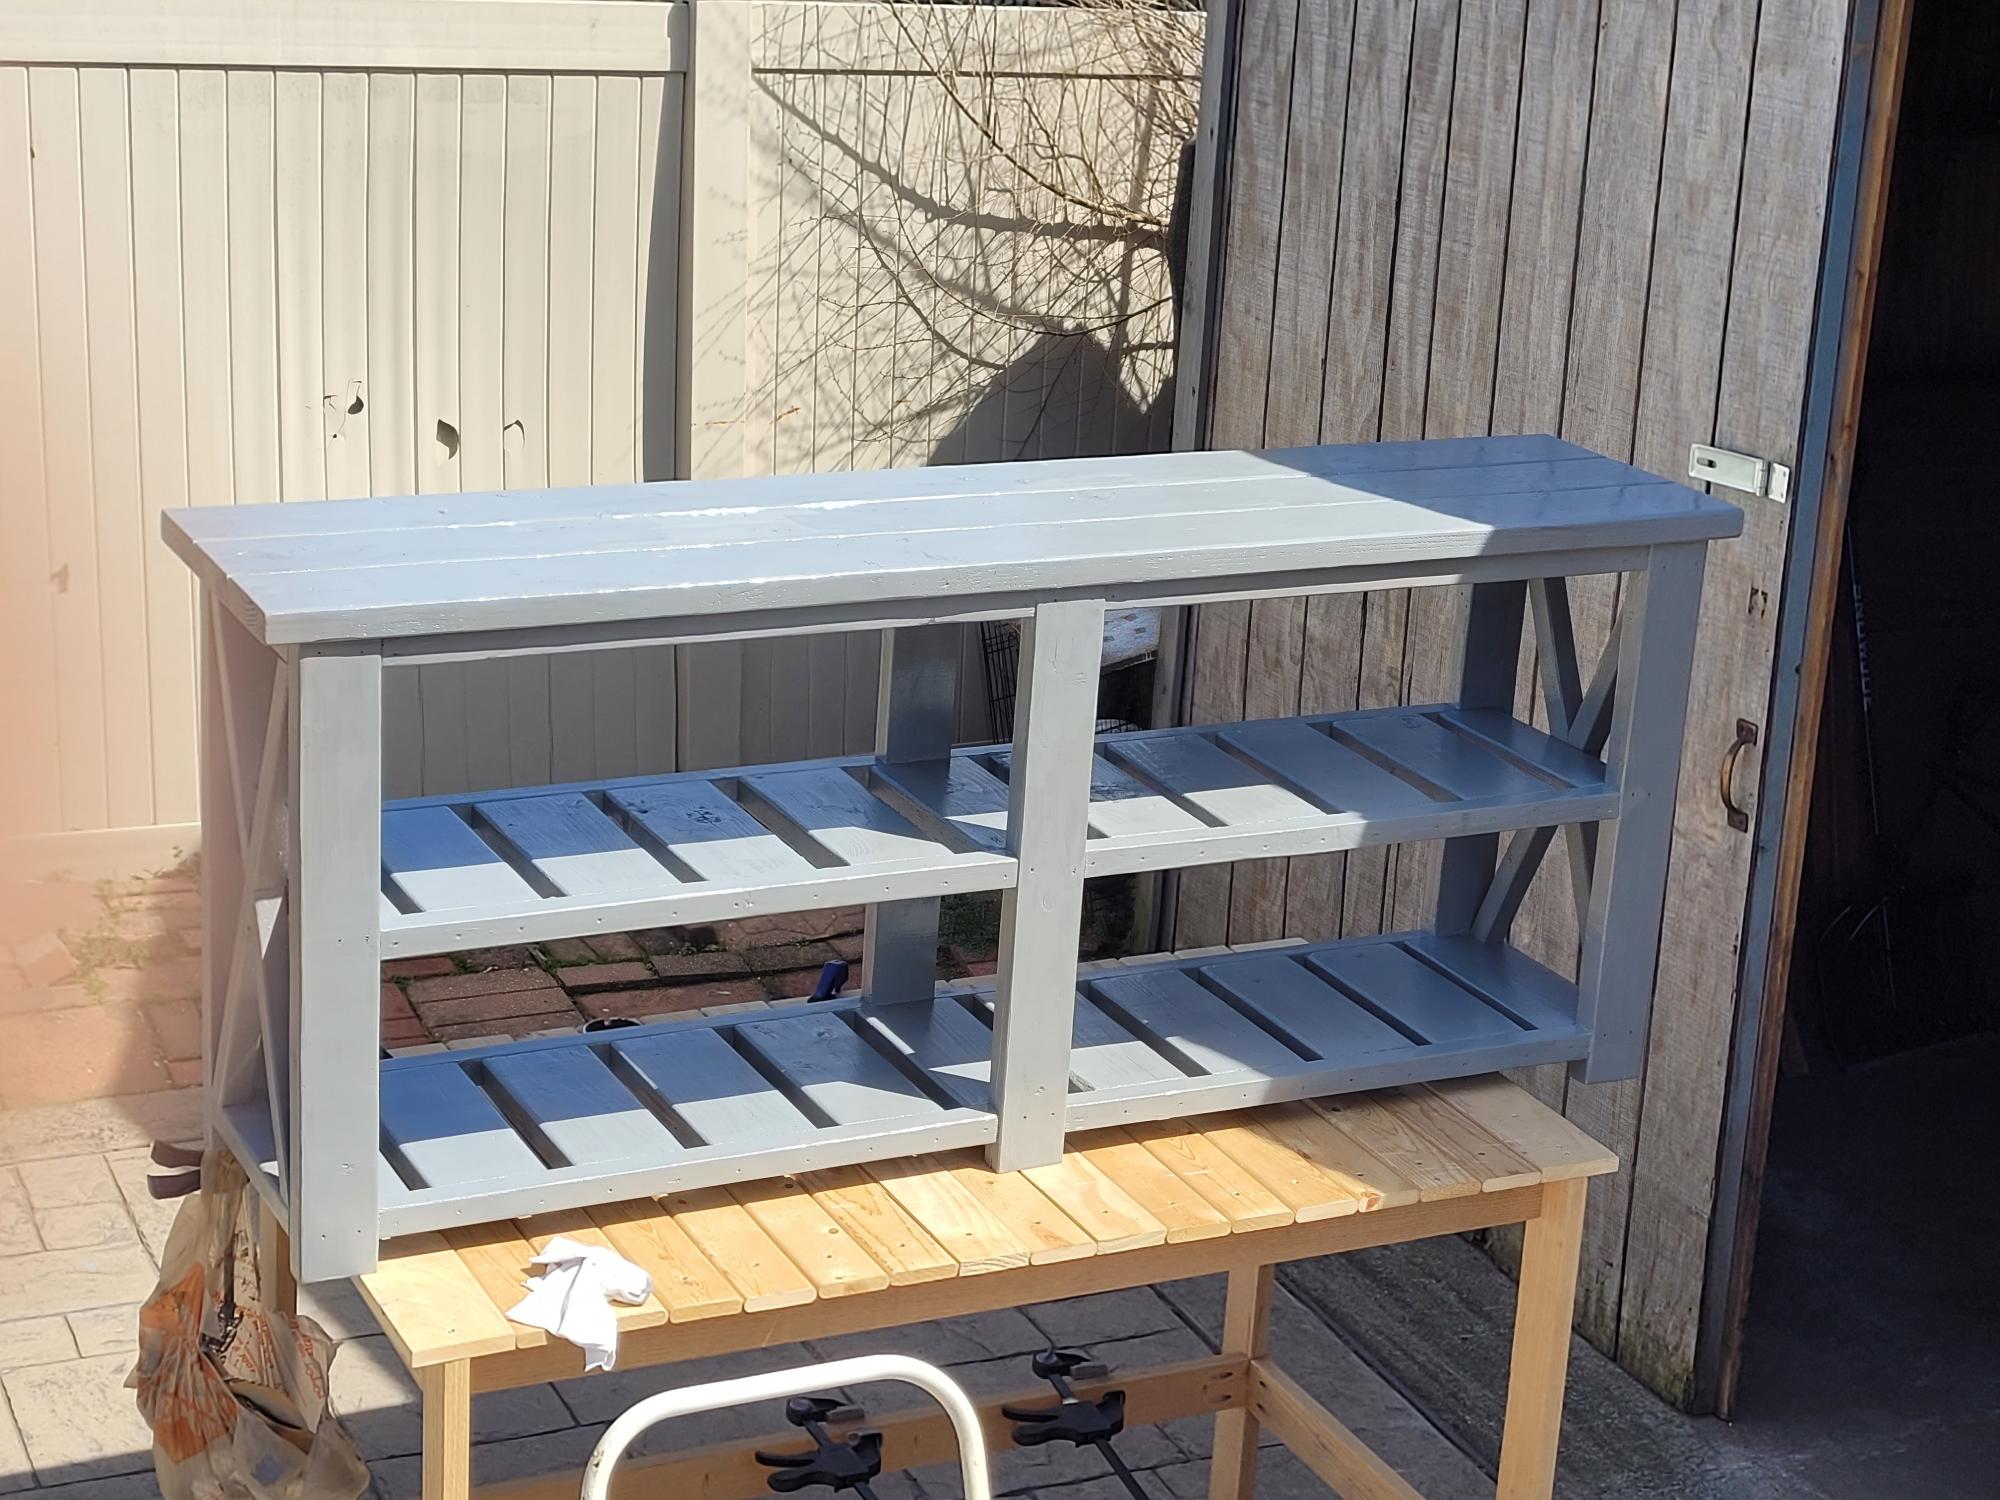
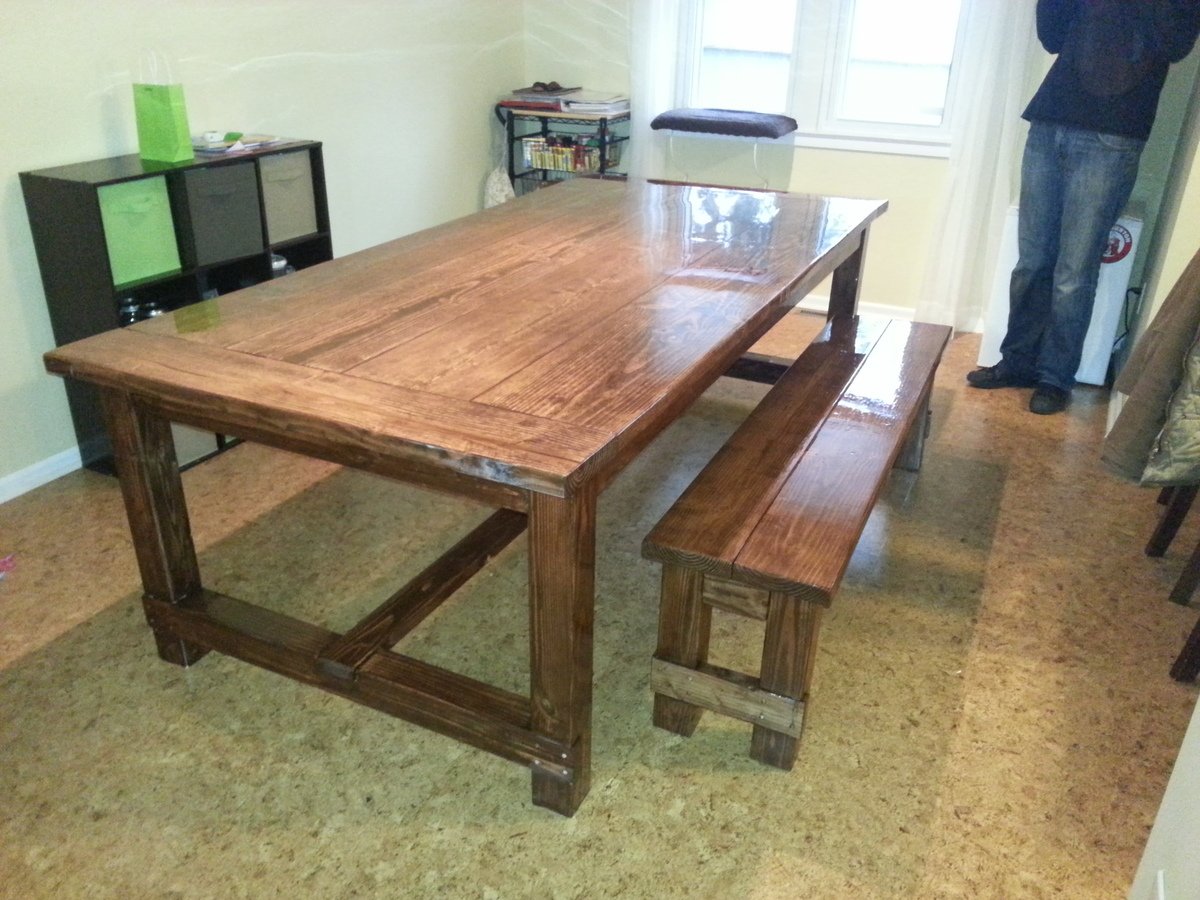
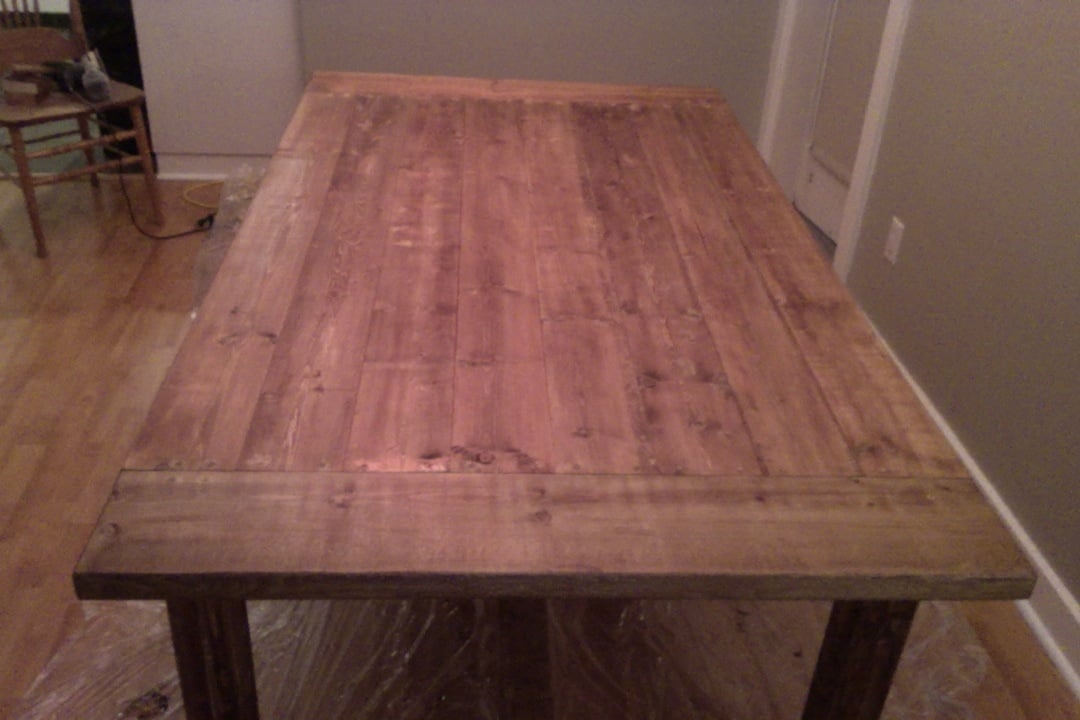
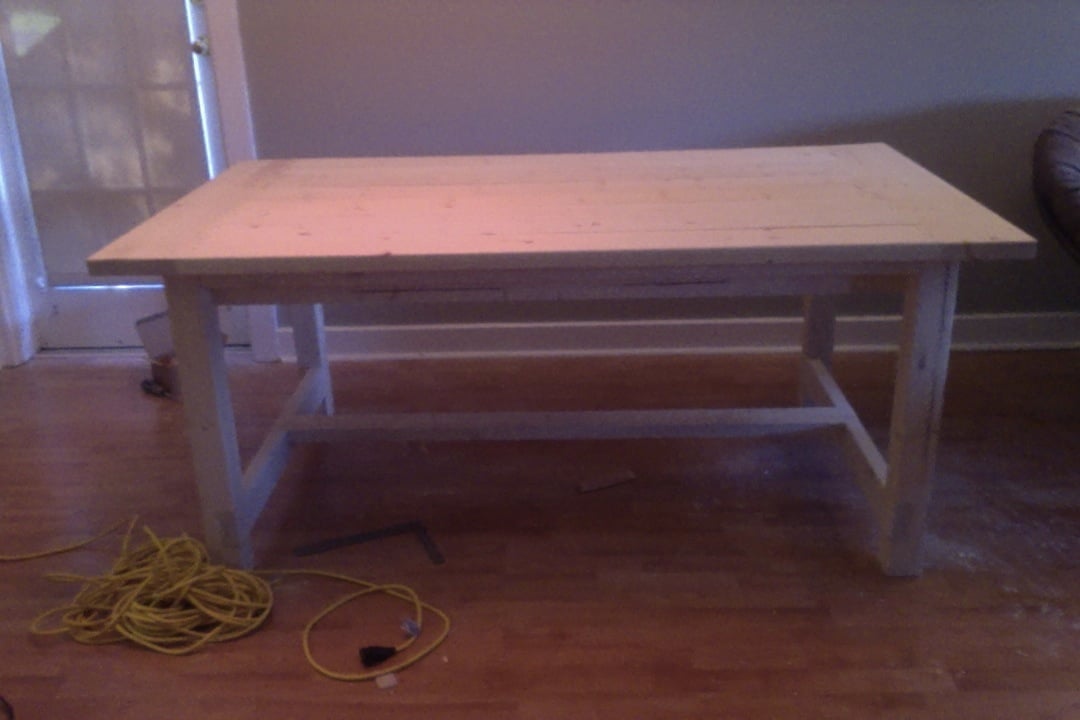
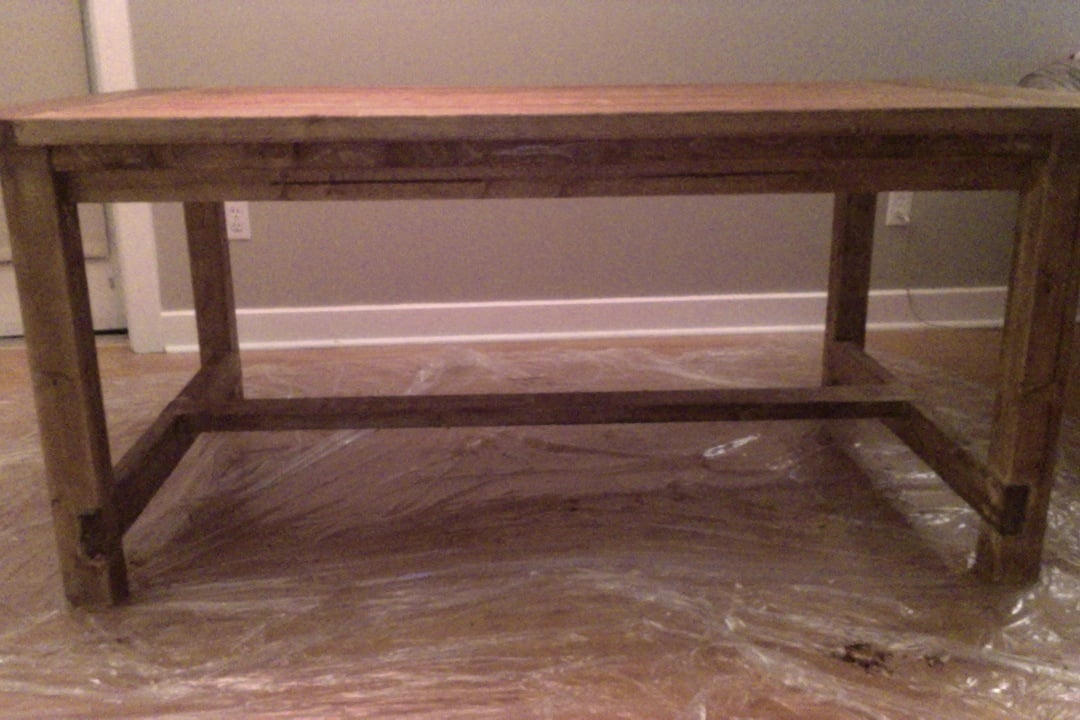
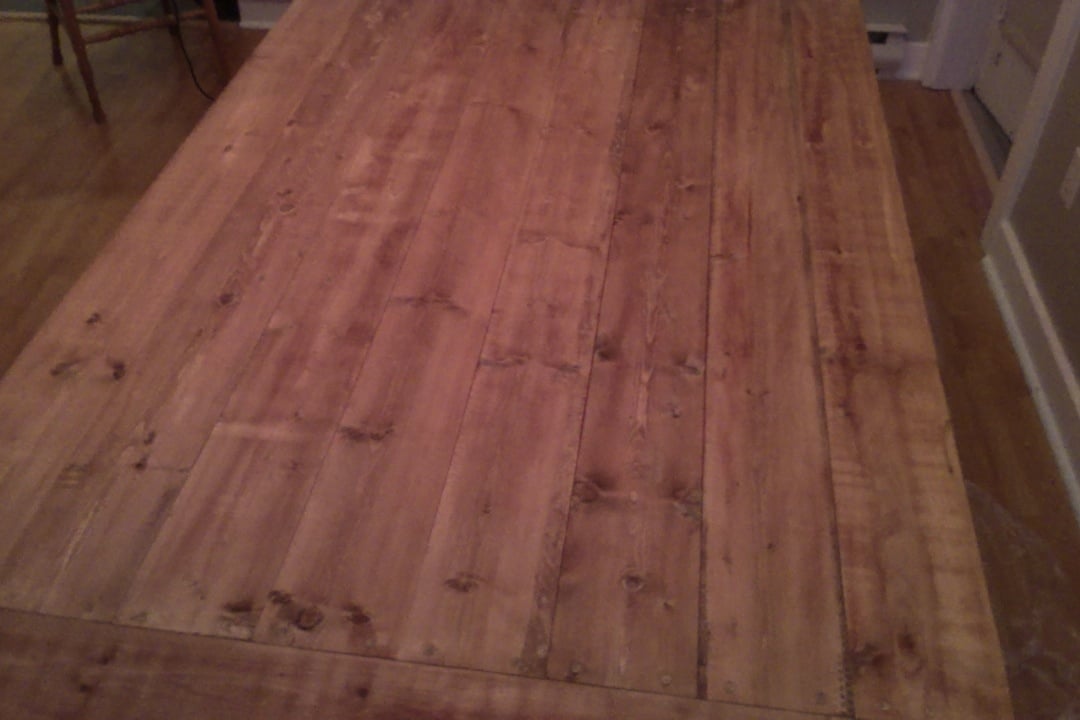
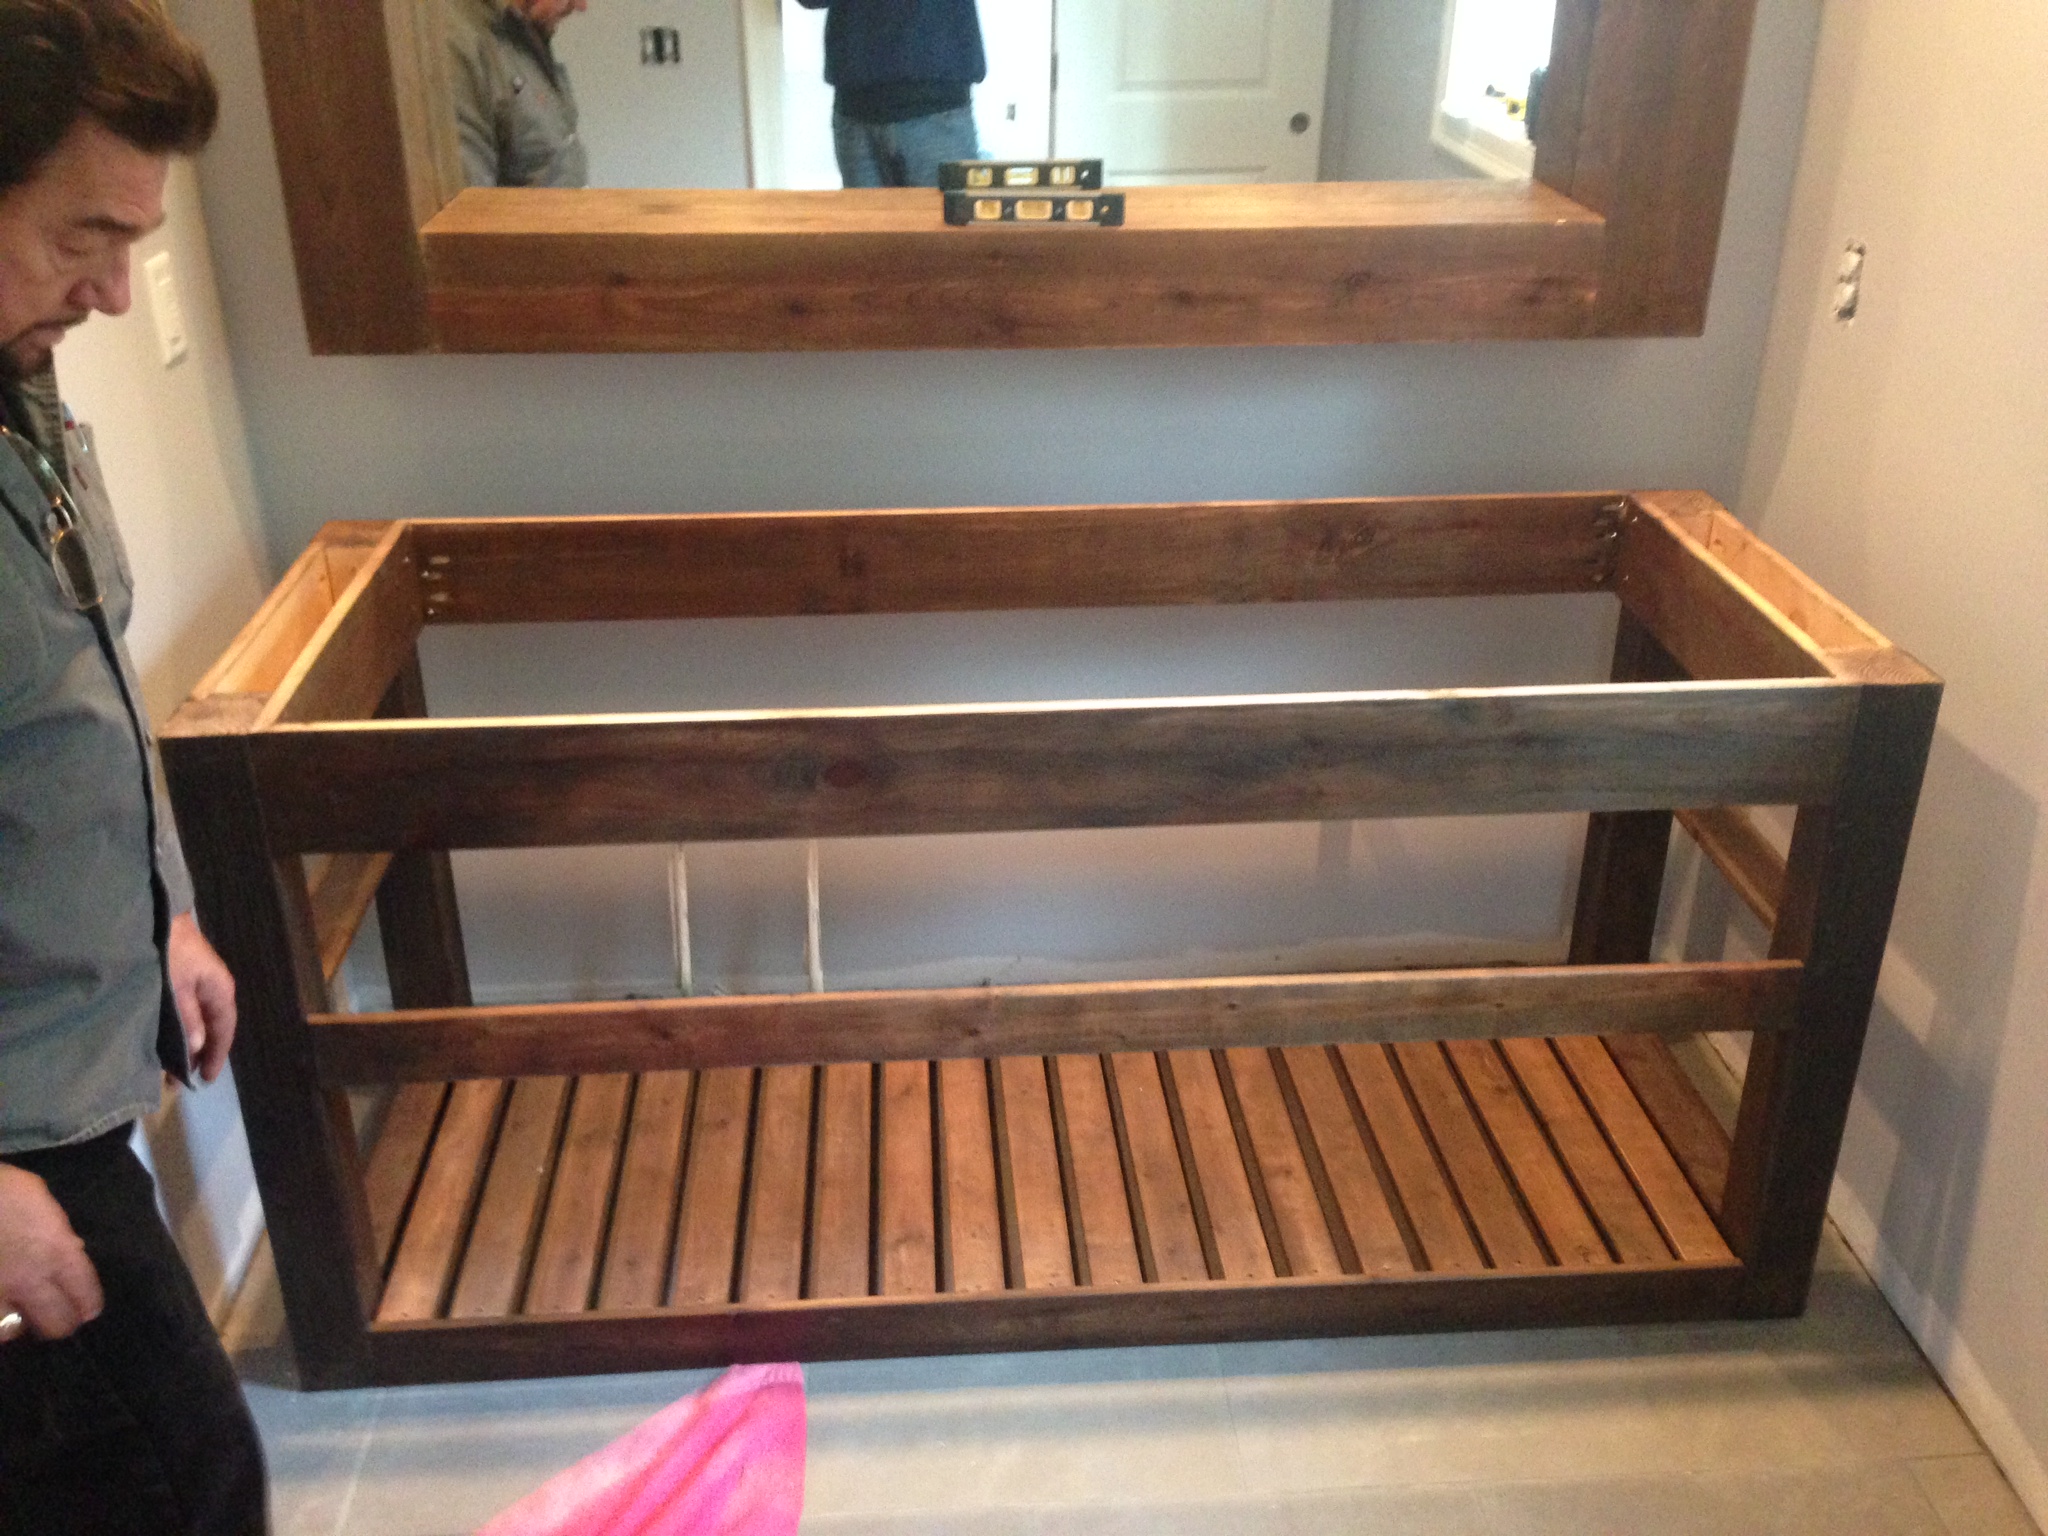
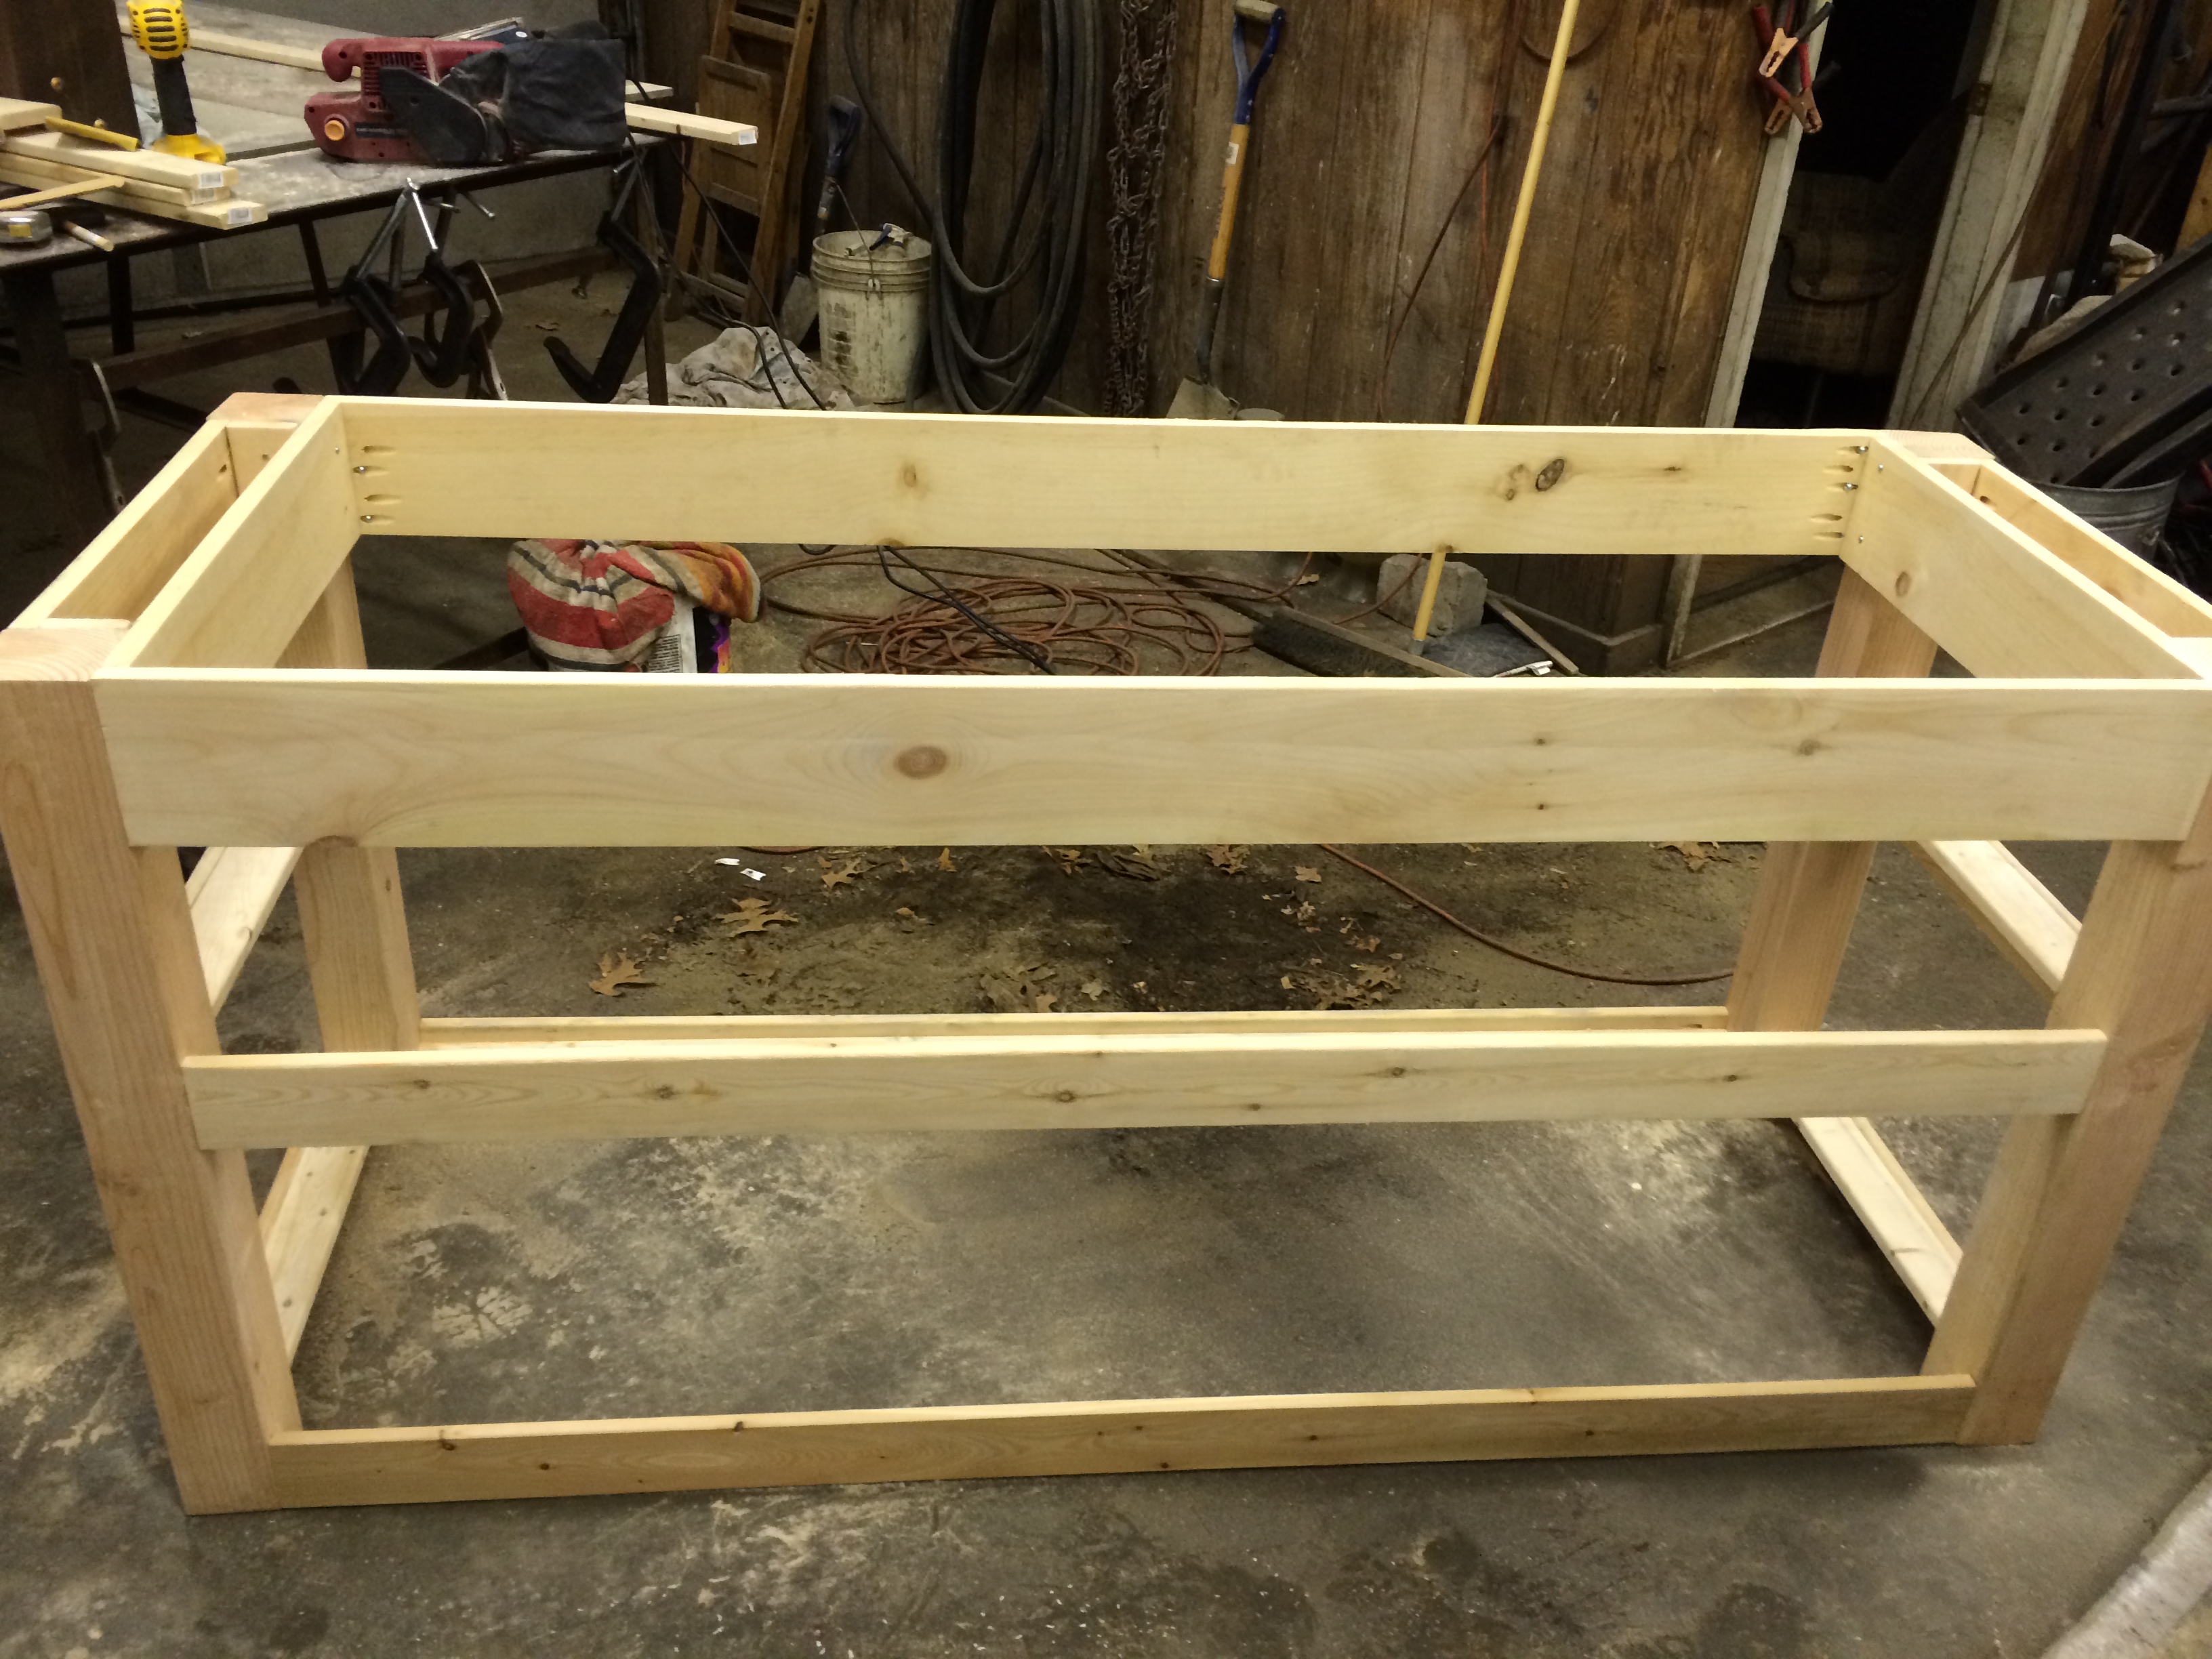
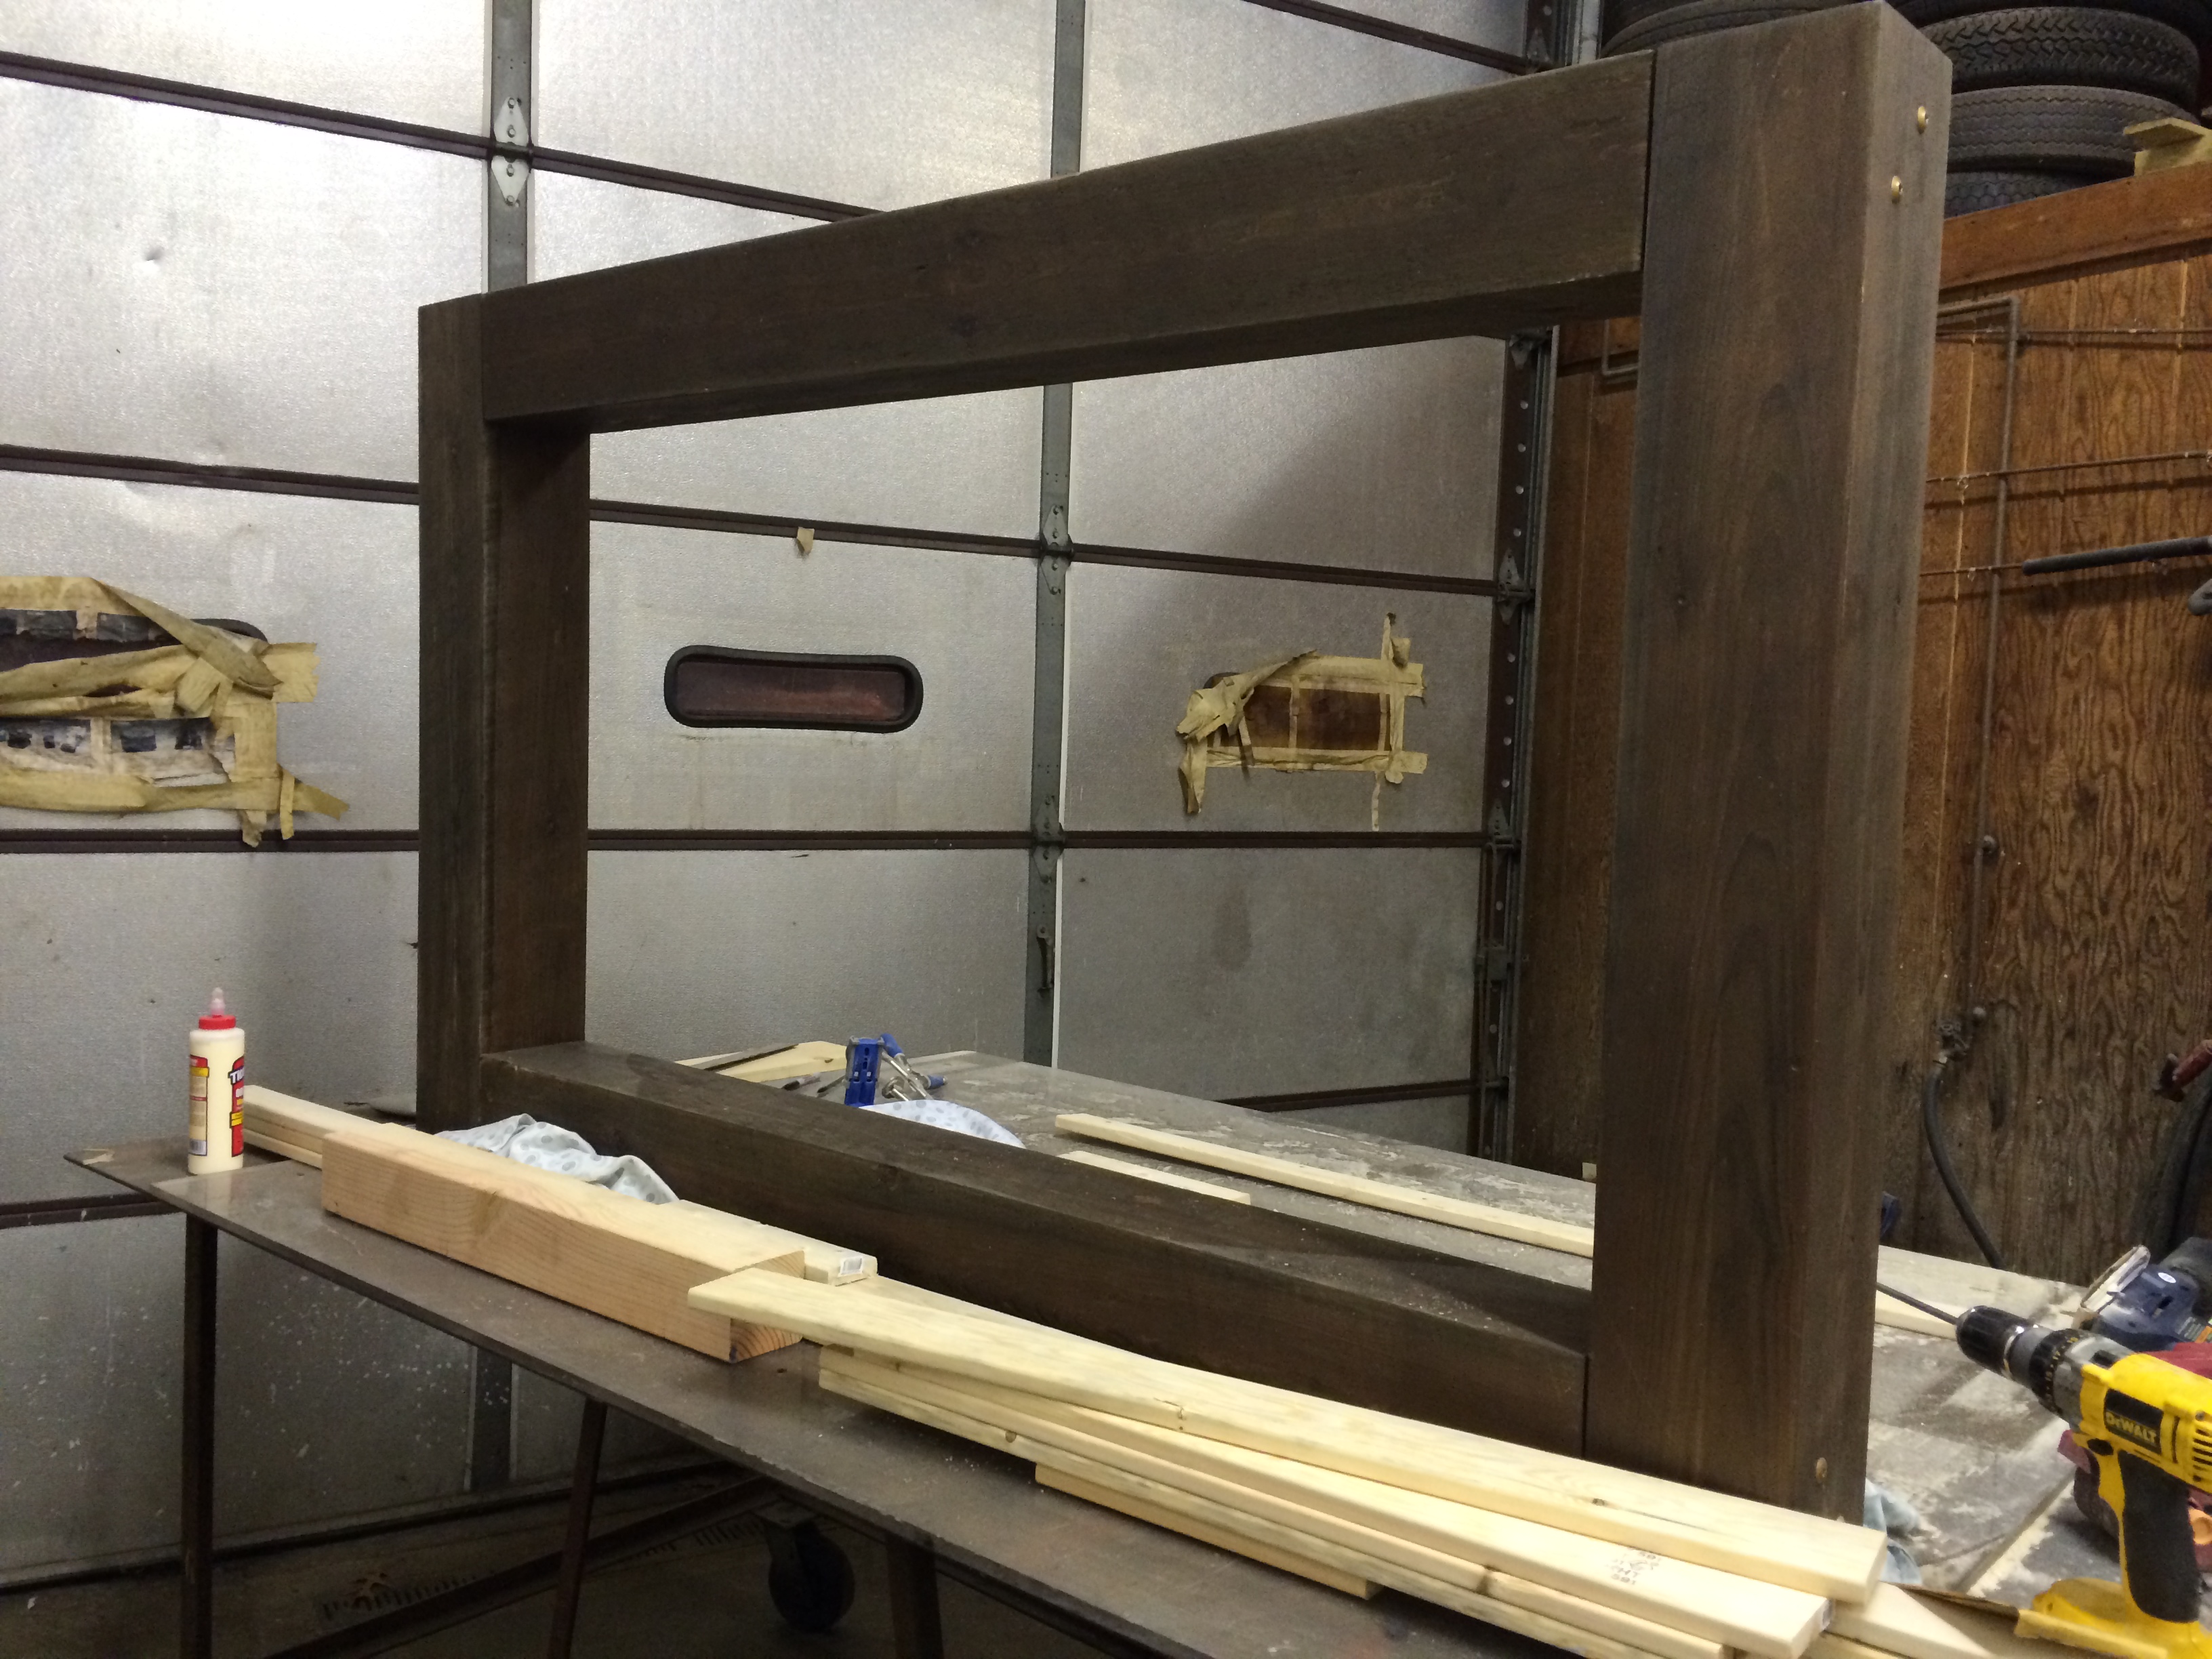
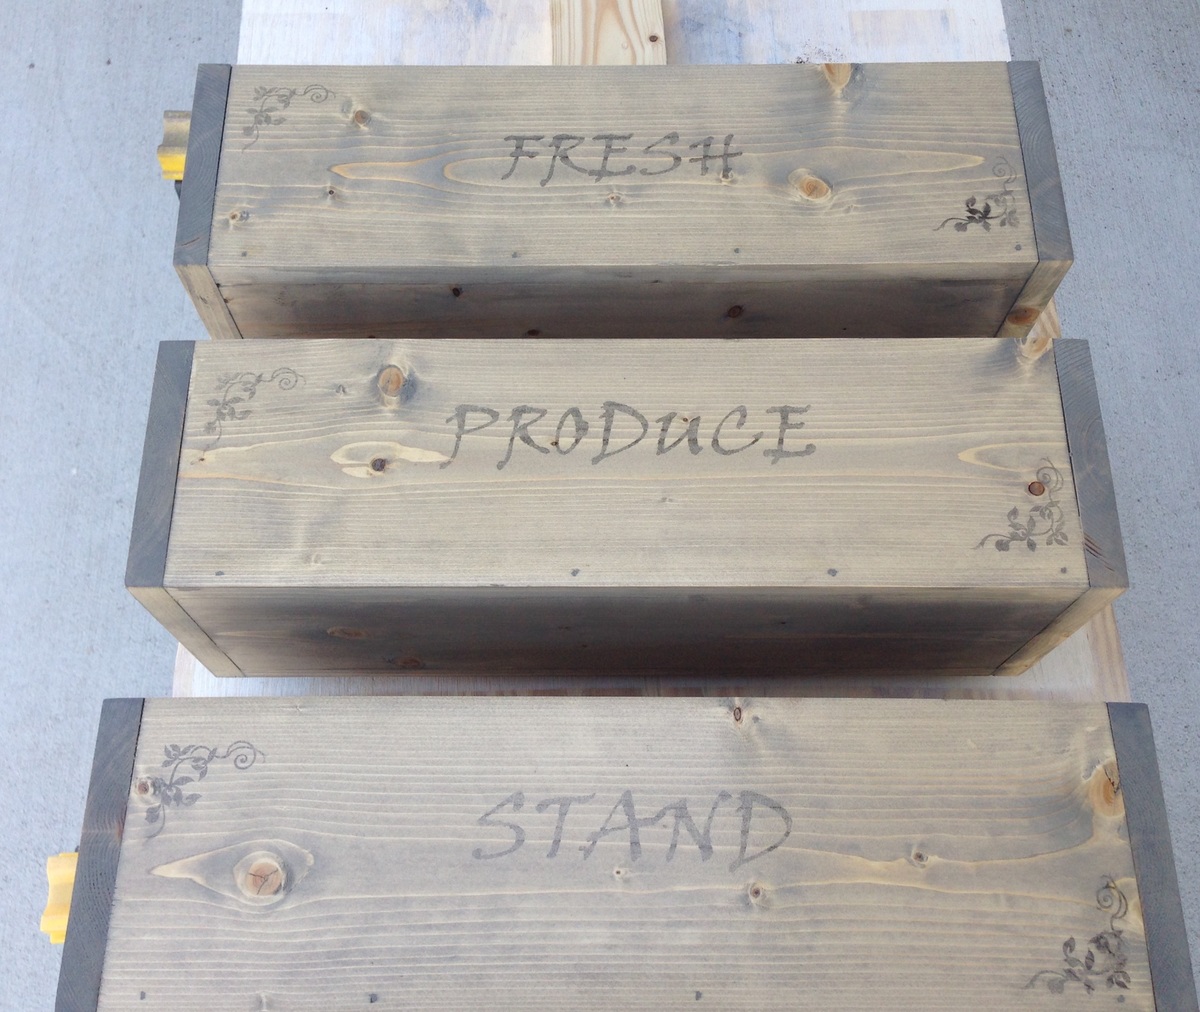
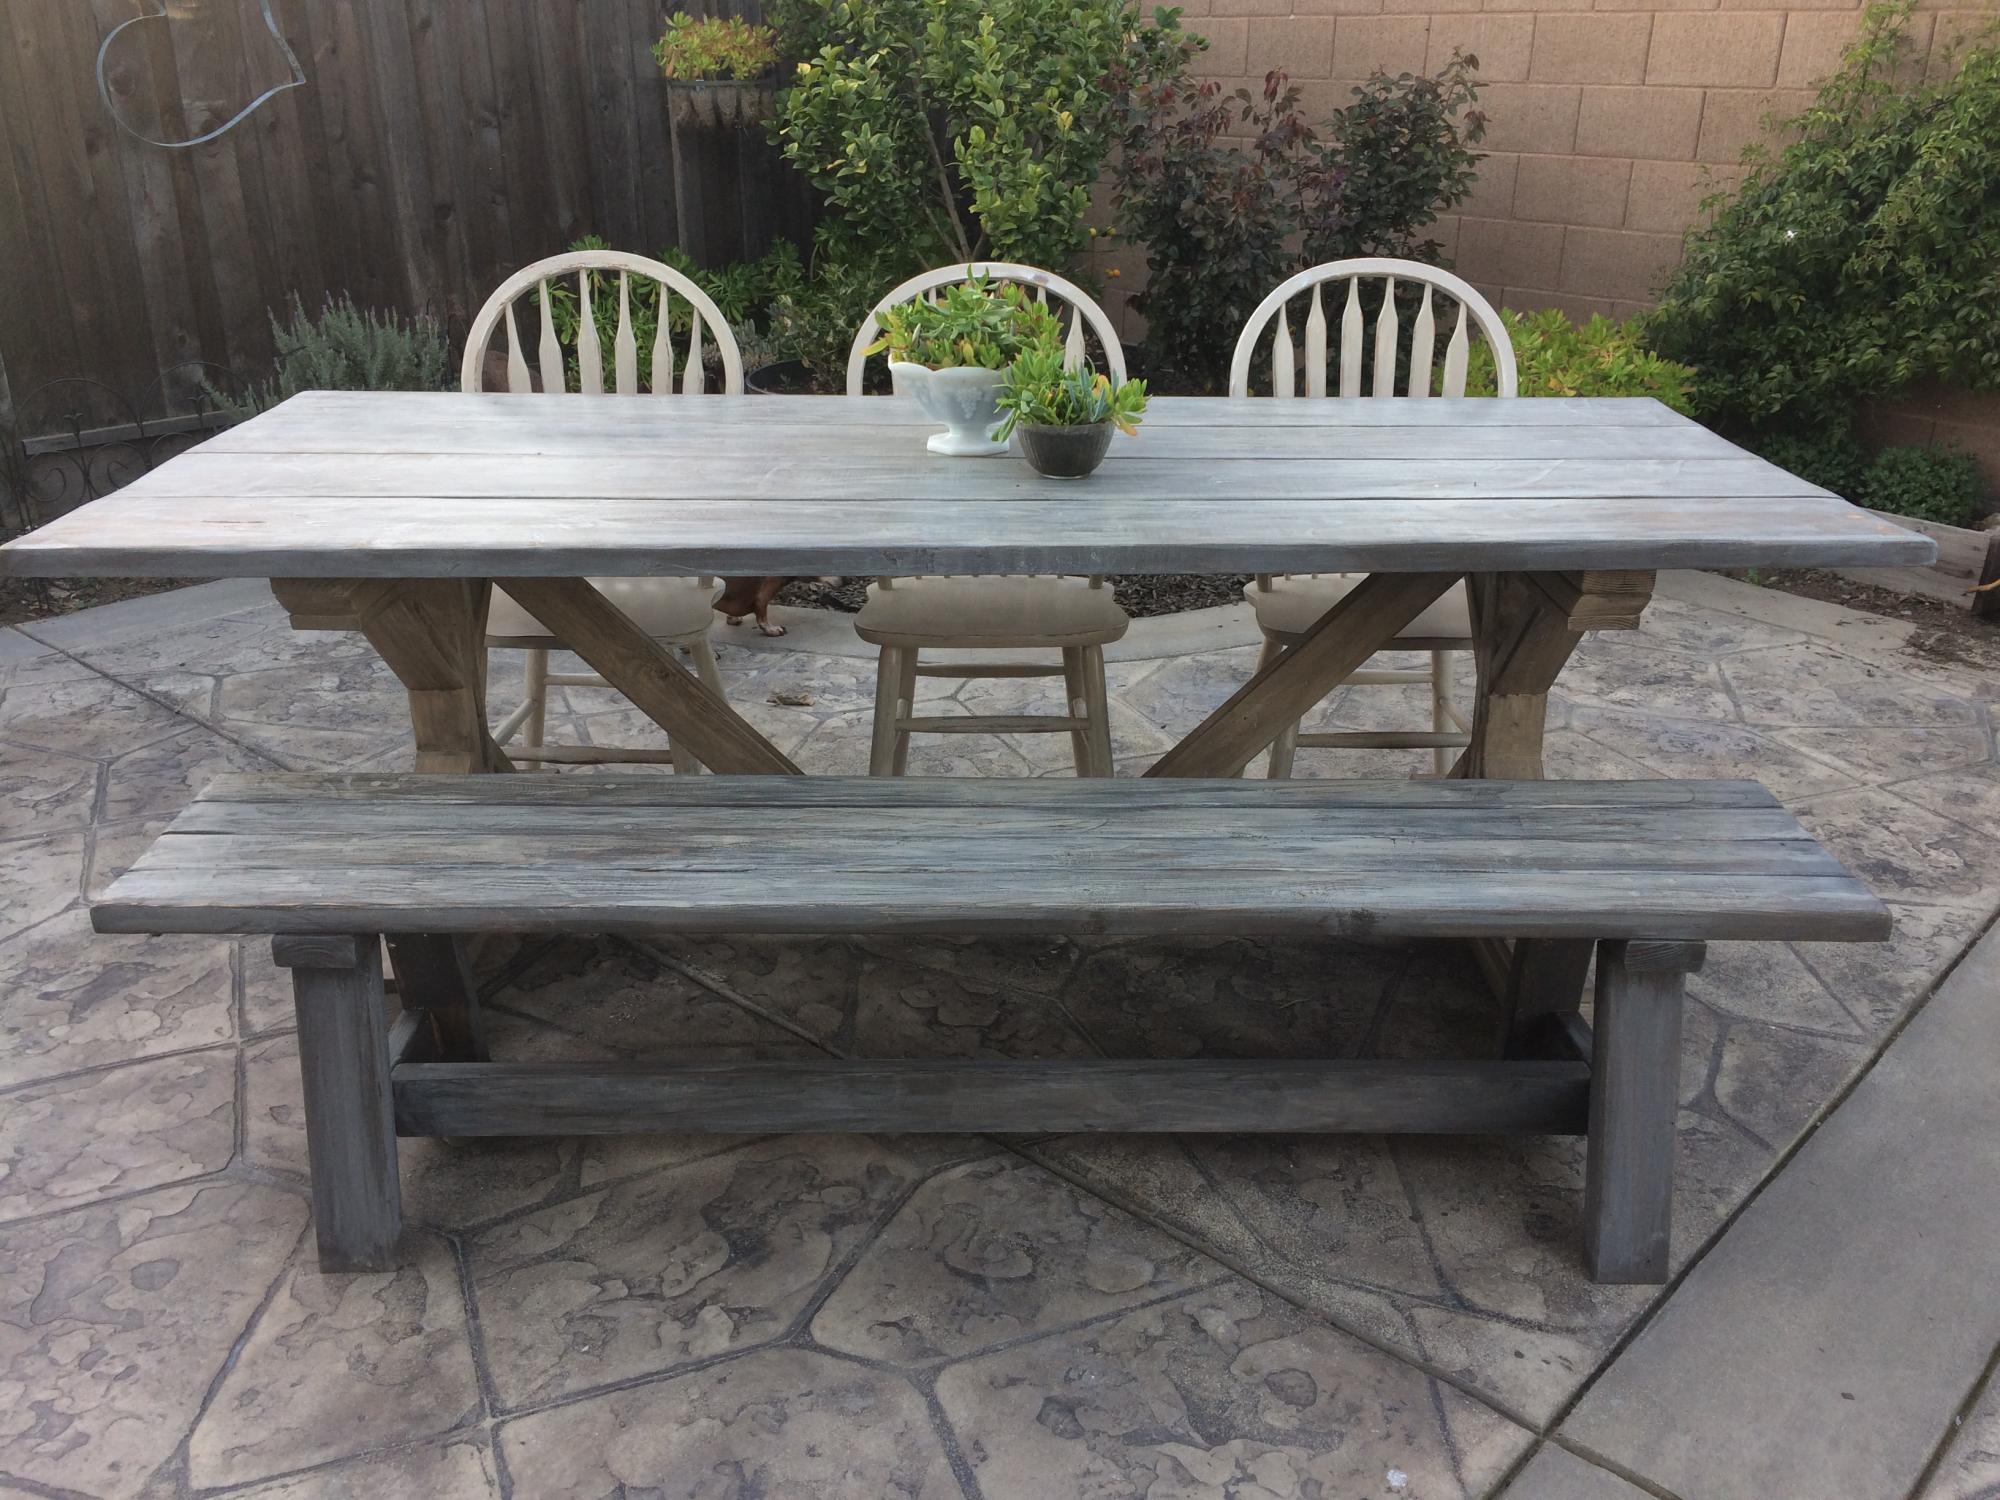
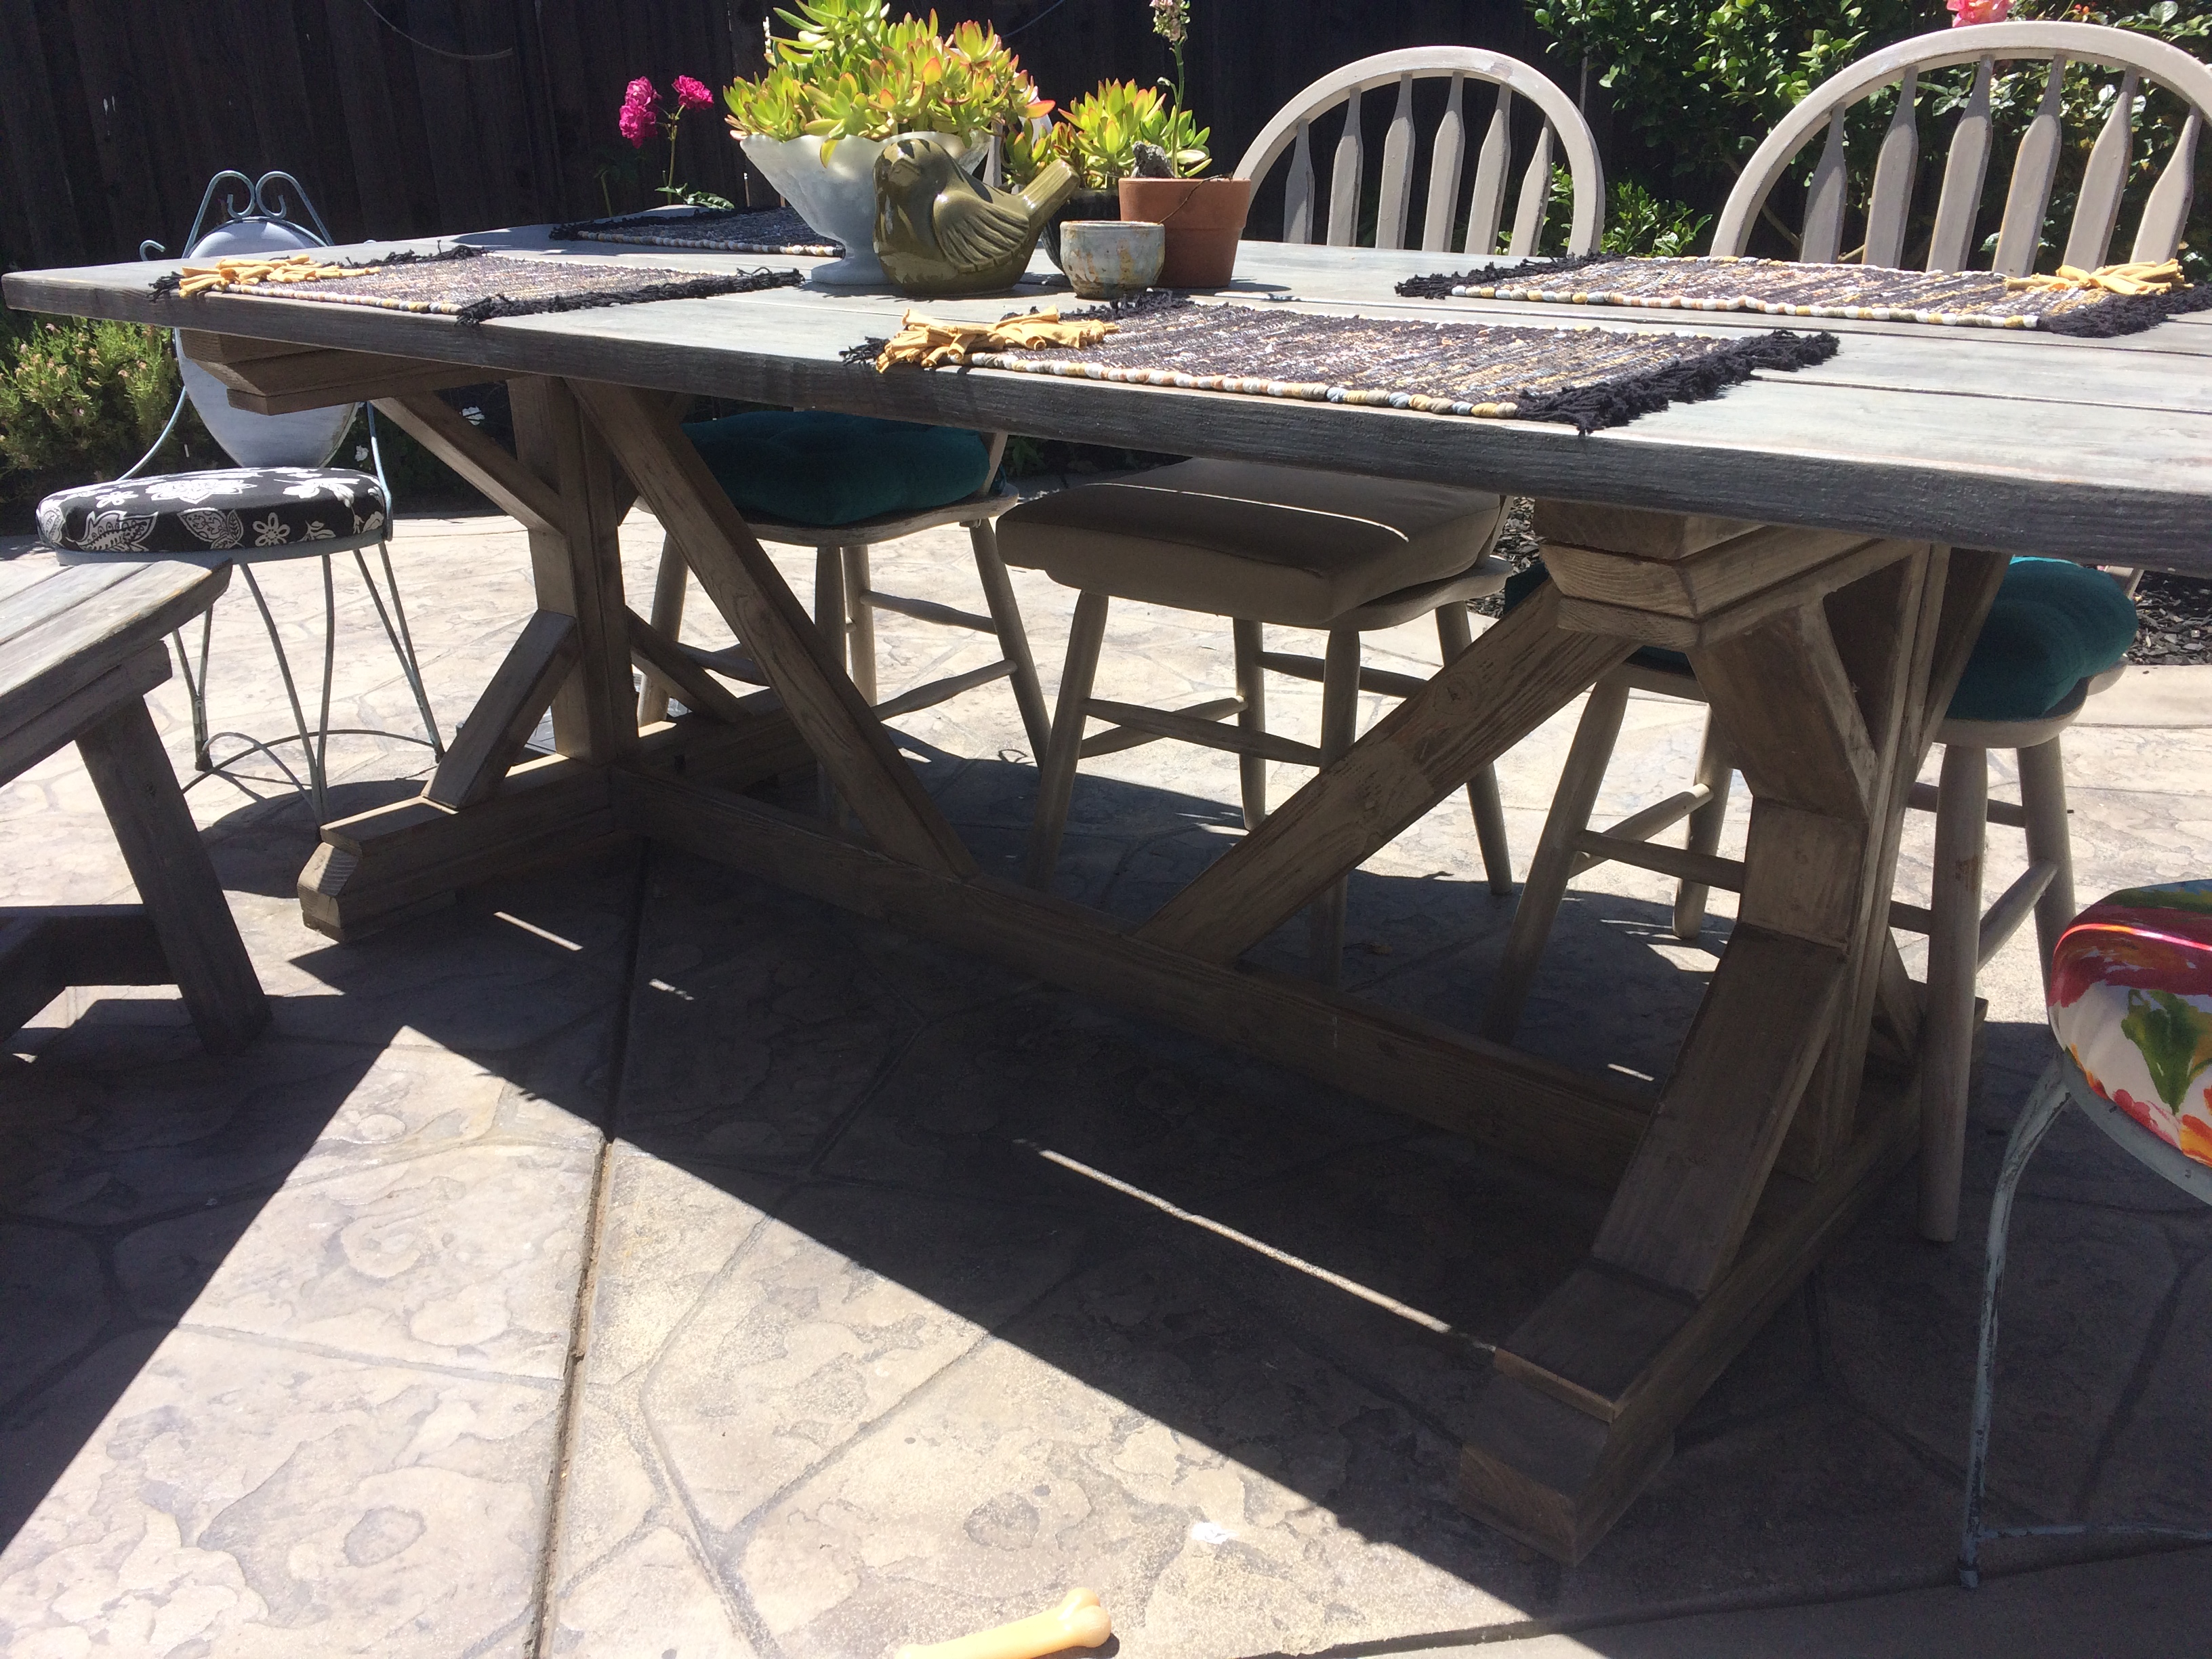
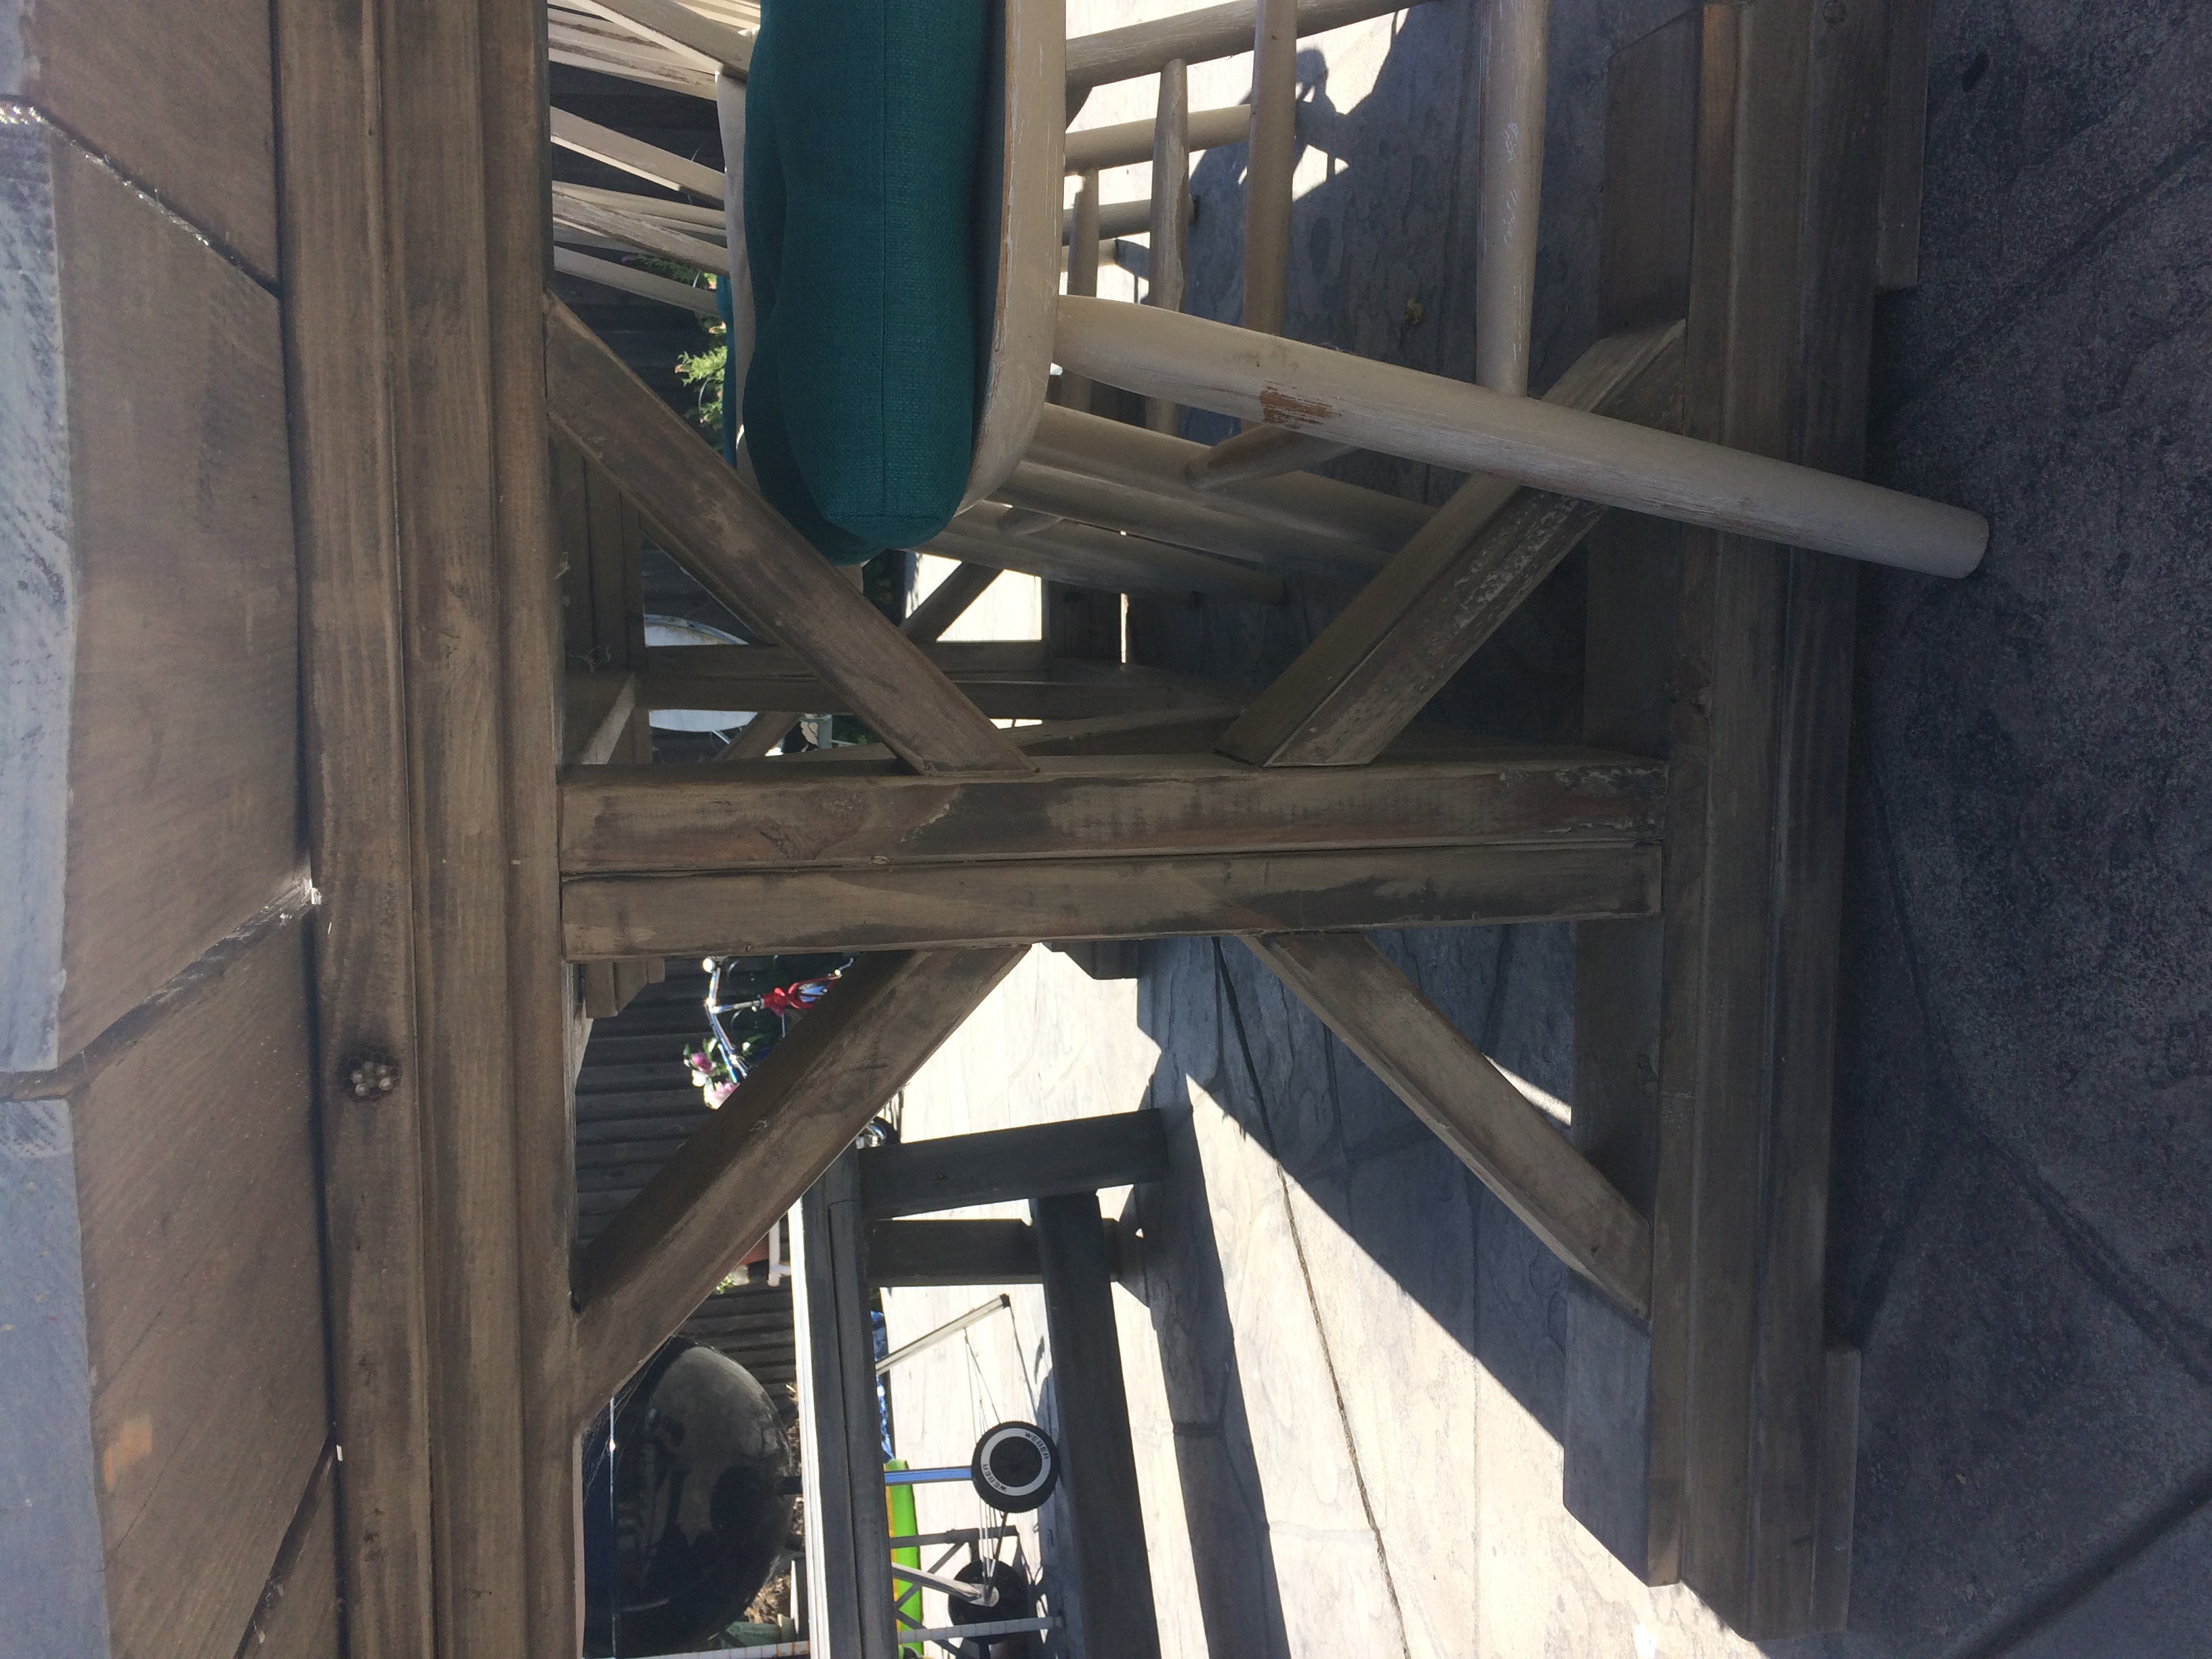
13 ft Community Farm Table with extended Trestle base
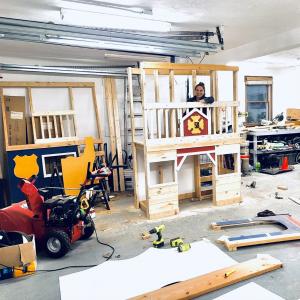
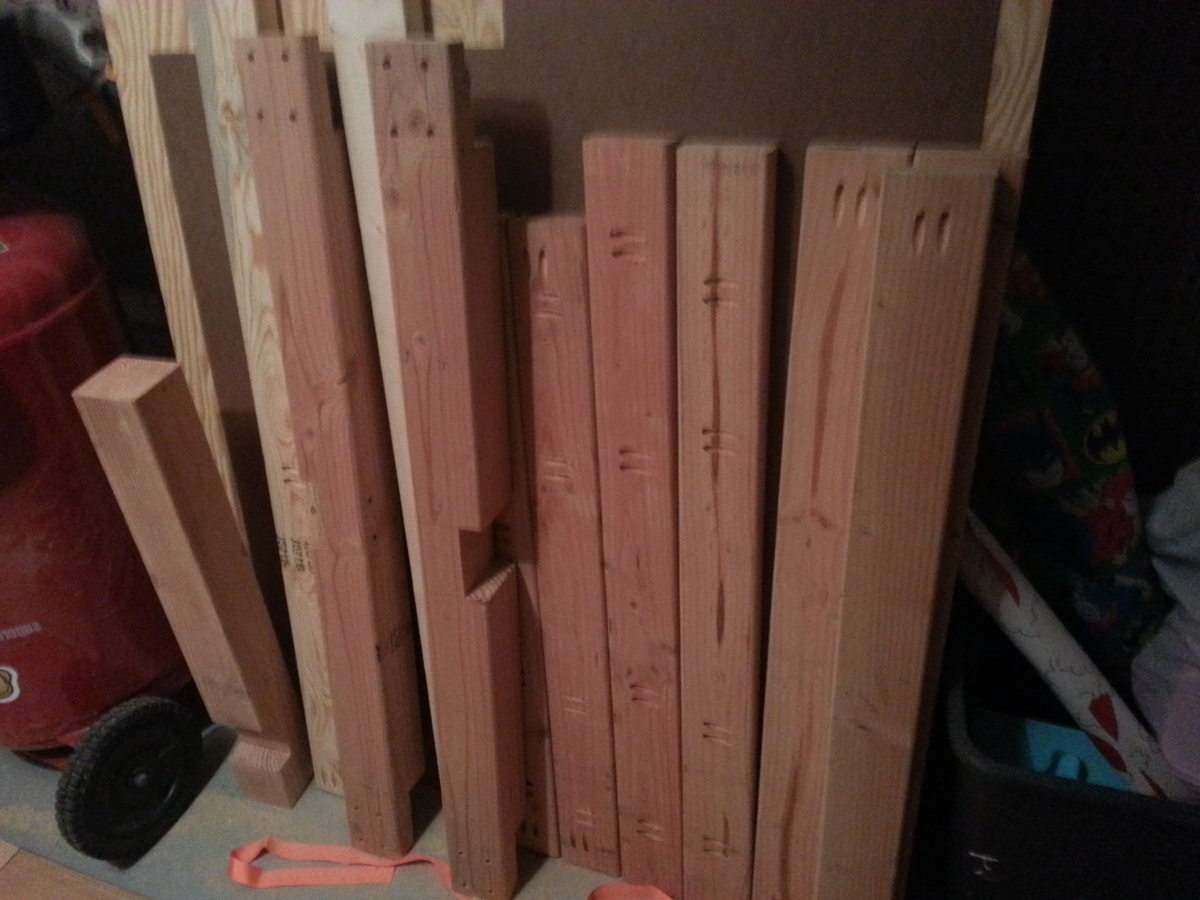
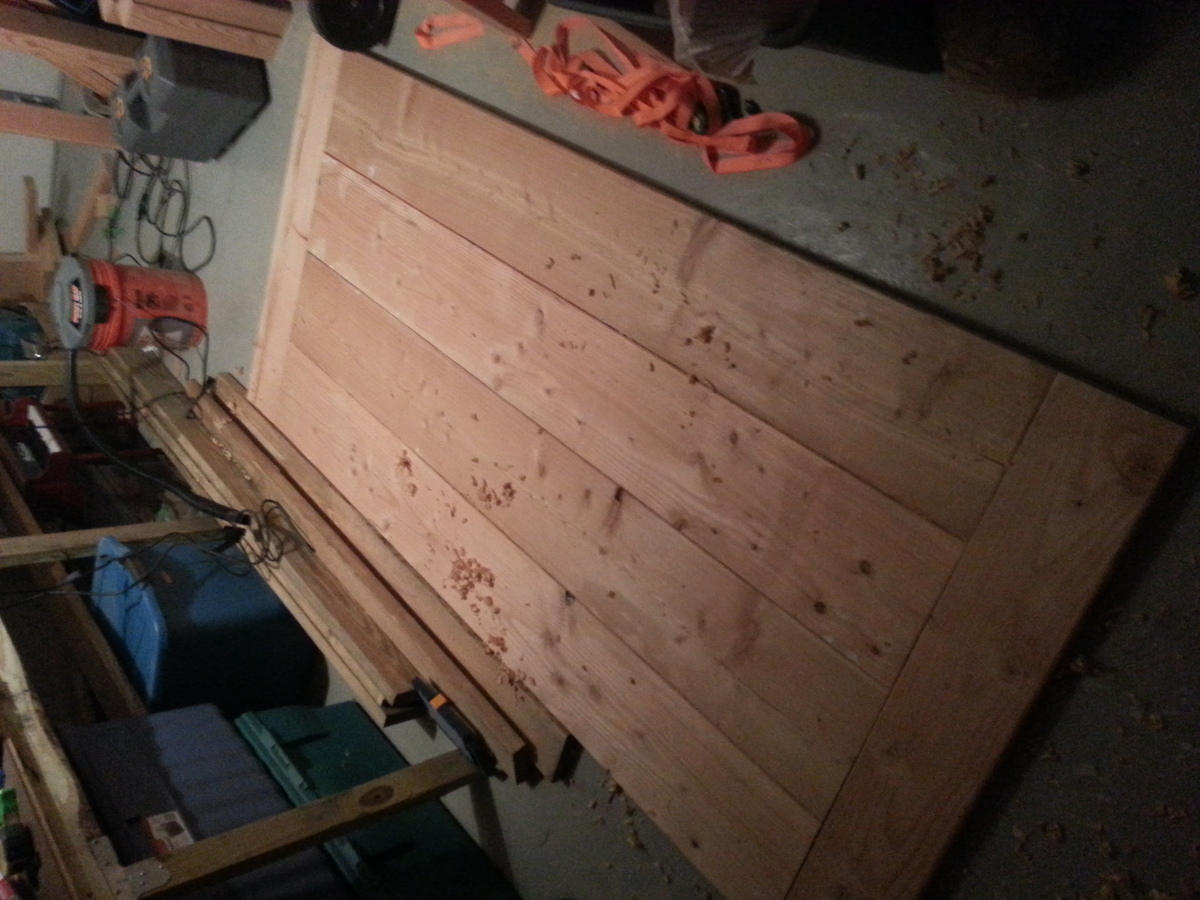
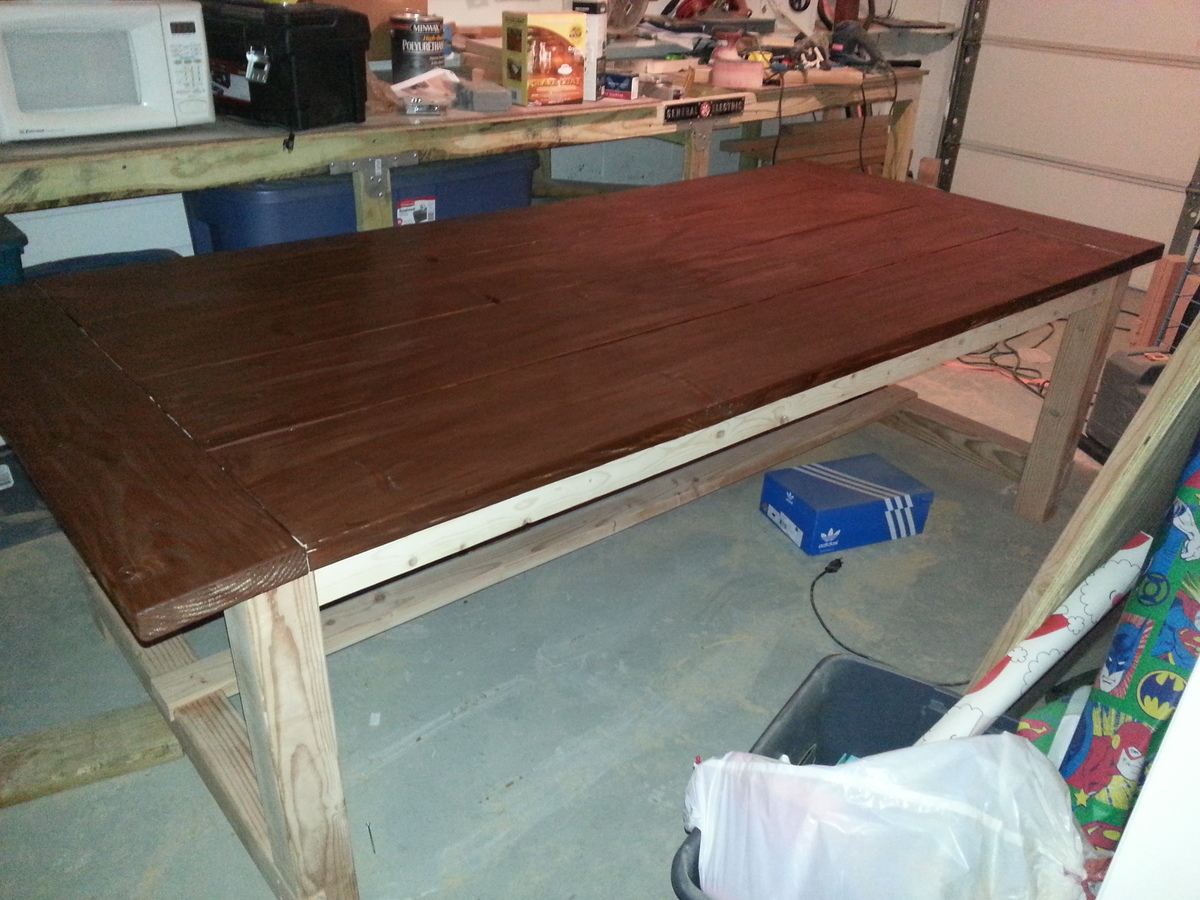
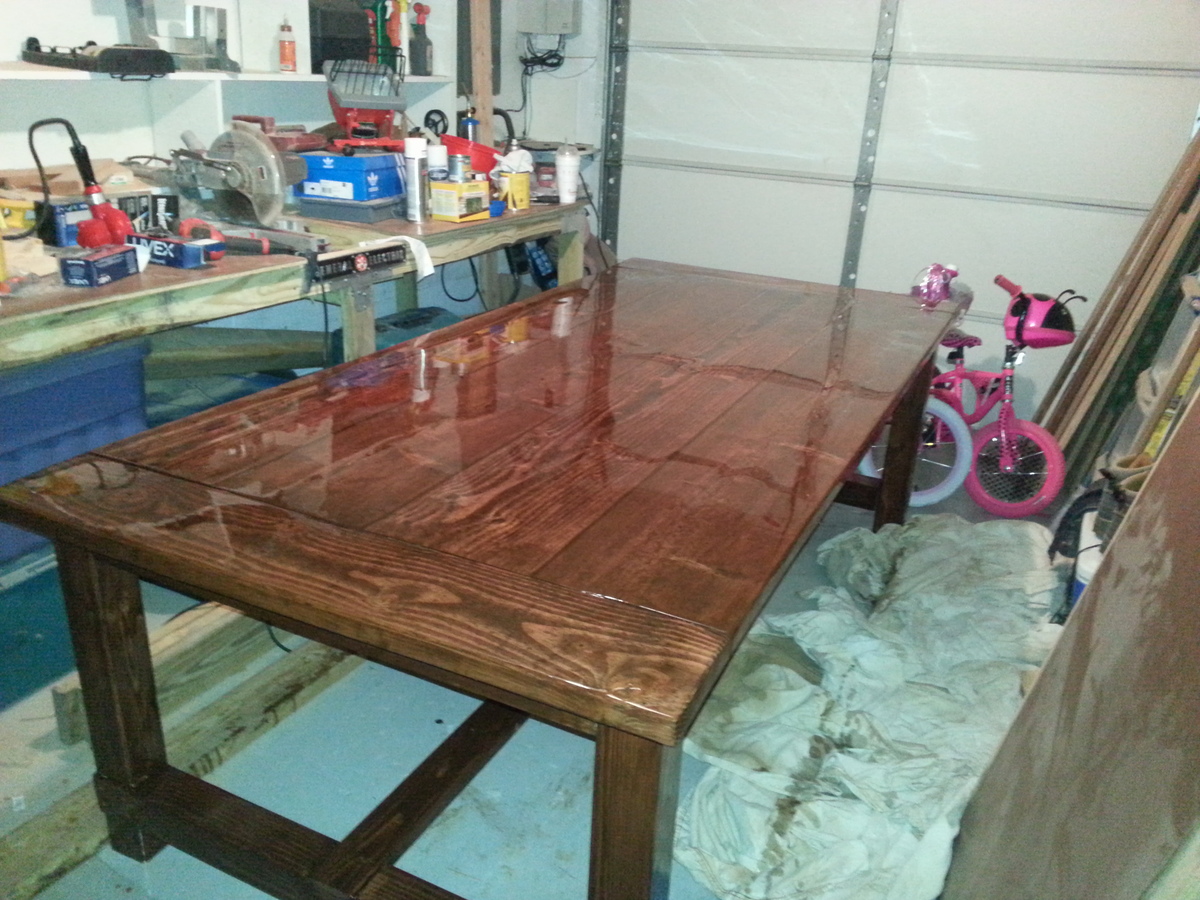
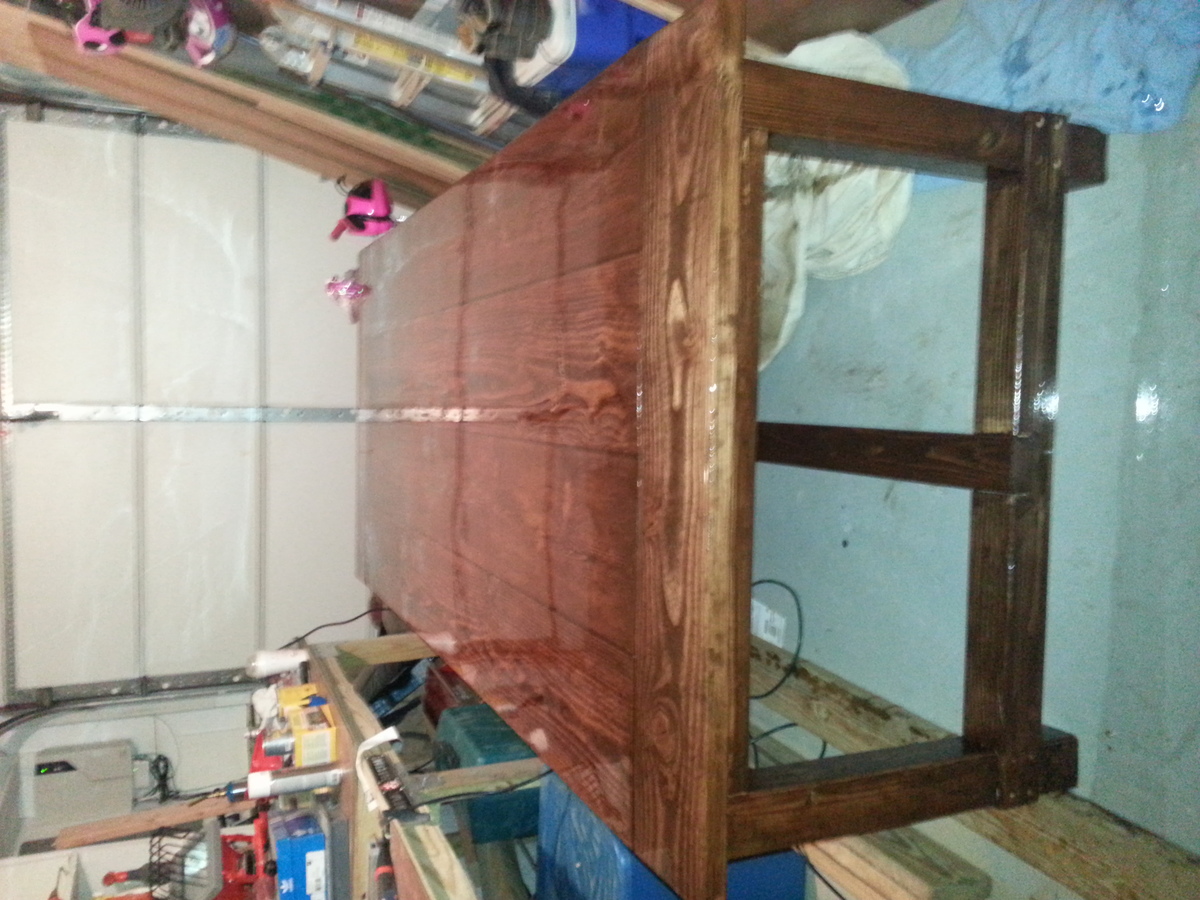
Began with supplied DIY plans from the www.ana-white.com and slightly modified them based on the length and width of the table. Table now resides in Haddon Twp, NJ as a community farm table for a small local business. The plans provide the foundation and cut list and depending on your experience, comfort level, and tools it is fairly simply to elaborate, expand, and modify.
Built from Plan(s)
Estimated Cost
Base cost $250 - materials, hardware, paint, finish, sandpaper
Estimated Time Investment
Weekend Project (10-20 Hours)
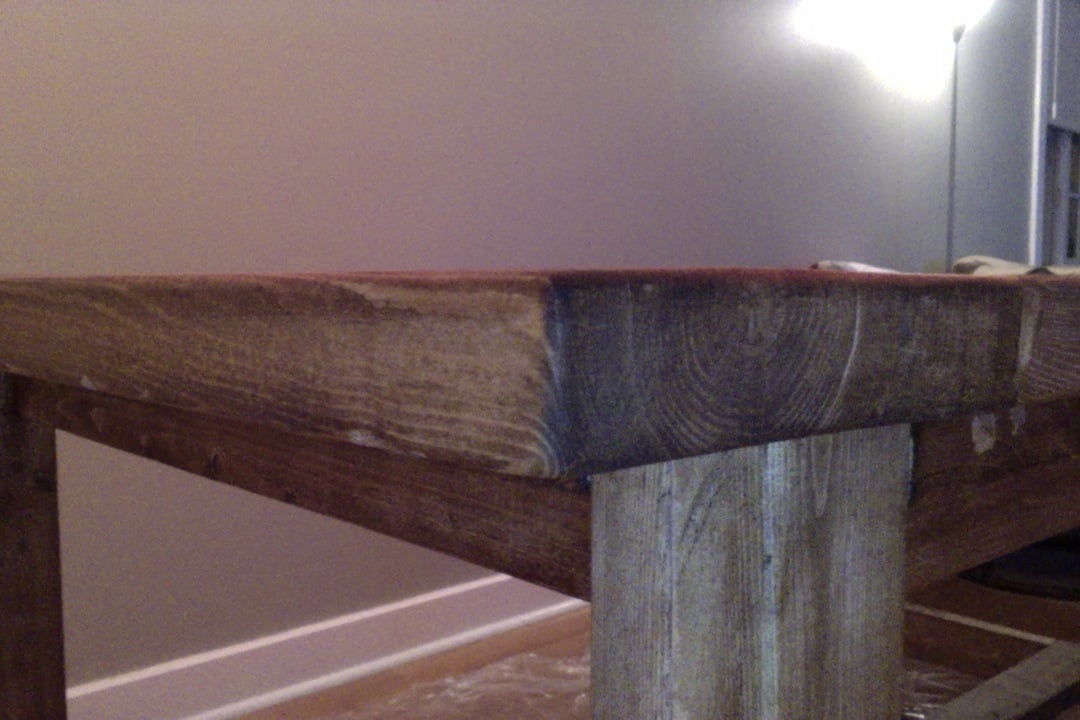
Finish Used
gloss black and clear poly seal
Recommended Skill Level
Intermediate