Community Brag Posts

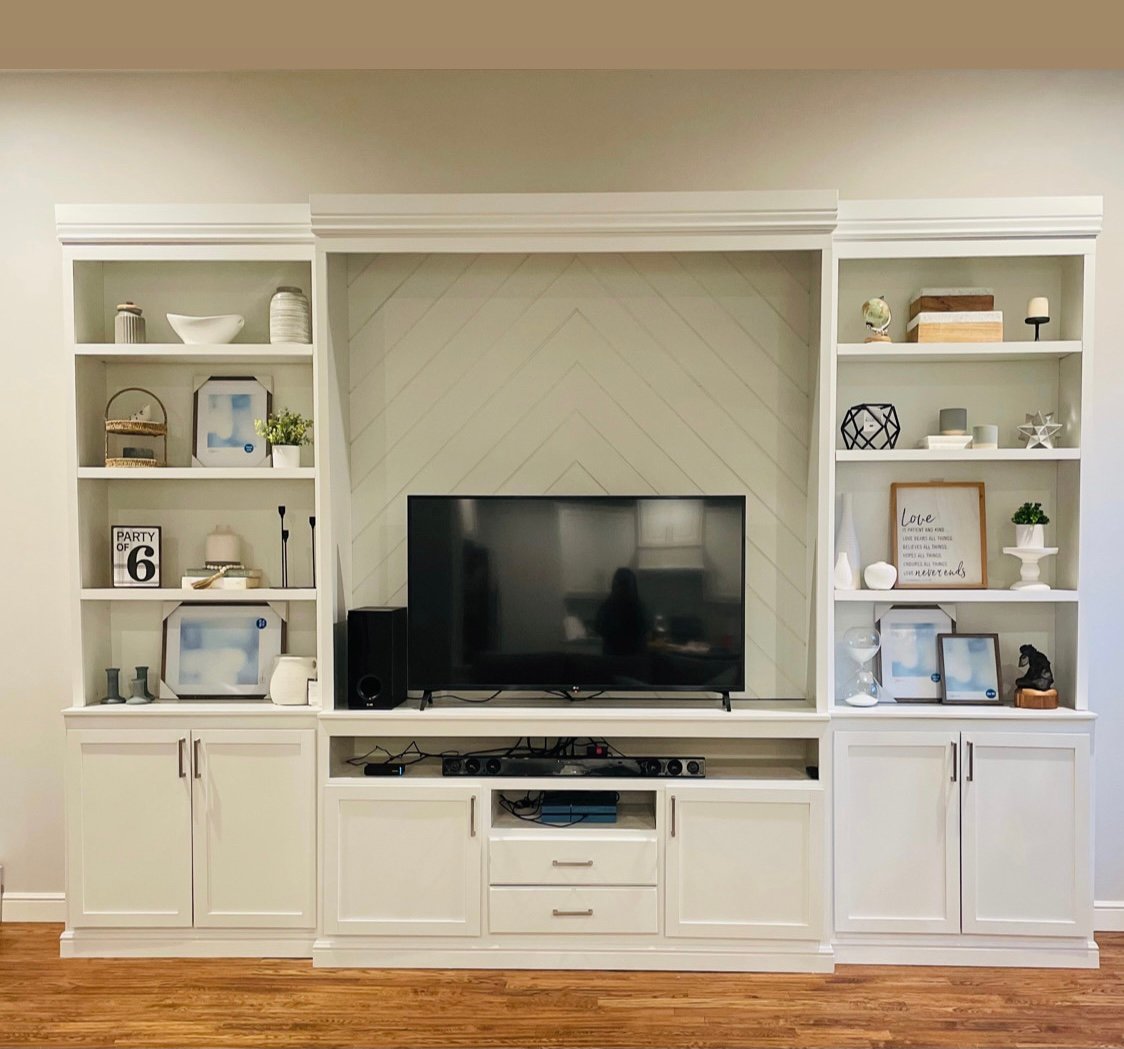
Large Entertainment Center

Submitted by rmseama on Sun, 01/24/2021 - 17:28

My Biggest build so far. We have a large living room and needed something large for that wall. I really had fun on this one. It took longer than I wanted but in the end, I’m really proud I finished. This was my first time to use the router and learned how build shaker style doors. -Instagram.com/theorthfam

Estimated Cost
1000
Estimated Time Investment
Week Long Project (20 Hours or More)
Recommended Skill Level
Intermediate

Rolling Kitchen Island with tilt trashcan and Holy cutting board

Submitted by MBlack on Thu, 02/21/2013 - 16:27

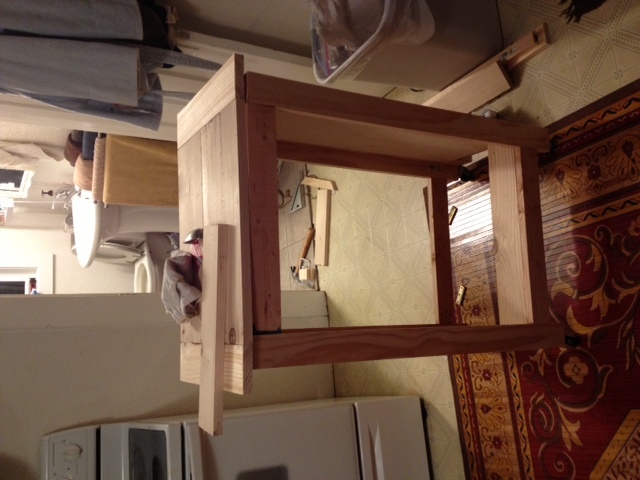
I saw Ana's tilt trashcan plan and I knew that I had to tackle this bad boy. I didn't want anything stationary because my 1910 kitchen is big but also pushed against the walls. My stove is 7 steps from a counter top so prep is kind of a pain.

I modified Ana's original plan to be taller and even (well, close) with the stove's height for extra counter space. I also wanted a slide out cutting board with a hole so that while I'm chopping my ingredients, I can scoop it into the hole that drops directly into the trash.

I'm a very ambitious girl who doesn't like to be told that I can't do something. This is also my second built....my first is a huge craft supply cabinet made from old barn wood that is lovingly referred to as 'The Outhouse'. My tools are limited to a 7in circular saw, drill, and Kreg Gig. I knew this would be tough but after a few head scratches, I have a pretty cool island.

If you have questions about what I asked, please ask. There are all types of wicked little tricks/fixes in this beast.

Estimated Time Investment
Weekend Project (10-20 Hours)
Finish Used
Rust-oleum Kona Stain for the frame and an acrylic wash for the sides. You can use those little cheap bottles of acrylic paint. Dip your brush in water then a small dip in paint. Brush it on then treat it like stain. Depending on how much paint is on your brush and the longer you leave the wash on the wood, the more darker and opaque the color becomes. Definetly test before applying to a completed project. The whole thing is coated with 6 coates of matte poly since it's a piece of kitchen furniture.
Recommended Skill Level
Intermediate

Comments

nicolepitts

Sun, 09/21/2014 - 08:11

we are about to start building and island based off this plan as well and i love the holy cutting board idea. do you have pictures of that or advice on how to accomplish it? we plan to make it twice the width with two trash cans. ( we have 5 kids= lots of trash!) 

Step Dresser

Submitted by calcowoods on Fri, 02/26/2021 - 12:14

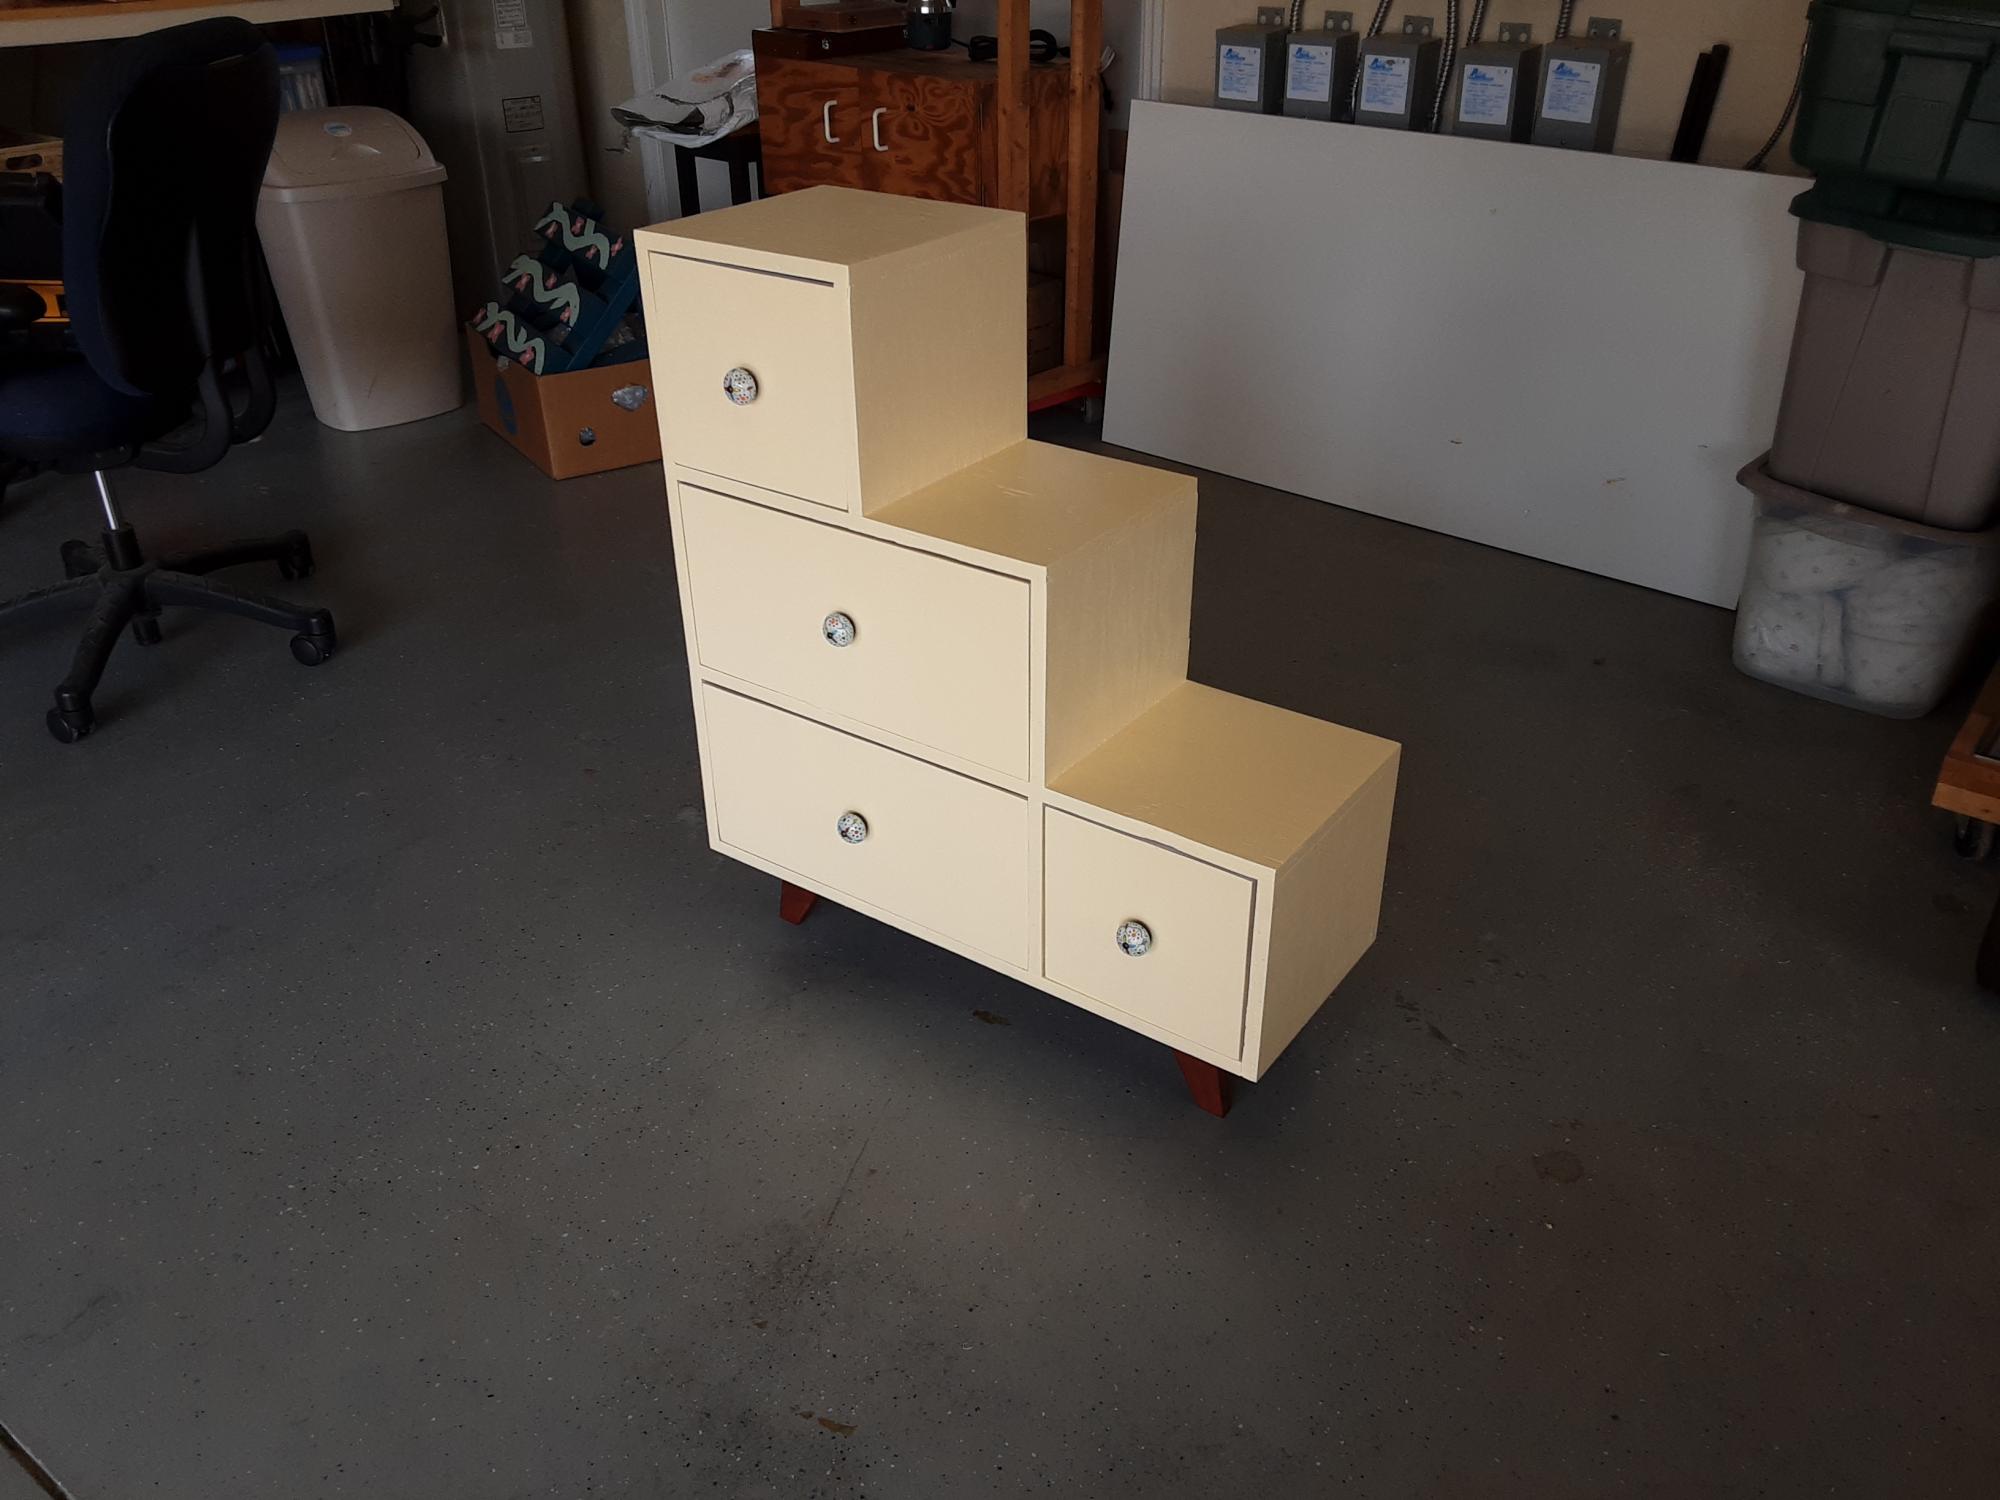
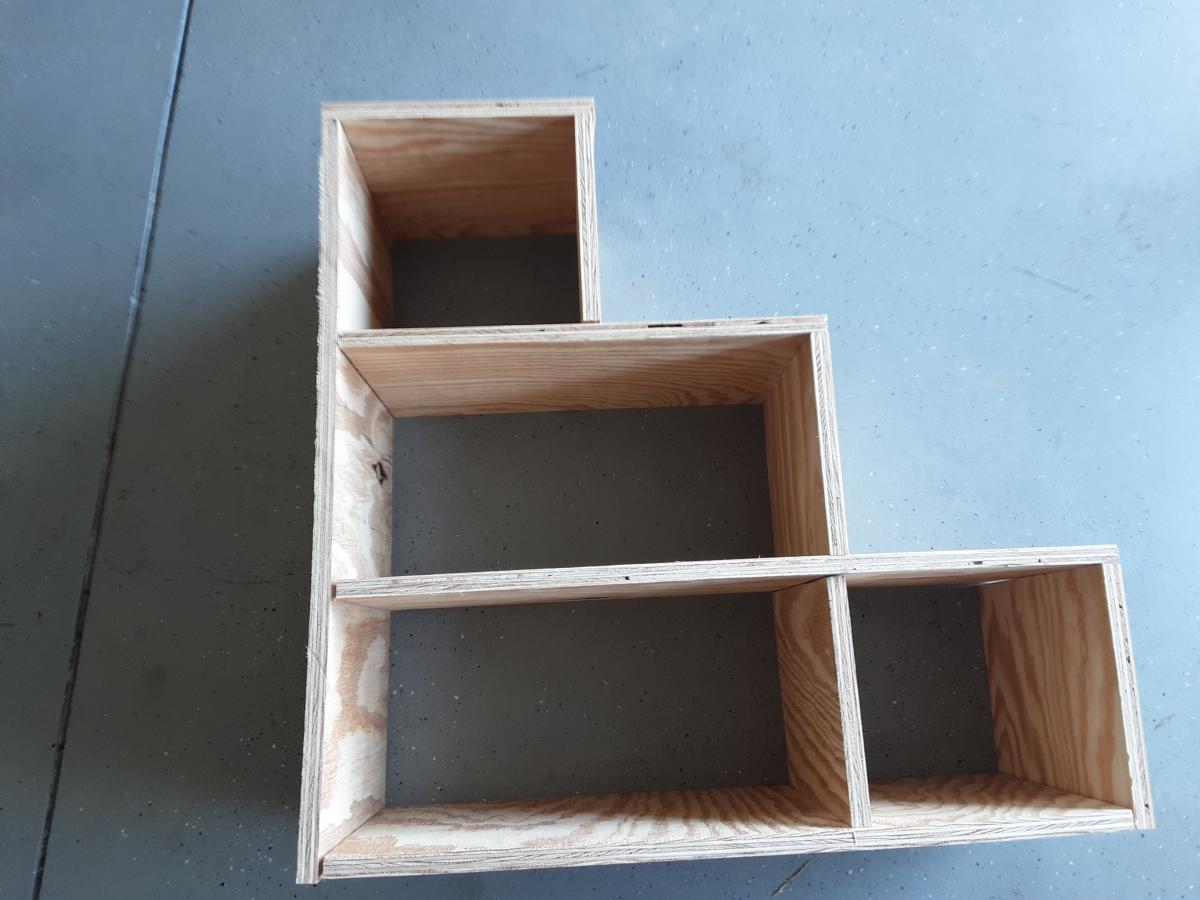
Step dresser inspired by a similar design from a boutique furniture store. We actually made three dressers using various dimensions from large, median and even small versions.

Comments

Kentwood Bookcase

A great plan that was so easy to follow!  My hubby and I had a great time building this, even though it took us about a year from start to finish, actual work time on this project was not huge.  The Kreg jig was brilliant and made everything so easy.  

Estimated Cost
I would put the estimated cost at around $400 AUD. Looking back at the project I'm sure we could have cut costs by buying recycled timber.
Estimated Time Investment
Weekend Project (10-20 Hours)
Finish Used
Dulux Whisper White Semi-Gloss
Dulux Colour matched Turqoise Low Sheen
Recommended Skill Level
Beginner

Comments

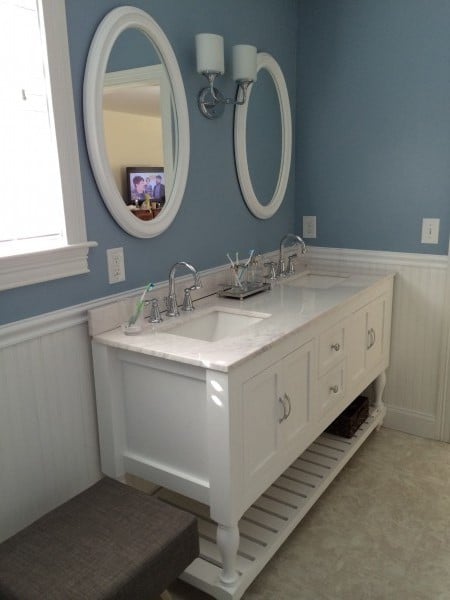
62" Turned Leg Vanity

Submitted by gwphoto on Tue, 01/20/2015 - 12:21

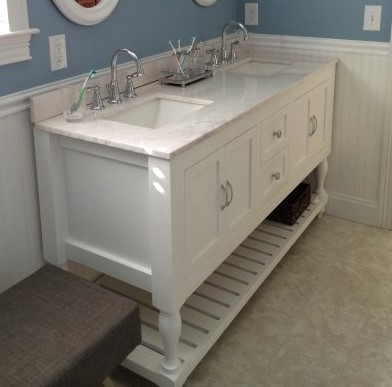
First time visitor. I recently built this modified 48" Turned Leg Vanity for my wife.

We expanded it to a 62" double sink with drawers in the middle and opening below the sinks.

Thanks for the great site Anna.

Built from Plan(s)
Estimated Time Investment
Week Long Project (20 Hours or More)
Finish Used
Paint
Recommended Skill Level
Intermediate

Comments

brittanyj

Wed, 01/21/2015 - 08:06

This looks great! Will be making a similar one soon. Well done!

lkbuckley13

Wed, 06/10/2015 - 09:35

This looks great! I am going to work on one very similar and use this sink http://www.us.kohler.com/us/Ceramic-Impressions™-61-rectangular-double-bowl-vanity-top-bathroom-sink,-single-faucet-hole/productDetail/Styles-of-Bathroom-Sinks/1006992.htm?categoryId=651428&skuId=1006846&hash=id%3Dfilters%26chk-183%3D183%26startIndex%3D20%26scrollTop%3D411

Did you save your plans for this size vanity?

Shuzog

Fri, 10/23/2015 - 09:55

Gwphoto, do you have plans for this project that you would share? Have been wanting to modify this 48" vanity just as you did. Thanks so much!

Simple Outhouse

Submitted by Anonymous (not verified) on Thu, 04/20/2017 - 12:26

I had my nephew build this outhouse for our new 70 acre lot - no neighbours in sight so I had him put in an acrylic window (with a view).  I left off the deck and had him put the boards tight together so 'critters' didn't get in as easily. I made a sign for above the door - 'Waste Management' for a touch of humour.  The plans were easy to follow and I love it.  Thanks, Ana.

Built from Plan(s)
Estimated Cost
Approx. $300 for material and $250 for my nephew's labour.
Estimated Time Investment
Weekend Project (10-20 Hours)
Finish Used
sealer
Recommended Skill Level
Beginner

Comments

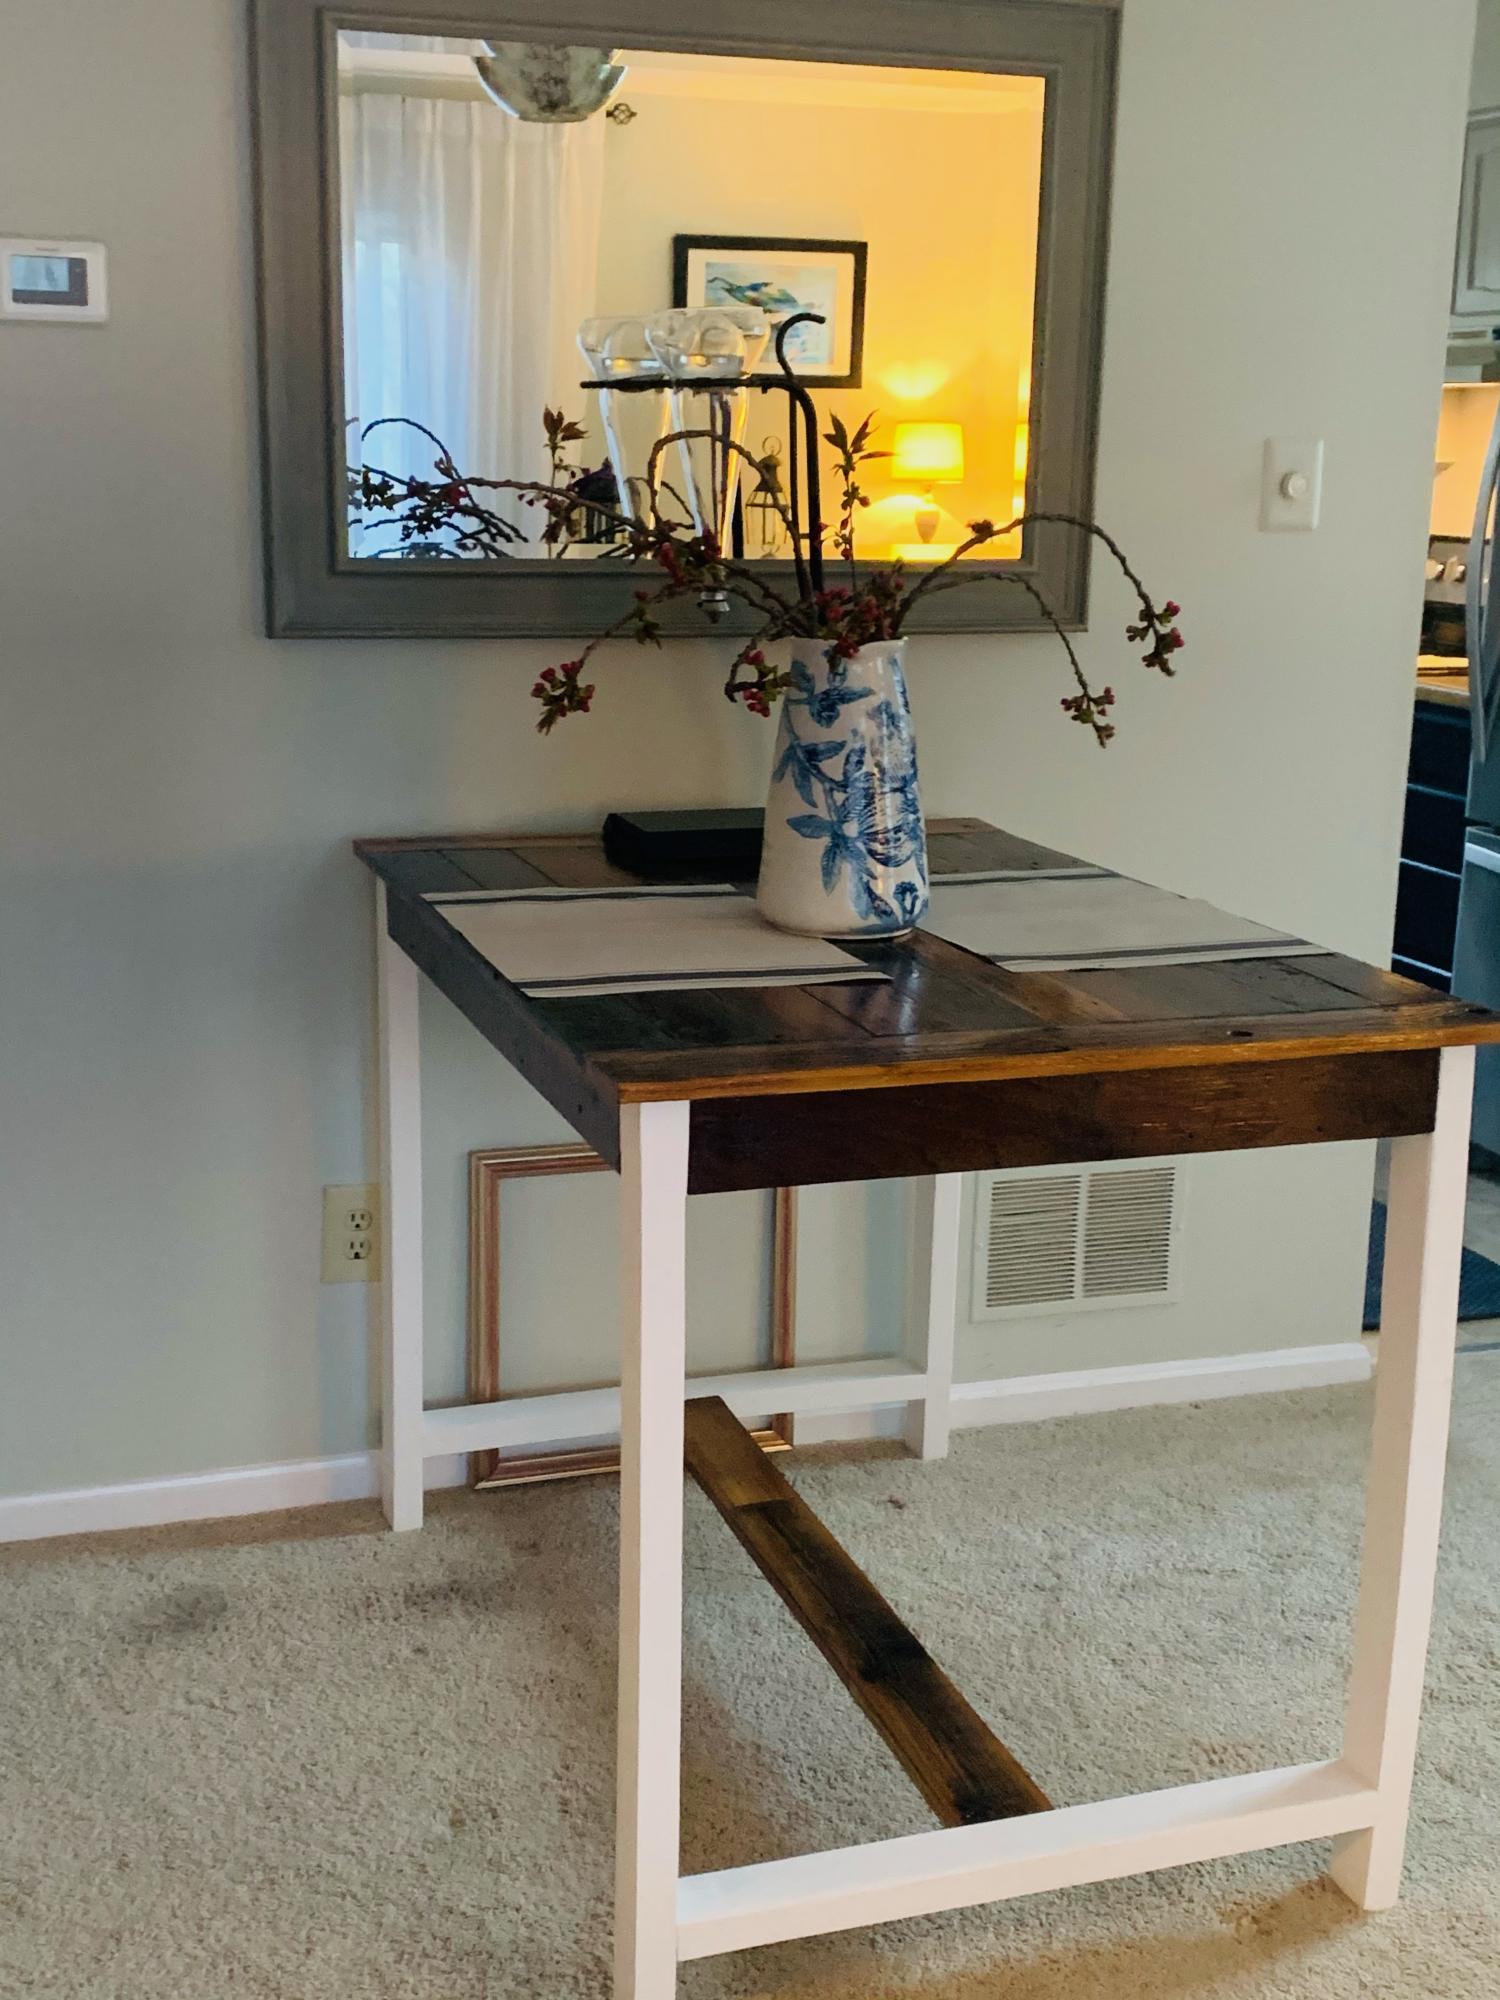
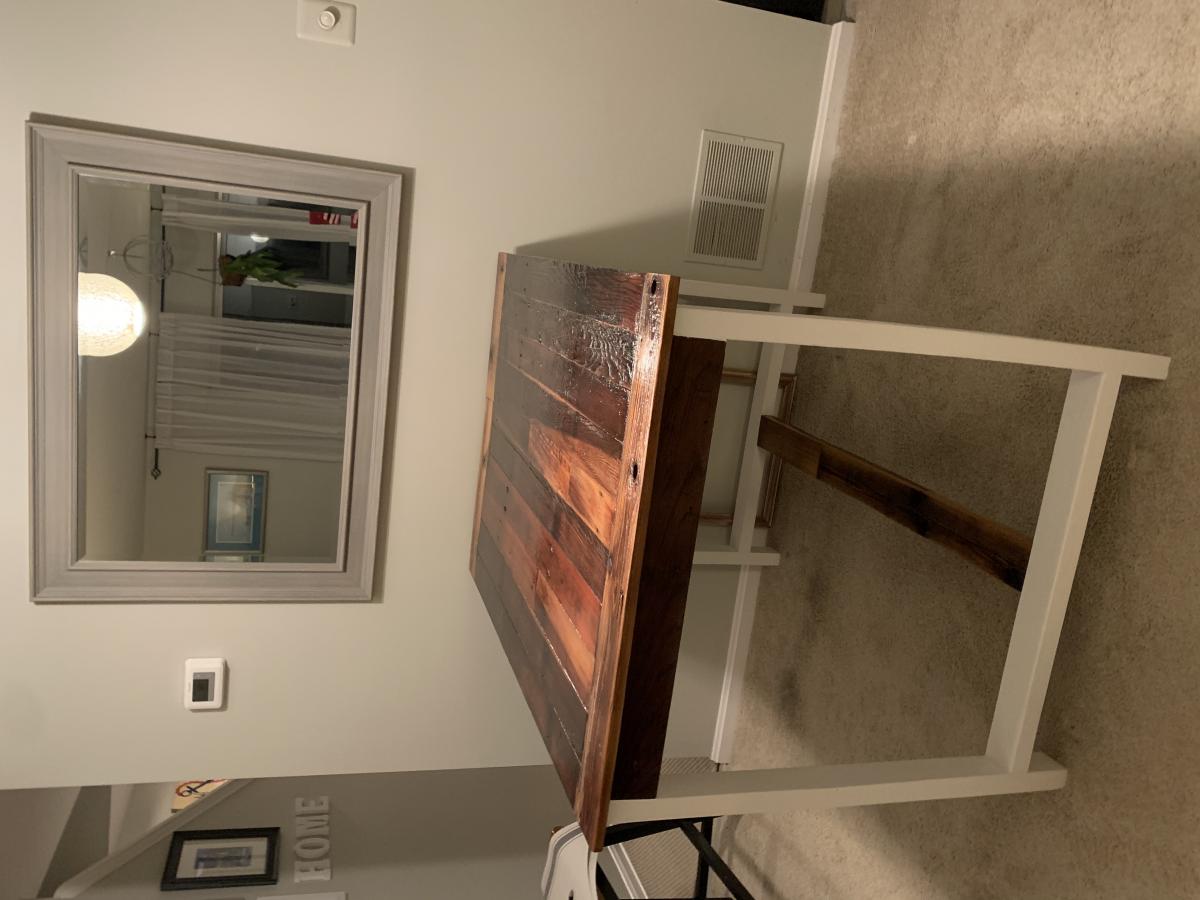
Barn-wood dining room table

Submitted by Sylka on Tue, 04/27/2021 - 06:08

I used the outdoor bar plans to build this table. I have limited space in a living/dining room and had to fit the measurements to the space I have and the size of the pre-existing tabletop.

Built from Plan(s)

Comments

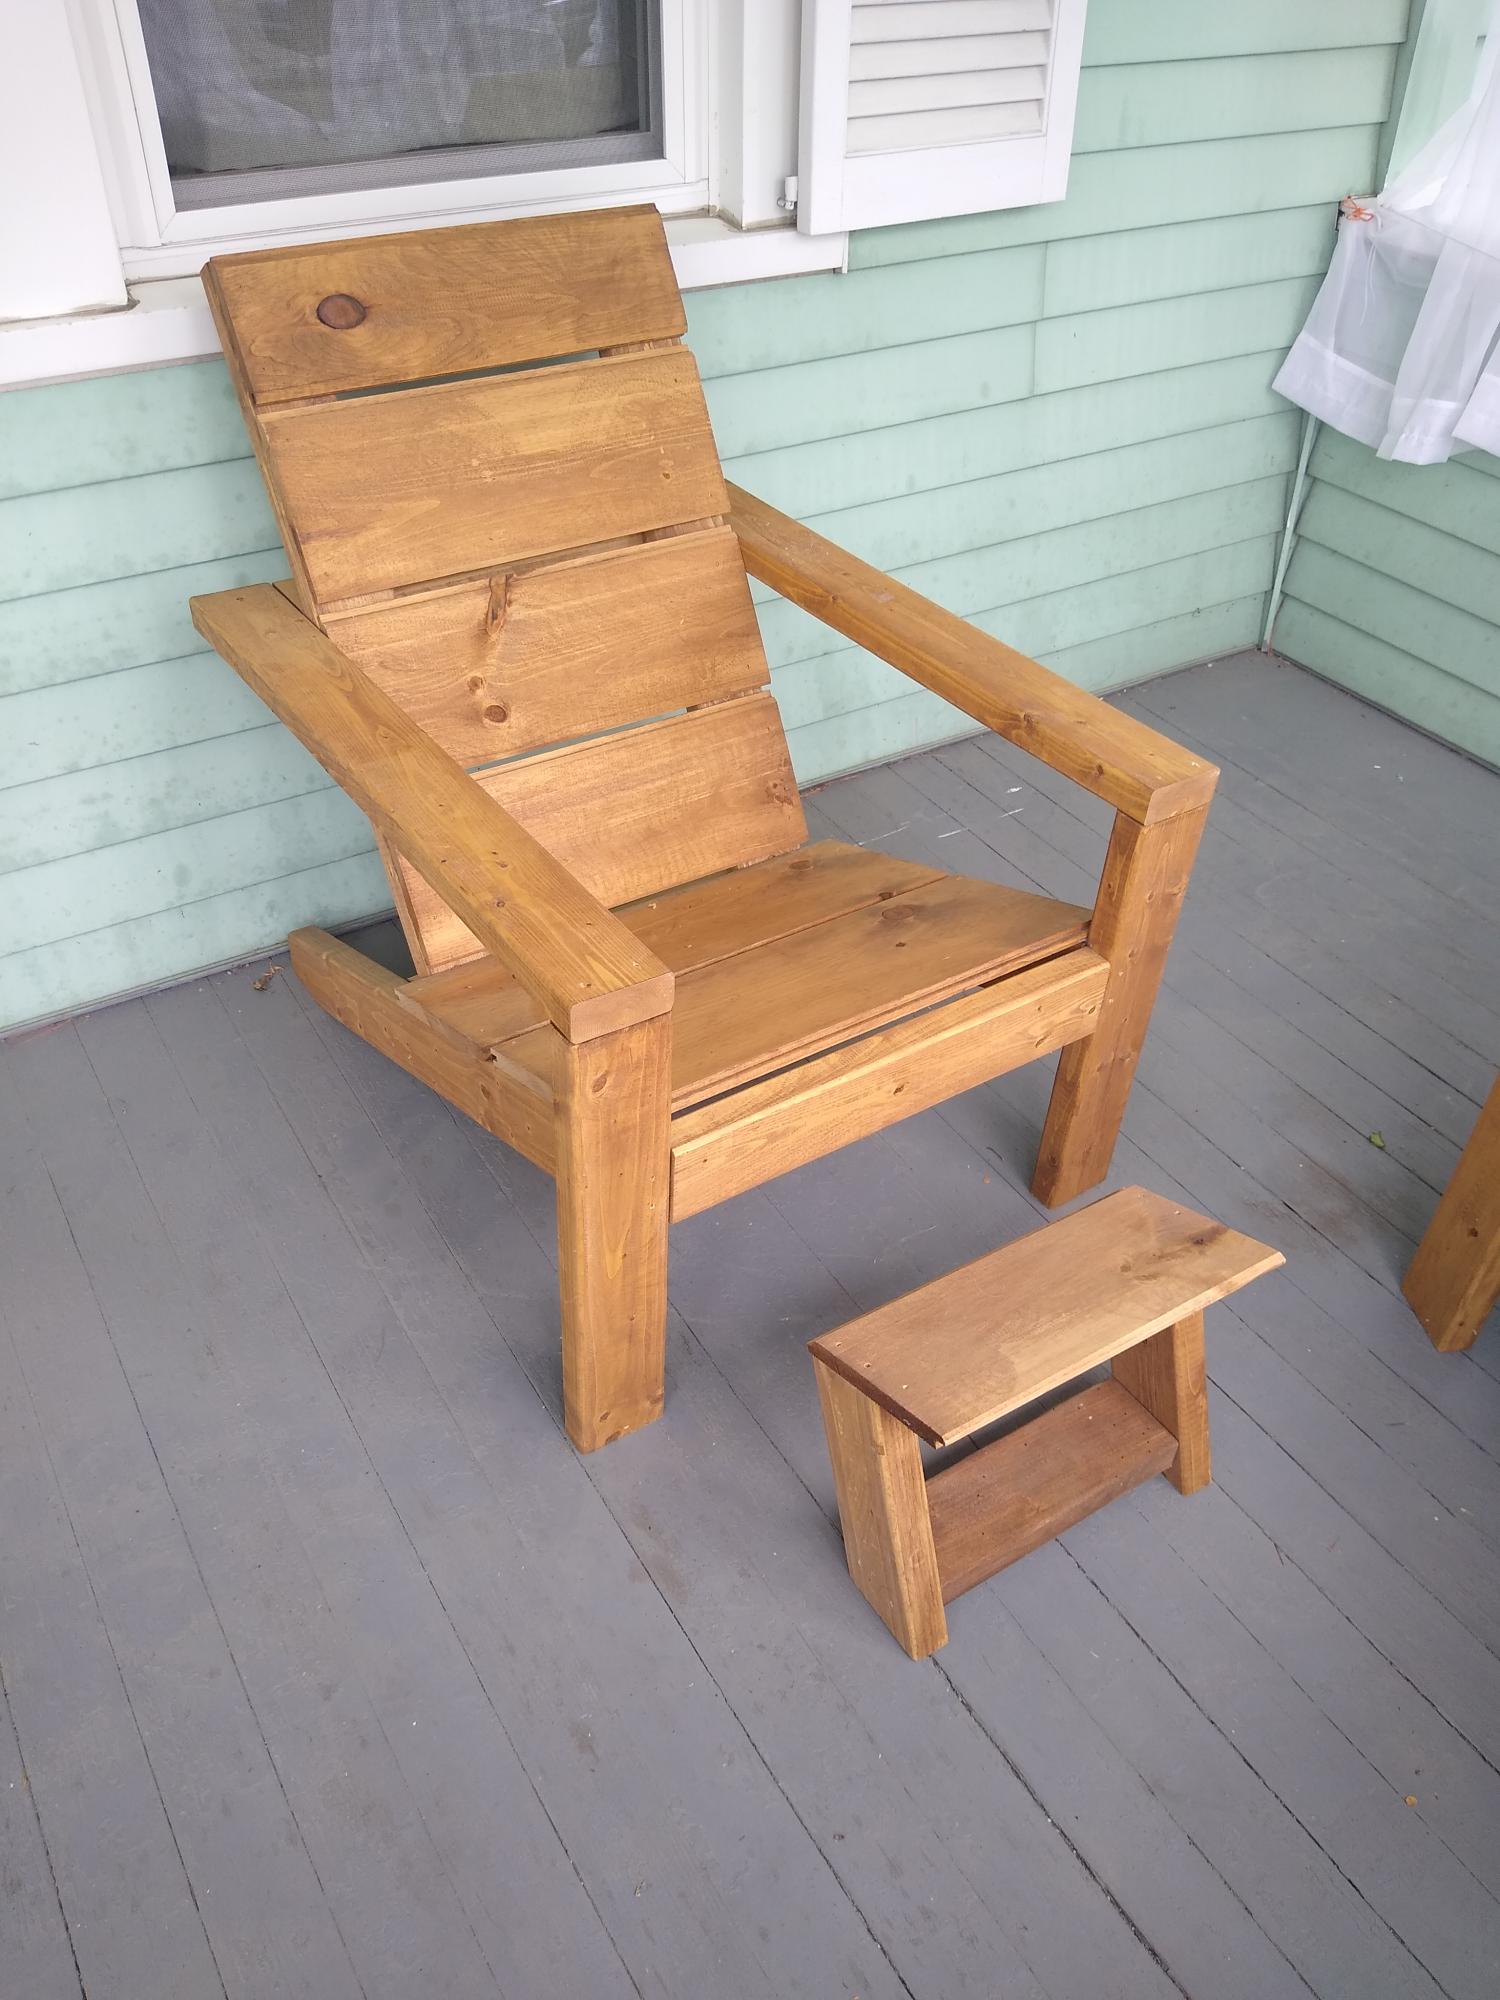
Adirondack chair with small foot rest

I LOVE the chairs, not only am I making them for me but I am helping my friends make them as well. The plan is so easy to follow (once you figure out how to cut the stringers). I needed a foot rest so I made this one with the scrap. The angle is from the stringer and I just used the scrap that I had left over from making the chairs, no more cutting needed. Thanks!

Bypass Closet Doors

Submitted by Mama2Three on Fri, 04/05/2013 - 08:49

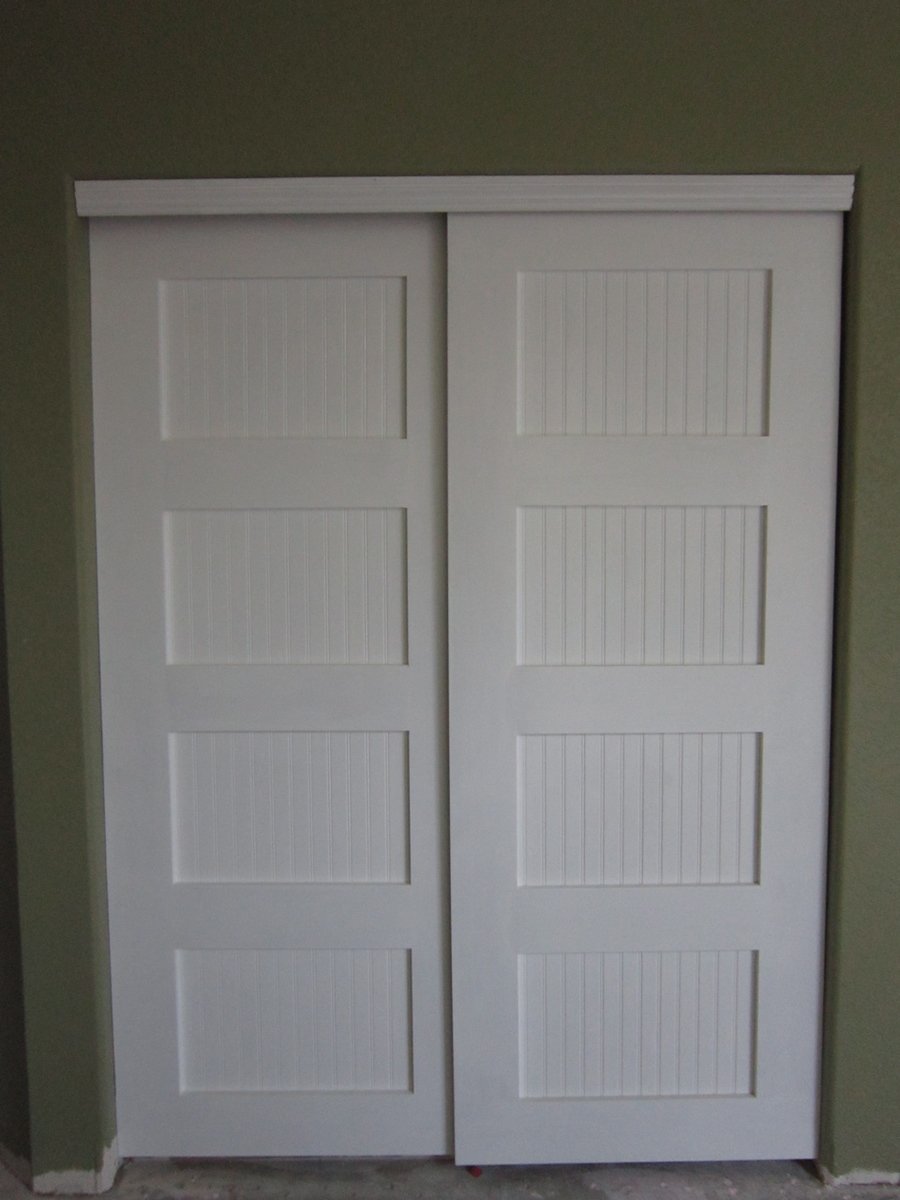
After discovering a leak, we are in the process of a master bathroom/bedroom remodel. In the bedroom, we had replaced all of the windows, painted and installed crown moulding with rope lighting in the bedroom. Then we looked at our closet doors leading to our walk-in closet, and realized they really needed to go to. They were heavy, mirrored with brass trim and regularly would jump off their track. Unfortunately the leak had caused more damage than we originally thought, and our remodel had expanded to replacing two exterior walls as well so we were over budget. Just to get an idea of how much it would cost to buy new doors, I got online and thankfully I found these plans. Although I used to watch my Grandfather build things in his wood shop, I had never actually built something all by myself. My contractor let me use his Kreg Jig and miter saw. After purchasing the wood, I quickly put together the door frames. Since we were on a strict budget for these doors, I decided to use bead board instead of glass. I bought a 4 x 8 sheet of beadboard and had the store rip it in half. I then attached it to the back of the doors with small wood screws and glue. I painted the doors with white gloss trim paint to match the other doors in the room. Since my closet is a walk-in closet, I did paint both sides. My closet entrance had no trim, so used a piece of moulding and attached it to the bypass door track. We are not finished with the flooring or baseboards yet, but once complete we will be installing guides along the bottom.

Estimated Cost
100
Estimated Time Investment
Day Project (6-9 Hours)
Finish Used
White high-gloss enamel paint
Recommended Skill Level
Beginner

Comments

Cedar Fence Picket Planter

Submitted by MMTruncale on Sun, 04/07/2013 - 18:31

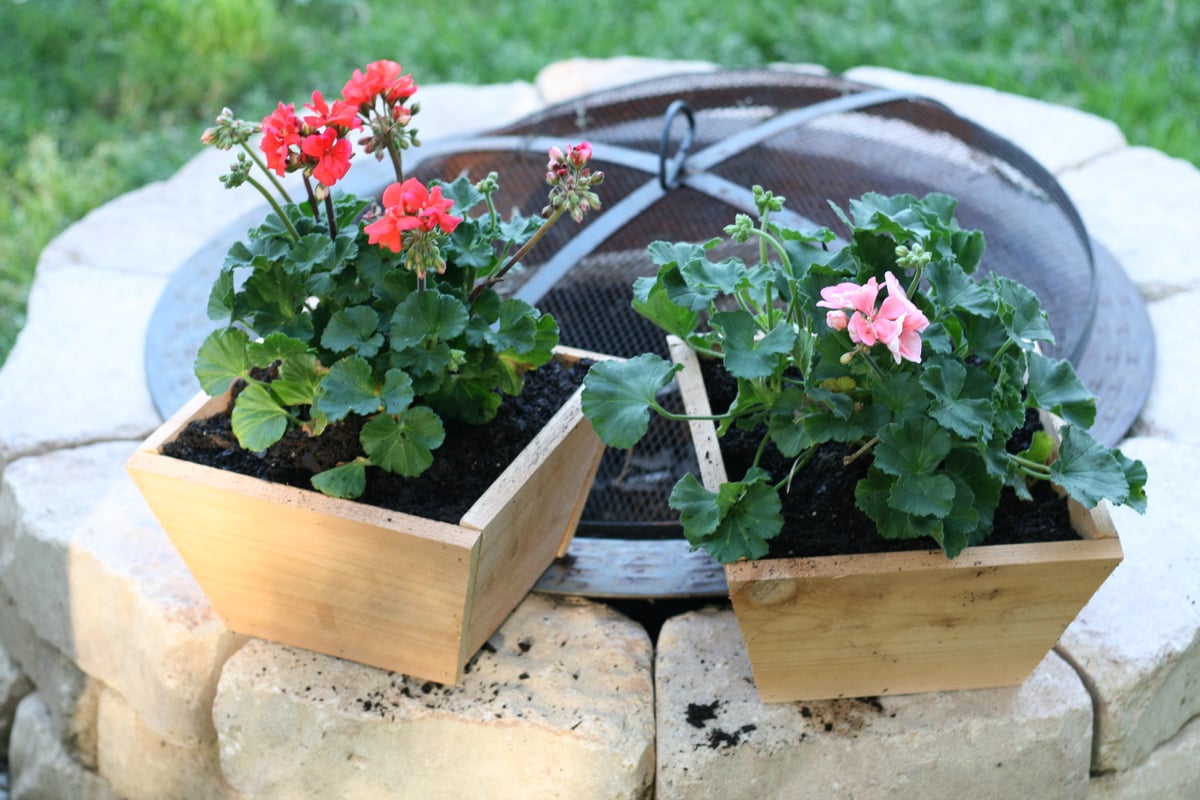
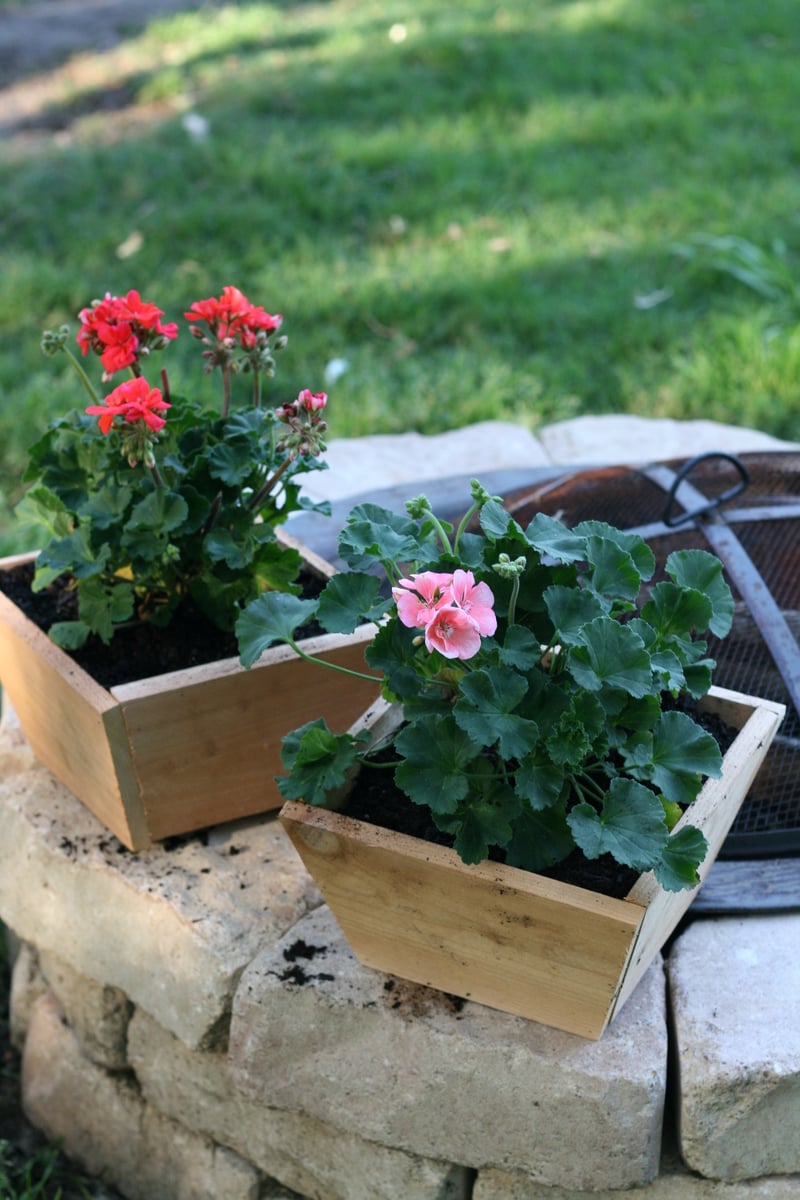
I'm still getting to know my Compound Miter Saw, so I wanted to get another small project under my belt. Not to mention I had a whole other picket and a half left over from yesterday's project. This just seem to be the perfect project to do. And needed since we actually needed a few more planters.

Estimated Cost
$1
Estimated Time Investment
An Hour or Two (0-2 Hours)
Finish Used
Left it natural.
Recommended Skill Level
Starter Project

"Old Wood" Adirondack Chairs

Submitted by Anonymous (not verified) on Mon, 06/14/2021 - 06:16

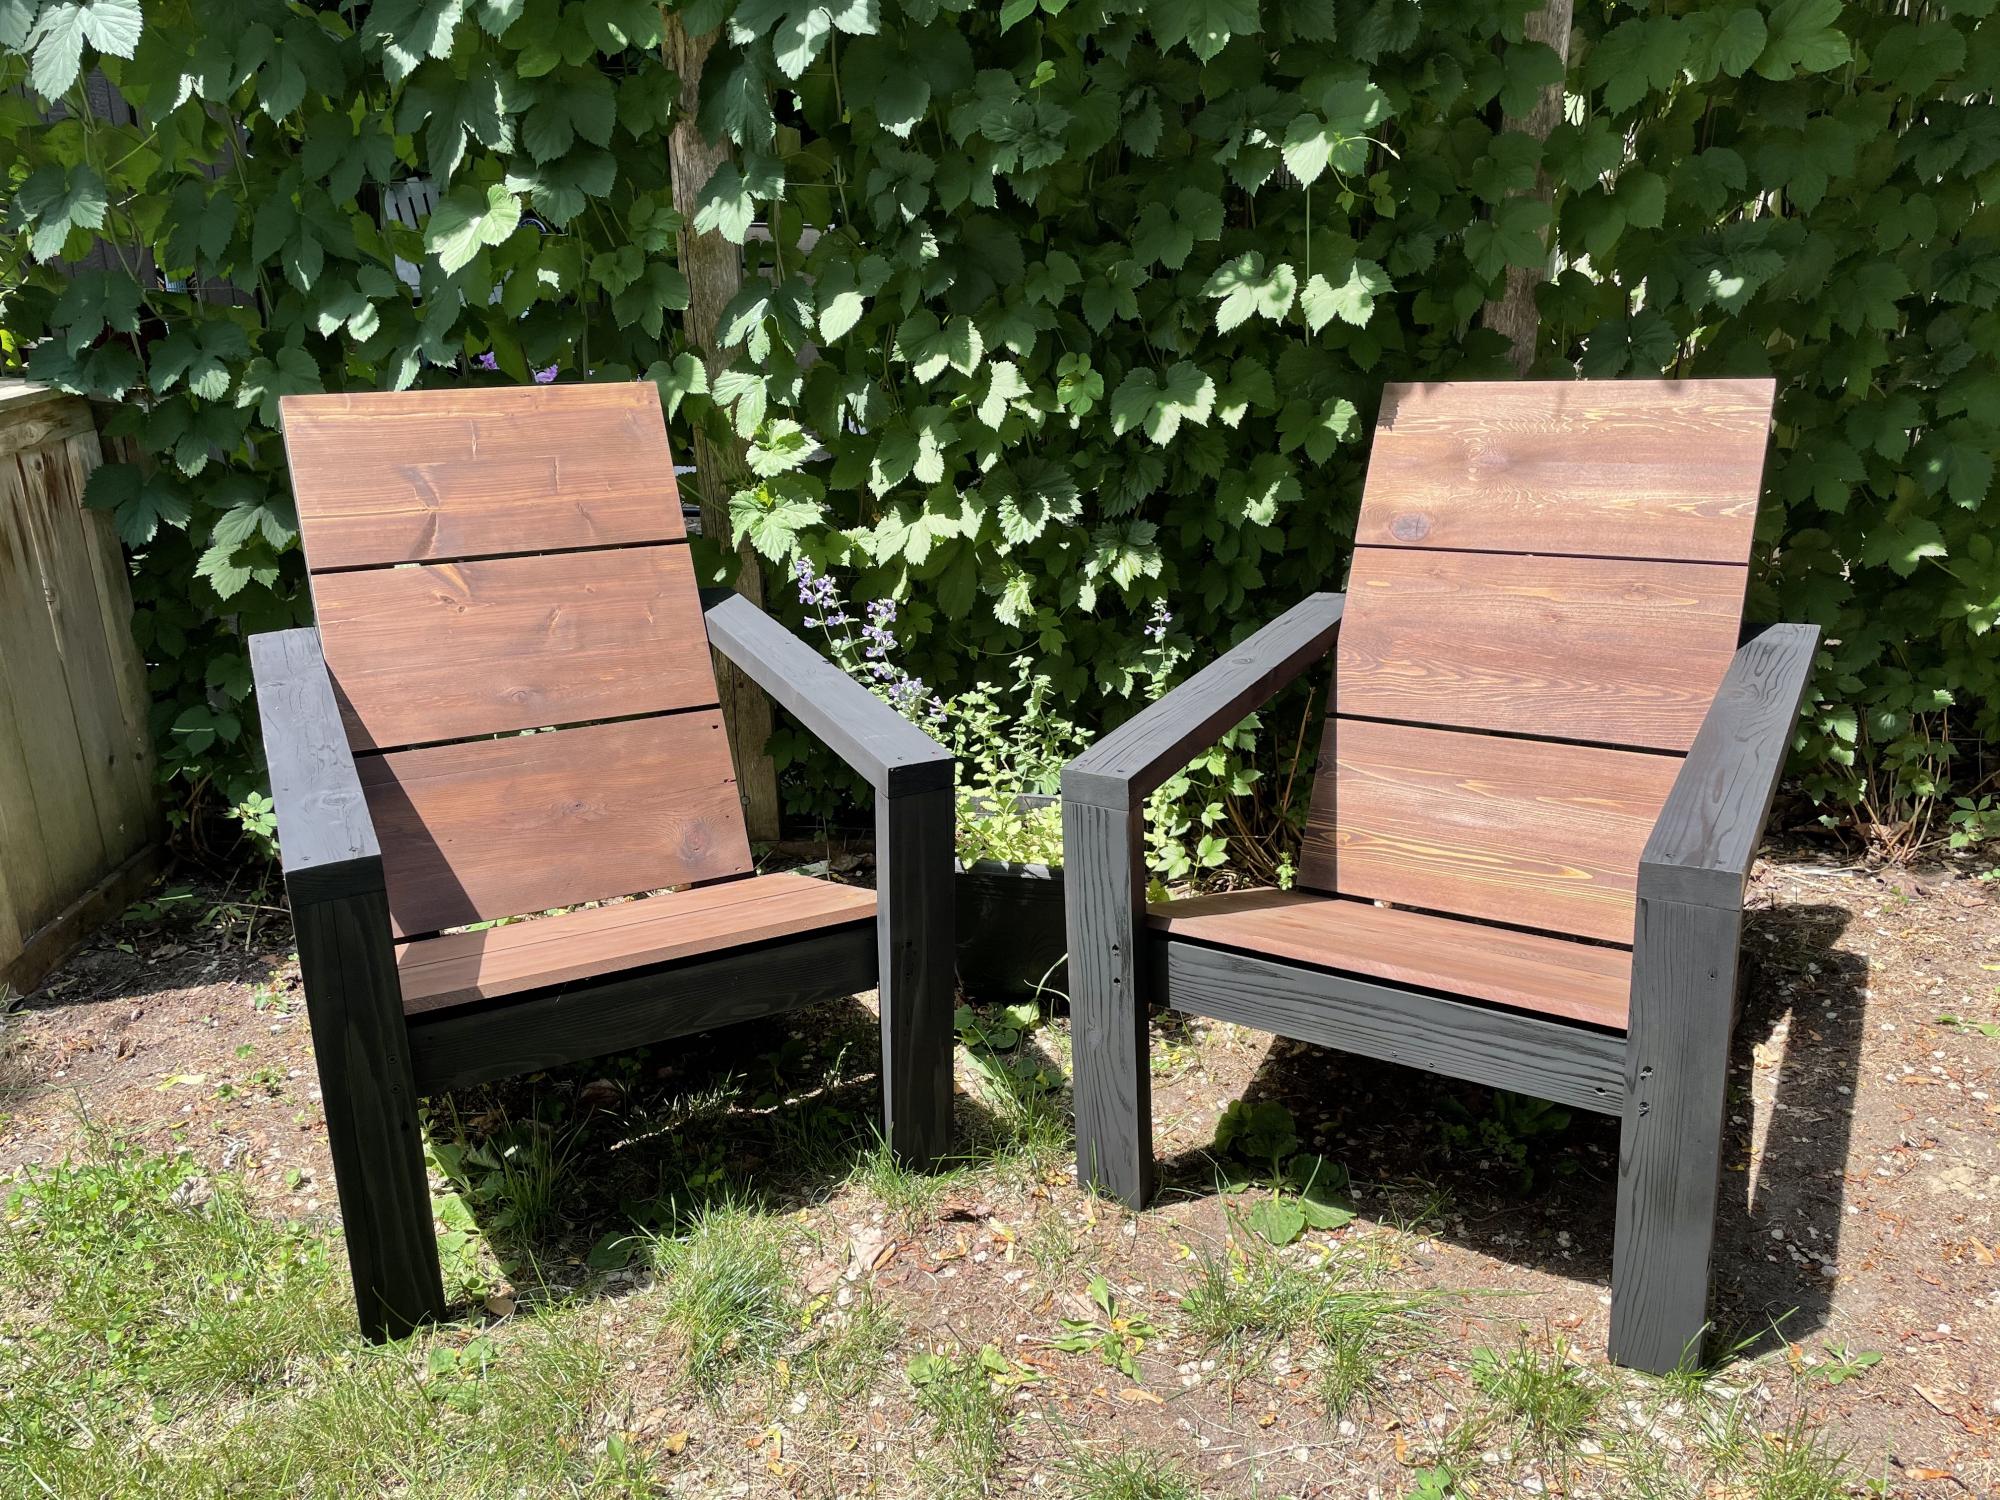
Given the crazy price of wood (2021), I'm glad I saved some old deck boards and fence panels we replaced last year, so I could build these! Love the design.

Comments

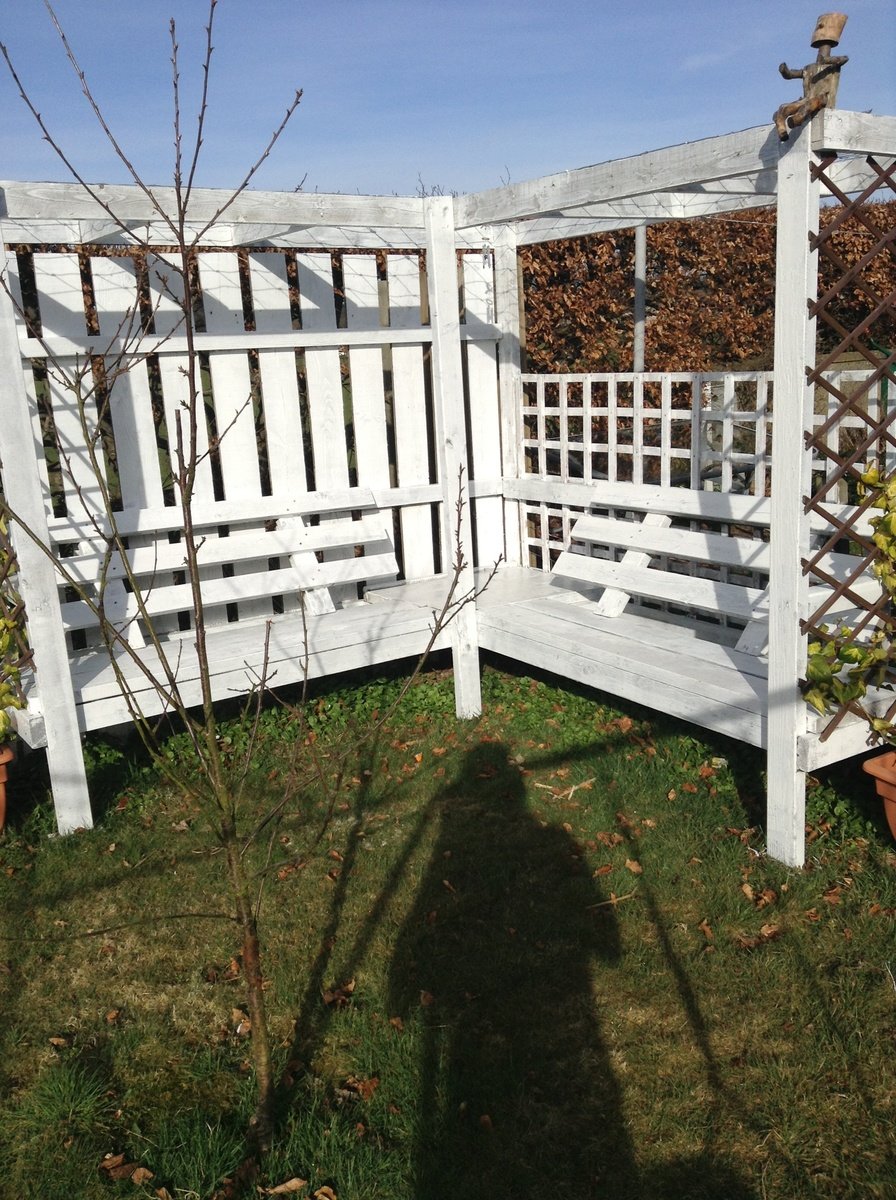
Corner pergola

Submitted by Sebastien on Sat, 04/20/2013 - 01:19

We always wanted one for the garden but they are extortion to buy from a shop or garden centre! Decided to make one myself. Headed back to the garden centre with my tape measured ( cheeky) took pictures and used my imagination for the build.
A few tricky part keeping everything square in the process as my garden is very uneven.

Estimated Time Investment
Weekend Project (10-20 Hours)
Finish Used
White paint for now
Recommended Skill Level
Intermediate

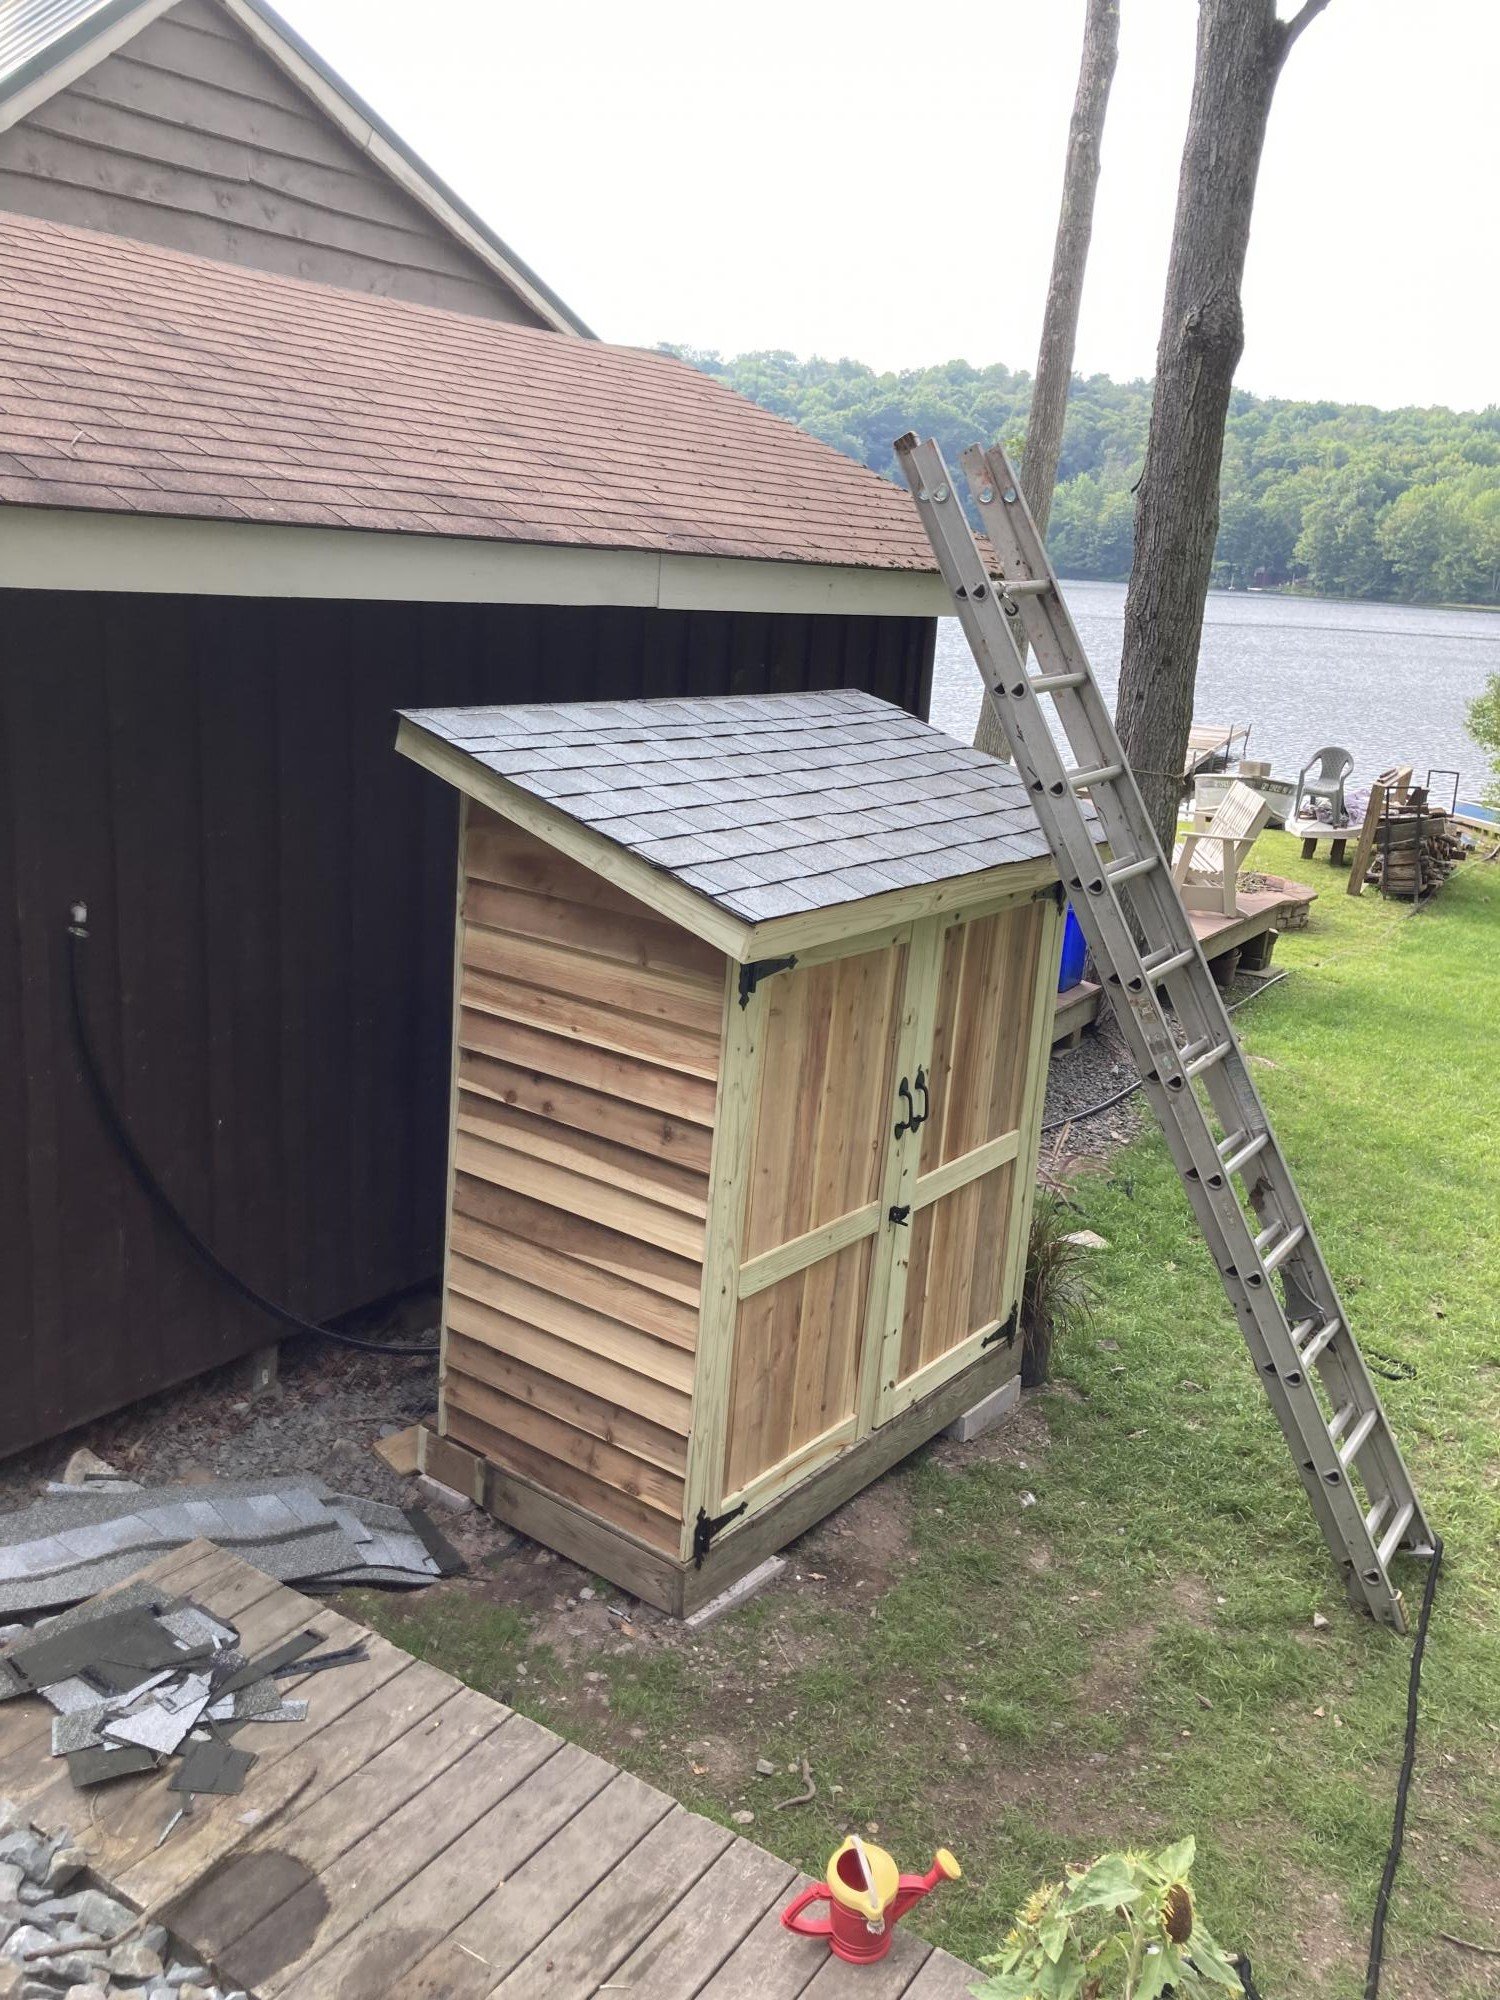
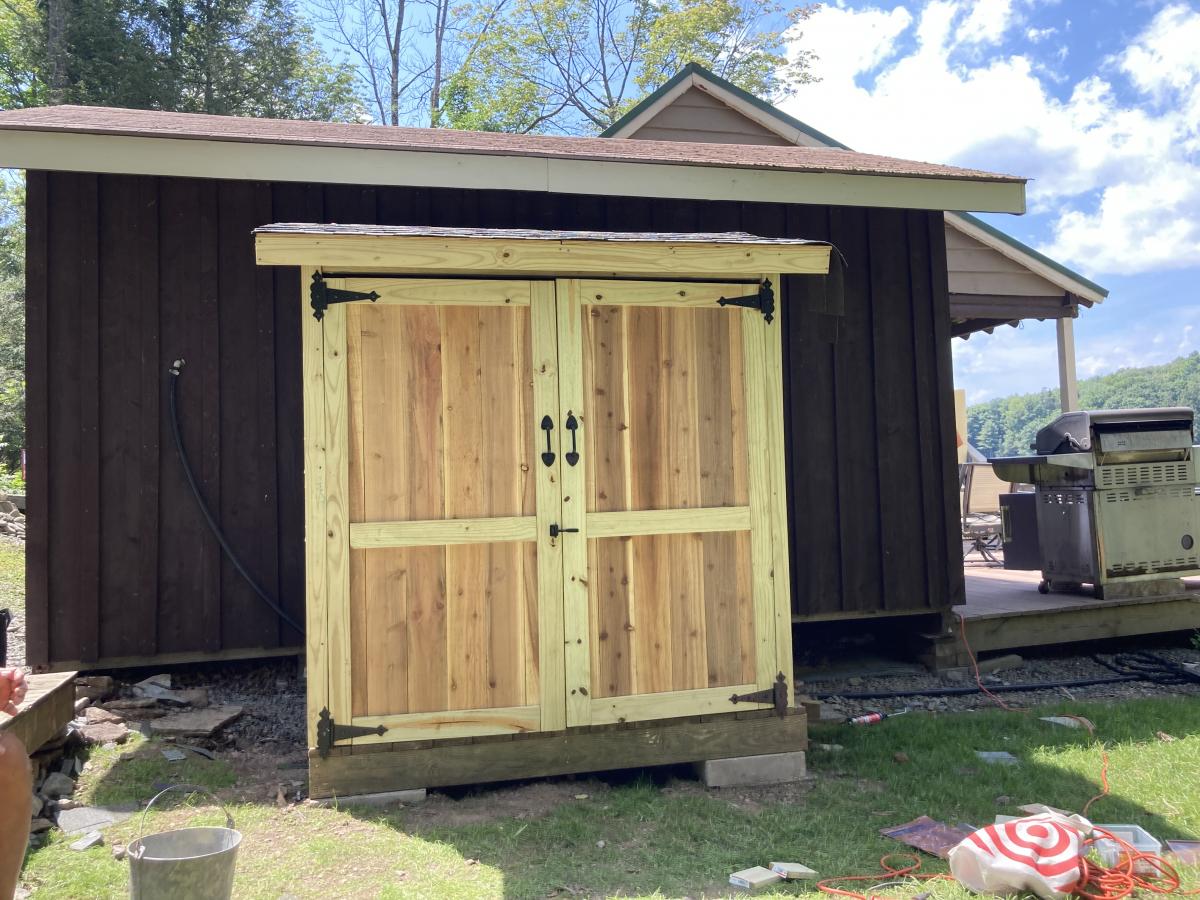
Small cedar shed

Submitted by sarusso82 on Sun, 08/08/2021 - 05:41

First shot at using plans from Ana, and thought it was great! Can’t wait to try another!

Built from Plan(s)
Estimated Cost
500
Estimated Time Investment
Weekend Project (10-20 Hours)
Recommended Skill Level
Beginner

Comments

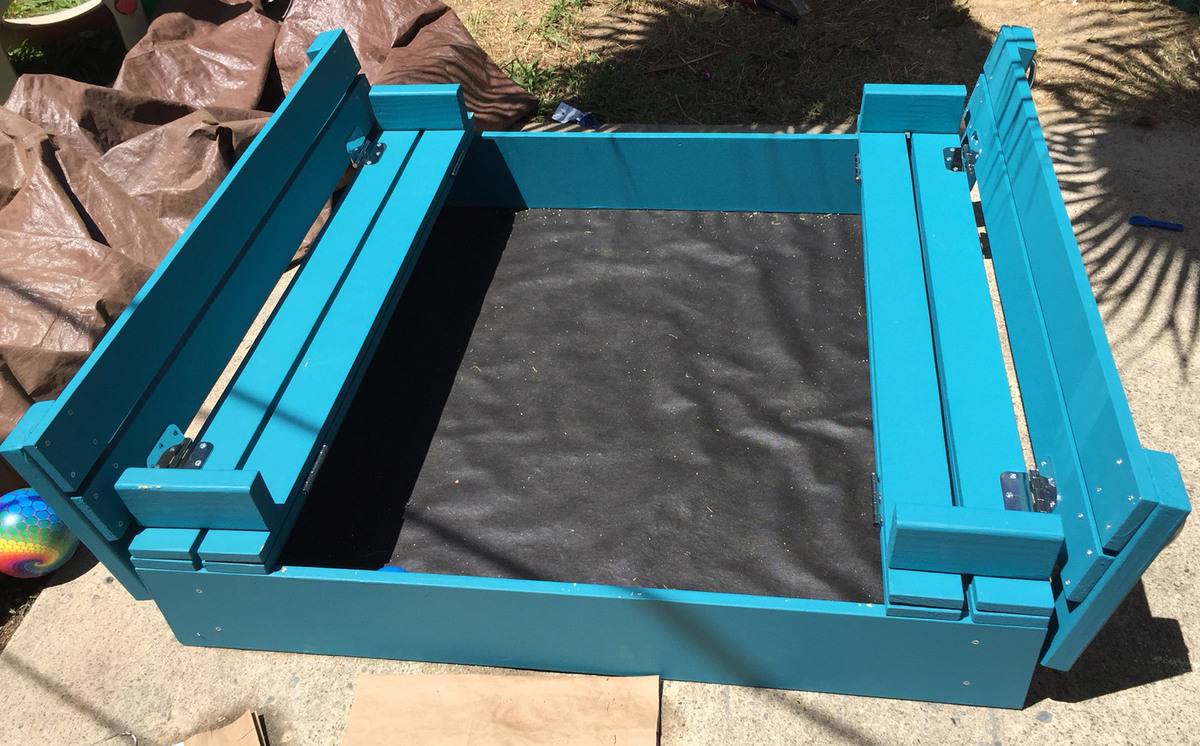
Sandbox w/ Built In Seats

Submitted by Anonymous (not verified) on Wed, 06/14/2017 - 07:30

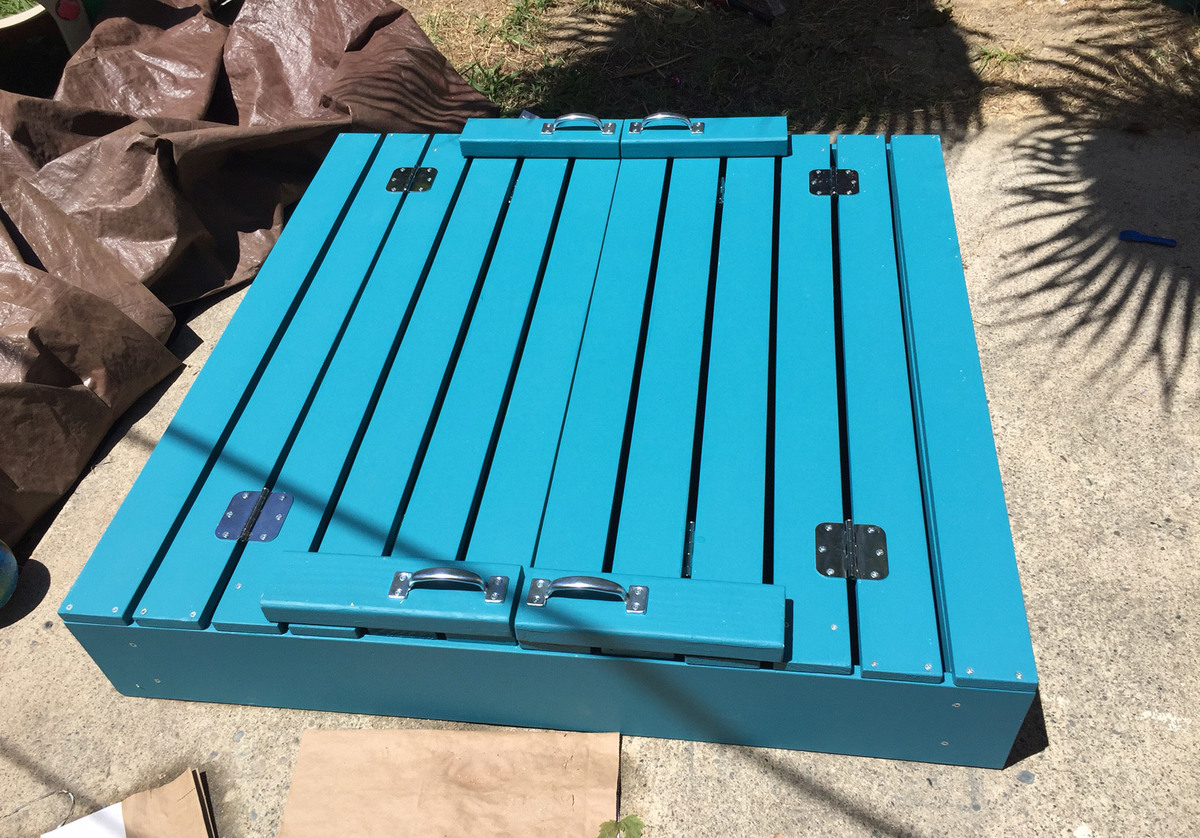
I have built some other stuff before, but not with paint and sanding and such. It was definitely a great learning project. There are imperfections, but it's a toy, so kids will be having fun and that is all that matters.

Built from Plan(s)
Estimated Cost
$100... but, the paint will be used on other projects, and I paid for better boards for on top.
Estimated Time Investment
Weekend Project (10-20 Hours)
Recommended Skill Level
Beginner

Comments

Customized Farmhouse Table

Submitted by hhoward on Mon, 04/29/2013 - 23:06

I found this website while trying to find DIY plans for a bookcase for my sons room. After I saw all the plans, the bookcase project got bumped down the list. My husband was a little skeptical when I said I wanted to build a kitchen table, but he still handed over the keys to his truck and off I went to the hardware store.

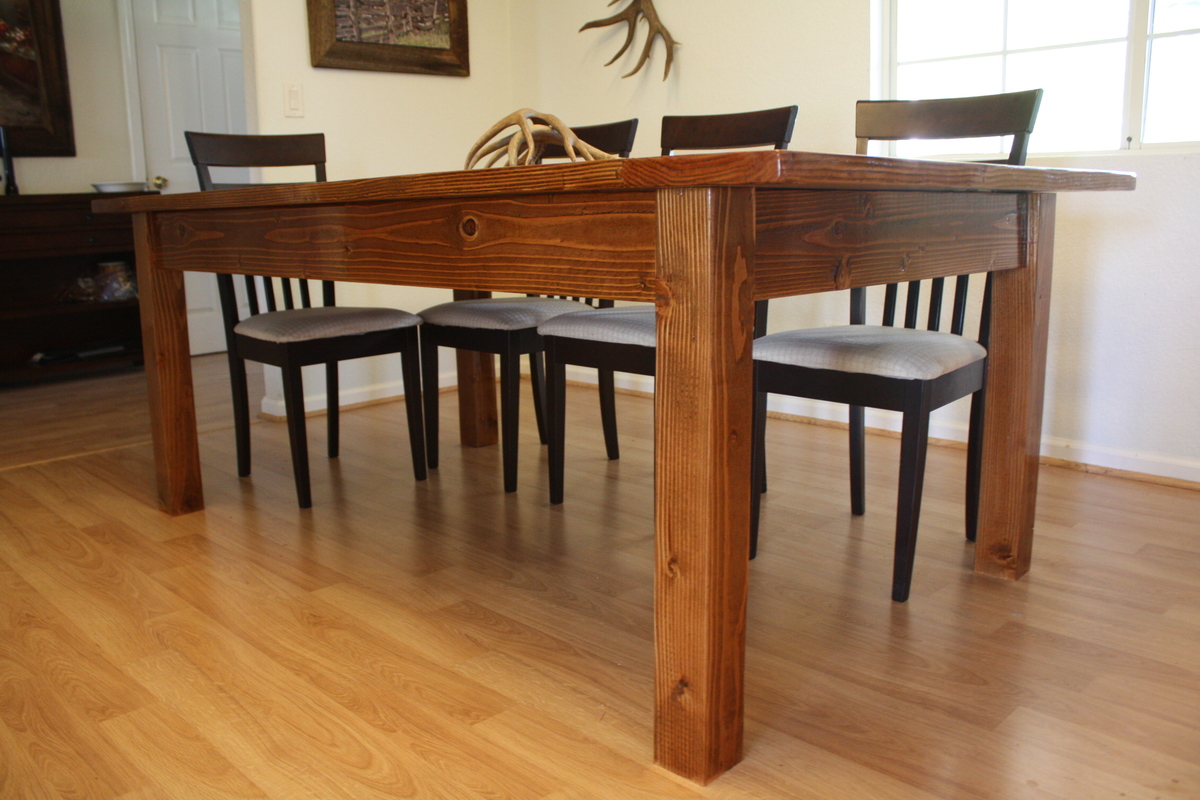
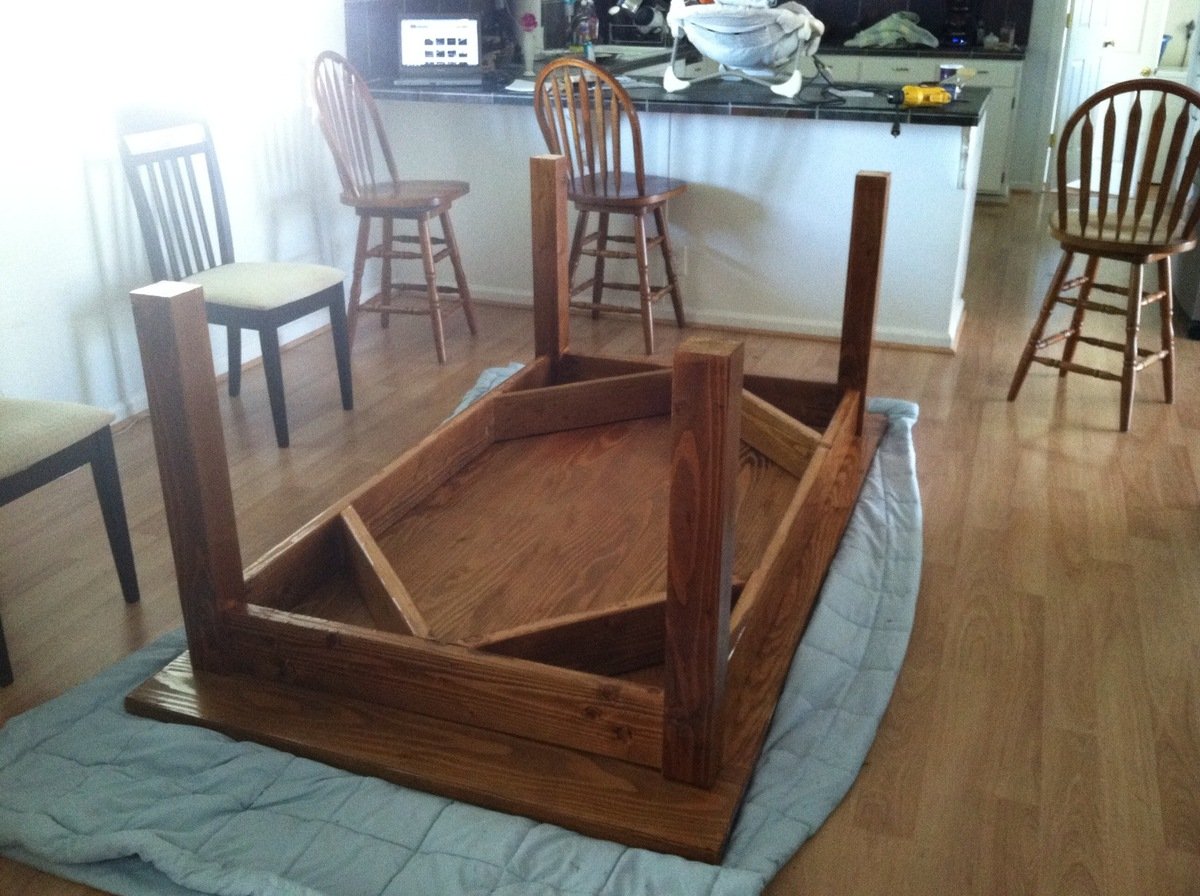
I built this during the night after my 4 month old son went down for the night, so usually around 7:30pm. I tried to be finished with anything loud (sanding) by 9pm. I changed the dimensions to be shorter and wider than the plans and I removed the stretchers since I wanted the option to put chairs on the ends. To keep the table sturdy and square I substituted 2 x 6 for the side boards instead of 2 x 4 and also added corner supports underneath. Because I had 2 x 6 as the side boards I also needed to make the table slightly higher to still give adequate leg room. The table is 31" high instead of the normal 30". The top is 2 x 10 tongue and groove clear Doug Fir left over from a flooring project.

I sanded the entire table starting with 80 grit, 120, 220 and then used 320 in between polyurethane coats. I also sanded down all corners and edges since in no time my son will be learning to walk and I want to avoid serious injuries by running into sharp corners.

.

Estimated Cost
$150
Estimated Time Investment
Weekend Project (10-20 Hours)
Finish Used
First coat was Watco Danish Oil Medium Walnut (brought more red out of the wood than I was anticipating) followed by two coats of Watco Danish Oil Dark Walnut. Applied 3 coats of Minwax Fast Drying Clear Gloss Polyurethane.
Recommended Skill Level
Beginner

Comments

Truss End Table

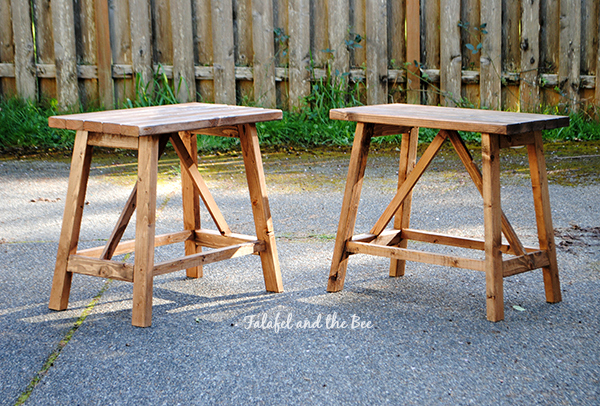
My husband and I built these end tables together. The construction took about 3 hours.

Built from Plan(s)
Estimated Time Investment
Afternoon Project (3-6 Hours)
Finish Used
Minwax Special Walnut 224 stain
and Polycryllic
We only used these because the stain matched the table I built. The off-gassing takes a little too long for me (because I am chemical sensitive). I have used Saman products for other projects and liked them much better.
Recommended Skill Level
Intermediate

Comments

Washer/Dryer Platform Pedestal

Submitted by Dimarc67 on Fri, 04/17/2015 - 10:45


THE MOTIVATION
After a recent washer outage (that I was ultimately able to repair myself), my wife and I talked about eventually replacing our front-loading washer/dryer set.  One of the bullets I hate biting is paying the exhorbitant prices for the matching pedestals for new washer/dryer sets.

Having just bought a good set of cordless powertools, and having watched my father when I was a kid build countless household fixtures, window dressings, furniture pieces, etc., I decided to try my hand and construct a permanent platform for our current washer/dryer set, thereby eliminating the need to ever buy manufacturer pedestals again.

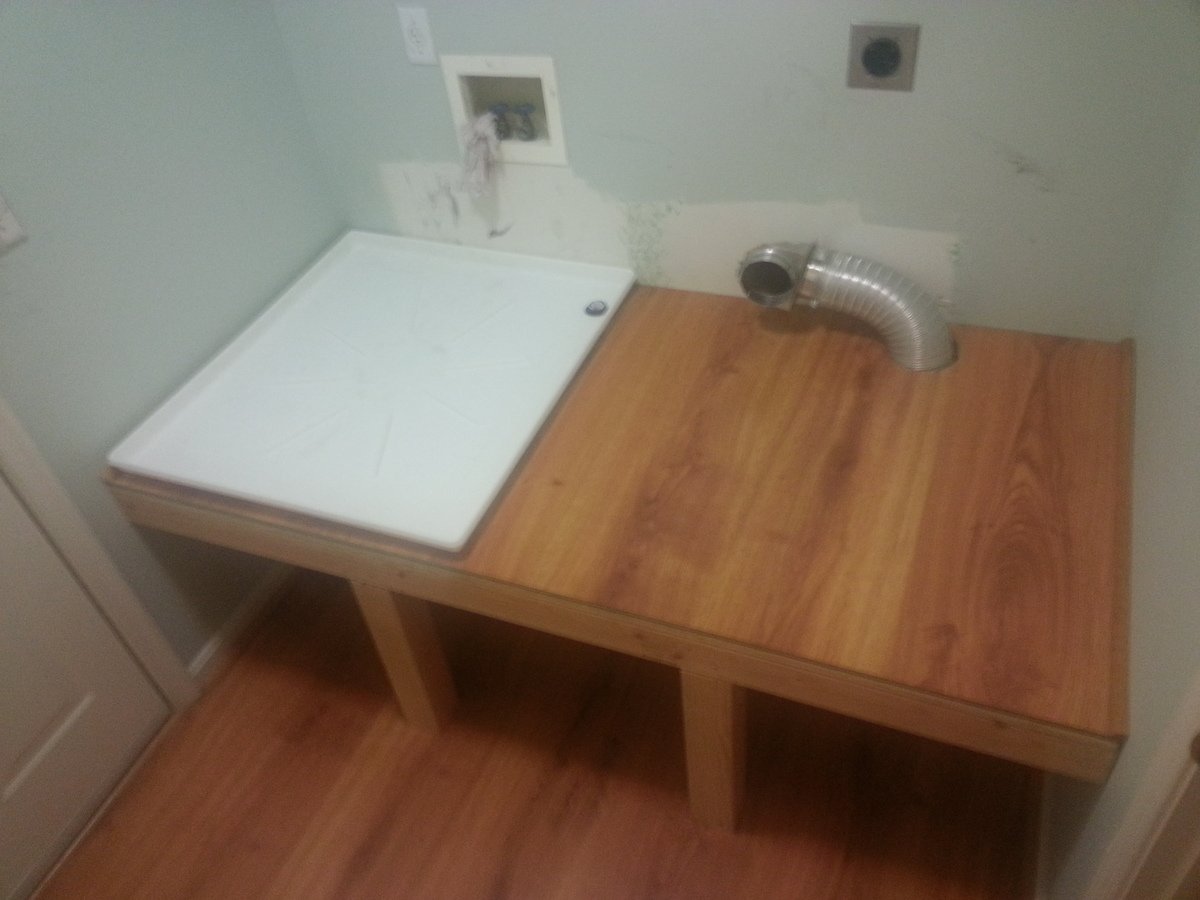
The existing pedestals were a standard 15" high, with a storage drawer, which we felt was still not high enough for comfort.  And, the washer pedestal drawer was entirely inaccessibl due to the 2" walls on the washer drain pan, so its drawer was totally useless, wasted space.

And, lastly, we really wanted more space for clothes baskets full of laundry, which we generally stacked (full and haphazardly) on top of the machines.


THE CHALLENGES
The largest challenges were mainly logistics, and gravity.  The washer/dryer would have to be unavailable for at least 2-3 days while they sat disconnected in the next room waiting for their new home.  So I coordinated with the family so they'd know when they needed to have their laundry done, or tough it out until I was done.

There was no way to know for sure what the drain connection for the washer pan looked like until I got the washer out.  So it was a small gamble that I'd be able to get the parts needed to extend the drain pipe up to the new platform right when I was ready for them.  Fortunately, this was no issue at all.

The biggest challenge turned out to be toward the end when it came time to lift our 230-lb. washer onto the new platform.  I seriously considered disassembling the washer to the point that I could remove its molded concrete counter-weights, but instead (and arguably stupidly) elected to use a large hydraulic car jack to raise the washer.  This ultimately worked, but I have to STRONGLY ADVISE AGAINST trying this.


THE SPACE
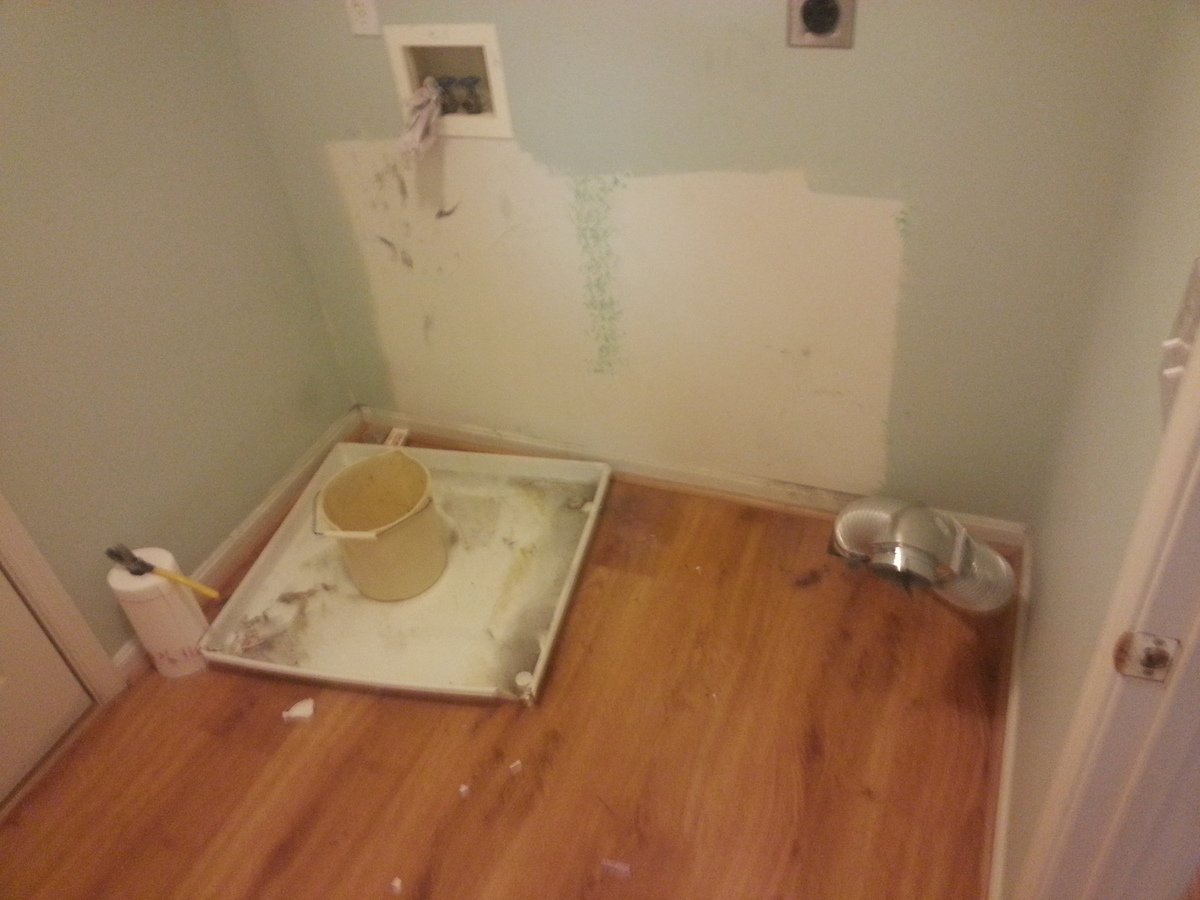
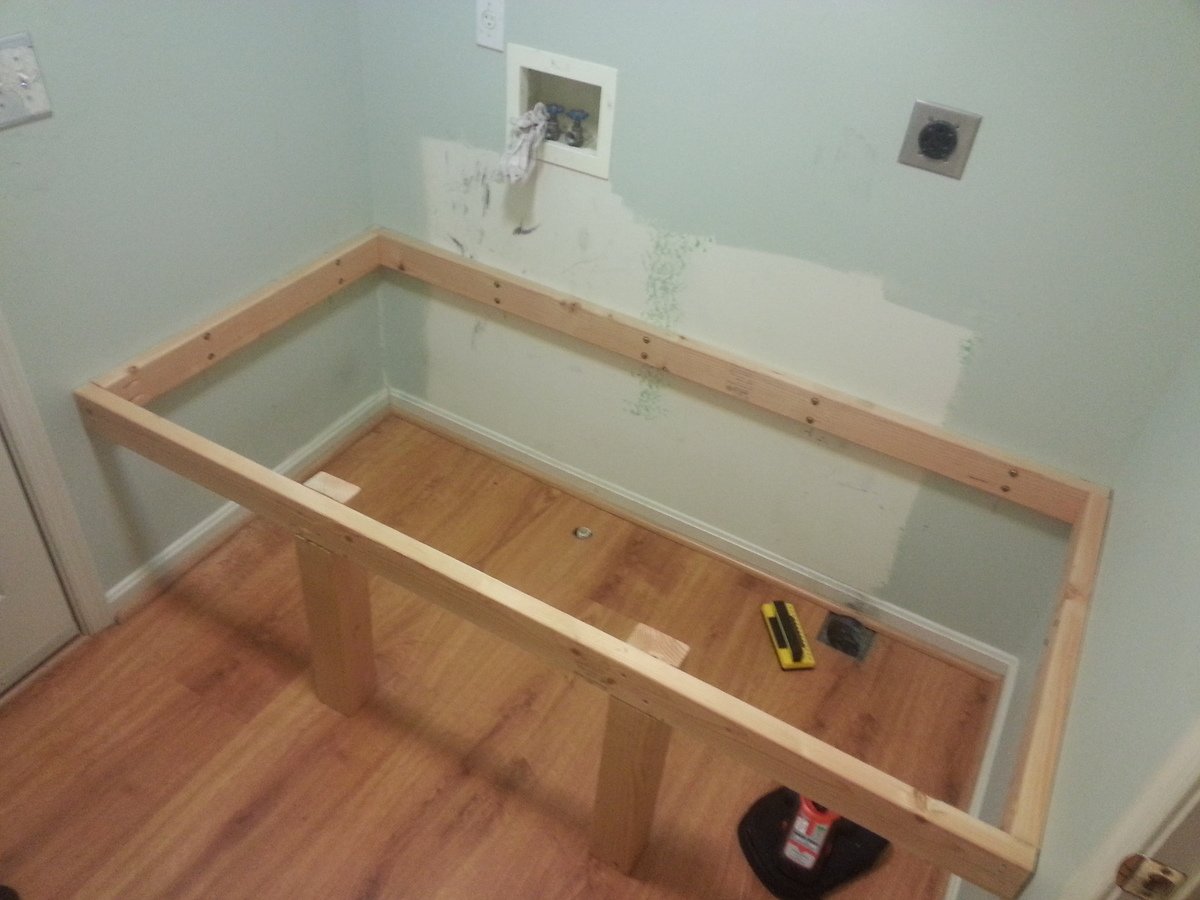
Our laundry room is also the "mud room" between our kitchen and the garage.  It is only large enough for the two machines, and the walk way between the two doors--in total, about 70.5" square.  Building the platform from wall-to-wall made the most sense, and minimized framing by fastening edge framing directly to the wall studs. 


THE PLAN
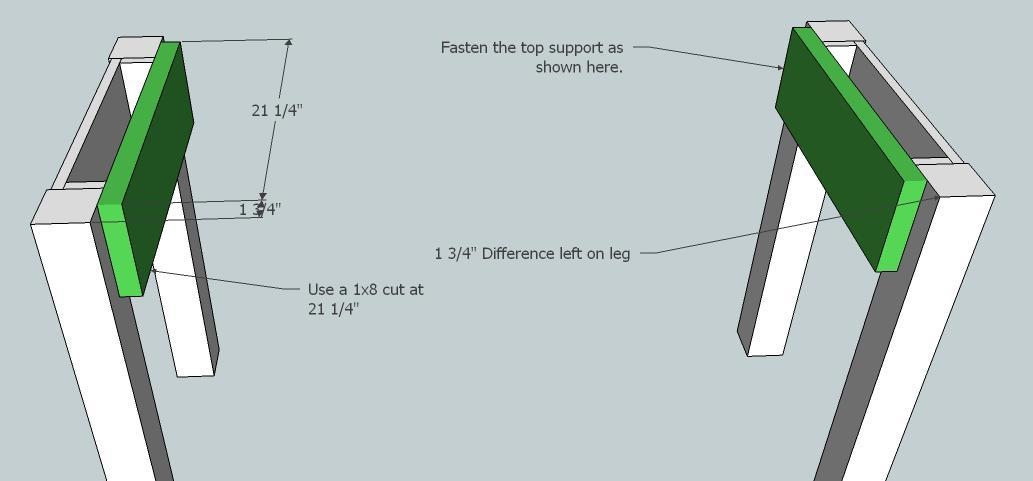
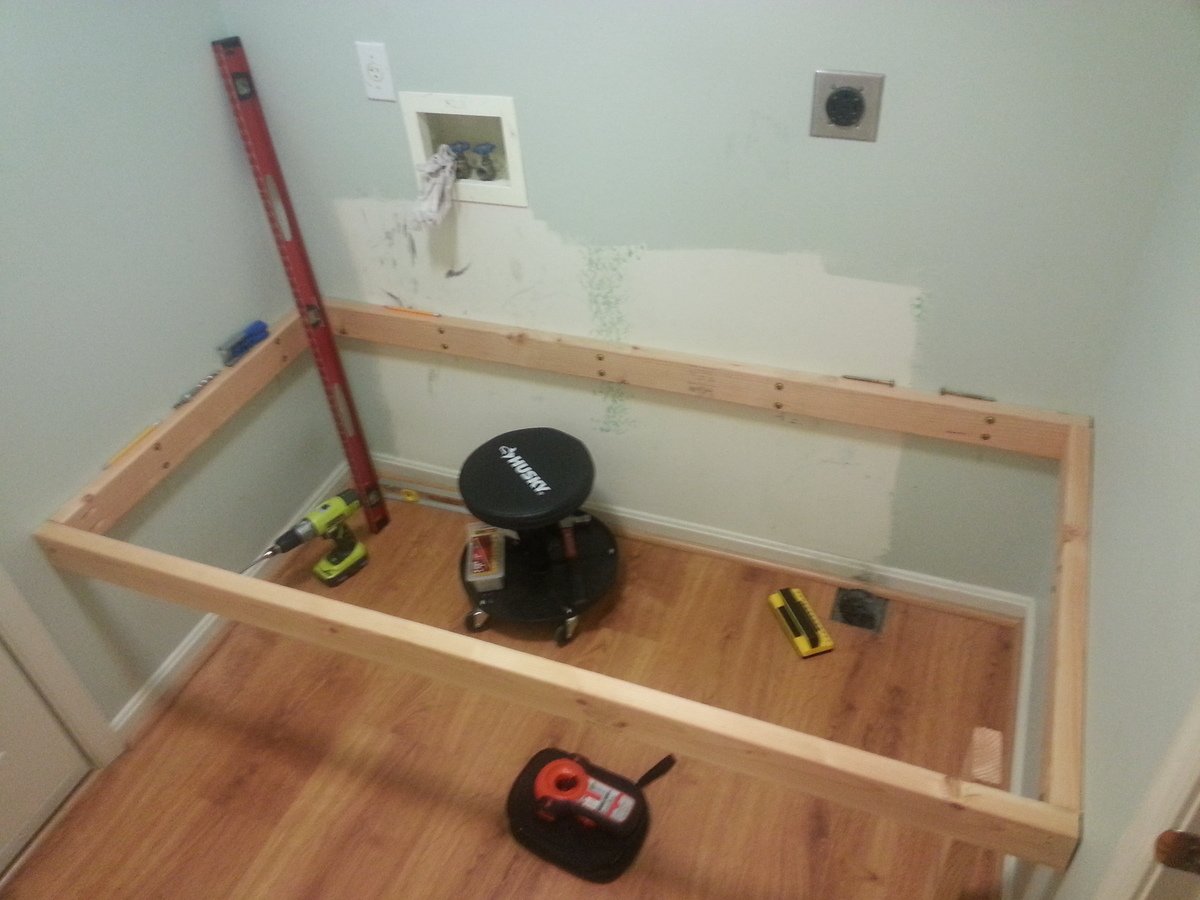
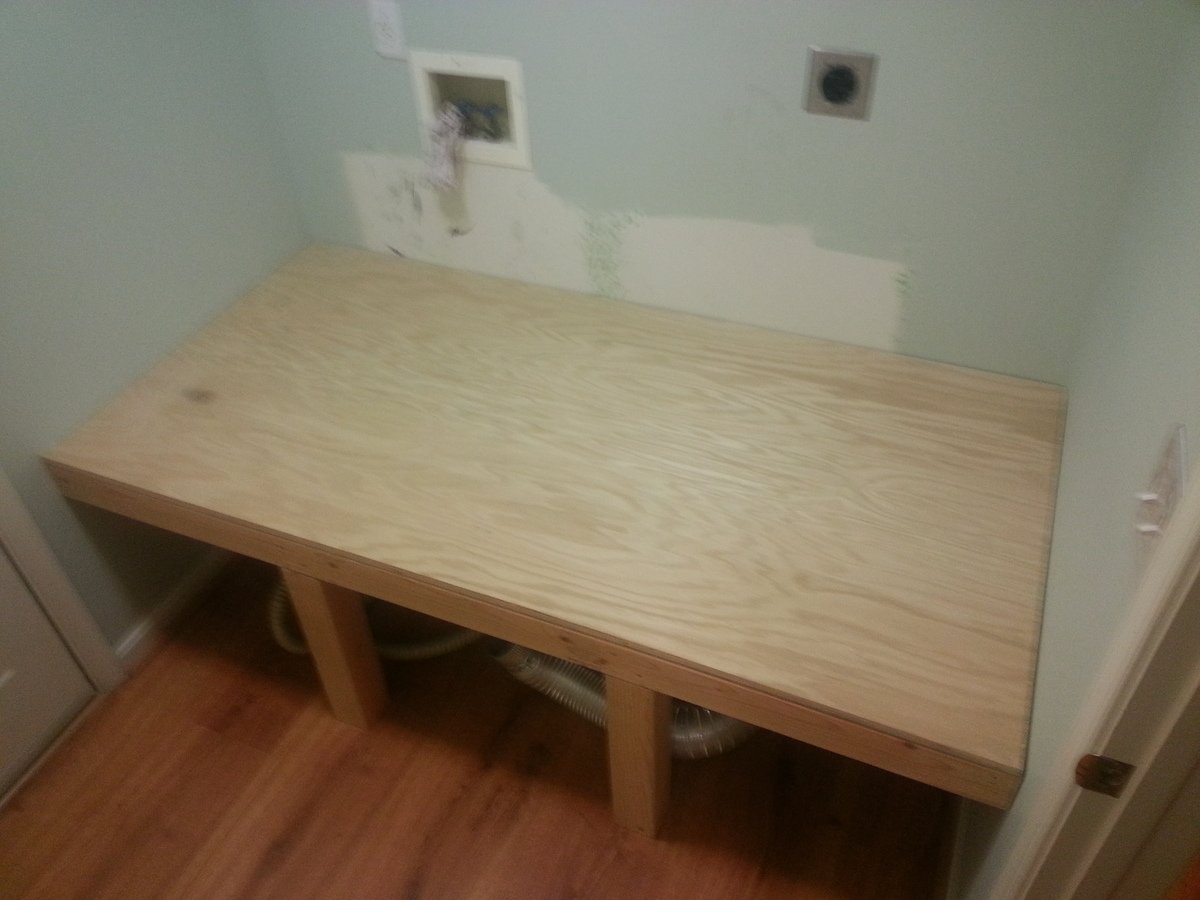
Pretty basic:  2x4's all around for the edge framing--back and sides fastened directly to the wall studs, and front 2x4 supported by two, notched 4x4 legs.  3/4" plywood for the subsurface, and 1/4" laminate faux-wood flooring on top (left over from reflooring, so it matches the floor below).  Bore holes for the washer pan drain and the dryer vent.  1" quarter-round molding on the sides, and 5.5" face piece flush with the top of the molding across the front (spare lauan I had looks perfect).  I also made a point of putting the machines on the platform before the face piece since it might have been in the way or damaged.

Anyone will tell you that it's best to at least sketch out what you want to do so you can minimize surprises, forgotten parts, etc.  I, of course, did virtually none of that, and made several course changes and corrections along the way.  For this project, I was lucky that I didn't need to backtrack at any point, and probably won't learn this lesson any time soon anyway.  However, you SHOULD.


TAKE-AWAYS
The main mistake I made was while gathering the platform dimensions for cutting the plywood.  It was only blind luck that kept me from having to do it more than once (and having to buy more than one 4x8 sheet).  I know that it's actually very unlikely that two adjacent walls are perfectly square, so I made a point to measure the width between the walls at the back and at the front--and, sure enough, found a 1/8" difference--wider at the front.  But when I measured and marked the plywood for cutting, I measured both distances from the precut edge, and then cut.  By doing this, I inadvertently assumed that one of the back corners was perfectly square. 

What I should have done was used a carpenter's square in each back corner to extend a square line from the back edge to the front, and then measured from the square lines to their respective side wall.  This would have accounted for neither back corner being square.

Fortunately, my mistake wasn't big enough to keep the plywood from fitting, but it was very, VERY close.


GIDDY
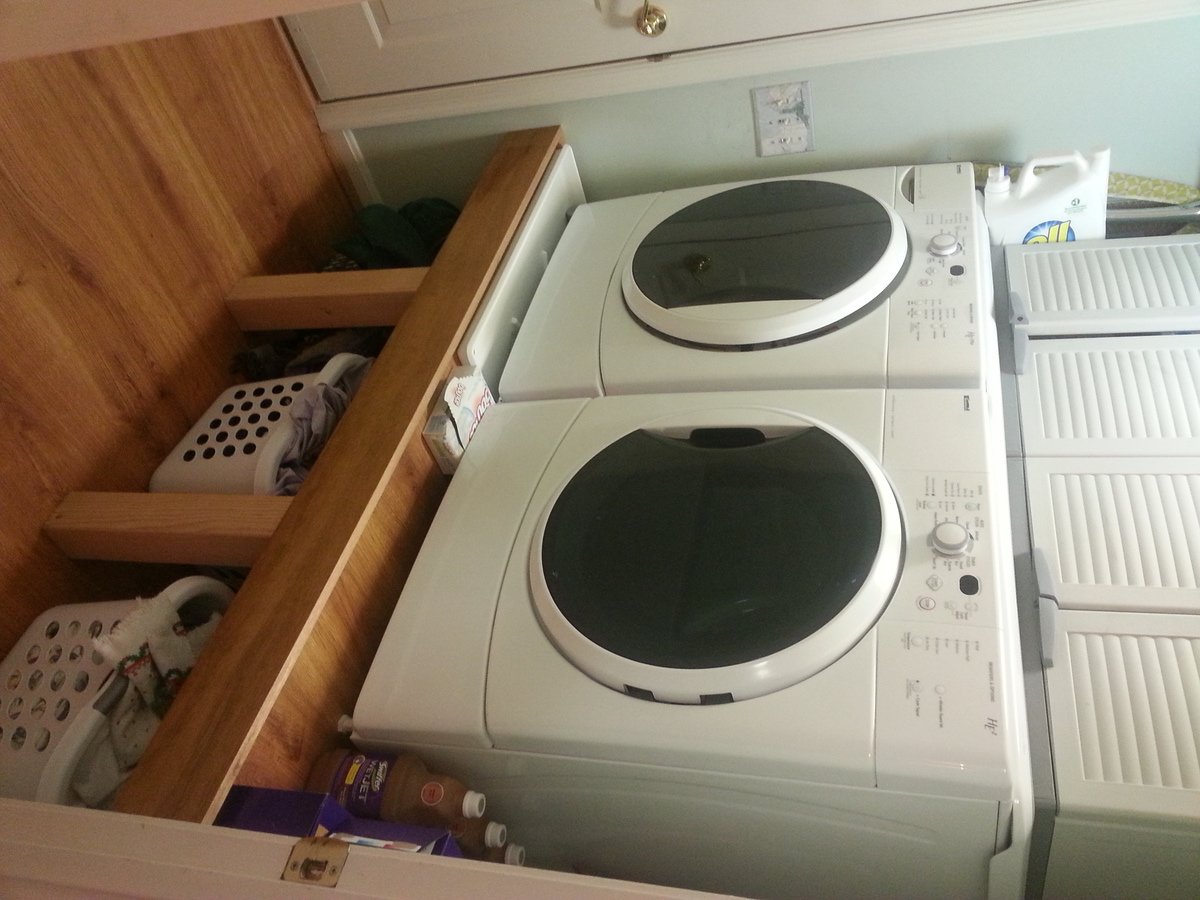
I honestly couldn't be happier with the finished project (or more smug).  We've raised the washer/dryer 9" higher than they were (24" off the floor), and we now have basket storage underneath all the way across.  I placed two 24" plastic cabinets on top, which still leaves room for the detergent right over the soap inlet on the washer.

And, most importantly, I got to use every powertool I own.  Kinda beats "the quick brown fox jumped over the lazy dog" thing, huh?
 

Estimated Cost
Most of my project made use of spare lumber and materials I've had on hand forever. The 4x8 sheet of plywood was about $30 at Home Depot.
Estimated Time Investment
Weekend Project (10-20 Hours)
Finish Used
Natural. No finishing, staining, or painting. Lauan has a natural stained oak coloring, so it was perfect for the facing. (A soft wood, Lauan--"lao-AHN", also sometimes called "Philippine Mahogany" simply for the darker color--used to be as readily available as pine, but I haven't seen it in stores for many years.)
Recommended Skill Level
Intermediate

Comments

Outdoor storage box

Submitted by mdsandell on Mon, 09/18/2017 - 10:46

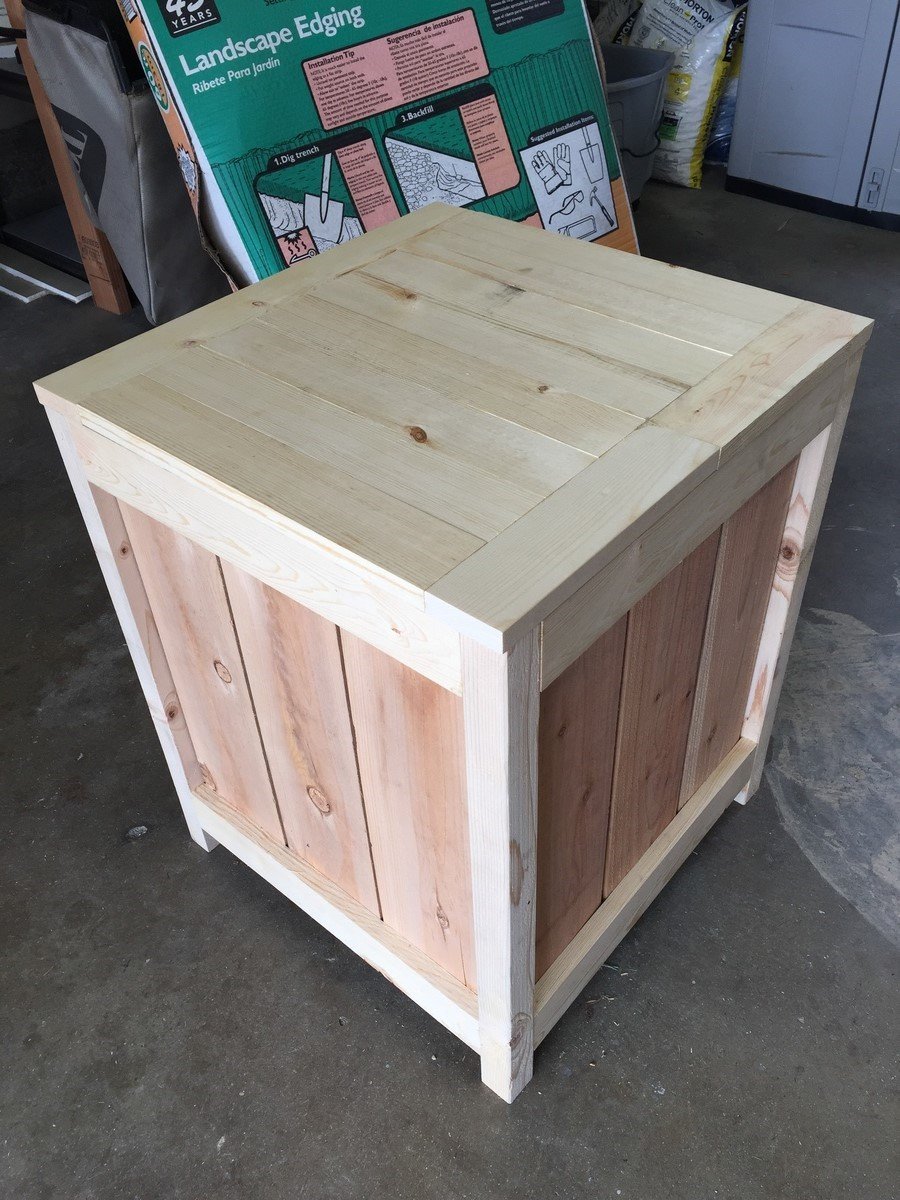
I modified the plans slightly to go taller so it could fit a standard propane tank. I also added a hinged lid based on an image I found on Pinterest that did something very similar. I still need to sand and stain it next weekend.

Like others, I had a little trouble keeping the fence planks from splitting when screwing them to the 2x2 legs, since there was about an 1/8” gap between. I tried to find some scrap to fill in the gap and didn’t overtighten the screws. The lid was made entirely of 1x3”.

Built from Plan(s)
Estimated Cost
$35
Estimated Time Investment
Weekend Project (10-20 Hours)
Recommended Skill Level
Intermediate

PB & Ana Inspired Hampton Bed

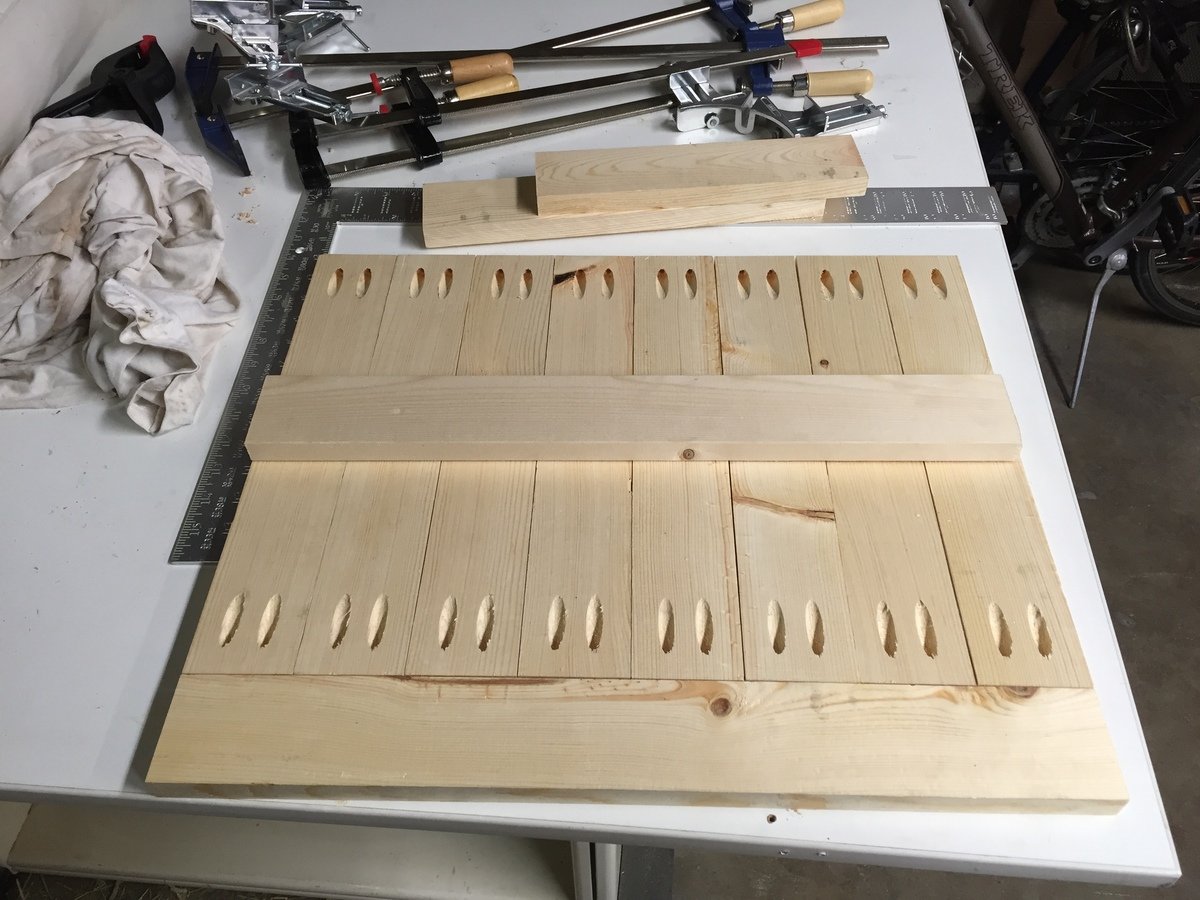
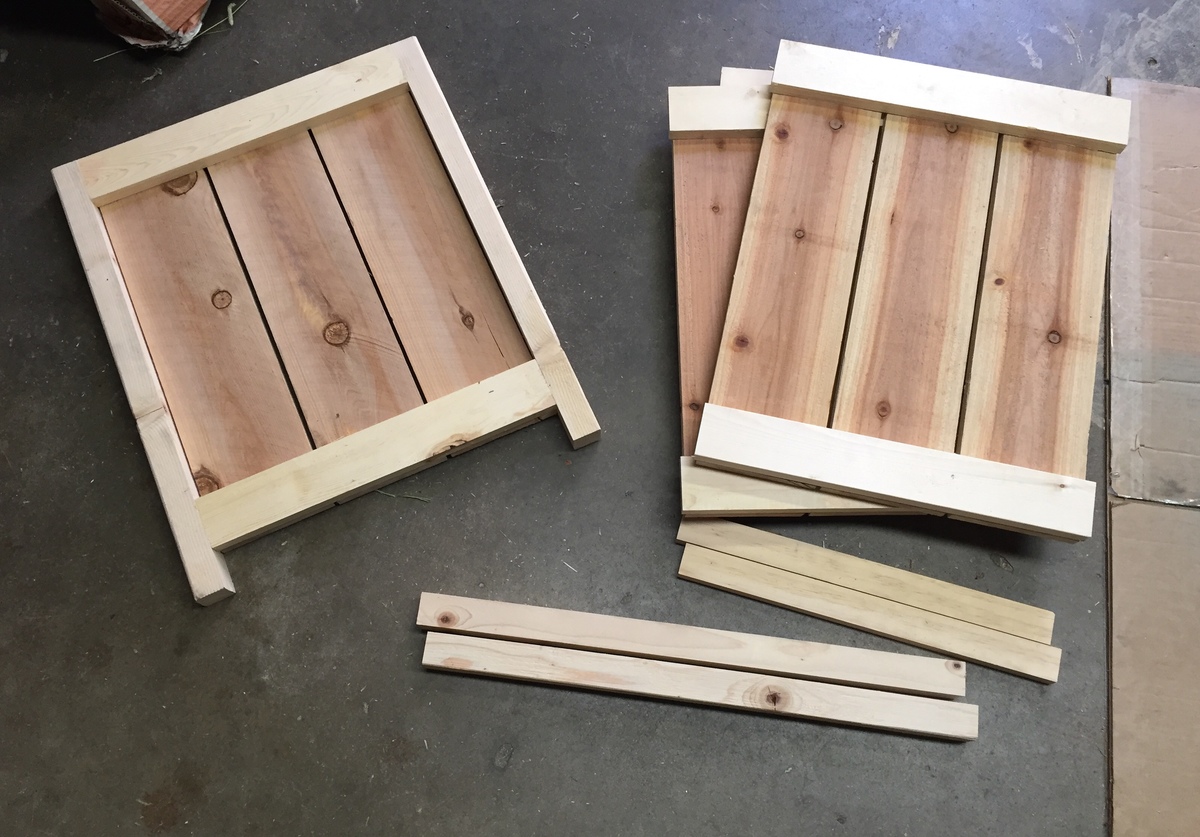
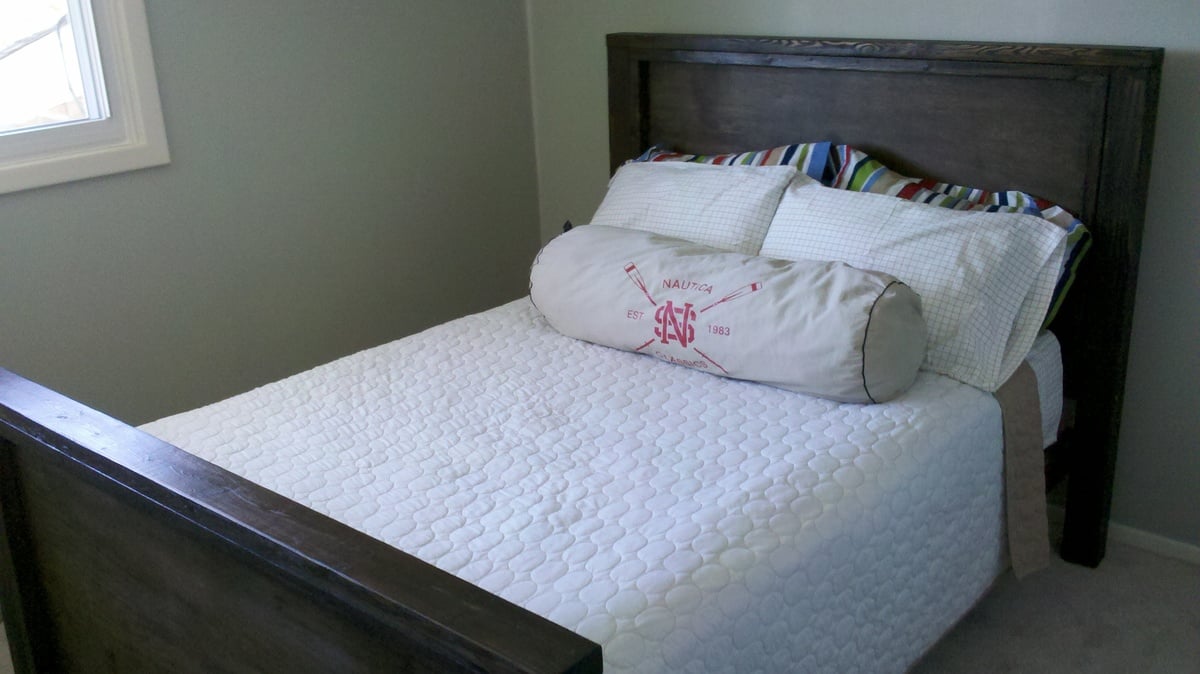
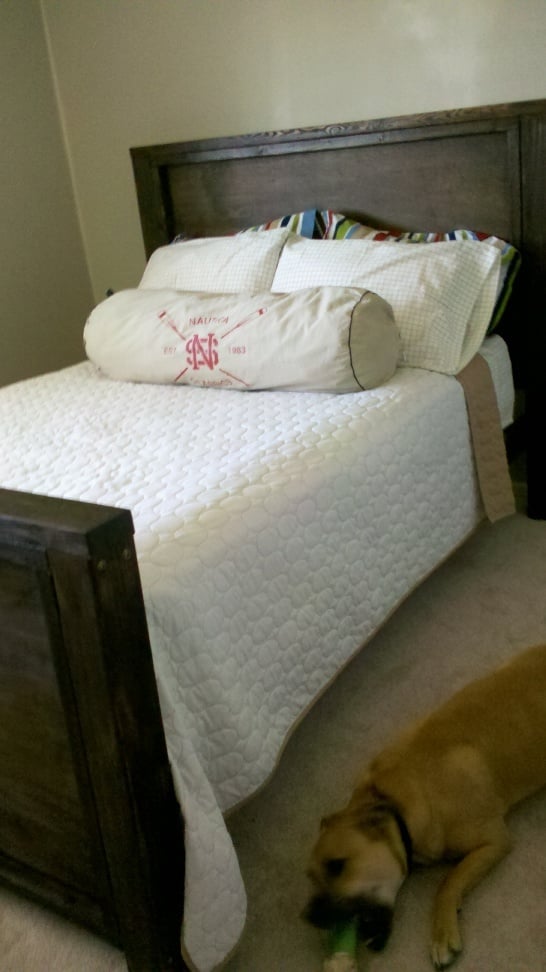
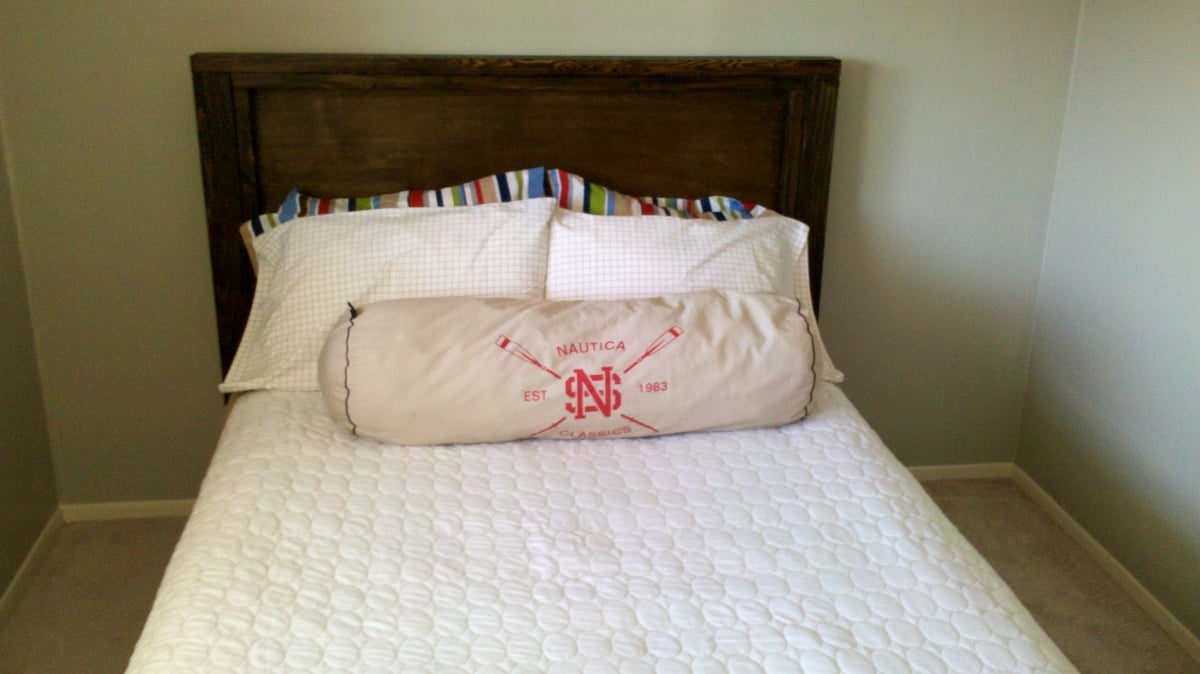
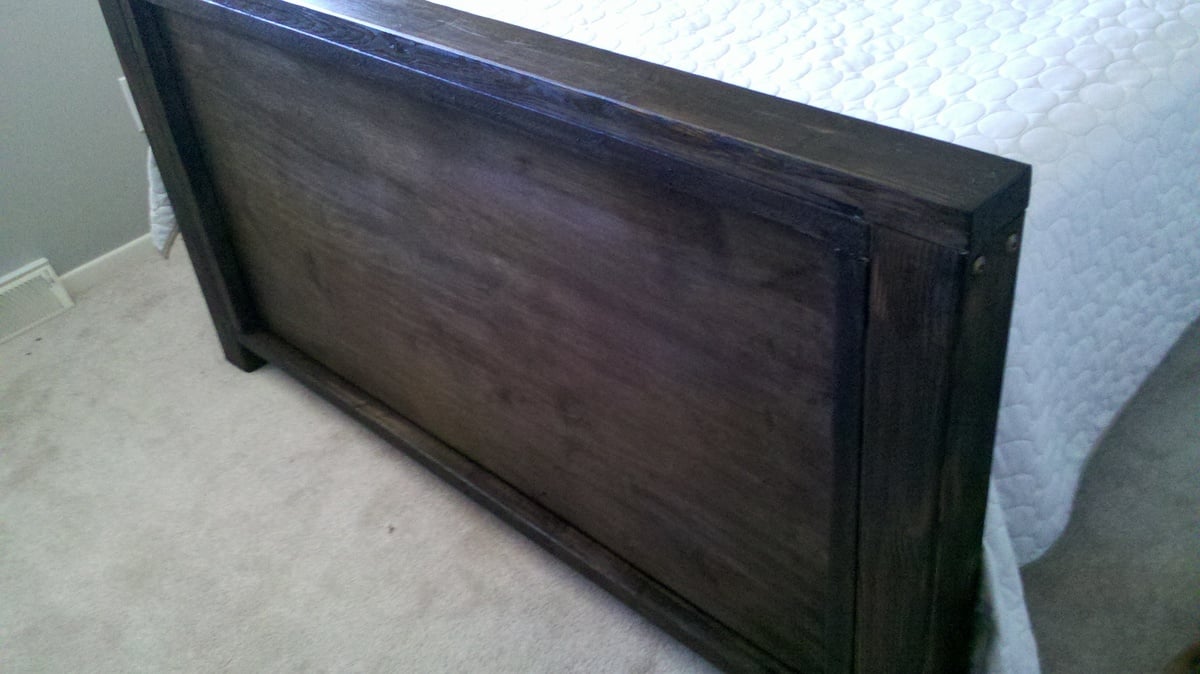
This started out a project driven by inspiration. I wanted a bed similar to the Hampton Bed in the Pottery Barn Teen Catalog, and I wanted a handful of beds from the newest Crate and Barrell Catalog. So, I sat down with a piece of paper, and a felt tip marker, and sketched out the bed. I had just built the farmhouse bed, and knew it was strong, so thats how I designed the frame. Then I used plans from the Simple Bed to get another reference point and for full size dimesniosn. Then I built it. I journaled each step of the way on my blog, if you want more info on how building went, or the learning process. I am truly very proud of this bed. Thank you Ana for giving me the courage to do this one without step by step instruction. You rock. 

Estimated Cost
$100
Estimated Time Investment
Day Project (6-9 Hours)
Finish Used
General Finishes Water Based Stain: Walnut
General Finishes Polyacrylic top coat, 4 coats
Recommended Skill Level
Intermediate

Tiny Home:)

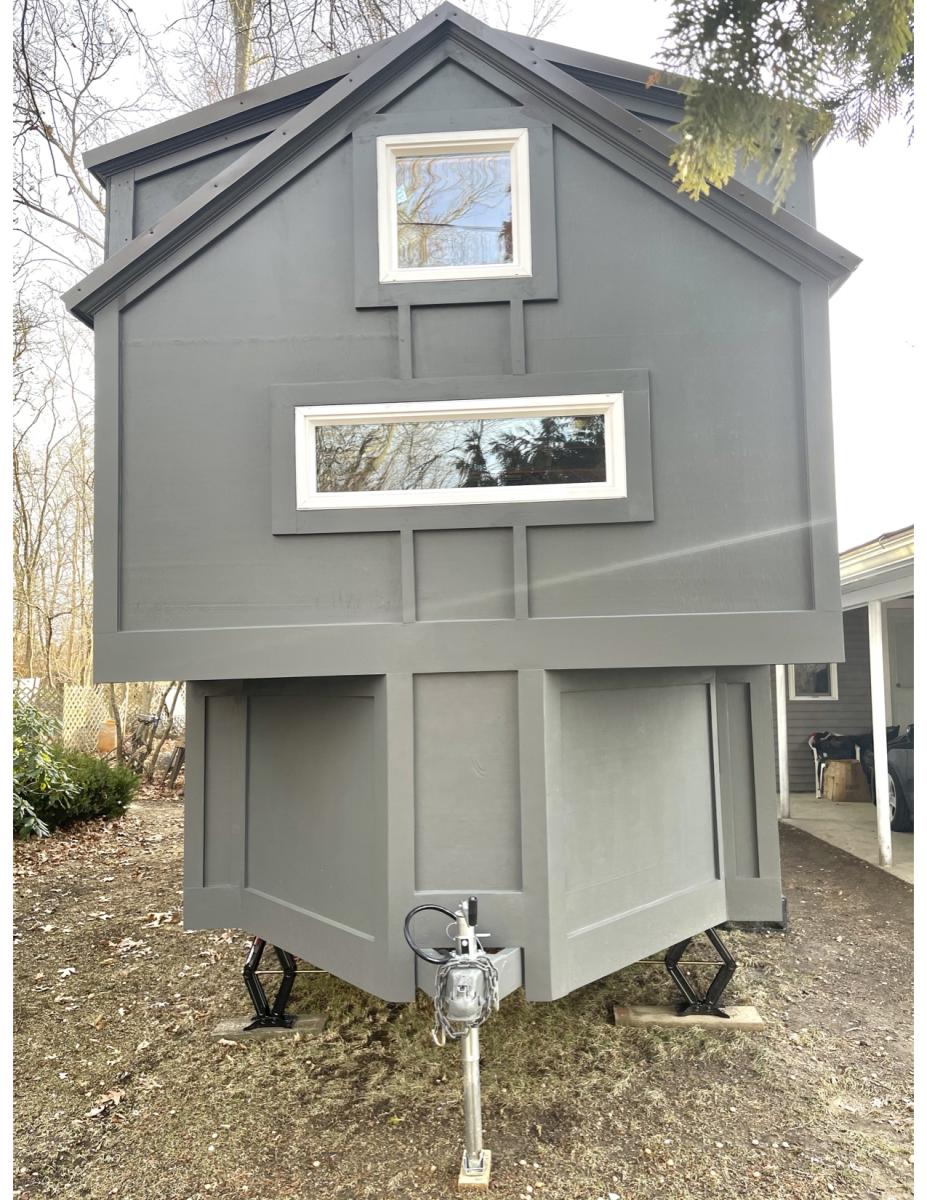
Submitted by Anonymous (not verified) on Fri, 11/05/2021 - 13:32

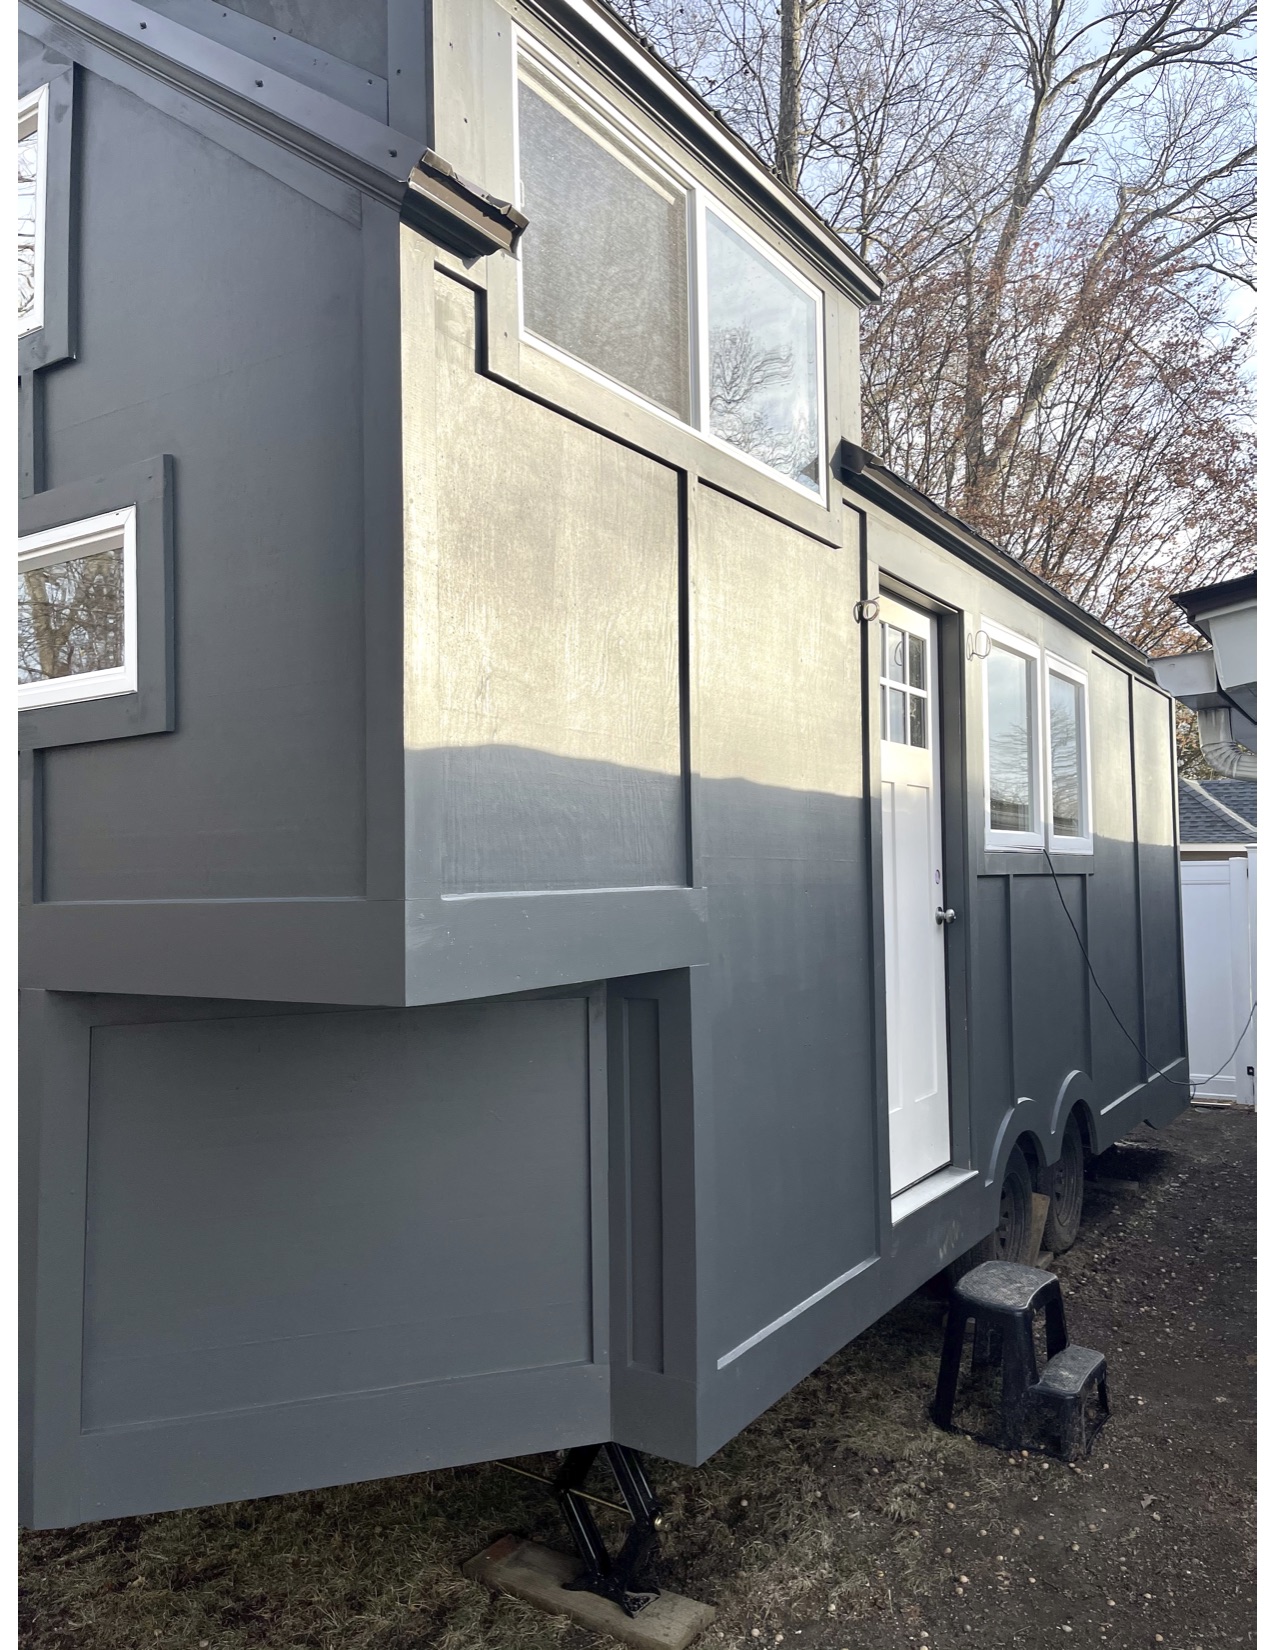
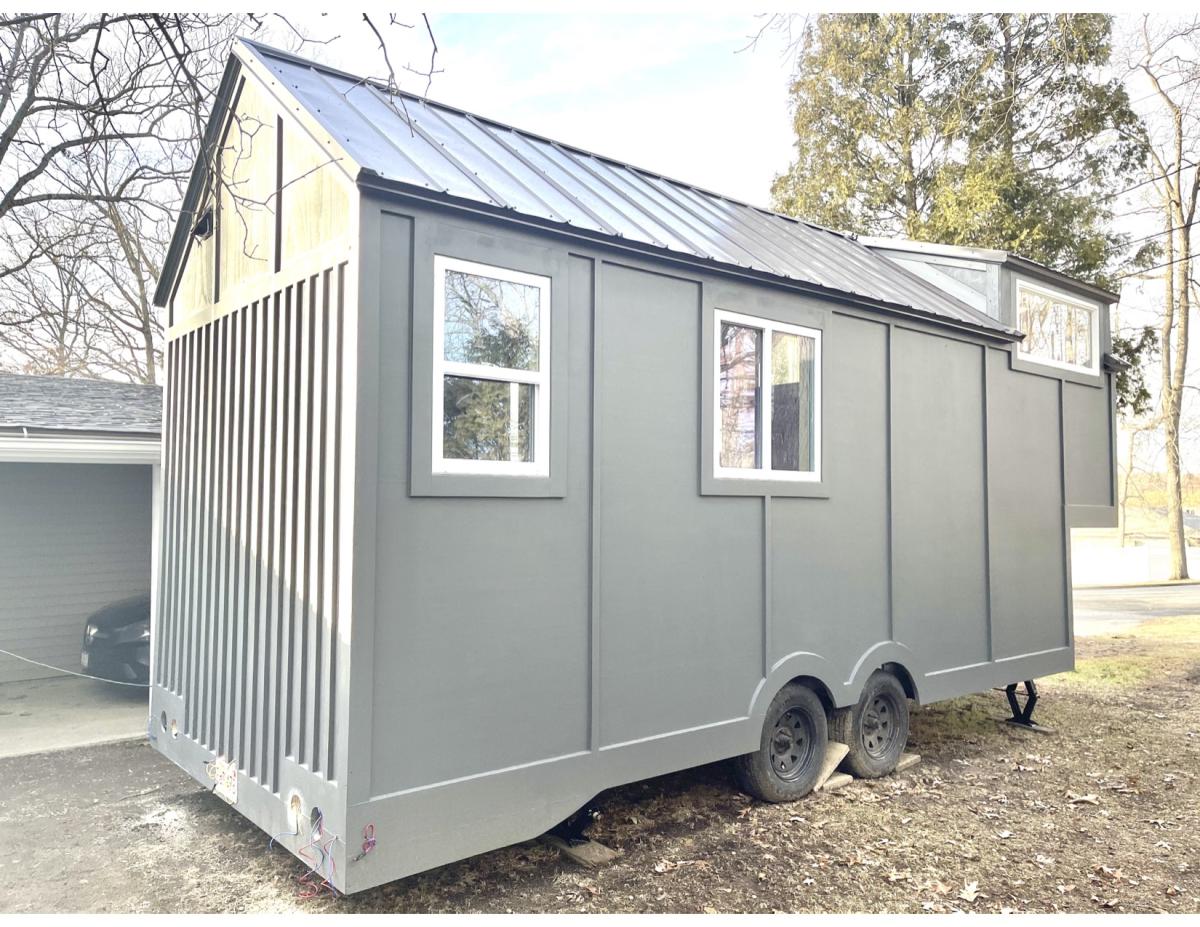
After watching your tiny home builds we decided to build our own. It's almost complete:)

Comments

Fancy X Farmhouse Table

Submitted by KatieC on Tue, 06/11/2013 - 08:25

This was my husband and mine's first DIY project! We started off using a miter box, and quickly caved and bought a miter saw. We also had trouble getting the X's to fit correctly, so we redid them and made it in a different order than Ana--we lined them up on the boards they would be attaching to and drilled in there. So we didn't make X's and then attach, but rather did it all at once. This made sure everything fit together!

Also, we didn't stain the top pieces of wood before we assembled, and it was hard to get in-between the boards, definitely recommend at least one coat of stain before attaching the top!

Had a great time making this bench, and love it!! Everyone that sees it is so impressed!! We made this one for outdoors, but we are thinking of making another in nicer wood for our indoor dining room table....

Built from Plan(s)
Estimated Time Investment
Week Long Project (20 Hours or More)
Recommended Skill Level
Starter Project