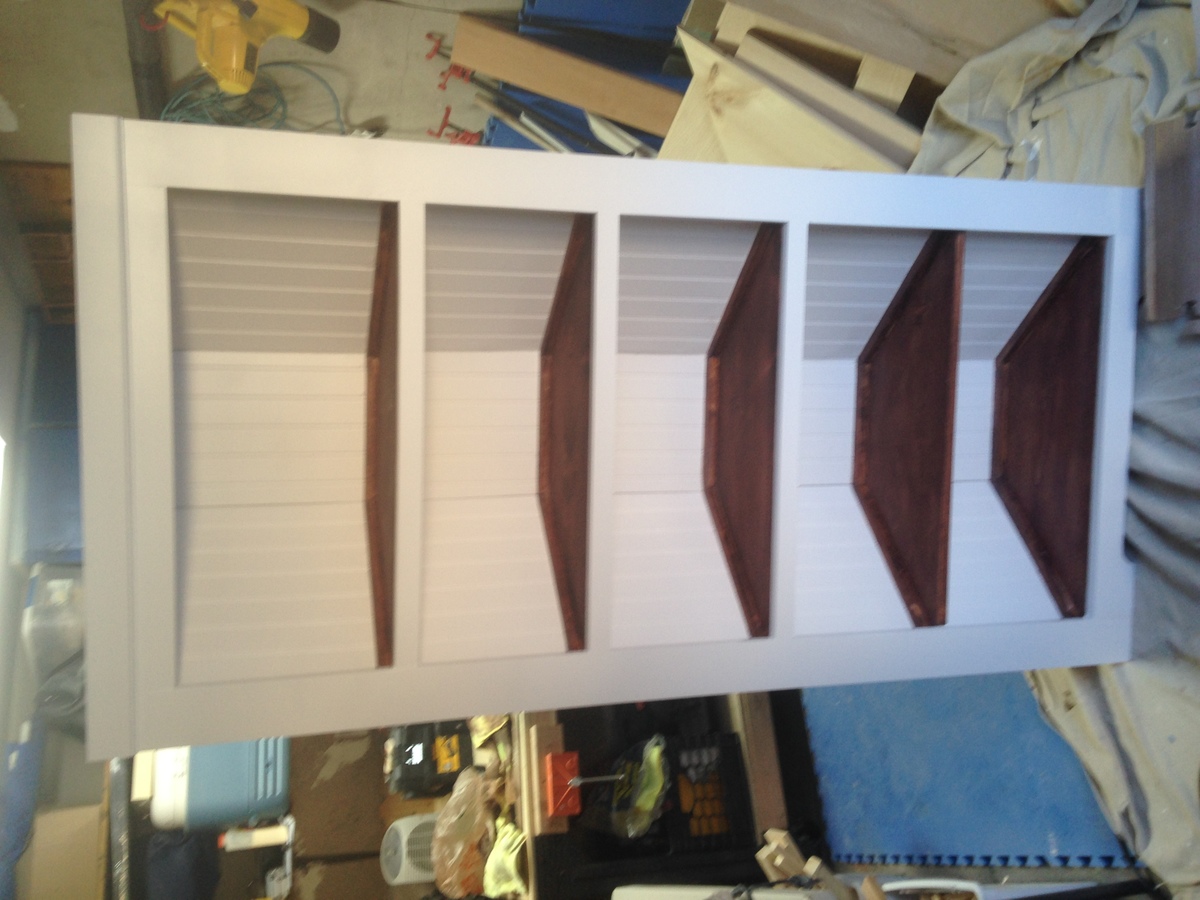
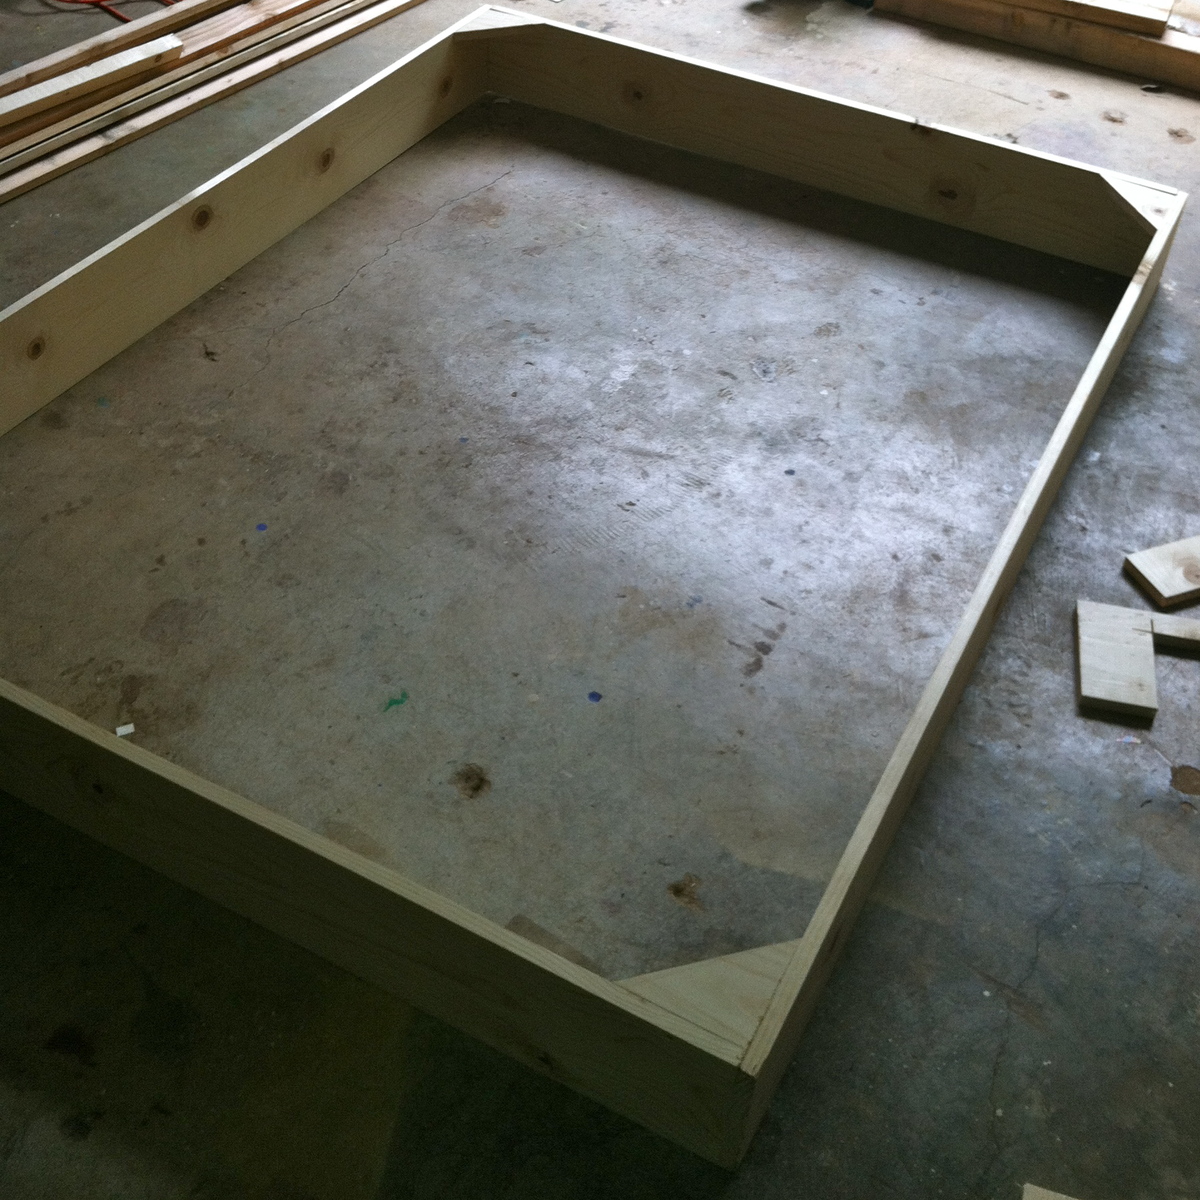
Garage Shelves
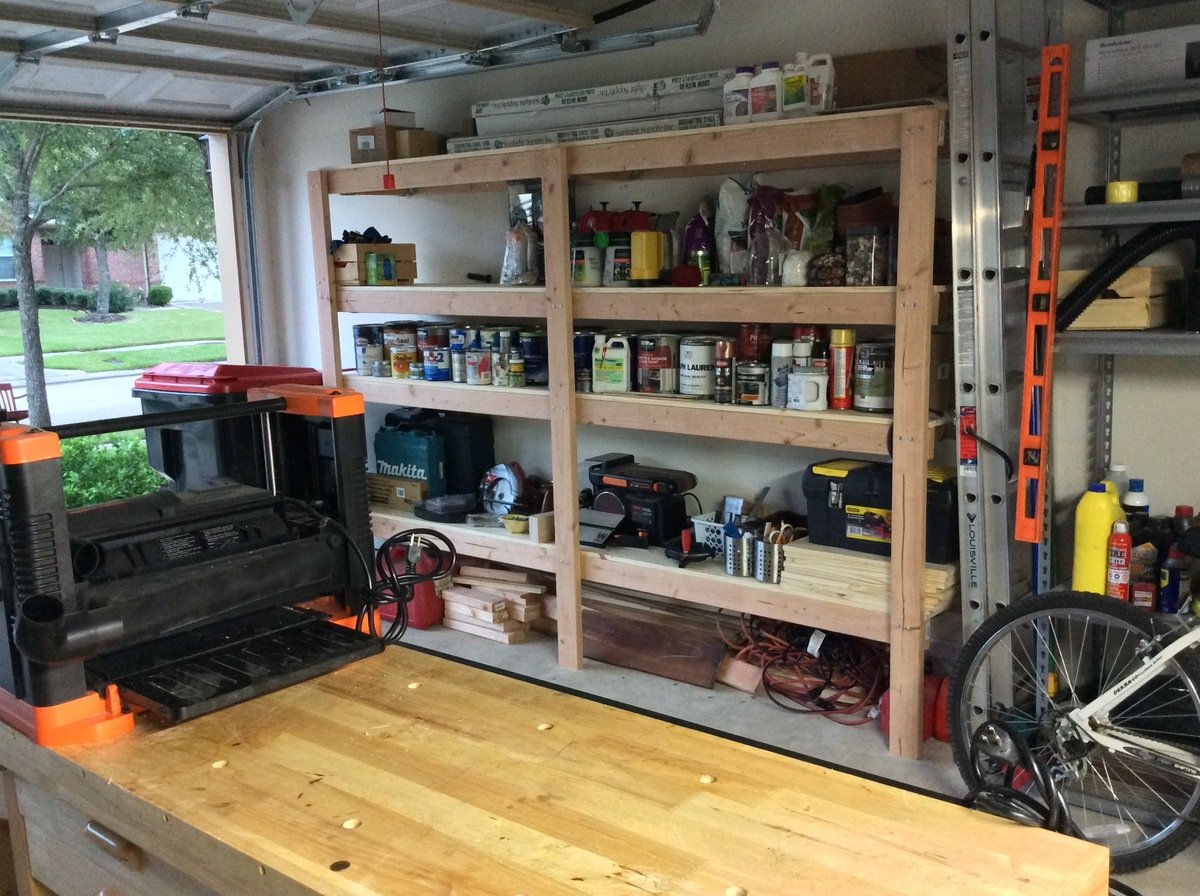
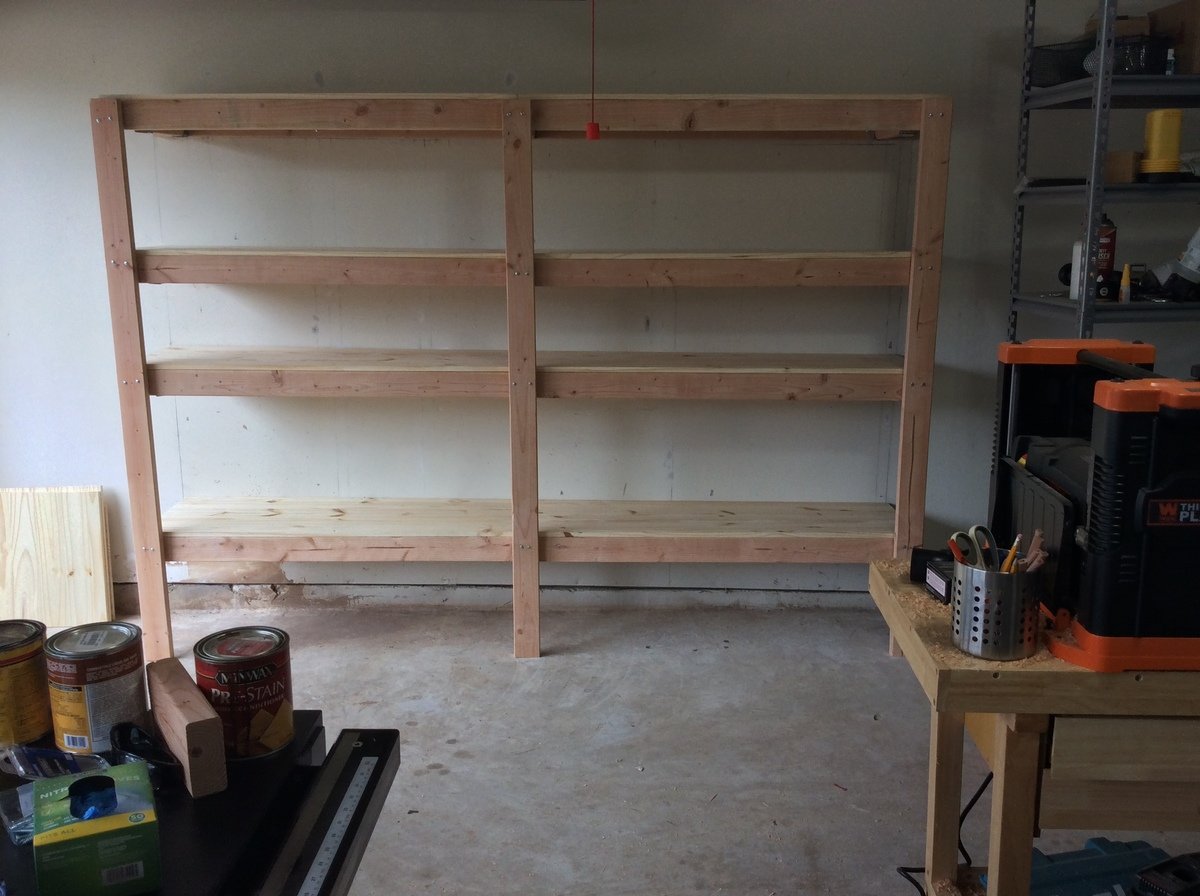
This was a pretty easy project, but I had to adjust the vertical legs to accommodate the sloping garage floor. I drew a horizontal line for the top edge then measured to the floor at the spacing I wanted the vertical legs. I used these measurements to cut the three vertical legs. It’s level and straight, even though my garage is sloped.
Built from Plan(s)
Estimated Cost
$300
Estimated Time Investment
Week Long Project (20 Hours or More)
Finish Used
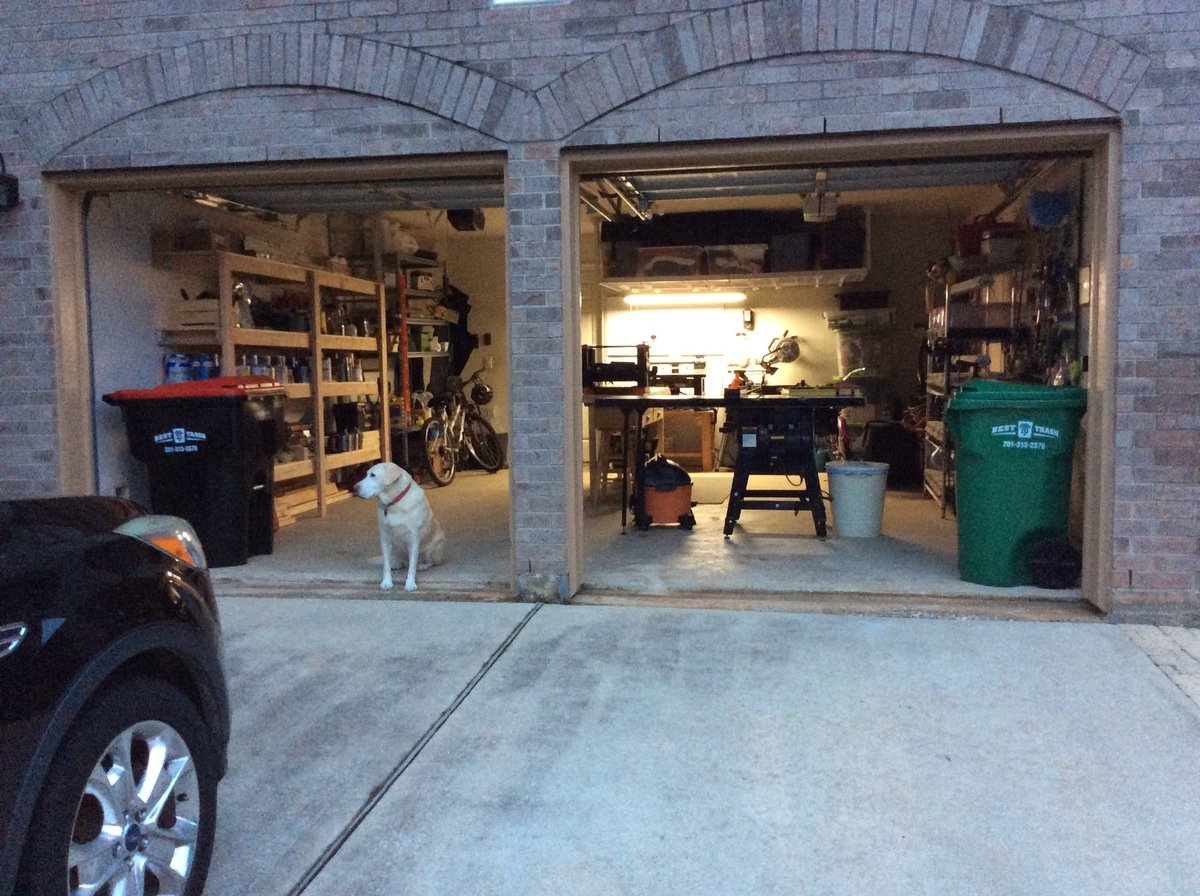
Garage shelving
Recommended Skill Level
Beginner