Community Brag Posts

DIY Bailey Dog Chair for Dogs with Megaesophagus

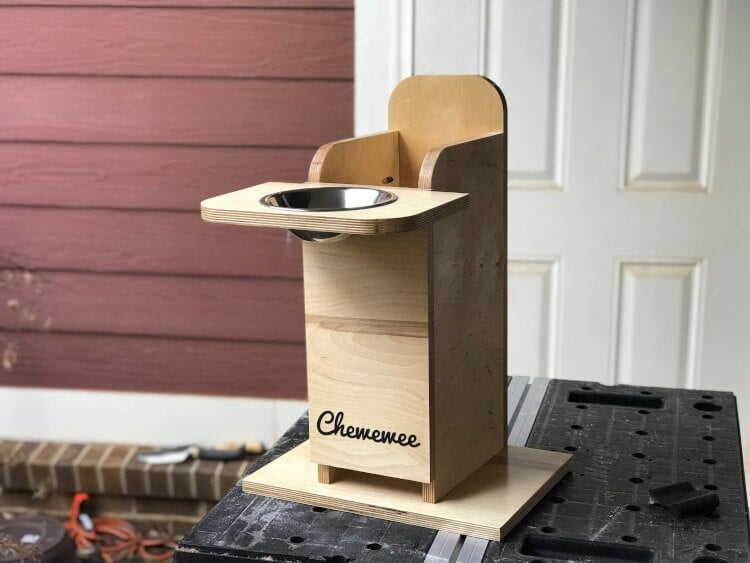
Hello everyone, today I’m sharing details on something I built recently: a Bailey Chair for dogs suffering from Megaesophagus.

Dogs with megaesophagus have an enlarged esophagus. This makes swallowing food difficult. Eating while in an upright position helps and the task of keeping the dog vertical is easier when the dog is sitting in a Bailey chair.

This blog post is less of a detailed how to and more of showing in progress photos. Adam, over at Lazy Guy DIY, has put together a great tutorial on how to build the Bailey Dog Chair. I followed his instructions with very few modifications.

CLICK HERE to read my build details and see more photos!

Estimated Time Investment
Afternoon Project (3-6 Hours)
Finish Used
clear spray
Recommended Skill Level
Beginner

Trofast Toy Storage Solution

Submitted by CassieD on Fri, 09/30/2011 - 17:27

I had been asked a few times for these plans, but as someone else posted a similar one, I'll just stick to a blog post for now and describe my differences. I made this shelving unit January 2010, just after I found out of I was pregnant with my third child, and it's been a lifesaver since then. I desperately needed a toy storage solution (and purging), as shown in the 'eek' kids closet below. I didn't like the shape of triangular Ikea ones, as they spanned more floor space than I cared to give up. Plus, I wanted a place to put *almost* all of my kids toys, so I wanted it to be tall. I'm so glad we did, since we've moved twice (also, 'eek') since than, and it's made packing and unpacking the kids toys super (SUPER) easy. At first, I was afraid that the kids would go crazy and just tear down every bin at once, but it hasn't happened yet. Unlike the other plan that was posted, I used white sliders that ikea sold. I'm not sure if they still sell, as I don't see them online. It cost an additional $24 (they were $1/2), but seemed worth the extra money. I didn't have a router and wasn't particularly confident with our table saw skills. Plus the Ikea version had some really thin areas that made me nervous that it would break easily. I tried to keep it easy and just had to line up and screw the sliders in. Now that I'm a little more confident with a table saw, I'd give the router style a-go. I used two sheets of cabinet grade plywood, each costing about $30. I ripped down some pine boards to cover the front edges, which made the unit look loads nicer. However, I wish I would have used maple, instead of pine as they got dented almost immediately. Not a big deal though. The three shelves were sort of an afterthought, but turned out to be great for puzzles and other type toys. I didn't use backing or cross supports initially, but put some in after we moved. You can see them in the last picture below. The heater in our temporary house caused the slightly-bent sides to become very bent sides. That caused the drawers would spontaneously fall out, which was always quite the shock and disappointment. I put in some supports in the back, which I wish I did initially as it would have made manufacturing easier. Also, If I were to go back, I would put one cross support in the front-middle, as the boards are so tall, it needs something to help maintain the shape in the front. I've found that even in a perfect fitting slider, really heavy buckets would bend just enough to flex out of them to crash... so don't plan on filling one of the large buckets with matchbox cars and sticking it on the top. Regardless, we've learned our lessons, made it work better, and has been a huge success in our house for a while now.
Estimated Time Investment
Weekend Project (10-20 Hours)
Recommended Skill Level
Intermediate

Comments

Supermom77 (not verified)

Sat, 10/01/2011 - 14:22

Great work. Love the colors. Do you have directions on training the kids to put the toys back?

In reply to by Supermom77 (not verified)

CassieD

Tue, 10/04/2011 - 19:42

Haha, I guess a little. Picking up when they aren't motivated is an ongoing battle. However, I did find having a specific place to put items with labels helped a lot, albeit with screaming. Actually the labels would probably be the best motivation of all of it.

The ideal is to have the kids only play with one bin at the time, but with more than one kid, that theory very quickly gets muddled... One child wants to play with one toy and one wants play with another, then "lego houses can't be broken down" and "polly pocket is using those blocks for the house" and so on. So it's more of a end-of-the-day(week/month/year haha) pick-up routine.

However, there seems to be a light at the end of the tunnel. My oldest (almost 6) seems to have caught on that the faster she picks up, the sooner she can move onto other activities besides playing (coloring, playdough, etc.), and is starting to pick up as soon as she's done without us even asking. I think getting an allowance has also helped with that.

That was way more than I thought I was going to comment, but I guess it goes to show you should never ask a Mom her opinion on something, unless your ready for a lecture :)

birdsandsoap

Thu, 10/13/2011 - 21:44

I love that your labels have pictures on them! I thought I should have done that way back when since my children are too young to read. Easy to find and easy to put away. Good job, Mom!

Double Double Loungers

Submitted by Gimbler on Tue, 10/04/2011 - 15:10

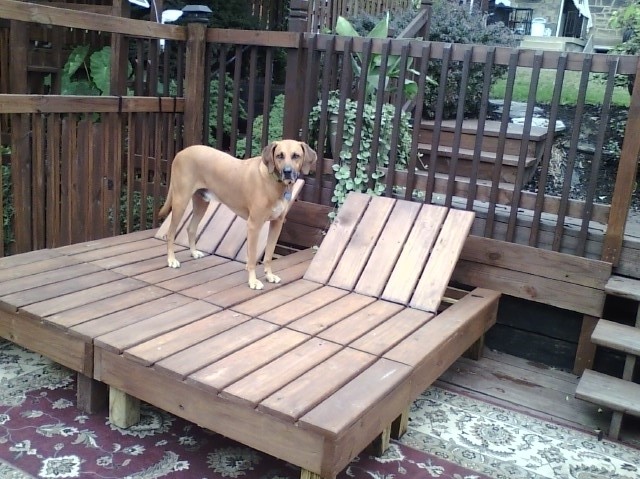
I had an idea in my head of what I wanted for deck seating/lounging in my mind but just couldn't seem to get to the "nitty gritty" of creating workable plans. Then, while googling through images of double loungers I stumbled onto Ana's site. Wow! I felt like a fish that had just found the water! With the detailed plans generously provided for a double lounger I was able to create my "vision" with just slight modifications. The loungers are actually two chairs and two ottomans that fit together or come apart depending on how much "togetherness" the situation calls for. And best of all - almost all the materials were left overs and cut pieces from another deck and fencing project. For cushions (not in this photo) I used two inexpensive "Hide A Mats" folding beds from Costco that I covered with waterproof duck fabric. I can't thank you enough, Ana, for taking the time to share your talent so freely. I'm truly grateful. As is Jake, the Redbone Coonhound, who insisted on being in the photo!

Estimated Cost
About $150 for hardware and cushions - lumber was scrap and leftovers from another project.
Estimated Time Investment
Weekend Project (10-20 Hours)
Finish Used
Olympic semi transparent deck stain.
Recommended Skill Level
Intermediate

Comments

Gimbler

Tue, 10/11/2011 - 06:34

We really enjoyed these over the summer - and if Buck is anything like Jake I'm sure he'll take advantage of any available "creature comforts". :o)

Dog Crate

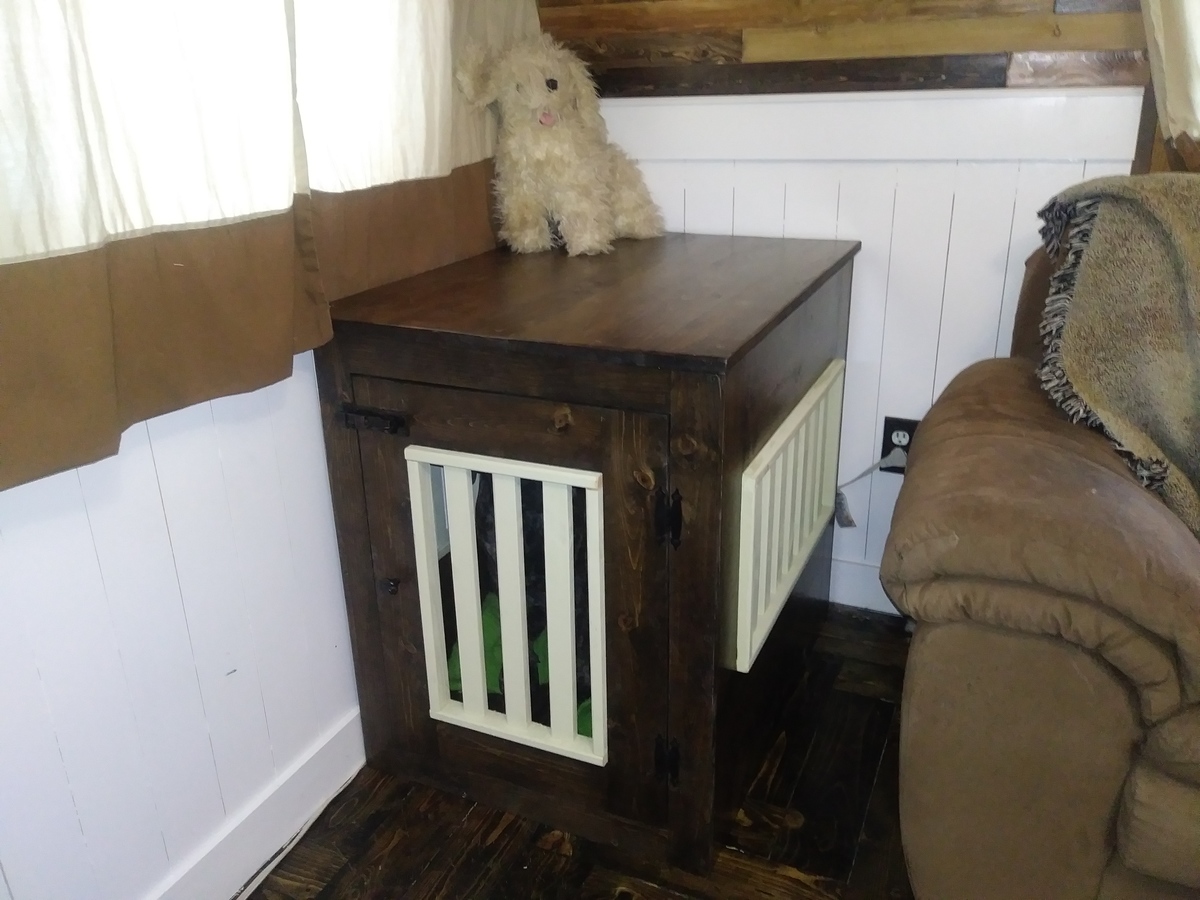
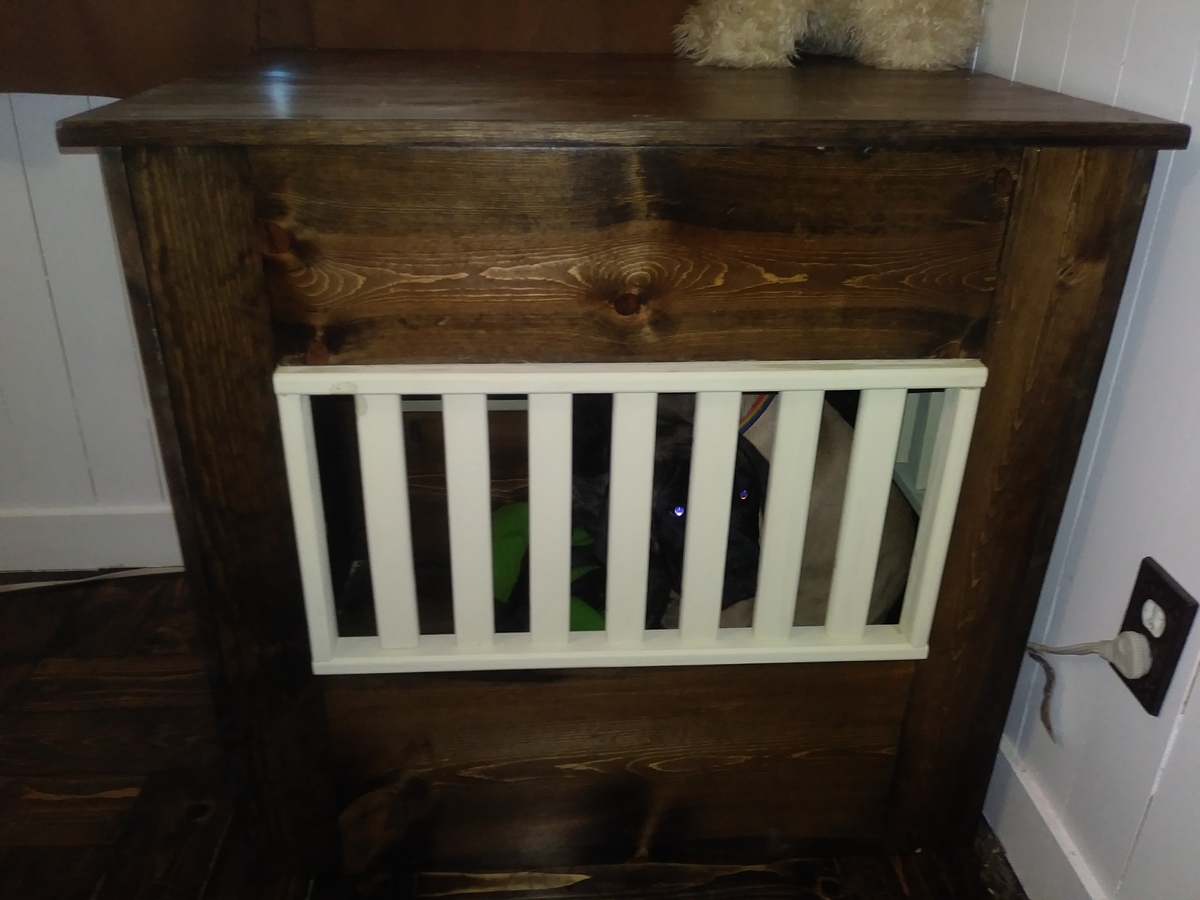
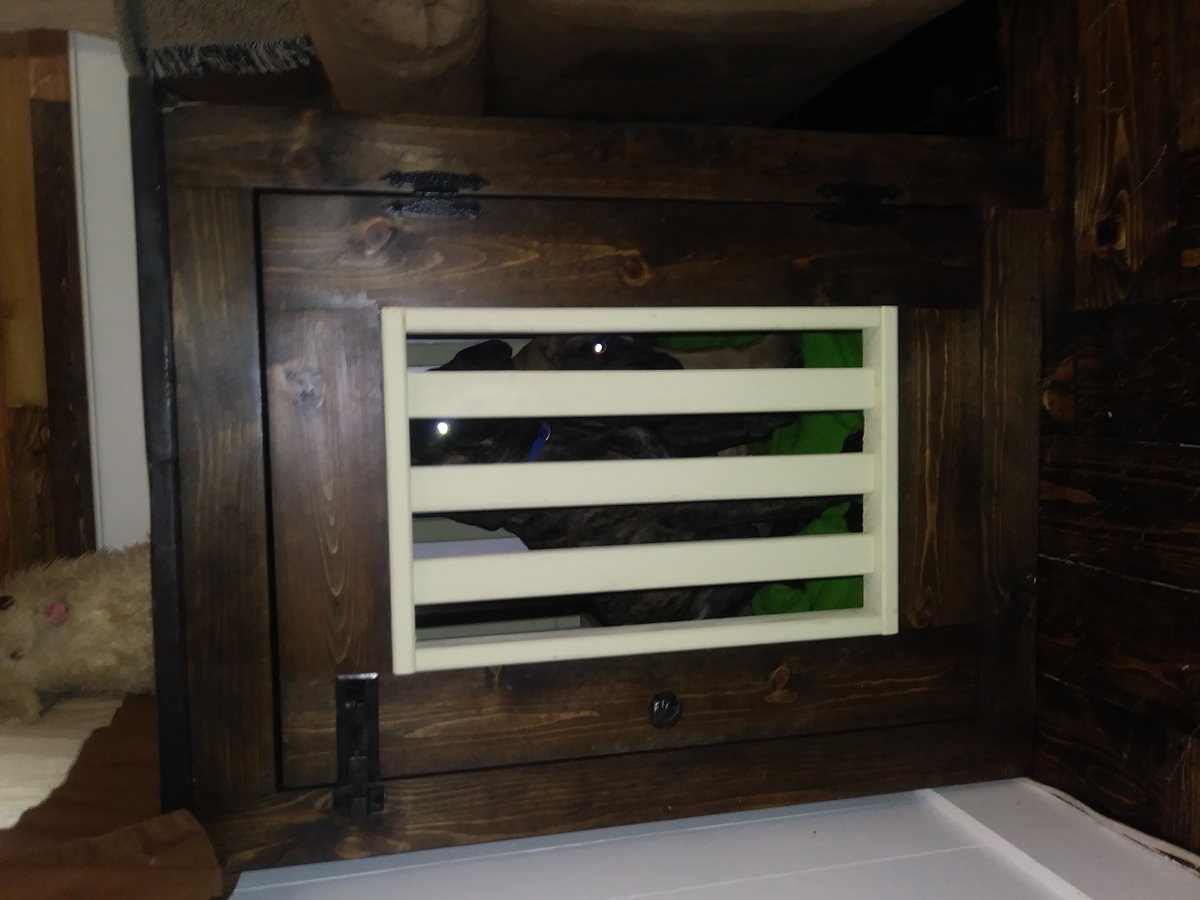
I got a puppy. A joyful, full of energy and fun-loving English mastiff puppy. Best way to potty train a 40 lb puppy is crate training and the entry way's wall was getting eaten. So I made this in a couple of days. Mostly just waiting for the stain, paint and poly to dry and it's up and working. 

Hinges on sale at Lowes going out of business =$0.99

Latch on sale at Hobby Lobby 50% off = $5.50

Knob purchased at ReStore =$0.50

Built from Plan(s)
Estimated Cost
$60
Estimated Time Investment
Day Project (6-9 Hours)
Finish Used
My fav... Jacobean and am giving chalk paint a shot with Americana Vintage from Hobby Lobby (40% off coupon costs $5.39)
Recommended Skill Level
Intermediate

Church Pew

Submitted by ndetermann on Fri, 10/18/2013 - 01:58

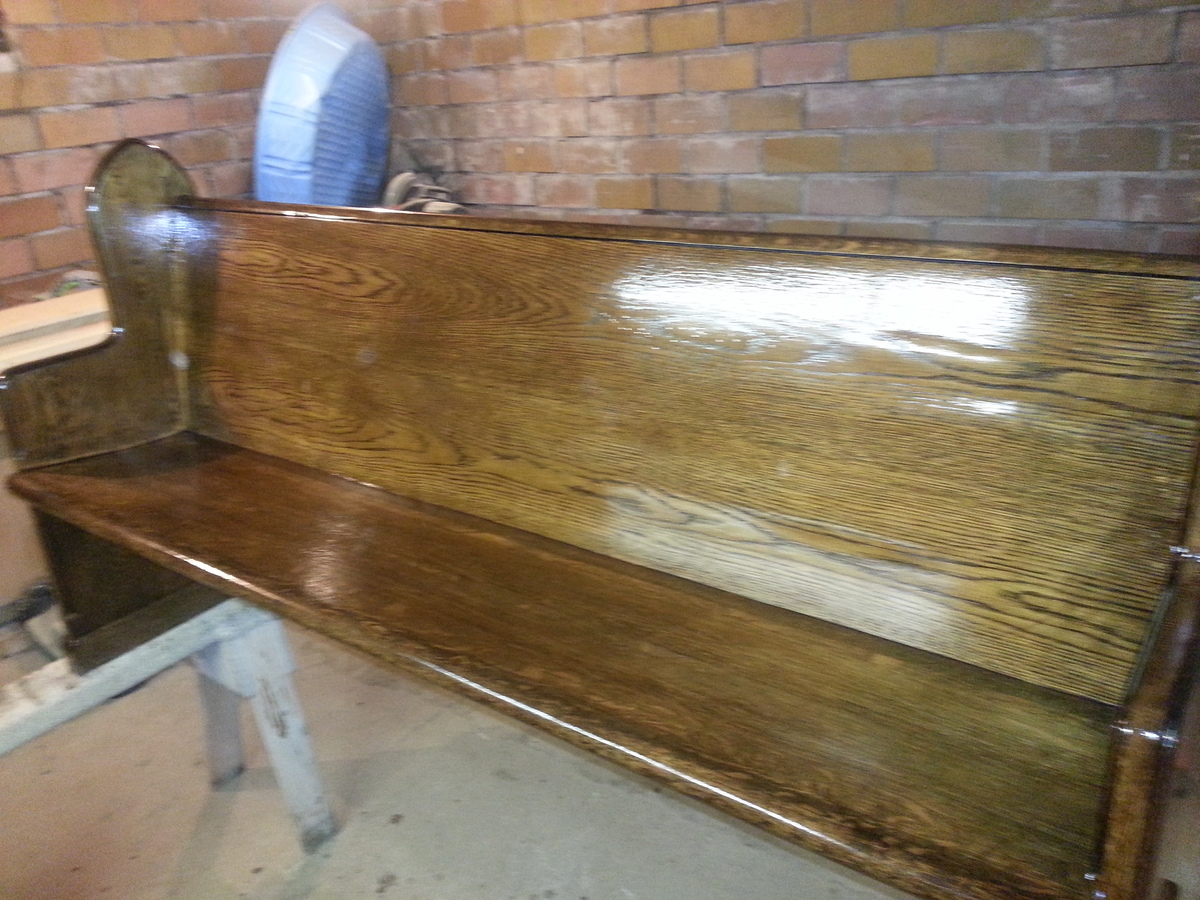
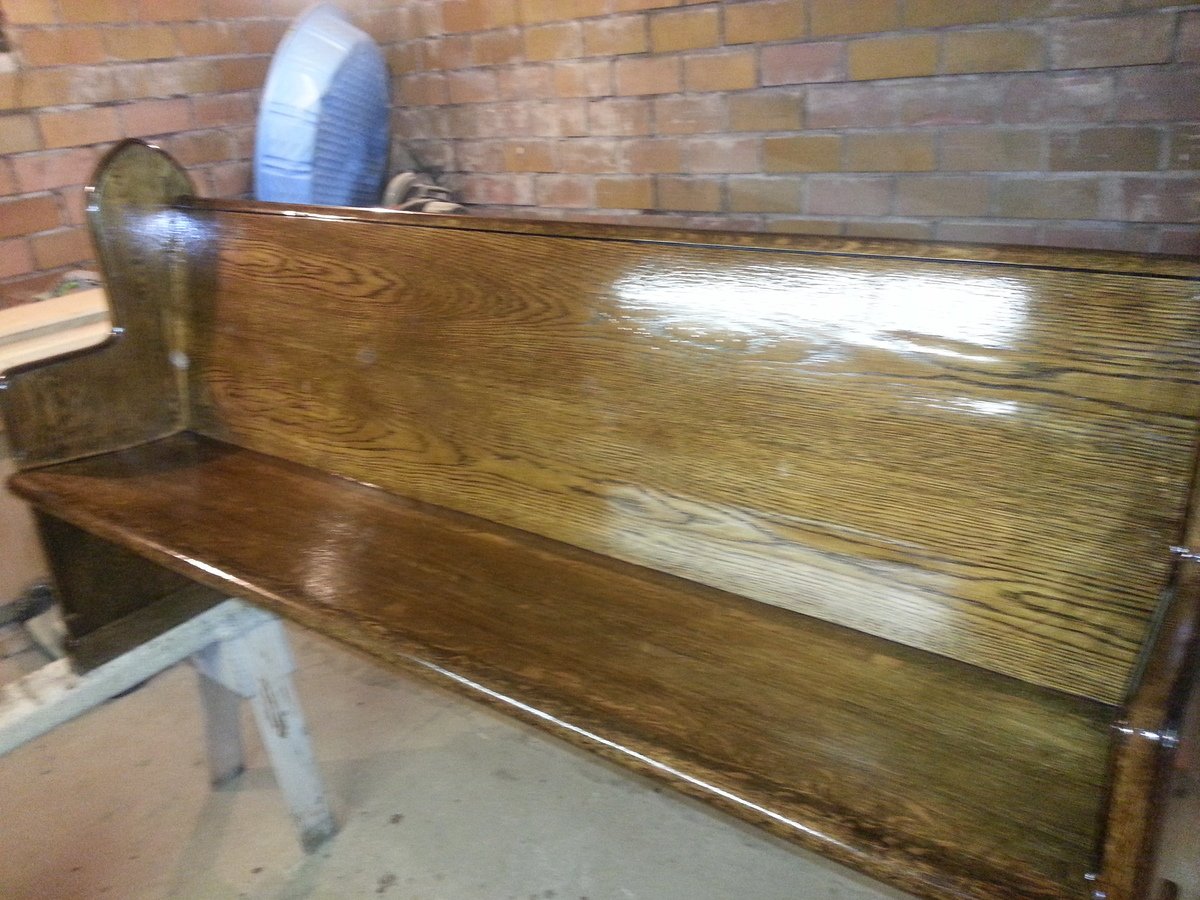
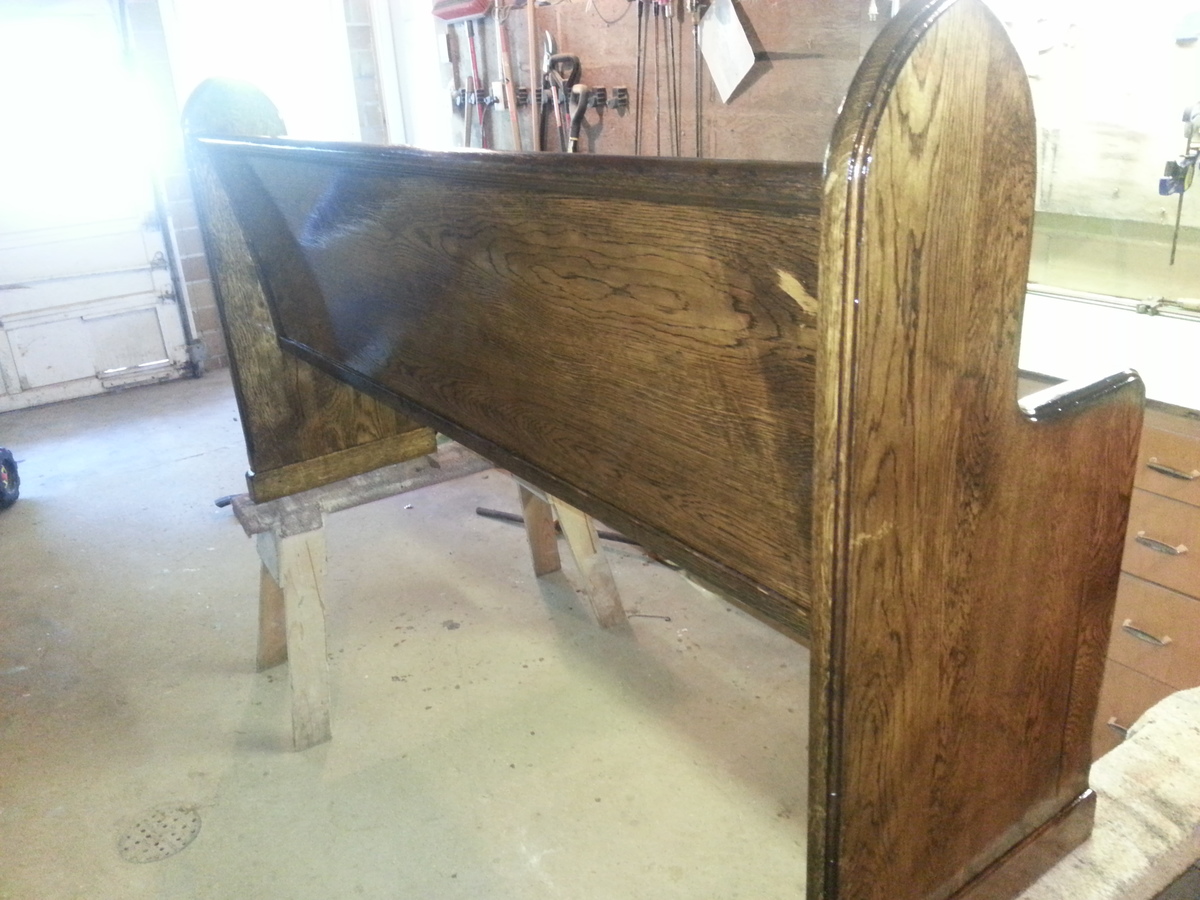
I redid a very old church pew fro one of my friends. It's origins is from one of the original churches in our home town. (There was SO much lacquer on it) This church pew was in bad shape, I had to take it totally apart and re-glue and pocket hole jig every wooden piece together because it was falling apart.

Estimated Time Investment
Day Project (6-9 Hours)
Recommended Skill Level
Beginner

Pergola (Modified Weatherly)

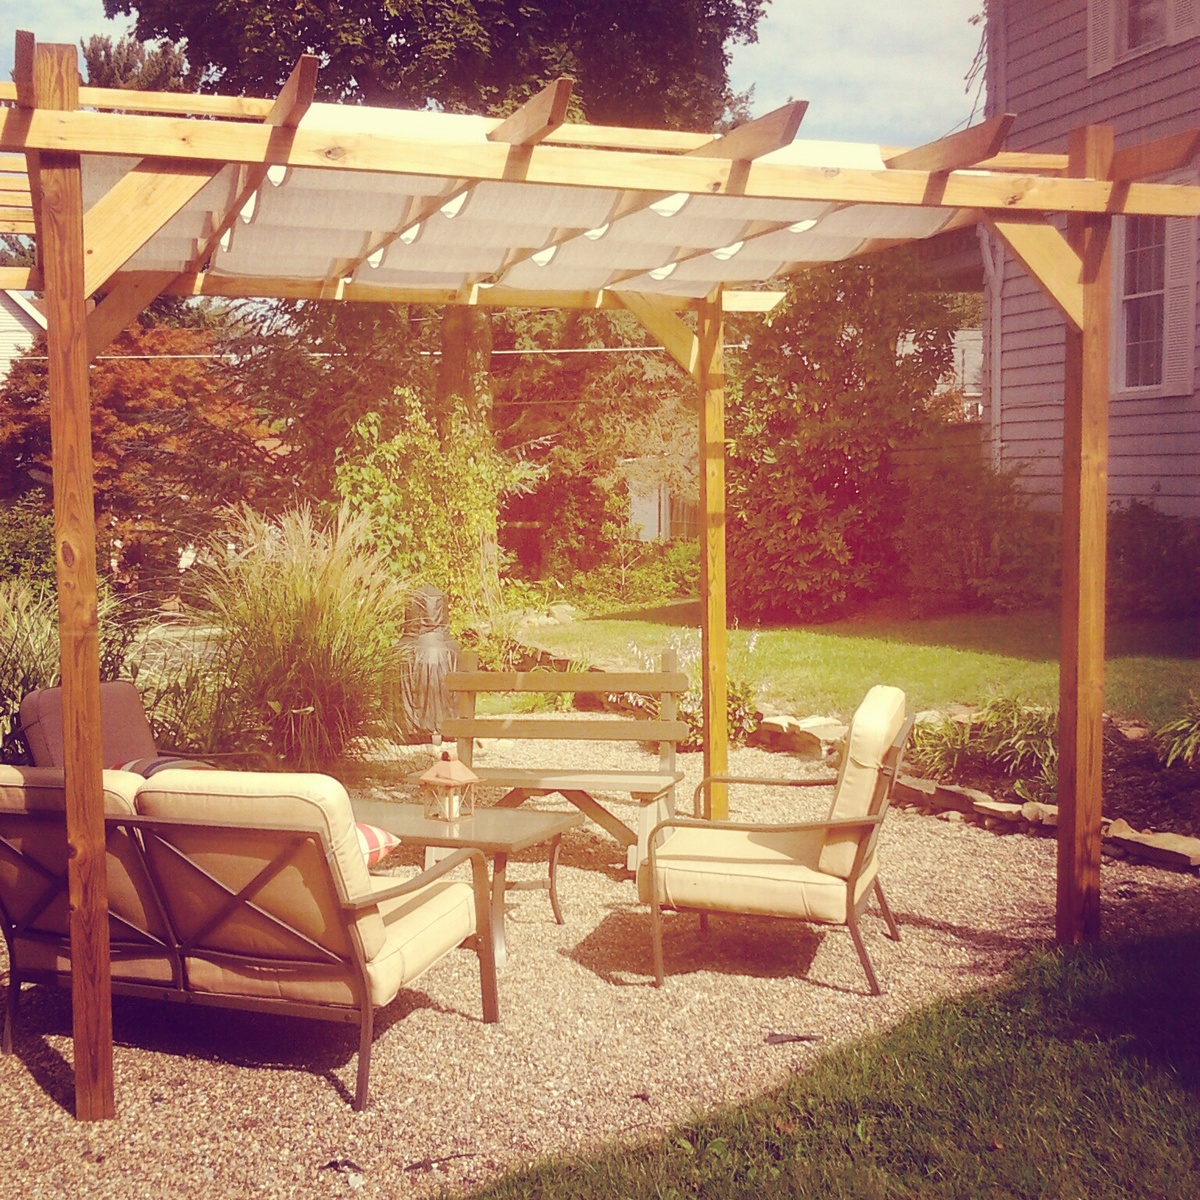
This Pergola cost around 200 to build for lumber, concrete (poured around posts) and an additional 50-60 for fabric used to create shade.

It went up in about 8 hours from start to finish with the help of a novice friend.

I omitted some of the column details to save time and money.

Built from Plan(s)
Estimated Cost
250
Estimated Time Investment
Day Project (6-9 Hours)
Finish Used
None. I later spoke to a painter who suggested that if I were to paint or finish this project that we give it a month or so in the sun to properly dry first. Just an FYI for anyone contemplating something similar but with a finish.
Recommended Skill Level
Intermediate

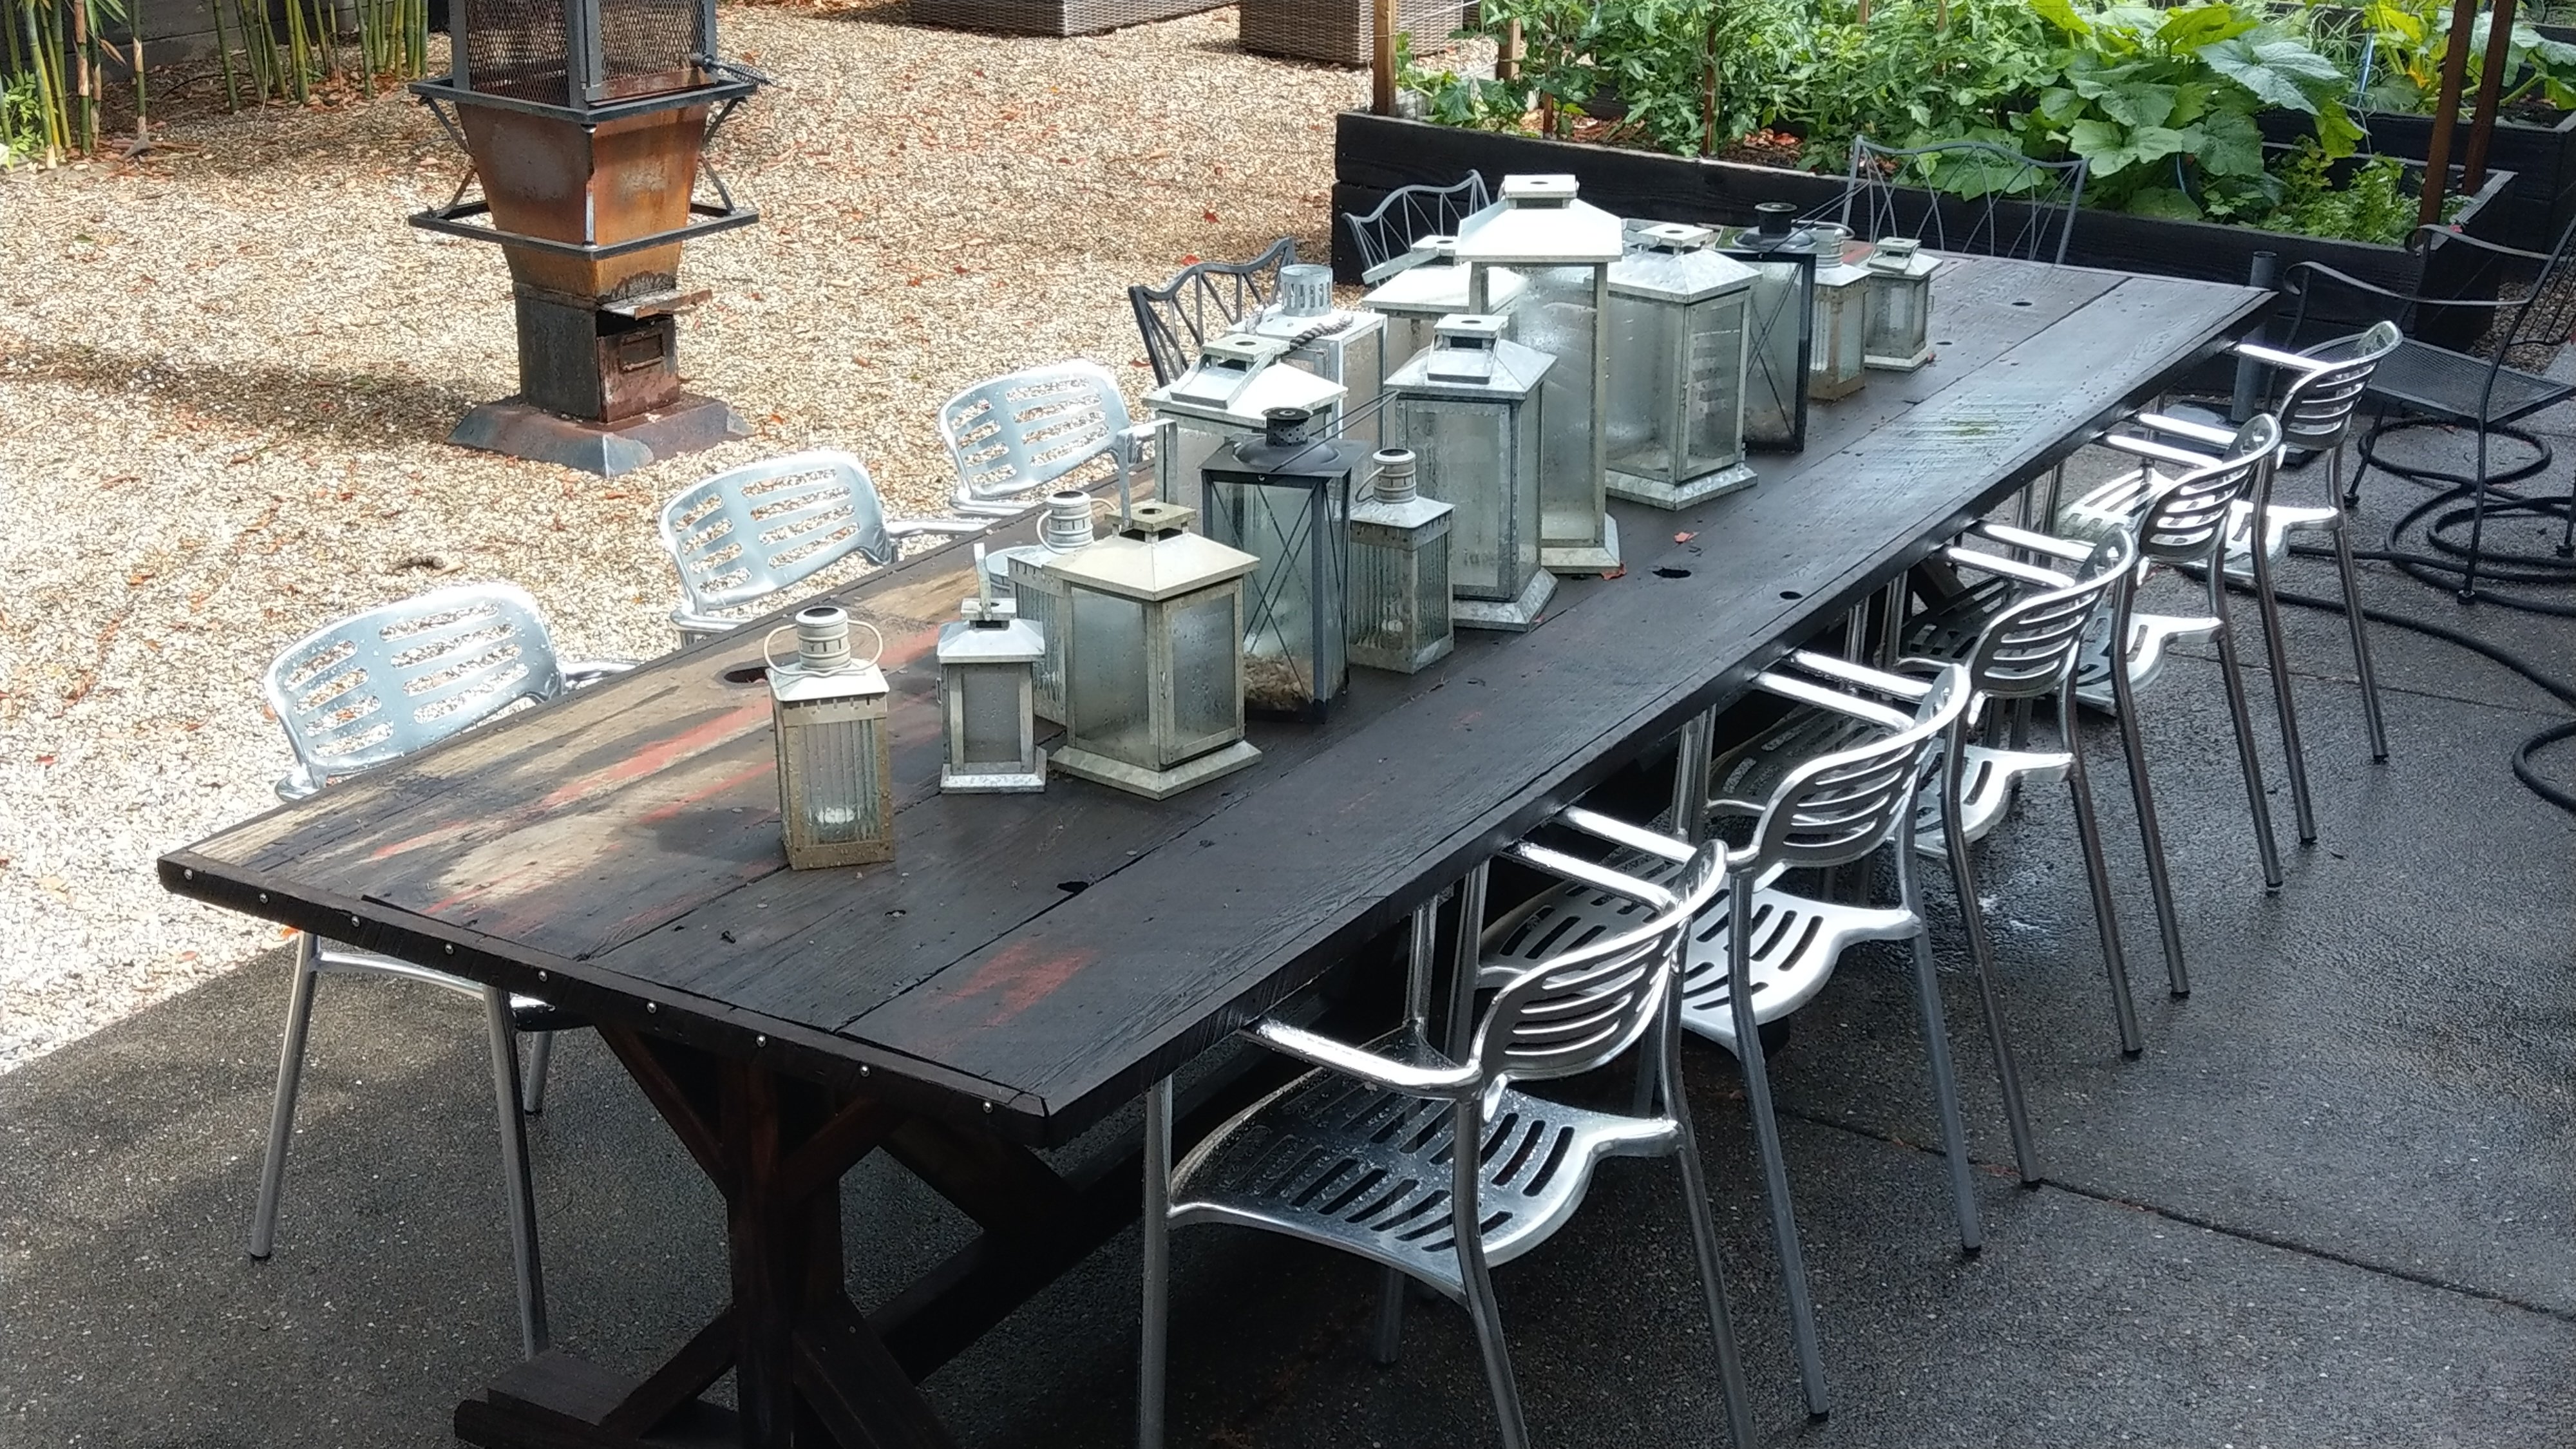
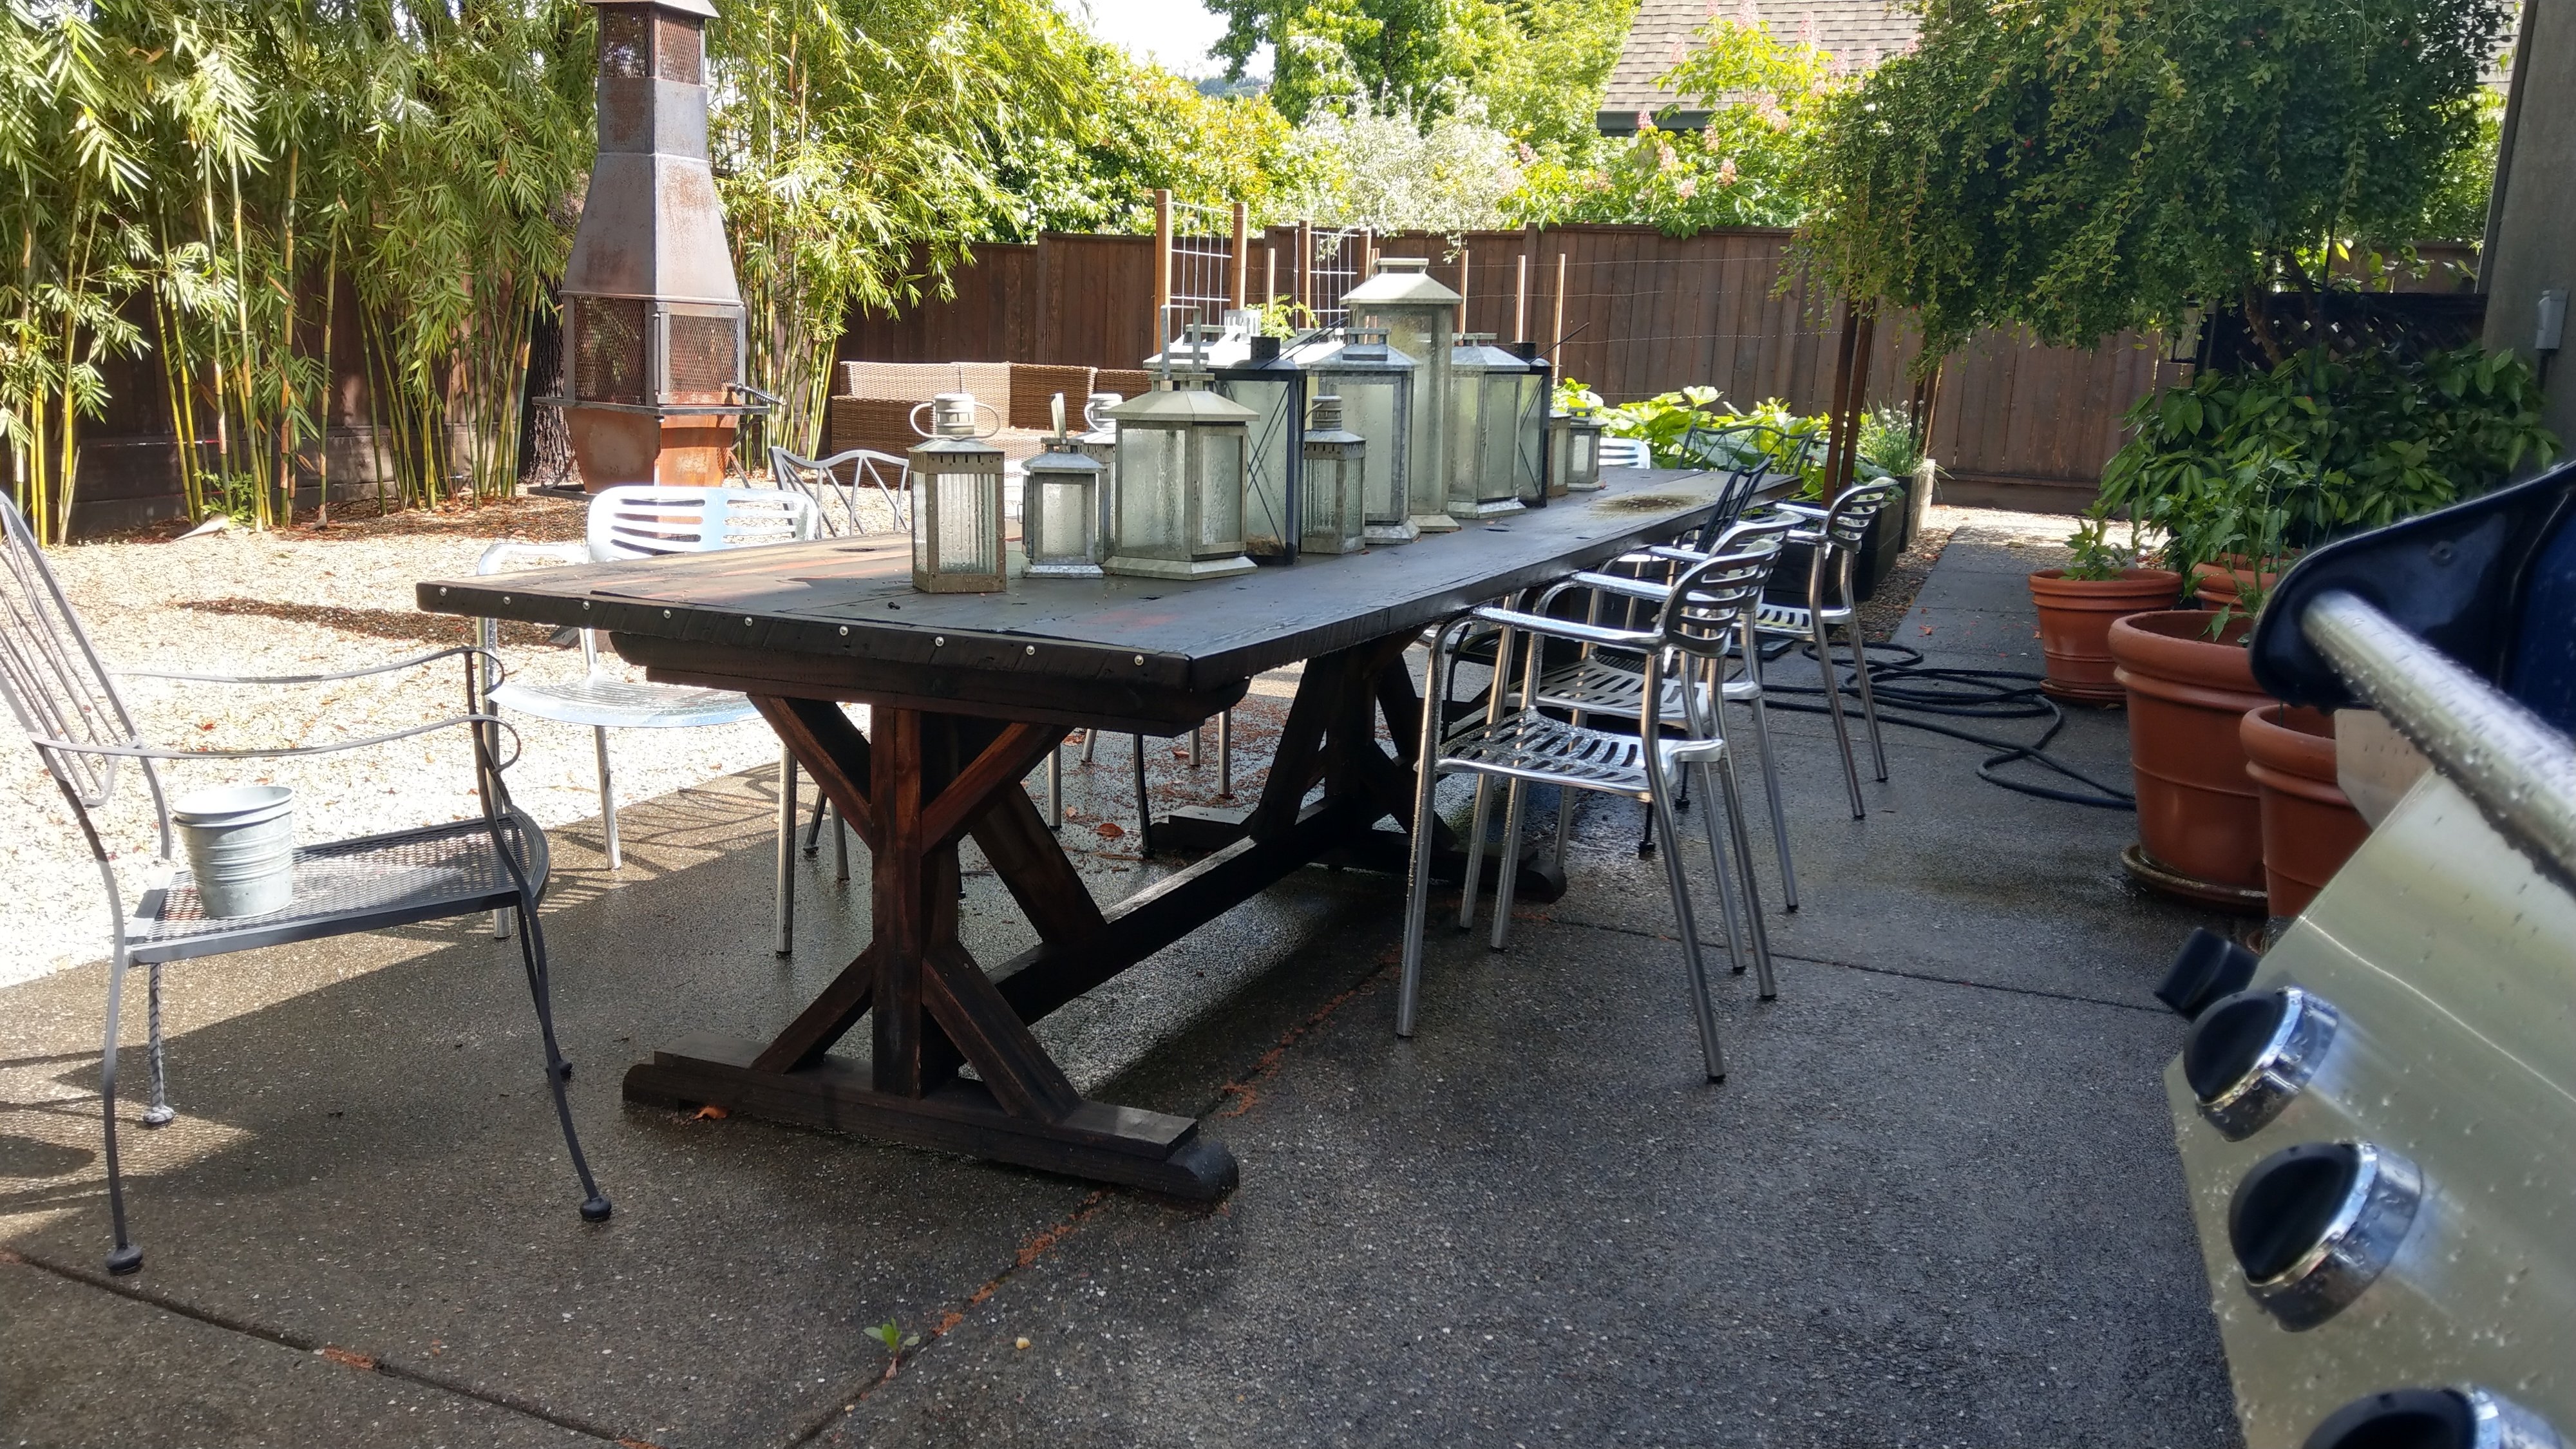
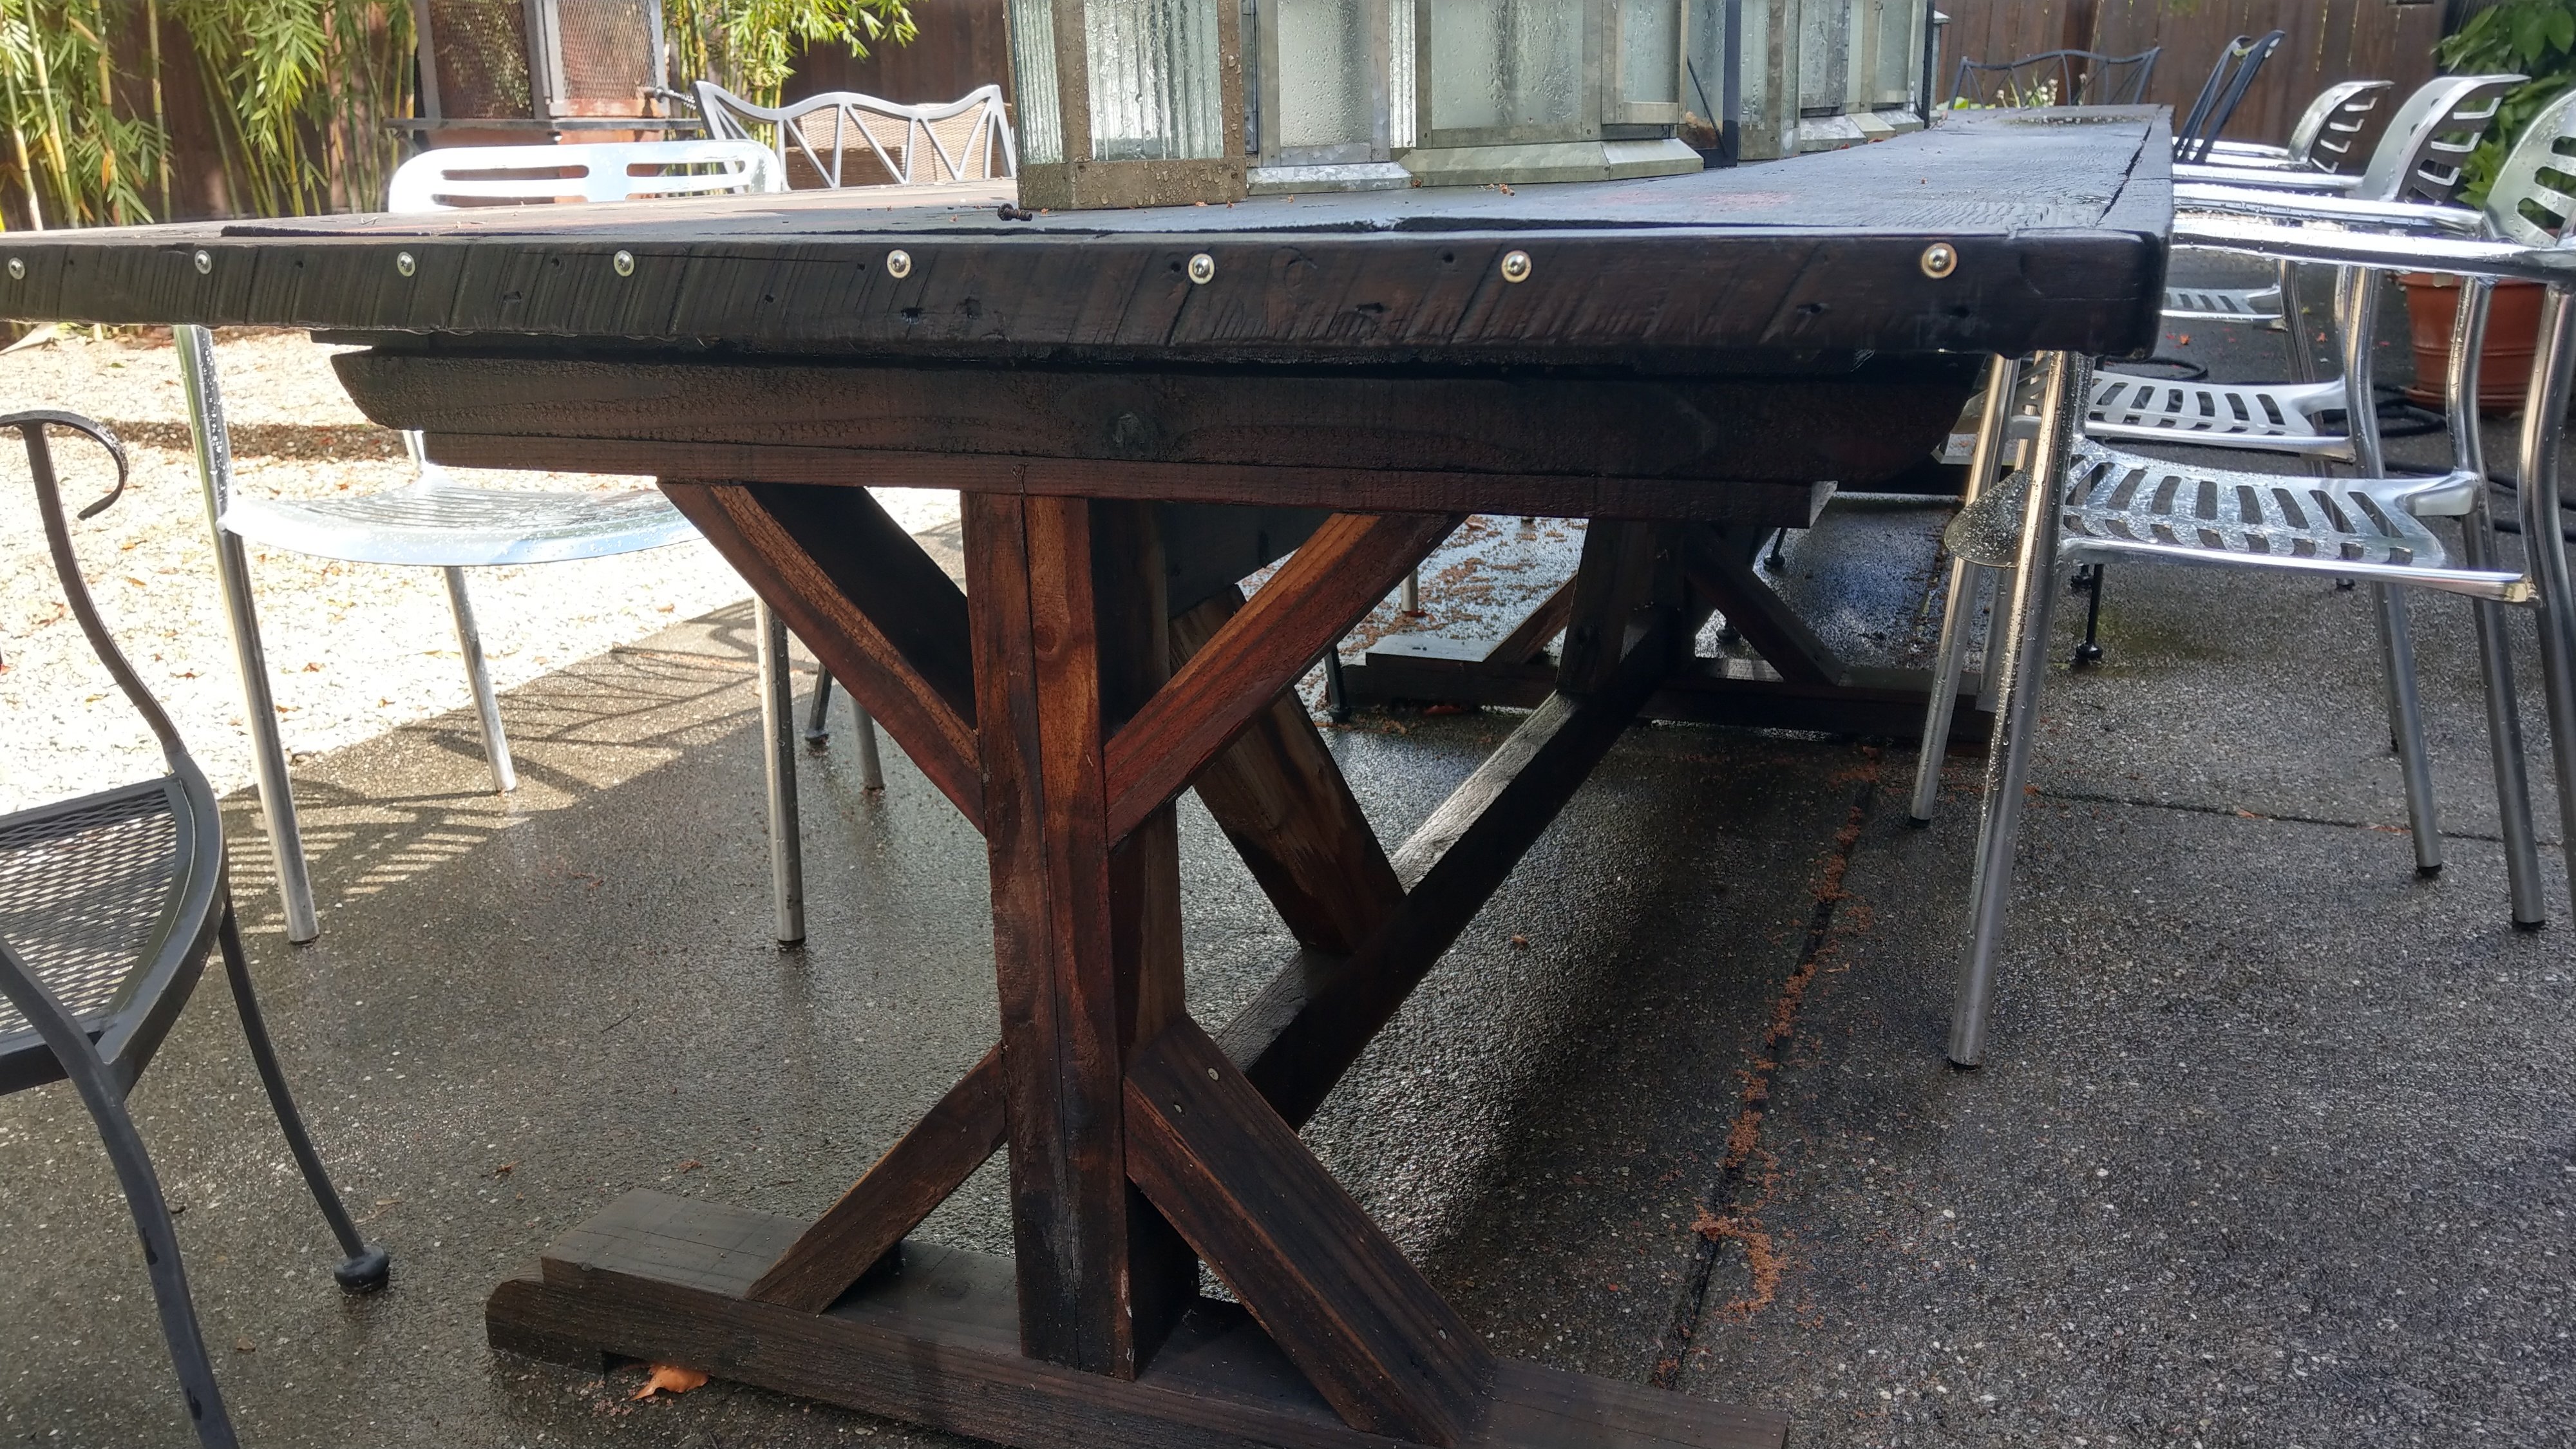
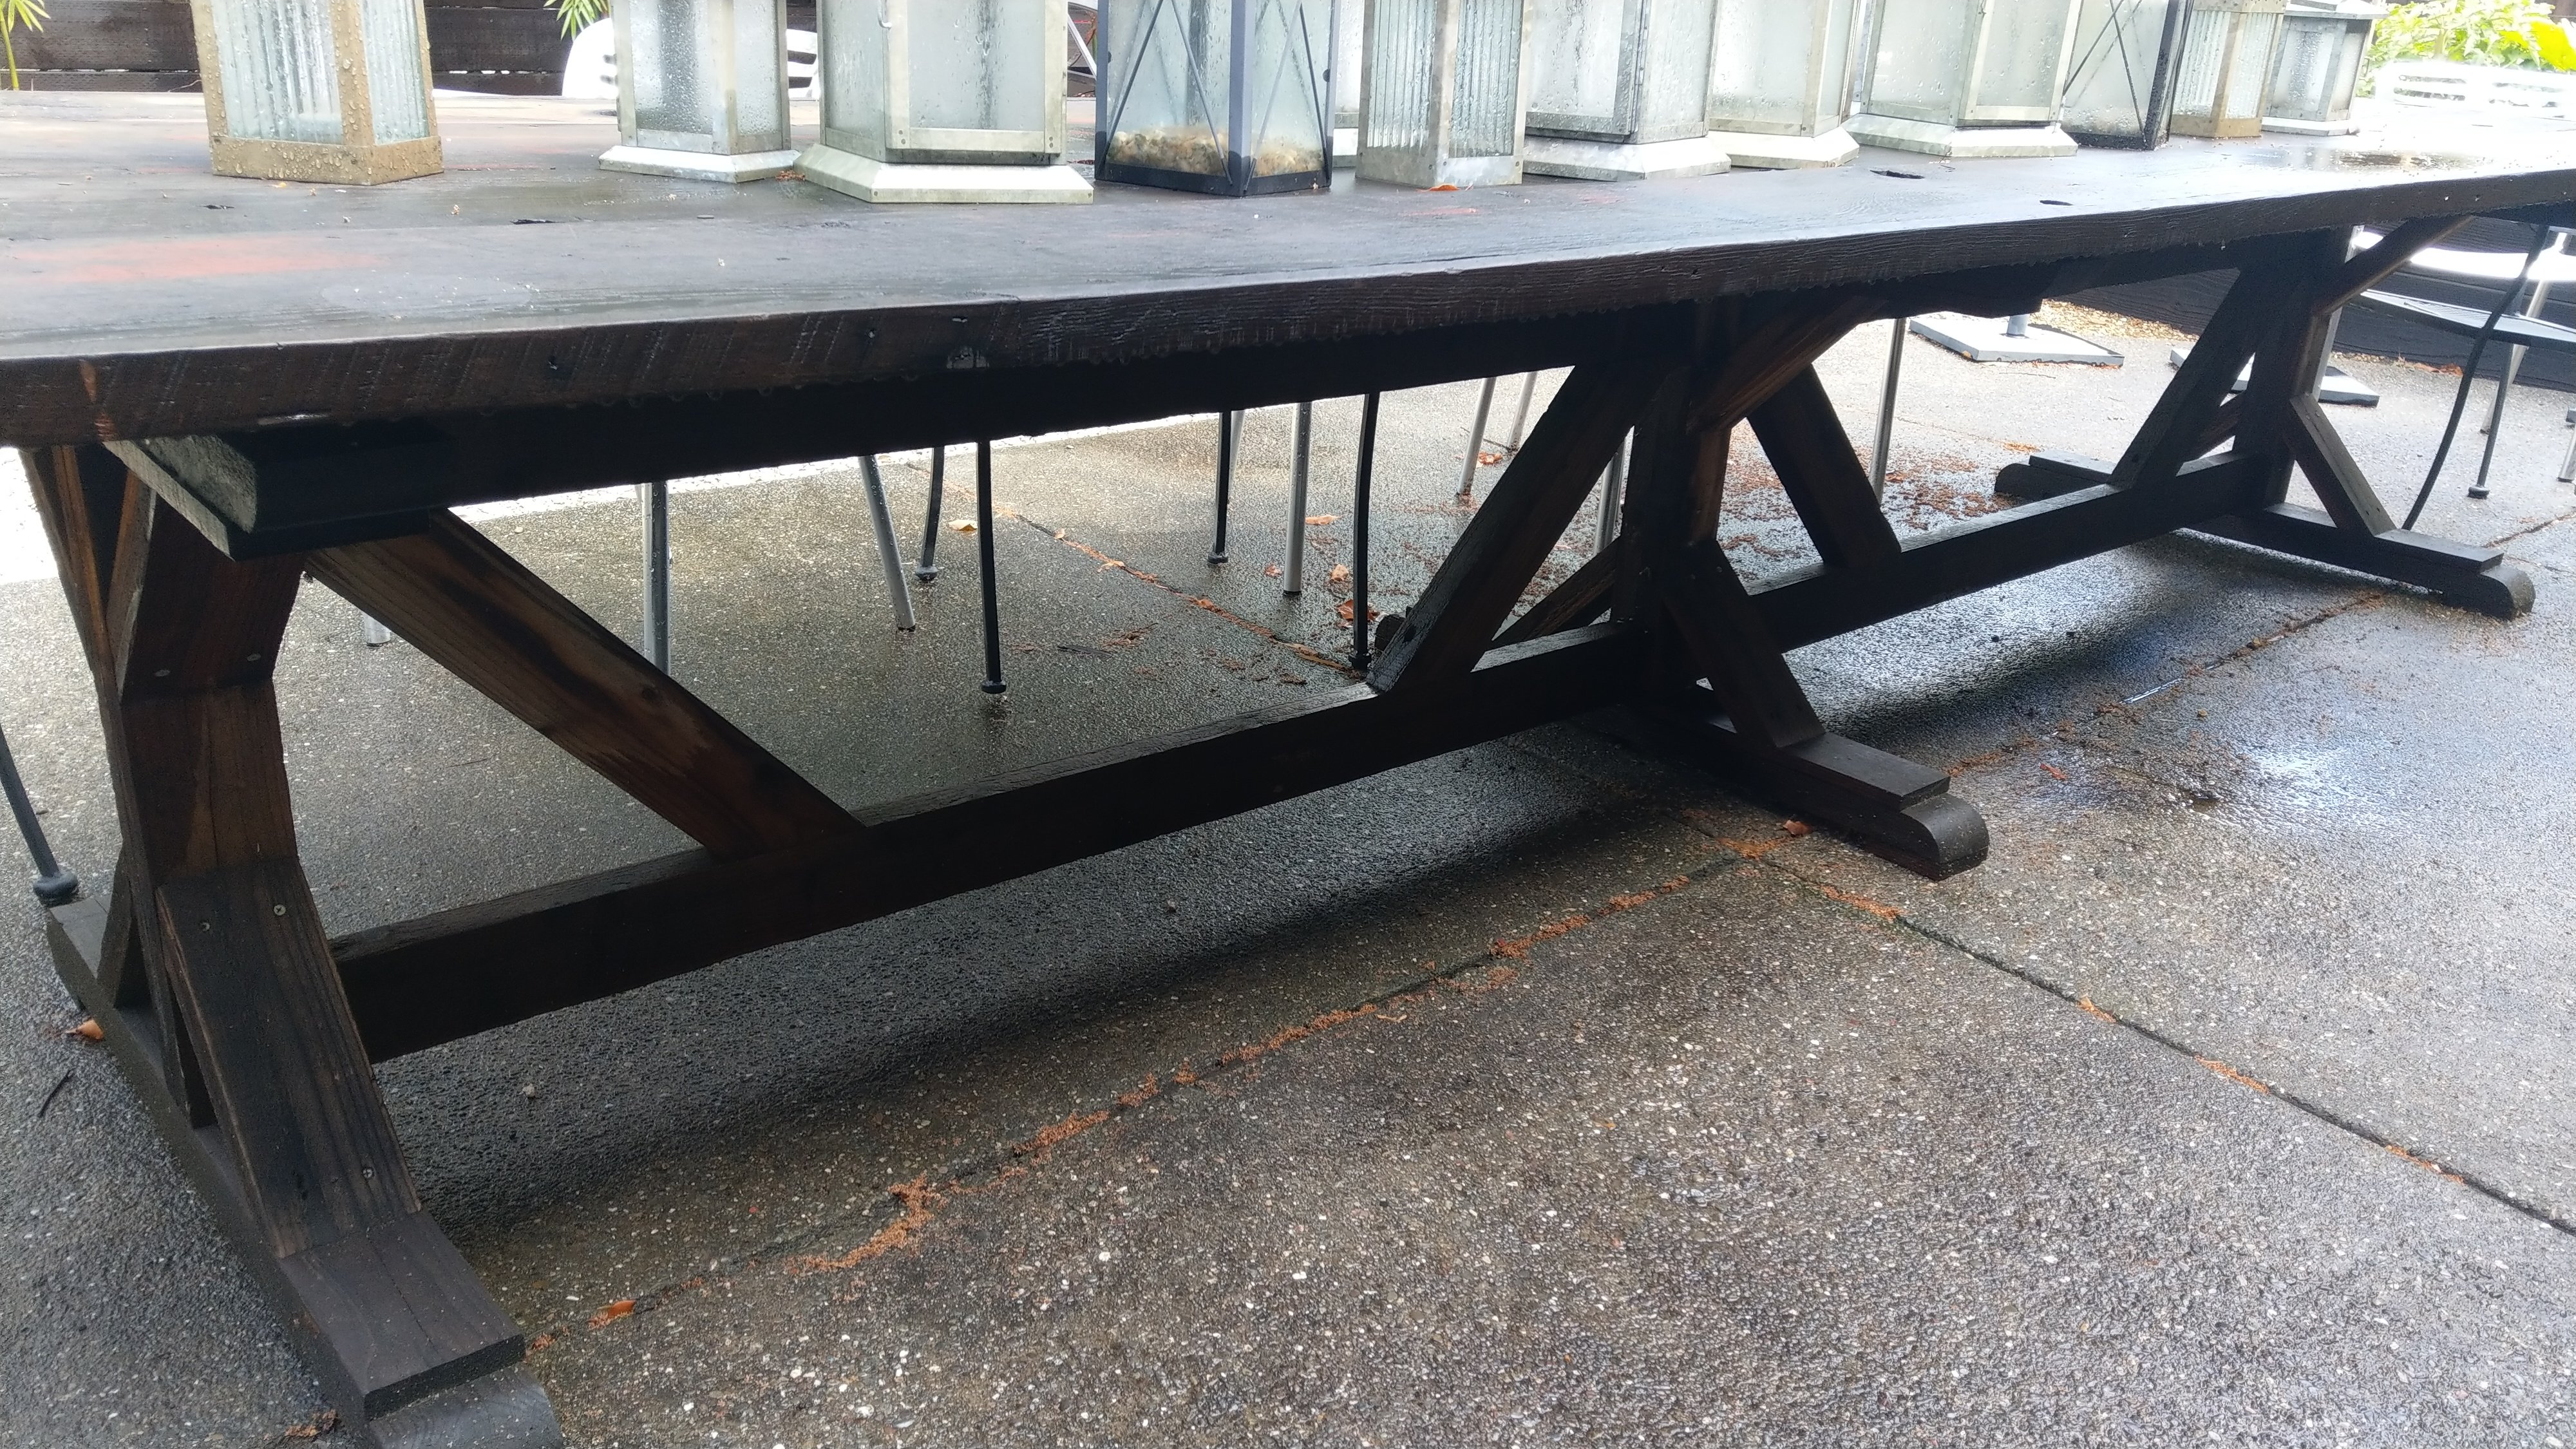
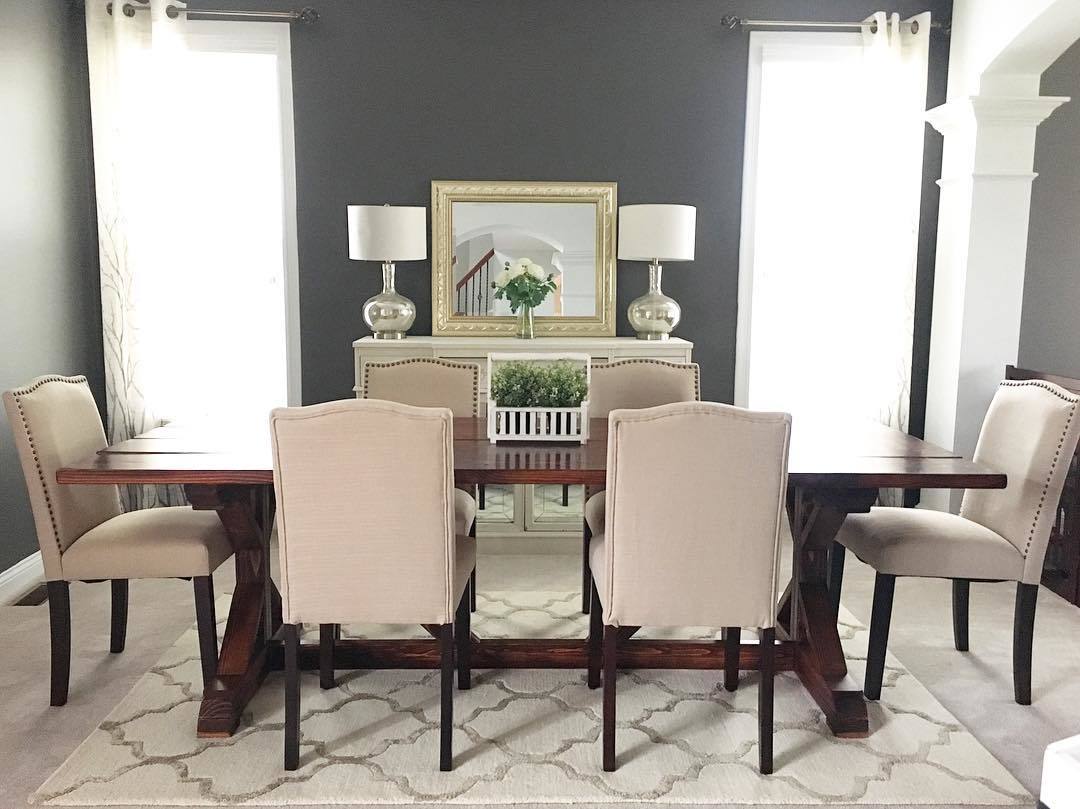
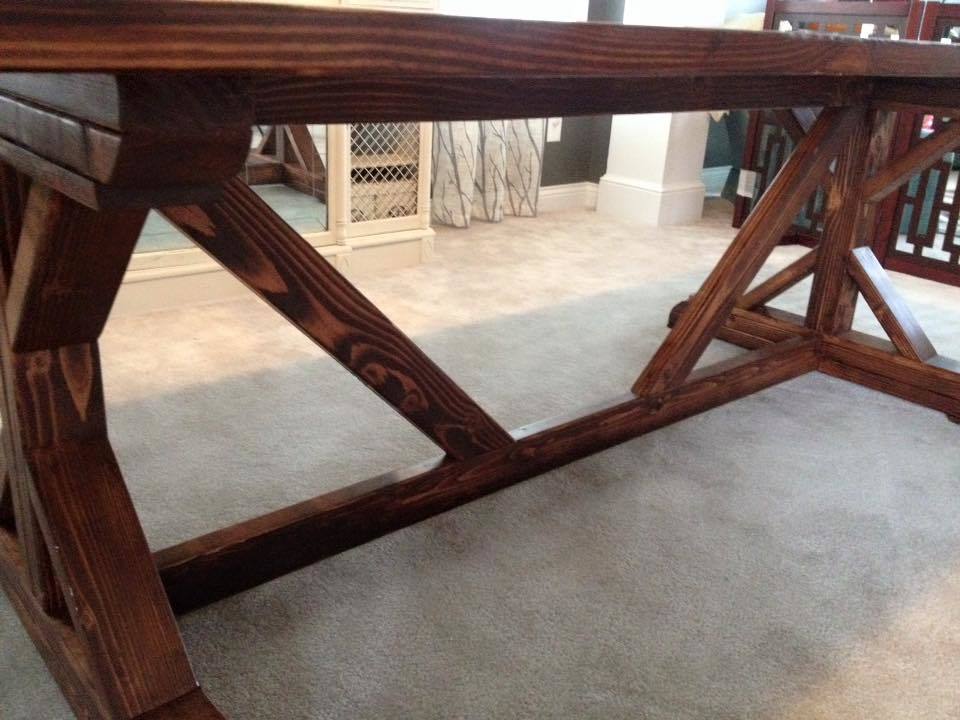
Fancy X Farmhouse table

Submitted by rjgold on Tue, 05/21/2019 - 12:47

I came across some 18'x12"x1" (actual size) boards that were milled around 1870.  These planks came out of the roof for the building.  Rather than cut them down I just built a "double frame"

I used 2x redwood for the frame.


Built from Plan(s)
Estimated Cost
$40
Estimated Time Investment
Week Long Project (20 Hours or More)
Finish Used
Thompsons water sealer
Recommended Skill Level
Intermediate

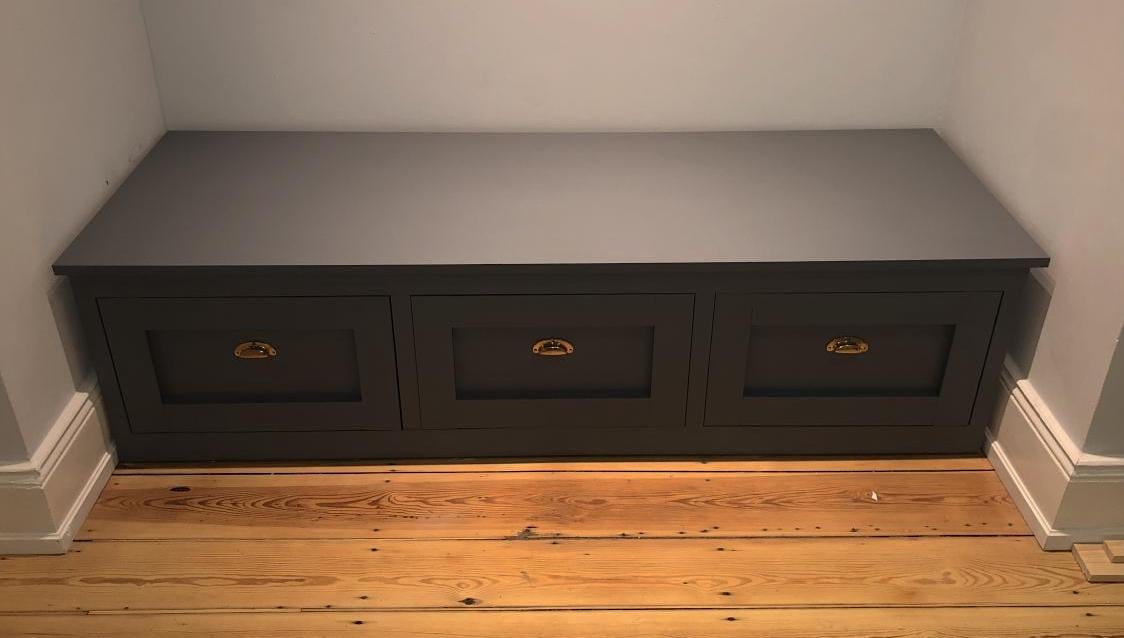
Mudroom bench with easy drawers

Submitted by barben1976 on Mon, 06/10/2019 - 13:17

Not as easy at it seems... but also, this was one of my very first woodworking projects.

Built from Plan(s)
Estimated Time Investment
Week Long Project (20 Hours or More)
Recommended Skill Level
Starter Project

Comments

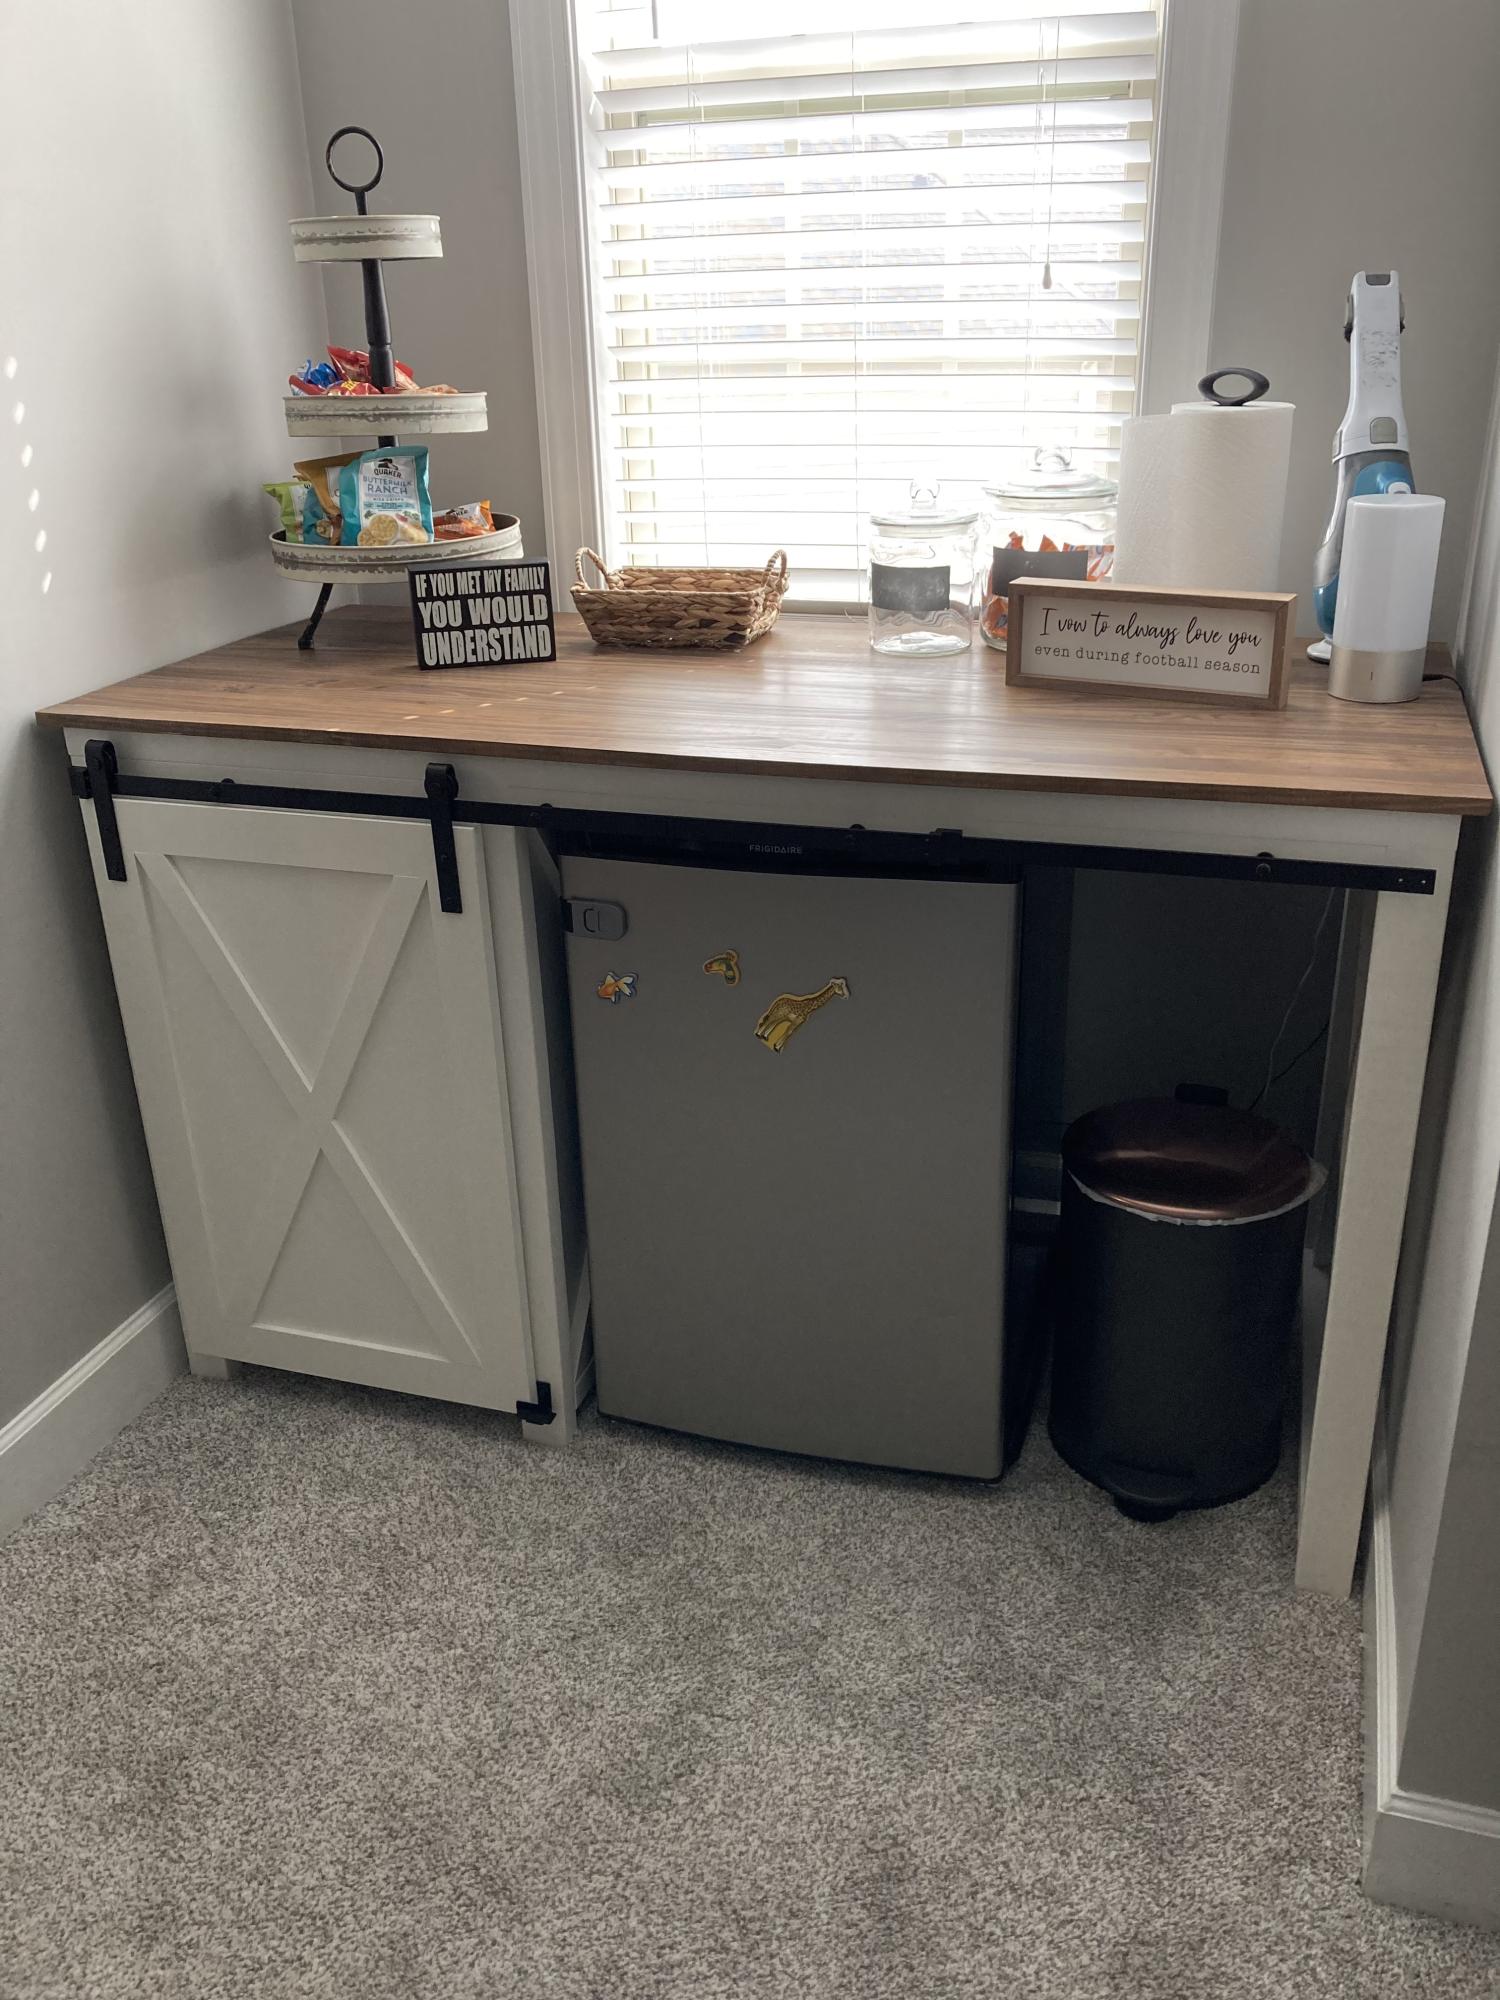
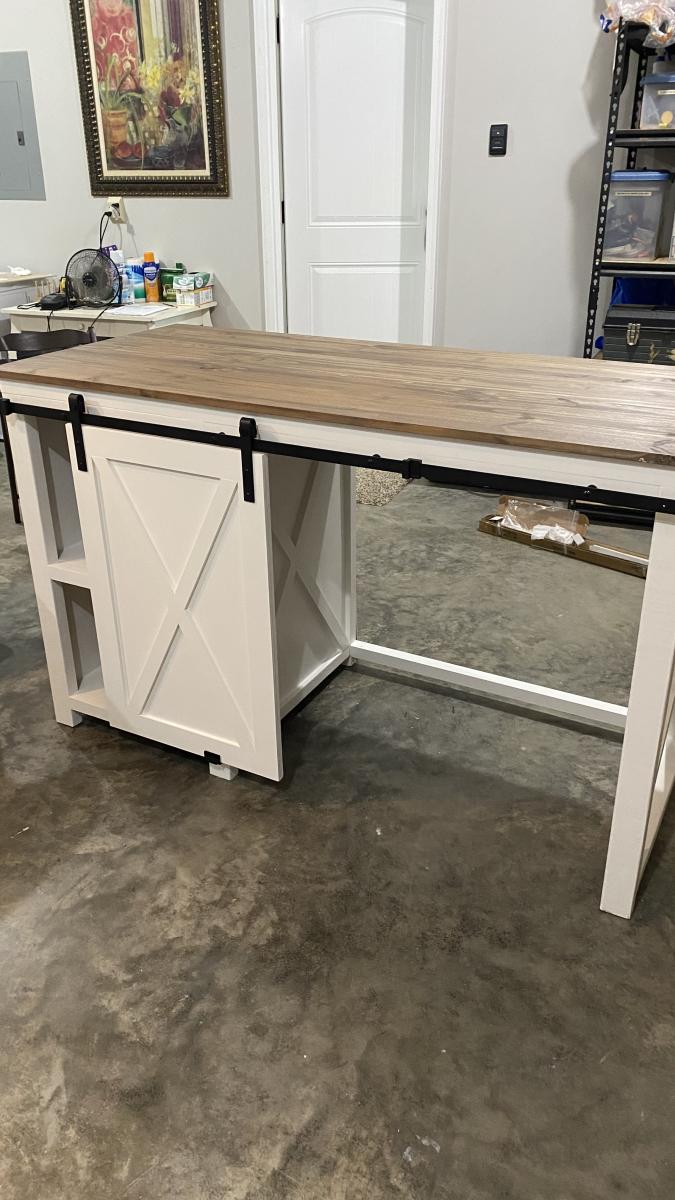
Snack Cabinet to fit dormer

Submitted by Anonymous (not verified) on Sat, 03/25/2023 - 10:05

Our son and his wife wanted a snack cabinet in their bonus room dormer. My husband and I used your Farmhouse Desk plan and tweaked it with your Barn Door Cabinet plan. They love it! It was a first cabinet build for us and we were proud! You are our go to for ideas and plans. Thank you!

Comments

Ammon's Art Desk

Submitted by dmcarwin on Mon, 12/26/2011 - 17:31

Yea! I made this for my second boy for Christmas. He wanted yet another art set. When I saw the plans I knew I had to make it! Ana I love you and your site and your amazing ideas! Thank you, thank you, thank you!

After reading all the comments I decided to make the desk part a little wider on each side to make room for the hinges. It worked great. The hinges did rub so I just got out a pocket knife and put some notches where they were rubbing...problem solved! My son loves it and I love that he has somewhere to hide his stuff!

Built from Plan(s)
Estimated Cost
$15 - Mostly for hinges, and hinge supports, hook, and D-rings. I used wood from the cull at HD. I had the moulding on hand. What can I say, I am cheap!
Estimated Time Investment
Afternoon Project (3-6 Hours)
Finish Used
I used a tint sample from the oops paint section. Three coats of chalkboard paint.
Recommended Skill Level
Beginner

Comments

Guest (not verified)

Tue, 03/13/2012 - 20:16

I have been flipping back and forth trying to figure out how to install the hinges. I just realized you made the desk top larger to allow the hinge installation on the outside. Now I can get back to work!

In reply to by Guest (not verified)

dmcarwin

Wed, 03/14/2012 - 08:27

Yes that was the big concern with this desk. Making the desk top larger and putting the hinges on the outside seemed the easiest way for me. I did have to cut little notches in the wood for the hinges to slide freely but it works. My son uses it all the time and I am so glad that I made it! Good luck!

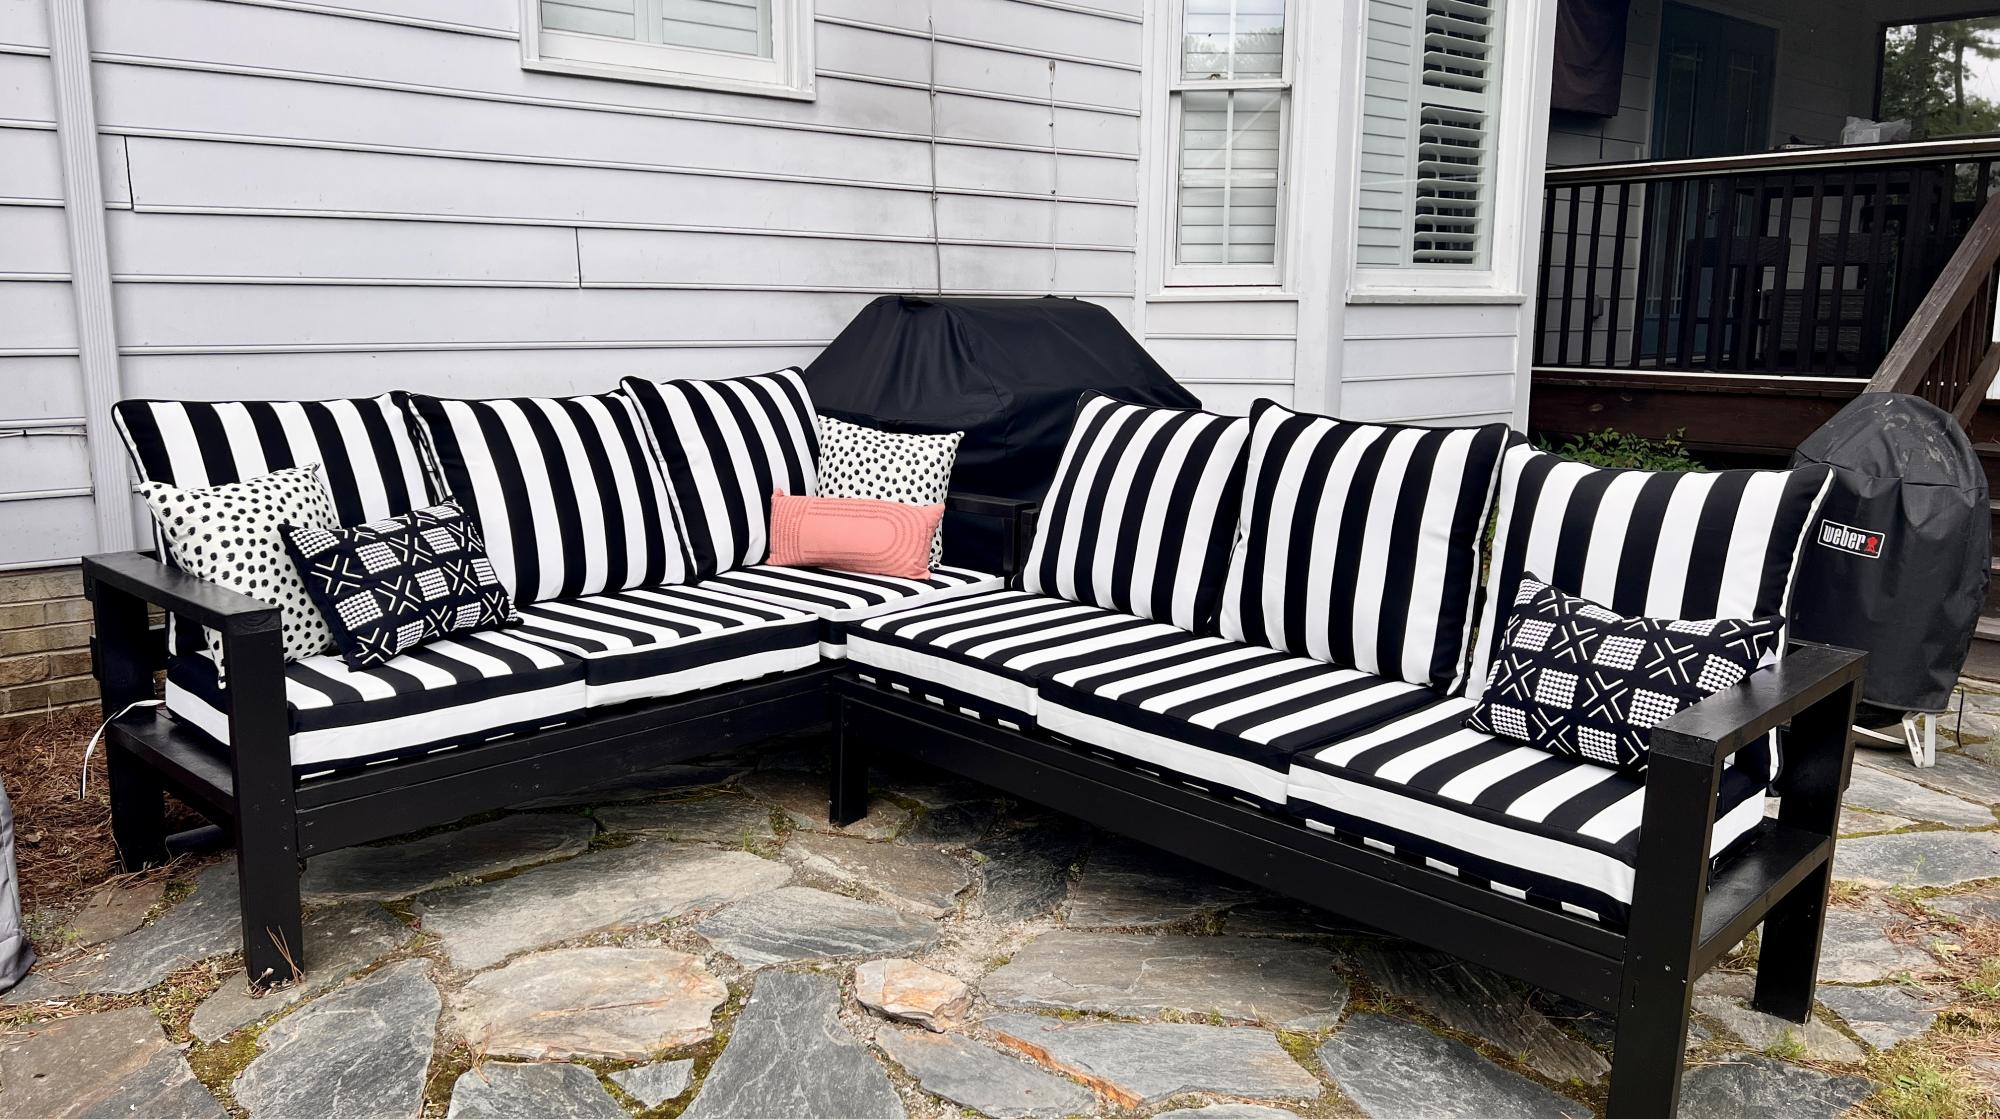
Outdoor Sectional

Submitted by Anonymous (not verified) on Sat, 05/27/2023 - 09:15

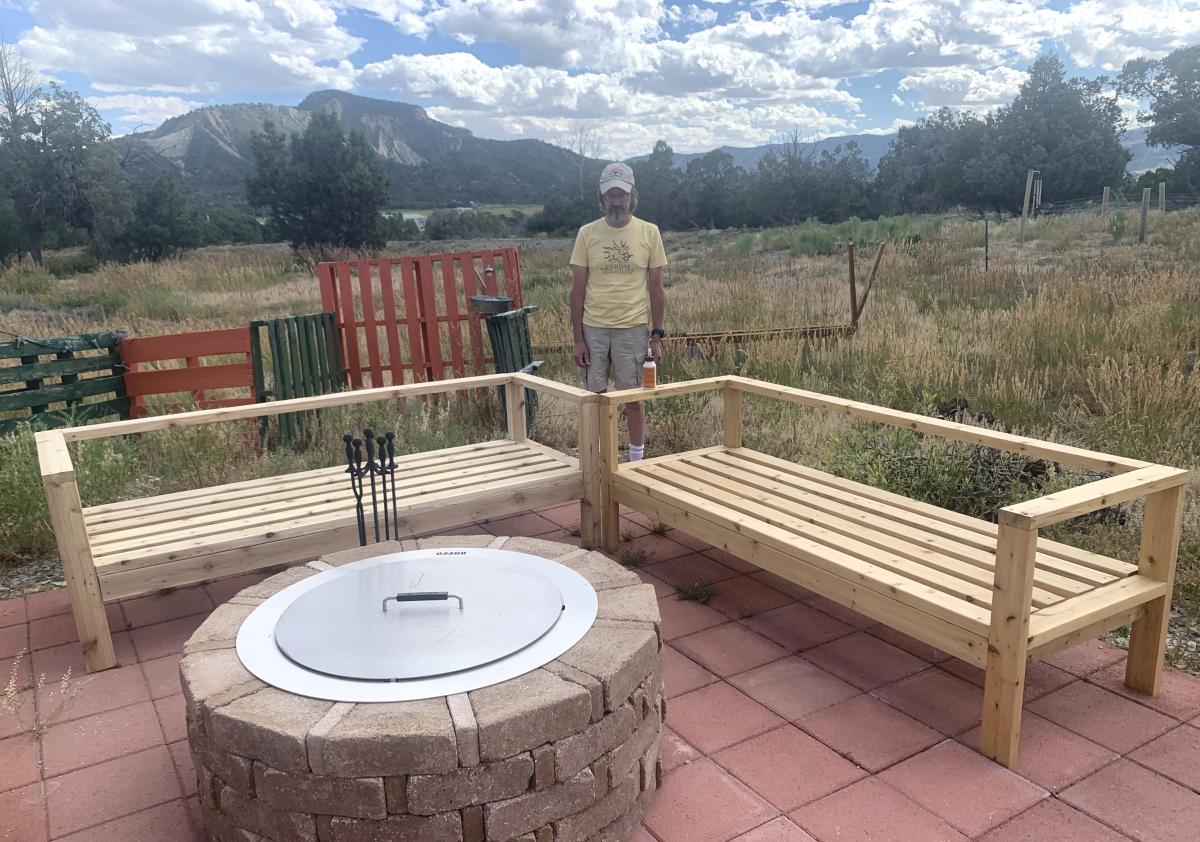
Sectional painted with Glidden semigloss exterior paint in Phantom Mist. Cushions from Overstock and pillows from Homegoods.

Comments

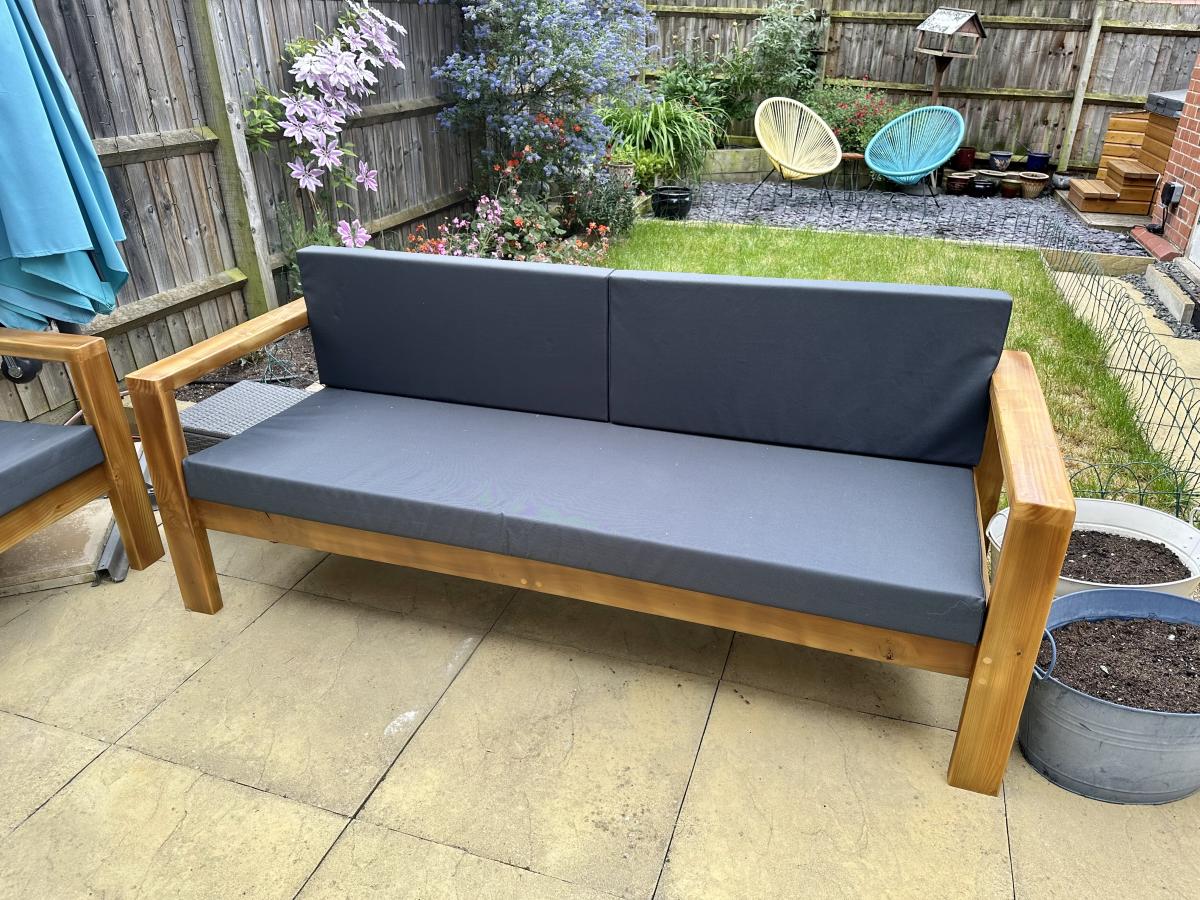
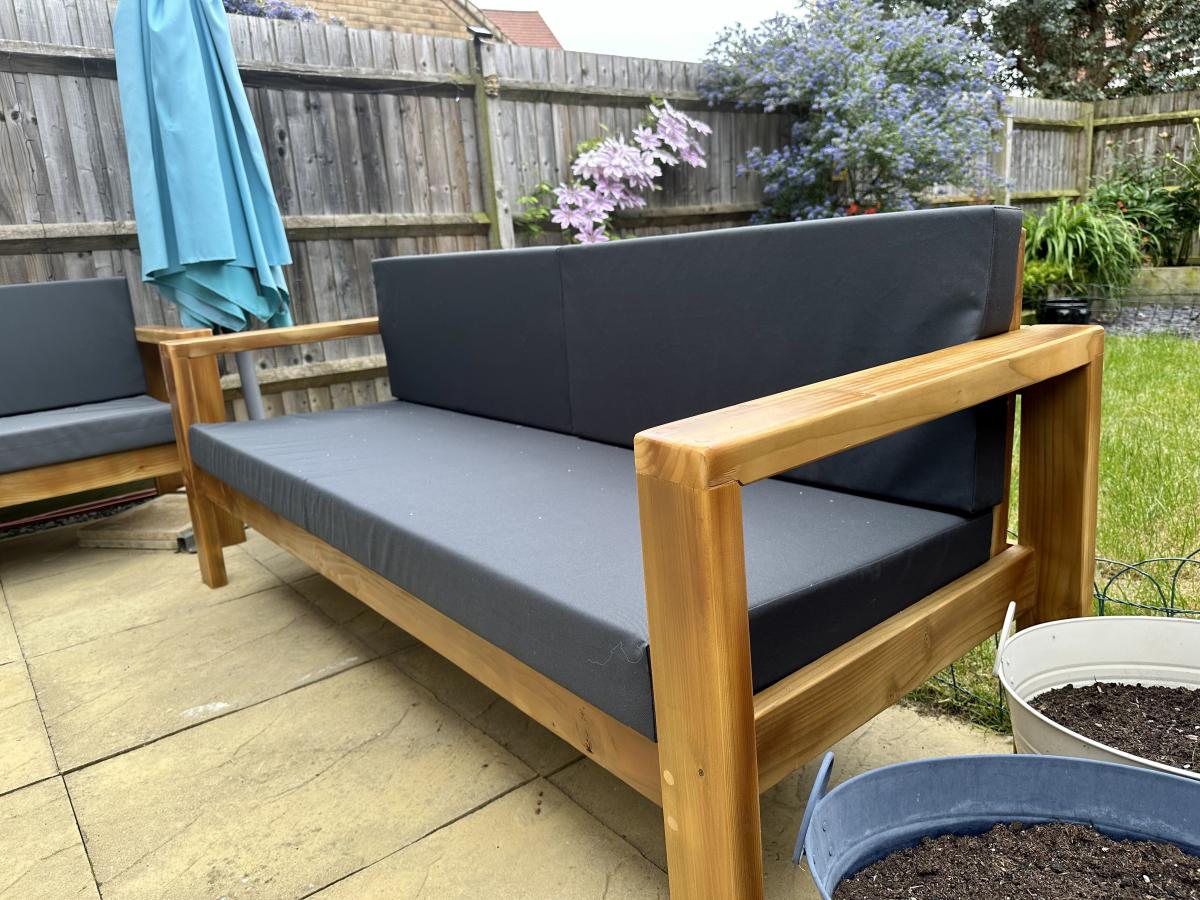
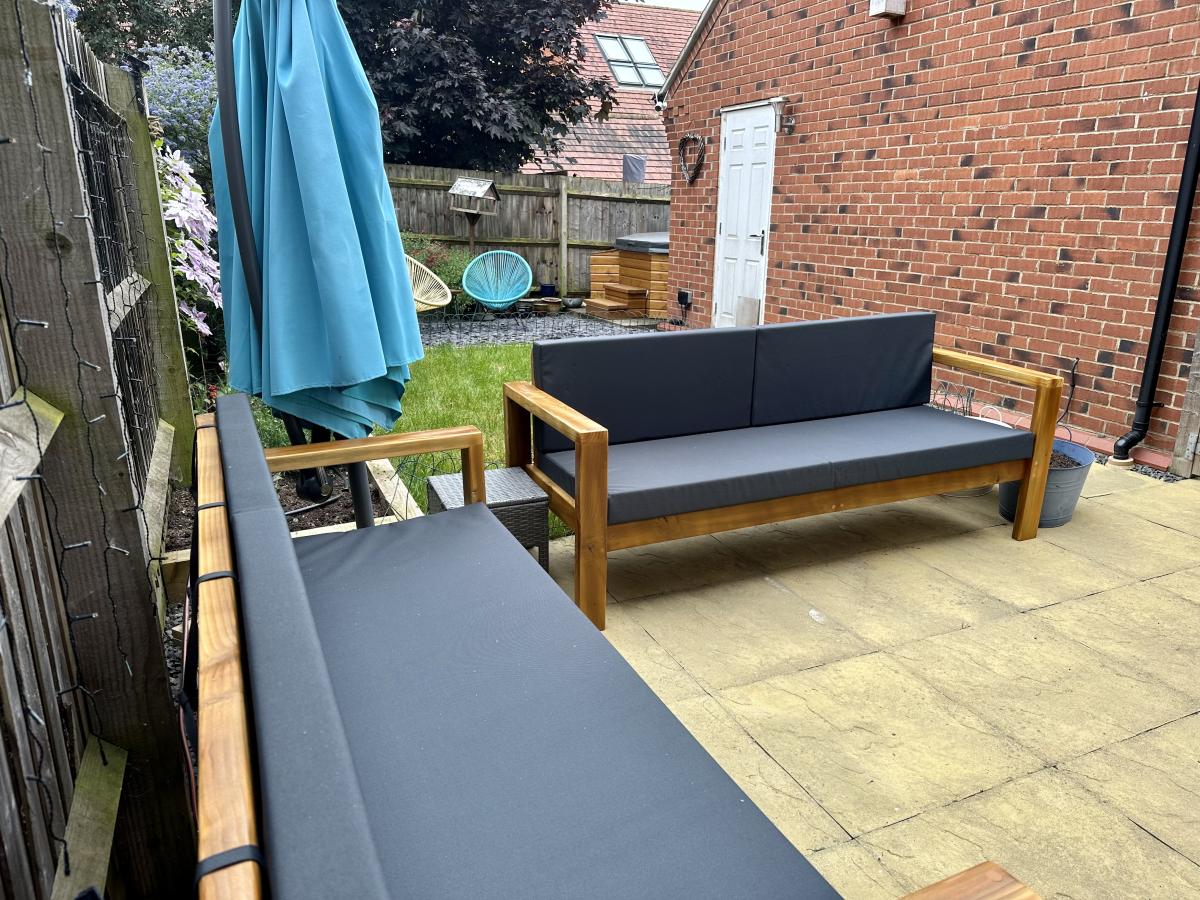
Outdoor sofas

Submitted by Anonymous (not verified) on Fri, 06/09/2023 - 11:24

These were inspired from a few different projects of Ana’s, great fun to build and have transformed our patio area

Comments

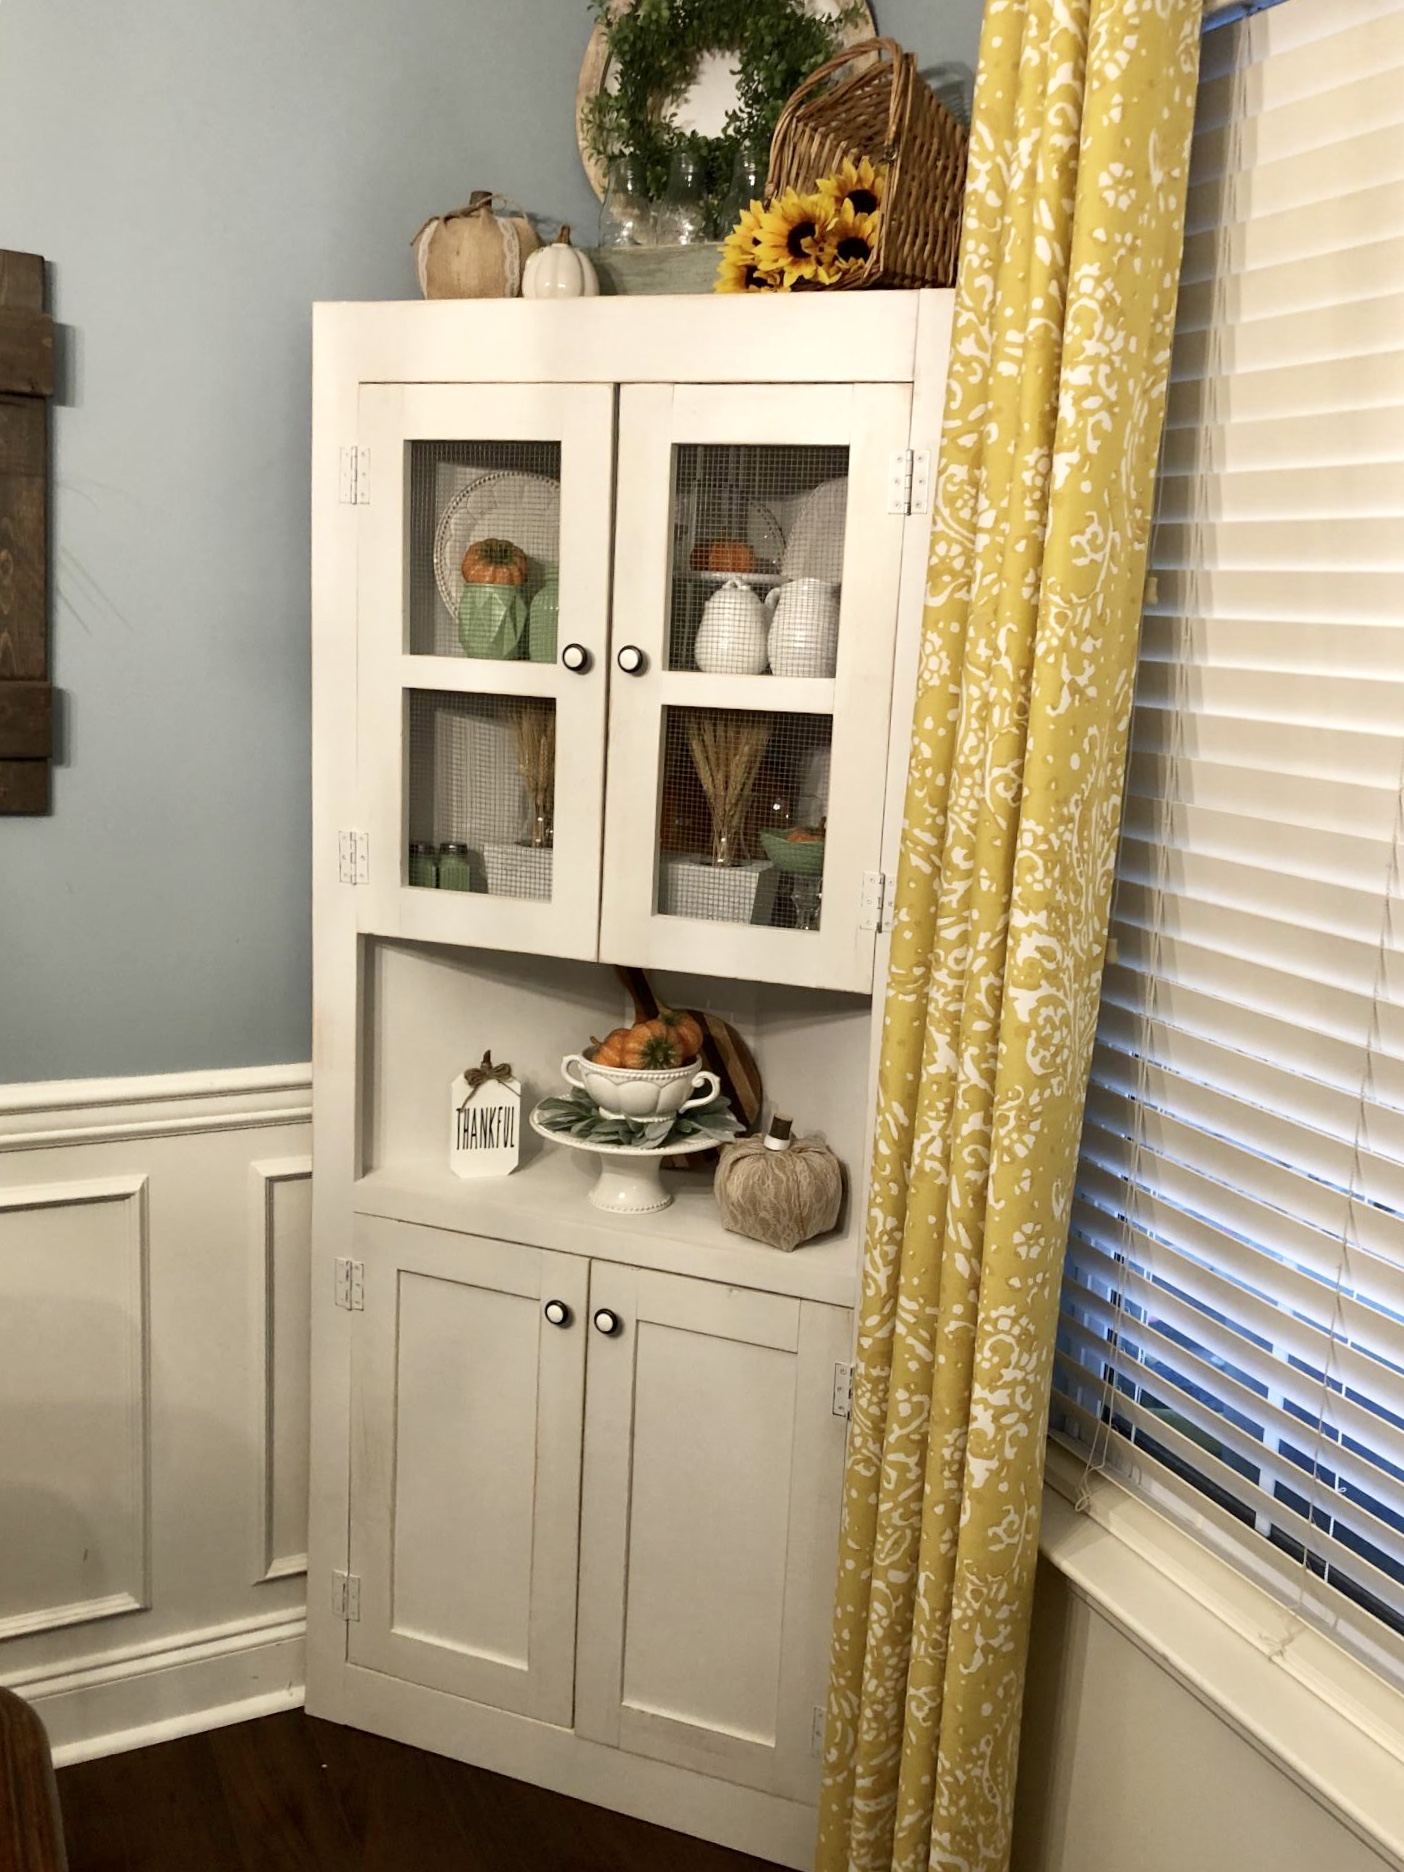
Corner cabinet

Submitted by Anonymous (not verified) on Thu, 10/03/2019 - 06:13

Wanted a corner cabinet for awhile and found Ana’s plans!! So easy and love my cabinet❤️

Built from Plan(s)

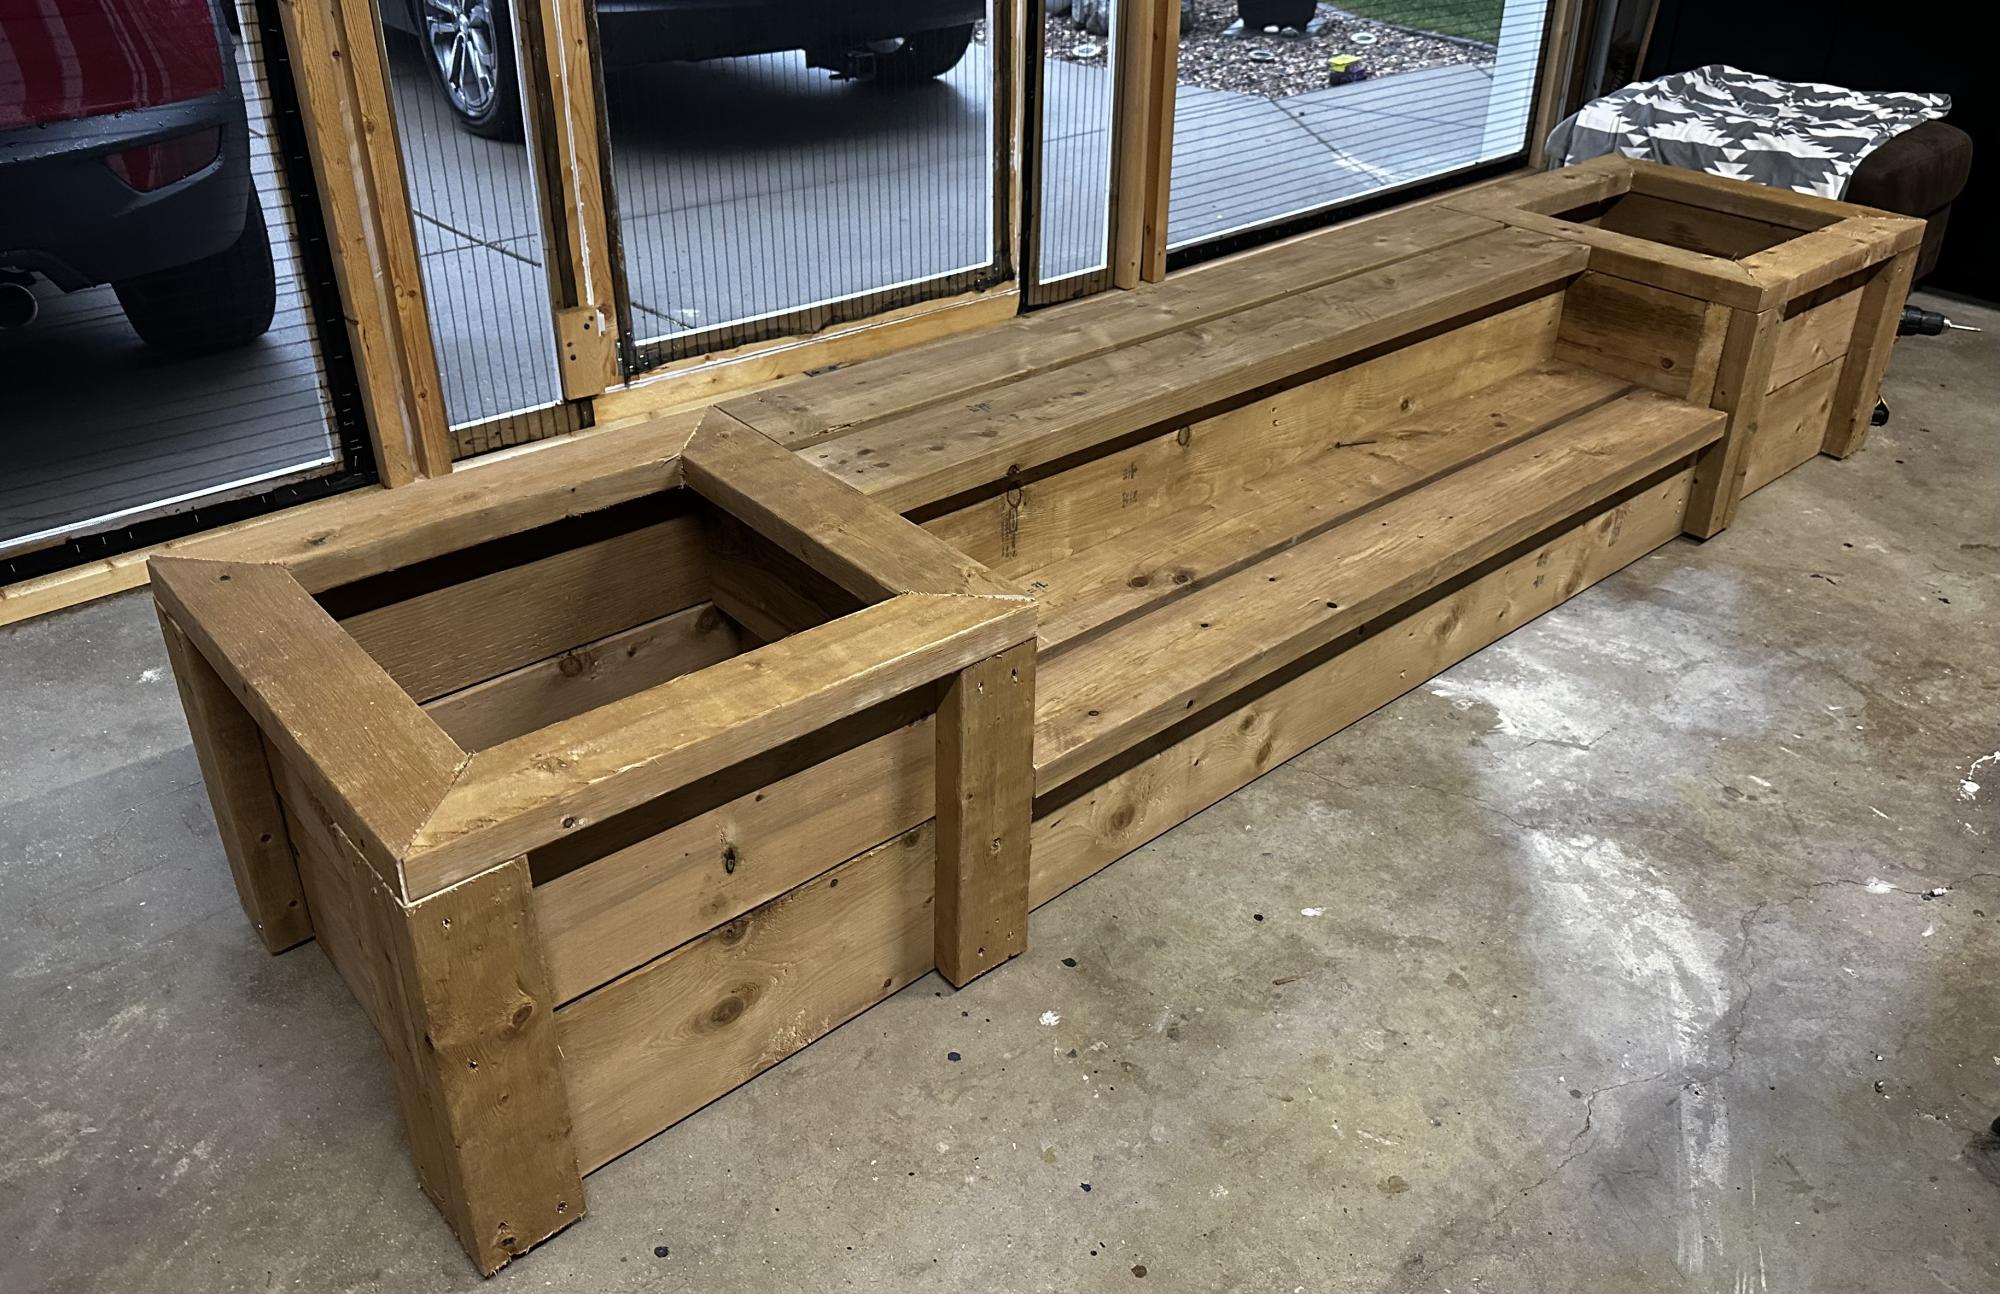
Outdoor Planter Steps or Bench

Submitted by Anonymous (not verified) on Wed, 06/14/2023 - 19:16

This was my first time doing a big project like this . Thank you for the plan for this.

Comments

Seasonal And Holiday

Playhouse Loft Bed

Submitted by dryton1 on Mon, 12/30/2013 - 09:46

We built this kids playhouse for our 4 year old daughter for Christmas. We modified it from the playhouse loft bed with stairs, only we made it bigger and instead of stairs we installed a slide. Also rather than a ladder we put in a rock wall.

Built from Plan(s)
Estimated Cost
$400
Estimated Time Investment
Week Long Project (20 Hours or More)
Recommended Skill Level
Beginner

Farmhouse X Table

Submitted by Anonymous (not verified) on Sun, 03/13/2016 - 10:31

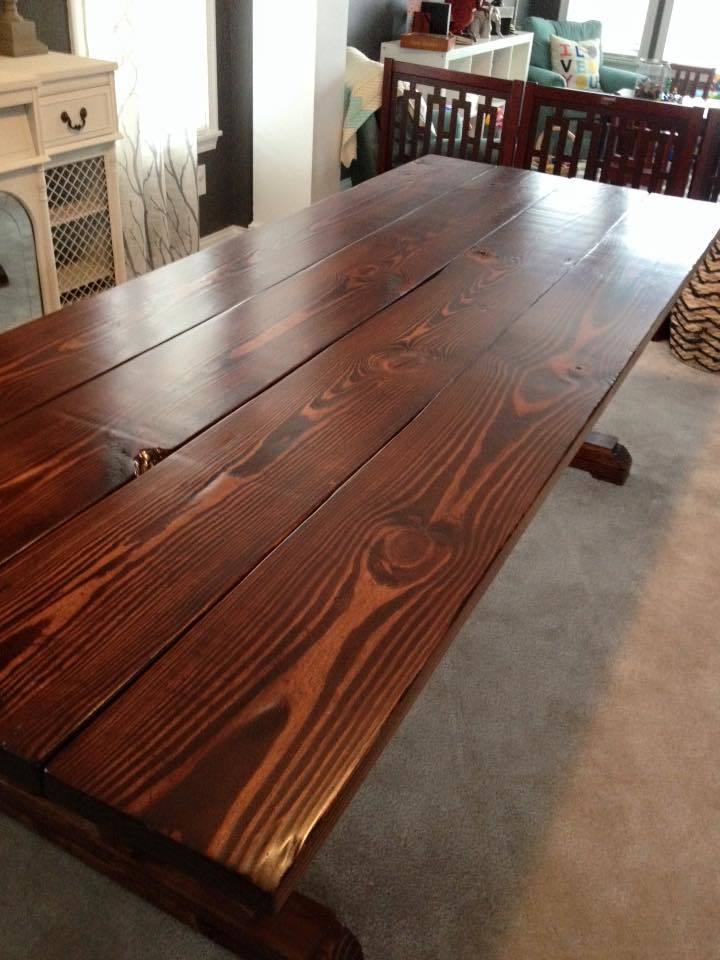
Pine wood with 2 coats of Minwax Mahogony Gel-Stain and 2 coats Minwax Semi-Gloss Polyurethane.

Built from Plan(s)
Recommended Skill Level
Intermediate

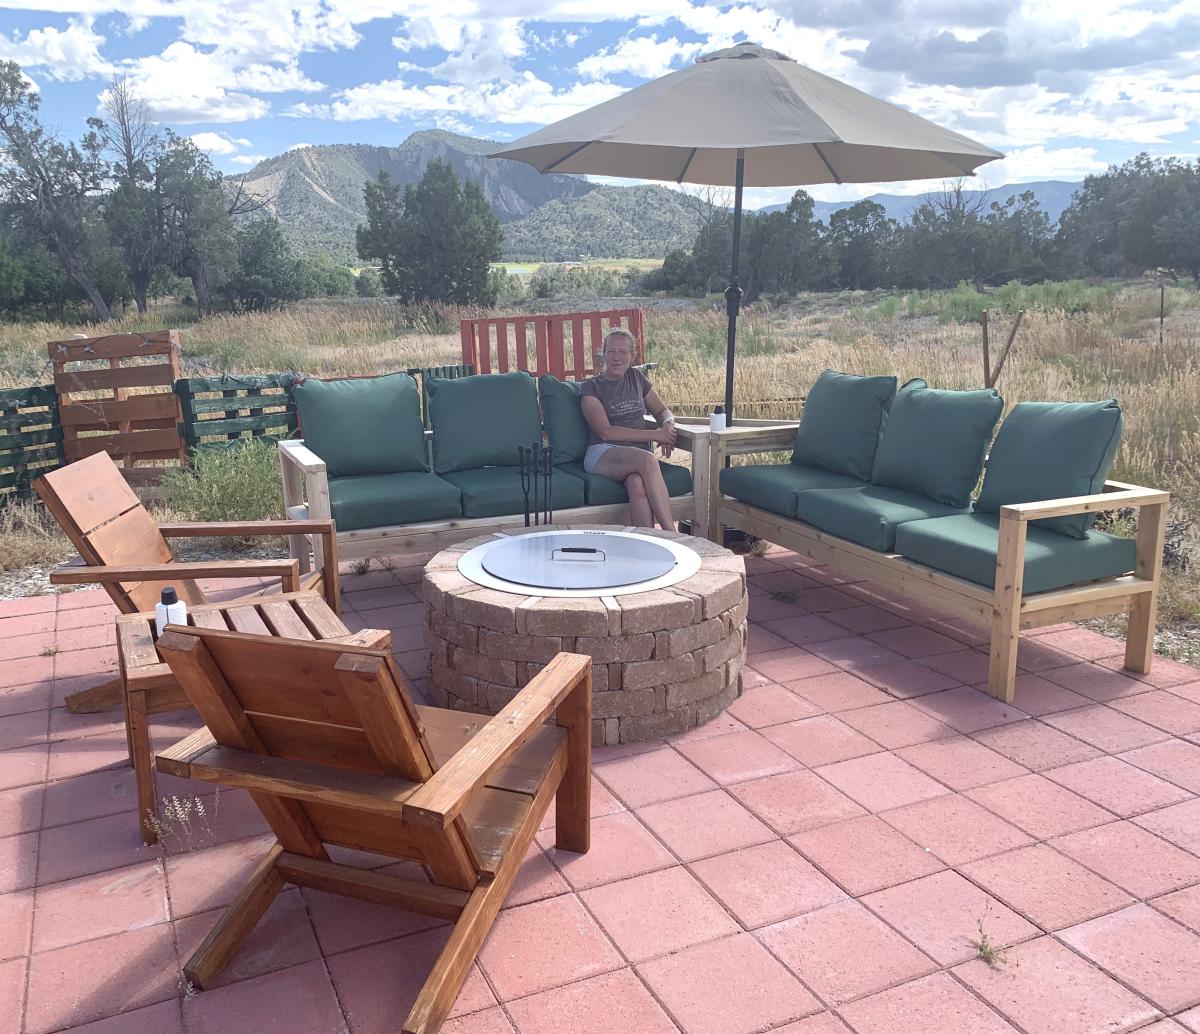
Outdoor Sectional with Corner Table and Umbrella

Submitted by Anonymous (not verified) on Wed, 07/12/2023 - 15:06

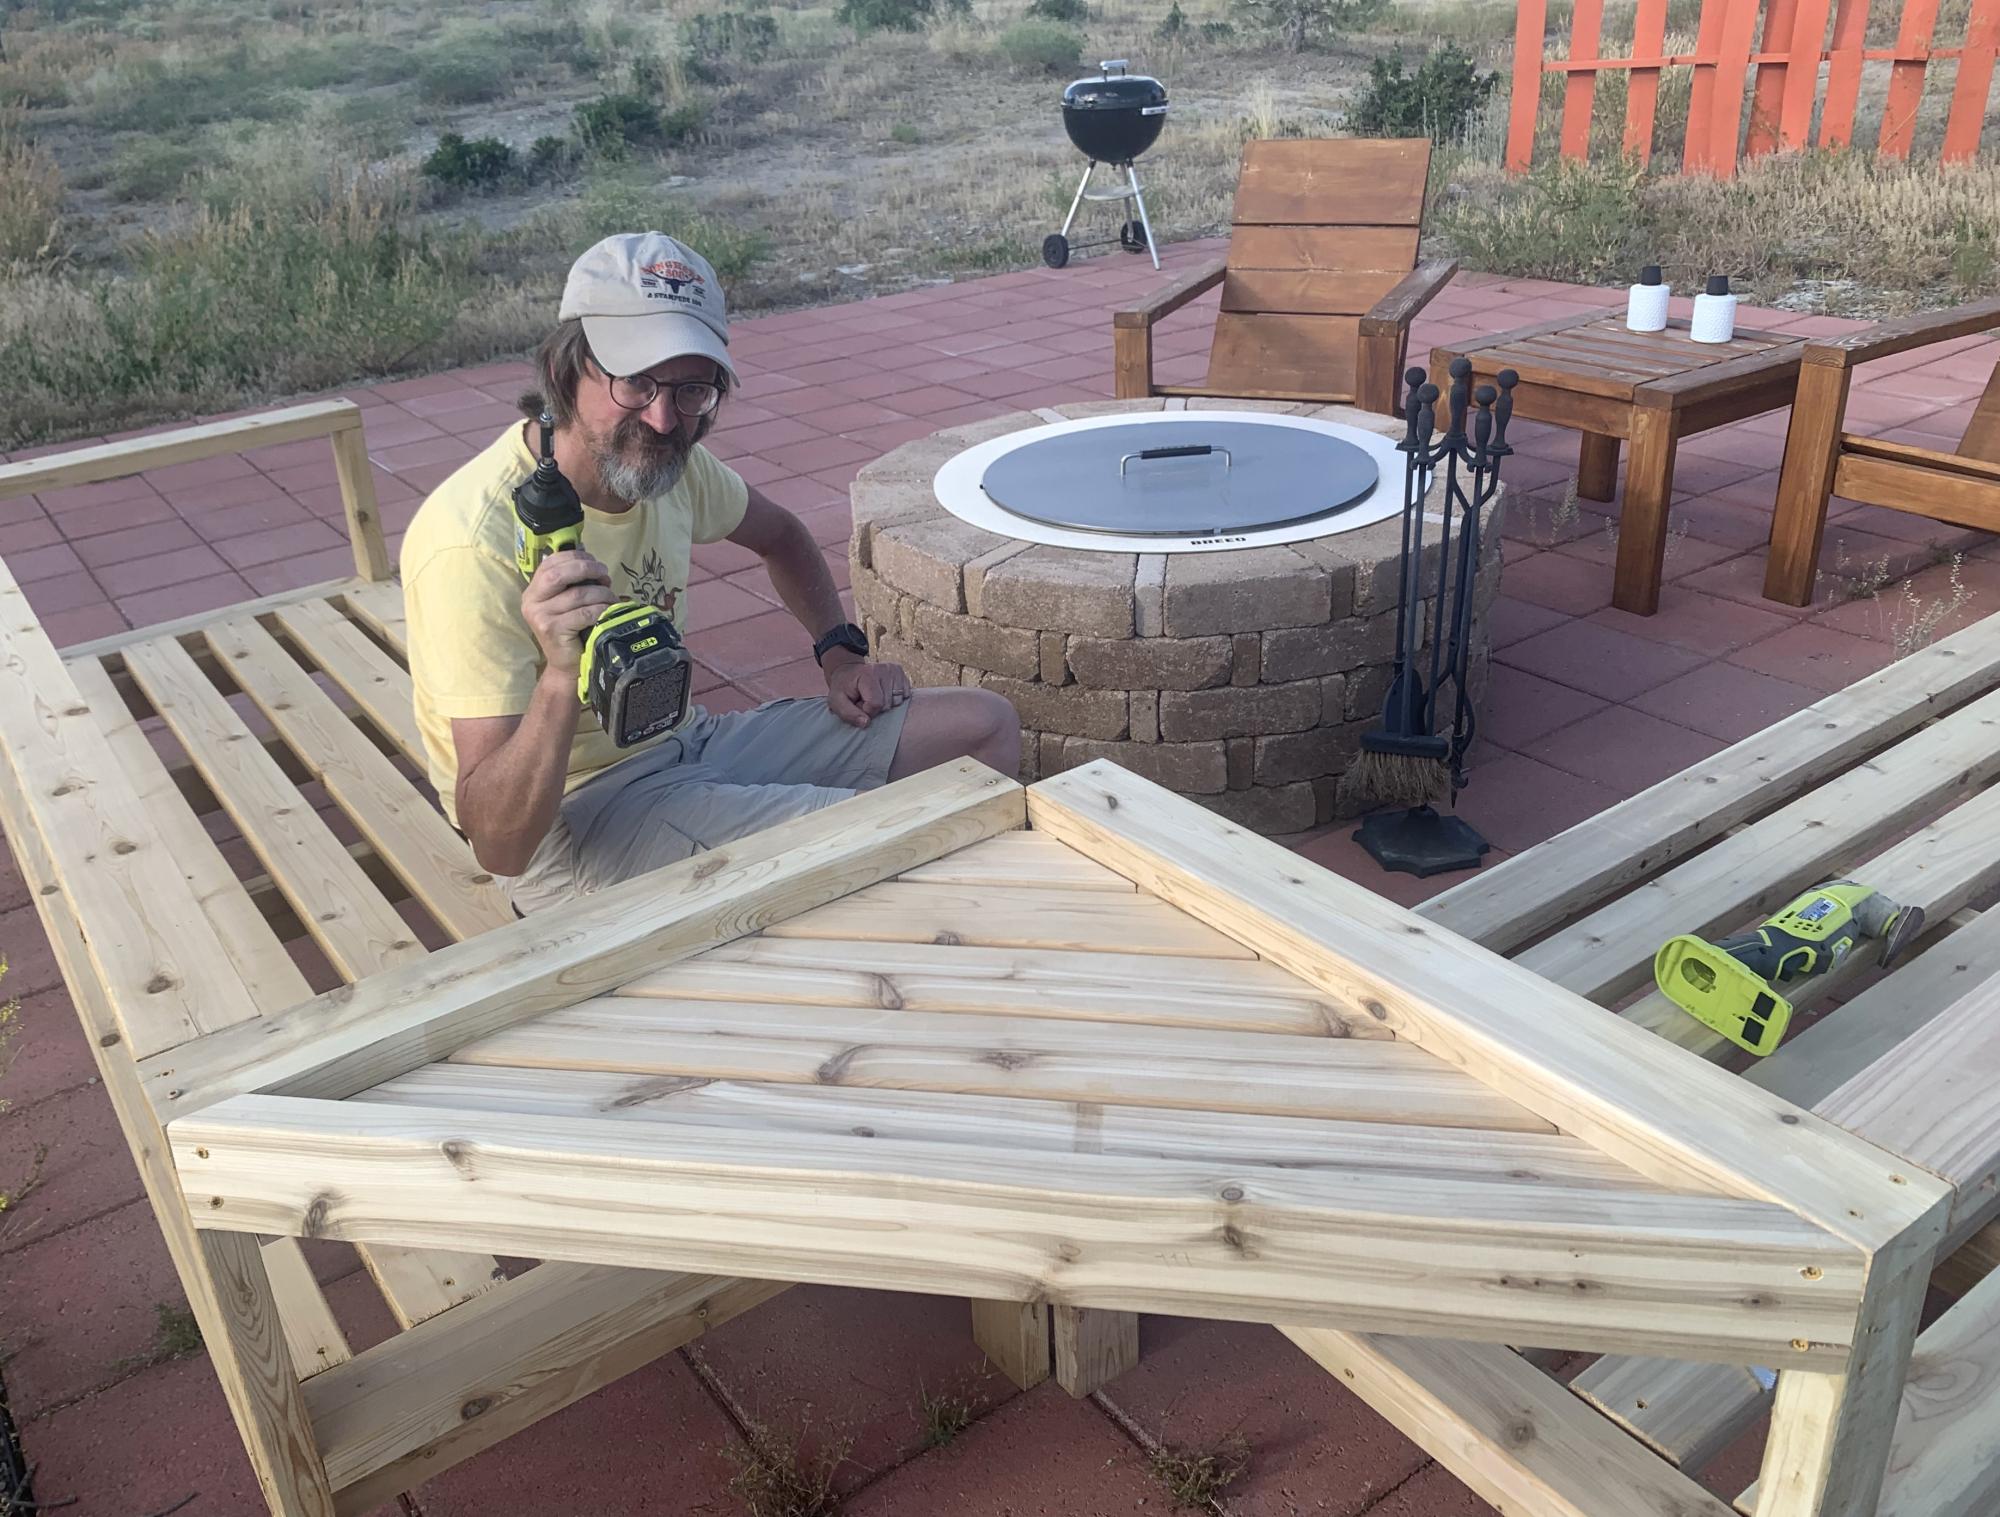
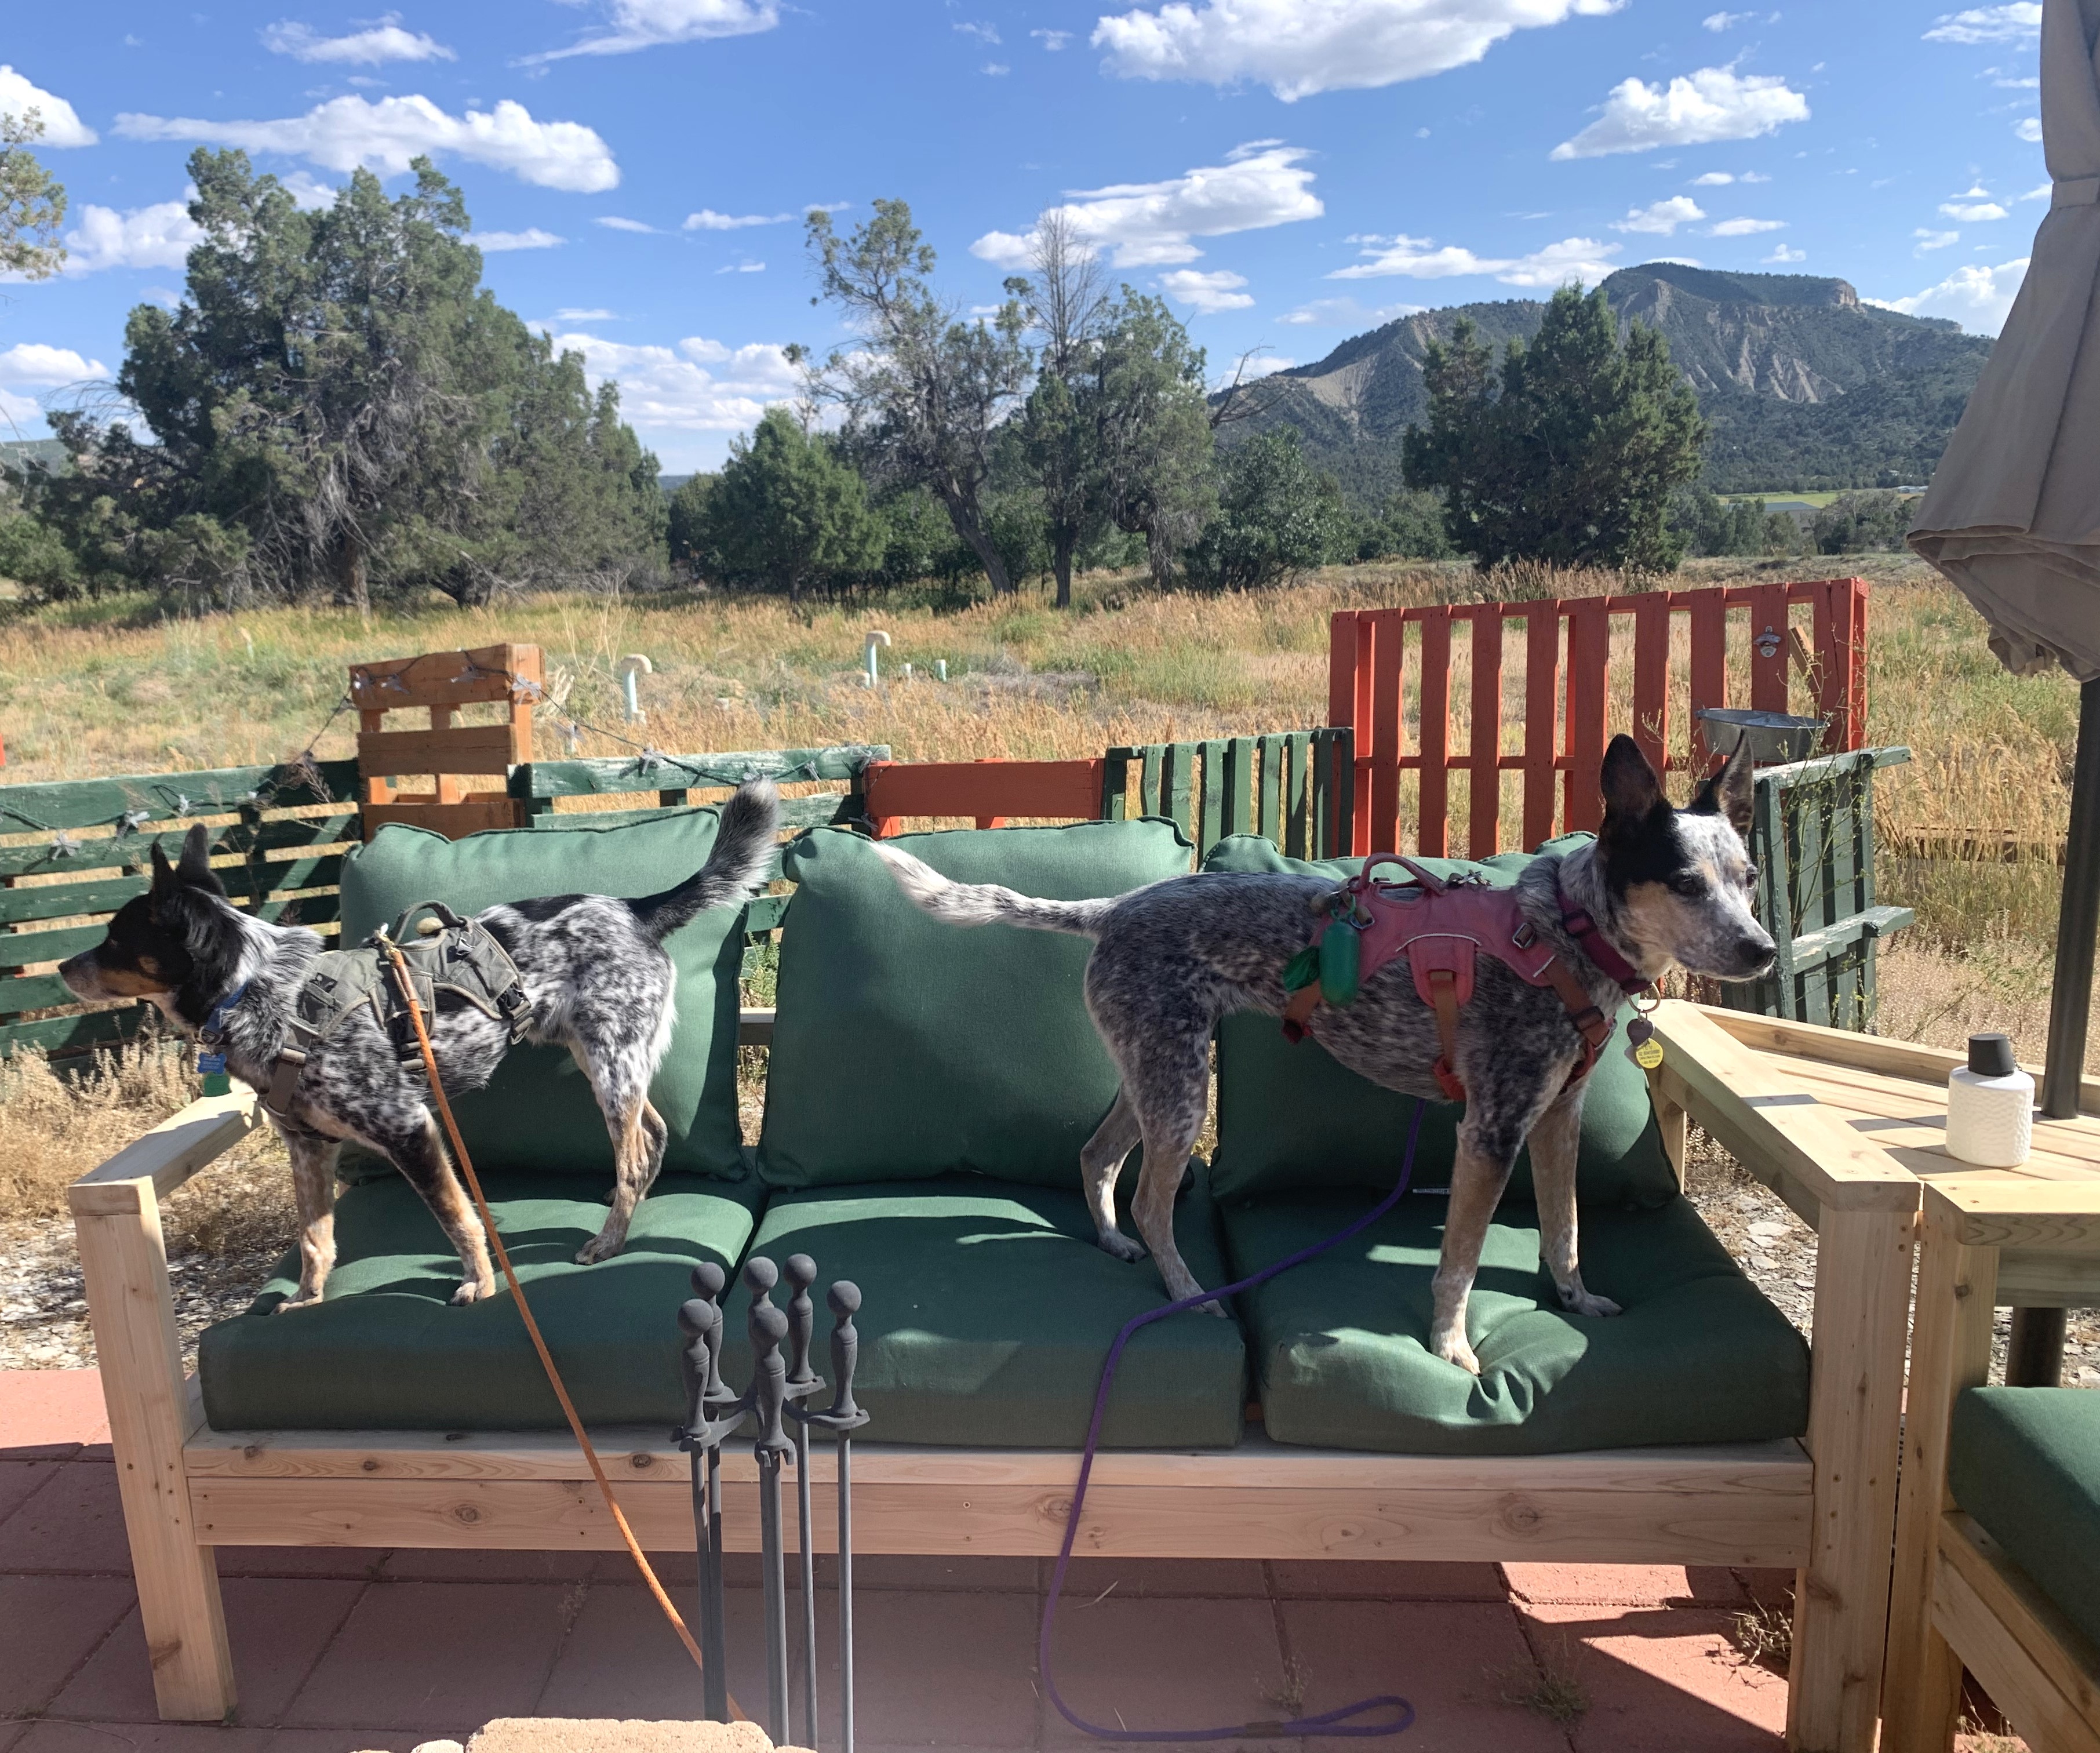
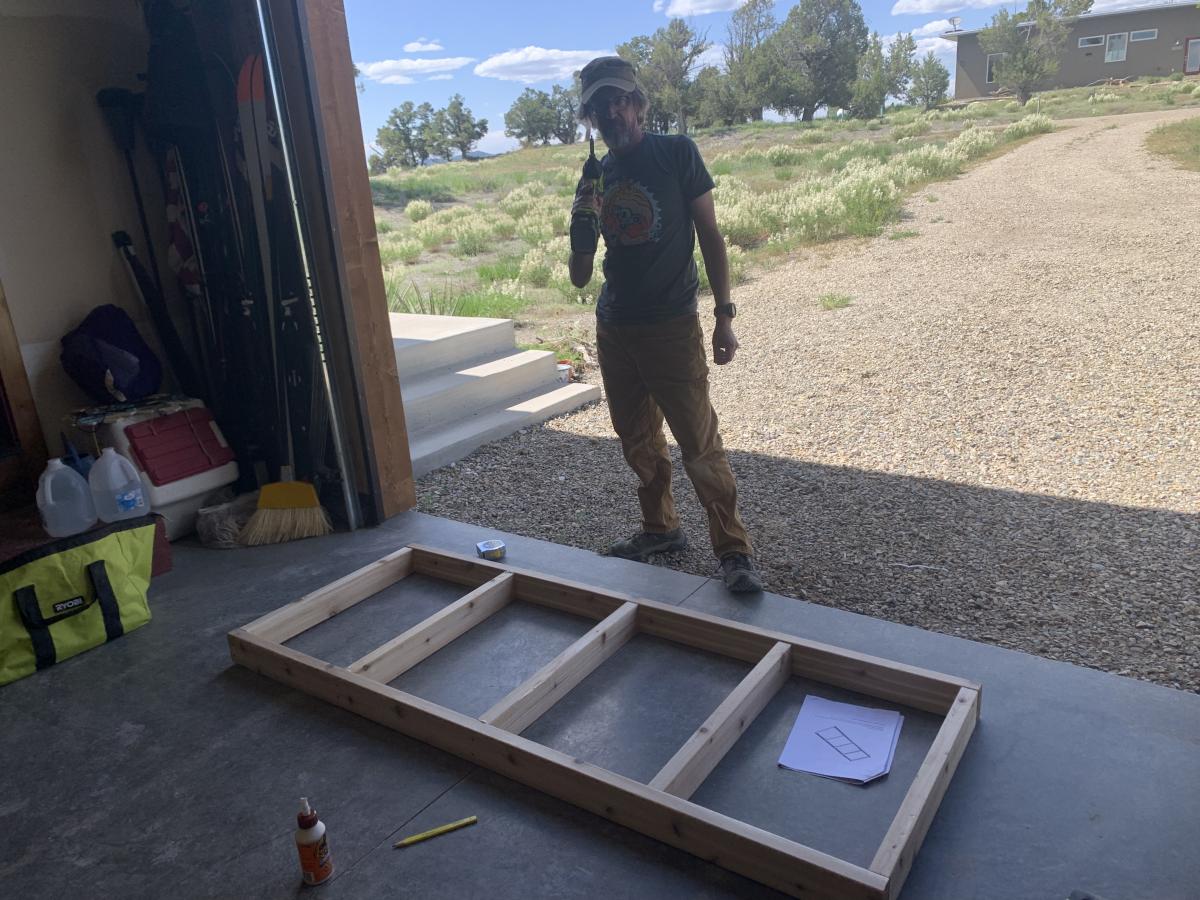
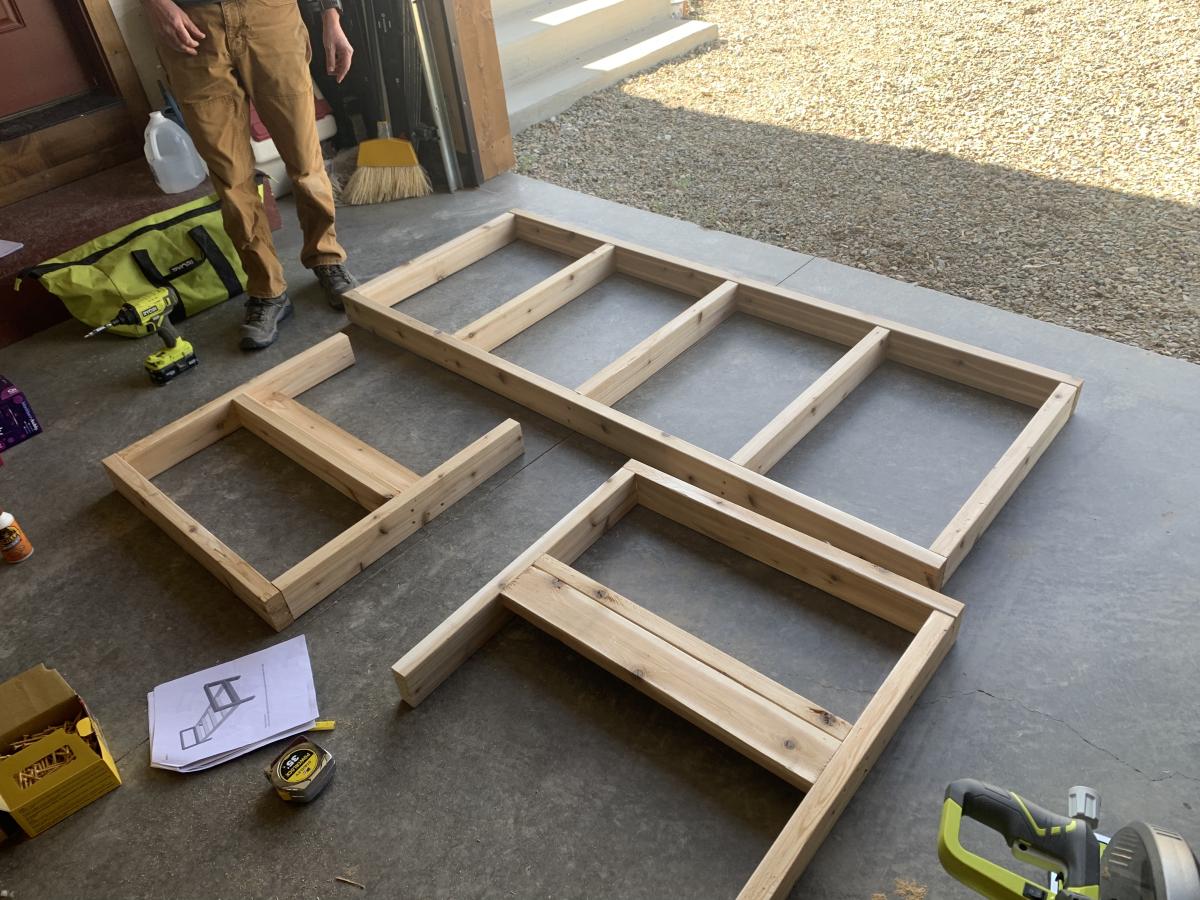
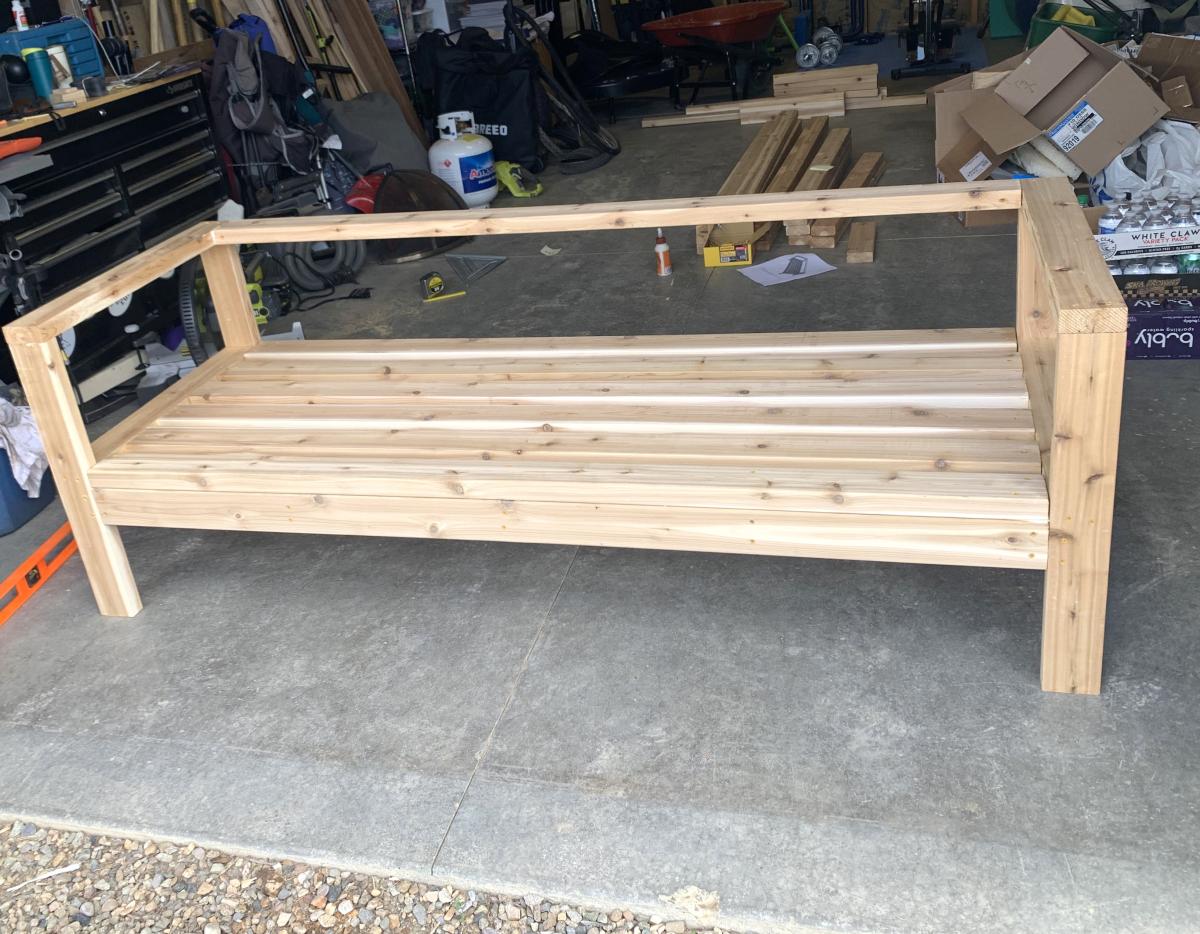
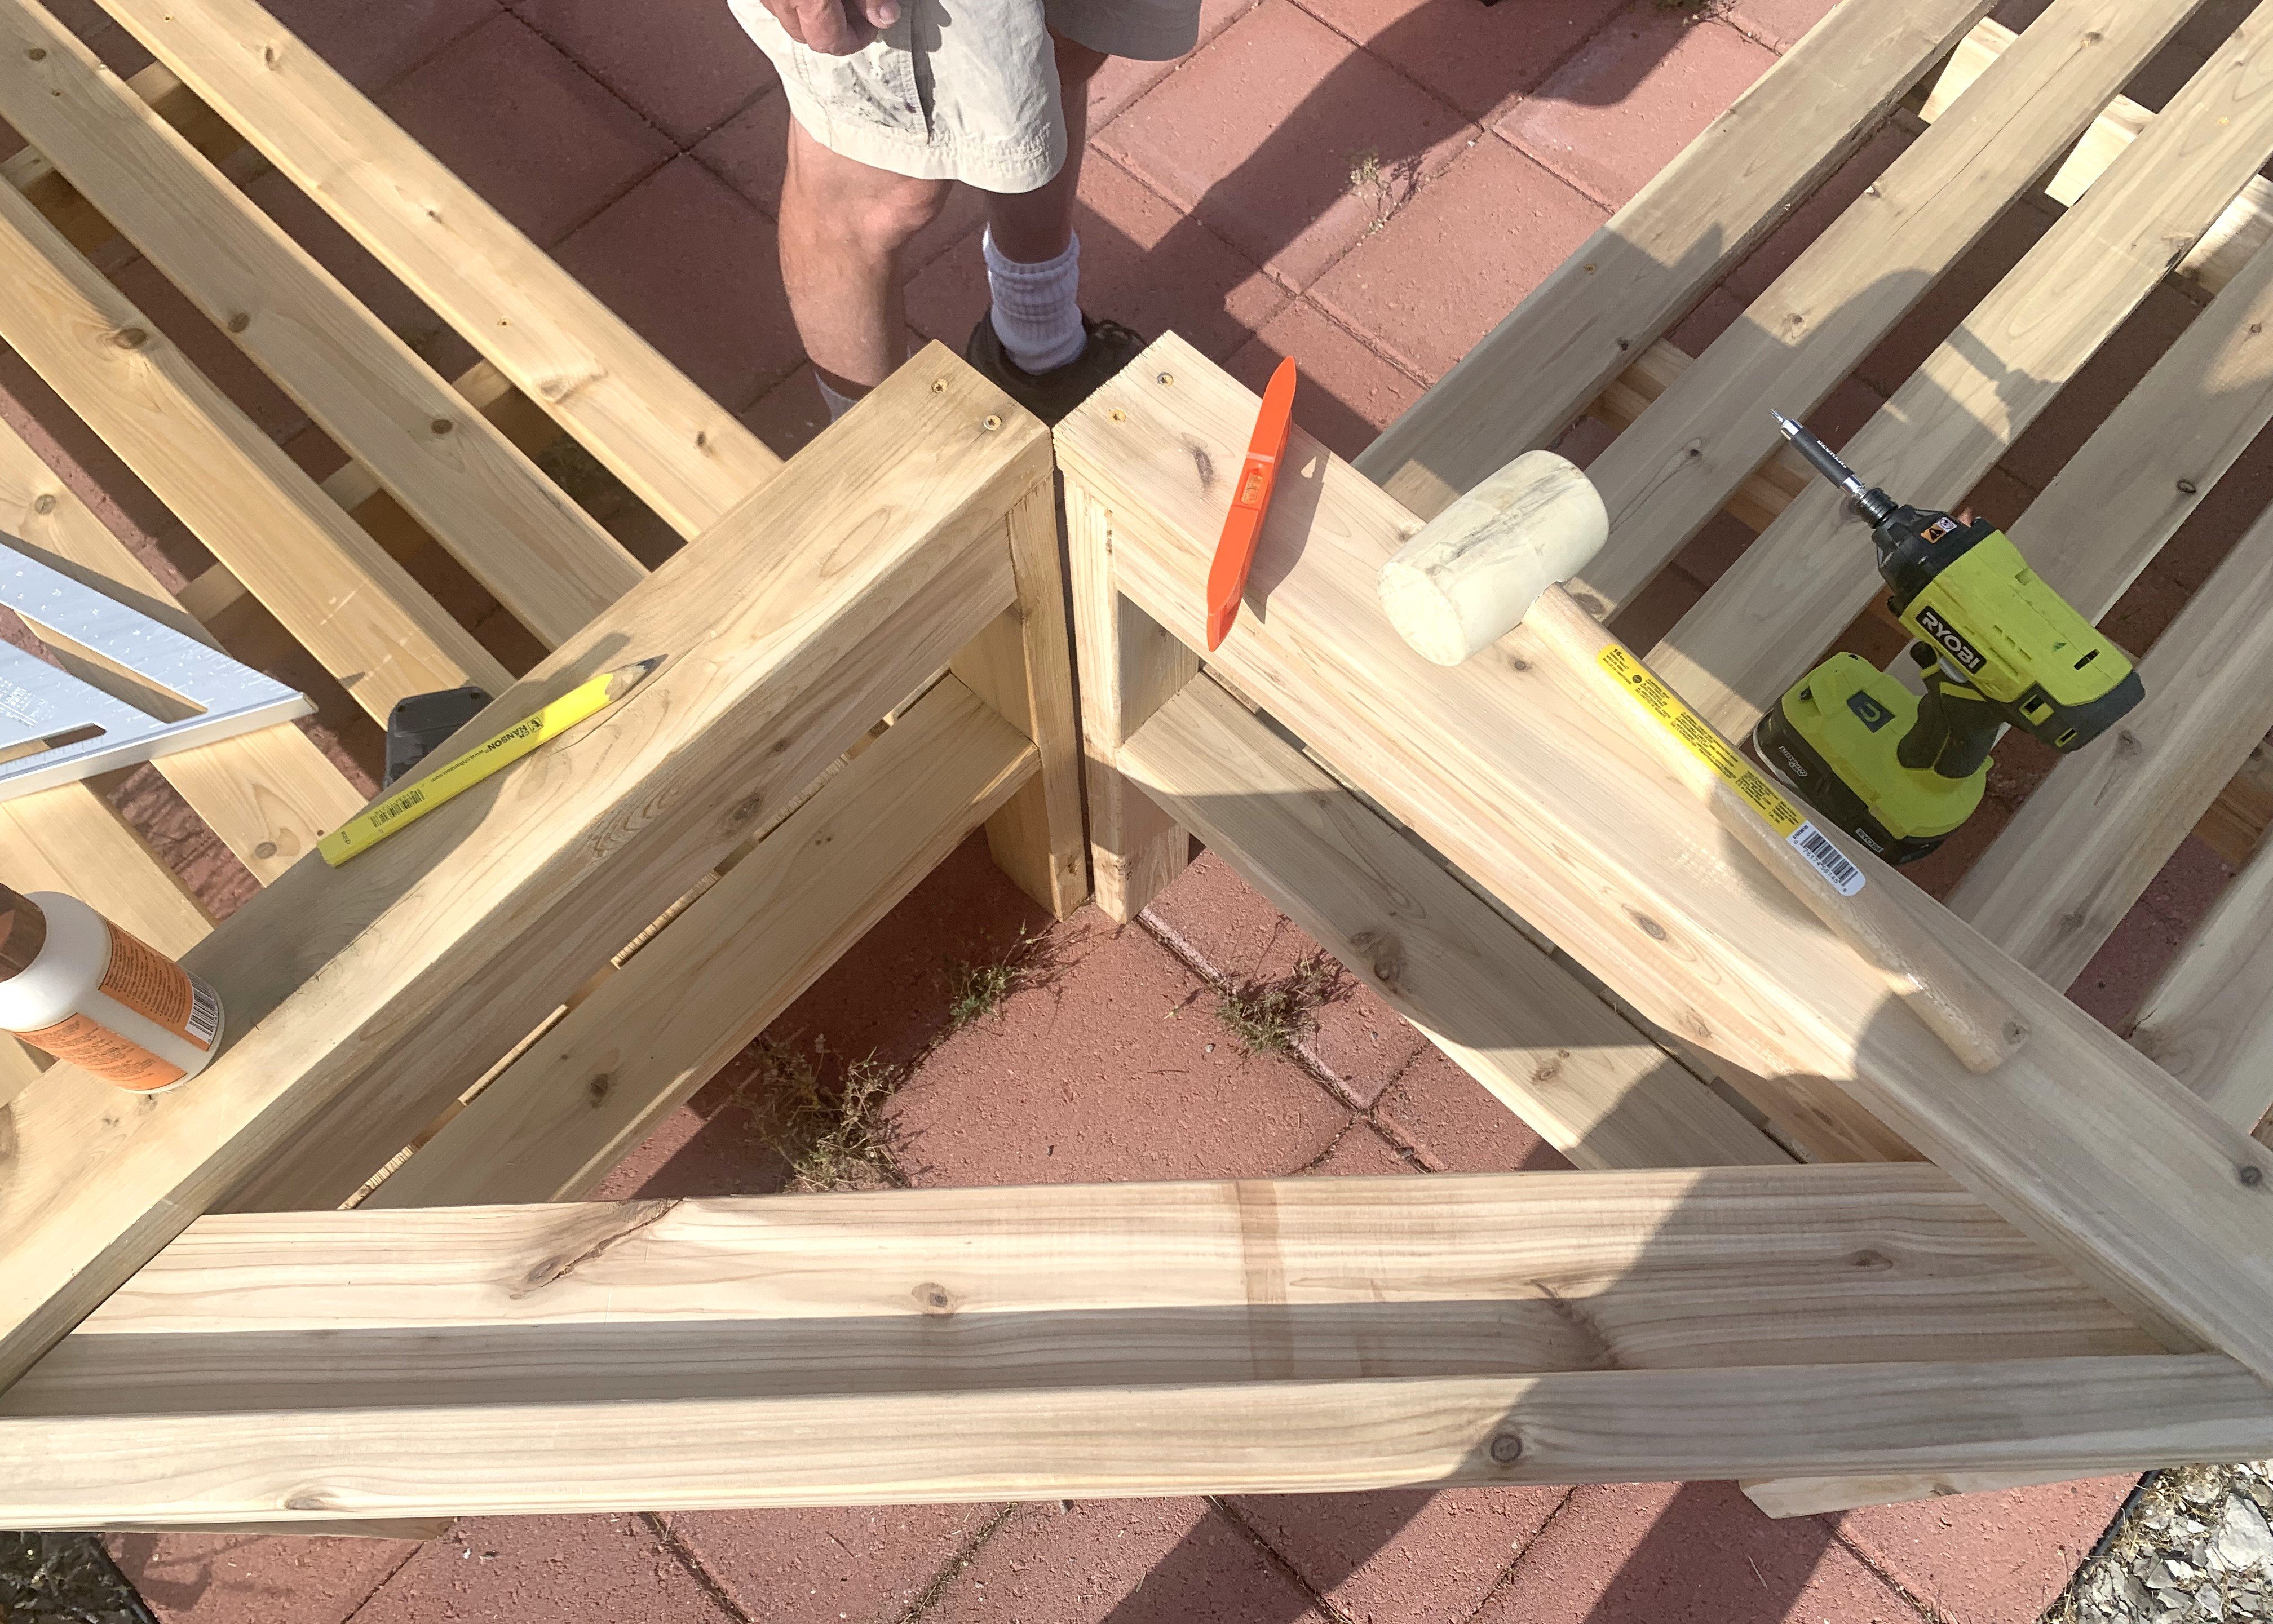
Originally, we were going to build the 2x4 outdoor sofa and the one arm version, but we didn’t like how far away the corner seat was from the fire pit, so we switched gears and built a second two arm sofa, and using skills we learned building from some of your other plans, we custom designed the corner table to attach the sofas and hold an umbrella.

outdooroutdoor

Built from Plan(s)

10 dollar ledge

Submitted by Brian on Sun, 03/04/2012 - 07:58

We built three different sets of these ledges one set for each of the kids and one for our bedroom. We requested some sample paint off line in some colors we choose so the paint was free. Very simple to make and finish. We drilled holes 16 on center to hang them off the studs to allow heavier items down the road. Picked up the wood from the home store cut them down and sanded with 180 than 220 grit sandpaper then slapped on the paint.

Built from Plan(s)
Estimated Cost
10.00
Estimated Time Investment
Afternoon Project (3-6 Hours)
Finish Used
sample paint
Recommended Skill Level
Starter Project

Comments

Rustic Table

Submitted by anne_c on Mon, 03/21/2016 - 07:24

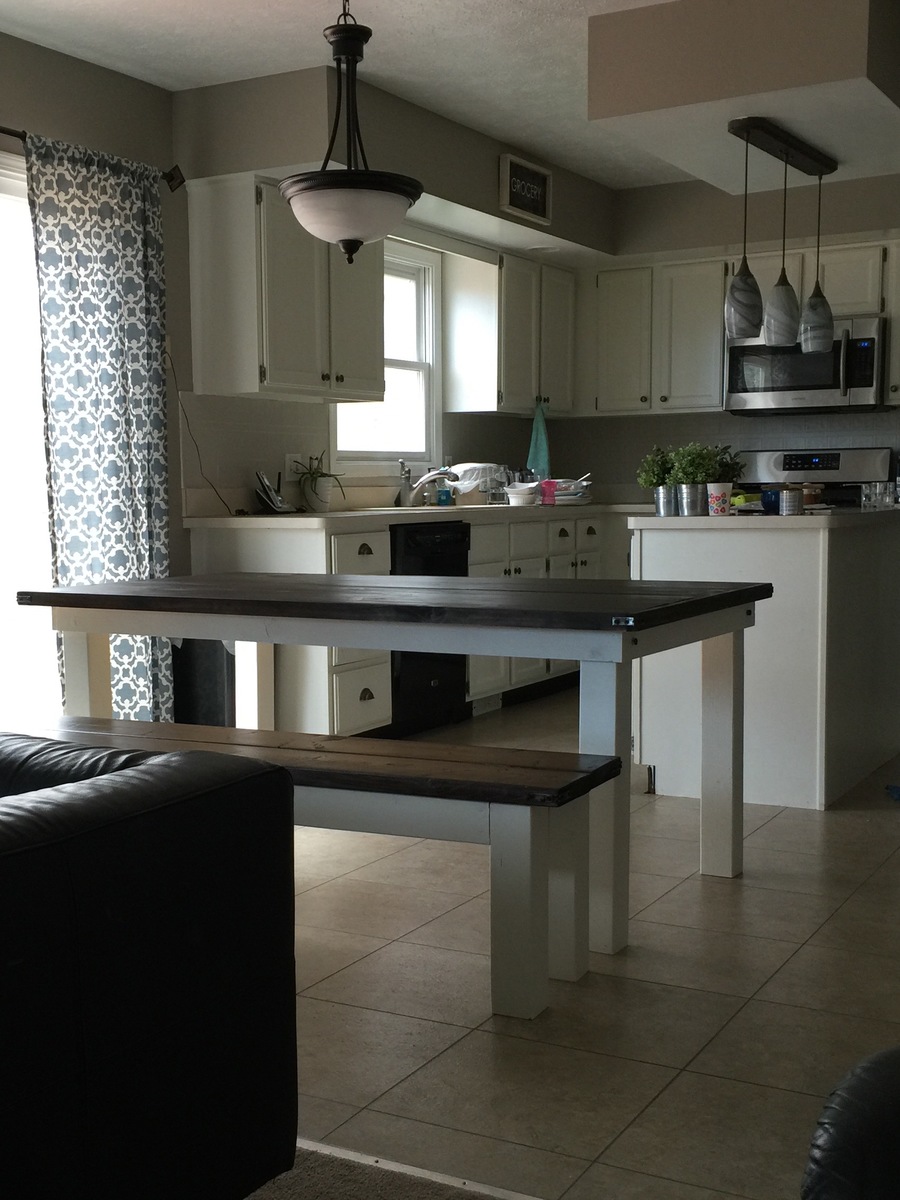
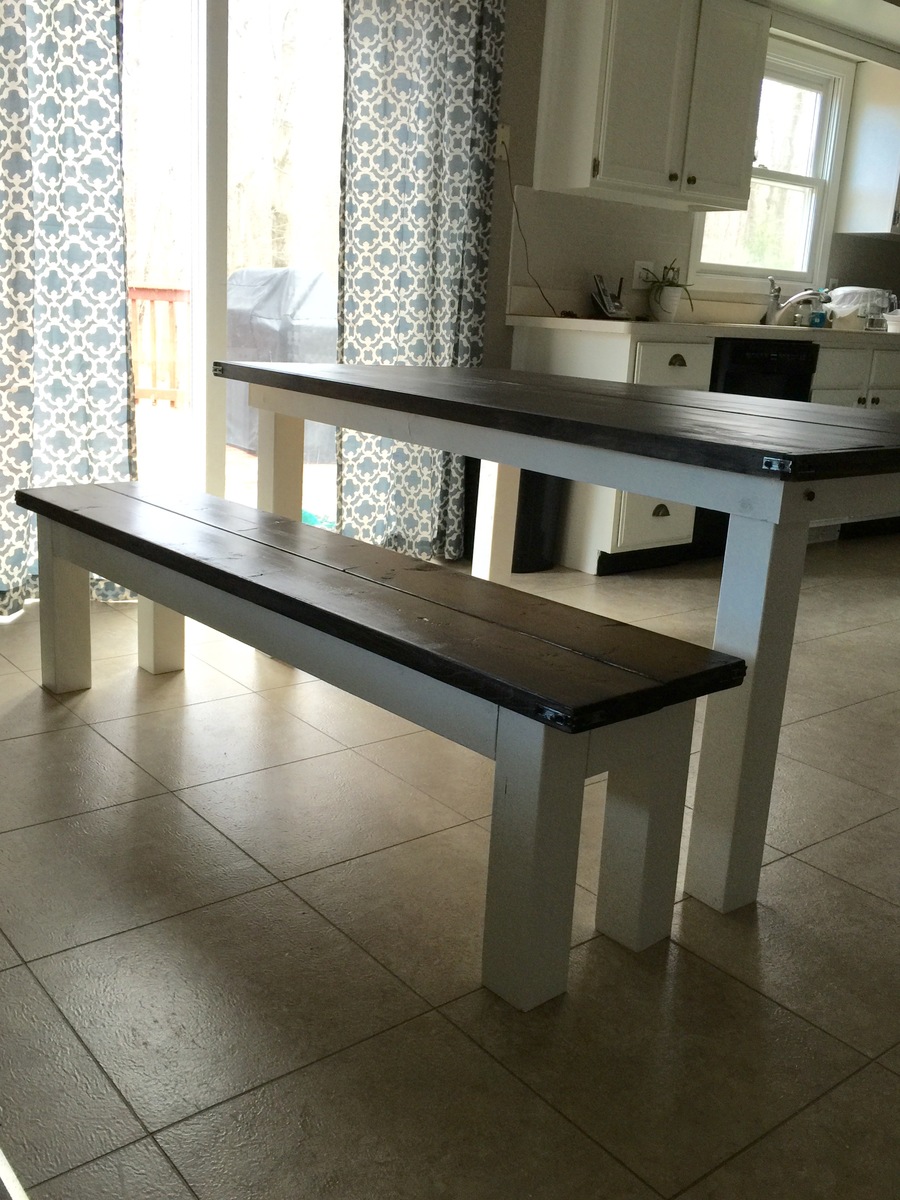
I have been eyeing up plans to build a table for awhile, but wasn't sure exactly what I wanted. I like this plan because it's a beginner plan and is pretty simple to follow. I have built a few smaller projects, but this was the first big piece. I love the way it turned out.
Things I changed:  I made it a little shorter (table top is 68 inches) to accomodate the size of our kitchen.  I used 4x4 legs - I like the chunkiness of thicker sturdier legs.  Used 2x8 for the bench. Again, I like the thickness over a 1x.  I did use 1x10s for the table top, but I added trim (1x2) to make it look chunky. I would have just used the 2x10, but b/c they have rounded edges, and I didn't want gaps for crumbs to have to clean out. I wouldn't have minded this for a dining room table, but we're using in kitchen with 3 small children. The 1x10s are squared off so they fit together better. And adding the 1x2 trim gives it the chunky look I added the corner brackets and lag bolts, mainly for decorative style I used kona stain and white paint. 

Used 4 coats of satin poly. I built both piece in a weekend, but I would say it's more of a week project on a realistic timeframe.

Built from Plan(s)
Estimated Cost
The lumber for the table and bench ran about $120-130. I used top choice pine. I spent an additional $40ish on stain, wood glue, filler, paint, etc.
Estimated Time Investment
Week Long Project (20 Hours or More)
Finish Used
kona stain (Rustoleum) with 4 coats of poly
white paint
Recommended Skill Level
Beginner