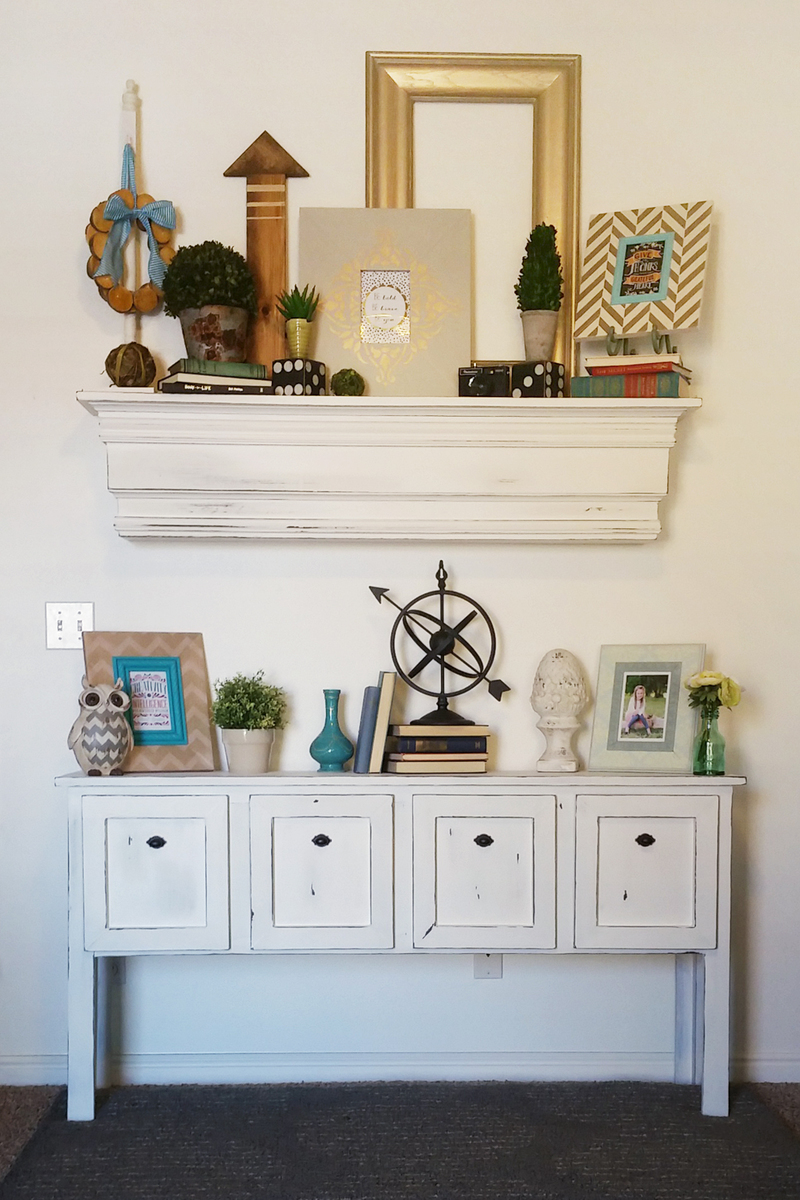
Gray Farmhouse Console Table
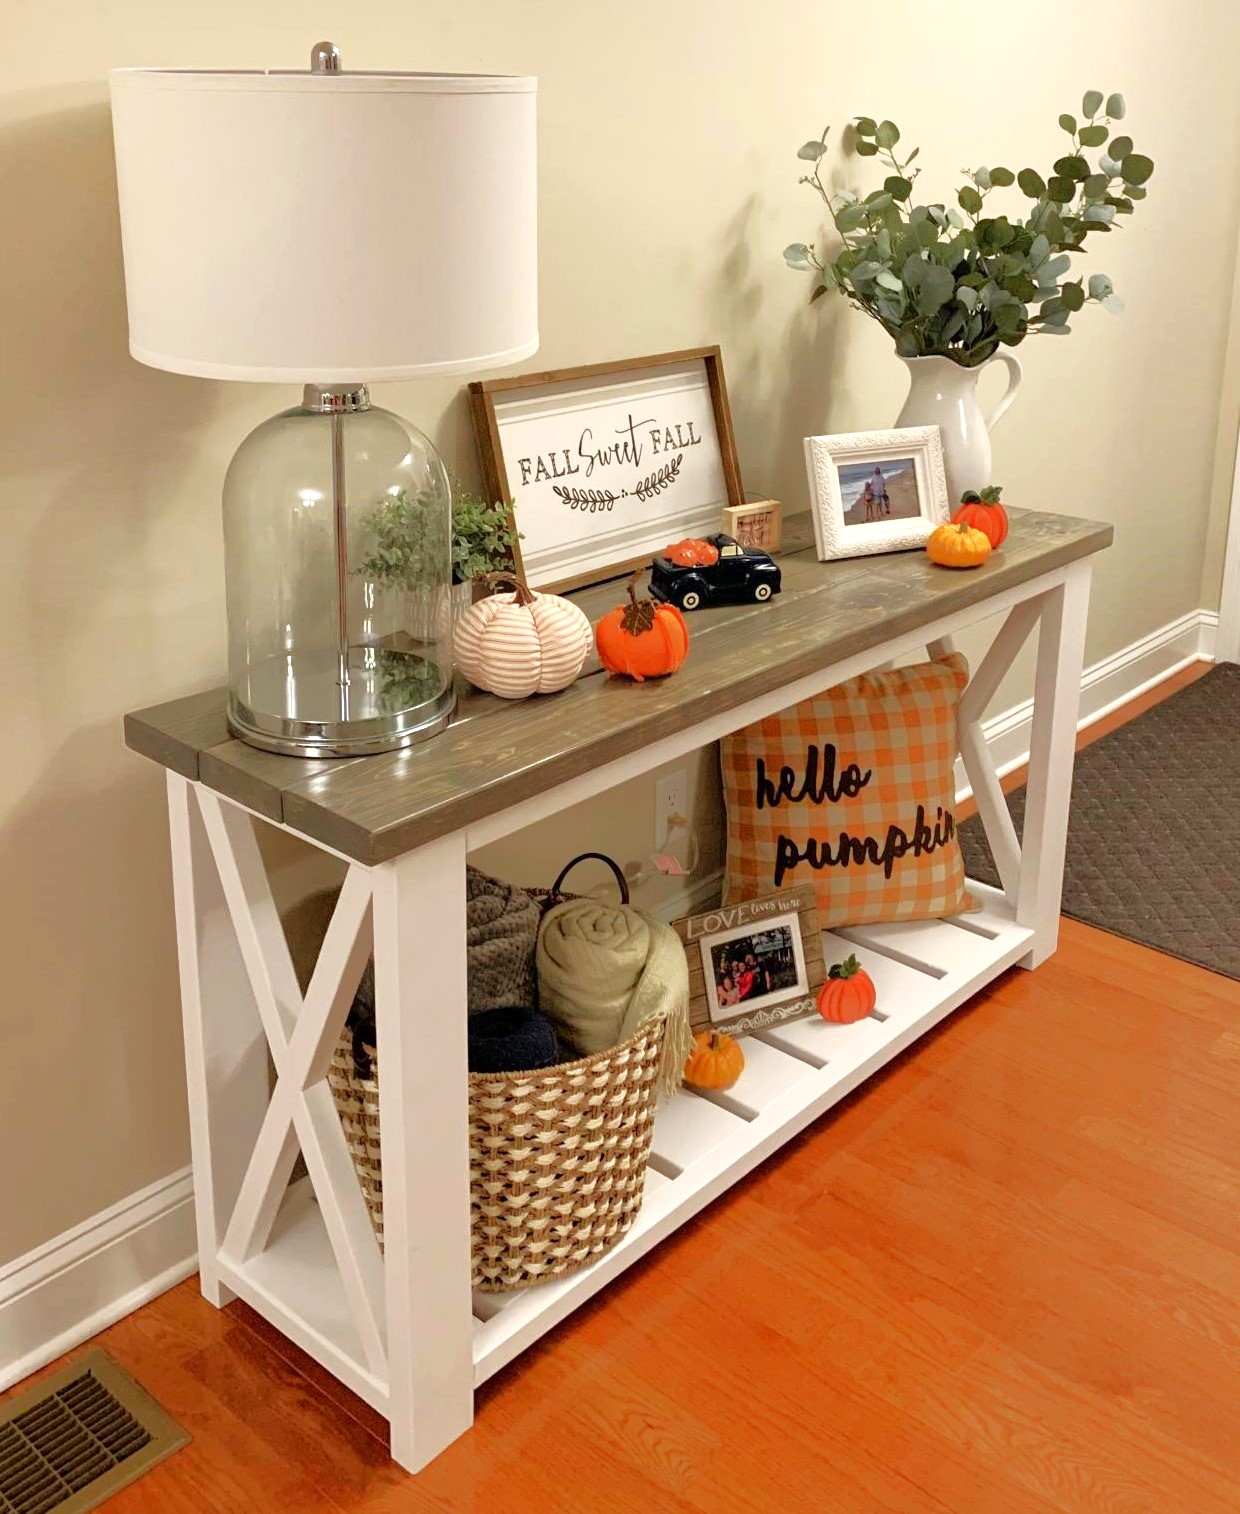
Happy Fall Y’all. Love the Gray / White Farmhouse Colors. I can share the plans I modified for this build if anyone wants to build their own .
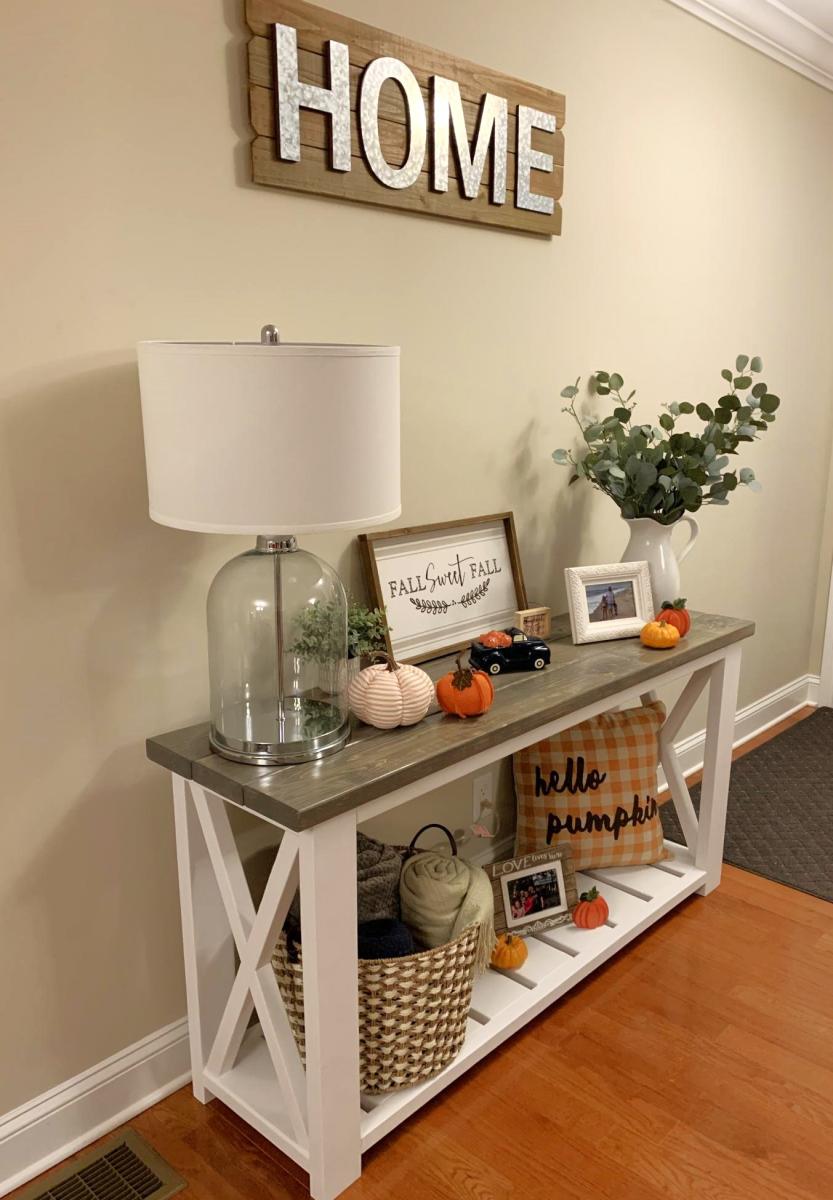

Happy Fall Y’all. Love the Gray / White Farmhouse Colors. I can share the plans I modified for this build if anyone wants to build their own .

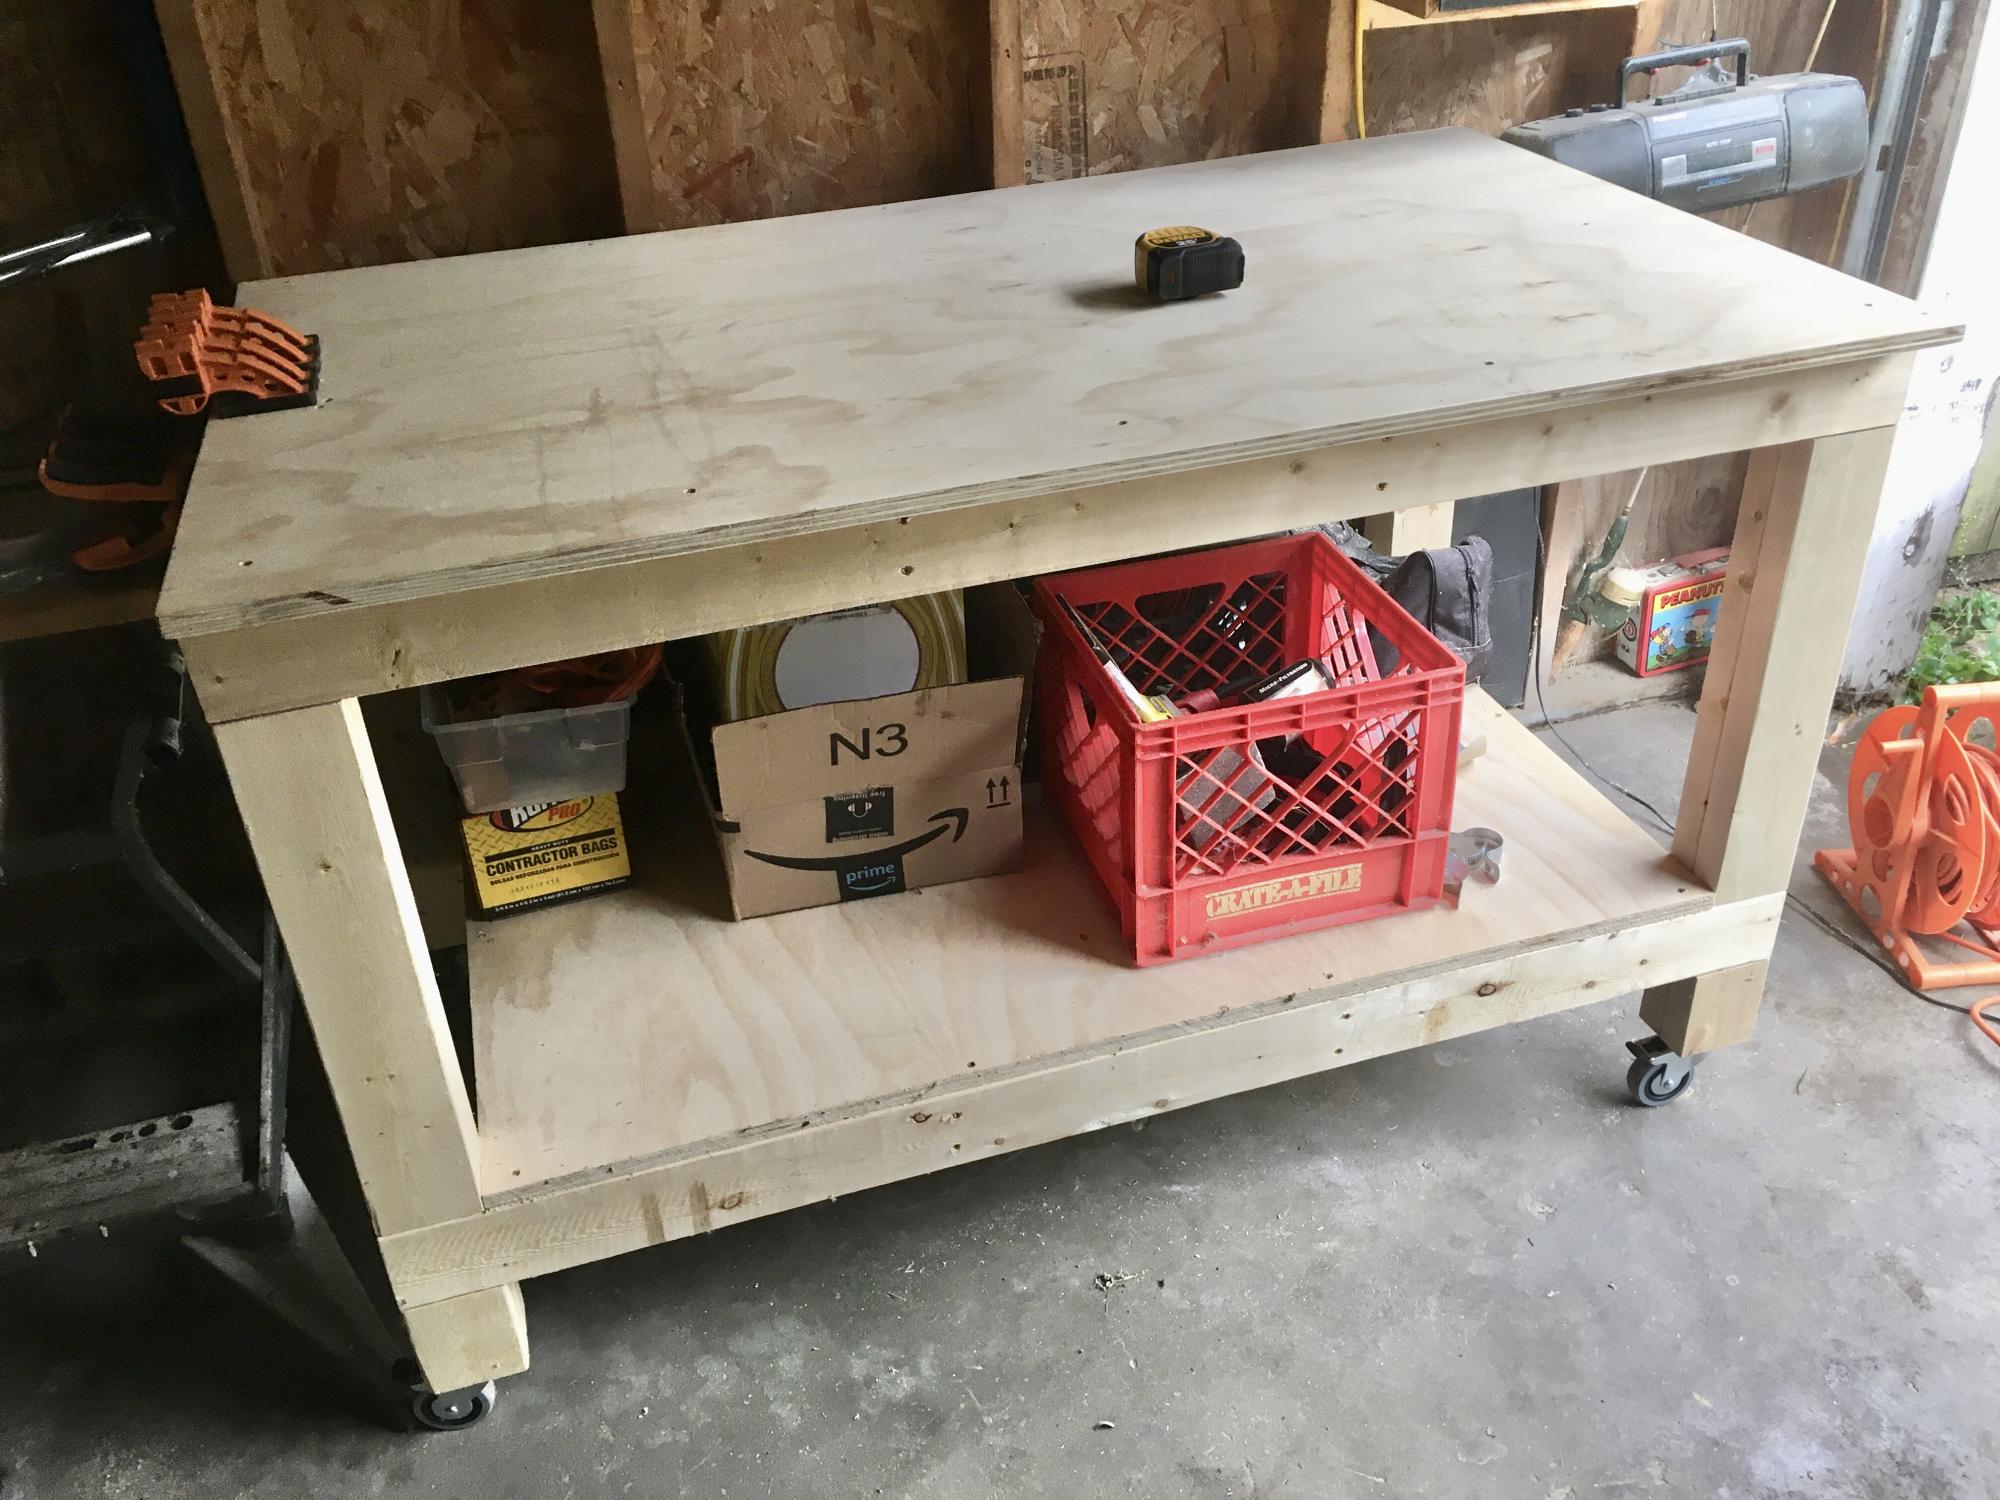
I needed a workbench and Ana's easy plans were perfect for what I needed. I have a small one-car garage that I do my projects out of. The garage also provides storage for bikes, kayaks, gardening tools, etc. I customized the dimensions a little, making the bench only 30" deep to better fit the space available, and to add wheels to be able to roll the bench out into the driveway if needed. The lower shelf provides some good storage for me as well.

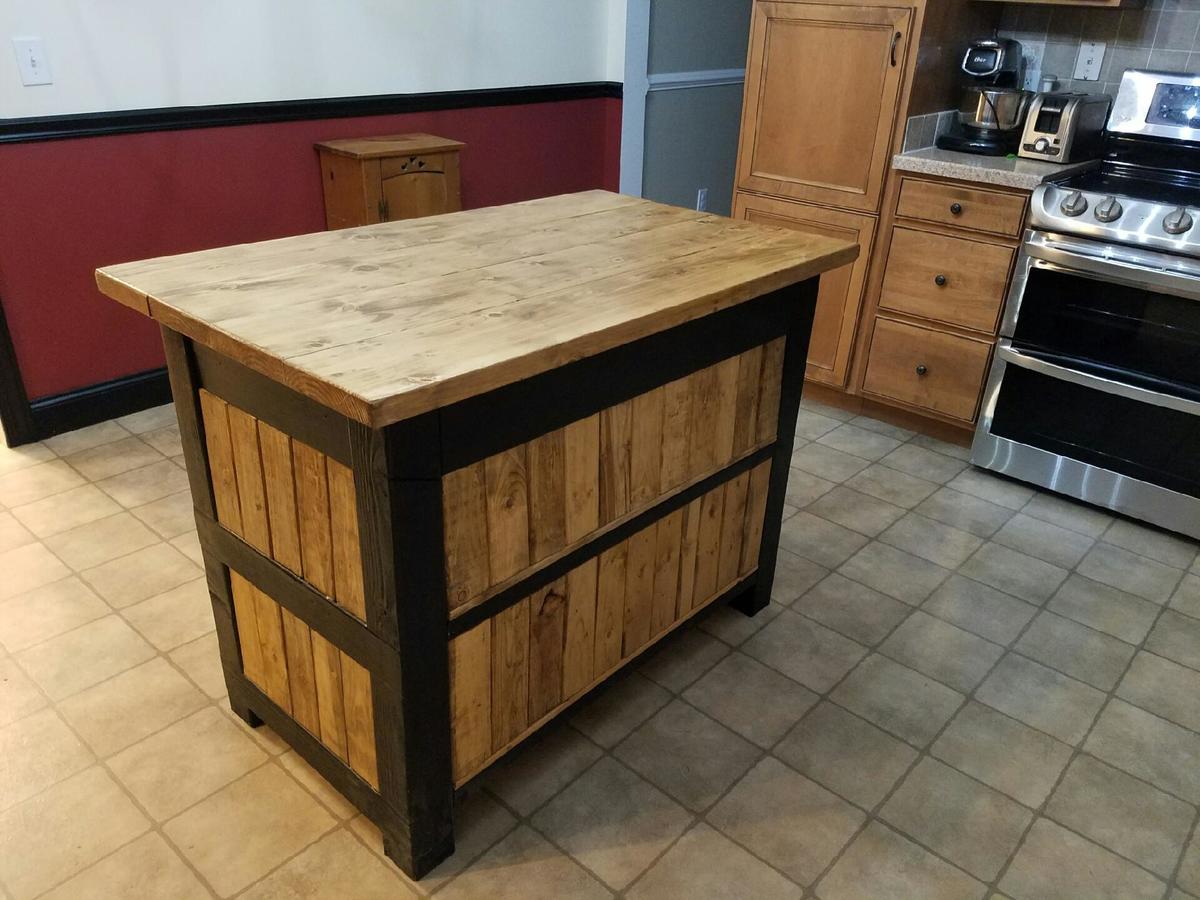
Sliding barn door kitchen island with planked siding. 48L x 30W x 36H

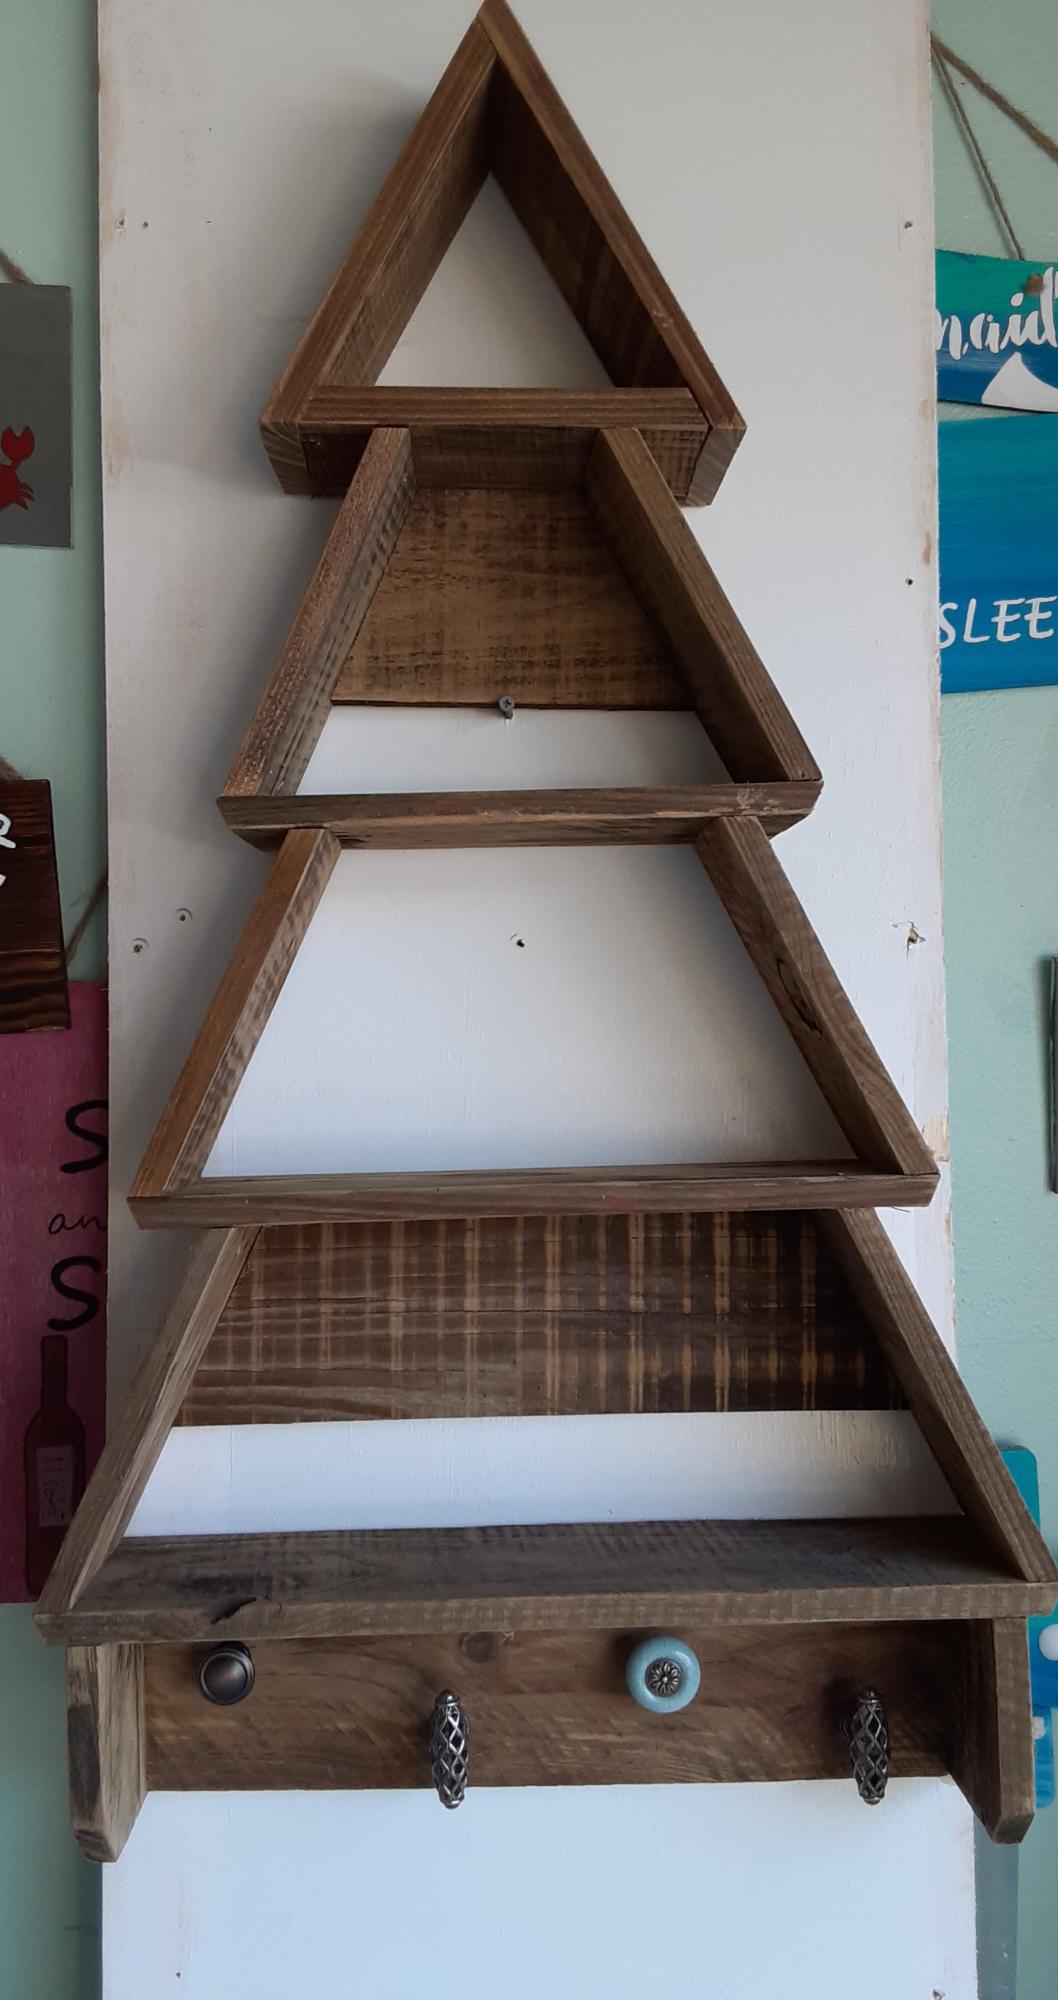
This is my first time using some of the power tools that this required, however, it came out SO CUTE! I put one together and someone bought it raw. I put one together as the video showed, and then did one out of old fence pickets that were cleaned up and planed by a neighbor. They both came out beautiful. We used knobs that we had in the shop and offset them a little to be whimsical.
Vasiliki
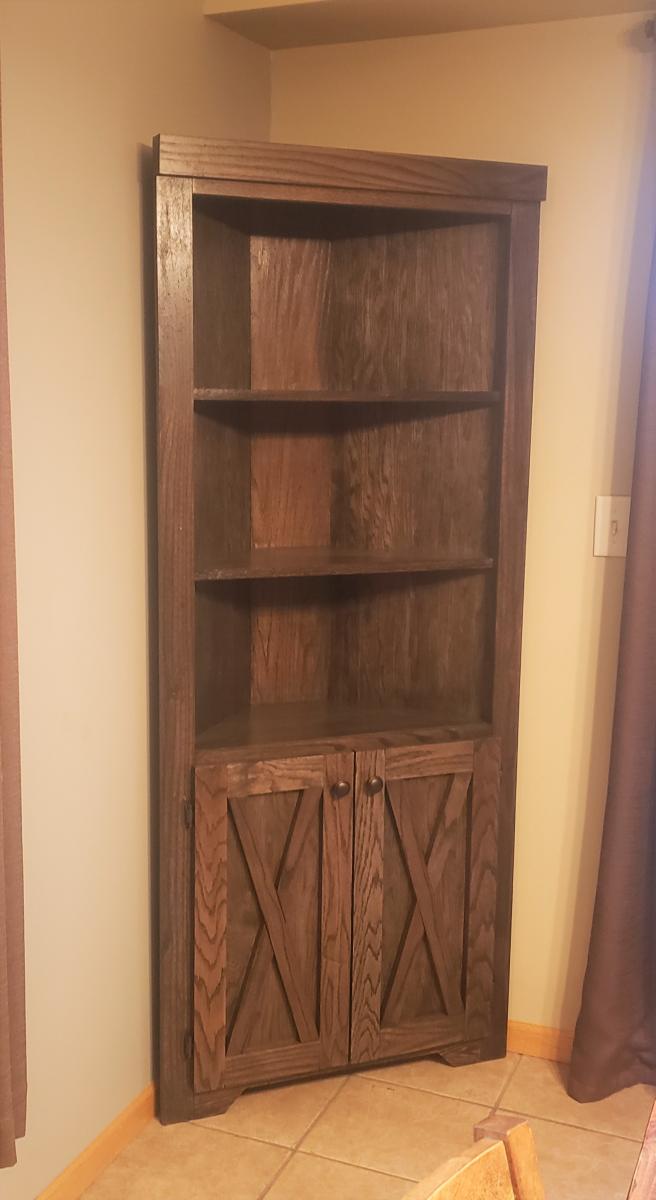
Thanks to Ana for the custom corner cupboard hutch plans! This project turned out great using Red Oak boards and an ebony stain. My customer loved it!!
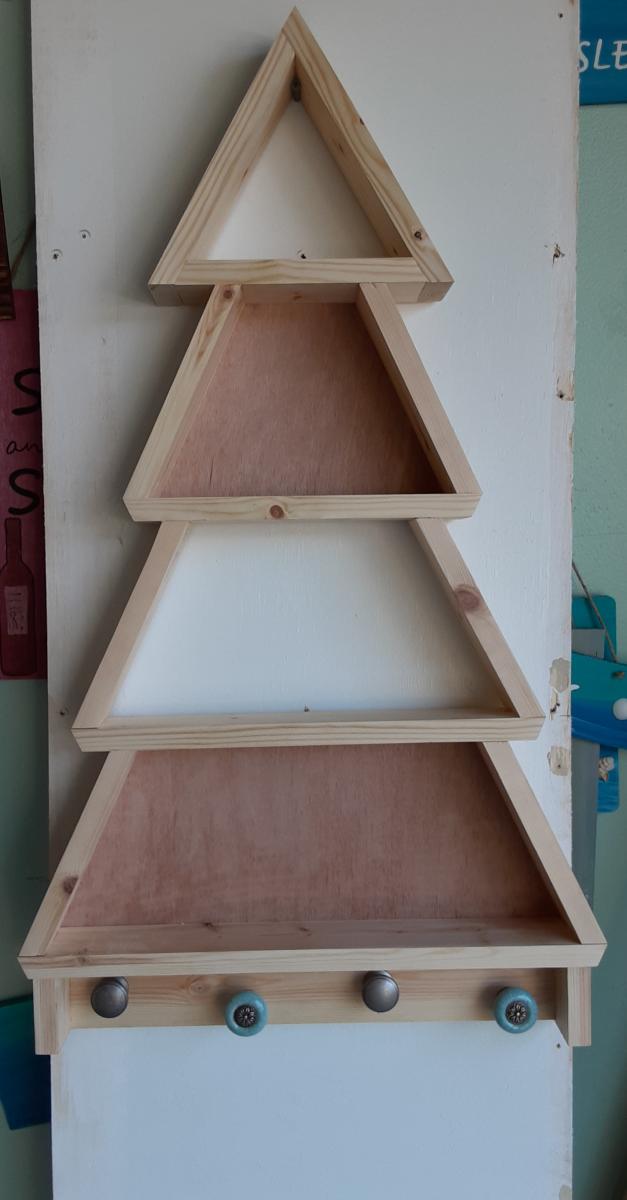
Took the fancy hall tree bottom and added Mimi's hutch to the top. Added a little bead board to the bench and top edges to cover up the plywood, and voila! My wife's Christmas gift.
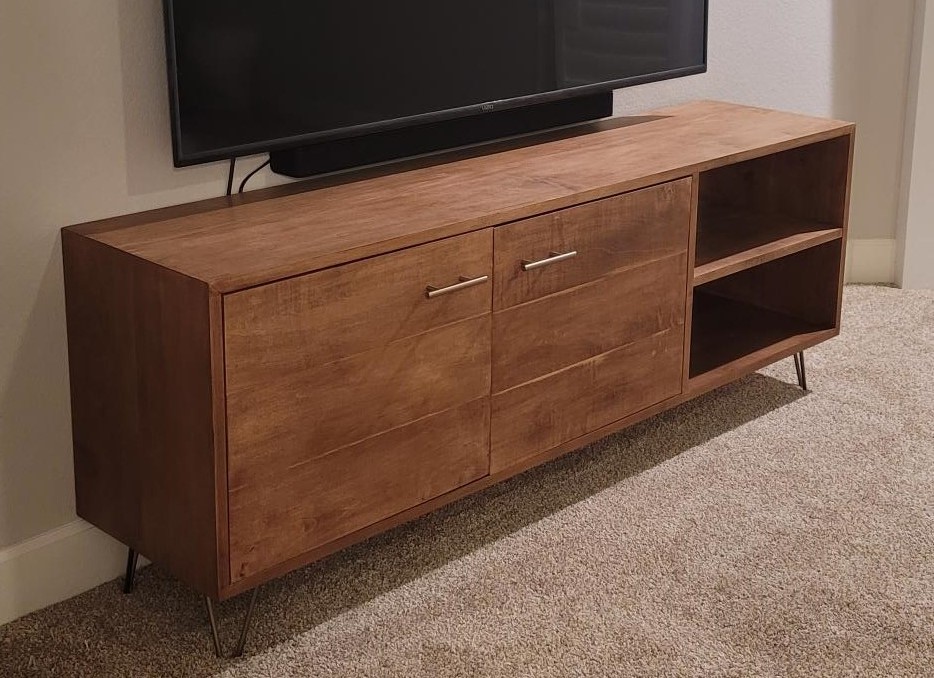
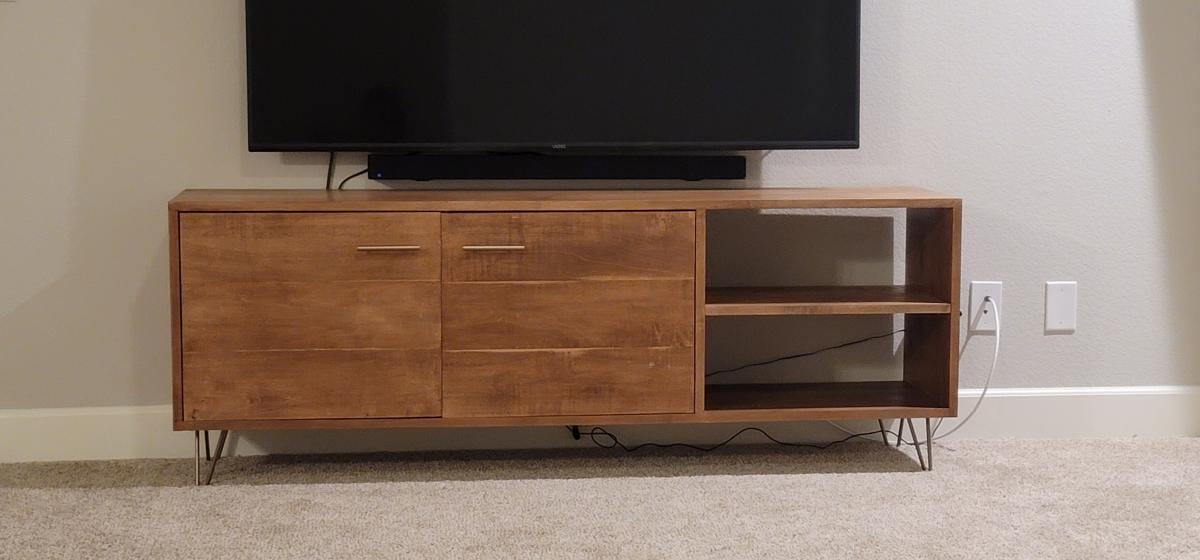
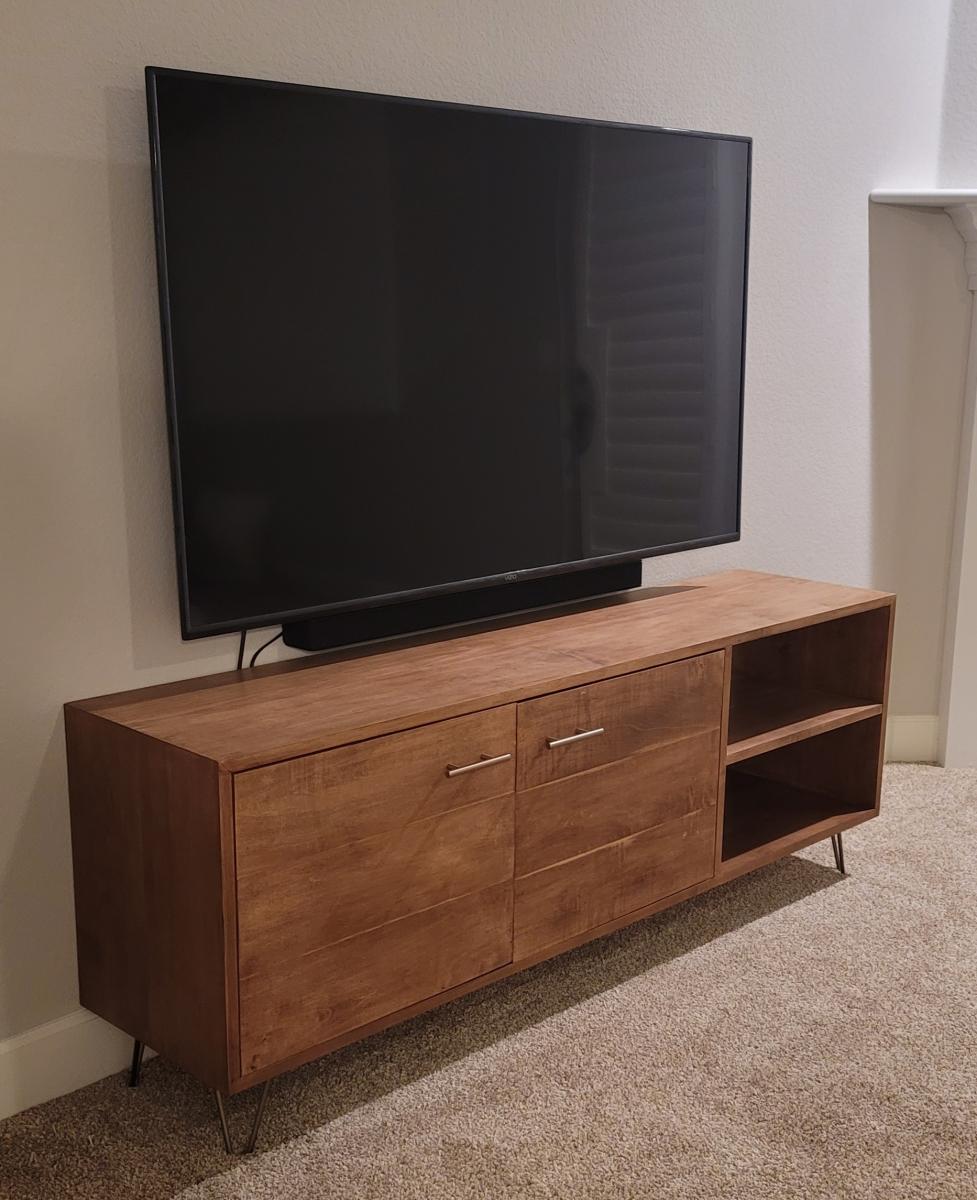
This console table was a pretty easy build and looks great. We had the lumber store rip the boards to the size we needed. We used solid maple boards instead of plywood. We mitered the corners to avoid seeing end grain. Followed the plans pretty close. Used 6" hairpin legs from Amazon painted antique bronze to match handles. Very pleased!
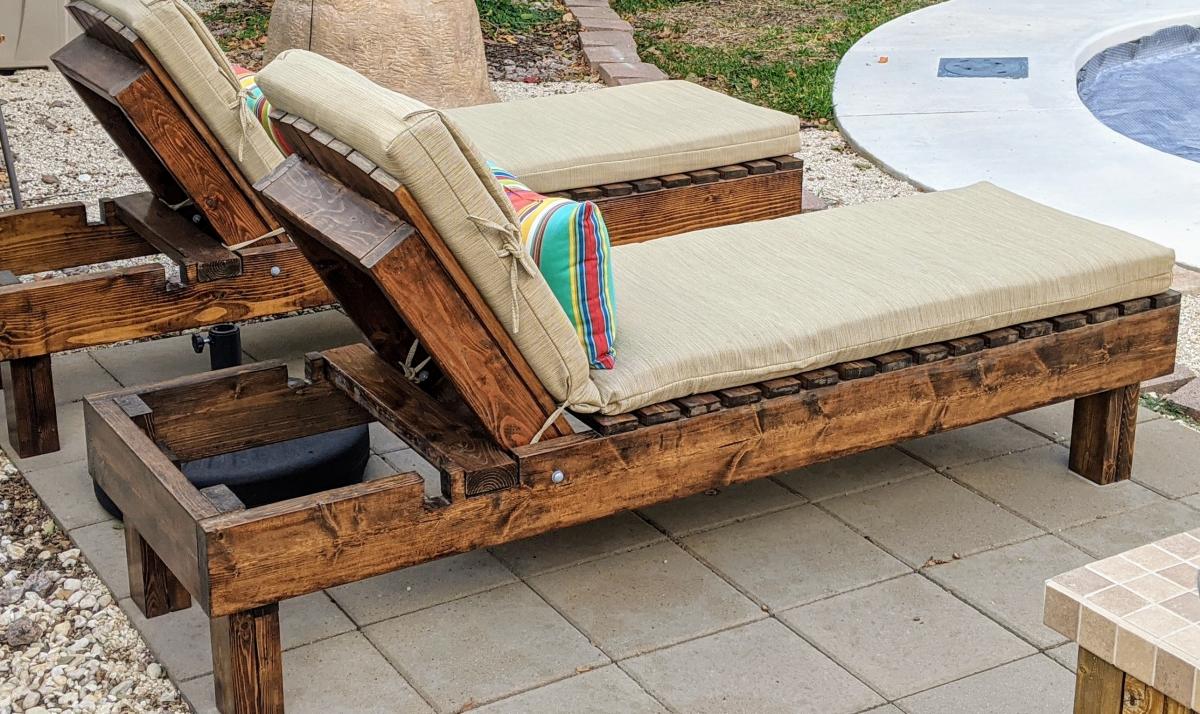
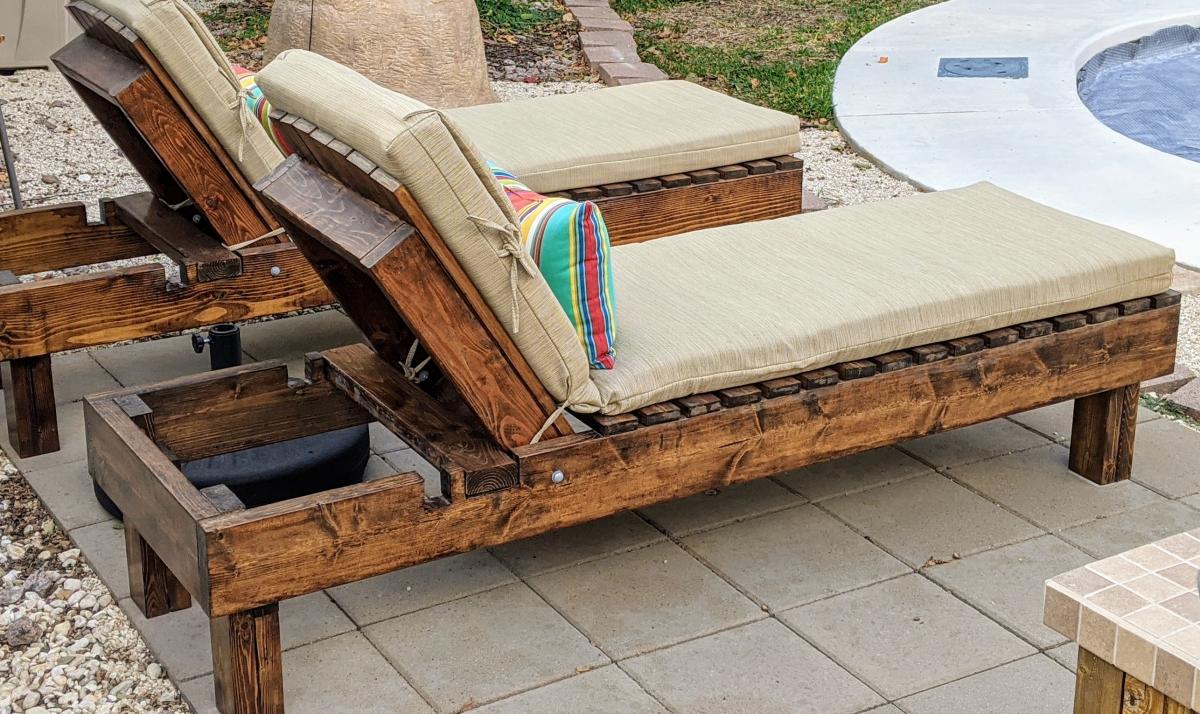
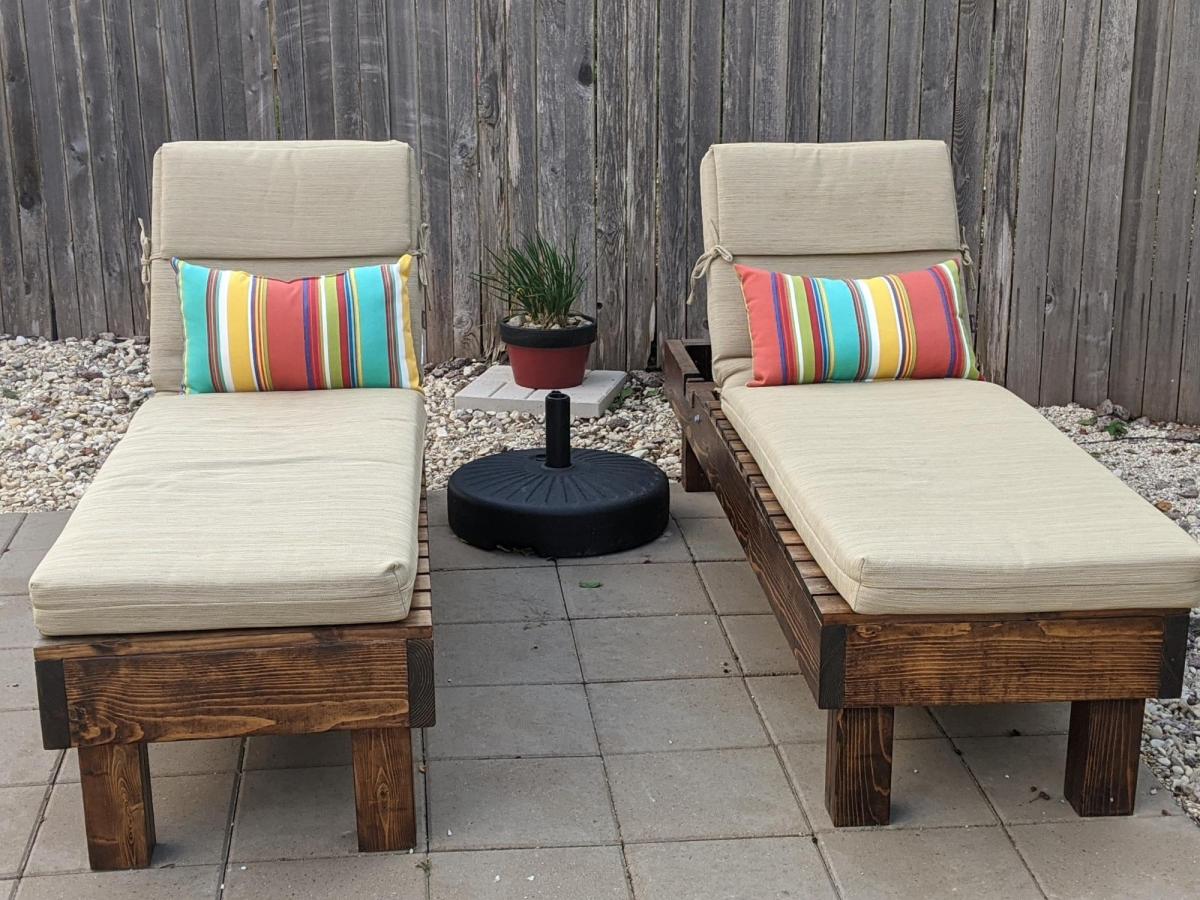
I didn't realize how expensive pool loungers were. Thank goodness for Ana White! I modified the size to 73 inches long and 22 inches wide so they would be a good fit for the cushions I got from lowes. Something to take into account is that the 2x4 won't be able to rest on the back legs when you use the 2x6 on the sides. There is no way to get it in. I didn't realize until I had built them but I just cut two pieces of 2x4 at 3 1/2 inches and placed it on top so I can rest the back all the way down. Love the end result!
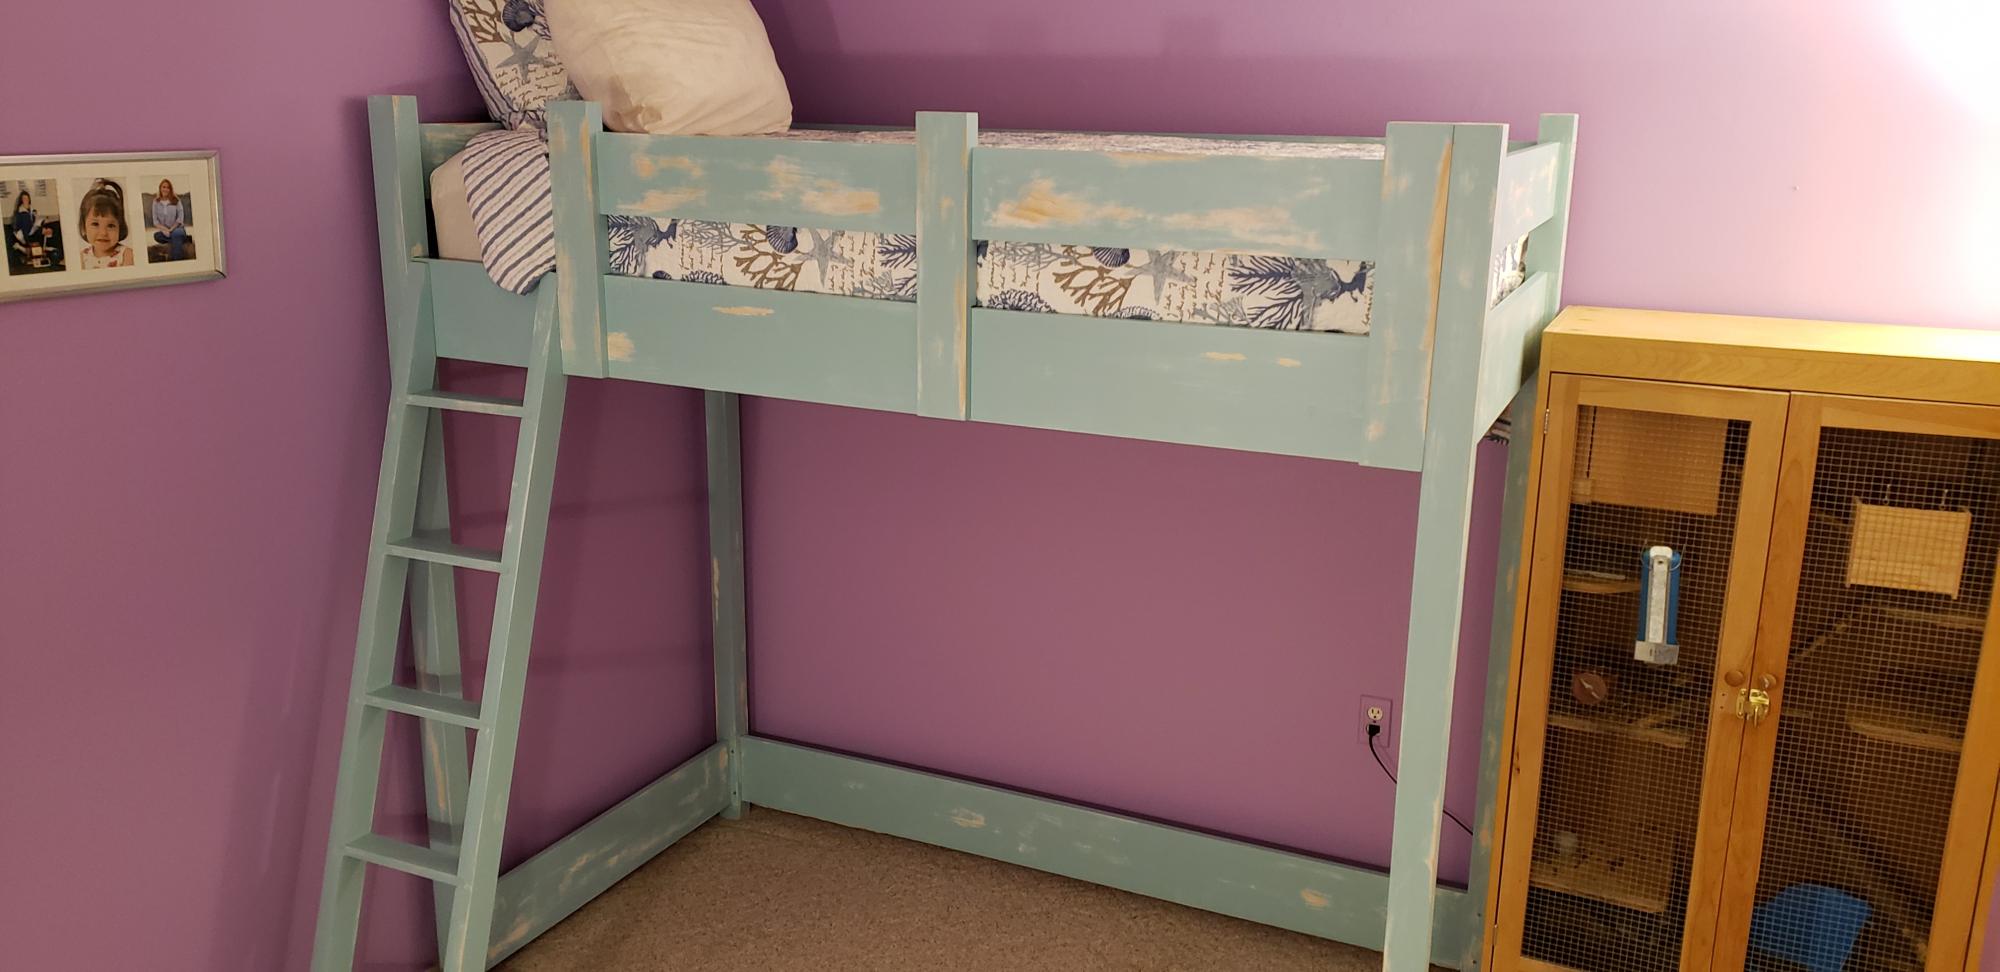
So, my skills have been as a cobbler, handy kind of guy for decades. Rough shelving for shop/garage basement storage etc... I've always done all my home maintenance and repairs so I'm familiar with a lot of stuff in and around the house. However I've never attempted a finished piece of furniture before. As always, I love the build and hate the finishing process.
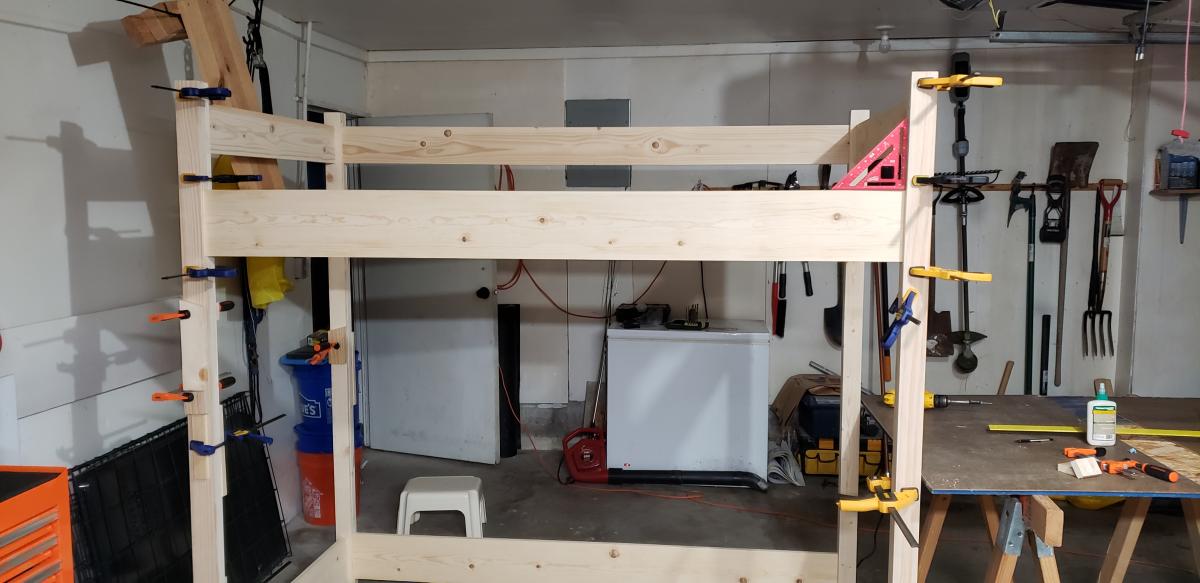
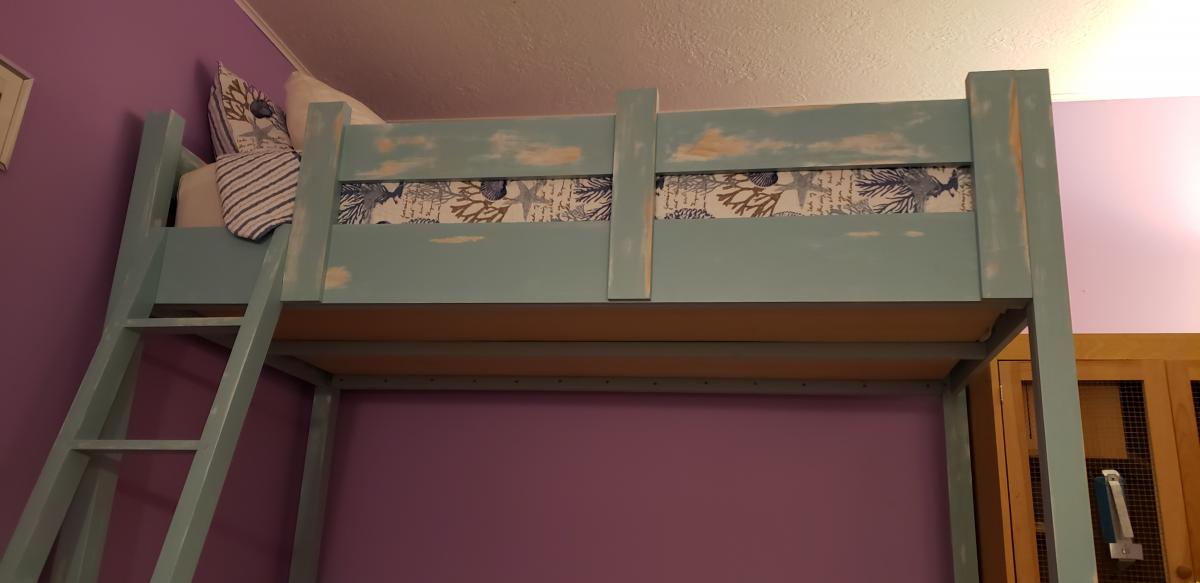
My daughter had a pretty new mattress that she loved which was 13 inches thick and her celling is the standard 8 feet. Consider these kind of things before you build this design. We did and the plans were altered a little bit. We'll be building the bookcase later and either buying or building a desk as well. She can set up in bed with several inches above her head and there will be plenty of room over her head in a standard height office/computer chair underneath. All I basically did was; add a few inches to the height of the legs and uprights for the guard rail (4" I think), increased the head, foot, back and guard rail top planks from 1X4s to 1X6s. Which changed the dimensions of some of the spacers too. She isn't sure she wants the top rails on it but I think I'll put them on later.
We made our own bunkie board for firmer support, which also raised the thickness about 1/4" over just slats.
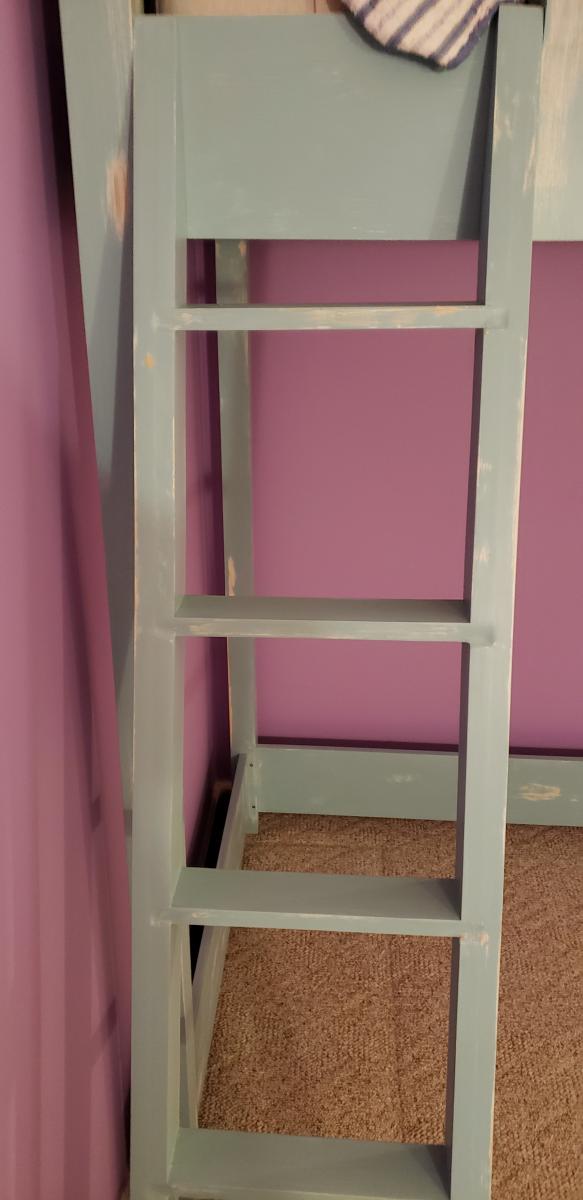
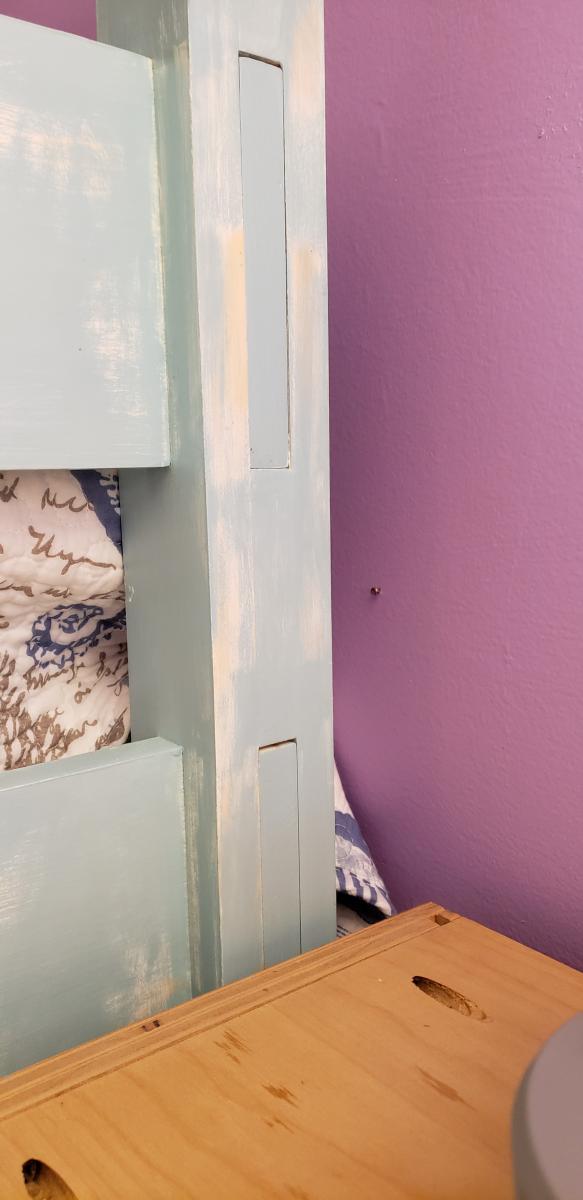
Details: Ladder fits tight between the leg and the guard rail. Glad I got those dimensions right. We'll be using Velcro to fasten the ladder to the bed (it's that tight, it'll be fine and she's 14yrs old). This way we can take it off easier to clean, move etc. Glue and screw everything you can except the long boards that will allow it to be broken down. Glue them and you'll never get it apart without breaking it. I used Titebond III on everything else with lots of clamps along the way.
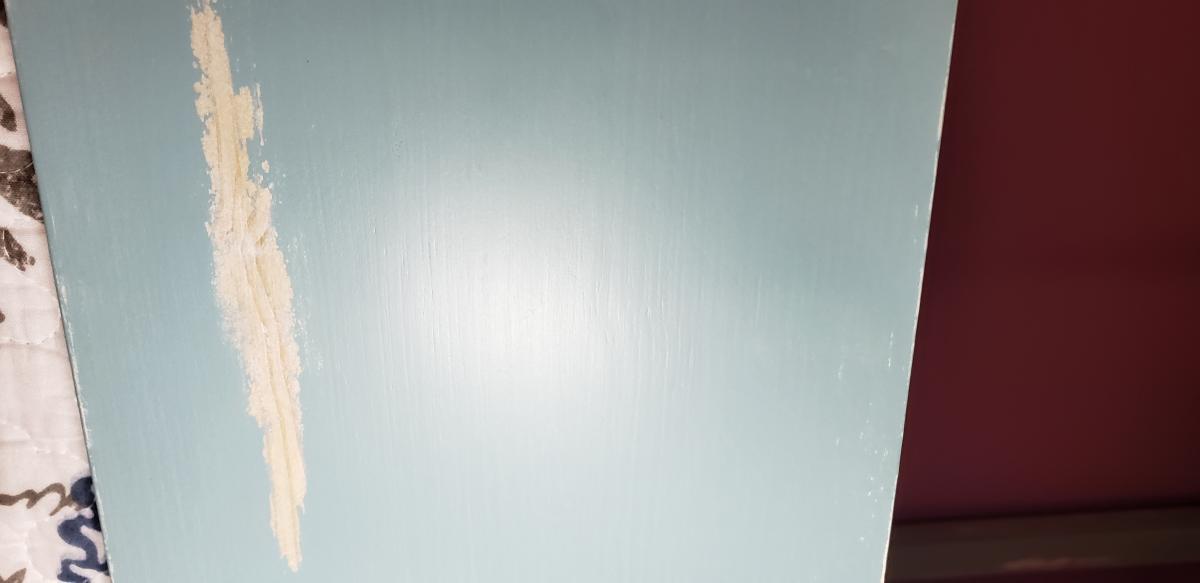
On the front and back of the ladder treads I simply smeared some filler in the joints to smooth them out. You can see the result in the pictures. There is one closeup of the finish so you can see how it turned out doing it the way I did. If you want is smoother then a 220 sandpaper finish is what was called for on the clear finish, which I didn't do.
I also said it was a weekend project 10-20hrs. Had I bought better wood and did an easier finish it would have been. My learning experiences/errors made it longer than that for me.
Lessons Learned:
1. Buy better wood! If you want a better finish buy better wood. By the time I was finished filling, sanding, filling again, sanding some more... I used almost a whole quart of filler to make knotty pine smooth. Just buy smooth wood, I'm tellin ya! Hours of work and dry time. Again, if you want a good finish, then you need to shellac knotty pine so the resin from the knots doesn't bleed through. Better wood might have added 5-10% to the materials cost but saved several hours and would have looked even better that what I achieved. Better wood and you could cut the shellac ($15 per quart) if you didn't want the two tone distressing.
2. Check the actual board dimensions. For outer facing pieces I bought some better wood with no knots (radiata pine). These were for the outside pieces on the legs. They were just a bit wider than the common boards that were sandwiched between them... more sanding and filling to get a nice square smooth finish. It also made clamping and gluing them together harder before the filling and sanding could even begin. See number 1 above. lol
Anyhow, I'm not afraid of building furniture anymore and my daughter loves it. OH, yes now we have to repaint her room and accessorize for the ocean cabin look. More projects with my daughter. YAY!!!!
Thanks Ana
Mon, 12/14/2020 - 09:59
The bed looks amazing and I can see many more projects in your future, I appreciate your added tips!
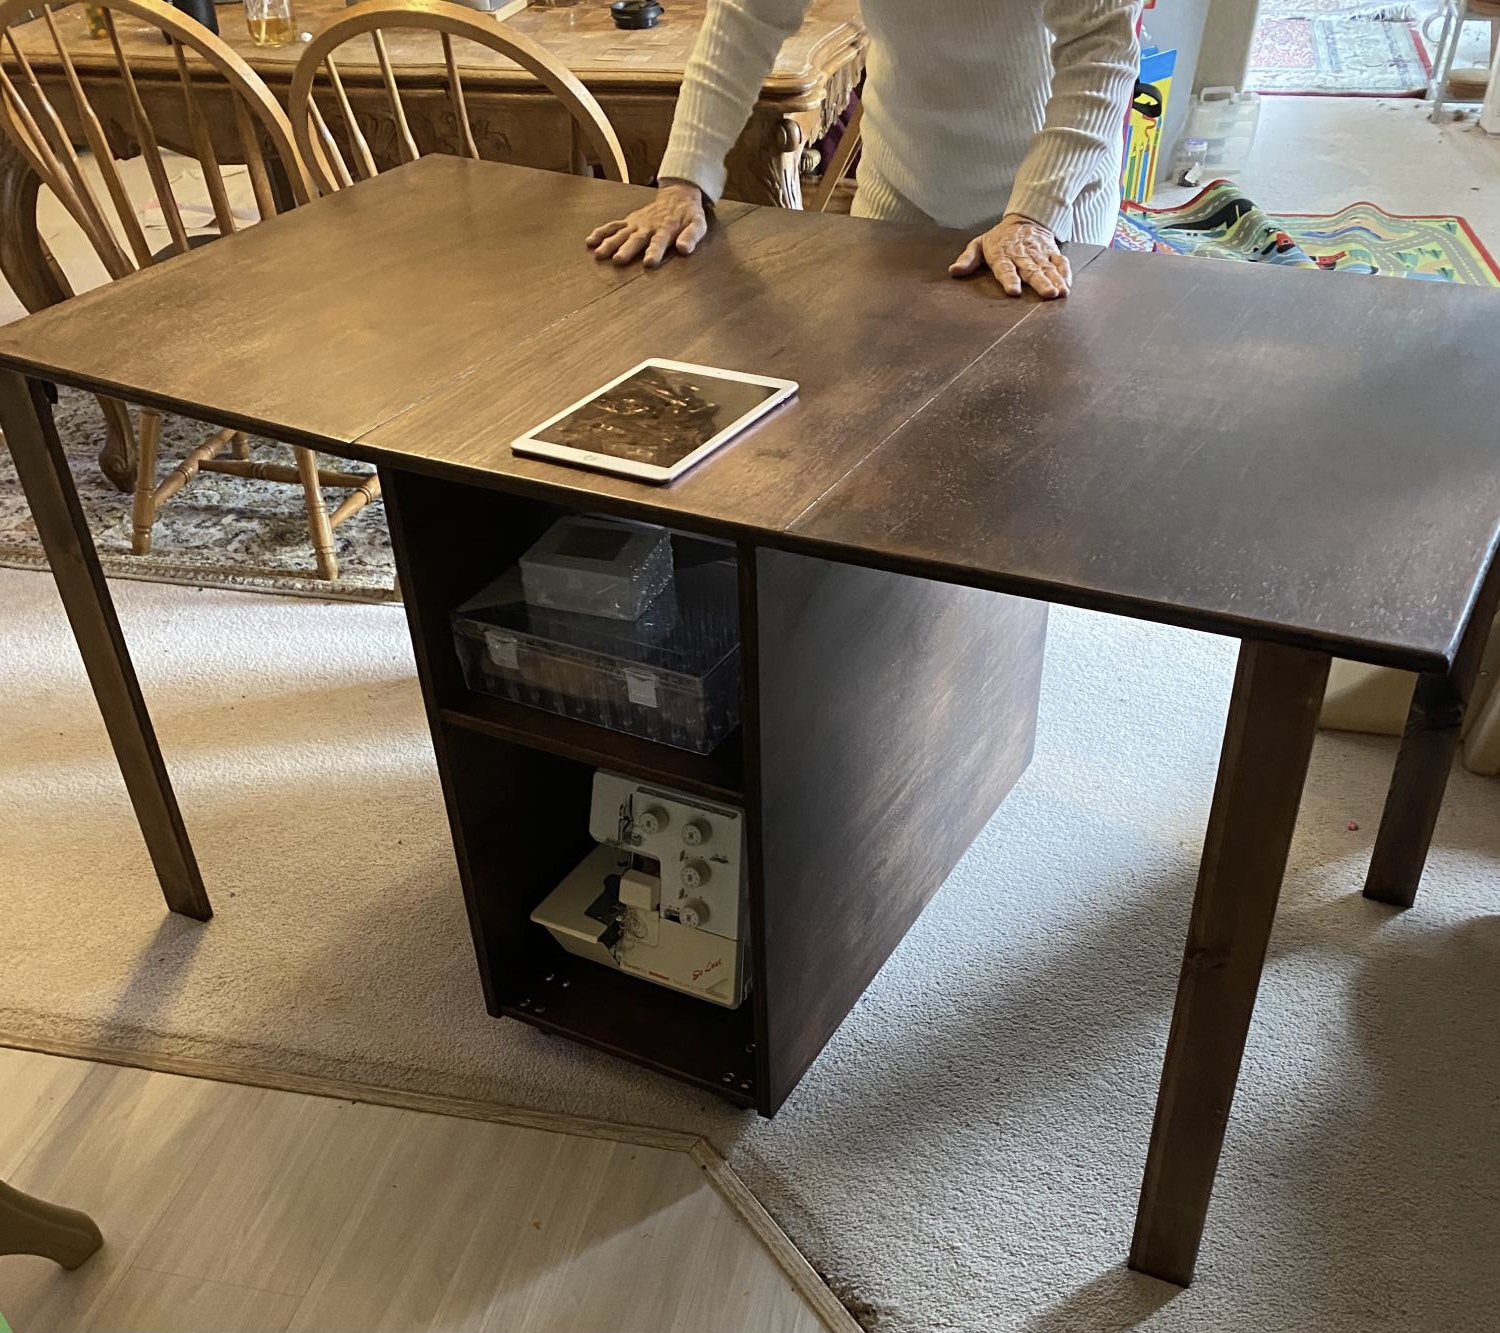
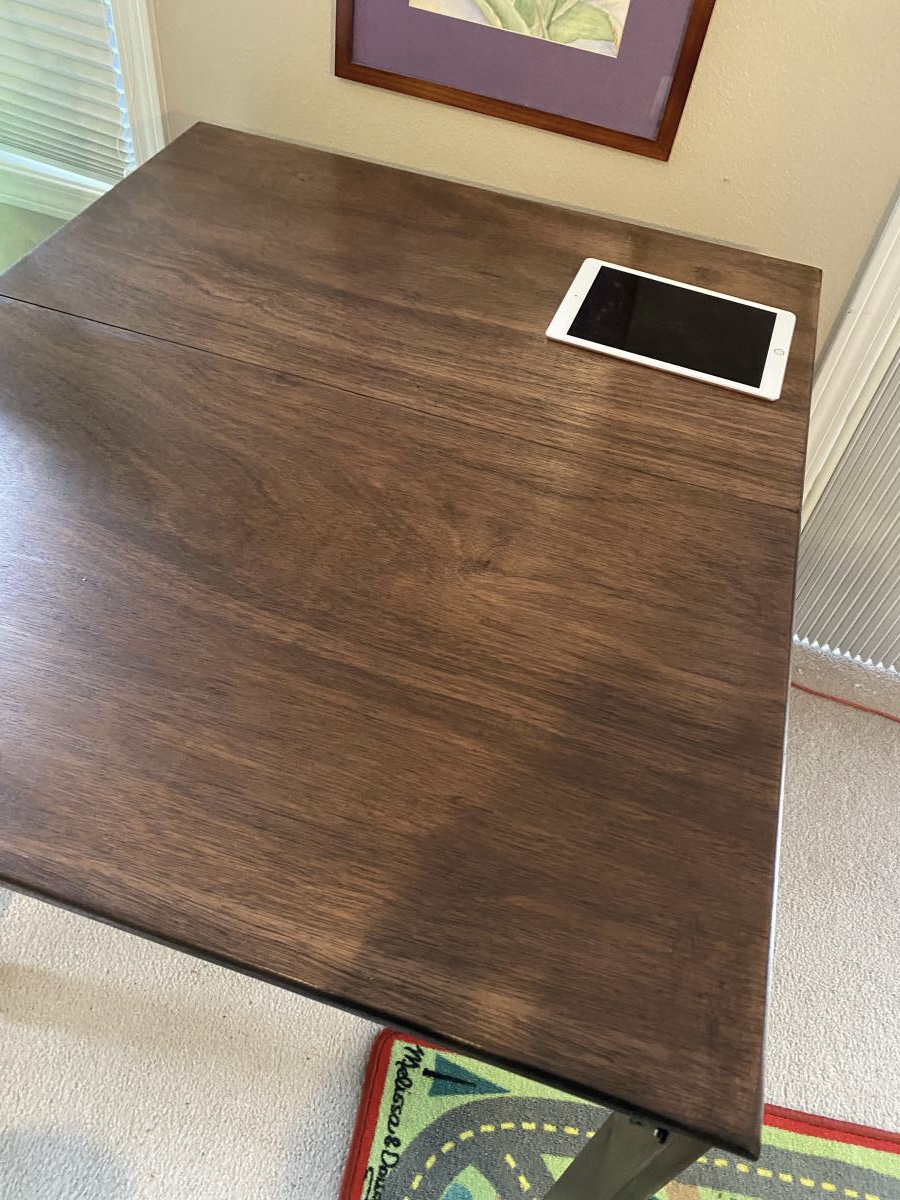
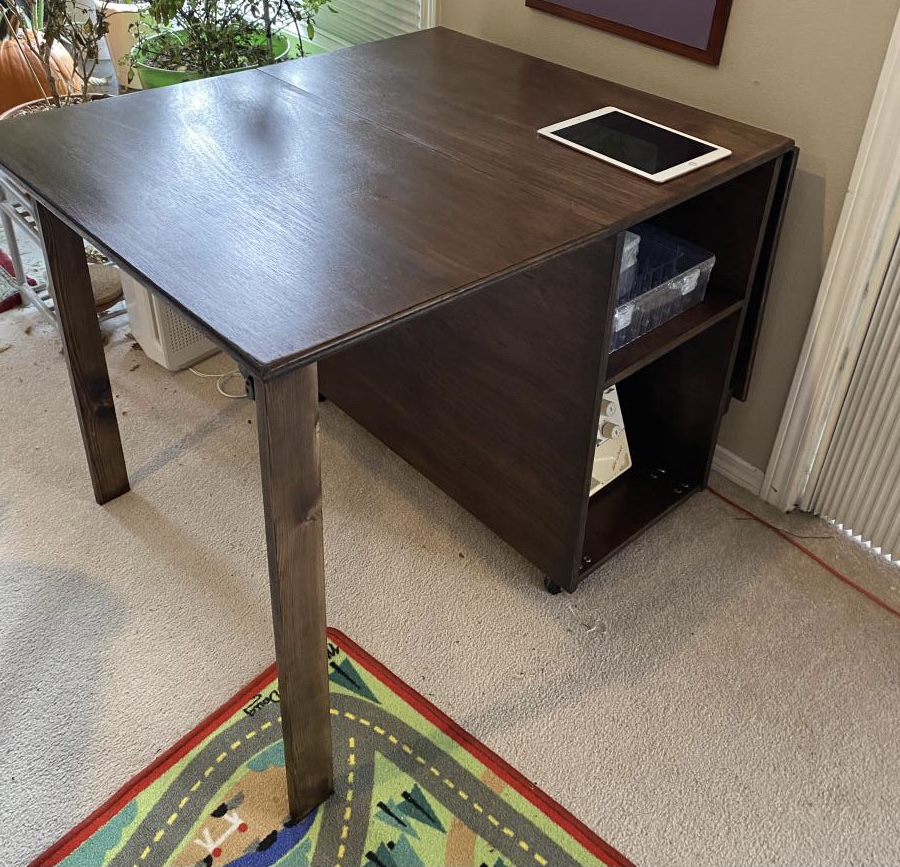
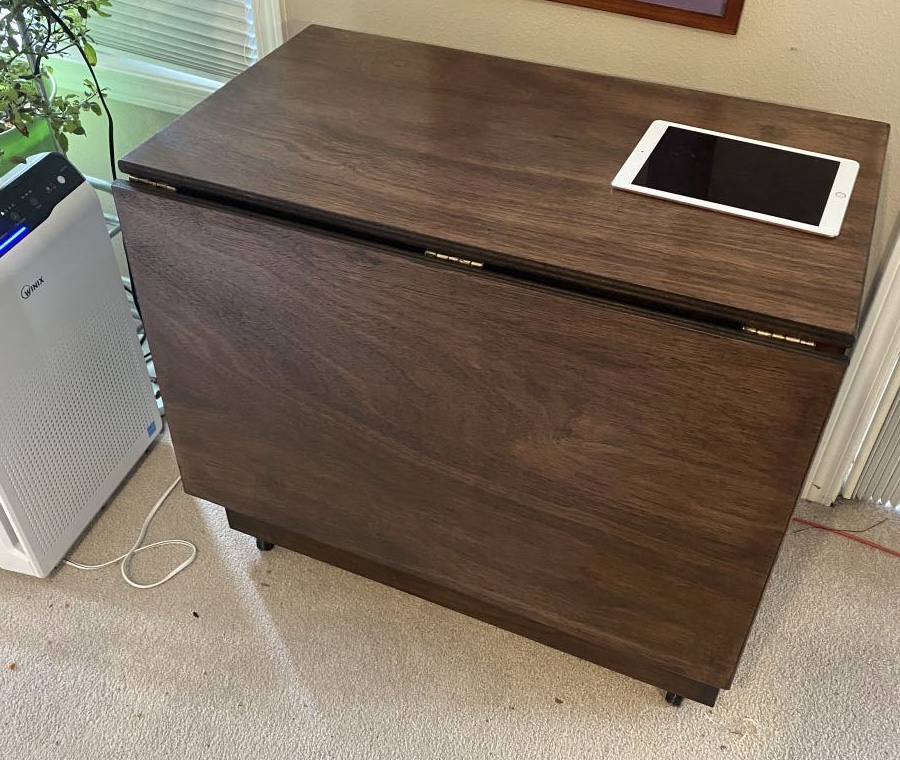
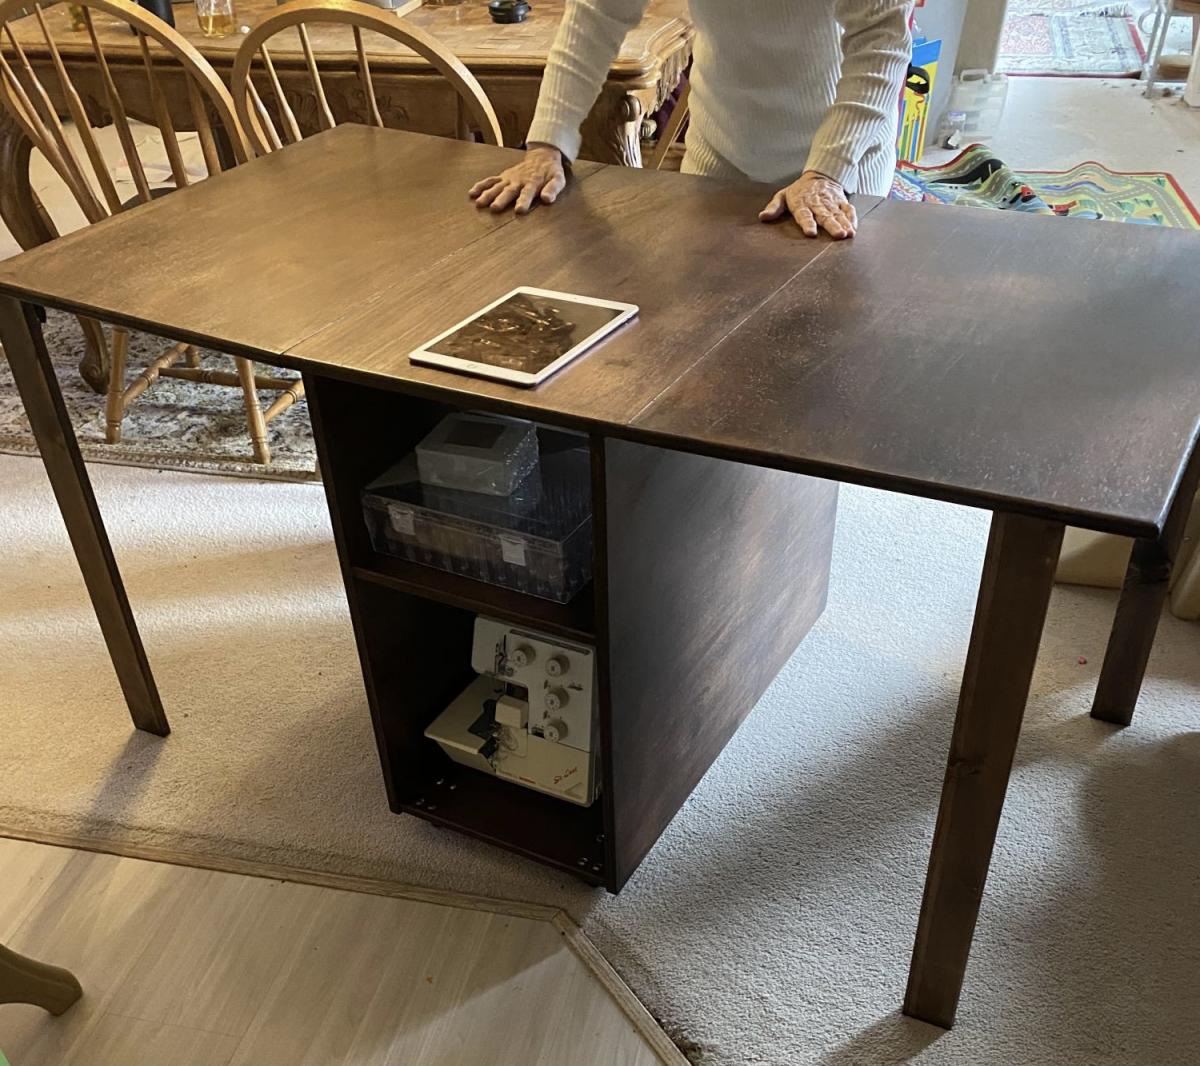
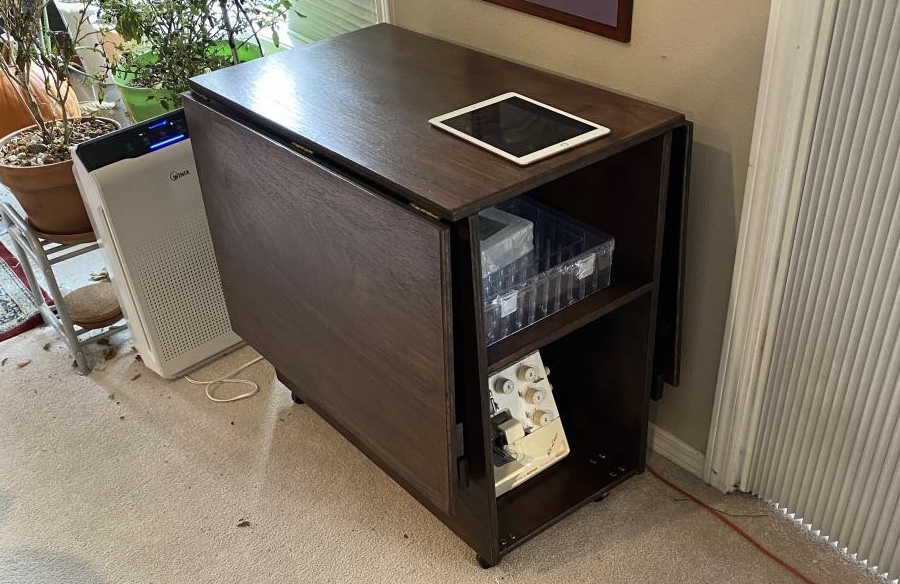
I used the sewing table plans from Ana's sie to make a sewing table for my mother-in-law's birthday. She loves it. the plans worked great. I did upgrade the legs with some Locking table leg extensions from Amazon. https://smile.amazon.com/gp/product/B06VTJZHS6/ref=ppx_yo_dt_b_asin_tit… I also used pocket holes instead of just screws. If I made another one I would use a thicker piece of lumbar for the legs maybe a 2"X 2" instead of the 1"X 3" I'd used.
Sat, 12/19/2020 - 12:45
Excellent mods and additions to make this table last and last! Thanks for sharing!
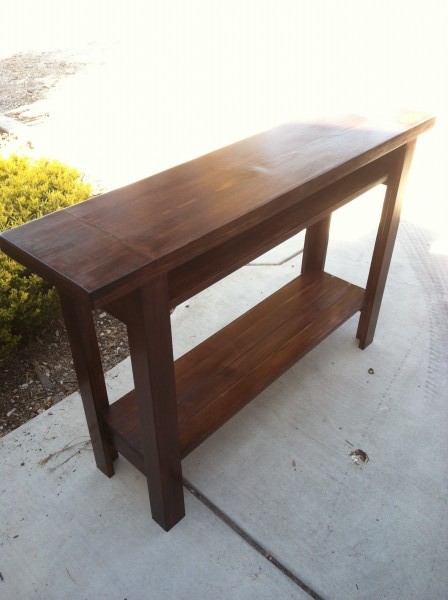
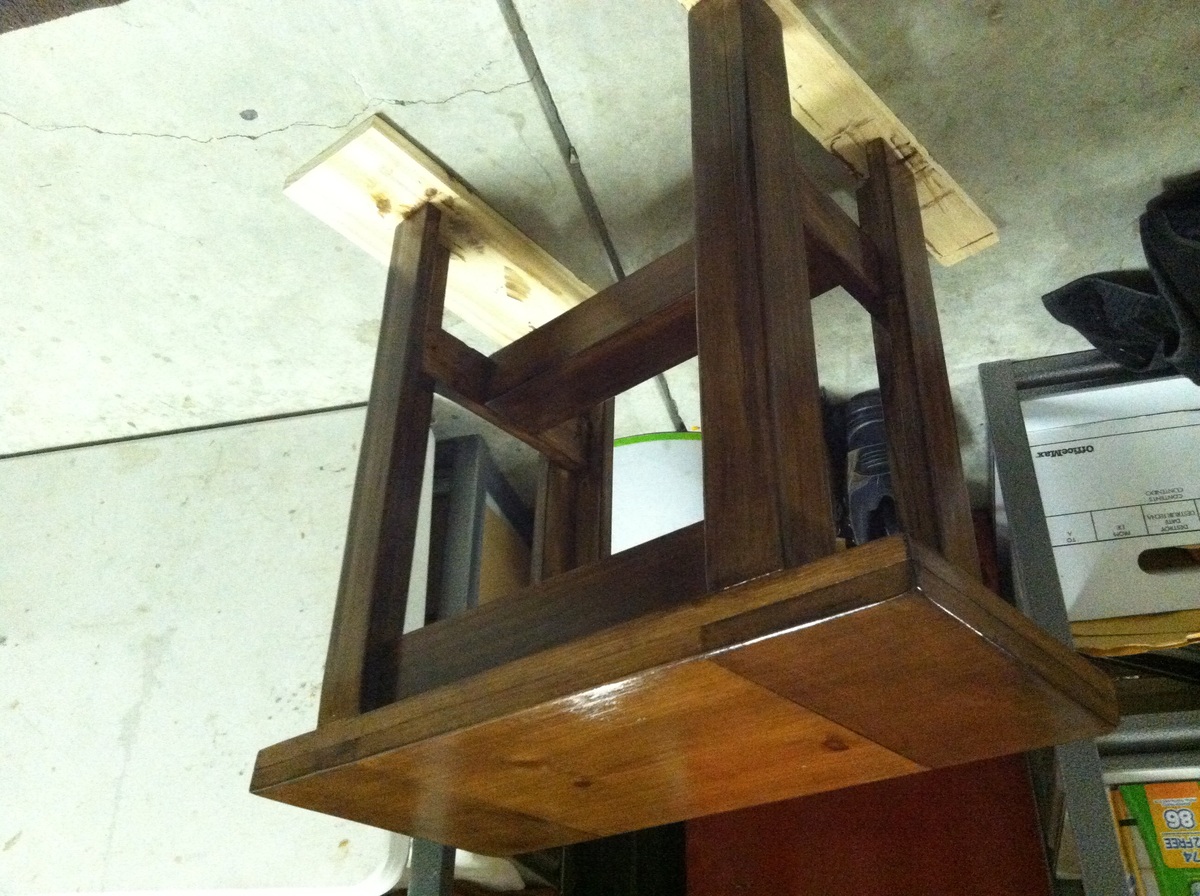
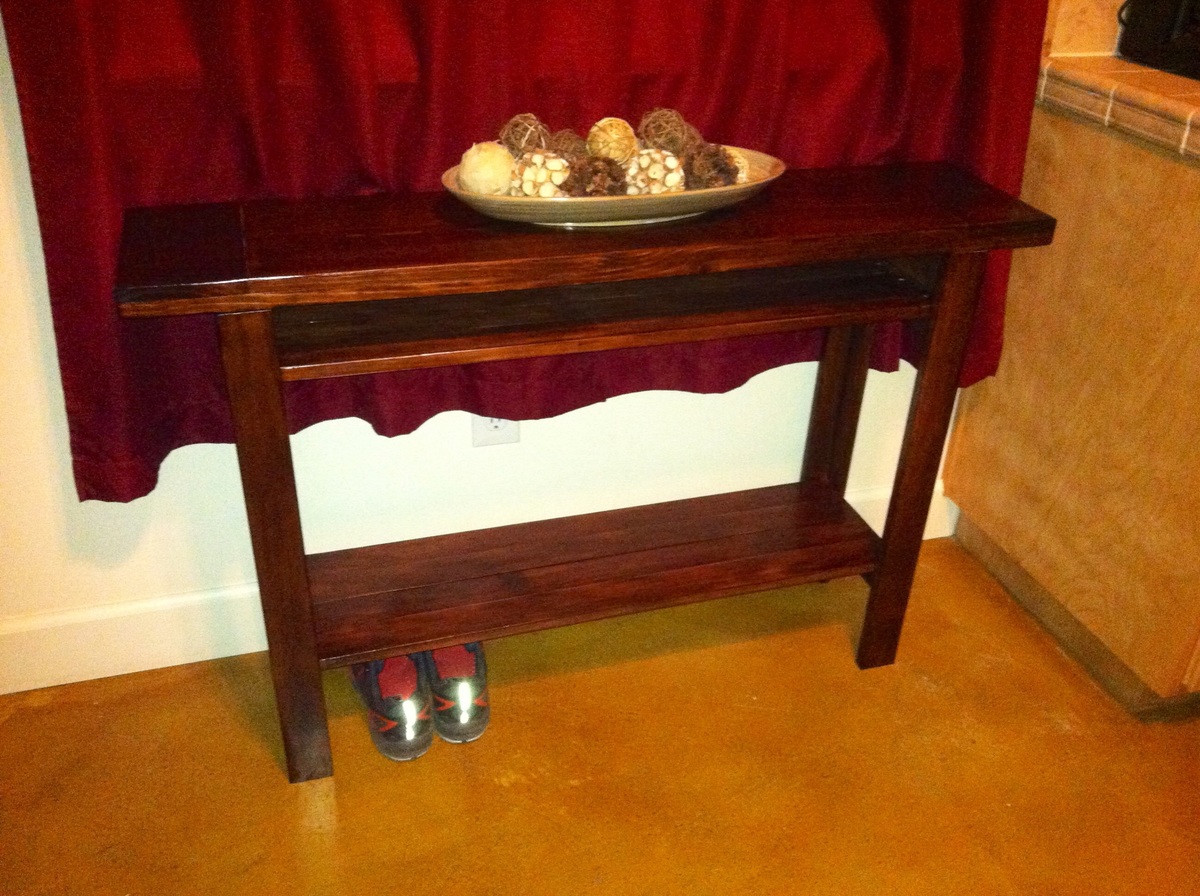
tryde console table with a twist... Added shelf above and below. Created a smaller version for a matching side table. Double layered top with staggered wood pattern. I receive compliments every time someone new comes over. Solid piece of furniture. Looks very expensive.
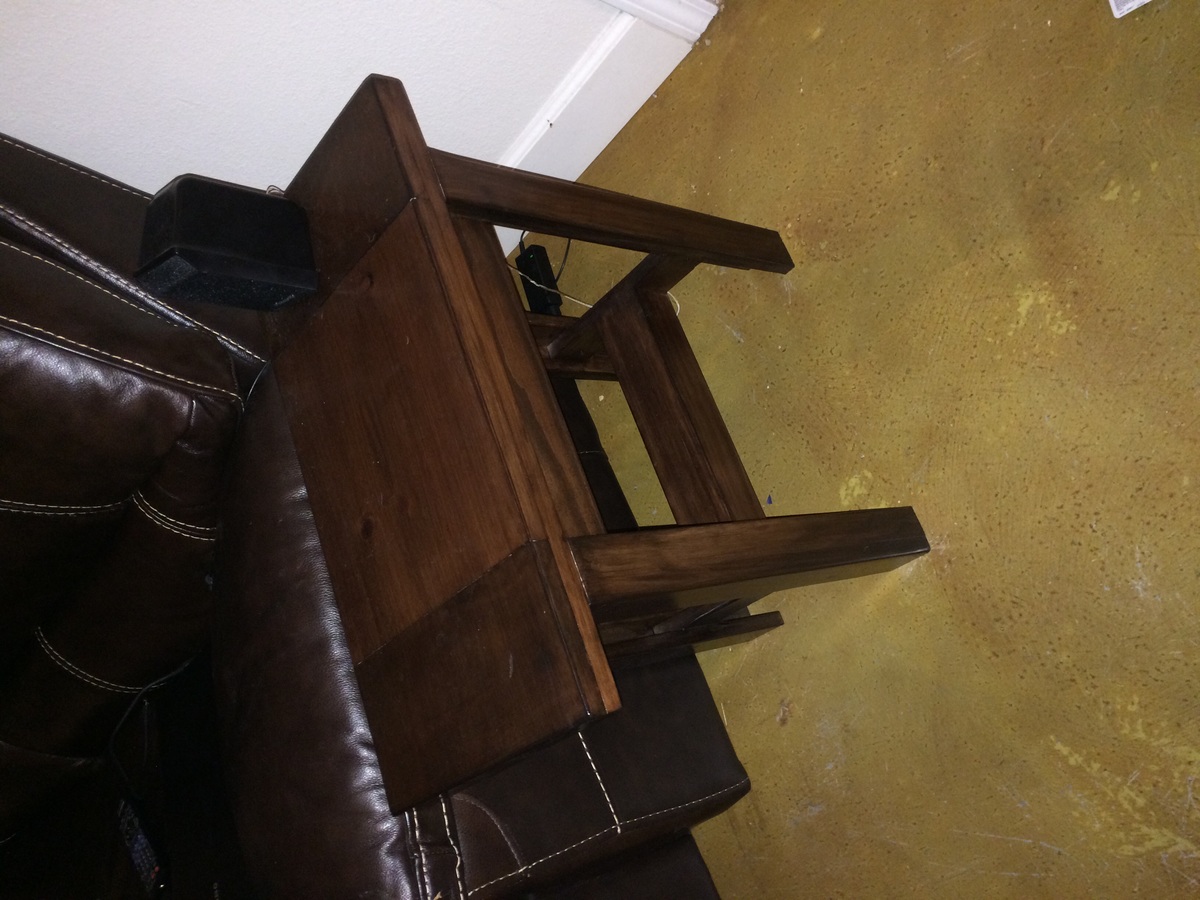
Thu, 12/04/2014 - 22:52
Fabulous! I love the dark stain! Thanks for sharing!
This was the first attempt at building furniture for my husband and me...and we're thrilled with how it turned out! We had a table from Crate and Barrel that was not holding up at all (I convinced them to take it back after 1 year) and wanted to try to build our own. We used Ana's Farmhouse Dining Table original plan, and only shortened it to 64", but followed the rest exactly. We looked into getting oak or a more expensive wood for the table, but save your money and get the pine! After the polyurethane, it's harder and more durable than our C&B table!
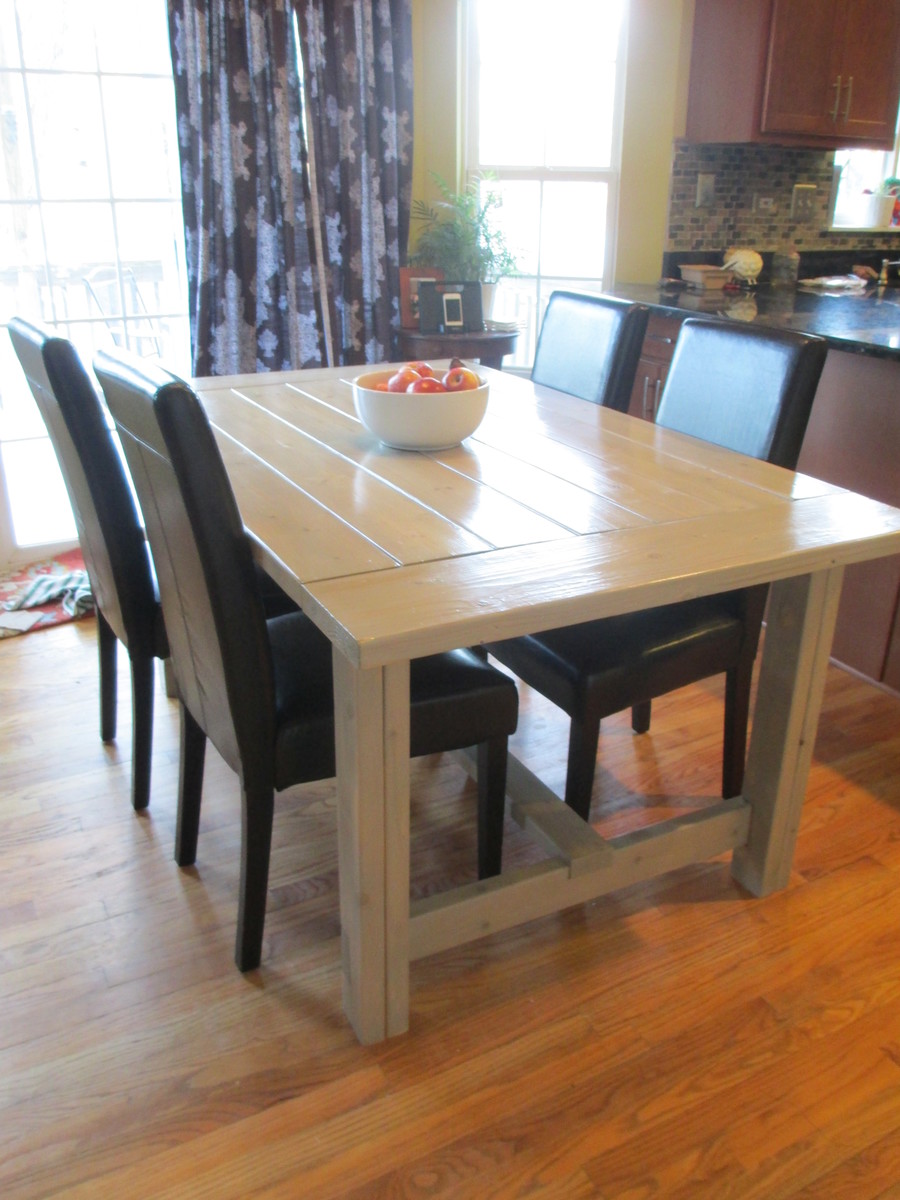
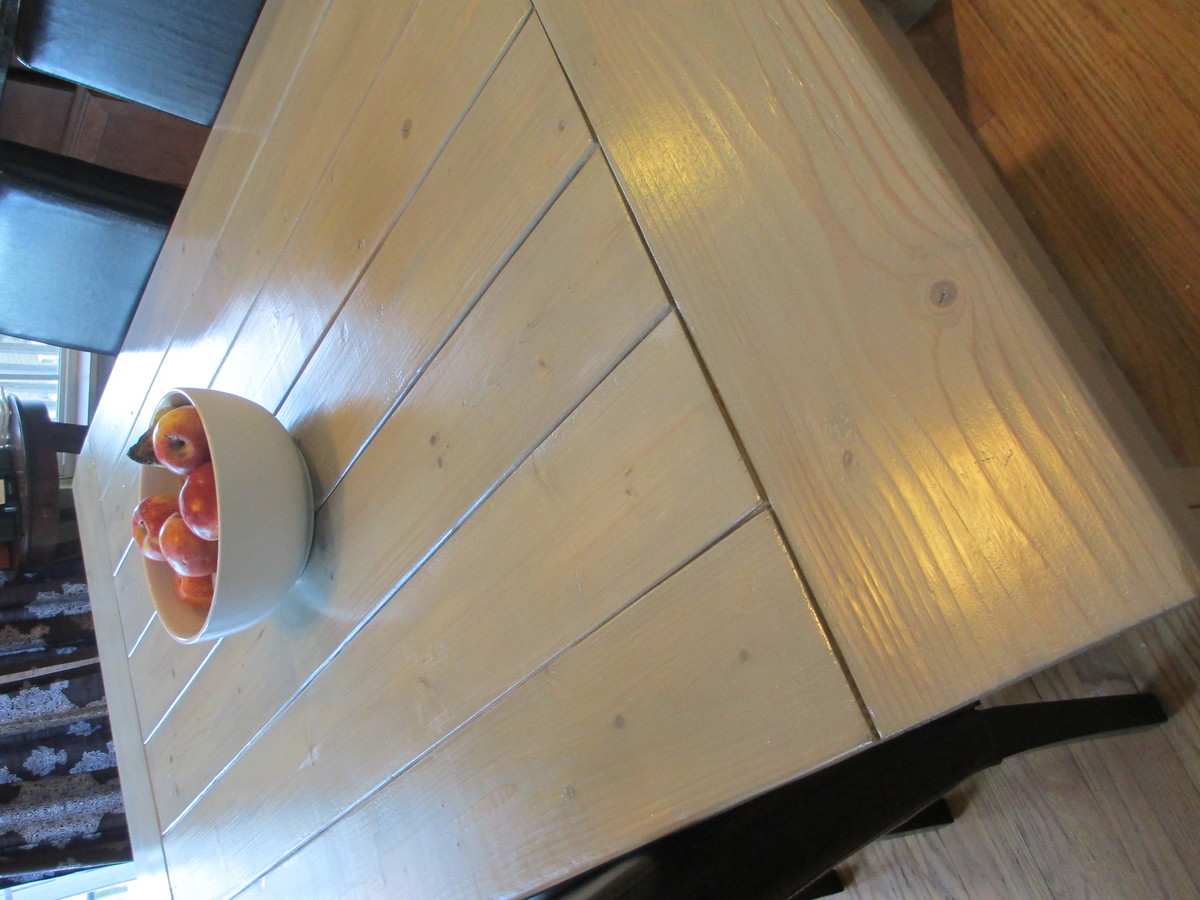
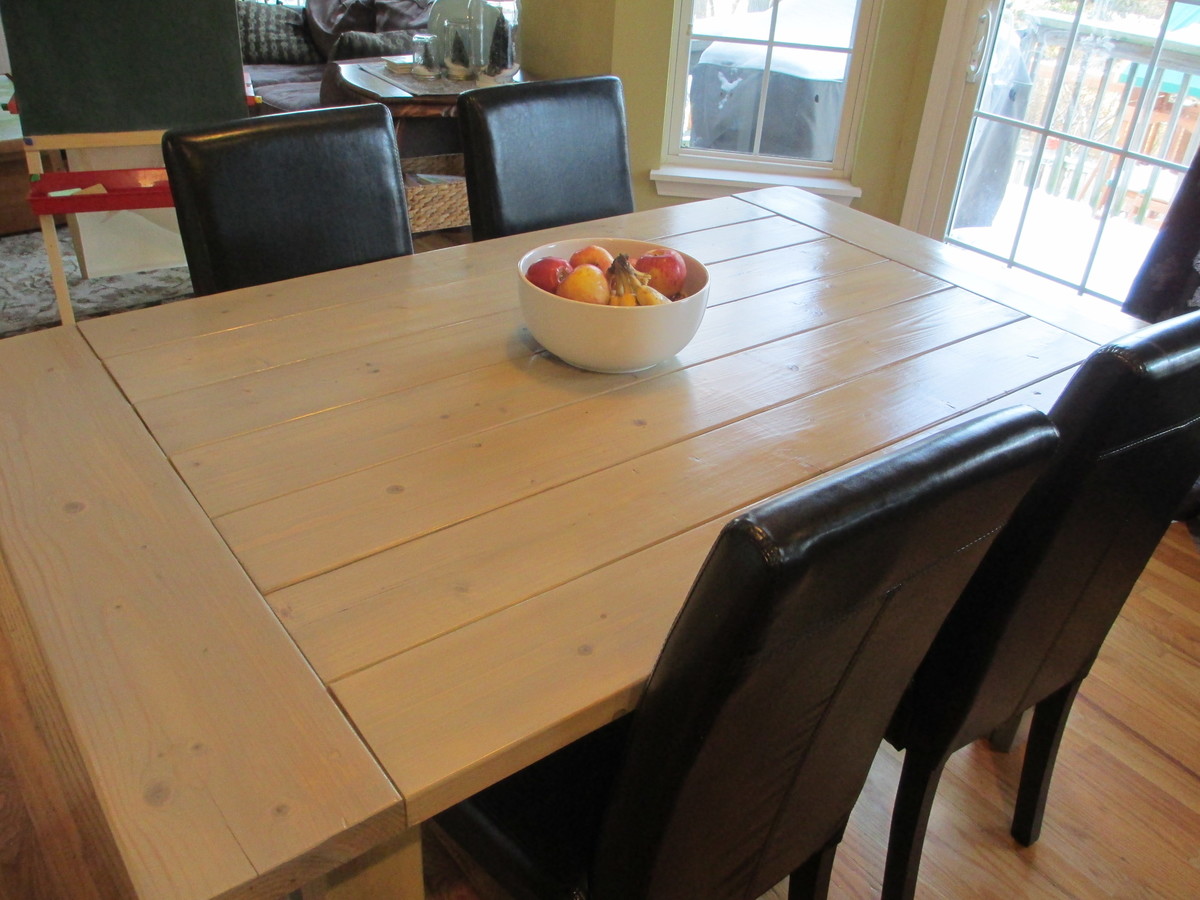
Thu, 02/07/2013 - 19:49
Nice job and I love the finish! I will keep that stain in mind for one of my next projects...
This is my first solo and most ambitious project. I only had some help with getting the doors hung. I combined my long-time love of machine embroidery and my new found love of woodworking to create the doors on this project and really make it something special. I'm going to be using this piece in place of a chest of drawers in my bedroom.
Fri, 12/12/2014 - 13:21
What an awesome project! Love the finish, and the design on the doors. How did you do the door panels? They're lovely!
Mon, 12/15/2014 - 12:13
Wow that is really awesome! I love the stain and the way that this turned out!
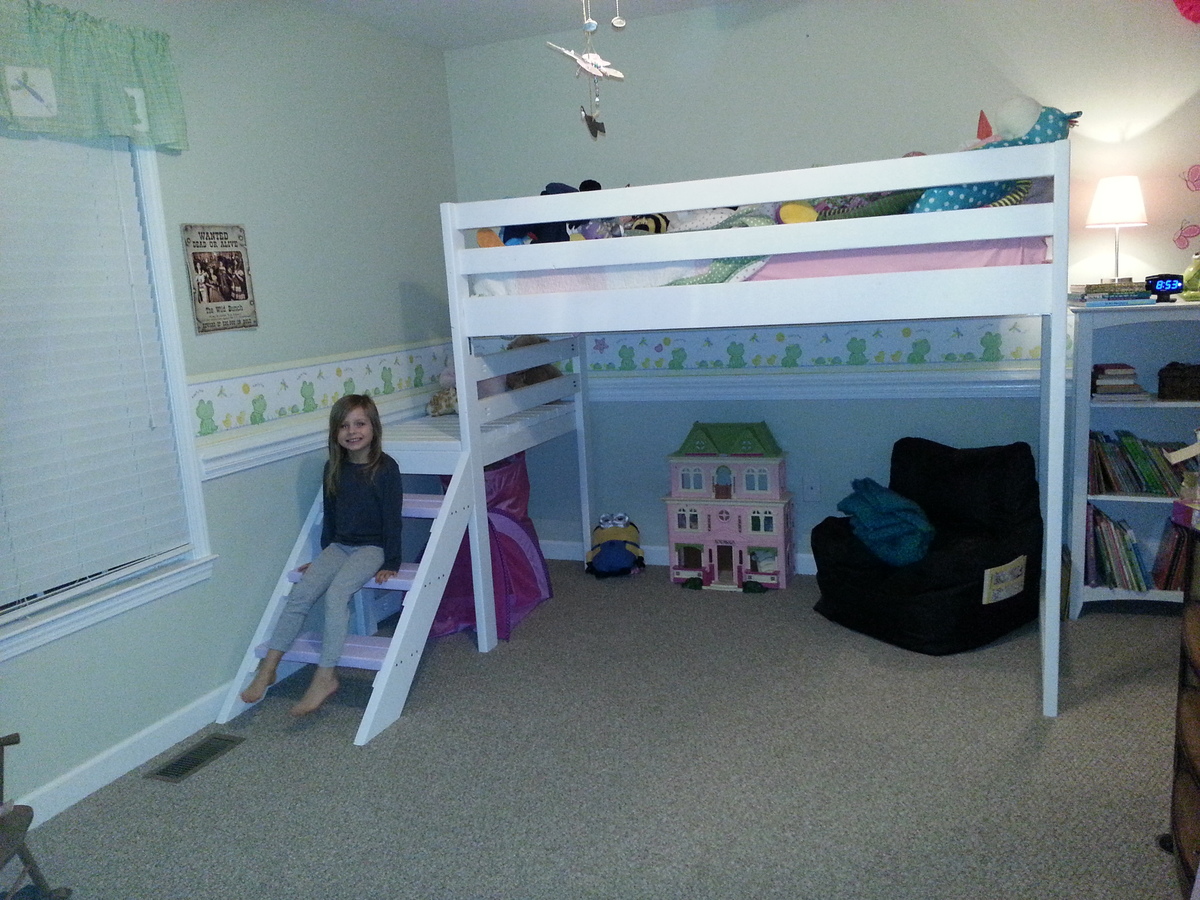
We had a blast building this bed for our daughter. It was our first build and I think it turned out perfect! Thank you Ana White for the inspiration and fantastic directions to get us through! Now onto the next project!
Amy
A few things that would be helpful - power tools! Nail gun, drill and table/miter saw would all be helpful. I also would stain the pieces beforehand and touch up after. But overall, SO pleased with the final result.
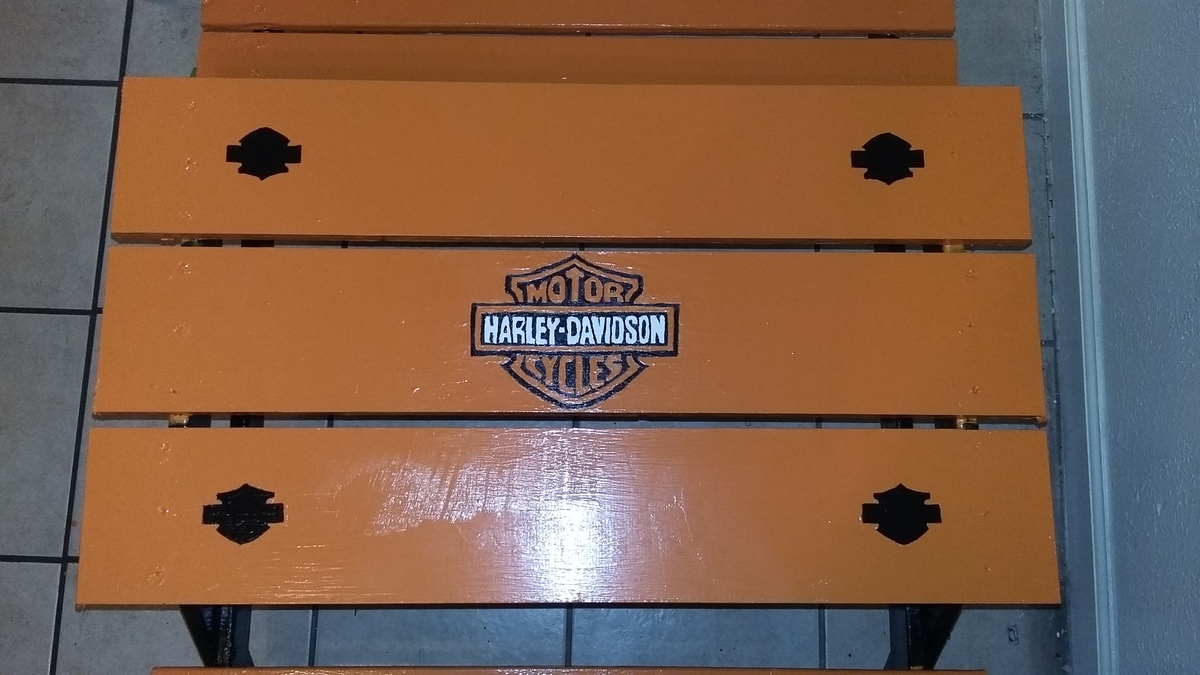
Simple to build, took longer to paint it than it did to build it!
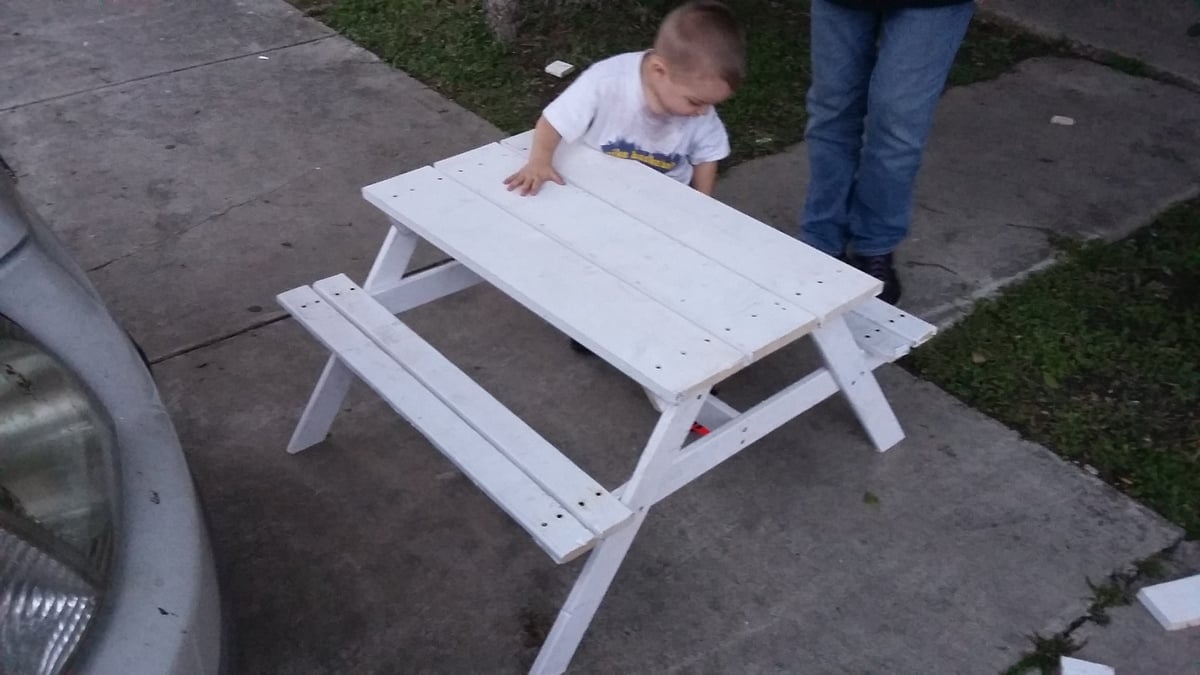
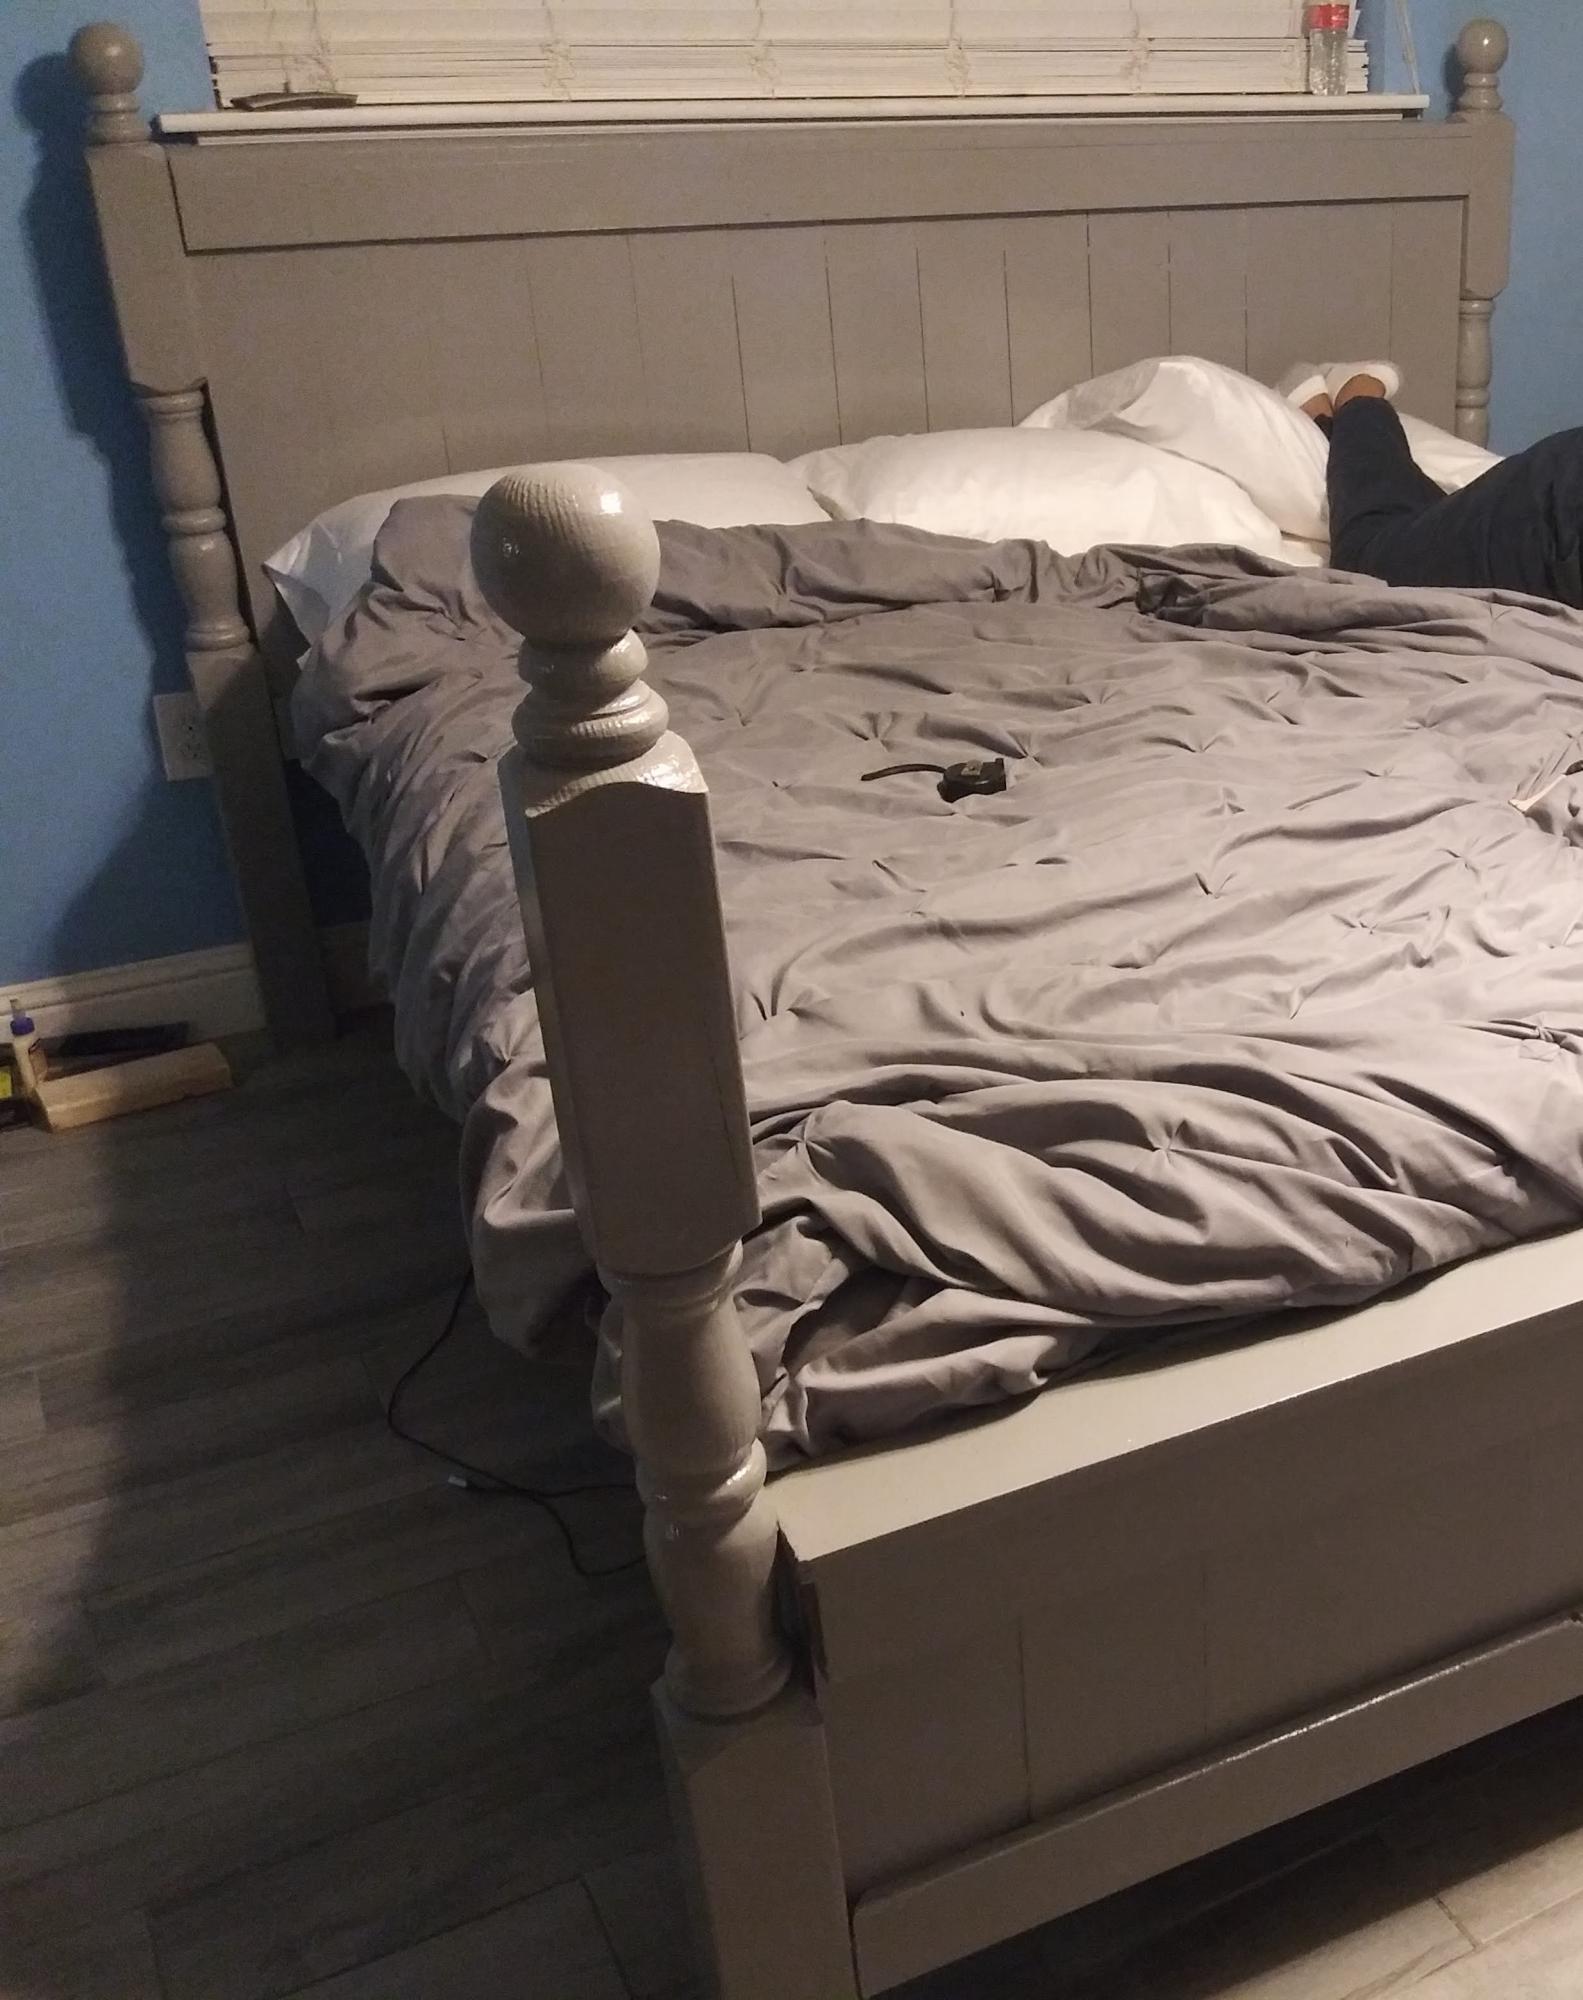
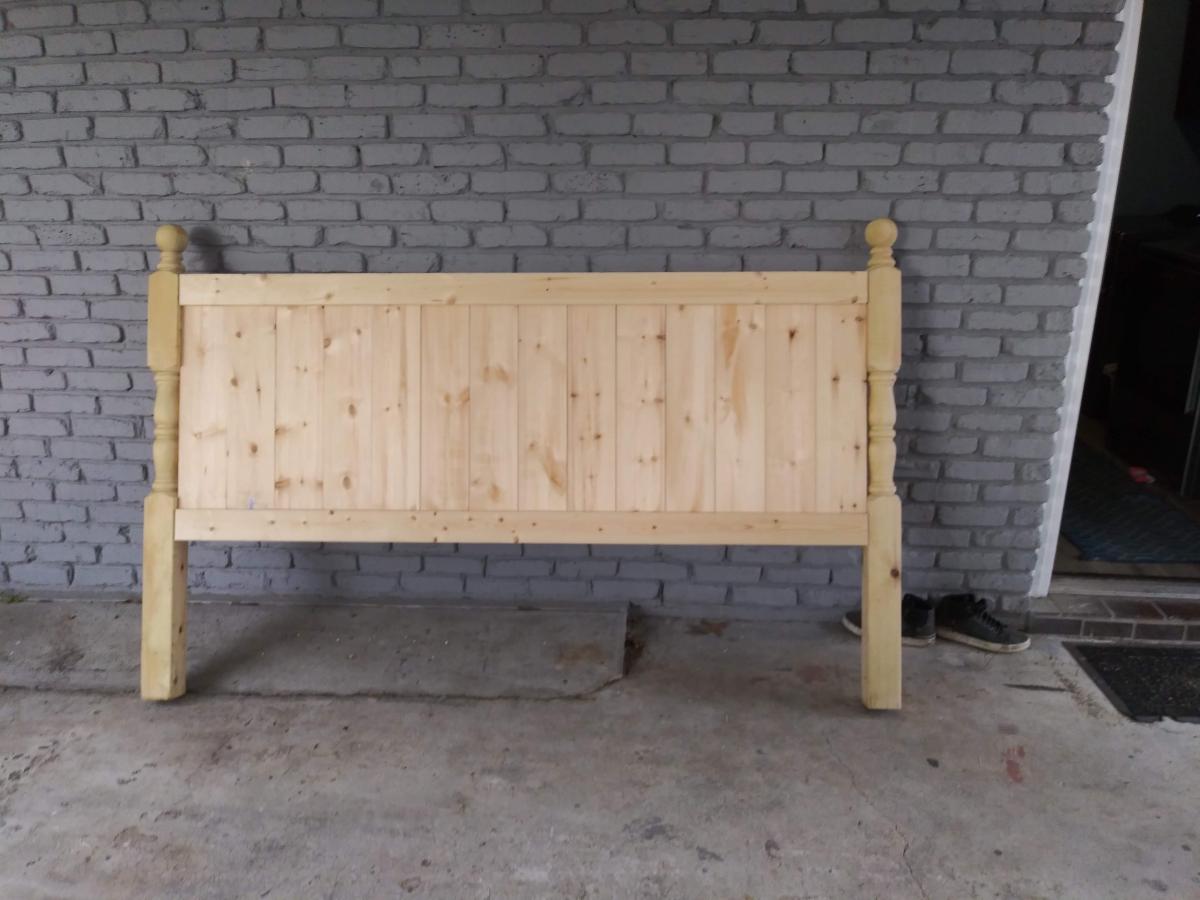
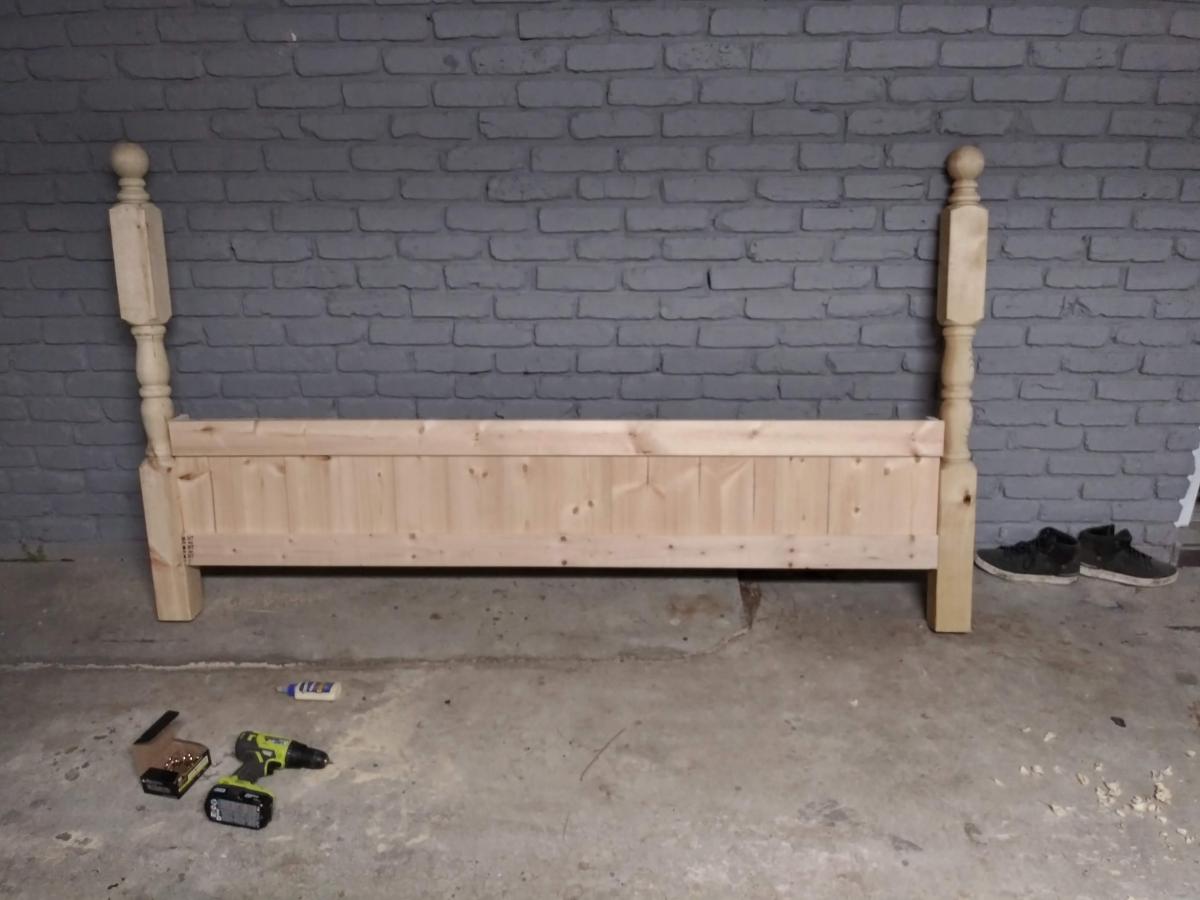
I ran across your website and decided to build my first ever extra long king size bed. I followed the plans of the farmhouse king size bed. Instead of using the square 4x4 post I used porch post and cut them down to size plus I stretched the bed to 88 inches long. My wife is super happy I did because we saved a bunch of money doing so and got a more durable bed.
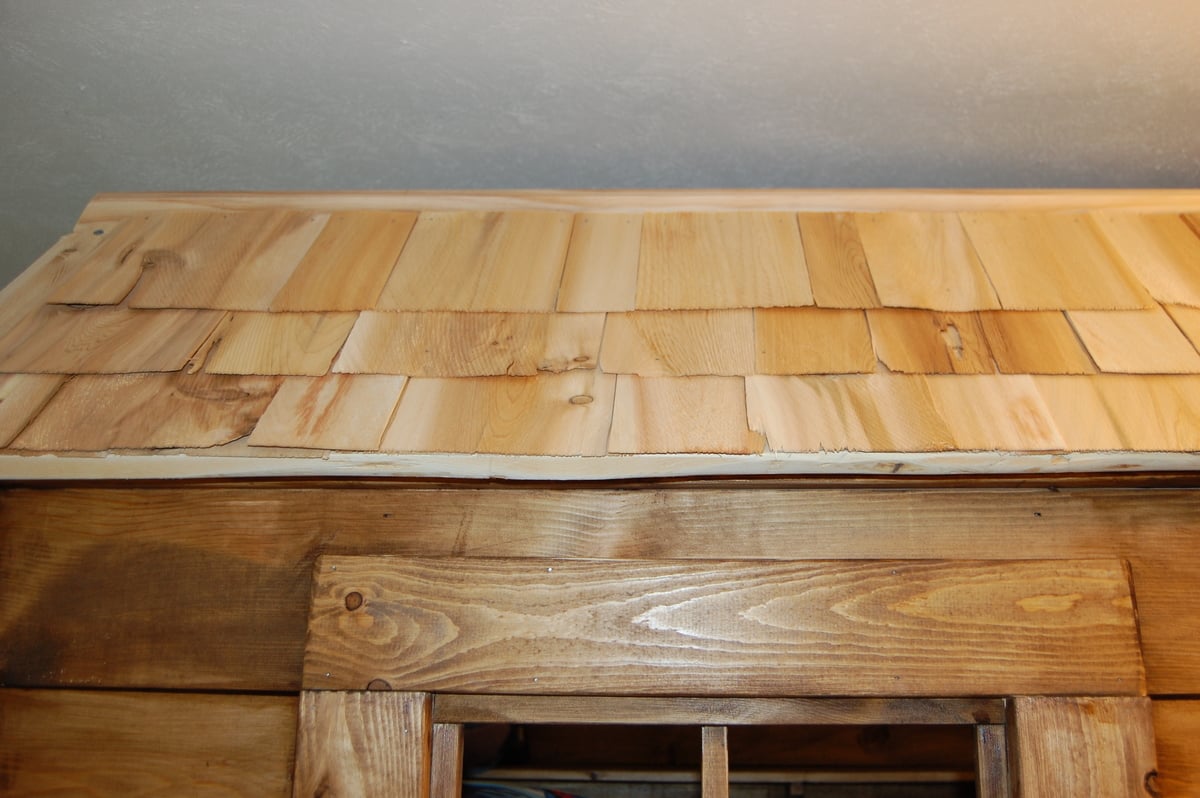
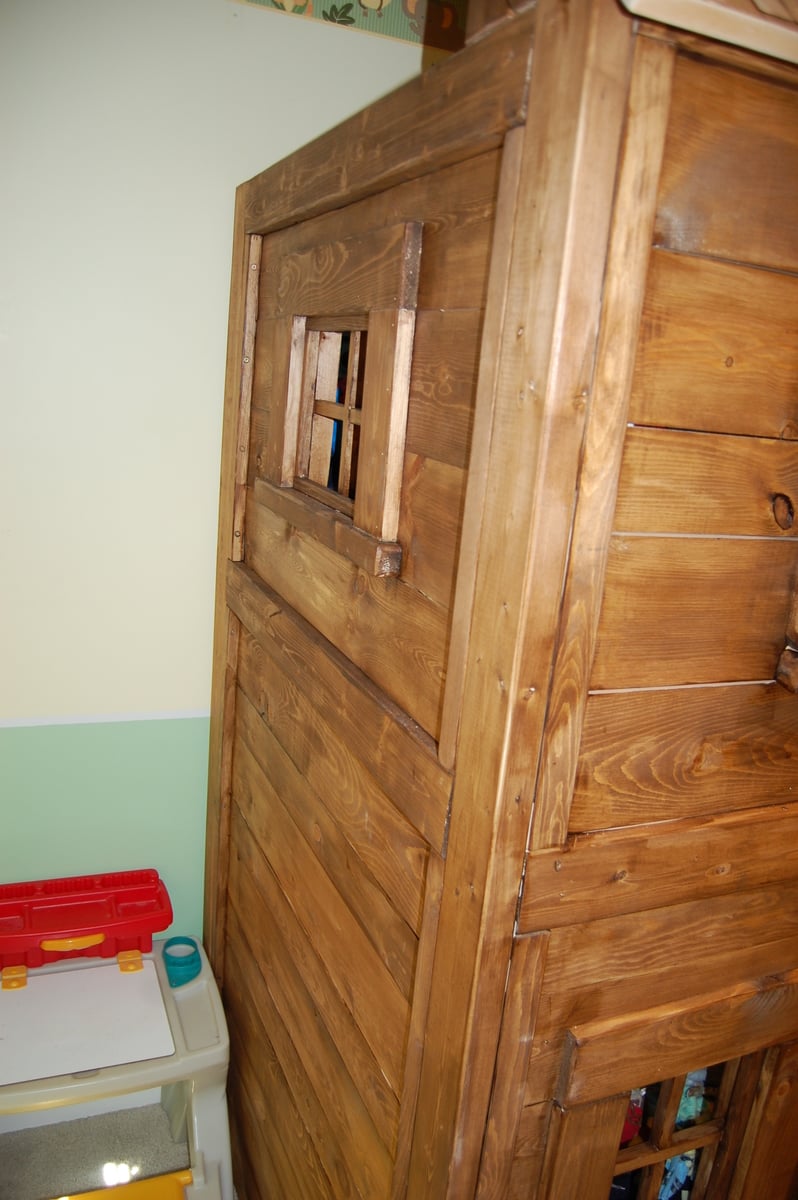
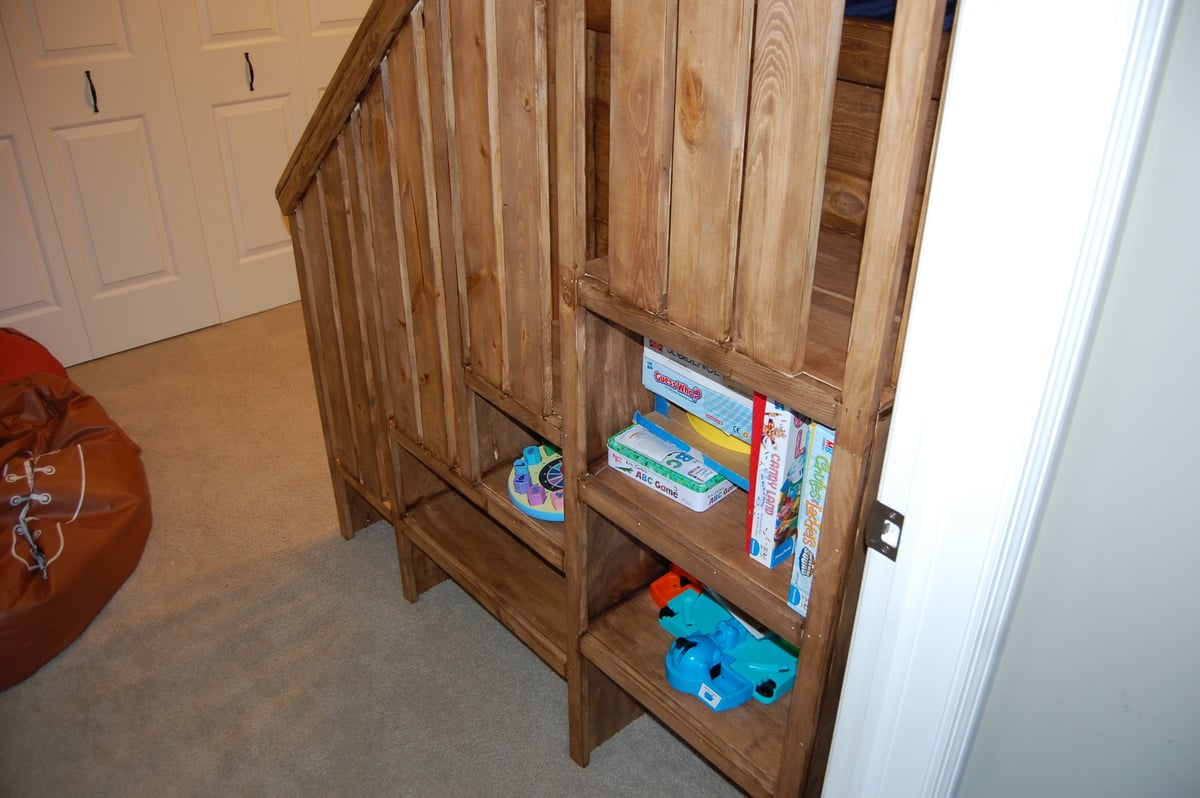
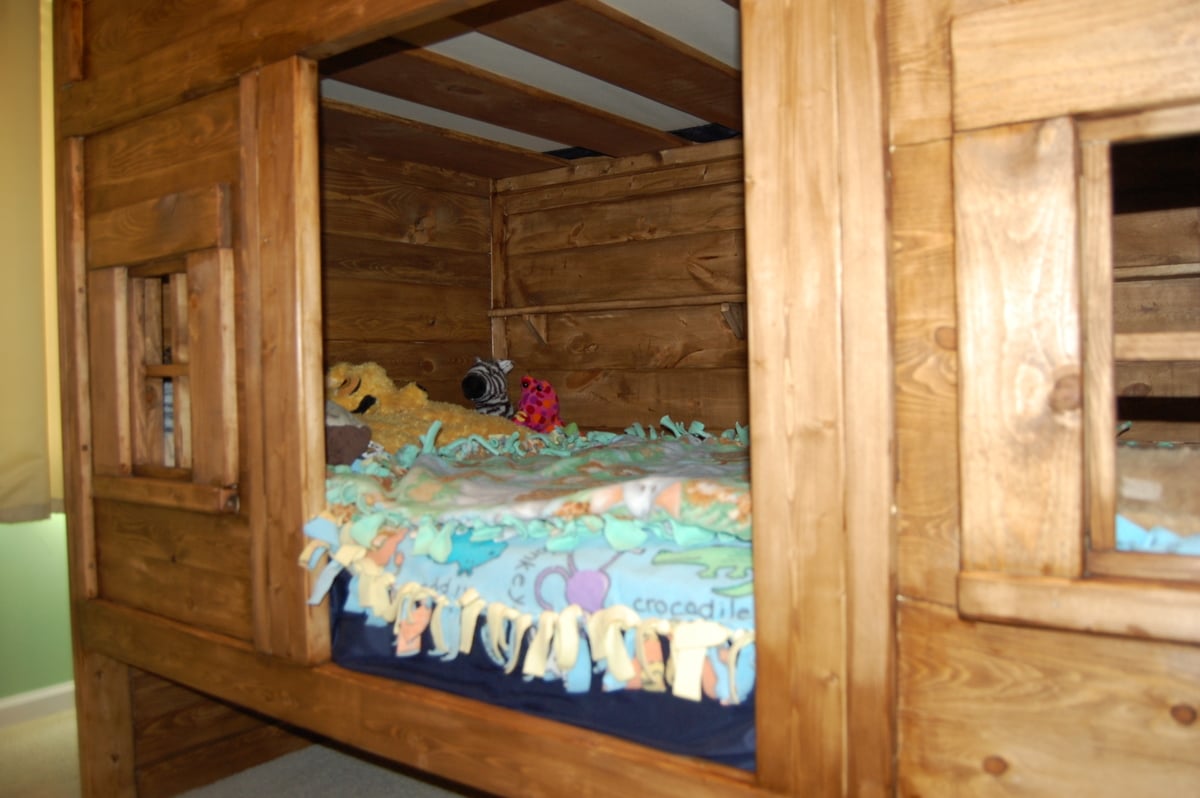
This took me and my father a few weekends to complete simply because that is all the time I had to work on it (was the weekends). We put a lot of effort into it and made sure everything was neat and safe. We modified the original plan a bit to give some more boy feel to this bed, and we added window bars to keep my children from climbing out of them. You know boys! We also added a window on the far side of the top bunk. We should have added one to the bottom too since it is so dark, but he likes it anyway! If you want to see some step by step photos, you can go to http://www.facebook.com/media/set/?set=a.10151477424866465.1073741825.5…
P.S. The estimated cost was for the bed only, not the mattresses or stain

Sun, 03/17/2013 - 14:53
My daughter walked in and said.....AH! I wanna sleep on the top! HAHA. Good job
Sun, 03/24/2013 - 08:08
I love this! You did a fantastic job. I think the stain makes it look great!
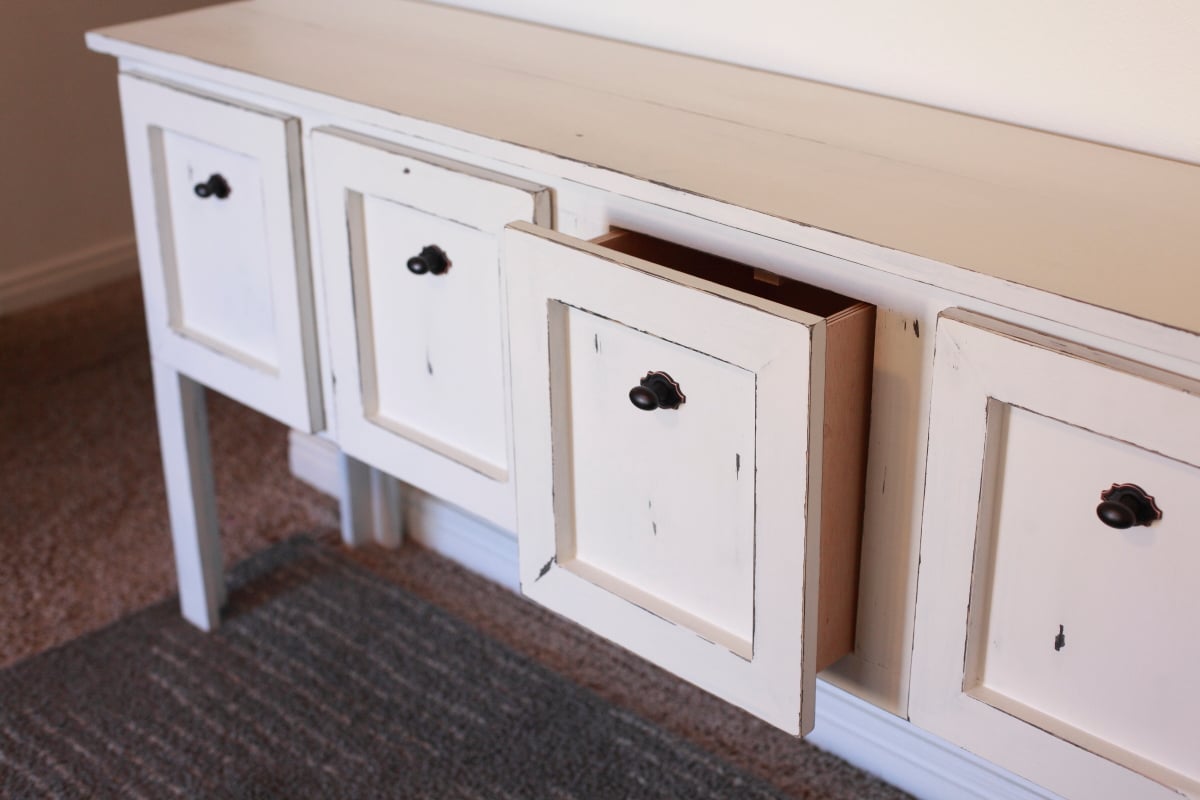
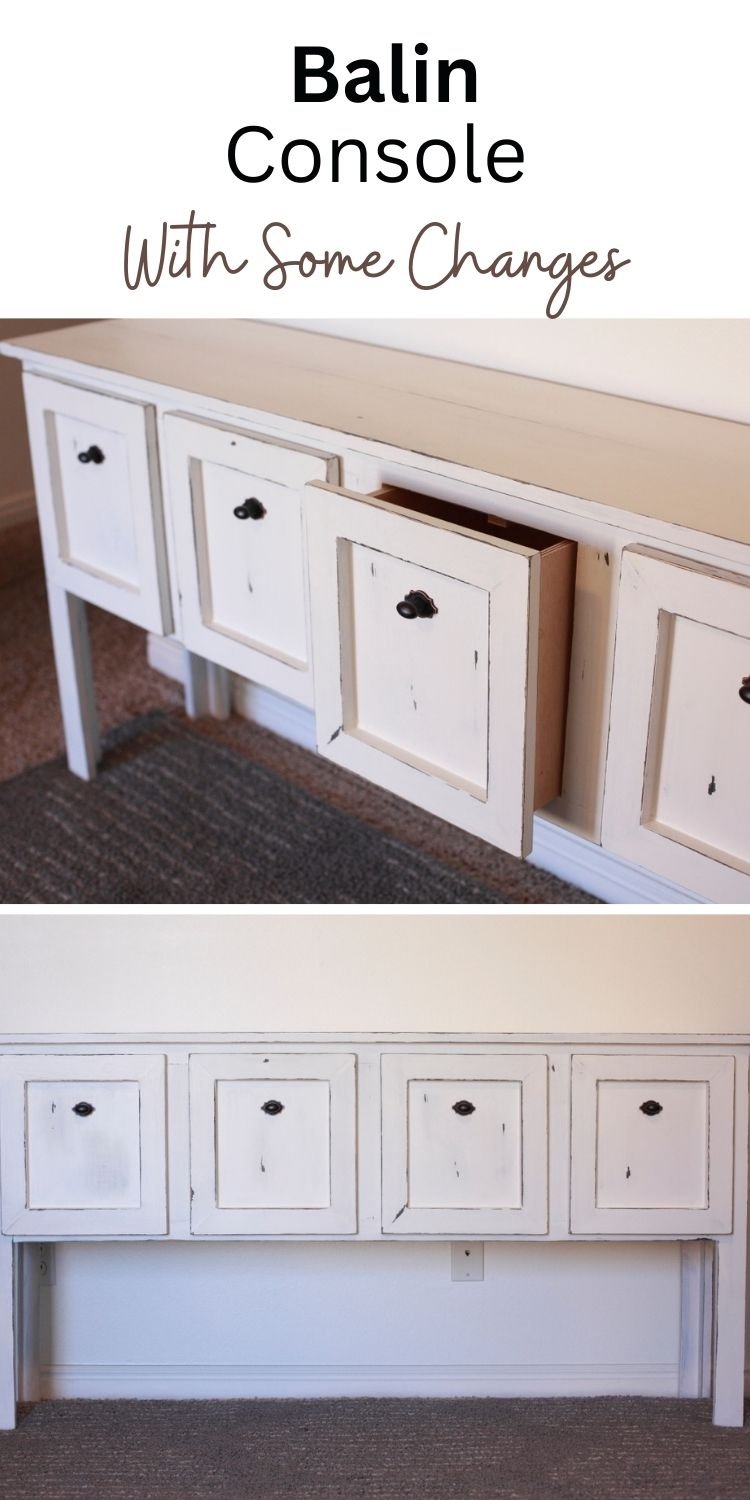
We made this table from the original Balin Console table plans, but faced out the drawer fronts with some mitered trim and added some drawer stops inside to keep the drawers from falling out when pulled all the way.
The drawers were made with a cabinet grade plywood along with the sides and bottom of the table. We used 1x8s on the console top to get that nice wood look, where all corners and ends would be showing, but for the sides and bottom of the table, since the edges were all trimed out, the plywood worked out nicely.
The legs seemed plenty sturdy without the extra trim, so we skipped that to get a more simple look.
Drawer handles were found at our local Home Depot.
For the finish, we stained (with Minwax ebony) the edges where we wanted distressing, then wiped on vaseline along edges and painted over in Behr Swiss Coffee (white) in matte. After drying we took sandpaper to the edges to show the dark stain through. Because we used matte paint, after everything was finished, we waxed with a clear wax and buffed for a nice shine and a smooth texture.
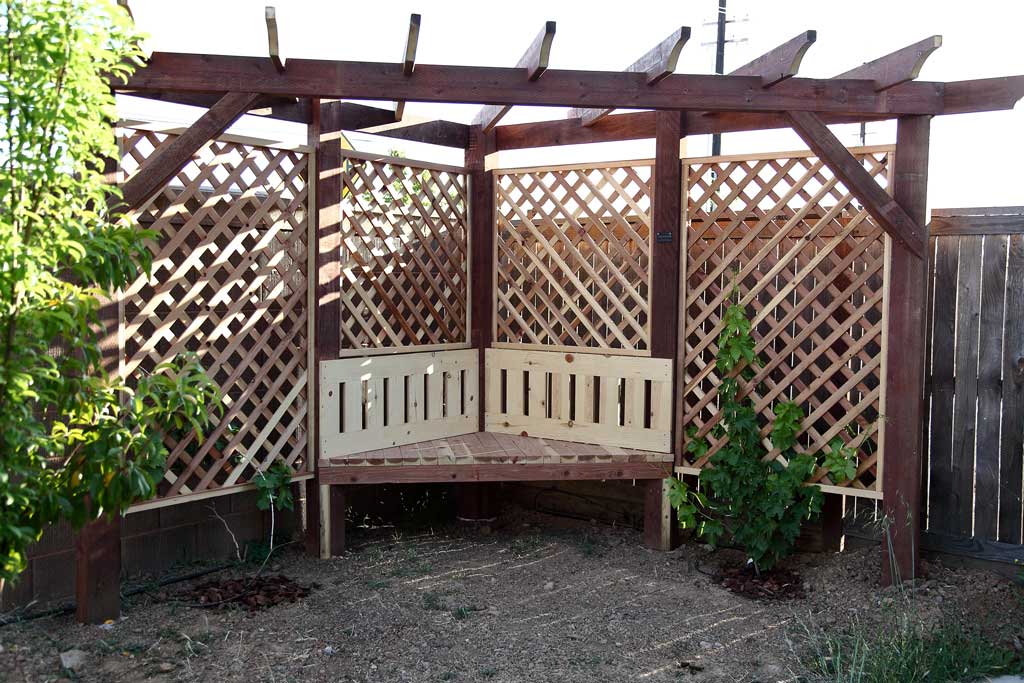
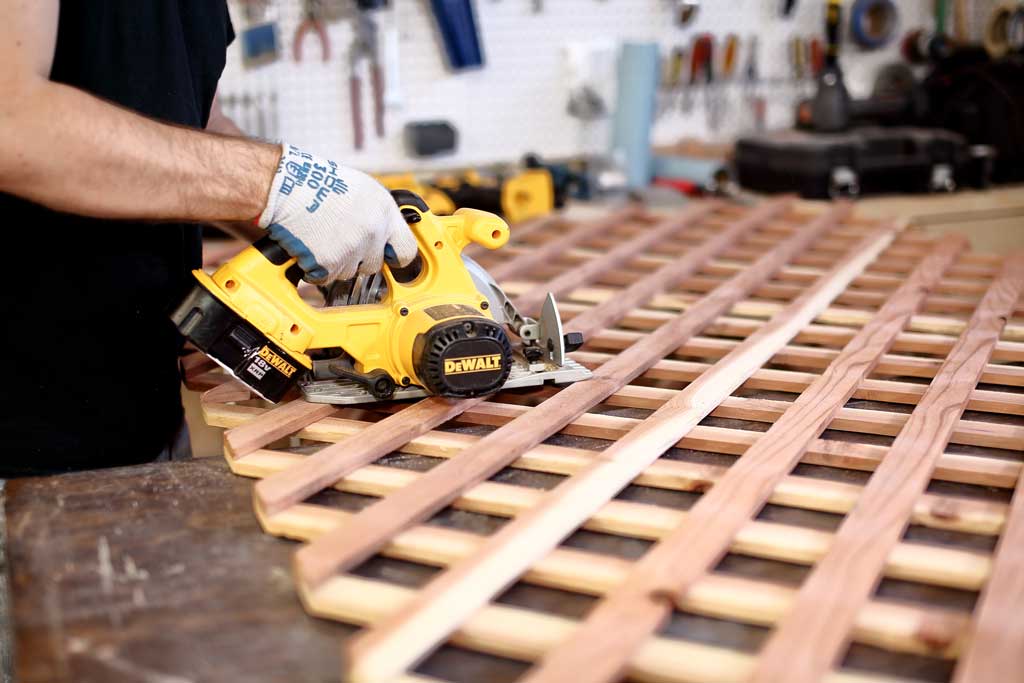
My brother-in-law planted a small grape plant in his backyard and wanted a trellis structure behind it for the grapes to climb on. He asked me to design and build it in the corner of his garden. After going through some designs, we decided to go with a corner arbor. When the project was complete, I created PDF plans on how to build a DIY Corner Arbor with a Bench that includes a trellis for the grapes to grow on.
See my website for additional pictures and how I've built it, TheDIYPlan.com
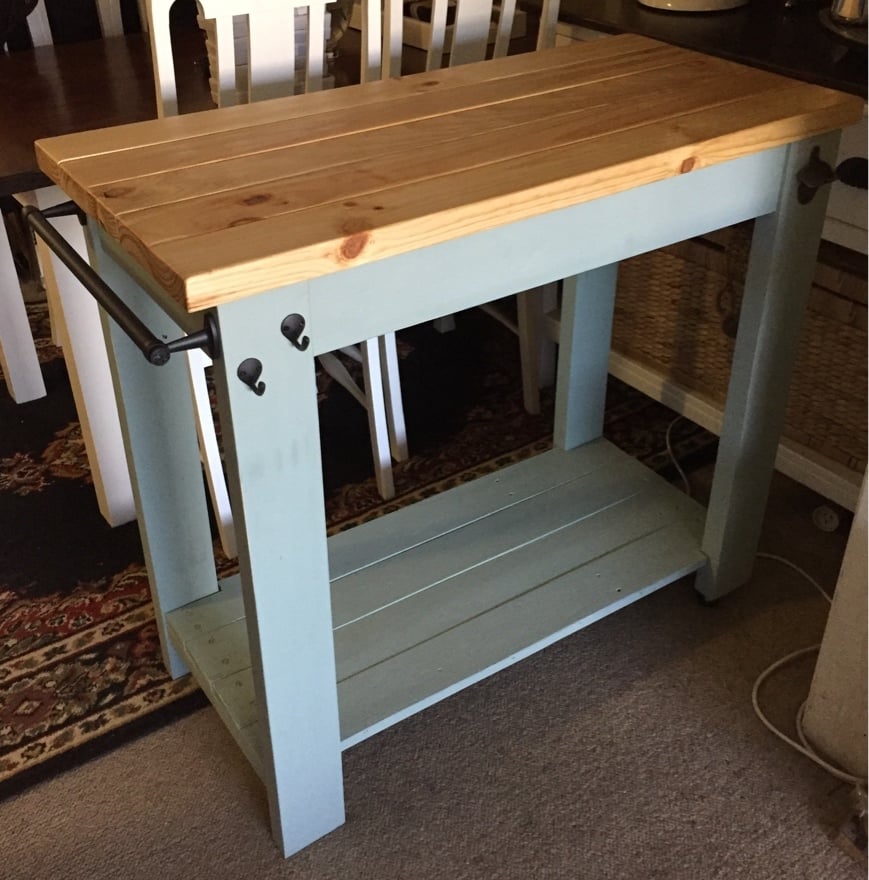
Kitchen Island Trolley.
Base was made from recycled timber and the top was made with new pine.
The rails were made from curtain rails.
One end has wheels for easy moving.
Comments
saminasri2001
Sat, 08/22/2020 - 08:33
Plans for console table
Hello could you please share the plans for me. Want to duplicate your awesome work.
ACraftyCauldron
Sat, 08/29/2020 - 12:33
Perfection!
I believe this is JUST what I came here looking for! Please share the plans and dimensions. :)
dheald
Sun, 09/06/2020 - 07:05
Plans?
Hello! This looks great and it’s exactly what I’m looking for in an alternative build. Would you be willing to share the plans with me?
Thanks!
itsmaris
Sun, 10/25/2020 - 14:31
Hello! I’d like the plans &…
Hello! I’d like the plans & dimensions for this as well! Thank you so much! Turned out AMAZING!
karen1606
Wed, 10/28/2020 - 20:53
Interested in the plans also…
Interested in the plans also! Thank you
Marci
Wed, 01/06/2021 - 06:20
Hi! I’d like the plans to…
Hi! I’d like the plans to build this! Thank you!
craftymom88
Thu, 06/17/2021 - 17:40
This is exactly what im…
This is exactly what im looking for. Can you please share your plans 😍
taysnyder1
Sun, 08/08/2021 - 15:36
Hi Ana can you please share…
Hi Ana can you please share your plans for this with me? Thank you
Mandy R
Wed, 10/13/2021 - 19:36
Can you please share the…
Can you please share the plans with me? Thank you!!
oldtimegal
Mon, 01/31/2022 - 03:50
Plans for Grey Farmhouse Table
Lovely build. I would love to receive the plans for this particular project please? Thank you!!