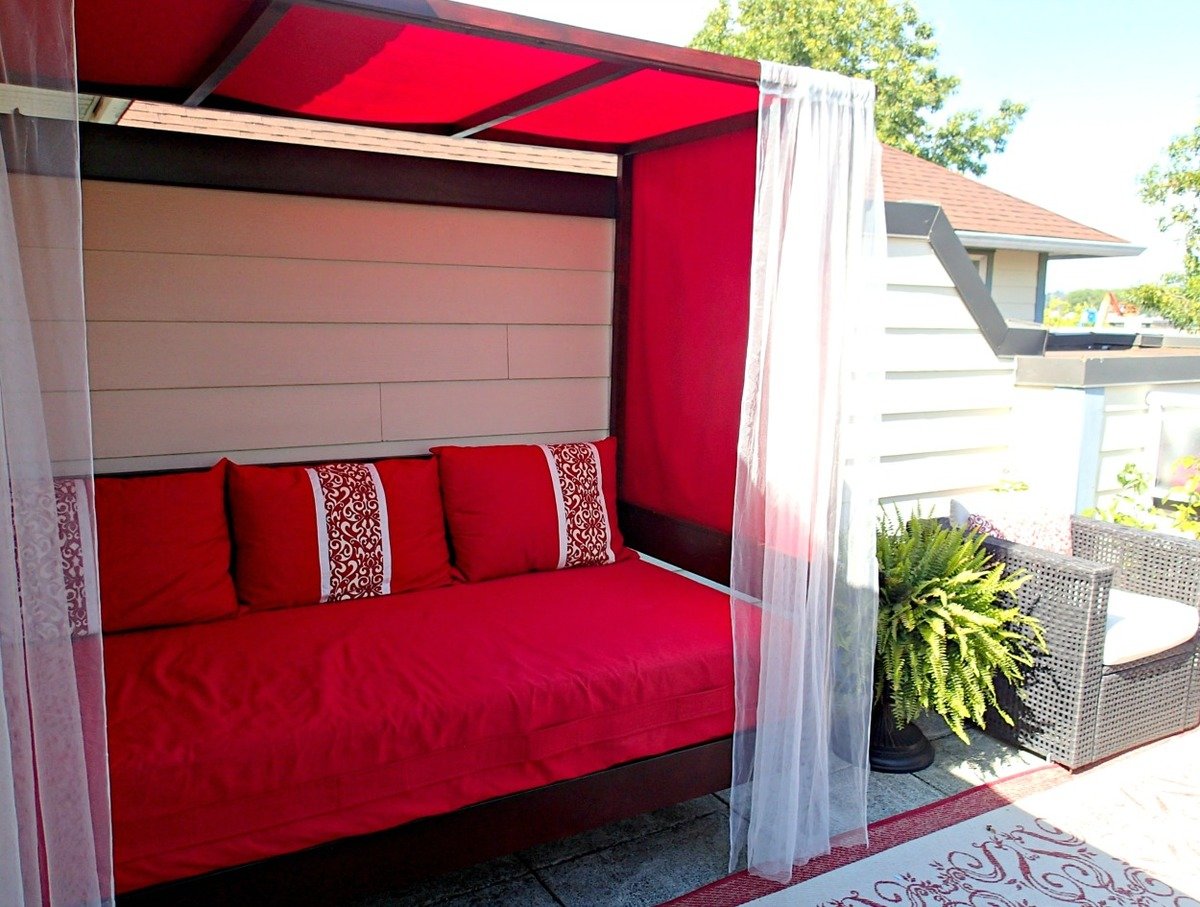
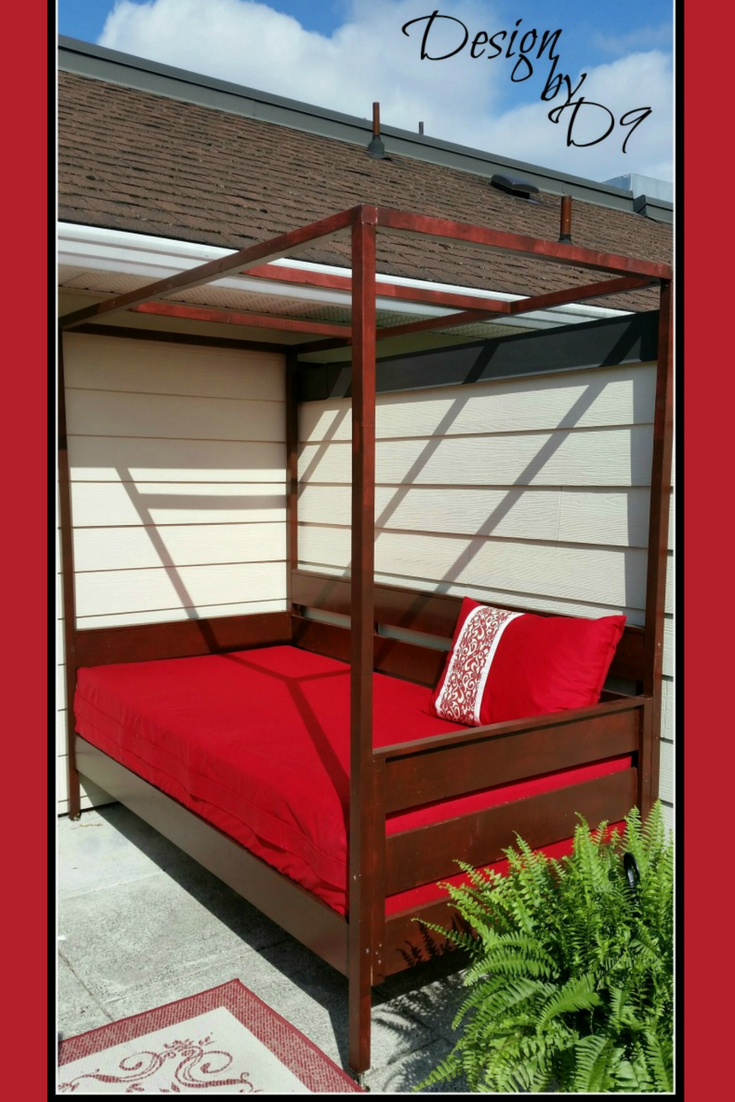
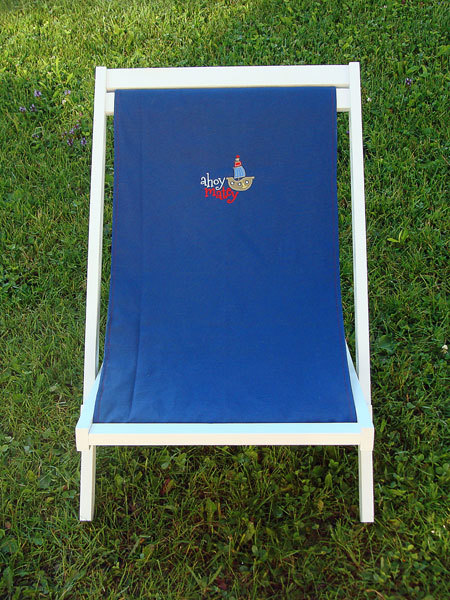
Beach Chair
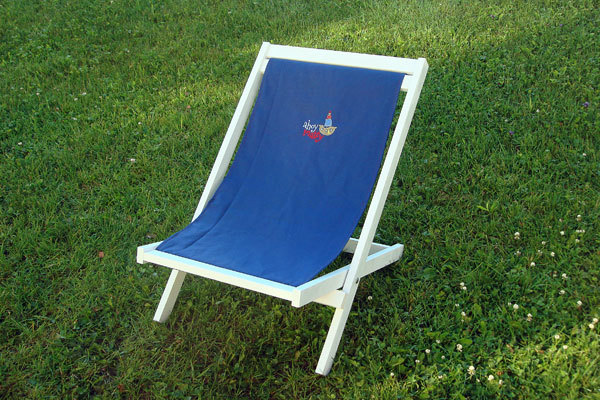
I knew I had to make this the first time I saw the plans! It was super easy to make, I will definitely be making more of these. :)
I used duck cloth for the sling and embroidered a nautical design on the front.
Estimated Cost
$15
Estimated Time Investment
Afternoon Project (3-6 Hours)
Finish Used
Spray primer, Rustoleum Painter's Touch-Semi-gloss White
Recommended Skill Level
Starter Project