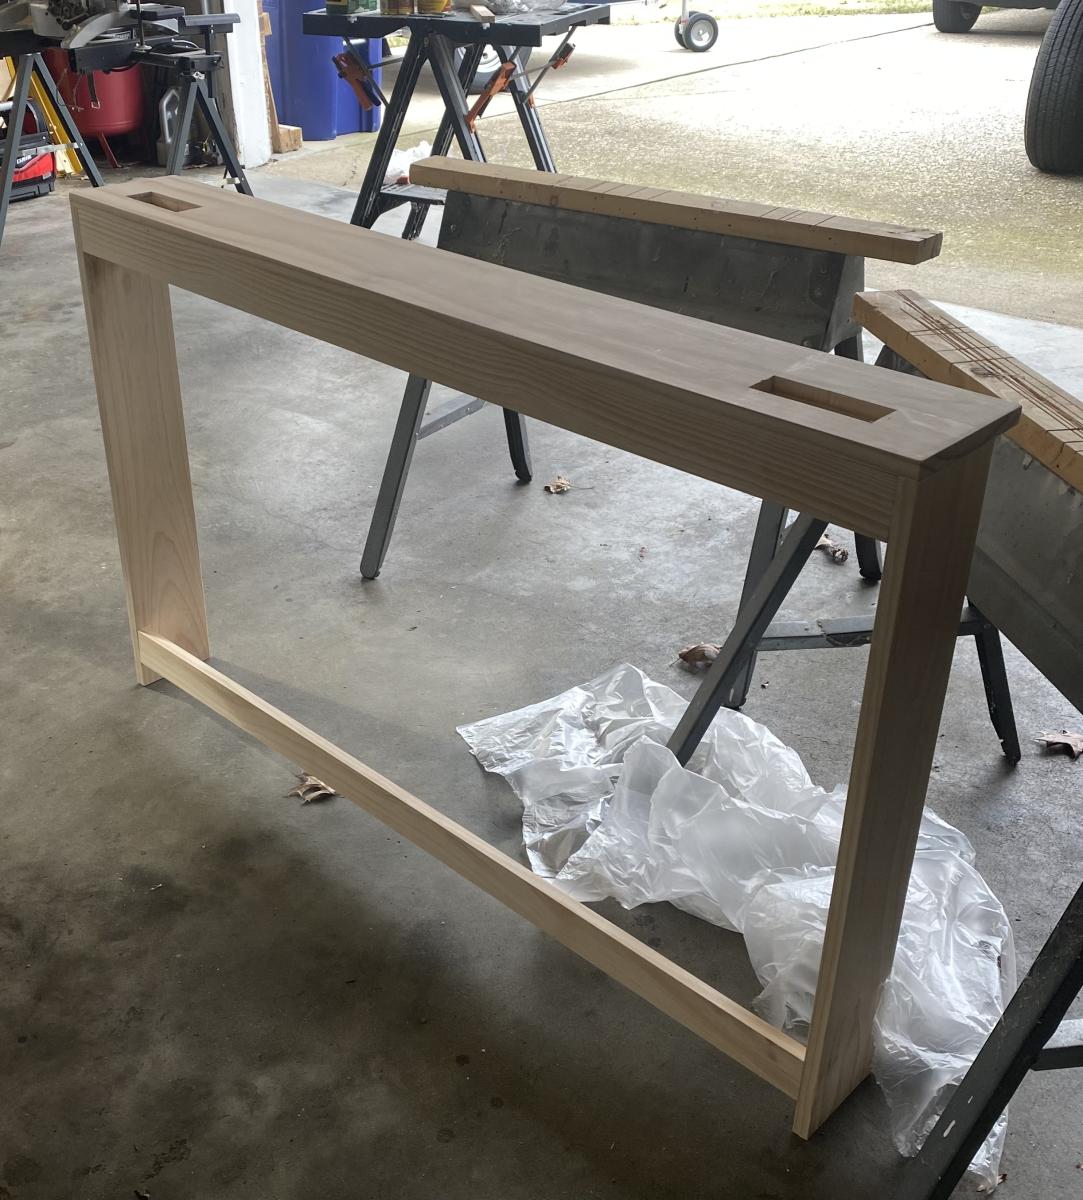
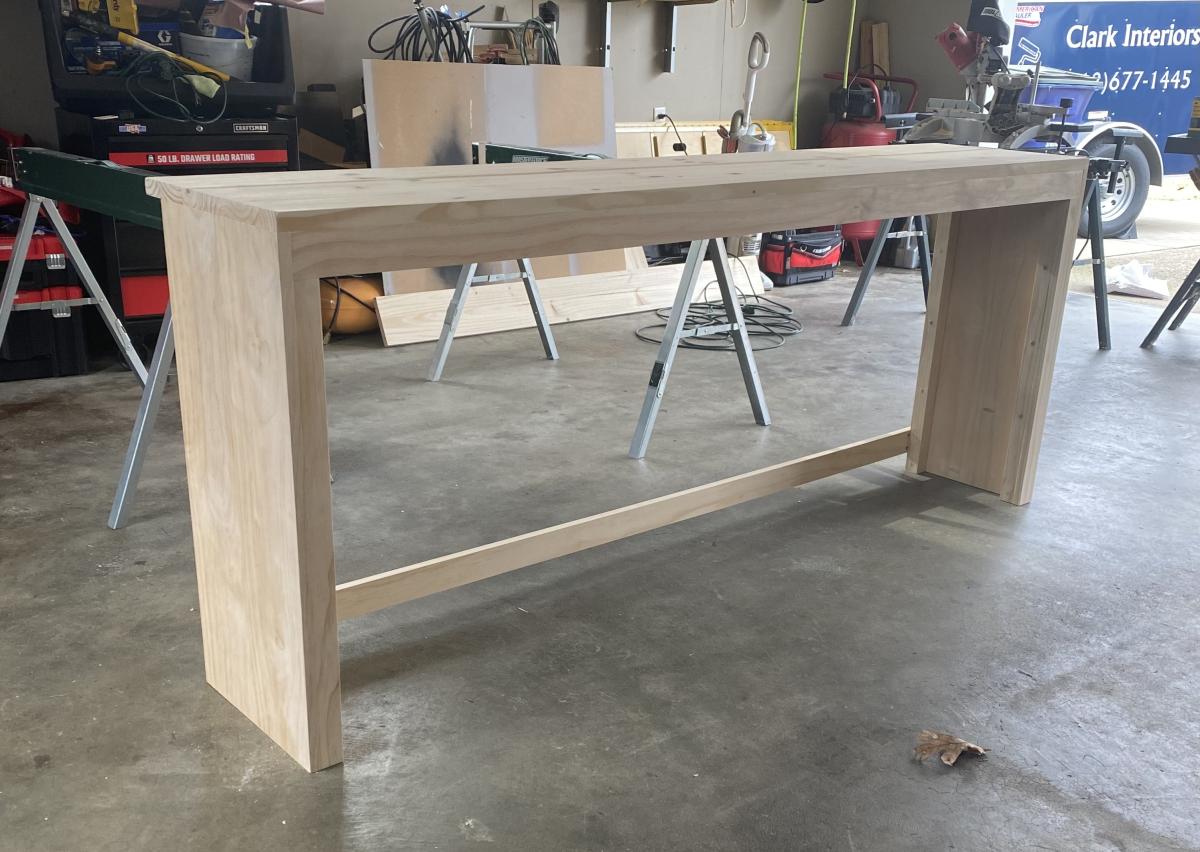
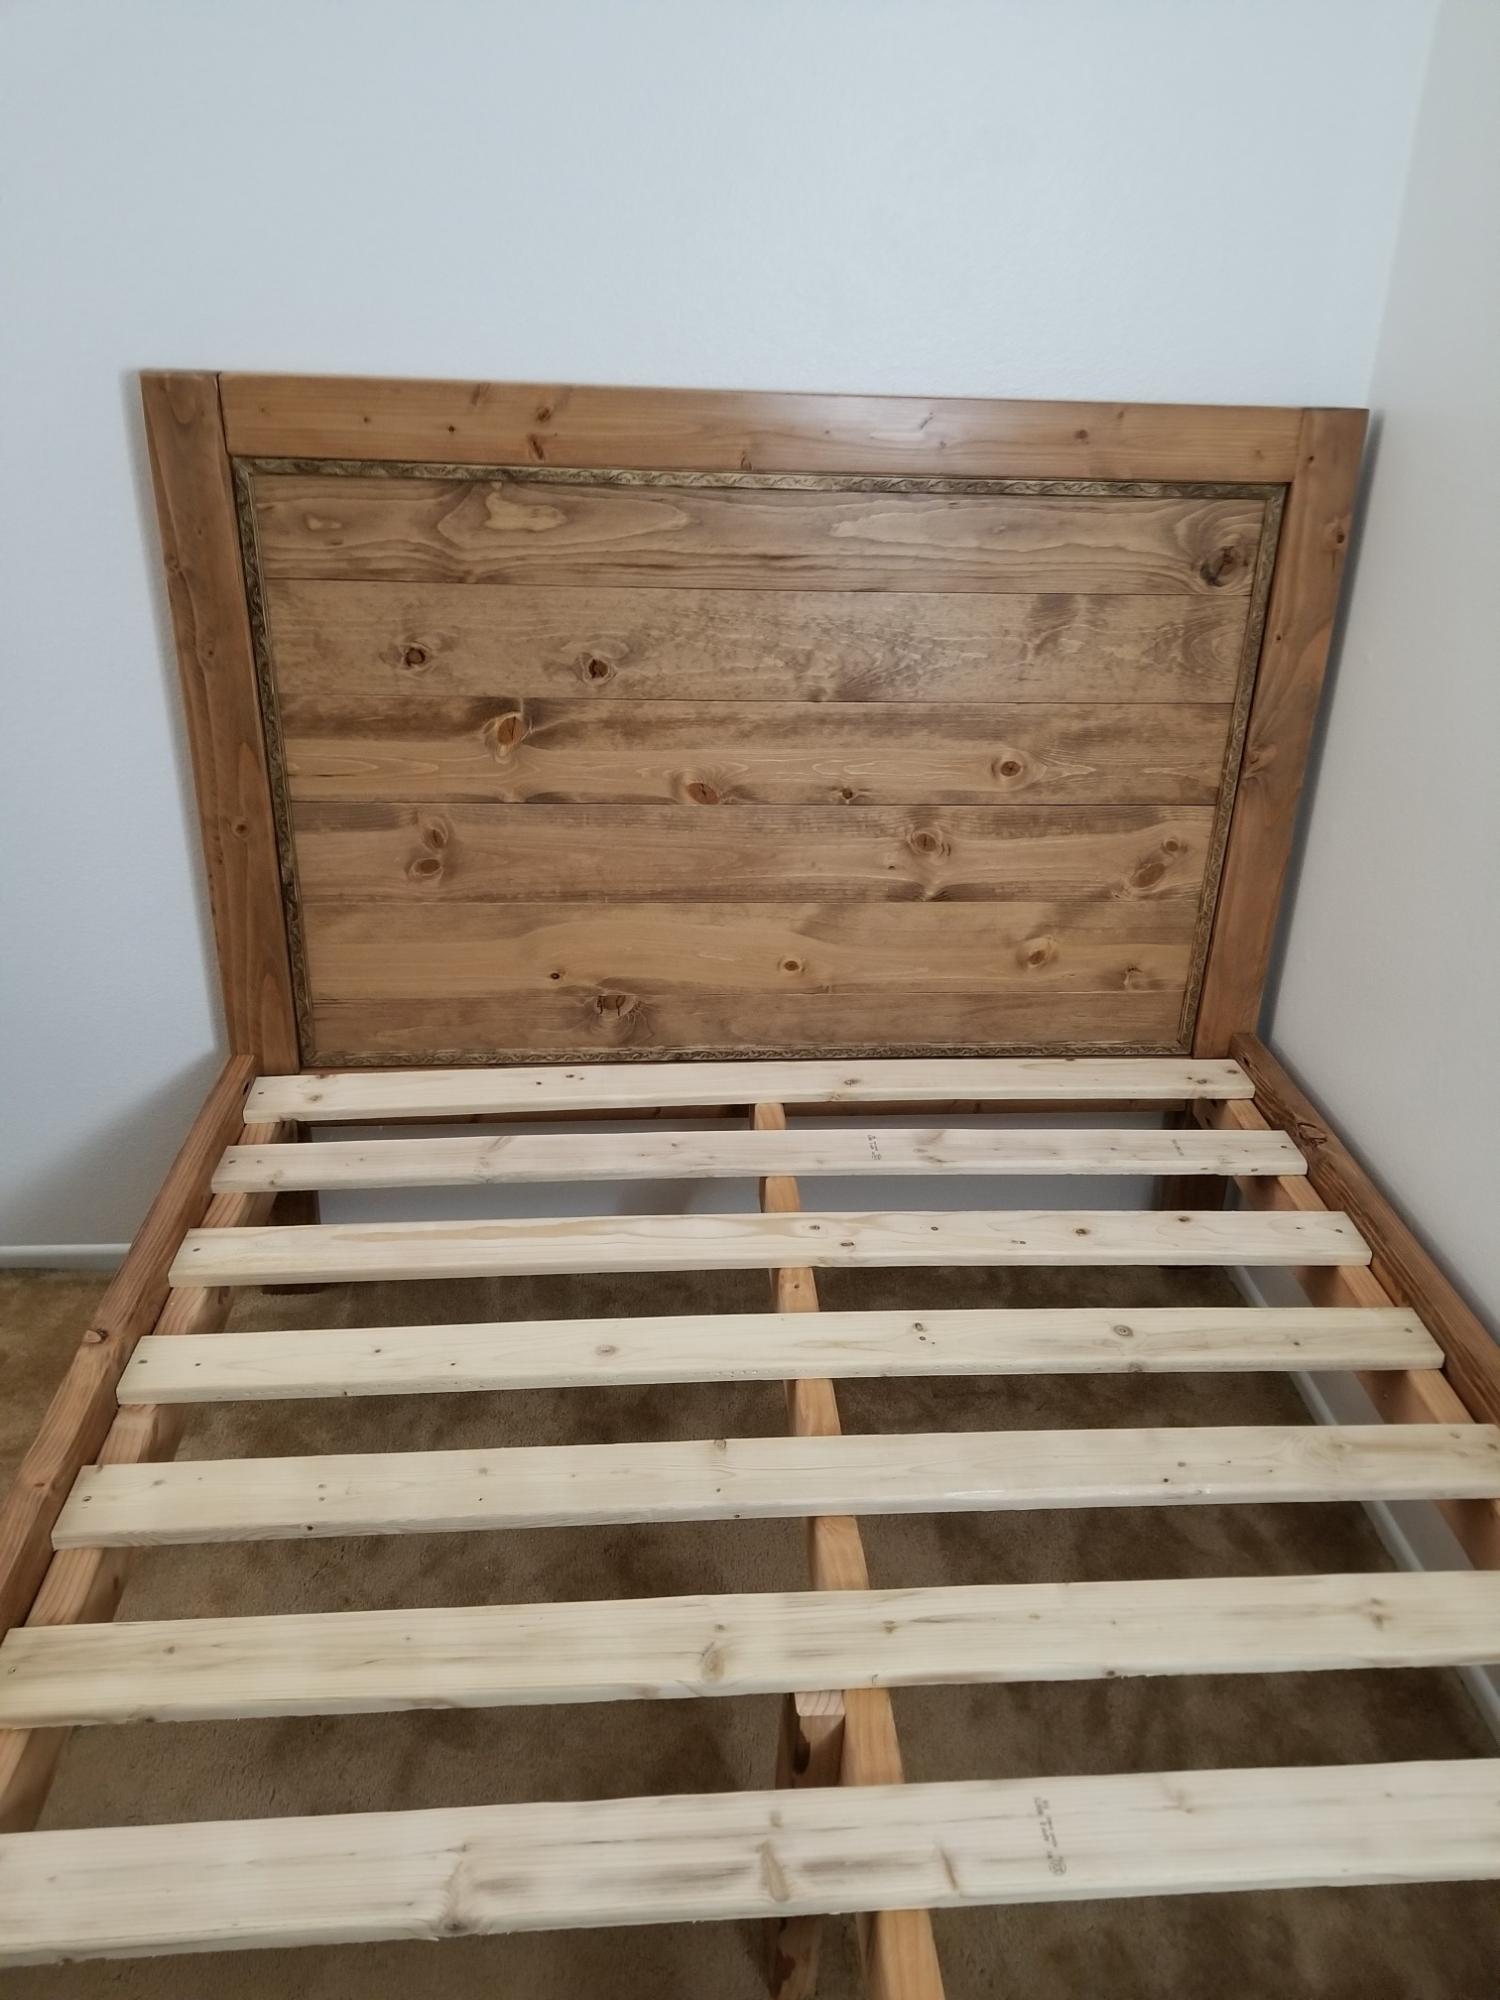
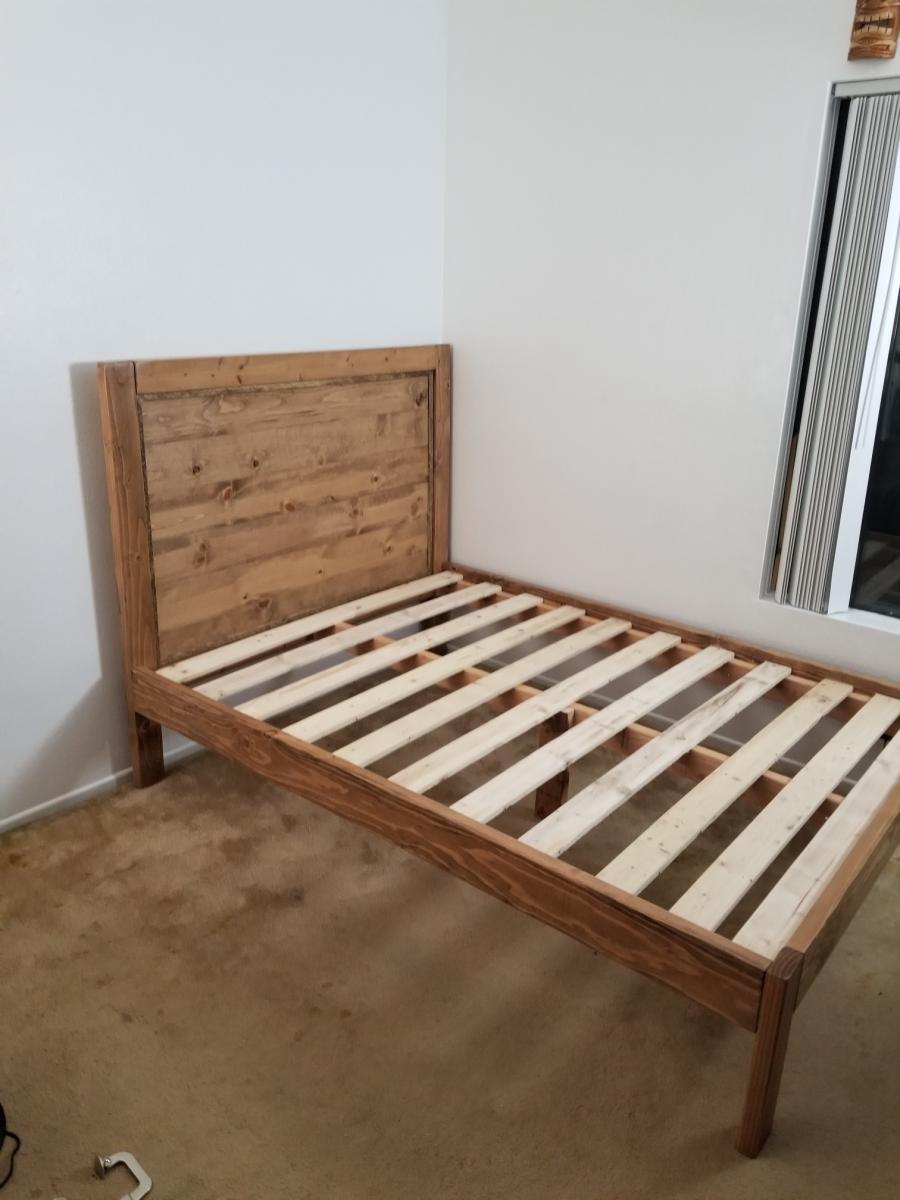
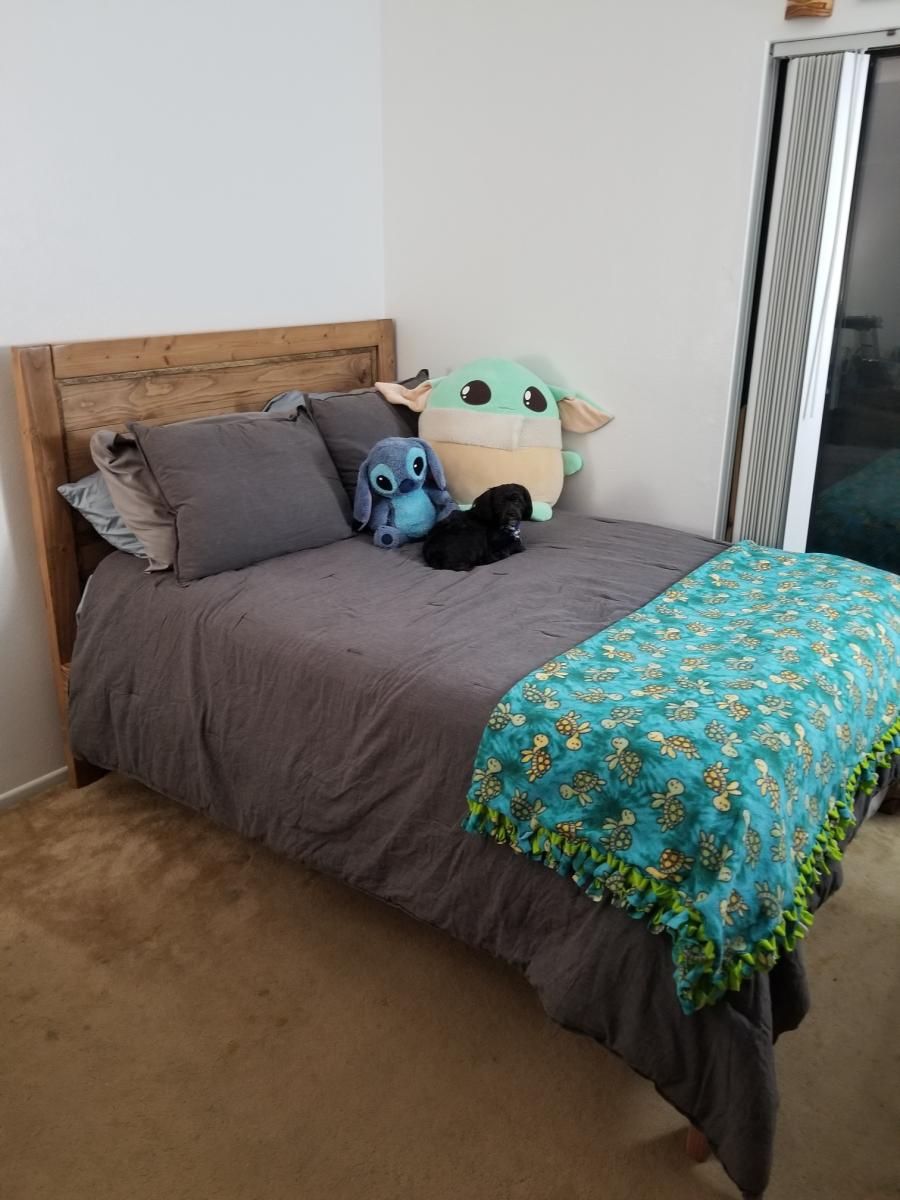
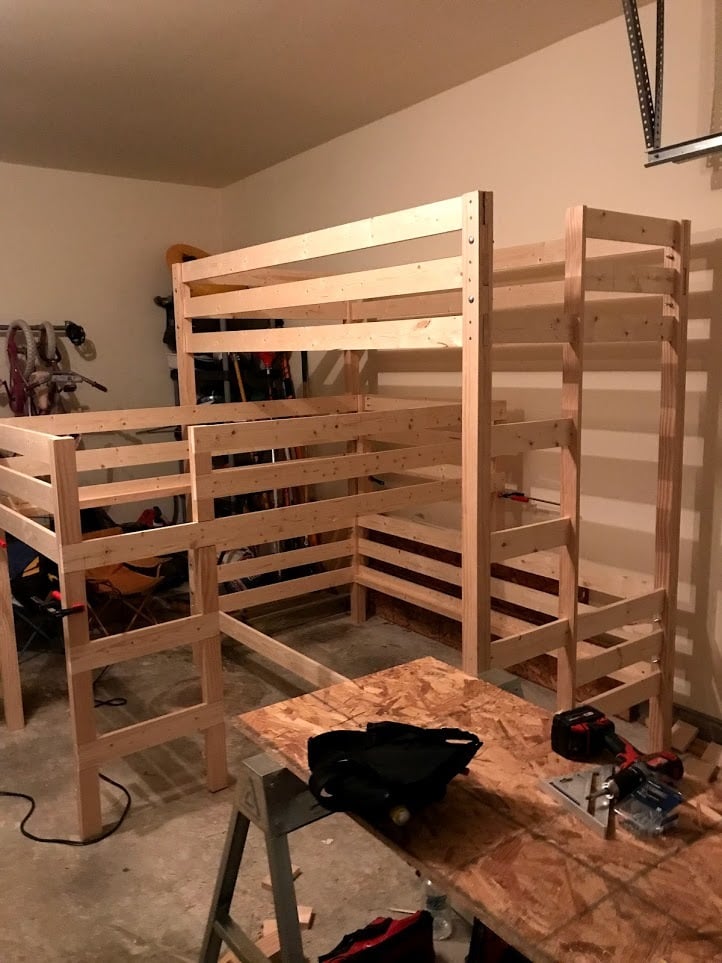
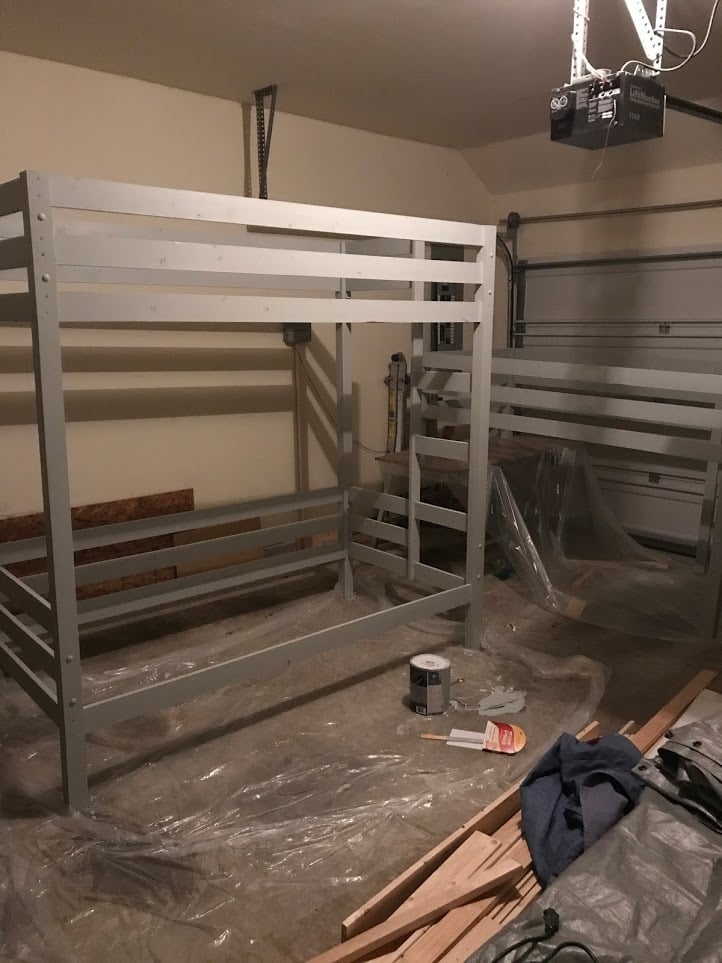
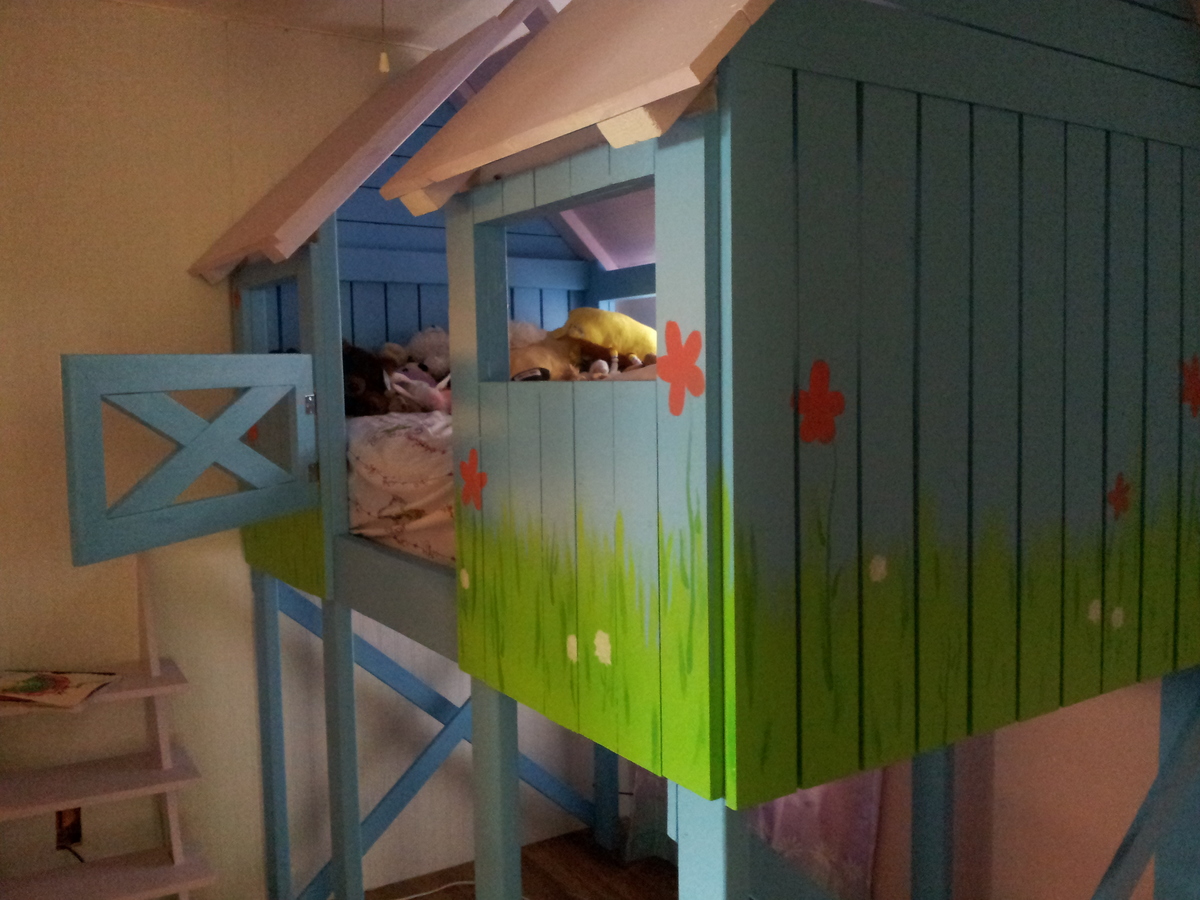
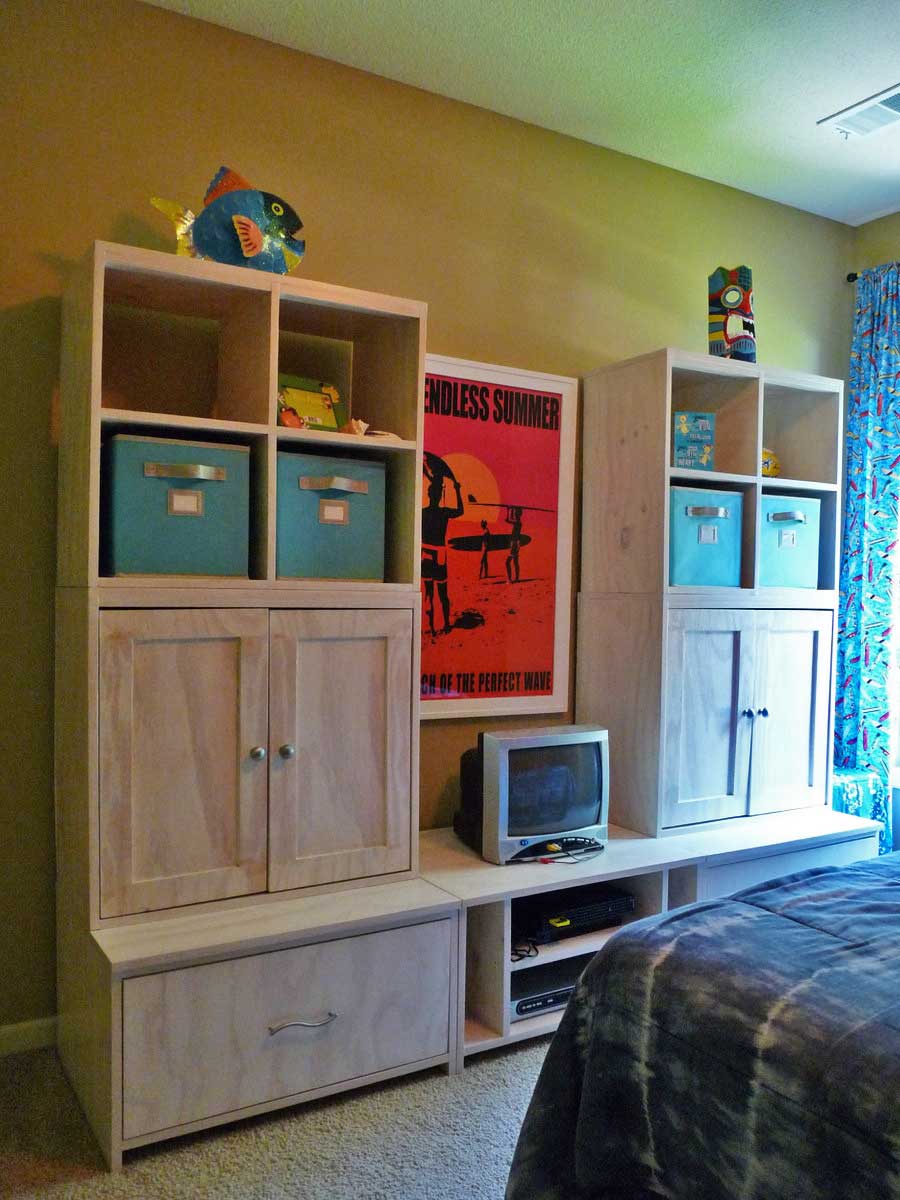
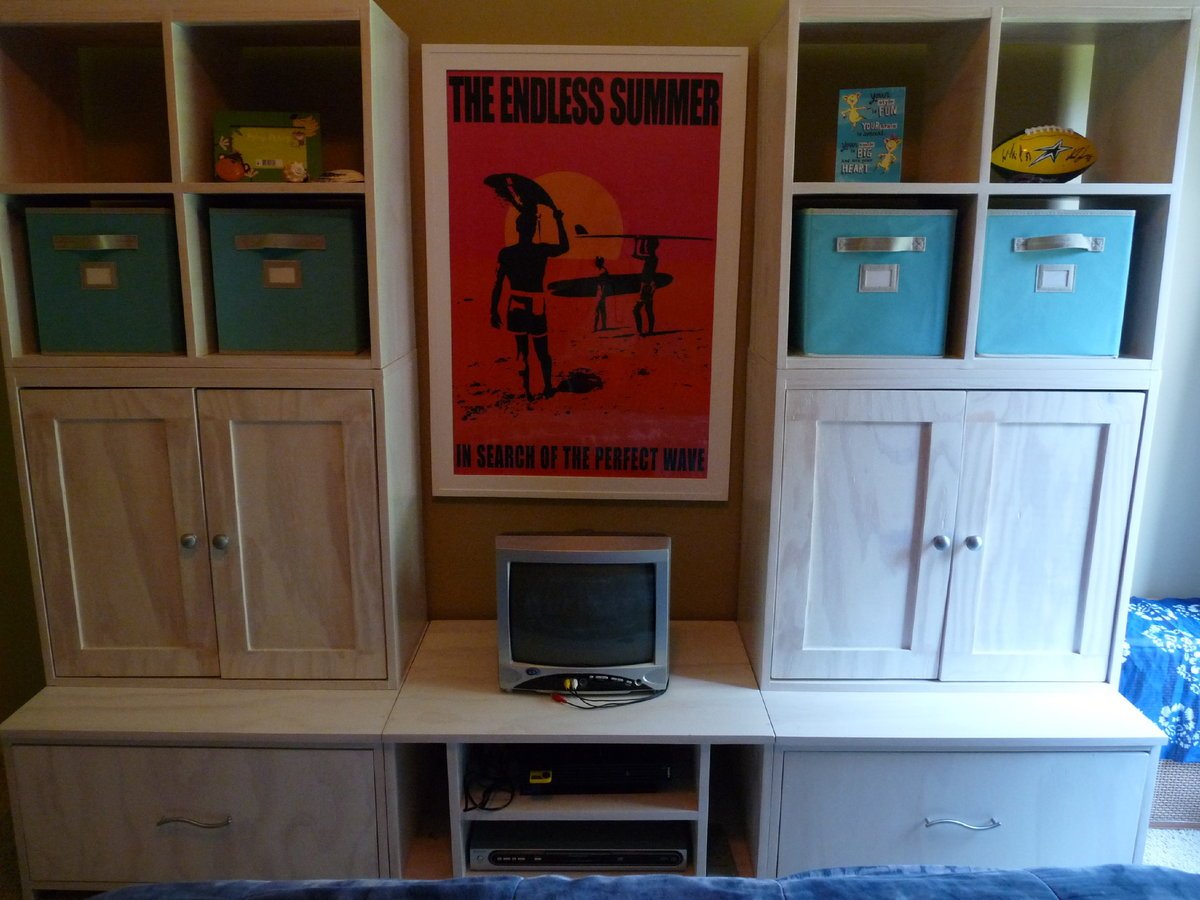
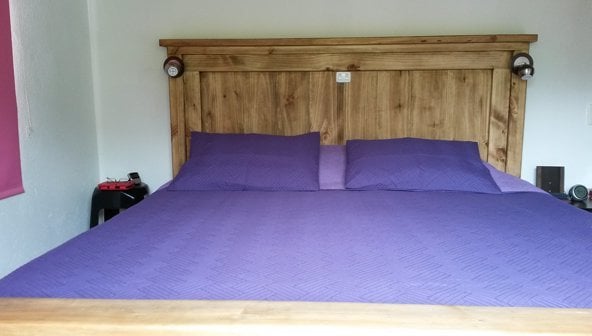
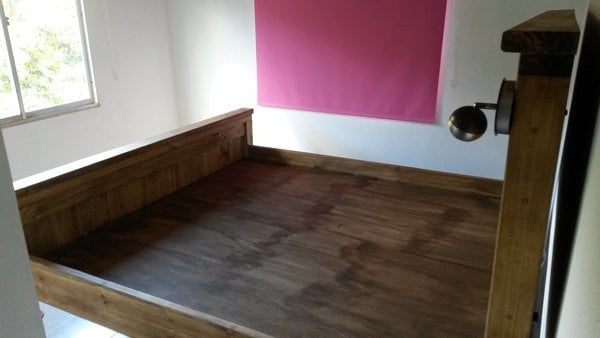
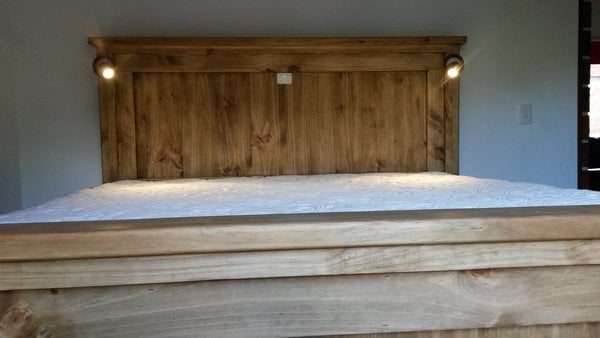
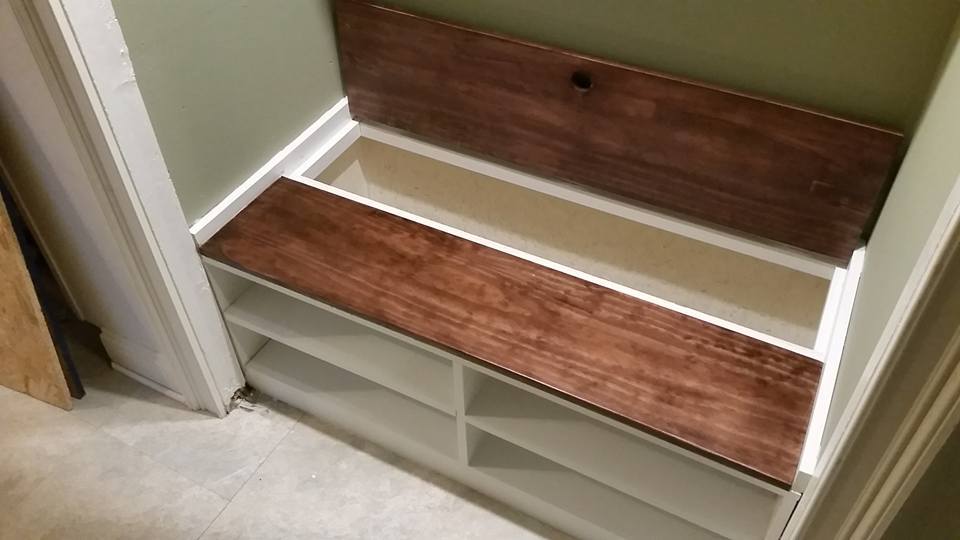
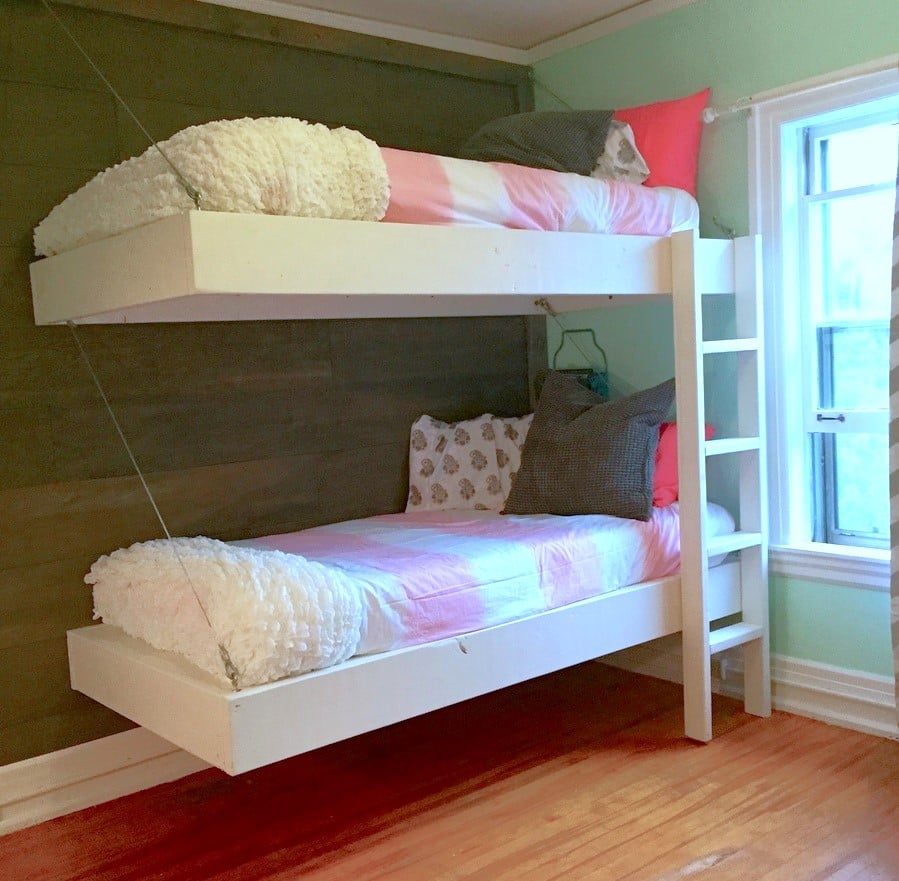
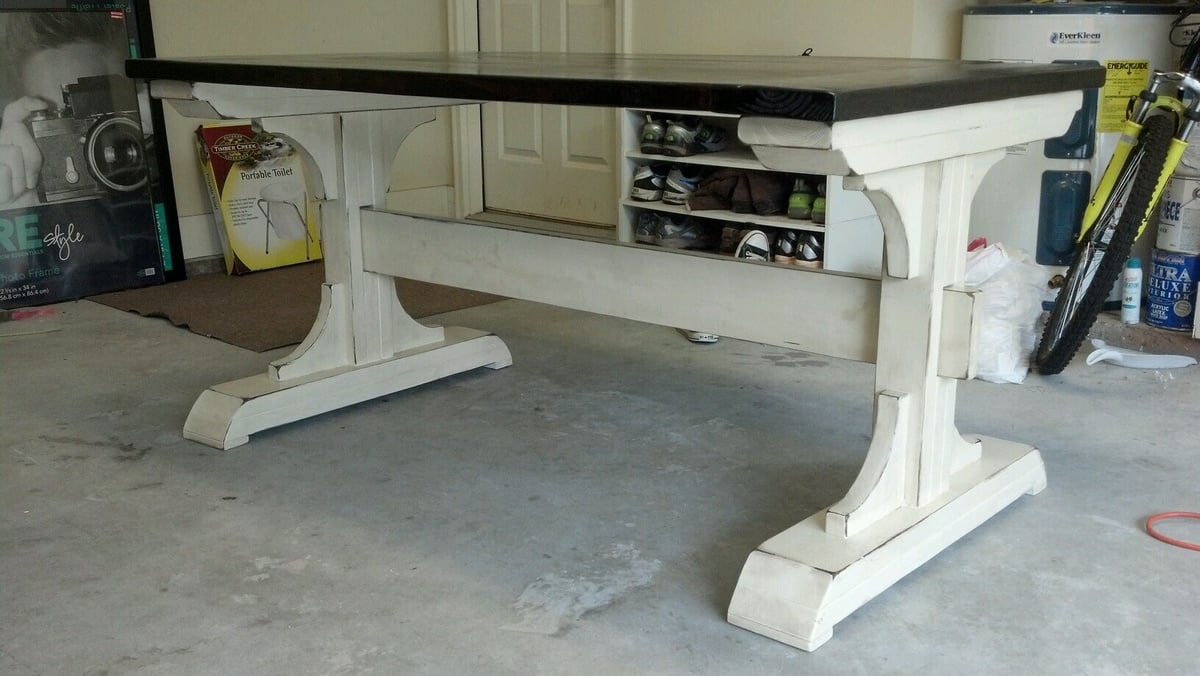
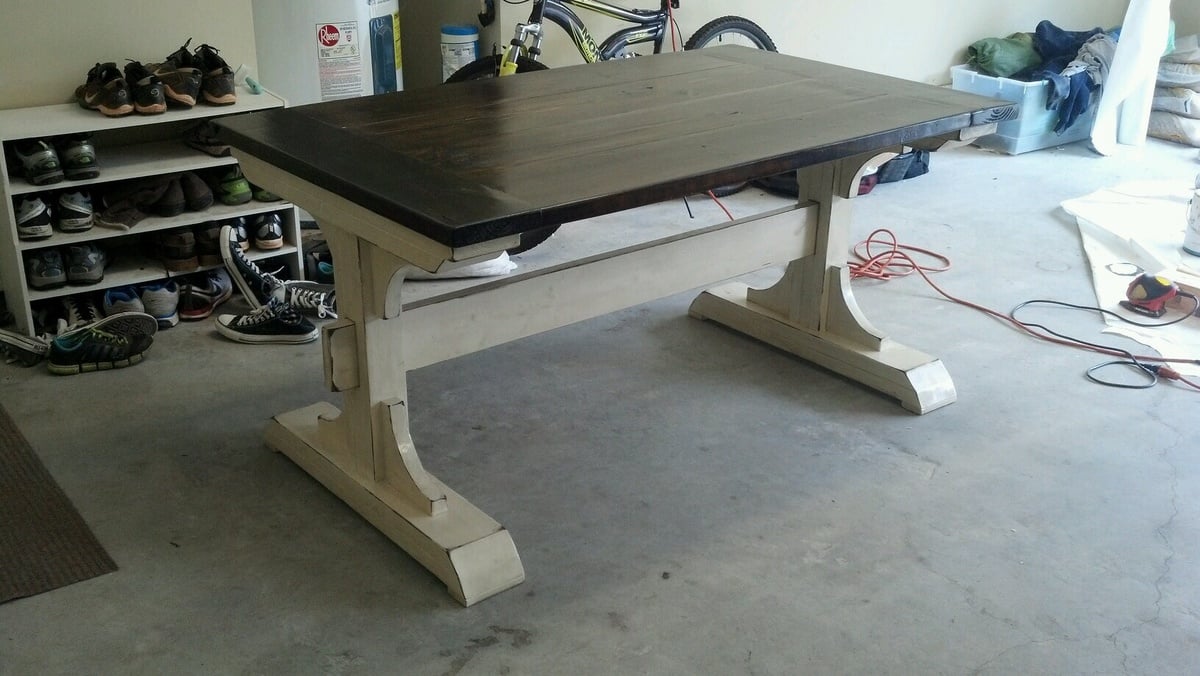
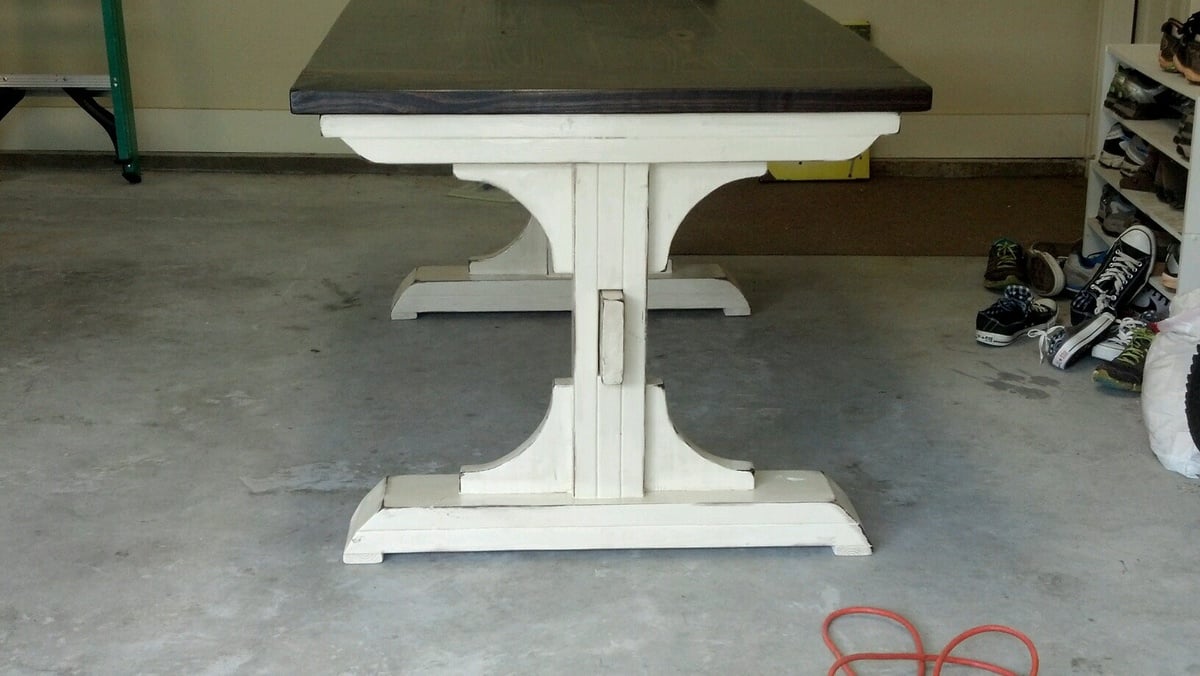
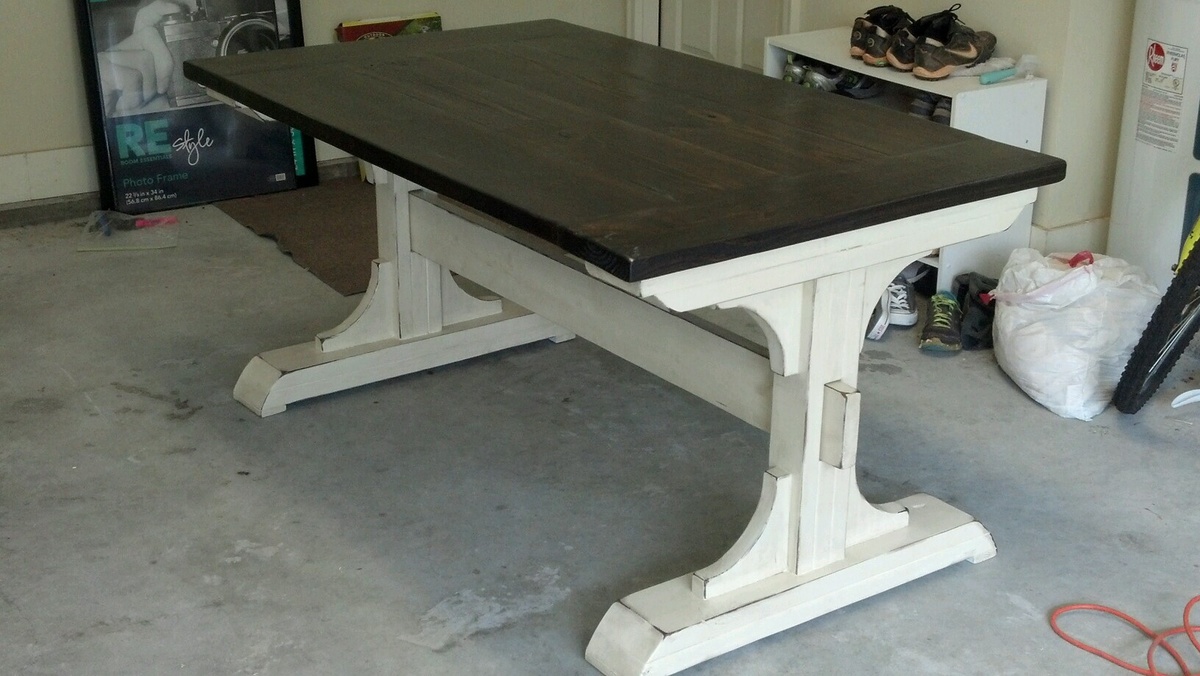
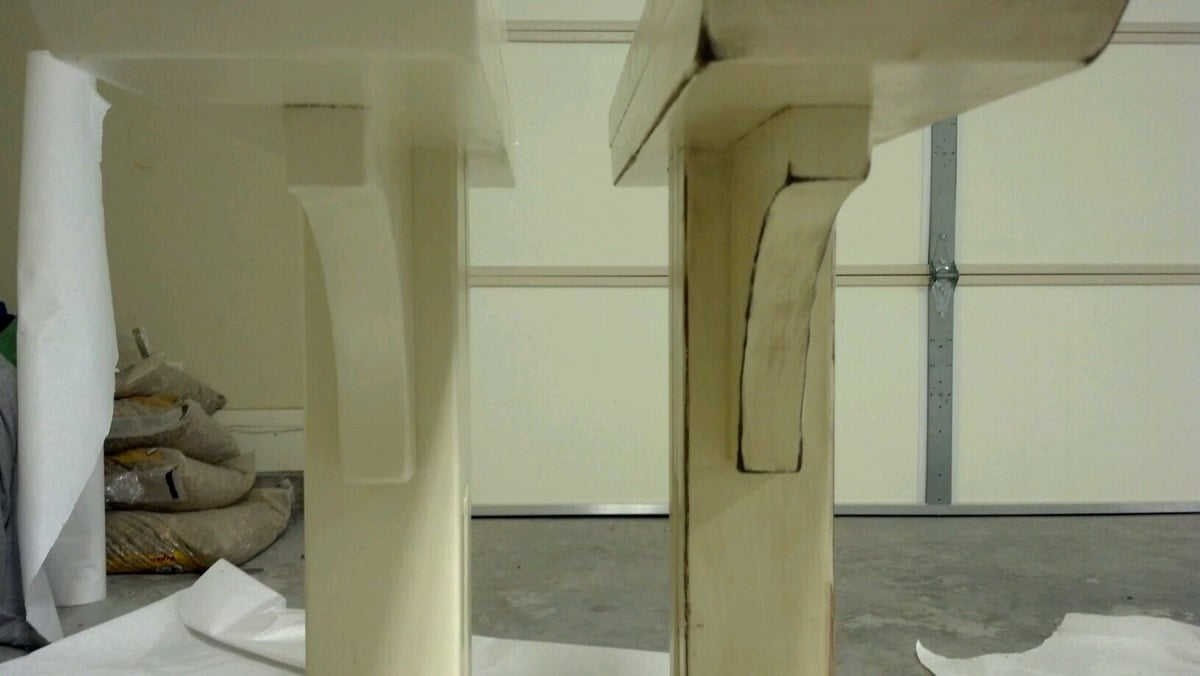
Full size Murphy Bed
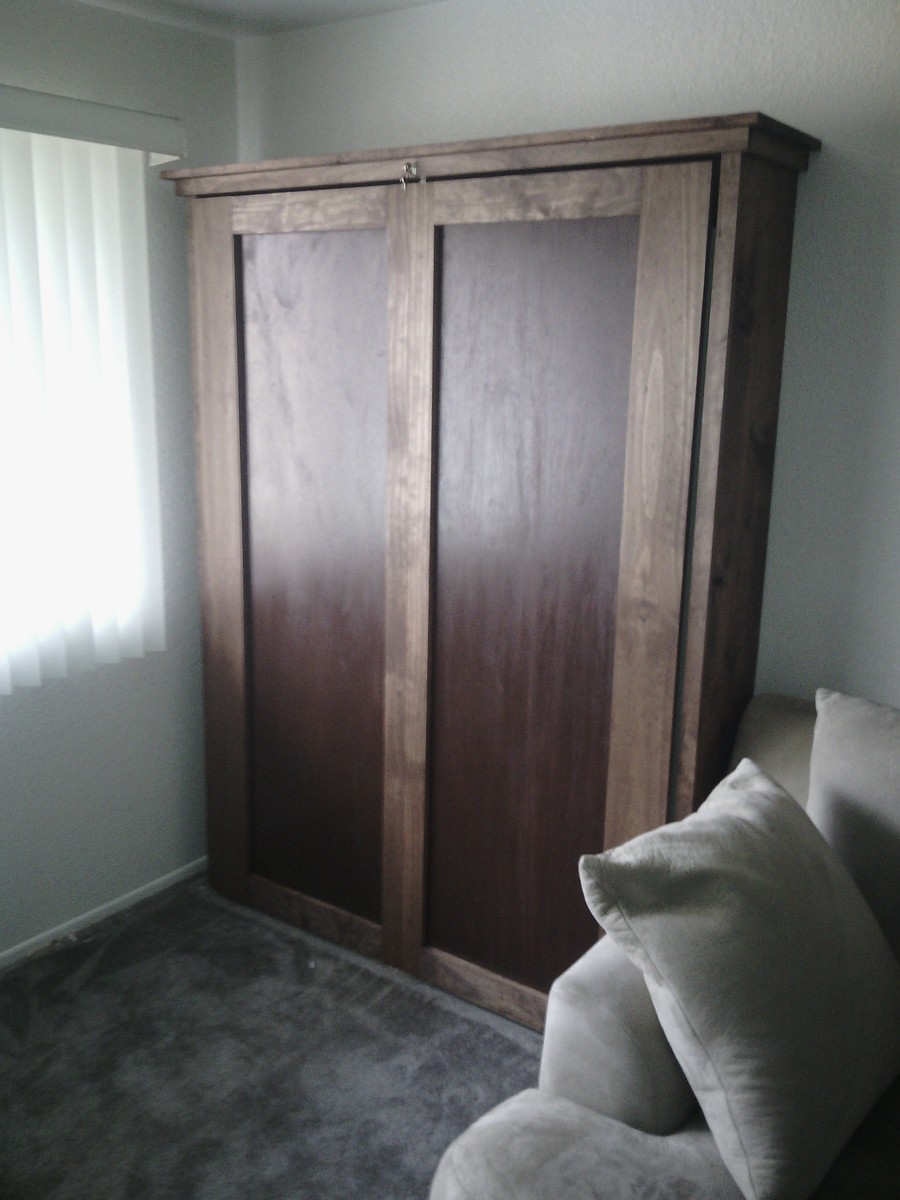
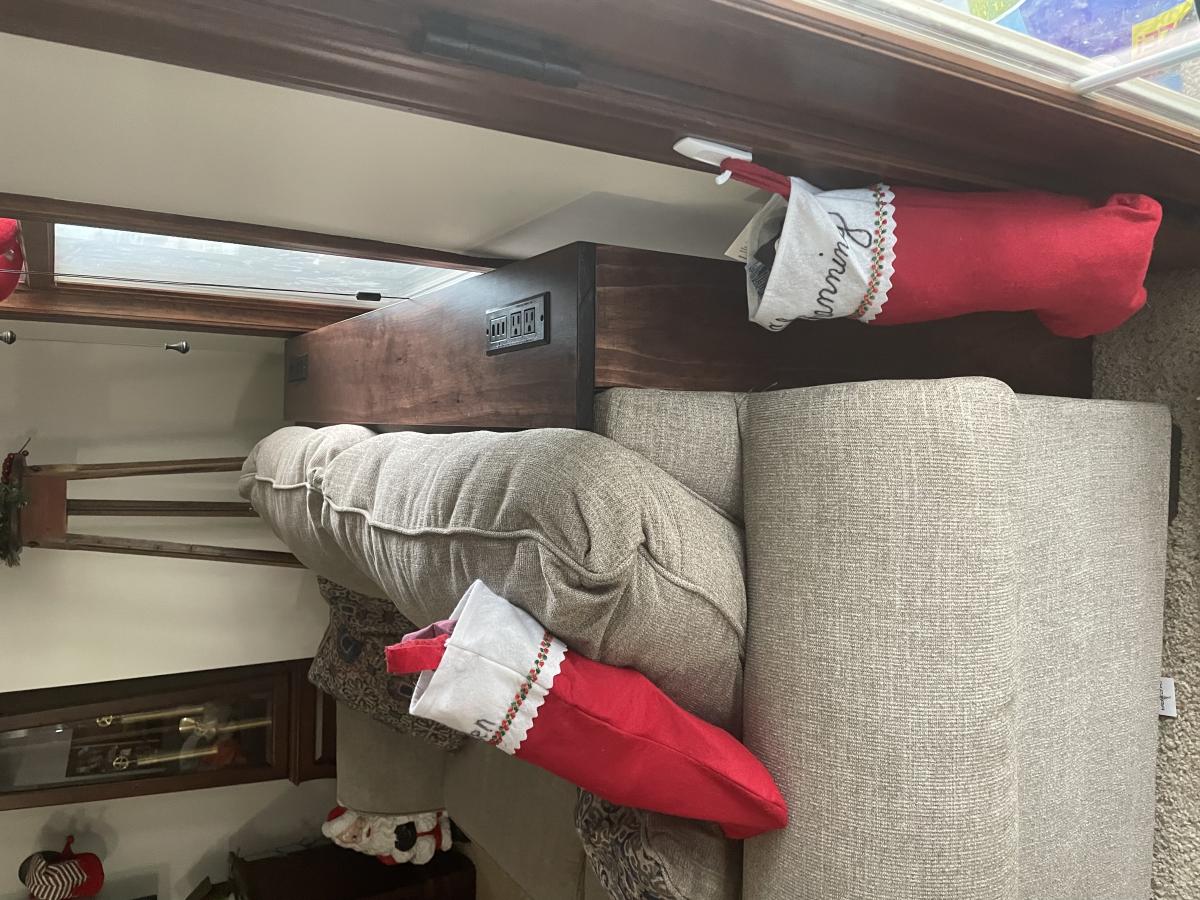
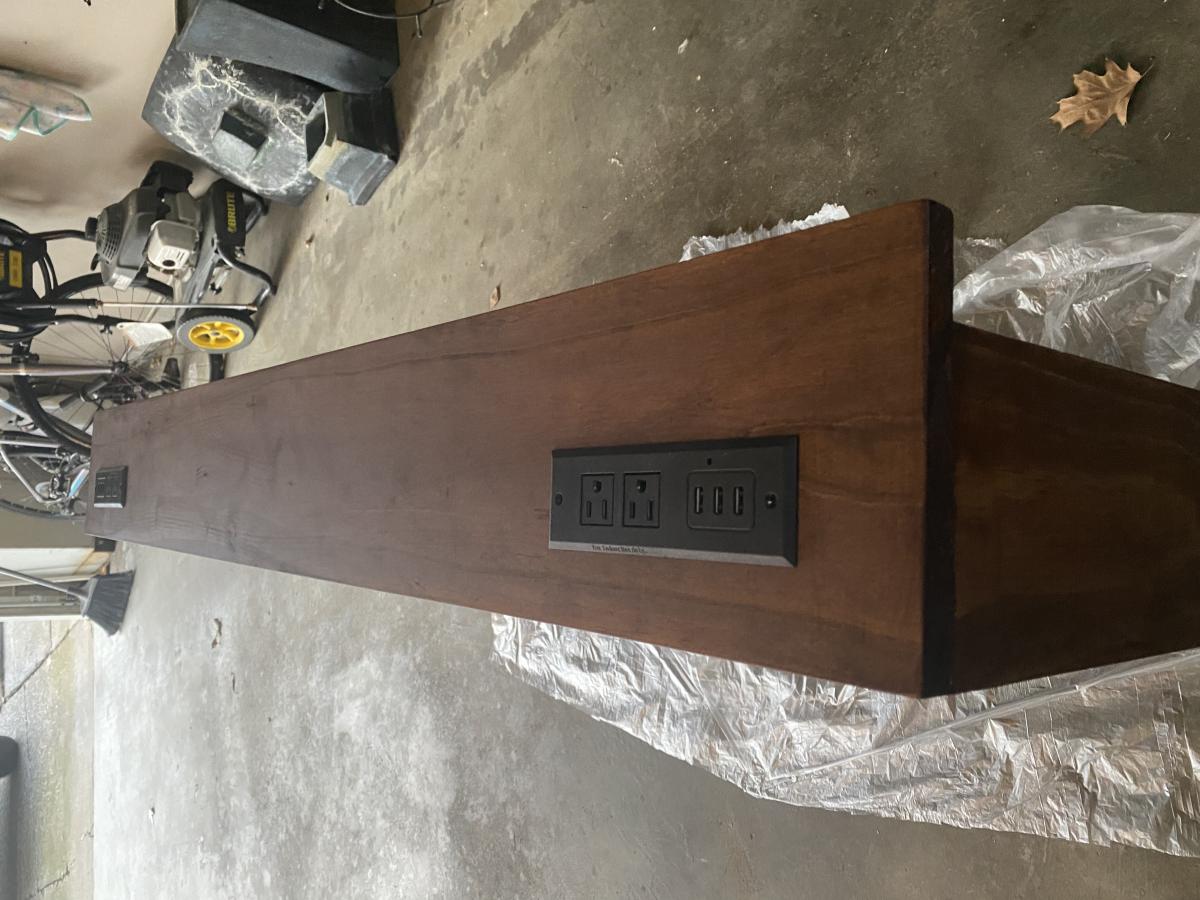
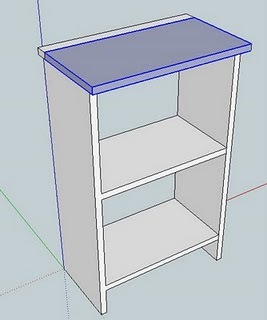
Used the plans for the twin bed, just added the difference in mattress size to the measurements. Pretty simple really. Used a cam lock centered above the door and a sawtooth picture hanger on the inside as a locking mechanism.
Hi Ana, I recently made two of your posts. First, the 2”x4” hall tree and then the house number planter. We found some unique hooks at Hobby Lobby for the hall tree. This is great to keep the kids’ backpacks off of the floor. On the house number planter I stained it with Antique Beige, but is more gray than beige. I then put 3 coats of spar urethane on it to protect from the TX sun.
Sun, 12/26/2021 - 17:58
Those are both great, thank you for sharing! I will need to check out that Antique Beige finish, just gorgeous~
I built these sofa tables for my wife’s client. She has a interior paint business. Her client was talking about wanting she sofa tables, so she volunteered me to build the tables. I didn’t have a design for the tables, so I looked at several different designs and talked to the client on what she was looking for. So I just did some rough sketches and got some ideas from my wife. I used mostly 1 bys for the build, just depends on the size on what width and length of board you are going to need. The top of the large table is a 5/4 preglued board that Menards has in store, again depending on width and length on the size of board you use. I used the 5/4 board for better stability and strength. I used a red oak stain then applied several coats of poly to finish. On the top I used a 200 sandpaper after a couple of coats of poly to get the top smoother for more coats of poly. Over all the build was pretty easy if you have good woodworking knowledge. Used pocket holes (Kreg) to attach sides and frame to top. On the large top side I used two 1x8’s to get the width i needed. Joined them with pocket holes (Kreg). If you can dream it, you can build it.
This was my first attempt at making anything. Thank you to Ana for providing such easy plans and the encouragement to try something. I think I'm hooked!
Sun, 05/31/2020 - 13:21
Beautiful! where did you get the cushions from?
I haven’t done woodworking since jr. high and that was only making a plant stand and a turtlebank, so it’s been a while since I last used wood tools and came out with a useable product at the end.
I have only one small bathroom in my house built in 1946. I couldn't find a vanity on the market that was big enough or small enough to fit, so I built my own based on a design from the Decor and the Dog blog page.
My grandaughter and I built the super simple bed and modified the Hailey planked headboard. We used common douglas fir from Home Depot. The finish is equal parts Minwax cherry and early american with 3 coats of Minwax wipe on poly with a light sanding with 220 grit between coats. Total cost was about 250.00.
When Ana posted these plans just before Christmas, I had to make one! I still don't have a use for it but I love it anyway! I made a few small changes and it was super fun to build! I can't wait to make a miniature one for my little guy!
We recently had our 6th child and needed to rearrange our kids' rooms. We decided to put our 3 oldest girls together and wanted a triple bunk. We used the classic bunk plans, but increased the height to allow for a middle bunk. We wanted L-shaped to give each child some headroom. We used pine wood, common board and select pine. We finished it off with two coats of Behr interior latex paint/primer in one, satin finish. Finished dimensions--height from floor to base of bottom bunk, 10 in. from floor to top of top rail, 79.5 in.
Tue, 02/18/2020 - 20:41
This is exactly what my boys need in their room. I'm having a hard time grasping how you did the middle bunk. Is it just the top bunk chopped right before the horizontal slats of the bottom bunk? tia
Build Instructions: http://www.instructables.com/id/Mini-Pillory-Stocks/
This wooden Pillory makes a perfect stand for your mini skeleton. If you are not familiar with a Pillory, the device was used for punishment by public humiliation and often further physical abuse. This project was made from pallet wood and was scaled to fit the 18” tall plastic skeleton. Only basic woodworking skills are needed and it should take less than 4 hours to build.
Modified to have more of a modern style. Removed shelf and half the X. Also, lengthened it to 11ft. Love!
This took a little longer than a weekend and it helps to have some help because it is so big. I would cut the legs about an inch shorter if you have 9 foot ceilings, other wise it will scratch your ceiling when you tilt it up. I put the door on because I was worried about my 3 year old falling out. She loves it and it was fun to build.
My husband and I built this for our son's bedroom using all five of Ana’s series of plans for the cubby wall system. We did pretty well, especially considering that it was our very first building project. We made the media component of the wall unit the same width as the two sides since we didn’t need it to fit a wide screen TV. My hubby was thrilled that the drawers went together beautifully. The doors turned out a little “off” -- luckily the room has a beach theme so this piece fits right in with the beach shack look!
Thu, 08/04/2011 - 01:55
Congratulations! It's gorgeous and an awesome organizational tool for the room...
I really do enjoy my island. It has great storage and the added prep space has been wonderful. With the added counter space It has aloud me to make breads and pizzas and with the stainless steel top it is a breeze to clean. I really have enjoyed Ana's website with all the great plans and tips.
I had to make some adjustments to the size, because our new mattress is 180 x 190cm, and I had a couple of problems with the plan, it was probably me rather than the plan, but nothing that I couldn't overcome. The bed is pino (pine) purely because I couldn't get any other dry timber in Colombia, unless I won the lottery.
The boards on the headboard panel, I pocket holed (using ordinary wood screws) as well as glued, to ensure they will not part in the future, and I used lag bolts to attach the base to the footboard.
The bed is a few inches taller than the plan, purely because my Wife wanted one of our dogs to be able to continue sleeping under the bed!
Unfortunately due to the small size of the room, the photos do not show the bed that well. The full build is on my Blog.
Now to make the night stands!
Thanks for the Plans Ana. Though we had to convert every number the plans helped us a lot. Our playhouse turned out really big: 8x8 foot. We had to include our heater under the window, so our tunnel is much bigger. It took us (three people) a half day shopping and two days and one night building and cost 600-700€. The kids where amazed when they opened the door a few days after Christmas. We still think about adding some features like a slight or a bed...
In our new home there was a 46" wide coat closet at the entrance. My wife wanted a place to sit down, take off shoes and put our coats and backpacks when we were home. I found Ana White's plans for this shoe bench and modified it to fit our space. The project took 3 days to complete due to the painting, staining and polyurethane, construction of the bench itself was quick. Previously I added a light switch and two 3" LED recessed lights in the ceiling. The project came out wonderful and I am very pleased. Thank you for the inspiration!
-Mike
We've got a friend that basically supplies us with unlimited farm fresh eggs. The instant my wife saw this on ana-white she started asking me for one. Rounded over the holes with the router and rounded the corners of the sides. Took us about an hour total.
Combo of varathane special walnut and weathered oak stain on the finish.
Fri, 09/30/2022 - 18:20
Love it, it looks awesome! Thanks so much for sharing and great idea with the router:)
I modified the Small Old English Style Farmhouse Dining Table plan to build a writing desk. I used five 1x6 boards for the top for a width of 27.5 inches. I made my desk 56 inches in length. I put the drawer on the long side like a pencil drawer. I did use the legs that Ana recommended in the plan. I love how it turned out. I used dark walnut danish oil and dark wax for the finish.
Sat, 08/31/2019 - 05:18
Beautiful! What are the brands of oil and wax that you used?
Fri, 10/04/2019 - 21:46
Thank you! I used Watco Danish oil and I used Minwax dark wax. I've tried alot of different wax brands and I always come back to Minwax. It dries the hardest in my opinion.
This little girls room needed a little happy birthday! I planked the wall with birch veneer, made simple box frames for the beds and desk, and attached them to walls with heavy duty cable. Then my friend added her designer touch, and made it cozy and girl CHIC!
Thank you Ana for yout amazing plans for the triple pedestal table and bench! I modified it to work for the dimensions that I needed which brought it down to a double pedestal table and bench. It ended up as a 3'x5' table. I attempted the antique coffee stain technique but it wasn't taking so I just used the stain that I used on the table top instead of the coffee. I LOVE how it turned out!
Leah
Comments
spiceylg
Thu, 06/27/2013 - 12:16
Wow
Been thinking of building one of these. Yours looks beautiful, nice job!
moosmani
Thu, 06/27/2013 - 18:49
Very, very nice!
Very, very nice!
tara2
Thu, 06/27/2013 - 19:06
really nice!
really nice!
sbelange
Tue, 09/09/2014 - 20:56
Very very nice
Very nice
campbelllsara
Tue, 09/30/2014 - 14:16
Would love to get the exact...
Hello,
I have been scowering the internet... I too would like to have my murphy bed raised off of the ground and be a full size murphy bed. But everytime I try to do "adjustments" and get "creative" it ends in disaster. I am better at following instructions. Is there anyway that you could give me the exact measurements for your fullsize bed and let me know how it is that you propped the bed up at the end?
[email protected]
Thank you.
mel30
Thu, 06/18/2020 - 20:22
I would also love the exact…
I would also love the exact measurements for a double...is there a copy of the plan for that?
thank you
Cepep
Fri, 10/29/2021 - 02:13
Plans
Can i get the plans @ [email protected]