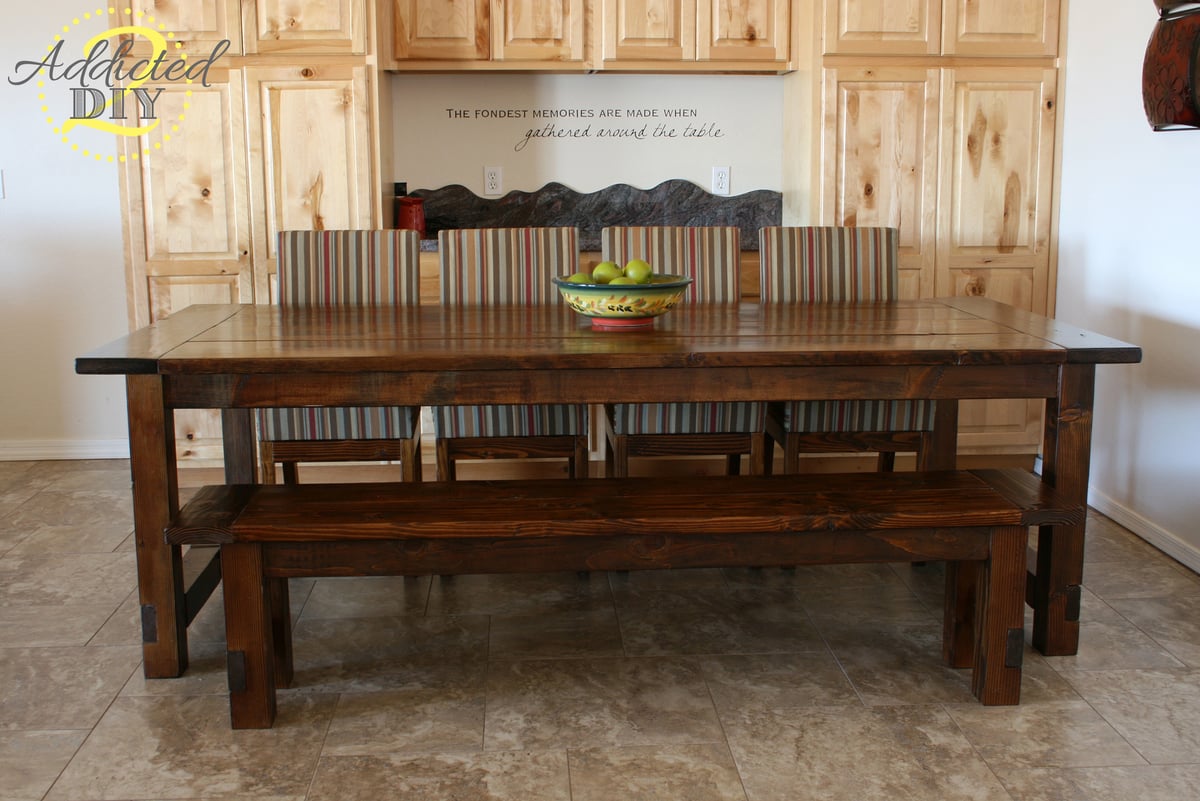
Community Brag Posts

Farmhouse Bunkbeds with Stairs

Submitted by Yodannos on Sun, 06/09/2013 - 13:19

We have a rental unit and decided to fill one room with 2 sets of bunk beds. One is a twin over a full. The other is a full over full. Due to a duct running through one corner, and limited amount of space, I decided to build a set of stairs on the 17" gap. I used the simple bunk bed plans, but modified it to the style of the farmhouse. Also, I changed several of the heights of the foot/head boards. The full over full will have a ladder coming off the end and is in progress.

Estimated Cost
$450
Estimated Time Investment
Week Long Project (20 Hours or More)
Finish Used
Minwax Ebony Stain. Satin Polyeurethene.
Recommended Skill Level
Intermediate

Craft Table Build

Submitted by cathytn2 on Thu, 03/31/2011 - 05:28

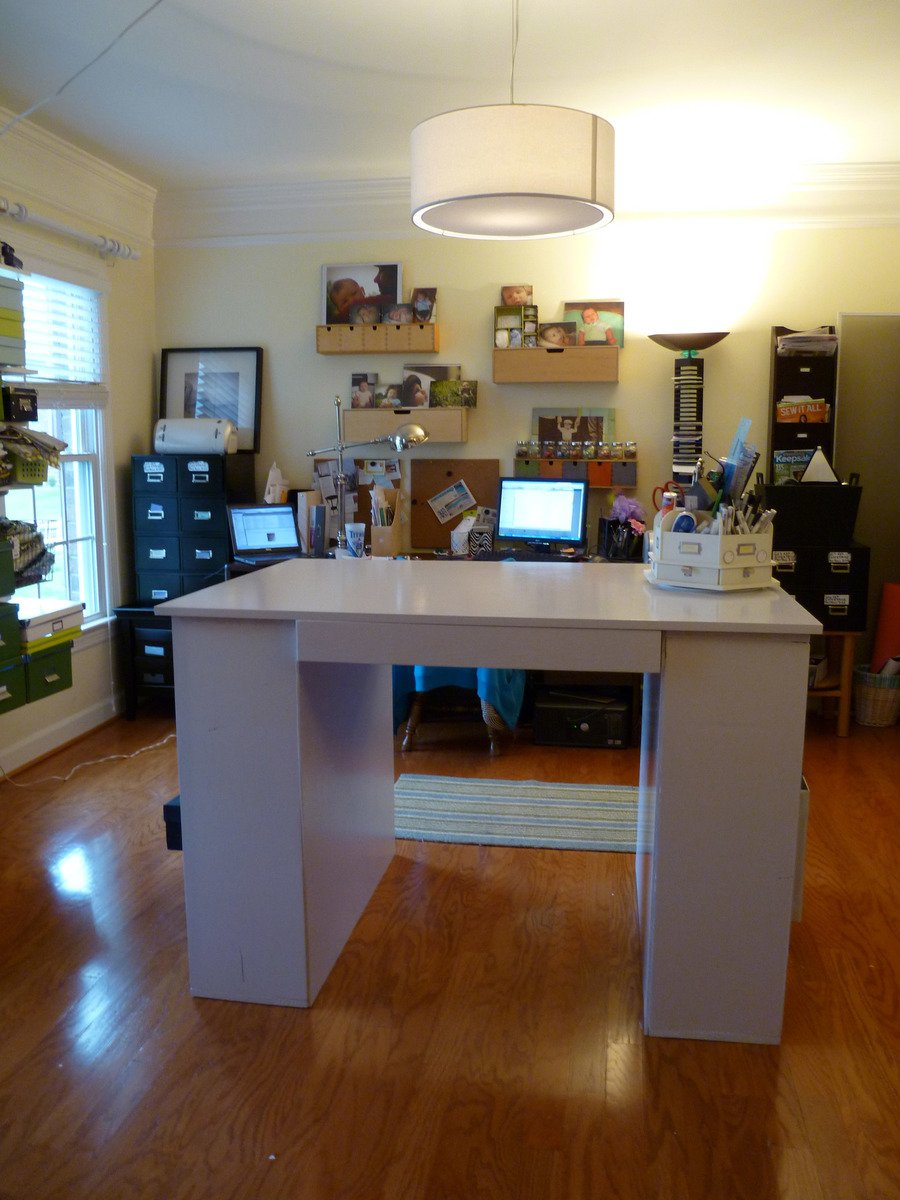
I emailed my husband the plans for this desk on a Friday night and said we HAVE to make this desk this weekend.  I can't believe he actually went for it!  Well it turned into about 3 weekends and some nights of painting.  We also had some issues getting straight and square plywood and boards with knots in them.  He also added some extra holes in the sides for me to adjust the shelves.  We used an oil based white paint to finish the desk and looks nice and clean and shiny.  I can't wait to get started on our next project!  Please check out my blog for more details and photos and information on materials used, etc. (kitcats-studio.blogspot.com/2011/craft-table-made-from-plans.html
PS - {I had one more coat of paint on the drawers to finish so ignore the bare fronts of the drawers.}

Estimated Cost
$150
Estimated Time Investment
Weekend Project (10-20 Hours)
Finish Used
We primed everything using Zissner and then used an oil based white paint (about $15/gallon) from Lowe's for the finish. The trick to doing this is a WELL ventilated area, and a good brush. Although we're kind of lazy about cleaning up from oil based paint (it's a chore) so we got a medium cost brush (about $5) and threw it away when we were done with it. I used general handles from Lowes and the color on the inside of the drawers is Valspar Turquoise Tint 5006-10B.
Recommended Skill Level
Beginner

TeXas Kitchen Island

Submitted by Bandera89 on Sat, 05/16/2015 - 15:19

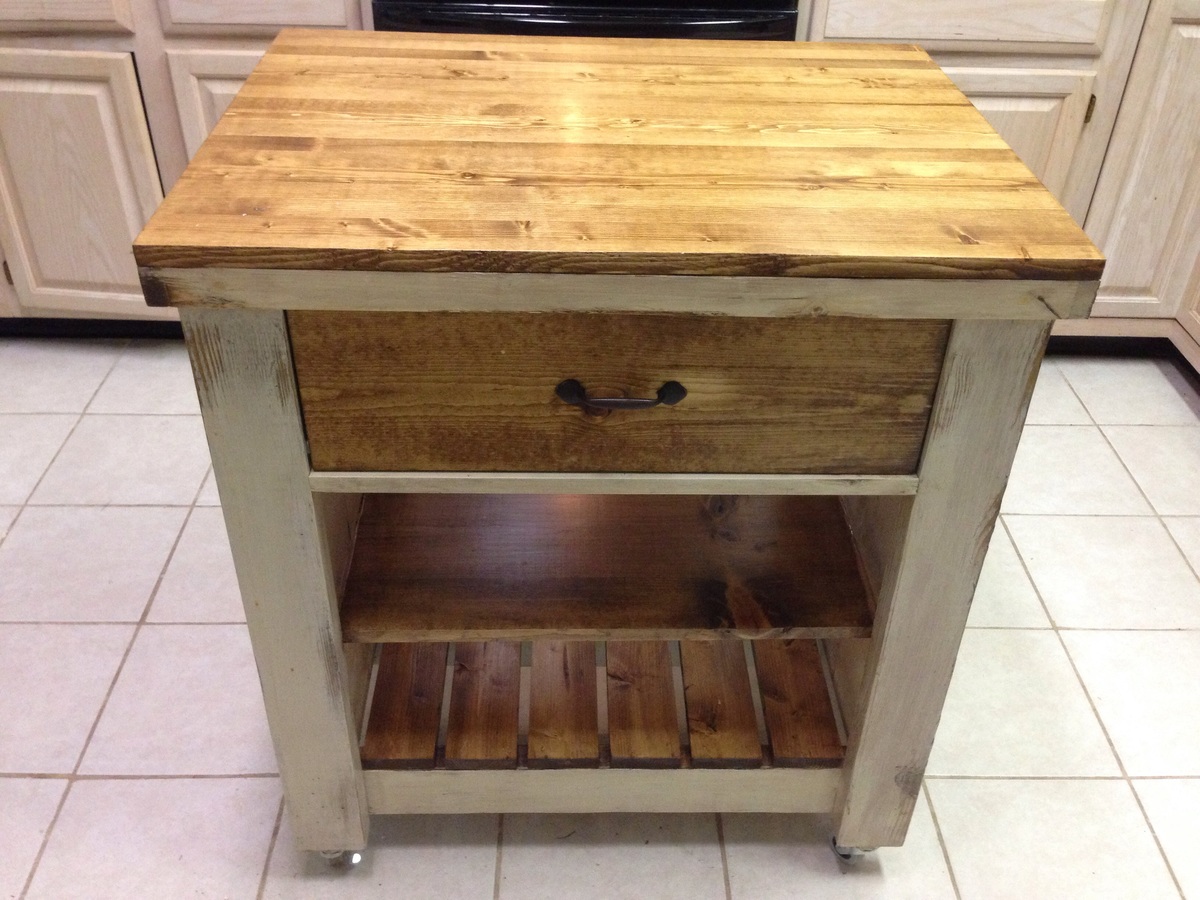
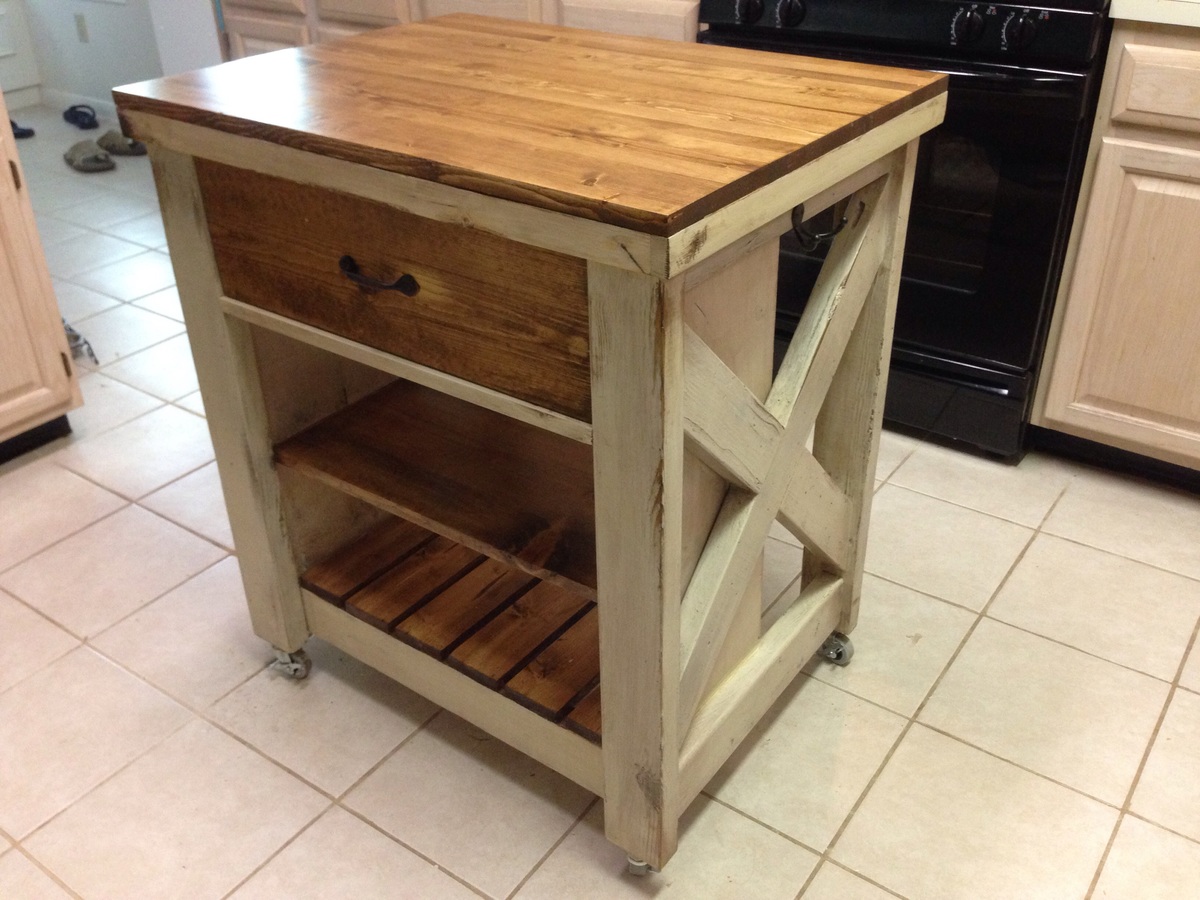
This kitchen island should be your next project. My wife wanted me to build an island for so long, but I never thought I had the skill to get it done. I can truly say this was only my second woodworking project and it was pretty simple. I learned a lot along the way and made a modification to the drawer rails. The key to my success was the Kreg jig. In the end it was a blast to build and I couldn't have done it without Ana's plans.

The rolling kitchen island is the central point of the kitchen now, even though we have 75'sf counter space to use. It seems to be used by everyone in the family whether it's getting something out of the fridge or using it for serving. Well worth the effort..

MODIFICATIONS: I made two small modifications to the project.
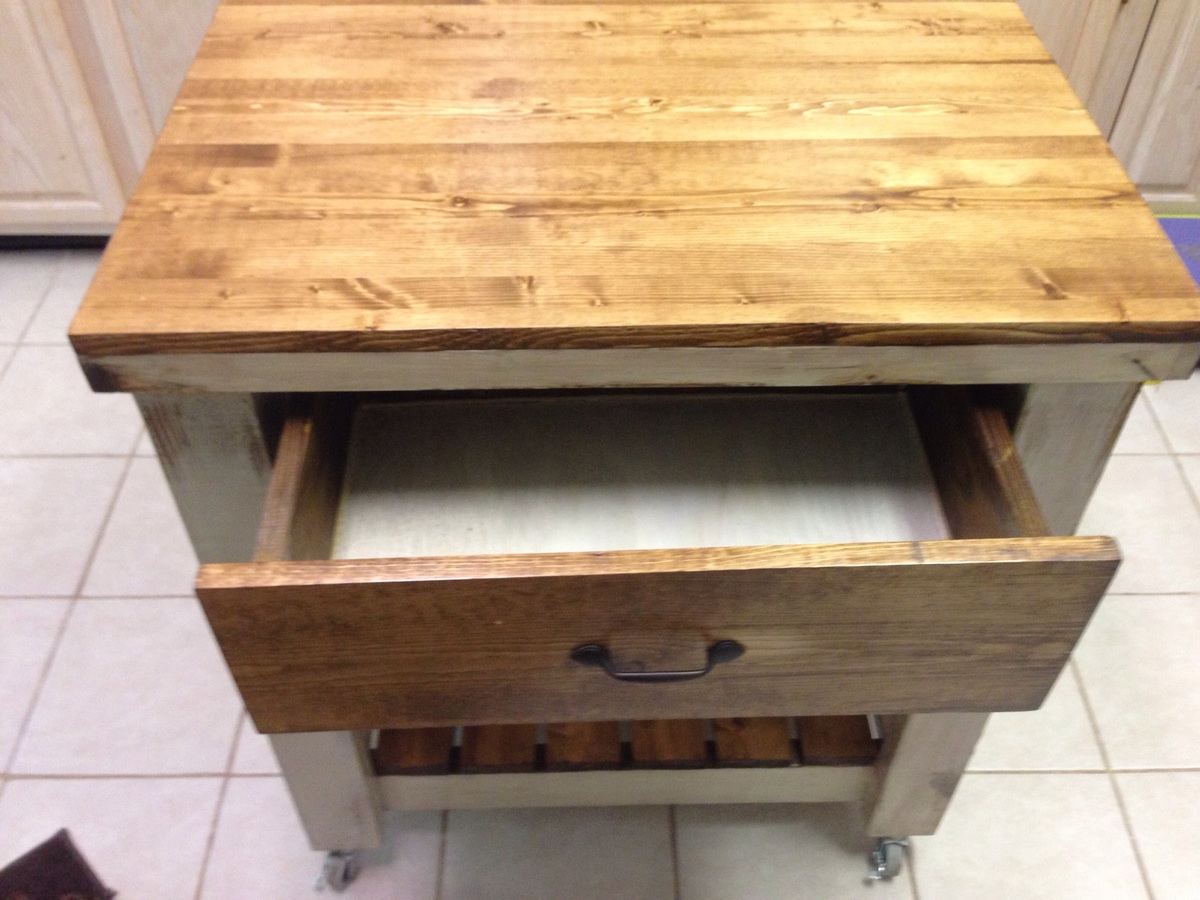
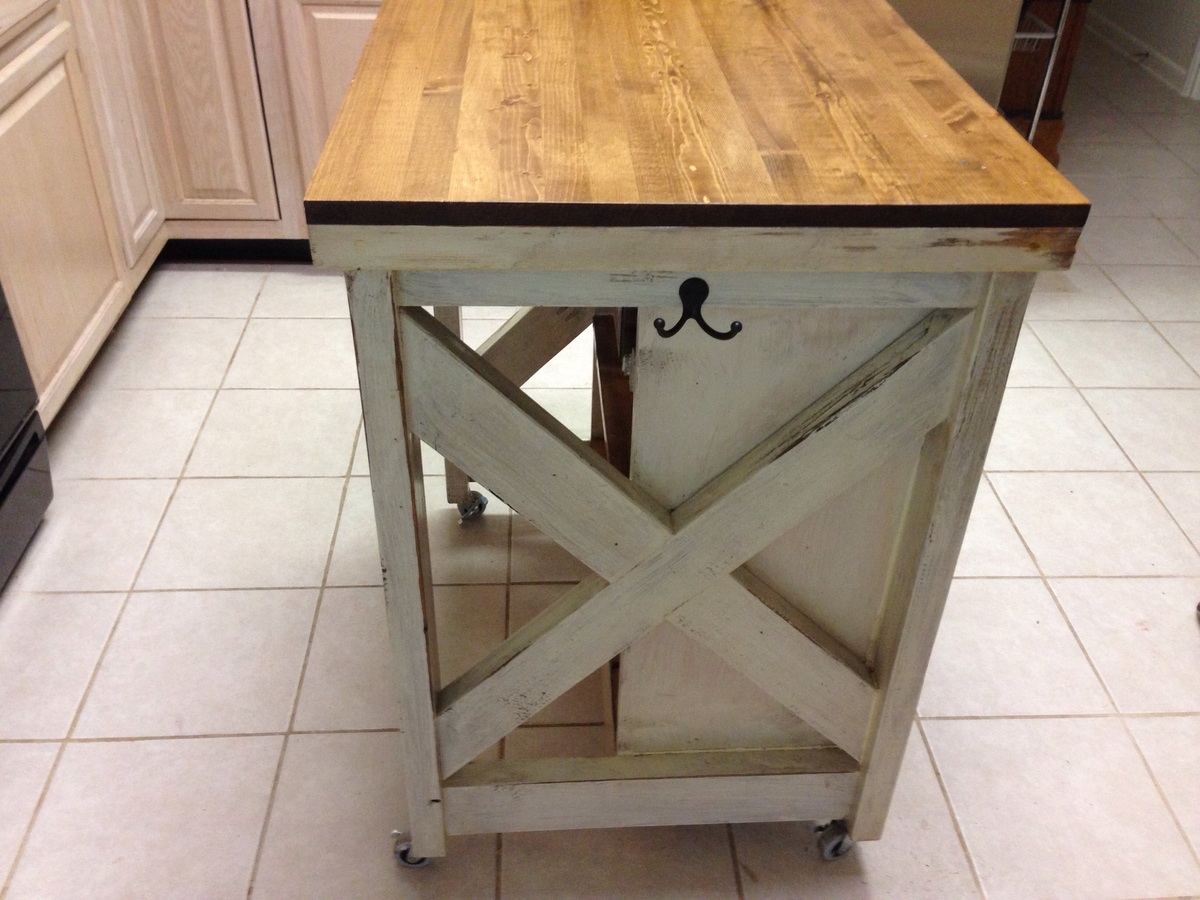
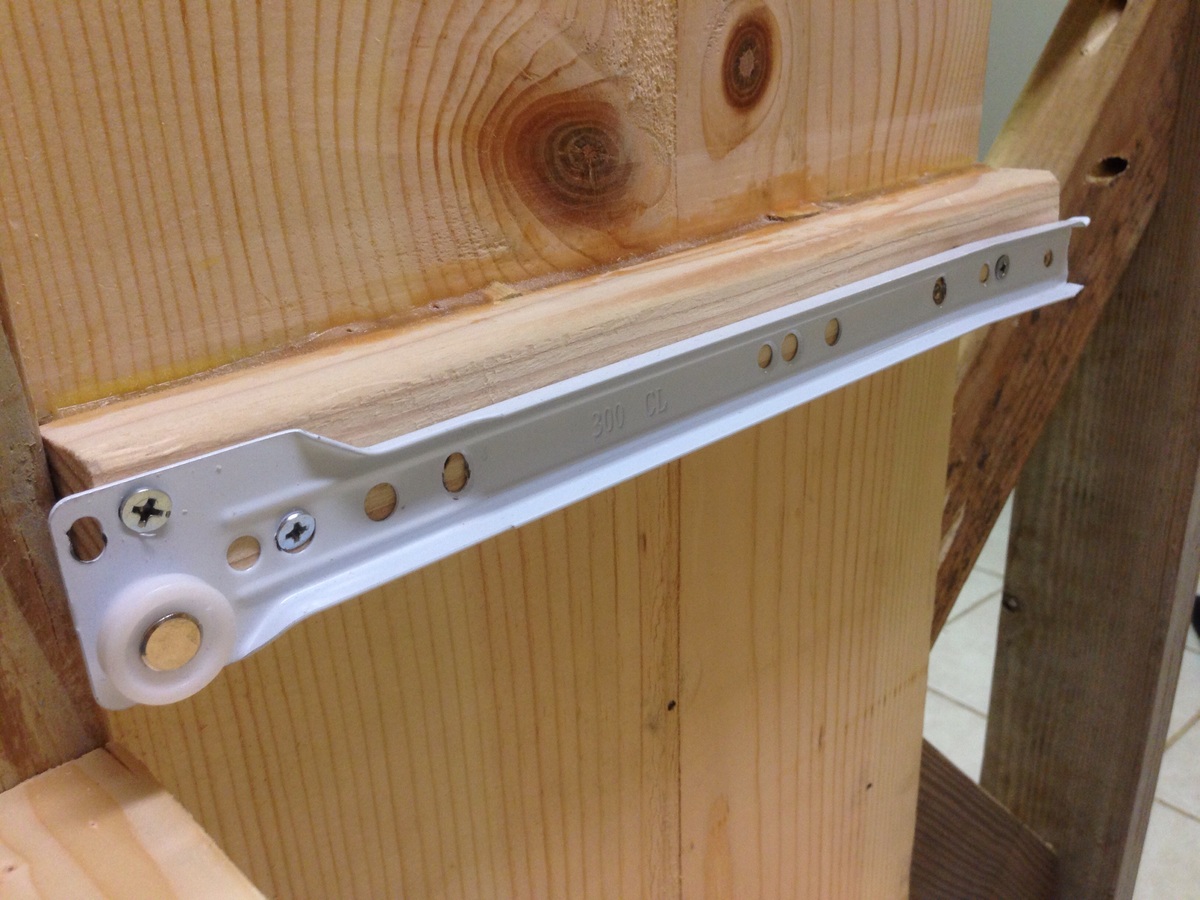
One was the casters. Instead of the plate casters I installed threaded stem casters with a T-nut in the bottom of the legs. The casters are adjustable so it's easy to keep level. The second mod was the drawers. I initially built the drawer with wood rails, but was not happy with the drawer falling to floor, if you pulled it out to far. Living in a humid climate, I could see the original rails swelling and then the drawer would be hard to operate. My solution was to add metal rolling sliders. I had to remove the 2 x 2's on inner cabinet and the 1 x 2s on the drawer itself. I added 1 x 2s on the inner cabinet, mounted 12" metal sliders ($5)) on the 1 x 2s and screwed the other half of slider on bottom of drawer. It may require a small shim behind sliders to make it fit perfect though. I provided photos of this mod. My drawer works perfect now. There is no dragging, no falling out and no wear.
Estimated Cost
$87
Estimated Time Investment
Weekend Project (10-20 Hours)
Finish Used
Stain: Minwax special walnut
Distressed finished:
Paint; Behr Ultra, Cream color, lightly sanded with spec. walnut stain over paint then 3 polyurethane coats. Top had 4 light coats of poly coat.
Recommended Skill Level
Intermediate

Wood Deck Chairs

This was my first solo build project and my first time using a power saw. I was terrified but determined because I've been wanting to make these chairs for years. After failing to convince my husband to make them for me, I decided to make them myself and I am so glad that I did. I am so proud!

I fell in love with the fabric first (Premier Prints' Suzani Chocolate and a striped fabric called Veranda Chocolate for the bottom) and then picked a stain to match. I chose to reinforce the sling by sandwiching the outer fabric with a layer of heavy duck fabric. I also made pillows, which protect your head from that upper wood support.

Also, I ordered some special connecting bolts and nuts made by Rockler that someone else mentioned in their brag post. Unlike the hardware mentioned in the original plan, these bolts are flush with the frame on both the inside and out so the chairs can fold completely flat. Here are the links to them on Amazon:

http://www.amazon.com/Statuary-Bronze-Connector-Bolts-8-Pack/dp/B001DT3…
http://www.amazon.com/Cap-Nuts-Connector-Bolts-pack/dp/B001DT3G9O/ref=p…

The inner frame did need slightly larger holes (3/8 inch, I believe) to accommodate the cap nuts.

Estimated Cost
$100 - I spent a little bit more on wood than others because I bought pre-sanded stock. I also ordered extra fabric to make pillows and chose two different fabrics to make the design reversible. This project can definitely be done more economically if you already have some of the materials and if you find the fabric on sale.
Estimated Time Investment
Weekend Project (10-20 Hours)
Finish Used
Cabot Premium Wood Finish Stain & Sealer (Espresso) - I originally tried a few different stains (one from Minwax and one from Valspar) that we already had but I didn't like the fact that I would have to do multiple coats to get the color opacity that I wanted and then I'd have to do multiple coats of sealer. I'm too impatient for all that so I found an all-in-one product that worked beautifully. I will definitely use this product again!
Recommended Skill Level
Beginner

Comments

Joni

Fri, 05/22/2015 - 09:43

These are just beautiful. Nice job! Thanks for such a nice write-up with all the additional hardware information.

Modified rustic table and benches

Submitted by dkarinen on Sun, 06/16/2013 - 21:09

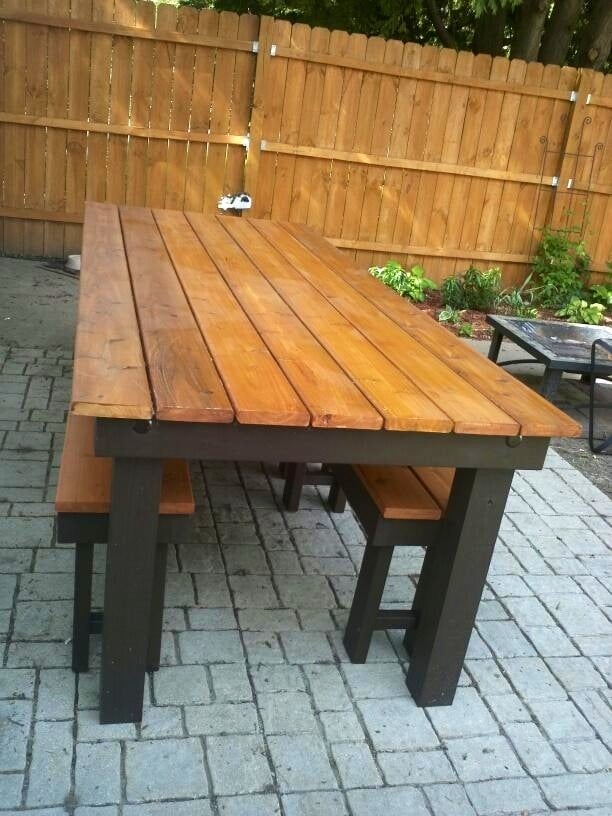
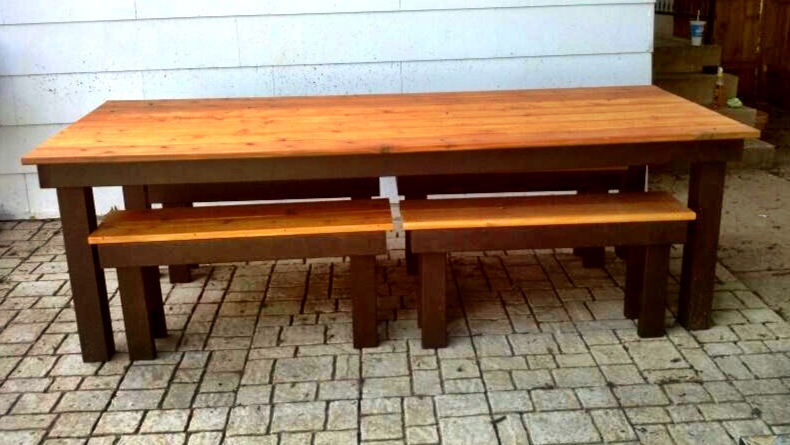
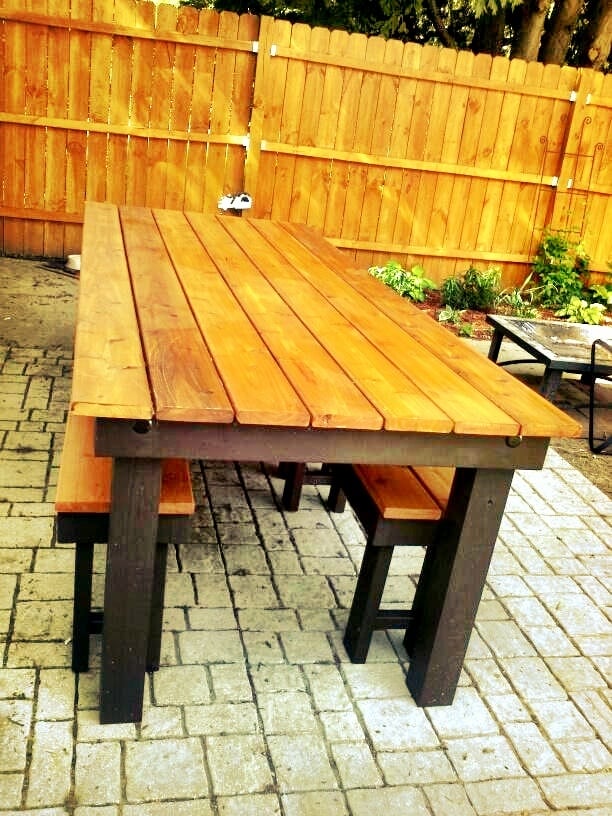
We built this table for my brother and new wife's wedding present. We modified it to use as an outdoor dining set. Instead of using the 1x10 for the tabletop we used 2x6's and for the legs we used 4x4's. We attached the top boards with a Camo fastening system we used last year on our deck (works great to conceal the screws). I stained the frame in Behr Cordovan Brown and the top boards in Behr Cedar Naturaltone. It was our first attempt at building a table and I think it turned out great, only problem was giving it away!

Built from Plan(s)
Estimated Cost
$300
Estimated Time Investment
Week Long Project (20 Hours or More)
Finish Used
Behr cordovan brown stain and Behr natural cedartone
Recommended Skill Level
Beginner

Comments

storchinsky

Mon, 06/17/2013 - 10:57

Very nice! I'd been considering this plan for my outdoor table, but my husband liked the modern farm table better. Same idea--I am leaving gaps to allow the water to drain. Love the two-tone finish! It's amazing what you can do with plain old 2 x 6s!

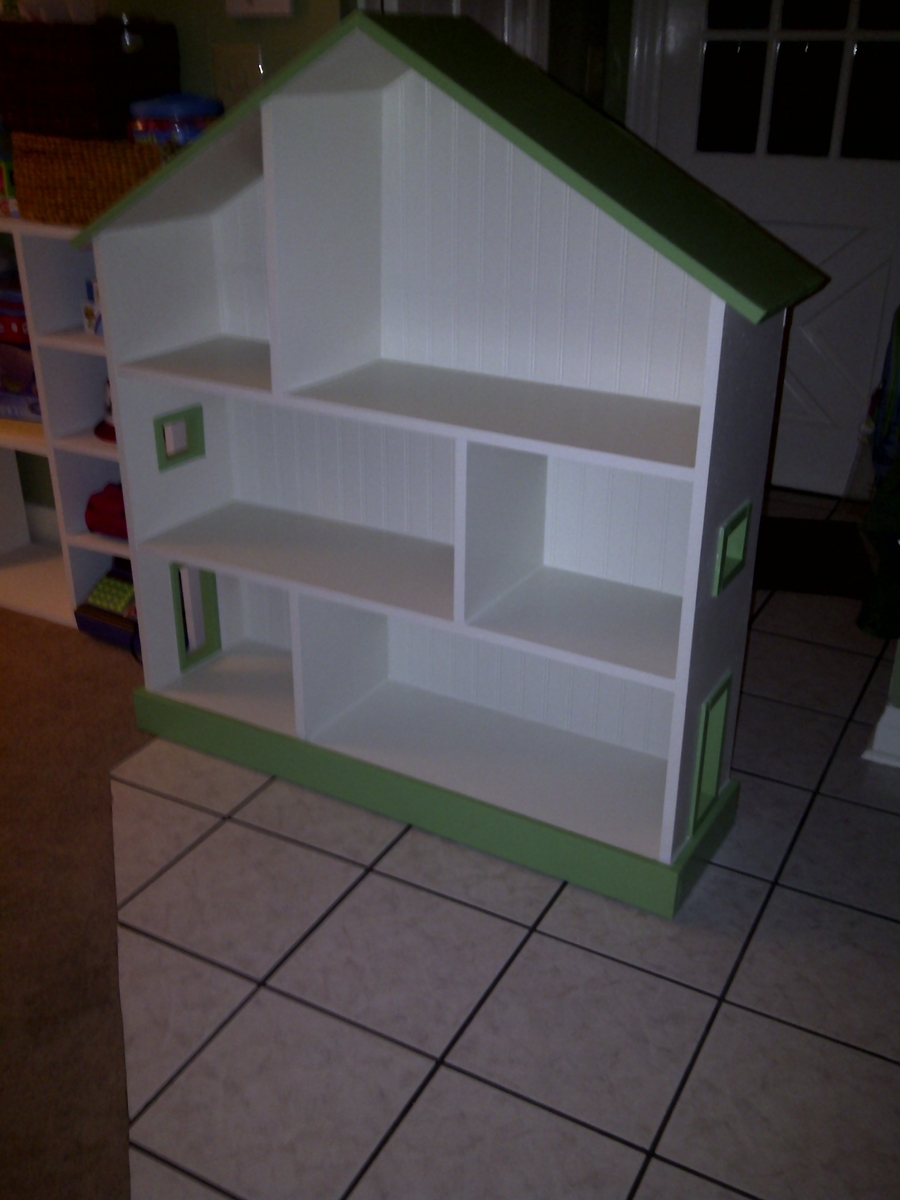
Dollhouse Bookcase

Submitted by mnewton on Mon, 04/11/2011 - 12:52

This was my first build. I was conviced to do this once I saw the Pottery Barn price tag. The plans were so easy to follow.

Built from Plan(s)
Estimated Time Investment
Afternoon Project (3-6 Hours)
Recommended Skill Level
Starter Project

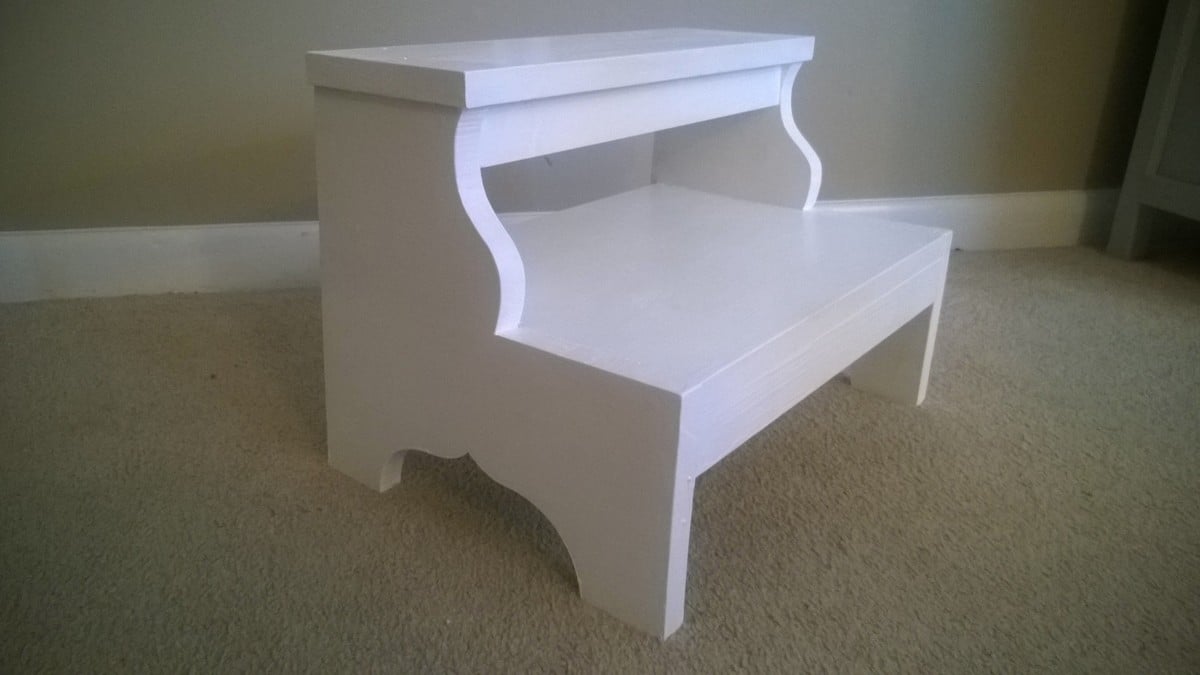
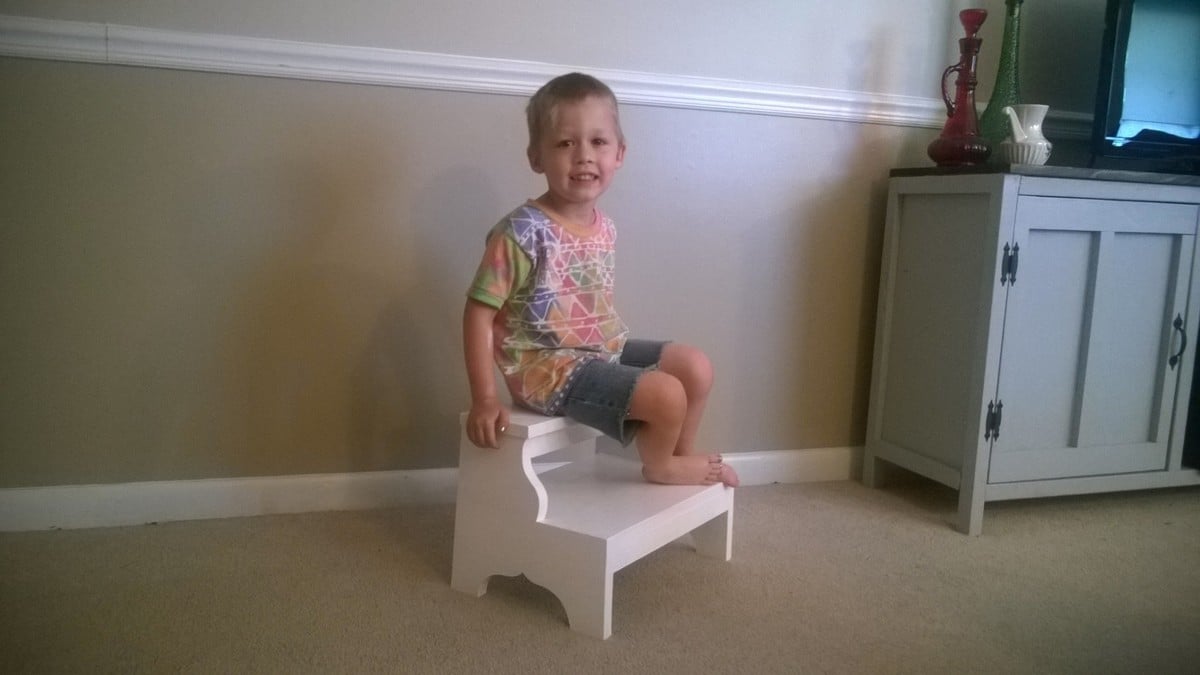
Step Stool

Submitted by cjlaw on Mon, 06/22/2015 - 11:55

I was able to make this with some leftover wood from other projects.

Built from Plan(s)
Estimated Time Investment
An Hour or Two (0-2 Hours)
Recommended Skill Level
Beginner

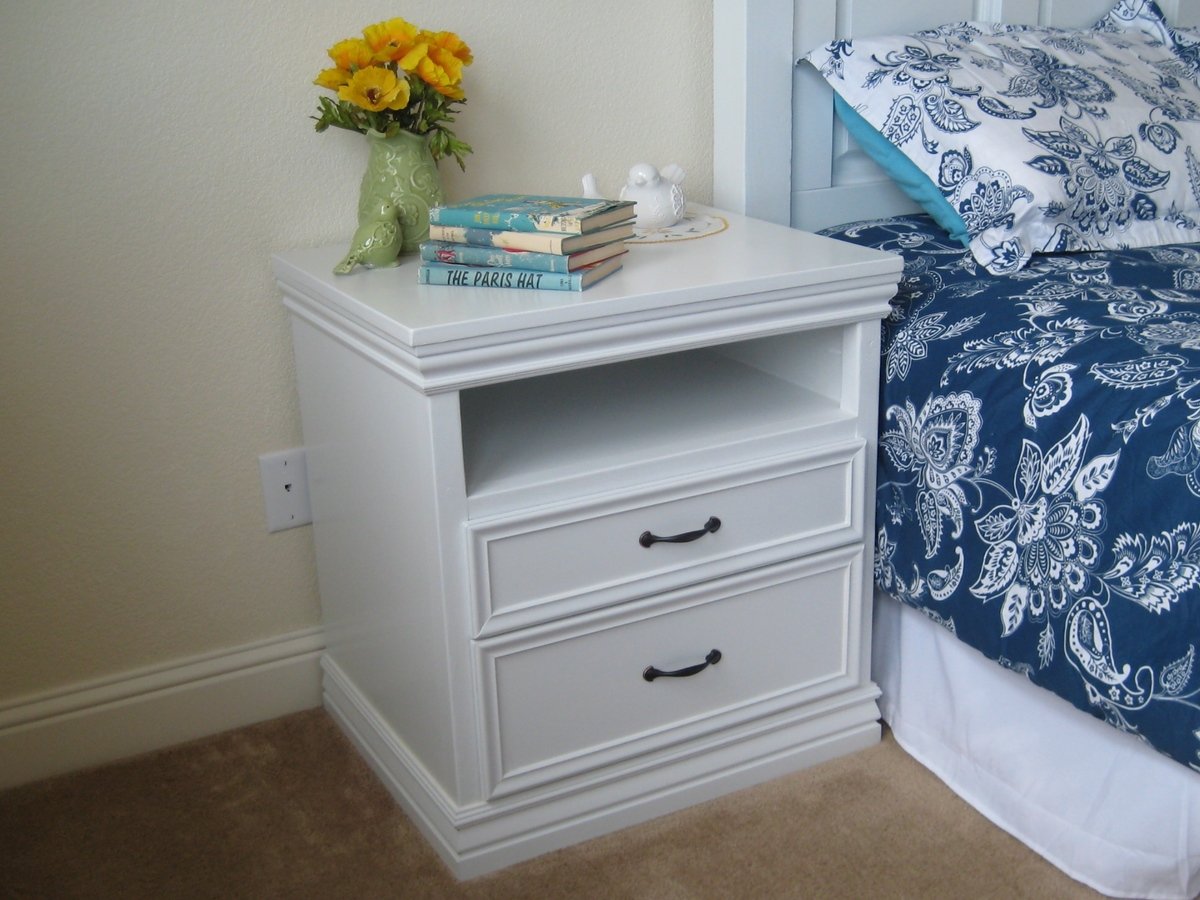
Not so "Rhyan" Nightstands

Submitted by Kimbers on Sun, 05/08/2011 - 19:05

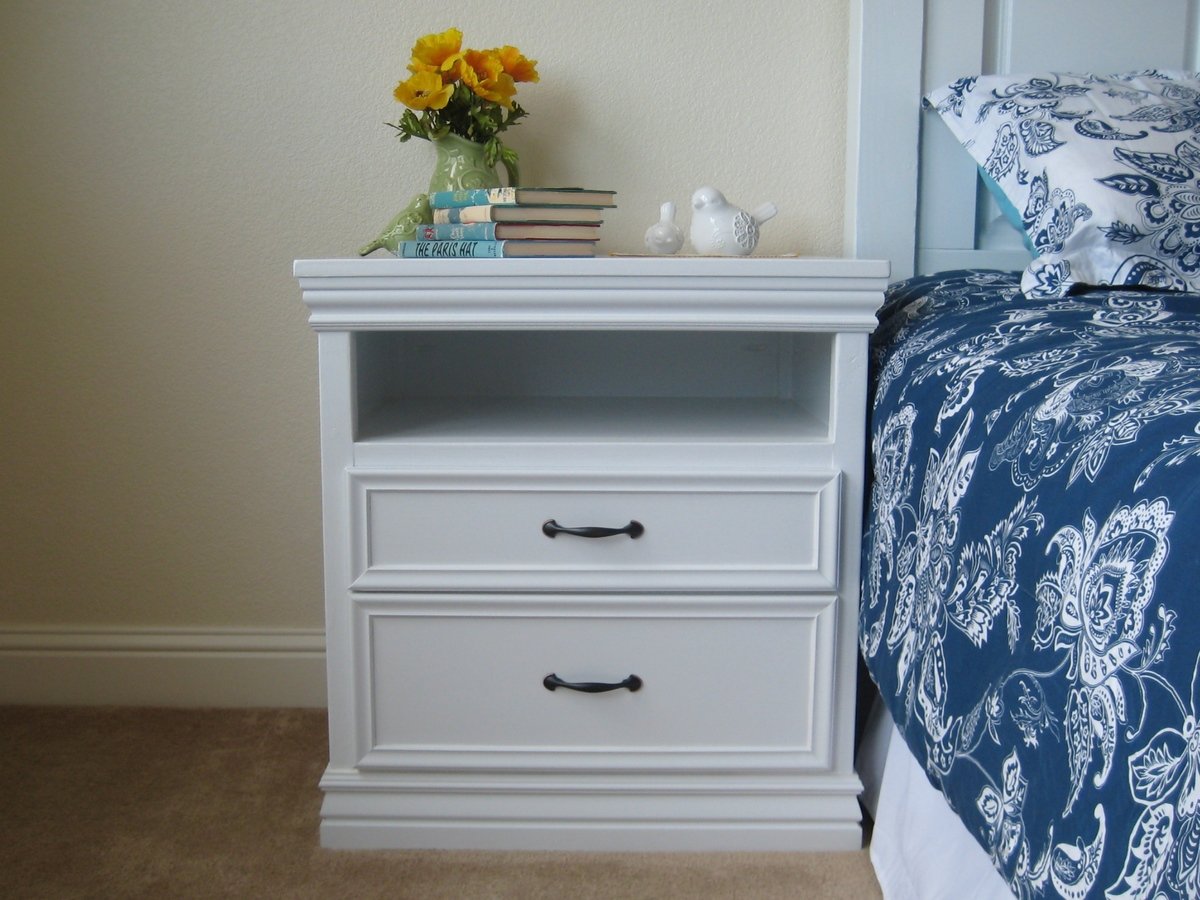
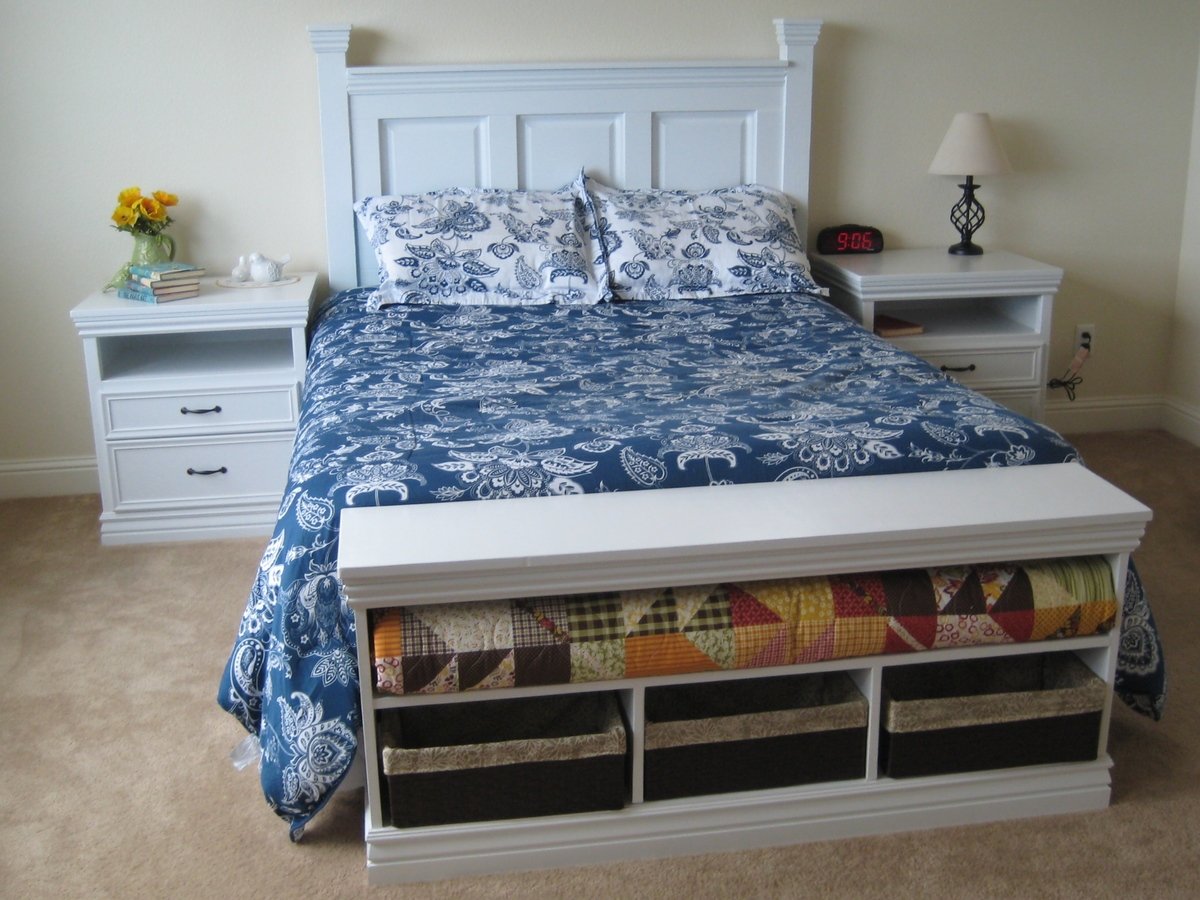
I used the Rhyan end table plan (with a few alterations) to make my nightstands. I changed the dimensions so mine turned out to be 20”D, 25”W, 27”H, I extended the side and back panels all the way to the top to close in the shelf and I made the bottom drawer larger. I decided to use under mount drawer slides but I think I will try out the side mount slides in the future though.

I wanted them to match the headboard and bench that I made for my bed so I added the same molding that I used on those pieces to finish it off.

I pre cut every piece for the main body of the nightstand and predrilled all of the Kreg holes which made it a really quick piece to put together! I purchased the Mini Kreg jig for this project and am so glad I did. Totally worth the money!

Built from Plan(s)
Estimated Cost
About $80 For 2 Nightstands
Estimated Time Investment
Weekend Project (10-20 Hours)
Finish Used
I painted with Rust-oleum painters touch semi gloss white and then sprayed a few coats of polyacrylic on the top.
Recommended Skill Level
Beginner

Greenhouse

Submitted by Anonymous (not verified) on Sun, 01/02/2022 - 12:30

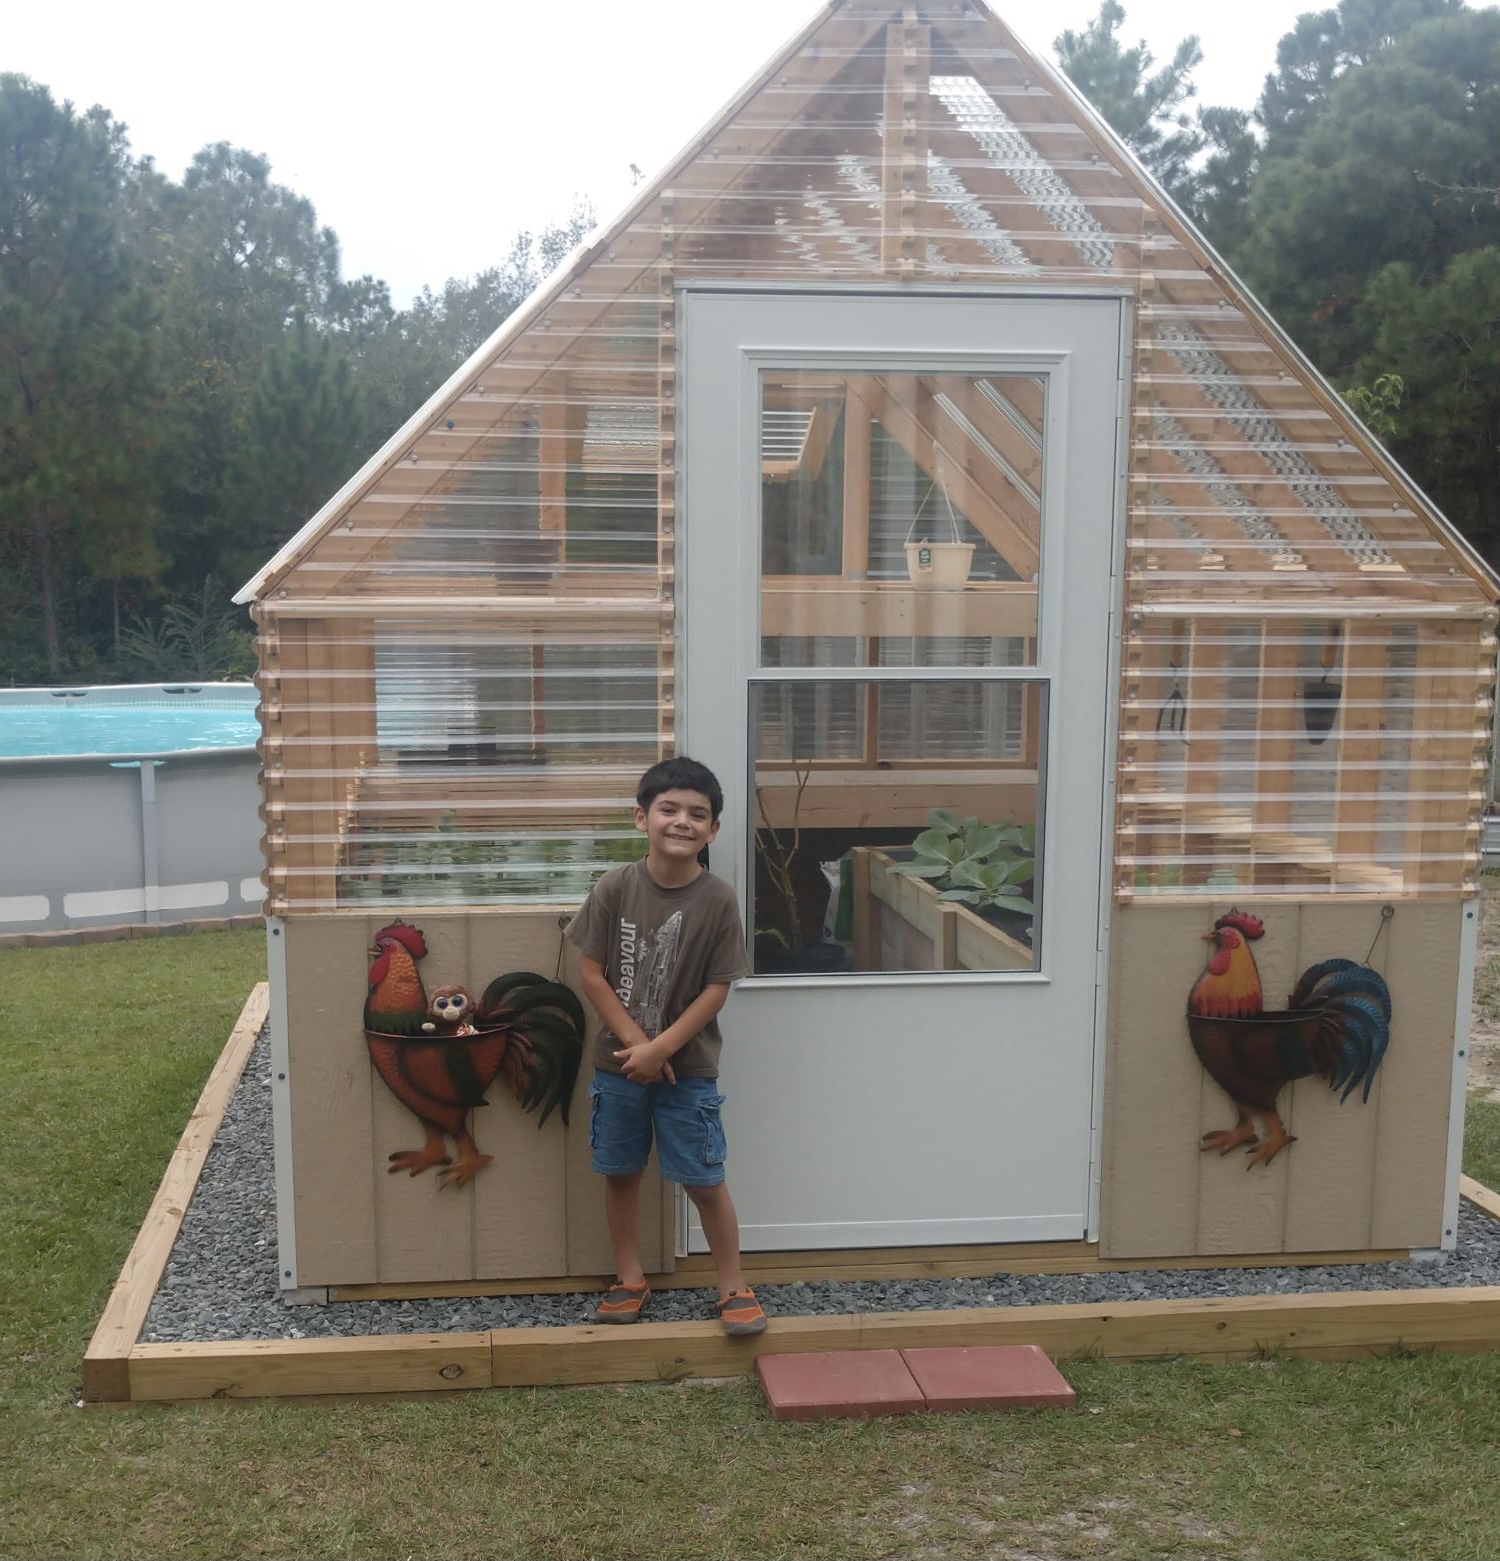
Built the greenhouse from Ana Whites plan
She did the plan really well..

Built from Plan(s)

Comments

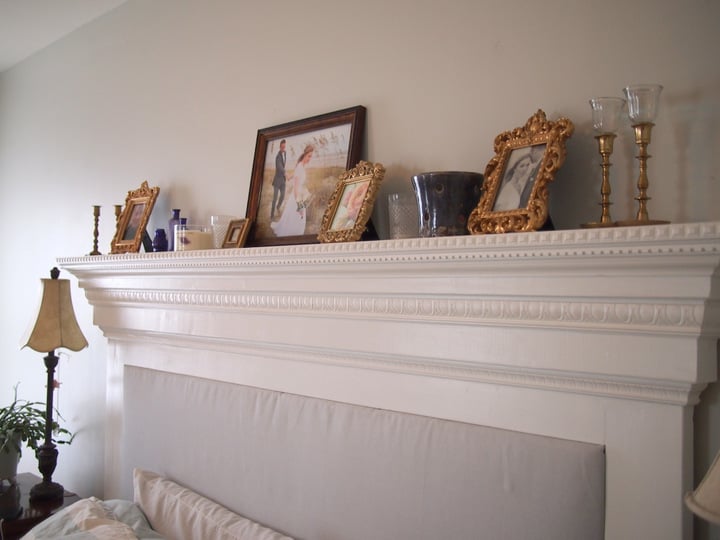
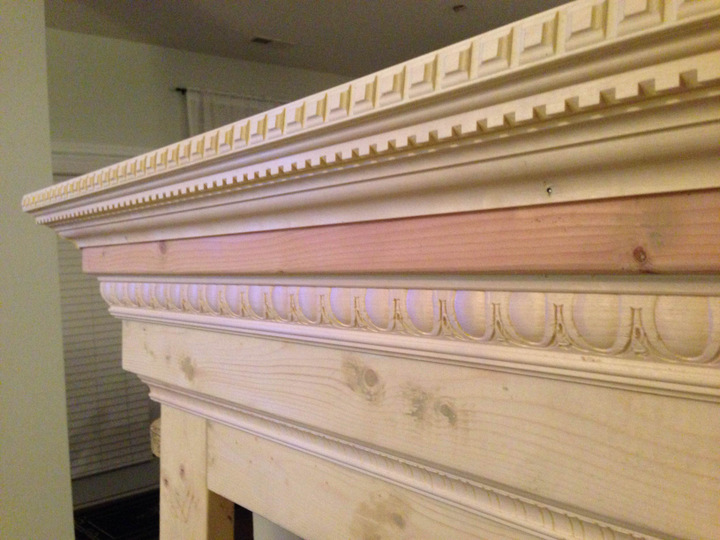
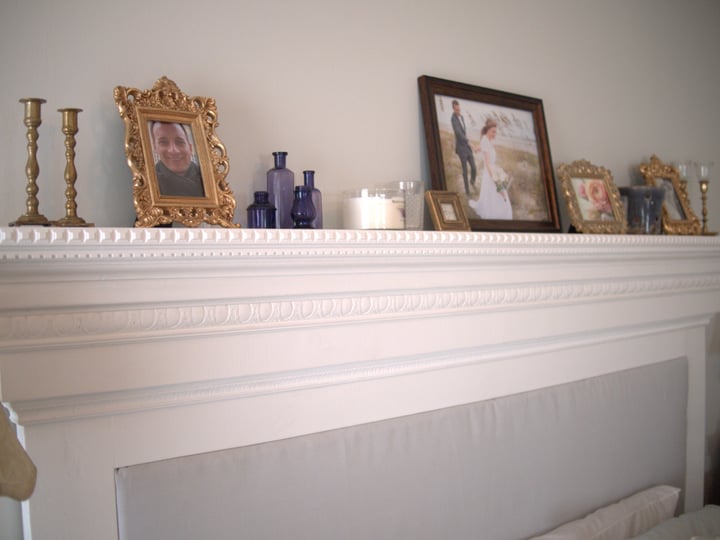
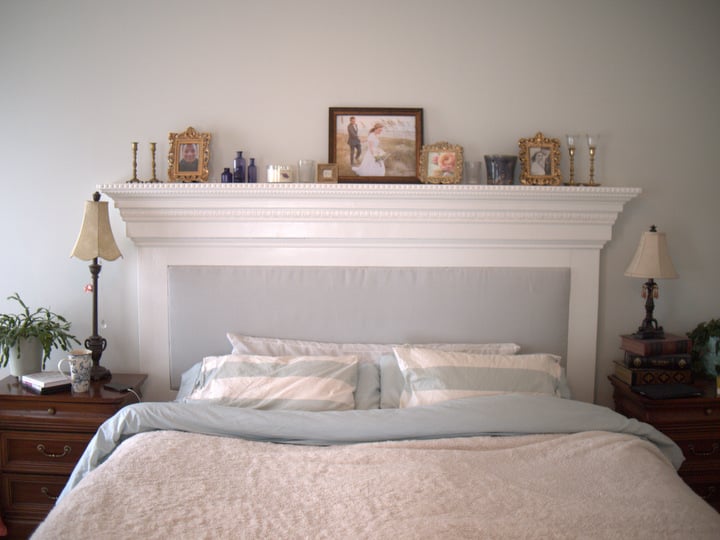
DIY POTTERY BARN "ADDISON" STYLE HEADBOARD

It took us about 2 days to cut, assemble, and paint.  


http://www.whisperingwhims.com/2015/03/diy-pottery-barn-addison-style-headboard/

Built from Plan(s)
Estimated Cost
$150
Estimated Time Investment
Weekend Project (10-20 Hours)
Recommended Skill Level
Beginner

Comments

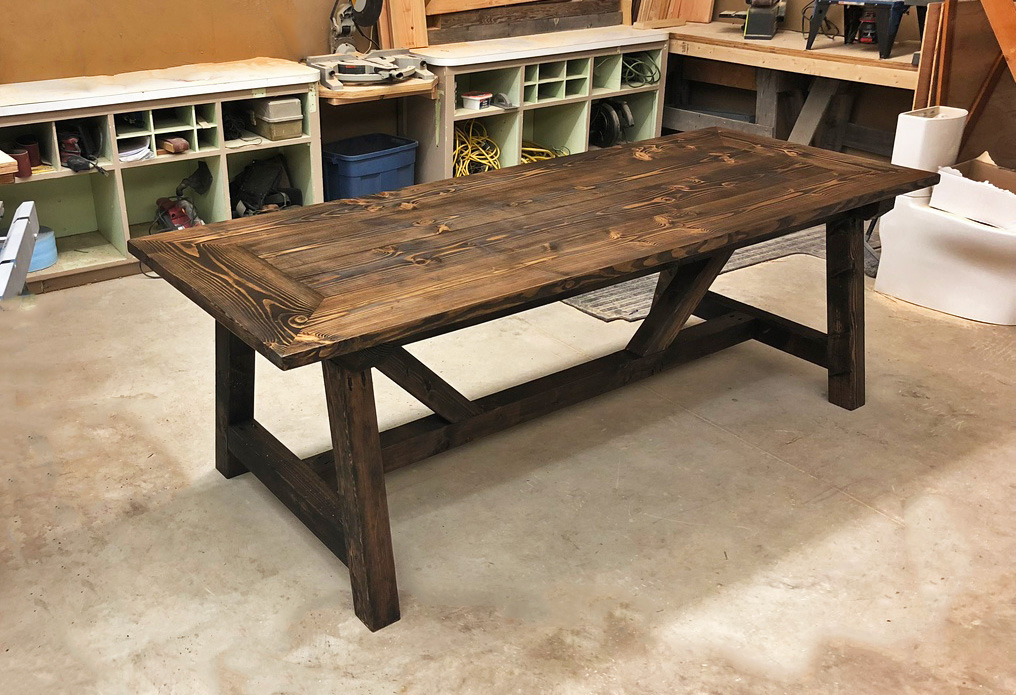
Modified outdoor truss beam table

Submitted by Billyjwest on Tue, 04/03/2018 - 18:43

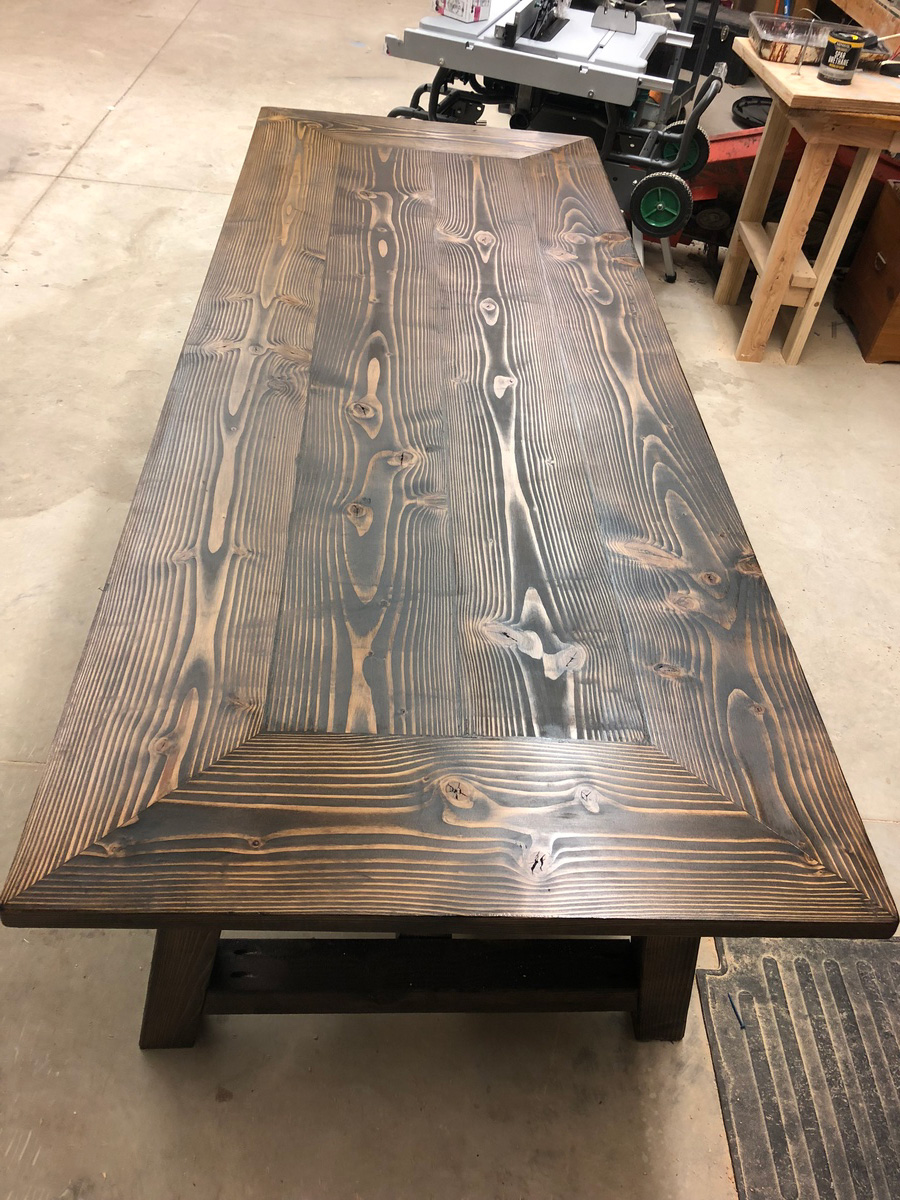
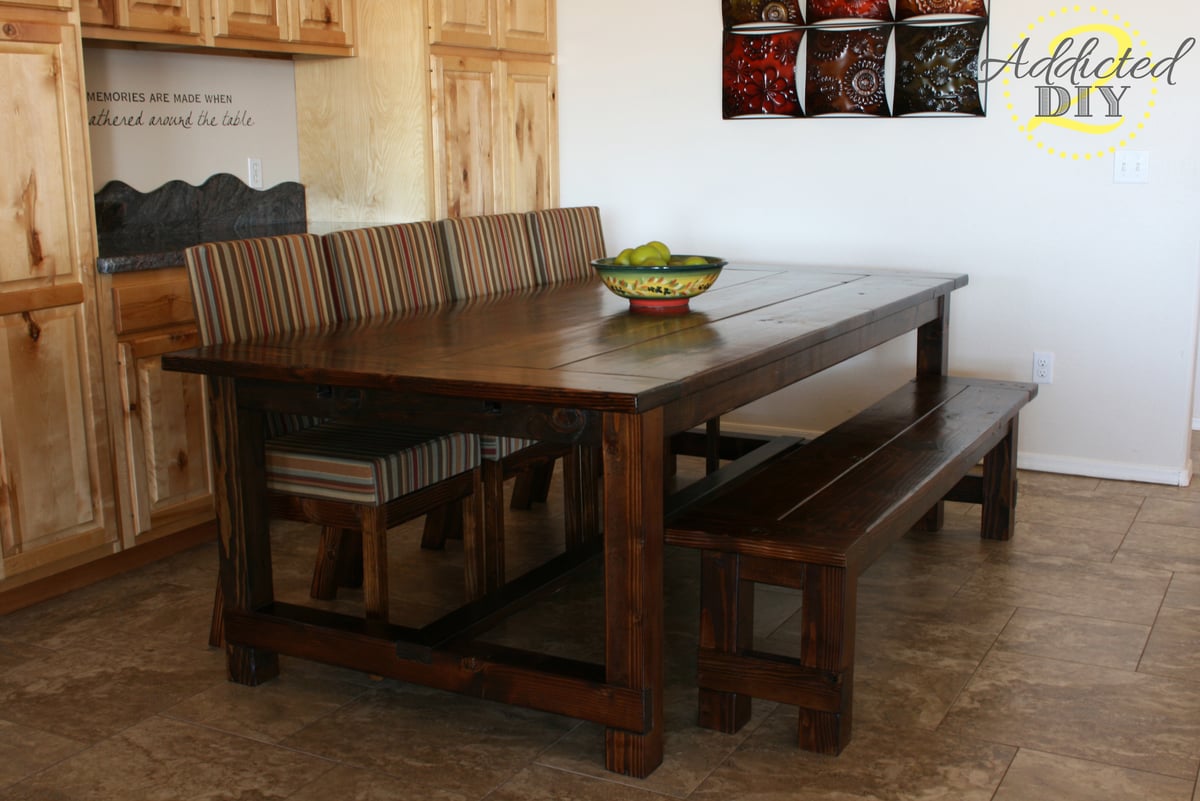
I made this one three inches taller and two feet longer and decided to miter the top. I also used a LOT of glue and blue Craig screws.

Built from Plan(s)
Estimated Cost
120
Estimated Time Investment
Afternoon Project (3-6 Hours)
Finish Used
Minwax Jacobean for 5 minutes and gloss spar. I filled the plank so It doesn’t hold water.
Recommended Skill Level
Beginner

Guitar Display Case

Hi fellow builders!

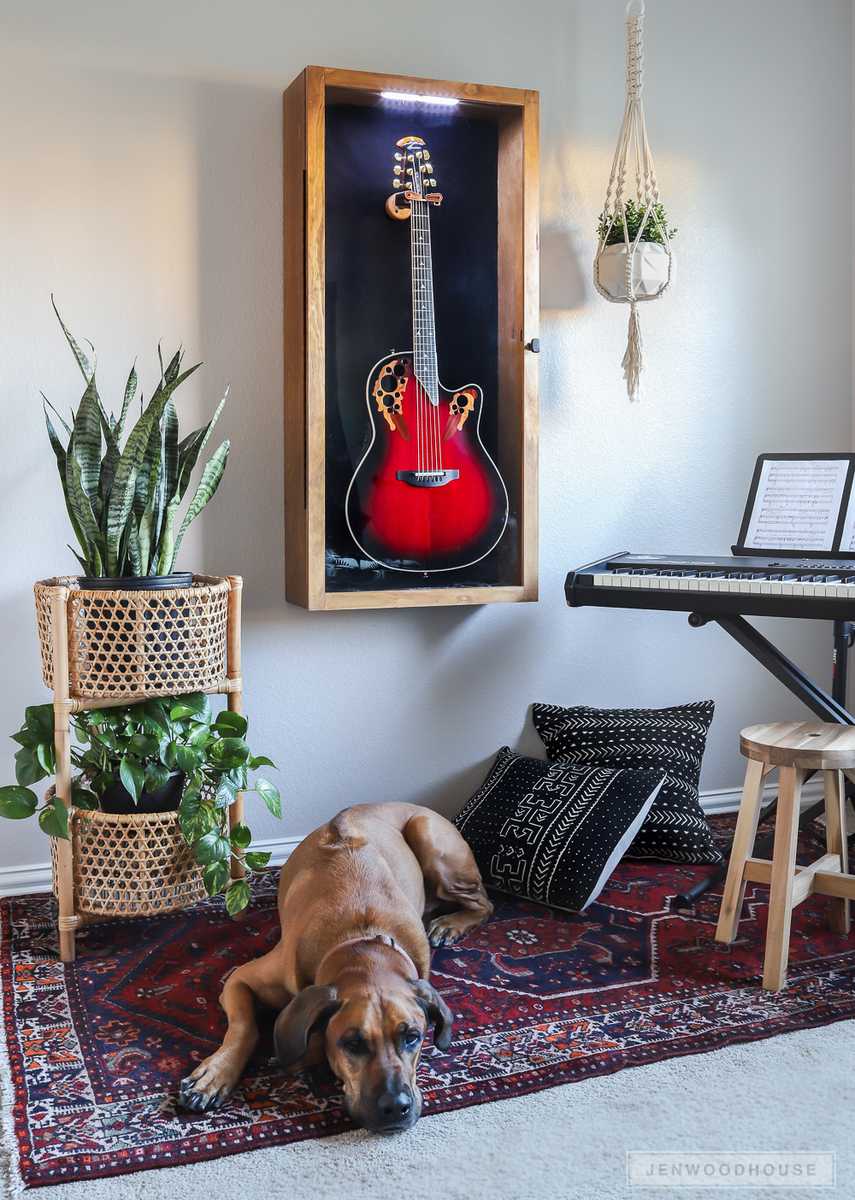
It's Jen from The House of Wood! Today I’m sharing this beautiful Guitar Display Case. I've been wanting a place to display my guitar, and this definitely fits the bill, with a glass (acrylic, actually) panel door, motion-sensored battery-powered LED lighting, and gorgeous rosewood guitar hanger. And I designed it so that you can build it out of half a sheet of plywood! Get the build plans for my Guitar Display Case at JenWoodhouse.com.
Estimated Cost
$25
Estimated Time Investment
Day Project (6-9 Hours)
Finish Used
Golden oak
Recommended Skill Level
Intermediate

Hexagon Picnic Table

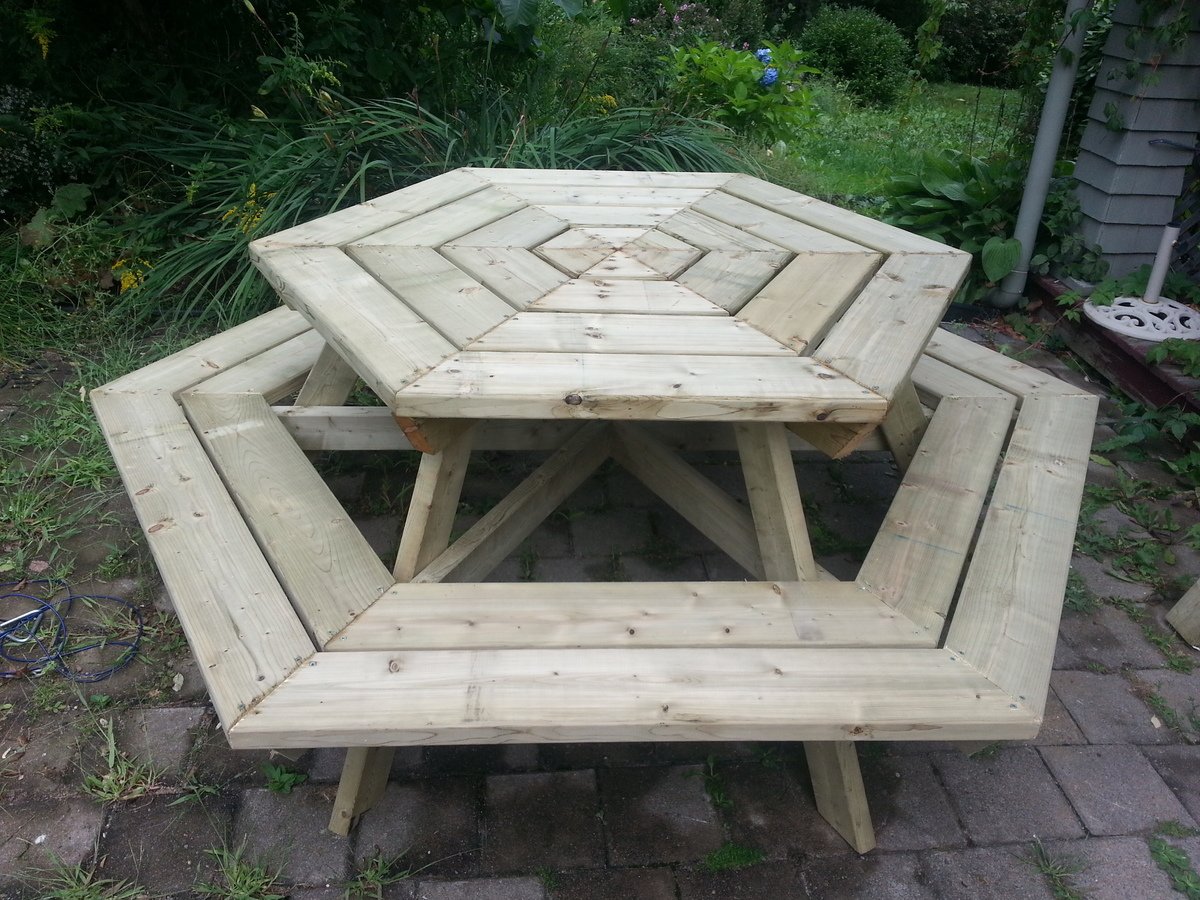
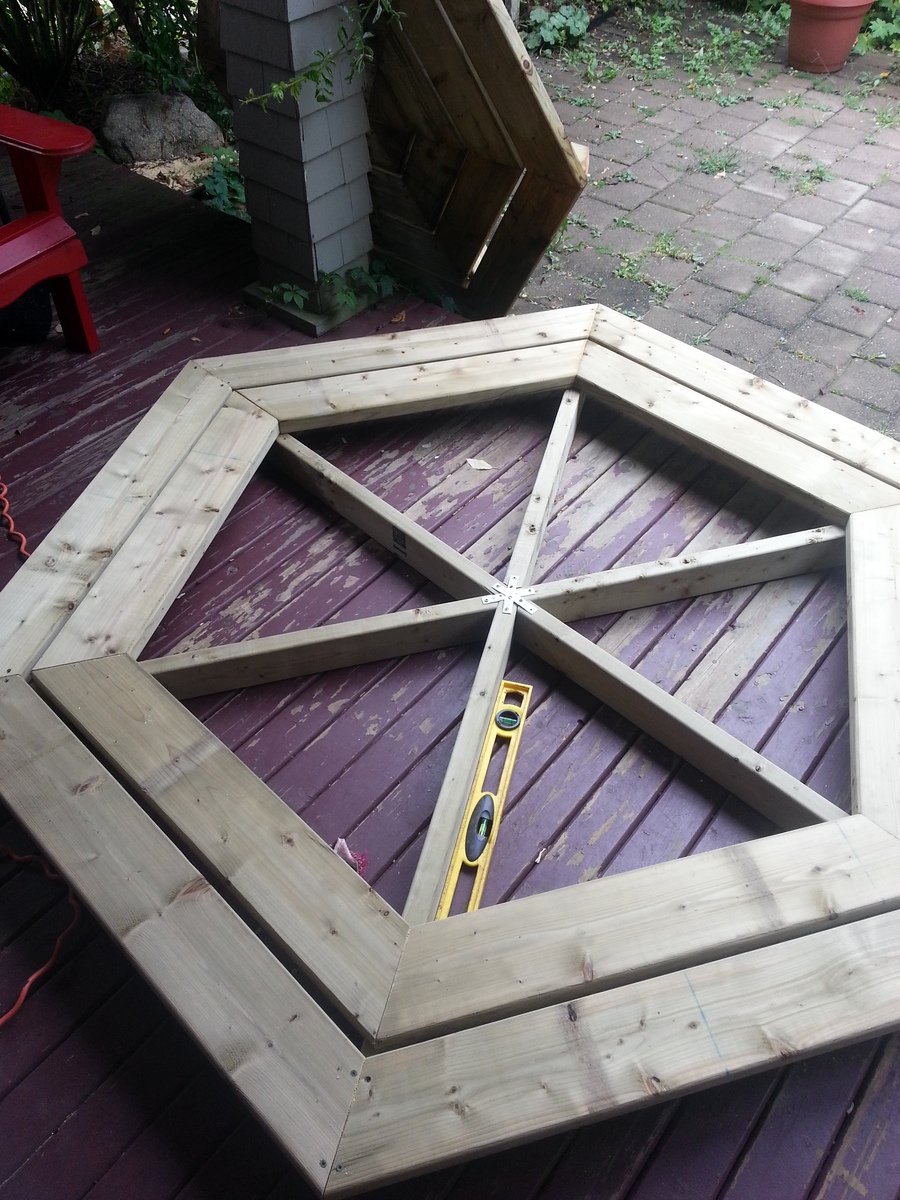
Very finicky to assemble, but love the finished product!

Built from Plan(s)
Estimated Time Investment
Day Project (6-9 Hours)
Finish Used
Haven't stained it yet, will add photos when stained.
Recommended Skill Level
Intermediate

Copy Cat Bedside Table

I needed new bedside tables to replace mine that were falling apart. I love the whole Stratton line at PB. I wanted to make something similar, but a bit more sturdy.

So, I made this table with a much more solid bottom shelf and a deep drawer with a full face to mimic the sides and the back panels.

Estimated Cost
Wood $20-$25, Drawer Slides $7, Drawer Handle $2
Estimated Time Investment
Afternoon Project (3-6 Hours)
Finish Used
I haven't determined yet.
Recommended Skill Level
Beginner

Comments

Clara table and chairs with chalkboard and cubbie

I made a few changes to the chairs and the table plans.  Most notable, I added a storage box for chalk for the chalkboard table top.  The build was incredibly easy.  You could assemble the table and chairs in just a few hours.  

Built from Plan(s)
Estimated Cost
$35
Estimated Time Investment
Afternoon Project (3-6 Hours)
Finish Used
Rust-Oleum Chalkboard paint. Two coats and some touch up.
Recommended Skill Level
Beginner

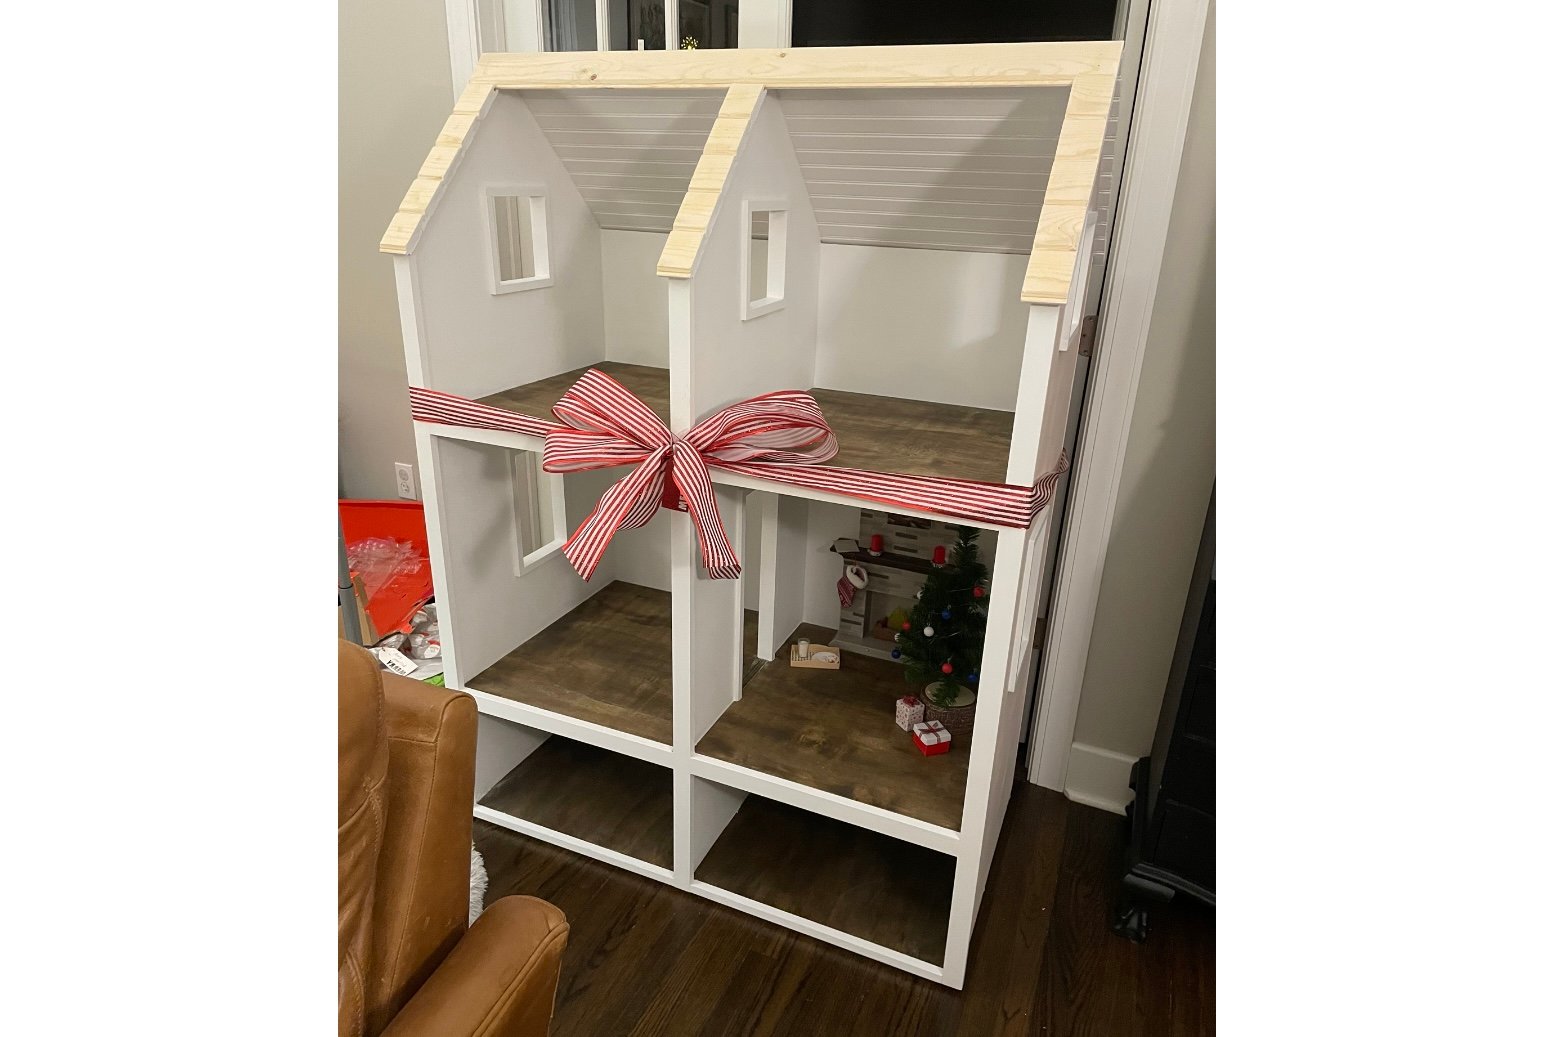
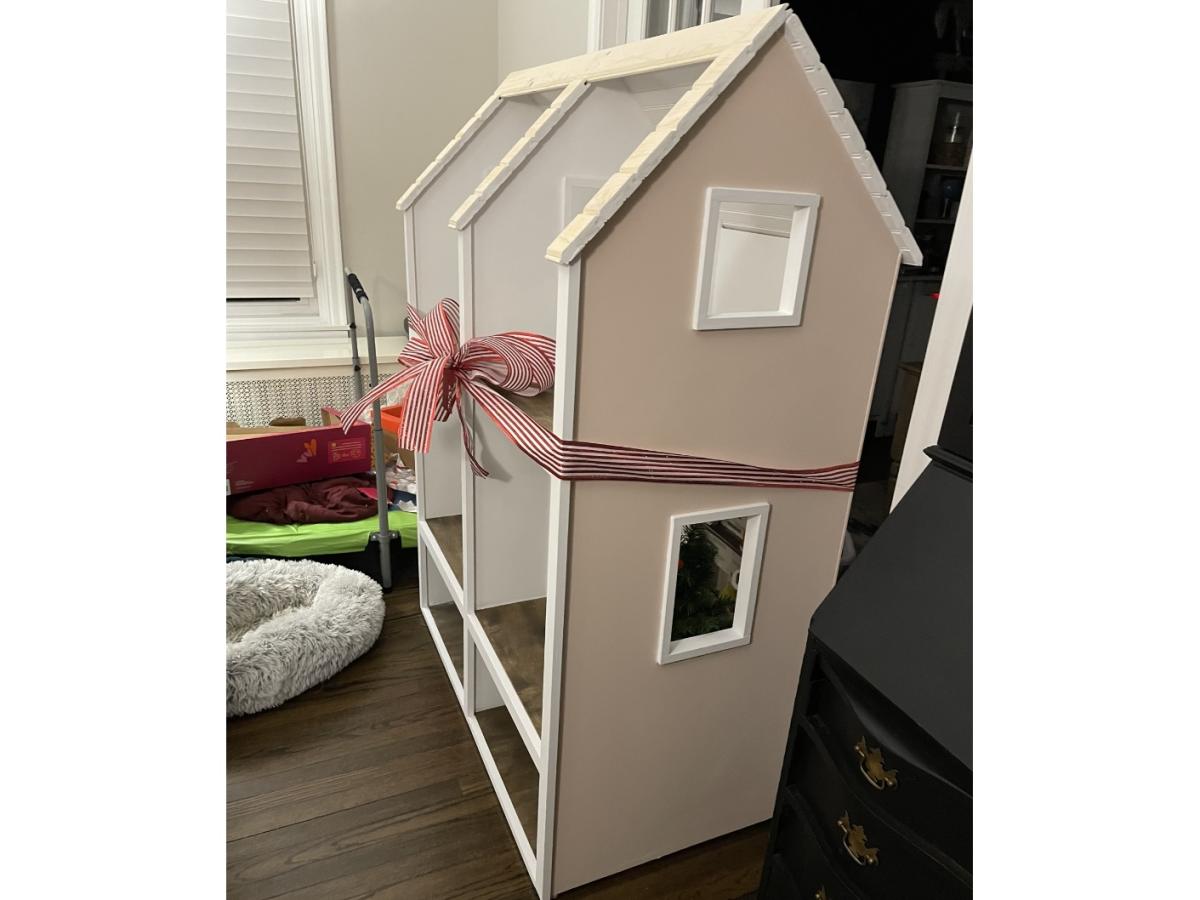
American Girl Dollhouse with Crawlspace

Submitted by Anonymous (not verified) on Wed, 12/28/2022 - 13:20

We had a lot of fun building this. We made the bottom floor 1/2 the size so she can use it as a storage (aka crawlspace). I also followed another posts idea of using 4 inch tongue and groove pattern board (beadboard) for the roof.

Comments

The Weekend Sleeper

Submitted by vendo on Tue, 01/10/2023 - 10:03

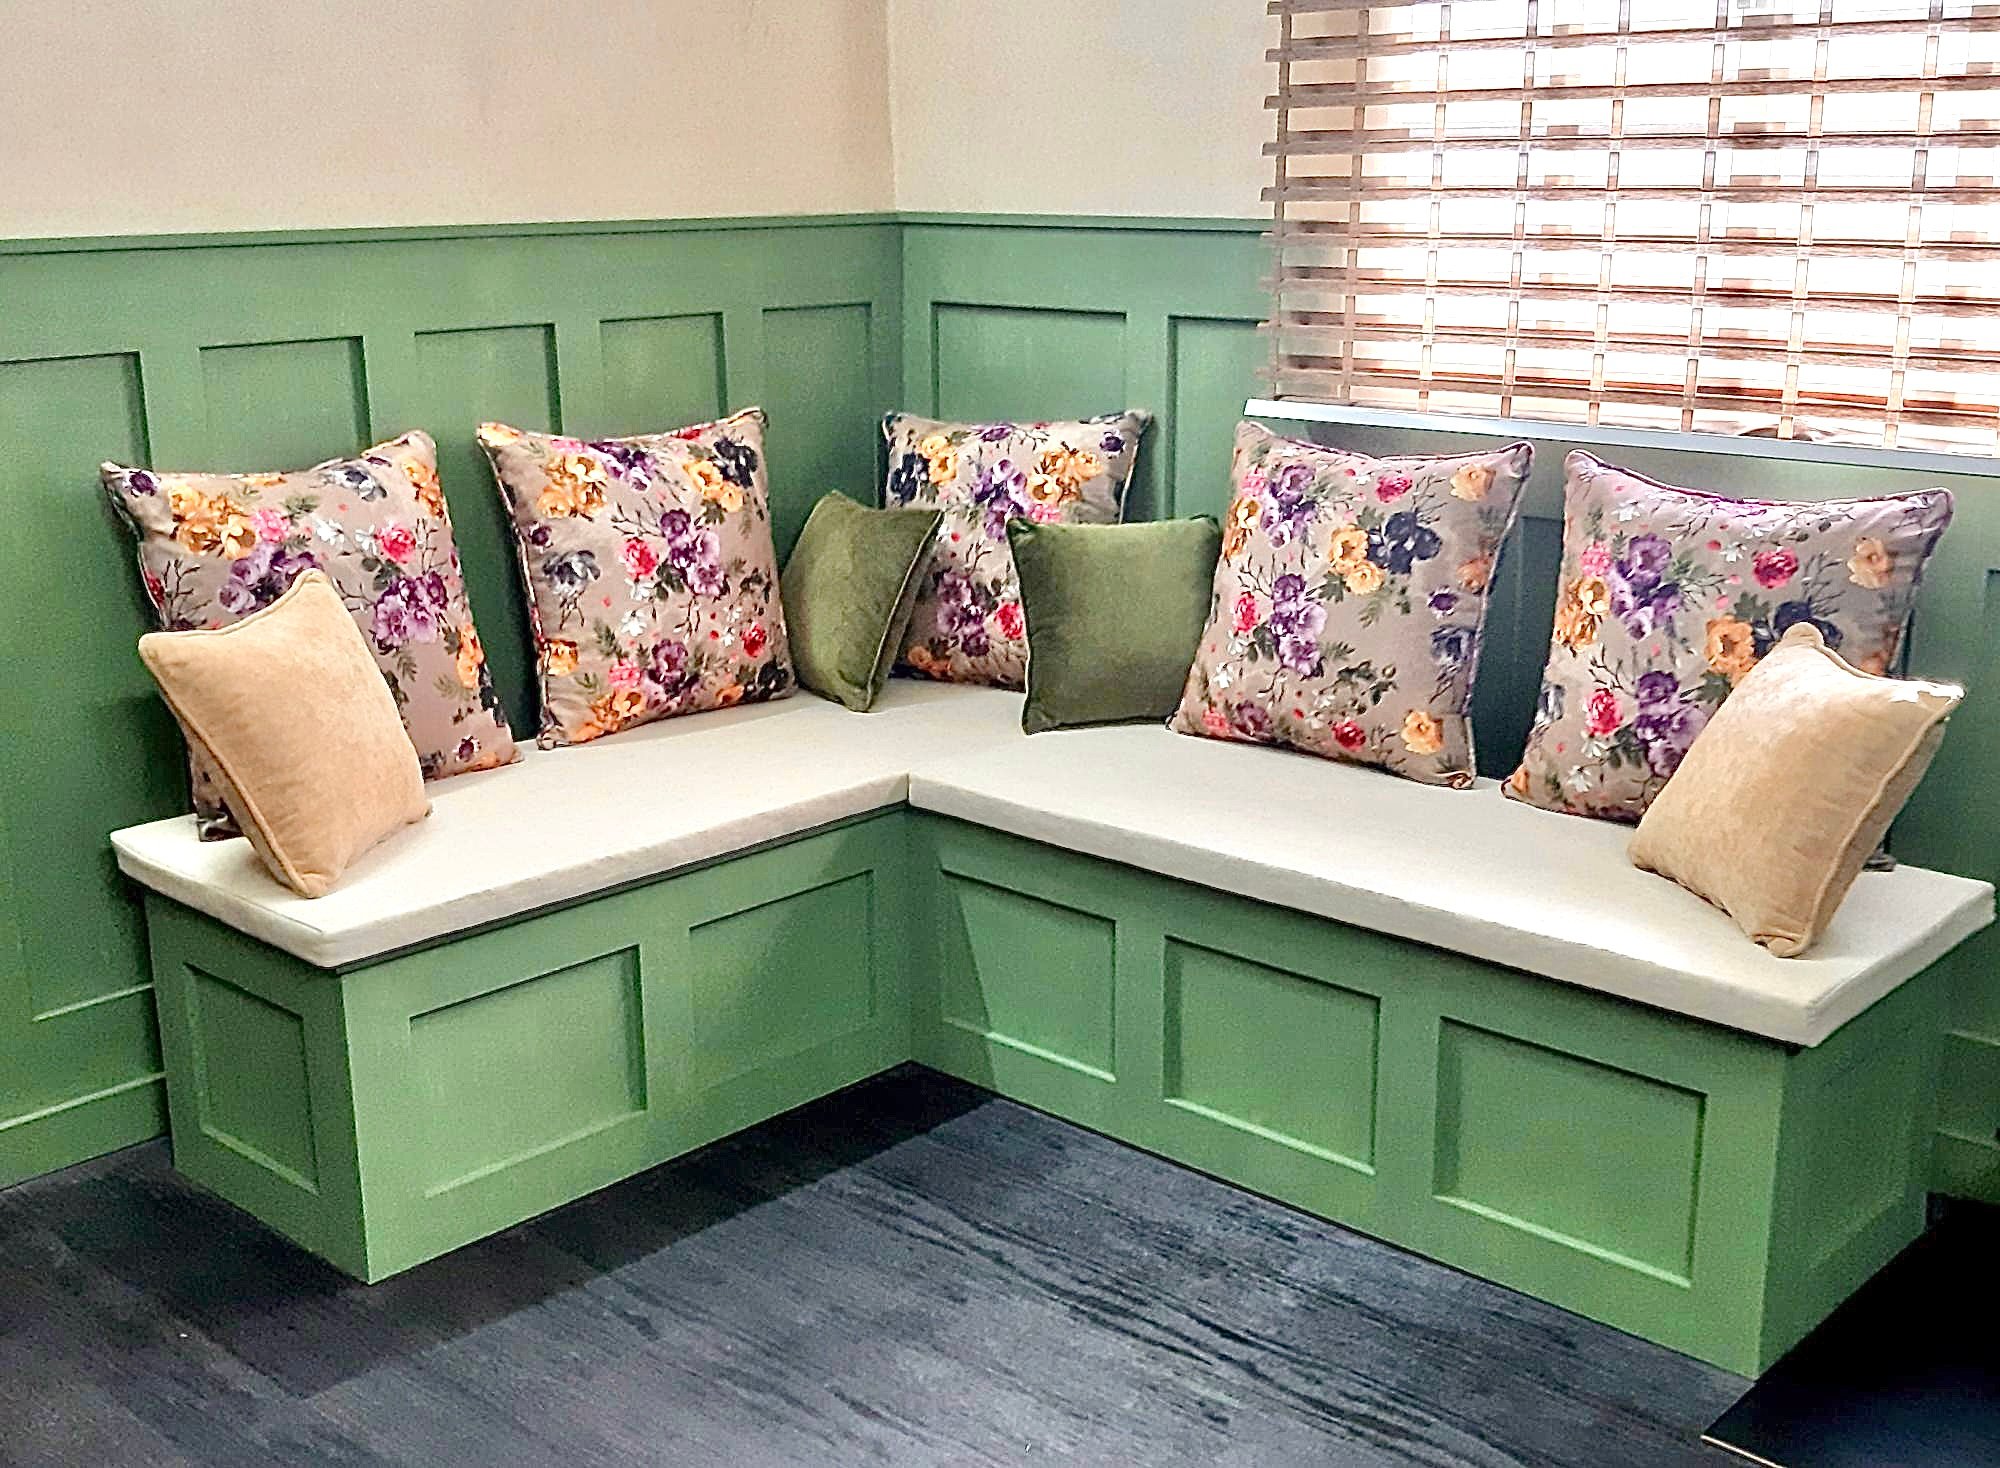
My step son, who is in college, comes to stay with us some weekends and we don't have a lot of room in the rental we are in. So I built a place for him to put his things and sleep, during his visit. This was an easy and quick build using 1x10's for the frame and 1x2's for the face frame. Being 1x10's it's super low profile and doesn't make the room feel much more crowded, so that is a huge bonus! I built it around the dimensions of this floor bed/sofa that I found on amazon

Here's a Youtube Video of me building it, if you want to see how it went together.

I really like this design, because I feel it would make a great addition to a guest room, bonus room, dorm room, shared room and more. I ended up attaching it to the wall as you will see in the video because it will be tippy if not. Hope you like it!

Printers Triple Console Cabinet

Submitted by Blackfinn on Sun, 10/06/2013 - 11:26

When I presented my husband with the plans for this piece that is inspired by "Restoration Hardware Printmaker’s Sideboard," I thought he would tell me I was crazy! But he looked over the well-written and thought out plans Ana provides and set out to tackle this cabinet. It turned out BEAUTIFUL! We are so happy with it and can't wait to decorate around it now.

Built from Plan(s)
Estimated Cost
Estimated around $375
Estimated Time Investment
Week Long Project (20 Hours or More)
Finish Used
American Walnut (Home Depot)
oil rubbed bronze cup drawer pulls (Lowes)
Recommended Skill Level
Beginner

Comments

Blackfinn

Thu, 10/10/2013 - 10:45

I know what you mean about line of projects! This one got bumped to the front:) And now lots of little things to do. Finding this website was a blessing (for me!) and a curse (to my husband). haha! I told him I get to build the next project!

Entertainment Center

Submitted by Anonymous (not verified) on Thu, 01/07/2016 - 21:05

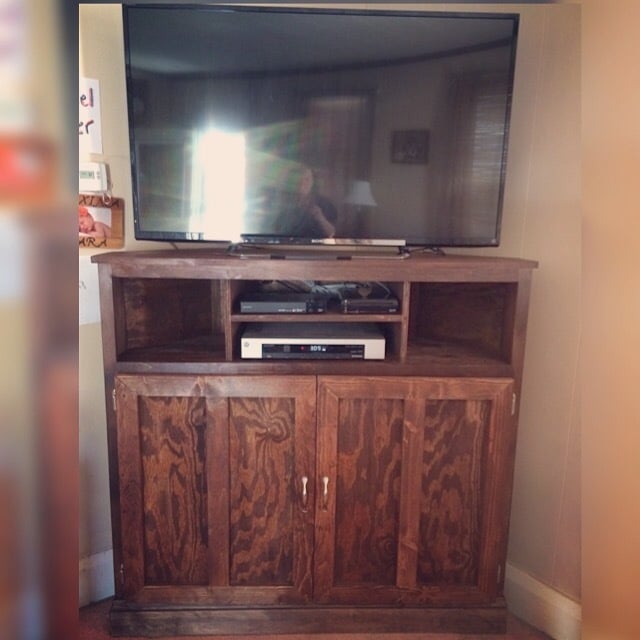
We had an oak armoire for our television and we needed to find something that fit our new 50" tv, an unexpected gift from my brother in law. This was perfect for the size we needed and the small space we had to put the tv.

Built from Plan(s)
Estimated Cost
$140
Estimated Time Investment
Weekend Project (10-20 Hours)
Finish Used
Stain and polyurethane
Recommended Skill Level
Intermediate

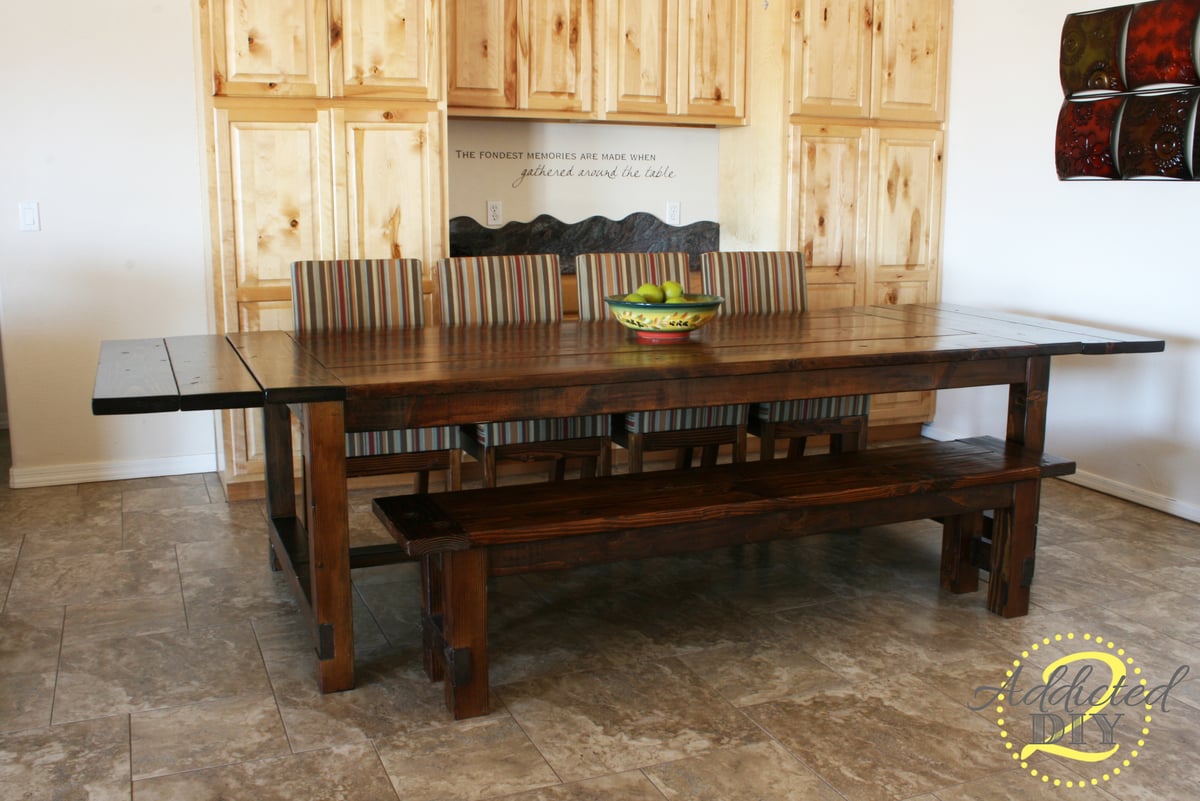
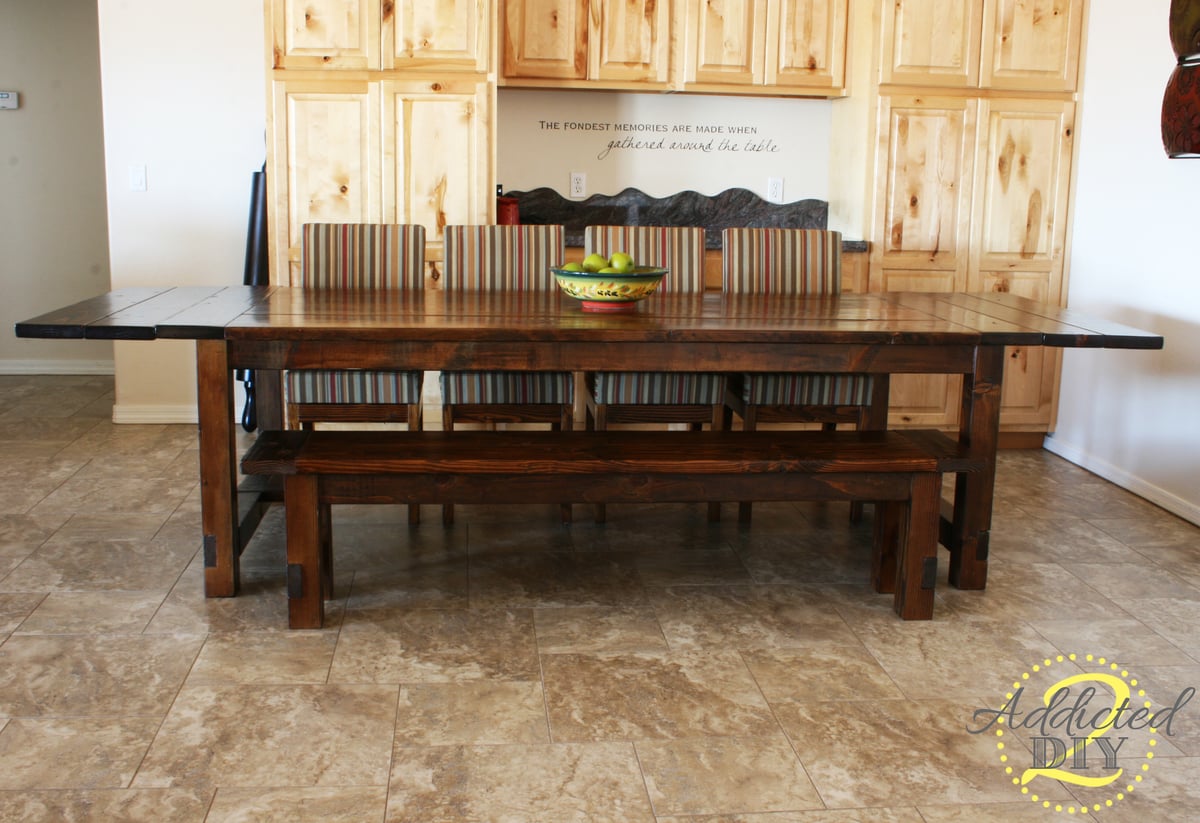
DIY Farmhouse Table with Extensions

Submitted by katie0910 on Tue, 11/05/2013 - 06:03

We built this farmhouse table a few months ago and absolutely love it. We modified the plans a bit based on another brag post and went with a replica of the Restoration Hardware table. I also built the chairs for the table based on the Parsons chair plans

Estimated Cost
$300+
Estimated Time Investment
Week Long Project (20 Hours or More)
Finish Used
Minwax Provincial
Minwax Polycrylic in Satin
Recommended Skill Level
Intermediate

Comments

Joni

Tue, 11/05/2013 - 17:59

Really nice job! This was quite an accomplishment, especially given that you guys did additional chairs (that look fantastic). Also, great job documenting on your blog.