Community Brag Posts

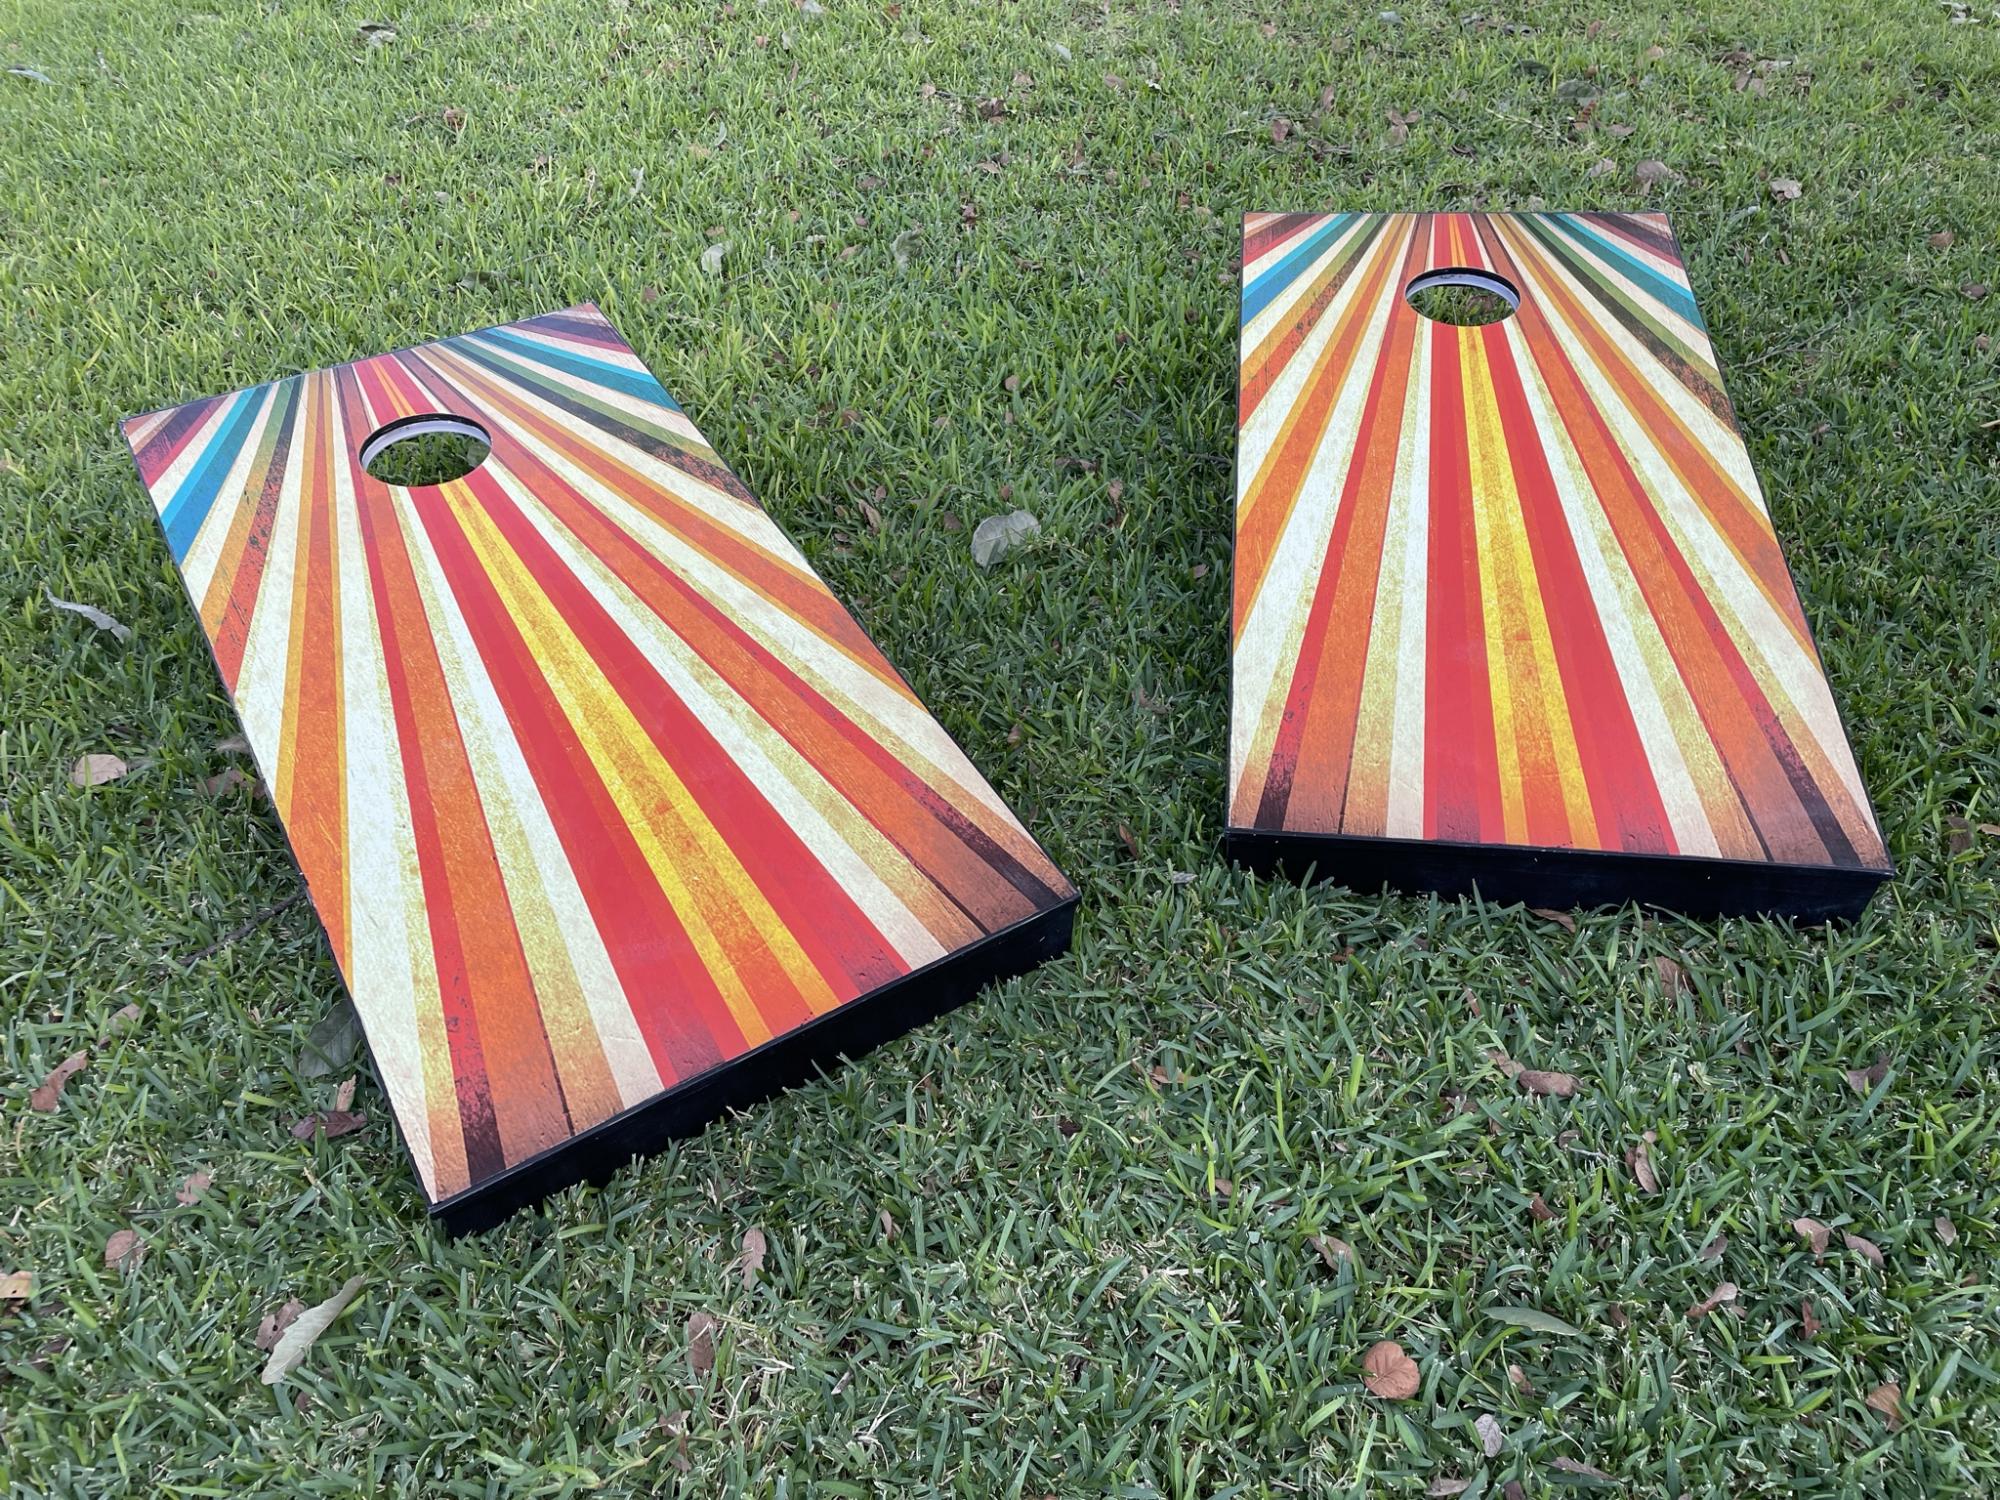
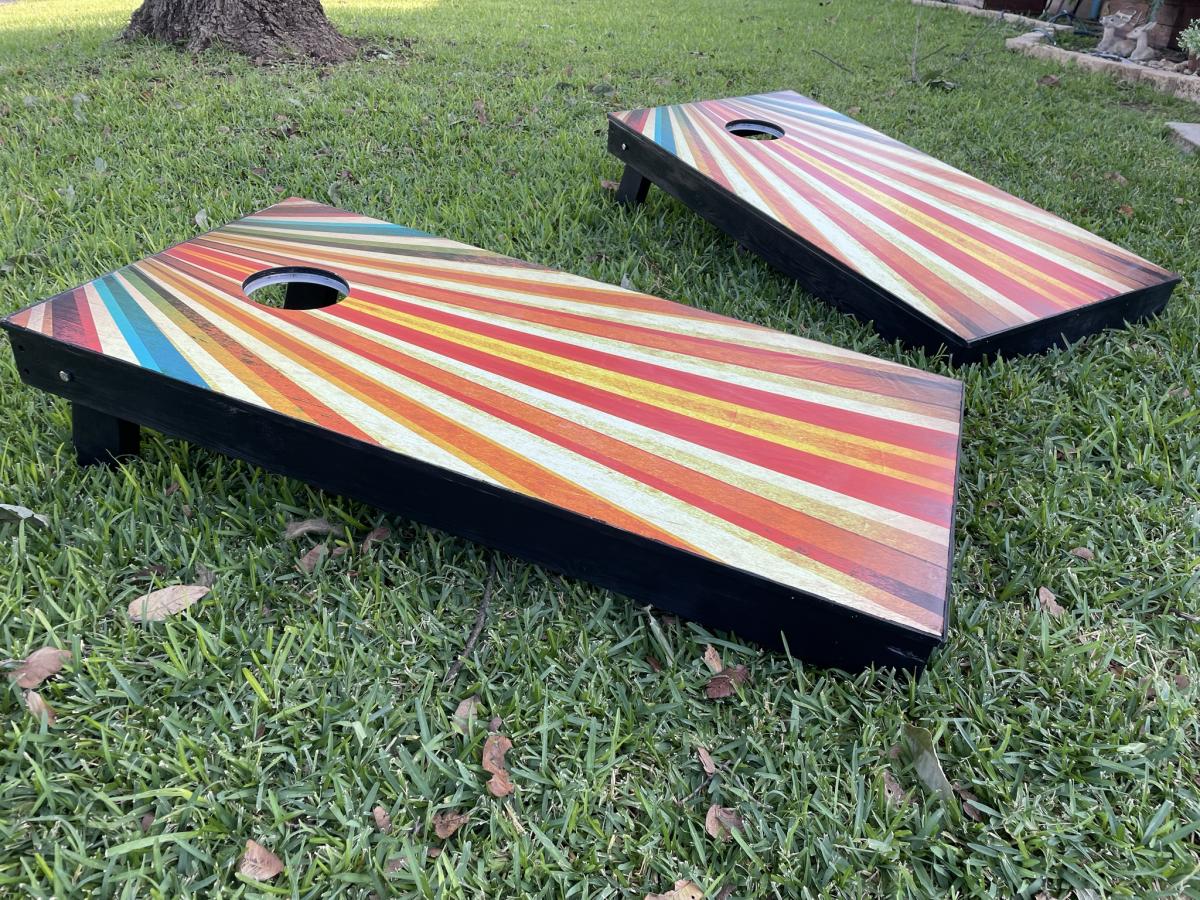
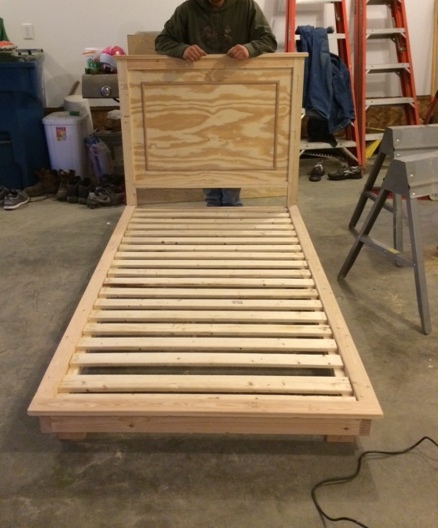
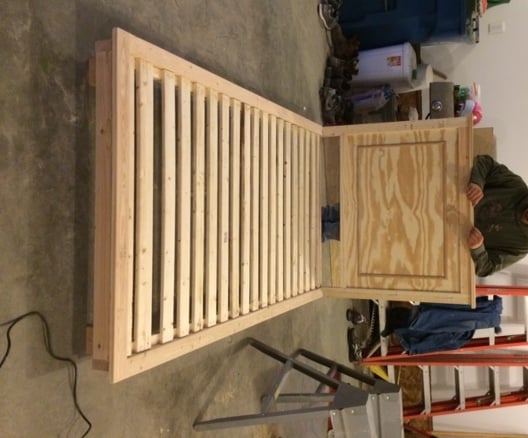
Wedding Picnic Table

Submitted by leeannraye on Mon, 04/13/2015 - 06:27

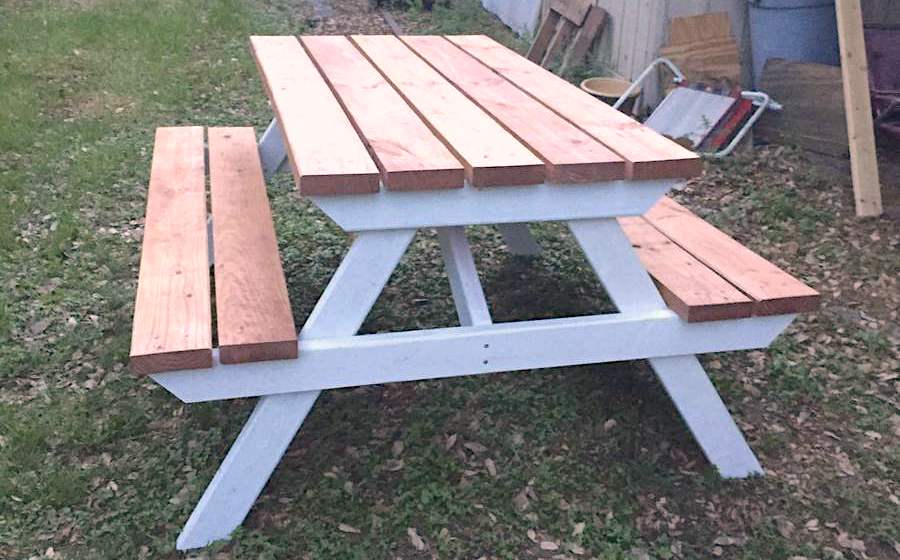
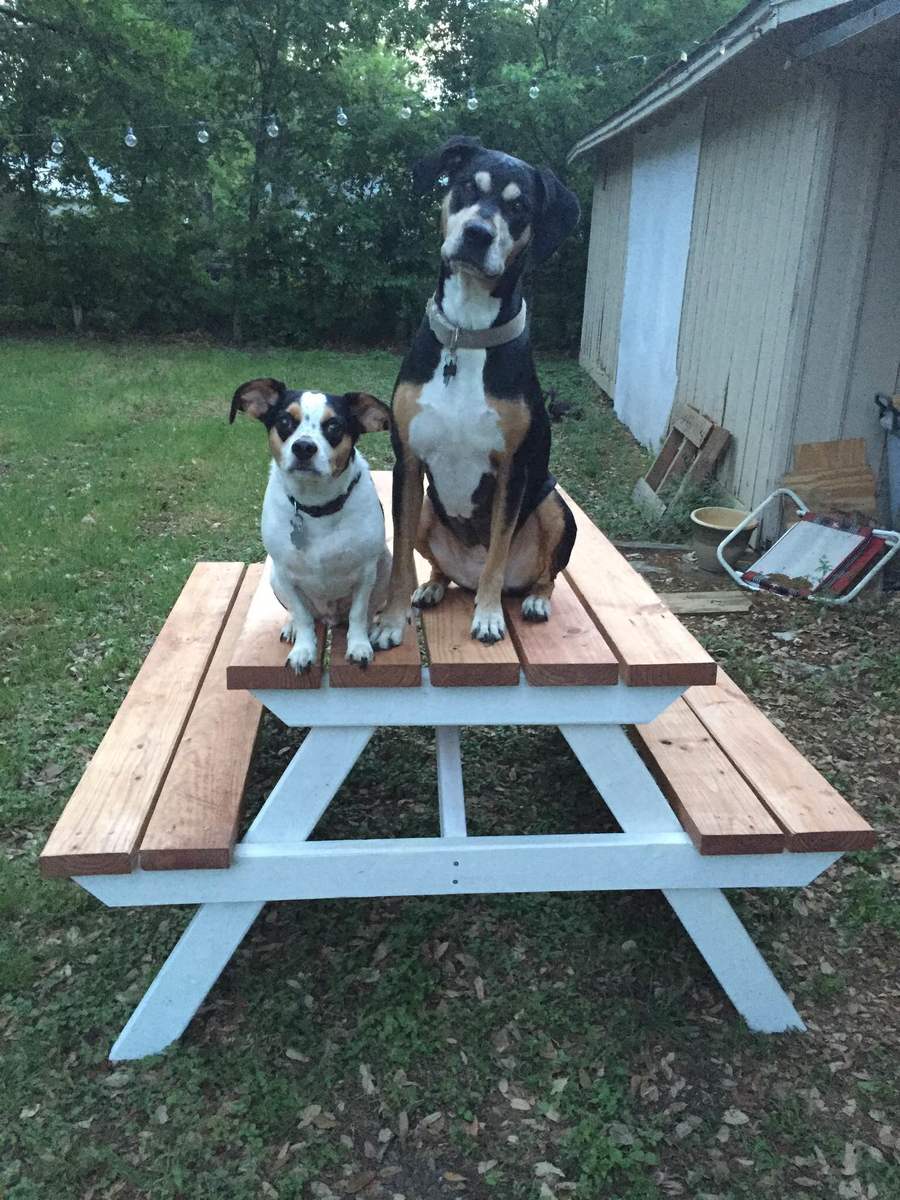
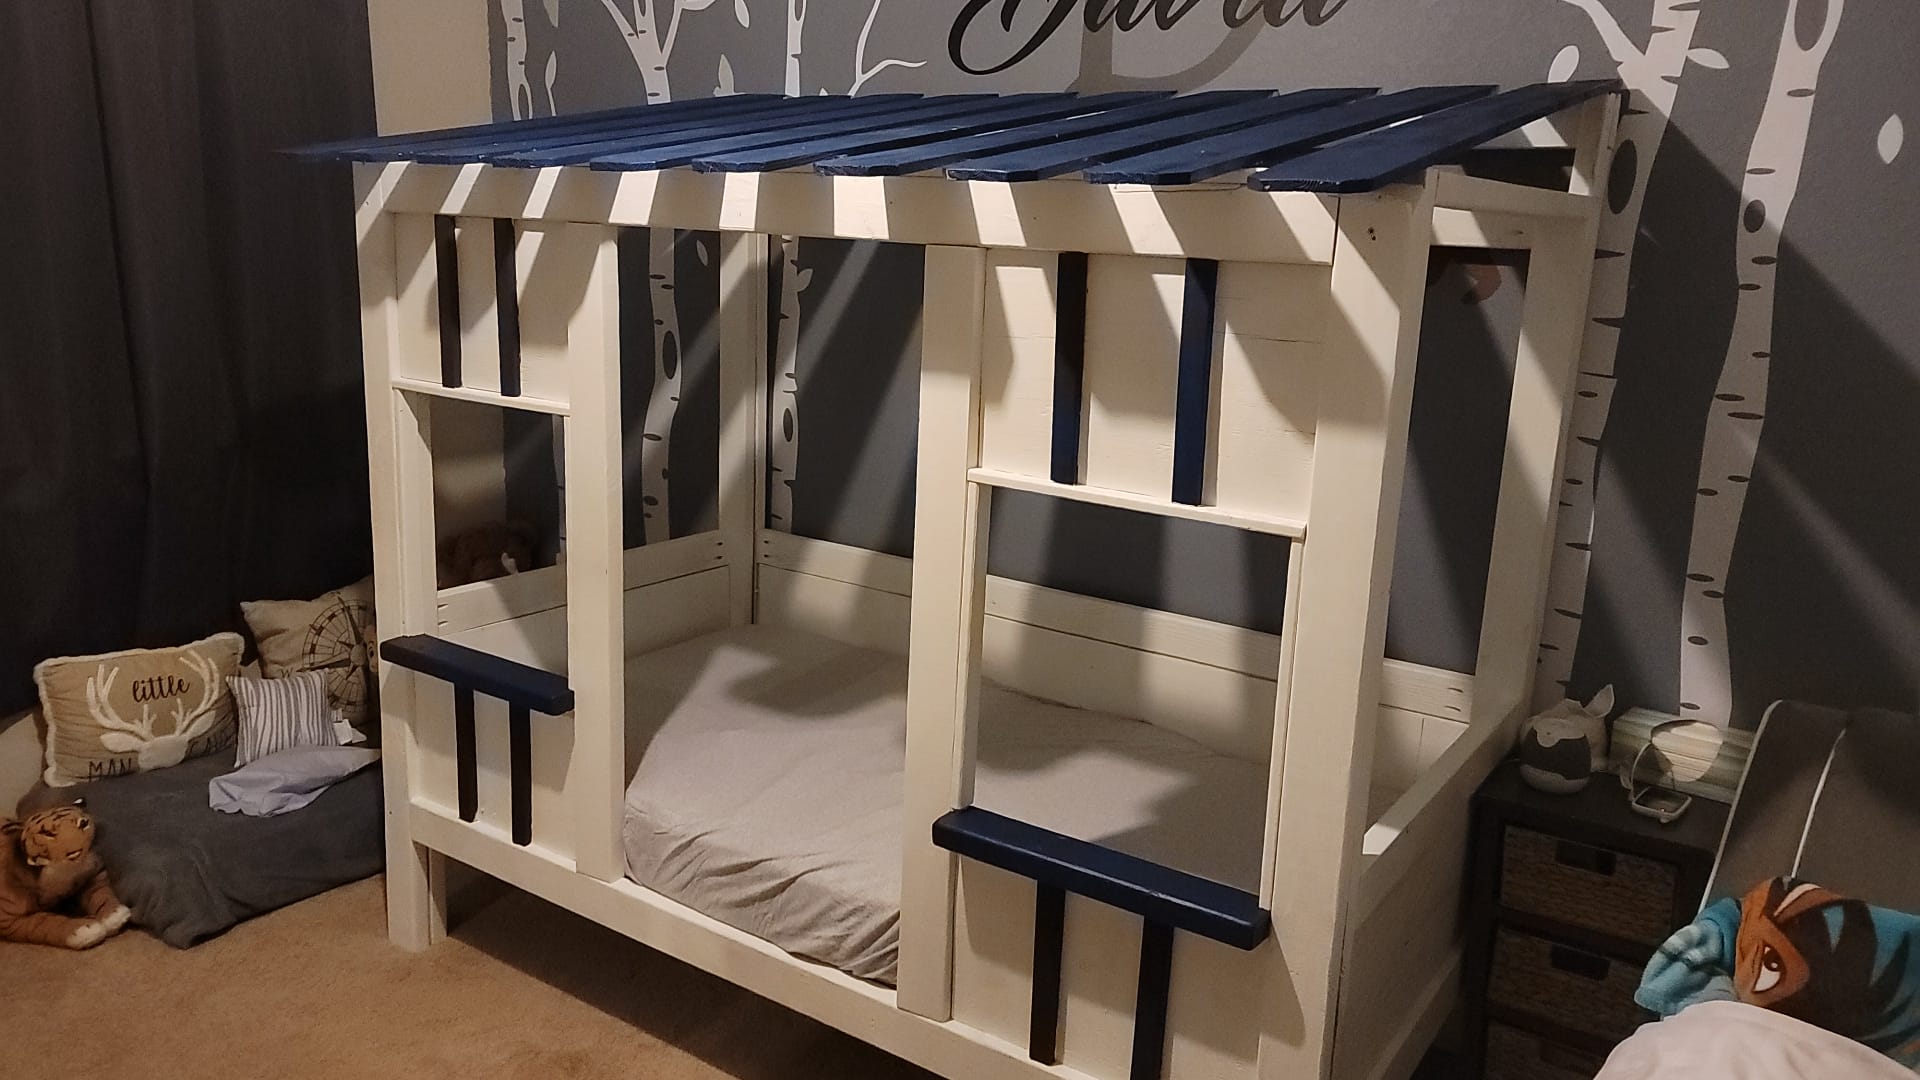
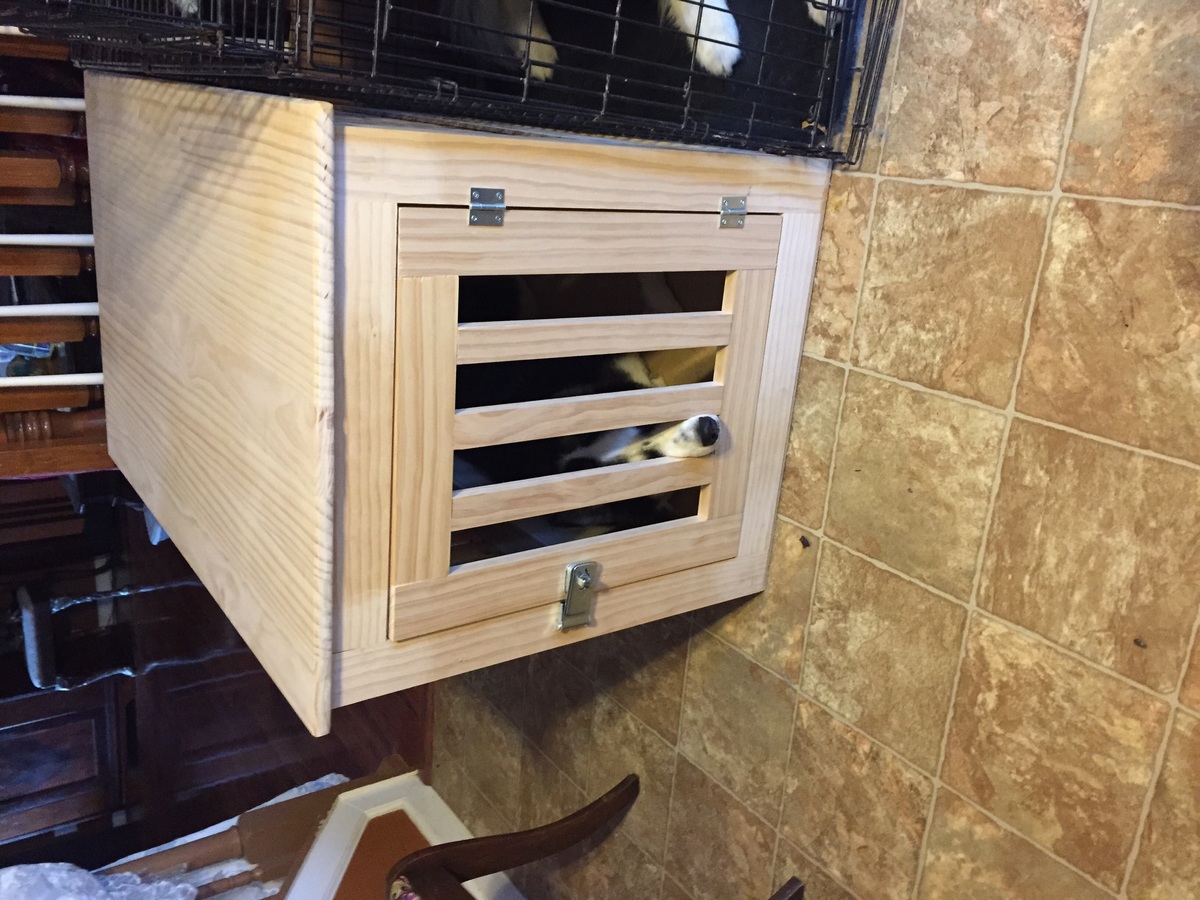
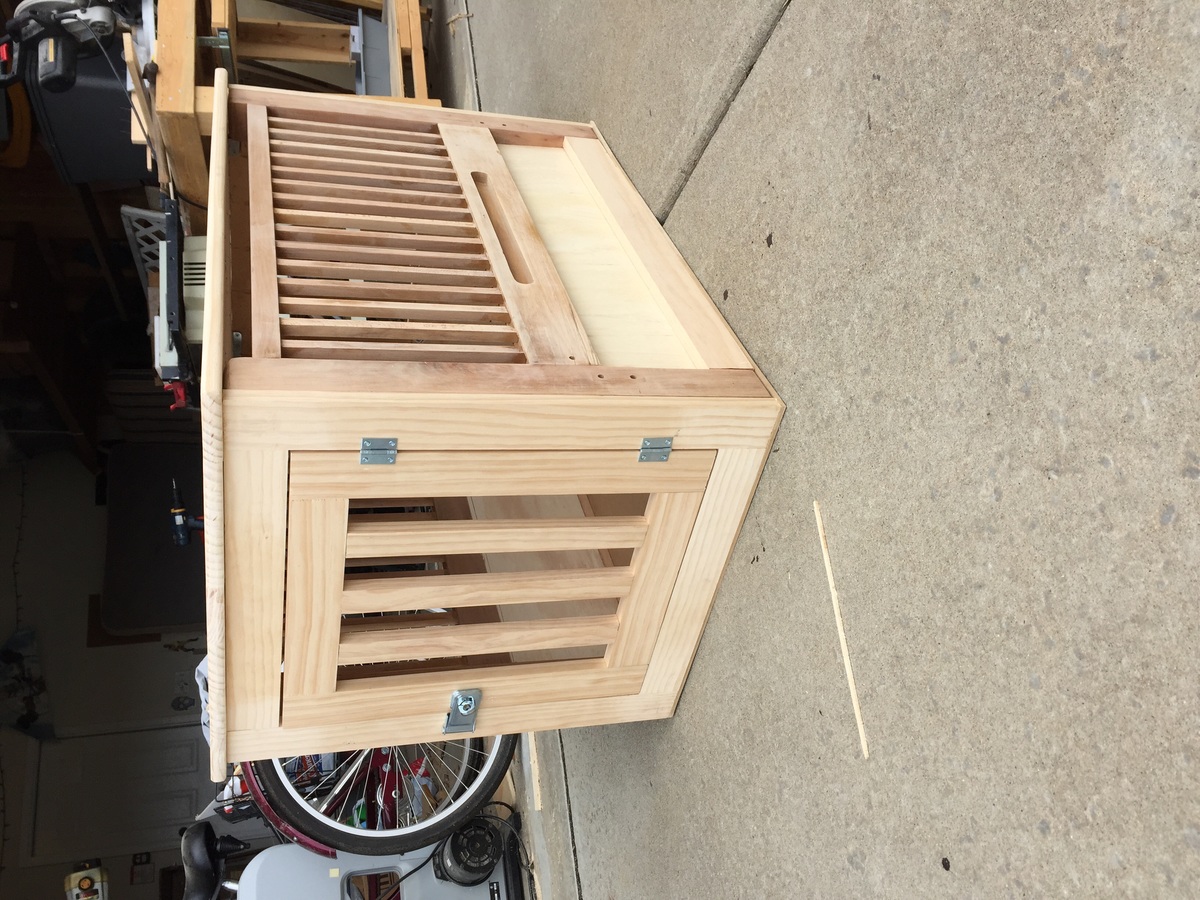
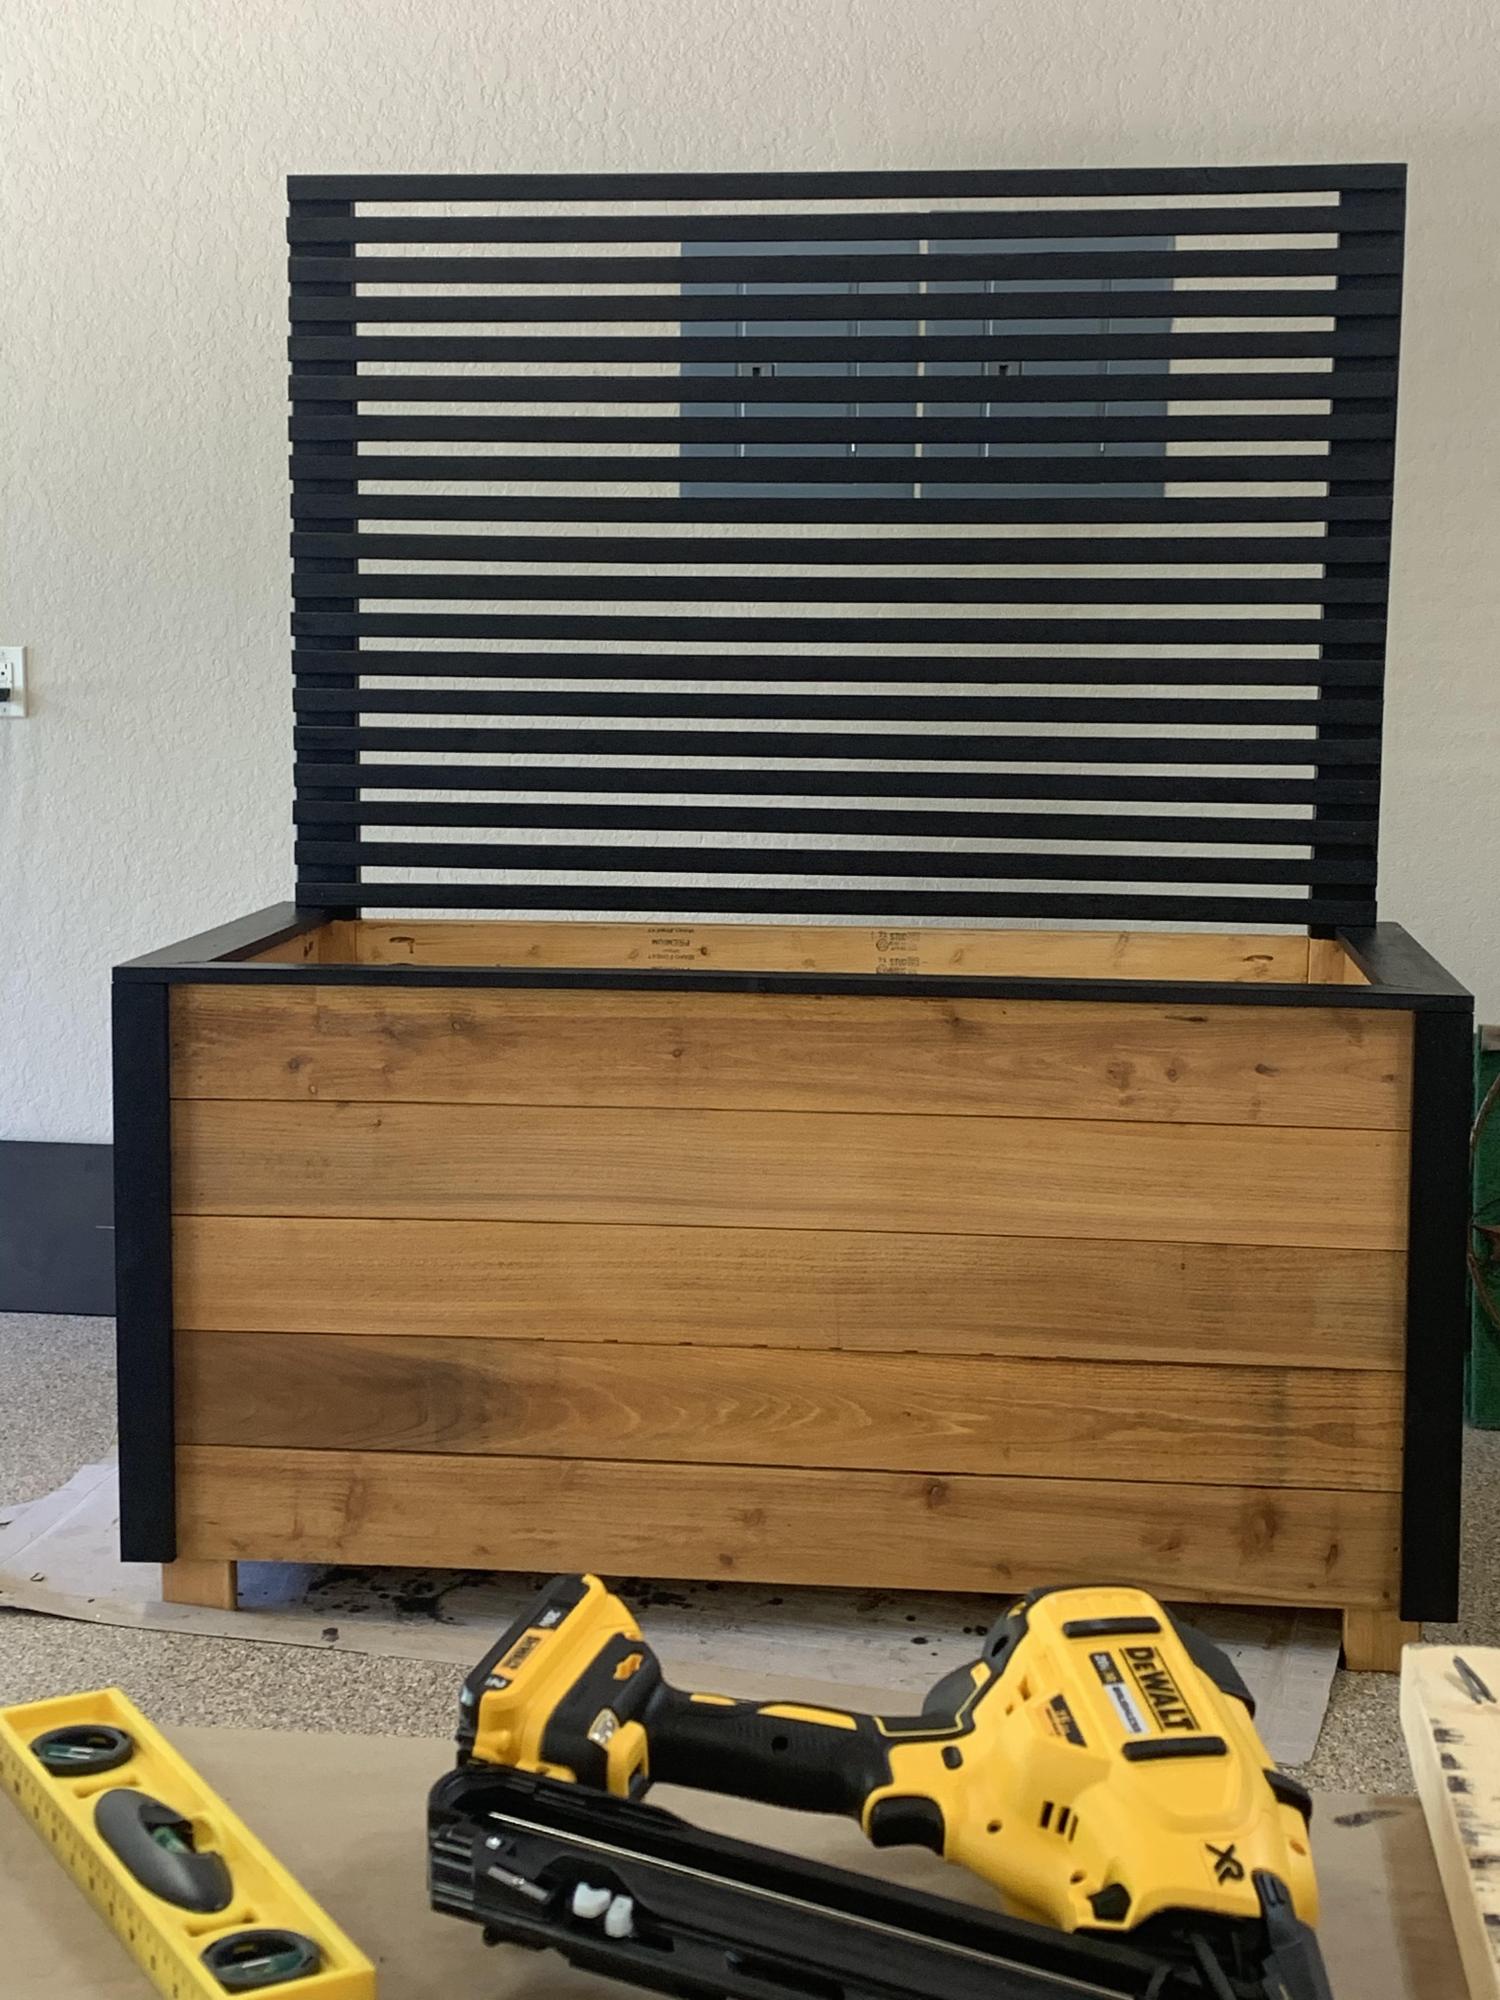
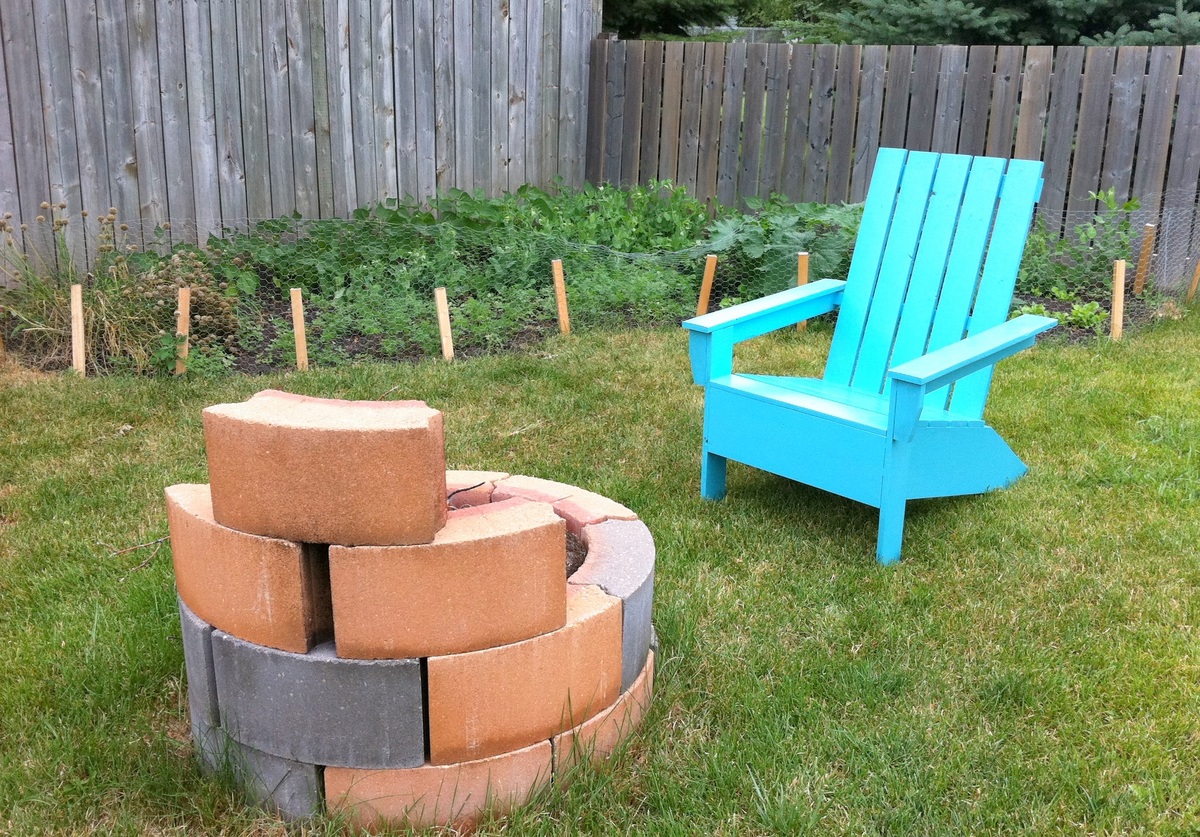
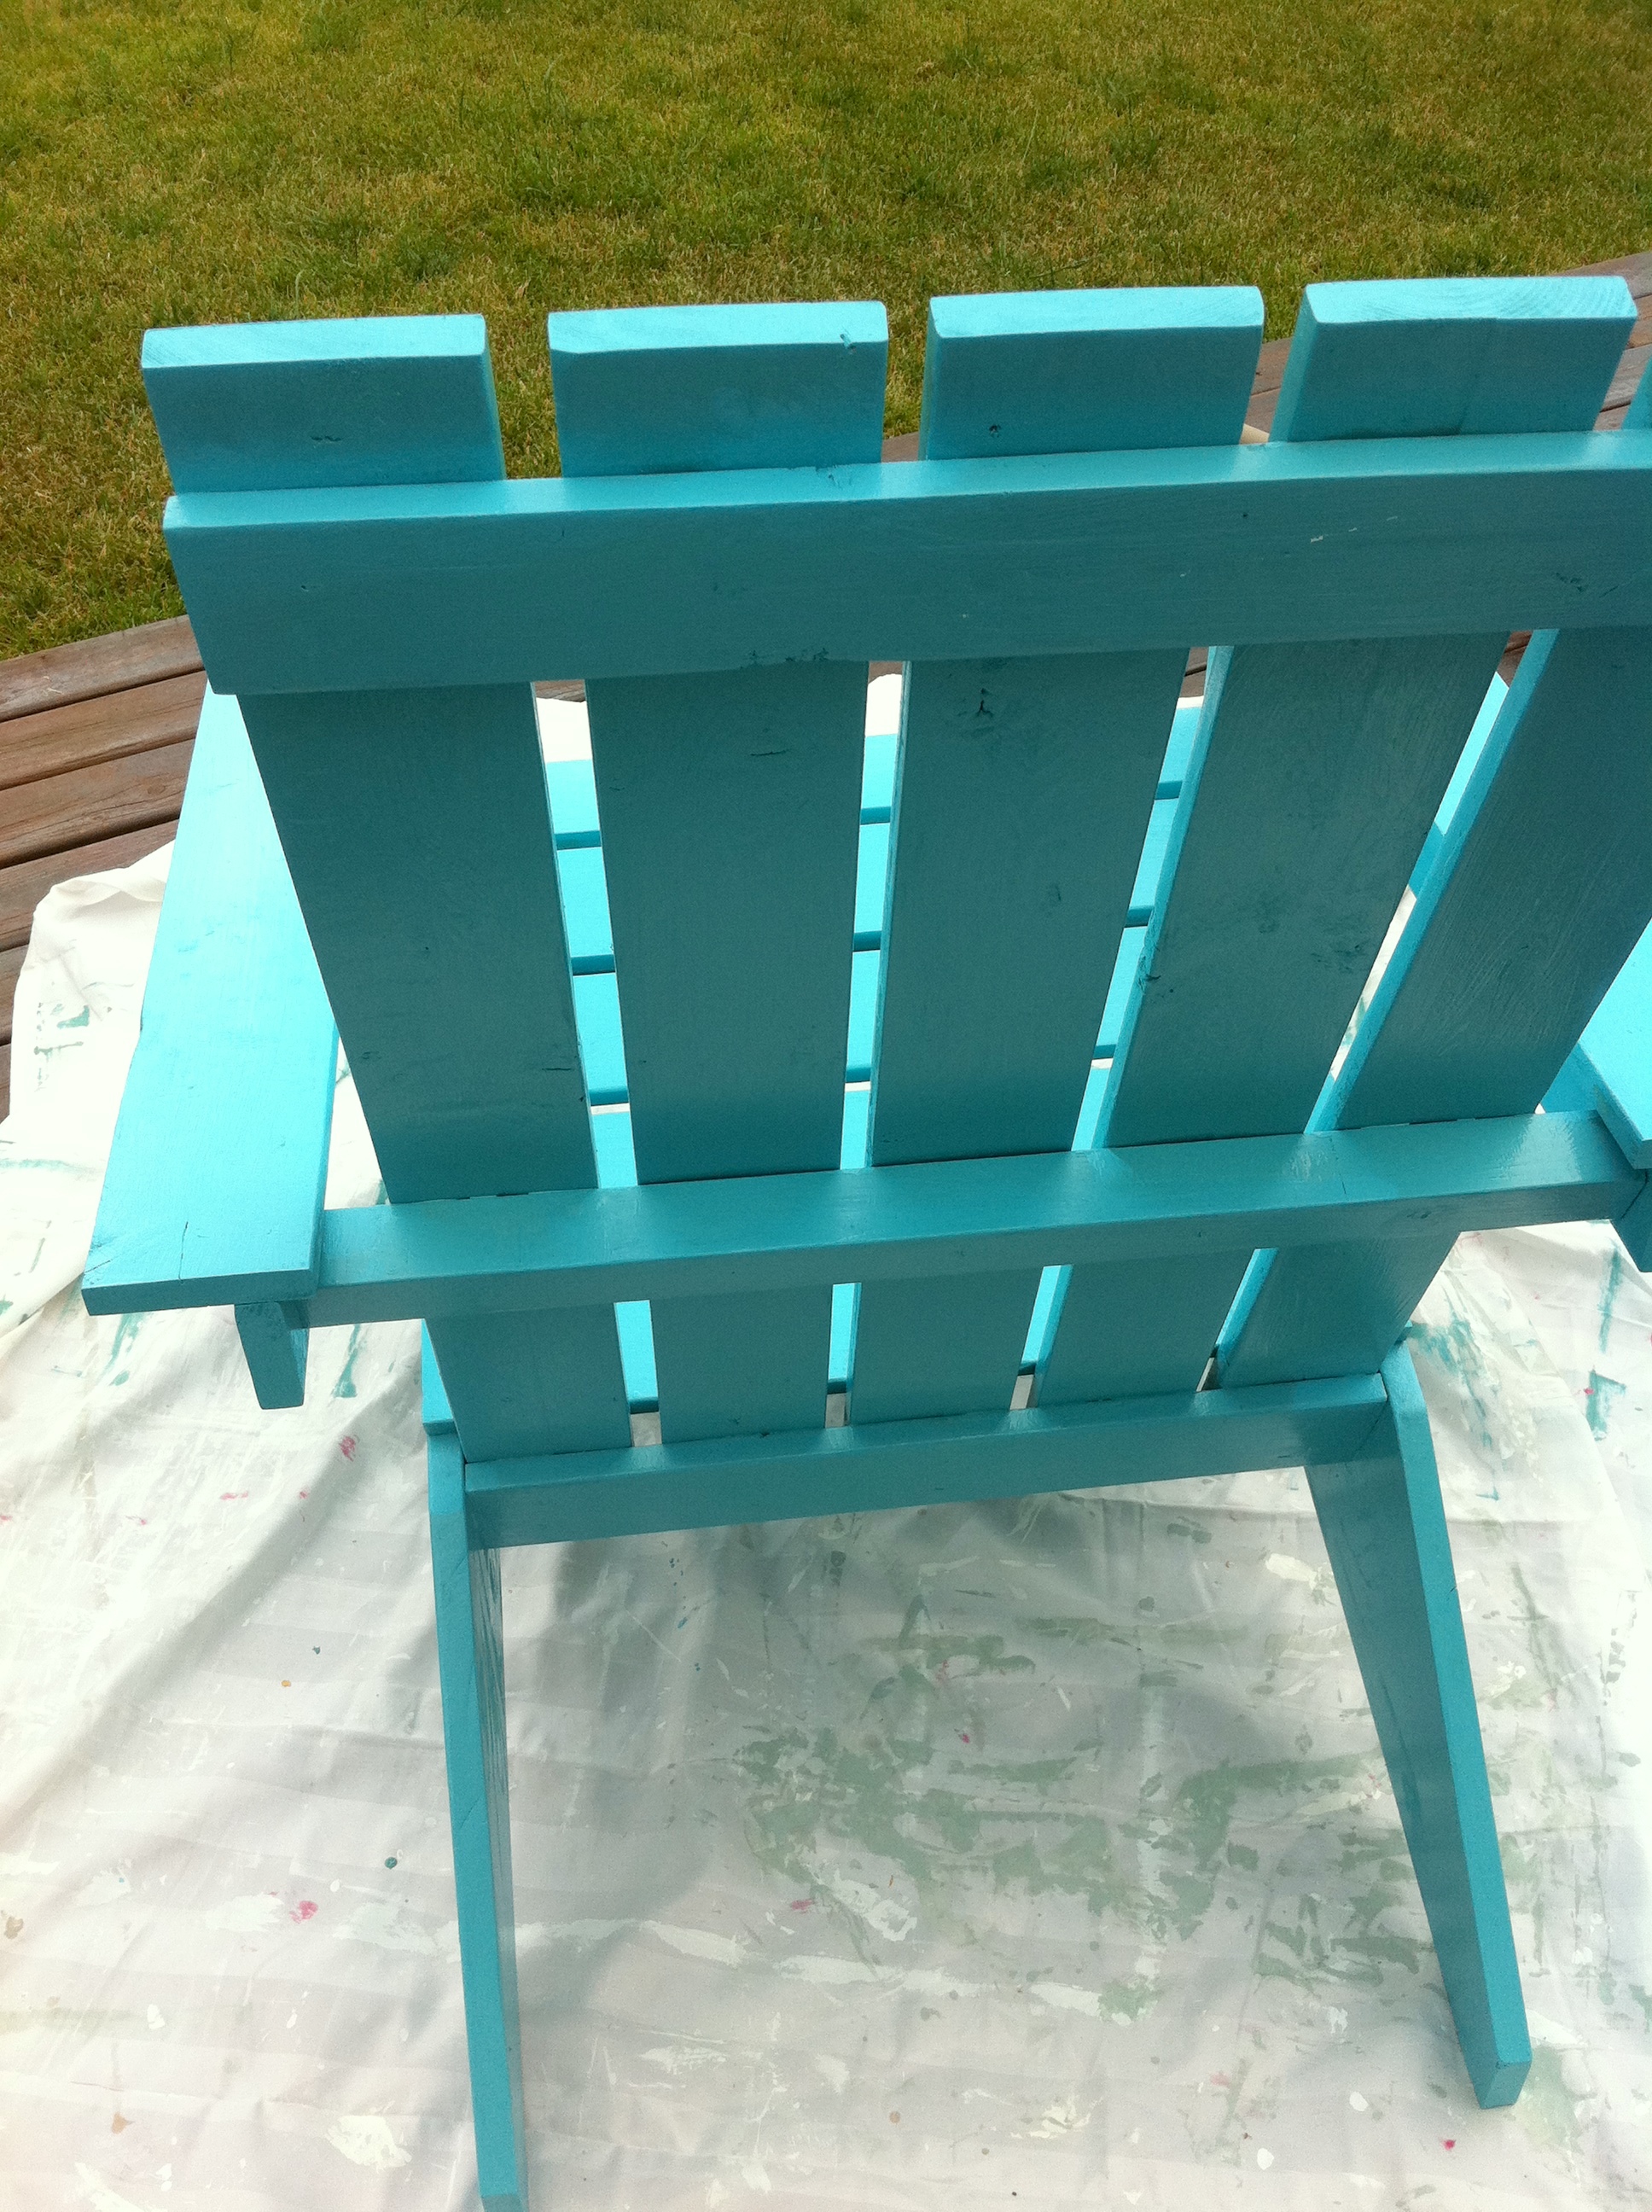
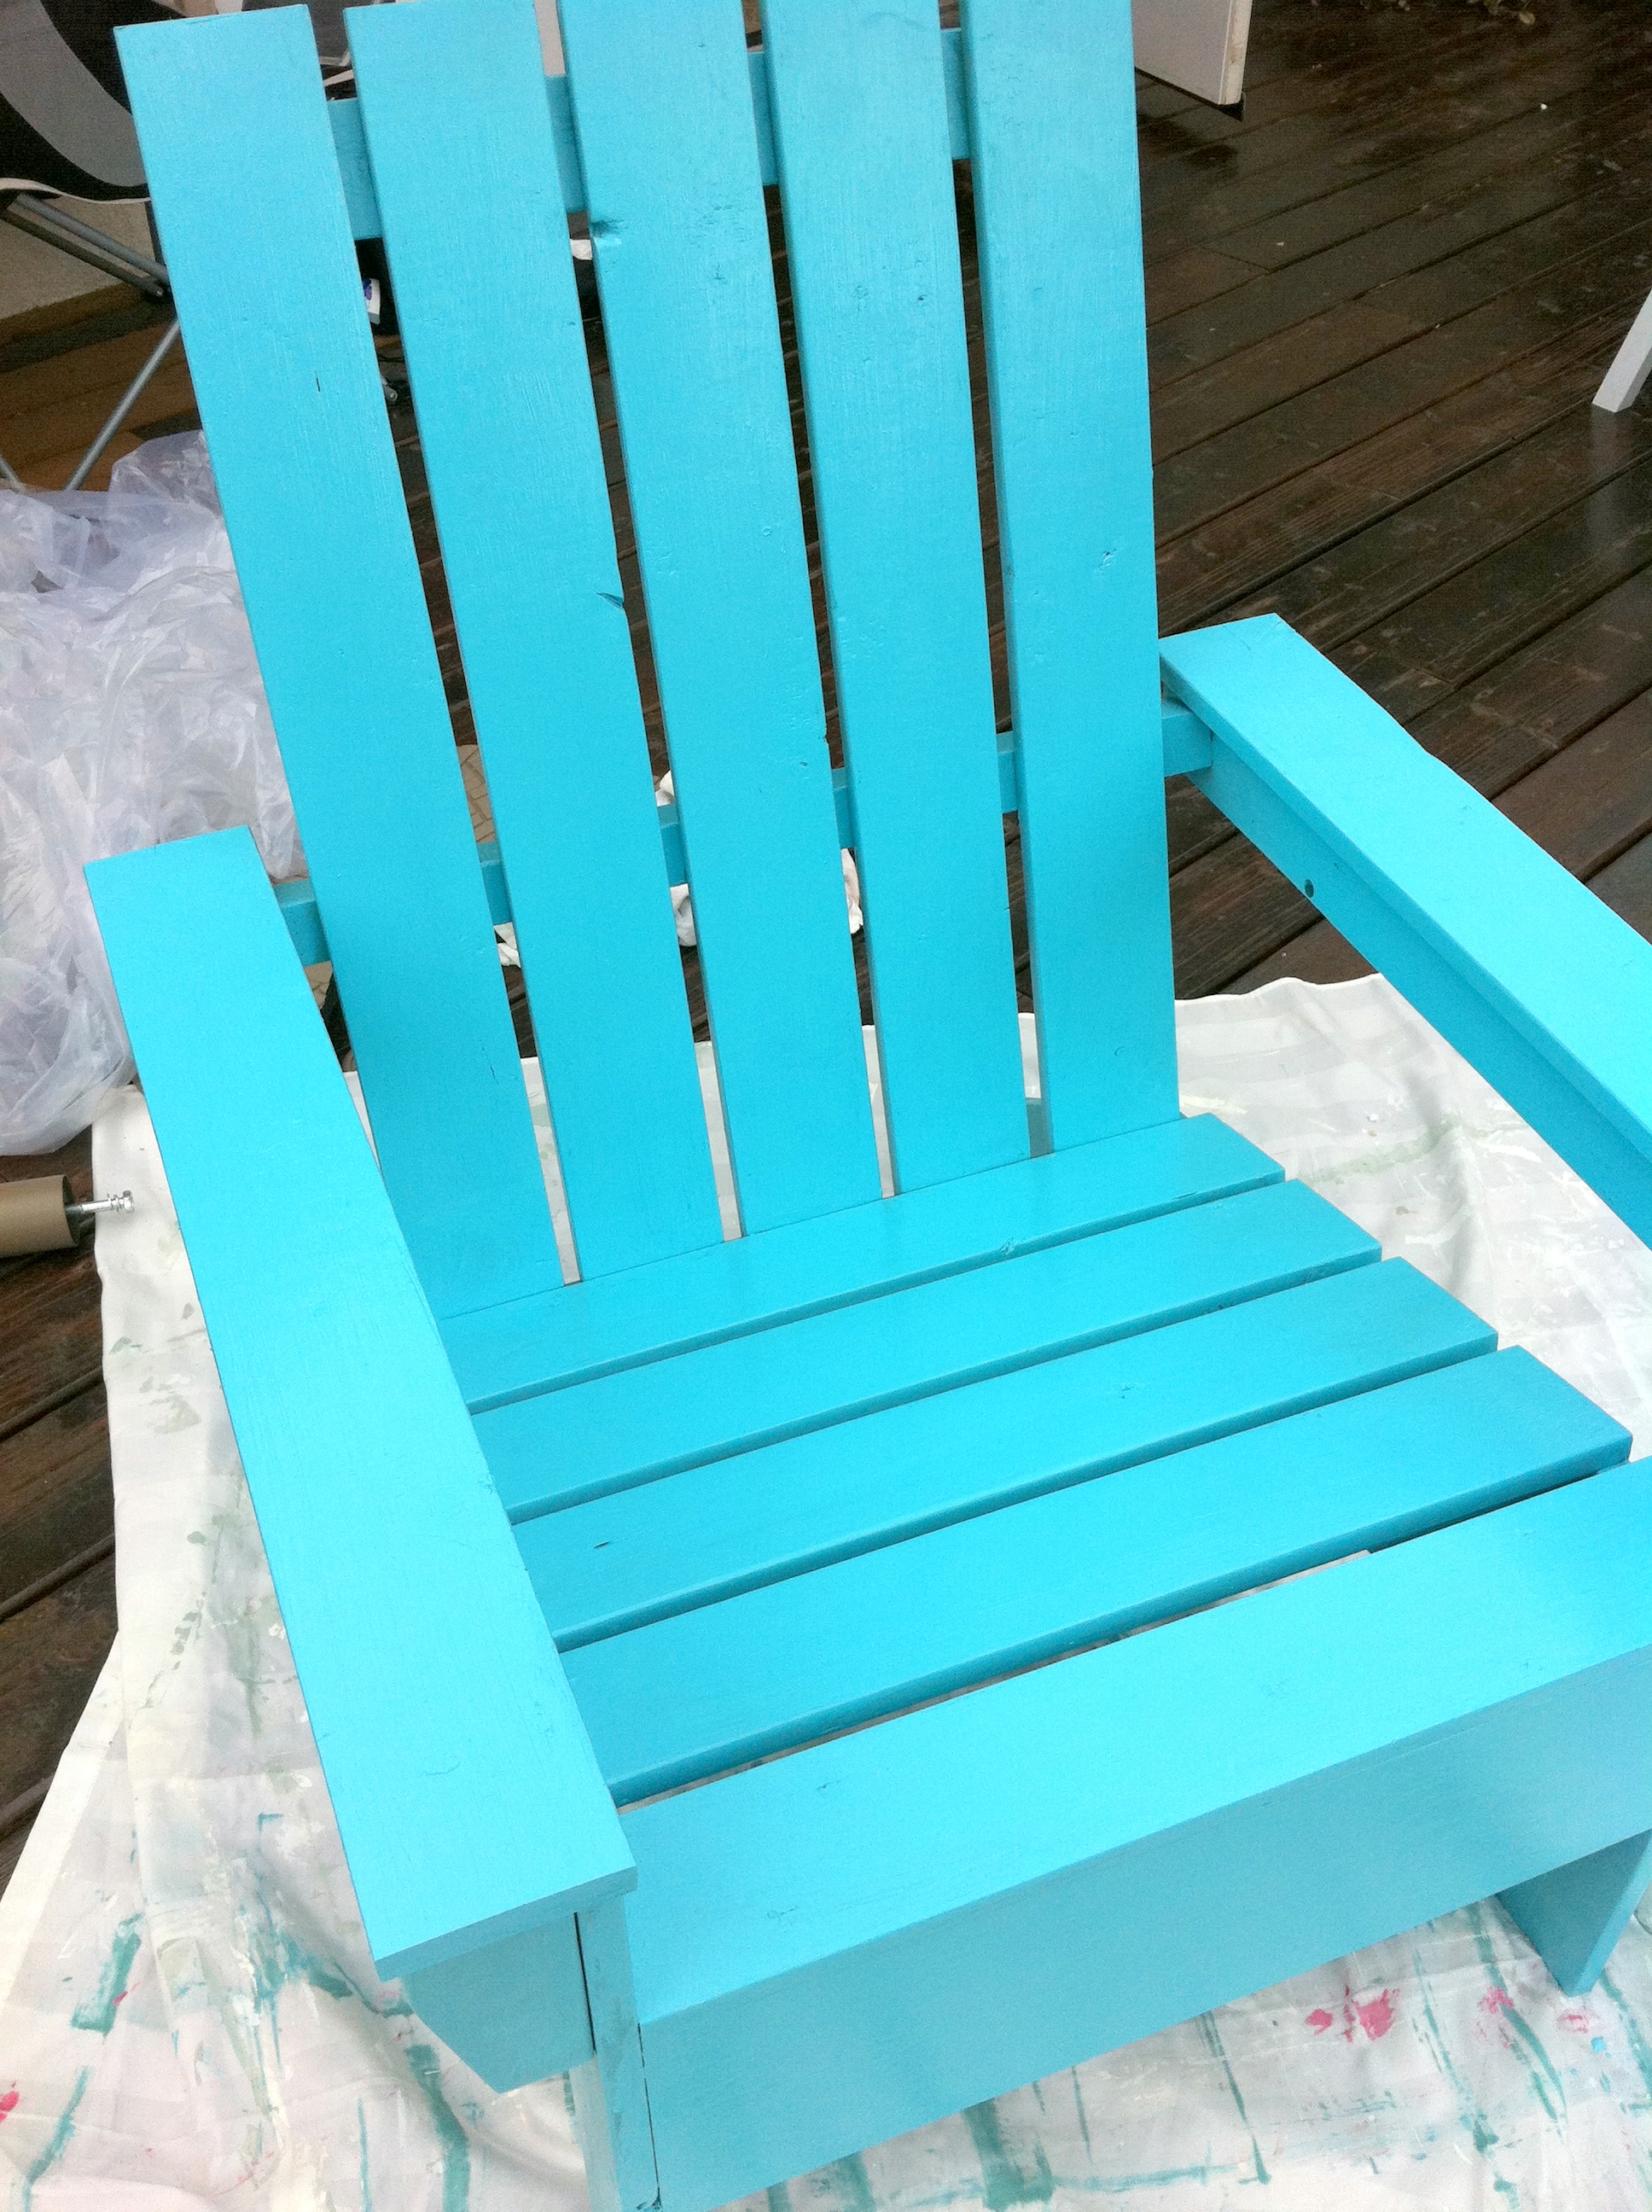
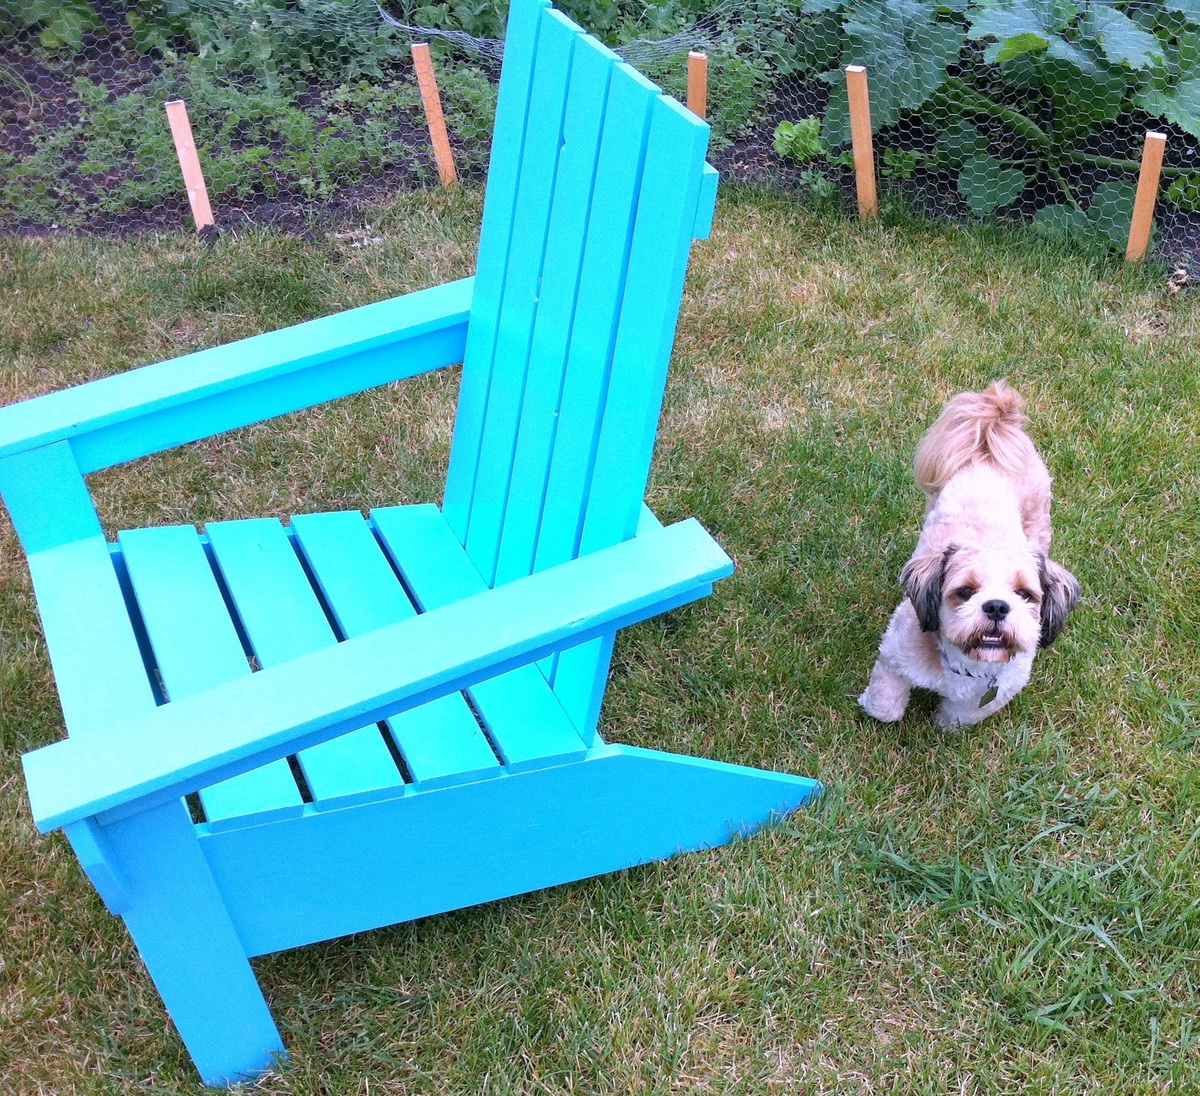
I made this picnic table for my upcoming wedding with the intent of using it as our guestbook.  I'm hoping to have people sign, carve, and woodburn their names or a message on the table.  I painted the legs and supports white and stained the top and seats with a cherry stain.  I still need to put some finish on the whole thing, but overall I'm really happy with how it turned out.  And so are my dogs.

Estimated Cost
about $70
Estimated Time Investment
Weekend Project (10-20 Hours)
Finish Used
White paint and cherry stain
Recommended Skill Level
Beginner

Comments

Linda7

Mon, 04/13/2015 - 09:46

I love your idea for a picnic table as a guest book! There are several brags showing benches used as guest books on this site, but no picnic tables. Not wanting to sound like a know-it-all, I would caution you to use paint pens rather than a permanent magic marker if you have guests who aren't comfortable using a woodburning pen (such as an elderly person). Magic marker ink smears when you apply a finish over it. (I read a comment from a mom who made her daughter a guestbook bench. They used permanent magic marker, then applied a poly finish over it, which then ruined all of the signatures.)

leeannraye

Mon, 04/13/2015 - 11:08

Thank you for your suggestion about the paint pens. I hadn't had much time to do research and was planning on just using sharpies. But now I can avoid making that mistake. :)

Sliding Barn doors over sliding glass door

Submitted by Flowerchld on Tue, 08/08/2017 - 16:14

I have vertical blinds and came up with this idea to cover my sliding glass door. I did want to be able to look out, so I sandwiched chicken wire in the "window" portions.

Estimated Cost
$100 plus hardware
Estimated Time Investment
Day Project (6-9 Hours)
Finish Used
Steel wool soaked in white vinegar for about a week and painted on.
Recommended Skill Level
Intermediate

King Fancy Farmhouse Bed

I made this bed pretty much by myself, my hubby helped me assemble it in the bedroom.  It is king size so I had to do my own measurements.  To my surprise it was pretty easy.  Just make your measurements accurate.  Had  blast.  Next project please!

Estimated Cost
$130 I splurged on the trim and spent $37. Plus I had 2x4's on hand for the bed frame.
Estimated Time Investment
Day Project (6-9 Hours)
Finish Used
Dark walnut I had on hand. I couldn't find the gel stain I wanted. I would have preferred to not see such a contrast with the grain then I sealed it with a satin spray. After a few months I ended up painting the bed. I was just not happy with the wood look.
Recommended Skill Level
Beginner

Corn Hole Game

Submitted by vkaylee on Tue, 10/19/2021 - 21:40

Made these as a wedding gift for my niece and her husband. I found the peel and stick skins on Amazon for about $30 for a set of two. Makes a really cool looking top although I will say it also makes it much more delicate to scratches and scuffs. I decided to add 1/8" trim pieces all around the edge of the stock 2x4 plywood since it's not a perfect 2 feet by 4 feet measurement. That also allowed me to fold the edge of the peel and stick skins to where they were then underneath the trim board that was glued and nailed in. I think it gave it a perfect looking edge. I also mounted led corn hole lights (also purchased on Amazon) that make it fun to play in the dark. Another great plan Ana! My niece is going to be stoked!

Total cost for all materials used was around $116 but keep in mind I added extra things not mentioned in the plans. Without those additions it would have been about $50 so very inexpensive.

Comments

Fillman Platform Bed and Headboard

Thanks to www.shanty-2-chic.com for these amazing Bed and Headboard Plans! My daughter had got to the age where a toddler bed was to small, so thankfully I was able to stumble upon this great plan! Needless to say she LOVED it!!!!

Estimated Time Investment
Weekend Project (10-20 Hours)
Finish Used
Dark Walnut
Recommended Skill Level
Beginner

Cabin style bed

Submitted by Anonymous (not verified) on Fri, 11/05/2021 - 19:27

This was my version of the cabin bed plans on this site.
My son loves it and of course my wife does too..

Built from Plan(s)

Comments

Doll House Book Case

Submitted by jennrmoran on Tue, 04/19/2011 - 08:28

We combined Grace's bookshelf plans and the doll house book shelf to make one big shelf system. It is built mainly from mdf except for the trim. It took about a week. 

Estimated Cost
150.00
Estimated Time Investment
Week Long Project (20 Hours or More)
Finish Used
We primed the shelf and then painted it with semi gloss white paint.
Recommended Skill Level
Intermediate

Repurposed bed frame dog kennel

Used the inspiration of Ana-White dog kennel and made ours with an old bed frame that wasn't being used anymore. I'm very happy with how it turned out. I just need to paint and stain it. You can see the side is from the bed headboard and footboard.

Estimated Cost
$75
Estimated Time Investment
Weekend Project (10-20 Hours)
Recommended Skill Level
Beginner

{mini} ten dollar ledges

I knew I wanted some of these shelves in my daughter's room but it seems bedroom sizes in Australia are quite a bit smaller than the US! I couldn't spare a long wall to fill with books so chose this narrow space to the side of the window.

The length of time I took for this project was for several reasons:
* I was a total beginner!
* I had to cut all of the lengths of wood with a hand saw & sand with sandpaper wrapped around a block of wood.
* It took about 5 coats of paint to cover the wood properly.

I adjusted the measurements from Ana's plans to fit the smaller space & while daunted at first at the prospect of attaching things to walls, I was so thrilled with how they turn out. I'm looking forward to challenging myself with something a little more complex next (perhaps with some power tools this time to assist!).

Built from Plan(s)
Estimated Time Investment
Weekend Project (10-20 Hours)
Finish Used
Paint
Recommended Skill Level
Starter Project

Comments

Door Spice Rack

We just moved into our newly built home, I love to cook, and realized really didn't have a good spot in the pantry for all the spices. This was my first project and in doing internet search for ideas came across Ana White's website, not only did I find the spice cabinet plan I was looking for, but a treasure trove of other projects and ideas. New to this so I have found Ana's site to be such a blessing. Yes, this made me a hero to my wife!

Built from Plan(s)

Herb Garden

Submitted by frog428 on Wed, 07/17/2013 - 12:24

Herb Garden Planter Project - Such a simple project that costs less than $5.00

I added L brackets to the corners for a different look. I spray painted the brackets with a copper finish. I did not need to use wood filler because I covered the nails with the L Brackets.

Estimated Cost
$5.00
Estimated Time Investment
An Hour or Two (0-2 Hours)
Finish Used
Minwax Wood Finish and Minwax Quart Helmsman Semi-Gloss Spar Varnish
Recommended Skill Level
Beginner

Lift Top Coffee Table

Submitted by JJones0925 on Fri, 03/16/2018 - 20:48

Instead of attaching the top to the coffee table base as done in the plans, the top is attached using a set of coffee table lift top hinges. 

Built from Plan(s)
Estimated Time Investment
Weekend Project (10-20 Hours)
Recommended Skill Level
Beginner

Comments

Weatherly patio set-modified

Submitted by jazydoodle on Sun, 06/26/2011 - 11:21

We have been searching for 3 years to find a sectional that would fit around our fire pit. The only thing we ever found were two curved sofas that cost $5000 needless to say, we kept looking. When I saw the weatherly plans I knew that I could modify them to curve around the fire pit. The piece is made up of three sofa sized pieces and connected by two triangular pieces. The HARDEST part of this project was finding the dimensions for the triangle pieces. It took 2 days, my dad and brother throwing trigonometry formulas at me, and a lot of trial and error. After that it was easy! I combined the plans for the sofa and the loveseat, so the loveseat would have the ends on them.

Estimated Cost
$200 for wood. $300 for cushions
Estimated Time Investment
Week Long Project (20 Hours or More)
Finish Used
I used a primer, then a solid stain.
Recommended Skill Level
Intermediate

Comments

redhead_61

Sun, 06/26/2011 - 15:23

I am building a "bench in the backyard" and agonized about using an angle other than 90 degrees. I finally decided to go simple and easy as possible. We will see soon if it works out.

Isn't it so wrong that the wood for this whole project cost LESS than the cushions!

I am so envious of wherever you live. Beautiful!

kristen

Mon, 06/27/2011 - 18:41

Your sectional turned out perfect--you have got to be so happy with it!

Sue_McL

Fri, 11/04/2011 - 09:49

But I think my triangular sections would be raised (to cushion height) table tops...

Now to build a deck so I can build THIS!!!

DIY Kitchen Island

Submitted by pamreagan on Thu, 07/07/2011 - 08:39

or maybe I should say DDIFM?
Dad, do it for me?

I really needed a place to store my cake plates...
other than their current home on top of our fridge.
The rattling and shaking that went on every time we opened the freezer
was about to give me a heart attack.
I found this beautiful table that was constructed DIY
from plans on the anawhite website and fell in love.

So my dad got to building, and sanding, and building, and staining. Then he brought me this gorgeous table last weekend. I can't stop staring at it. I am obsessed with the wood grain. The slats. The perfect handmade storage solution. The contrast between the dark wood and my mostly white serving pieces. The height. The endless entertaining possibilities.
I promise the pictures do not do it justice...

Built from Plan(s)
Estimated Time Investment
Day Project (6-9 Hours)
Finish Used
stain, maybe polly later
Recommended Skill Level
Beginner

Comments

child's airplane swing

Thank you for the great idea!

I built this for my nephew's birthday.

I took the child's airplane swing and modified it to look like the character from Disney's Planes.

Built from Plan(s)
Estimated Cost
$40
Estimated Time Investment
Weekend Project (10-20 Hours)
Recommended Skill Level
Intermediate

Comments

JoanneS

Sun, 08/11/2013 - 05:55

This is soooo cute, your nephew is going to love it!! I love how you gave it a Disney character's face!

Simple Armoire - Courtesy Ana White

Submitted by geauxpea on Sat, 07/09/2011 - 15:46

Second project we under took after stumbling over this blog. The armorie fit well in our bed room and has enough space for all my Indian sarees. Added a jewelery drawer in the middle. Love your blog Ana, thanks for the great work you do. Next project is to build a bed to match the armorie.

Built from Plan(s)
Estimated Time Investment
Weekend Project (10-20 Hours)
Finish Used
MinWax Red Mahagony stain and a polyurethene coat.
Recommended Skill Level
Beginner

Comments

JES

Sat, 07/09/2011 - 18:42

Love the finish and detail, beautiful inside and out. The jewelry drawer is a super idea! Super job- Love it! :) J

Operation: Electric Panel

Submitted by loniwolfe on Wed, 07/13/2011 - 10:43

It's an awful eye sore builder's always seem to put in the most obvious places even when there's an attached garage, or a basement, or even a large closet somewhere.

Solution: Build a frame out of 2x2's around the panel. Build a smaller frame out of trim (or whatever you like as a picture frame). Attach the smaller frame to the frame on the wall with self closing hinges (ok, maybe paint everything first, lol) and insert a photo or painting of your choice.

Unfortunately you can't do anything about placement, hello 1 inch from my countertop and cabinets (also preventing me from building more upper cabinets on that wall)
But, it's better than staring at that ugly gray box :)

Estimated Cost
Less than $20
Estimated Time Investment
An Hour or Two (0-2 Hours)
Finish Used
white gloss paint (same paint as the window trim) But you could stain it to really look like a picture haning on the wall
Recommended Skill Level
Starter Project

Fortnite Battle Bus boys bedroom loft

Submitted by bbcarey on Mon, 10/15/2018 - 08:31

We remodelled my son's room and what better theme than Fortnite for an 8 year old... and what better loft than the Battle Bus!!

Estimated Time Investment
Week Long Project (20 Hours or More)
Finish Used
Latex paint
Recommended Skill Level
Intermediate