Community Brag Posts

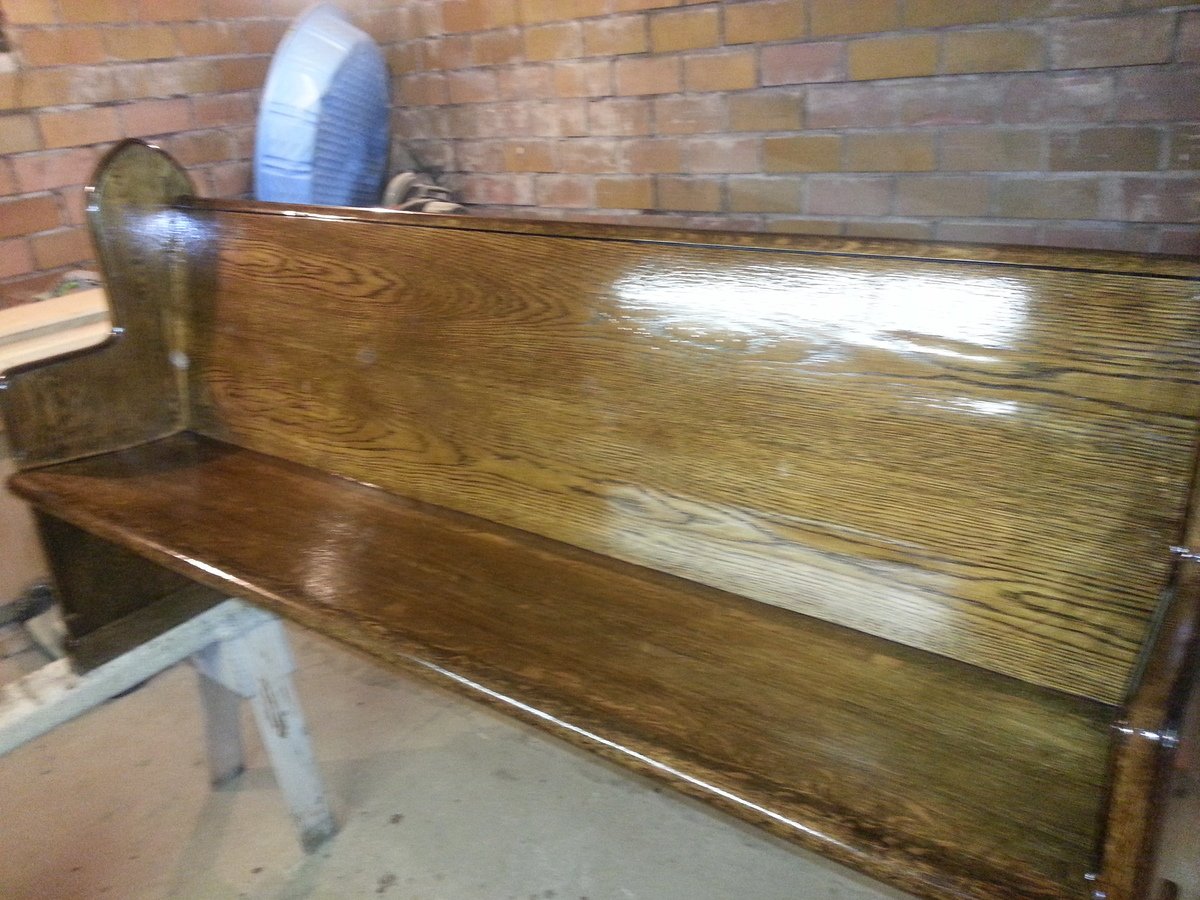
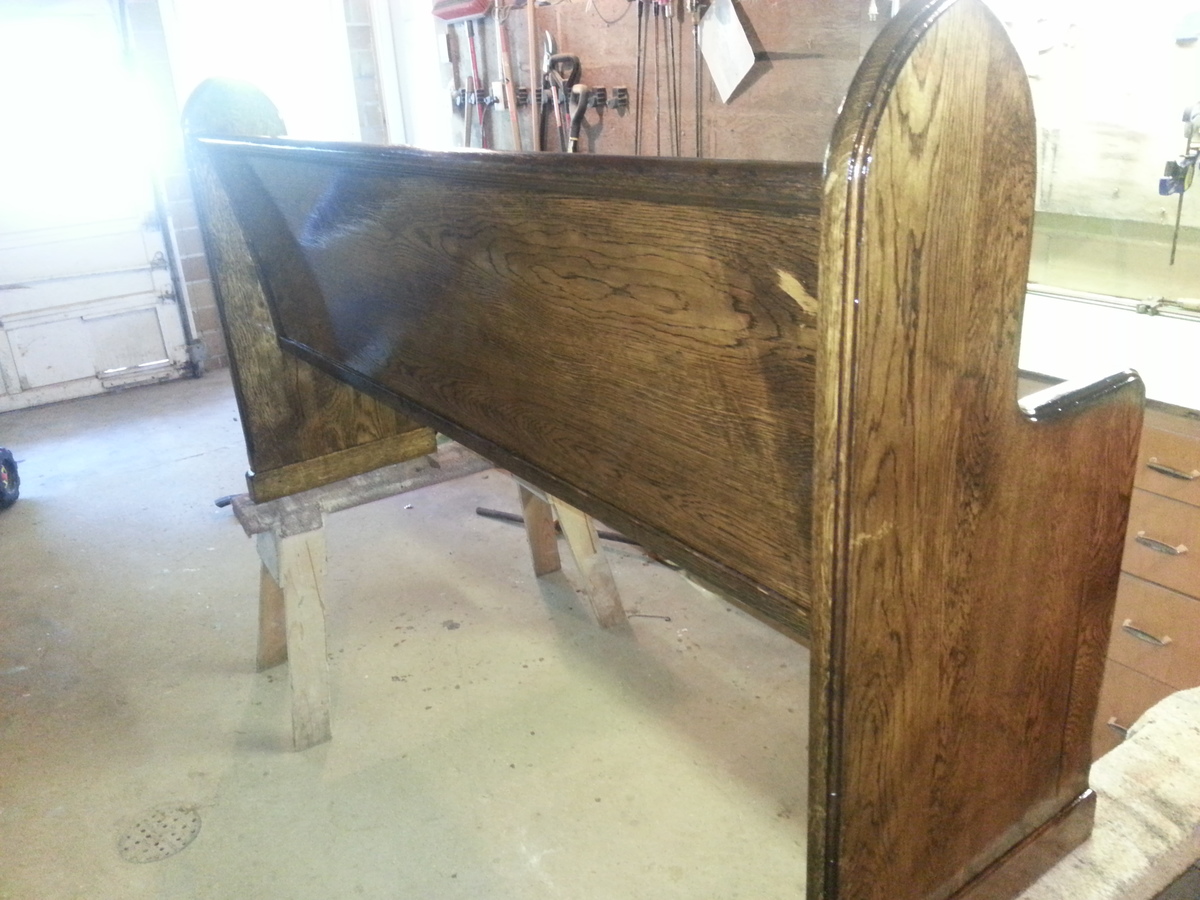
Church Pew

Submitted by ndetermann on Fri, 10/18/2013 - 01:58

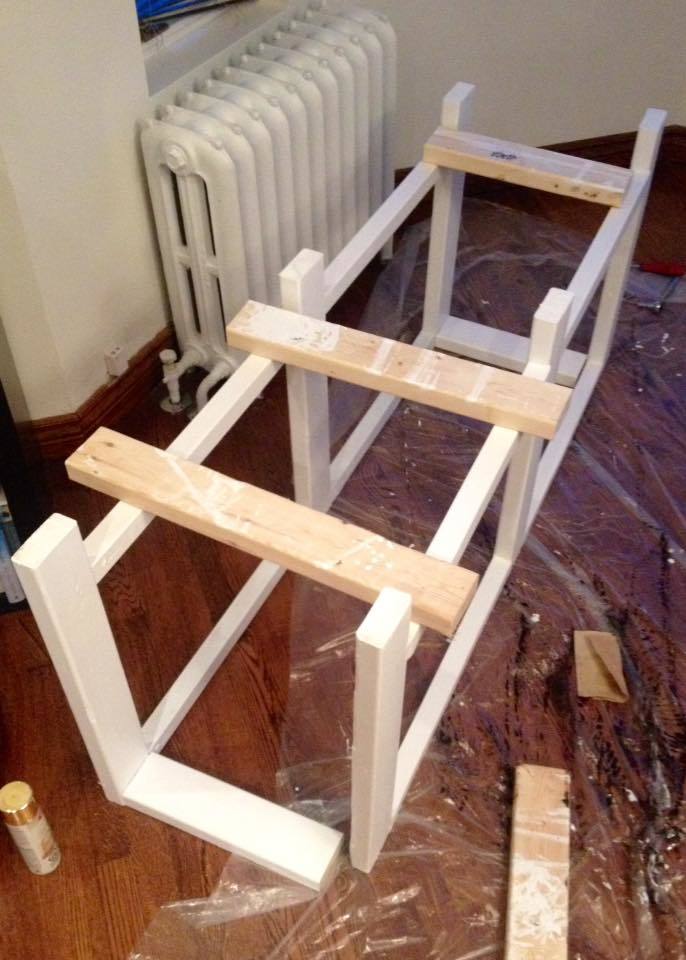
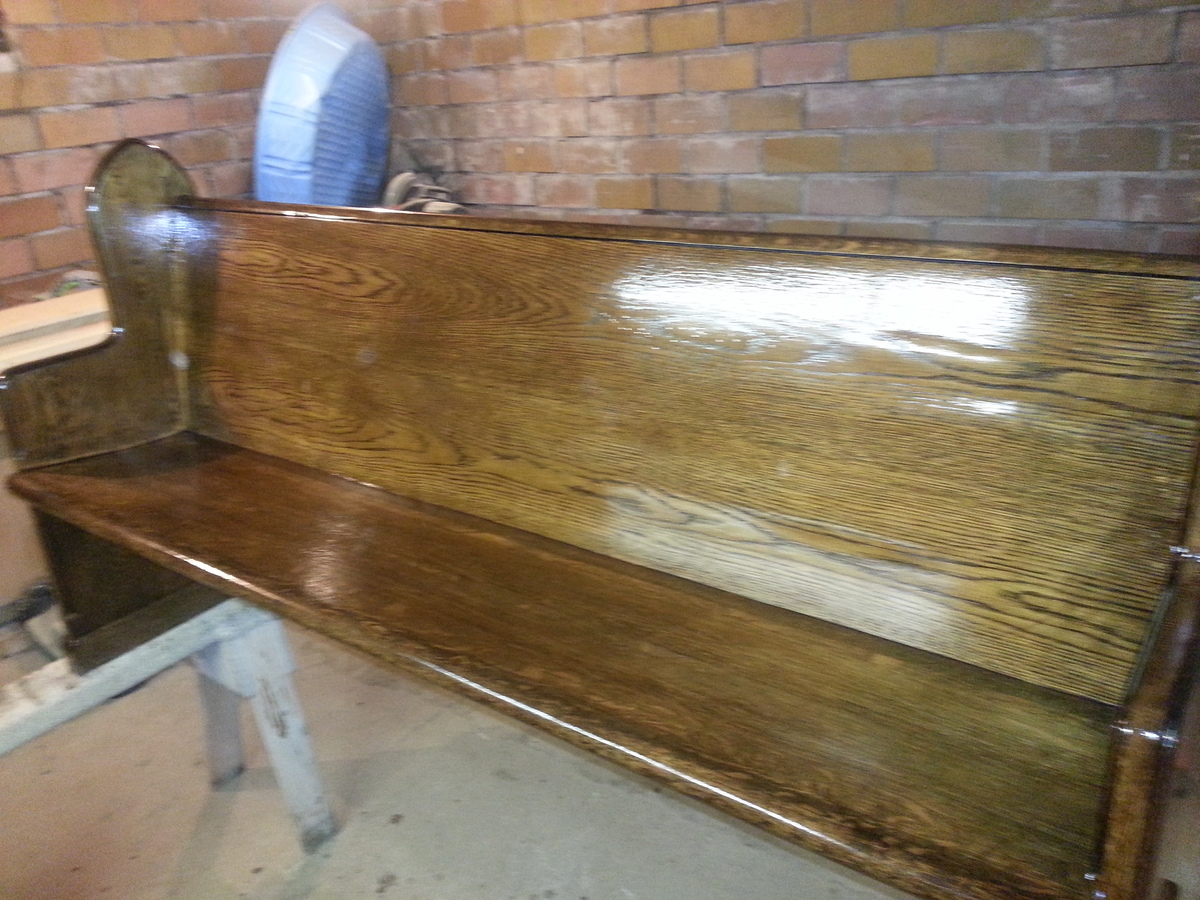
I redid a very old church pew fro one of my friends. It's origins is from one of the original churches in our home town. (There was SO much lacquer on it) This church pew was in bad shape, I had to take it totally apart and re-glue and pocket hole jig every wooden piece together because it was falling apart.

Estimated Time Investment
Day Project (6-9 Hours)
Recommended Skill Level
Beginner

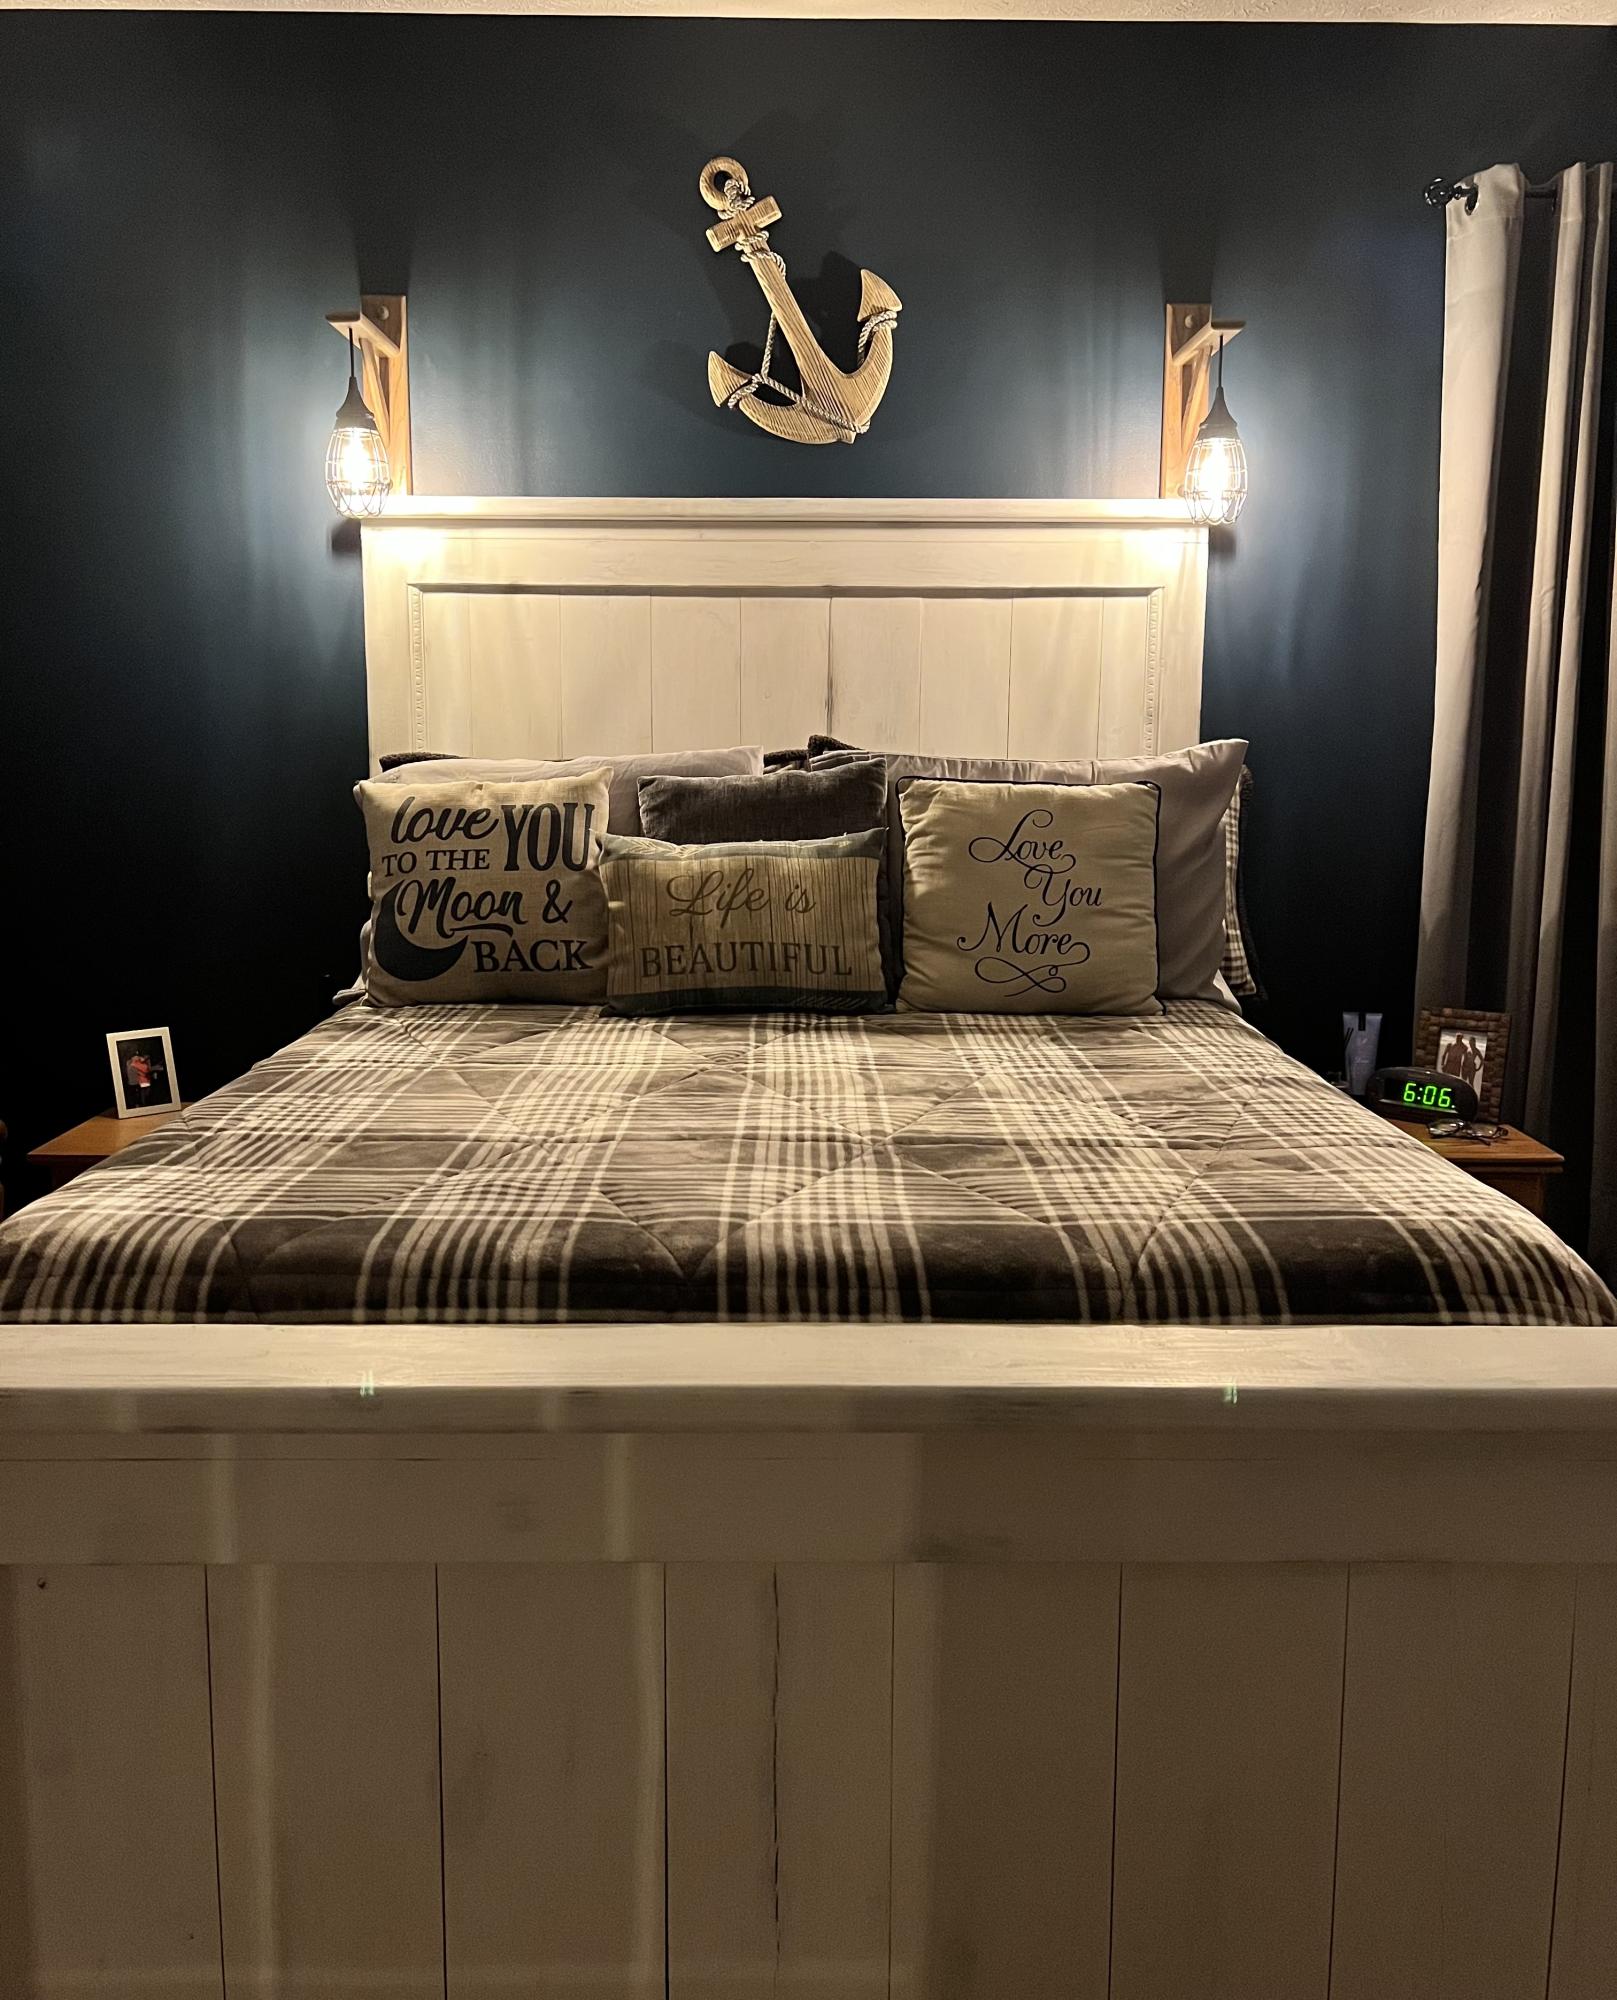
Modern Farmhouse Bed

Submitted by Anonymous (not verified) on Fri, 02/24/2023 - 05:32

Super easy plans to follow. I modified a bit.

Built from Plan(s)

Comments

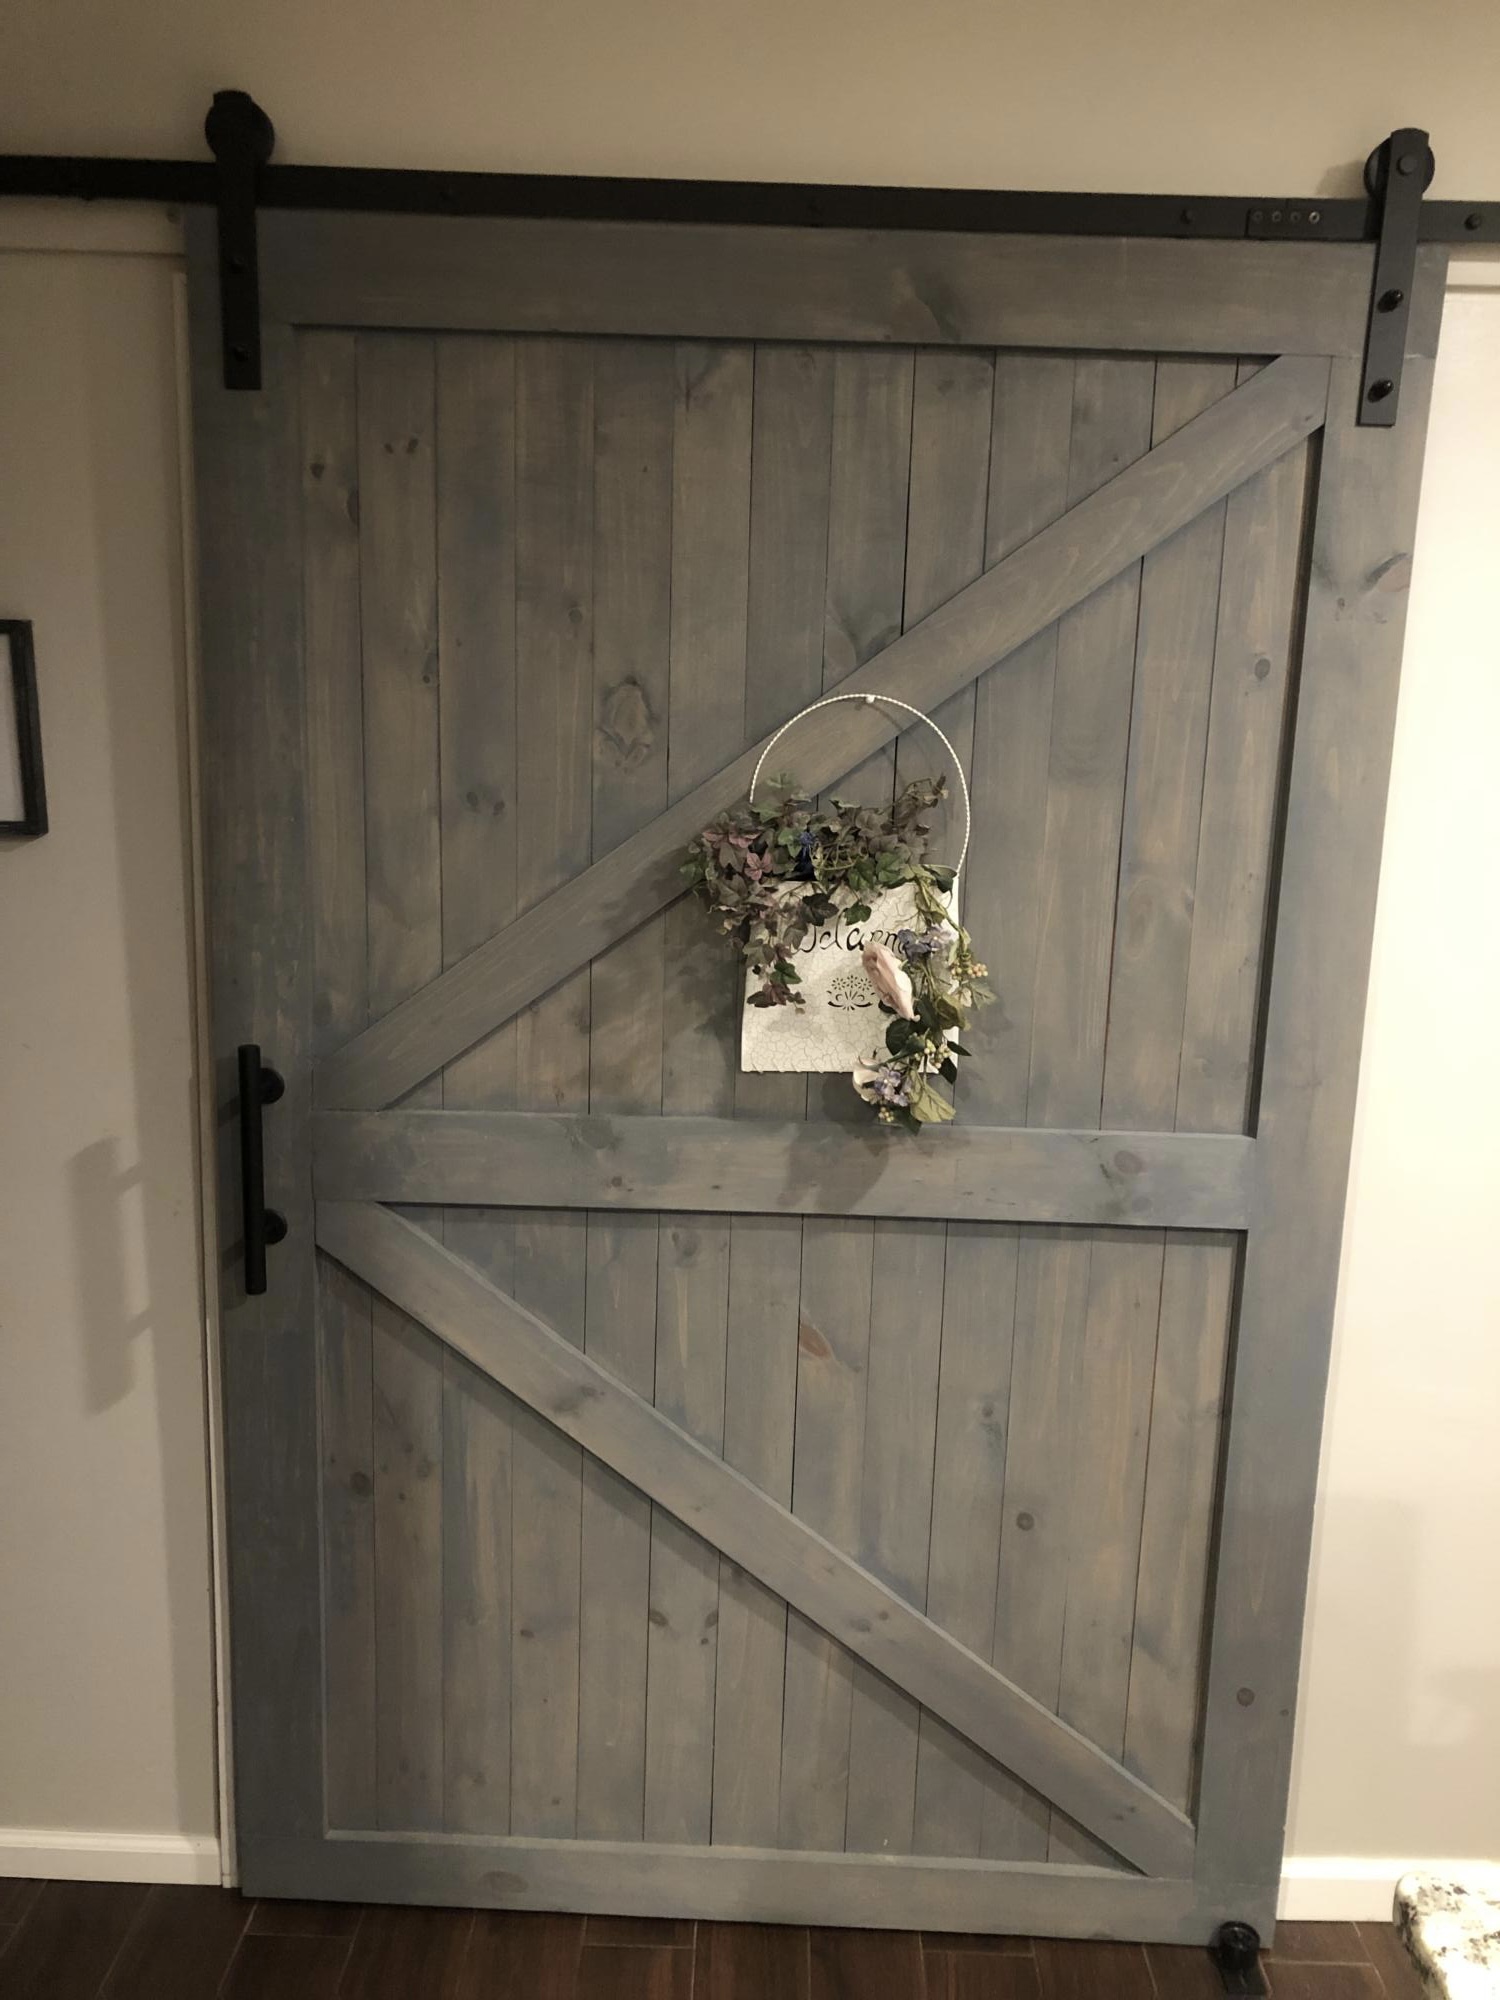
Our new barn door

Submitted by Anonymous (not verified) on Mon, 03/20/2023 - 07:49

We had an open pantry that was an eye sore in our updated kitchen. Im 75 years old and I always liked to take on new projects so I thought about building a barn door from scratch. It was a bigger opening than one would think of as a pantry goes (at least I thought as much) . The opening measured 50 x 60 approximately so the door was made 56 x 65. Plenty of door to cover the eye sore. The door was built more or less on our garage floor and up on four saw horses! I had no idea if it was was going to be successful and the staining was yet to come (Gulp) As Ana said just do it. Well the build came out pretty good Squared and level. And I totally suprised myself staining the wood to the color we were looking for. Self help videos are very helpful so Id consider it before starting out. Everything was a process and I took my time. As with some things I have attempted in the past rushing sometimes ended with disastrous results. Oh boy, not to mention a waste of time, materials and money. What I hadnt bargined for with this project was the final weight to this barn door. IT WAS HEAVY. In any event I purchased the hardware for the railing and handles and pretty satisfied the way it came out. I had no plans to work from but settled on a build that I saw from several websites on barn doors.

Built from Plan(s)

Comments

Mirror hidden shelf

Submitted by Bread0186 on Fri, 04/14/2023 - 17:52

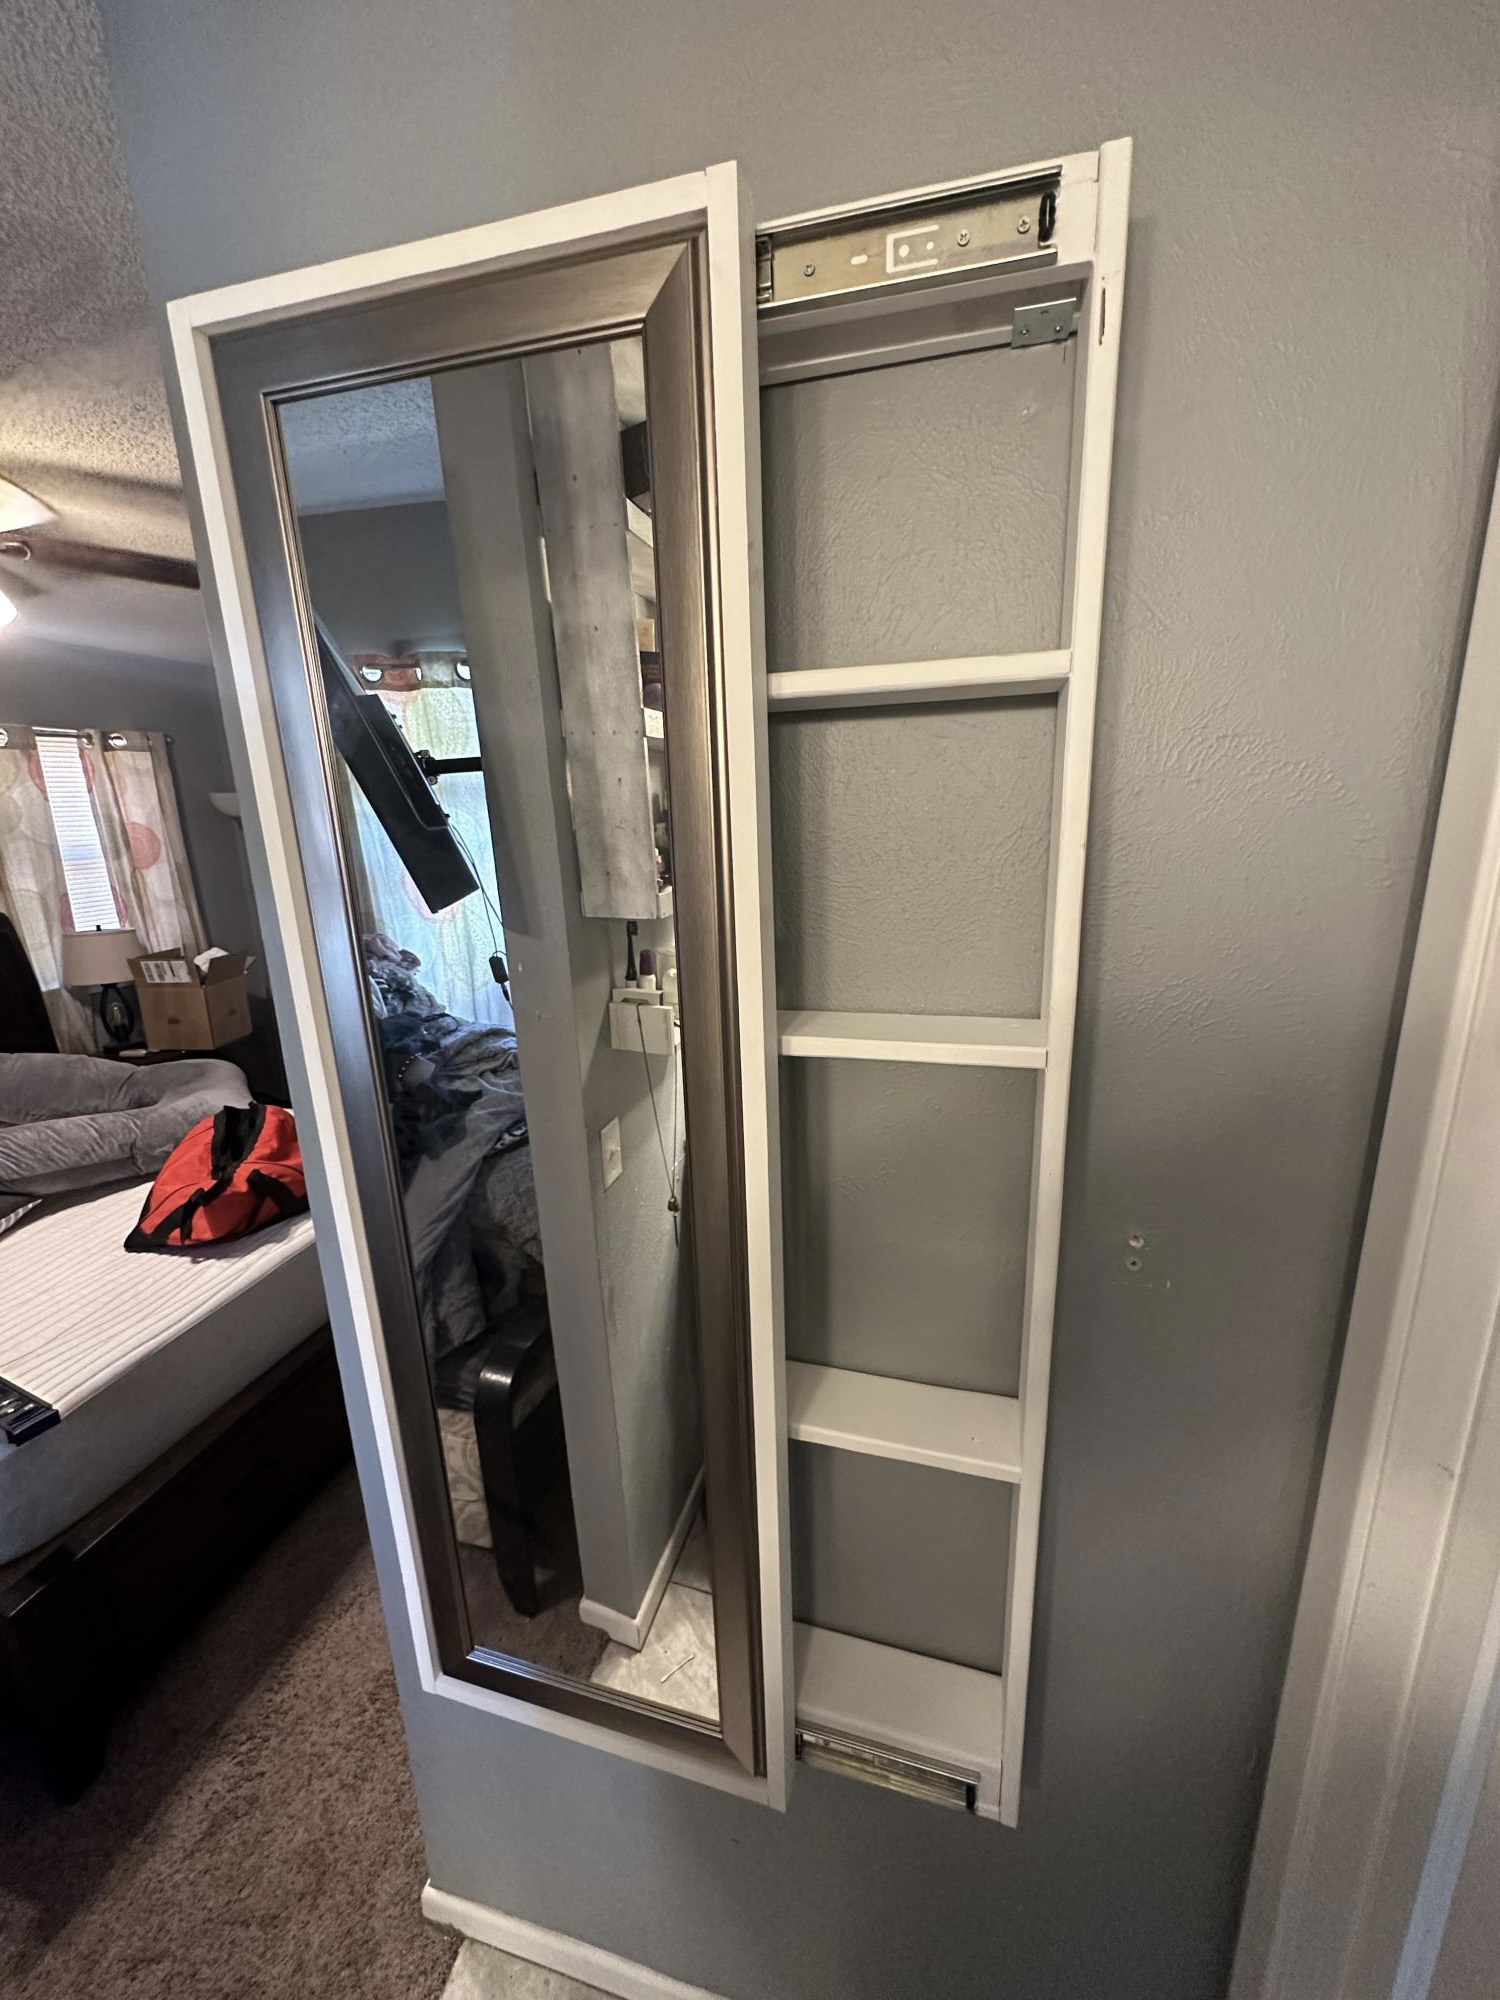
Built 2 of these for some friends. One of them plans on putting it in the wall! Loved the build and they love the product.

Comments

chicken boxes that work!

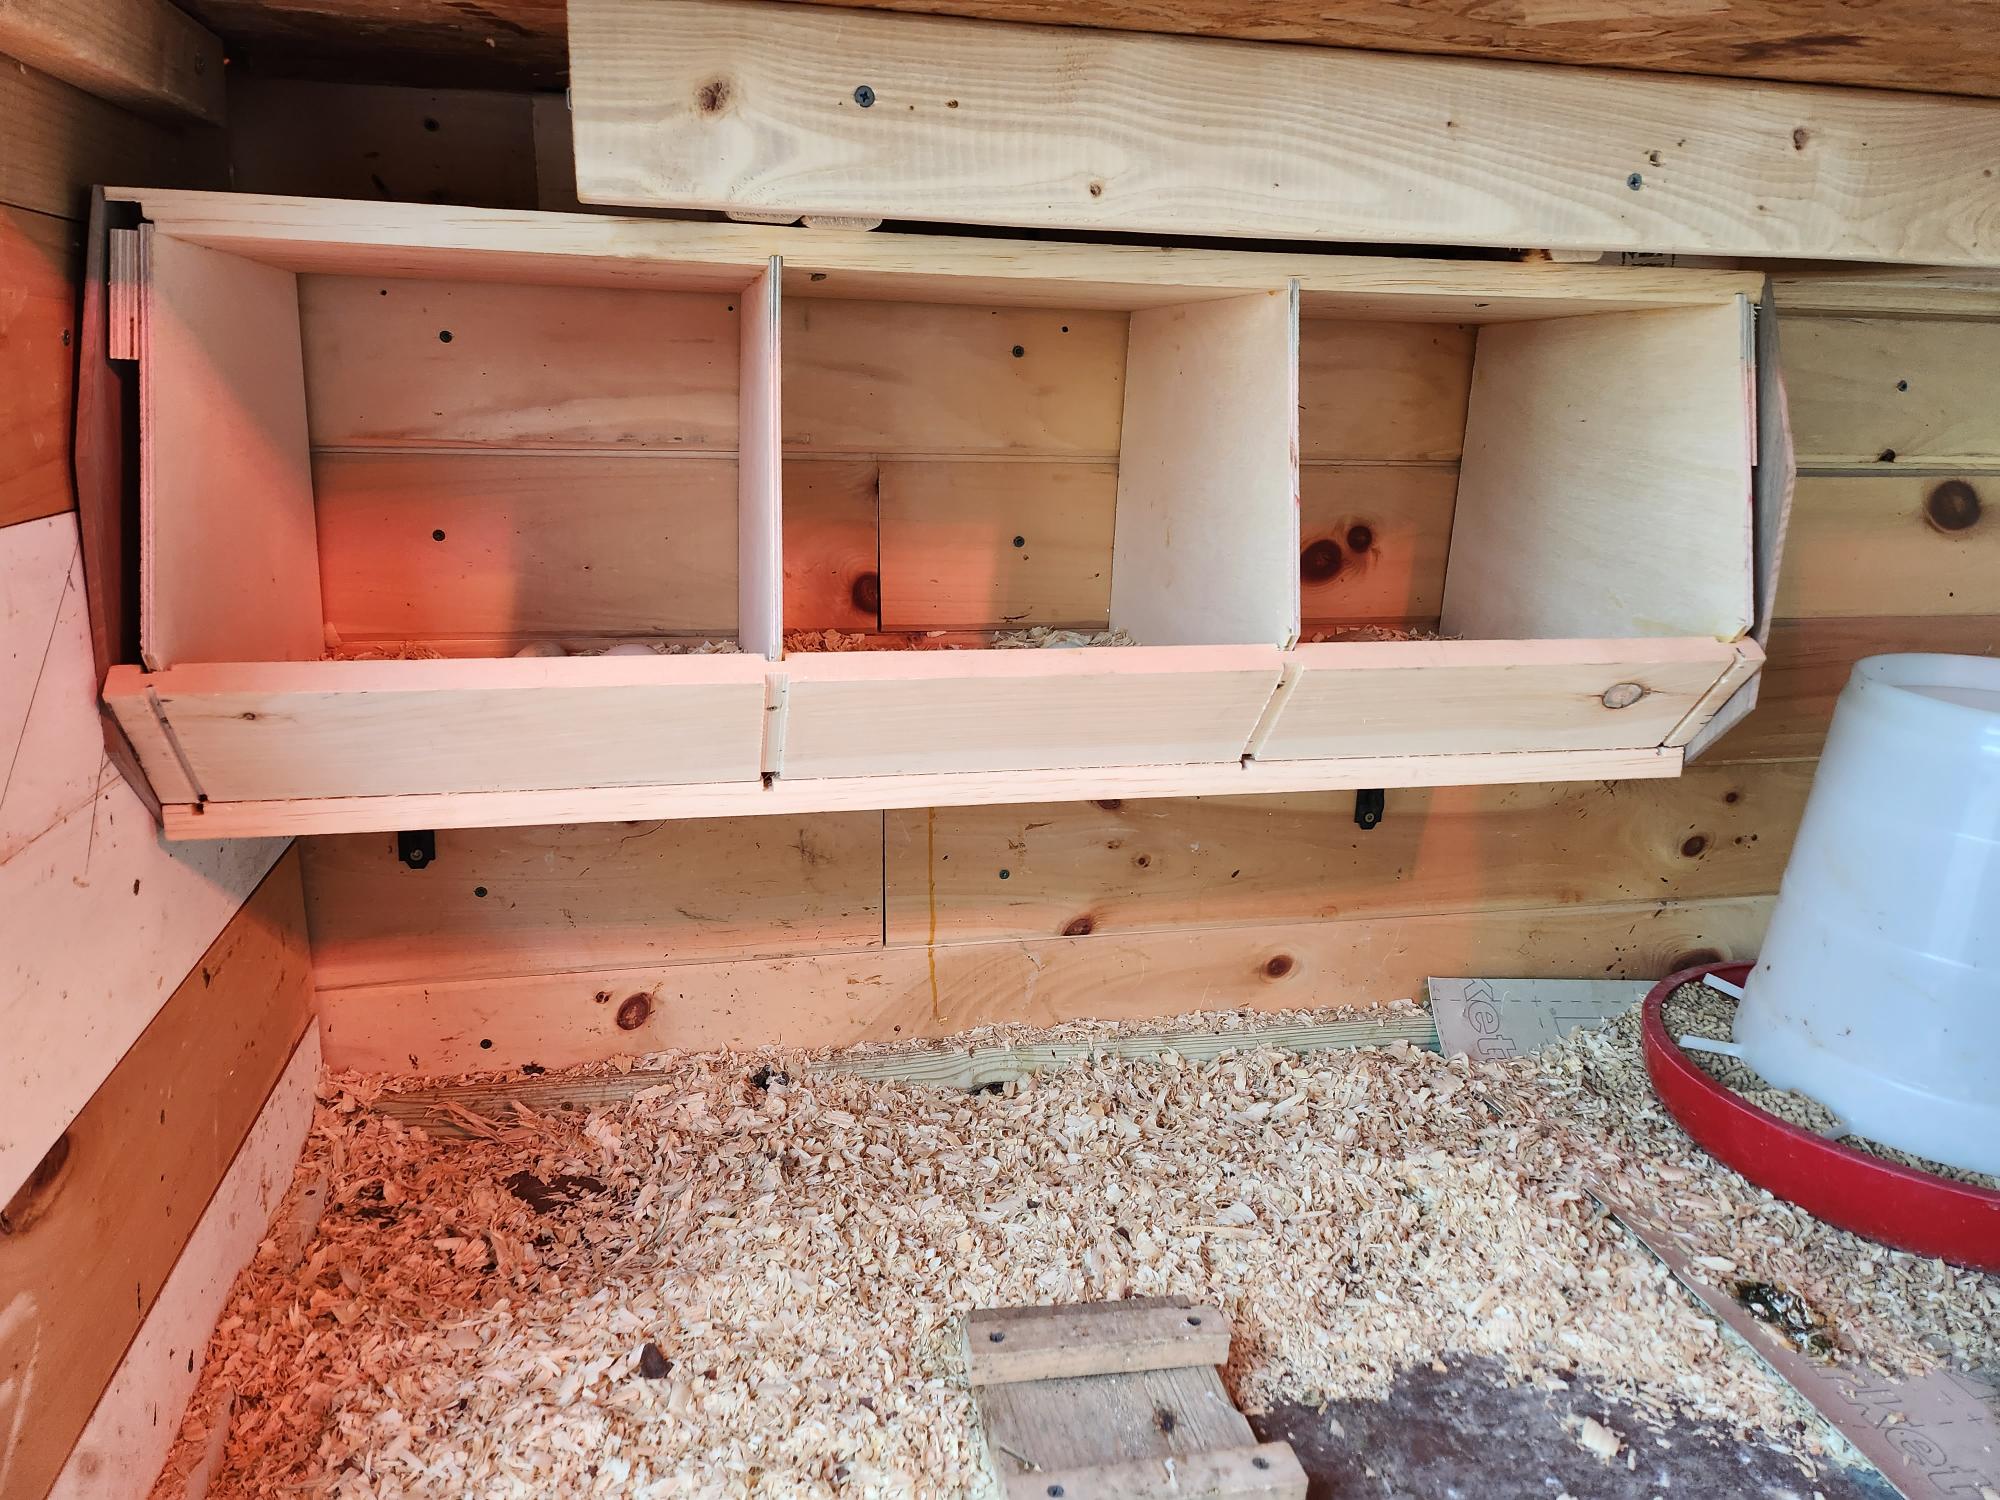
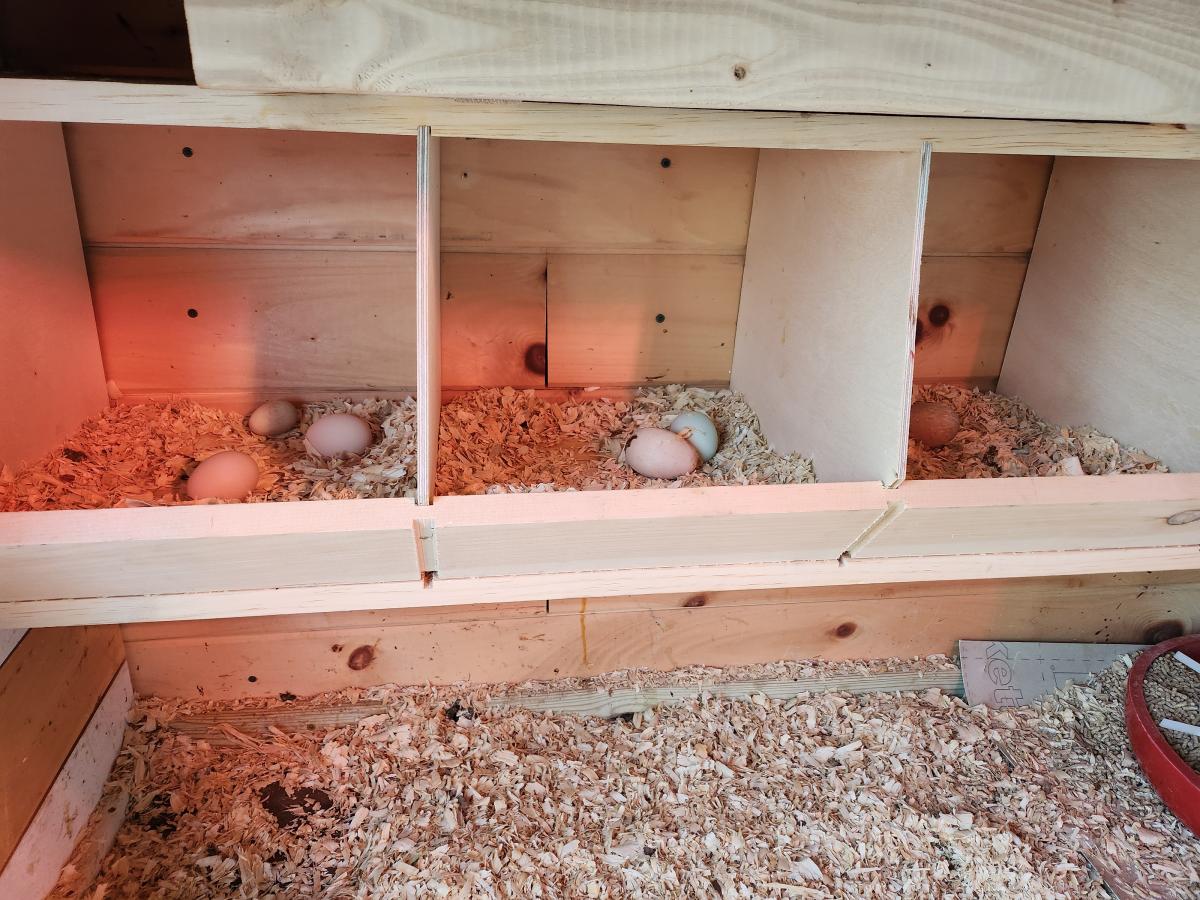
I have tried all sorts of nest boxes. No one ever used them. I decided to make the one from Anna White's site. I used joinery to attach the various pieces. The best thing of all: I find girls sitting in the boxes and take eggs from them. It really is awesome. I got a photo with real eggs and you can also see the wooden eggs to entice them to try it out. Thank you so much! I will build another one for the other side of the the wall.

Built from Plan(s)

Comments

Laundry Pedestal

Submitted by jerfer on Mon, 12/26/2011 - 18:00

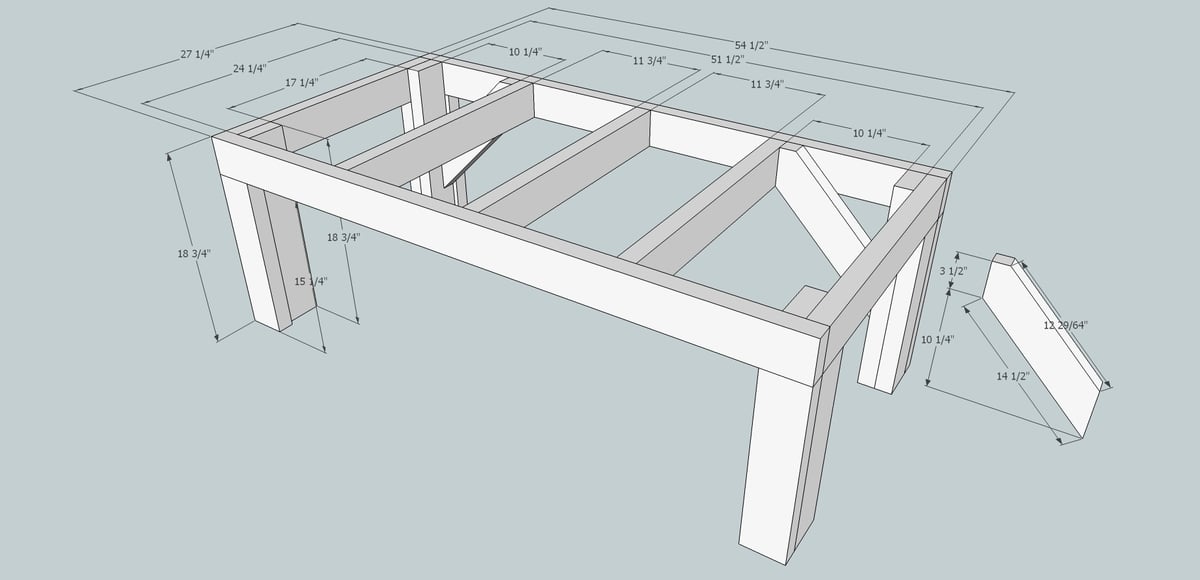
I modified Sausha's design, taking out the bottom shelf, adding a back brace, and putting fascia boards on. I also put in a 2x4 between the underframe and each back leg at a forty-five degree angle as braces. My legs are a bit different too. I used three 2x4's. The first leg piece goes from the plywood top to the ground. I put four screws between it and the frame. Then I took two 2x4's and placed them butted at a ninety degree angle around it flush with the frame above.

Estimated Time Investment
Weekend Project (10-20 Hours)
Finish Used
Mini-wax Bombay Mahogany
Recommended Skill Level
Beginner

Comments

moonhopping

Mon, 01/23/2012 - 13:08

I have been drooling over the original pedestal plans since they posted. When I showed them to my dad the first thing has said we could have more clearance without the bottom plat form. I am going to copy your plans this week end thank you very much.
I did want to ask do you have any vibration issue without the bottom plat form?

Thank you for sharing, great sketch –up!

Dave C (not verified)

Wed, 03/21/2012 - 14:00

Did you have any issues with machine vibration?

Farmhouse King Bed

Submitted by gahan22 on Tue, 02/02/2016 - 10:36

This was our first ana white build. Bed build took one Saturday - to finish up took another week or so working nights - most of our time spent on getting the color we wanted and sanding and finishing. Building the 2x4 frame took more time than anticipated as well. We are super happy with how it turned out.

Estimated Cost
$250 for lumber, stain and lumber for bed frame. We used lag screws on the side and 2x4 hangers for the frame which increased costs.
Estimated Time Investment
Week Long Project (20 Hours or More)
Finish Used
Stain is two coats minwax dark mahogany plus classic grey over the top - wiped off and finished with minwax satin poly.
Recommended Skill Level
Starter Project

Loft bed with platform

Submitted by jbar1981 on Wed, 10/09/2019 - 13:03

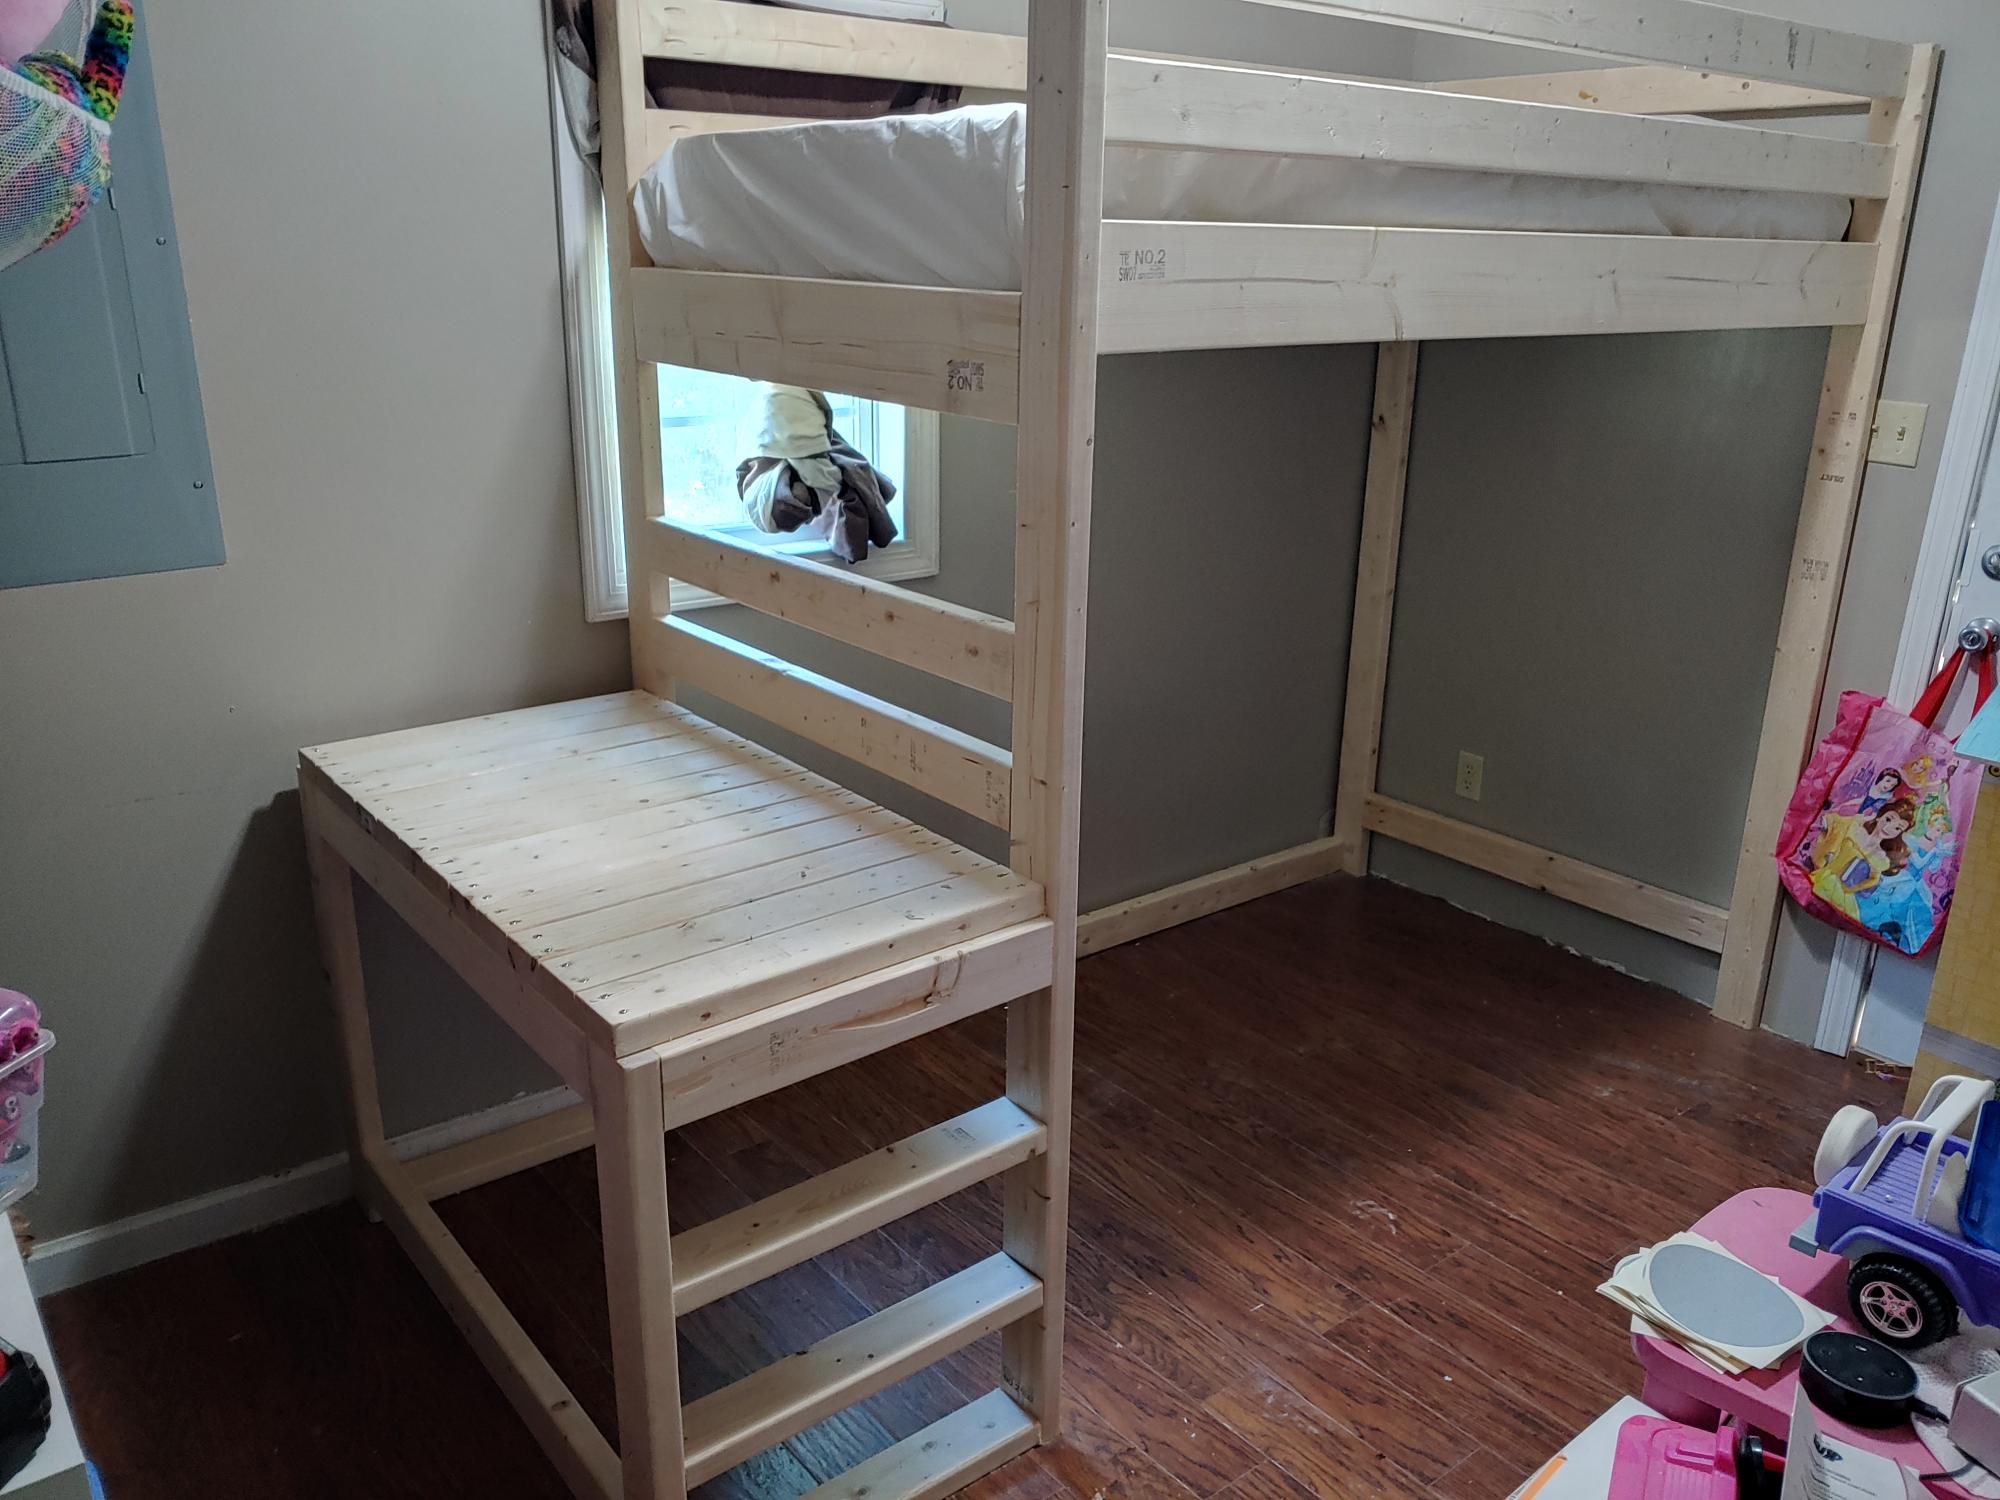
I modified a few things to fit my needs. I did a small ladder instead of steps to save room. I added a 2x4 down the middle with brackets to add extra strength for mattress area. I used my kreg drill bit to make holes for the 2x2 to also help with strength. I am a big guy and the bed was solid so no issues with weight. I added 8 inches to the main post to add height underneath for a doll house, book shelf and some other things my wife wanted under there. Excellent plans and my daughter loves it. 

Estimated Cost
200.00
Estimated Time Investment
Weekend Project (10-20 Hours)
Finish Used
Nothing yet
Recommended Skill Level
Intermediate

Bed and night stands from plans on this site

Submitted by Anonymous (not verified) on Sun, 10/20/2019 - 18:02

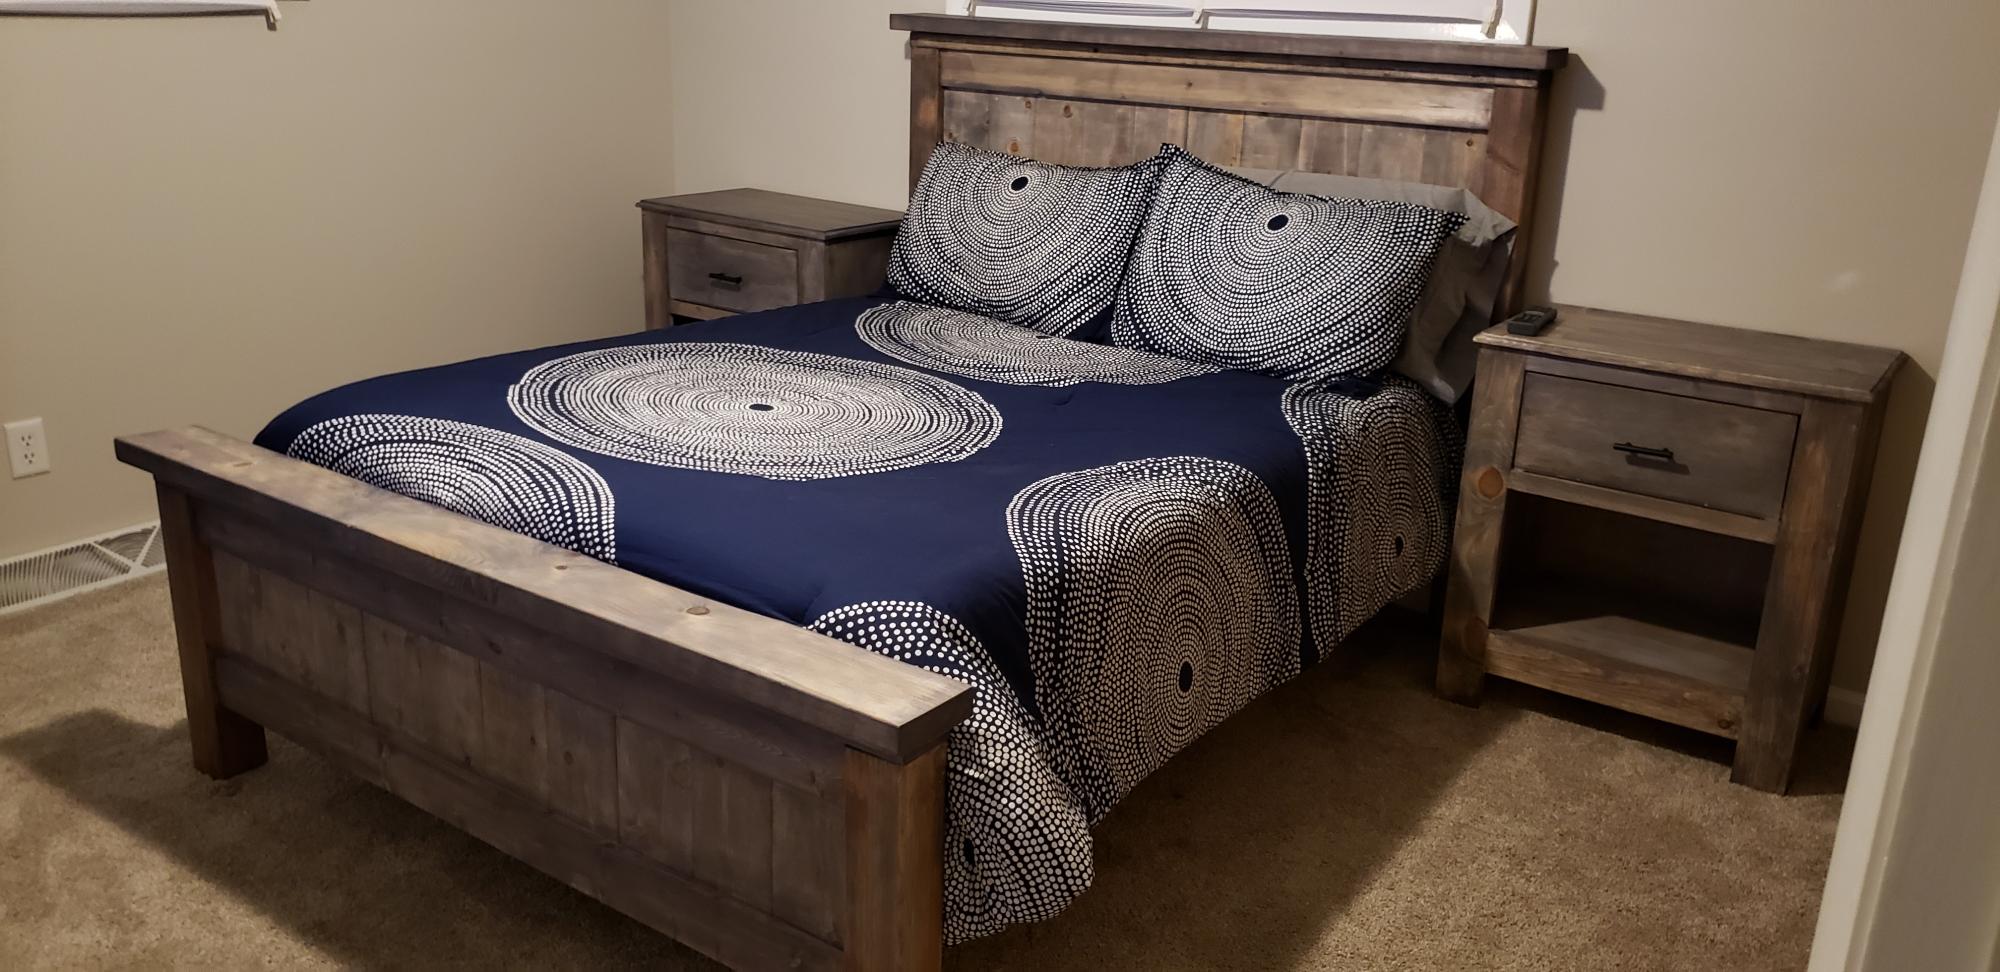
Bed and night stands build with plans from Ana White. Both projects were finished using age accelerator and weathered gray stain. Time and coat estimations include both night stands and the full sized bed.

Estimated Cost
300
Estimated Time Investment
Weekend Project (10-20 Hours)
Finish Used
Age accelerator and weathered gray stain.
Recommended Skill Level
Intermediate

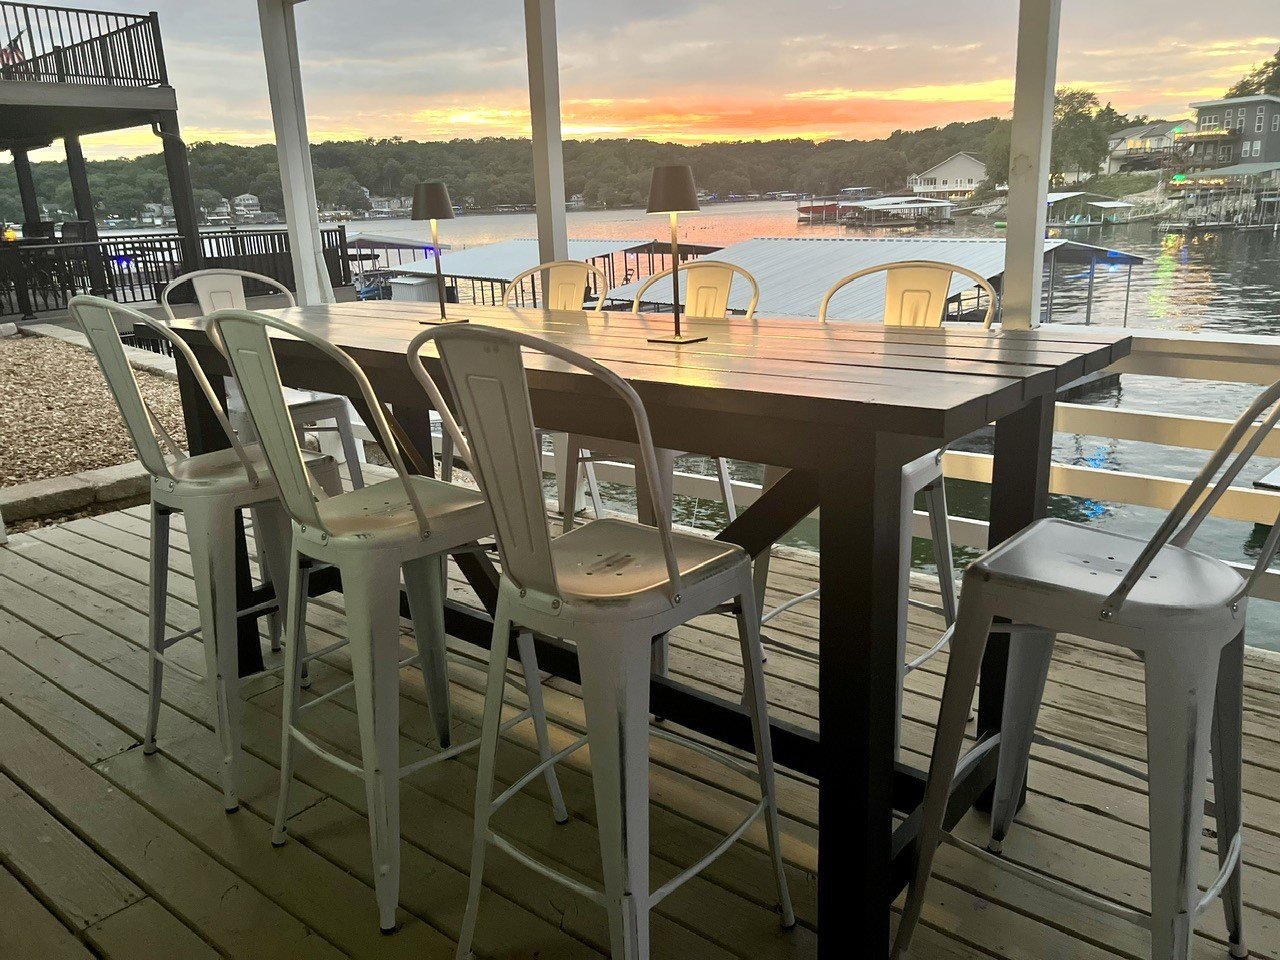
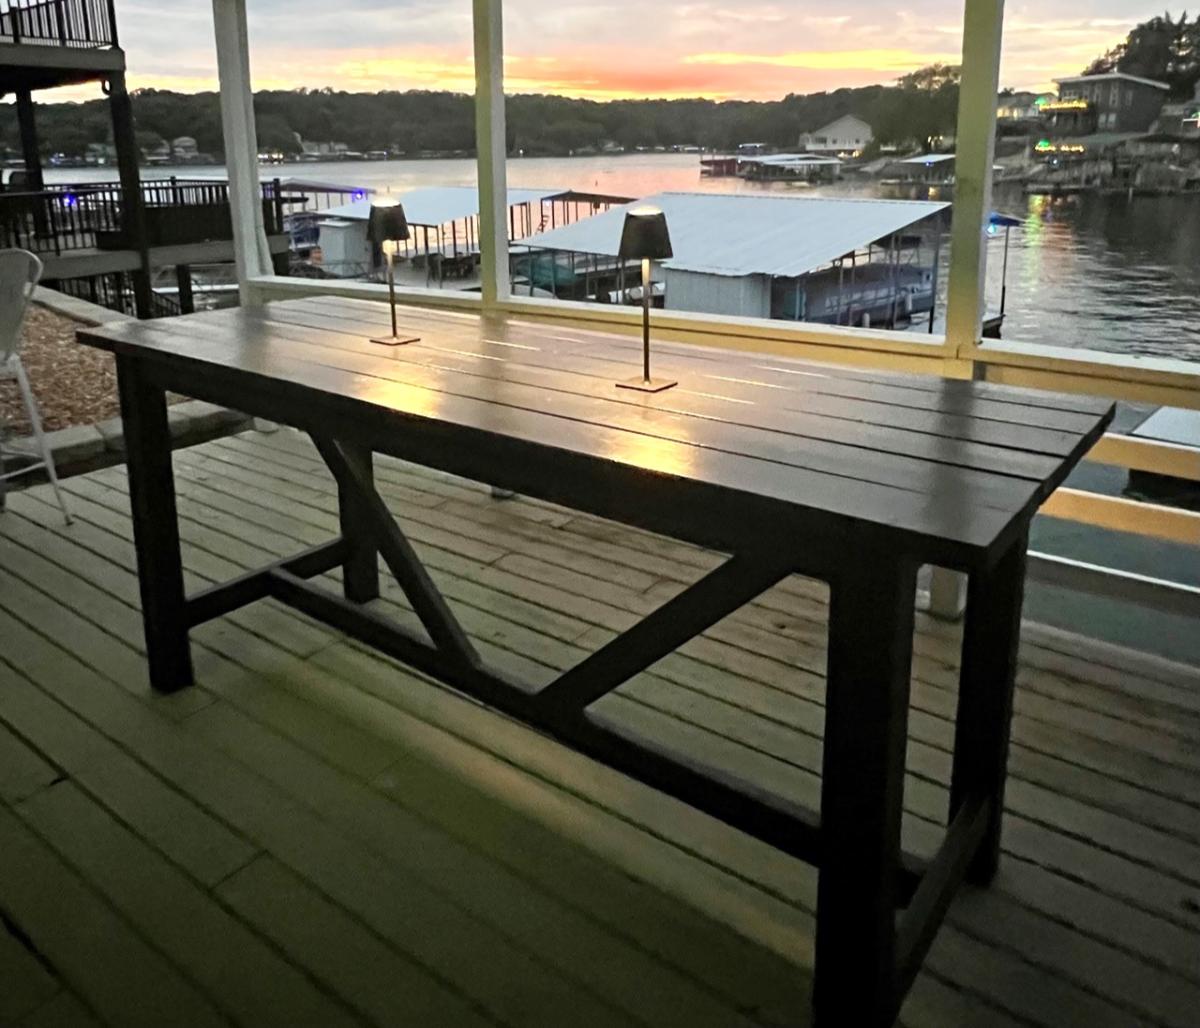
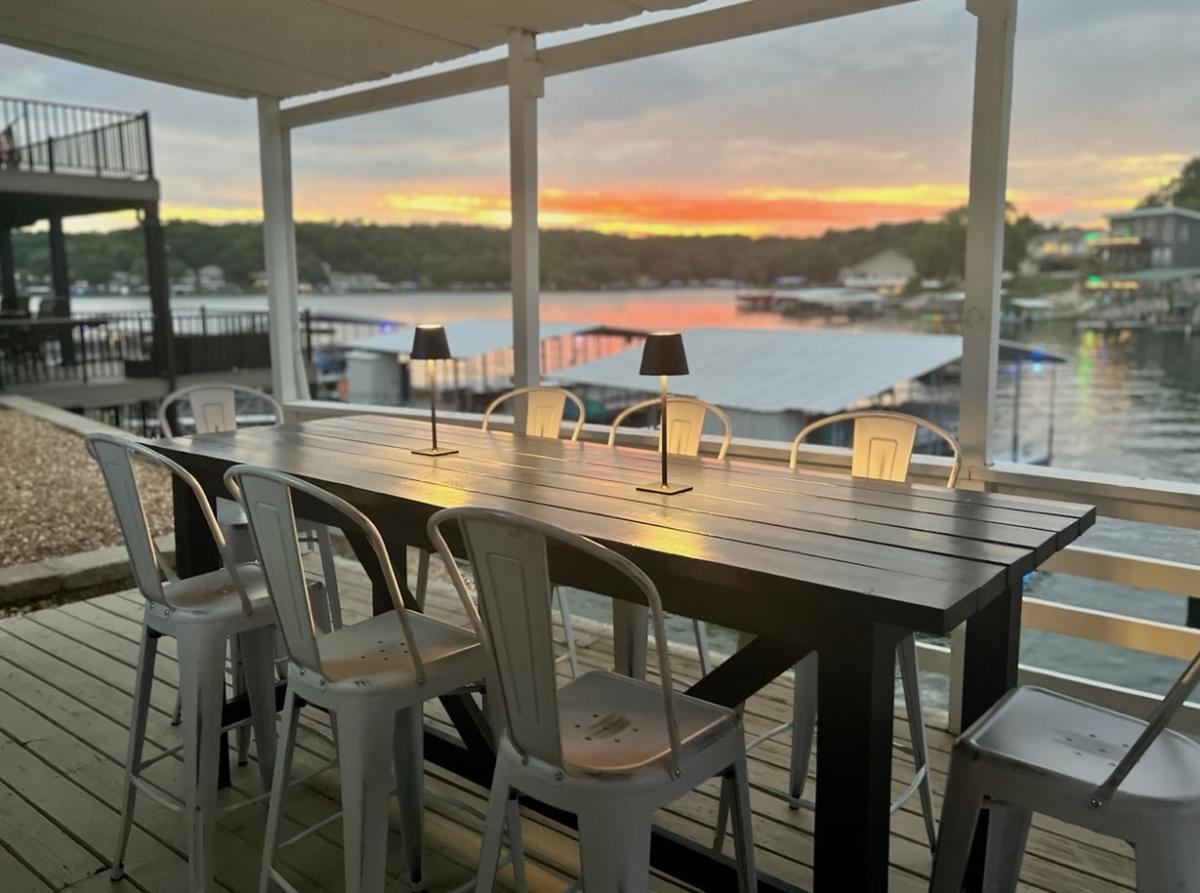
Bar Height Outdoor Table

Submitted by Anonymous (not verified) on Sun, 08/27/2023 - 12:42

We had this unused lower deck and this bar height table was the perfect addition. We have place now to hang when too hot or it’s raining. My husband and I built it in one weekend and your plans where great.

Julie Moran

Built from Plan(s)

Comments

Seasonal And Holiday

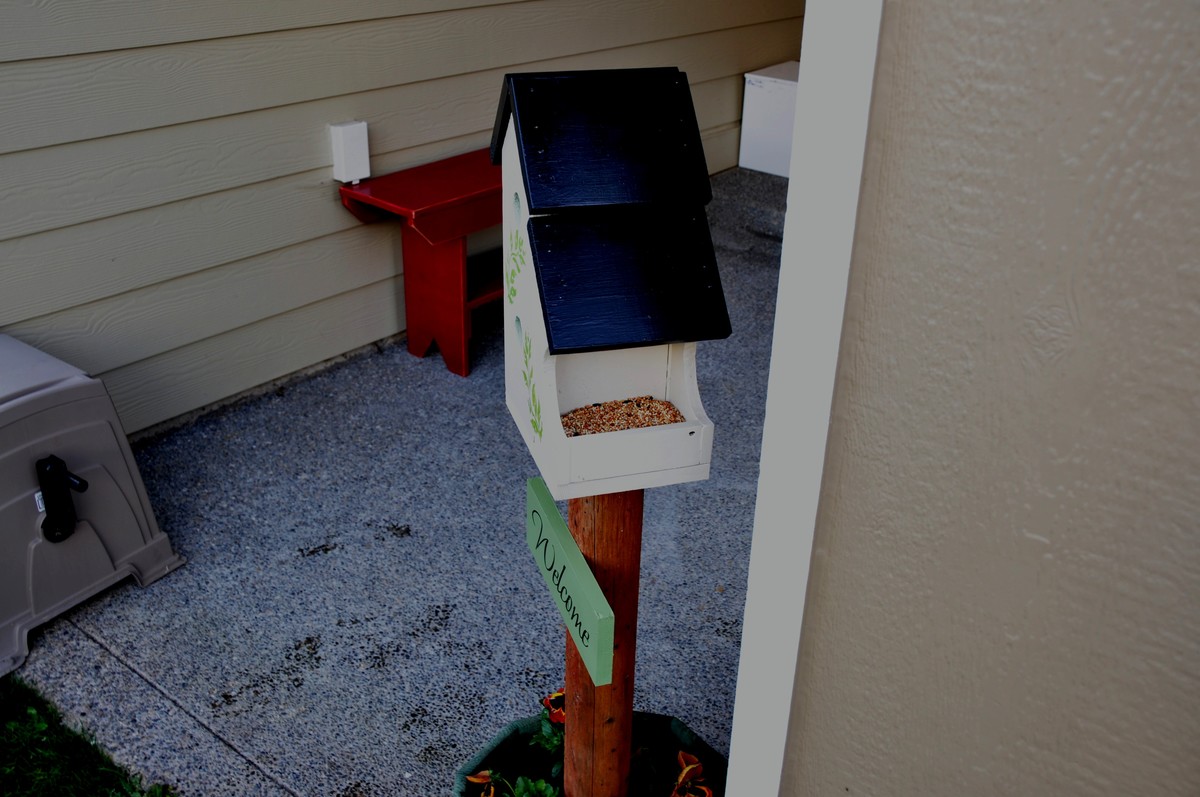
Bed and Breakfast birdhouse

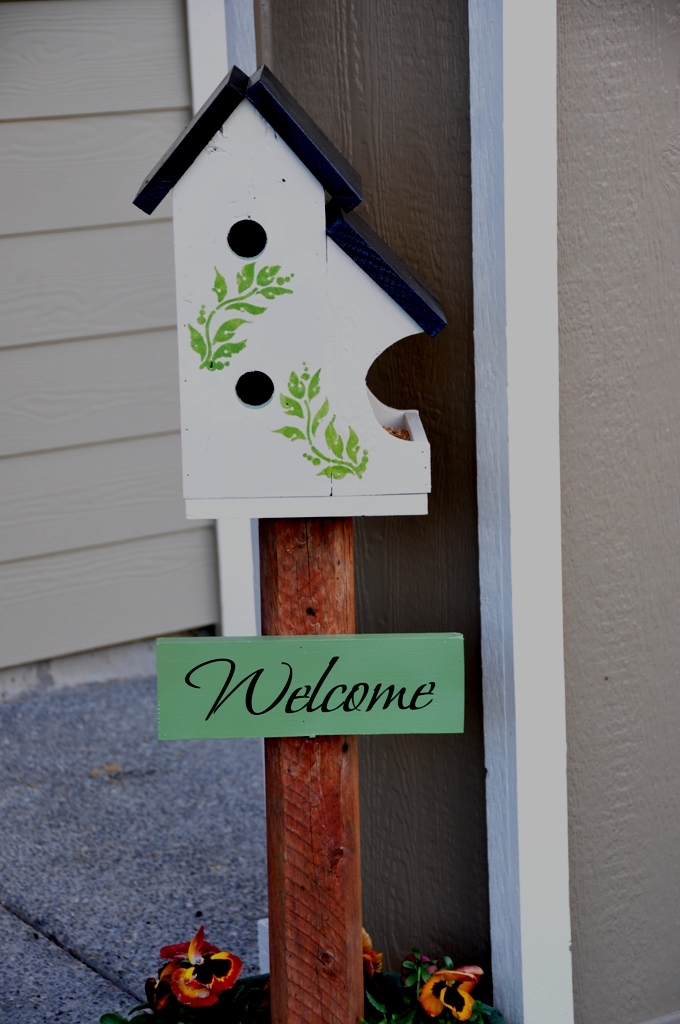
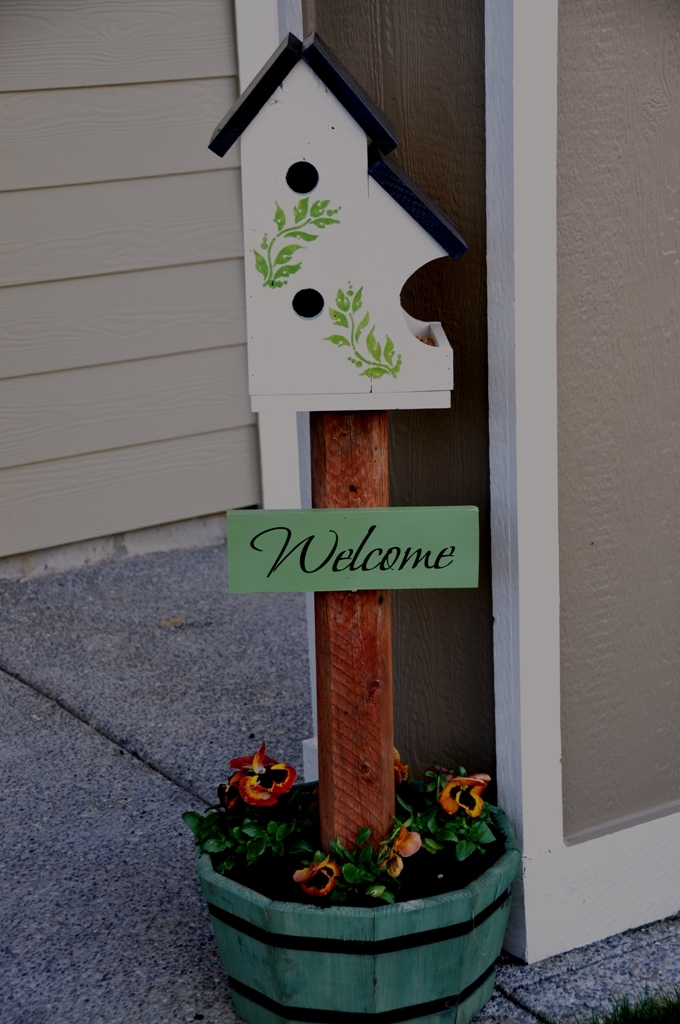
My wife found a birdhouse she liked online, so I did my usual and made one with my own flare and design. This is a two story birdhouse with and feeder on the side. Welcome to the Bird Bed and Breakfast.

Built from Plan(s)
Estimated Cost
15.00
Estimated Time Investment
Afternoon Project (3-6 Hours)
Finish Used
Cream and black paint with green stencil/sign
Recommended Skill Level
Beginner

Comments

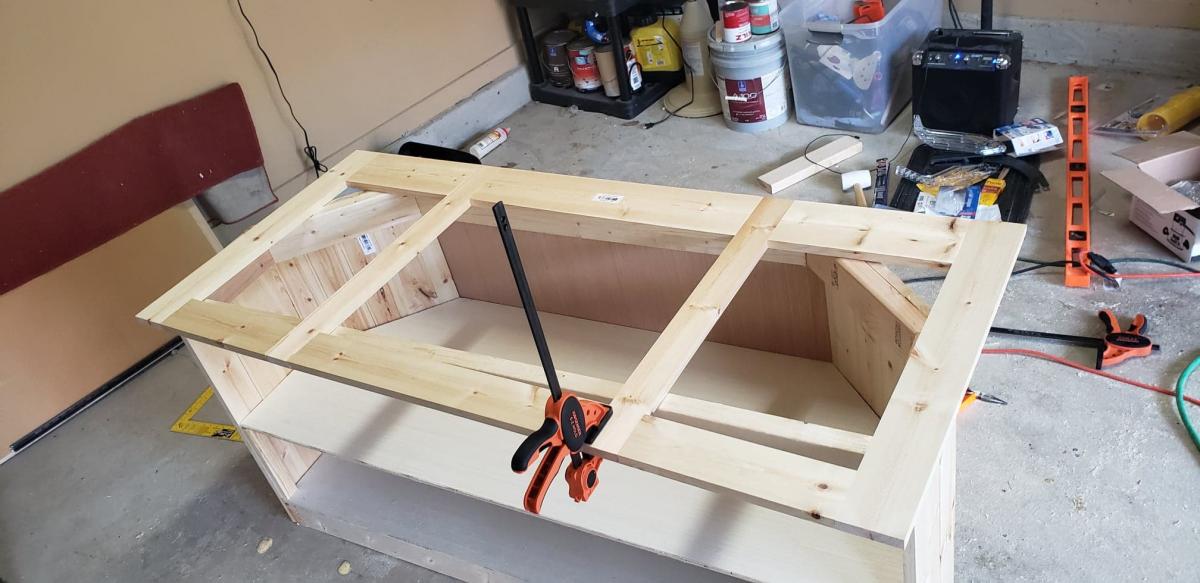
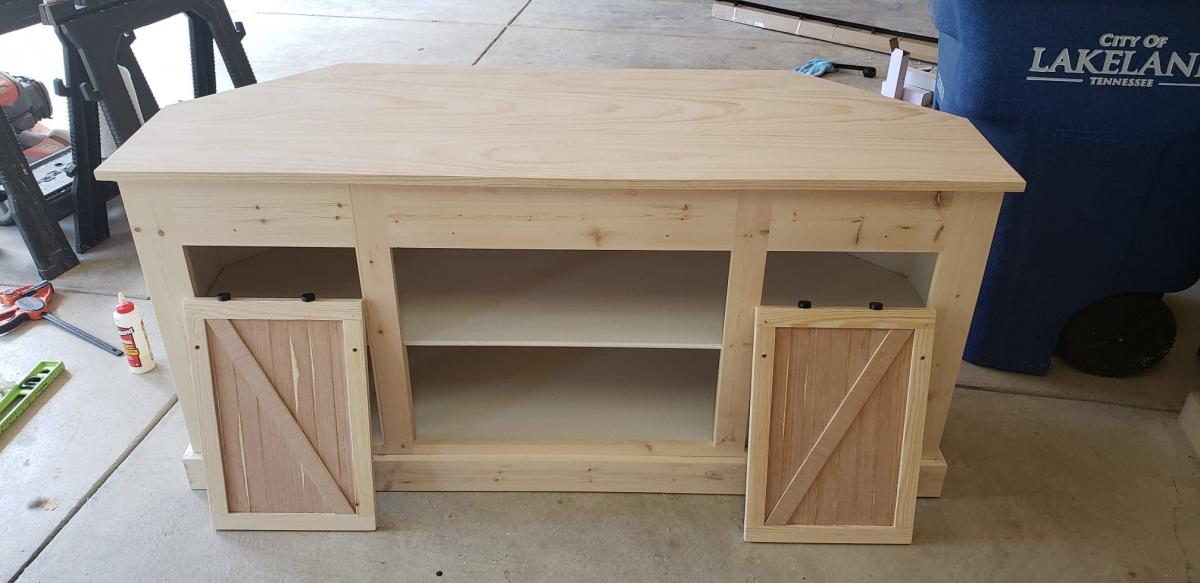
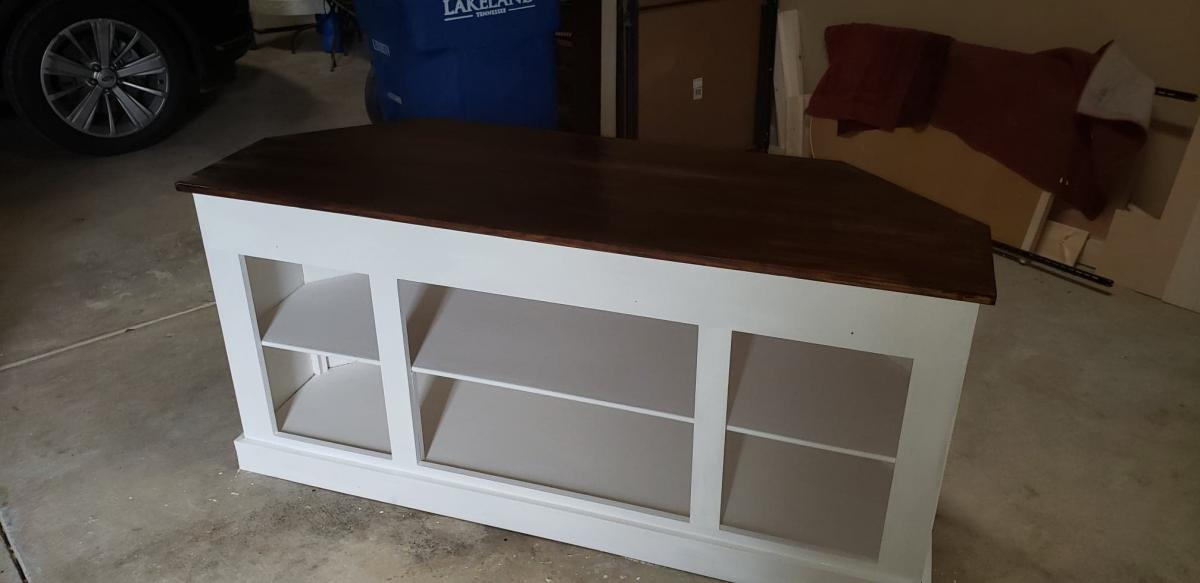
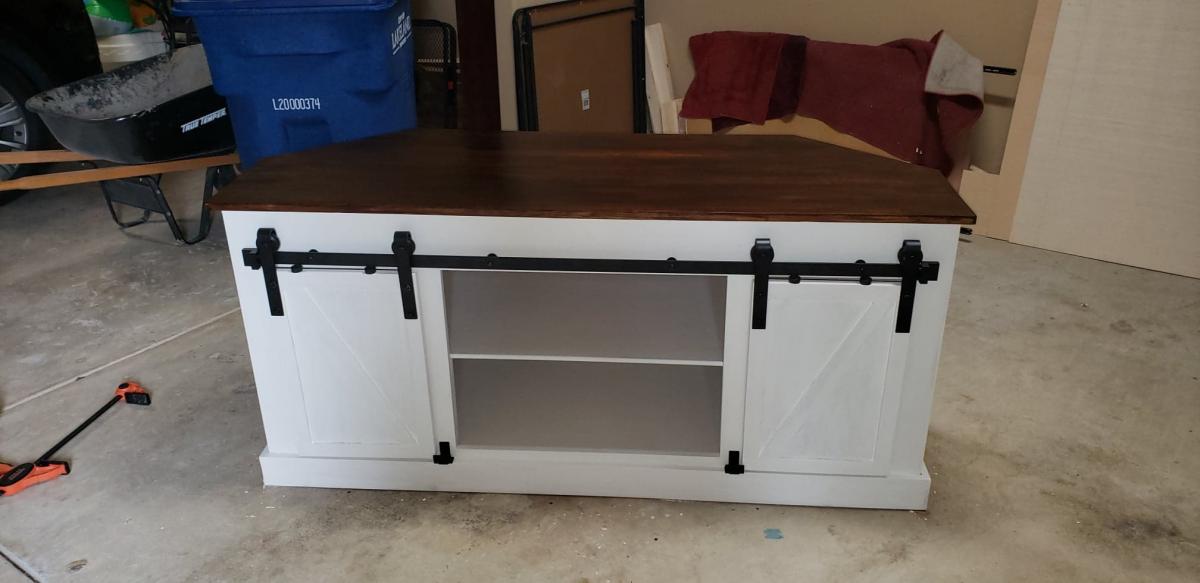
Grandy Barn Door Corner TV Stand

Submitted by Anonymous (not verified) on Wed, 01/08/2020 - 12:46

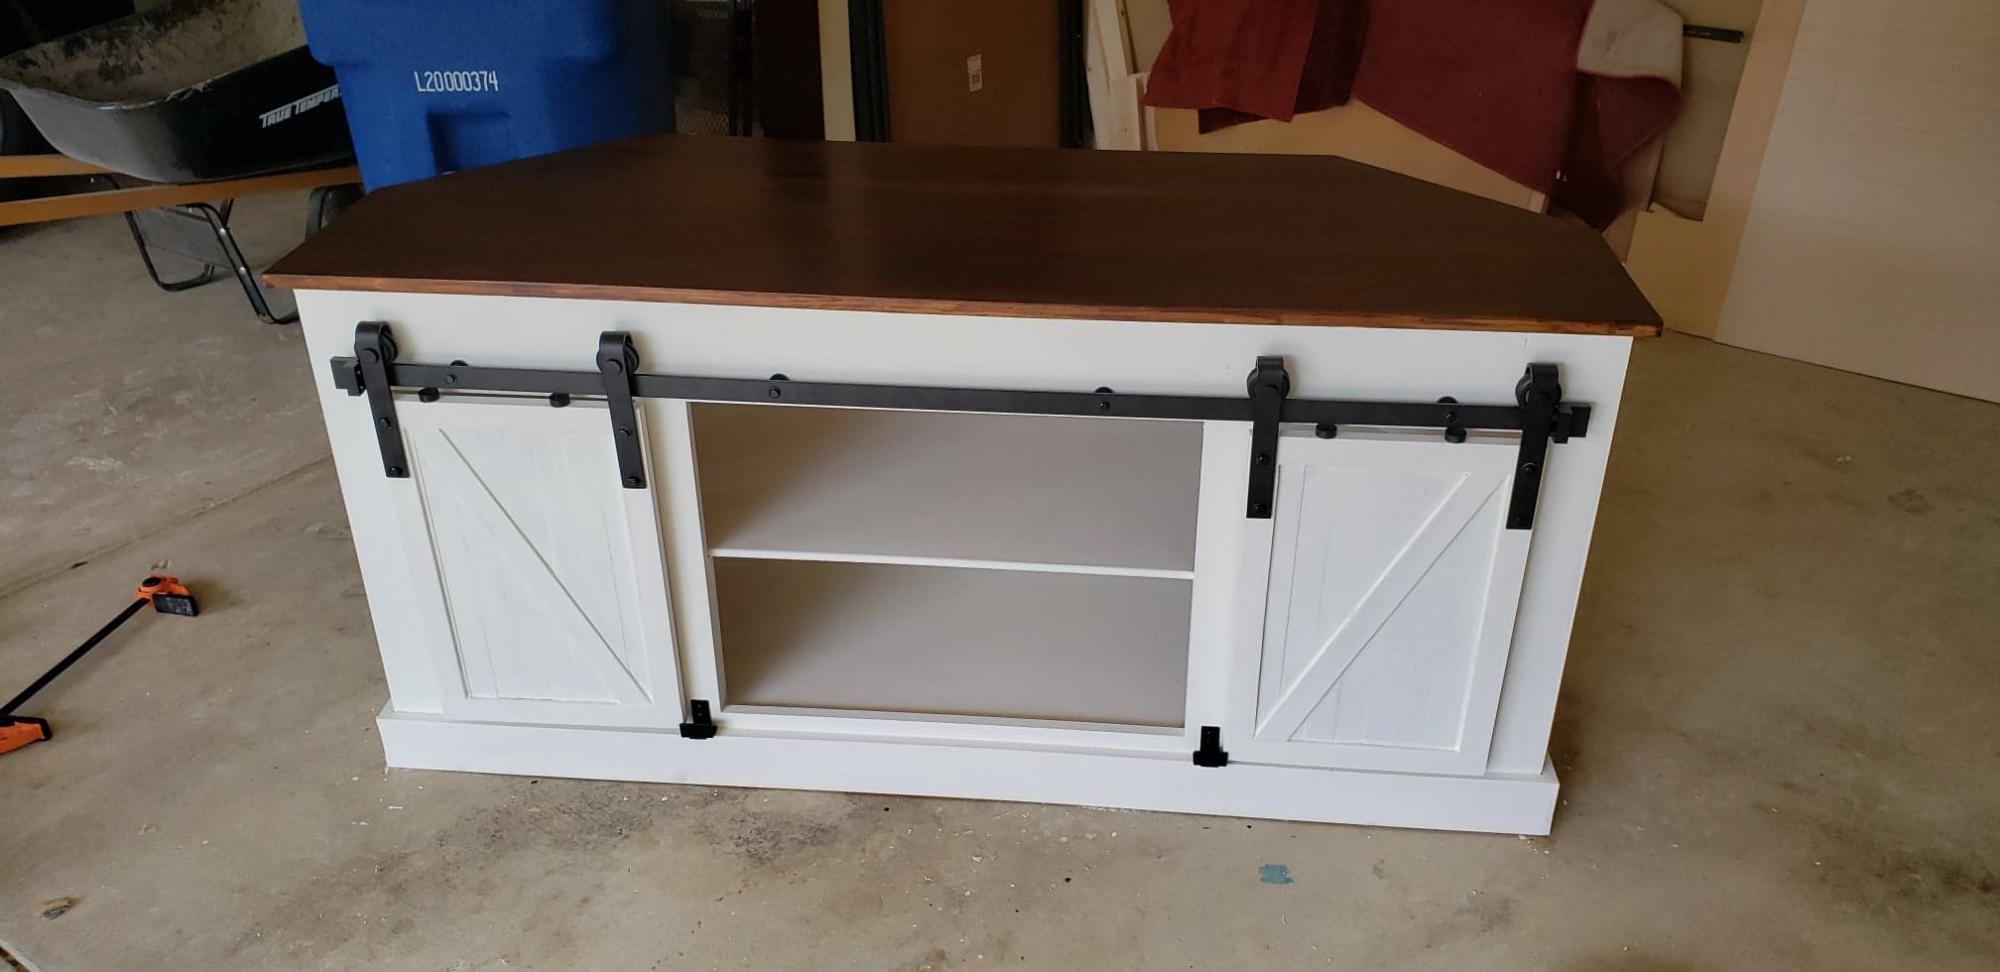
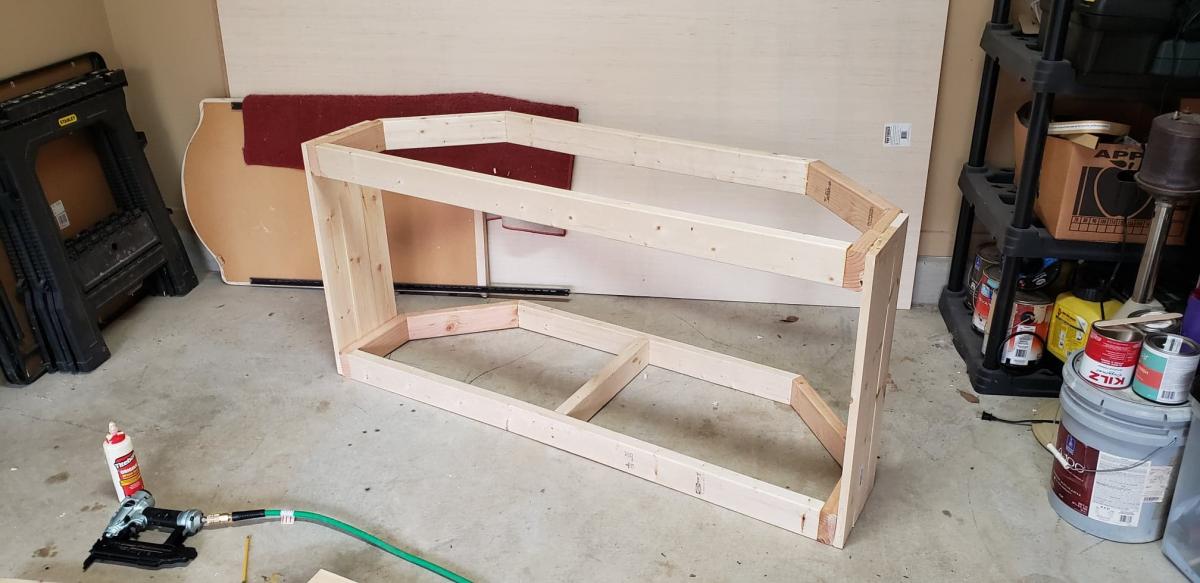
I couldn't find any corner TV stands with the barndoor style that were big enough, so I decided to design and make my own using the Grandy buffet design.

Built from Plan(s)
Estimated Cost
200-300
Estimated Time Investment
Week Long Project (20 Hours or More)
Finish Used
Minwax Polyshades Satin
Wax paint
Recommended Skill Level
Beginner

Comments

TV Table, DIY, Rustic, X Console, Console

Submitted by j_macindoe on Sun, 05/08/2016 - 10:58

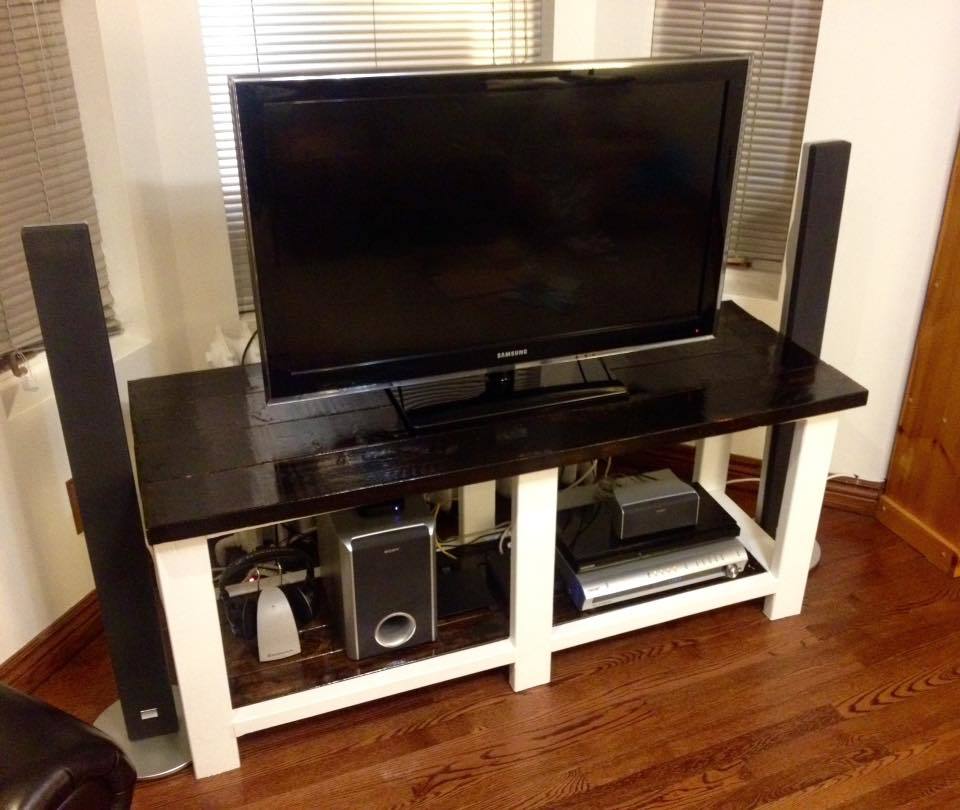
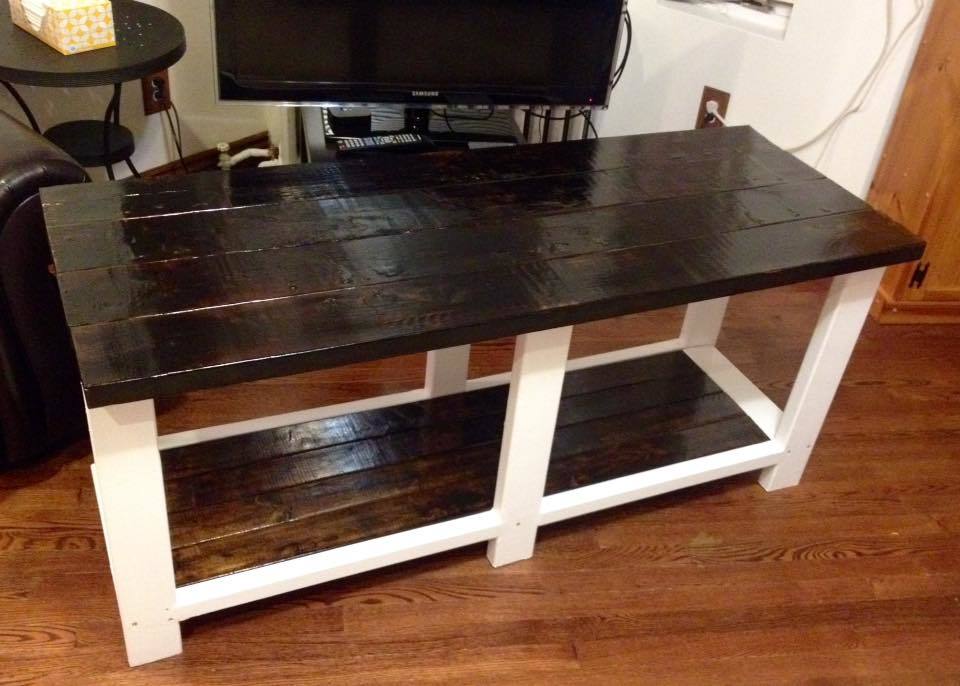
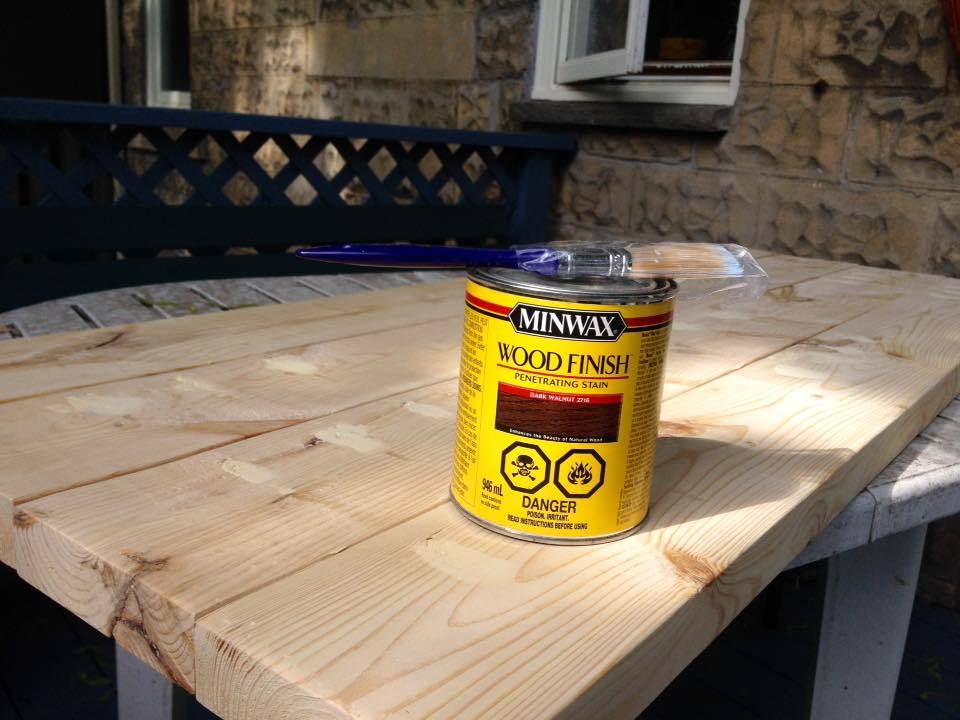
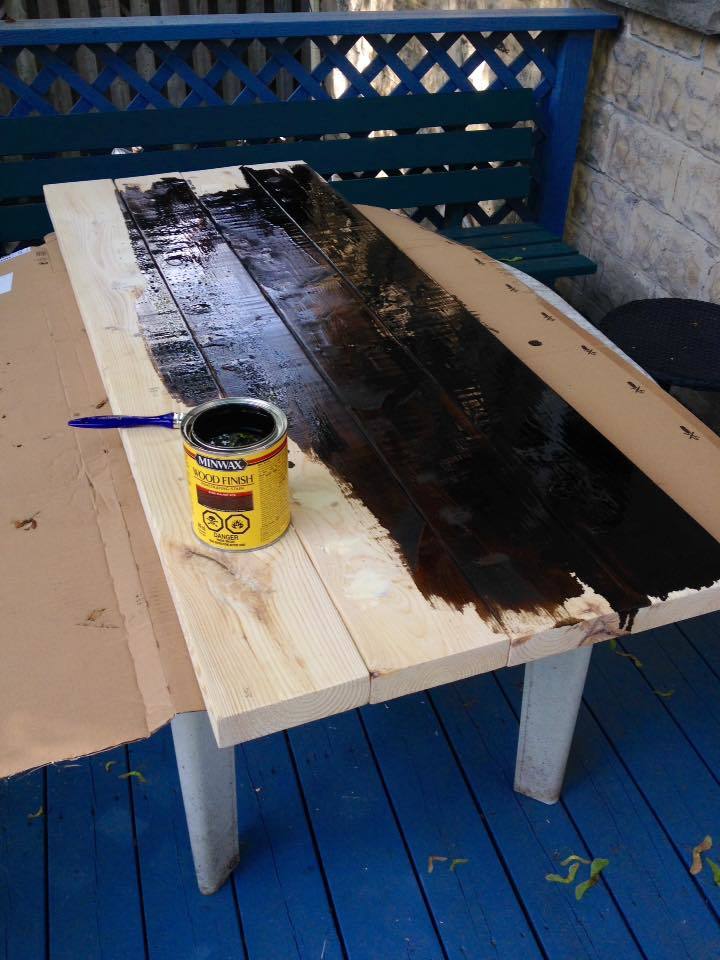
This was my very first DIY wood working project and I'm very pleased with the final result. I learned a lot along the way and after completing the TV table, felt confident enough to make a matching coffee table and side table. 

This is a great project for a novice DIYer.  

Built from Plan(s)
Estimated Cost
Approx. $150, as I had to purchase some tools.
Estimated Time Investment
Weekend Project (10-20 Hours)
Finish Used
TV Table
Recommended Skill Level
Starter Project

Pottery Barn Inspired Chaise Lounger

Submitted by gtd869 on Wed, 04/15/2020 - 20:34

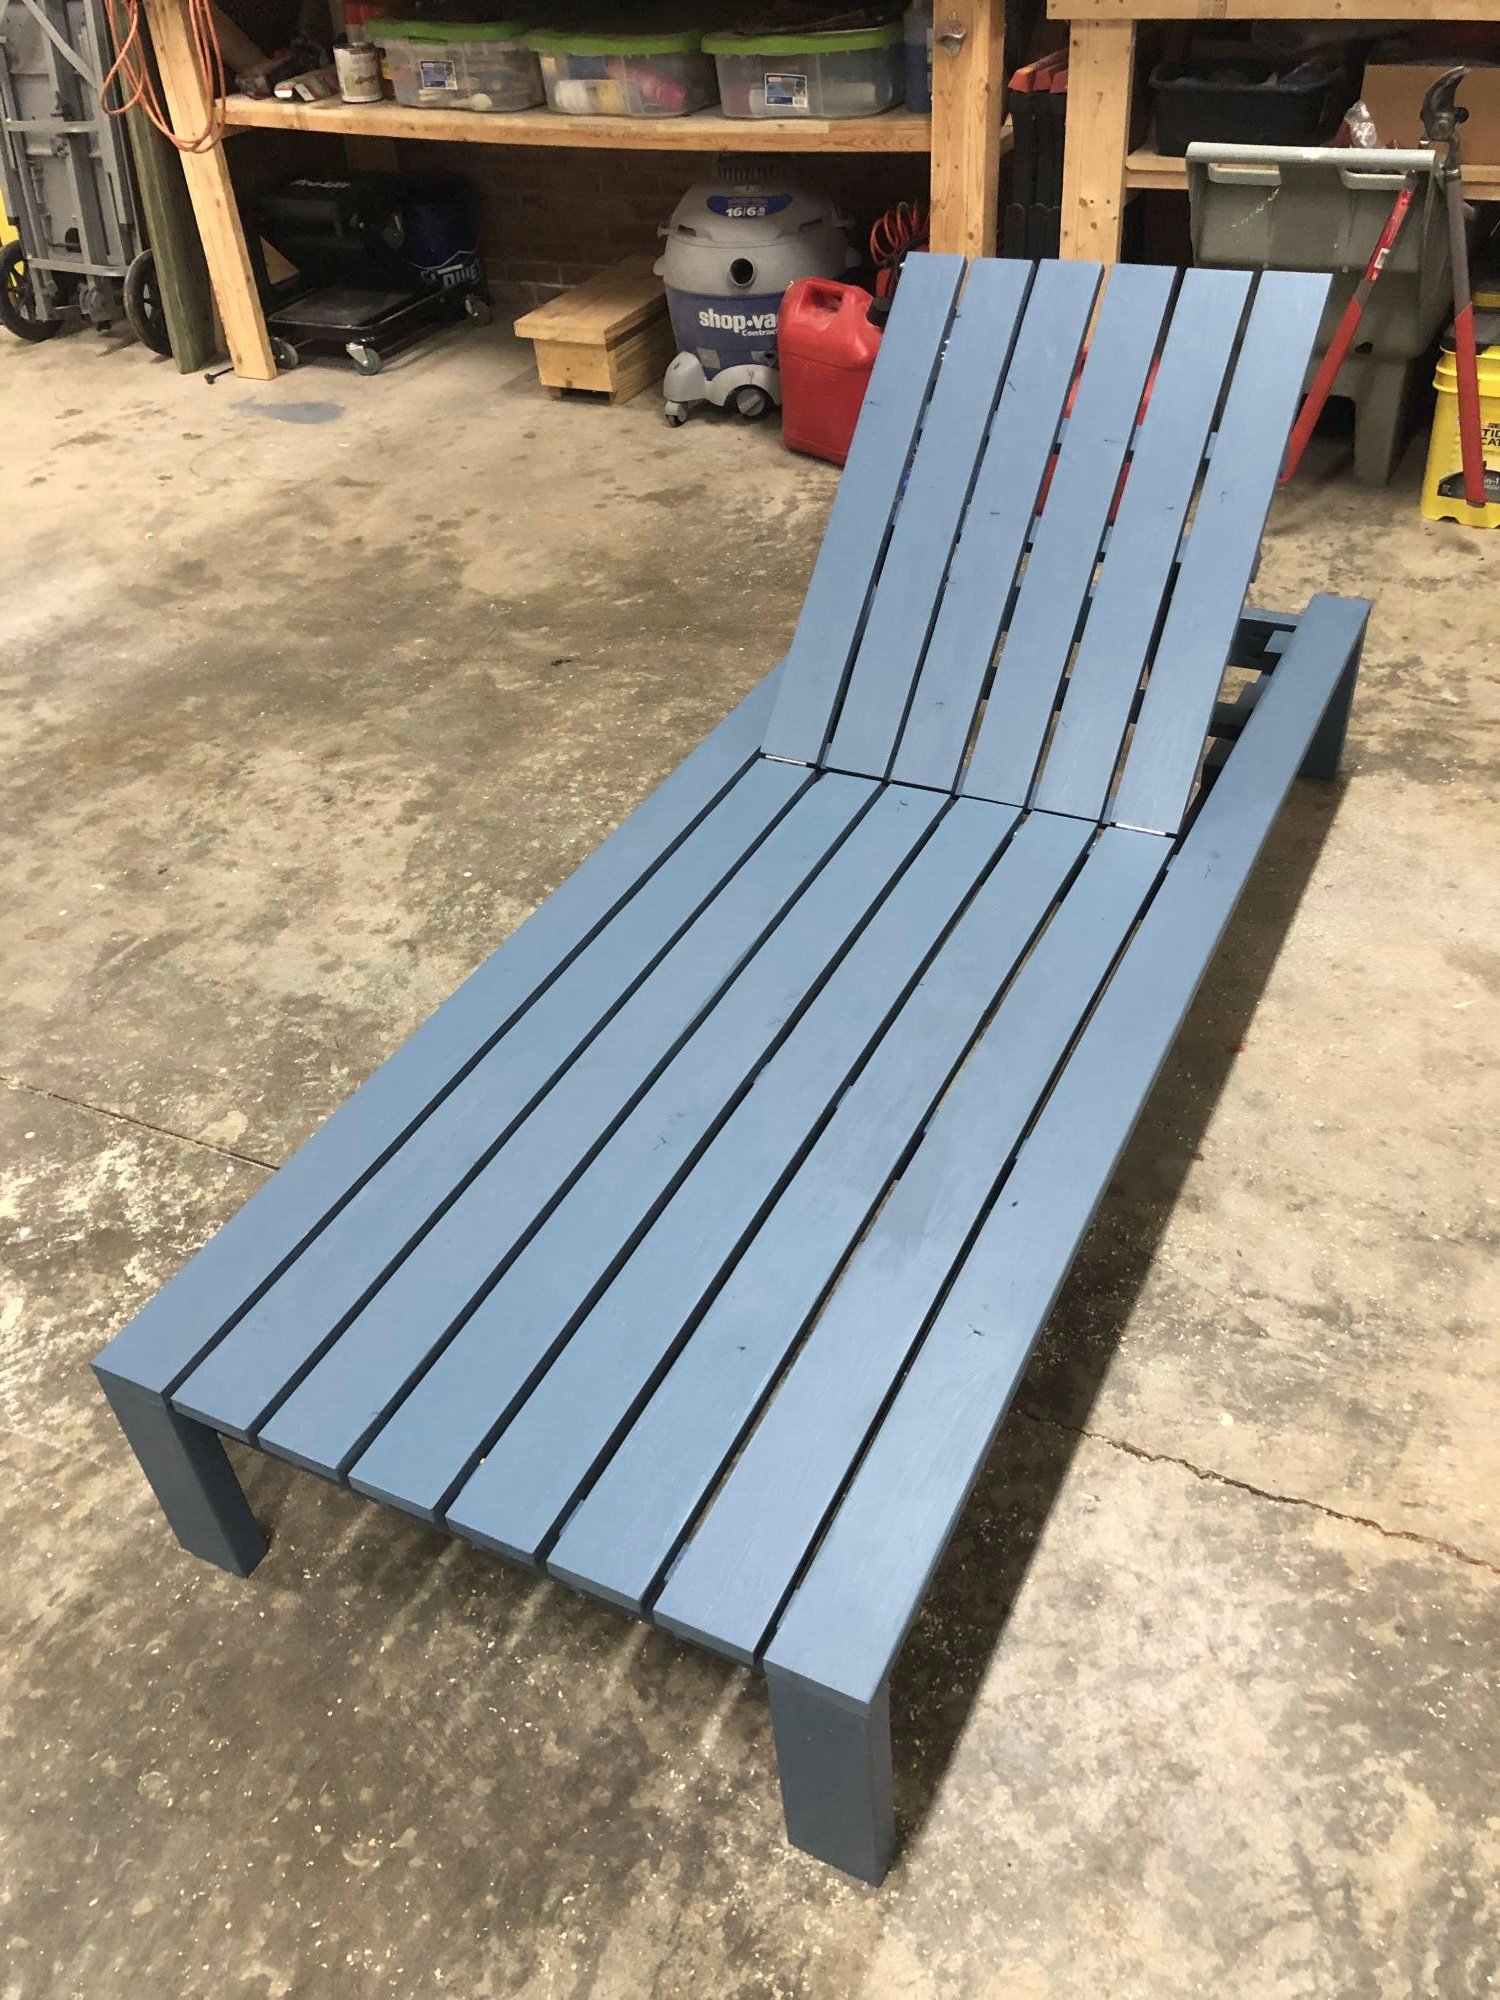
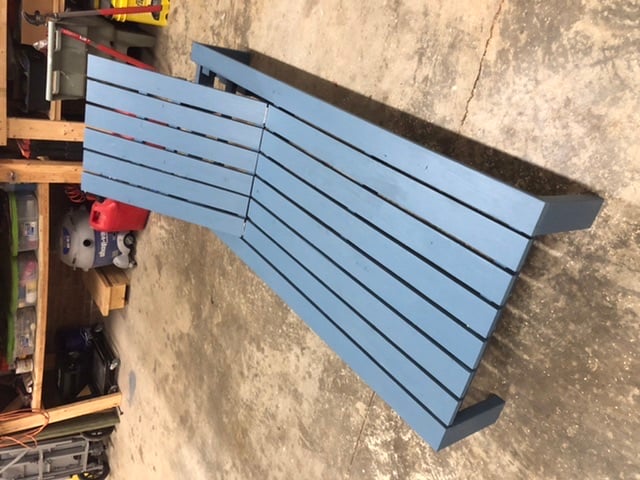
I followed Ana’s Modern Chaise build. The number of 2x4’s specified in the instructions is incorrect. You need 3 not 2. Other than that, a great plan.

Comments

Raised Bed Garden Enclosure

Submitted by Anonymous (not verified) on Tue, 06/21/2016 - 08:07

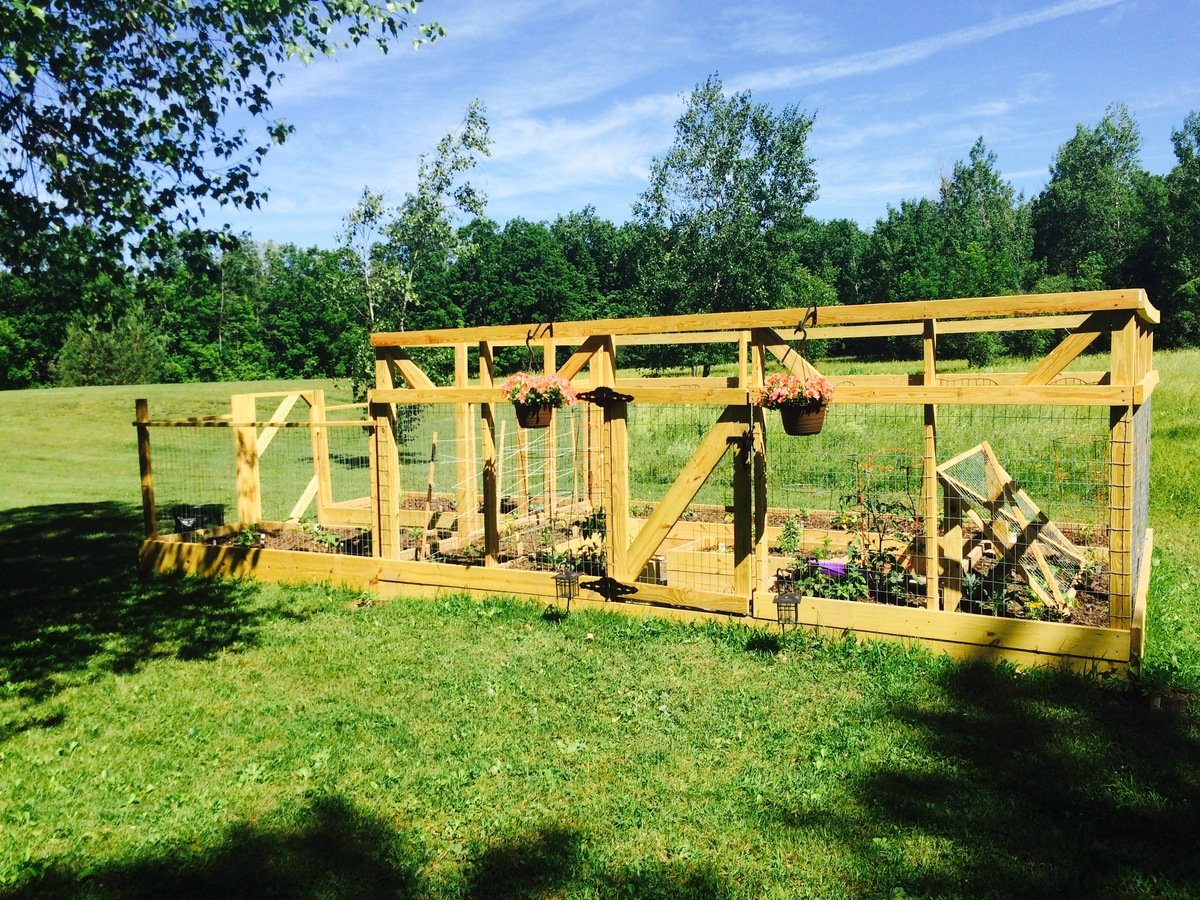
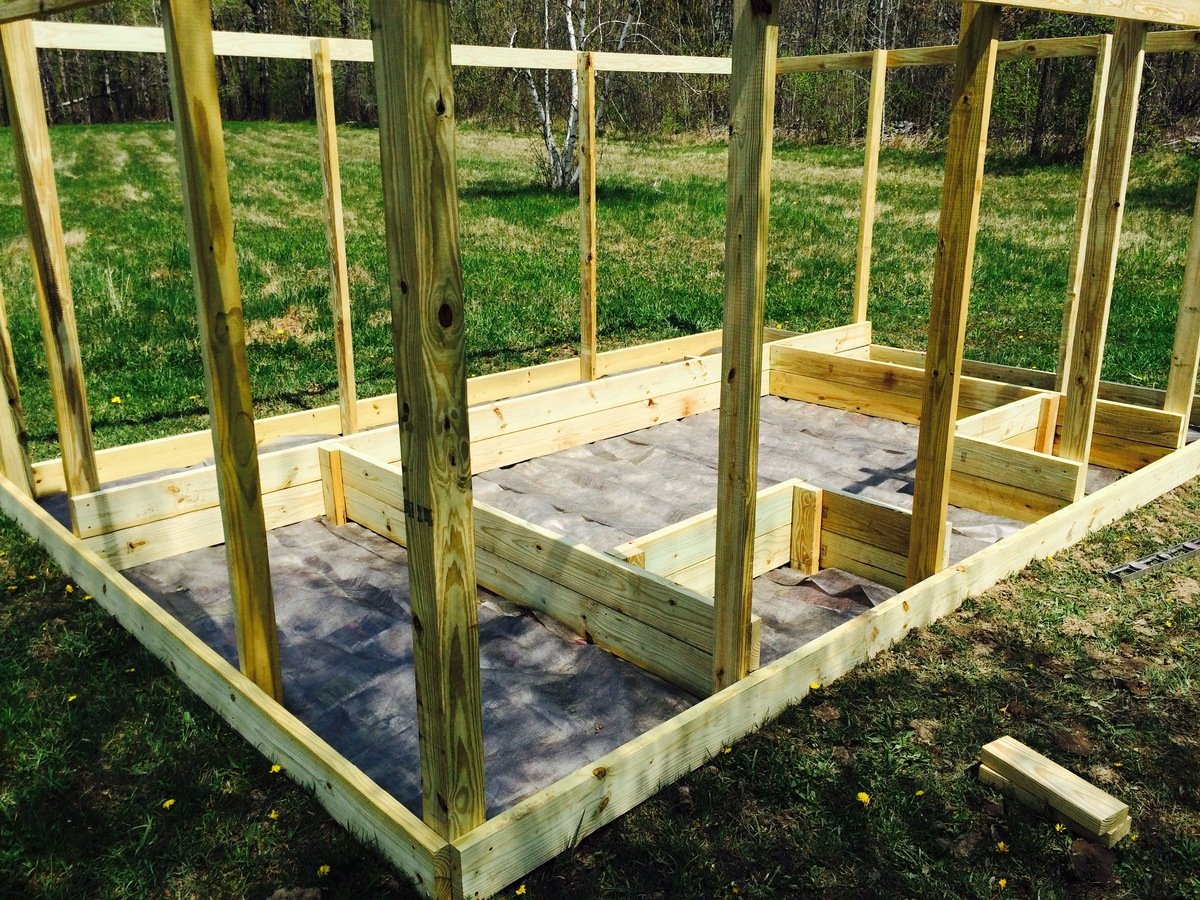
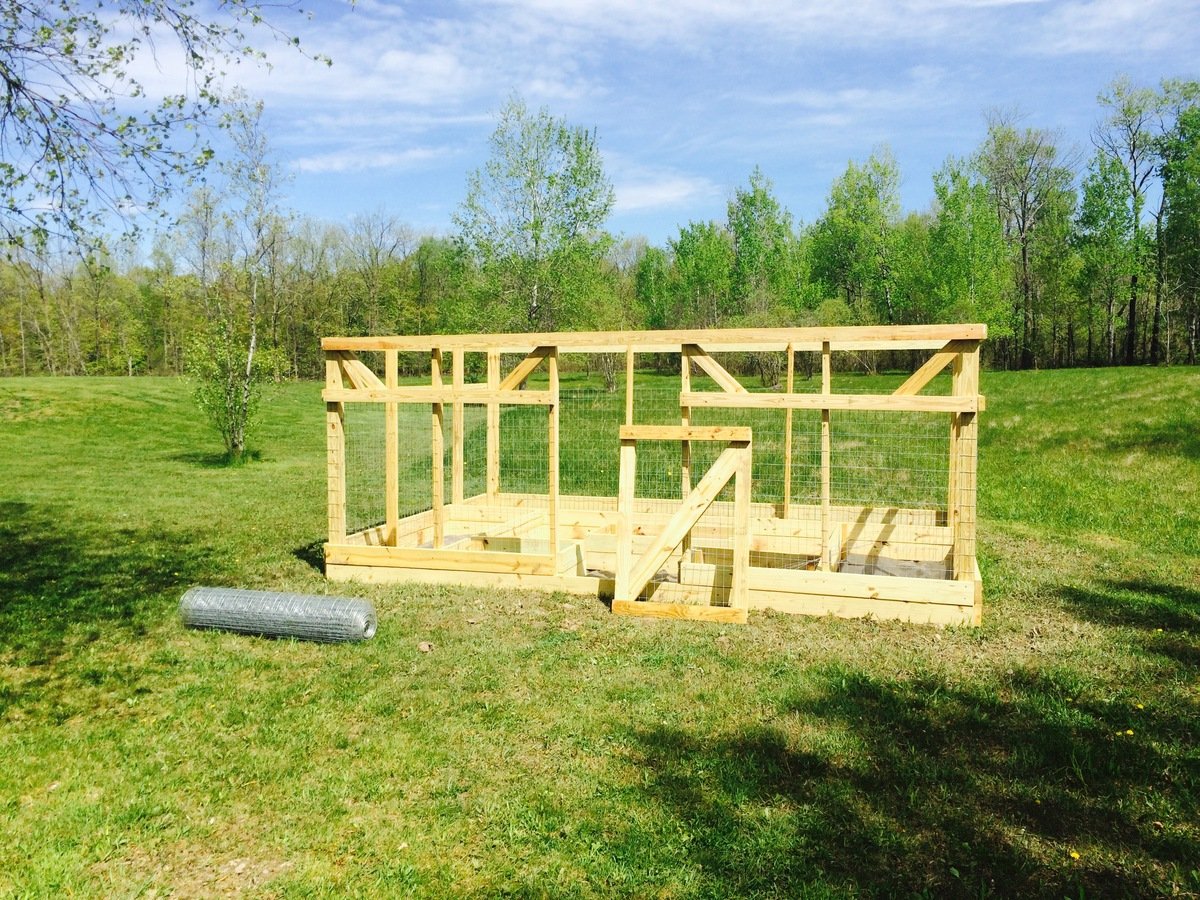
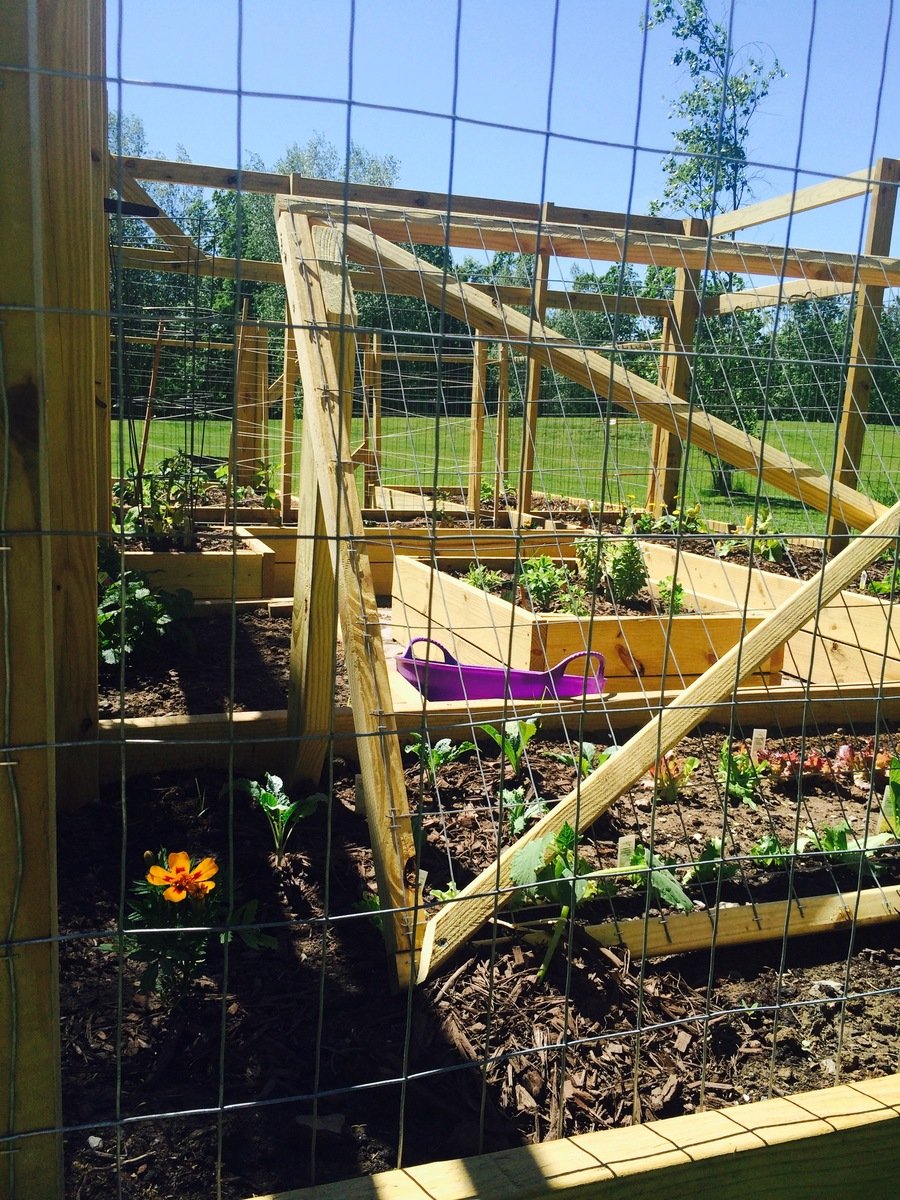
With lots of deer, rabbits, coyotes, and the occasional bear, garden enclosures are a must in our area (although I am not sure they will really help if a bear decides they're interested in our food). As our old garden enclosure was falling down due to the high winds and a quite a few winters in upstate New York, my mom found a horseshoe shaped garden with rasied beds that she loved. So, after searching around for a good plan, I found Ana White's collaboration with Home Depot for this enclosure.

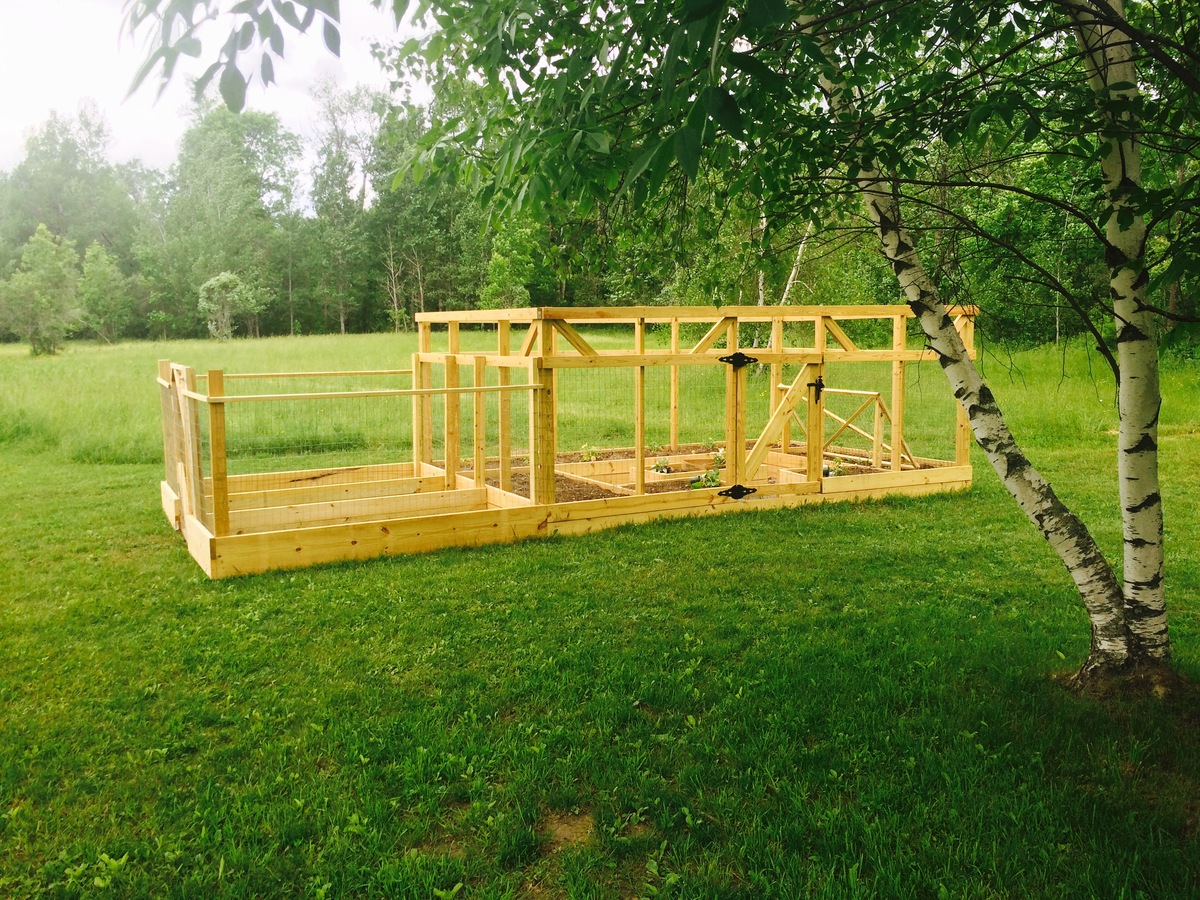
While the original plan was far too small for our needs, I was able to expand the length of the enclosure creating enough room to add two small beds on either side of the door and a center bed, which is perfect for herbs. The build was not difficult as I was able to do most of it by myself (with the exception of contructing the frame and attaching the door) and I am sure this would go much quicker with an extra set of hands. As I did not have a large chunk of time to devote to this project, it did take me quite some time stretched over a few weeks. Nonetheless, I am very happy with how it turned out.

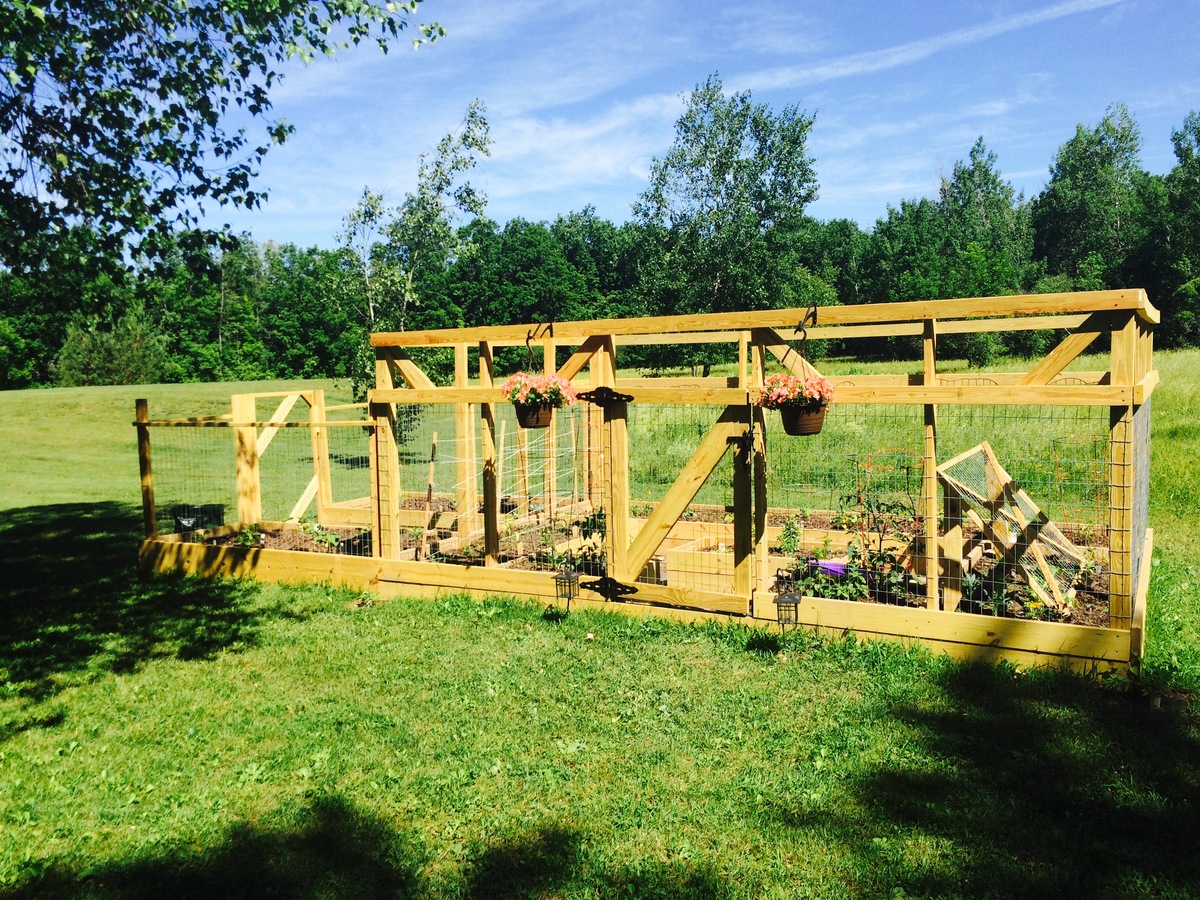
After construction, my family got a little garden happy and decided we wanted to plant even more vegetables than we had originally planned. So, we created a much simpler but nonetheless less pest-proof enclosure for two more beds to the left of our original project (shown in the photos).

Although this was an expensive project (exact price is unkown), it is quite sturdy and we expect it to last a long time and provide lots of vegetables. We added some hanging baskets for decoration and decided next year we will add some morning glories around the outside corners for some extra shade during the afternoons. Some minor alterations also included a latch that allows us to open and close the door from both sides, we actually picked up a gate latch kit for this part of the project, and using welded wire fencing instead of chicken wire. While the welded wire added to the cost, it will hold up better to the wind and snow and is still protective enough to keep out our main predators.

Thanks so much for the plans Ana! In the begining, our neighbors joked we were building a guest house :). I have included some photos from throughout the build as well.
Built from Plan(s)
Estimated Cost
~$500?, we had to make some adjustments in size and swap out some materials due to the high winds we get, so this could probably be done for cheaper. The cost is also a guess as I am not completely sure what the total came to after many trips to the store. Nonetheless, our garden is twice the size of the enclosure kits Home Depot and other stores sell for what I predict to be more than twice the cost.
Estimated Time Investment
Week Long Project (20 Hours or More)
Finish Used
Unfinished
Recommended Skill Level
Beginner

Mat's Desk

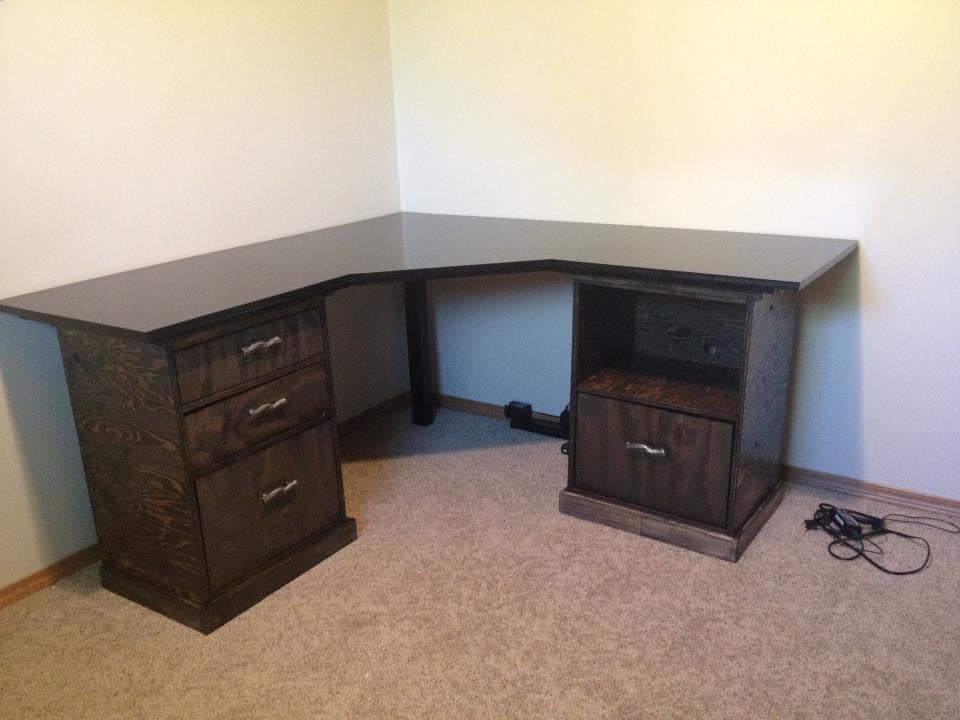
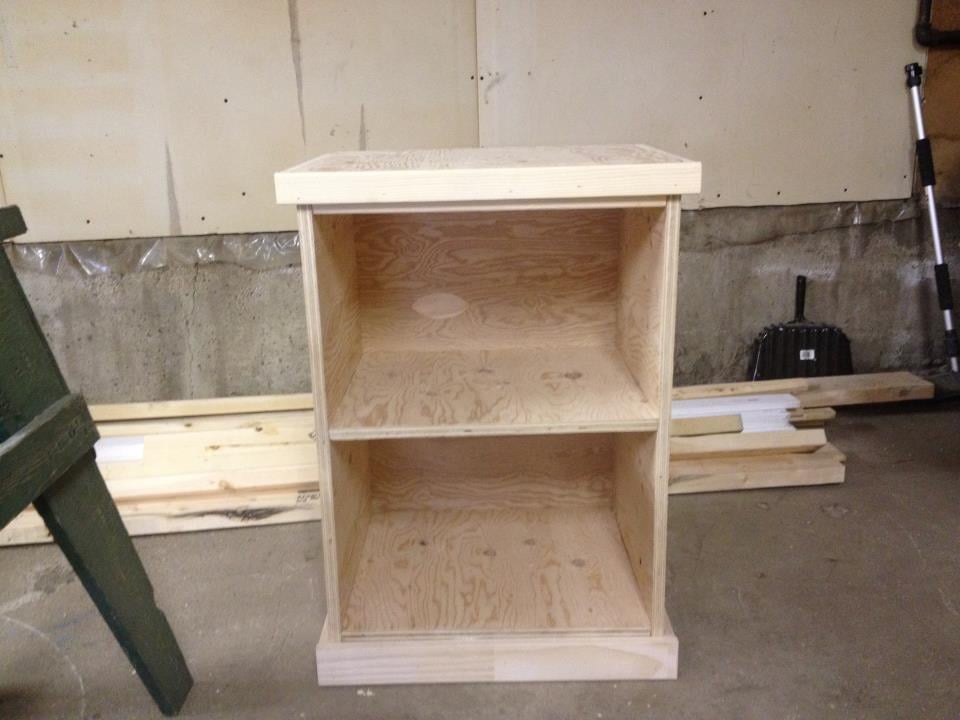
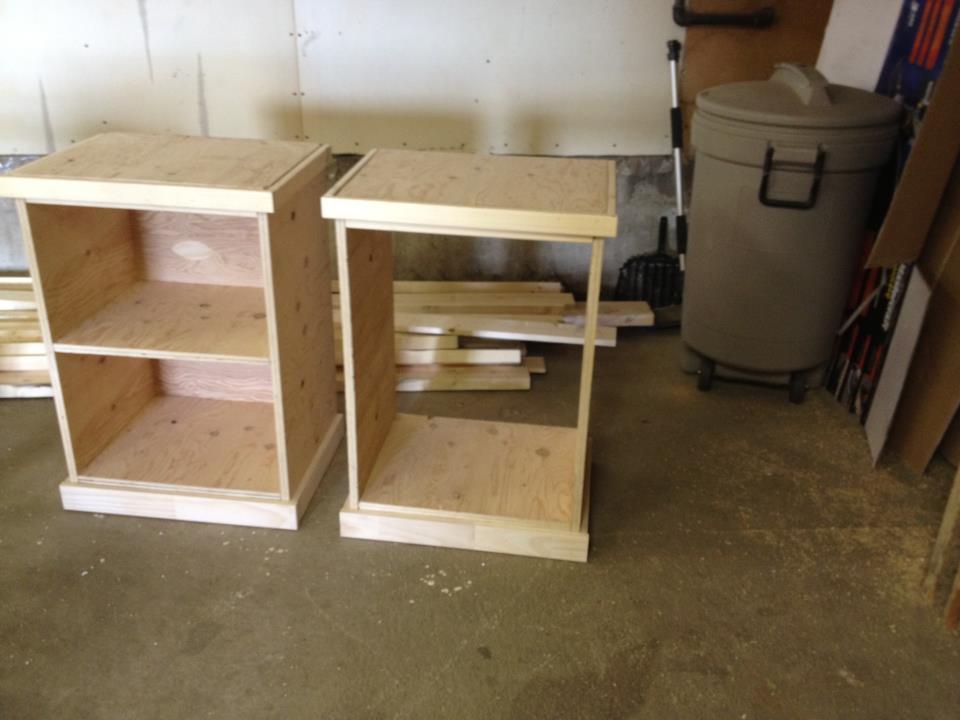
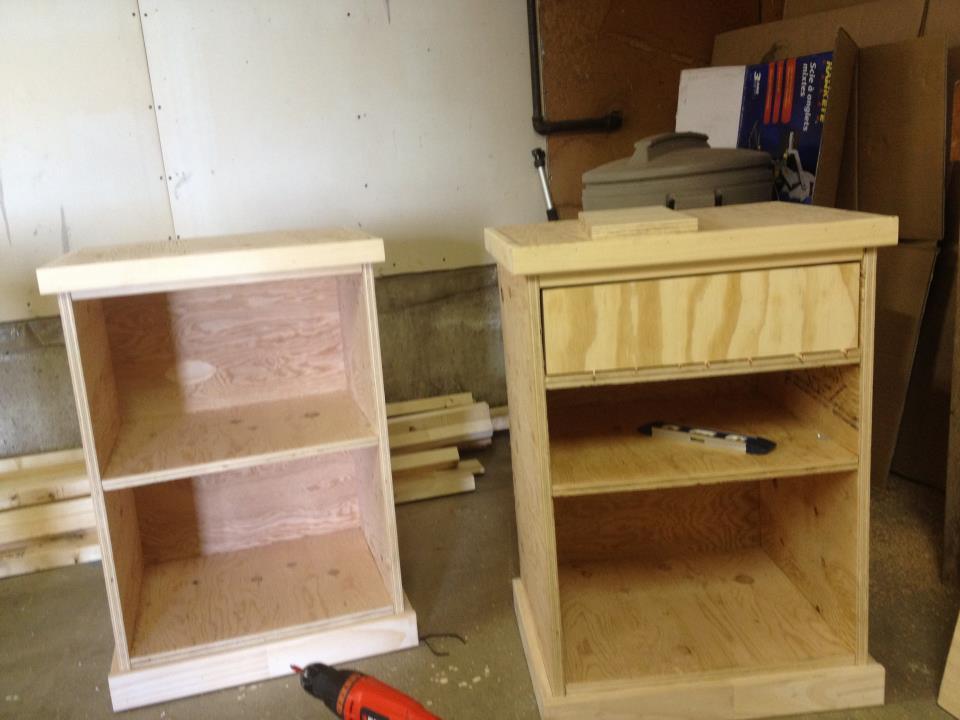
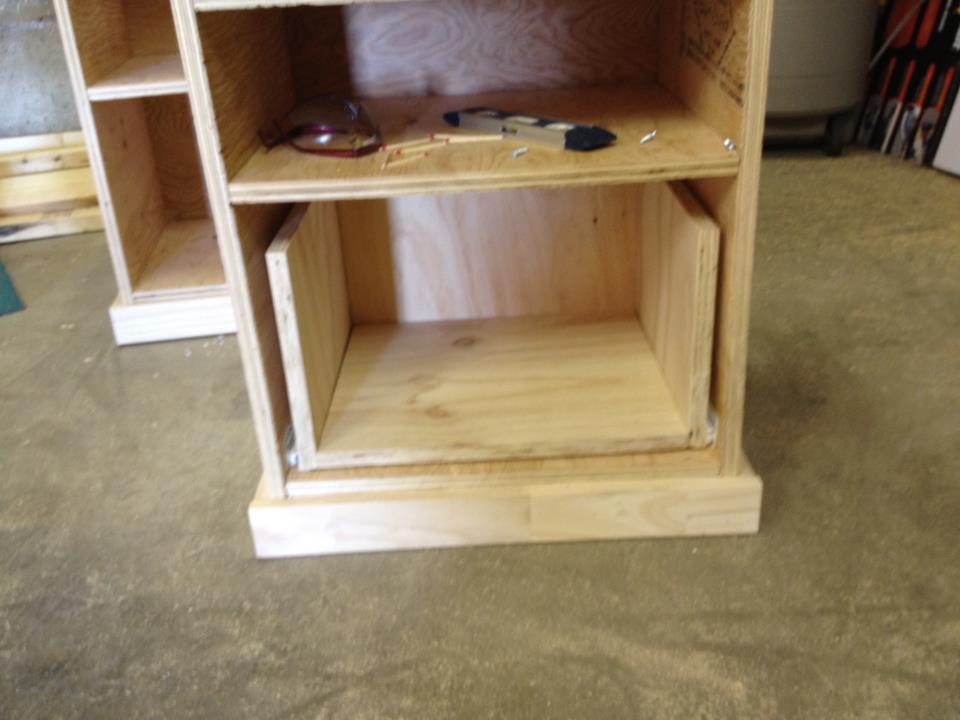
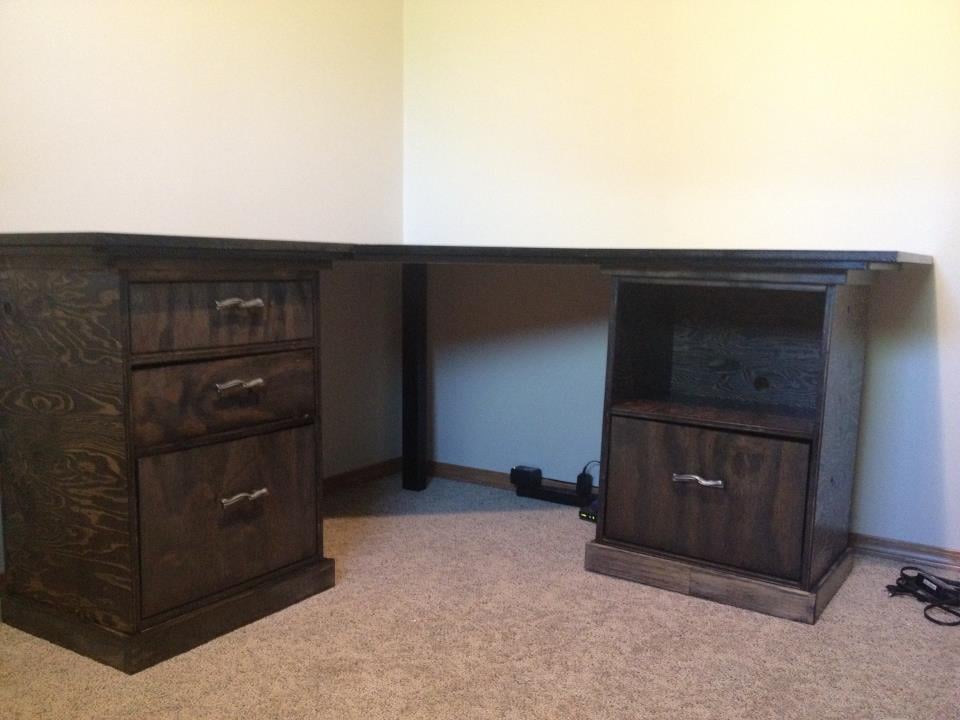
We needed a desk for the office. I didn't want particle board - or to pay a fortune! Thanks, Ana!

Estimated Cost
$150-200
Estimated Time Investment
Week Long Project (20 Hours or More)
Finish Used
I used Miniwax Ebony Stain for the base and drawers and some Rustoleum Spray Paint in Black for the top. Finished with a few coats of Varathane Diamond Clear. I would use brush on paint instead of spray if I did this again - the spray paint used 3 CANS and was a huge part of the cost!
Recommended Skill Level
Intermediate

Comments

rickfred32

Mon, 02/15/2016 - 10:38

Hey there! The desk looks great! I'm curious do you have a upclose of the top of the desk? Is the top stained as well?

2x4 Adirondack Chairs (w/2x10s)

Submitted by dustblock on Sat, 05/02/2020 - 19:11

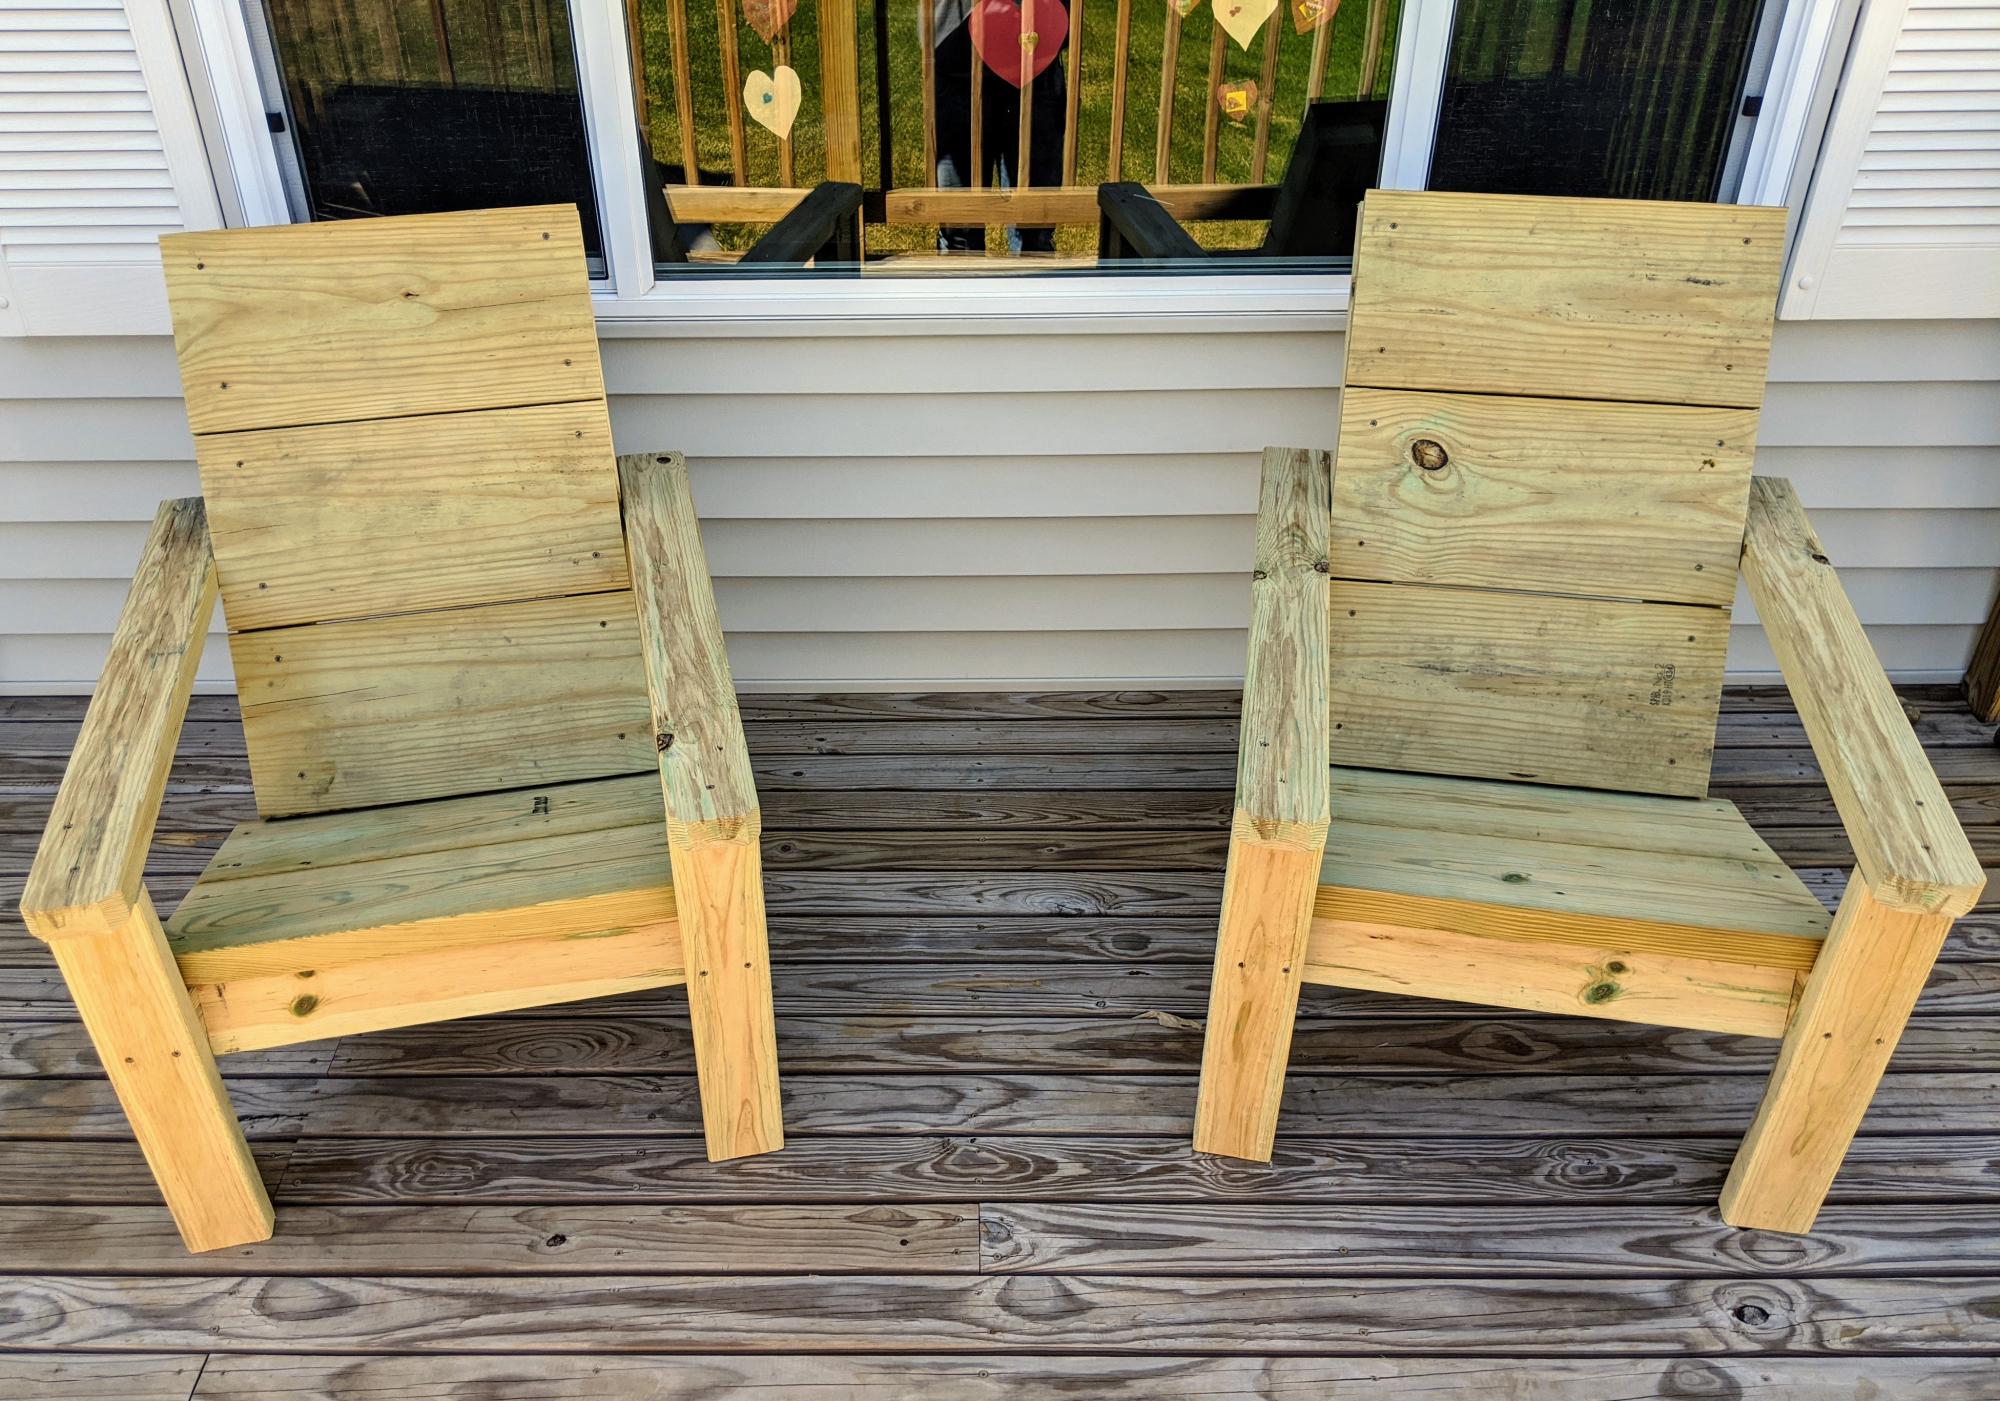
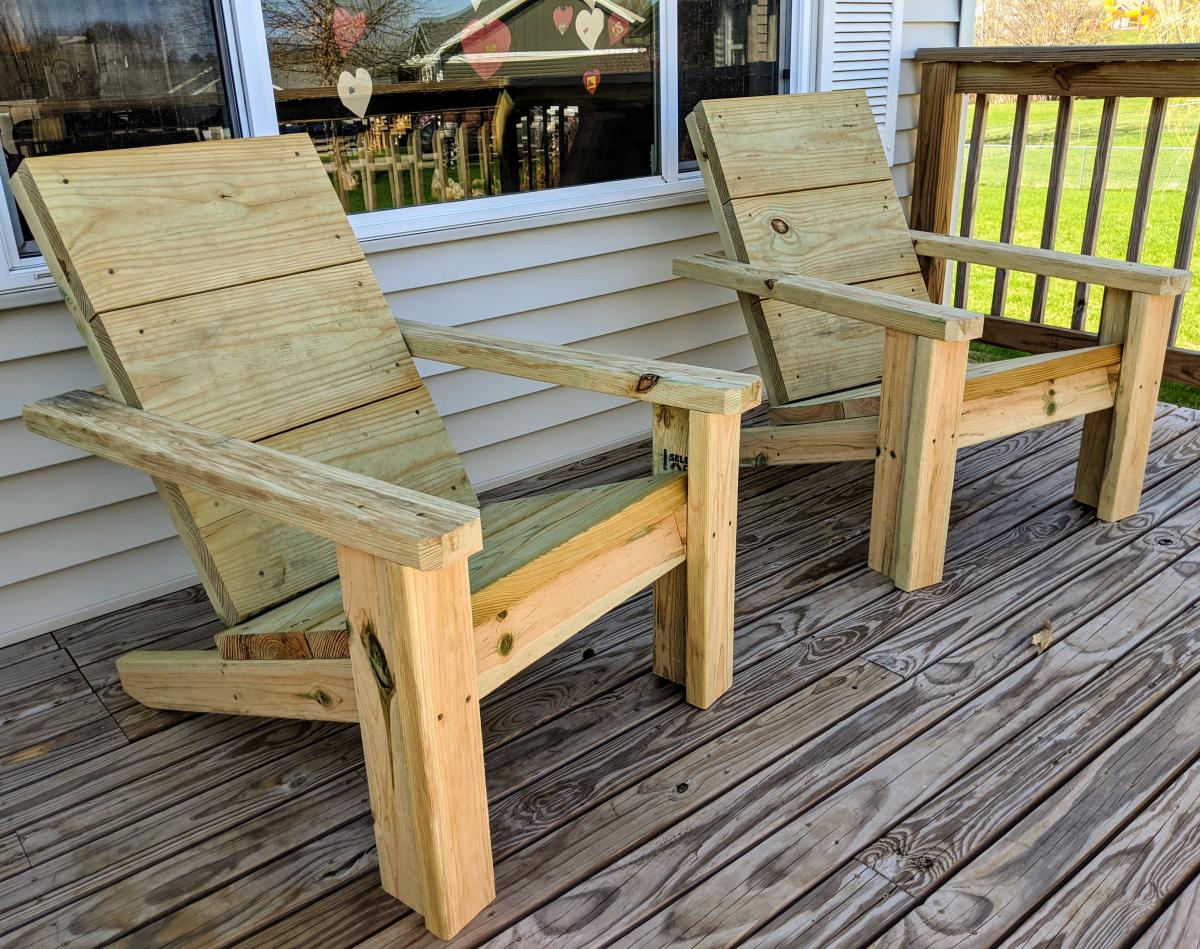
After seeing the post for these new plans, I knew it would be only a matter of days before I was building my own set. I've always wanted to do Adirondack Chairs but disliked the dated look and all the curved cuts of the typical styles. Great job Ana on such an amazing set of chair plans. One substitution I made, as I wanted to go treated but didn't have 1x10s locally, was to use 2x10s for the back and seat boards. I also lengthened the back supports 1/2" to accommodate for the thicker boards and extended the arm rests 1 1/2" so they went past the legs a bit. With those two changes, all of my long pieces use a 33 1/4" measurements for cuts. Will be making my second set as soon as I have time. These will be about 3 1/2" wider to give a bit more room to the chair. Another awesome plan from Ana White!

Estimated Cost
$60
Estimated Time Investment
Afternoon Project (3-6 Hours)
Recommended Skill Level
Beginner

Ana's Adirondack Chairs. My wife loves them

Submitted by Anonymous (not verified) on Tue, 05/05/2020 - 05:34

Just bought a compound miter saw and saw the plans for the Adirondacks Chairs on your channel. Showed them to my wife and she lived them and so became my first project with the new saw. I finished them with leftover deck stain (PPG Cedar 077). I'm sure they will be around for years to come.
Back