Pallet Wood Side and Console Table
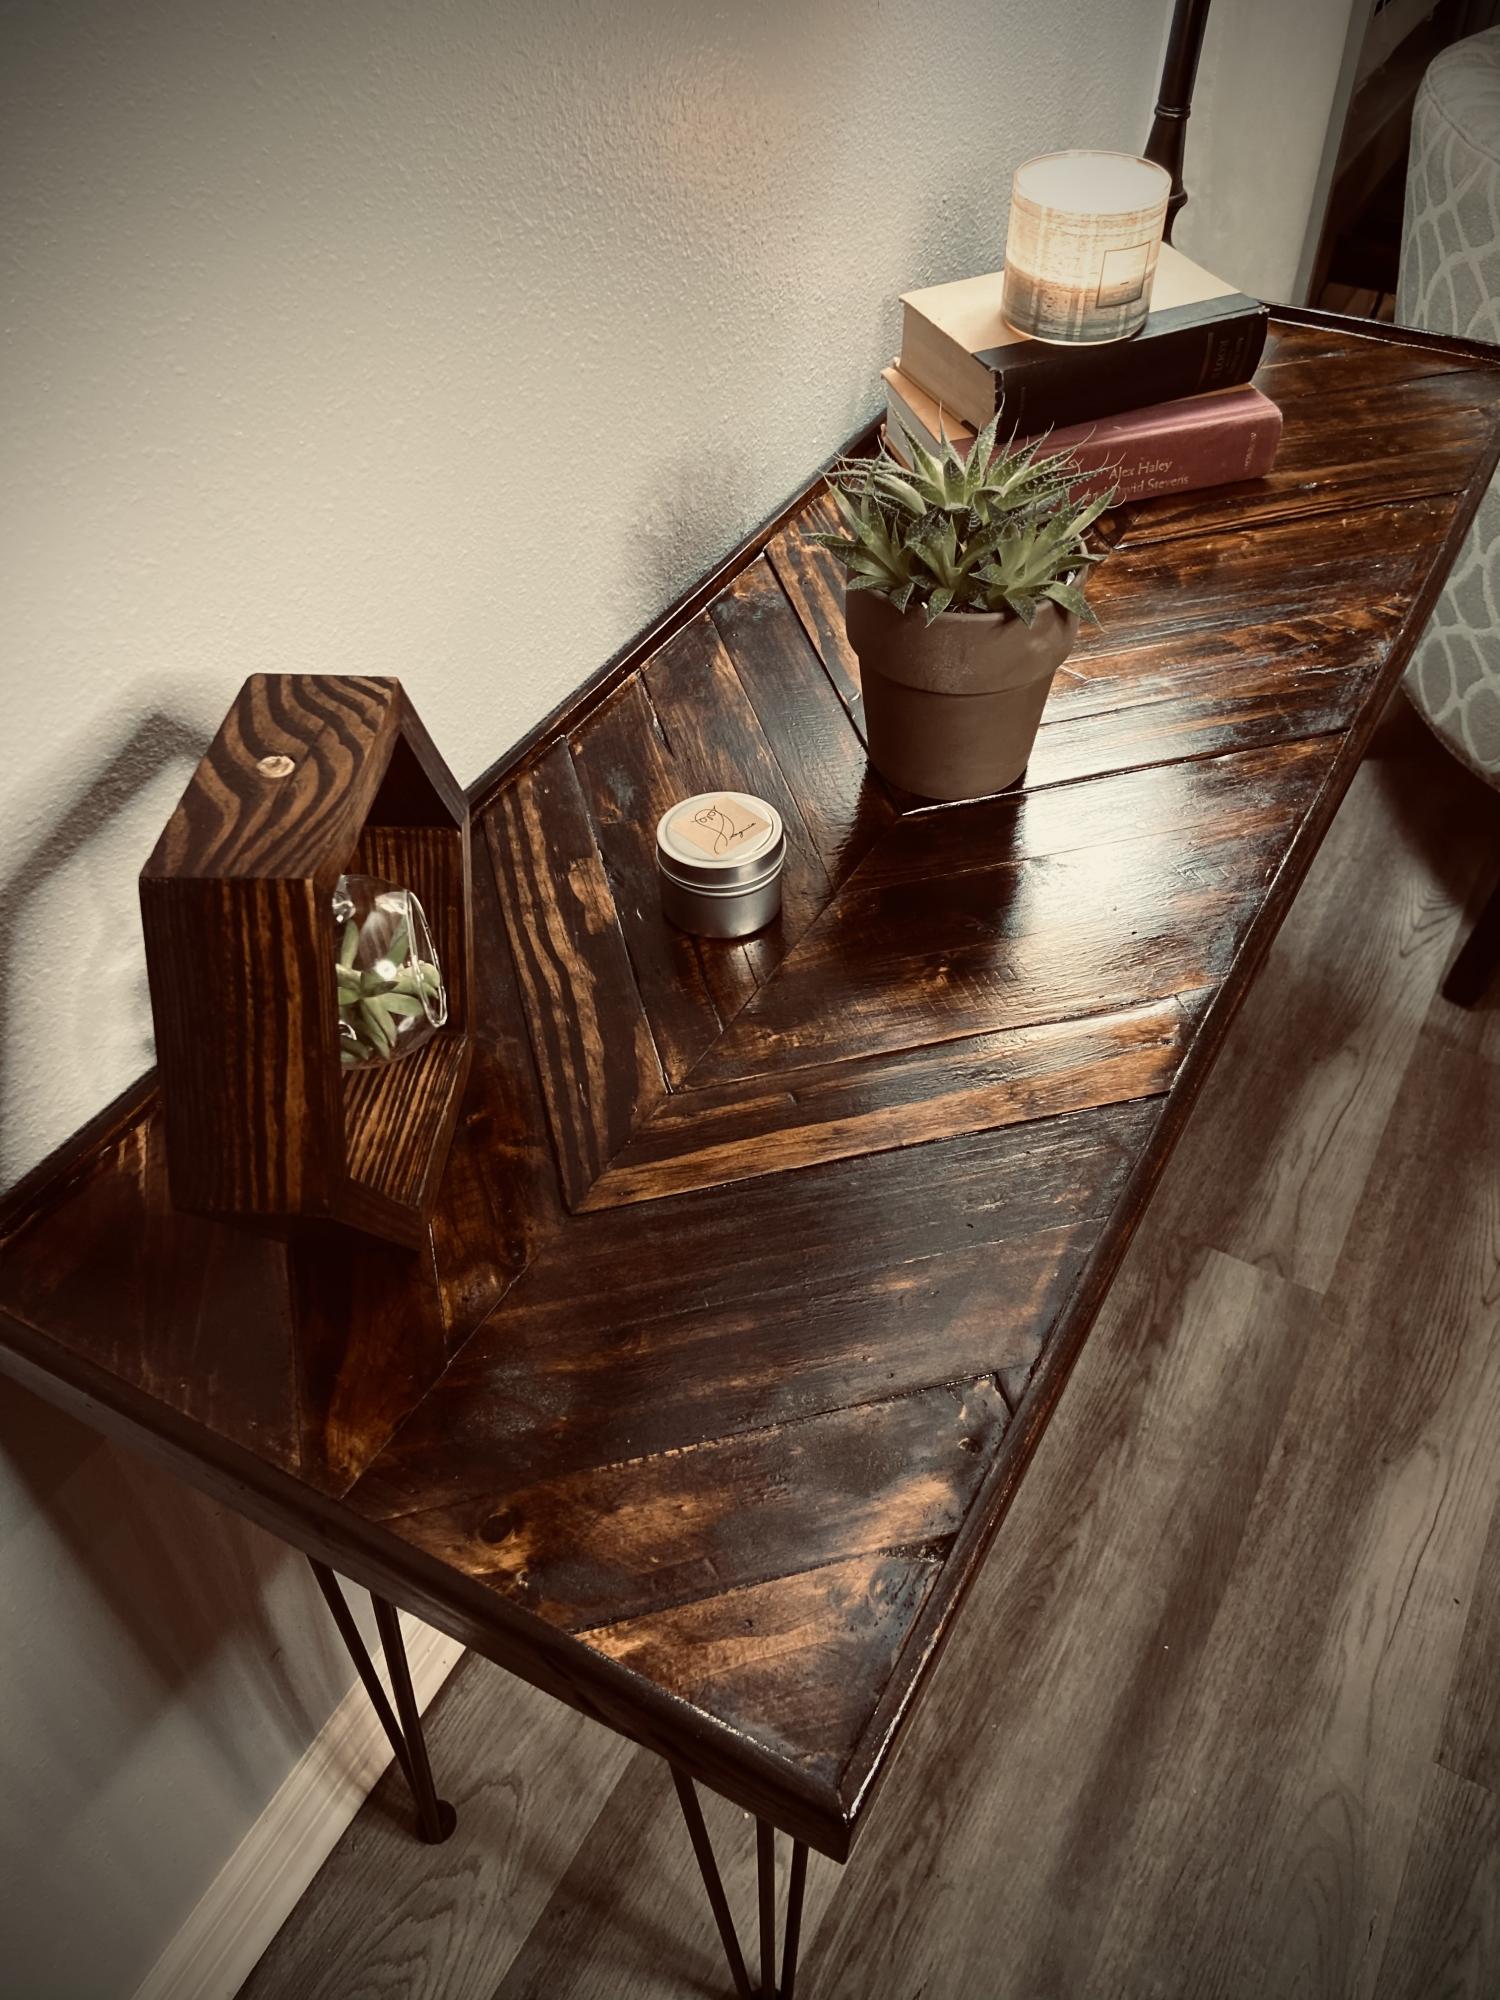
Amazon had an awesome sale on hairpin legs and I couldn’t pass them up. We had a few unused pallets, so I just created this beautiful table console and side table. Happy creating y’all!
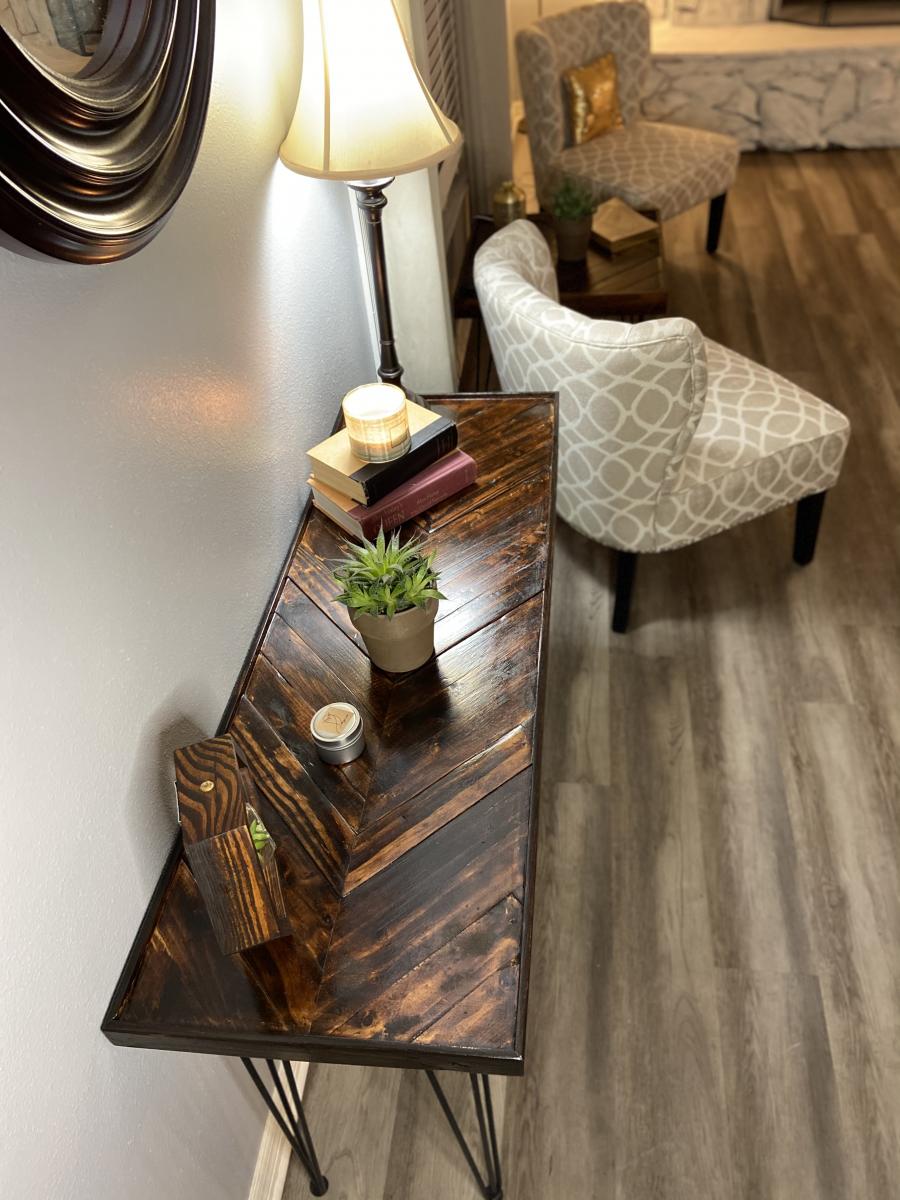
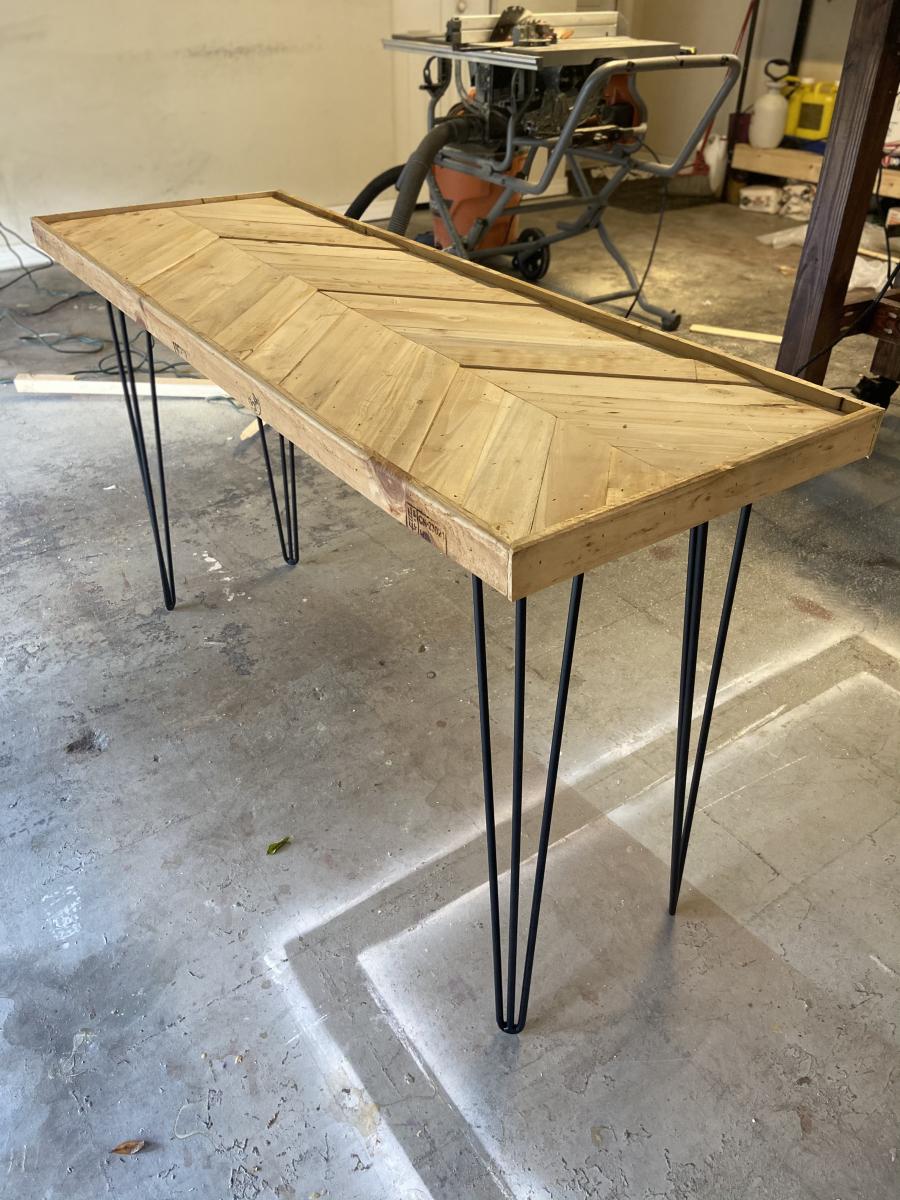
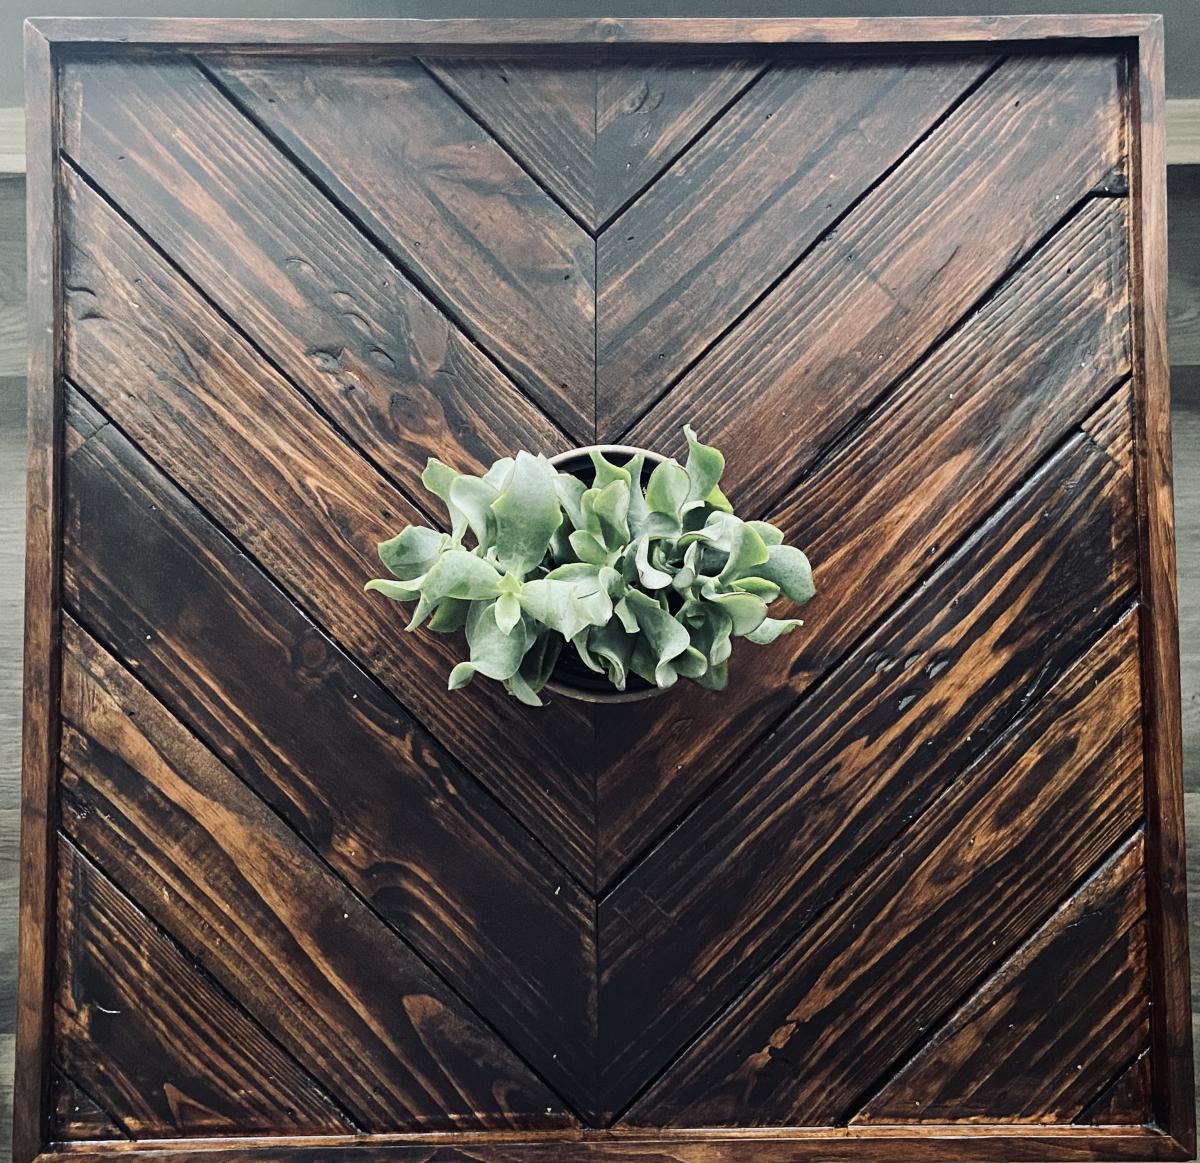
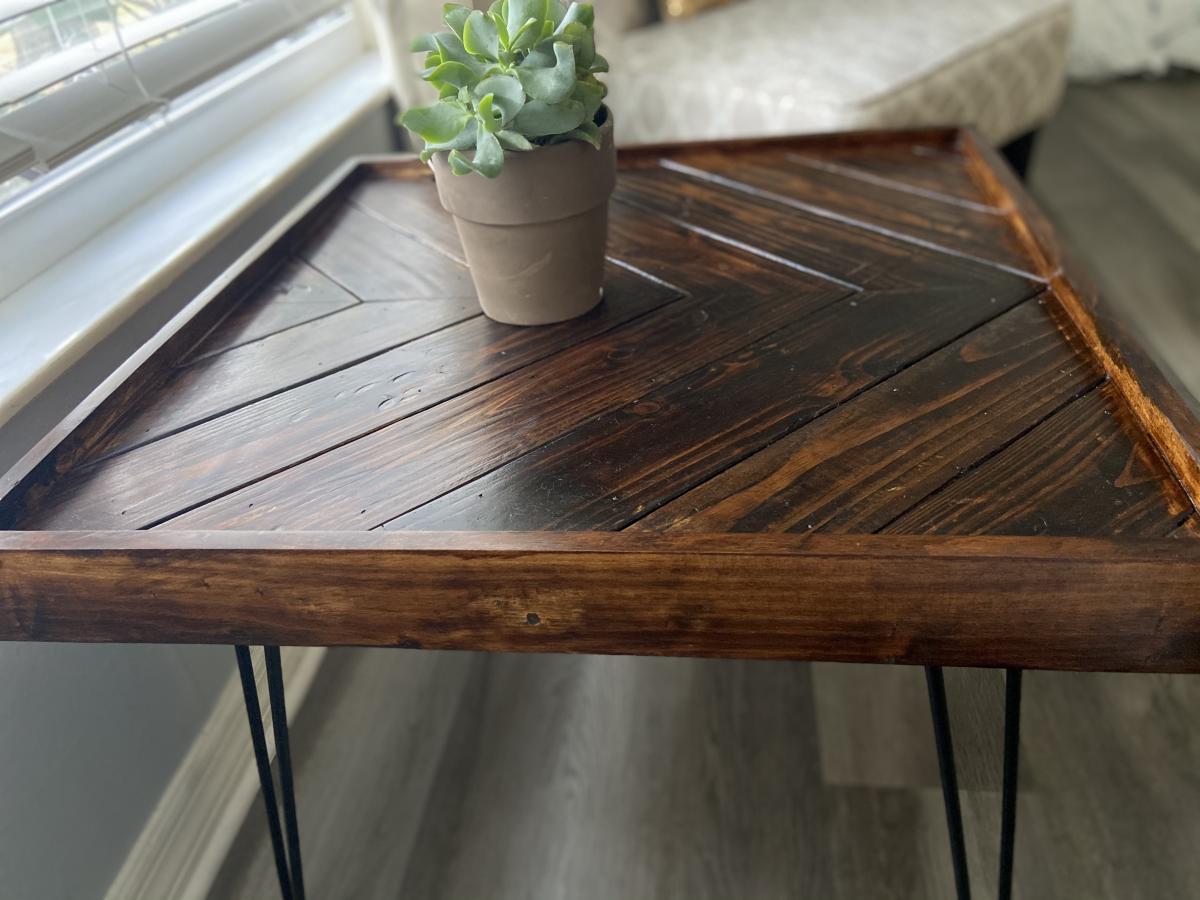
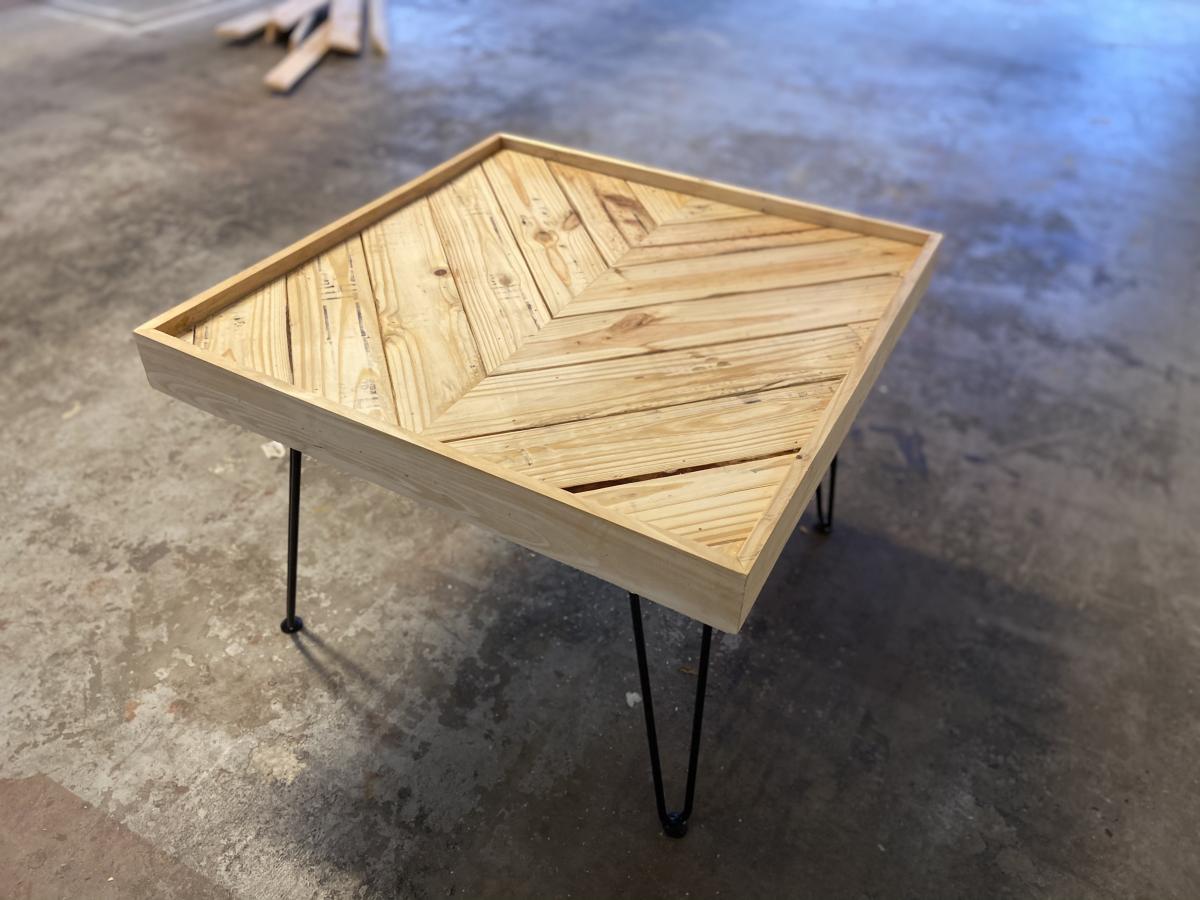

Amazon had an awesome sale on hairpin legs and I couldn’t pass them up. We had a few unused pallets, so I just created this beautiful table console and side table. Happy creating y’all!


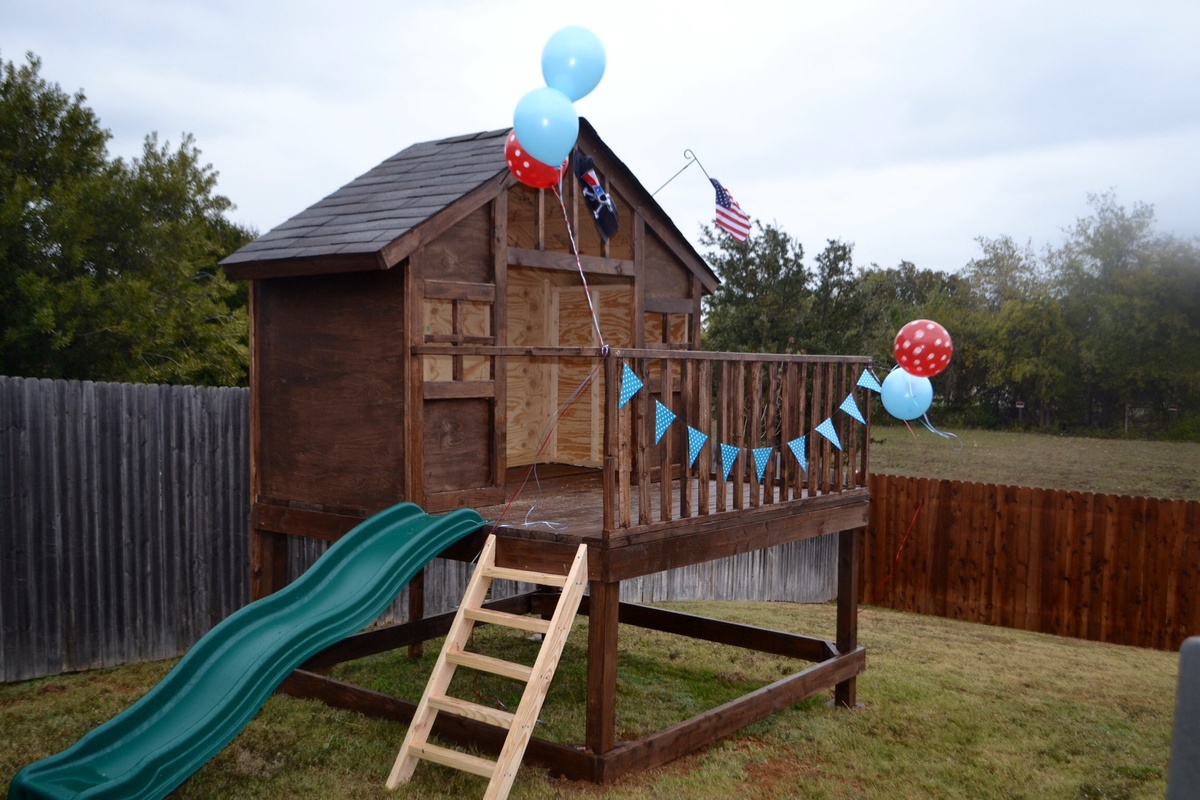
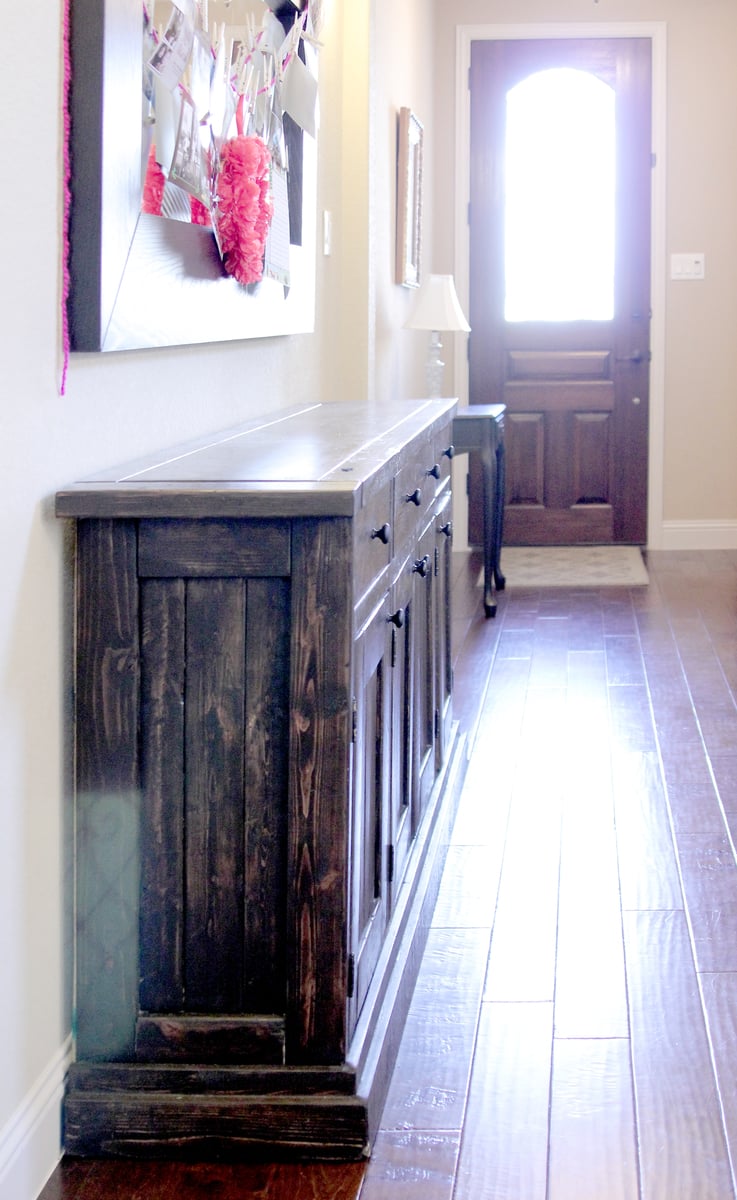
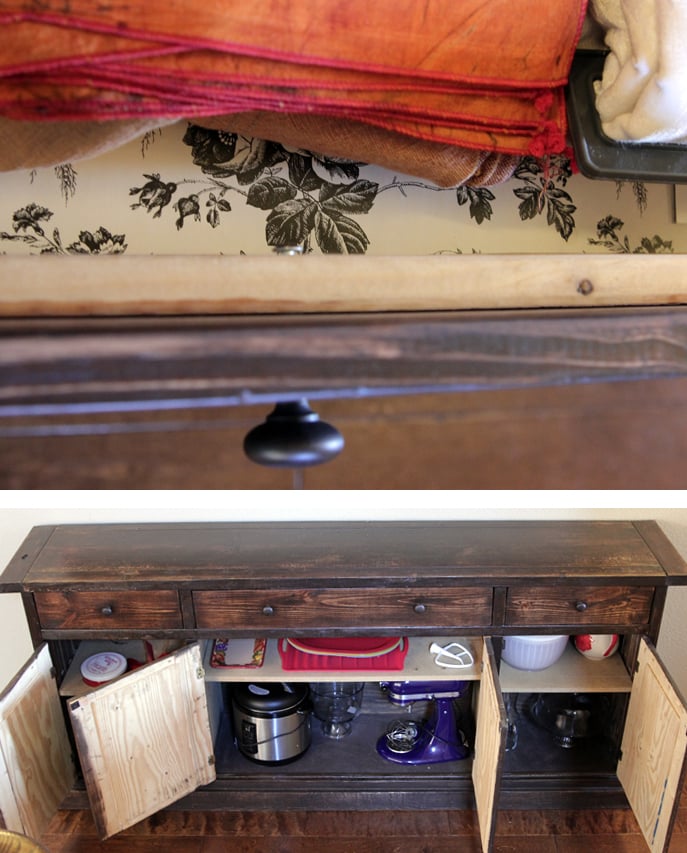
Love how this turned out!! Thank you thank you Ana!! Plans were great, I think we got it done for just about $250!
Thanks again!
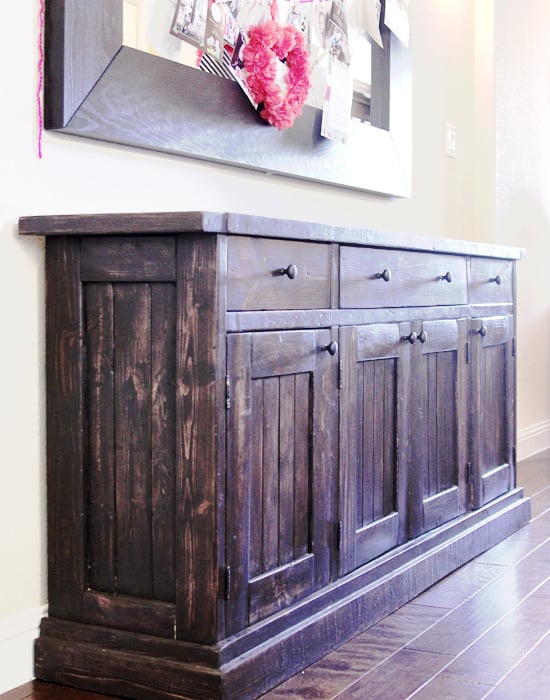
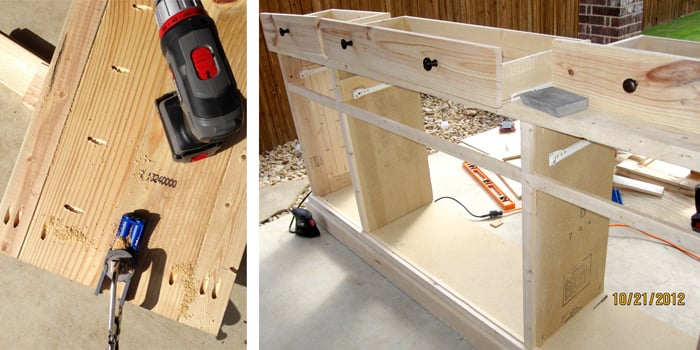
This was our second project (though I'm proud to say that I was able to put the bulk of it together all by myself...and that's because of the miracle of the Kreg Jig pocket hole kit!)
First I had to modify the plans so that the sideboard wasn't as deep (about 16" deep...so just a couple/few inches off the original plans). Then we bought the wood. My husband helped me cut most of the pieces, and then I started drilling pocket holes. It felt like it took forever! But once that was done, I was able to put it together so quick...like an IKEA furniture! BUT! I really should have checked for SQUARE better than I did, b/c once it REALLY started coming together, things were a little off kilter... Thank goodness my husband had the patience to SAND THE HECK out of the bottom of the poor thing to level it back out. :P
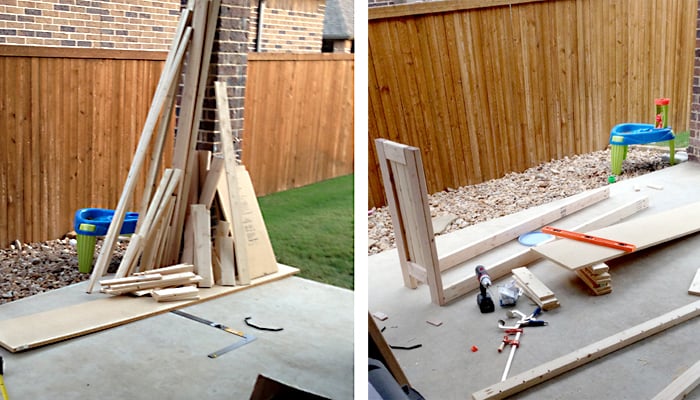
The door fronts took forever...and the drawers took a while to fit in correctly (all of which my hubs did). We had left our lumber on the patio, and the second day it got rained on. It might have helped if our lumber didn't get wet (to help keep things straight and square).
The things that took the longest: squaring, leveling, doors and drawers, and the base molding (I ended up using a 2x4 and 1x2 to build my own base along the bottom...we wanted to stain the wood instead of paint it, and didn't want to pay the $$$ for paintable molding).
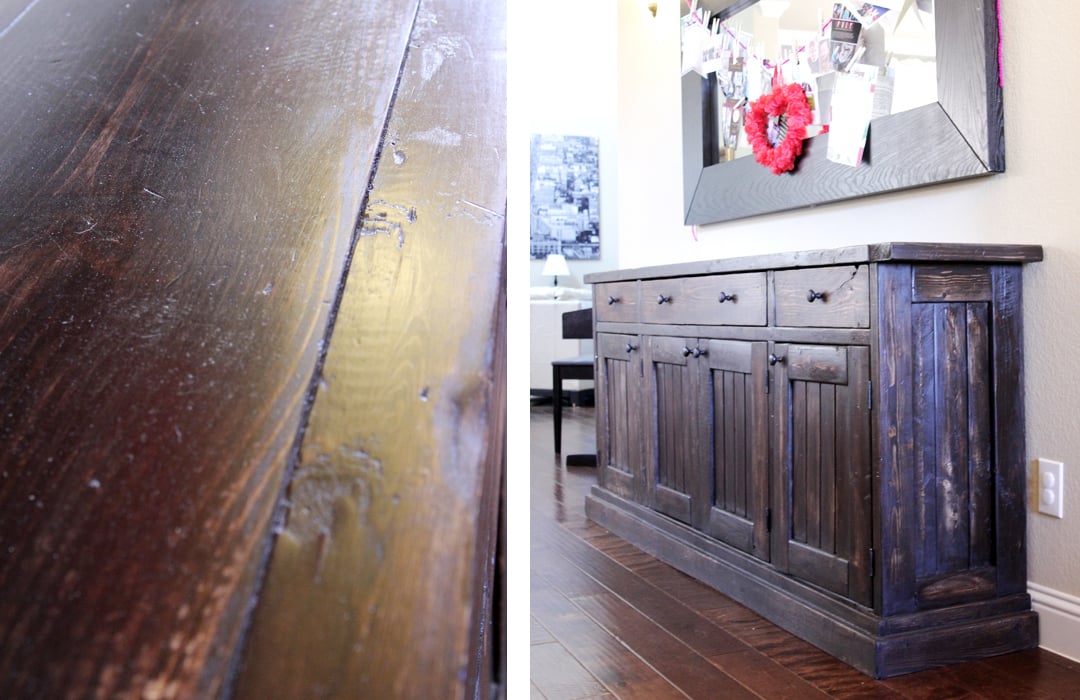
I used the same Rustoleum Dark Walnut stain that I had used on our Farmhouse Table...but I didn't shake it enough before using it, then left it on longer than I should have, so it is much darker than our table. Eventually may want to paint over it since it was so hard to get stain in all the nooks and crannies.
I didn't think to stain the inside of the doors. I will have to go back and paint it someday. We used particle board for the bottom and inside shelf (much cheaper than plywood). I tried staining the bottom piece, but it just soaked in the stain. So I used some dark brown spray paint instead. Worked like a charm. Planning on painting/covering the shelves one day, too.
OH! AND, I couldn't find the wider "bead board" (or whatever it is that everyone else used on their sideboards), so we used plywood as a backing, then attached some thin Poplar boards on the front for the appearance of planked boards. VERY painstaking. Would recommend a different method for that part.
(Timing: We started building this around the beginning of November, brought it in and used it before it was finished...then finished it a couple days before Christmas. Just the other day I added some drawer liners).
Wed, 02/06/2013 - 15:20
I saw your comment on my blog and had to come take a peek! It sounds like it was a challenging project, but you did a fantastic job. Beautiful!
Thu, 09/26/2013 - 10:15
I love the dark stain on this piece! It looks beautiful! Congrats on a job well done!
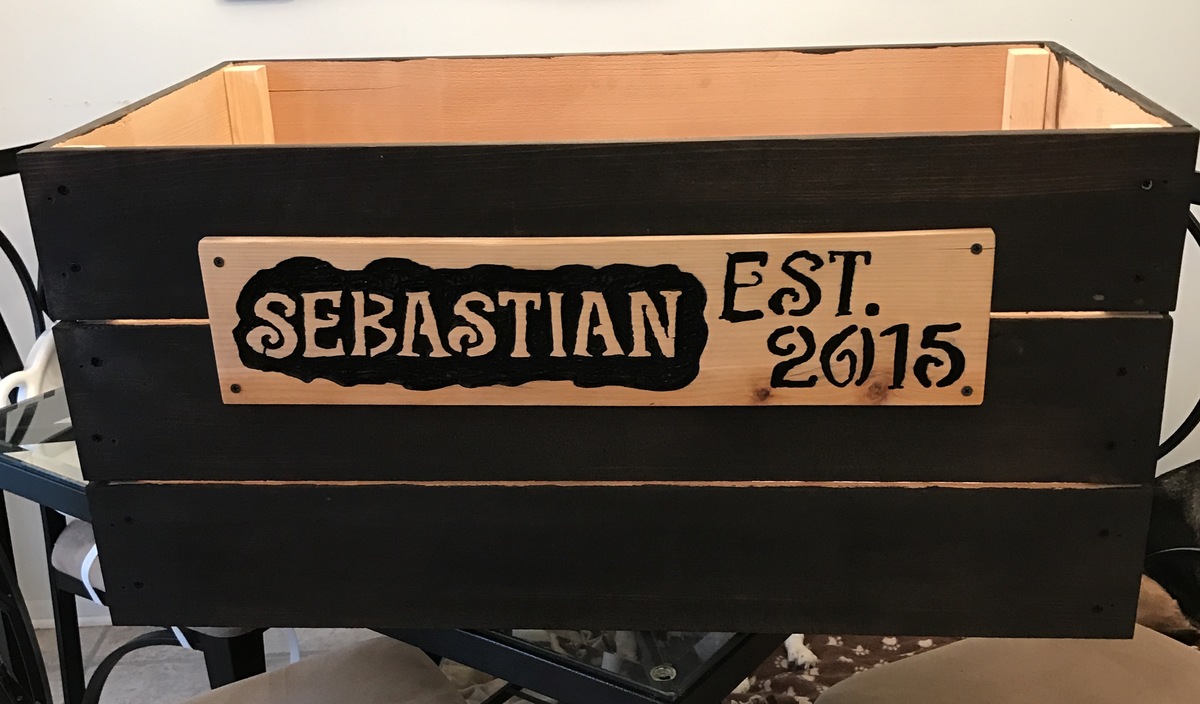
I wanted an easy toy box made from pallets. I came across the plans for the Simple Cedar Wooden Toy Box and decided it would be easier to but a few lengths of cedar fencing than to tear apart a bunch of pallets.
I omitted the feet and rope handles and opted for a carved wooden sign for personalization. I thought it was going to be too small, but soon realized it is a decent sized box.
I used Minwax Jacobean stain and am very happy with the end result.
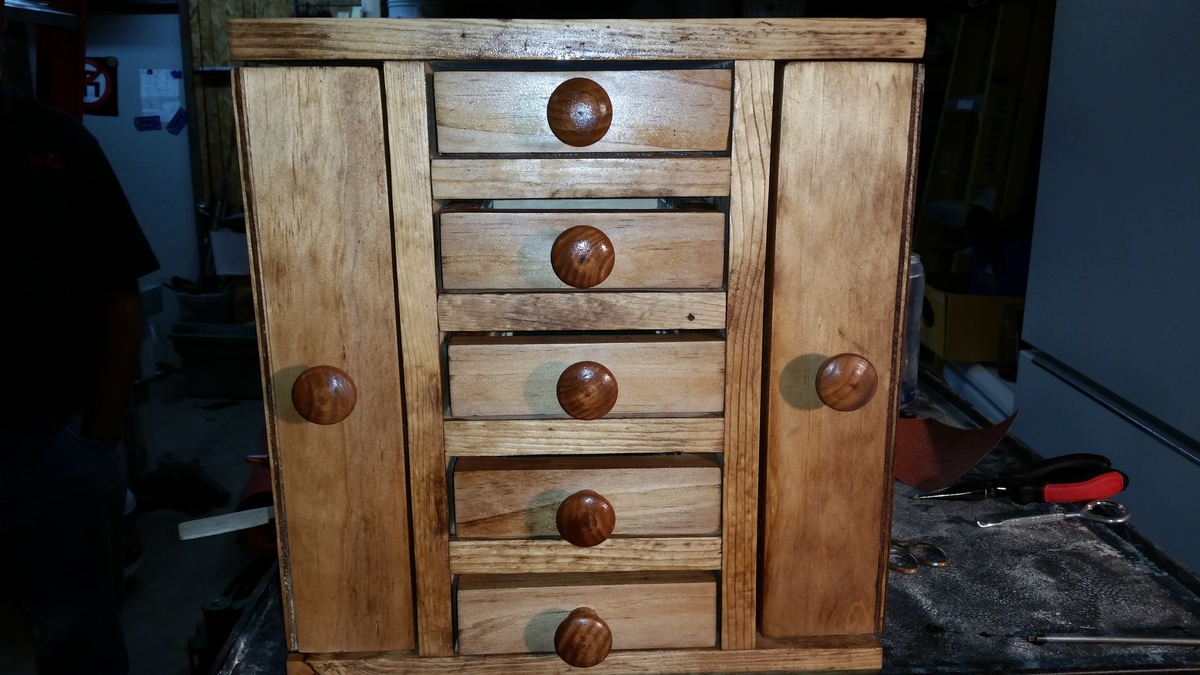
My first real wood project with no help from my father. I wanted to make this for my mother for christmas and I got it done 2 hours before church. I recently purchased a kreg jig r 3 and put it to good use. I made a few changes to the plan that helped me achieve the look that I desired. First, through trial and error I adjusted the kreg jig to be able to drill pocket holes to secure the shelves without the need to go back and wood putty the scrww heads that normal would have been exposed on the outer walls. There is a picture of this set up that I uploaded. Also, when byielding the drawers I made two changes. From what I could tell, the plans called for 1/4 inch plywood for the bottoms of the shelves and that is the way I made them at the beginning. However I was not happy with the appearance of the plywood on the nice face boards I was using for the drawers. So I decided to rip down the two side pieces and the back piece of the drawers ( should be 1 - 5 1/2 inch back piece and 2 - 5 3/4 inch pieces ) but I left the face Plate the full inch and a half that way the plywood wous not show from the front. The last change I made on the drawers was I made 2 pocket holes on each side piece to attach the face to the drawers that way the nail holes would not be showing from the front view. While these steps might not have be necessary , it worked for me. Thank
you very much for the plan my mom cried when she opened the box for the first time.


I love this bench. It is so solid. I have now built three of them for around our yard/porch. If you have the necessary tools and skills (intermediate level) you can build it in an afternoon. I built it in 4 hours with lots of breaks. My cost estimate includes paint and screws.
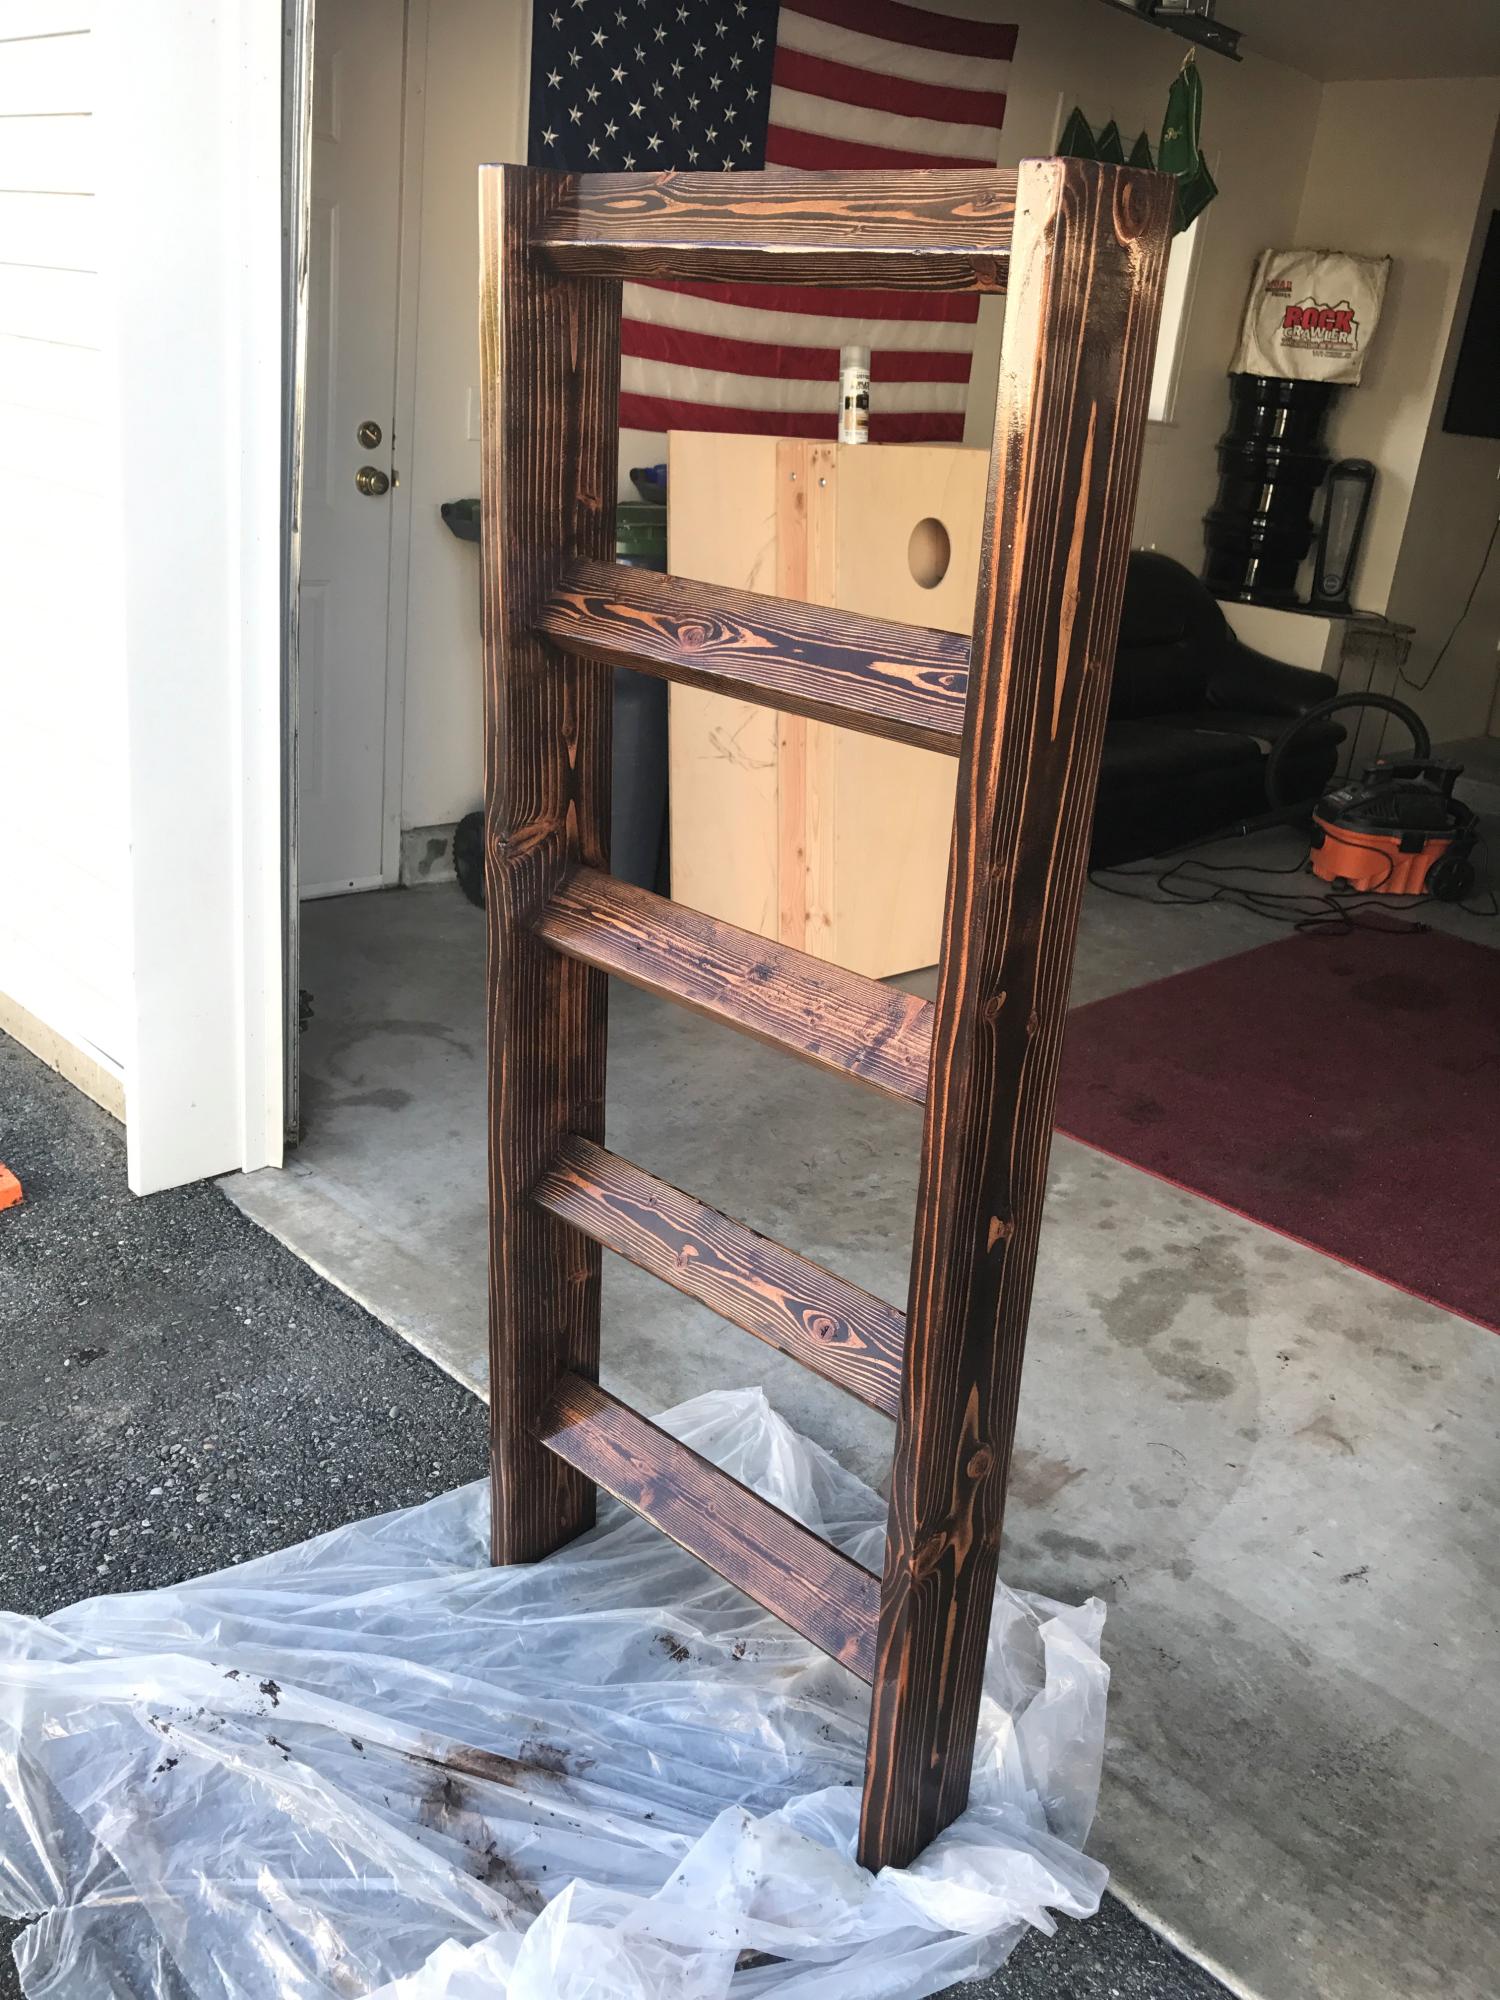
Used 2x6 boards on the outside to give it a bit more depth, mounted the rungs at a 45 degree angle and used a pocket hole jig so no screws show. Height is 5' and left a bit more room on the bottom so I could cut it shorter if I ever move. Sanded it down and applied stain and a polyurethane coat to finish and protect.
I built this headboard a while back but just never got around to posting it. I distressed the wood, painted it mint green and applied a chocolate glaze.
Thu, 02/12/2015 - 00:07
The colors here are so cute and classy! I love it!
Thu, 02/12/2015 - 00:07
The colors here are so cute and classy! I love it!
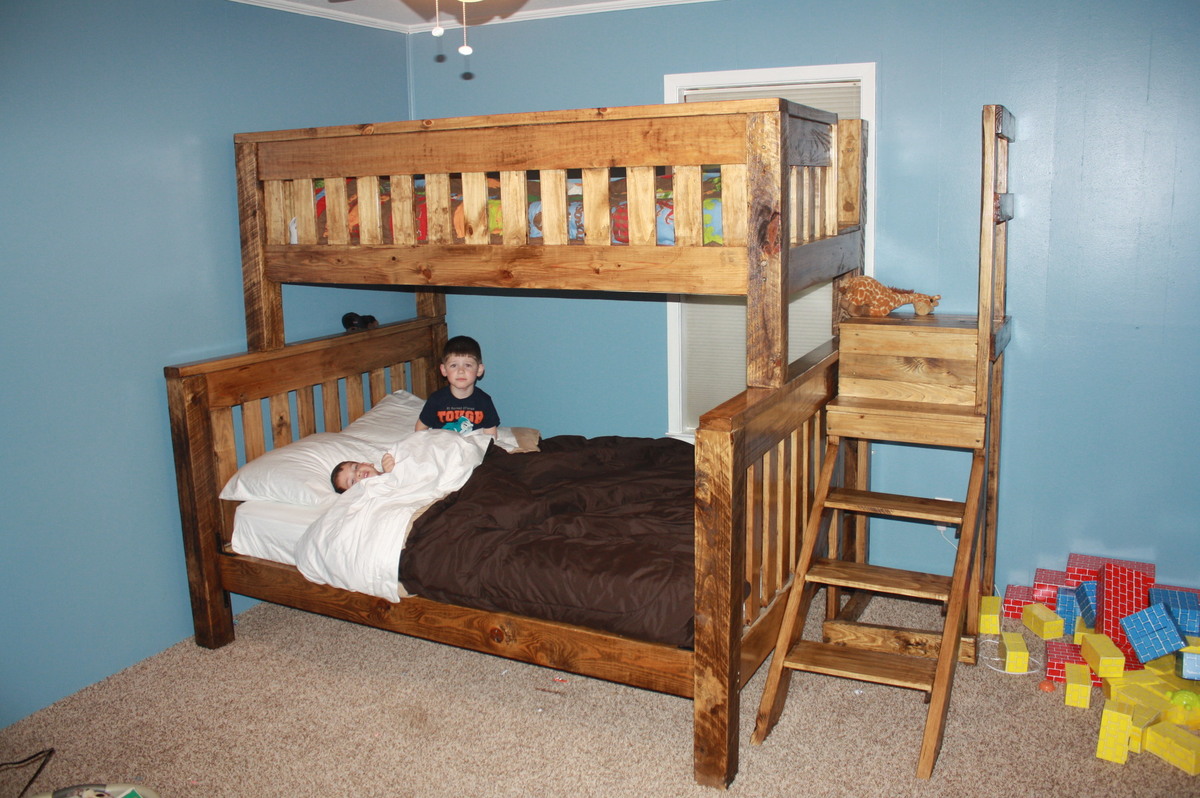
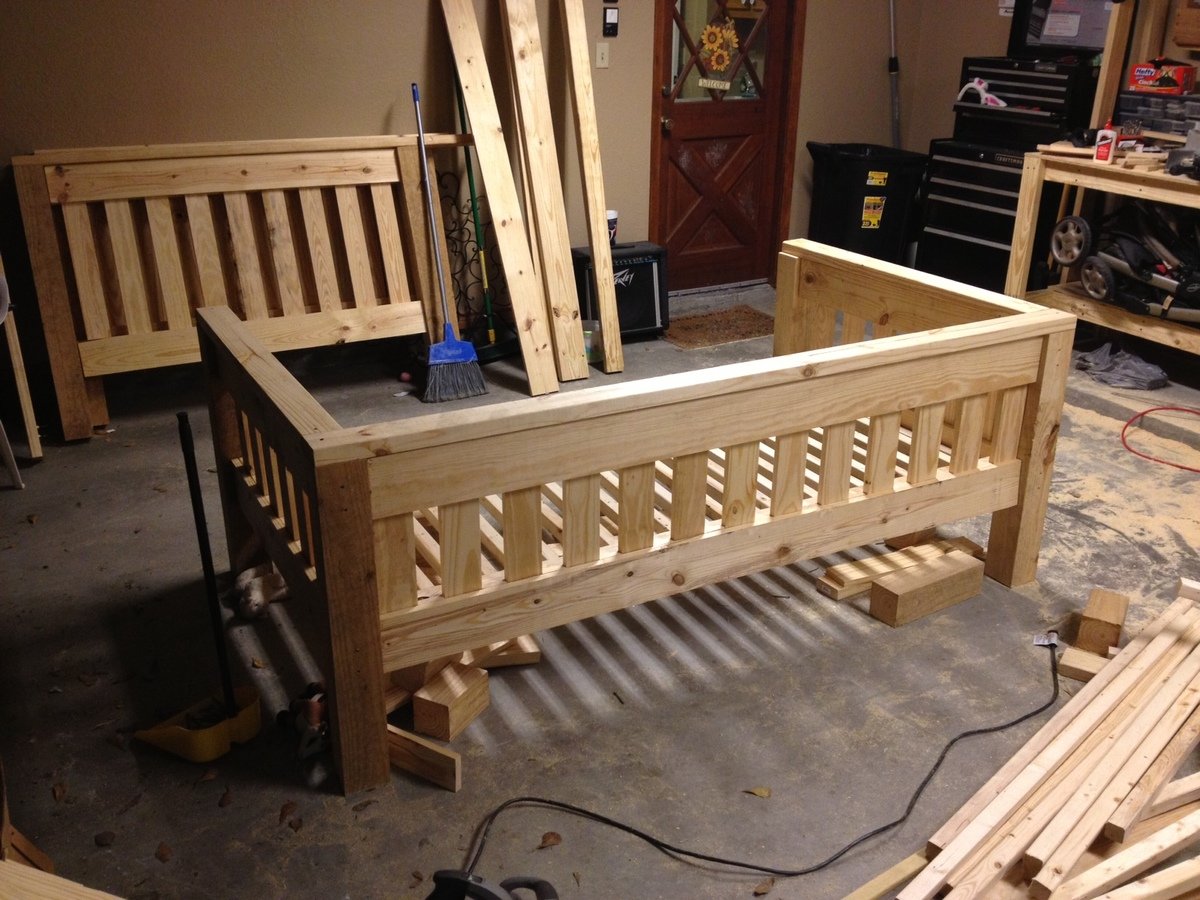
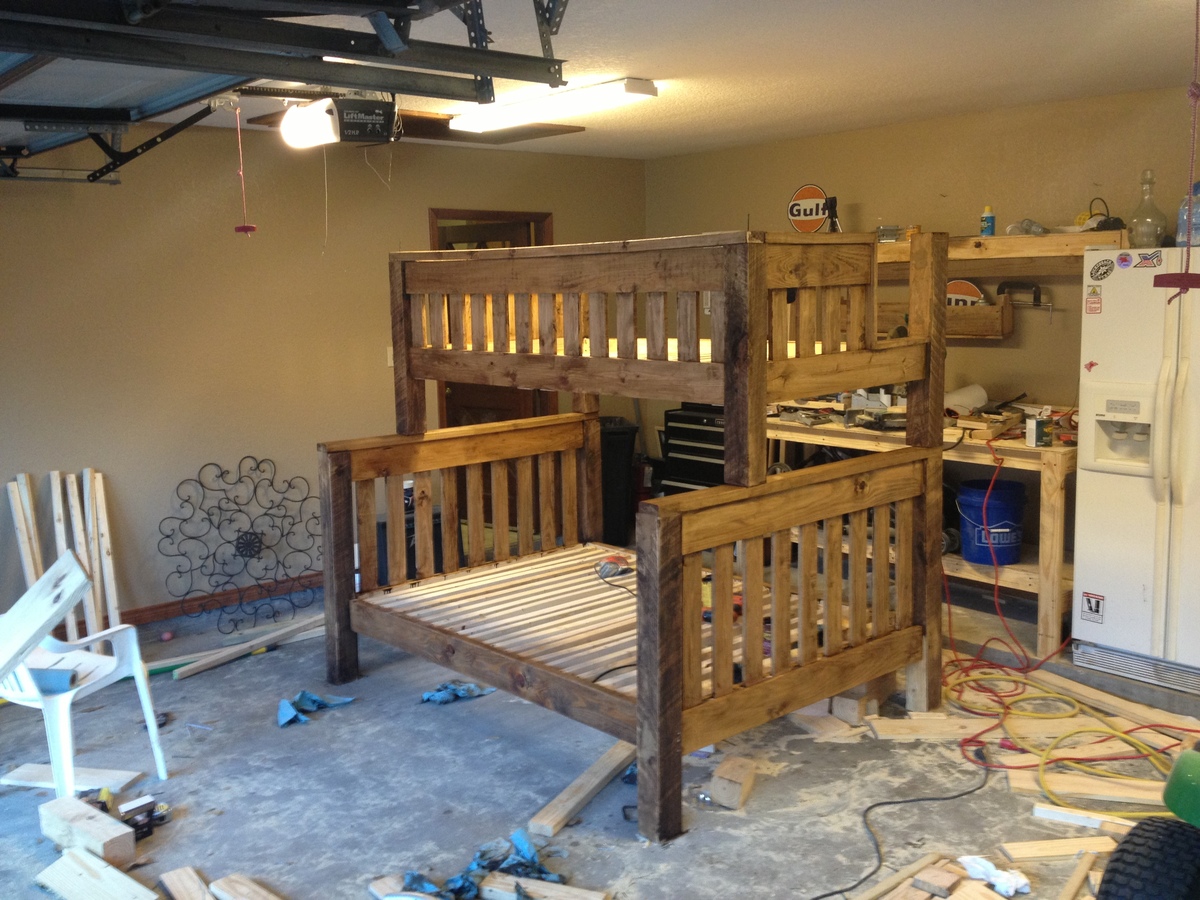
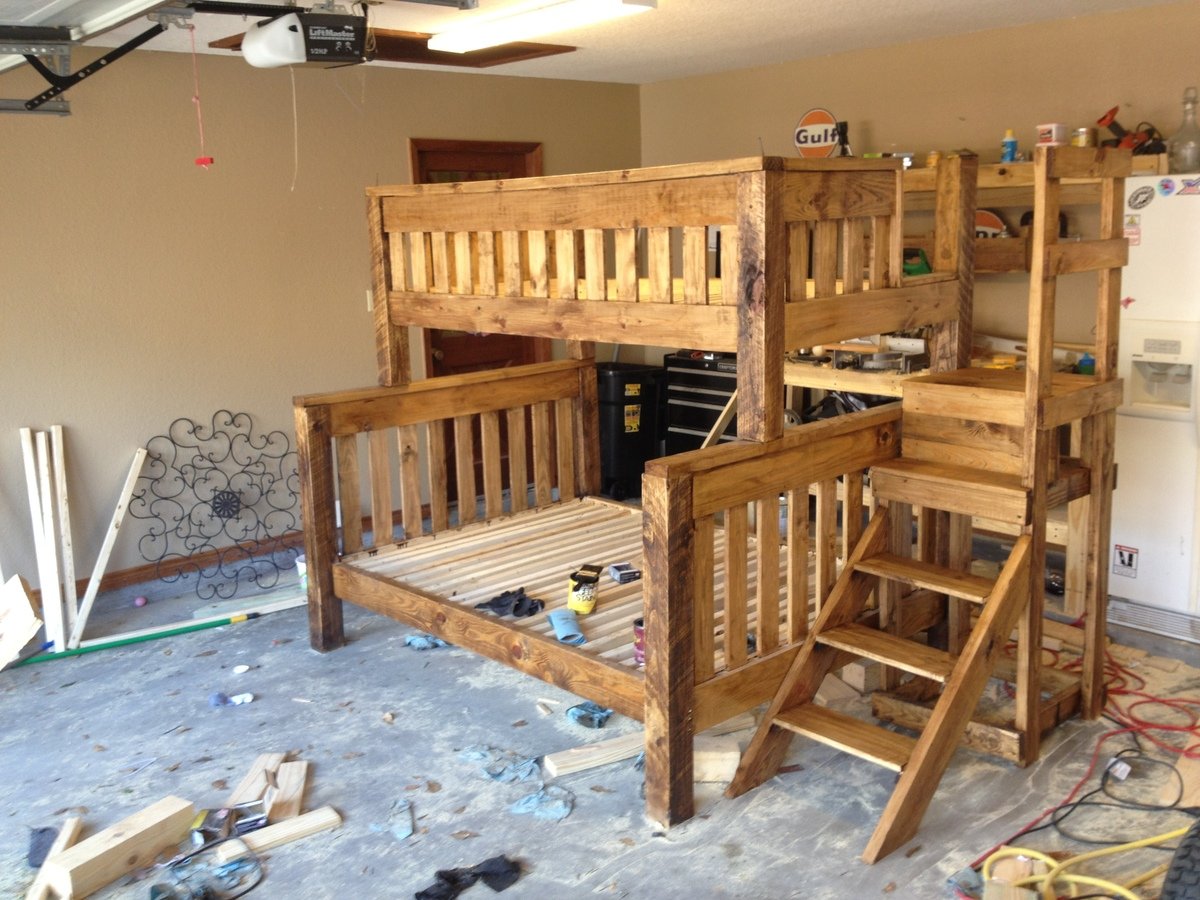
My 4 year old kept asking for a bunk bed, so my wife and I went to the furniture store and saw we would be paying close to $1000 for a junkie bunk bed. We told him it cost too much and left it at that. Then he started bringing us pennies, dimes and all the change he could find to pay for the bed. So I found this website and decided to attempt to build him one. I started building it after work on Monday, continued for a few hours every evening and finished Saturday morning. It turned out amazing, and both the boys love it. It is extremely sturdy, and will last beyond my lifetime. It's just a good quality design. Total Cost was about $300. Not bad for what we would have been paying for a lesser quality bed. Changes I made: I added the railing on the front of the upper bed to match the headboards and railing on the back side because my wife is a worrier. I also designed and built the stairway and bolted it to the lower bed. I am no professional carpenter, a novice at best. Most people with a little carpentry knowledge can build this. Thanks Ana, we all love it!
Tue, 04/02/2013 - 05:17
Wow, you did a wonderful job! What a sweet story with your son bringing you any change he found. Adorable. I'm sure your sons are so proud of you and it means so much more than just store bought. In looking at that first smaller picture of just the top part, it looks like a view from the back side of a day bed. You can take apart the bunk beds when they get older and you have one full bed and one day bed. Awesome!
Sun, 06/29/2014 - 05:09
Could you post the plans and cutting list for this twin over full bunk bed?
Tue, 12/23/2014 - 23:22
I would love to build this for my grandsons, but I can't seem to get the plans for it, I need instructions becuse I am in training. Thanks
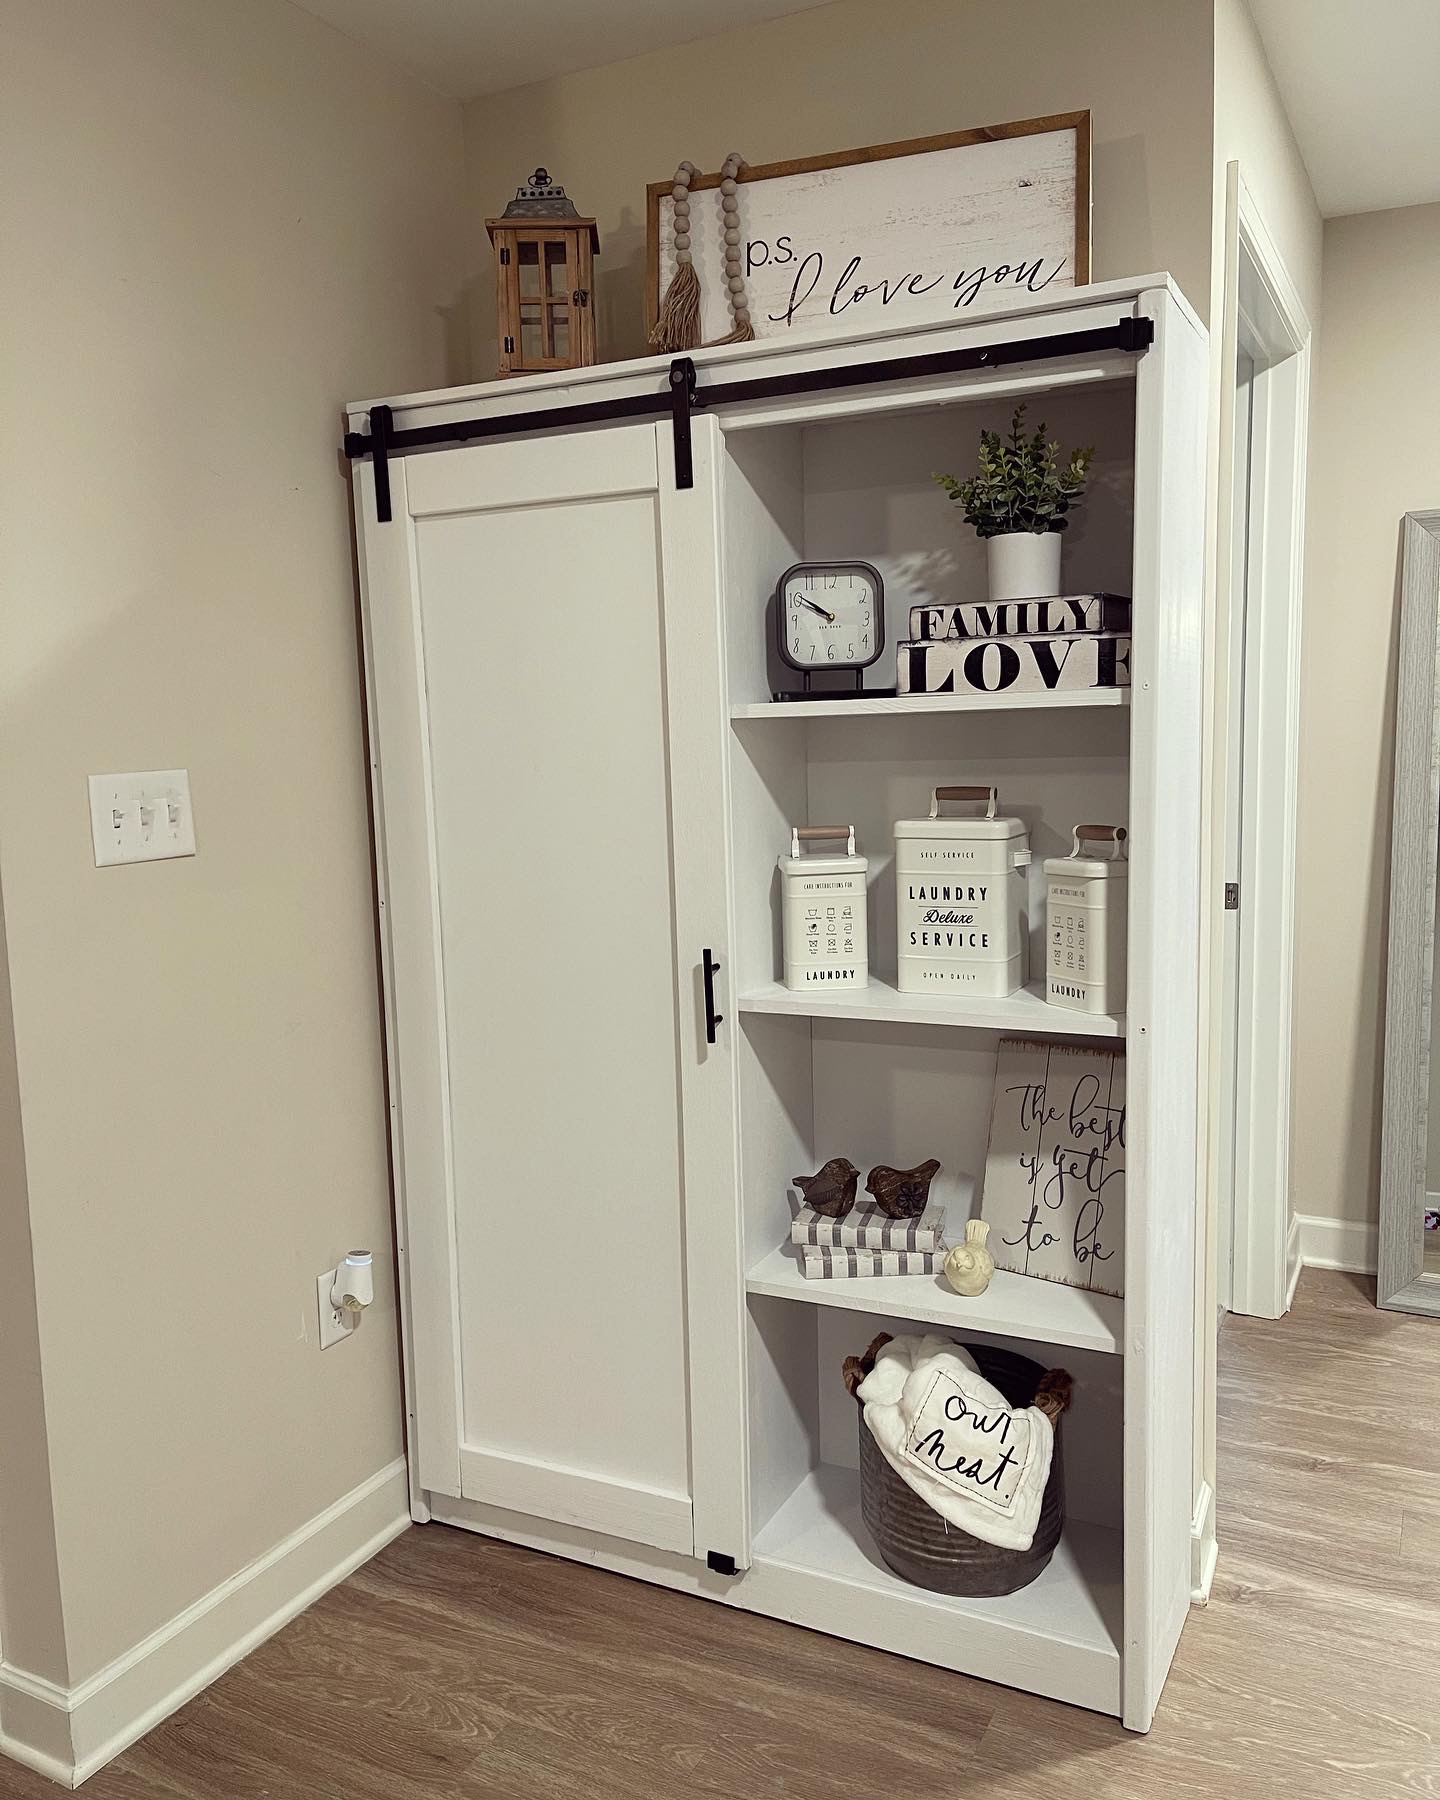
We mainly followed the plan but made some adjustments because we wanted the “ugly” side to be able to house brooms and mops and we cut the width down just a tad. We absolutely love how it turned out!! And we definitely needed this in our space!
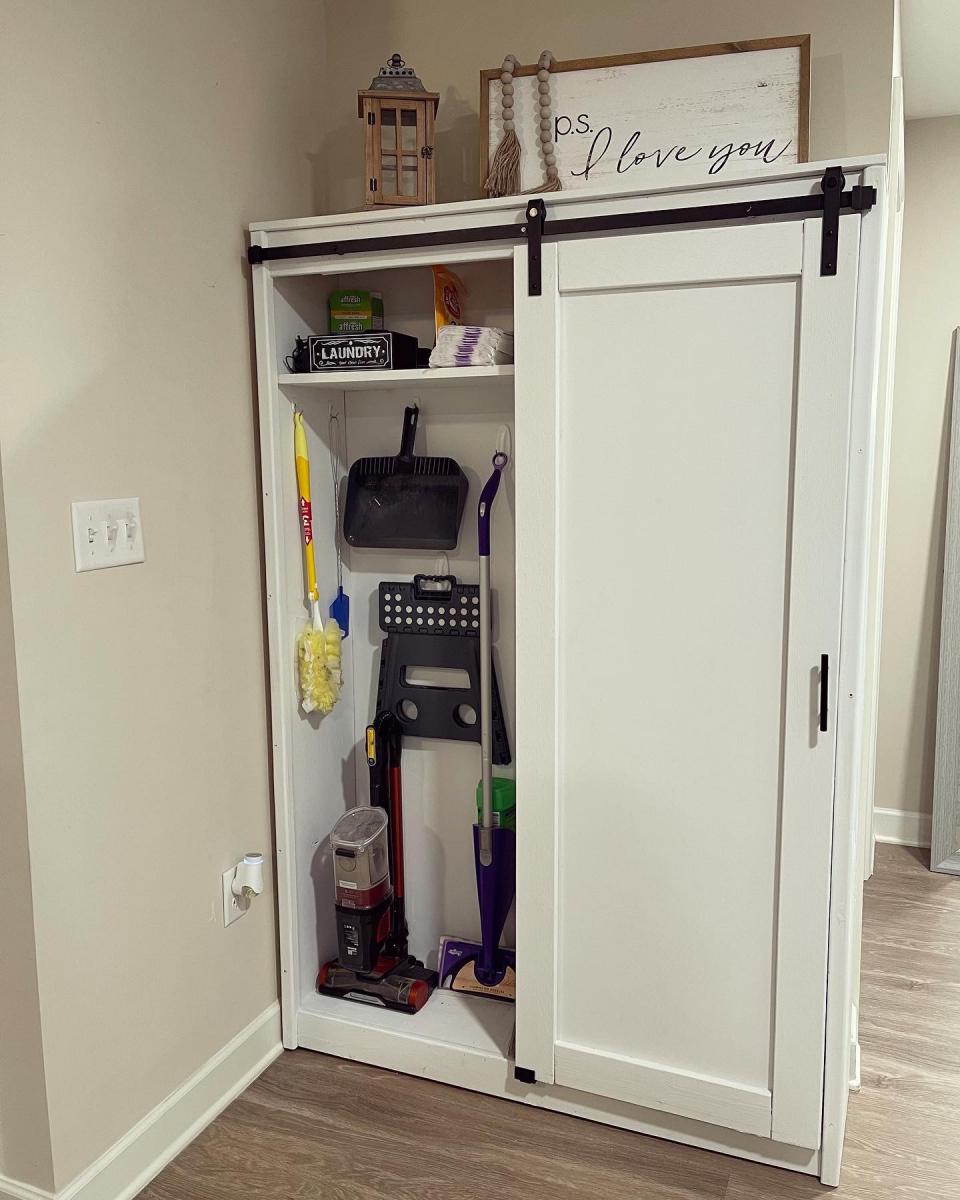
Thanks Anna White for your plans and for your great website!
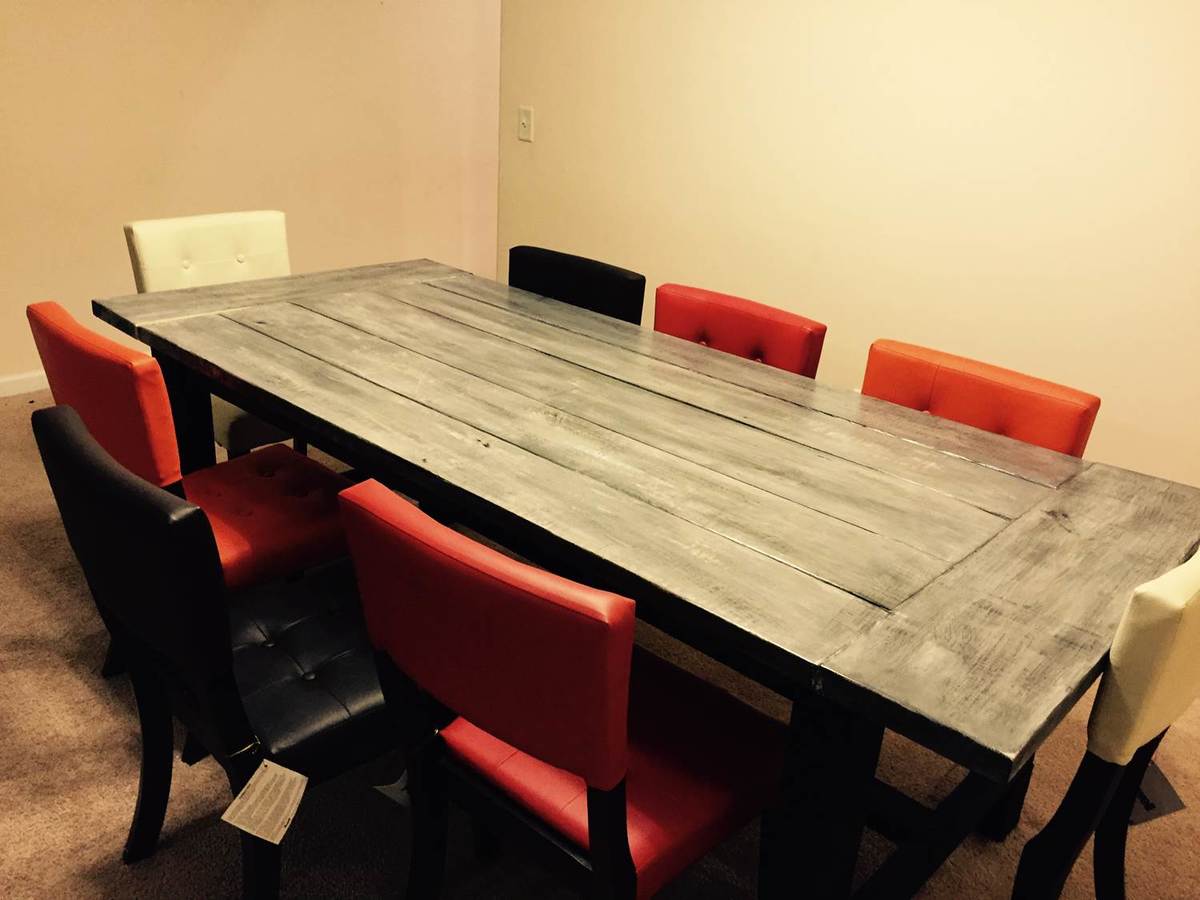
Fri, 03/06/2015 - 15:53
This is really awesome! I love the mix matched chair look too!
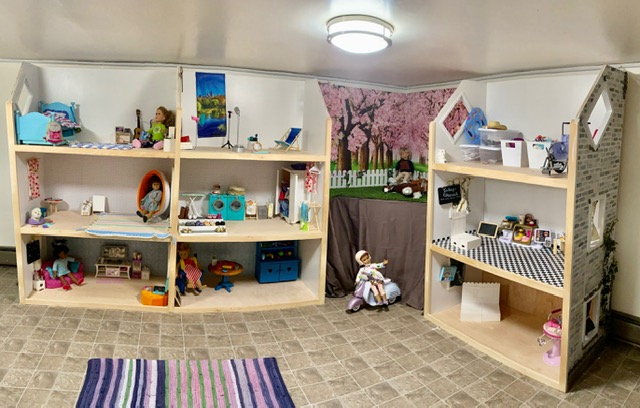
American Girl dollhouse built using PureBond Plywood, Kreg K4, and Ryobi tools!
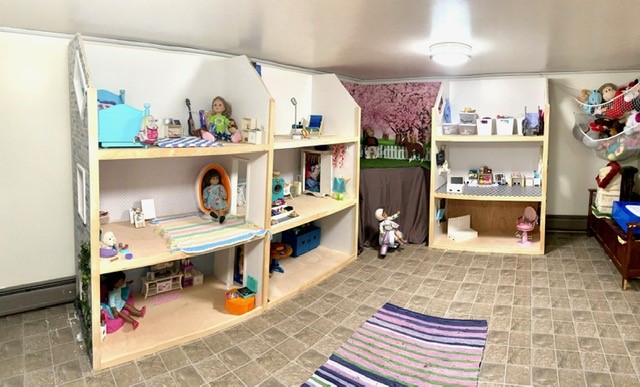
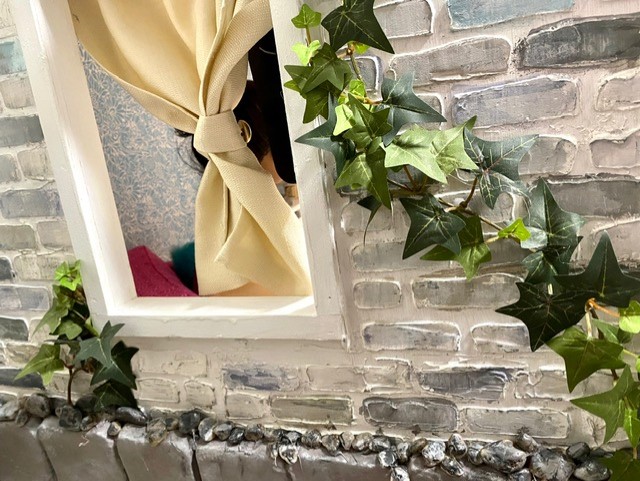
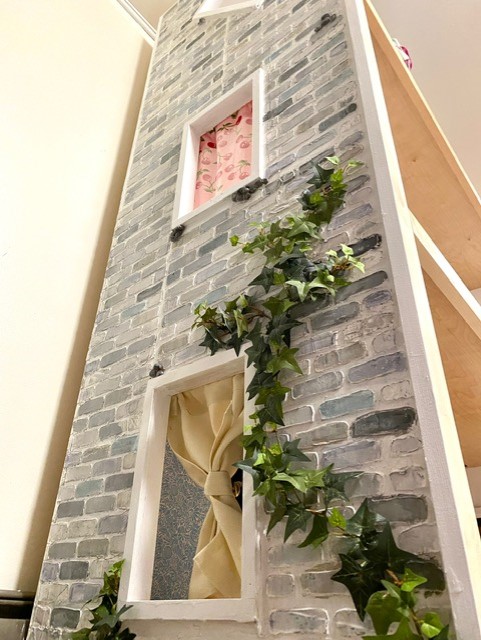
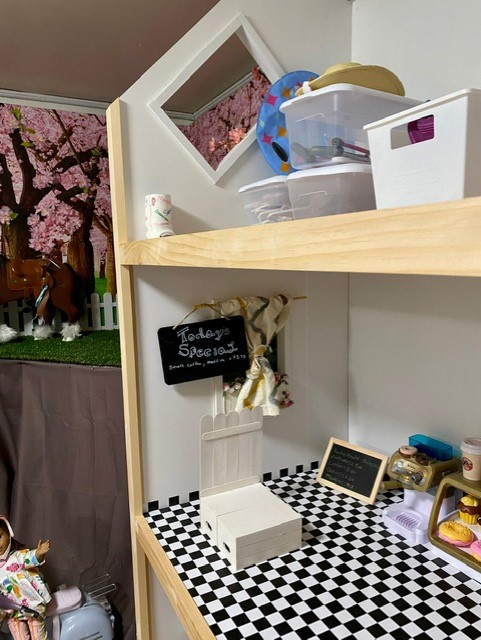
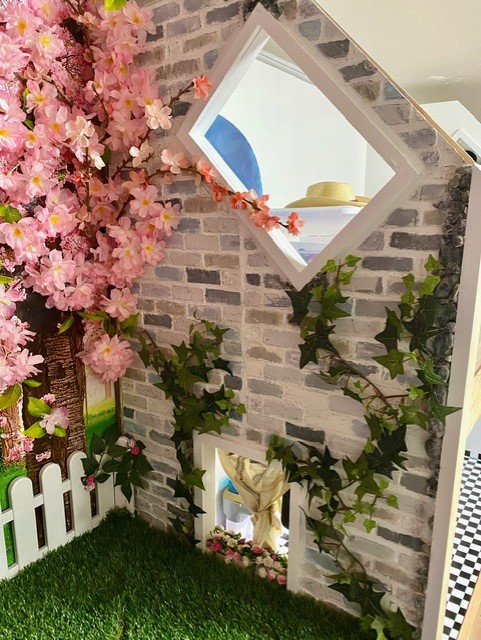
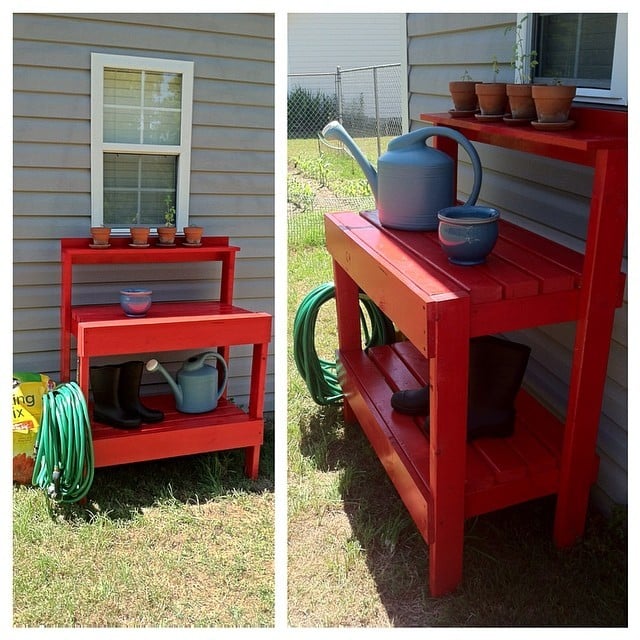
This was the first building project I completed by myself start to finish! I was able to use 2x4s we already had in the garage (sorry husband!) and some scrap wood for the few other pieces it required. The only thing I added to the plans was some trim for the front.
I built this last summer and since then the shelf on the very top has warped a bit. I would recommend adding extra support. It rains a lot here, and I think that contributed to it warping. Other than that, it has held up very well and the shelf can easily be fixed with some brackets.
Overall, this was a great first build for me! The plans were straightforward and easy to follow. And there's just nothing more rewarding than standing back at the end of a day of building and thinking, Hey I made that :)
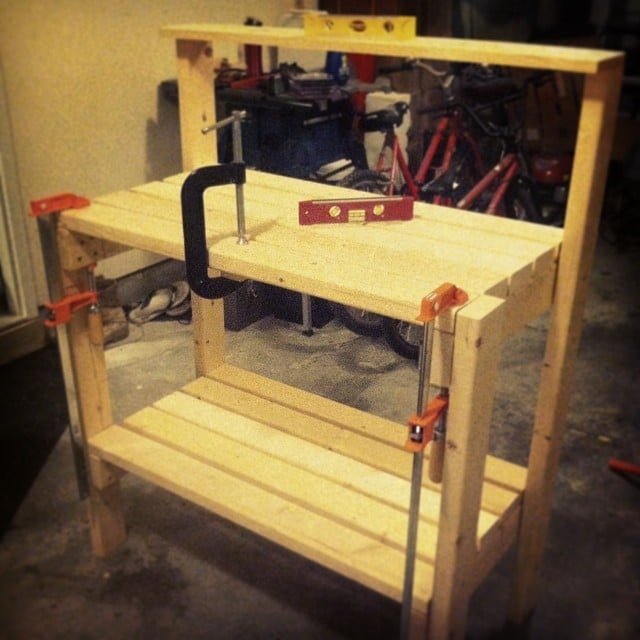
Sat, 04/04/2015 - 14:15
Thank you!! I loved the red one in the plans and just had to have one of my own!
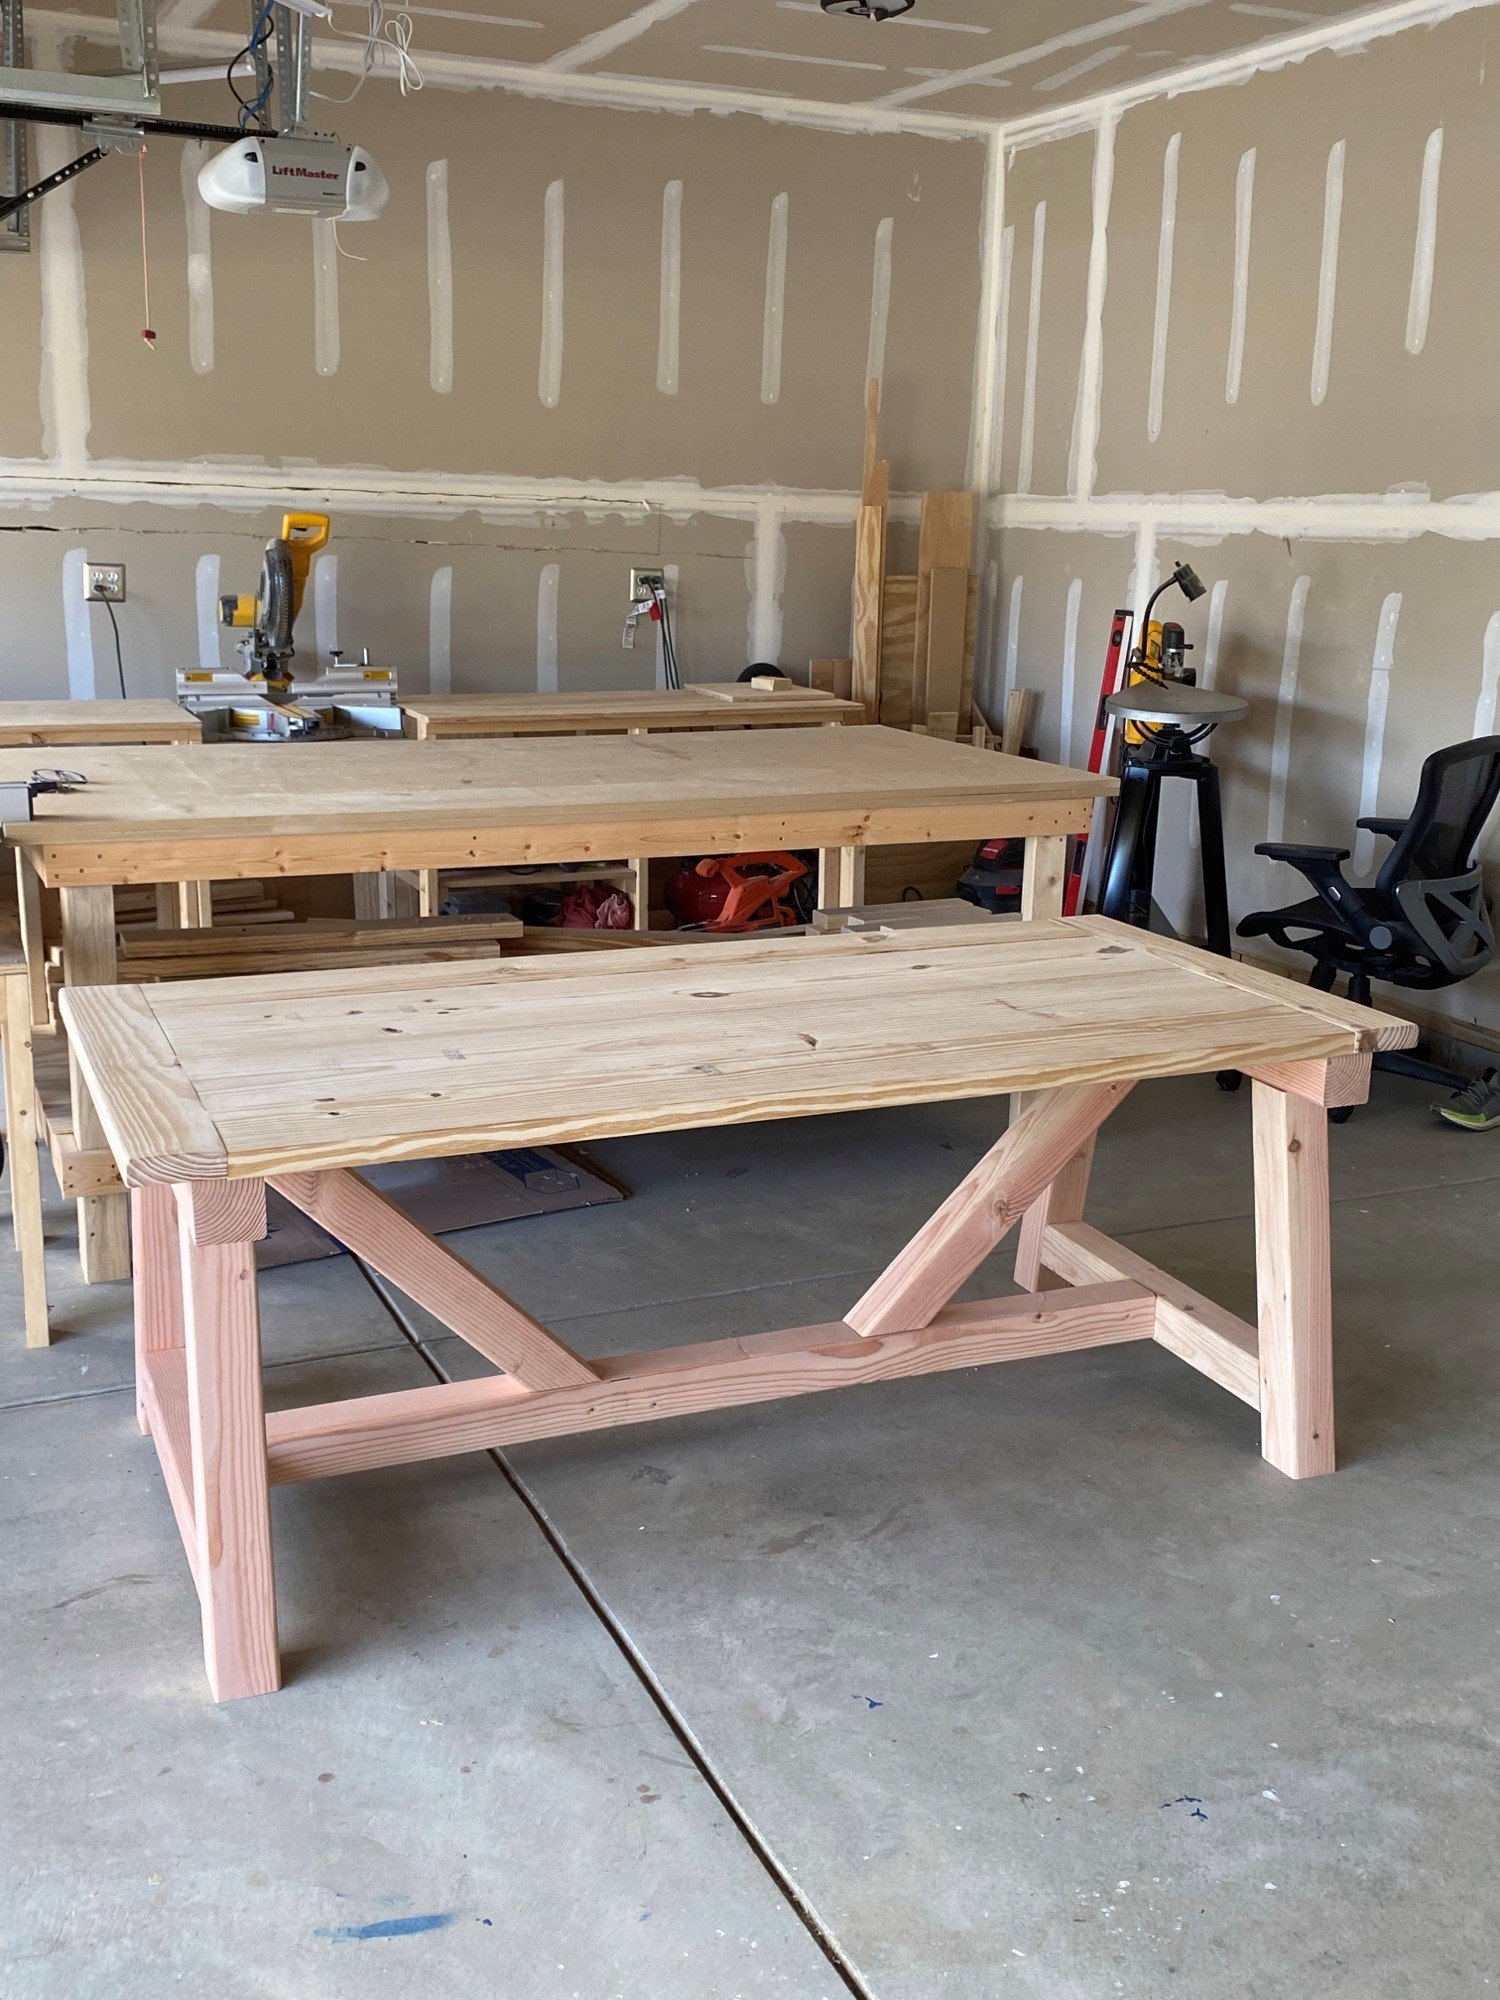
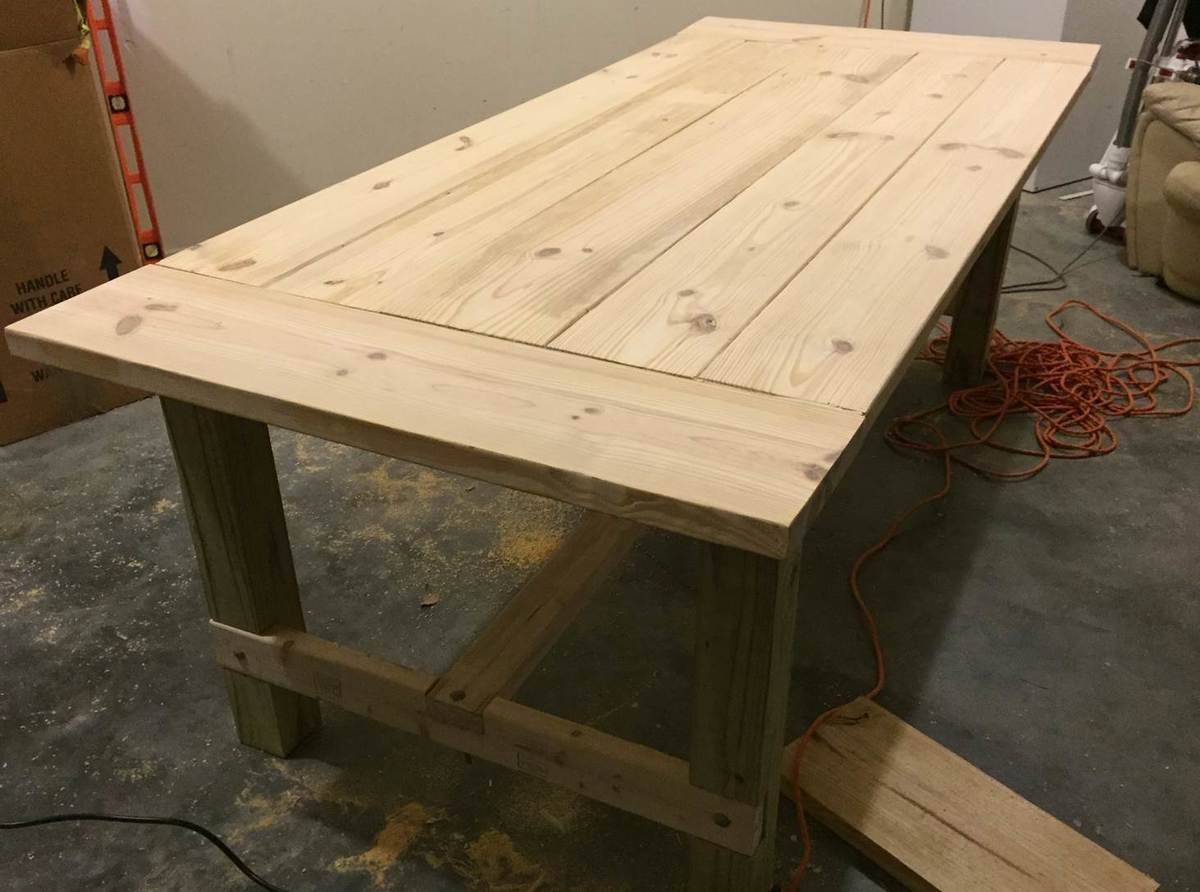
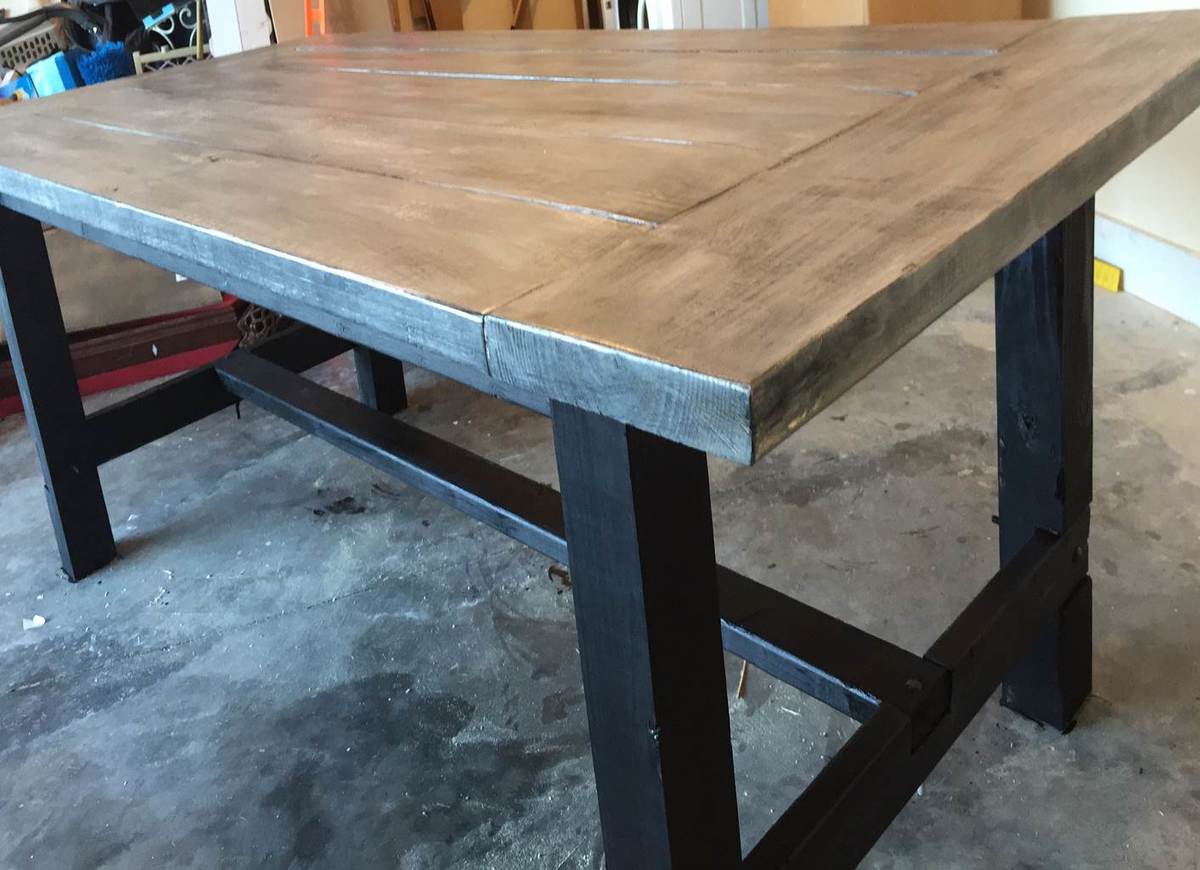
I followed the plans for the 4x4 Truss Beam Table and it turned it out great! I definitely recommend the Kreg Jig HD for the 4x4's. I used non HD Kreg screws for the table top.
It's much easier to build it upside down to ensure you get all your pocket holes underneath. Also, use duct tape to keep the 45 degree angle posts clamped as it's much easier when screwing together.
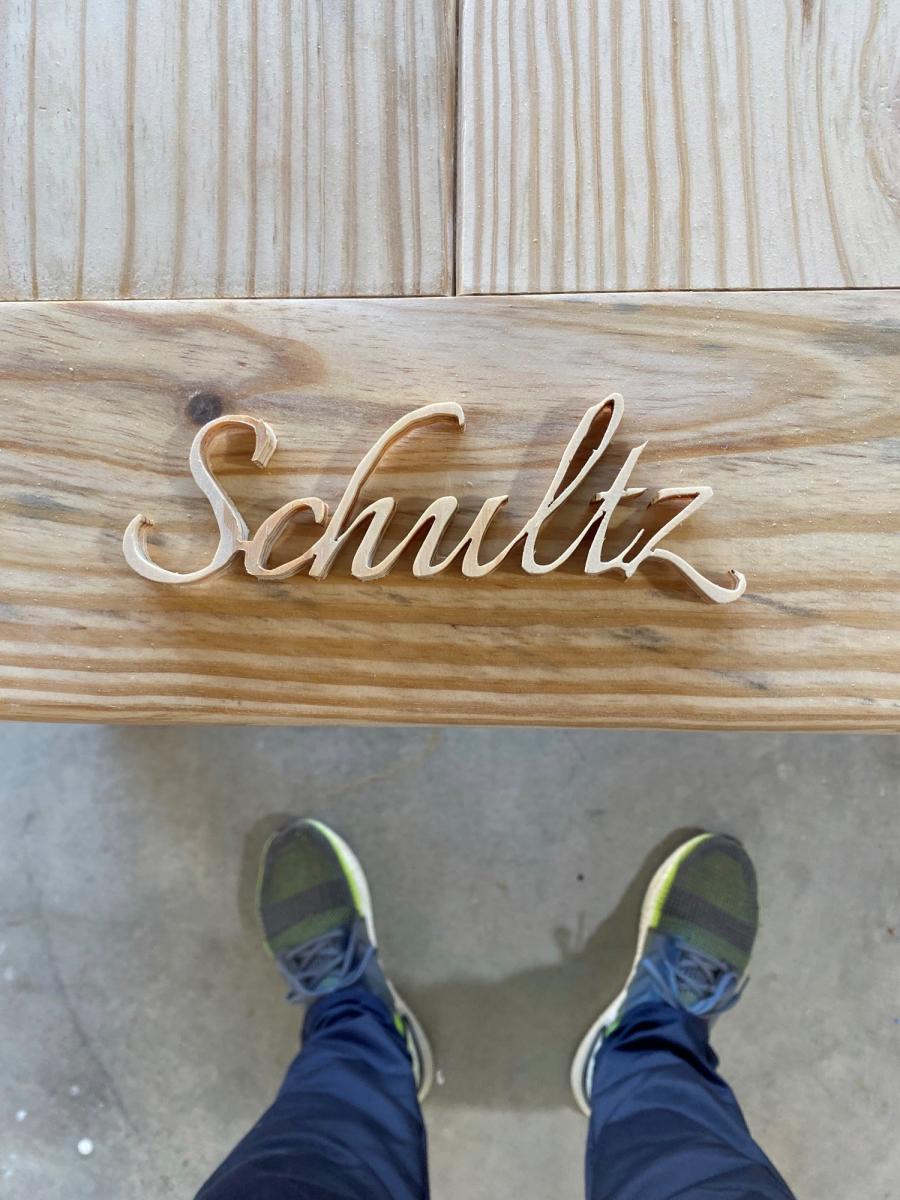
As a bonus for the family I built it for, I cut their name out with my scroll saw and added as a personal touch for the piece.
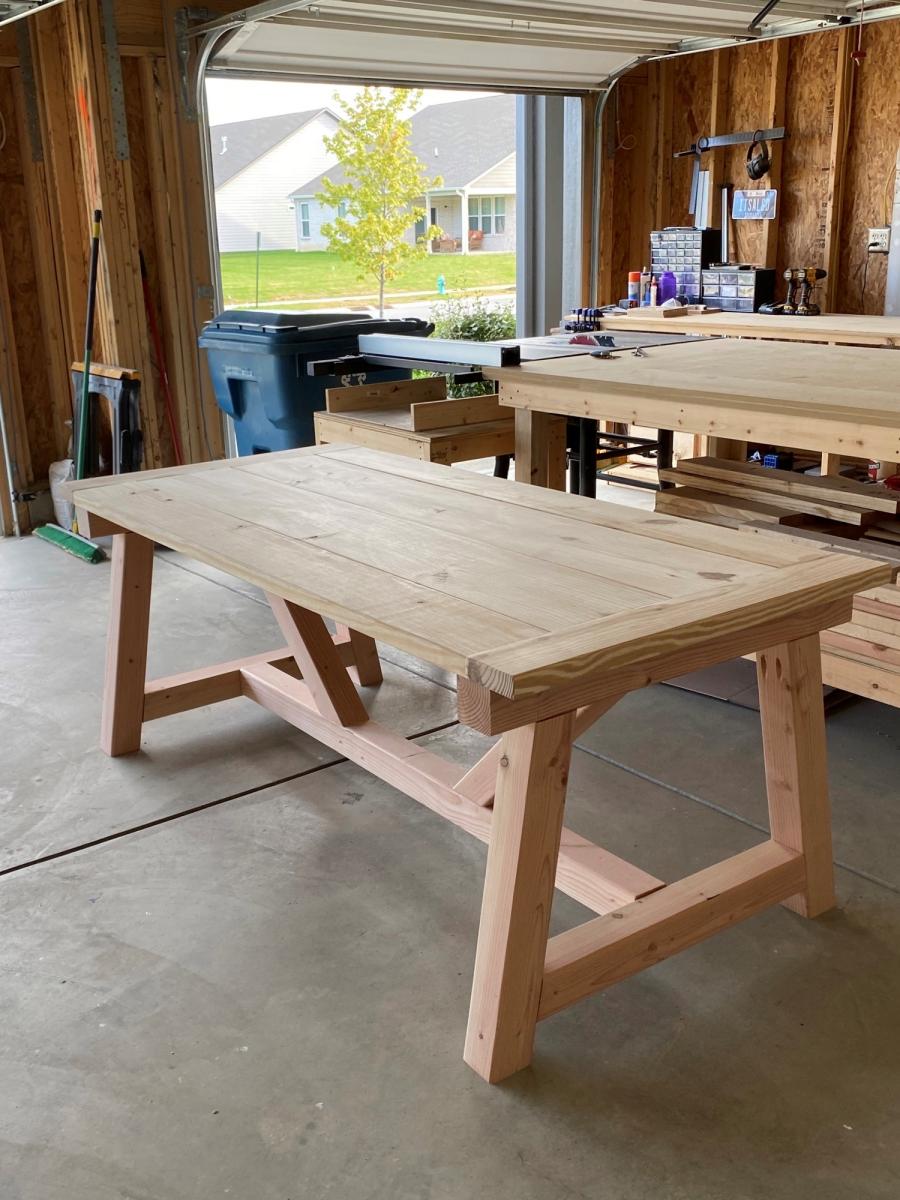
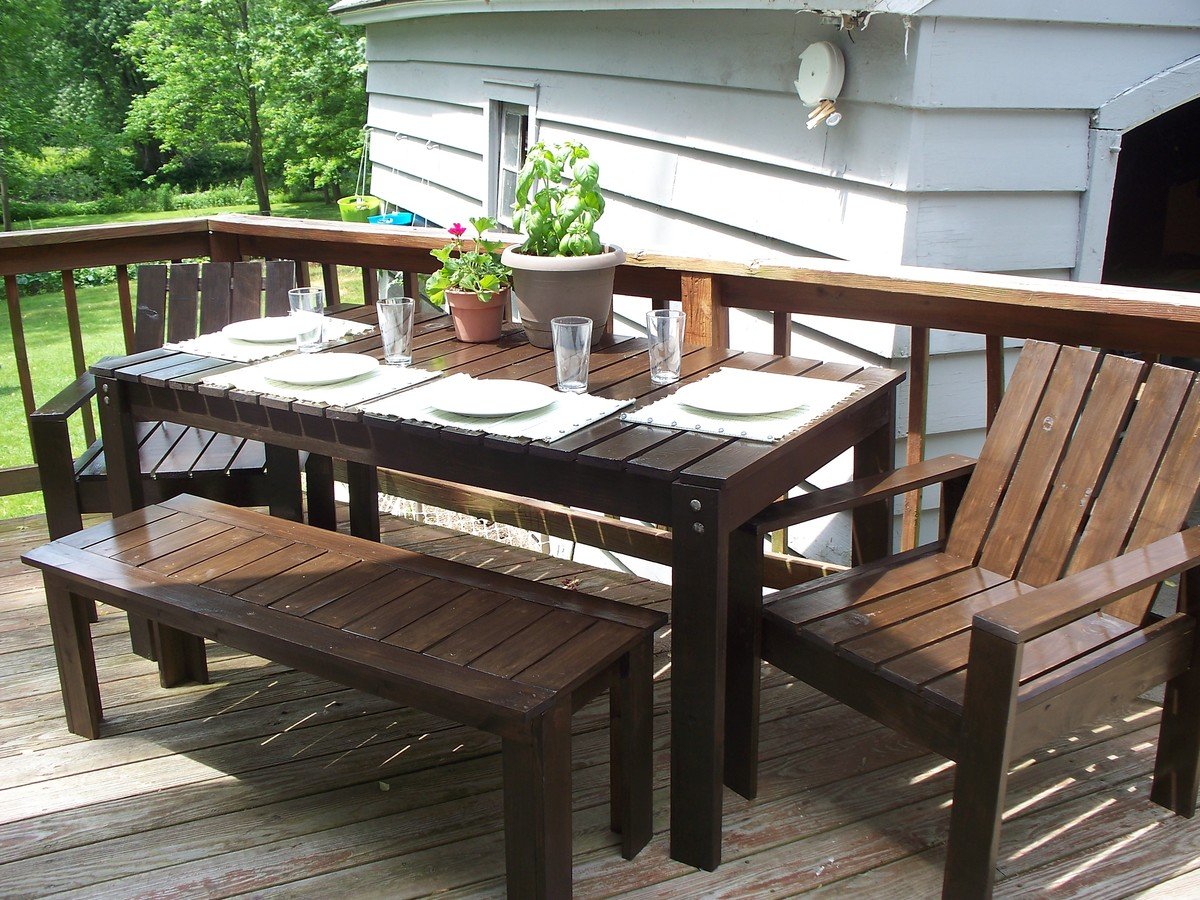
The outdoor bench was my first Ana project. It was so easy and rewarding that I immediately set out to build the rest of the set!
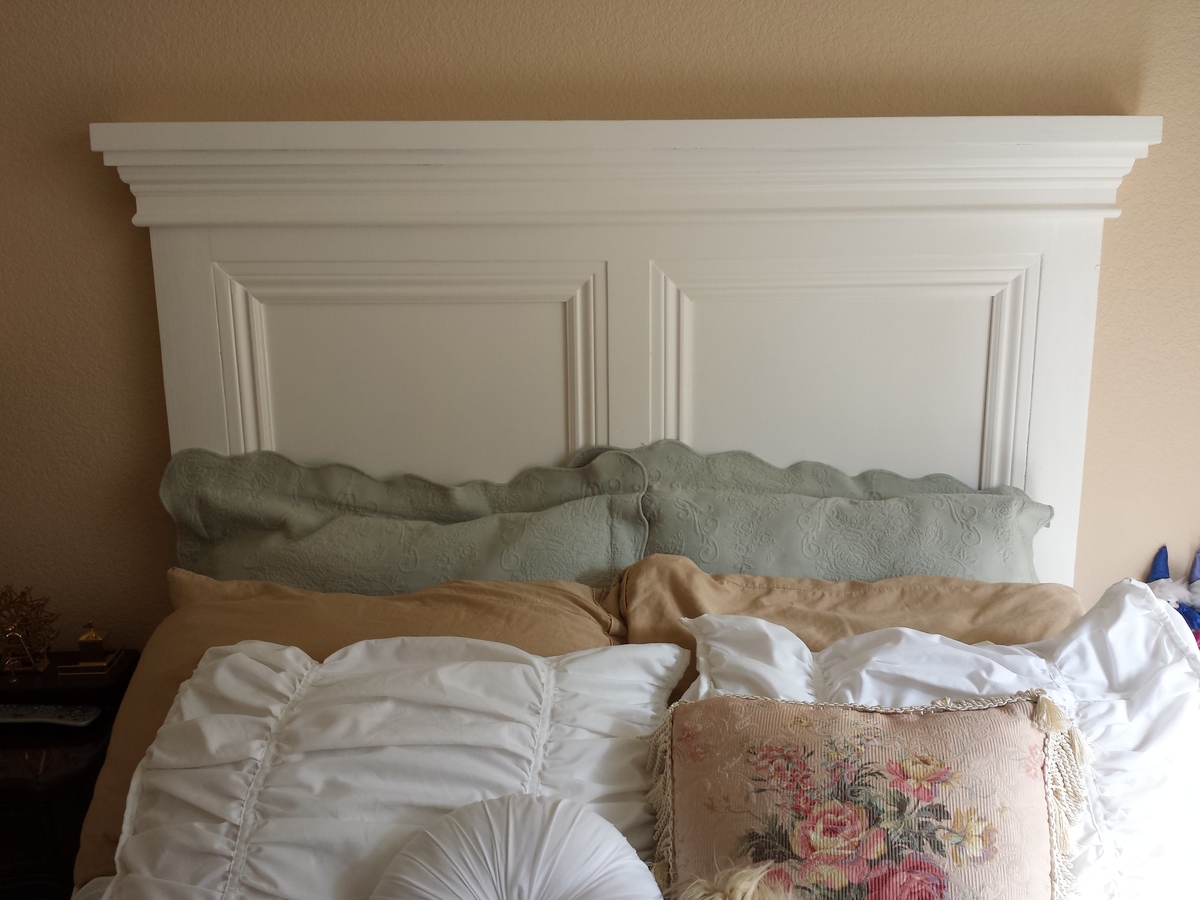
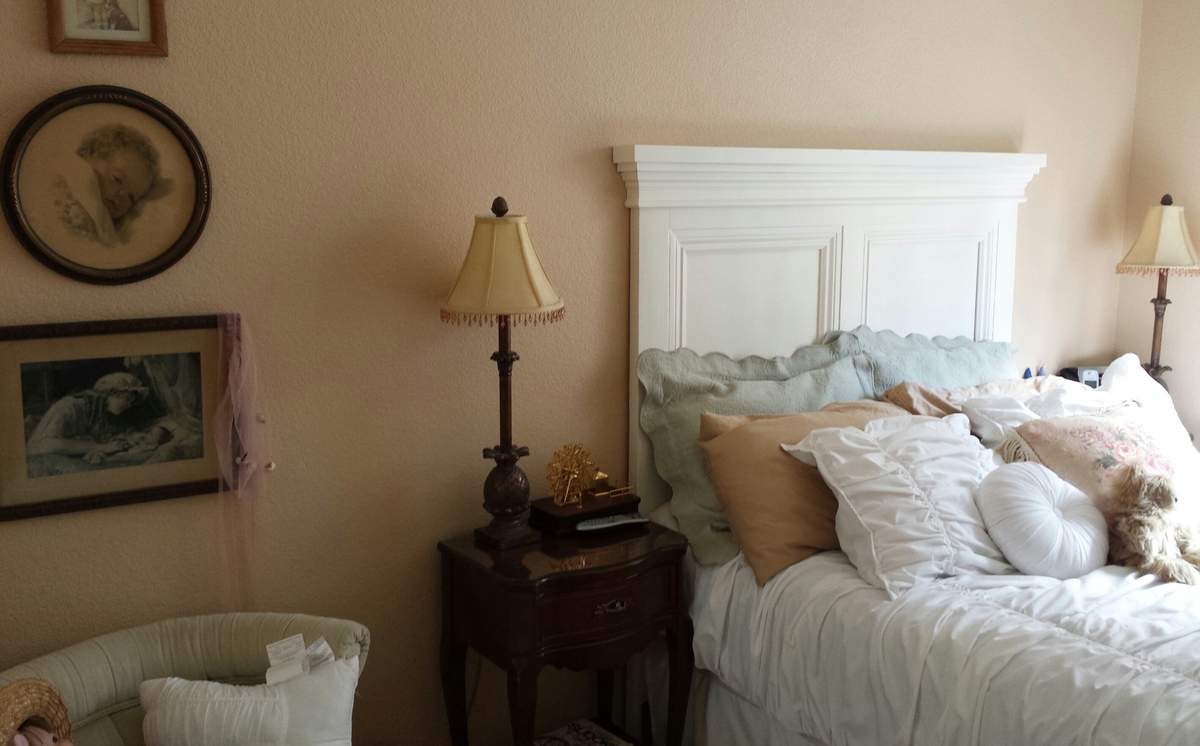
I built this headboard as a birthday gift for my grandmother. She had a rickety, old makeshift headboard composed of a couple of 2x4's and some lattice that was spray painted. I modified the plans to fit her Full size bed and lowered the height down to 62".
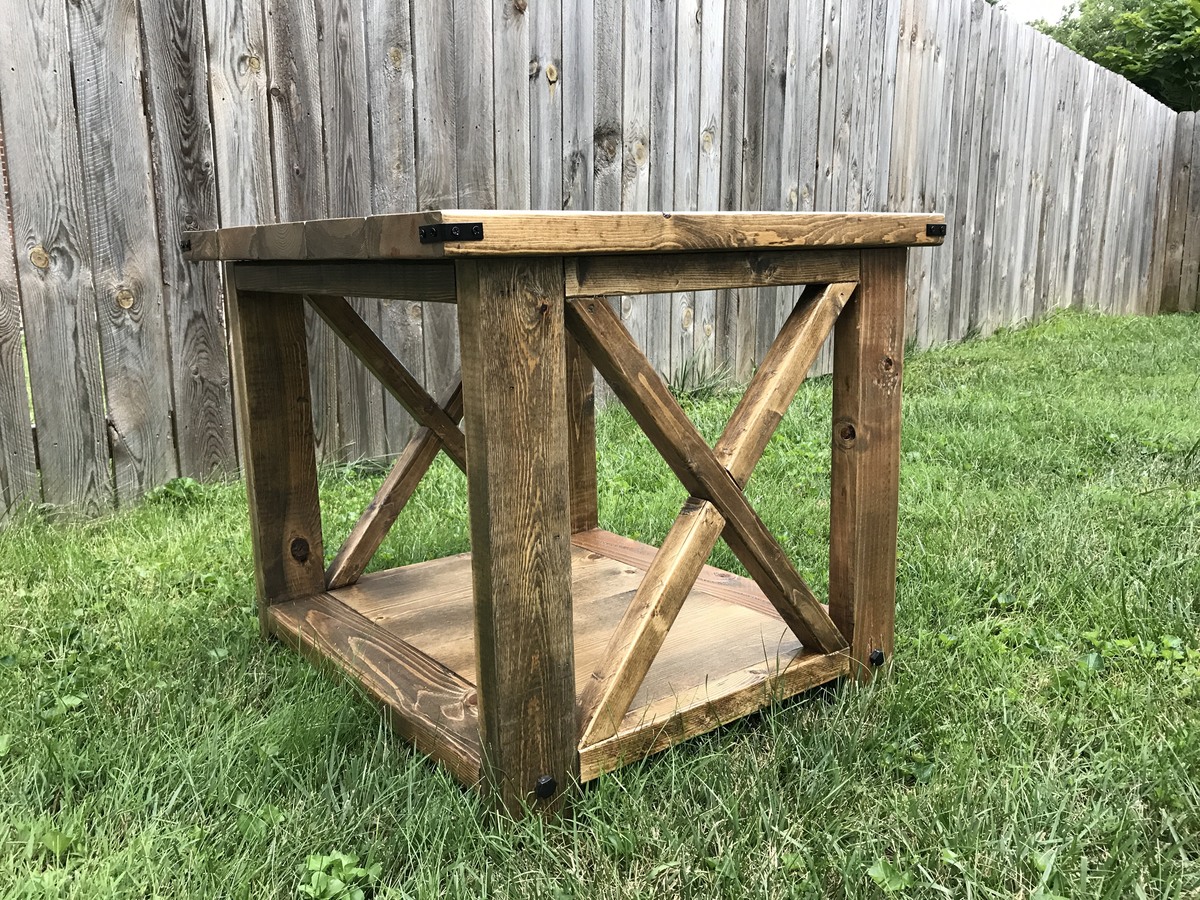
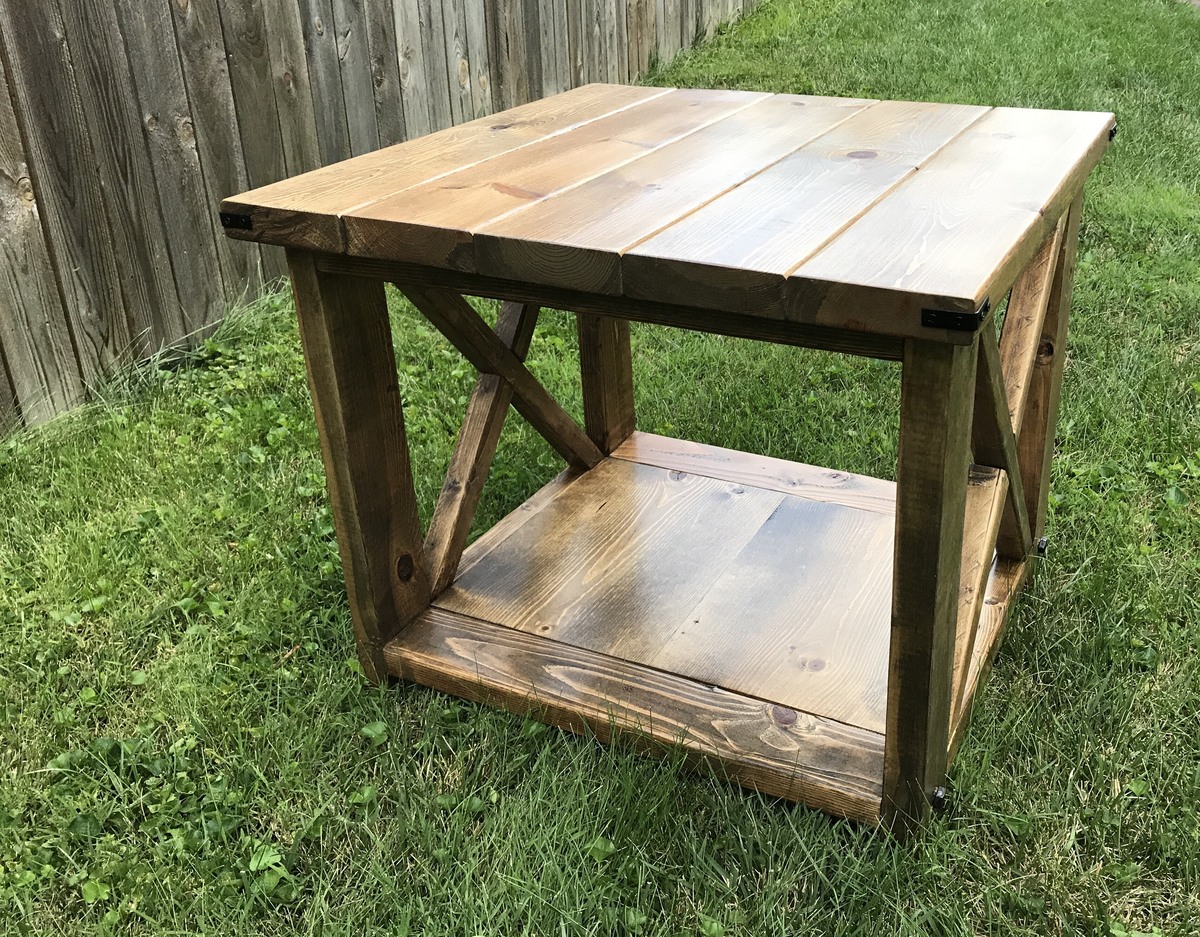
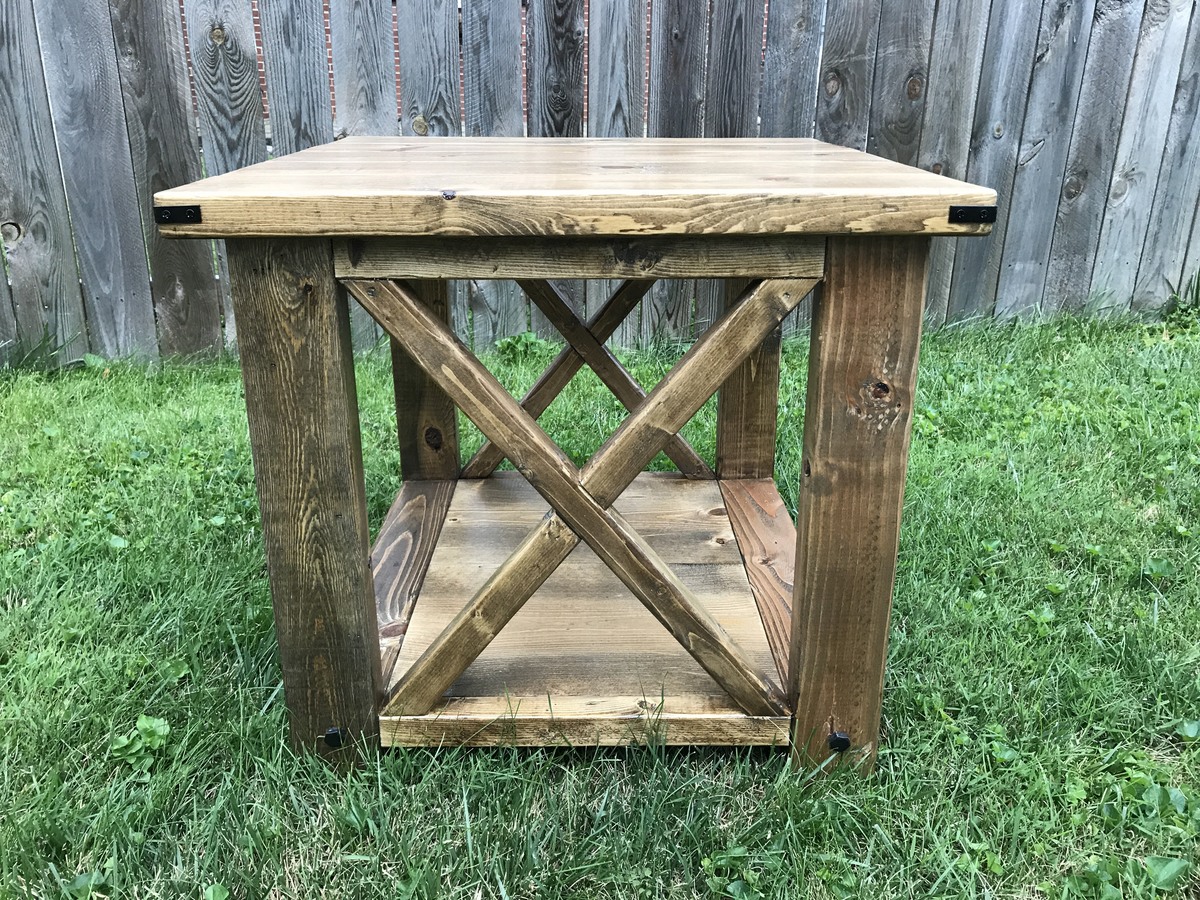
Finished the X end table, turned out great.
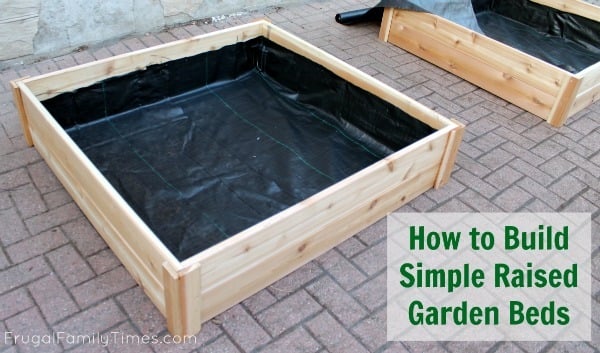
Starting with Ana's simple $10 raised garden plans, we built ours to be part of our experiment: Growing Vegetables in Our Driveway. Because our boxes are visible from the street, we made them a bit fancier and sturdier than we would have if they were hidden away in the backyard. An easy, afternoon project - with delicious results!
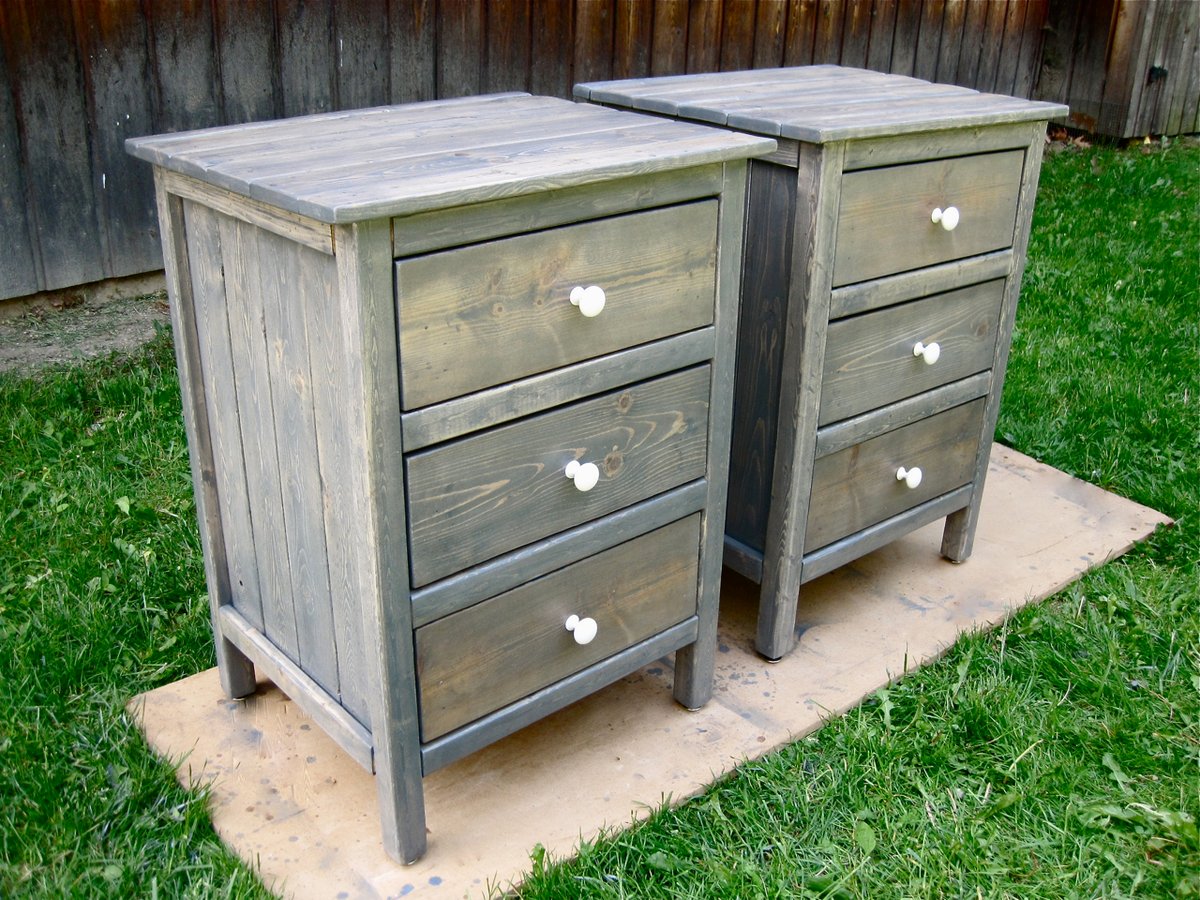
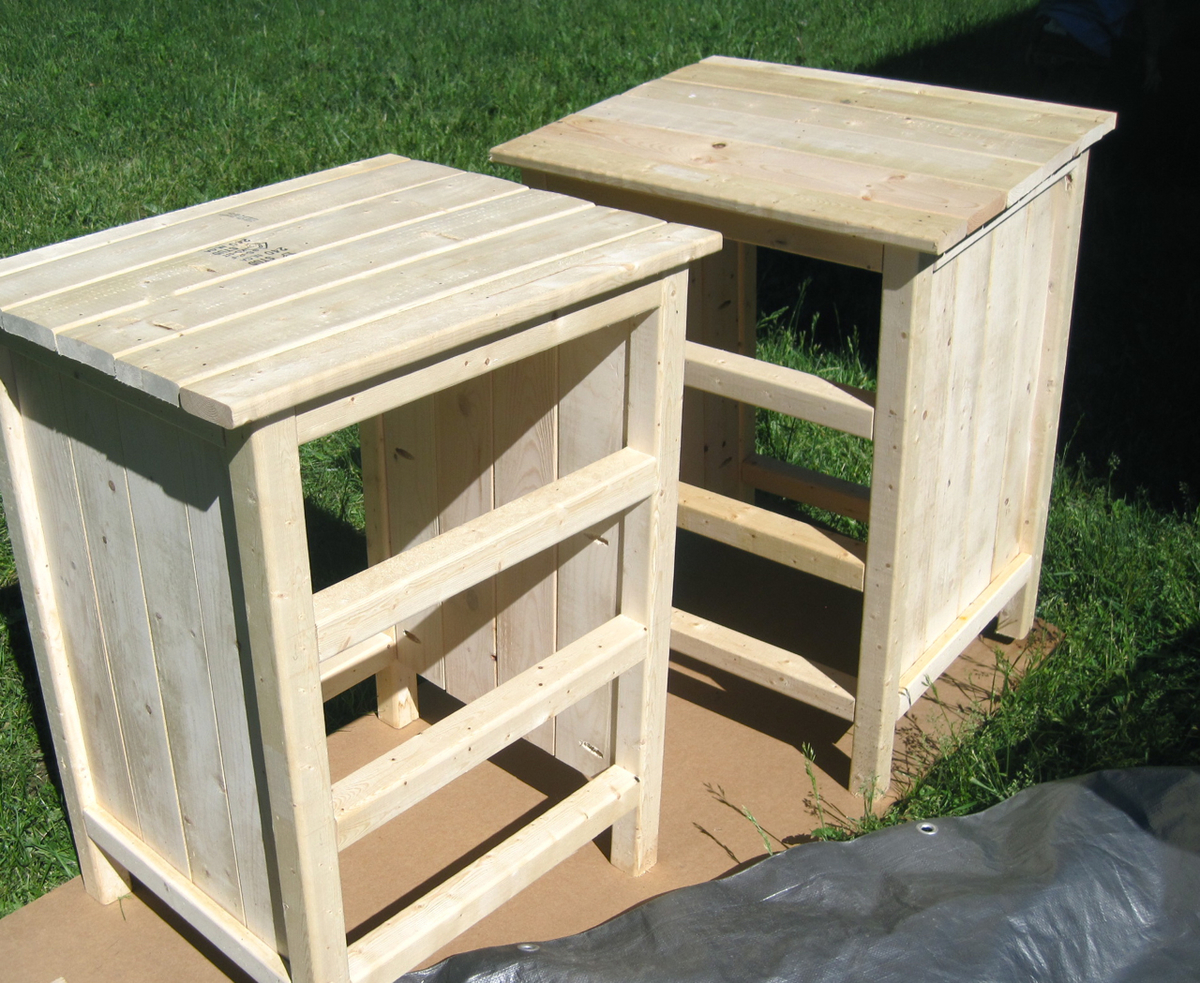
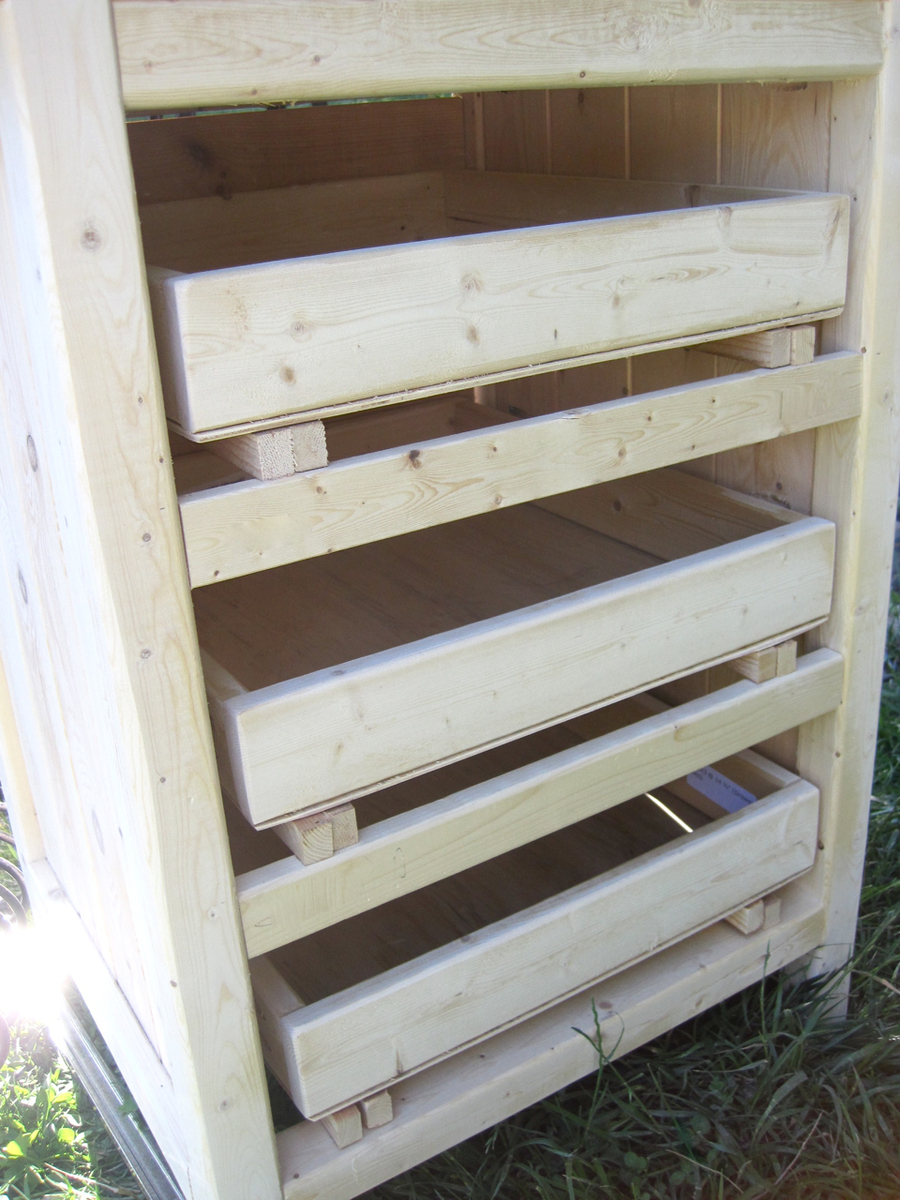
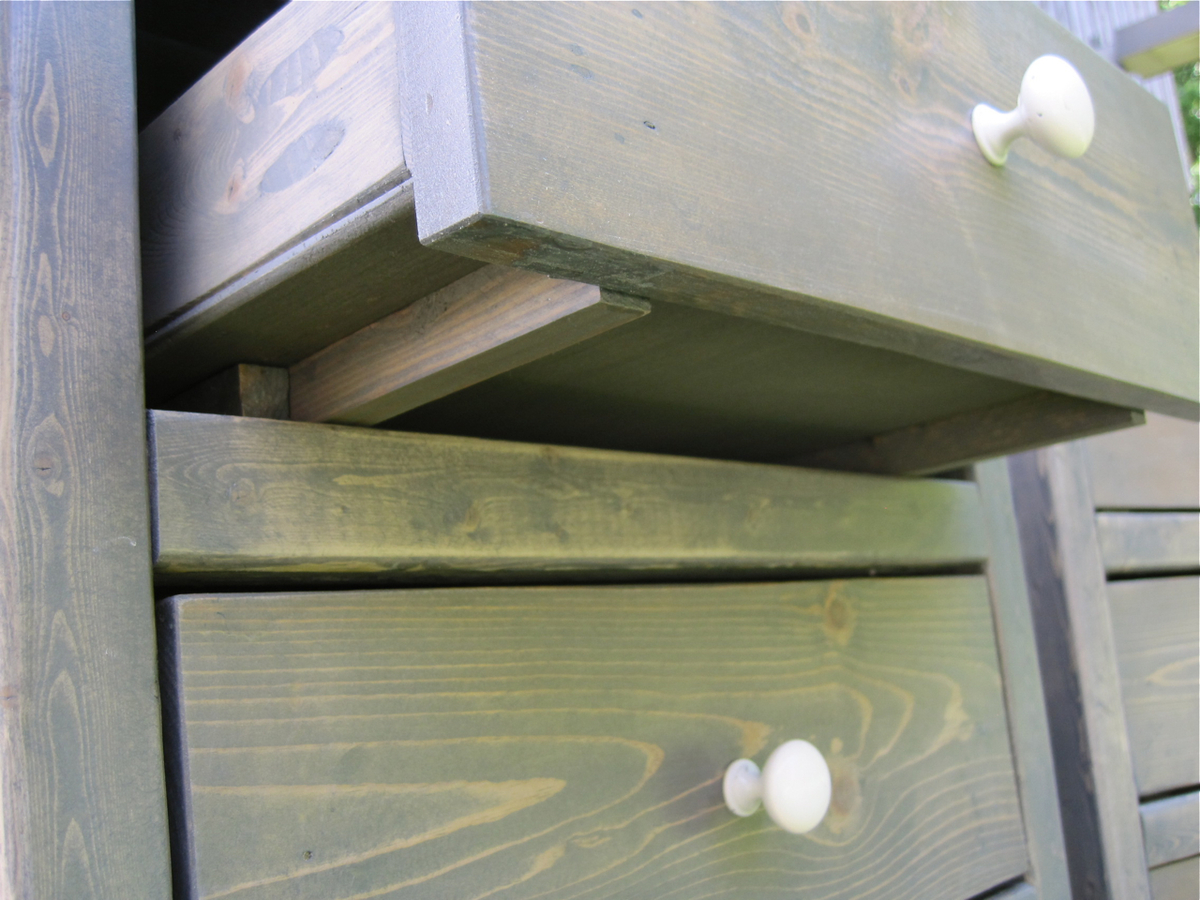
I followed the plans almost exact except I used wire finish nails to attach the top boards and drawer faces (with glue) to give it a handmade-rustic look. I also didn't use the euro metal drawer slides but instead ripped my own out of 3/4-inch thick pieces of wood by 16" long and attached them under the drawers and on top of the front/back stretchers (I had to add back stretchers for the top 2-drawers since they weren't in the plan). I also added adjustable metal slides to the legs to give it a nicer look.
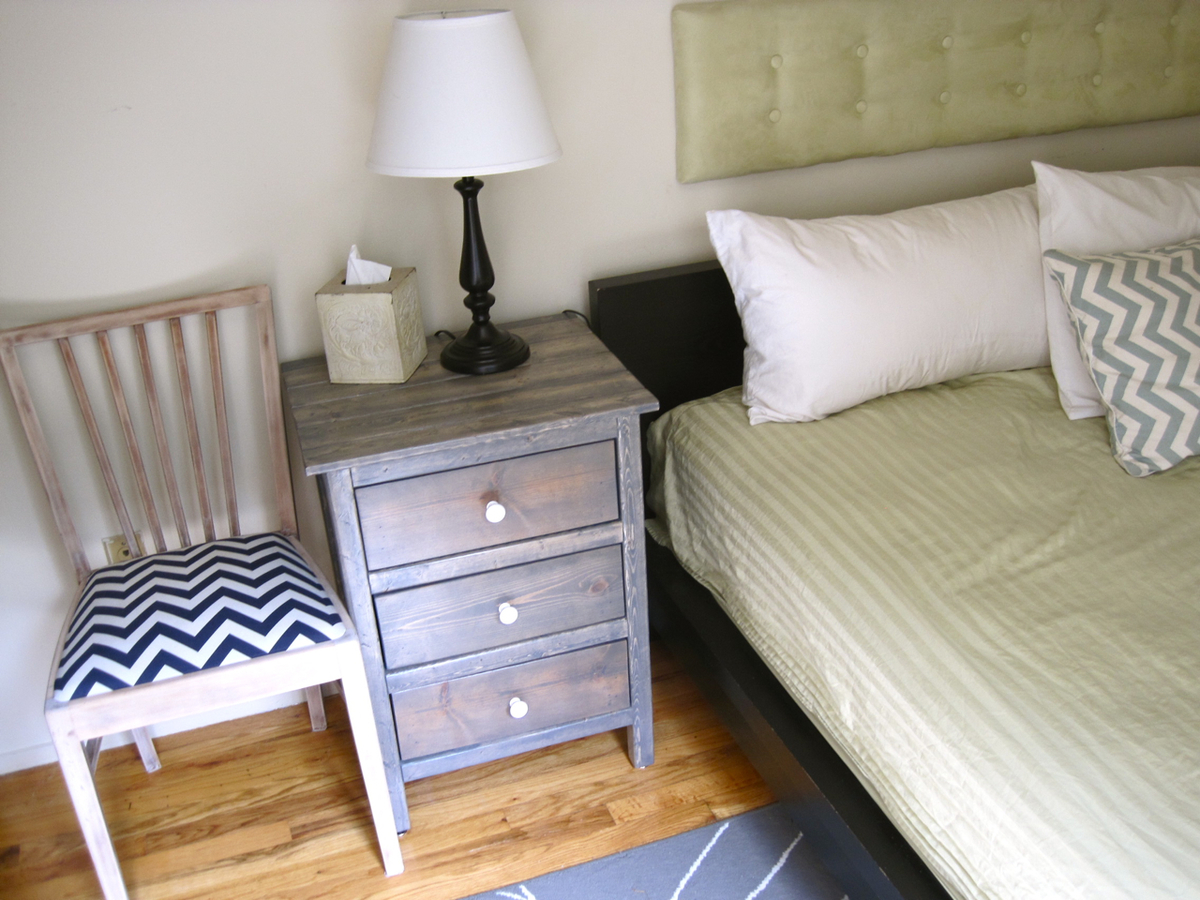
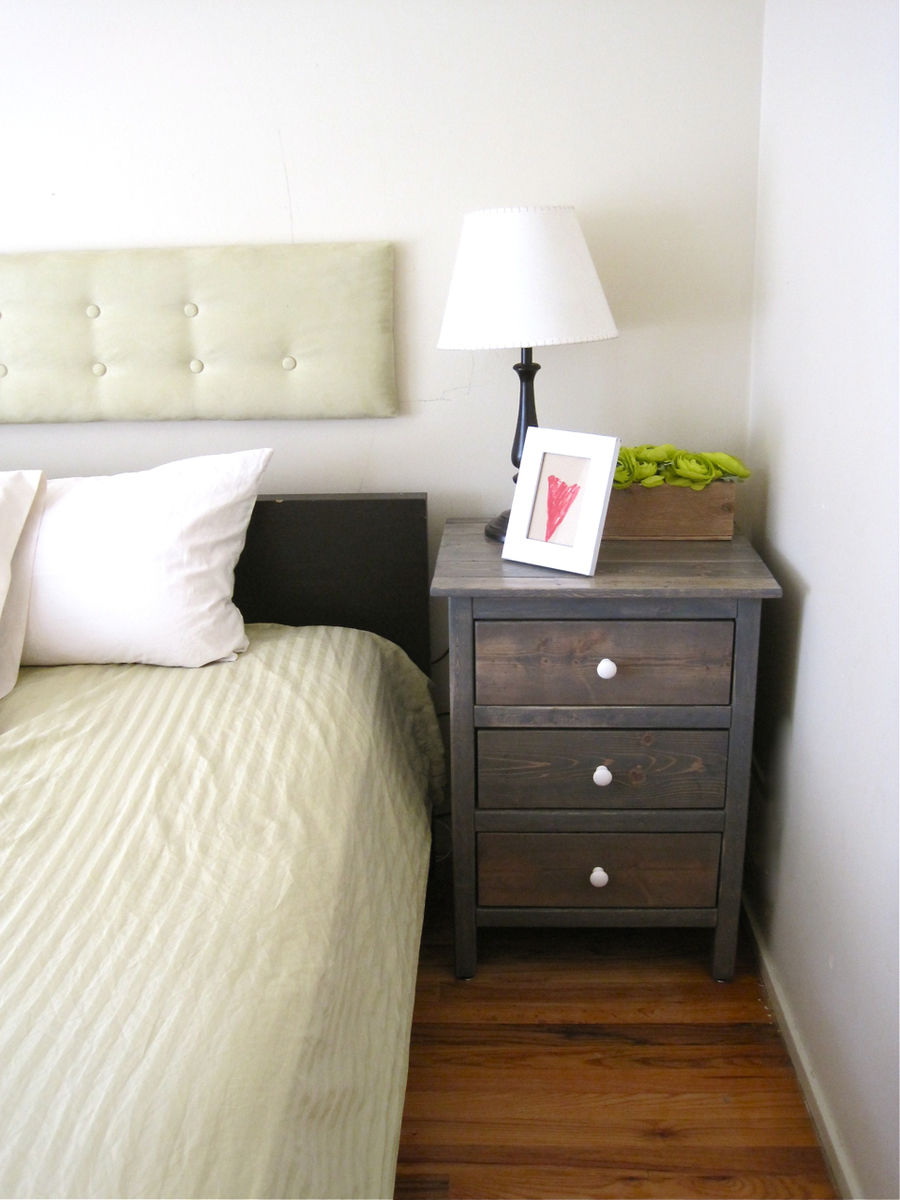
Fri, 10/03/2014 - 09:34
What is the original plan name with demensions for these night stands?
Thank you.
Keeping with the cottage farmhouse this is my take on the Wood Tilt Out Trash/Recyle cabinet. I used construction grade 1x12's. I would consider this project an intermediate level because I used two 2x12x8 and machined the smaller dimensional material. I rounded over the faces using a 3/8 inch round over bit in my router. Multiple coats of sprayed on latex followed by several light coats of water based poly.
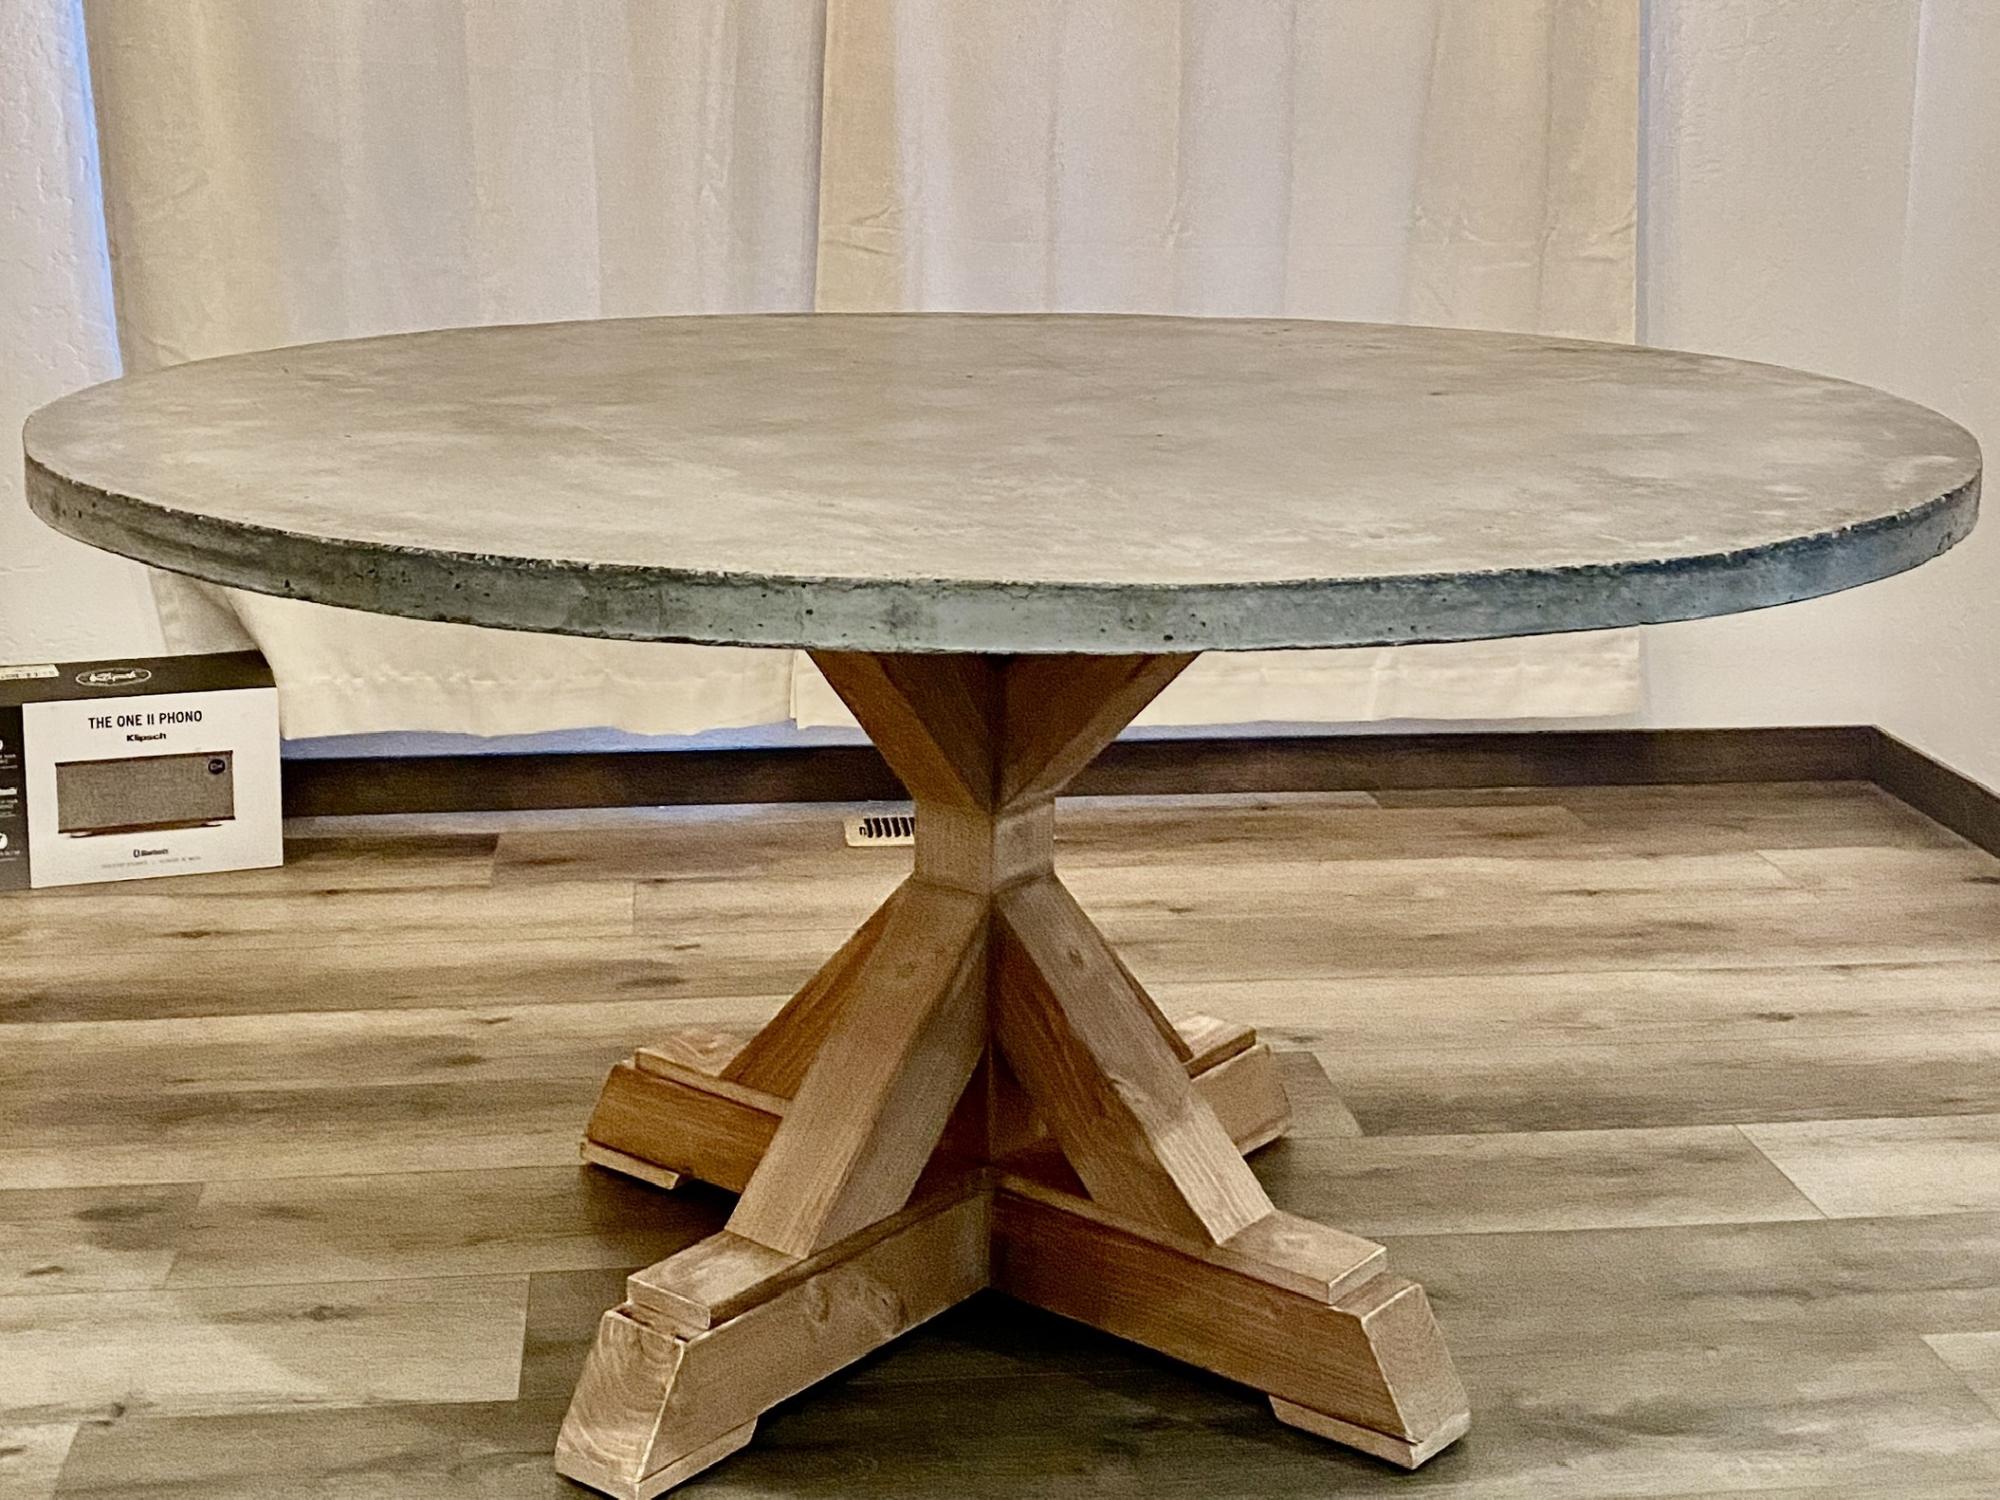
60” round 1.5” concrete top.
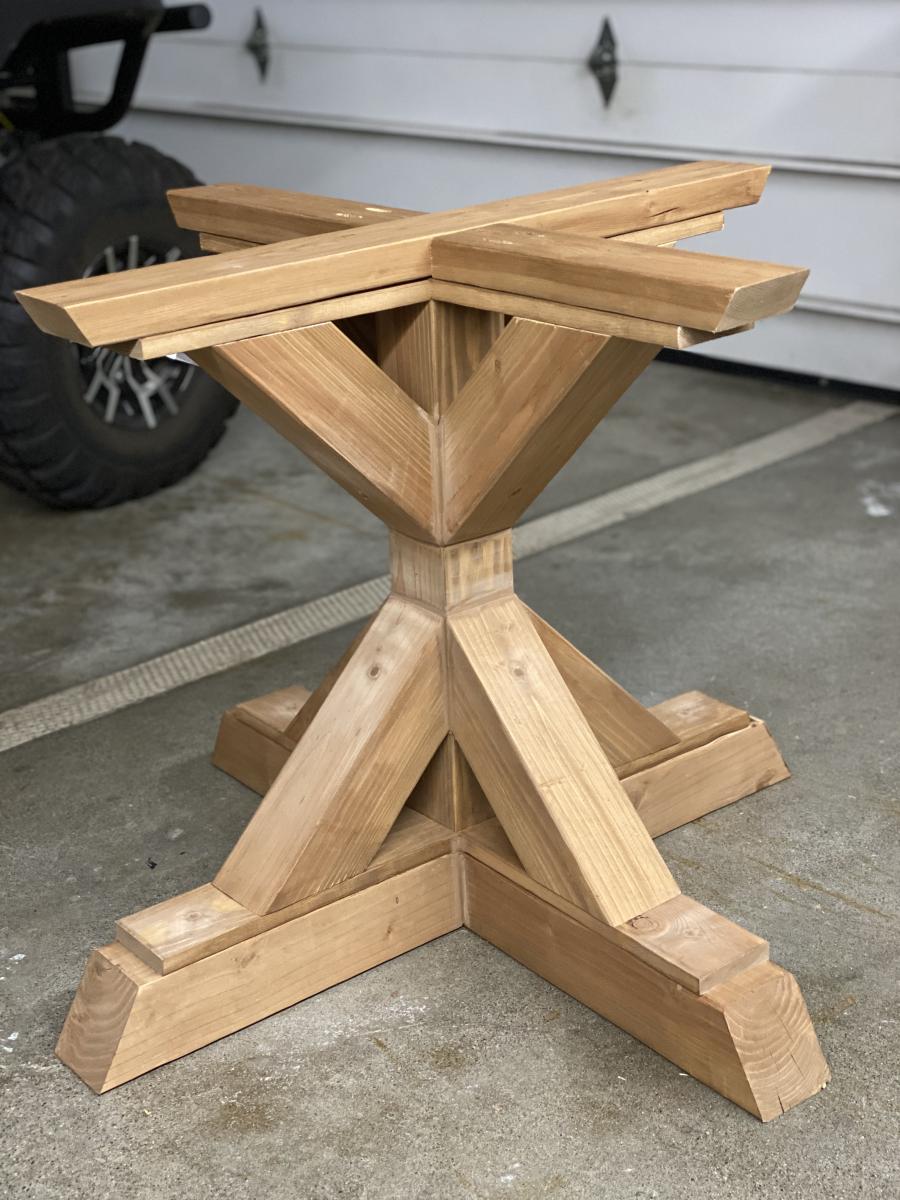
No modifications to the base.
Used Behr water based stain (Early American)and wood conditioner.
Beyond pleased with the results:)
Mon, 11/08/2021 - 16:06
Thank you!! It turned out better than I had hoped. Now every time I see it, I smile. Thanks for the base plans🍻