Community Brag Posts

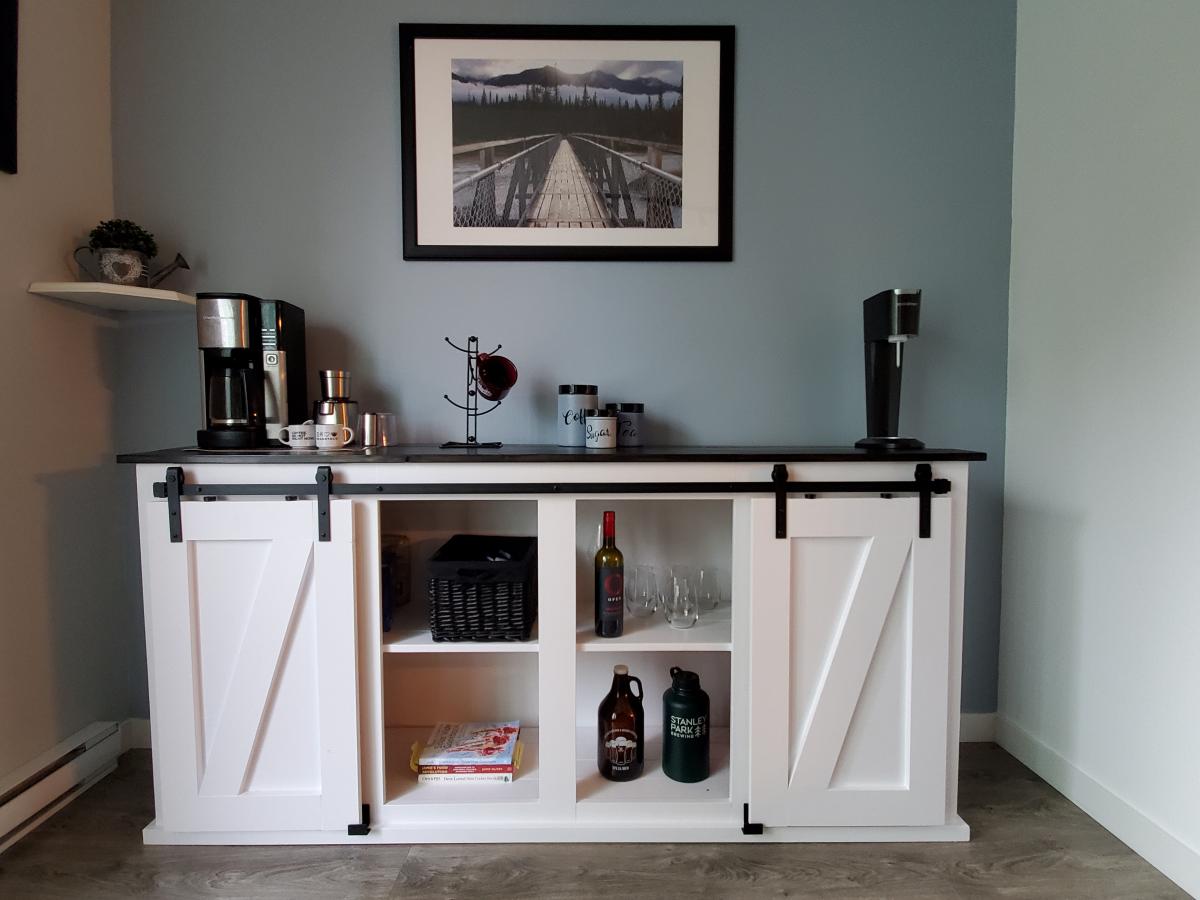
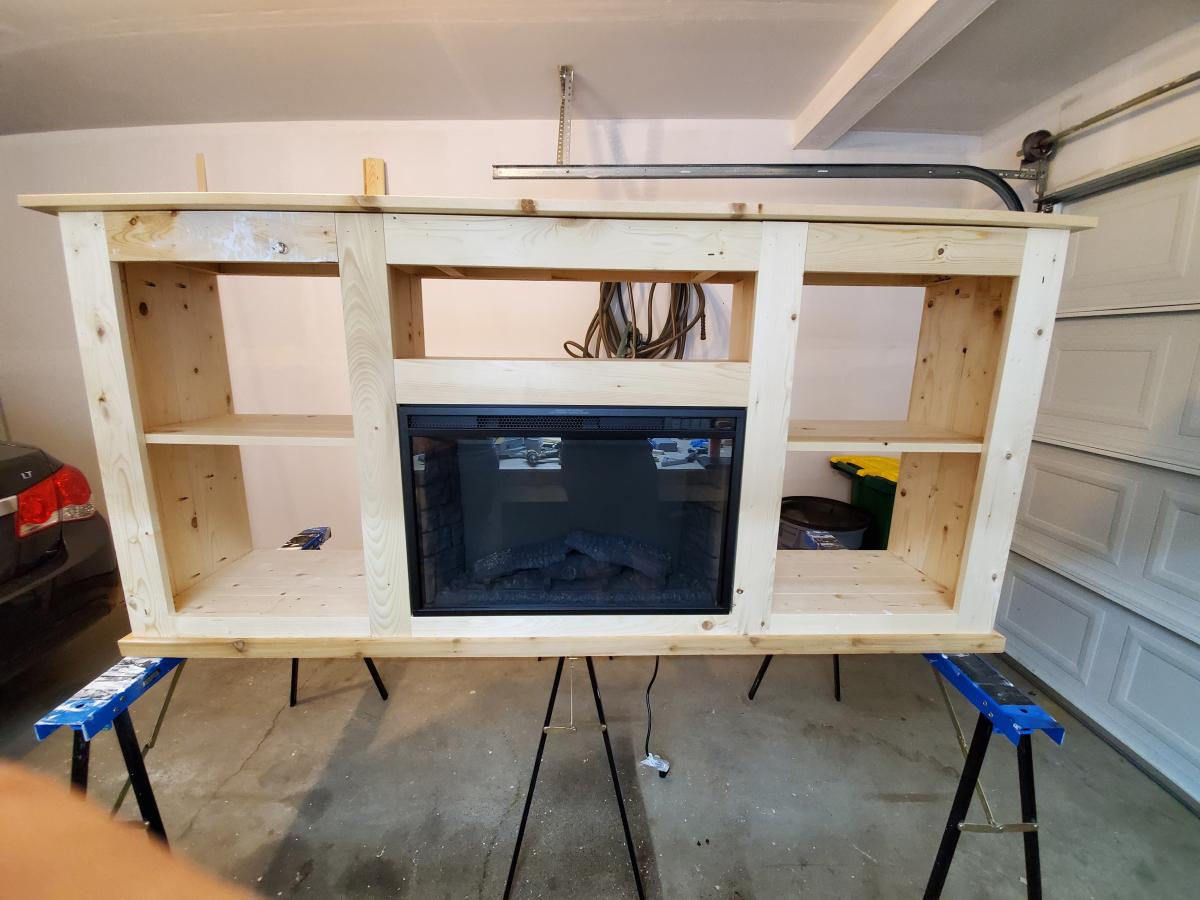
Grandy Barn Door Fireplace and Matching Console
Submitted by Anonymous (not verified) on Wed, 11/11/2020 - 17:38

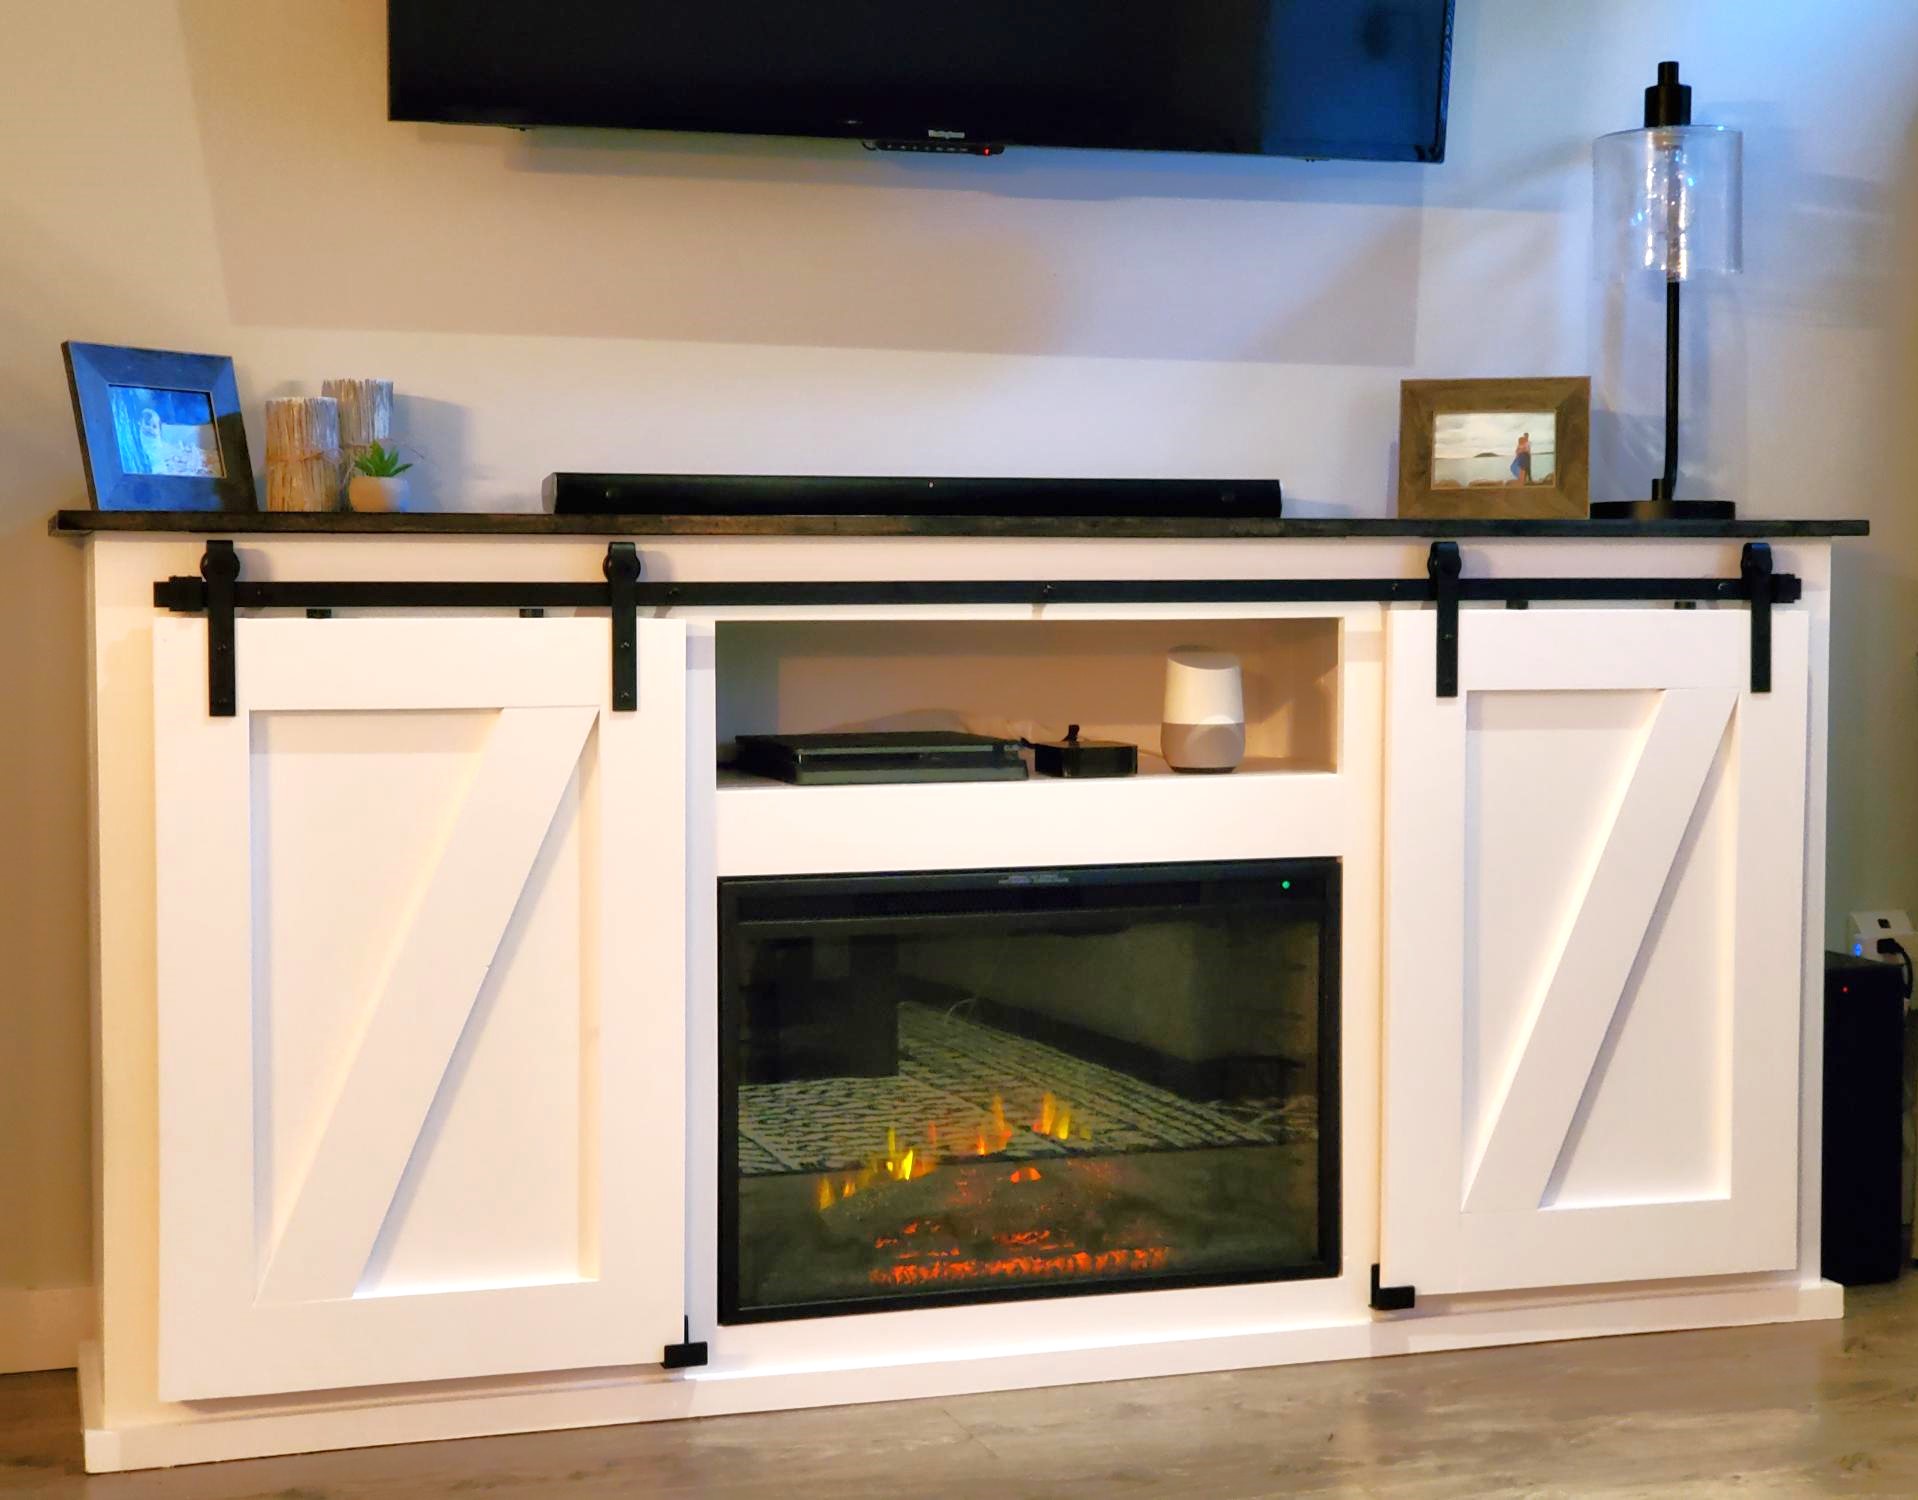
We originally built the original console a while ago as an entertainment unit for underneath our television. We enjoyed the console so much that we decided that we wanted to do another modified console with a fireplace in it and make the other one into a buffet/storage area for the dining room.

Both of these are fairly modified from the plan, however the basic concepts remain the same. One big thing that we did was use 1x4s as much as possible to reduce the different sizes of lumber we were buying to both reduce complexity and end up with as little as possible scraps.

The frames are made of the 2x3s, The sides (4 deep), shelves, middle shelves and face frame are all 1x4s. The back and inside frames are scrap plywood. The top is 1x6s.

The addition of the fireplace was not difficult. What it did require us to do was to add the centre section and essentially create a box that is closed to the outside cabinets. If it were not closed off it wouldn't support the fireplace insert correctly. The important piece with the fireplace is to ensure you have enough clearance on the top and sides to allow the fireplace to mount safely without overheating. The nice thing about this setup is the additional shelf above the fireplace which we used for electronics. The wires go through the back of the cabinet and it looks very clean.

These are probably my favorite things I've built this year. They're simple to make and add a lot to any living space.
Built from Plan(s)
Estimated Cost
$500
Estimated Time Investment
Weekend Project (10-20 Hours)
Finish Used
White paint for body
Minwax Polyshades Classic Black for top
Recommended Skill Level
Beginner

Comments

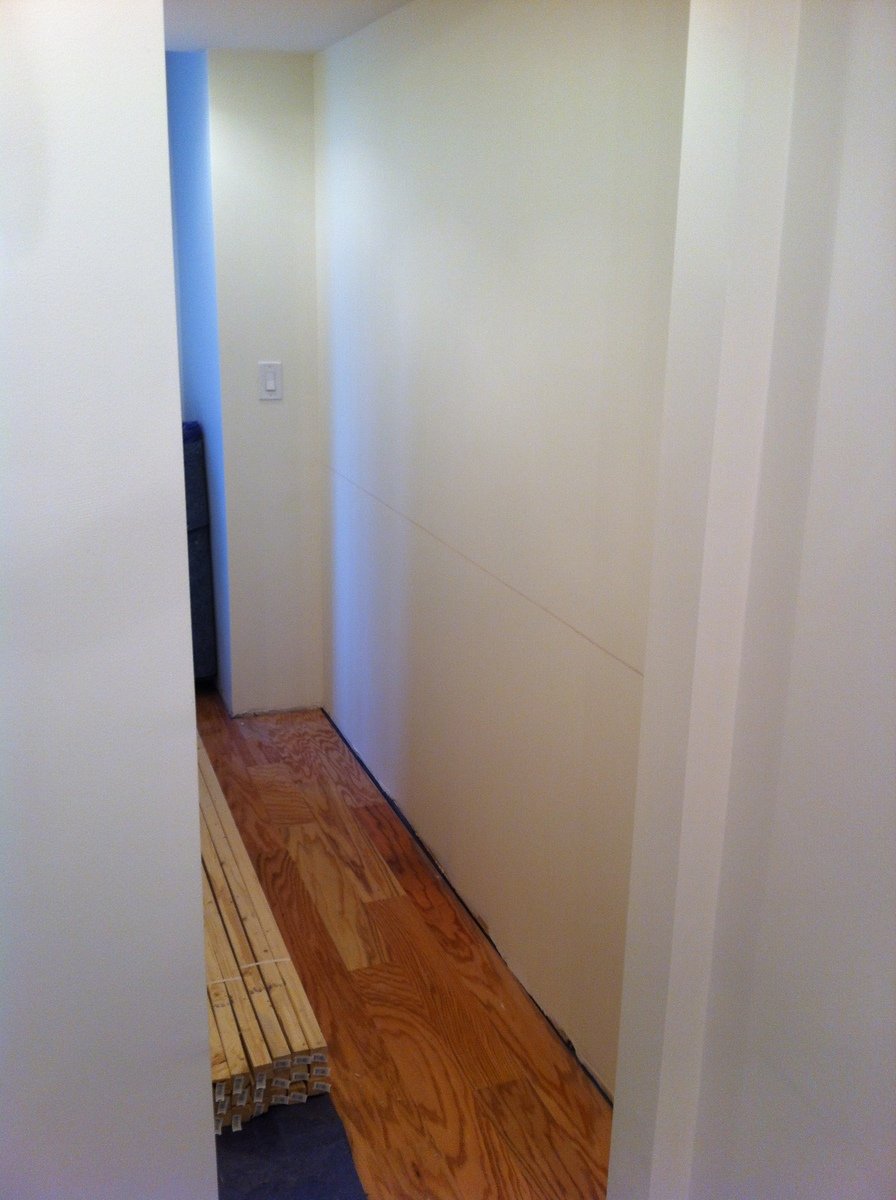
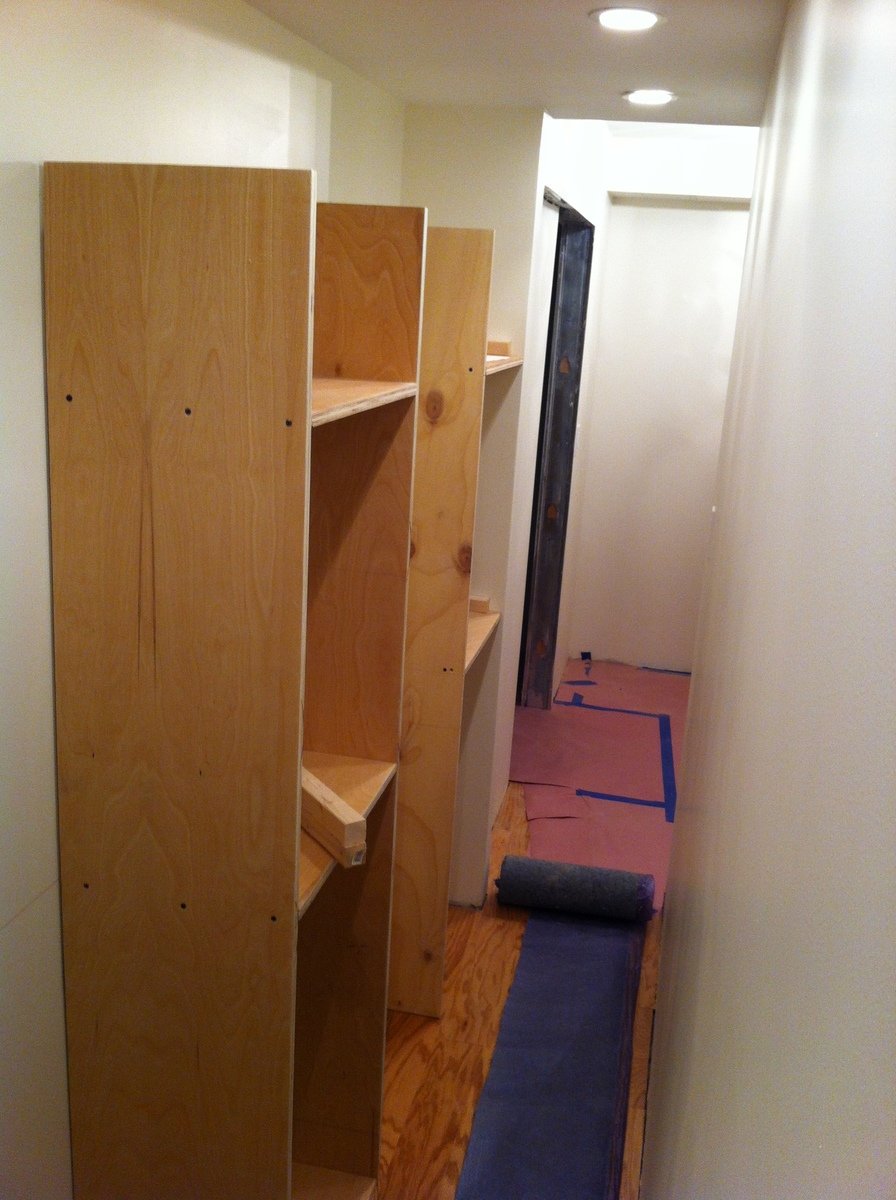
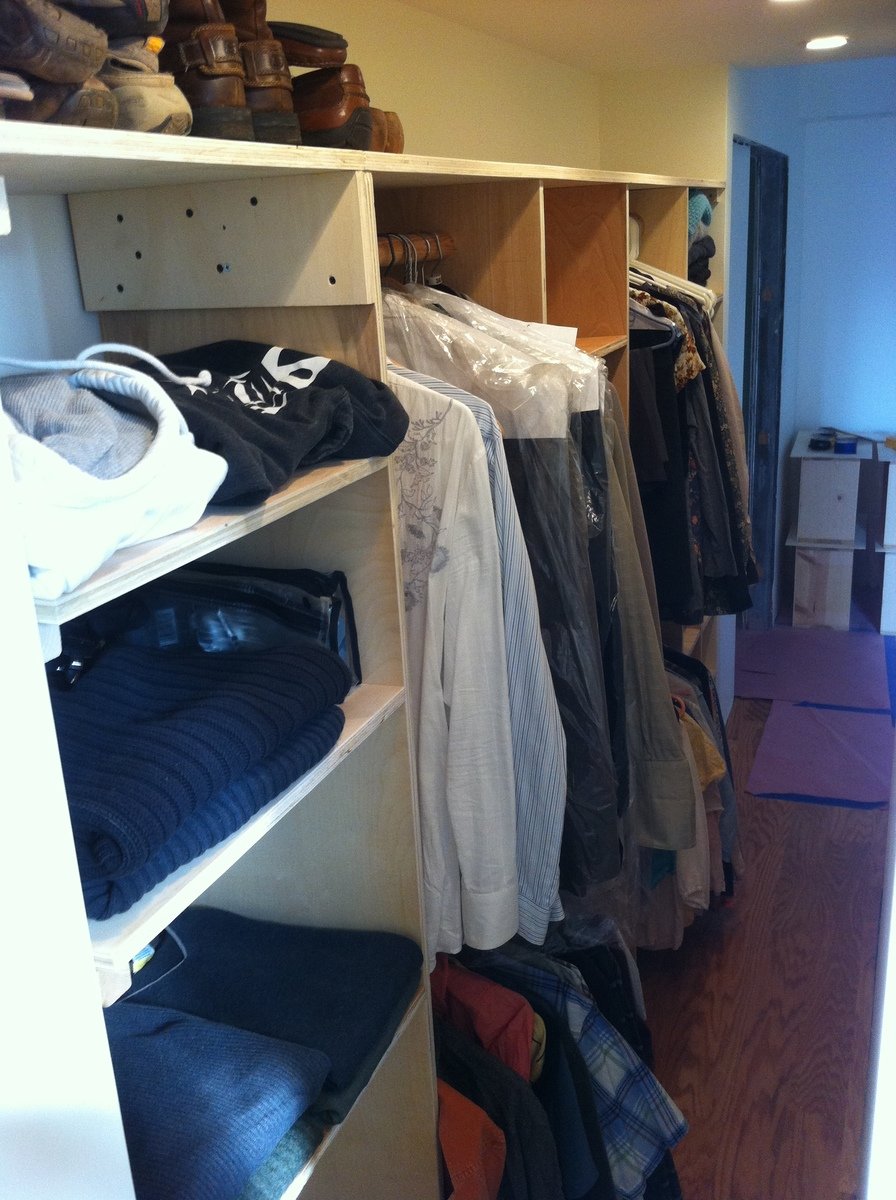
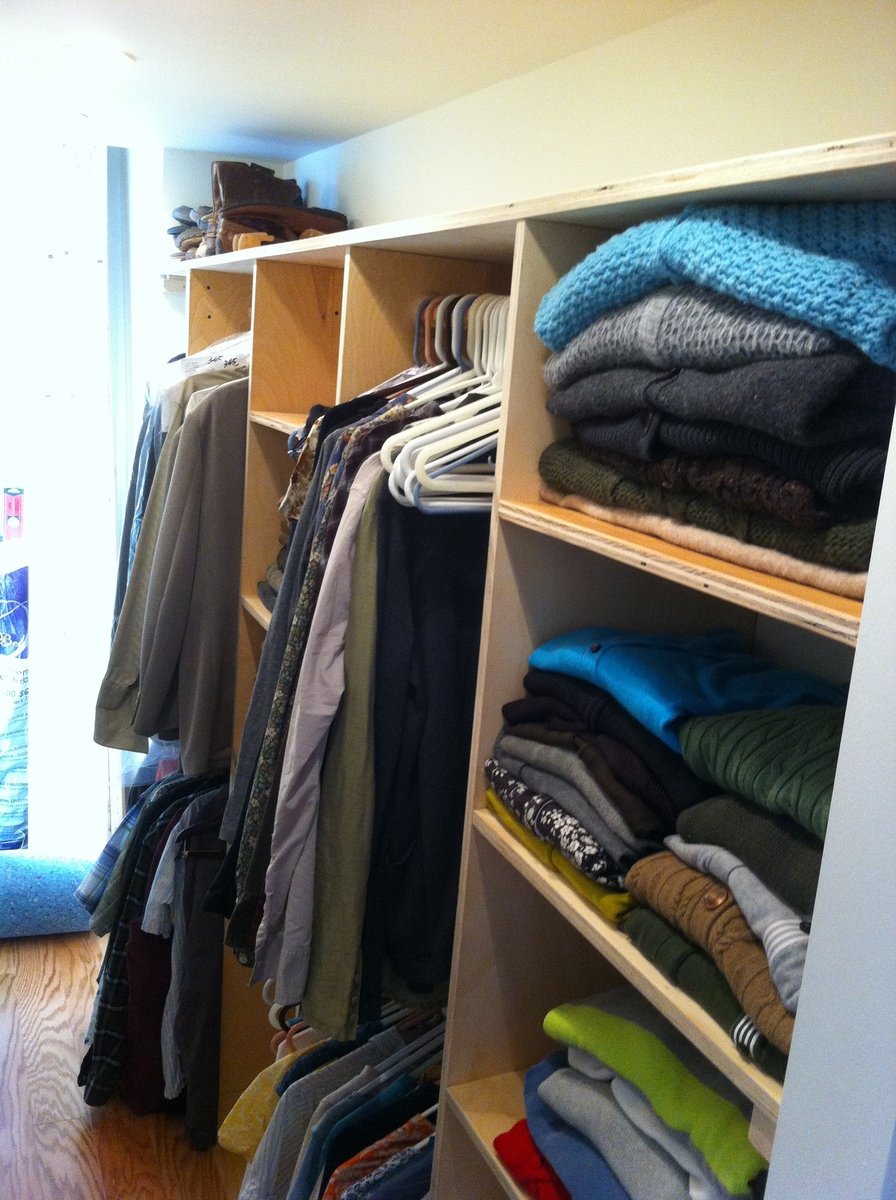
Master Closet System

Submitted by Michael B on Thu, 01/17/2013 - 13:17

Followed plans with slight modifications:
1. Made shelves deeper but narrower
2. Used 3/4" Birch Plywood for all
3. Built no base just mounted to floor & wall
4. No drawers just shelving

Estimated Cost
Under $80
Estimated Time Investment
Afternoon Project (3-6 Hours)
Finish Used
Clear Poly
Recommended Skill Level
Starter Project

Comments

Love this project.

Submitted by Anonymous (not verified) on Wed, 02/22/2017 - 17:20

This project was completed in a weekend. I was really proud of the result. 

Built from Plan(s)
Estimated Cost
Cost was about $55 I didn't keep track but was cheap.
Estimated Time Investment
Weekend Project (10-20 Hours)
Finish Used
I painted the base Shark tooth white and the top was stained a dark walnut and finally waxed. I probably should have put poly on it.
Recommended Skill Level
Intermediate

Farmhouse Table/Bench and Floating Shelves

Submitted by Al_on_Rose on Mon, 12/14/2020 - 14:09

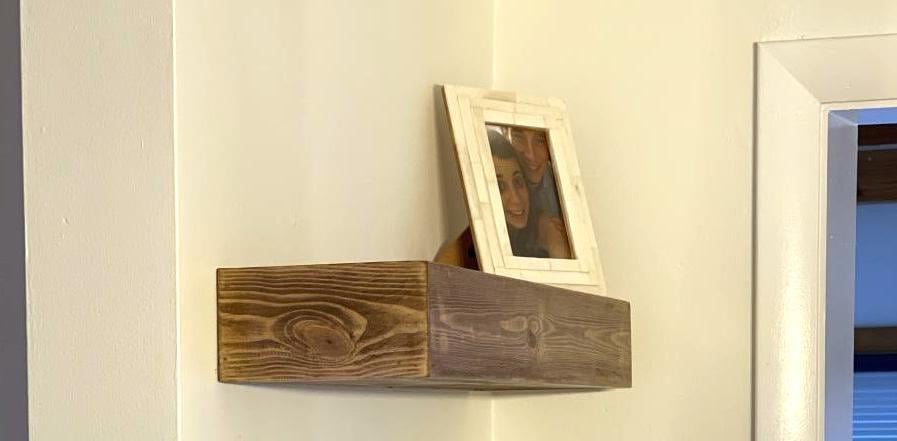
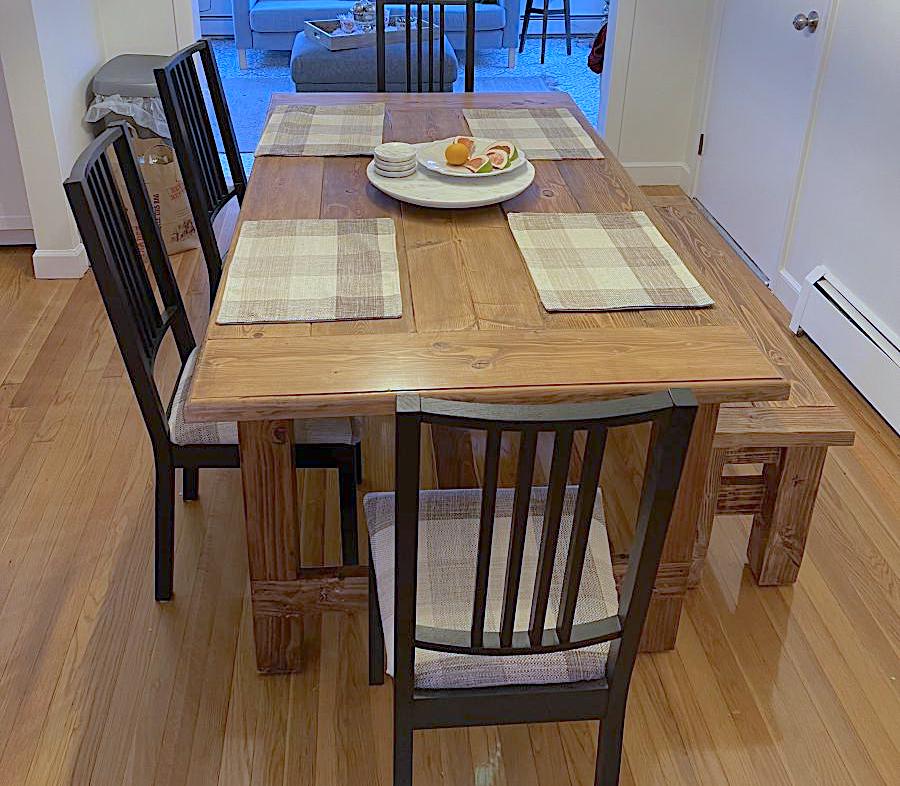
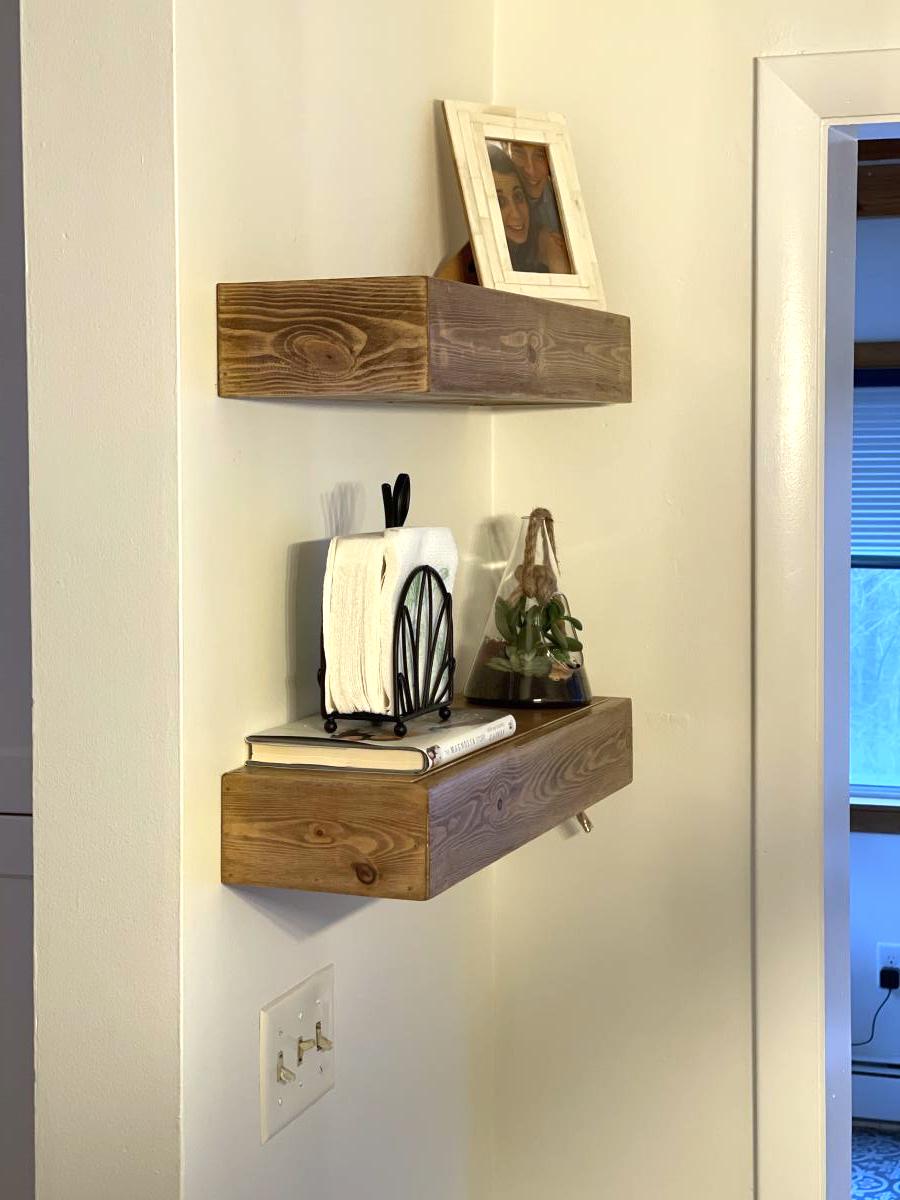
My daughter wanted to create the Farmhouse look for her New England home. Had so much fun building the Table, Bench and Floating shelves. The Plans were perfect, and of course customizable (she wanted it a little shorter). My next project is a real workbench for my garage. I think the only issue is the New Jersey winters.

Estimated Cost
$250
Estimated Time Investment
Weekend Project (10-20 Hours)
Finish Used
Early American Stain
Recommended Skill Level
Intermediate

Comments

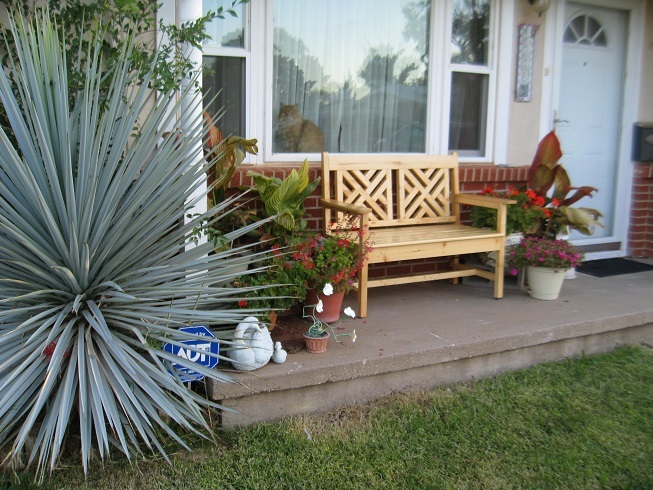
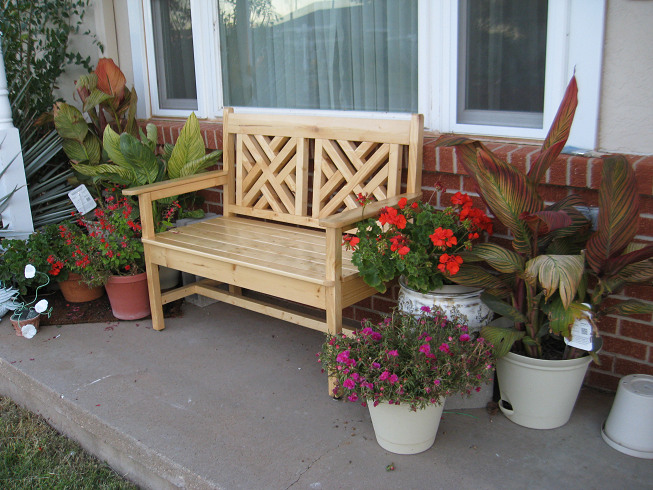
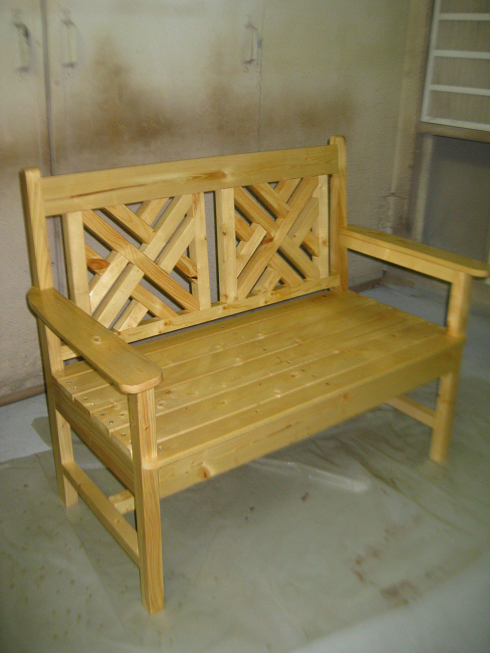
Woven Back Bench

This took approximately a week to build, but was fairly simple.  Drew arm rests freehand and applied 3 - 4 coats of Helmsmen.

Built from Plan(s)
Estimated Cost
$20
Estimated Time Investment
Week Long Project (20 Hours or More)
Finish Used
Helmsmen (3-4) coats
Recommended Skill Level
Beginner

Comments

earthbybike

Sat, 12/06/2014 - 12:27

I built this at the local college woodshop and I am very happy with how it turned out. Our comminity is so very lucky to have a community college that has a wood shop and a huge spray booth. (Wood Shop 1 & 2 as well as Cabinet Building 1 & 2)

Seasonal And Holiday

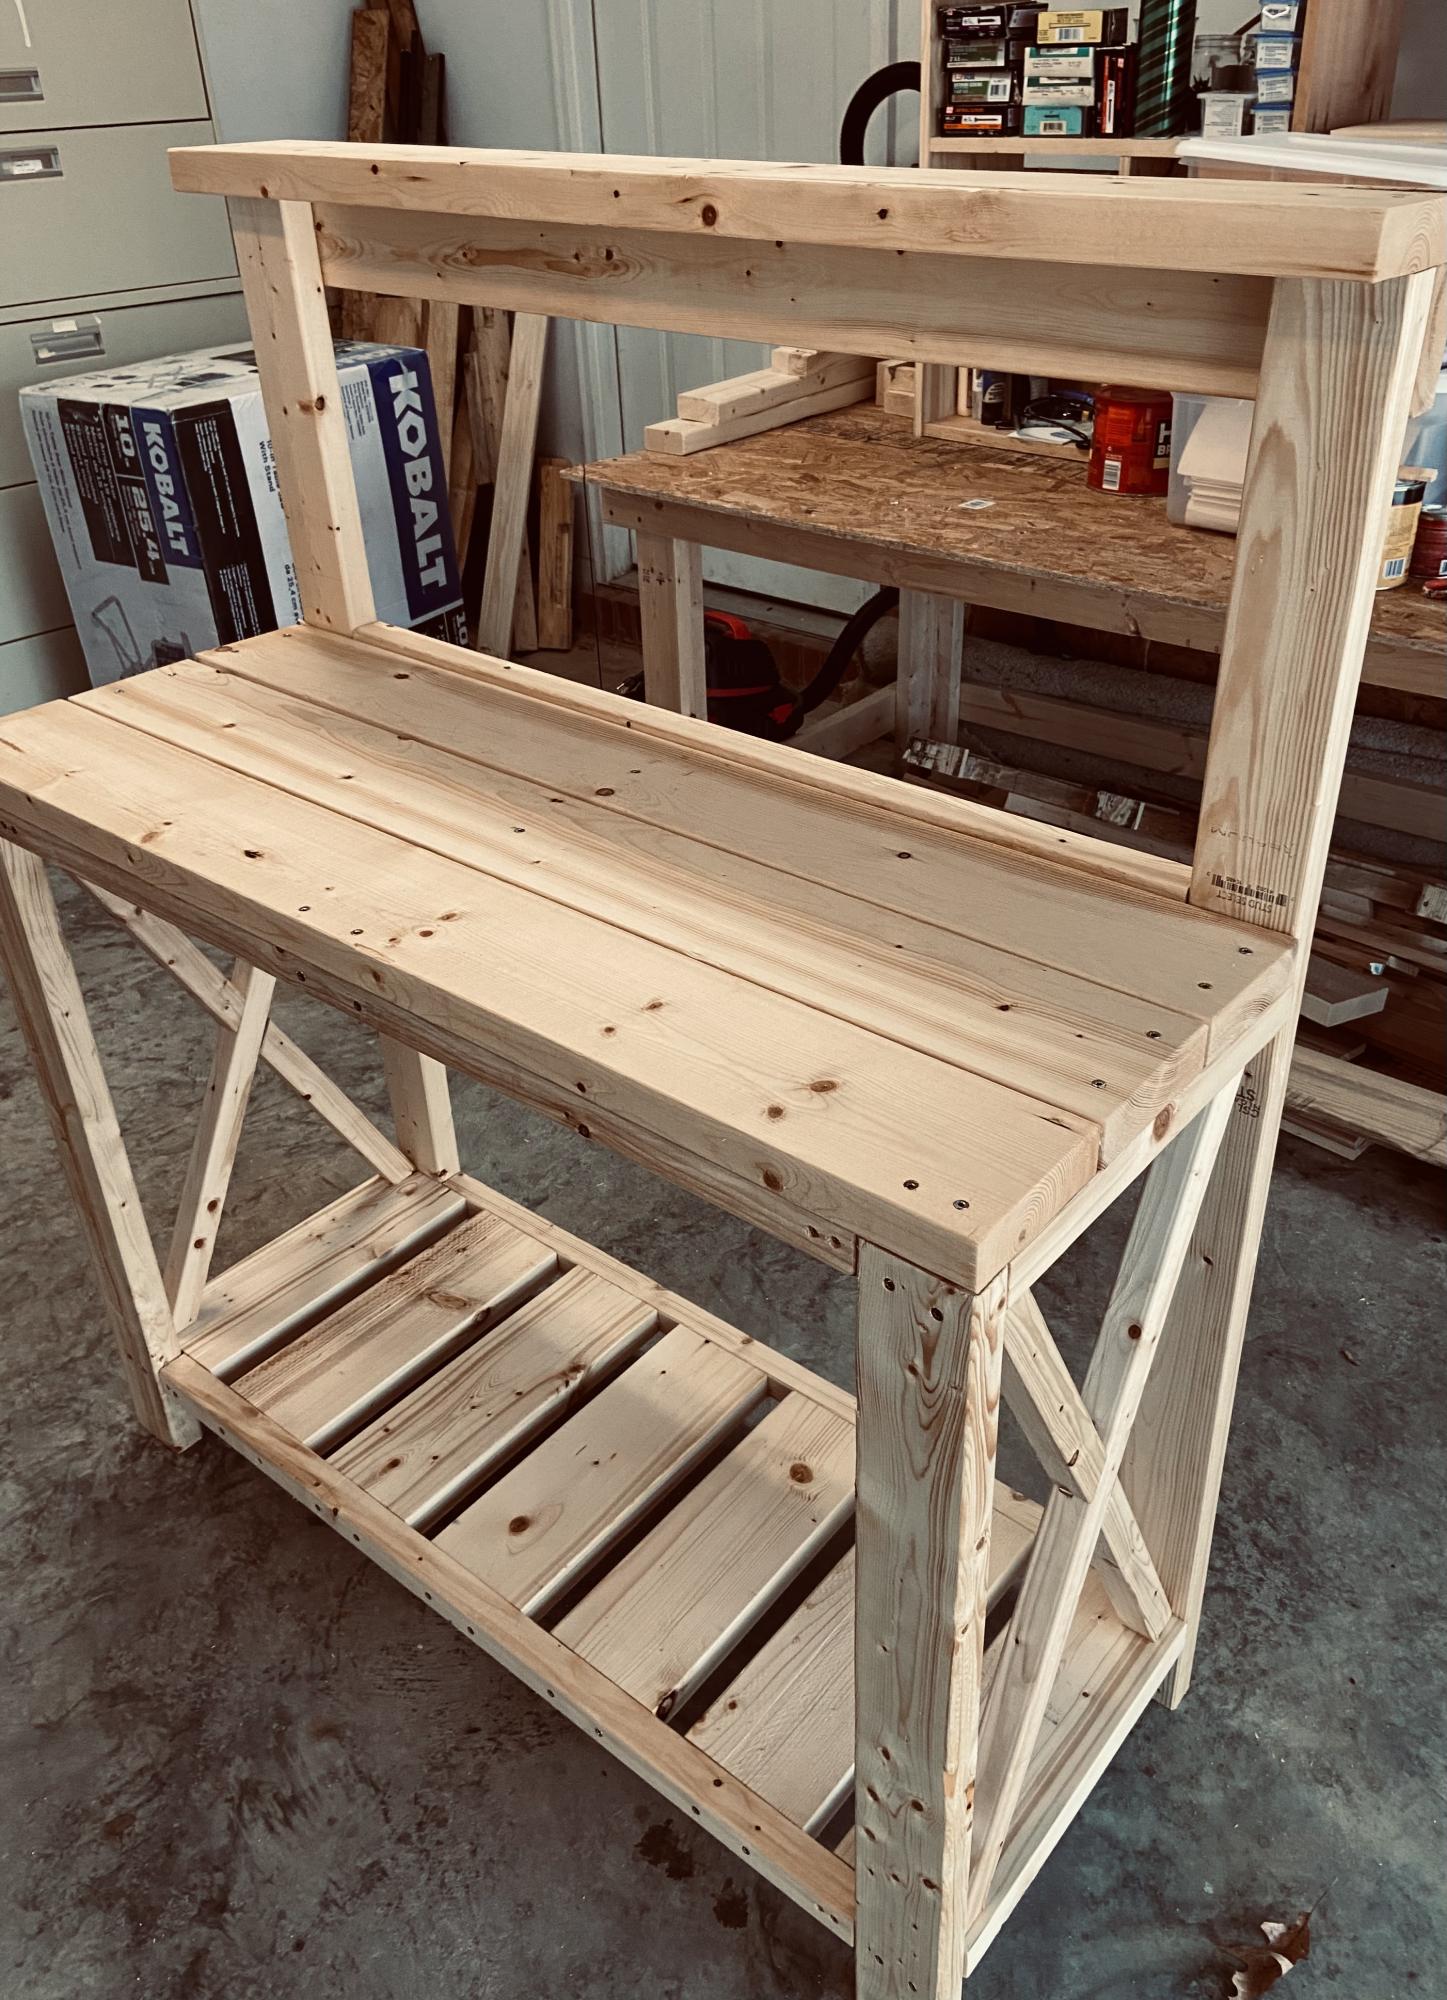
Potting Bench

I am a complete newbie to anything woodworking. I just turned 60 and used a drill for the first time about 9 months ago. Thanks to Anna and her plans and videos, I have developed some some self confidence in this art and absolutely loving it.

Farmhouse coffee table and king size bed is next.

Thank YOU Anna!!! You totally rock!!!!!!!!

Estimated Time Investment
Day Project (6-9 Hours)
Recommended Skill Level
Beginner

Comments

Mater Chair for a child.

Submitted by justjeff52 on Mon, 12/01/2014 - 13:44

This is a chair I made from the Super Easy Adirondack Chair plan from your website.

Estimated Cost
$75.00
Estimated Time Investment
Weekend Project (10-20 Hours)
Finish Used
paint
Recommended Skill Level
Intermediate

Comments

Mimi's Faux Mantle

Submitted by Anonymous (not verified) on Fri, 03/10/2017 - 04:53

Built this using Anna White's "MIMI'S FAUX MANTLE" but instead of using crown molding I elected to use STONE TILES in neutral tones and finished the surround and mantle in white giving the piece a nice soft appeal.  The building plans were easy to follow and took about 2 days to complete the whole process (because of drying times) not to mention how reasonable the cost was.  I already had the tiles,  adhesive, and paint from left over projects.

Estimated Cost
Cost was more than reasonable. I already had the tiles ,adhesive, and paint. Total cost was approximately $66.00.
Estimated Time Investment
Day Project (6-9 Hours)
Finish Used
I used Behr White Semi-Gloss Enamel paint purchased from Home Depot (I had the paint from a previous project). Use any tile of your choice since these were left over tiles I had on hand. When tiling use an appropriate tile for the space and glue with tile adhesive. I let mine sit overnight and grouted it the next day using a sanded grout in Bone (purchased from Home Depot) #832.
Recommended Skill Level
Intermediate

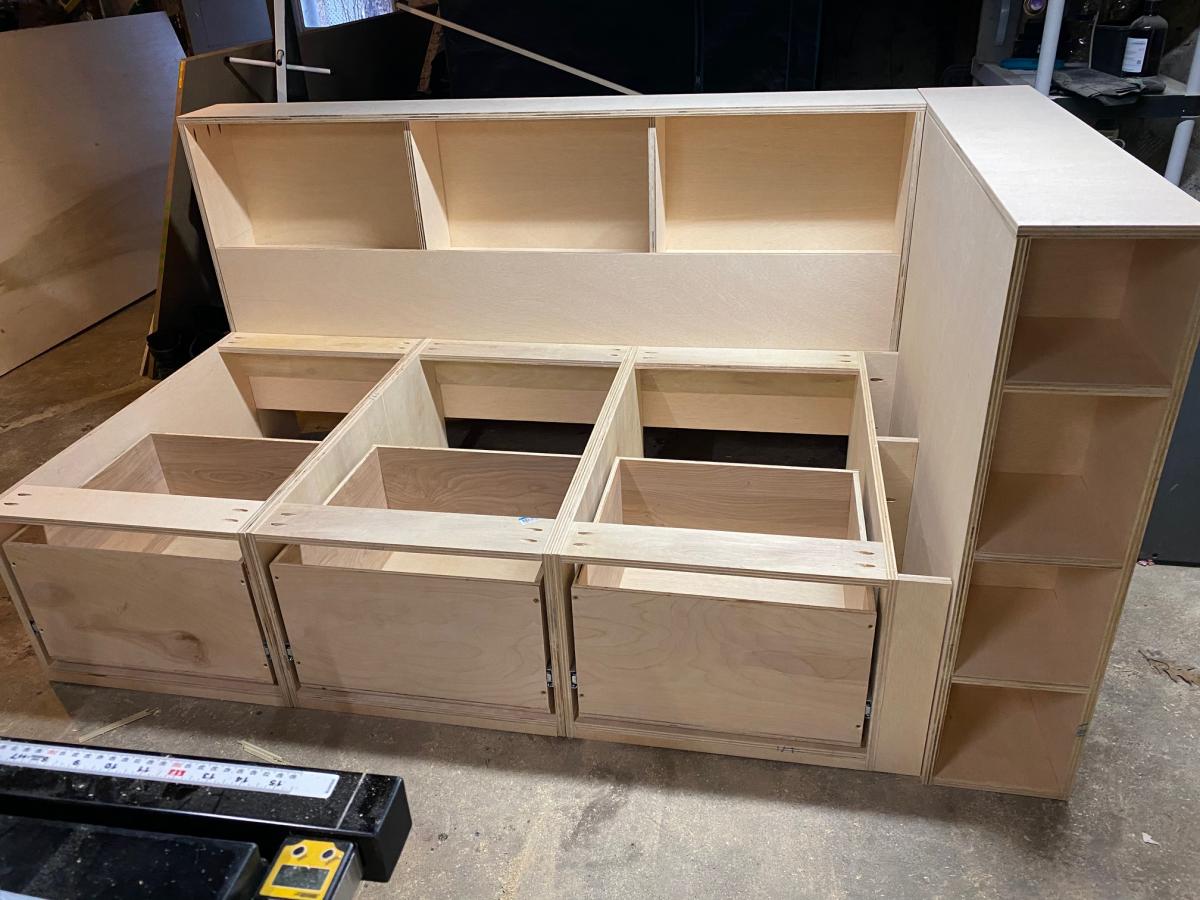
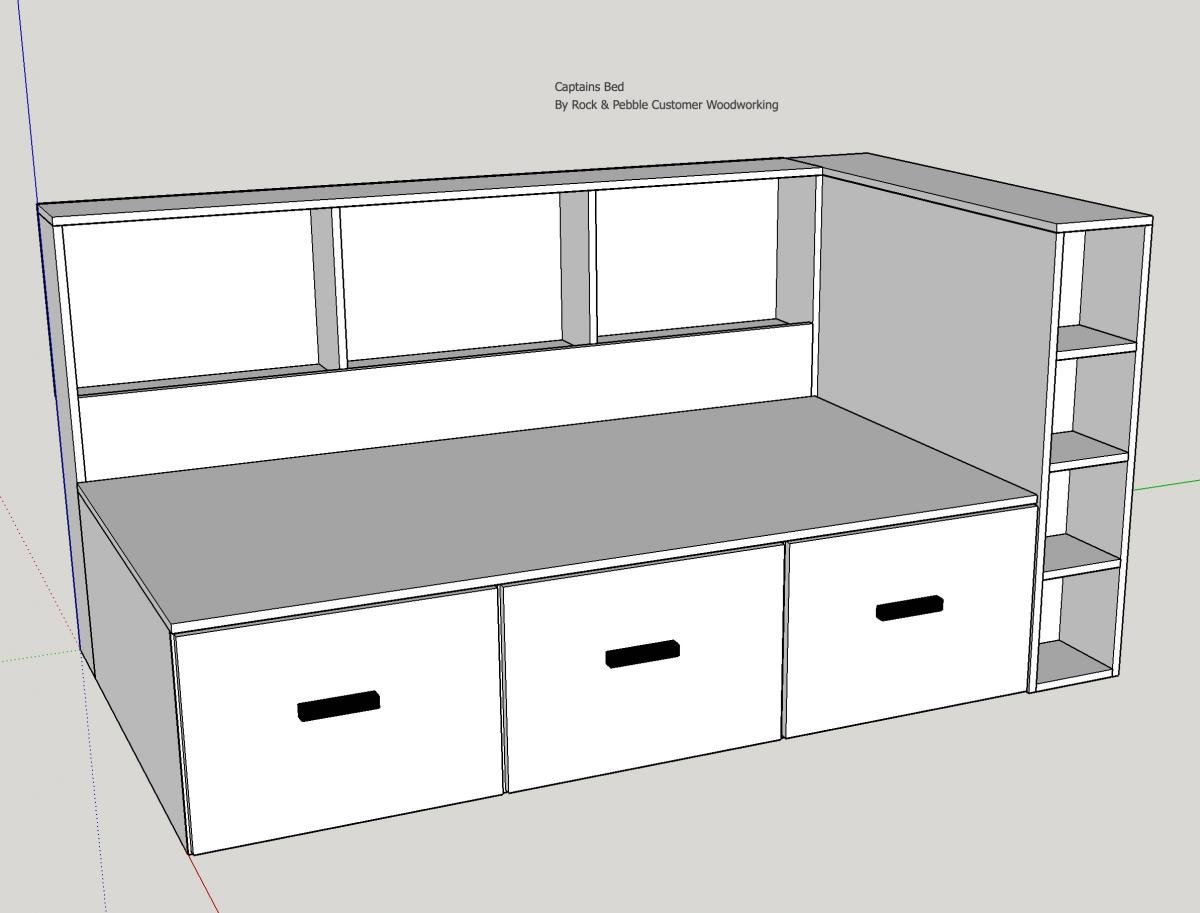
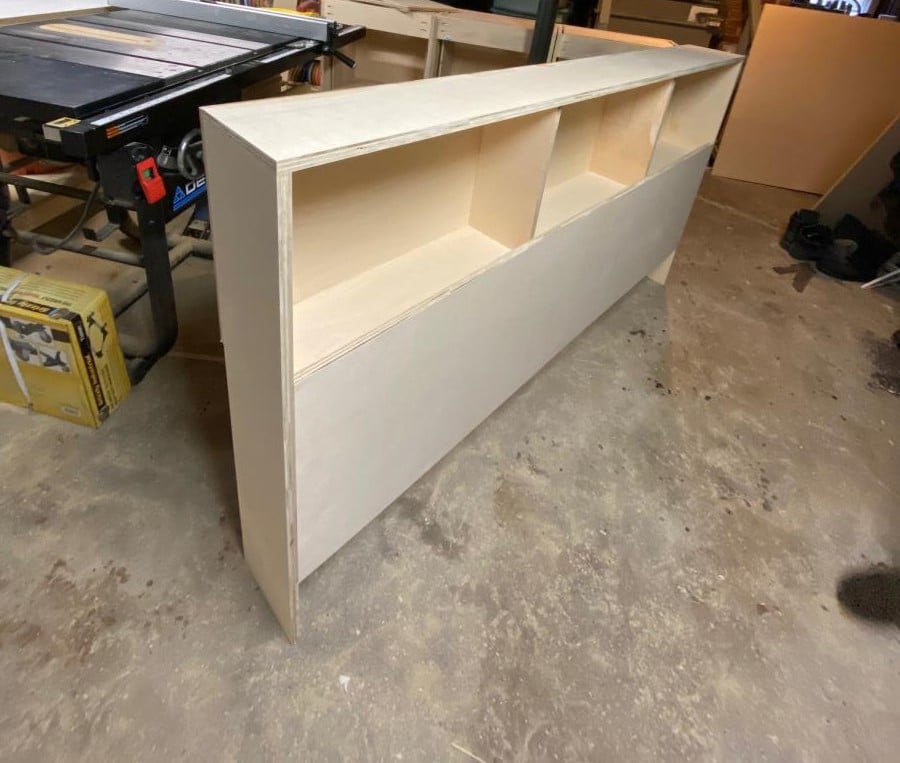
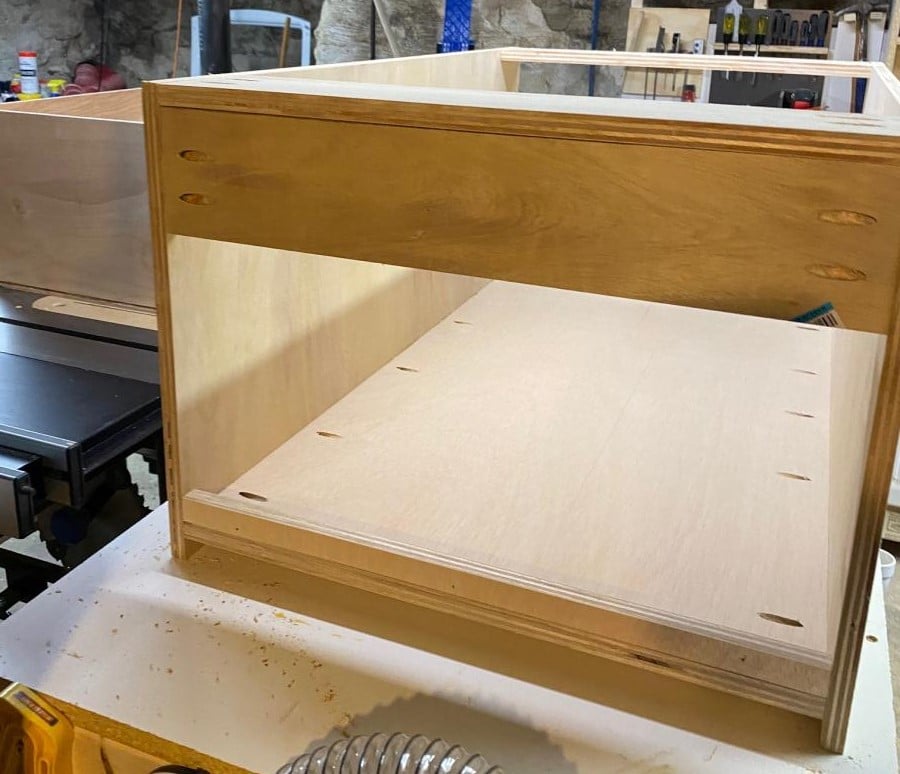
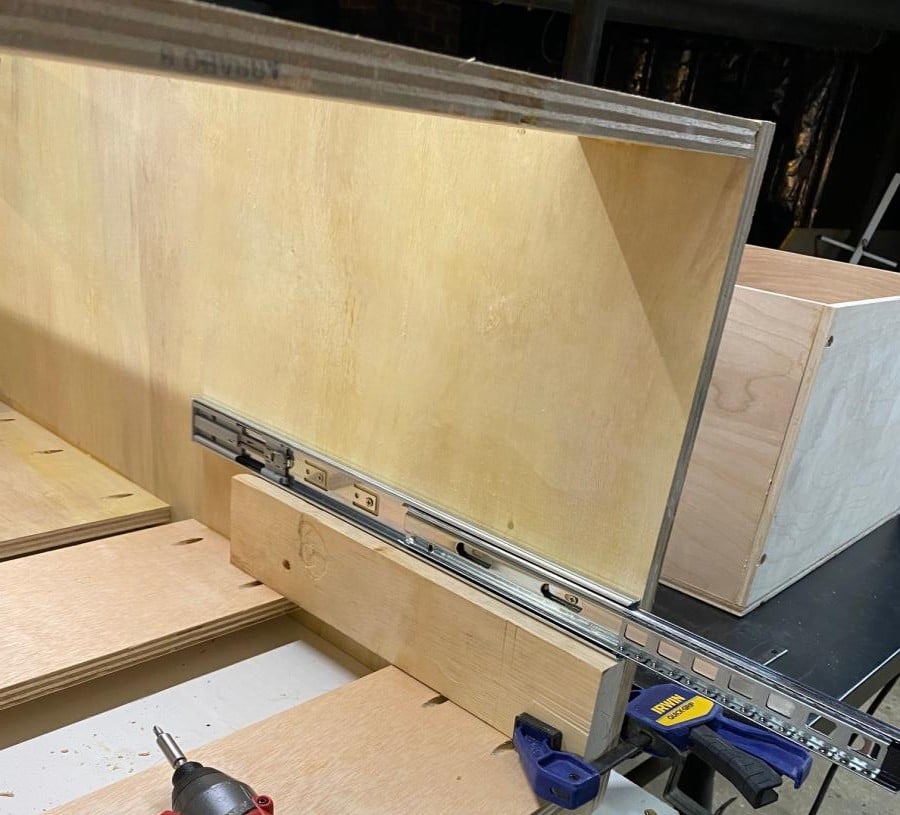
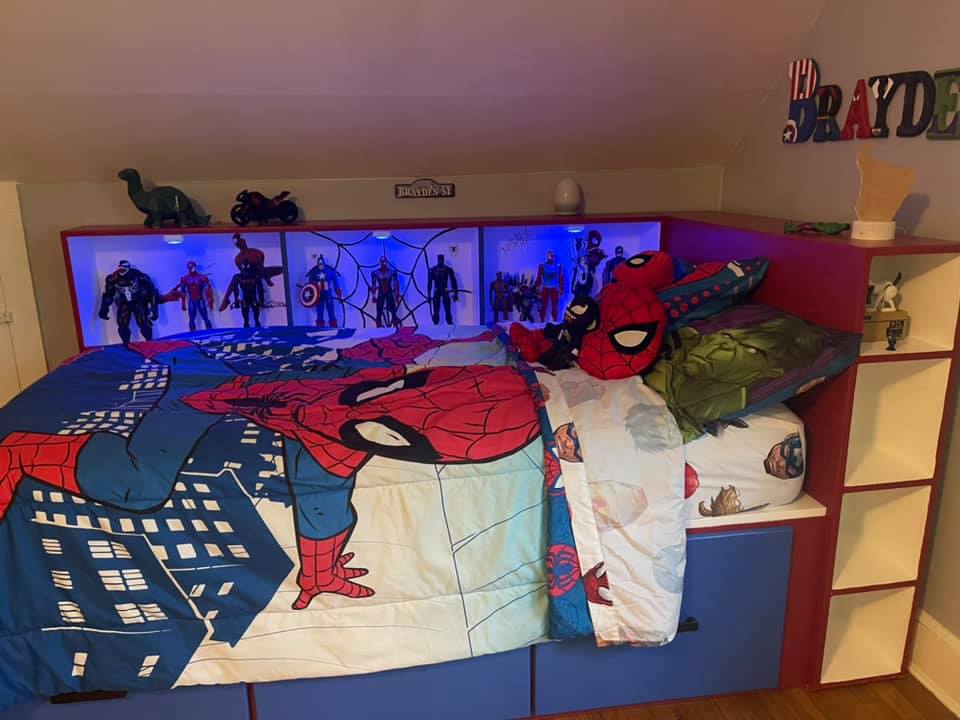
Storage Captains Bed

Submitted by Anonymous (not verified) on Fri, 09/16/2022 - 05:03

So this was a really fun project from start to finish, I wanted a storage bed with a place for my son to showcase his Super Hero collection!

Estimated Cost
300
Estimated Time Investment
Week Long Project (20 Hours or More)
Finish Used
Paint
Recommended Skill Level
Intermediate

Comments

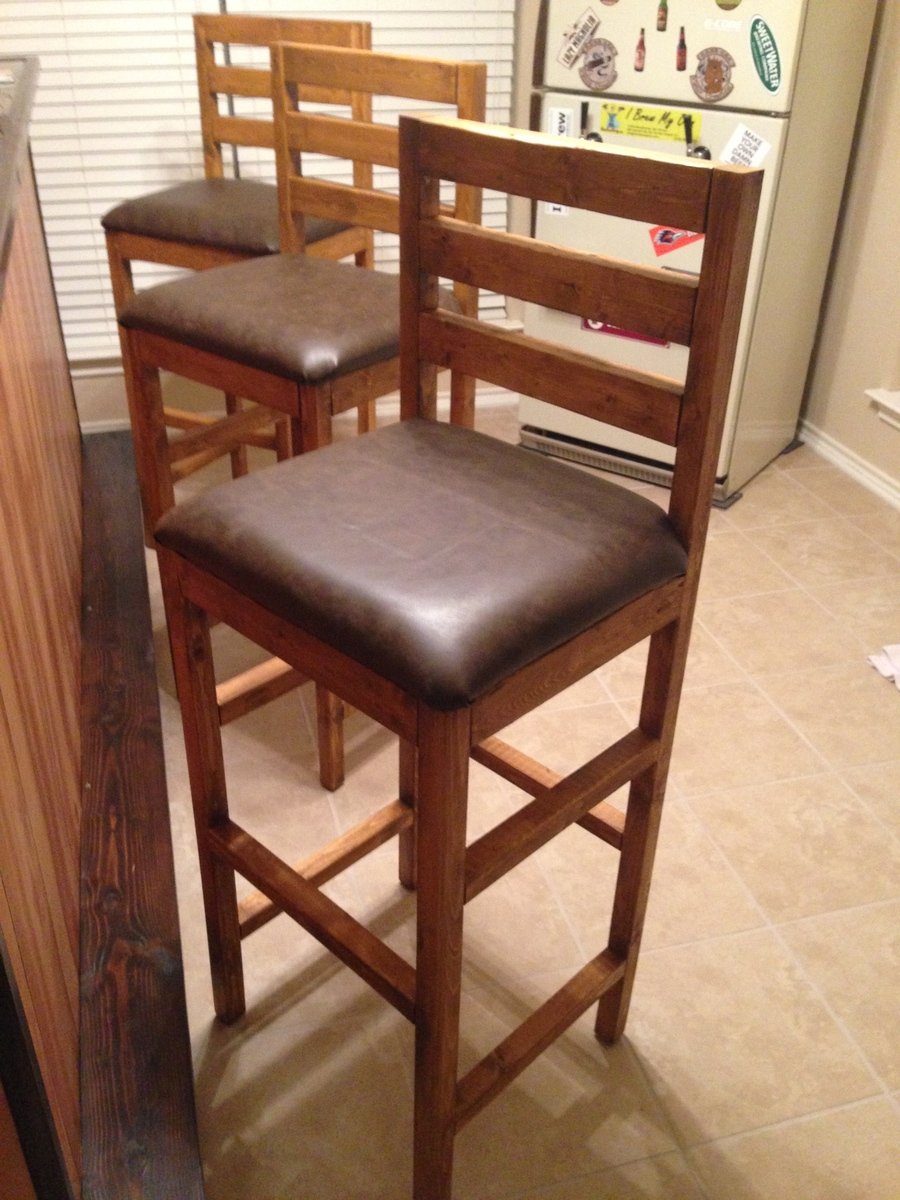
Extra Tall Bar Stools

Submitted by TCnTash on Wed, 12/17/2014 - 09:21

My wife and I built our whole bar, from the shelves, bar, and the kegerator! We needed stools to round out our endeavor but we werent willing to shell out the kind of money required.  My wife found this plan and we morphed it a bit to meet our needs.  The KREG JIG saved us big time! The seat upholstry took us a bit of time, but we figured it out thanks to YouTube.  Great project for a weekend, took us a tad bit longer due to the arrival of our daughter but, we still got it done!

Built from Plan(s)
Estimated Cost
~$150, this got us three stools. We had bigger measurements than the plan called for, so you could definitely squeeze another chair if you stick to the plan.
Estimated Time Investment
Week Long Project (20 Hours or More)
Finish Used
Wheat color stain, and spray on Satin polyurethane.
Recommended Skill Level
Beginner

Rolling C-Table

Submitted by JessKrev on Sat, 12/27/2014 - 18:57

I built this for my sister in law this Christmas from Ana's plans.  I can't wait to make a second one for myself!  The overall build was easy and I would consider myself a beginner level.  Sadly, I didn't get a picture of the final product before I gifted it, but I distressed it to allow some forgiveness in the white paint detials and hand-painted decal on the top.  It turned out great and they loved it!  

Finish Used
Minwax Polyshades in Espresso. The details are simply acrylic paint in an off white.
Recommended Skill Level
Beginner

Comments

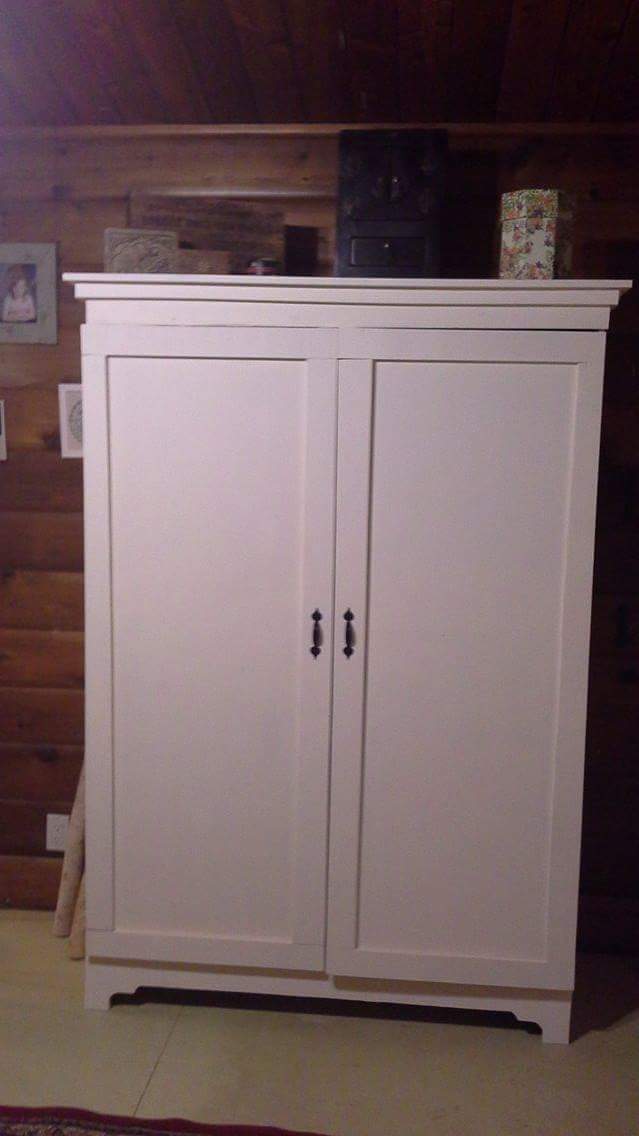
Scrappy armoire

Submitted by Triskelle on Sun, 03/26/2017 - 22:13

Made this out of a ton of scrap wood I had laying around. On the downside it made the project more difficult, but on the upside all I had to buy was hinges and handles...

Built from Plan(s)
Estimated Cost
$20
Estimated Time Investment
Day Project (6-9 Hours)
Finish Used
Some off white paint I had lying around
Recommended Skill Level
Beginner

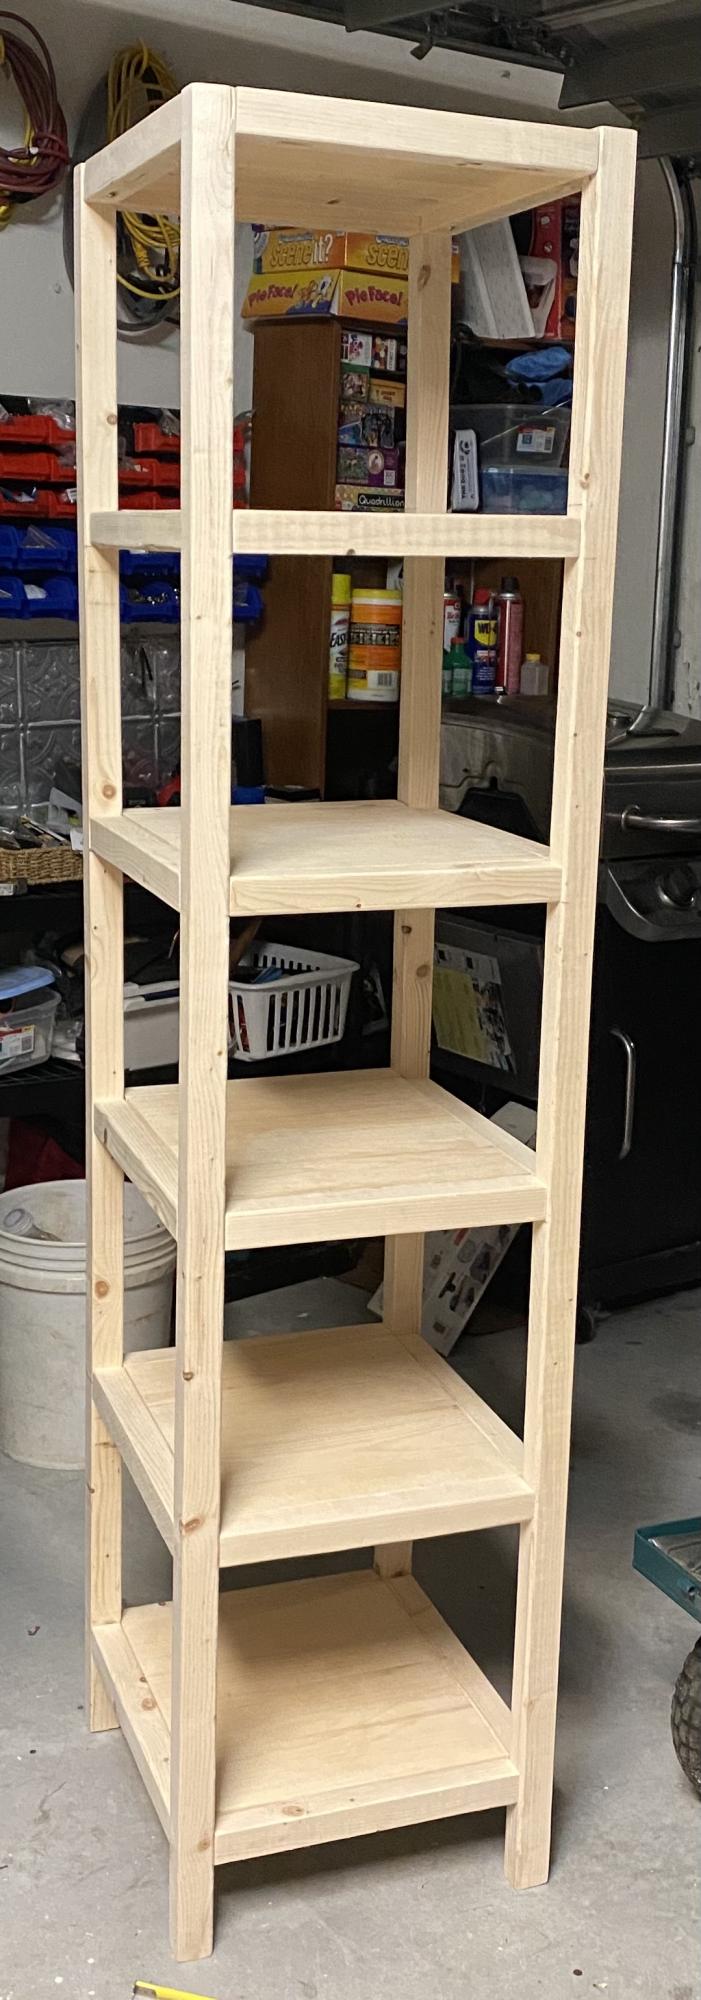
Bathroom tower shelf

Unfinished pine bathroom tower shelves. I assembled all pieces with kreg jig and pocket hole screws. It was a quick and easy project.

Estimated Time Investment
Afternoon Project (3-6 Hours)
Recommended Skill Level
Intermediate

Comments

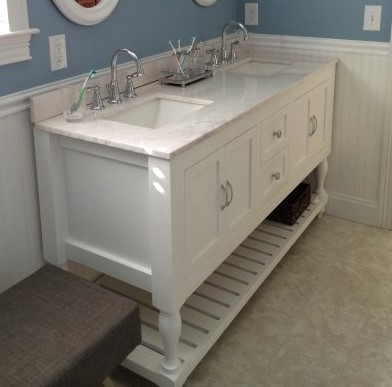
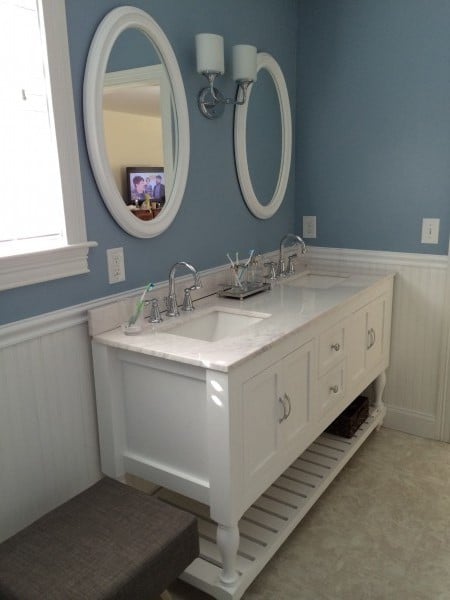
62" Turned Leg Vanity

Submitted by gwphoto on Tue, 01/20/2015 - 12:21

First time visitor. I recently built this modified 48" Turned Leg Vanity for my wife.

We expanded it to a 62" double sink with drawers in the middle and opening below the sinks.

Thanks for the great site Anna.

Built from Plan(s)
Estimated Time Investment
Week Long Project (20 Hours or More)
Finish Used
Paint
Recommended Skill Level
Intermediate

Comments

brittanyj

Wed, 01/21/2015 - 08:06

This looks great! Will be making a similar one soon. Well done!

lkbuckley13

Wed, 06/10/2015 - 09:35

This looks great! I am going to work on one very similar and use this sink http://www.us.kohler.com/us/Ceramic-Impressions™-61-rectangular-double-bowl-vanity-top-bathroom-sink,-single-faucet-hole/productDetail/Styles-of-Bathroom-Sinks/1006992.htm?categoryId=651428&skuId=1006846&hash=id%3Dfilters%26chk-183%3D183%26startIndex%3D20%26scrollTop%3D411

Did you save your plans for this size vanity?

Shuzog

Fri, 10/23/2015 - 09:55

Gwphoto, do you have plans for this project that you would share? Have been wanting to modify this 48" vanity just as you did. Thanks so much!

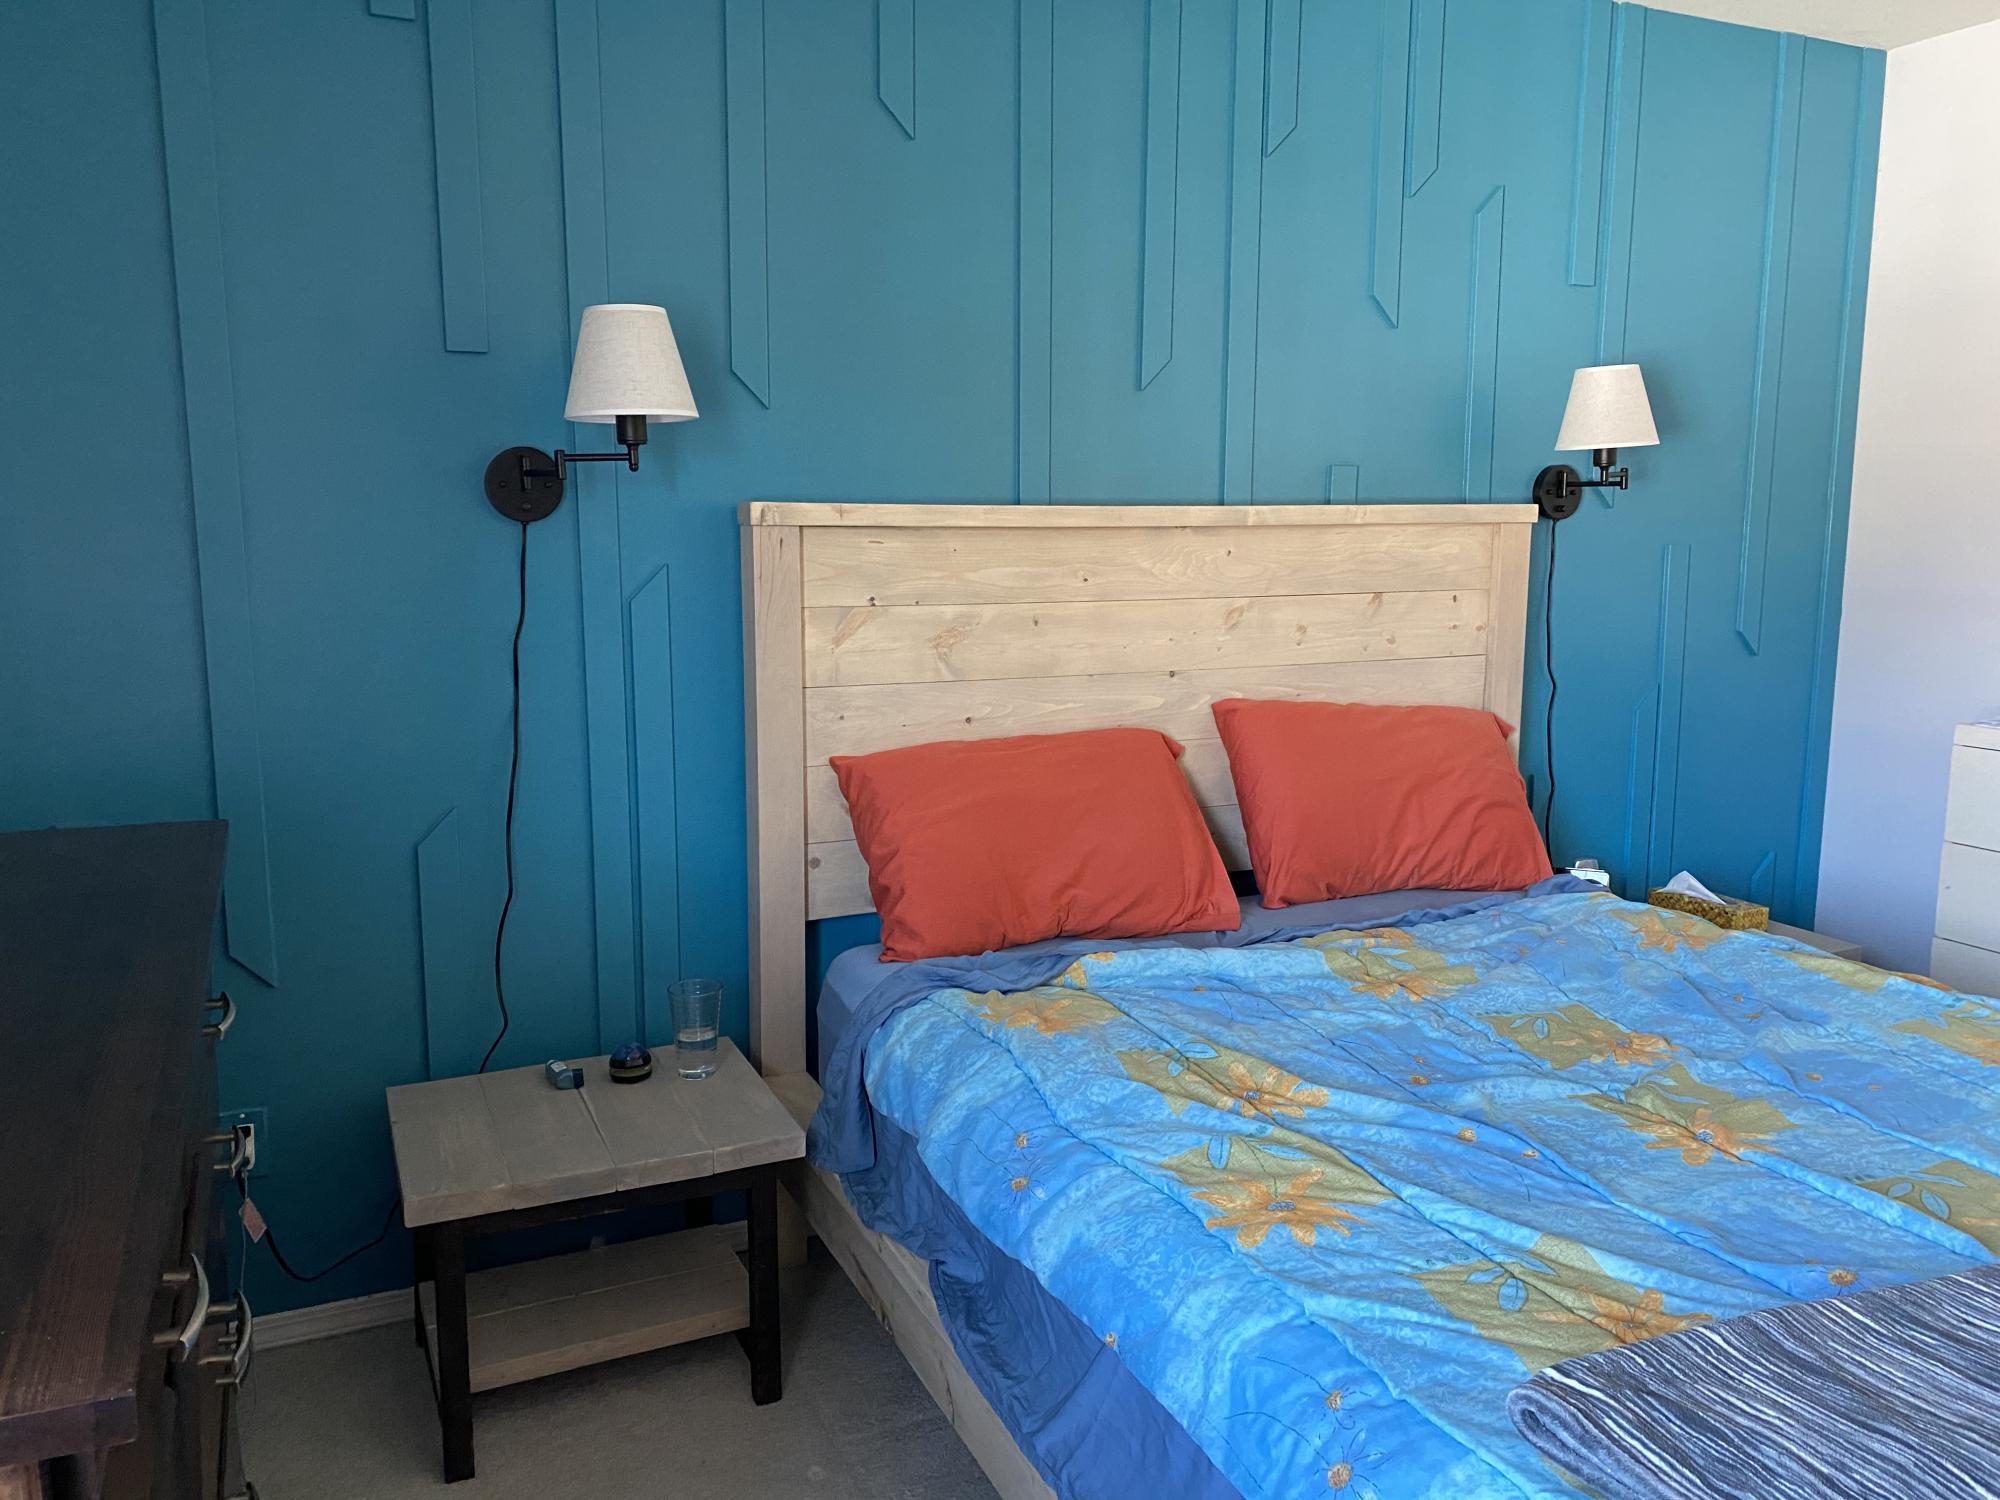
Farmhouse Queen bed

Submitted by shwetzh on Tue, 04/20/2021 - 19:01

Built this farmhouse Queen bed as an anniversary gift to my husband 🥰

Built from Plan(s)

Comments

My simple entertainment center.

Submitted by senlo1970 on Mon, 05/22/2017 - 19:02

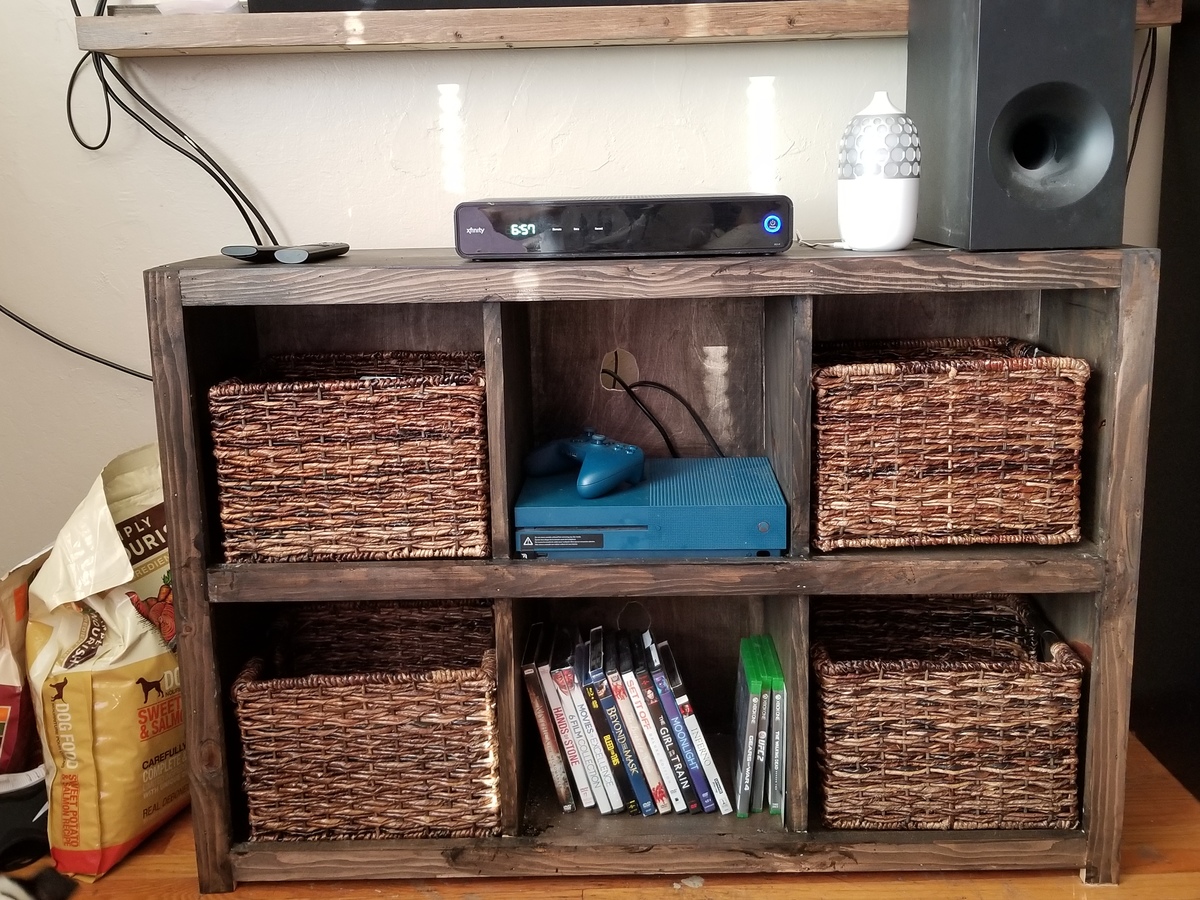
I have a good size bedroom, but things kept cluttering. I needed somthing small where i could store a few thing's like, movies, x-box, and cable box. So decided on the bookshelf. It's the perfect addition to my bedroom set. Thanks Anna for your awesome projects.

Built from Plan(s)
Estimated Time Investment
Afternoon Project (3-6 Hours)
Recommended Skill Level
Beginner

Relax at Moose Manor

Submitted by jendon on Tue, 07/06/2021 - 08:04

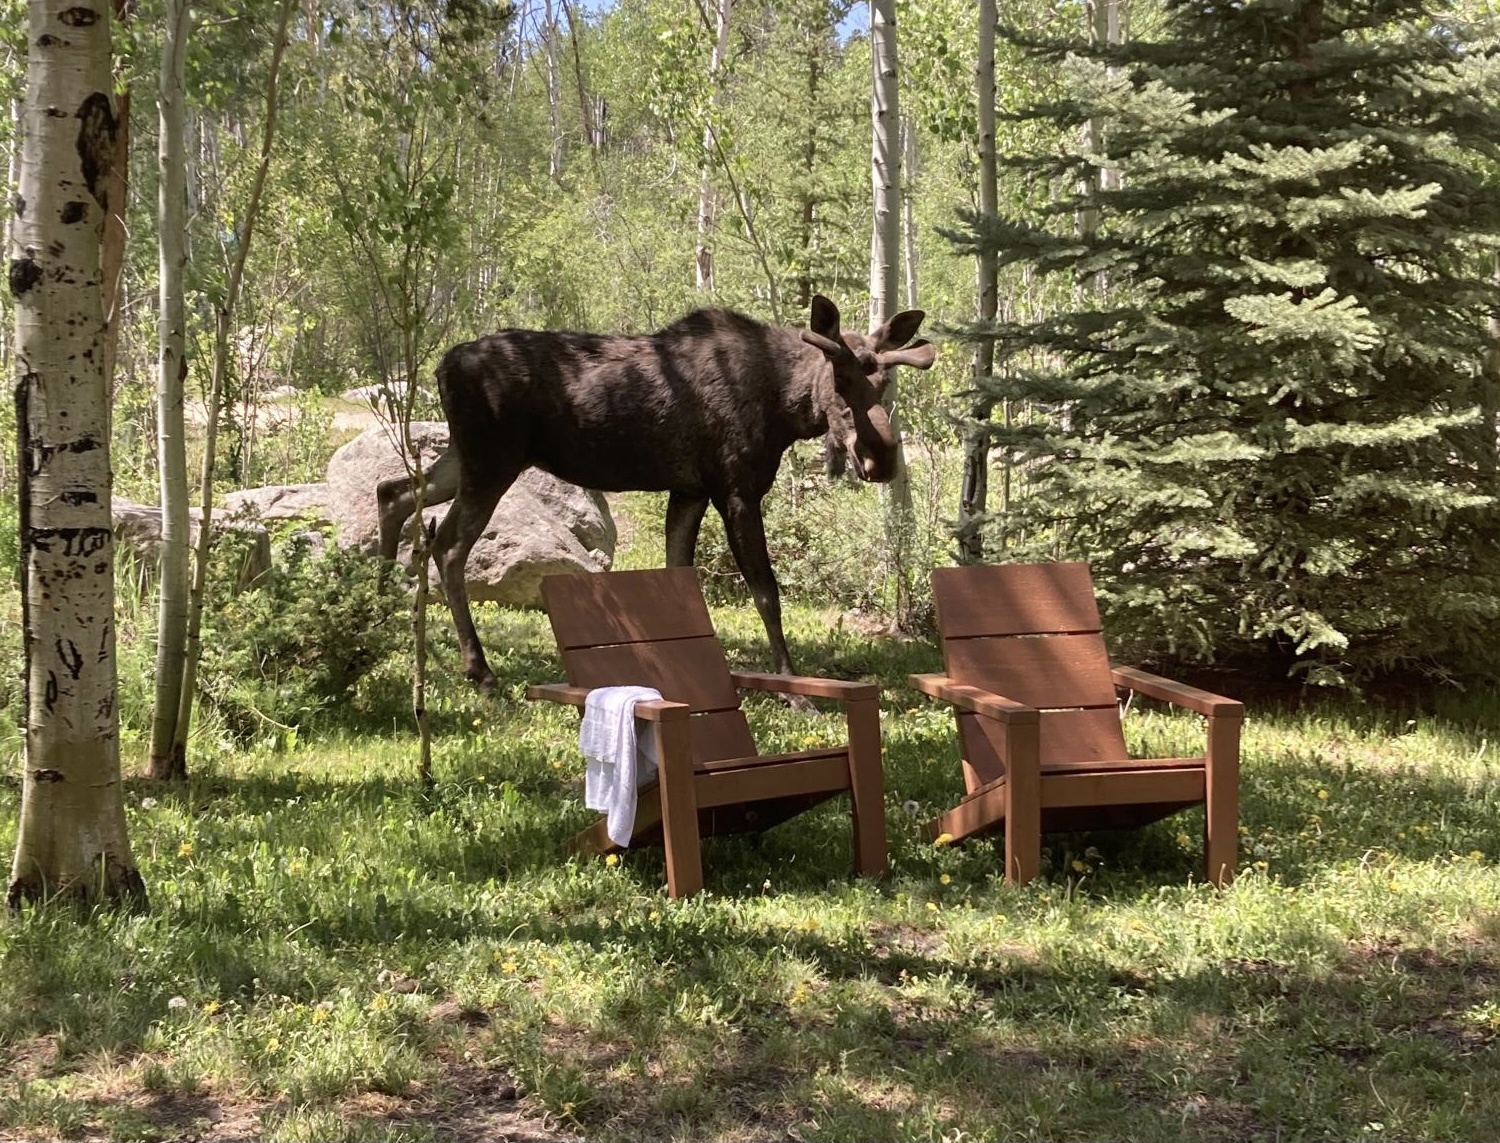
We have a wonderful rental cabin in Grand Lake, CO. I wanted to add some special seating outside. These chairs are perfect, comfortable, and even the moose came by to see them. They agree too that Ana’s design is wonderful. My daughter and I worked on these together, from beginning to end. We cut, sanded, stained, and finally put it all together. These are so comfortable, even my husband agrees!! Thank you Ana for the plans and video. I will be adding the table to go with them too. Jennifer

Estimated Time Investment
Day Project (6-9 Hours)
Finish Used
Semi transparent deck stain that lasts 8 years outside. This stain is hard to work with. Lines and color variances. Next time I will just use an oil based stain with outdoor poly with several coats. Much easier with the time I put into this stain process.
Recommended Skill Level
Intermediate

Comments

Awesome Bed

Submitted by brant on Mon, 04/22/2013 - 13:18

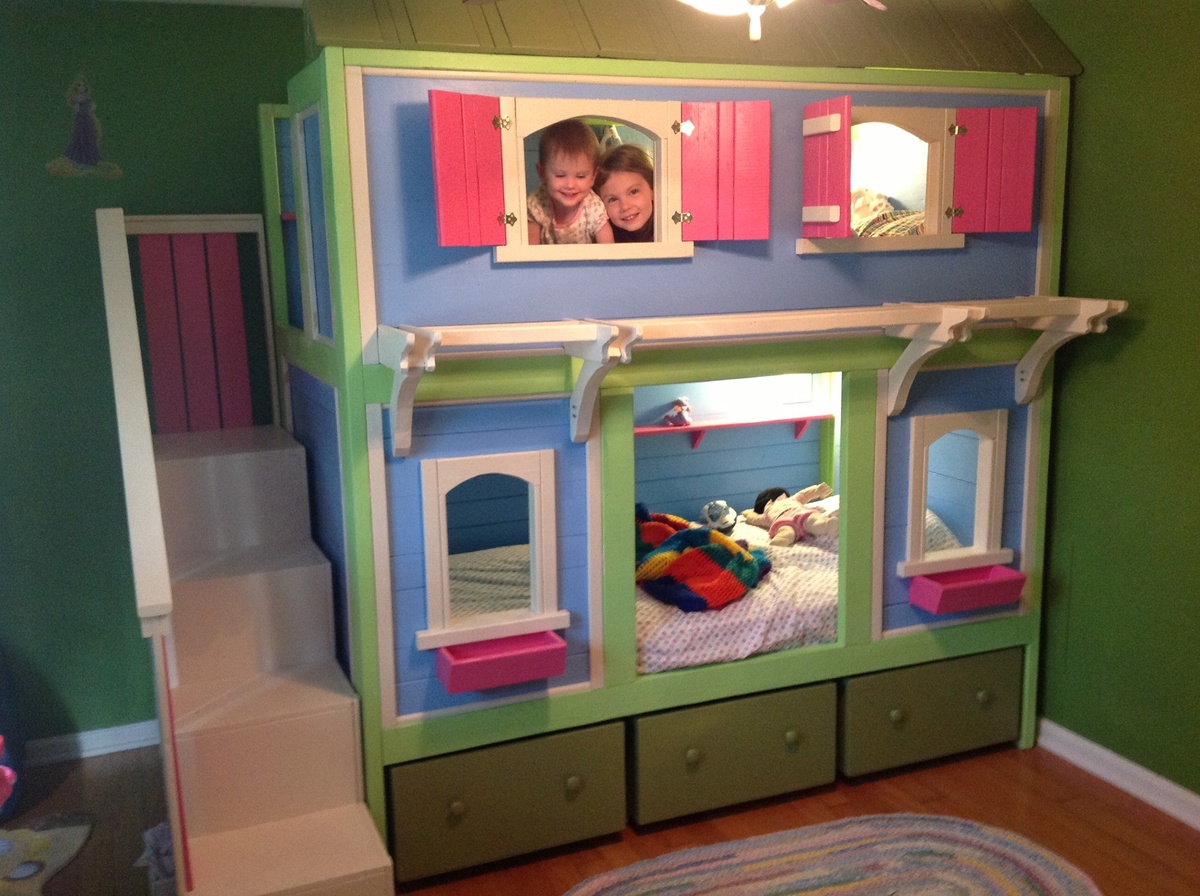
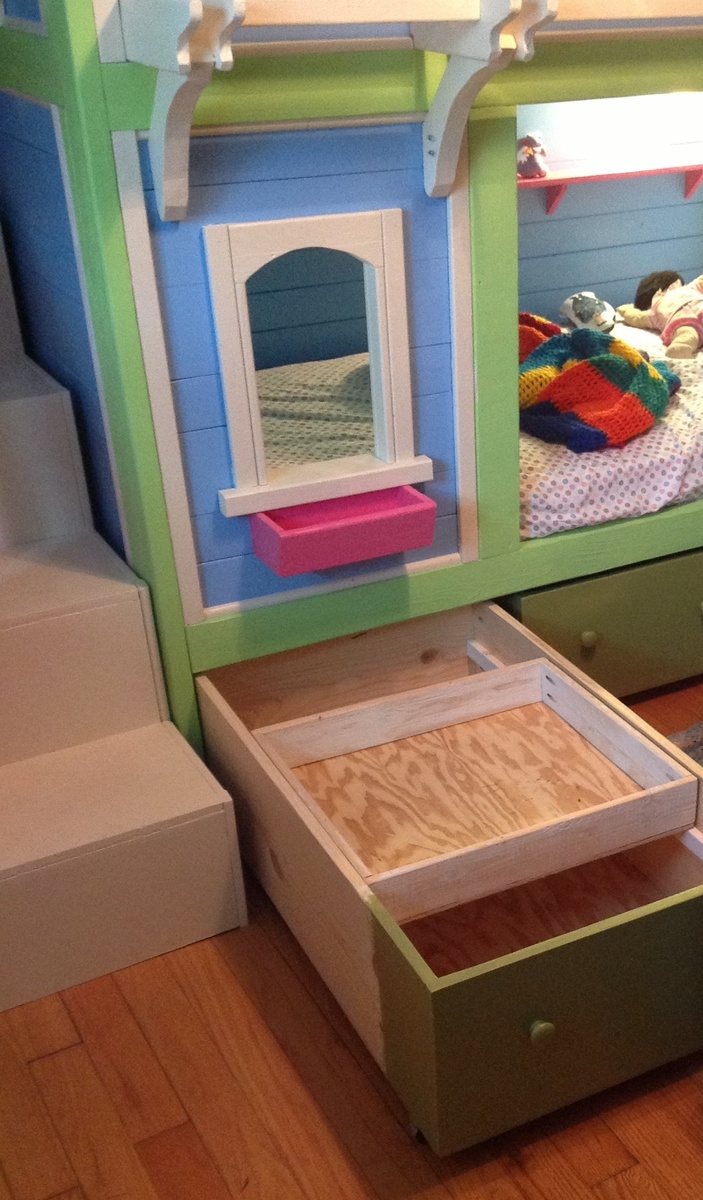
Thank you Ana and Jenny for this project. After many searches for the perfect bunk bed for our 4 and 2 year old daughters I was ready to spend more than $1500 in a store on something that was not nearly as cool as this. The plans were easy to follow and it took my dad and me about a week to make the bed. My girls love it and have spent the last two days in their room.

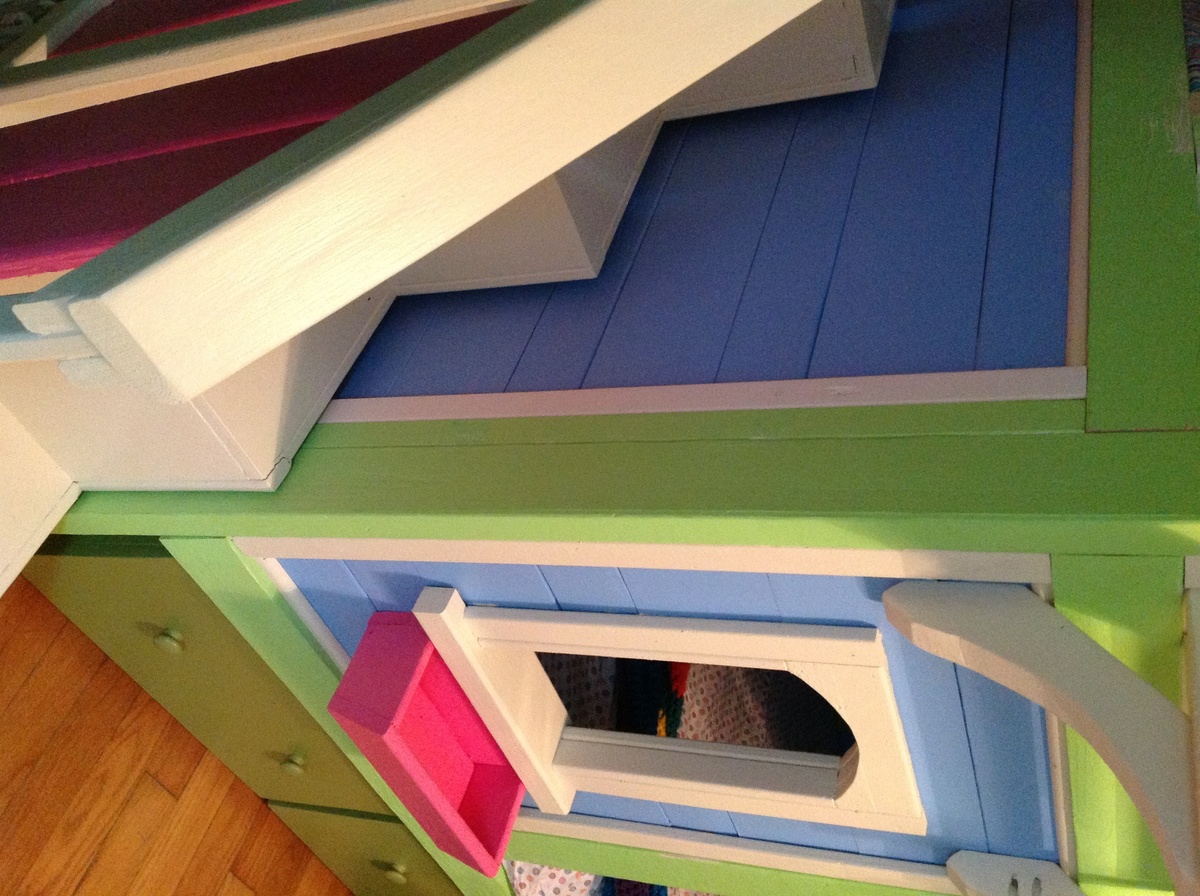
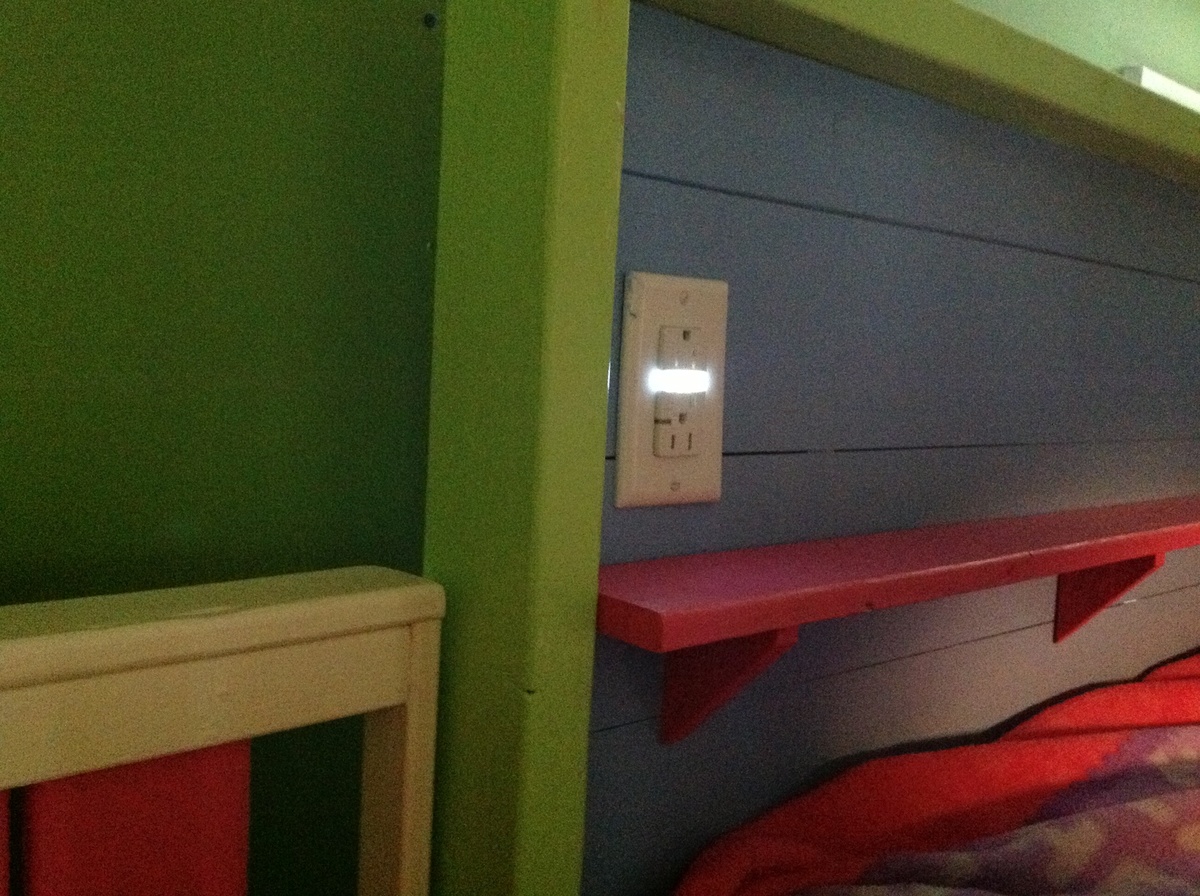
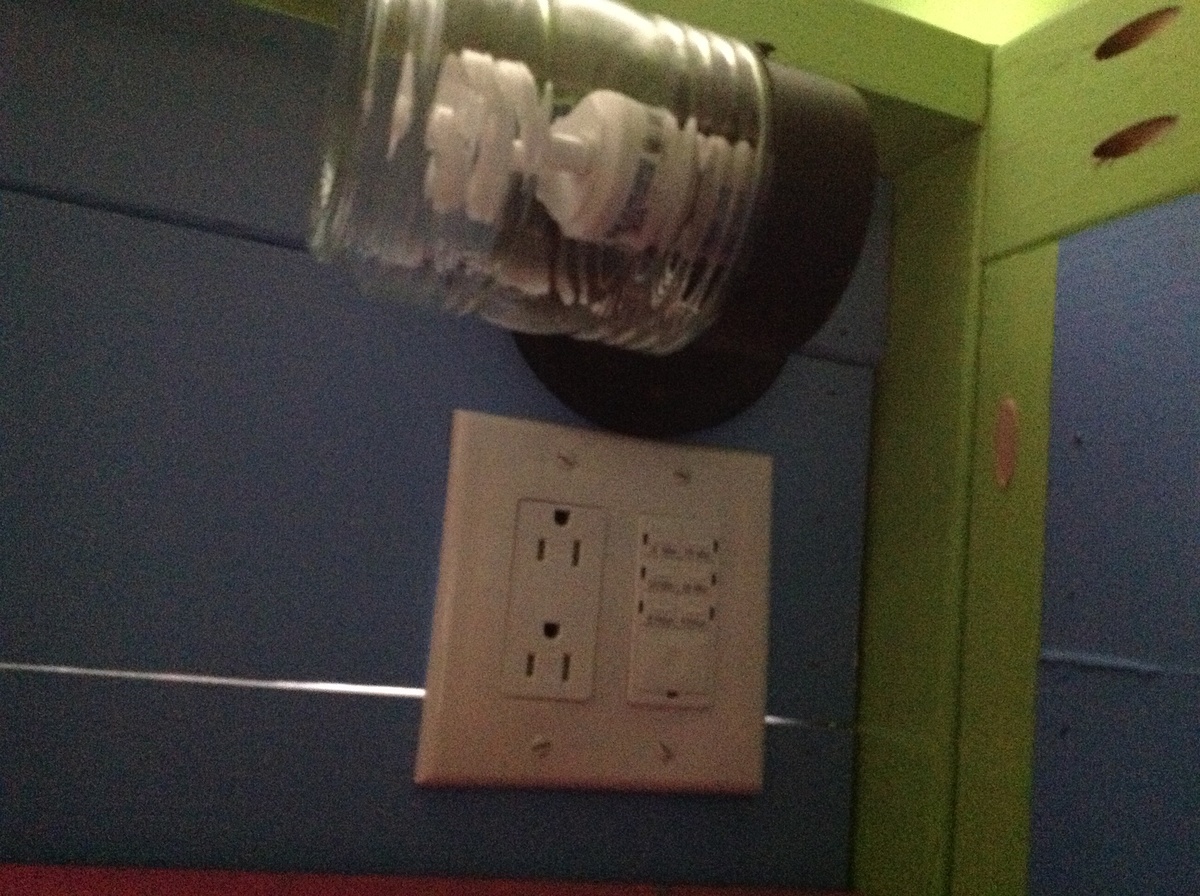
We made a few modifications to the design that I highlighted in the pictures. We wired the back of the bed with electricity to include some outlets, a light that is on a timer switch, and an outlet with a built in night light. We also added 2x2s to support the sides to make them stronger when the bed is apart. We move a lot (4 times in the last 5 years) and the design was great for taking apart and putting back together. The light on the timer is great for telling my oldest she can read books for 5 minutes and then go to sleep when the light goes out.

Thank you so much for these great plans!

Estimated Cost
$850
Estimated Time Investment
Week Long Project (20 Hours or More)
Finish Used
Behr paint. They have an app for ipad for choosing colors that is great.
Fiesta pink PPH-63
Antique White 1023
Tart apple 420B-4
Scotland isle 410D-5
Costa Rica blue 550B-4
Satin finish
Recommended Skill Level
Intermediate

Comments

brant

Mon, 04/22/2013 - 15:19

Thanks. The storage drawers were per Jenny's design. The inner drawers are a little smaller than the plans say because I don't think there is enough quarter inch plywood for all of the bottoms if you only buy one sheet.

spiceylg

Tue, 04/23/2013 - 05:59

This came out fantastic! If I were their age, I'd never want to leave my room either! Wonderful build and love the fun colors!

birdsandsoap

Tue, 05/07/2013 - 23:37

Your bed looks superb!I LOVE that you wired the backside. I think that is a great idea. Glad your kiddos are enjoying their bed!

SARmomEMT

Wed, 03/26/2014 - 13:57

I love all of these fantasy bunk/loft beds but as I look at them i wonder how hard it is to take the sheets off, put on new ones & tuck in blankets etc. I love these beds but I have physical limitations because of chronic health problems & I am afraid that if I had a bed like this for my kids that I would have to hurt myself to strip or make the bed... Can someone who has one tell me how hard it is - or isn't???? Thank you... A newbie to Ana-white.com but it's now my new #1 favorite website!!

Patio cooler/Grill cart!

Submitted by Anonymous (not verified) on Thu, 06/22/2017 - 14:06

Great project! I'm new to wood working and have been looking for simple but challenging builds. Needless to say this fit the bill... This grill cart was a great starter build and ultimately became a Father's Day gift!  My Pops loved it! 

I did add a couple of custom pieces: a foldable table top extension and towel bar... things Dad will undoubtedly need as he's an outdoorsman who loves to BBQ!
Thanks for the idea/design plans! 

Estimated Cost
$150
Estimated Time Investment
Weekend Project (10-20 Hours)
Finish Used
Semi-gloss spar urethane (3 coats)
Recommended Skill Level
Beginner

Comments

Sarah's Perfect Bookshelves

Submitted by community-cont… on Fri, 02/25/2011 - 10:54

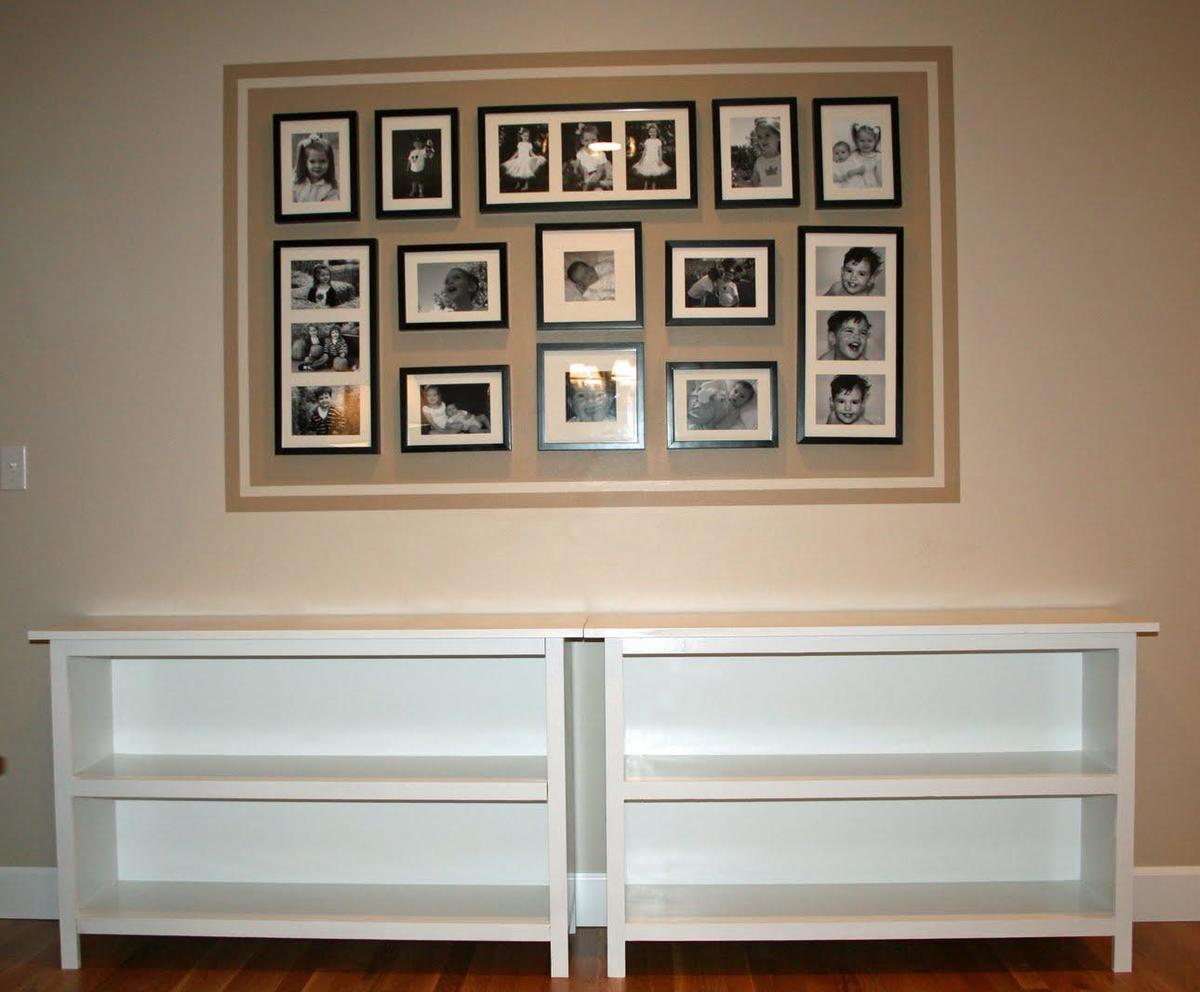
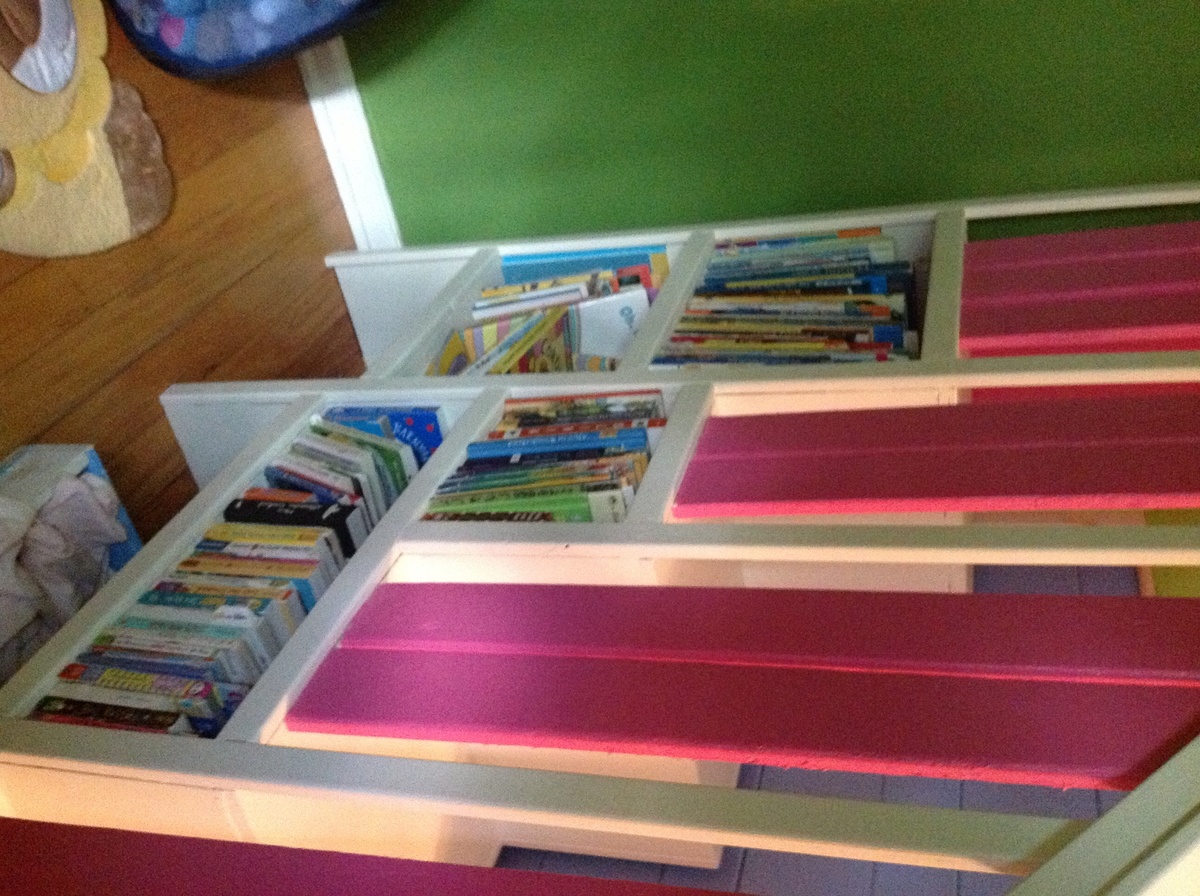
My husband is an aeronautical engineer and reads plans all day as a part of his job–even he thought your plans were fantastic. Great job! He did the building and I did the painting of the shelves. I did request that he add a back onto the shelves, so he left the trim off the backs of the shelves and fit in a piece of 3/4 MDF. It worked beautifully! We spent $75 on these two shelves–it would have been more like $50, except the additional MDF (for the shelf backs) added to the cost. Our only suggestion after doing this project is to go to a lumber yard for the pine. Ours is from one of the big box stores and, even though my husband went through a lot of wood, all of the choices were pretty bad. We went ahead and used this subpar wood, but I think our end result would be even better with better quality wood.

Thank you SO much for designing these plans for us. We’ve been planning on bookcases for quite awhile, but my husband hadn’t had time to come up with plans. When I found these plans on your site, I informed him that this was our weekend project! Soon he’ll be building a bed and trundle for our little boy–using your plans, of course!
Built from Plan(s)
Estimated Cost
$50 without backs
Estimated Time Investment
Afternoon Project (3-6 Hours)
Finish Used
White paint
Recommended Skill Level
Beginner

Farmhouse Table Complete!!

Submitted by Anonymous (not verified) on Sat, 07/01/2017 - 20:10

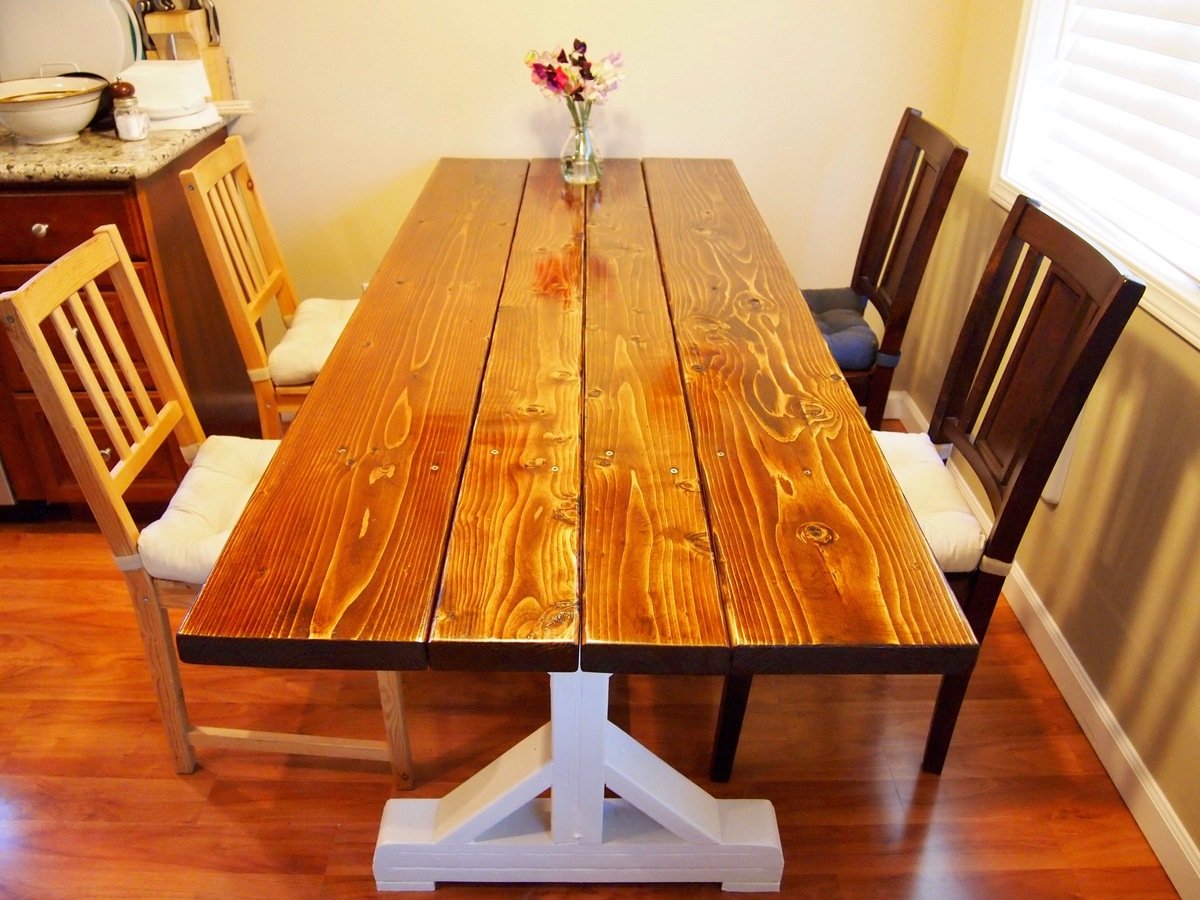
I've very happy with the results of my "Fancy X Farmhouse Table" project.  I modified the dimensions to fit our space; this meant making the table thinner and re-sizing the "X's" proportionally.  Also, for trimming the edges of the "X's", I came up with a combination of base board pieces at the end of the 2x4's.  I hadn't used wood stain in over 20 years because I had gotten such blotchy results.  This project reintroduced me to stain and I'm glad it did.  Turns out, the secret is proper sanding AND the use of a "pre-stain" product that sets up the wood for good(even) absorption.  Polyurethane was used as a sealant, while the base frame got white semi-gloss.  Cheers, good luck on all your projects!

-Robert
 Bellingham, WA

Built from Plan(s)
Estimated Cost
$125
Estimated Time Investment
Weekend Project (10-20 Hours)
Finish Used
Minwax Pre-Stain, Minwax "Early American" Wood Stain(2 coats), Minwax Polyurethane(2 coats)
Recommended Skill Level
Beginner