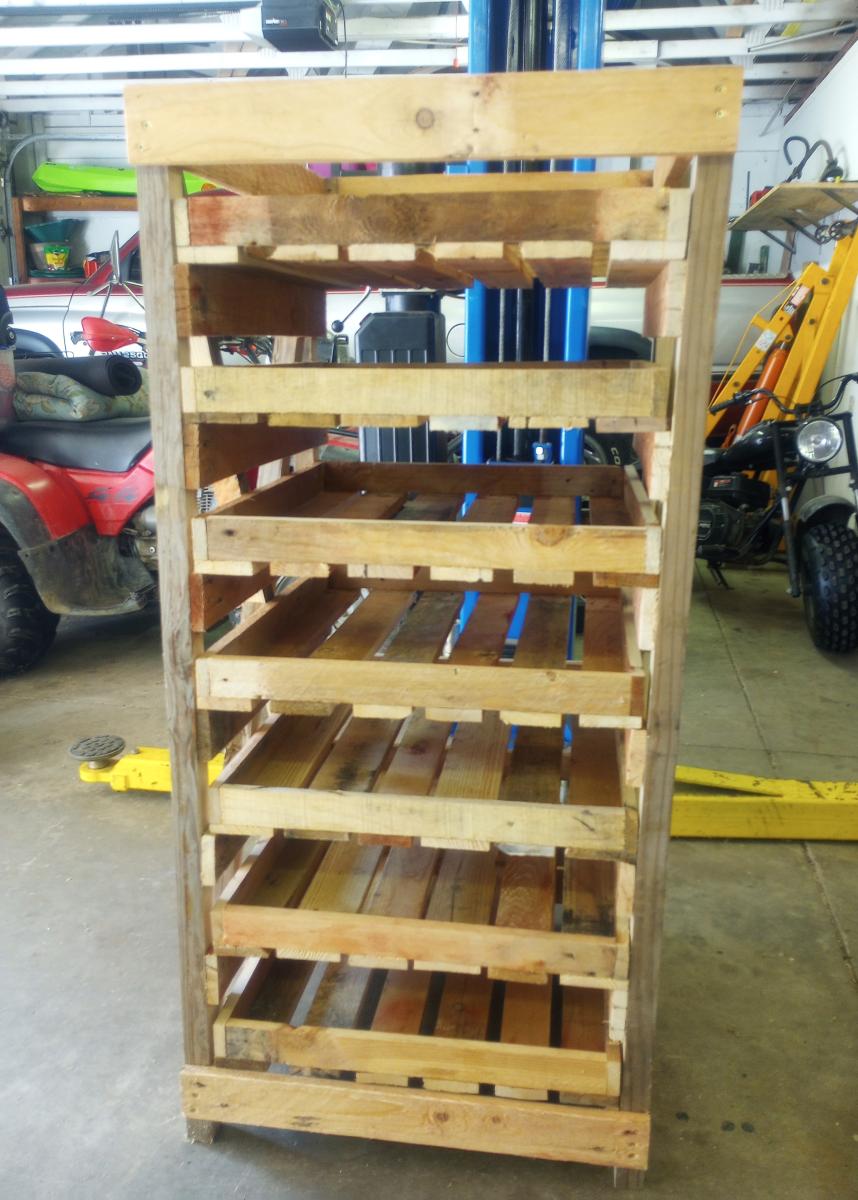
DIY Can Organizer
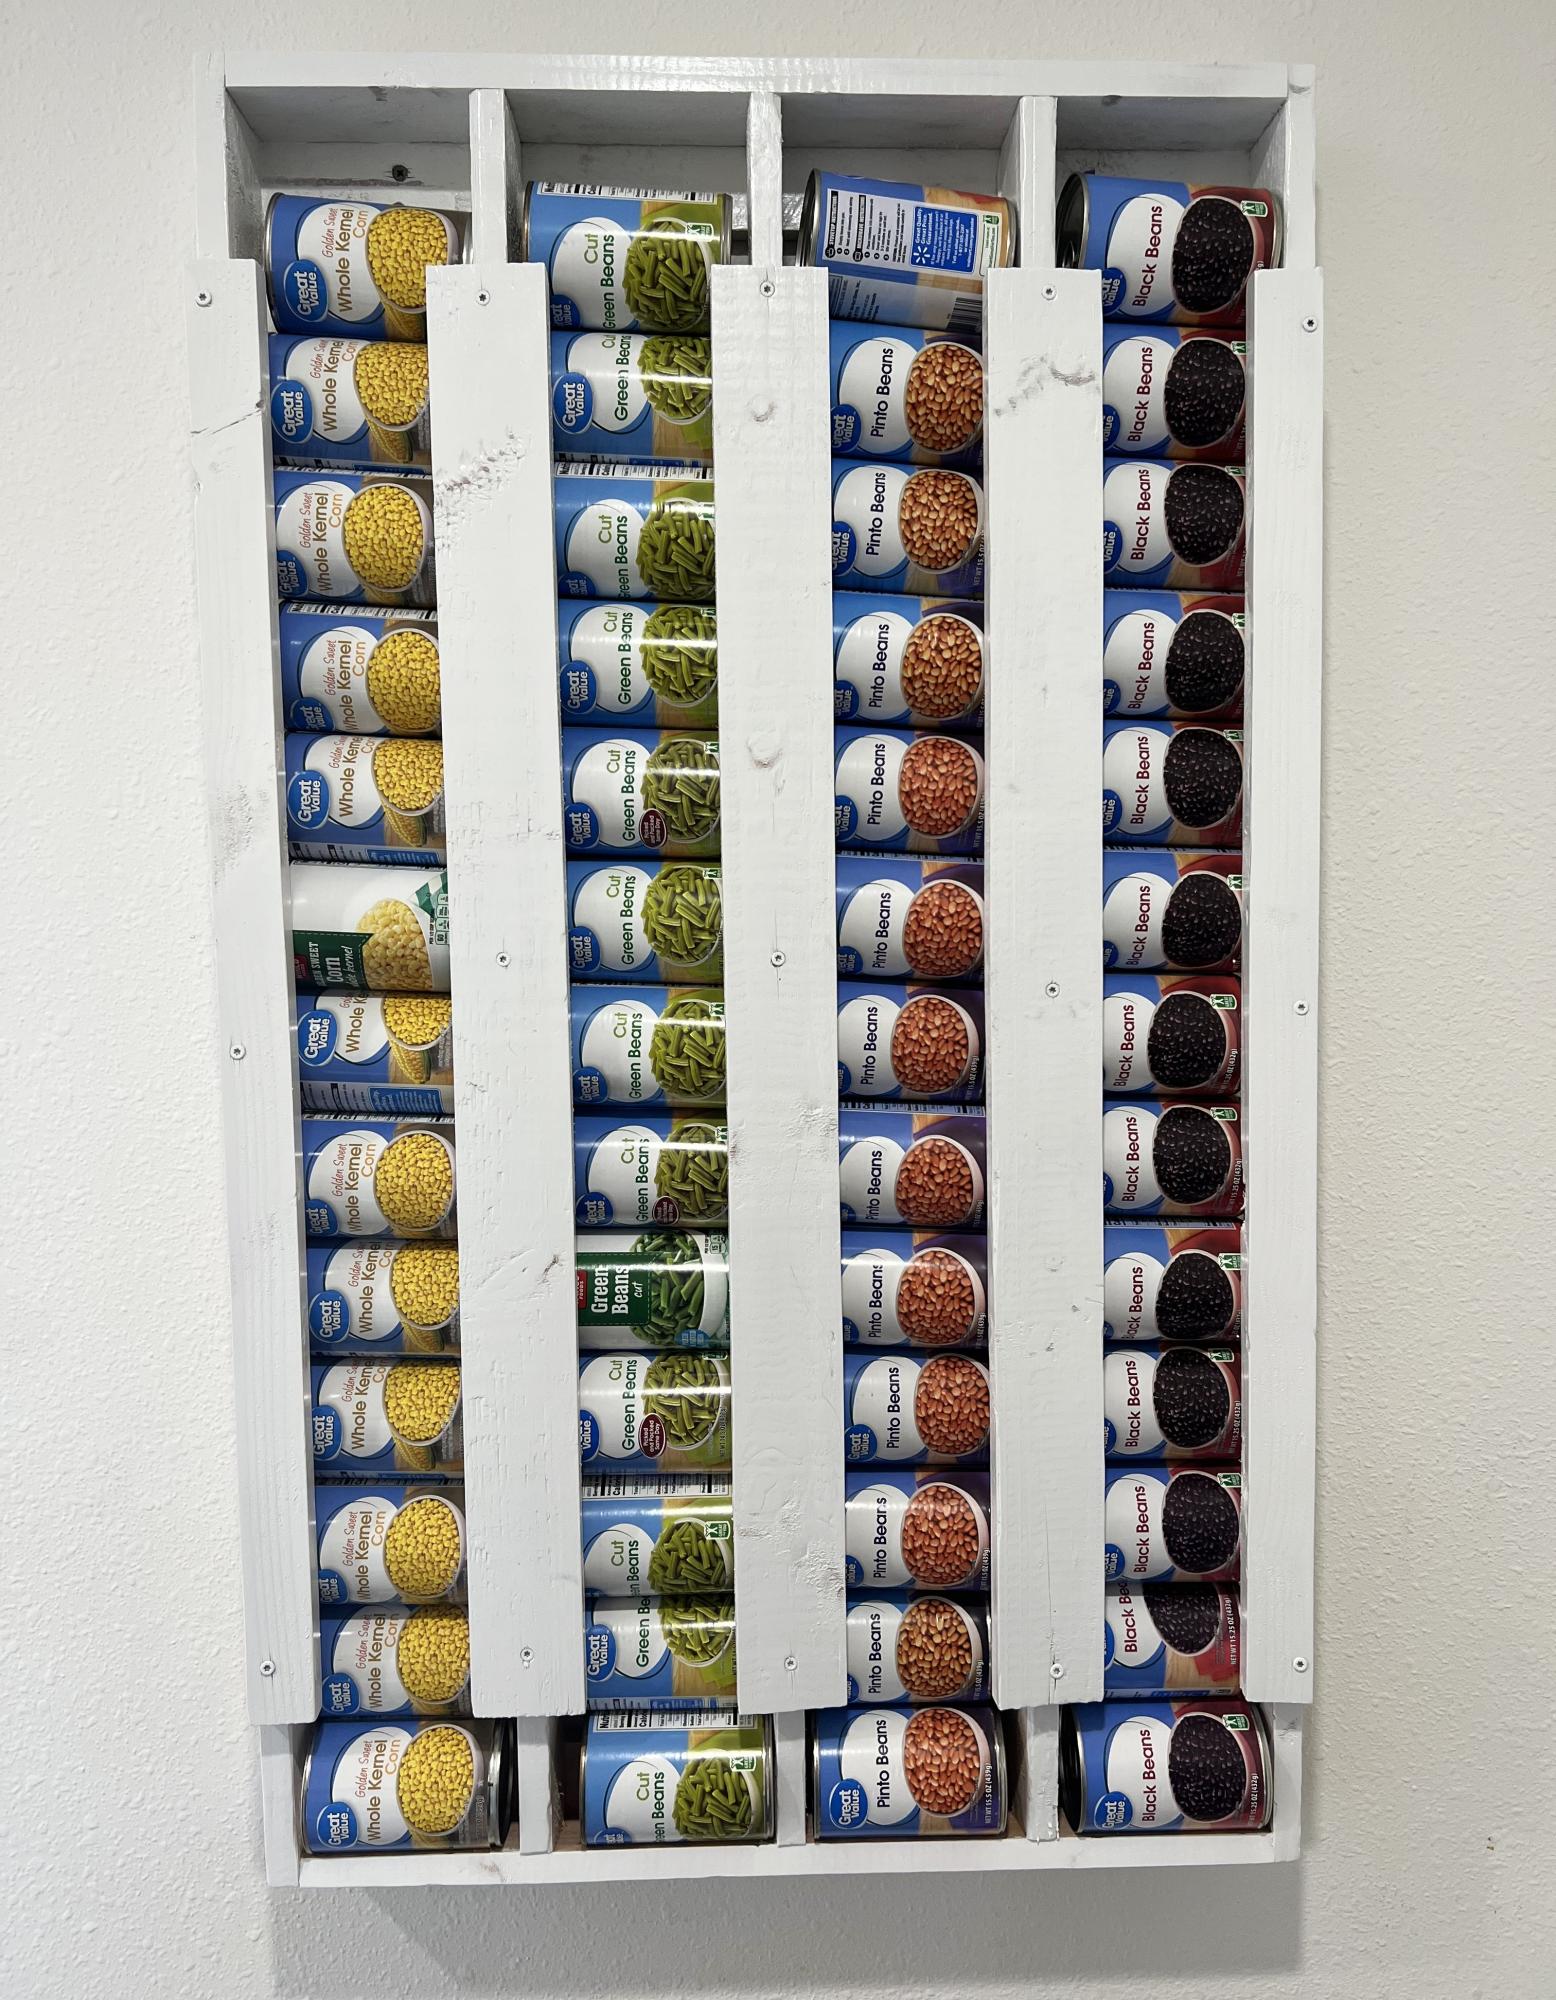
Super easy! I love it!
Built from Plan(s)
Super easy! I love it!
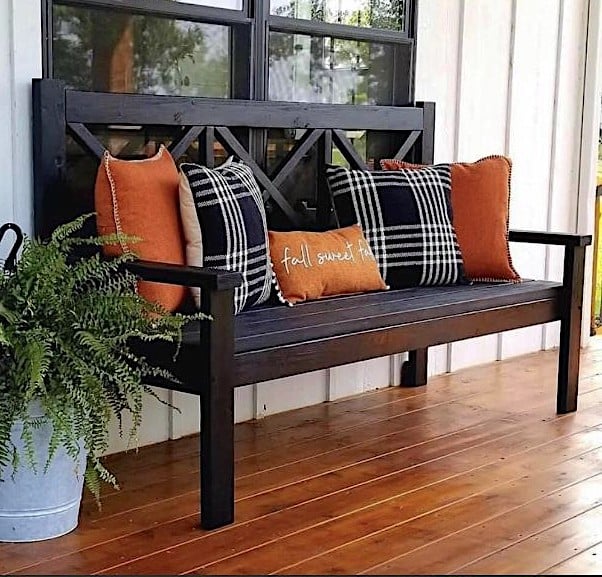
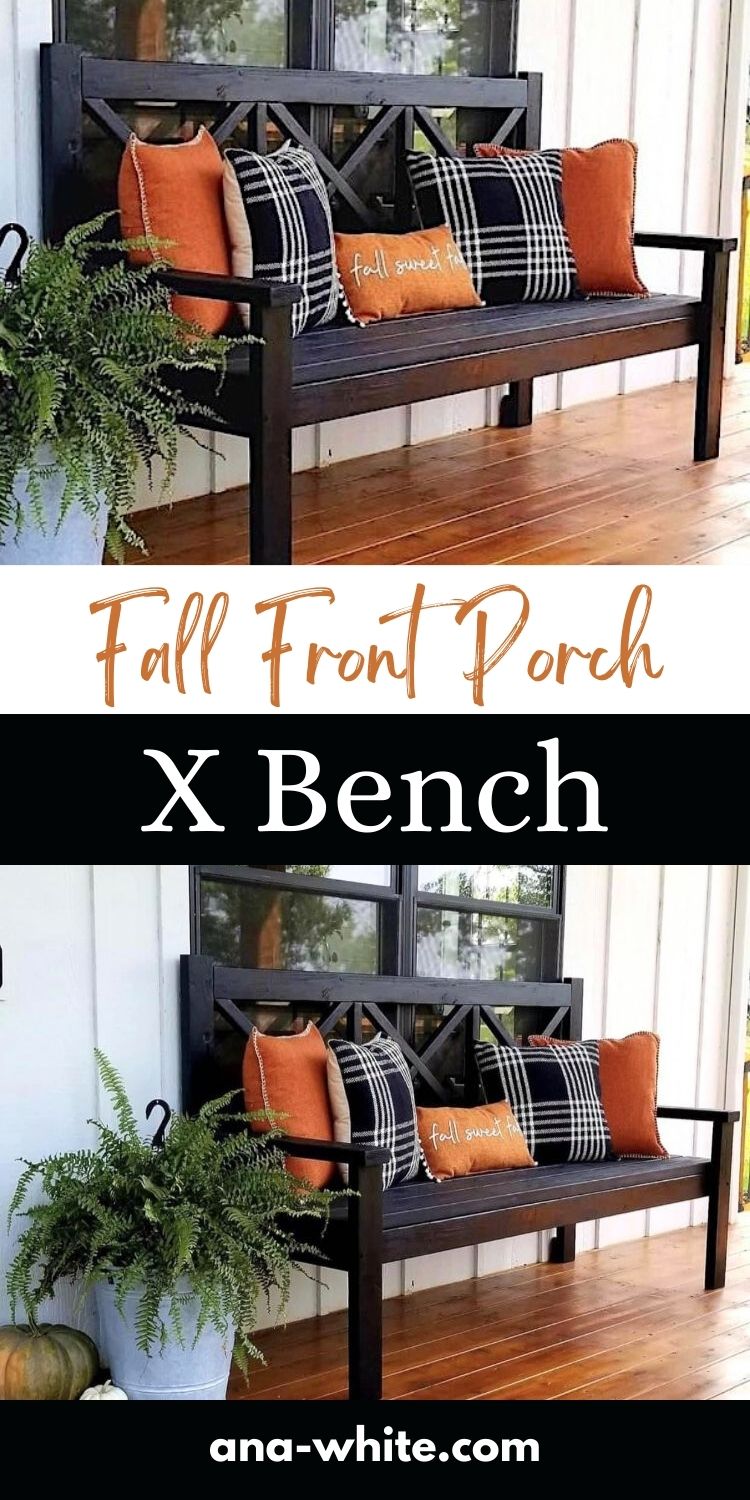
Perfect for porch sitting!

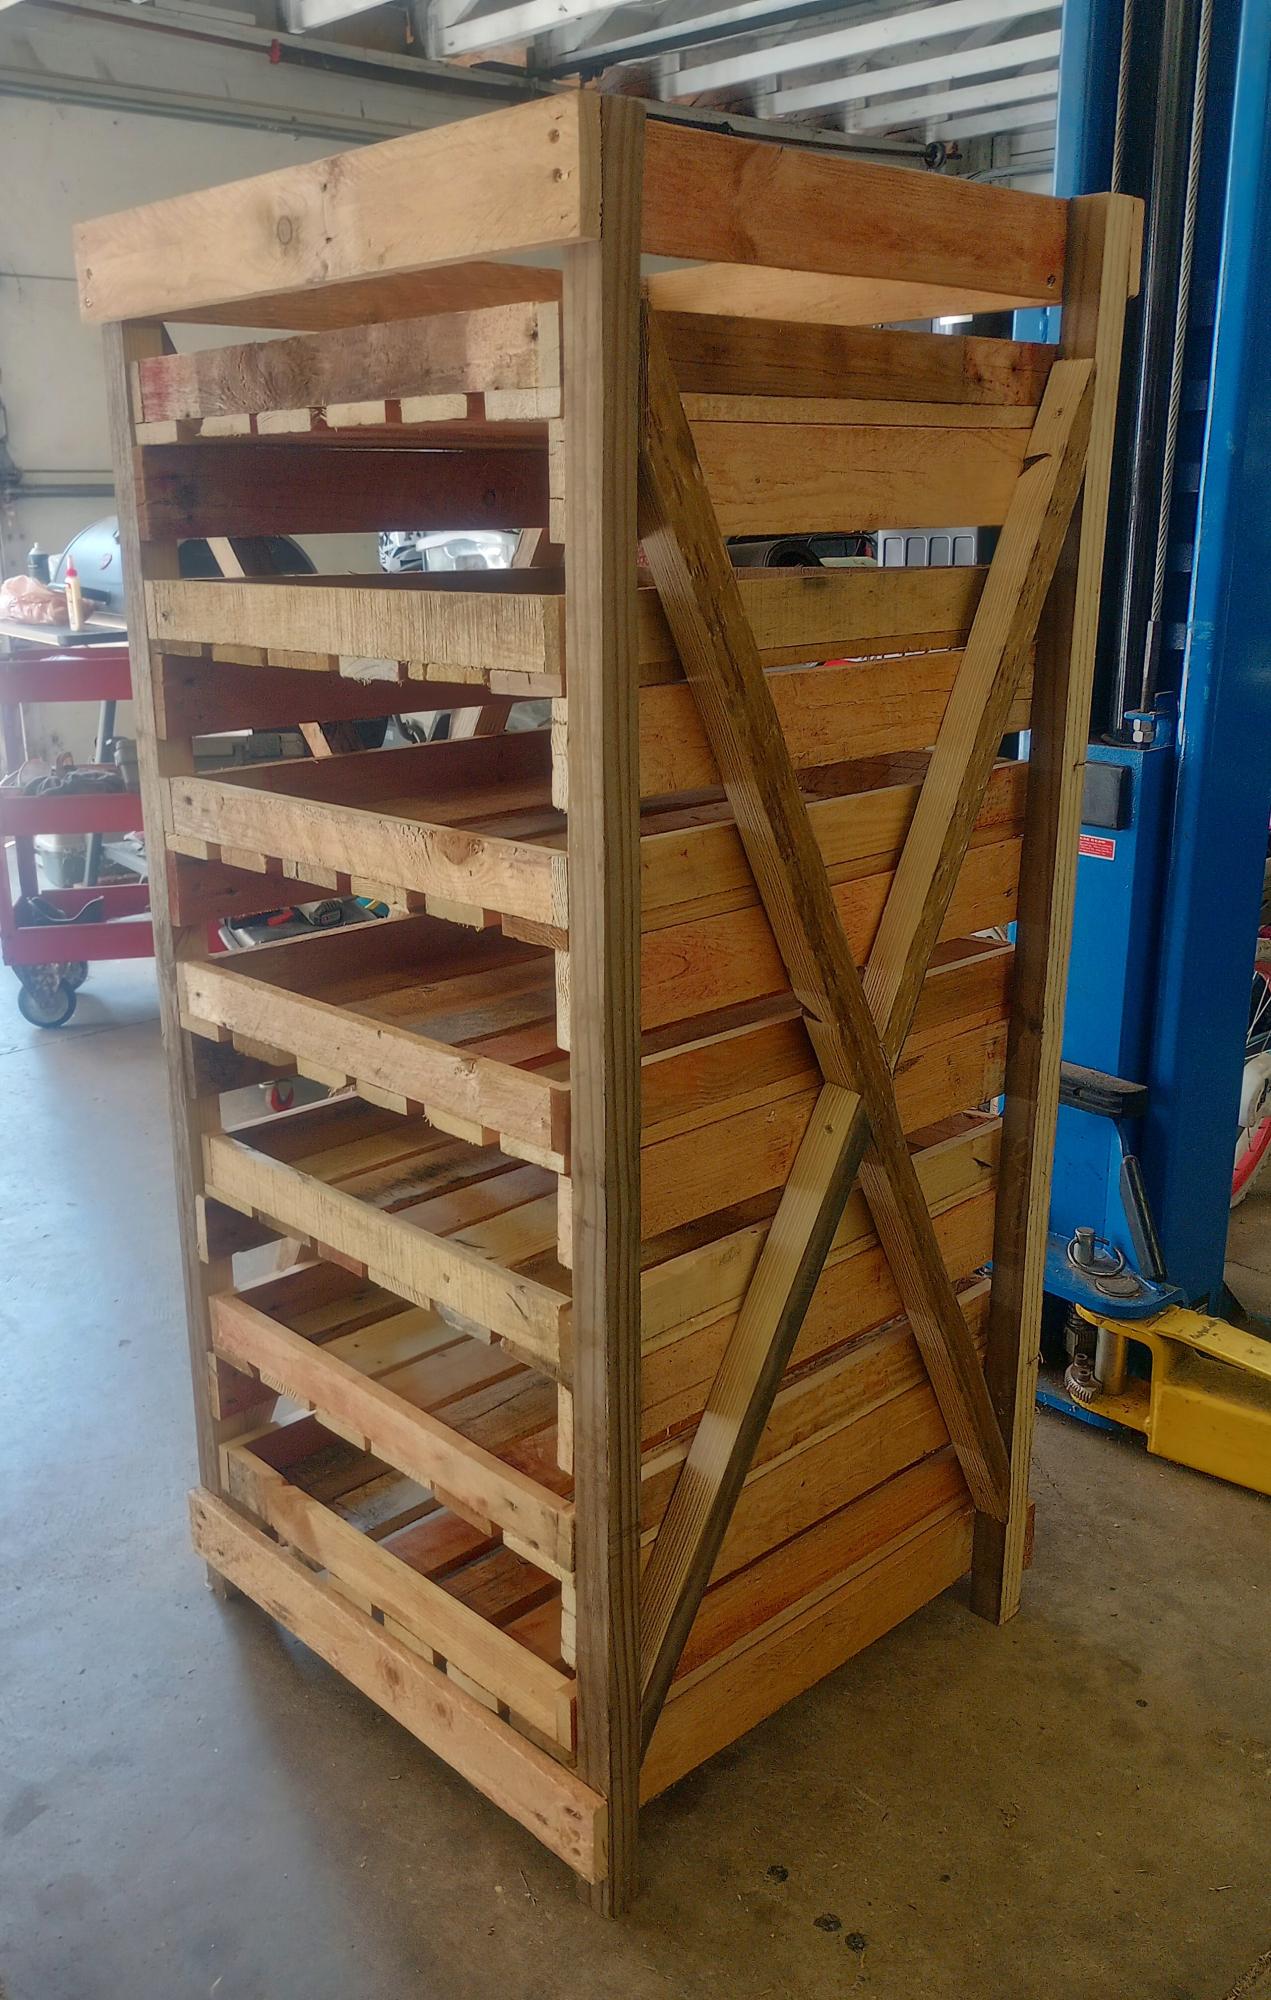
I followed the plans mostly. My wife really liked the design. I spaced the drawers out 4 more inches I believe and I made a removable top ,not pictured, so I could stack on top of it. It came out great. Cool idea thank you!
Mike
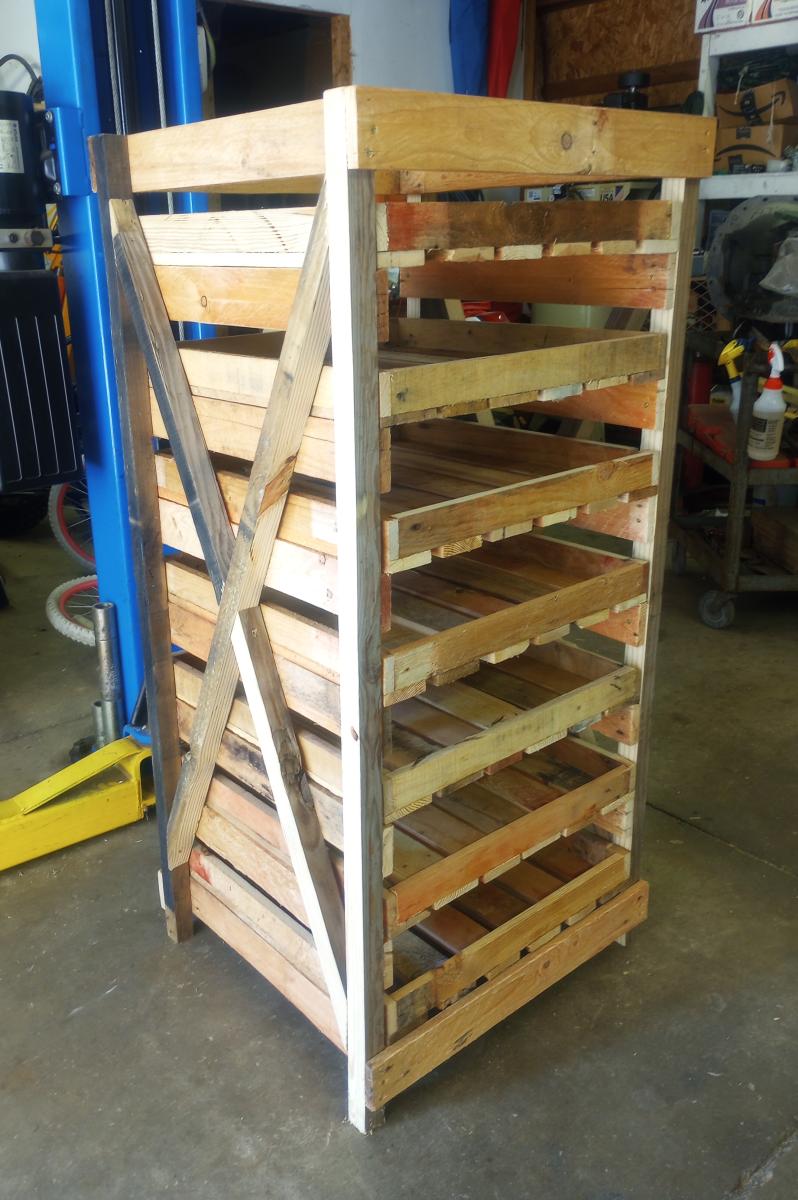
Wed, 10/04/2023 - 08:36
Thanks for sharing, it looks awesome! Would love to see it filled up:)
Built by Holli Peterson
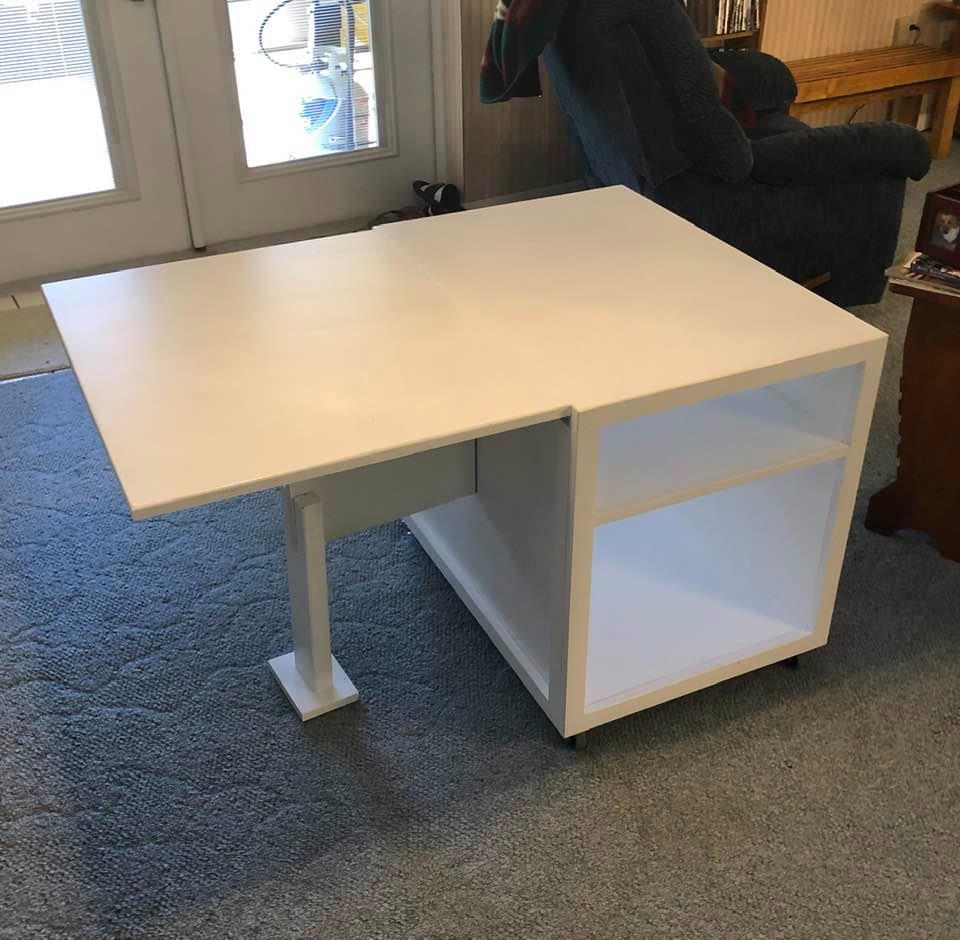
Using Ana's plan for a simple sewing table, I modified it to meet the needs of my daughter.
I only used 1 wing instead of two and made a brace that folds away under the leaf. On second thought I added a safety leg and foot to keep the table from tipping when the sewing machine is on top of the leaf.
I trimmed out everything but the leaf with 1 x 2 pine.
The top (with leaf raised) is 31 x 46 inches of work space.

Sat, 02/29/2020 - 14:55
The bottom and the shelf were both mounted in 1/4 grooves cut in the sides with a homemade router jig.
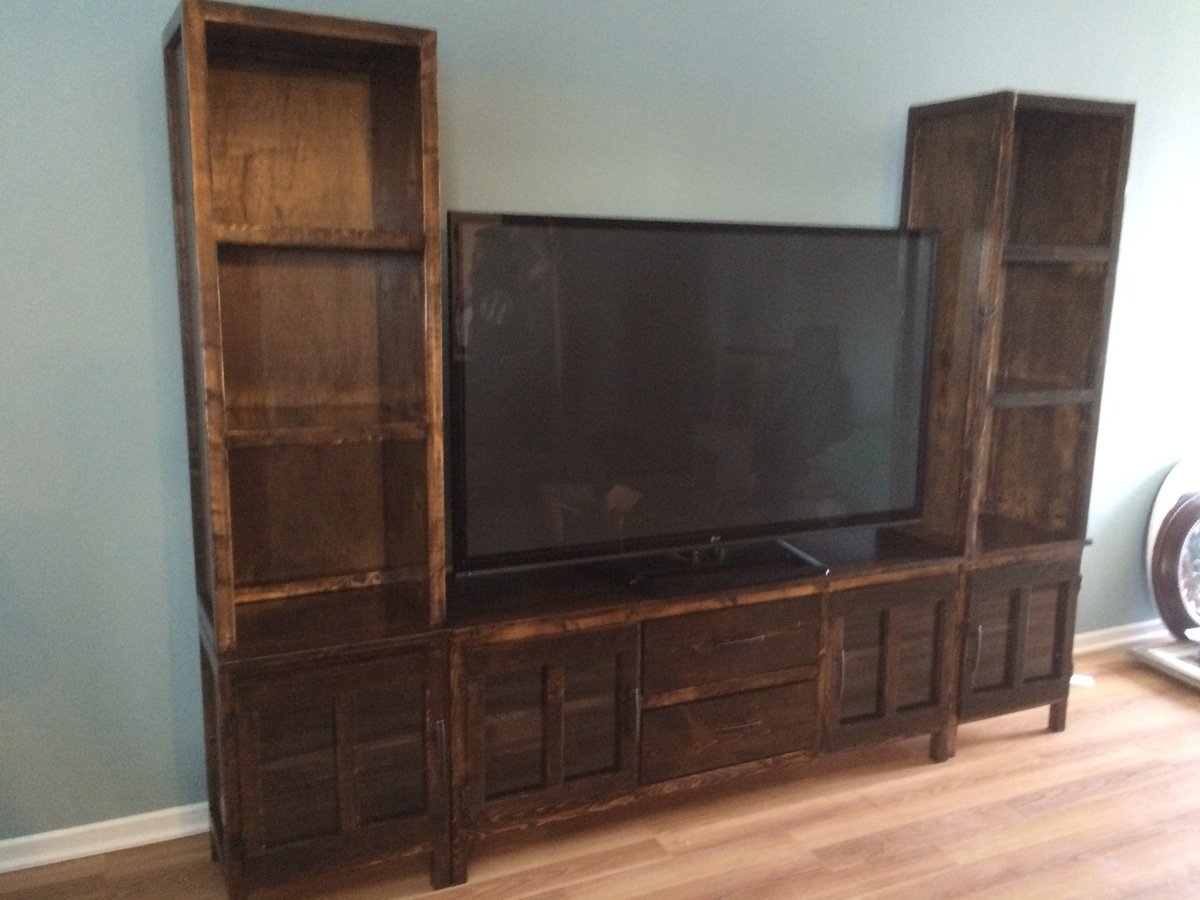
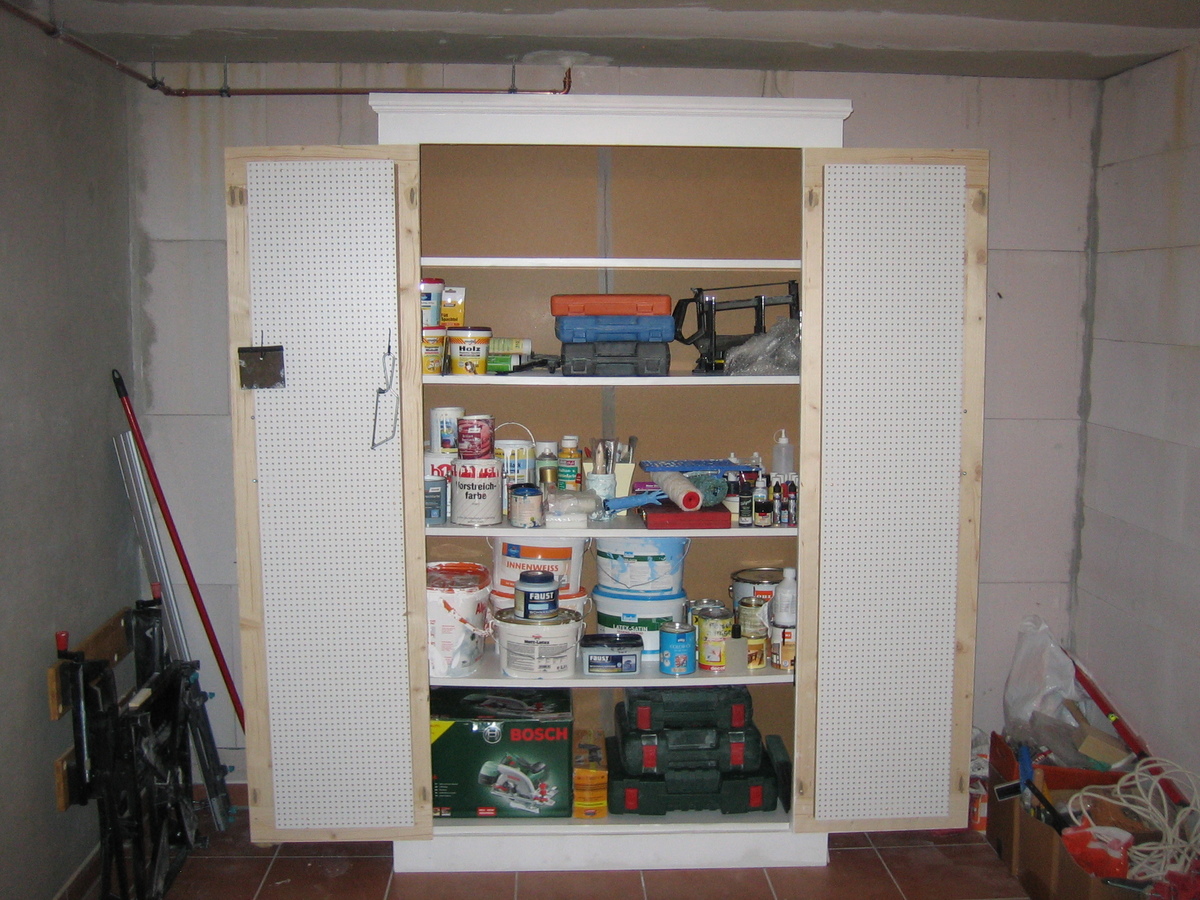
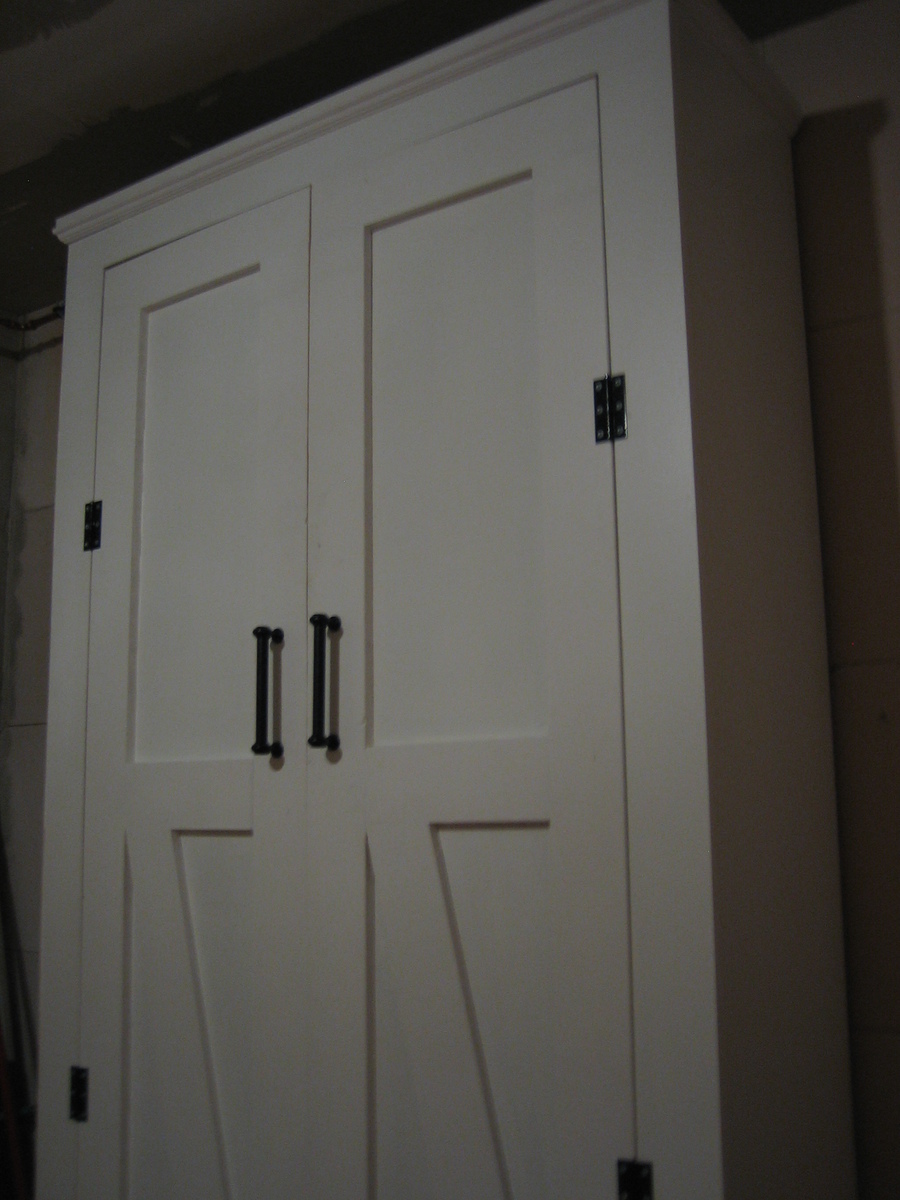
This was a fun project to build. I did change somethings around. I used plexiglass on all doors instead of plywood and it turned out great. Took a lot longer than planned but in the end it was worth it!
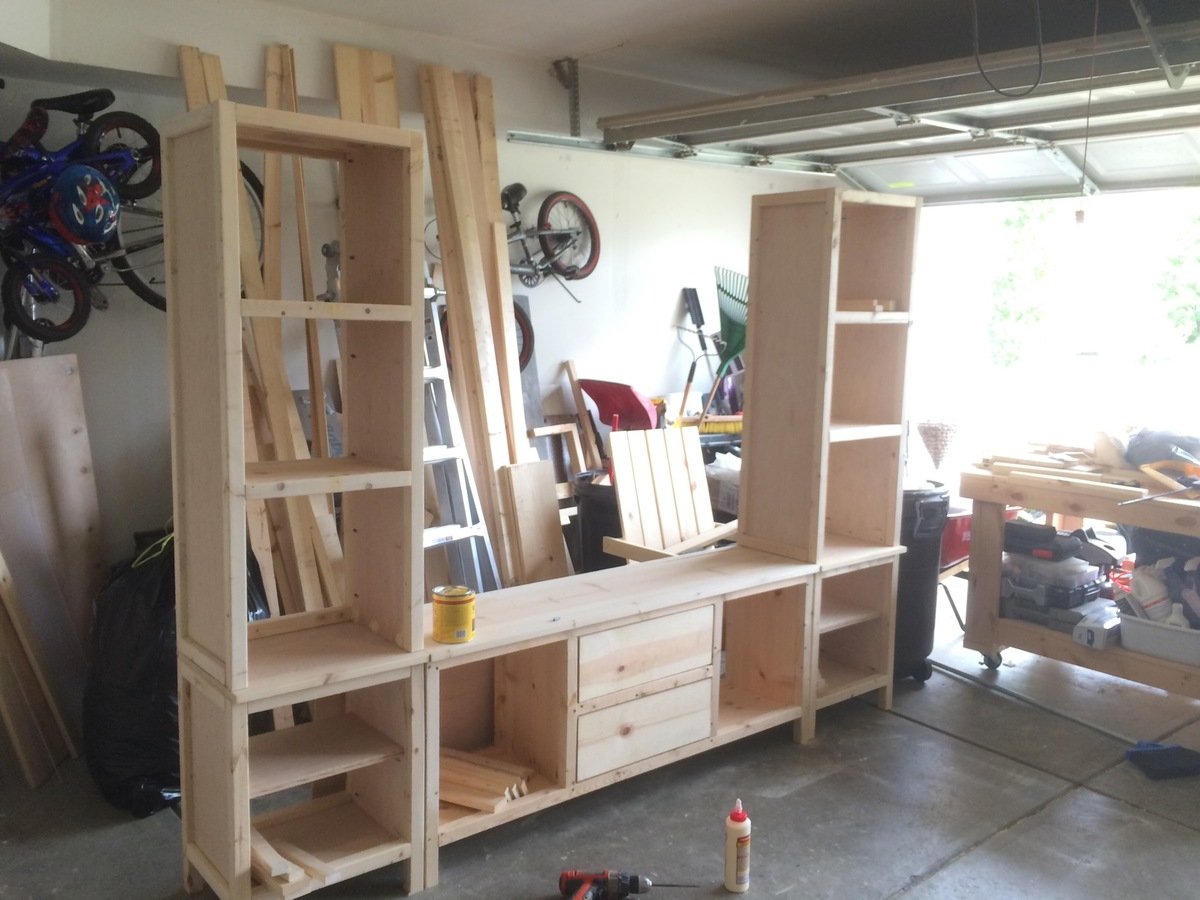
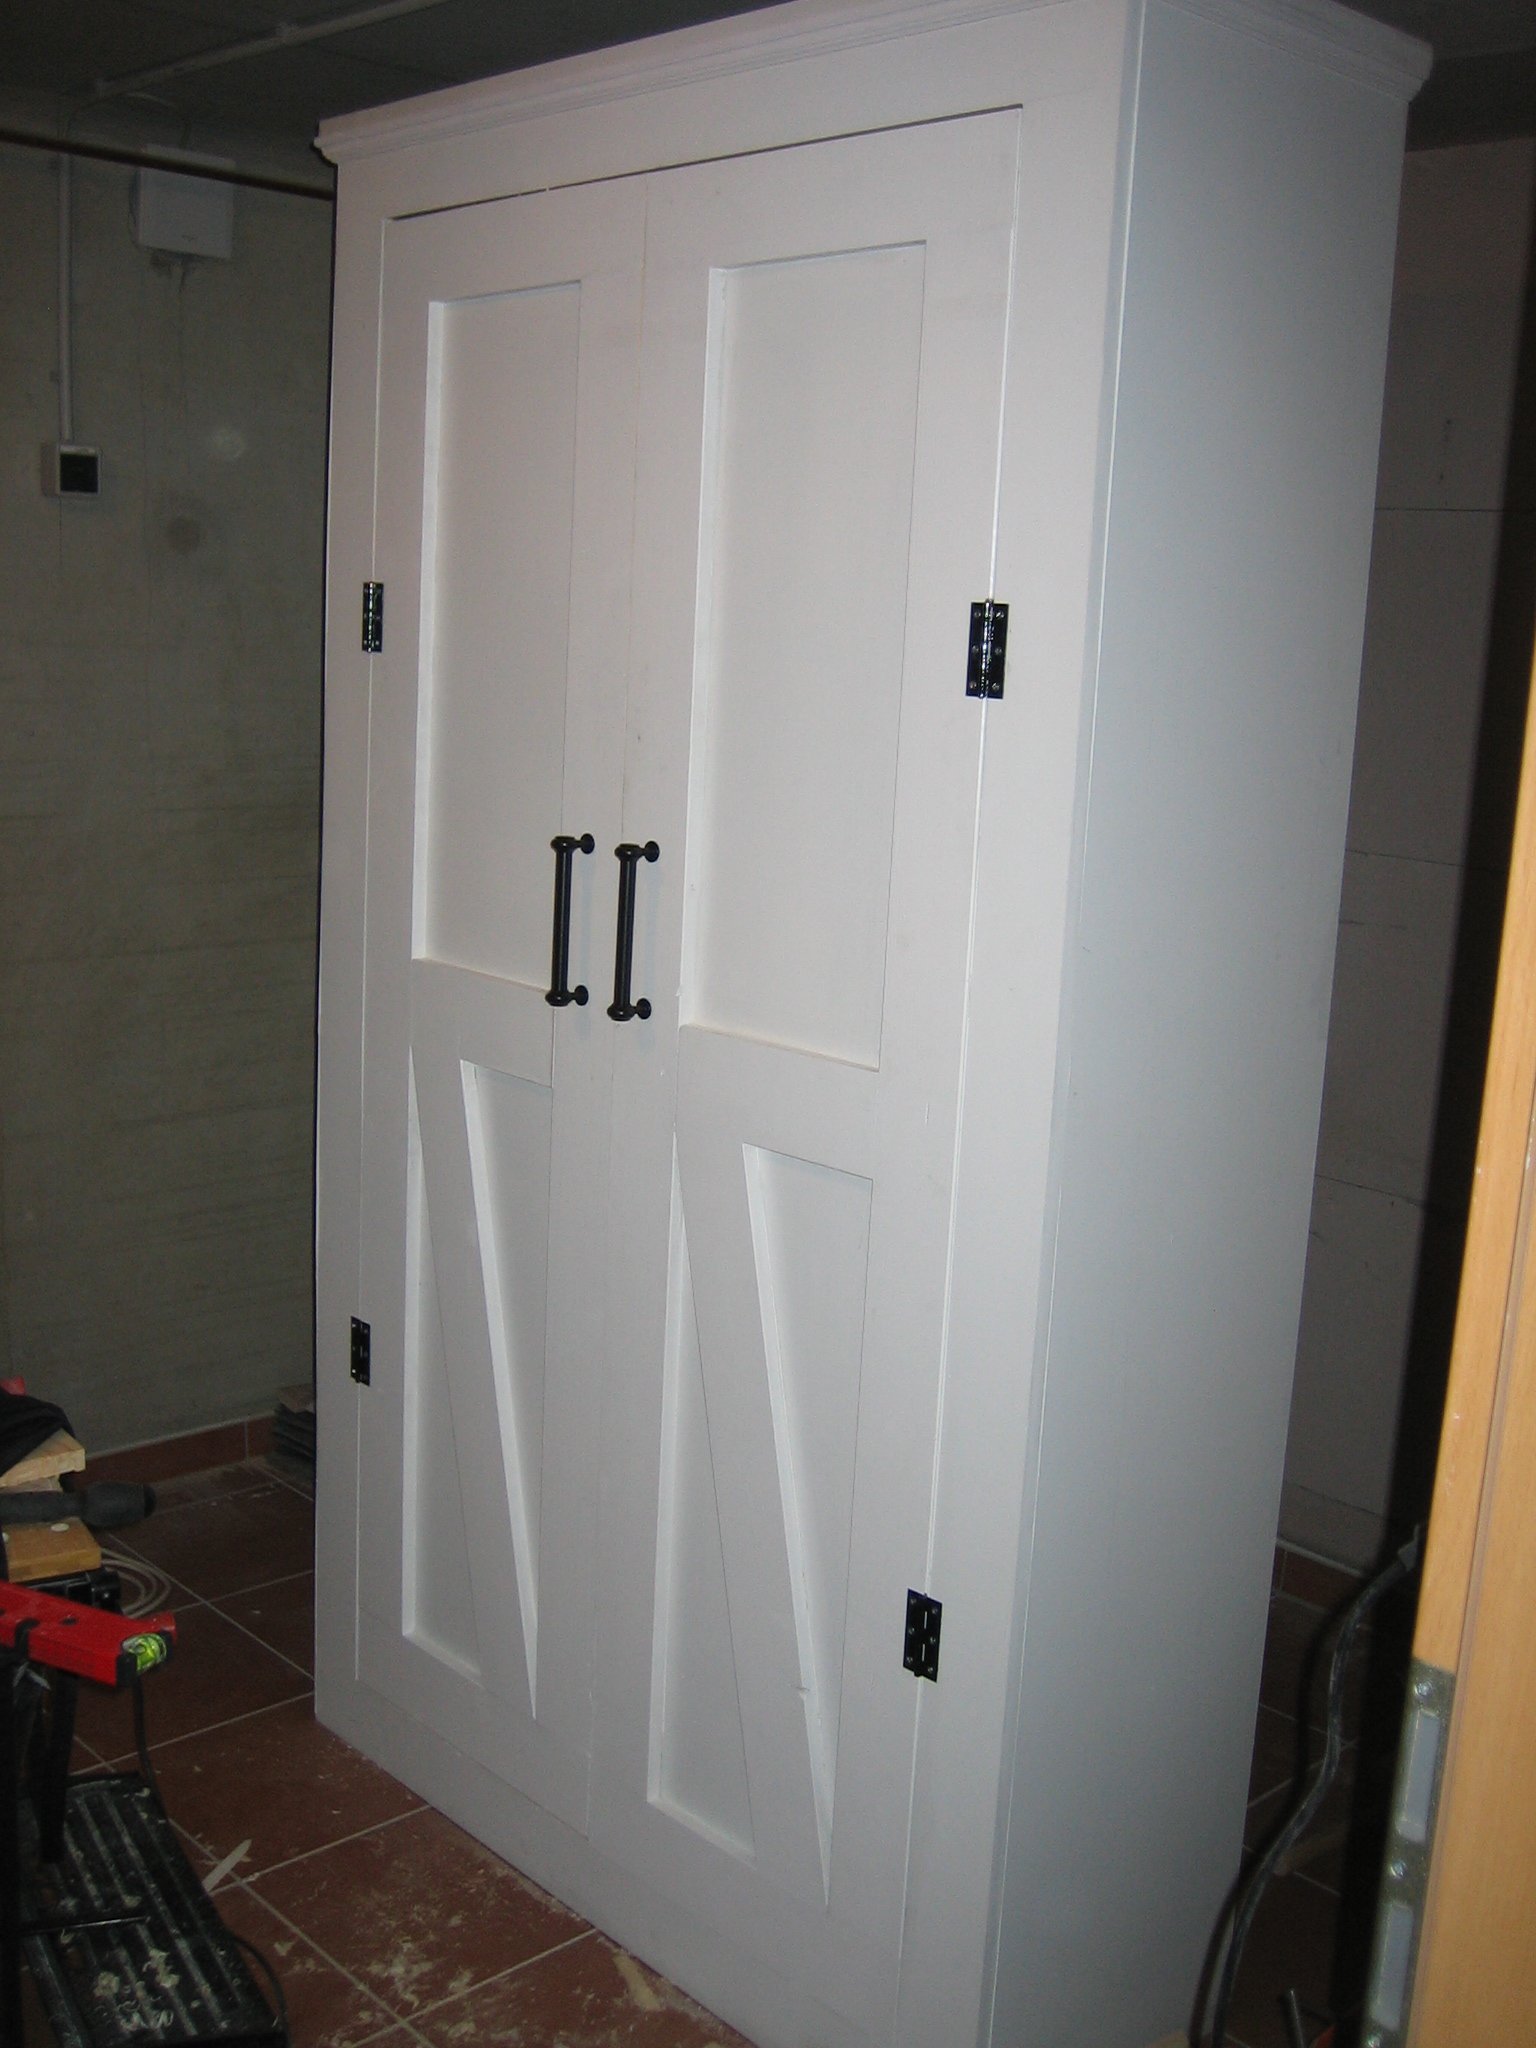
My cupboard is quite a lot bigger than the one in the original post but is super sturdy.
It was a relatively easy project to build. My main issue was that I used chipboard for most of the cupboard and ironed on veneer on the cut sections which threw my door frame measurements out of whack and I had to shave a bit of my door off with a plane to get it to fit in neatly.
Sun, 08/12/2012 - 11:47
Hi there. I love this!!! I was wondering if you remembered the dimensions of wood used or what not? I want to make one or two of these for my basement laundry room for storage but am new to this so not sure how much I would increase all of the wood etc from the original plans. Thanks!
Mon, 08/13/2012 - 02:48
Hi! So glad you like it! I used SketchUp to create my dimensions to fit my space. Have you ever used it before? It's a free designing tool and really helps me to visualise if the wood's all going to fit together or not.
Here are the wood measurements I used:
Chipboard, white, 19mm
Part/Length (mm)/Width (mm)/Amount
Top:1200/436/1
Side x2:2000/400/2
Bottom shelf:1124/350 /1
Shelf x4 :1124/350/4
Frame top & bottom:1162/100 /2
Frame side x2:1800/100/2
Door frame top & bottom:476/100/2
Door frame side x2:1594/100/2
Door backing MDF 3mm
Part/Length (mm)/Width (mm)/Amount
Back:2000/1162/1
Door back:1700 /360/2
If you have any other questions, I'd be happy to help. Good luck!
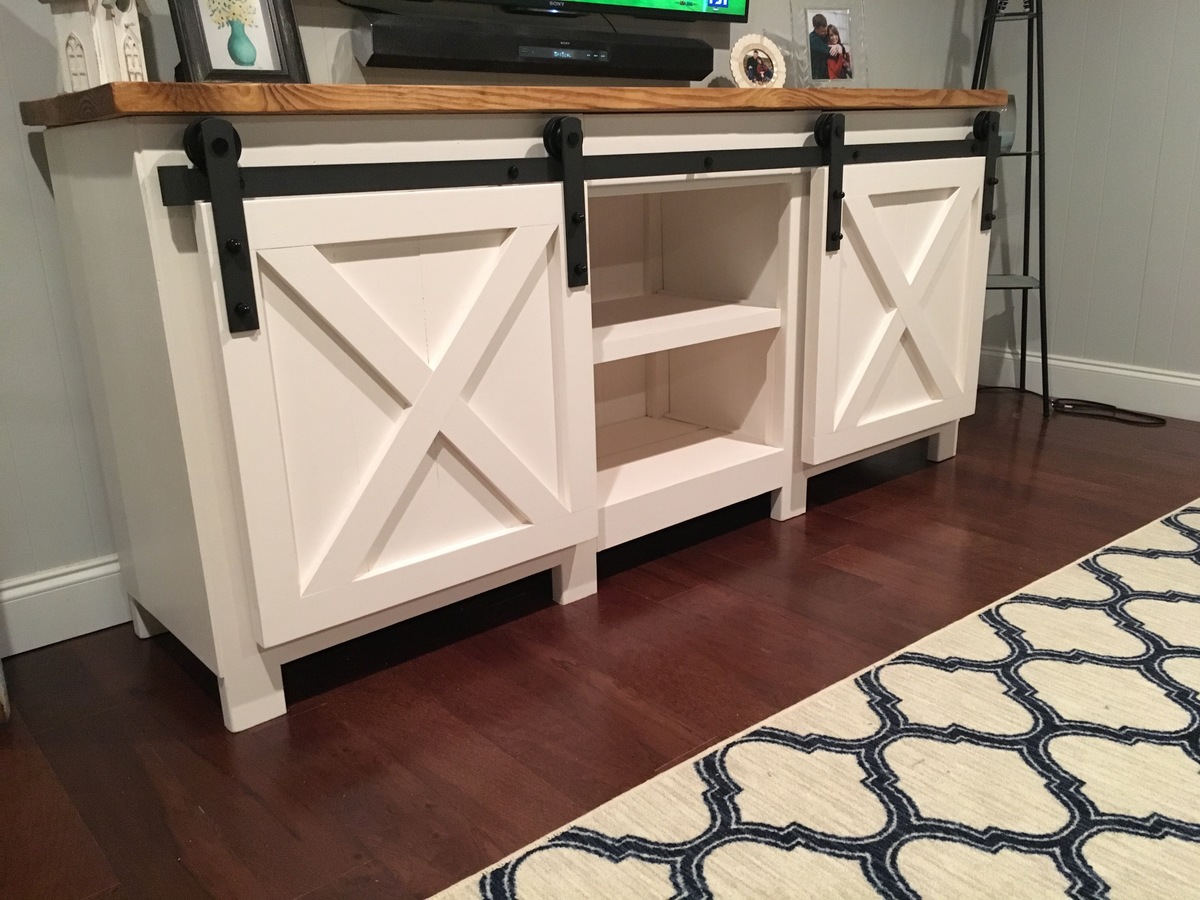
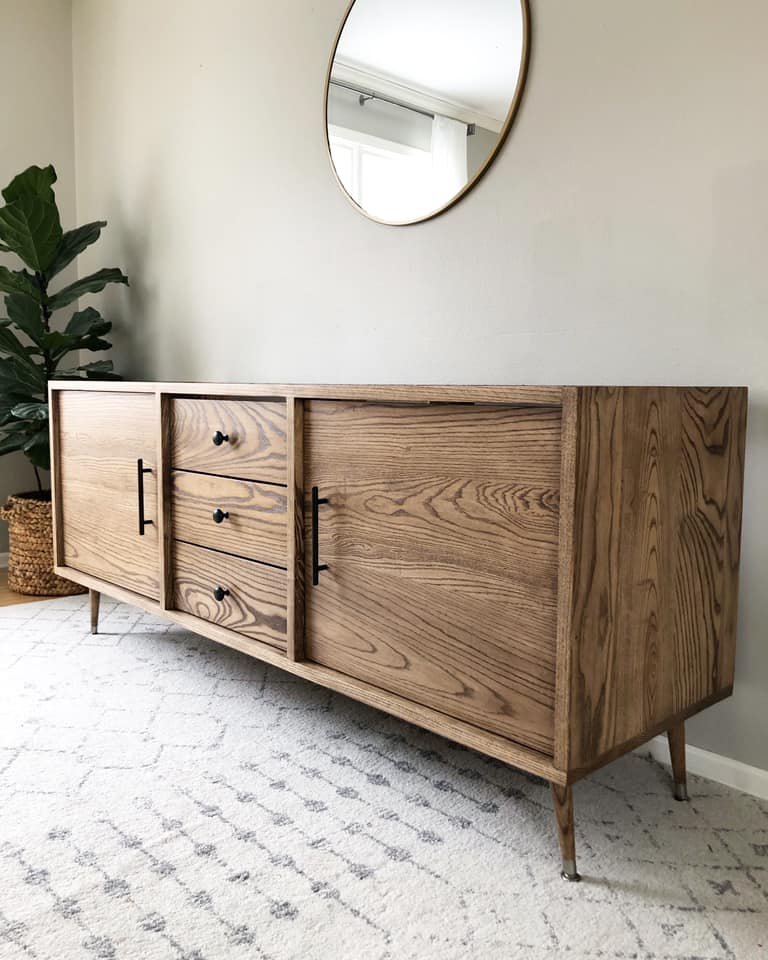
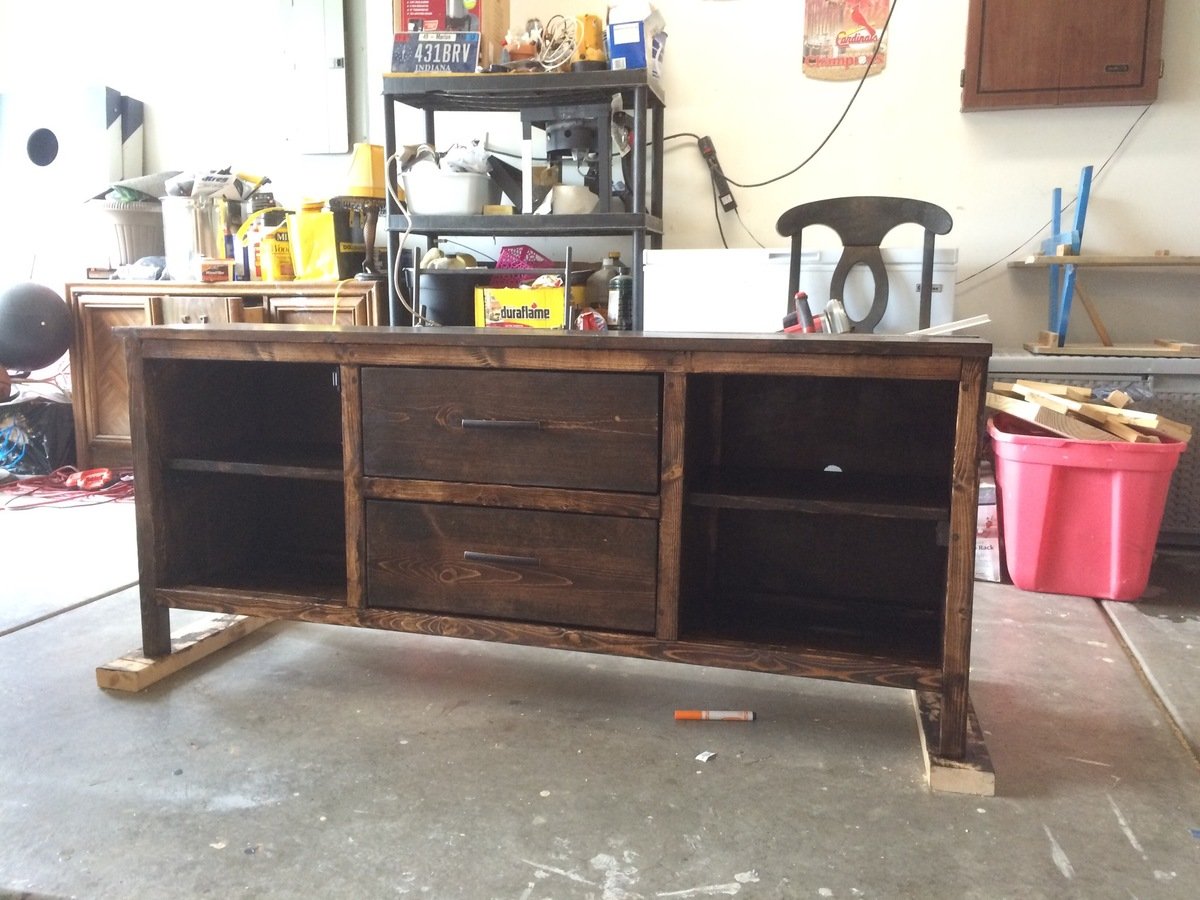
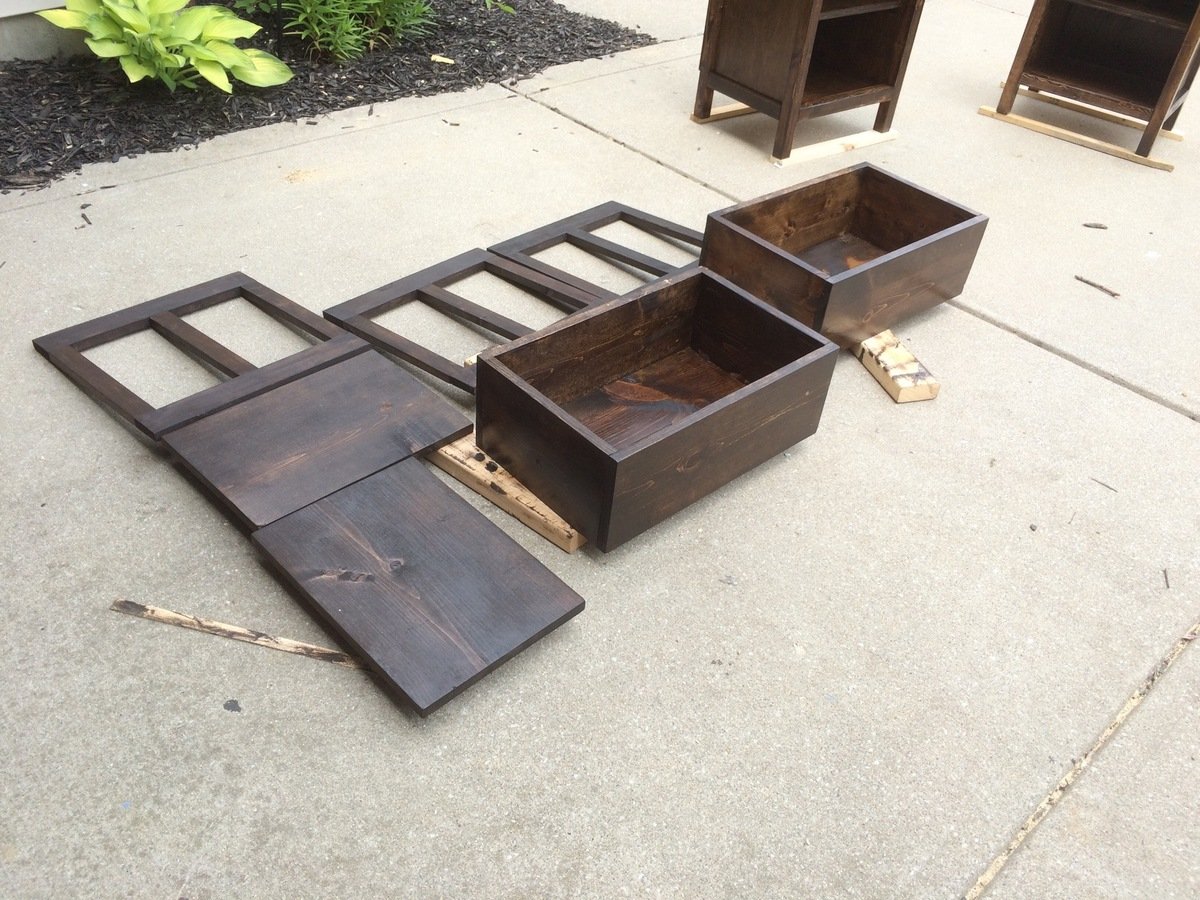
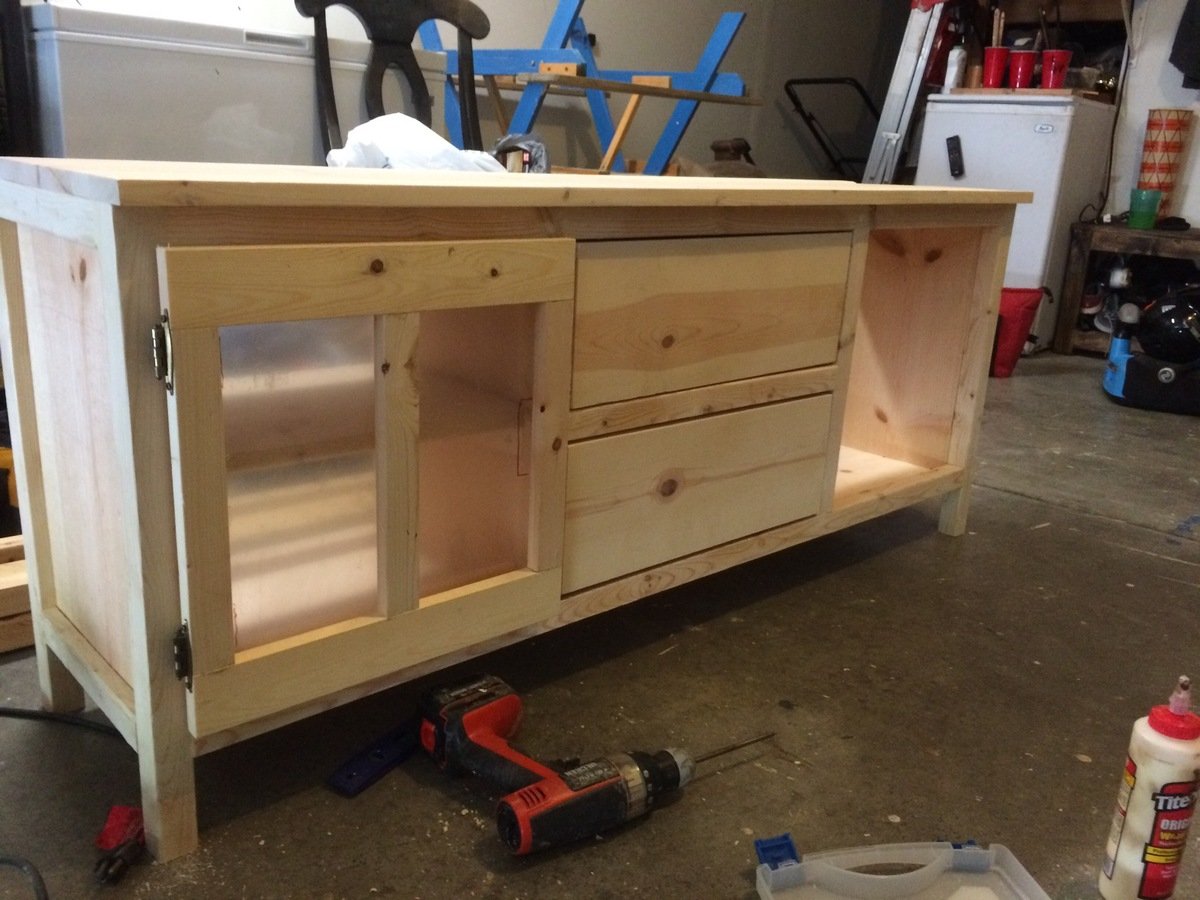
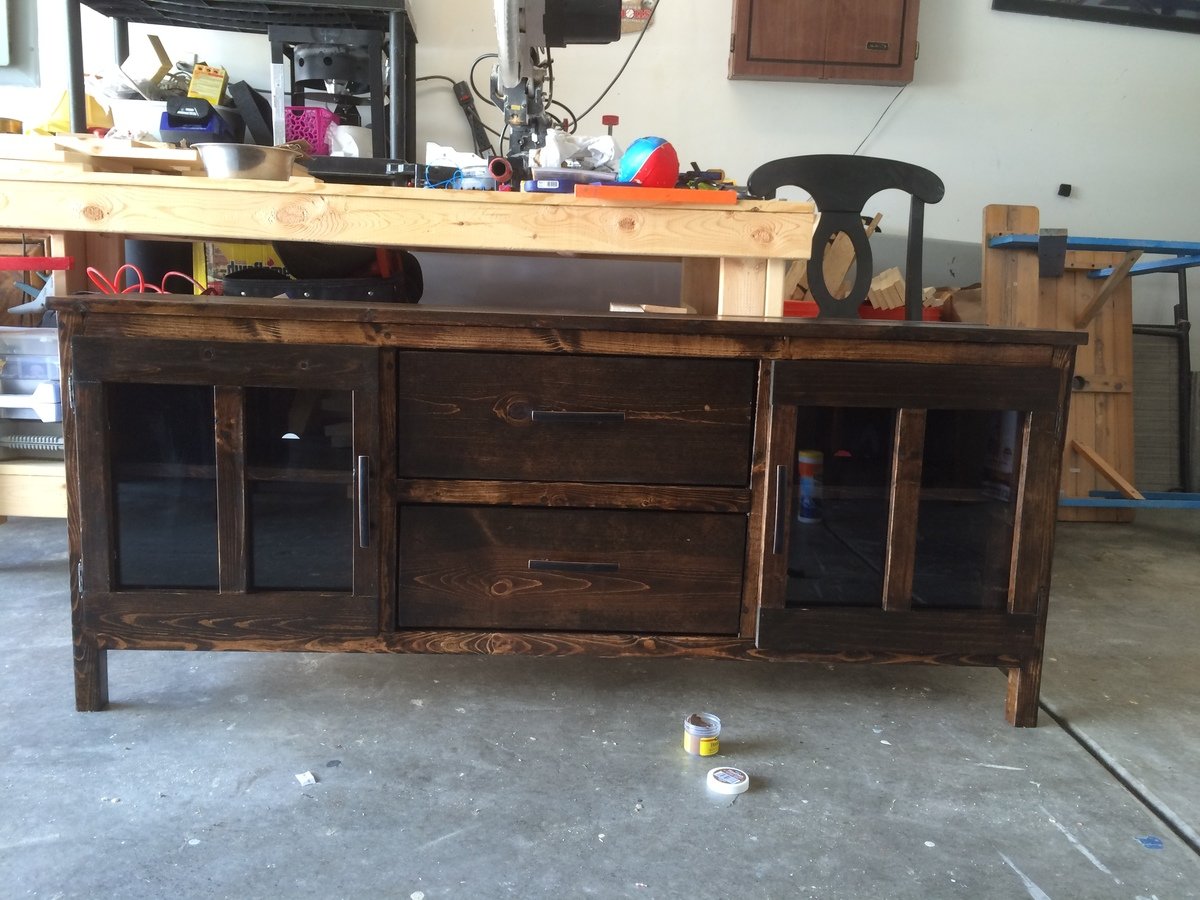
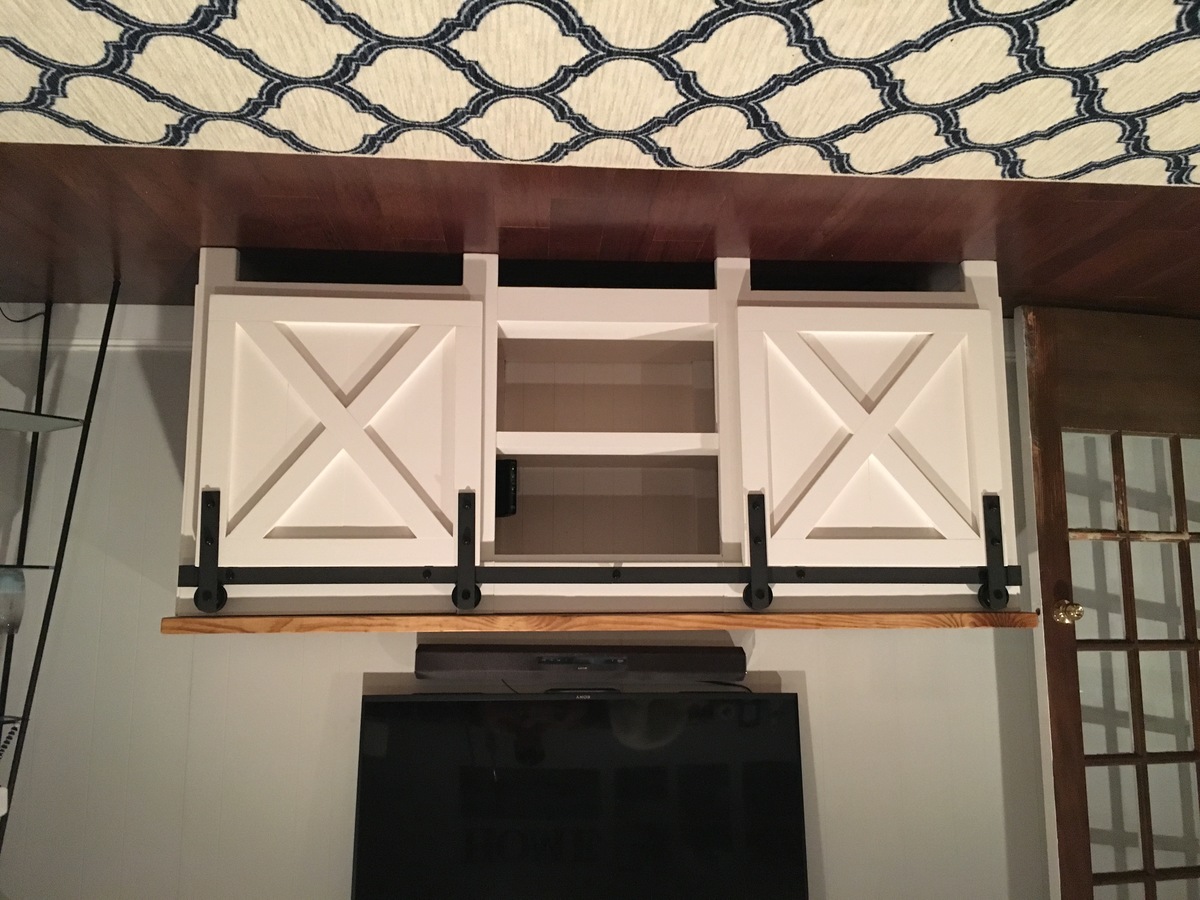
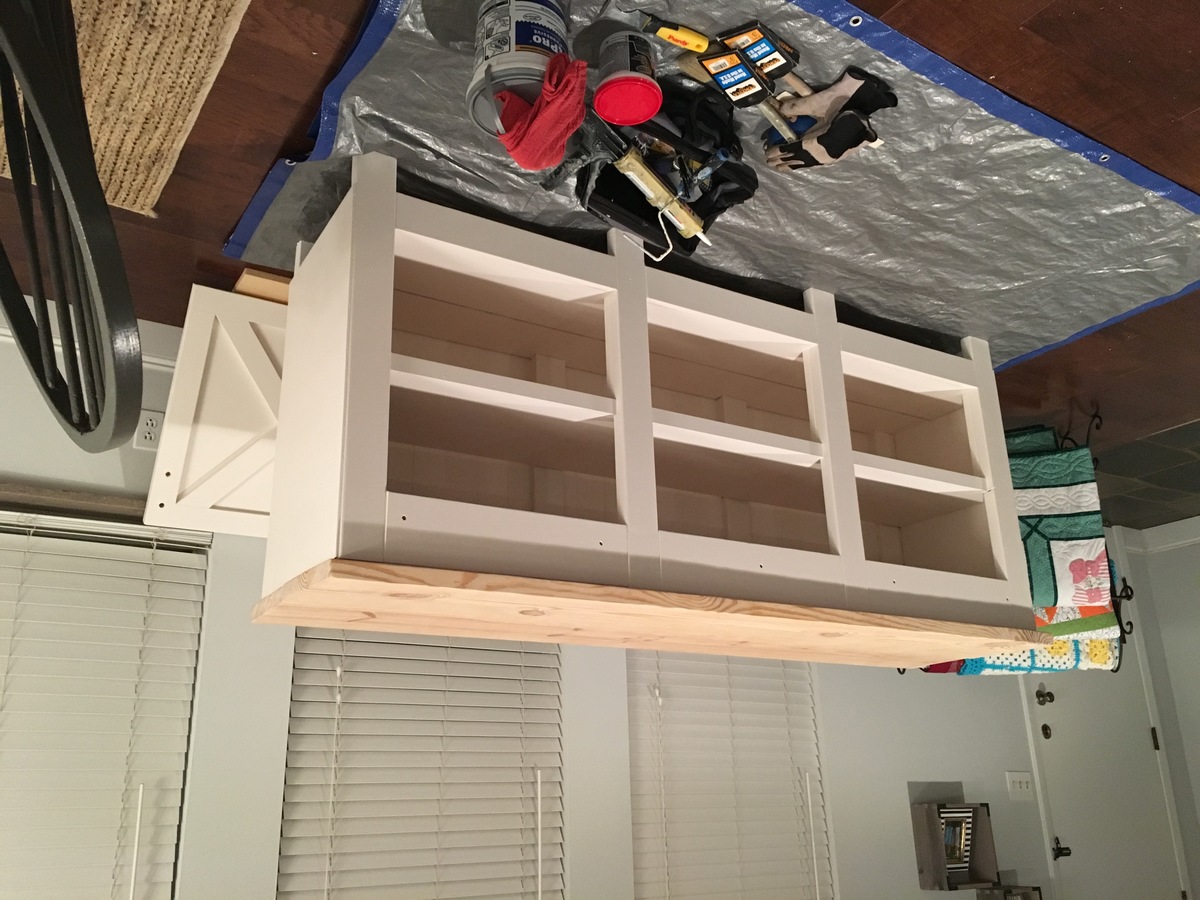
Changed the Grandy design just a little to bring it up off the floor and add legs to it. I notched 2x4 to line up with the 1x4 face pieces. Then I found barndoor hardware on Amazon for $47 a set. Needed two sets for this console since I wanted two doors. Only needed the one rail piece though.
Tue, 06/21/2016 - 14:50
This is my build. I guess I wasn't signed in when I posted this on the board. If you have any questions about it then I'll be glad to answer any. Let me know.
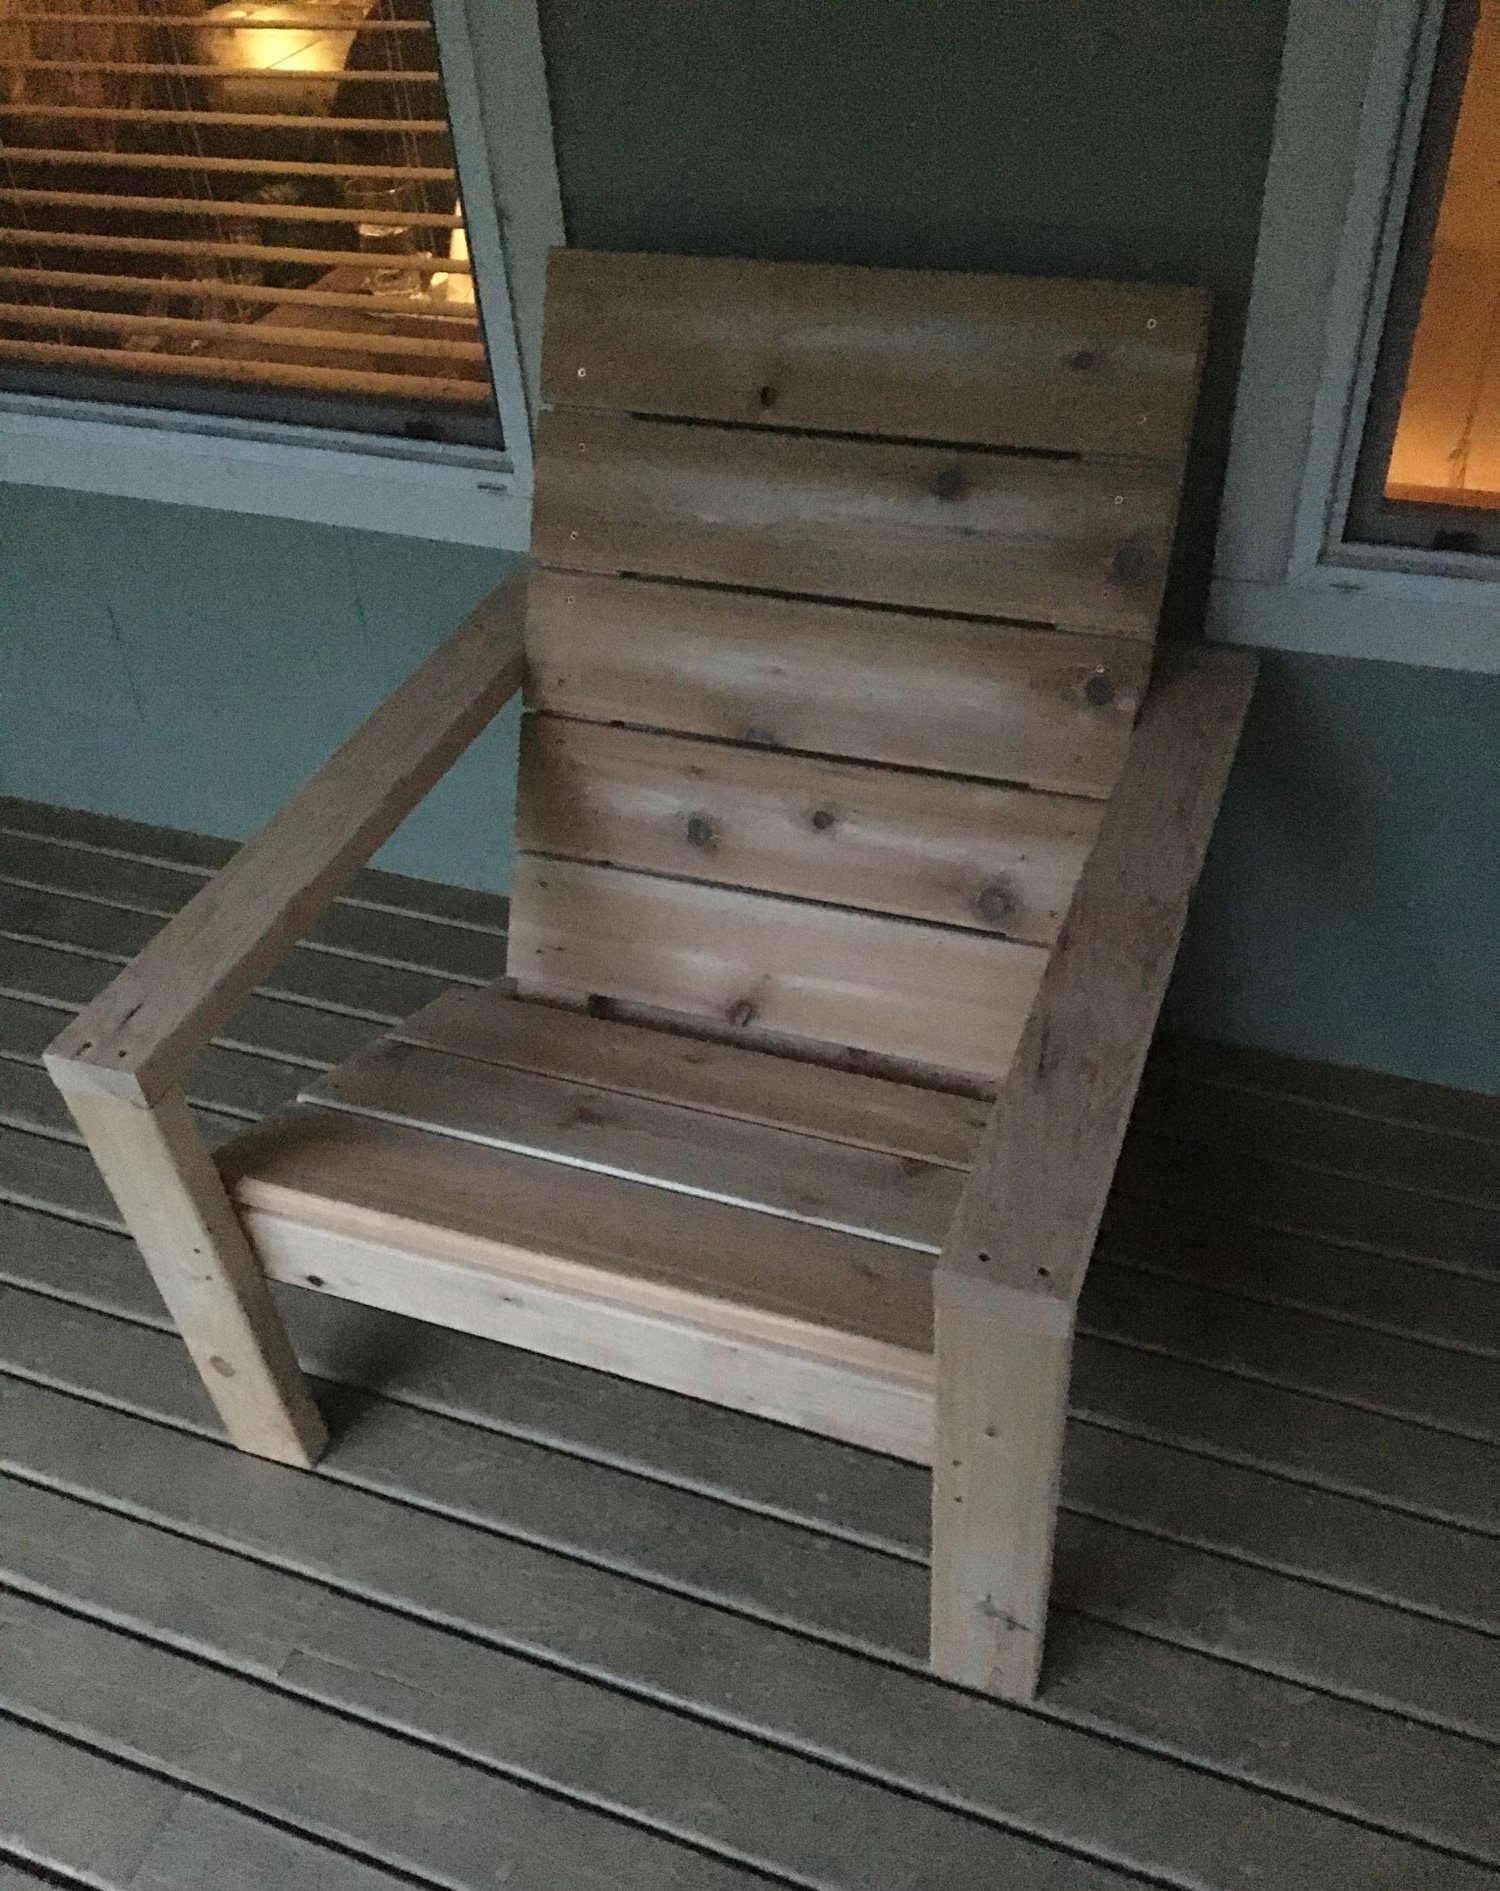
As soon as I watch the video I knew I needed to try this one. I built it out of excess material from previous projects. I did not have the 1x10 so I used 5/4 x6 red cedar and decided that since we are of the wider sort that I needed to change the width for us. It worked out great. I kept all the other dimensions and did the math for the positions of the seat back positions from what Ana used. She is correct. Very comfortable chair with the angles and height.
Mon, 05/04/2020 - 07:25
It turned out beautiful!
I am also interested in a wider version, would you kindly share which pieces you changed and the math for positioning the back?
Thank you so much!
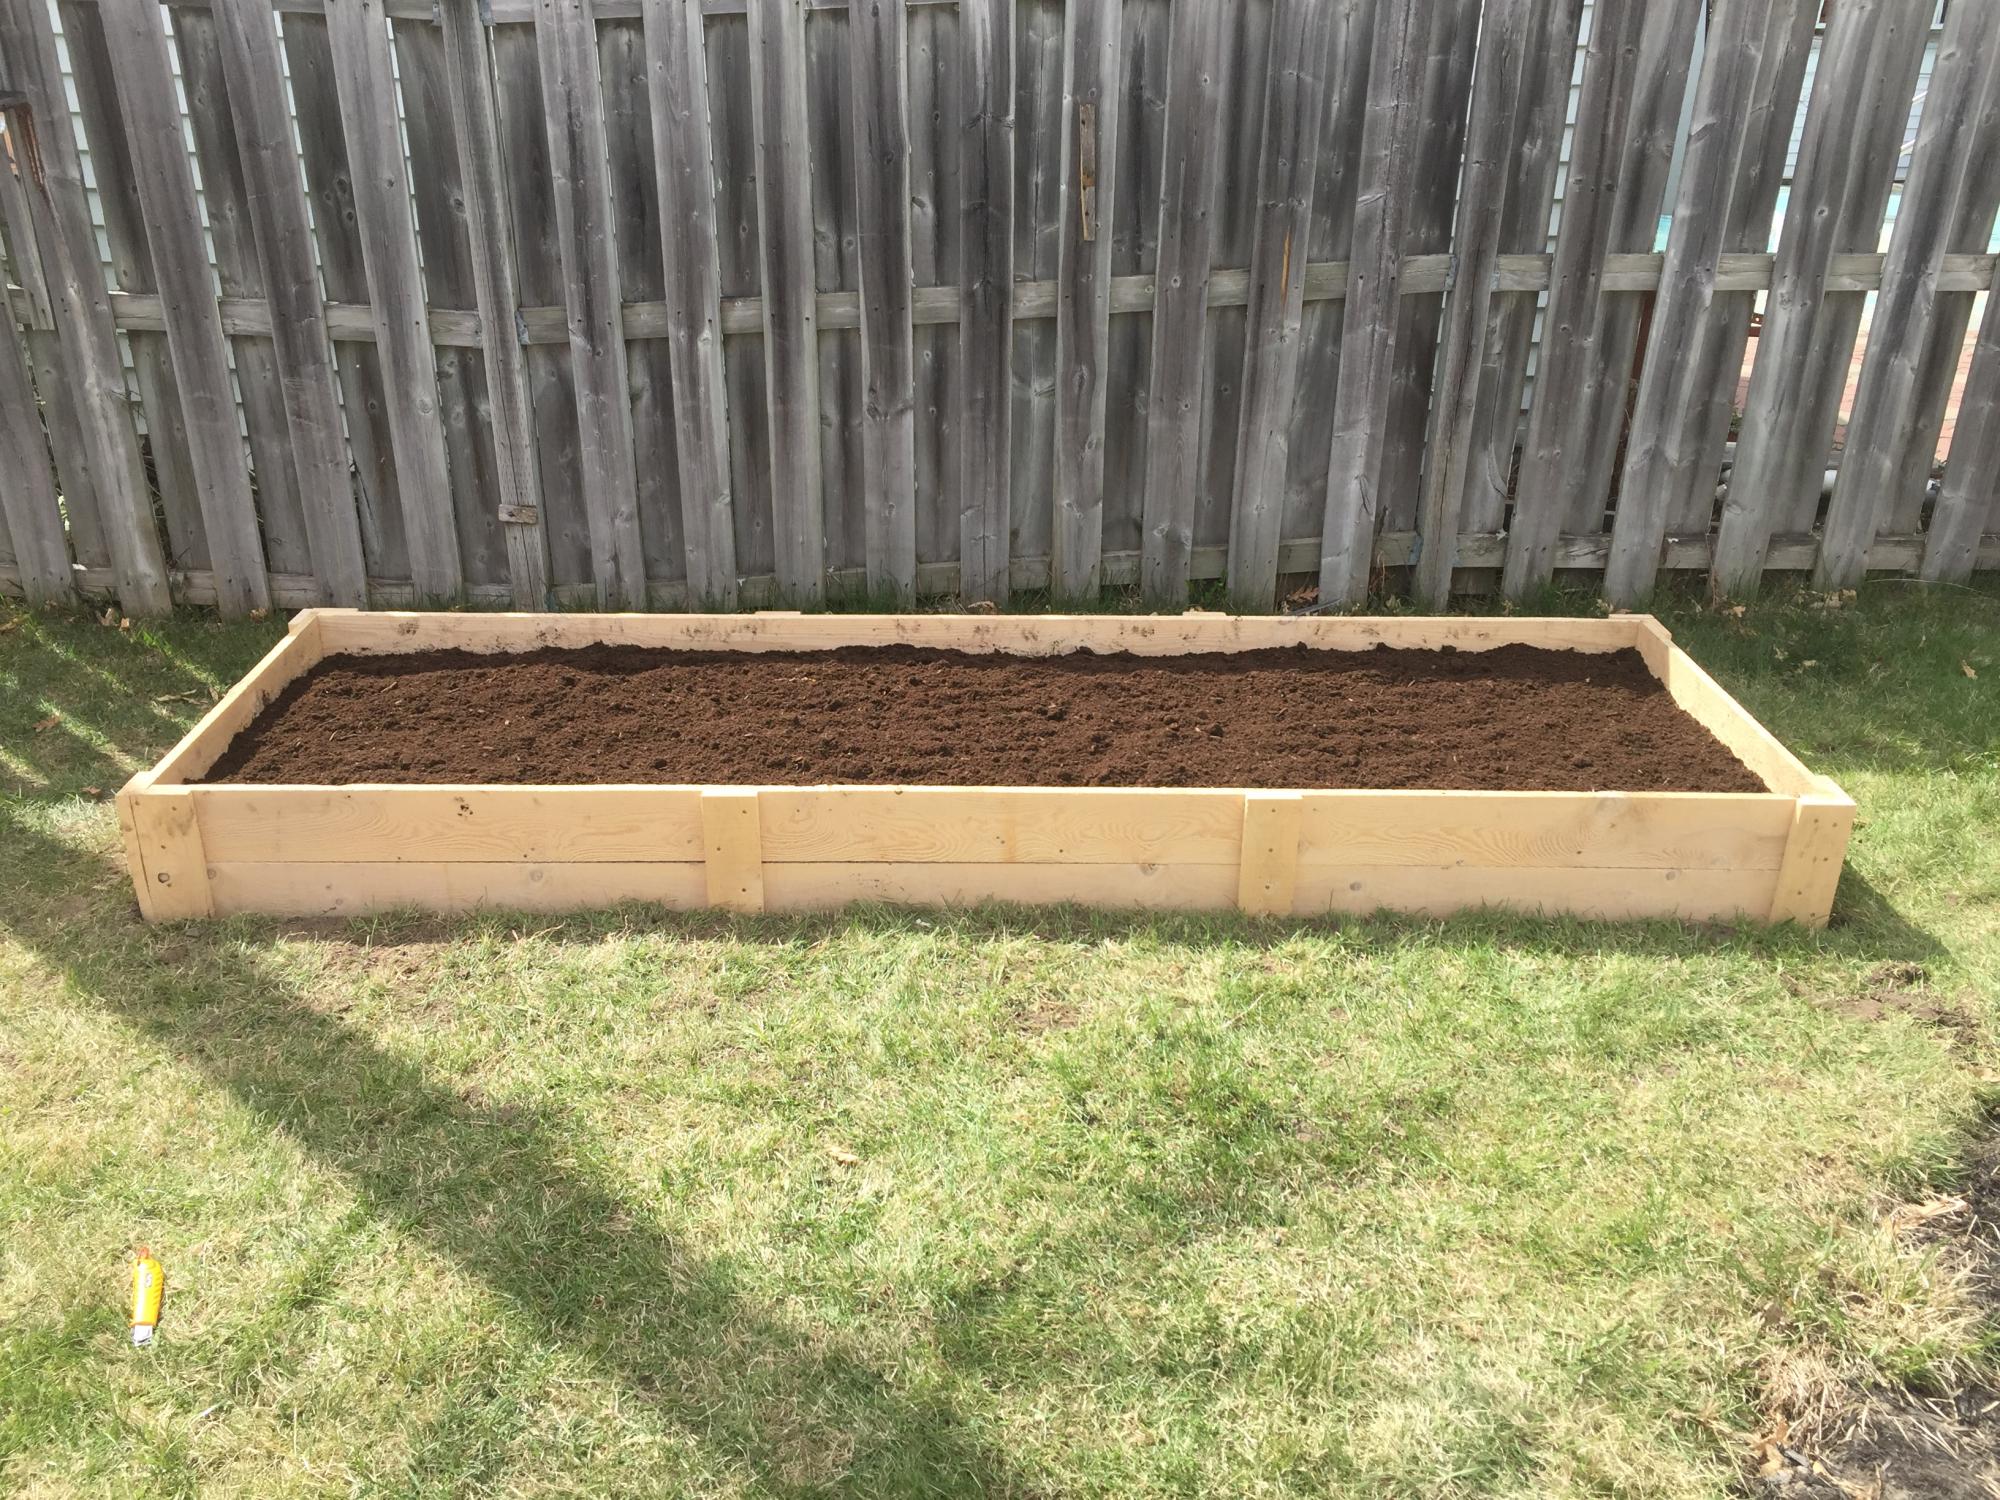
We built this 3x10 feet raised garden bed.

My dad and I built my closet based off your plans but did a little modifying. we made four instead of two spaces to hang clothes and the very bottom part will have doors to make them into drawers.
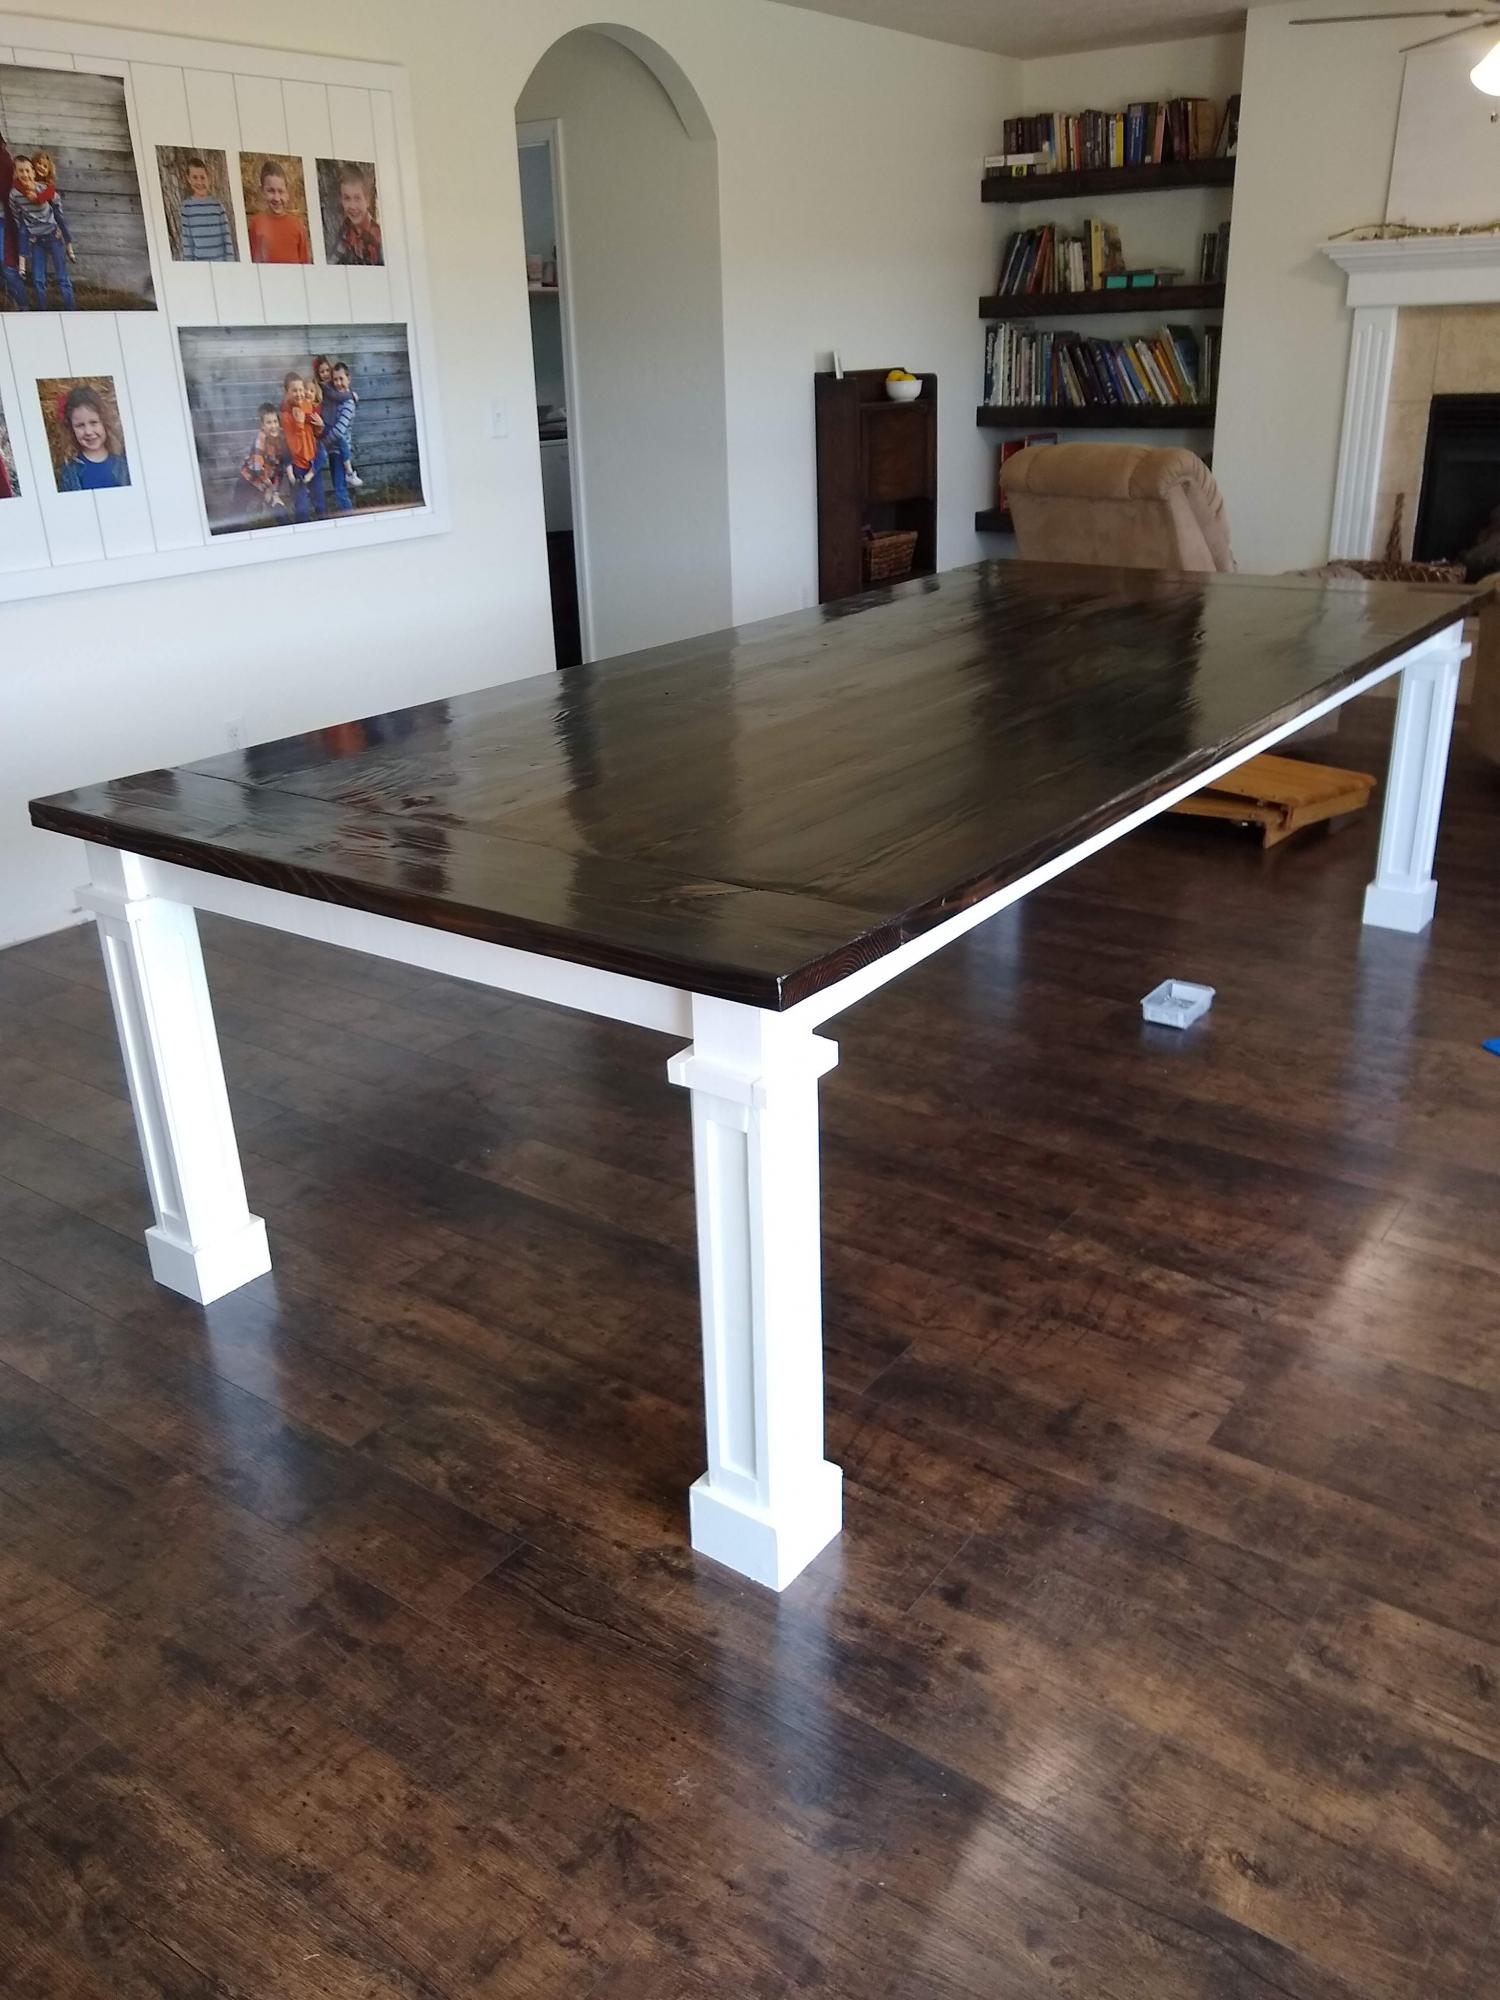
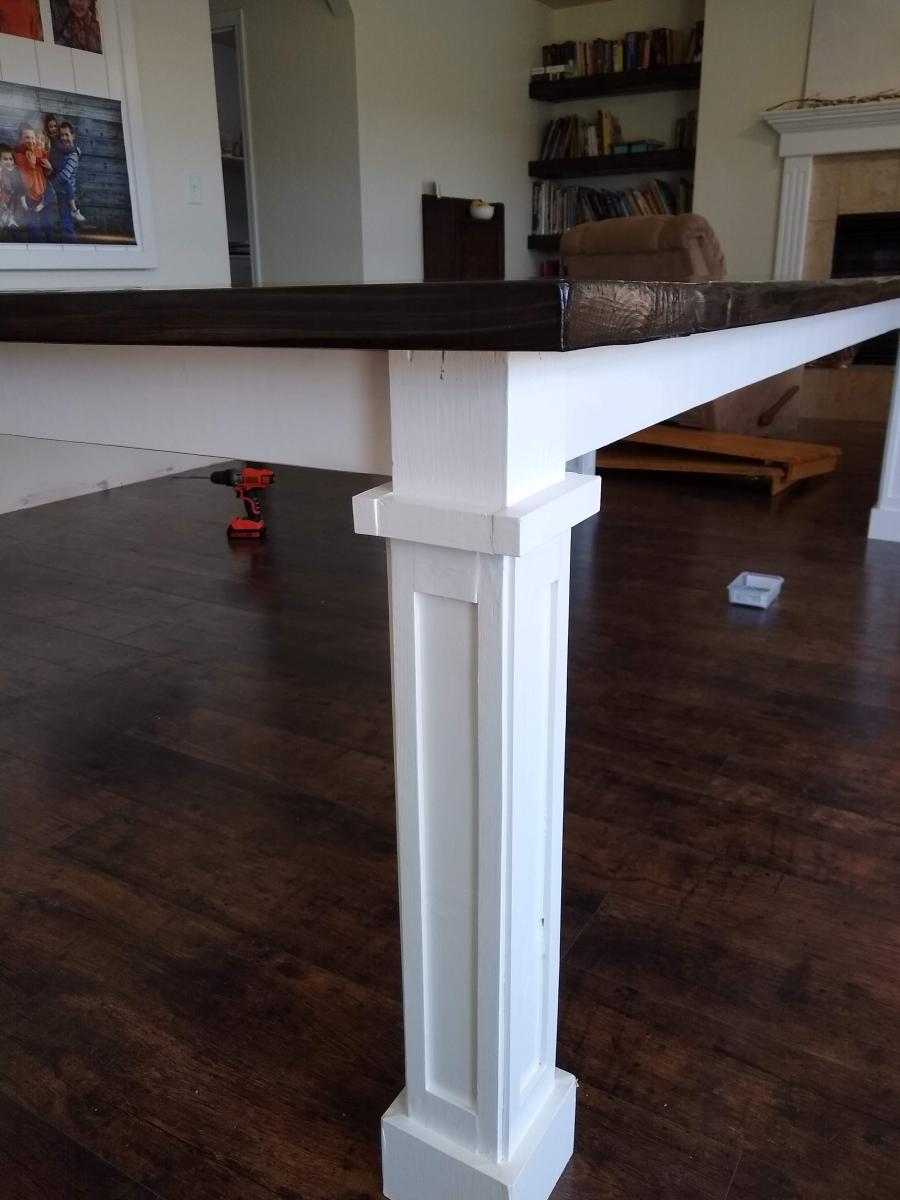
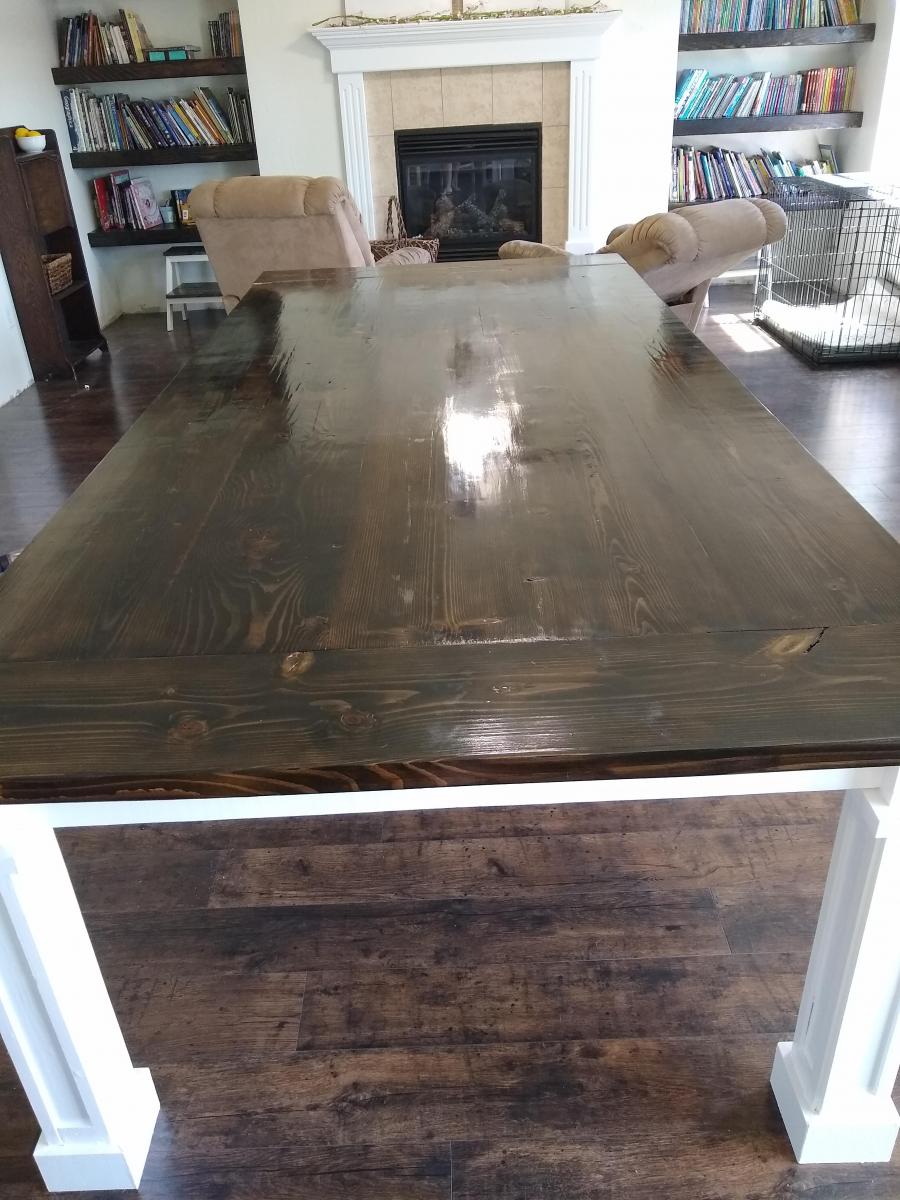
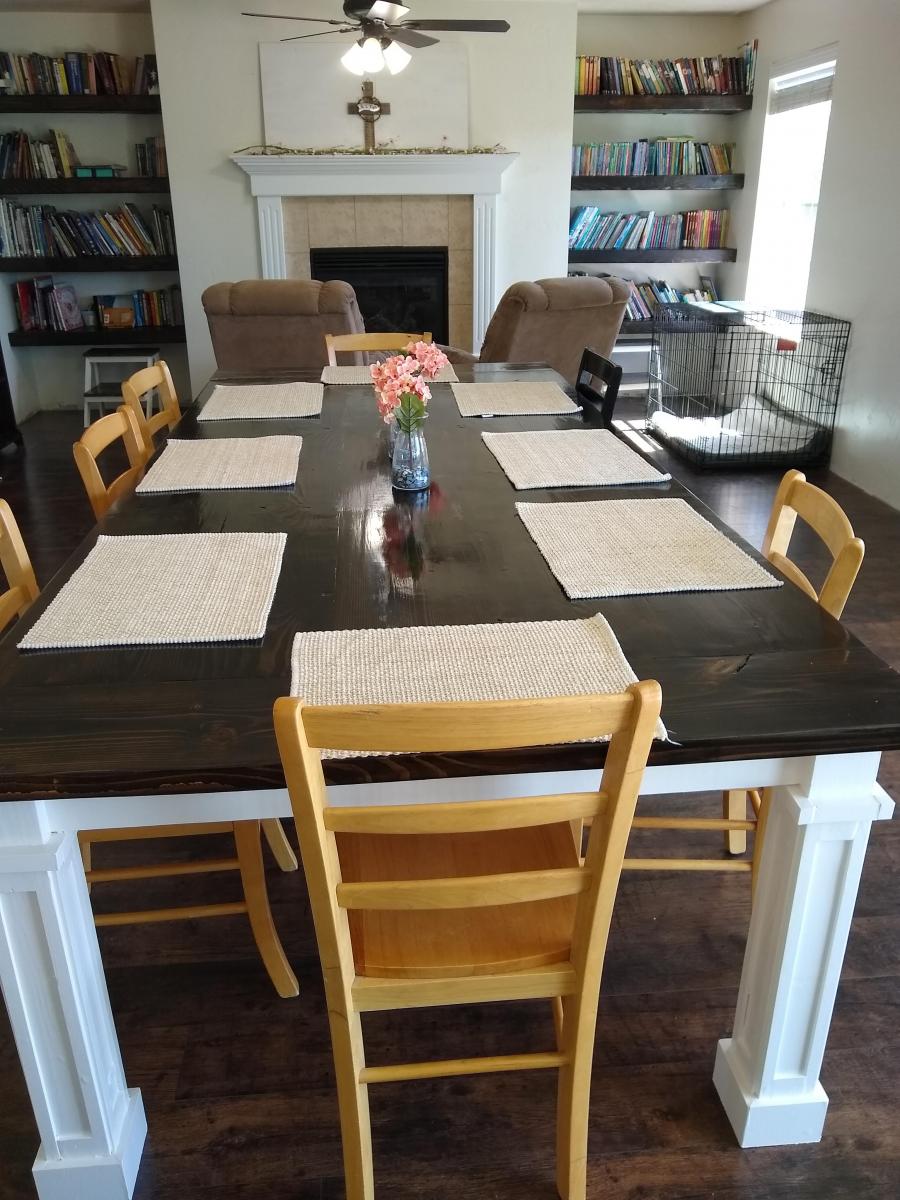
This was such a fun project! We changed up the dimensions, removed the stretcher so that we could put chairs on the ends, and added these fun craftsman removable table legs! I put tons of information of my blog!
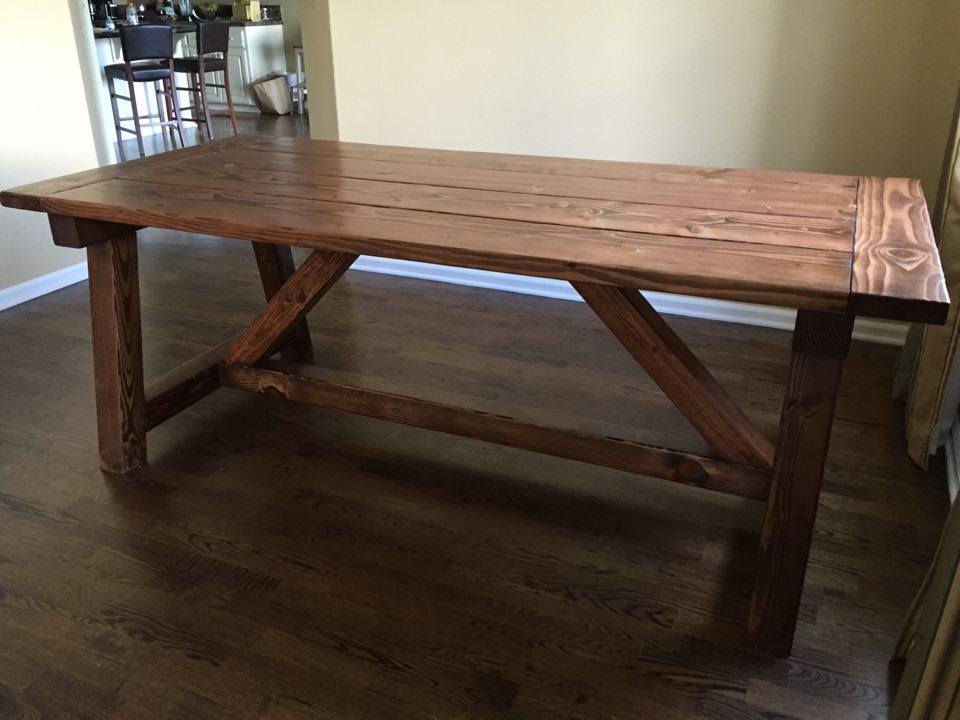
I went pretty much according to the plan on this one. Went with the special walnut stain and gloss poly. Love the look!
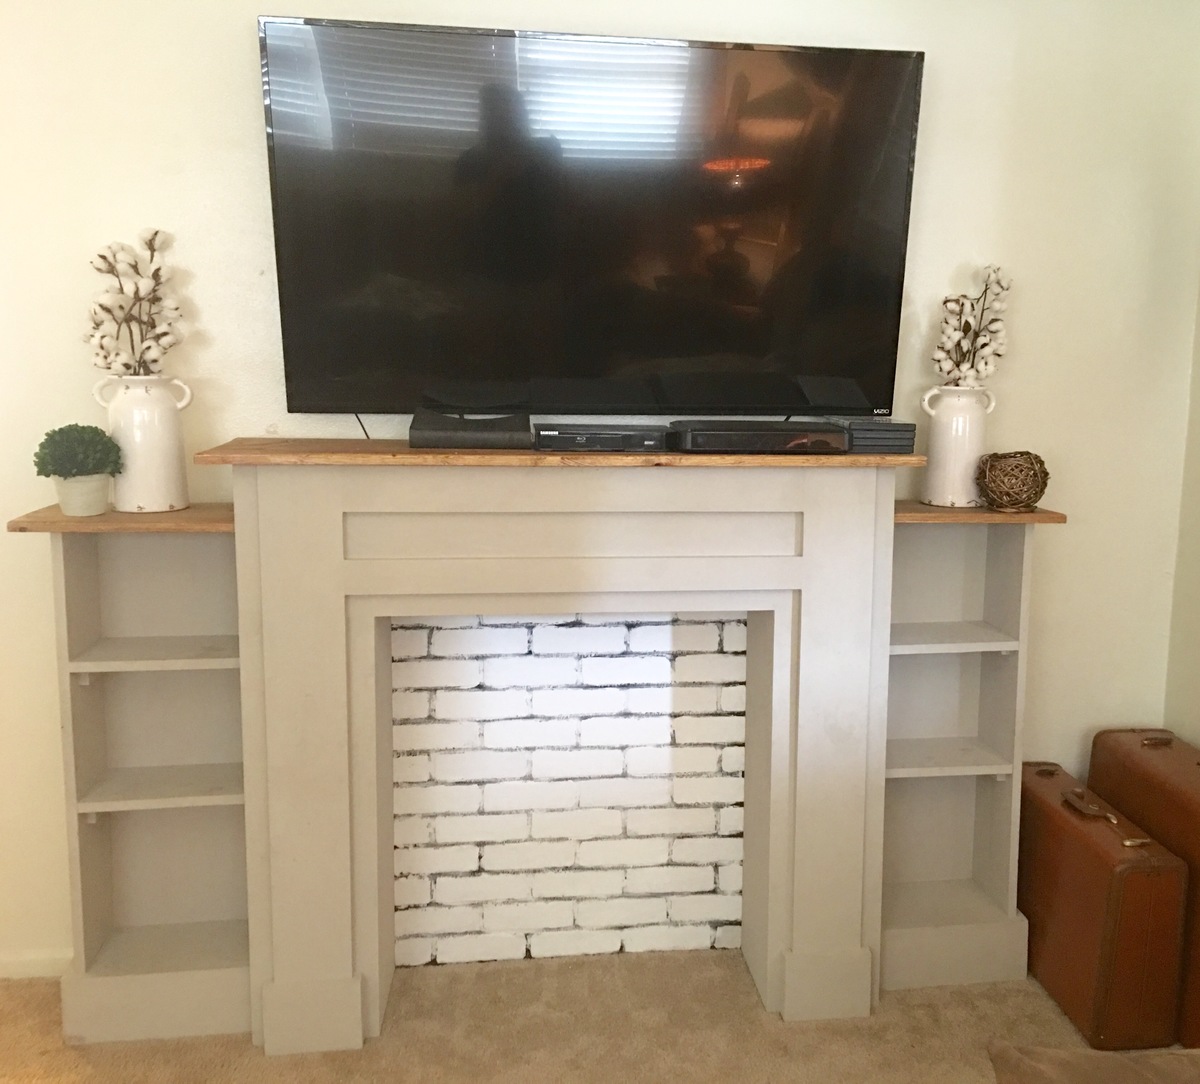
After seeing someone else's version of Mimi's faux mantle with shelves, we decided to make our own! We followed the plans for the mantle & made a few adjustments & made our own plans for the side shelves. Stained the top with special walnut, light grey chalk painted with wax, & used faux brick siding from lowe's & painted the bricks white. Wasn't too hard & love the final product.
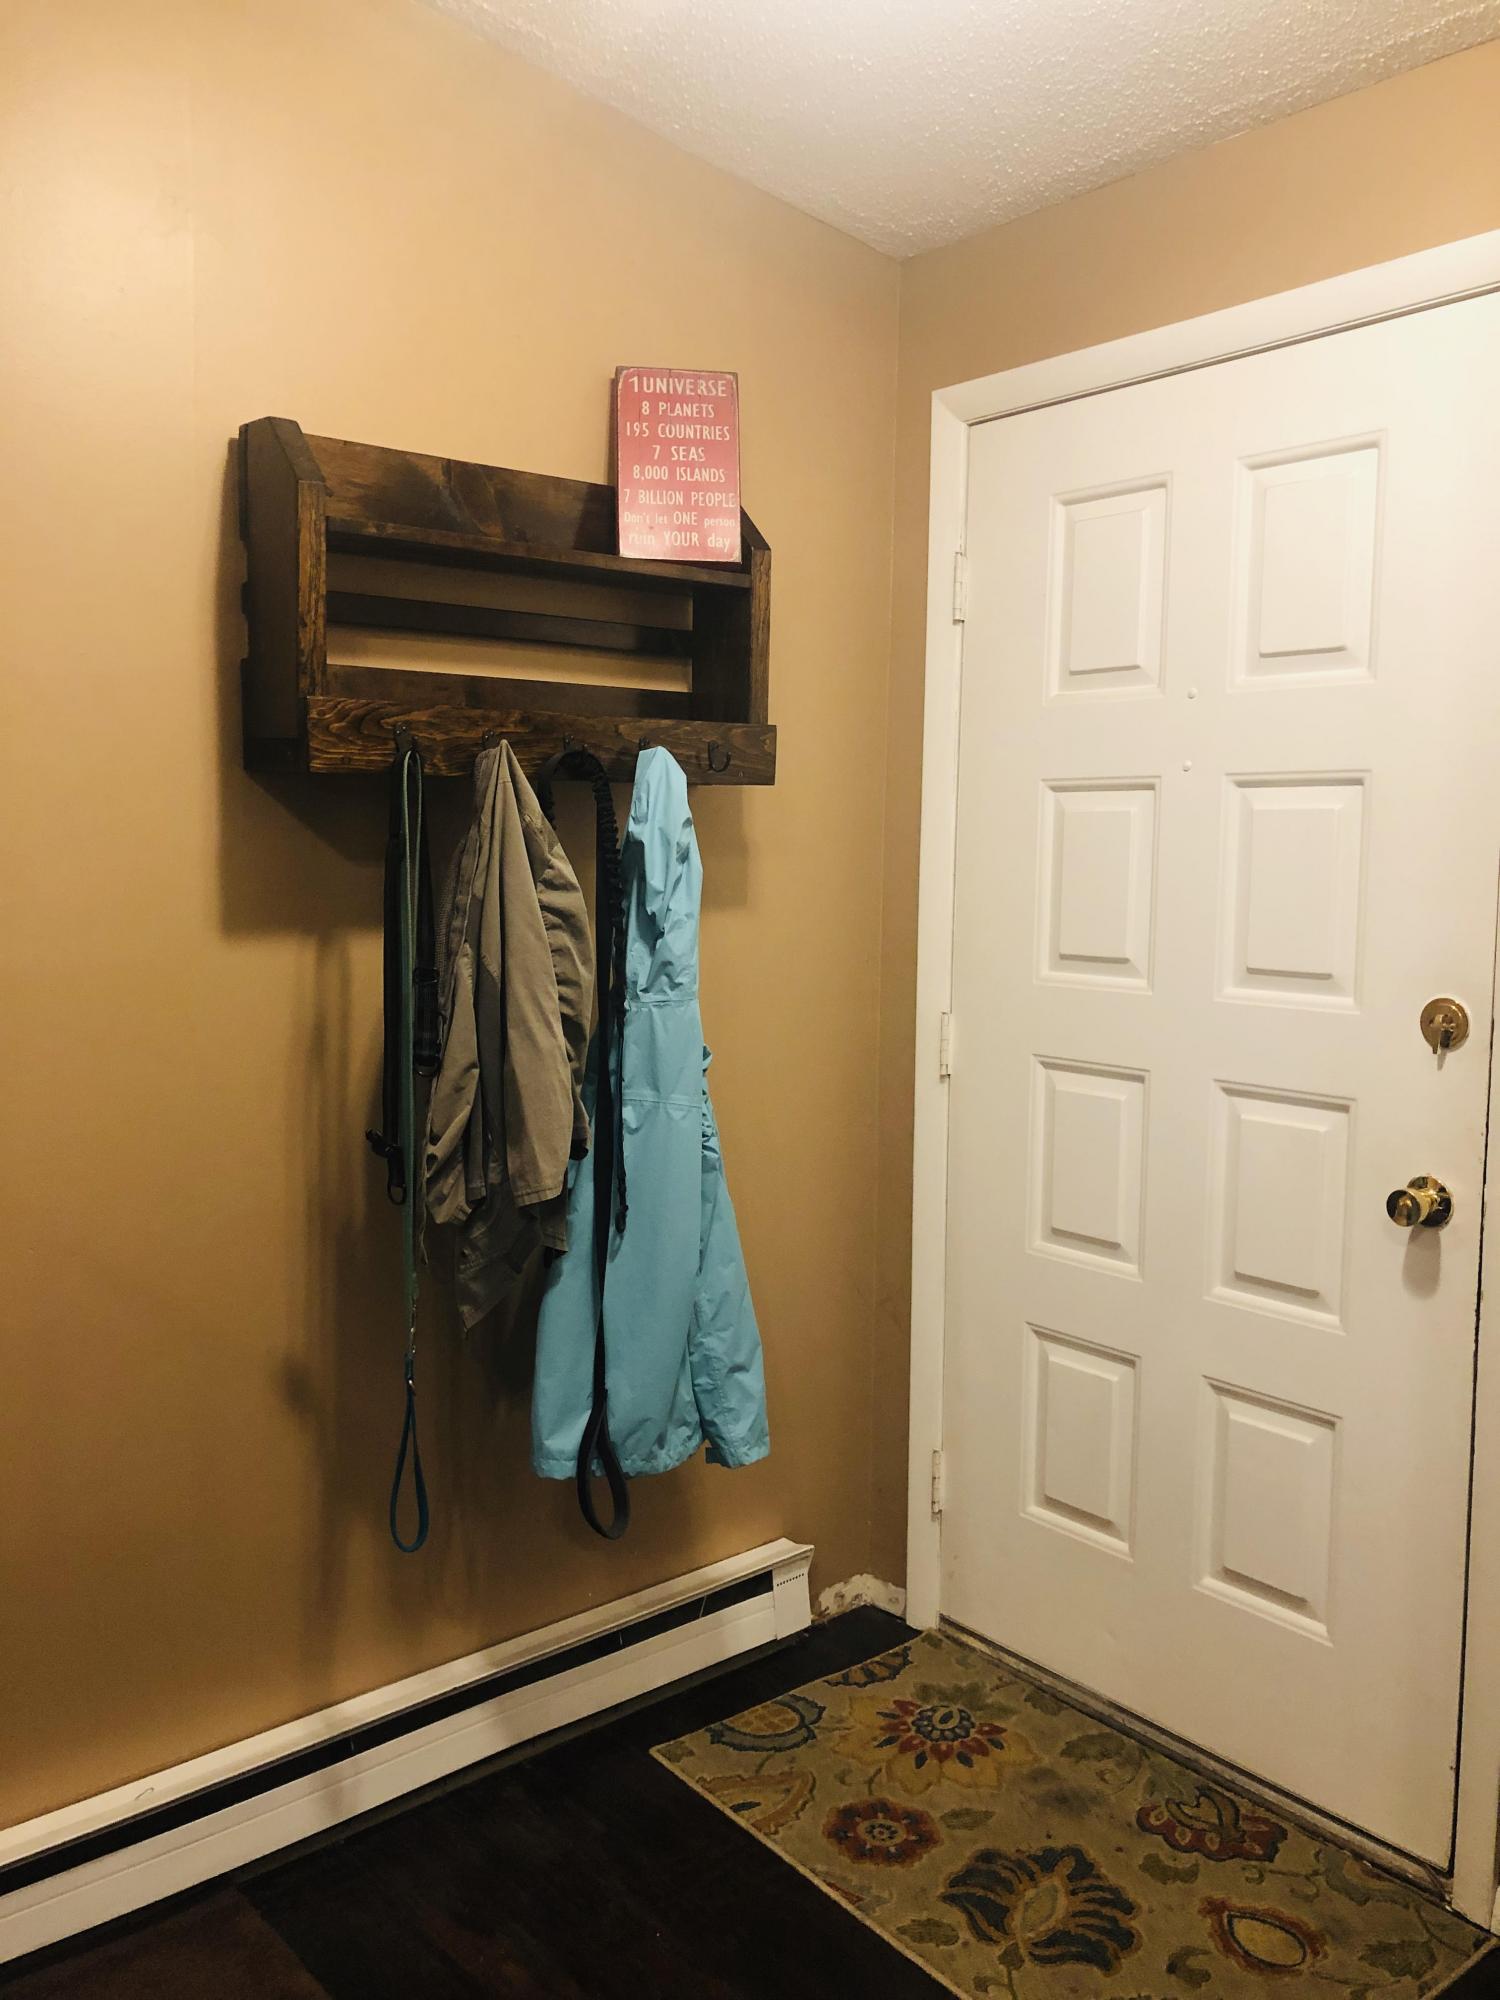
By far the most utilized thing i've ever made.
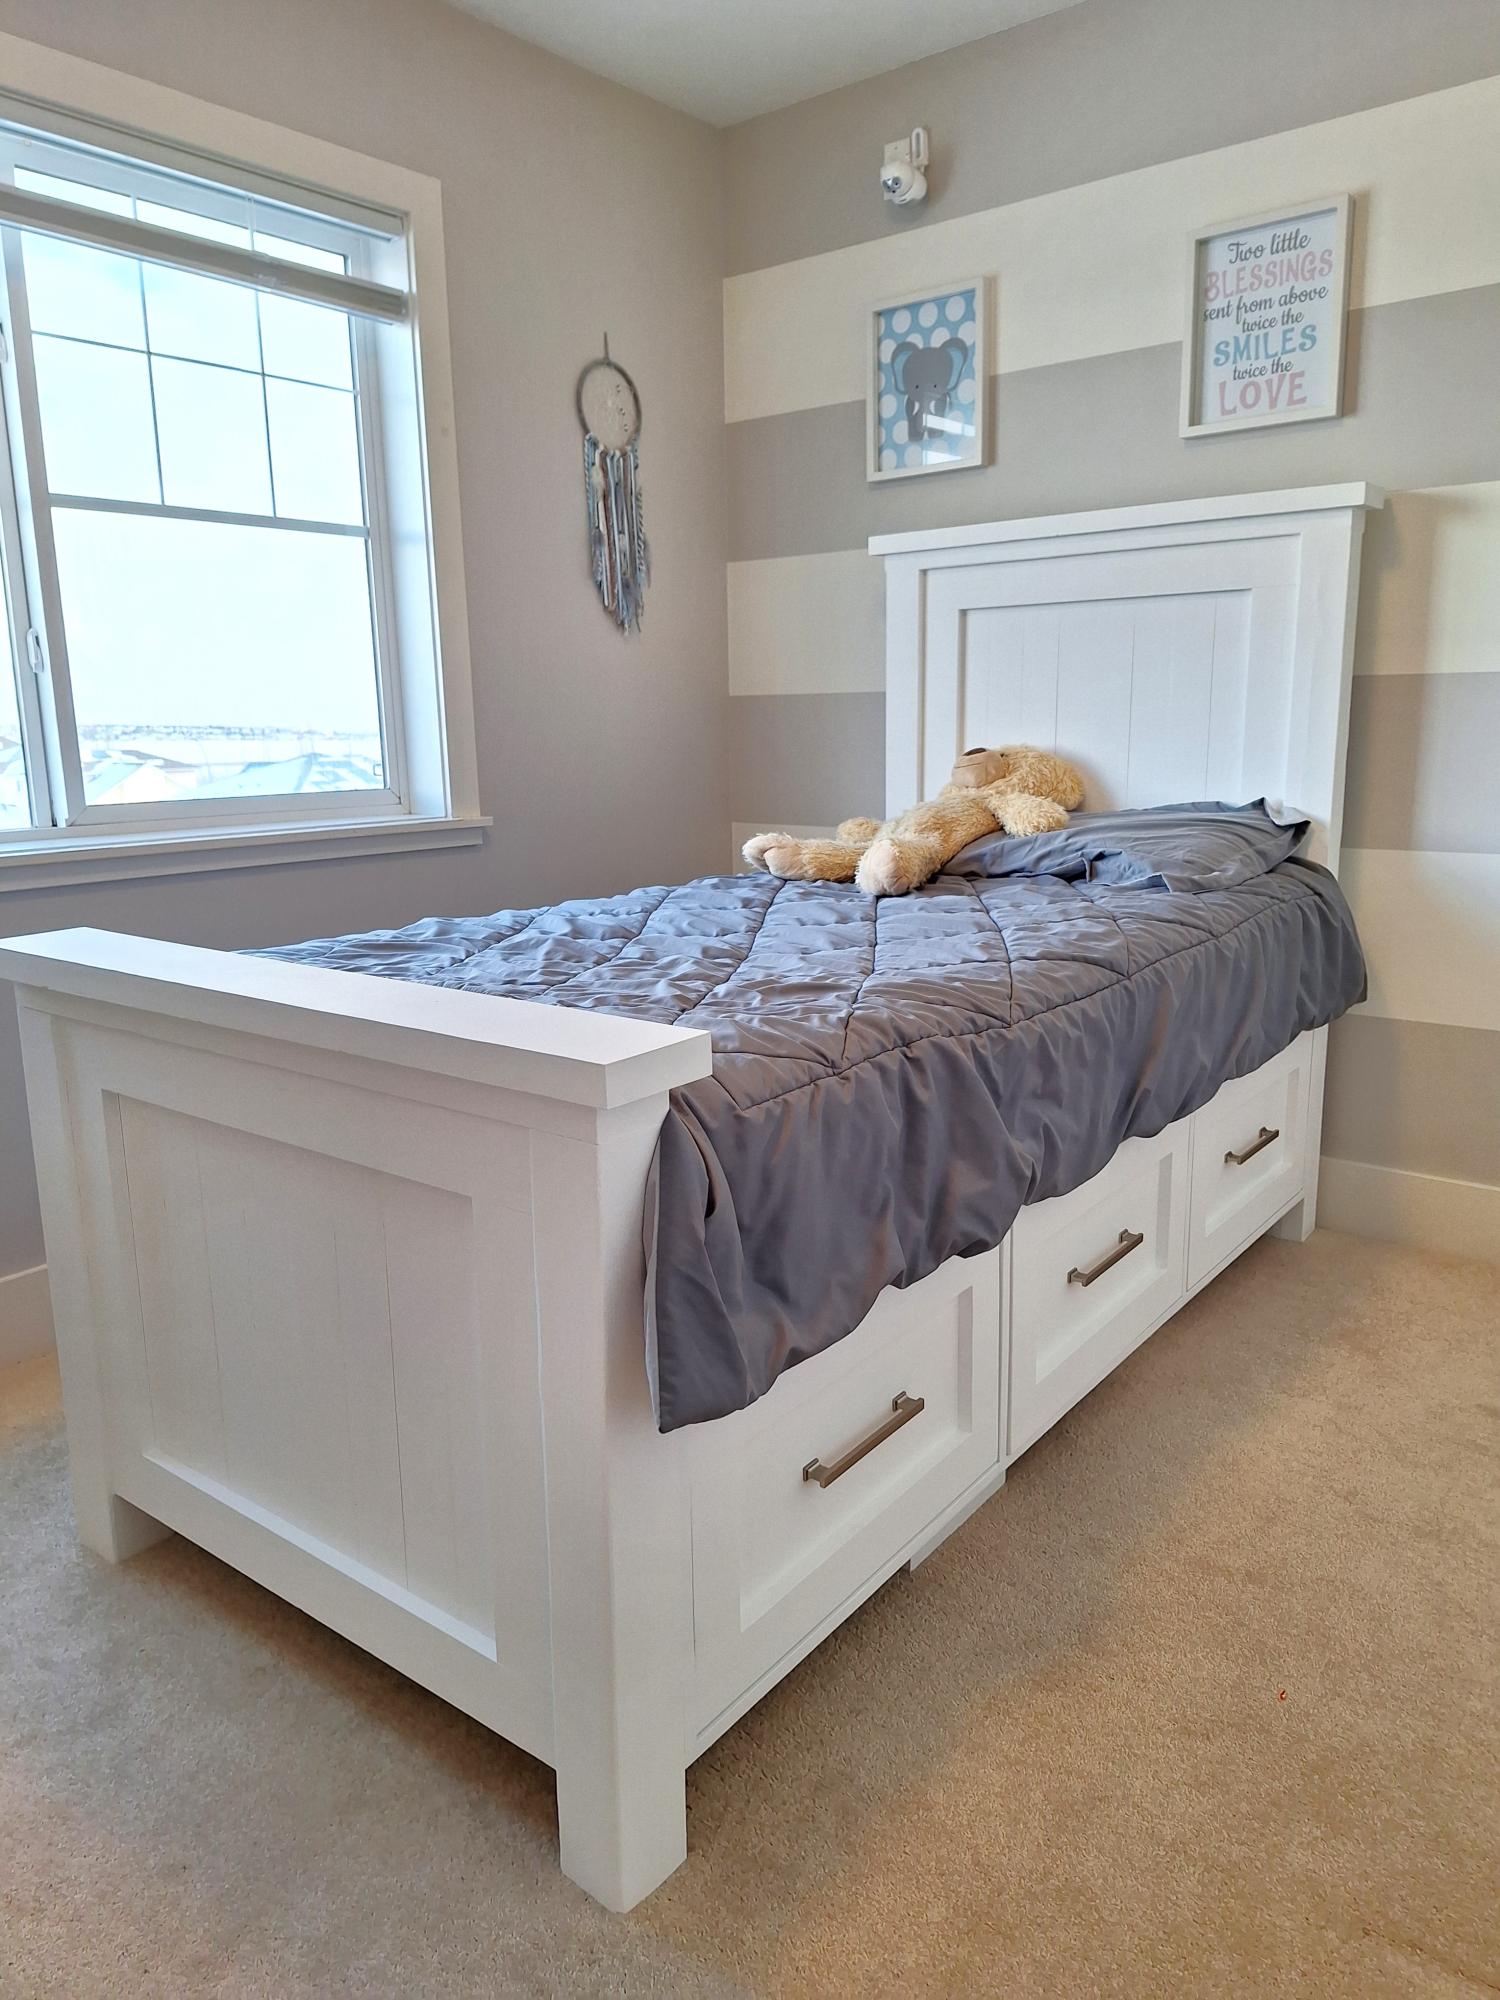
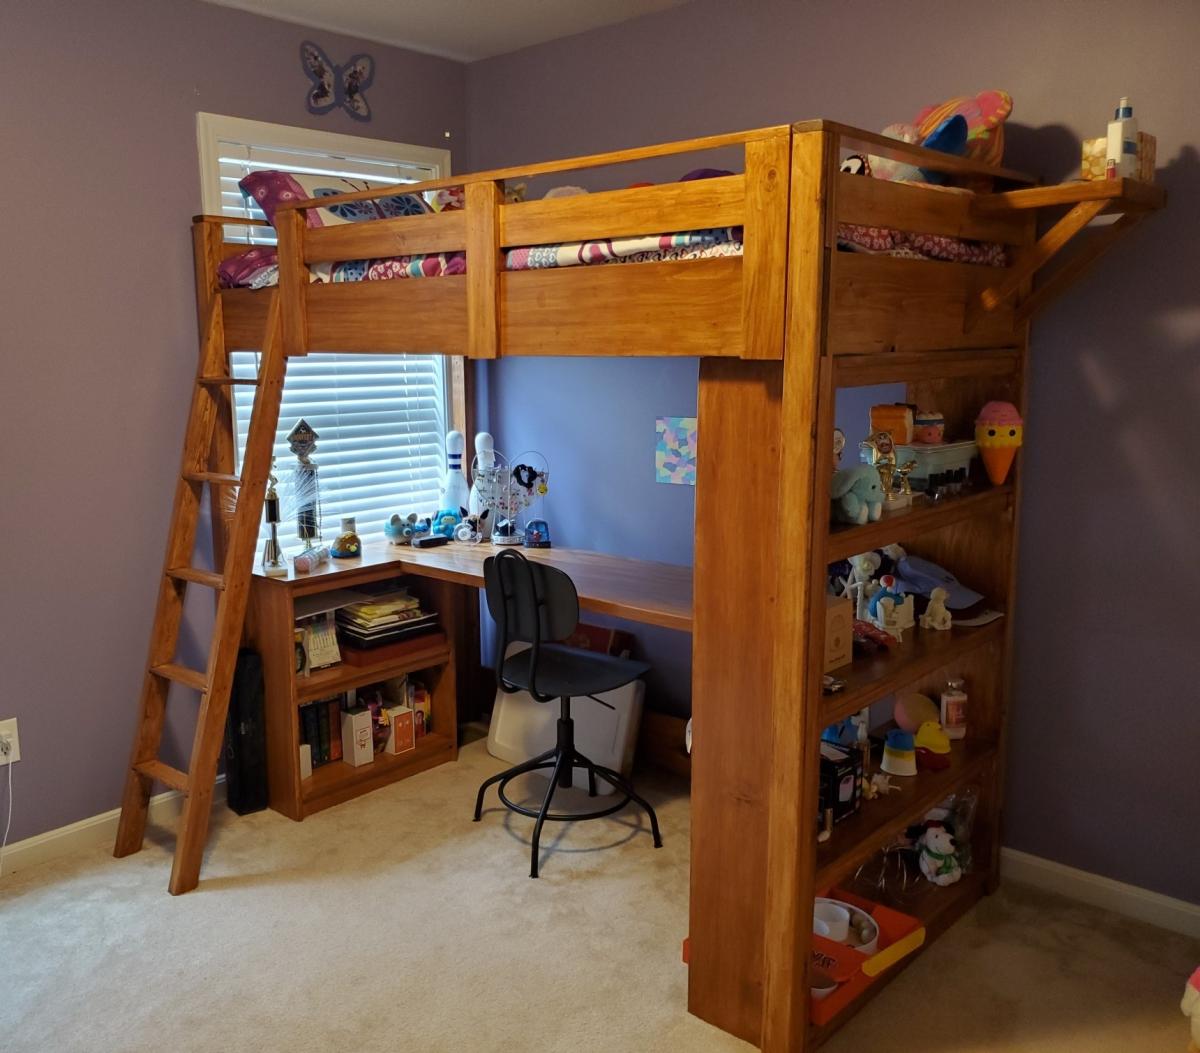
I love these plans, and my son loves his new bed!
Adam
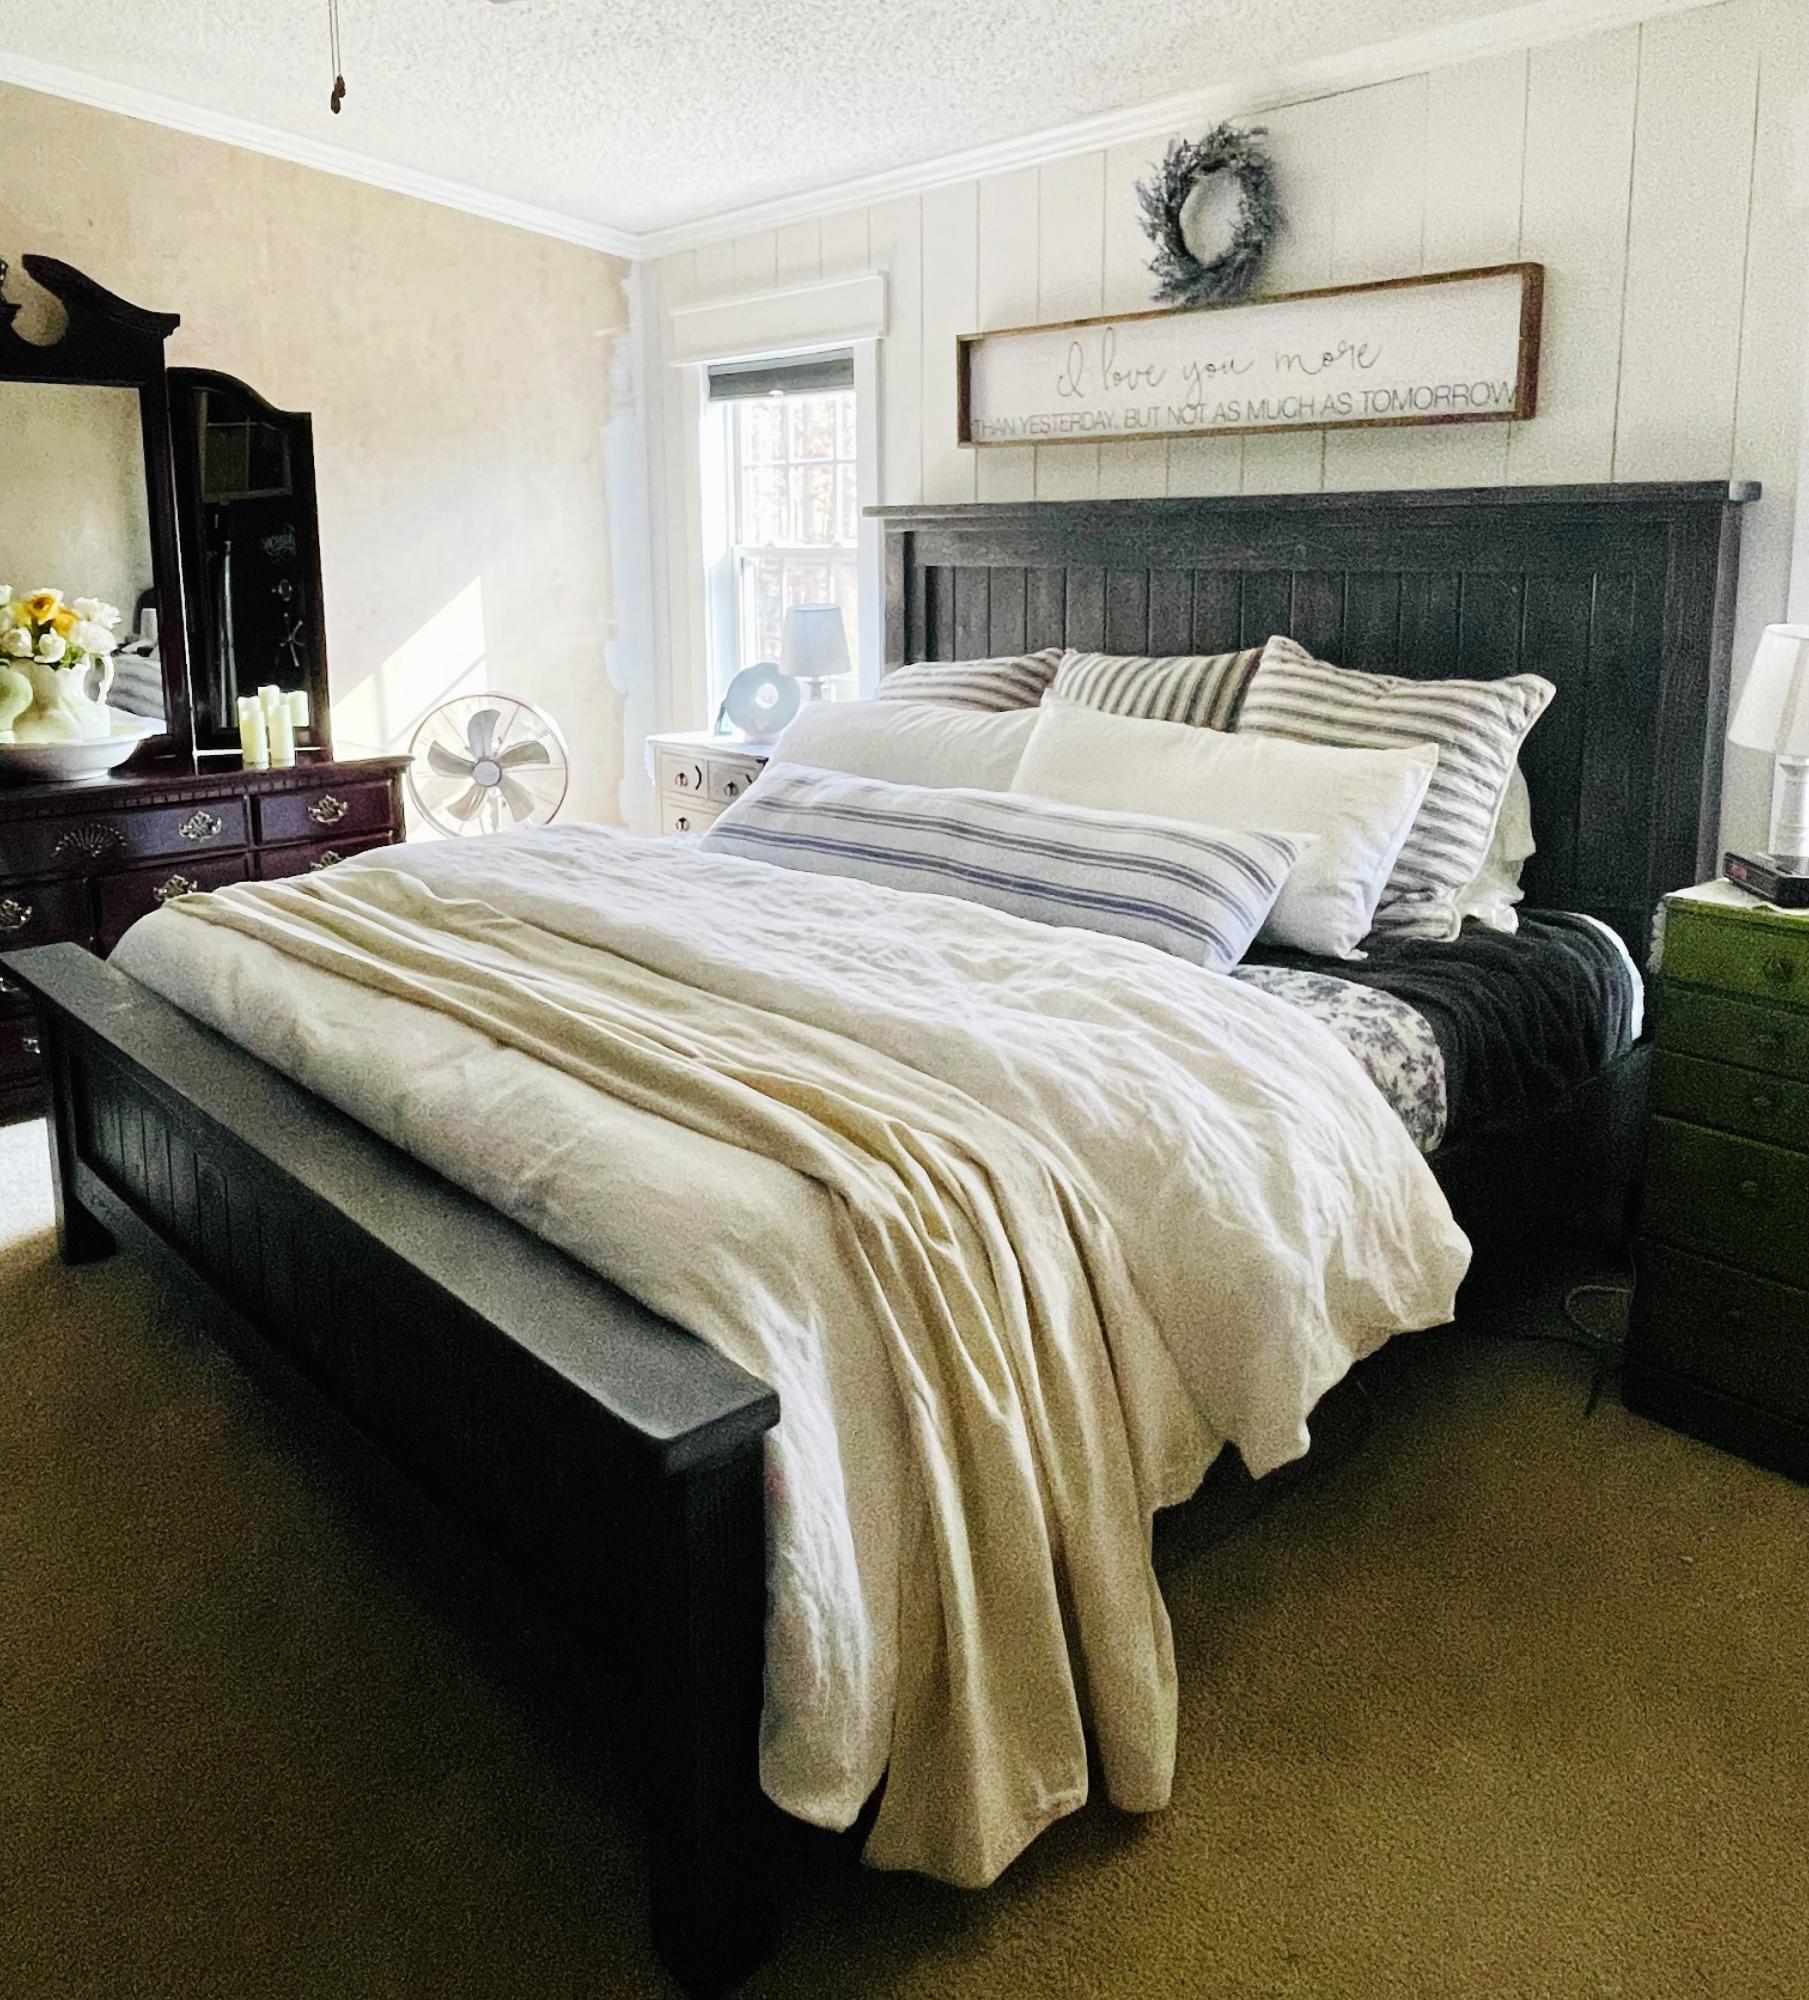
I modified the plan a little to accommodate an adjustable bed frame. I am absolutely in love with the finished product. Thank you Ana!
Kim
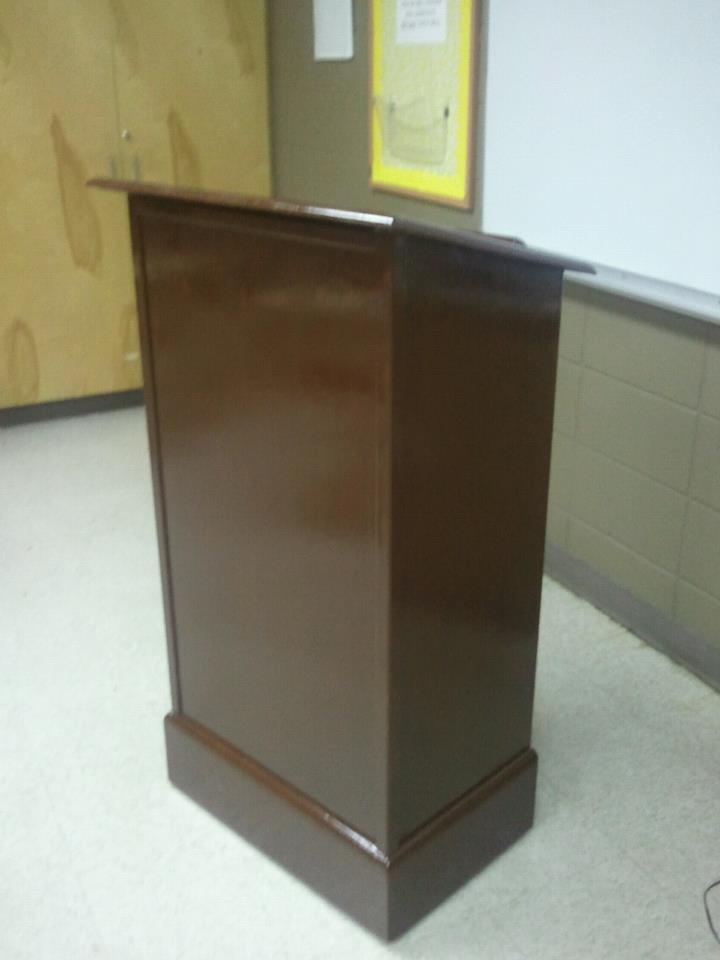
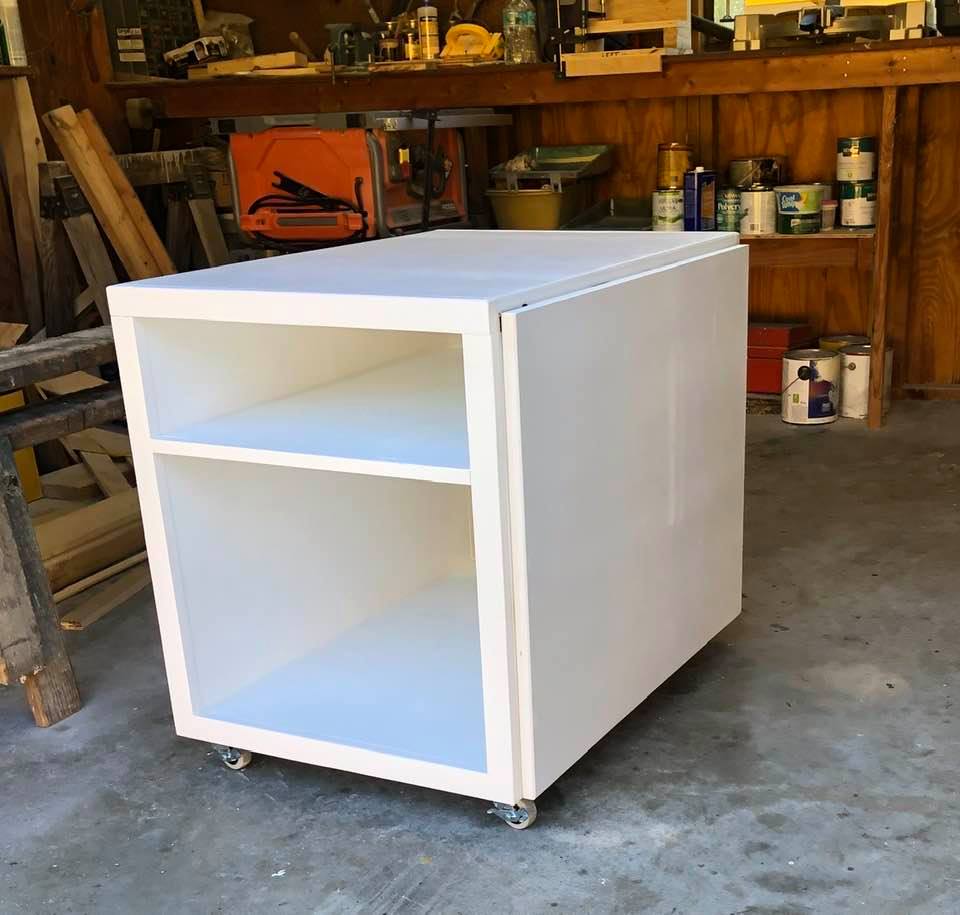
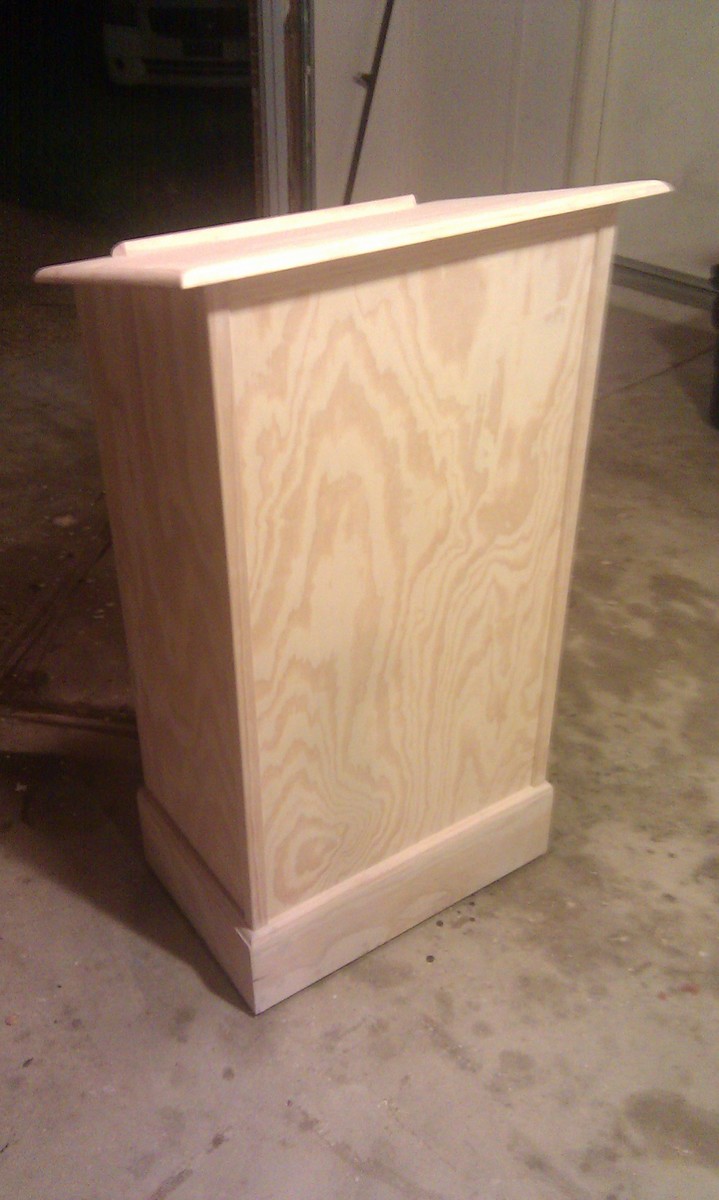
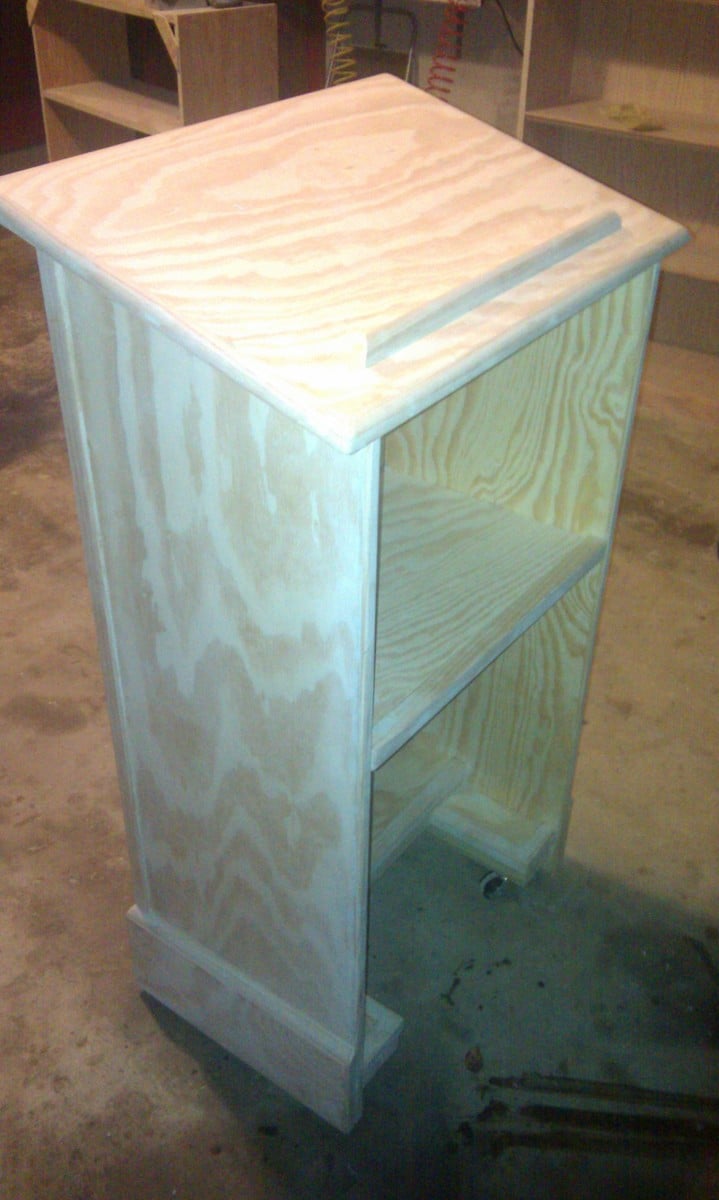
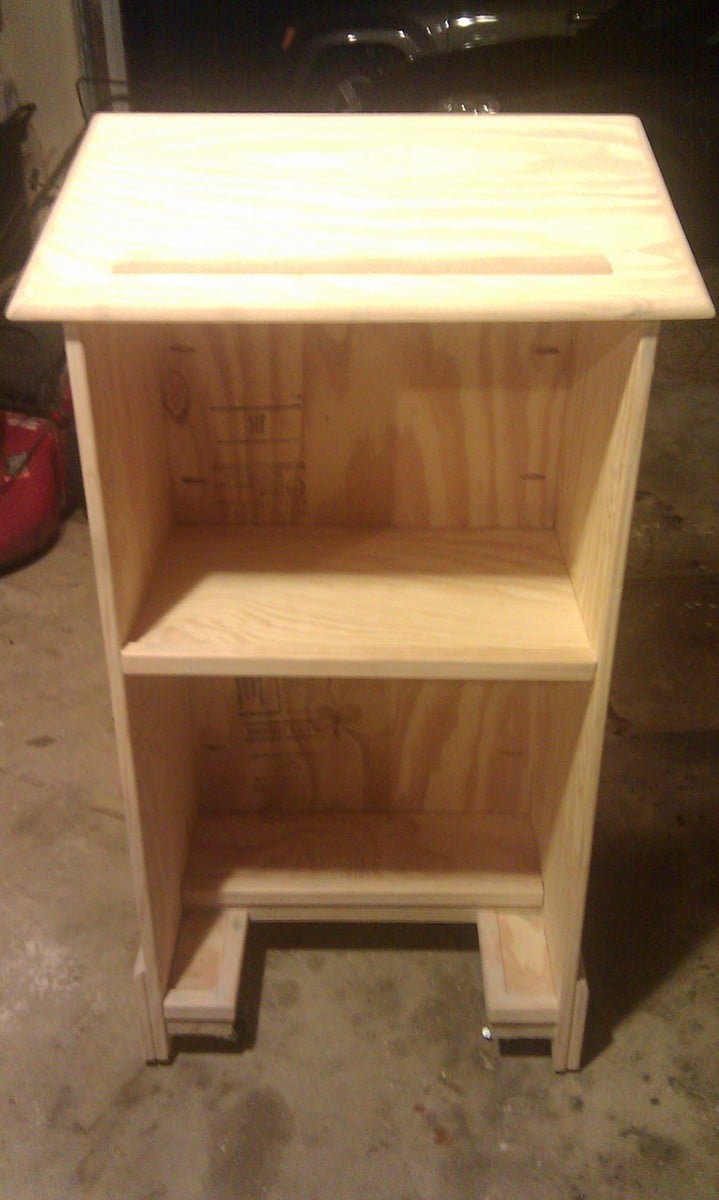
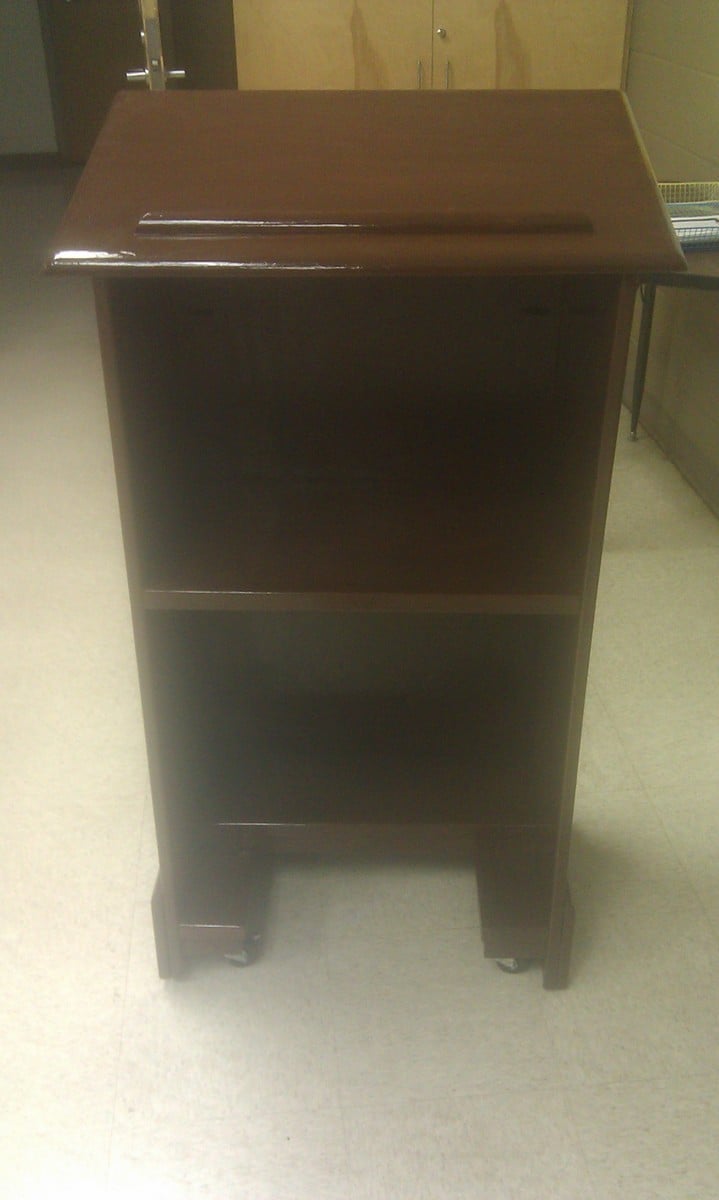
This is my first try at building furniture. I've built larger things in the past like decks and a fort for my nephews, but never furniture. Even though I used the plans to build the main box, I did change up the bottom and added some new stuff. I added wheels to the bottom my wife could easily move it around her classroom. I didn't want to put a square base on it because I thought it might hit her ankles when she was standing close to it. So I sort-of notched it out to give an opening for her feet and I used some scraps to create a short shelf at the bottom. I also added more trim that the plans call for. I cut strips of the pine plywood for the base molding and topped it with quarter round. I used corner trim for the front corners, the self inside and the bottom notched shelf. I also used screen trim for the back of it. I think it came out nice and I've very pleased with it. I used 2 coats of Minwax PolyShades American Chestnut on it.
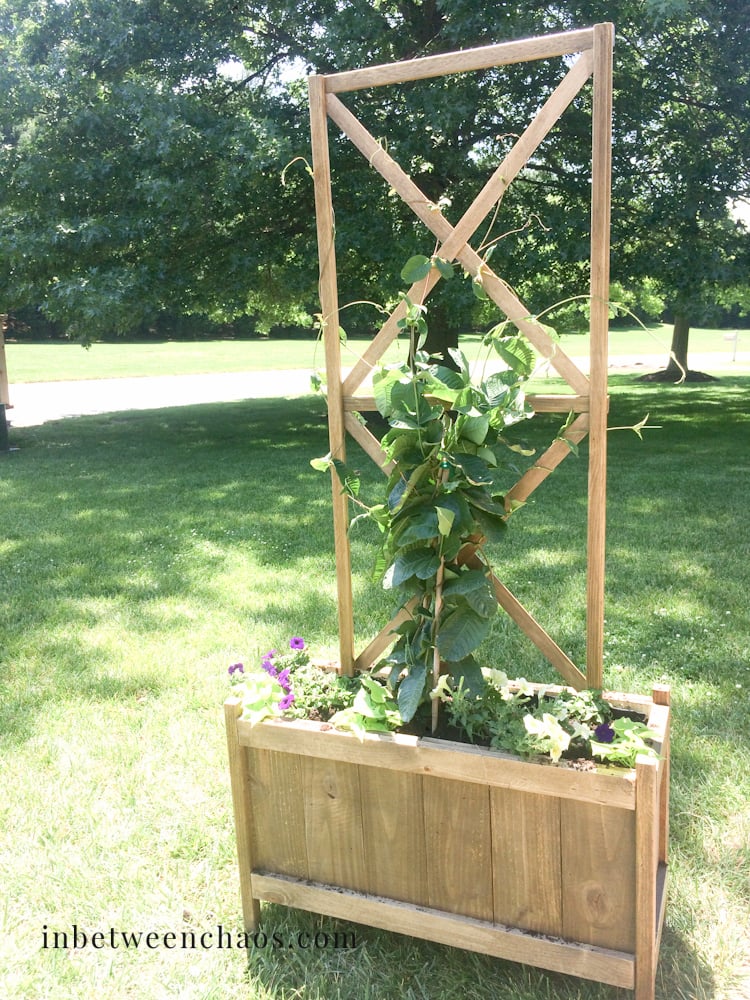
I made this project to add a little life to the front a flip house I just finished. I had an awkward spot, and I was able to easily modify this plan to fit the space. Thank you for the inspiration!
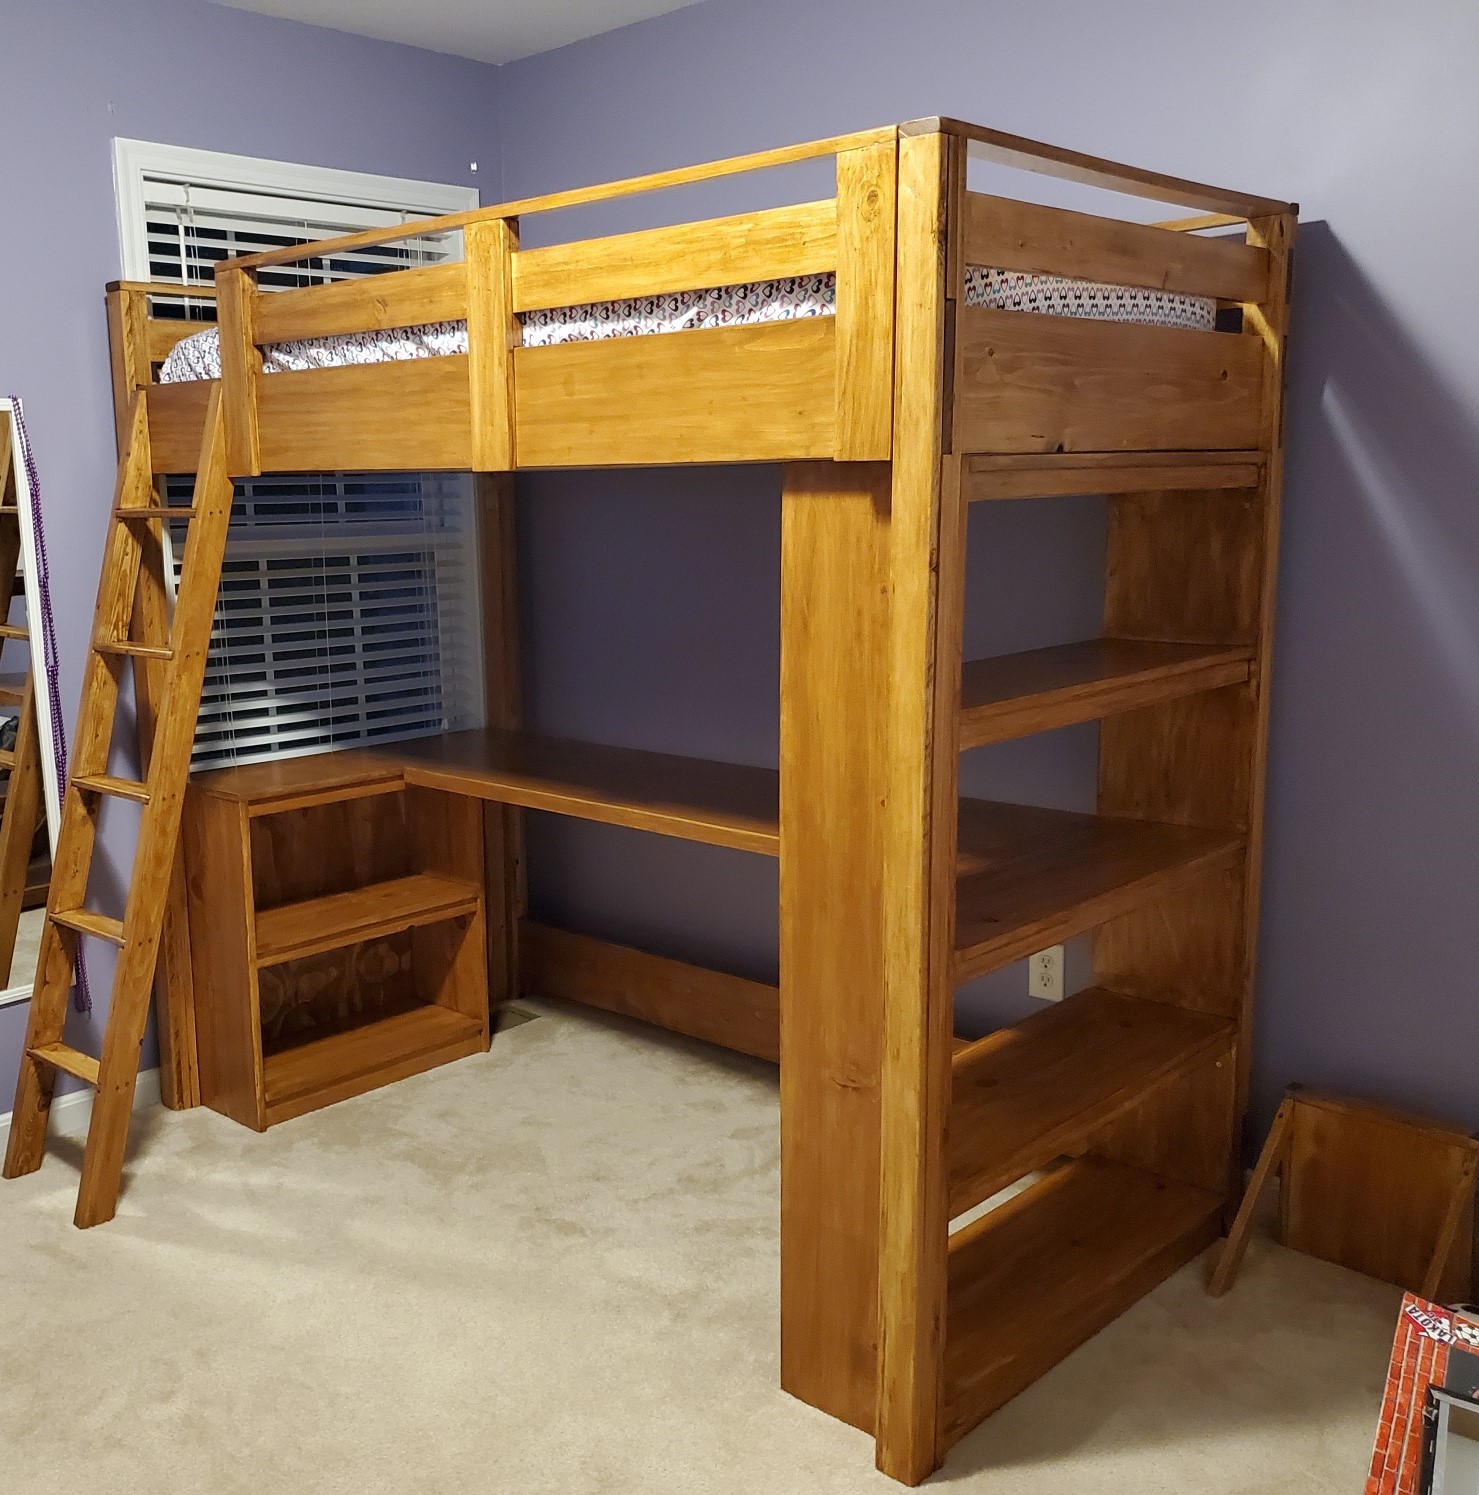
Combined two plans found on this wonderful site with our own revisions to provide a larger desk work area (20" deep). I also added a small shelf to allow for setting a book, water, whatever on it without getting out of the bed. As my first "indoor" project there were several lessons learned - one is to buy the higher grade lumber for the primary components including legs and beams. I did not do this and I had to spend more time than I should've finding good square, straight wood. Another lesson was that staining and polyurethane coating are a skill that requires a lot of practice and time. I and my daughter are thrilled with the final result but choosing to stain/poly it likely doubled the overall build time. Still no regrets, though. My 12 yo daughter just loves her new bed and thanks to this site for the spectacular ideas.
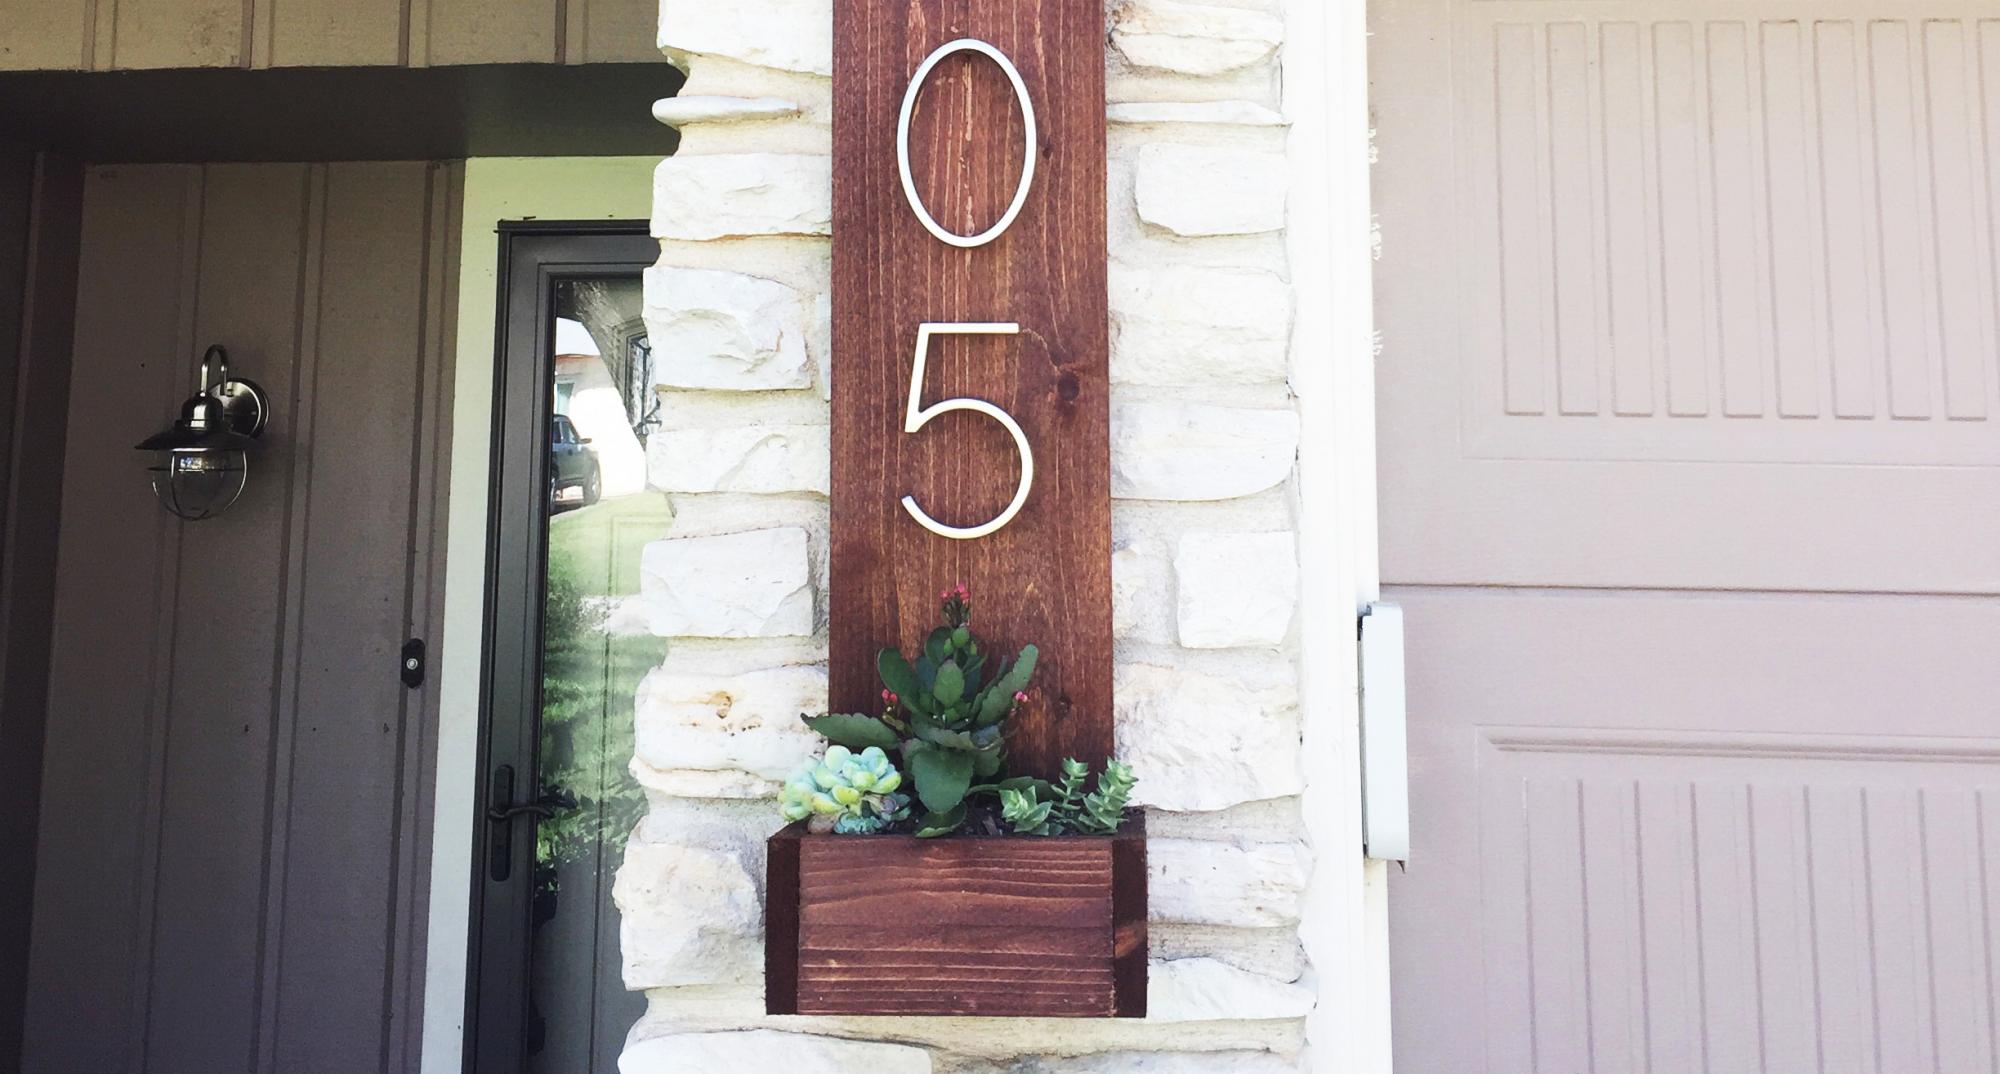
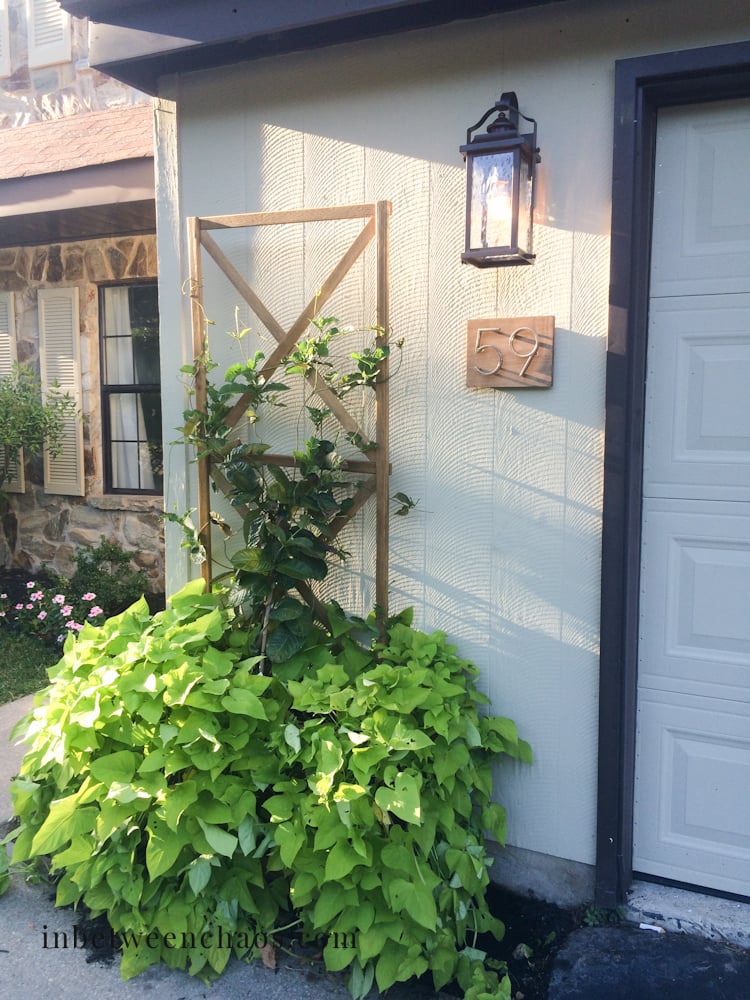
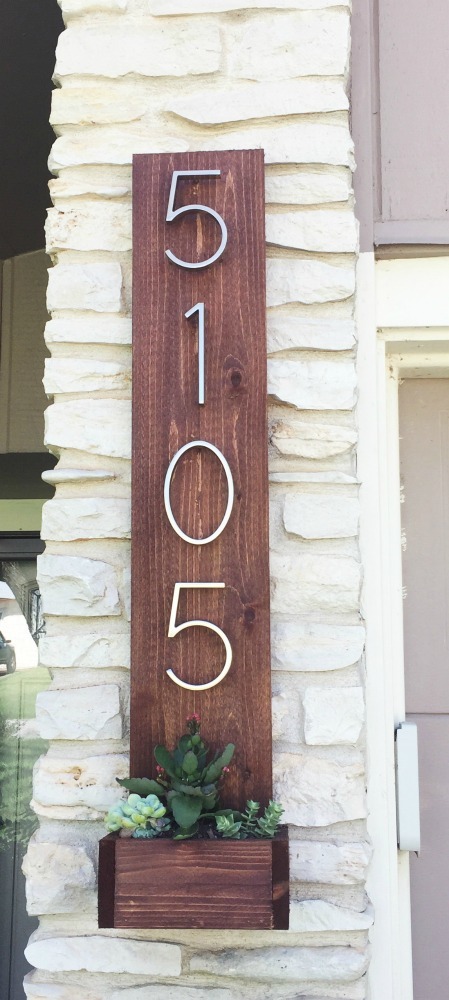
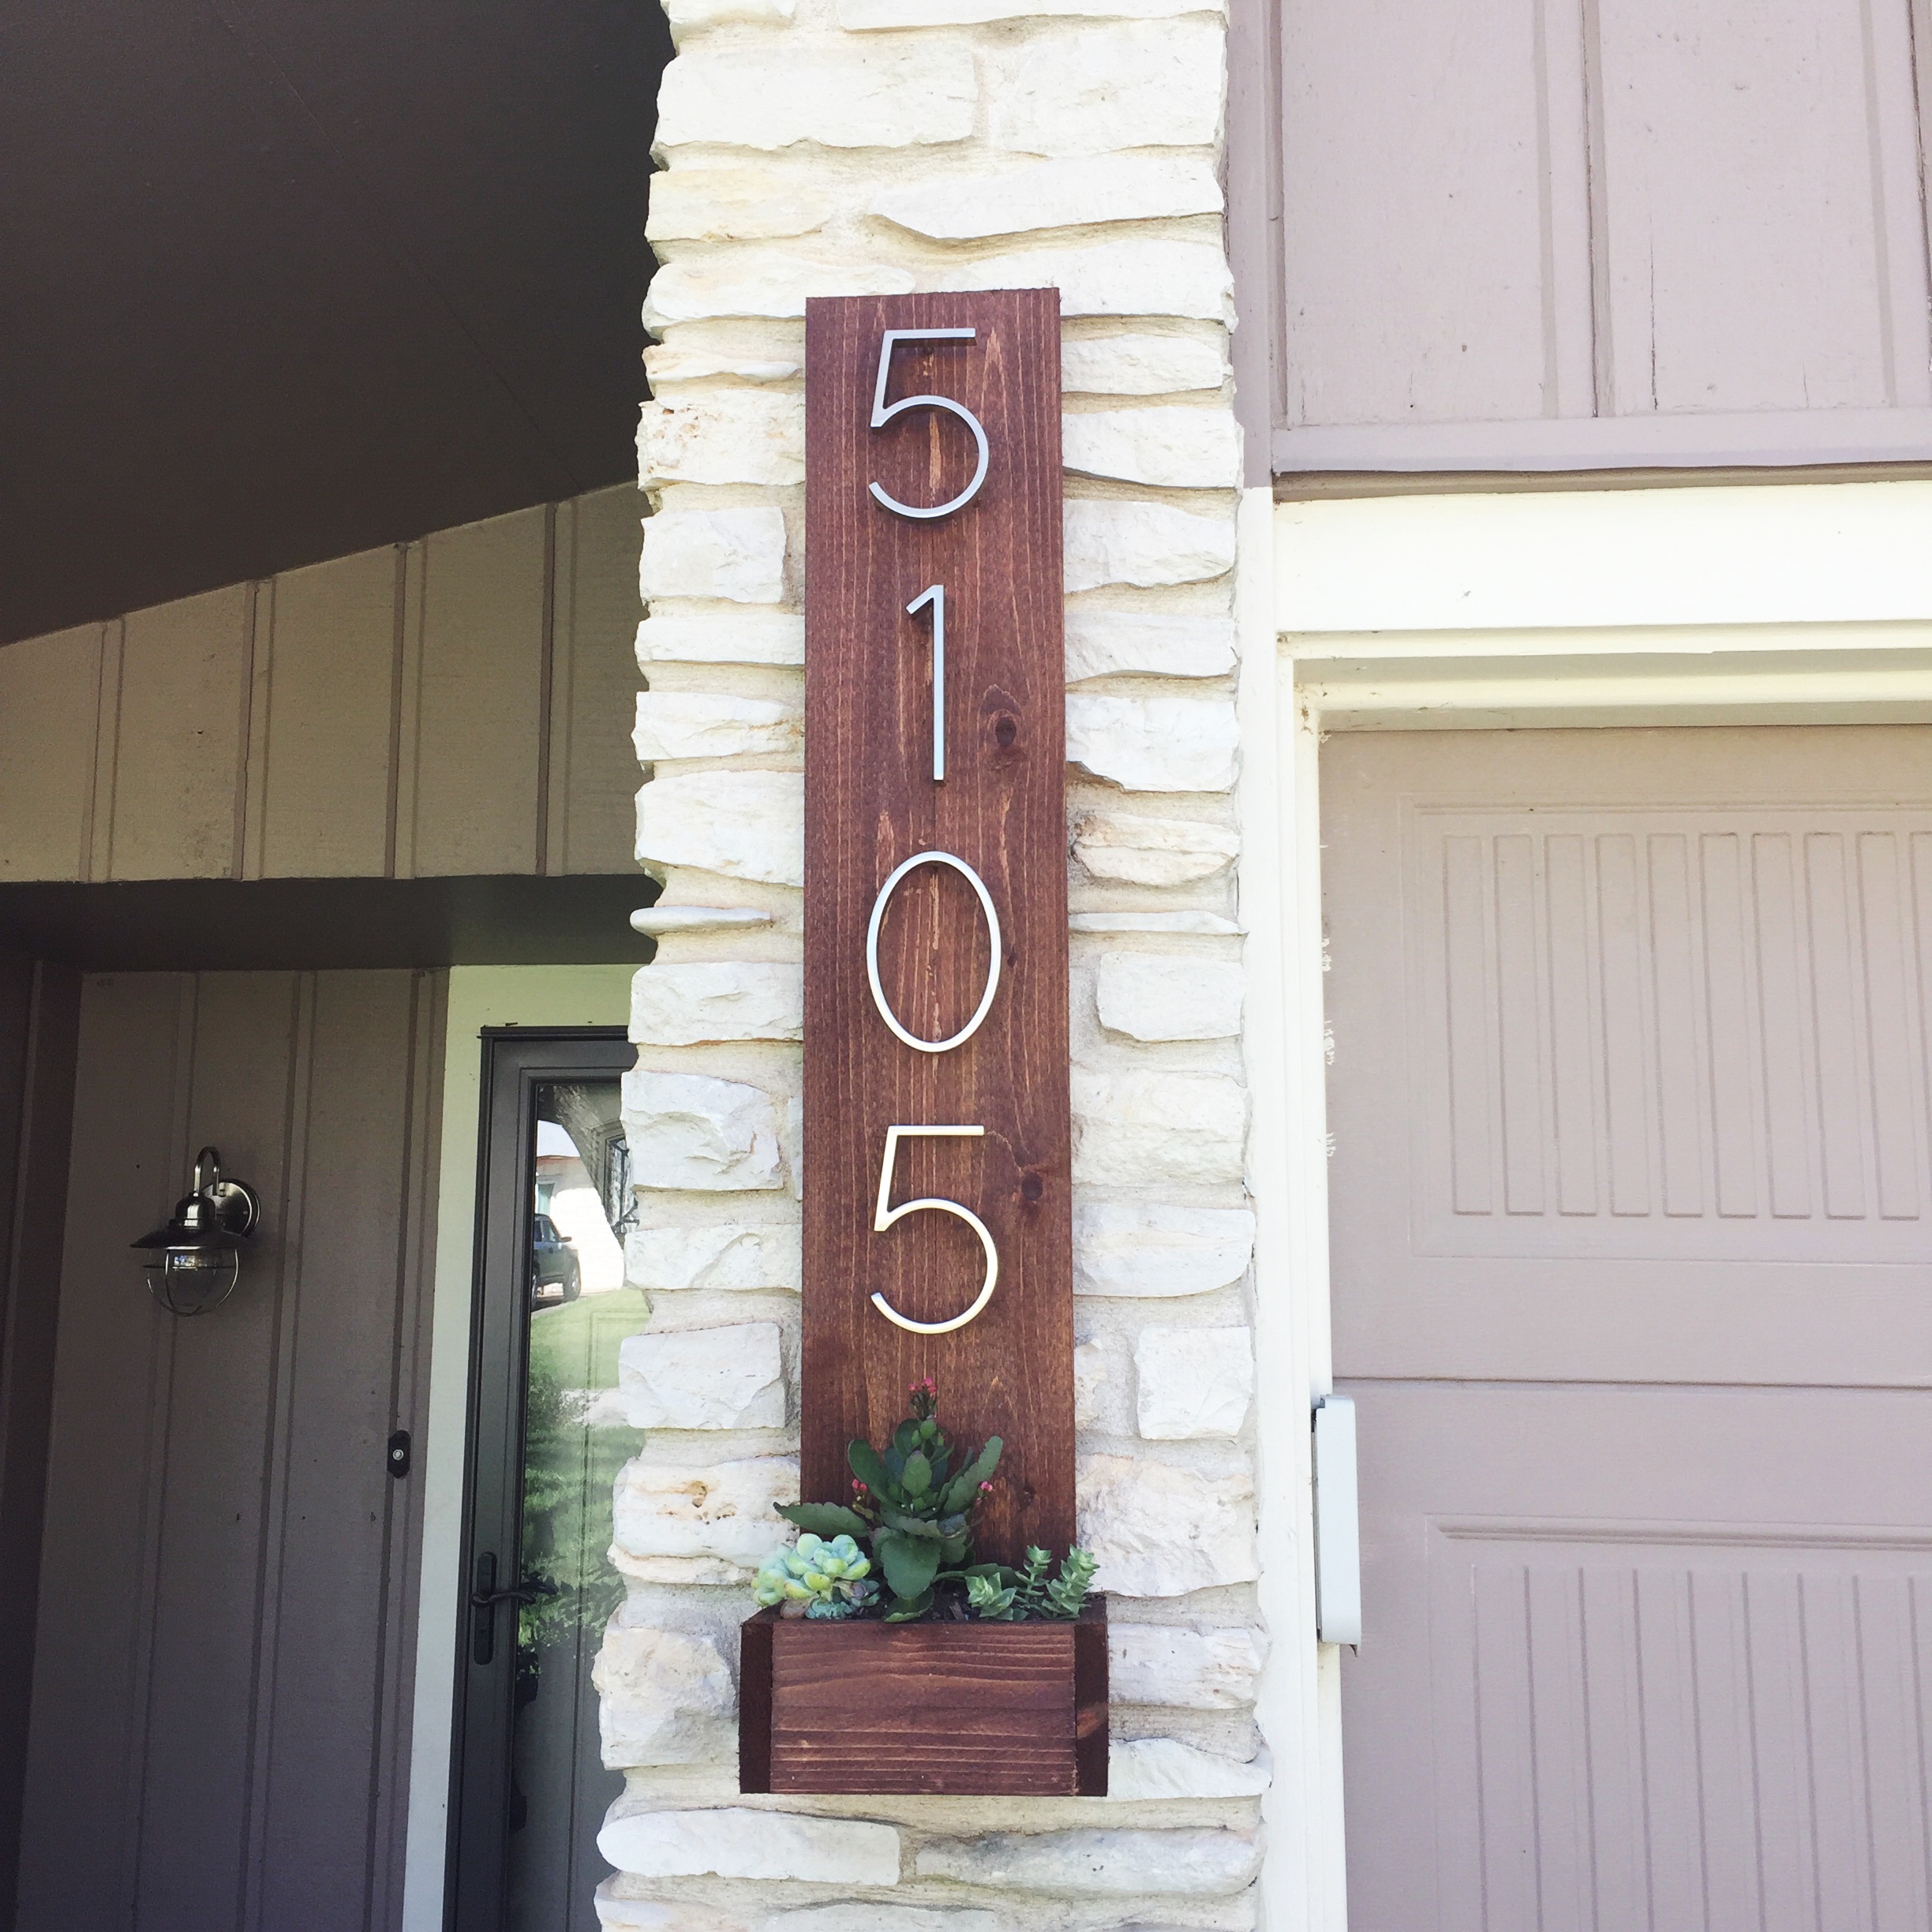
I was looking for a way to give our house some better curb appeal and decided our stree numbers could use a facelift. The majority of money spent on this project was for the numbers since I had enough spare cedar laying around.
In reply to Numbers by jesseamber
Mon, 10/10/2016 - 09:02
I got them from Home Depot. I think you can also probably find them online through Amazon.
In reply to Numbers by jesseamber
Mon, 10/10/2016 - 09:03
I got the numbers at Home Depot. I'm pretty sure you can also find them online through Amazon.
Mon, 10/24/2016 - 15:34
So pretty! What are the measurements. Did you use real plants ?
