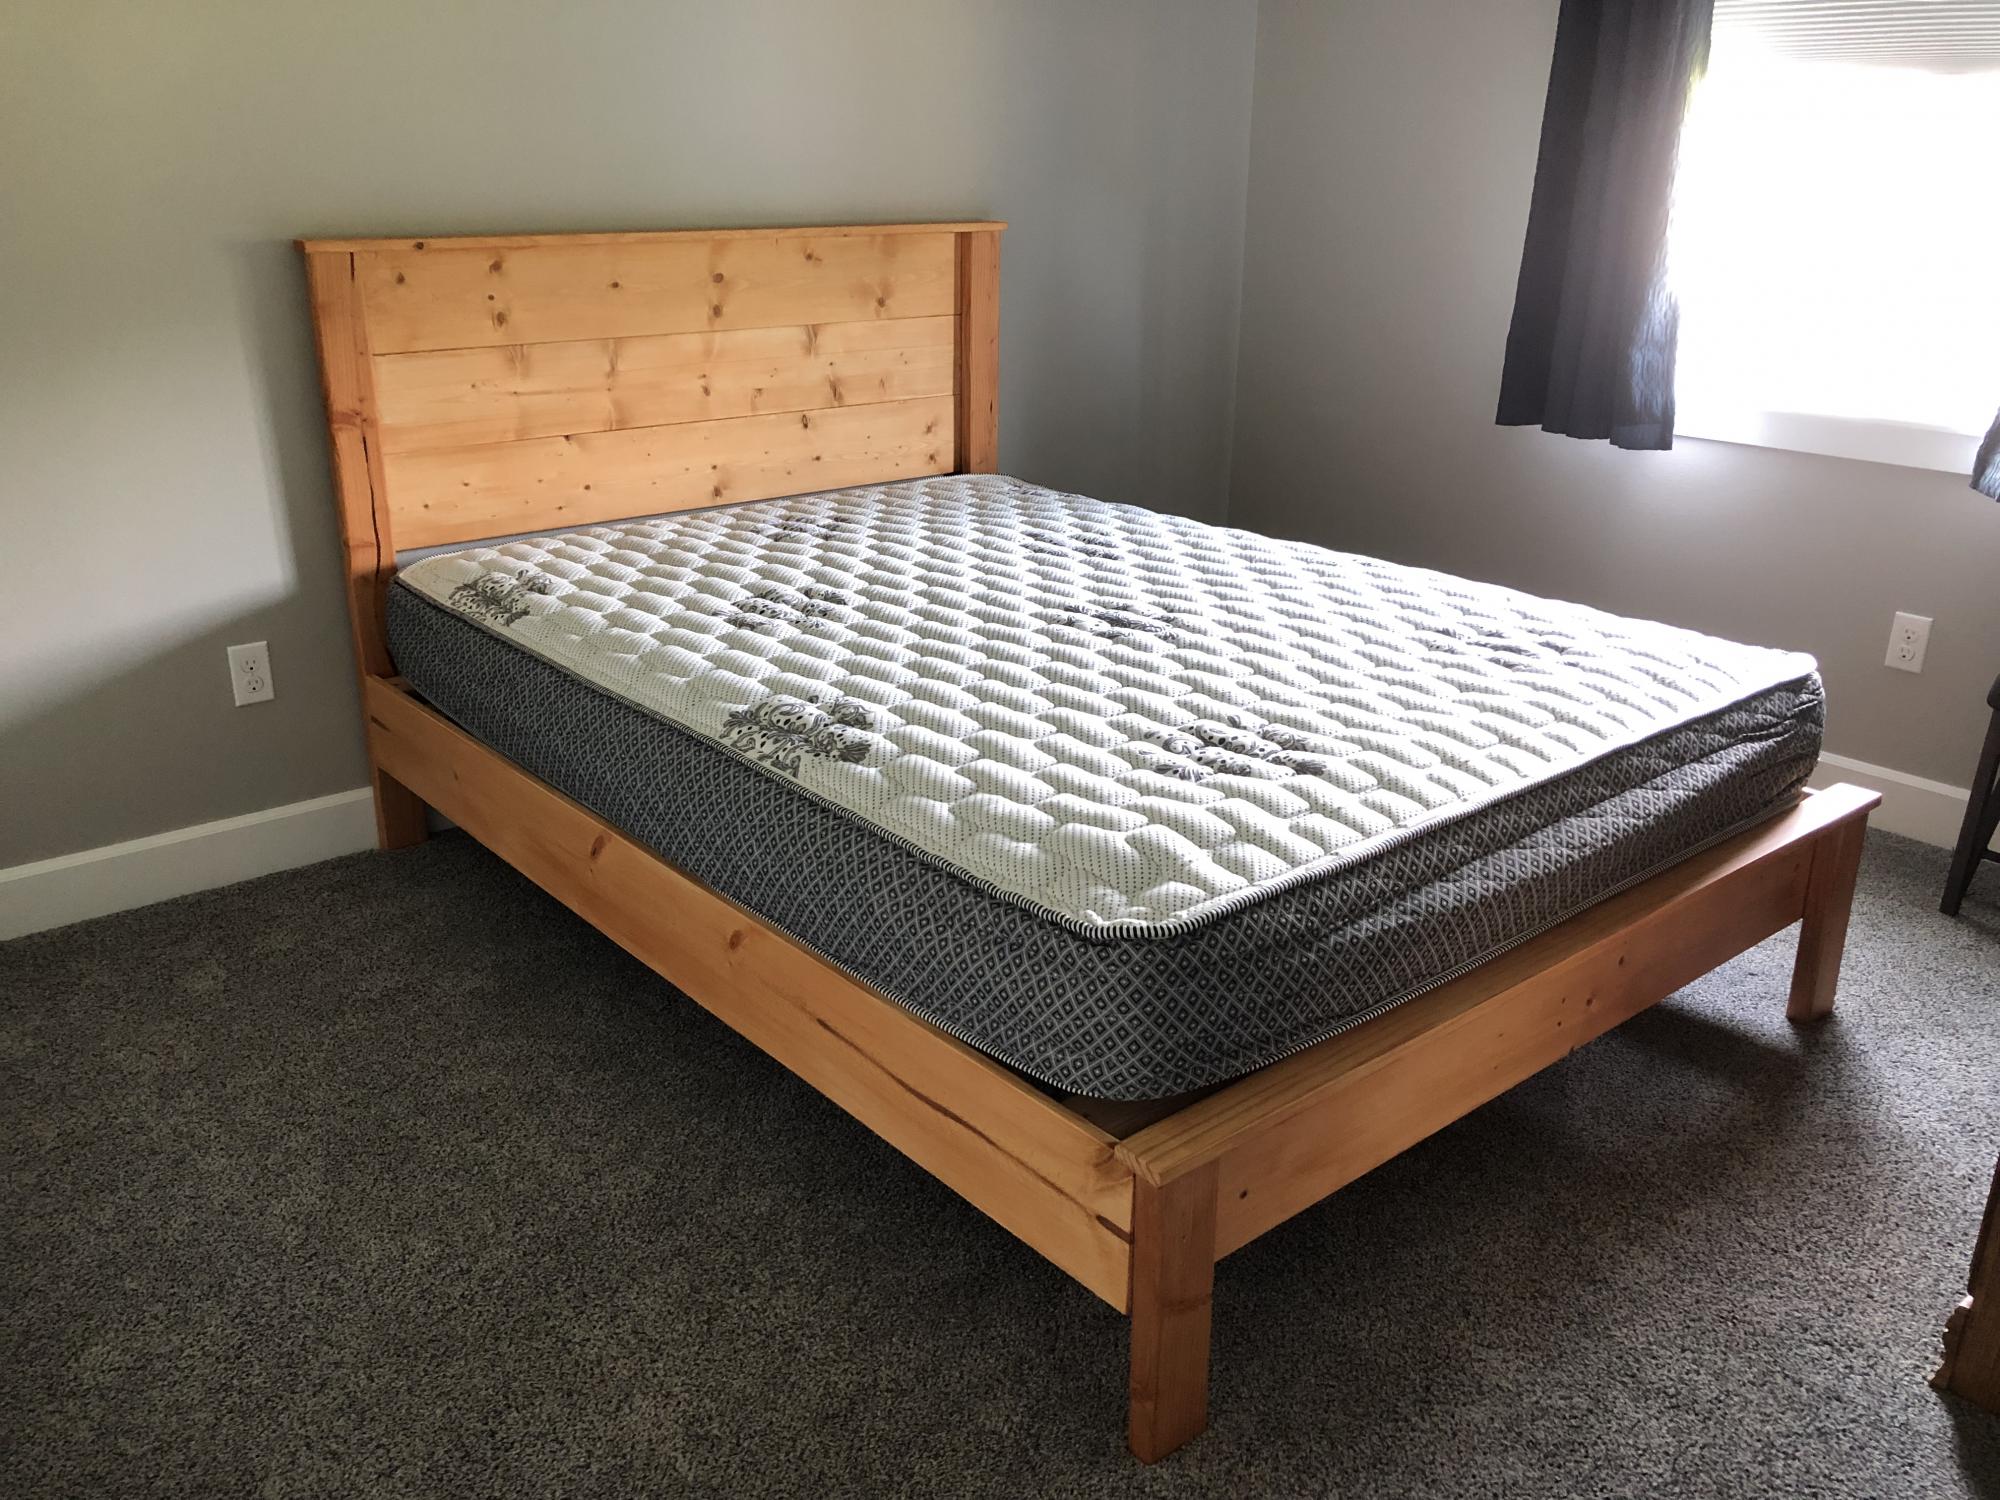
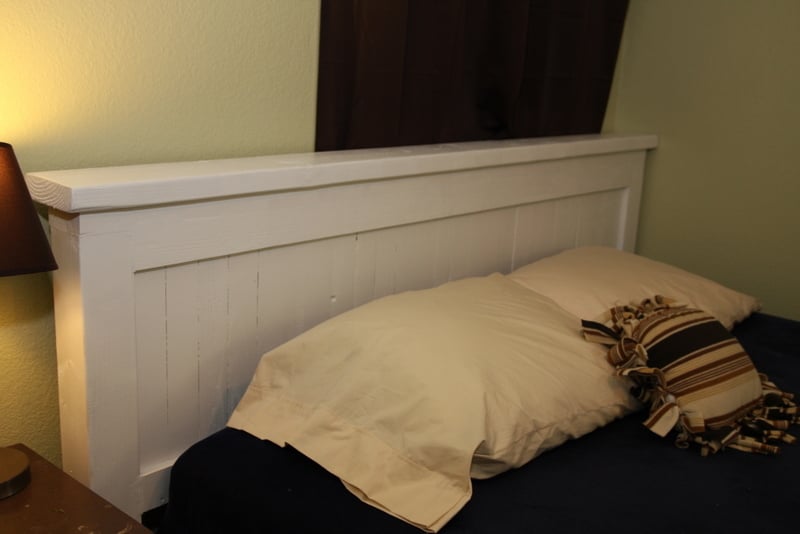
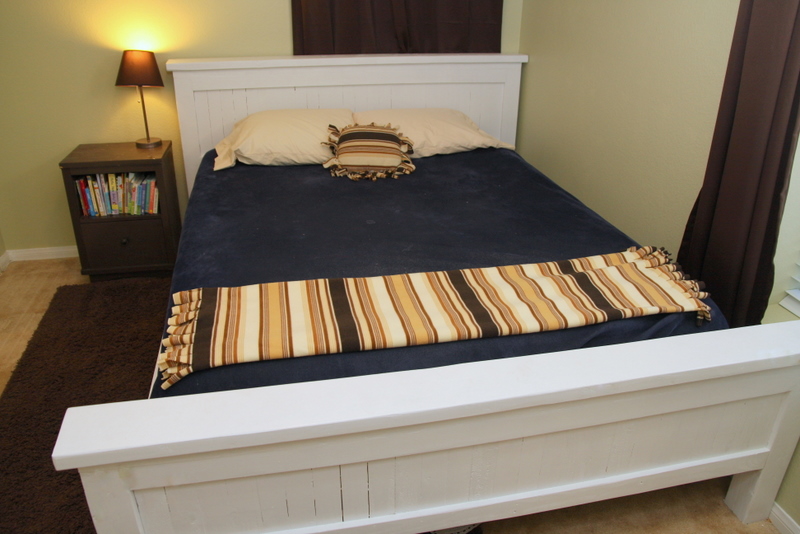
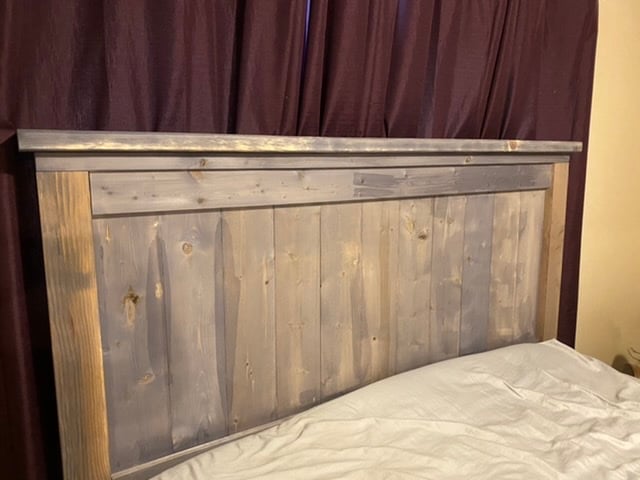
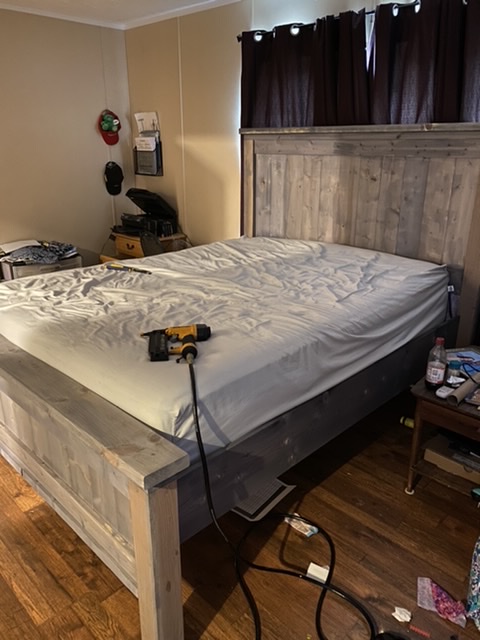
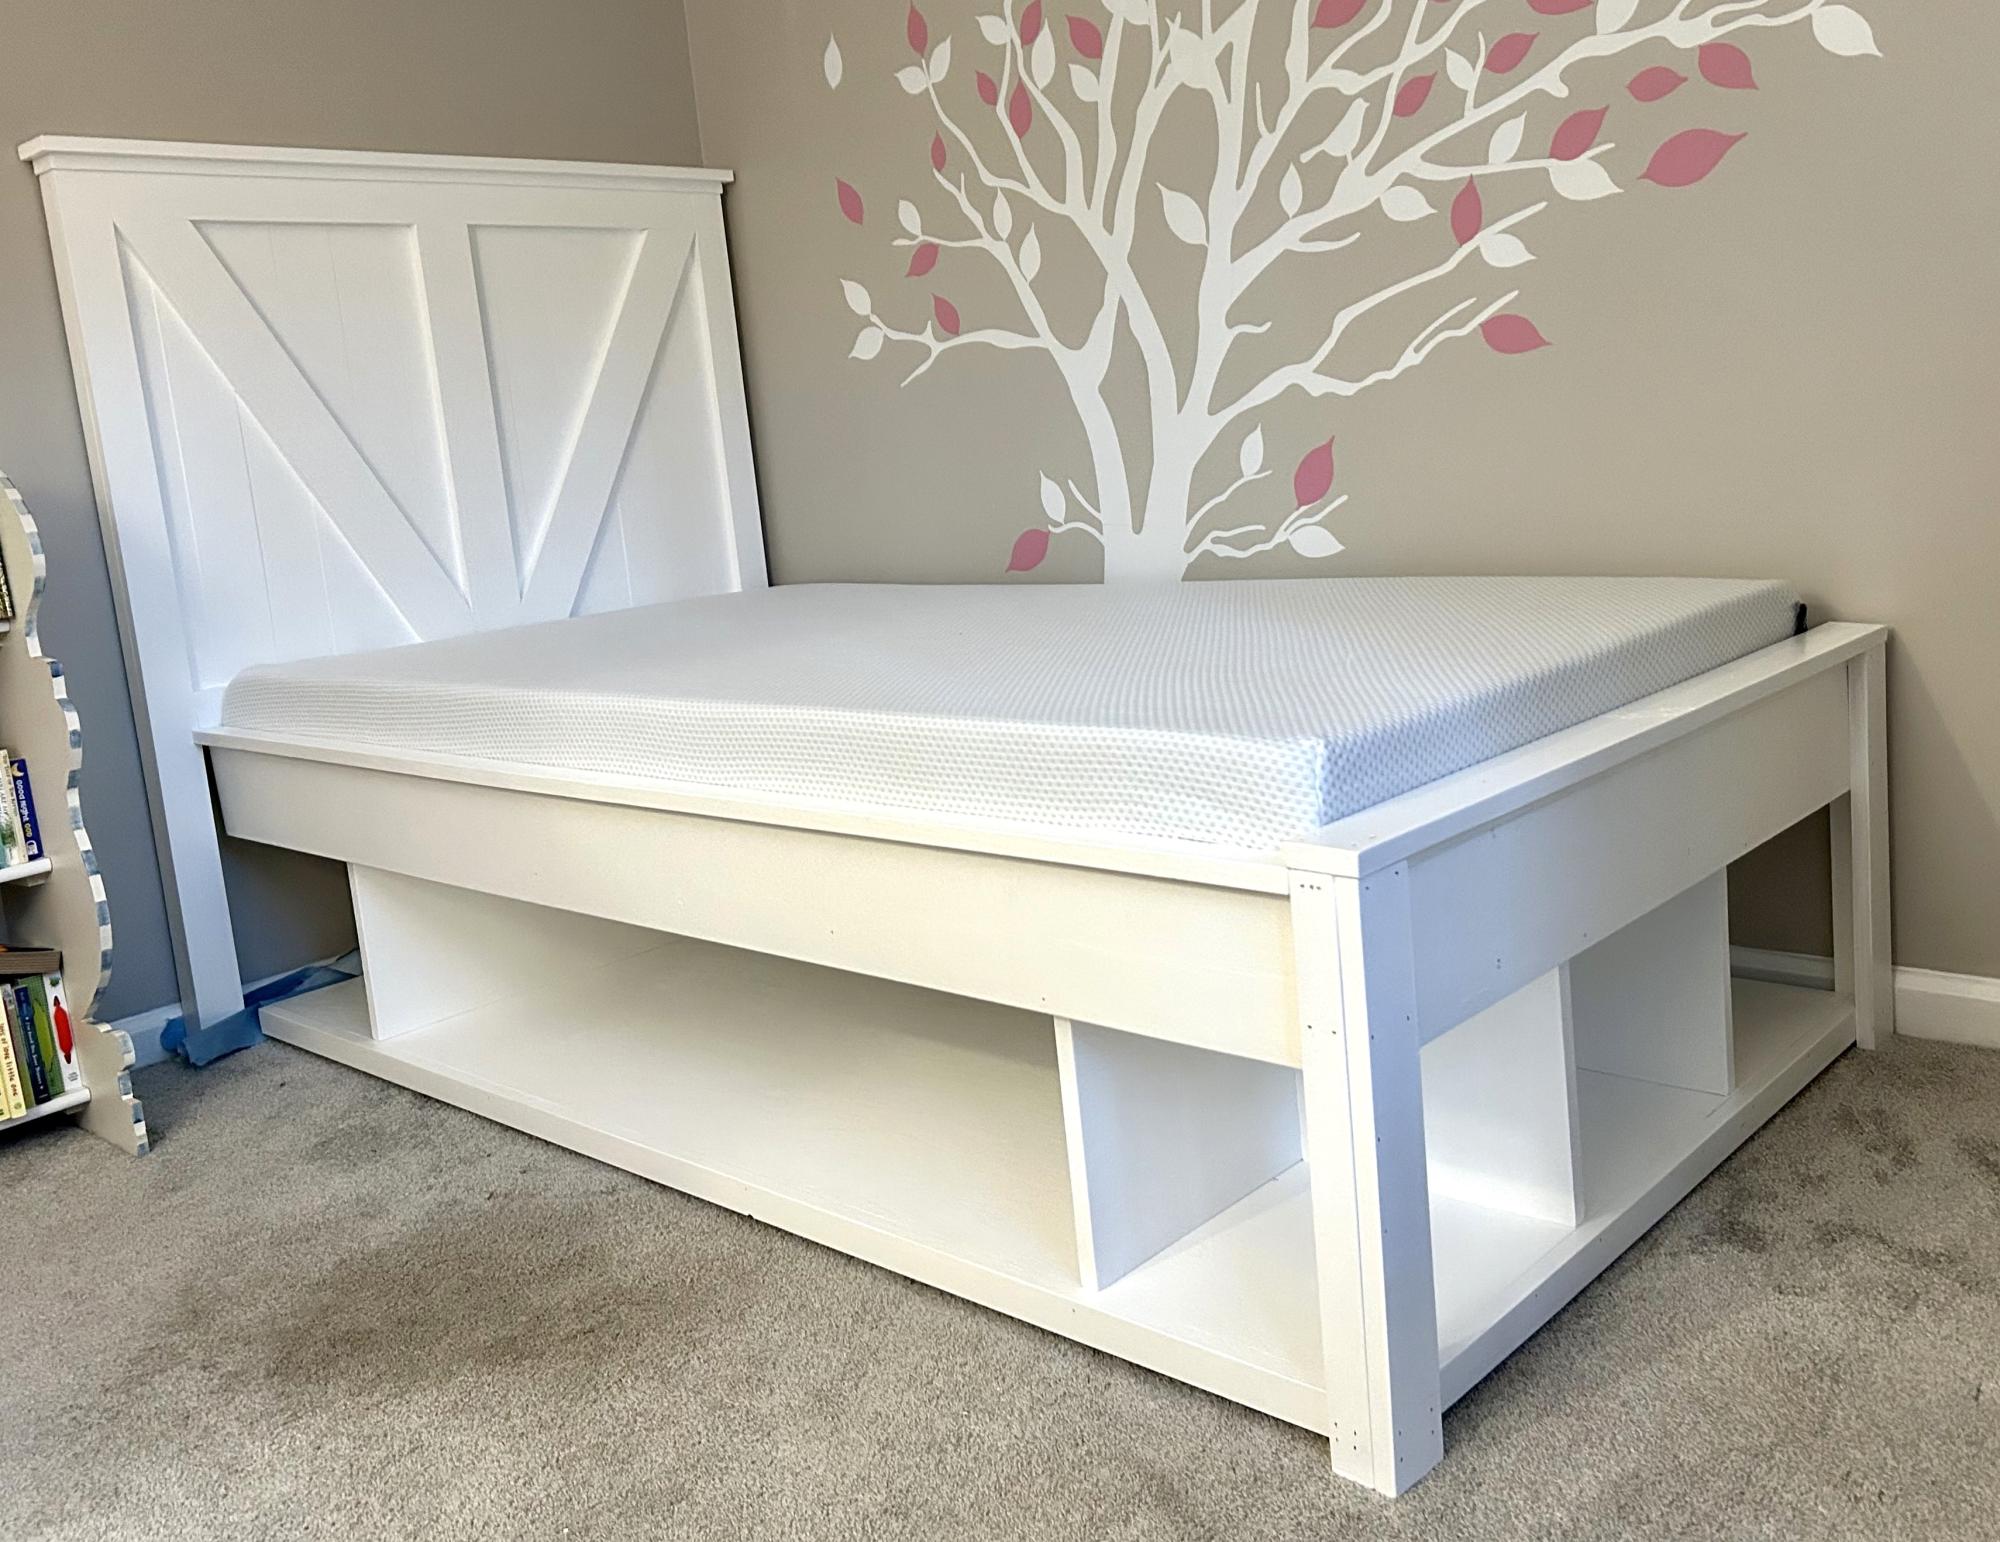
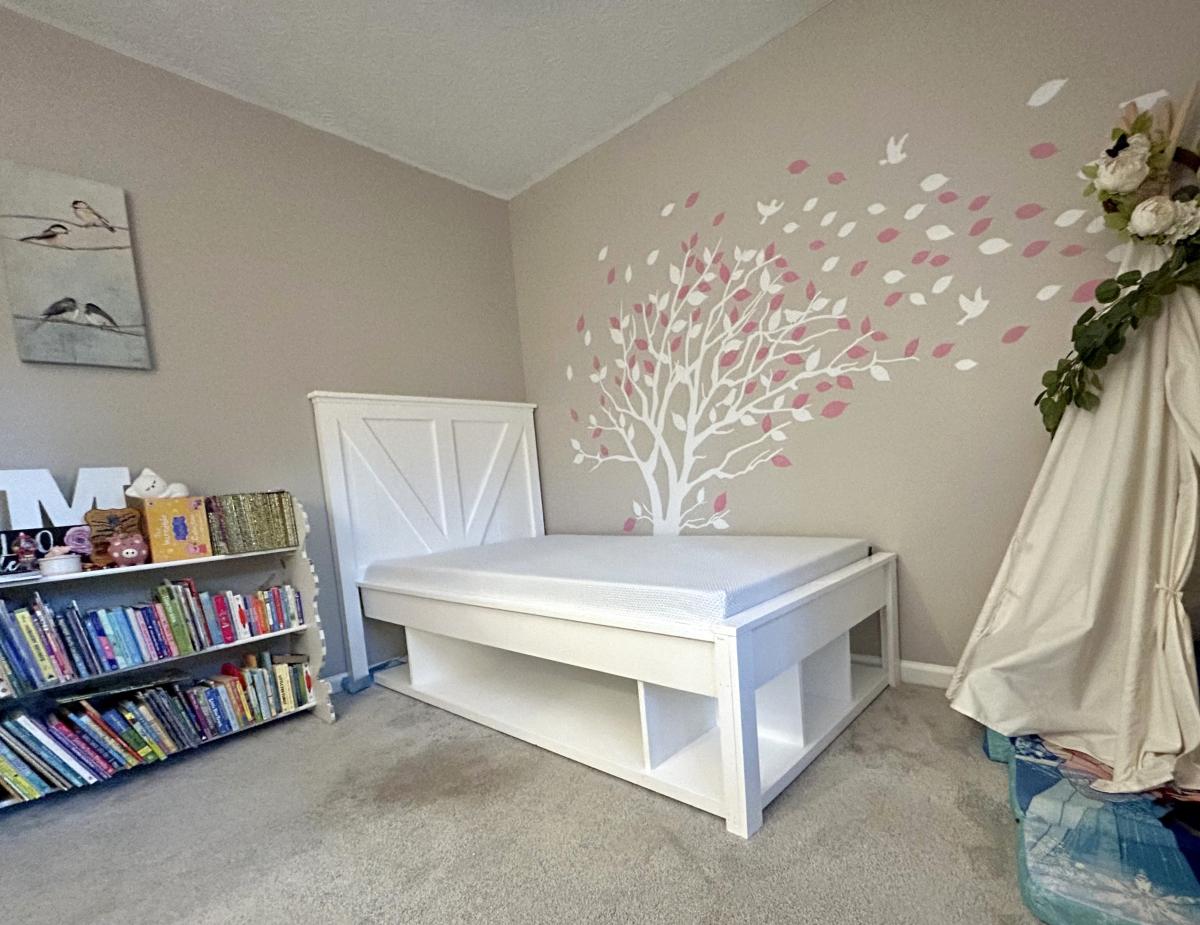
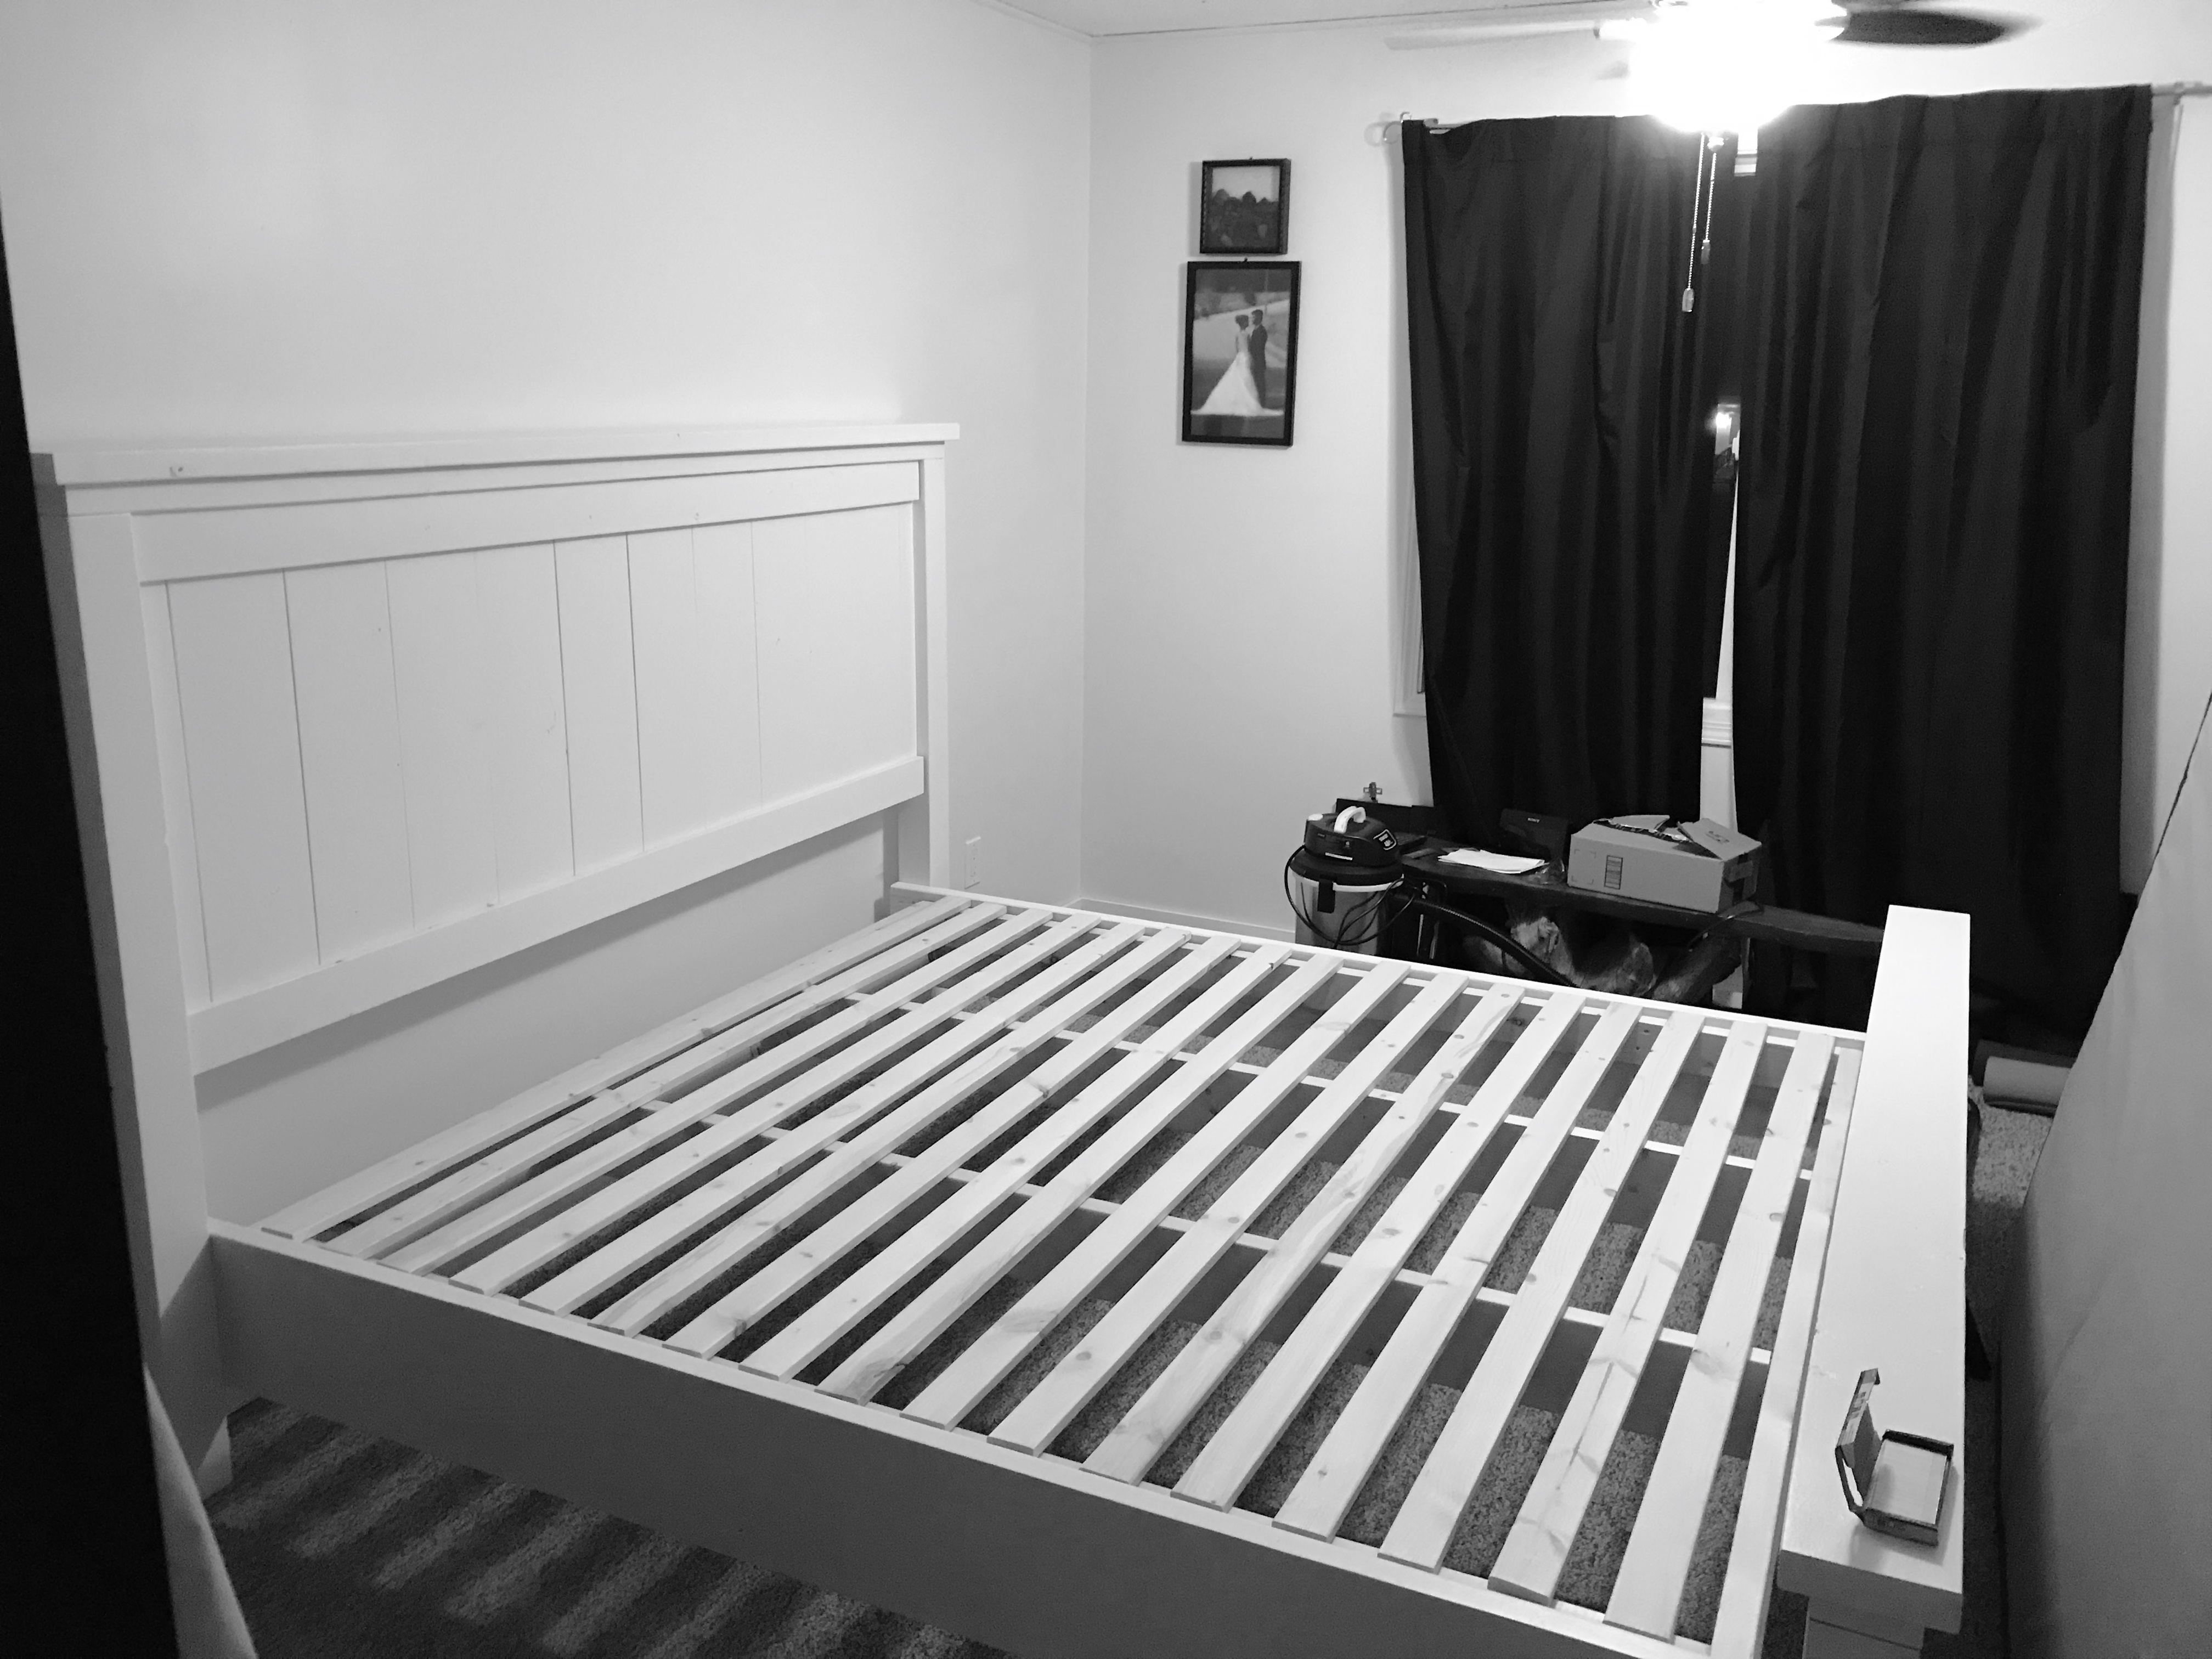
Farmhouse King bed headboard, frame and platform
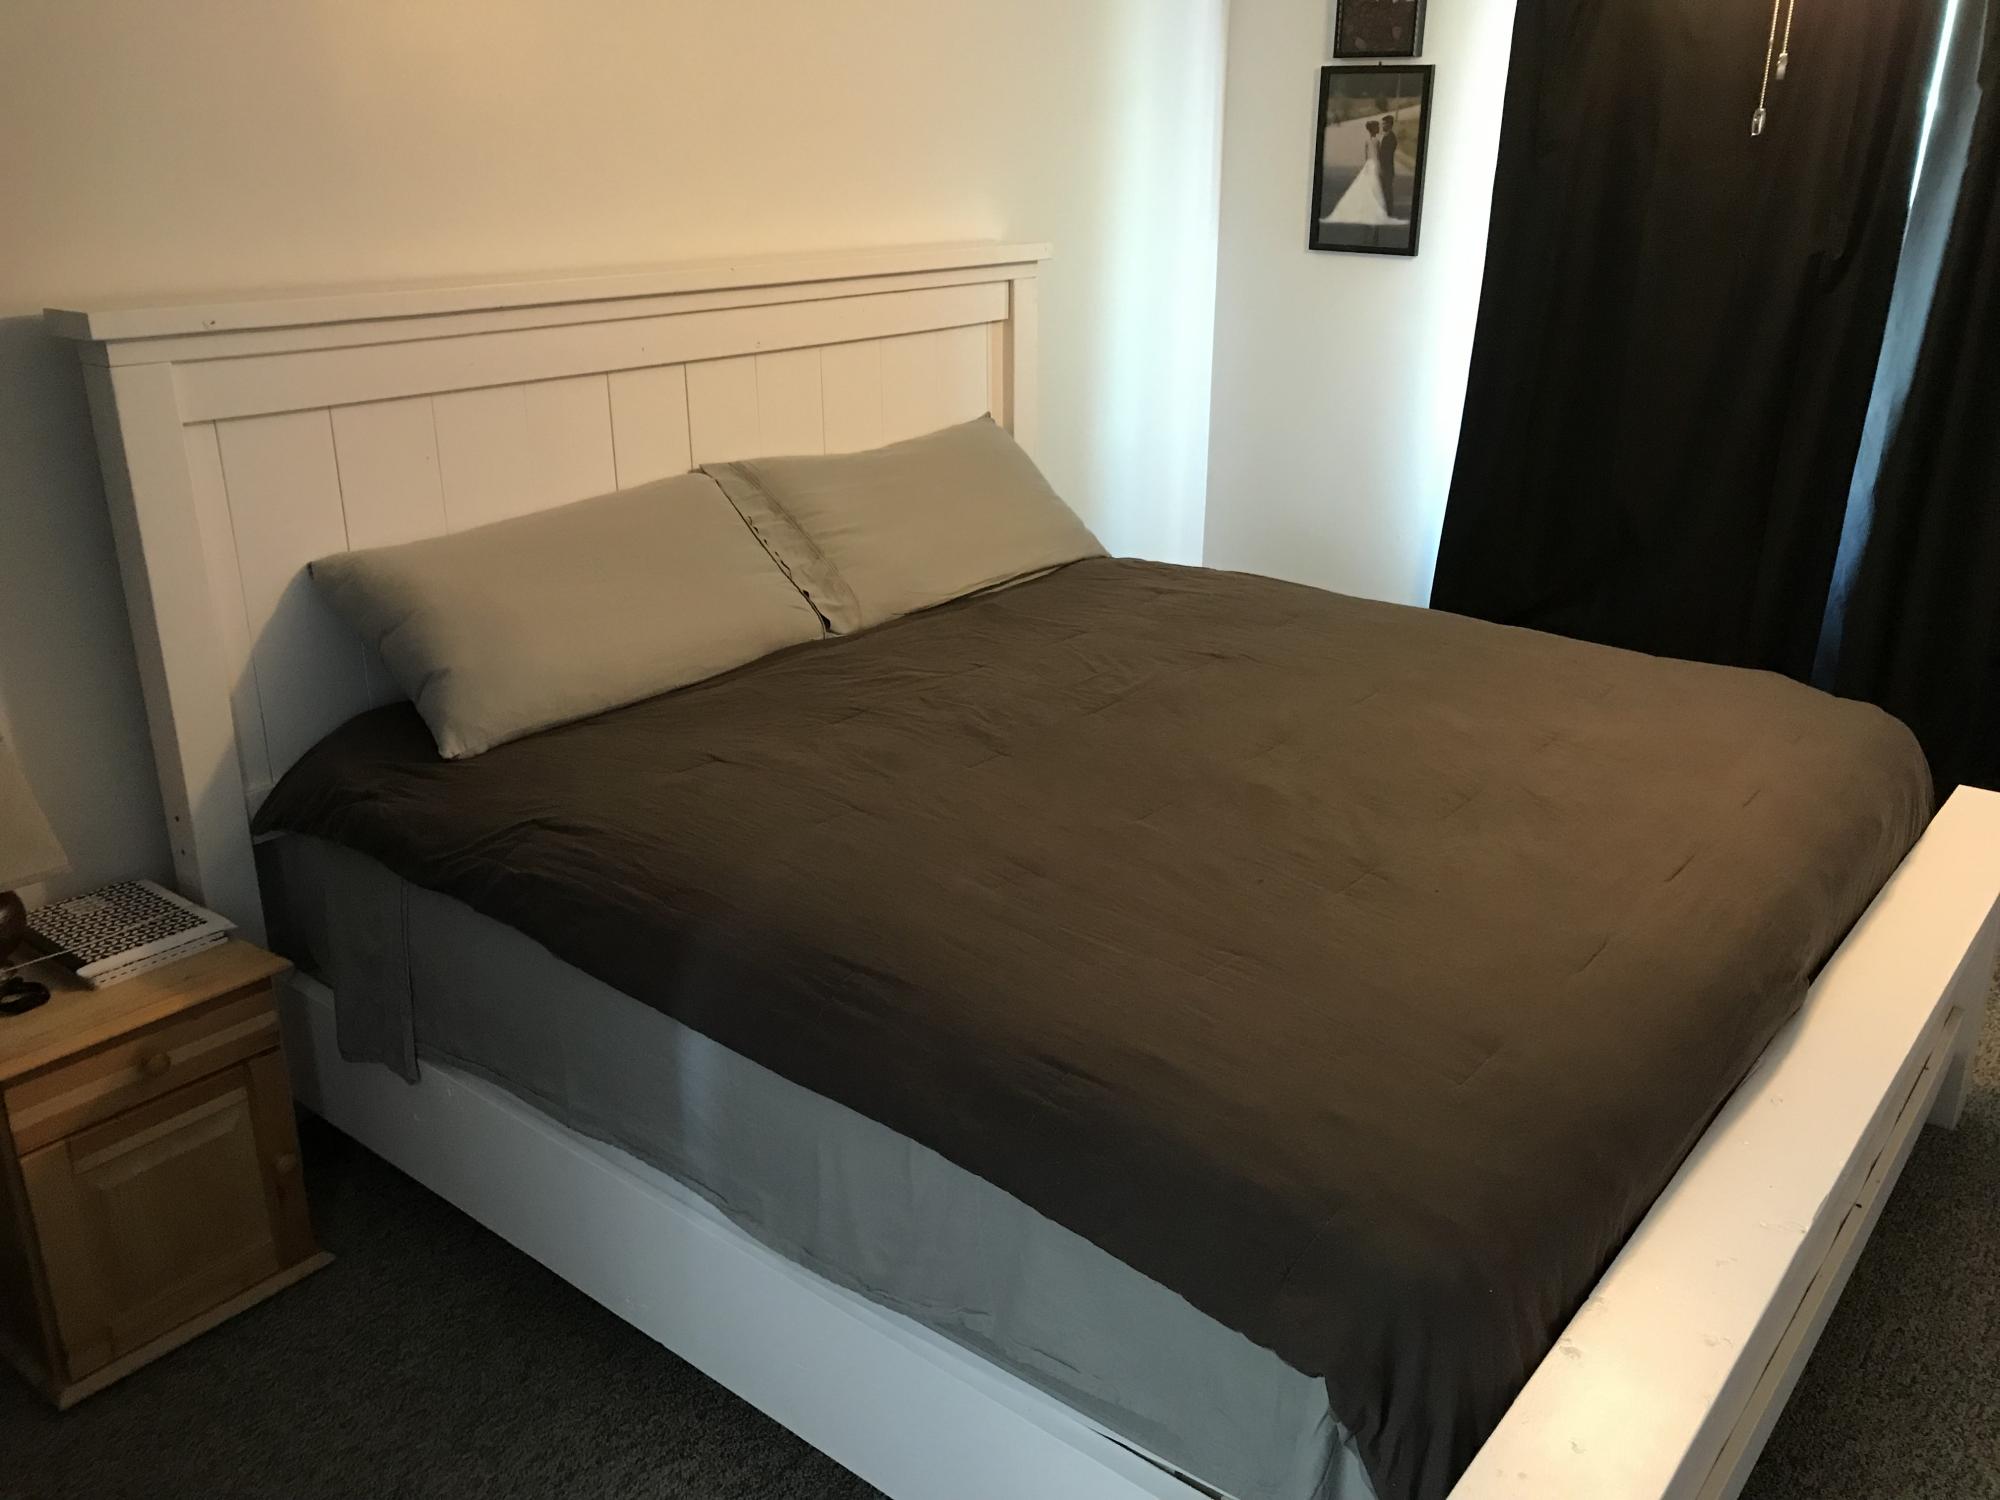
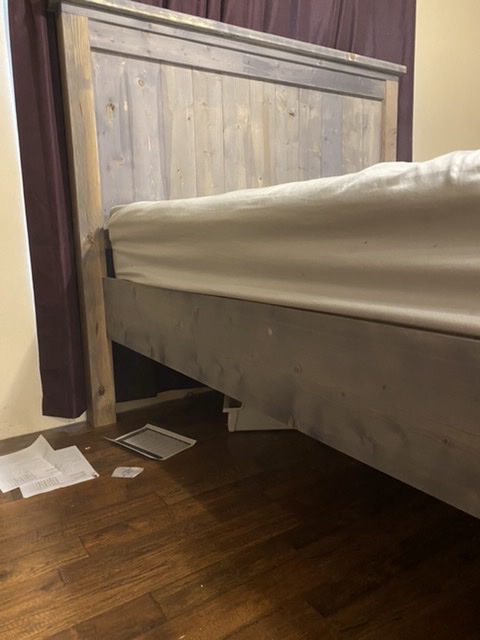
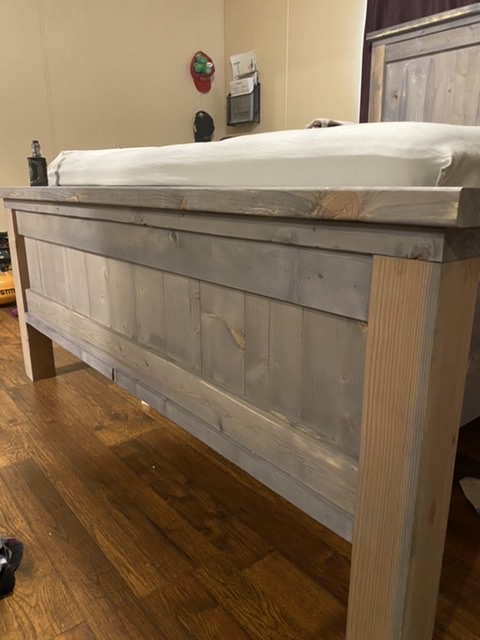
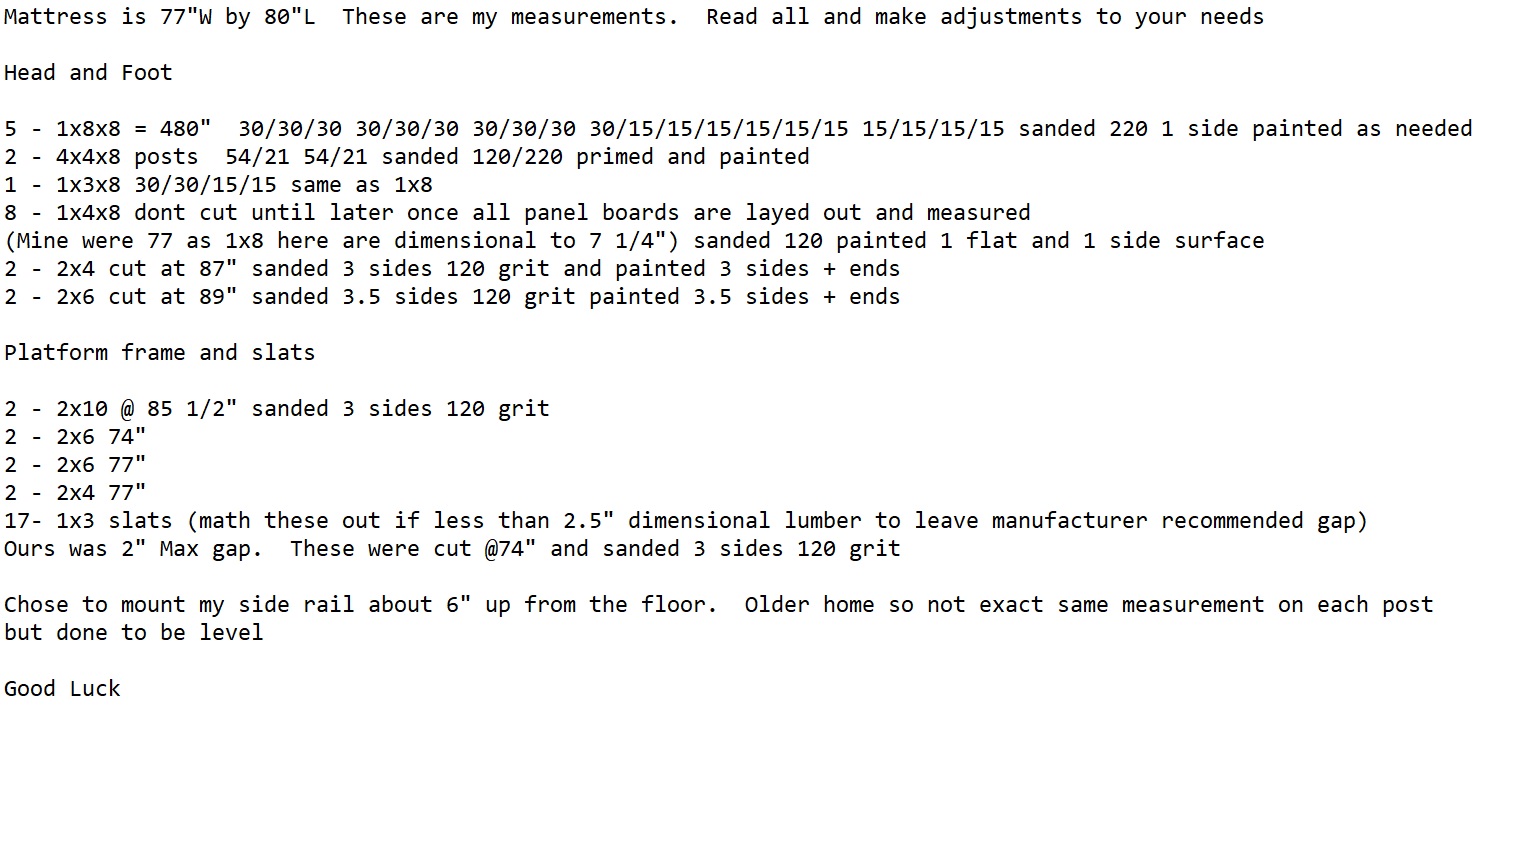
I followed most of the farmhouse plans for the headboard and footboard. Adjustments were made for the size of our mattress being 80x77 here in Canada. Also the primary reason for building a bed was to get away from boxsprings as I am am just too sensitive with previous back injuries to they 'not so flat' feel. Because of this I somewhat designed a slat system based on our mattress' guidelines for maximum gap between slats. I framed a simple setup just 3/4" below the side rails so the slats would be flush with it. Also our floor is not flat (yikes) so the side rail is not the same measurement from end to end it is instead done using a level (out 1/4" over about 7 feet).
Built from Plan(s)
Estimated Cost
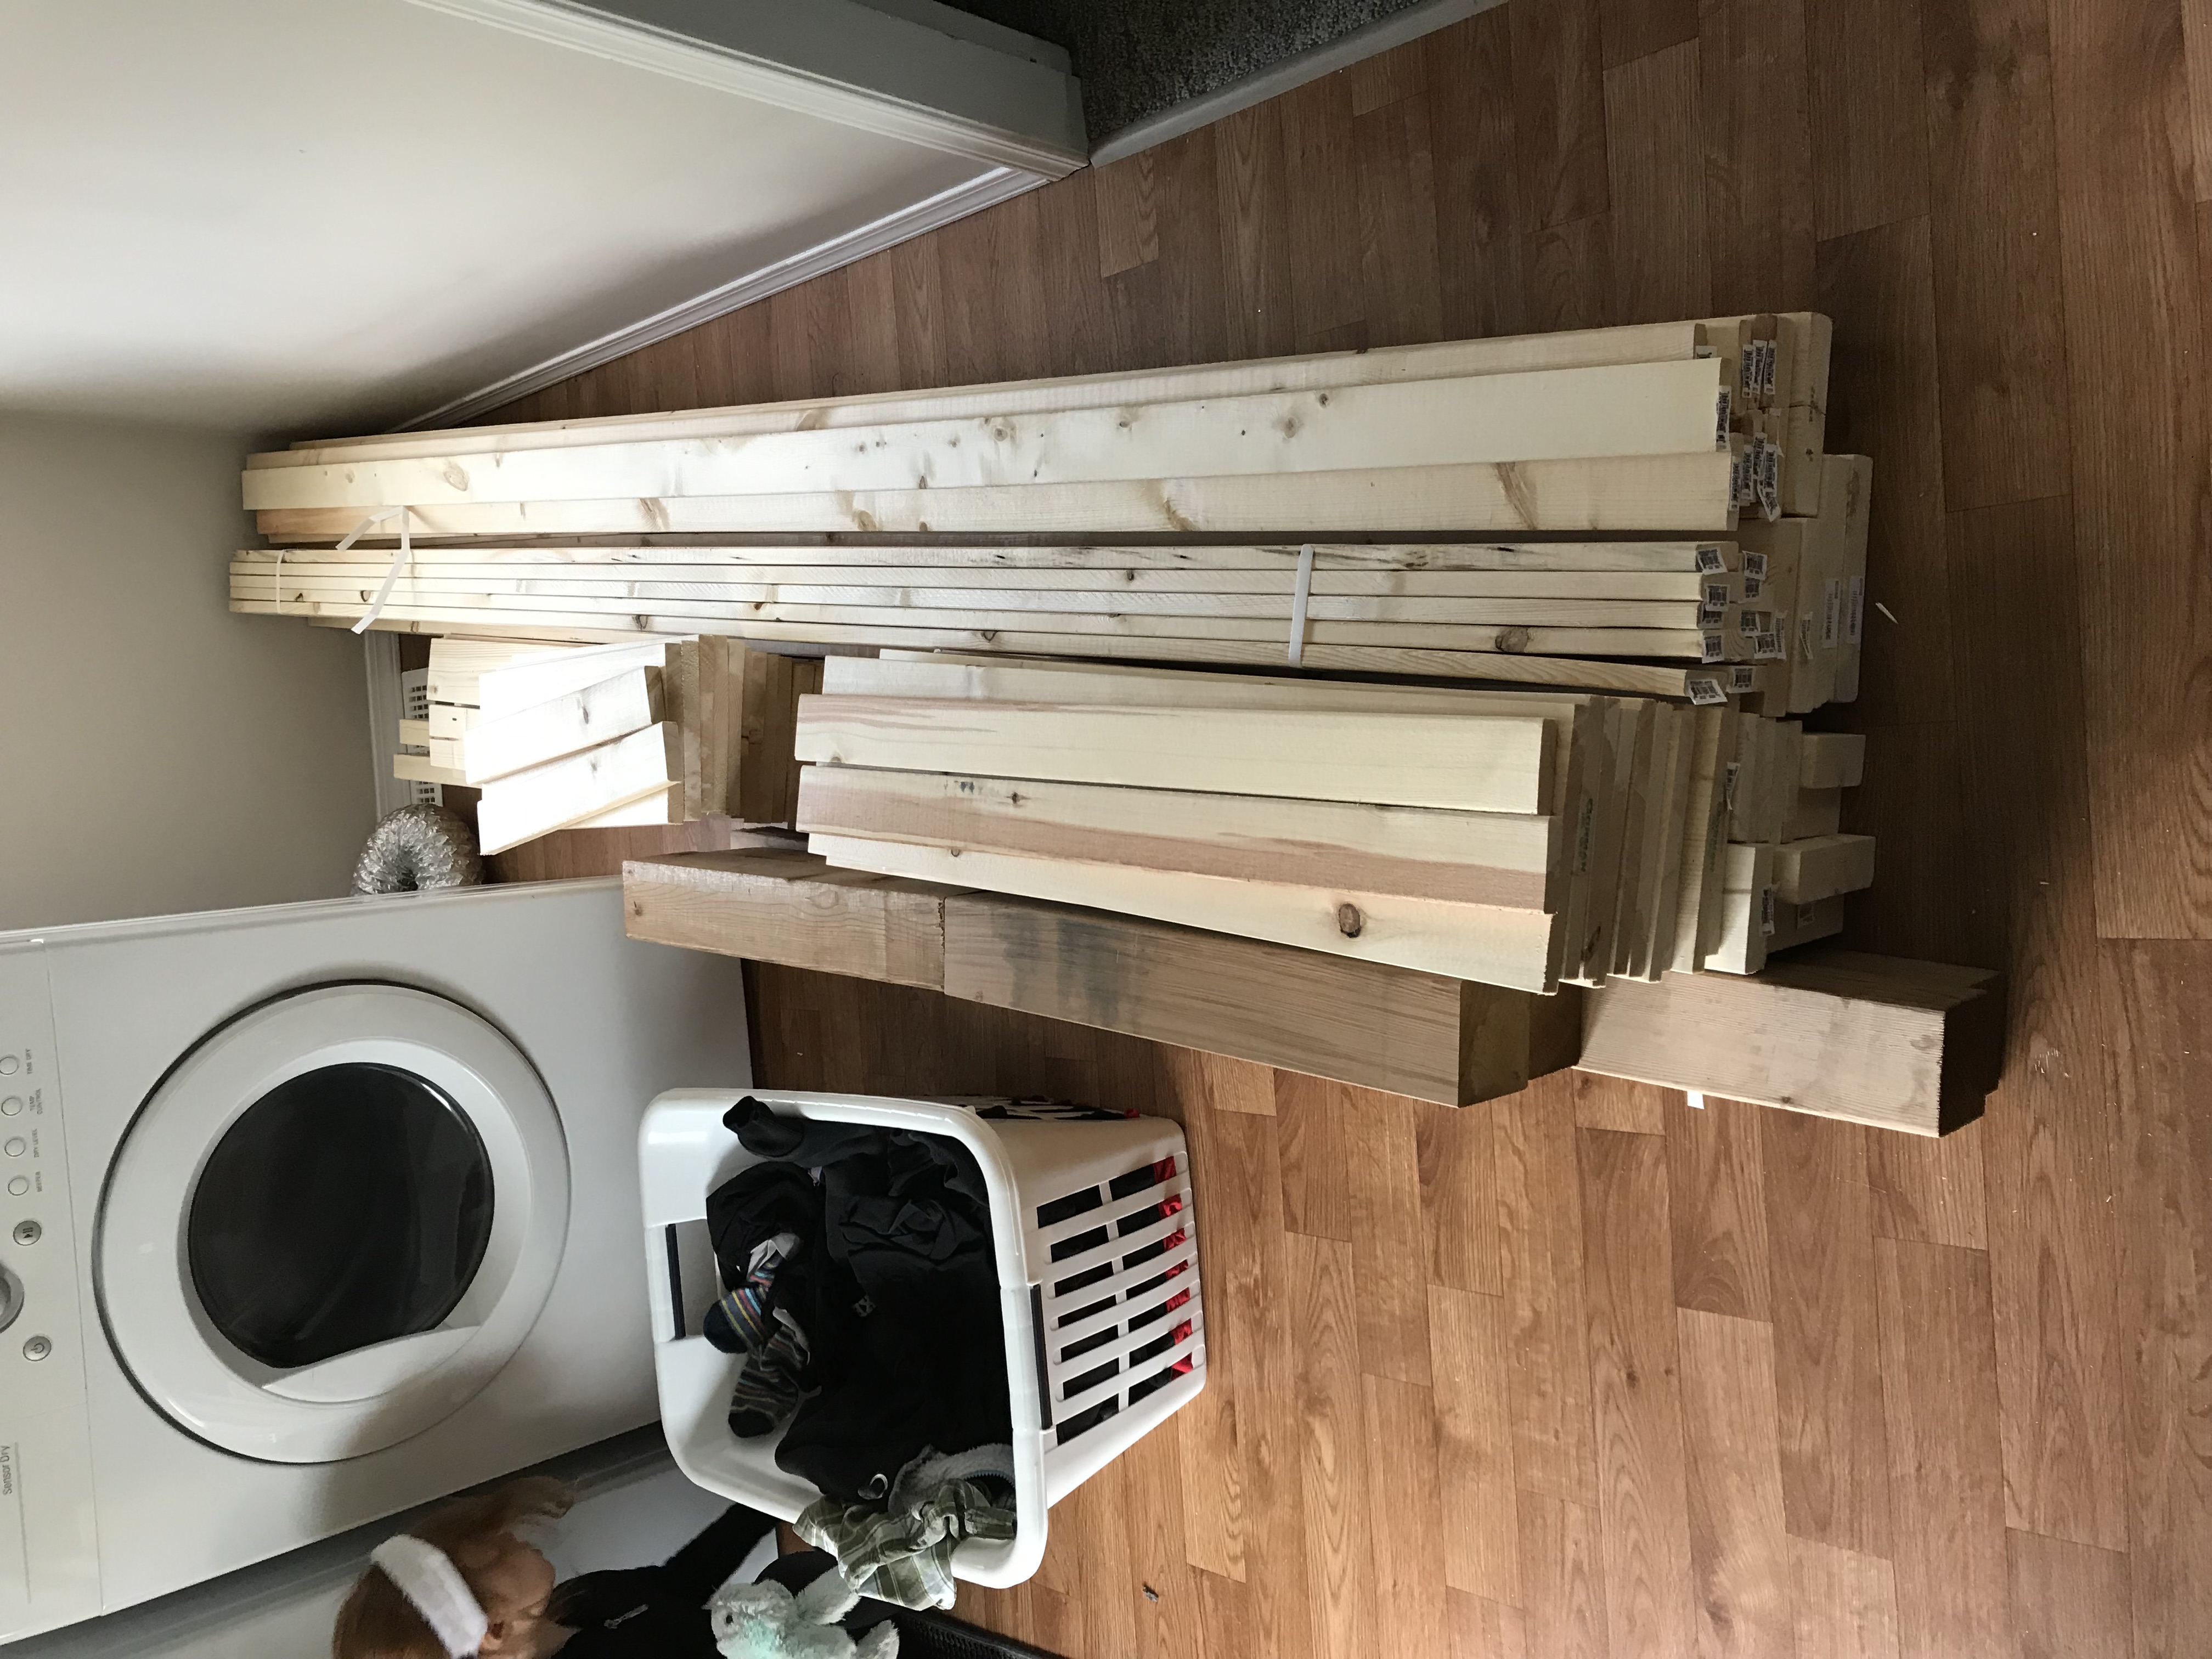
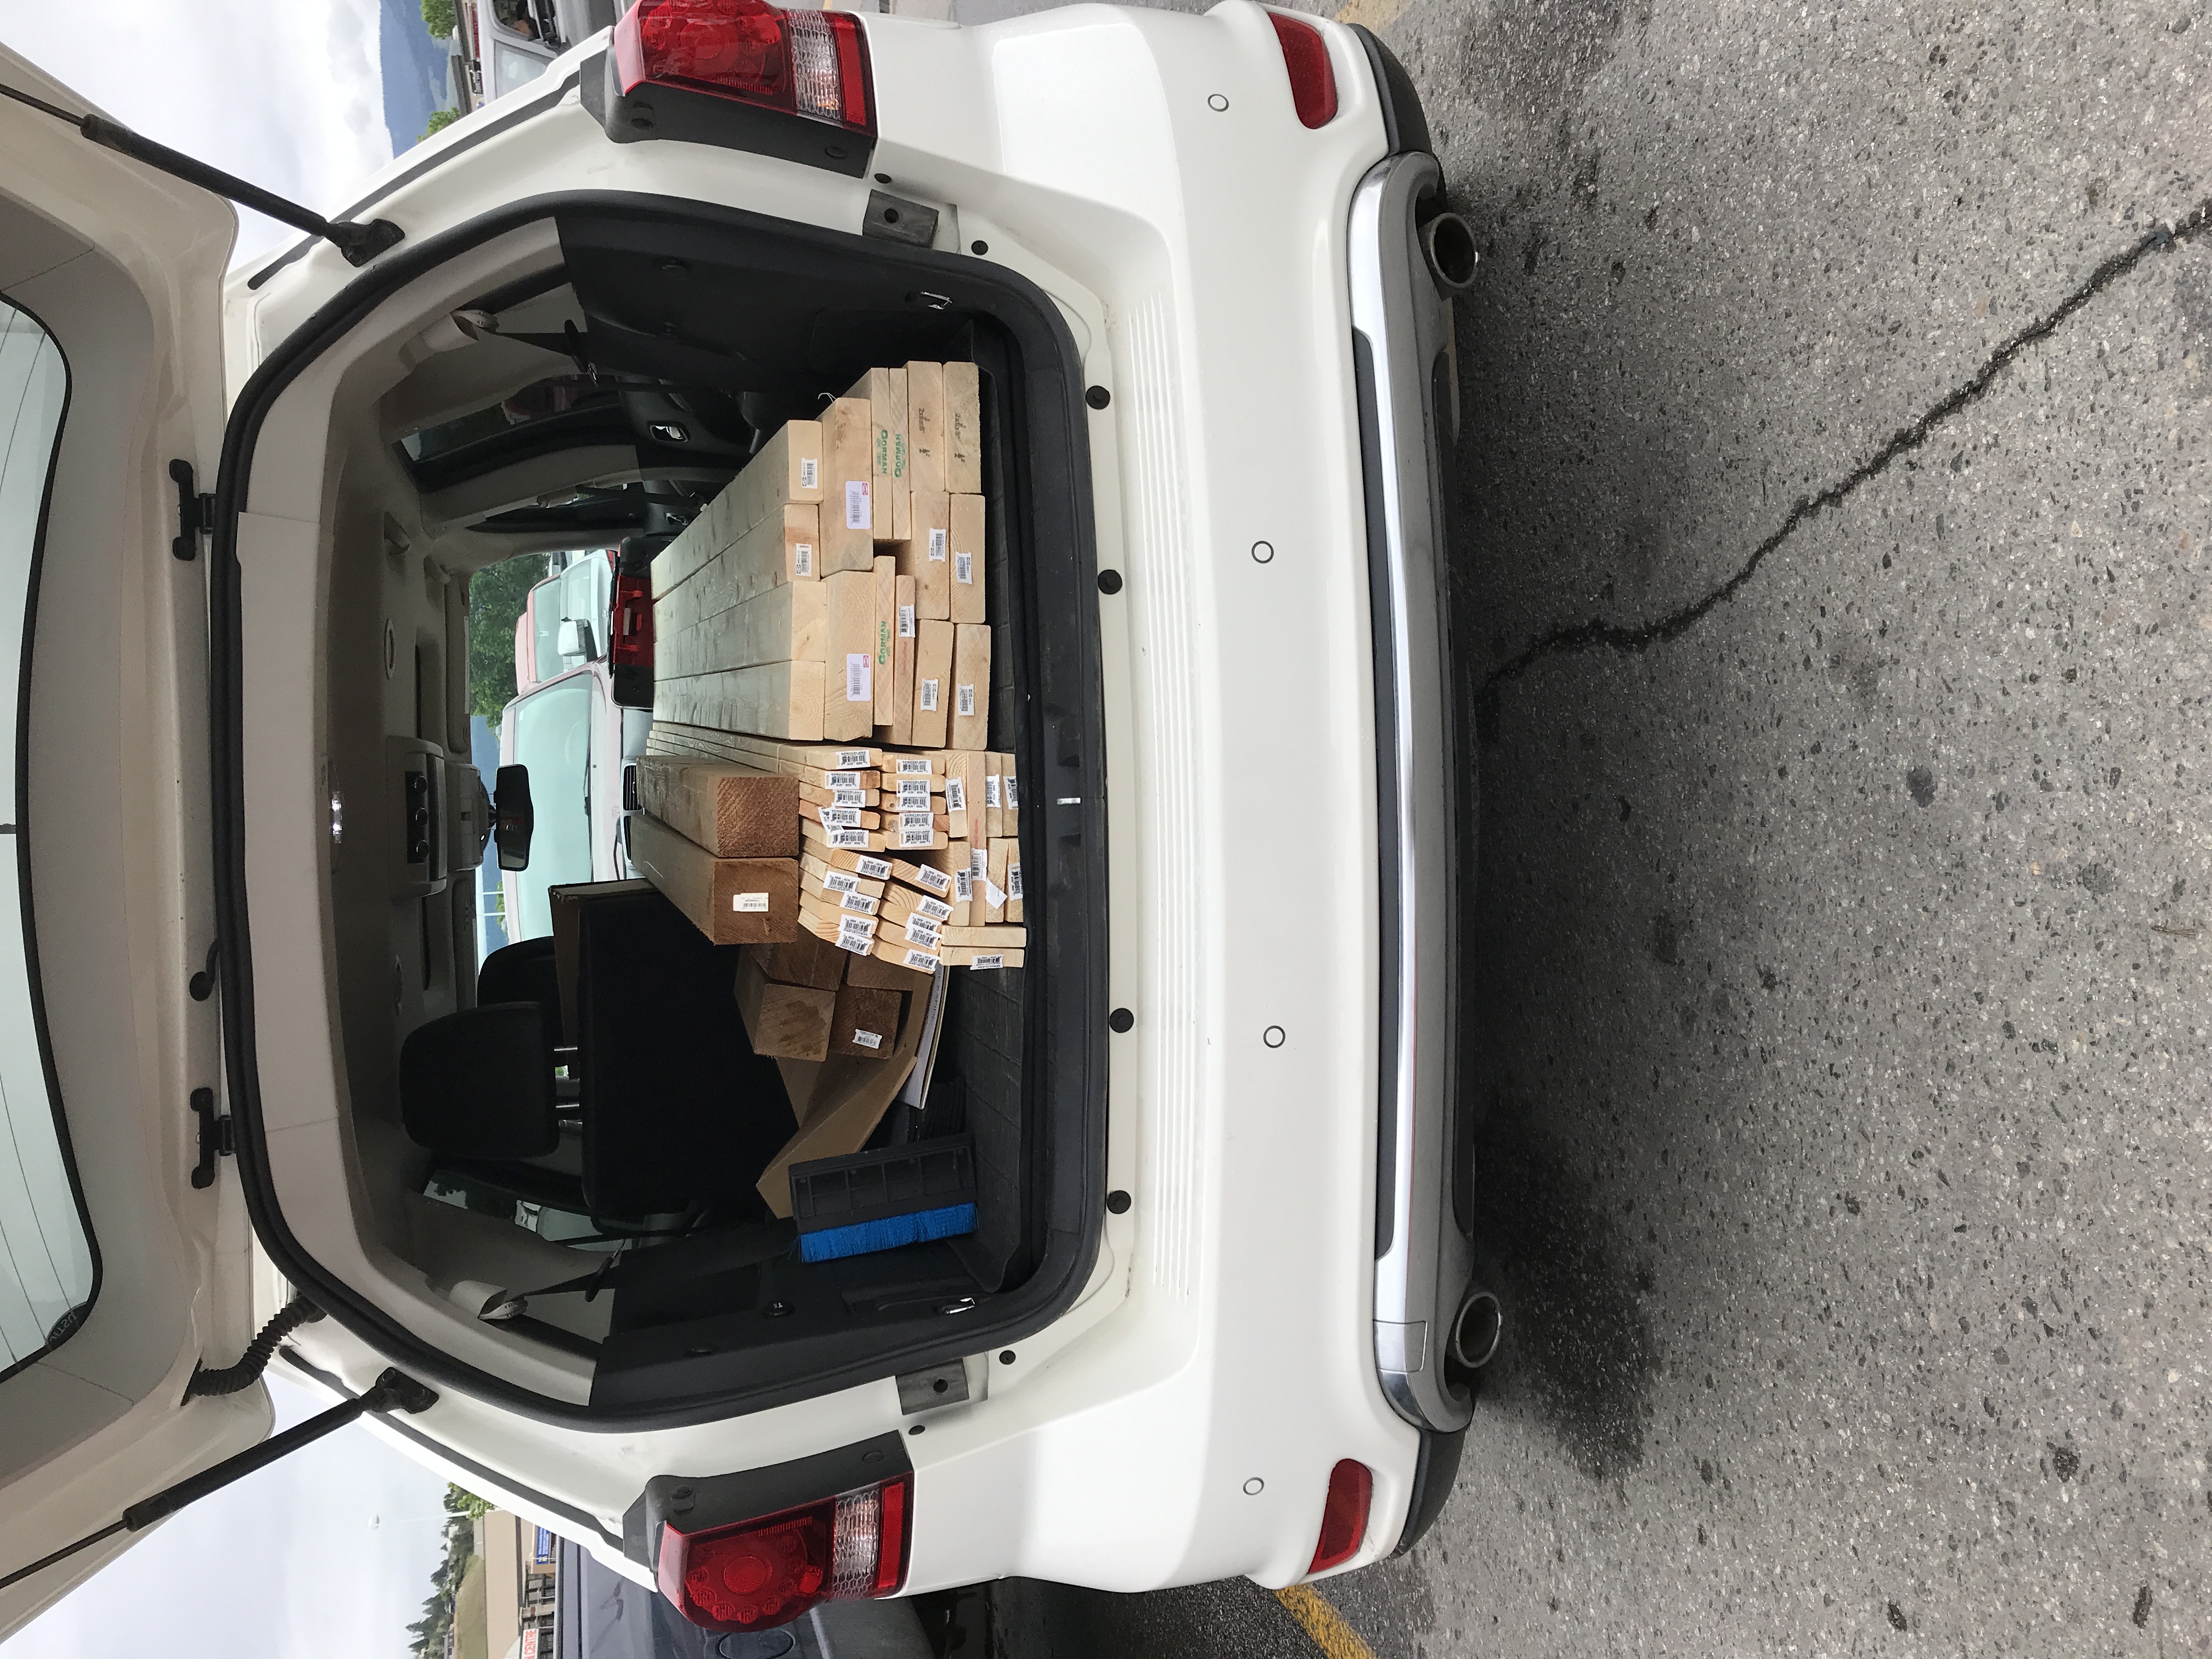
Cost was actually near $500 here in Canada. Lumber in about $240 and I did not have any wasteful cuts. I did not have all of the screws, brad nails, glue and so on so the greater cost was paint plus hardware which was a shock. I do have plenty left over for future projects though. Still happy though as the bed would be far more new and I know its not made form mdf with a veneer. A week in and very happy still with everything.
Estimated Time Investment
Weekend Project (10-20 Hours)
Finish Used
We ended up painting primarily because of the Cedar/Spruce contrast. The Cedar was primed then 2 coats of white. The Spruce was all done in 2 coats of white with about 8 hours between coats. We definitely cheated construction and started 4 hours after the last coat, which I wouldn't advise even though we didn't have issues. It was a risk because of a time crunch.
Behr No 7900 Alkyd Satin Enamel
Kilz Premium Primer/Sealer and stain blocker for the cedar
Behr No 7900 Alkyd Satin Enamel
Kilz Premium Primer/Sealer and stain blocker for the cedar
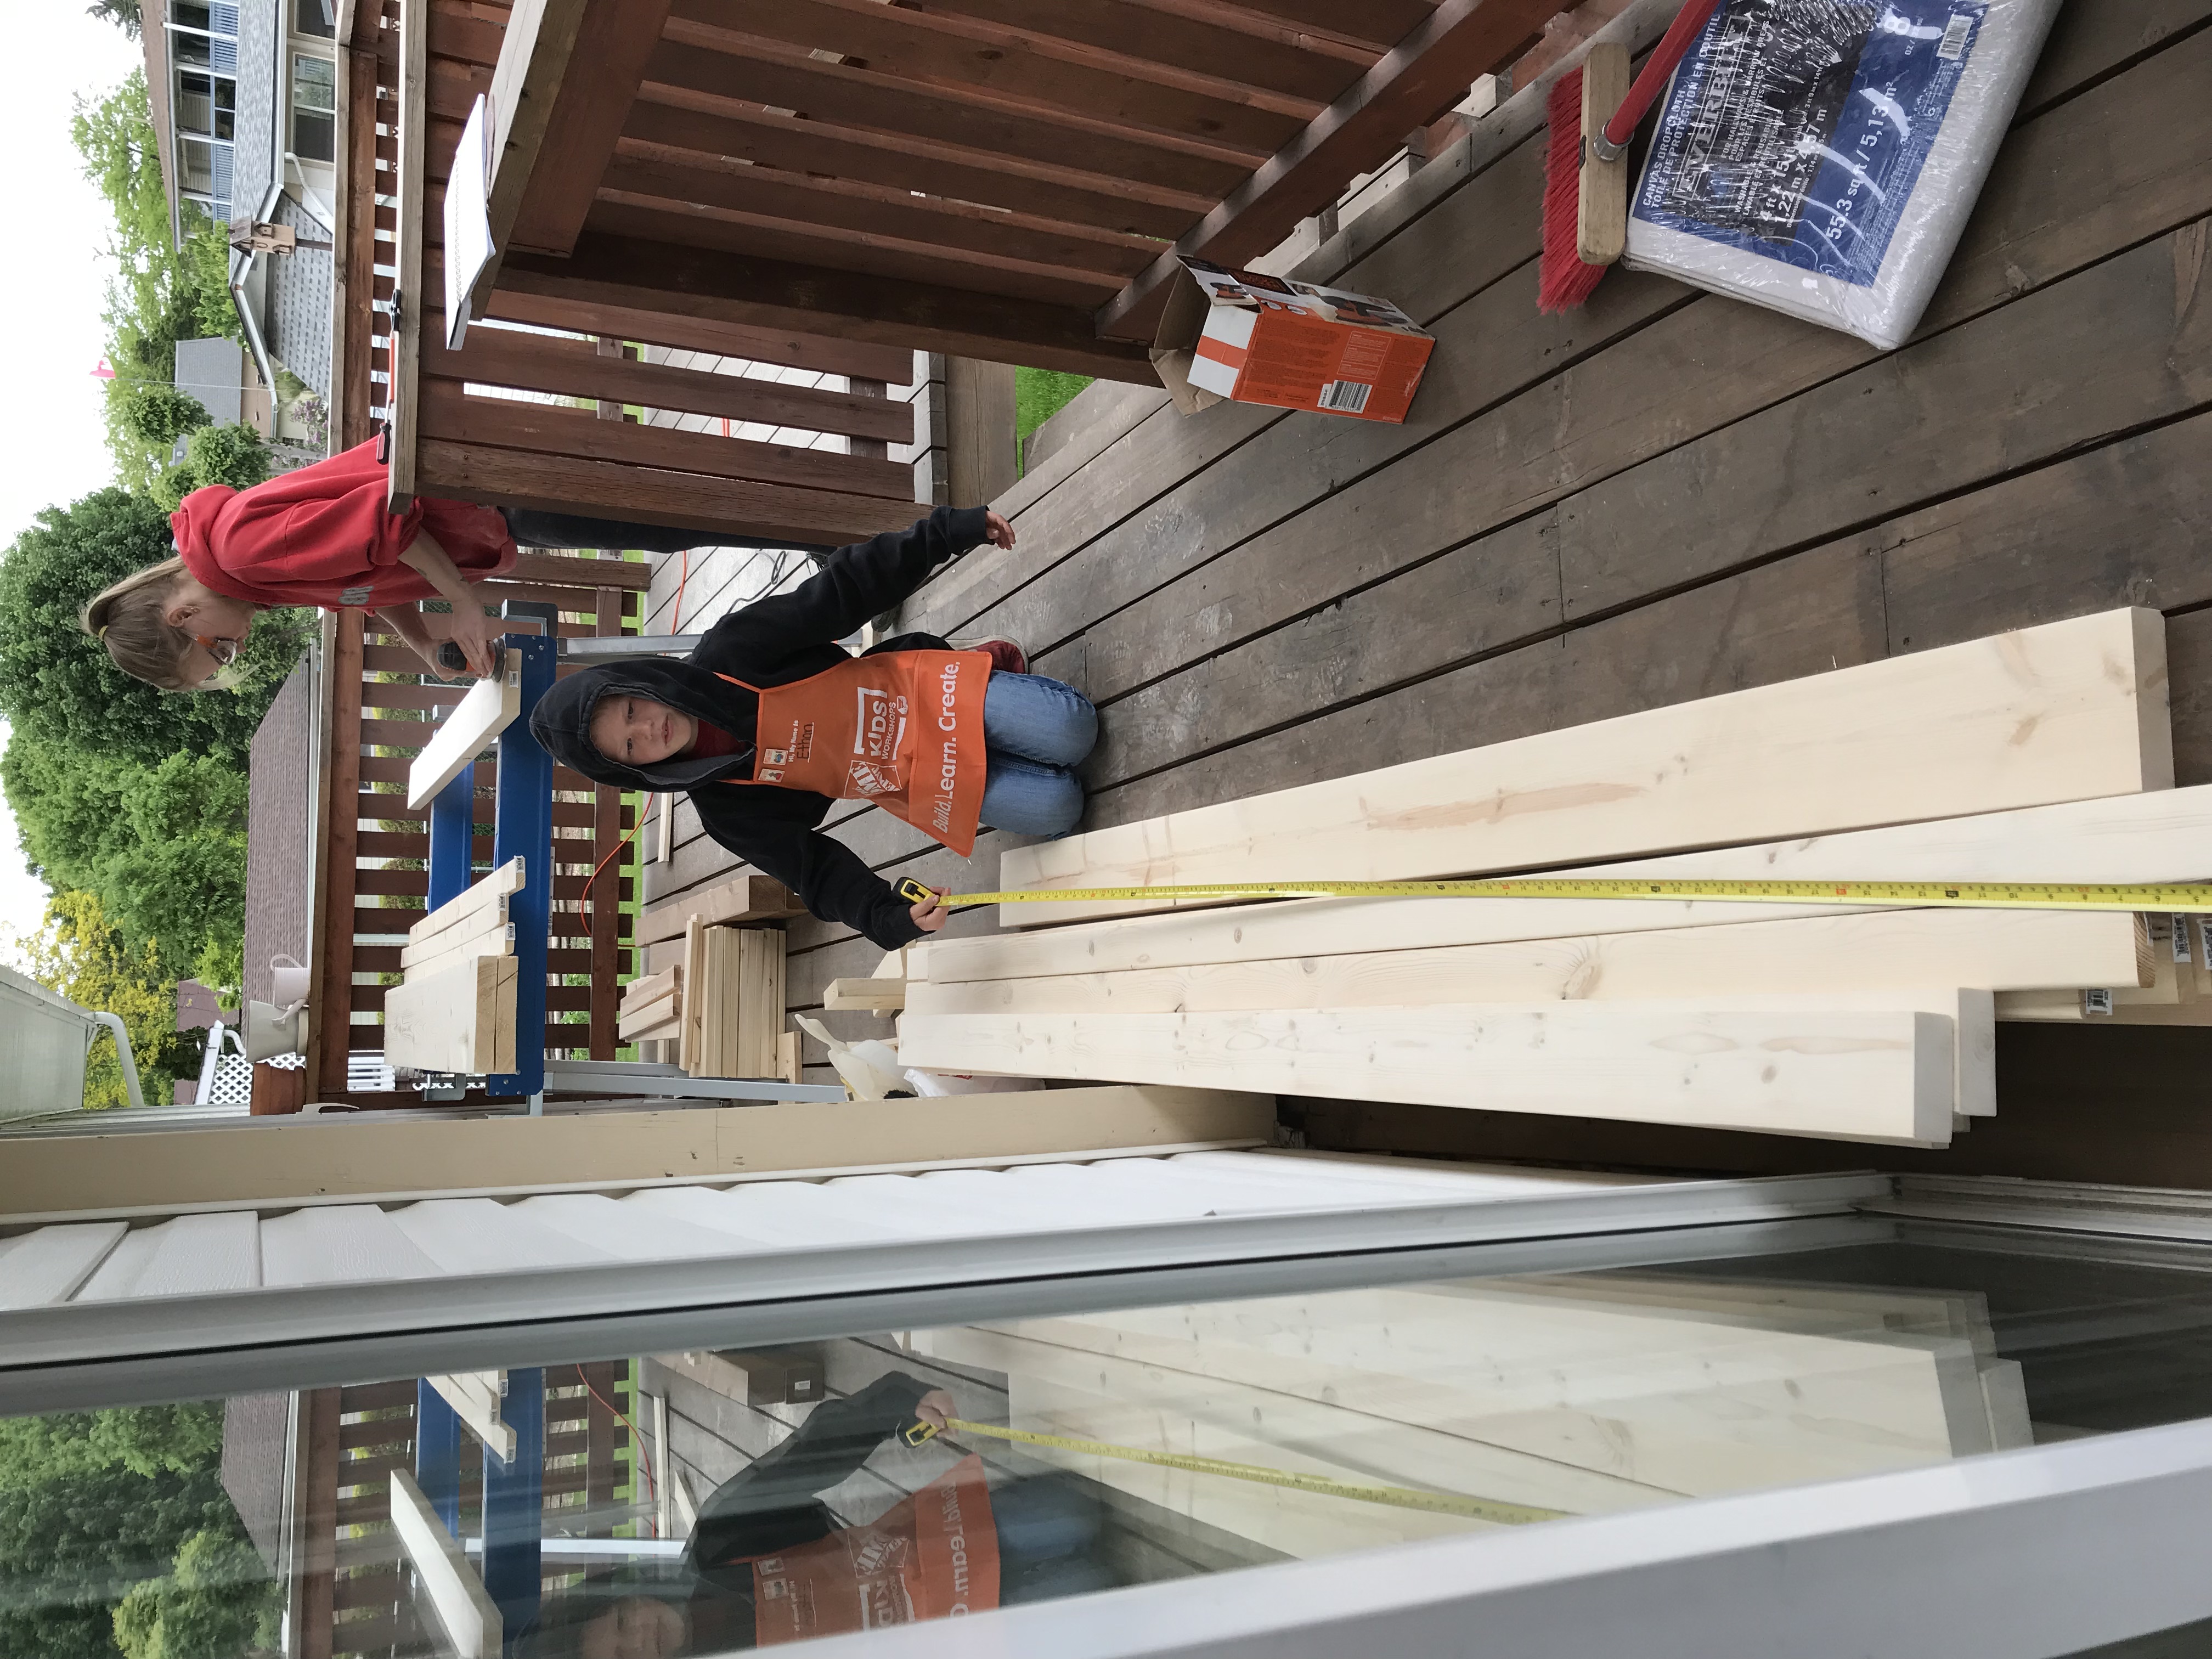
Recommended Skill Level
Beginner