Community Brag Posts

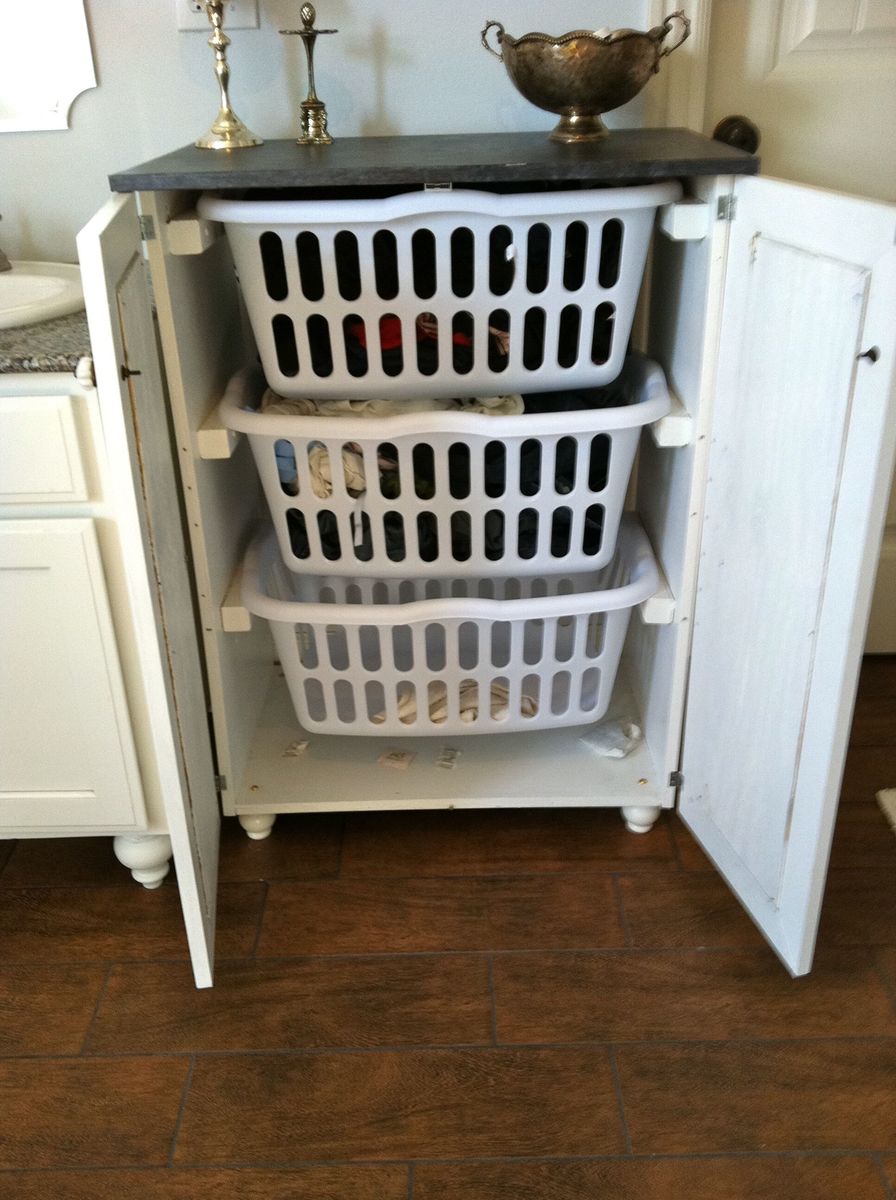
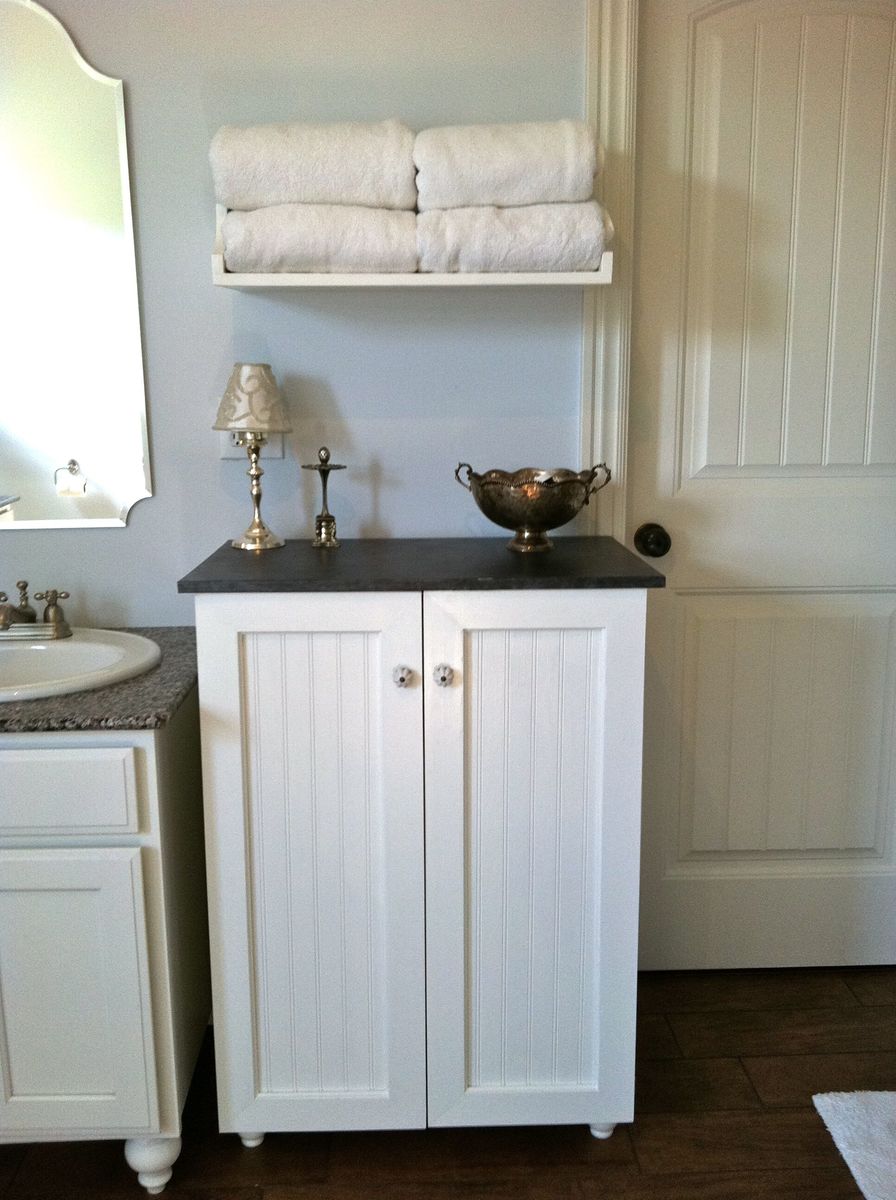
My laundry basket dresser with doors

Submitted by jensimmons on Sun, 07/03/2011 - 20:19

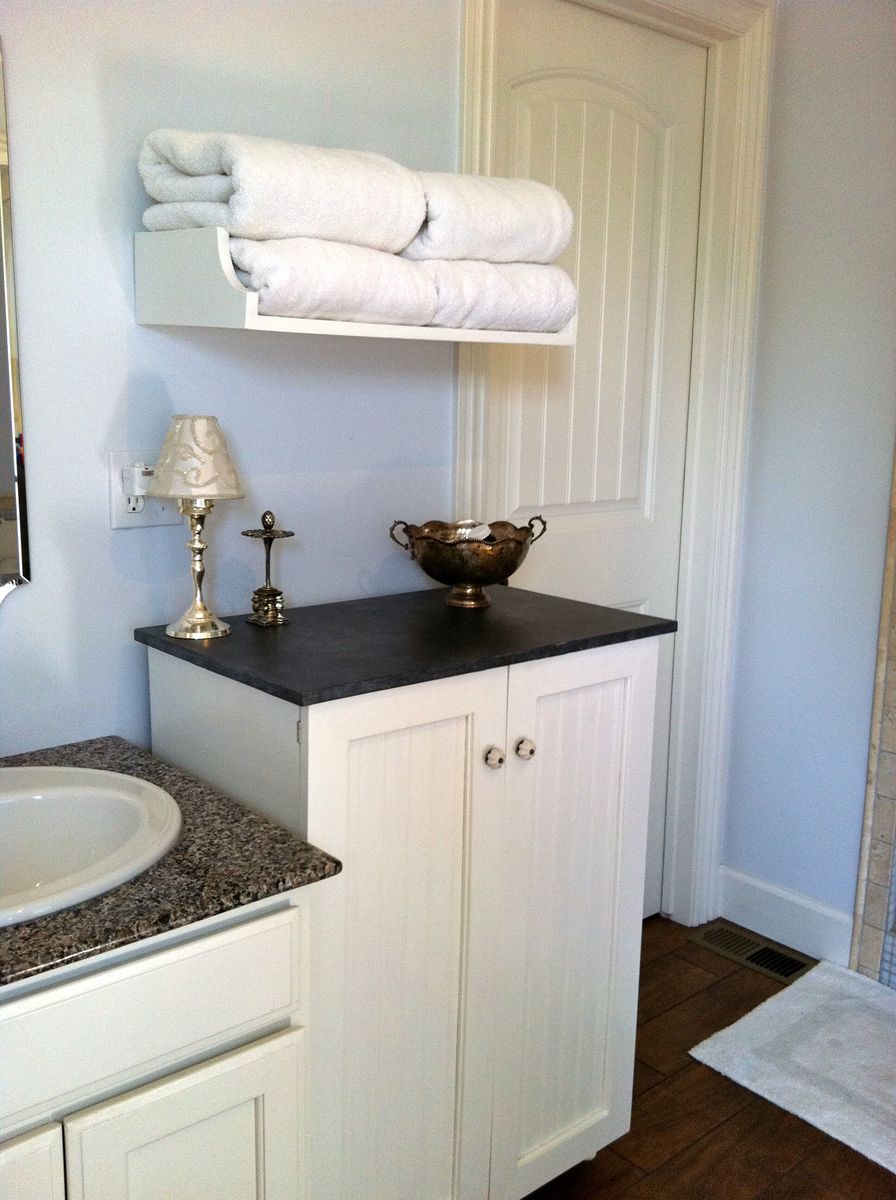
I wanted to use our laundry basket dresser as a collector for dirty laundry in our bathroom, and wanted it to have doors so it would blend in better. I also made the shelf above for our towels. It is painted white with a faux-zinc finish on the top. I made the top slightly larger so it would overhang and added cute little bun feet. My talented friend Carli helped me build the doors (and by helped I mean I handed her things while she impressed me with all her tools and skills!) and frame.

Built from Plan(s)
Estimated Cost
$75-100 (can't remember exactly)
Estimated Time Investment
Weekend Project (10-20 Hours)
Finish Used
white semi-gloss paint, zinc faux finish: layer 1 dark charcoal paint, layer 2 dark pewter metallic glaze, layer 3 white paint thinned with water & rubbed on/off.
Recommended Skill Level
Intermediate

Comments

Guest (not verified)

Fri, 07/29/2011 - 23:37

this is perfect! i totally need a bunch just like this! I love the added doors!

Pam in Colorado (not verified)

Sat, 09/17/2011 - 12:48

This is the look I'd like, fit the baskets and hide them behind doors until you are ready to do the laundry. These could be made for bedrooms, bathrooms, toy rooms (okay, toys instead of dirty laundry)...

Guest (not verified)

Fri, 11/11/2011 - 08:05

I absolutely love this! Could you please add instructions on how to make/paint and install the doors? I am a newbie to making my own furniture. Thanks!

Guest (not verified)

Wed, 01/11/2012 - 08:29

I love this idea! I will have a new bathroom soon and I think this will get used! What are the dimensions, or what style cabinet would you suggest to look for? TIA!

Jennifer Simmons (not verified)

Fri, 02/17/2012 - 05:57

The dimensions are the same as Ana's plan: http://ana-white.com/2010/11/laundry-basket-dresser except that the top is slightly bigger (3/4" overhang on front/sides) to look more like a countertop. On the doors we just made a frame w/ angled pieces, routed a notched line on the back & glued/nailed some beadboard in from the back. Sorry I can't be much more detailed on that, a friend did most of the doors for me!

Guest (not verified)

Sun, 02/19/2012 - 07:42

I actually got the plywood to do this project and I was going to add doors. I looked at the baskets suggested but it seems they would stick out the front. I was just curious, did you use different baskets that would fit inside the cabinet or did you make the cabinet slightly deeper?

Jennifer Simmons (not verified)

Sat, 02/25/2012 - 05:36

Actually I discovered the same problem after it was built. I just didn't put a back on and they stick out a tiny bit in the back. I actually kind of like it that way because it lets some air in (being in the bathroom and putting towels in I could see it getting mildewy without much circulation). But if I had gotten the baskets first I probably would have made it about 2" deeper, then leave some open space, but not all, on the back.

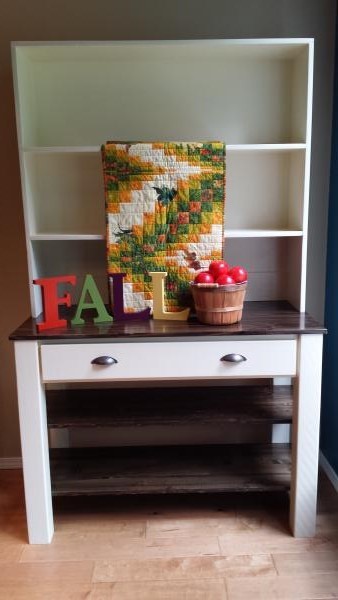
Customized Hutch

Submitted by fortasha on Sat, 09/05/2015 - 14:48

A client couldn't find exactly what she was looking for - so we perused the Ana-White site and came up with this combo. She customized size and colors to match her decor and I did the rest.

Estimated Cost
$260 for supplies
Estimated Time Investment
Weekend Project (10-20 Hours)
Finish Used
Mix of Old White and Pure White from Annie Sloan for the base and Hutch and Minwax Dark Walnut mixed with Ebony for the top and shelves.
Recommended Skill Level
Intermediate

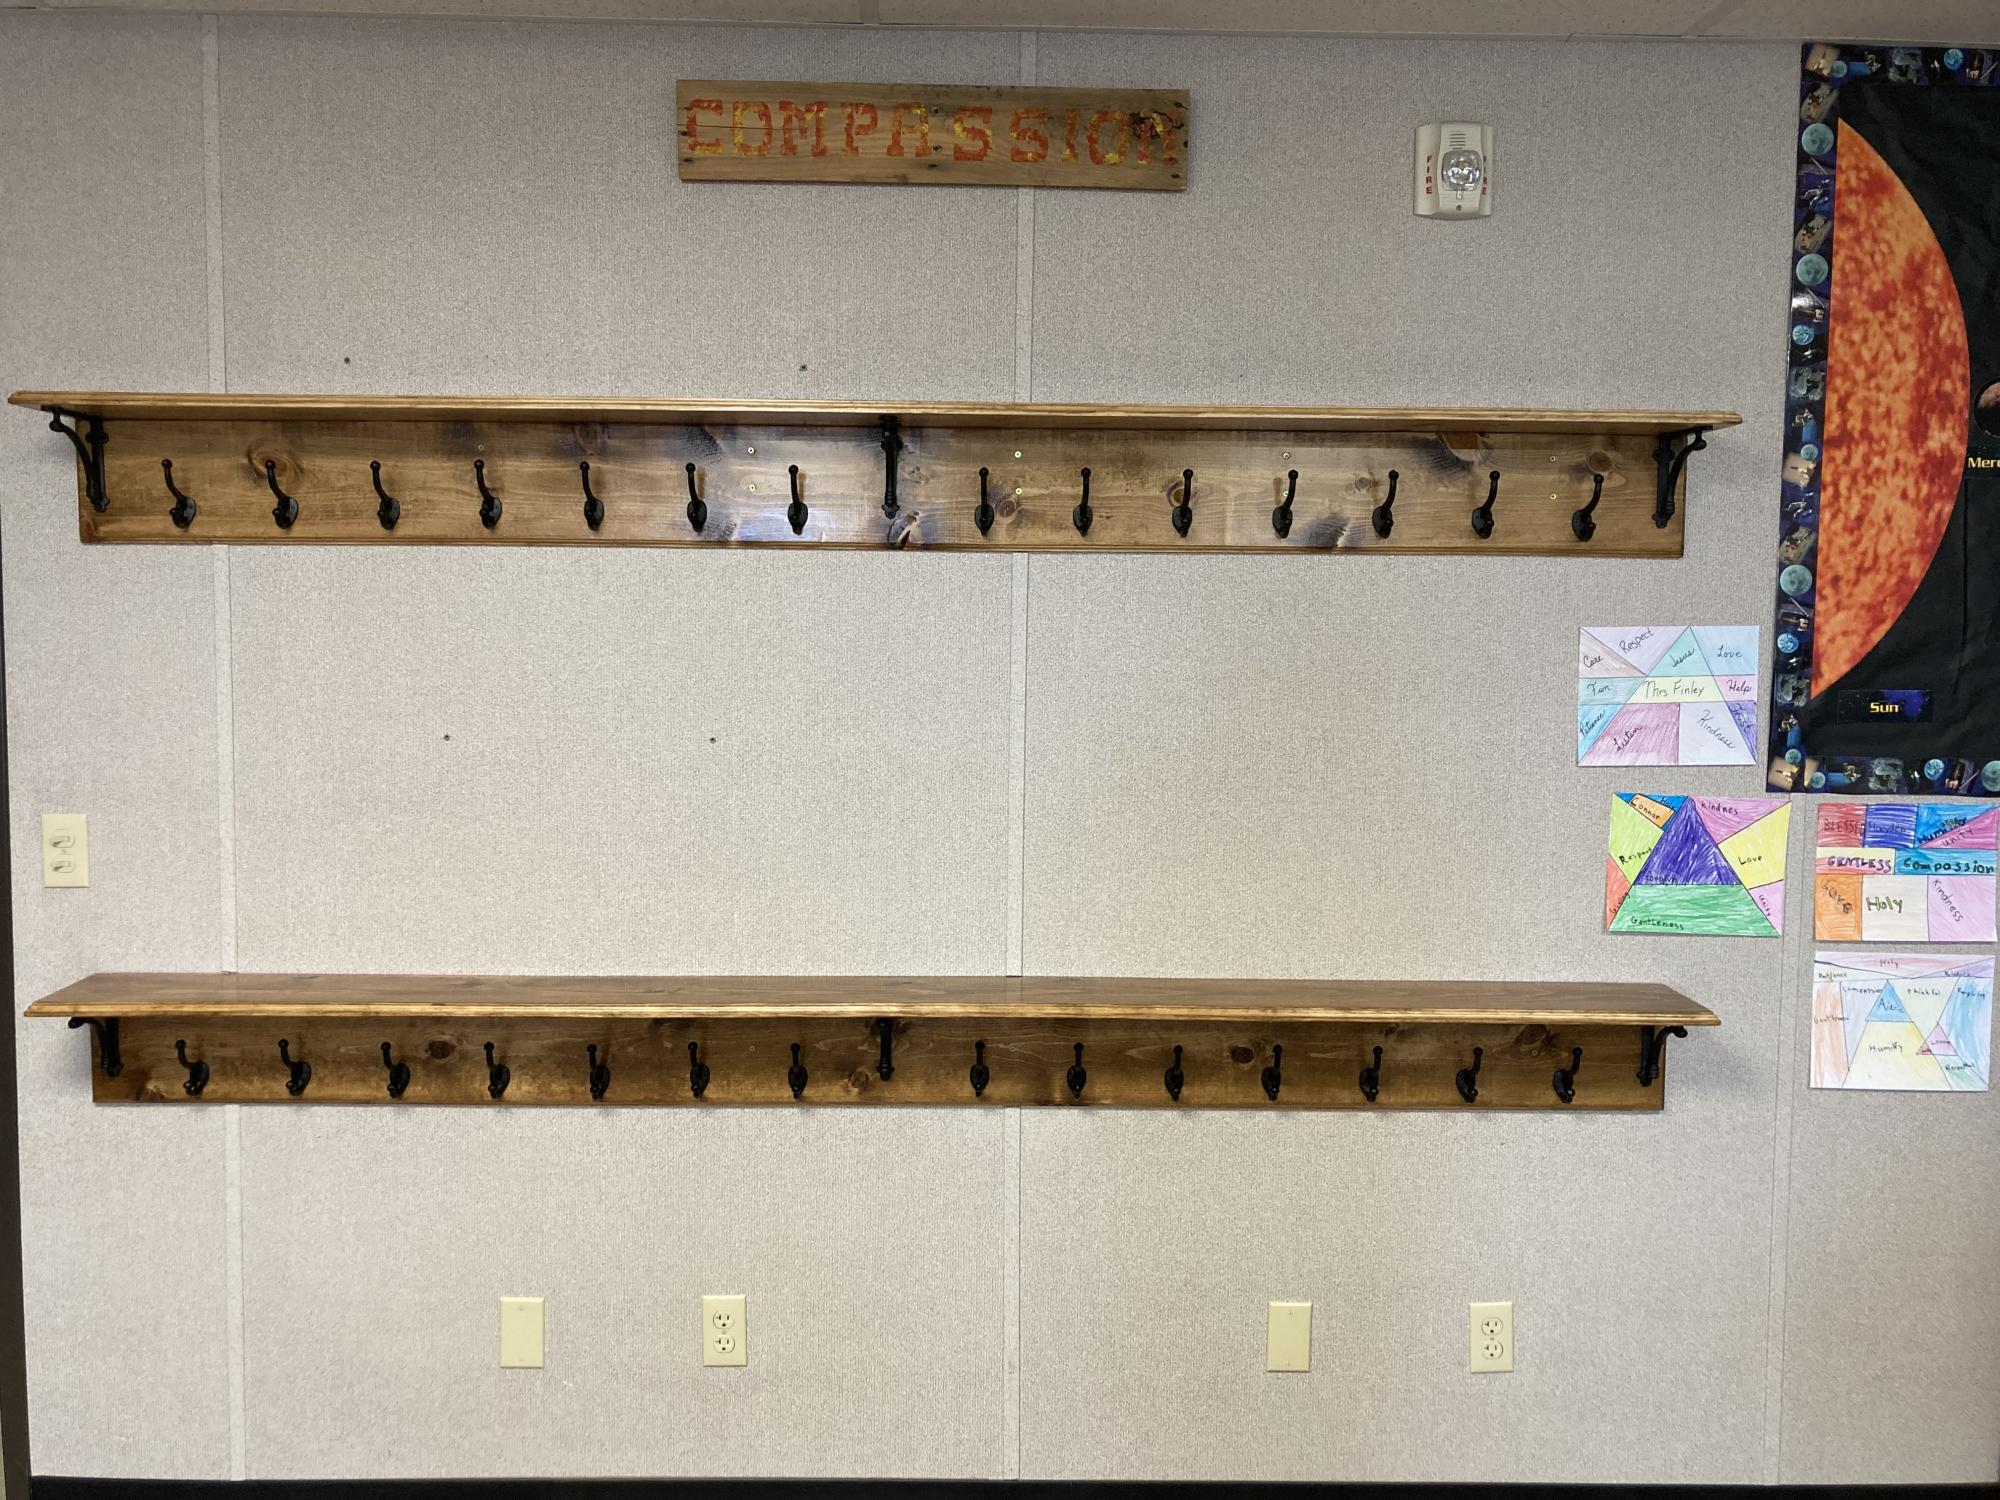
Classroom wall coat/backpack/lunch rack with shelf

Submitted by jendon on Sat, 08/20/2022 - 20:13

Dear Ana,
I was able to change classrooms and needed a place for my students to hang their backpack, lunch, coat, and snow gear. I used a combination of your ideas and created this. Each shelf is 8ft. Long with cast iron supports and coat hooks. The zinc hooks were too thin and we could bend them. The wood was sanded, stained with golden oak, and routed out the edges. I pocket holed every 8 inches and joined wall board to the shelf. The coat hooks are 6 inches apart. I cannot wait for the class to see it on Monday. Thank you Ana for all the ideas and making me feel comfortable to create on my own.
Blessings,
Jennifer

Comments

Ana White Admin

Sat, 08/20/2022 - 21:01

Thank you for sharing your projects, no doubt everybody is going to appreciate what you've built and use it everyday!

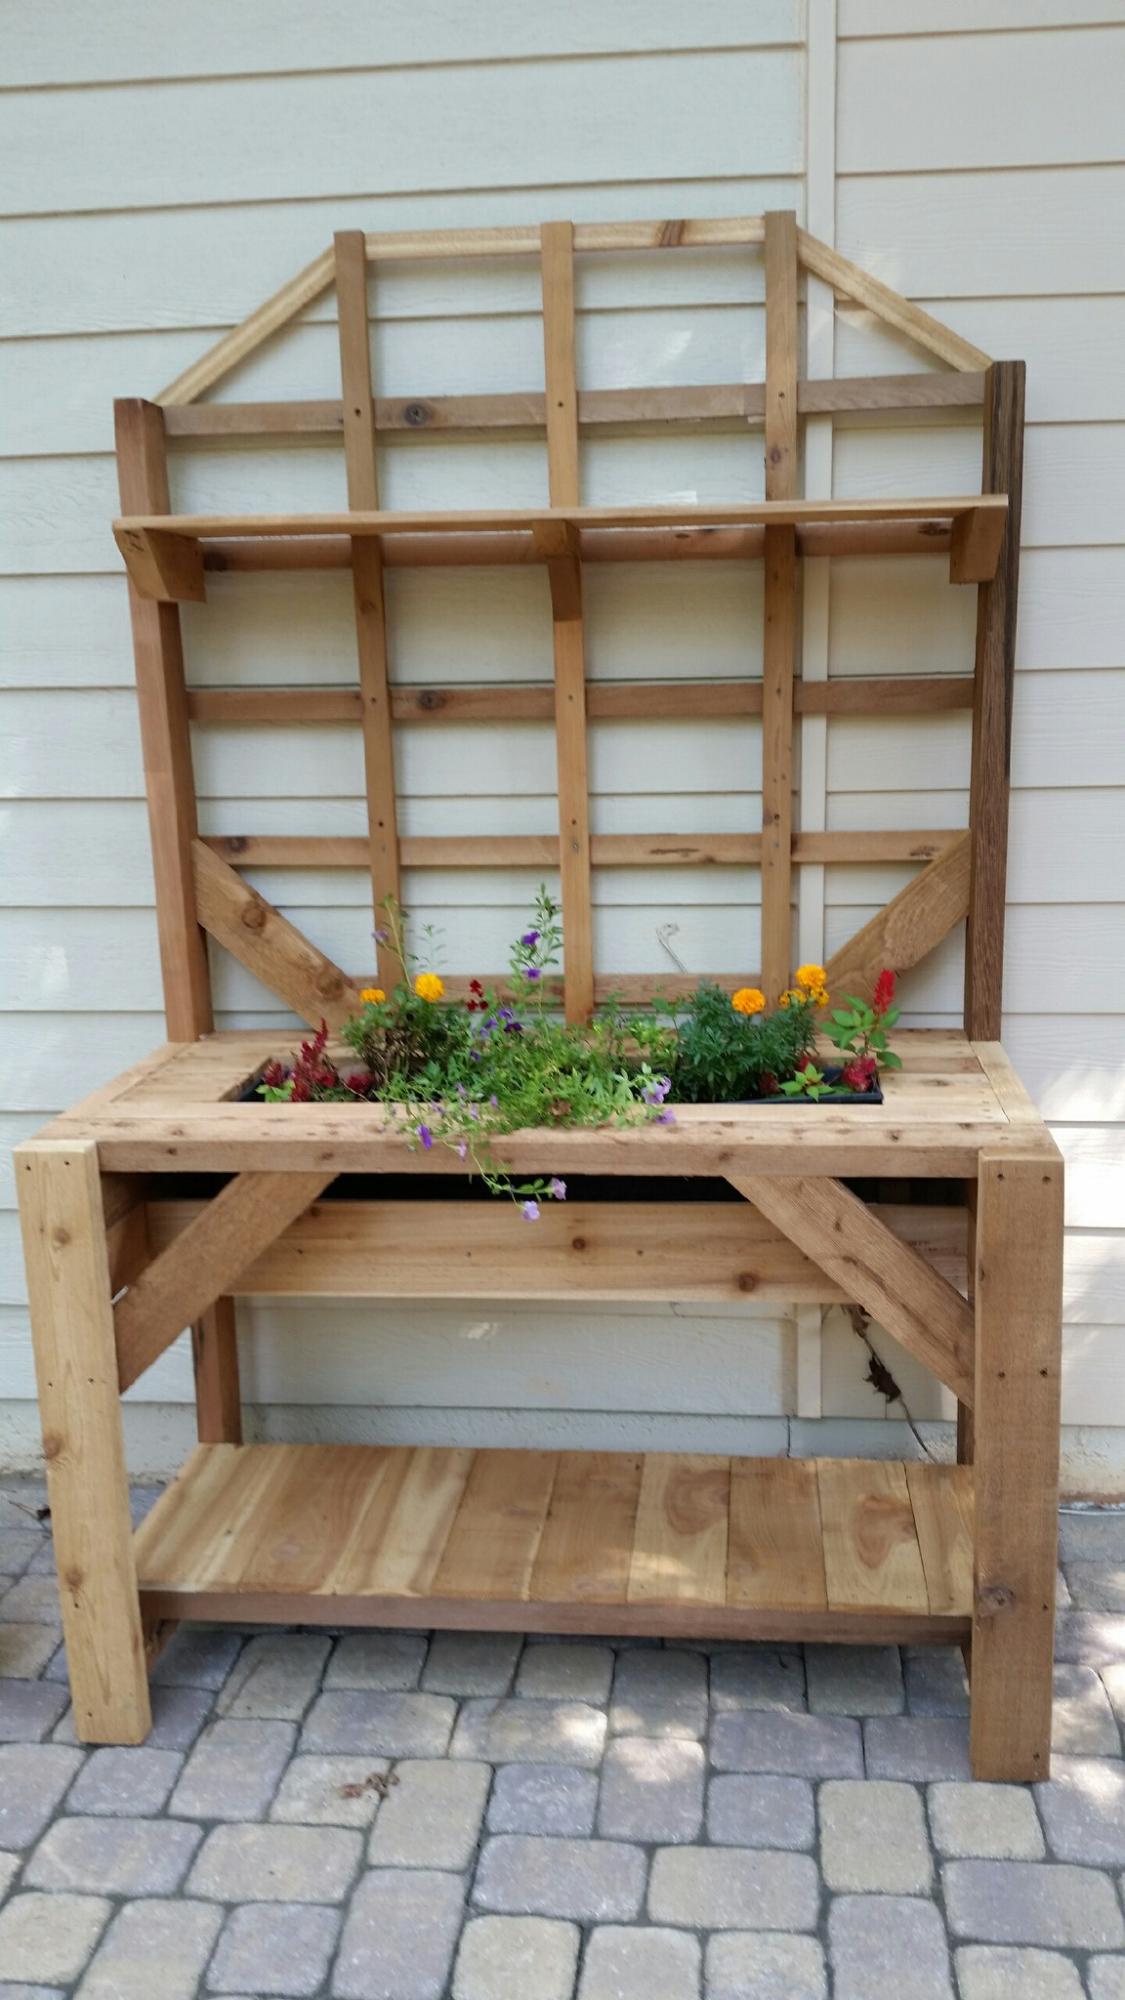
Cedar potting bench

Submitted by Anonymous (not verified) on Fri, 09/02/2022 - 06:10

Cedar 4x4 and 2x4 frame, cedar fence wickets for the rest. Added - built around- a plastic planter box from big box store. Untreated, but good for covered outdoor area I think.

Comments

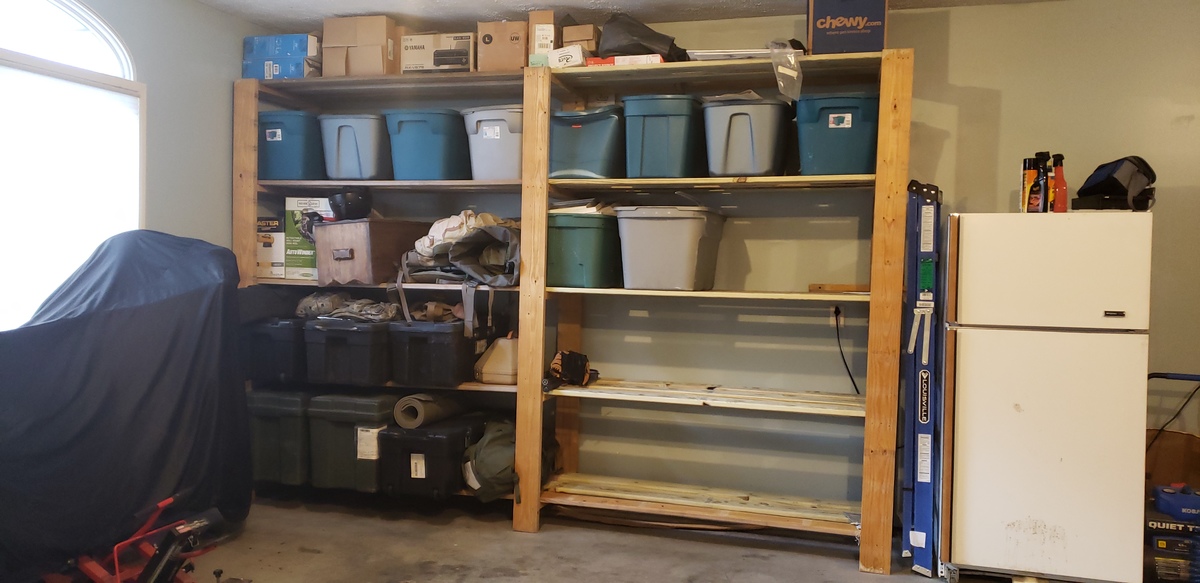
Heavy Duty, from reclaimed deck boards!

Submitted by Anonymous (not verified) on Sat, 12/29/2018 - 12:31

Heavy Duty, from reclaimed deck boards!

Especially with having to store active military gear, the huge gorilla trunks, and conveniently having a huge pile of 2x6's from disassembling a small deck . . Worked out perfectly!

Also, because they are heavy and tall, we did anchor them to the wall!

(I personally want to figure out how to add a sliding ladder, haha)

Estimated Time Investment
Afternoon Project (3-6 Hours)
Finish Used
None, pressurized deck boards
Recommended Skill Level
Beginner

Kitchen Helper

Submitted by 67GTOenvy on Fri, 08/19/2011 - 10:12

The kitchen helper tower was a fast and easy build, the modification of 16 hinges to allow the tower to fold flat was actually the most time consuming part of the build. I added clear skateboard grip tape to the platform floor. I found the hinges and griptape on ebay and most of the wood was scrap leftover from other projects.

Built from Plan(s)
Estimated Cost
$45
Estimated Time Investment
Weekend Project (10-20 Hours)
Finish Used
"Classic Red" spray paint & spray laquer for the tower frame, I stamped flowers & bugs on the platform under the griptape & clear laquered the bare sides & underside.
Recommended Skill Level
Starter Project

Comments

Guest (not verified)

Mon, 02/27/2012 - 08:52

First off, your website is awesome and I love how you give such great directions. However, on everything I pull up all this information is on it. On this one it is not, can you help me? I really want to build this for my daughter.

Thanks so much.

Stacey

Amy Patterson

Mon, 11/30/2015 - 16:48

How did you build it so it can be folded up?.  Would you explain it or post a picture?

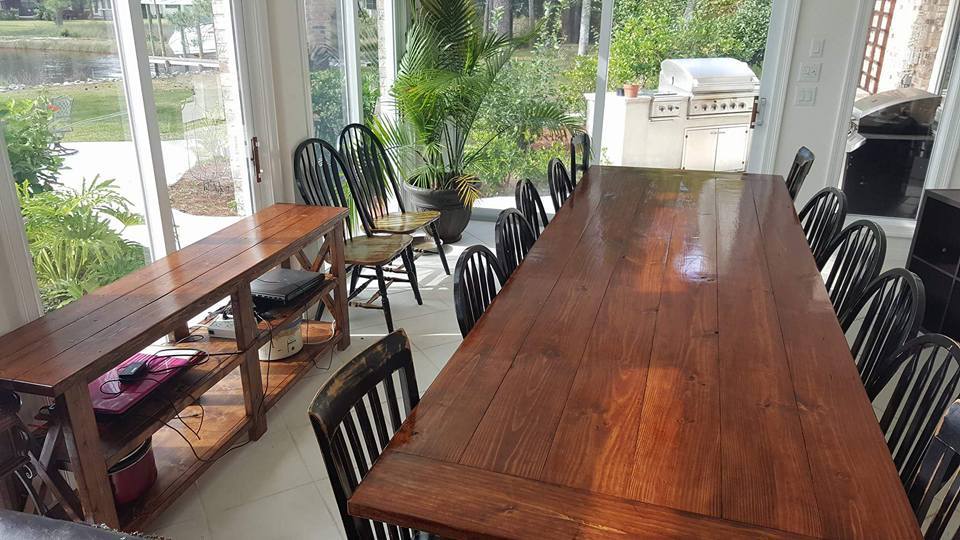
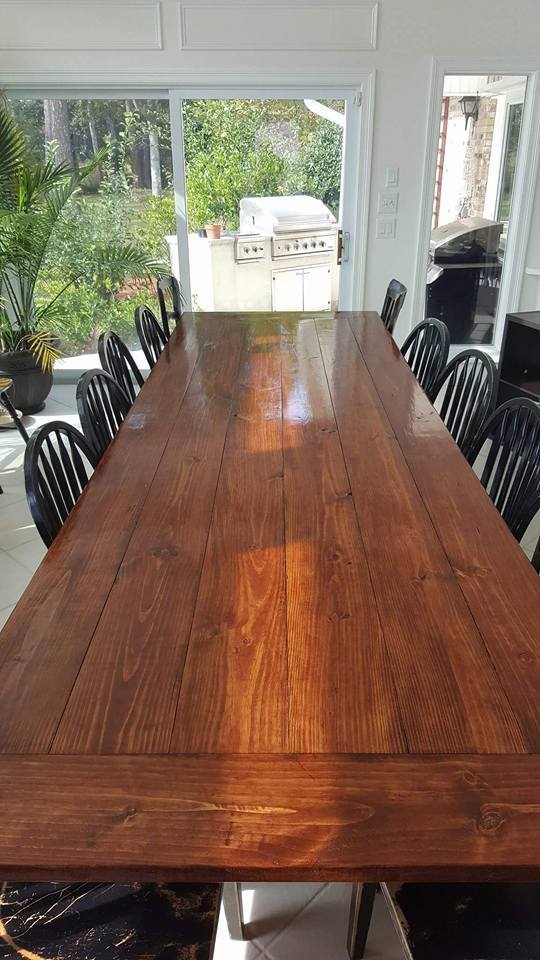
LARGE FARMHOUSE TABLE

Submitted by mdbennes on Mon, 11/23/2015 - 09:25

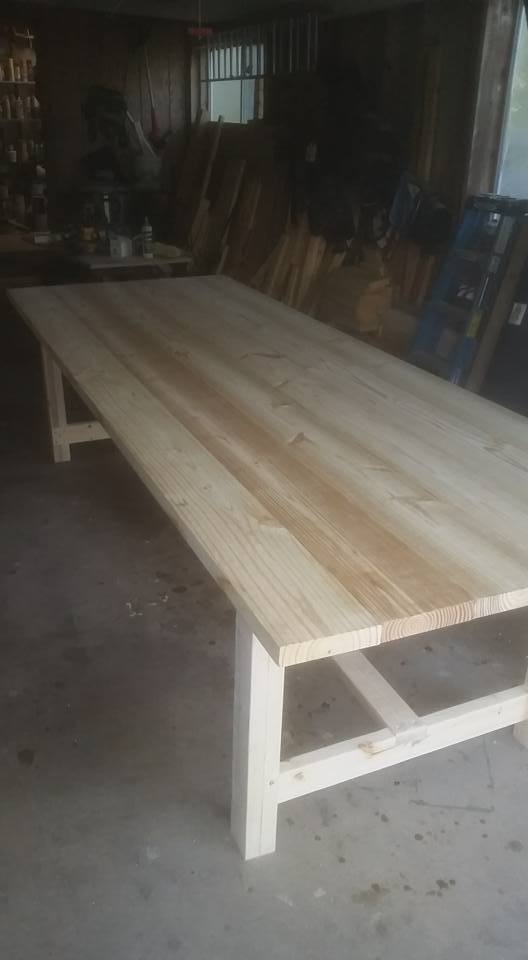
I used Ana's plans for this project, but had to deviate since I built it for a friend who needed a table for 14!!  This thing is huge, 12 feet long, and about 44 inches wide.  I made it out of pine, 2x8s for the top but stuck to the plans for the frame.  It weighs about 200lbs or more, and had to move it with 4 guys...used an enclosed trailer to move it from my house to theirs. They love it so that's all that counts!  Oh ya, in the picture, you will see Ana's rustic X console table too! 

Estimated Cost
$150
Estimated Time Investment
Weekend Project (10-20 Hours)
Finish Used
Minwax English Chestnut stain, then a GLOSS polyurethane
Recommended Skill Level
Beginner

Reading Nook turned Tent!

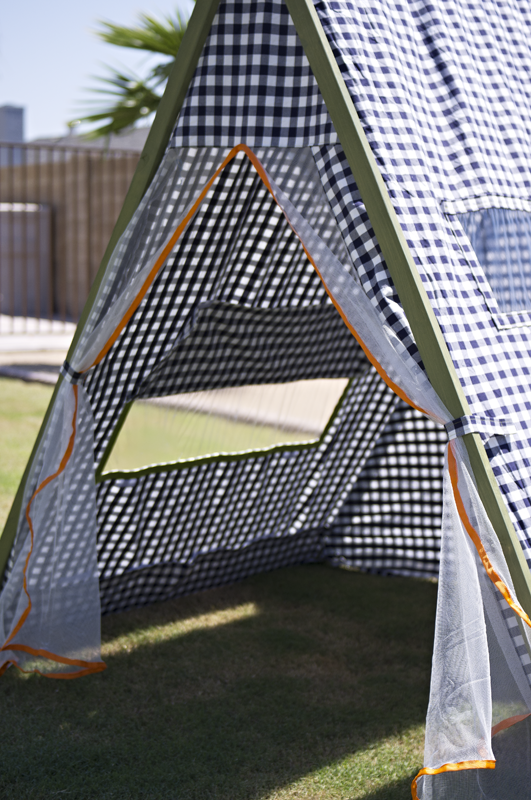
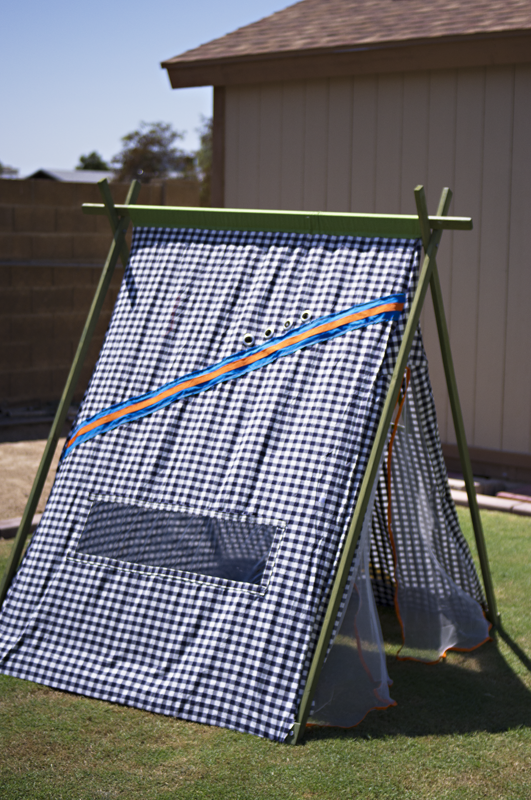
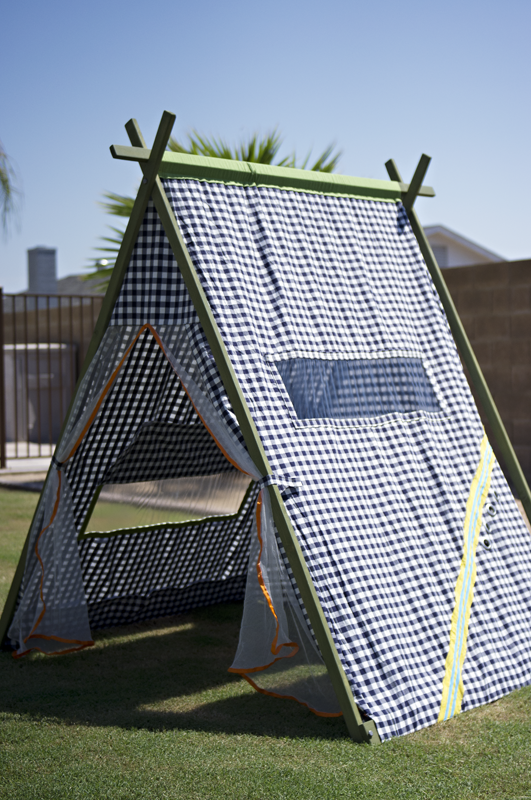
I made this for my boy who's turning four tomorrow! (Sep 1st) He loves building forts and I don't mind rearranging the furniture, but set up and clean up is so time consuming, we'd both rather spend more time playing. This is an indoor tent, but I took it outside for pictures. Aside from the obvious difference of adding doors and a back, the changes I made from the original plans are: using an 8 foot 1x3 so the tent is 4 feet deep instead of 3. Instead of stapling the fabric on the 1x3s at the bottom, I wrapped the fabric around and used velcro so I could remove it for washing. I sewed a tube of fabric and attached it at the top to make removal easier. Time Investment is so long because of the sewing involved for the tent. If you have an Ikea near you, they've got this stuff called glaze paint (more of a stain, I think) in all different colors - it doesn't need a top coat (unless you want it shiny), it's solvent free and, are you ready? $6 for 12.something ounces, MORE than enough for this project. To make it even easier if you're using fabric instead of curtains like me and you've got the room, cut a 8ft 1x3 in half so you've got two 4ft pieces. Most quilting cotton at fabric stores is 44-45 inches wide selvedge to selvedge (the ends that don't fray) and if you follow the plan according to where to drill for the top bolt, you'll need 4-4.25 yards of fabric, depending on whether you are going to use velcro or staple. I would use 4.25 if using velcro, the fabric can go right over the top bar and over the other side if you don't want to sew a tube like I did. If you don't want to sew at all, use iron-on hem tape on the cut edges and iron on velcro. Make sure of placement of the velcro before ironing on. More pictures on my blog =)
Built from Plan(s)
Estimated Cost
$50 - wood, bolts, stain, material for tent (everything)
Estimated Time Investment
Weekend Project (10-20 Hours)
Finish Used
Green Ikea glaze paint
Recommended Skill Level
Intermediate

Comments

Shiplap Fireplace

Submitted by Anonymous (not verified) on Tue, 12/20/2022 - 19:10

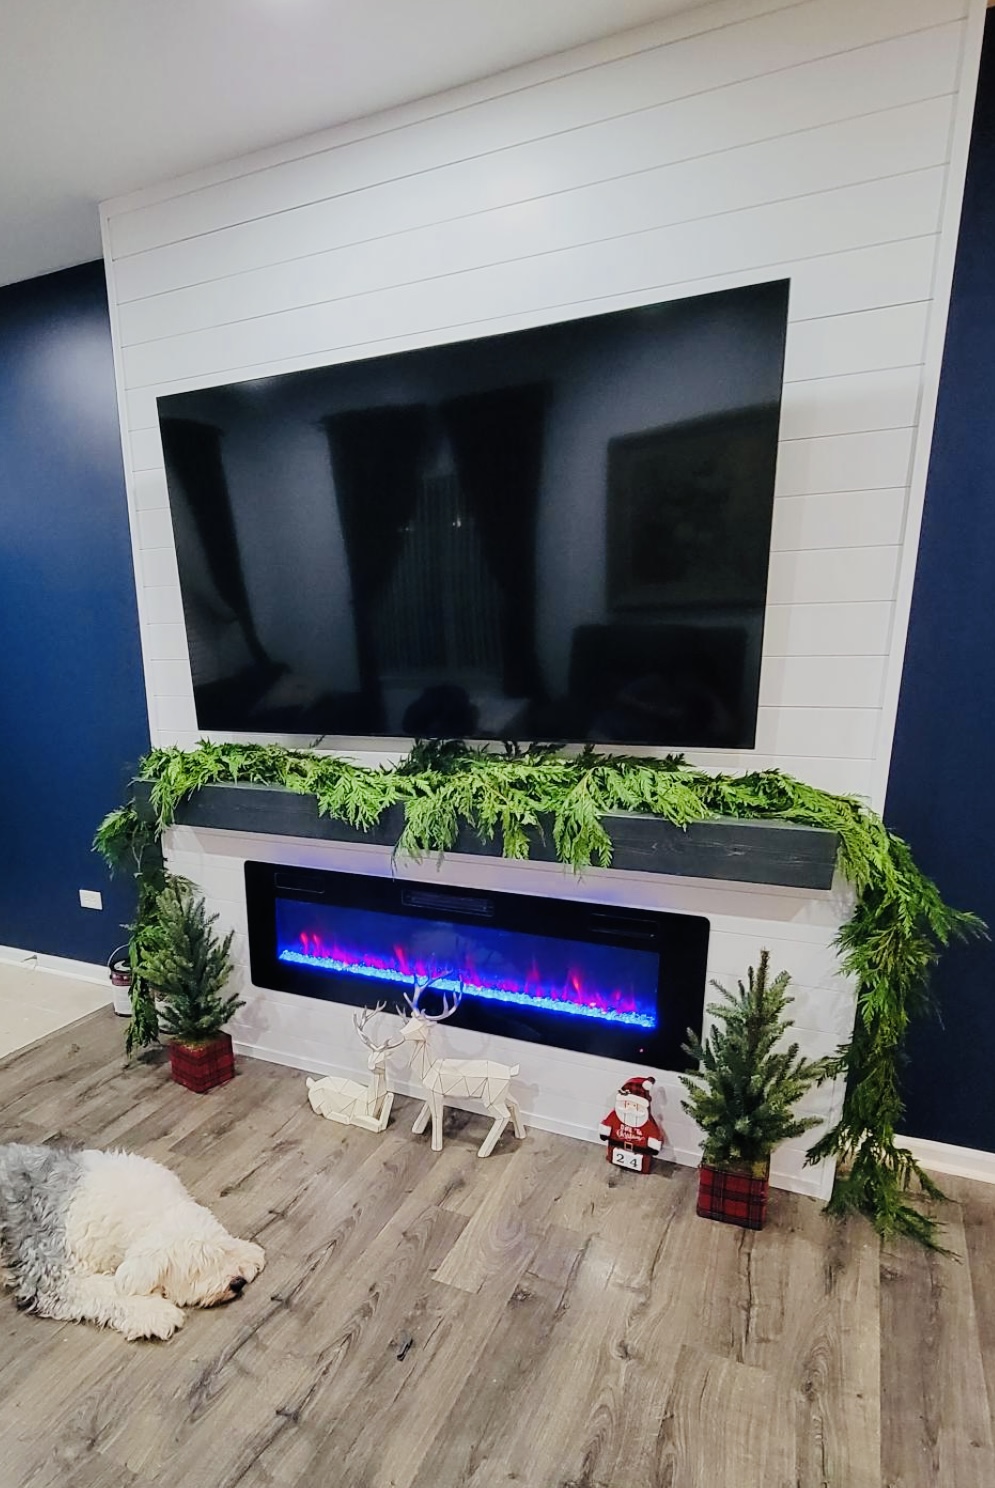
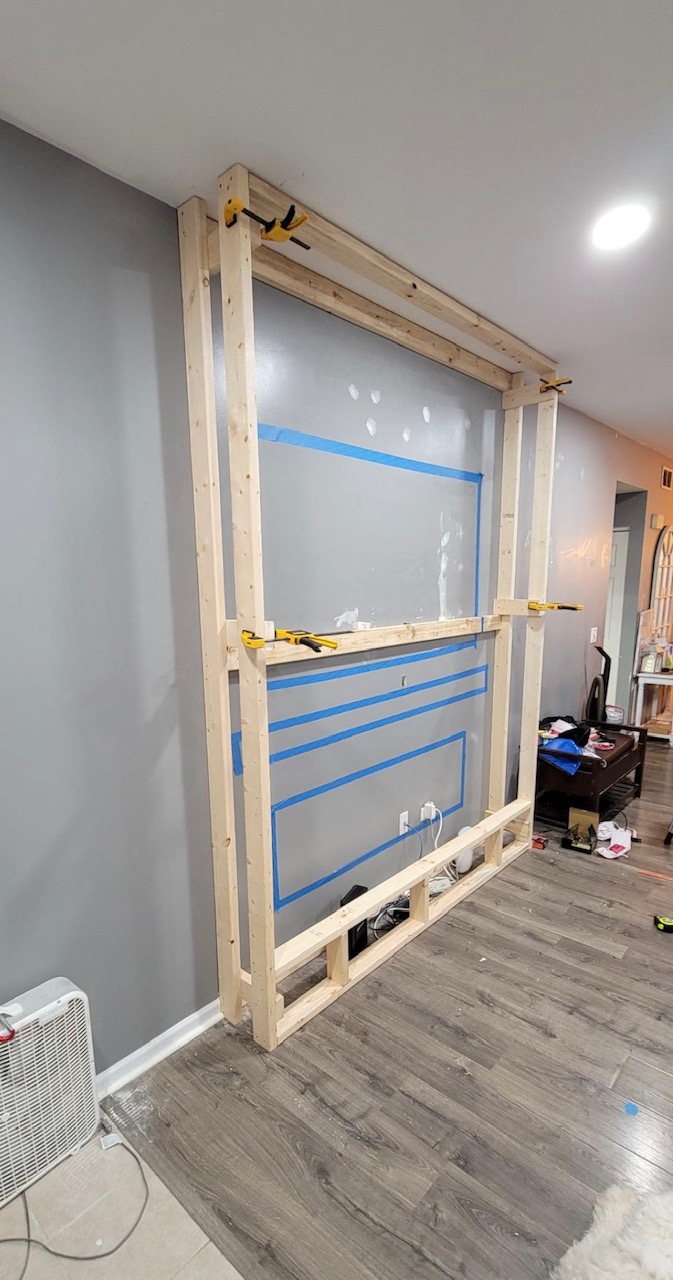
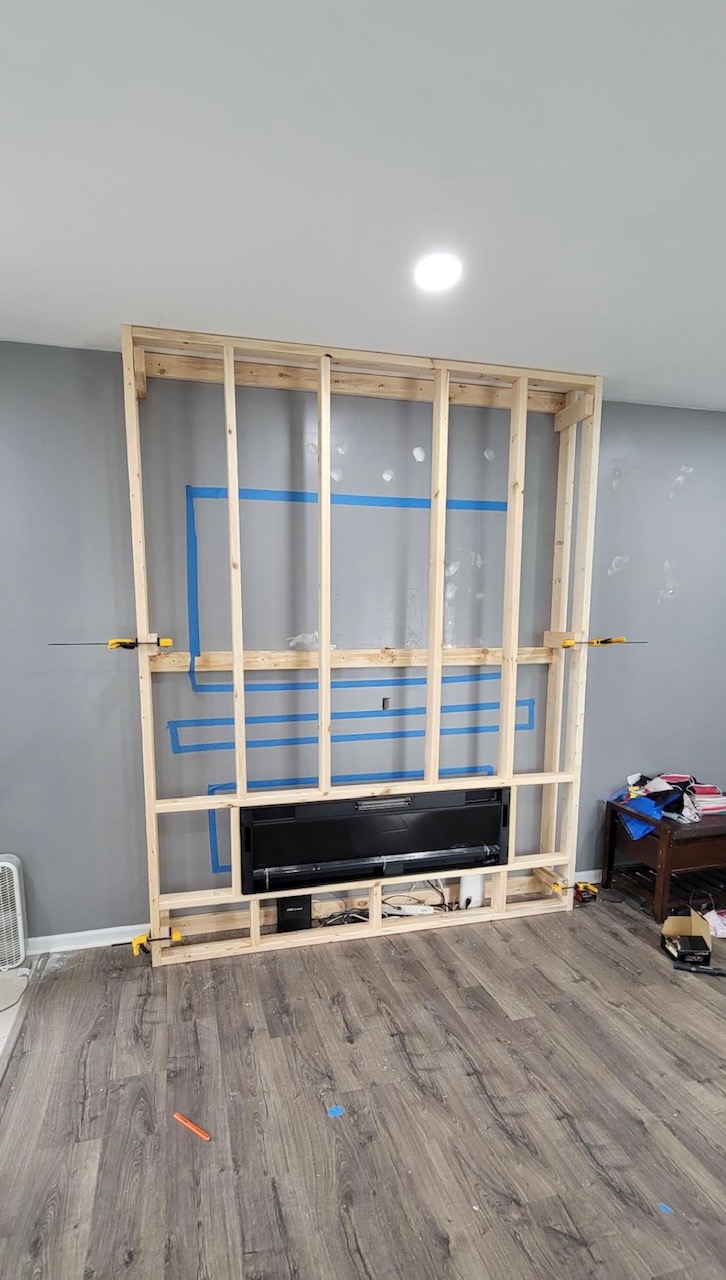
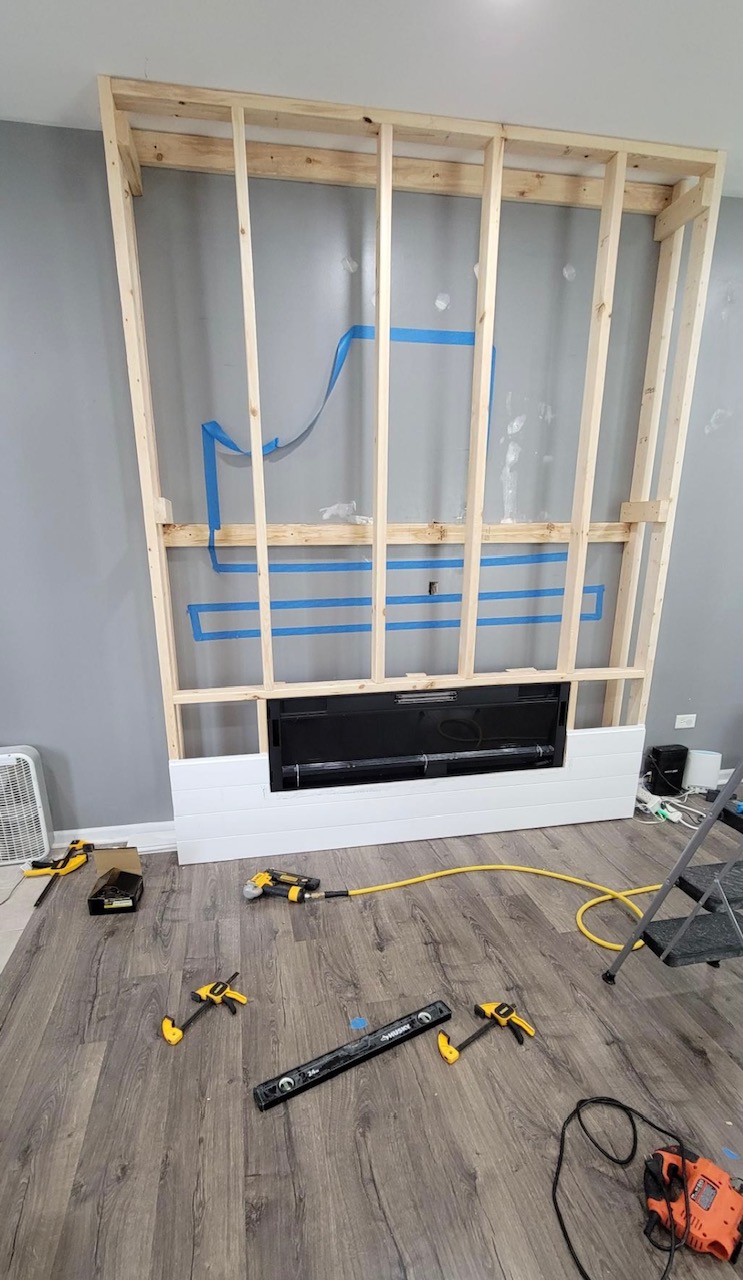
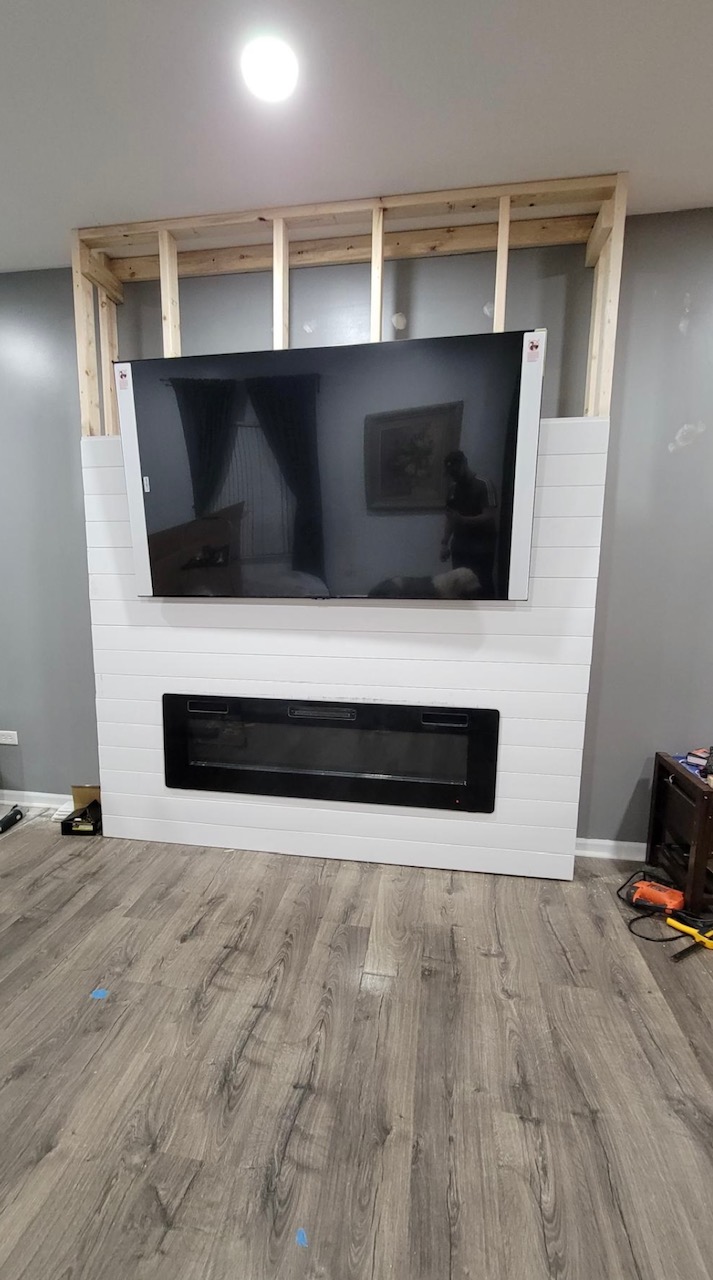
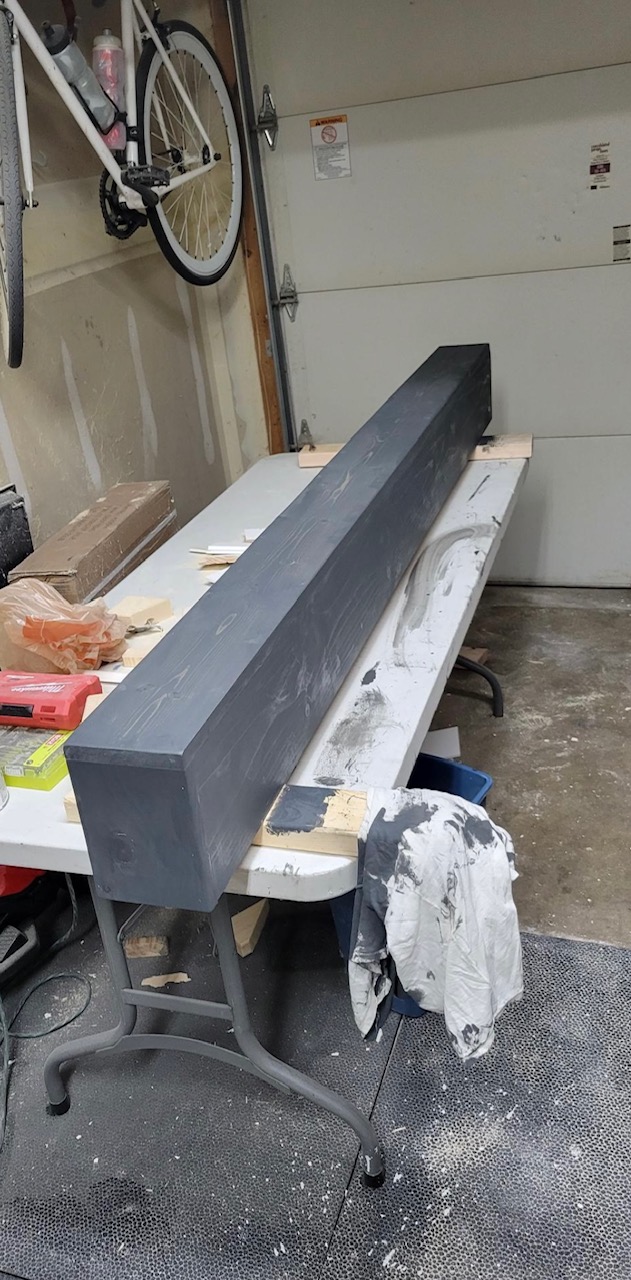
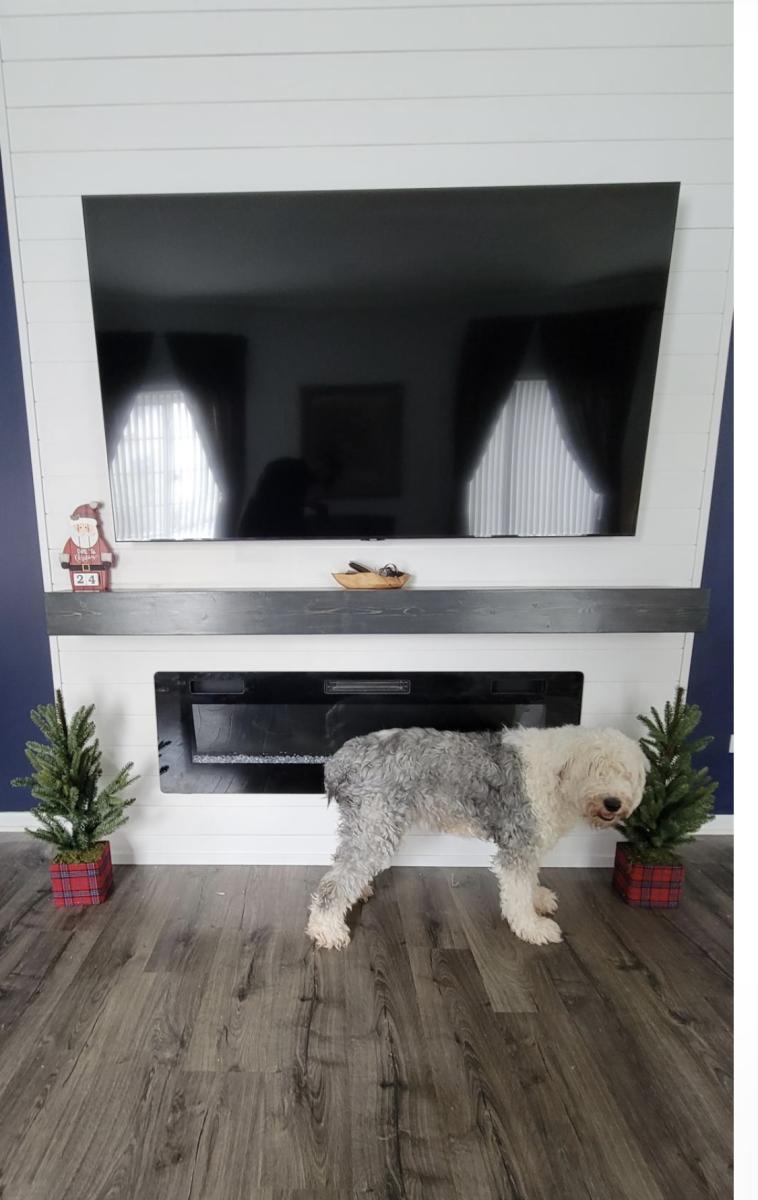
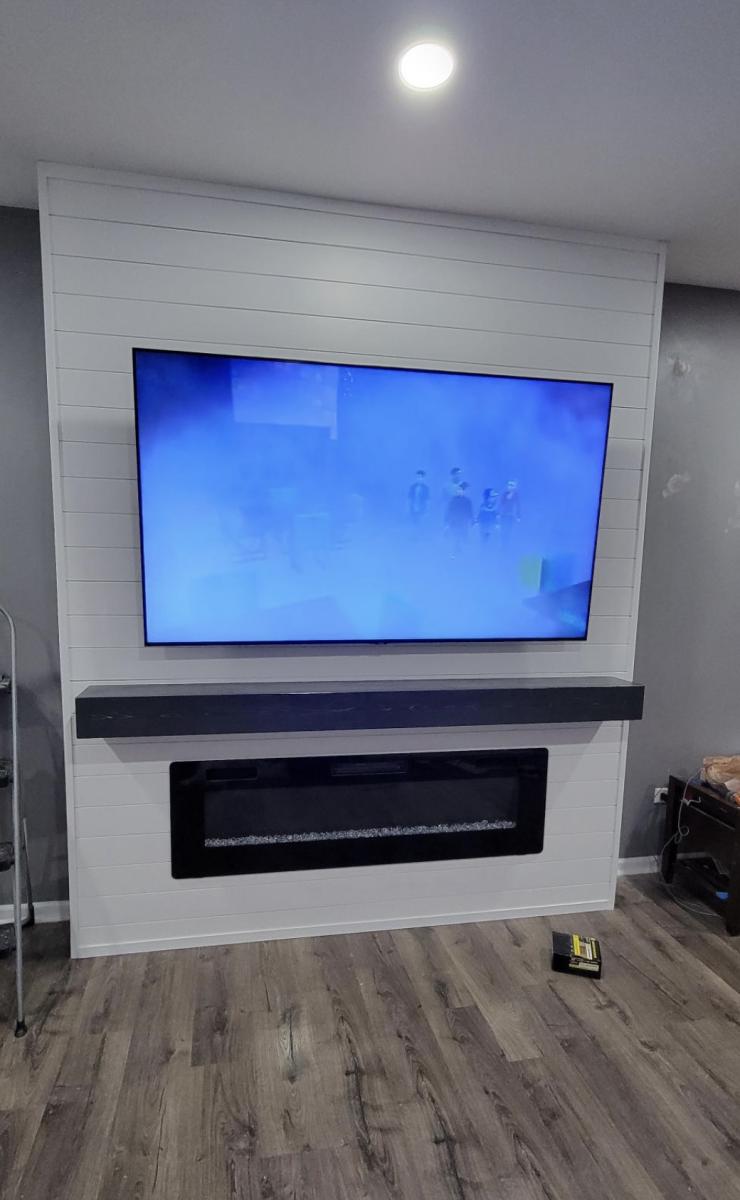
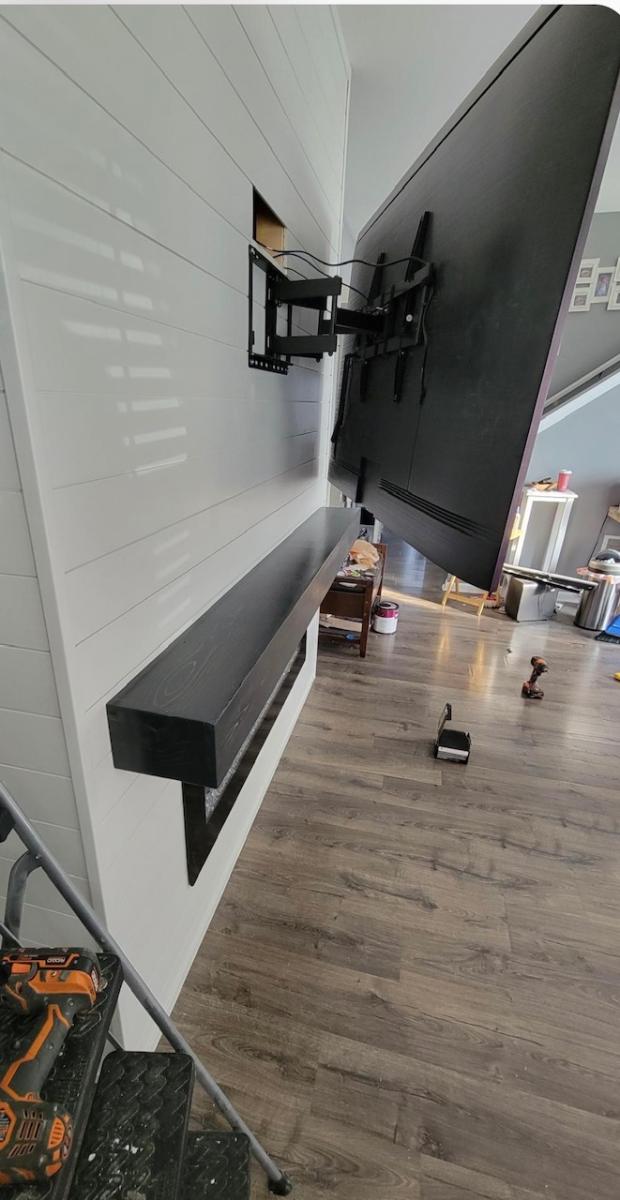
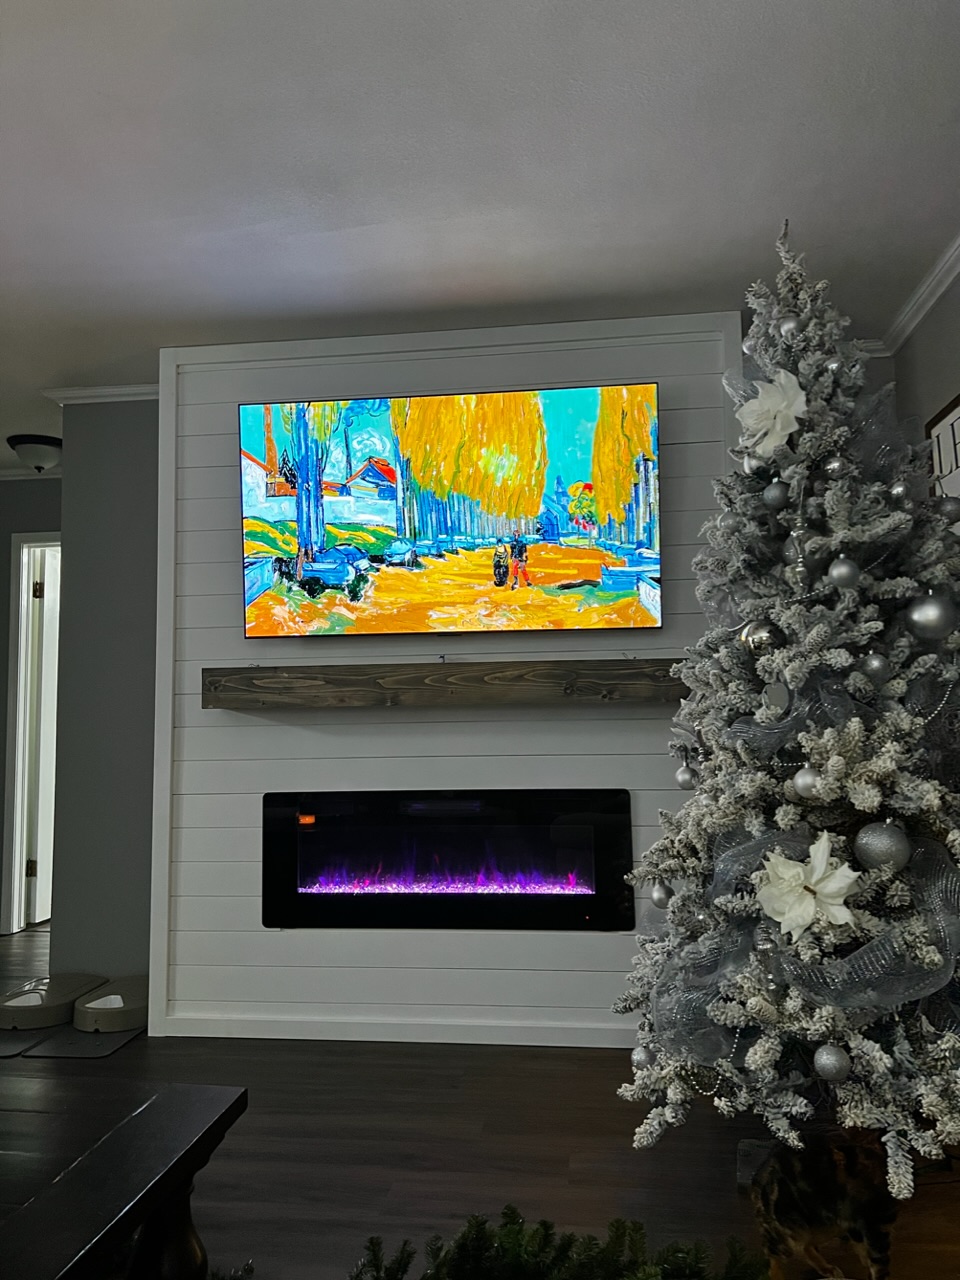
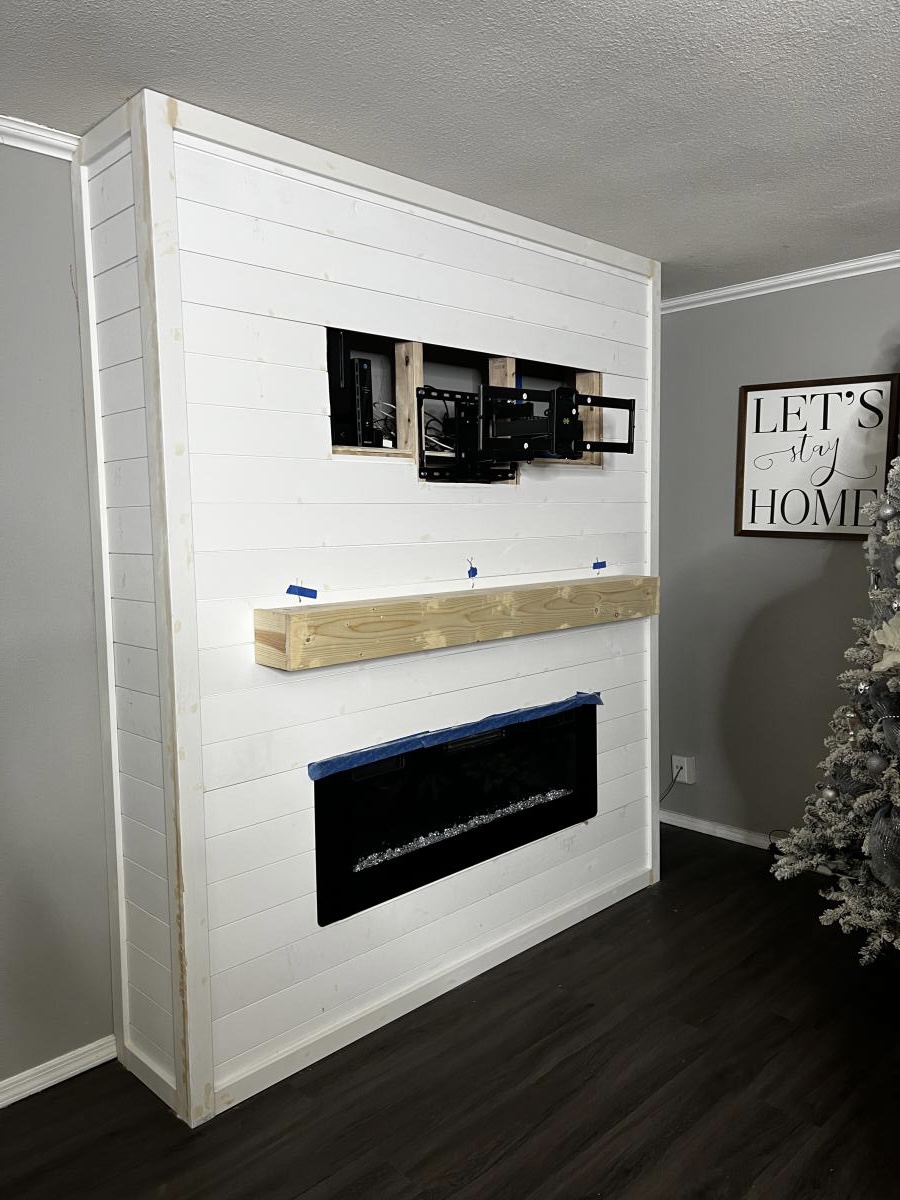
We did the Easiest Shiplap Fireplace in a weekend, thanks to Ana’s plans. I convinced my husband to help me build this by upgrading to a 65” tv and adjusting the dimensions. We also built a shelf behind the tv to hold our receiver and Xbox that is hidden when the tv is in place. Ana’s tutorial was amazingly and gave us the confidence to finally build something that’s been on our list for 2 years!

Comments

Small Garage Workbench

Submitted by dmozer74 on Fri, 12/18/2015 - 21:17

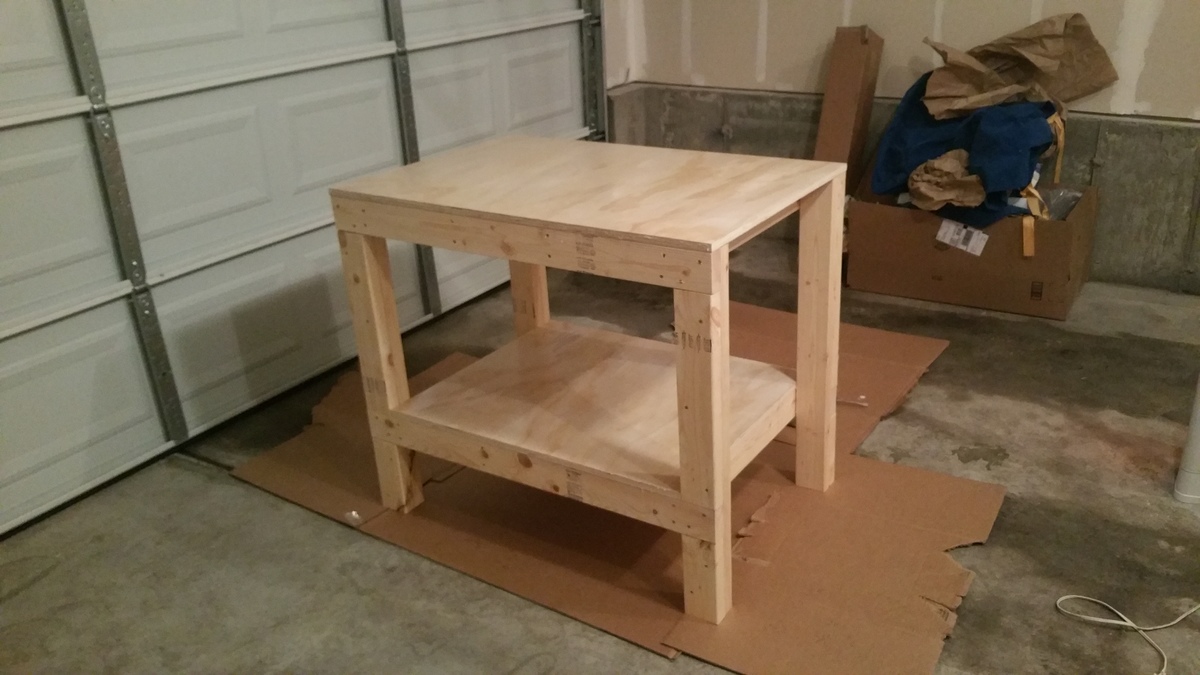
Easy project. I needed this bench a bit smaller due to space constraints so this is 28" x 42". I kept the height the same and finished the surfaces with some thick polyurethane. It should be noted my cost was a bit higher due to buying a sanded plywood, coated self-tapping screws and a more expensive polyurethane. I also went a bit slow on this project and it took about 2.5 hours including application of the single coat of poly.

Estimated Cost
$75
Estimated Time Investment
An Hour or Two (0-2 Hours)
Finish Used
Satin polyurethane.
Recommended Skill Level
Beginner

Comments

Chestwick Bed

Submitted by thairese on Sun, 10/20/2013 - 18:44

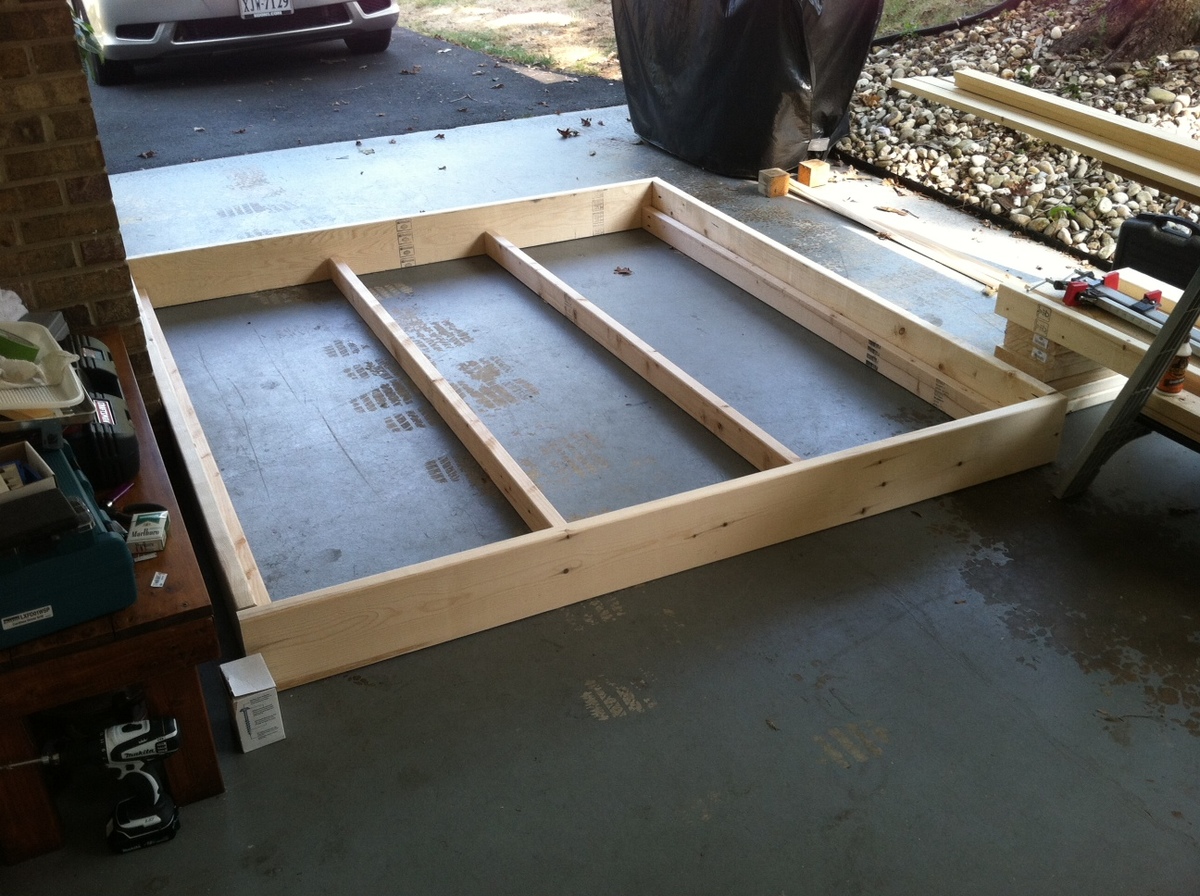
Changed the dimensions to fit a King size bed. Also lowered the 2x4 support studs so that they were flush with the bottom of the frame in order for the bed to sink in more. What should have took only a day was spread out over a week. I'm more Al Bundy than Tim Taylor. NFL break here, NFL break there.. two kids, etc etc. Anyways, I rushed the moulding part because it was Sunday and now I gotta go back and fill in gaps caused by rushed measurements. Still looks pretty good though. Thanks Ana!

-Thai

Estimated Cost
150
Estimated Time Investment
Weekend Project (10-20 Hours)
Finish Used
Martha Stewart Black paint from Home Depot
Recommended Skill Level
Beginner

Electric Fireplace Surround

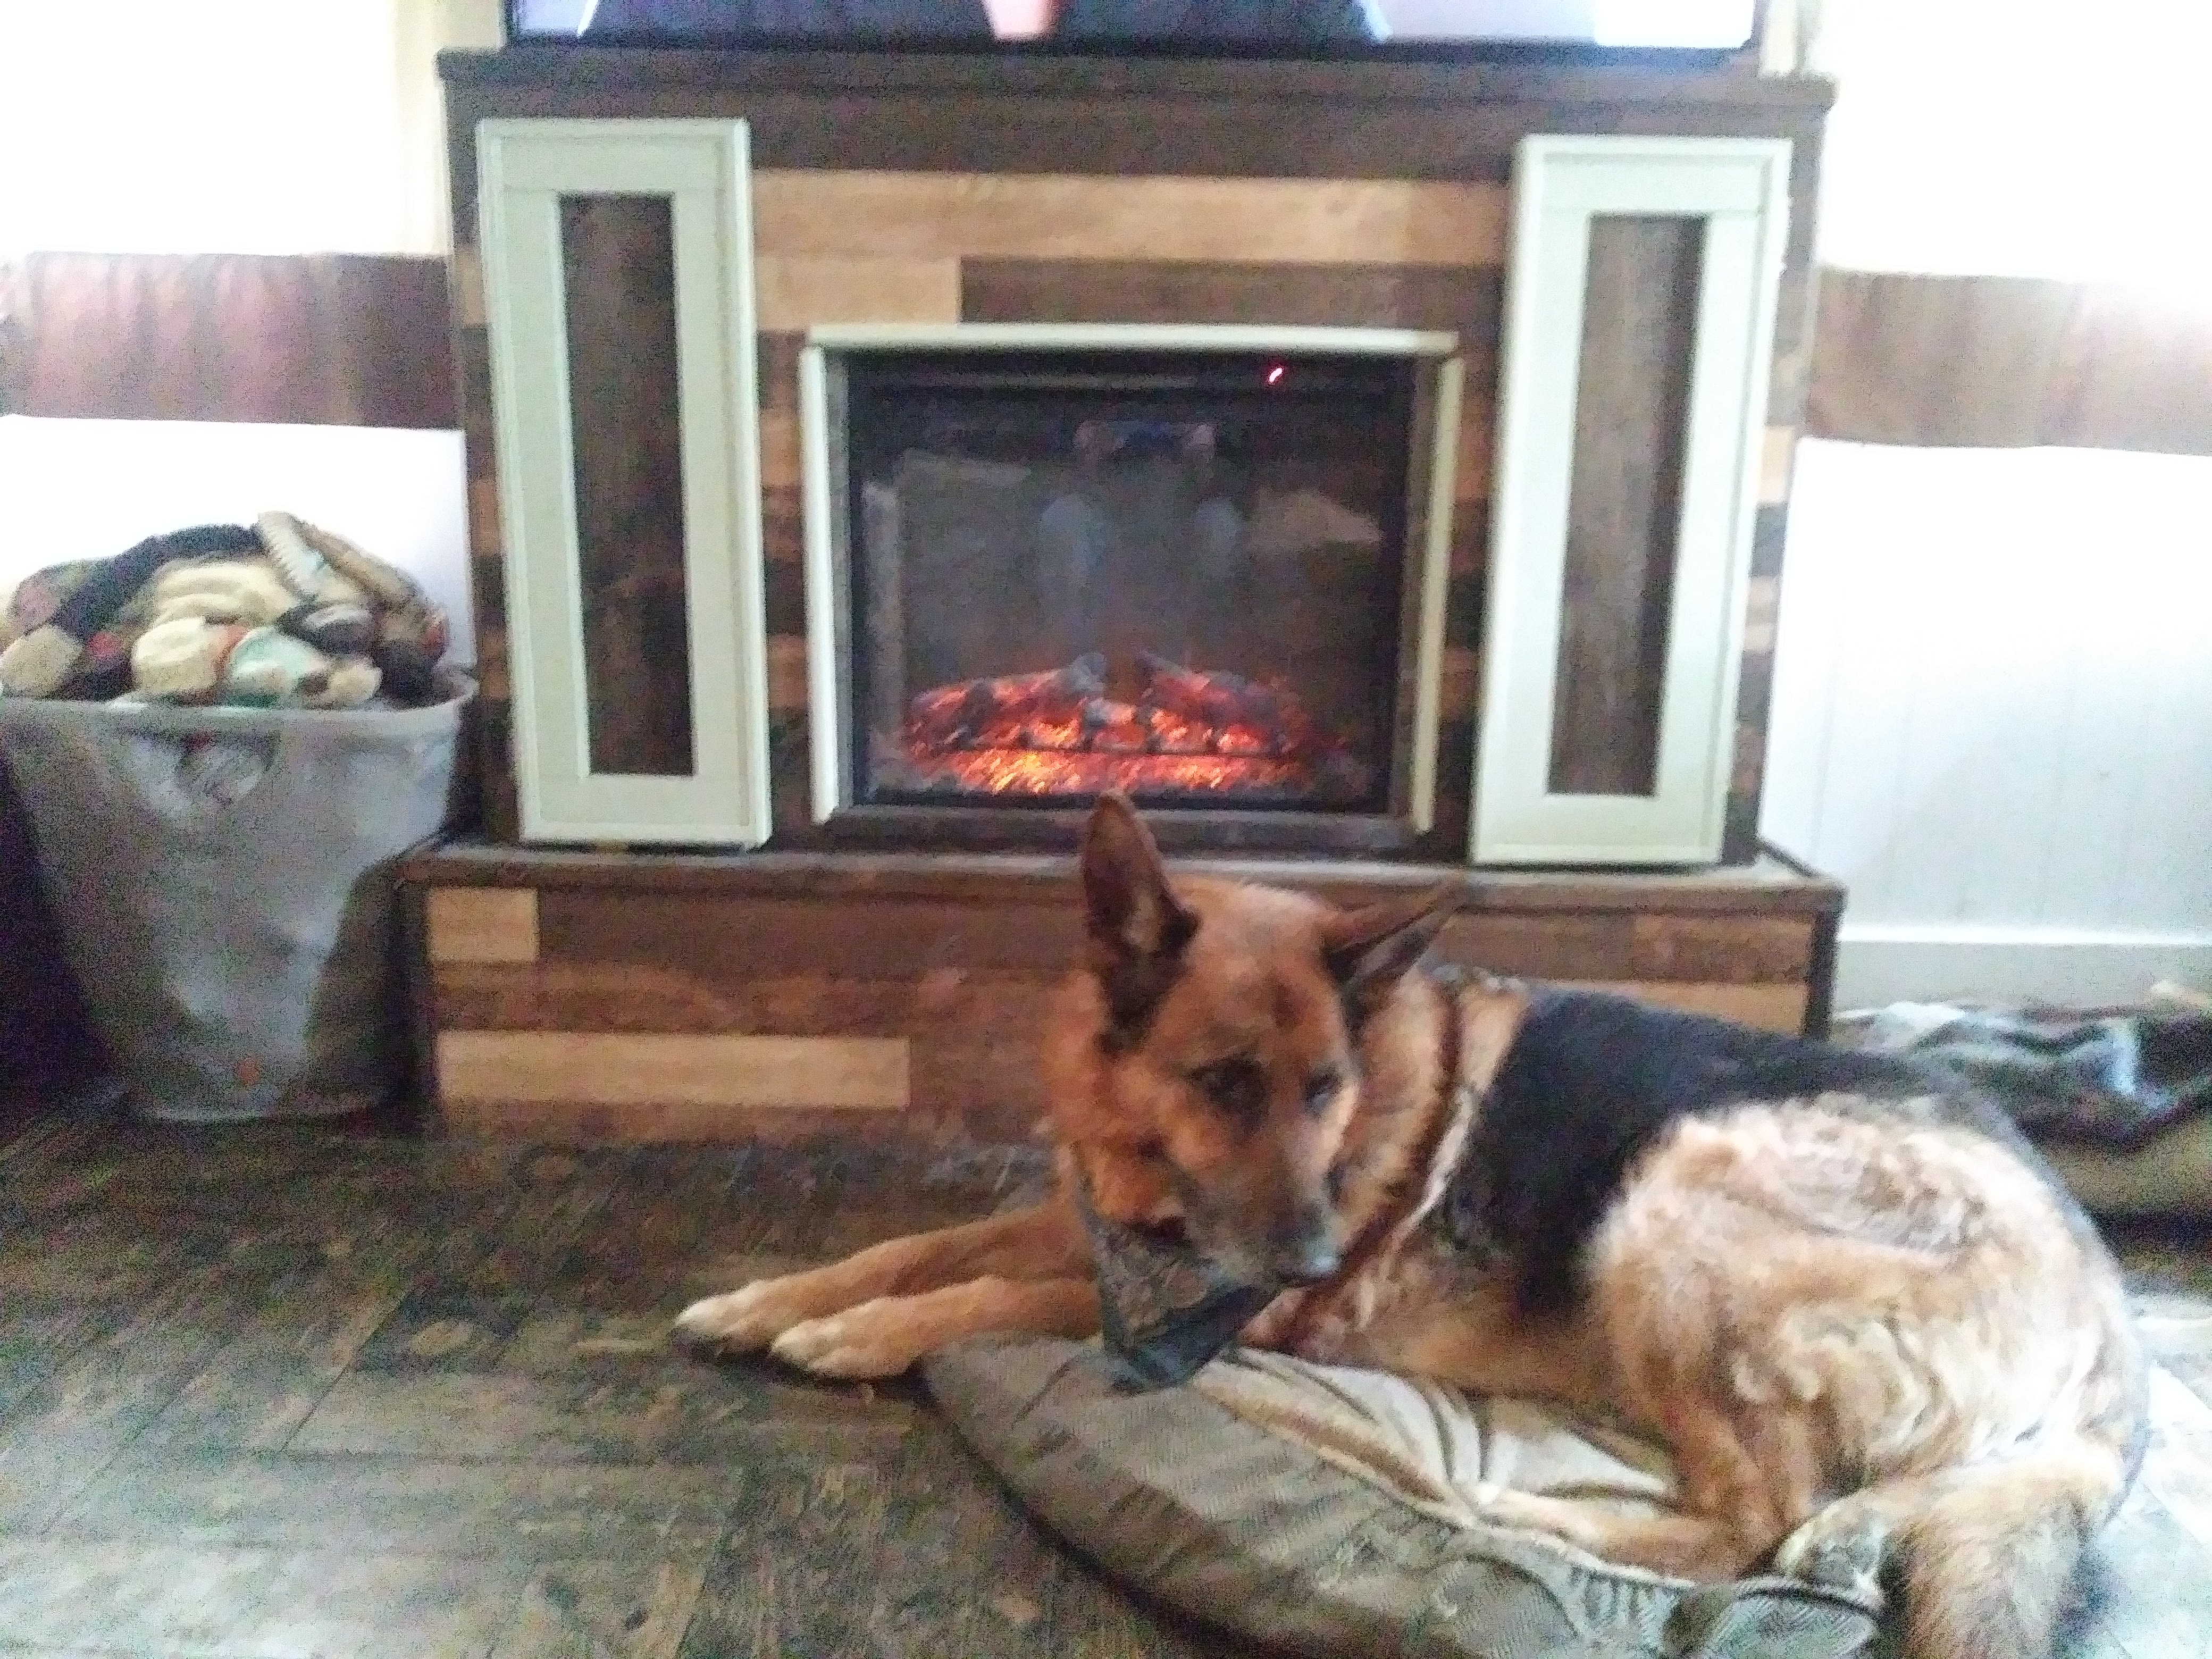
Slowly replacing all of the furniture in my home with things that I build. I used pallets for the structure, maple flooring for the facing, some scrap from shutter doors for the doors, 1×2 for the trim and adhesive tiles from the local ReStore for the top and around the fireplace insert. Perfectly fits a 65" tv. 

Estimated Cost
Less than $25 + the insert that I took from a particle board surround purchased from Menards several years ago.
Estimated Time Investment
Week Long Project (20 Hours or More)
Finish Used
Minwax, variety of stains, Minwax polyurethane.
Recommended Skill Level
Intermediate

My Modern Farmhouse Table

Submitted by samsam06 on Wed, 11/30/2011 - 16:20

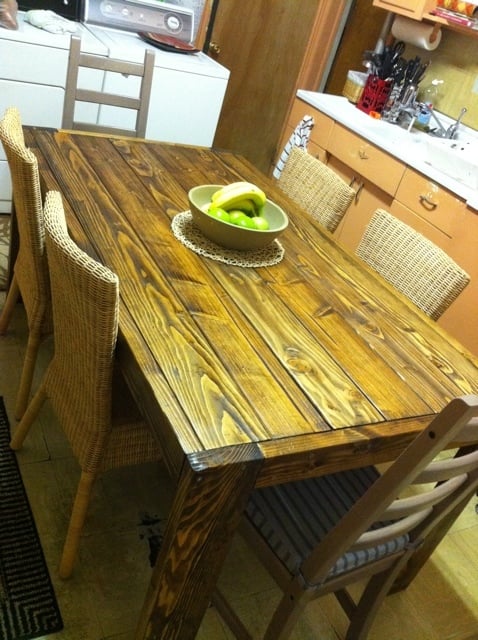
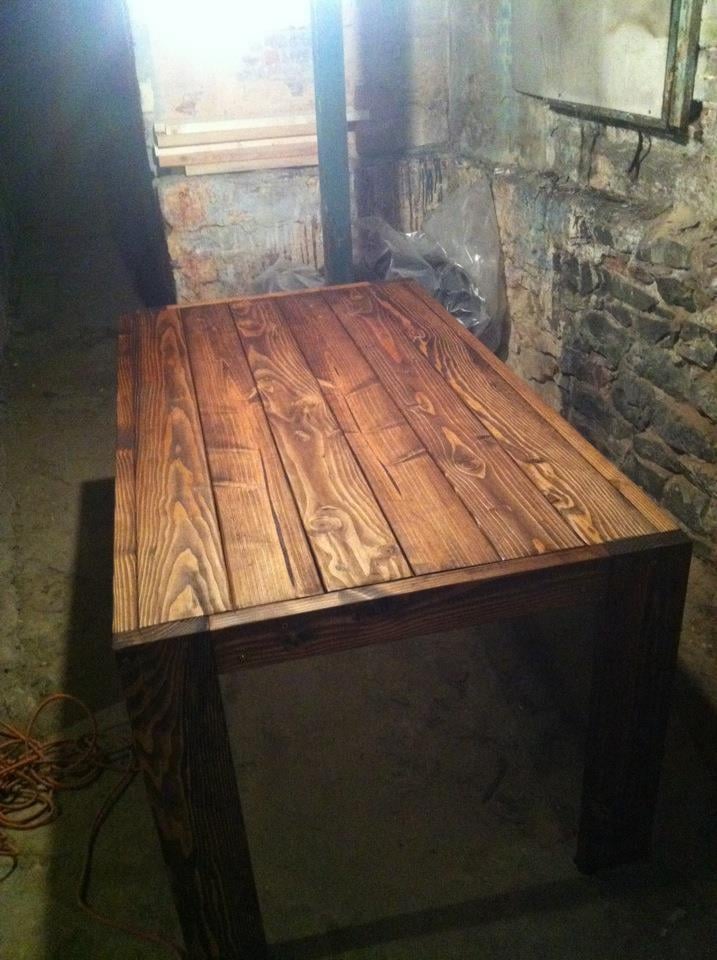
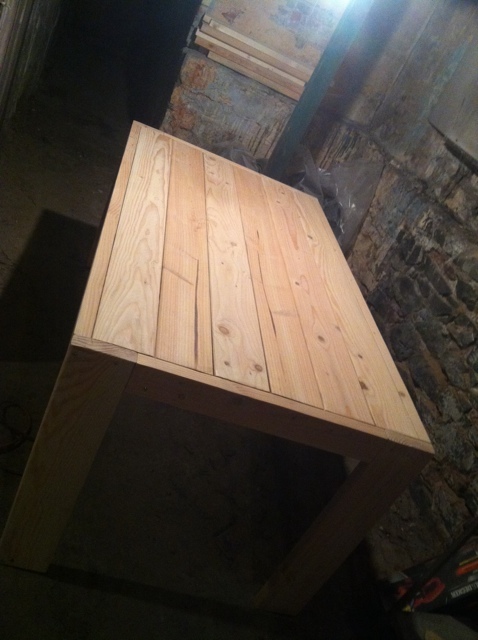
Started on Saturday Afternoon around 5pm and finished building on Sunday, sanding on Monday, stain and poly on Tuesday and we ate Thanksgiving Dinner on it on Thursday. All that is left is the wood putty! Not perfect but VERY happy with it :)

Built from Plan(s)
Estimated Cost
$70
Estimated Time Investment
Weekend Project (10-20 Hours)
Finish Used
Minwax Providence Stain & Satin Poly
Recommended Skill Level
Beginner

Tall corner media cabinet

Submitted by Mjgrasley on Thu, 11/07/2013 - 13:32

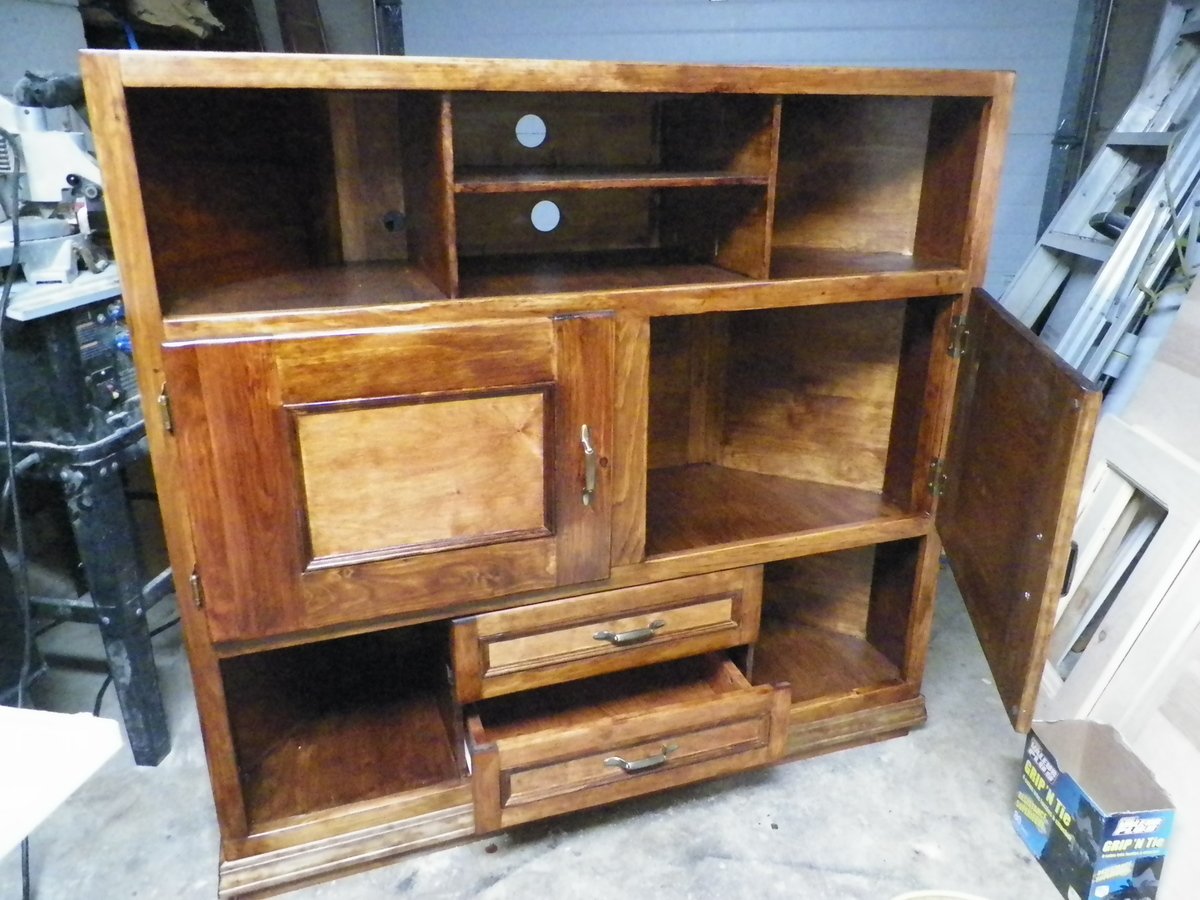
I wanted to rearrange the livingroom but needed a corner cabinet since the t,v sits on the fireplace mantle. I loved this plan except it didn't have any drawers for the DVD's so I just did the top portion on the bottom. I made the bottom slots wider and made drawers for them....perfect solution for my needs...

Built from Plan(s)
Estimated Cost
160.00 including hardware and stains
Estimated Time Investment
Week Long Project (20 Hours or More)
Finish Used
Minwax Cherry with polyurethane first then Mission walnut with polyurethane
Recommended Skill Level
Intermediate

Craft Table

Submitted by Anonymous (not verified) on Fri, 01/22/2016 - 19:34

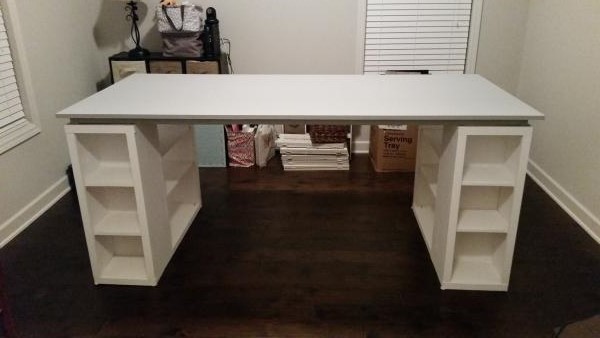
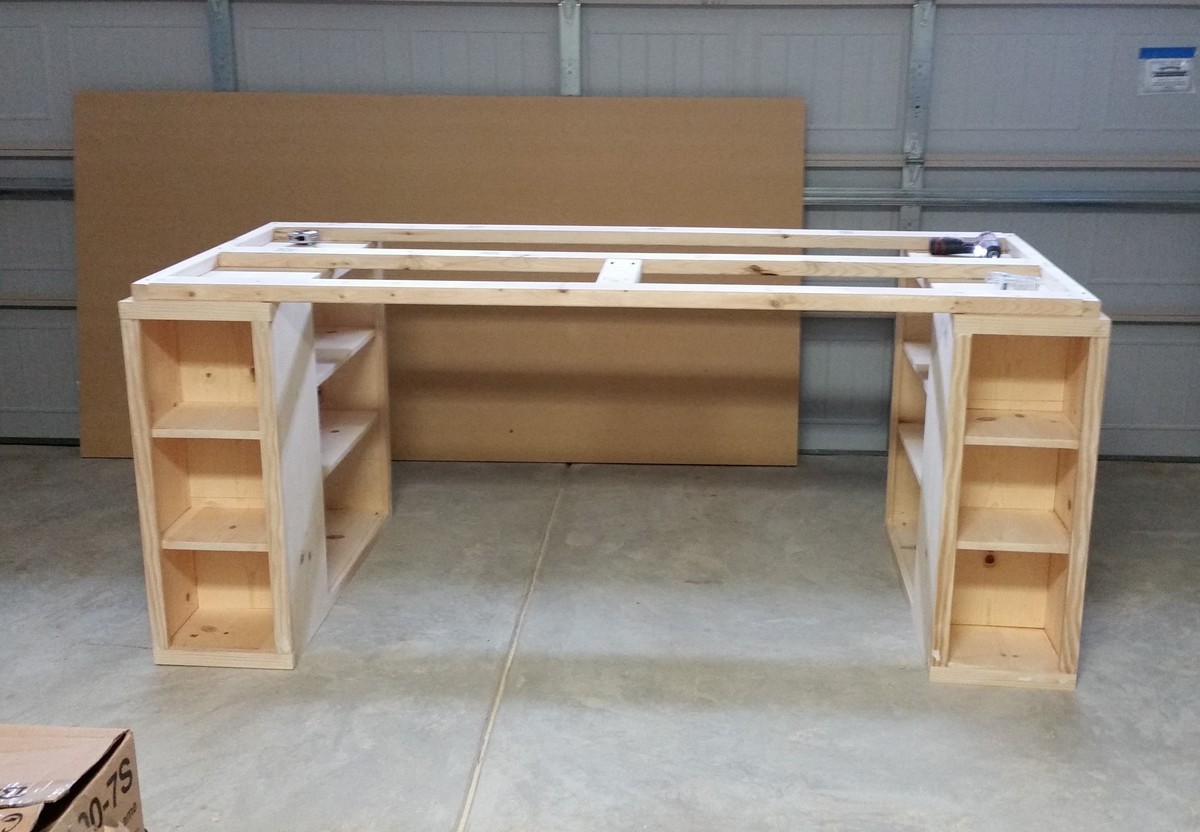
This was a fun project to get my feet wet again in woodworking. We adjusted the plans slightly. Our table is 80" x 40". It is supported and bordered with a 2x4 frame that ties it all together. As my friend said, you can stand on that thing. Lots of fun, and can't wait for my wife to enjoy it.

Built from Plan(s)
Estimated Cost
$200-$250
Estimated Time Investment
Weekend Project (10-20 Hours)
Finish Used
Flat Behr Paint. Flat White (Shelves) and Sparrow (Top)
Recommended Skill Level
Intermediate

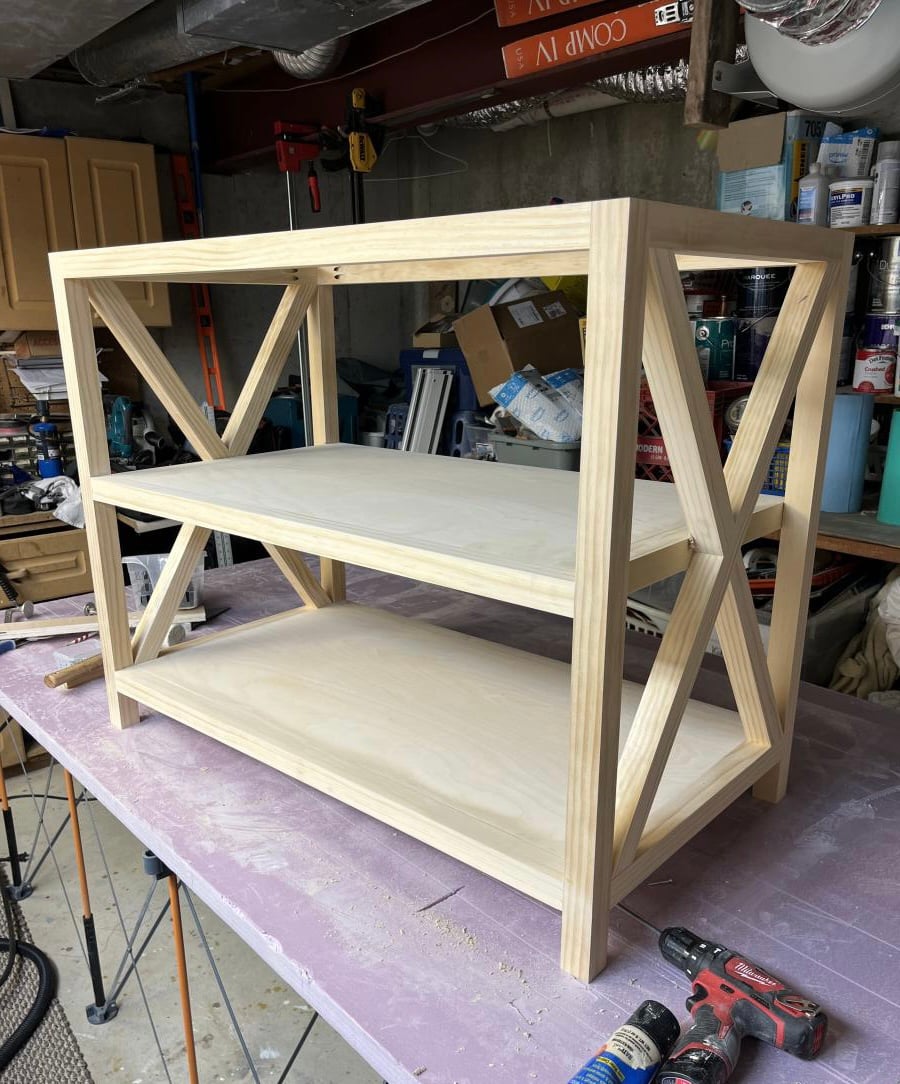
Rustic X for the win!

Submitted by Anonymous (not verified) on Mon, 04/10/2023 - 16:57

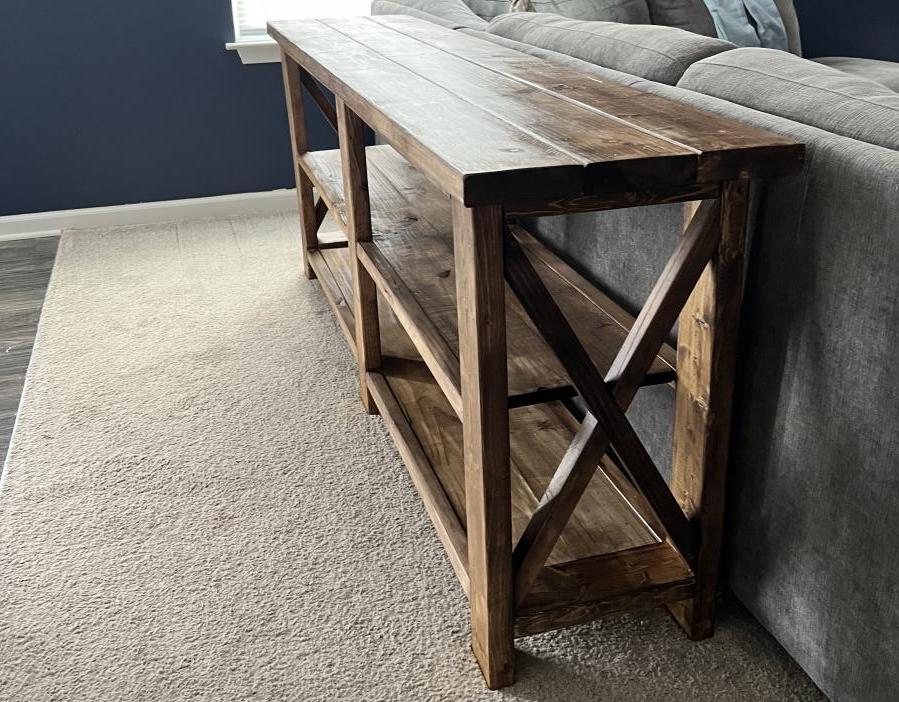
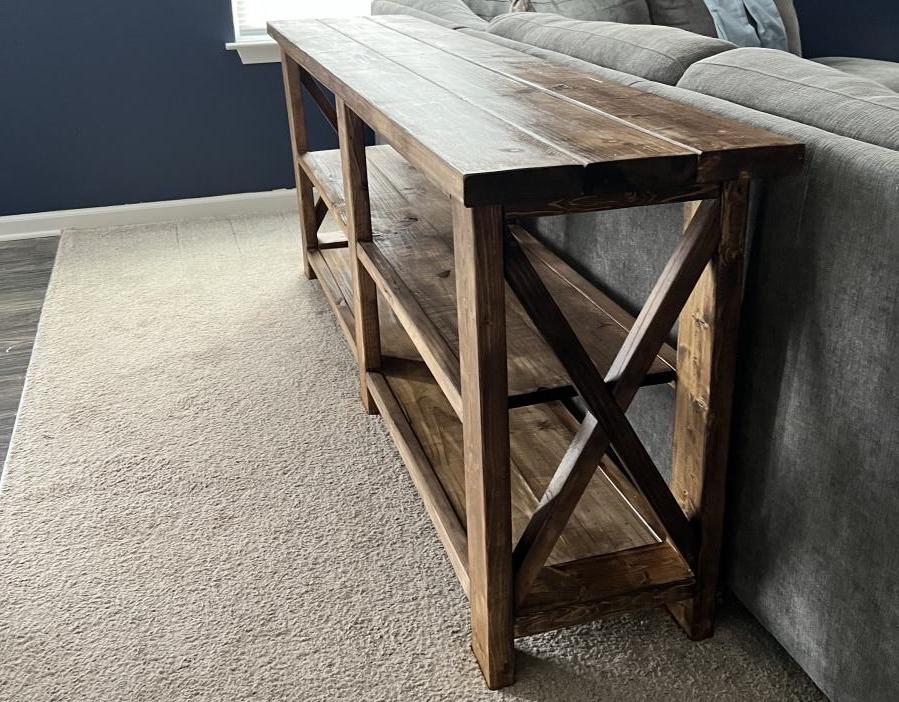
This was my first Ana White plan after lurking for awhile! I’ve dabbled with other DIY furniture and woodworking plans but this my first one for indoors that required some more meticulous finishing. Super happy with how it turned out!

Built from Plan(s)

Comments

DIY Cedar Bird Feeder

Submitted by JamieLynn on Fri, 07/19/2019 - 12:48

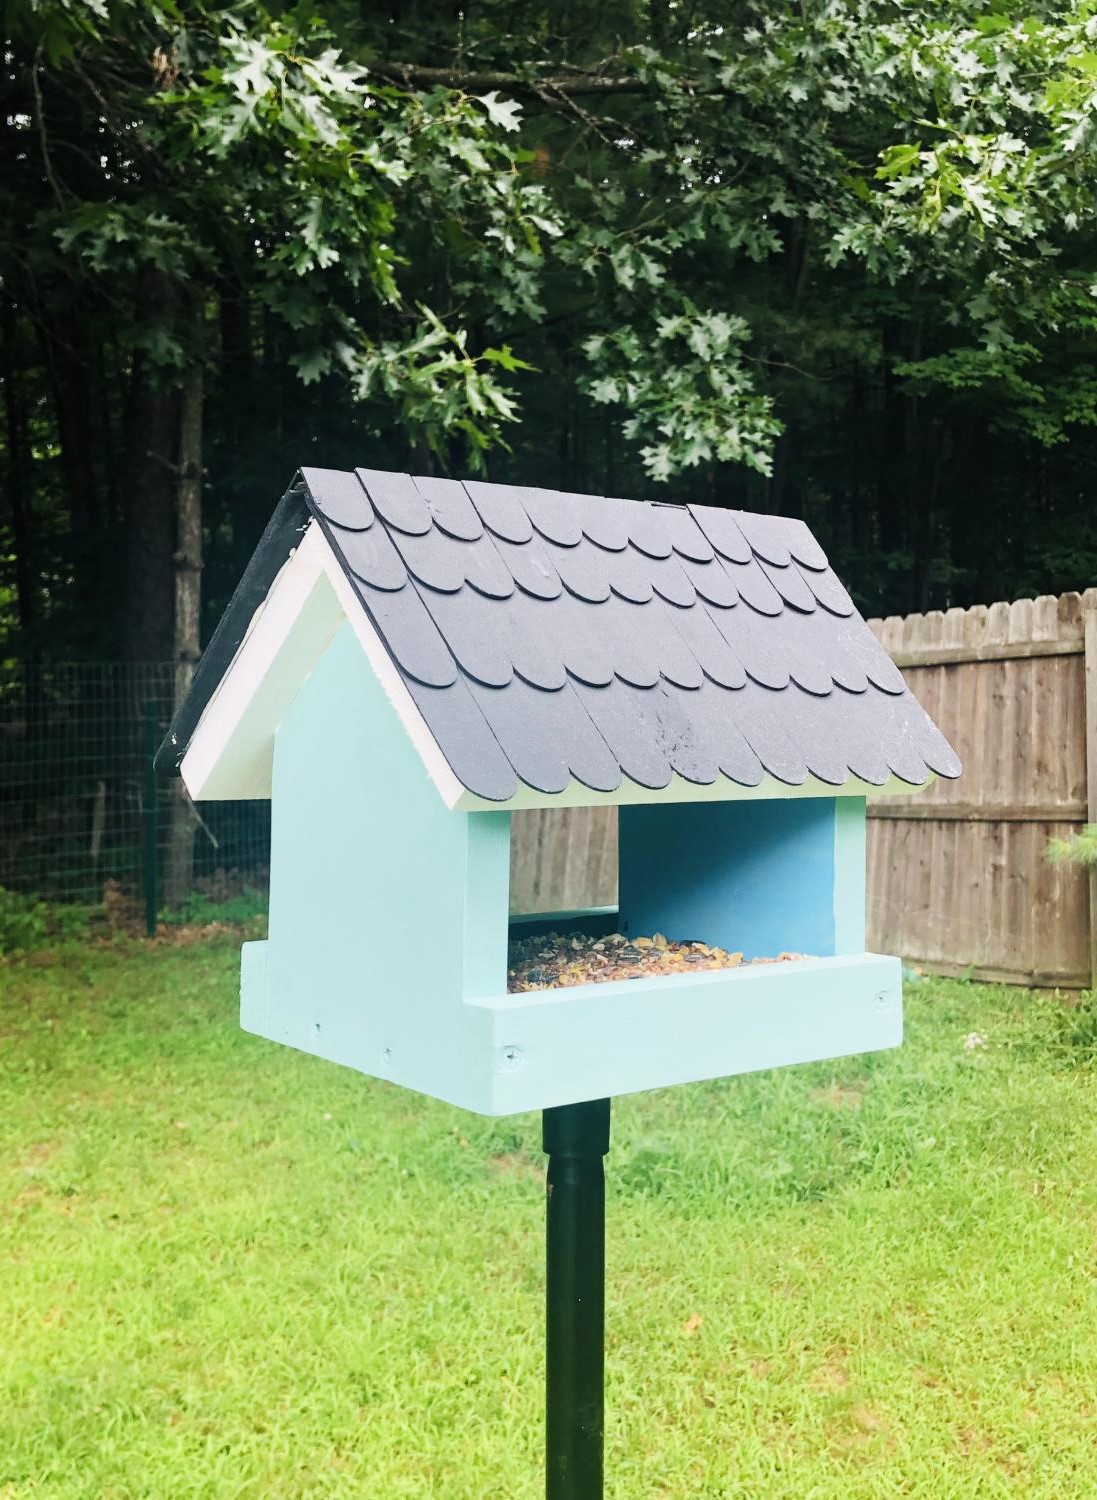
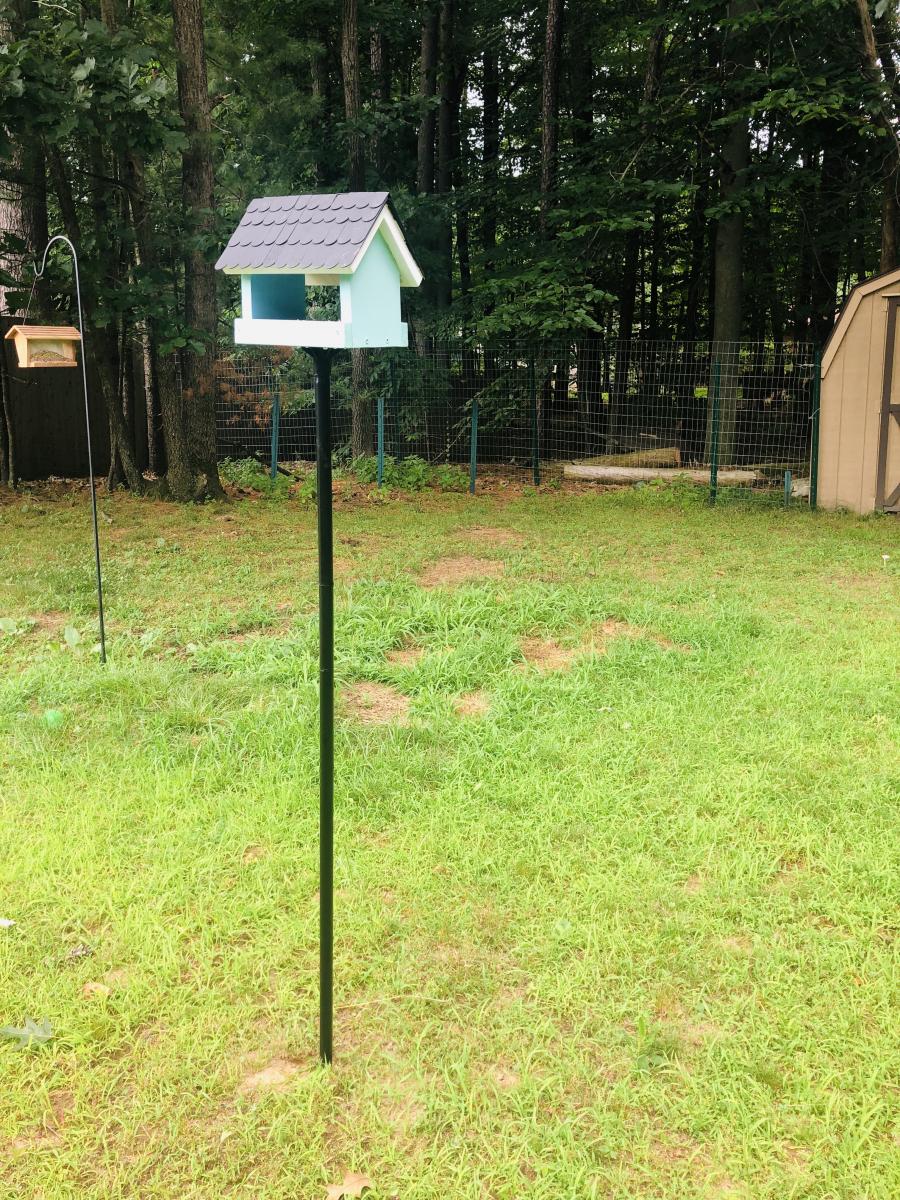
Took some liberties on this one. Used paint stirrer sticks for the roof.

Built from Plan(s)
Estimated Cost
Used all scraps and paint that I had laying around
Estimated Time Investment
An Hour or Two (0-2 Hours)
Finish Used
Random paints
Recommended Skill Level
Starter Project
Seasonal And Holiday

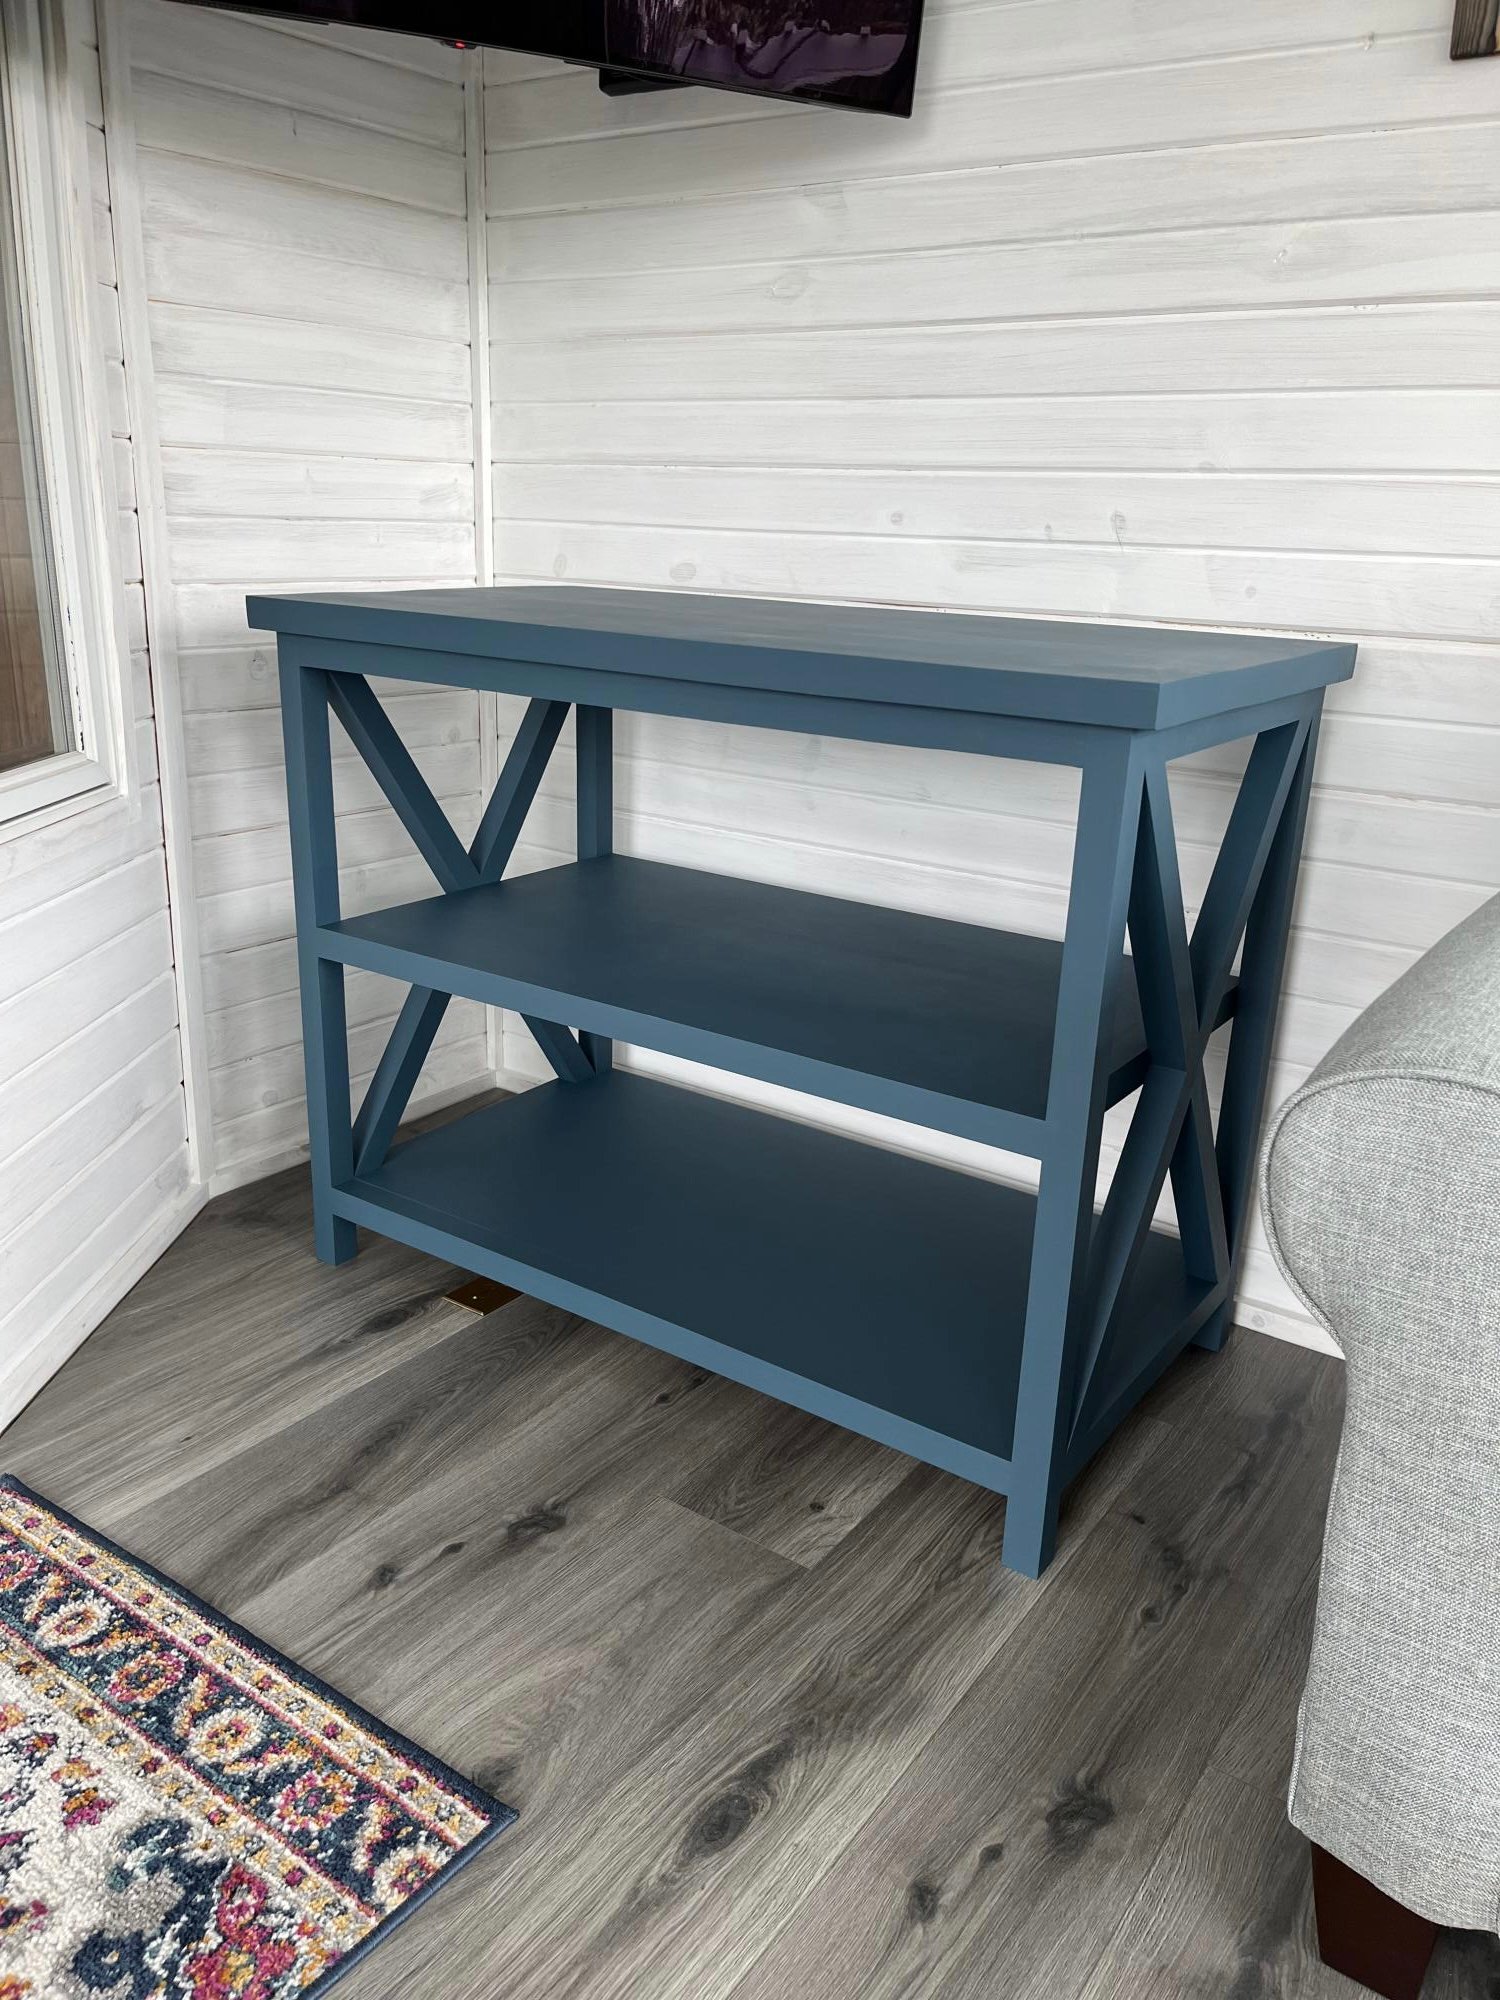
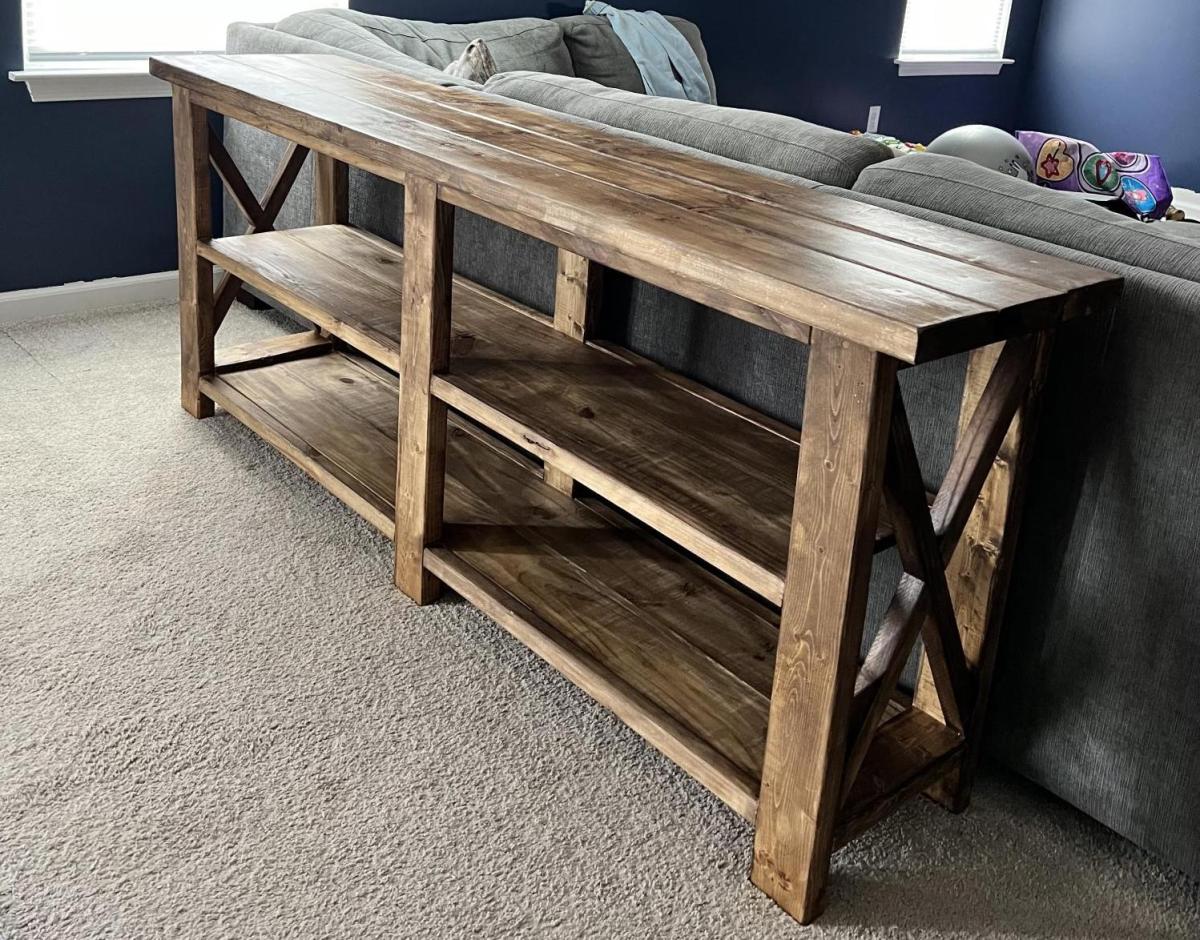
X brace console table

Submitted by Anonymous (not verified) on Fri, 04/21/2023 - 07:31

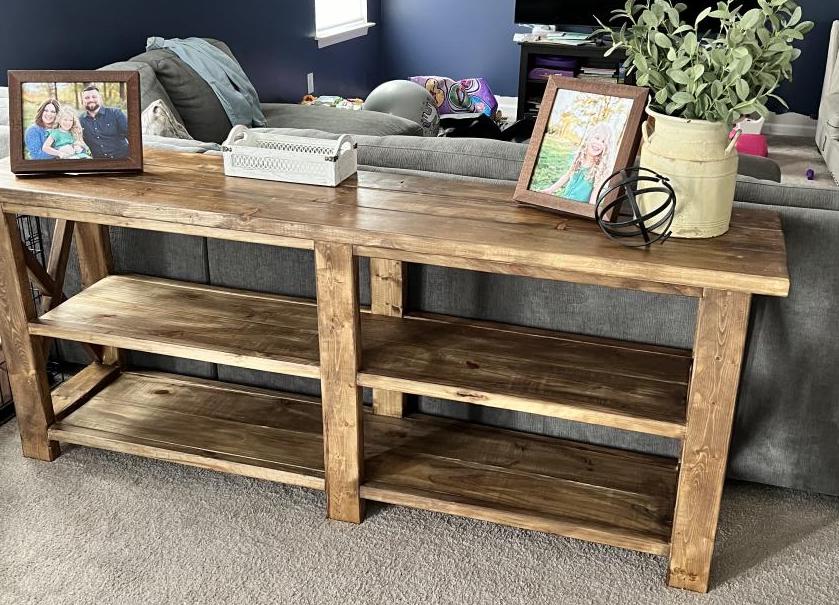
Built this from Ana White plans. Love how it looks in our four season room.

Comments

Another Ana White project complete!

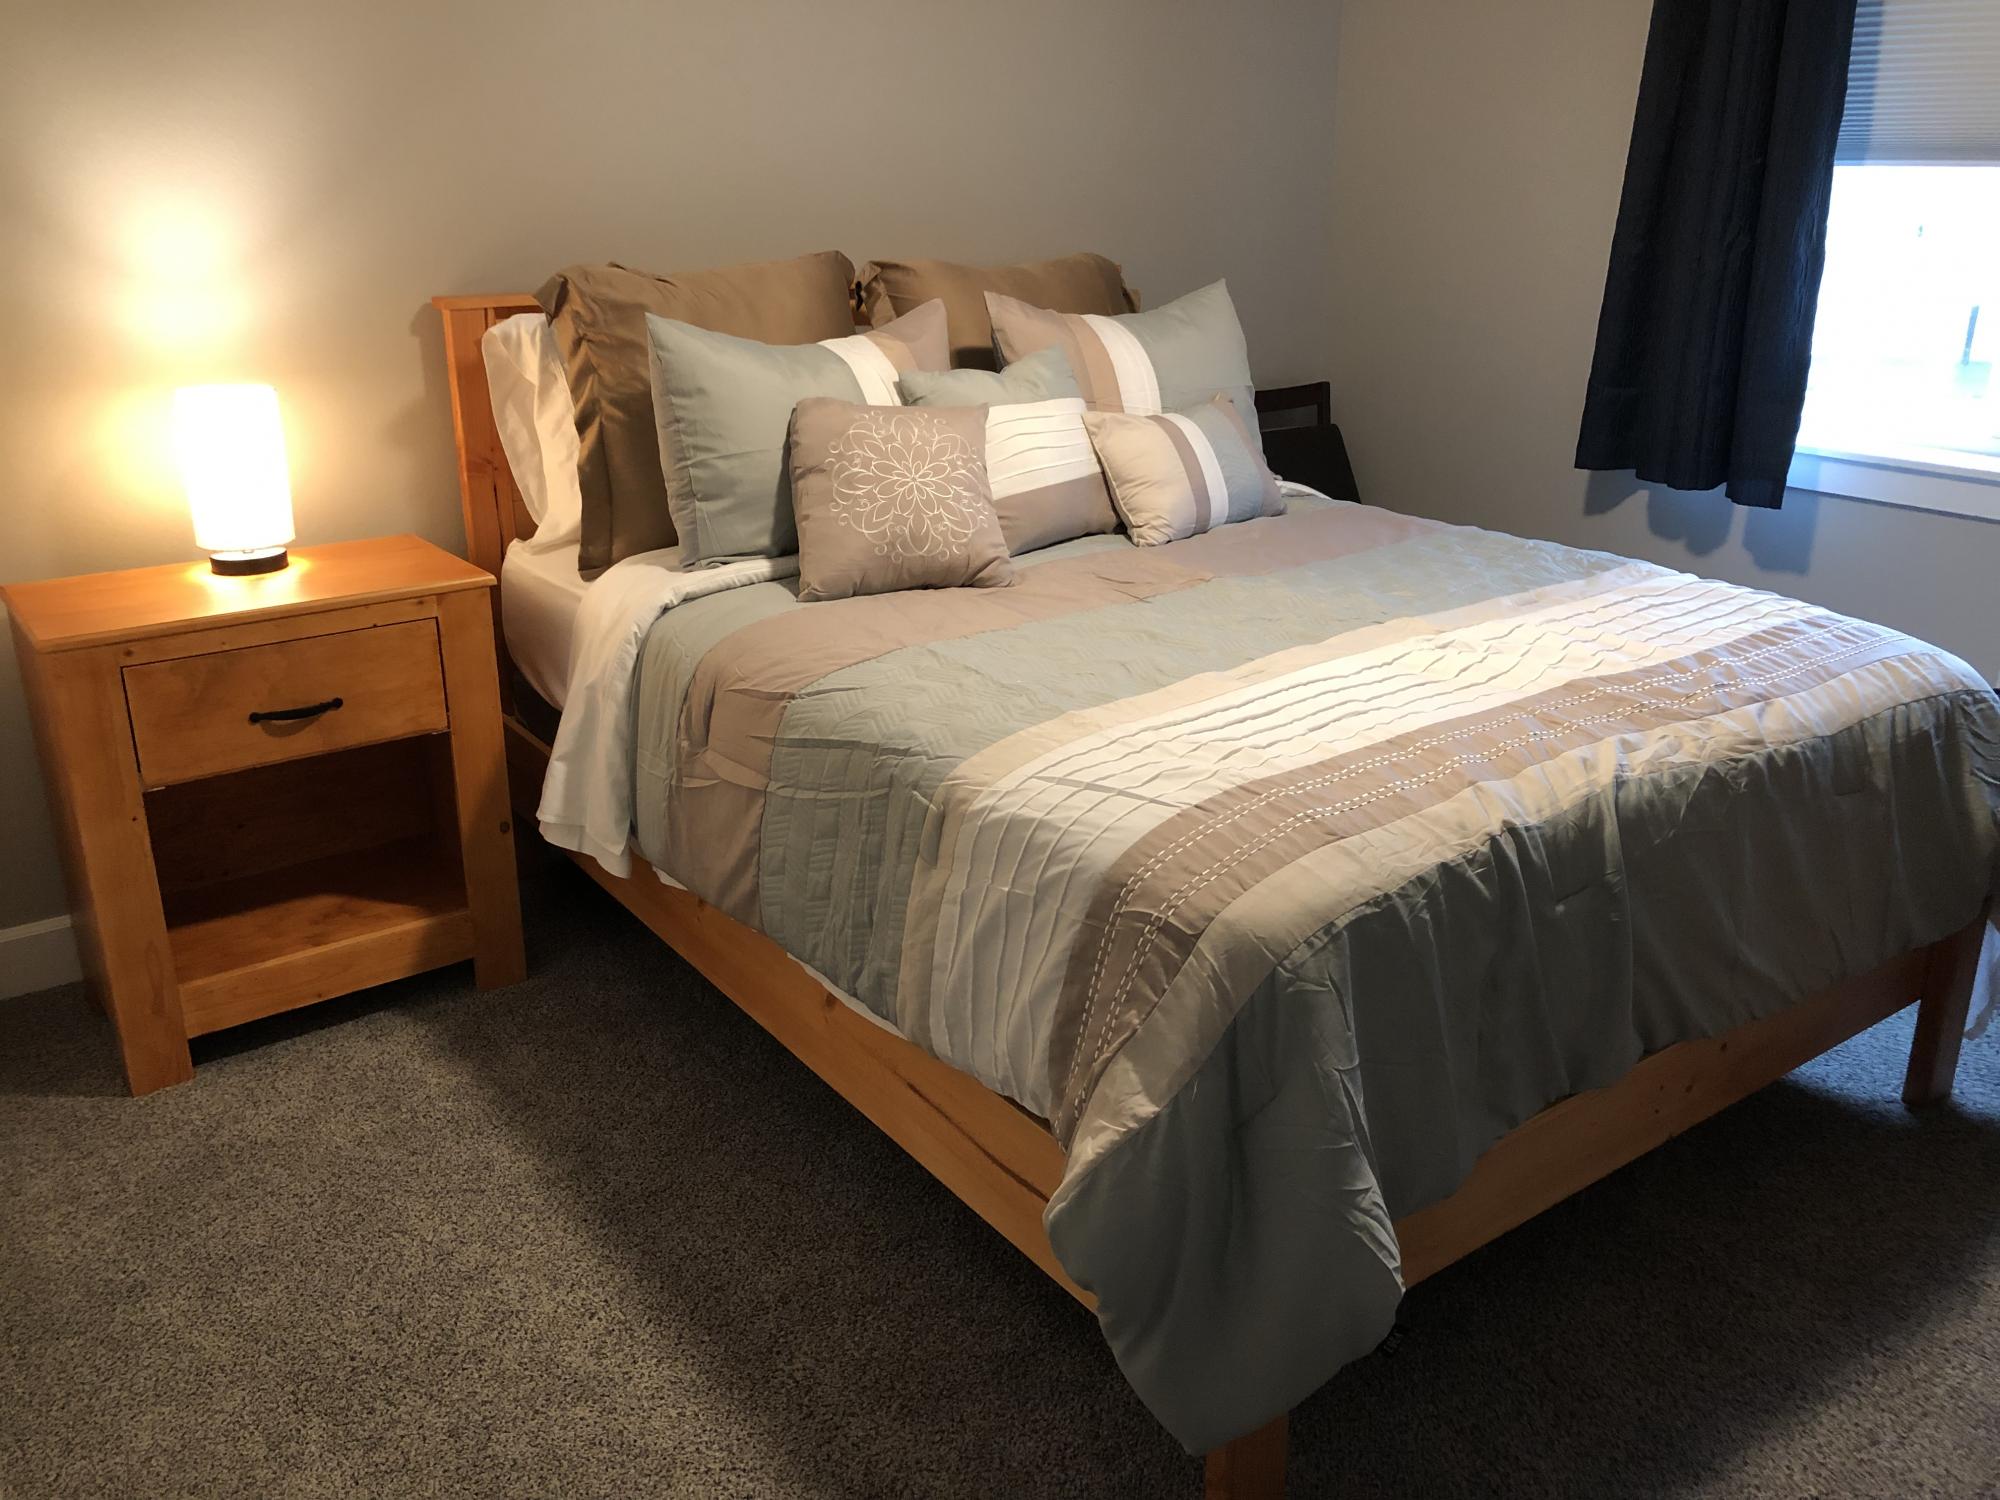
Submitted by AKMan279 on Tue, 07/23/2019 - 21:14

This was an easy weekend project building the night stand to go with the Ana White bed that we built.  Looks great.  I used a round over bit on my router and rounded the top.  Additionally, I think if I were to build another one, I would simply attach the top to the base using pocket holes and screwing in from underneath rather than using 1 1/4” brad nails through the top.  Very hard to blend in wood filler when staining a lighter color stain.

Estimated Time Investment
Weekend Project (10-20 Hours)
Finish Used
Minwax poly/stain
Recommended Skill Level
Intermediate

Comments

Firewood Storage

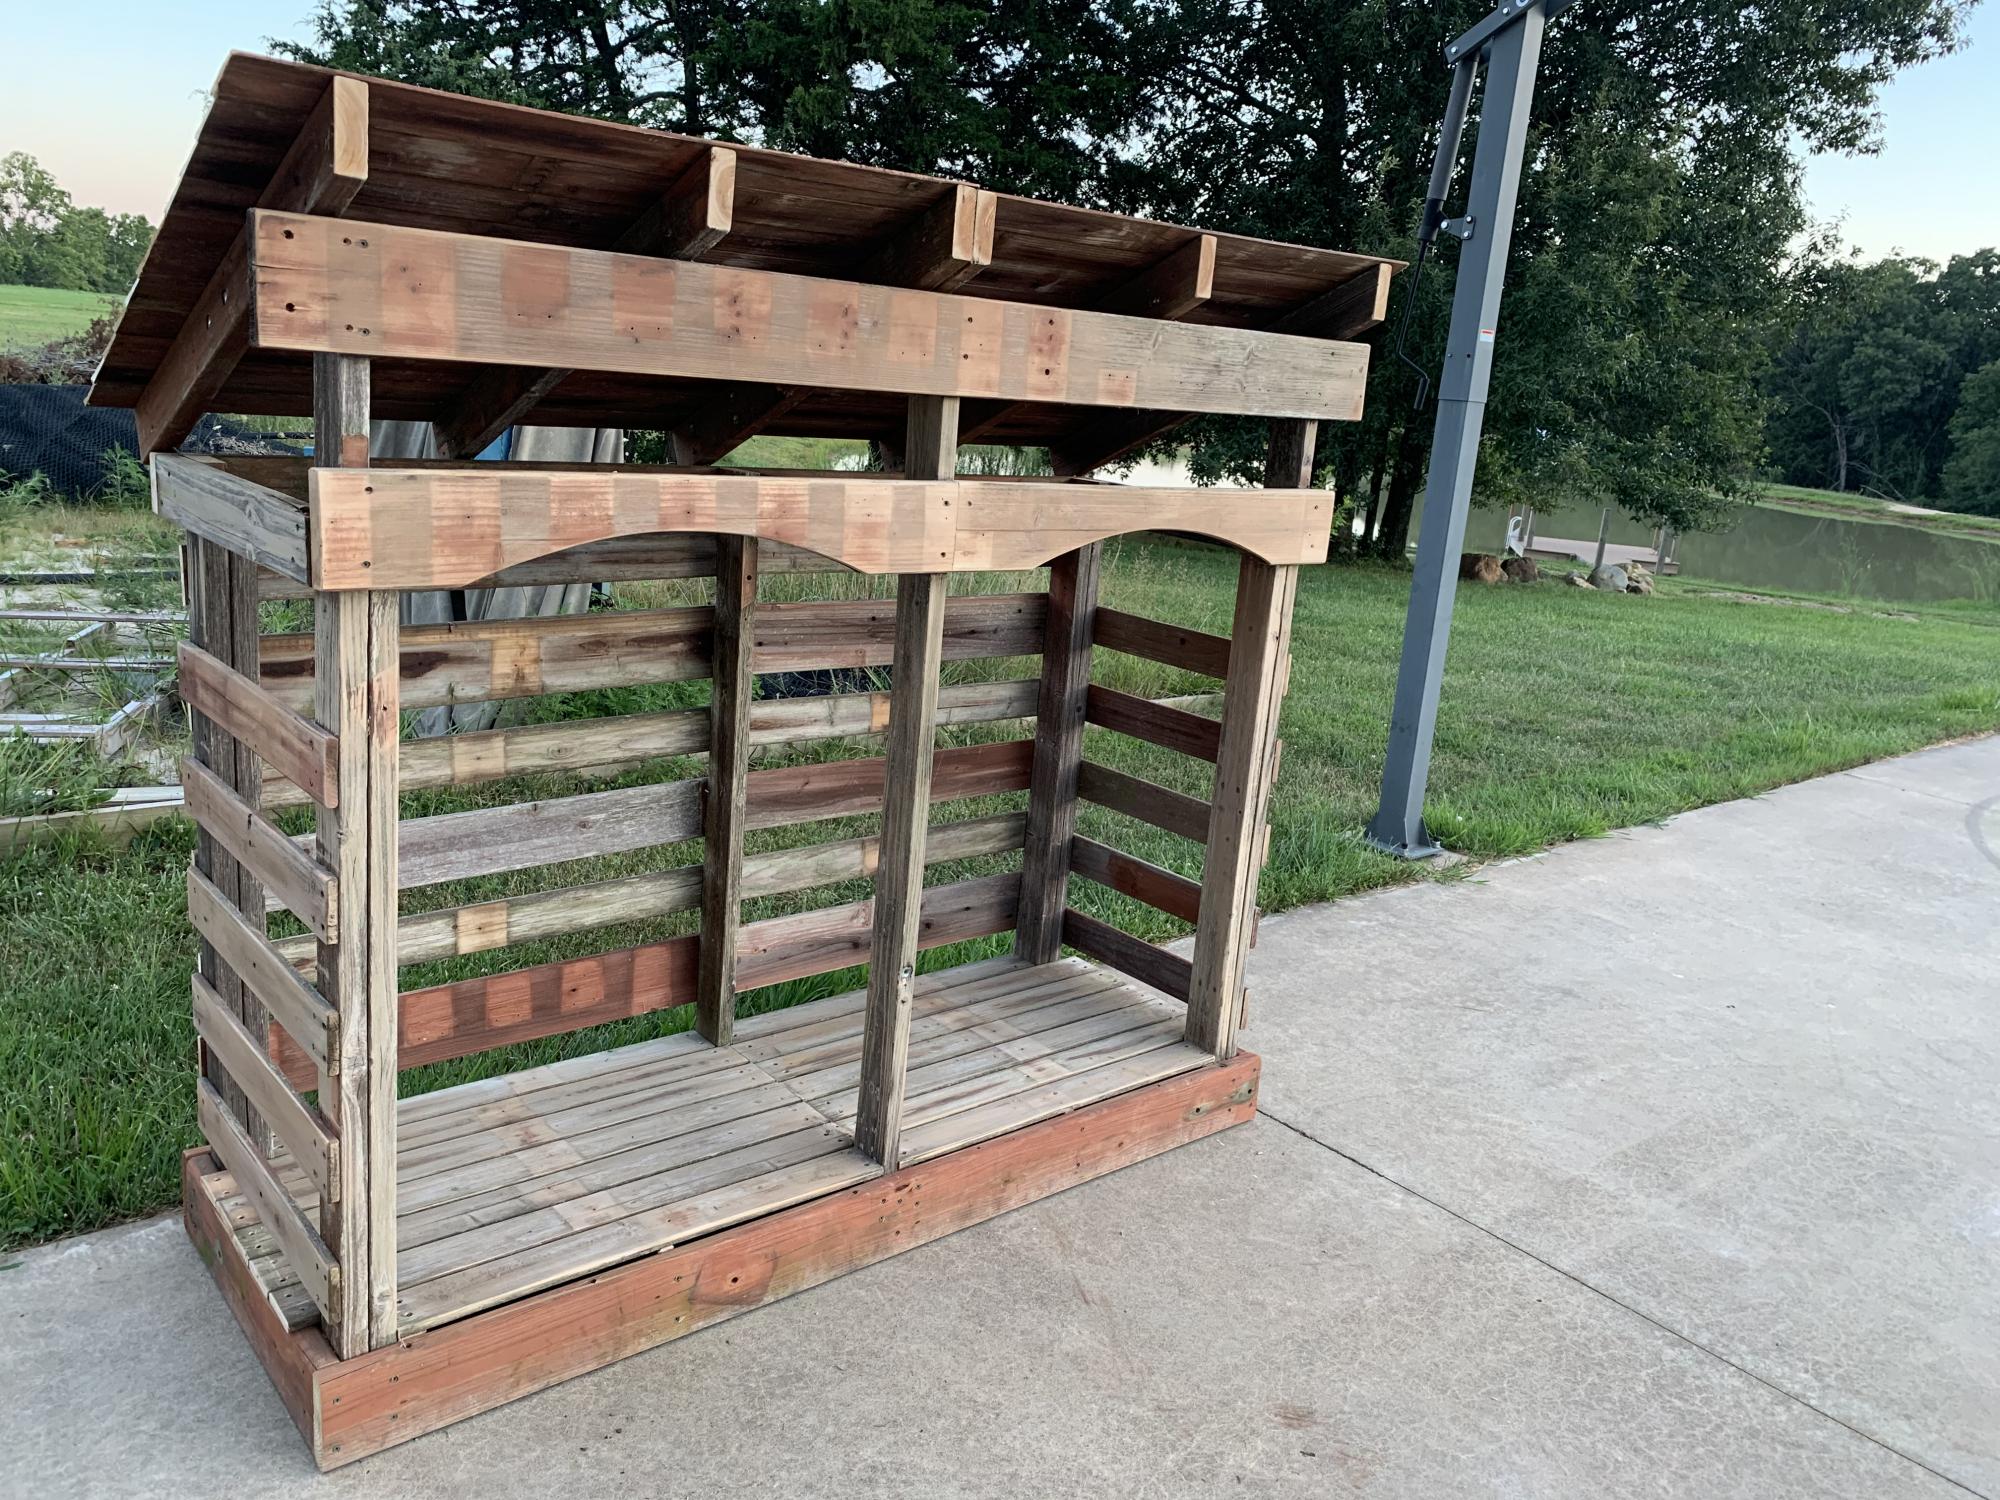
Submitted by Anonymous (not verified) on Mon, 08/05/2019 - 06:19

We took our boys’ swing set apart because it was old and rickety. I build this woodshed out of the parts! I still have to stain or paint it but I thought it was super cute!

Comments