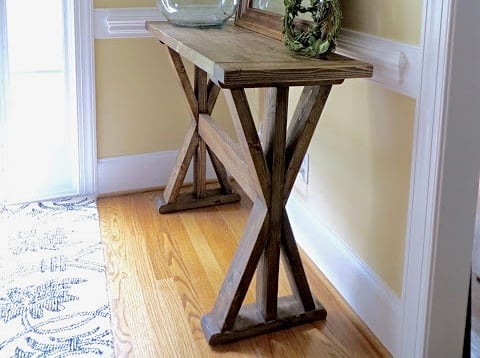
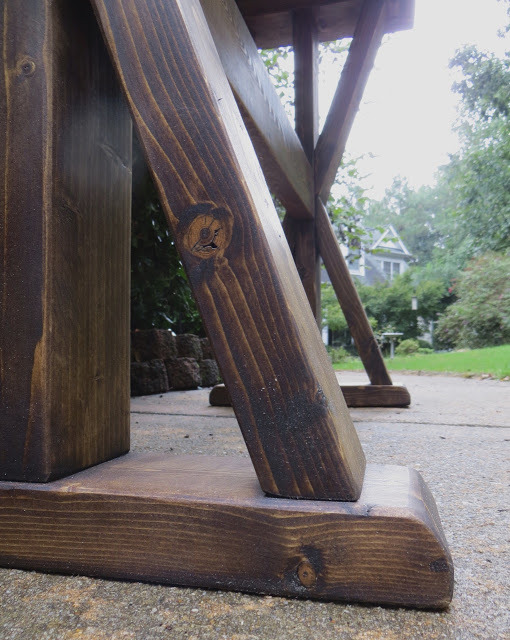
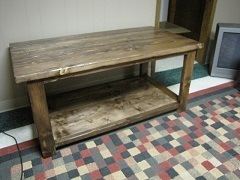
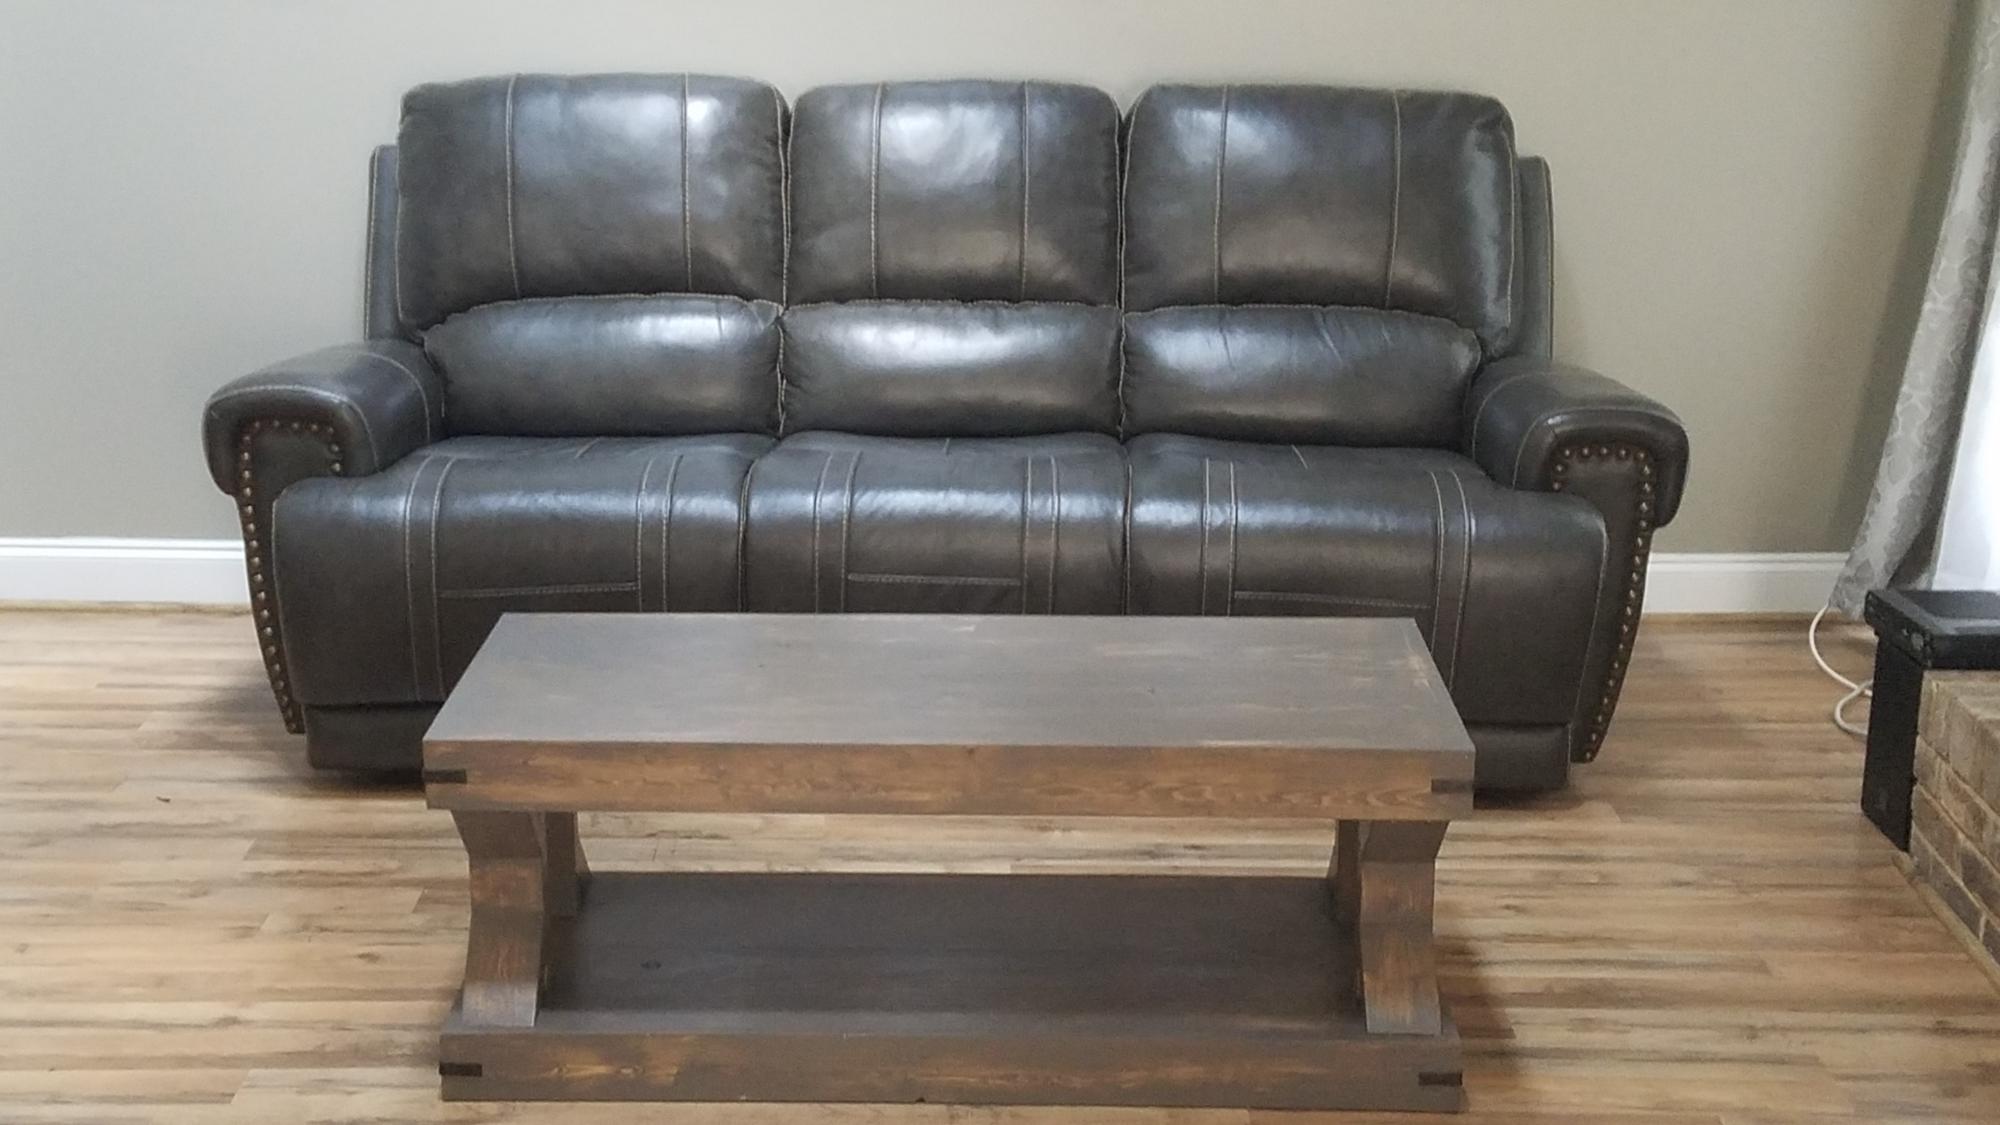
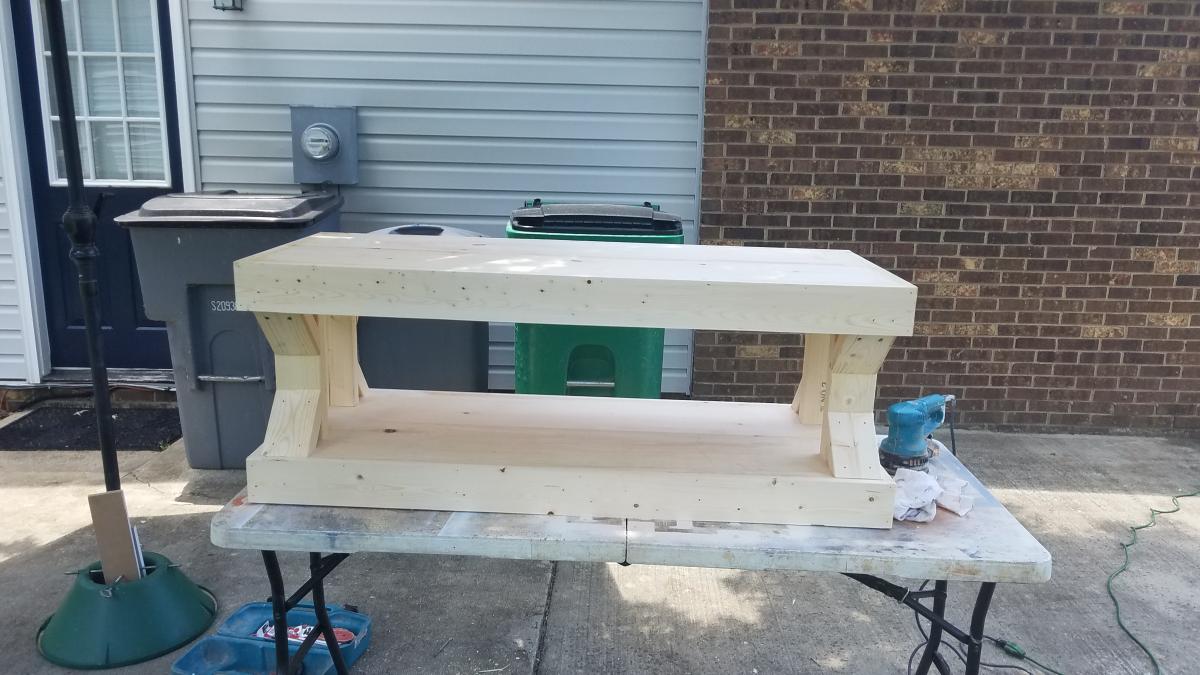
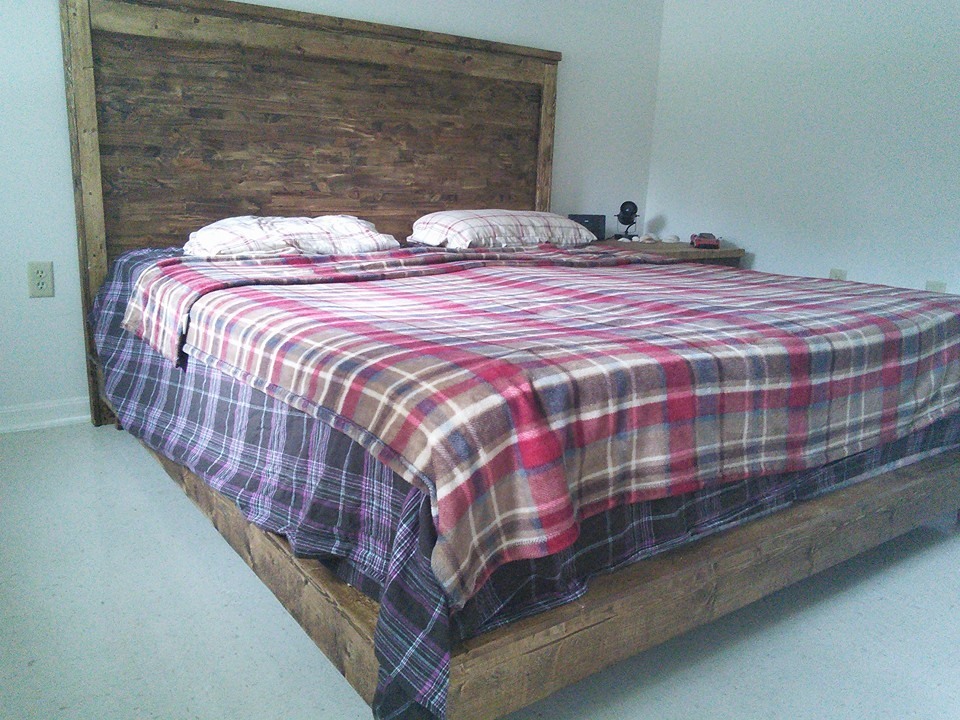
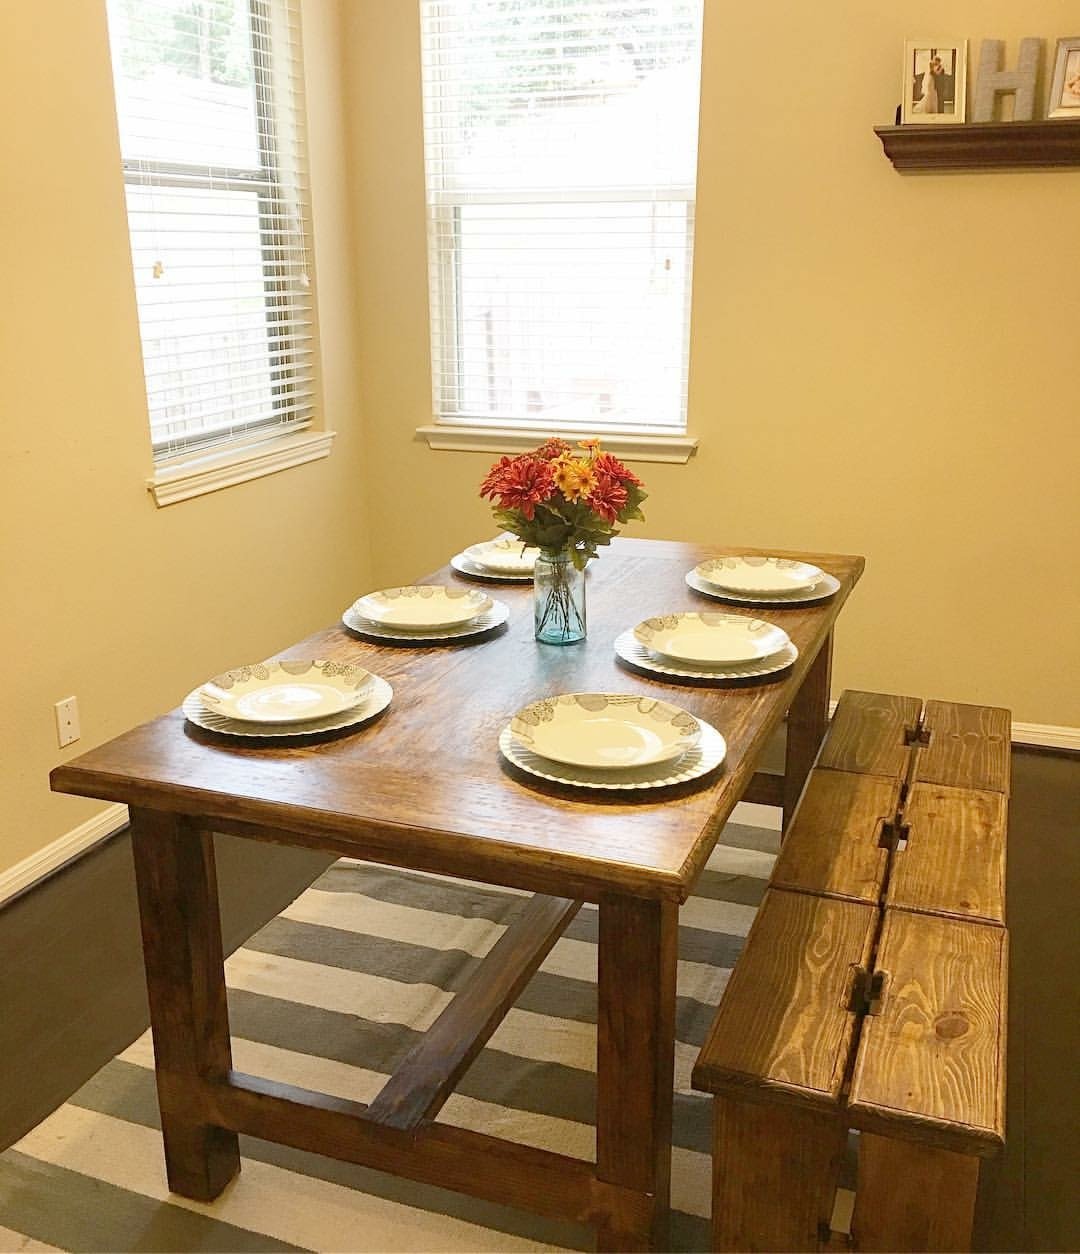
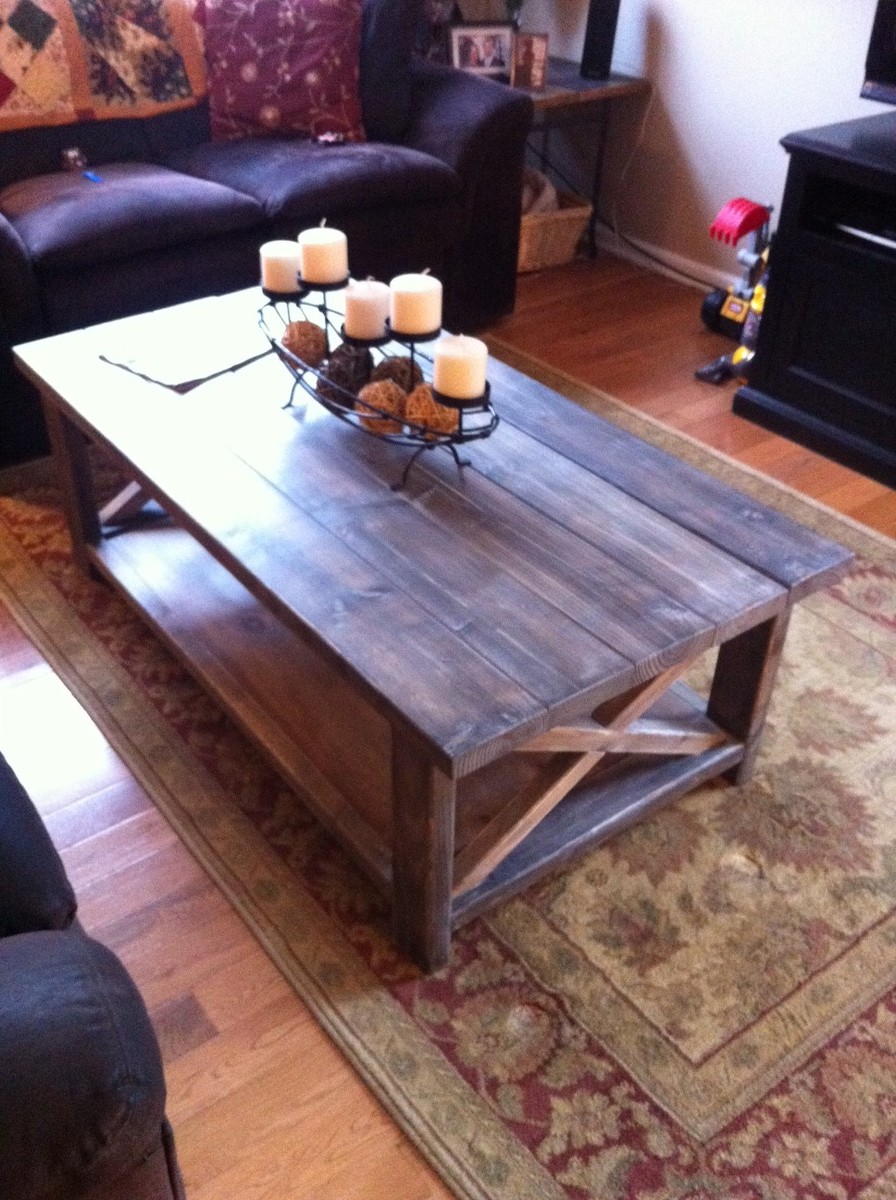
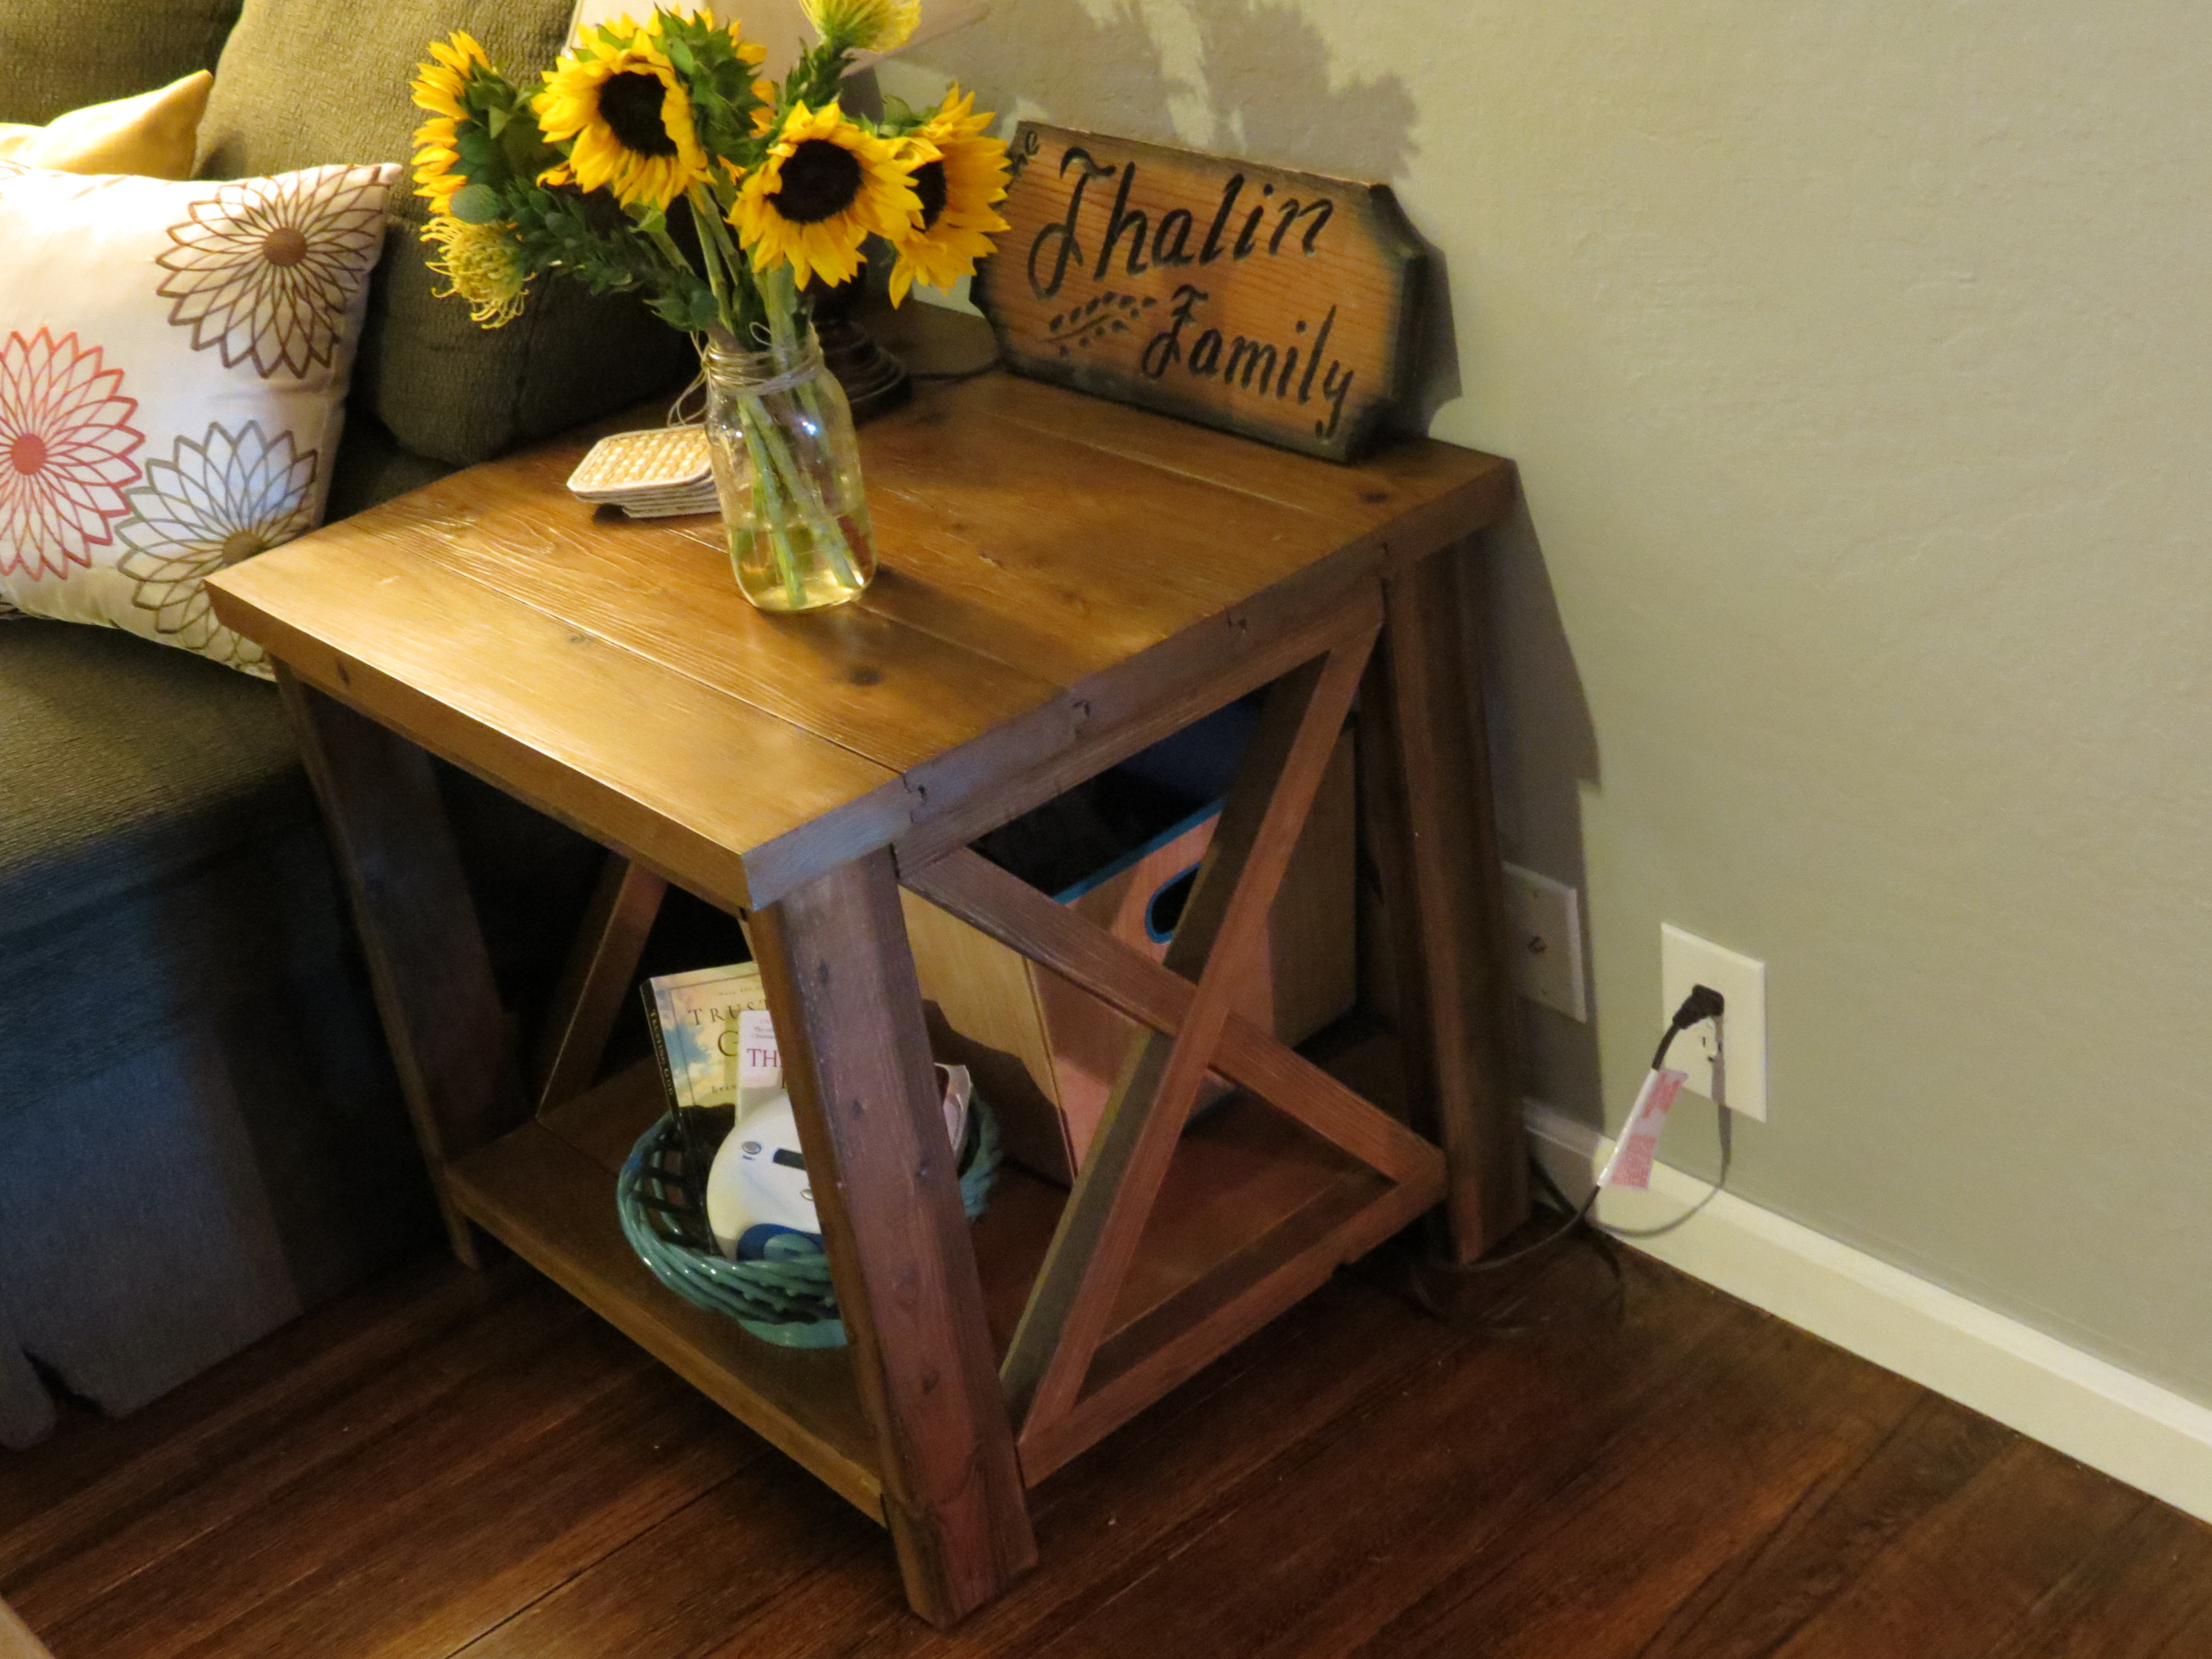
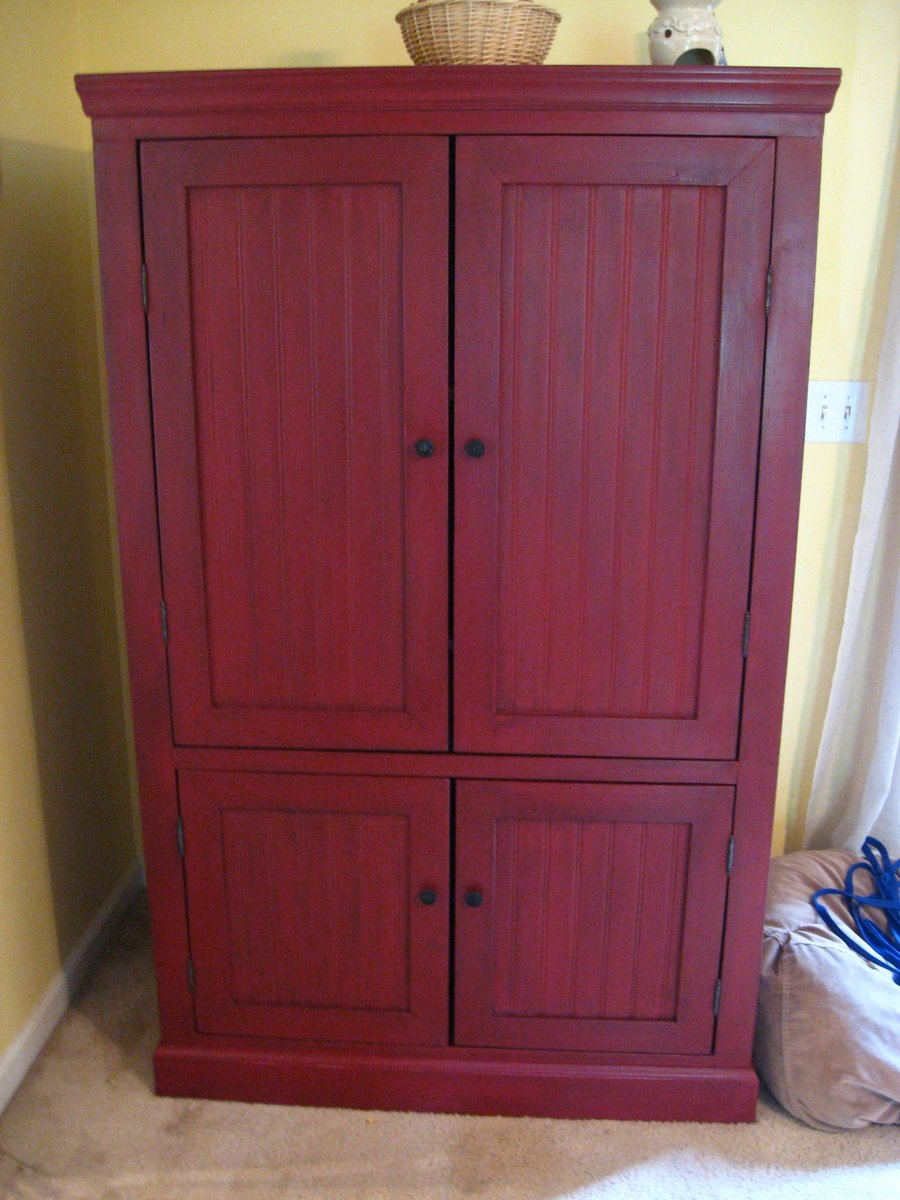
Our first build!
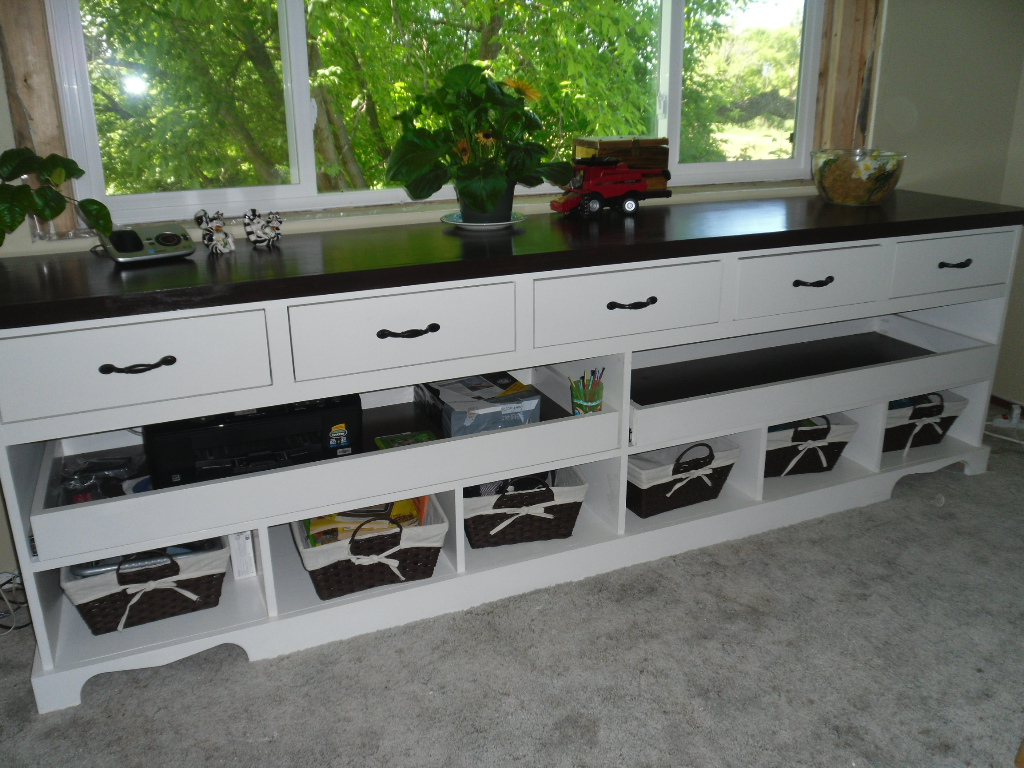
This is our first build. Instructions were easy to follow but we didn't go much on the bottom center drawer runners!
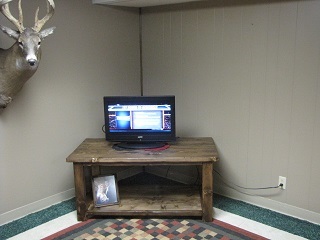
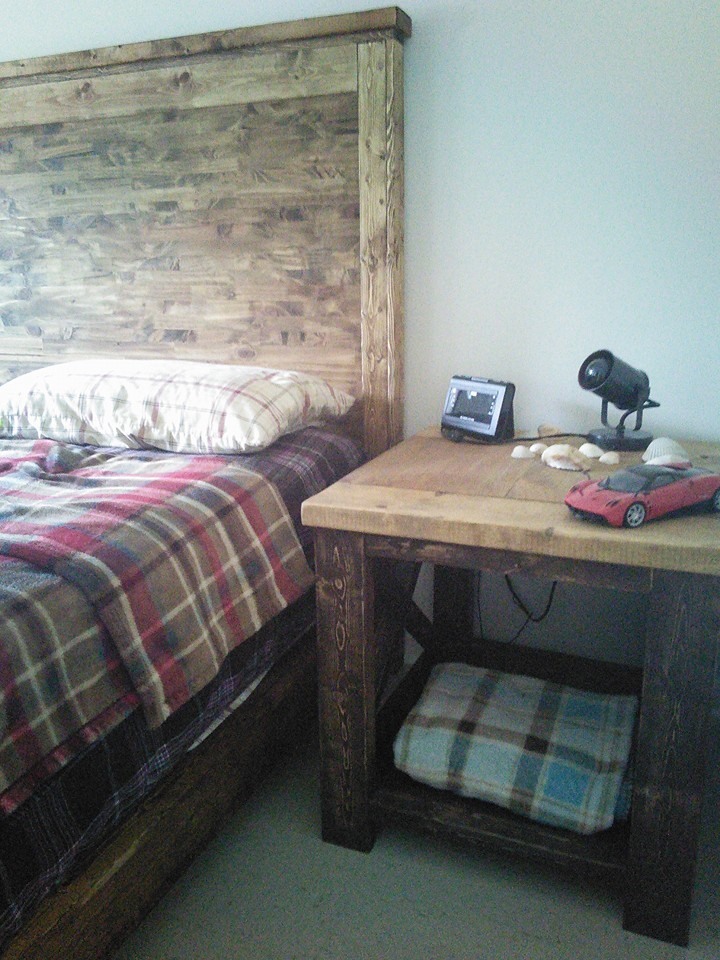
I love the second layer of slide out drawers we use for the printer , paper and electronic gadgets!
Built from Plan(s)
Estimated Cost
not sure
Finish Used
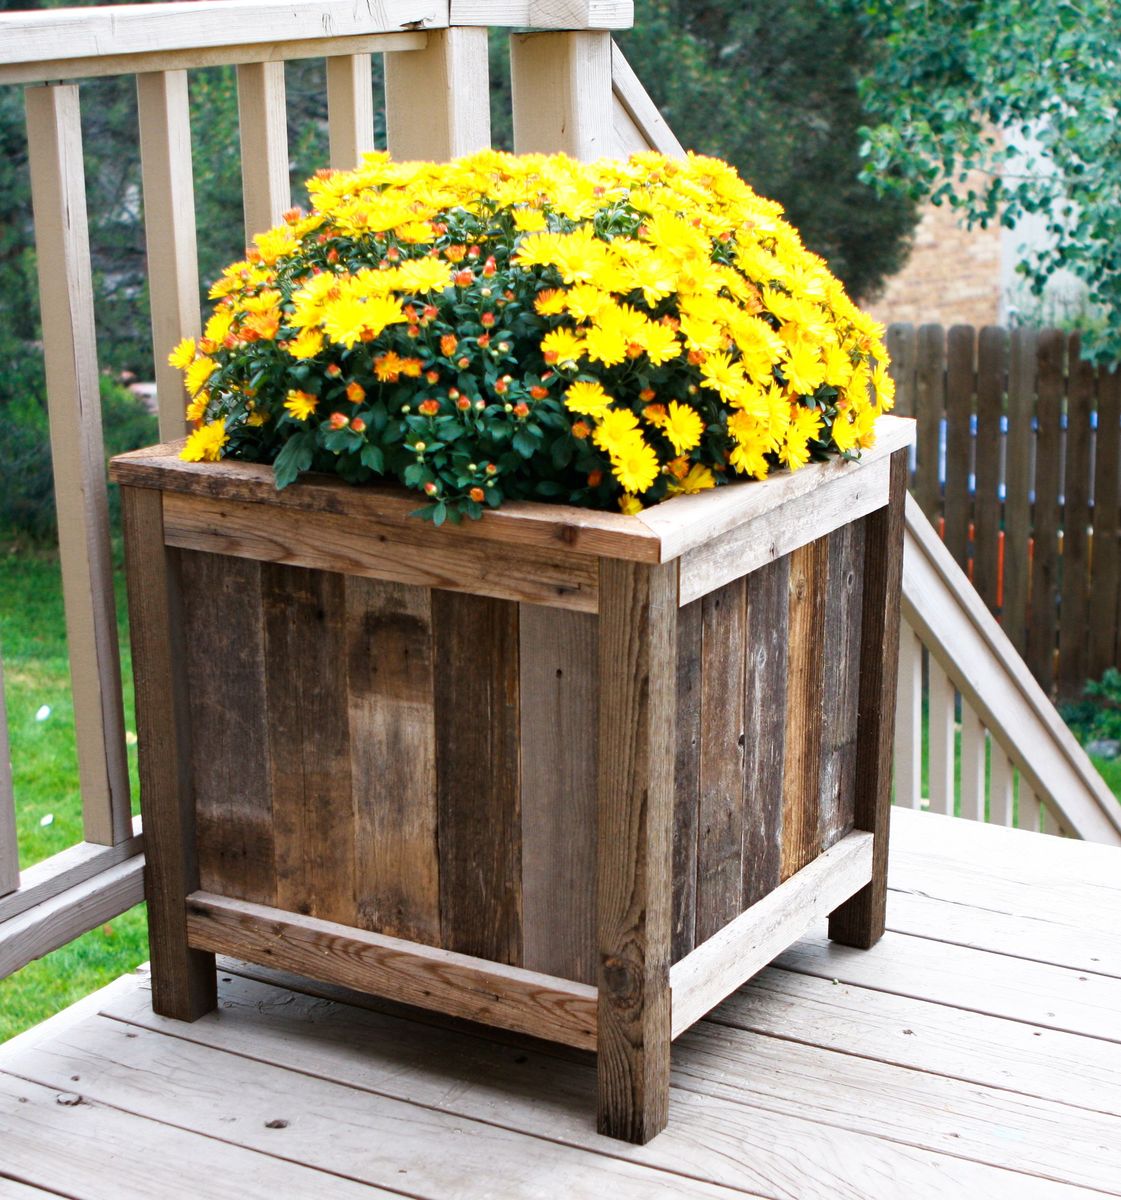
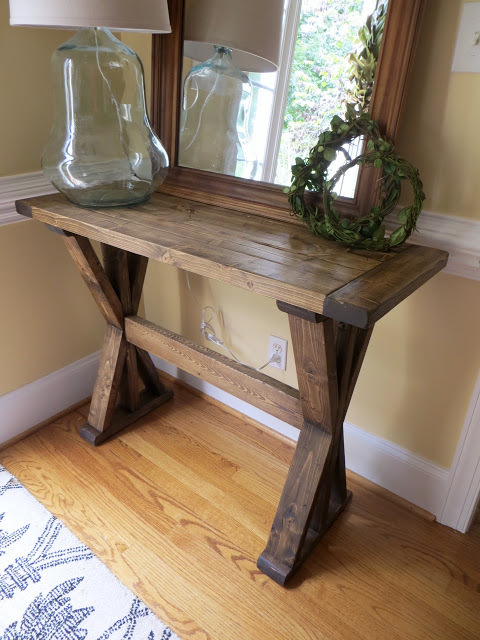
birch plywood painted white and top stained walnut and all coated with poly
Recommended Skill Level
Beginner


Comments
spiceylg
Wed, 06/25/2014 - 05:37
Great job!
Love this. What great mods and you even tackled drawers for a first build?! I'm too chicken and still haven't tried. Especially love how you used slide outs in the middle. Clever!