Tall Loft Bed

My husband, Daughter and I built this loft bunkbed for our seven-year-old granddaughter‘s birthday. It turned out wonderful and she squealed when she saw it! Thanks so much for your online plans.
Jan Ott
Built from Plan(s)
My husband, Daughter and I built this loft bunkbed for our seven-year-old granddaughter‘s birthday. It turned out wonderful and she squealed when she saw it! Thanks so much for your online plans.
Jan Ott
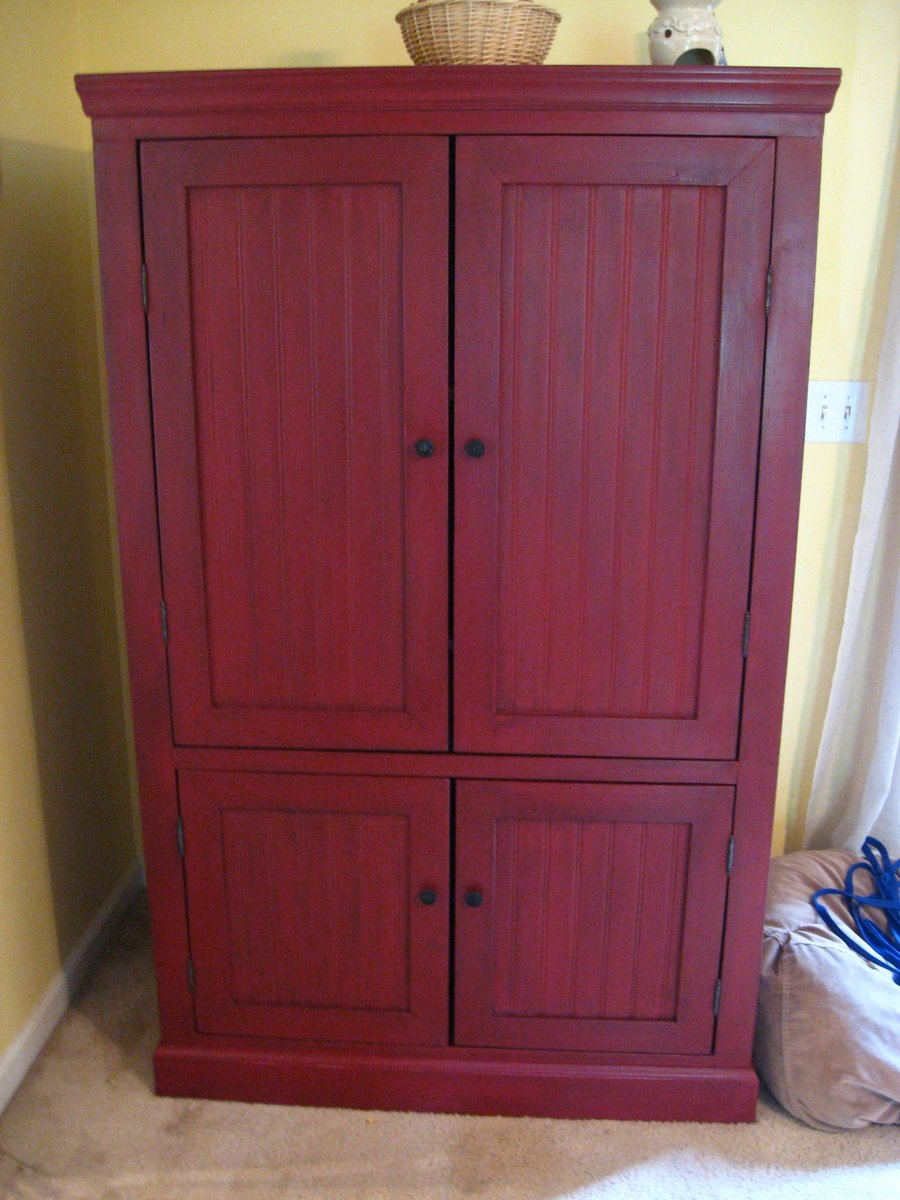
This was the nursery armoire design we used. My husband modified it slightly. Beautiful isn't it.
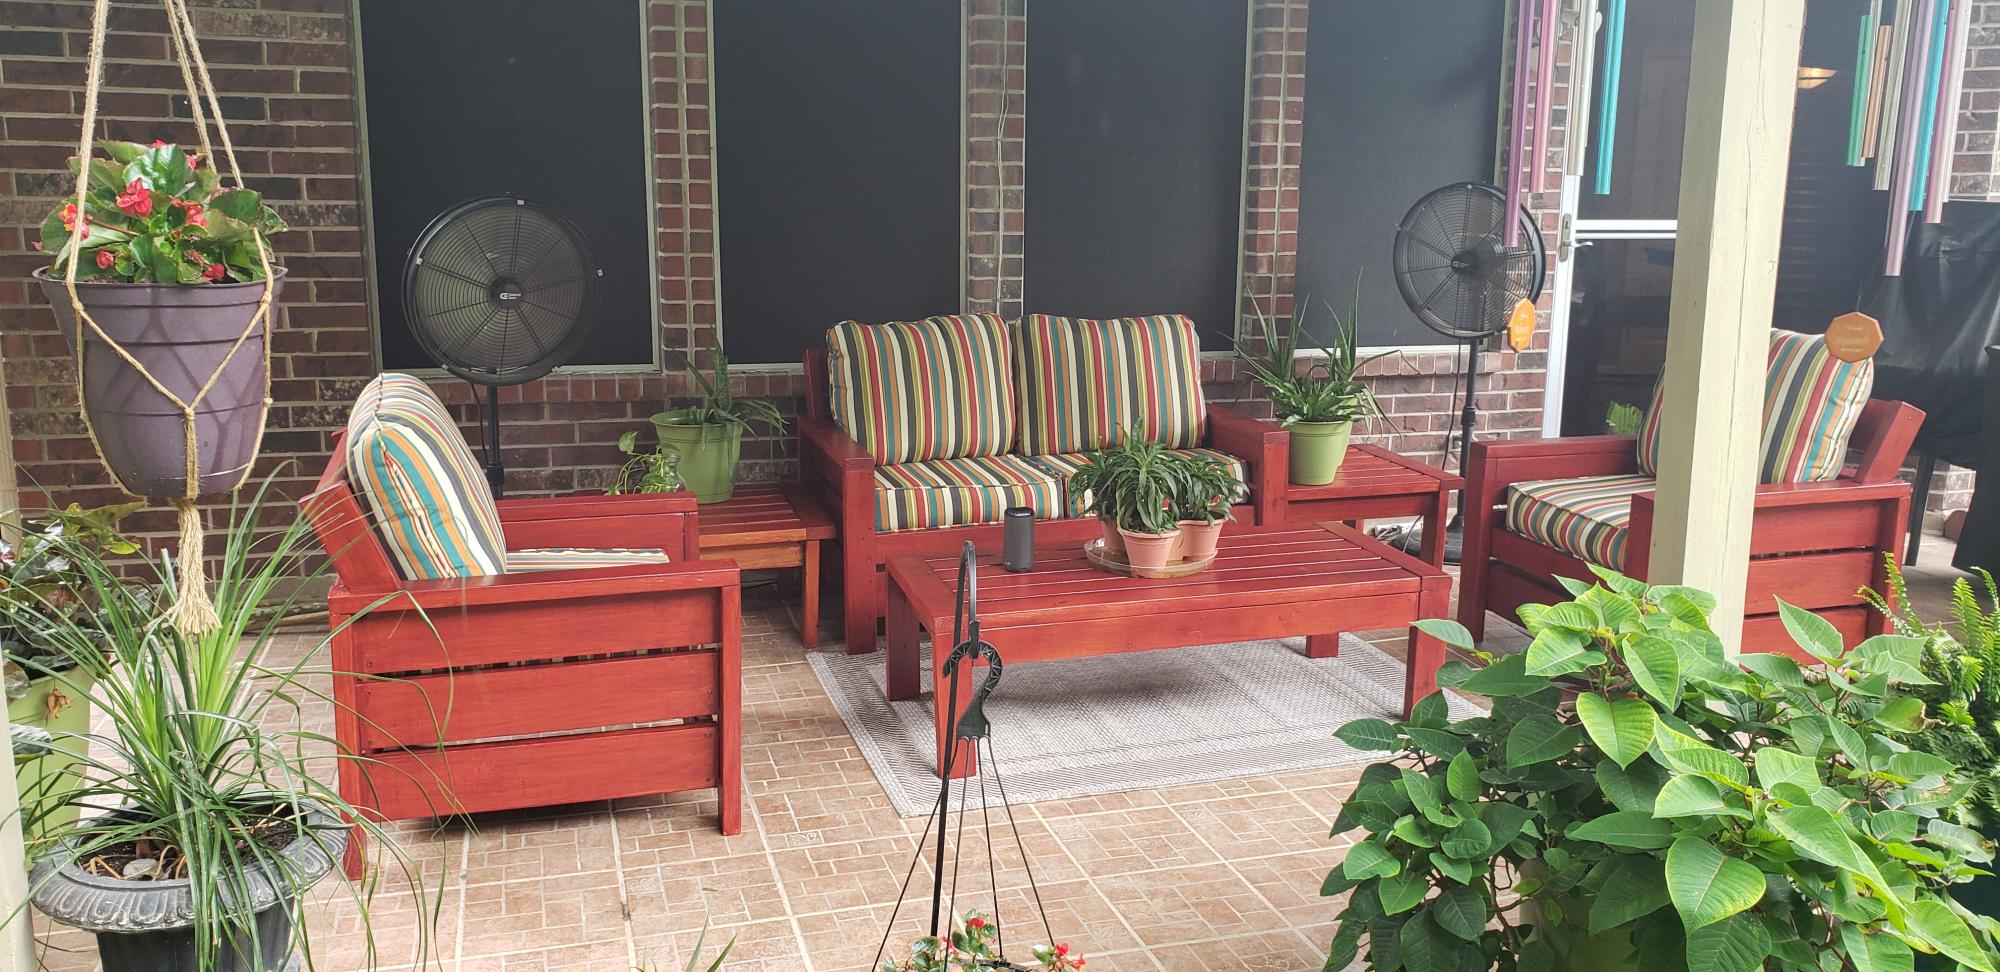
This was my very first build project! Ana White you are AWESOME. Each plan was so easy to follow. I added the headrest based on a version I found in the brag posts. It really does ensure that the back cushions stay in place!!!! Love it!!!!
Sat, 08/15/2020 - 19:22
Thanks. These have been the best alternate plans yet. I was looking for a headrest option as well, wasn't sure they looked as good, but this interpretations is beautiful. i will be copying it for my furniture.

In reply to nicely done by goose71
Mon, 01/10/2022 - 09:52
Would love to see our altered plan that covers the backrest!
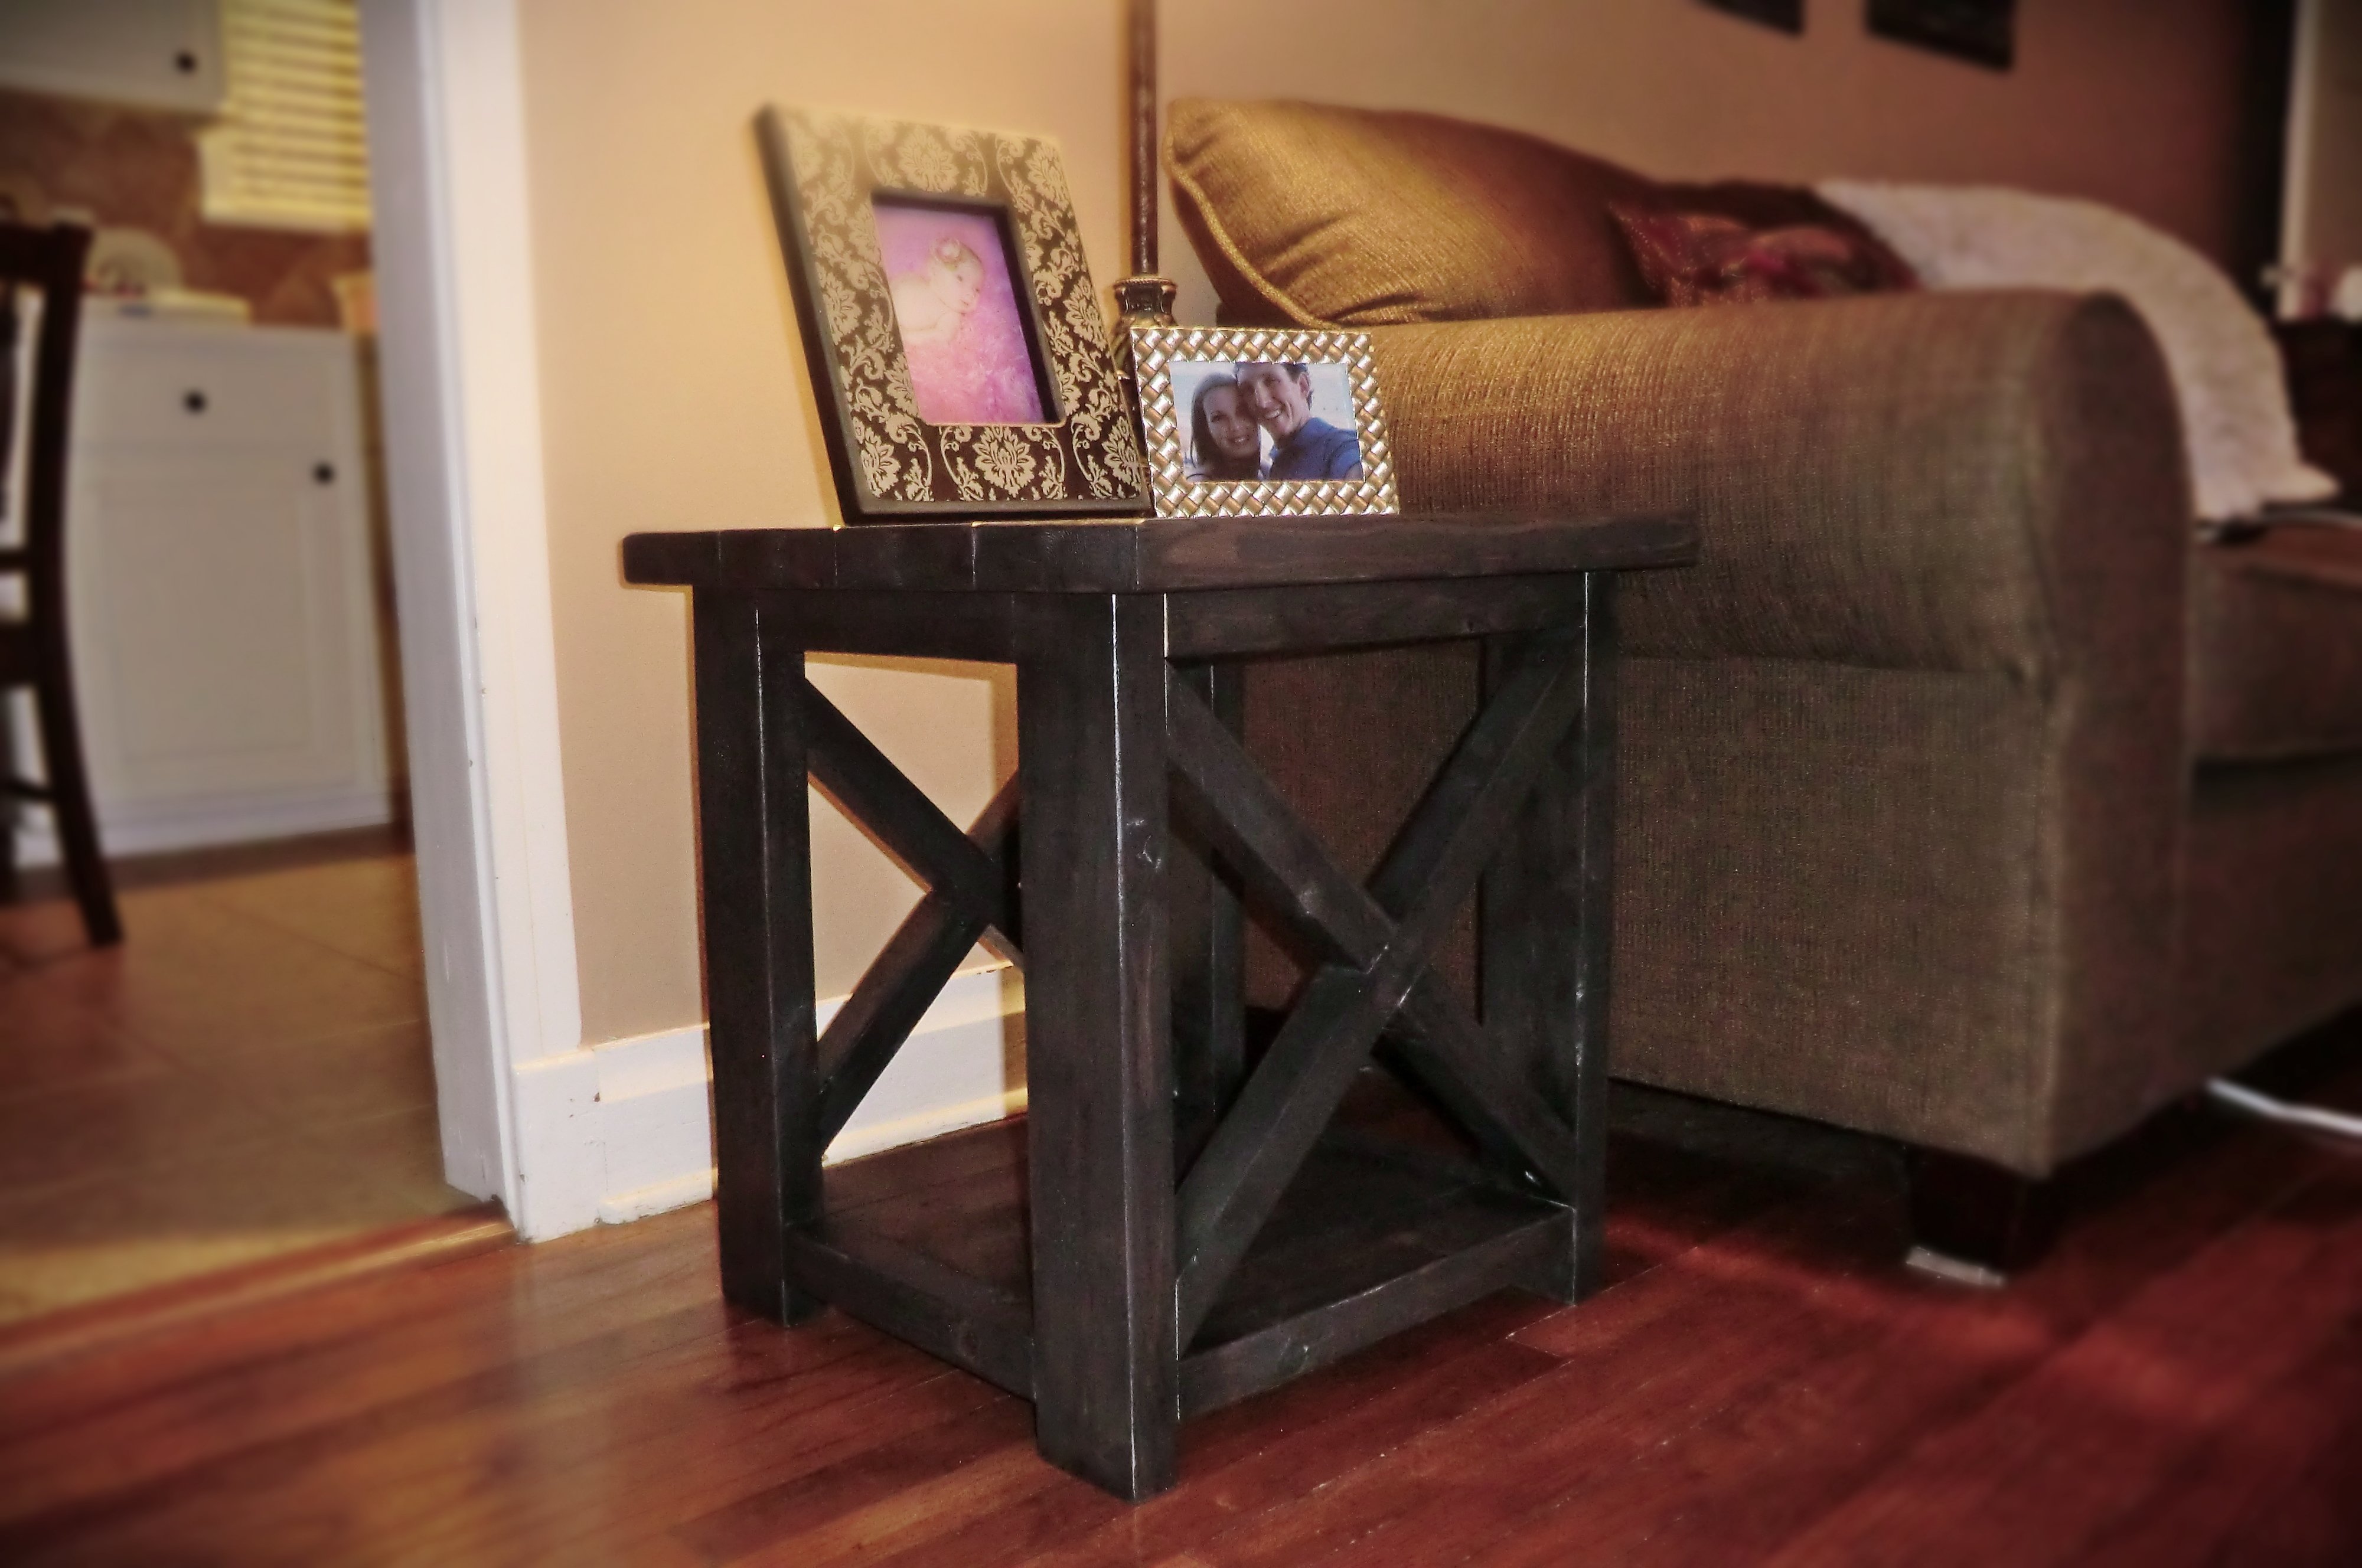
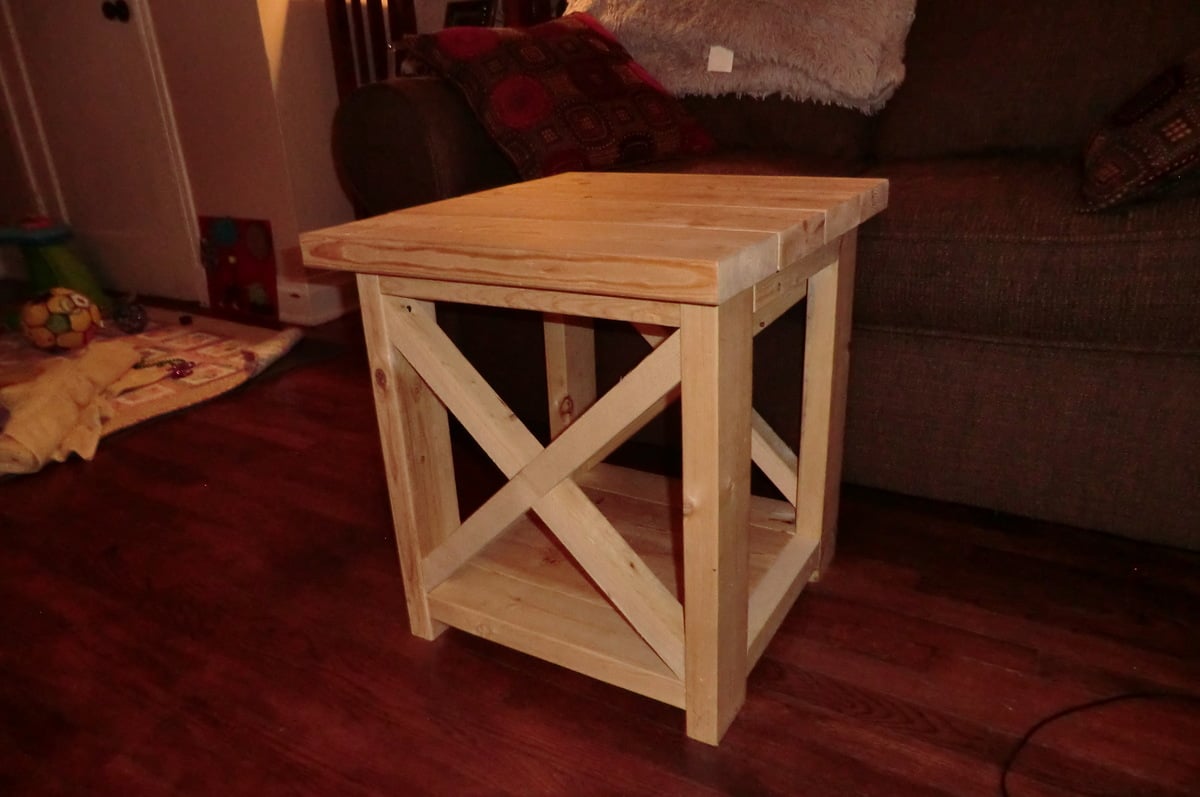
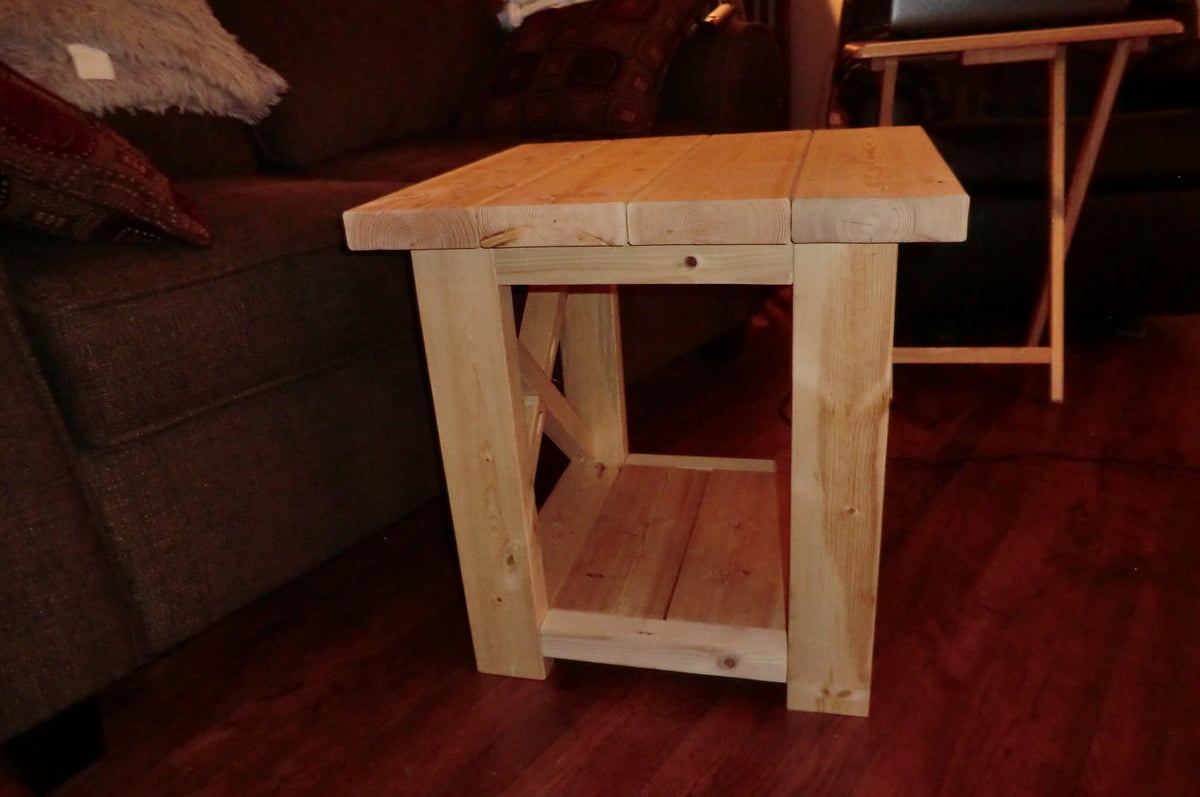
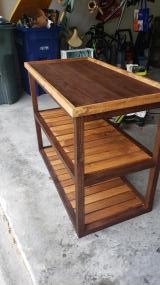
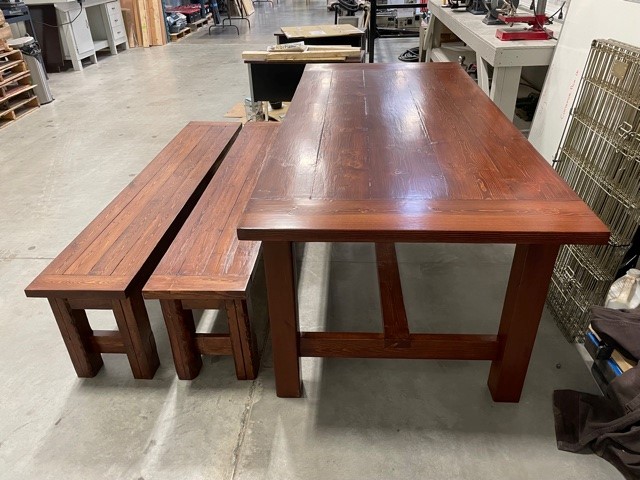
I built these two end tables from the rustic x end table plans. I tweaked the original plan to make them smaller. I only used 4 - 2x6's for the top instead of using 5, and I used 2 - 2x6's for the bottom shelf instead of using the 2 - 1x12's. My top is 20x22.5 and the base is 18x18.

Fri, 09/28/2012 - 10:36
Great job ! these Rustic table are good for interior design and make a good look .I read this , have good price ,timing ,wood and also your hard work .

Wed, 04/20/2016 - 05:43
i love this! we just built the bigger one to find out it was a bit too big but we were still able to find a place for it. my husband and I are going to build your smaller version cant wait!

Mon, 06/13/2016 - 12:46
I made the original and found it larger than I wanted. I was going to do a smaller version like you did. How tal is yours?
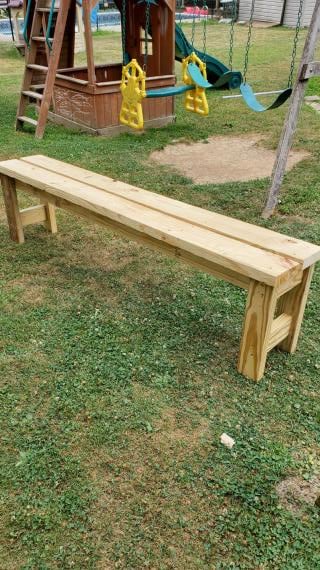
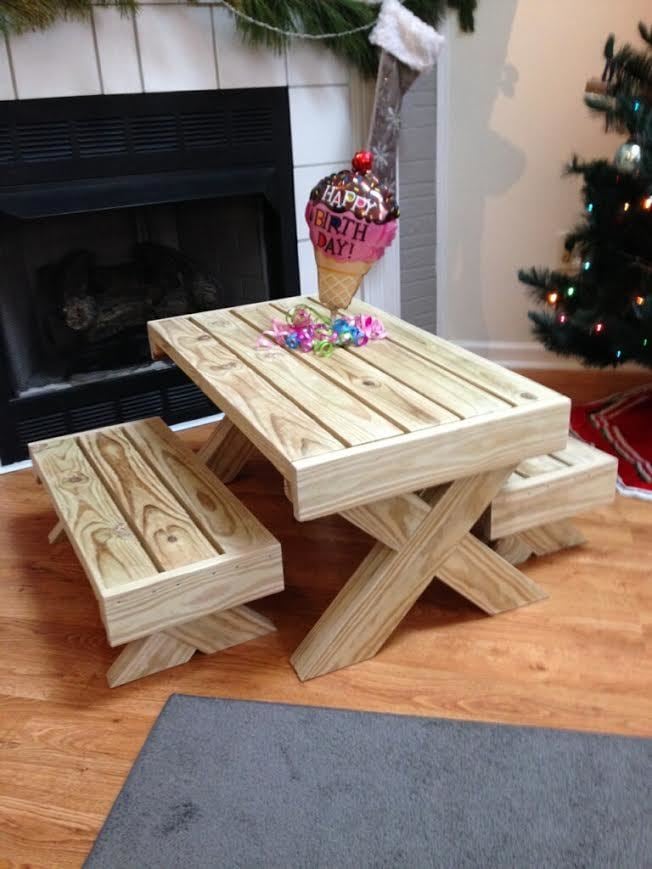
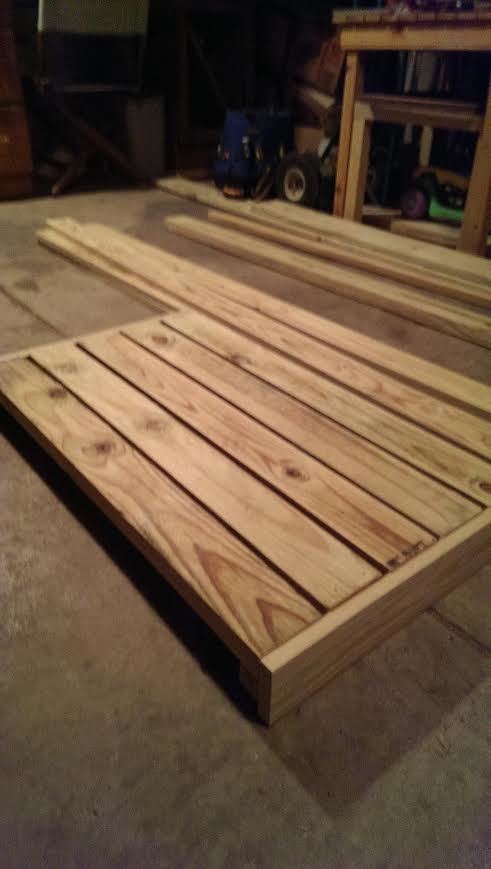
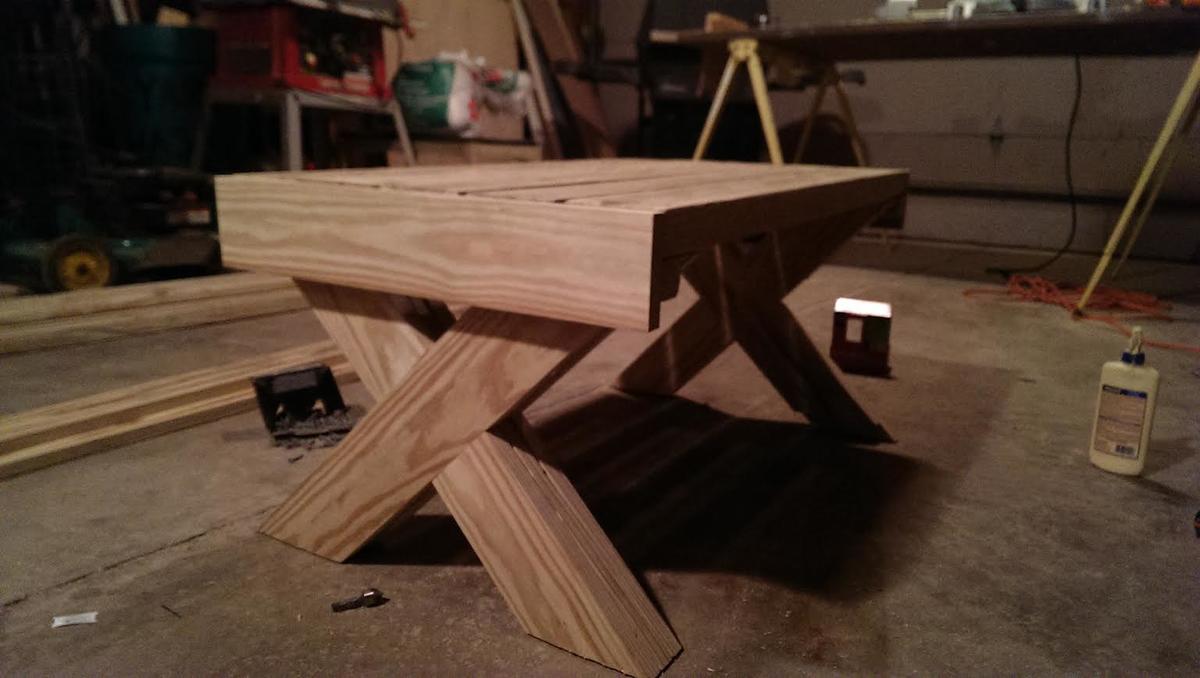
Great, sturdy, easy build!!! Looks amazing and will be my new picnic outdoor seating. I cannot wait to build the next bench and table to go along with it. Thank you for the plans!!!!
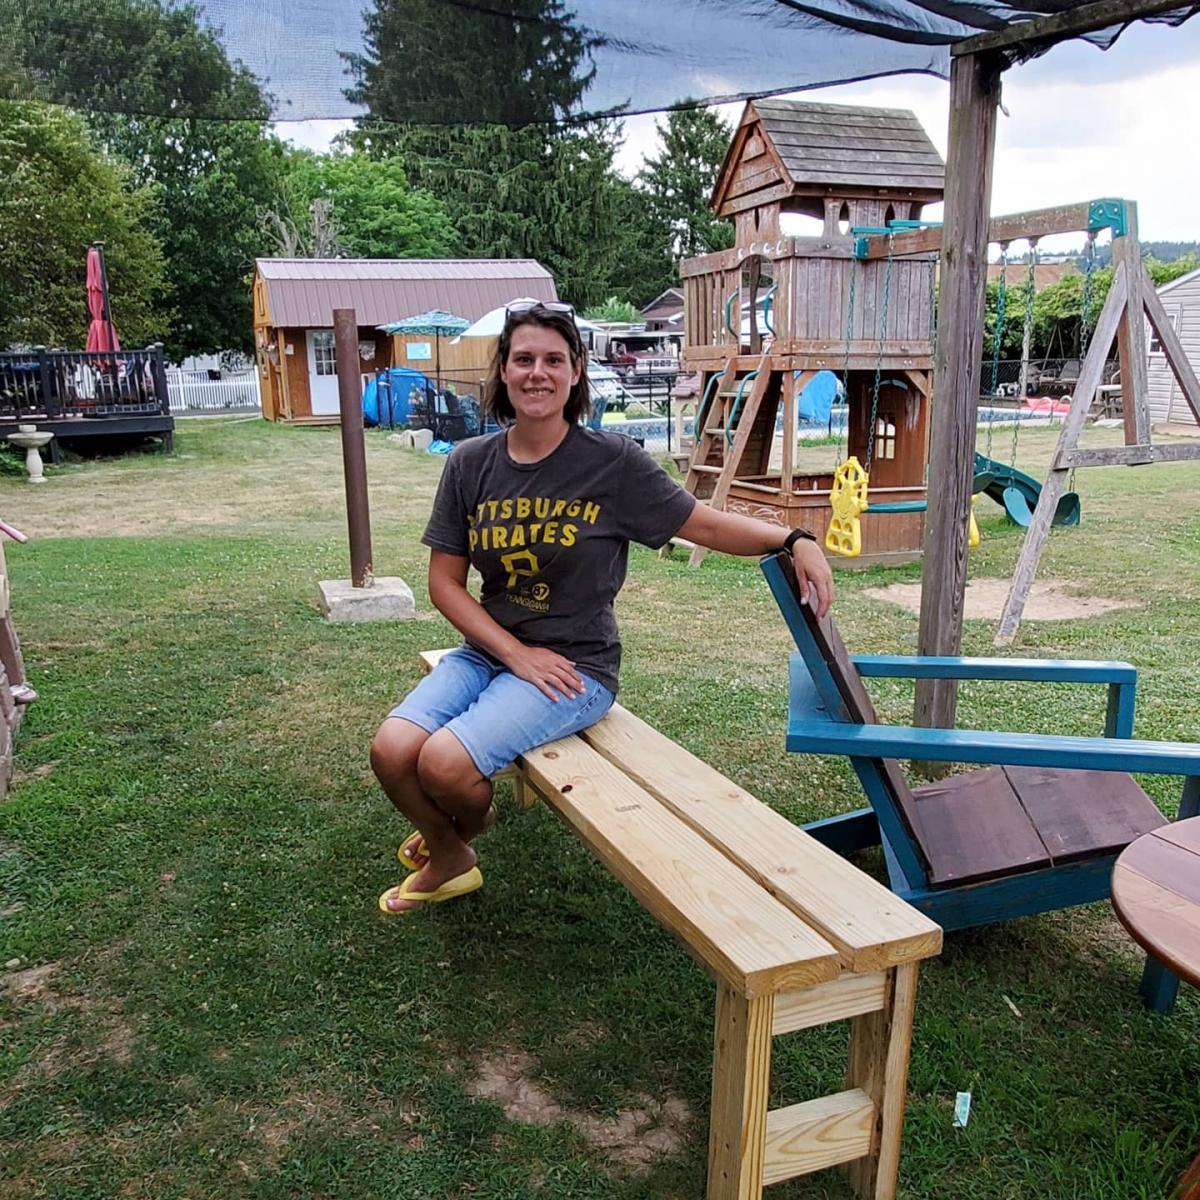
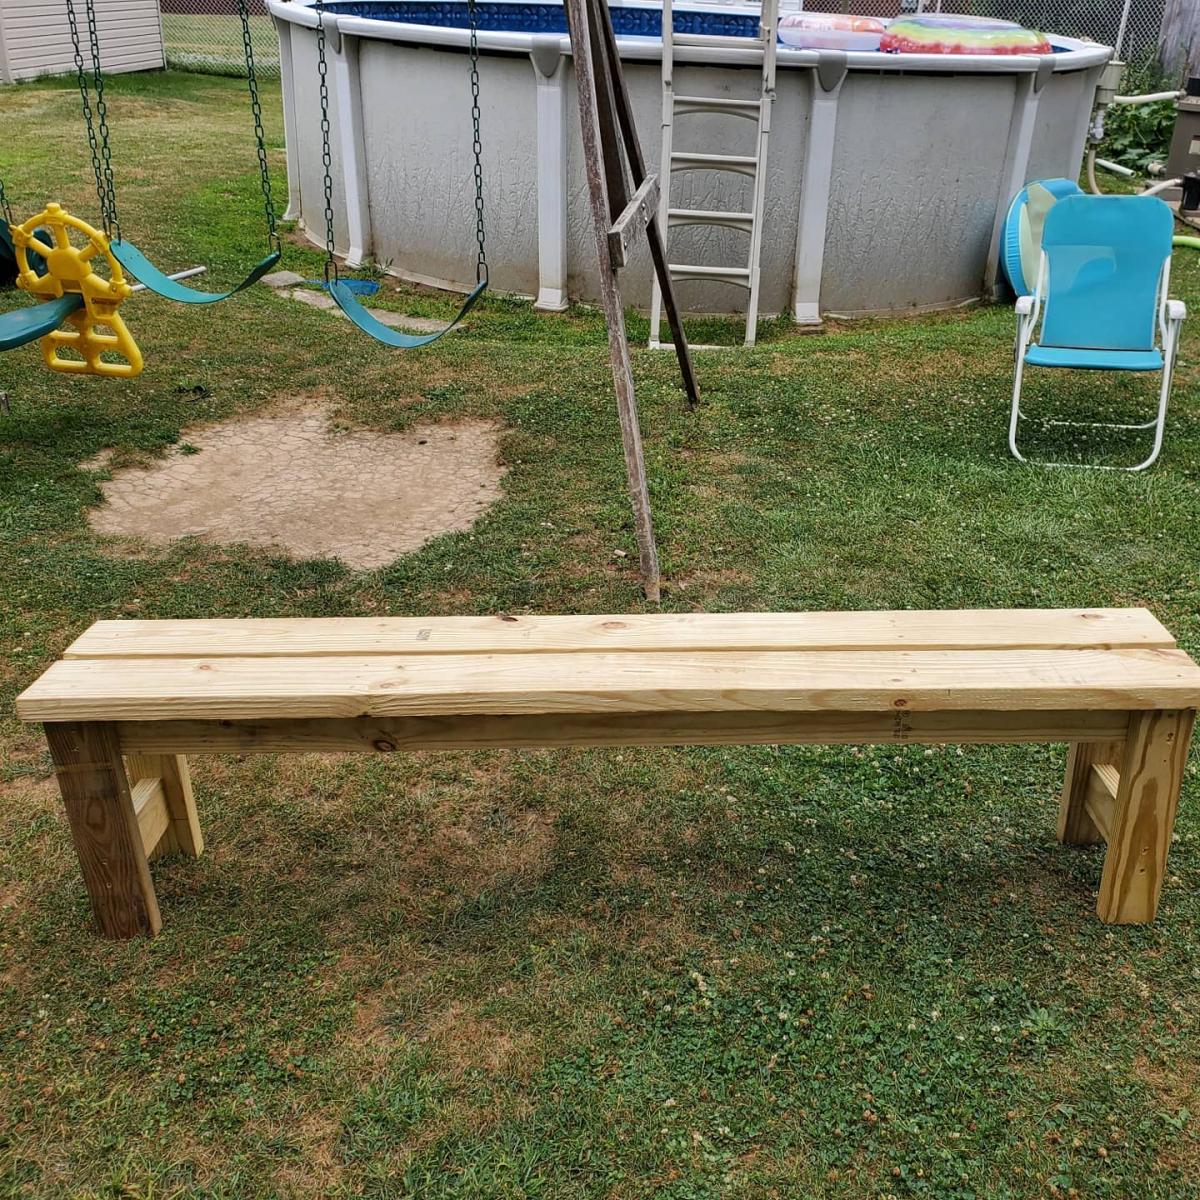
Built by Cunningham Custom
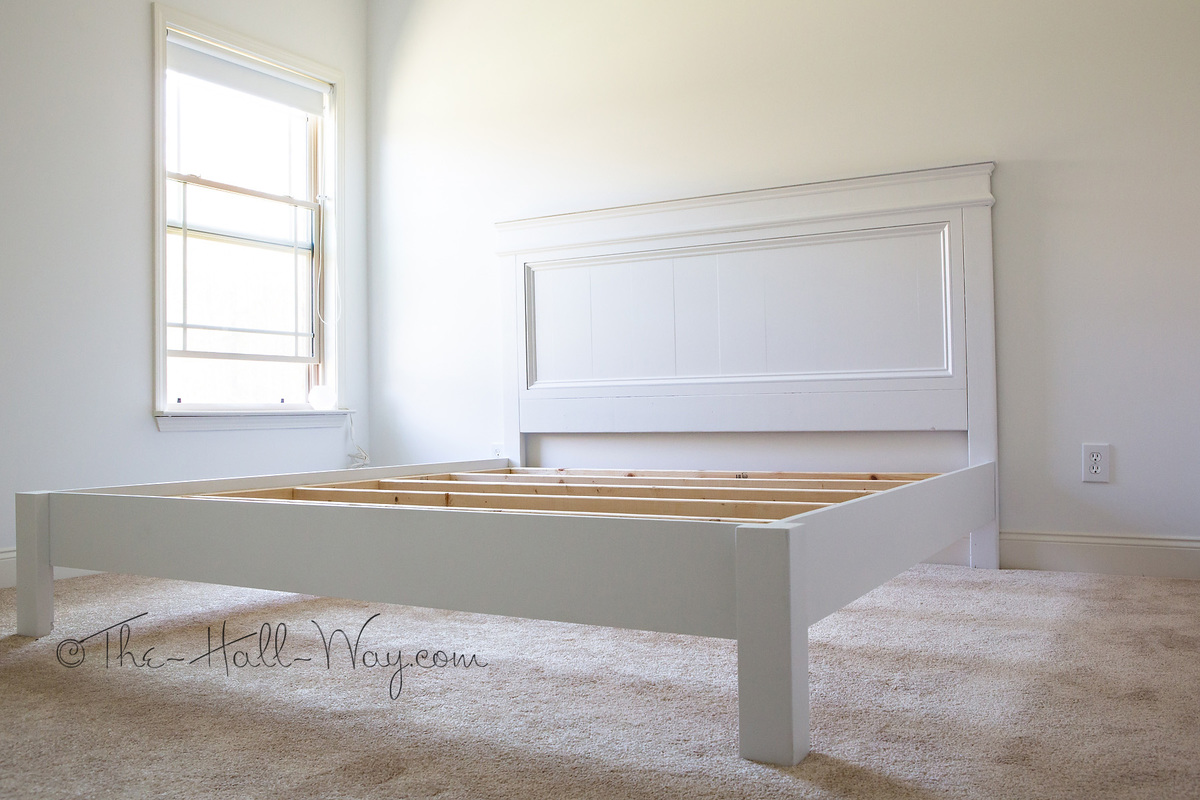
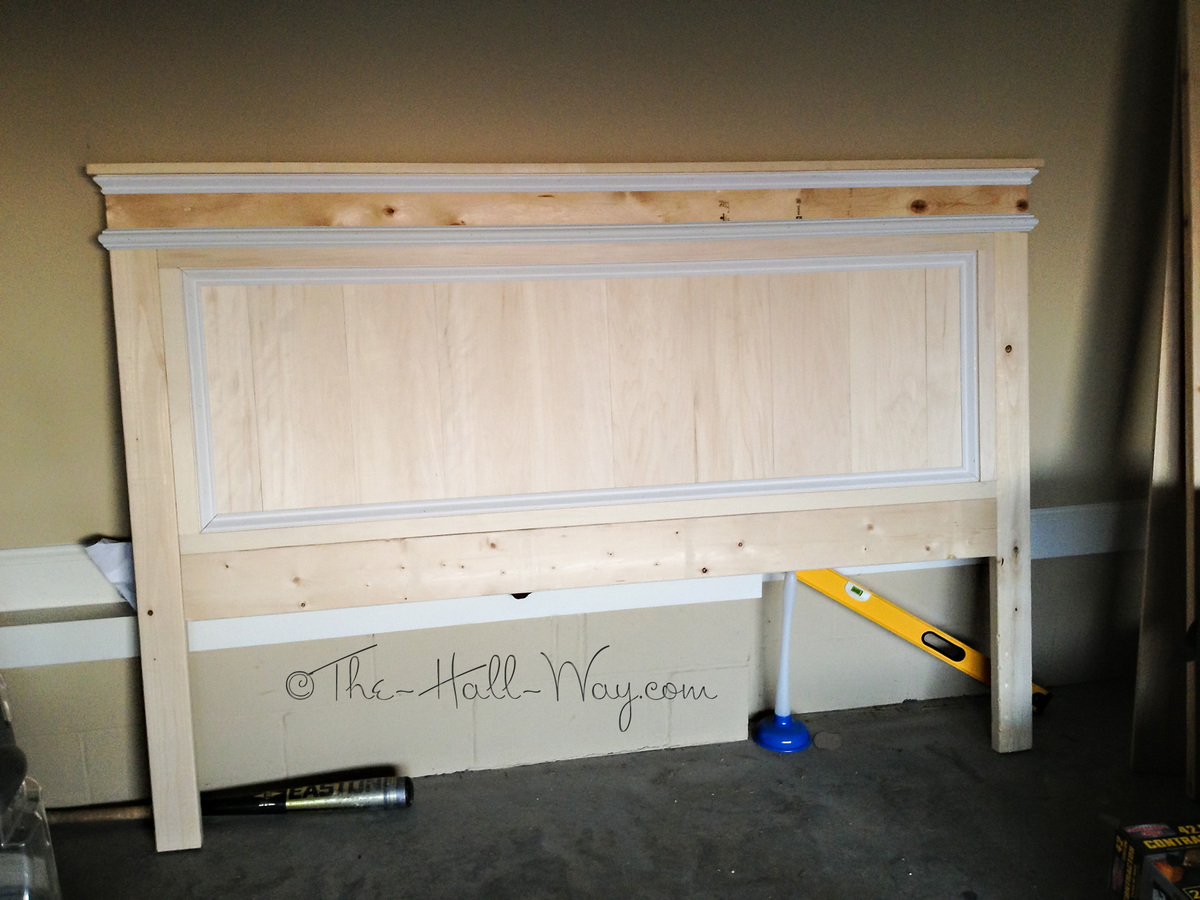
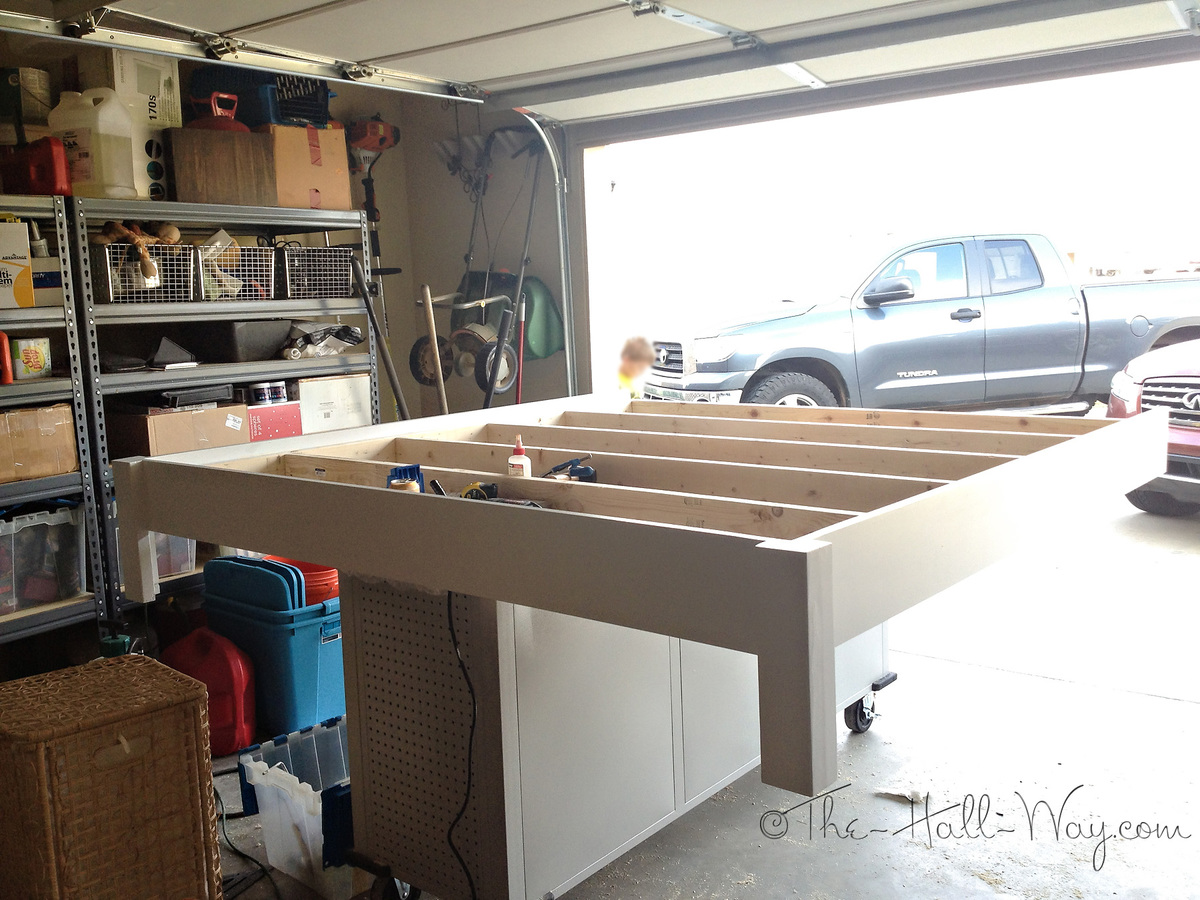
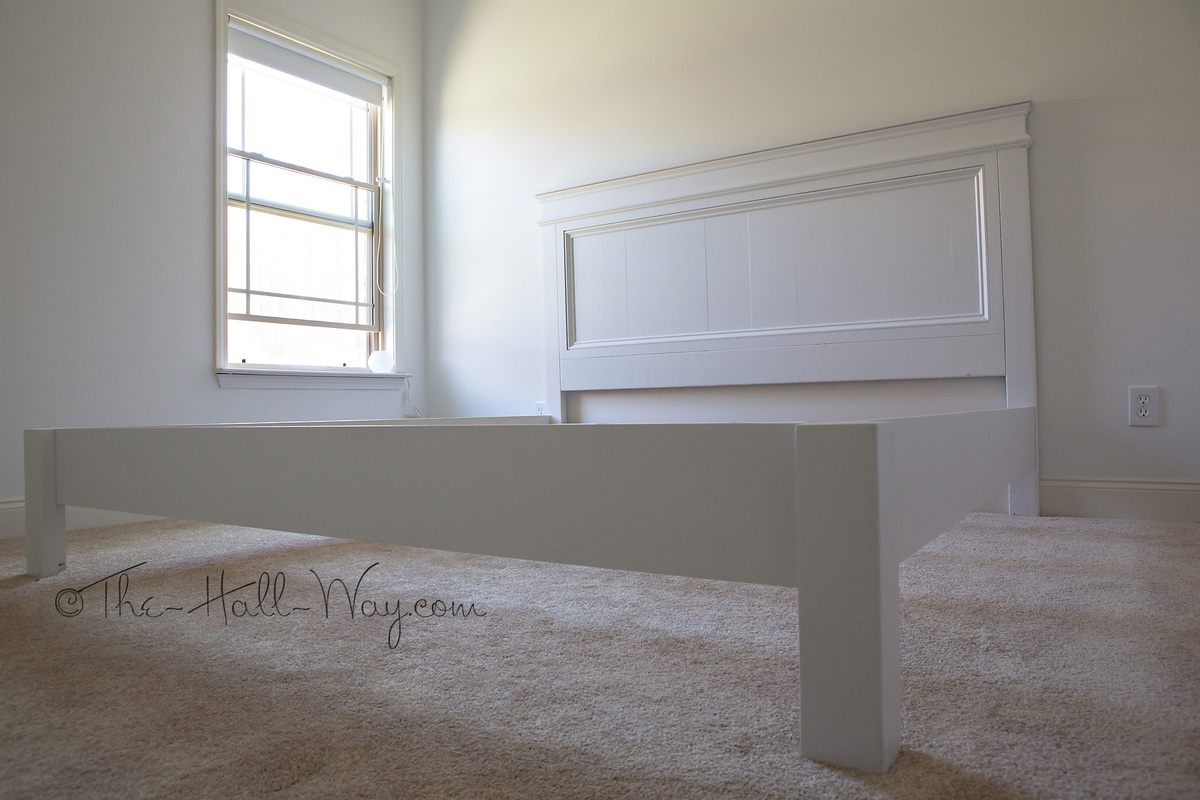
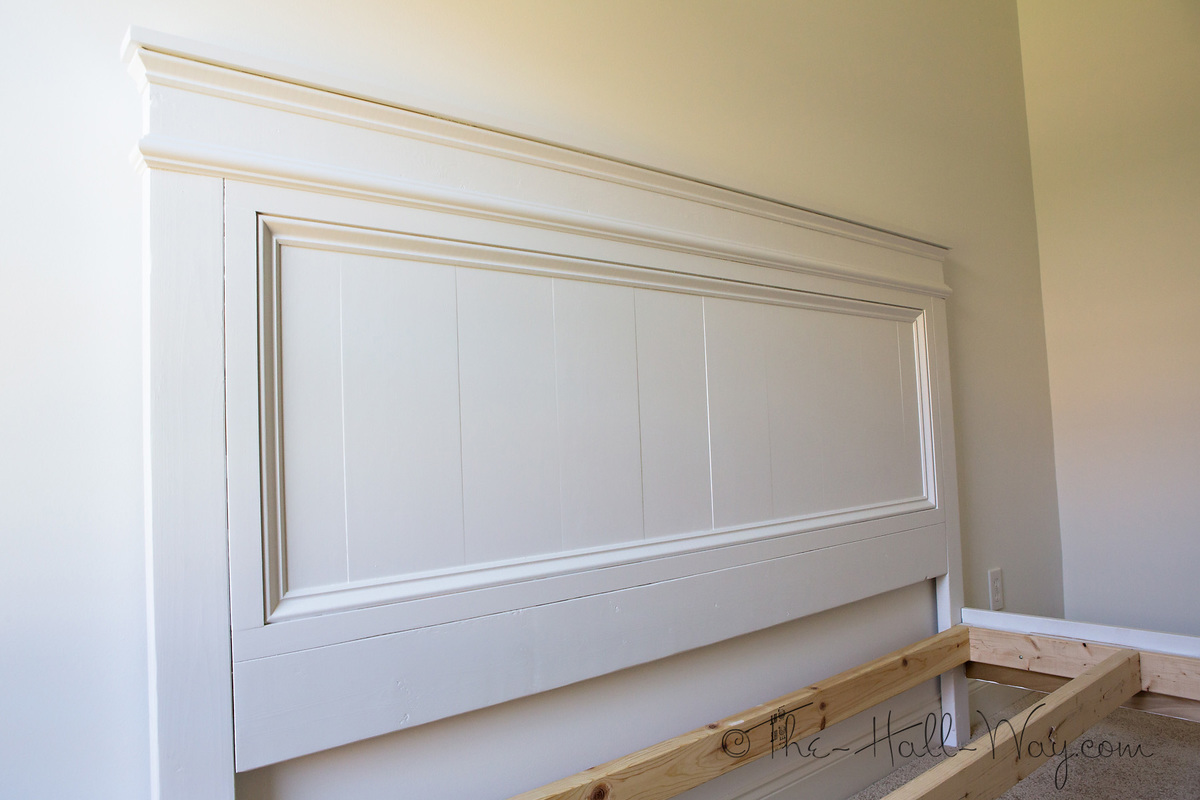
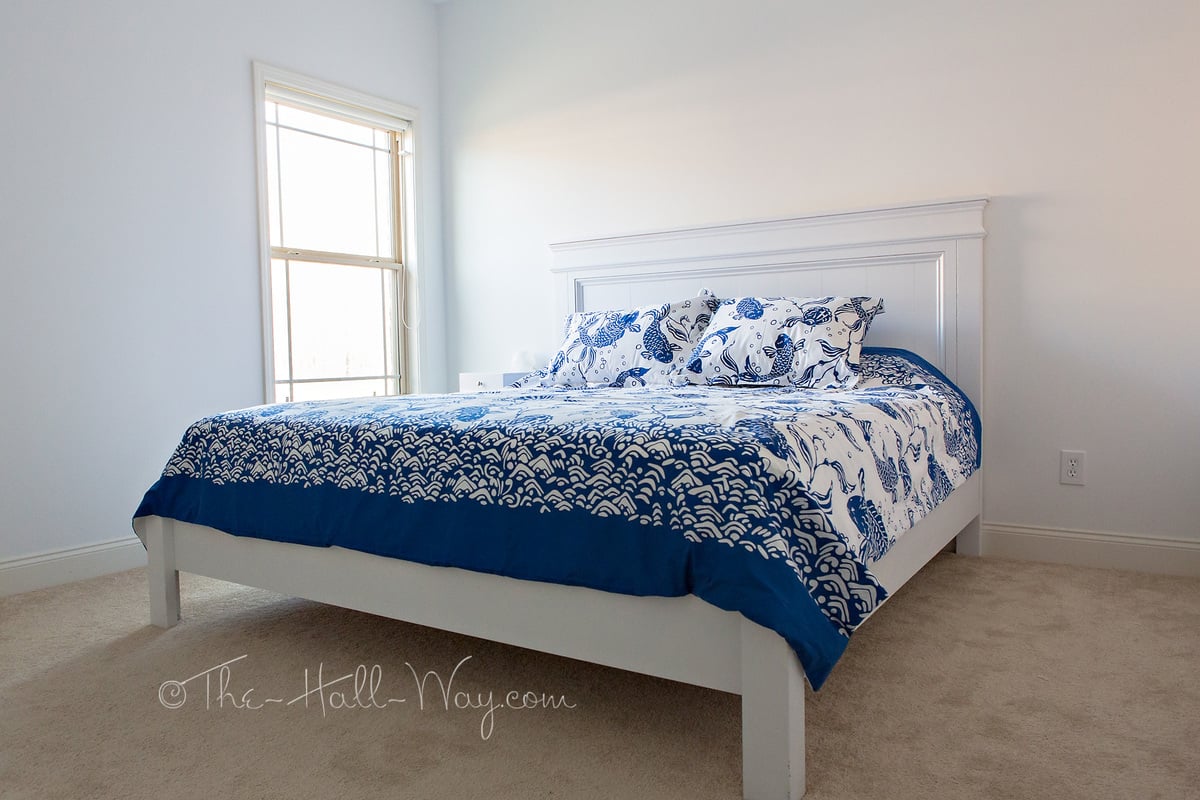
I built this bed for my parent's guest room at my sister's house. It is very similar to a bed mom had been wanting. They wanted a king size so I had to do some modifications to the original plan - primarily adding 16" to all width measurements. I also used 10 - 1x8s for the headboard panels. That made the panels slightly too wide, so I had to rip a little bit off the 2 end panels.
The hardest part of the project was getting it in her house! The legs made it about 1/4" too wide to fit it thru the door. We were about to remove the legs (which would have been a disaster since they were glued, screwed and painted on) when we finally figured out the right angle to squeeze it in. I had to touch up the paint in a few spots once we got it in position, but that was much better than having to remove legs and put them back on. We still need to get plywood for the mattress to sit on and I'm going to add a middle leg for extra support since it's a king. I will probably eventually build nightstands to go with it. Overall, I'm pretty happy with how it turned out since this is my largest and "fanciest" project so far.
Tue, 04/09/2013 - 12:41
I really love this bed, however, being military we move quite often. Is there a way that you would recommend I could alter it so that it can be broken down a little to make it easier for moving? Thank you much :D
In reply to How to alter for easy moving? by bran2511
Tue, 04/09/2013 - 14:29
For easy moving I can not recommend the highly enough. You attach them to the side rails and the head and foot of the bed and instead of screwing the whole bed together it just locks into place. They are THE BEST! http://www.rockler.com/m/product.cfm?page=11
Tue, 04/09/2013 - 15:59
Attach the sides to the headboard and footboard with bed rail brackets so you can knock the bed apart to move
http://woodworking.rockler.com/search#w=bed%20rail%20brackets&asug=&sli…
There is even a bracket for the center rail of a king-sized bed.
Tue, 04/09/2013 - 12:41
I really love this bed, however, being military we move quite often. Is there a way that you would recommend I could alter it so that it can be broken down a little to make it easier for moving? Thank you much :D
Sat, 08/24/2013 - 18:31
I just posted a brag post with this bed in black. I will see if I can upload a photo of how I built this bed for very easy break down. I looked at all the brackets etc.. with this being built out of pine I was not 100% confident in the Rockler / Wood craft brackets. I used a forstner bit and a 4.5" bolt with some washers.
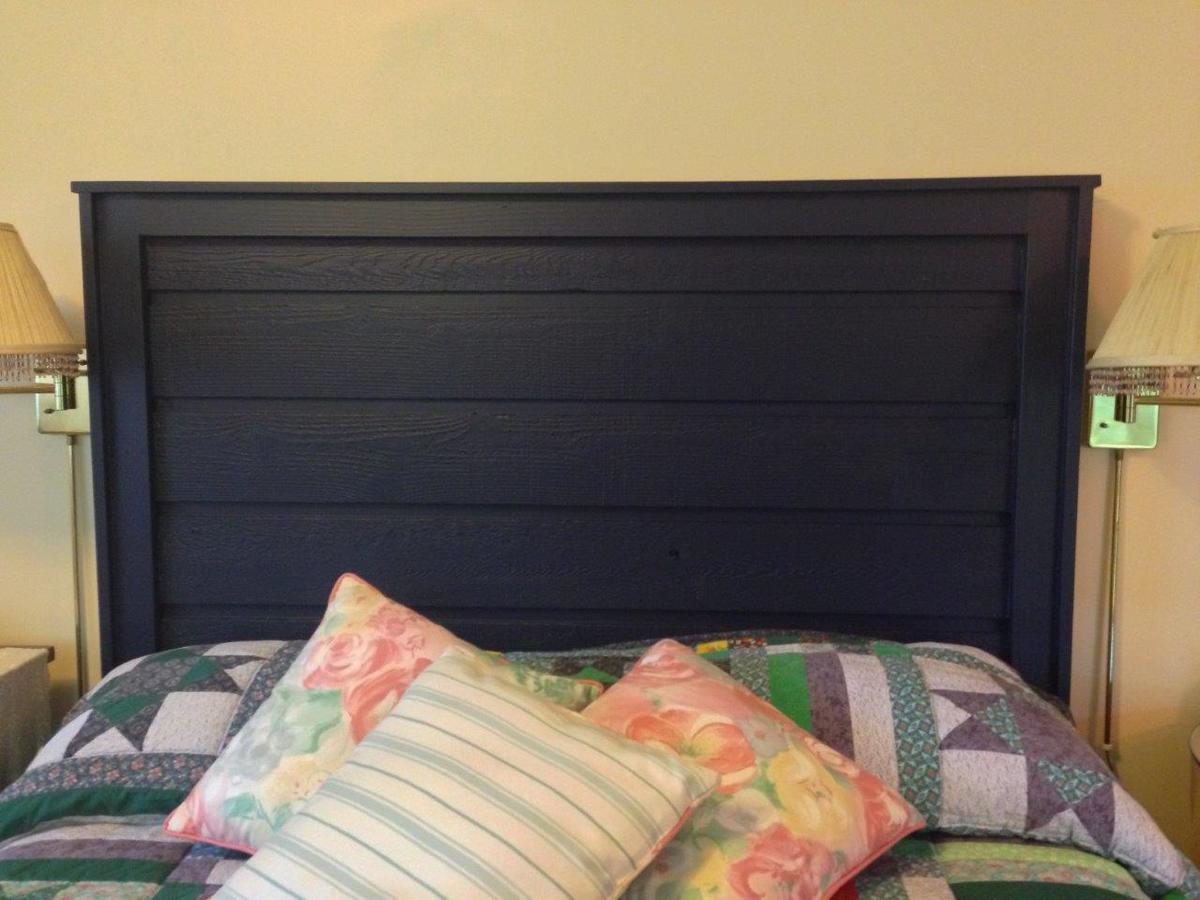
Made with leftover lapped cedar siding from our woodshed, plus a few pieces of reclaimed 1x4 and some new 1x3. Wanted it to be navy, and it is.
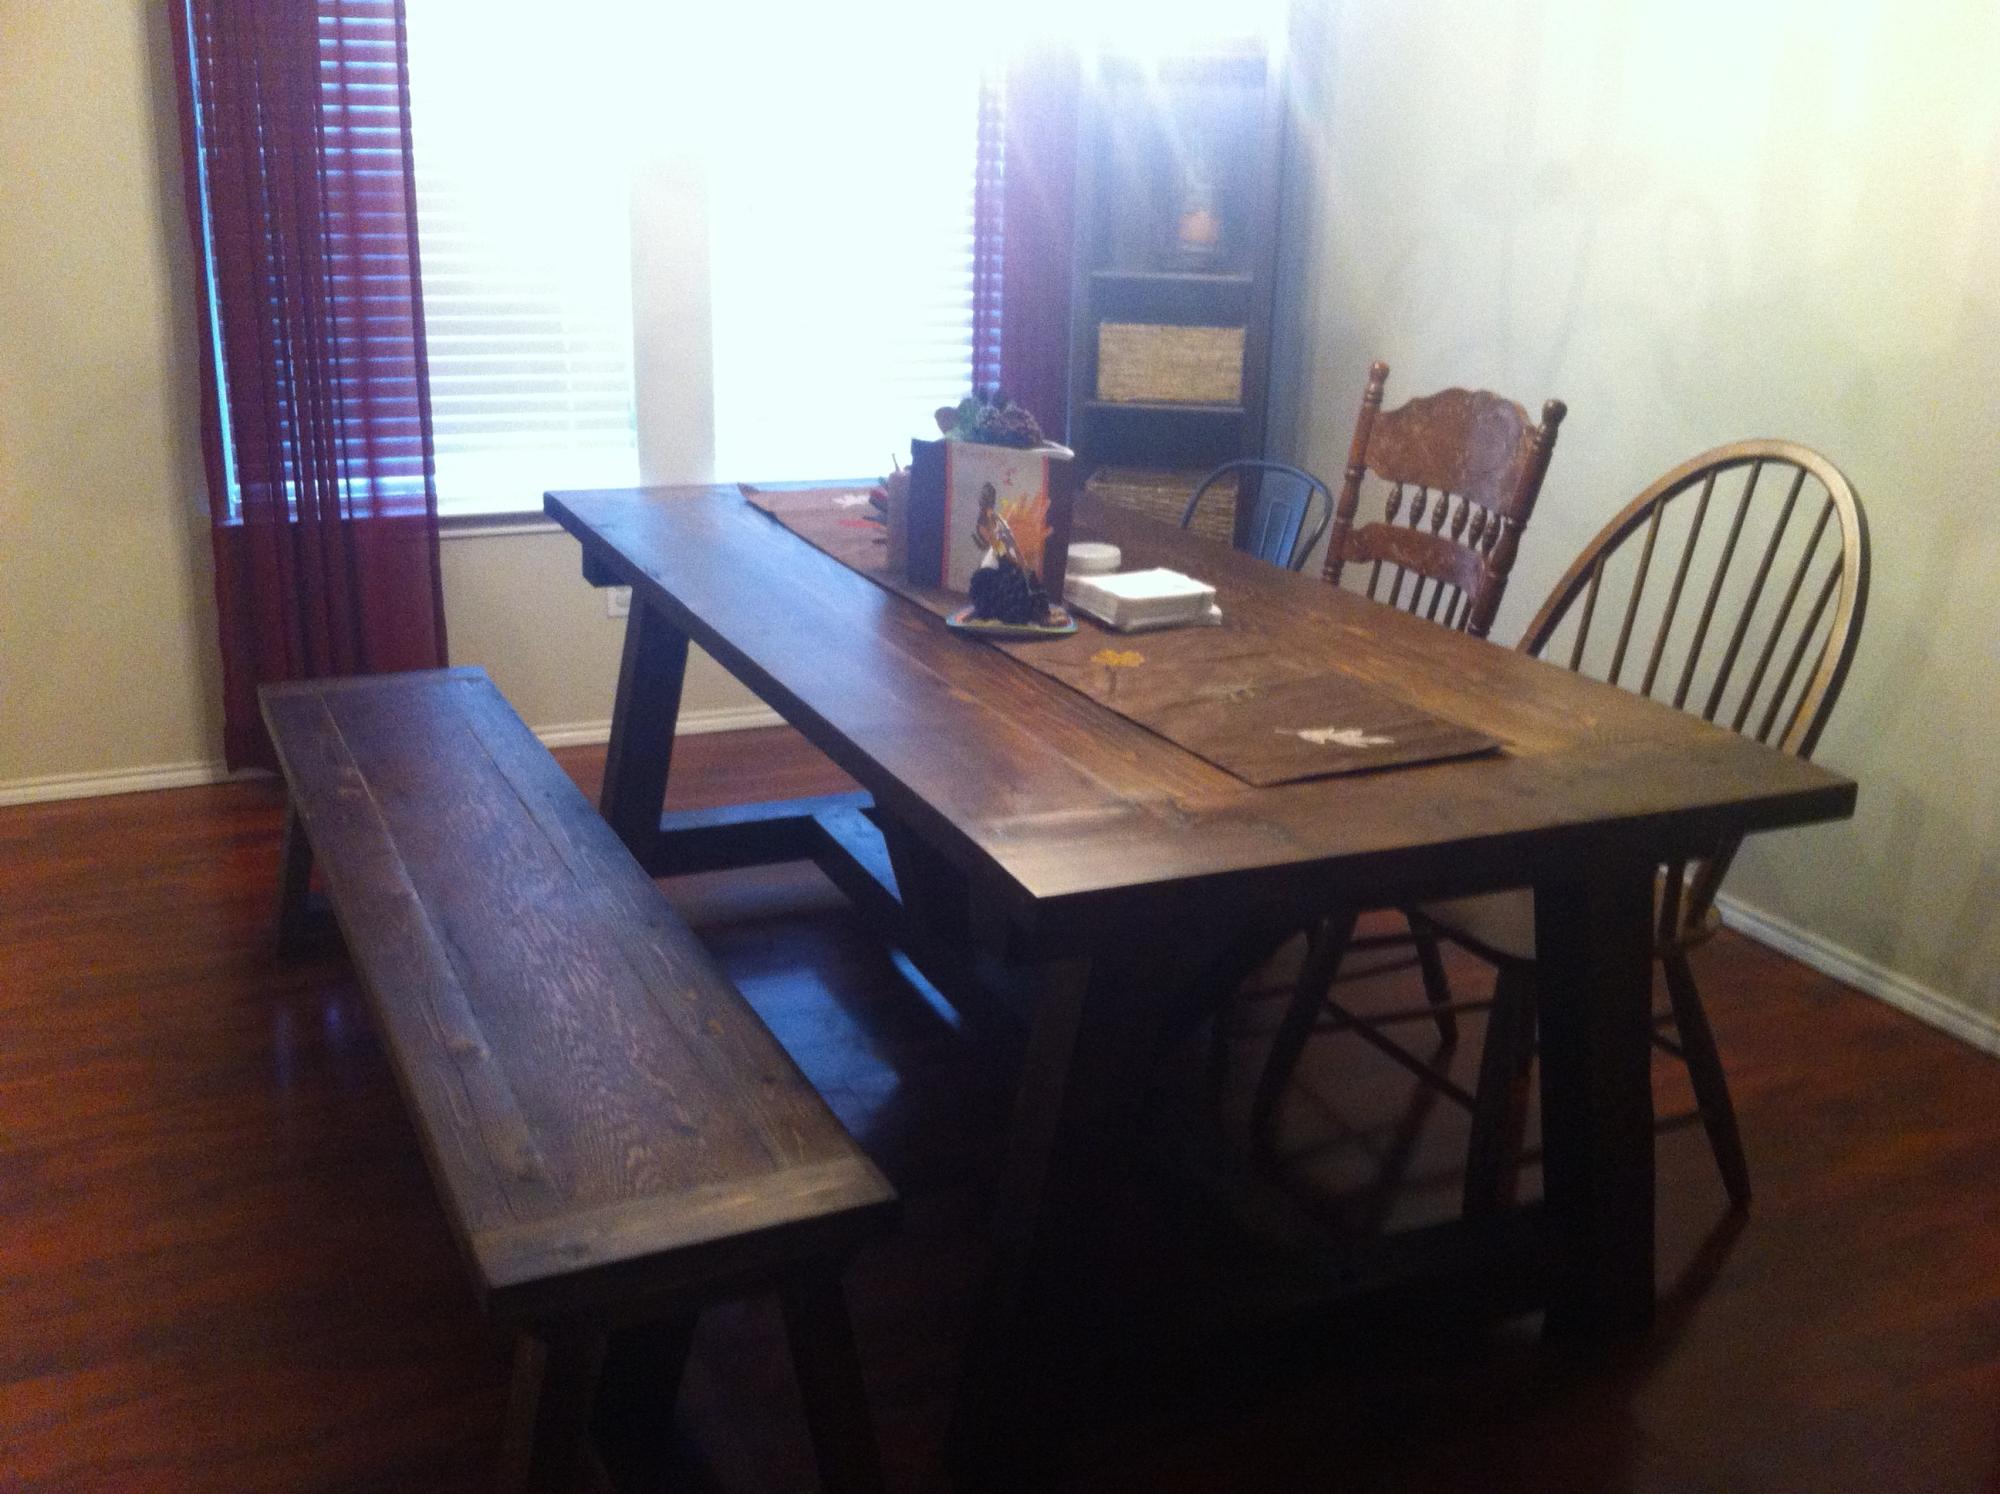
The plans provided for the table and bench were excellent. I also had help from people in the local Lowes lumber department who talked me in to using cedar. They also recommended using lag screws where possible so (for the table) I ended up using lag screws in some places where the pocket screws were recommended.
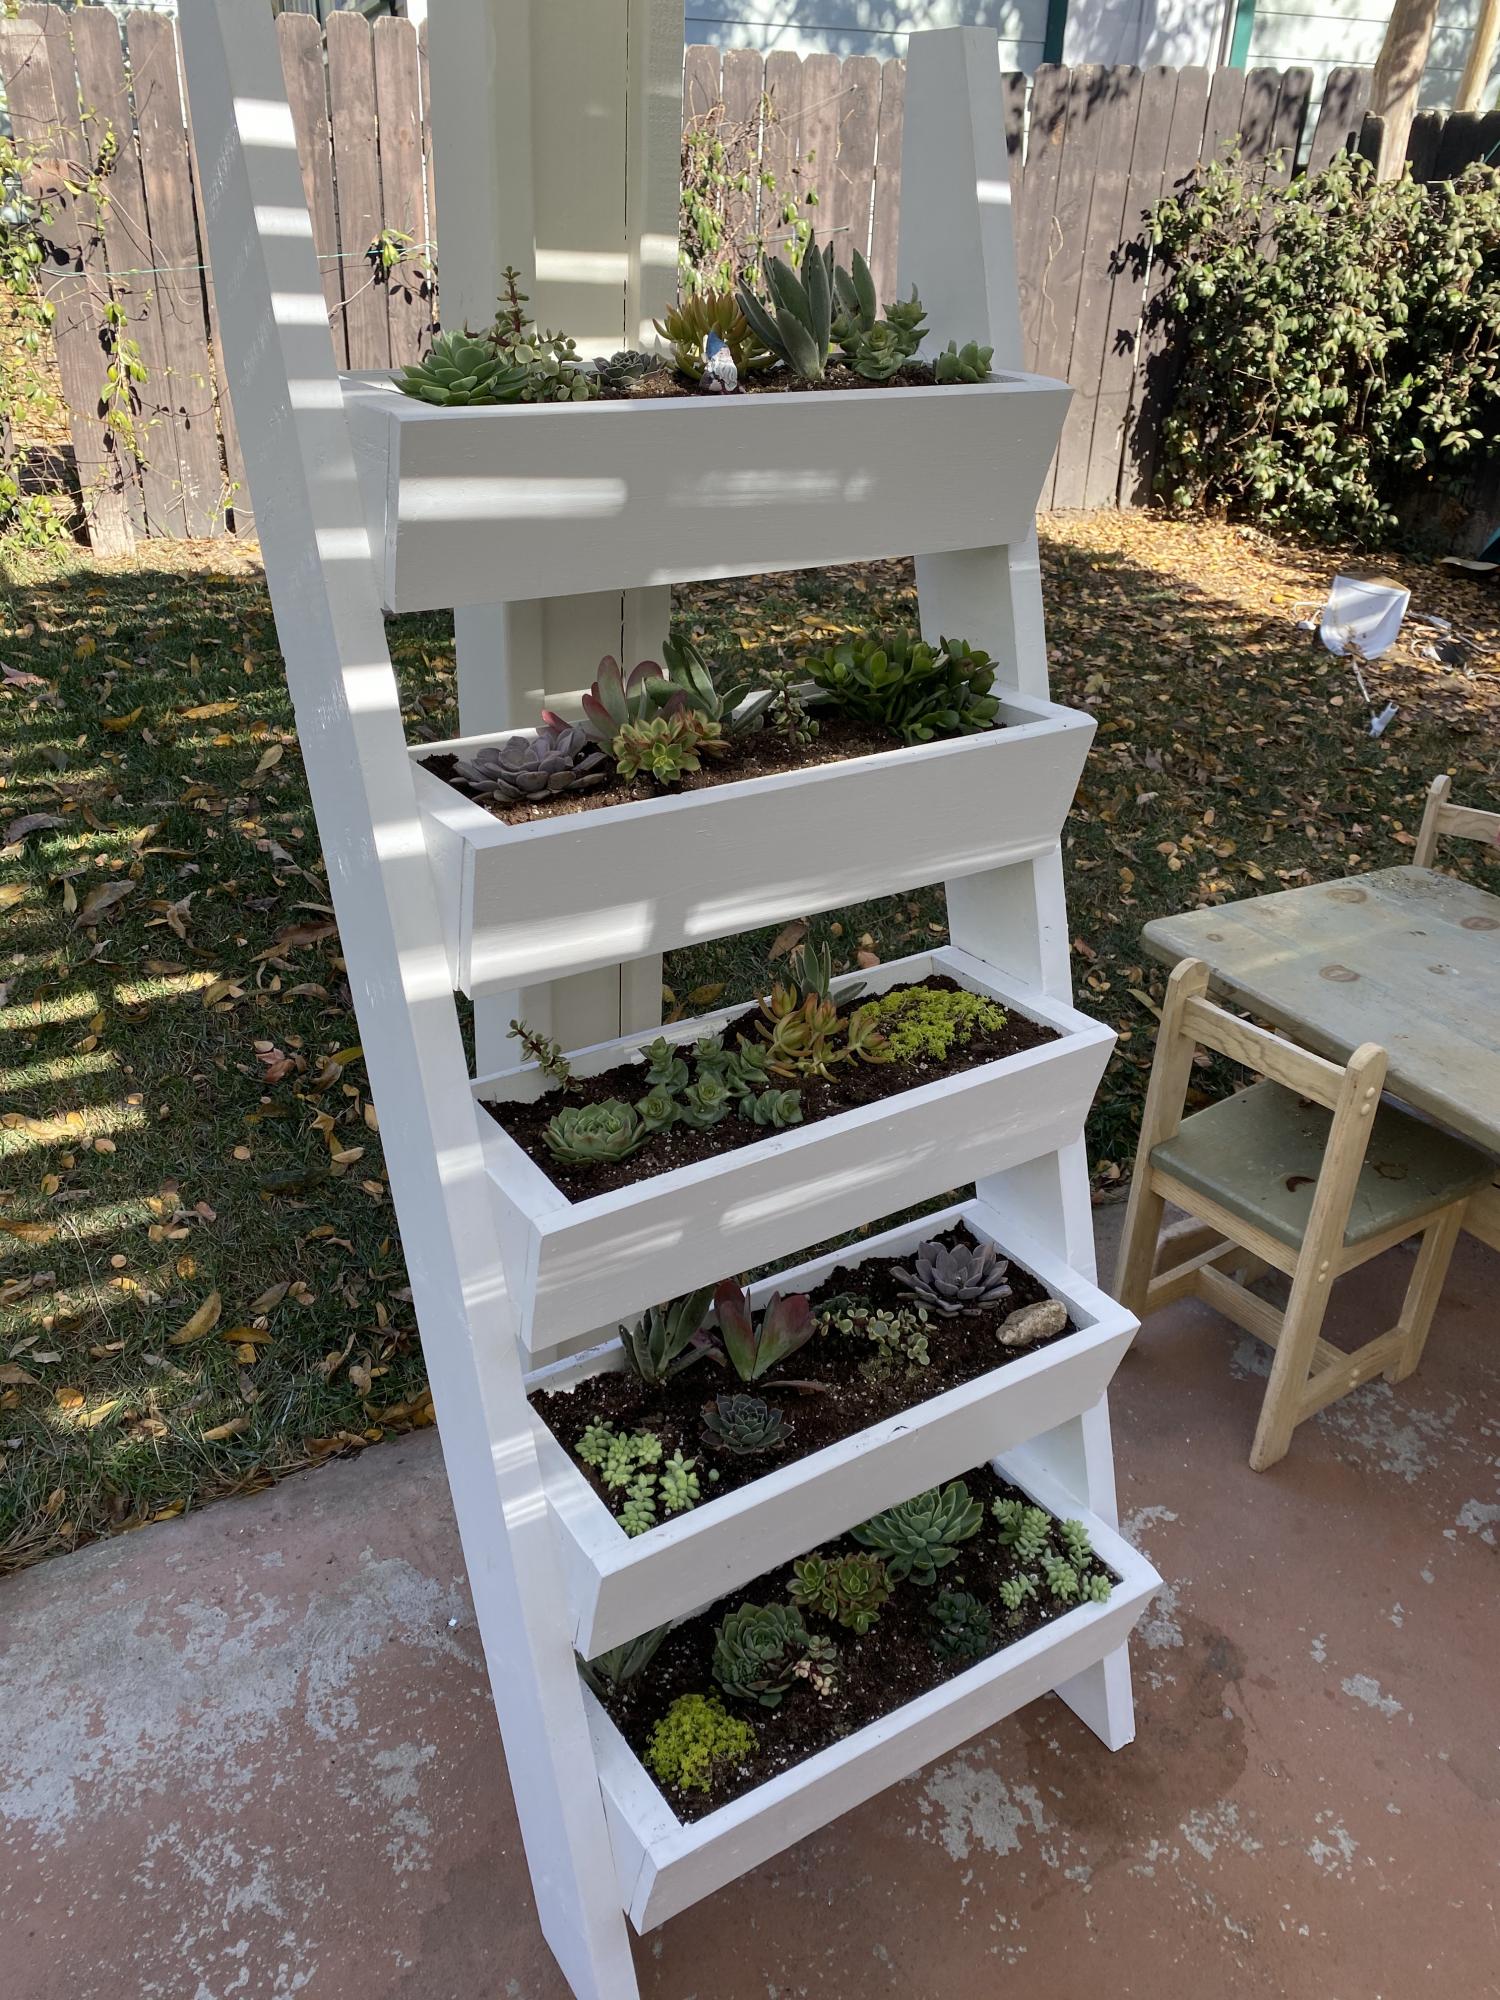
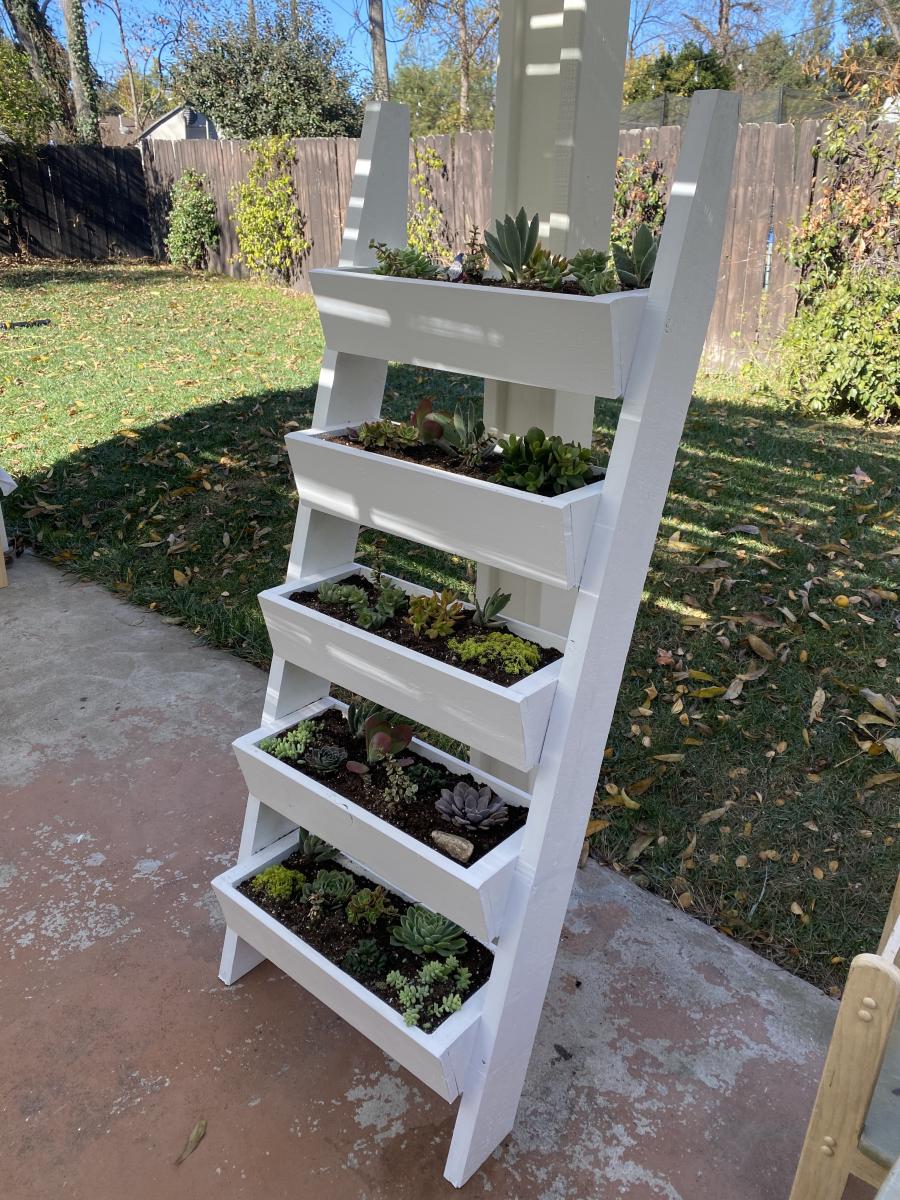
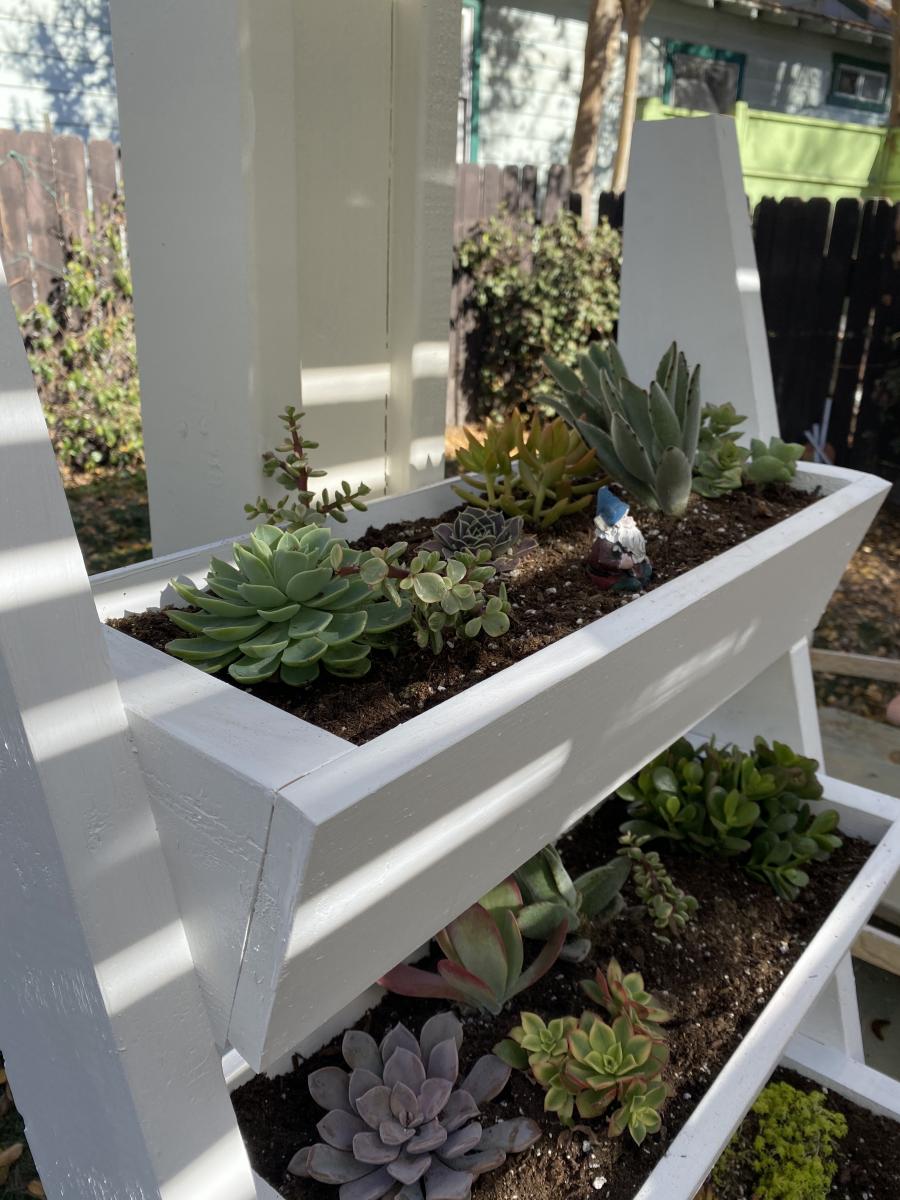
Made this over a few afternoons during the interesting year that is/was 2020! First DIY project and really enjoyed it! I used an opaque white stain and it's filled with succulents from our local nursery (Lincoln Nursery in Pasadena, CA). Painting took the longest as one coat of the stain still let some of the knots in the wood show through. Thanks so much for the plan and inspiration!
Did a couple modifications but this turned out great and she loved it. Now we wait until spring so we can stain it.
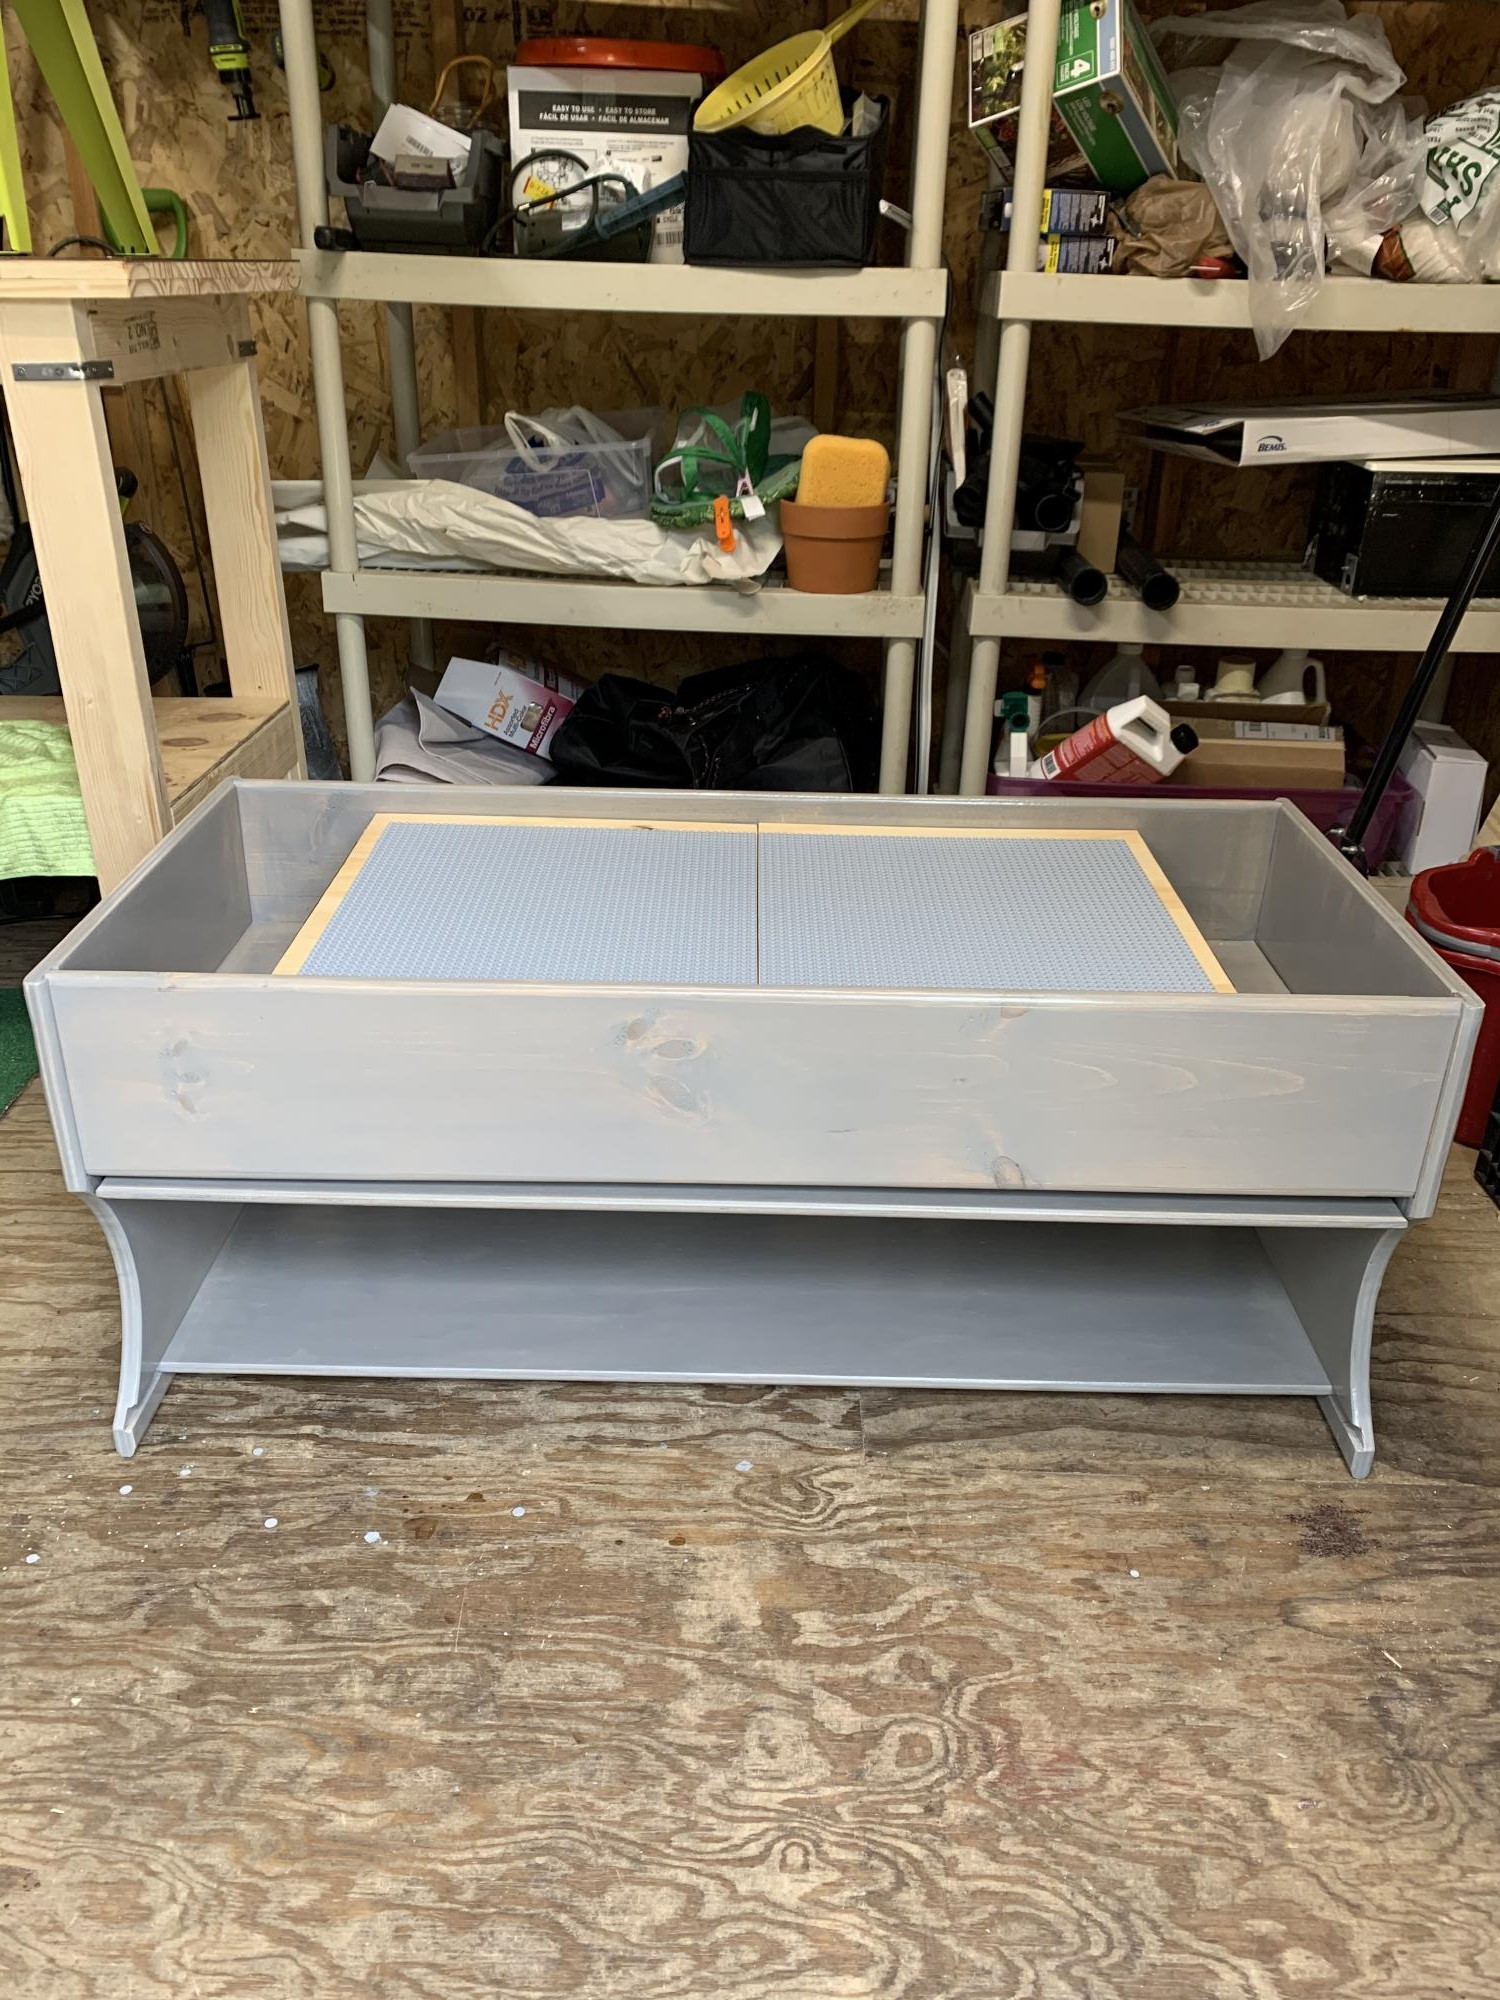
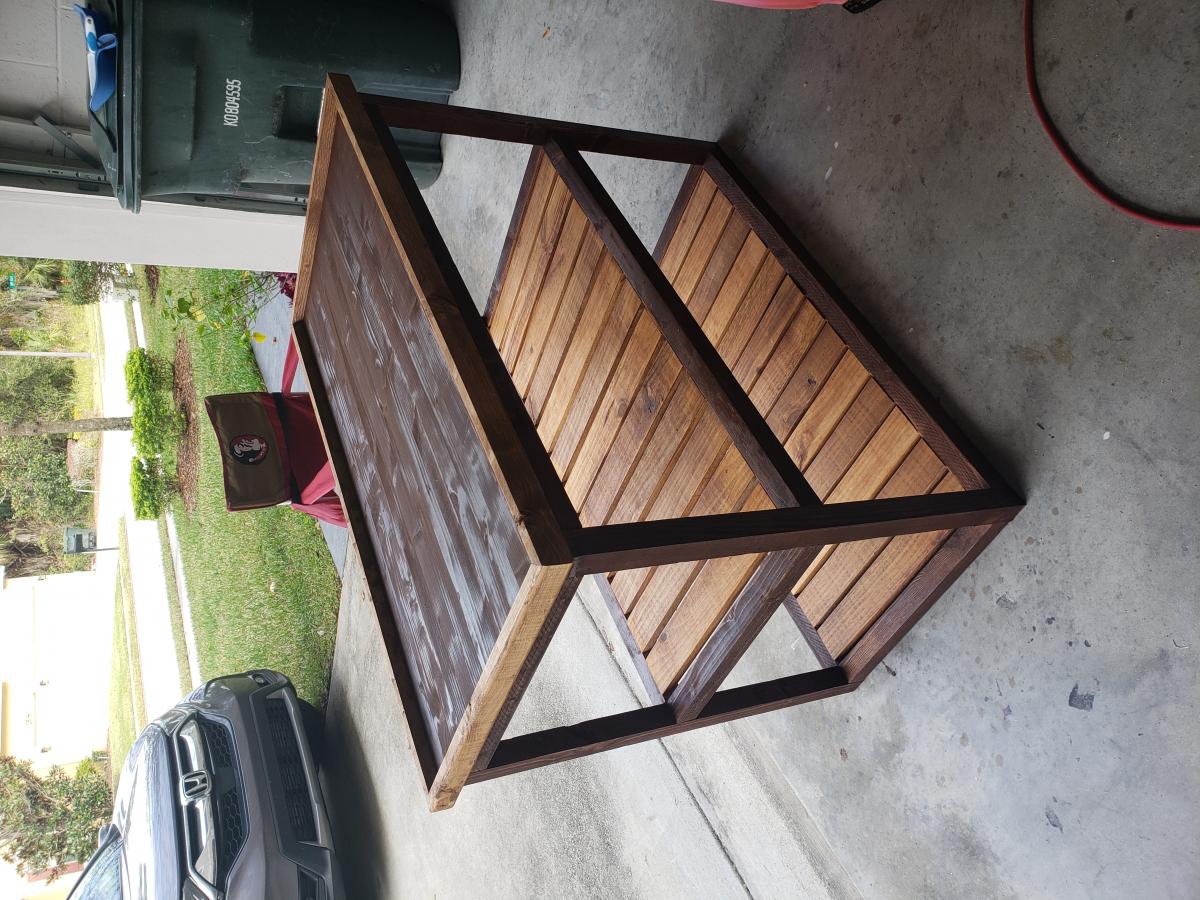
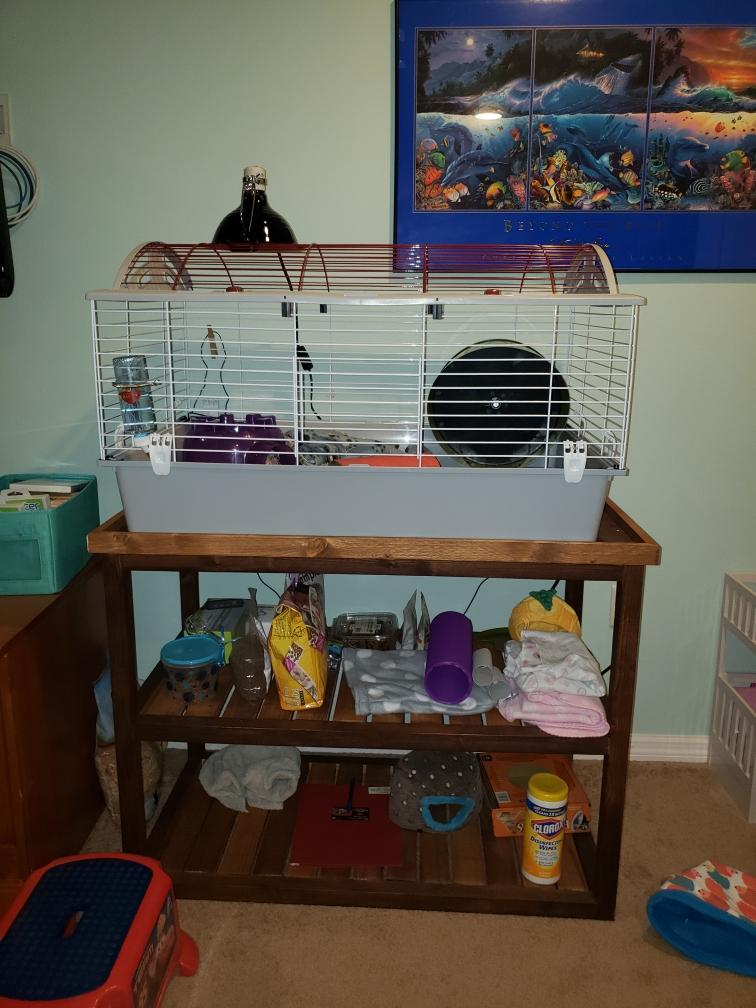
Lego table with removable top, hidden storage, shelf. 44.5”w X 20” deep X 18.5”h
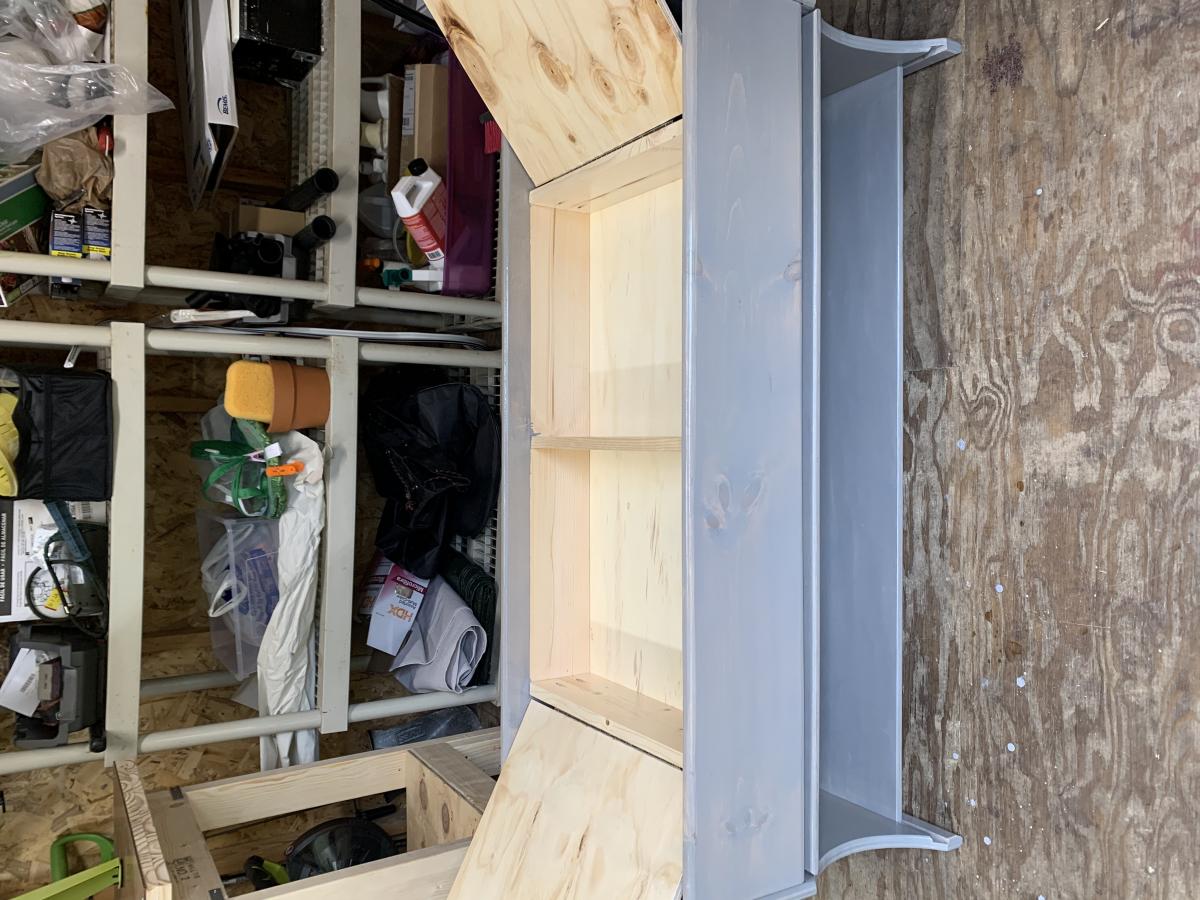
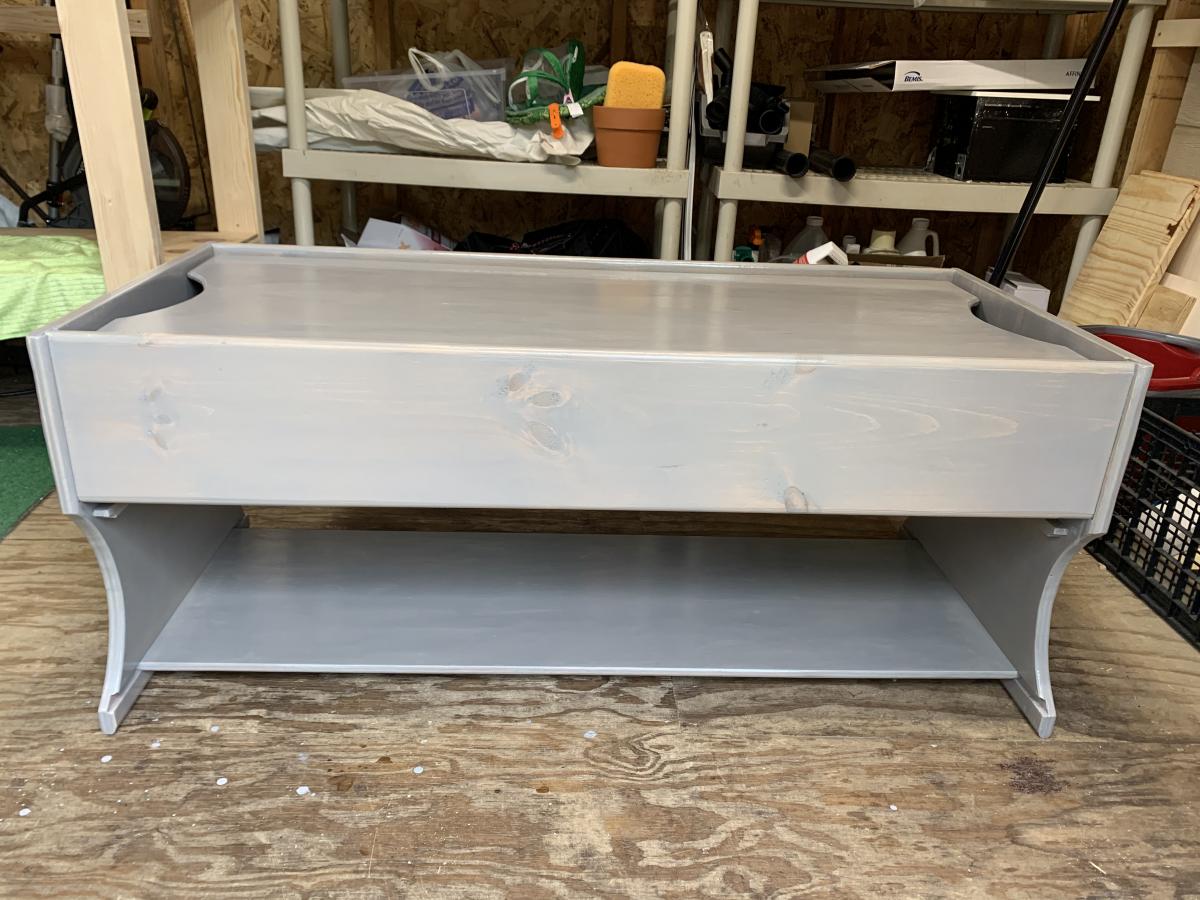
Sorry, the pictures are on their side. I used the Rustic X console table plans, but left out the X and made it taller and wider. I didnt have a stripper nor enough skinny wood to lay the slats on the shelf like that did in the video, so each of those slats are held up by pocket screws. Whew! Will avoid doing that again if possible! I did, however, stain BEFORE i built and that made all the difference! Also for the top I used a quality piece of compressed wood which bumped the cost $20, but seeing that a cage was going on top, i wanted a solid piece to hold any shavings. I also added a railing so the cage would stay in place. My neighbors LOVE it and I'm just super happy with how the stain job came out. It was actually a fluke, I think I failed to stir it completely on the first coat and when I was touching up it got waaay darker so I just rolled with it and made it two toned. LOVE the result and not sure if I can pull it off again haha
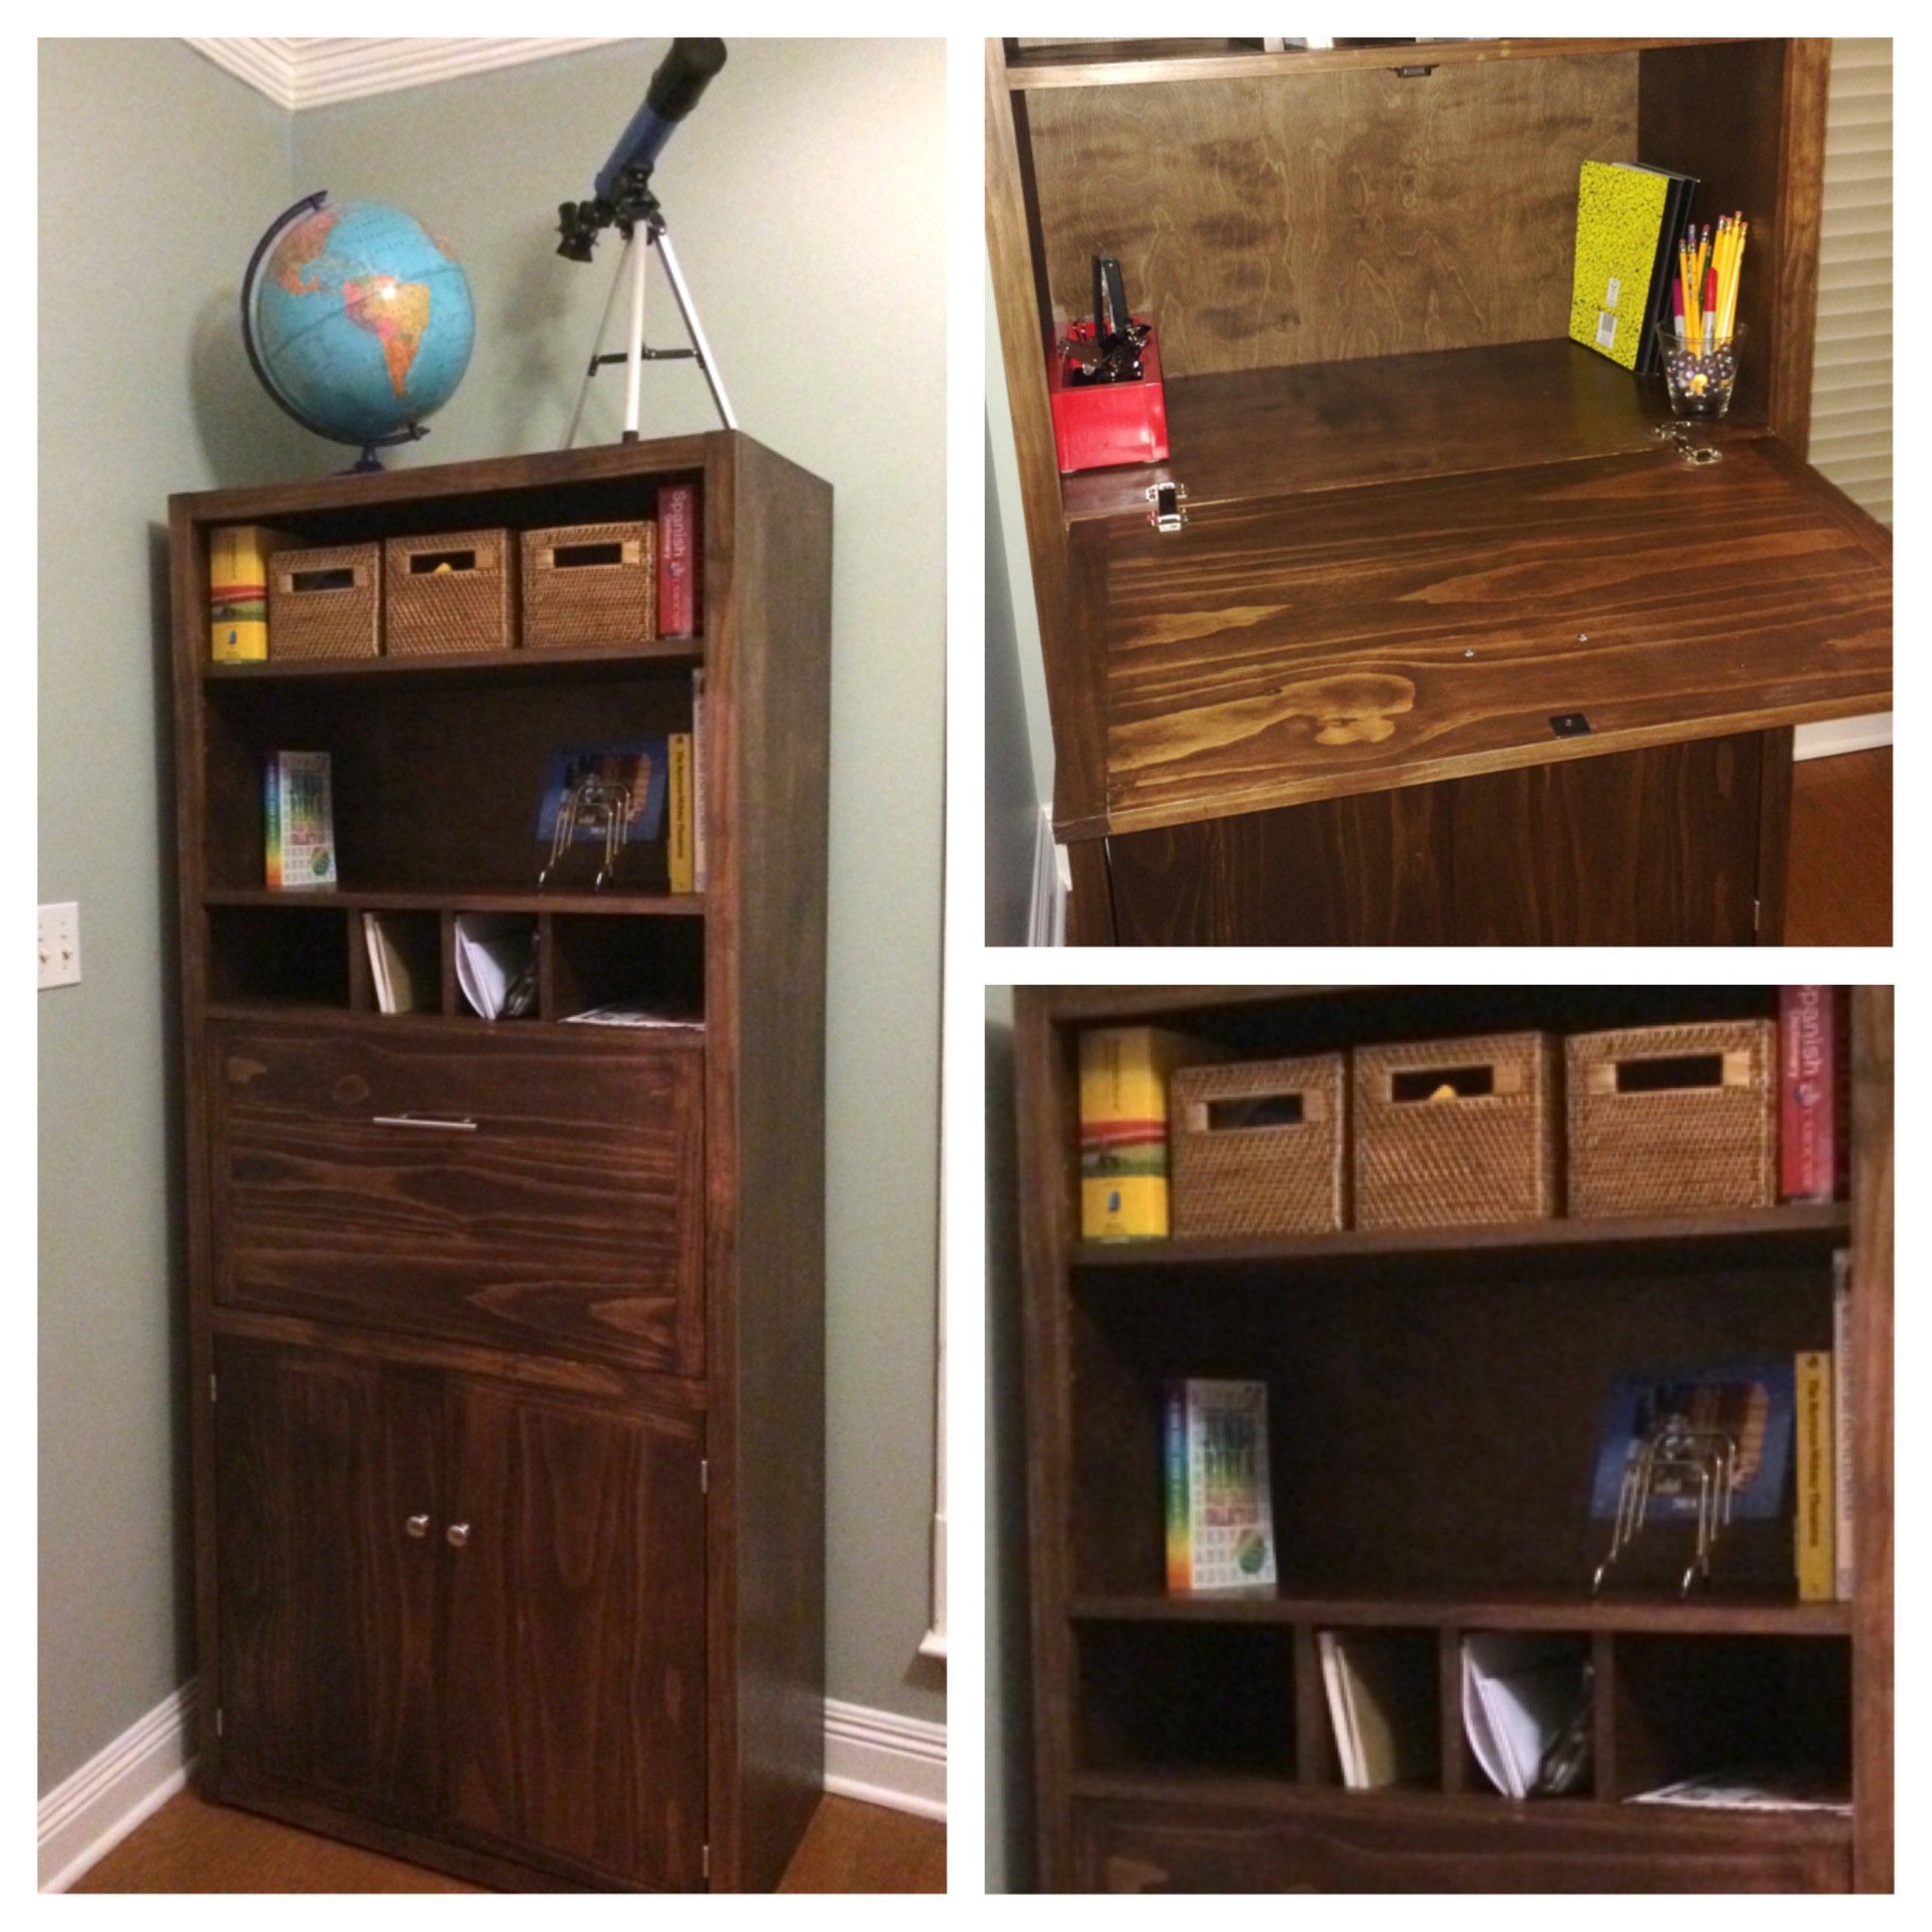
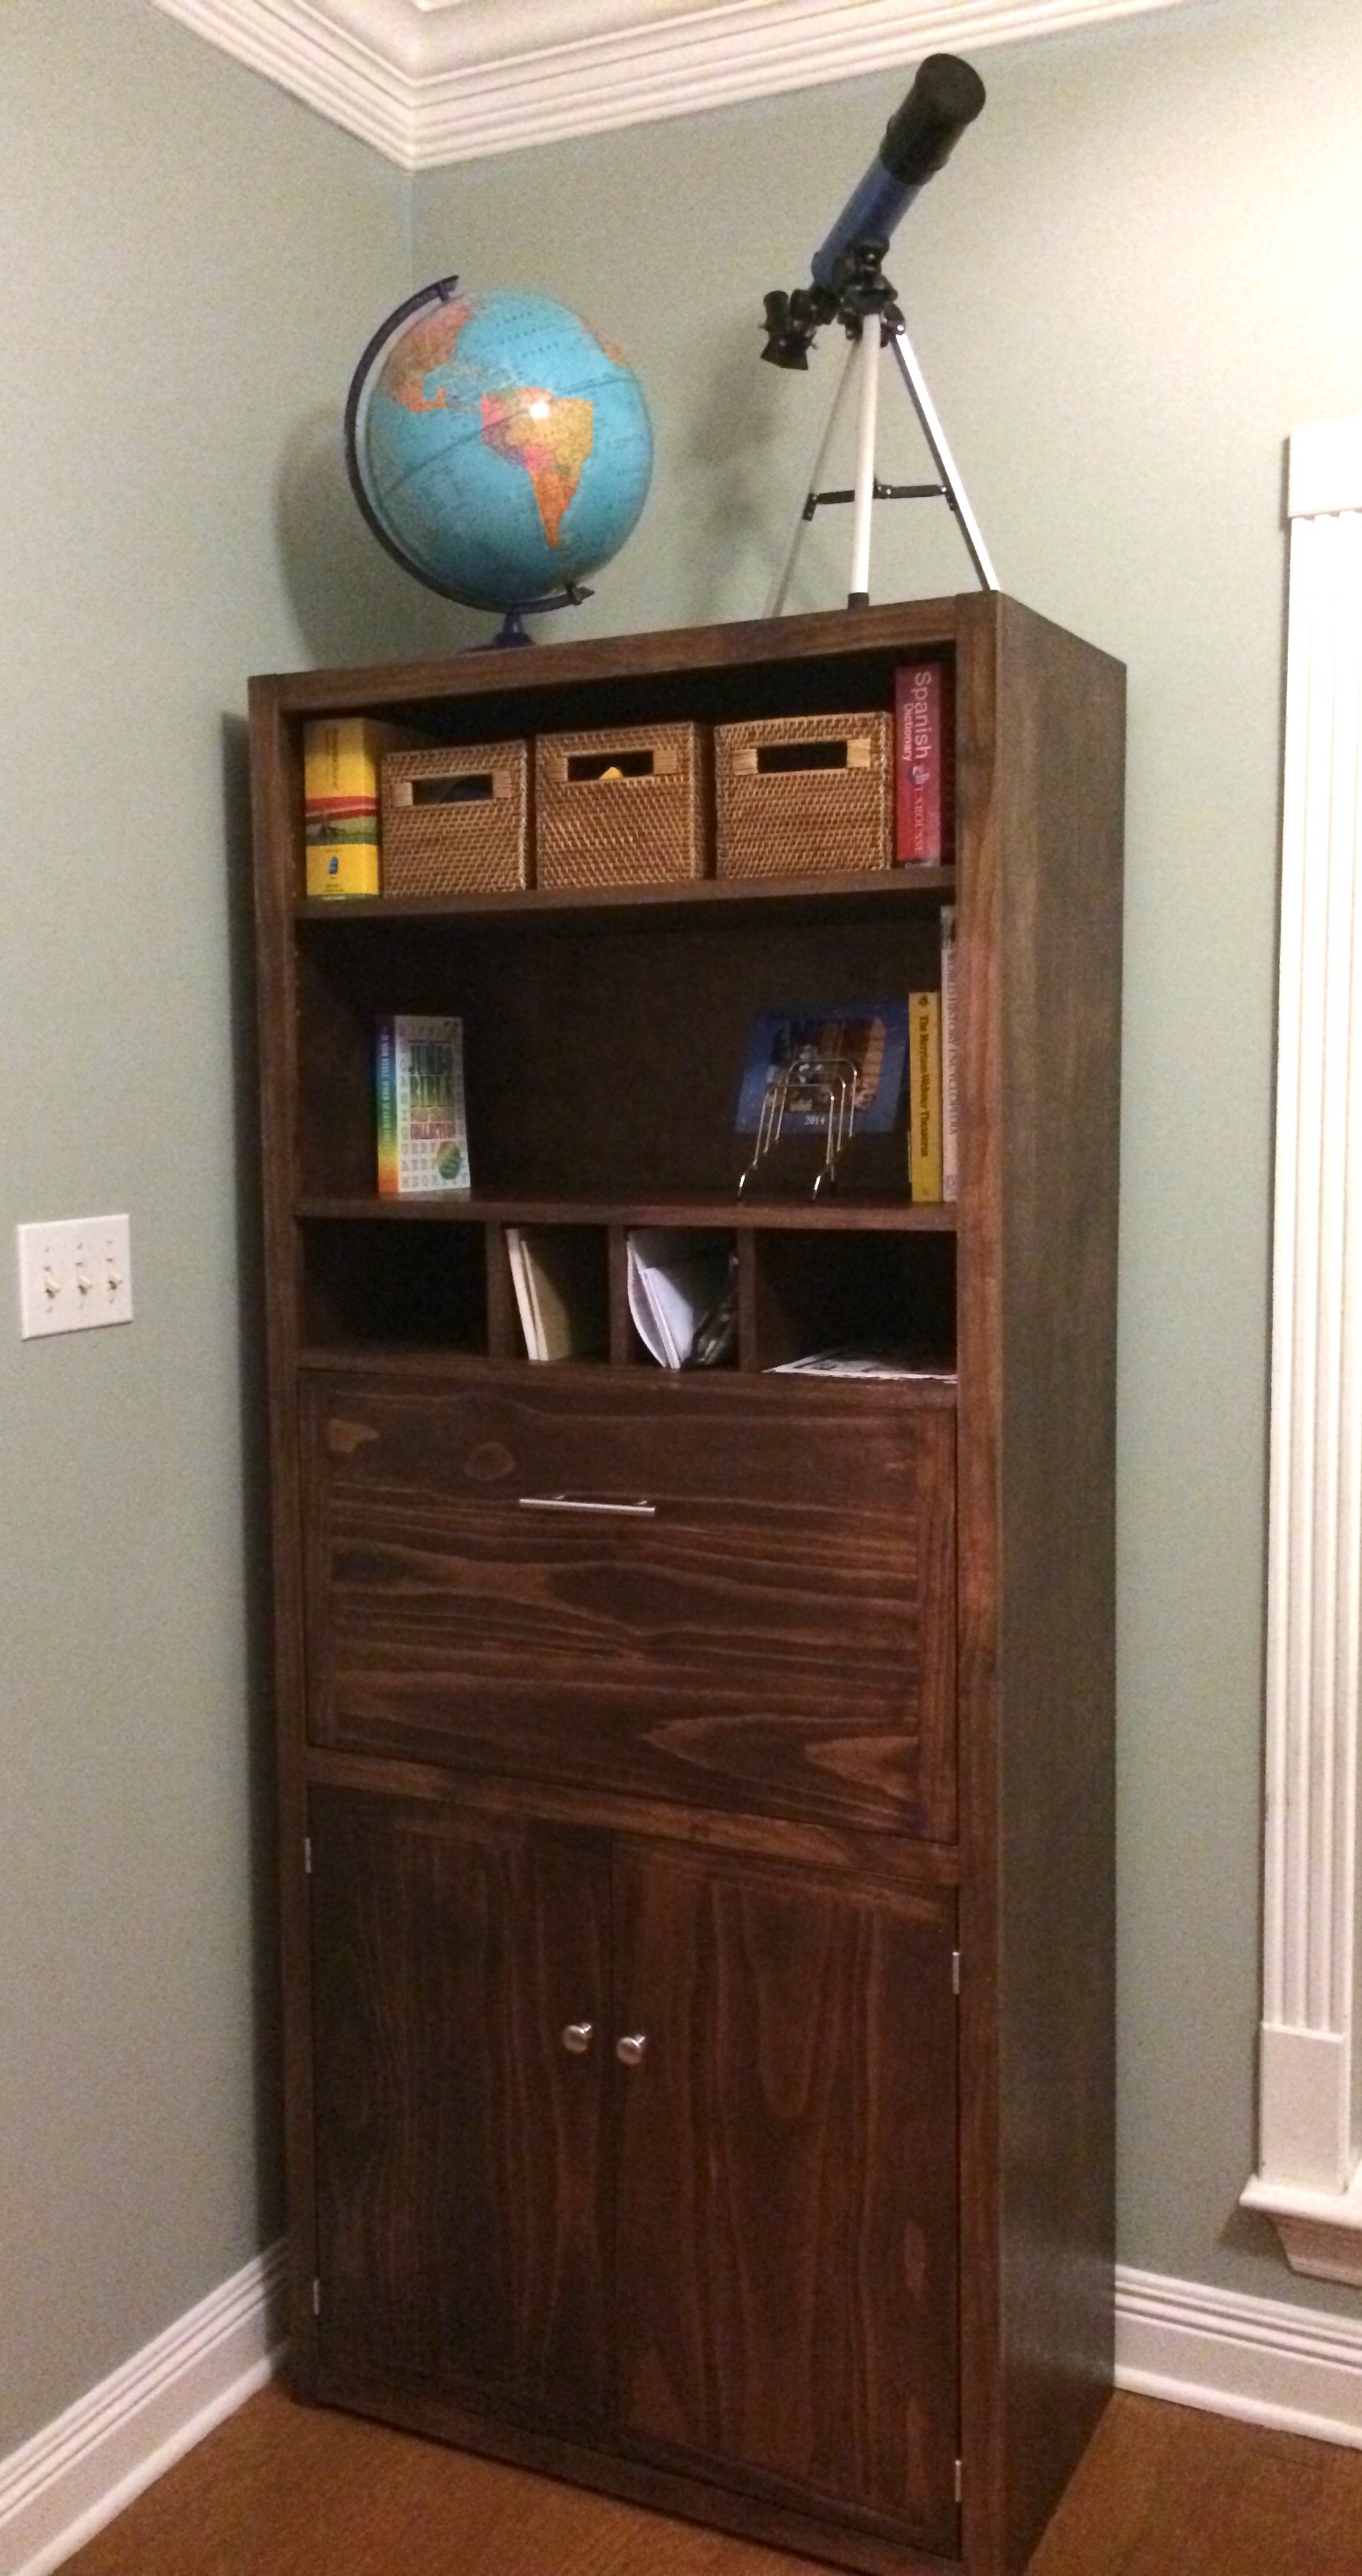
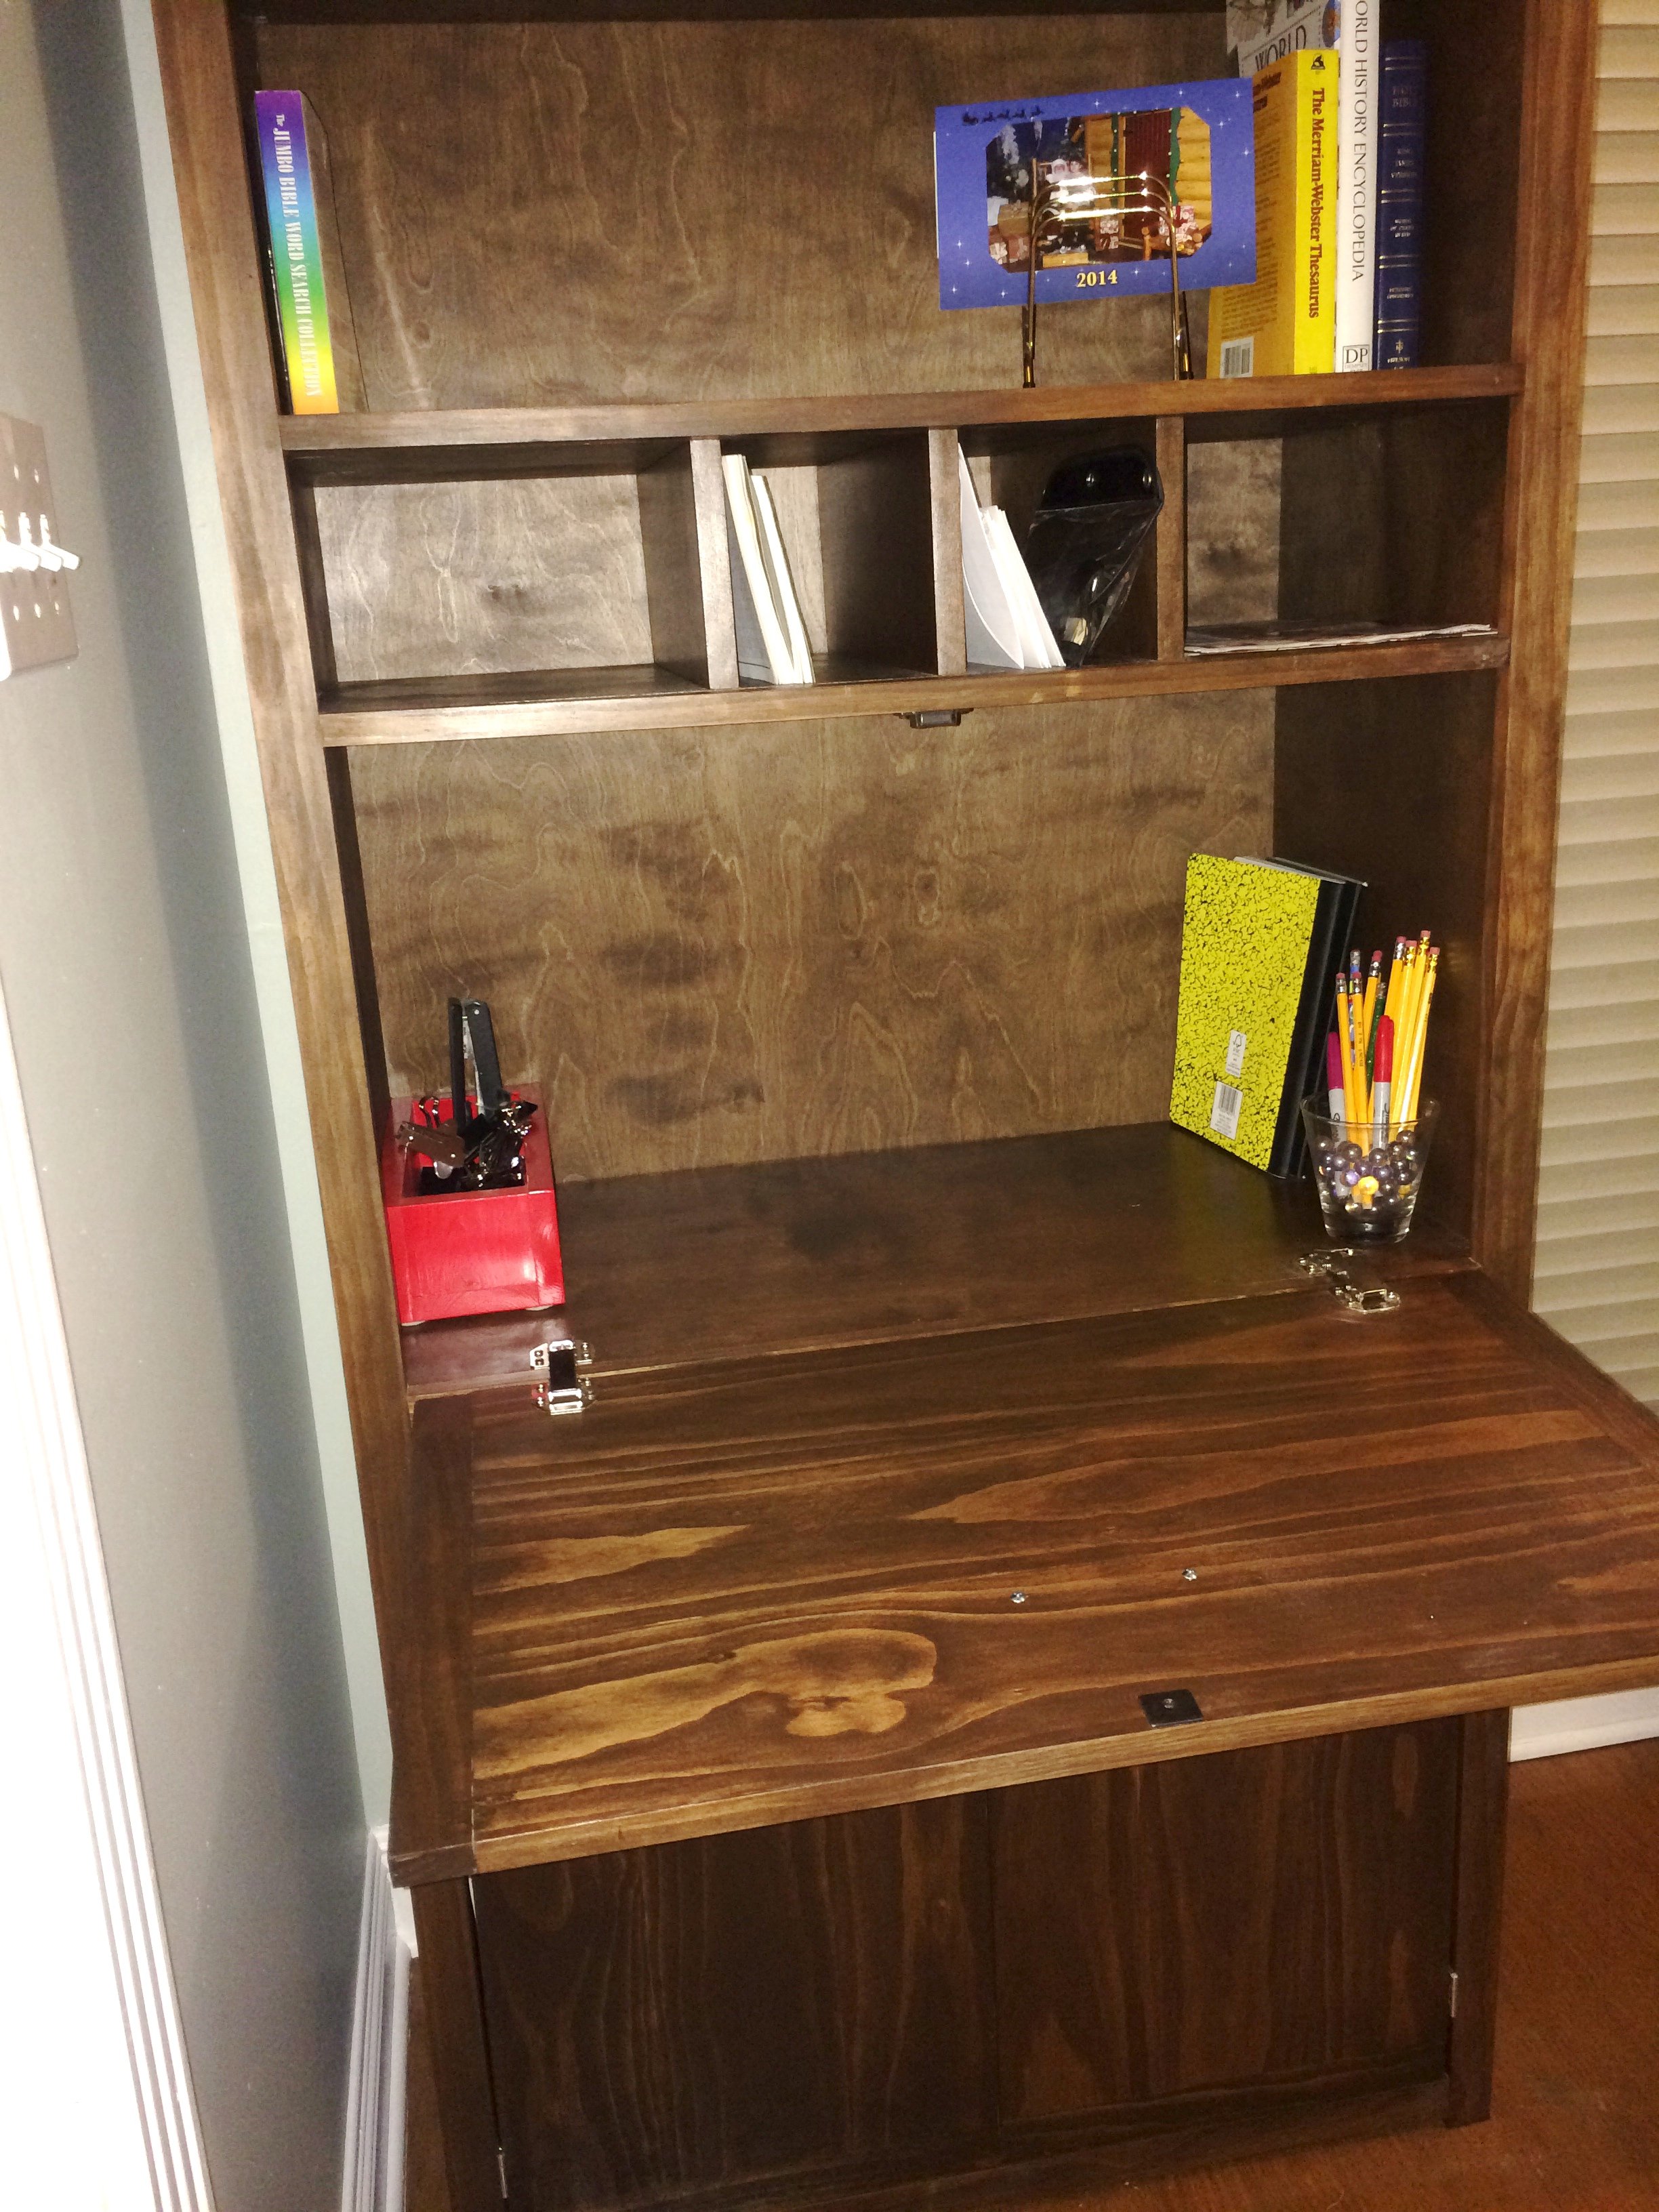
I built this desk as part of redesigning my homeschool room, and made a few customizations to better fit our needs. It's taller and deeper than the plans, which allowed for a larger work opening for a larger computer. It also gave me much needed extra storage space.
The cabinet is made from 3/4" and 1/4" PureBond birch plywood cut down to size using my Kreg Rip-Cut. The frame is built from pine 1x2s and 1x1s. The three cabinet doors are pine 1x6s and 1x2s joined together with biscuits, and trimmed to the correct size on the table saw. Because the secretary desk is deeper than the plan and the mail slots are small, I finished with stain and polyurethane prior to assembly. This saved a lot of frustration of trying to stain in tight spaces.
Thank you for the plans, Ana!

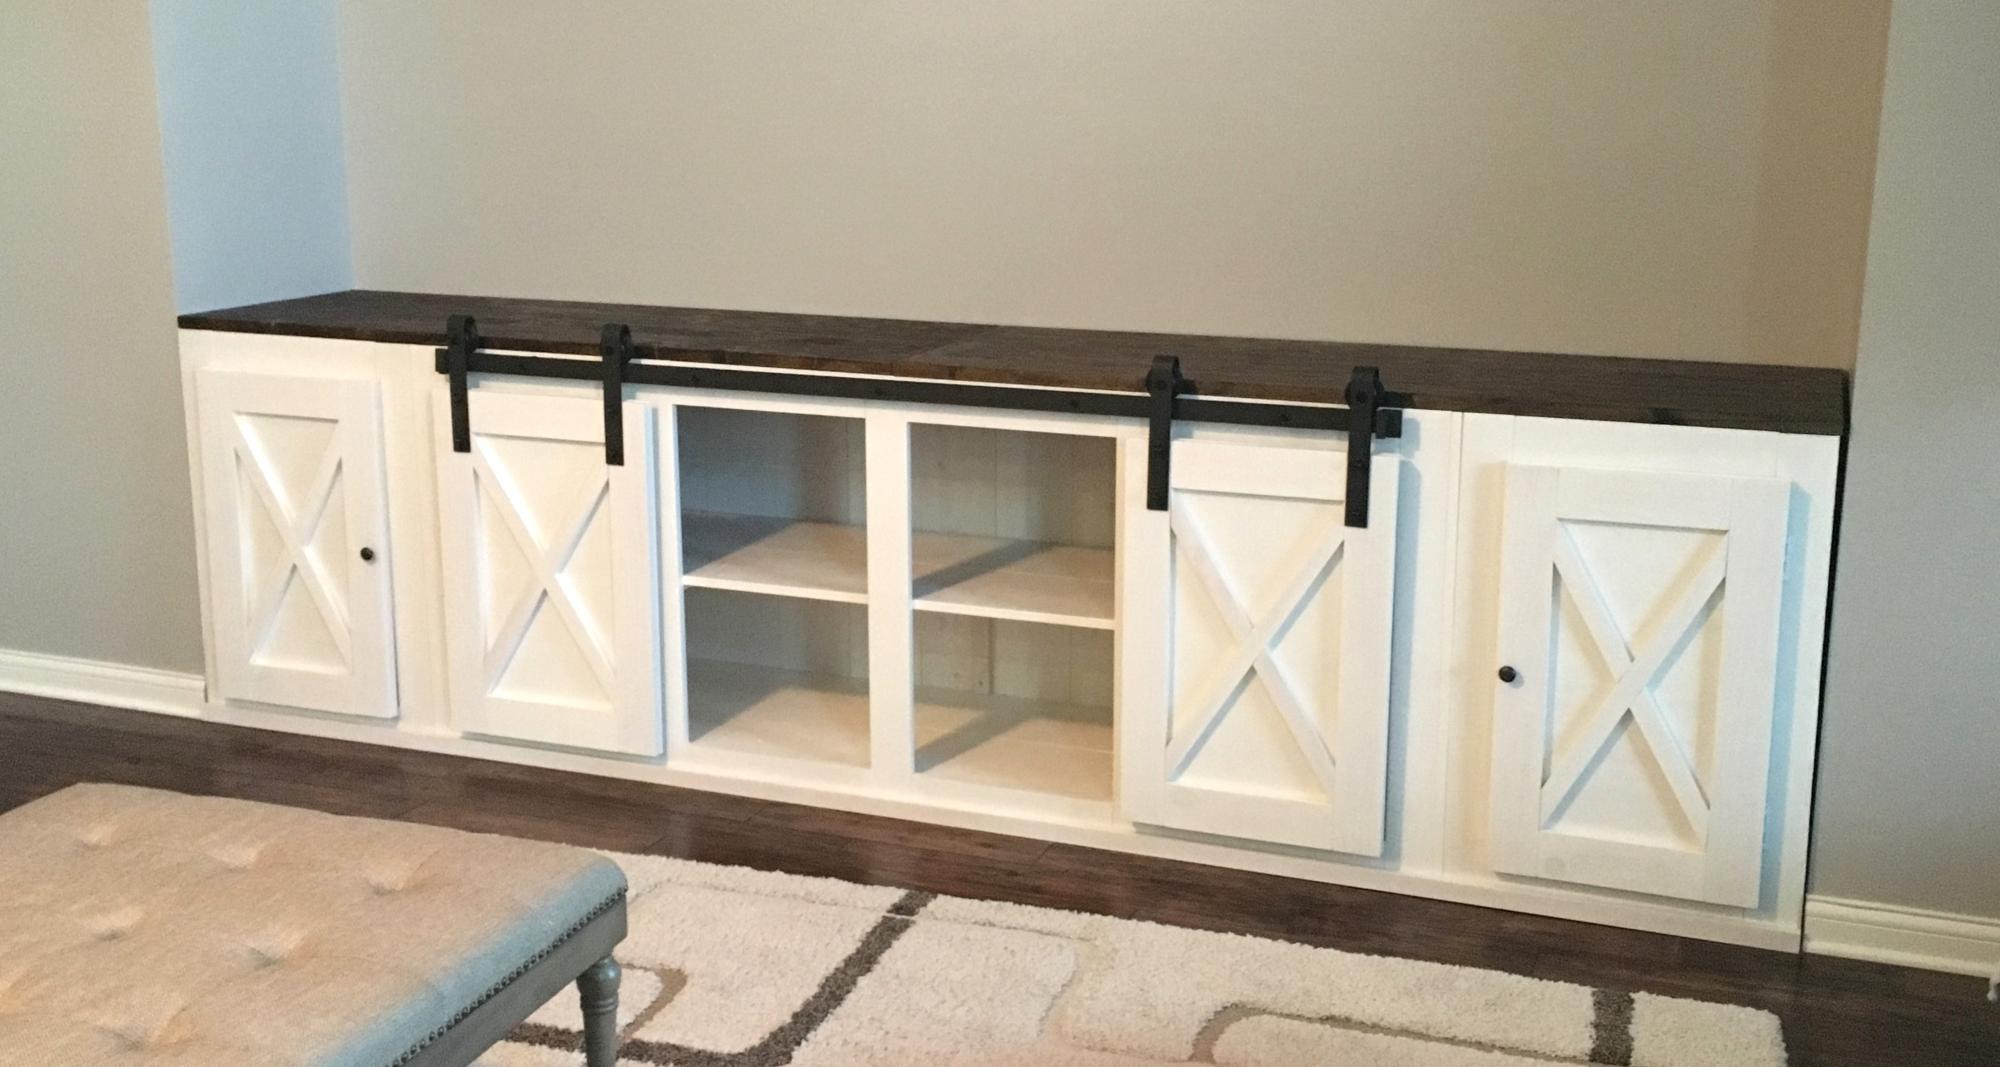
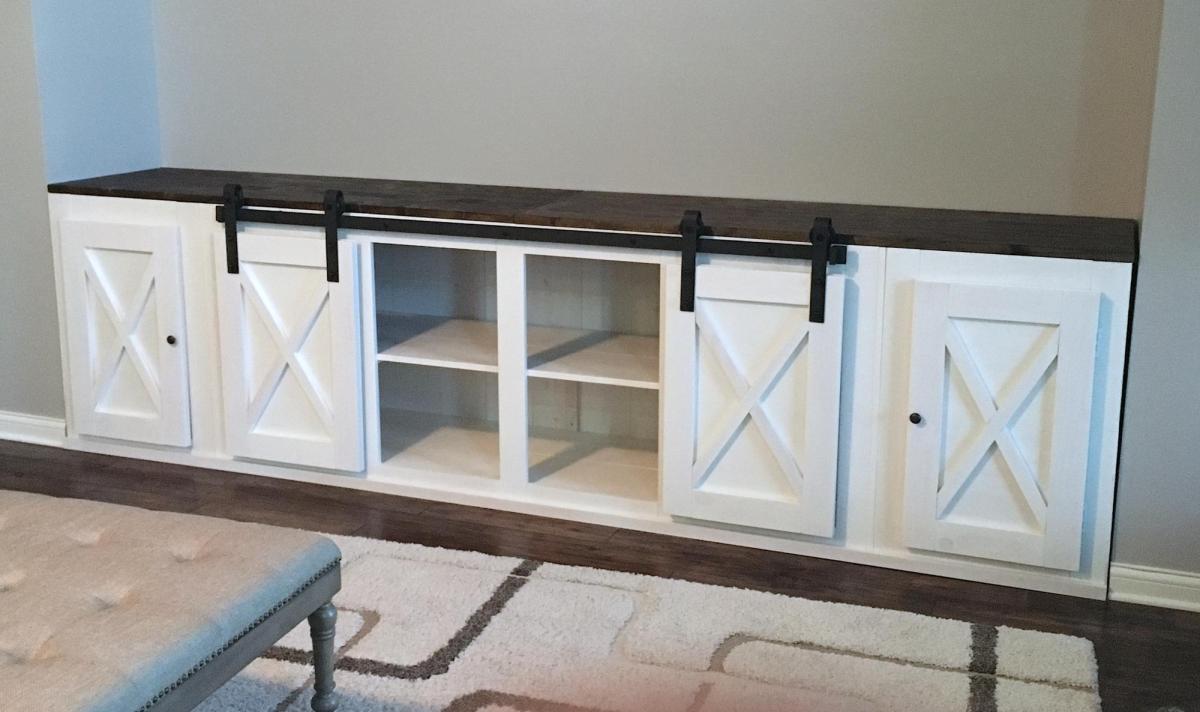
I made this to fit the room and to help organize and cleanup the laundry / mud room. After searching for plans online I just sat down with pencil and paper and drew up my own plans, cut sheets and design from a combo of numerous projects I found in Pinterest.

Thu, 02/18/2021 - 15:43
Love the option of open and closed storage, it looks amazing!

In reply to Very cool design and build! by Ana White Admin
Fri, 02/19/2021 - 08:44
Thanks! We have some items like a steam mop and electric broom that go in one of the enclosed storage areas. I can post plans, construction pics and cut sheet if there is a place to do that.
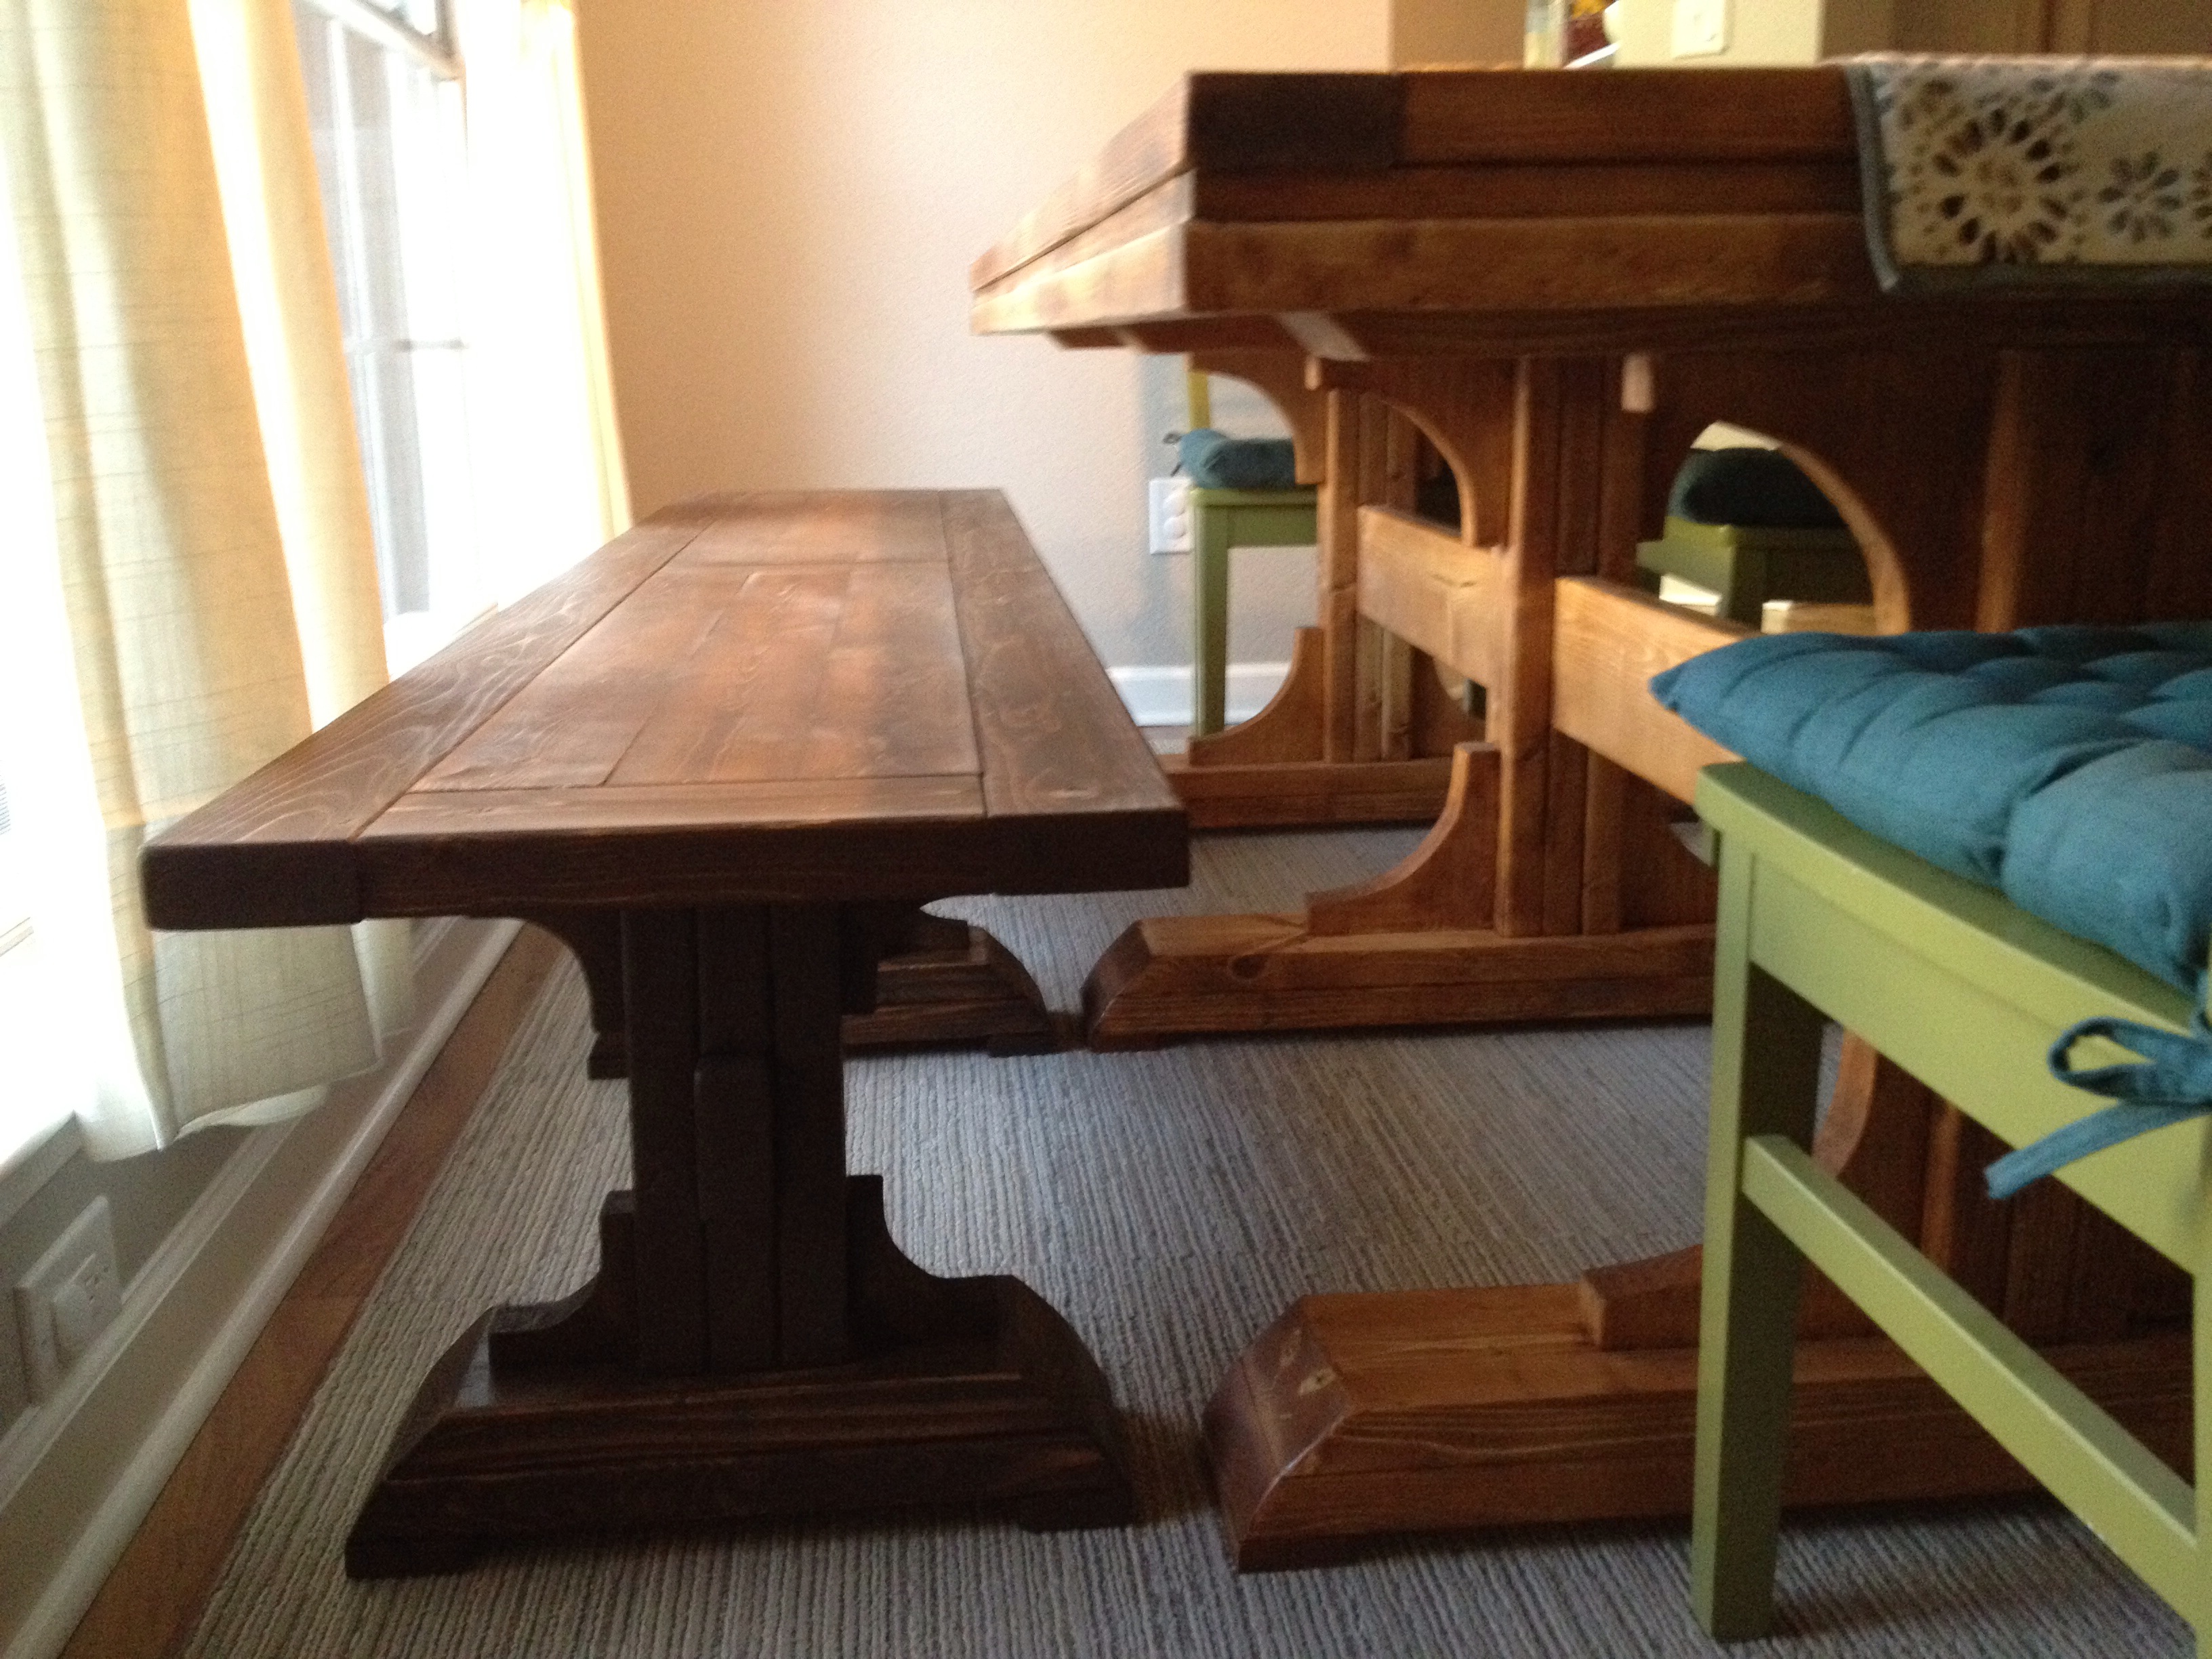
After completing the table and being very happy with it, I had an overabundance of confidence making this bench. That probably is why it was so frustrating when things didn't go so well.
I made a few errors but two really stick out to me. The first was making the pedestals too much like the table pedestals. I screwed and glued an extra piece of wood on top of the bench pedestals (just like there is on the table) before I returned to the plans. This was not an easy fix and involved crowbars, chisels and cutting the heads off of stripped wood screws. Lesson: READ THE PLAN!
The second error relates to why the bench is a shade or two darker than the table. We used the same can of stain, but neglected to use wood conditioner. It appears that the wood conditioner (or our failure to mix the stain well enough) on the table made the stain much lighter than we expected. We have since fallen in love with the table's color; however, the bench came out the color we had originally expected for the table, which is much darker. We are going to do a test at some point to determine whether it was the wood conditioner or just the poor mixing that lightened the table. One other possible explanation is that we got the wood from a different place. This wood did seem a bit softer, in case that makes a difference. As a result of this color difference we are going to literally sit on it (the bench) for a while and decide whether we will strip and re-stain the table. It seems easier to re-do the table darker than lighten the bench since all we would need to remove is the poly. We're not in a hurry though. We might end up liking it well enough like we did the table. The bench almost matches our son's highchair, so it almost looks intentional. Lesson: TEST THE STAIN FIRST!
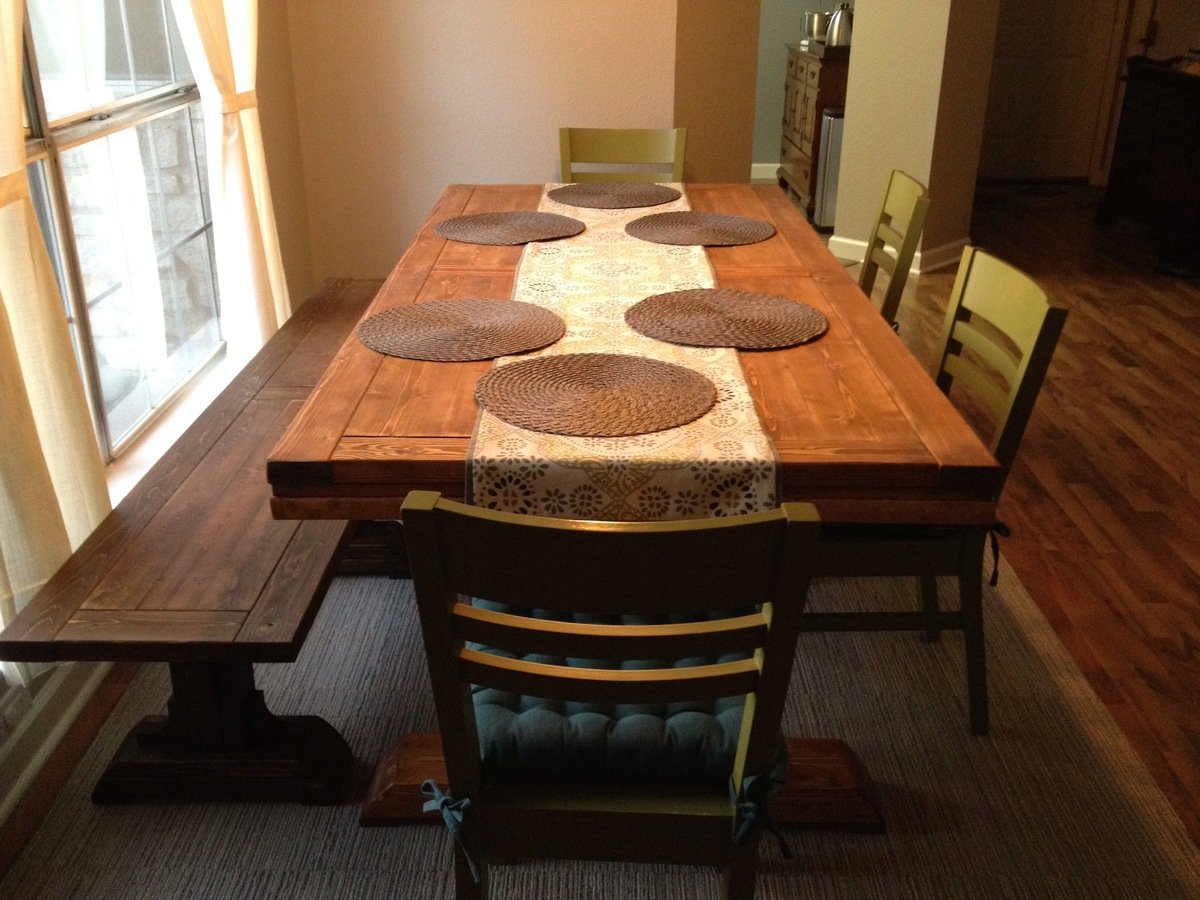
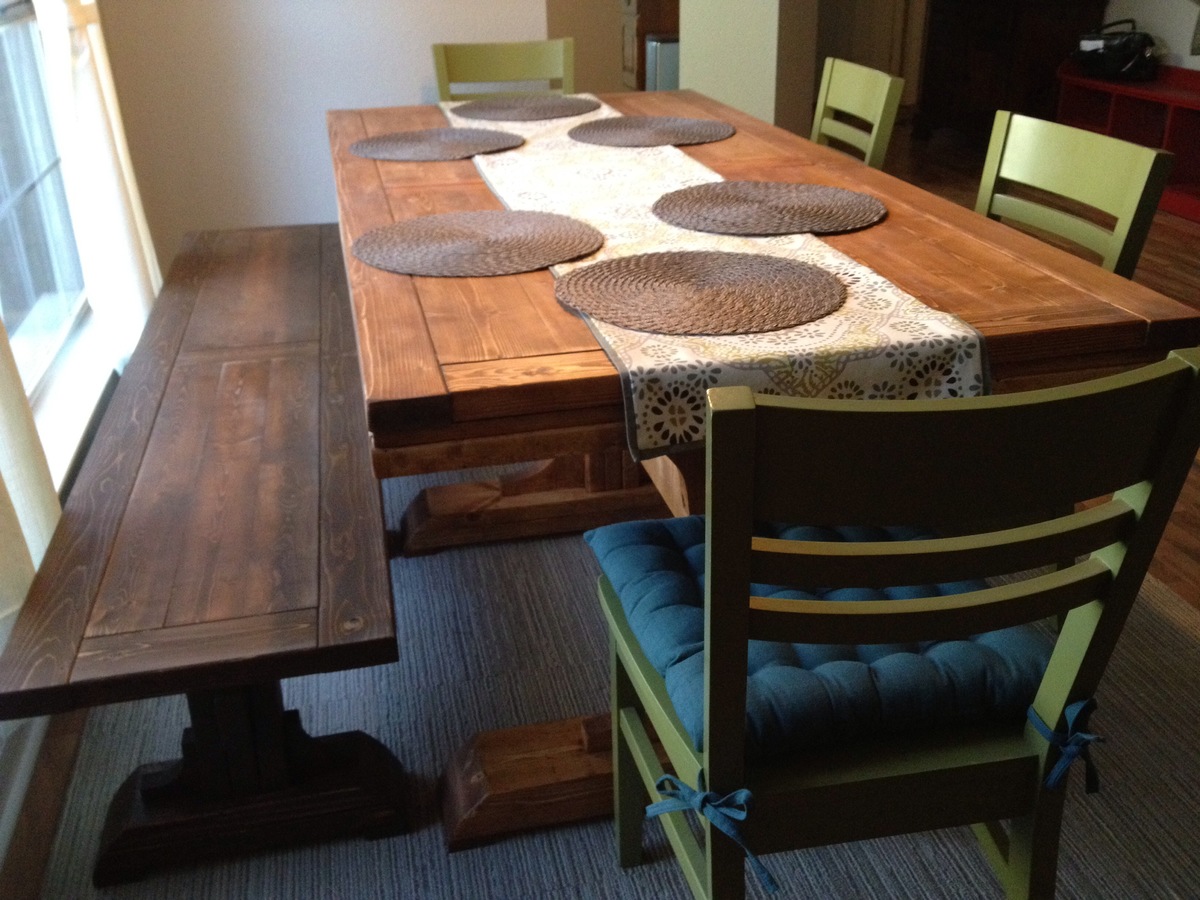
Fixes and stain-color aside, the bench was not terribly difficult to make and the plans (when I bothered to read them) were very easy to follow. I'm looking forward to bringing these lessons to the next project. My wife is requesting Adirondack chairs. Fortunately for us both, Mrs. White has shared some very good looking chair plans. Stay tuned.
Wed, 02/27/2013 - 14:38
I think you did a great job! Personally, I hope you do not redue anything. I like the two tone!
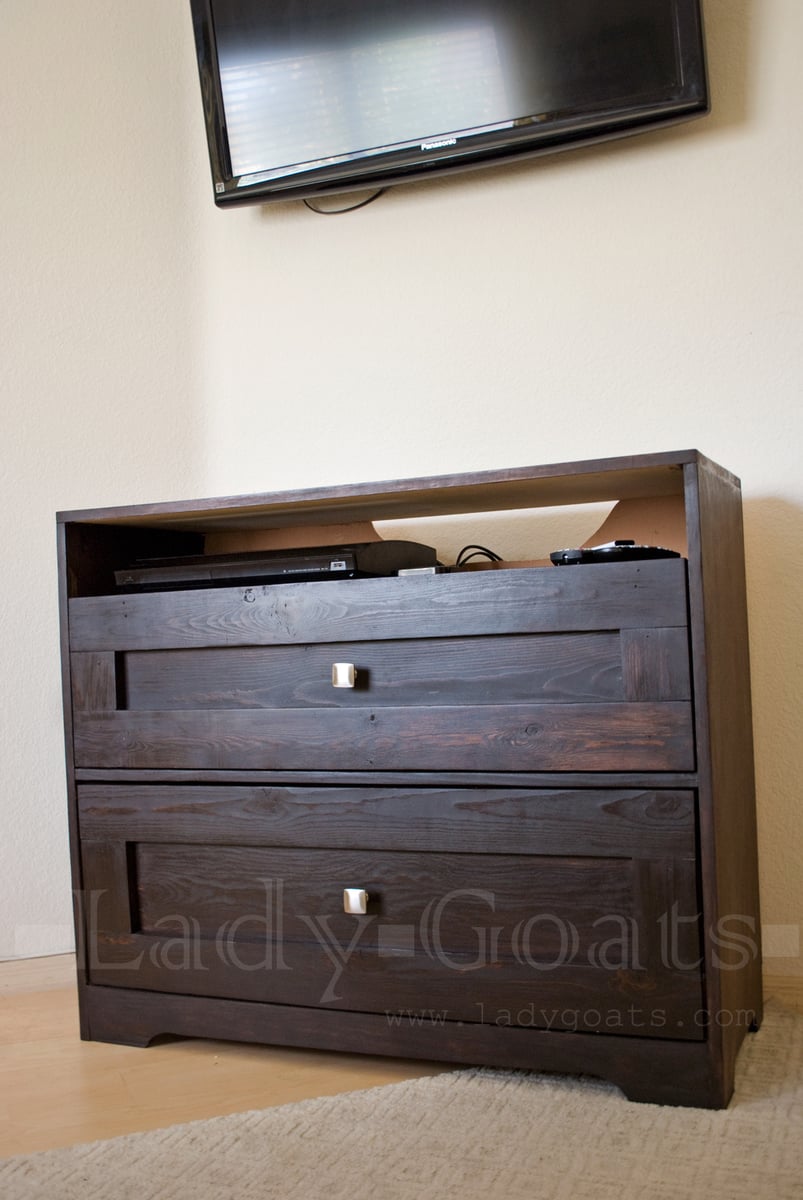
Spent forever building this modified version because I couldn't figure out what kind of drawer faces I wanted. Finished with General Finishes gel stain and Minwax Paste Finishing wax.
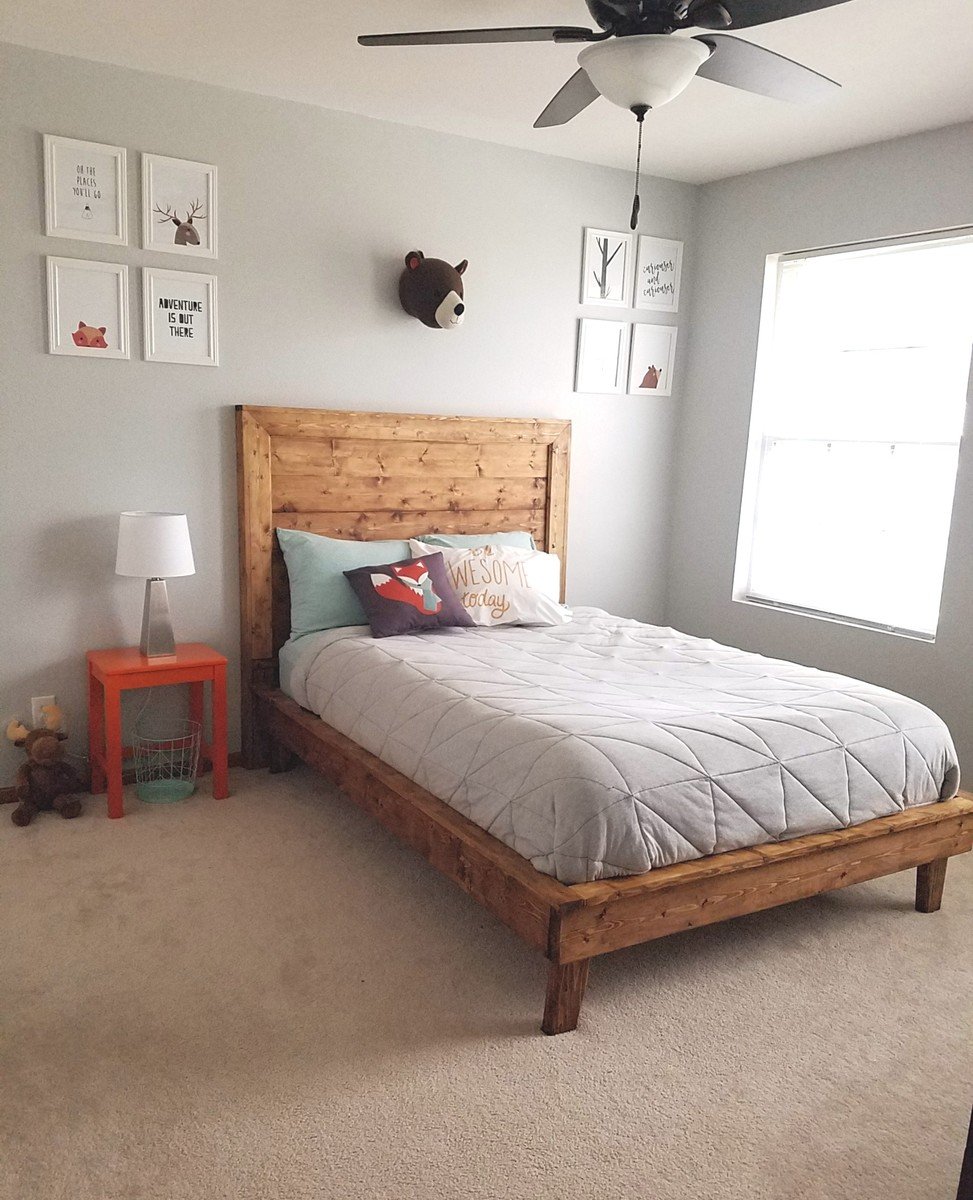
This bed is gorgeous and the plans are perfectly laid out for even a beginner to use. We were making a full bedframe, so we used the exact measurements given in the cut list and it fit the mattress just right. We made the accompanying headboard with a few changes. We were using pine and wanted the headboard casing to match, so we just used 1x4's and routed the edge with an ogee bit we had on hand. We also wanted the platform just a tad bit higher and made the legs 10 inches instead of 7. We also ended up making the platform slats out of 1x4's instead of 1x3's as they were cheaper.
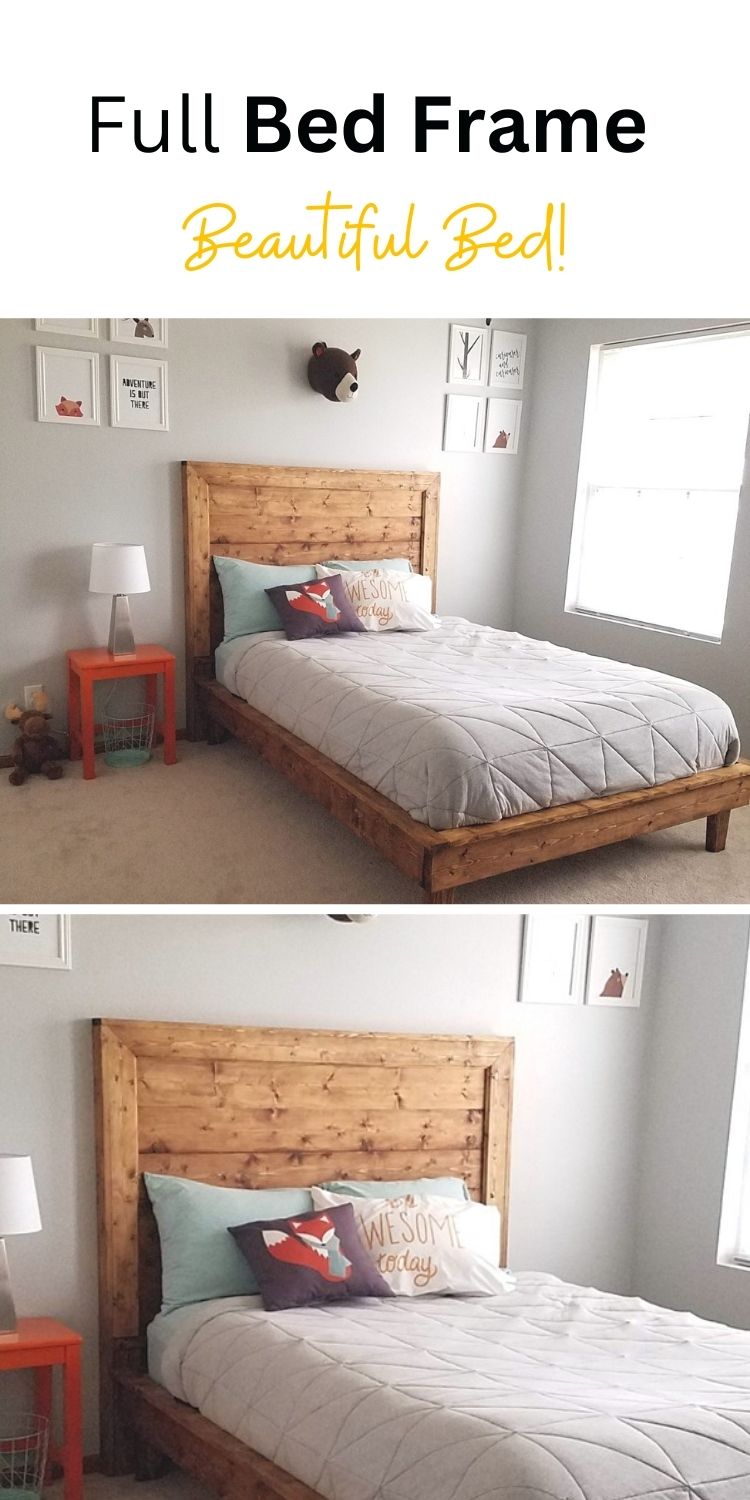
Pin For Later!
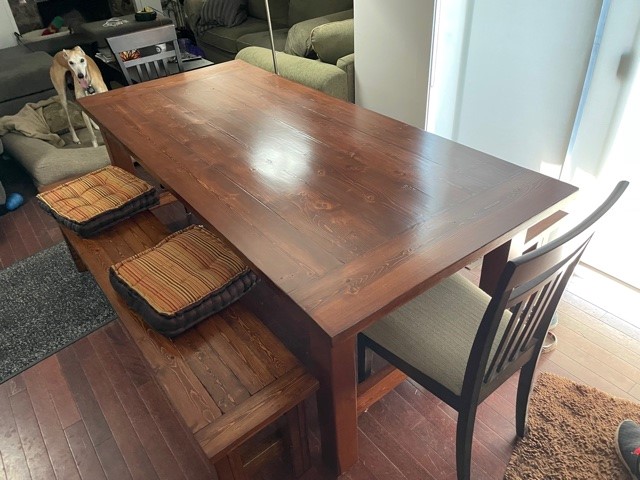
I used the no pocket hole plans and as per someone's great recommendation - I moved the stretcher supports to the inside of the legs to give a little more room when the chair is pulled out and someone is sitting on an end. I also made a planer tool for my table saw so I could square off the edges of the table top boards and the bench seat boards. The boards then sat closer to each other so I don't have places for crumbs to fall down between the boards. I did have a couple of sections that didn't quite match up and used resin to fill those areas after staining the boards. I then used a lacquer finish (Watco clear satin lacquer). The stain is Minwax English Chestnut but I did use the Minwax wood conditioner prior to the stain for a more even uptake of the stain. All great recommendations from folks on this site!

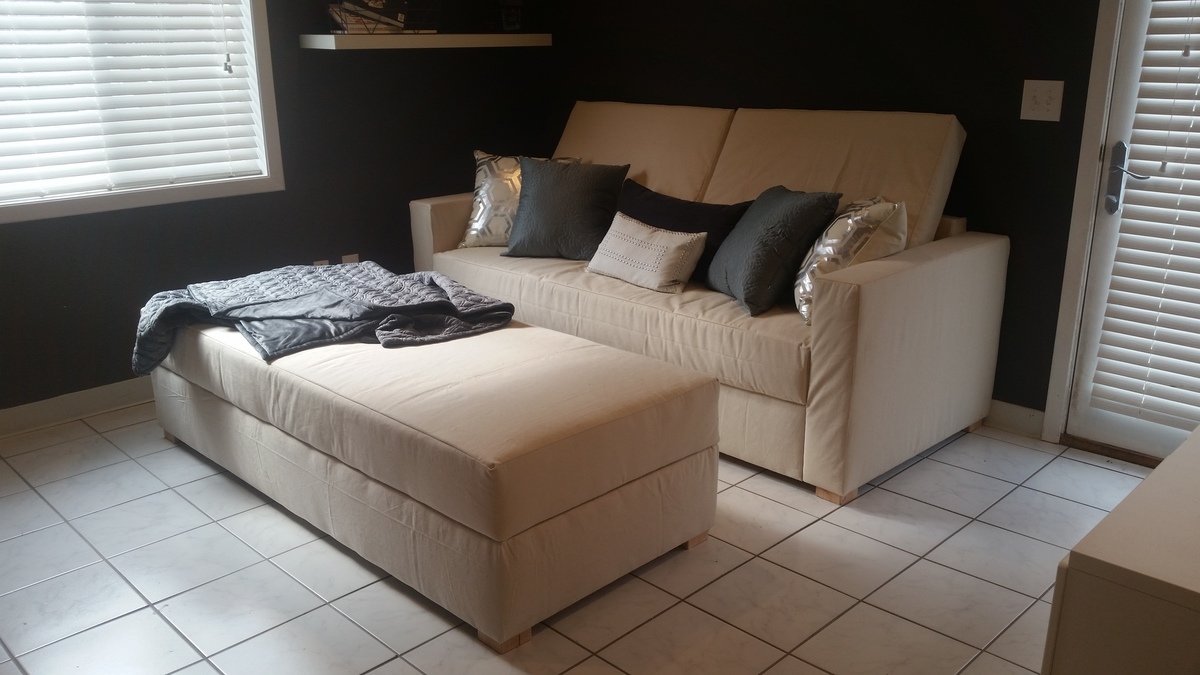
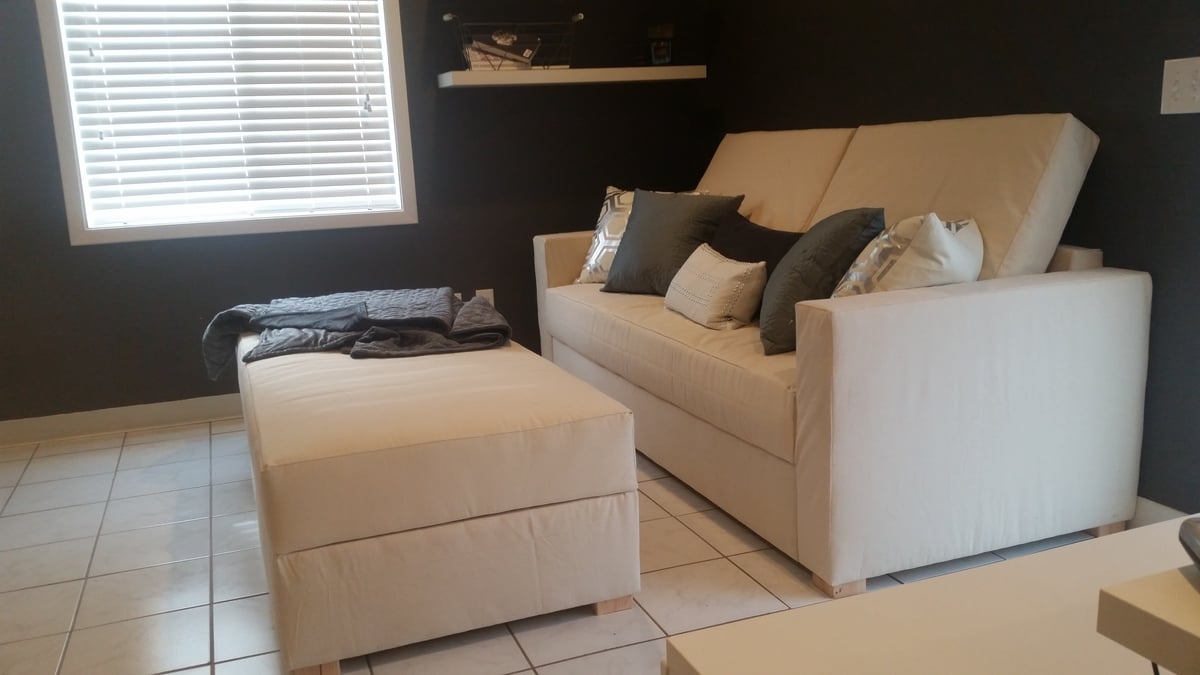
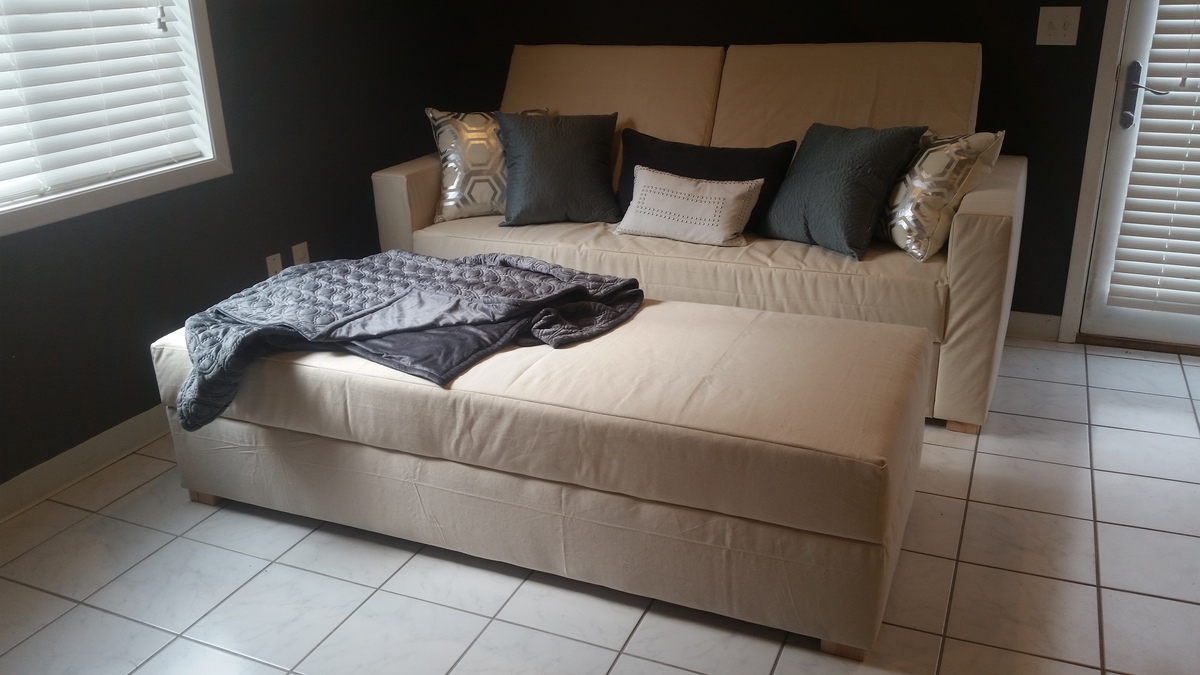
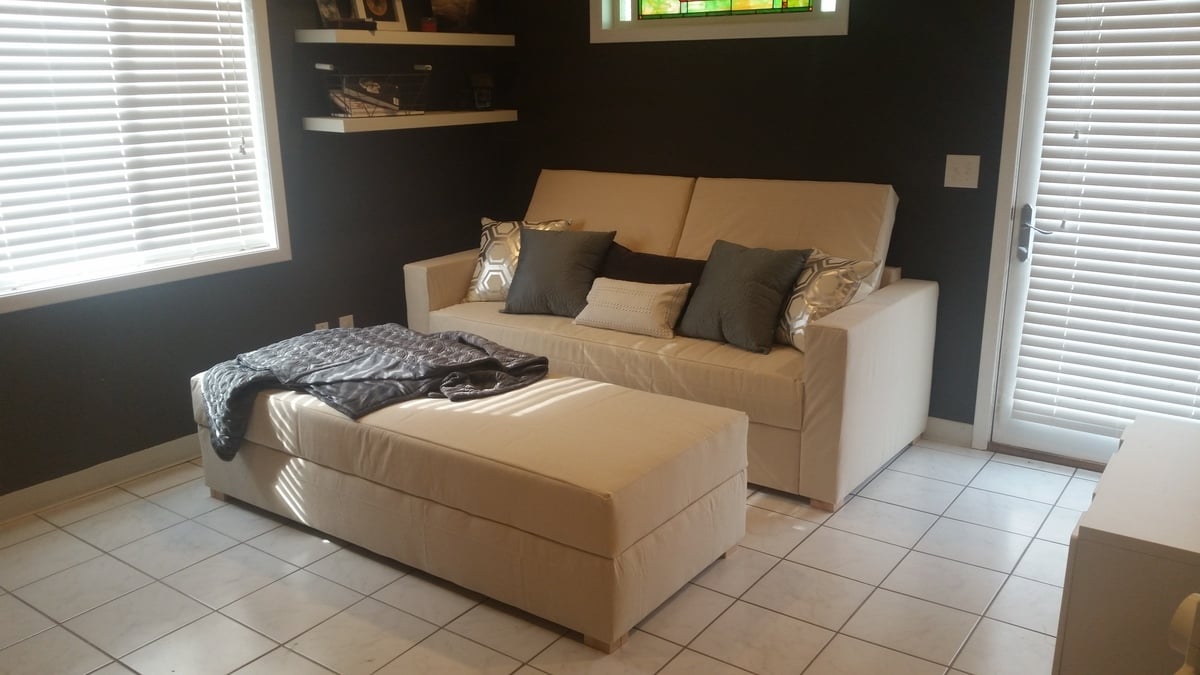
I used the plan for the base idea for my sofa. I decided I'd prefer arms to curl up in and also to add a convertible feature turning an ottoman using the same base plans into an extension option for using the set as a bed or lounge area. Twice the storage, twice the function!
Fri, 07/23/2021 - 19:33
I was planning on building your storage sofa, but when I saw the one with the arms; I thought that I would rather build that one. In the spot where the plans should have been; it refers you to the storage sofa. The problem is; it doesn't tell you what you need for or how to build the arms. If they are somewhere else; could you tell me what heading that they are under.
Sandra Cahoon
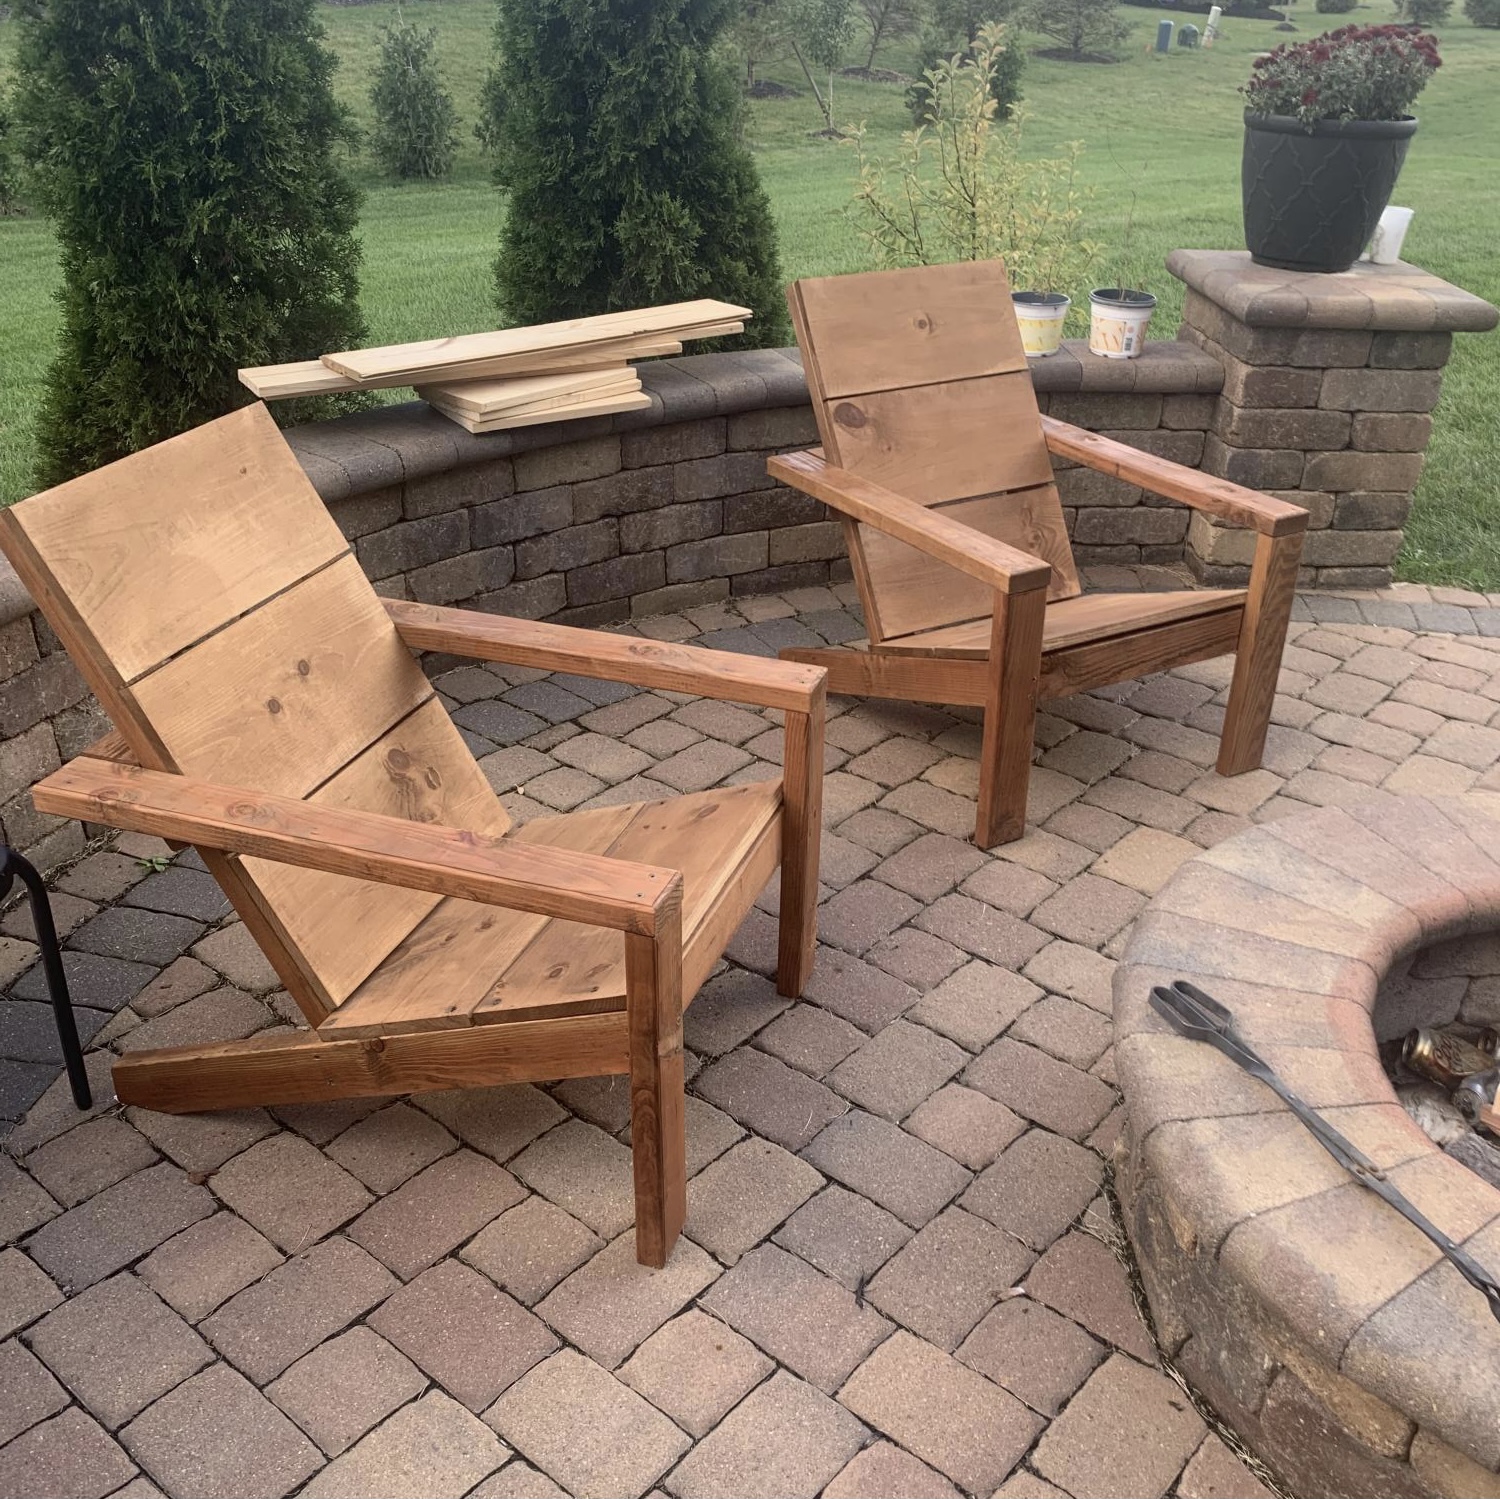
I made five of your 2 x 4 Adirondack chairs. Well I started with one and then my wife wanted four more after she saw how it turned out. We absolutely Iove them and they are easy to make! Thanks Ana!
David Knight
Tue, 10/05/2021 - 09:30
Those looks great, so happy to hear you're enjoying them!

