Community Brag Posts

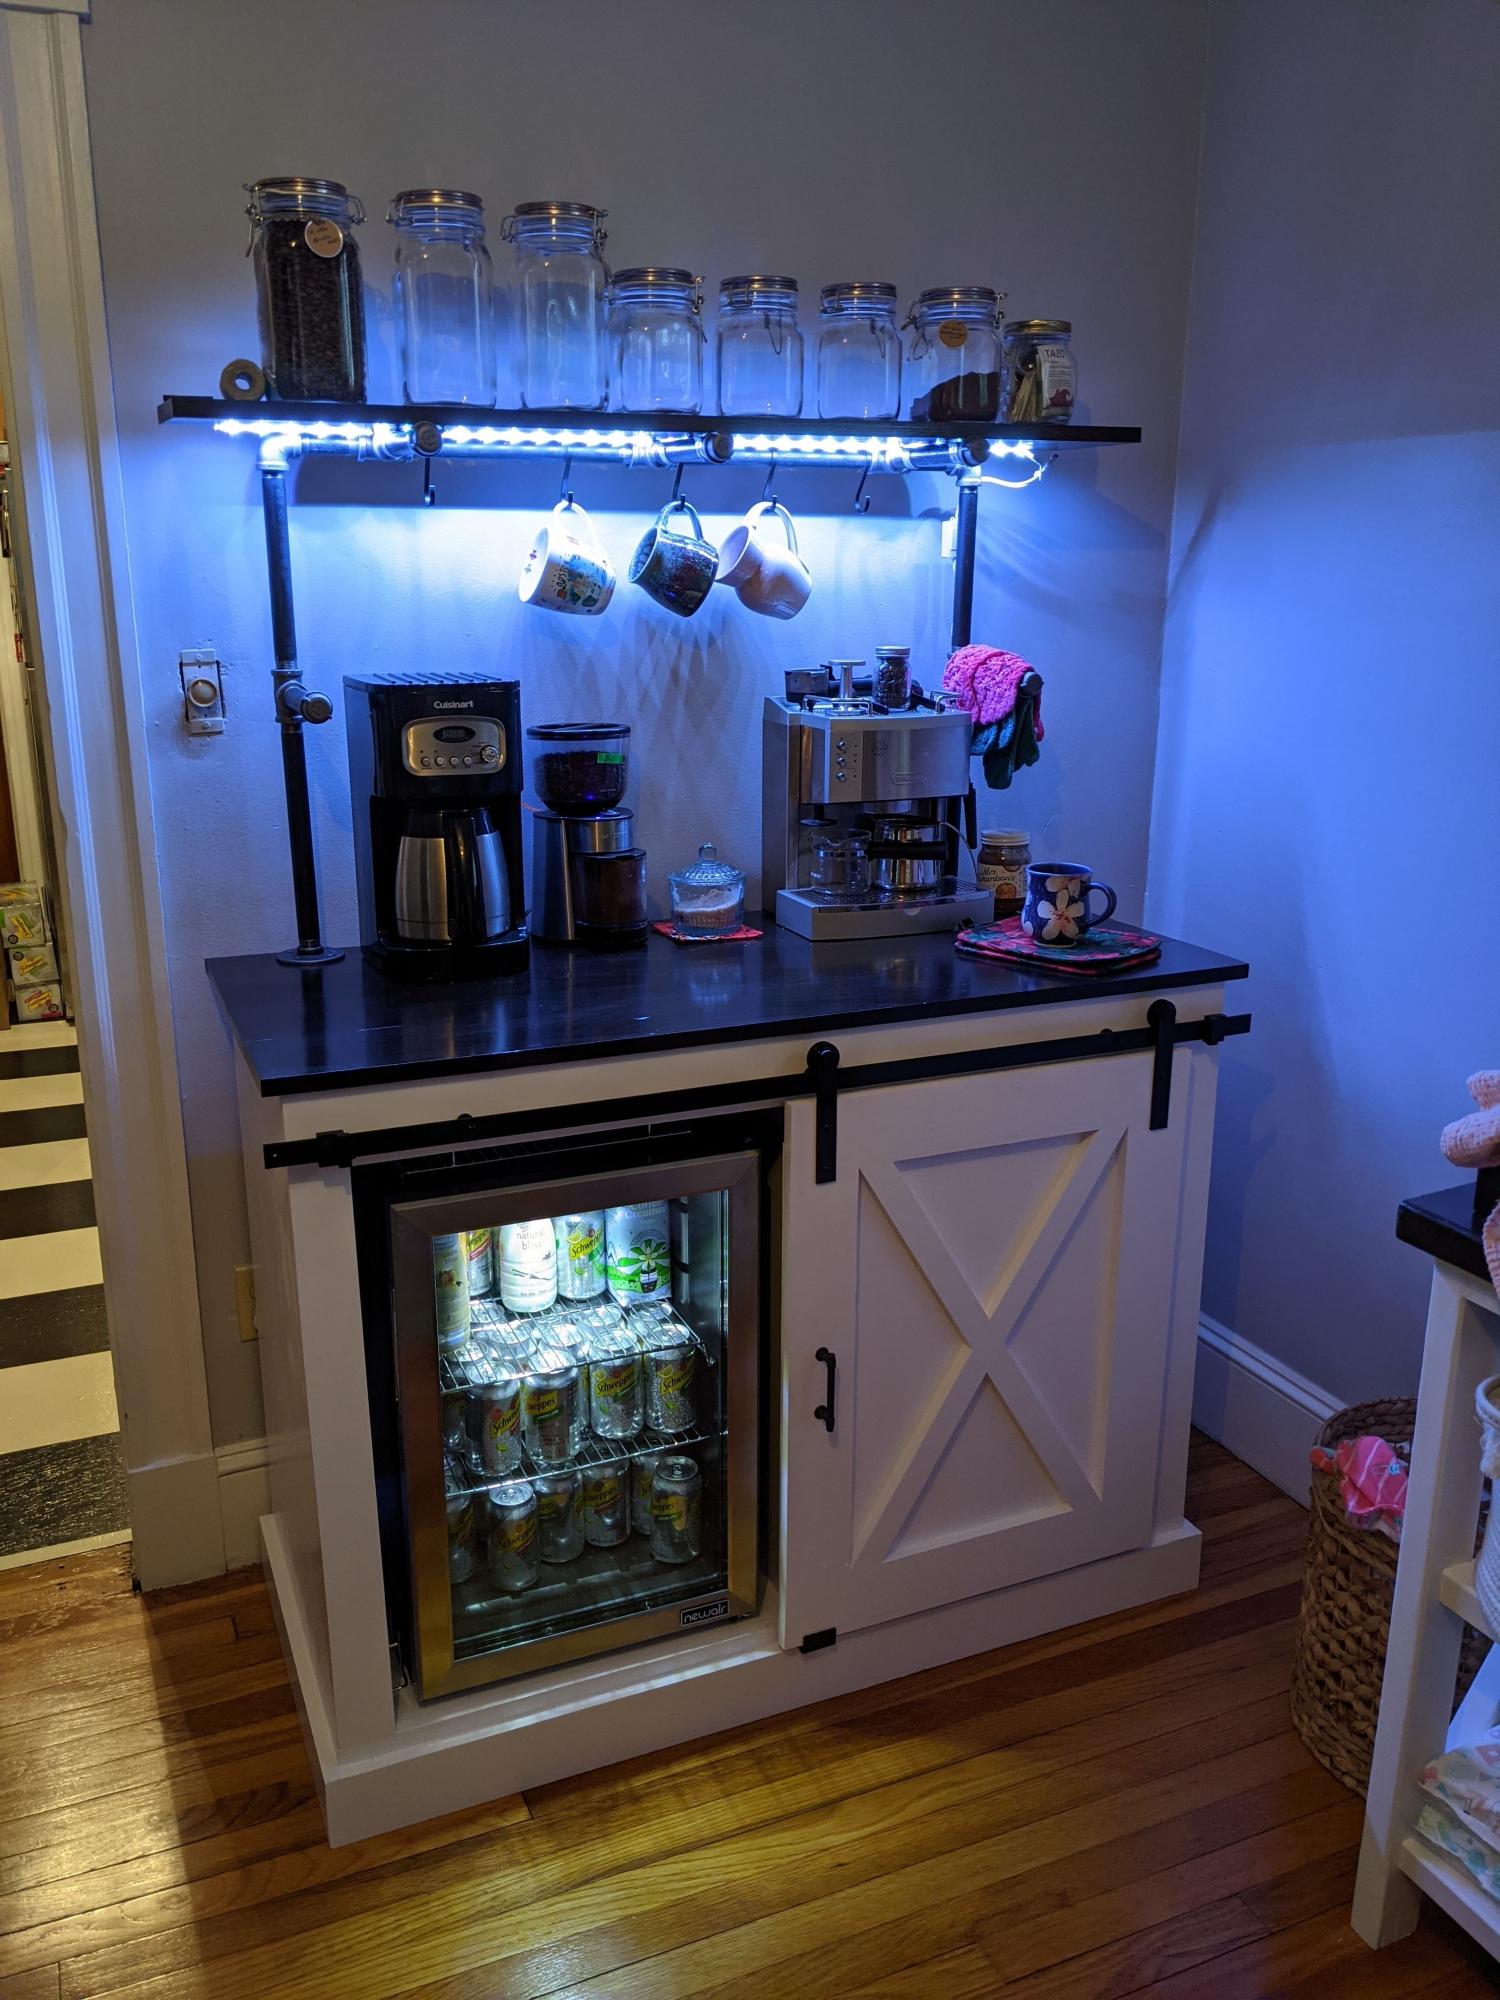
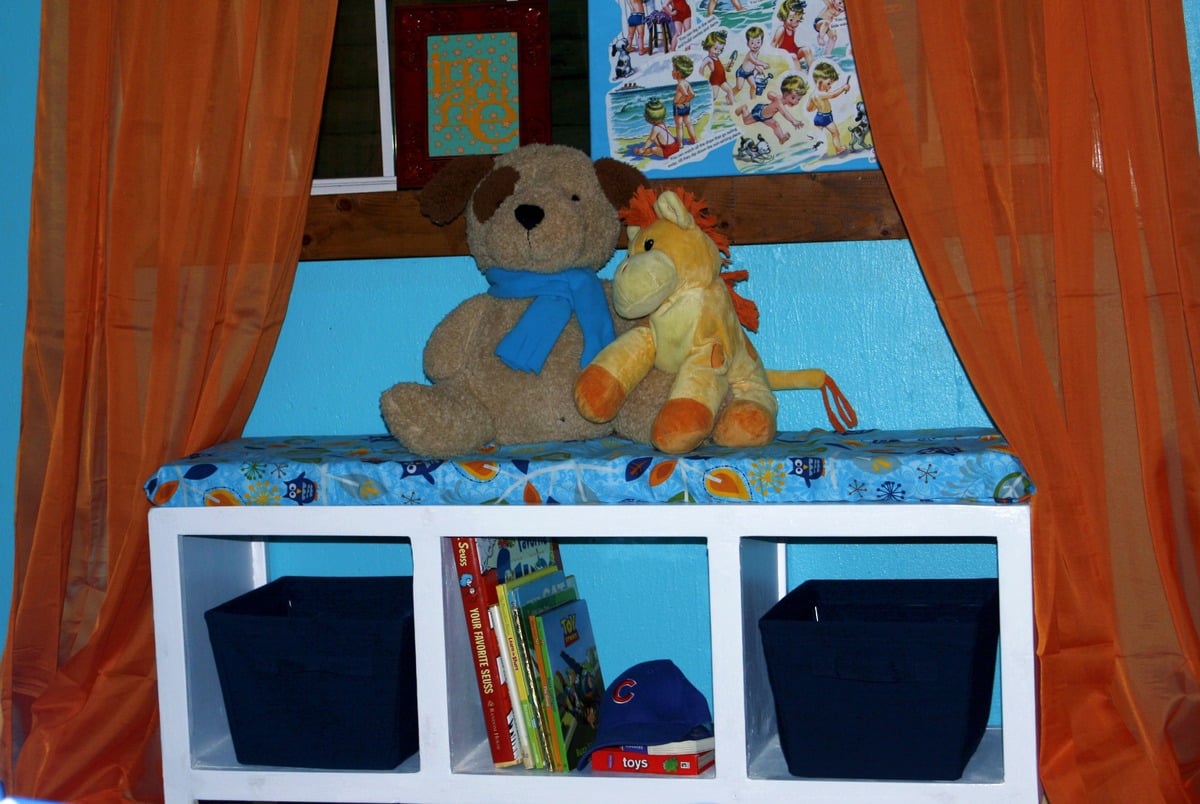
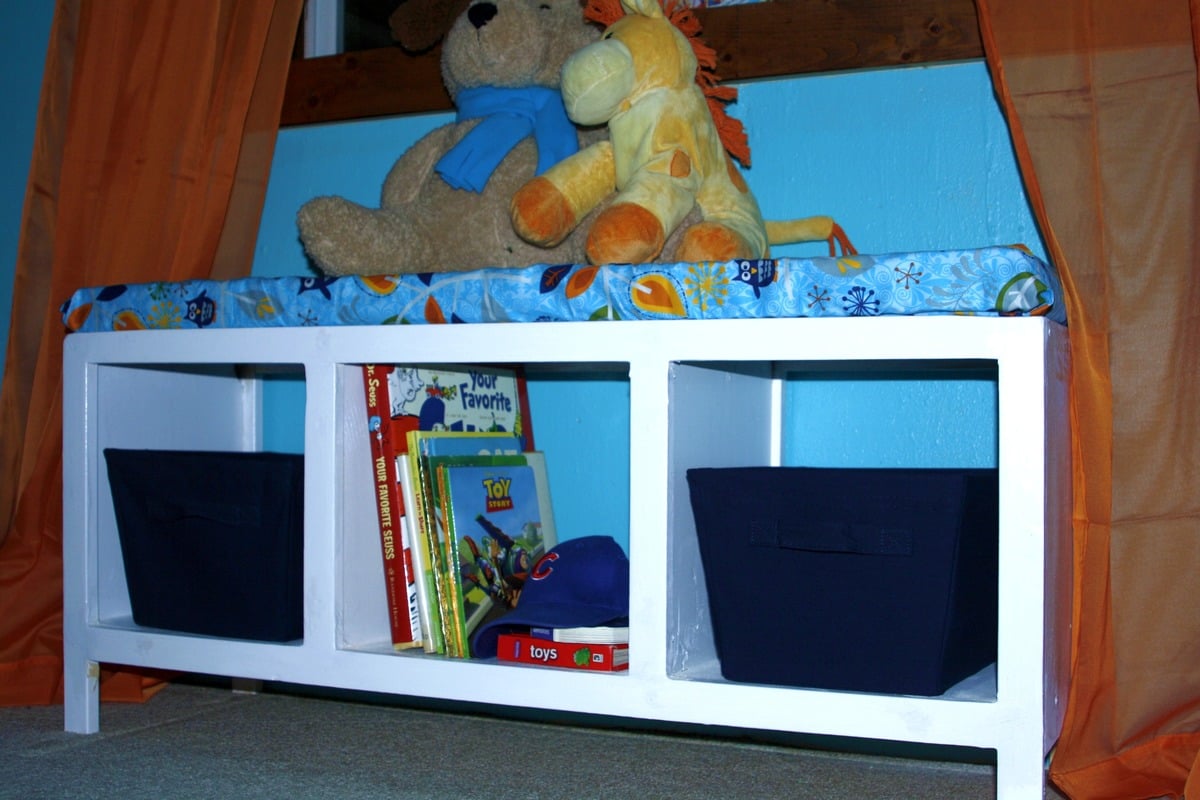
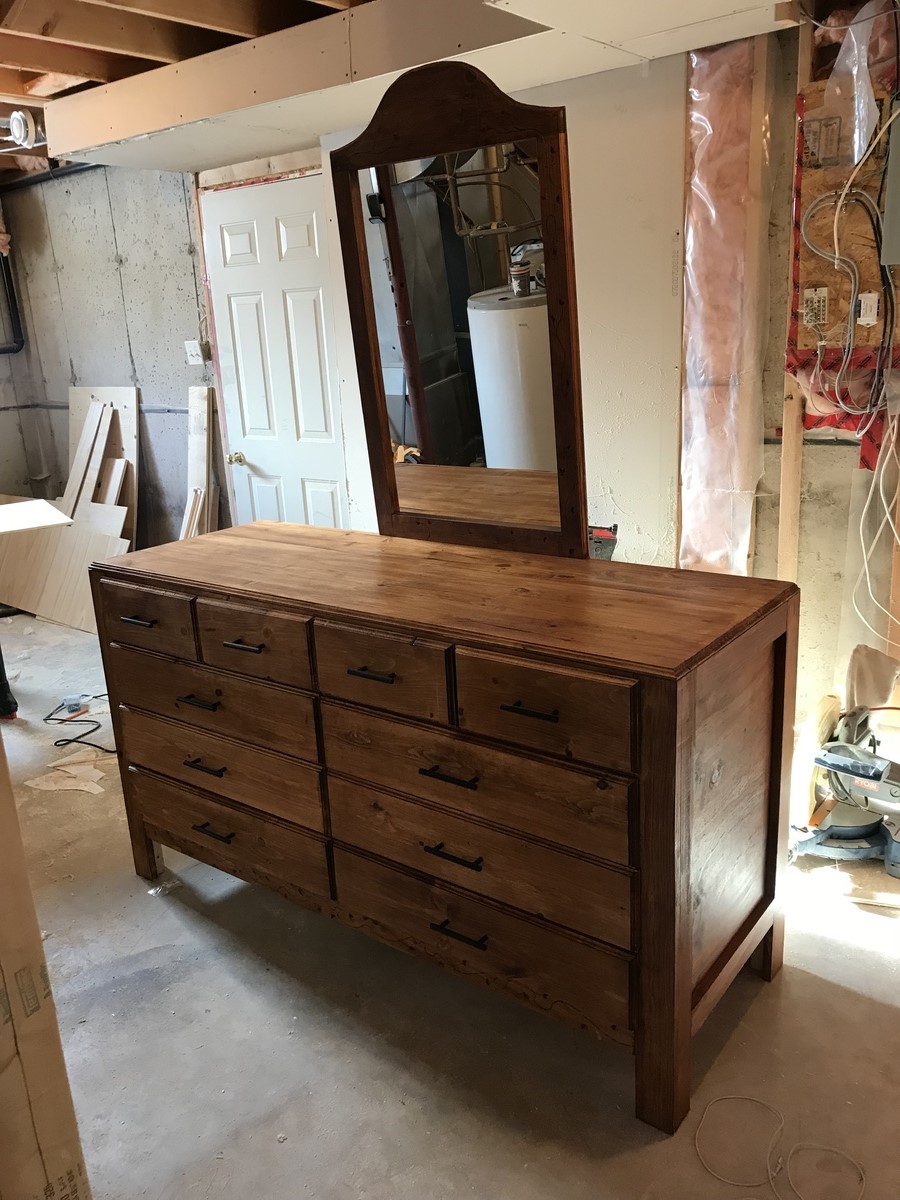
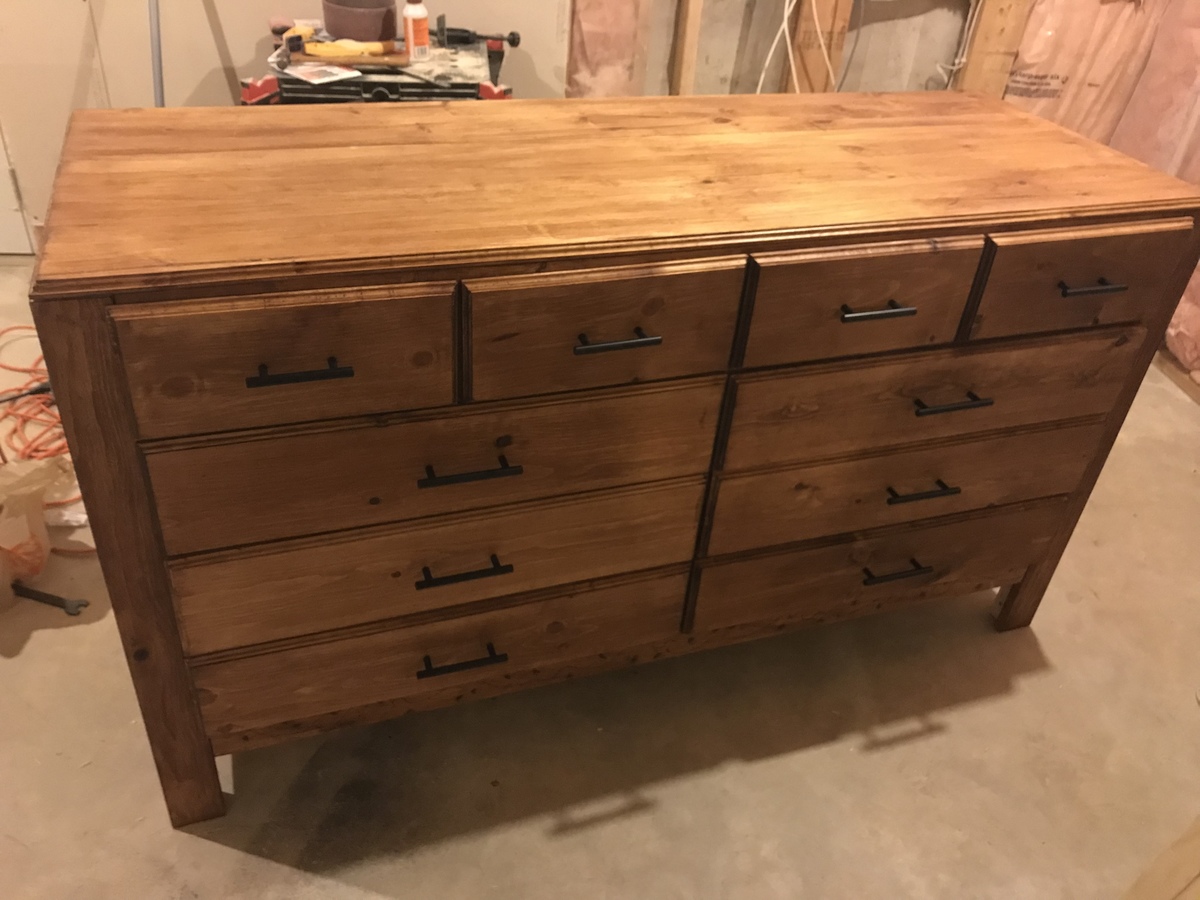
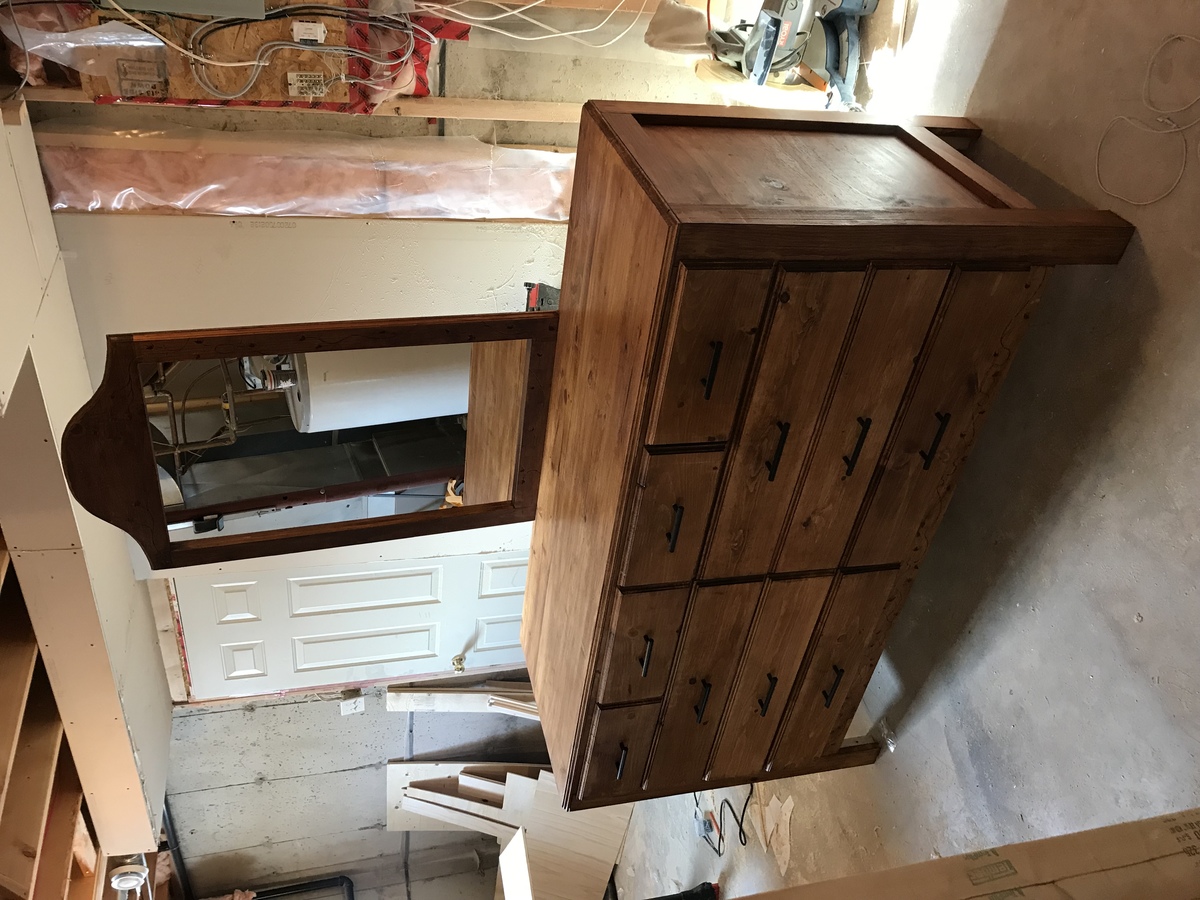
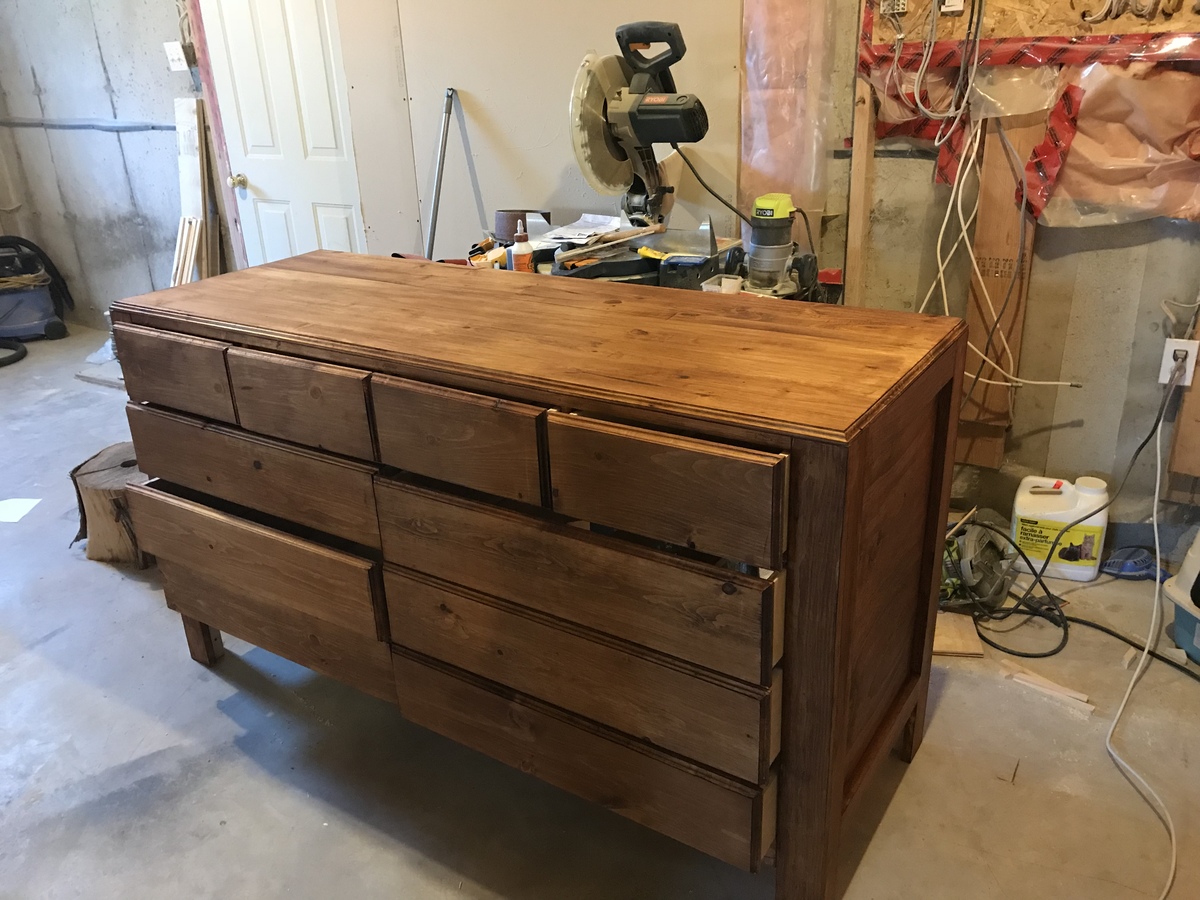
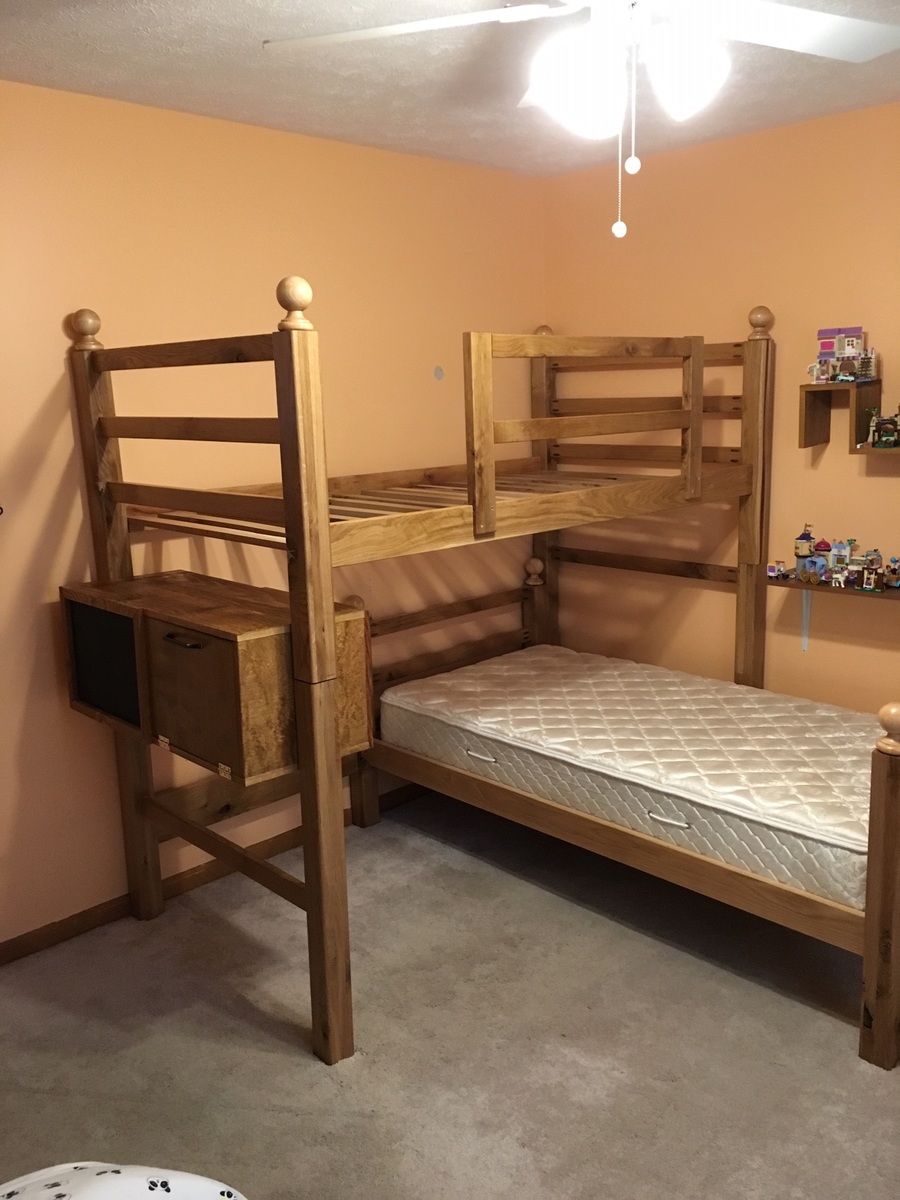
Laundry Room Floating Shelves and Cubby

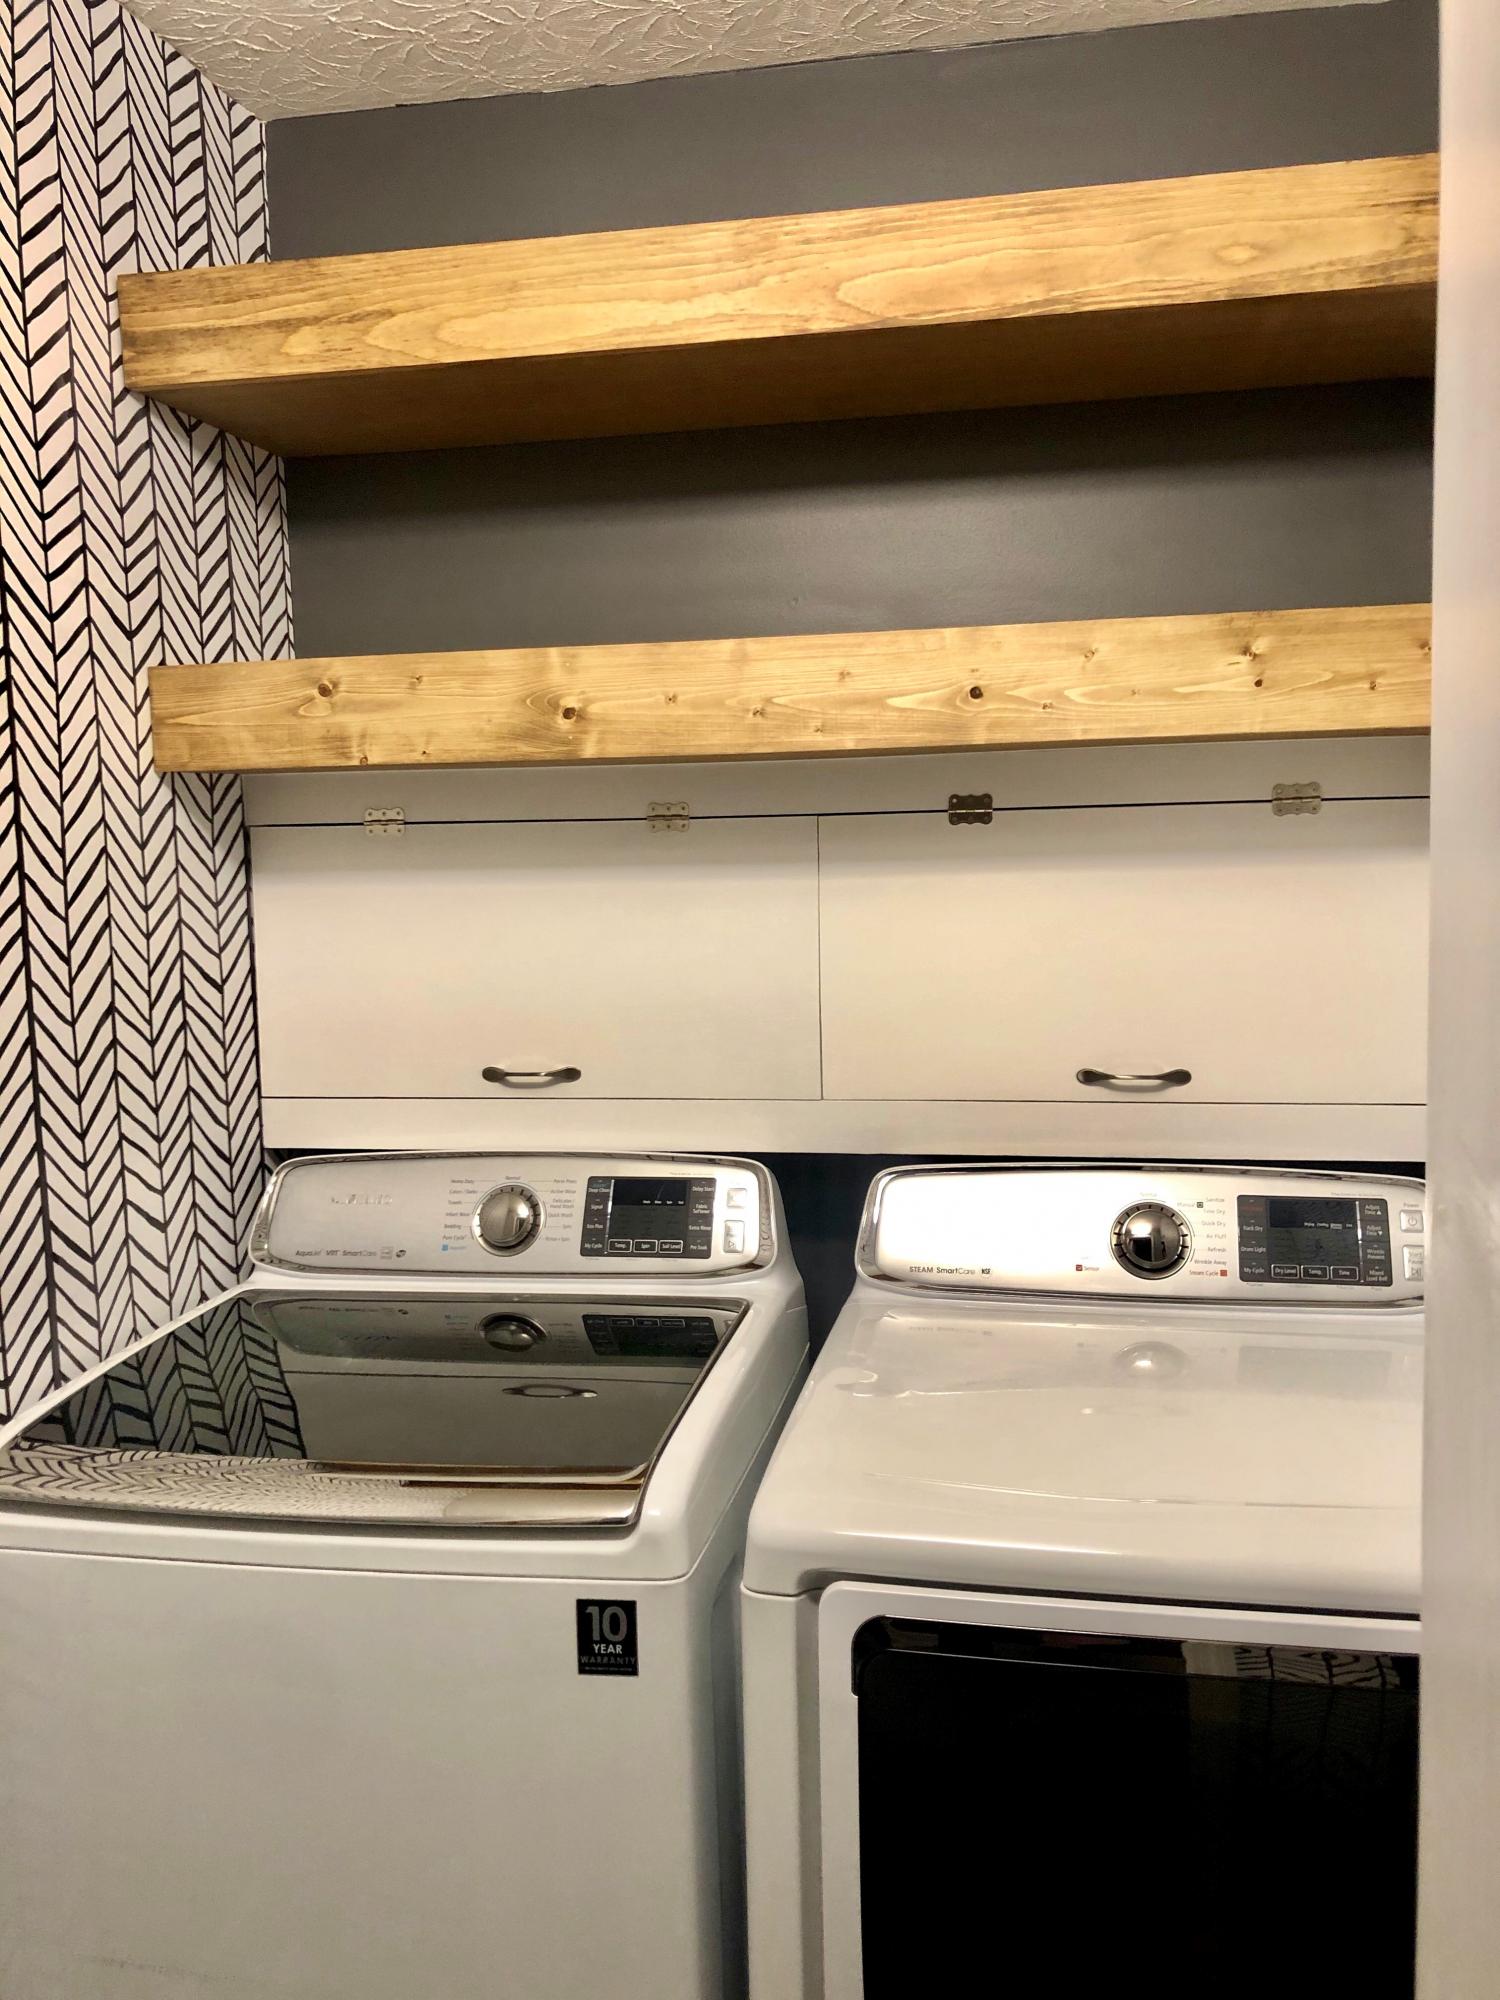
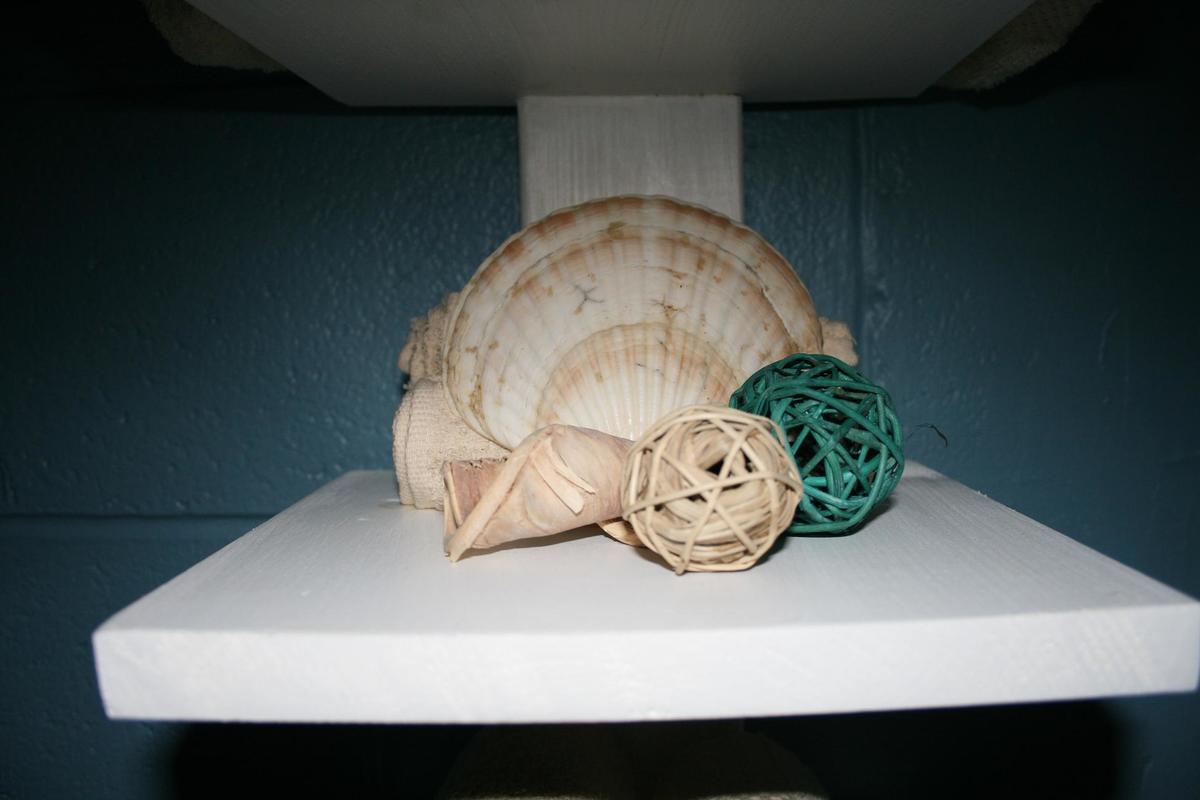
I have a tiny laundry room closet, but this remodel made a world of difference. The shelves were too high to reach routinely, so I didn't add Ana's hidden pull outs. But the cubby is a lifesaver and hides all the unsightly cleaning supplies perfectly. Now to decorate!

Estimated Cost
$100 covid wood cost
Estimated Time Investment
Afternoon Project (3-6 Hours)
Finish Used
Minwax Special Walnut
Recommended Skill Level
Beginner

Comments

zannej

Tue, 12/05/2023 - 19:58

These look great! I'm thinking of doing something like this, although I might add a louvered panel on one of the doors since I plan to use an AAV. There is an atmospheric vent not too far away but trying to route a pipe would be too much of a pita. The doors could hide the water supply lines & hose as well as keep stuff from falling behind the machines. I do have to be mindful that I need to be able to open them and not have them obstructed though.

Octagonal Picnic Table

Submitted by frmoody on Fri, 05/28/2021 - 15:08

To say this was a complicated build is an understatement. Lots of pieces, lots of different angles and lots of screwing it together. It was really tough to keep everything perfectly square but in the end it turned out well. It is a very heavy table. I want to get it outside on a sunny day for some photos.

Estimated Cost
The price of lumber is ridiculous right now. Last summer this would have cost me about $200 in materials but I spent about $450 on wood, finish and screws. 2 x 4 x 8's right now are about $10.40 CAD$ and 2 x 4 x 6's are about $15.00
Estimated Time Investment
Weekend Project (10-20 Hours)
Finish Used
I first painted all black parts with Wood Shield Oil Deck & Siding solid stain. I used two coats. I painted most of the boards prior to cutting to save time. The top and seats were stained with MinWax Gunstock Stain. Once everything was together I put on two coats of Helmsman outdoor polyurethane.
Recommended Skill Level
Advanced

Comments

Outdoor bench

Submitted by Anonymous (not verified) on Tue, 06/13/2017 - 06:11

I used the x-back bench plans to build this bench, but trimmed the length down to 4 feet to fit the space.  It's constructed with cedar and is so beefy and sturdy. It has stood it's own against several storms already and I couldn't be happier with how it turned out. Thanks Ana for all the free plans and tutorials! 

Estimated Cost
$150
Estimated Time Investment
Day Project (6-9 Hours)
Finish Used
Thompson water seal in clear
Recommended Skill Level
Beginner

Coffee station

Submitted by Anonymous (not verified) on Wed, 10/20/2021 - 14:39

I was inspired by your coffee station plans to build this unit. I added an upper shelf with gas pipping, along with LED lights under the shelf. This station has been very popular in our house.

Comments

Rustic Hudson dresser

Submitted by Keithm35 on Mon, 01/01/2018 - 21:16

This is my first big project I have done, it was for my wife’s birthday. I enjoyed the challenge though, 

Built from Plan(s)
Estimated Time Investment
Week Long Project (20 Hours or More)
Finish Used
Pre-stain to make sure there was no blotchiness, then pioneer stain with a matte finish. I applied using paintbrush making sure to very little stain on the brush and spread it as much as possible
Recommended Skill Level
Intermediate

Bar Cart or BBQ Cart

The rolling bar cart (or BBQ cart) with removable tray is the latest addition to my suite of DIY patio furniture. This site has become a bit of a building obsession with me. Even with the detailed instructions, I still found ways to make this project my own: I added a 3/4" dowel and plastic wheels, instead of wood rounds. I painted all the pieces with primer and exterior paint before assembling it, because it's hard to get paint between the slats, unless you have a spray painter. The white slat design of the bar cart, park bench and matching side tables goes with the white siding of the house for my own patio picnic.

Estimated Cost
1x3's $20
wheels $10
dowel $4
Estimated Time Investment
Weekend Project (10-20 Hours)
Finish Used
White primer & exterior house paint
Recommended Skill Level
Beginner

Small Loft Bed with Dressers

Submitted by JeffHooper on Sun, 07/12/2015 - 19:25

This took about a week to complete.  I modify the original plan to include "built in" dressers and a night stand type of dresser.  The night stand has shelves built on the side.     Two beds were built of different configurations.  

Built from Plan(s)
Estimated Cost
Cost about $400 per bed.
Estimated Time Investment
Week Long Project (20 Hours or More)
Finish Used
Painted with a high gloss white.
Recommended Skill Level
Intermediate

Comments

Farmhouse King Headboard/Barn Door

I found a barn door headboard in a rustic furniture store years ago. They wanted $2700 for a Queen size....no thank you! I followed the plans for the Farmhouse King Bed and added cross pieces for barn door look using instructions from the Brookstone Headboard. I cut the legs at 56” to add some height and I set the bottom of the back panel at 18” above the floor to make sure no gap is seen with our thinner, memory foam mattress. I couldn’t be happier with our headboard and the total cost, including screws & stain, was about $150! Boom! Thank you Ana White for sharing plans! I’m working on the Mini Farmhouse Bedside Table now & feel like I can build anything! I would highly recommend Power Pro Premium Interior screws (no splitting or stripped heads, no pre-drilling & they counter-sink great in soft wood). For the 4x4 posts I used GRK UberGrade R4 multi-purpose 4” screws, which had the same quality, all from Lowe’s.

Estimated Cost
$150
Estimated Time Investment
Weekend Project (10-20 Hours)
Finish Used
I used wood conditioner, as recommended. Then 2 coats of Minwax Special Walnut with light sanding in between. I chose 2 coats of clear satin polyurethane, lightly sanding in between for a great rustic finish that’s not too glossy. I did beat up the wood and sanded off all square edges prior to applying any finish.
Recommended Skill Level
Beginner

Outdoor Sofa

Submitted by dionneds on Sun, 04/10/2022 - 07:16

This was our first big project with our Kreg Jig. We adapted the plans to make the sofa 8' long. On Friday night, my husband did all the cuts and I pre-painted everything. With the help of our son, we had the whole sofa built in a few hours on Saturday morning. I puttied the visible holes, did a second coat of paint, and made custom cushions. The plans were very easy to follow. I followed the others' advice about pre-painting and assembling the back on a perfectly level surface. It came out better than I expected and it's super comfortable!

Built from Plan(s)

Comments

kdykes08

Mon, 04/11/2022 - 07:44

I want the plans for this one! I like this style a lot better. I really like how the bottom cushions are at a slant. I suck at modifying plans.

Seasonal And Holiday

Farmhouse Nightstands

Submitted by rbgreene04 on Sat, 03/10/2018 - 20:30

I had made the farmhouse bed from Ana a while ago and finally got around to building a pair of these bedside tables to match. I love how much bigger the top is than my previous nightstand's top. The bins on the bottom shelf are relatively cheap from Walmart, and I like the galvanized look with the wood. 

Built from Plan(s)
Estimated Cost
About $120 for a pair
Estimated Time Investment
Day Project (6-9 Hours)
Finish Used
I wiped on two coats of dark walnut Danish oil; I love how quick and easy Danish oil goes on. Being that they are only bedside tables, I don't foresee much wear and tear and thus I didn't need a more durable finish.
Recommended Skill Level
Beginner

Corner Cabinet Storage Shelf

Submitted by sssmile14 on Sun, 07/24/2011 - 19:32

We built this corner cabinet shelf in three days (only because it is over 100 degrees here, so we had to wait until 9:00 at night to work on it) for our office space. We love, love, love it and can't believe how nice my corner cabinet turned out. Only our second building project ever. :)


Built from Plan(s)
Estimated Cost
80.00
Estimated Time Investment
Afternoon Project (3-6 Hours)
Finish Used
Kilz Satin Paint- Black
Recommended Skill Level
Starter Project

Comments

kellerkb

Mon, 06/03/2013 - 21:20

Hello, I would appreciate help finding the plans for this project! Thanks!

cerberus456

Tue, 08/02/2016 - 14:54

I do cedar. Thank you very much for the drawings. This site is to become one of my favorites.

Greetings from Xalapa Veracruz Mexico


Bunk Beds with Dual Desk

Submitted by bullfiter on Mon, 11/26/2018 - 06:14

My granddaughters needed new bunk beds and an area to do homework. So I combined the 2 projects into one.

Recommended Skill Level
Intermediate

Bathroom Shelf

Submitted by lizseburn on Wed, 08/10/2011 - 11:13

Another perfect shelf to decorate my little basement bathroom. Plans were so easy to follow! A little help from my hubby with this one... We had to drill into concrete to hang it. I love the end result!

Built from Plan(s)
Estimated Cost
$15
Estimated Time Investment
An Hour or Two (0-2 Hours)
Recommended Skill Level
Beginner

Narrow planked bedside tables

Submitted by Anonymous (not verified) on Sun, 09/11/2022 - 08:43

I made these, then had to re-make them once I realized they were just too wide for our narrow bedroom. Each shelf is now three slats wide, not four. Modifications were easy: cut cross supports to 10 1/2” (not 14) and tabletop planks to 15”.

Thanks for the plans! Simple enough and stylish. -Katie

Comments

Modern Farmhouse railing on a deck

Submitted by Anonymous (not verified) on Fri, 01/13/2023 - 09:07

Inspired by the modern farmhouse railing we decided to install the same style on our deck. Our old railing was aged an deteriorated. The project took about two weekends, one to treat the metal with black magic, another to build the actual railing. We love how it looks!

Comments

Farmhouse Table - Thanks Ana!!

I tackled the Farmhouse Table over a long weekend while my boyfriend was away - he was surprised needless to say!
I have not attempted any woodwork projects since grade 8, but this was alot of fun - I did not find it very difficult and loove using power tools :)
I made the matching bench, however I guess I did not stir the bottom of the can well enough and my bench is now red :/ soo I am going to either stain it dark or paint it white and use it as a mudroom seat!

*I also made mine shorter - 7ft long to fit in our dining room and adjusted the bench to fit.

Estimated Cost
$160 for table & bench inc. wood, screws, stain, sand paper
Estimated Time Investment
Weekend Project (10-20 Hours)
Finish Used
I sanded it until I was pretty sure the risk of splinters was eliminated. After pre-stain conditioner, it got a coat of Minwax 'Ipswitch Pine'. The result was perfect on the table (two coats), however I must not have stirred the can well enough as my bench turned out dark red :/ I wanted it to look like it's 100 years old.
Recommended Skill Level
Beginner

Comments

Maggie Jaye

Fri, 10/07/2011 - 17:15

Thank you so much Ana! We are in the process of renovating our house and your website has inspired me to take on so many more projects now!! :)

Margaret Kubiszyn (not verified)

Sat, 10/08/2011 - 19:46

I love your choice of stain - it is beautiful!

Guest (not verified)

Wed, 11/02/2011 - 04:52

I built a similar table and I am having problems with my kids getting food in between the pieces of wood. Do you have this same problem, is anyone having this same problem? Does anyone have any suggestion as to how to fix it, how to keep food and other particles from getting trapped between the cracks? Thanks! You did a great job!!

Guest (not verified)

Wed, 11/23/2011 - 15:00

I am building this table as we speak. The thought occurred to me as well concerning the cracks attracting crumbs. I believe using clamps to make the fit as tight as possible will help. Also some poly finishes may be appropriate with children which may even seal the cracks... if sanded and clamped well.

Maggie Jaye

Wed, 11/23/2011 - 15:11

I did try my best to clamp the wood together as tight as possible - due to the pieces of wood not being completely straight, they are there.

I haven't had this problem yet. I do use place mats when eating at the table, that generally stops any crumbs etc.That's probably the easiest way to avoid it :)

Thank you for your comments!

Outdoor escape

Submitted by Bread0186 on Tue, 04/18/2023 - 11:39

First build ever. Took about 2 days and the most expensive part was the cushions, but Lowe's had a good deal. I did not sanding, painting, or staining. I'm sure I'll do that eventually, or make another sectional later, but I'm in North Texas and loving this set right now.

Comments

Privacy planter

Submitted by Anonymous (not verified) on Sun, 06/04/2023 - 16:11

It's a take off of your privacy fence planter. But I added water to make it a water wall also.

Built from Plan(s)

Comments

Seasonal And Holiday
Back