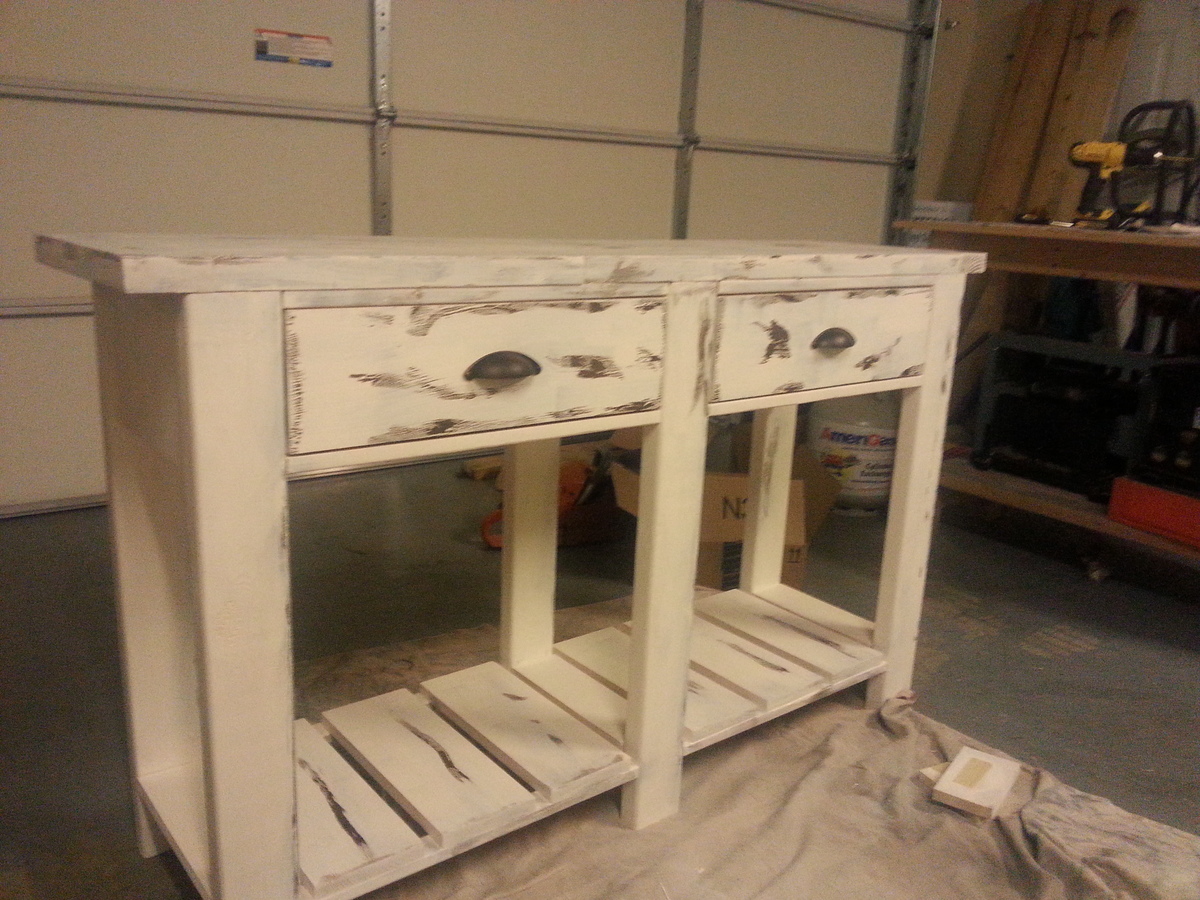
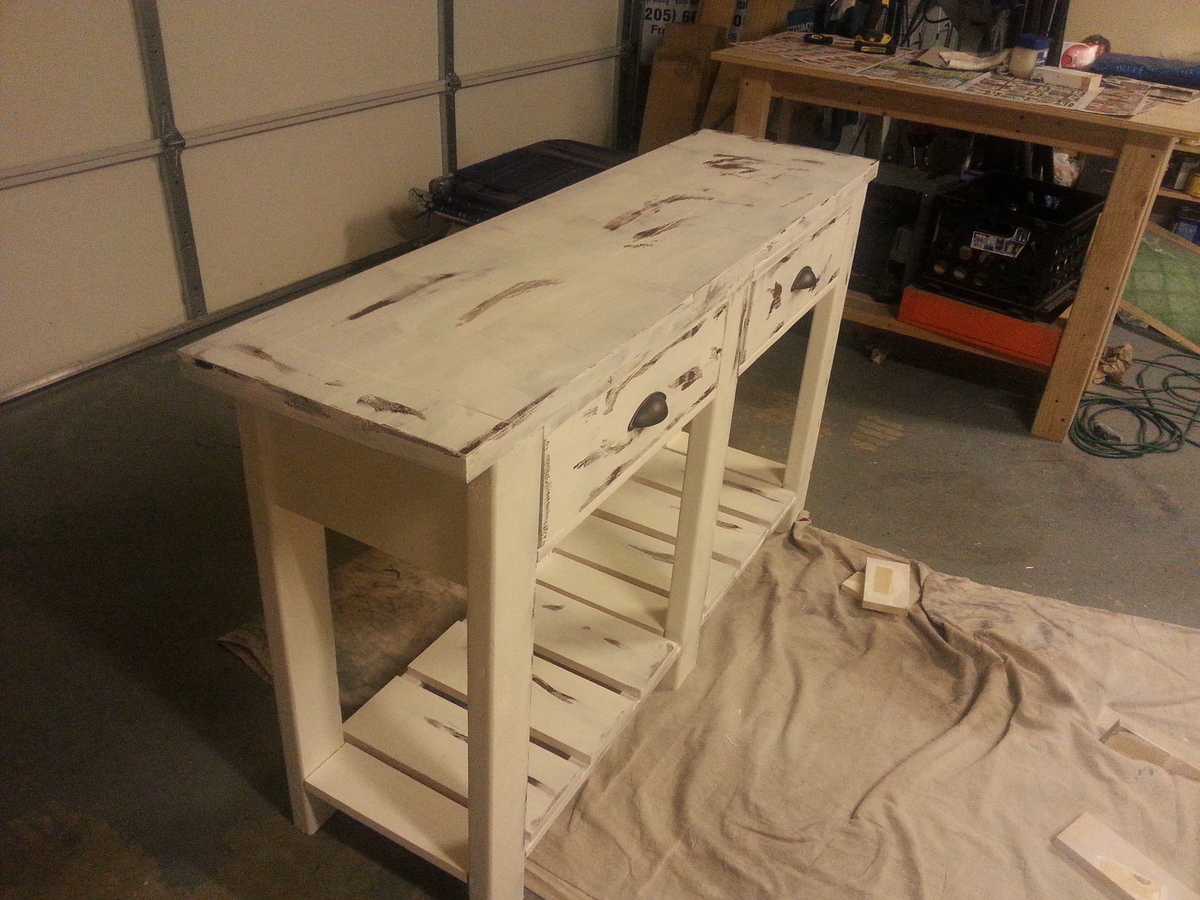
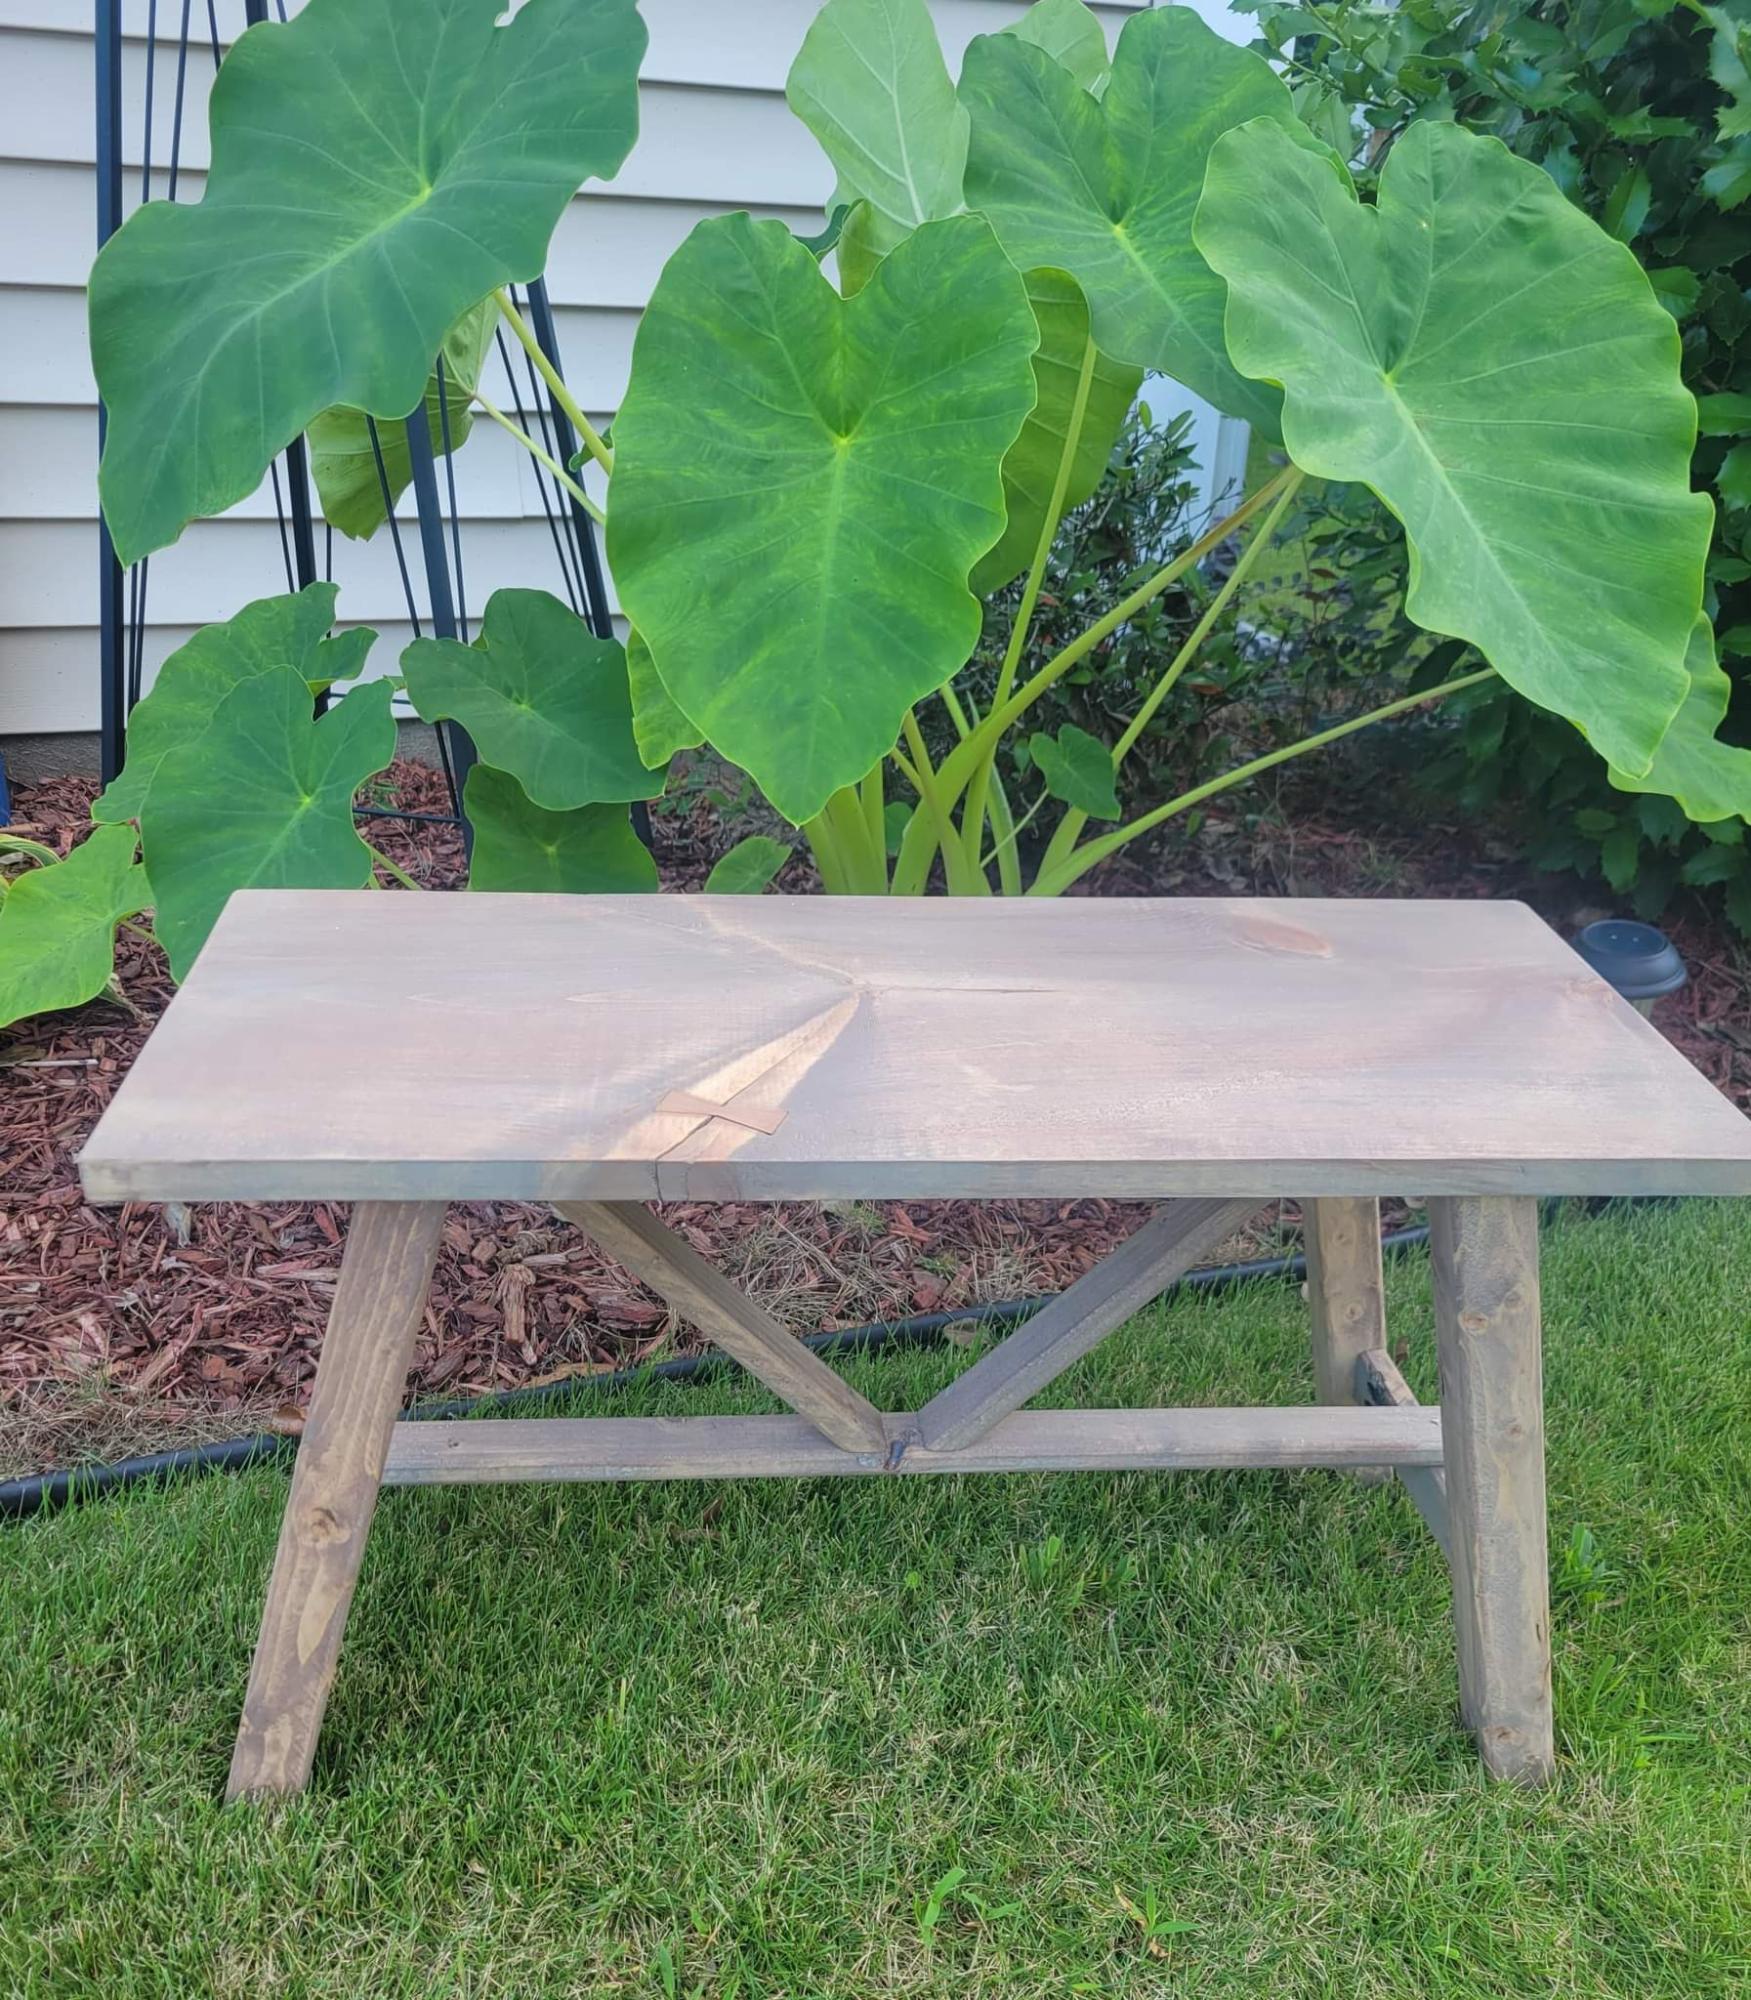
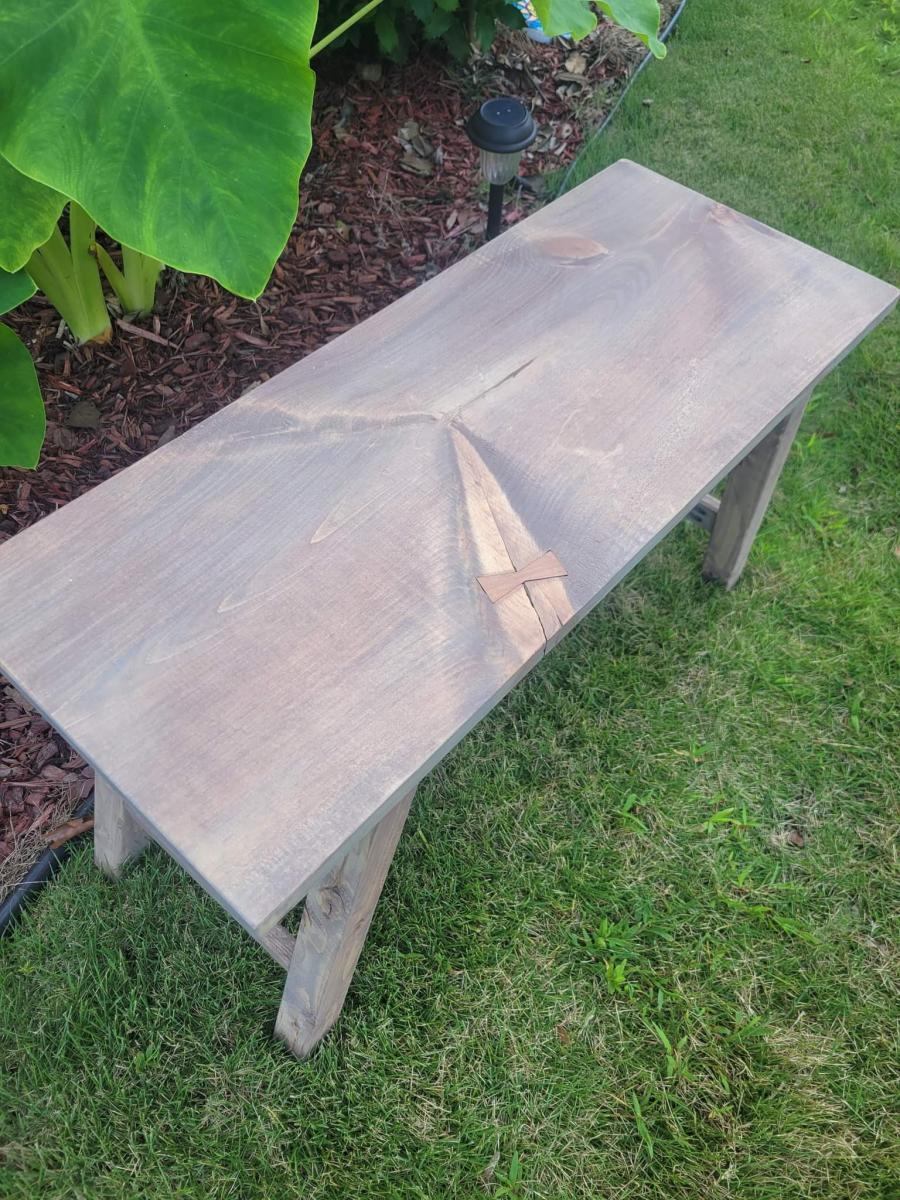
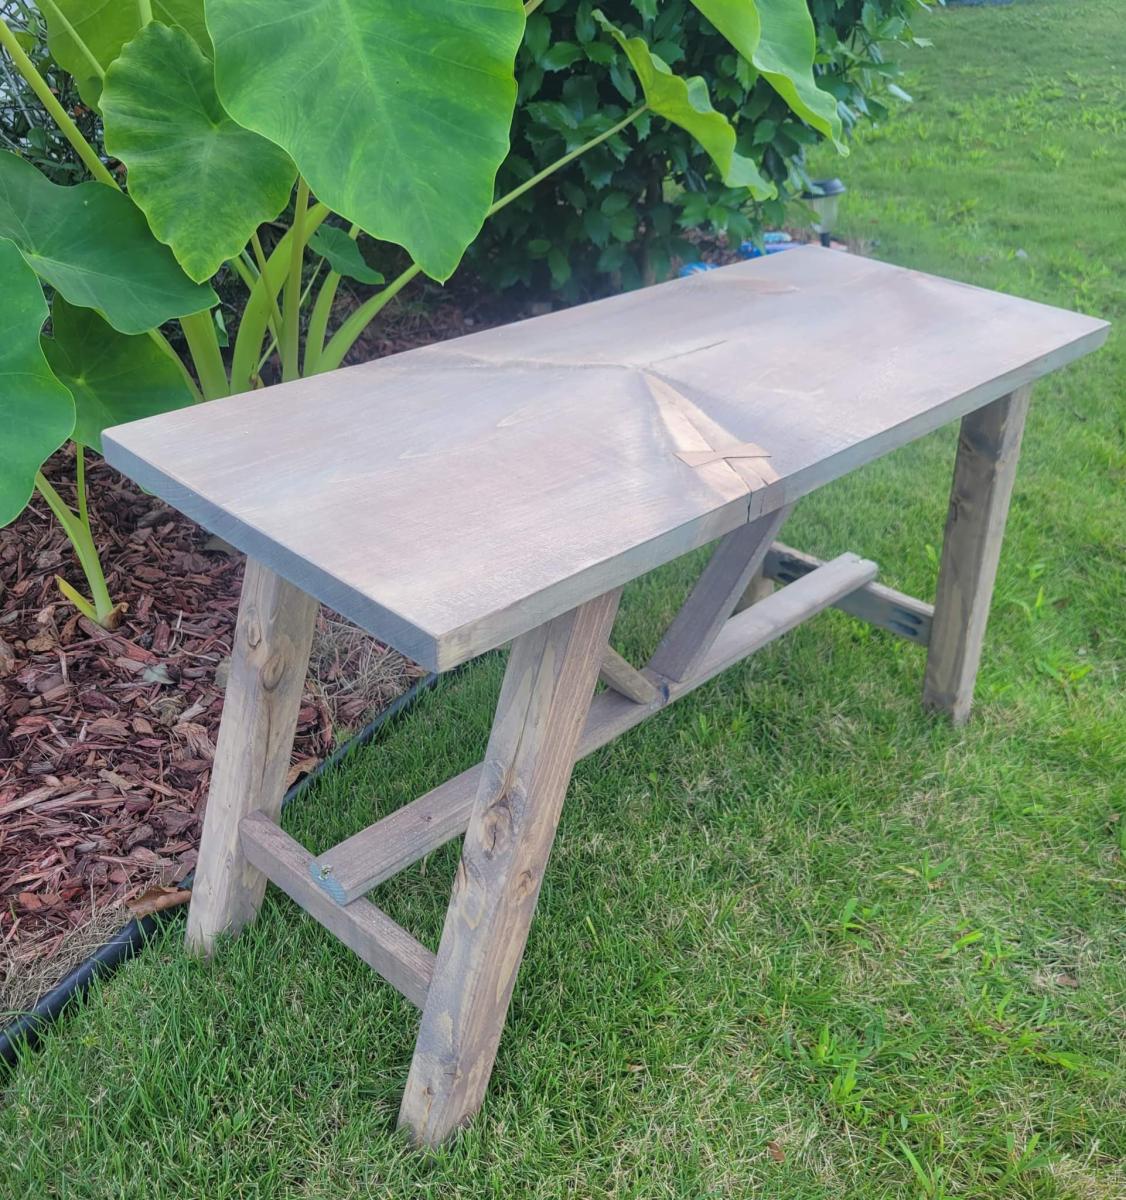
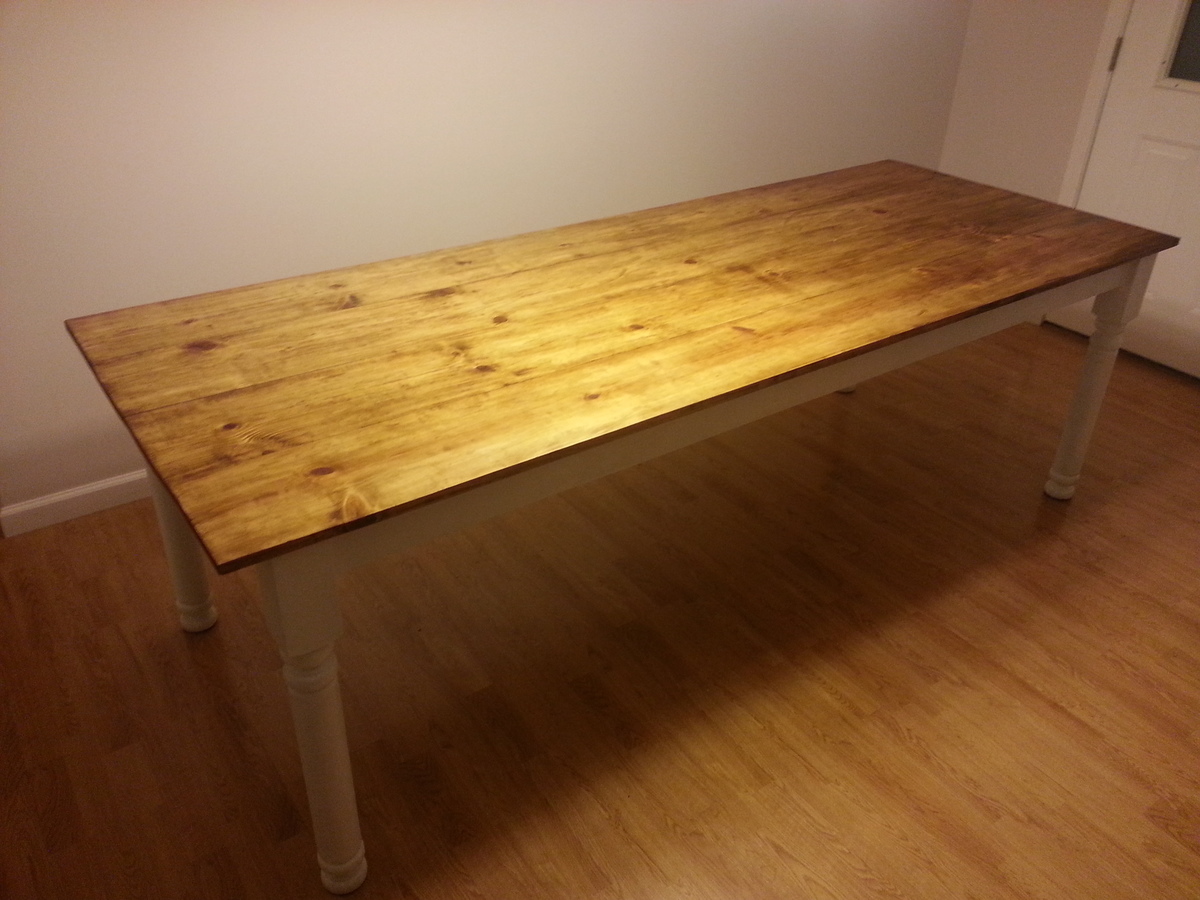
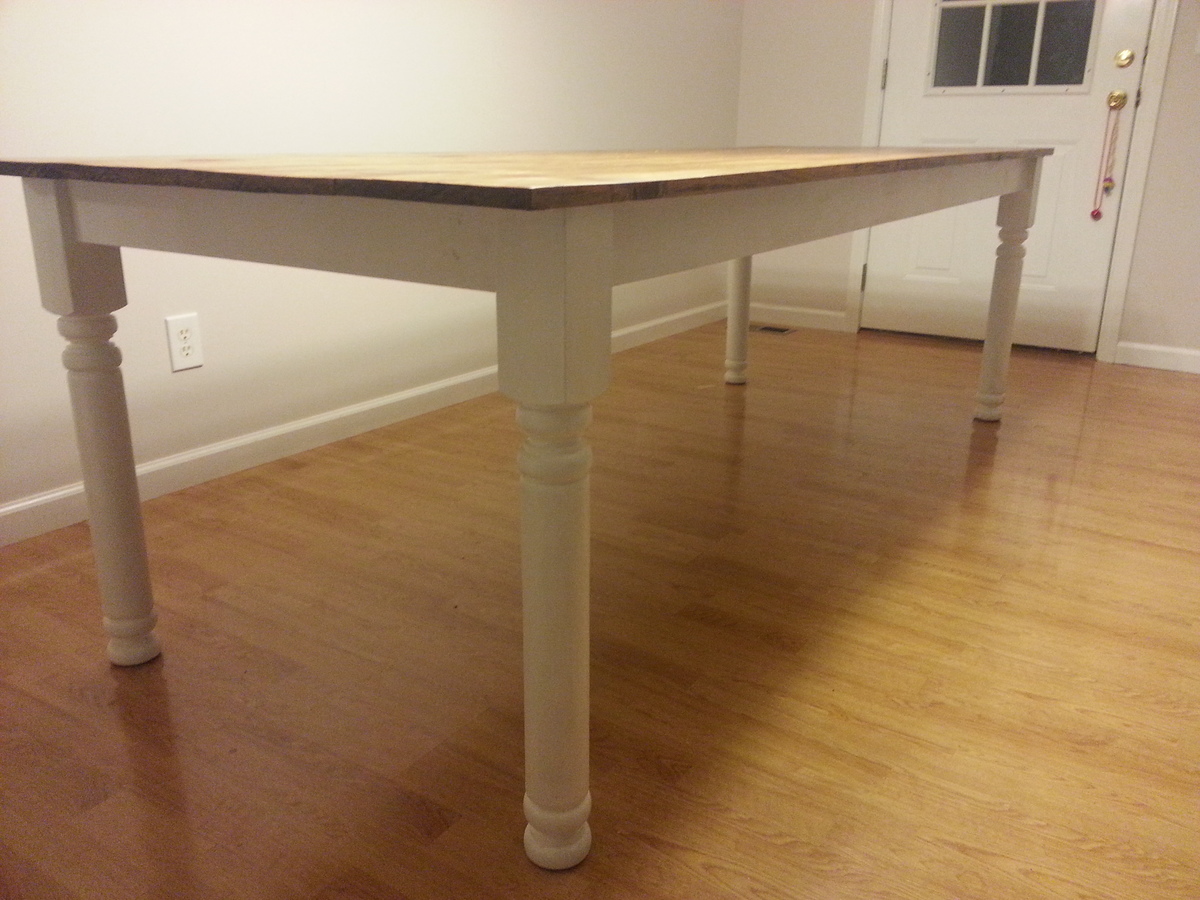
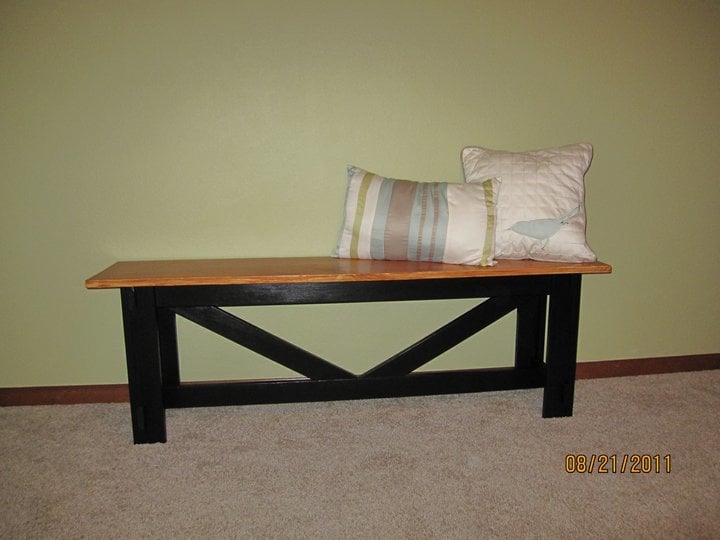
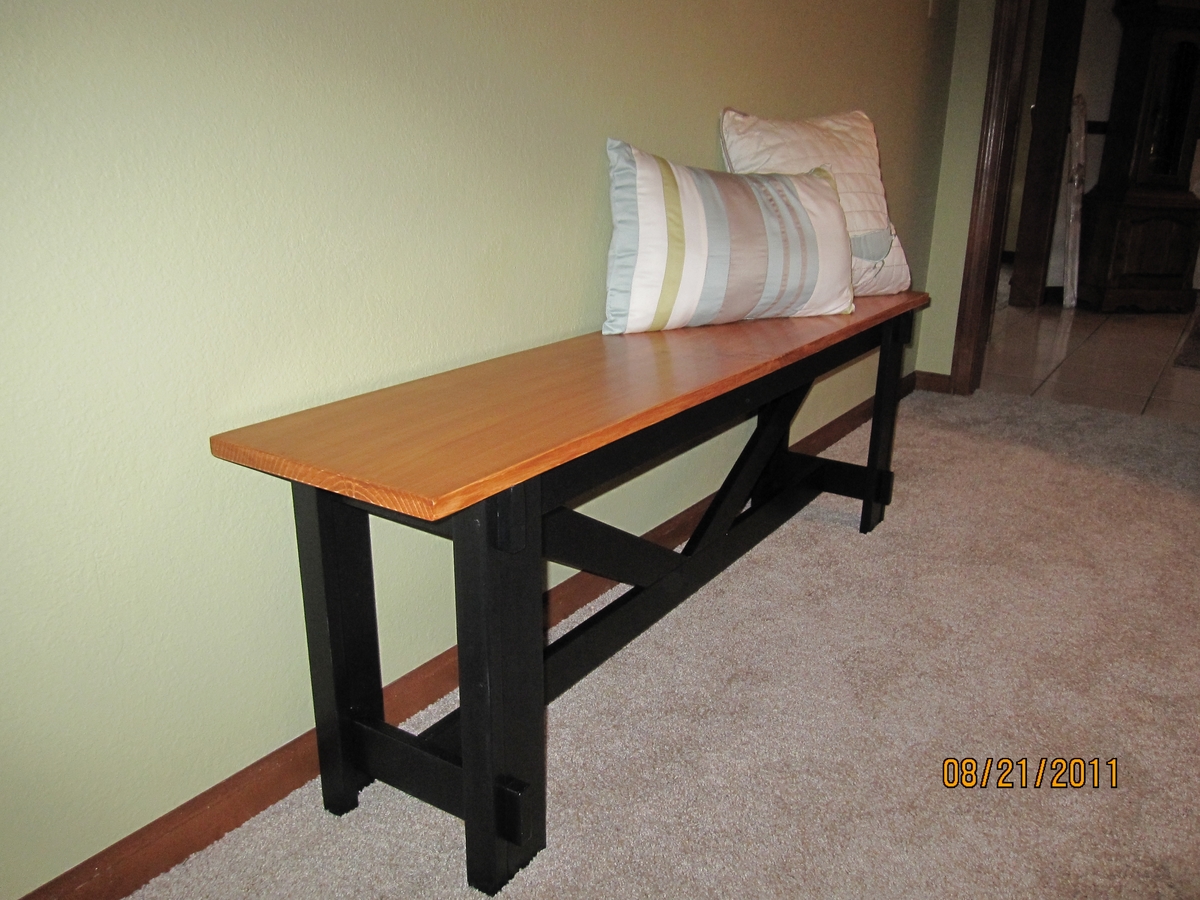
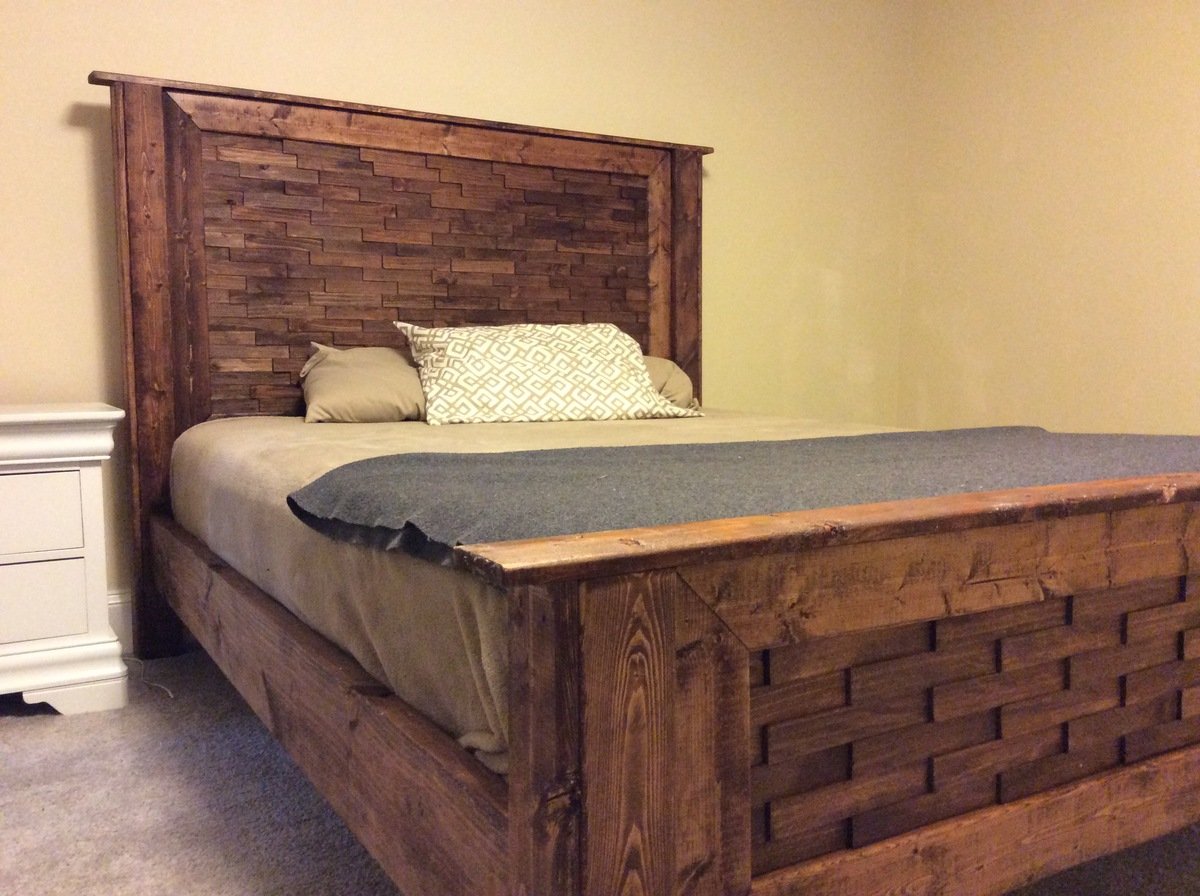
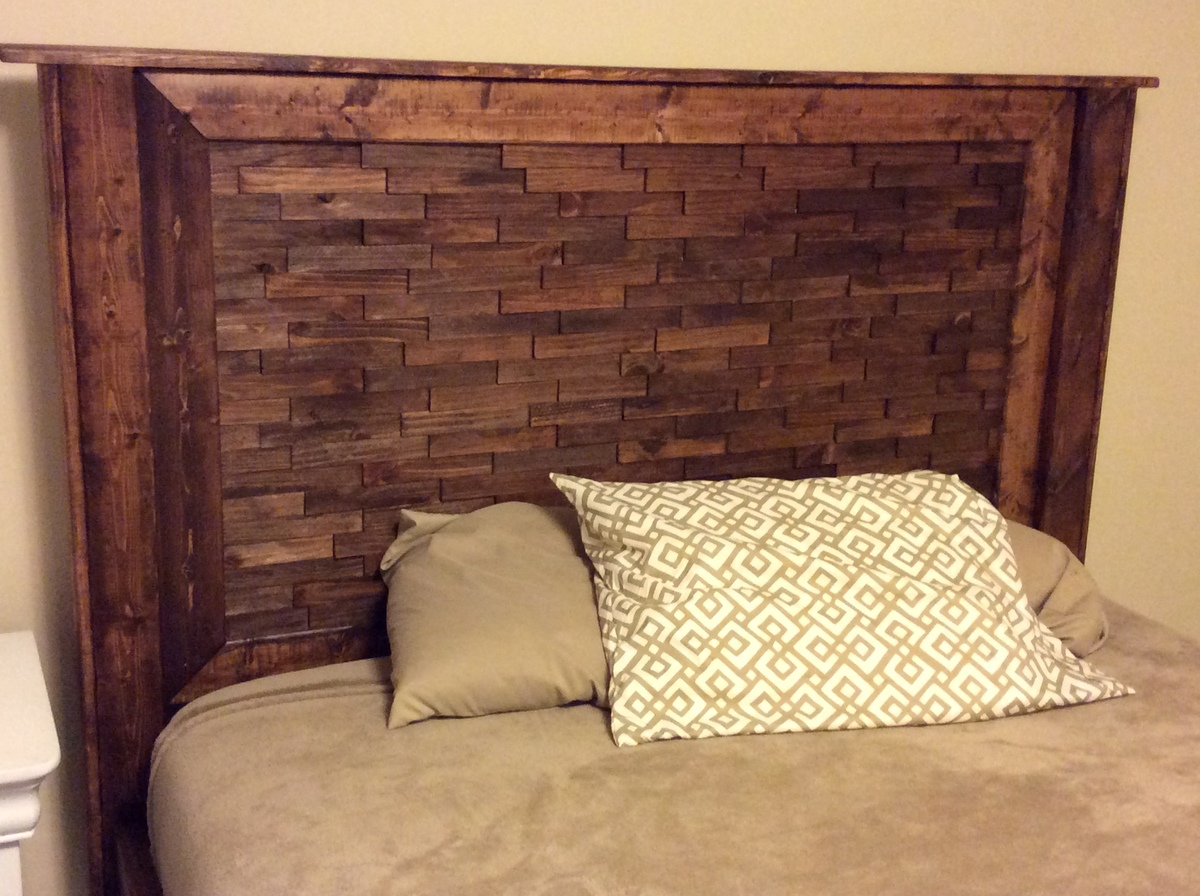
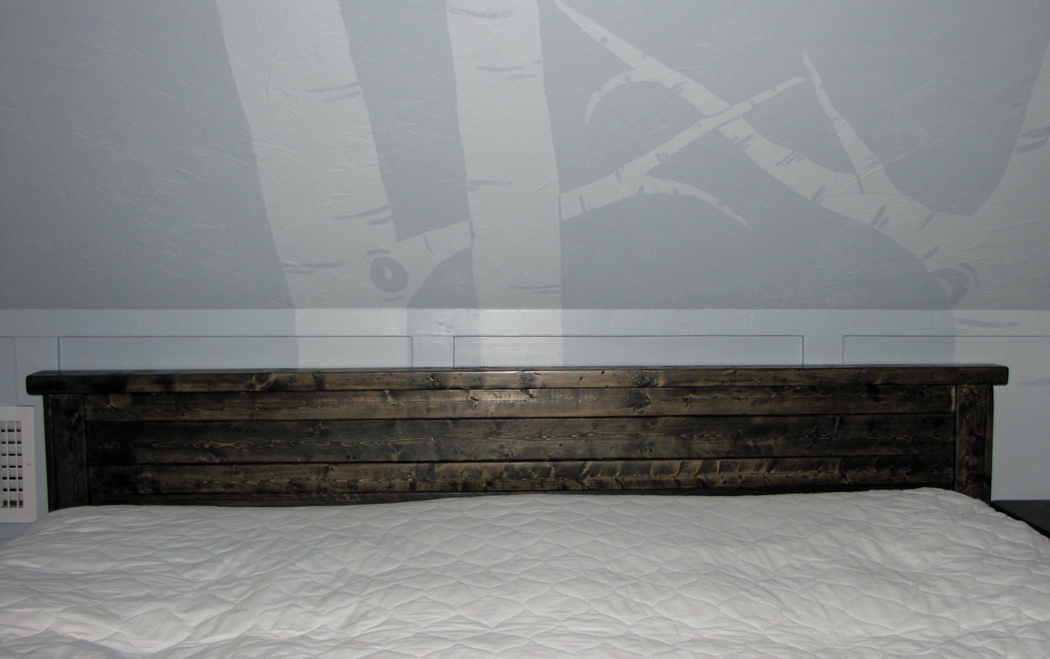
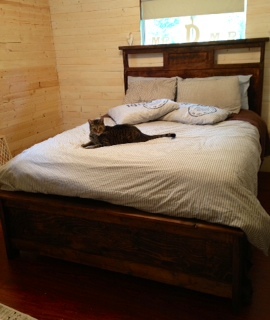
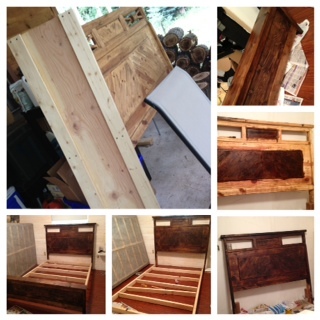
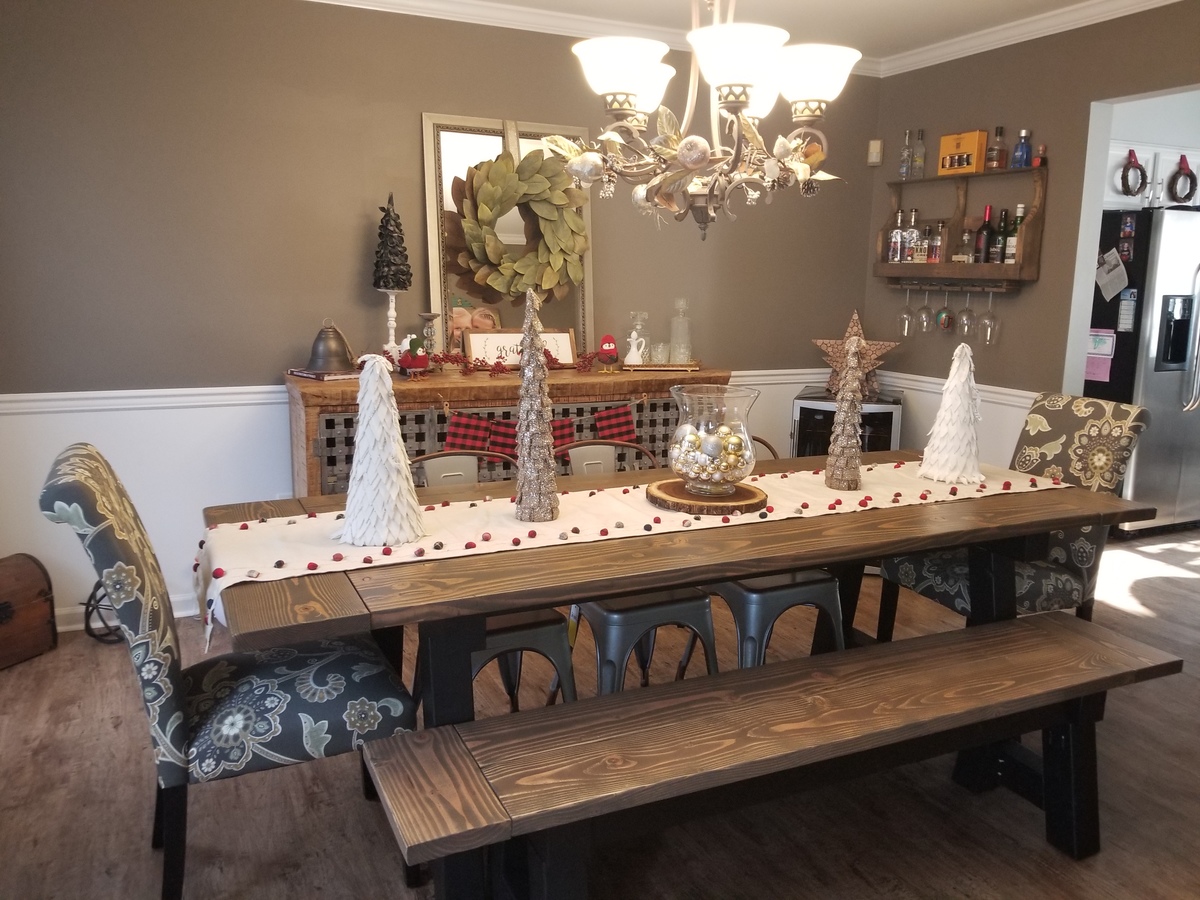
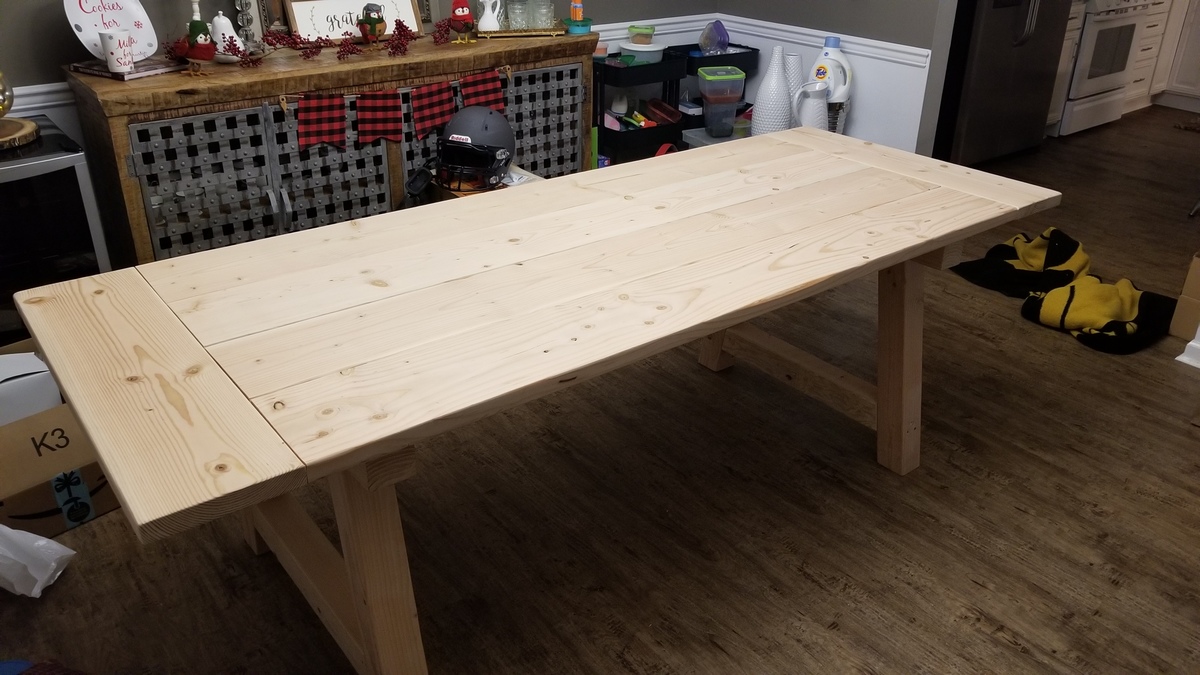
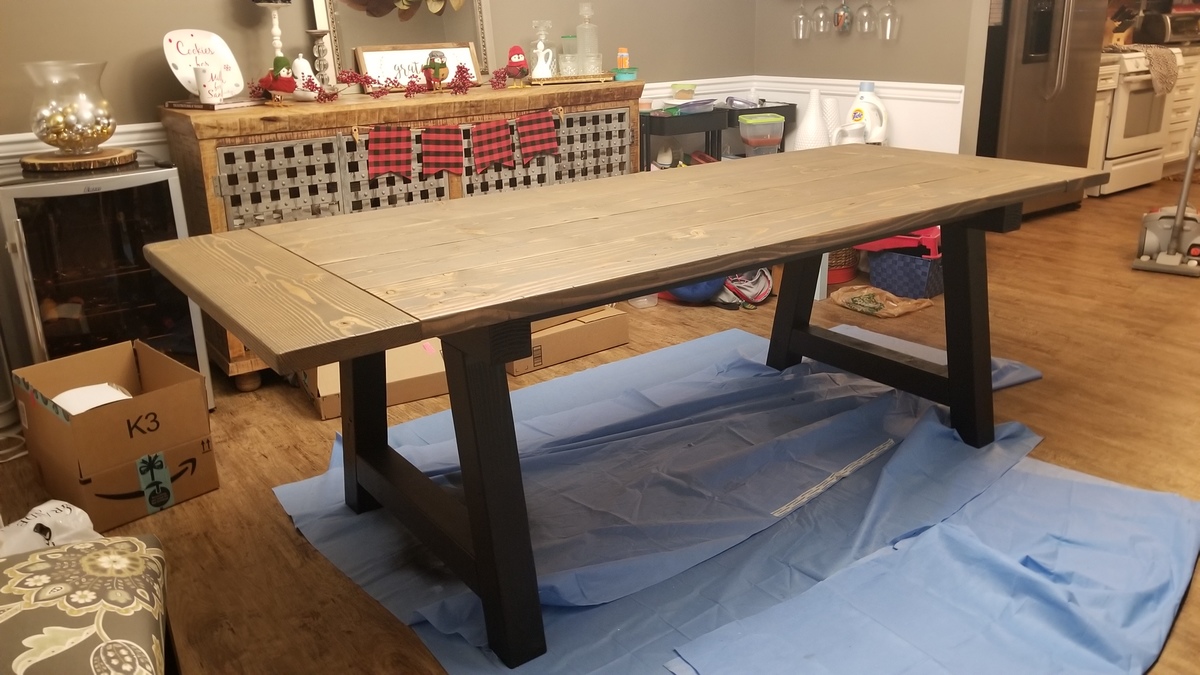
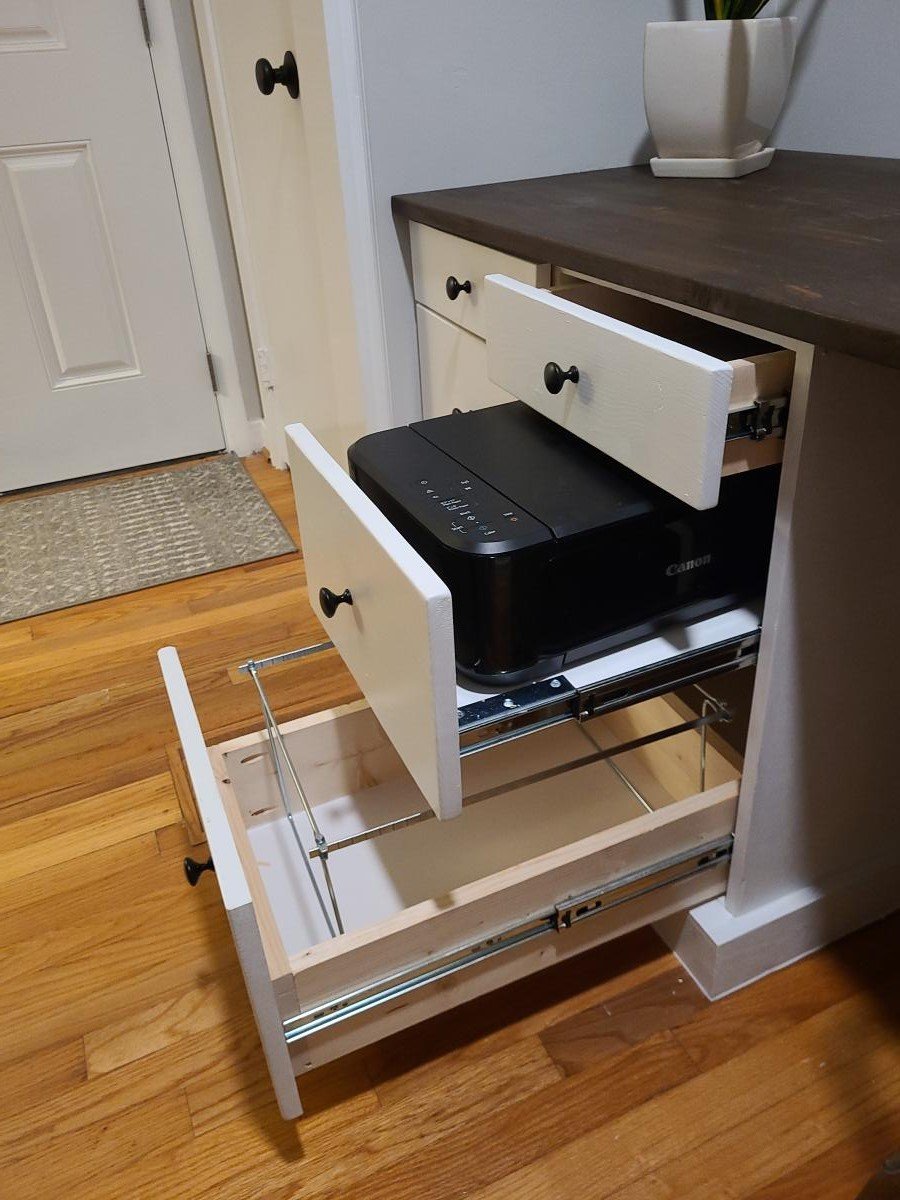
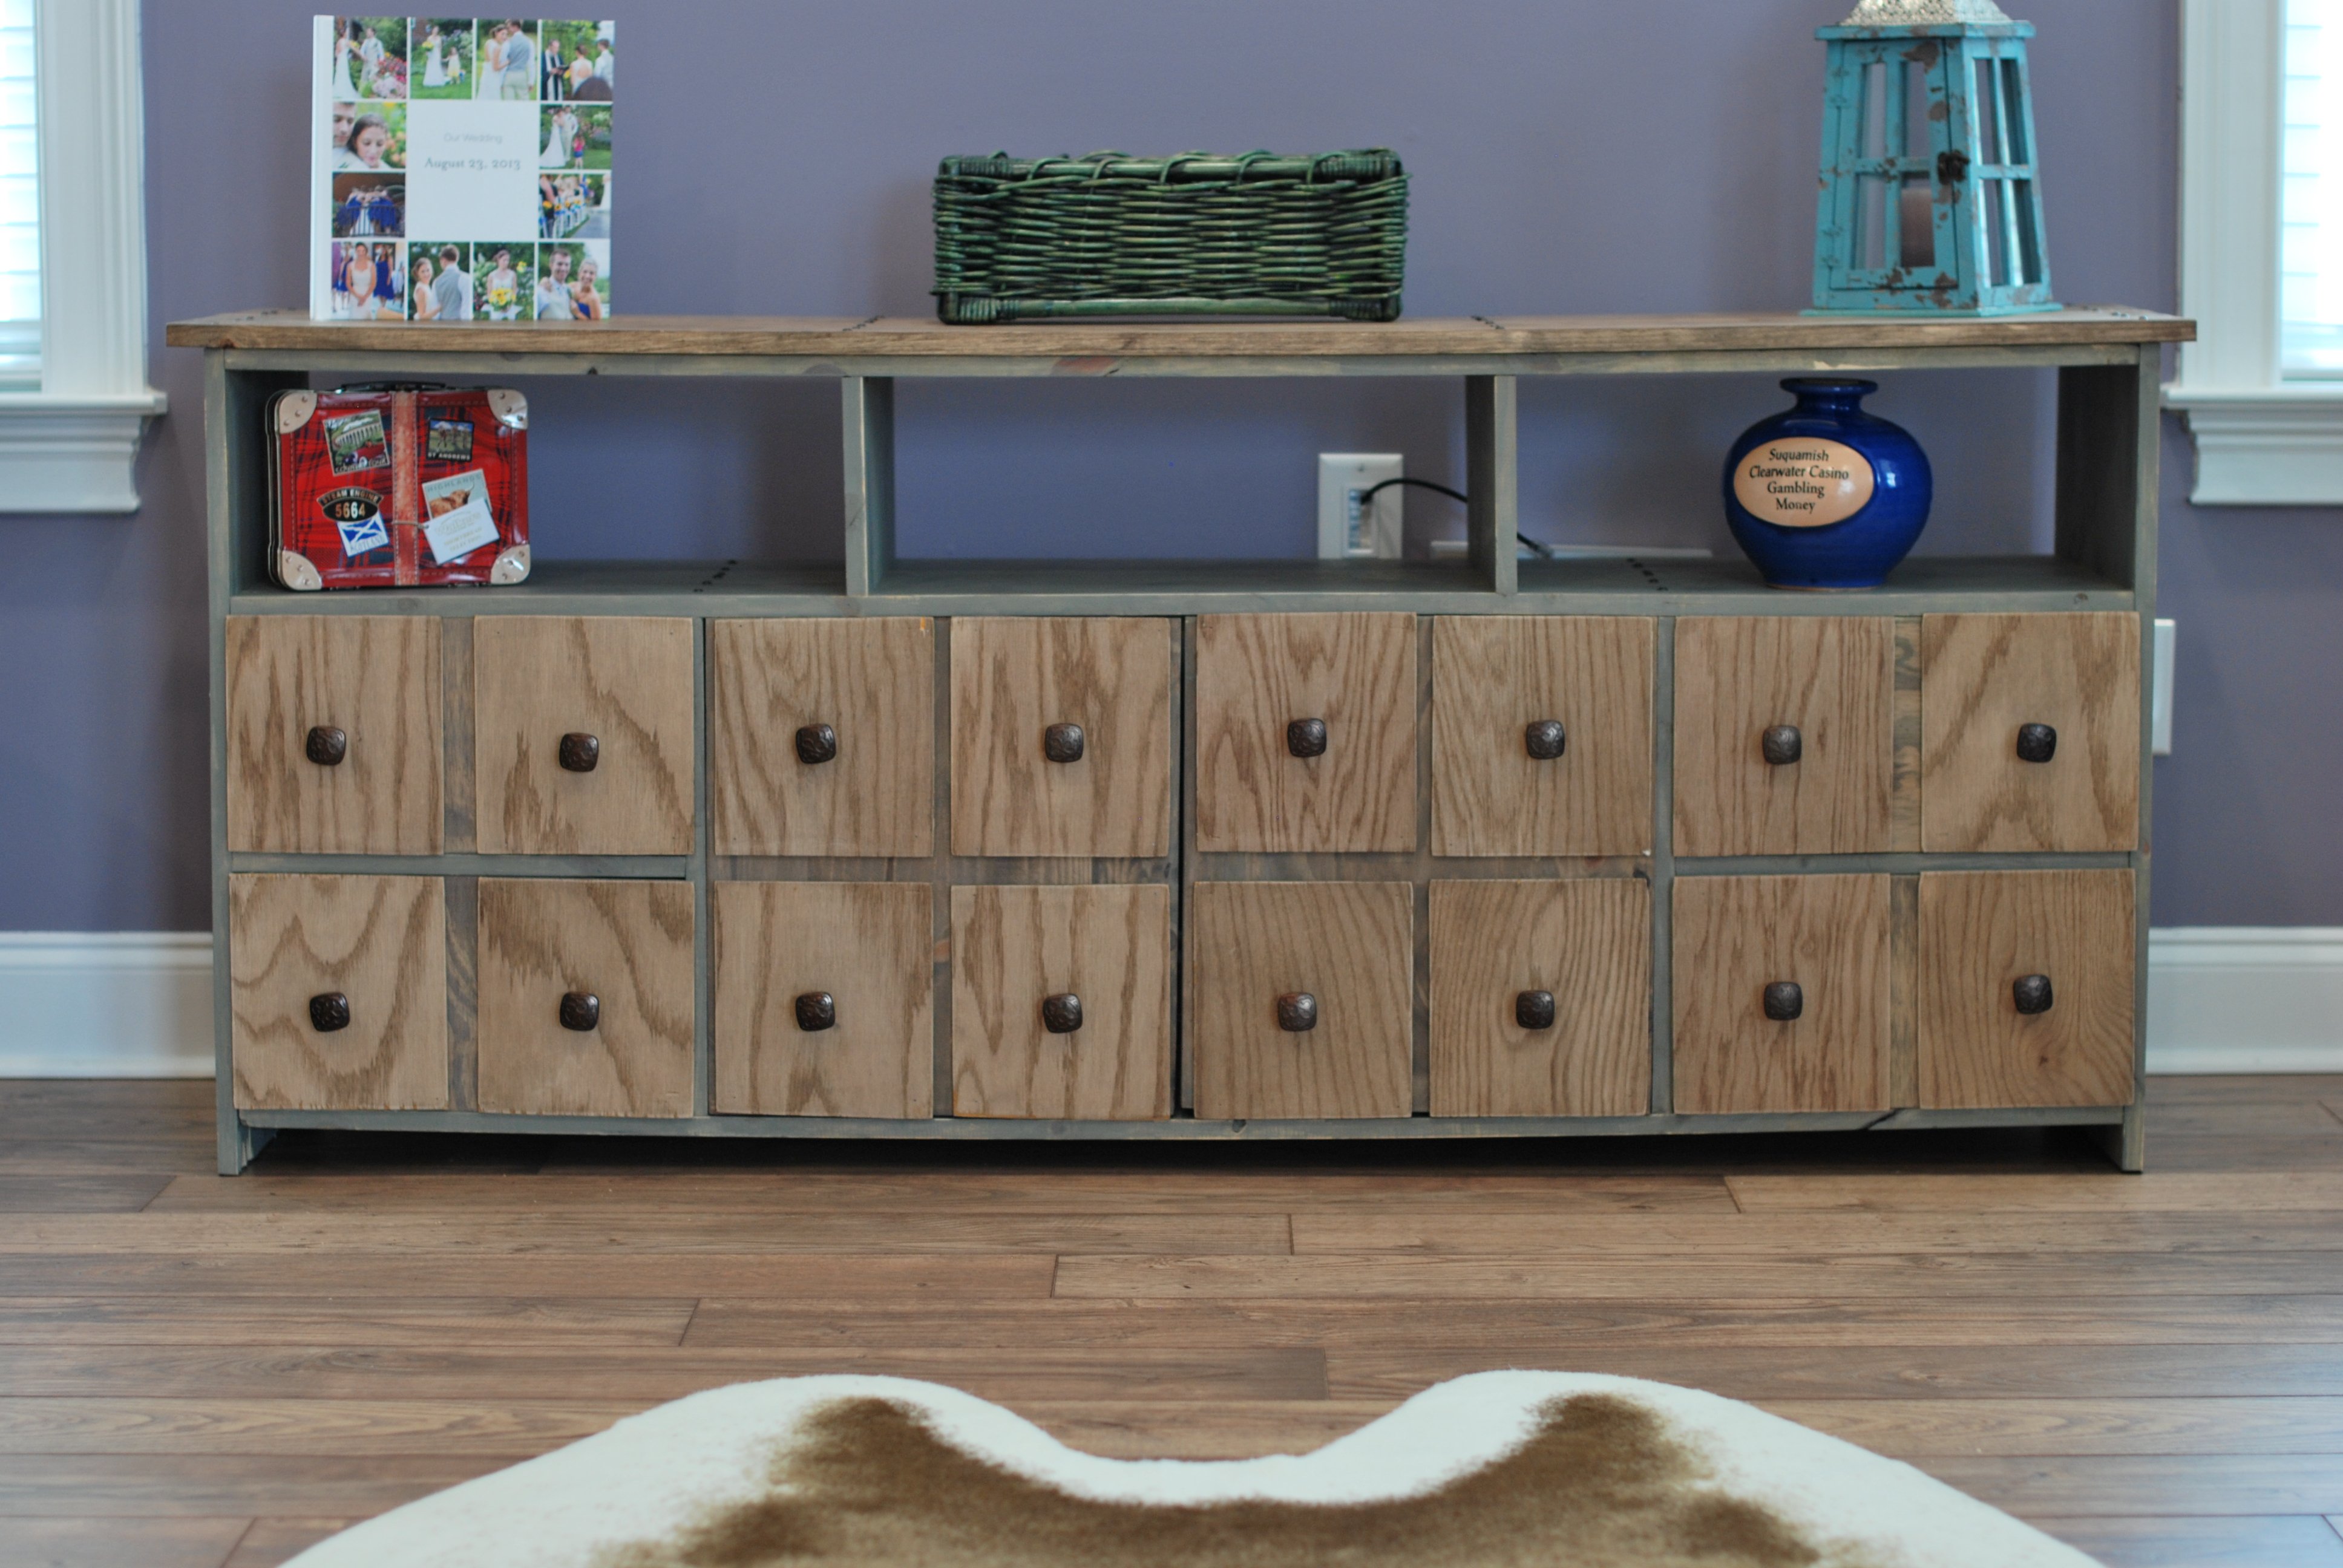
Benchwright Console Table
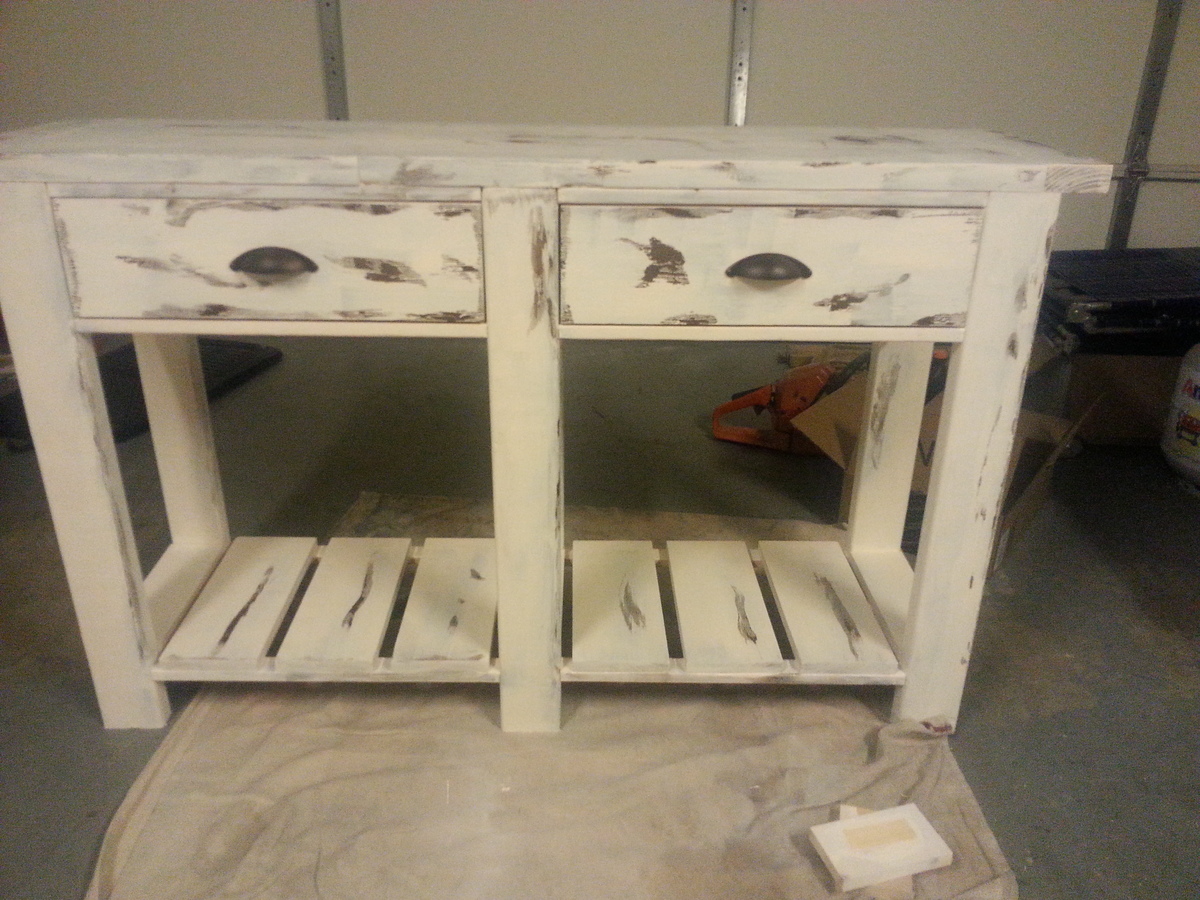
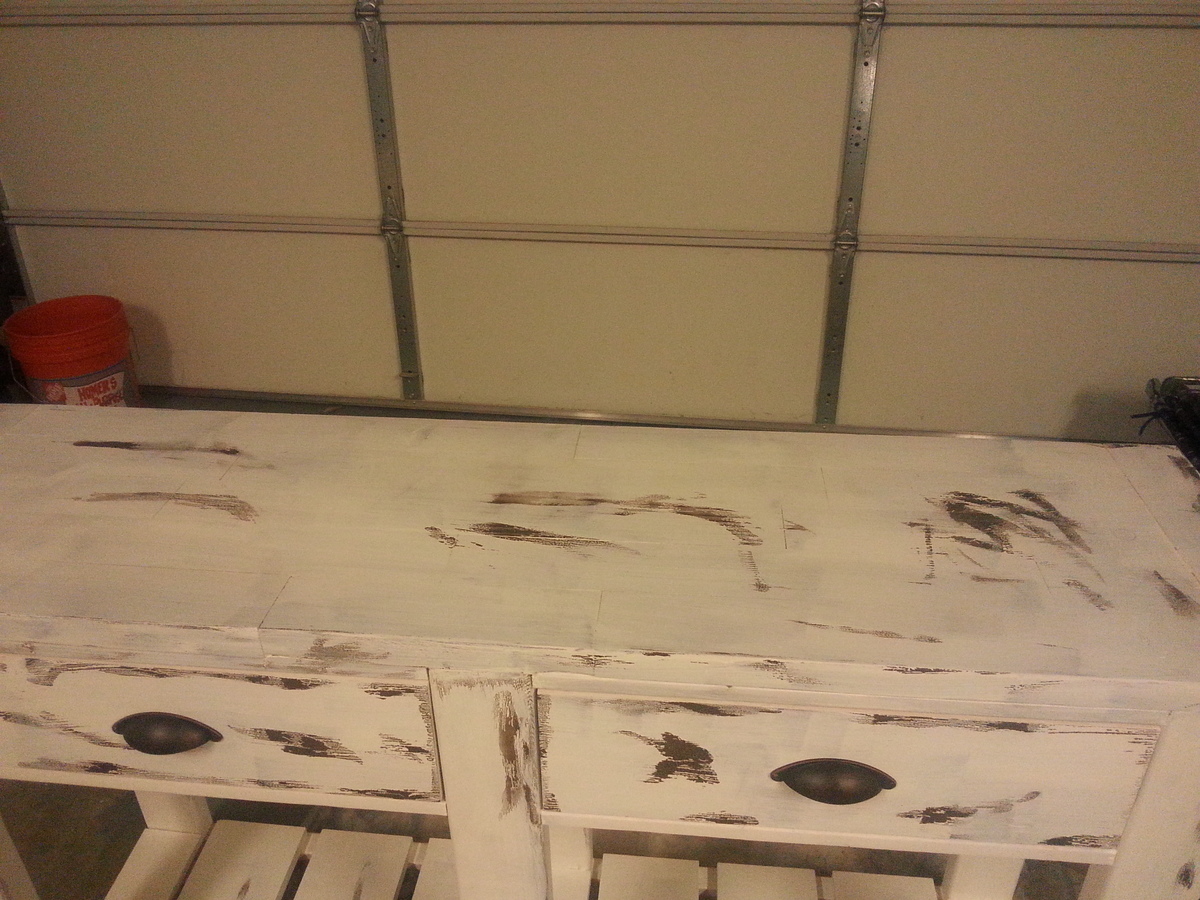
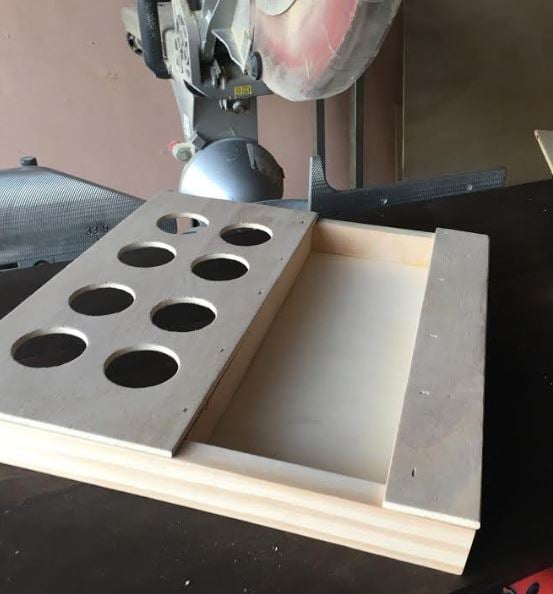
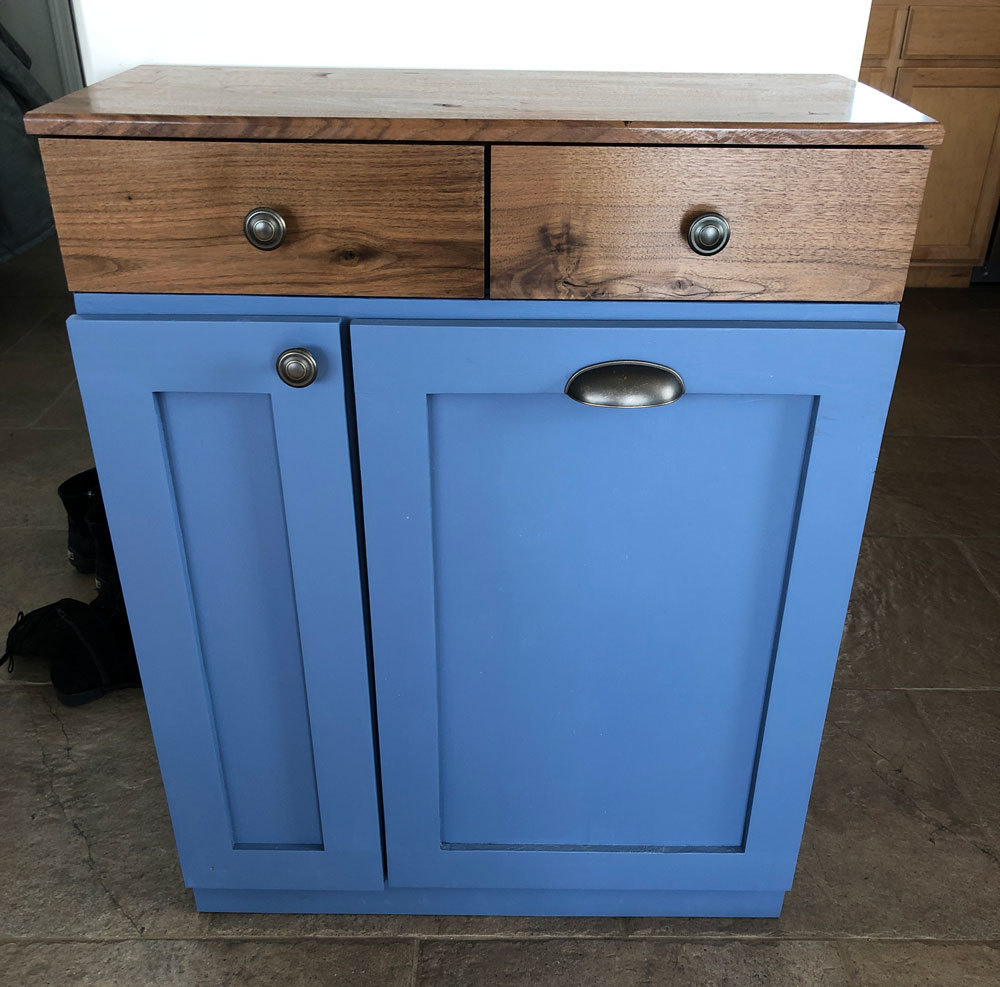
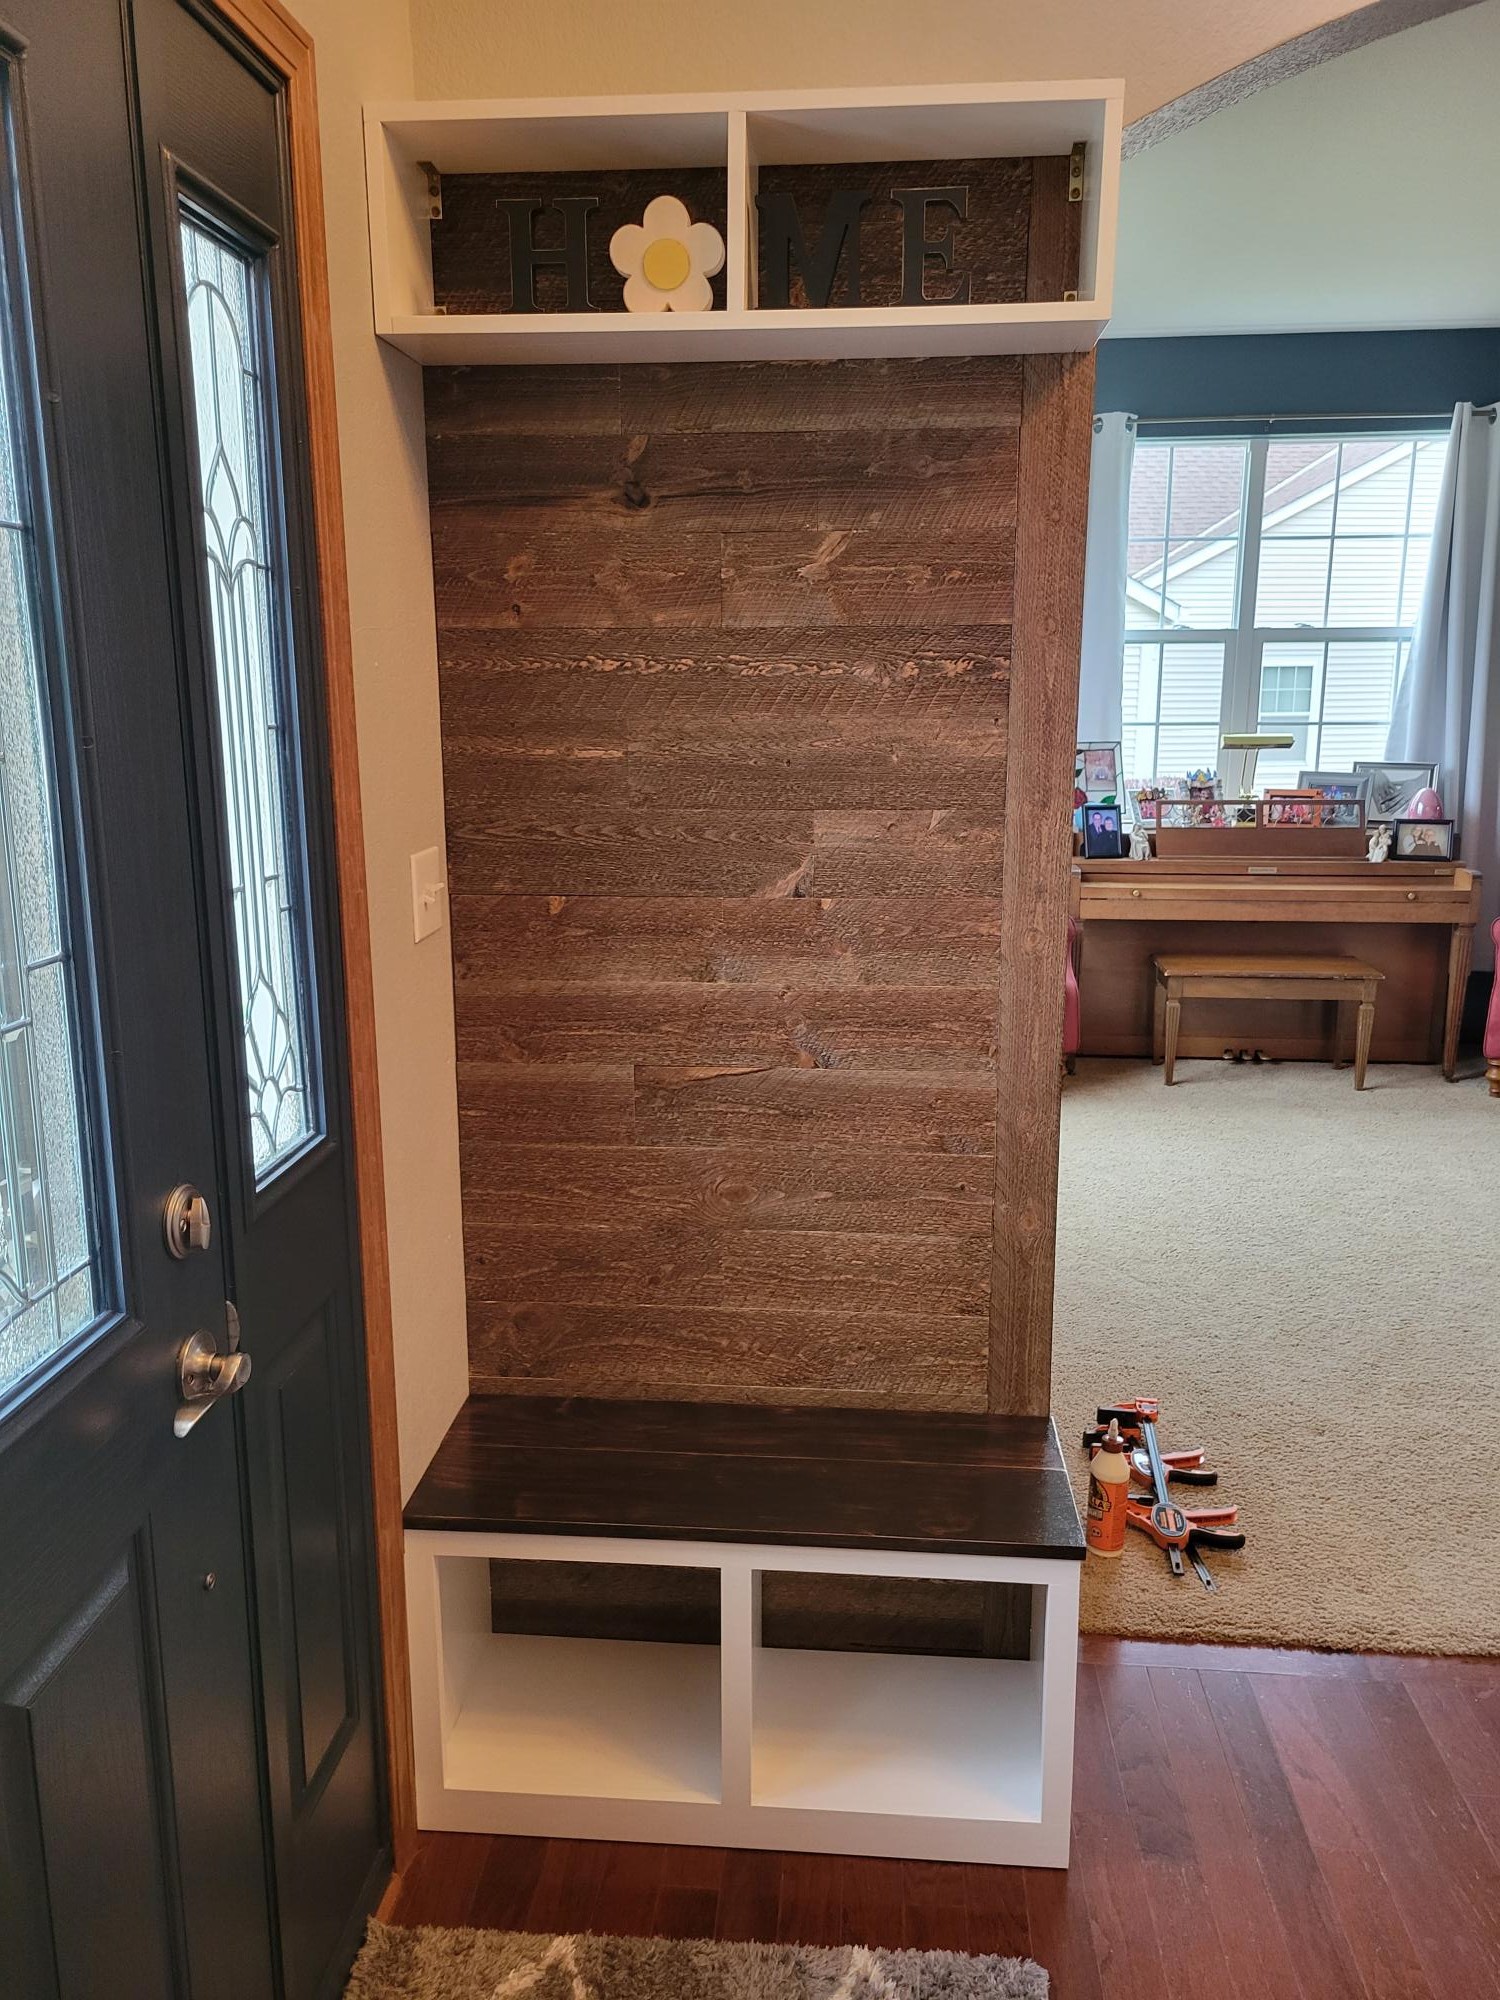
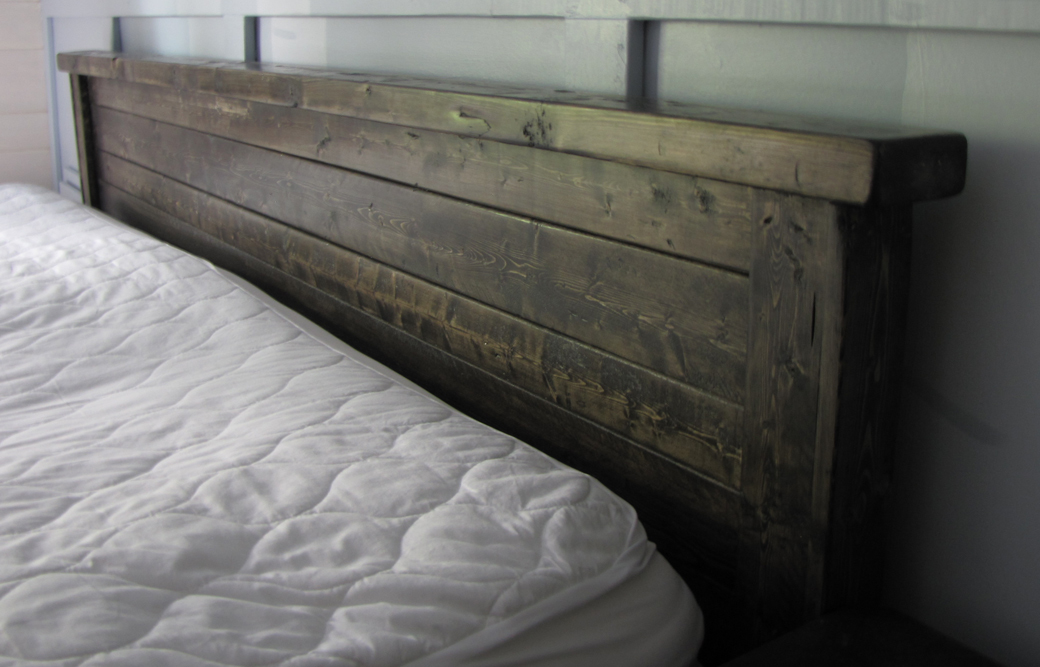
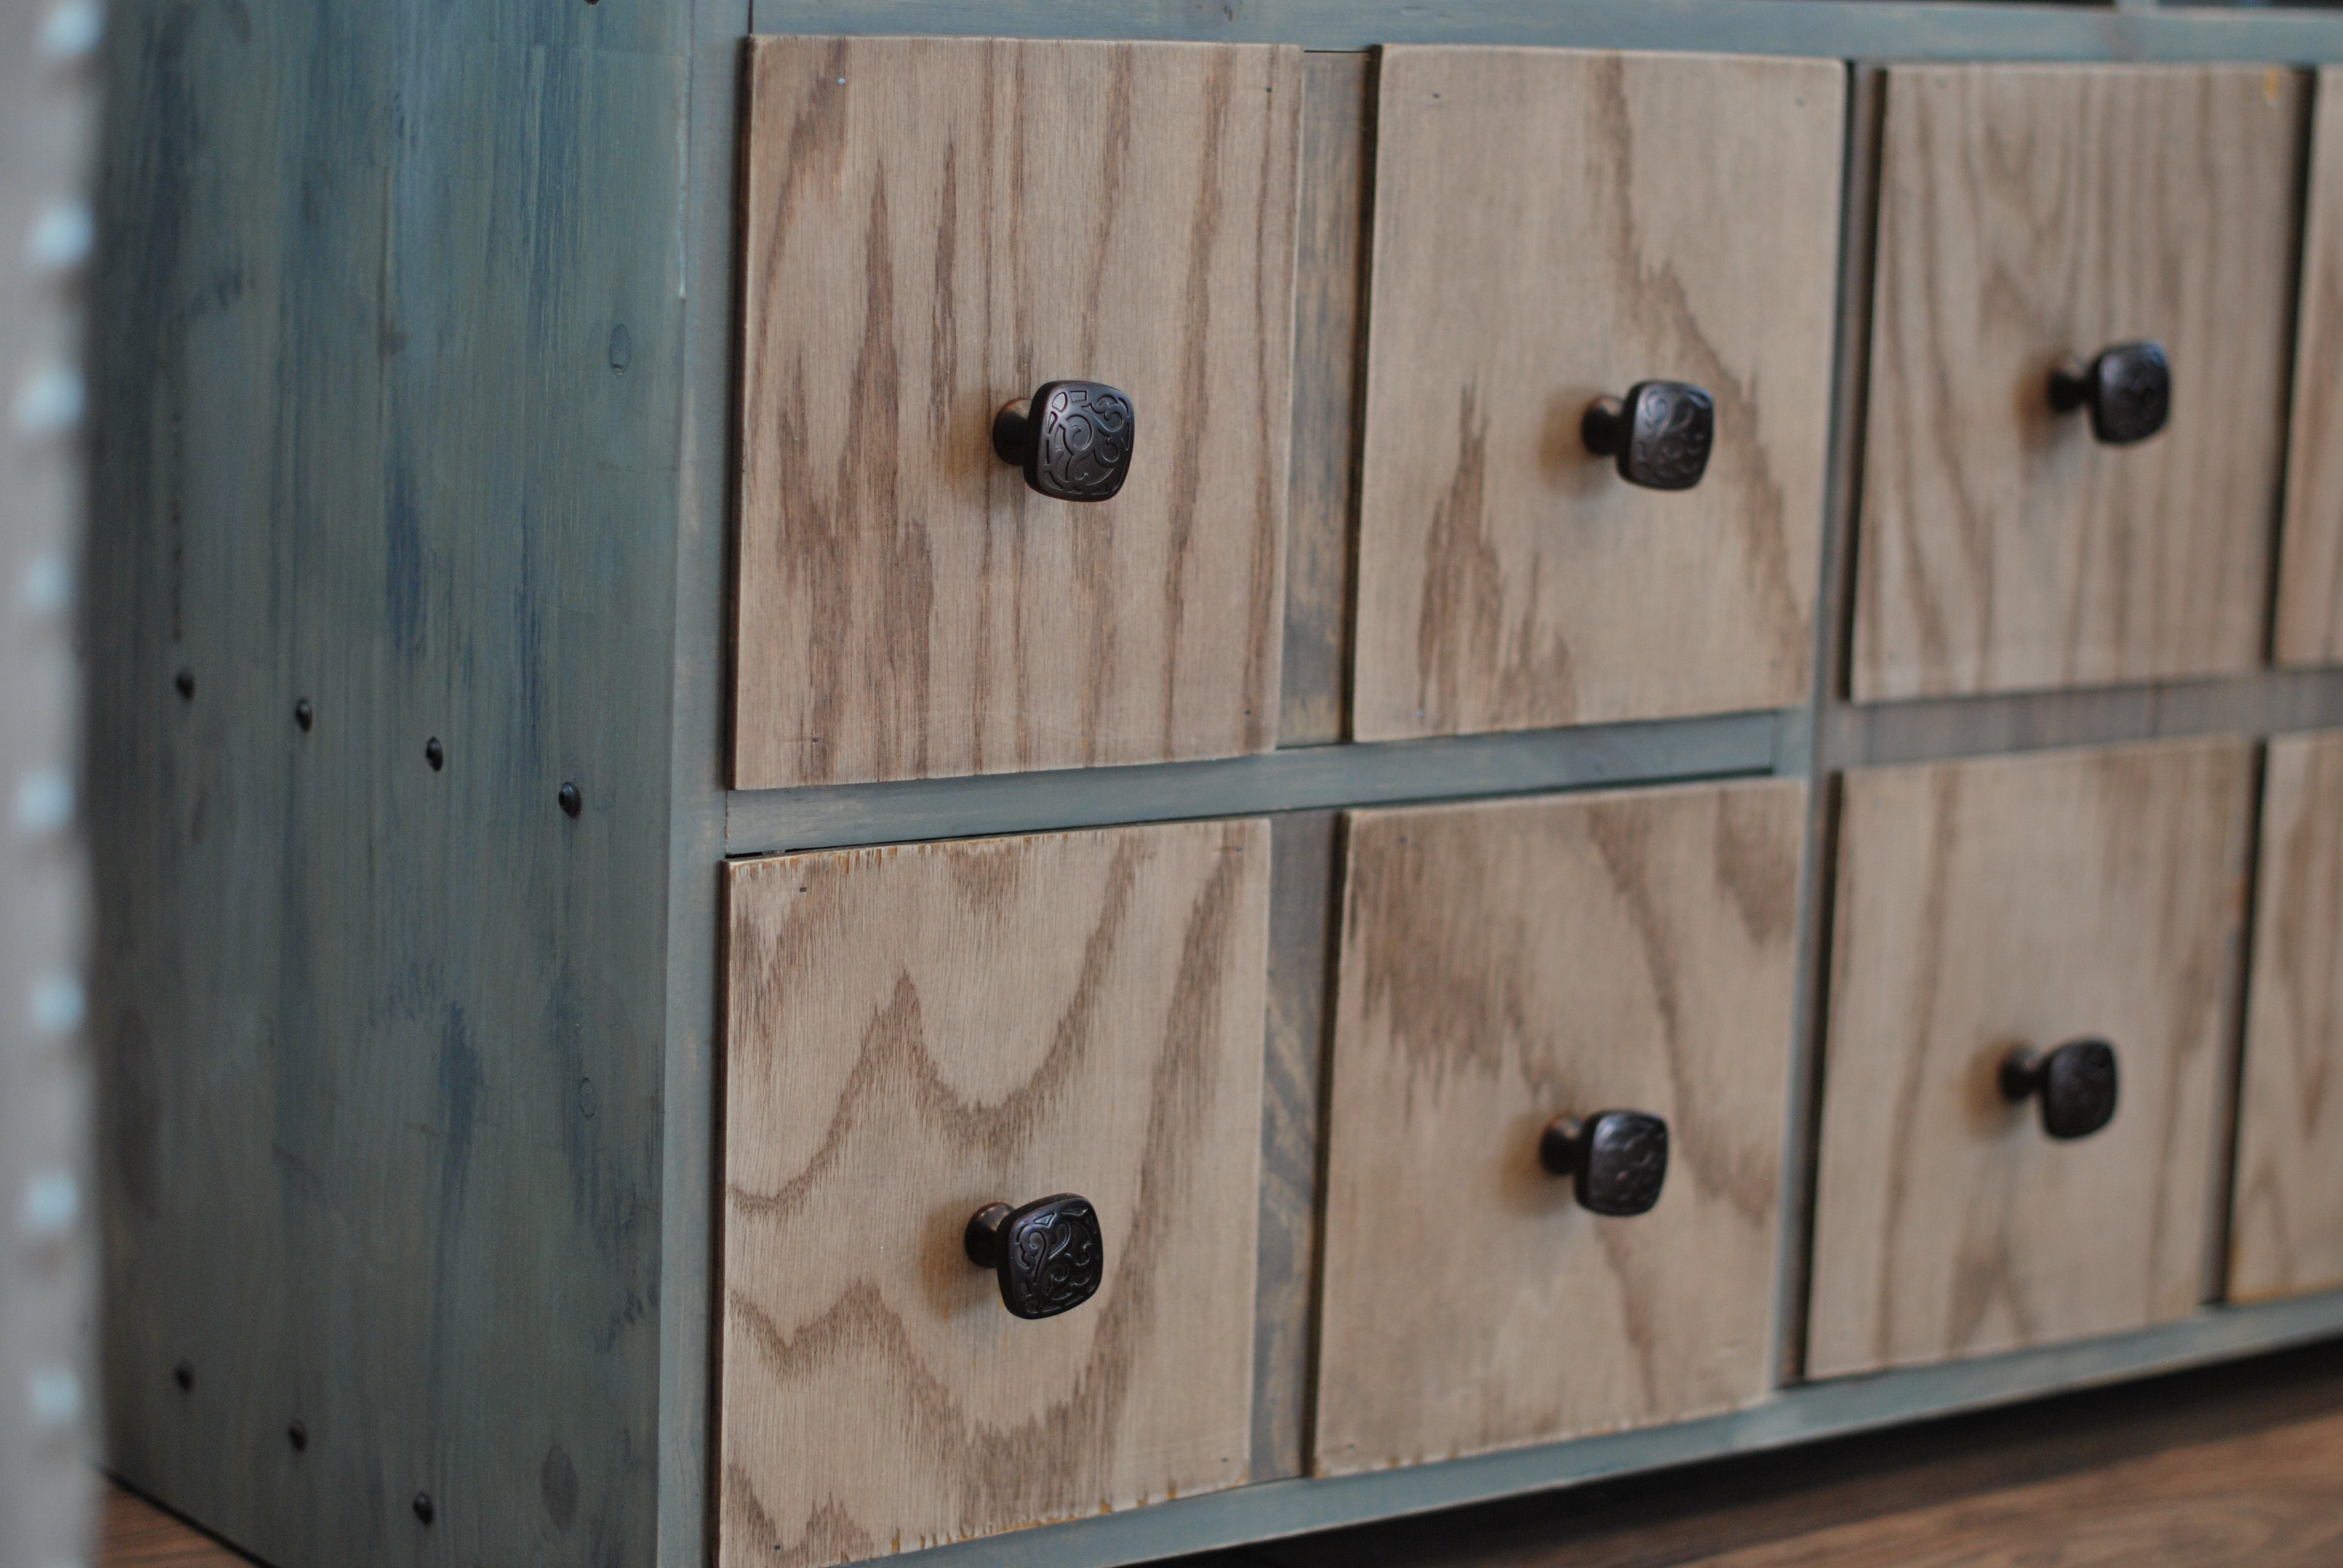
This was the first attempt at using the vaseline method to distress furniture and my wife loves it. I made the table top out of scrap 2x4's.
Built from Plan(s)
Estimated Cost
$80
Estimated Time Investment
Day Project (6-9 Hours)
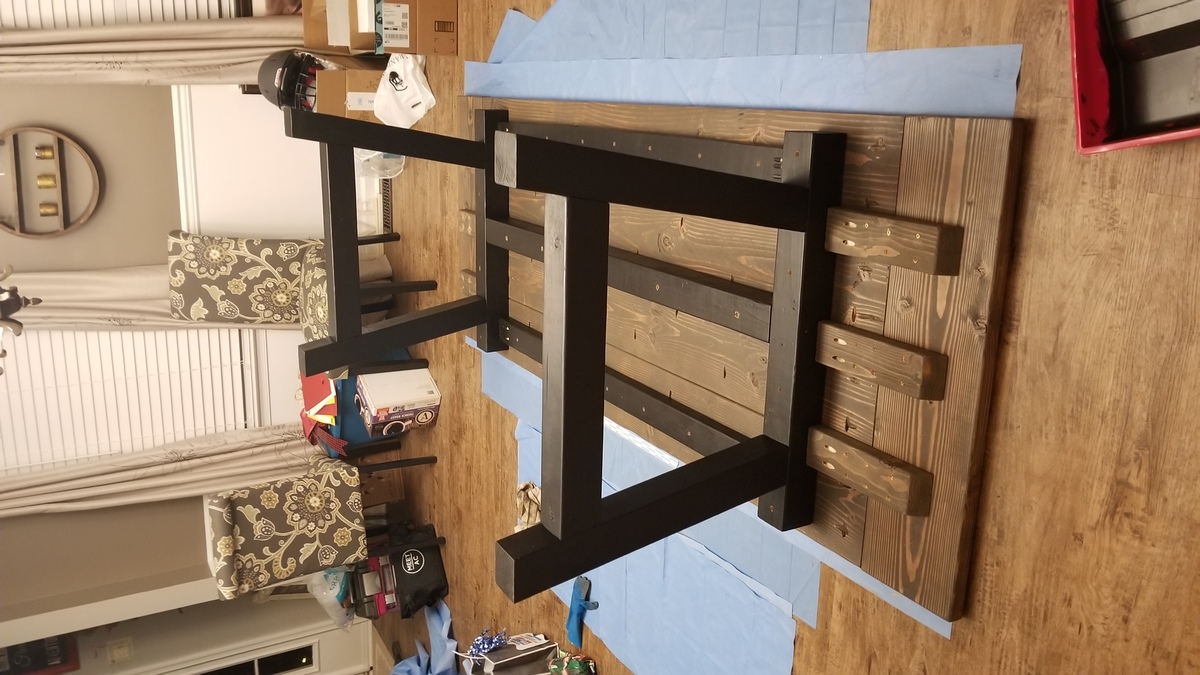
Finish Used
Heavy Cream in eggshell and Minwax Paste Wax.
Recommended Skill Level
Beginner


Comments
handmadewithash
Mon, 11/09/2015 - 14:58
I really like the distressed
I really like the distressed finish!
trojan24man
Tue, 11/10/2015 - 06:05
Thanks!
Thanks!