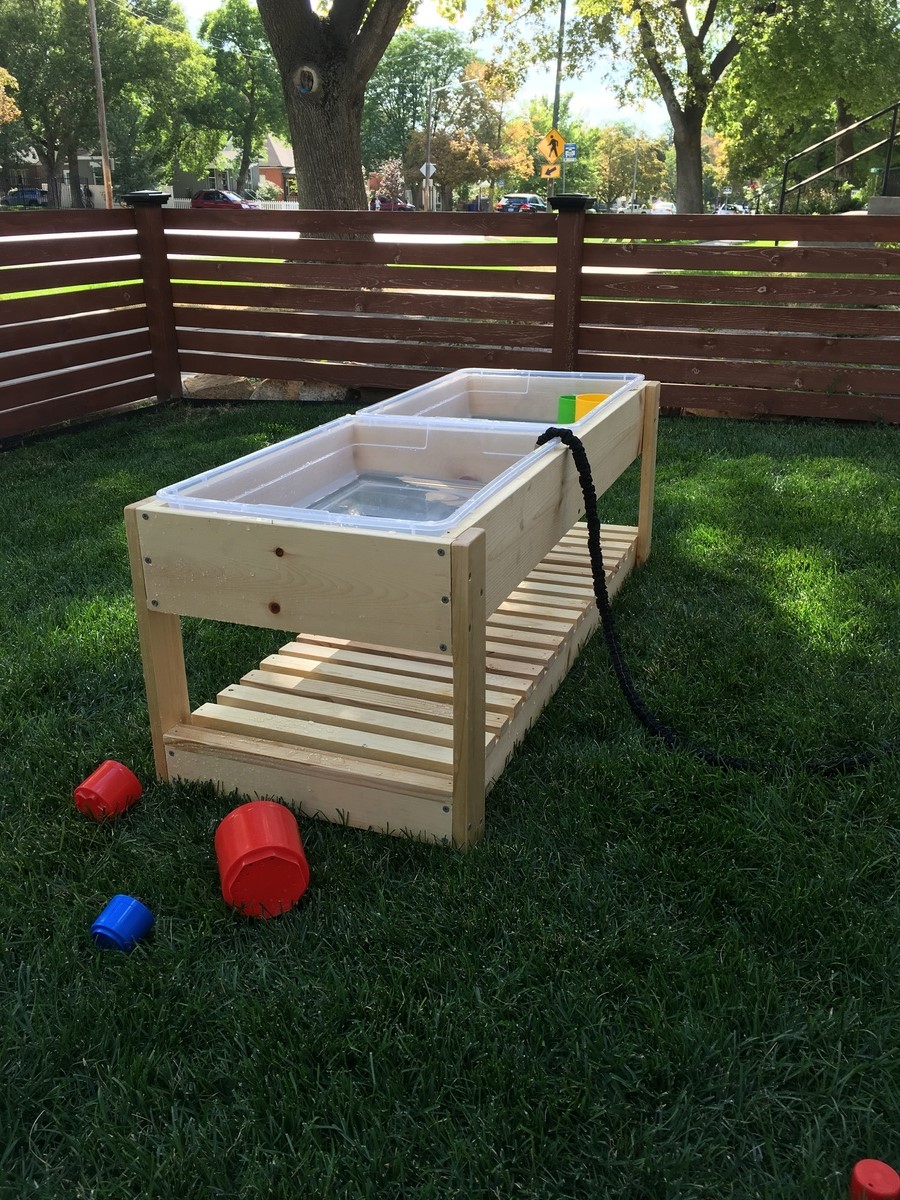
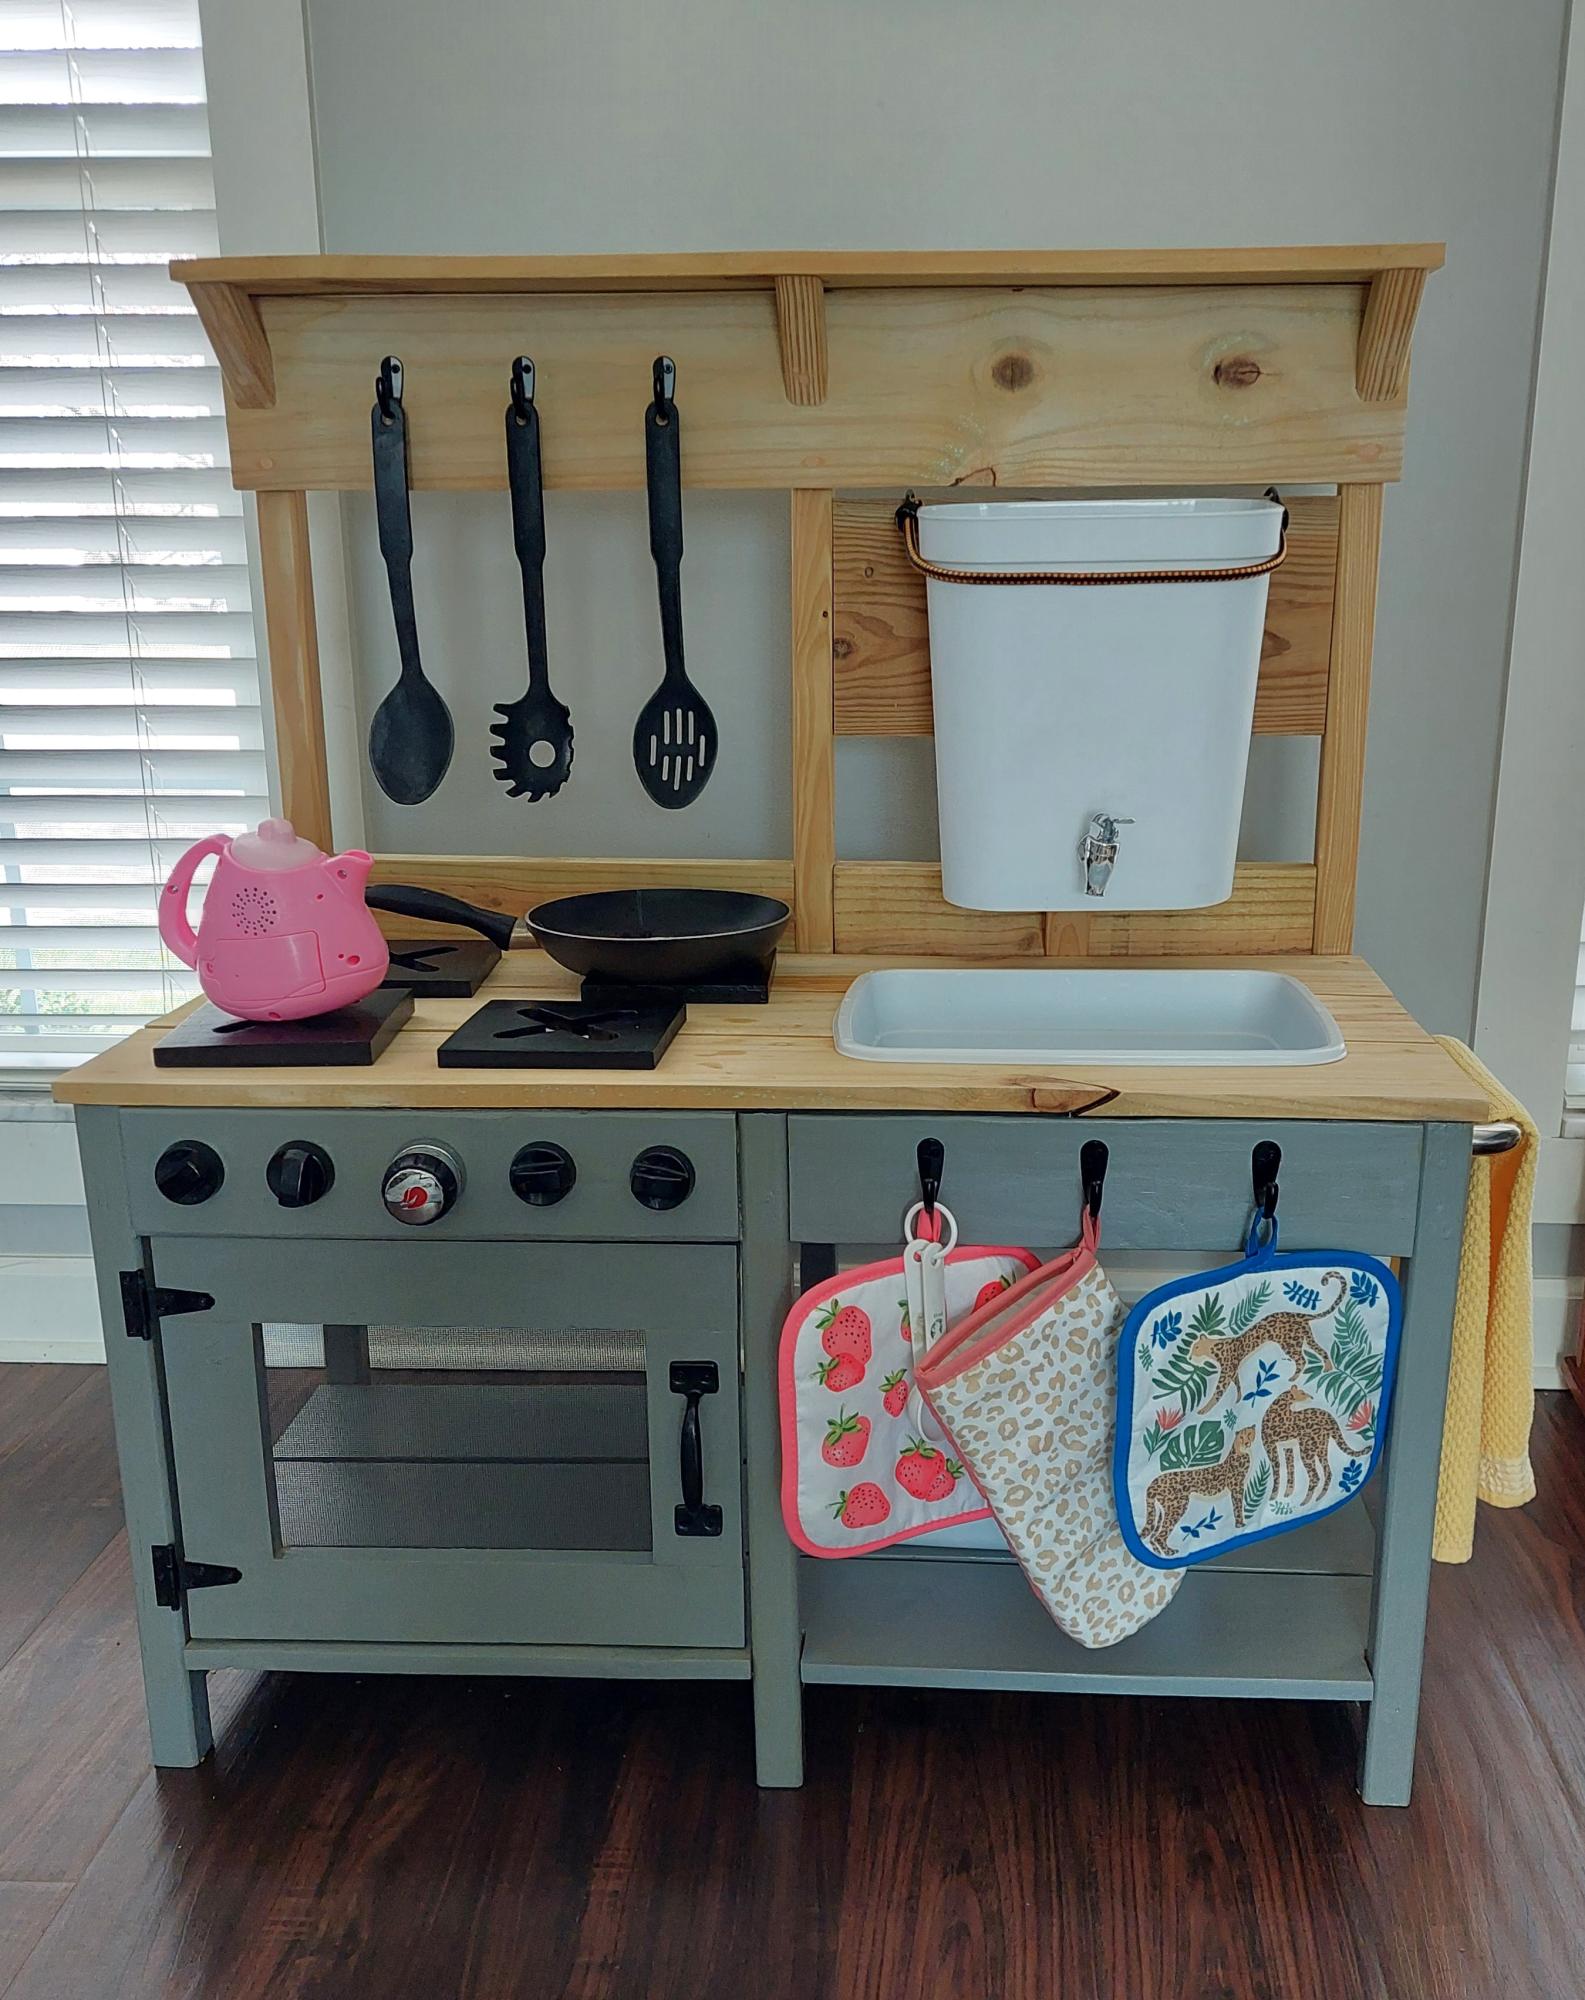
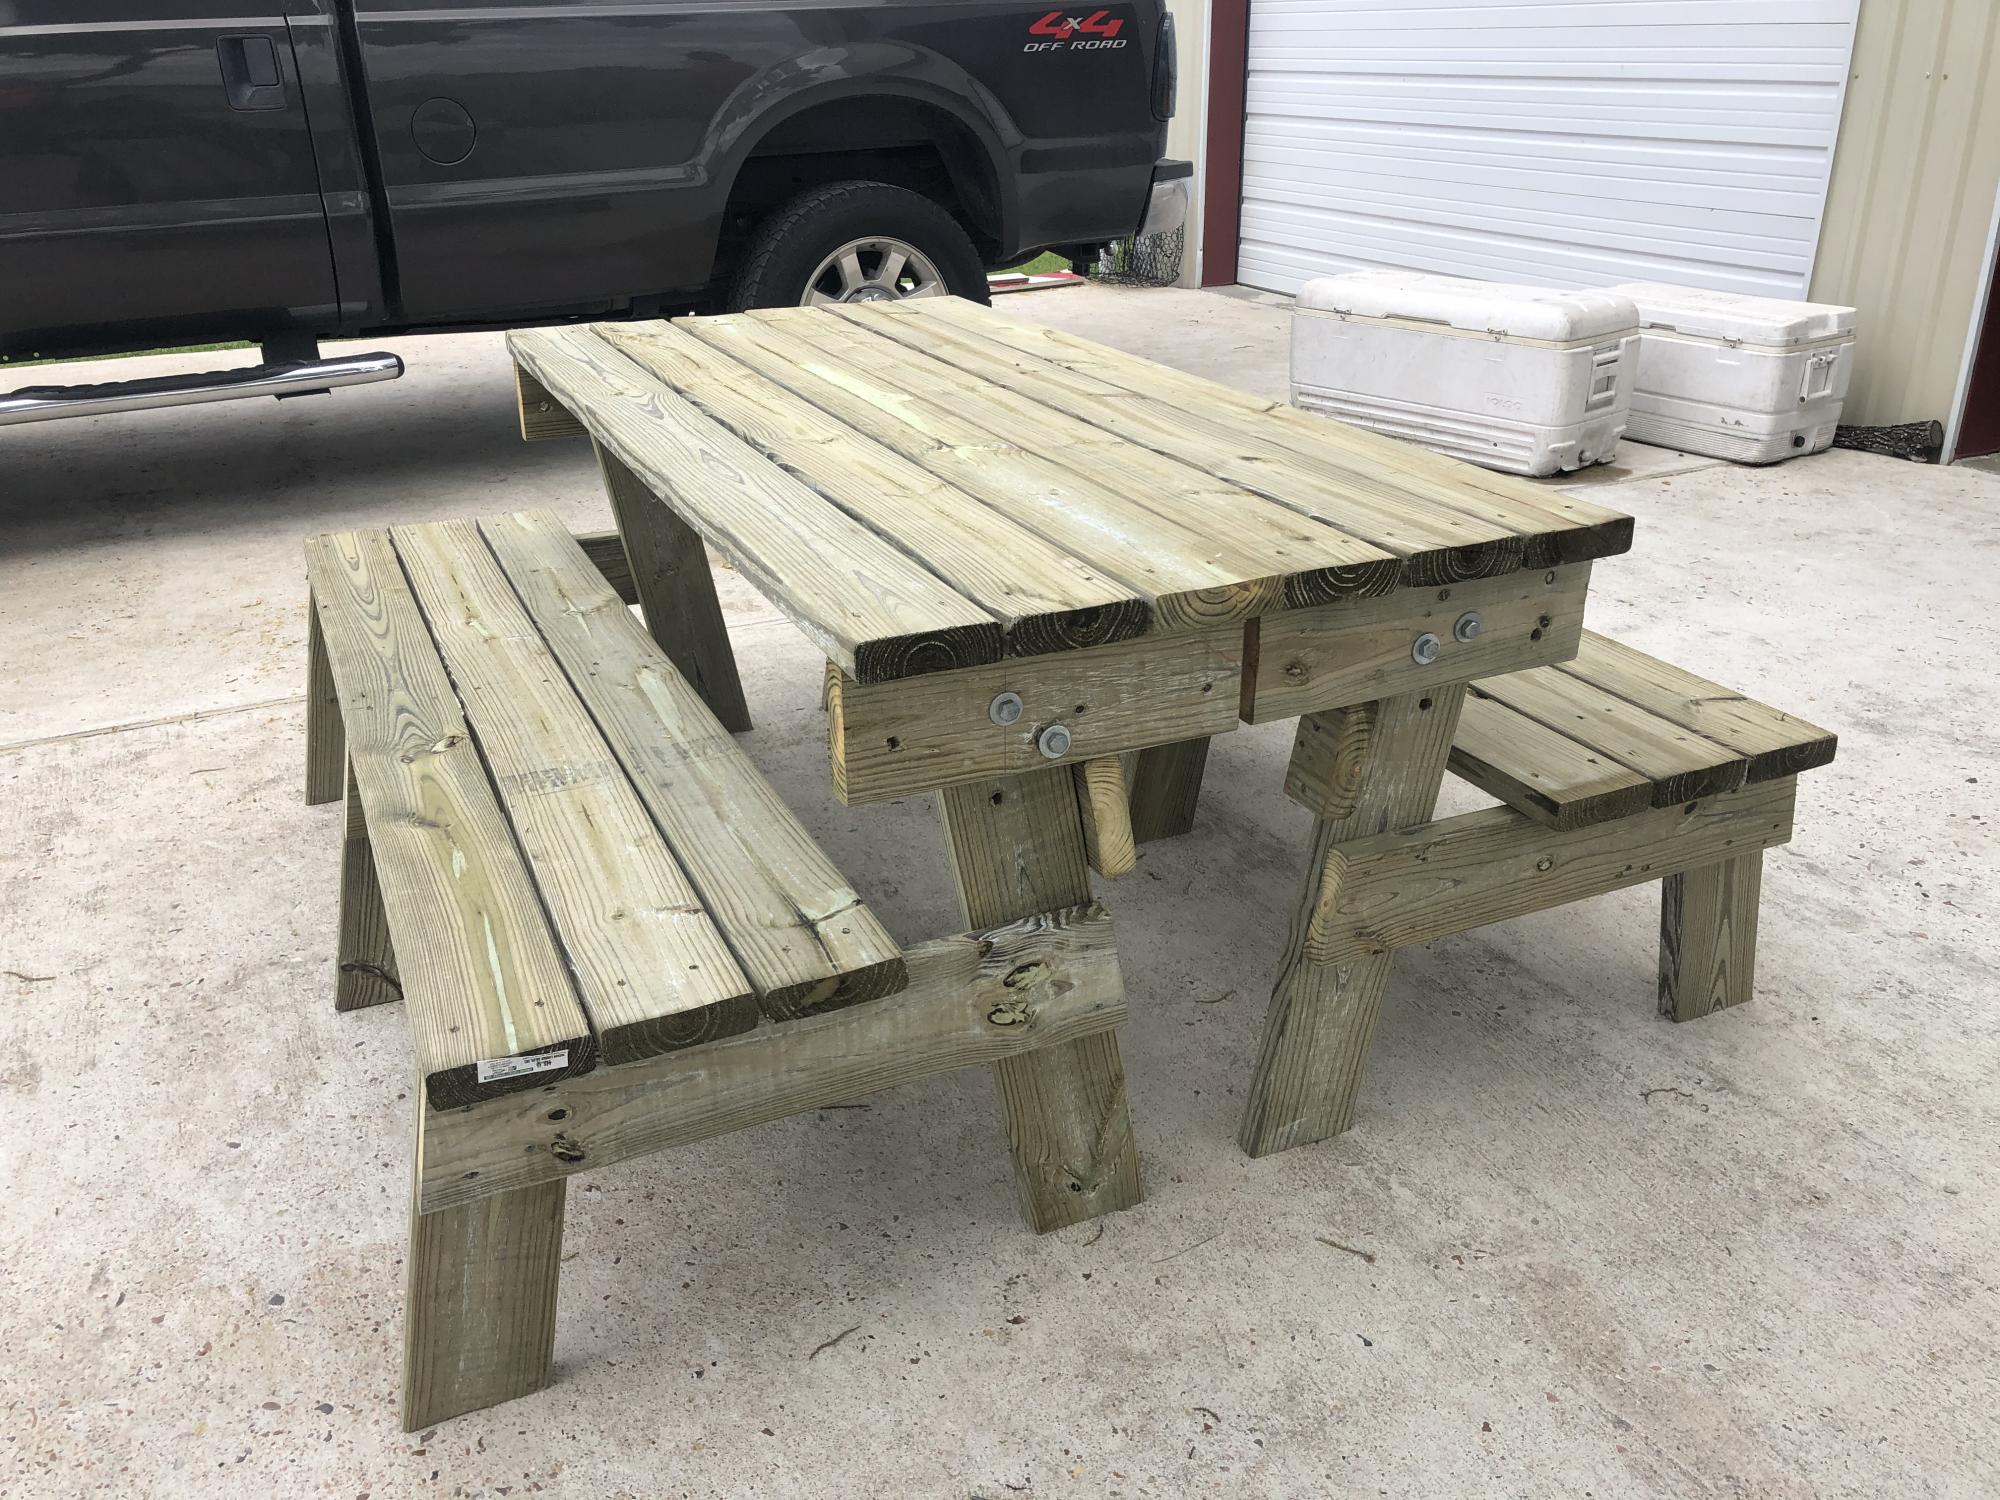
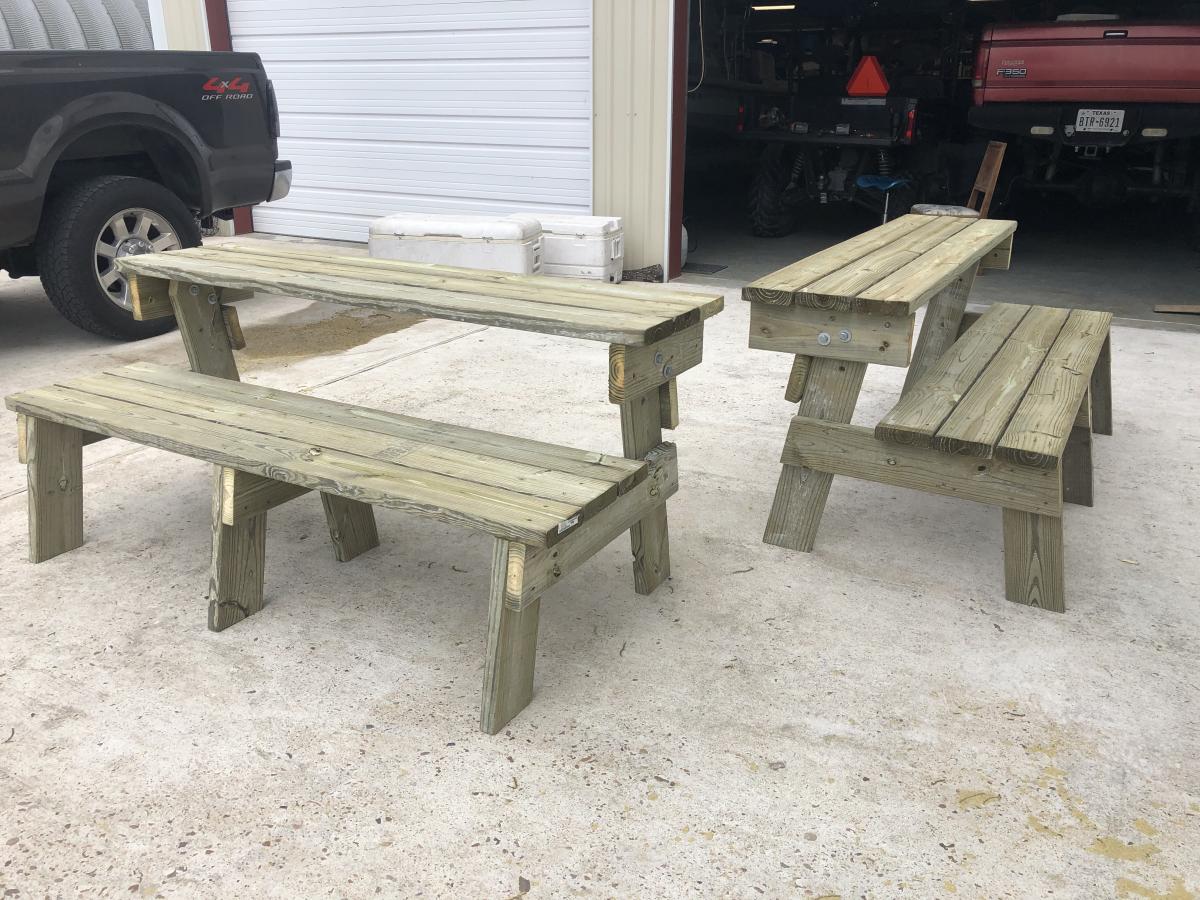
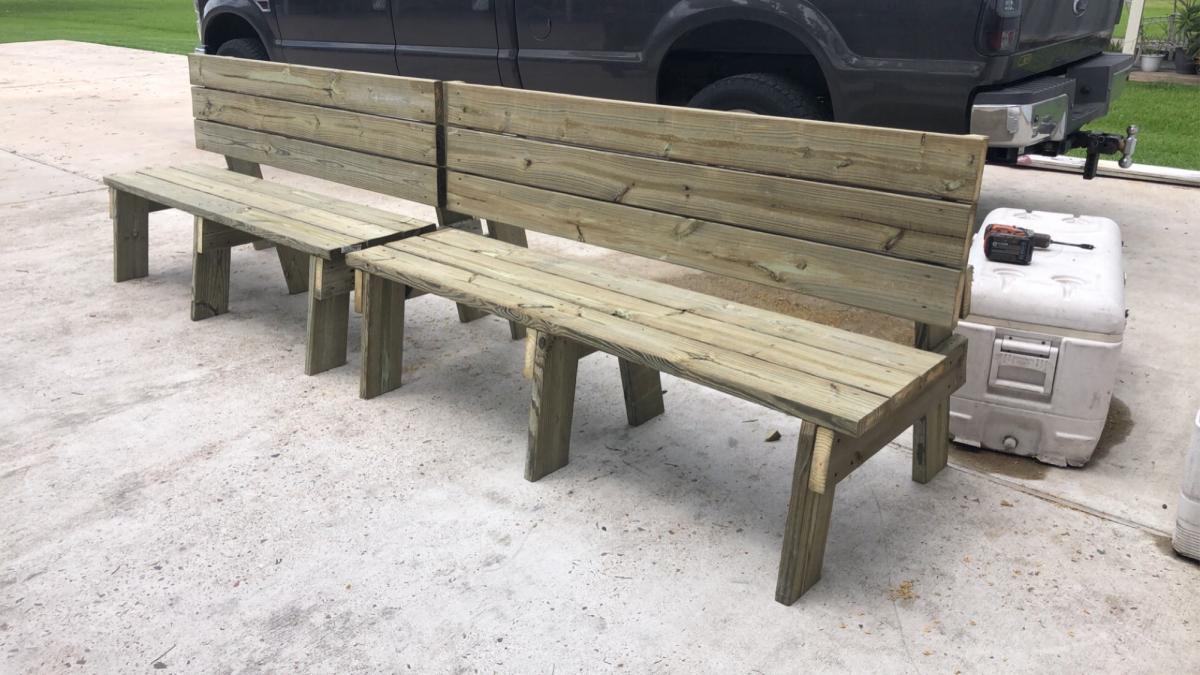
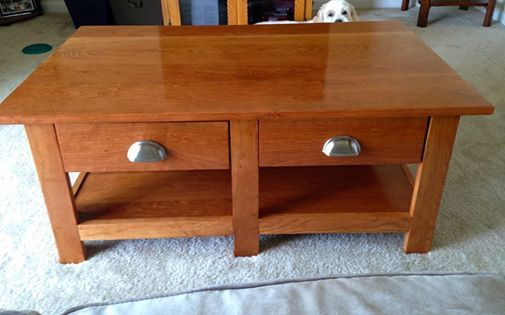
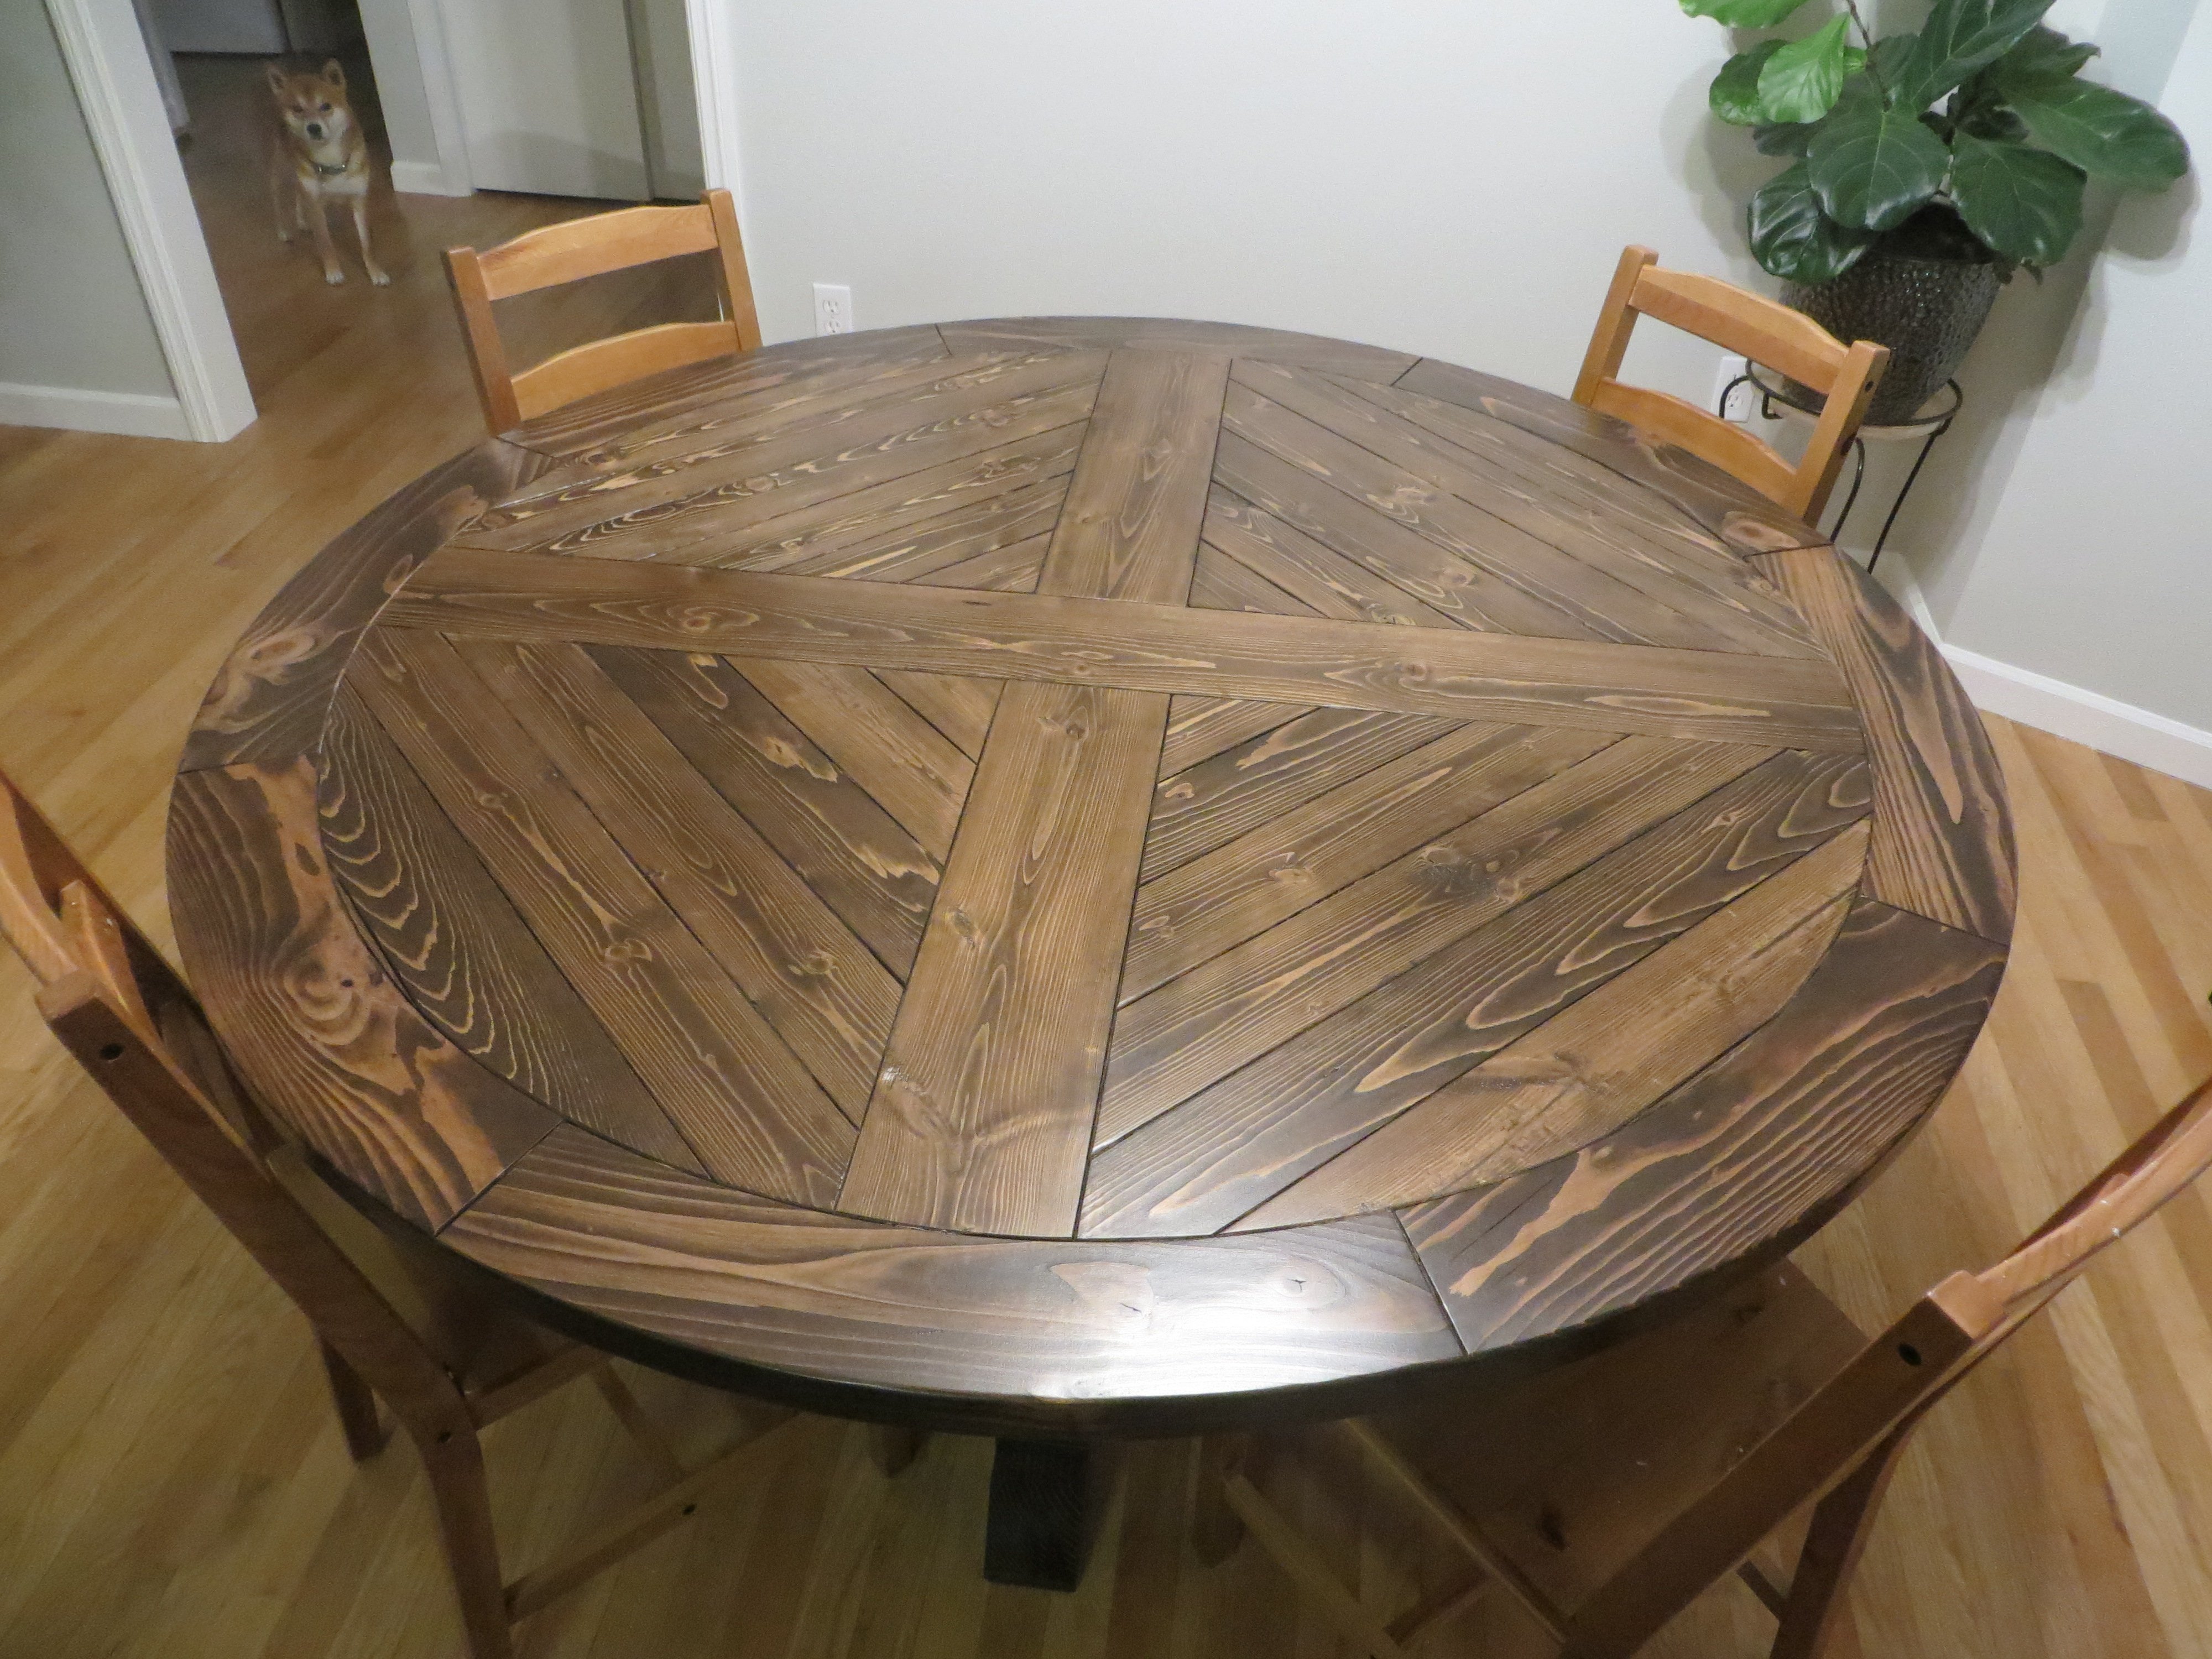
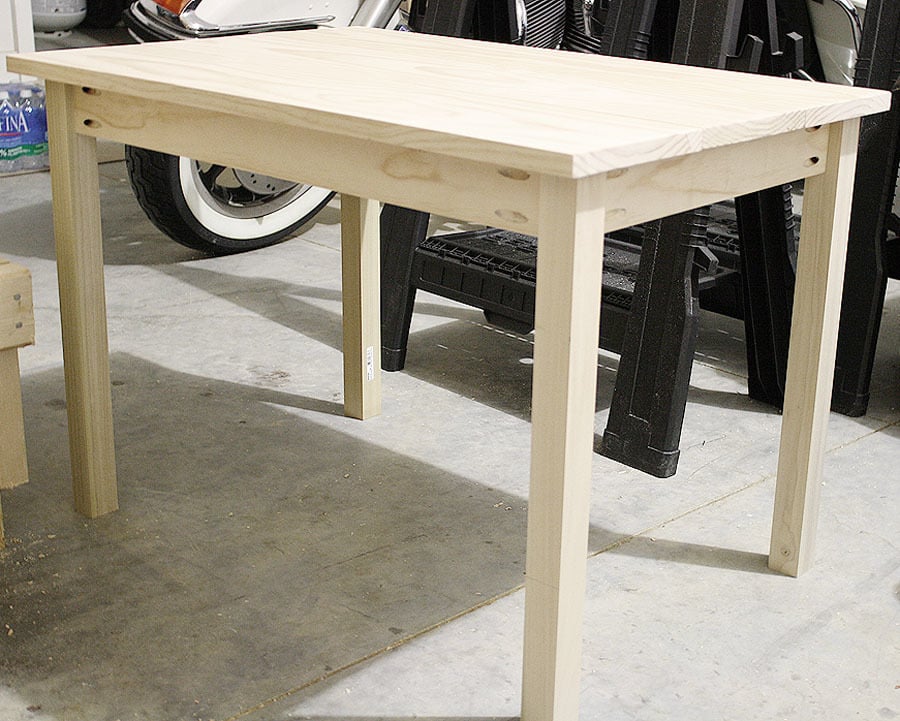
Community Brag Posts

Clara Play Table

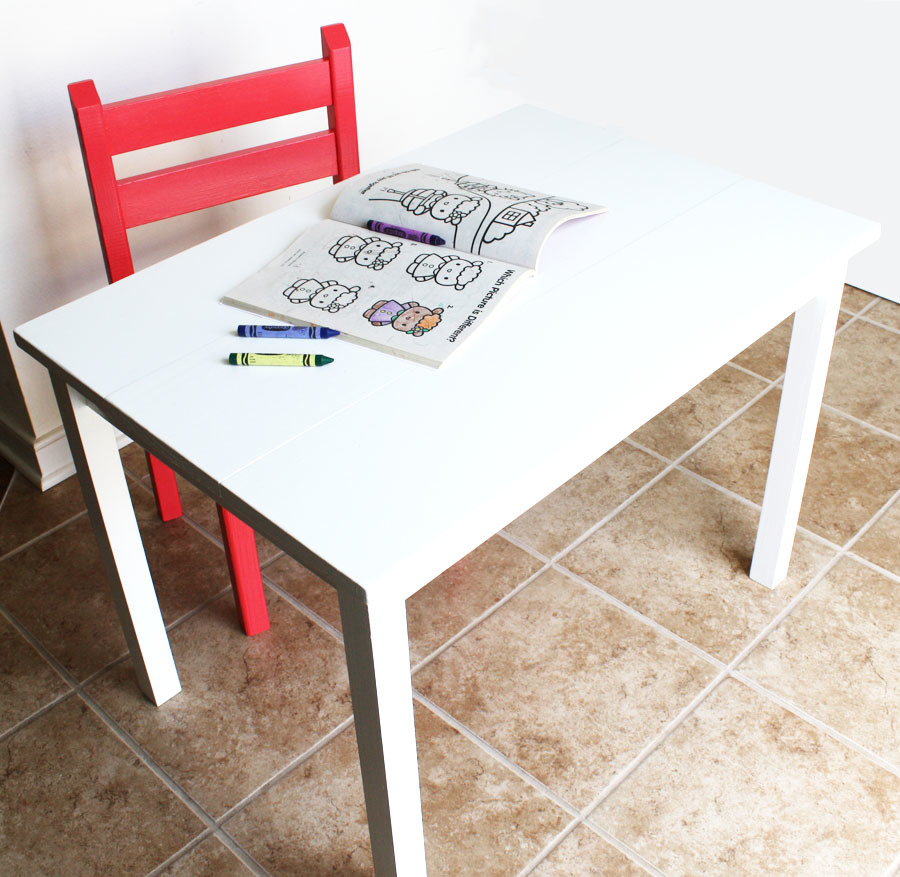
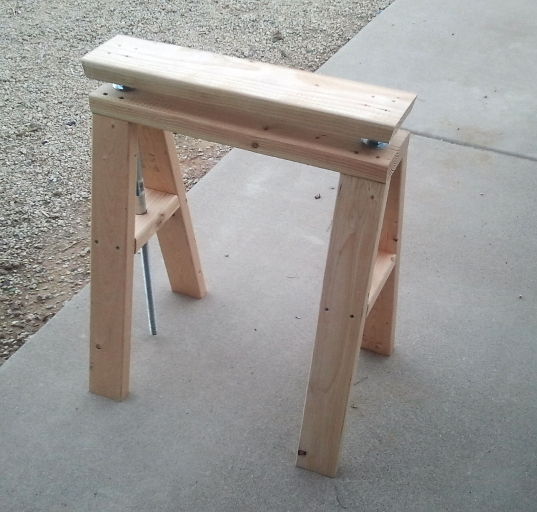
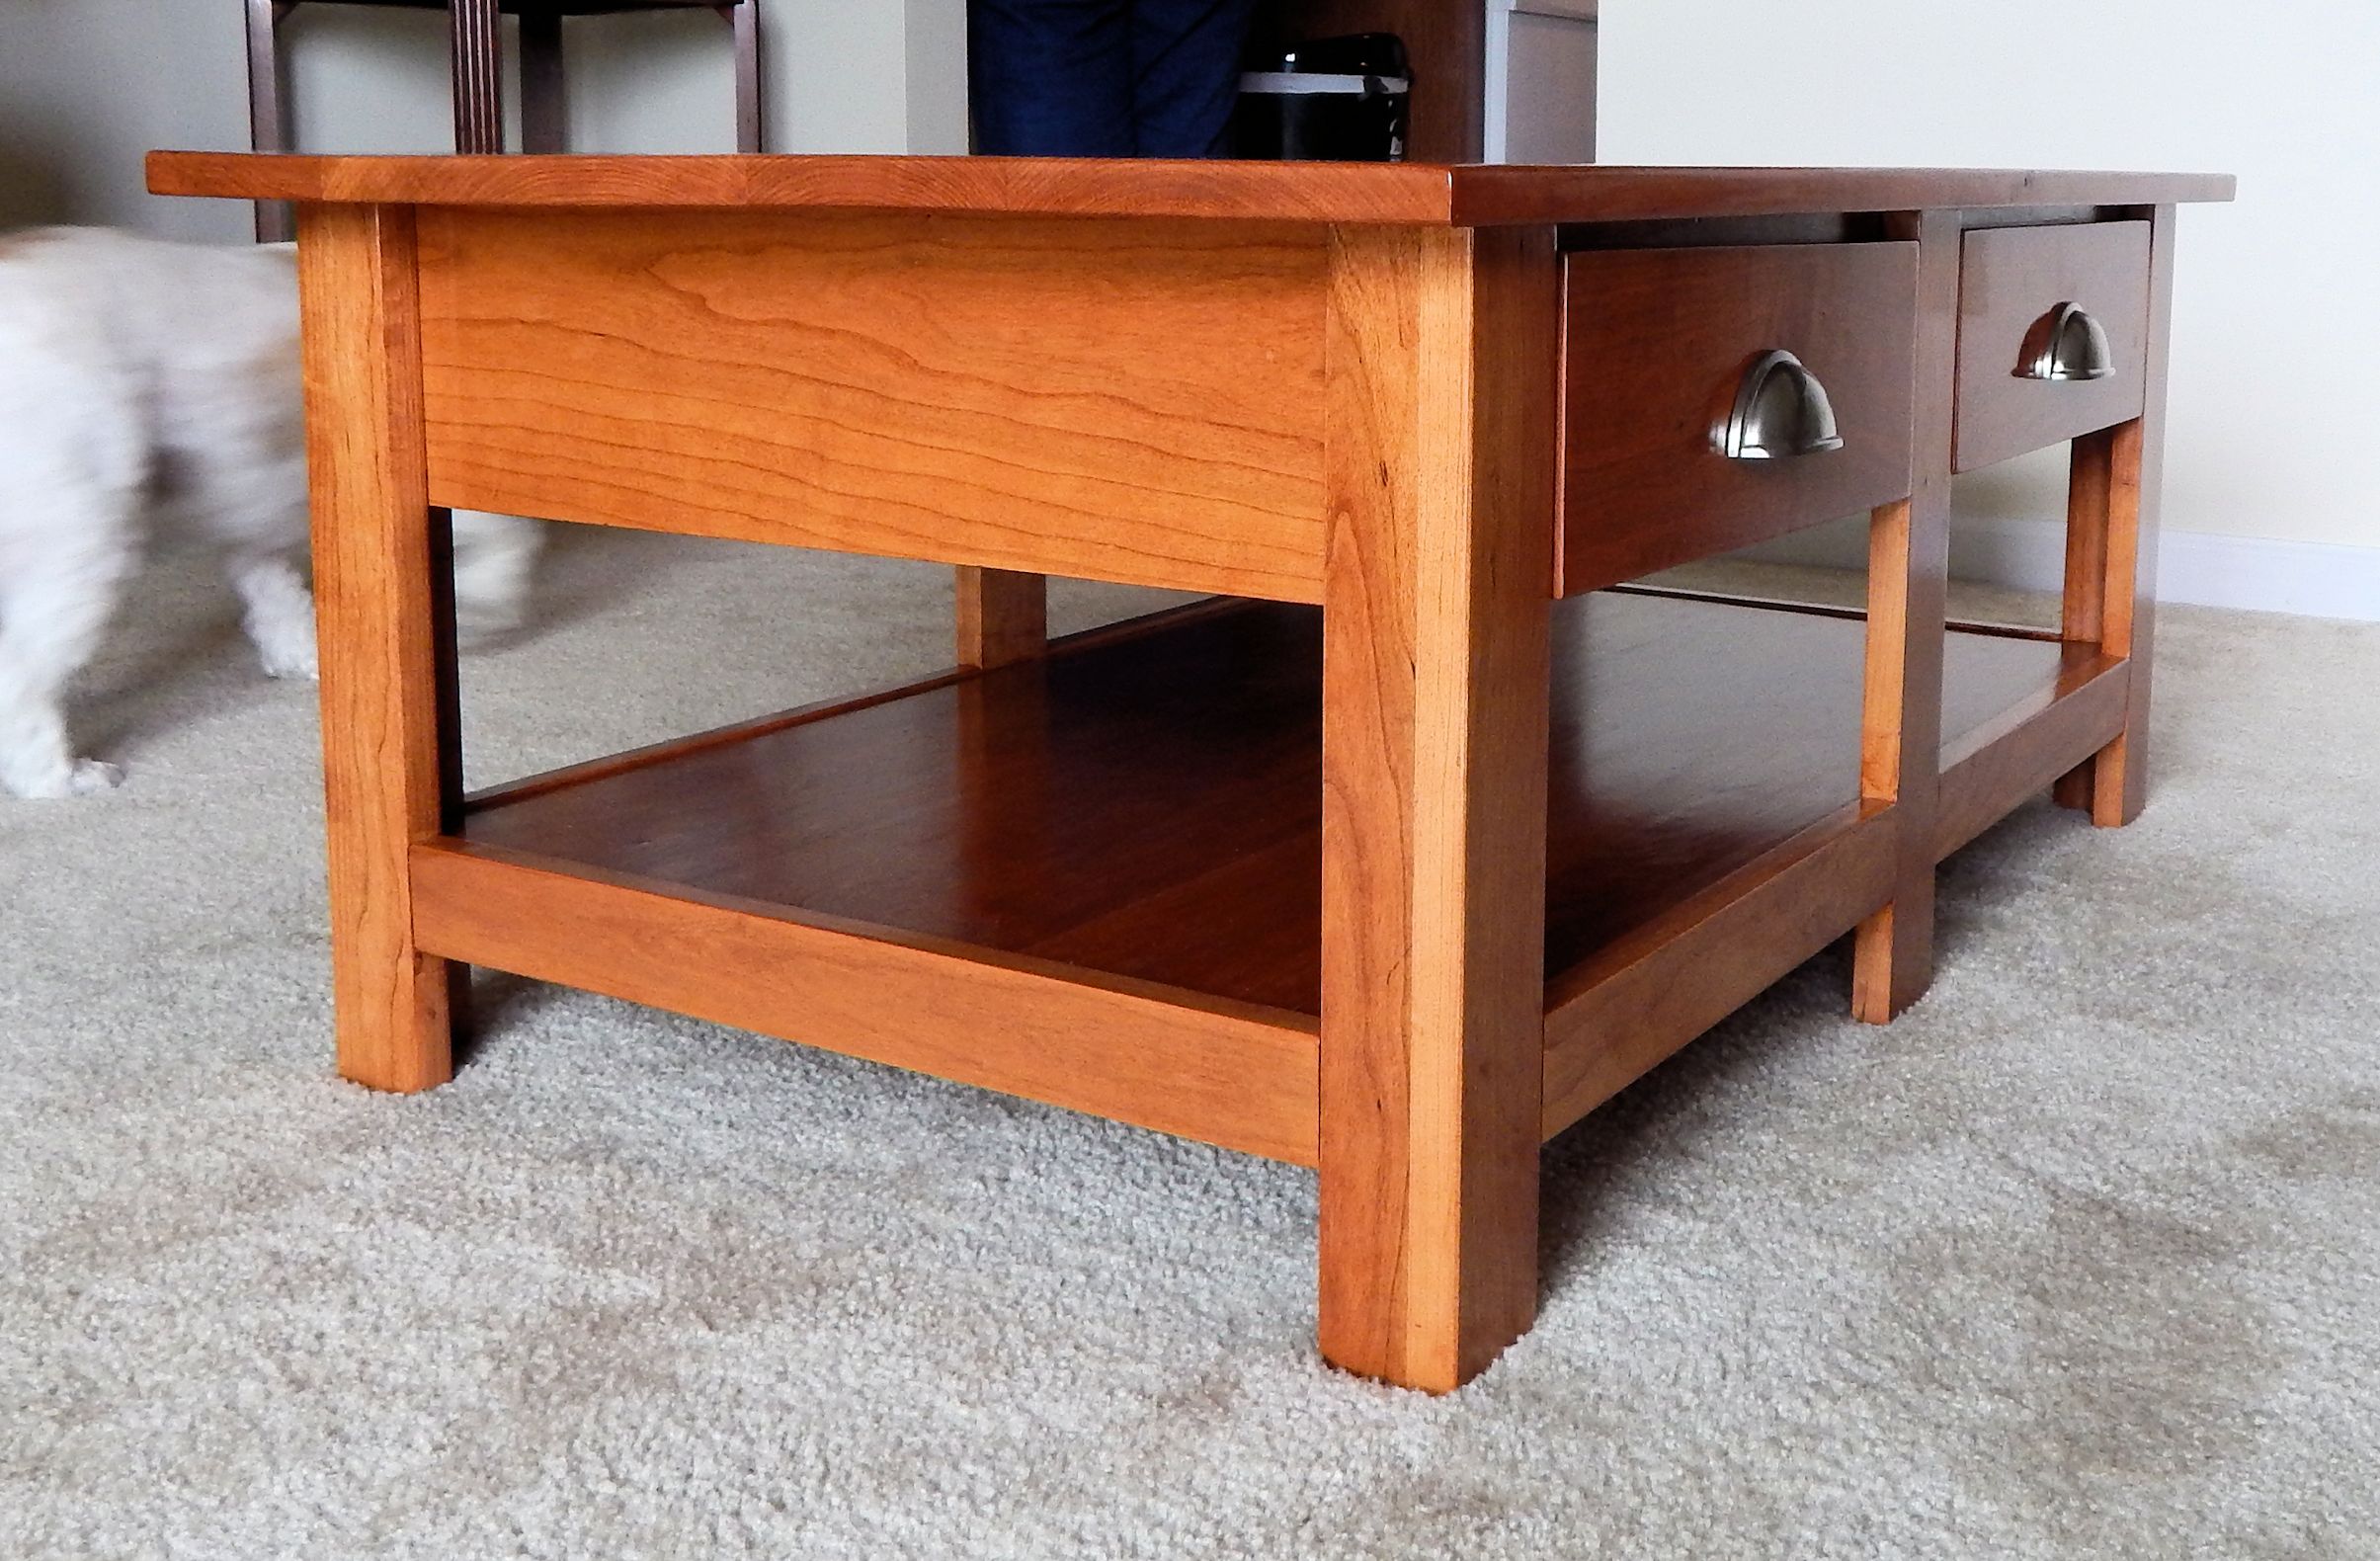
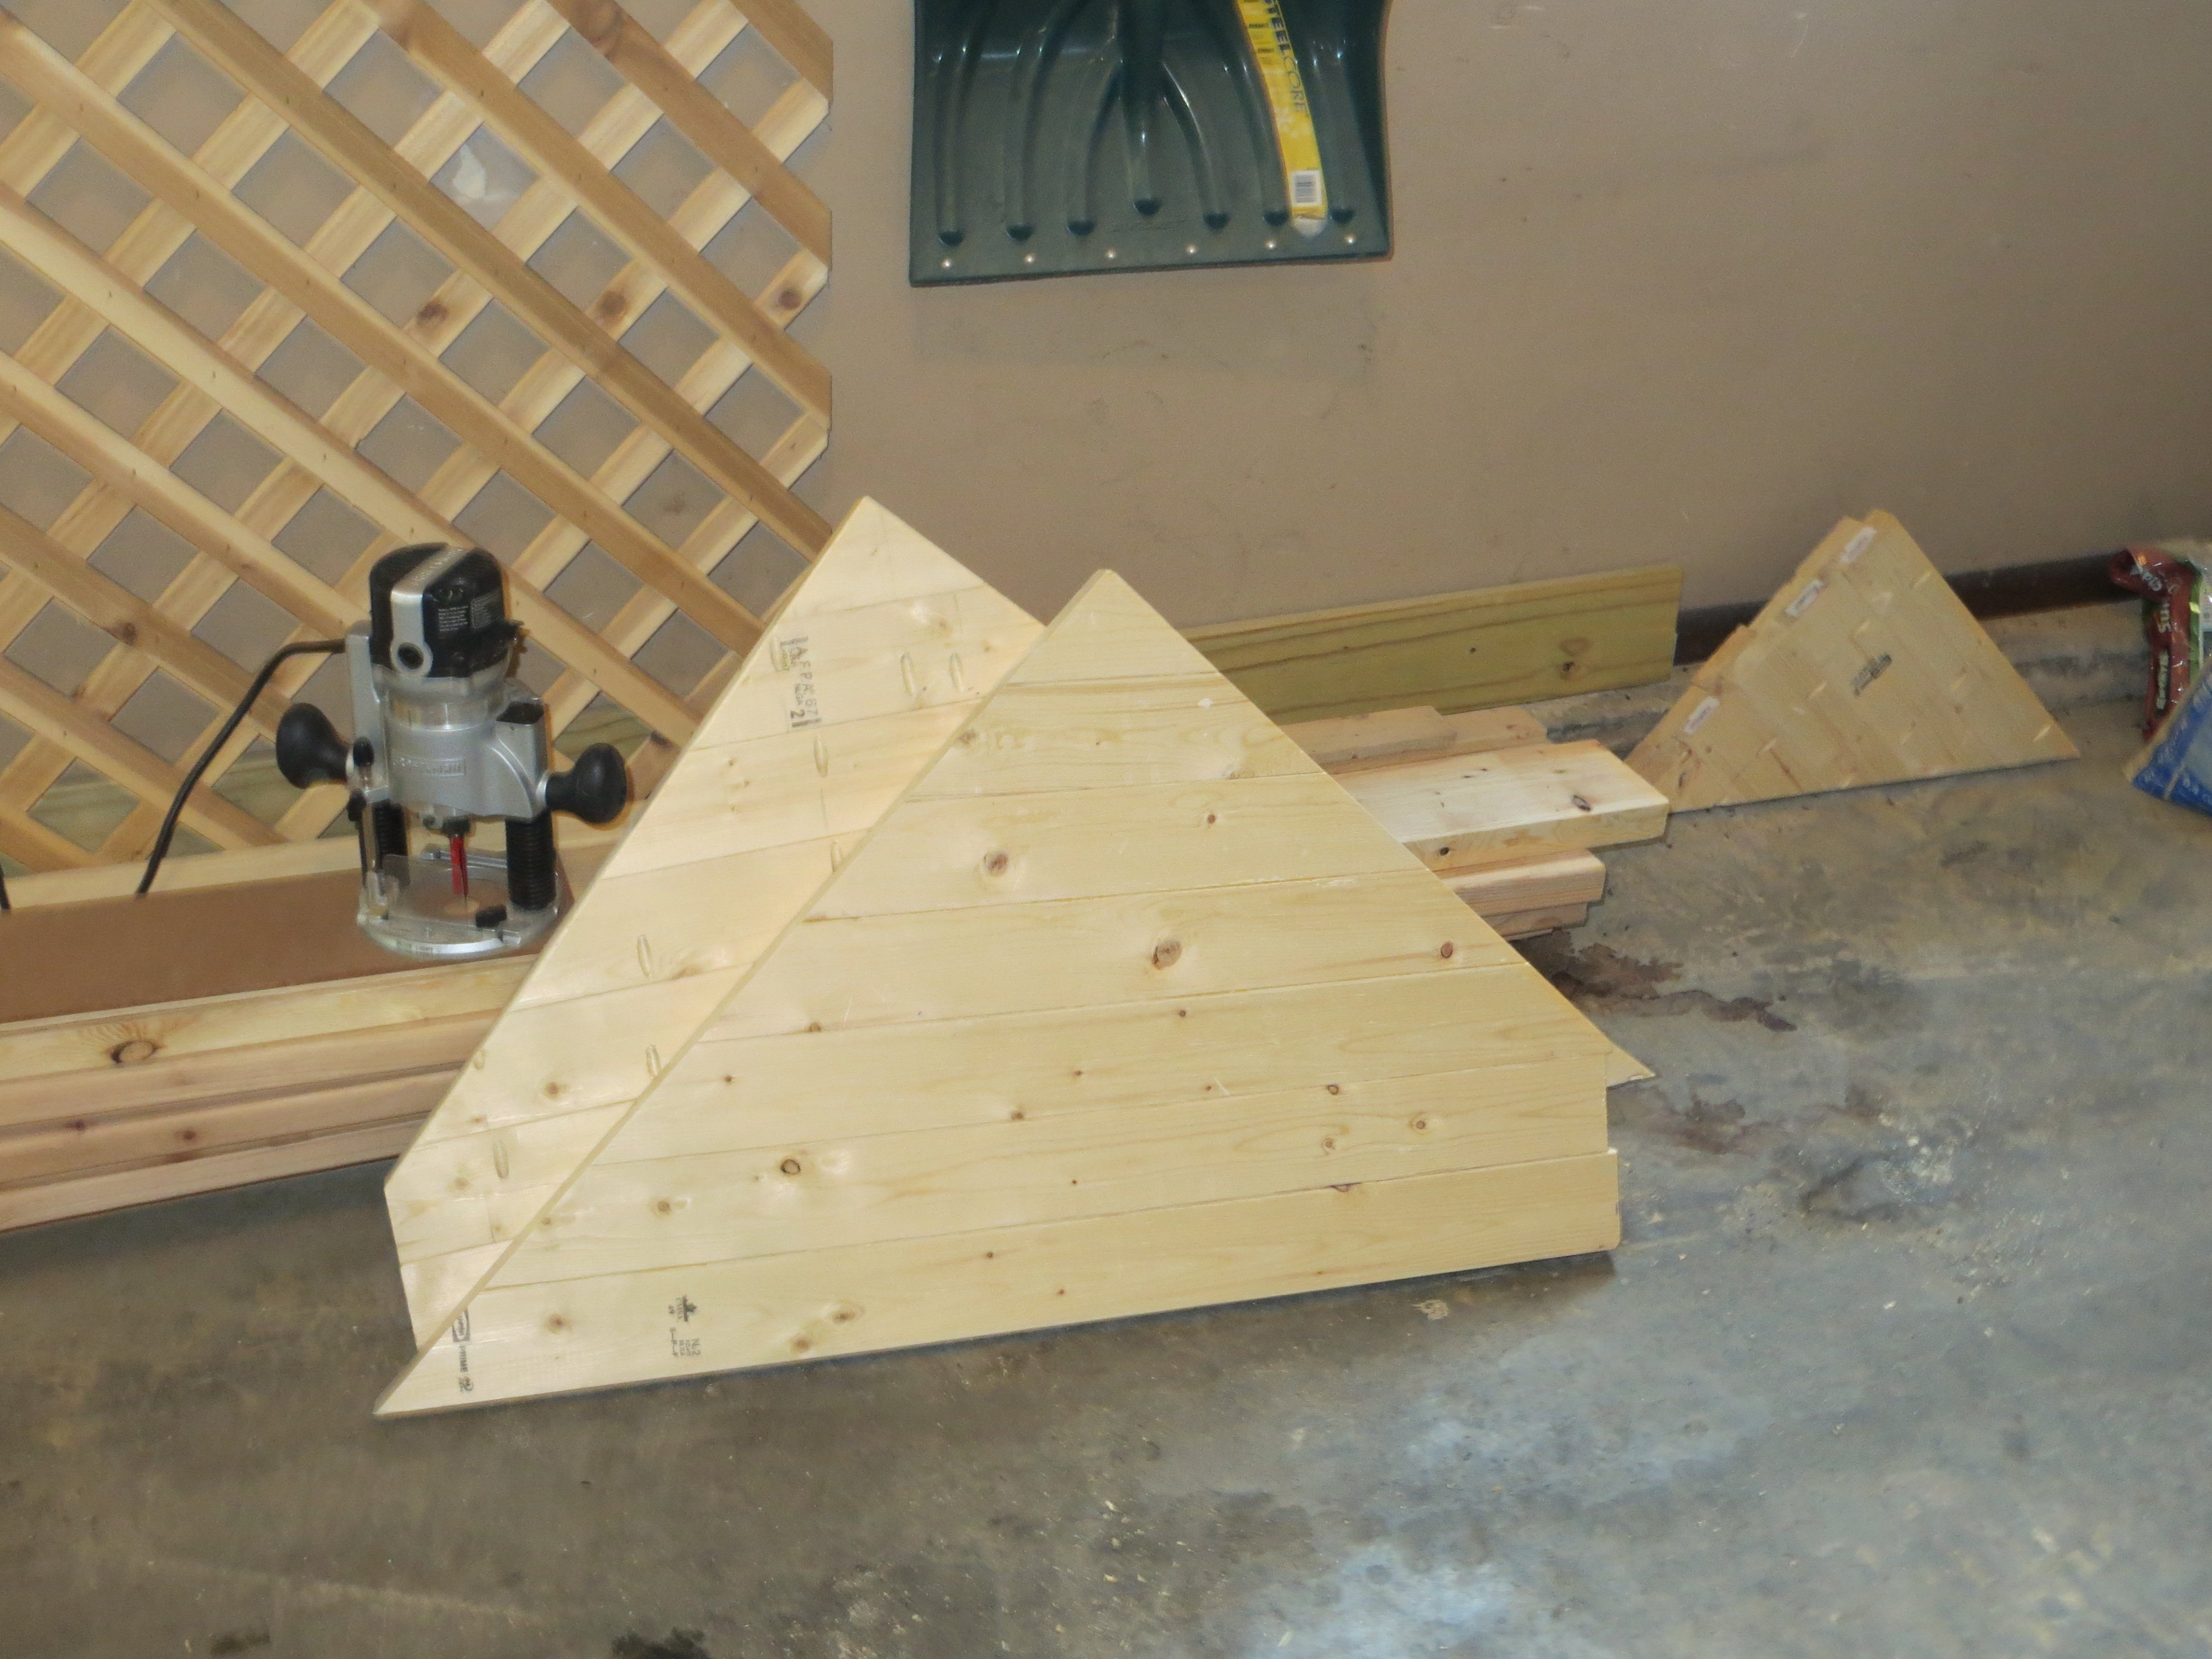
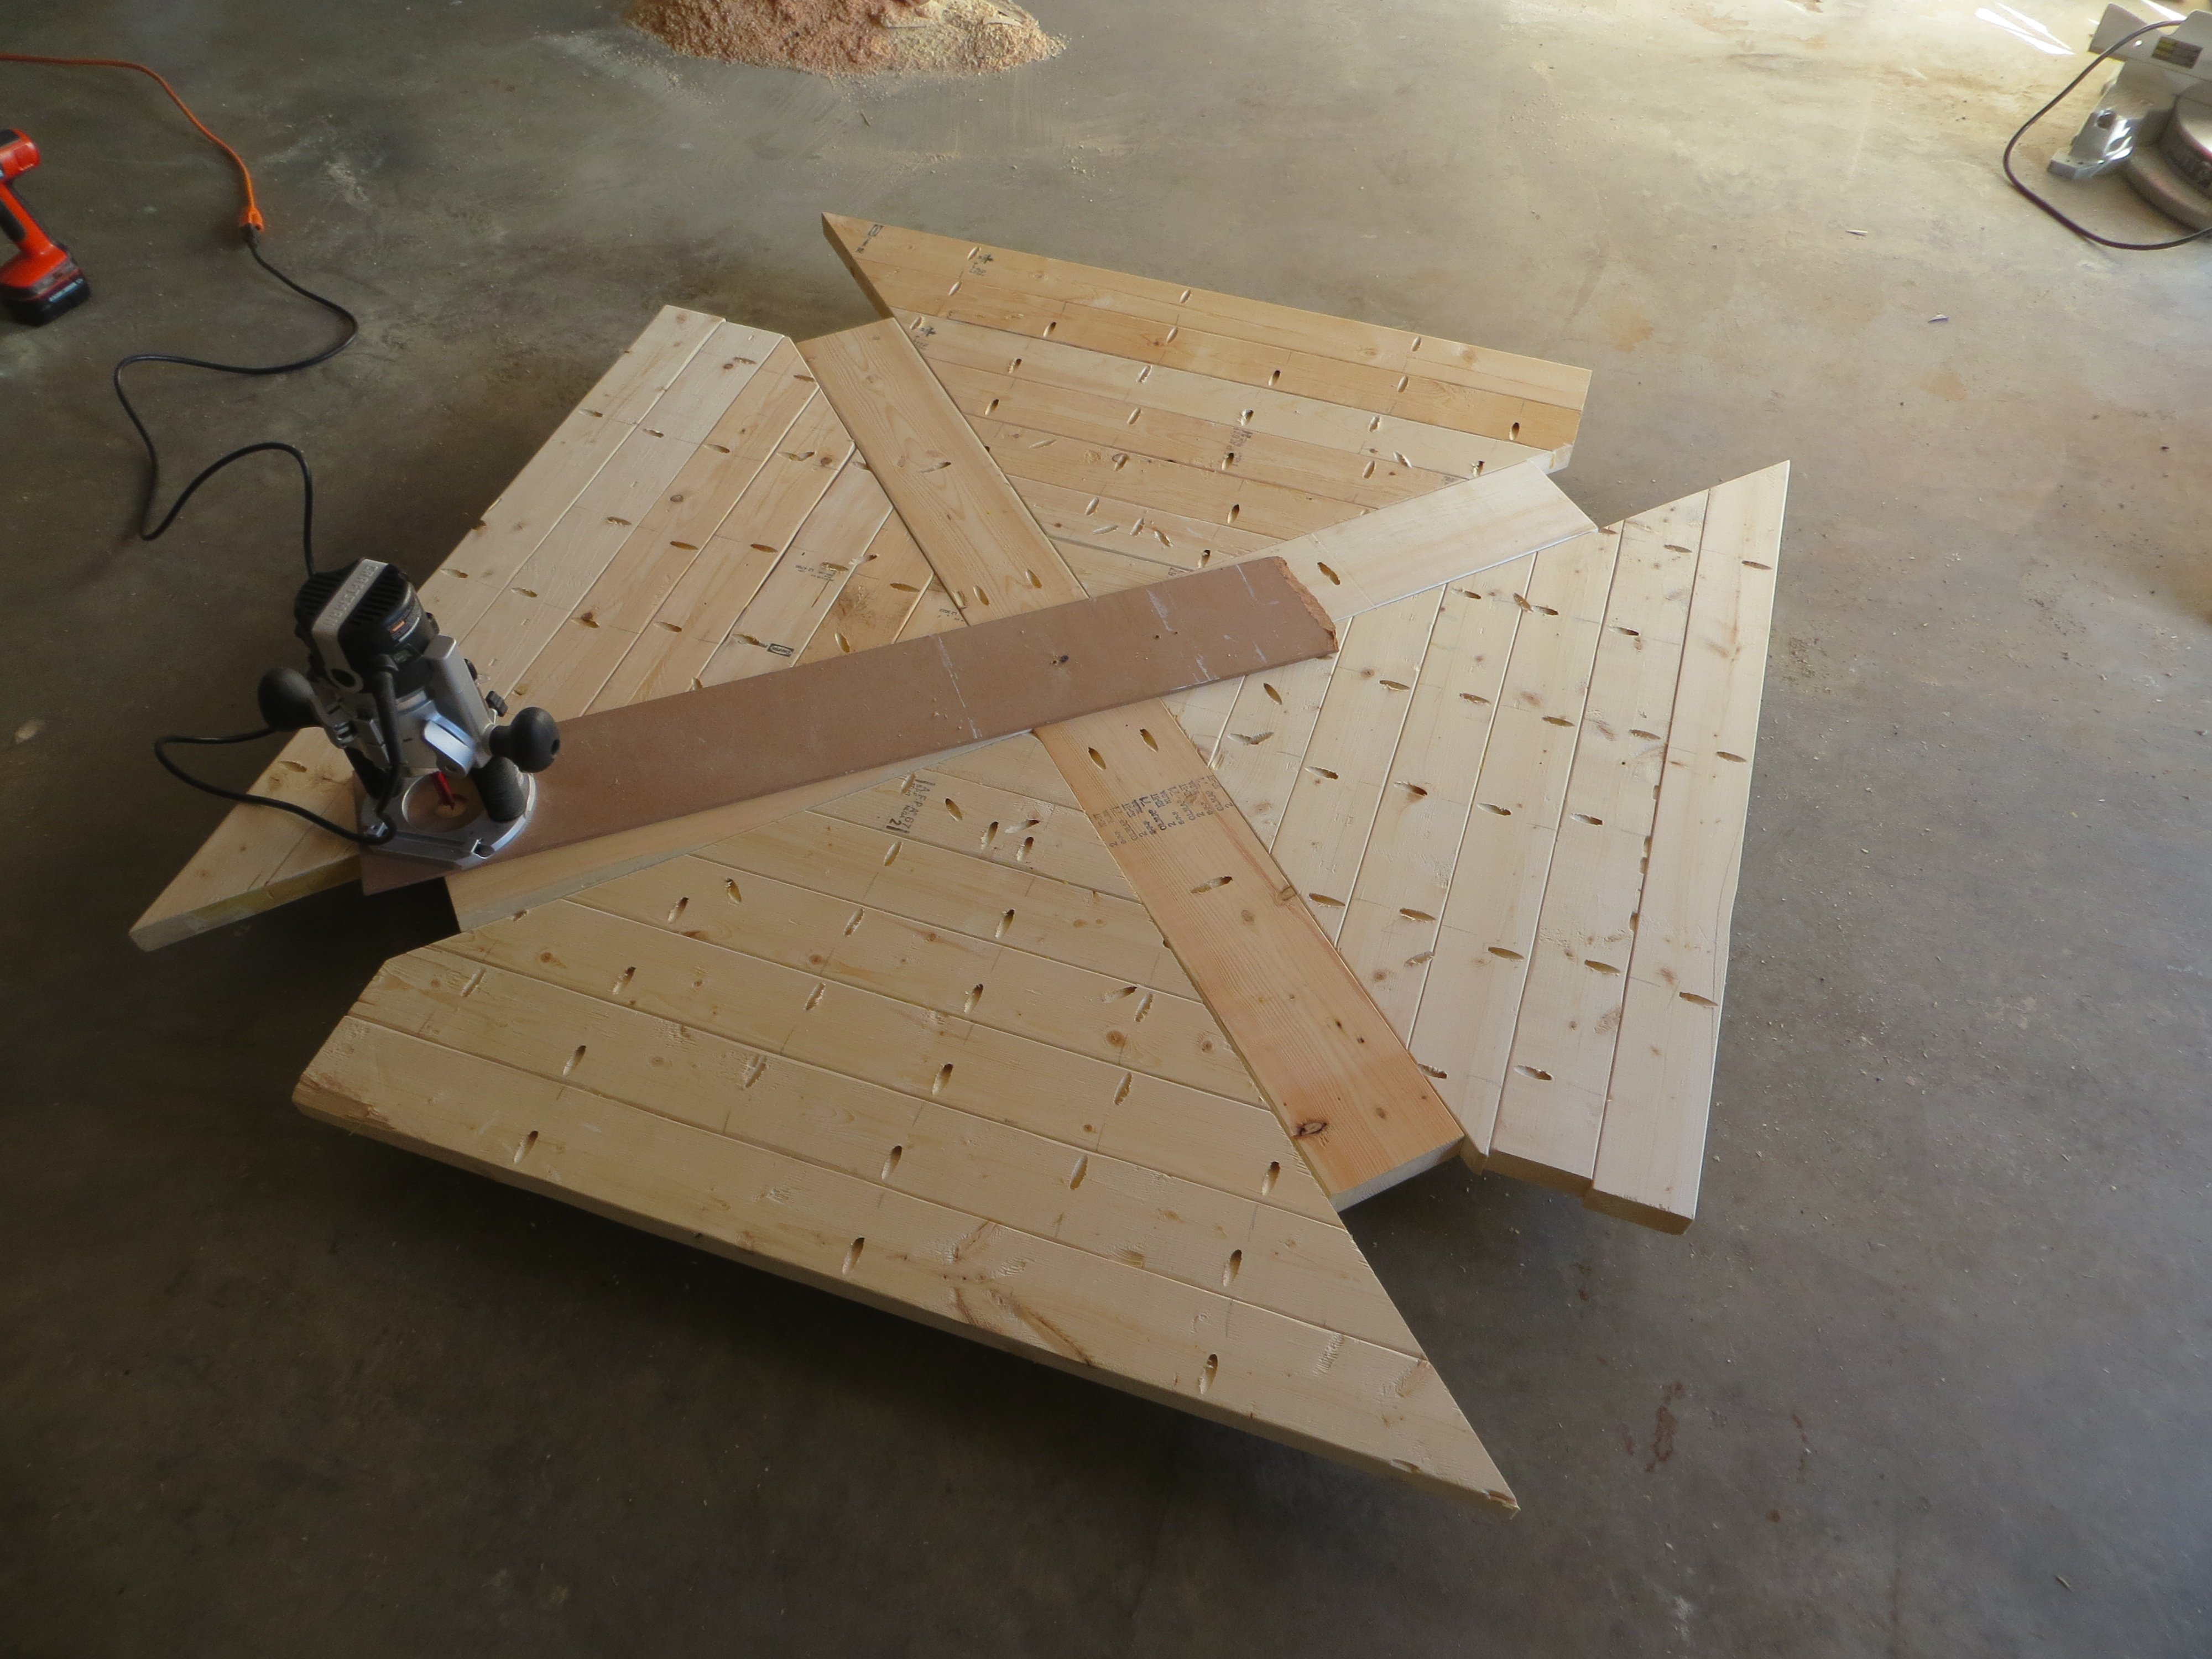
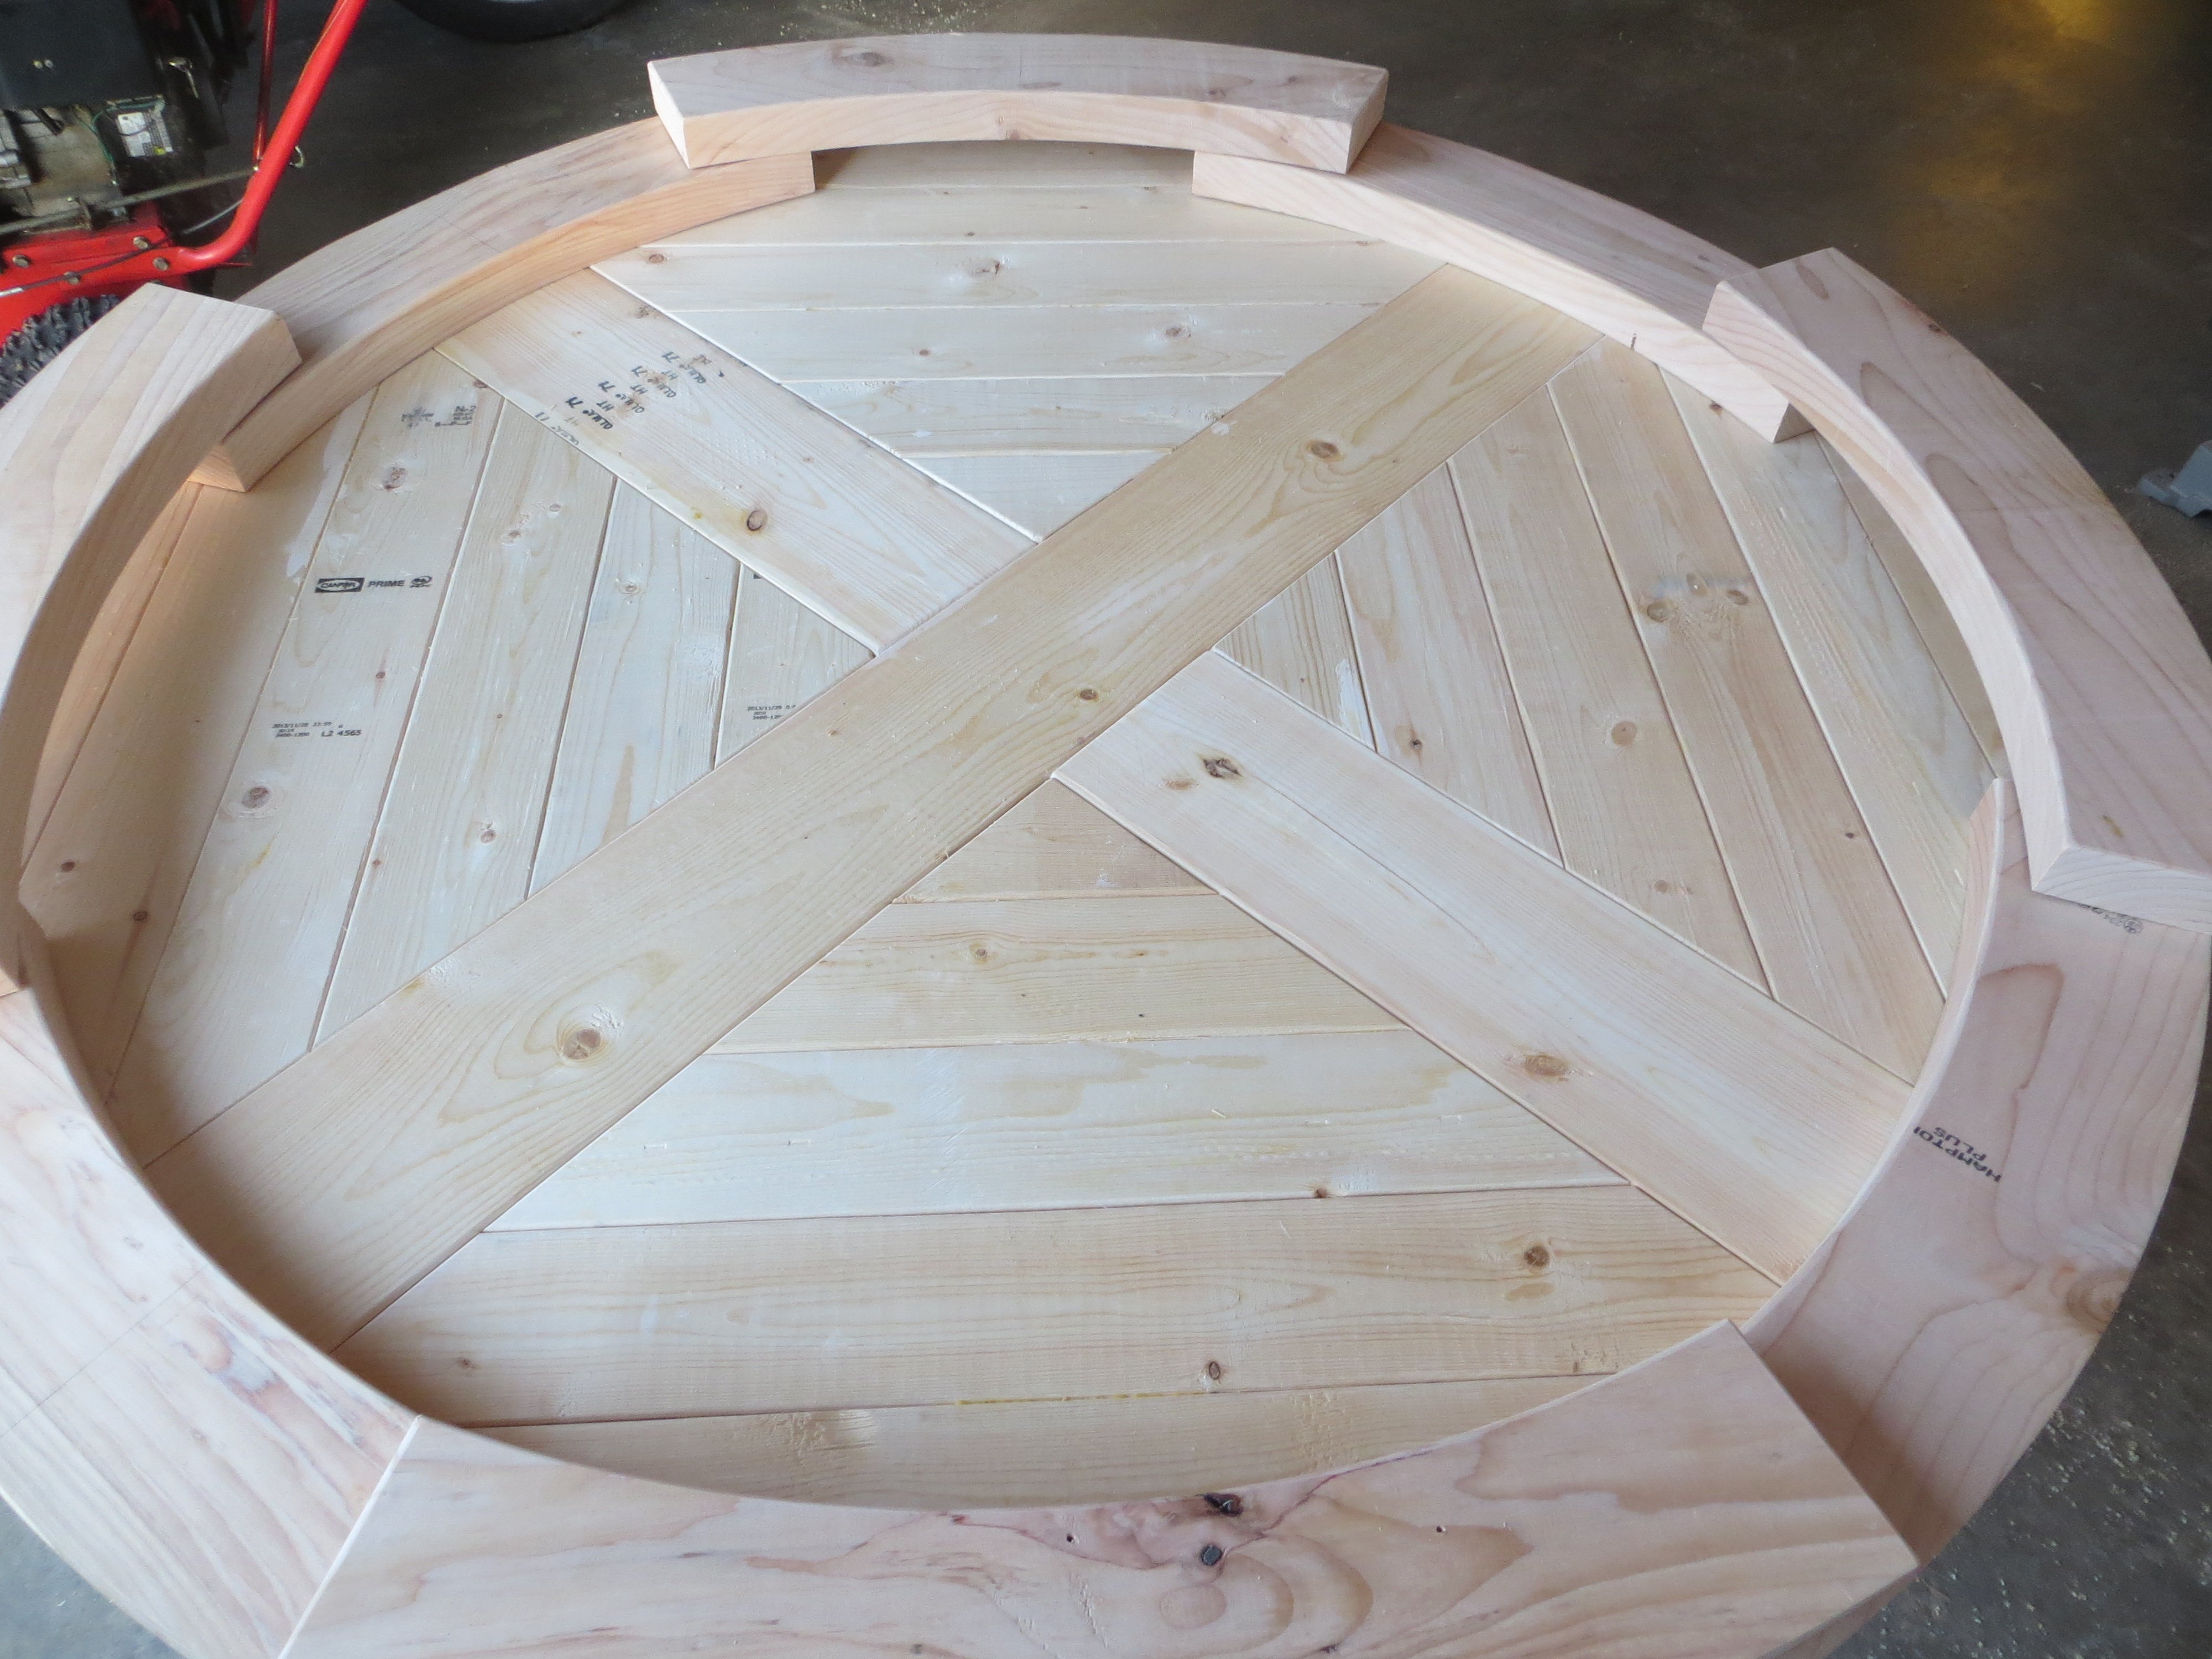
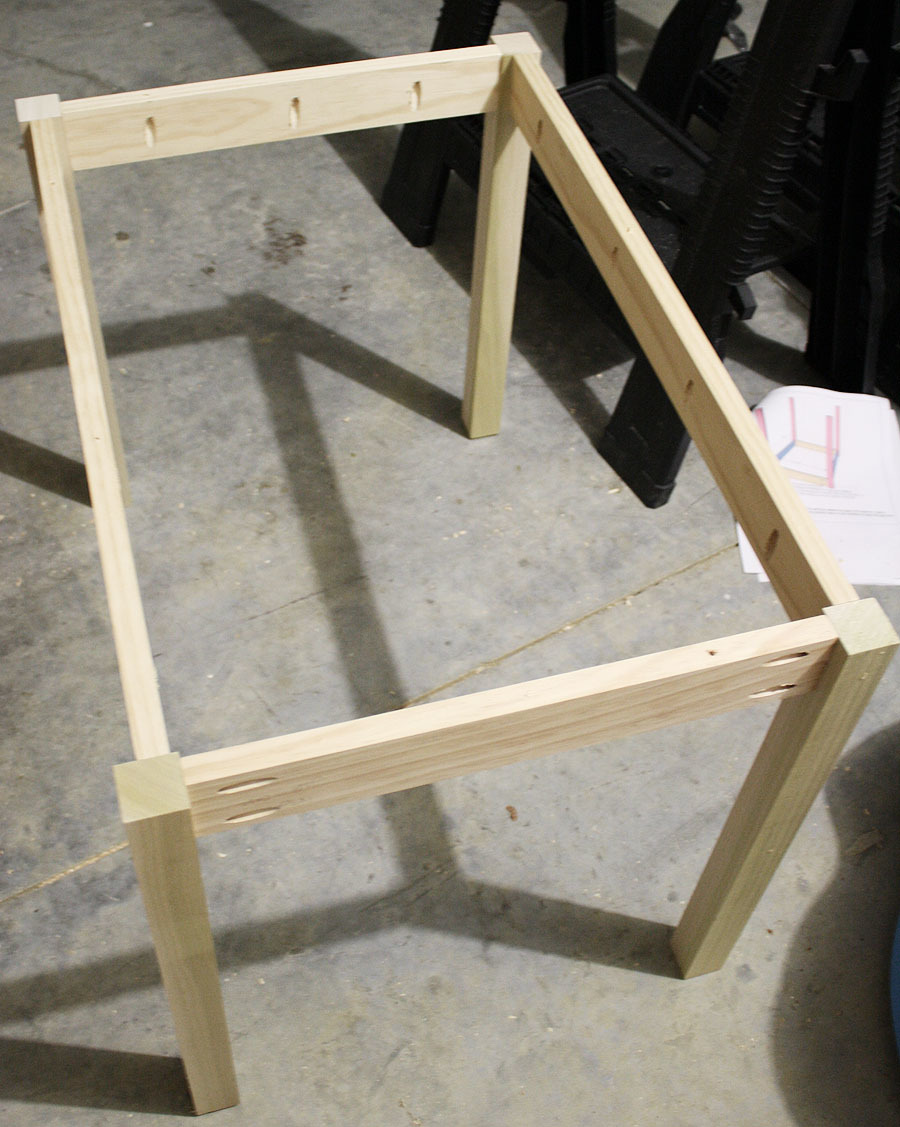
This table was super easy to build... it took me only 3 hours! I opted to use hardwood poplar 2x2s for the legs because furring strips frustrate me to no end (bowing boards, splitting wood, etc.) and the poplar also made it sturdier. Had I used furring strips, this table would have only cost me $15, but I opted for the more expensive route... but still, $35 ain't bad!

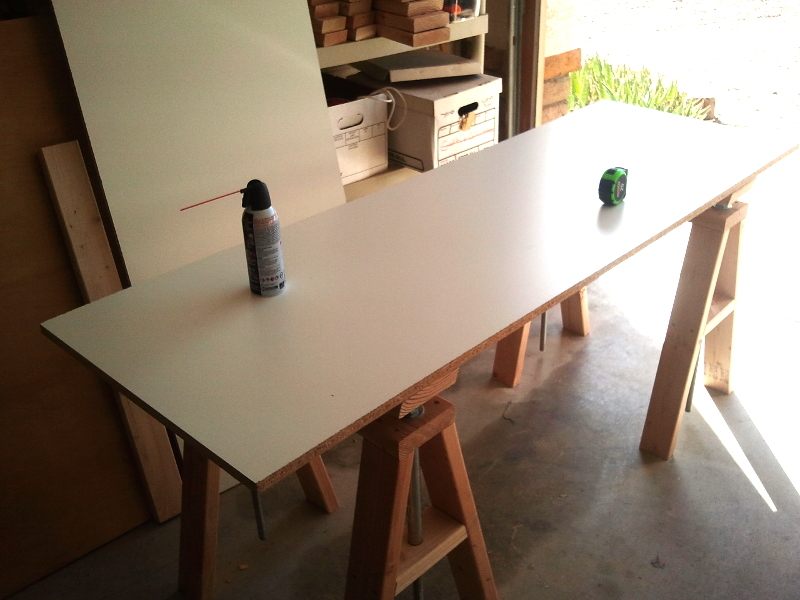
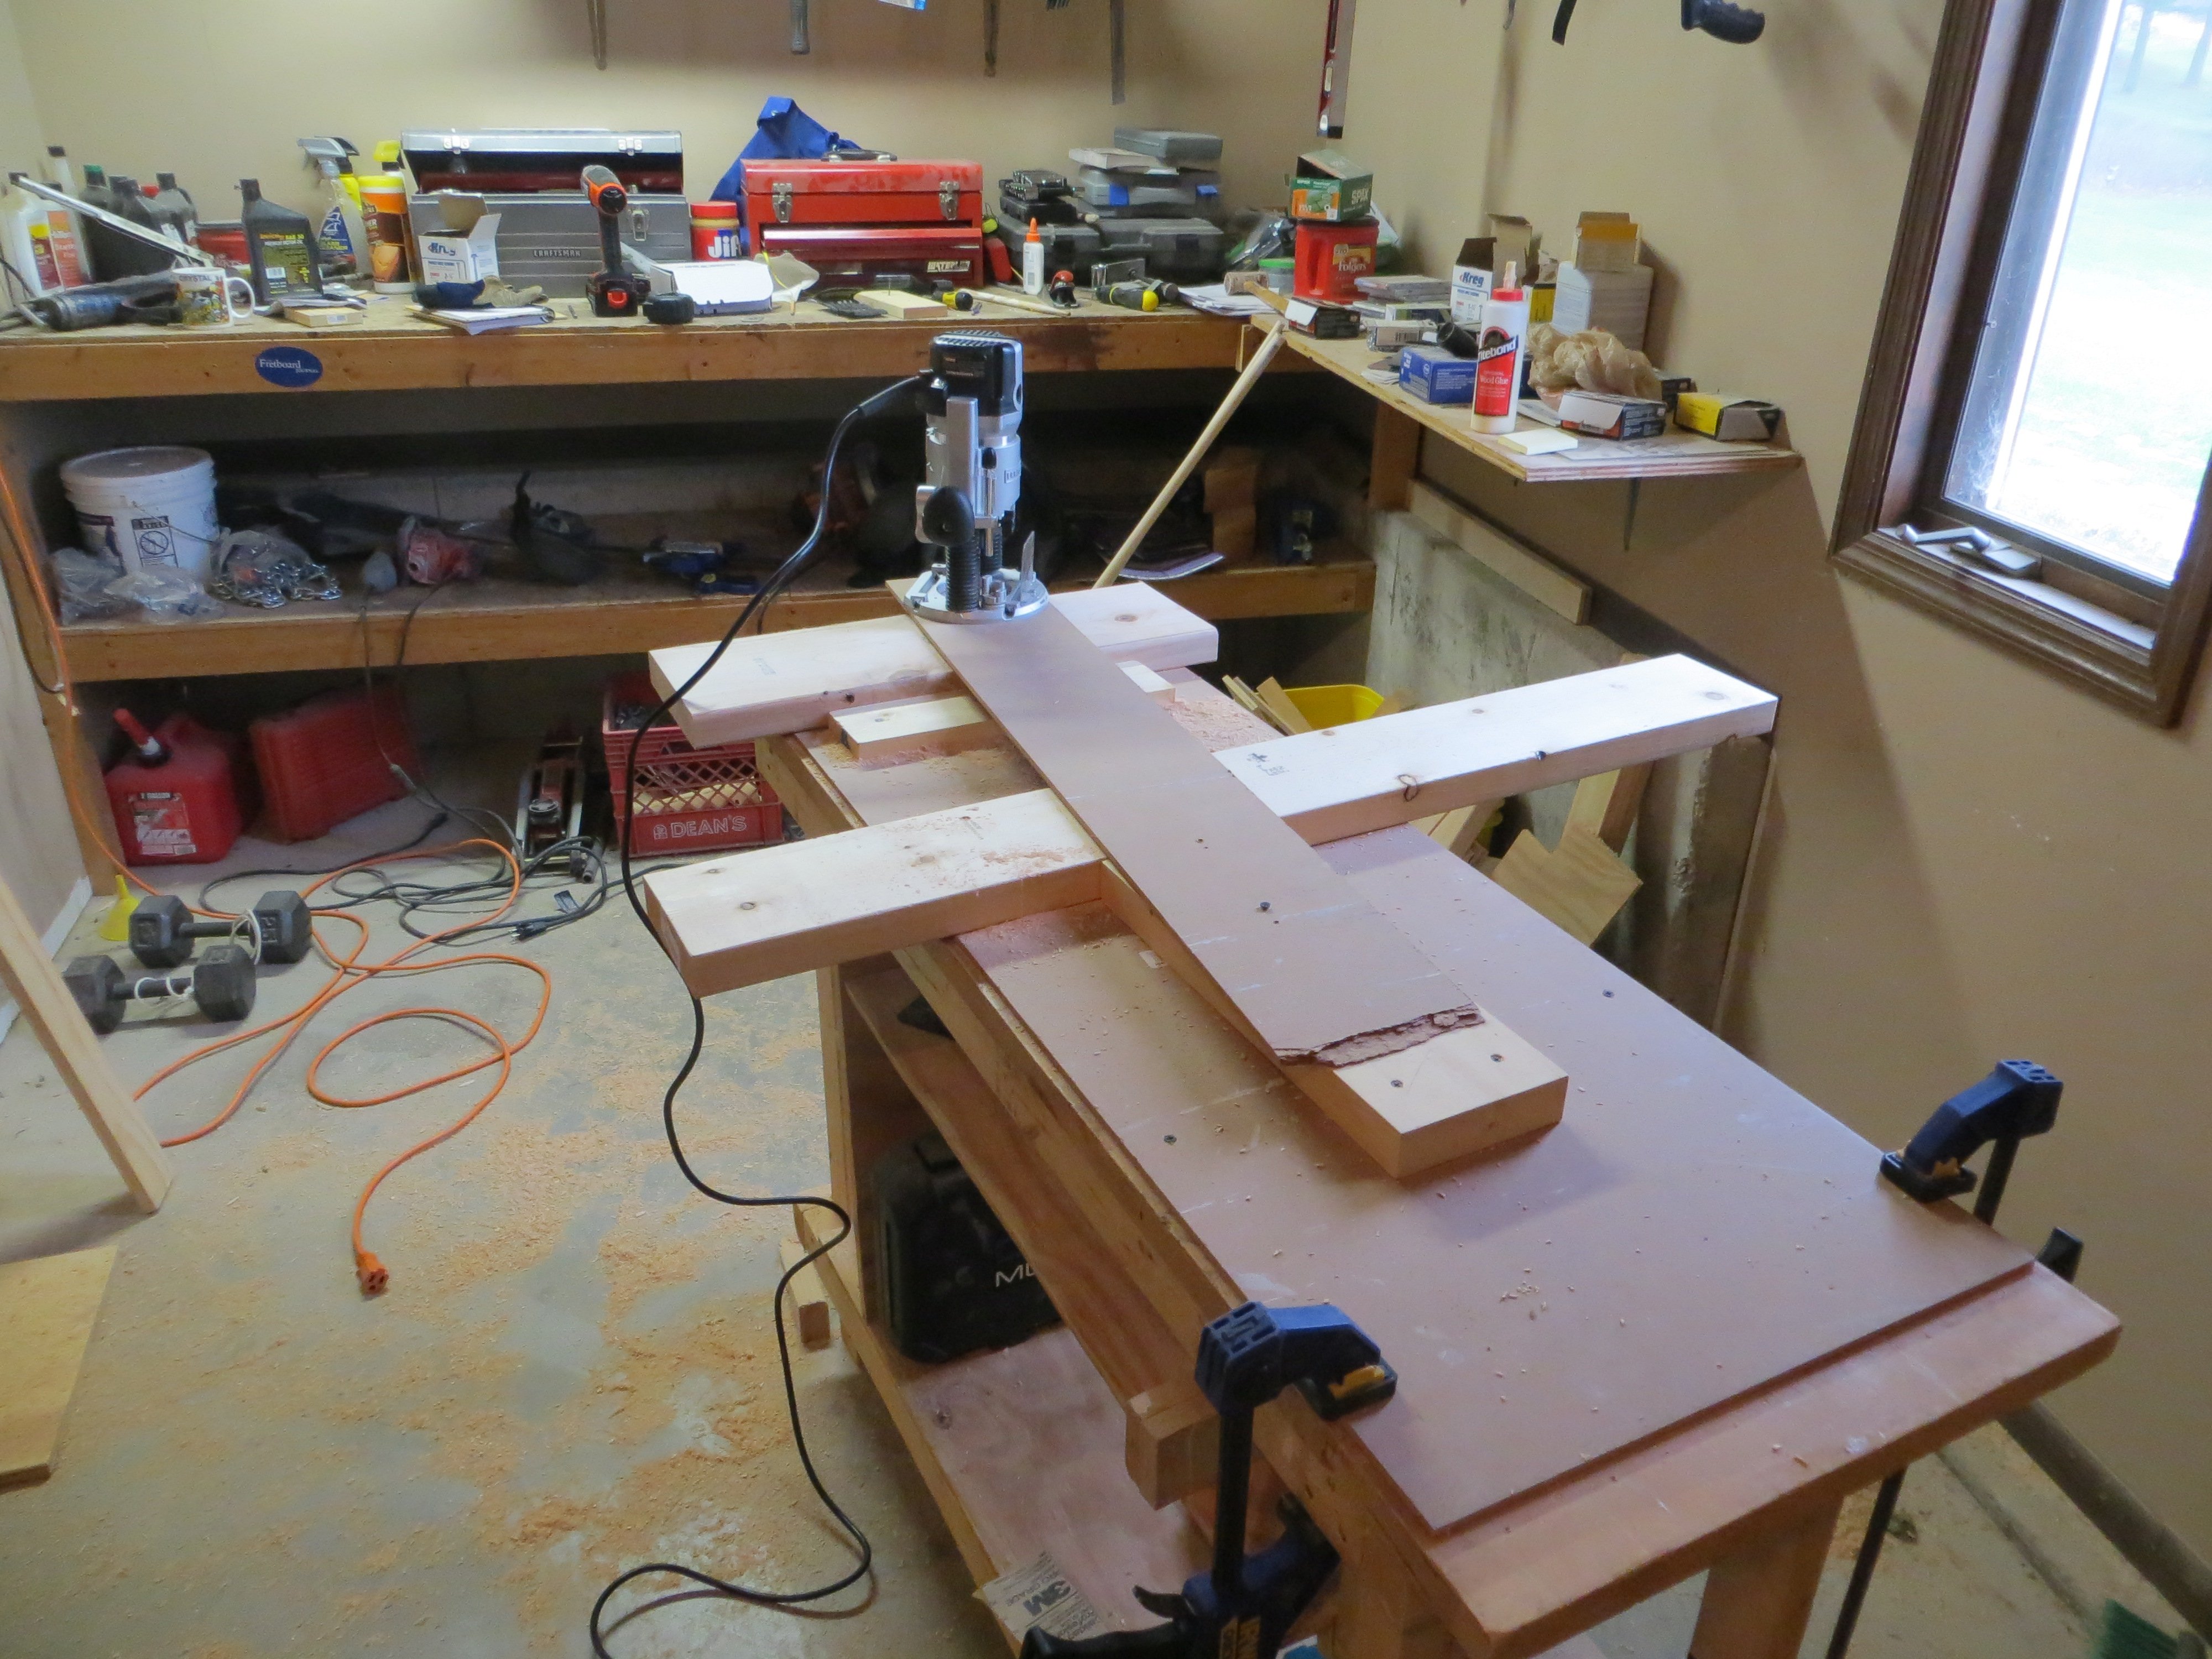
Also, I used the Kreg Jig for this project, set on 3/4" with 1 1/4" pocket hole screws - EXCEPT when I drilled the base frame onto the table top. I used 1" pocket hole screws for that, just in case the 1 1/4" screws were too long and came poking out the top of the table.

Click my blog link for the complete play-by-play!

Built from Plan(s)
Estimated Cost
$35.00
Estimated Time Investment
Afternoon Project (3-6 Hours)
Finish Used
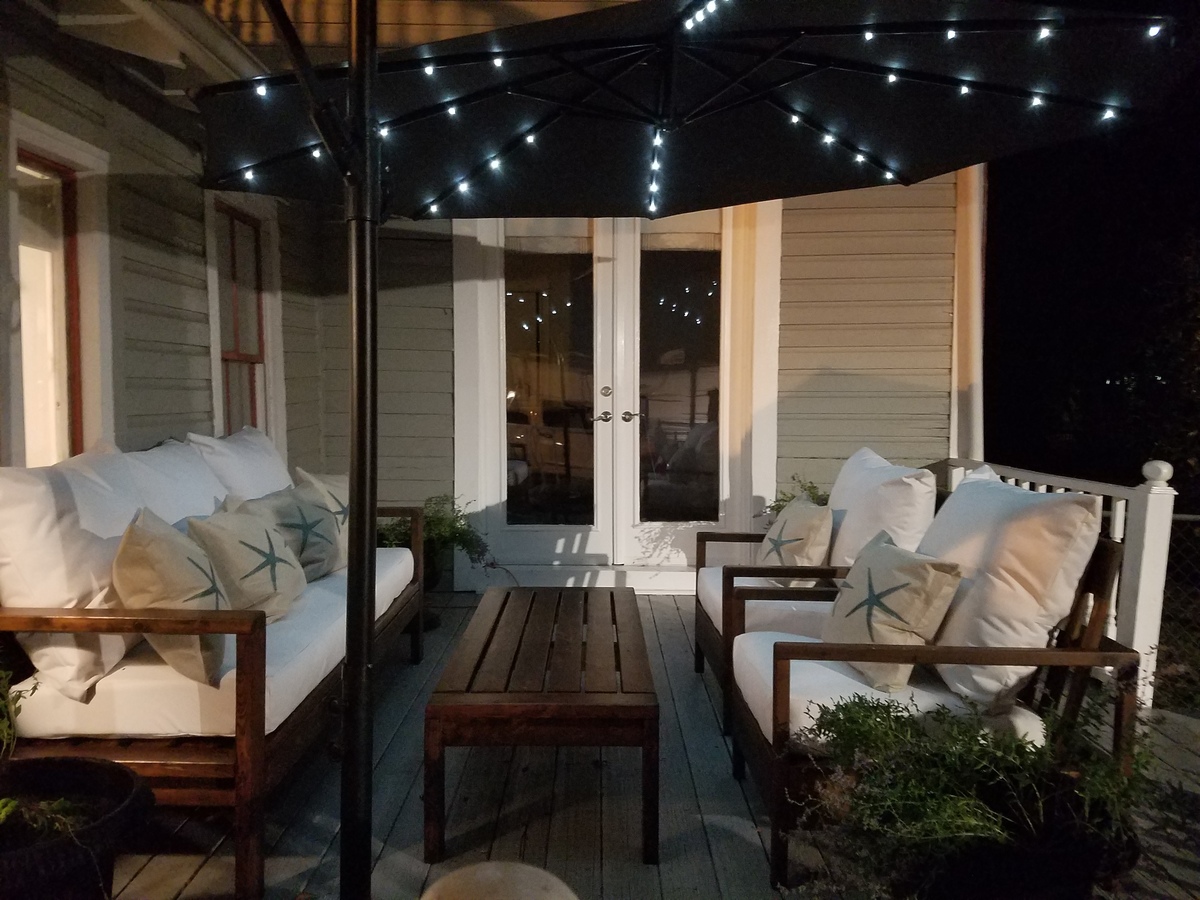
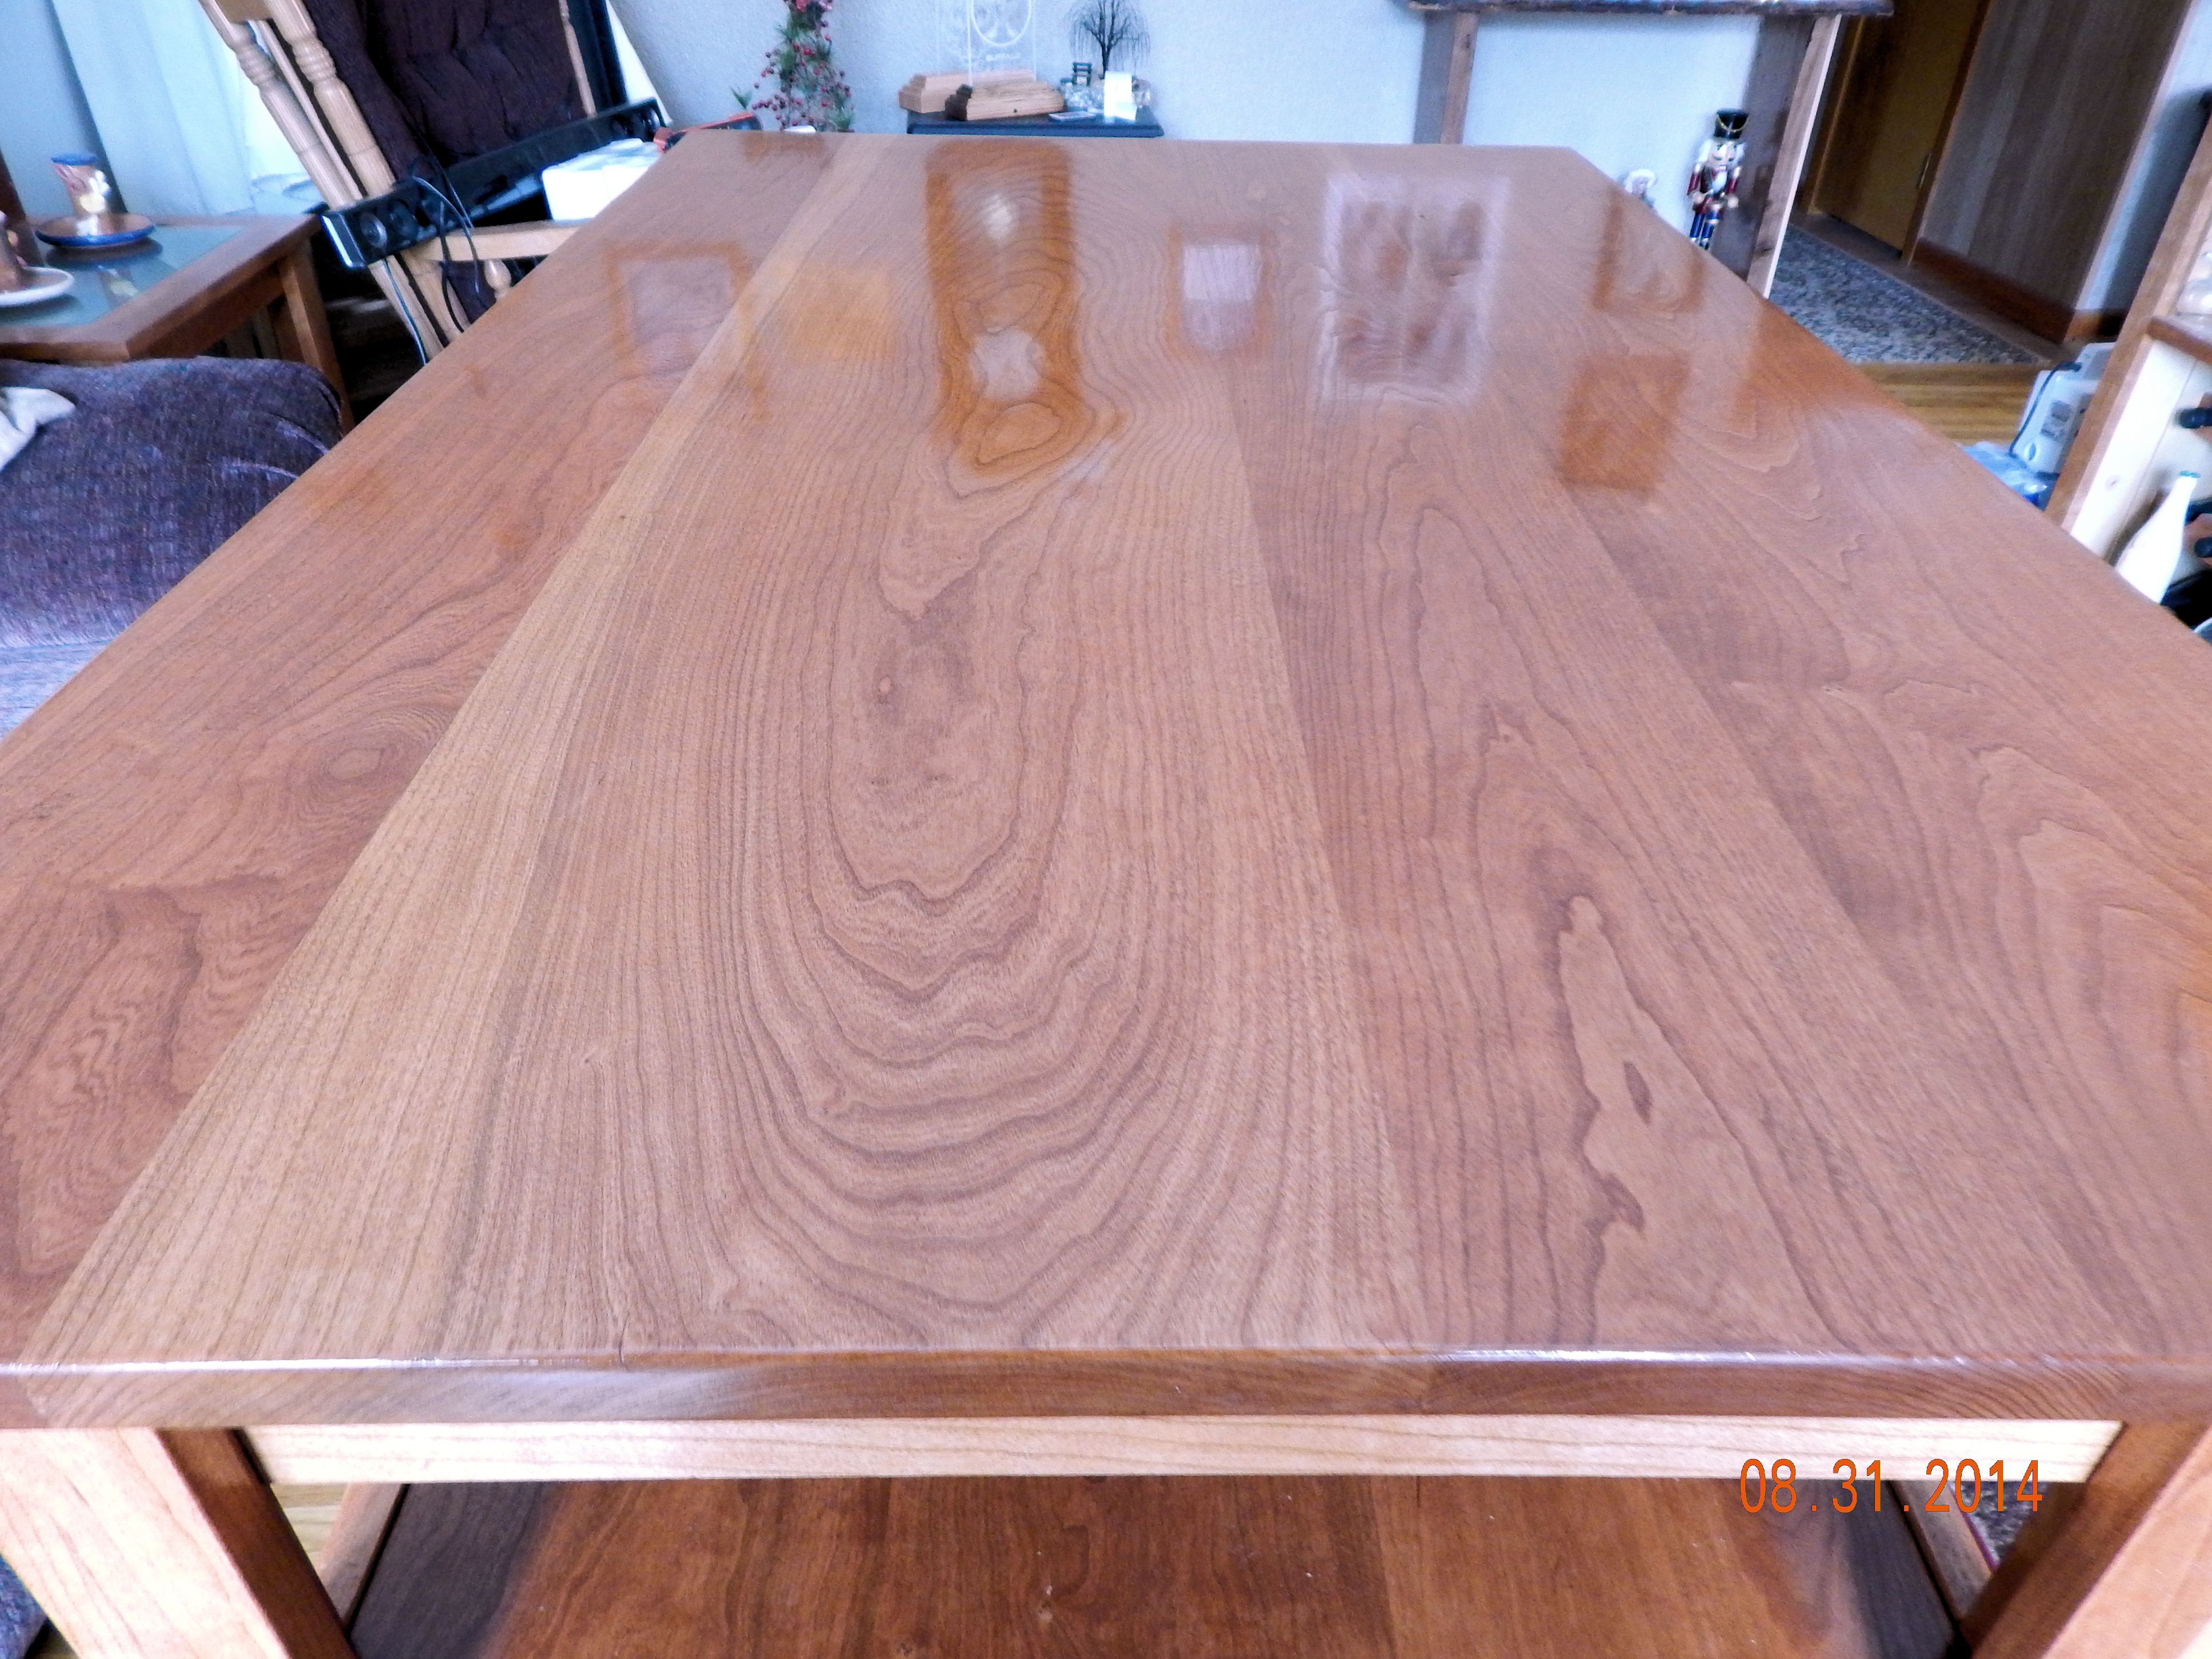
Primed with Zinsser 3-in-1 Primer, then painted with 2 coats of glossy white.
Recommended Skill Level
Starter Project

Water table for 1 year old

Submitted by Anonymous (not verified) on Fri, 09/02/2016 - 15:42

Shortened the legs to 17" and used 1x2s on the shelf because that's what we had on hand. Sealed with Thompson's aerosol clear waterseal. 

Built from Plan(s)
Estimated Cost
$38
Estimated Time Investment
Afternoon Project (3-6 Hours)
Finish Used
Thompson aerosol clear waterseal
Recommended Skill Level
Beginner

Linzy's outdoor play escape

Submitted by Myk3 on Mon, 06/09/2014 - 13:03

Built using the plans as a starting point and built it bigger than the plans called for.. The deck is 10x10 and the playhouse is 6x10. I used pressure treated lumber for everything but the playhouse. I still need to paint the house and stain the deck, then put the roof on.. if it would stop raining.. Once i'm done staining the deck I can put the slide back on also. ''

Swings, monkey bars, and rings / trapeze was ordered from Amazon.

Built from Plan(s)
Estimated Cost
2000
Estimated Time Investment
Week Long Project (20 Hours or More)
Recommended Skill Level
Intermediate

Outdoor Play Kitchen

Submitted by Anonymous (not verified) on Mon, 04/15/2024 - 10:05

I built this using Ana's plans for her outdoor play kitchen. I live in North Carolina and took it to my grandchildren in Ohio. They love it! I used an inexpensive beverage dispenser installed into a trashcan and connected a small aquarium pump to recirculate the water from the sink to the water tank. I'm super pleased with how it turned out!

Nancye Butterworth

Built from Plan(s)

Cornhole Boards

Submitted by SaraLodise on Fri, 09/23/2016 - 13:15

Cornhole boards for friends and family :)       Used 1x4s for framing and legs, 1/2" ply for top.


"R" set:  Birch plywood tops w/ (2) coats of Miniwax Weathered Oak oil stain. Red stripe is Behr 'Cherry Cola.'  (3) coats of Polycrylic finish.


"AW" set:  Regular plywood tops w/ (1) coat of Miniwax Special Walnut oil stain & Glidden 'Clemson Orange' stripe.   (3) coats of Polycrylic finish.

Estimated Cost
$100/set (2 boards)
Estimated Time Investment
Weekend Project (10-20 Hours)
Finish Used
(see description)
Recommended Skill Level
Intermediate

Comments

Seasonal And Holiday

Needed a new Patio set after Hurricane Matthew destroyed mine.

Submitted by Anonymous (not verified) on Tue, 03/03/2020 - 18:00

Between my day job and daily chores I somehow managed to build this, make the stain with the vinegar/steel wool, and sew all the cushions in about a week and a half.  The hardest part for me was lifting the sofa onto the deck by myself after I built it.

I also made the chairs from this site (simple white outdoor chair) and the coffee table.

Thanks Ana and everyone for contributing your plans and for everyone posting their projects.  It helps me do it to.


Estimated Cost
for foam, wood, screws, sand paper pillow stuffing, waterproof fabric 400 bucks
Estimated Time Investment
Week Long Project (20 Hours or More)
Finish Used
steel wool/vinegar/coffee grounds and then UV flood protector
Recommended Skill Level
Beginner
Seasonal And Holiday

Modern Industrial Adjustable Work Stand

$120 for 2 bases, one top ... less if you have scrap lumber and pipe

The hard part of some woodworking is what to do with the stuff BEFORE and AFTER it goes through the tools.

We need an infeed and outfeed table for routers, drill press, and saws but have no room to install a permanent workbench with an adjustable tool lifter.

We saw the coffee table to desk height adjustment mechanism and lightbulbs went off! This adjusts! We can take the top off! It stores!

The first photo shows it adjusted to align with the miter saw's cutting area.

As built, there are a couple of changes:

1 - It's taller. Lowest table height is about 30" ... add 8 inches to each leg.

2 - We only used 1 leg brace, about half way down the leg. Cut it to fit after you get the legs screwed to the top.

3 - the wobble of the adjustable bar on the threaded rod is not good for precision woodworking ... the second picture shows the guide pipe that keeps the threaded rod straight up and down.

4 - No pocketholes (sorry Anna) because this is a workbench, not fine furniture.

5 - The tops are cut from one sheet of 4x8 3/4 in melamine coated MDF ... 2 are 2x6 and one is 2x4.

This could also make an adjustable craft table. Raise or lower it to handle fabric for your sewing machine.

Estimated Cost
$120 for 2 bases, one top ... less if you have scrap lumber and pipe
Estimated Time Investment
Day Project (6-9 Hours)
Finish Used
None
Recommended Skill Level
Intermediate

Comments

Drop down murphy bar

Submitted by nick_h on Tue, 12/06/2016 - 10:54

My attempt at the murphy bar featured on this site. Still have to add the sash locks. Added pallet crossmembers at the back, an x in the leg, and a french cleat to mount to the wall. 

Estimated Cost
$45
Estimated Time Investment
Day Project (6-9 Hours)
Finish Used
Special Walnut Minwax on the bar top and shelves, crisp linen matte latex and dry brushed casual gray for accents/aging. 2 coats of polycrylic for protection. If built again would pre stain and base coat all the wood before build time, then assemble, add accent brushing and spray the polycrylic.
Recommended Skill Level
Beginner

Comments

zannej

Tue, 12/31/2019 - 11:49

This looks awesome! I want to help my friend build this for his kitchen. I've looked at the plans in the link & I'm wondering what modifications you made for the X pattern-- how much did it alter the material & cut list?

Would you please share your material & cut list for this?

Pergola

Built this Pergola next to my house. Worked by myself, took several days. a Very relaxing spot !!

Estimated Time Investment
Weekend Project (10-20 Hours)
Finish Used
White paint.
Recommended Skill Level
Intermediate

coffee table

My version of benchright coffee table. Made this for my daughter. It's made of solid cherry.

Estimated Time Investment
Week Long Project (20 Hours or More)
Finish Used
Poly 3 coats
Recommended Skill Level
Intermediate

Comments

Poker table

Submitted by Trishalado on Wed, 02/01/2017 - 06:46

Over the course of a couple months, my husband and I created this beautiful poker table based heavily on the Benchmark Octagon Table plans found here. The farmhouse style base was essentially the same although the size was modified slightly to better accommodate our poker table top that was completely custom. We even created slide out cup holders that work perfectly.  So much wonderful inspiration from both here and Pinterest that gave us wood working virgins the confidence to tackle our first project together. 

Estimated Cost
$500+

I've saved all the receipts but hesitant to add it up as I know there were an insane number of trips to Home Depot! Also, because I am new to this we had to make a significant investment in tools. It's worth every penny and more.
Estimated Time Investment
Week Long Project (20 Hours or More)
Finish Used
Saman waterbased stain (three parts Iron Earth and one part White Wash colours the top and it's finished with multiple coats of Saman water based Matte lacquer. The base is painted with Rustoleum Chalk paint first with charcoal and Aged grey and then covering with Linen White. Once dry the edges were lightly sanded to reveal the grey and black giving a distressed look.
Recommended Skill Level
Intermediate

Garden shed

Submitted by Anonymous (not verified) on Sat, 11/28/2020 - 13:19

Our take on the small garden shed. Ours is 4 1/2 by 7 feet. We used cedar fence pickets and 2x4 construction. Left over shingles from when our house was built. We are definitely not roofers or framers, also chasing around a 3 year old didn't make things easier. Turned out beautiful for what we want it for. Just rustic enough. Great intermediate project.

Built from Plan(s)
Estimated Cost
$400
Estimated Time Investment
Weekend Project (10-20 Hours)
Finish Used
Thompson's clear water seal will be applied this summer.
Recommended Skill Level
Intermediate

Comments

Seasonal And Holiday

Bi-Fold Closet Doors

We wanted to replace the vented / painted bi-fold closet doors in our Master Suite with something that was warmer and more consistent with the decorating motif of the house.  We priced out various wood bi-fold doors and were shocked at the $350 - $600 price range of what was available.   We decided that building them ourselves was a much better choice.

The frames are made from 1” Knotty Pine and the panels are from ¼” Knotty Pine.   Frames were made to fit and assembled w/ Kreg screws & Glue.  Rabbet channels were cut w/ the router and the panels were brad nailed & glued.

It was finished w/ the same stain used on our Knotty Pine ceilings / walls and finished w/ a satin varnish for a perfect match to our house.

This was a very straightforward, quick & inexpensive alternative to purchasing expensive bi-fold doors.   

The doors took about 15 hours to build / sand and 10 hours to finish.   Total cost was around $100. 


Estimated Time Investment
Week Long Project (20 Hours or More)
Finish Used
Custom stain and satin varnish.
Recommended Skill Level
Beginner

Comments

Spice Rack

Submitted by Anonymous (not verified) on Mon, 01/11/2021 - 15:48

I made a spice rack for my wife. I asked if I could use it for a Mother's Day gift but she said I could use it for a Valentine's gift. Rabbit joint 1/2" maple plywood into back. Shelf bottoms dadoes into sides. No nails or screws, only glue joints. Sides are 3/8" thick and top is 5/8" thick. Slats are 1/8" fat glued to shelf bottom and sides with 1/8" shadow reveal line on three sides.

Built from Plan(s)
Estimated Cost
scrap wood from the shop
Estimated Time Investment
Weekend Project (10-20 Hours)
Finish Used
McCloskey Marine Spar Varnish
Recommended Skill Level
Intermediate

Comments

Round X Base Pedestal Dining Table

Submitted by bRick on Thu, 12/18/2014 - 18:05

We wanted a round table that would seat a full Monopoly game. To do this we needed about a 5' diameter tabletop.  The base was made consistent with the plans.  

A few tips on the base:

  1. Get your angles as close to 45° as you can.  Otherwise, there will be much sanding and puttying in your future.  
  2. If you want to hide your lag screw like I did, I used a spade bit to recess an area for the screw head.  Then I glued in a plug made from dowel and sanded flush.  

If you want to make a round tabletop, here is what I did (there may be better methods).  Keep in mind this was for a ~60" diameter table, I was assuming that the perimeter arc pieces would be about 4.5" wide and that I would cut the inner circle at a 50" diameter.

  1. Picture 1 - I built two 5' slabs of (7) 2x4s pocket-holed together.  
  2. Picture 2 - Then I cut two pieces from each slab that would later make up the 90° "pie slice" pieces.  Make sure to remove the screws that will be in the way your saw blade. Also, you just have to concern yourself with the angle since the radius will be dealt with later.  There is a lot of wood waste with this method, but I think it avoided headaches. 
  3. Picture 3 - I assembled (screwed and glued) the "pie pieces"to the cross pieces. The length of the cross pieces don't matter much since they will also be to cut to a specified radius.  Since I would be cutting a 50" diameter circle, the large cross piece had to be at least 50" and the two small pieces had to be at least 22.25" (subtracting the 2x6 width).  
    1. Picture 3 - I mounted my router to a piece of MDF and drilled a hole at the necessary distance to cut a 50" diameter circle. This distance is 25" + half of the bit diameter.  Since I used a 1/2" straight bit, my point was 25.25" from the center of the router bit.  I screwed this jig to the center of the tabletop assembly so the router could pivot and cut a circle.  As for logistics, I rested this assembly on some scrap wood and kneeled on the tabletop as I was cutting it.  It took a large number of passes with the router since I was cutting through 1.5" of material. 
  4. Picture 4 - The perimeter pieces required some time and geometry. I found that I would need (8) 23" 2x8 pieces (the 23" is approximate because I was a little off for some reason, though I can't recall why).  From those pieces, I used the same router jig to cut the perimeter arc pieces. You will need to make two new radius holes in teh jig to accomplish what you need.  To cut the inner arc you need a hole set at 25" - half of the bit diameter (24.75" for me).  To cut the outer arc, I used a hole that was 29 5/8" from the center of the router bit.  You may need to do some fine tuning to these pieces to get them to fit correctly, but for me it pretty minor.  I trimmed a couple pieces with a miter saw but that was it. 
  5. The rest is screws and glue. 
Estimated Time Investment
Week Long Project (20 Hours or More)
Finish Used
Sanded using 60, then 120 grit. The stain was Rust-Oleum's Ultimate Wood Stain in Dark Walnut. The top coat was General Finishes water-based polyurethane in flat. One coat of stain, six coats of poly, while sanding with grade #0000 steel wool after every other coat.
Recommended Skill Level
Intermediate

Comments

ILoveDIYing

Sun, 03/08/2015 - 10:23

Hi, your table is beautiful! I was wondering if you had to increase the size of your base since your table top is 60". I'm going to be building a round one the same size and wanted to make sure it would be stable at the current size.

bRick

Fri, 03/13/2015 - 20:36

The only modification I made to the base was the to the lengths of the 2x4 pieces that make up the "X" that sits between the base and the tabletop. In the plans, this "X" is made of (1) 32" piece and (2) 14.5" pieces. I believe I increased these to 36" and 16.5", respectively. Truthfully, I don't think this modification added much value.

I did some calculations and at a 60" diameter, it would've taken over 100 lbs placed at the edge of the table. This was also a function of the weight of the table. The heavier the table, the more stable it will be.

Momma Gladden

Sun, 04/05/2015 - 19:21

I want to put a concrete top on this base and increase the diameter to 72". Would I need to increase the size of the base to accommodate the larger and heavier top? Thank you

bRick

Tue, 04/14/2015 - 20:20

It all depends on how much your tabletop weighs. I'm going to take a wild guess that your tabletop will weigh around 500 lbs (~28 sq. ft. at ~18 lbs/sq. ft.). For reference, I think my wood top weighed about 80 lbs. I will also assume the wood base weighs 50 lbs. Using these assumptions, the result is a worst-case scenario (weight placed at edge of table, tipping between two table legs) of tipping at 300 lbs. The lighter the tabletop, the less stable it will be. Since your concrete table is likely to weigh a lot more than my wood top, it will be a lot more stable.

That addresses the design and assumes none of the wood or connections (screws) fail under the increased load (weight of concrete). I can't speak very confident to this aspect. Though I can venture a guess. I will guess that it will be stable under no load, but there will increased loads when under uneven stress (i.e. somebody leaning on one side of the table). Honestly, I don't know how valuable any further speculation would be.

X3cougsp

Tue, 09/06/2016 - 08:14

Can the pedestal hold a 66"- 72" top?  I've been searching for a table that seats 6 comfortably with an occasional squeeze for 8.  I think a 60" would work but my husband thinks 72".  We are struggling to find exactly what we want and are now investigating DIYs .  This is a beautiful table!!  

In reply to by X3cougsp

bRick

Wed, 10/05/2016 - 17:16

This is a conversation that we had in our house as well. My personal opinion is that 60" is big enough for 6 people and good enough for 8 people. What we did to "dry run" it was I cut a board to 72" and set it up at table height and we sat at oppposite ends of the board. I asked my wife if it was too big and we both agreed that not only would really shrink the room, but it also was too big for regular use. We currently have 6 chairs around this on a regular basis. As for the stability of the table itself, you may want to increase the width of the base. I say this because 74 lbs at the edge of the table (in between legs) will cause the table to tip, which is probably a force that will be exceeded by someone leaning on it. 

bRick

Thu, 12/22/2016 - 20:58

I used the jig that I made the large circle but made a couple new radii. The inner edge was the round piece radius minus half of the bit diameter. The other radius is as wide as you want to make it. 


I fixed this jig to my work bench and set it up so that I would be cutting each piece identically. I have a picture that I'll add that shows it better than I can explain it. 

In reply to by Omally83

bRick

Sat, 01/21/2017 - 07:46

I believe my approach was that I cut the 2x8s to the length that would produce the arc length I was looking for. So basically the outer edge was going to (if my jig did its job) be exactly as long as I needed it to be. With that in mind, I used a piece of yarn tied to the pivot point on the jig that I was using and used that to tell me where I needed to make the cut. 

Otherwise, I could've used trig to figure it out but I was all angled out by that point. With 8 border pieces they should each cover 45 degrees (360/8) and the other two angles should be equal ((180 - 45))/2=67.5) resulting in a 67.5 degree angle. The trouble in using that method is it doesn't account for all the little screw-ups that may have thrown off certain measurements. Plus, the yarn-thing was pretty easy. 

SueInVA

Sat, 01/23/2021 - 14:17

We made the table base for a 60" solid walnut top (used the wider measurements). When people get up from the table, my husband thinks the base twists when they push off. Has anyone else noticed this or have a suggestion on how to make the table not twist? Thanks, Sue

Bathroom sliding vanity

Submitted by Anonymous (not verified) on Thu, 01/21/2021 - 16:58

I don’t know anything about carpentry but my wife seen this and told me that I can do it and I said no way so she trusted me and here it is. Mirror was bought at the Goodwill $2.00 thank you

Estimated Cost
30.00
Estimated Time Investment
Afternoon Project (3-6 Hours)
Finish Used
Varathane classic penetrating wood stain classic gray
Recommended Skill Level
Starter Project

Comments

King Bed Frame

Submitted by Anonymous (not verified) on Tue, 04/18/2017 - 16:39

This was a fun project. Easy instructions great piece of furniture. It is very sturdy. I'm a beginner at DIY wood projects so this was a rewarding project.

Built from Plan(s)
Estimated Cost
$200
Estimated Time Investment
Weekend Project (10-20 Hours)
Finish Used
Minwax red Chestnut and American Chestnut. Treat the American Chestnut more like paint than stain it dries quickly.
Recommended Skill Level
Beginner

Walk-in Master Closet

Submitted by DionneM on Fri, 03/15/2013 - 17:18

I've been drooling over those custom closet organizers for years, but they were either too expensive, not well made or some combination of not right for us. So seeing Ana's master closet plan really sent my imagination soaring. My challenge. My master closet is a small walk-in 5'x7' so I did have to do some adjusting. I love having a place for shoes and sweaters. One of my favorite parts is the continuous top shelf that connects all the parts together forming a big 'U'. I used my Kreg jig to connect each of those pieces. Anyway, thanks Ana White for the inspiration.

Estimated Cost
$300
Estimated Time Investment
Weekend Project (10-20 Hours)
Finish Used
Ace Hardware Trim and Cabinet Paint
Recommended Skill Level
Intermediate
Back