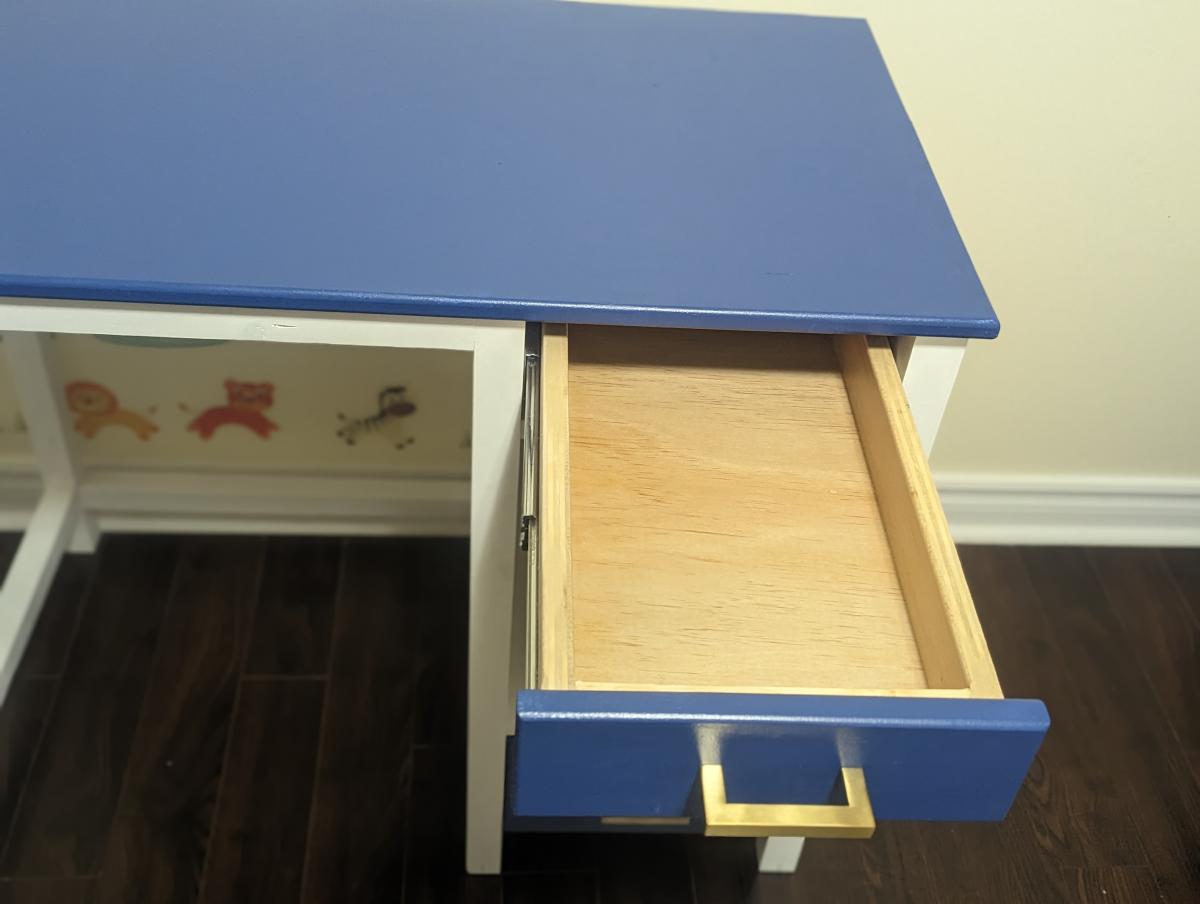
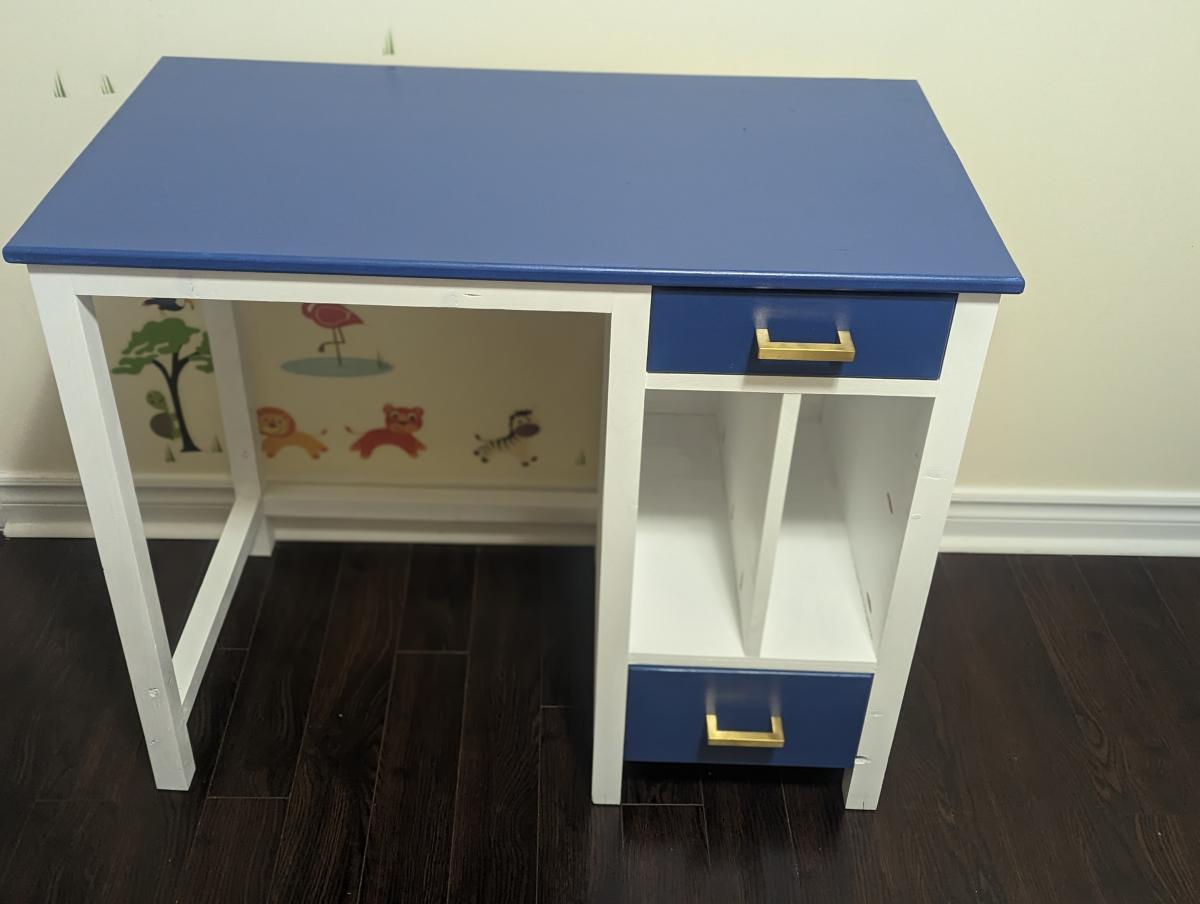
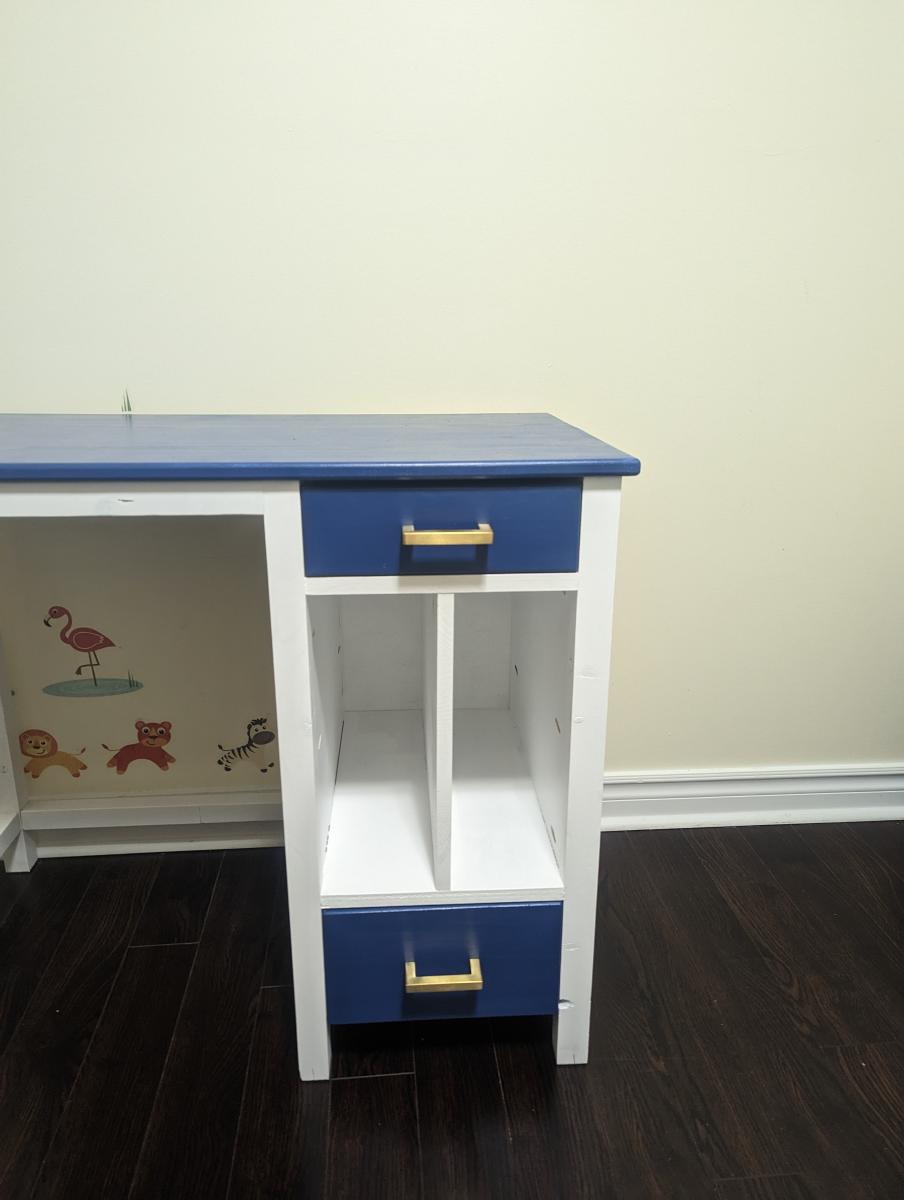
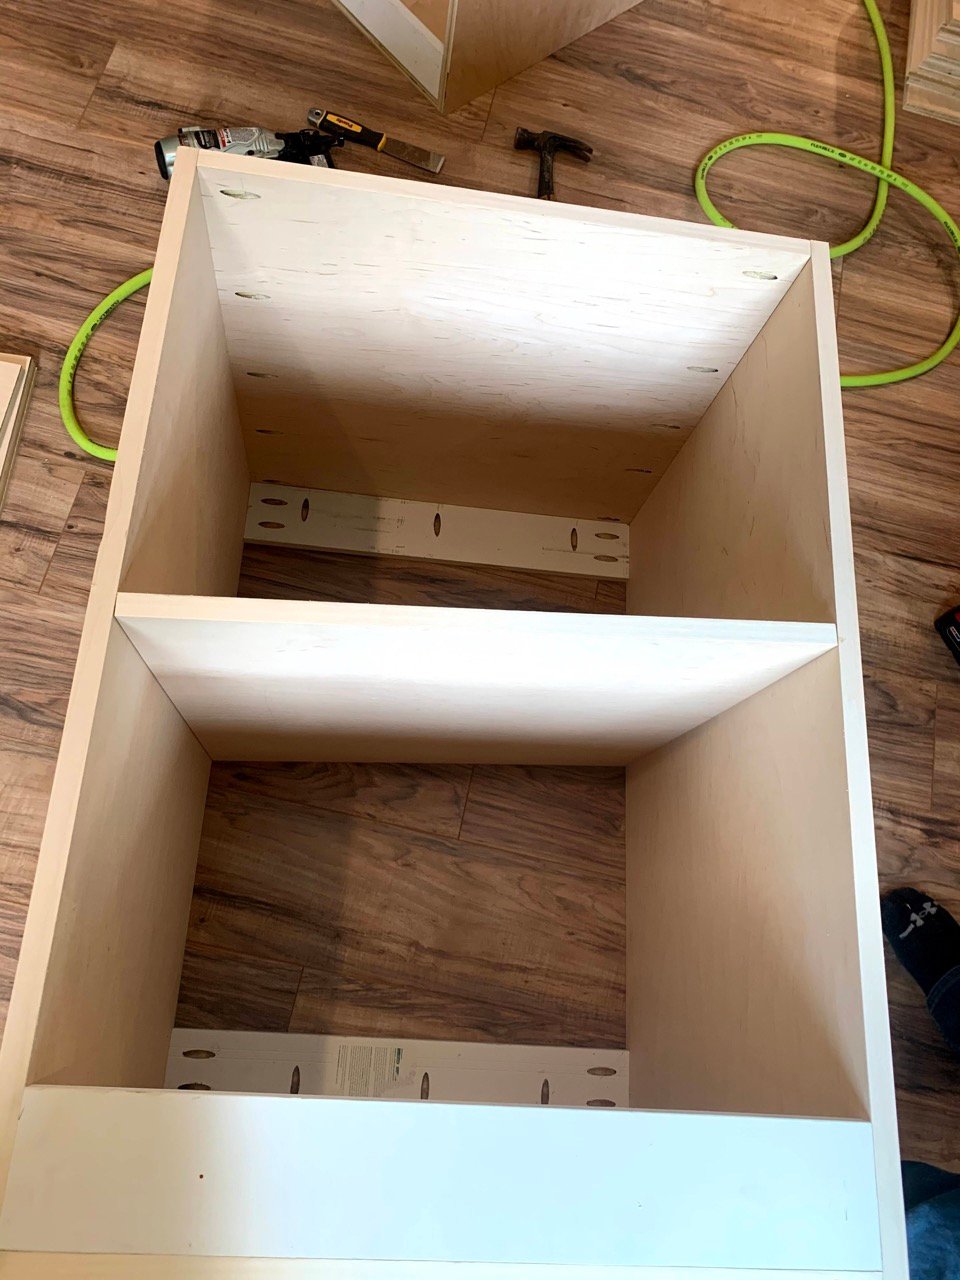
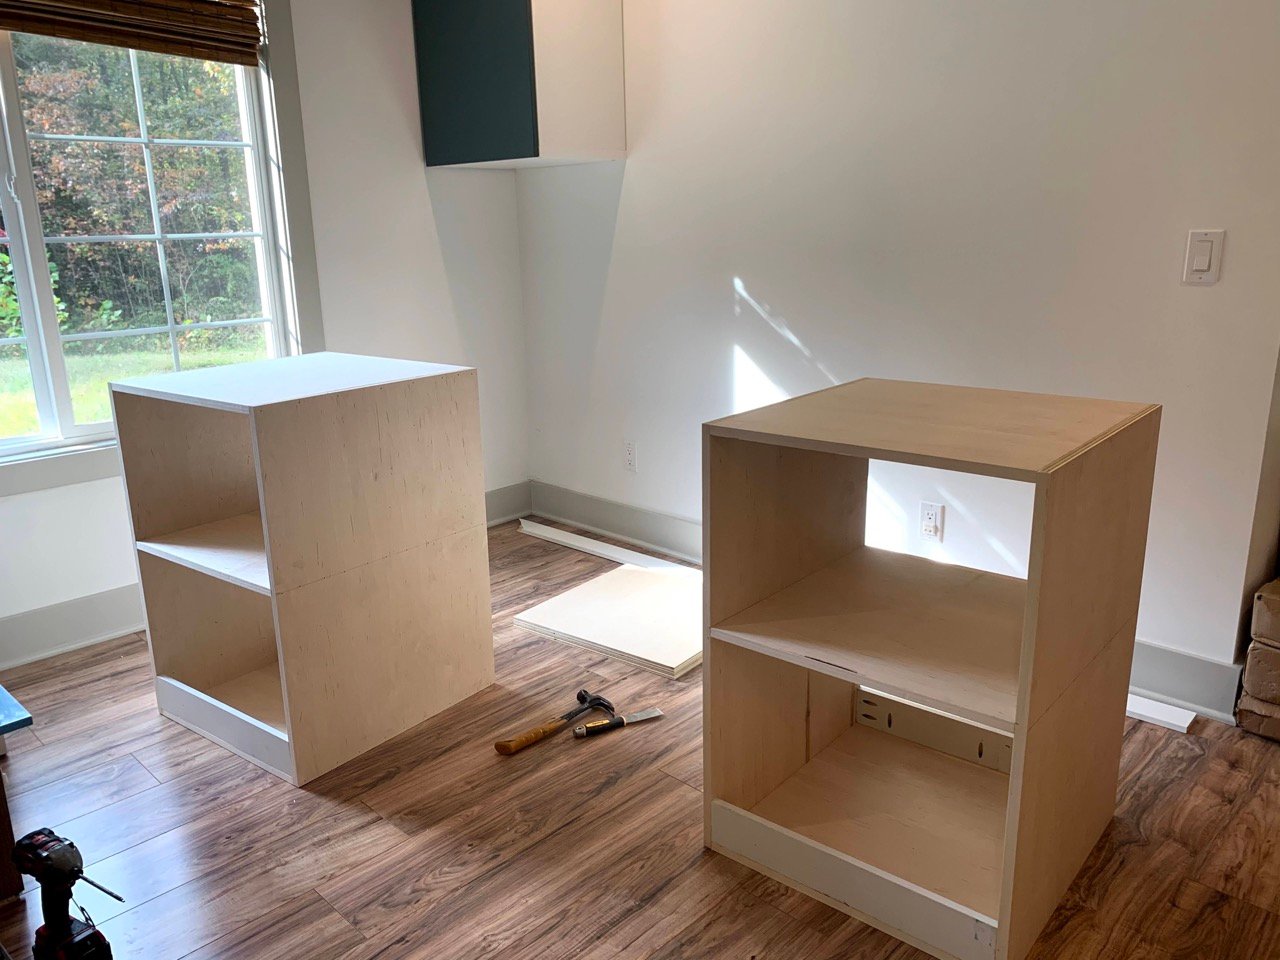
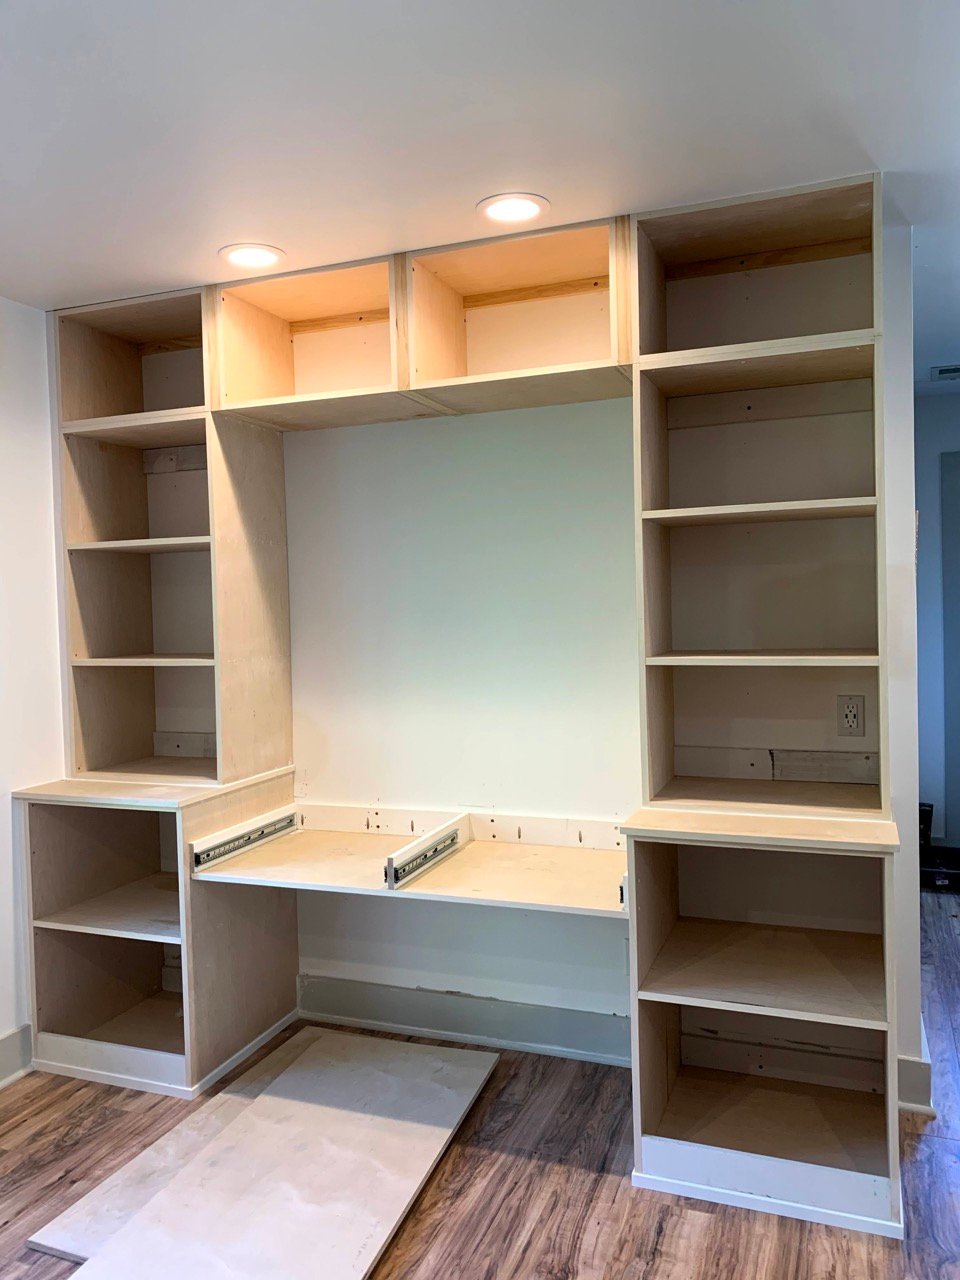
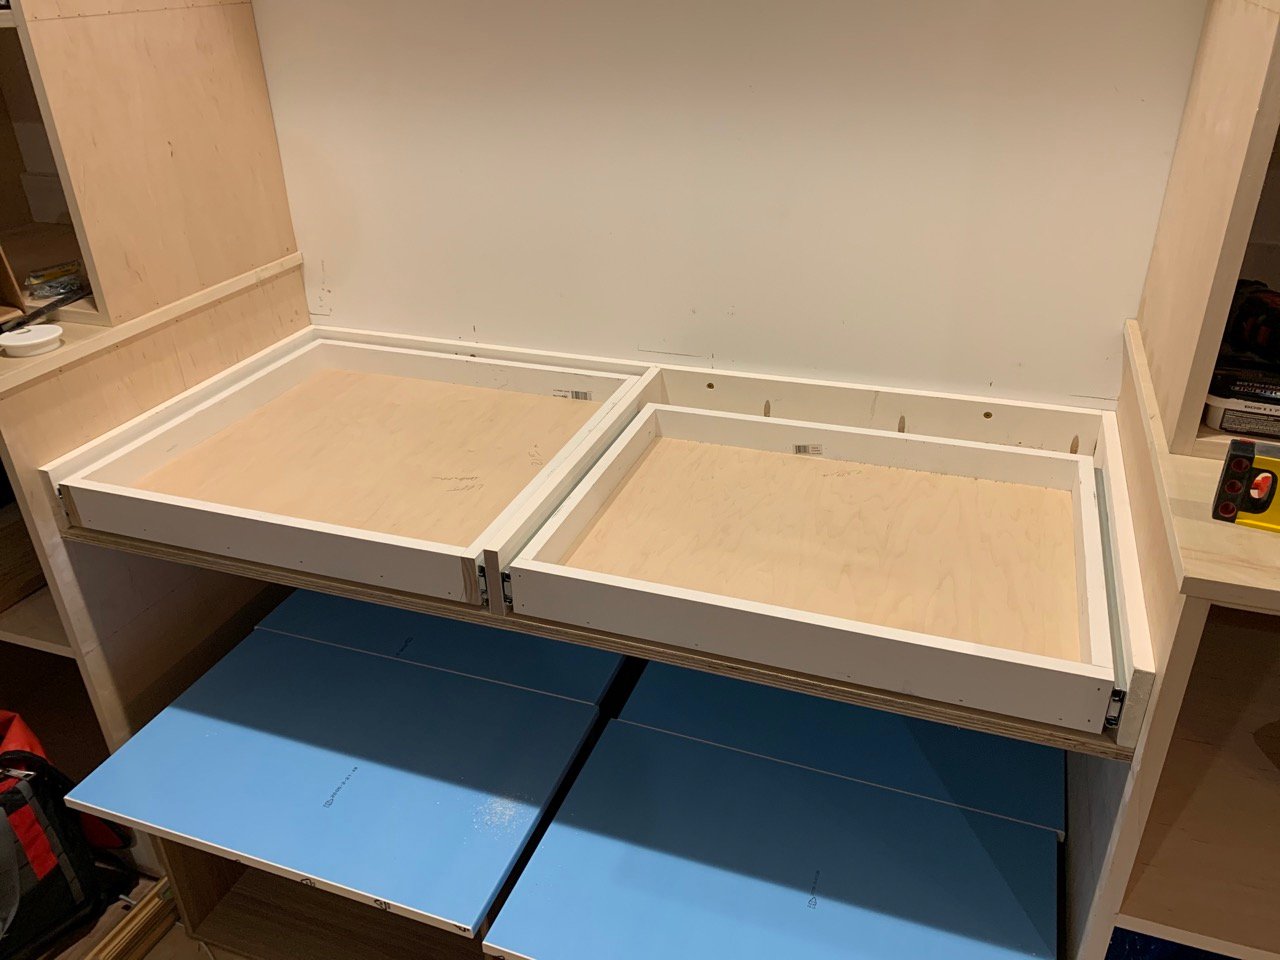
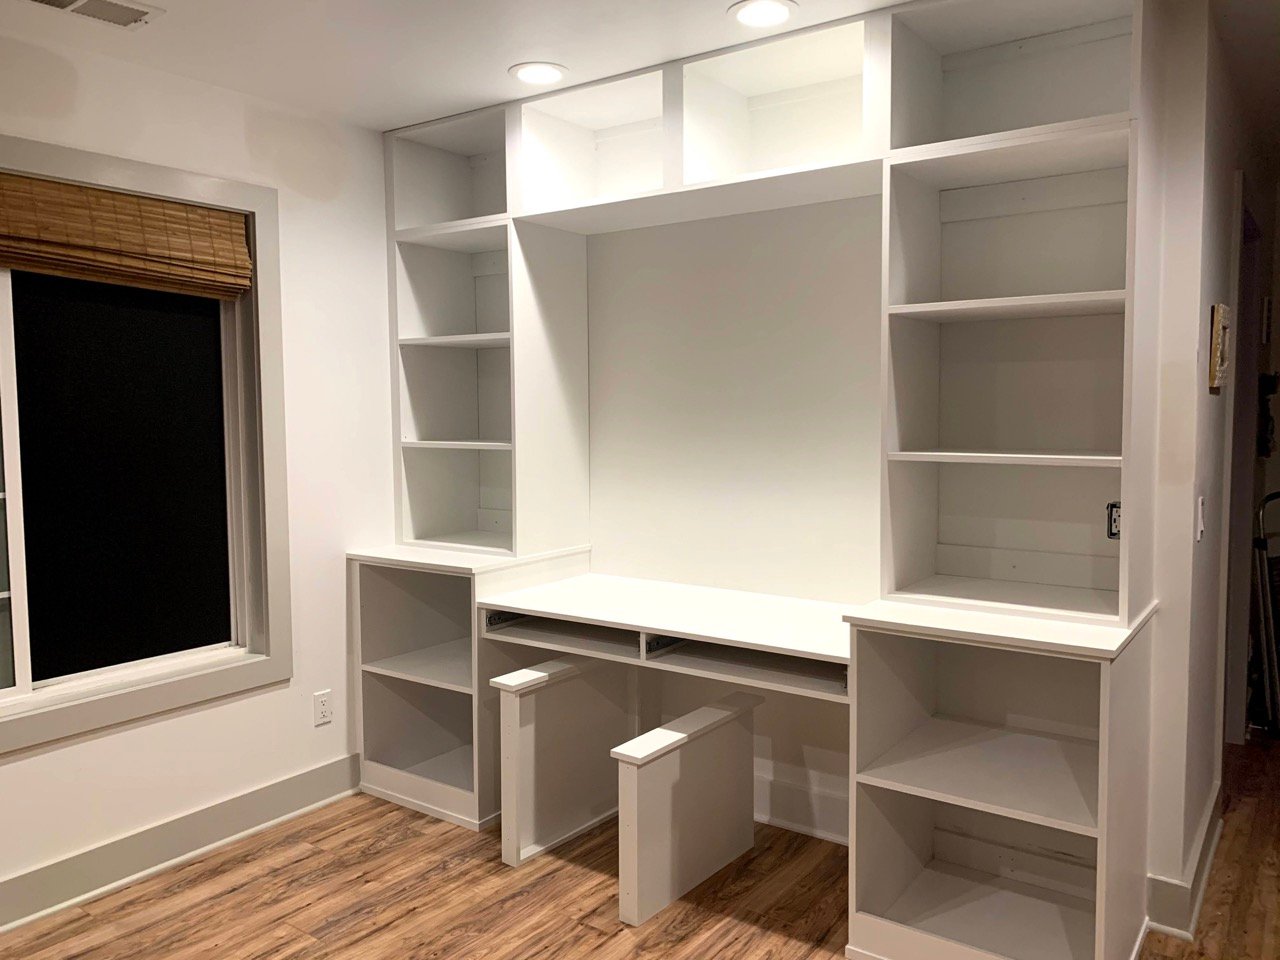
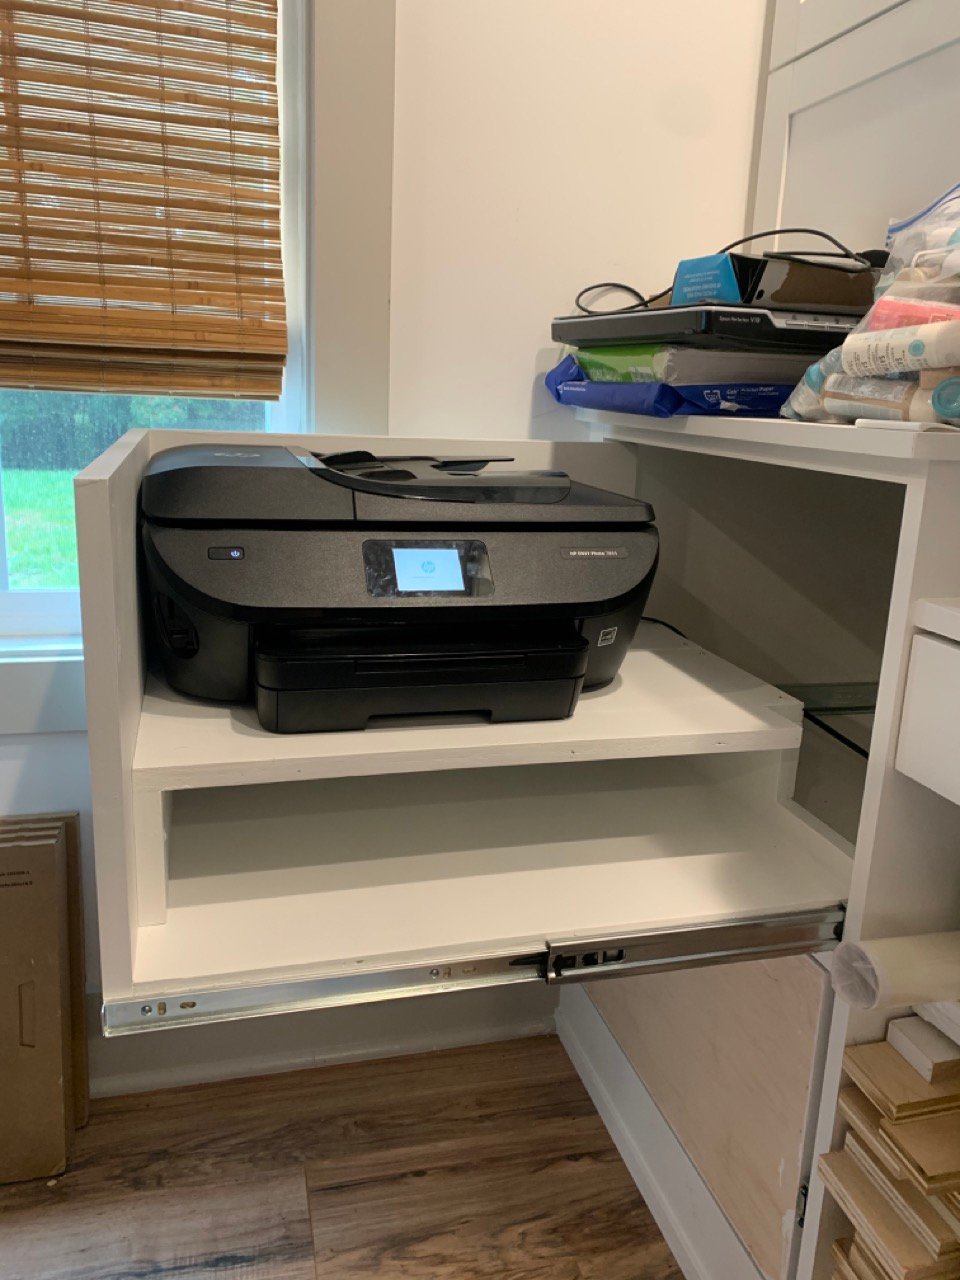
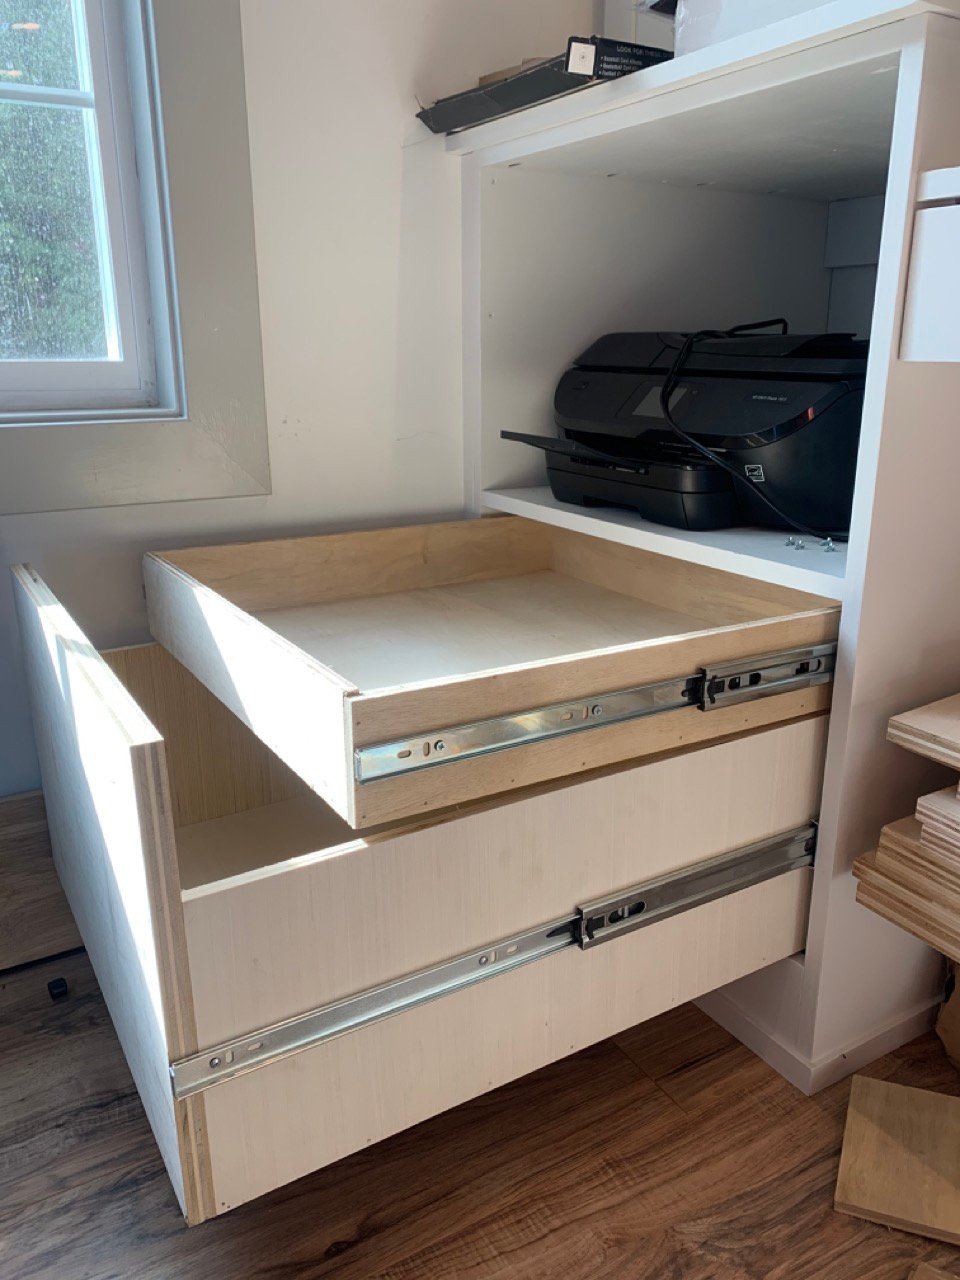
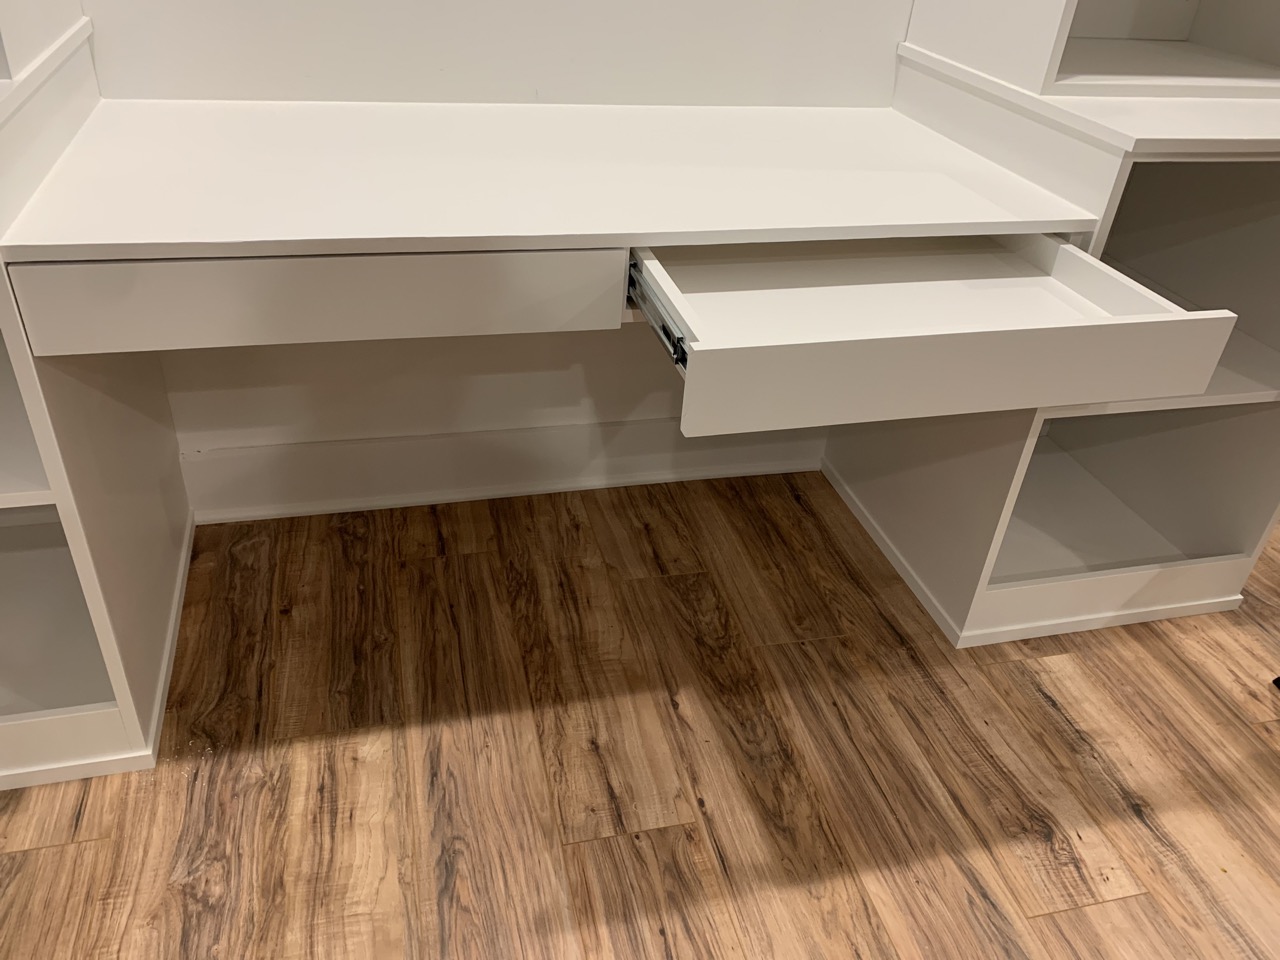
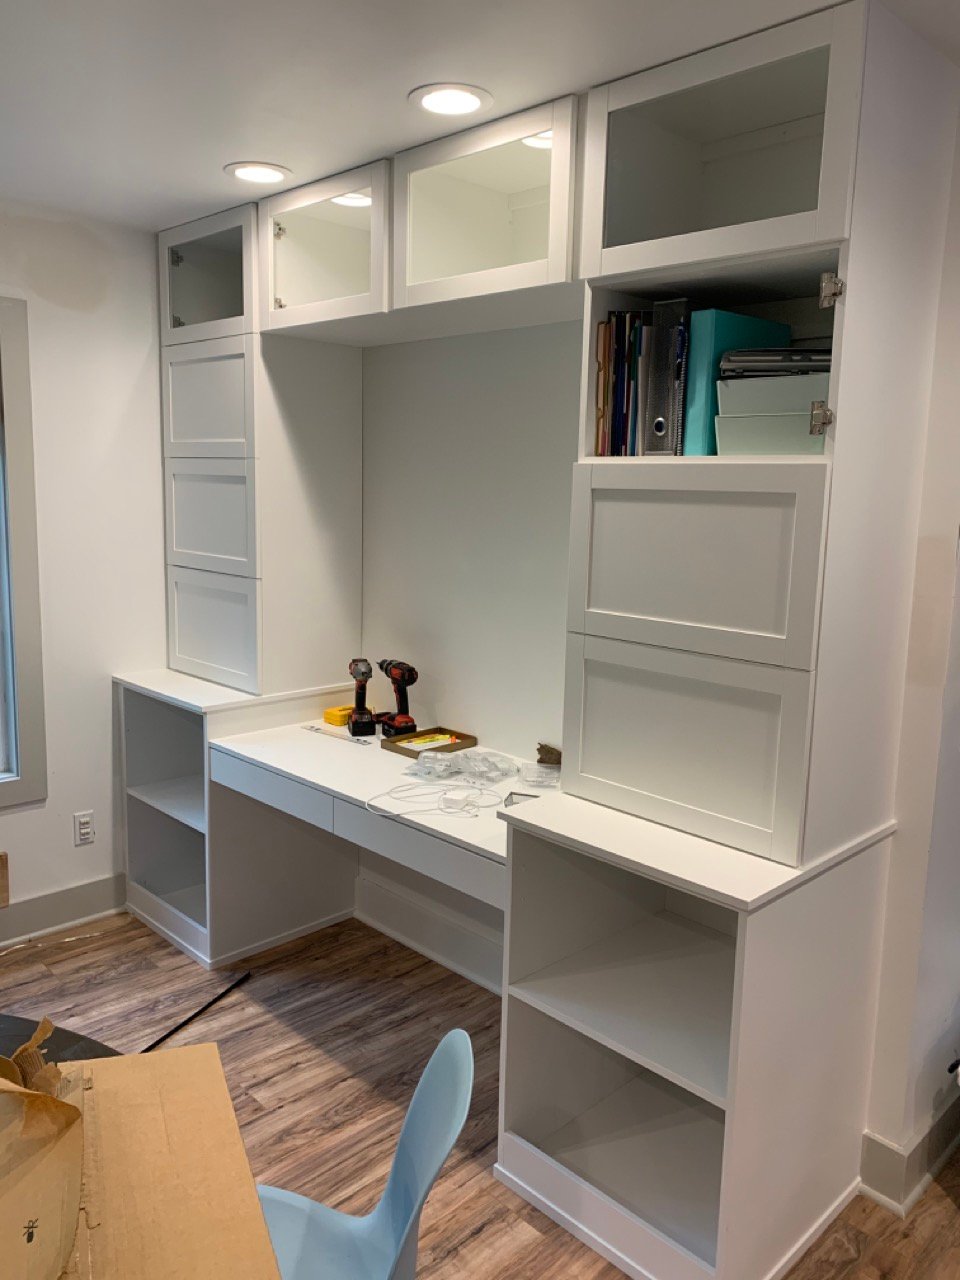
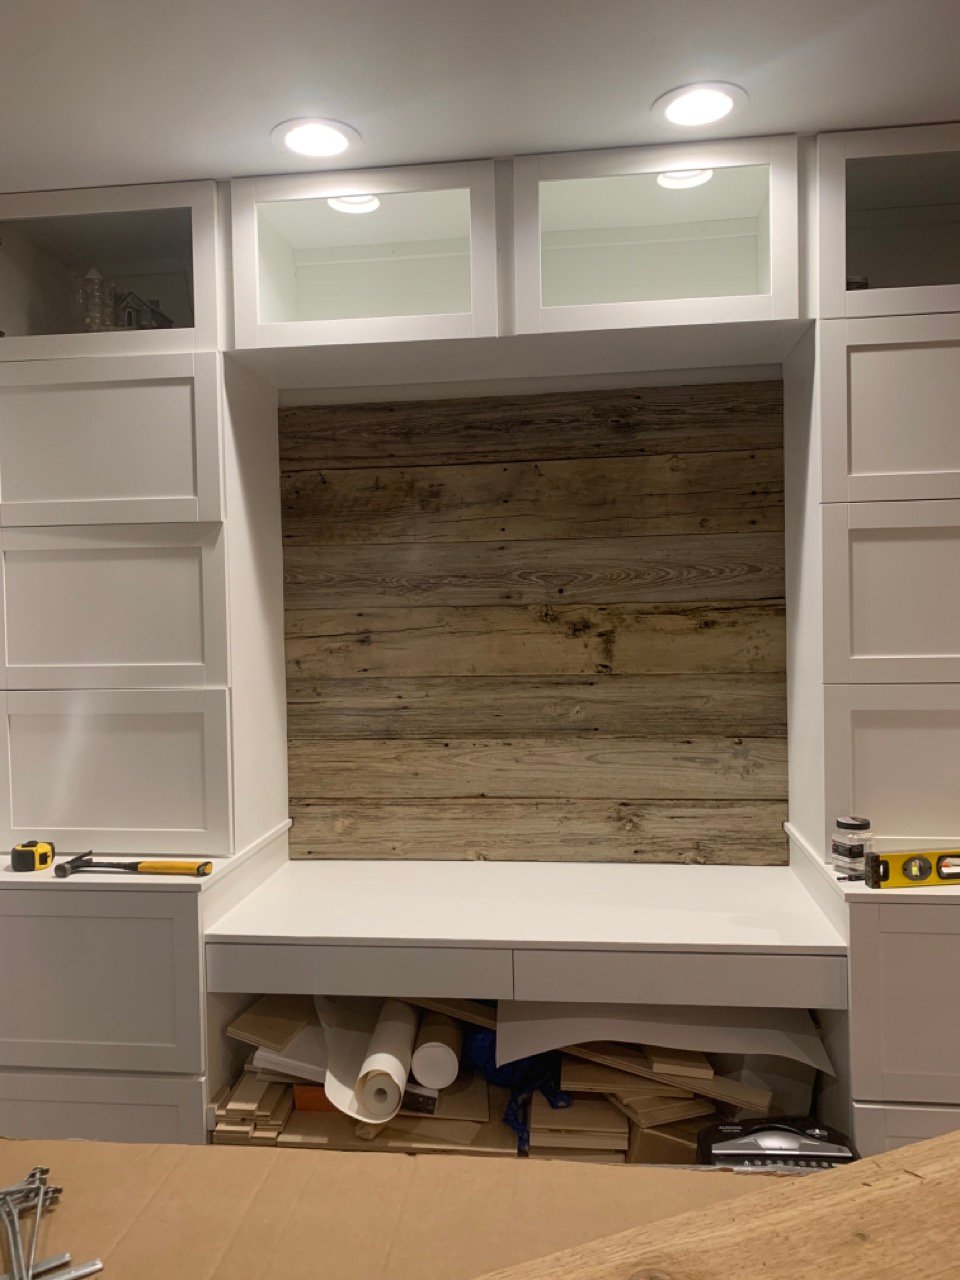
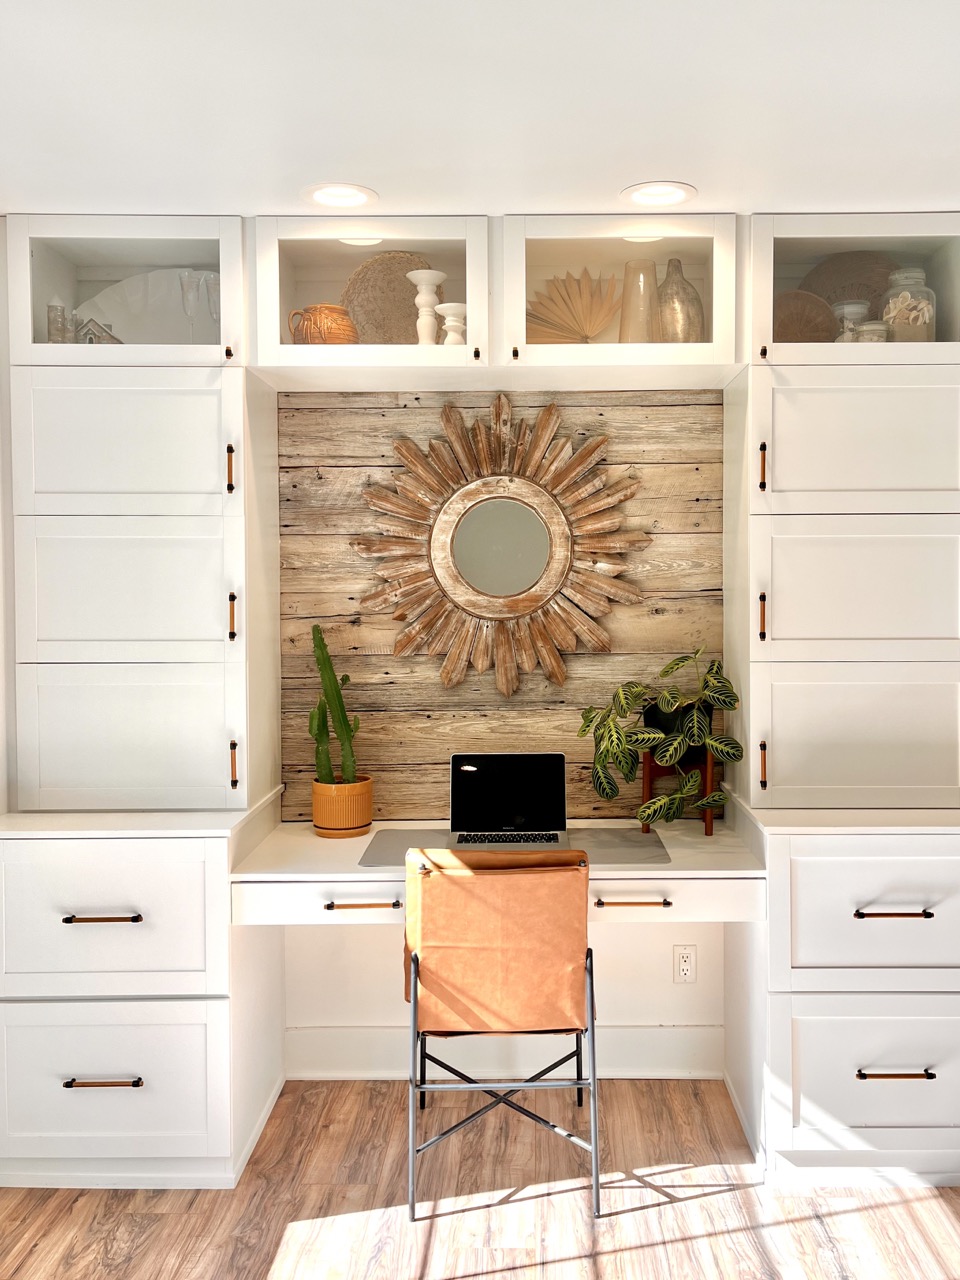
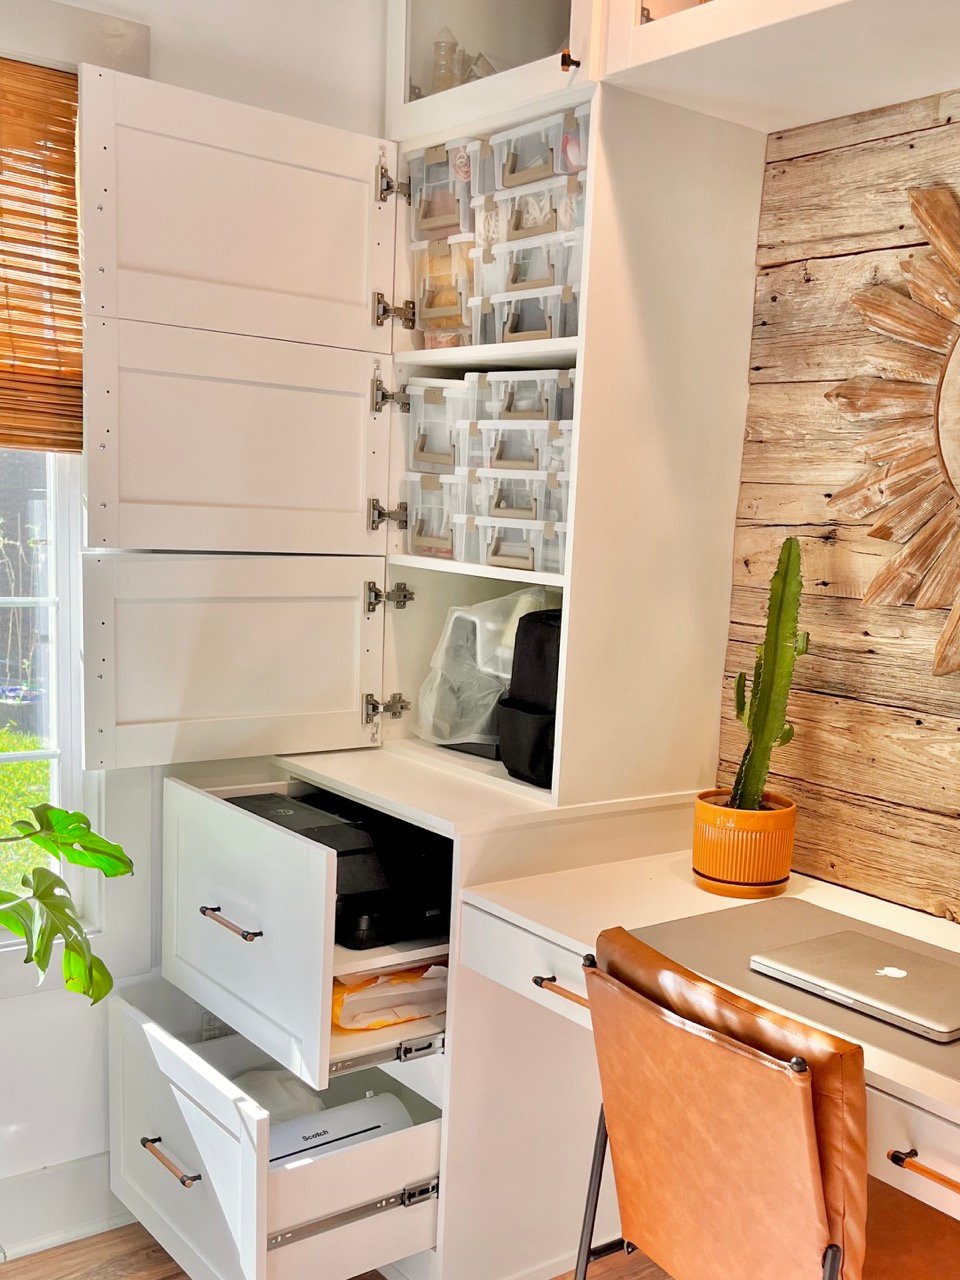
Kids desk
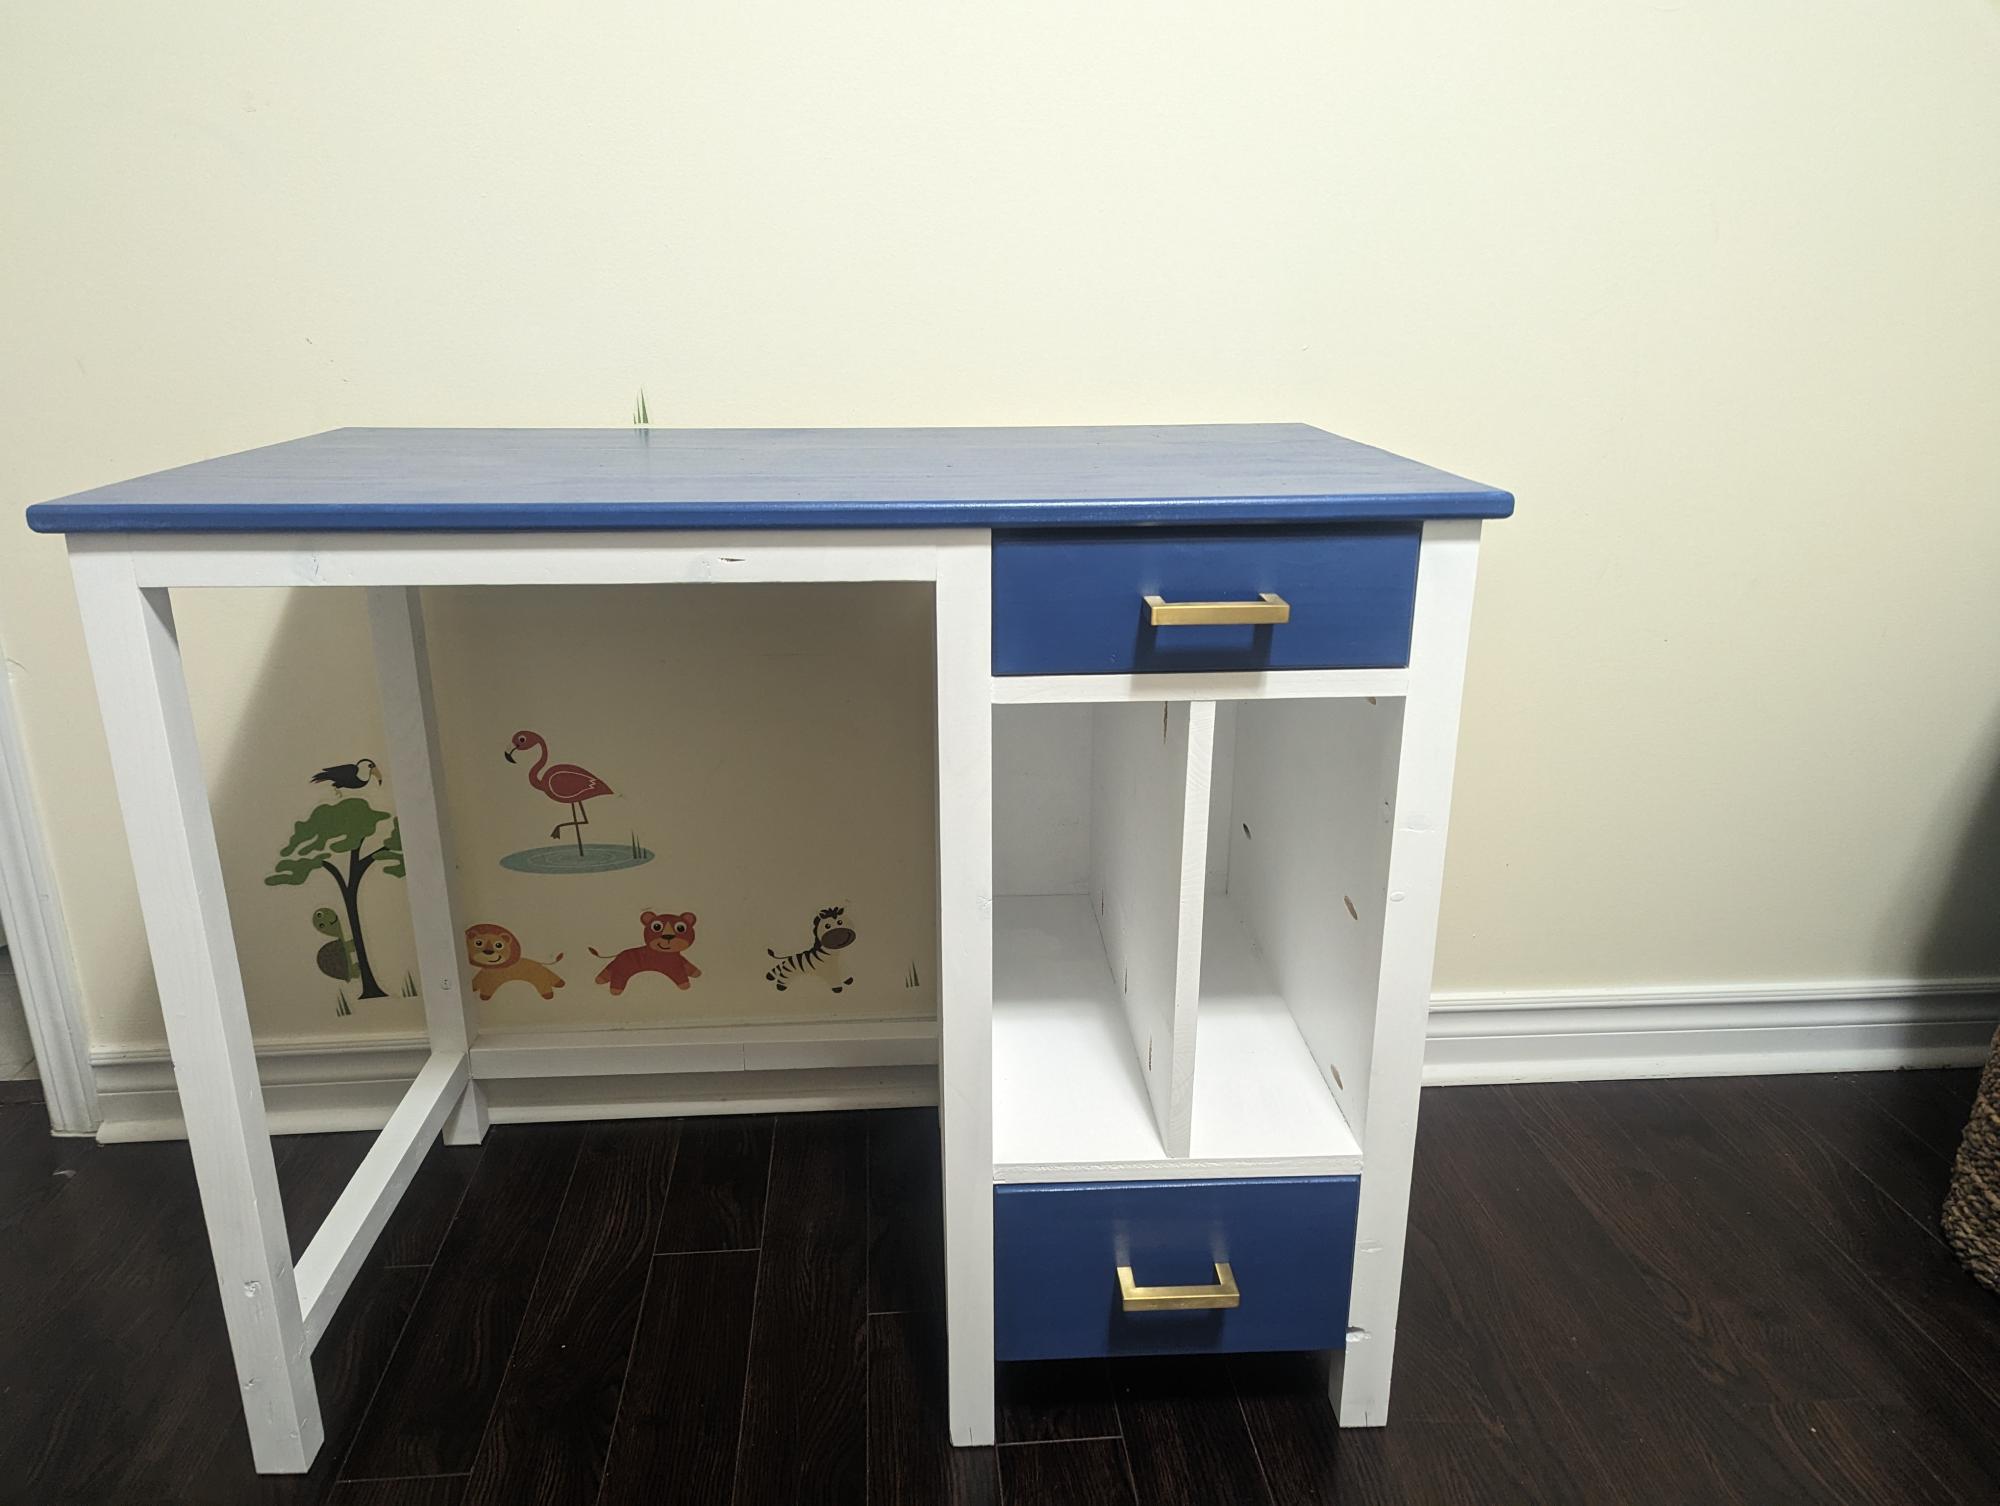
My daughter wanted a desk from a long time and this was a perfect plan!! I tweaked it a little as per our requirement and it came out be awwsome!! My daughter loves it :) Thanks Ana for the plan..
Built from Plan(s)
My daughter wanted a desk from a long time and this was a perfect plan!! I tweaked it a little as per our requirement and it came out be awwsome!! My daughter loves it :) Thanks Ana for the plan..
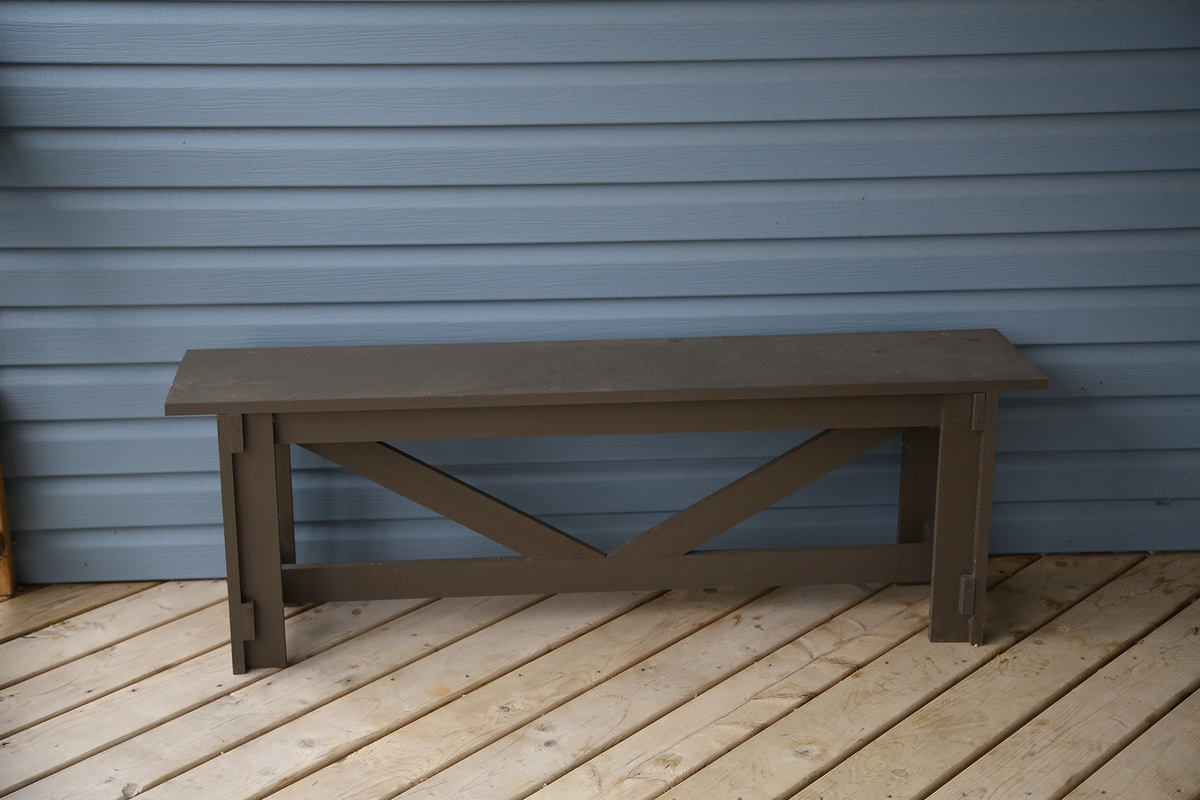
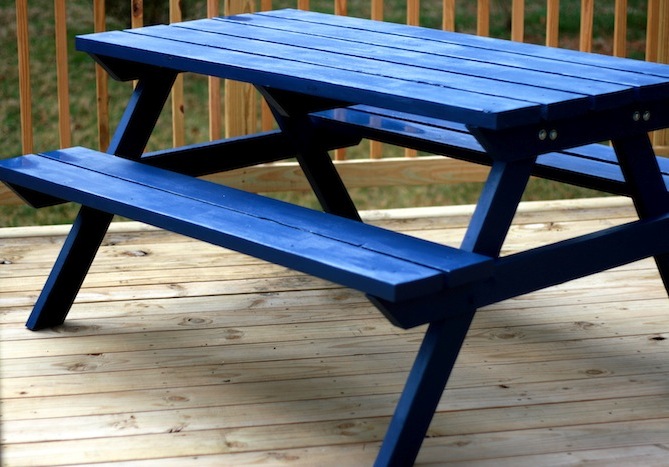
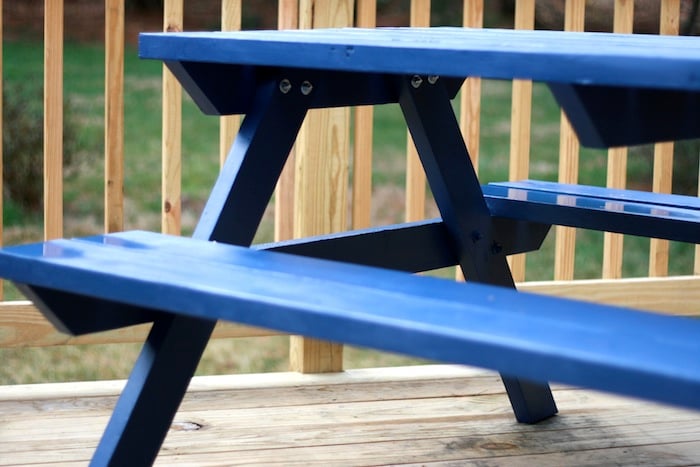
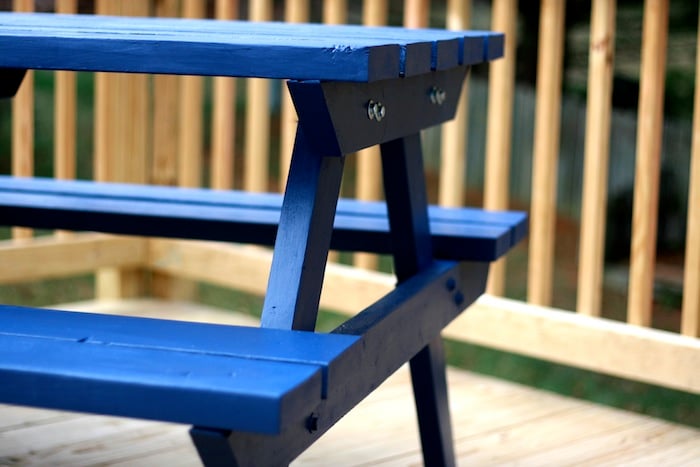
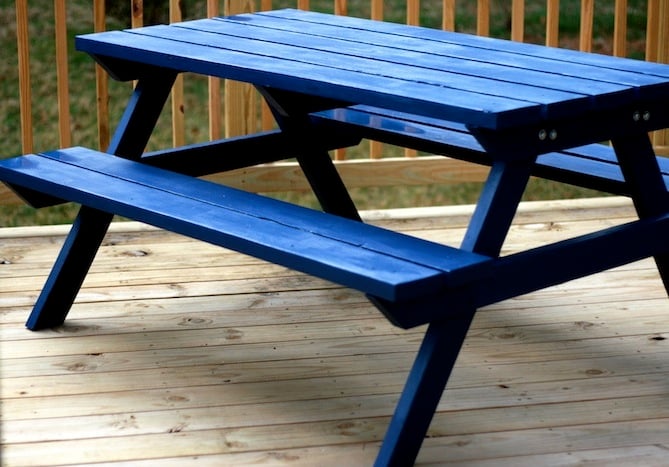
This bench is a perfect addition to our front porch.
This is one of the first projects that I tackled, and its holding up beautifully!
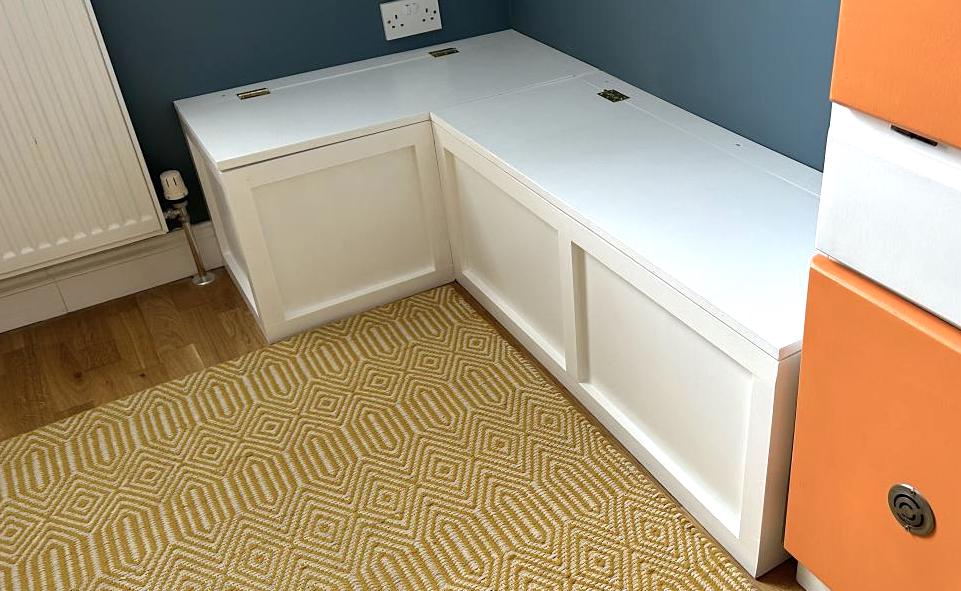
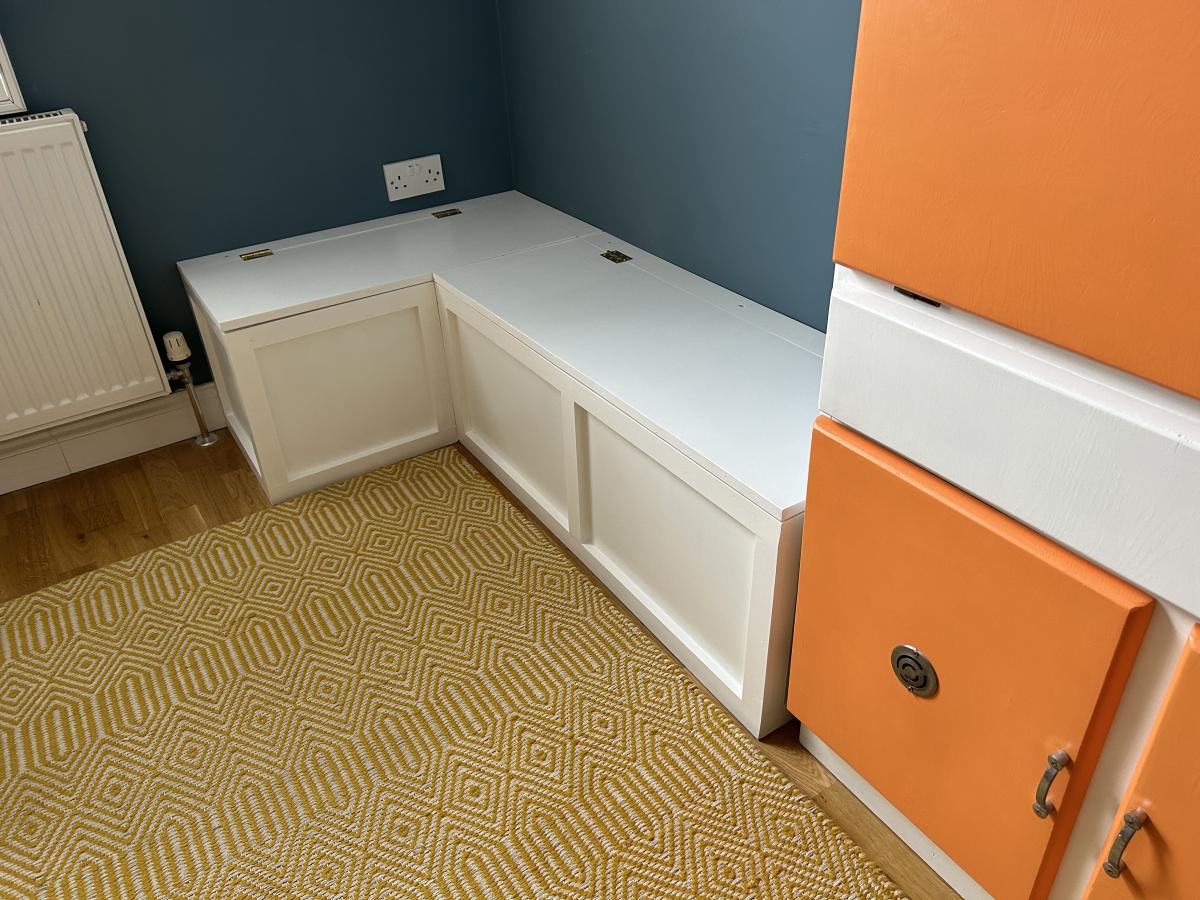
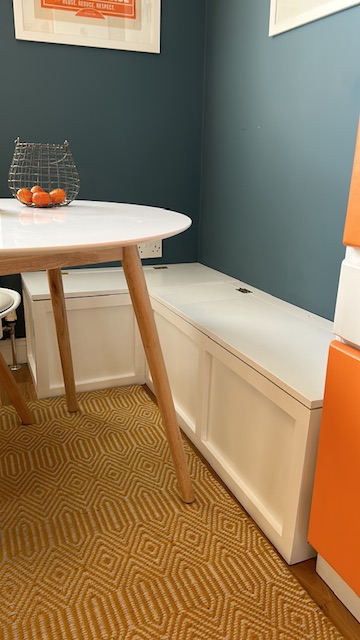
Thank you, Ana, for the banquet bench plan! I’ve never done any form of carpentry before, but with your plans, the right tools and some perseverance, this labour-of-love is my new pride and joy and has added some much needed storage to my small kitchen.
Angela (London)
Mon, 04/24/2023 - 10:34
You did an amazing job and it fits your space perfectly! Thanks for sharing.
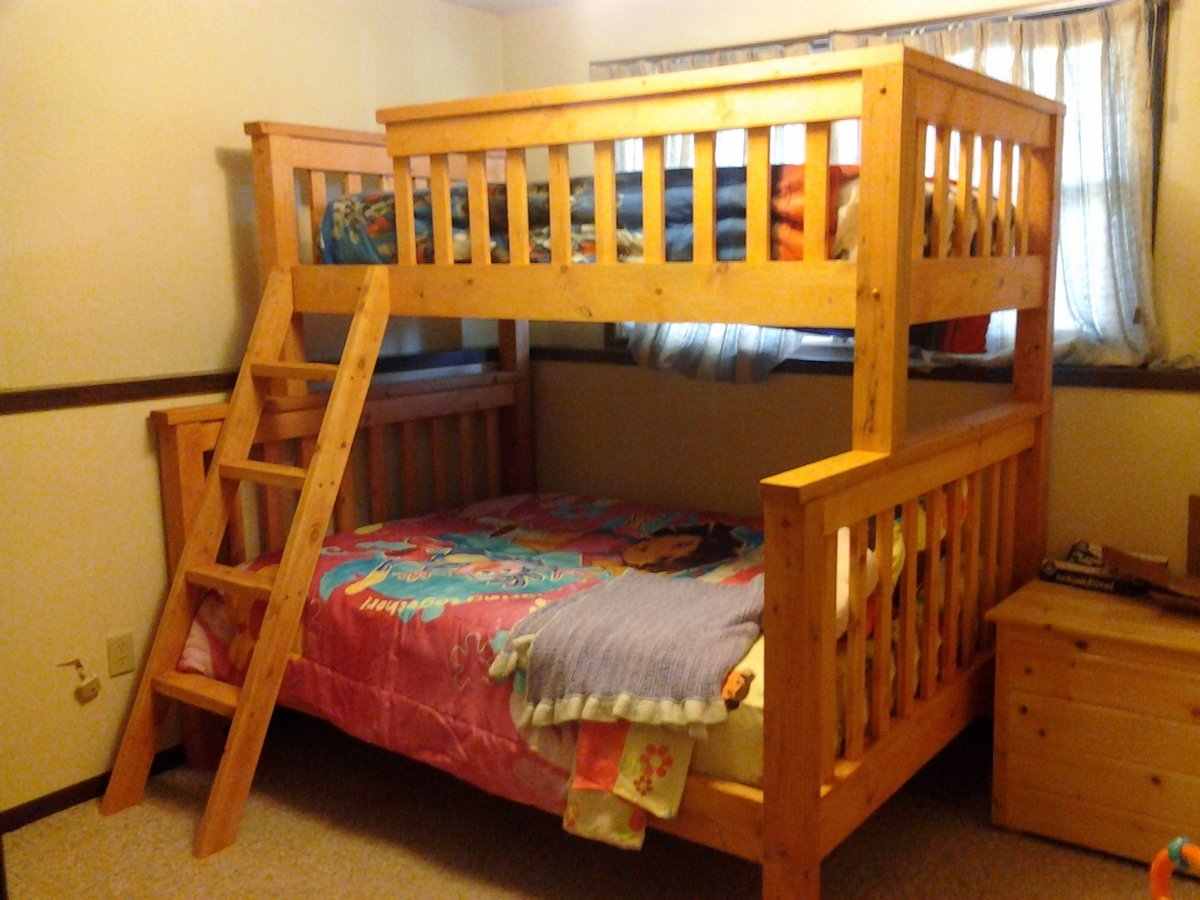
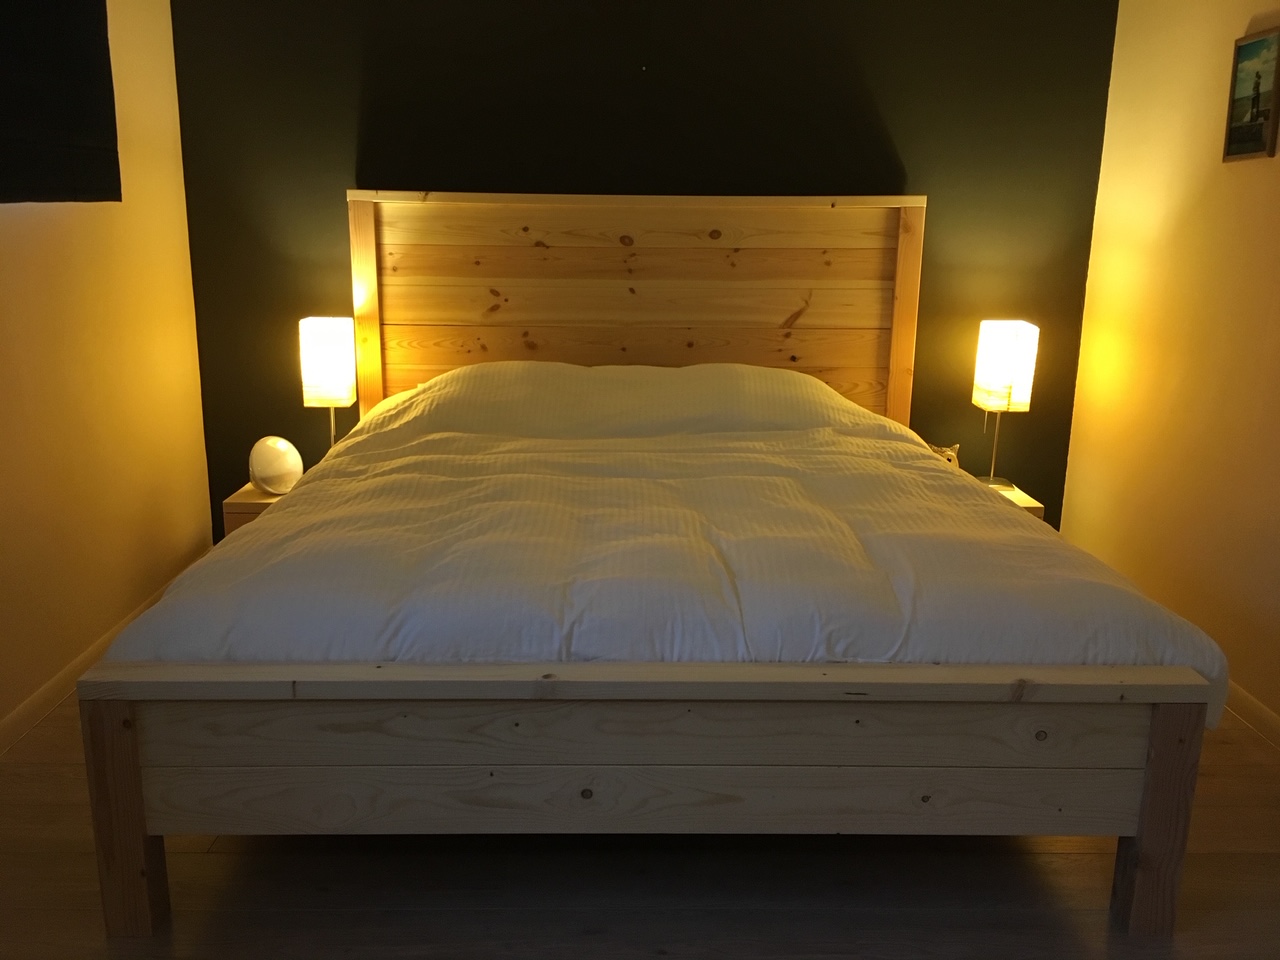
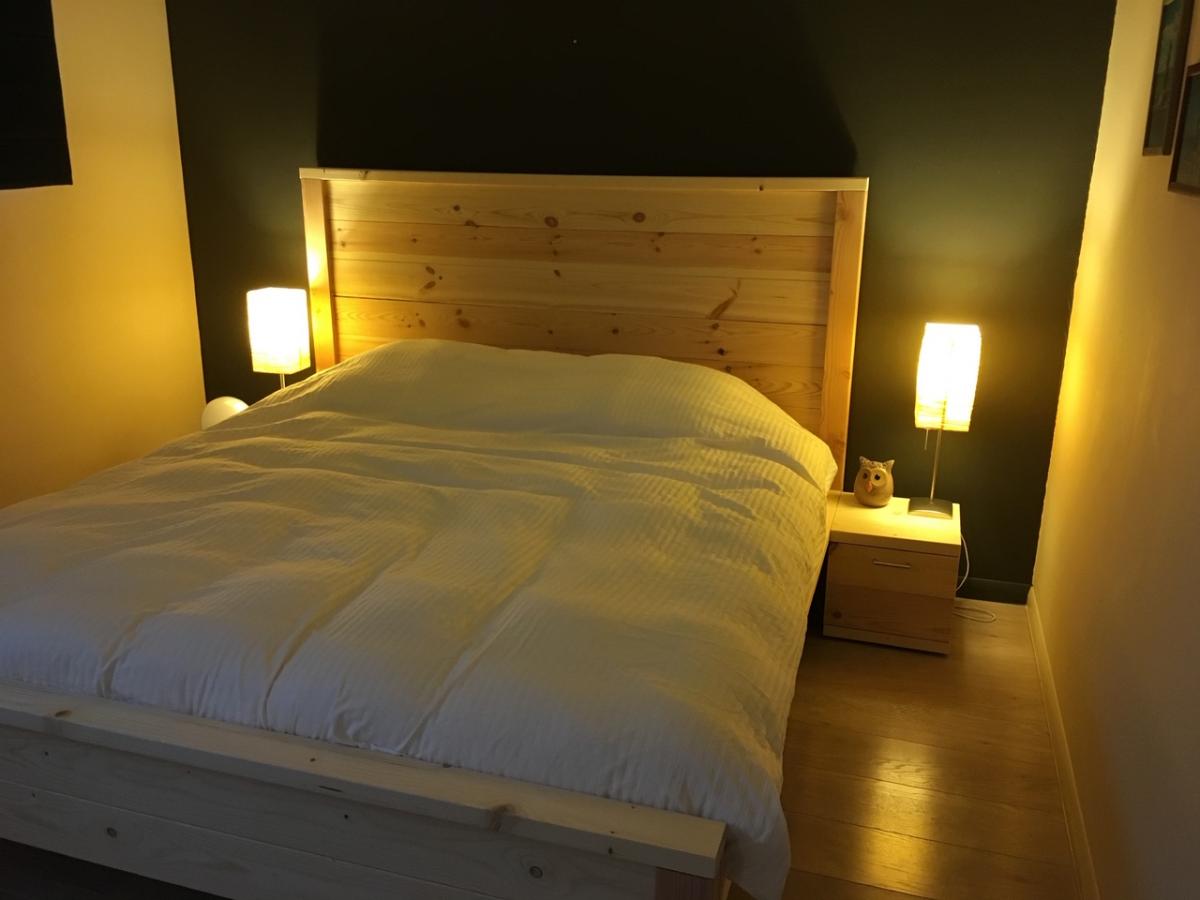
I wanted my kids to have more space in their shared room, but I did not want to pay a ton of money for a new bunk bed. My husband and I found a plan for this bunk on Ana-White and fell in love with the design. It turned out so great that we will still be using it in our next home whether it's needed or not. We did change a couple of things on the plan that we didn't care for. The first is that we added a side rail for safety. Secondly we also traded the 1x6 boards on the head and foot boards for 1x4s on the top but kept the 1x6s on the bottom.
Mon, 01/09/2012 - 17:39
With pocket screws on the bottom and then one screw through the 1x4s into the post before the 2x4 on the top goes on. And then the 2x4 is screwed onto the 1x4 and post with trim screws.
Wed, 03/28/2012 - 13:02
Cost us about $300 and over an entire weekend of time spent on this project.
It's not for beginners. My husband has had many many years of experience in carpentry and woodmaking.
Good luck to you.
Also, he changed a few things in the plans we found in order to make it look better.
Thank you
Jillian
Wed, 03/28/2012 - 12:59
Cost us $300.00 to make and almost non-stop making it for the whole weekend. And then stained for hours.
This is with many years of experience in construction and woodmaking.
This is not a beginners project and then expect it to look amazing.
My husband changed these plans a bit to make it look better than the other ppls that we've seen on here.
But, good luck to you and make sure to have plenty of room and time.
Also, we had to make this bed in 10-15 different pieces and put together in the bedroom we wanted it in. There is absolutely no way it will fit otherwise.
Jillian
Sat, 10/25/2014 - 22:25
I don't see how you could put the fill/twin over a queen since the queen is longer. Obviously you could spin the queen around and make it an L-shape but then you are looking at a different build.
Sat, 10/25/2014 - 22:28
I really like the look of this ... I'm going to try to replicate!
What does the bottom of the guard-rail look like? Did you space out your slats a little more than the original design? I like the 2x4 topper instead of the 1x6.
Sat, 02/28/2015 - 16:46
We made this bed over the course of a week, both of us have extensive experience in woodworking and building. Ours is very wobbly on the long axis. We had a friend who is a structural engineer come in and take a look. He offered suggestions to shore it up and nothing really worked. The 3/4" overlap is not enough to secure the side rails, imo, and we used a variety of brackets to make it not wobble, to no avail.
This bed is coming apart in a few weeks and will be stored. If it is ever used again, it will be as two separate beds. I spent about $400 on this. My son never felt safe sleeping on the top bunk and has slept on the bottom exclusively.
Just my $0.02.
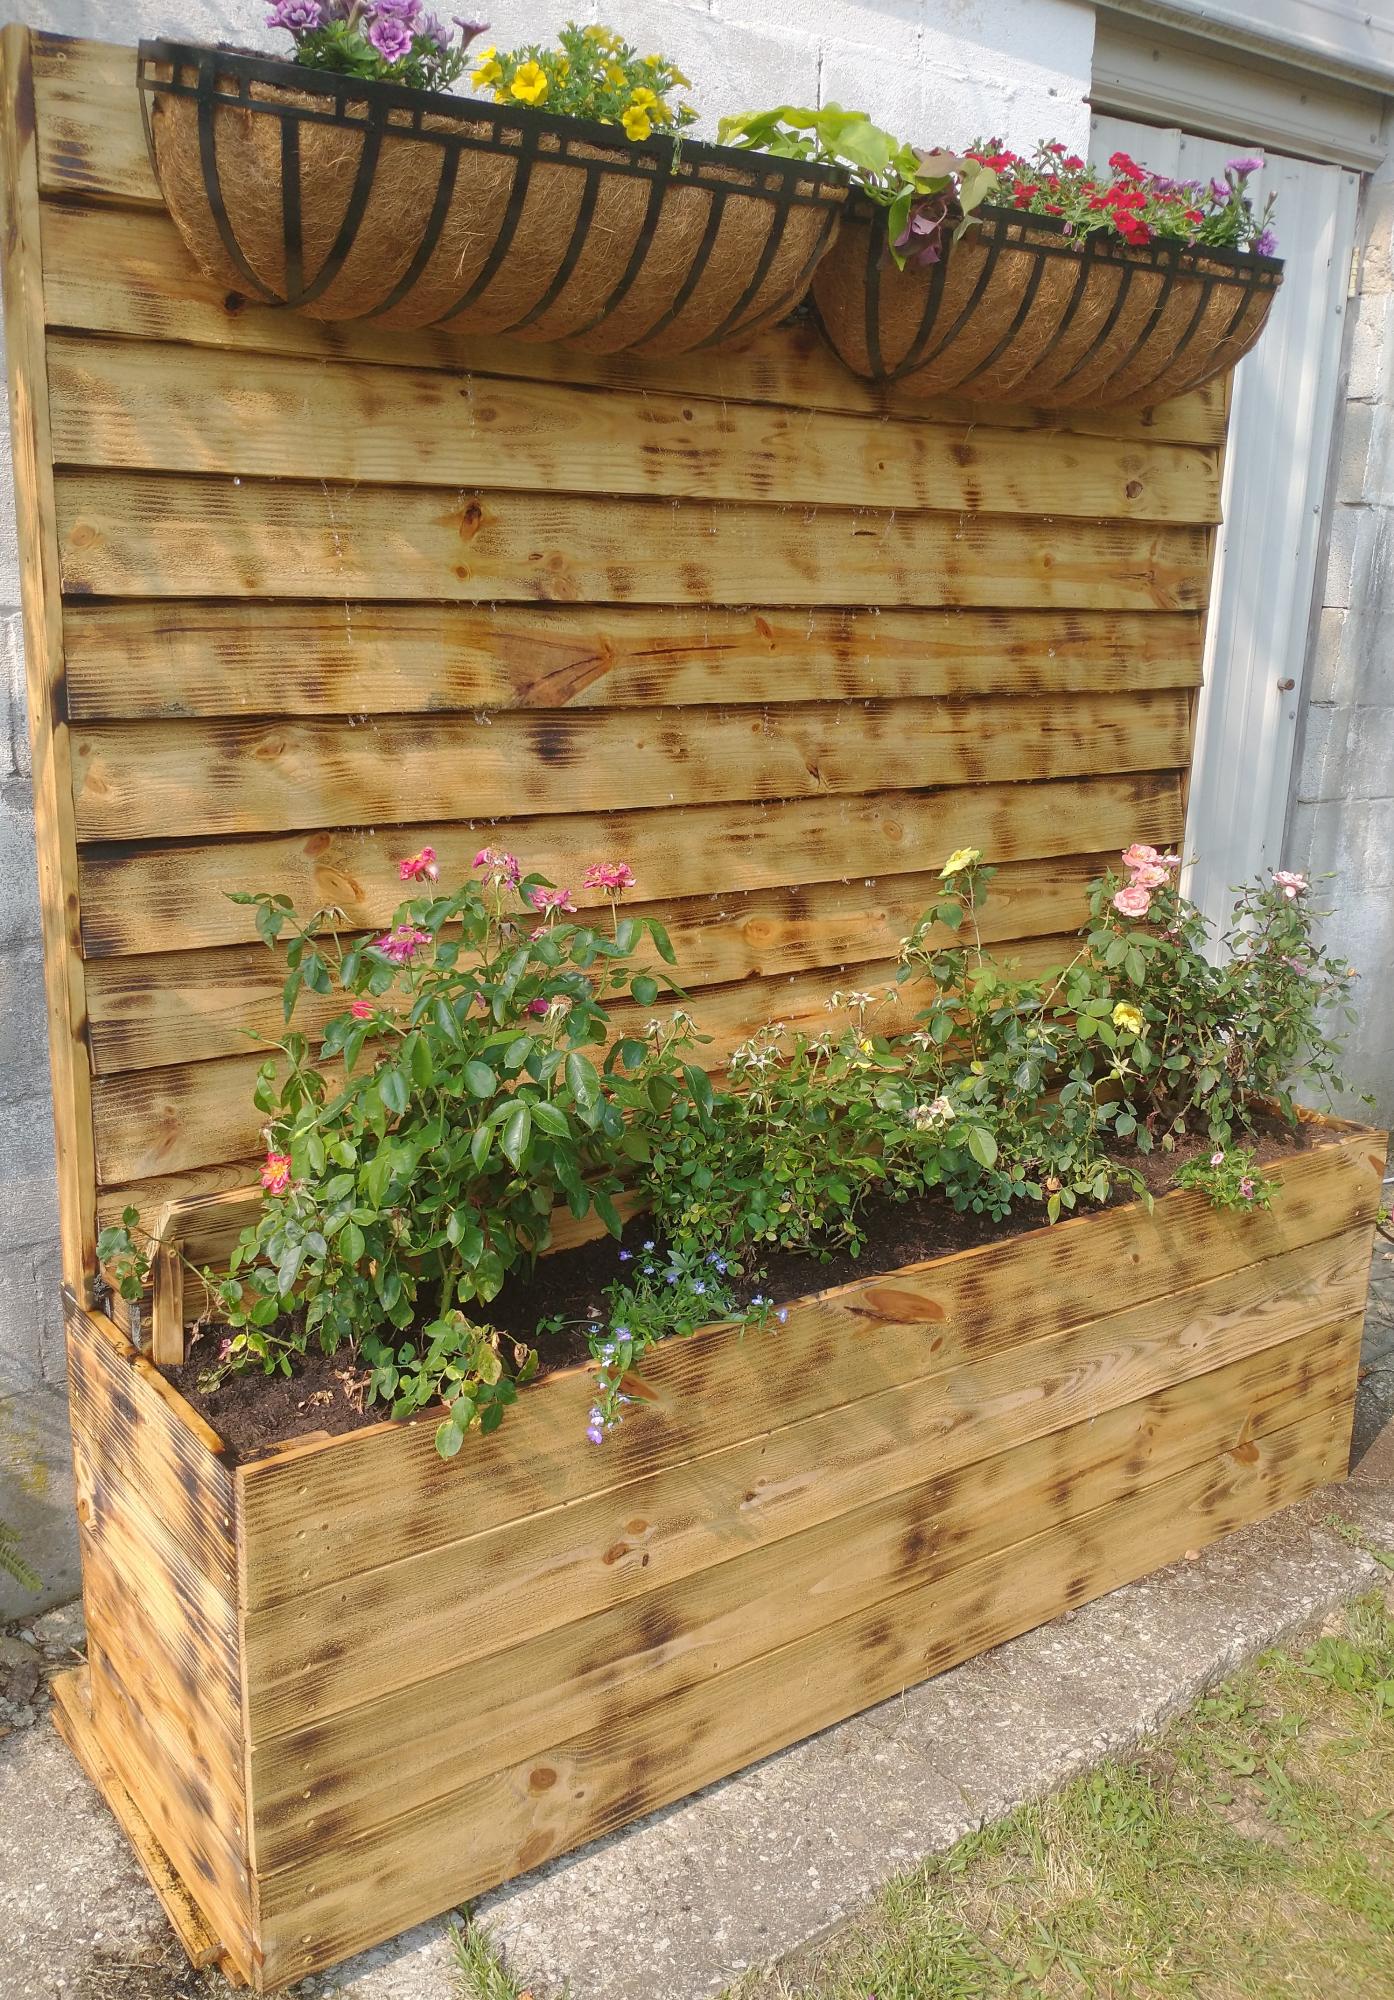
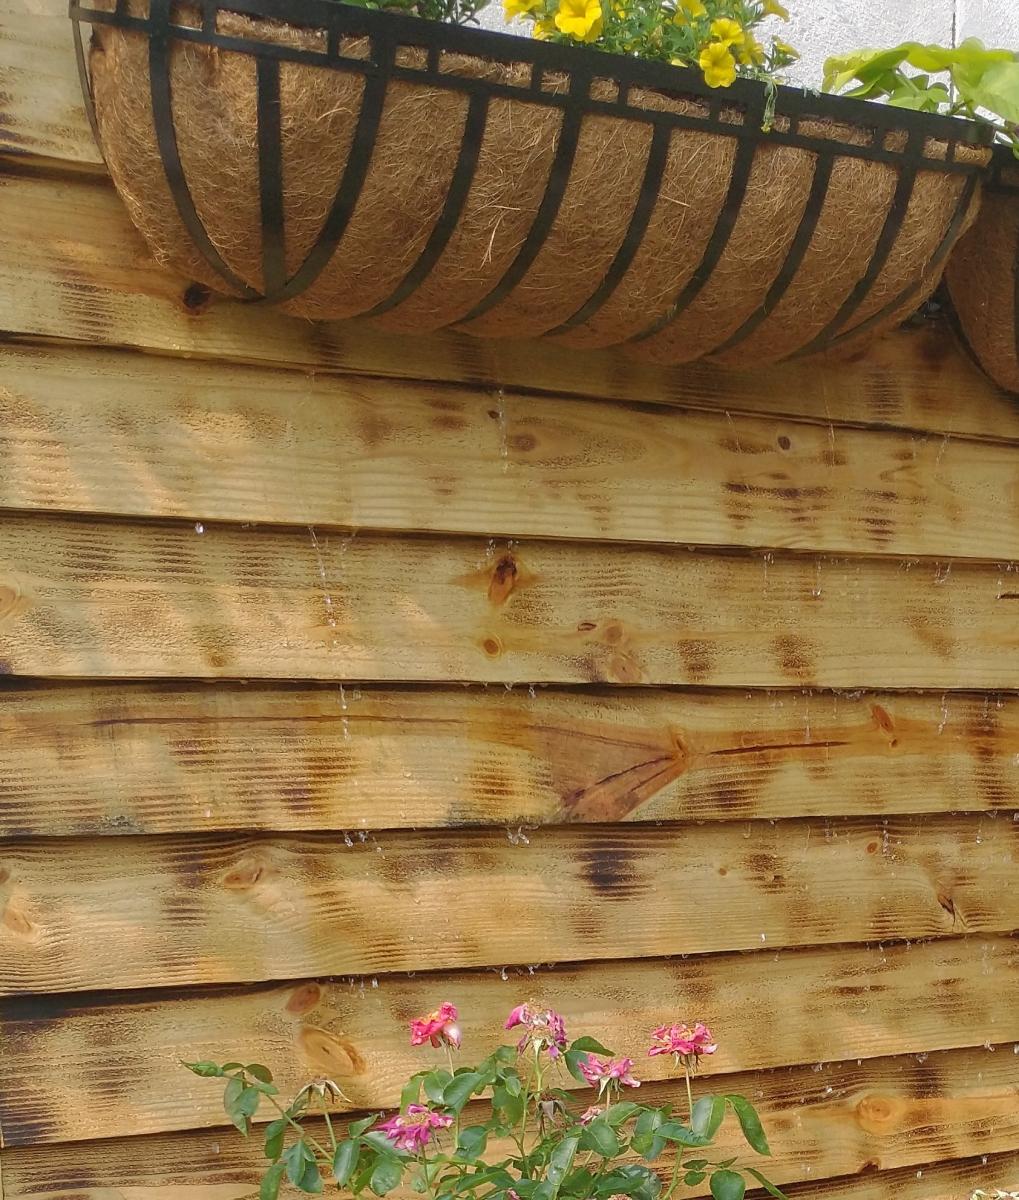
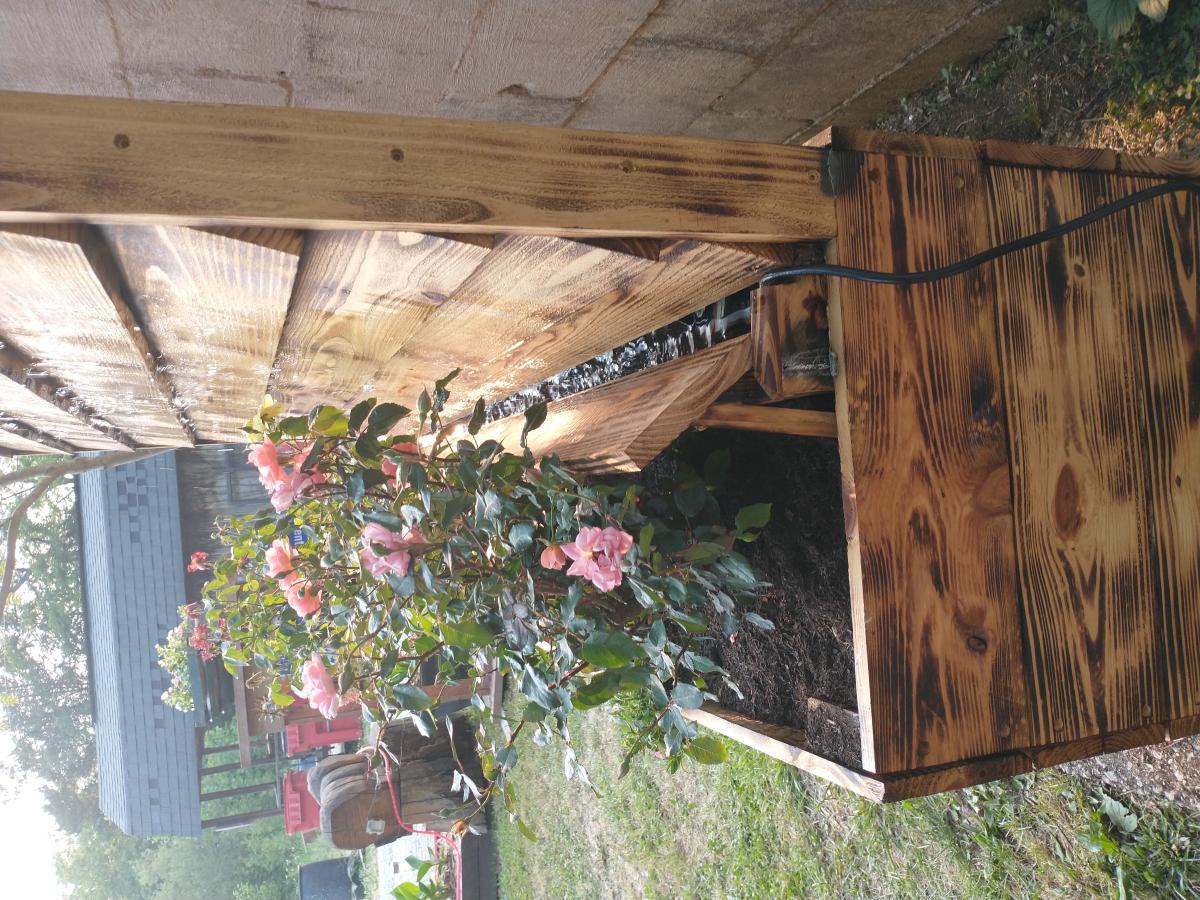
It's a take off of your privacy fence planter. But I added water to make it a water wall also.
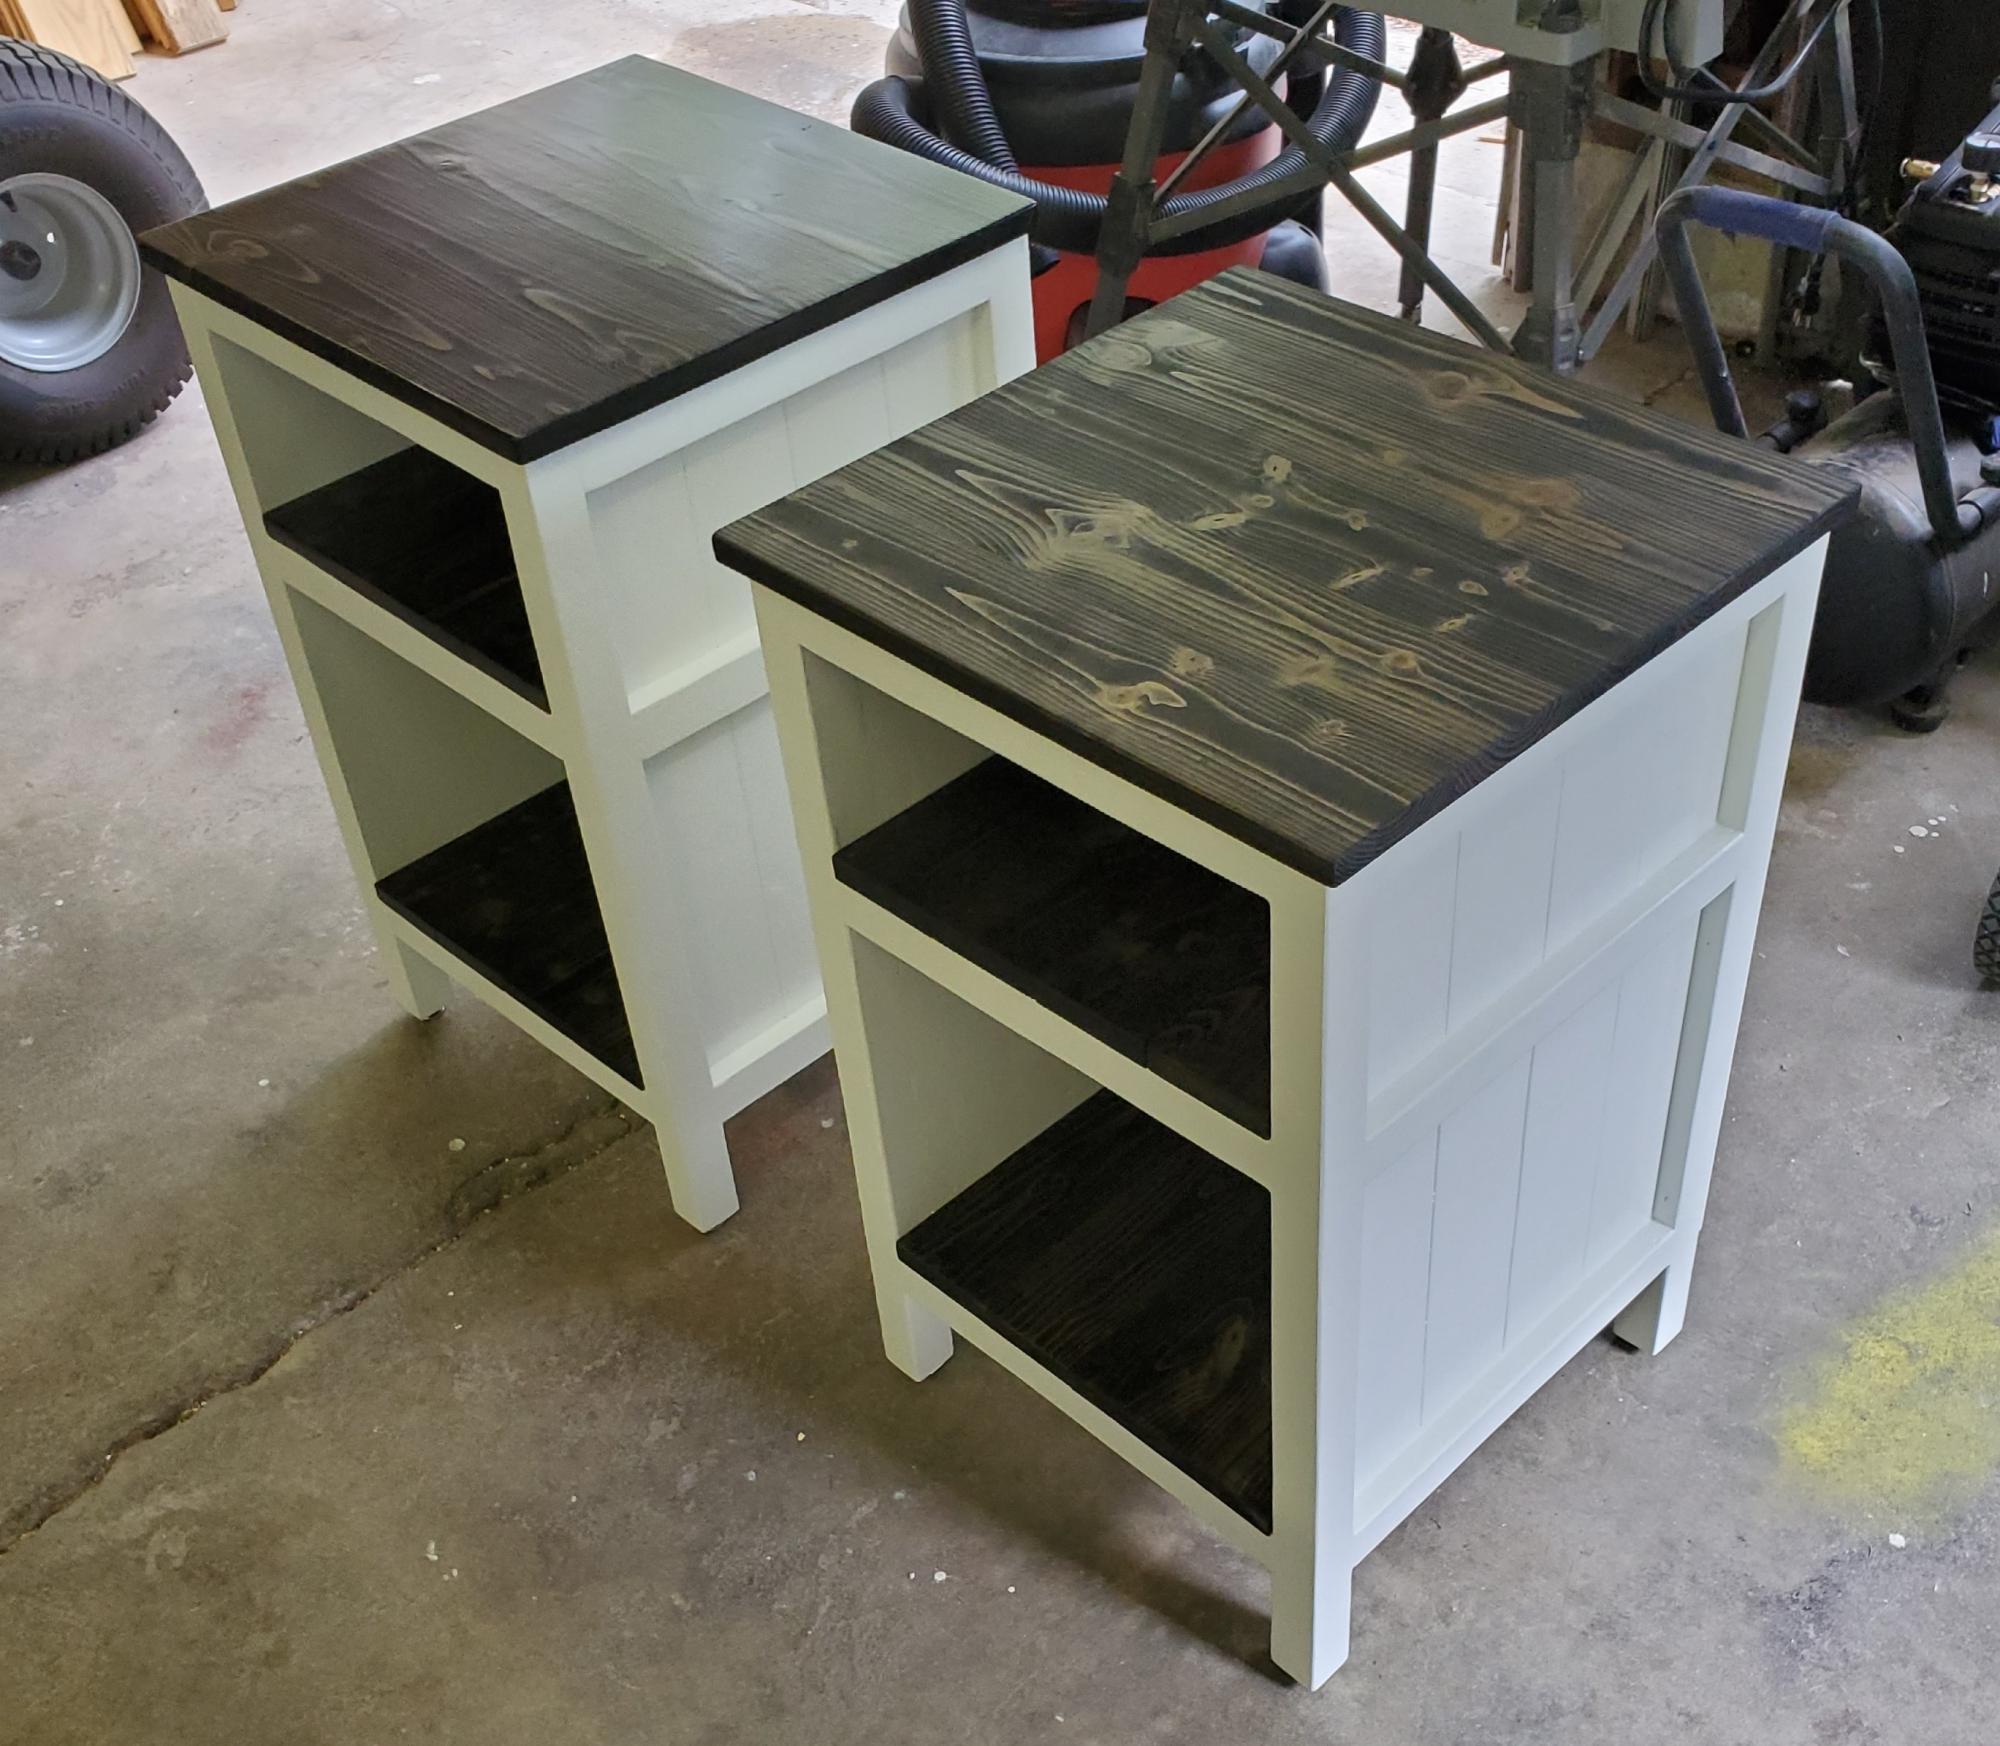
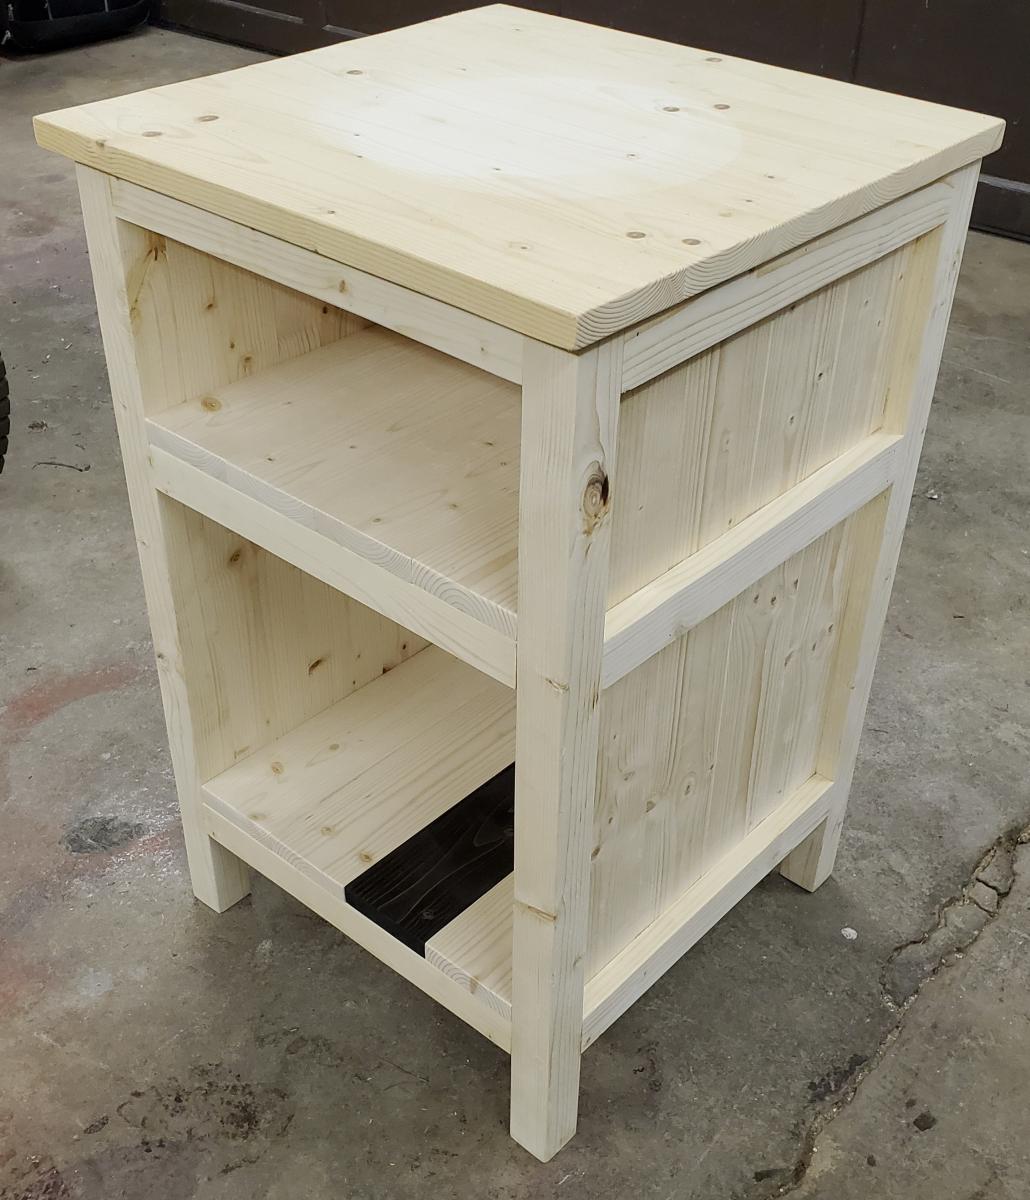
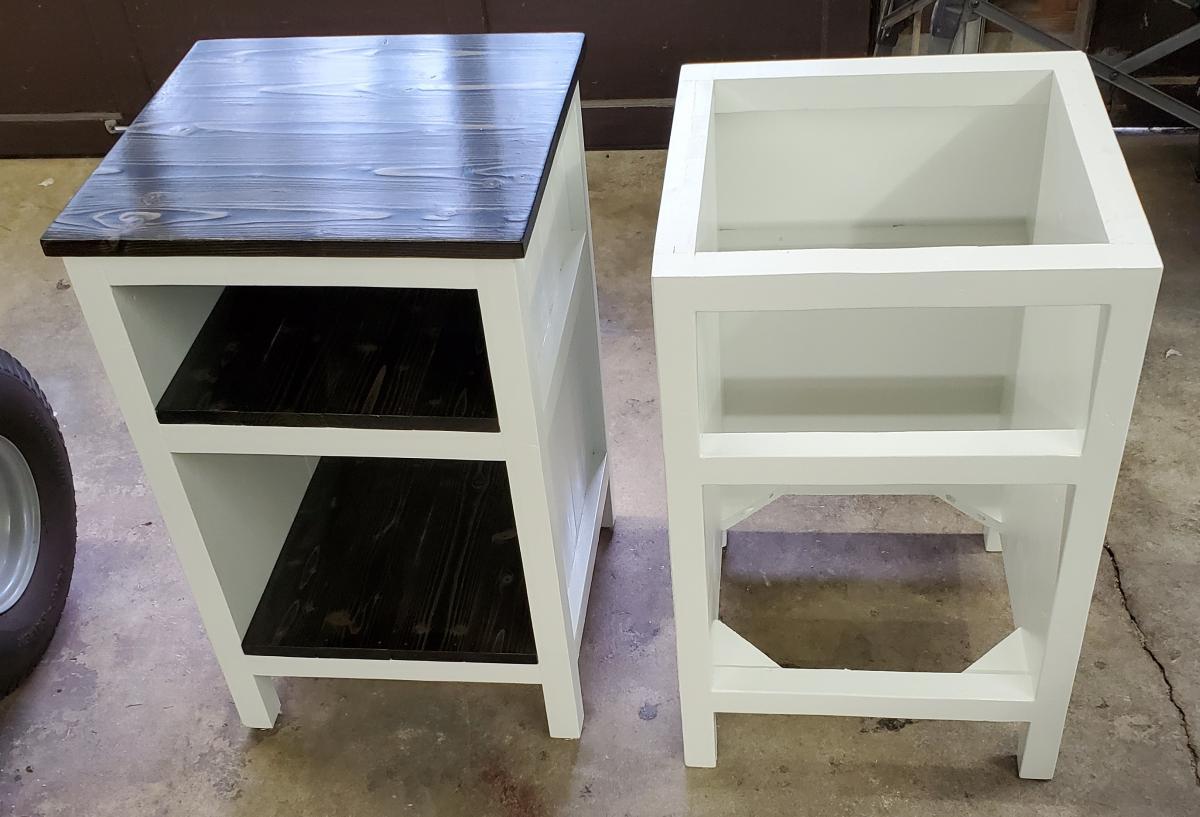
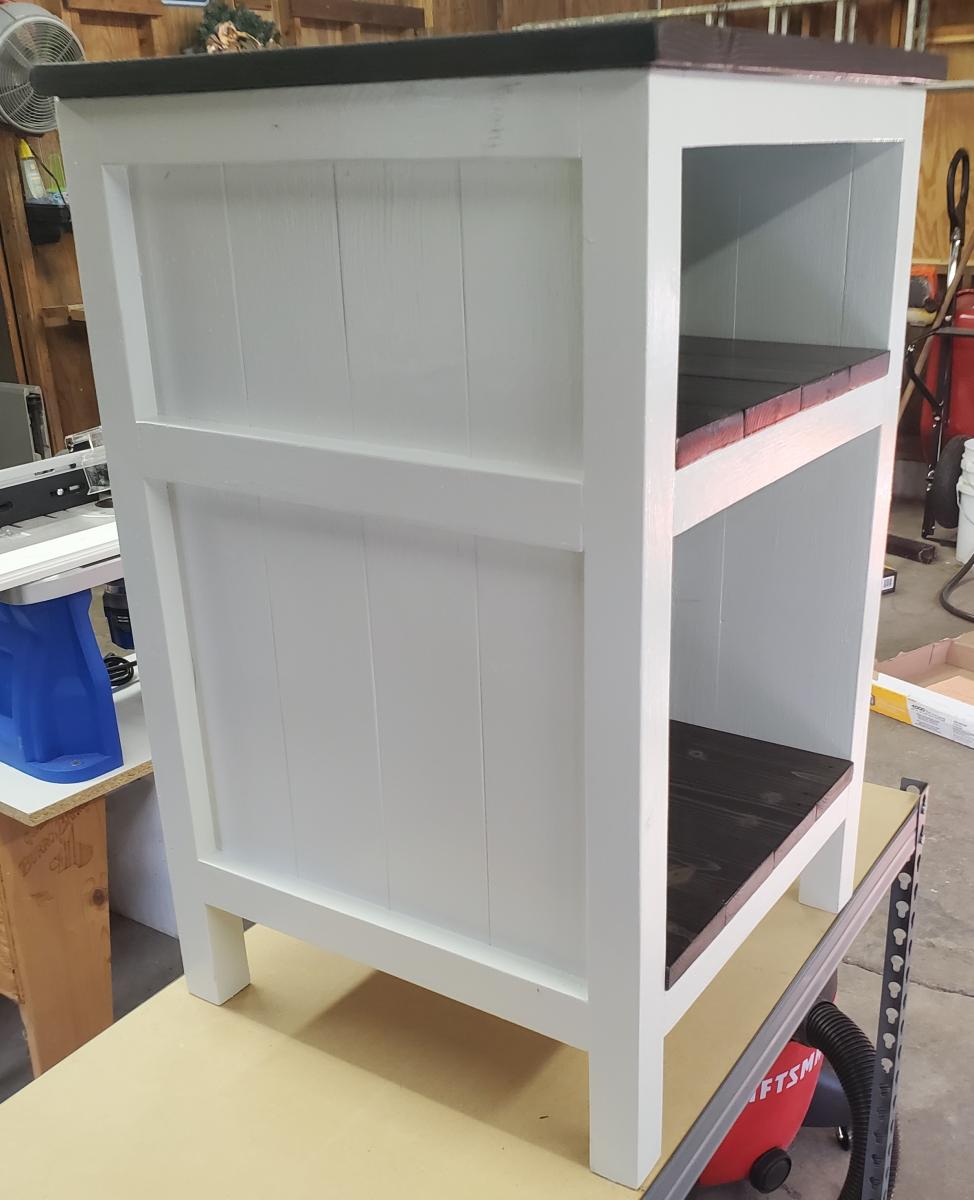
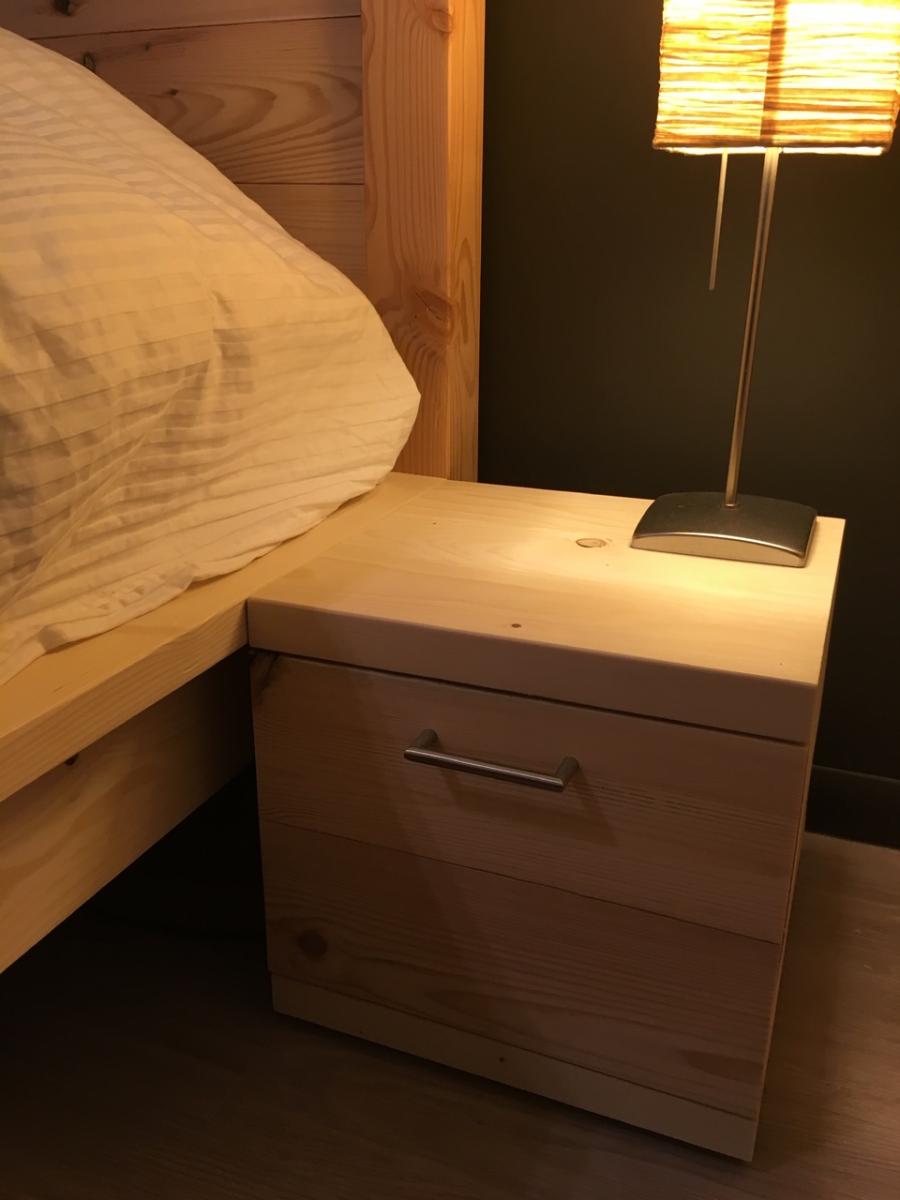
I built these for my daughter's 22nd birthday, after she showed me a set of night stands that resembled these from the site. They were my first furniture woodworking project I have ever done. I did add a set of gussets at the bottom, below the bottom shelf. I had to rip the 2x2's for this project, as I can't find any where around that sells them. I opted for a paint brush finish on the body to give it an antique look. I used 7 coats of polycrylic to give the shelves some depth. I just loved how the stain shows off the grain and knots in the wood.
My daughter loved them when I revealed them on her birthday.
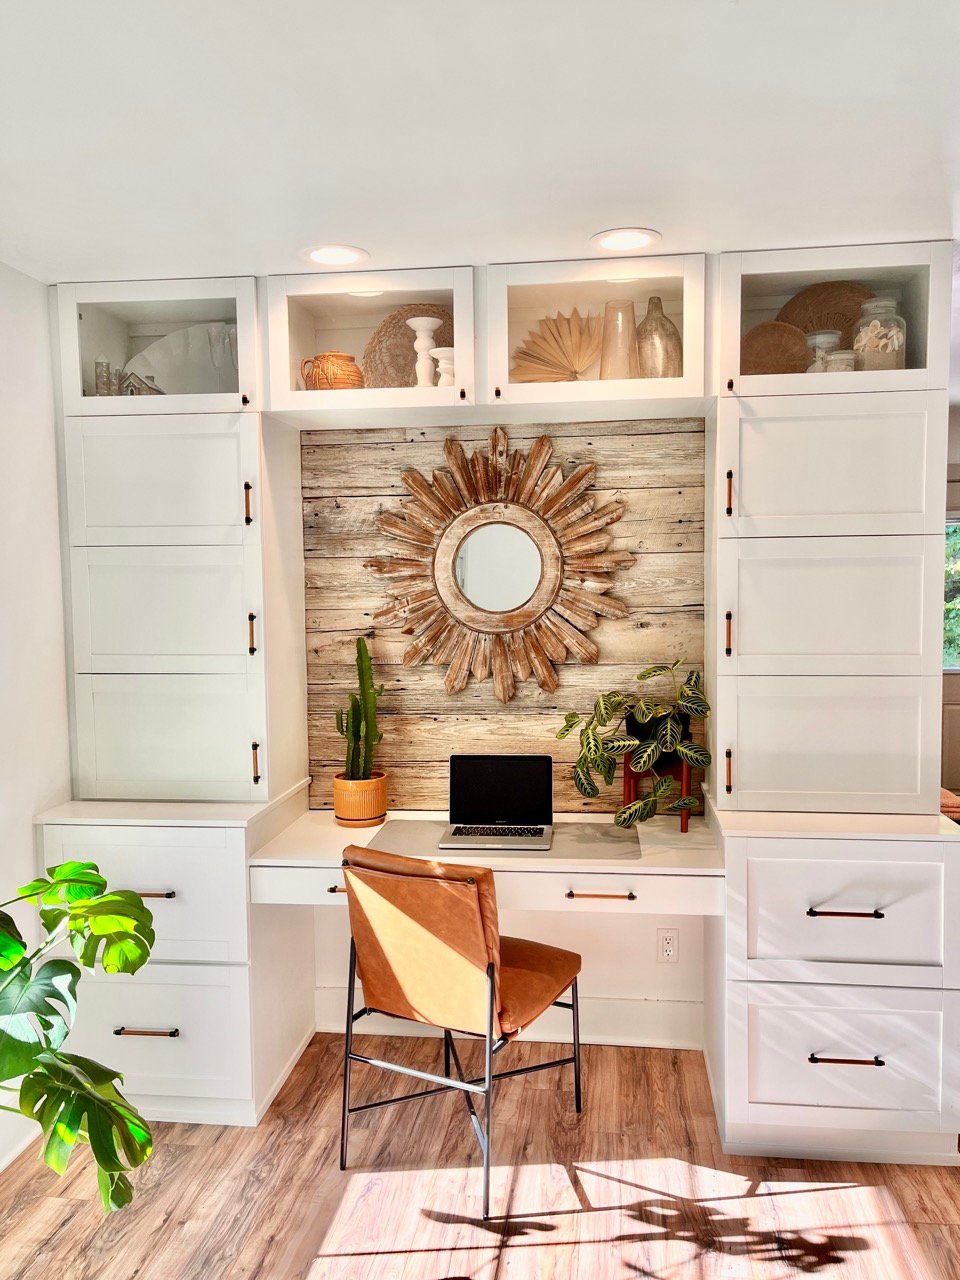
Wanted a desk that was not your typical desk, this was my first project using plans from Ana White and it was easy to follow that it keeps me coming back, thank you Ana!
Our first project of many to come!!! Thanks Ana for your website!
Thu, 04/18/2013 - 04:25
Your table looks great! Love the color (University of Kentucky Wildcats fan here!) Just wondering about how much it costed to build? Would love to make one!
With a little project oversight, my son built and painted this chair which went on to win 1st place in his division at the local 4-H show!
I used Ana's pattern, but modified it a bit to suit my needs and my materials. I used a large pallet I got for free from a local building supply company. My total cost was $8.00, which was for the hinges and the screws. I am so happy with it, and very grateful to Ana White for providing the plans!
Tue, 08/20/2019 - 14:54
Can you post some pics of the back/underside so I can see modifications better? I was hoping to do something just like this and wanted to get some inspiration for the backrest portion.
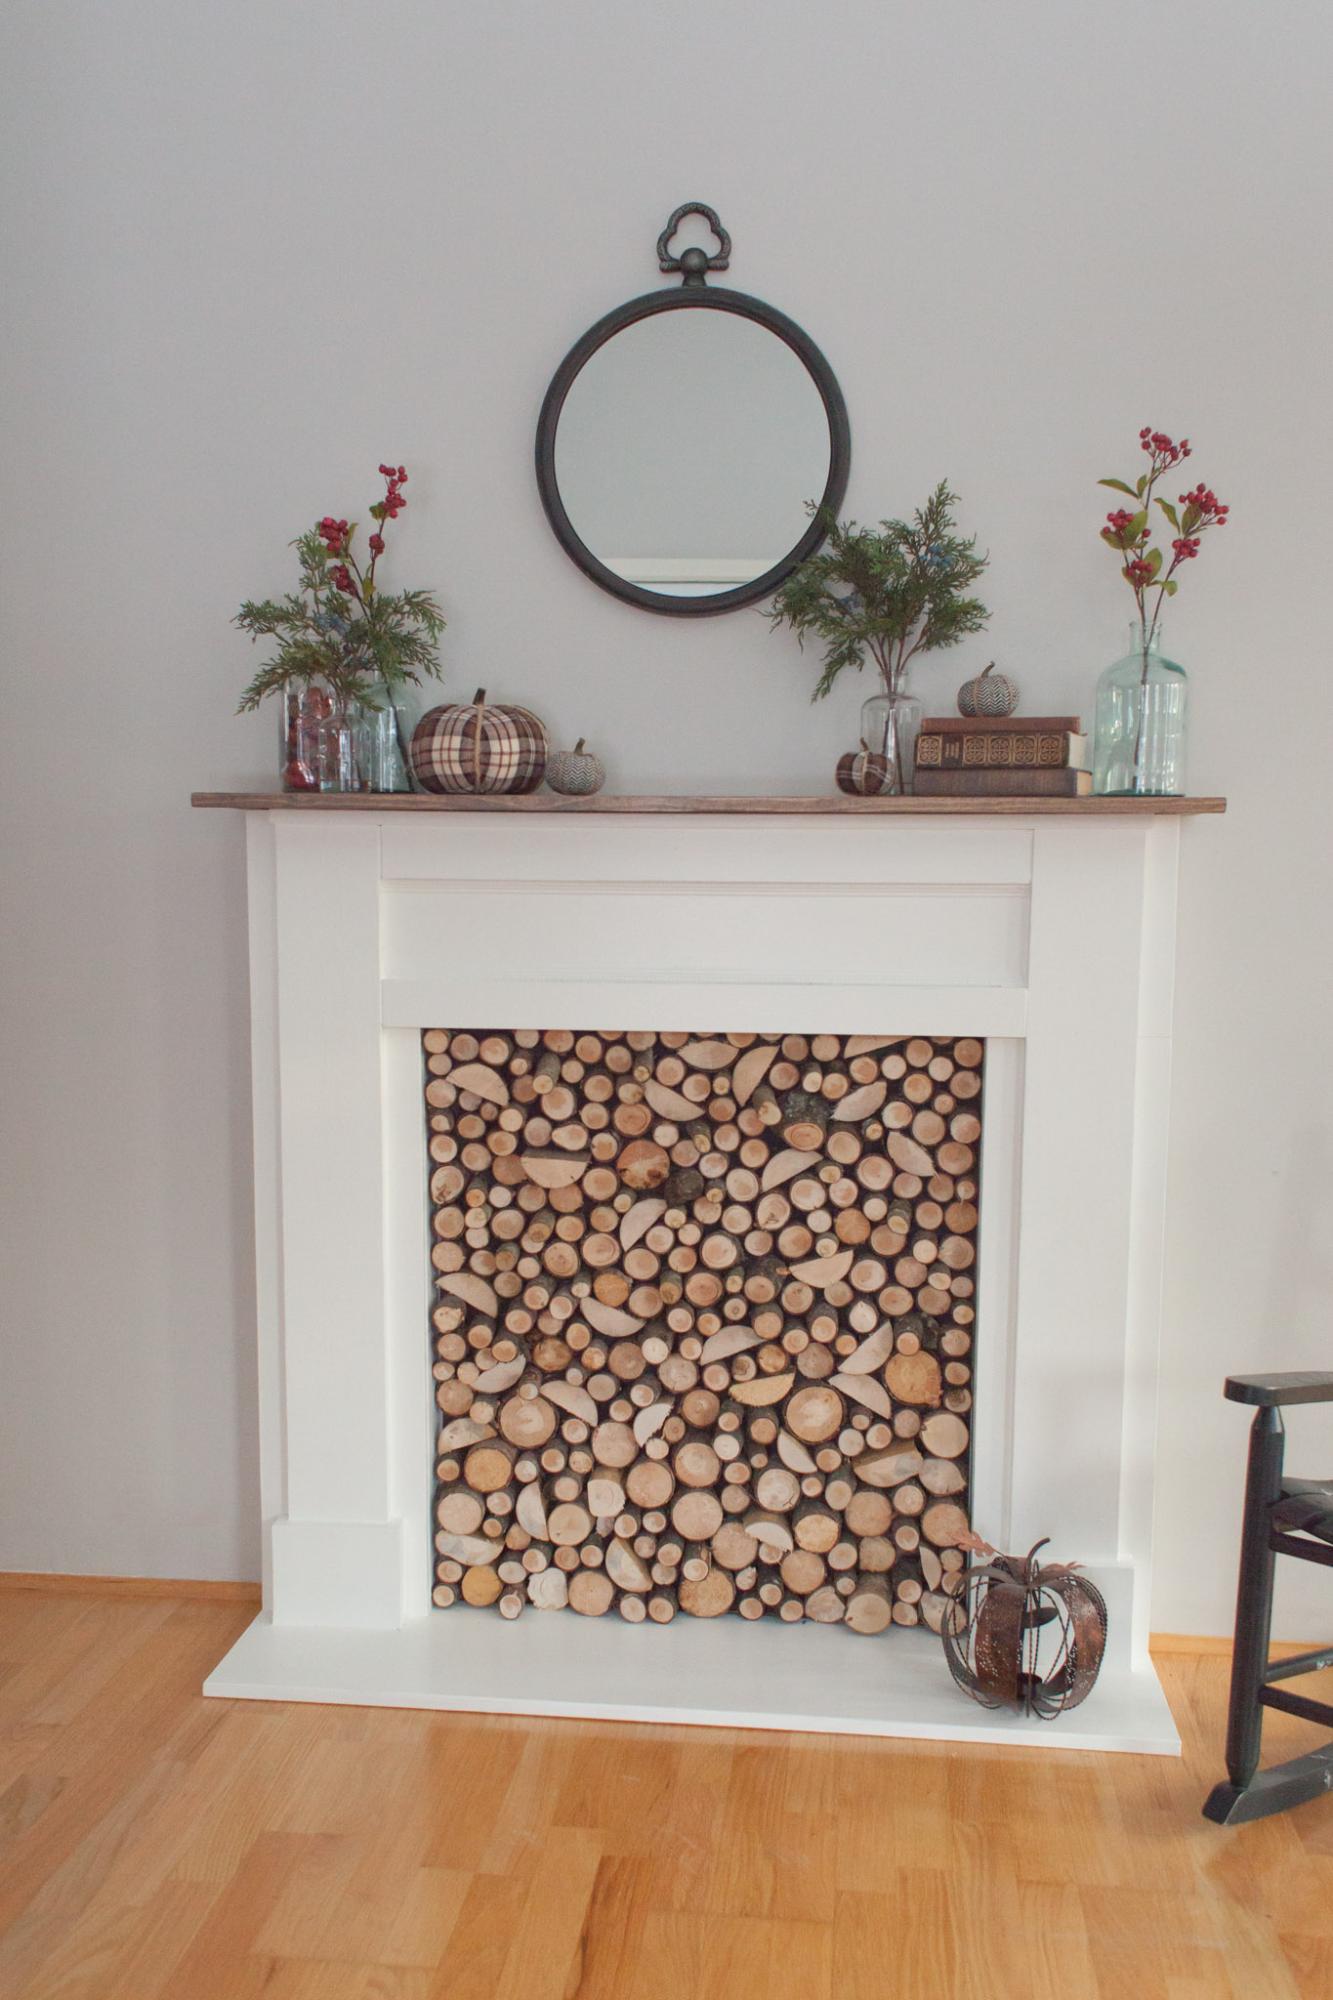
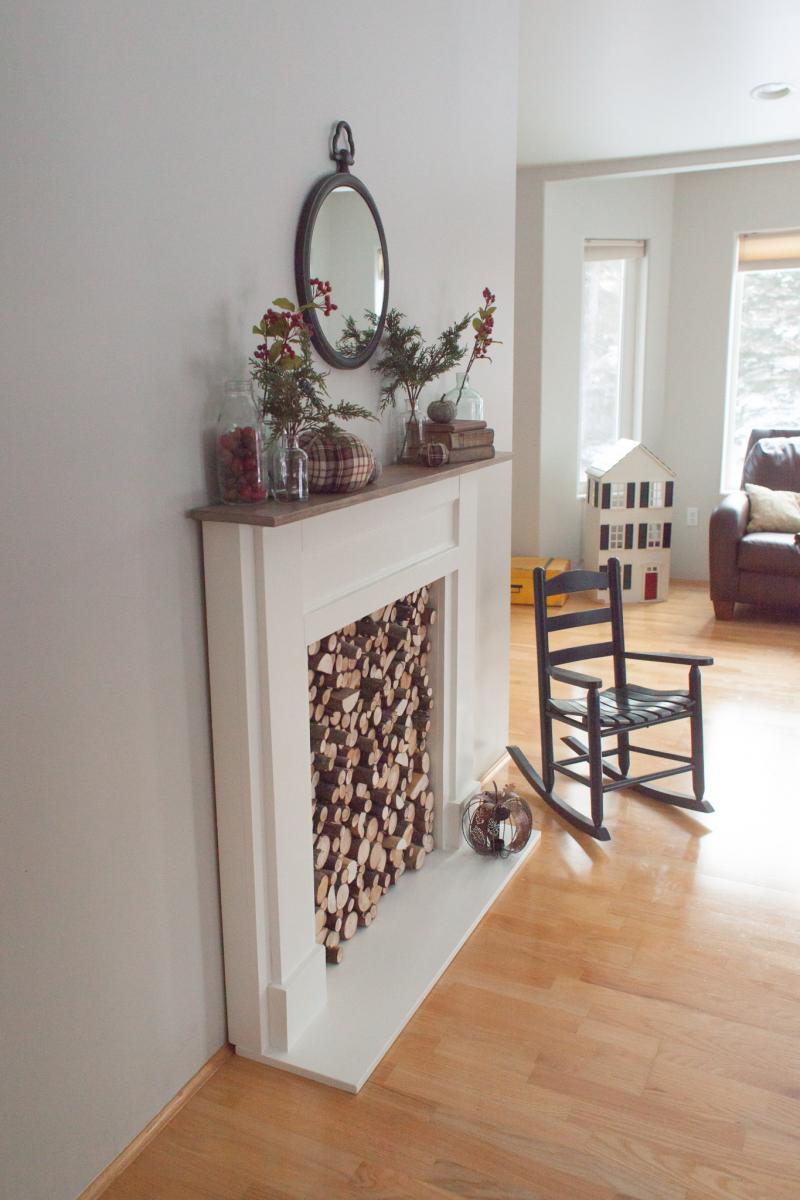
I added a 1x12 as a base so that it could be free-standing, in case we ever want to move it to a different spot. I also added an insert by gluing slices of tree branches to a piece of plywood . This was a fun, quick and easy project, even for a relative beginner. I love the character it adds to this room!

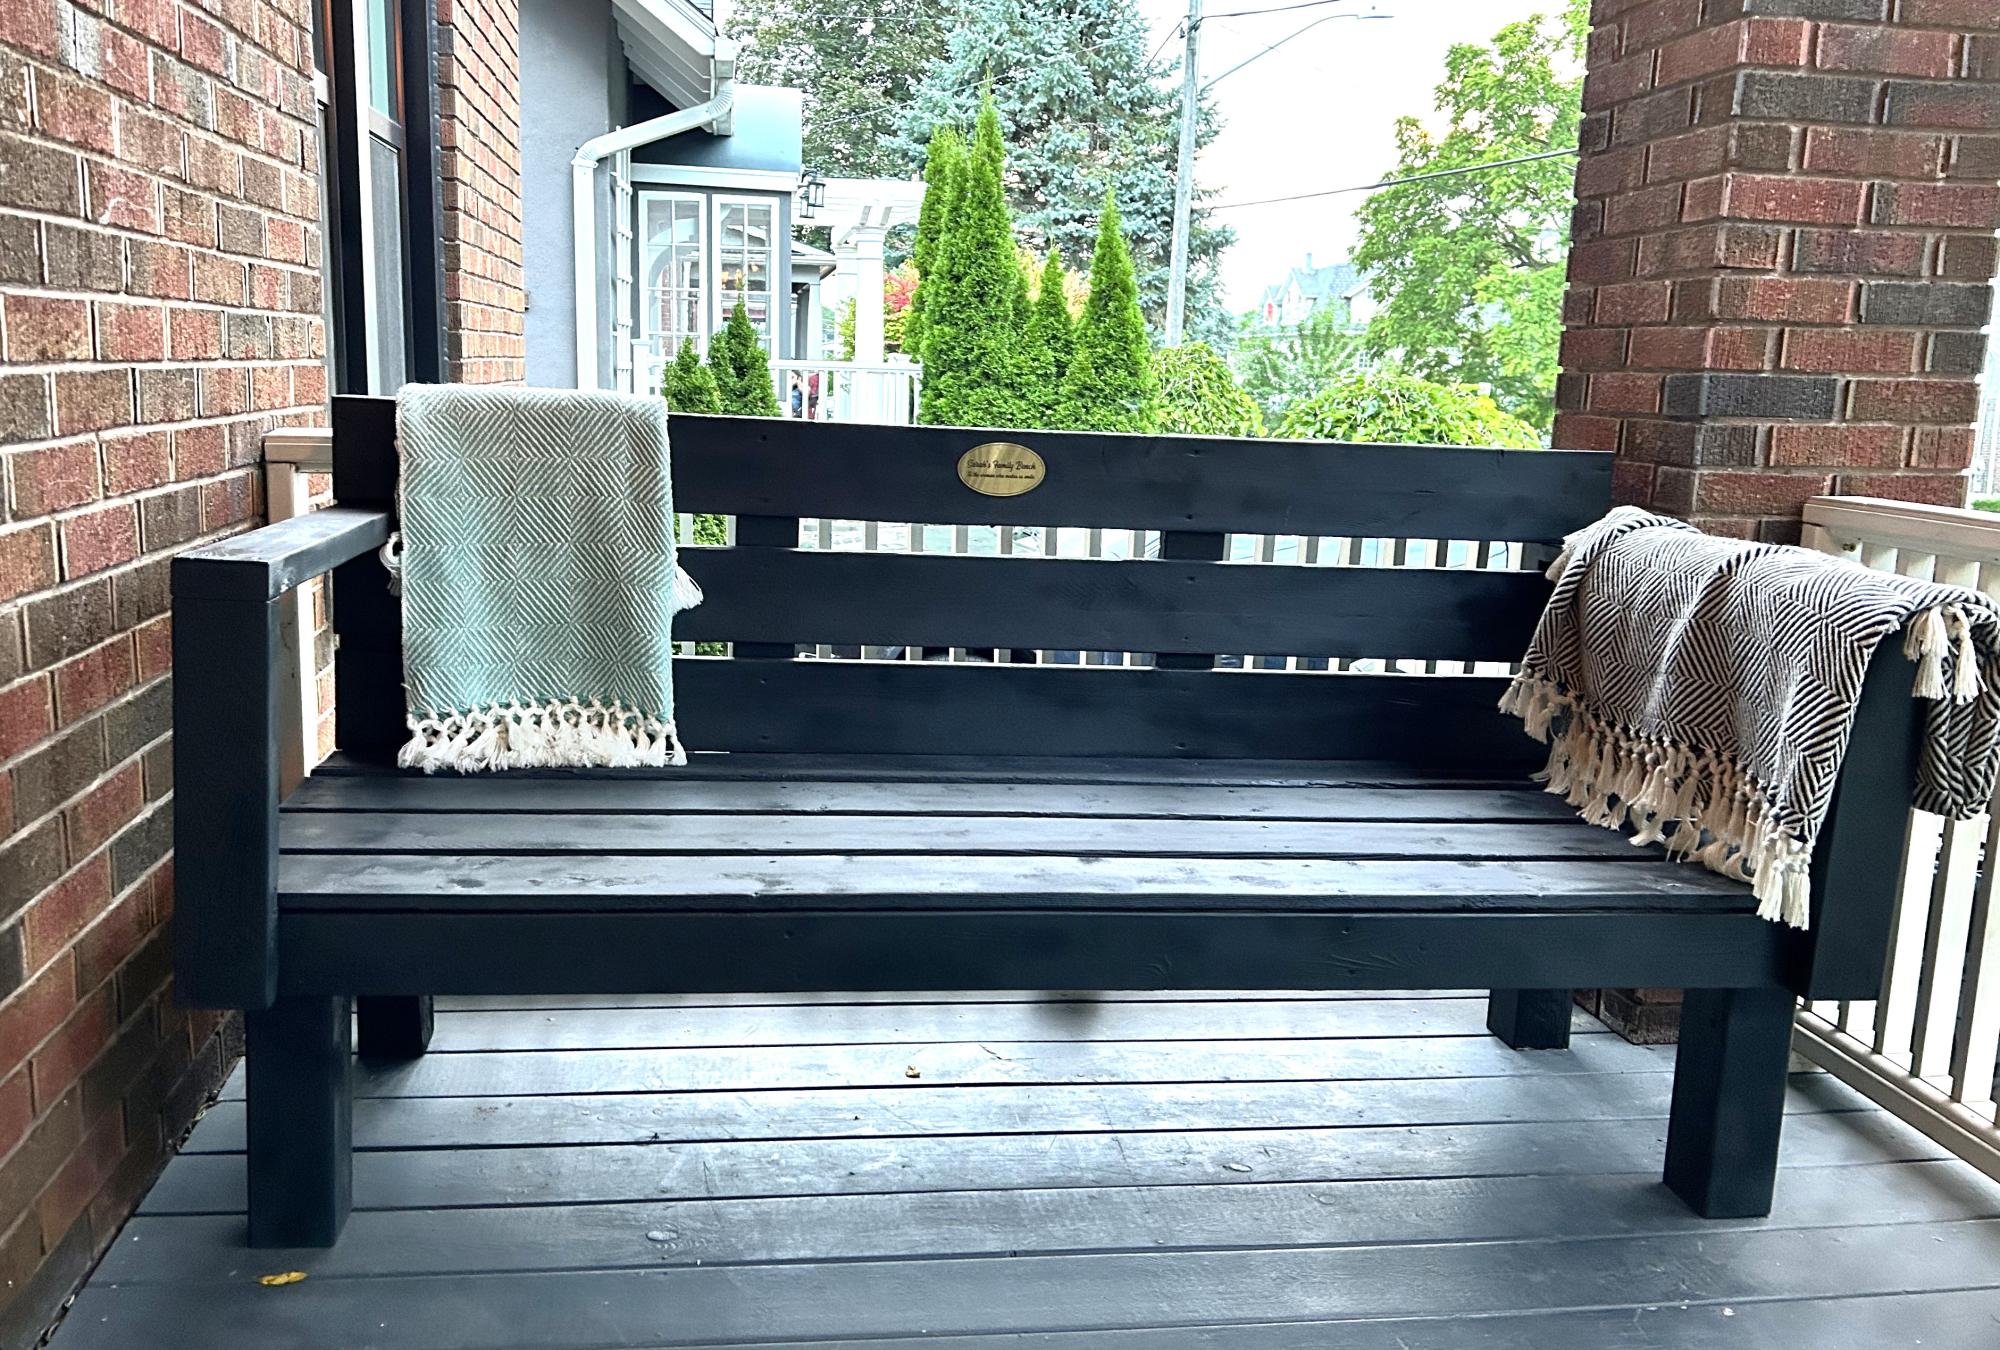
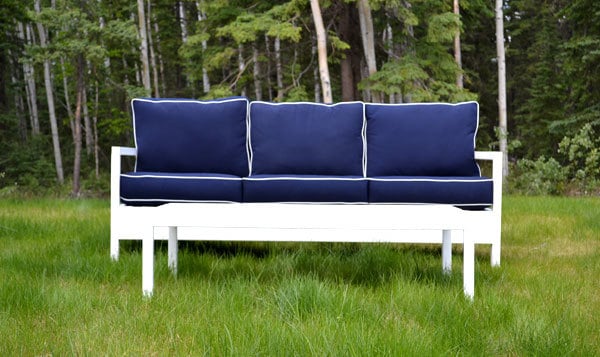
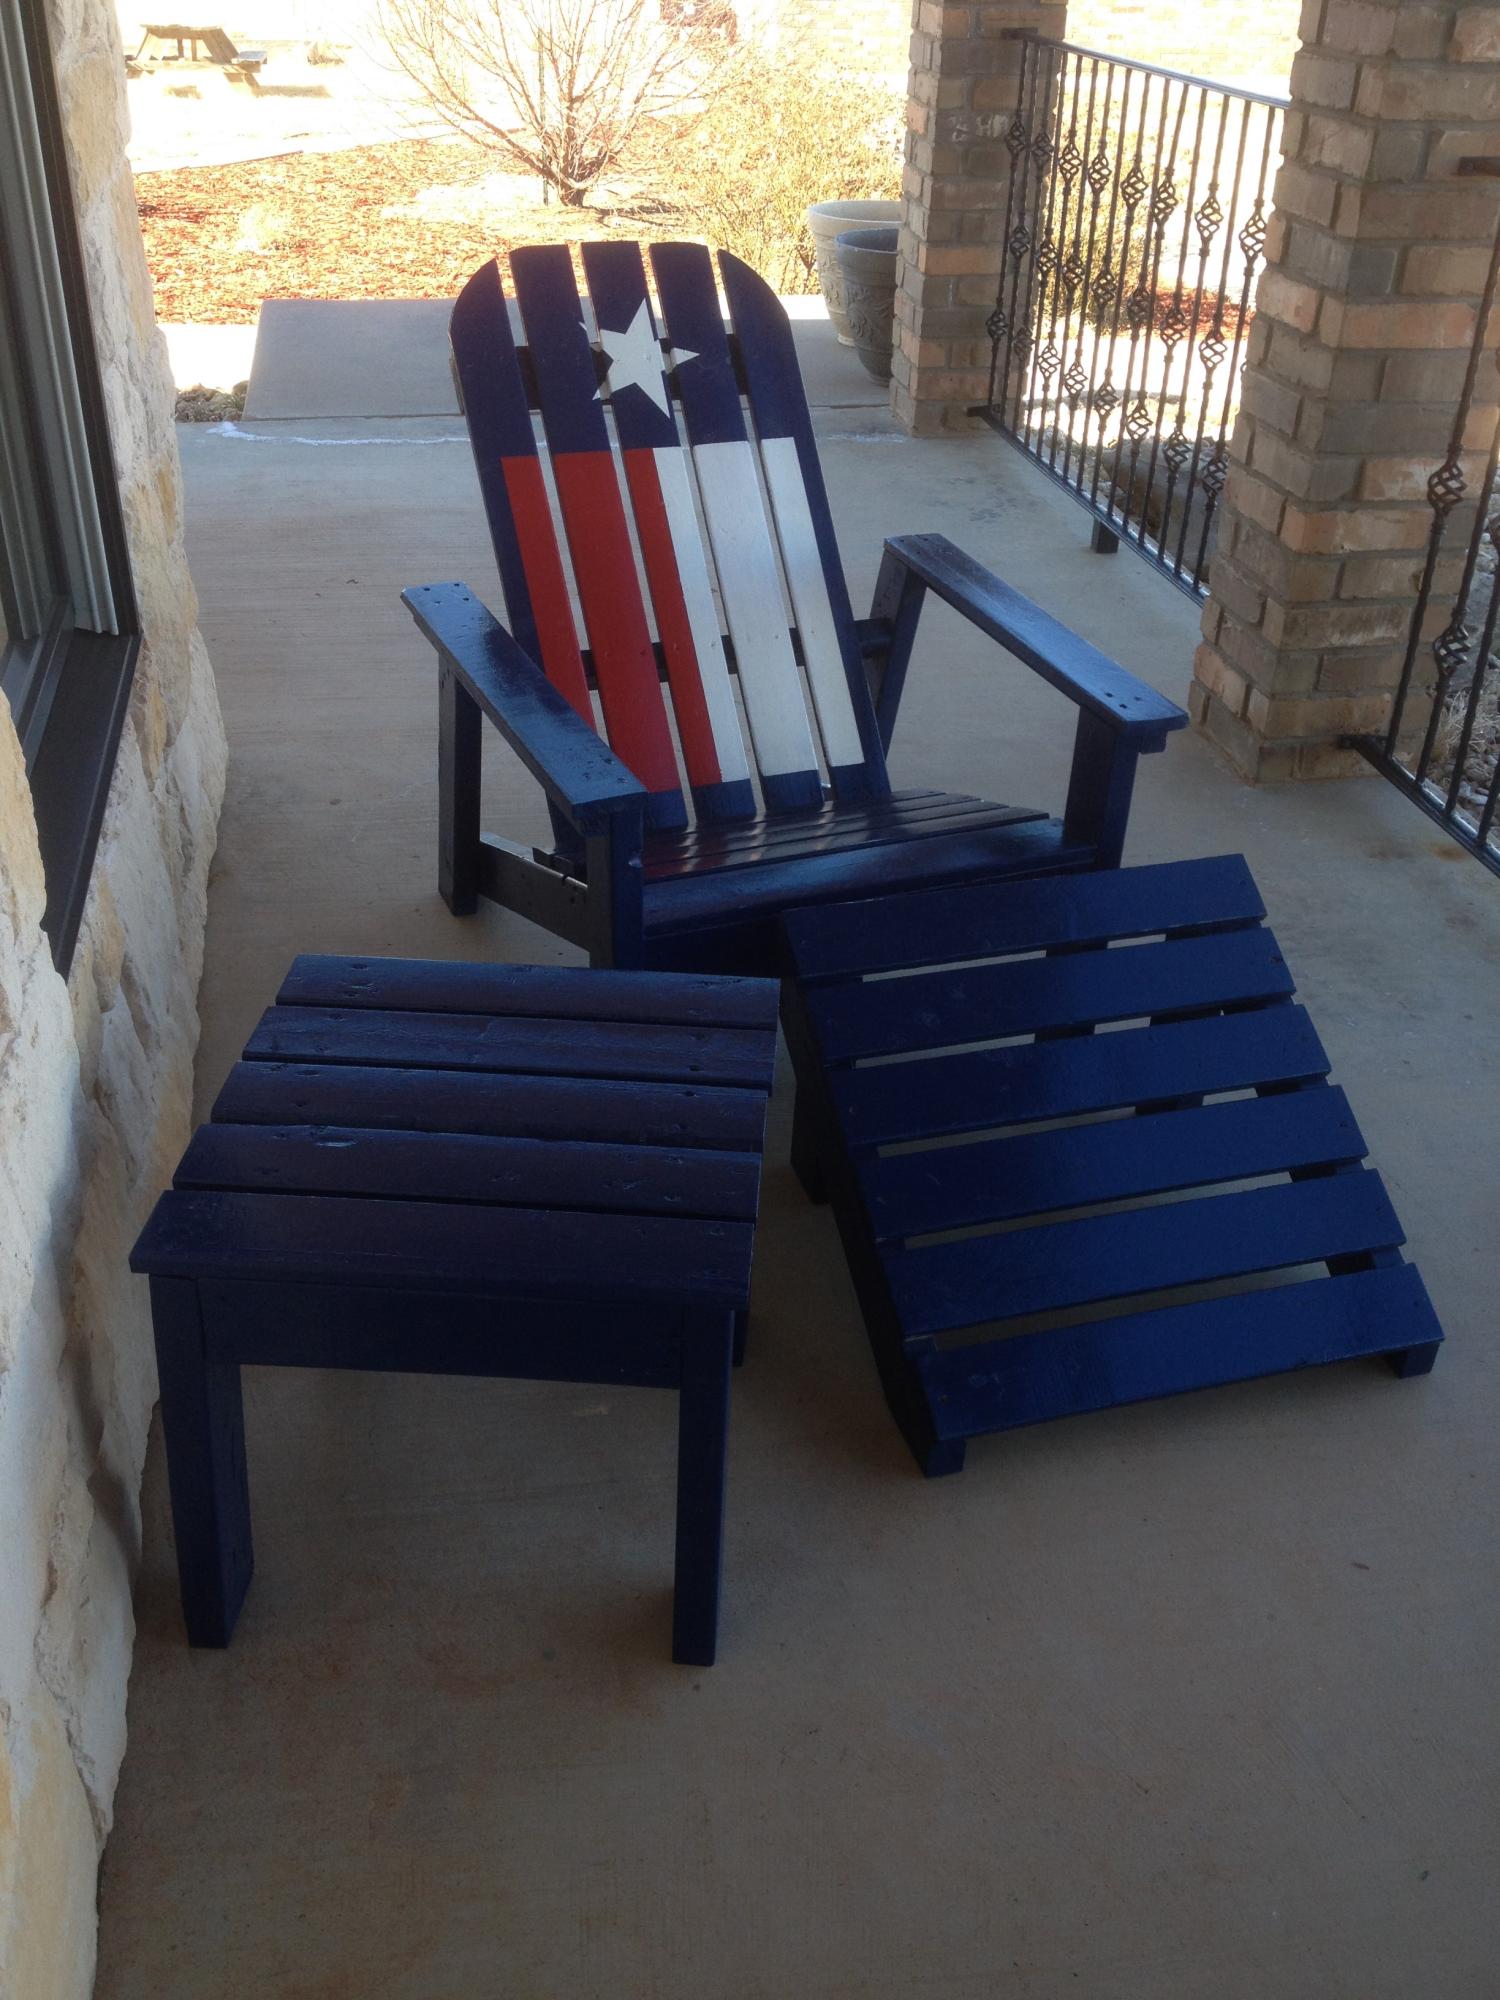
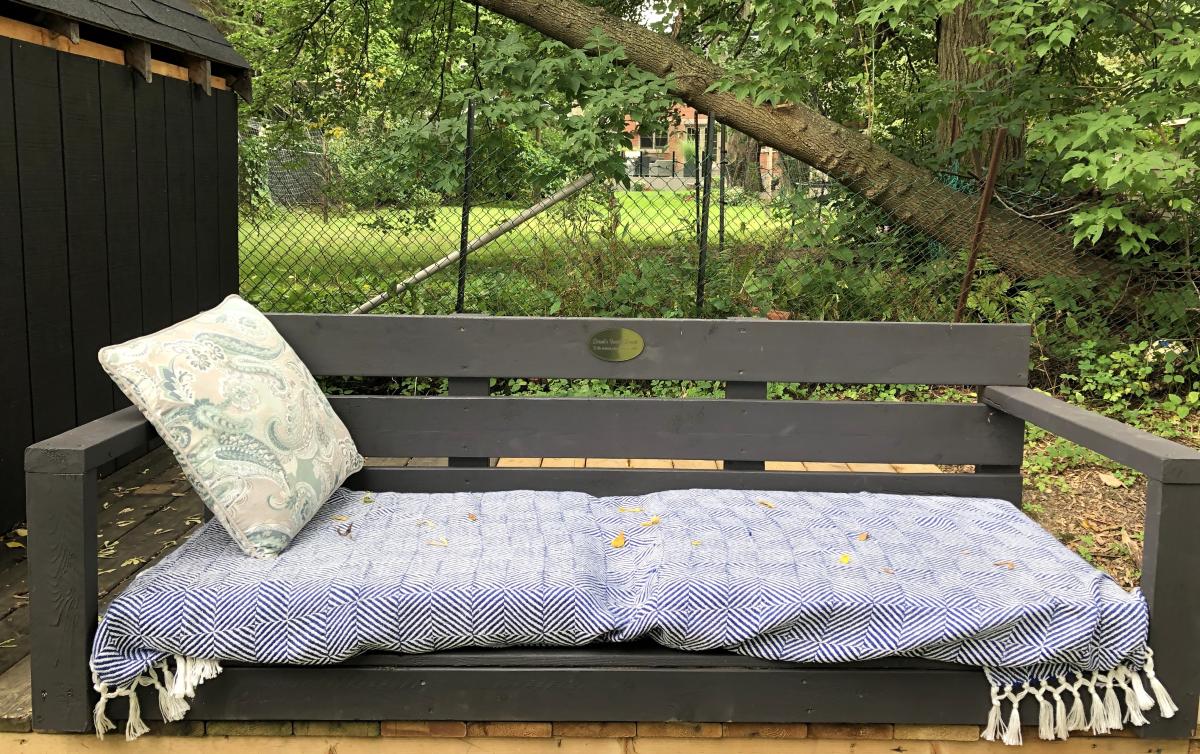
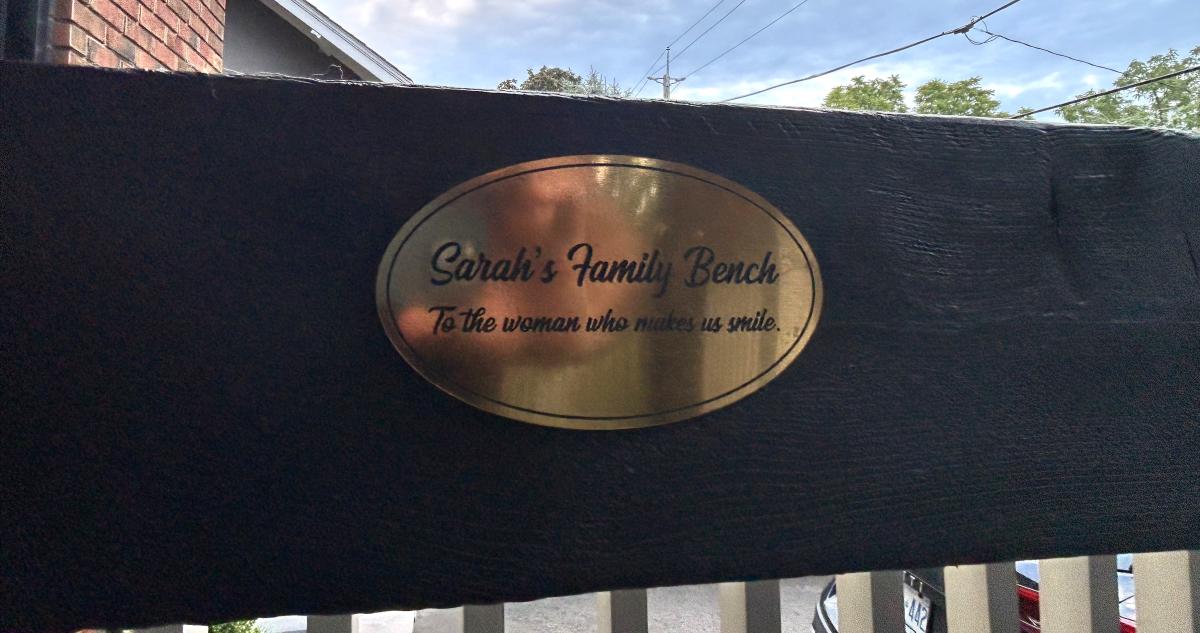
Made my wife a Ana White DIY porch bench for our 10 year wedding anniversary. Had a custom plaque made: Sarah’s Bench.
Looks beauty on our front porch.
Jesse Micak, Ontario, Canada
Wed, 08/30/2023 - 09:55
Beautiful bench and I'm sure your wife loves it! Thanks for sharing.
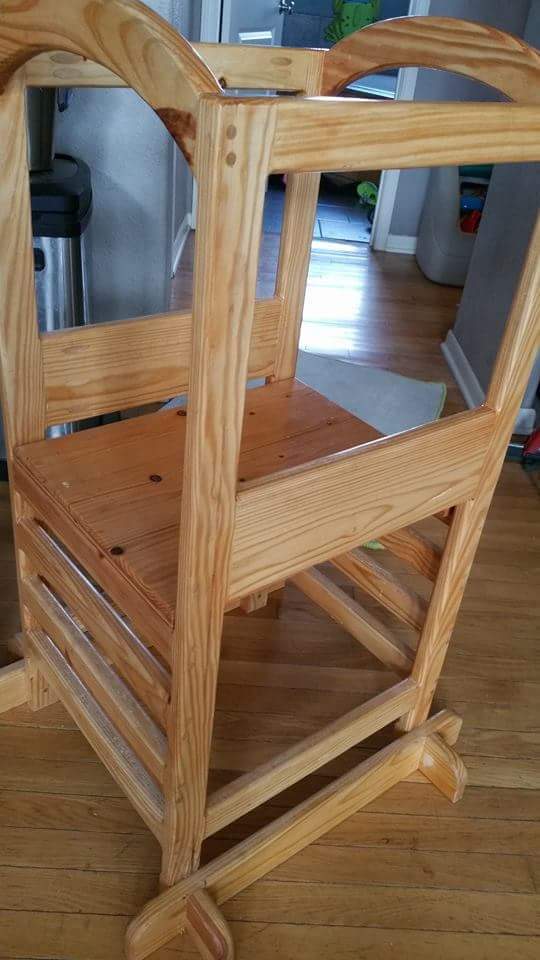
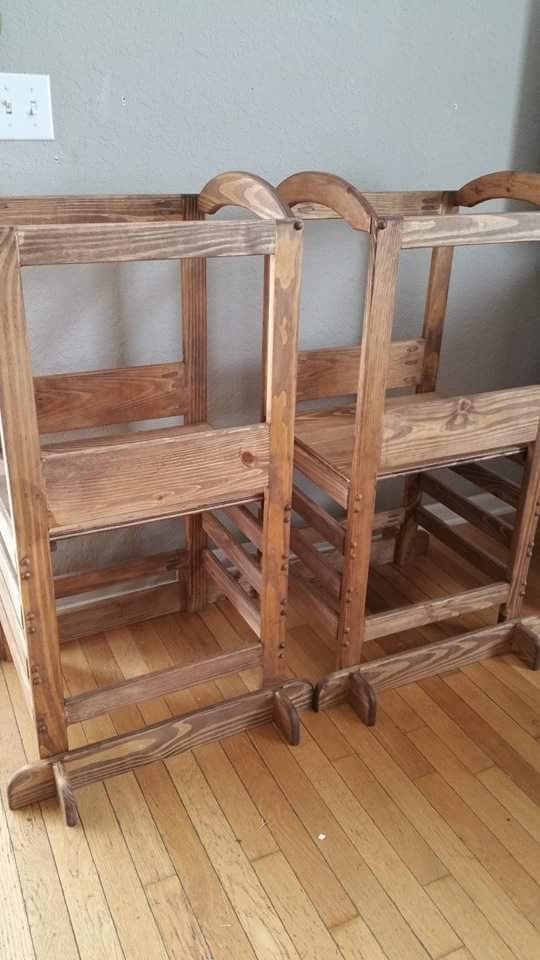
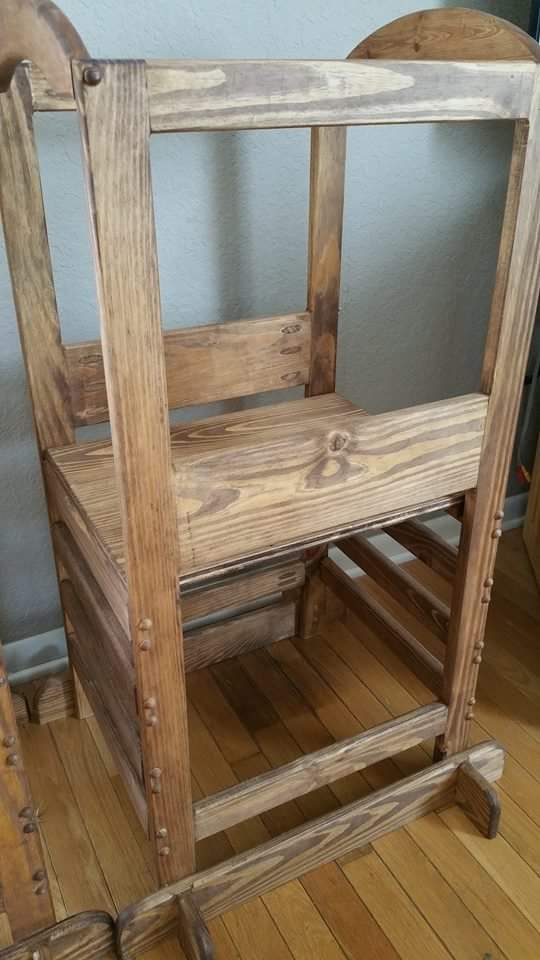
This is a slightly modified version of the little helper tower, very sturdy design, i weigh 184lbs and use it to climb up to high places as if it were scaffolding. The modifications include making the sides the ladder and the ladder the sides, this allows for smaller hands to grip easier when climbing. It helps to mimic more a ladder design than climbing up the side. It also made for easier install of rungs for ladder. Screws go through the wood face into tge end of the rungs, then pocket homes were used for side supports which were larger woods pieces than the rungs and pocket screws went from face of supports to the edge of the legs therefore no split out when doing pocket screws! All made from recycled wood from crates, dried and seasoned of course, if you use recycled wood it must be fully cured or it will warp and split over time.
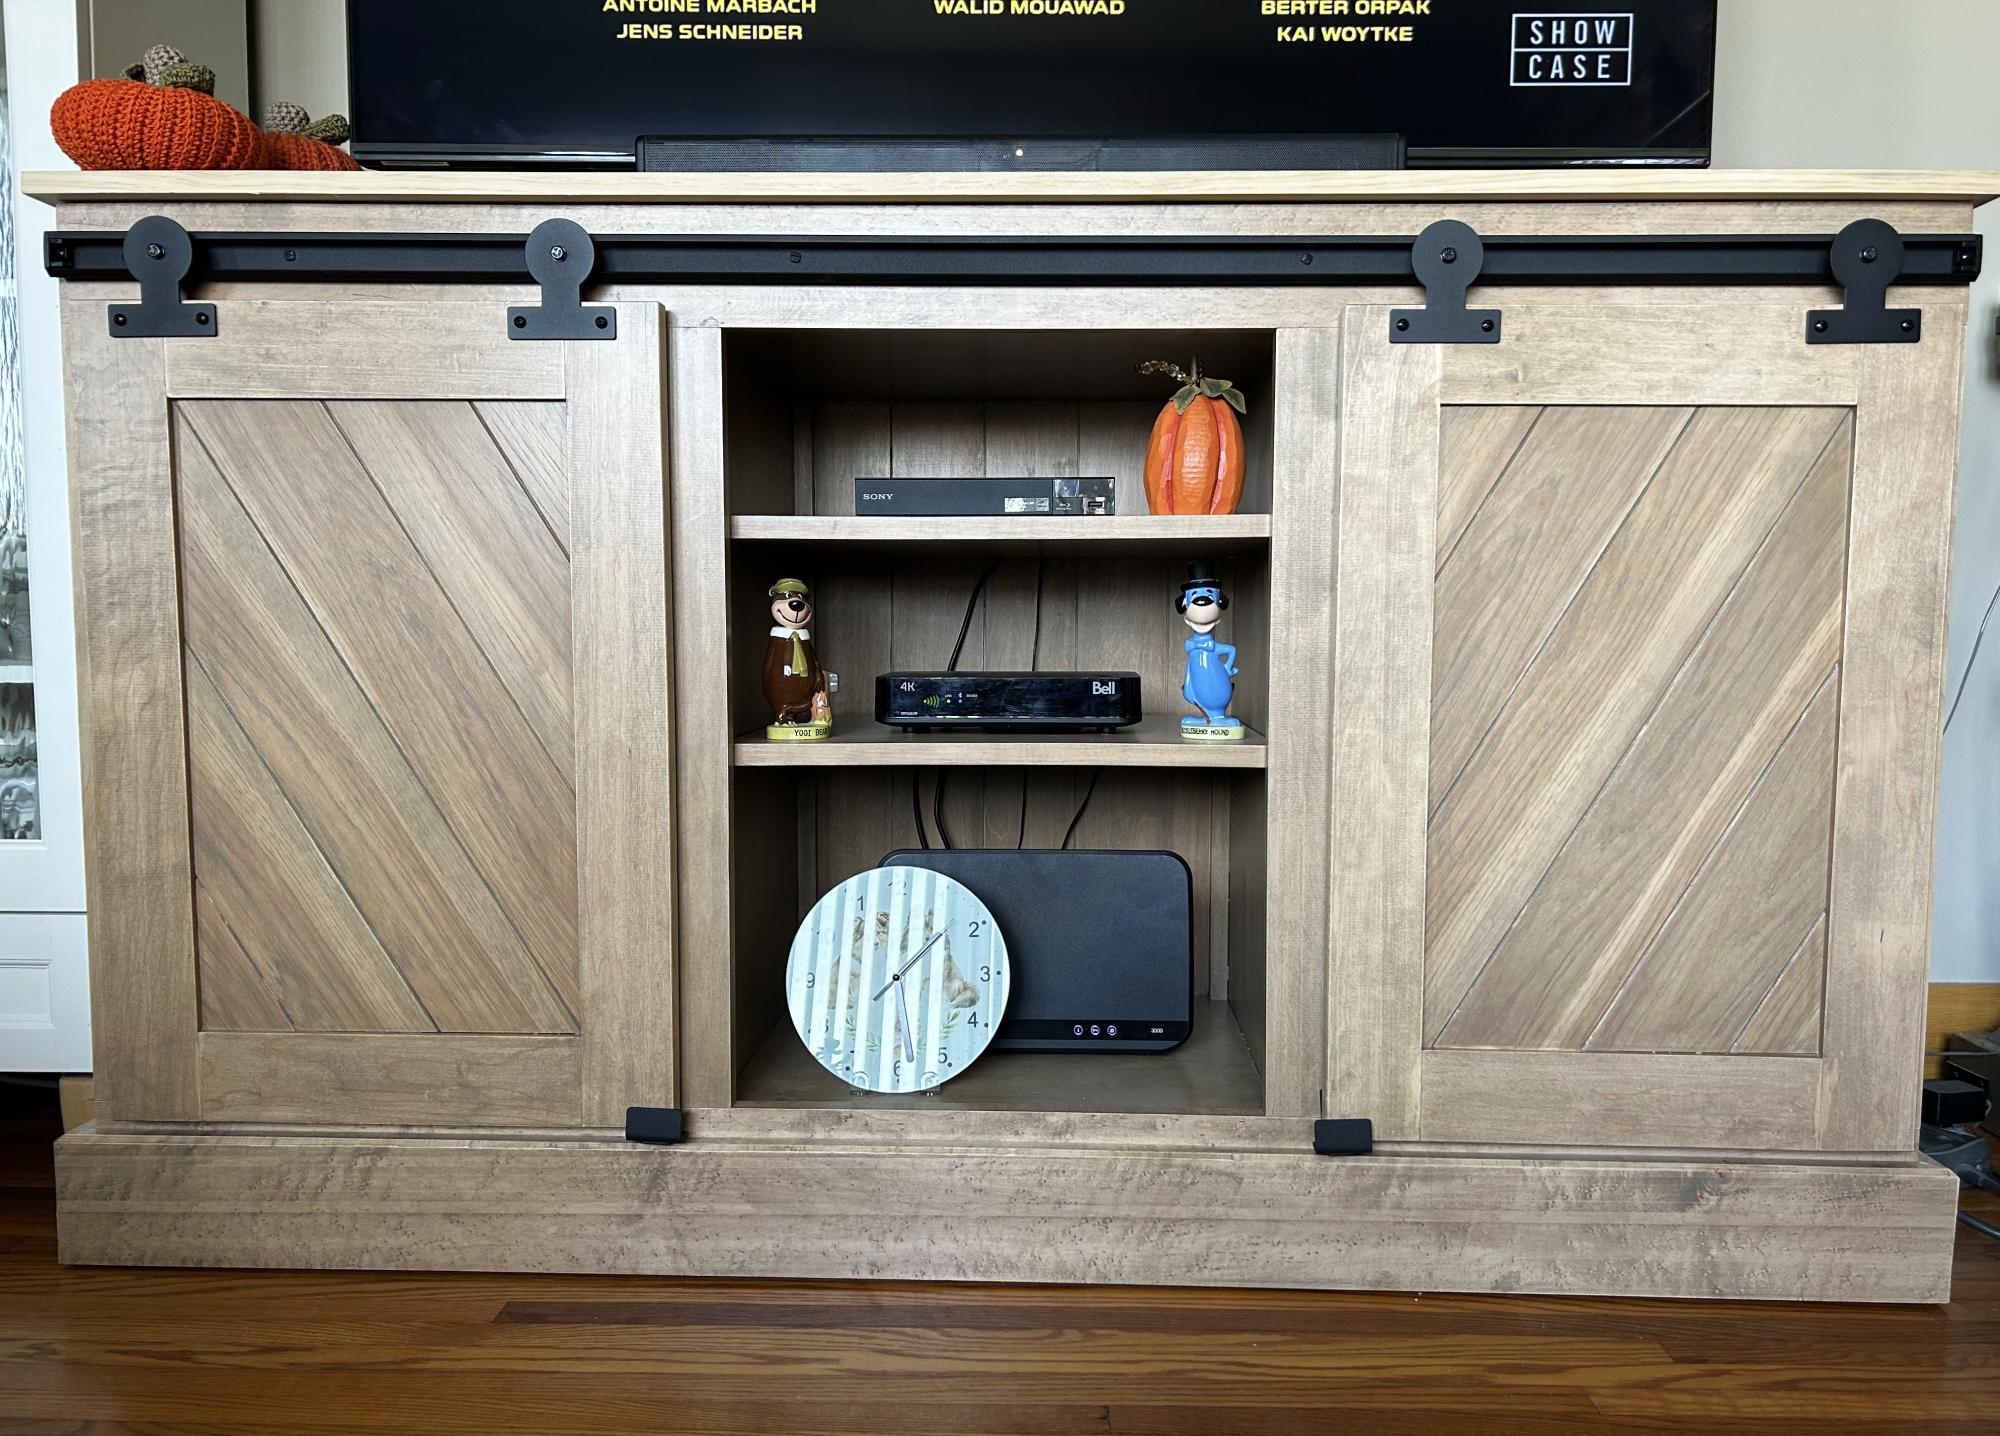
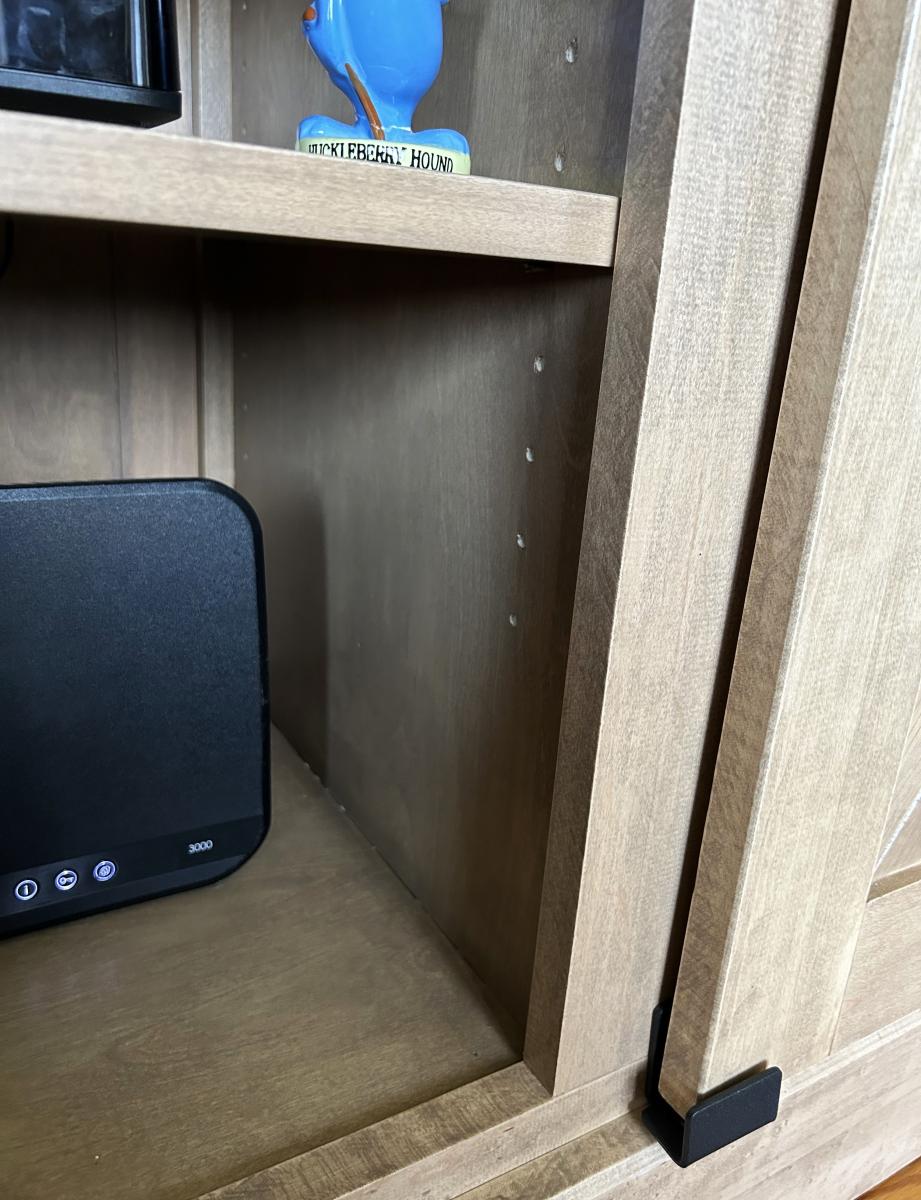
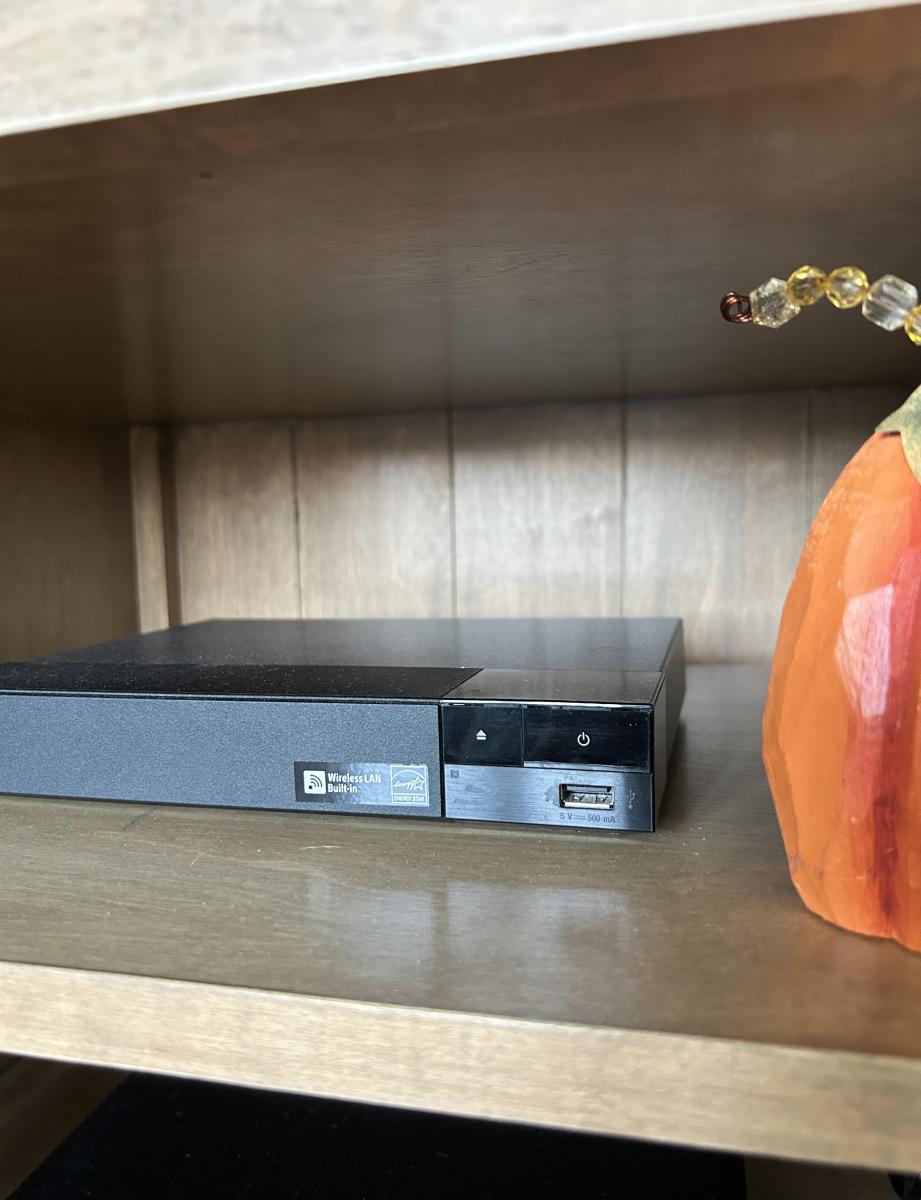
5ft Barn Door TV Stand.
I used the Grandy Barn Door Console as inspiration. I made it as 3 separate units and screwed them together. The shelves are adjustable, the bead board back was done on the table saw, the doors are maple with a hickory diagonal centre panel! This is my largest project so far and I have have to thank Ana White for the beautiful plans that you produce. Without you I’m not sure I would have attempted this. I am one proud lady 🥰
Debbie P
I made this beautiful bed in just one (long) day (12h). The next day I made the nightstands with the scraps of wood from the bed.
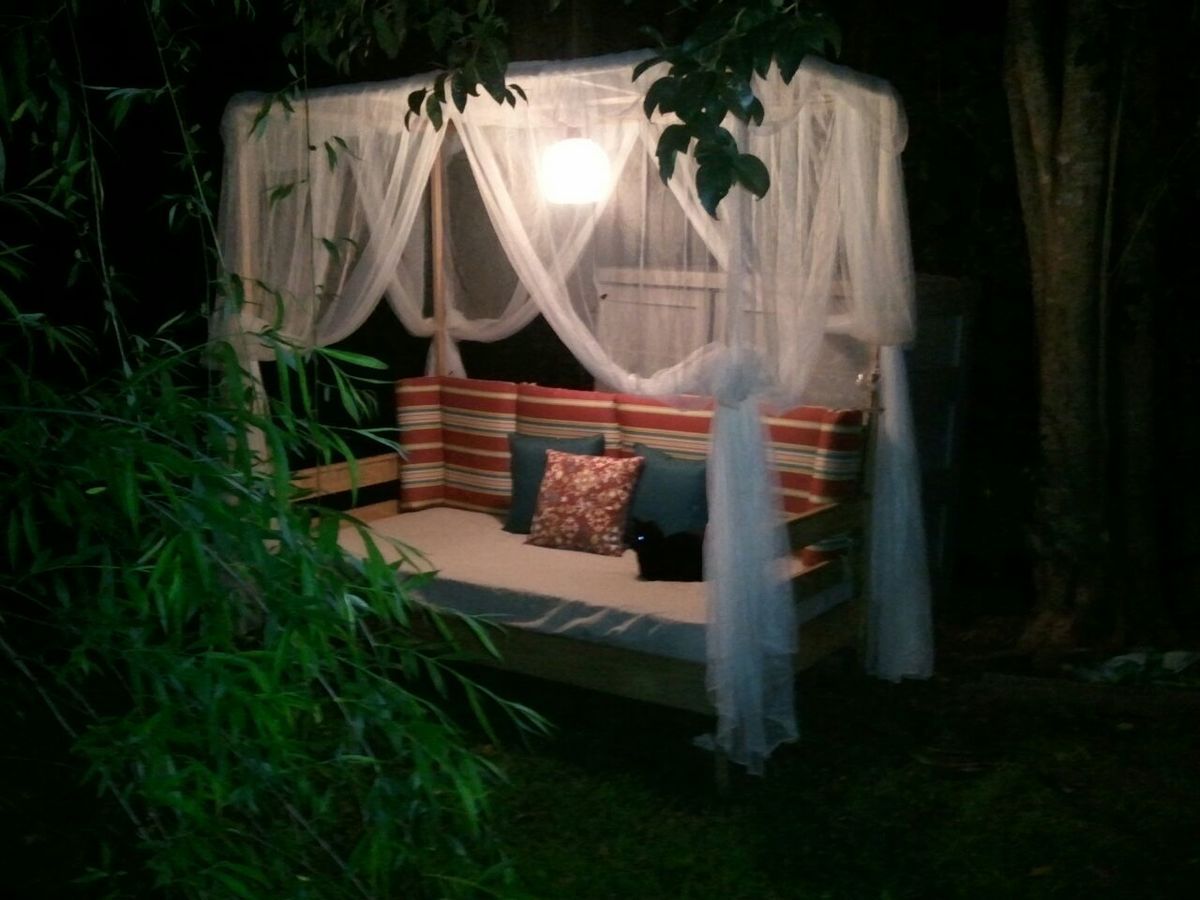
I asked for labor on Mother's Day and my two sons and I built the daybed in about 6 hours. I used treated wood. They did not have treated 1x3s so we used 1x4s instead. Waiting on it to cure before staining. It was a great Mother's Day!
Update: I added a crossbar and put a light up. Now I can use it anytime of day! So excited because there are so many options. Can't wait to build even more. Great plans!

Wed, 06/06/2012 - 00:01
Looks like you had a great mother's day and now you have a beautiful retreat for every day! The mosquito netting makes it look so neat.
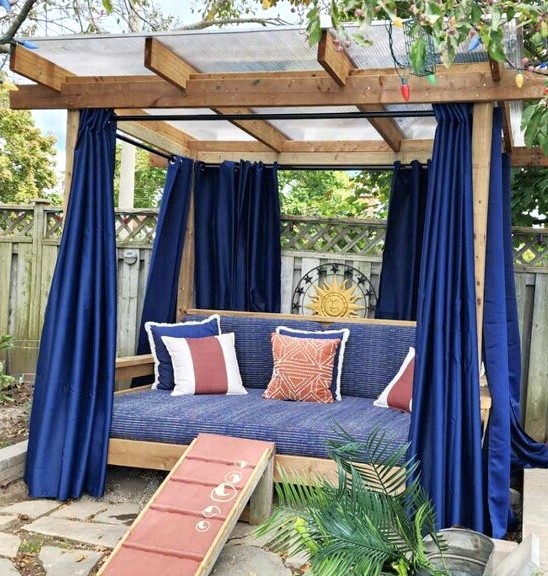
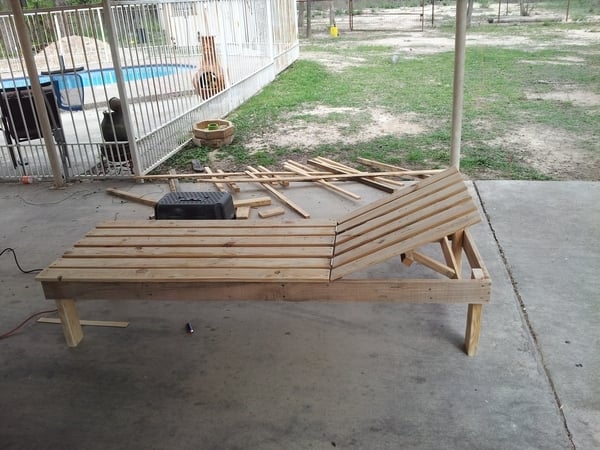
We fell in love with this daybed plan right out of the gate but had to modify the plan somewhat due to the rain and crazy weather we are experiencing during the warmer seasons. Rather than use a twin mattress we purchased the largest size outdoor cushion we could. We covered it in Dacron wrap and used an olefin material for the huge cover which maxed out at 54x96. It was one heck of a big zipper to sew! The material is mould and mildew resistant and has proven to be really resilient and I vacuum to keep it clean. It feels luxurious to slide into. We added a polycarbonate roof with a 6% slant, that projects 8-10 inches from the front and back, for rain and snow and because it sits under a crabapple tree which provides shade but will drop small projectiles on your head. We wanted to be able to manage the snow efficiently if we received a heavy fall. We hung the curtains using a chain link fence rail and are able to spend afternoons resting catching the breeze and reading so comfortably. It is situated in a southwest exposure so they are necessary to provide a little protection. The curtains are closed and secured with clamps for heavy rainfalls and so far so good! Everything has stayed dry despite high winds.
As you can see from the little ramp, we have four buddies that love the bed as much as we do! It is our little retreat. We love our magic space and the relaxation we experience the minute we slide in. Thanks for such great plans. It was so straightforward that modifications were simple and easy!
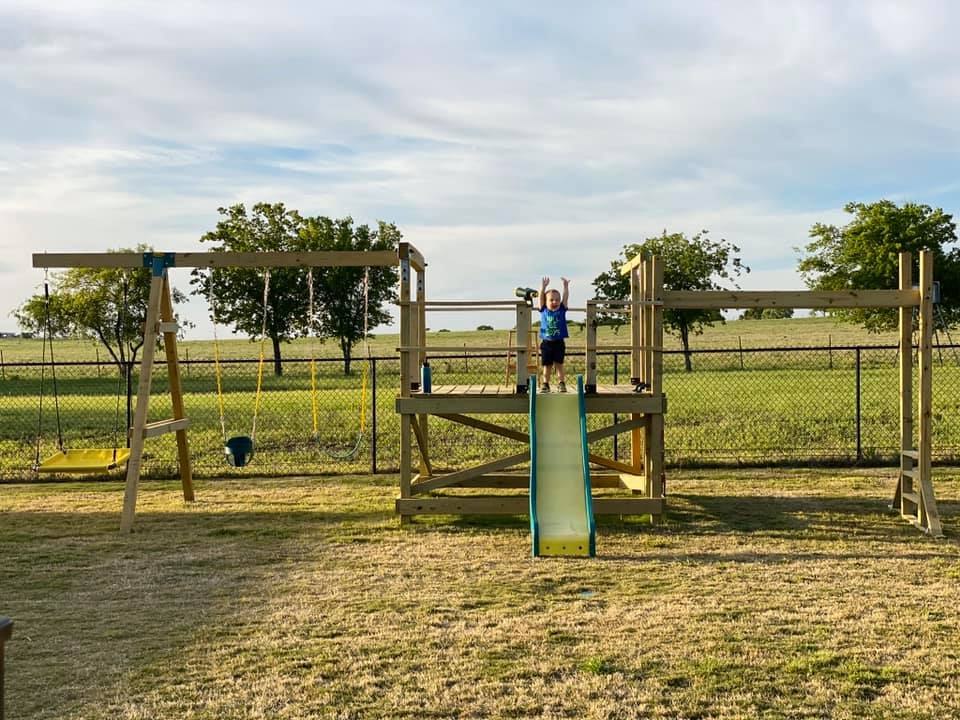
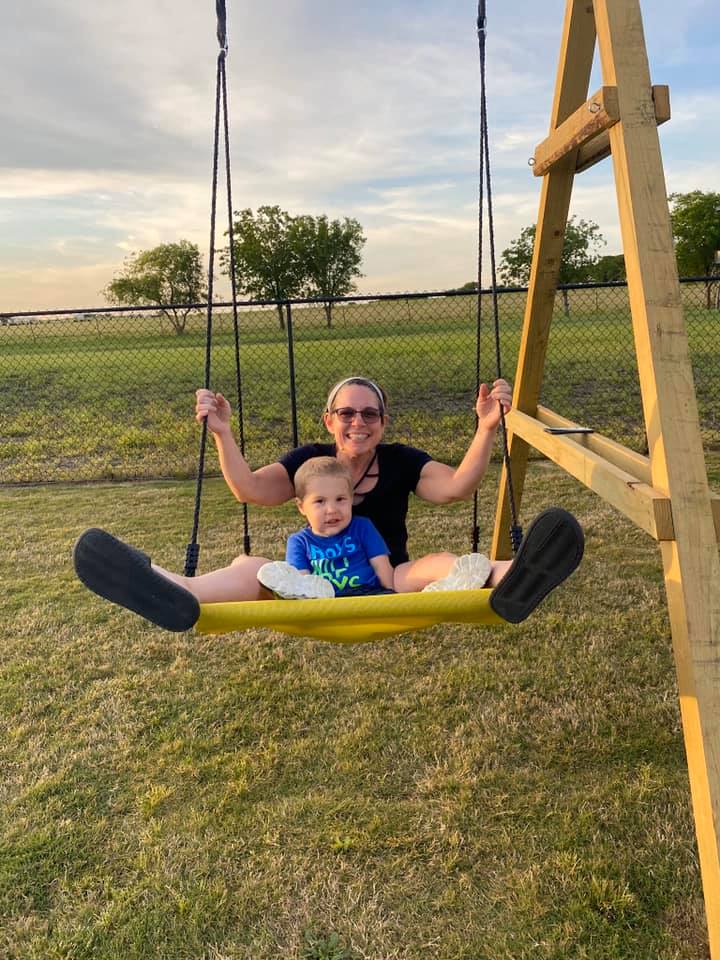
We are used to seeing our grandson every weekend but during the 2020 COVID quarantine we were unable to do so. Instead, we filled our time building him a swing set for our backyard. He loved it!! We are going to add more to the swing side but the hardware I want isn't available right now (apparently there is a lot of swing set building going on during this time). I look forward to many years of playing on this with our grandson and hopefully additional grandkids in the future... Our cost was pretty high mainly because our first round of lumber came from a local lumberyard that was willing to deliver within a few days (big box was going to take several weeks) and they had what is supposed to be higher end lumber (not sure I am convinced of that)....also, i chose some pretty expensive hardware (brackets) just for the added security.....

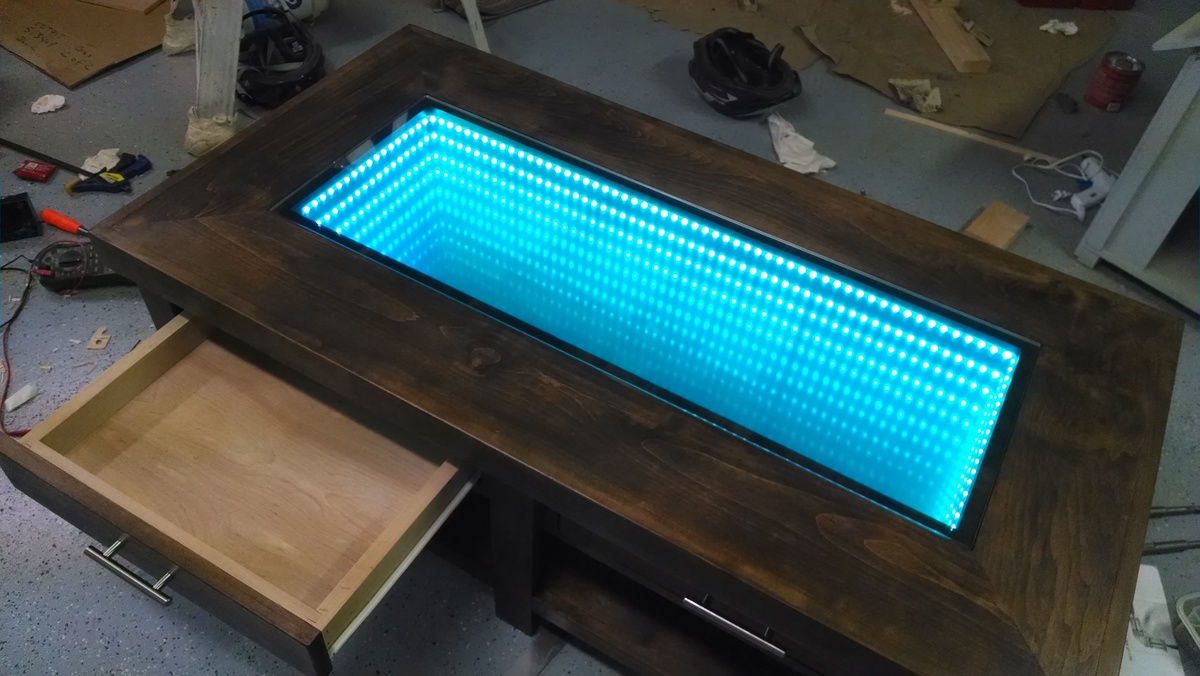
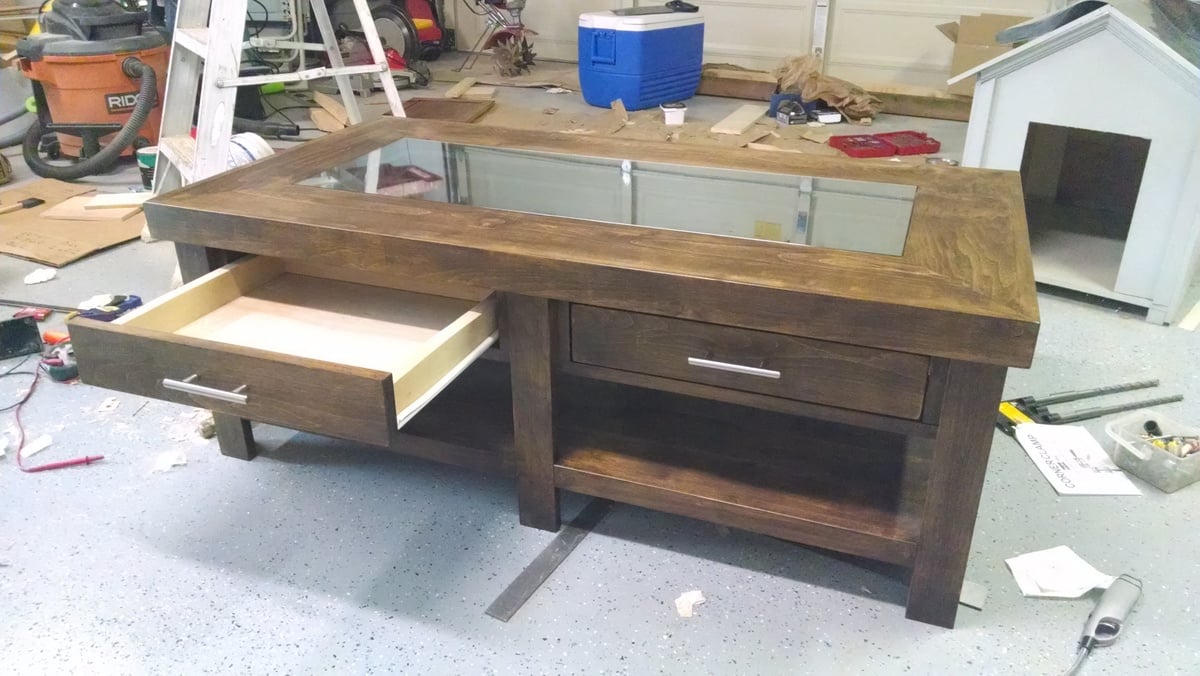
Used the Benchwright Coffee Table for all of the base which was very easy to follow. I used rough cut Alder, which I would not try to do again (way too many linear feet to cut!). I've done drawers before, and I've found that it's easier to attach the slides to the drawer box and the horizontal pieces that attach to the table. After that, attach once of the horizontal pieces first, and shim the other before attaching to the table. The top is 3 boards tall and is comprised of 1 layer of birch plywood, 1 layer of spacers, and the mitered edges on the top. The infinity mirror feature comes from a row of LED's sandwiched between a mirror (base) and glass with a semi-transparent mirror film (also known as one way mirror).
I have a small workshop so this workbench allows me to bring the work outside. It was my first project and I think it came out great.


Comments
shruti
Wed, 04/12/2023 - 13:15
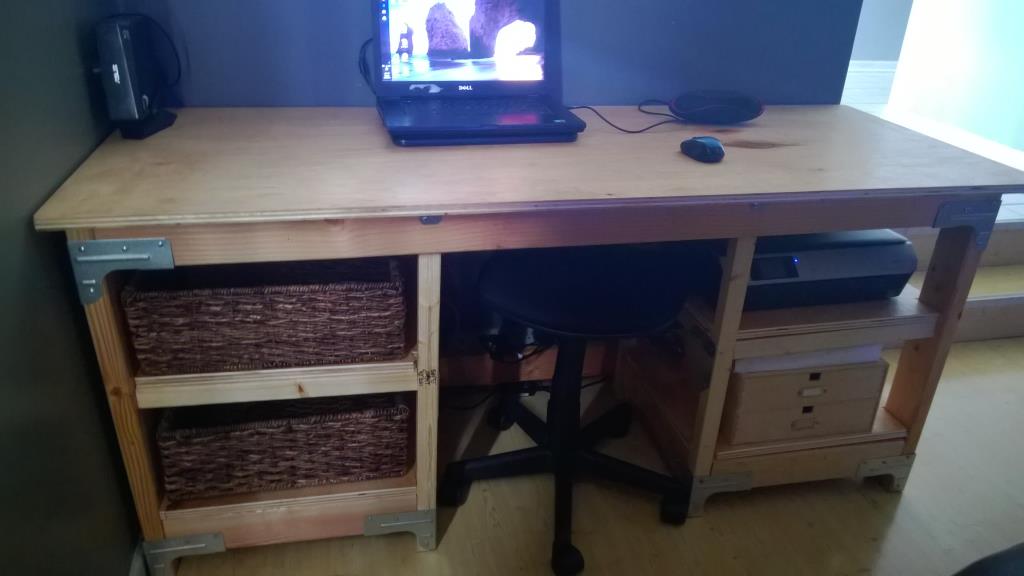
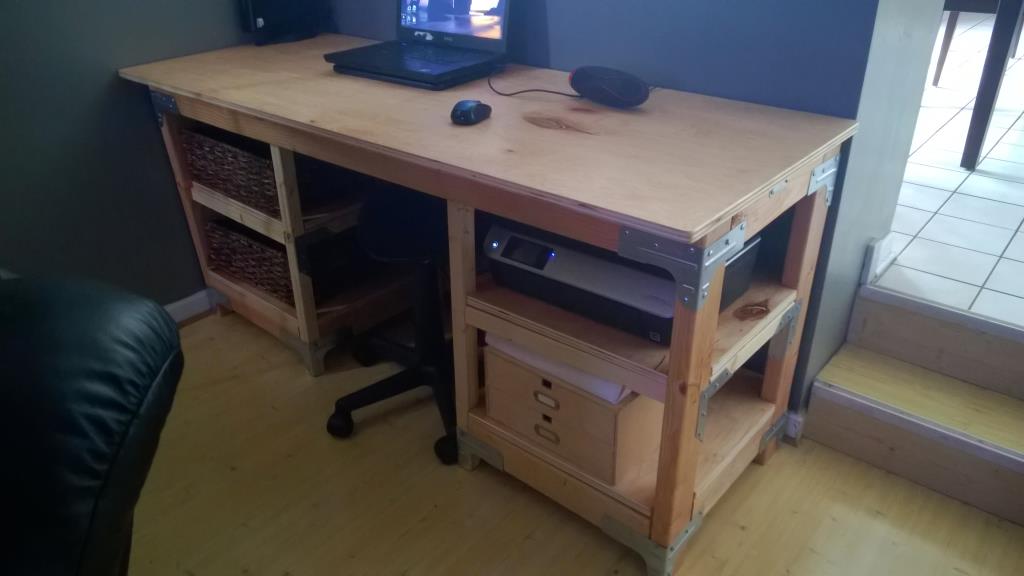
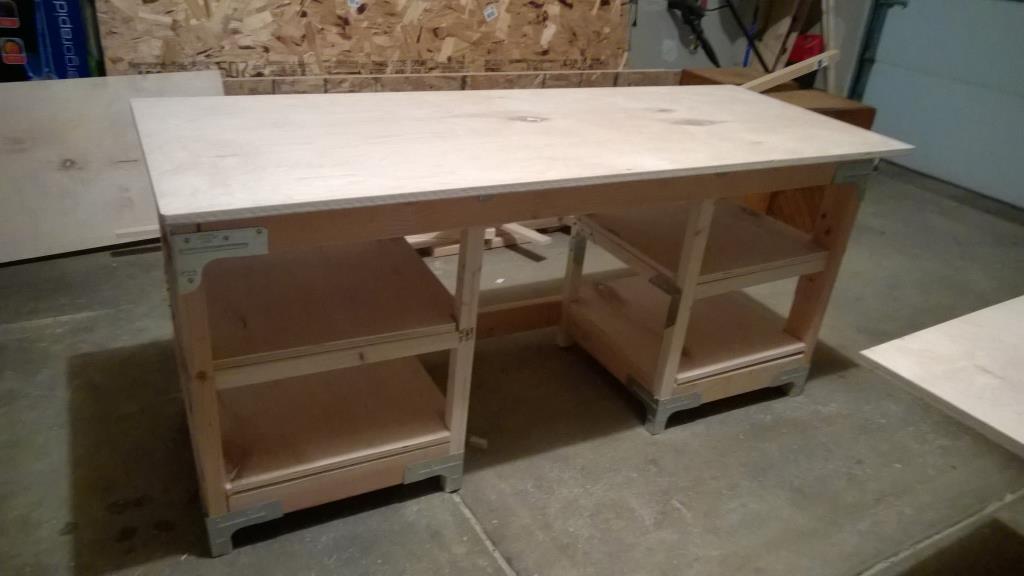
Desk for my daughter!!
Desk for my daughter!!
Ana White Admin
Wed, 04/12/2023 - 16:05
Great desk!
Thanks for uploading a brag post, it looks fantastic!