Rustic Bath Vanities Turned Dressers
Shared on Facebook by Jenna Schultz
My husband built your Rustic bathroom vanities into 3 drawer dressers to hide our children's toys on each side of the fireplace. They turned out amazing!!!
Shared on Facebook by Jenna Schultz
My husband built your Rustic bathroom vanities into 3 drawer dressers to hide our children's toys on each side of the fireplace. They turned out amazing!!!
My first project, I've never done any kind of wood working at all. I made and noticed several mistakes however, I'm still very pleased with how it turned out. I learned from all my mistakes and now know the best ways to avoid them in the future. Super excited to begin my next project!
Sat, 11/20/2021 - 09:23
It looks great and even better, its functional! Thanks for sharing:)
I had been holding onto some Martha Stewart Alphabet Cards since my, now 3 year old, son was a baby. Some of them had been drawn on : ) so I couldn't hang up the alphabet, but I got creative with spelling some words out instead. I am so thankful for Anna's plans, I finally found a way to hang these without buying a lot of picture frames! My son loves them, and hangs his paintings and photos often.
This cubby was my very first project! I just finished remodeling my kitchen, all that was missing was a place for my keys, dog leashes etc. My little house doesn't have a proper entryway so I created a "welcome station" with this cubby. The trickiest part was definitely cutting the sides, but I was able to get those tight circles with a little forethought and a lot of sanding :) I used leftover paint and samples from choosing colors for the kitchen, so it automatically coordinated with the rest of the decor.
As a beginner I found this very easy to build. I took my time to make sure everything was measured and cut just right. I substituted longer screws for the brackets. The ones that came with the brackets seemed a little short. There's a trick to getting the screws in the brackets. The angled bar swings back to make it easy to attach the screws. Very happy with the finished product.
Wed, 05/20/2015 - 08:43
I went over a year without a miter saw stand/cart. Looking back it now that I have one, I kick myself for not getting one sooner. I have limited space for storage so I went with a store bought so that I can fold it up when not in use, but I really wish I had something that's always set up like yours. I also like the extensions that can fold down when not in use. Good job!
My husband & I built this version of the Husky Farmhouse Table. We also built two benches & bought chairs to match the colors as closely as we could. We. LOVE. It! I found the legs on Etsy for a little cheaper than the place Ana reccomends in the plans. The milk paint didn't crackle as much as I wanted, but I think that was because I put the first coat on WAY too thin since I was afraid of running out. And I ended up doing 3 coats. We were able to sand the edges & some spots down a bit to get the effect we wanted though. Super excited to have Christmas dinner at this baby!
Love these planters! I made the large one first with the circular saw and struggled. The smaller one was super easy by using my miter saw with the 5 degree setting. Thanks , Ana. 😀
I have been looking for a new bed for our master bedroom for a long time. I just could not find one that actually fit ME.. the look and size. Then I found Ana's website, wow I feel in love with it as soon as I saw it.
So this was my first project. It's not perfect, but I LOVED how it turned out!! A few lessons learned....
1) I know common sense would tell you to get the straightest boards, which I thought I did. When I went to put them together, a few were bowed. I tried to put those at the bottom.
2) I did end up putting a brace vertically in the middle on the back with left over 1x6. It just added a little more support.
3) Since I'm a beginner, I didn't know better, but go easy on the wood filler, especially if you are going to use any kind of opaque finish.
4) The only other thing I can think of, is unless you have someone to help you out, build this close to where you plan on putting it. I am in the middle of a remodel, so was able to build this in my bedroom. This sucker is heavy and awkward for one person to move when it's finished!!!
5) I built this with my finish nailer (2" nails) and wood glue. (Light on the glue...it expands quite a bit!)
My first pocket hole project! Adjusted plans to make table 50 inches long.
My very first project. Was so easy thanks to Ana's instructions. Dark walnut gel stain and Fusion Seaside. Thank you so much Ana.
Wine buffet made from pine. Hope you guys like it.
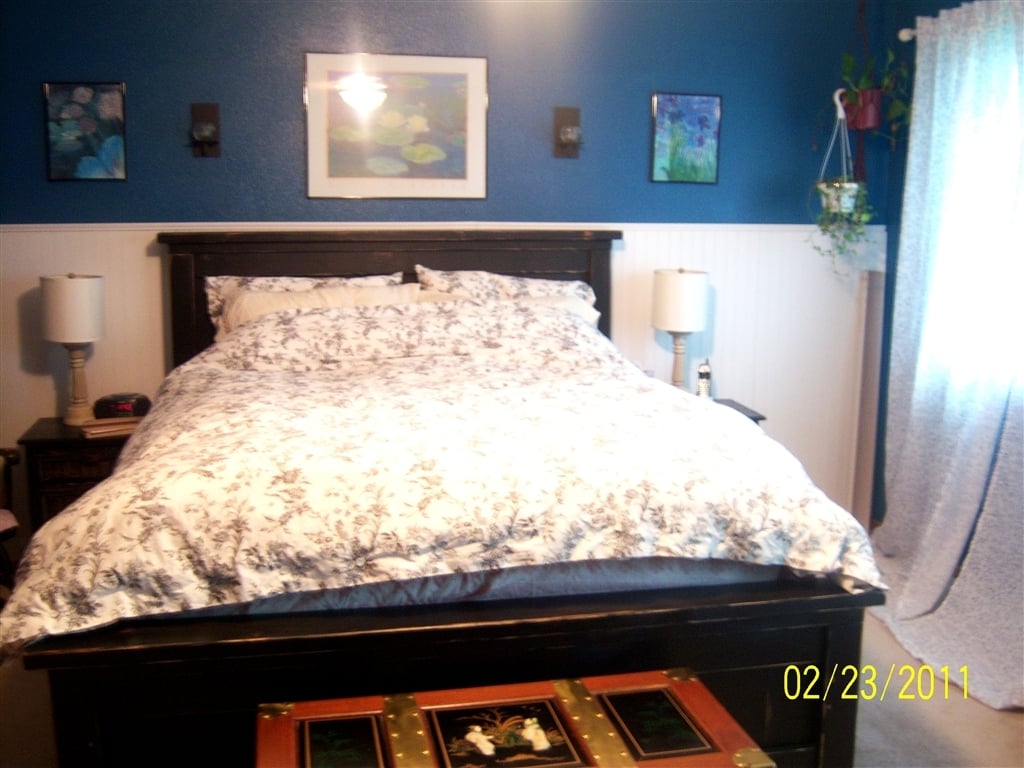
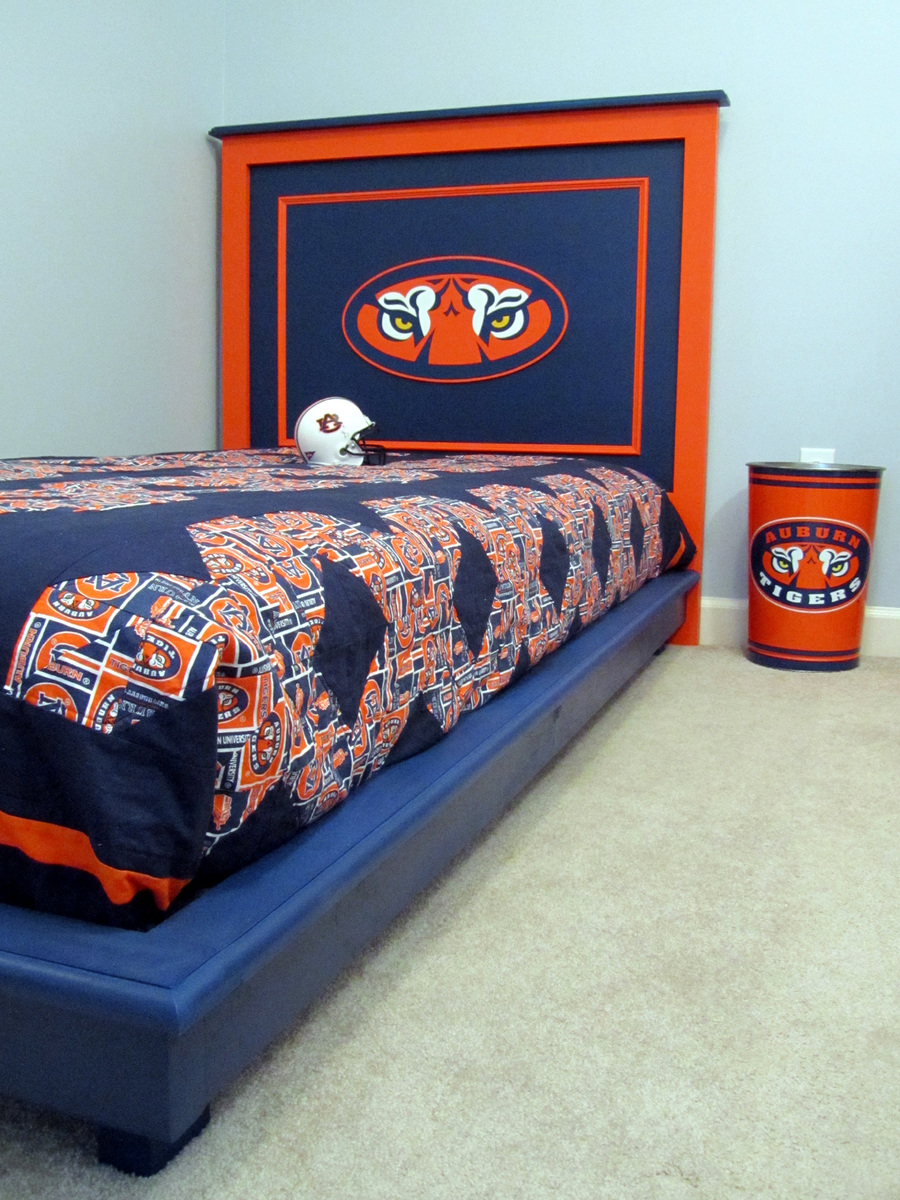
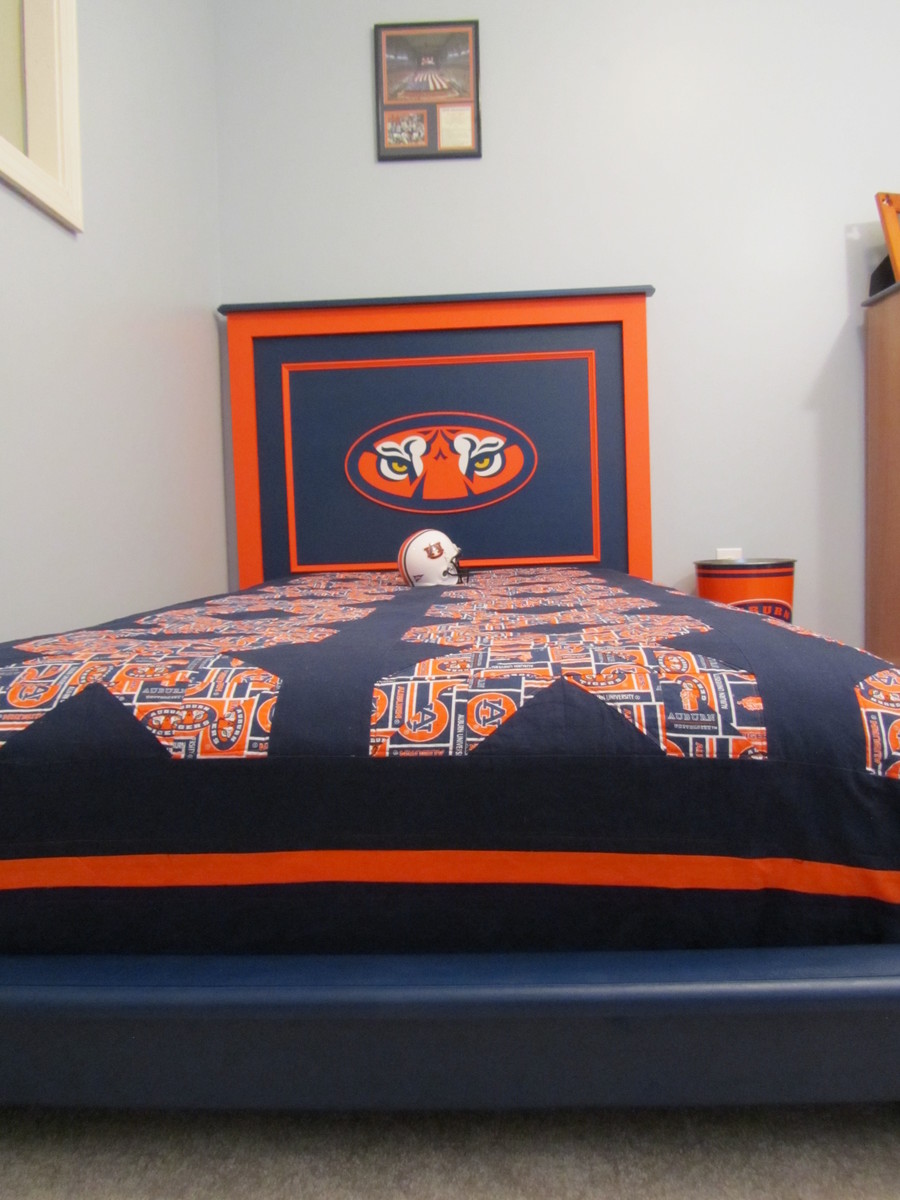
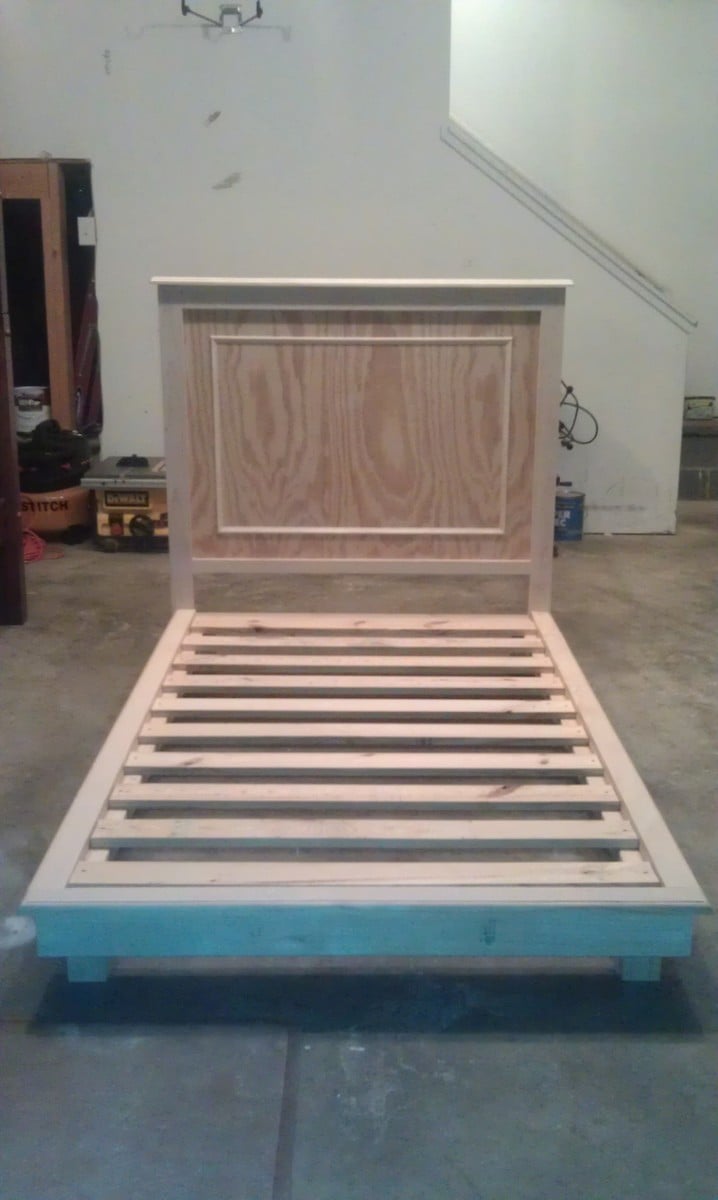
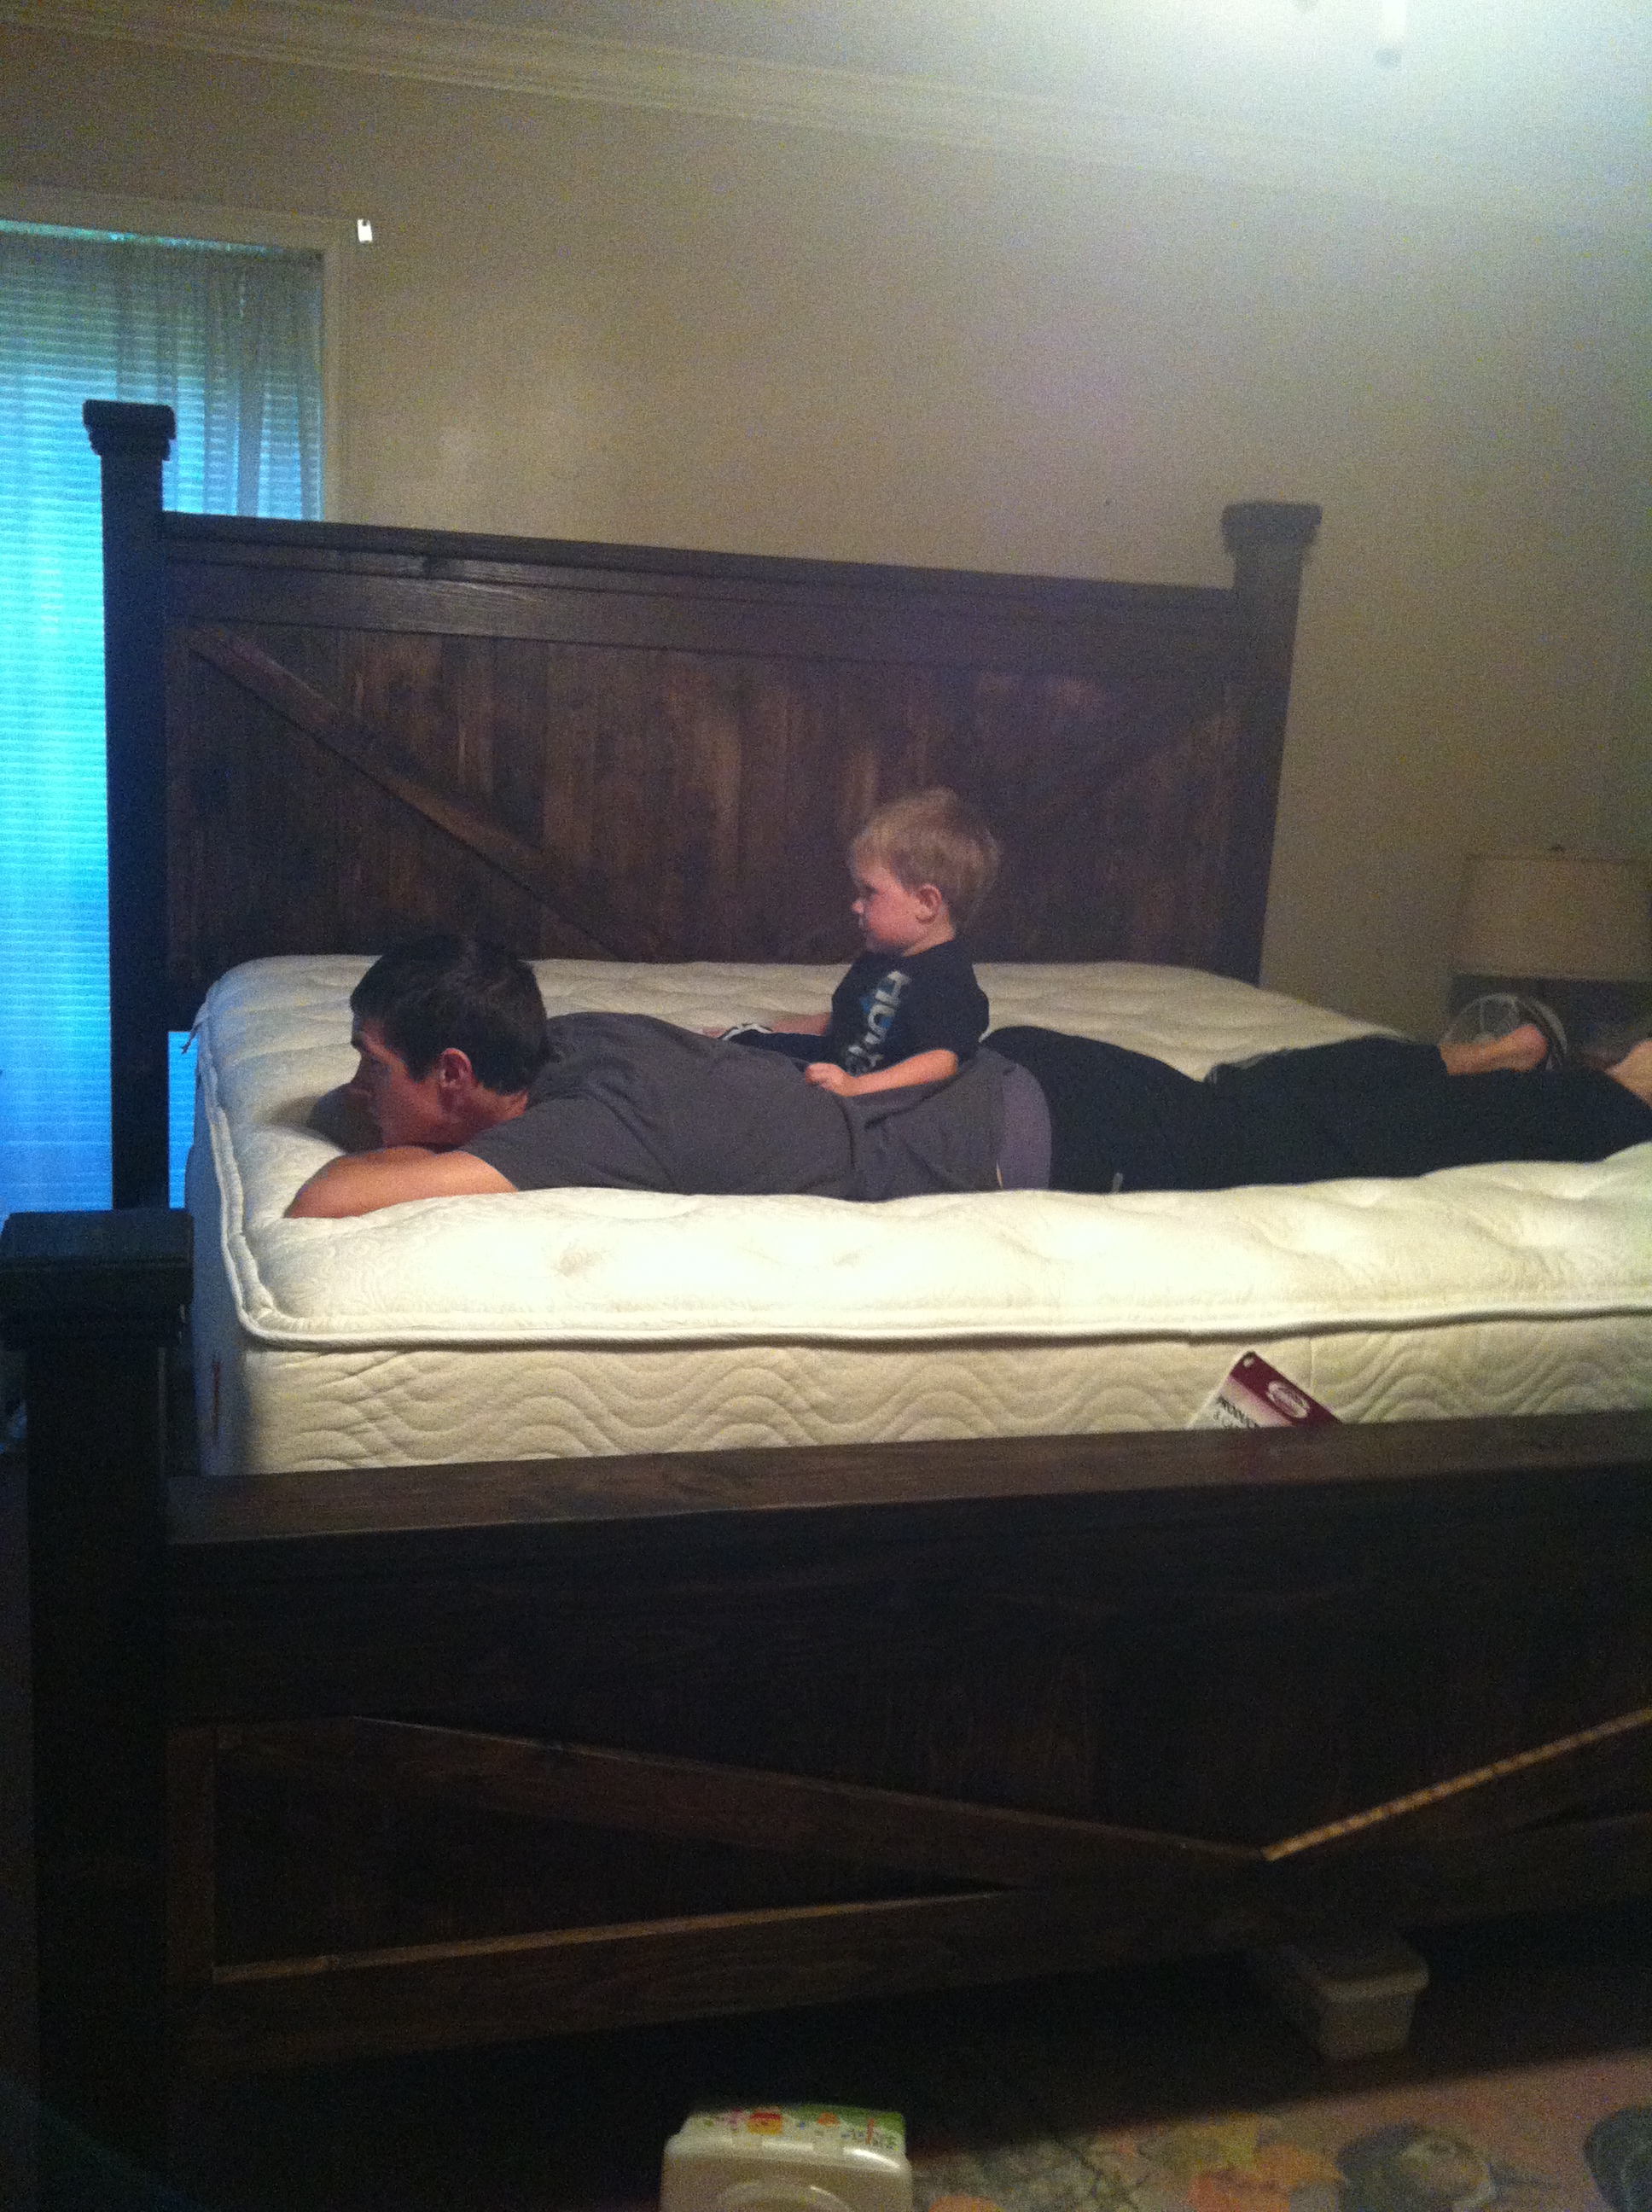
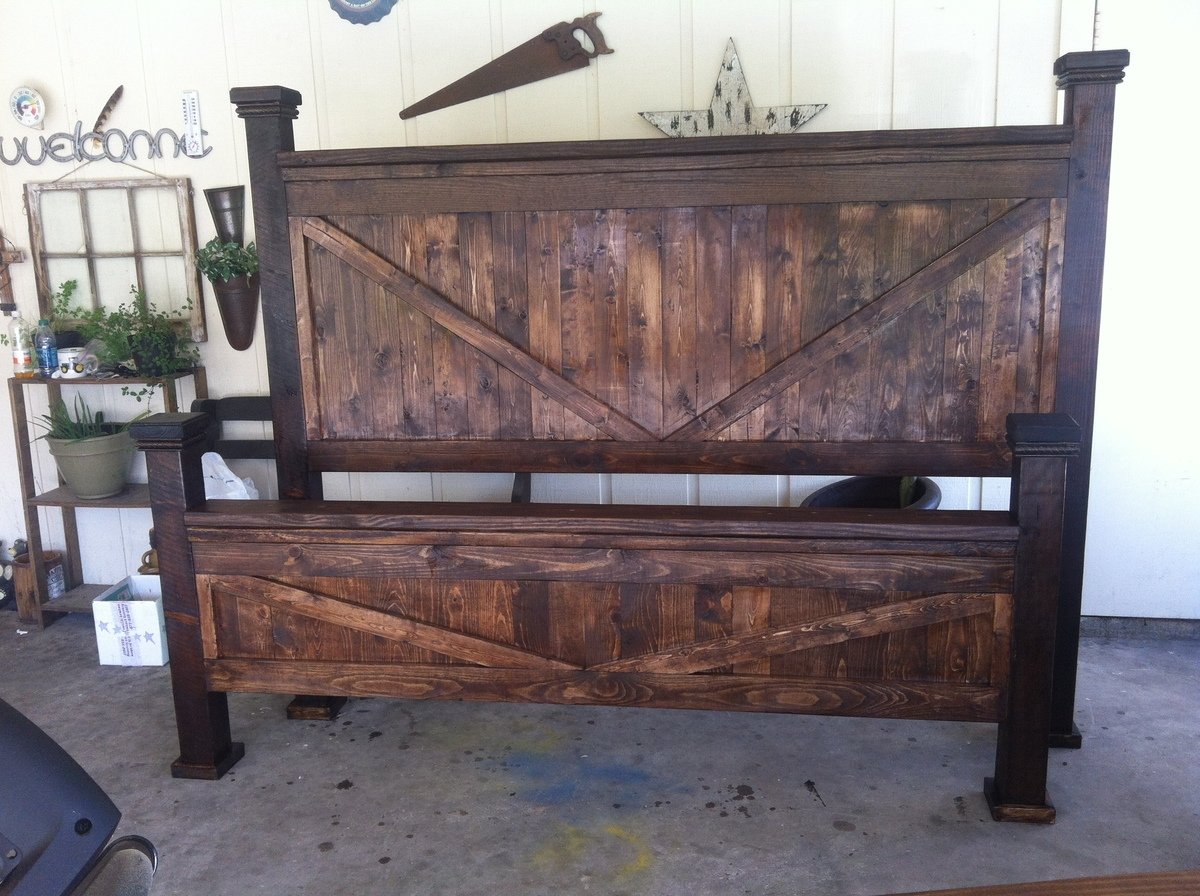
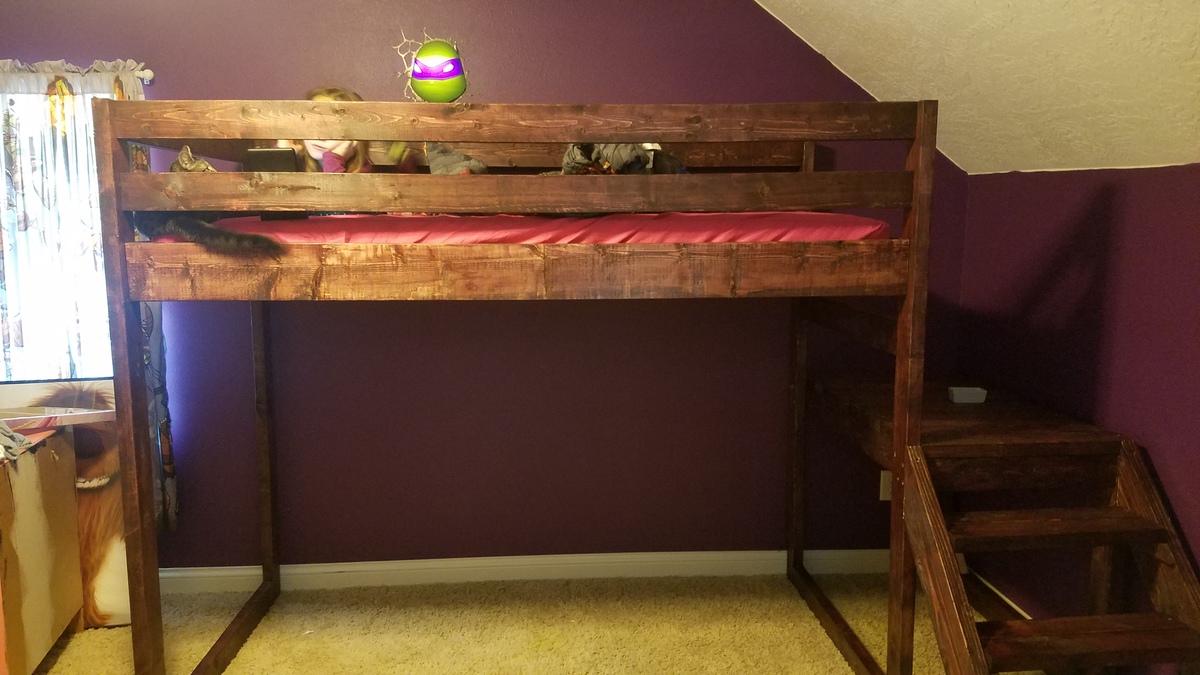
I built this Auburn University themed platform bed for our son. It works perfectly for him, and he absolutely loves it. I added a custom "Tiger Eyes" wood logo, which makes this a one-of-a-kind bed.
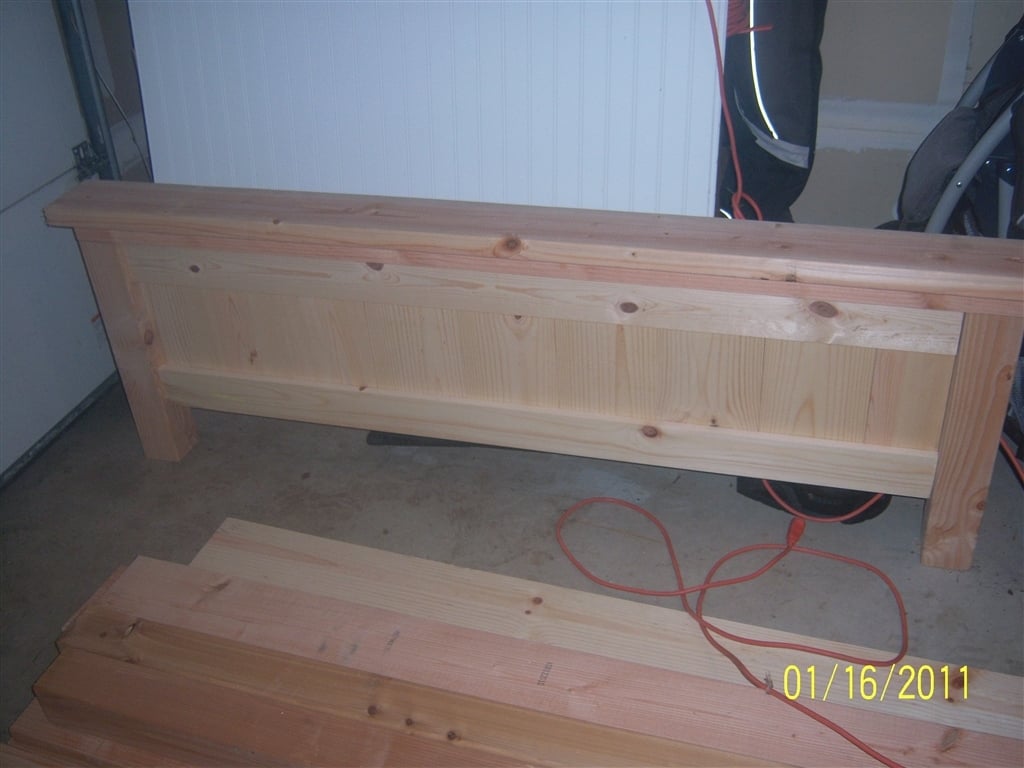
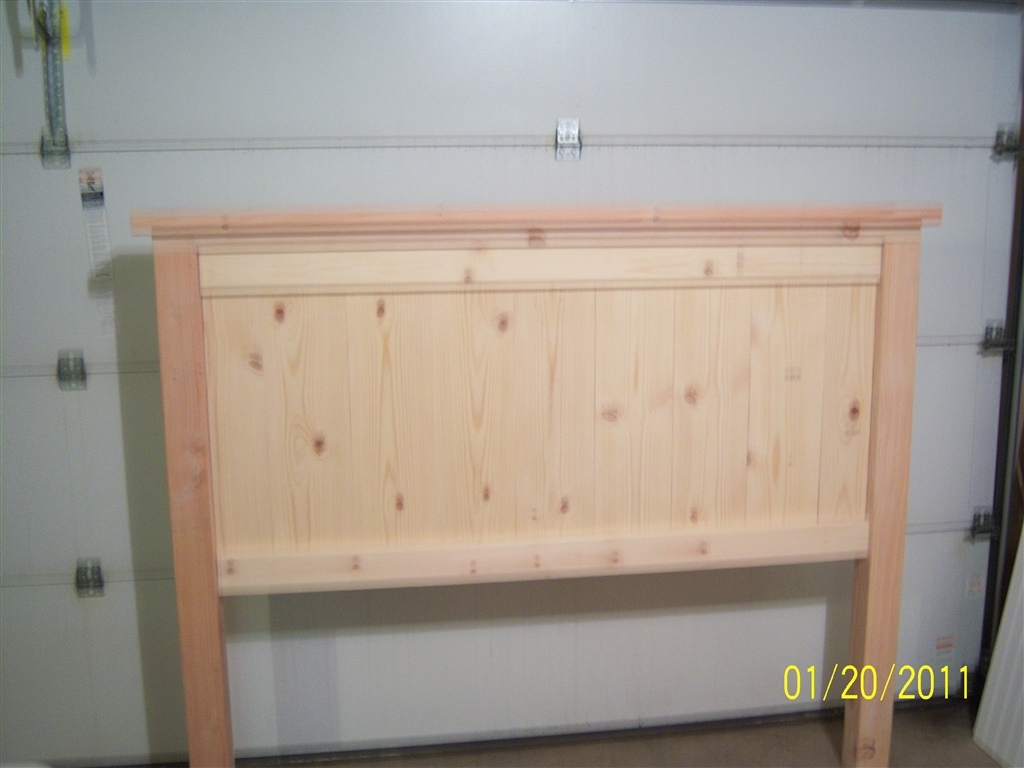
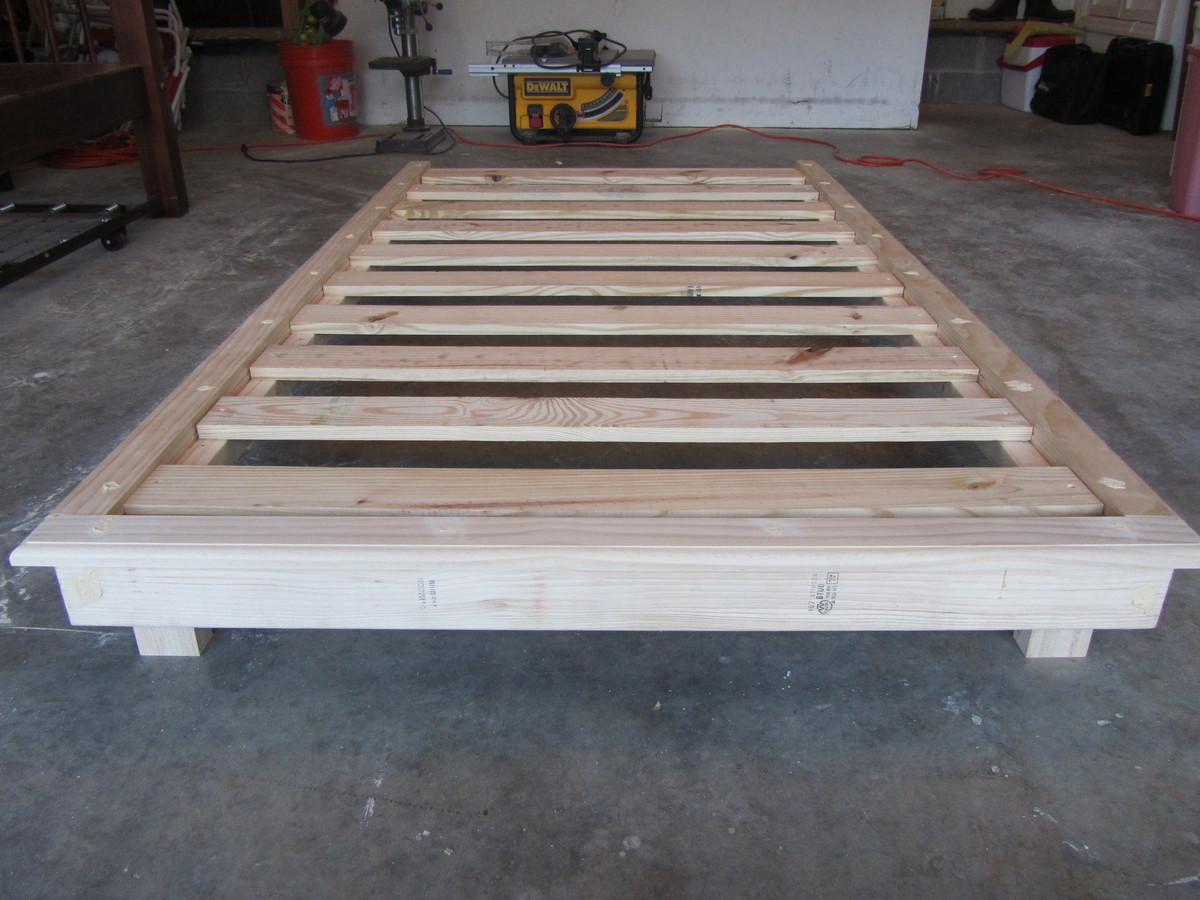
The construction of the bed was straight-forward due to the great plans I found on this site. The finishing process actually took longer than the build!
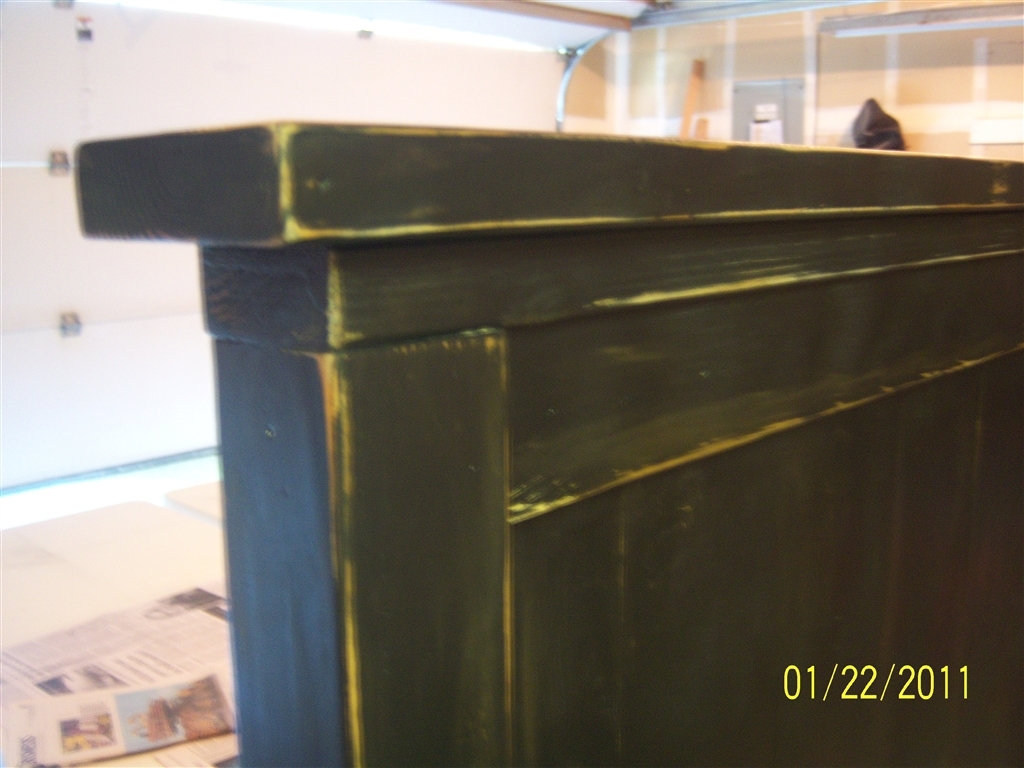
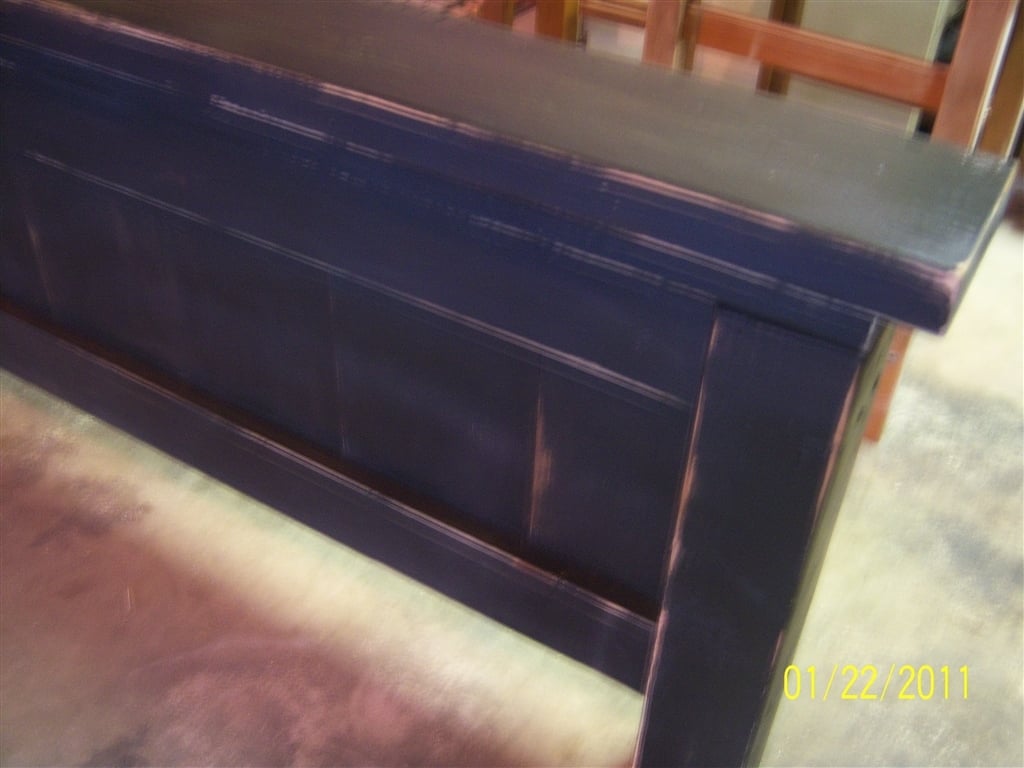
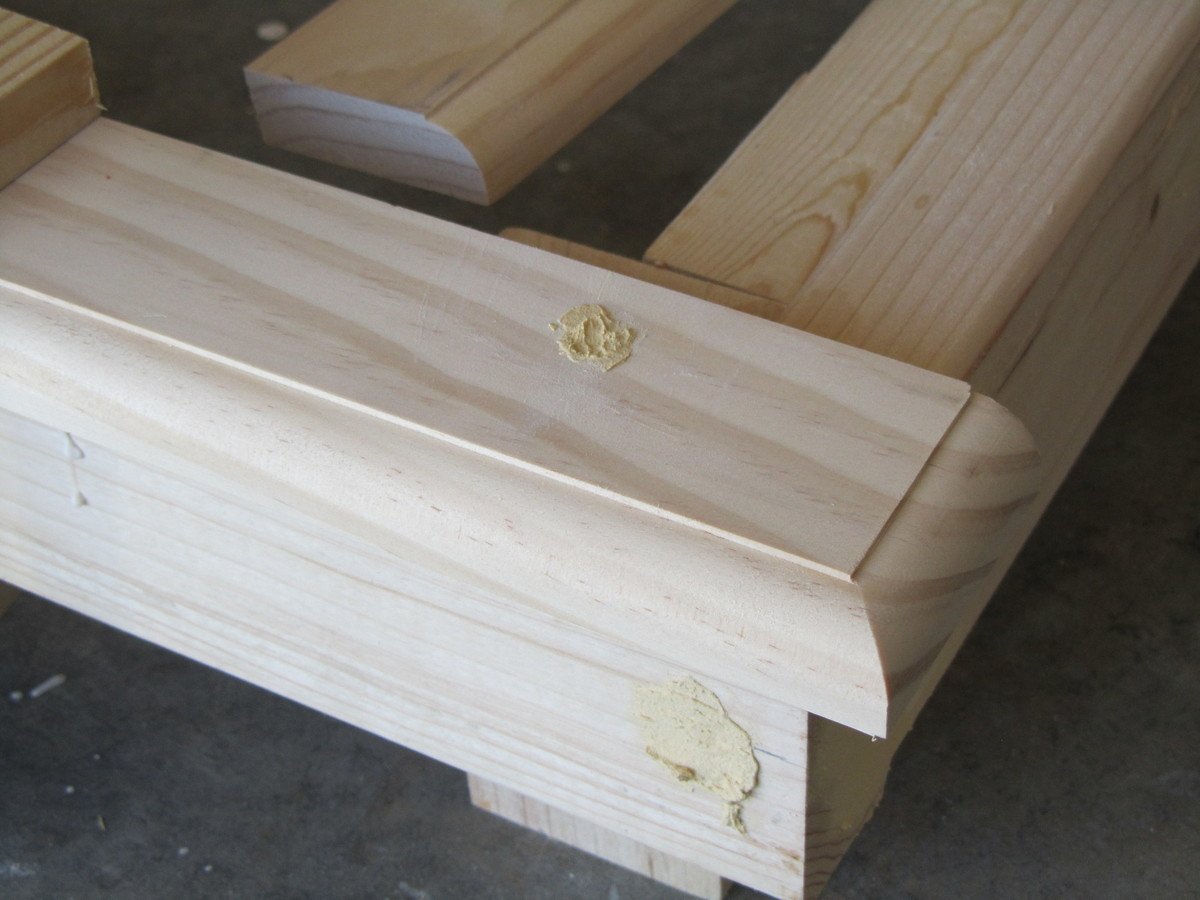
I made a few minor tweaks to the plan, such as using a combination of dowels and wood screws on the frame joints, and using a router to put a 1/2" radius round-over edge on the platform boards, and a 5/32" Roman Ogee edge on the top plate of the headboard.
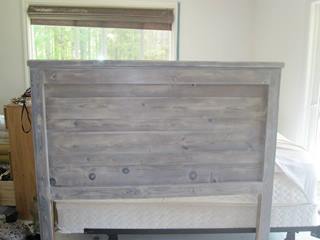
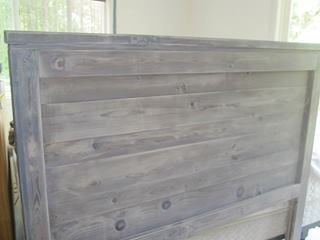
We used spray paint for the finishing process (Rust-Oleum Gloss Orange and Krylon Gloss Navy), followed with a few coats of Minwax Fast-Drying Polyurethane.
If you want to read more about the build process, you can check out our blog posting at: http://ourhomeourhands.com/auburn-university-platform-bed-ana-white-ins…
In reply to War Eagle! by cchandler
Sat, 06/29/2013 - 05:13
Thanks for looking. War Eagle!
As part of a redecorating project using reclaimed barn wood for our guest bedroom, we constructed this window frame to display some photos from one of our siblings of barns found in Iowa.
The dimensions are 44” X 33” with each photographic image being 11” x 16.5”.
Since the wood had so many bore holes, we used ¾” redwood under the visible fascia for added strength.
Cost - $75 / 4.5 hours to build.
http://ana-white.com/2009/12/plans-barnwood-frames-1-and-10-minutes.html
I needed a shed to get my outdoor and seldomly used equipment out of my gargage. But I needed the shed to be small so it doesn't take up too much space in the back yard and my HOA will not allow it to be taller than my fence. So I needed a small/short shed. I didn't use any plans, but it would probably have been quicker if I had. I did it with free time during a week, but could probably be all completed during a weekend. It was probably a few hundred total. I tried to reuse existing hardware/wood where possible. I'm a cheapskape. Here's my blogpost I did with additional pictures...
https://drowland.wordpress.com/2017/12/22/small-short-storage-shed/
You can see I also added a matching doghouse.
Needed somewhere to put Christmas stockings in my new house. And had to make it high enough so the new puppy couldn’t reach it. This was easy and perfect.
This past Christmas I built the dollhouse bookcase for my 3 year old daughter. I built mine out of plywood and made a few modifications. I routed dados for the shelves. I also added a pine face frame to cover the plywood edges. The back is beaded paneling. I painted it in the same princess pink colors that are in her bedroom. The final touch was adding a chimney and stuffing a Santa into it. She loved it! You can check out the full story on my blog http://www.homefront-dsr.blogspot.com/
I used the farm house plans for this bed but I made my 4x4 taller because I wanted the post affect, I also added the" \/ " because I wanted a "rustic look. I used 2 different stains to get the old barn wood look. I had a great time making this bed and LOVE it Thanks for the ideas.
This week's project was an outfeed/assembly table. A project that iv'e been needing for a while now. It's mostly constructed with 2x4's and plywood and mdf for the tops. I added caster the the legs to keep it mobile in my shop in case of having to move it around. I'm extremely happy with it and I love the extra space it provides underneath.
Blog article: http://www.lanebroswoodshop.com/2015/05/assemblyoutfeed-table.html
Built this for our daughter for Christmas! She loves it! Very easy build