Community Brag Posts

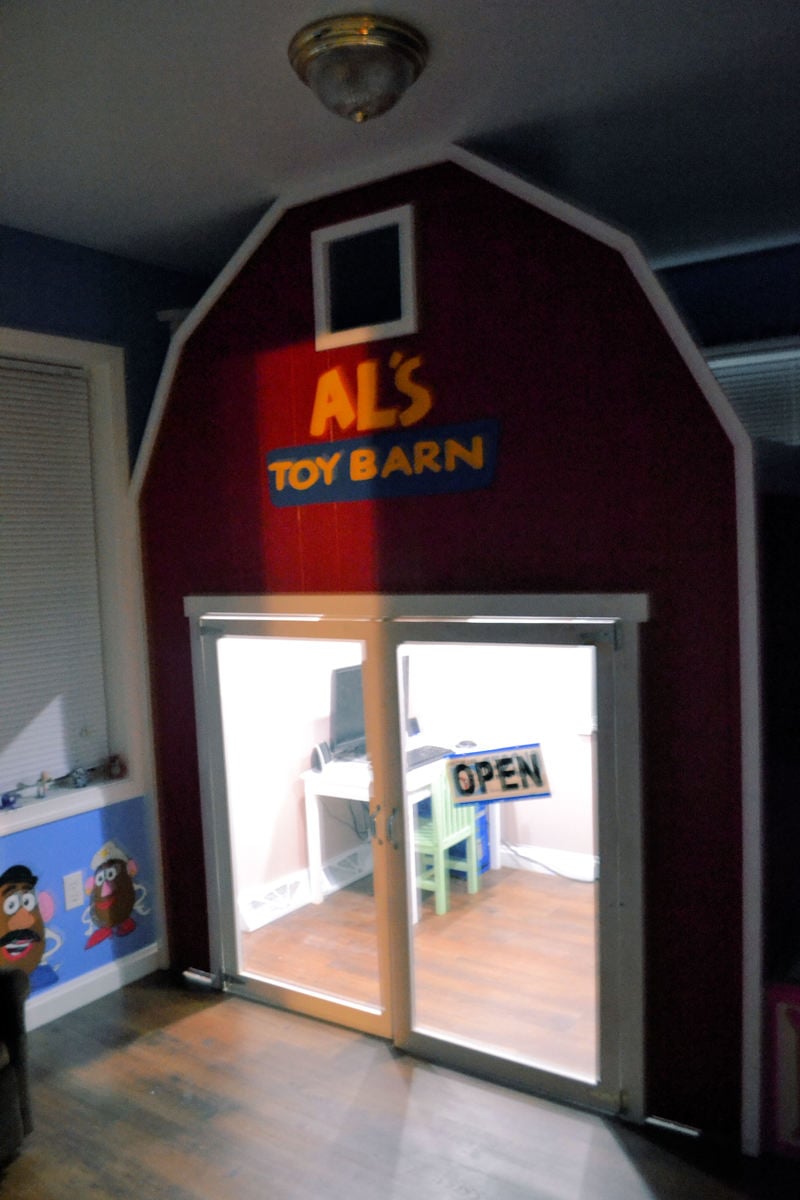
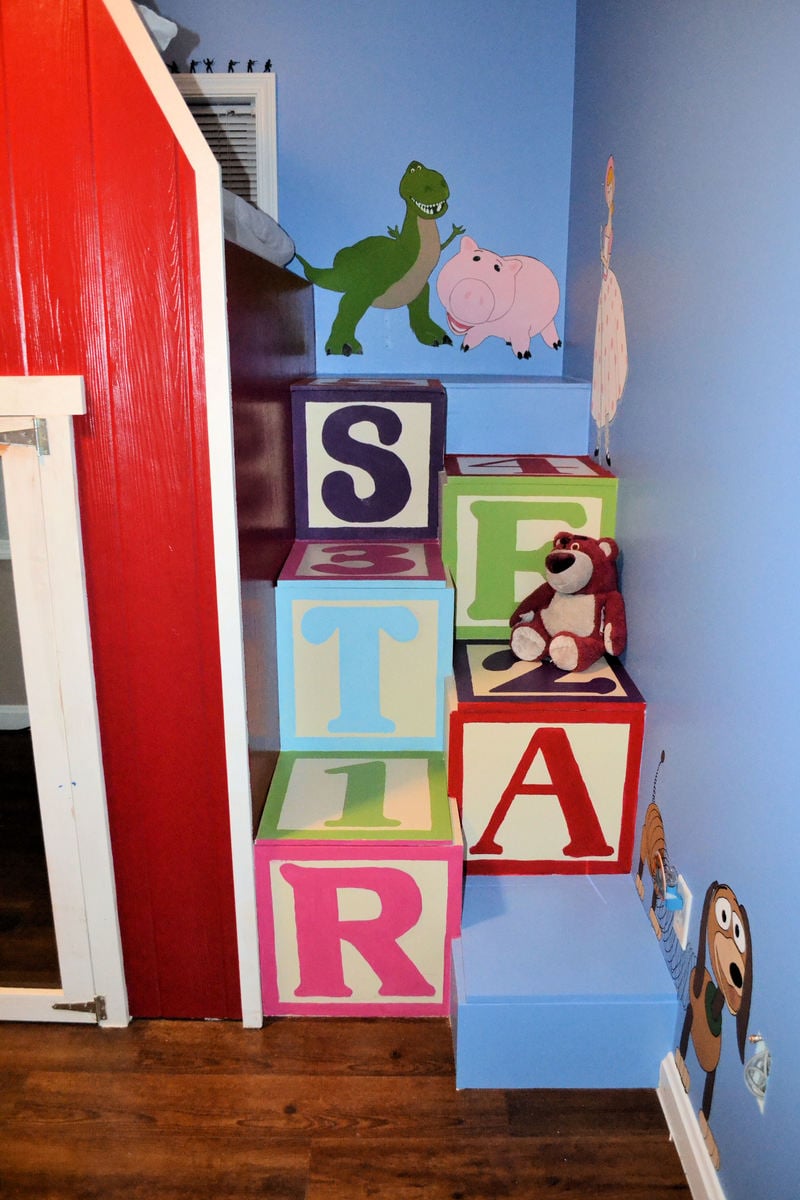
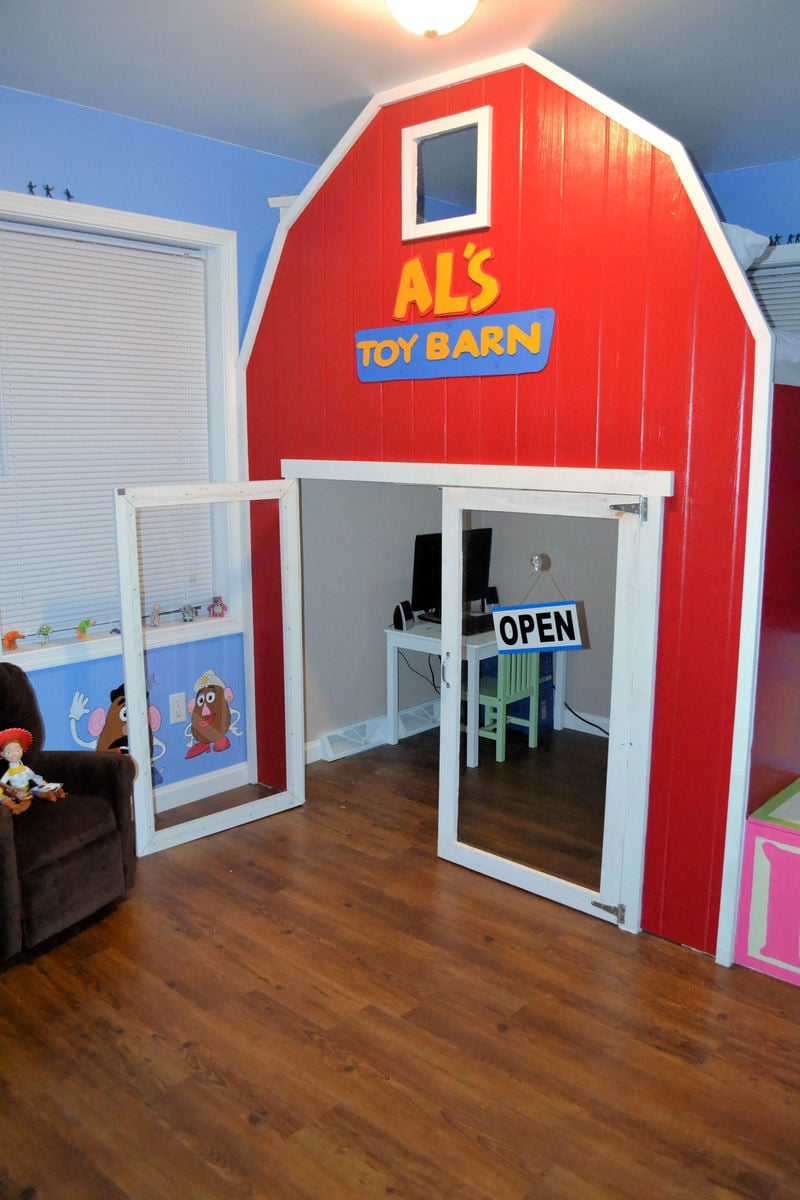
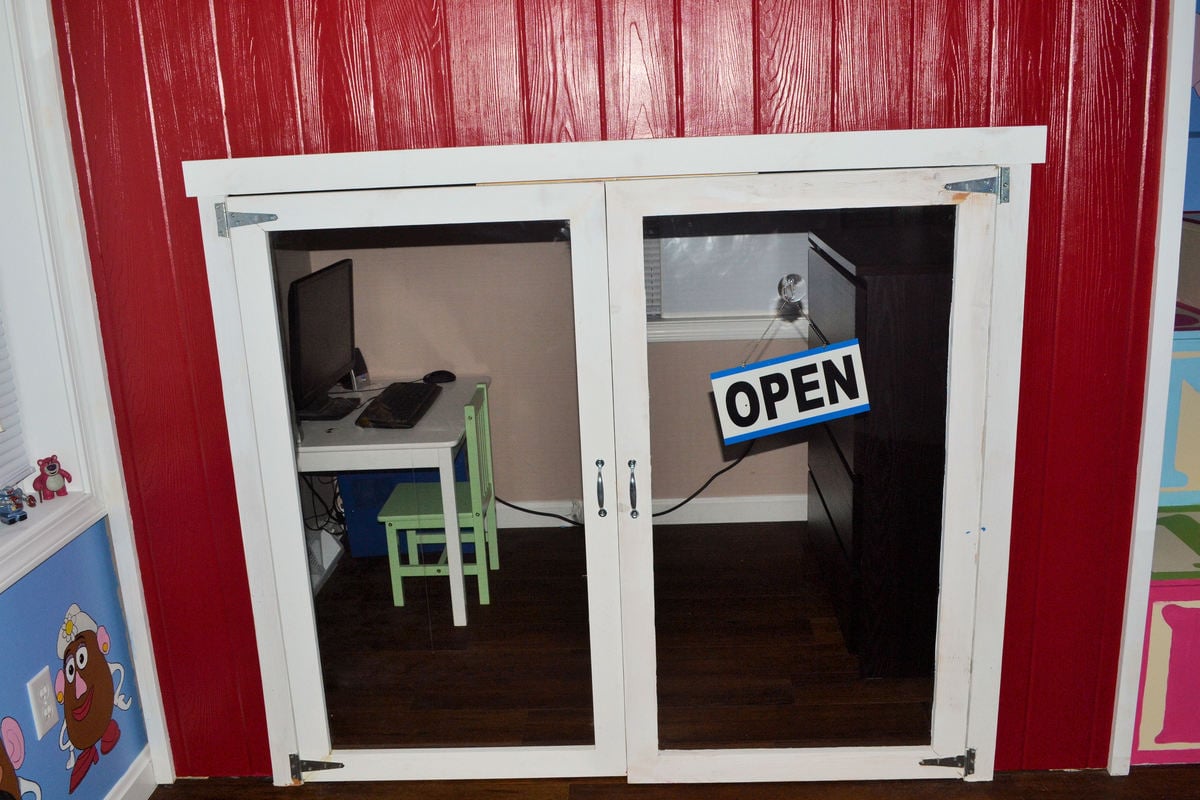
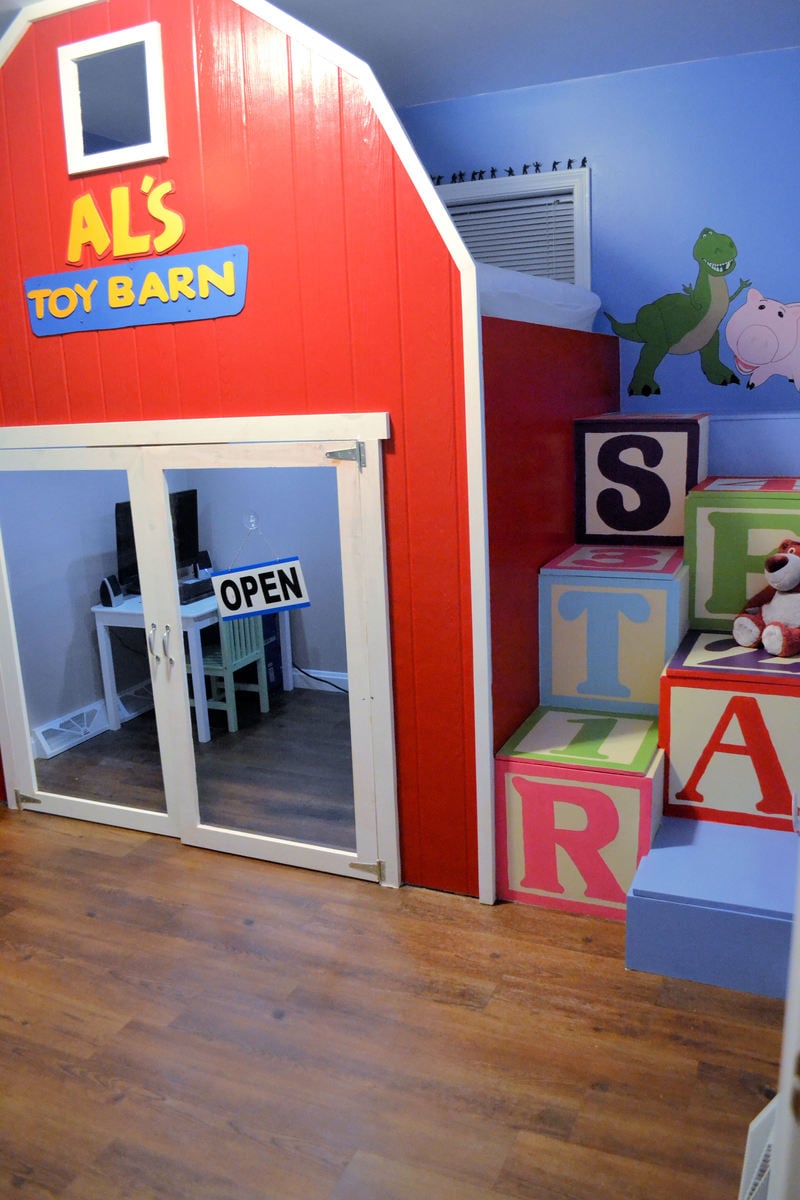
Toy Story 2 Loft Bed

This was a big project to tackle. I'm not very good at modifying building plans, so my husband was frustrated during the beginning of this build. But we are very happy with the way it turned out.
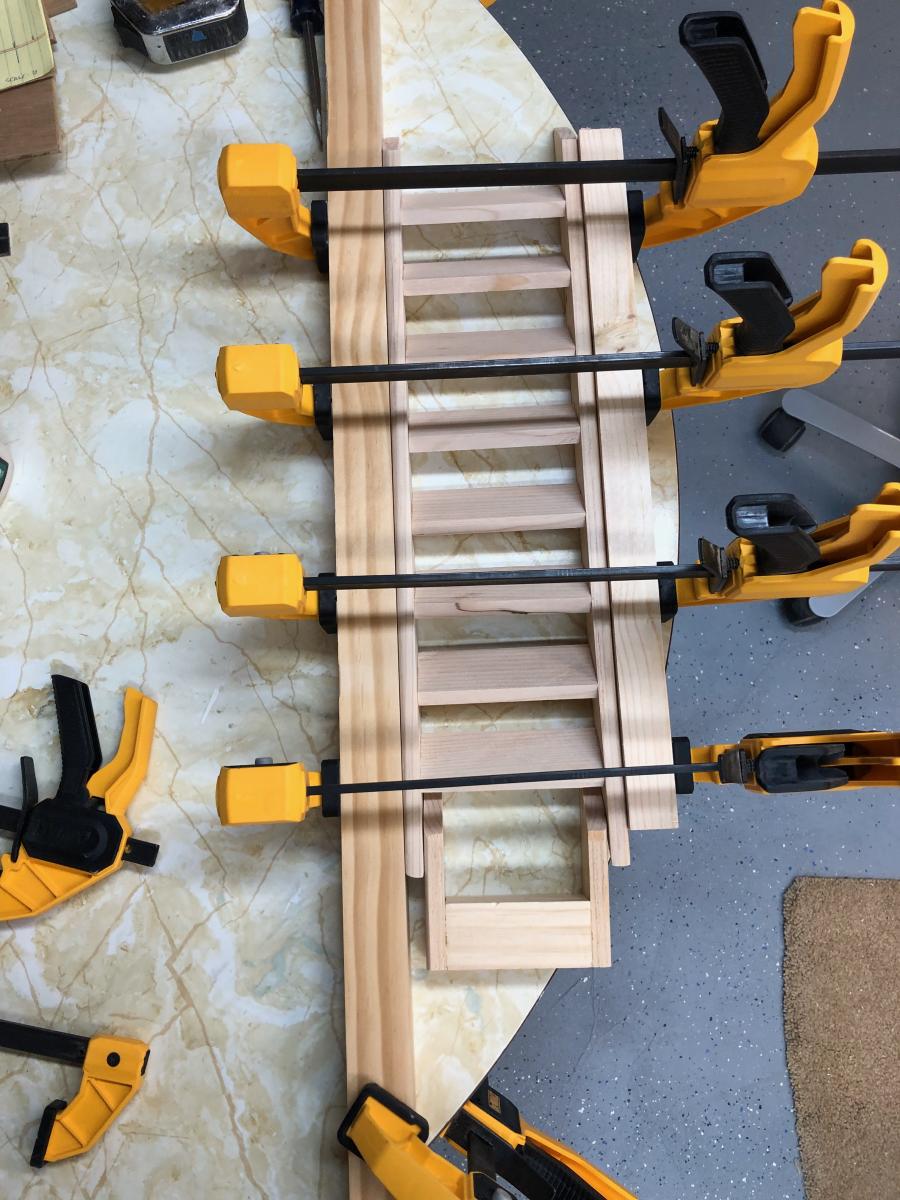
The hardest part of the build was the steps. We modified them to look like blocks, so getting the dimensions equal was tough. We also made it a full size bed so that there was more room under the bed.
We used plexiglass for the doors and LED lighting under the bed.

Estimated Cost
Lots of time, $300-$500
Estimated Time Investment
Week Long Project (20 Hours or More)
Recommended Skill Level
Intermediate

Comments

onehotmamma4 (not verified)

Sat, 09/01/2012 - 11:47

I love it!!! Very cool. We just started a Toy Story room for my son who will be 3 next month. He would love this.

redhead_61

Sat, 09/01/2012 - 17:36

This bed is GREAT. I love what you did with the block stairs. What a way to make in impact and something original. Love it!

talon schultz (not verified)

Mon, 10/15/2012 - 13:43

Love toy story 1,2,and even 3!

adecesare4

Mon, 02/25/2013 - 09:38

That is really nice! whatever frustrations you went through, it is well worth it, love the stairs and the overall concept!

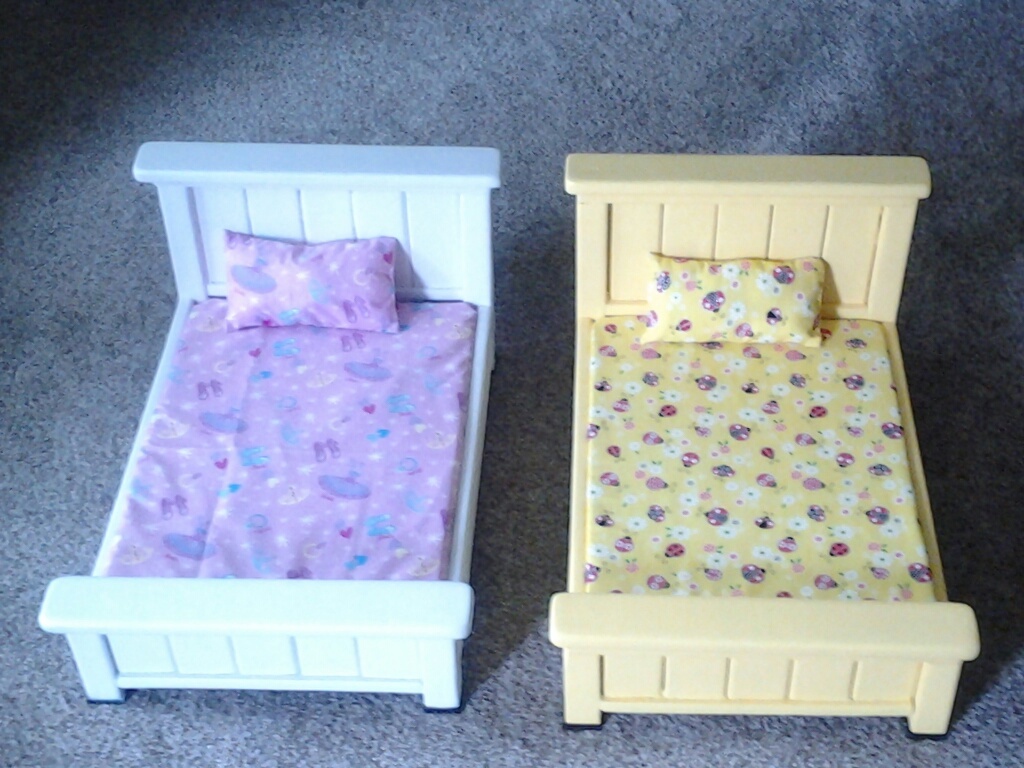
PERFECT BIRTHDAY GIFT FOR OUR GRAND NIECES

Eaasy to build. Just measure the wood. I used My finish nailer and pocket hole screws and counter sunk wood screws. I used 1/8 piece  masonite instead of the plywood. My wife also knited blankets and  my mother made the mattress and pillows. They just loved them.

Estimated Cost
12.00
Estimated Time Investment
Afternoon Project (3-6 Hours)
Finish Used
Spray paint
Recommended Skill Level
Beginner

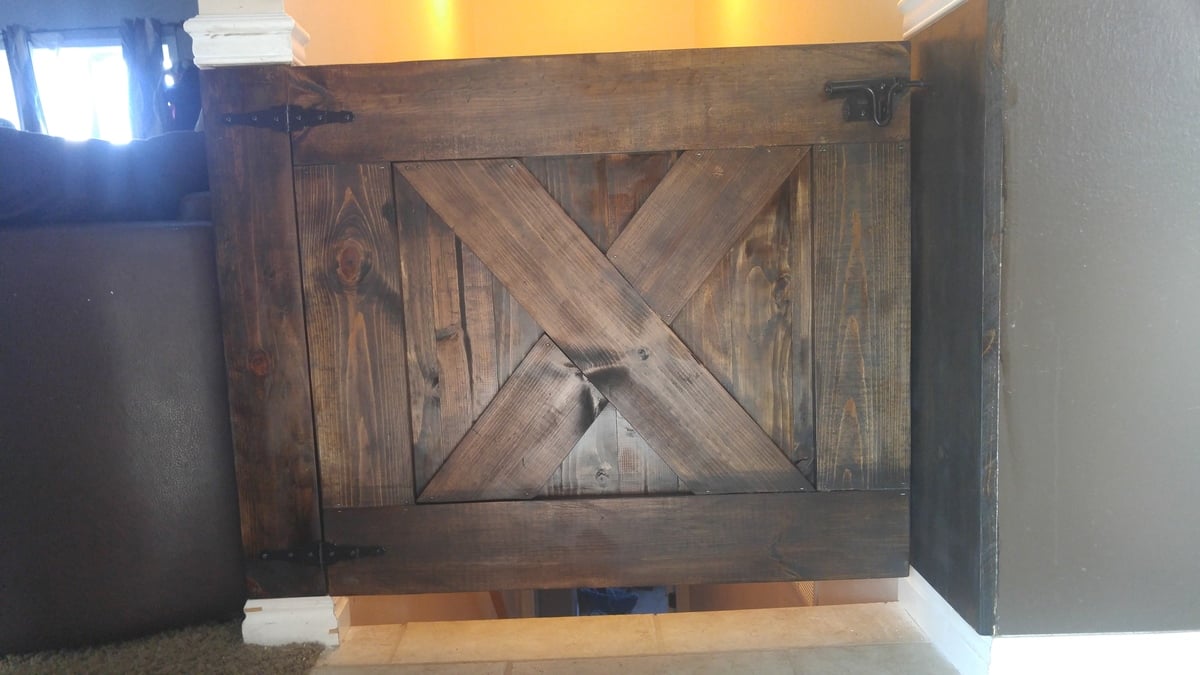
Sweet stair gate

Submitted by Anonymous (not verified) on Sun, 10/23/2016 - 16:37

I just pictured what it was supposed to look like and winged it

Estimated Cost
$75
Estimated Time Investment
Afternoon Project (3-6 Hours)
Finish Used
Espresso stain
Recommended Skill Level
Beginner

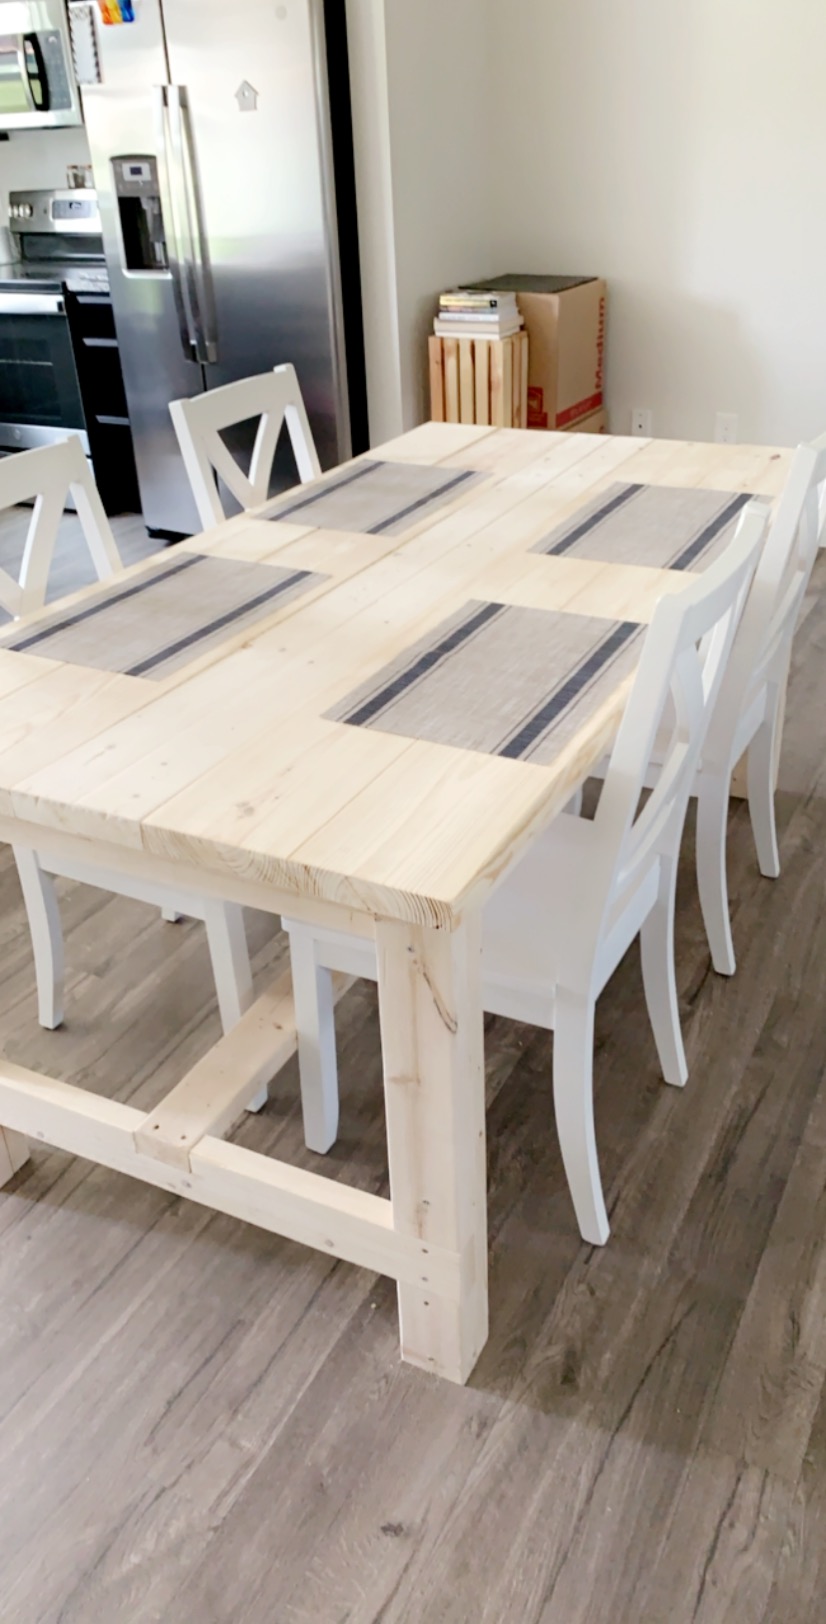
Modified Farmhouse Dining Table

Had to make modifications for size, errors, and personal preference, but we love this table! Still deciding on all white paint or a 2-tone finish. Also- first time using a Kreg jig. What an amazing tool.

Estimated Cost
100
Estimated Time Investment
Afternoon Project (3-6 Hours)
Recommended Skill Level
Intermediate

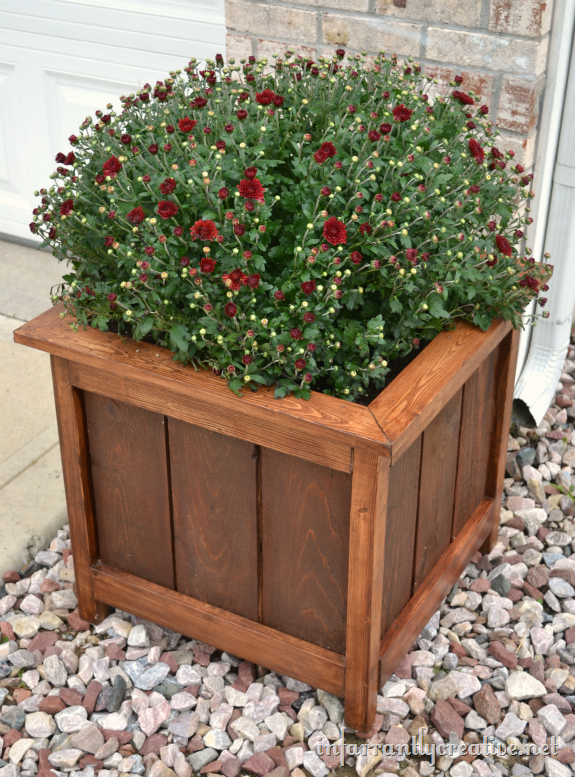
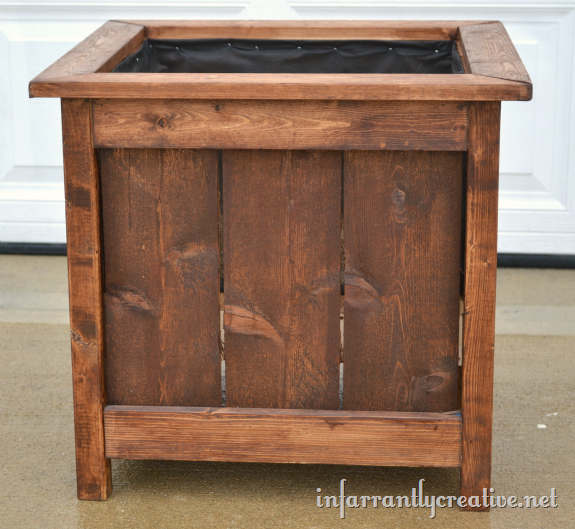
Cedar Planter with Mitered Top

This was by far the easiest project. This planter is HUGE as well and makes a great focal point for your curb appeal. I didn't extend the sides but rather created a mitered edge for the top creating a nice clean finish.

Built from Plan(s)
Estimated Cost
$20
Estimated Time Investment
An Hour or Two (0-2 Hours)
Finish Used
Minwax English Chestnut with a Spar Varathane protective coat
Recommended Skill Level
Beginner

Comments

adkgirl

Sun, 09/22/2013 - 20:25

how exactly did you attach the mitered top?? Finish nails or is there a way to use the kreg jig to hide joinery? These are beautiful, BTW. Thanks :)

Tall Wood Planters

Very good plans to work from, and very adaptable! I modified the plan to add a sloping lip, which I think finishes the look. I was using old weathered cedar, so I contrasted that with cabinet style joinery (all mitered joints). I like the difference between the old distressed wood and the more refined joints. I set the skill level at "advanced" due to the compound mitered cuts required. I would be happy to supply the miter and bevel angles if anyone is interested.

One small suggestion: I found the diagram of the cuts for the sides to be confusing because the diagram of the piece of wood, which is rectangular, looks slanted in the perspective view. I would project the rectangle flat (all right angles) so that the angled cuts are clearer, and not confused with the "angles" of the sheet itself.

Thanks for a great idea!

Estimated Cost
$20 (wood already in hand)
Estimated Time Investment
Weekend Project (10-20 Hours)
Finish Used
None
Recommended Skill Level
Advanced

Garage Shelves - Freestanding (Modified)

Submitted by Anonymous (not verified) on Tue, 09/15/2020 - 20:45

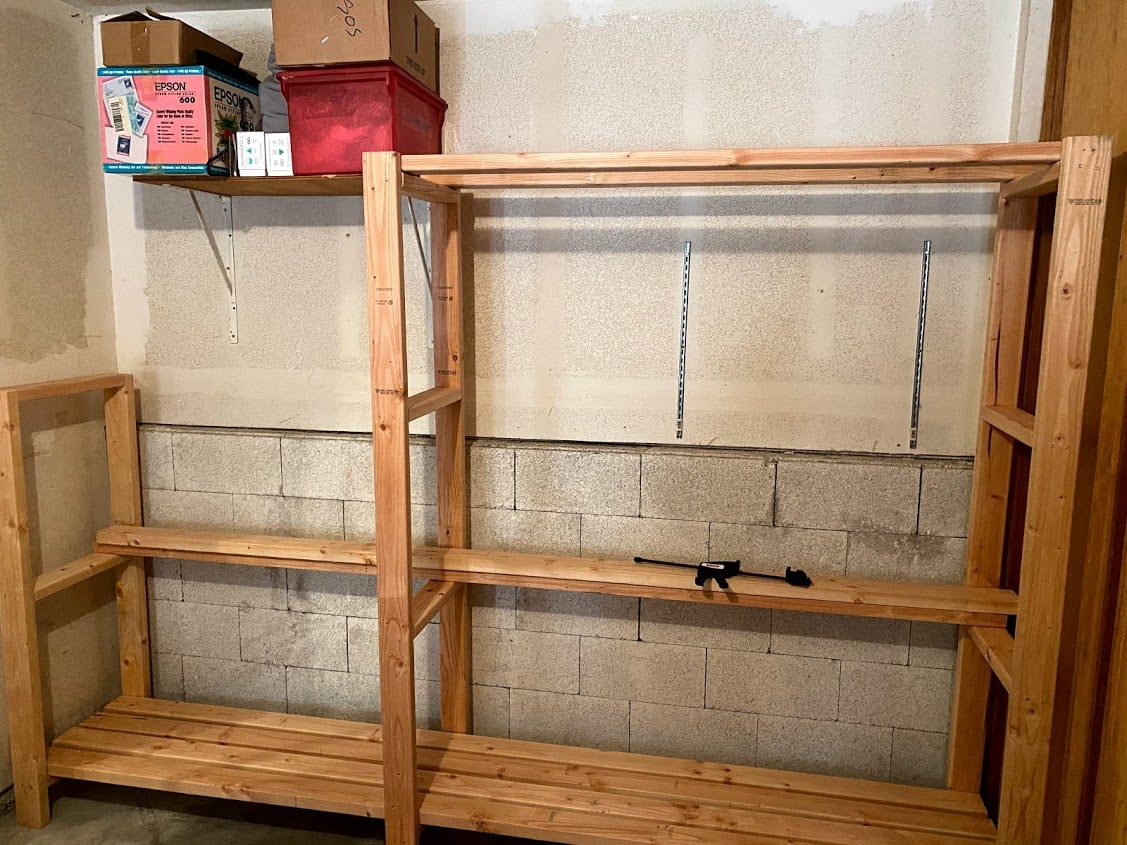
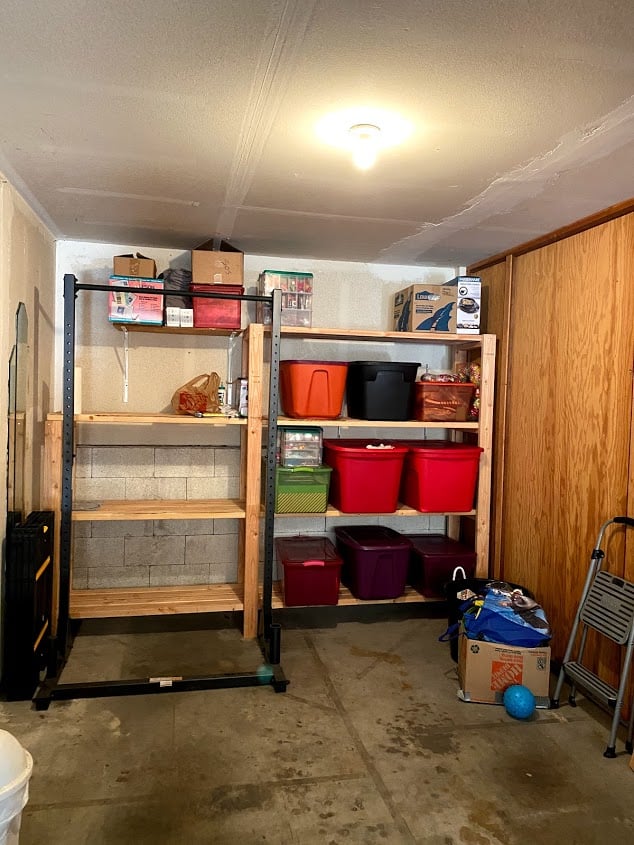
First project ever! I have been planning to build this for at least a year, and I finally did it! I had to modify the plan to fit my space, but it worked out well. They cut the wood for me at the store, so I did not make any cuts myself, just assembled all of the pieces together. I used all 2x4s, 8' and 10', cut down to my measurements. I did not finish the shelves since it is just for the garage, but I did sand rough board edges and some of the faces. I just used an palm sander and coarse sandpaper (80 grit). Please double check all measurements and lists because I forgot to add my shorter shelf supports to the list and had to go back to the store. I also forgot to add the width of the top shelf to those two shorter supports, so the shelf boards are resting on the top instead of nestled into the supports. It turned out not to be a functional problem, but a good lesson to learn. I also learned to make sure my driver battery is charged fully before starting - that took a large chunk out of my first day building and I had to finish the next day. My husband helped with some lifting and holding, but I mostly did this on my own in one weekend, so you CAN do it! Don't wait like I did - it is soooooooo useful and it looks great! All of my friends are really impressed and it feels so good to have made something like this! Thank you Ana!!

Estimated Cost
$180
Estimated Time Investment
Weekend Project (10-20 Hours)
Finish Used
N/A
Recommended Skill Level
Beginner

Comments

Bedside Tables

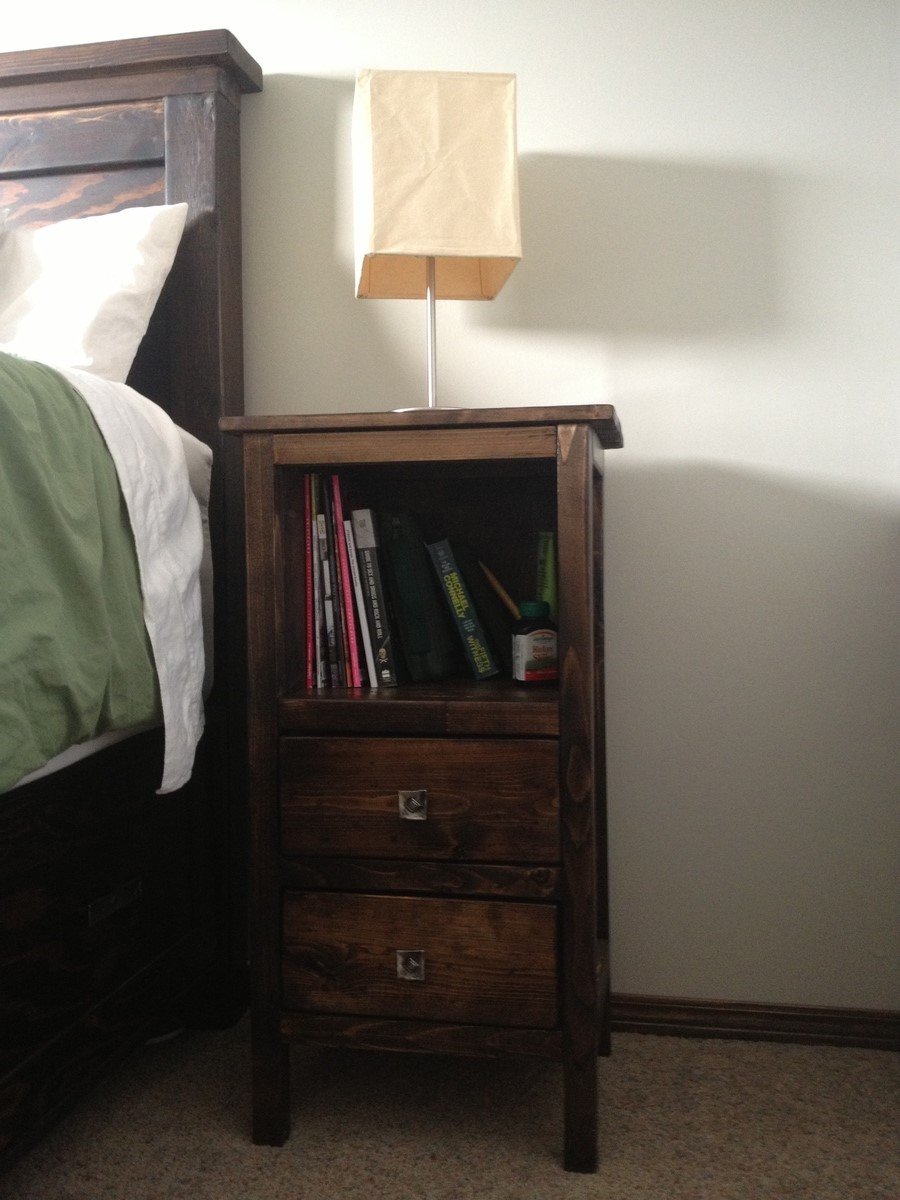
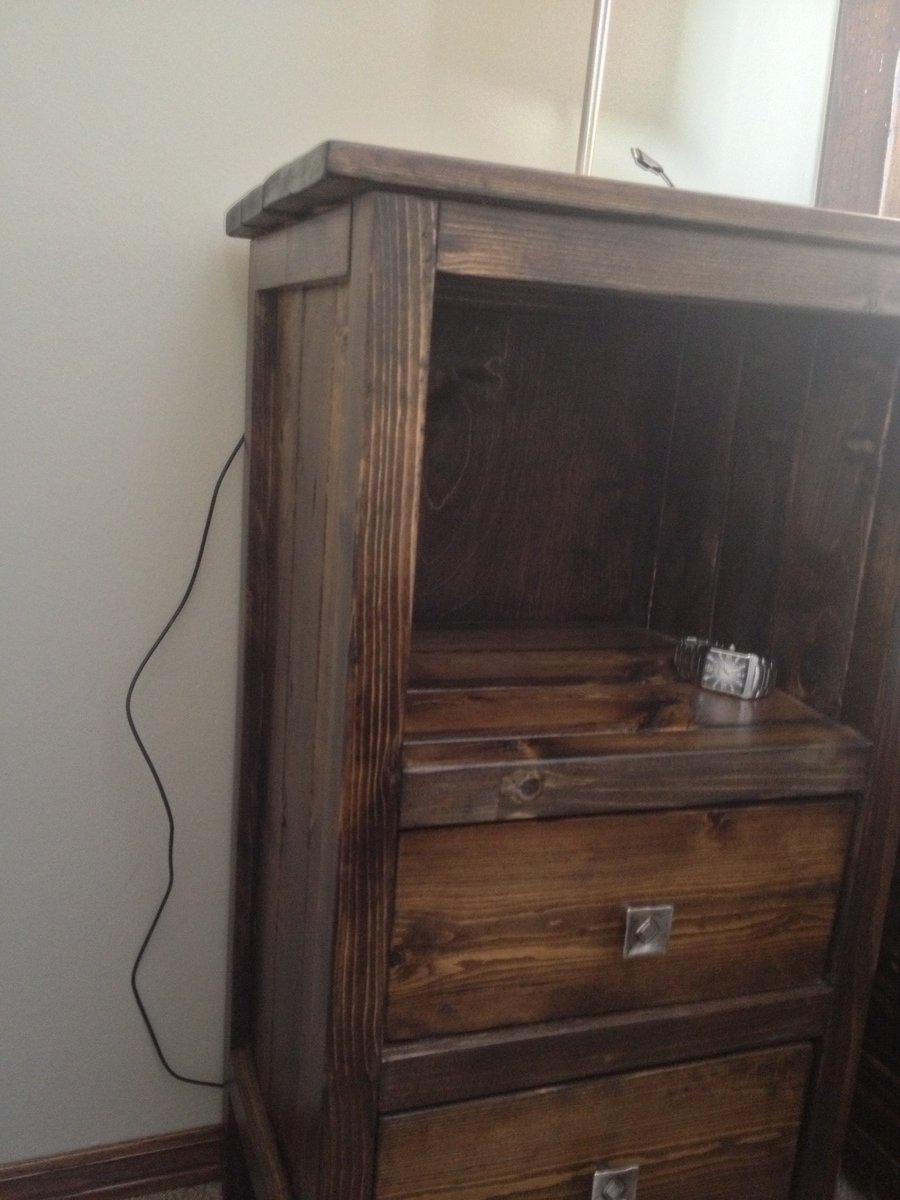
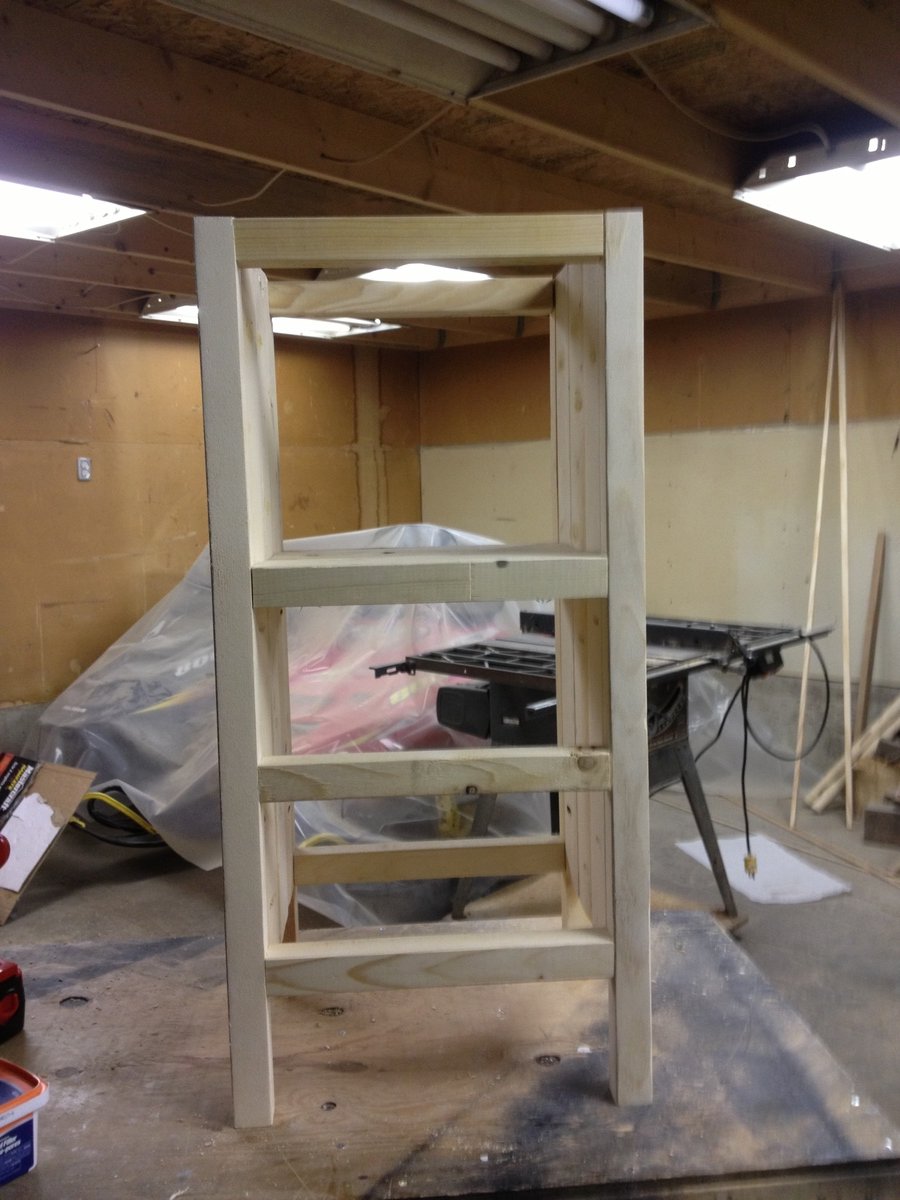
I used the "Reclaimed Wood Look" bedside table plans but altered them to make it taller to go with our bed and to make them less wide and long. The finished product has top dimensions of 14 1/2" by 14 1/2" to fit in our small room. I also removed the top drawer to make a bookshelf. The first table took about 4 hours to build and sand and the second one went a lot quicker. I stained each with one coat of Minwax Dark Walnut and sealed with 3 light coats of polyacrylic. The pulls are from Lee Valley.

Estimated Cost
$40 per table including screws, glue, stain, lumber and hardware.
Estimated Time Investment
Afternoon Project (3-6 Hours)
Recommended Skill Level
Intermediate

Rustic Hall Tree - just the right size!

Submitted by laurawelsh on Tue, 10/06/2020 - 15:53

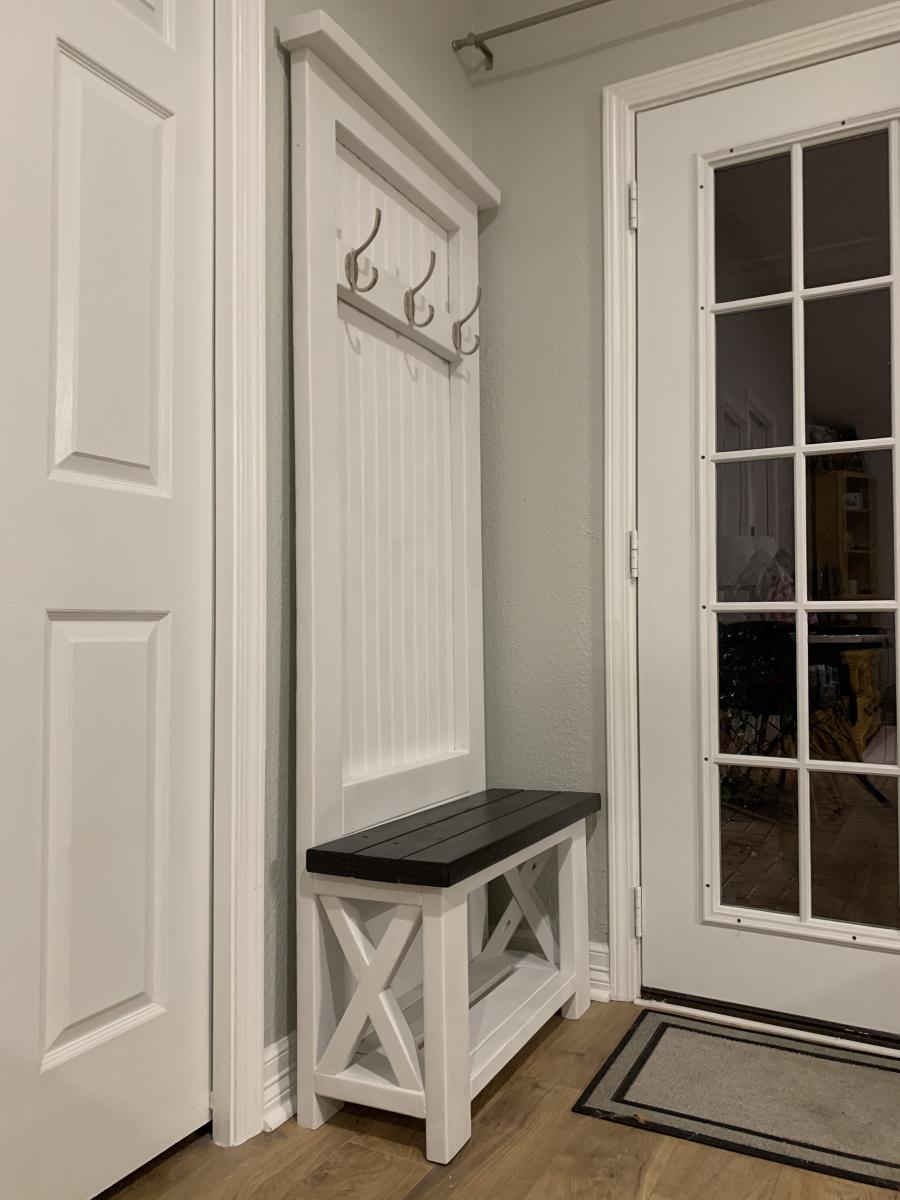
Using Ana's Rustic X Hall tree - I modified the size to fit this small space in the cottage in my backyard. It was impossible to find something to fit this space -- and this is one of my first indoor projects; I am a beginner. It was so much fun building! I used pine from a big box store mostly but opted for Bead board for the backing to achieve a farmhouse type look. My daughter lives in the cottage and loves it!! Thanks Ana for the sweet plans!!

Built from Plan(s)
Estimated Cost
150
Estimated Time Investment
Weekend Project (10-20 Hours)
Finish Used
White Chalk Paint; Espresso Stain for the seat.
Recommended Skill Level
Beginner

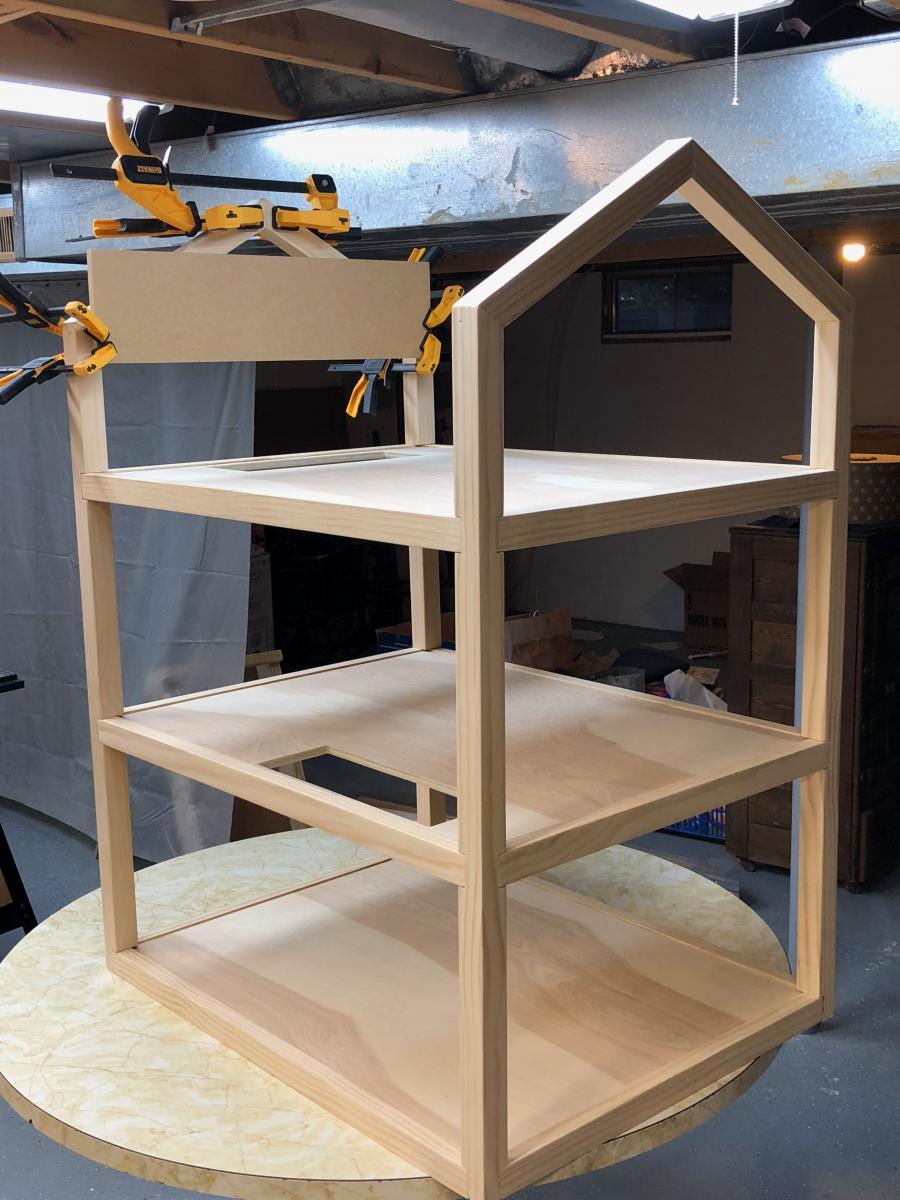
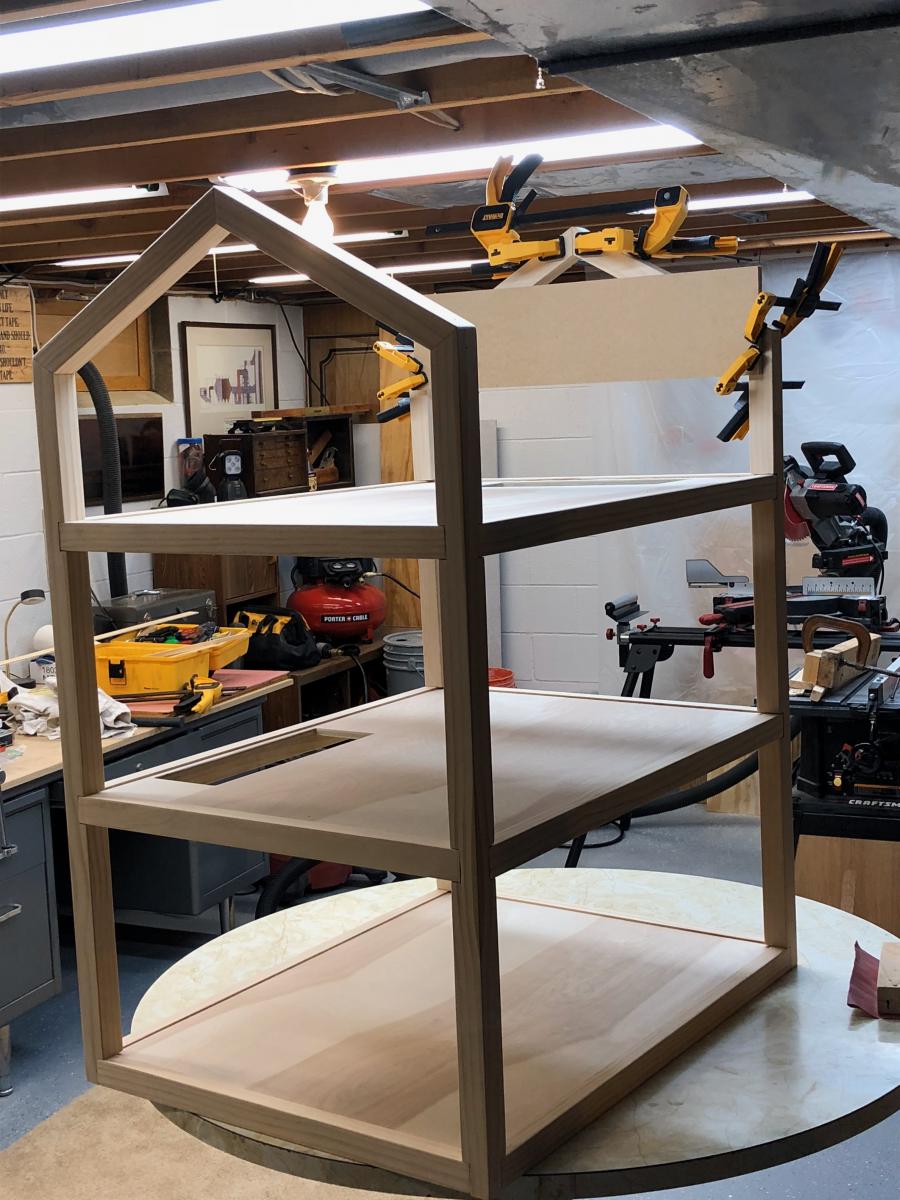
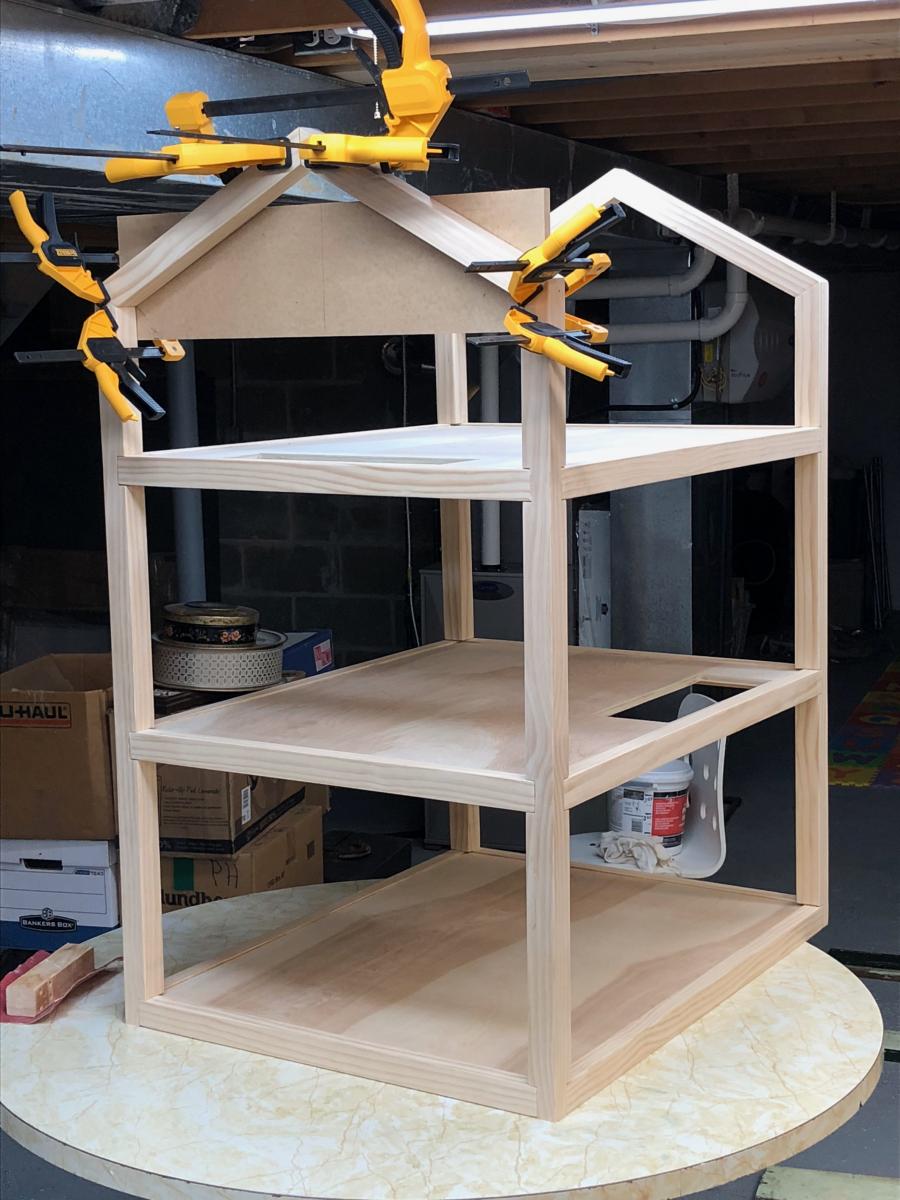
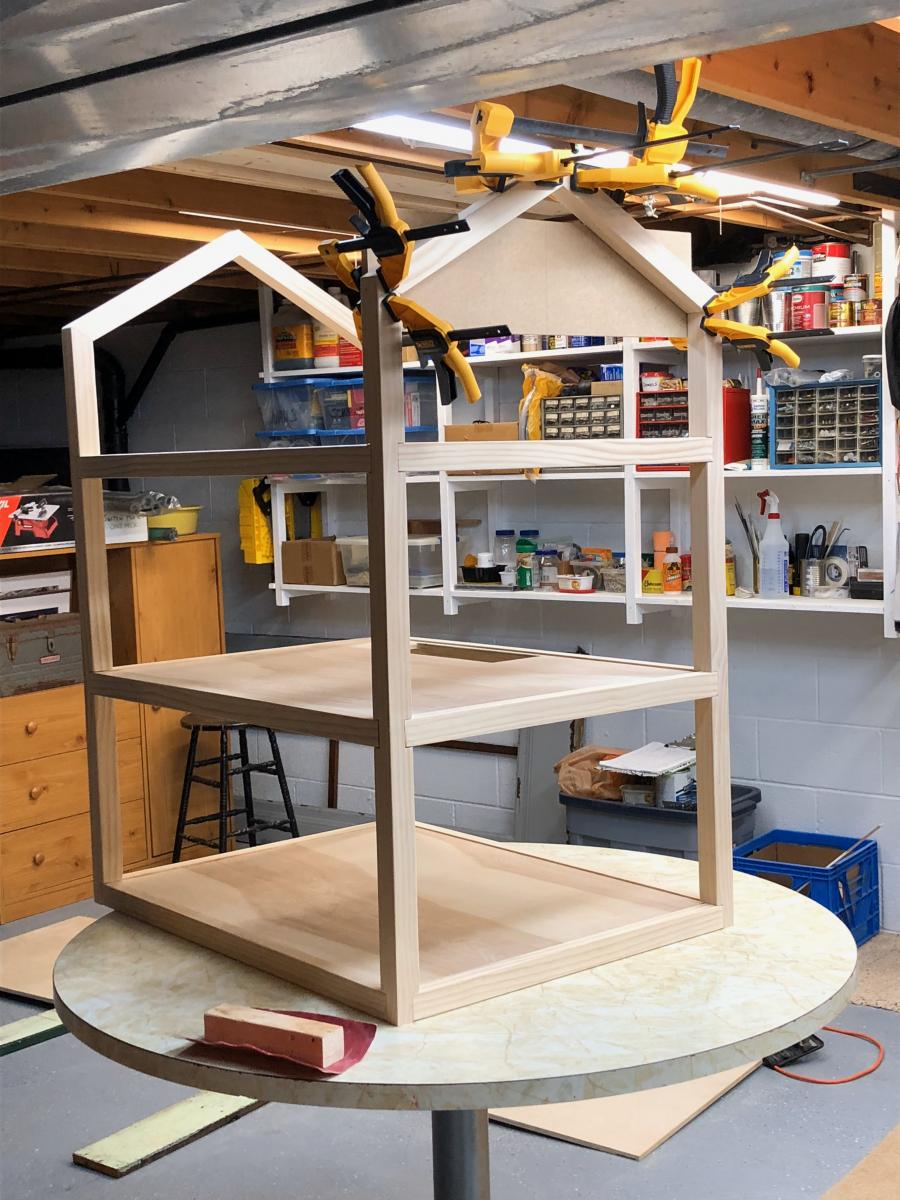
Three story doll house for my granddaughter

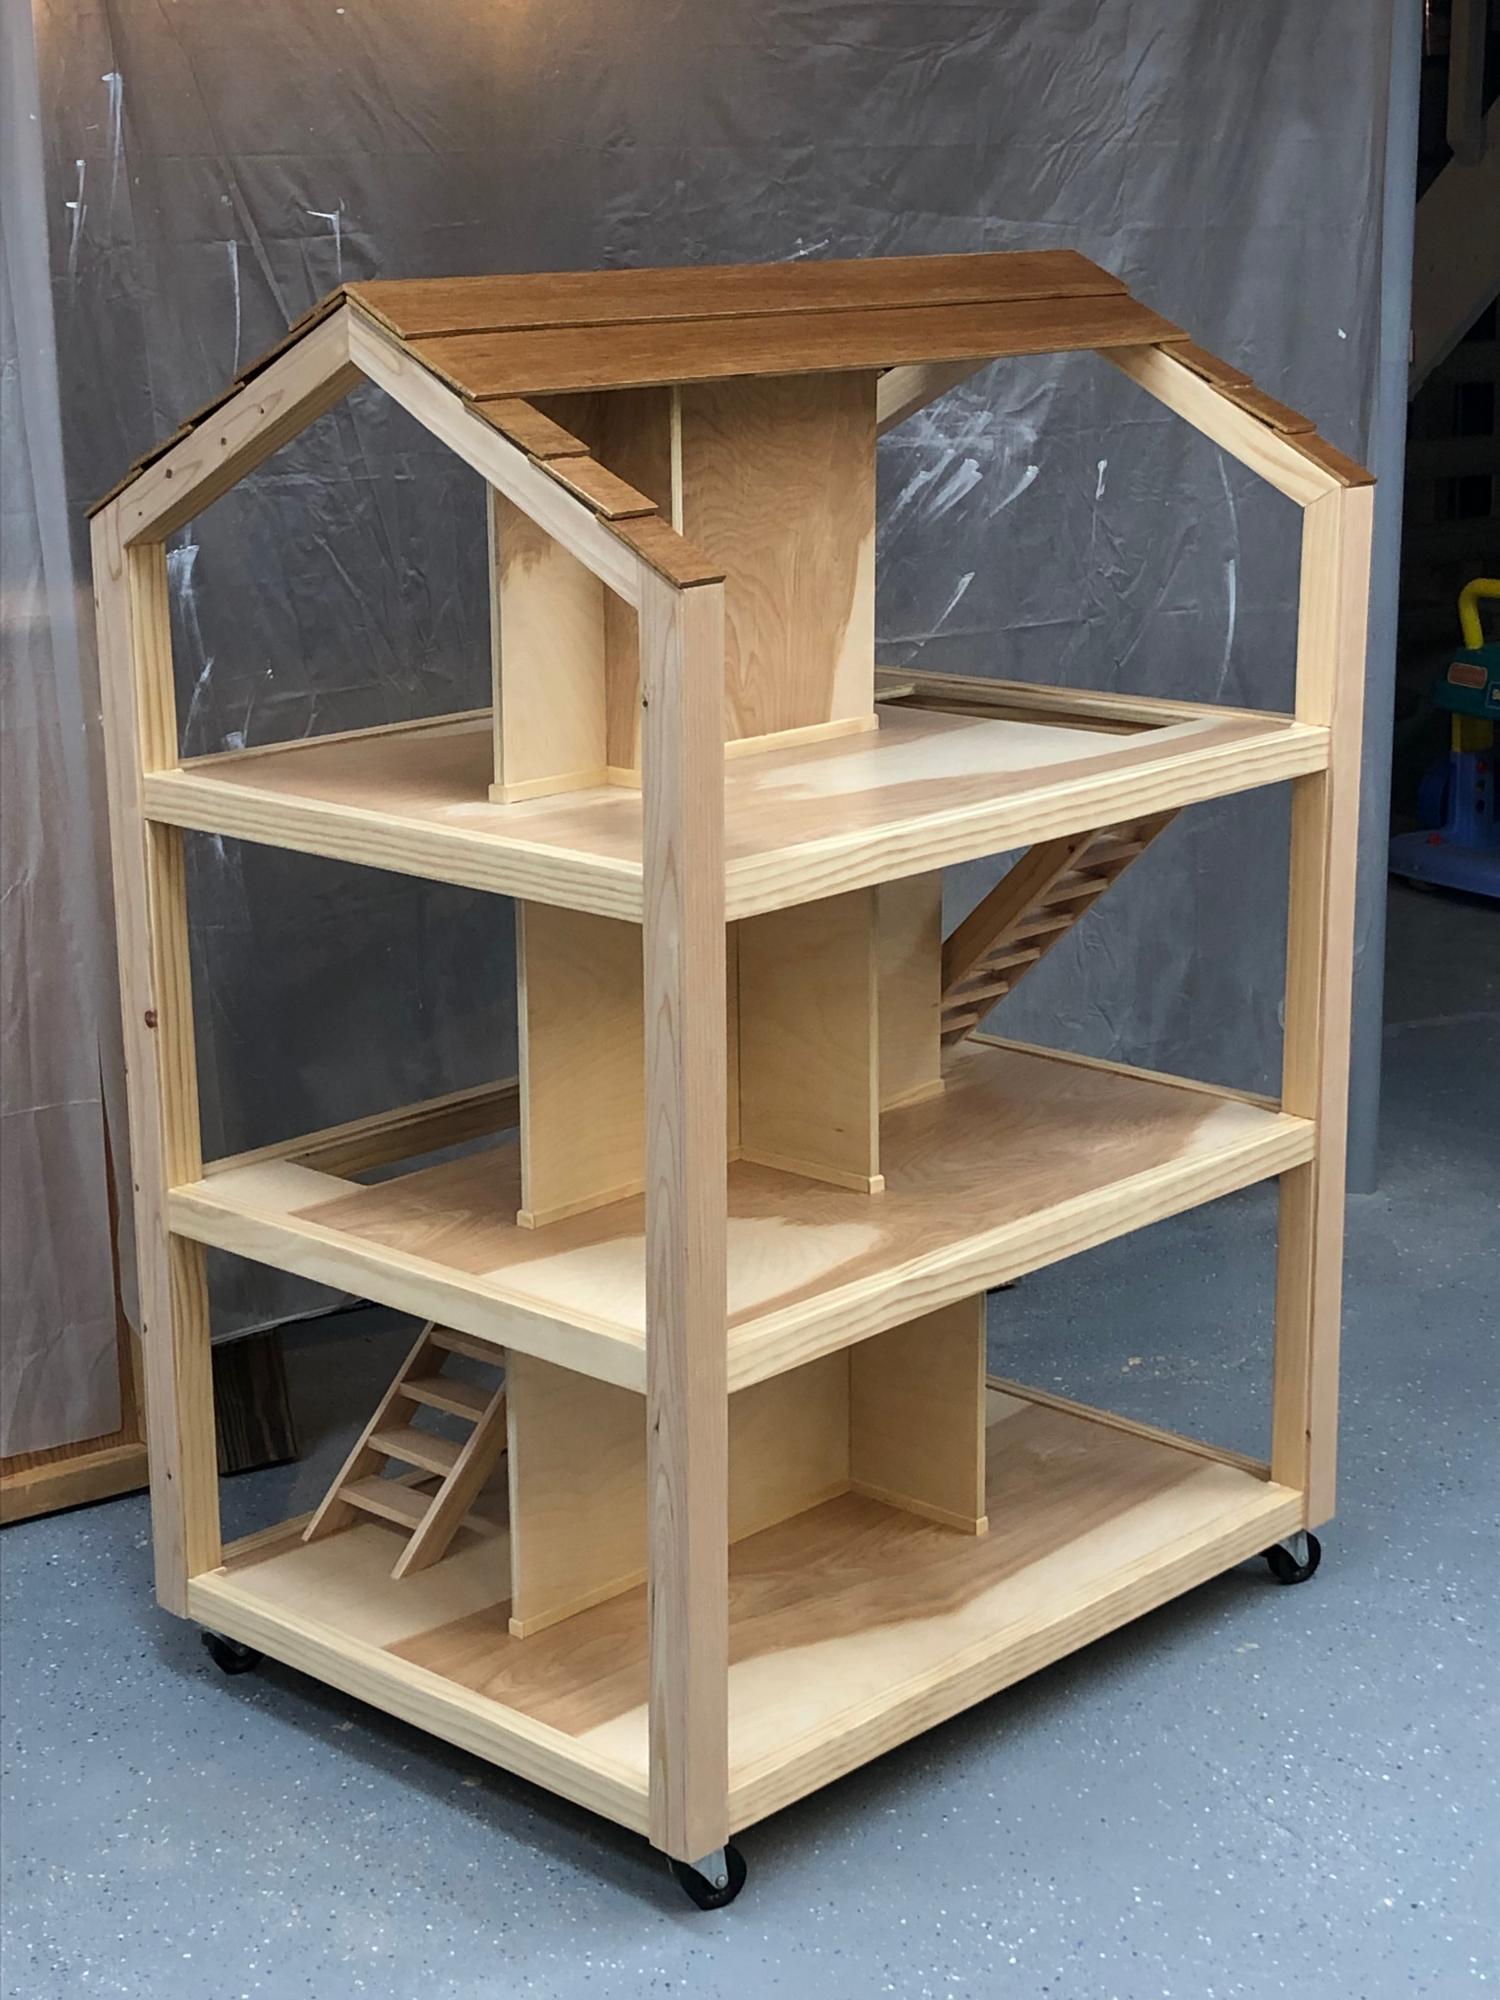
Here's my version of the Dream Doll House. Three stories, made with birch plywood and pine, featuring realistic stairs, baseboards, crown molding, exterior corner battens, and left in the natural state with just a few coats of water-based poly. Put the whole thing on casters for ease of rolling around the playroom. Fun project and the hugs were all the reward I needed!

Estimated Cost
Maybe around $100.
Estimated Time Investment
Weekend Project (10-20 Hours)
Finish Used
Water-based polyurethane
Recommended Skill Level
Beginner

Comments

Children's Playhouse

Submitted by Markb25 on Wed, 10/28/2020 - 08:54

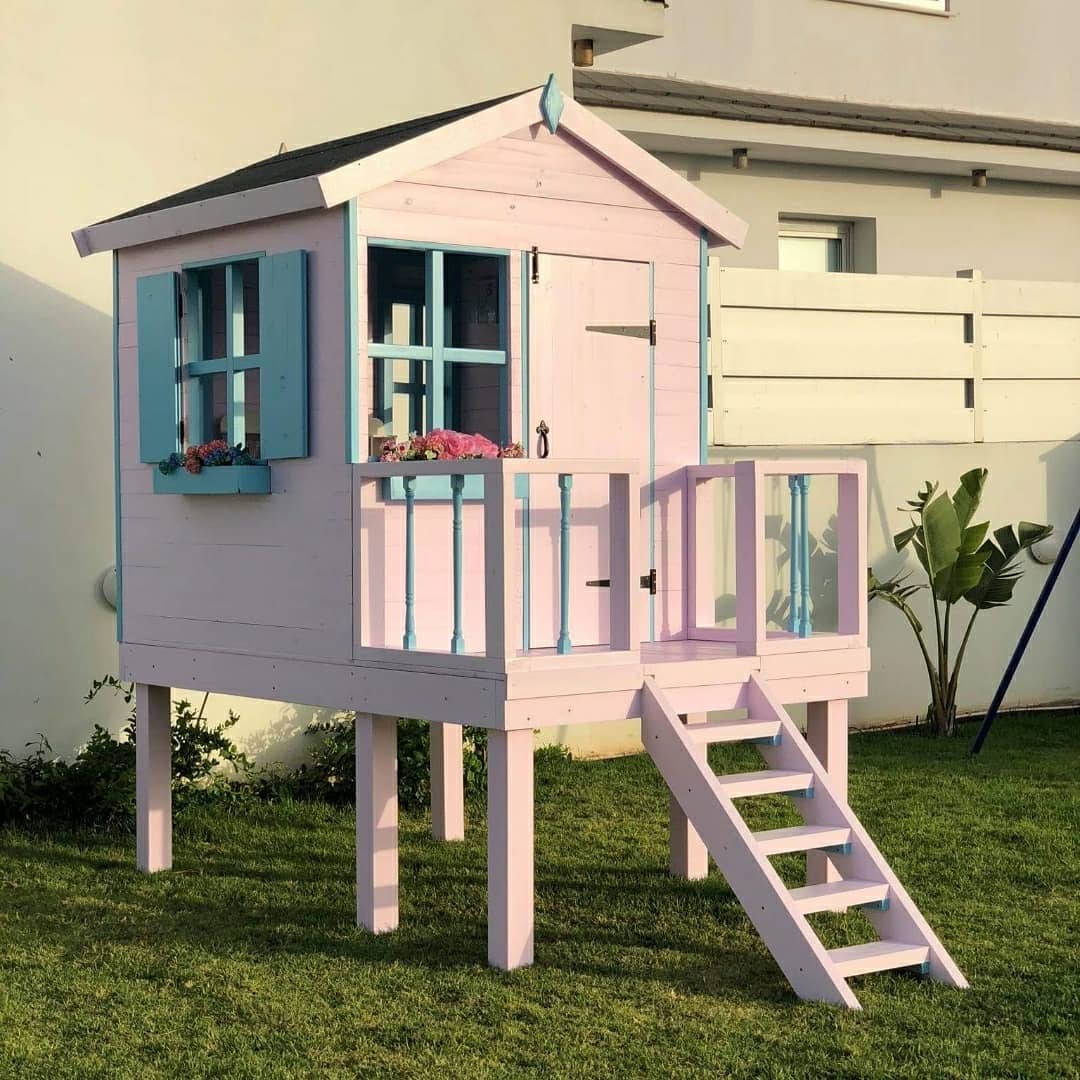
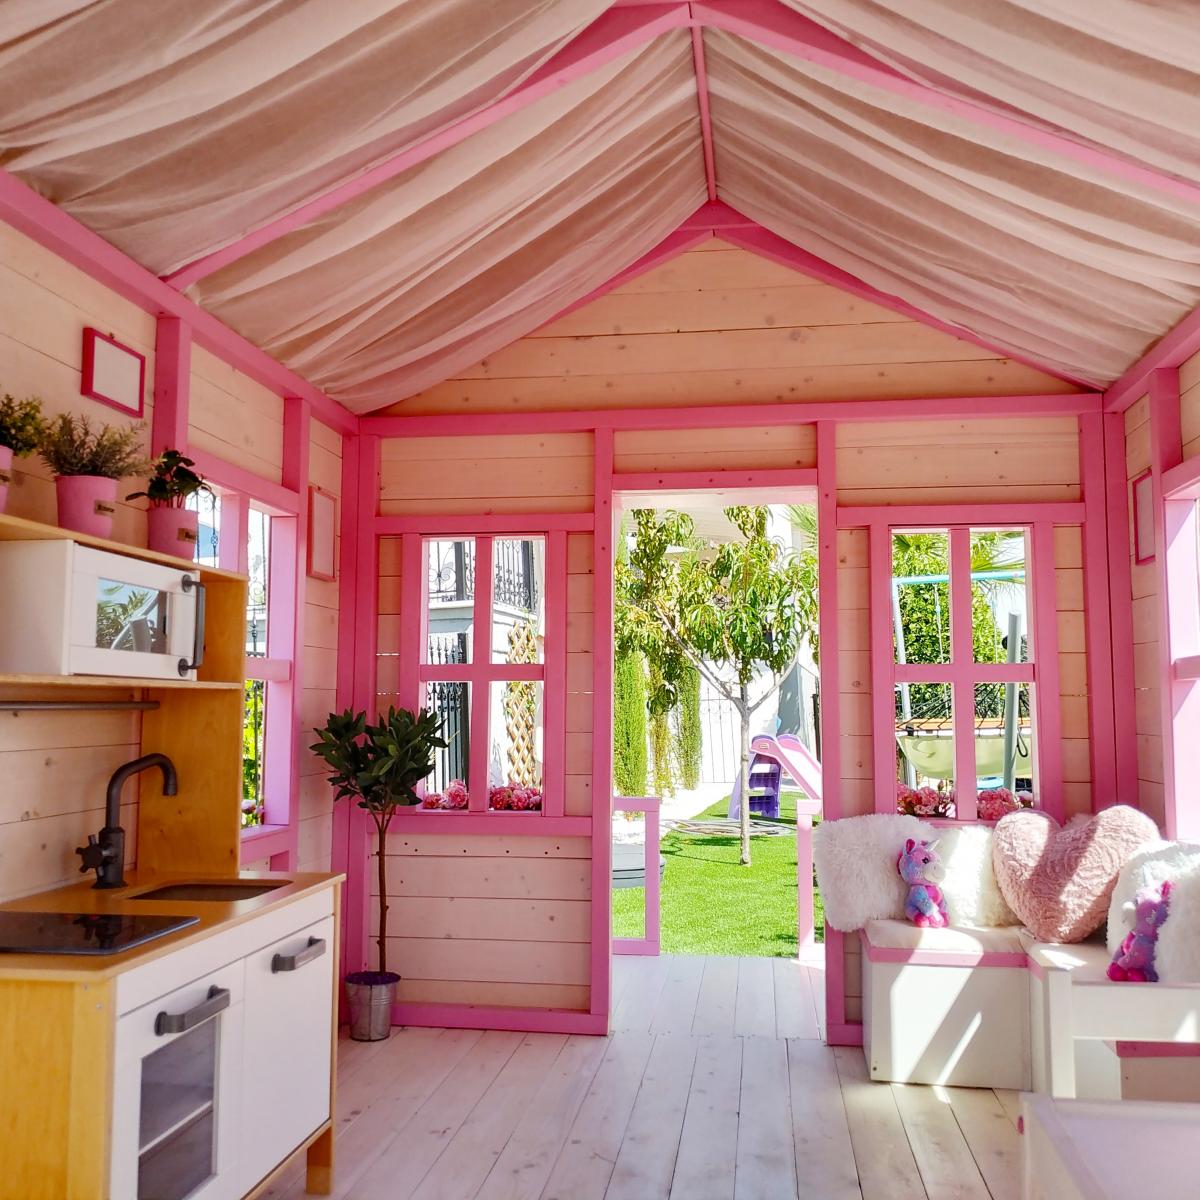
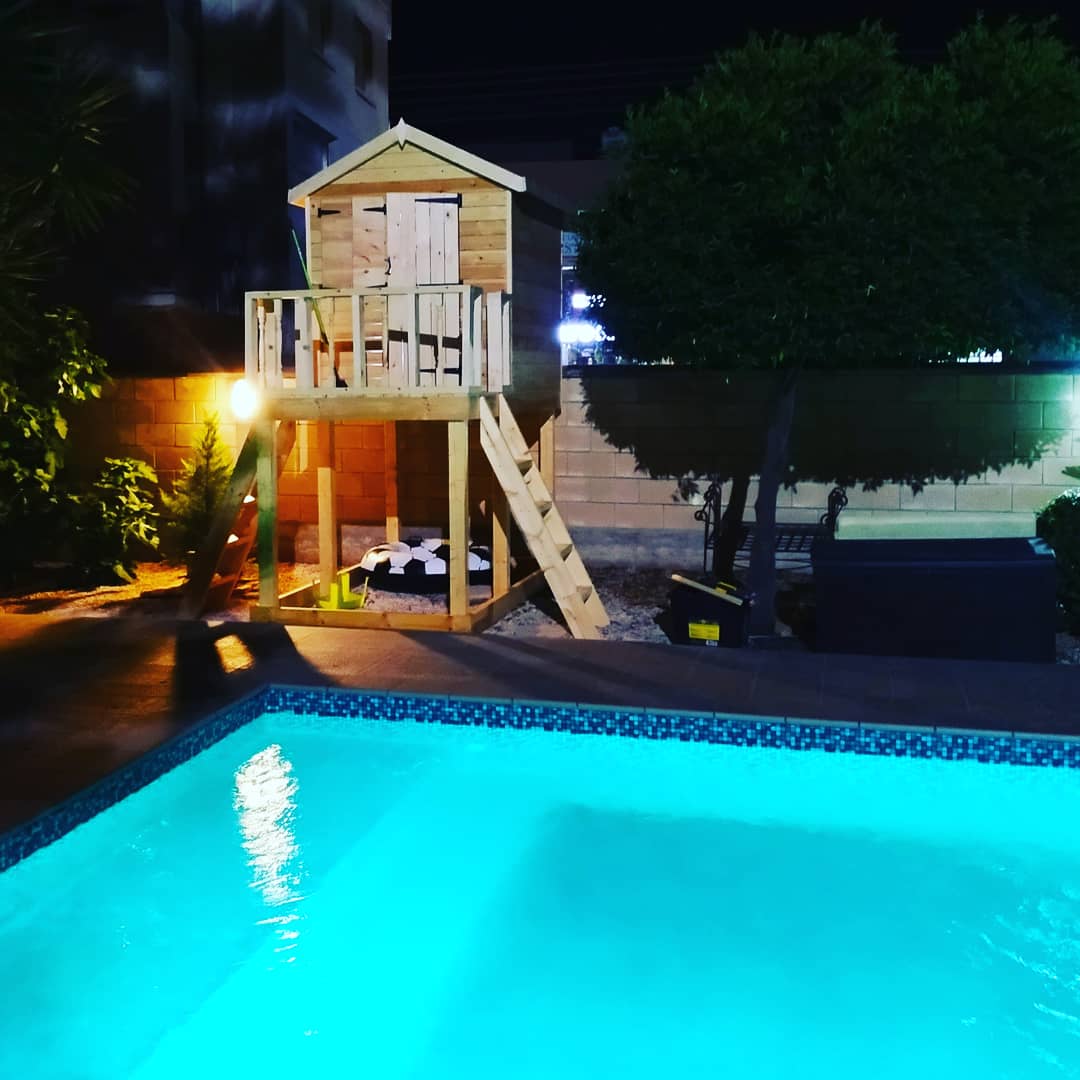
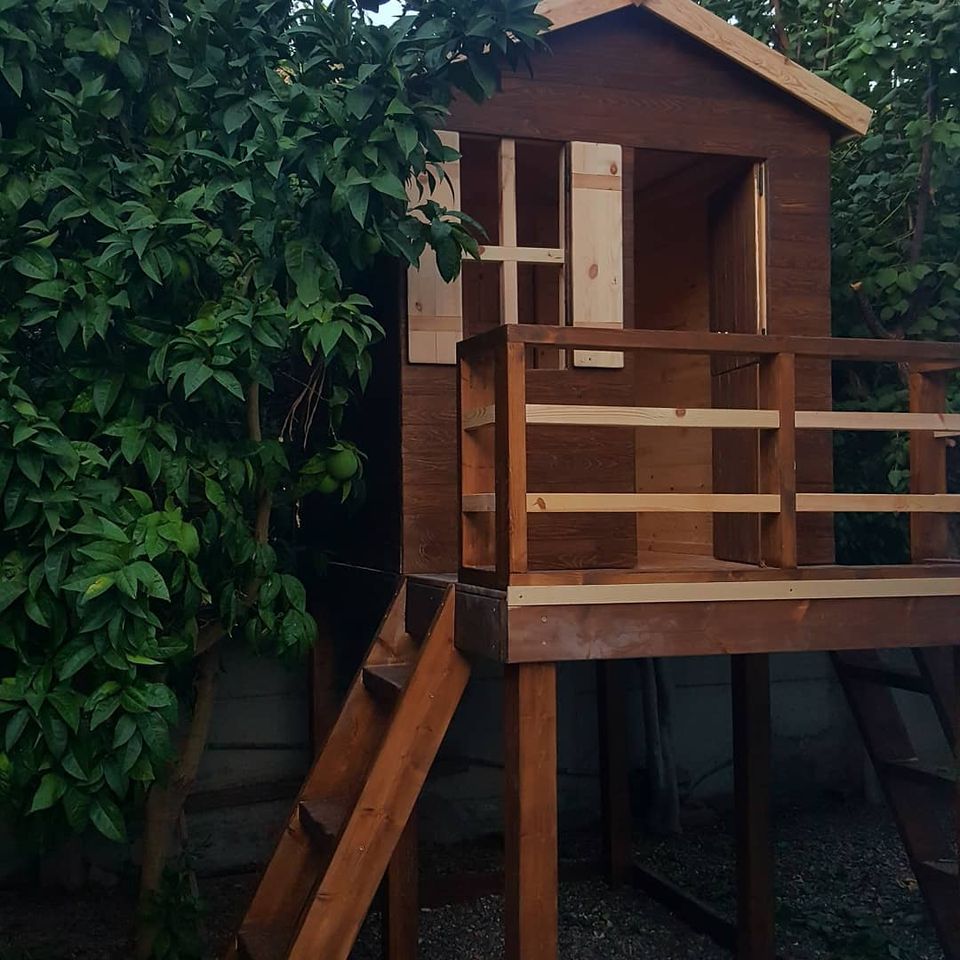
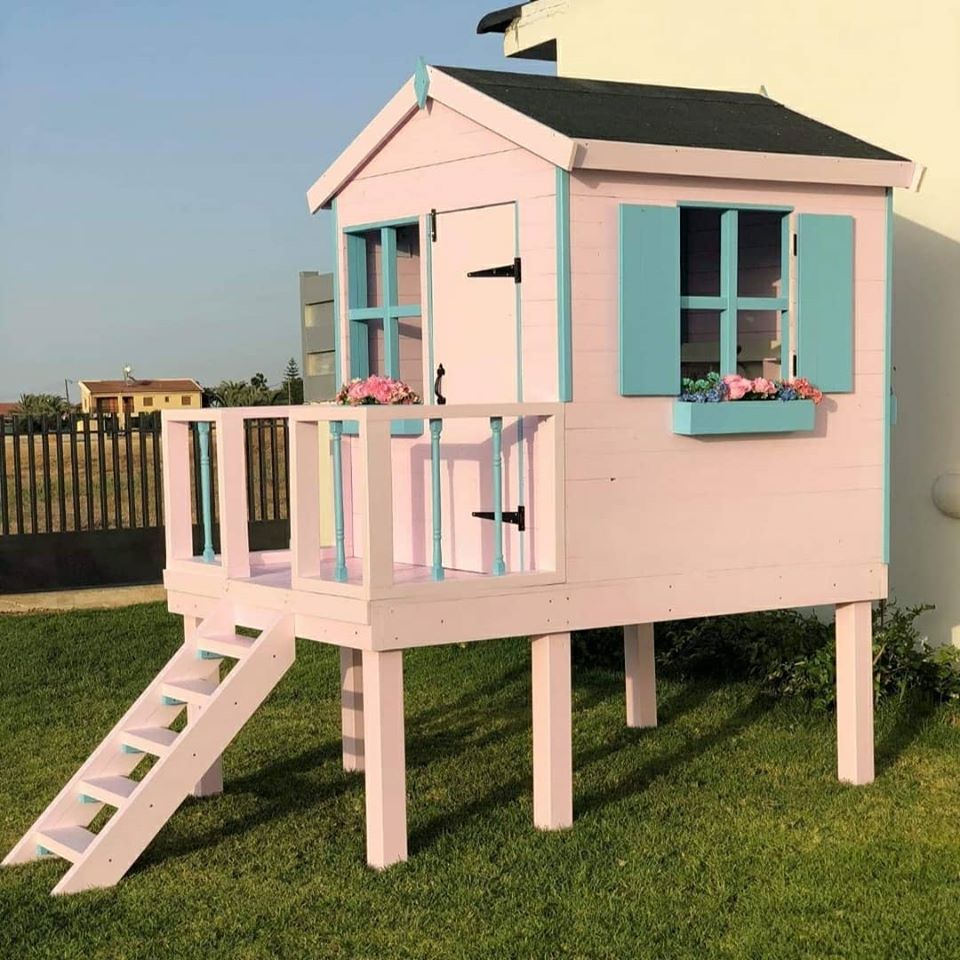
A few years back I decided to build a playhouse for my daughters birthday, the ones available locally were plastic garbage. Since then people started coming forward asking me to build ones for their kids, which is great as it's kept me busy and sane after being forced into early retirement. I've stuck mainly to the more traditional looking on ground house but, soon requests came in for treehouse-style ones; taking Ana's playhouse deck plans and adapting them slightly I now starting my fifth order for a platform house. Being in Cyprus all our timber is imported and very limited, I've more chance of seeing a Unicorn than a piece of Cedar which has meant a little more work involved to make sure they withstand up to the elements, we only get around 20 days of rain a year but, the summer heat is like the surface of the sun. Fortunately, with this not being a new problem there are plenty of options available for preservation/protection, the 'colours of Greece' range by Kraft paints perfect, its sprays beautifully and the colours spot-on for kids.

Estimated Cost
$1000
Estimated Time Investment
Week Long Project (20 Hours or More)
Finish Used
For the main part, the houses have been finished using wood aqua by kraft paints using the 'colours of Greece' range, lots of soft pastels and Mediterranean inspired colours. the application was using via HVLP spray gun and four coats. Sanded lightly with 220 grit in between coats and finished with up to and including 1500 grit post paint to give a glass-like finish.
Recommended Skill Level
Intermediate

Comments

Industrial coffee table

Submitted by mandi10uga on Wed, 03/08/2017 - 05:43

I used 2x2s for the base and stained them ebony. The top is made of 2x6s stained weathered oak & dark walnut. Caution: no matter how perfectly square your base is, if your top is even remotely warped/twisted, it will pull the whole thing out of whack. The base is not strong enough to fight the 2x6s. 

Estimated Cost
$50
Estimated Time Investment
Afternoon Project (3-6 Hours)
Recommended Skill Level
Beginner

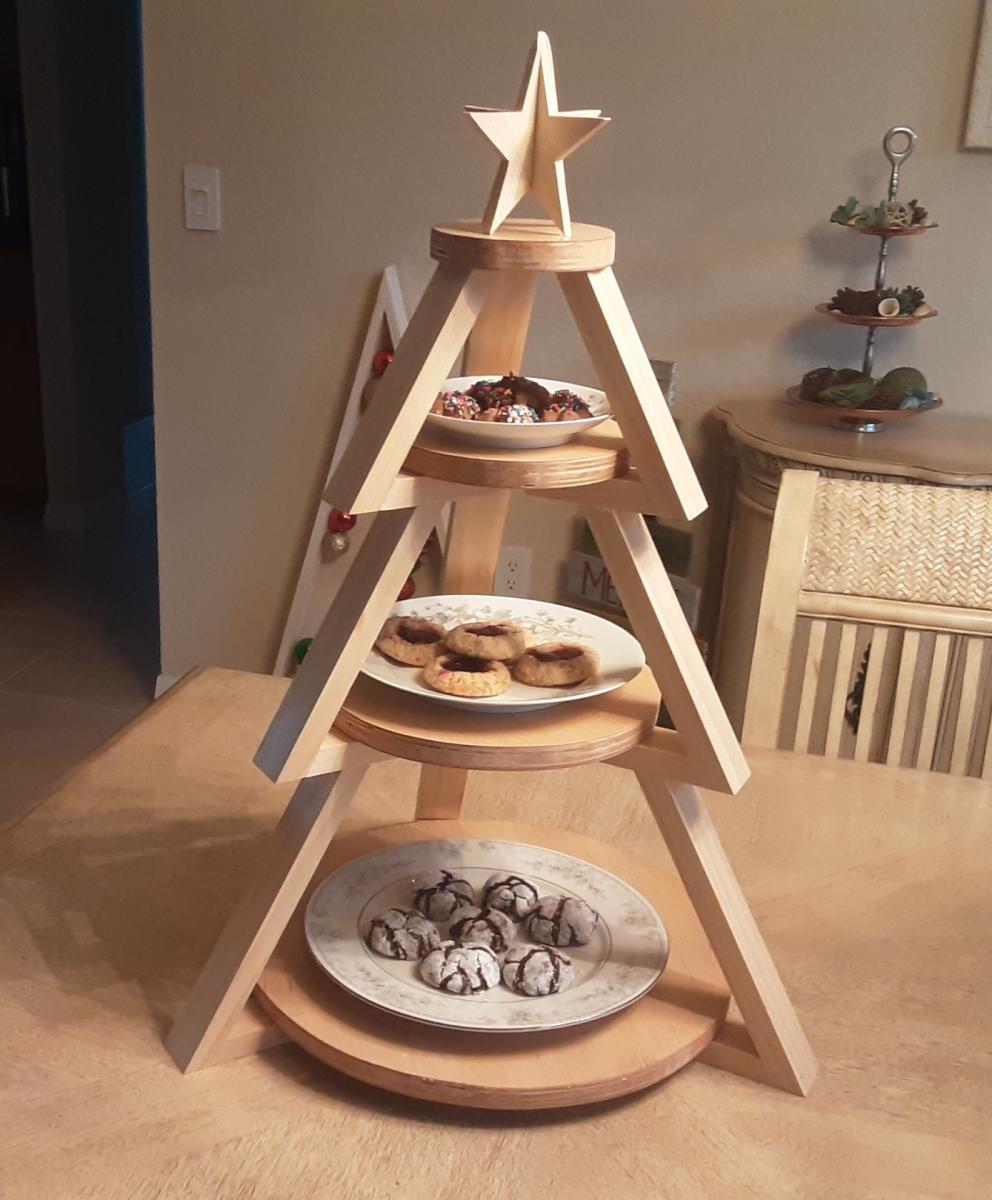
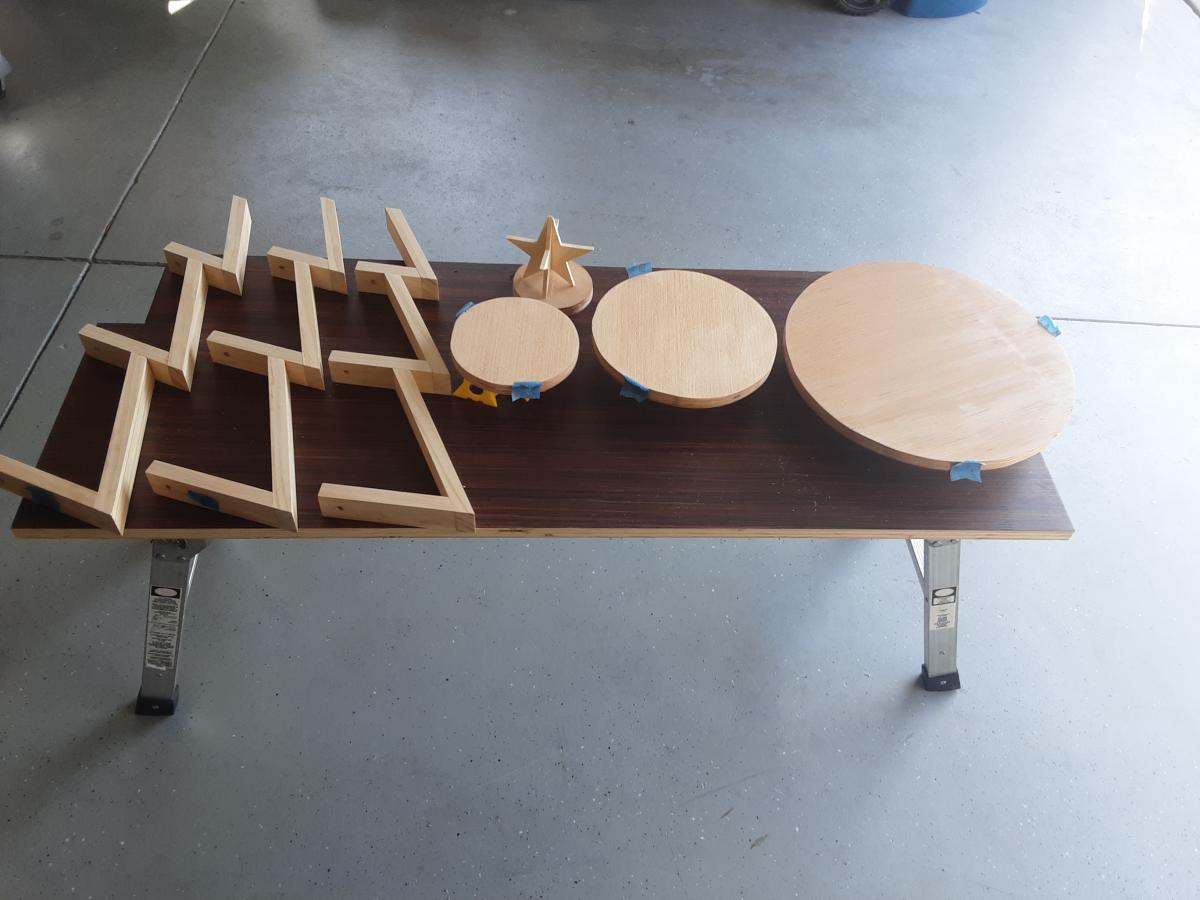
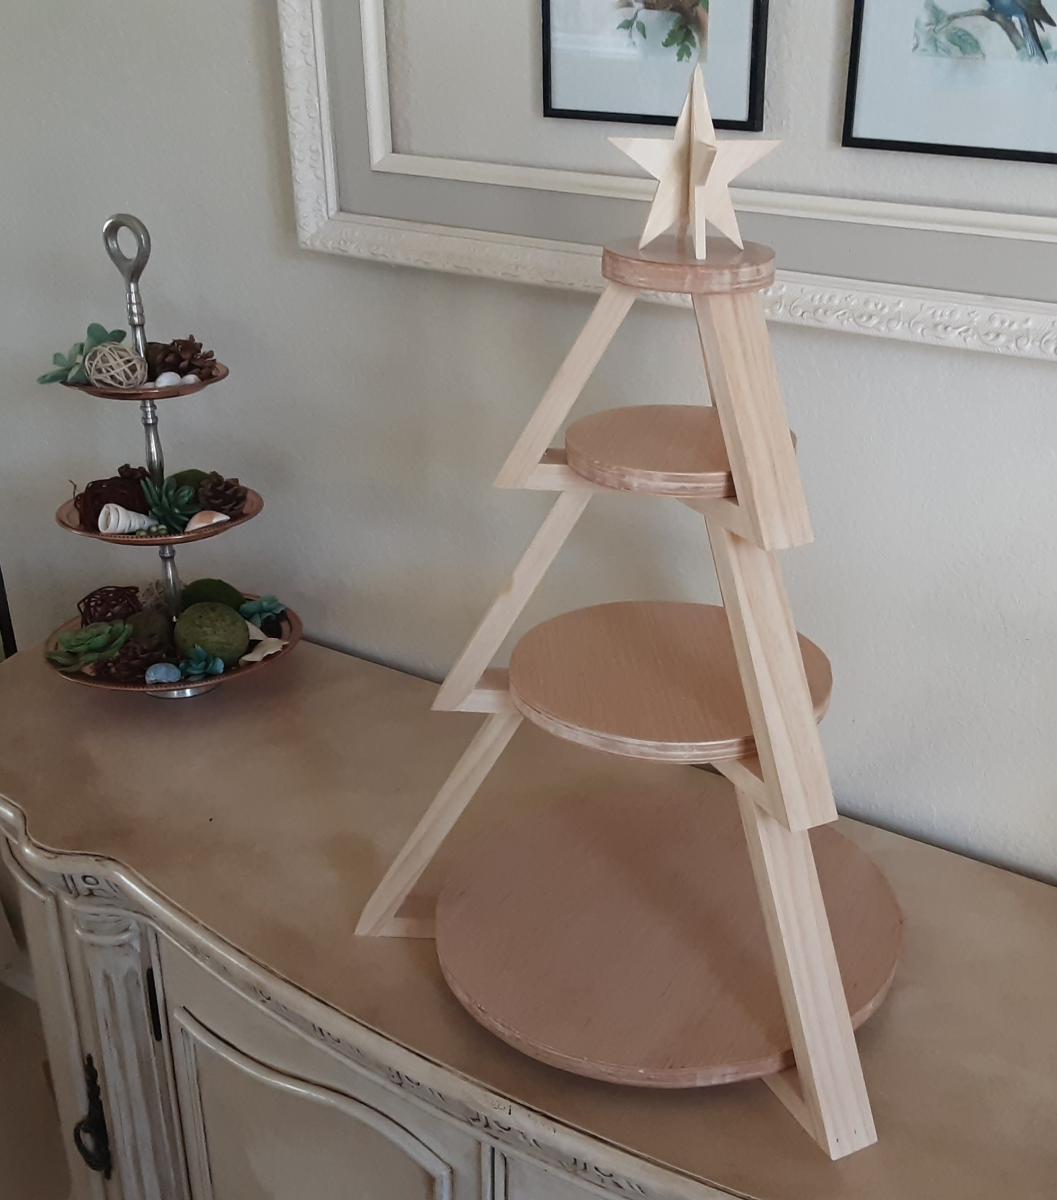
Christmas 3-tier cookie stand

Submitted by calcowoods on Thu, 12/31/2020 - 12:51

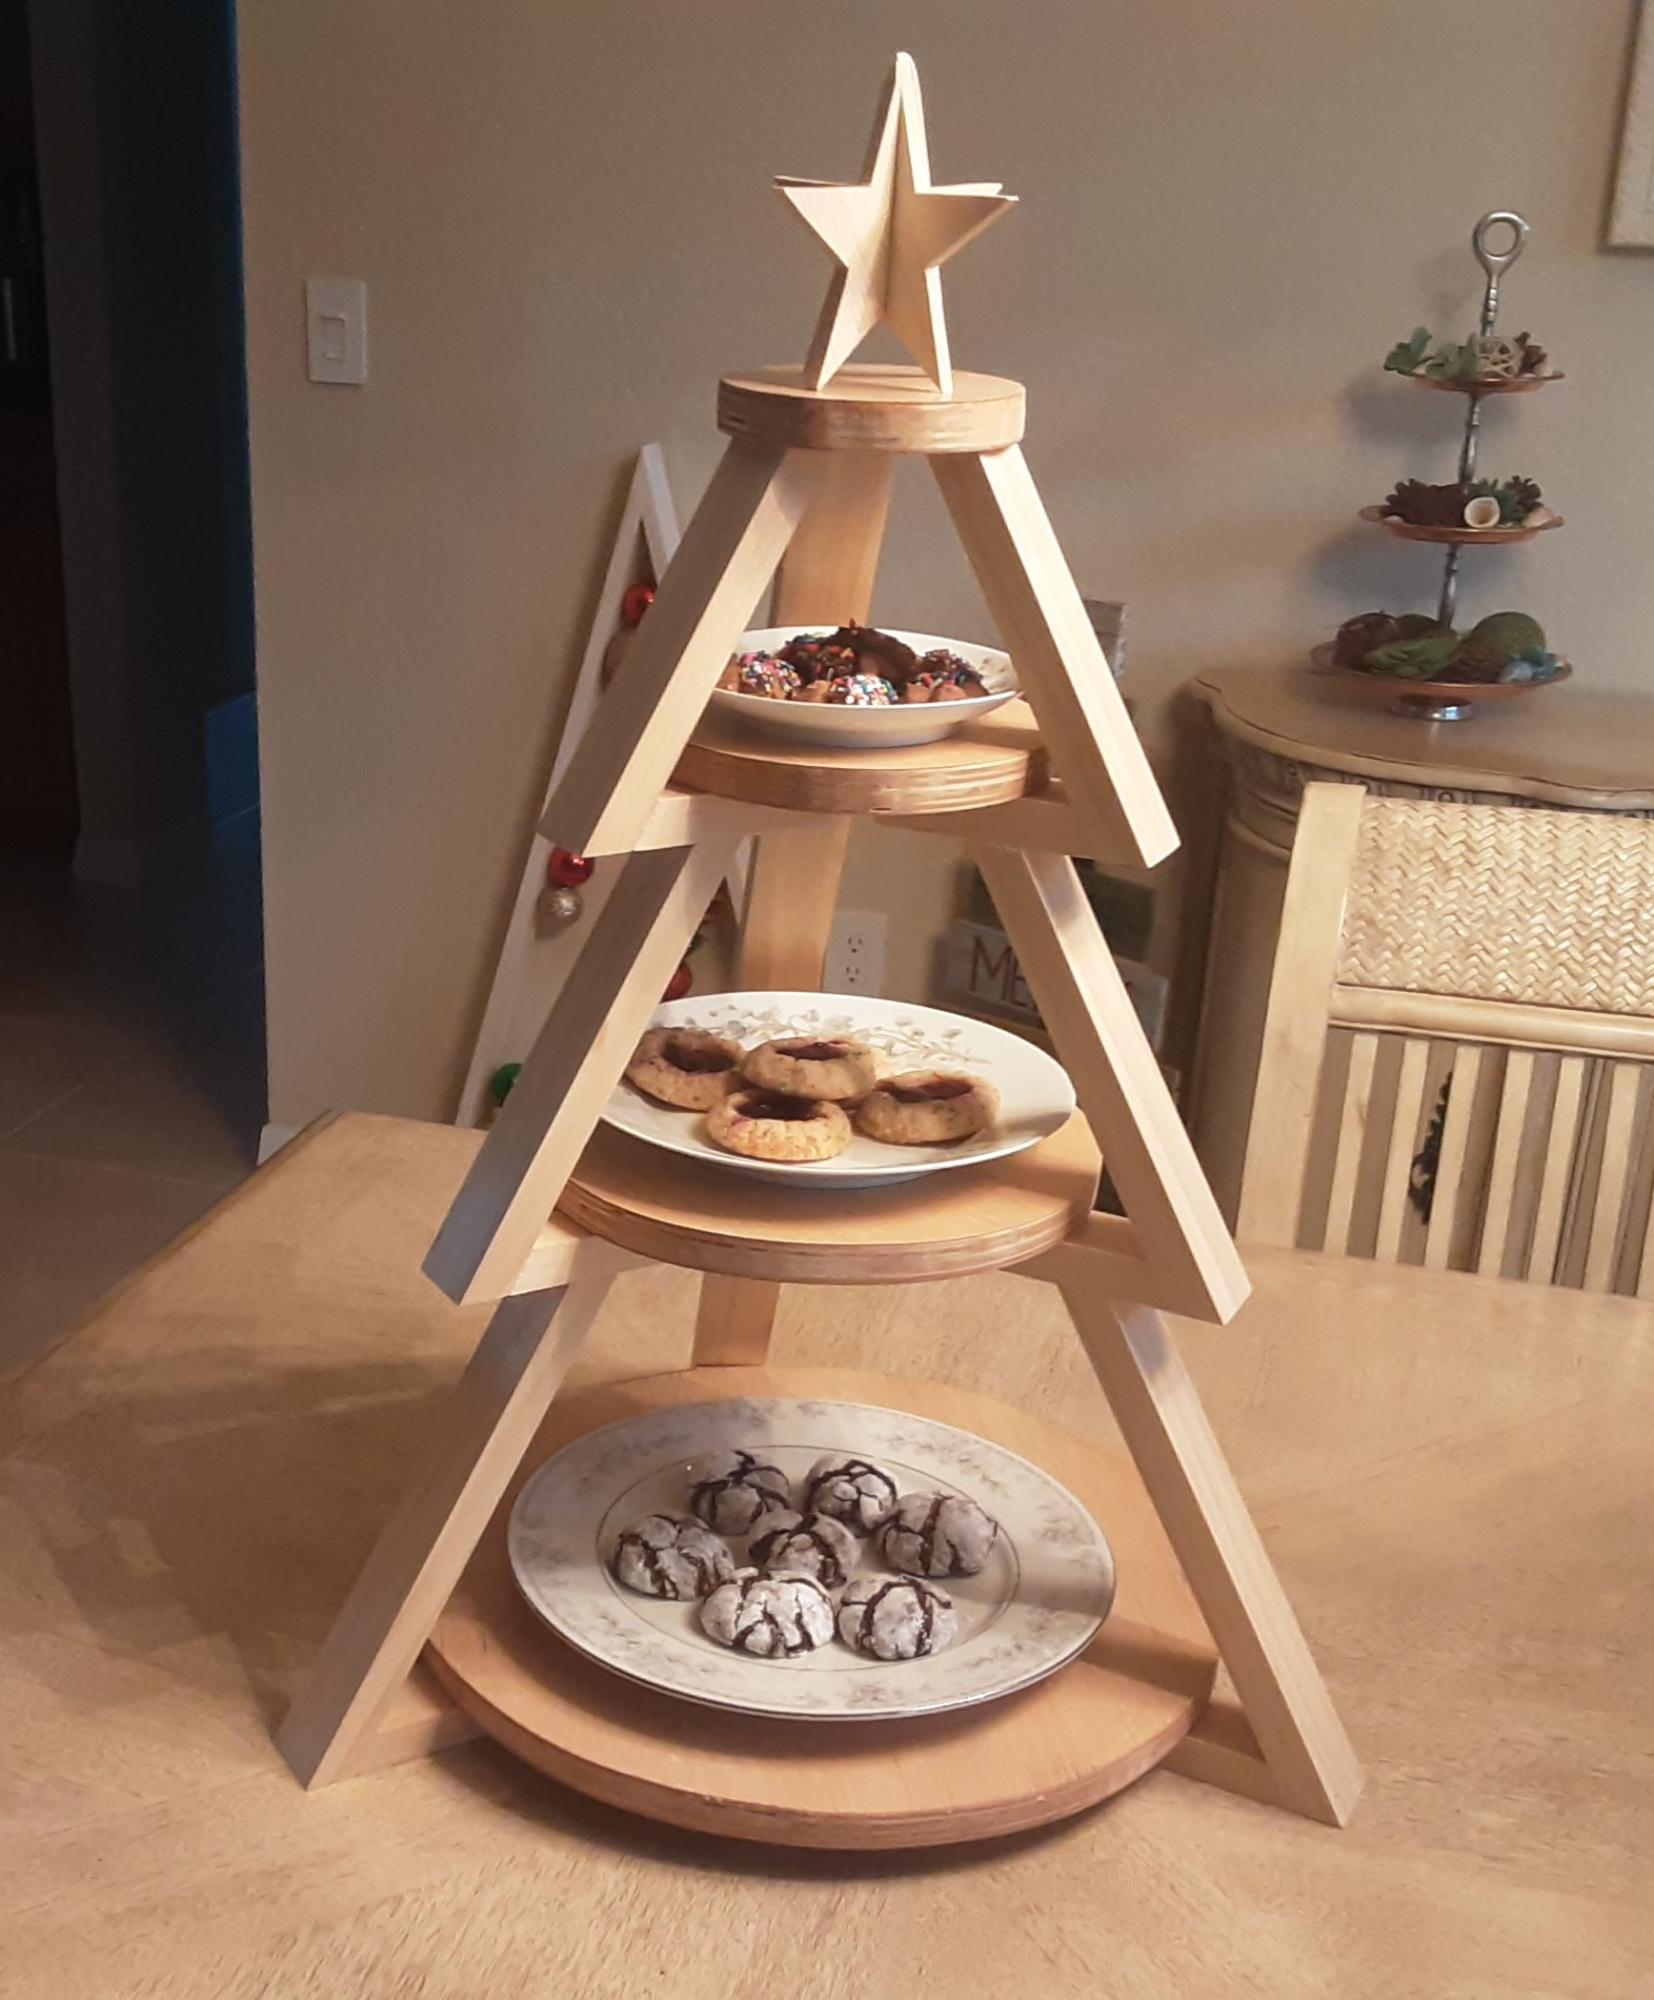
Inspired by Shara of Woodshop Diaries, created this 3 tier tray for displaying cookies for Santa. Added a 3 dimensional star as the topper and simply followed the excellent photos and schematics on Shara's website.

Estimated Cost
$5
Estimated Time Investment
Afternoon Project (3-6 Hours)
Finish Used
Minwax paste wax
Recommended Skill Level
Beginner

Comments

Custom Industrial Style Closet

Submitted by slug on Tue, 12/09/2014 - 09:03

We remodeled our house and now had a new 9x6 master closet to fill. During construction I saw this design on ana-white.com and liked the style, but wanted to customize the layout. I found an online closet designer and played around until I found something my wife and I liked. We ended up with a 9 foot long his/hers double hanging on the ends and a long hanging section in the middle. And on the other side 8 feet of shelving (leaving about a foot for other storage).

I bought the pipe as a 10 foot pipe to be cut and threaded (for free by the store). I did have to change the design a little because the store cannot thread pipe less than 14 inches. So I ended up replacing the short pipes and T's with 2x4s. That made it a little cheaper and I still like the end result.

We stained all the wood using Minwax "Early American". This probably accounts for most of the build time.

Then I put together the supports and brought them into the closet to add all the pipes and slats. I started with the wall for hanging. And later did the shelving.


Here's another forum with more pictures of this project:

http://woodworking.formeremortals.net/me-mo-community/#/discussion/866/…
Built from Plan(s)
Estimated Cost
<$400 for whole closet.
Estimated Time Investment
Weekend Project (10-20 Hours)
Finish Used
Minwax "Early American"
Recommended Skill Level
Beginner

Comments

Cedar side table

Submitted by OlgaB on Sun, 01/03/2021 - 19:41

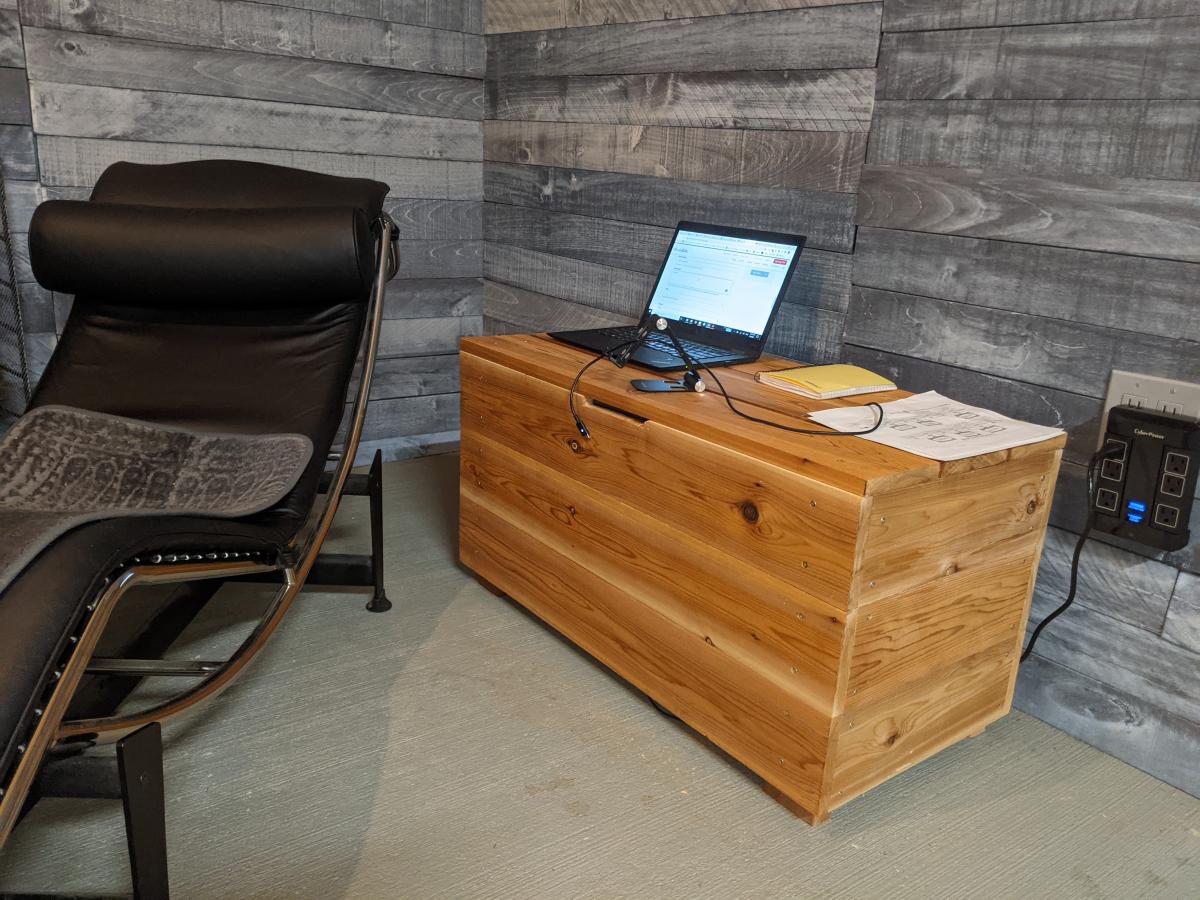
I decided it would make a nice simple side table for my home office and show off the beauty of cedar by using oil.

Estimated Cost
180.00
Estimated Time Investment
An Hour or Two (0-2 Hours)
Finish Used
Tung oil
Recommended Skill Level
Beginner

Comments

Reclaimed Wood Desk

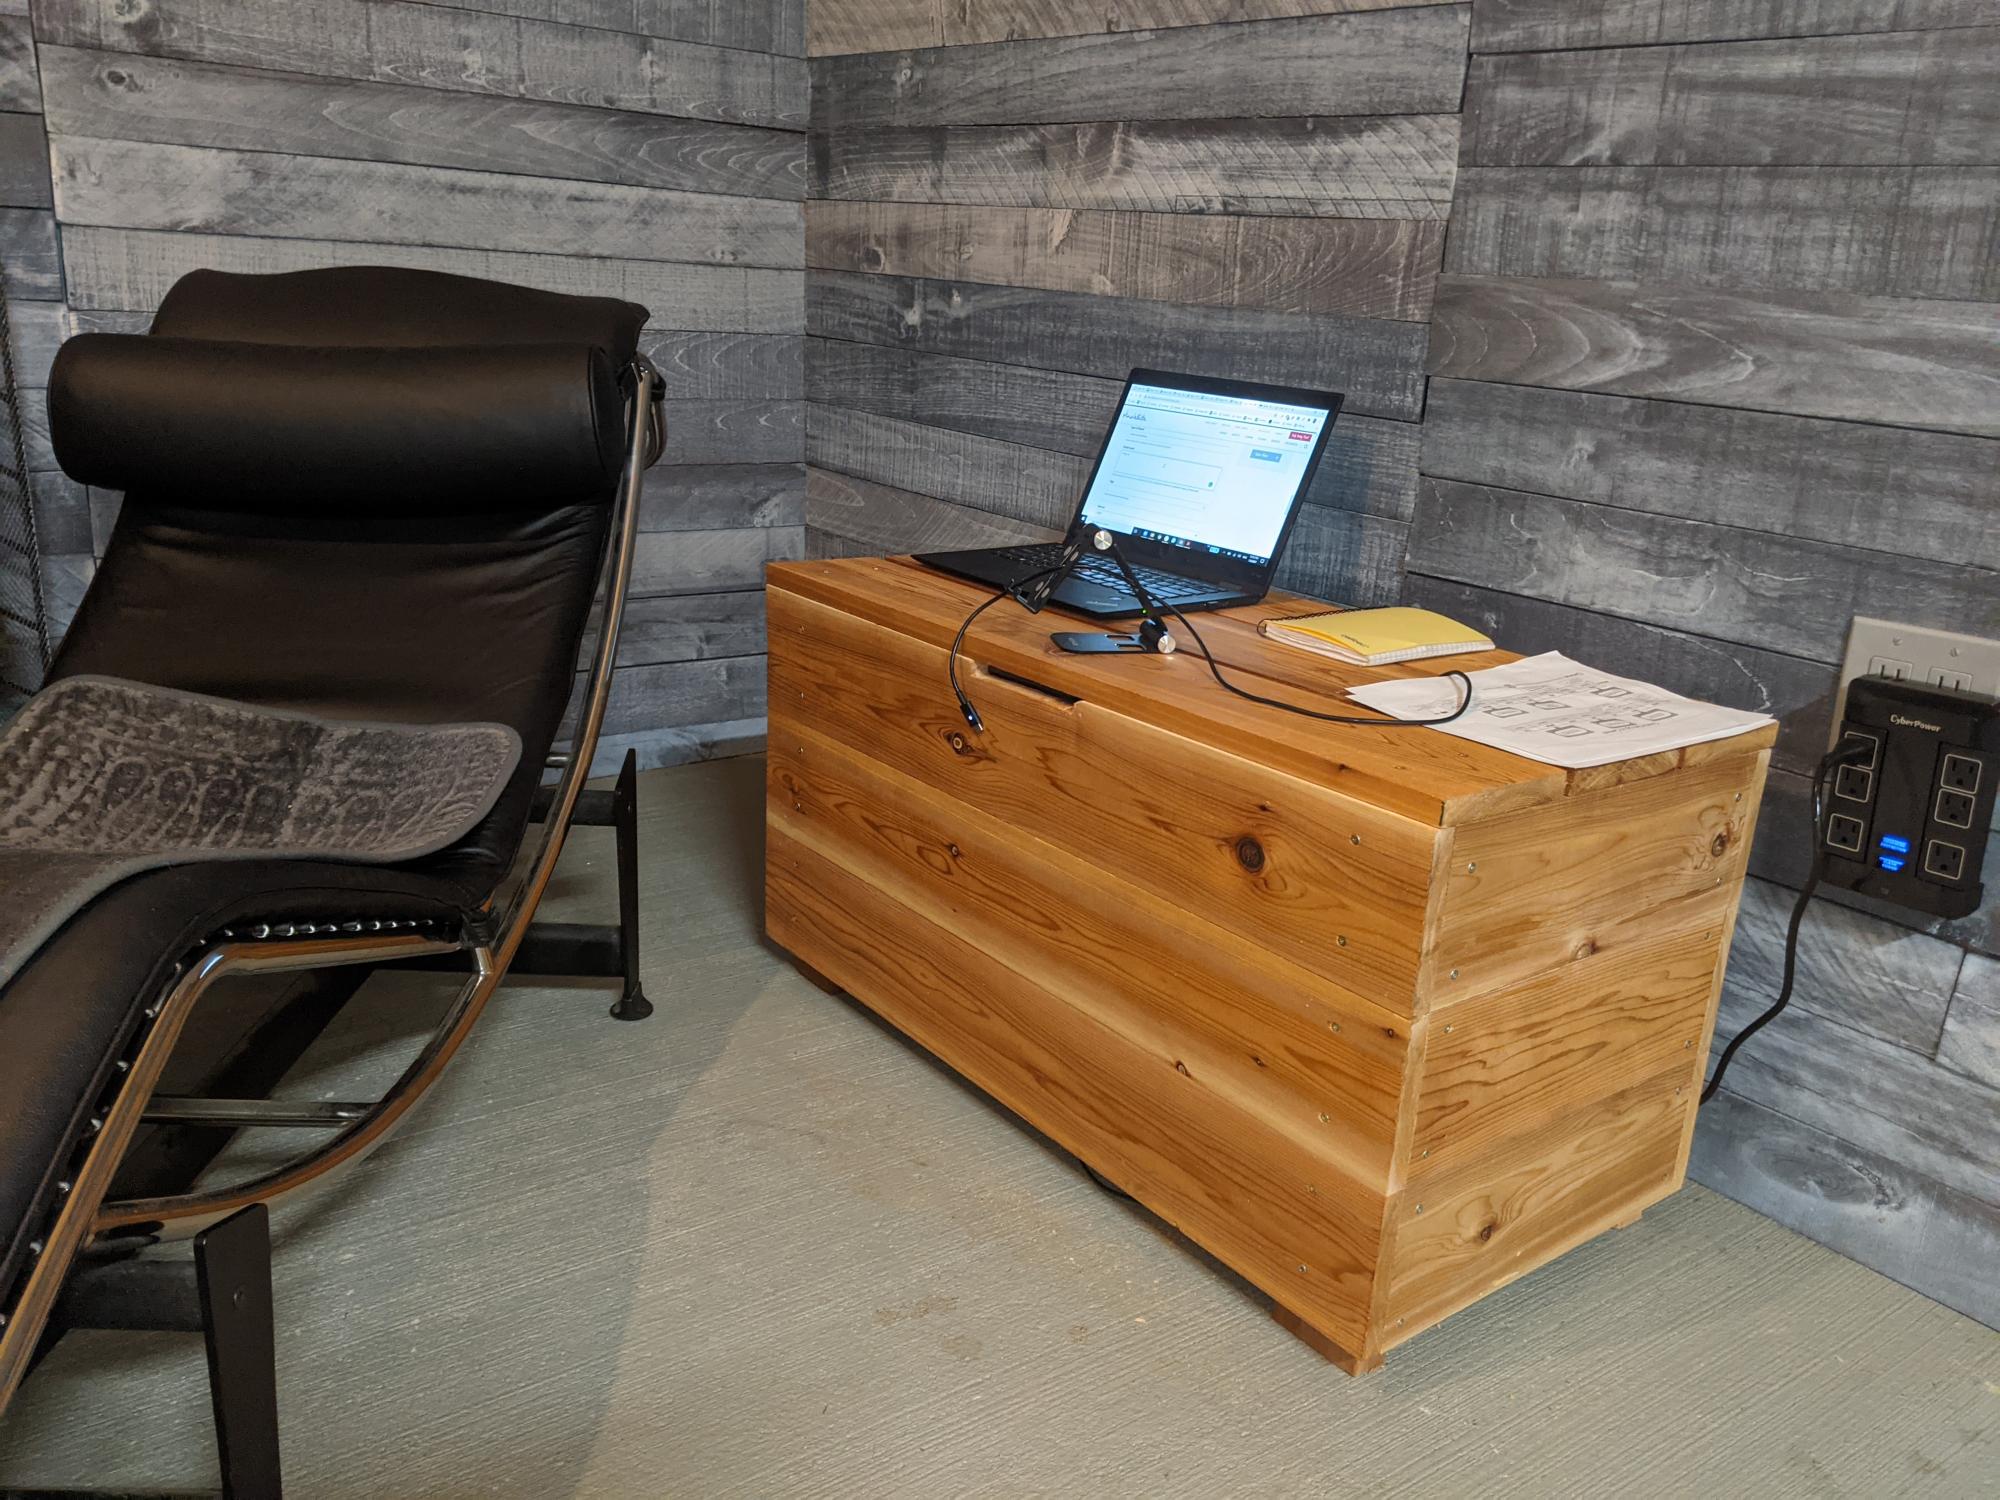
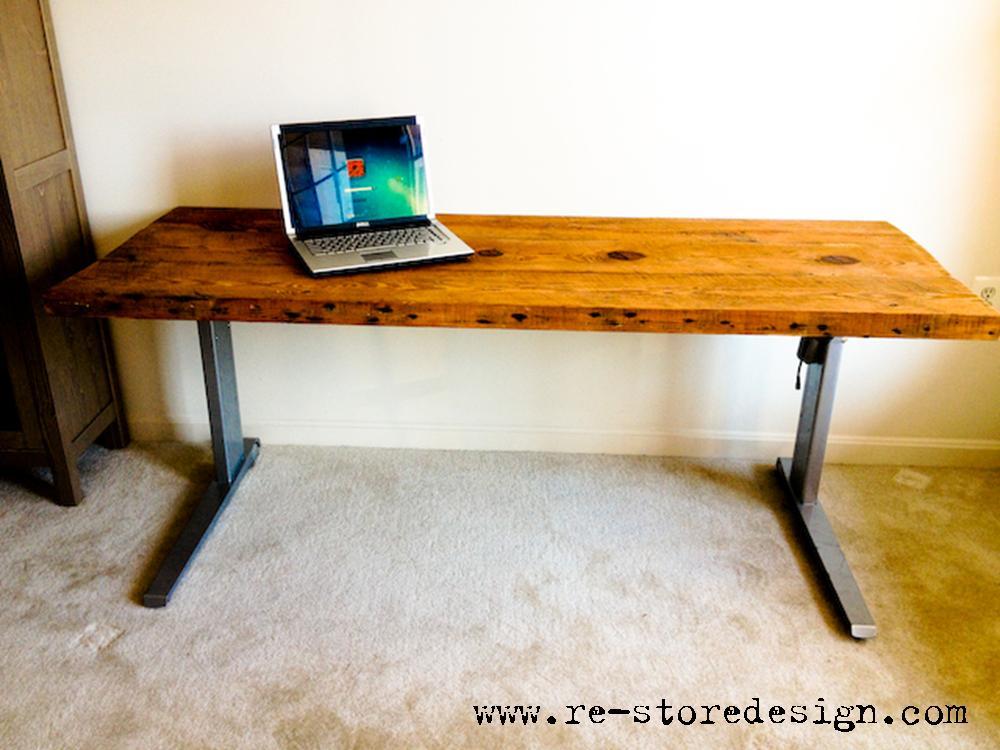
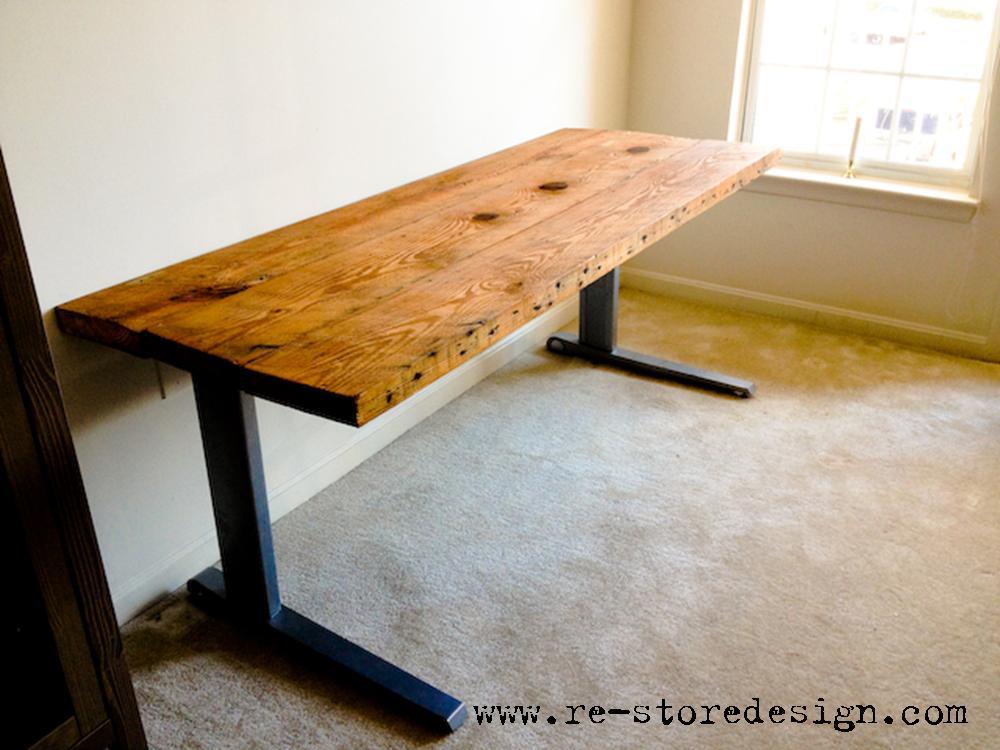
Reclaimed wood desk top for a Geek Desk stand.

Estimated Cost
50
Estimated Time Investment
Afternoon Project (3-6 Hours)
Finish Used
Teak Oil
Recommended Skill Level
Intermediate

Comments

MamaofThree

Sun, 06/08/2014 - 07:17

Hi. Can you tell me where you got the wood and the legs for this project? This is so beautiful! I'd love to make something like this!

Build Michaela's Kitchen Island

Submitted by Anonymous (not verified) on Mon, 04/03/2017 - 04:47

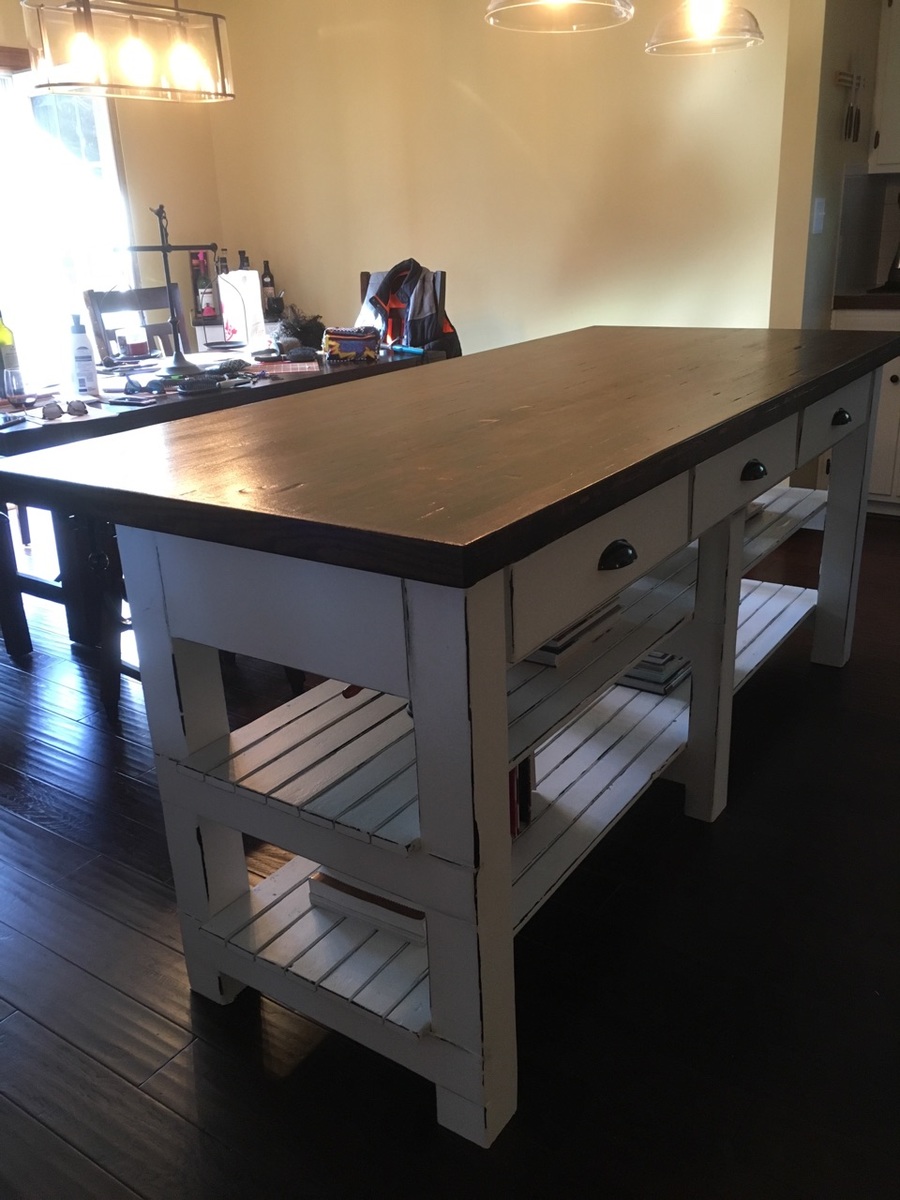
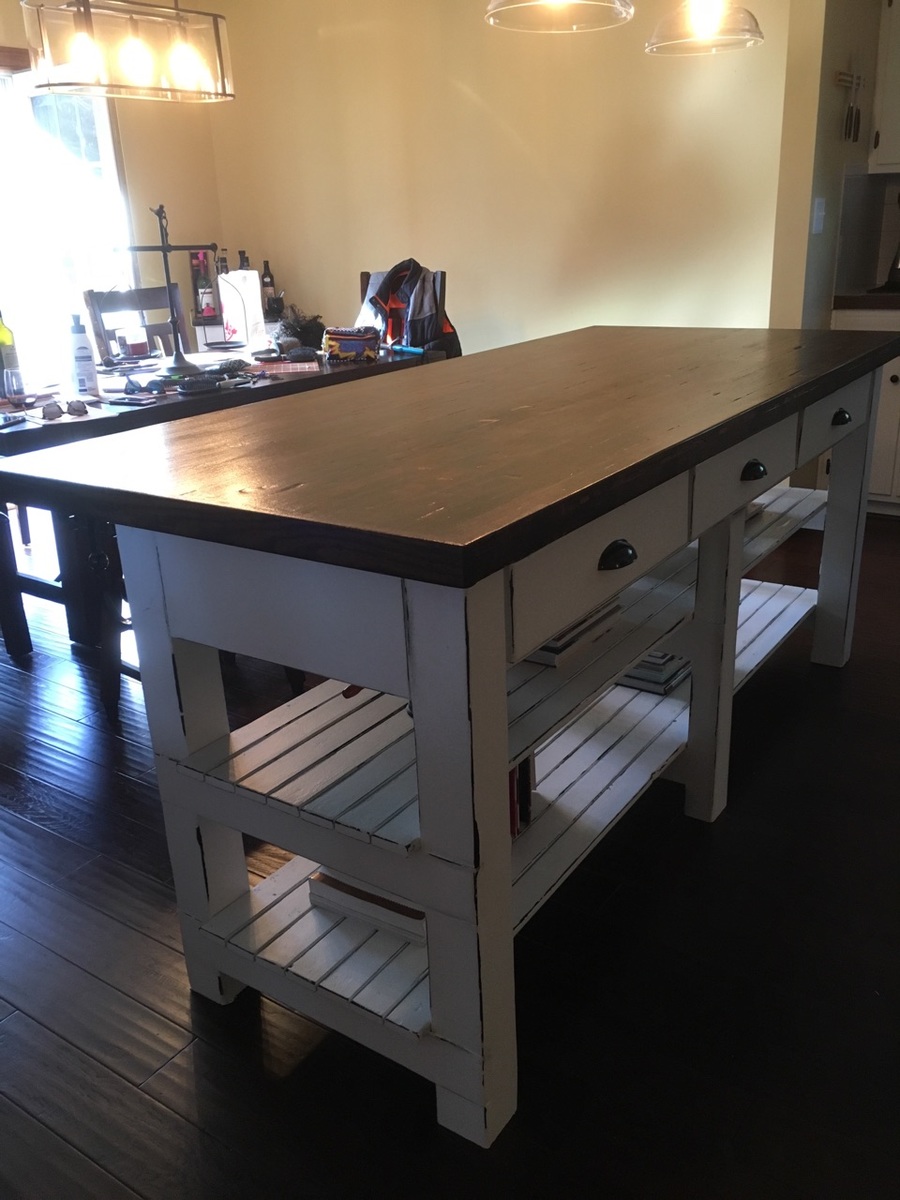
I really liked the look of the kitchen island in the plans, but we needed something longer, so I added 2' to the length, an extra drawer, and some supports in the center (worried the shelves might sag otherwise). We also wanted an overhang for stools, so I added a foot to the width and some decorative corbels. For the top we used reclaimed bowling alley wood. A really fun project and were really happy with it. Thanks for the plans!

Built from Plan(s)
Estimated Cost
$800
Estimated Time Investment
Week Long Project (20 Hours or More)
Finish Used
paint/faux distress, stain, and water lock
Recommended Skill Level
Intermediate

I-beam

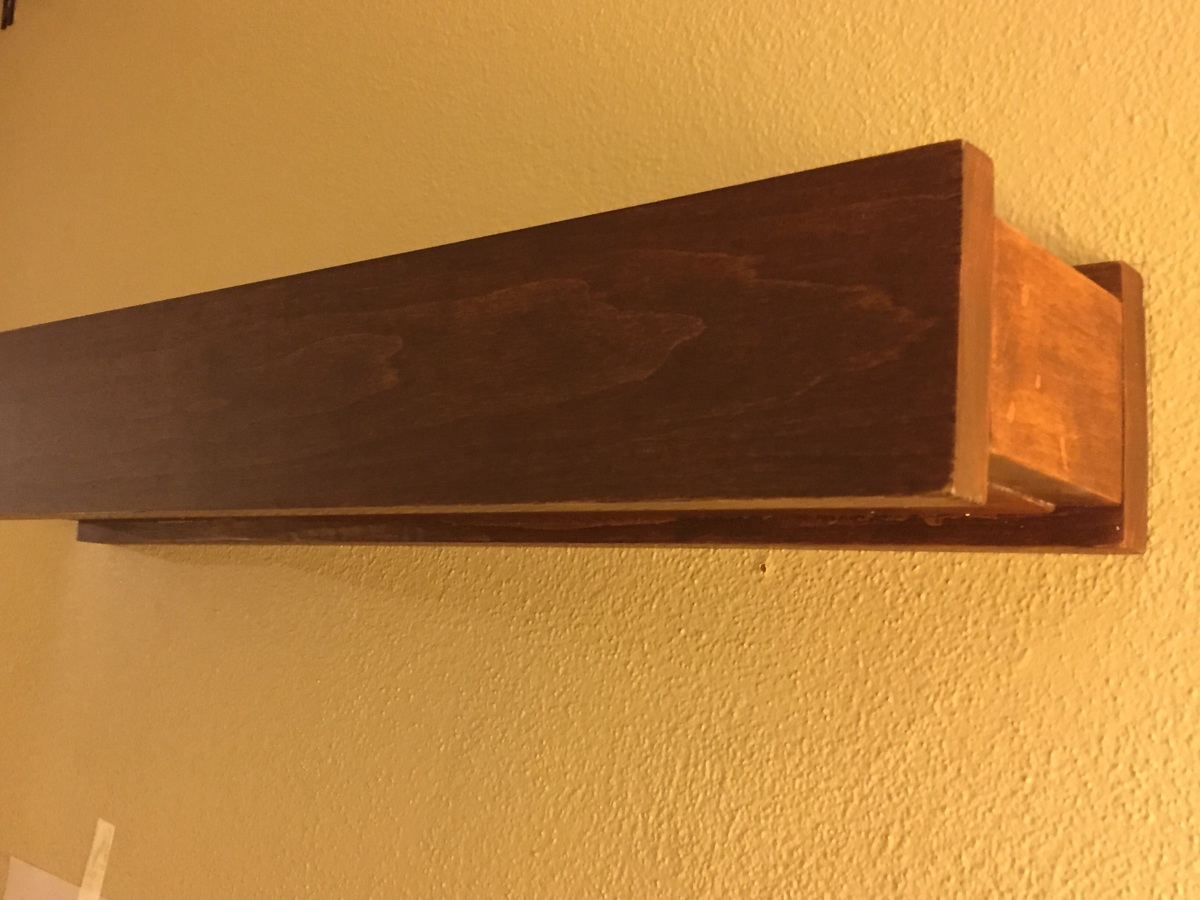
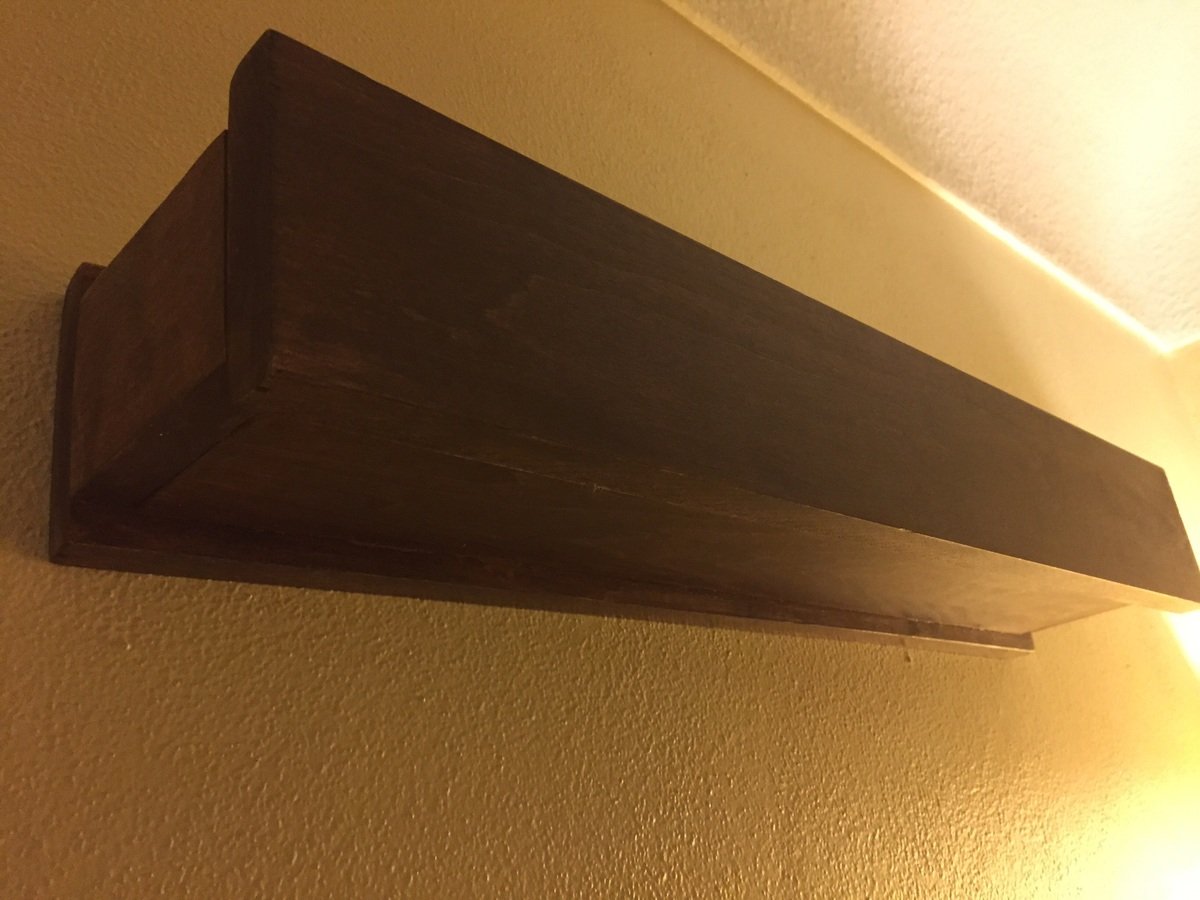
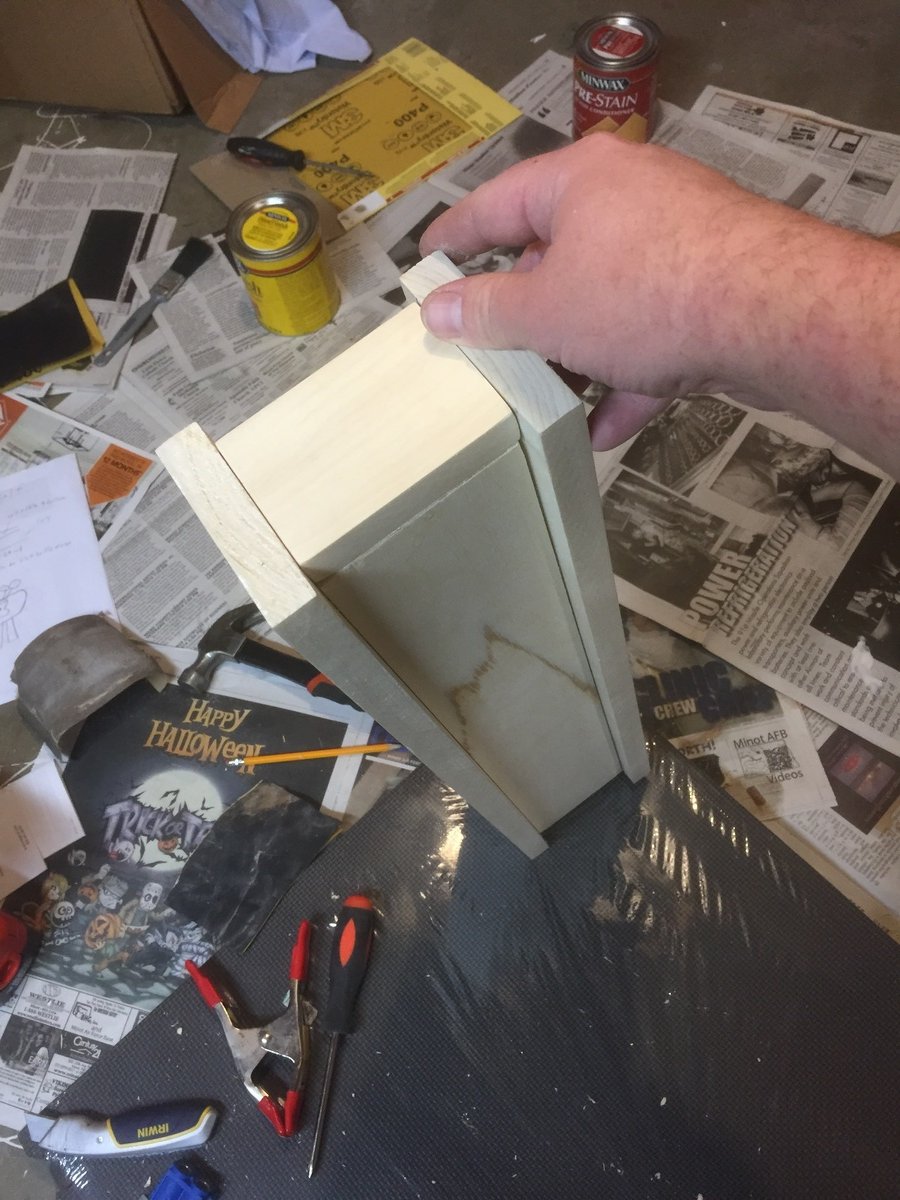
My wife loves this shelf. Thank you so much for the plans! I made mine using Aspen and an Early American stain. Now I need  to make 2 more. 

Estimated Cost
$10-15
Estimated Time Investment
Afternoon Project (3-6 Hours)
Finish Used
Pre-stain conditioner, wait one hour, then Early American stain. Let sit overnight, very light sand ( I used 600 grain) and stain again. Let dry and I put two coats of semi-gloss urethane to give slight shine.
Recommended Skill Level
Starter Project

Built-In Hall Tree Heated

Submitted by adamhatton on Sun, 03/10/2013 - 18:26

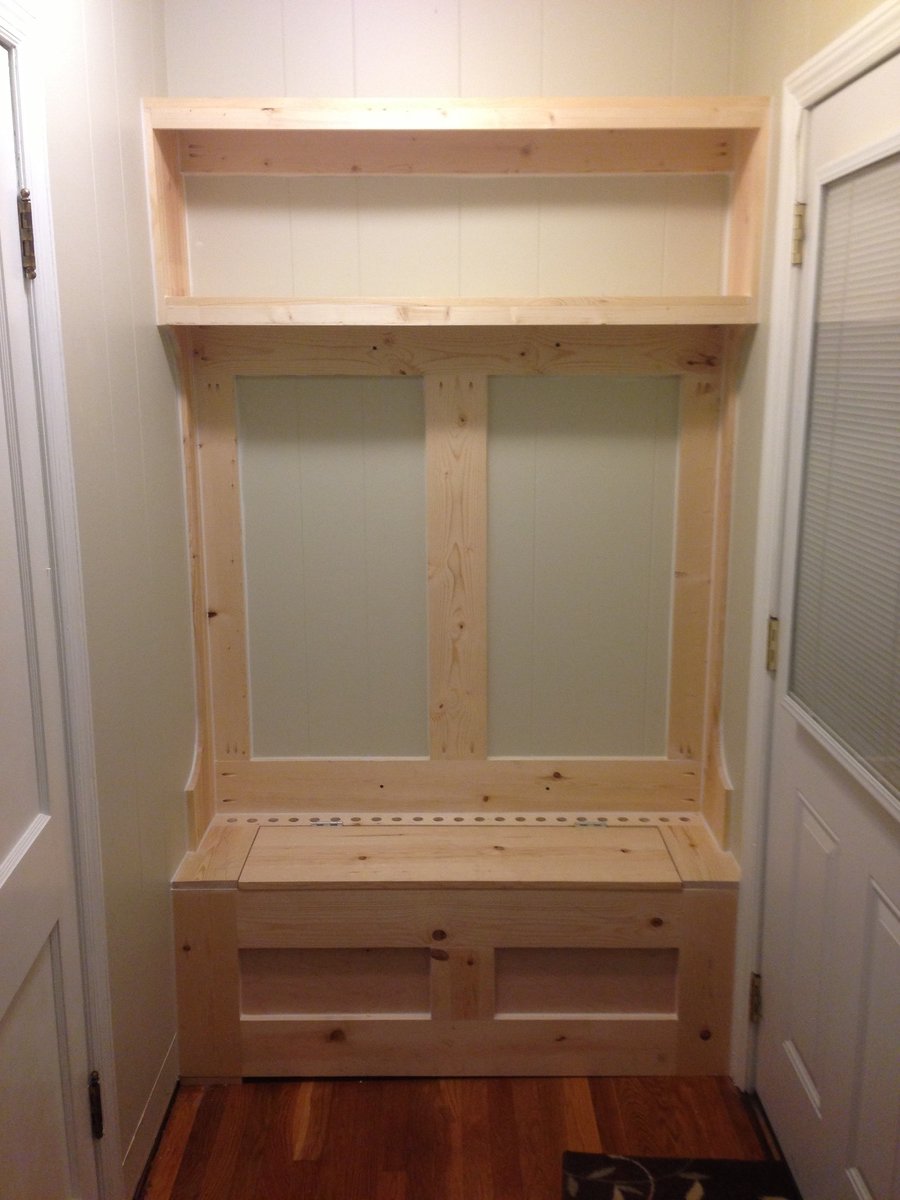
I made this hall tree as a gift for my wife. It's a classy way to store coats out in plain sight. it is larger than the design specs from Mimi (7'H by 4'1" W) and built-in instead of free standing. Our house has a boiler with floorboard radiators. There is a radiator inside the hutch, and heat comes out of the holes just behind the lid to the bench this heats up the coats as they hang on the rack. The radiator also heats the compartment under the bench which aids in drying damp boots and other items. Fun project, also an easy project thanks to the Kreg Jig!

Built from Plan(s)
Estimated Cost
$100
Estimated Time Investment
Day Project (6-9 Hours)
Finish Used
Bear semi-gloss interior latex.
Recommended Skill Level
Beginner

Rustic X Console

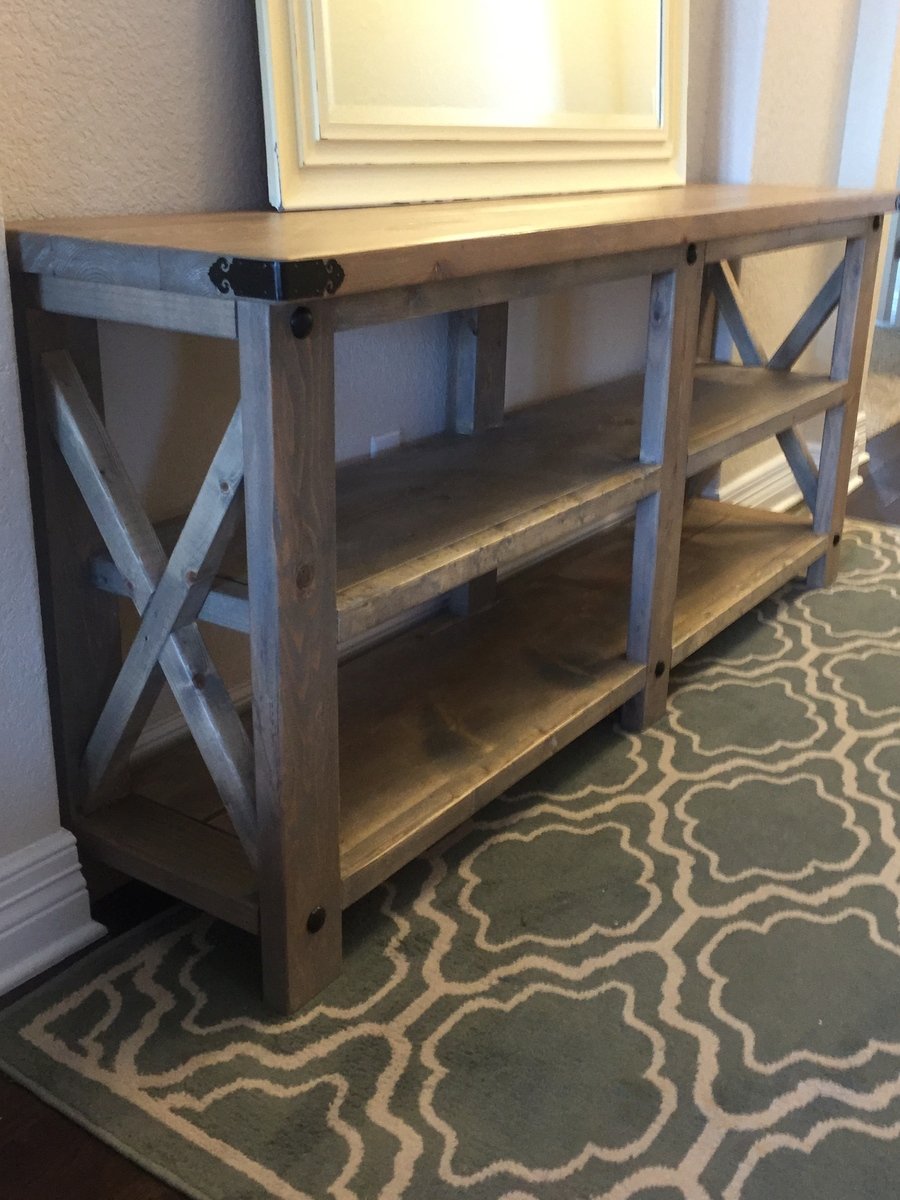
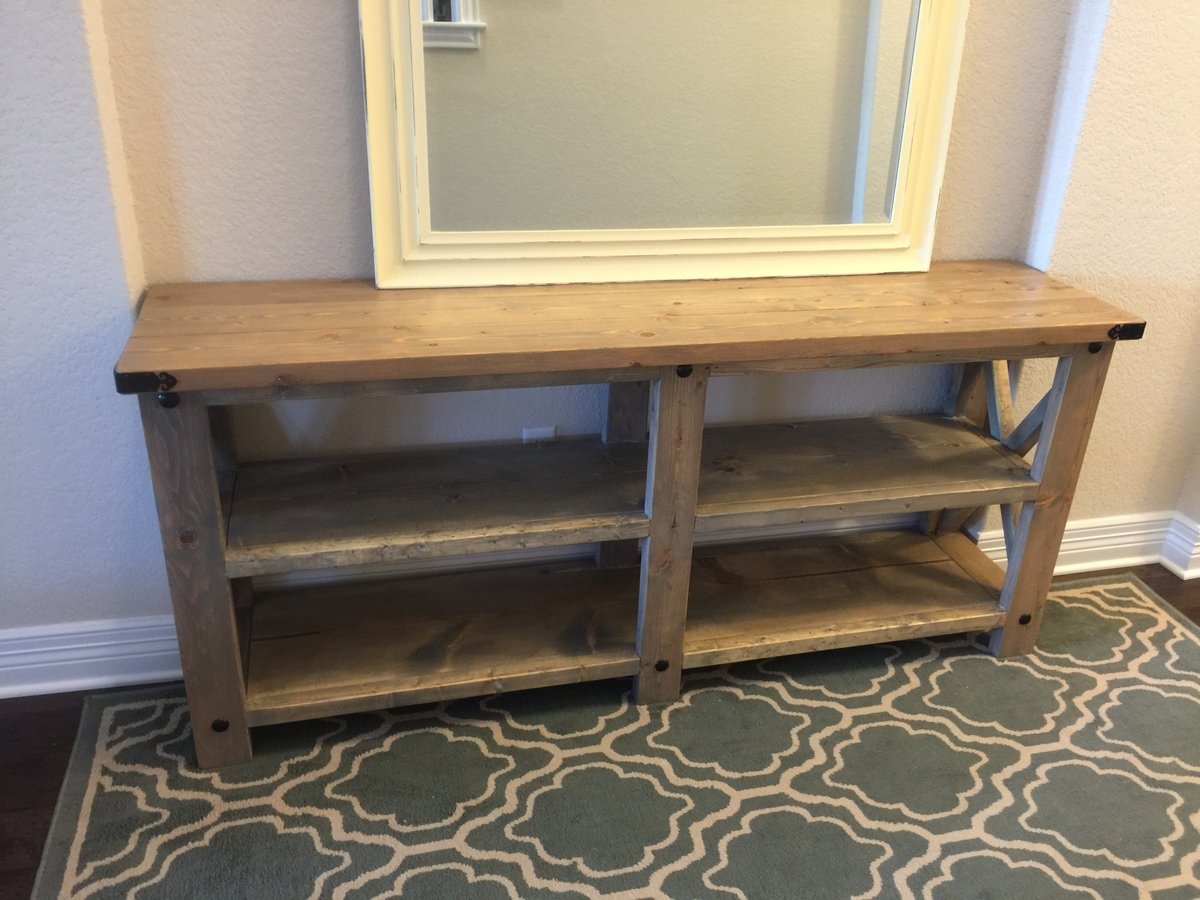
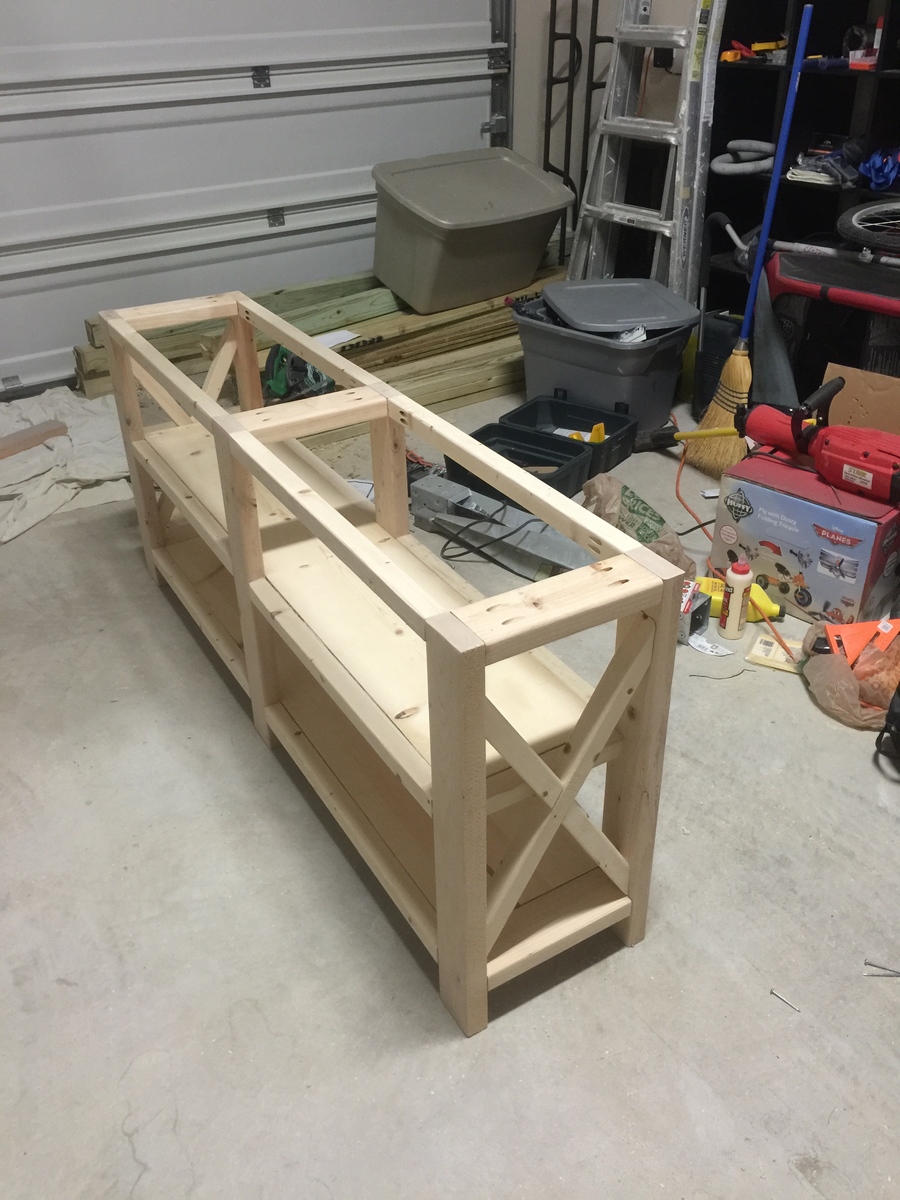
Made a bit shorter to fit our decorative arch and opted for more different hardware.

Built from Plan(s)
Estimated Cost
$100
Estimated Time Investment
Day Project (6-9 Hours)
Finish Used
Rustic Oak Stain with a wax finish.
Recommended Skill Level
Intermediate

Comments

Cedar Fern Planter

Submitted by janmade on Thu, 04/20/2017 - 13:08

Great plans as always. This was a quick build. I had most of the wood already and bought furring strips for the sides. I painted it to match the shutters on my house. I love it!

Built from Plan(s)
Estimated Cost
less than $20
Estimated Time Investment
Afternoon Project (3-6 Hours)
Finish Used
Bronzetone paint to match my shutters
Recommended Skill Level
Beginner
Seasonal And Holiday