Community Brag Posts

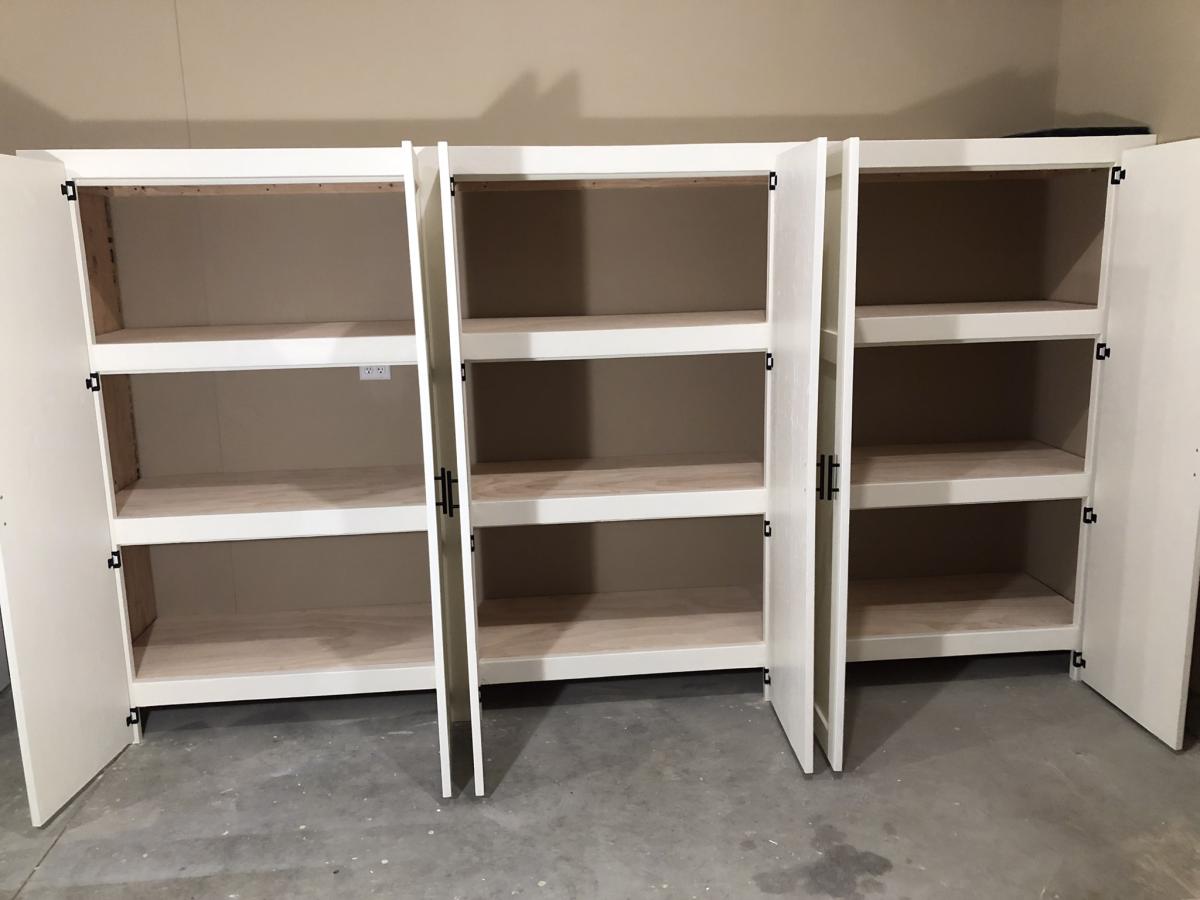
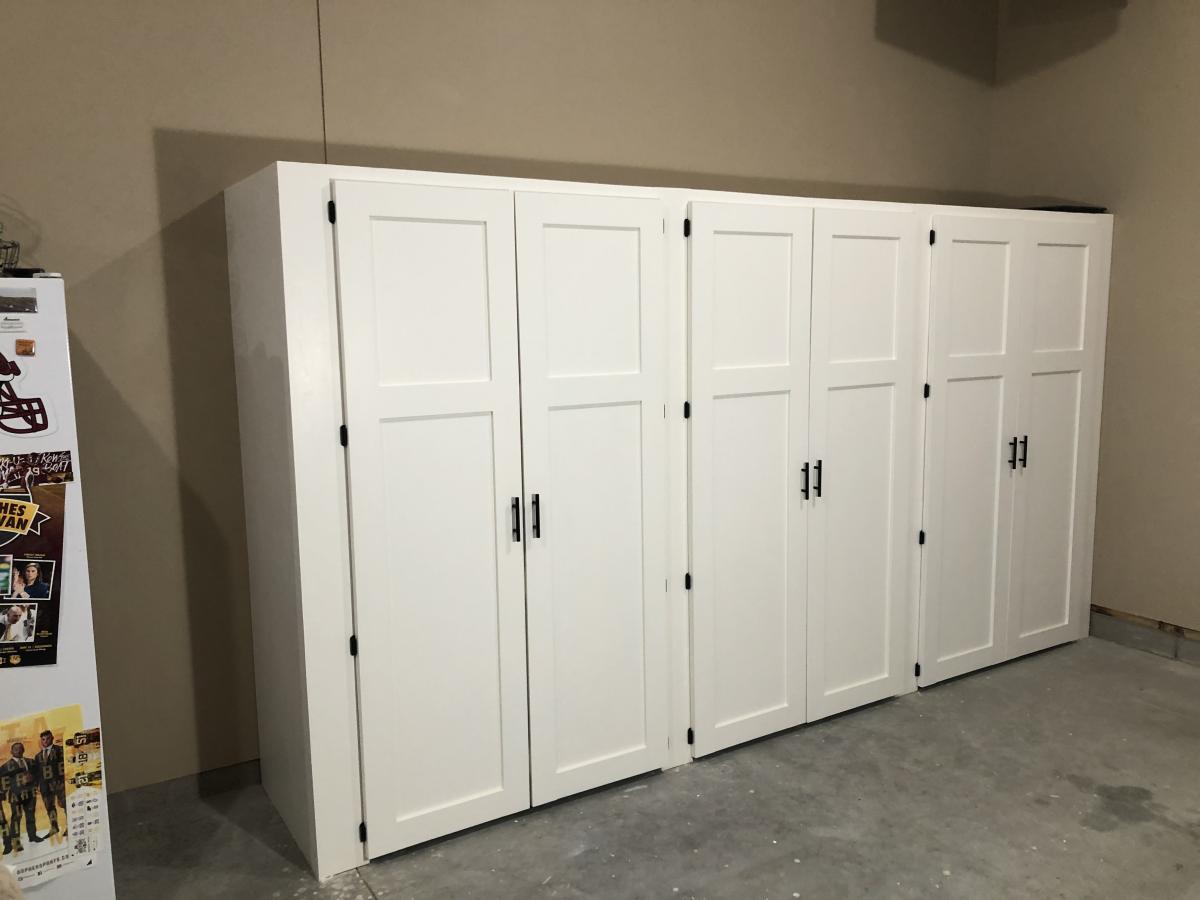
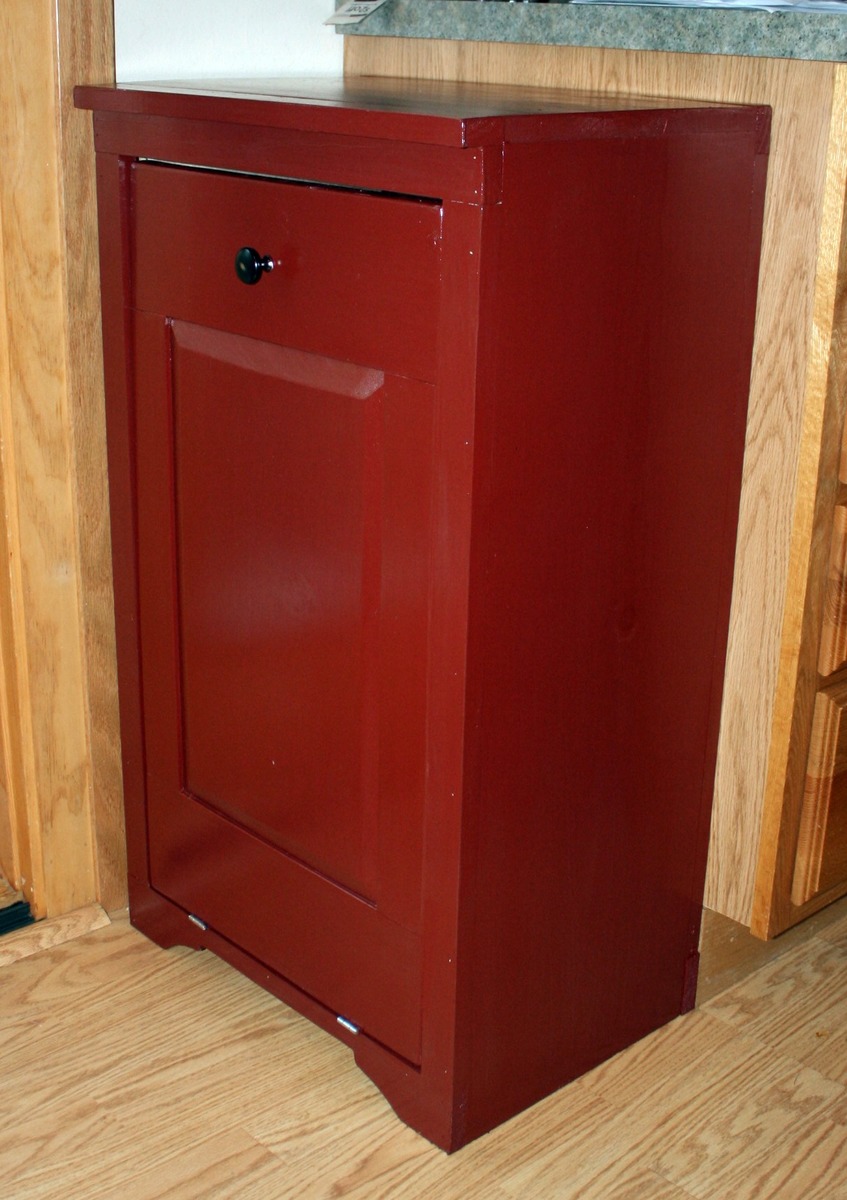
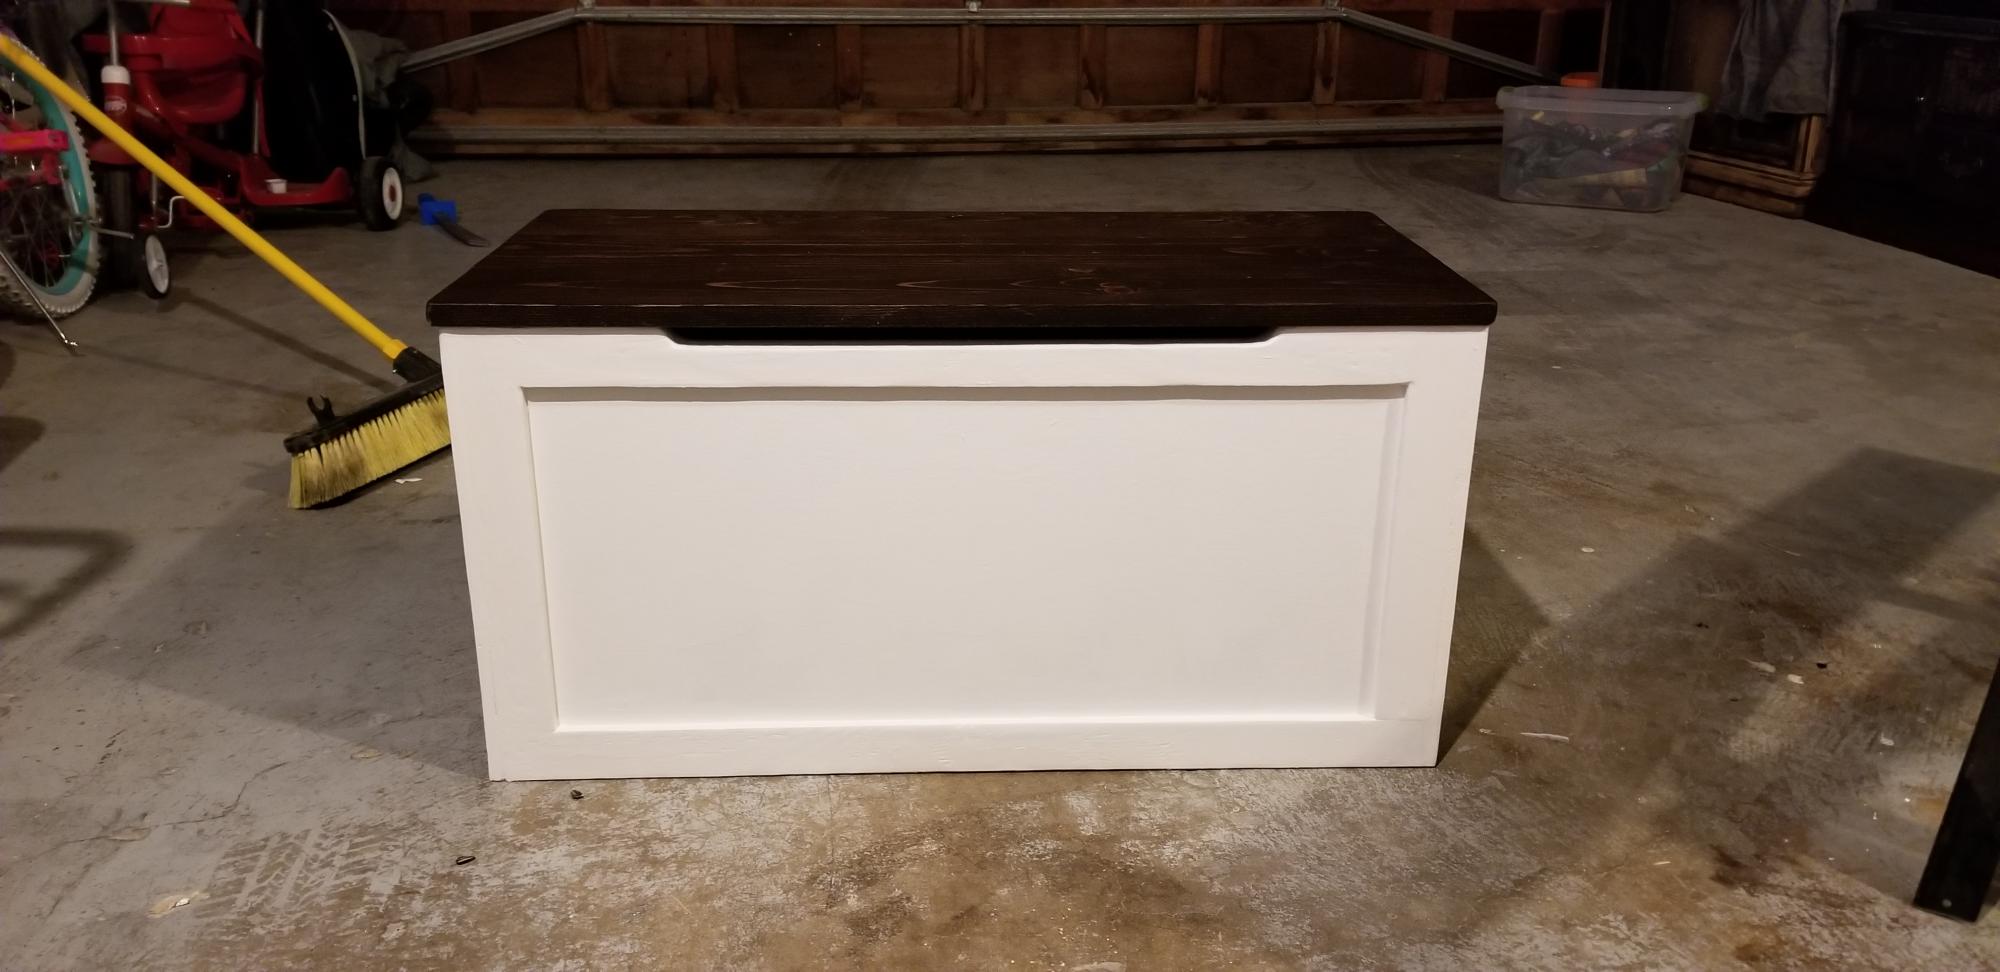
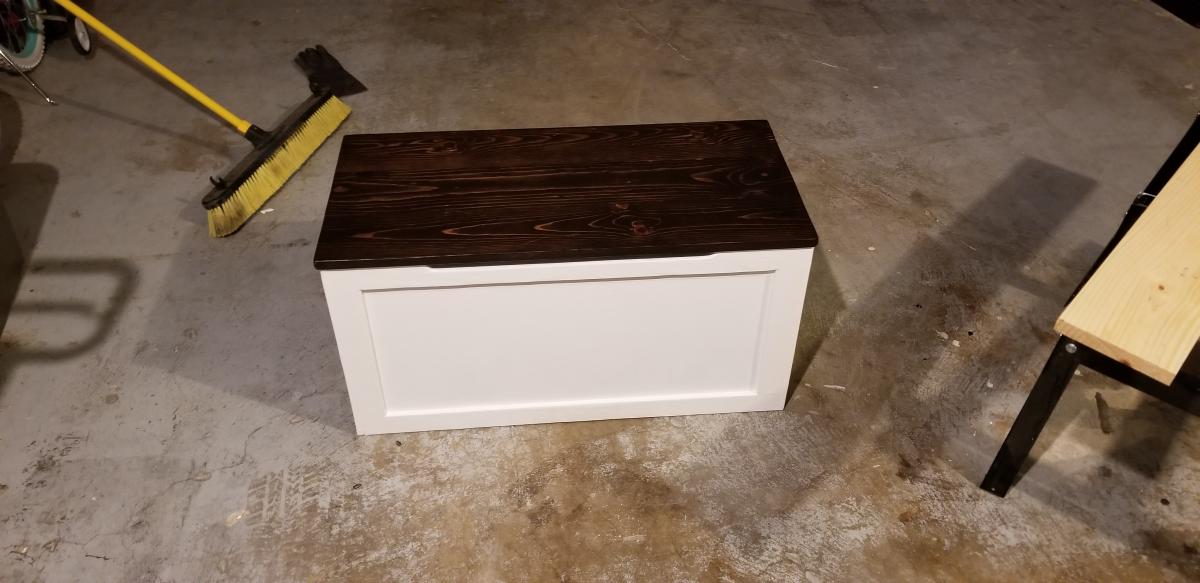
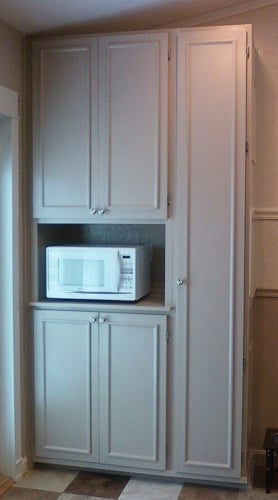
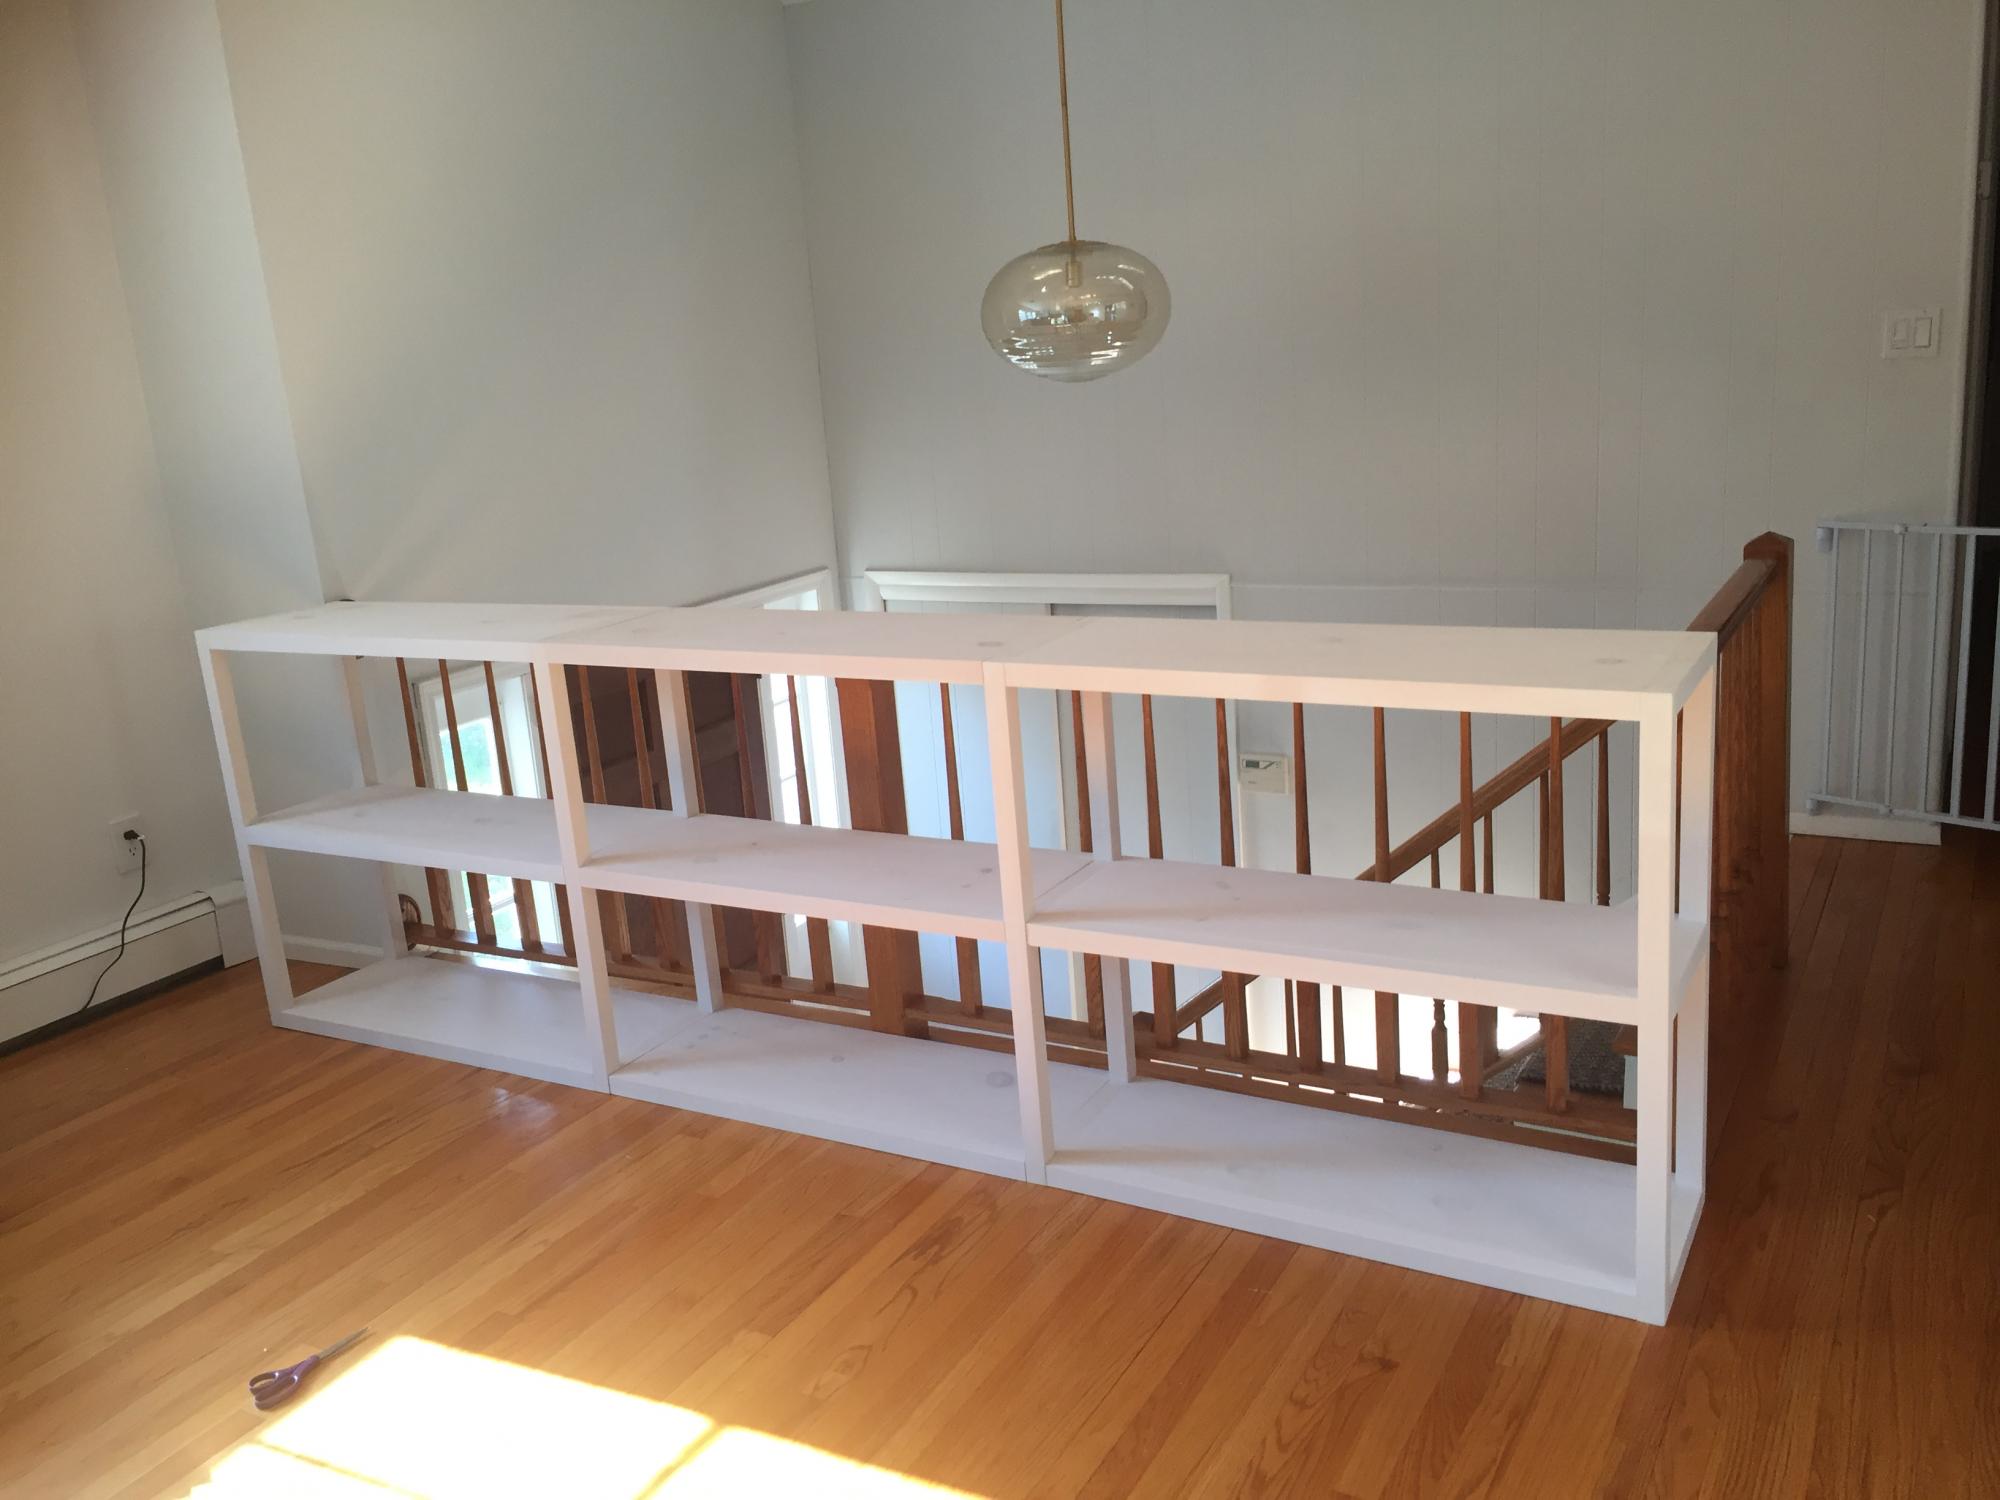
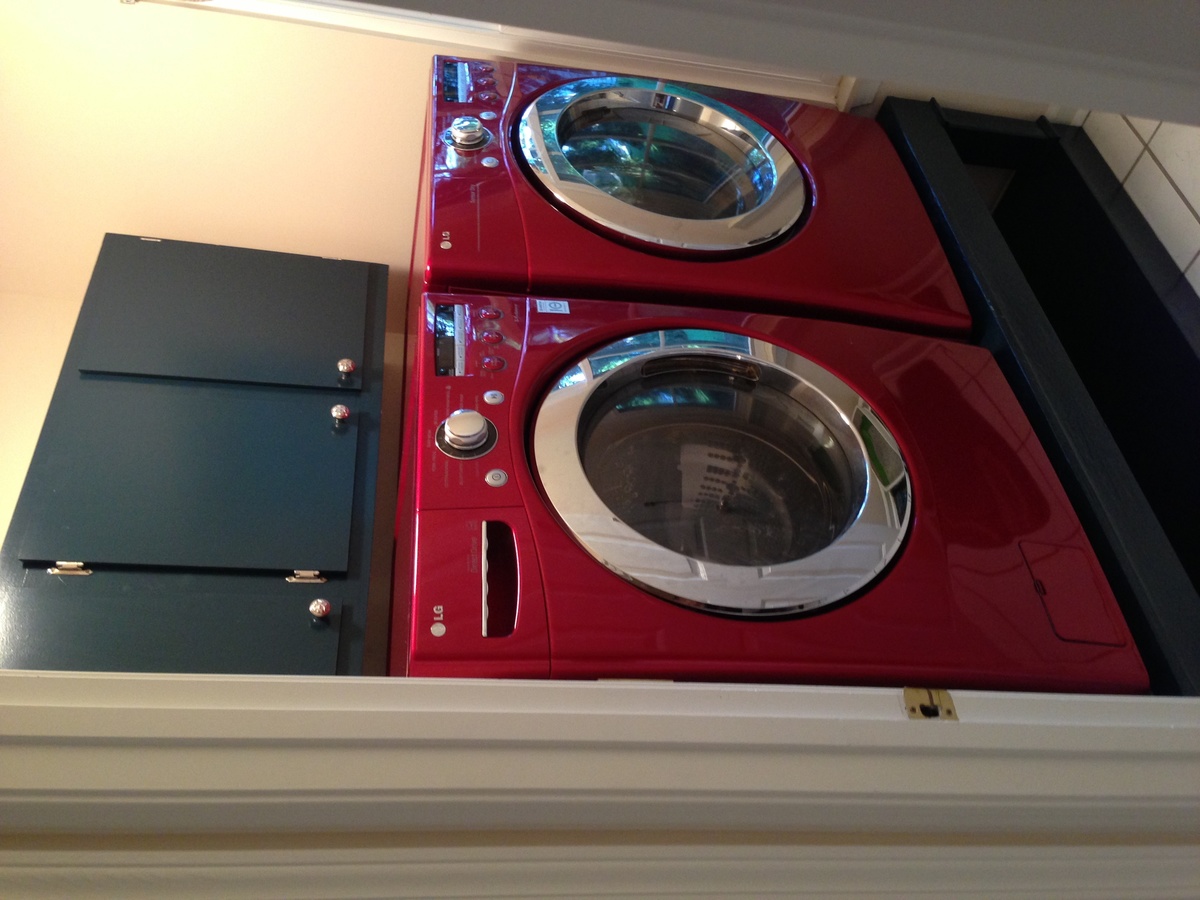
Washer and Dryer Pedestal

Submitted by Brittney W on Tue, 07/09/2013 - 20:10

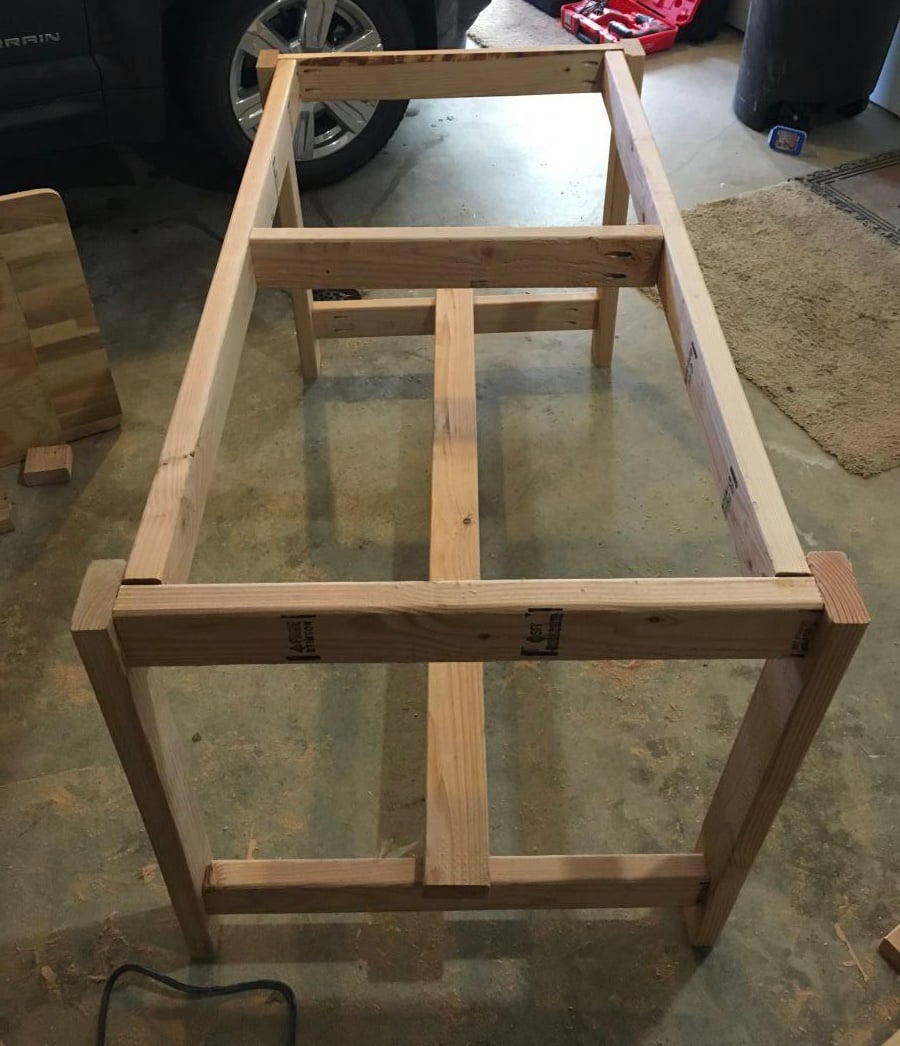
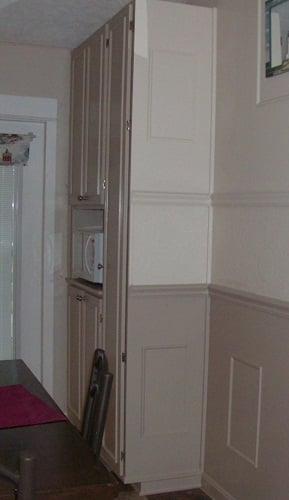
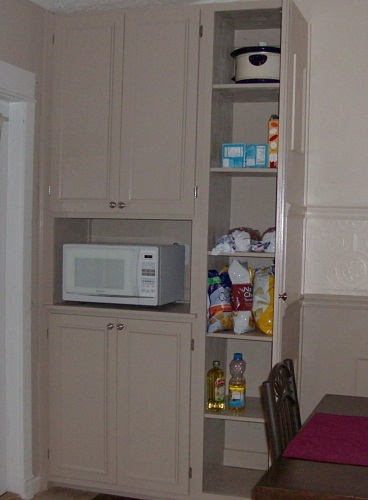
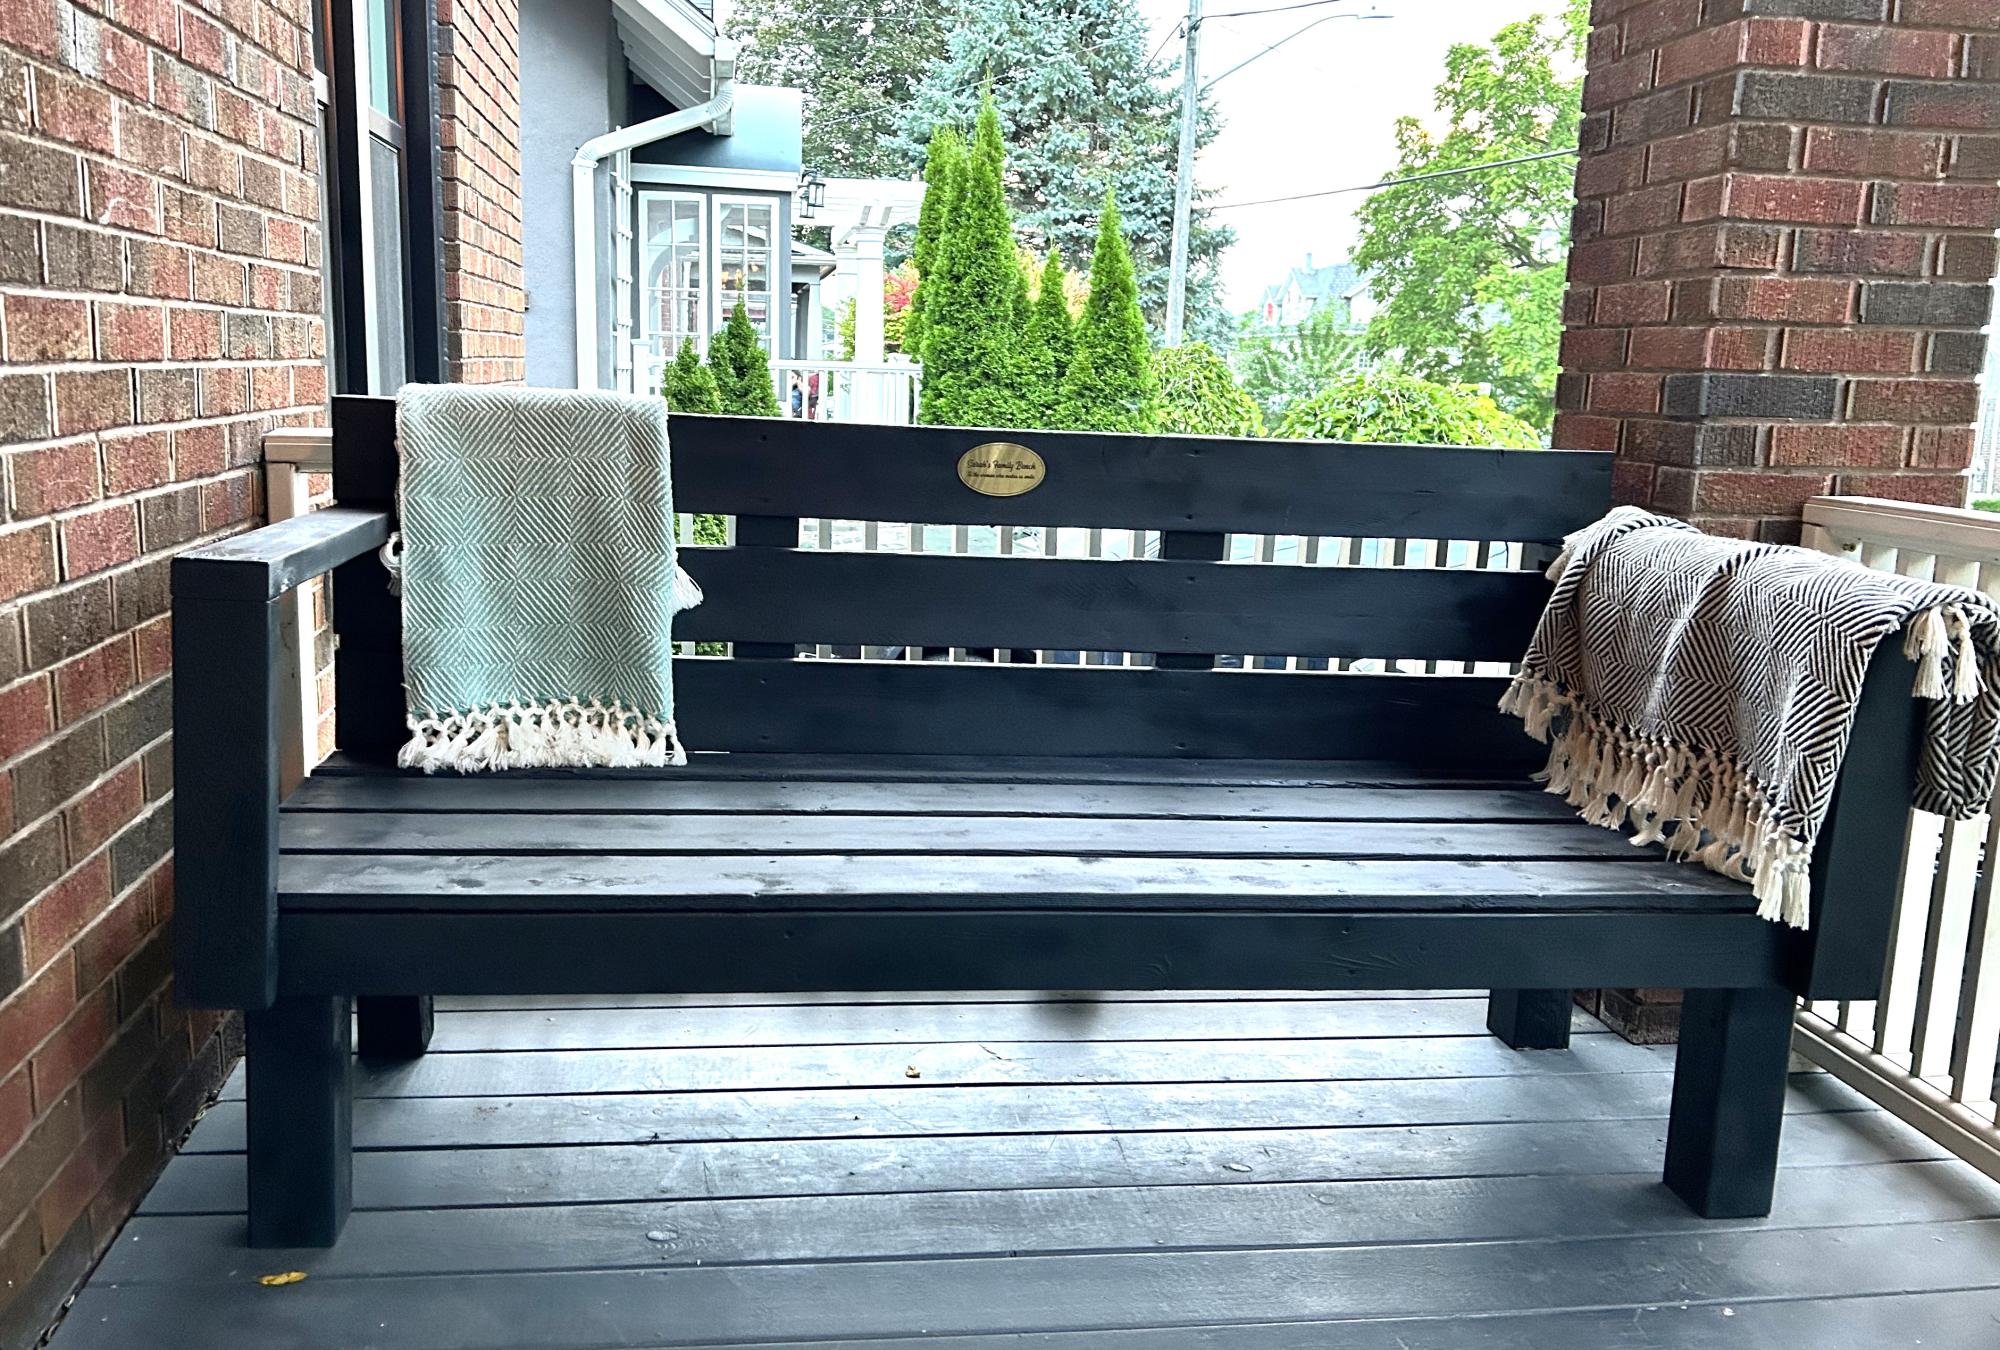
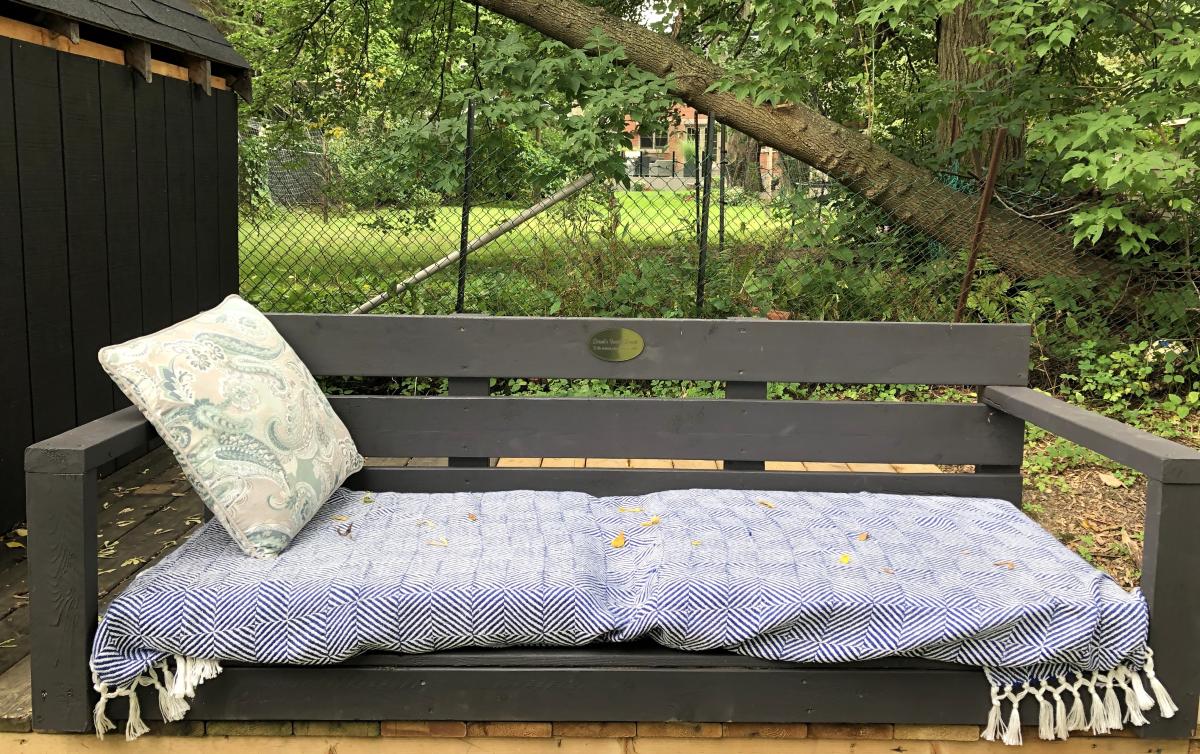
This was one of the first big DIY projects for my husband and I in our new home. It took us one weekend to complete. The $150 cost includes all supplies: even paint, rollers, wood filler, etc. My husband wanted to get pedestals for our front loaders because he is so tall, but after pricing it out, it would have cost around $550 with tax to get the red LG pedestals. The $150 was definitely worth it and I feel more confident that we can tackle more DIY projects like benches for the deck :) It's not perfectly made, but it's perfect for us.

Estimated Cost
$150
Estimated Time Investment
Weekend Project (10-20 Hours)
Finish Used
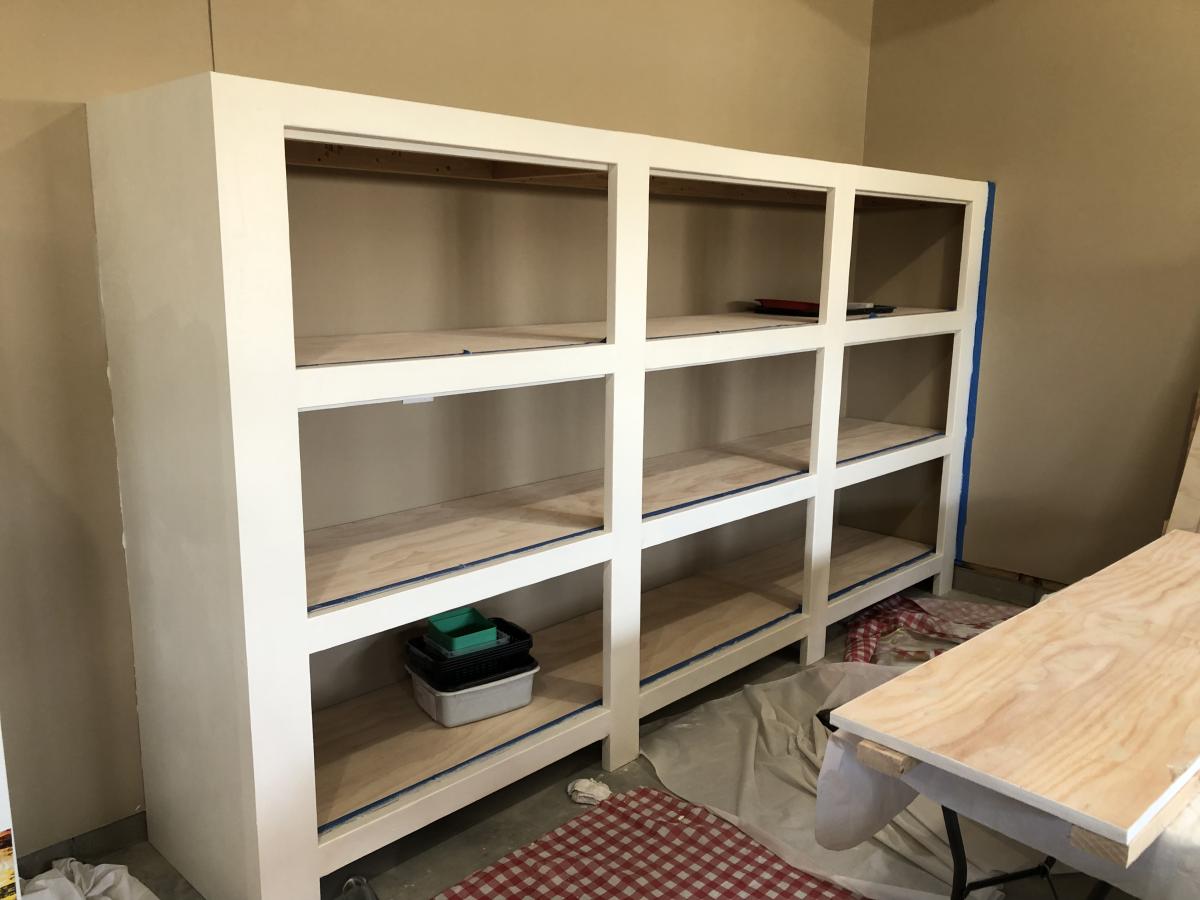
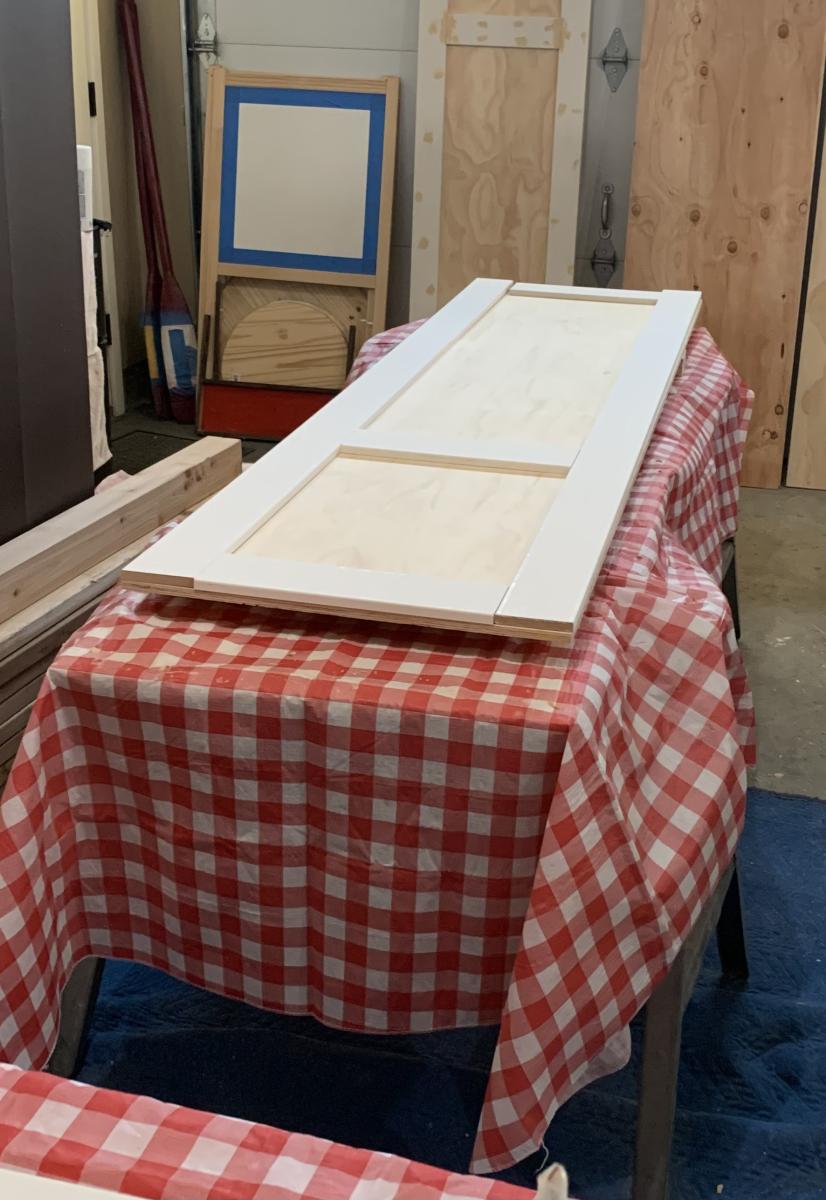
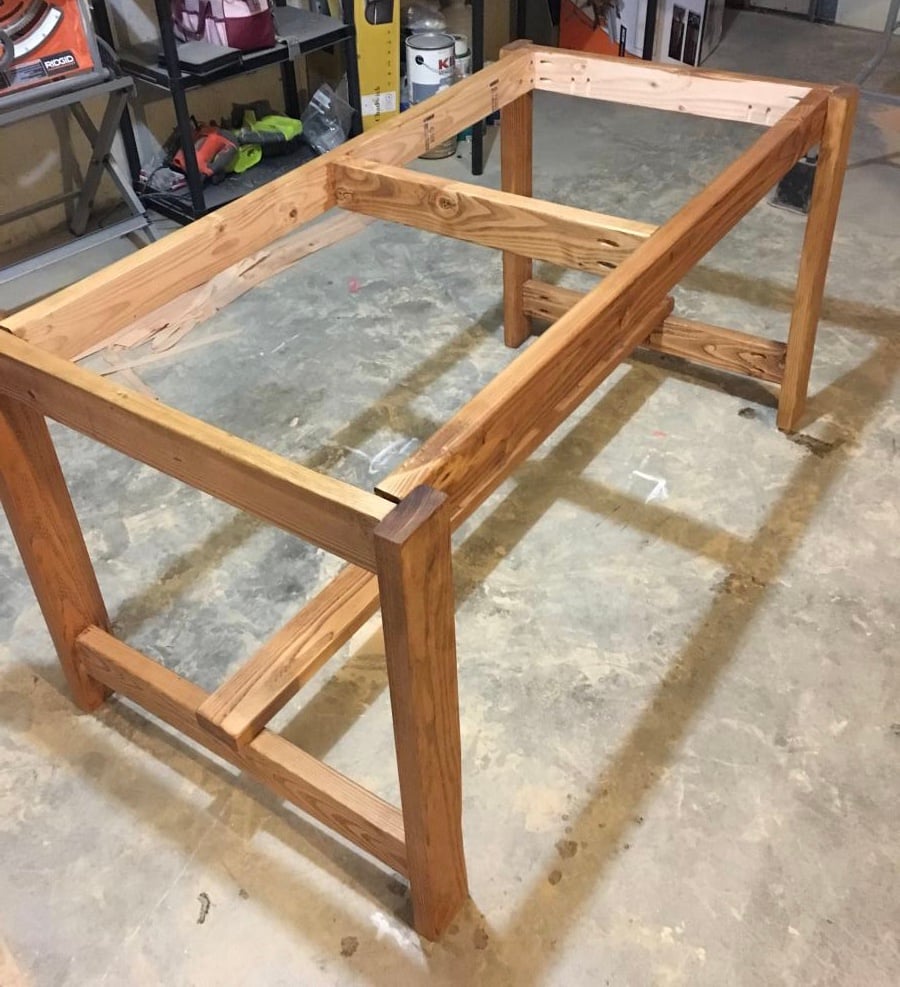
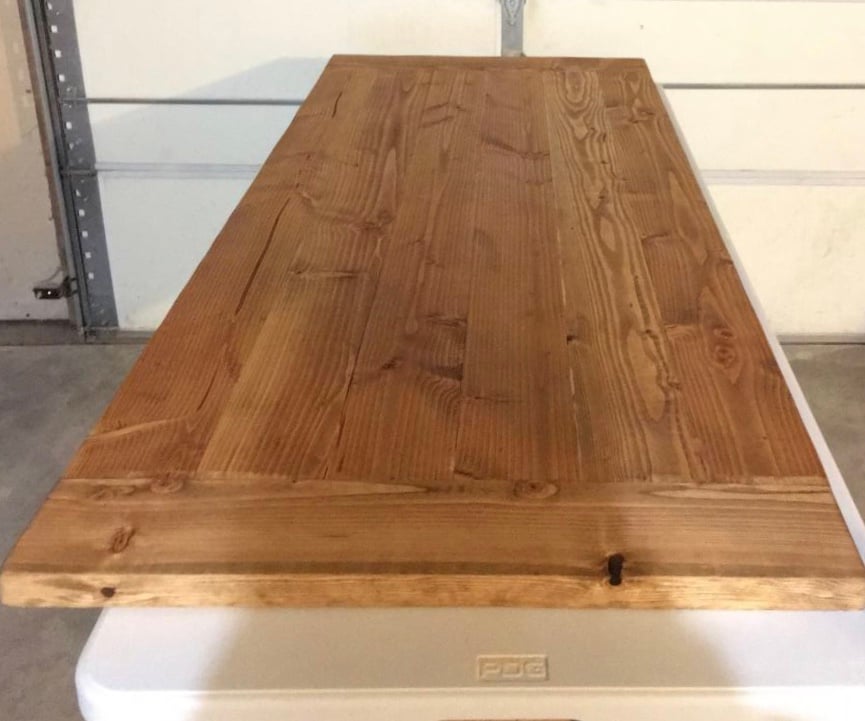
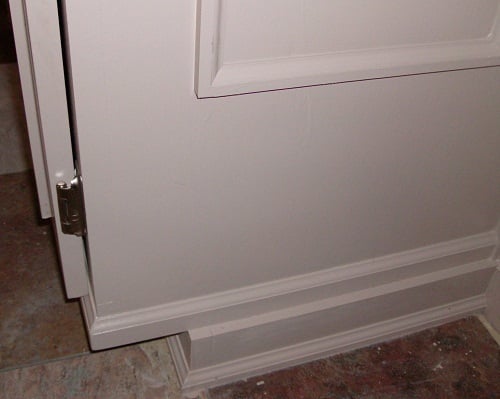
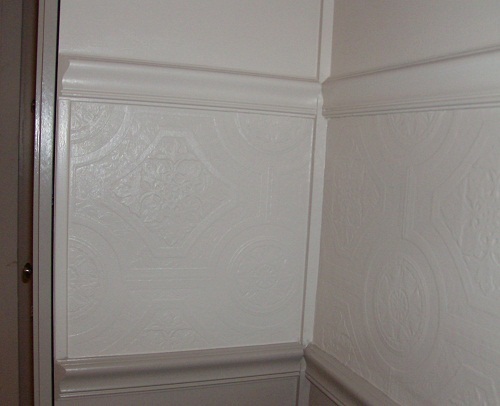
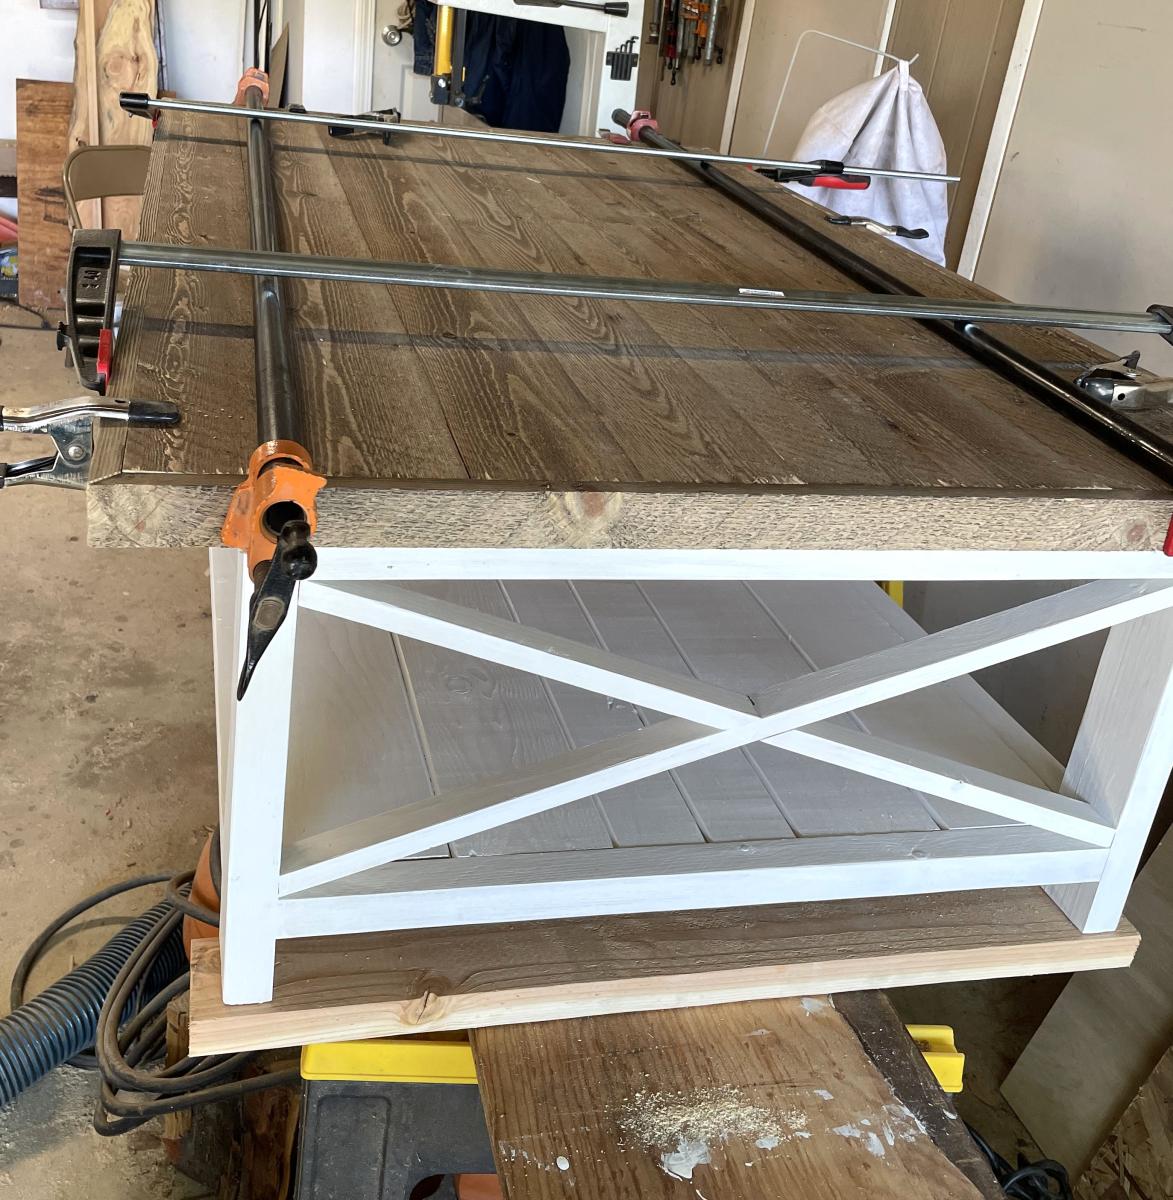
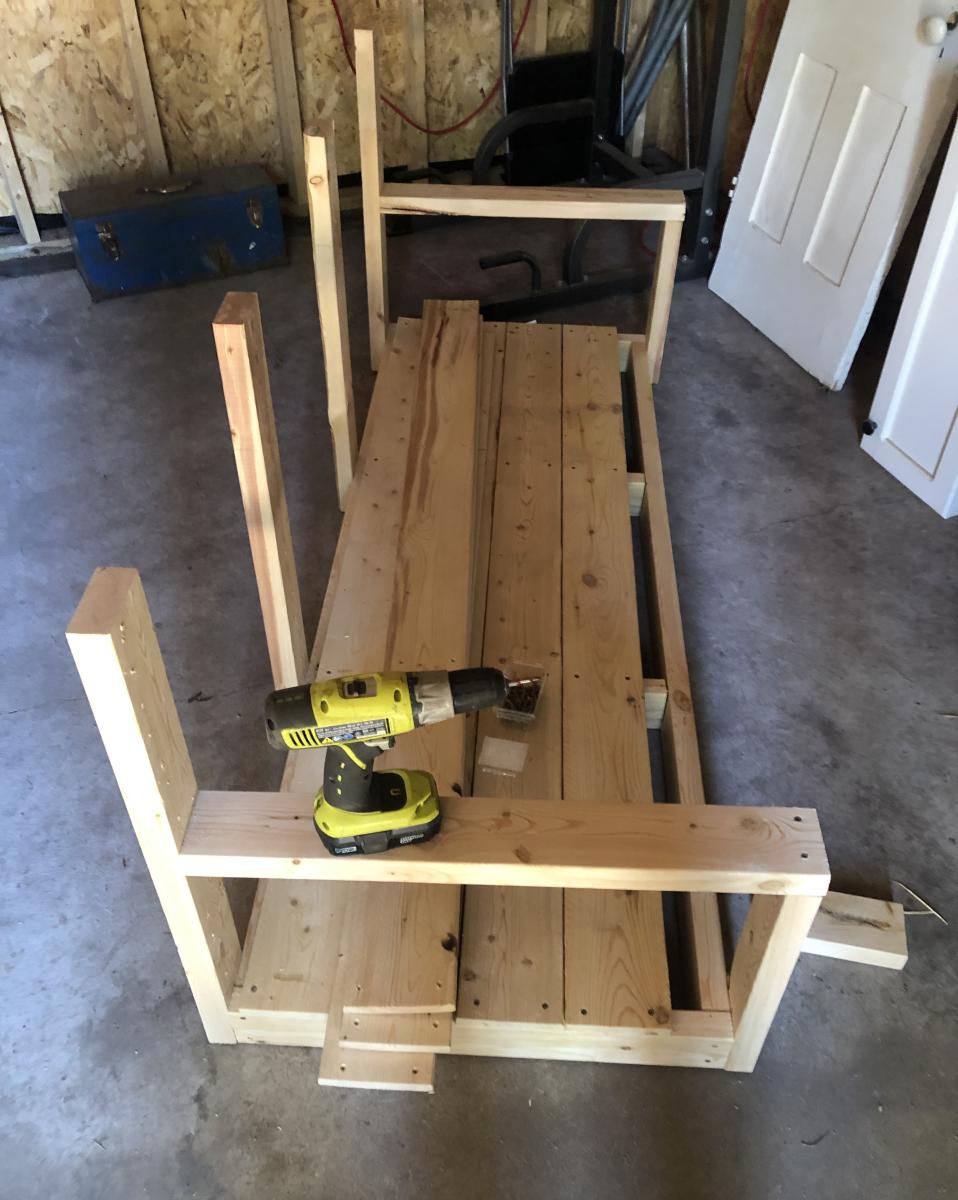
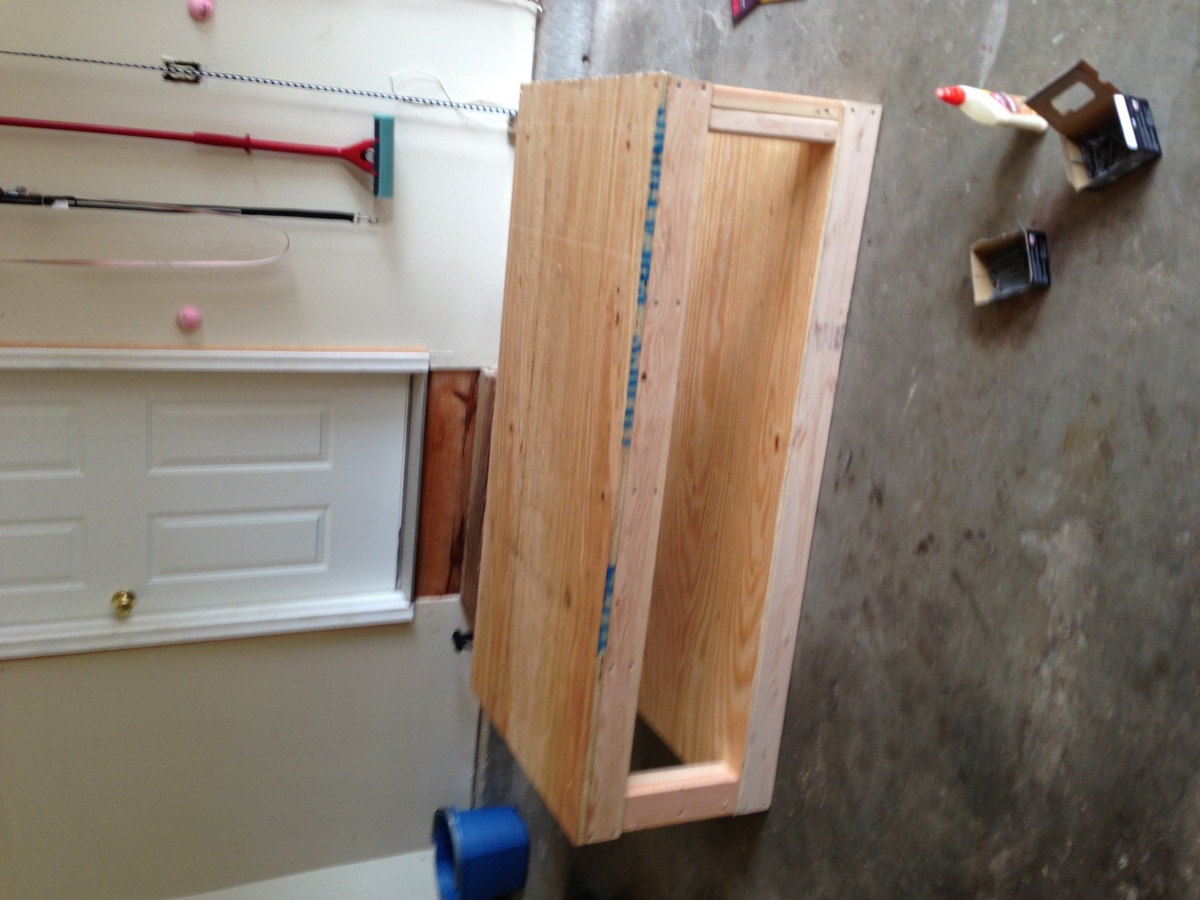
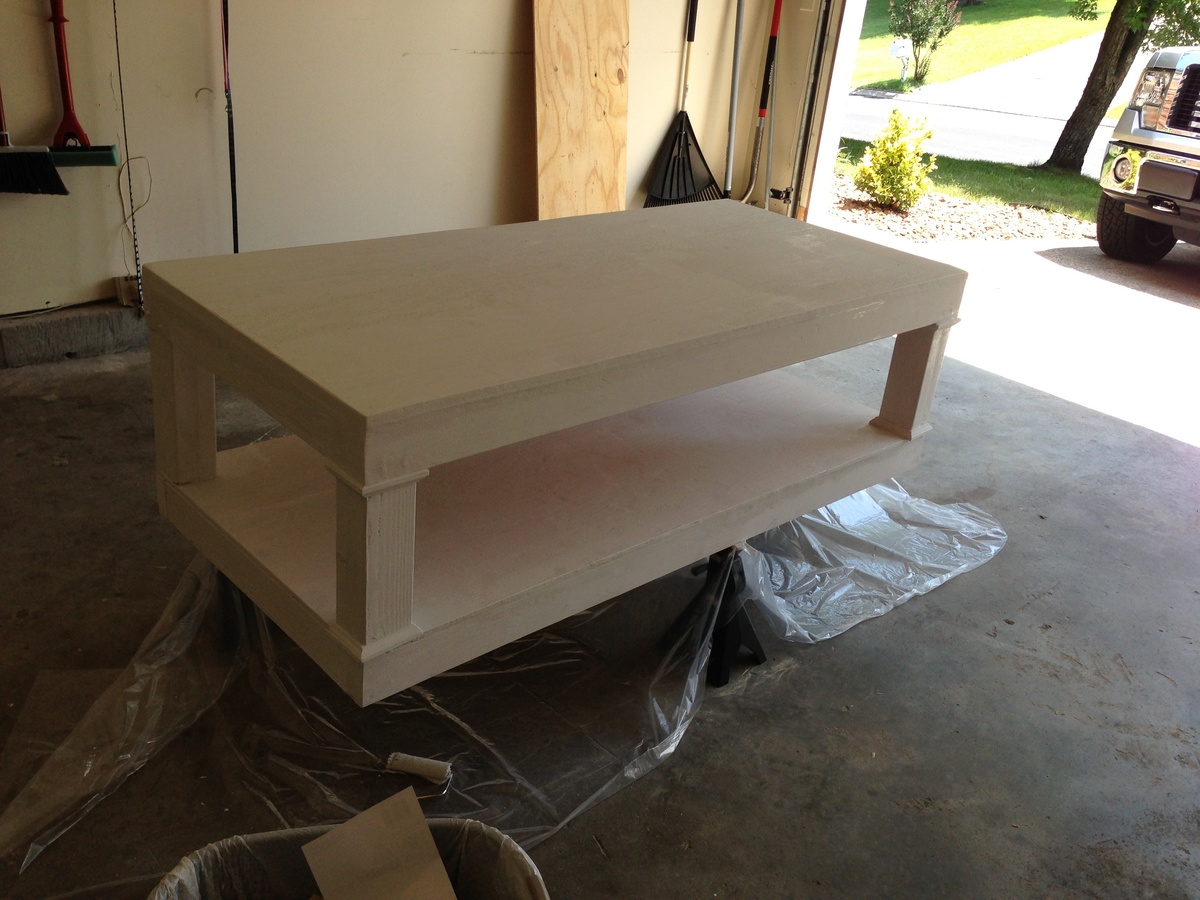
1 coat of Latex primer, 2 coats of latex semigloss Valspar paint. We used old filler to fill screws and imperfections. The thinner the coat of wood filler, the faster in dries. The wood filler dried in a few hours. We sanded the piece using medium sand paper on really rough edges and finer sandpaper on the wood filler. We applied the primer and waited for it to dry-only took an hour or two. Then we applied the 2 coats of paint. We waited a few hours between each coat. I chose a semigloss because an online article suggested to use it on plywood, but glossy paint always leaves a "tacky" feel so I sort of wished we could have stained the piece instead. Although stain would have shown wood filler from all of our beginner imperfections.
Recommended Skill Level
Beginner

Using Ana White’s Garage Cabinet Plans

Submitted by Anonymous (not verified) on Wed, 04/20/2022 - 09:23

Thank you so much for the two videos we watched of you and your husband explaining and demonstrating how to build garage shelves. We used your plans as a guide. We chose to add shaker style doors to create cabinet shelves. We absolutely love them. We are not handy as you can see we had a living room lamp for a work light and a lifetime table as a work bench. Thank you!
The Paulsons

Comments

Storage Bin

I love this storage bin from plans at morelikehome.net, and it was easy to build, too! It's nice and big, about 21"W x 21"D x 18"H. I selected 3-6 hours as the time spent, but to say closer to six would be about right. I need a large work surface in my sewing room (I'll be building the storage table as well),and a place to store my "stuff".This should be a pretty good start!

Estimated Cost
About $20
Estimated Time Investment
Afternoon Project (3-6 Hours)
Finish Used
Two coats of Early American by Minwax, and one of Varathane's Diamond Finish topcoat, all applied with a rag.
Recommended Skill Level
Beginner

I couldn't be more happy about a garbage can!

Submitted by hoffer5353 on Mon, 08/01/2011 - 12:29

I started this project thinking that I would put in a rental home we were working on. But after I completed it I couldn't part with it.

I found the plans to be easy to follow! I watched the videos and tackled the raised panel doors. I wanted to add some height so added a few inches just in-case. I couldn’t bear the thought of completing this project and my garbage can not fitting. So I did use 1x6 for the rails and found it didn't look too bad.

I put a lot of thought about what color and finish I wanted. I thought about distressing it but couldn’t decide on the color or technique. So I decided on Color Place paint that I had left over from another project. I am going to find a spray paint that matches and do the inside.

I choose an oil rubbed bronze knob that I had left over from a kitchen remodel, added a magnetic closure as well as a door safety chain. I have lots of little hands and toes that I don’t want getting smashed. I like the idea that if I want to open it all the way for cleaning all I have to do is unhook the safety chain.

Over all I am so pleased with how it turned out. It keeps the garbage and smell in and curious fingers out! My kids love to put stuff in the garbage now!

I spent a weekend with a visiting friend and made one as well as completed two more for Christmas gifts.

Thanks Ana

Estimated Cost
$30-35
Estimated Time Investment
Afternoon Project (3-6 Hours)
Finish Used
2-3 coats-ColorPlace-Redwood semi-gloss exterior
1 coat-Minwax-Polyurethane-Semi Gloss
Recommended Skill Level
Intermediate

Corner Cupboard

Submitted by Anonymous (not verified) on Tue, 01/08/2019 - 15:11

Made this corner cupboard in an afternoon. It was easier than expected especially with the sliding compound miter saw, and the kreg jig haha!

Built from Plan(s)
Estimated Cost
$130
Estimated Time Investment
Day Project (6-9 Hours)
Finish Used
Varathane vintage aqua wood stain for the shelves, Behr "power grey" for the colors. I used weathered grey plank MDF paneling from Home Depot for the backing and doors.
Recommended Skill Level
Beginner

Modern Farmhouse railing on a deck

Submitted by Anonymous (not verified) on Fri, 01/13/2023 - 09:07

Inspired by the modern farmhouse railing we decided to install the same style on our deck. Our old railing was aged an deteriorated. The project took about two weekends, one to treat the metal with black magic, another to build the actual railing. We love how it looks!

Comments

Compact Potting Bench

Submitted by vendo on Wed, 02/01/2023 - 12:43

I used Ana's Farmhouse Potting Bench plans and modified it to be more compact and left out the x detail. I built it for under $40 in material. 

Modifications for Shopping and Cut List - Construction and placement is same as Ana's original plan, so make sure you look that over.

Shopping List 

3 - 2x6x8

3 - 2x4x8

1 - 2x2x8

Cut List

FOR 2 Legs
4 2x6 @15.5"
2 2x4 @34.5"
2 2x4 @54"
(cut the 34.5 and 54 out of 1 board and repeat)

2x2 Cross Supports
3 2x2@28"

2x4 Cross Supports
2 2x4@28"

Center Tabletop Support
1 [email protected]"

Bottom Slats
4 [email protected]"

Tabletop Boards
3 2x6@36"

Top Cap Board
1 2x4@37" leaving 1/2" overhangs

VIDEO OF THE BUILD PROCESS

Built from Plan(s)

Octagon picnic table

Submitted by Anonymous (not verified) on Fri, 03/03/2023 - 02:27

Great project . Easy plan to read .

Built from Plan(s)

Comments

Small Chicken Coop with Planter

Submitted by will m. on Sat, 05/25/2019 - 12:14

Great plans! Fun project

Estimated Time Investment
Weekend Project (10-20 Hours)
Recommended Skill Level
Advanced

Comments

Seasonal And Holiday

Factory Cart Coffee Table with Storage

I have been longing to make a factory cart coffee table for years after seeing one in a local antique store in Jacksonville Florida. I started by following the dimensions from Ana Whites table and then decided to make the table top with the ability to open up into storage. I followed the plans and updated with hardware that I (painstakingly) pieced together from various sites online. I love the industrial feel the cast iron hardware brings to this adaptation and cannot wait to start building matching end tables. Thank you Ana for the inspiration!

Built from Plan(s)
Estimated Cost
$200
Estimated Time Investment
Week Long Project (20 Hours or More)
Finish Used
Minwax provincial stain for the primary and minwax espresso to detail the distressing and edges. Finished with 4 coats of minwax water based polyurethane
Recommended Skill Level
Intermediate

Comments

jahnkekong

Wed, 11/06/2013 - 17:11

Could you share any details about how you finished the wheels? I have a cart I am trying to refinish but stalling out on the cast iron parts. I really don't want to paint them, and I don't want them to rust.

Just noticed the Kupo Nut reference! I love it!

In reply to by jahnkekong

TongueAndTeak

Wed, 11/06/2013 - 19:16

Thank you so much for catching the Kupo nut reference! Haha I only felt it was fitting to add a little nerd flair :) rust oleum has a hammered black paint that also doubles as a rust inhibitor so it worked perfectly to touch up the cast iron parts and keep that rustic feel to the hardware. I finished with a clear top coat as I'm sure that I will end up constantly kicking the wheels by accident haha.

Cyber Sapp

Wed, 12/04/2013 - 18:45

I know you mentioned it was painstaking to find all of hardware, but can you share where you found the front casters? Also how did you put your stamp on it? I'm knew to woodworking so please excuse my ignorance.

In reply to by Cyber Sapp

TongueAndTeak

Wed, 12/04/2013 - 19:18

Hi cyber sapp! I was able to piece them together from eBay and etsy items. I searched for key words: "antique cast iron caster" or "factory/industrial cart wheel" and you should be able to find ones that work. I held out for the best deals I could. Be prepared to search quite a lot if you want to find the best deal.
As far as the decal is concerned, I created the template on illustrator and used it as a template to paint the decal on. I checked online and saw a few examples of transferring images on to wood that will probably be easier than hand painting. Hope this helps!!

Cyber Sapp

Wed, 12/04/2013 - 22:25

Thanks for the update. I made one similar to your modifications. I'm using storage too, I will share once I get the soft close installed. I'm looking for something that want slam fingers when it is closed. I also used Walnut to build it. It is solid like a tank with the hardwood, but came out pretty good. I made a few minor mistakes and now want to make one closer to yours.

Mandymoochops

Mon, 12/16/2013 - 23:30

What an amazing job you did, I'm still holding out for my end wheels too and you are so right about search search search. It doesn't help being in Canada with shipping costing so much for these too.

Love love love, well done

TongueAndTeak

Tue, 12/17/2013 - 21:23

Thank you very much!! I do not envy you right now as the search took me forever to find the right wheel that matched one I already had. I have had good luck in the past asking eBay sellers about changing to flat rate shipping options. Not sure if they have that option for shipping internationally but it never hurts to try! Keep up the good fight as the wheels REALLY pay off in the end.

Grandy TV Stand

Submitted by imsomark on Mon, 02/22/2016 - 12:34

This was my first woodworking project and I really like how it turned out. The instructions for building the unit were pretty clear and I only deviated from them in two ways: 1) Since I am using this as a tv stand, I added a port (pictured) for xbox / cable box HDMI cables. I painted the port the same color as the unit so it blends in well. 2) To attach the top two stained pieces of wood, I used pocket holes instead of drilling down from the top. That way I didn't need to use any wood filler. I think I used 7 or so pocket holes per board and it seemed to be held pretty well. For the paint color, I copied kbdesigns' unit and used 'Intellectual' by Behr. I don't remember the stain for the wood but the stain is a darker color than it shows in the pictures. As far as the hardware, I modified those plans as follows: 1) I used a vise to bend the aluminum flat bar to provide stopping points for the doors, so they don't just slide right off the bar. I think I bent about 1.25-1.5 inches at the end. I just used a hammer and a vise and the metal bent fairly easily. 2) I drilled four holes instead of three for more support. 3) For the bar pieces on the doors, I made them 4.5 inches instead of 8.5 inches. I liked the shorter look in the original Grandy examples. 4) I used the clevis pins from the pulleys I bought to attach the wheels to the bars. Note: her instructions for the pulley wheels seemed very difficult. I was able to find pulleys on clevis pins that could easily be removed from the wheel casing, or whatever it is called. I found them at Home Depot. I think they were 1.5 inches.

Built from Plan(s)
Estimated Cost
300
Estimated Time Investment
Week Long Project (20 Hours or More)
Recommended Skill Level
Beginner

4X4 Truss Beam Table

This was my first project. It's not perfect, but I love the way it turned out! The original plans were too large for my dining room, so I altered the plans to make it a 5-foot table. I actually ended up making it a little bit wider as well by adding an additional 2X10 to the table top to make the table look more proportional. The wider table top has made it perfect for family-style meals! For the finish, I did one layer of Rustoleum American Walnut stain applied with a foam brush and wiped off with a clean cloth after one minute. After the first layer of stain, I sanded the table with a very fine paper and then did two layers of Rustoleum Dark Walnut applied with a foam brush and wiped off with a clean cloth after only a few seconds of setting. Finally, I did three layers of Rustoleum Matte Finish polyurethane.

Estimated Cost
$120
Estimated Time Investment
Weekend Project (10-20 Hours)
Recommended Skill Level
Beginner

Comments

daydra

Tue, 03/06/2018 - 19:15

Your table is beautiful!!! You done a stunning job on it!!! This is the same size that I need for my table but I'm having a hard time figuring out the measurements for the legs and the length of the benches I need!!! My table needs to be 60"x32" would you mind helping me with the measurements of your bench and also of your legs on the table?? I plan to make the table legs the same height as hers but need to make the top board and middle brace to match the 60" top!!

Modified Modern Farmhouse Table

Submitted by Anonymous (not verified) on Fri, 10/18/2019 - 15:12

This project was actually my first build (besides a small blanket ladder). I used the Ana White plans every step of the way! Since this build I have created coffee tables, side tables, console tables, head boards and a bed frame. This table gave me the confidence to try an original project of my own. Although this table was fairly simple, it was the project that started it all. That is why I chose for this piece to be my brag post.

beginner farm table plans

Estimated Cost
$100
Estimated Time Investment
Weekend Project (10-20 Hours)
Finish Used
Watco Danish Oil in Medium Walnut
Recommended Skill Level
Beginner

Pantry Cabinet

Submitted by JoanneS on Mon, 03/05/2012 - 16:57

Pantry cabinet, with lots of room, Ana-inspired. We combined ideas from the Momplex kitchen, simple armoire, and benchmark storage, and we are super pleased with how this turned out. We built it in 2 pieces, attached together and then secured to the base and wall studs so it’s a ‘built-in’. Then we added lots of trim and painted to match the dining room. The opening at the left is large enough to fit pretty much any size microwave, and there’s a dedicated outlet behind it in the opening. The shelves are spaced wide enough apart for tall cereal boxes, tall bottles, and chip bags to stand upright. Overall finished cabinet size is 48" wide and 95 3/4" tall. This took us several days to complete. Since the doors are tall and kind of heavy, we added the Blum cabinet door dampeners from Rockler (these things really work!). Ana, thank you so much for the inspiration. I don’t think we would have tried this if it wasn’t for you. We love our new pantry!

Estimated Cost
$600
Estimated Time Investment
Week Long Project (20 Hours or More)
Finish Used
Ace Royal semi-gloss in Wishbone (front and bottom side), and in Crushed Peanut (upper side). We did 3 coats, sanding in between coats.
Recommended Skill Level
Intermediate

Comments

Debi_G (not verified)

Wed, 03/07/2012 - 00:05

Fantastic!

yogashell

Sat, 07/21/2012 - 07:44

It looks amazing! What a great idea to add it as a built-in. Nice modification for the microwave.

Parsons Bookcase

Submitted by Anonymous (not verified) on Fri, 12/06/2019 - 04:07

Built two bookcases, and connected with three extra shelves (minus side pieces on extra shelves). Whitewashed pine. Based on parson plans but adjusted dimensions to height and width of railing in my living room area.

Built from Plan(s)
Estimated Time Investment
Weekend Project (10-20 Hours)
Finish Used
Behr white paint color to match walls, diluted 1:1 for whitewash.
Recommended Skill Level
Intermediate

Special Family Bench

Submitted by Anonymous (not verified) on Wed, 08/30/2023 - 09:52

Made my wife a Ana White DIY porch bench for our 10 year wedding anniversary. Had a custom plaque made: Sarah’s Bench.

Looks beauty on our front porch.

Jesse Micak, Ontario, Canada 

Built from Plan(s)

Comments

Garden-potting bench

Submitted by Anonymous (not verified) on Mon, 04/27/2020 - 19:48

Great project! Thank you Ana!

1 thing though, it was 6-2×6×8' boards!
Cheers!

Built from Plan(s)
Estimated Time Investment
An Hour or Two (0-2 Hours)
Finish Used
Stained
Recommended Skill Level
Intermediate

Comments

Modern Chairs, Modern Loveseat, and the 2x4 Outdoor Coffee Table

Submitted by Anonymous (not verified) on Wed, 04/29/2020 - 19:58

I took this opportunity while quarantined to make this set. I think it came out really beautifully!

Finish Used
Shou sugi ban, Simple Finish by Maker Brand, and Total Boat Halcyon Clear.

I used a blow torch to burn each board. Then I used a wire brush to remove soot, and washed with water and allowed to dry completely. I opted for pocket holes for the chairs and love seat. After assembling, I finished with Simple Finish by Maker Brand ($40/qt), and top coated with Total Boat Clear Halcyon ($32)