Community Brag Posts

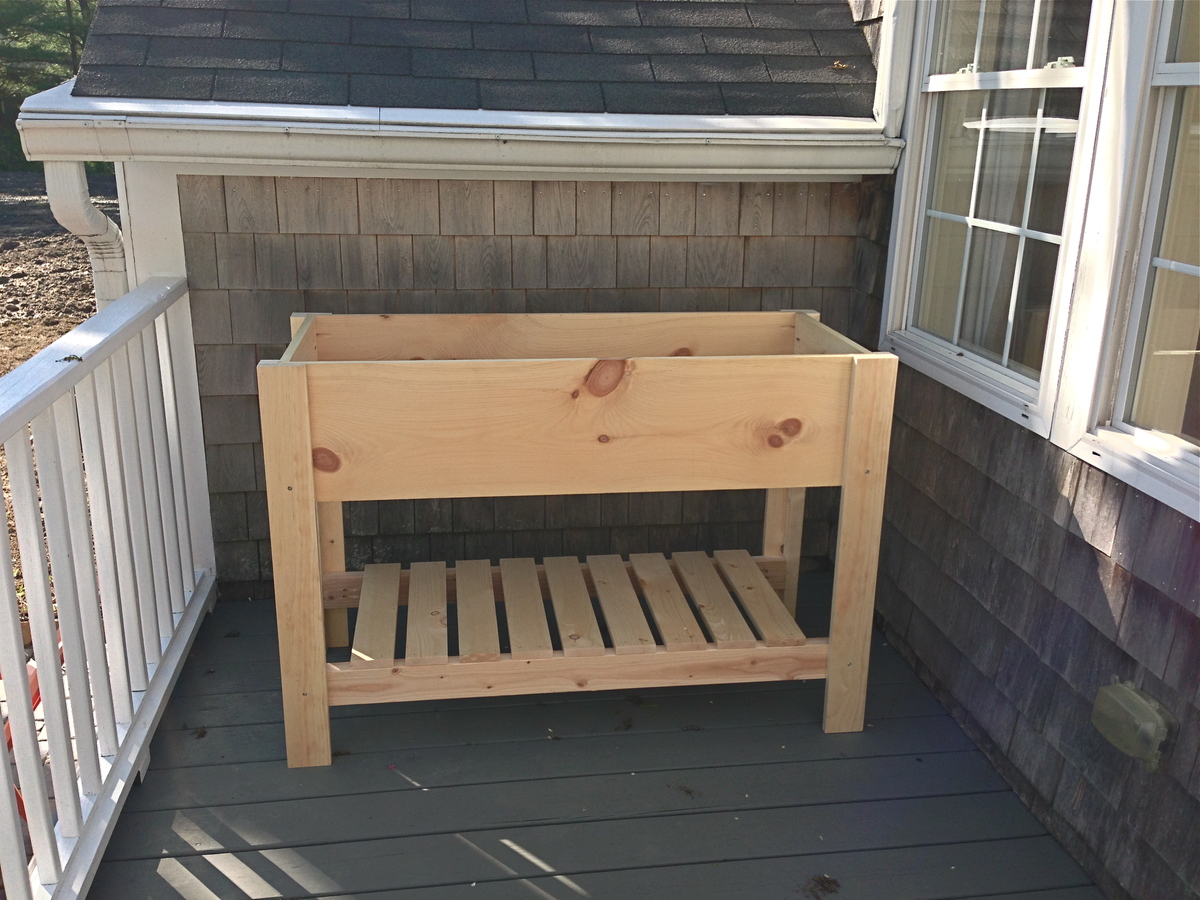
2x4 Garden Beds

Submitted by binah06 on Wed, 05/18/2011 - 09:37

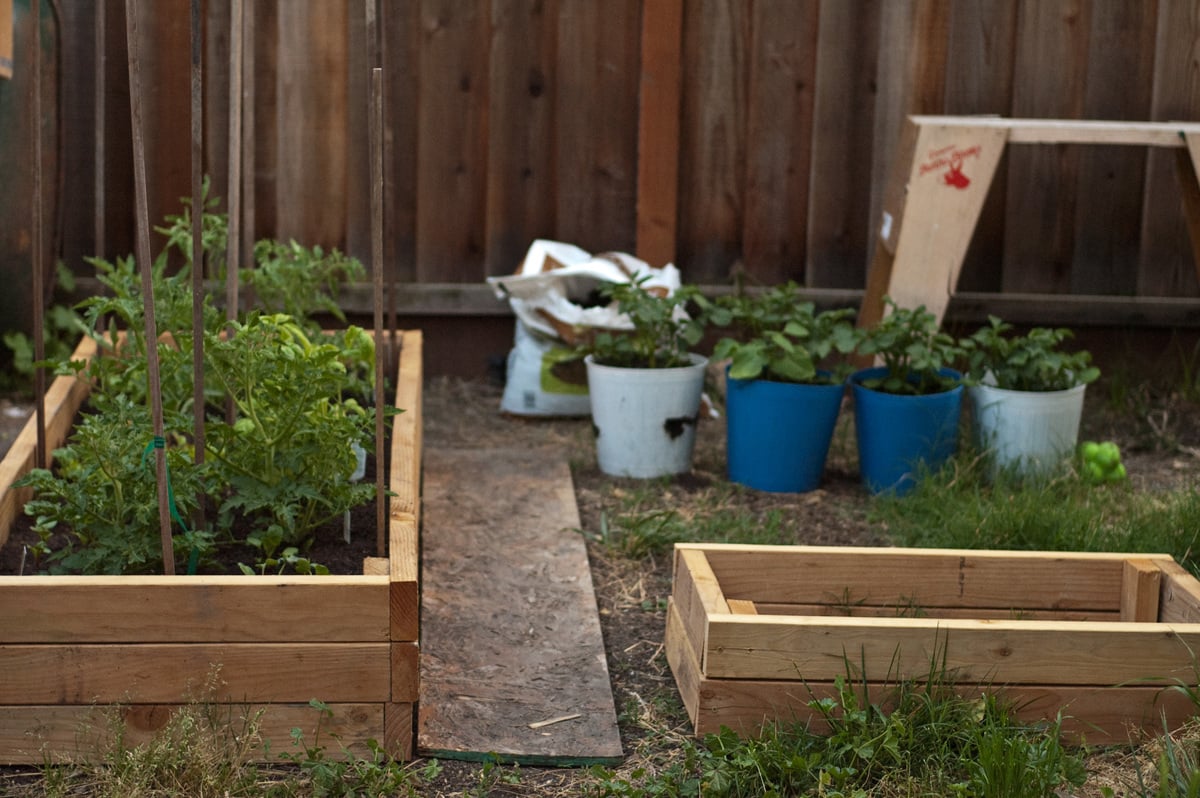
My husband and I were inspired by Ana's plans, but needed to use up some wood we had laying around the garage because it was starting to bend and warp. We made the large box 2x6 ft and the smaller one is made from scrap and is about 15in x 2.5 ft.

Estimated Cost
free
Estimated Time Investment
An Hour or Two (0-2 Hours)
Finish Used
none
Recommended Skill Level
Starter Project

Makings of an Herb Garden

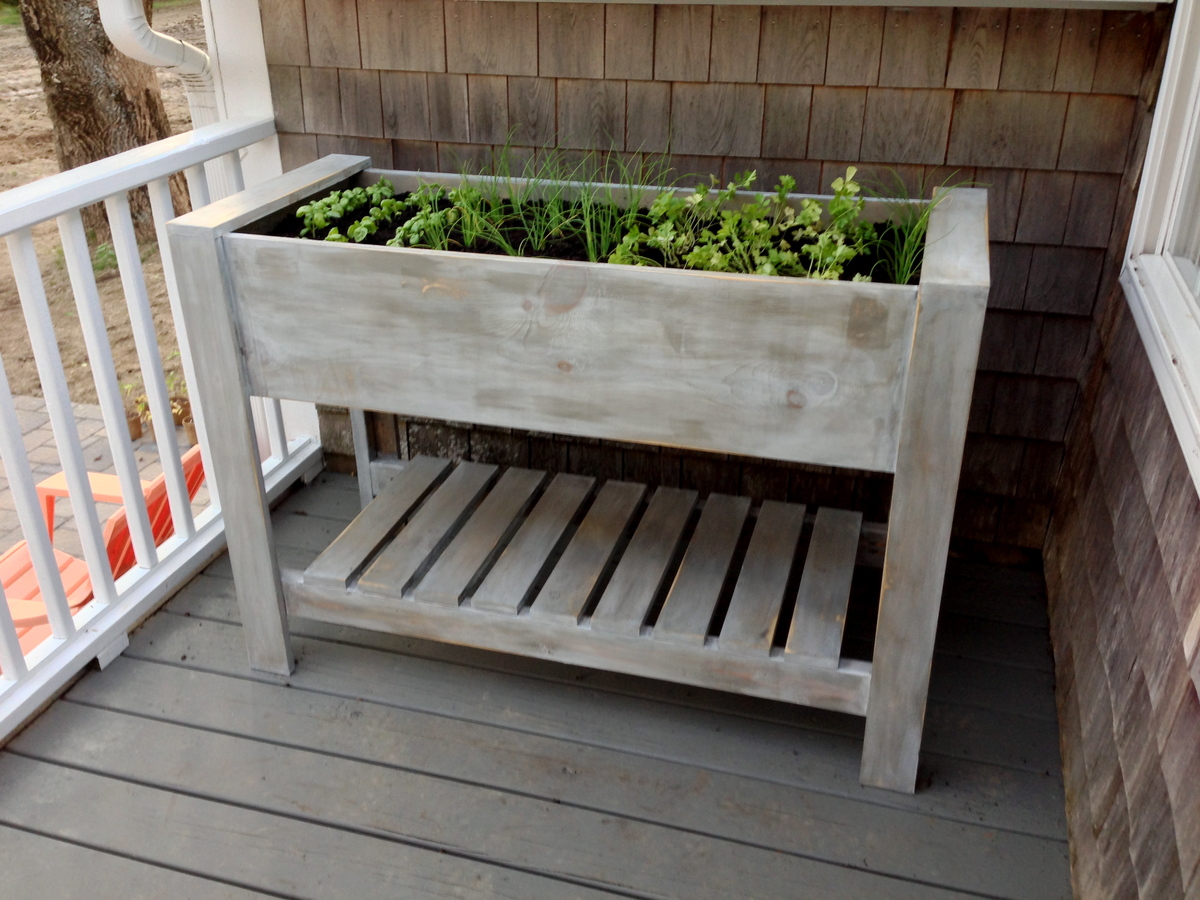
I followed Ana's Raised Planter Box plan exactly. We did purchase a Kreg Jig Jr. recently, which came in handy on this project for sure. It is a very sturdy piece and it only took a couple of hours to assemble.

Estimated Cost
$120
Estimated Time Investment
Afternoon Project (3-6 Hours)
Finish Used
Sherwin Williams Deckscapes in Flagstone with Minwax Whitewash pickling over the stain. Poly over the whitewash
Recommended Skill Level
Beginner

Comments

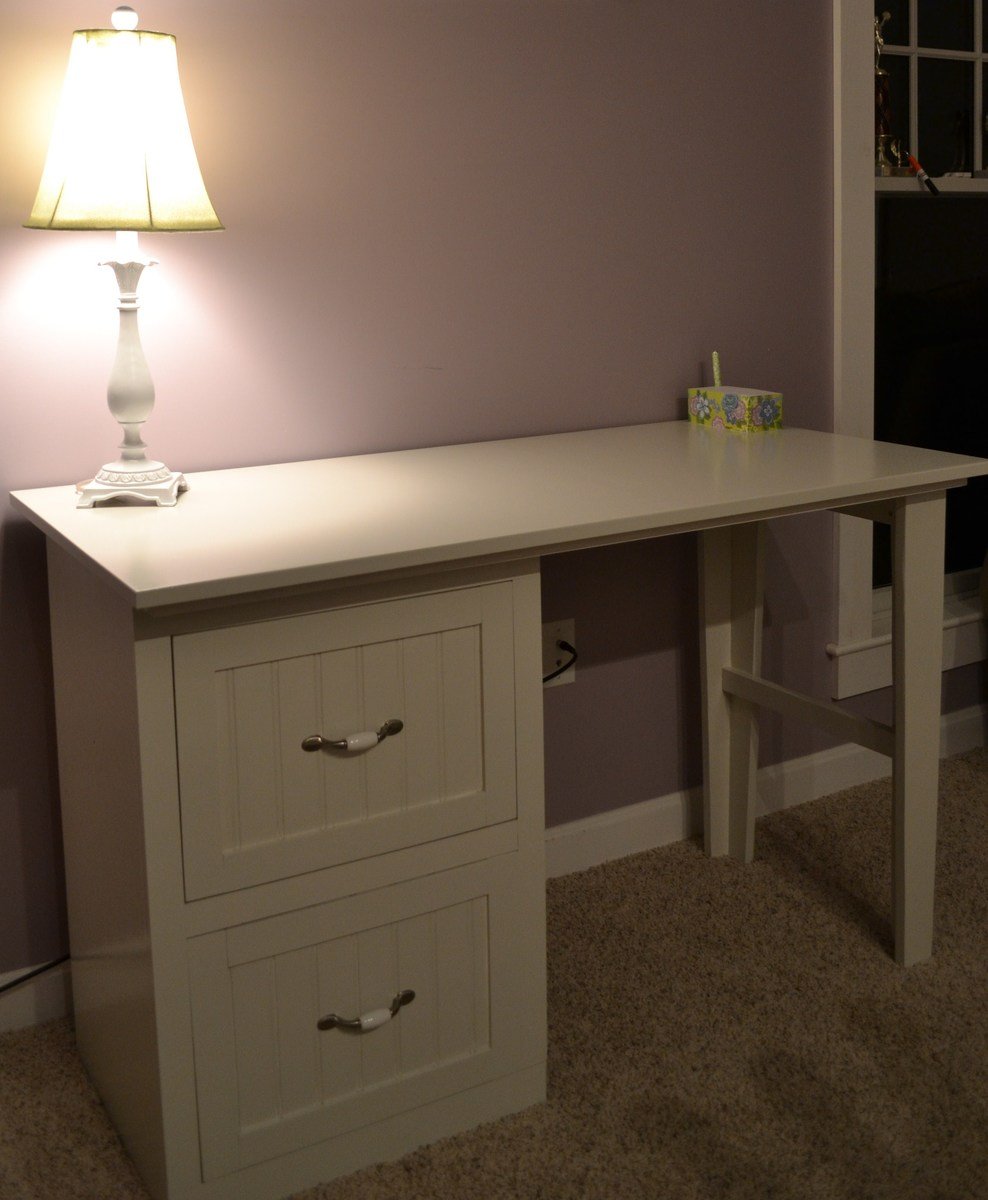
Modular office small desktop/Narrow file drawer base unit

Submitted by gmamurphy on Sun, 06/12/2011 - 14:00

Combined the modular office small desktop with the Narrow file drawer base unit to suit my needs/space requirements. Used the legs from the narrow farmhouse table because I just loved them! Added beadboard for the drawer faces because it matches the rest of our house.

Estimated Time Investment
Week Long Project (20 Hours or More)
Finish Used
painters touch and minwax polycrylic
Recommended Skill Level
Intermediate

Comments

bundaboy

Mon, 04/28/2014 - 22:18

I am about to start on a very similar 4 draw version of this, do you have any more information? In particular I was wondering how the drawer slides were fitted - are the side or bottom fitting? Cheers and well done!

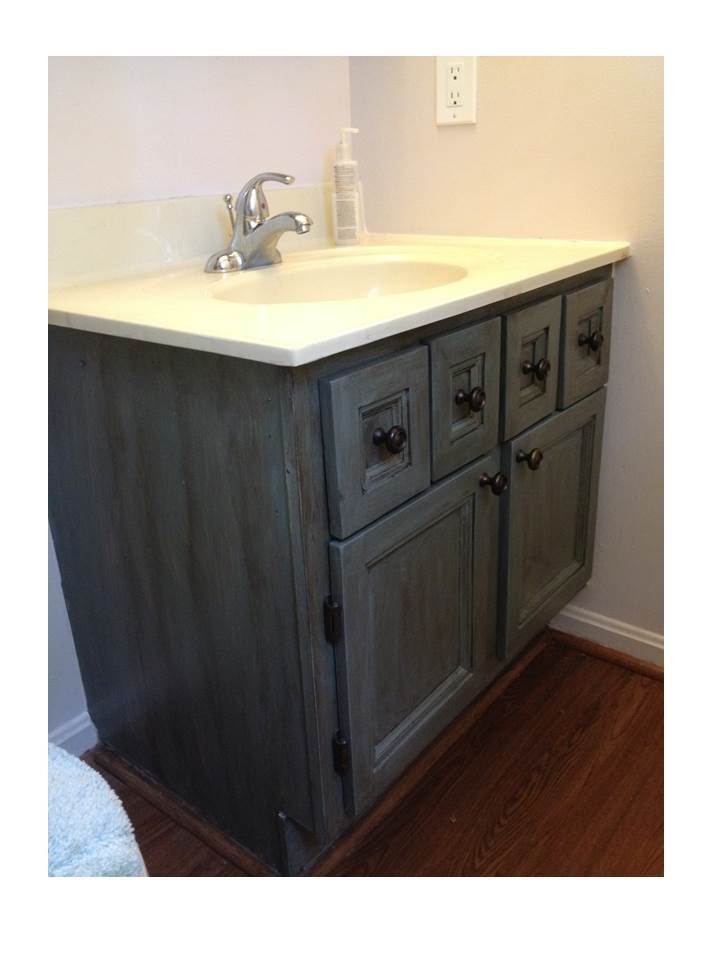
Bathroom Vanity - This one's Josephine!

Submitted by JoanneS on Sun, 07/28/2013 - 09:08

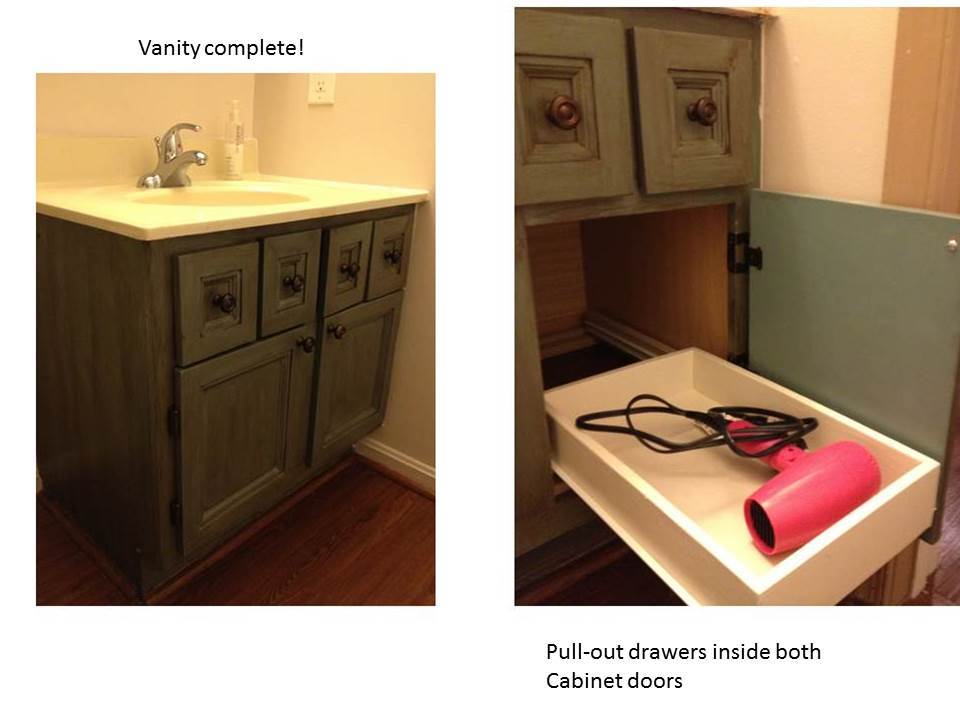
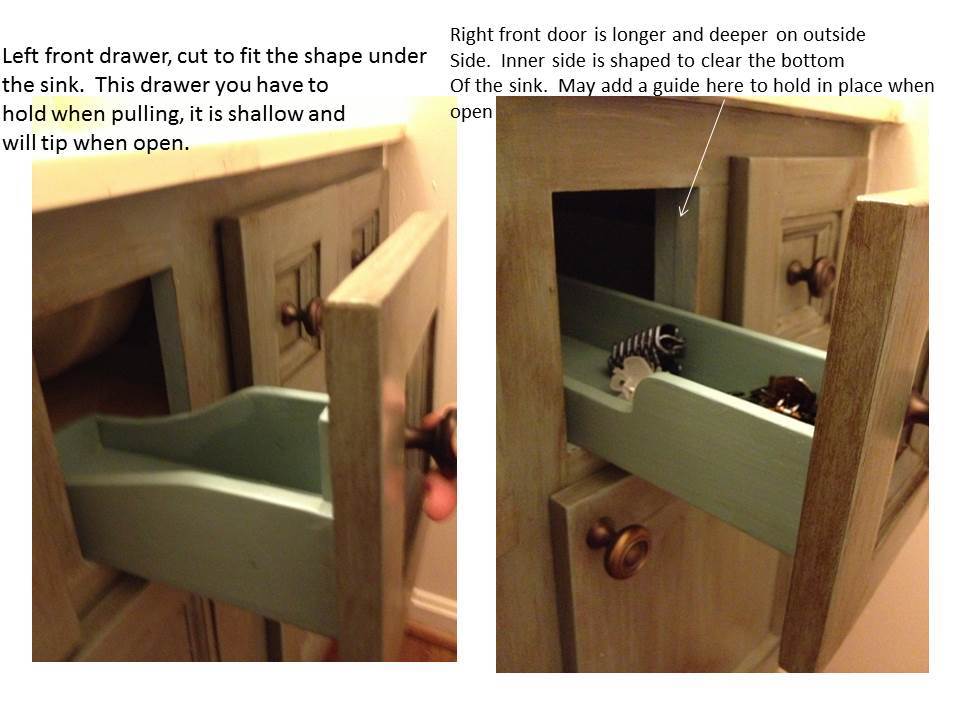
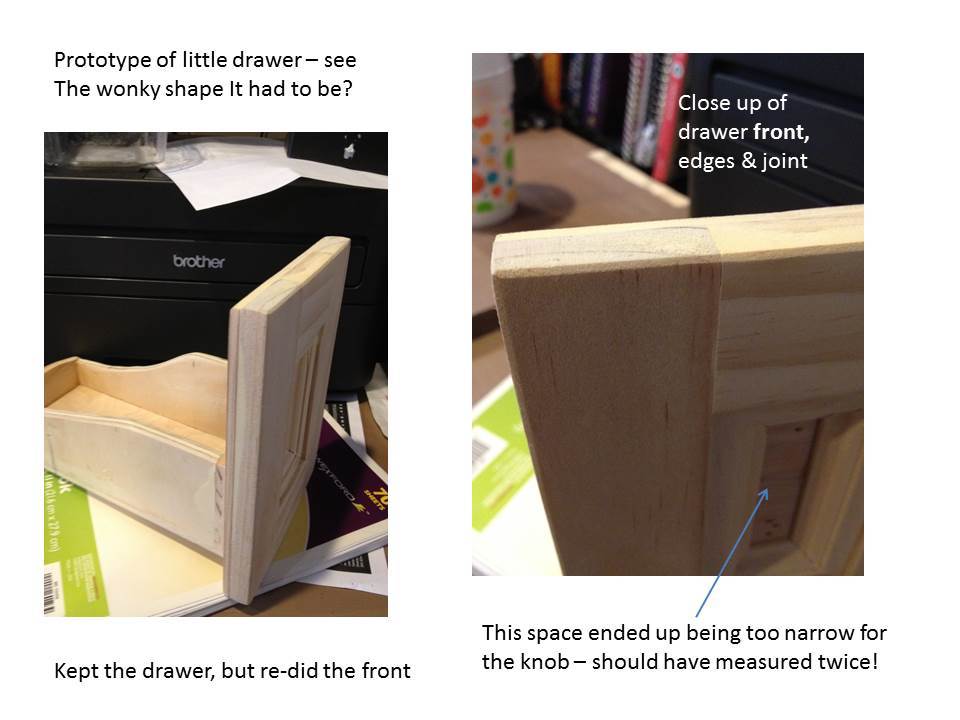
Converted an ordinary bathroom vanity into a Napoleon sink console/vanity. This is the second one I’ve completed, the first was in the hall bathroom which Hubby calls “his” bathroom. Since this one for the master bath is more feminine, I’m calling her Josephine! This was approximately a day and a half project, but spread out over several weekends. I had originally planned to put a faux drawer in front of the sink, and had the drawer front made, but then decided I’d like to try to make some custom drawers in front of the sink to utilize that space. I ended up doing the center drawer fronts twice – on the first try the space in the center was a little too narrow for the knob once the trim was in place. Since the vanity is in a corner, the sink doesn’t fall exactly in the center of the vanity cabinet, leaving it left of center by about an inch. This required different middle drawer sizes with interesting shapes.

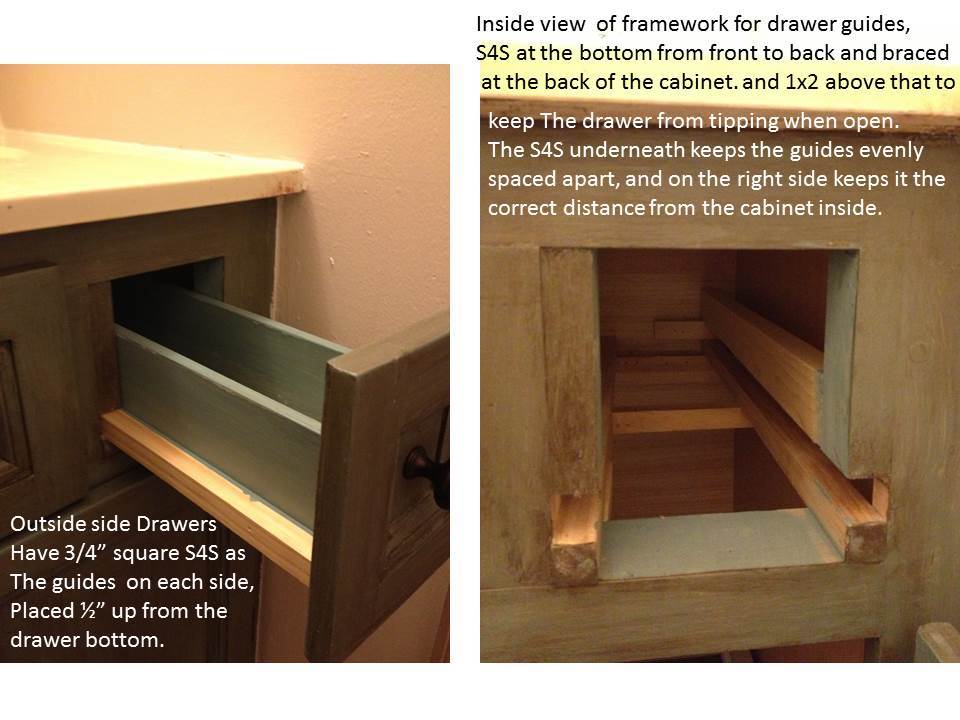
The drawers are made from a combination of 3/8” craft boards and 3/8” plywood, ½” craft board, and some ¼” plywood for the bottoms (all of them except the one right of center – that has ¾” plywood for the bottom). The 2 outer drawers also have ¾” S4S as guides.

The doors and drawer fronts are ¼” birch plywood cut to size, with ½” x 1 ½” craft boards glued to the fronts for rails and stiles (I added a few pin nails from the back side also). Inside these, mitered pieces of mini-stop moulding were glued in place. The whole thing received some putty on the edges and joints, and thorough sanding with 80-grit, then 220-grit.

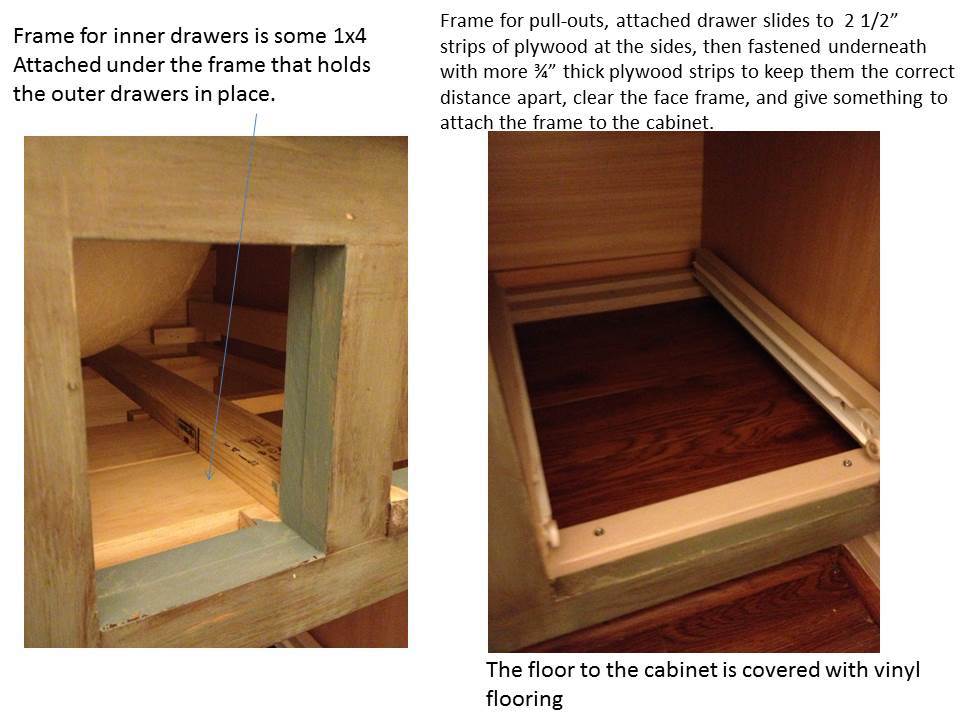
The inside frames are made from S4S, 1x2, and some scraps of 1x4 cut to size. If I were doing this in a newly constructed vanity without the sink already in place, the setup for the drawers would have been much simpler. But, we weren’t ready to buy new yet, so necessity was the mother of invention and we have this. I re-used the hinges and 2 of the knobs from the original, and I bought 4 more and the hardware for the drawers.

The pull-outs in the bottom are made from plywood scraps, thoroughly sanded and painted. These are based on Ana’s wood pull out cabinet drawer organizer, with added supports across the bottom to make the drawer clear the lip of the face frame, keeping them the correct distance apart, and giving something to attach to the cabinet floor.

For the inside floor of the cabinet, I got this Idea from Yvonne at Sunnyside Up-Stairs in this post:
http://sunnysideup-stairs.blogspot.com/2013/06/progress-installed-dishw…
Left over flooring was placed on the cabinet floor to give it a fresh new look and protect the cabinet bottom. Our house is 21 years old, so you can imagine the floor of the vanity cabinet had seen some wear and tear. Now it looks new!
Estimated Cost
$45 (hardware, craft boards, trim, already had the finishing materials and the rest was scrap on hand)
Estimated Time Investment
Weekend Project (10-20 Hours)
Finish Used
This was my first try at home made chalk paint (2 coats). I got a free quart of Clark & Kensington flat paint at Ace, and had them tint it to Benjamin Moore’s Blue Echo color. I made the chalk paint by mixing the paint with some water and plaster of paris. I love how it dries so quickly and covers well, but I missed the sheen of a satin or semi gloss. The glaze is some Minwax Express Color in Walnut. Once everything was dry, it received a top coat of Minwax water based poly. I ran out of that right as I was doing the center drawers, so those have some Oil-modified water based poly. Pull-out drawers are some left over cream paint, and the frames are Ace Royal semigloss in Wishbone. Overall I’m very happy with the finish.
Recommended Skill Level
Intermediate

Comments

yurra-bazain

Sun, 07/28/2013 - 12:25

I love your vanity. Something about it helps me imagine a British nobleman's home, or since she is Josephine, I suppose it would be in the home of a French duchess. =D I really do like the idea of having that pull out drawer on the bottom of the vanity.

I am definitely going to give glazing and distressing a try sometime. I just have to find the right project for the look. Lest I forget, thank you for sharing the link to my site. :)

JoanneS

Sun, 07/28/2013 - 15:57

Thank you so much for the nice comments! I love the idea of a Duchess, I think I'll nickname this finish Duchess Blue! :) I was happy to share your blog link, the idea about the vinyl flooring in the vanity worked like a charm, I'm going to do that in my kitchen and the other bathrooms too.
Coop Update

Submitted by vendo on Mon, 06/20/2022 - 15:37

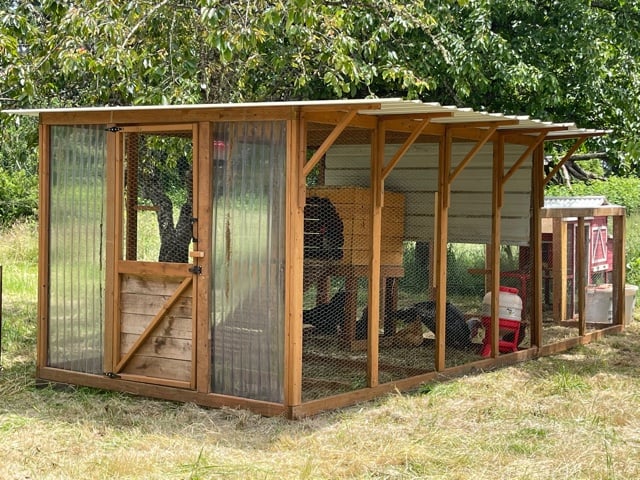
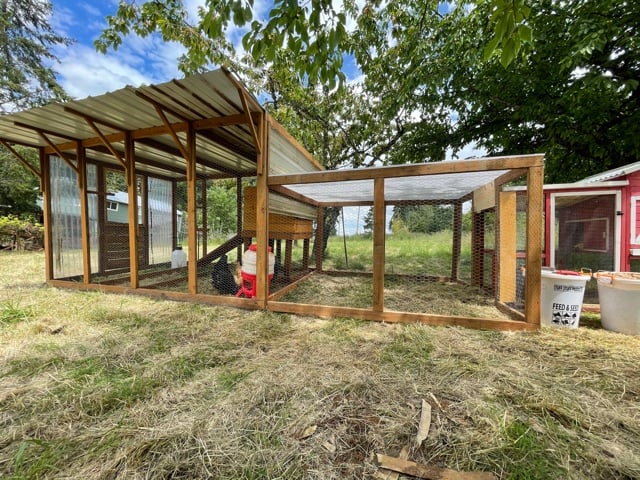
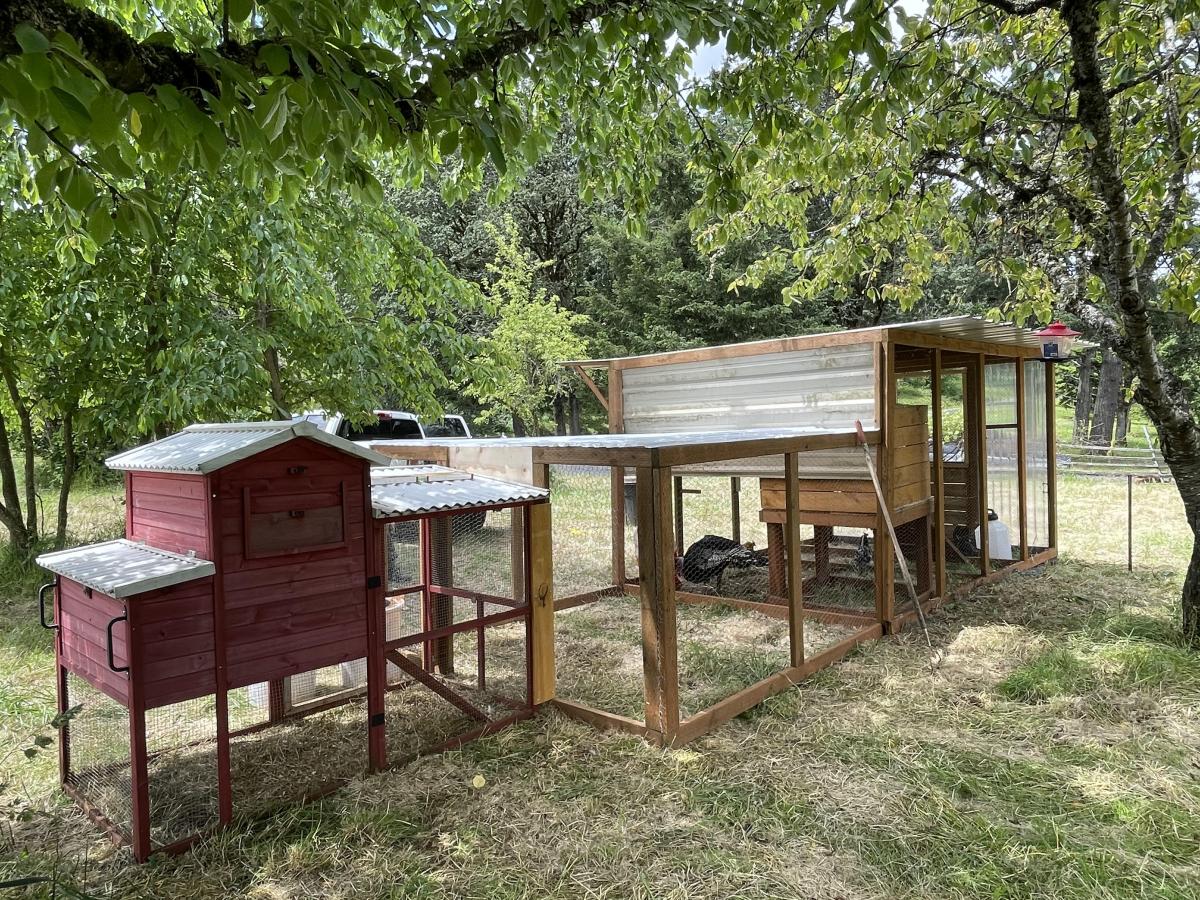
I had to move our original coop to another property, so decided to do a little upgrade. We used Ana's Chicken Run plan for both of the large sections and just added a roof. We attached the run to a small red coop that we purchased. Ana's plans are great for modifying for any size, as you can see the main tall portion is from her run plan just built taller and we added a door to the front.

Built from Plan(s)
Seasonal And Holiday

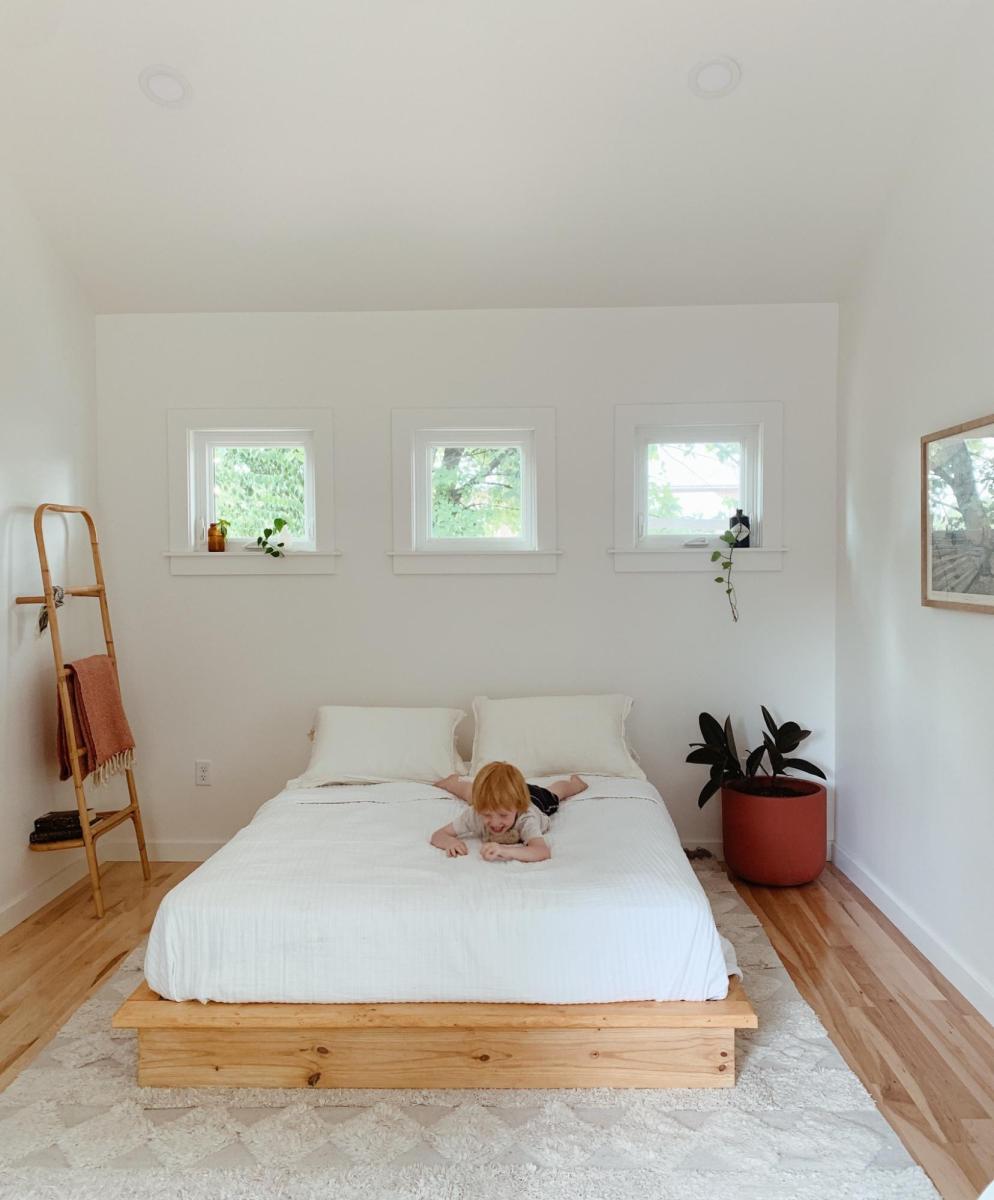
Finally Built a Platform Bed!

Submitted by Anonymous (not verified) on Mon, 07/25/2022 - 10:39

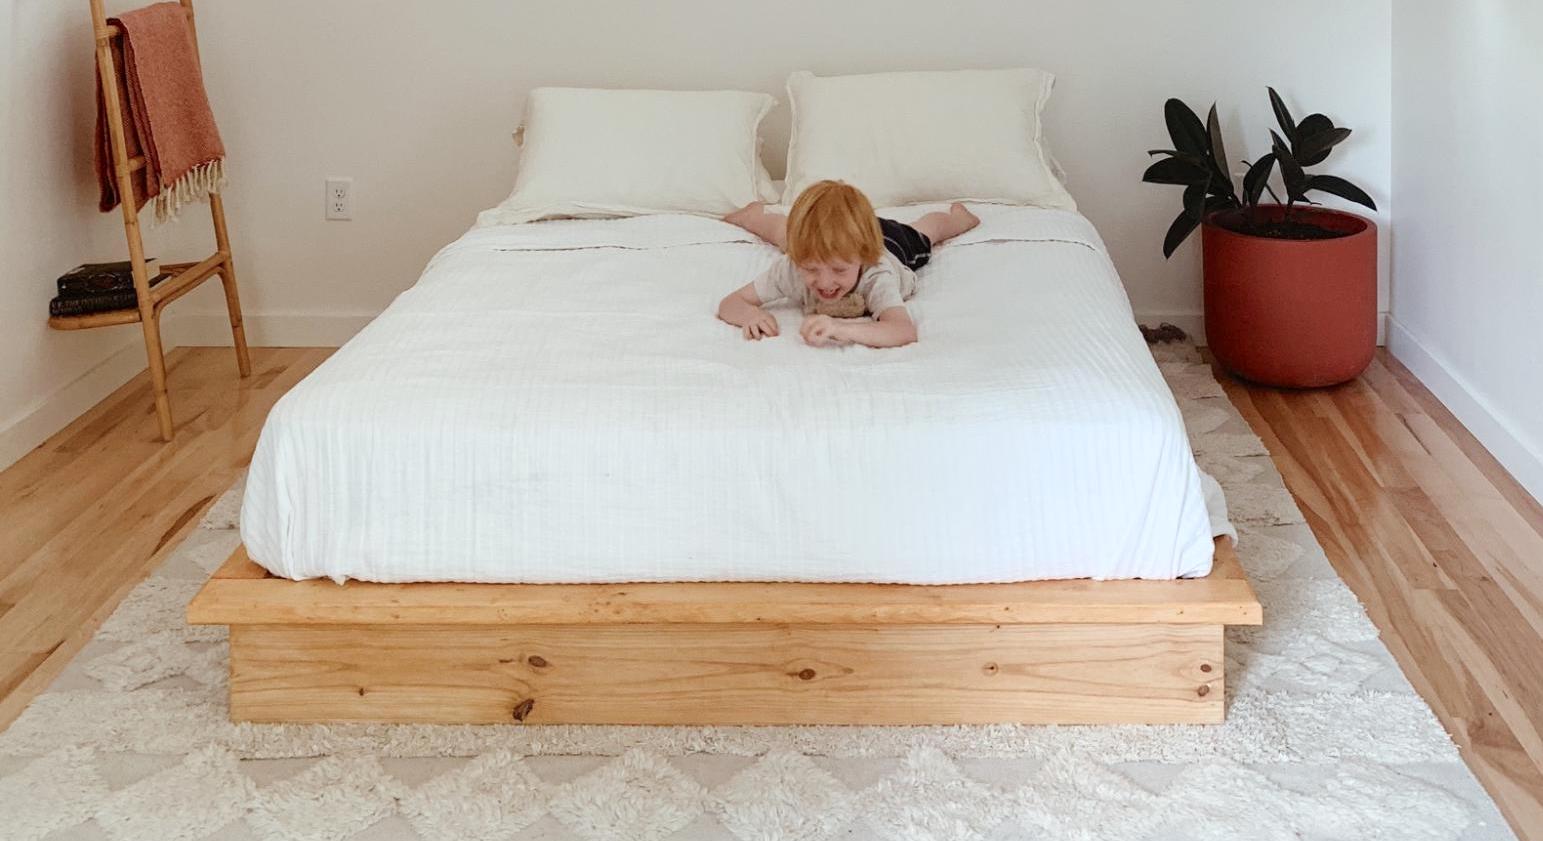
I've been wanting to build this bed for awhile and finally got around to it. I made a few small changes to the plans:

-I used 2x8's instead of 2x6s, so it wouldn't be so low to the ground.
-I ripped 3/8" off of the 2x8 supports in the middle so the mattress would nest inside the frame and not slide around
-I didn't add the headboard because it seemed a bit chunky/rustic for my taste. I will come back and do something else for the headboard. Maybe a cool paneled wall with built in sconces? We'll see!

Love these plans though, appreciate it!

Comments

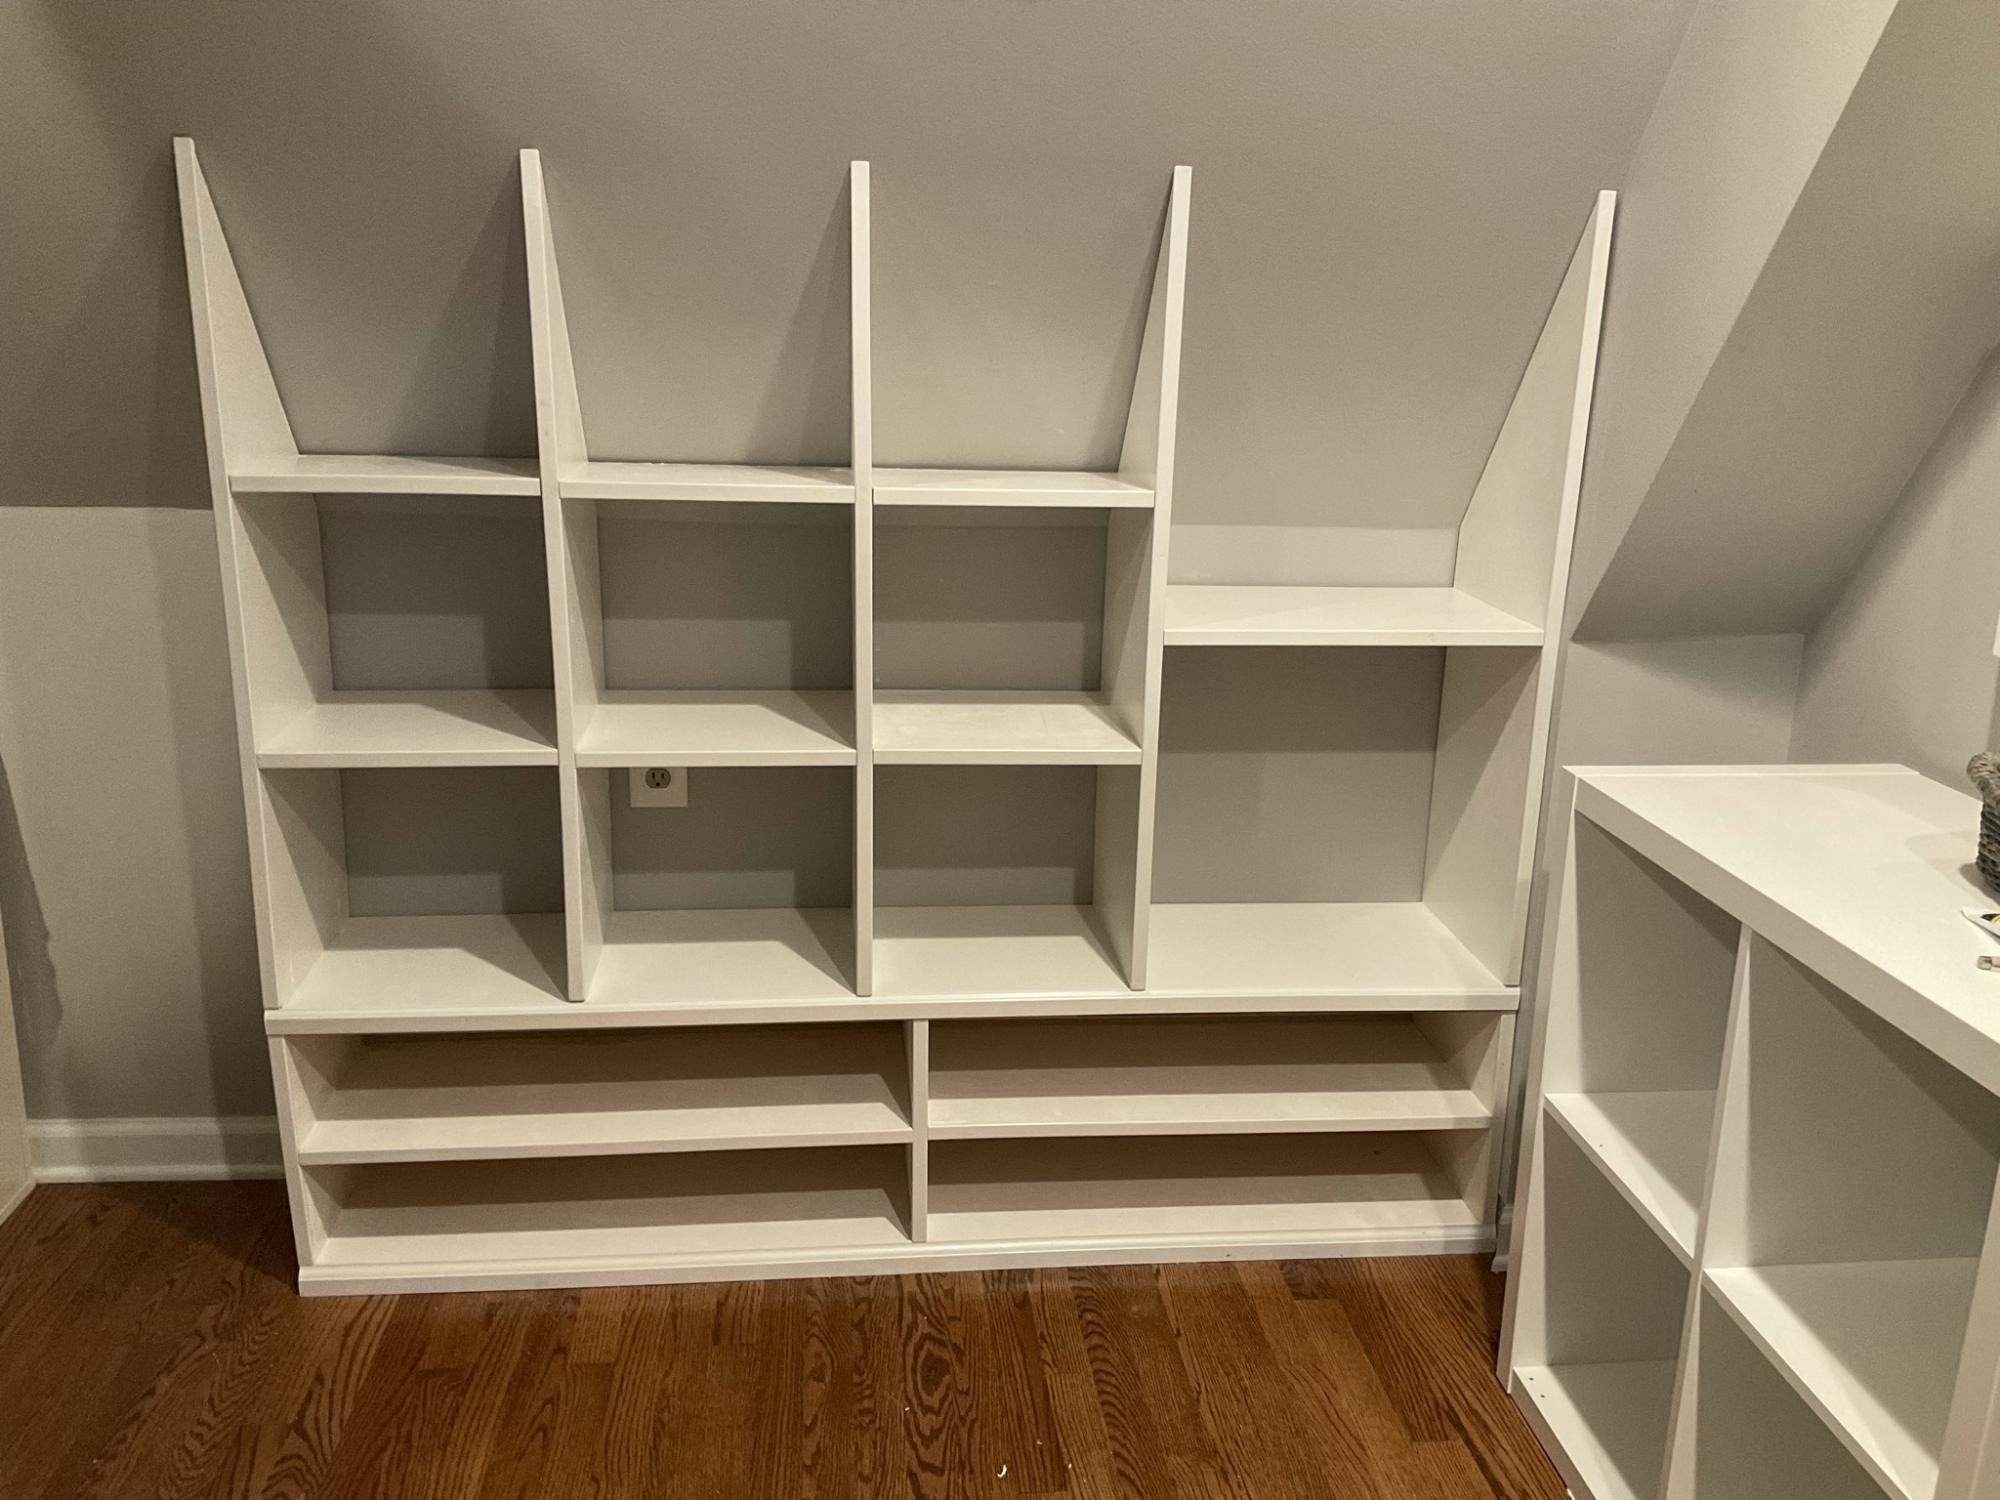
Closet shelving for sloped ceiling.

Submitted by kellystern on Mon, 01/09/2023 - 16:22

I used Ana’s Shelf Help Configurator to build these shelves for a deeply sloped ceiling. None of those well known Closet Organizer Companies could come up with a decent plan for this closet and they charge a small fortune.

Comments

Kamado table

Submitted by lmarco191 on Sun, 05/16/2021 - 14:47

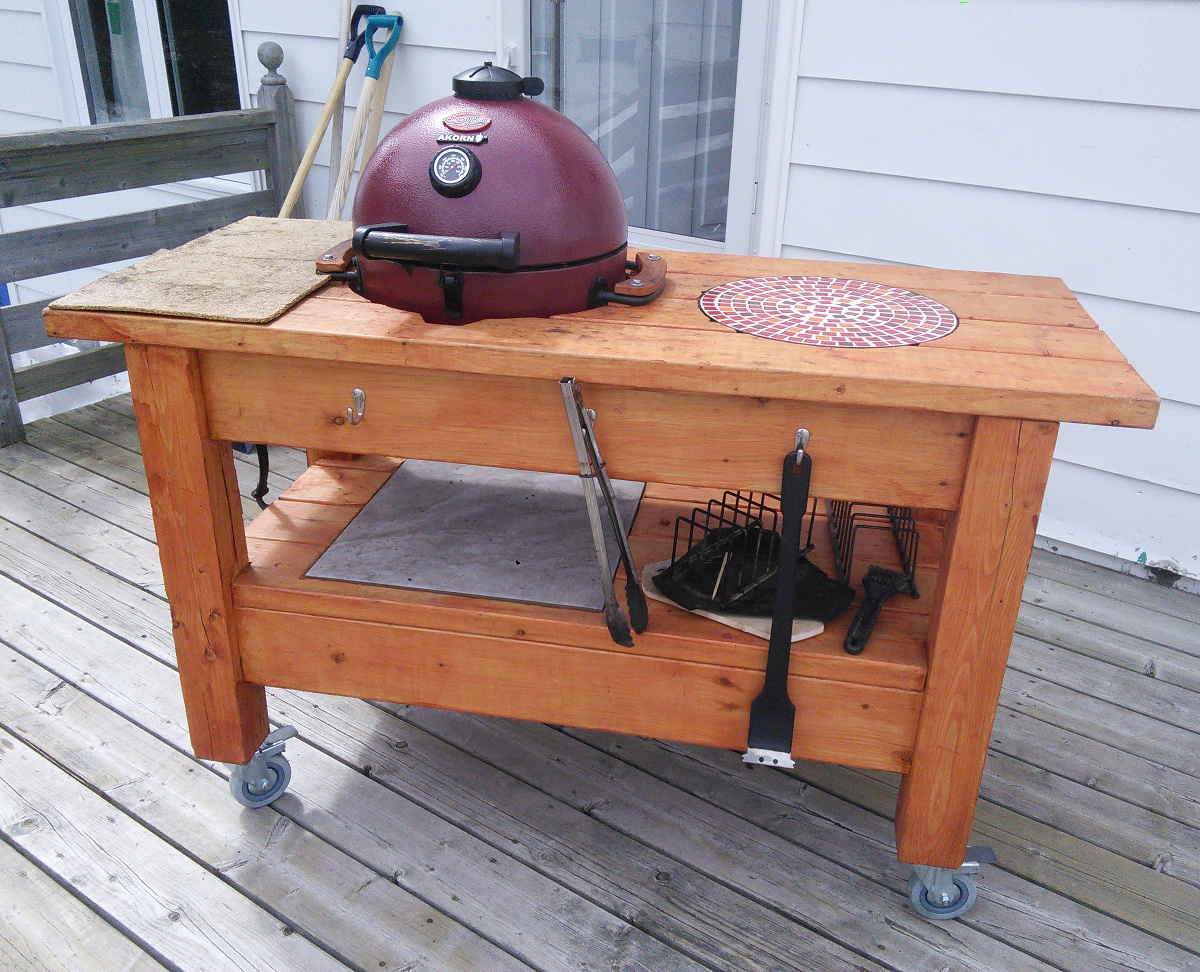
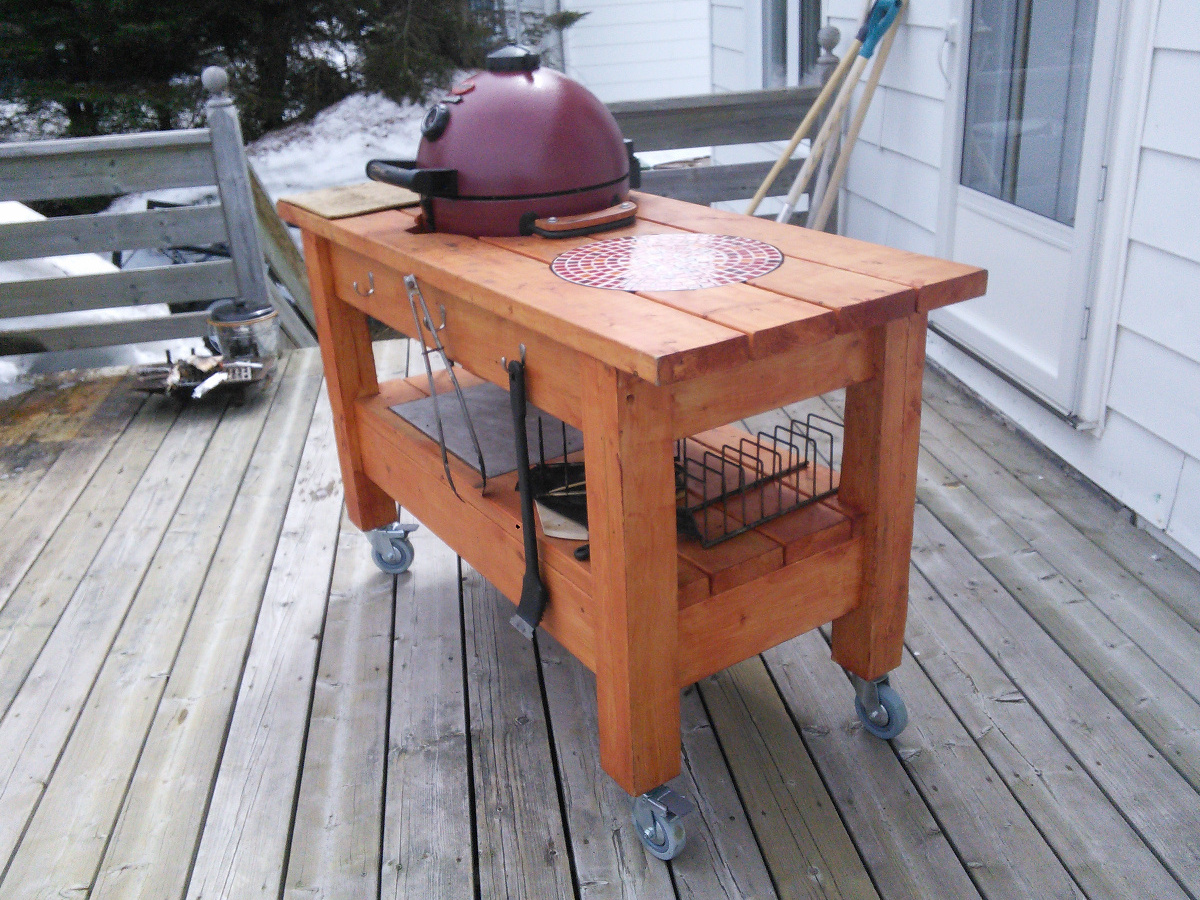
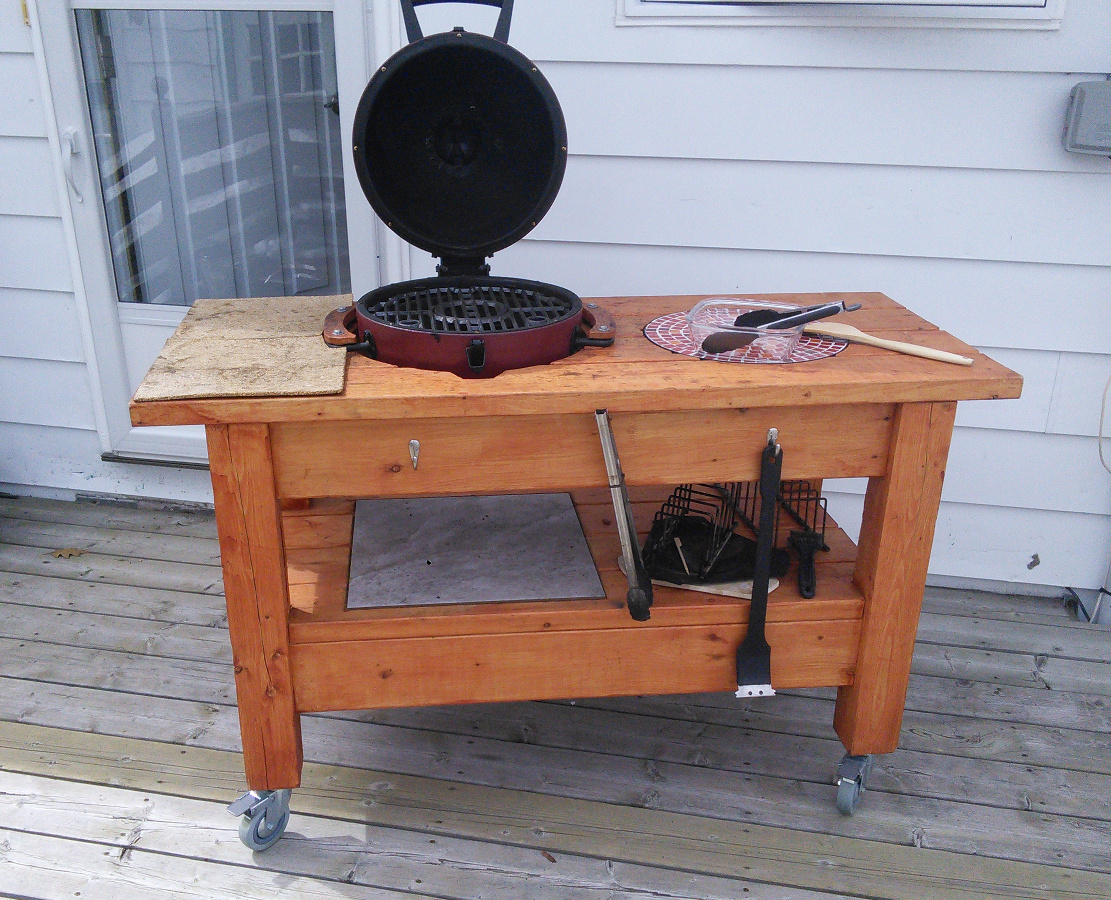
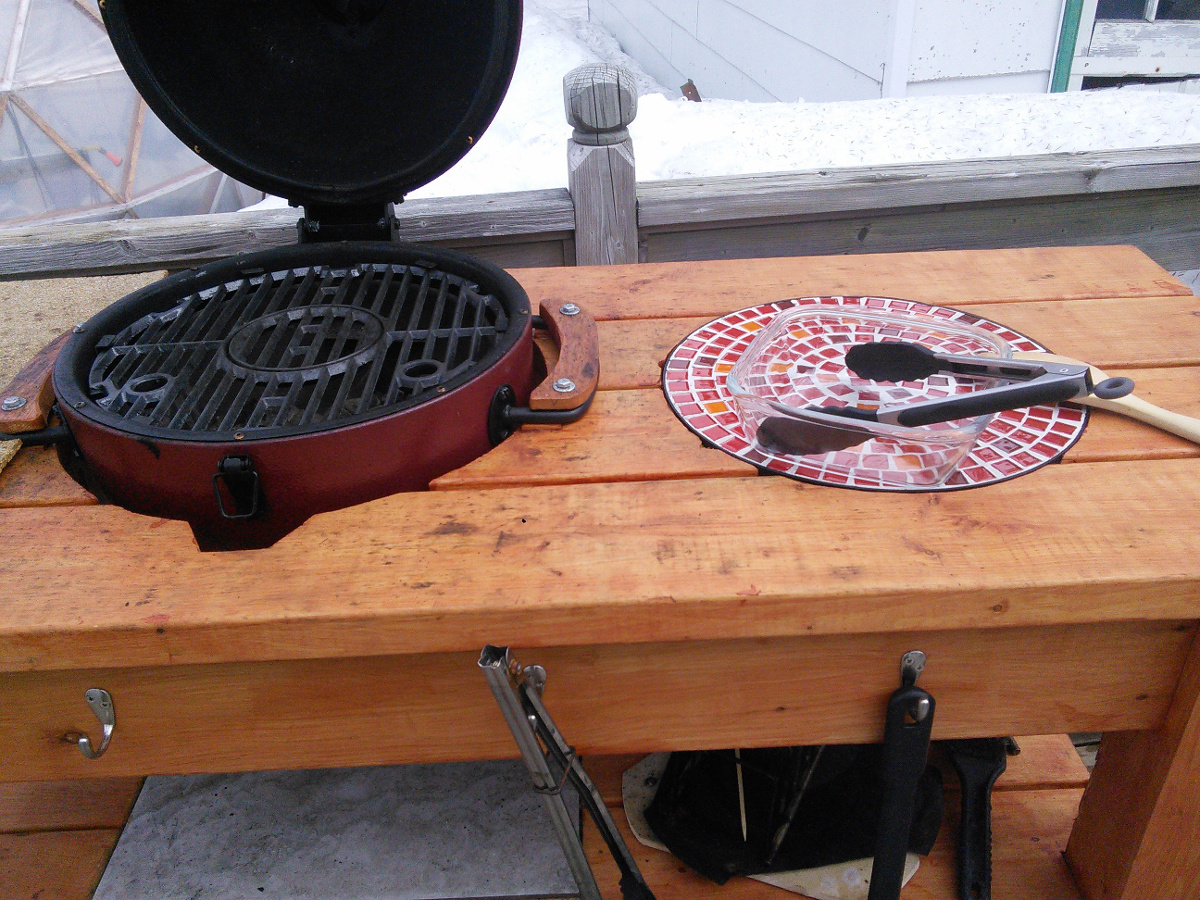
The table assembly was Inspired by farm table and workbench plans. It was built from construction grade untreated 4x4 and 2x6 and assembled using Kreg pocket screws and glue. Finish is semi-transparent wood stain. Rather heavy, the table have locking wheels to help move it. The lower shelf is used to store accessories.

The small kamado is just the right size for two people. I added a large ceramic tile under the firebox plus a small inlay next to the grill. That was the top of a small patio table. A few hooks were added as a final touch.

We built it last year; it gets a lot of use as a grill, smoker, bread and pizza oven.

We are very satisfied with the outcome. Many thanks for the plans and inspiration.

Built from Plan(s)
Estimated Time Investment
Week Long Project (20 Hours or More)
Finish Used
Semi transparent wood stain
Recommended Skill Level
Intermediate

Comments

Jacob1234

Mon, 08/02/2021 - 23:34

Your grill is very beautiful, but I prefer cooking in the kitchen, I will explain why, I recently read a lot of Kitchenotic.com here, what connects me and the kitchen most of all is the answers to my any questions, no matter how stupid they are and the answers were always correct

Kids Step Stool

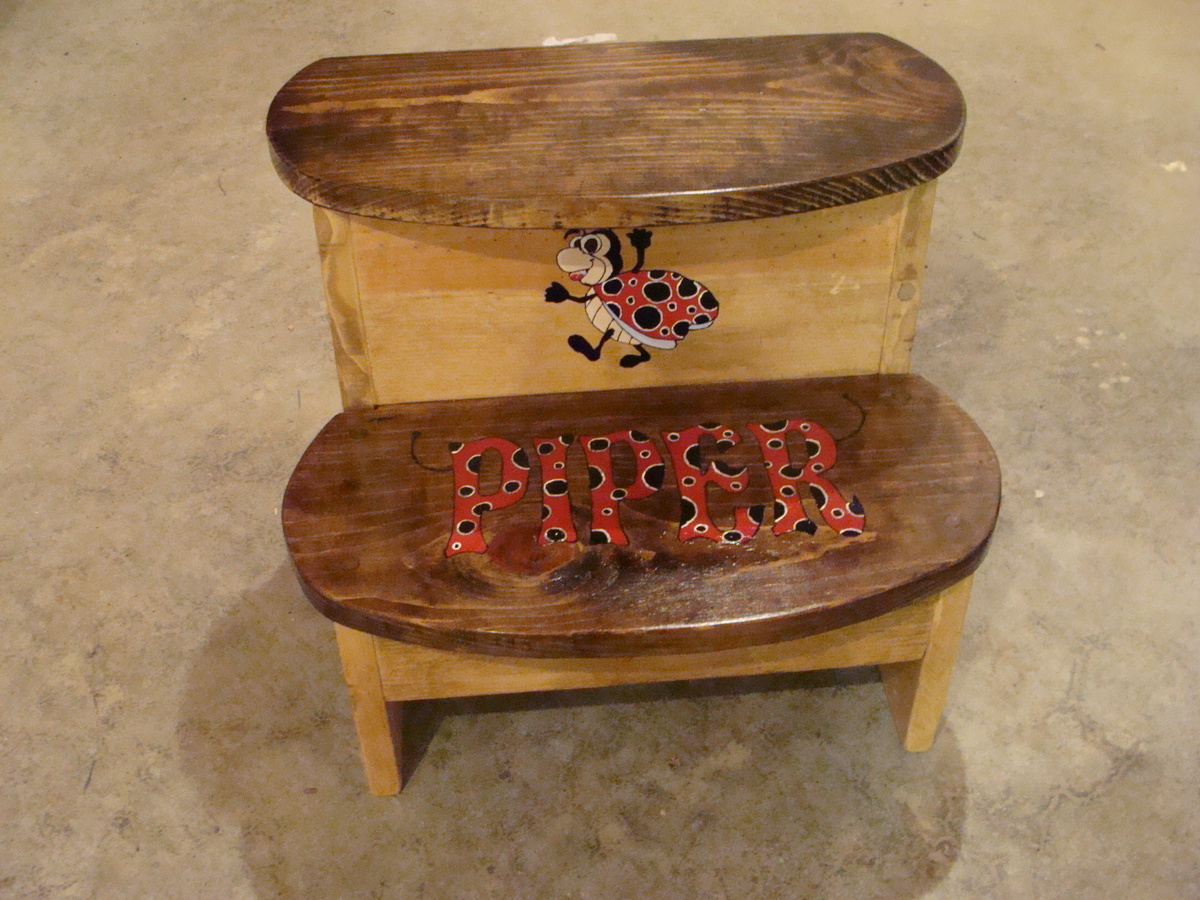
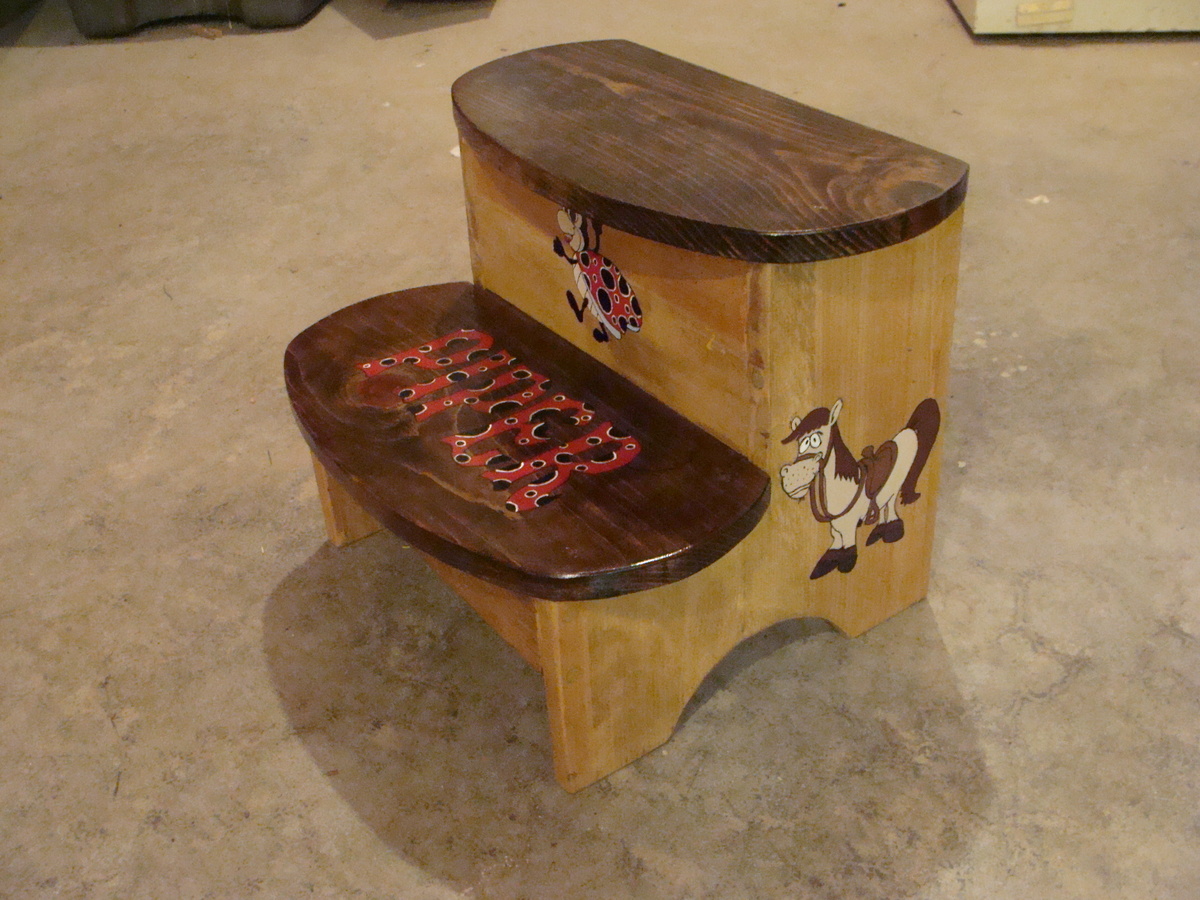
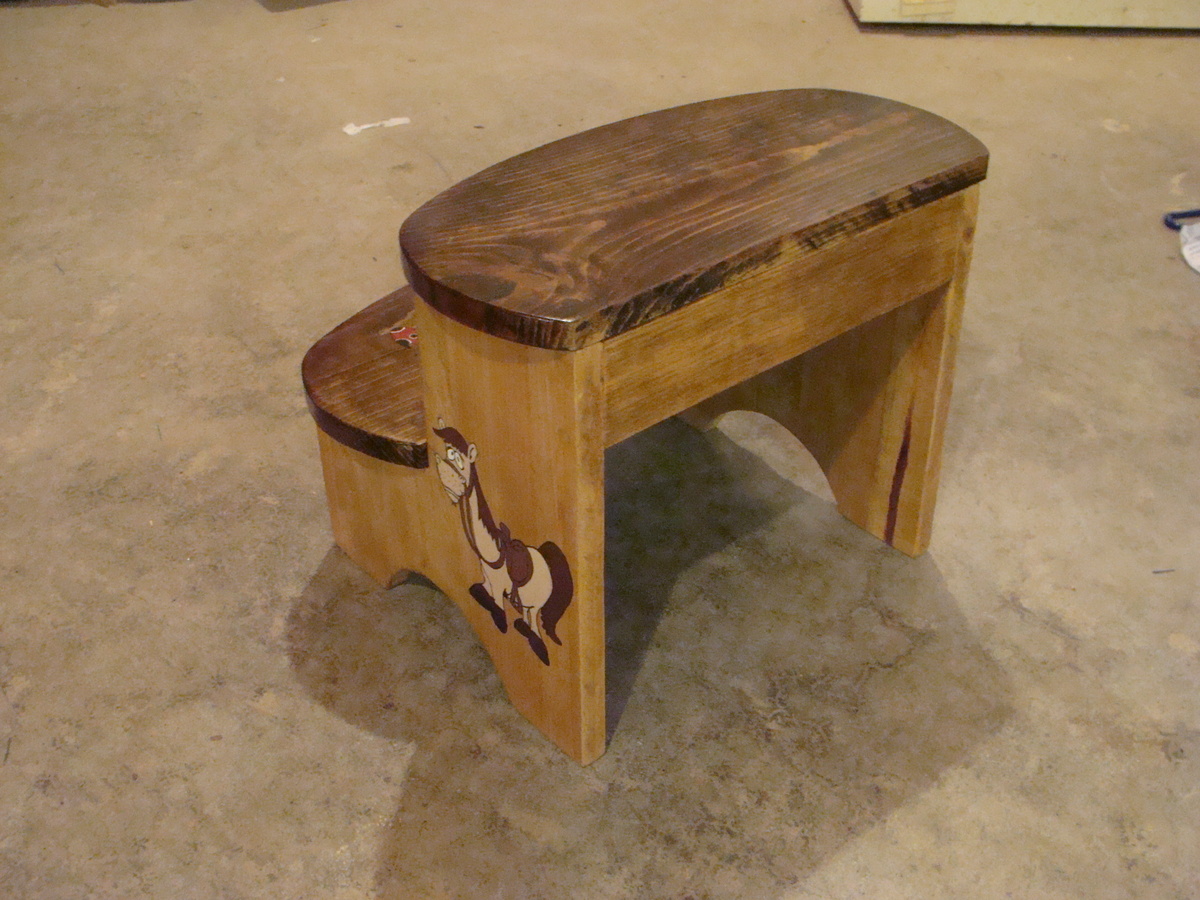
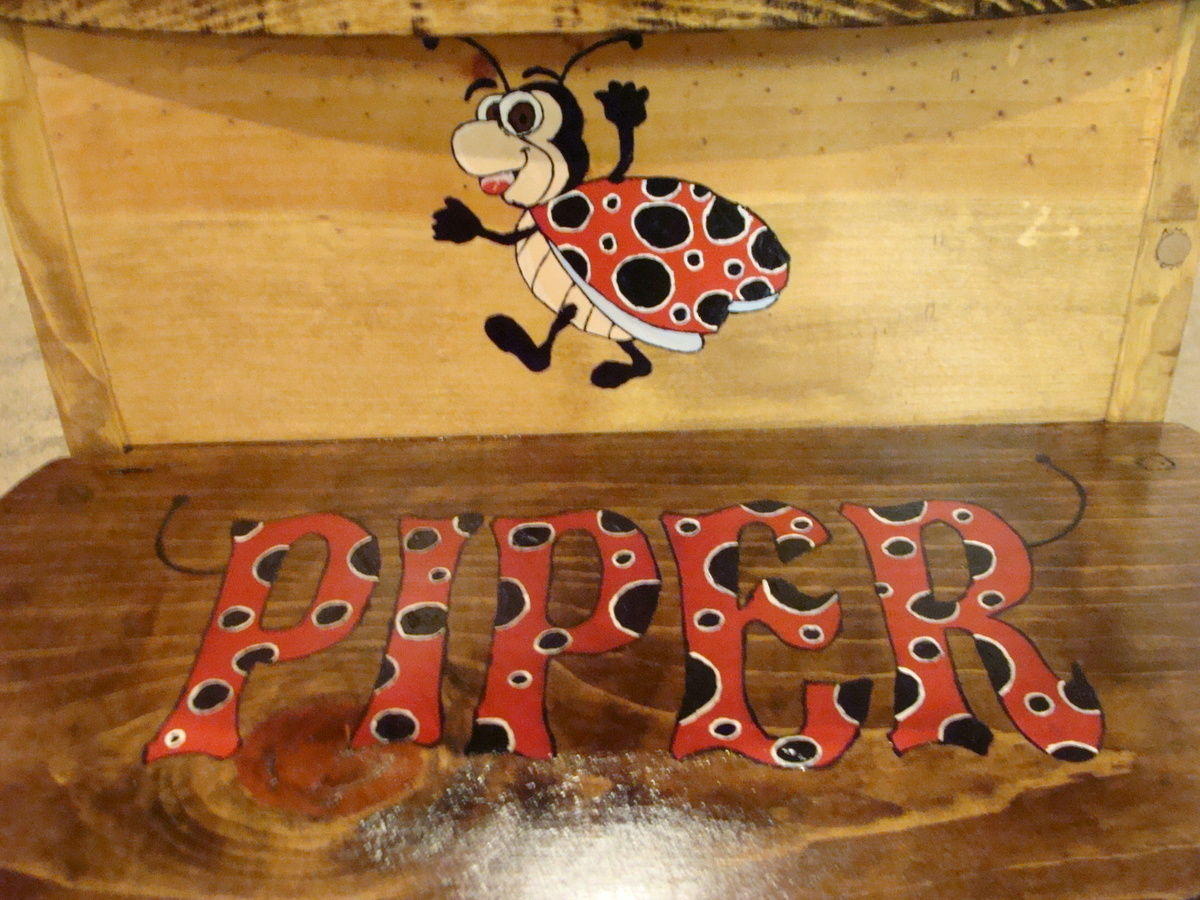
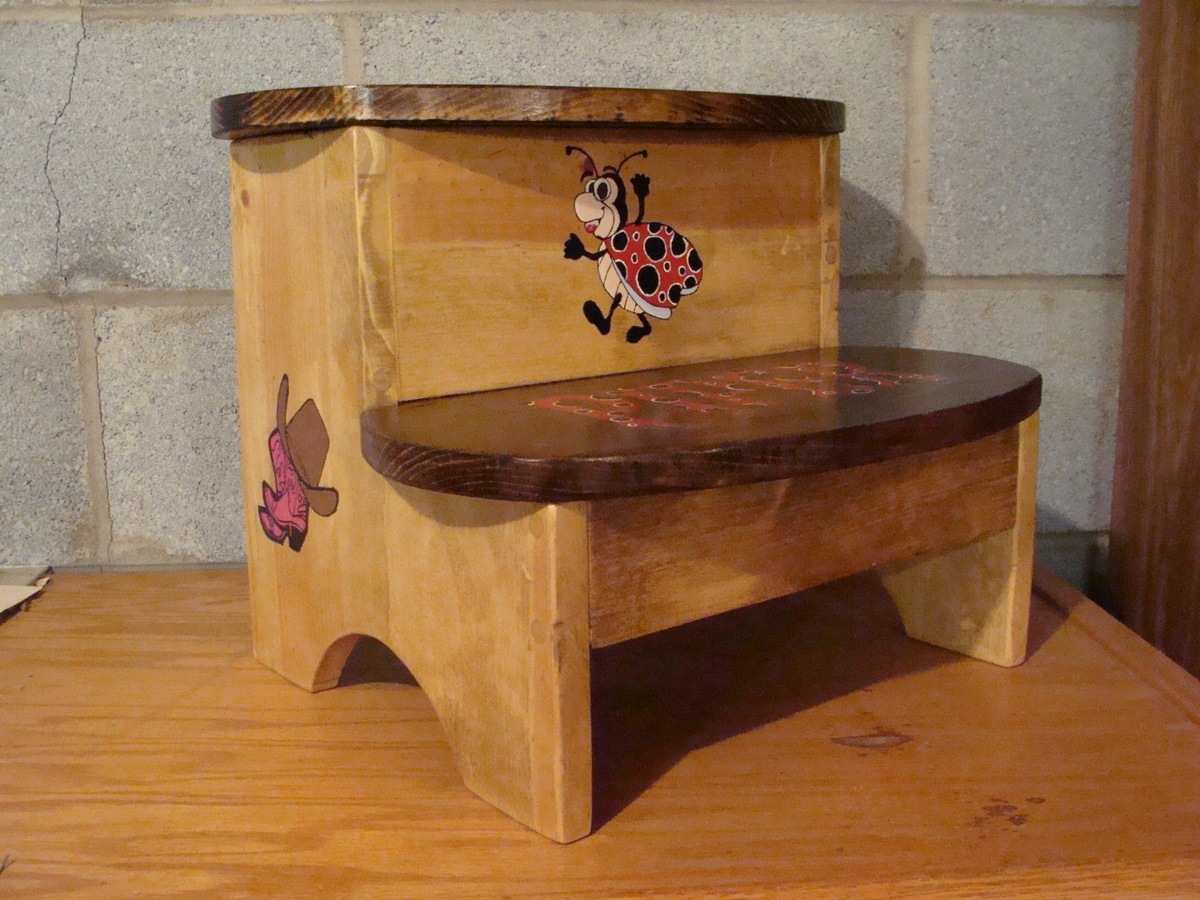
My sister wanted a step stool for her grand-daughter via her daughter-in-law. Like our mother and grand-mother before us, we stood by the sink with our hands in the wash water "helping" with the dishes. She asked it I could build a stool. After searching through several plans, I came across this vintage step stool and changed it up a little for the personal touch. I added the cartoon characters to fit with my great-nieces theme and she now has something that she can "brag" about as she grows.

Estimated Cost
Less than $20.00
Estimated Time Investment
Afternoon Project (3-6 Hours)
Finish Used
Minwax Oak stain, Minwax Provincial stain, latex paint for cartoon characters and 2 coats of Minwax Polycrylic. When using stain, I prefer to wipe on with old rag or t-shirt, it seems to cover better. As far as with the acrylic, I use a foam brush going with the grain whenever possible.
Recommended Skill Level
Beginner

Corner Cupboard, Corner Cabinet

Submitted by Anonymous (not verified) on Fri, 04/15/2016 - 21:33

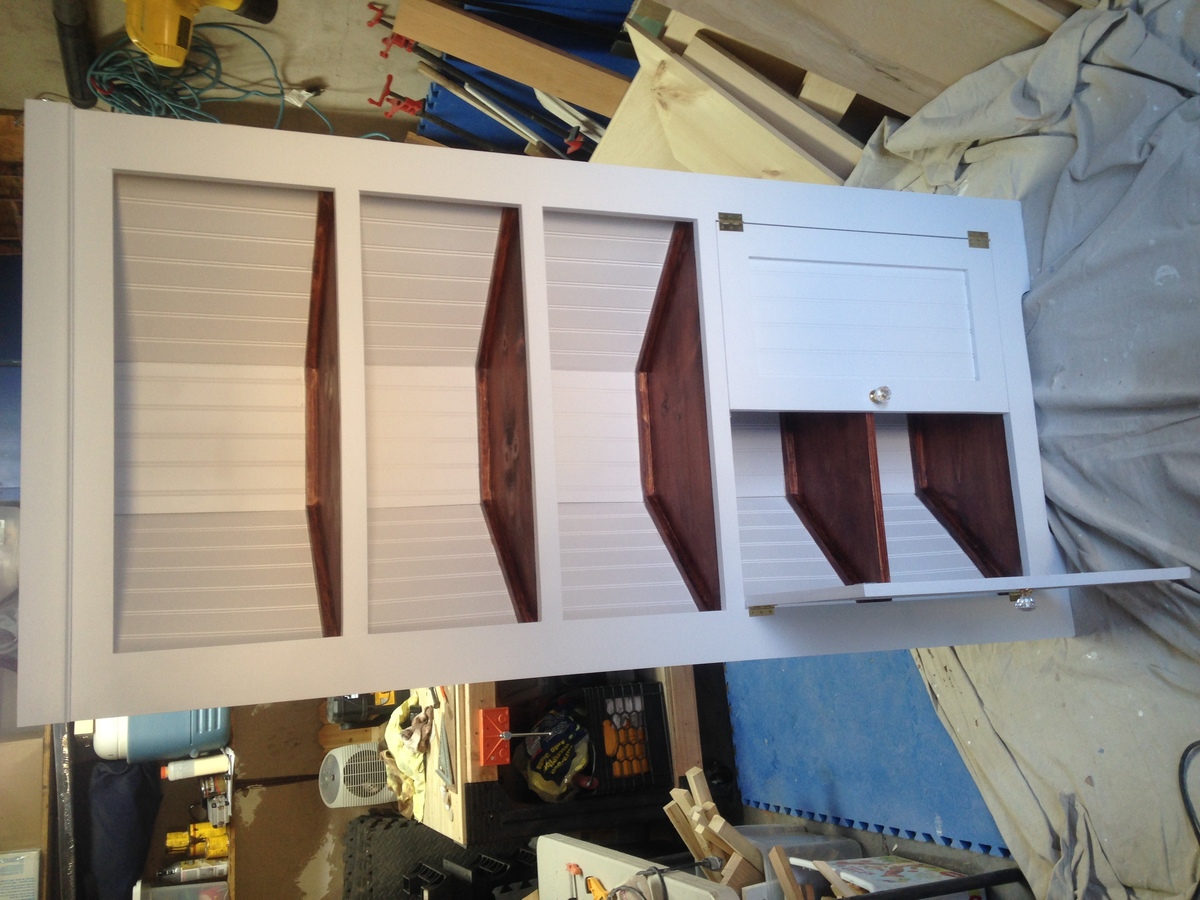
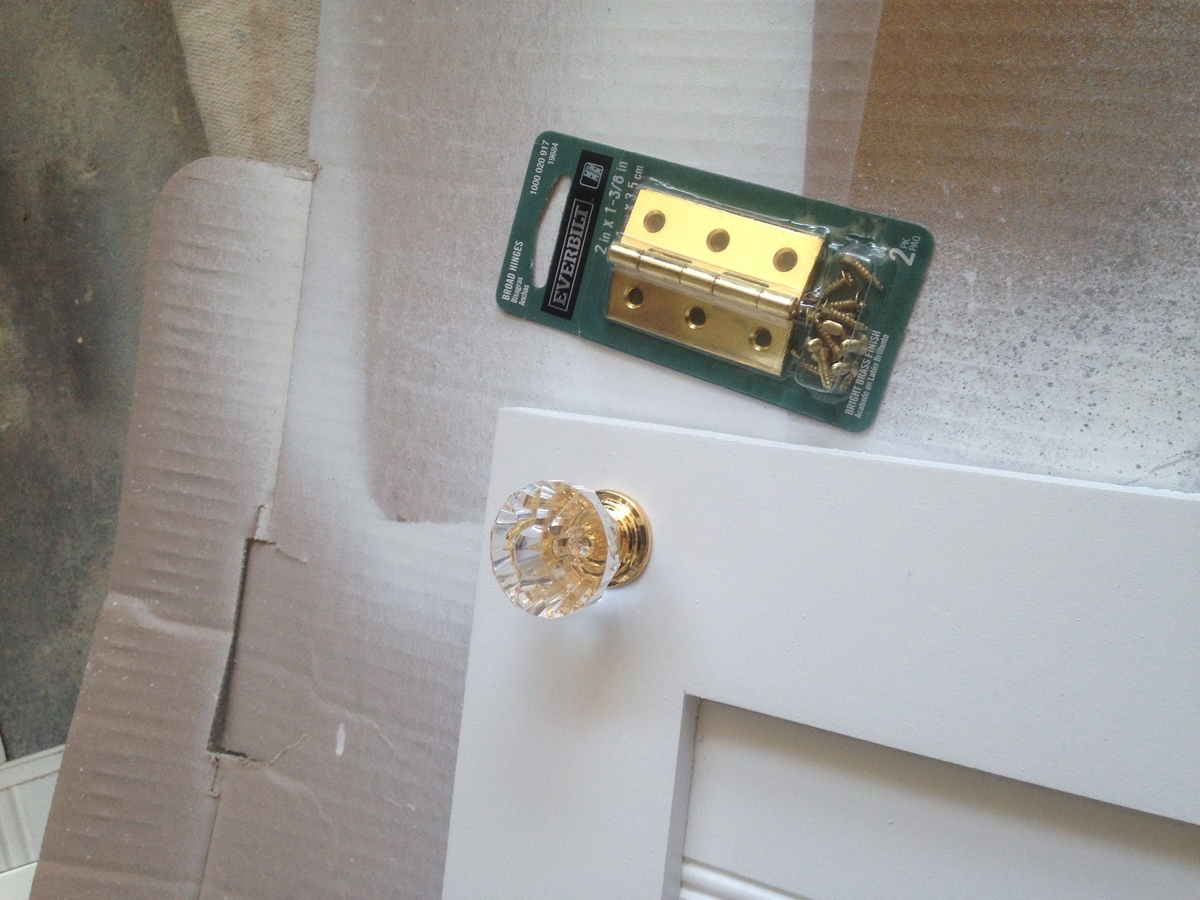
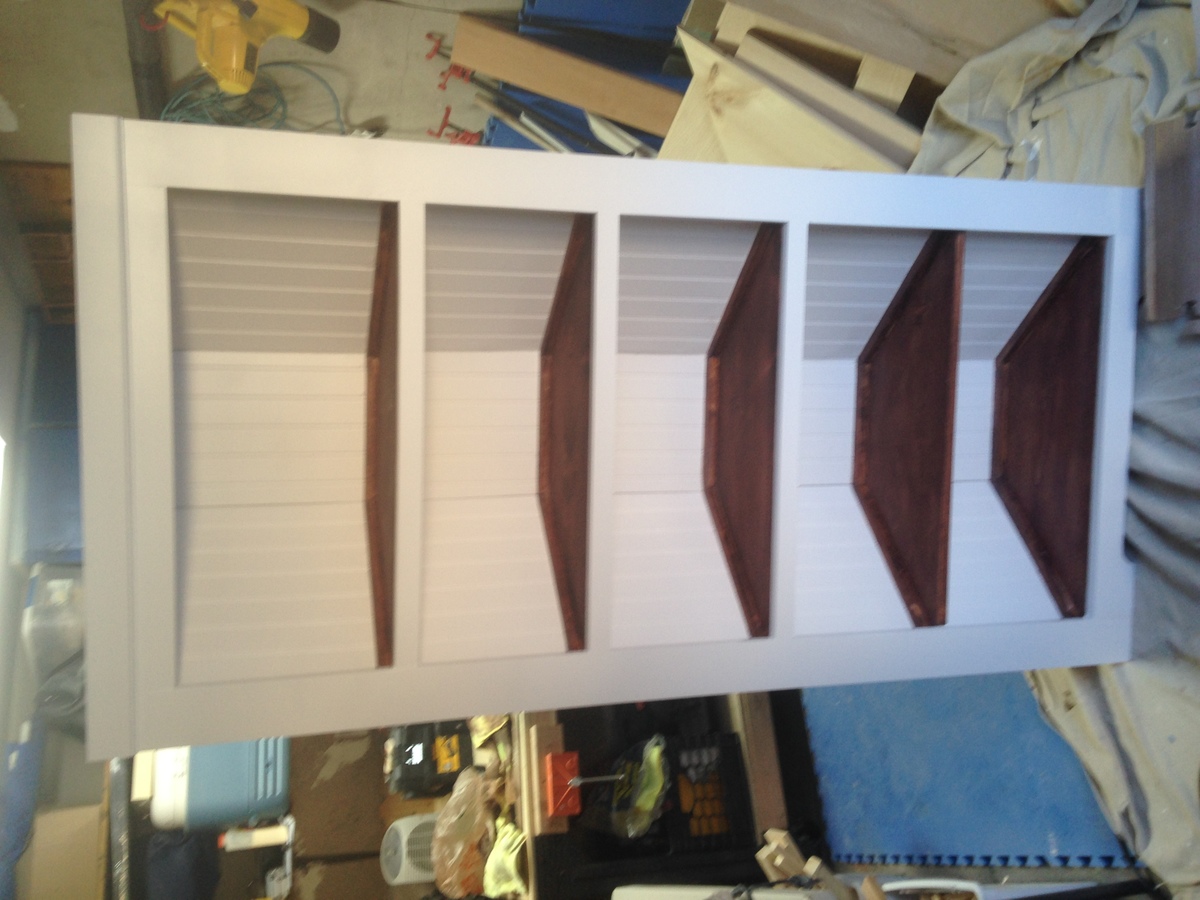
I saw the plans on Ana White website and and used them to put this together. I changed it slightly to fit my needs. I made this for my in-laws and it was a lot of fun to do. Hardest part was using blue tape on stain and paint.

Built from Plan(s)
Estimated Cost
125$ includes four cans of Rustoleum White Satin primer and paint from Home Depot, hardware, and lumber. Measure twice Cut once and all will be well.
Estimated Time Investment
Week Long Project (20 Hours or More)
Finish Used
Min wax Red Oak
Min wax satin poly
Rust oleum White Satin Paint and Primer
Recommended Skill Level
Intermediate

Ana's Corner Cupboard Saved The Day!

Submitted by kar on Tue, 07/05/2016 - 09:08

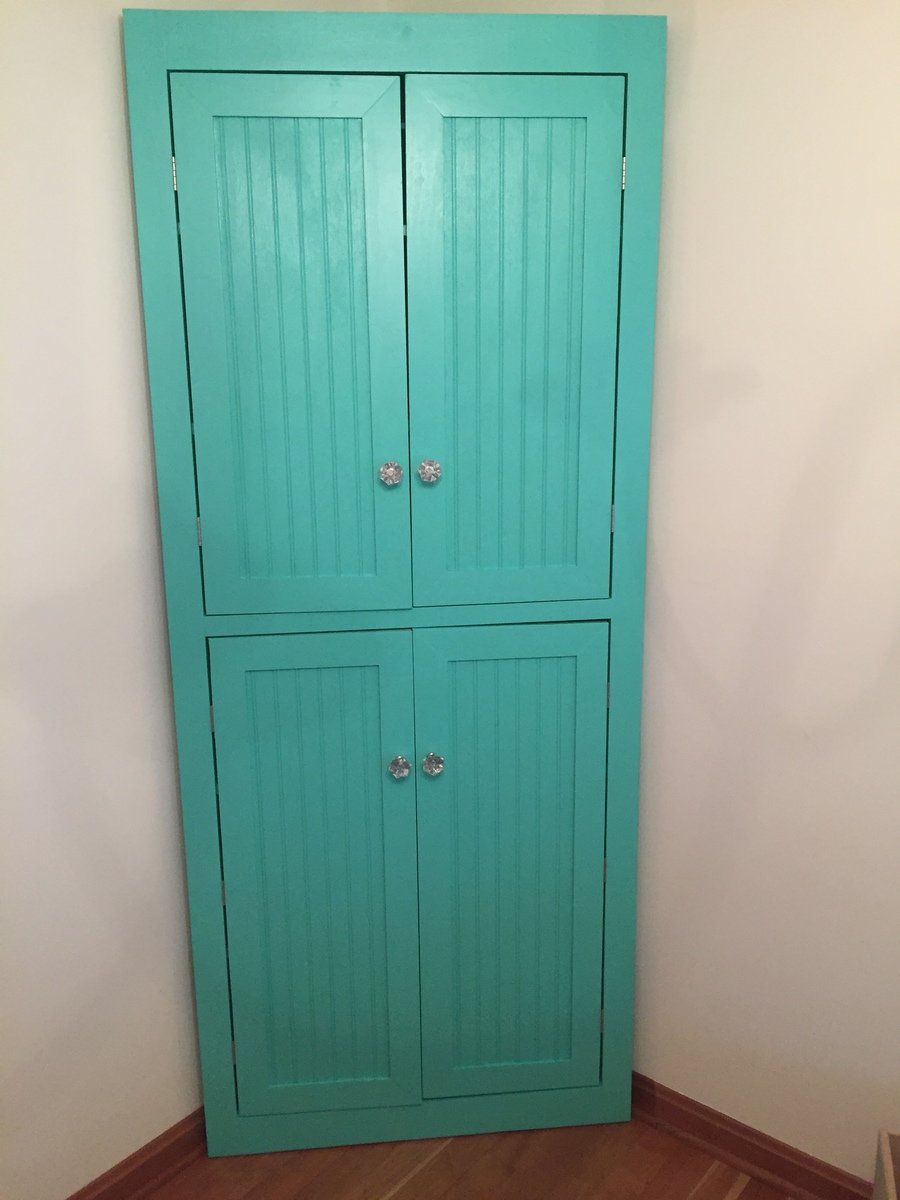
July 2016: We recently moved and the corner cupboard we purchased several years was too tall for the new house. I needed a new storage solution for our kid's arts & crafts, games, and funny business materials. Of course, Ana and her corner cupboard saved the day! Thank you! The kids have a great place to store their business and mom and dad can finally recycle all of the cardboard boxes stacked dangerously in the corner. 

Our corner cupboard was adapted from Ana's Corner Cupboard plan. The height was increased to 84", adjusted the dimensions for increase heights including the shelf spacing, doors on top and bottom to hide messes, used 1x12 for spine of the cupboard and shelves.

Thank you Ana! 

Built from Plan(s)
Estimated Cost
$150-$200: Depending on wood species and quality, including paint and hardware.
Estimated Time Investment
Weekend Project (10-20 Hours)
Finish Used
Dutch Boy Dura Clean Semi Gloss: Glazed Teal
Recommended Skill Level
Intermediate

Shed Chicken Coop and Run

Submitted by mikesofka on Tue, 05/12/2020 - 09:27

I had such a fun time on this shed coop/run build! My wife and I have 5 children and it was fun involving them in building everything about this coop and run. They have a wonderful sense of accomplishment in looking at what they helped build.

A few notes, while this what a fairly straightforward build, there are a lot of little intricacies to be aware of. Such as:

• Make sure your chicken coop is about a foot off the ground. It's best to do that so critters such as rats and snakes don't make their home under the shed and potentially eat their way through the floor.

• It is highly advisable to dig a trench about a foot to a foot and a half deep around the coop and the run and attach chicken cage fencing from the bottom of the coop/run into the trench, and then taper the cage fencing outward. This will prohibit critters such as raccoons from trying to dig under the coop.

• When you attach the poultry netting to the outside of the chicken run, staple one side really well, then move to the other side and pull the netting fairly hard to make the netting as tight as possible. (Also, be careful when putting the netting across the top of the run to not fall off the ladder as I did and dangle there until one of your kids comes to help you! Ha! :D )

Thank you, Ana, for posting these plans! We are so excited to get our little chickies out into their new home as soon as their feathers come in!

Estimated Cost
$800
Estimated Time Investment
Week Long Project (20 Hours or More)
Recommended Skill Level
Intermediate

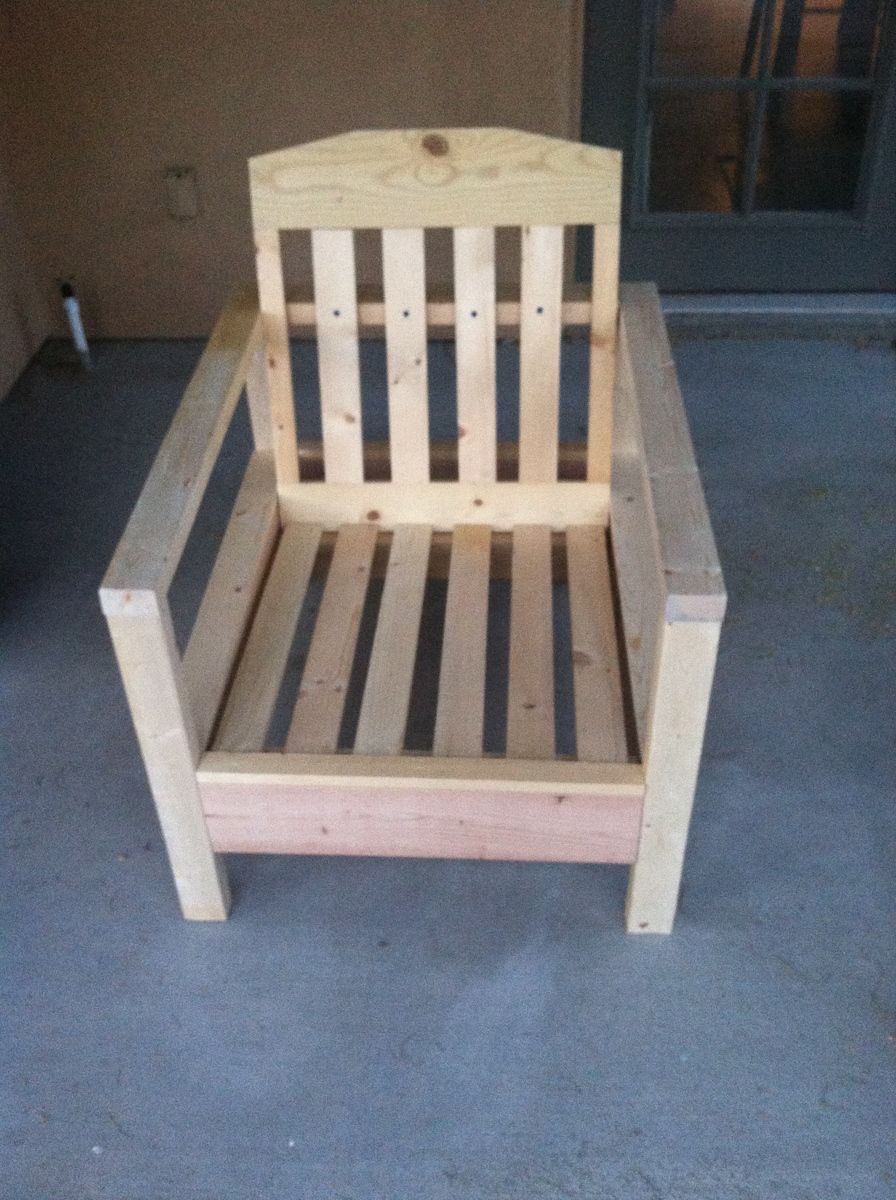
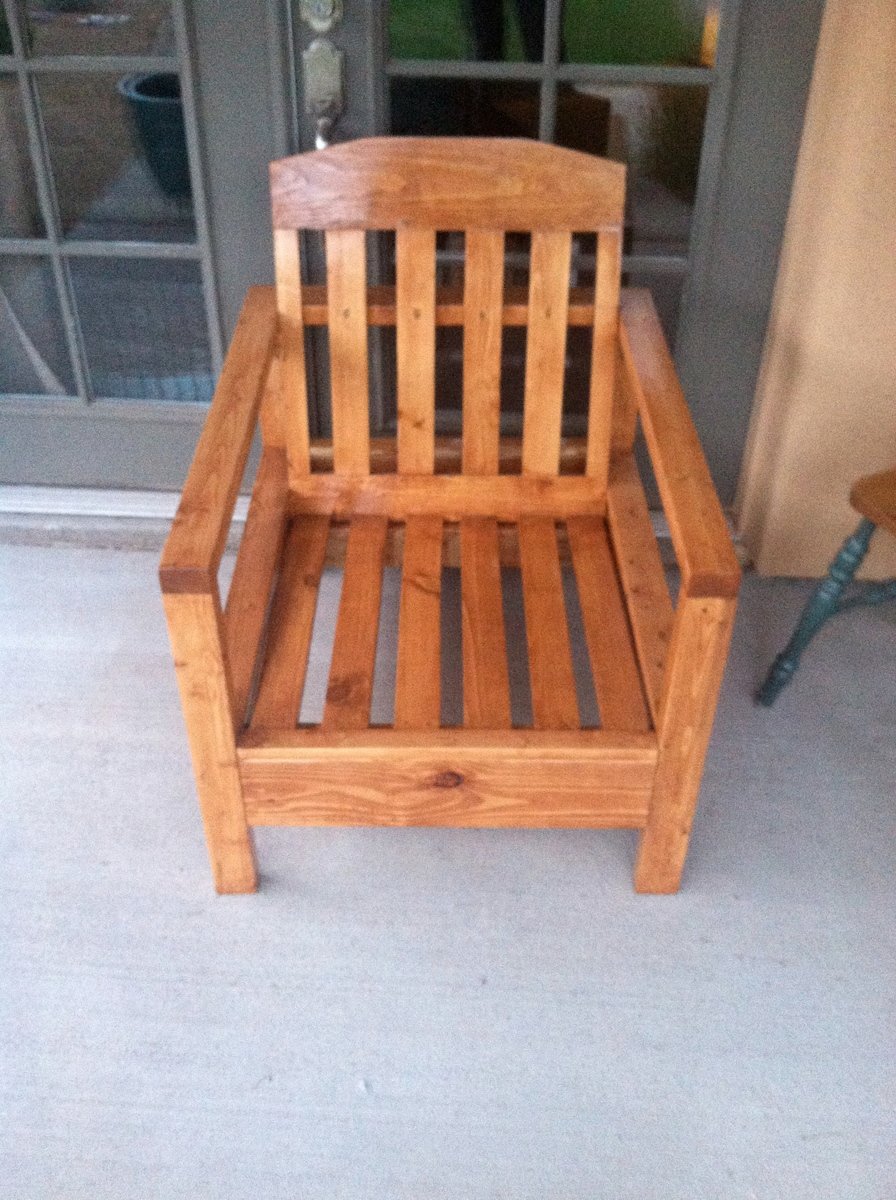
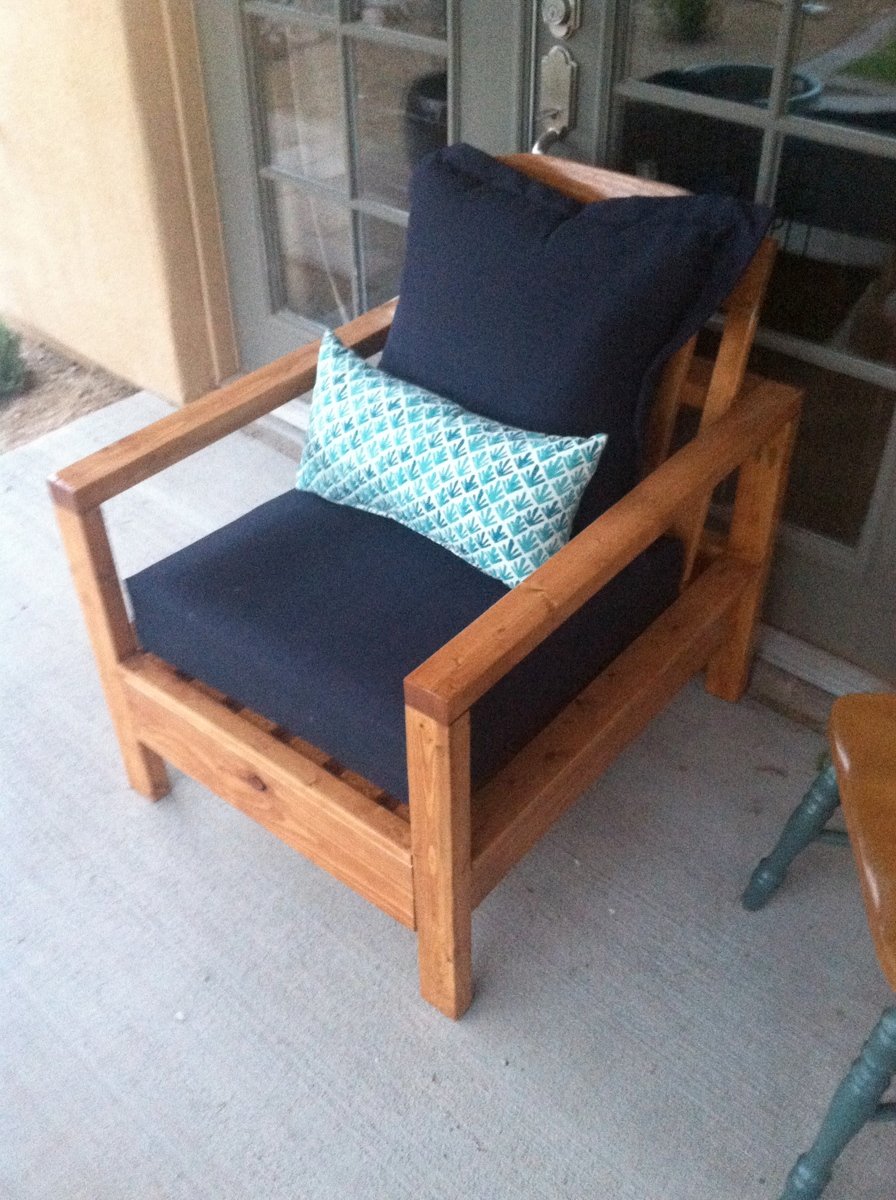
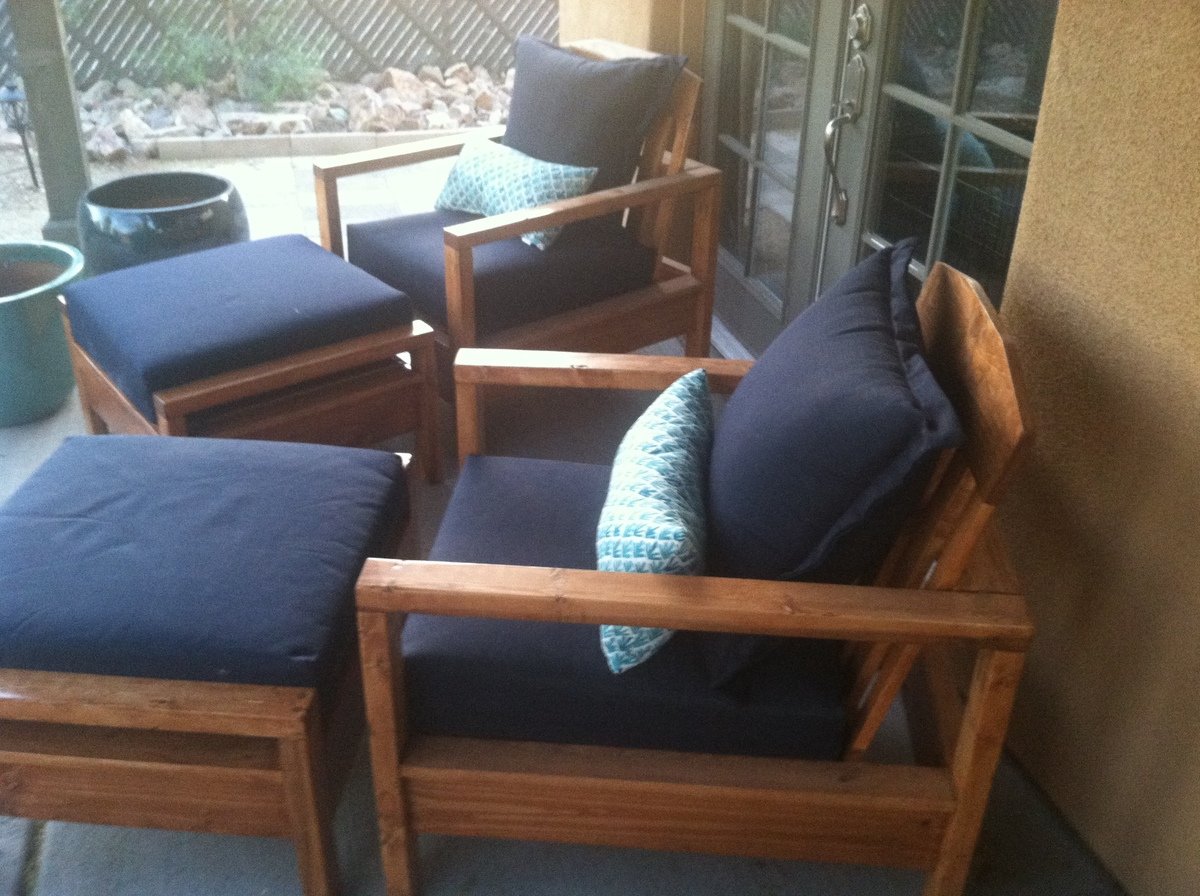
Simple White Outdoor Chair

Submitted by klray on Wed, 05/21/2014 - 21:47

These chairs followed the simple white outdoor chair instructions. There were a few adaptations. I used 2x3s instead of 2x2s for the legs, like in the simple white outdoor loveseat instructions. I purchased my cushions from Target, and their dimensions are different than the cushions used in the instructions, so I changed some of the chair dimensions. I created the pattern for the ottomans, but it is very much based on the simple white outdoor chair instructions.

Fun project and happy with the results. Staining instead of painting probably made the project take twice as long.

Finish Used
Minwax Ipswich Pine - 2 coats,
Deft Exterior Polyurethane semi-gloss- 3 coats
Recommended Skill Level
Beginner

Comments

sojaco

Thu, 05/22/2014 - 13:37

Your chairs are gorgeous - I feel compelled to go copy your handiwork immediately. :)

Would you mind sharing a link to the Target cushions you used? They look great on your chairs.

klray

Sat, 05/24/2014 - 10:56

Thanks!

Threshold Outdoor Deep Seating Cushion:
http://www.target.com/p/threshold-outdoor-deep-seating-cushion/-/A-1508…

Threshold Outdoor Deep Seating Back Cushion:
http://www.target.com/p/threshold-outdoor-deep-seating-back-cushion/-/A…

Just a note on the cushions, they are beautiful and highly economical, but that also means they likely aren't as supportive as cushions 2 or 3 times their price and the covers do not have a zipper, so you can't wash them. That being said, I am happy with cushions.

CreativeChaos

Fri, 05/23/2014 - 07:44

I built these chairs and love seat last summer and have sat on them wishing I had ottomans! You inspired me to build the ottomans. I have the same Theshold cushions from Target and they are great! Good job!

klray

Sat, 05/24/2014 - 11:09

Thanks!

The only tricksy part about the ottomans for me was attaching the "armrests". There isn't enough room to use the pocket hole screws after attaching the side aprons. I tried screwing the "armrests" to the legs before the aprons, but that just caused problems. In the end I screwed the side aprons and legs together and then screwed the "armrests" down from the top. I used wood filler to fill in the holes above the screw heads. So it isn't quite as clean looking, but worked for me.

amorg11

Mon, 06/08/2020 - 10:36

These chairs came out amazing!!! The only struggle was to find inexpensive cushions but worth every penny. Have had so many complements. Love them! Your instructions are so detailed!

jkess44

Tue, 06/09/2020 - 13:33

These look great! we just put together a section and would like to move on to the chairs. I was hoping to find ottoman plans, do you have the plans you used? If so can you please share?

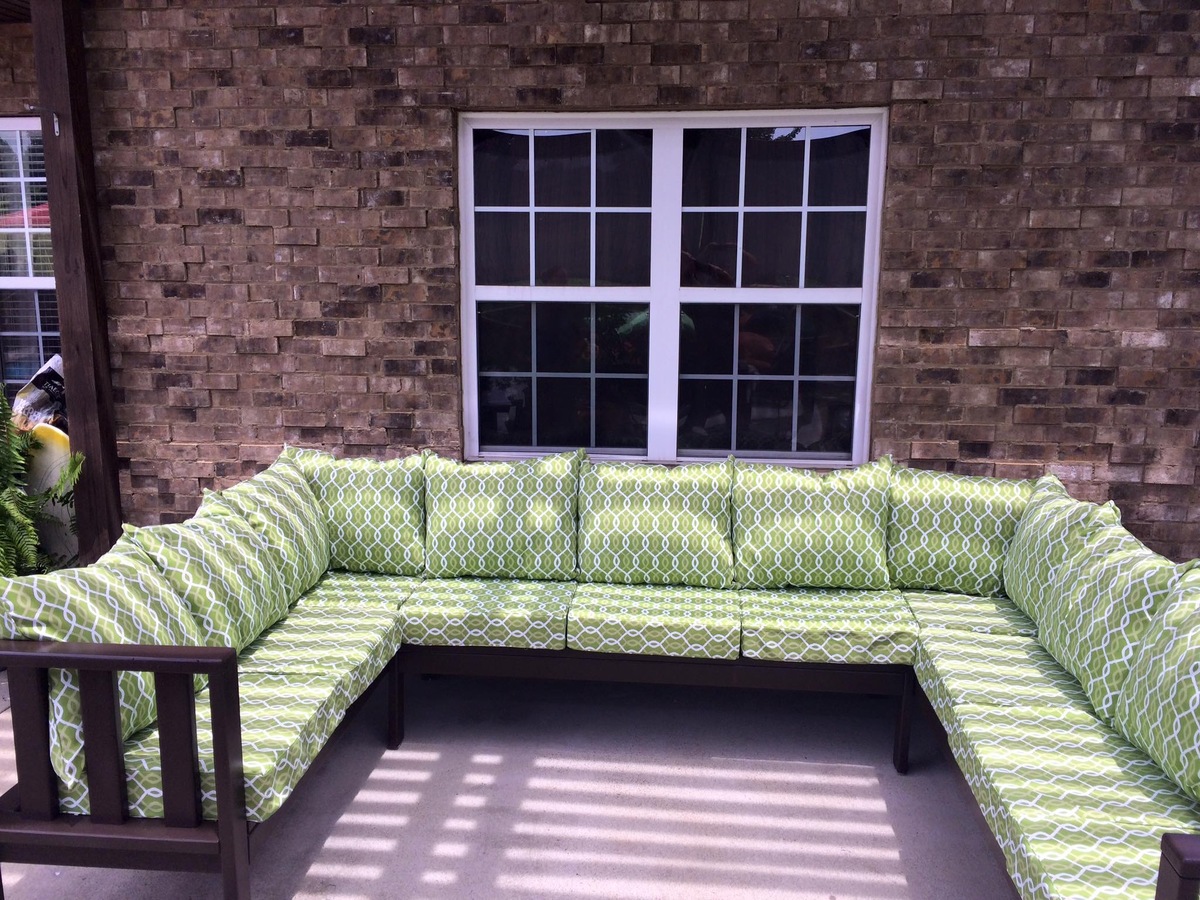
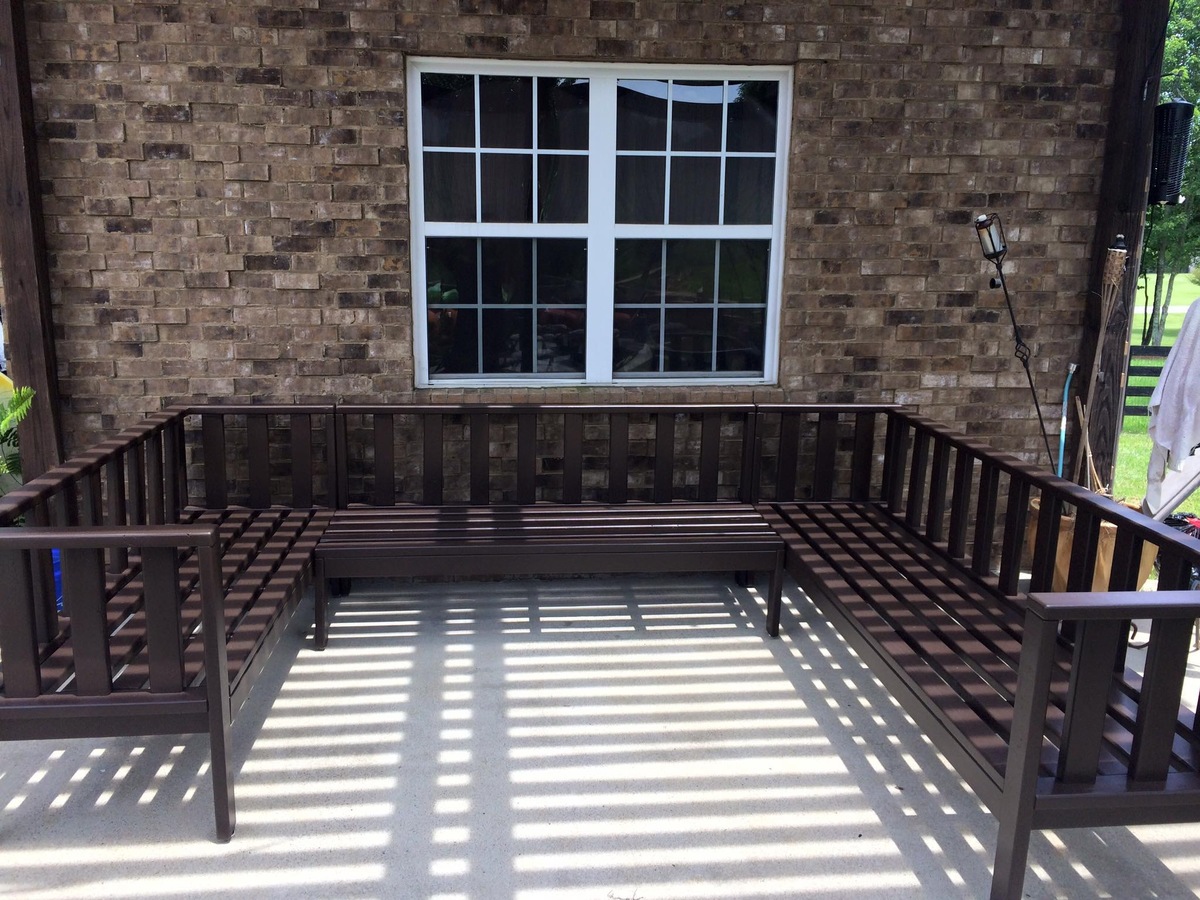
My Outdoor Sectional Couch

This was built off Ana's Outdoor Couch plans.  I just made some additional things to it and made it larger.

I added the vertical back supports so the cushions don't slip out the back.  I raised the seat height to 17". 

Estimated Cost
$600-$800 including the cushions.
Estimated Time Investment
Week Long Project (20 Hours or More)
Finish Used
Oil primer and Latex Paint.
Recommended Skill Level
Intermediate

Comments

Codding58

Mon, 08/22/2016 - 13:57

Great job!    I really like the way that your set came out!    This had been on my list to do, but a broken foot put a damper on it this summer!    Great Job!

Pergola and Outdoor Furniture

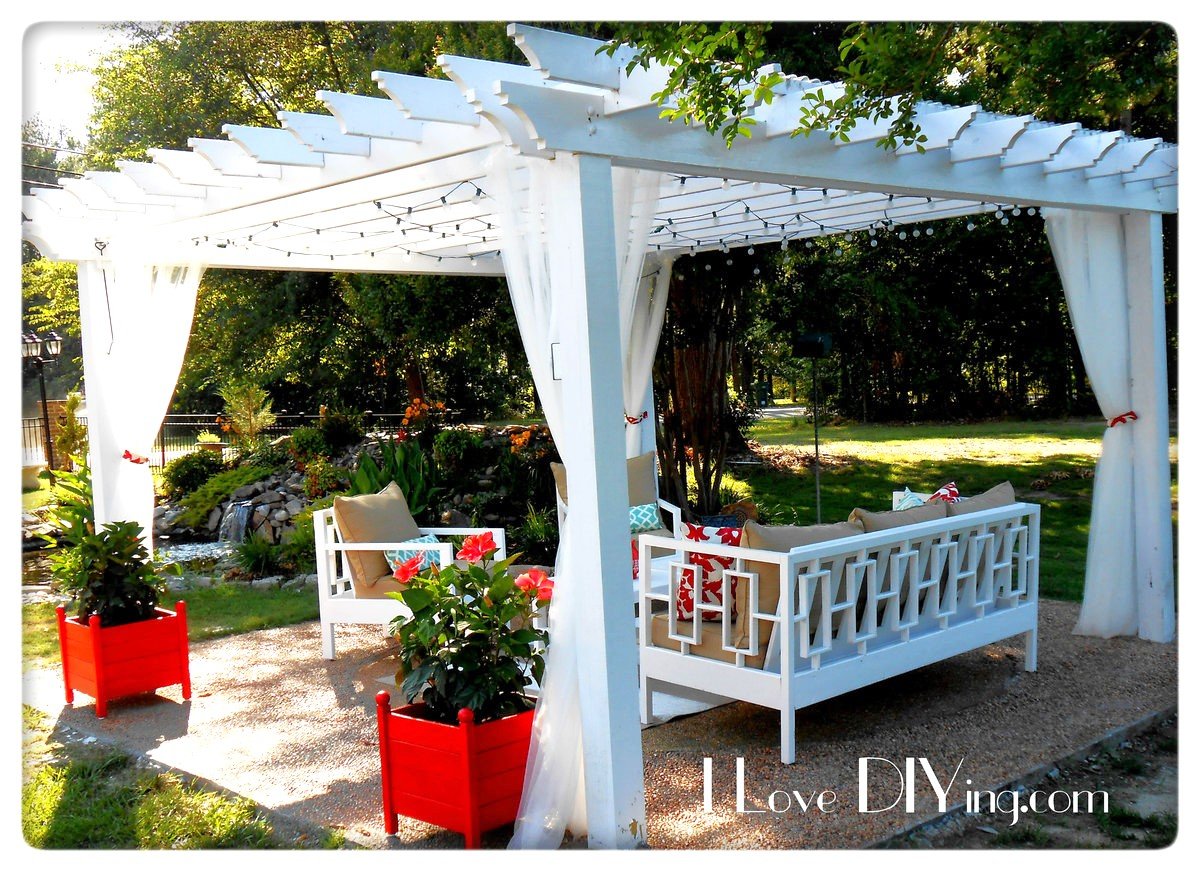
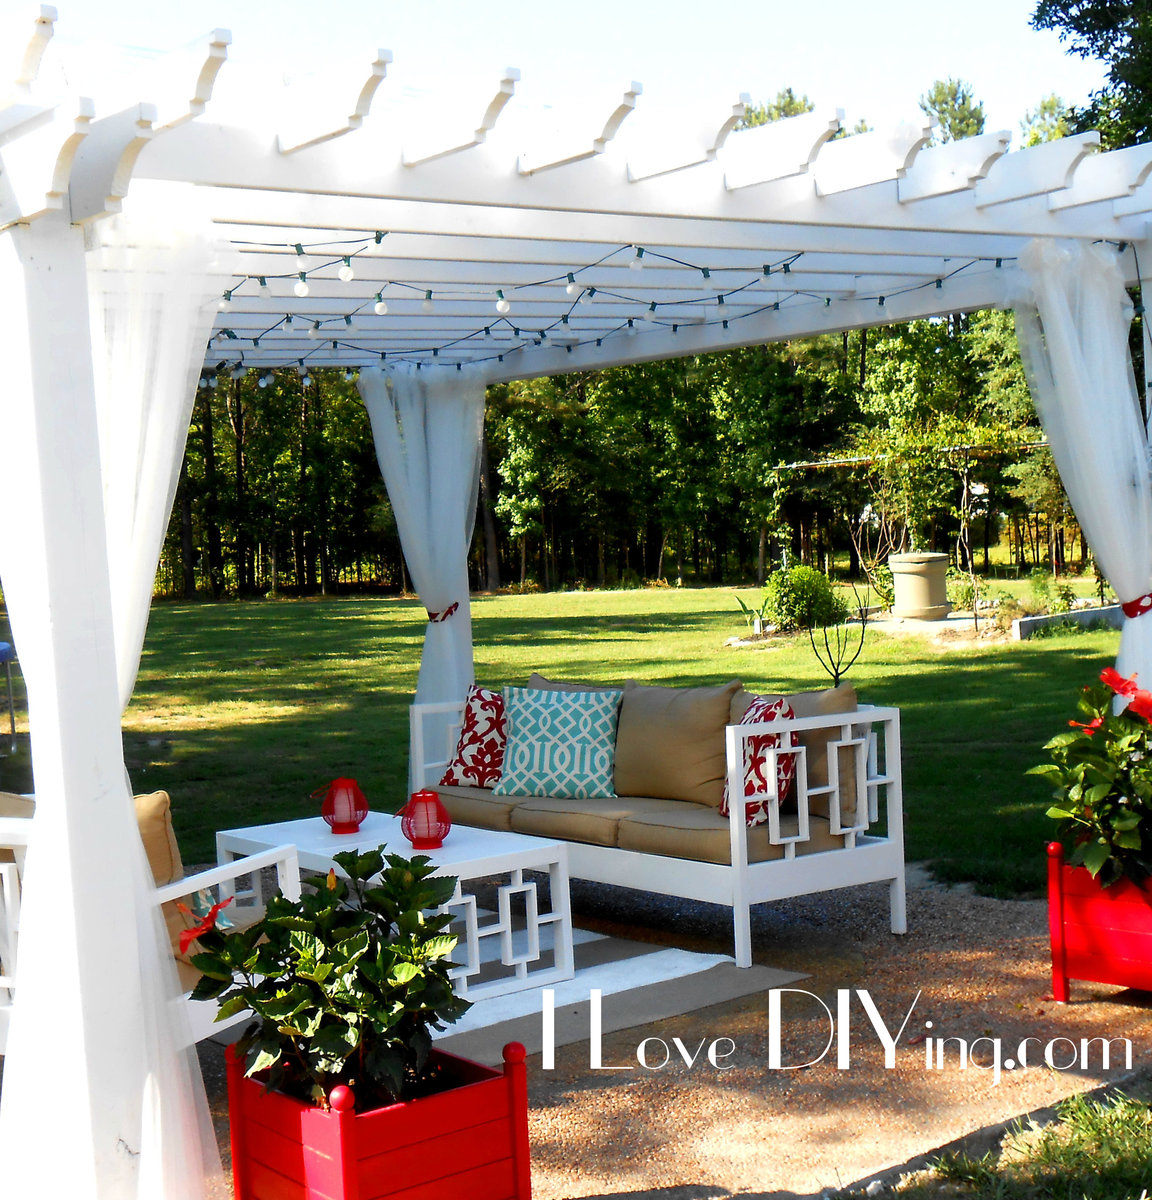
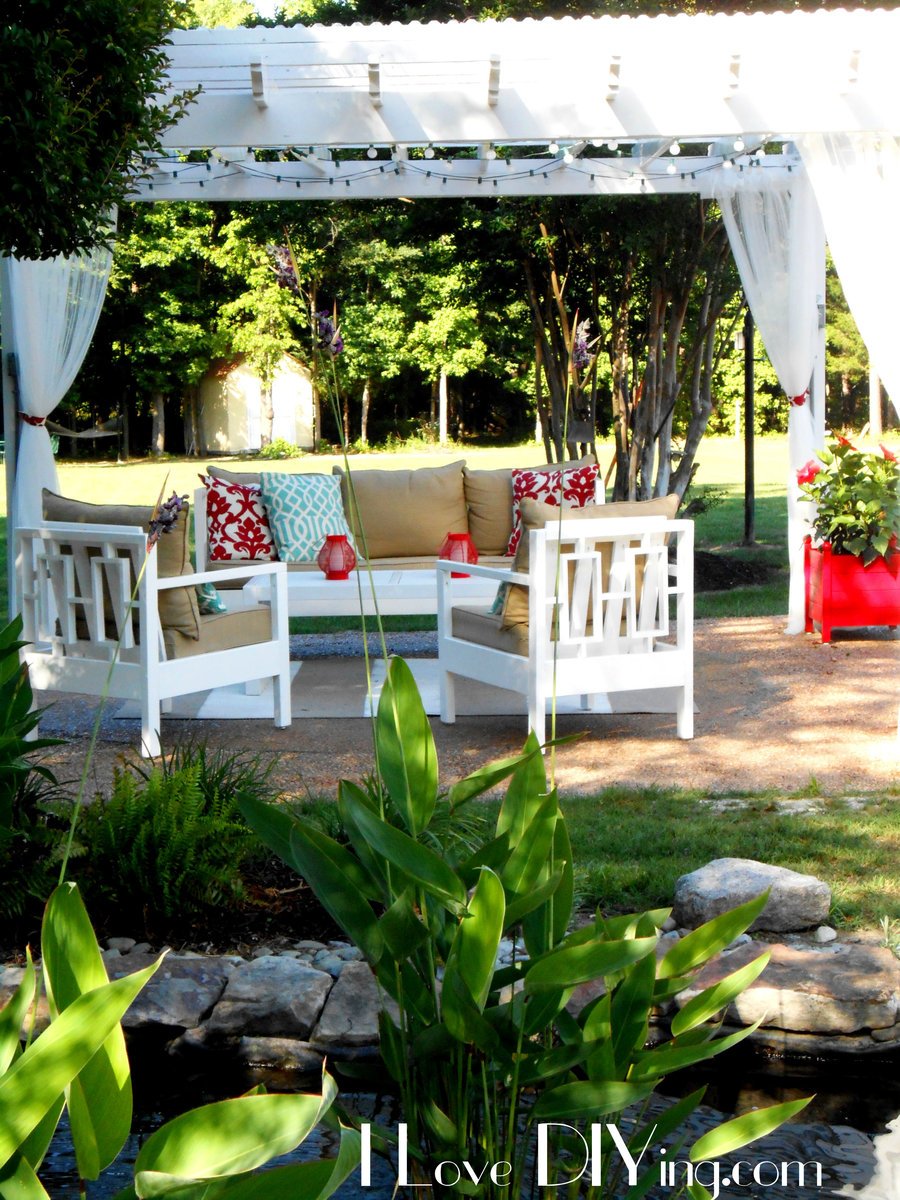
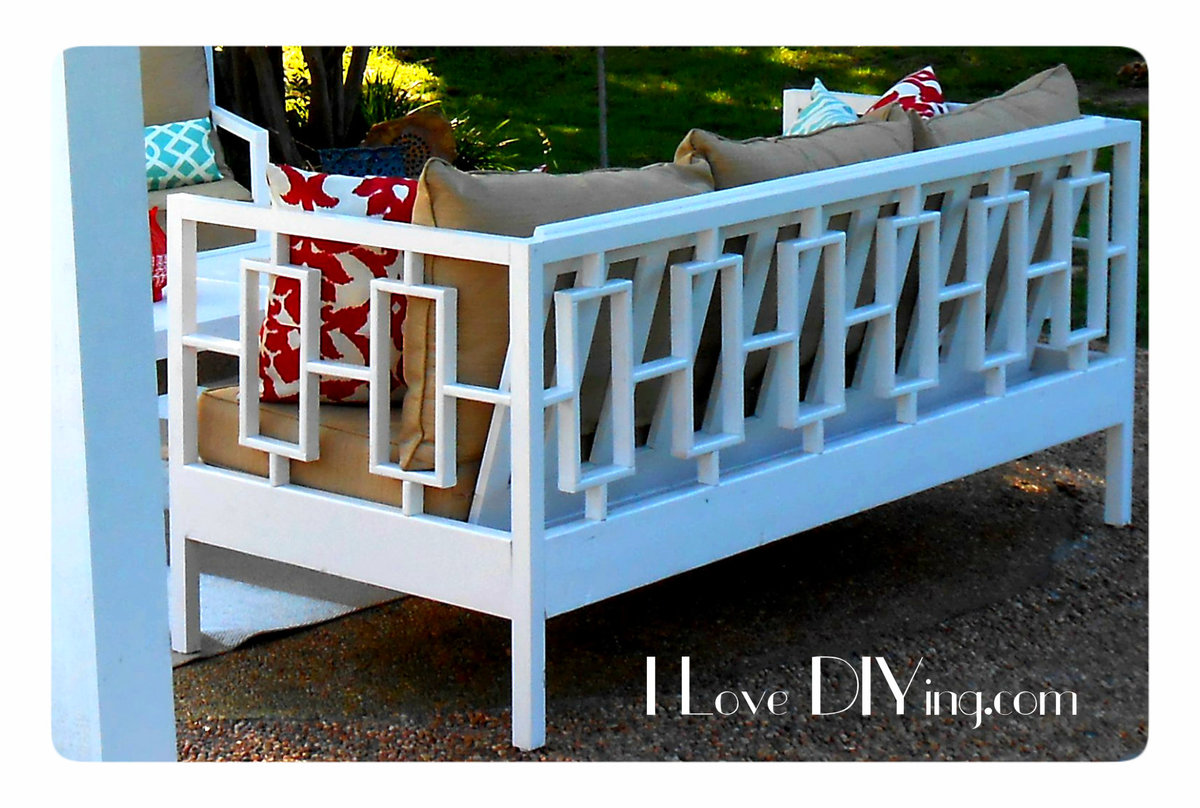
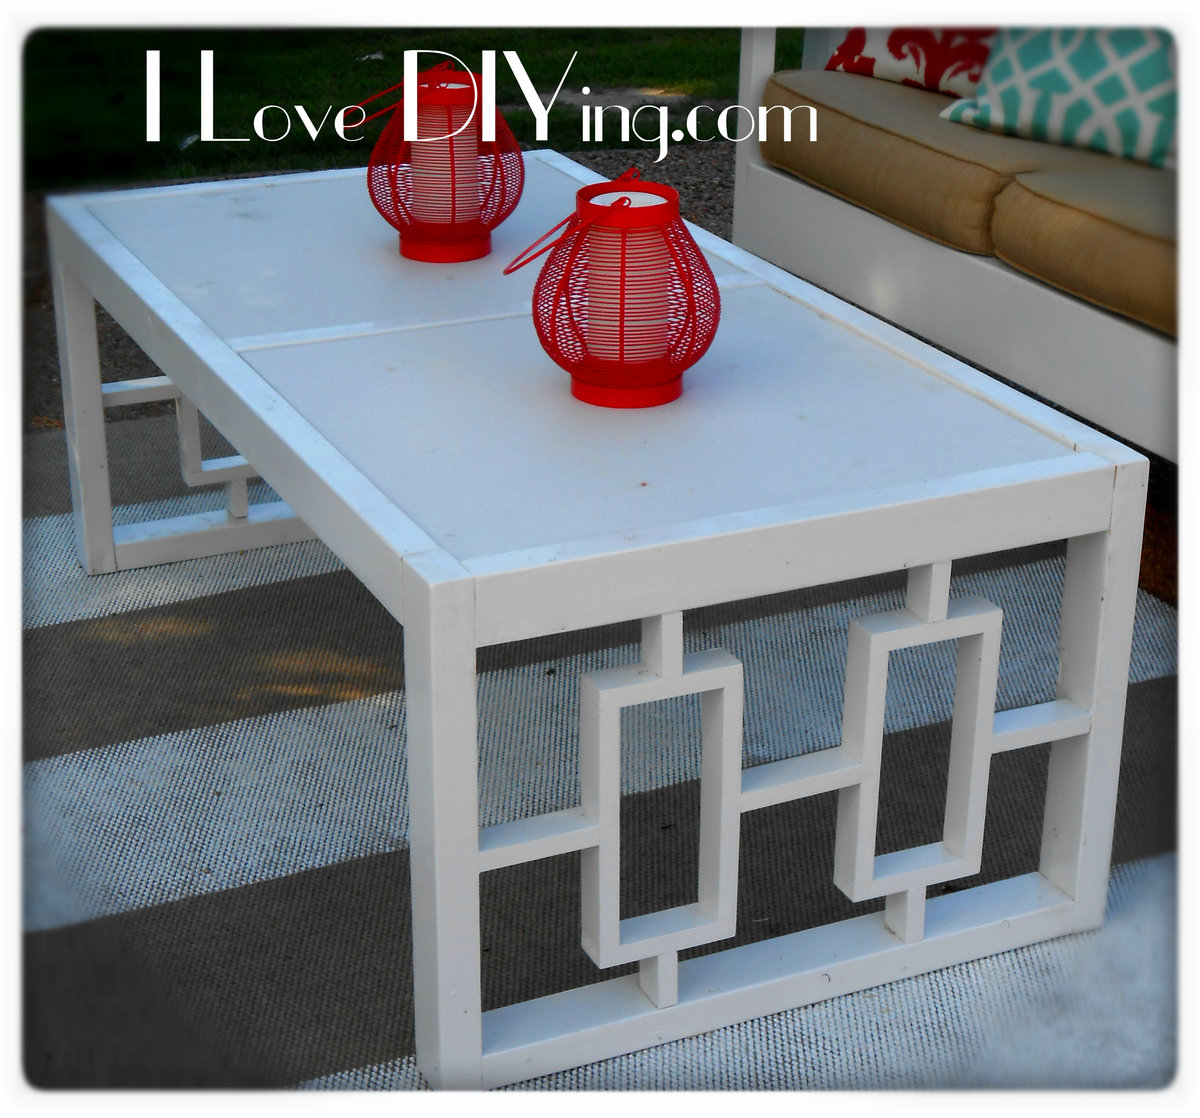
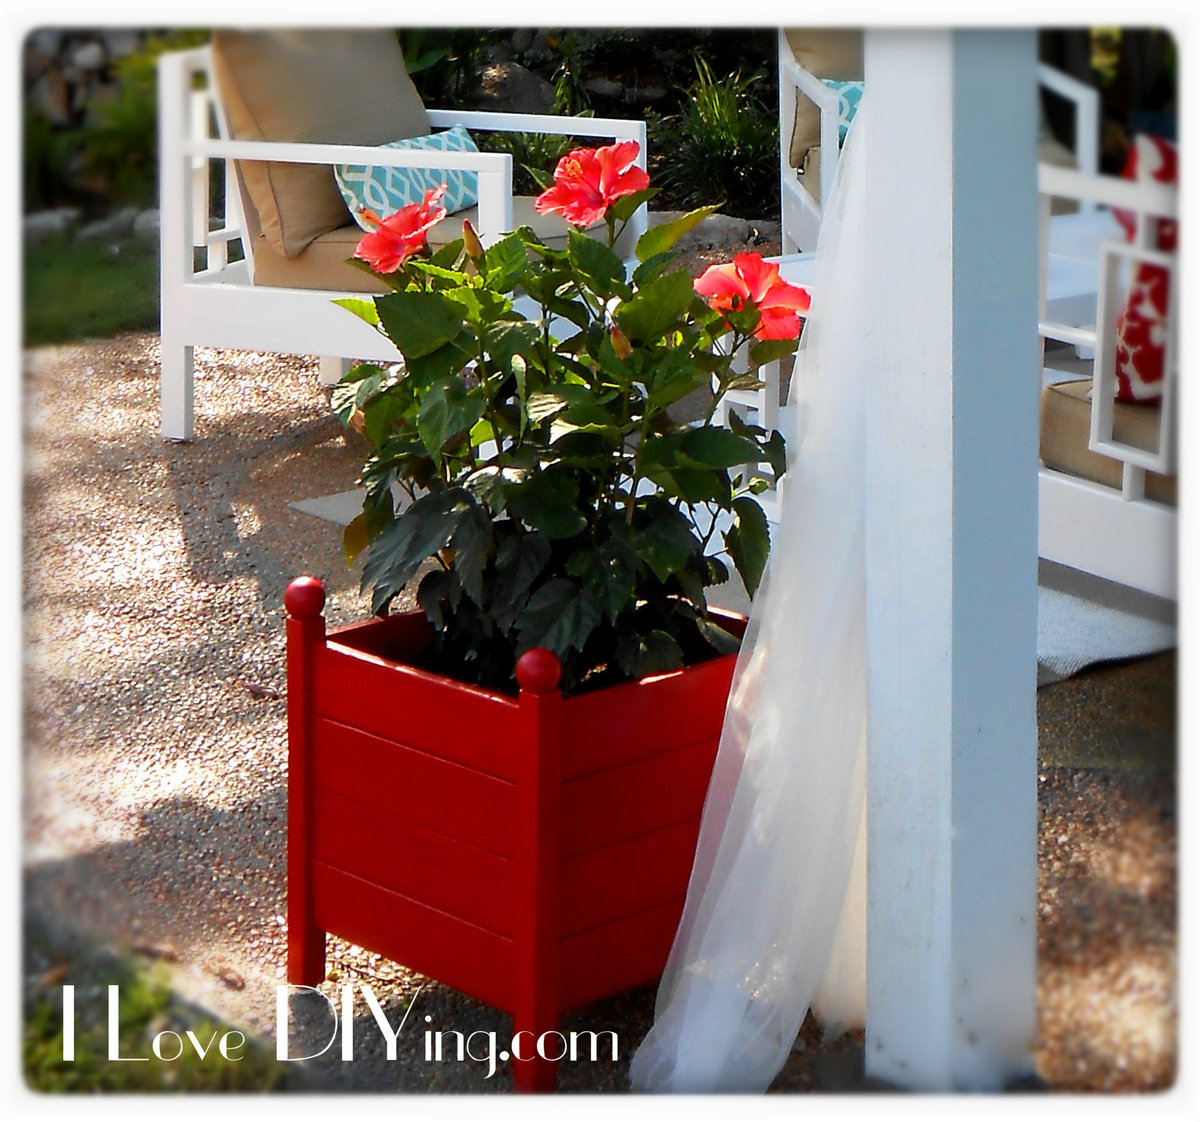
The pergola is finally complete! I'm sure I'll be adding some more things, but for now....I'm happy. I can not take credit for the Pergola, my husband built that, but there are lots of projects inside to tell you about. I built the sofa, coffee table, 2 chairs and 2 planters. It's a great spot for entertaining or just sitting with glass of wine. I really loved the Rectangles Daybed , but I really had no use for a Daybed, so with a few modifications, I came up with the sofa version. To make it more comfortable I used the slanted back idea from the simple outdoor sofa plan.I love how it turned out and it was fairly inexpensive too. Lumber cost was around $50. I used 2x 6′s, 2×2 furring strips, 1×2 furring strips and 1×4 furring strips. You really have to pick through the furring strips, with some patience I was able to find pieces that would work well for my project. Using the more expensive would would make things much easier, because there would be much less sanding and filling involved…but I love a bargain!! When I first built the sofa for this collection, it was for our covered porch. I was not intending to build any matching pieces. When we moved it to the pergola, I decided to build these 2 chairs. I used plan from the simple outdoor chair and modified the back to match the sofa. The lumber for the chairs cost about $25 per chair. I bought some 2X2 quartz tiles from the Habitat ReStore for $3 each! I thought they would work perfectly for the tabletop. I sketched up a quick design to match the other pieces and came up with this. I used 2×3′s and 1×2′s. The lumber cost was about $15. I also used the Square Planters with Finials plan. I love these planters do much and they were so simple! Thanks for all the fantastic plans and inspiration!!

Finish Used
white paint
Recommended Skill Level
Intermediate

Comments

teresad2297

Thu, 05/12/2016 - 21:30

What a lovely space! Including the water feature behind the pergola. I'd love to pull it straight from your photos and drop it into my yard! (I'd better get to work!!)  Thanks for sharing.


Seasonal And Holiday
Back