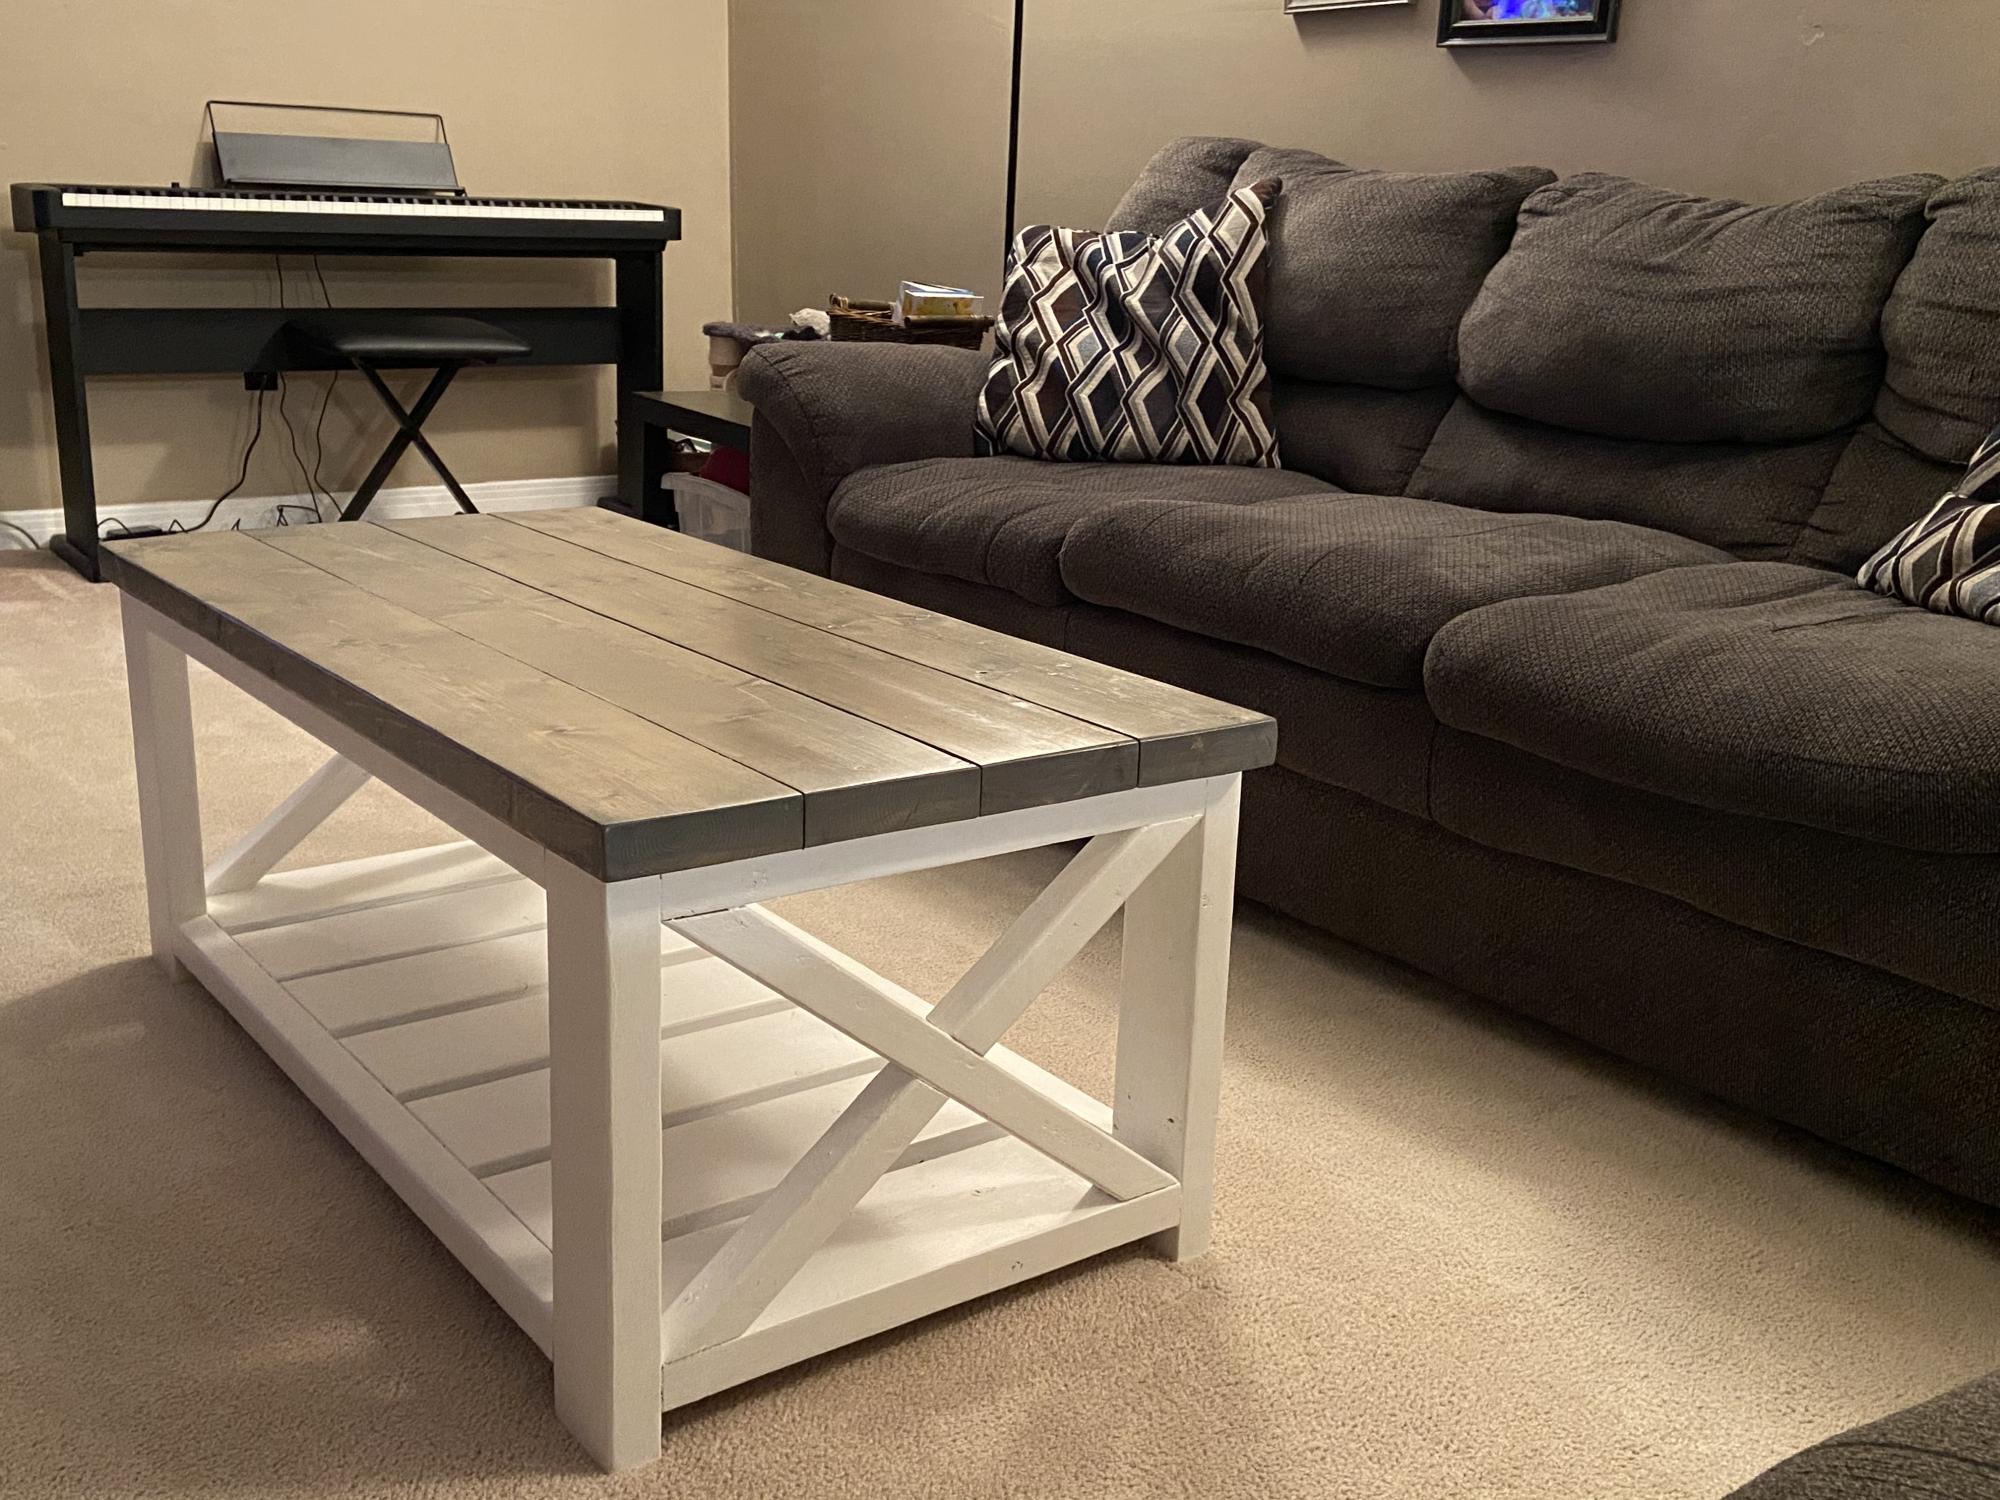
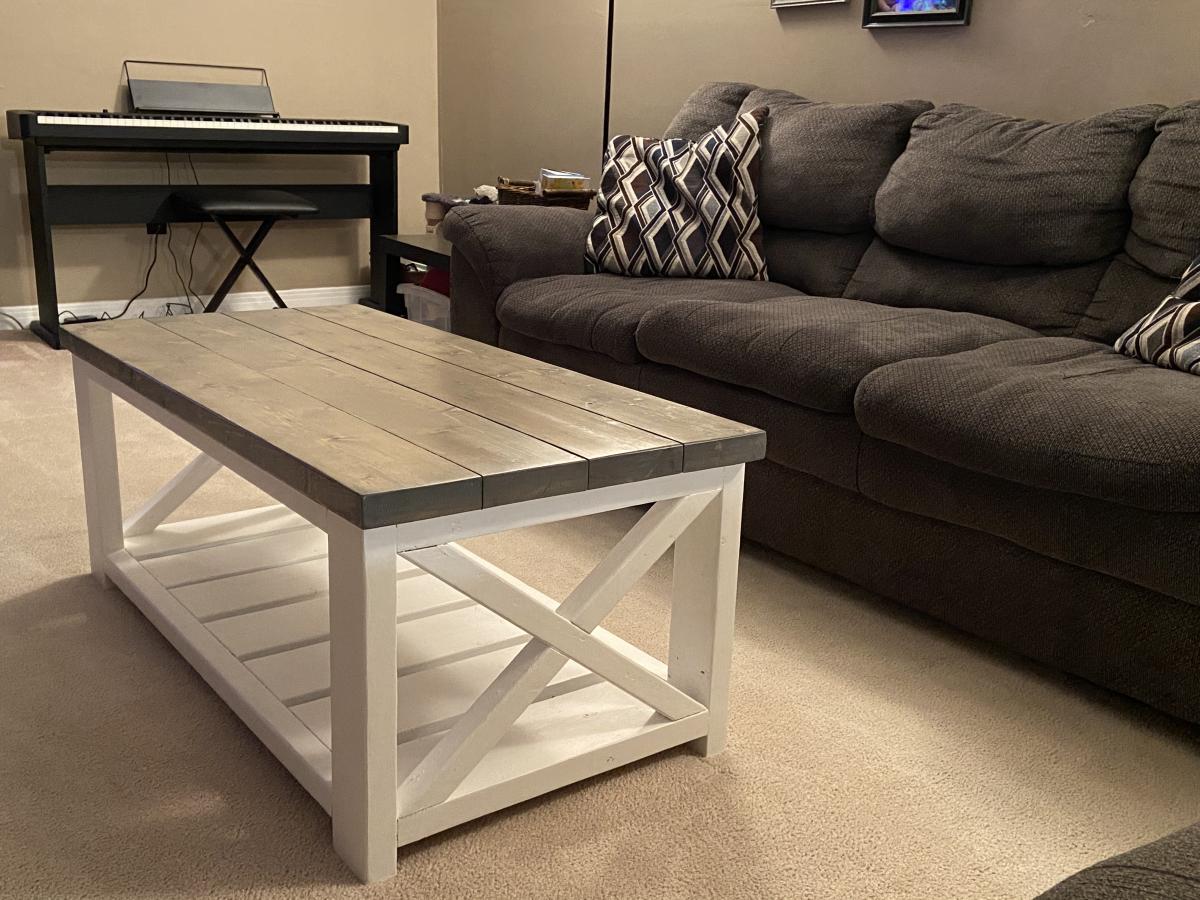
Matching Wood Coffee and End Table
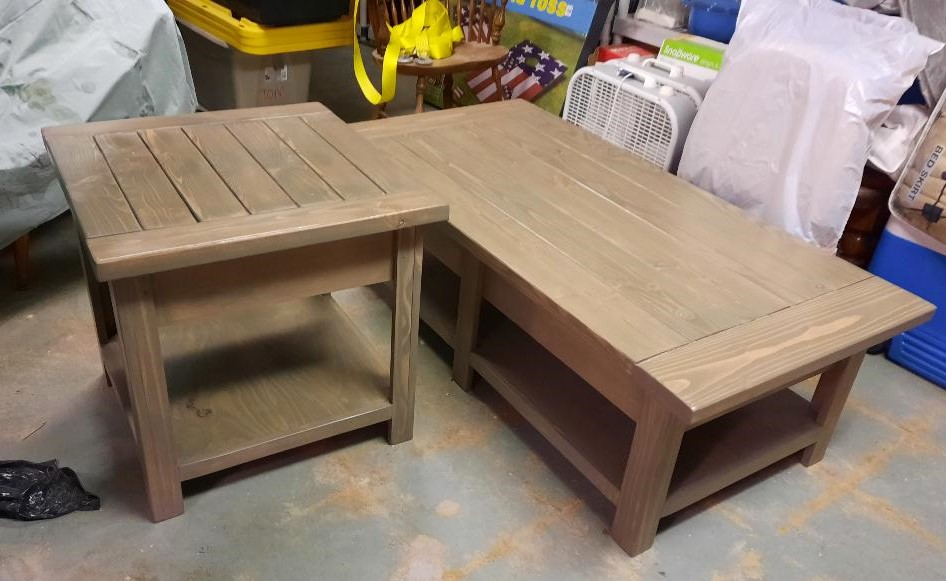
This is the coffee table again with the matching end table.
Jim Carr
Built from Plan(s)
This is the coffee table again with the matching end table.
Jim Carr
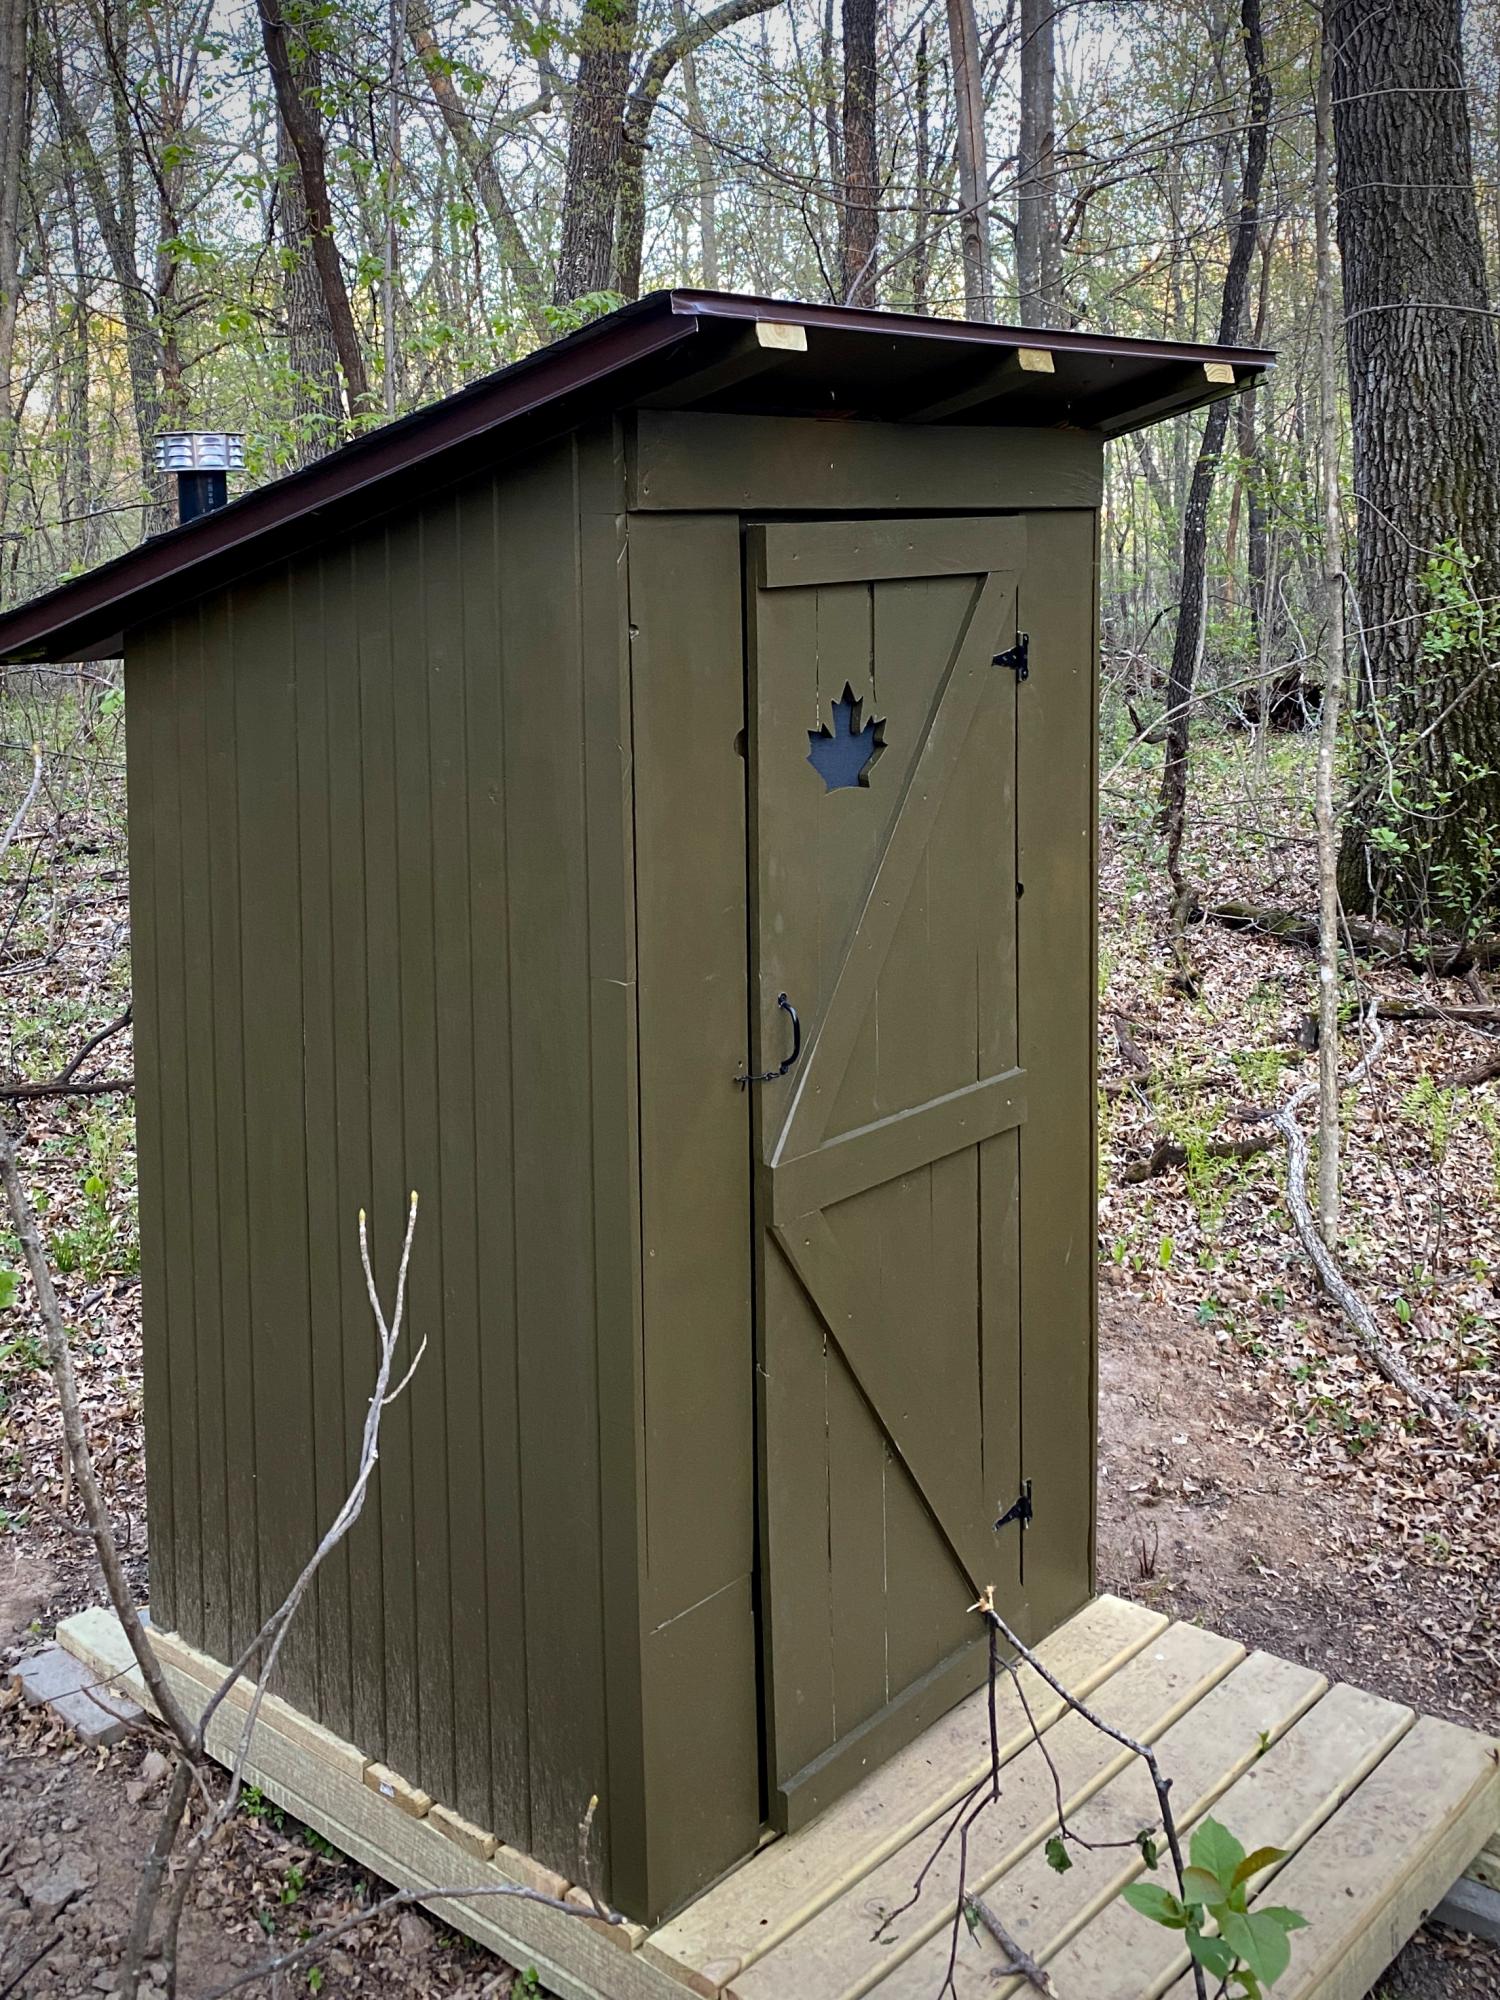
Added shingles and a 3" vent in the back. Also made it a 2-seater to prolong time between dig-outs and extended the roof overhang. Two inch T&G siding seemed like overkill. I used regular 1x8. Painted it to blend in with the woods.
Not pretty, but not bad for a start while working with an 11,7 and 5 yr old.
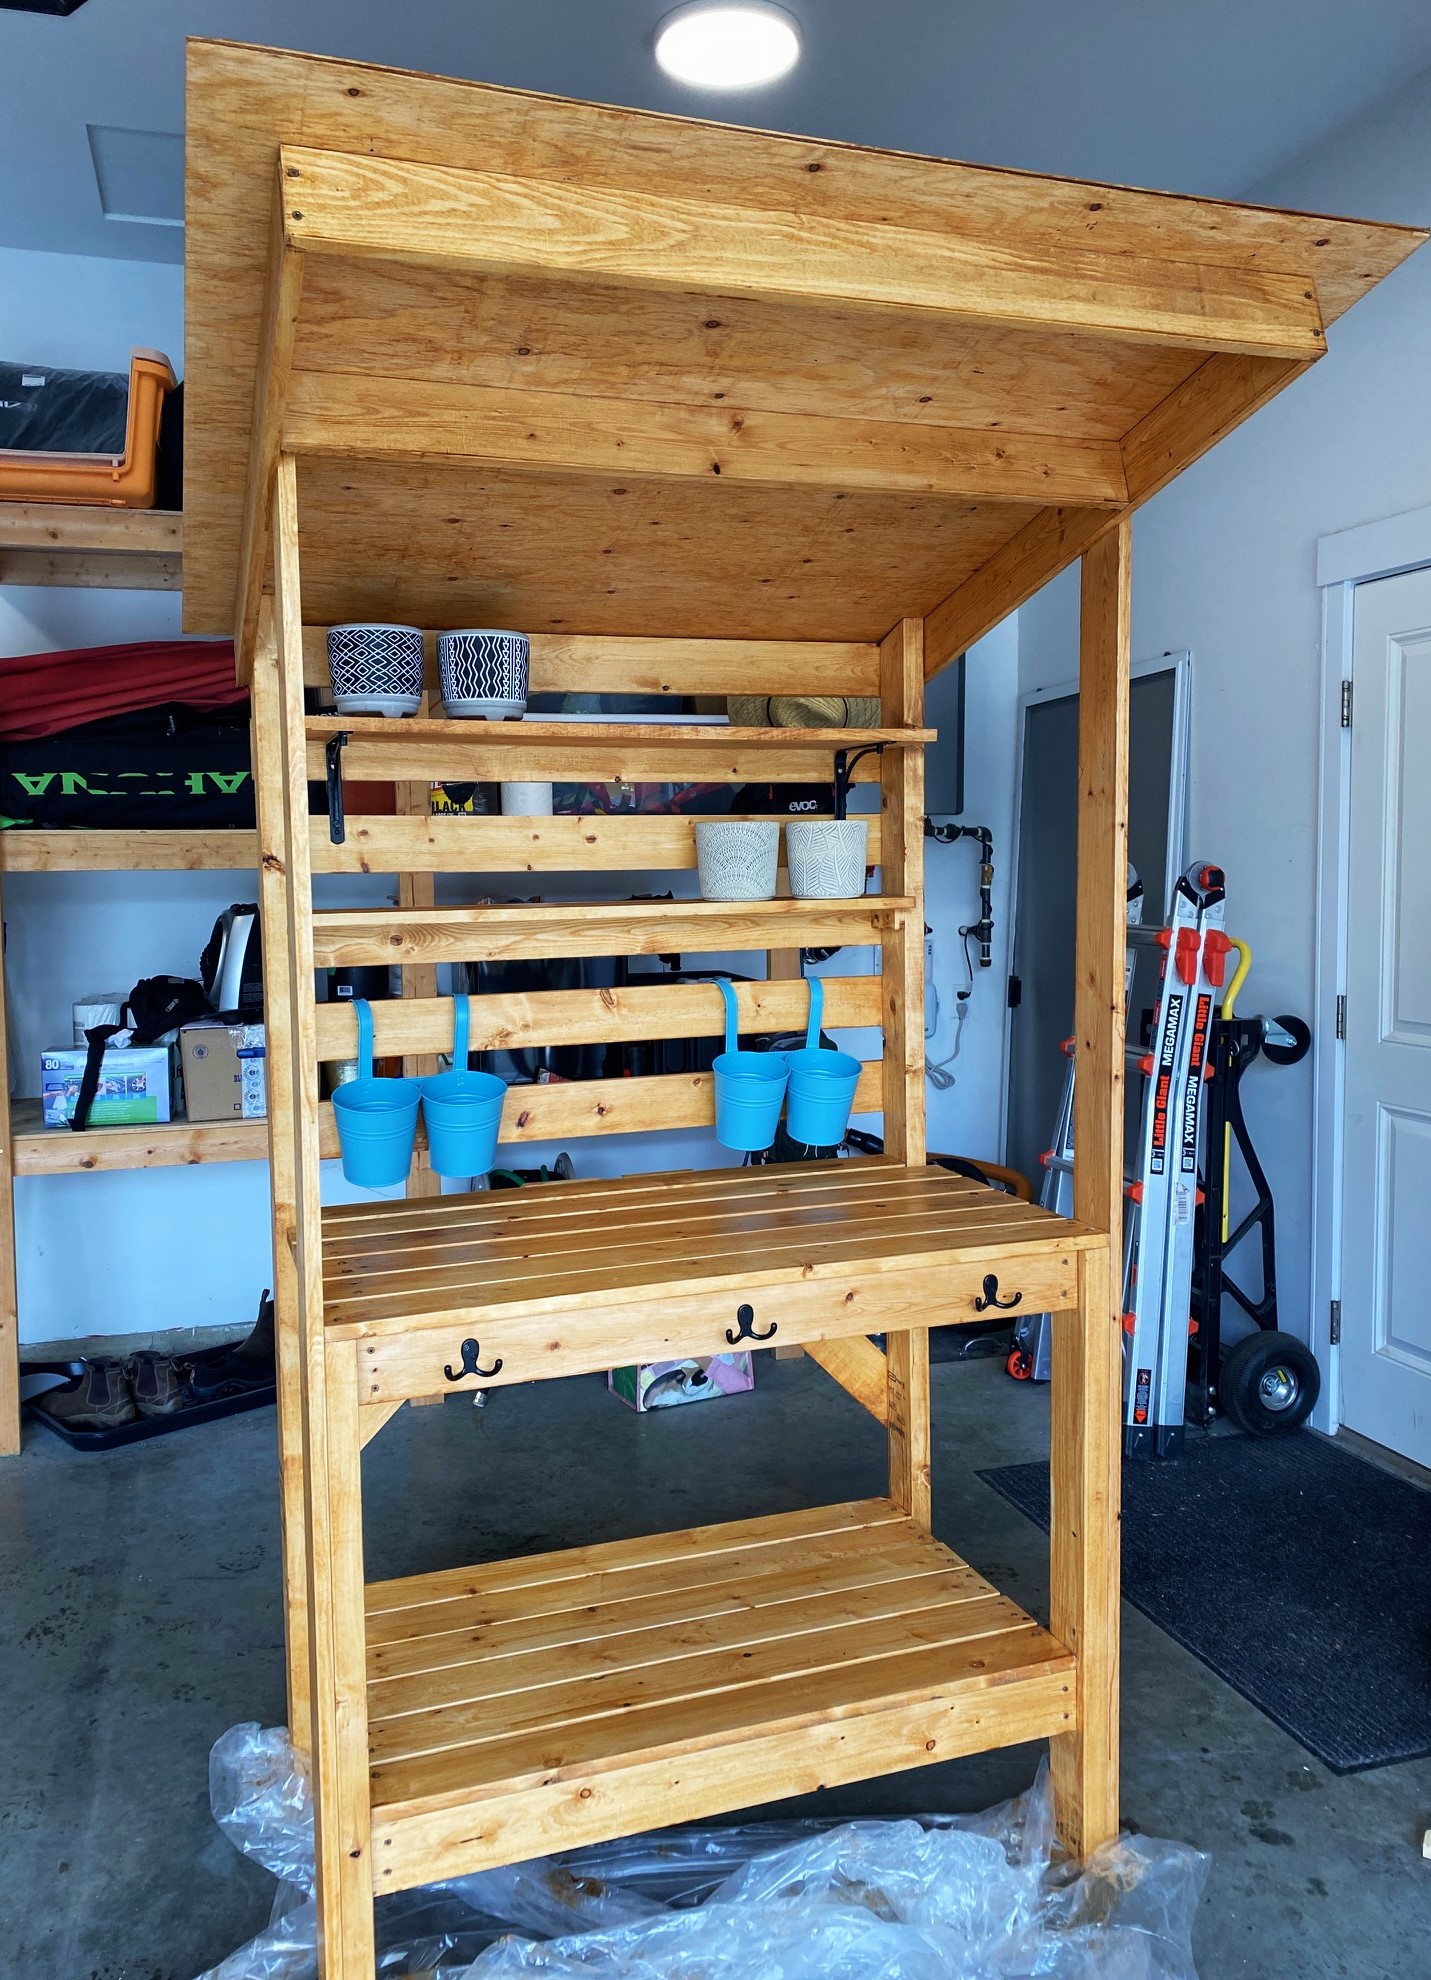
Based on the 2x4 Simple potting bench but added shelves and a roof!
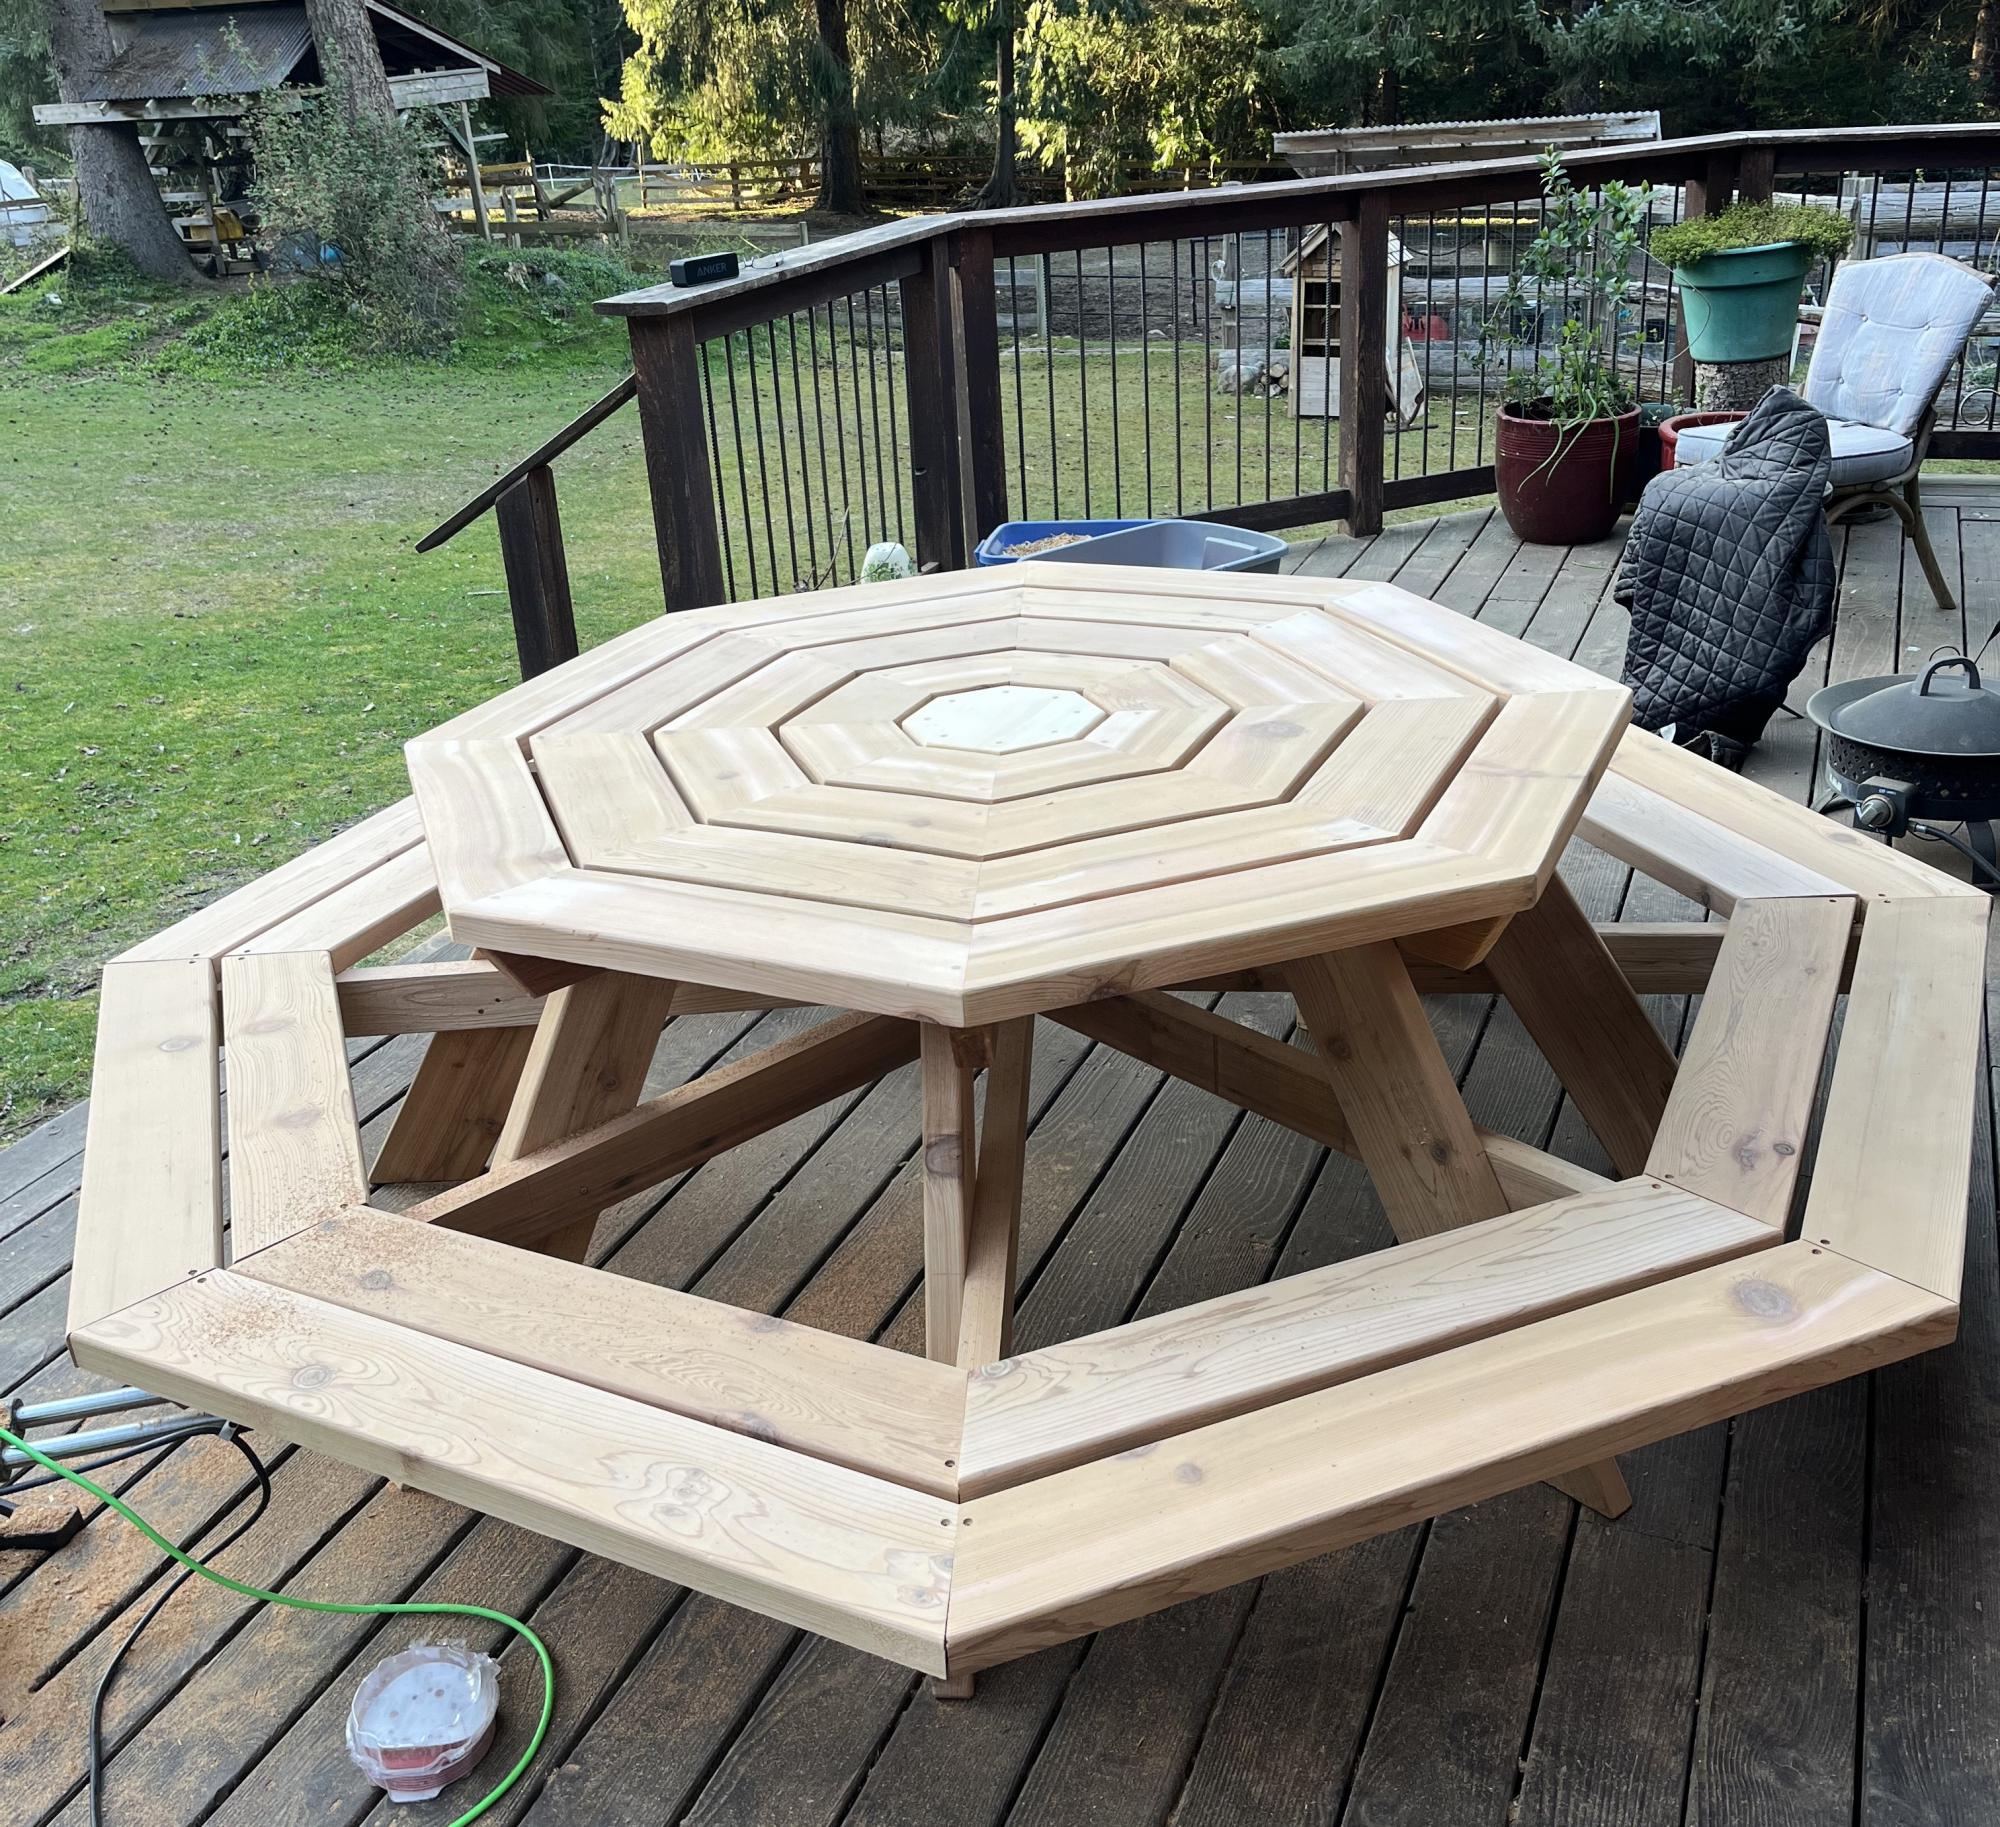
DIY Octagon Picnic Table
Our first Ana white project! My husband and I are both really excited with the results. We plan on making the table too. I followed the plan and added comments/details/changes we made on my blog http://thehuth.blogspot.com/2012/09/diy-pottery-barn-bench.html I added pictures to follow along the steps from the tutorial.

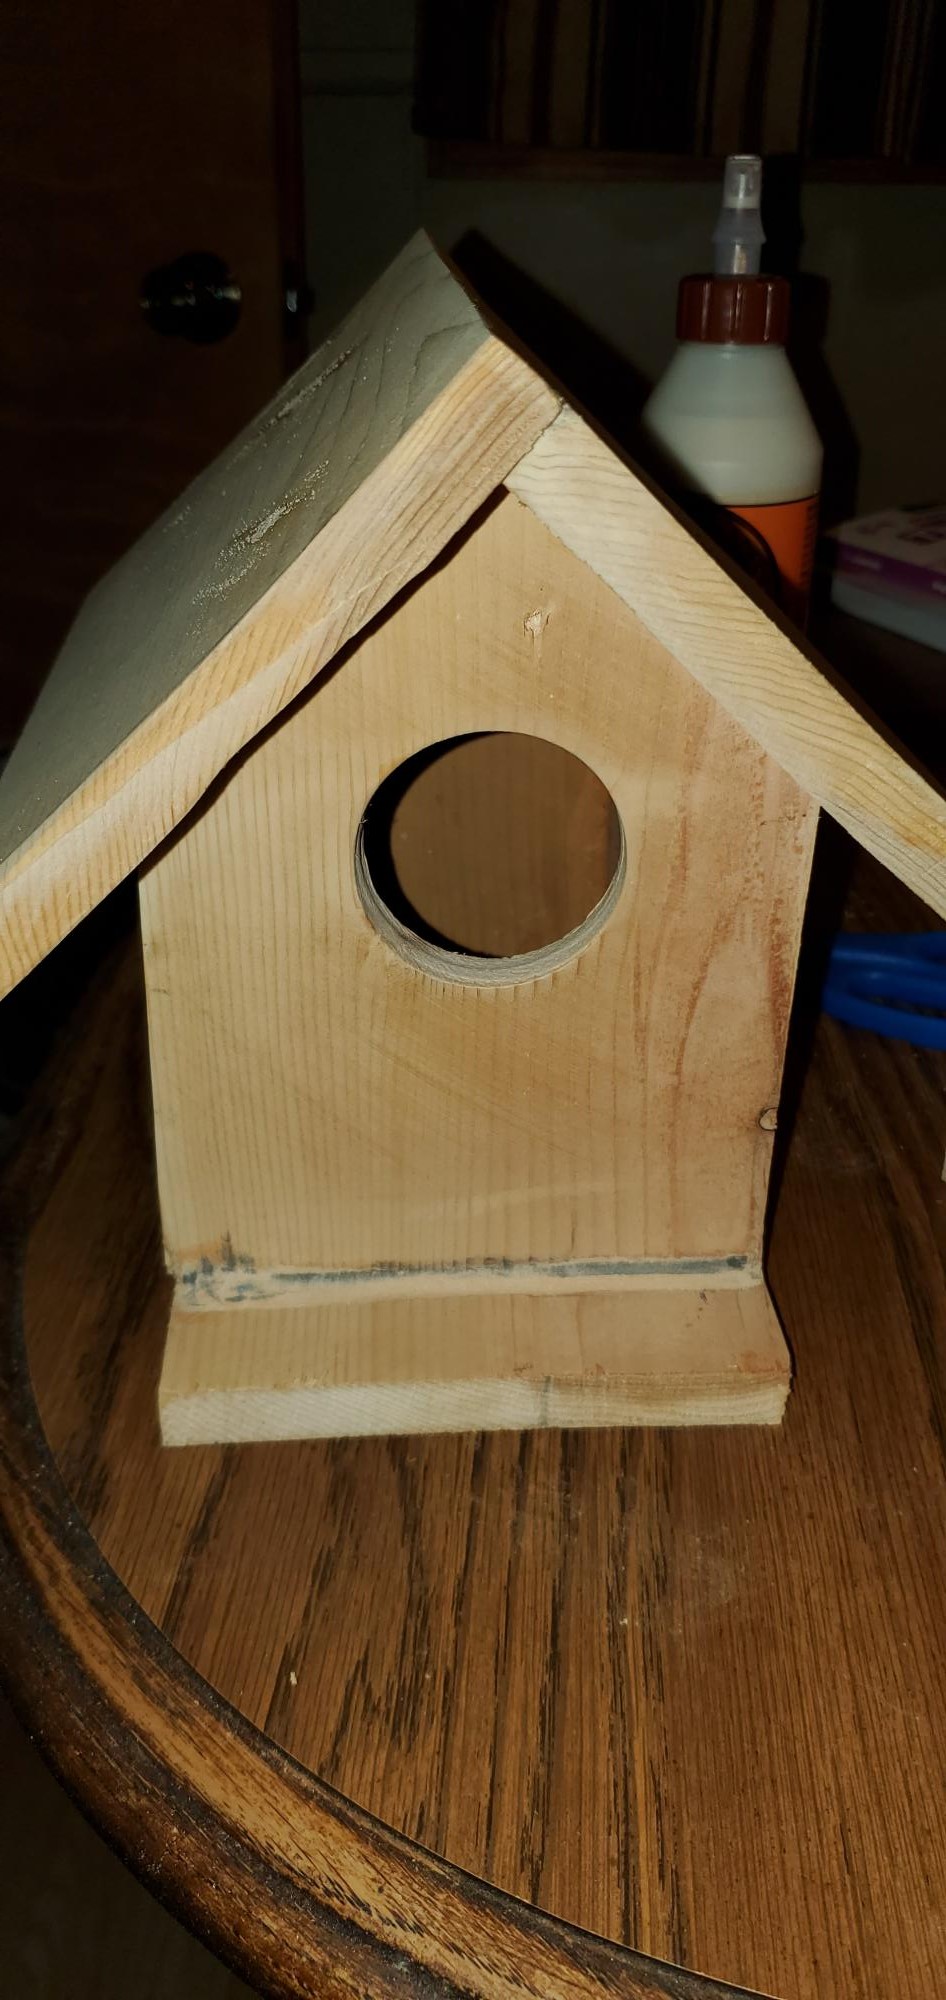
This was my first project. It was relatively easy but I did make some mistakes that are now design features


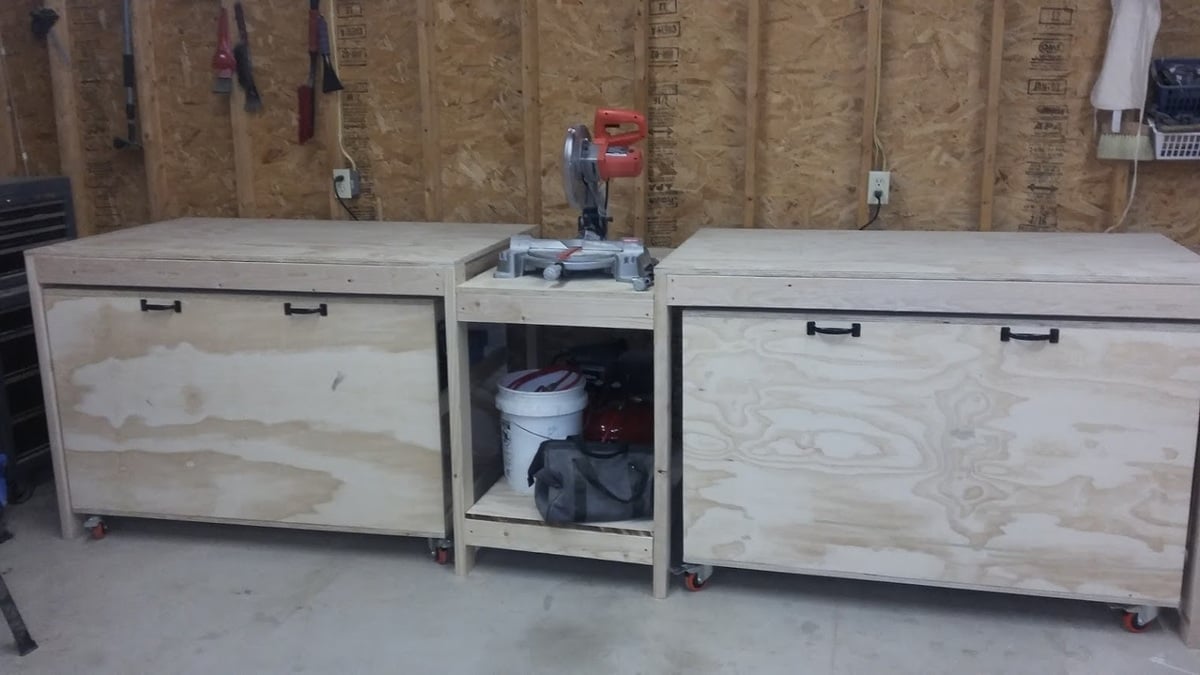
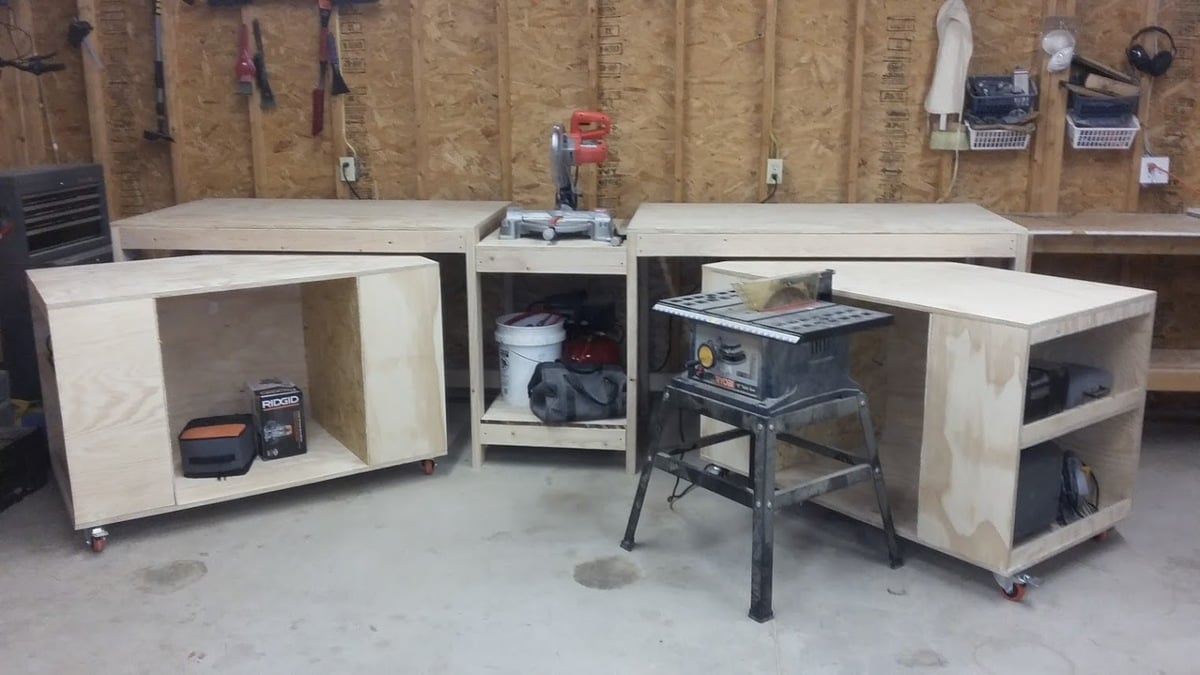
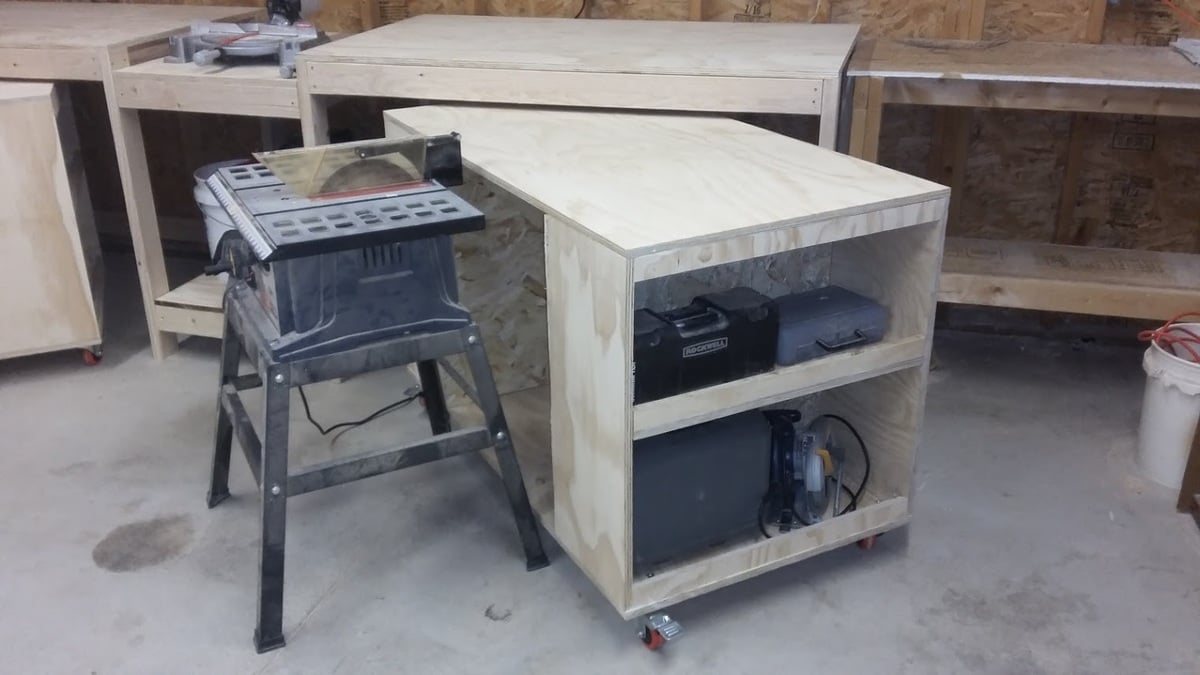
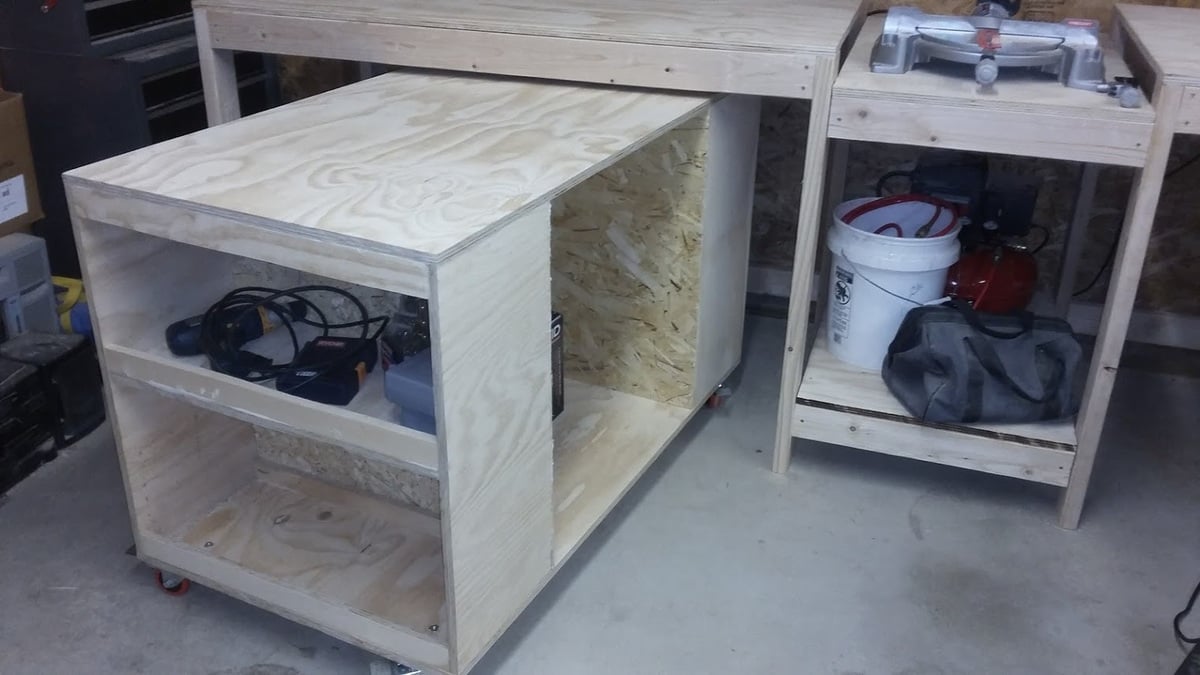
When I saw the plans for the miter saw stand that had two rolling tool storage carts, I knew I had to make it. Having a cart used for an outfeed table is a brilliant idea. It was a fun project to make. I tweaked a few dimensions because I like taller workbenches because I'm taller. Now my shop is looking more organized.

Sat, 03/18/2017 - 09:02
Very nicely done. I am thinking about building the same system. How is the dust control on the mitre saw working? That is my one concern, that sawdust will be all over my other tools when I use the mitre saw.
Wed, 05/10/2017 - 20:47
I don't really have a dust control system. I let the dust fall where it does and then just sweep it up. I have a wet/dry vac but my wife uses it in the house because it's more powerful than many other vacuums. If the dust gets out of control, I can just bring the wet/dry vac out to the garage and clean up. There is lots of room to maneuver the vacuum.
Tue, 06/23/2020 - 07:02
what kind or brand of plywood did you use for your project?
Sat, 03/18/2017 - 09:07
Very nicely done! I am thinking about building this same system but am worried about the dust from the mitre saw getting all over my other tools stored in the rolling sections. Do you have any issues with that?
Not going to lie, as this was mine and my husband's first time building we did run across a few challenges BUT, nothing that we weren't able to figure out and correct. It came together beautifully and I can't wait til we purchase our first home in January so that I can figure out what color to stain it!
FYI- the angles were difficult to get perfect especially since we were using a makeshift work bench (ie: a pallet and the sidewalk) and a circular saw - we were also rather unfamiliar with some of the terminology used in the directions
This was the first furniture my husband built. He also did amatching sideboard table using Ana white plans.

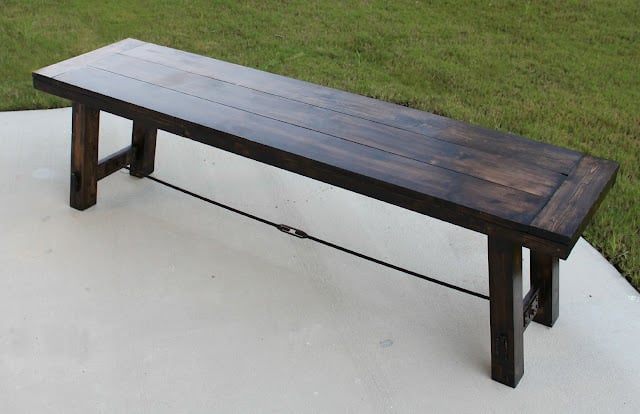
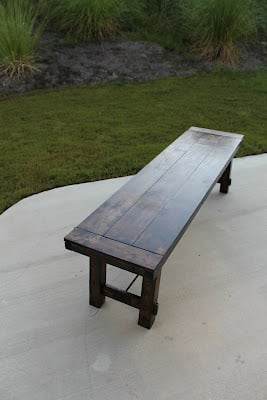
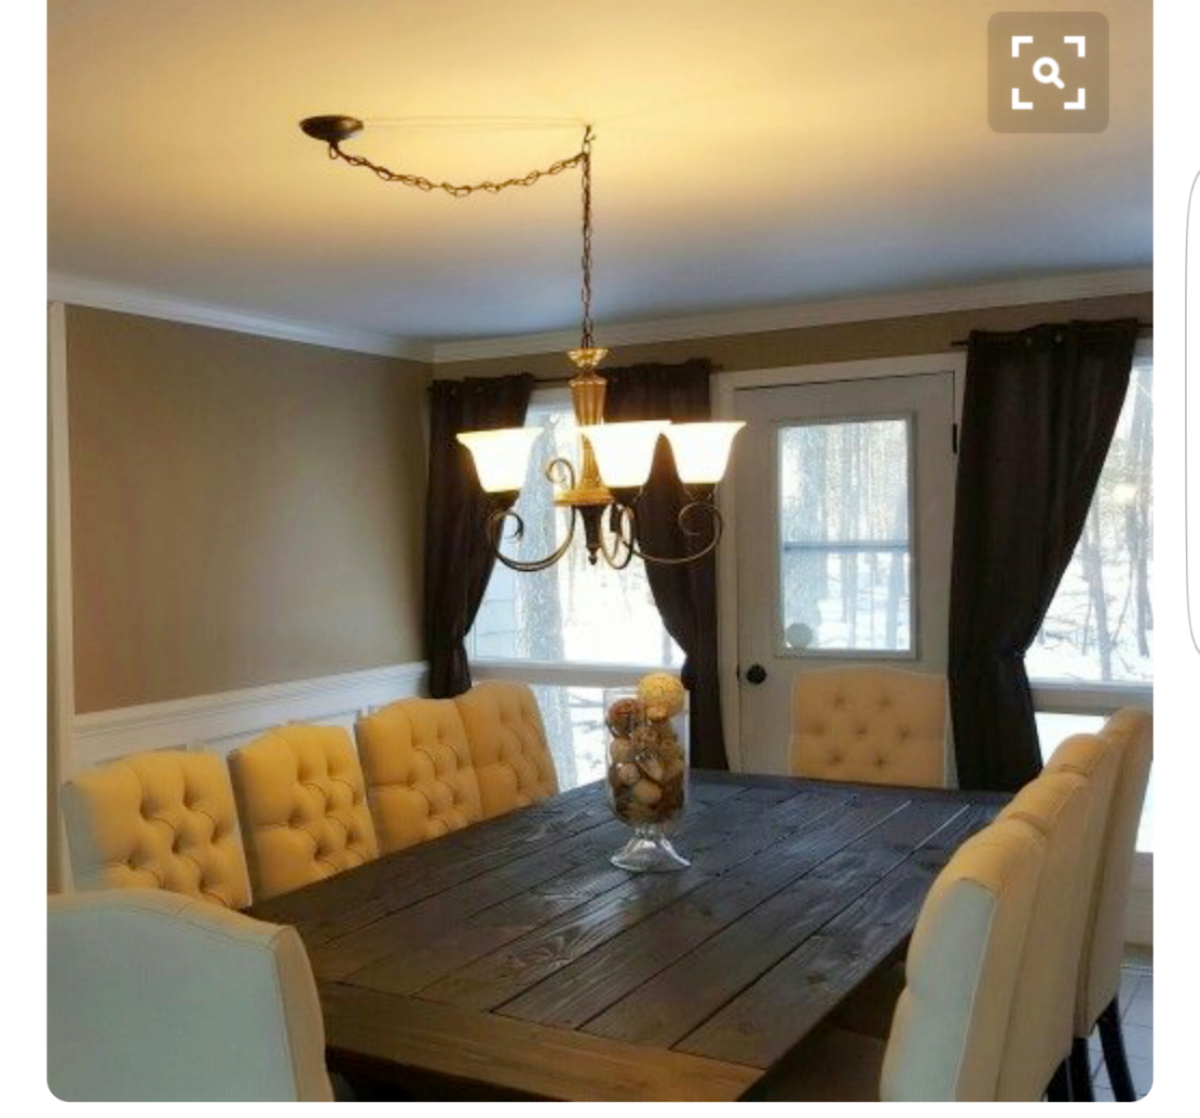
The challenge this go around is build benches to match a wheat colored dining table, sight unseen. Quite a challenge!. The table has X legs with cross braces running from leg to table bench top for support. Coming up with a design to match the X legs was simple however matching the color was not easy and left me anxious until I delivered the benches. Thanks to my previous experience building a farmhouse bench and using this plan, I had the foundation and cut list to execute. With a few tweaks it came together very nice!
Visit charitybuilds.com to find our how the color turned out!
Thanks for the awesome plans Anna! God bless.
Eddie Jimenez
This was my first project and had tons of fun building it. Can’t wait to build to end tables to match.
The plans are so easy to understand. The only change I made was instead of exposed screws I used the pocket hole method


Fri, 01/12/2024 - 08:33
This is beautiful and just the look I'm going for with the color scheme. I am wondering if it would be easier to paint the wood before constructing it? Also, what is the pocket hole technique? I think I would like the screws hidden too.
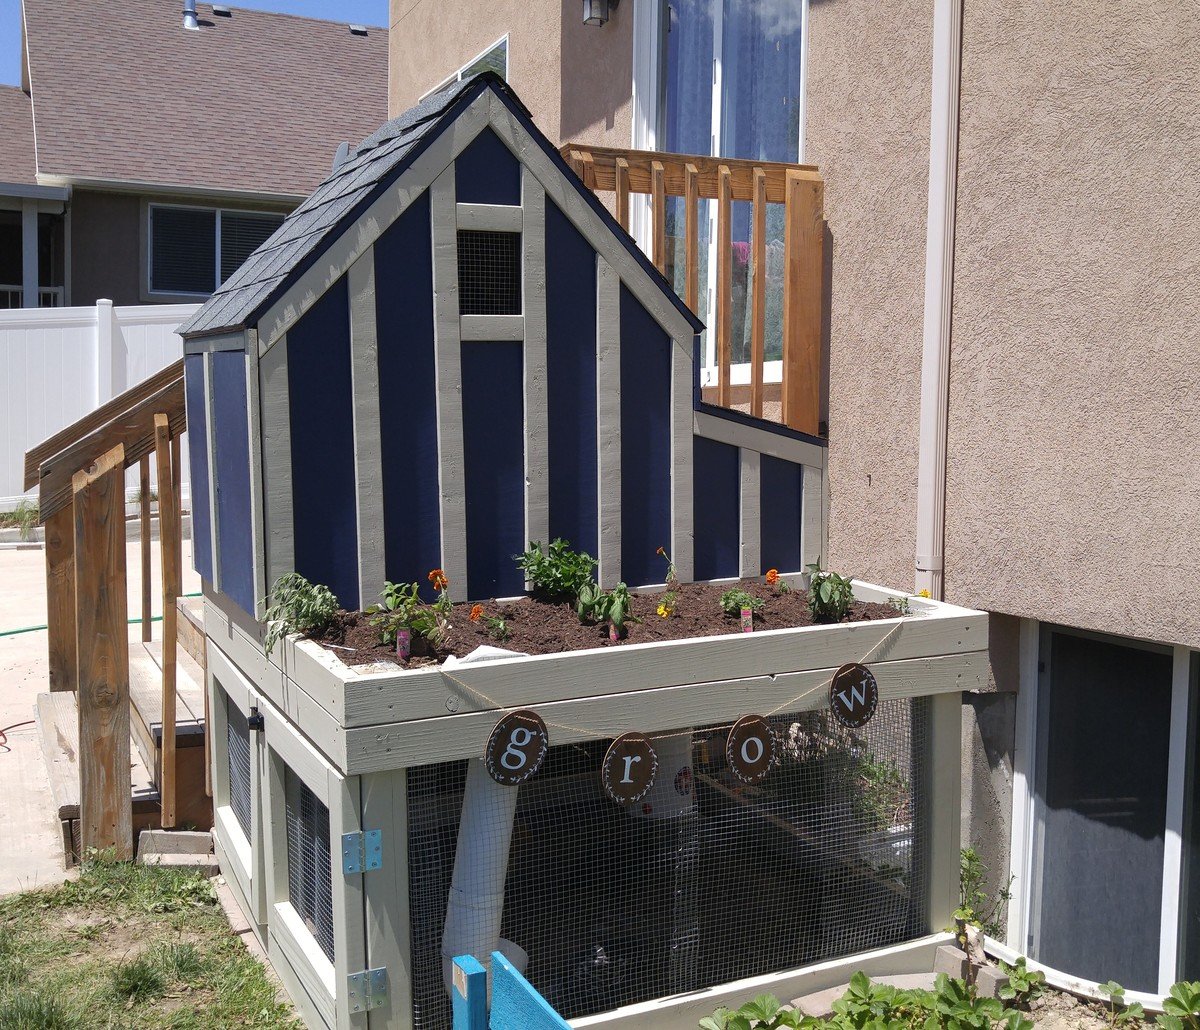
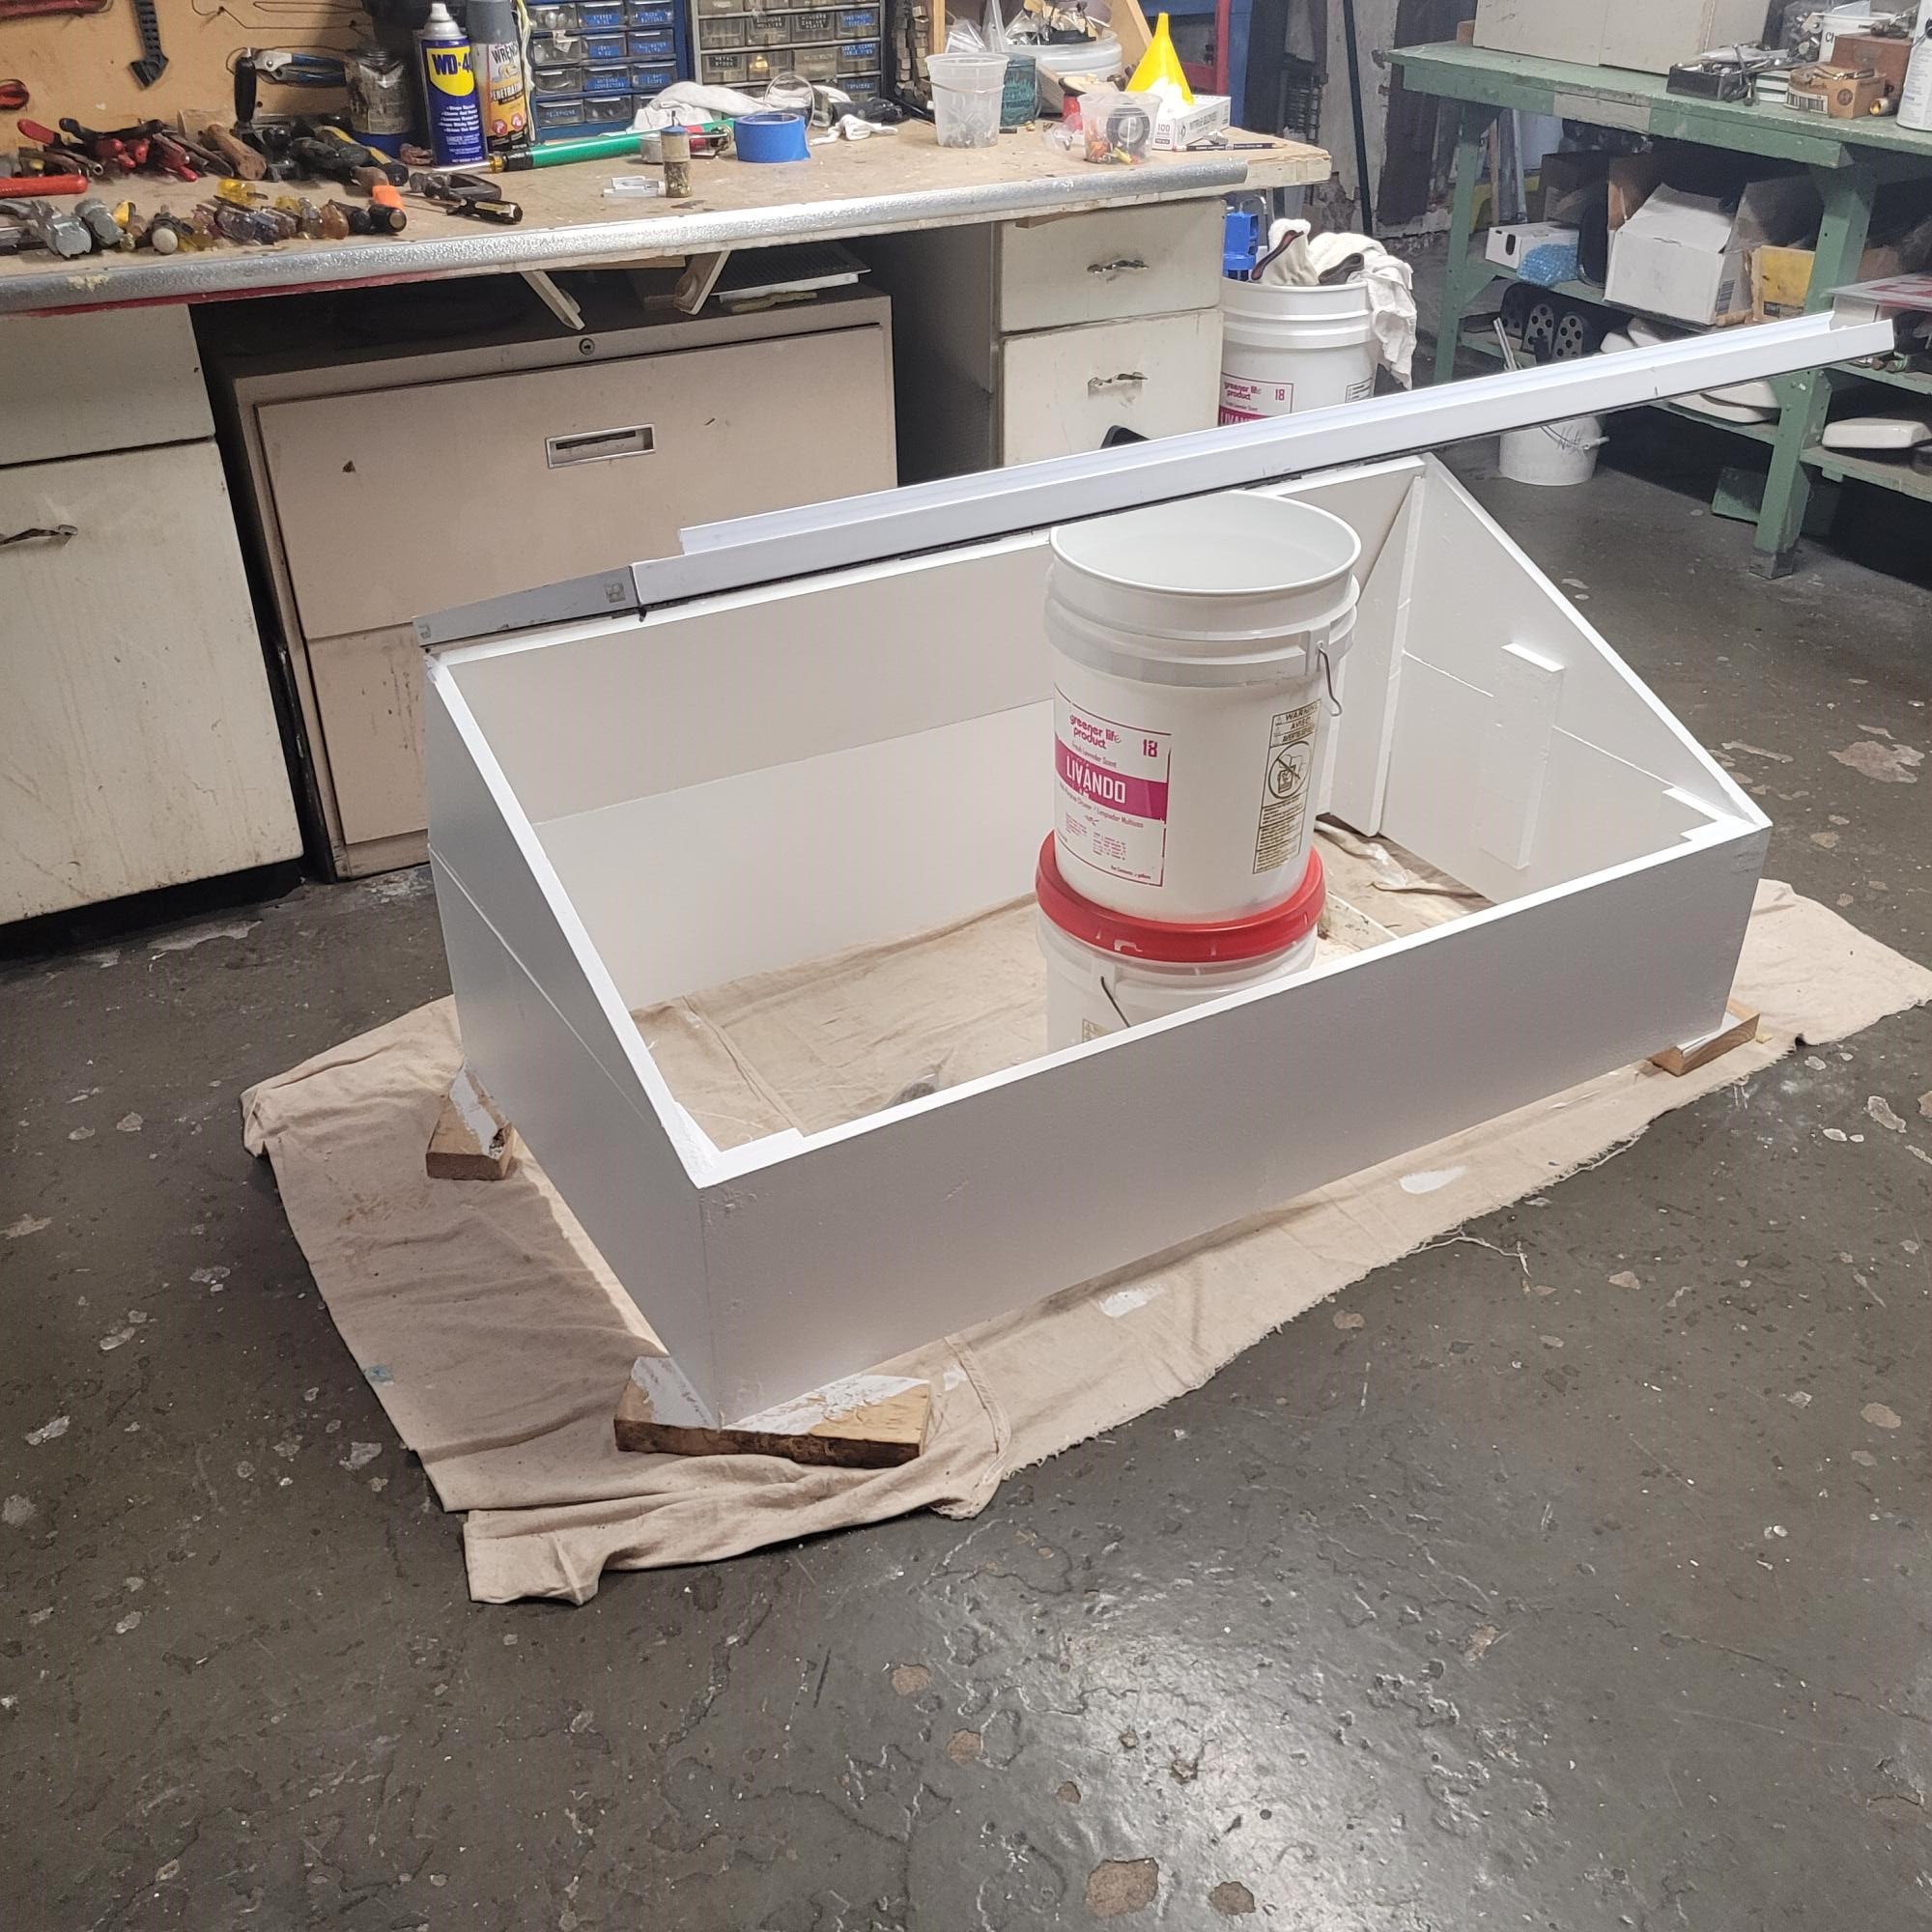
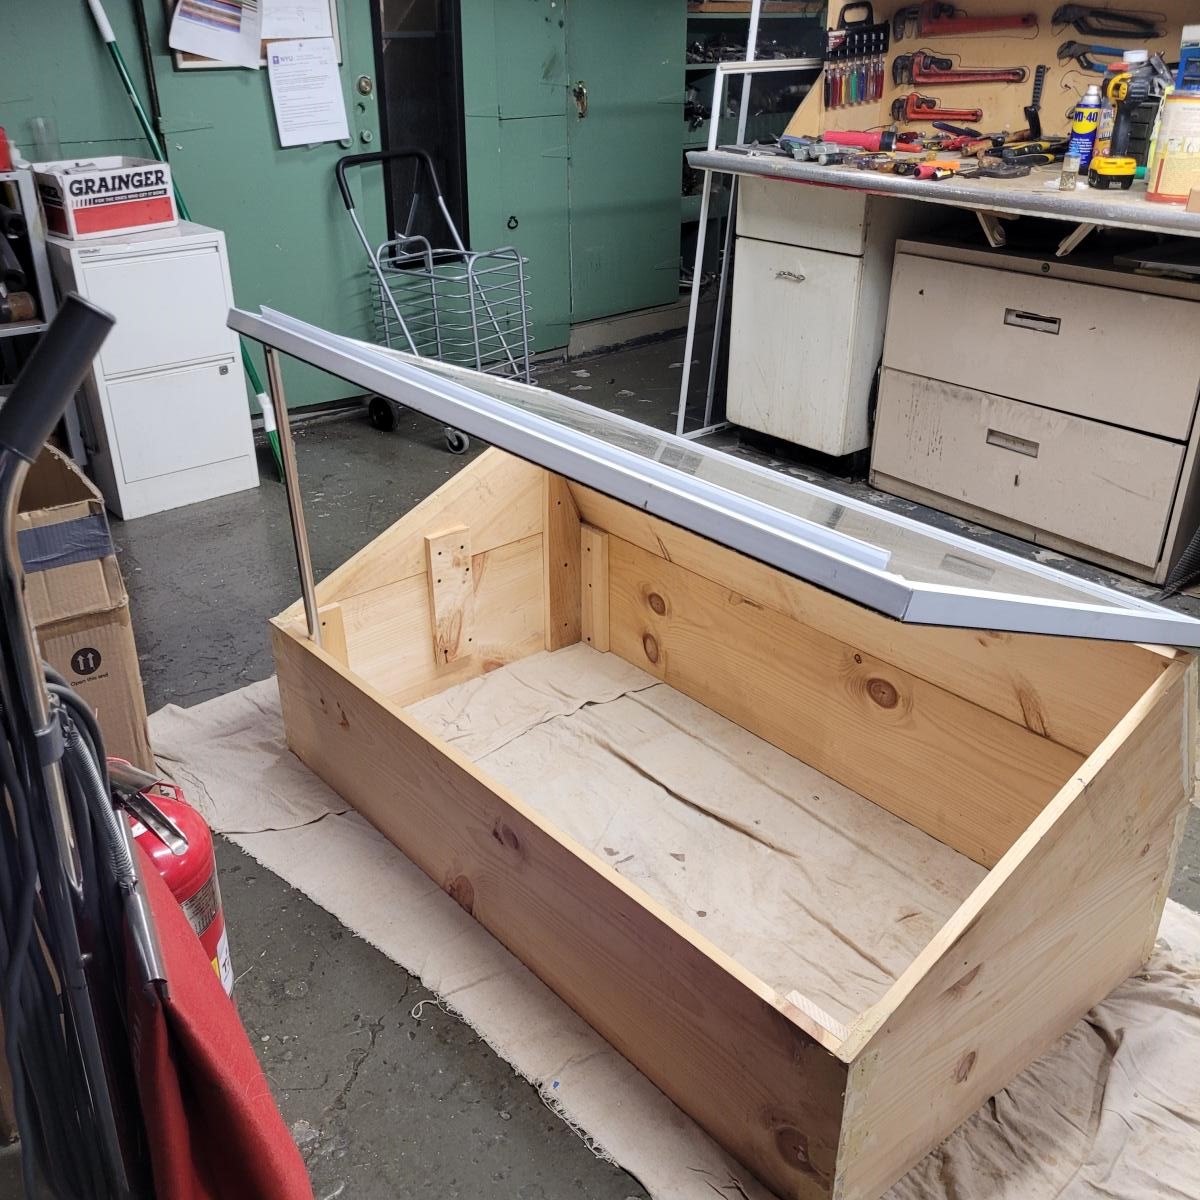
We built this to go right next to our stairs. The run has hardware cloth on 3 sides and then the side touching the stairs opens up to under the stairs so they have a bigger run.
We extended the floor so that it went all the way to the nesting box. We will be adding a nesting box to the wall by the cleanout doors rather than where the plans put the nesting box. We like that this gave us more square foot per chicken on floor space. Due to this change though we had to use interier hinges so the floor could slide in and out easily. We also added a door to the bottom so the coop could be locked seperately from the run.
I wanted to turn the space where the planter box is into a storage space and may still do that later to store food, clean out supplies, and first aid supplies. We'll see!

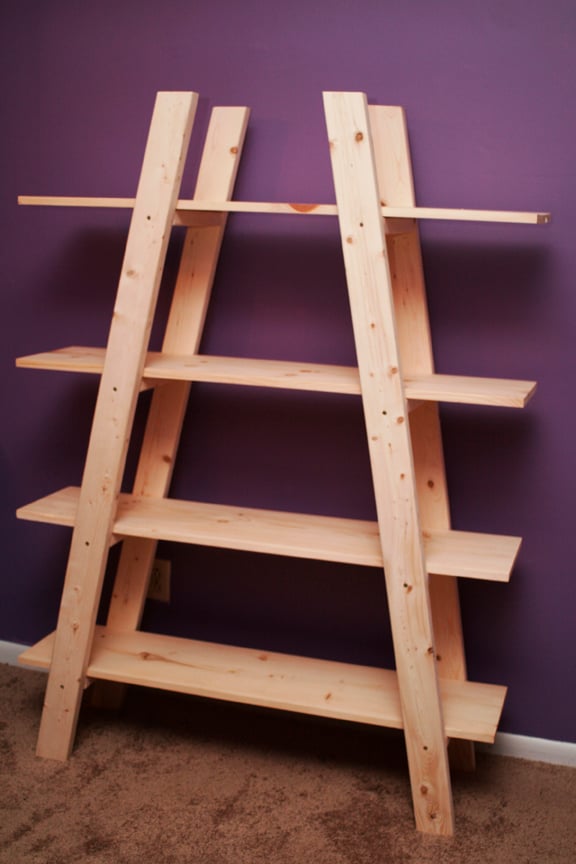
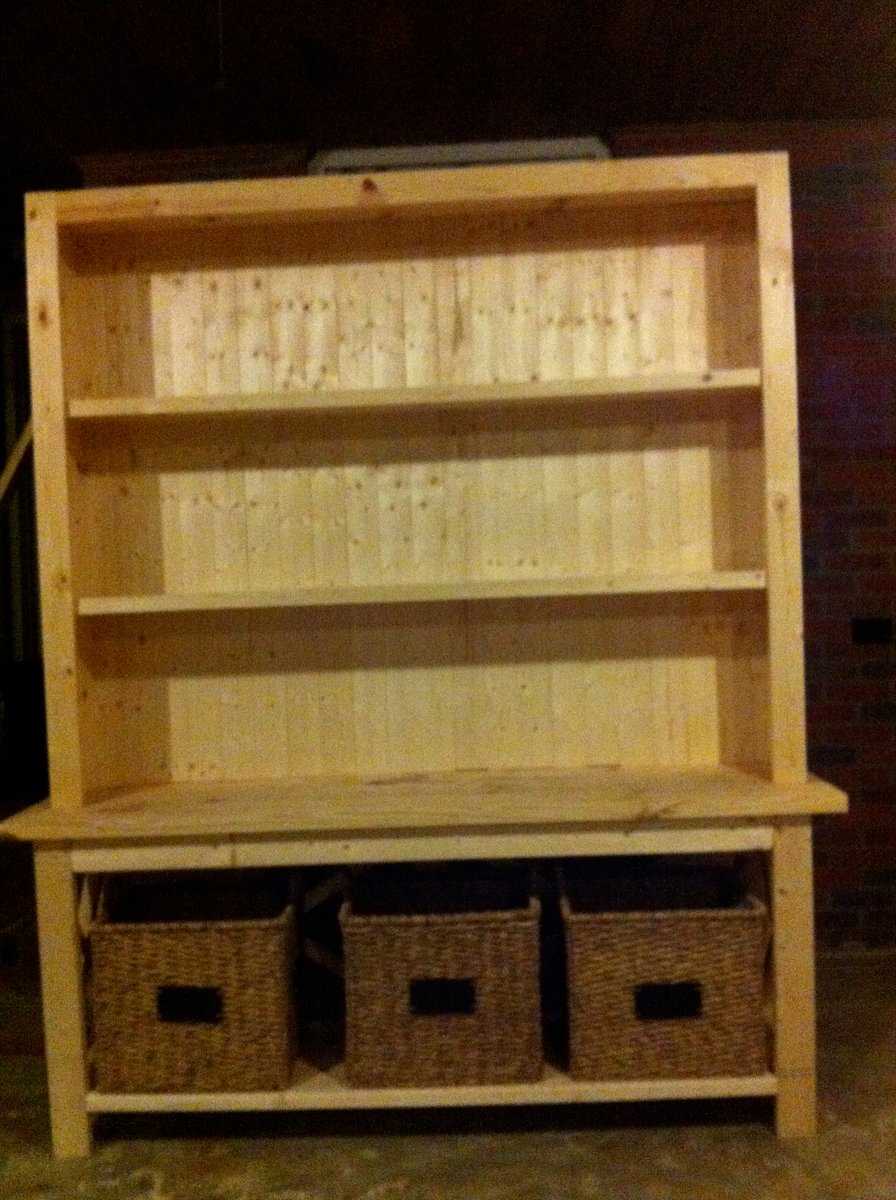
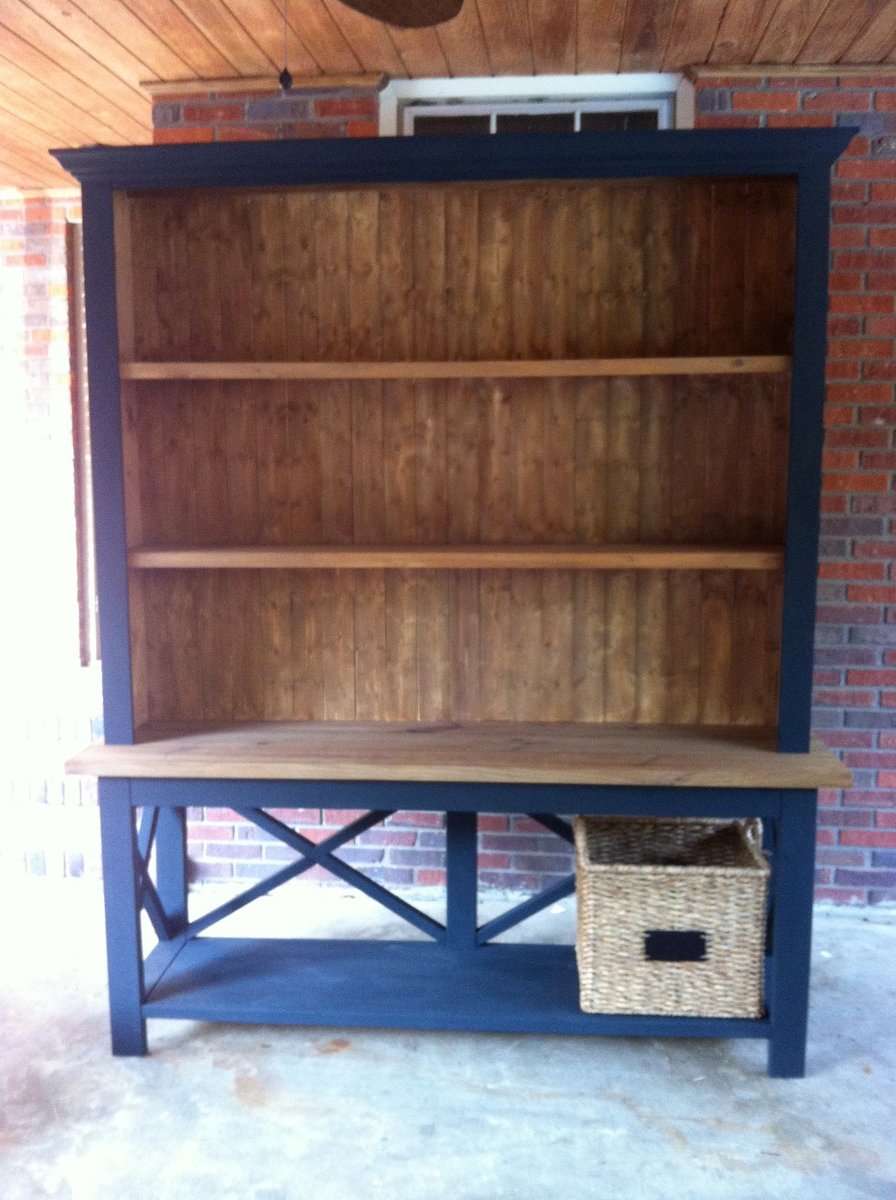
I have been dreaming about this piece of furniture for 3 yrs....I used Ana's plans for the rustic x console but took out the front middle support and made it a little deeper I also turned the 2x4 vertically and added an extra 2x4 behind it to add extra strength.....because I wanted to fit 3 baskets from Target underneath...the hutch i just winged!....Thank you so much Ana for giving me a place to start!...I am in love!......


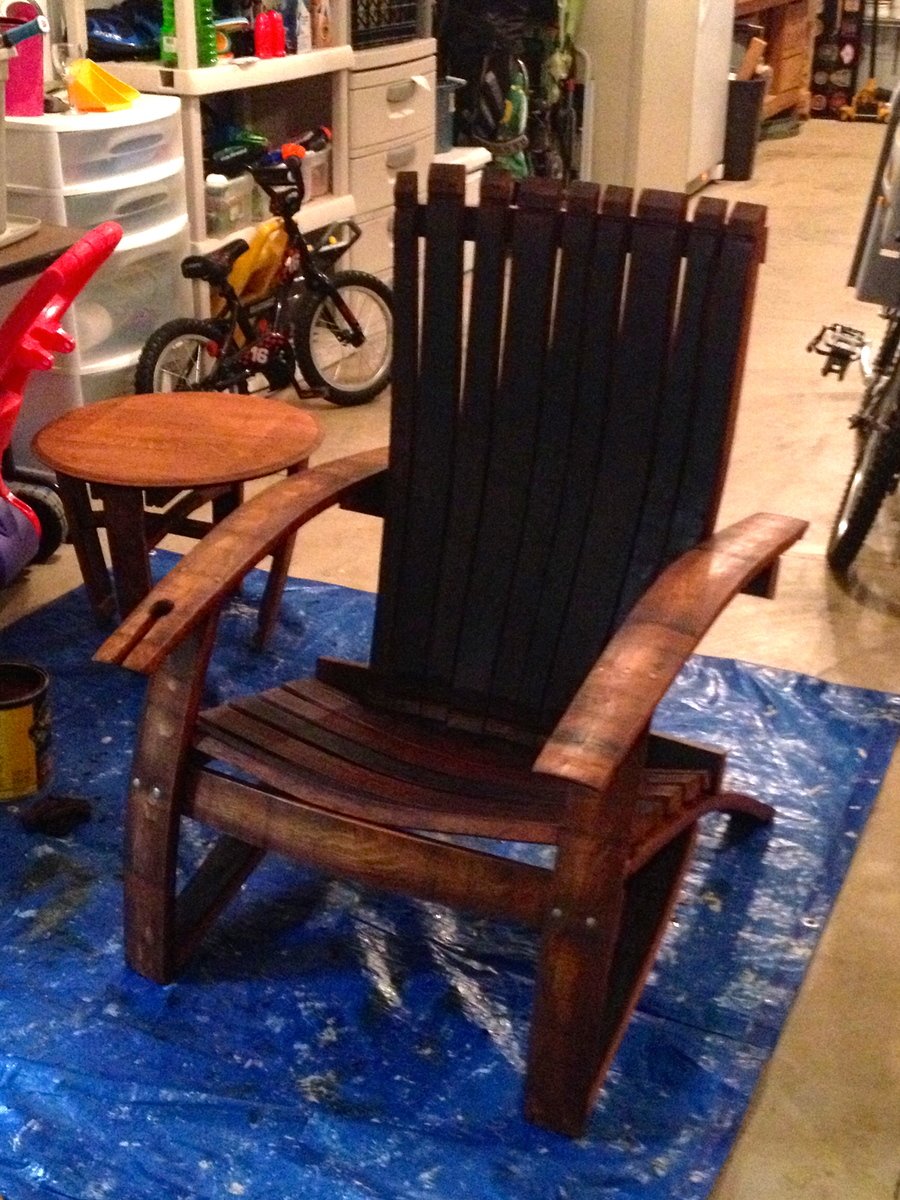
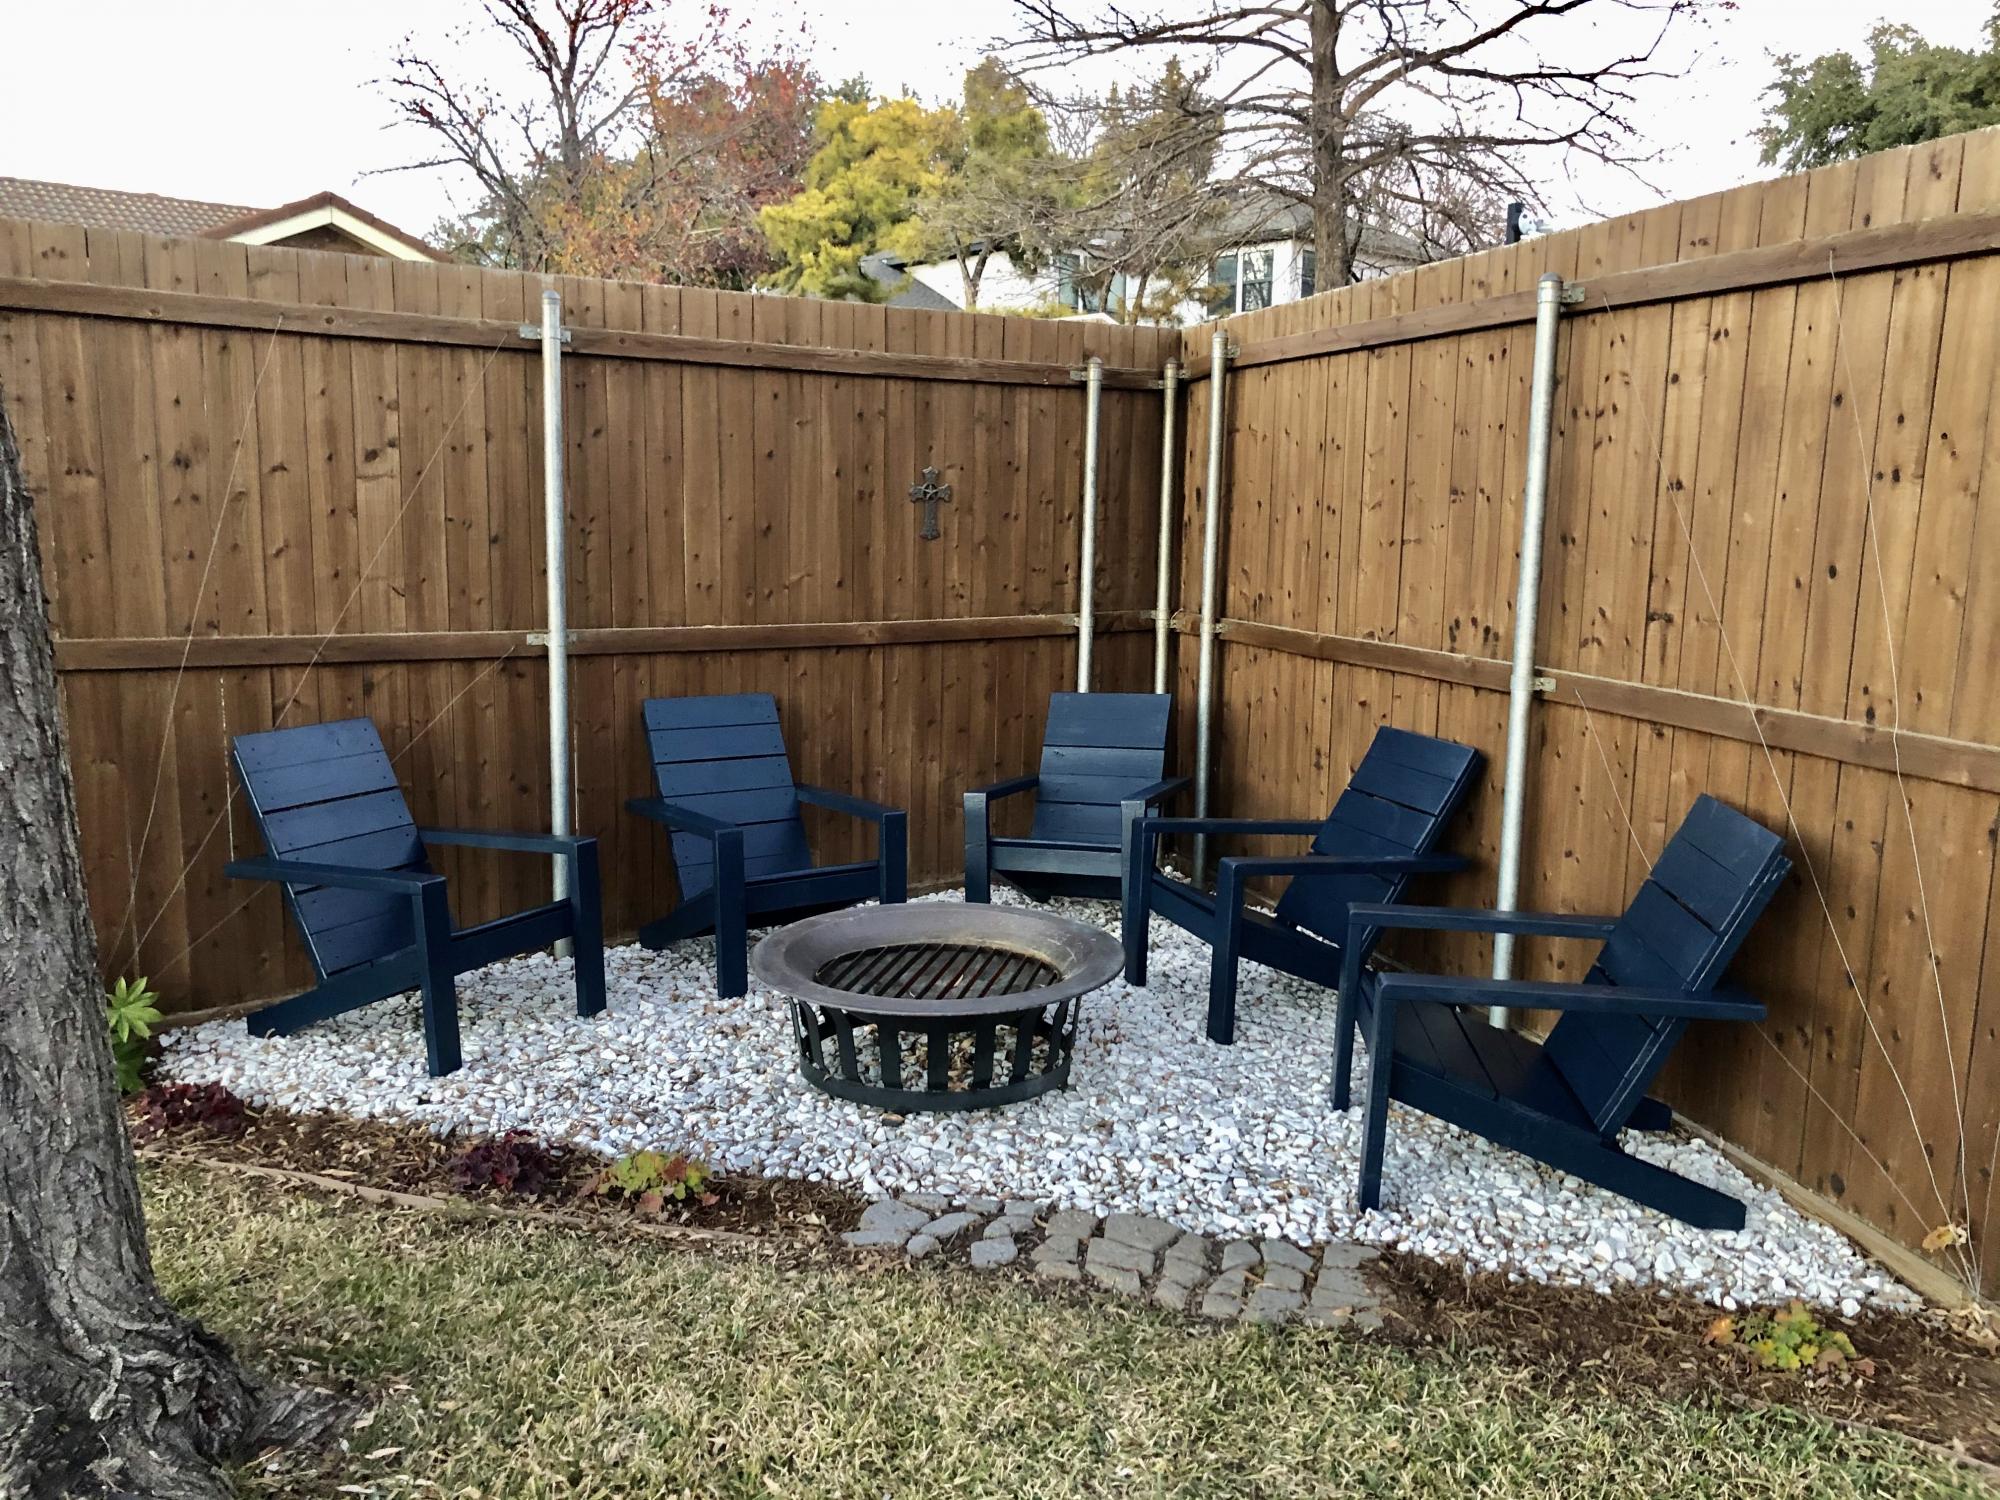
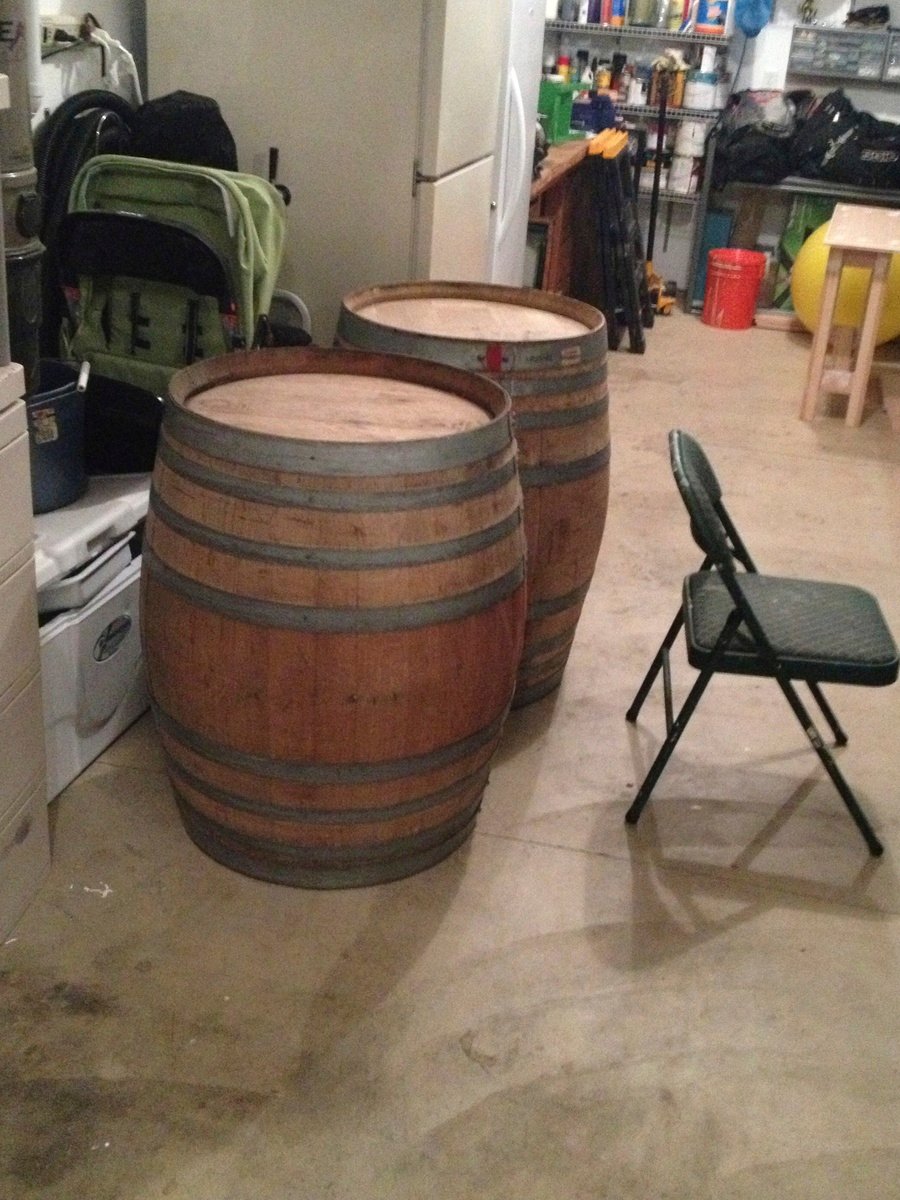
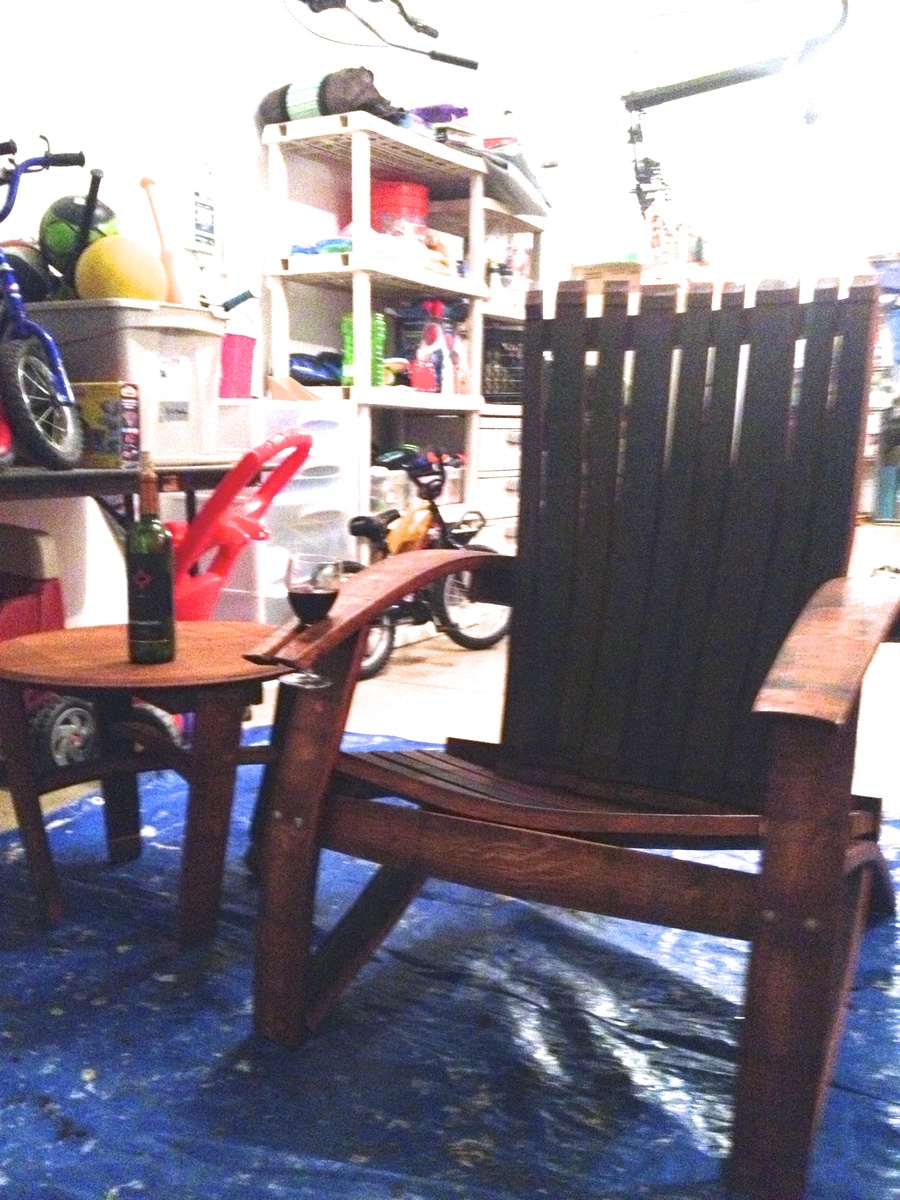
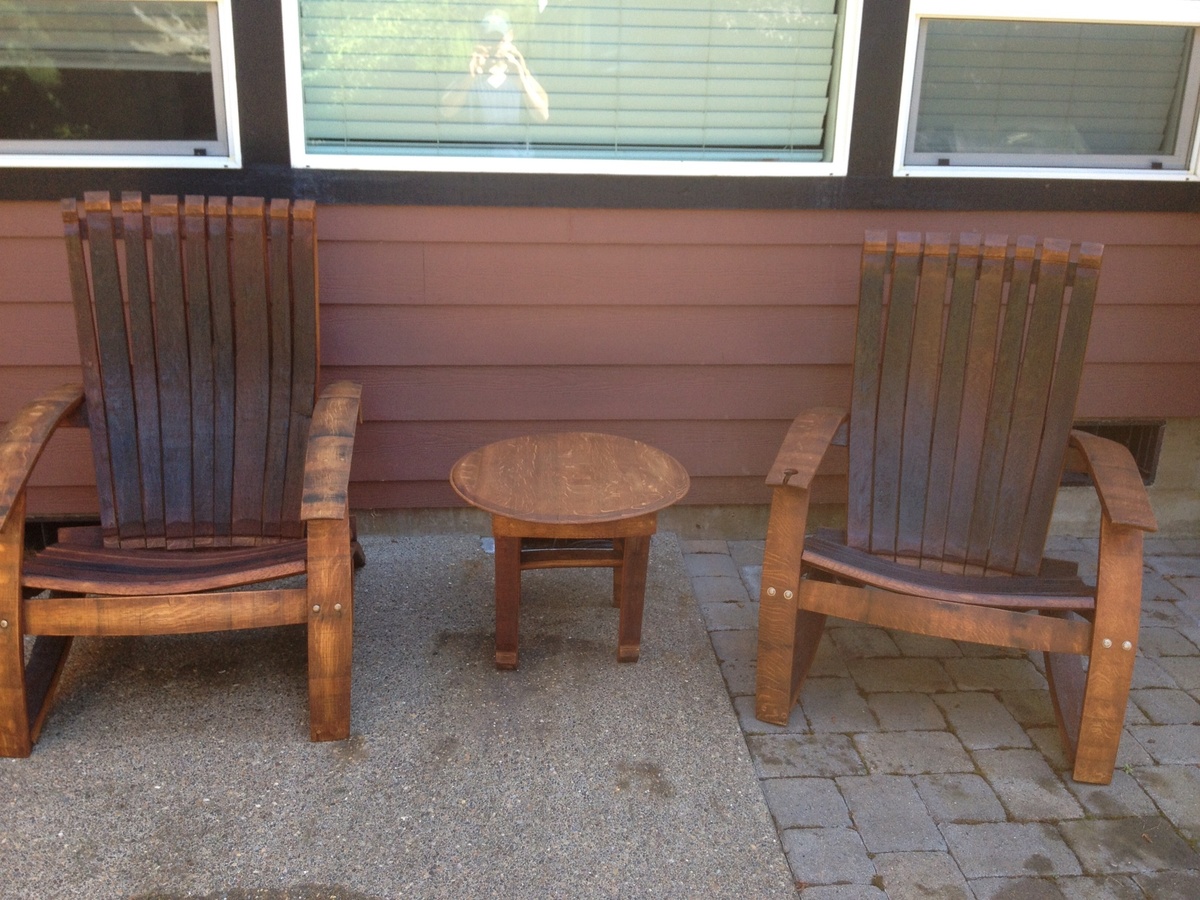
I got some oak barrels from a local vineyard and decided to try making some adirondack chairs. It was harder than I thought it would be, but well worth it!! The stain was a little darker than I thought it be, but it's rubbing off on me!
predrill, predrill, predrill, and learned a valuable lesson in predrilling, as solid wood under strain cracks easy when using 2 1/2" deck screws!
I need to whip out the nice camera and stop using my cell phone for finished products!
Sun, 07/21/2013 - 19:45
I did have some plans, which made it easier. I didn't use them as designed i.e. tracing, and I also altered the plans some to my liking. I got the plans for 15$ from here: http://www.gcwoodworks.com/Wine-Barrel-Adirondack-Chair-Large.htm
First time building anything. I think it came out pretty good! Thanks Ana white for the plans!!
Fri, 10/15/2021 - 15:31
Thank you for sharing, can't wait to see your next project! It looks so beautiful in your space!

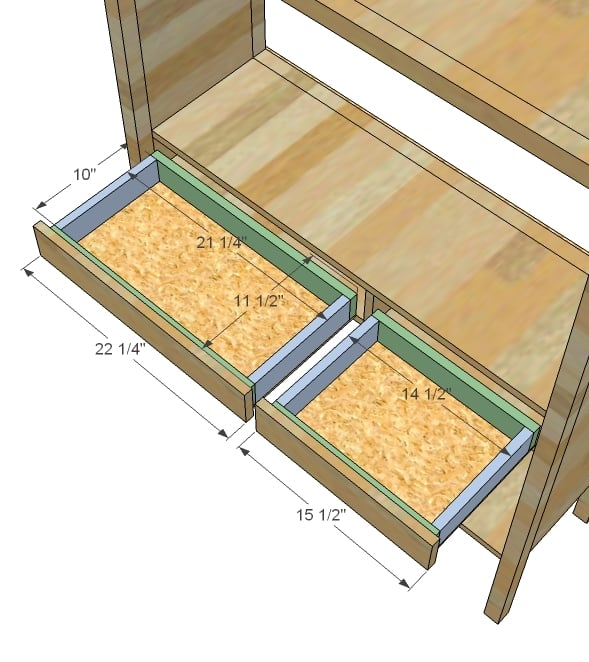
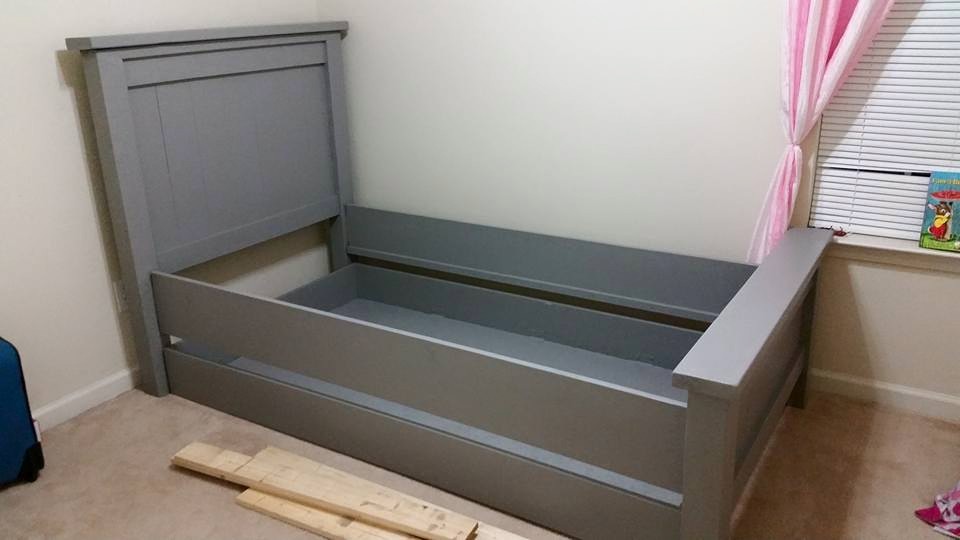
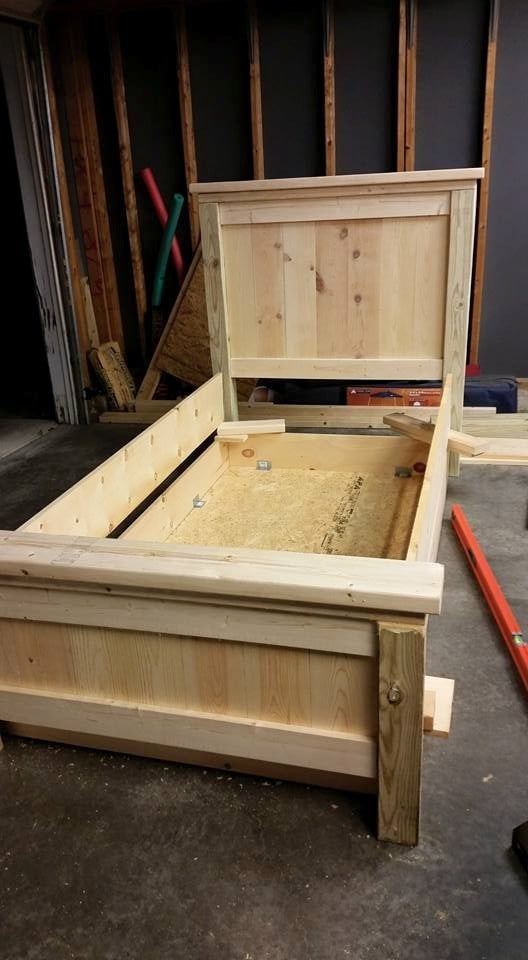
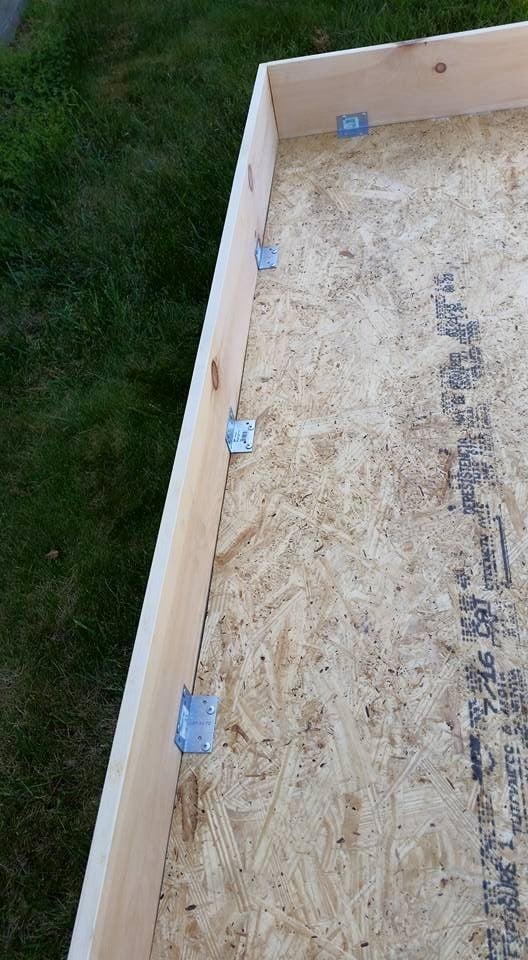
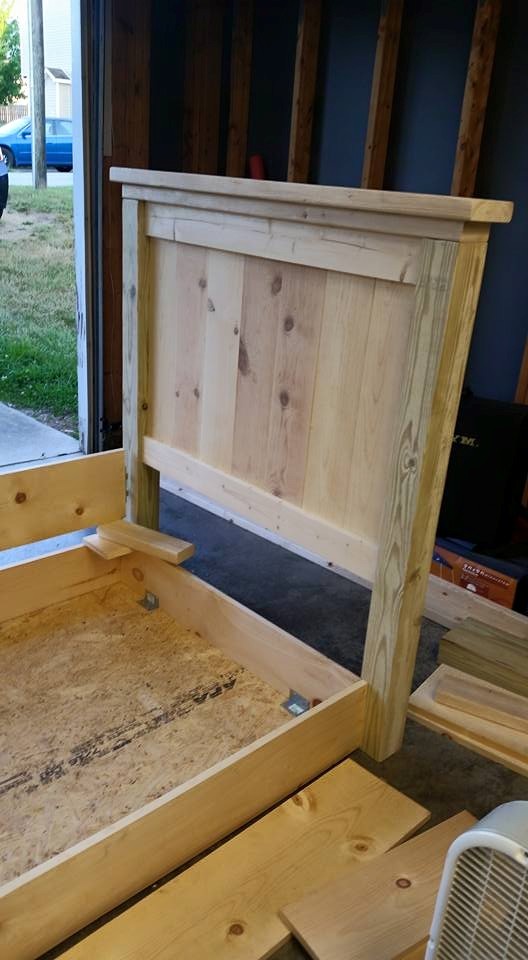
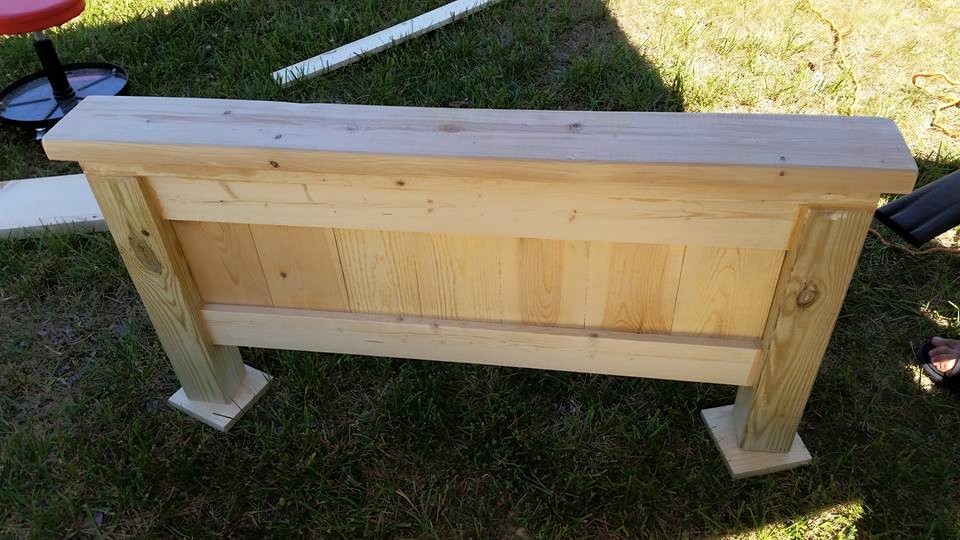
We built this over the course of a couple of weekends. I think the key thing was making sure my 1x6's were the correct width before we began to cut all the other boards. There was a lot of trimming after the fact making the overall width 1/2" shorter than the plans. Some adjustments made to the original plans were...
1) Using decking brackets to support the plywood to the 1x8s on the trundle (super easy way to secure it)
2) Purchased side rail brackets exactly like the ones here from my local woodworking shop.
This makes the bed easy to disassemble because although I swear I'll never move again I'm not building the bed into the room.
3) Instead of casters on the bottom we used those plastic furniture sliders. They were way cheaper and so slim. With the weight of the trundle wood and mattress they move flawlessly.
4) Since my daughter has a memory foam bed I was worried about sagging. We used small 1x? ripped in half along the inside of the side rails for a little lip and then 4 1x6's the width of the mattress to make supports and then laid plywood on top of that. 5) Cut down the headboard by 6.5" so that the mattress butted up against it.
Me personally I hate when there is a gap there for pillows to fall down in the middle of the night.
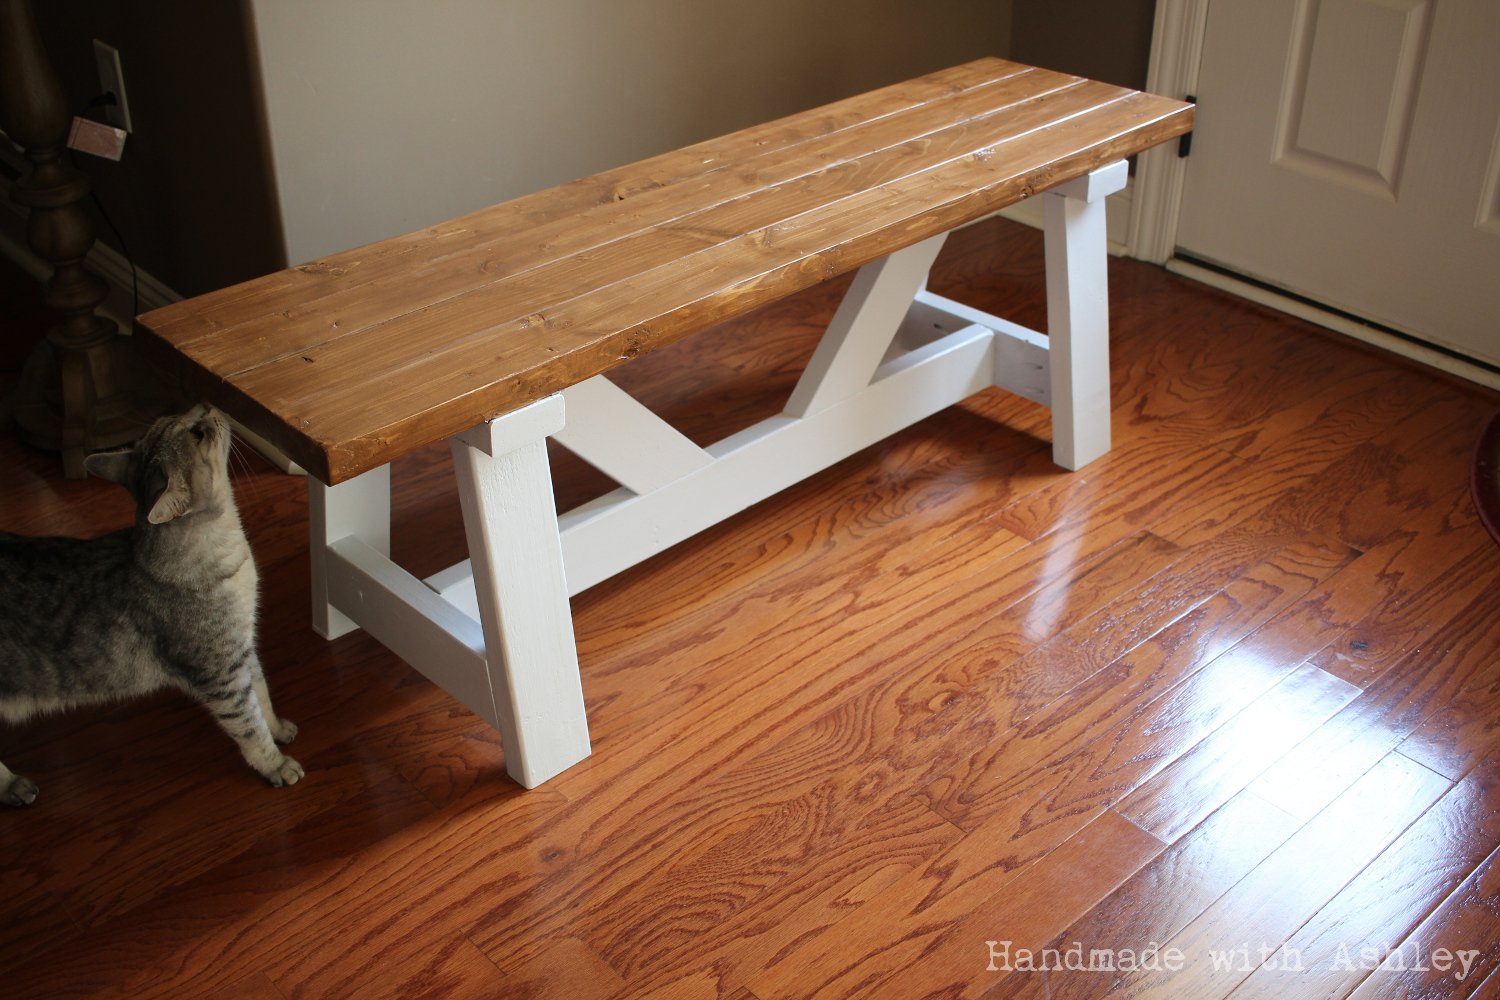
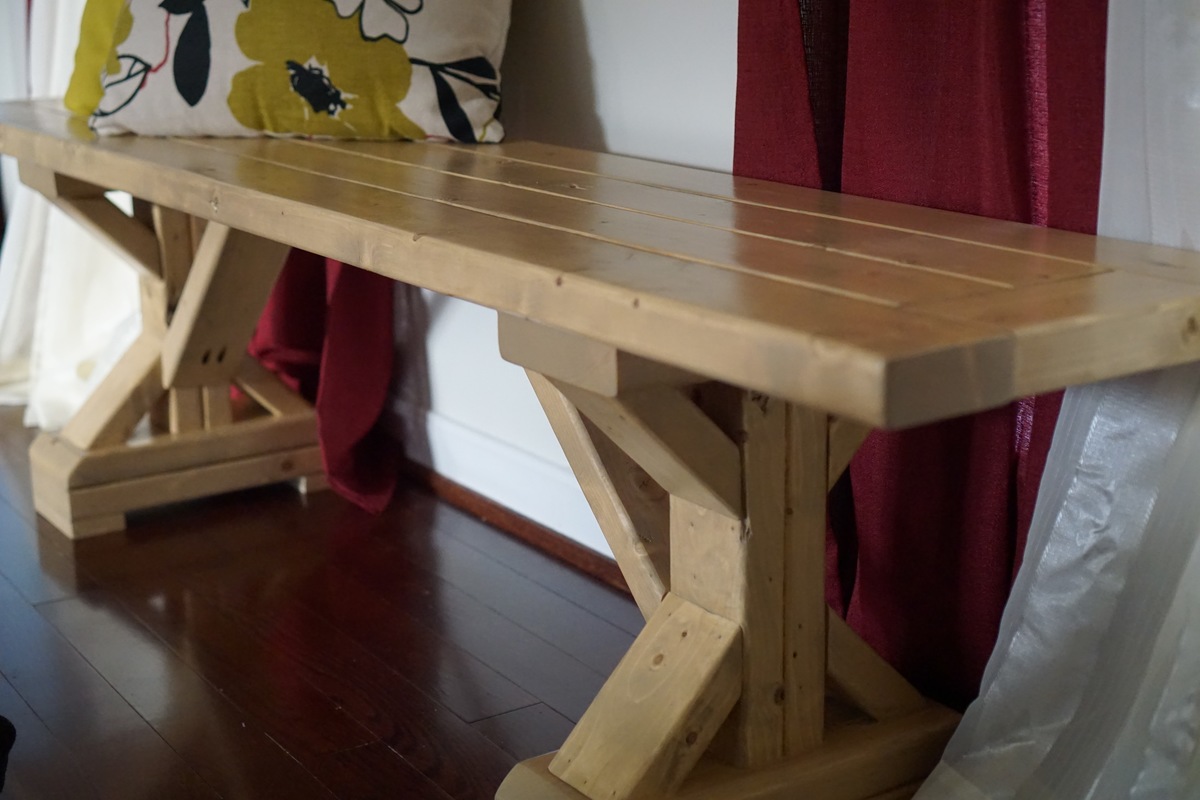
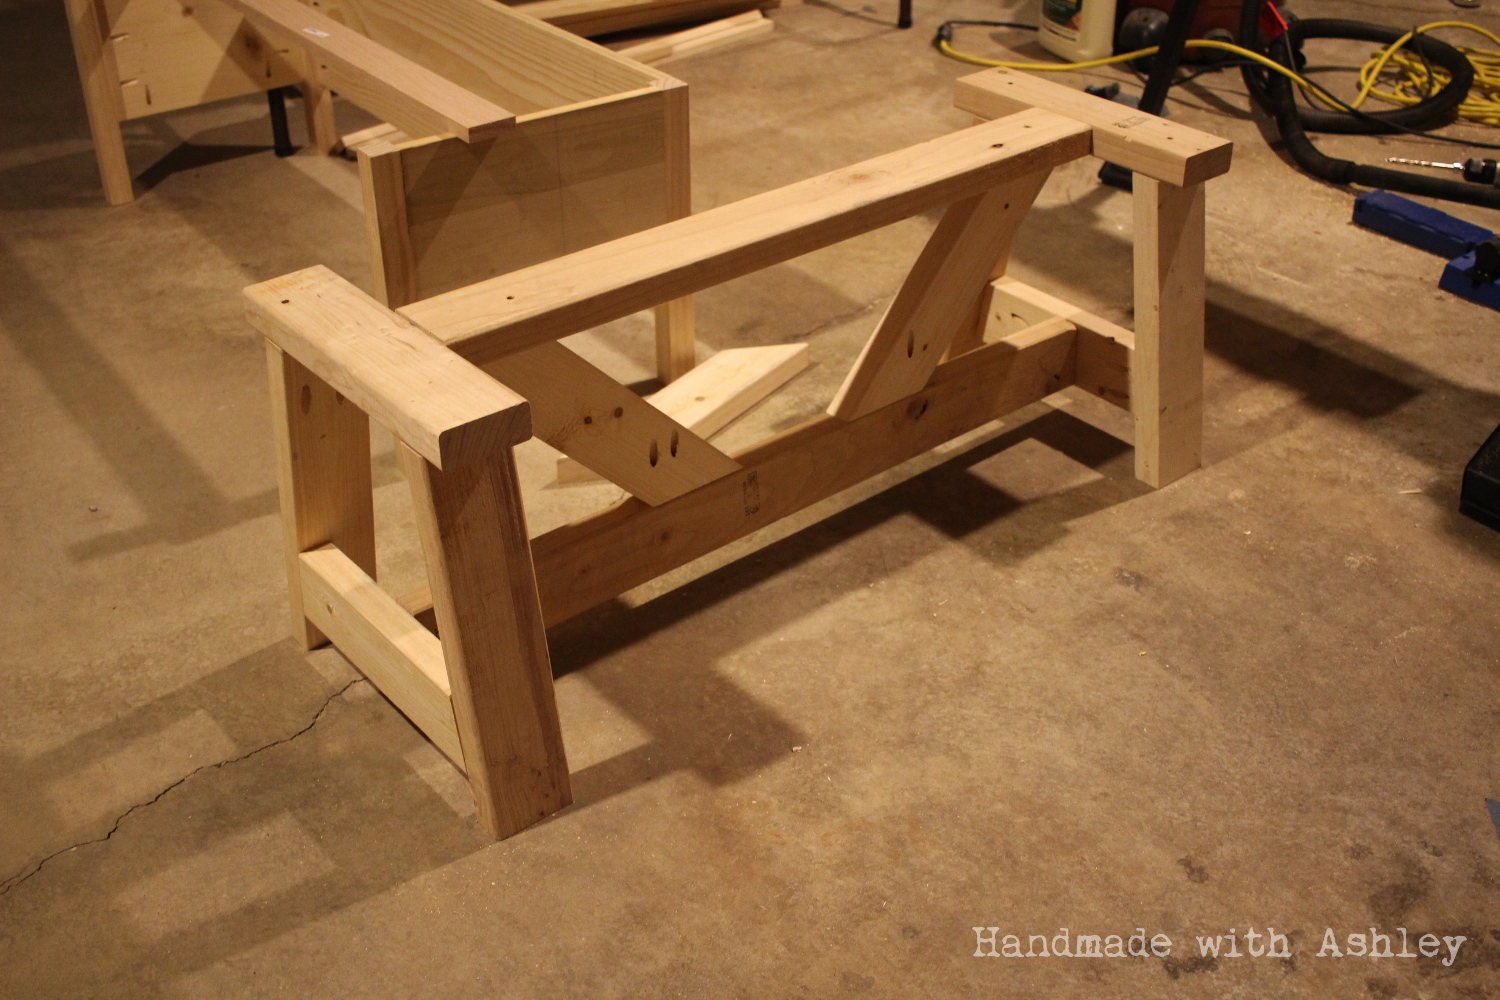
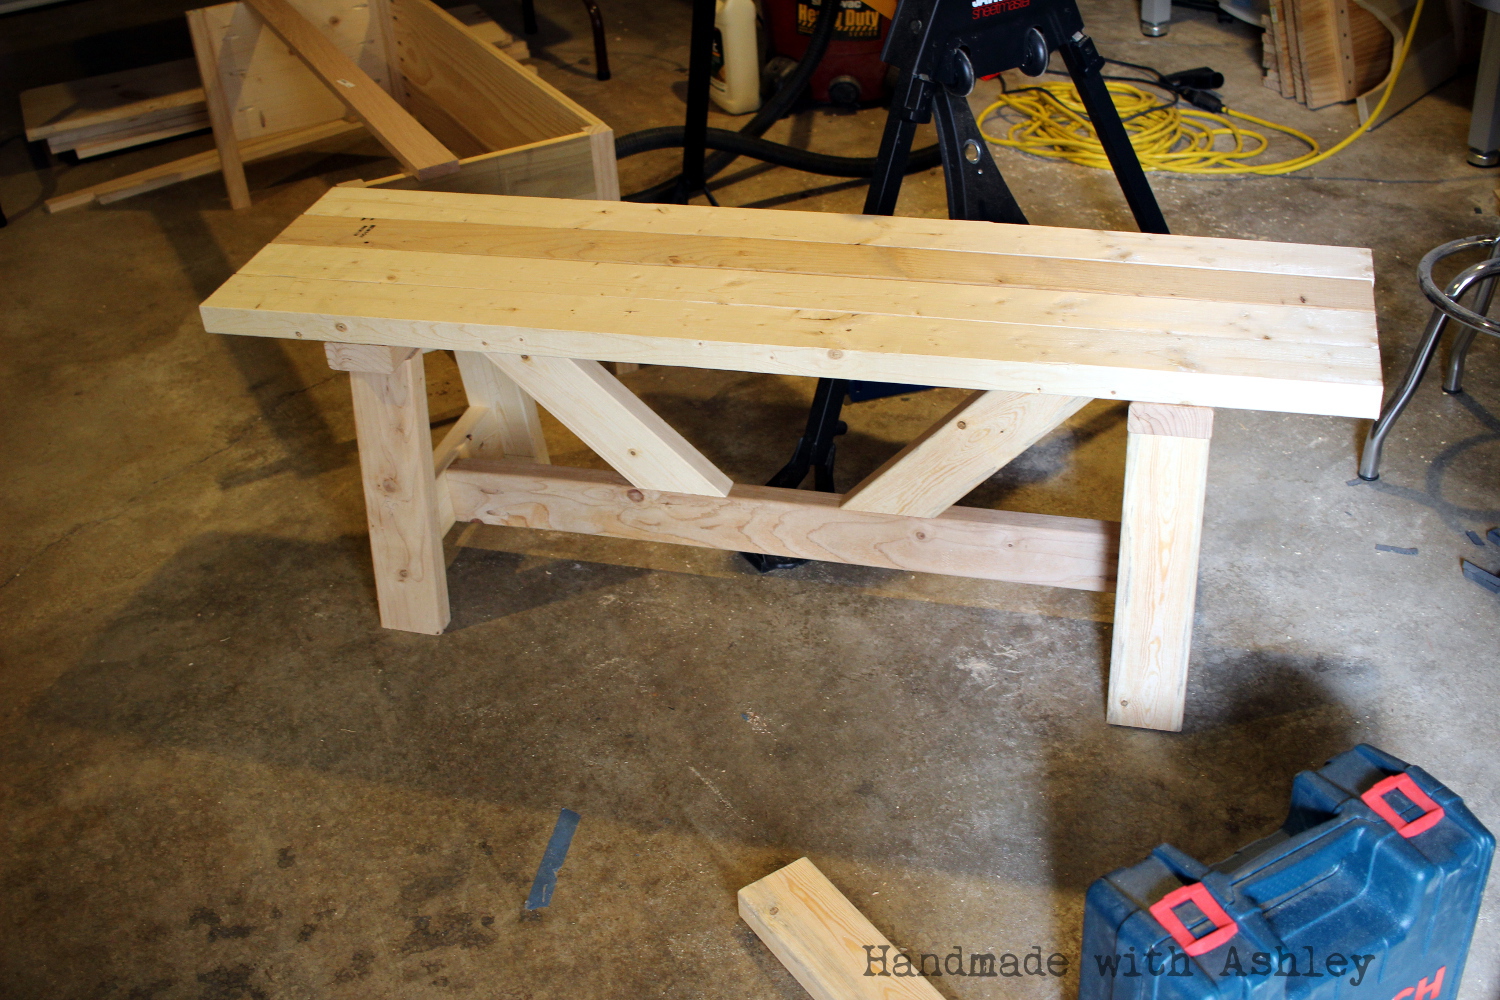
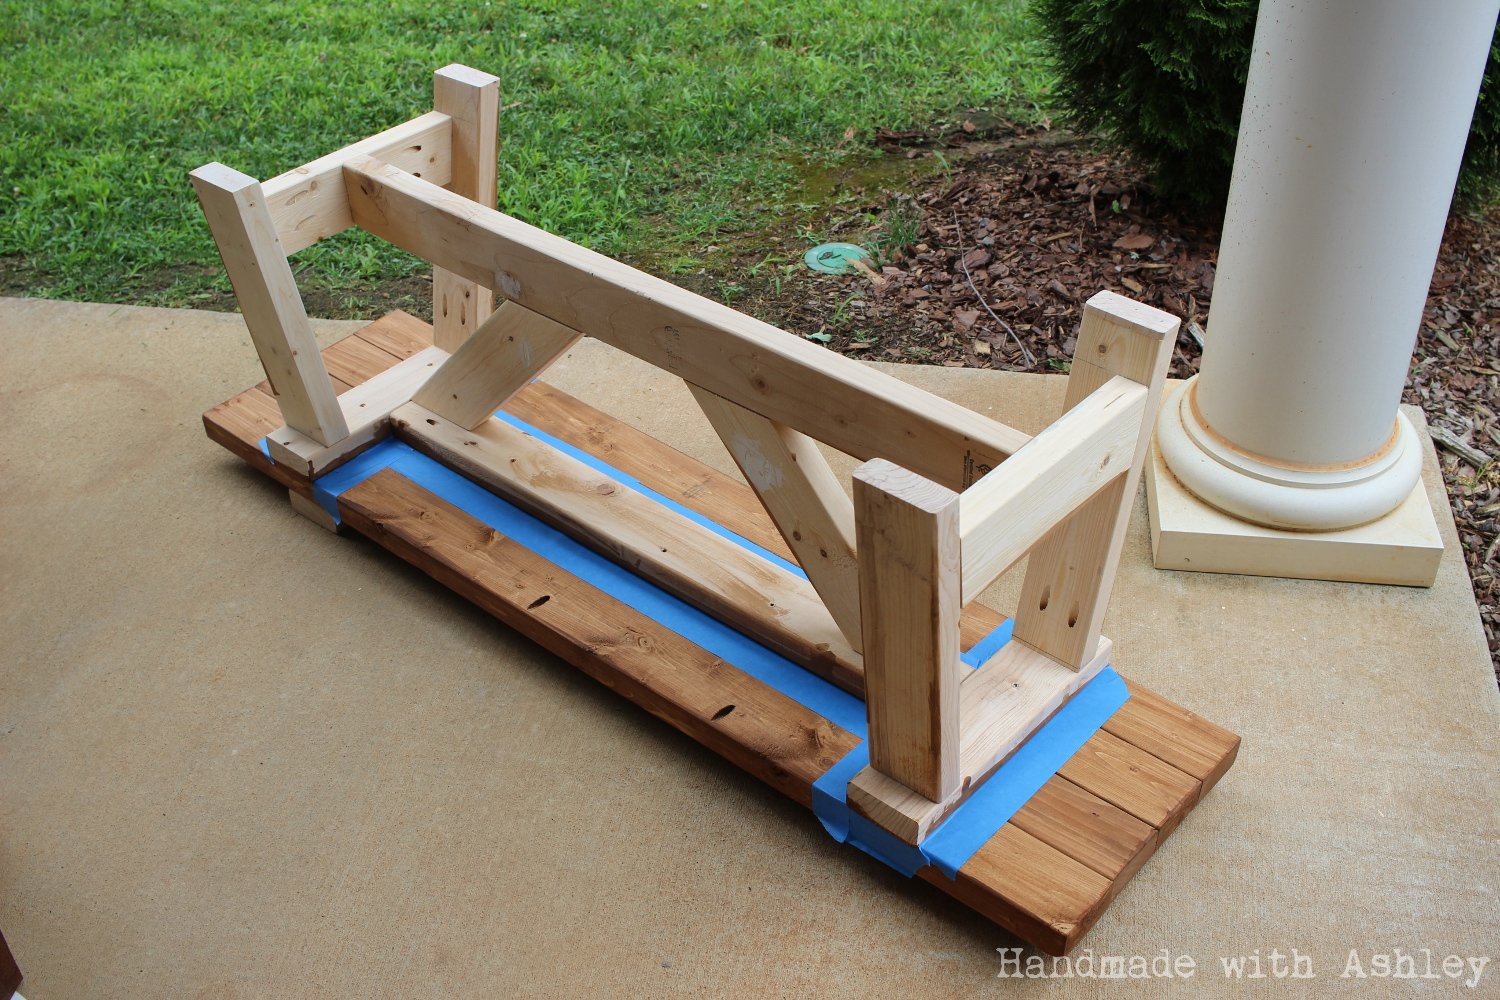
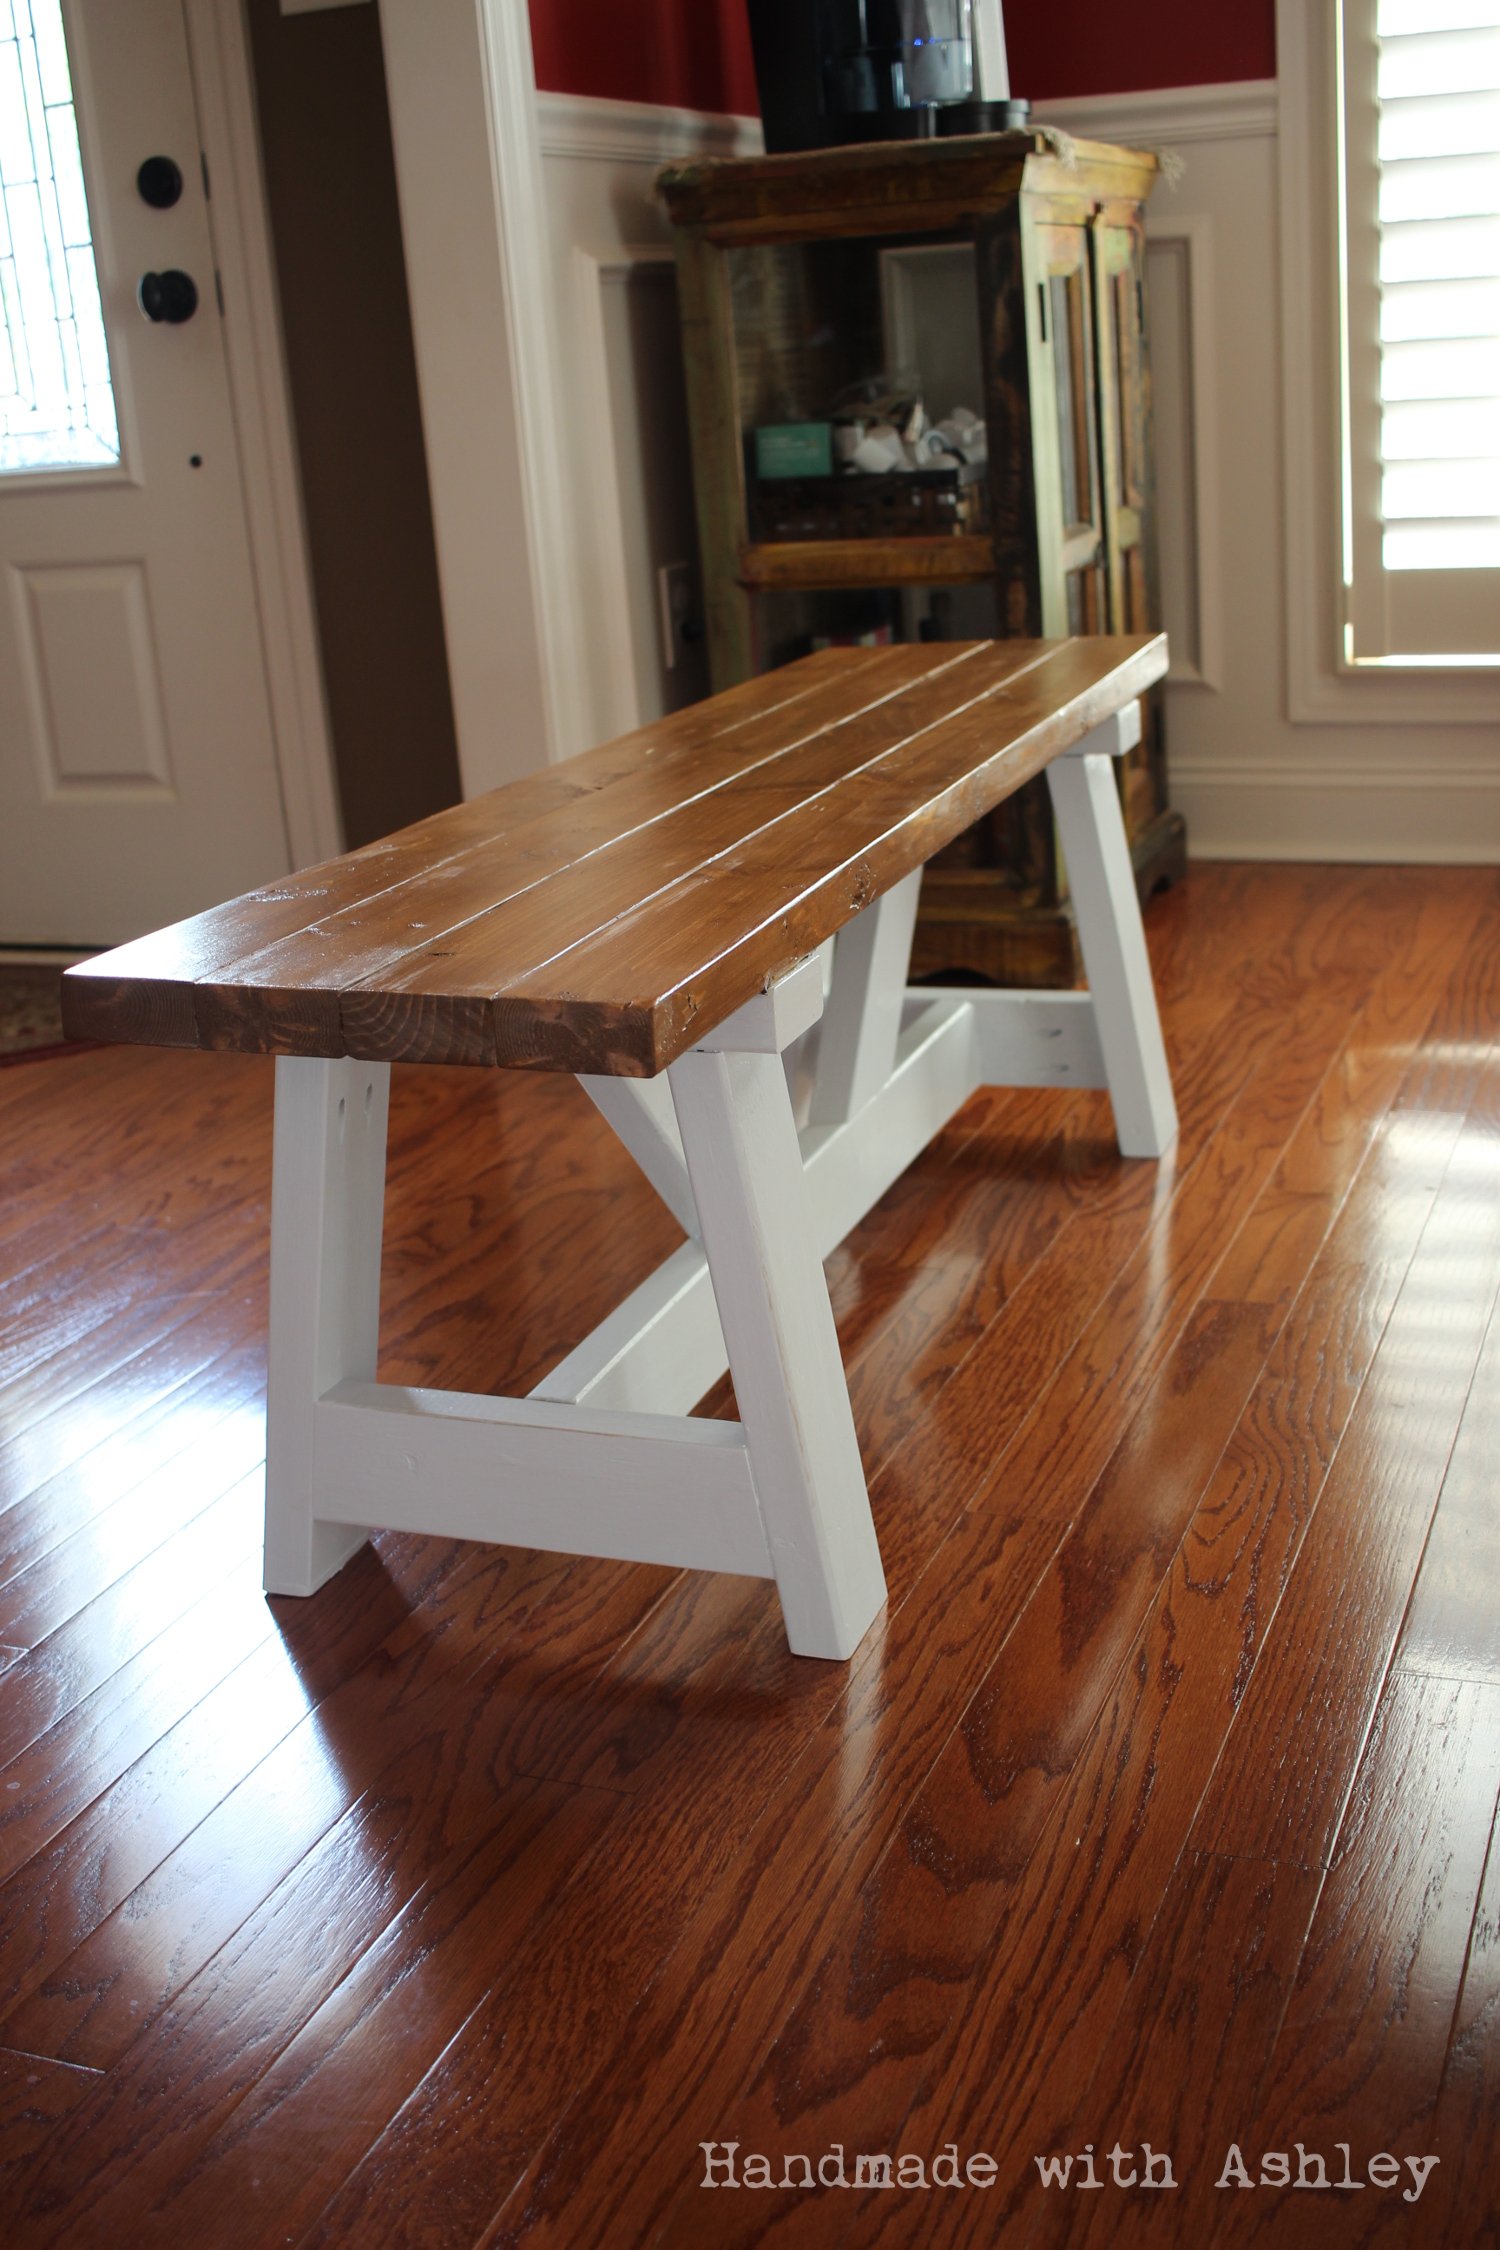
Hooray! I recently finished building a dining room bench. For this project, I used the Providence Bench plans by Ana White. I started this project in May, and two months later it is finally complete! I am really happy with how the bench turned out! It is pretty sturdy and makes for a nice addition to the dining room!
Hi, Ana.
I am loving your spot! I have not even delved into your recipes yet! I plan on making more than a few projects from your plans!
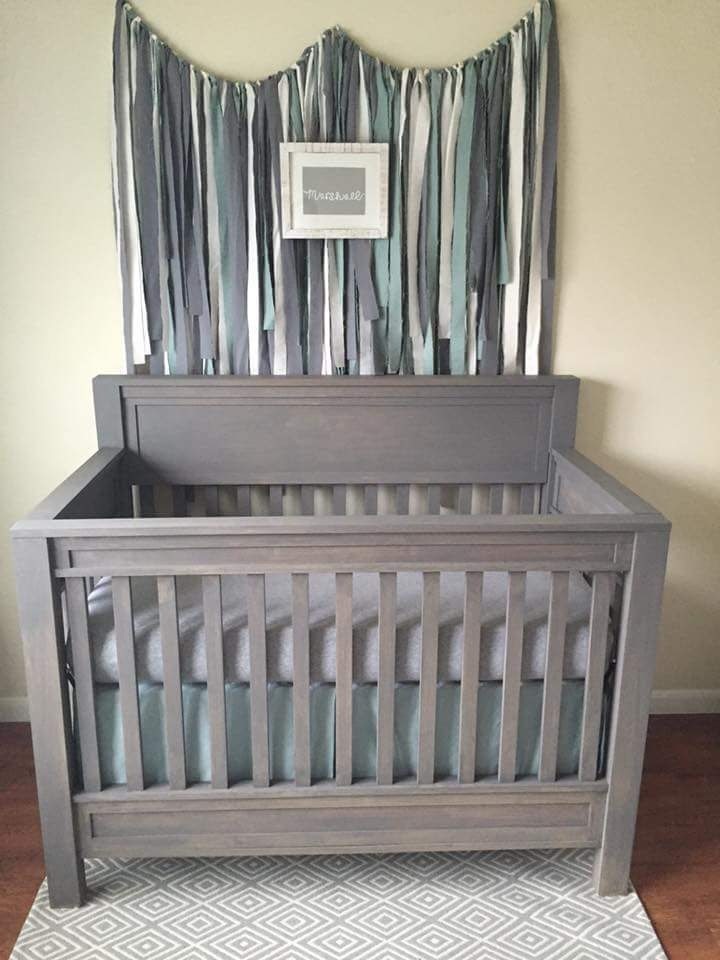
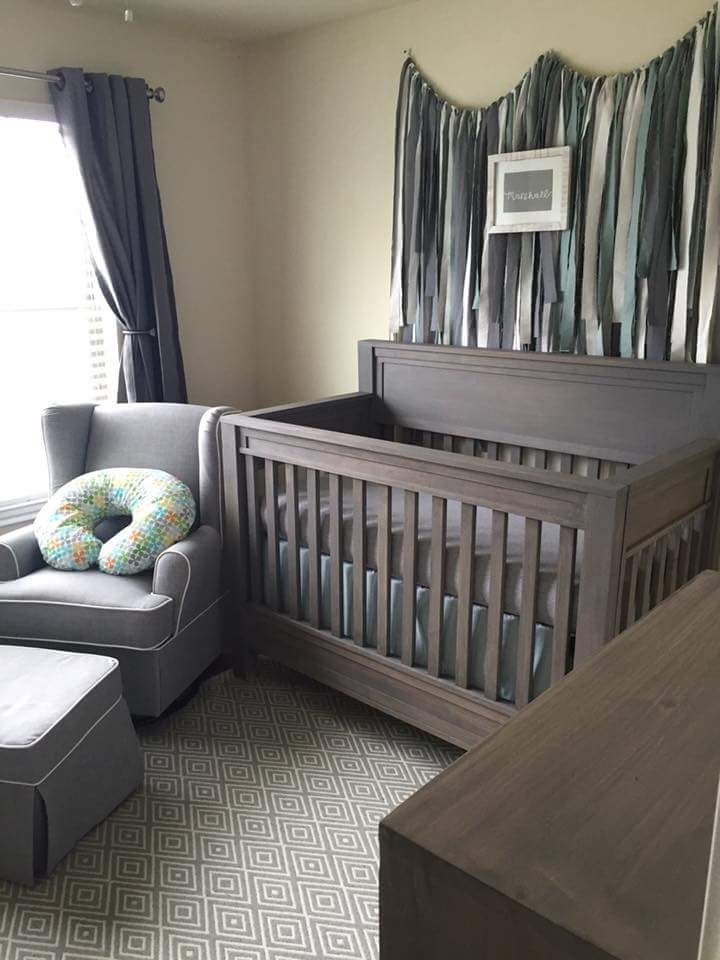
Delivered the nursury Furniture and have a very satisfied daughter preparing to bring our Grandchild into the world.
From Ariel "My sweet baby boy has the most beautiful nursery I've ever seen! I am so thankful for my father who hand built this furniture. It is definitely made with love and it's everything I dreamed of. I'm also thankful for my husband and brother in law who set up this entire nursery for me this morning. Thank you"
I started with plans and inspiration and then added some creativity. For the legs on this crib I laminated three 1x4 poplar and used threaded inserts. #anawhite
Tue, 10/18/2016 - 18:33
With the help of taking wood sample to Sherwin Williams along with our daughter we picked the stain and the color. Interesting thing is that the exterior stain actually goes on easier than interior and is as safe as interior.
Fri, 03/11/2016 - 09:20
My husband would like to build our son a crib and I love this one! Is there a way to get the plans??
Mon, 11/07/2016 - 19:14
I like your husband really like and want to build this crib. However pondrider hasn't replied so i was wondering if he/she sent them to you by chance.
Thu, 06/30/2016 - 16:33
I love this crib and was wondering if there is plans for this. I would love to build it for my sister!

Tue, 10/18/2016 - 18:51
Folks I am going to tell you to suggest you get the frame and hardware at place called products america .They have a link to plans that were on a magazine web site for sale. I got the plans but the crib you see only used those plans to get started. If you look at each side independently you will notice that you can build this with Free and better written plans for Ana-White farmhouse bed. yes, you'll do a little modifying for the sides but as we build that is beauty of everything we build in that we build for the size we need. The plans from build America will help with dimensions. The other key with a crib safety and the fact that it must be assembled and disassembled in the room. The plans from build america will attempt to show how to install threaded inserts. I found Youtube and other instructions to be much better. My build has fixed sides meaning the front and the back do not come down. And I did not set it up to be convertable.