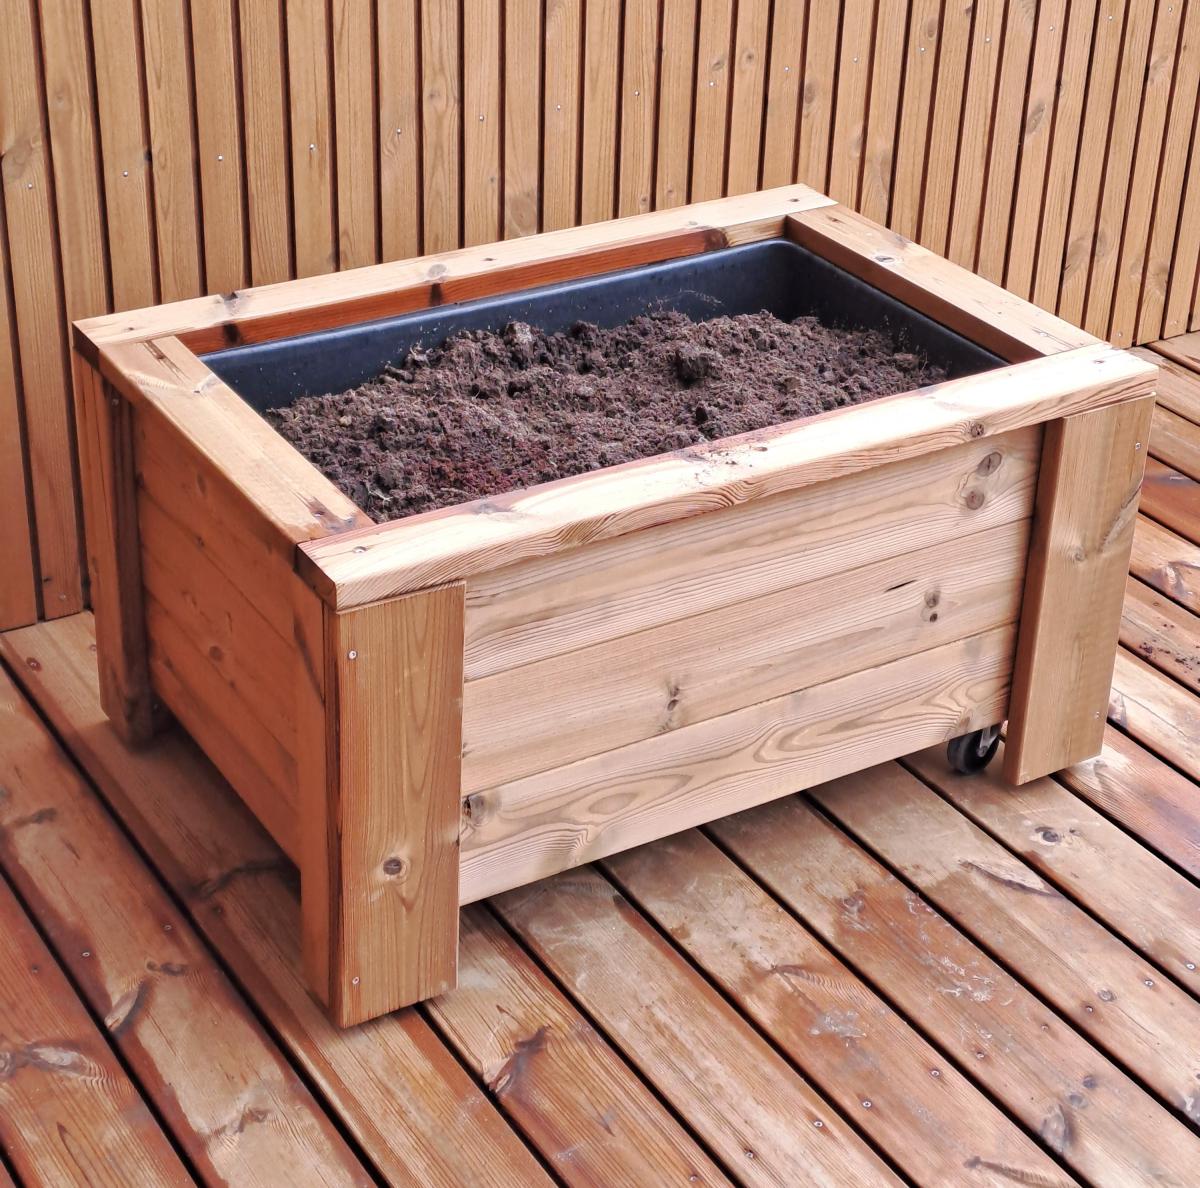
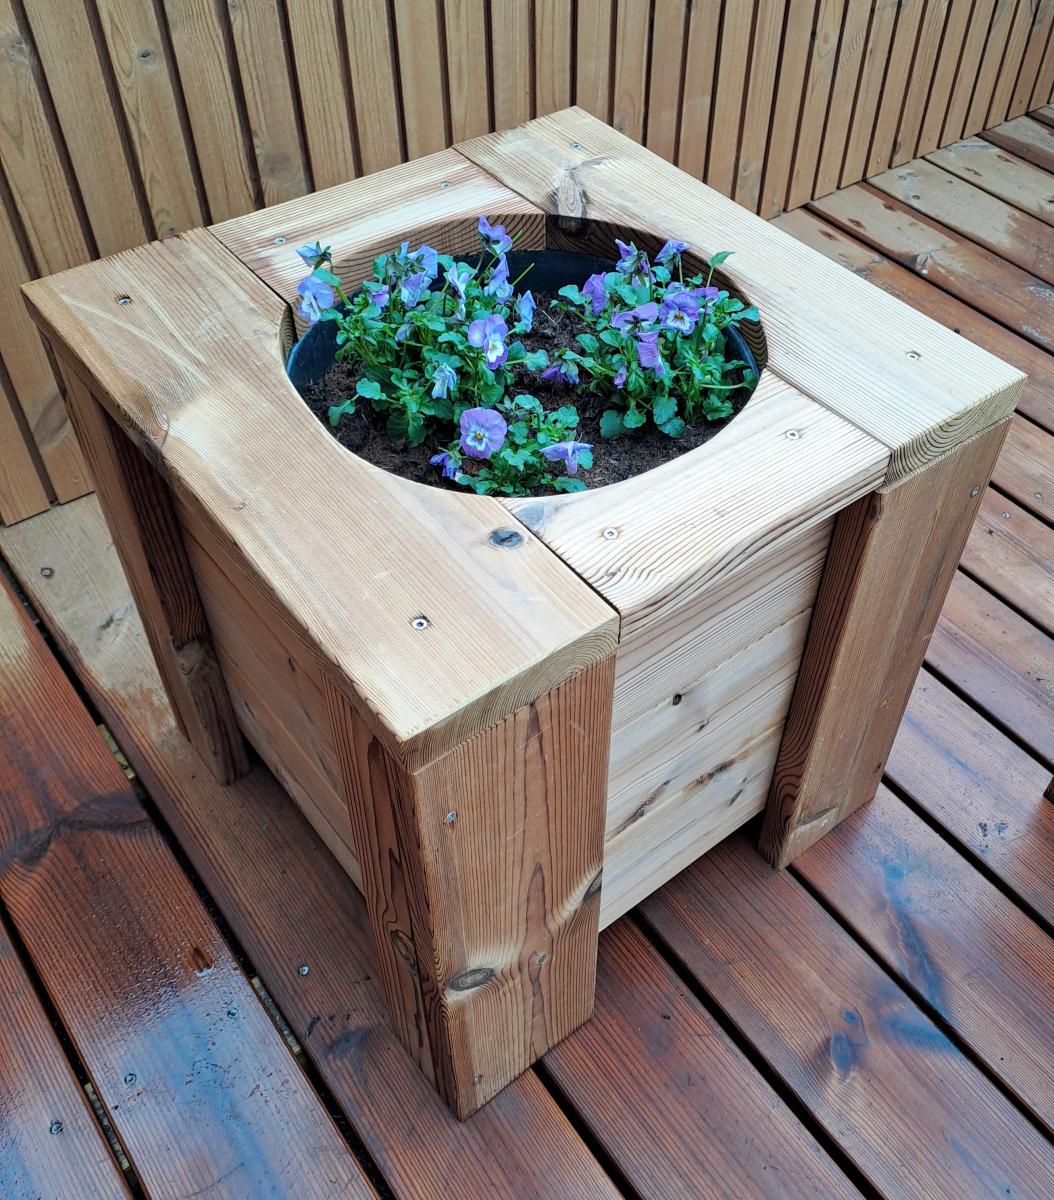
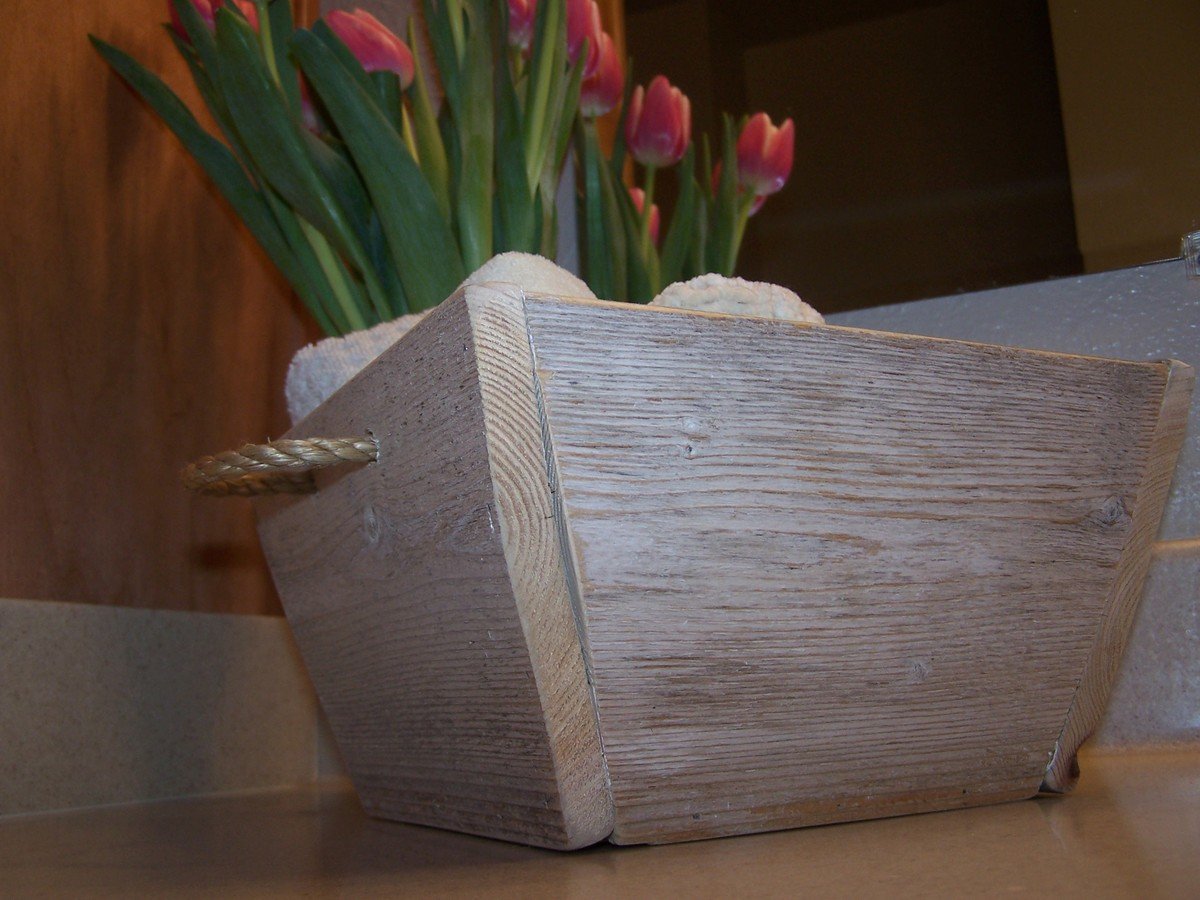
Modern Cedar Planter Box

I build these planter boxes, from wooden remains from terrace building, inspired from Ana White planter boxes.
Søg
Built from Plan(s)
I build these planter boxes, from wooden remains from terrace building, inspired from Ana White planter boxes.
Søg
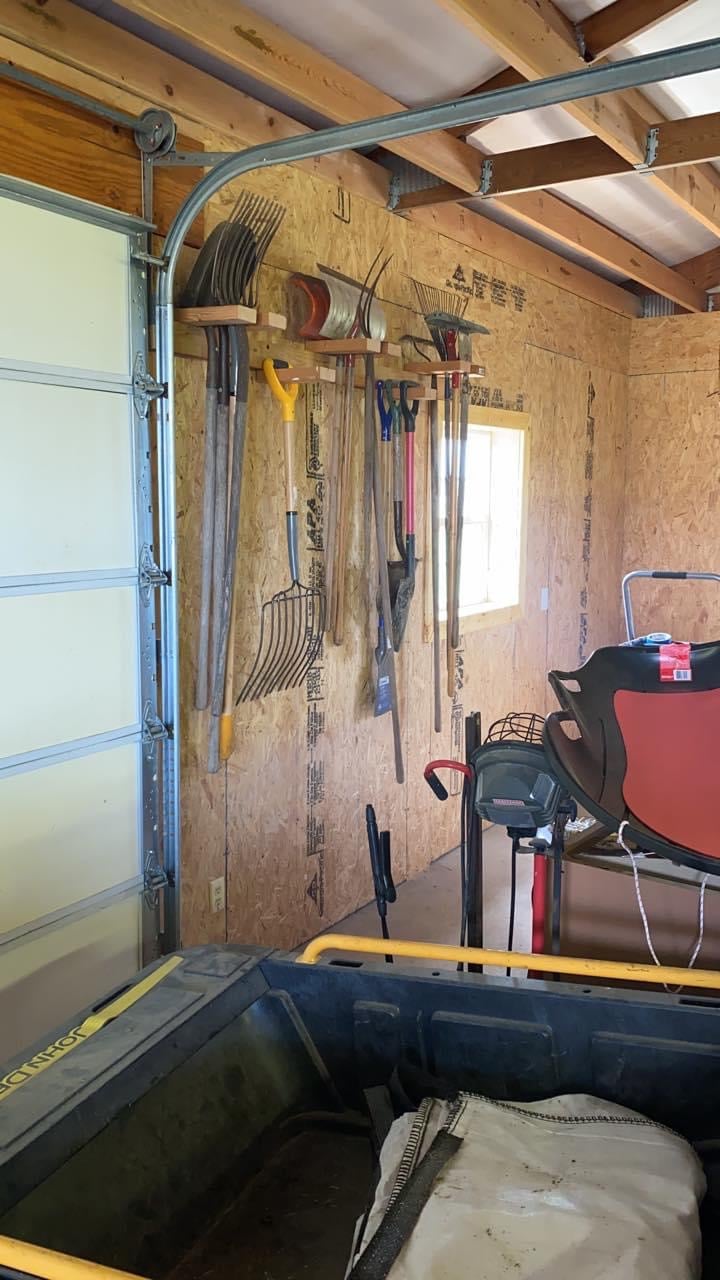
Had all my tools leaning up in the corner of my shed until I saw your post. Thanks
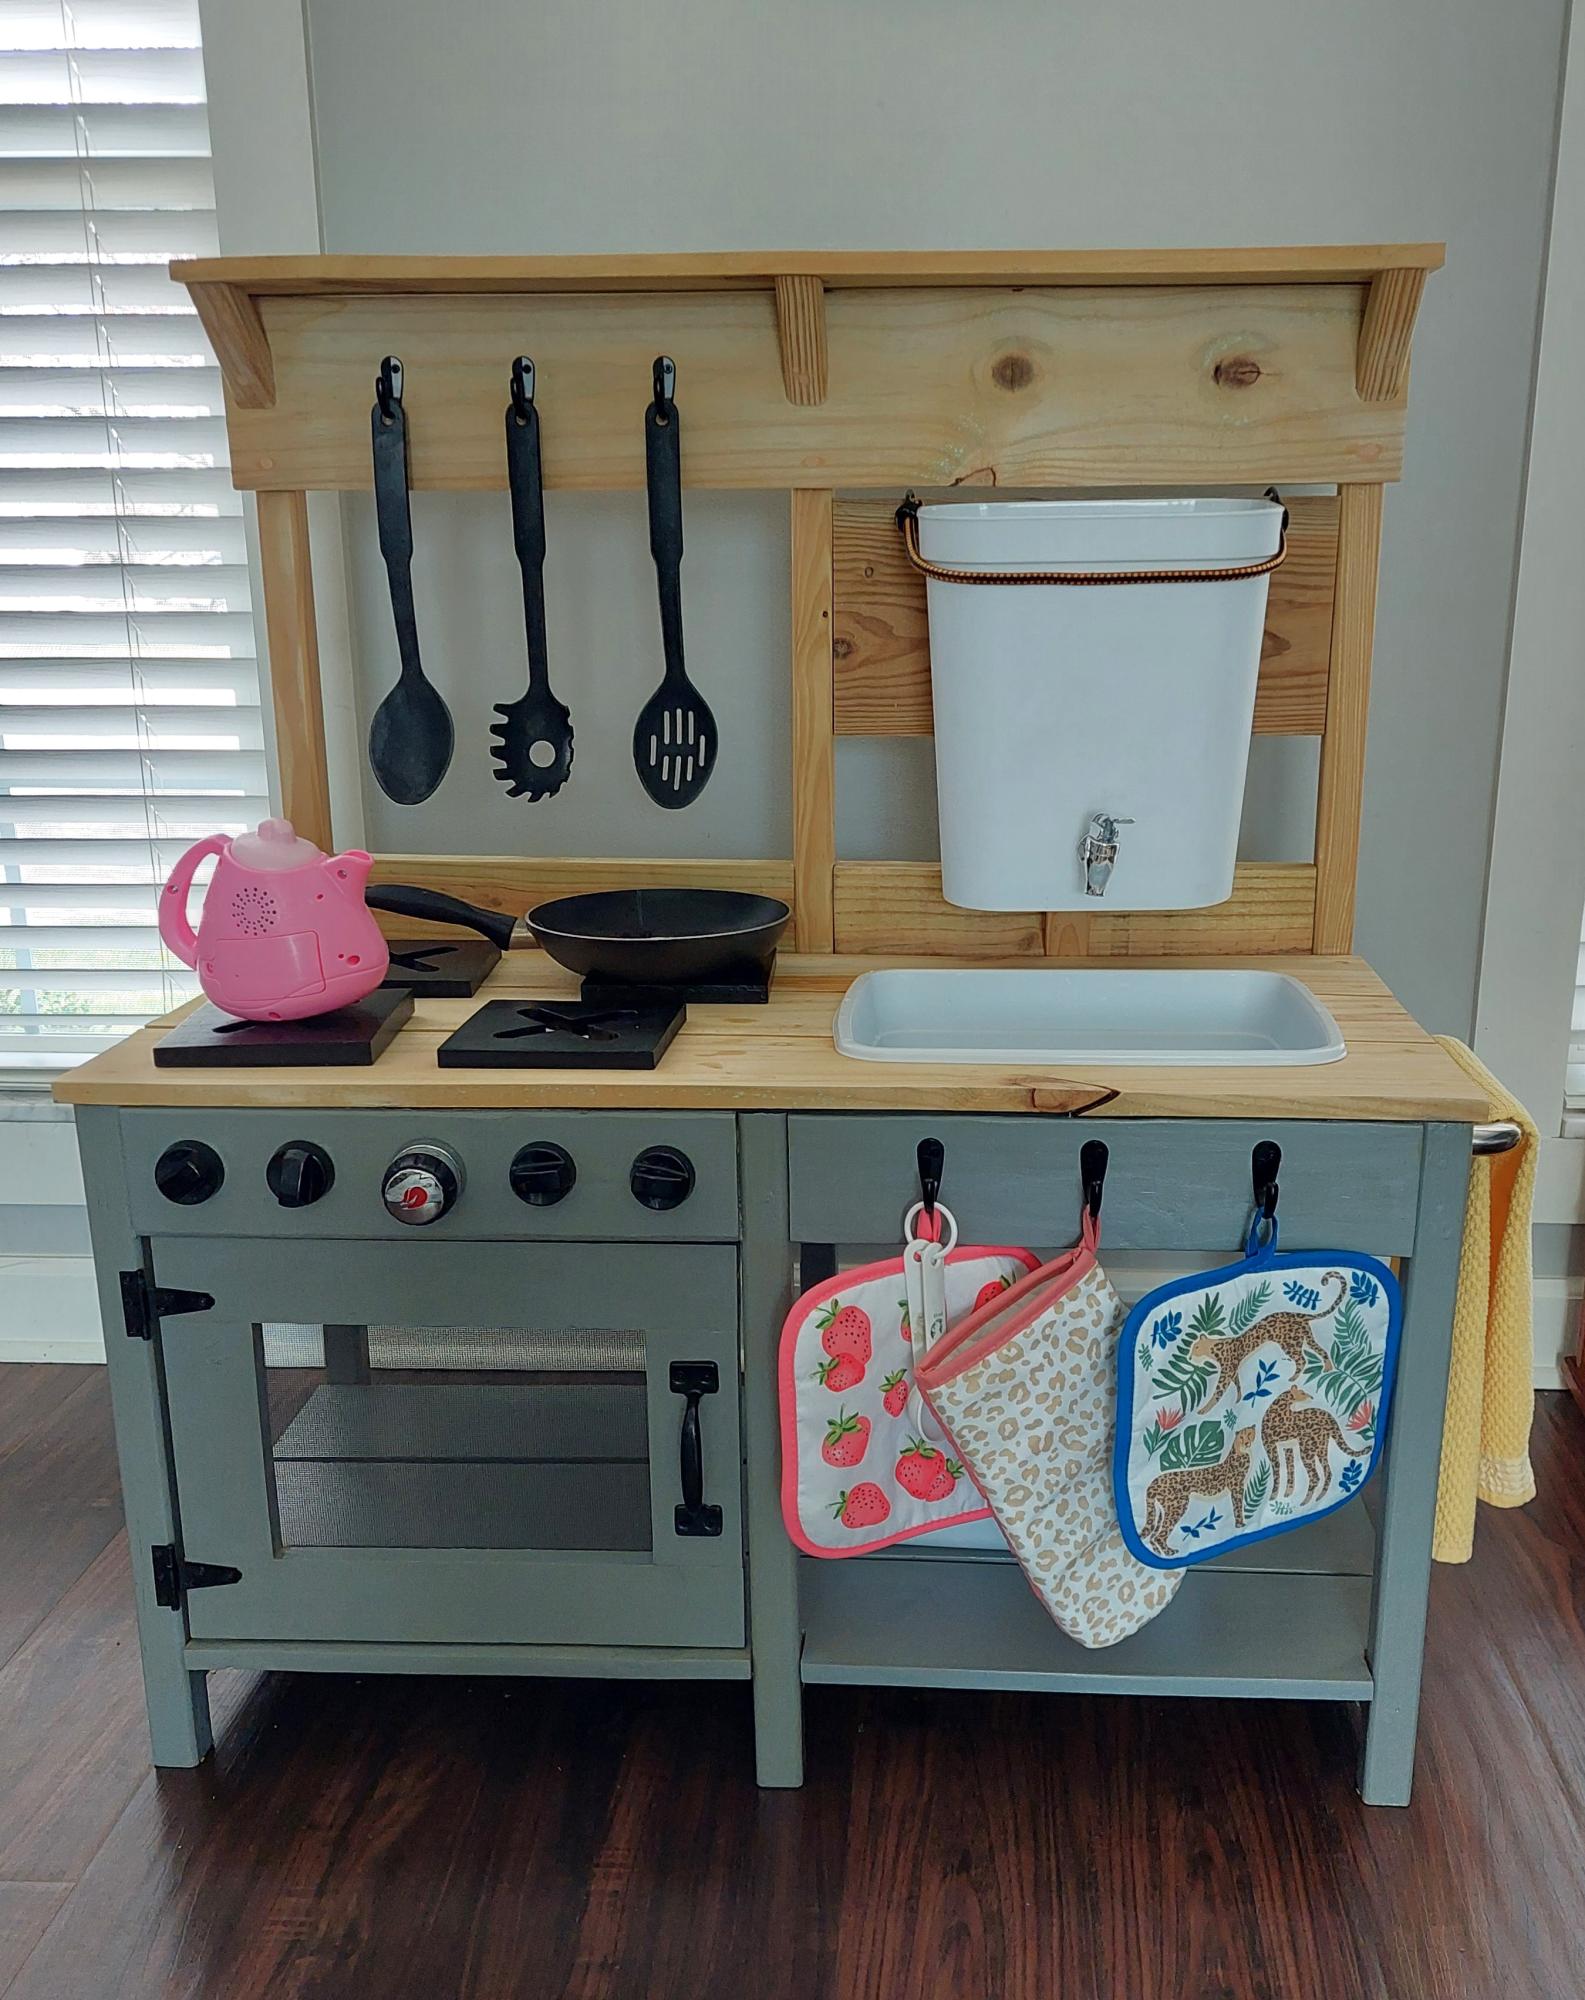
I built this using Ana's plans for her outdoor play kitchen. I live in North Carolina and took it to my grandchildren in Ohio. They love it! I used an inexpensive beverage dispenser installed into a trashcan and connected a small aquarium pump to recirculate the water from the sink to the water tank. I'm super pleased with how it turned out!
Nancye Butterworth

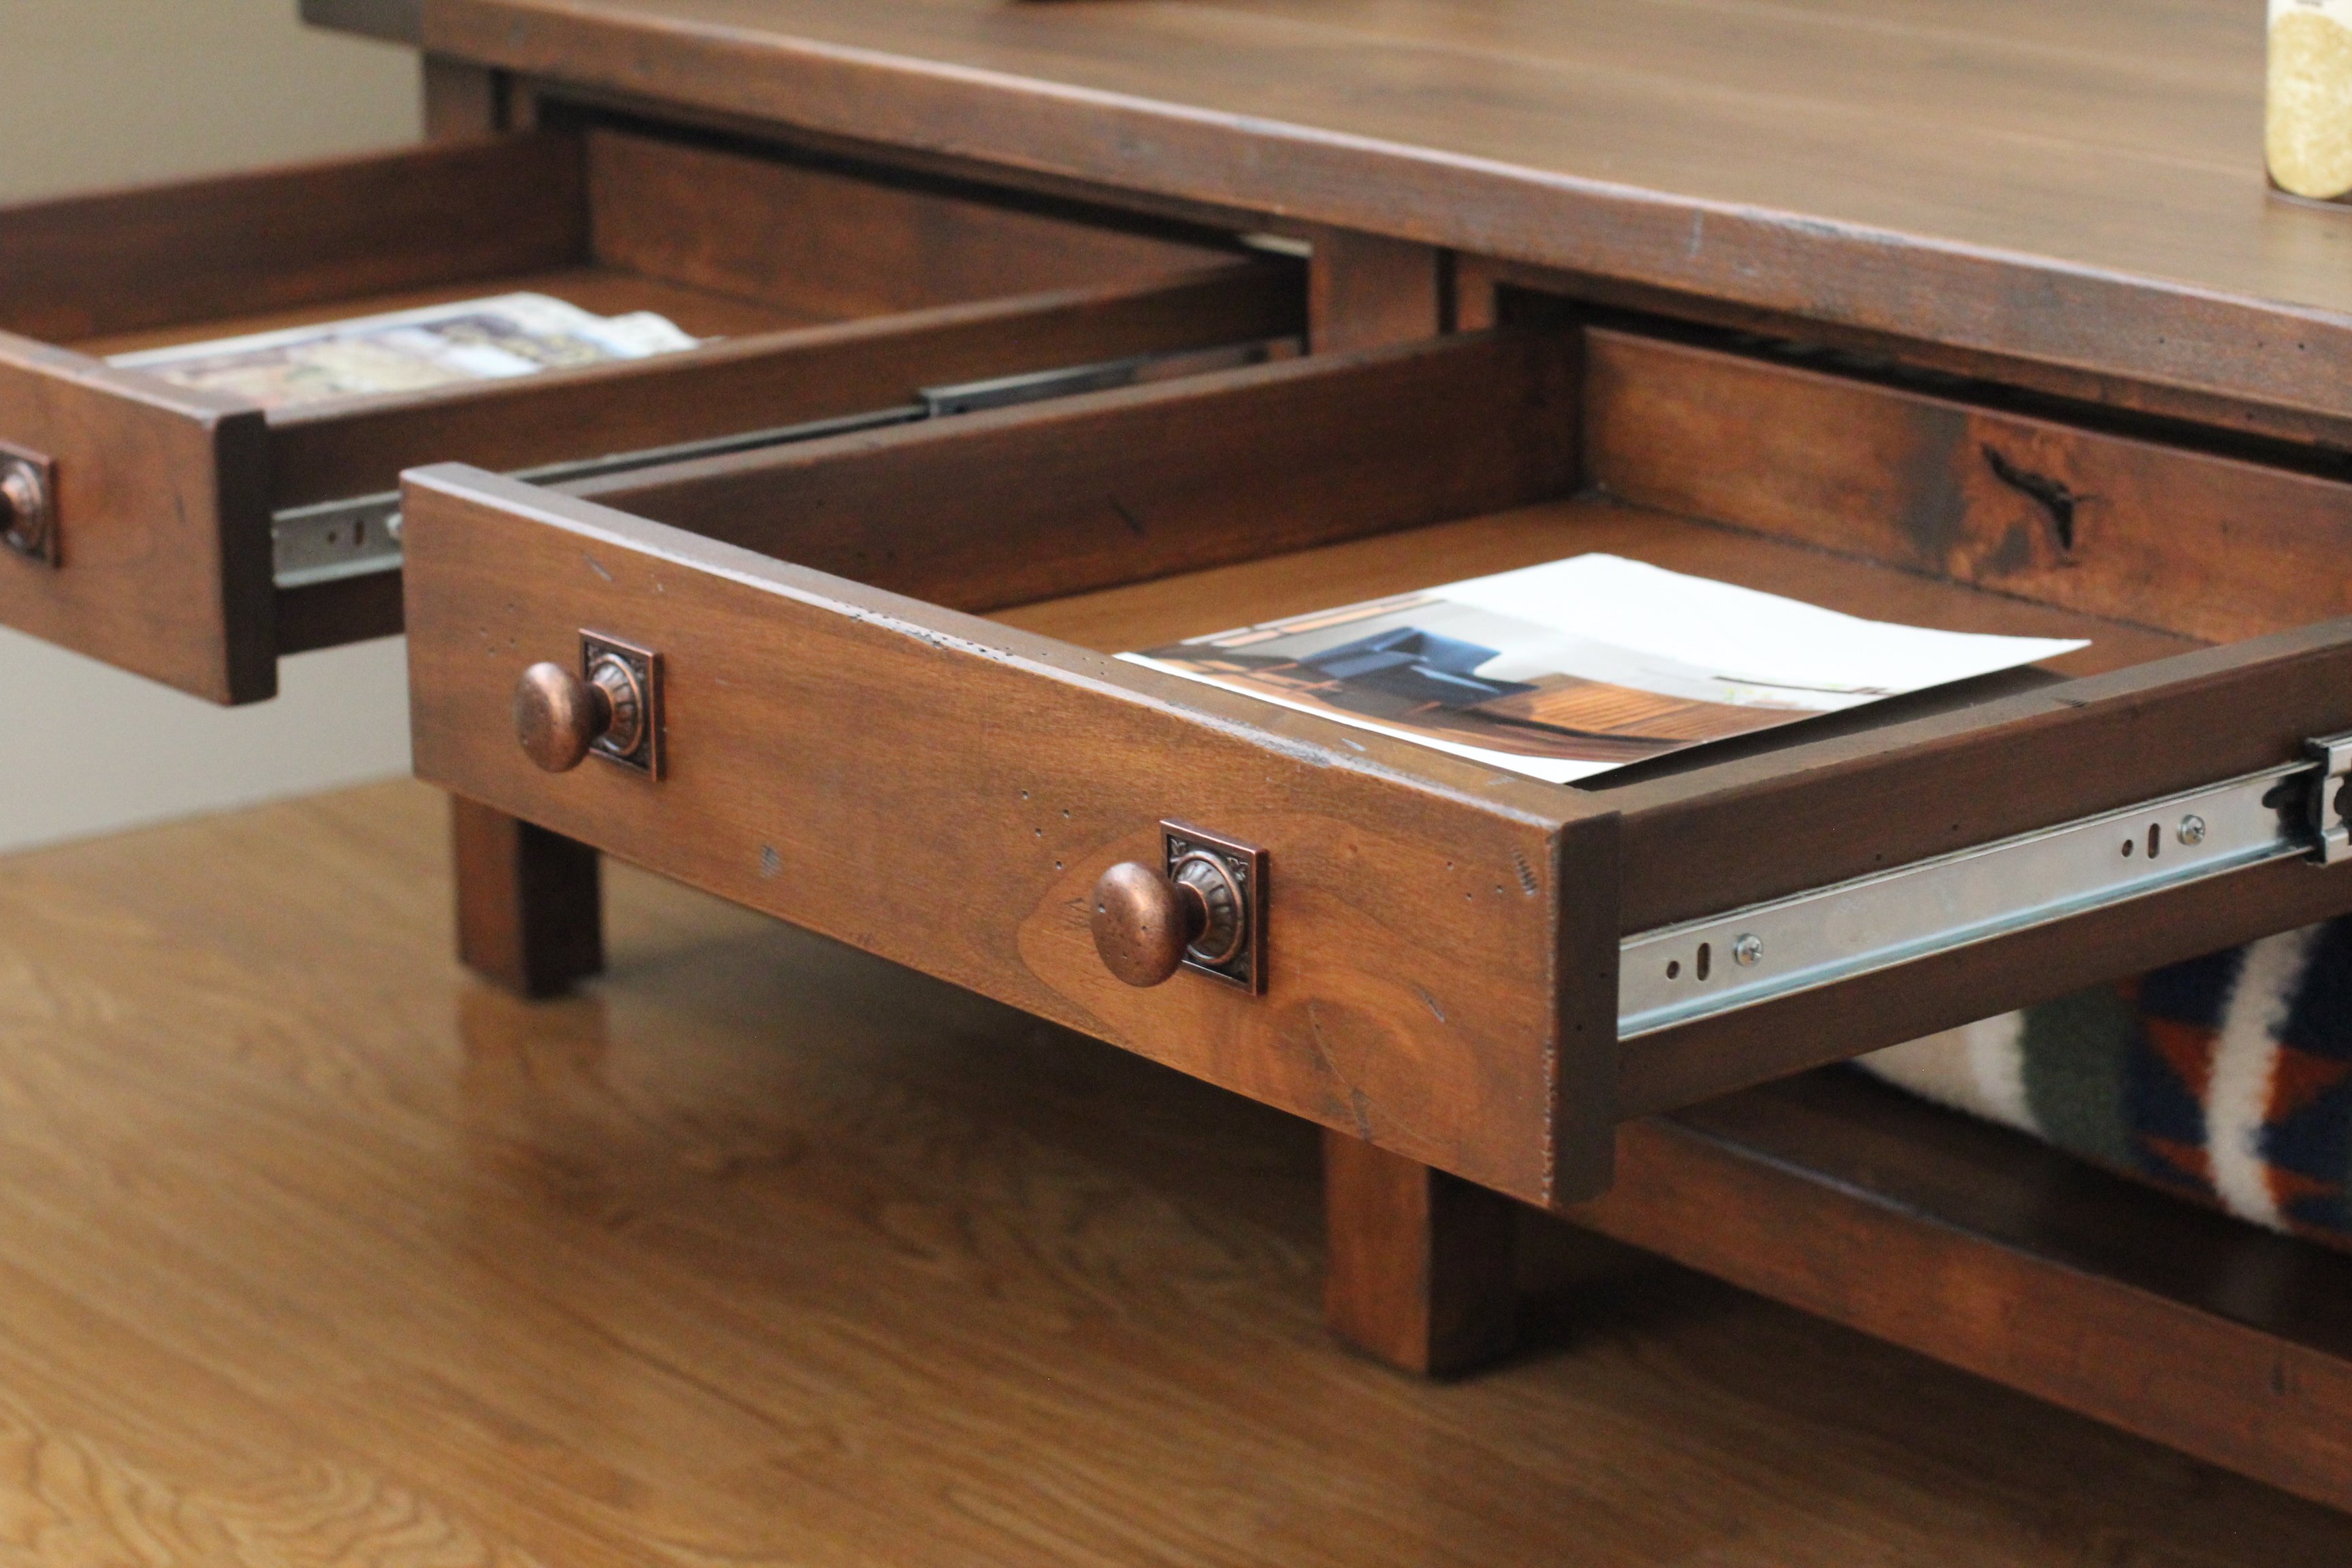
Great plans and a fun build. I made some modifications. My drawers are 1.5” high and 10” long. It allowed for 6 drawers. Overall height is 13.75” and length is 17.5”.
I used rabbits and dados rather than butt joints. There is flocking in the drawers.


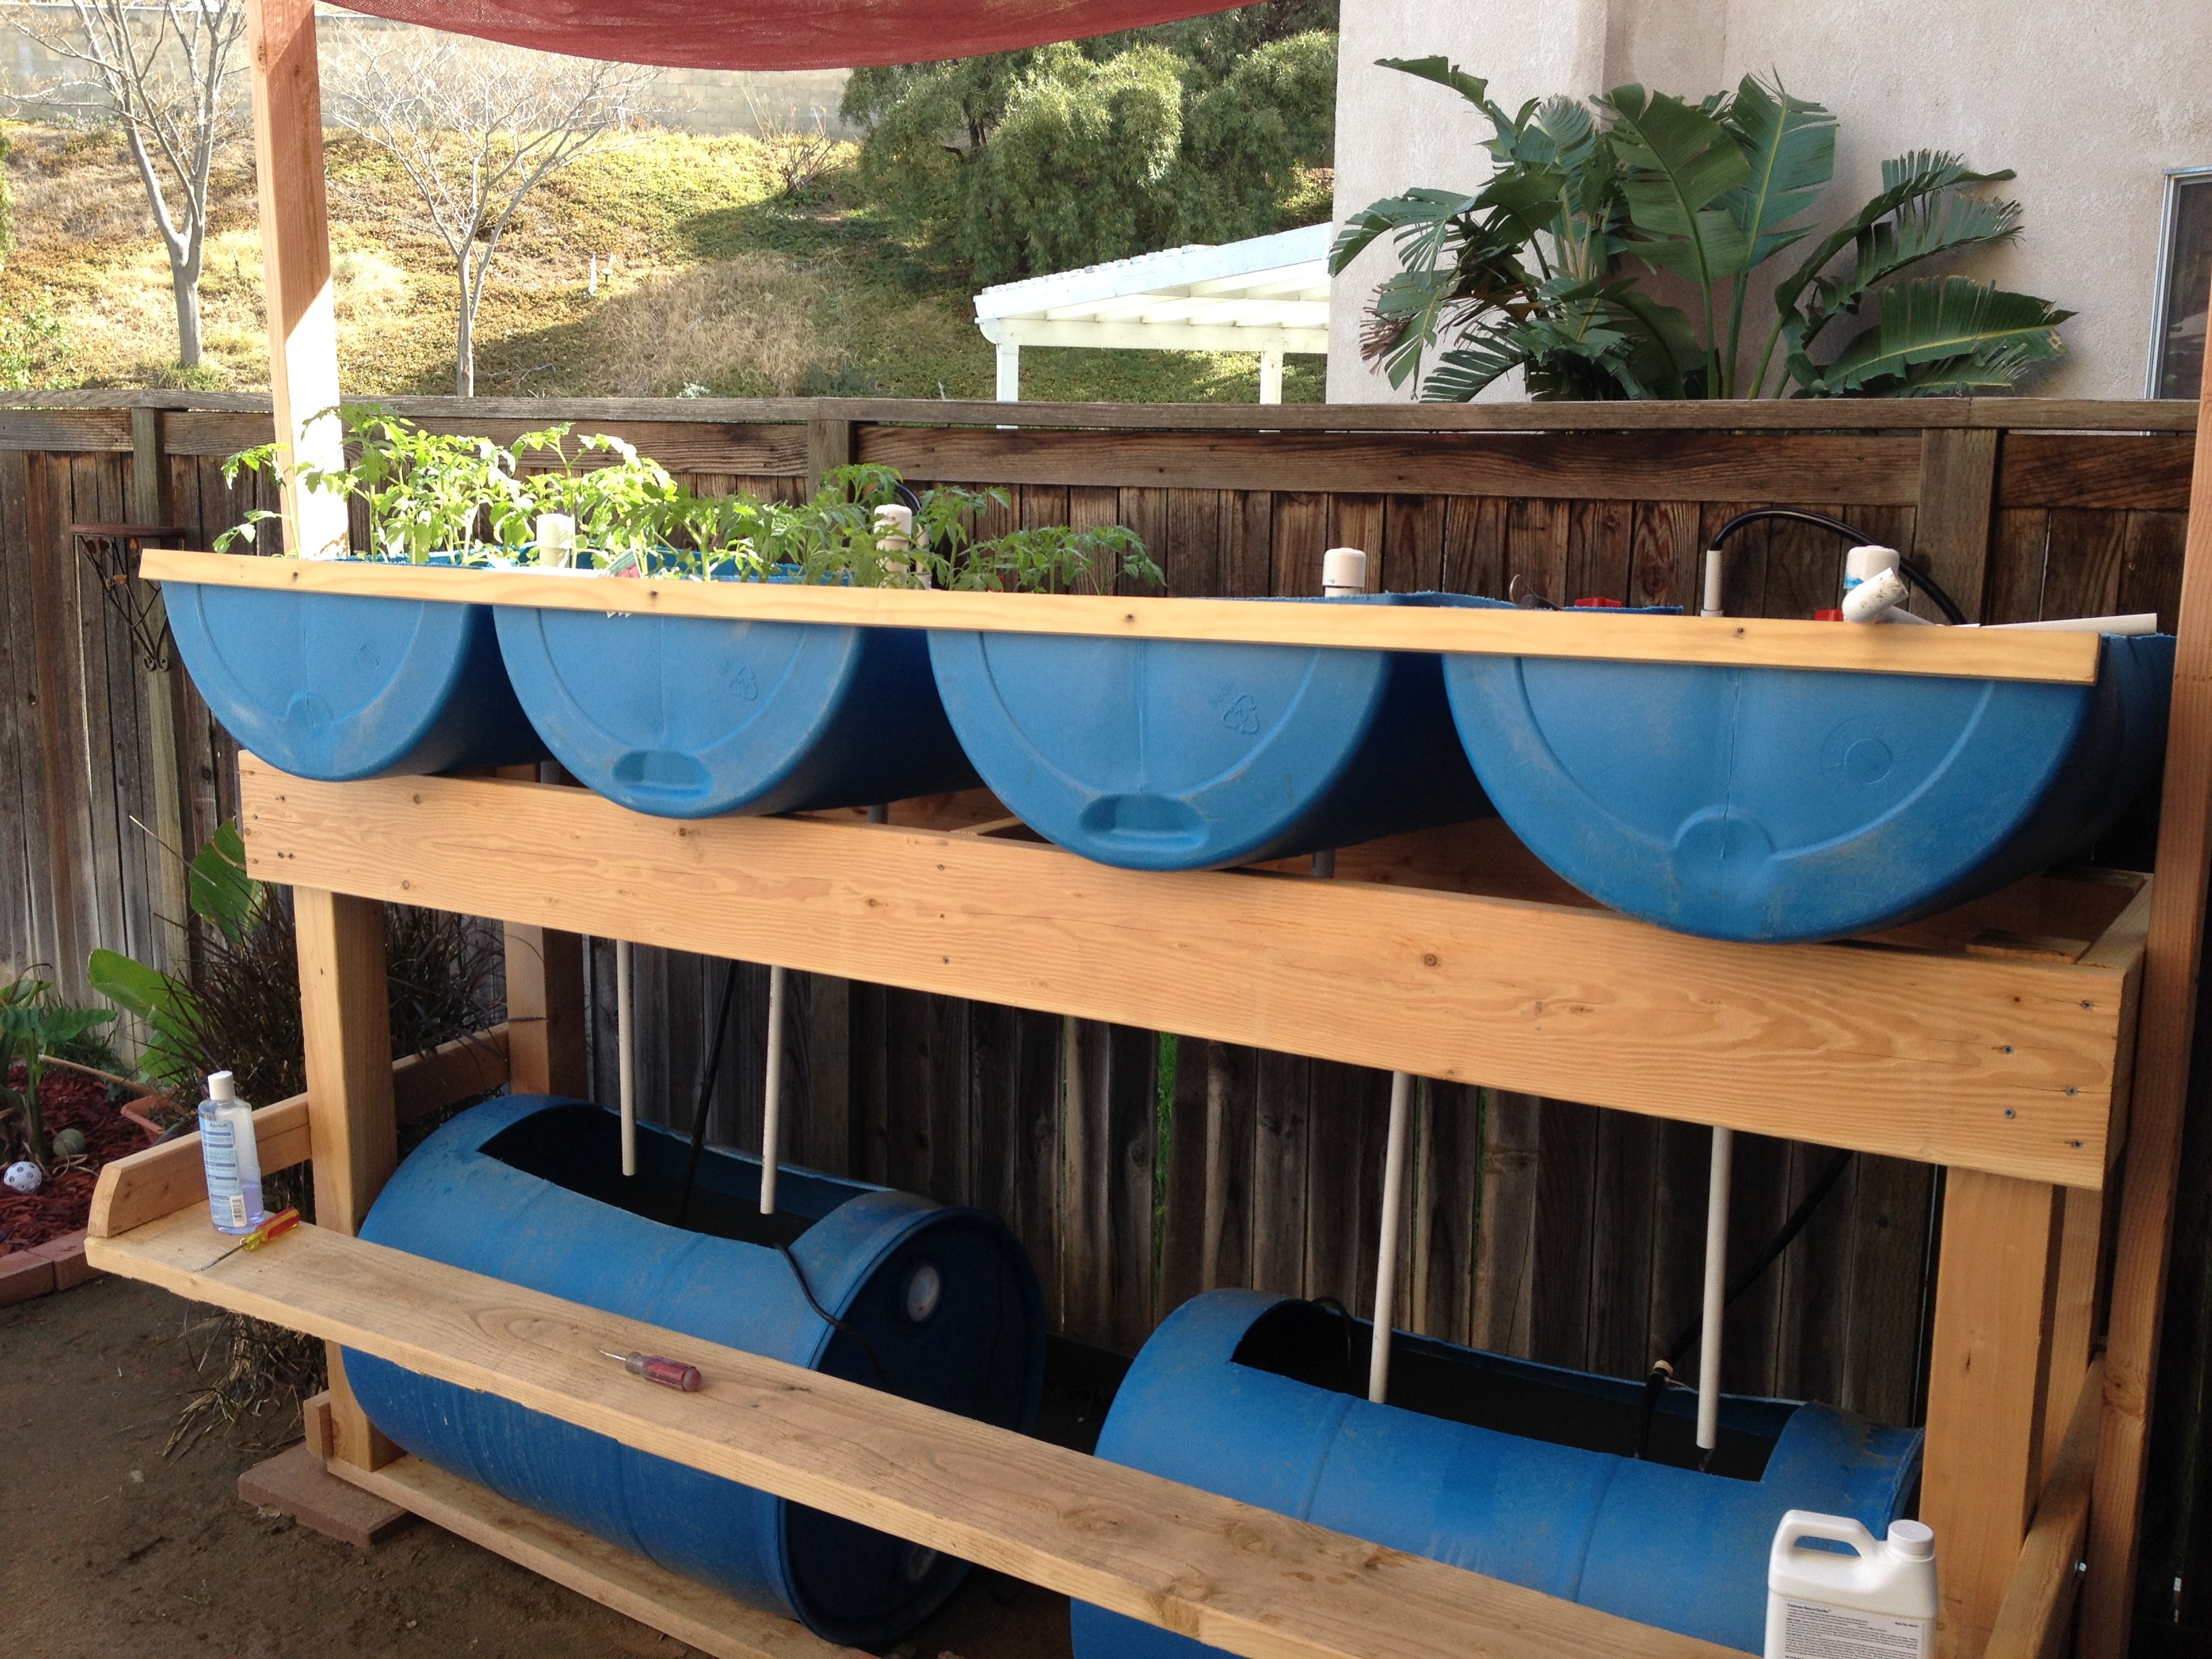
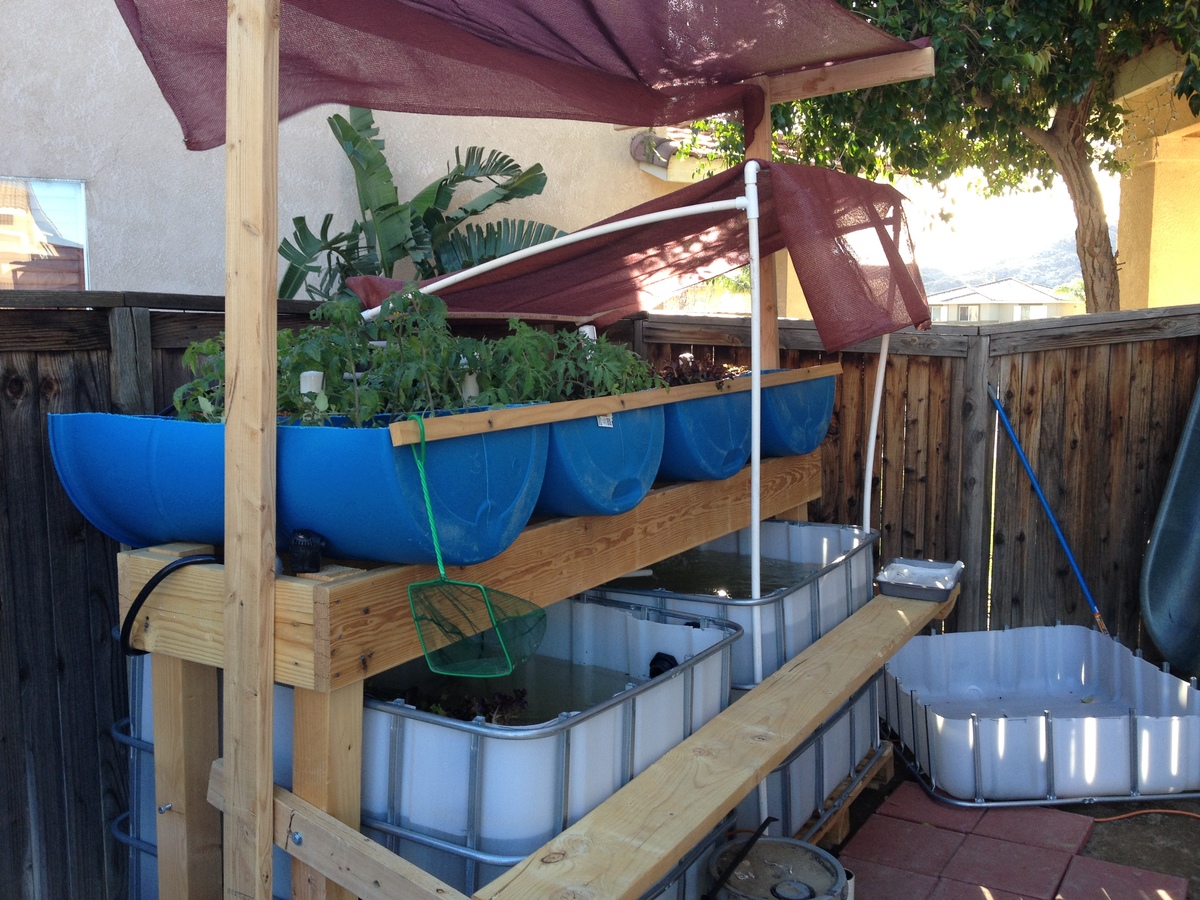
The better way to garden! I built the original, and then the fish got too big for the 55gal tanks below. Had to upgrade to 2 300gal IBC containers. Now I have 50 tilapia that are ready to eat, adn enough vegatables to feed us for the year.... awesome!
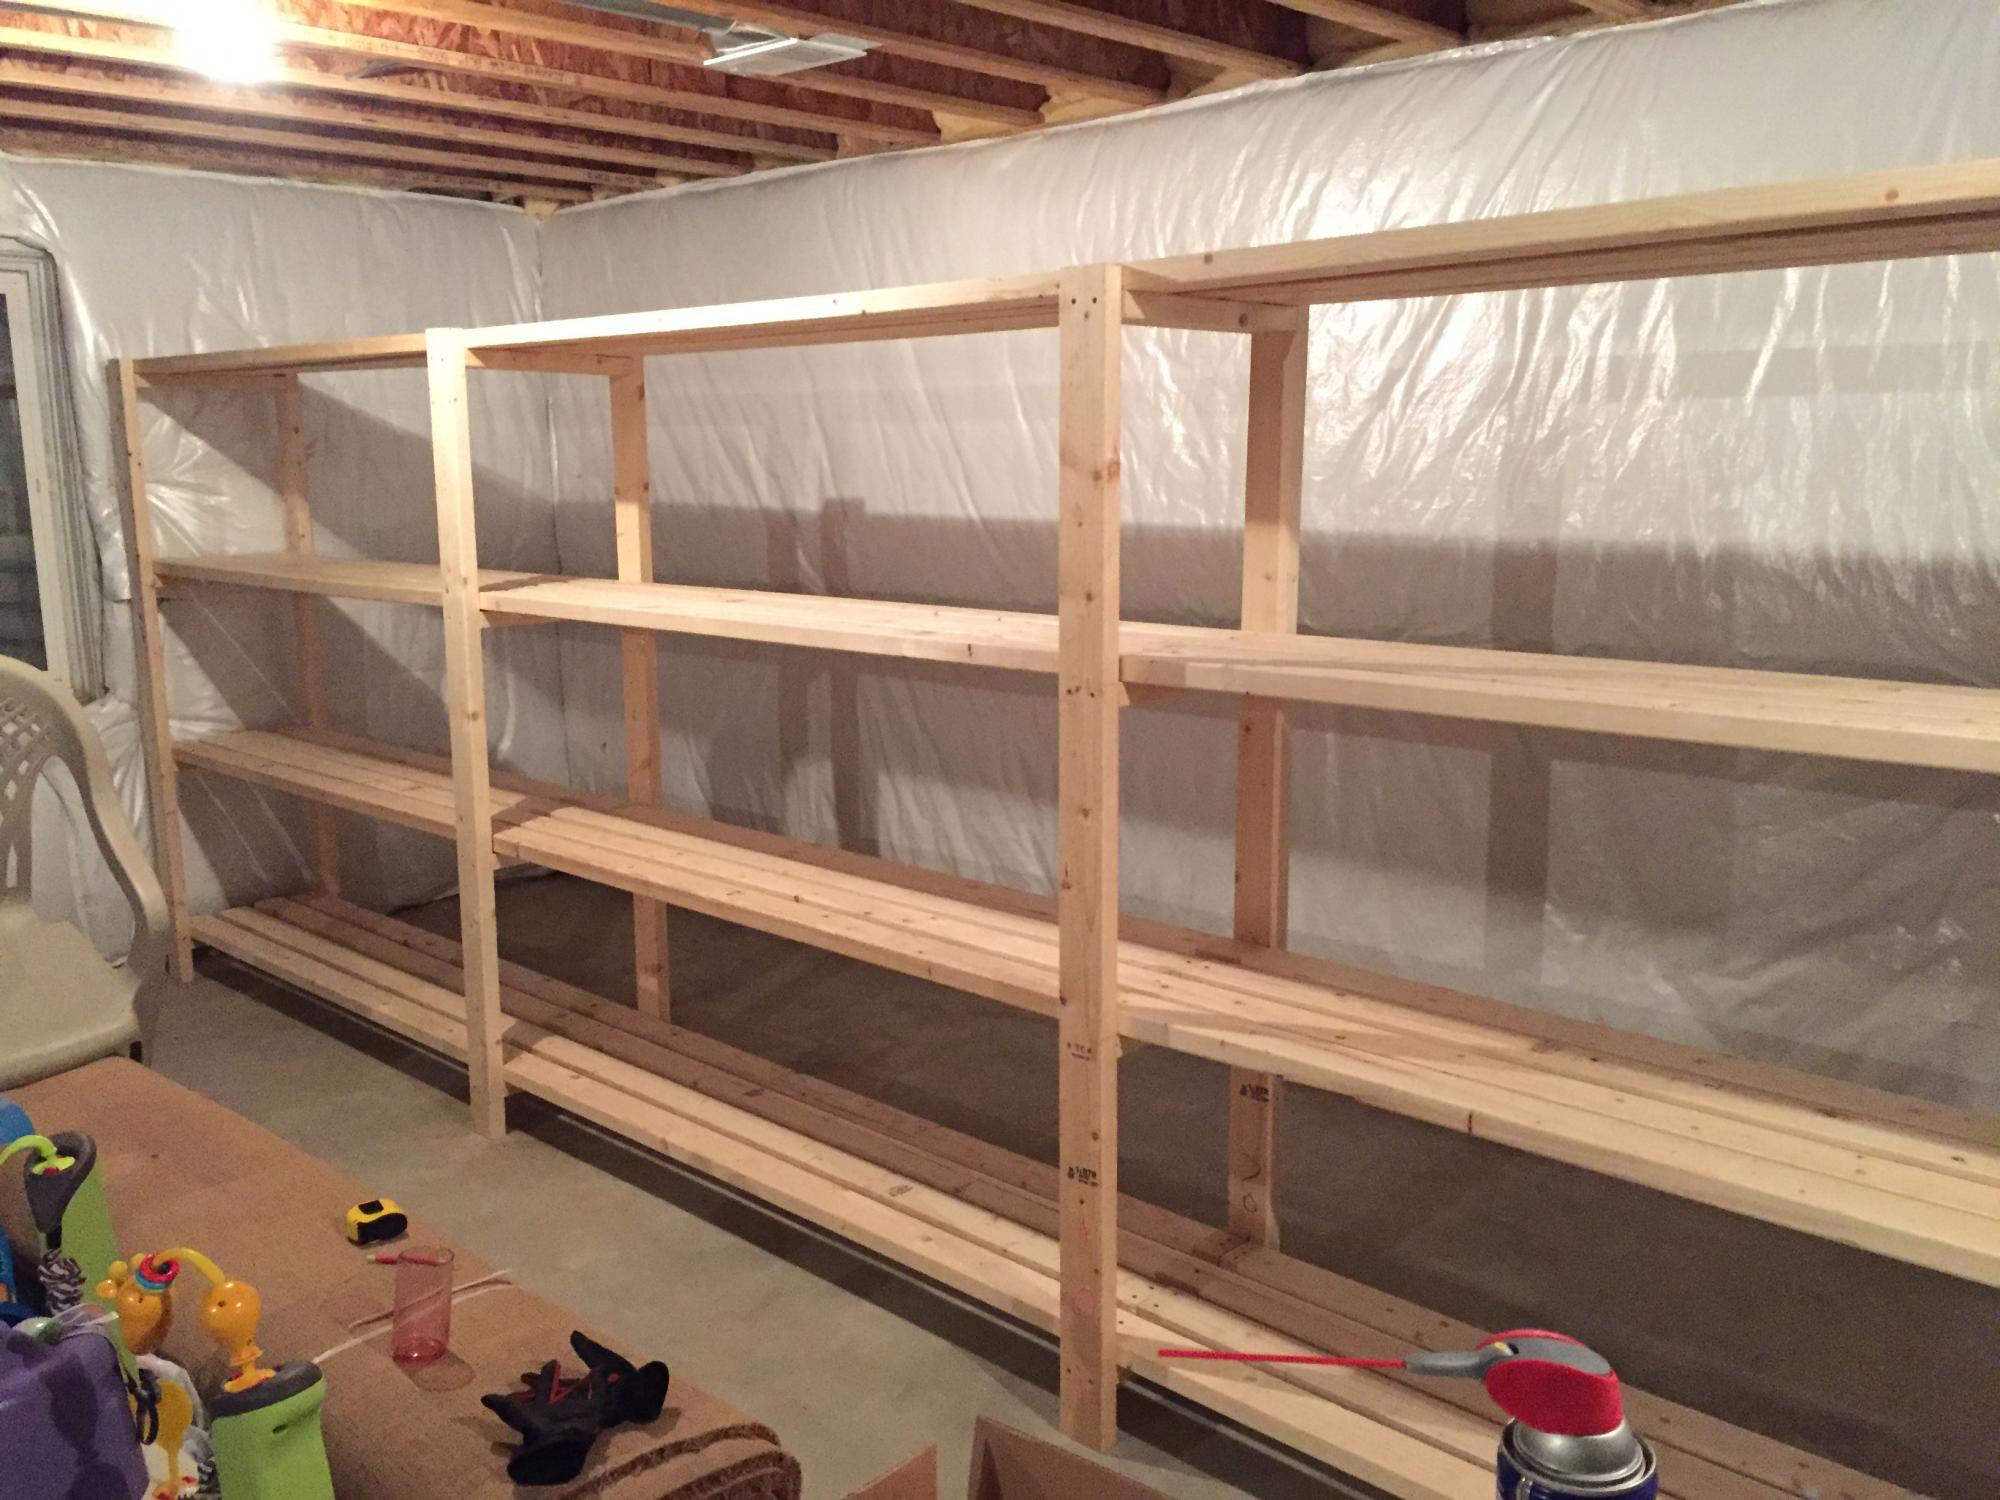
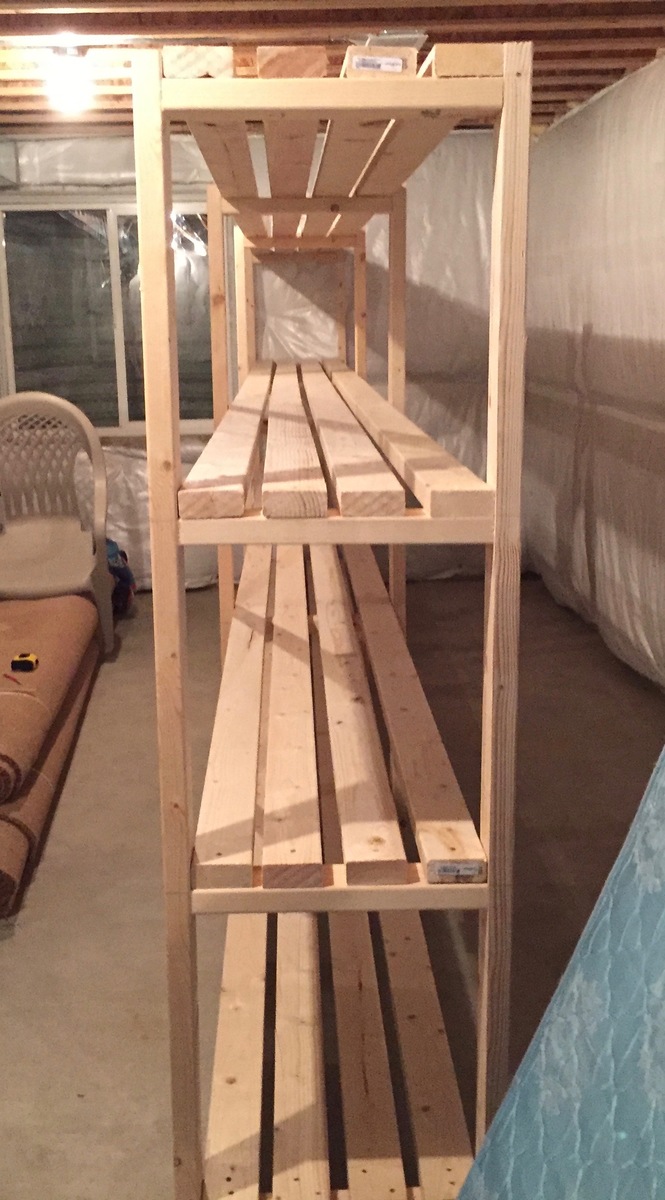
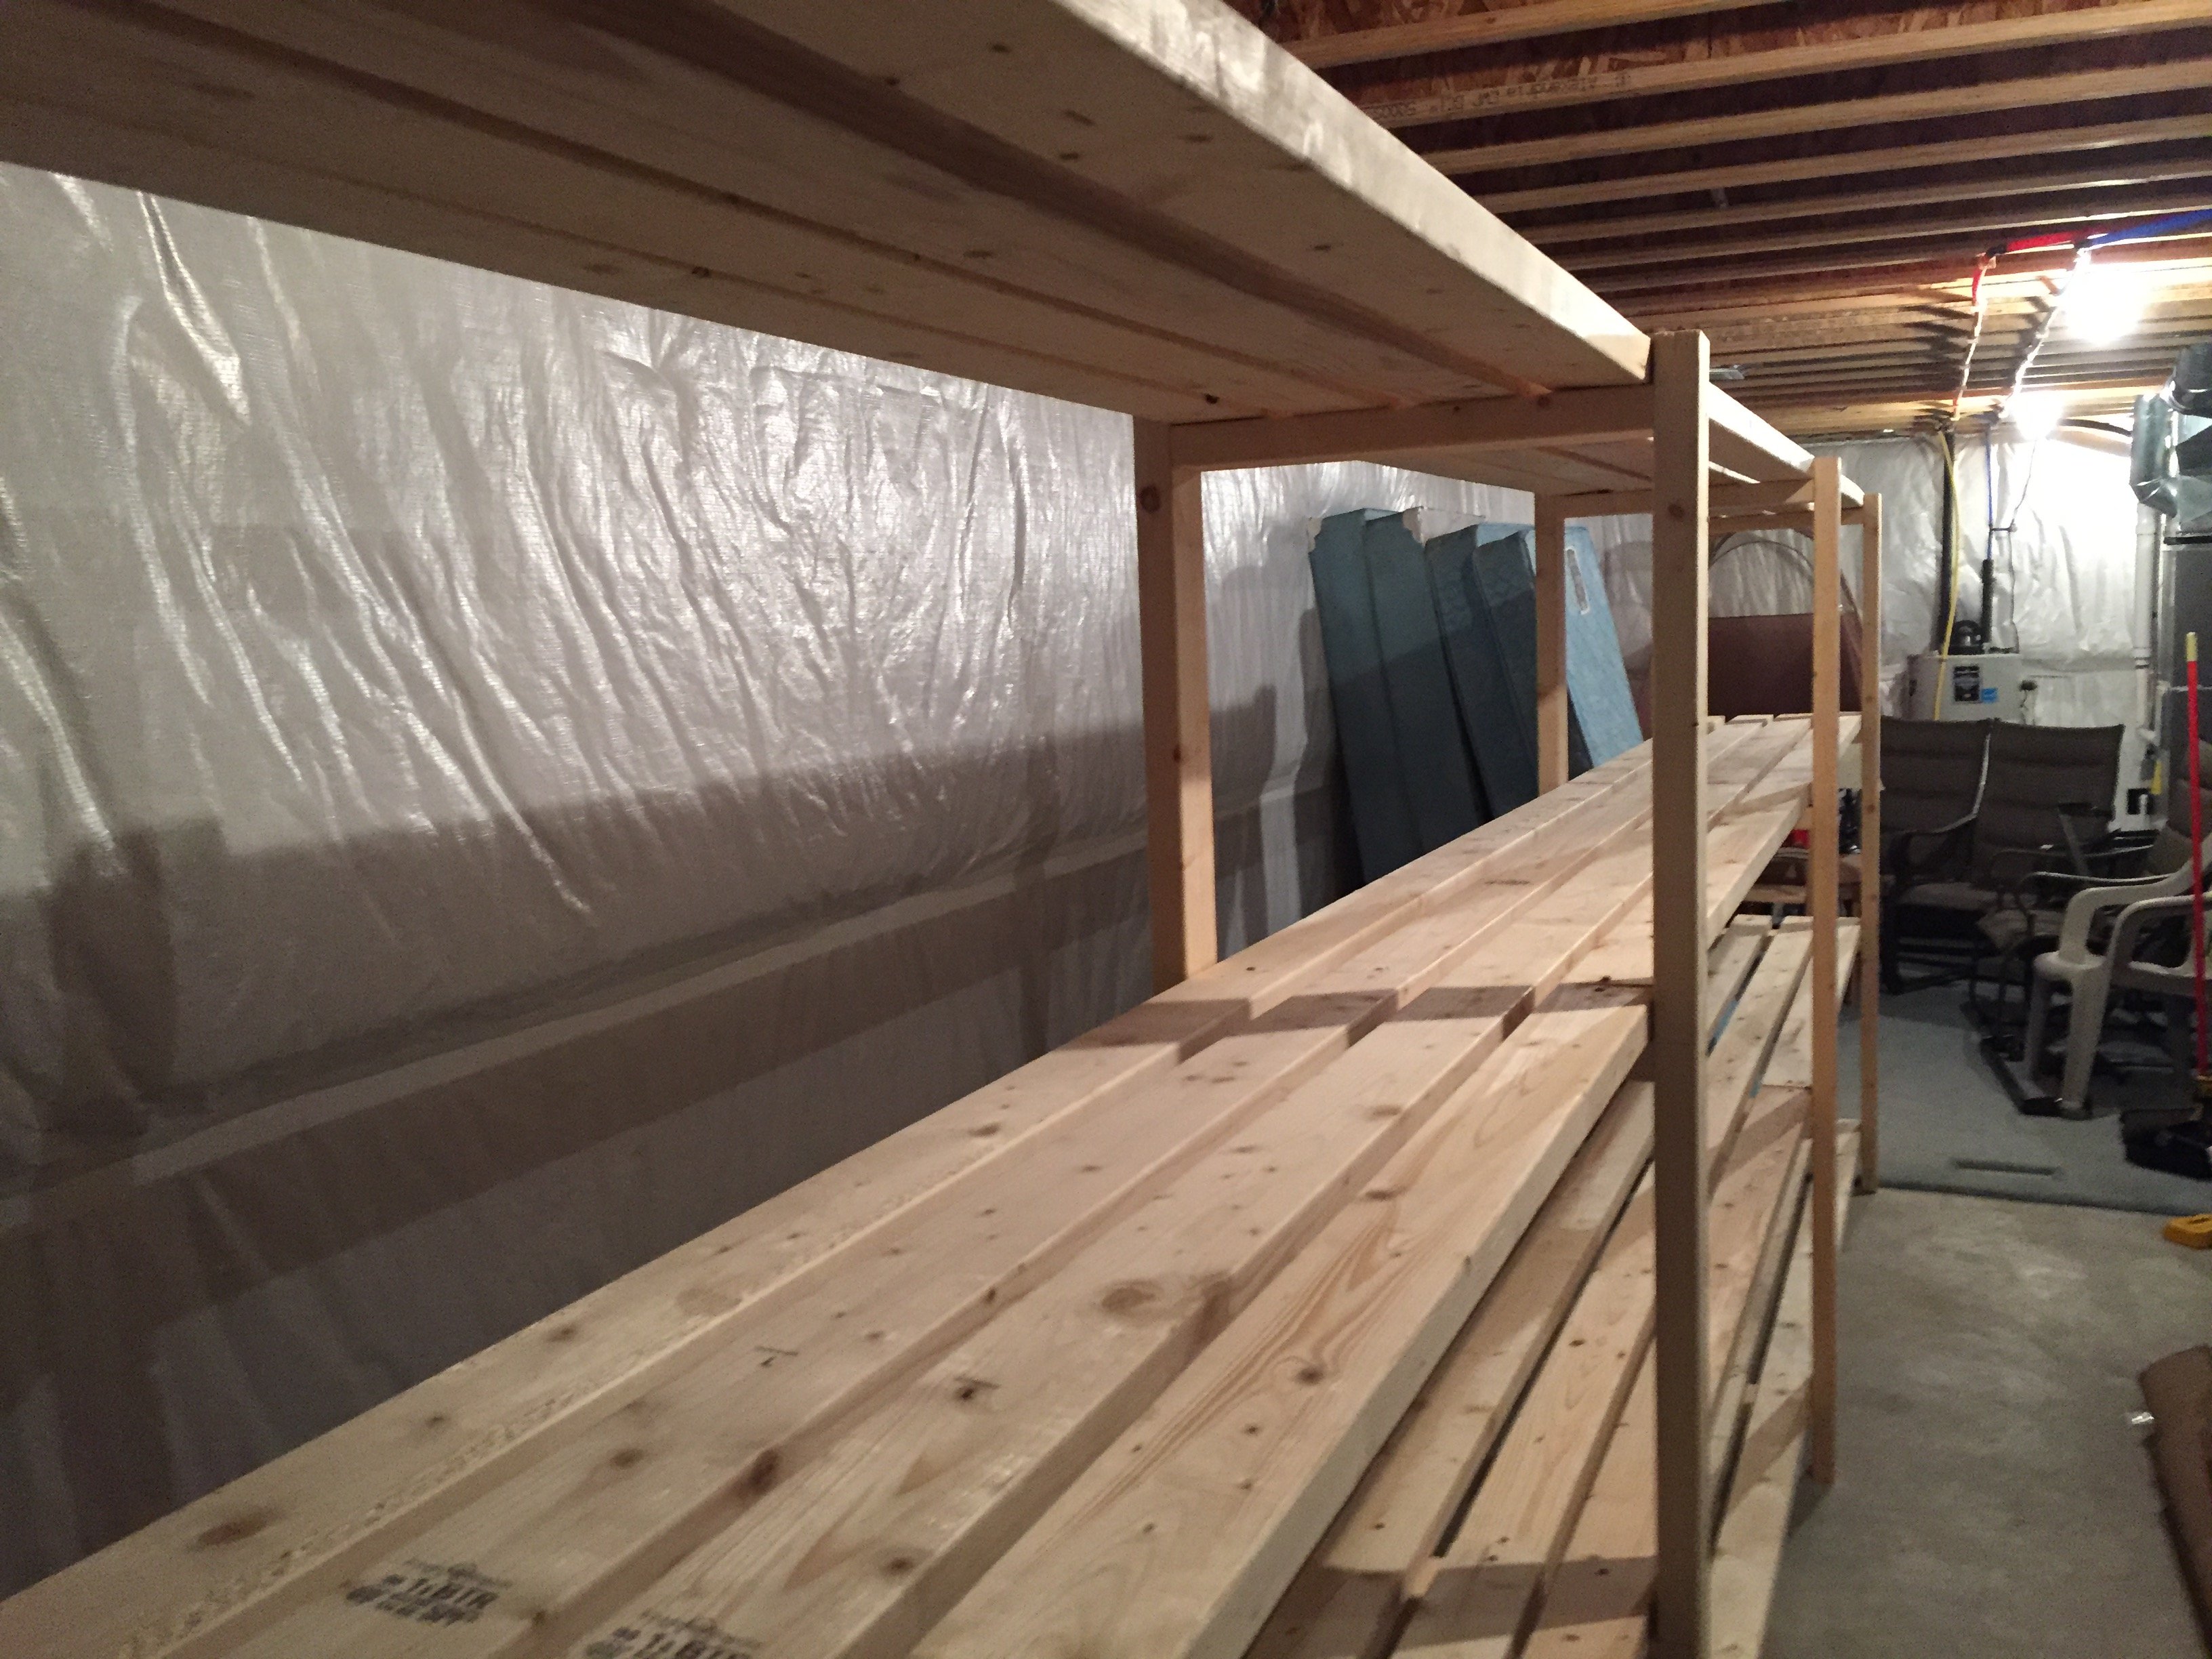
Thanks for the instructions! Here's my version. I haven't built much of anything before, but I needed it in my basement to handle kids' stuff. My version is 18 feet long. I combined a 12-foot and 6-foot 2x4 to get that length, which meant less cutting, which I had done at Lowe's (for free). I used the 6-foot 2x4s throughout the shelf to ensure it was strong (in other words, I didn't want a 12-foot "section" and a weaker 6-foot "section" added on).
I was able to get everything in my car but the ride home was slow. I also had to use my egress window to get the 12-foot boards in the basement.
Total cost for me was about $170 including a couple boxes of screws and wood glue. I could've easily spent double the cost on store-bought shelving. Thanks for the plans!
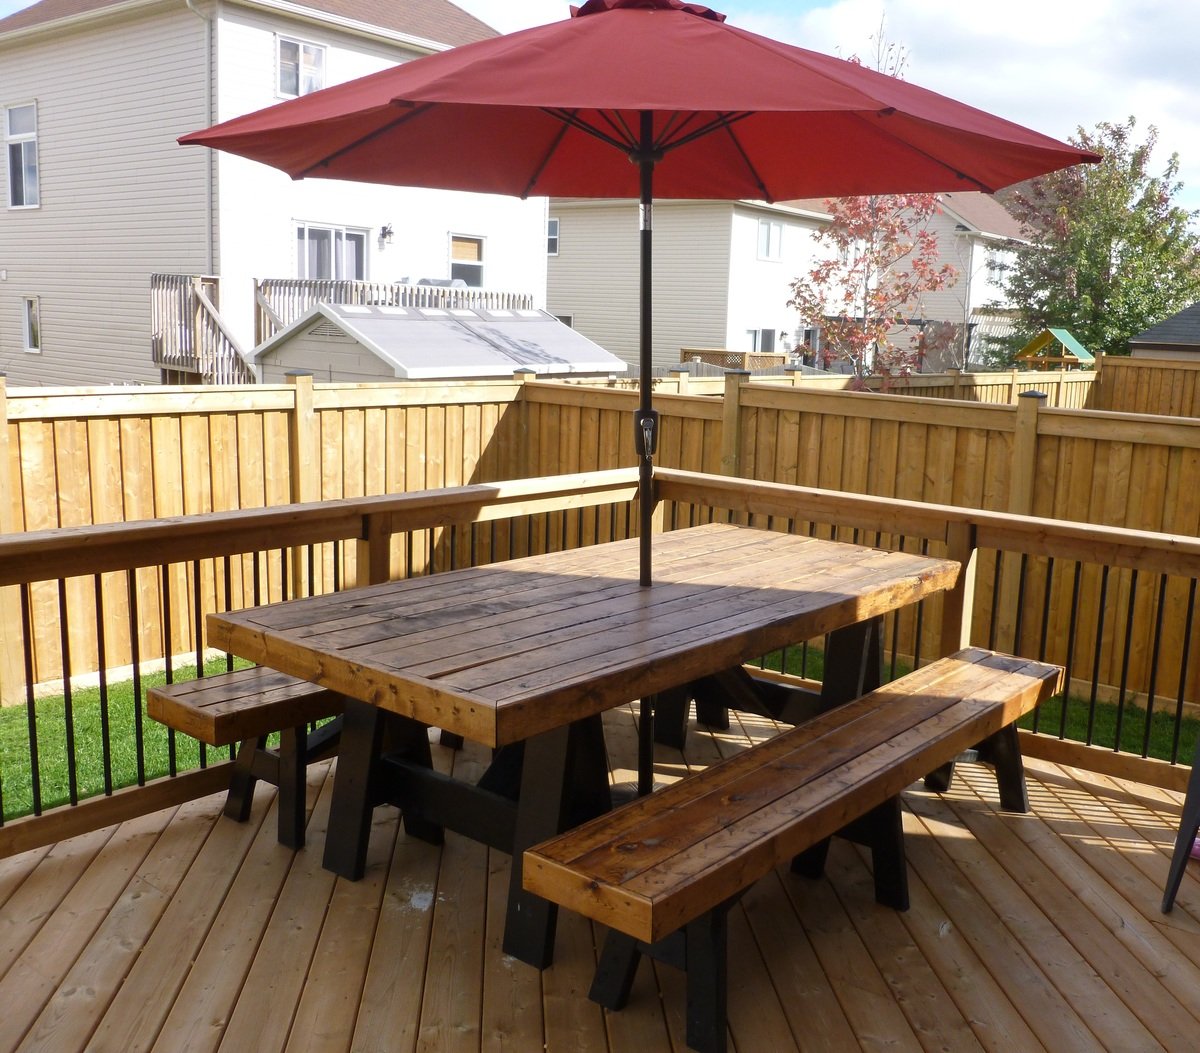
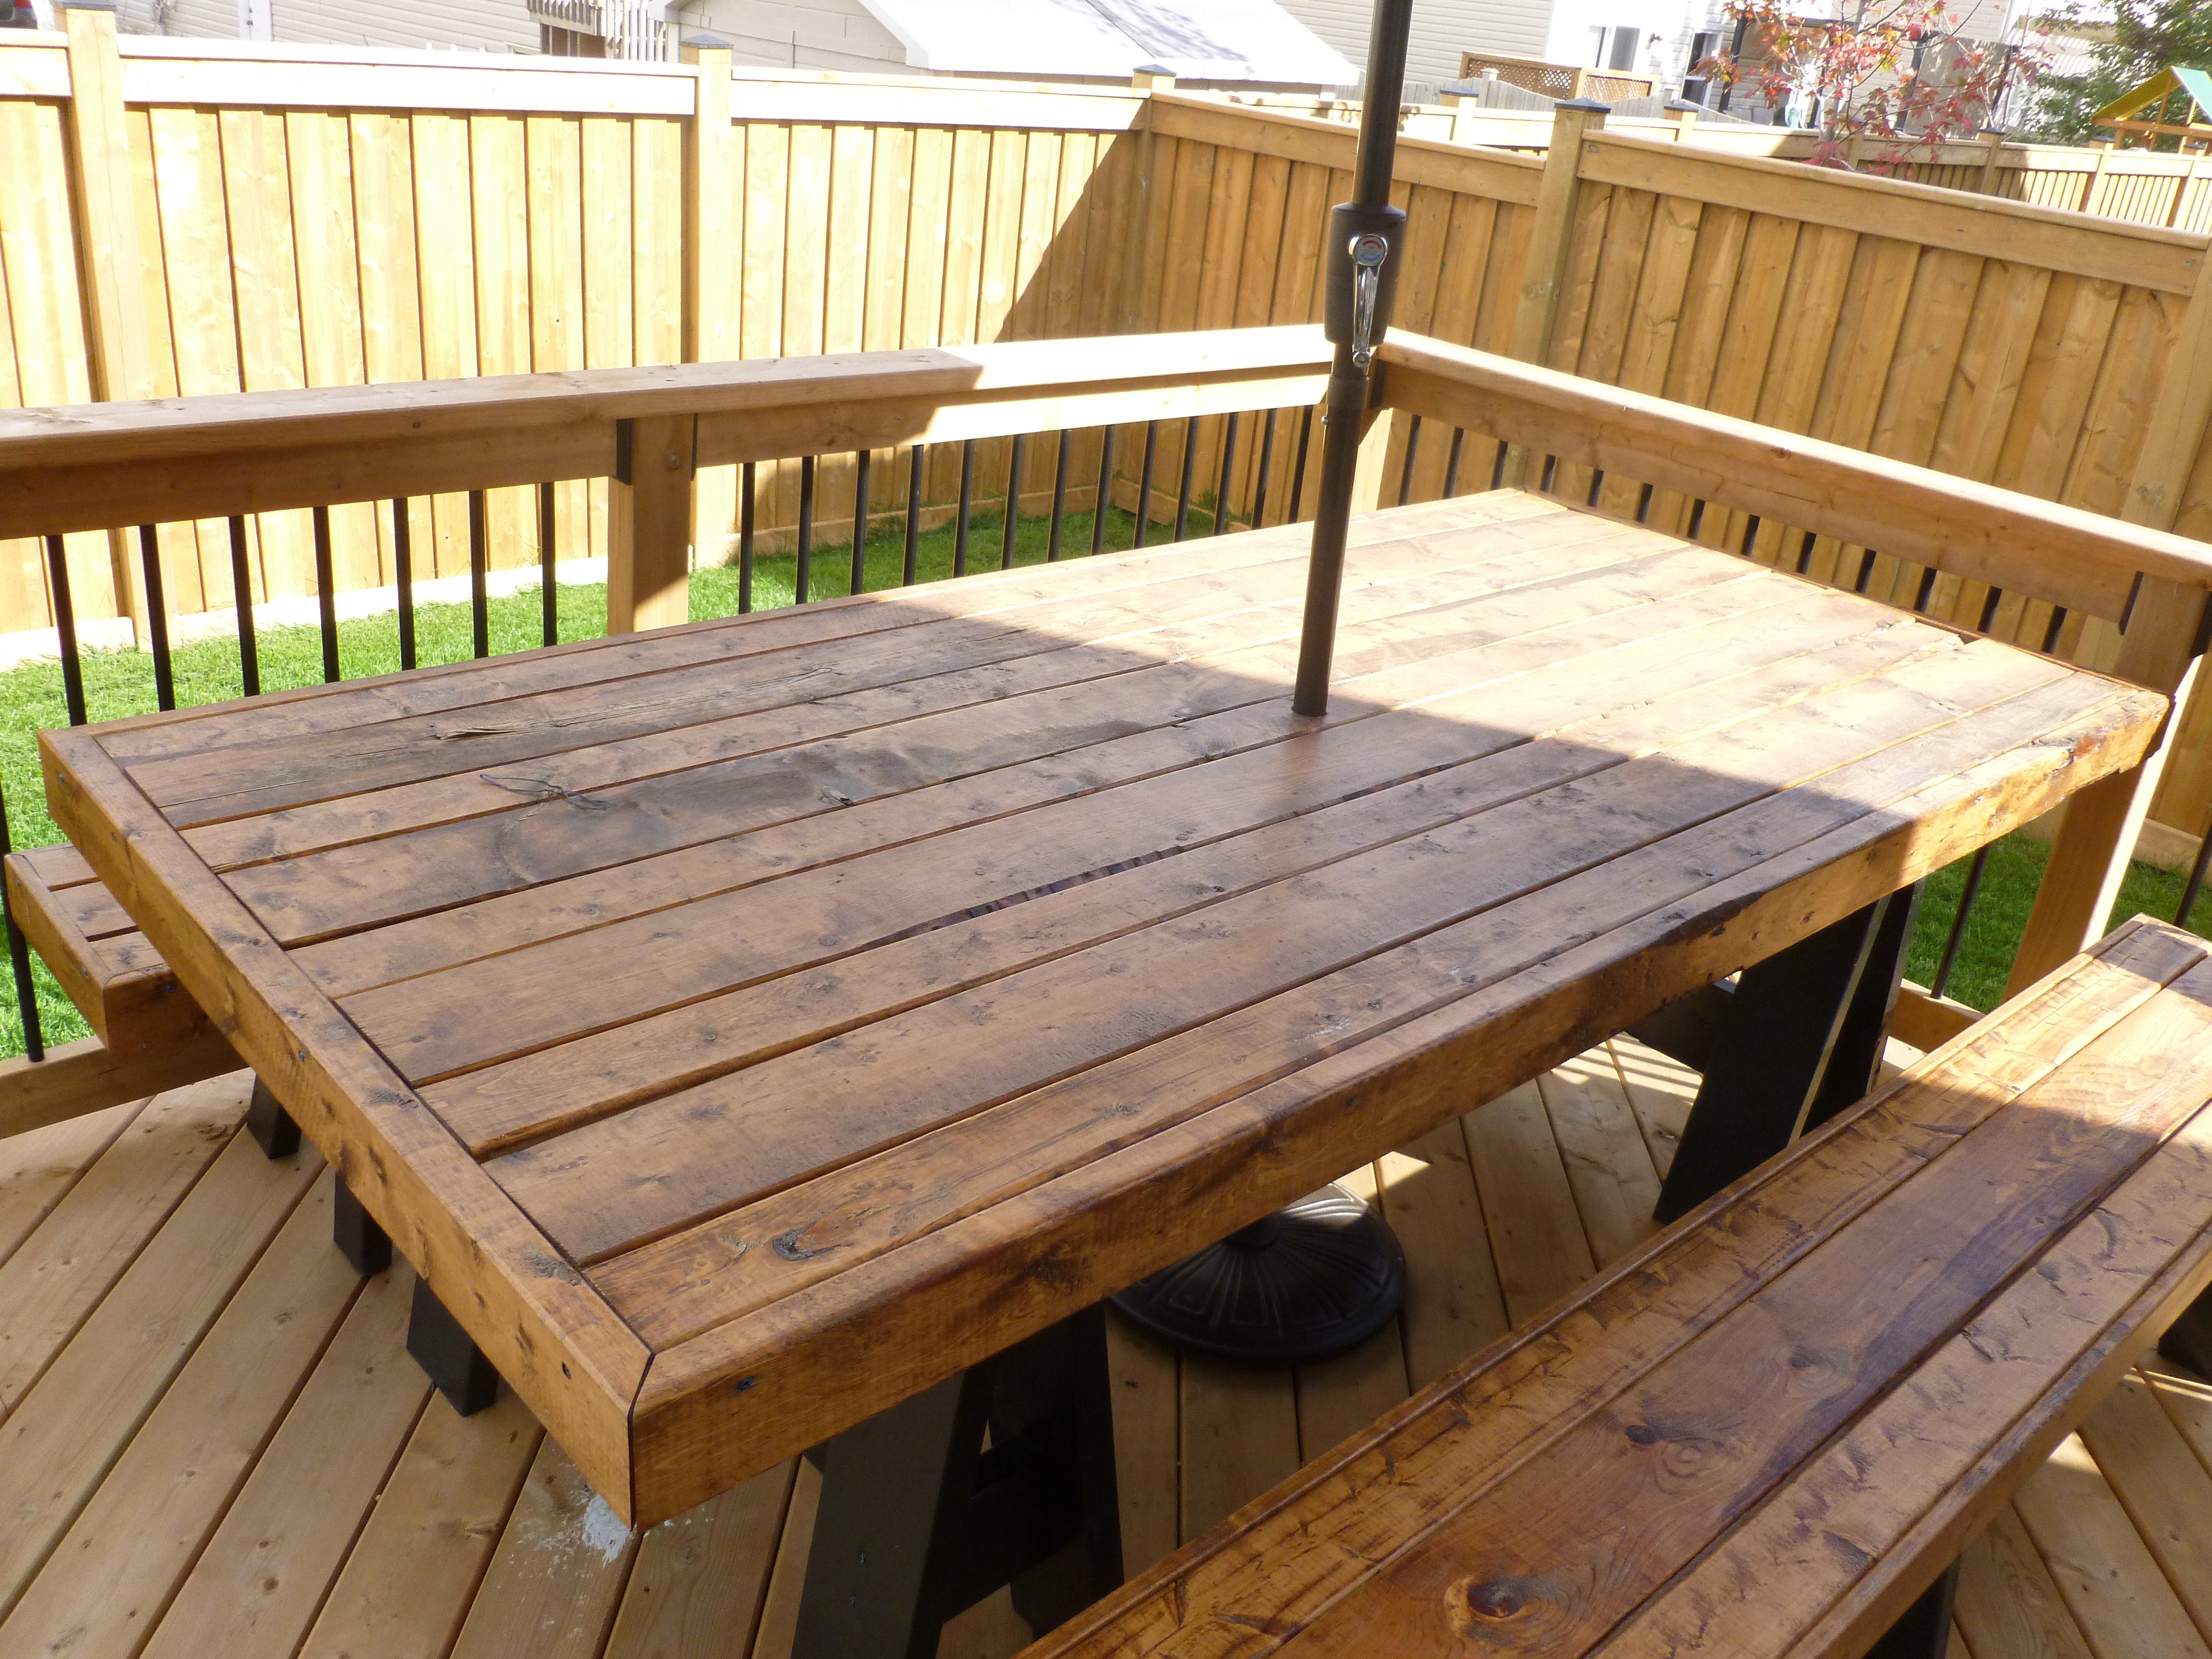
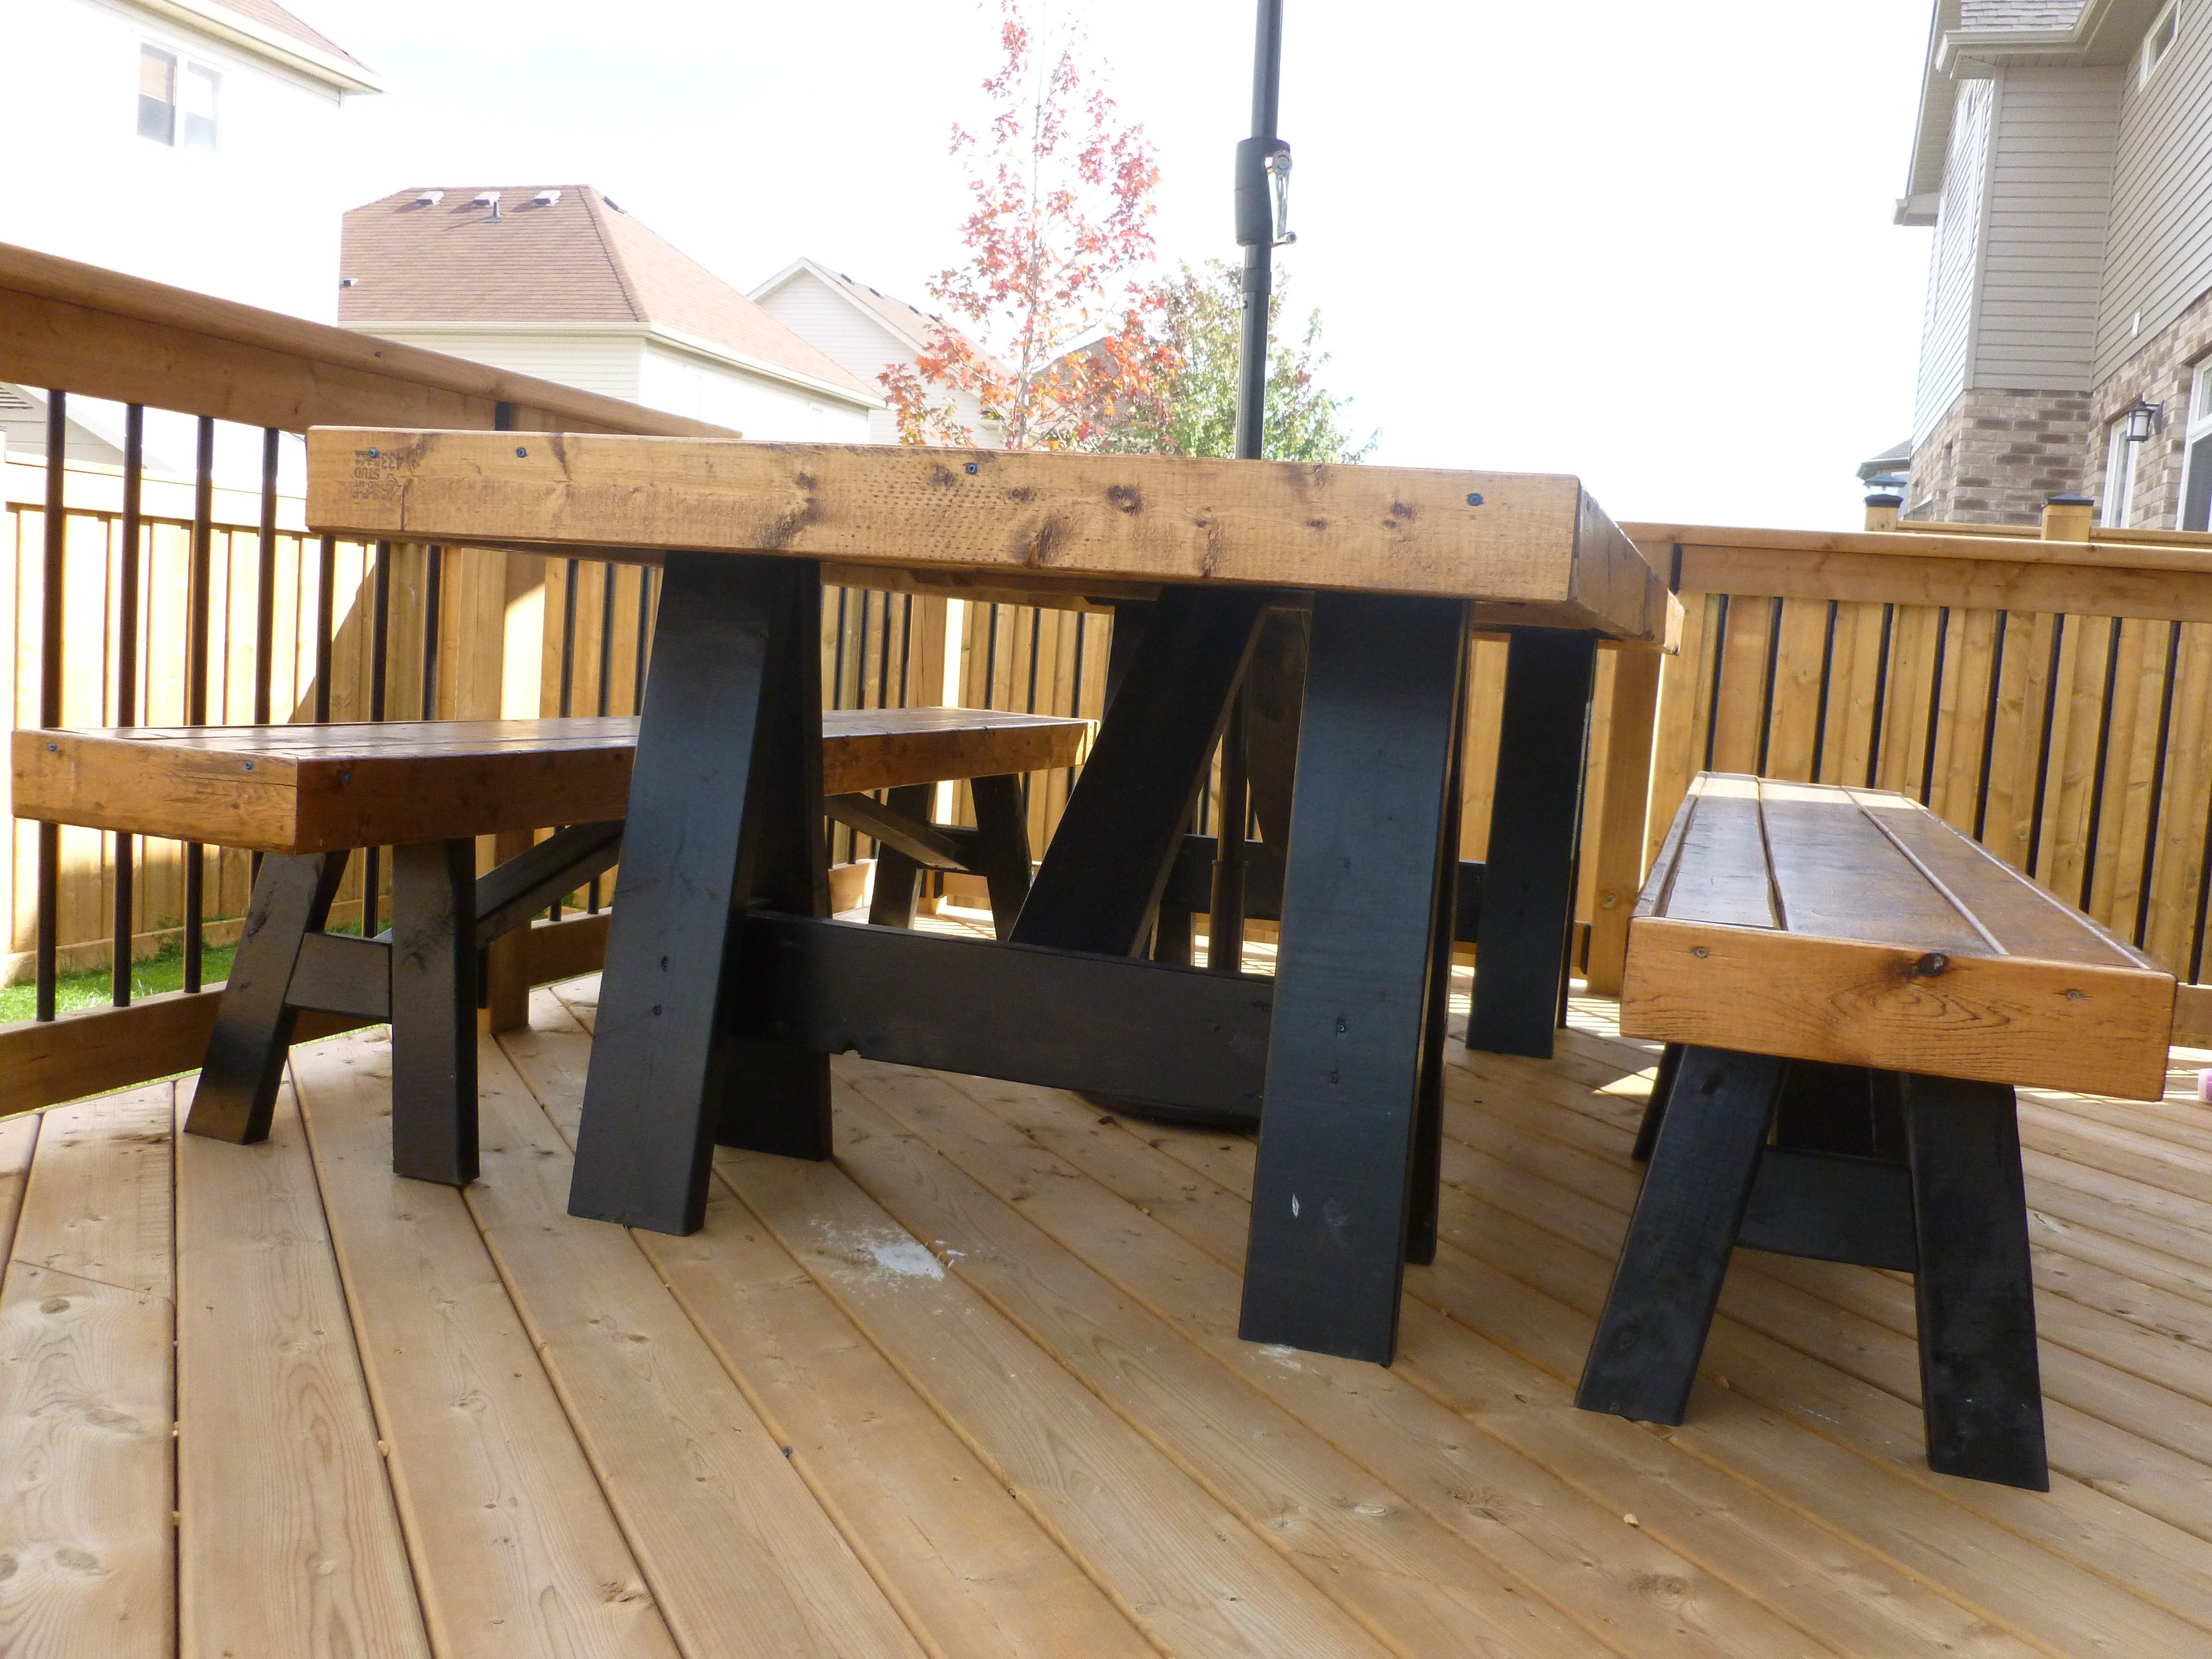
I fell in love with this set from the moment I saw it on Shanty-2-Chic's website. I knew I had to have it for the deck I just built in my backyard. It's pretty straightforward, the only difficulty I ran into was assembling the legs. I copied the angles provided in the instructions to a "T" but there are still some gaps where the angled pieces join. After spray painting it they are not very noticeable. It is a heavy beast of a table and took everything in me to help my husband heave it up on to the deck, but it's absolutely lovely. It is so large we can easily have people over for a BBQ and everyone fits around the table. I'm so thrilled with the results. Thanks, Ana!

Mon, 03/30/2015 - 16:34
What adjustments did you made to the plans for creating an umbrella hole?

In reply to Umbrella opening in the table by liamtoh1
Tue, 06/13/2017 - 15:41
So sorry, I just saw this question now! Wish I had received an email to let me know you asked a question. You need to use a hole saw bit. It's just a bit that you can use with any drill. You need to determine the diameter of the umbrella pole first and then use the appropriate bit. Hope this helps. :)
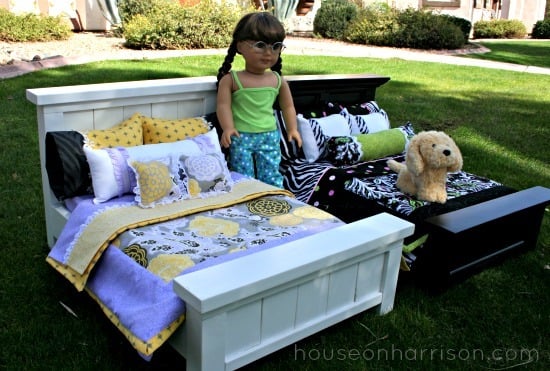
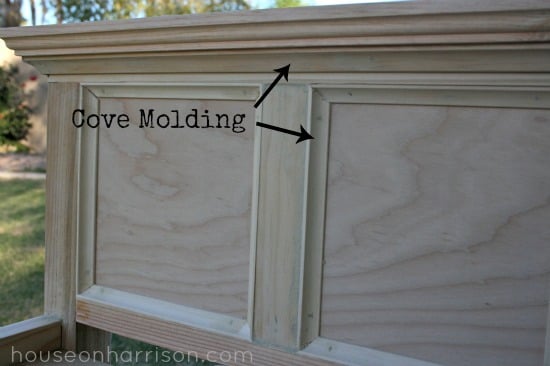
I made these two American Girl doll beds for my nieces. For one bed, I followed Ana's plans exactly. For the other, I used plywood and cove molding in place of the 1x3 slats.
You can find more details about the build and finish I used on my blog.

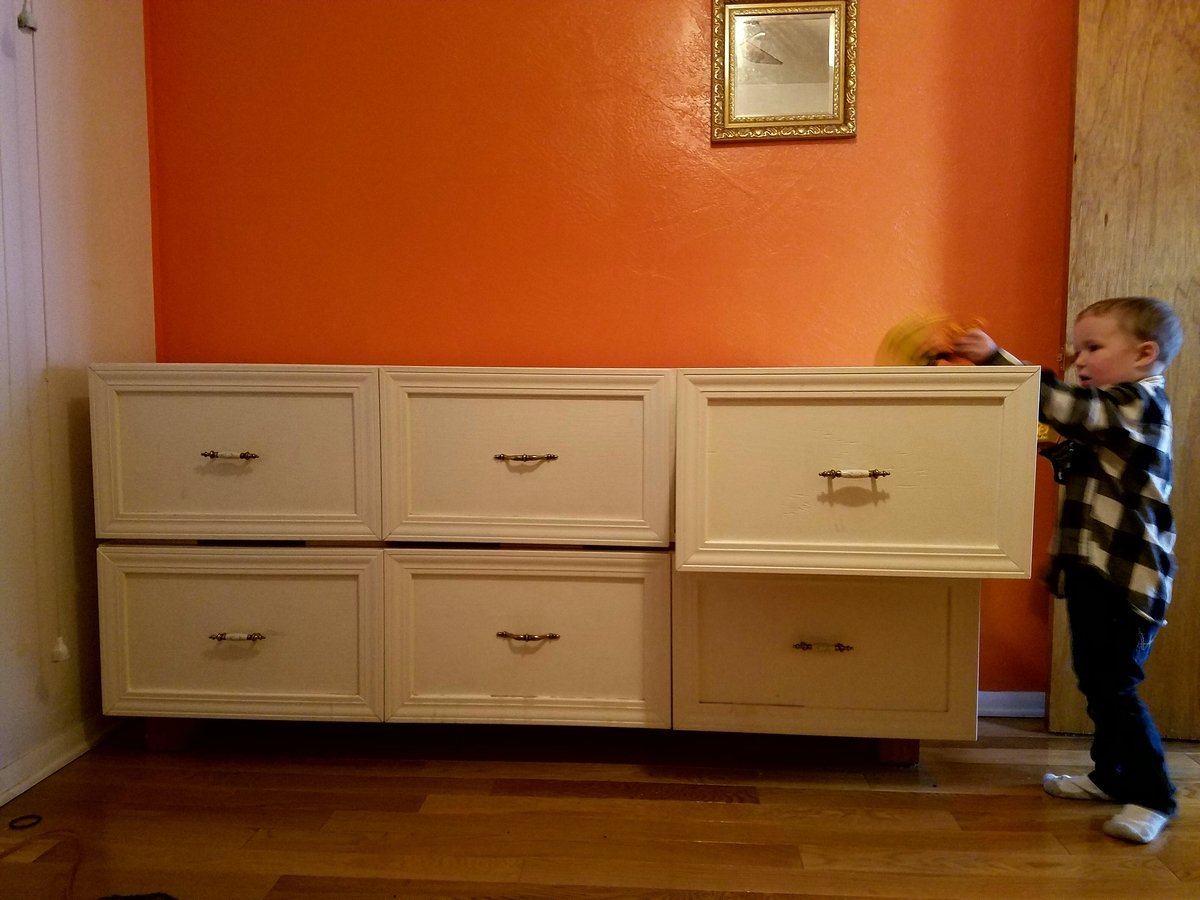
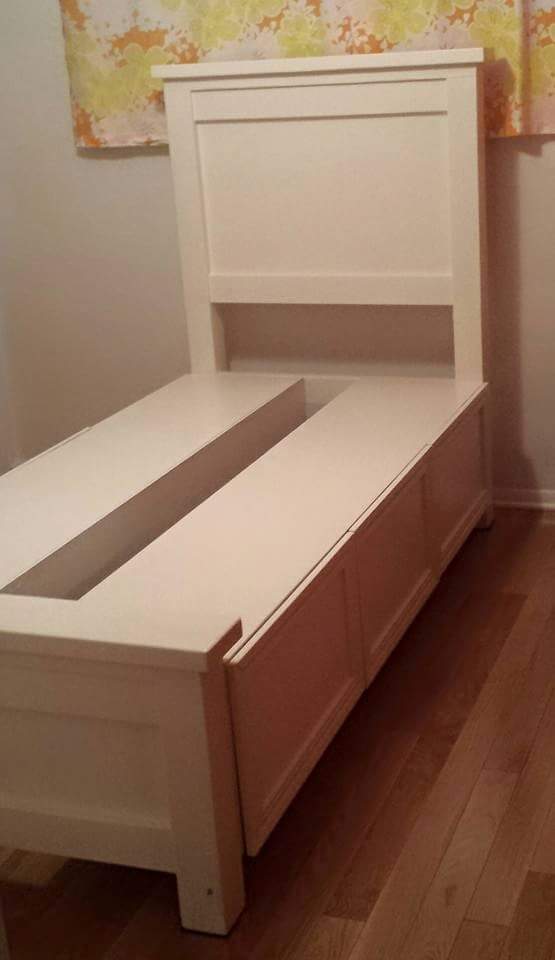
A few years back, I built a twin version of Ana's Farmhouse Storage Bed for my step-daughter. After she moved out, I converted it to a huge toychest for my three-year-old.
I would have left it as a bed, but with a quality mattress it was so high I was afraid he could get hurt if he fell out.
The conversion is simple. Remove 24 screws, reconfigure, add back the screws in different places. The support blocks become feet for the chest, and the slats become spacers under the top part.
He loves being able to get his toys out himself, and I love that he can put them away by himself. A big upgrade over plastic storage boxes on high clost shelves!
Once he's a bit older, I'll probably turn it into a bad again.

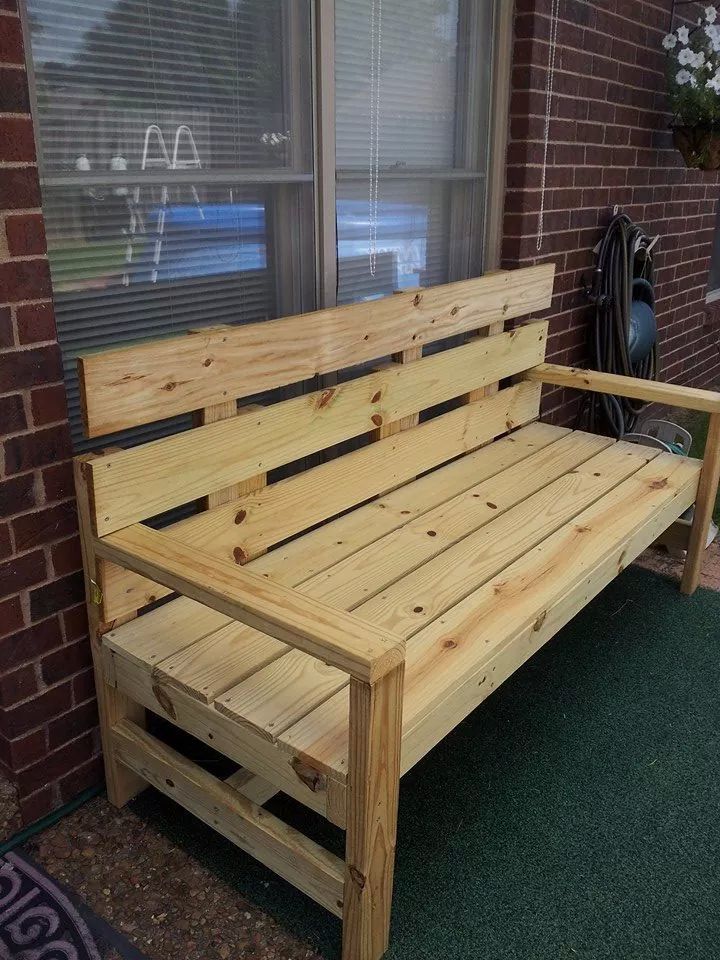
I made this bench just as instructed except I made the back legs taller (after the fact) for more back support.
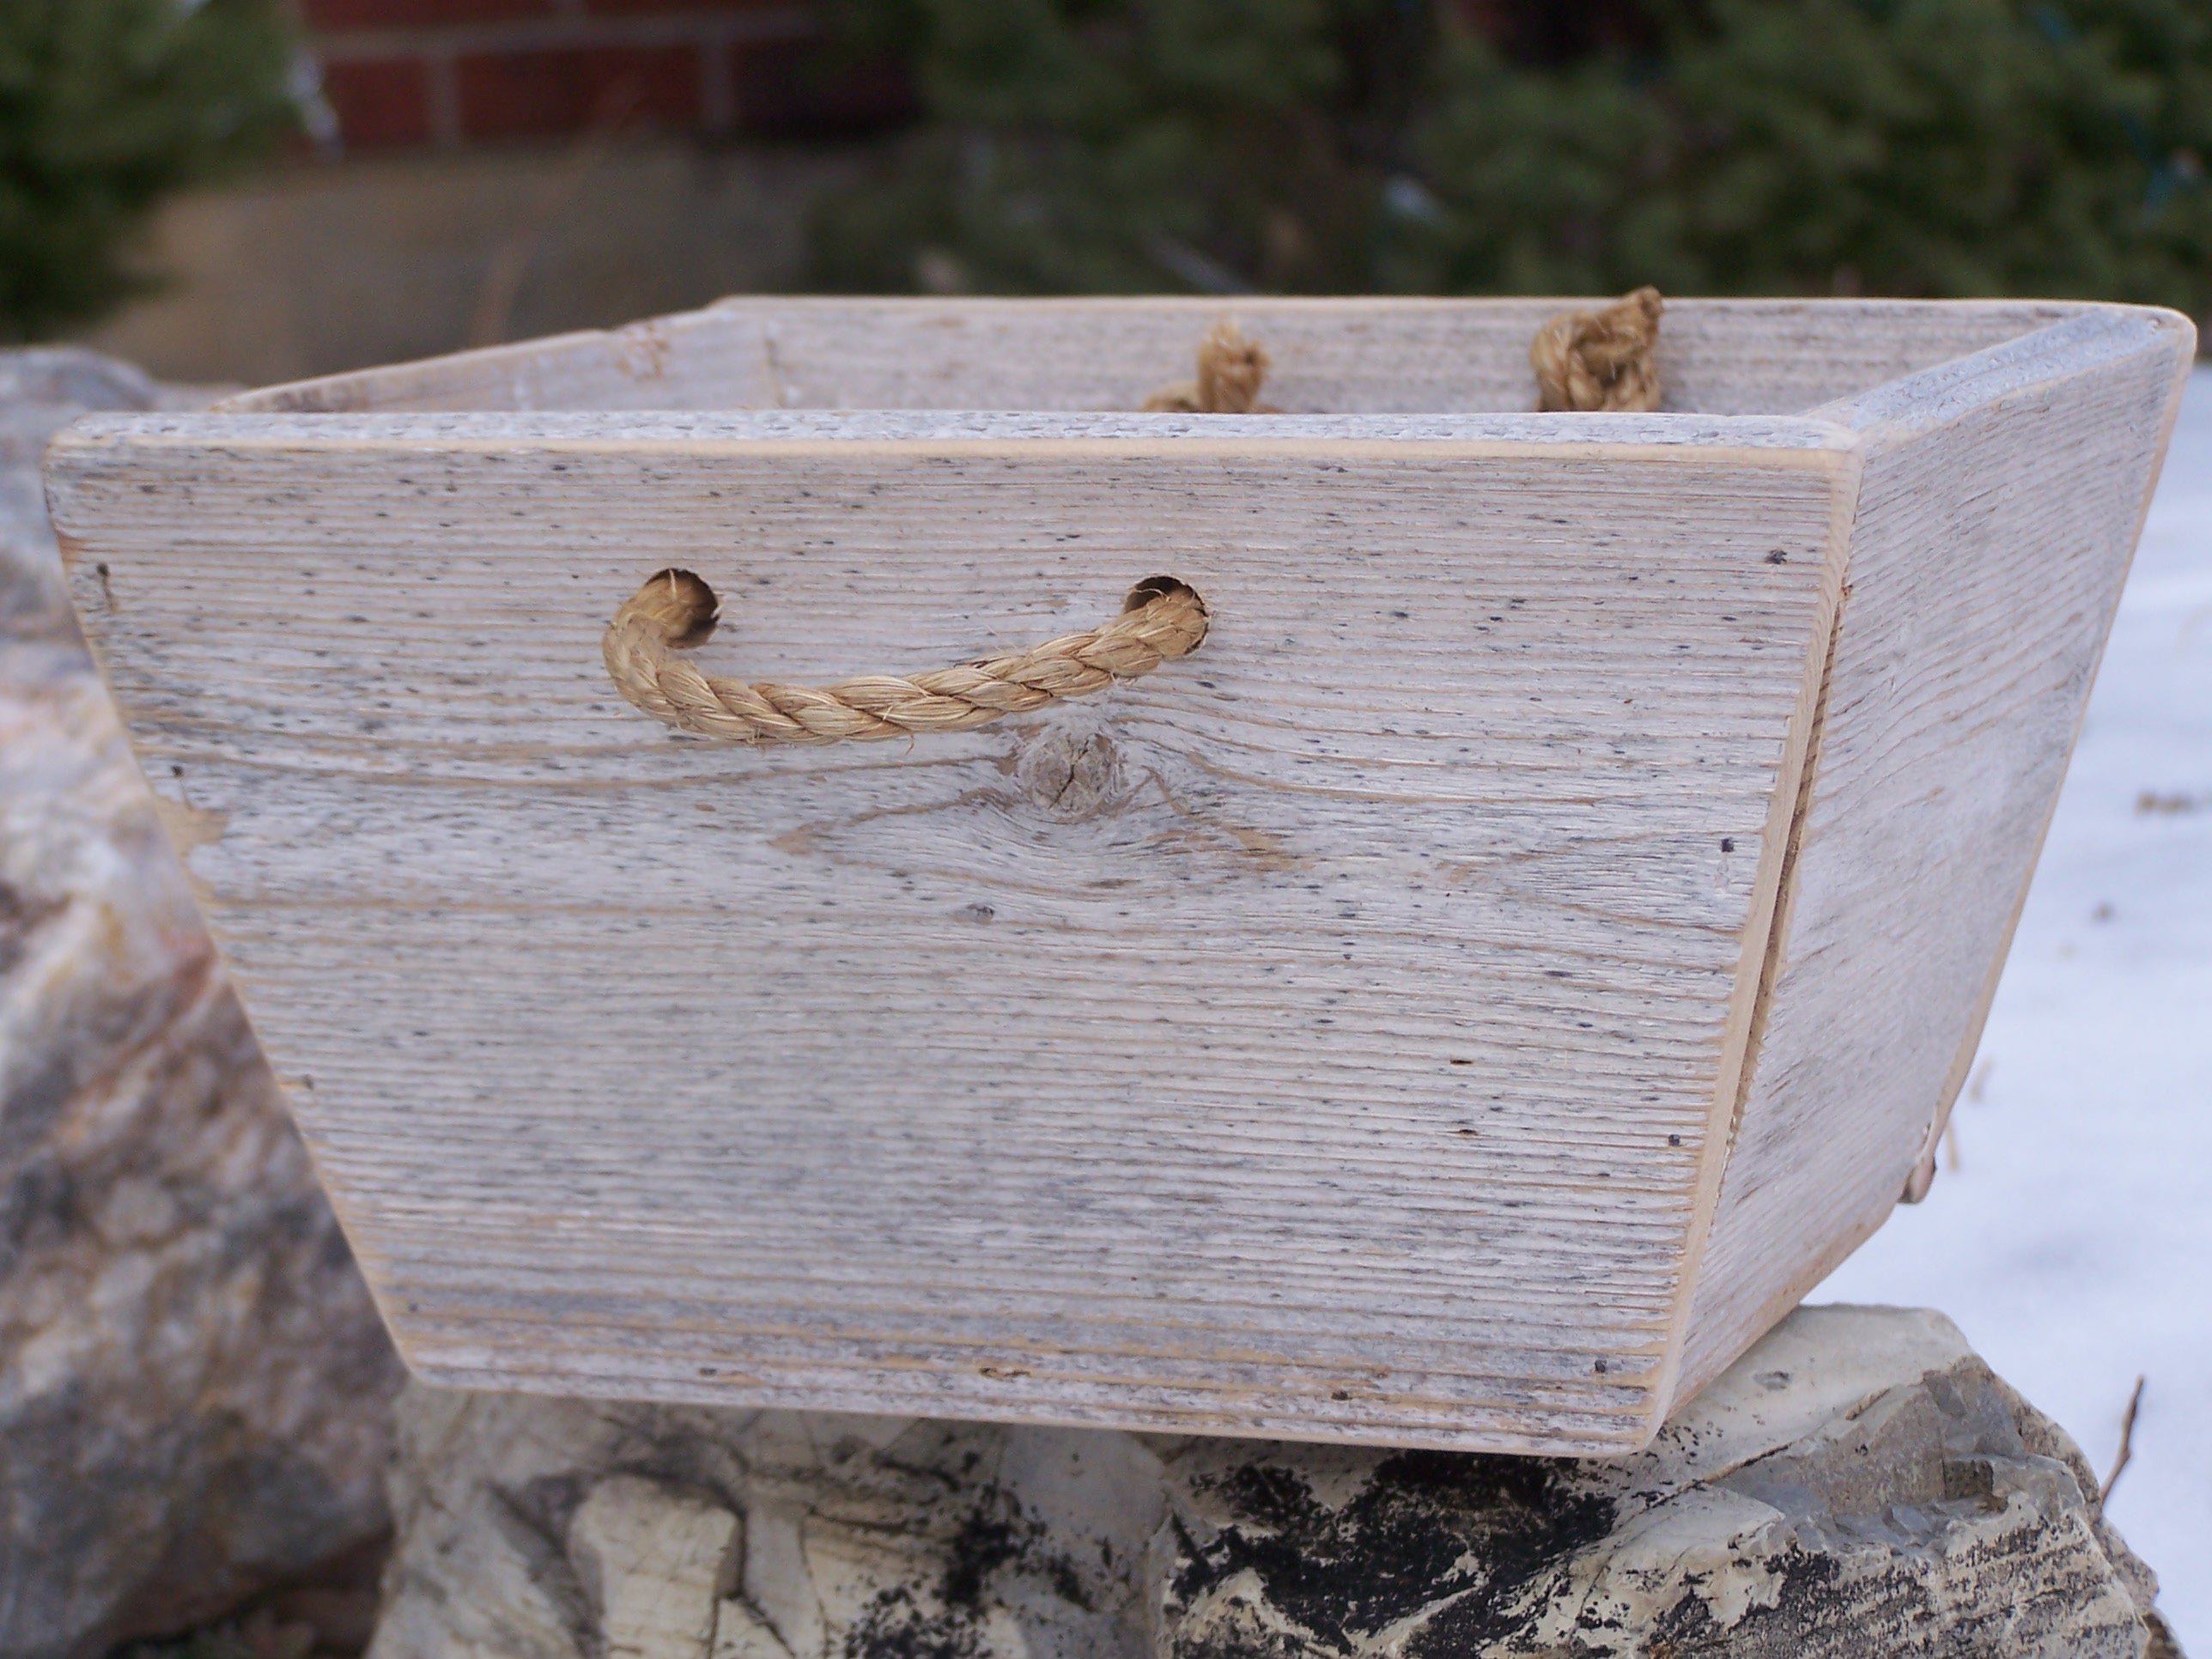
I was so excited when I saw the plan for this! I love making crates out of wood. It was quick and easy and I already had a cedar fence post! It was less than 30 minutes start to finish! For more pictures check out my blog post. Thanks Ana!

This was my first piece of furniture to make all on my own and the Corner Cupboard plans were soooo helpful! I needed more space for plants and had already built shelves in every window of my house, so I decided it was time to make a larger space to house my plants and add supplemental lighting so I could put it anywhere I wanted. This corner was dark and I don't love lamp light, so I thought a pop of color + plants + daylight grow lights would be perfect for the space! I've been taking on more carpentry projects and also wanted something that was a bit more challenging. This plan was perfect! I'm more of a napkin planner myself, so it was nice having the structure provided in Ana's plans and the cut list was super helpful. I had to make some modifications to fit things into my car, but it all came together nicely! This being a plant hutch with grow lights was the plan all along, but I gotta tell ya, when it came to having to drill 3/4" holes in the back of my newly built beautiful hutch, it took me a minute to work up the courage! I really love how it all came together - thanks for sharing your plans, Ana!
Tue, 02/23/2021 - 10:04
Wonderful job, love the finish and multi functionality of the piece!
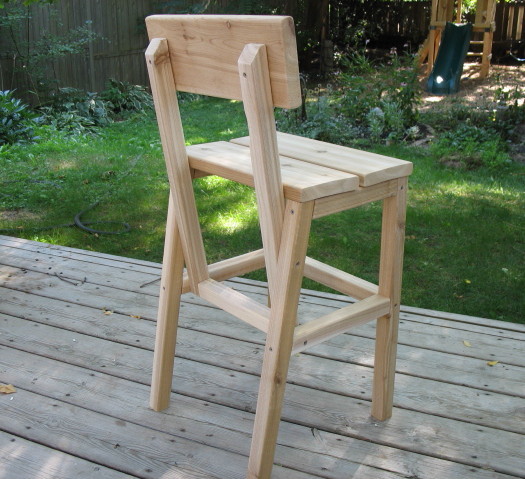
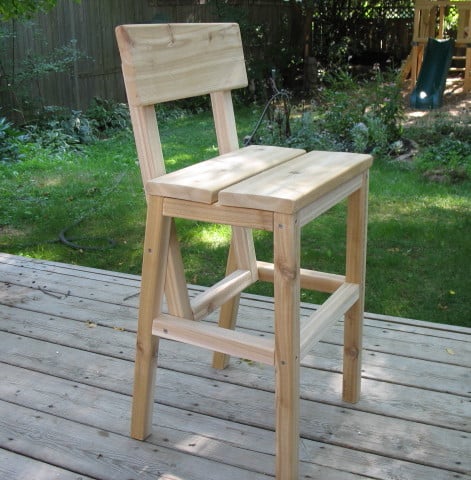
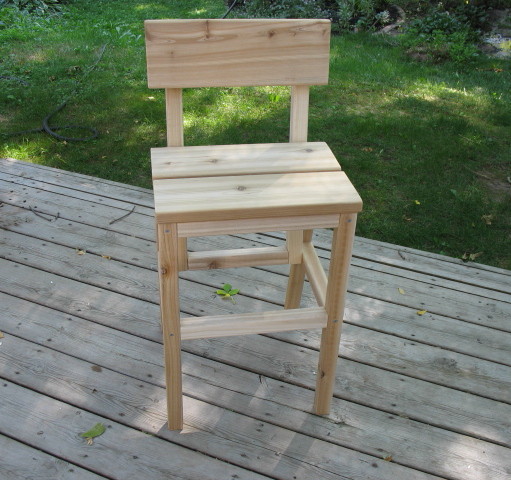
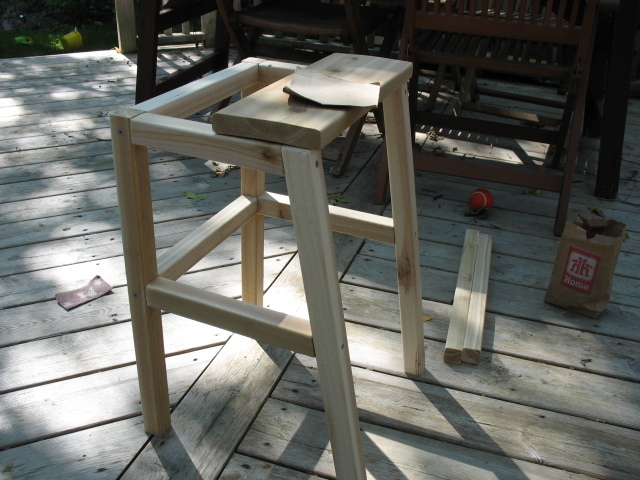
I used cedar deck boards and rails to make this chair - A little more costly, but definitely worth it!
The seat and back rest were made using 5/4 x 6" boards. I cut them 1/2" to 3/4" longer so that they would overhang the supports - for a more finished look. The 2x2 rails came with an angled cut, so I decided to use that to my advantage on the back supports - I made them a bit longer so they would sit higher on the back rest, and I think the angled cut looks a little more "friendly". All screws were left exposed, since this is an outdoor cedar chair.
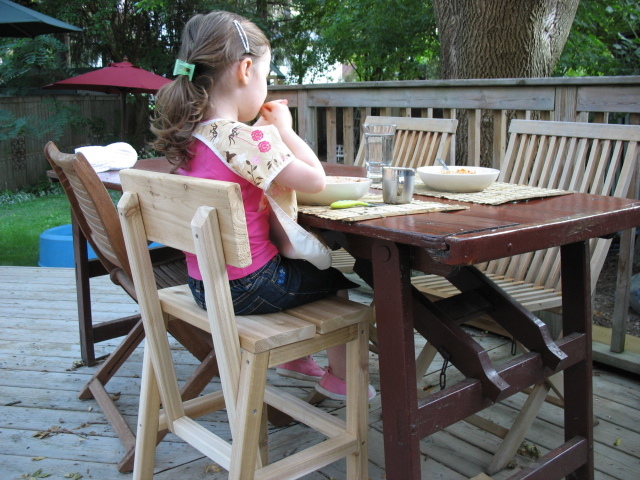
The table in the photo is an original picnic table from the 1920's, complete with the original paint. It folds flat for storage. I hope to measure it someday and make a plan to build a reproduction - If that ever happens, I will post it on Ana's site.
Thanks Ana for the great plans!

In reply to Just beautiful! by dananryan
Wed, 03/06/2013 - 11:48
Thanks So Much! :)
In reply to Thanks So Much! :) by Tea Granny
Wed, 03/06/2013 - 11:50
Thanks So Much! :)

Fri, 03/08/2013 - 19:43
The chair looks beautiful! You did a great job! I love the contrast of the outdoor table and this chair! Thanks for your post!
In reply to The chair looks beautiful! by Ana White
Sun, 03/10/2013 - 14:48
Oh My Goodness!! Thank you, Ana!! I'm sure you're very busy and I'm honoured by the fact that you took the time to comment on my chair! You've made my day!
Fri, 05/17/2013 - 00:48
Hey,Wow the chair structure is so cool .Really good work done .
unique wedding favors
In reply to Hey,Wow the chair structure by EdmonsonWilliam
Mon, 05/20/2013 - 10:06
Ana has the greatest plans, doesn't she?

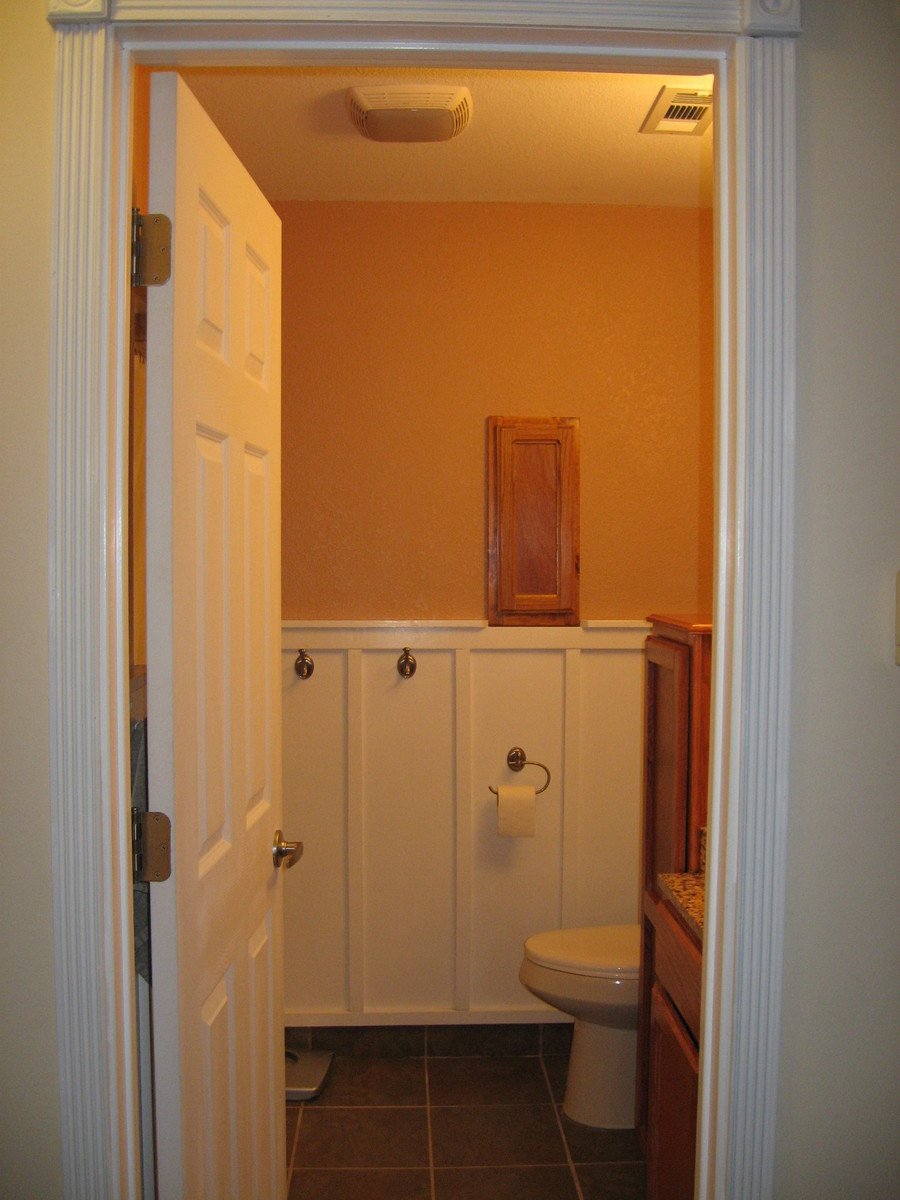
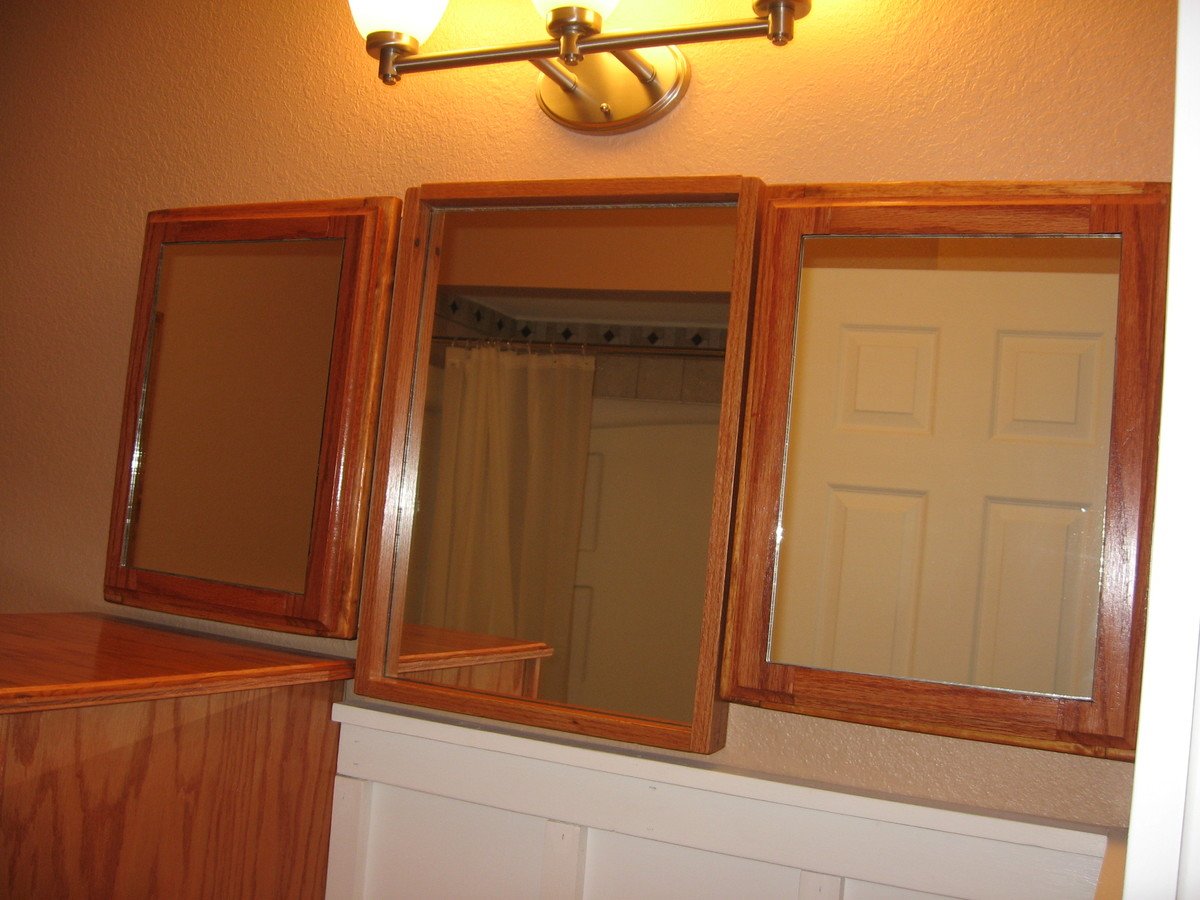
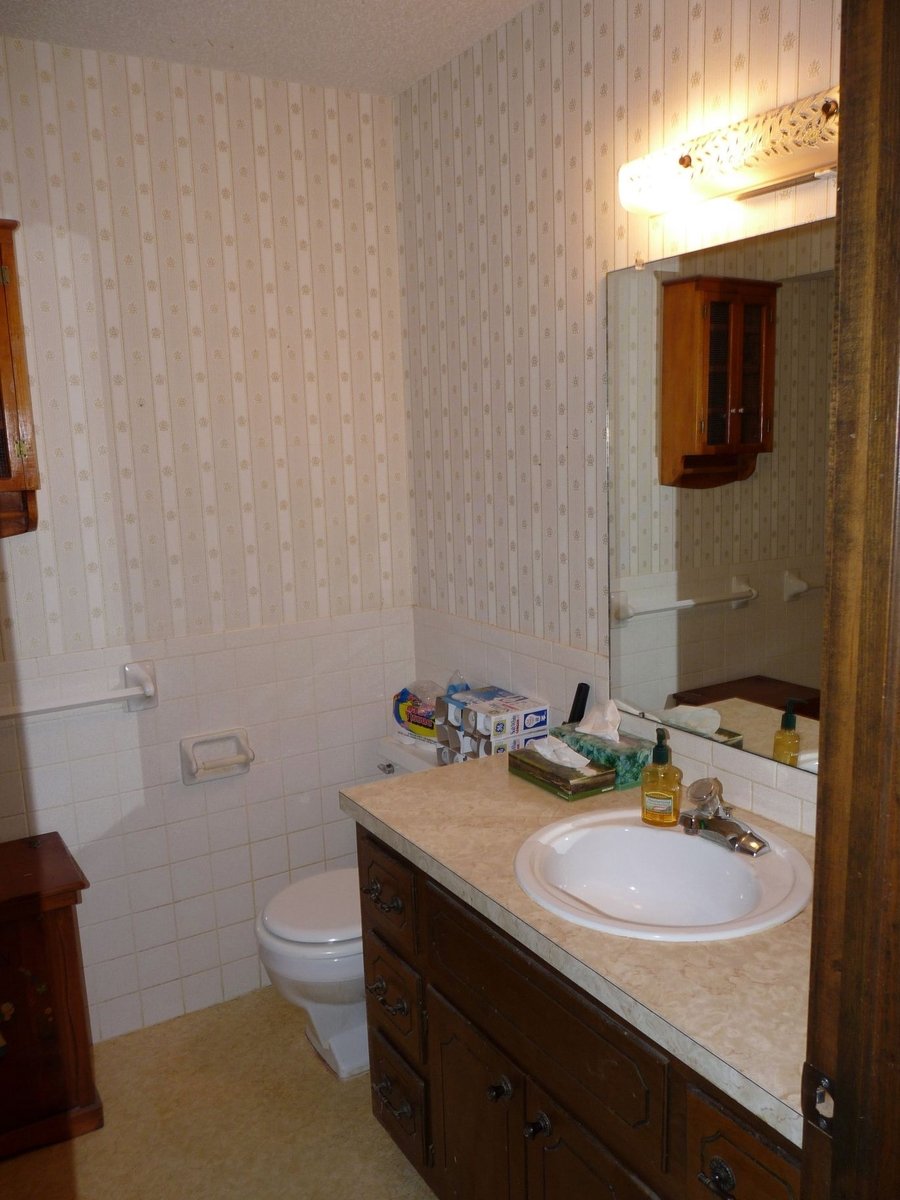
This project was actually completed last year, but I am late getting it posted. I had been asking for a board and batten bathroom, and then luckily Ana posted pictures of one, giving the handy hubby a better idea of what I was wanting.
The cabinets, built-in medicine cabinets, mirror frame, and toilet paper niche are all custom designed and built by the hubby. The counter top and sink were custom ordered through Home Depot to fit the space.
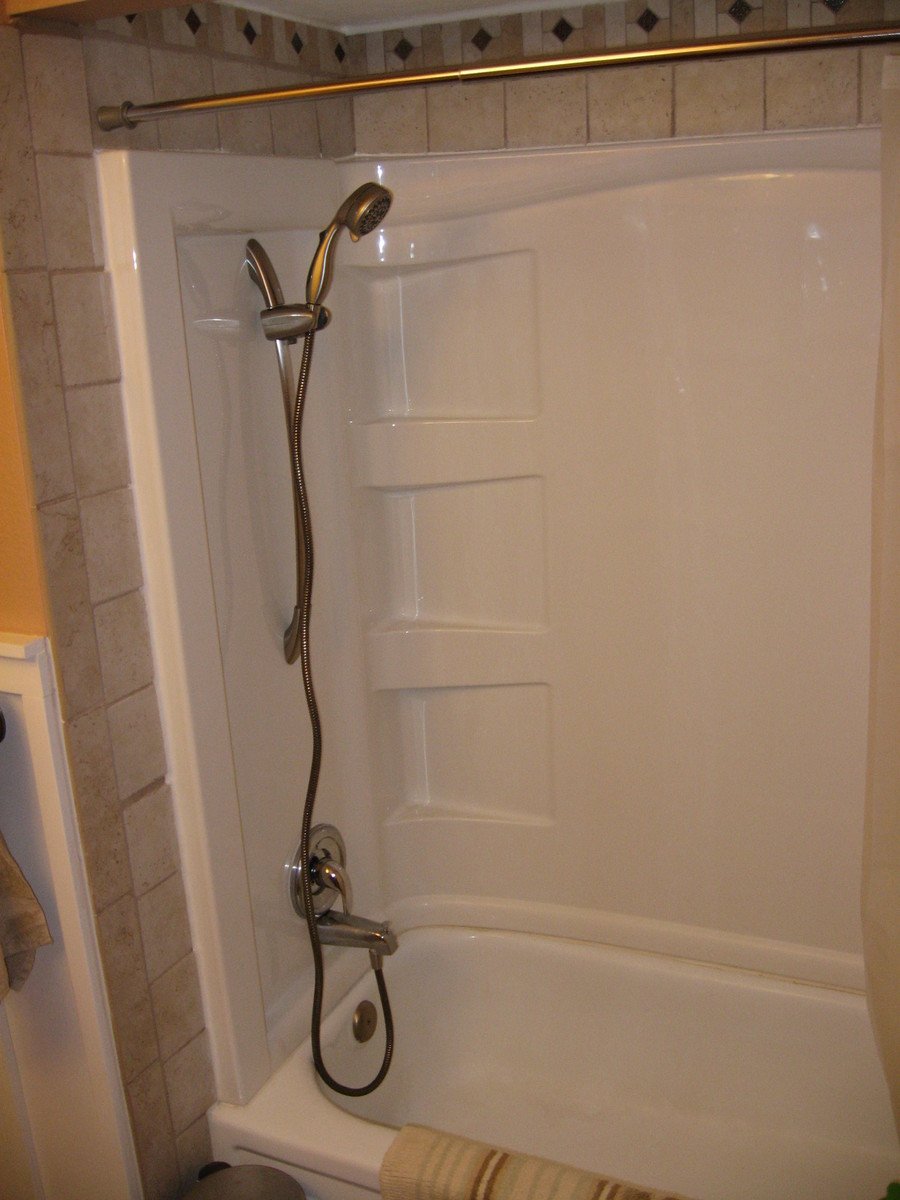
The bathroom didn't originally have a shower head, so after removing the 70s gold flecked tiles covering the walls up to chair rail height and repairing/replacing drywall we purchased shower walls and then he tiled around and above.
This was a major, months-long undertaking that included gutting the entire room, and then the building began. Everything in the room from the popcorn ceiling down to the yellow linoleum flooring save for the toilet and tub had to be replaced,the toilet we had bought since we moved in and the tub is metal and was in great condition.

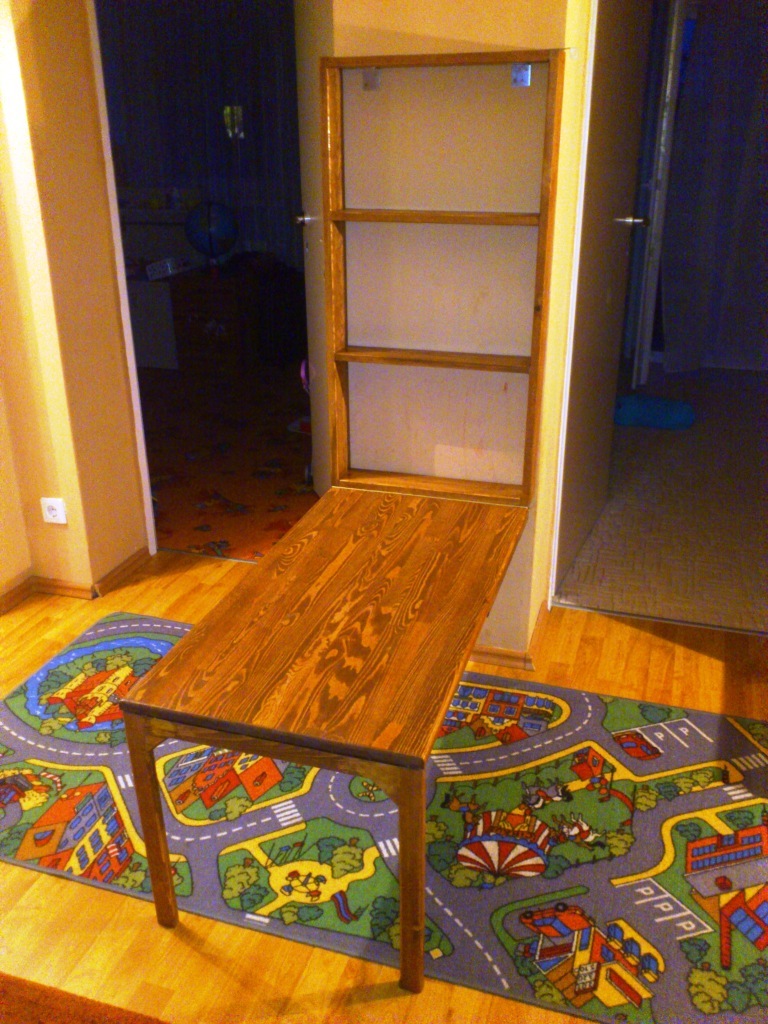
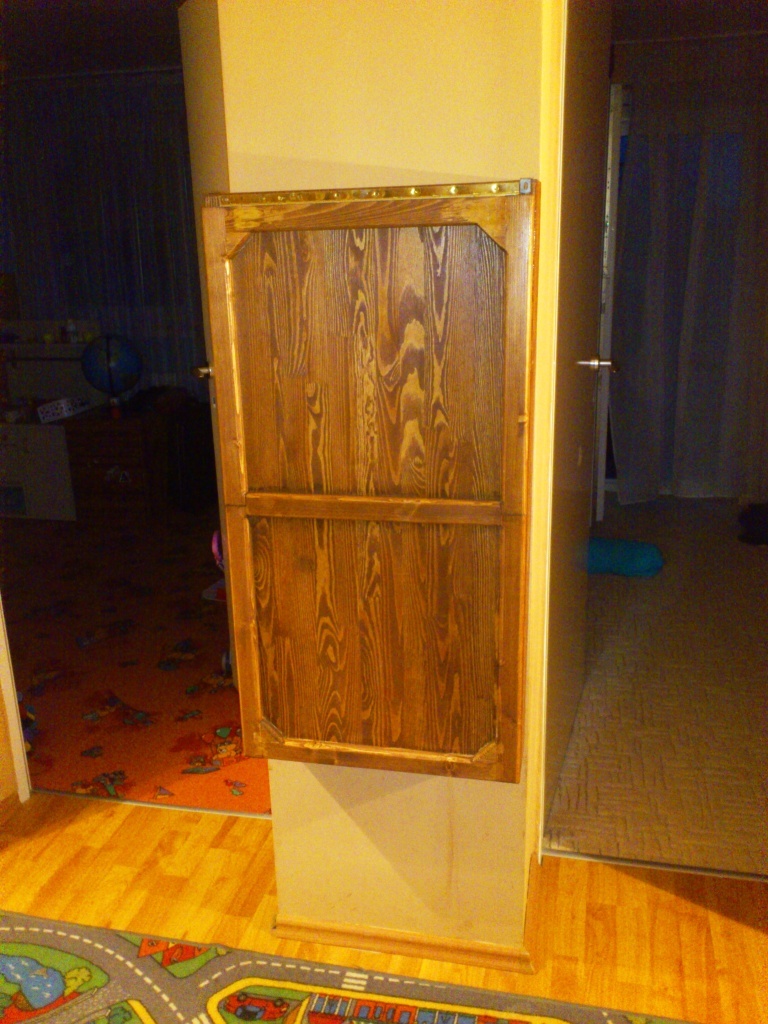
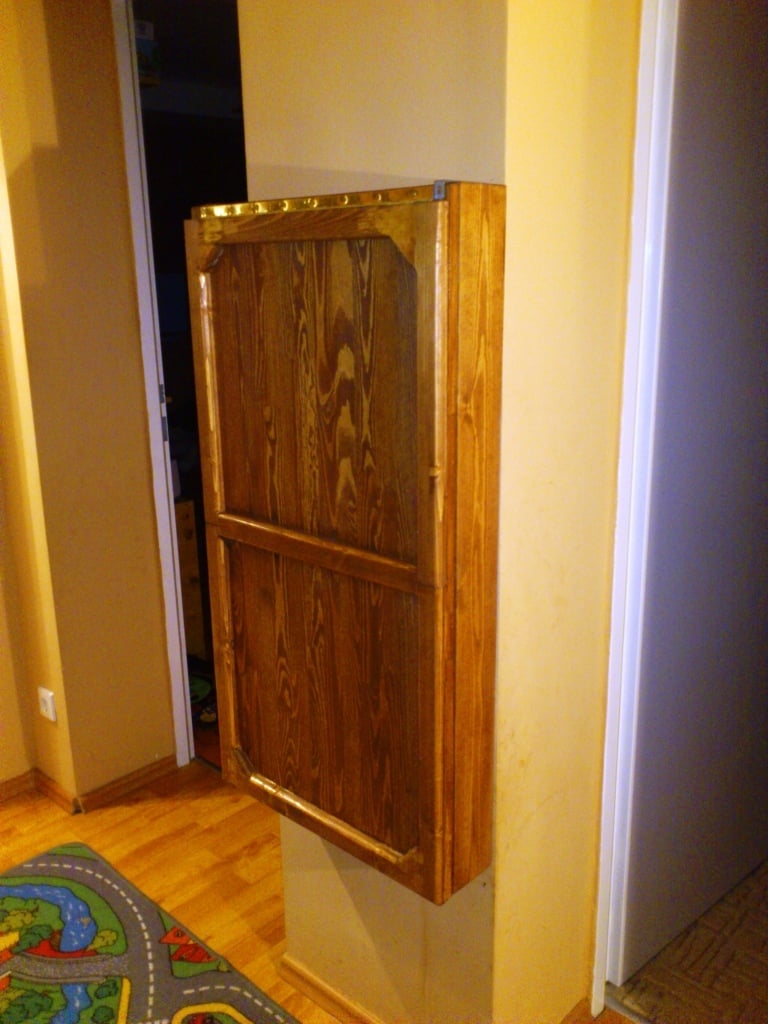
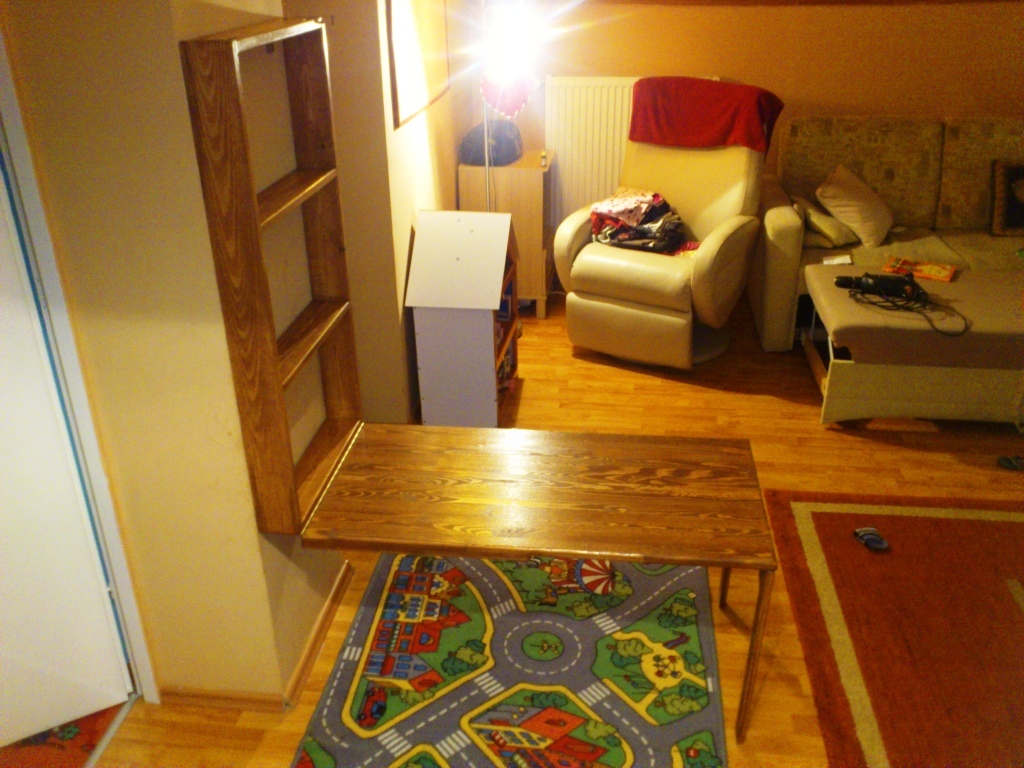
I saw this plan a couple of months ago, and knew right away that this is what we need for our kids - their old table was always filled with papers, crayons and they never had enough space to store whatever they did.
I made the table longer so that it would be enough for both of them, and added foldable legs to support the table top.
Since I didn't find the right hinges for the legs, I used a piece of 1x1 with wood dowels which are attached to the inner side of the legs when unfolded.


Fri, 03/22/2013 - 16:08
Well, I now know what I'm doing tomorrow! I'm going to make a small hinged one to go in our entryway because we have nowhere to put stuff while we're getting our shoes on. Yours looks great!
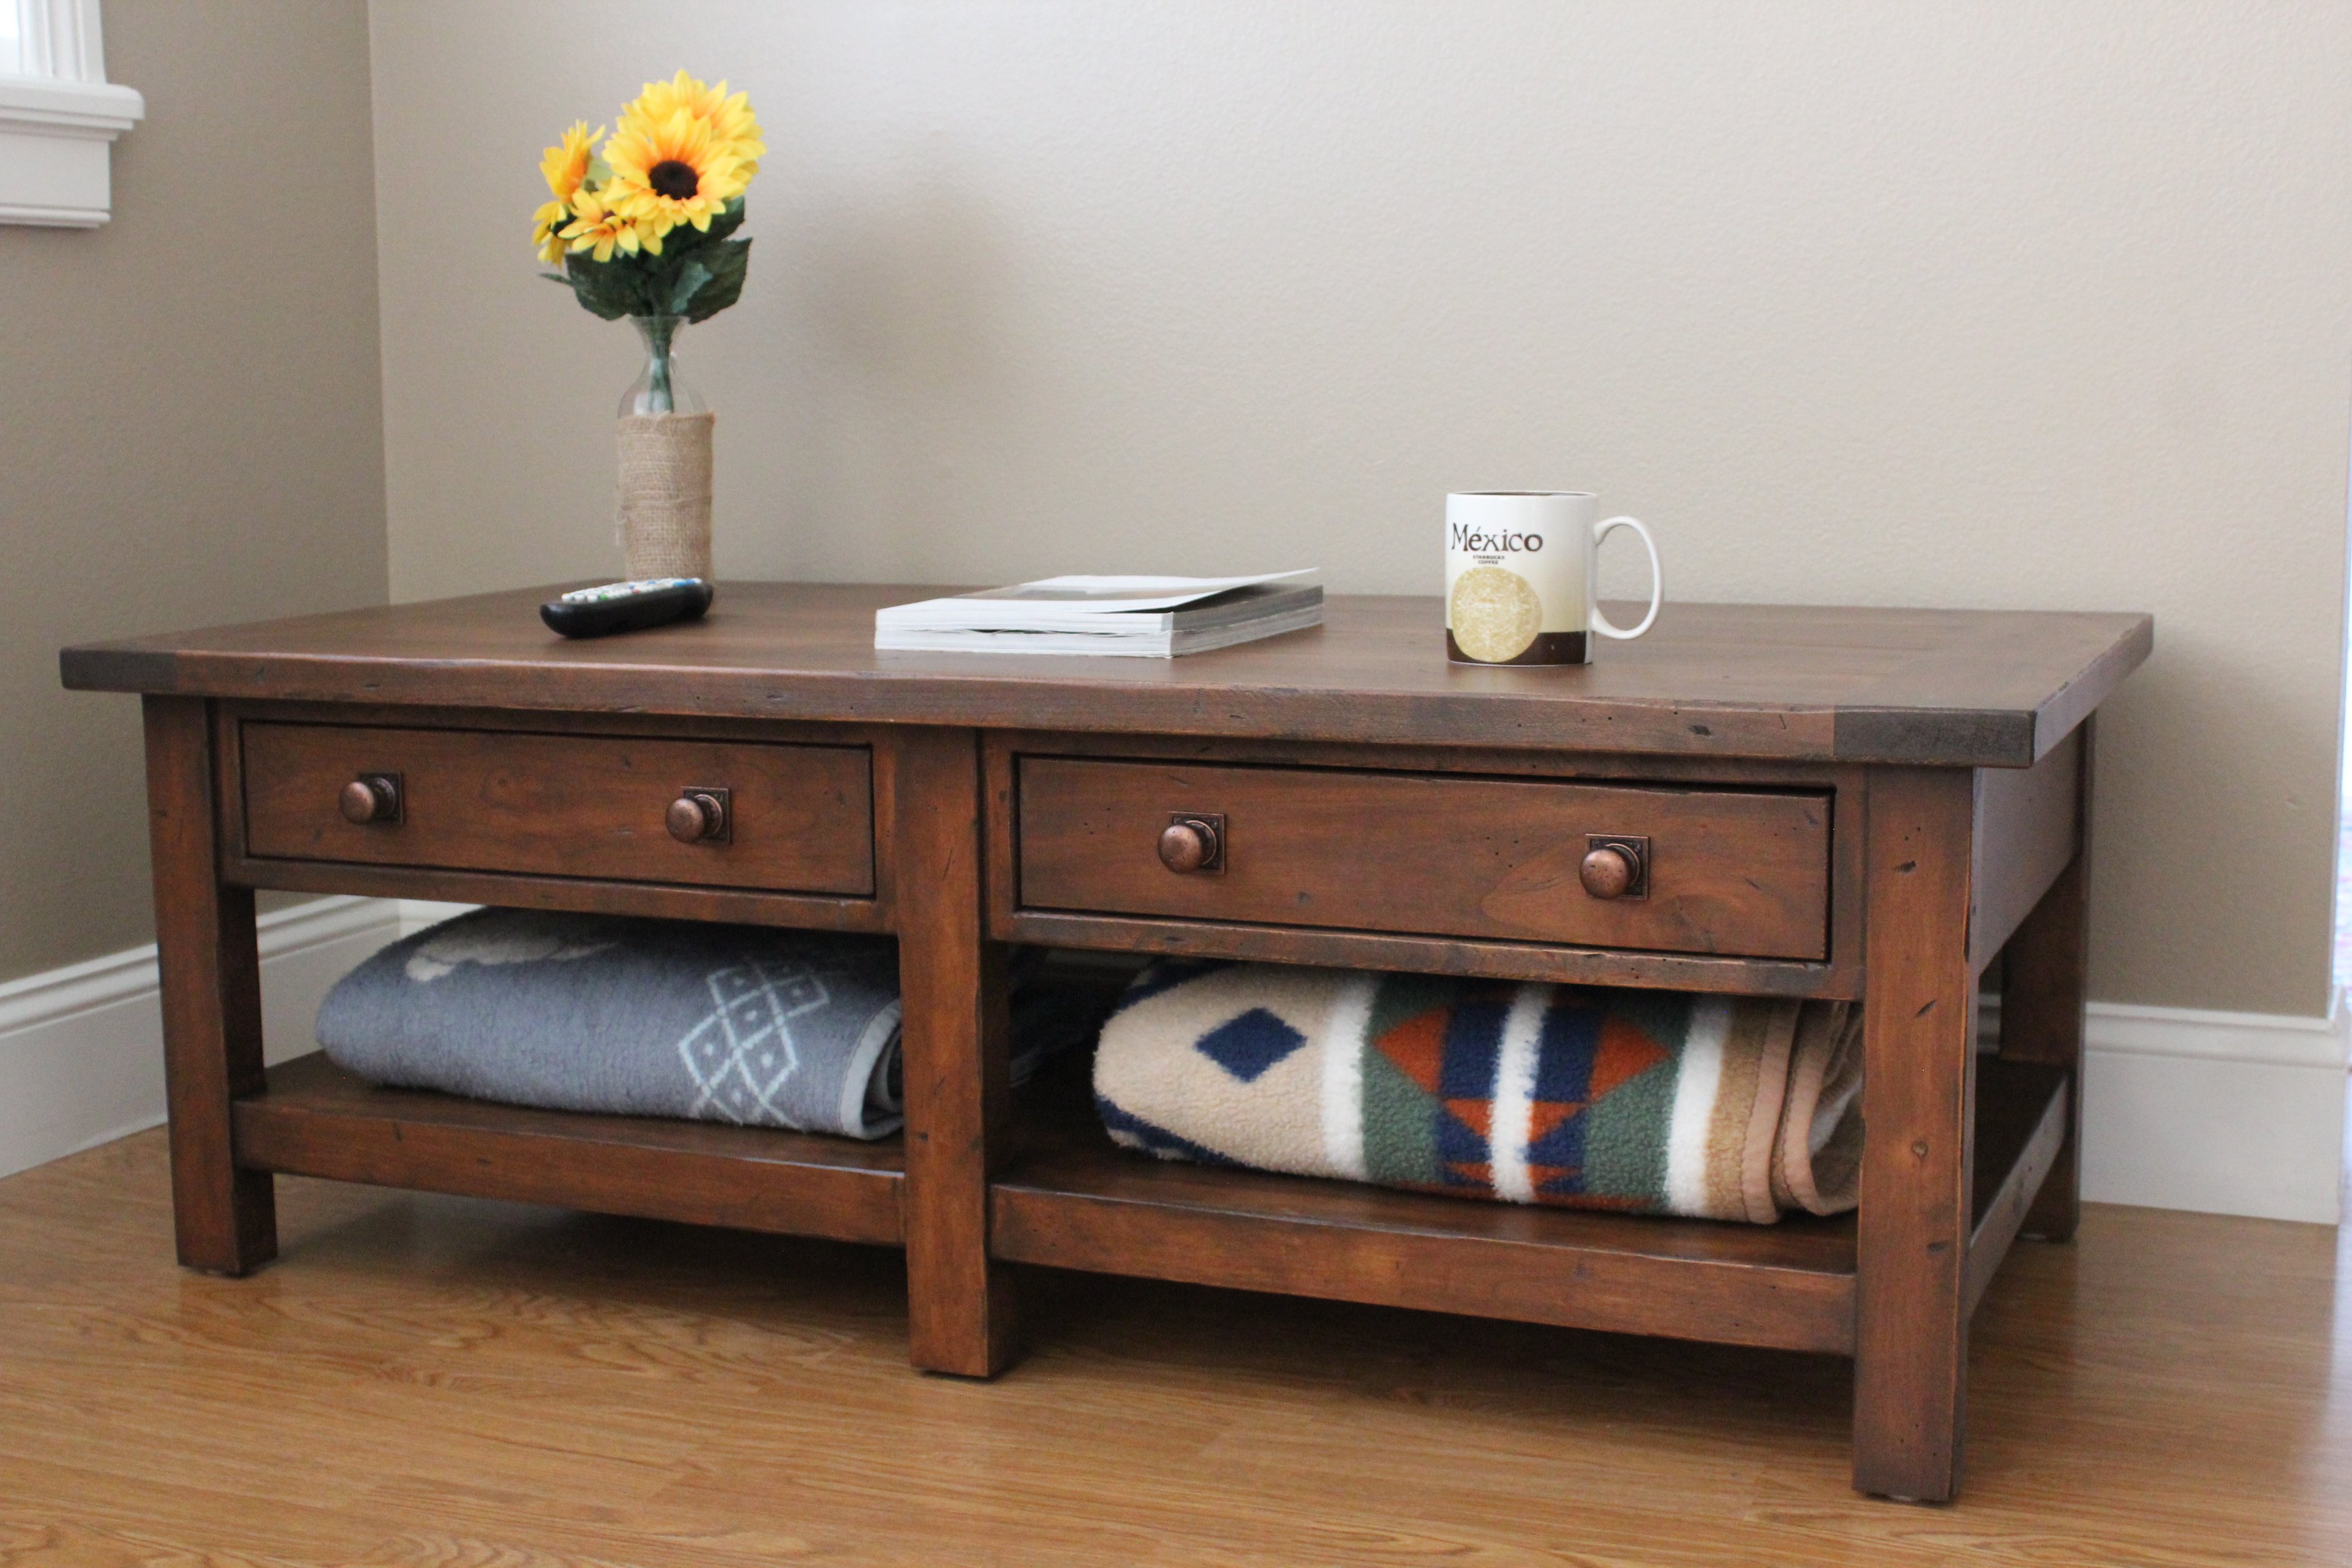
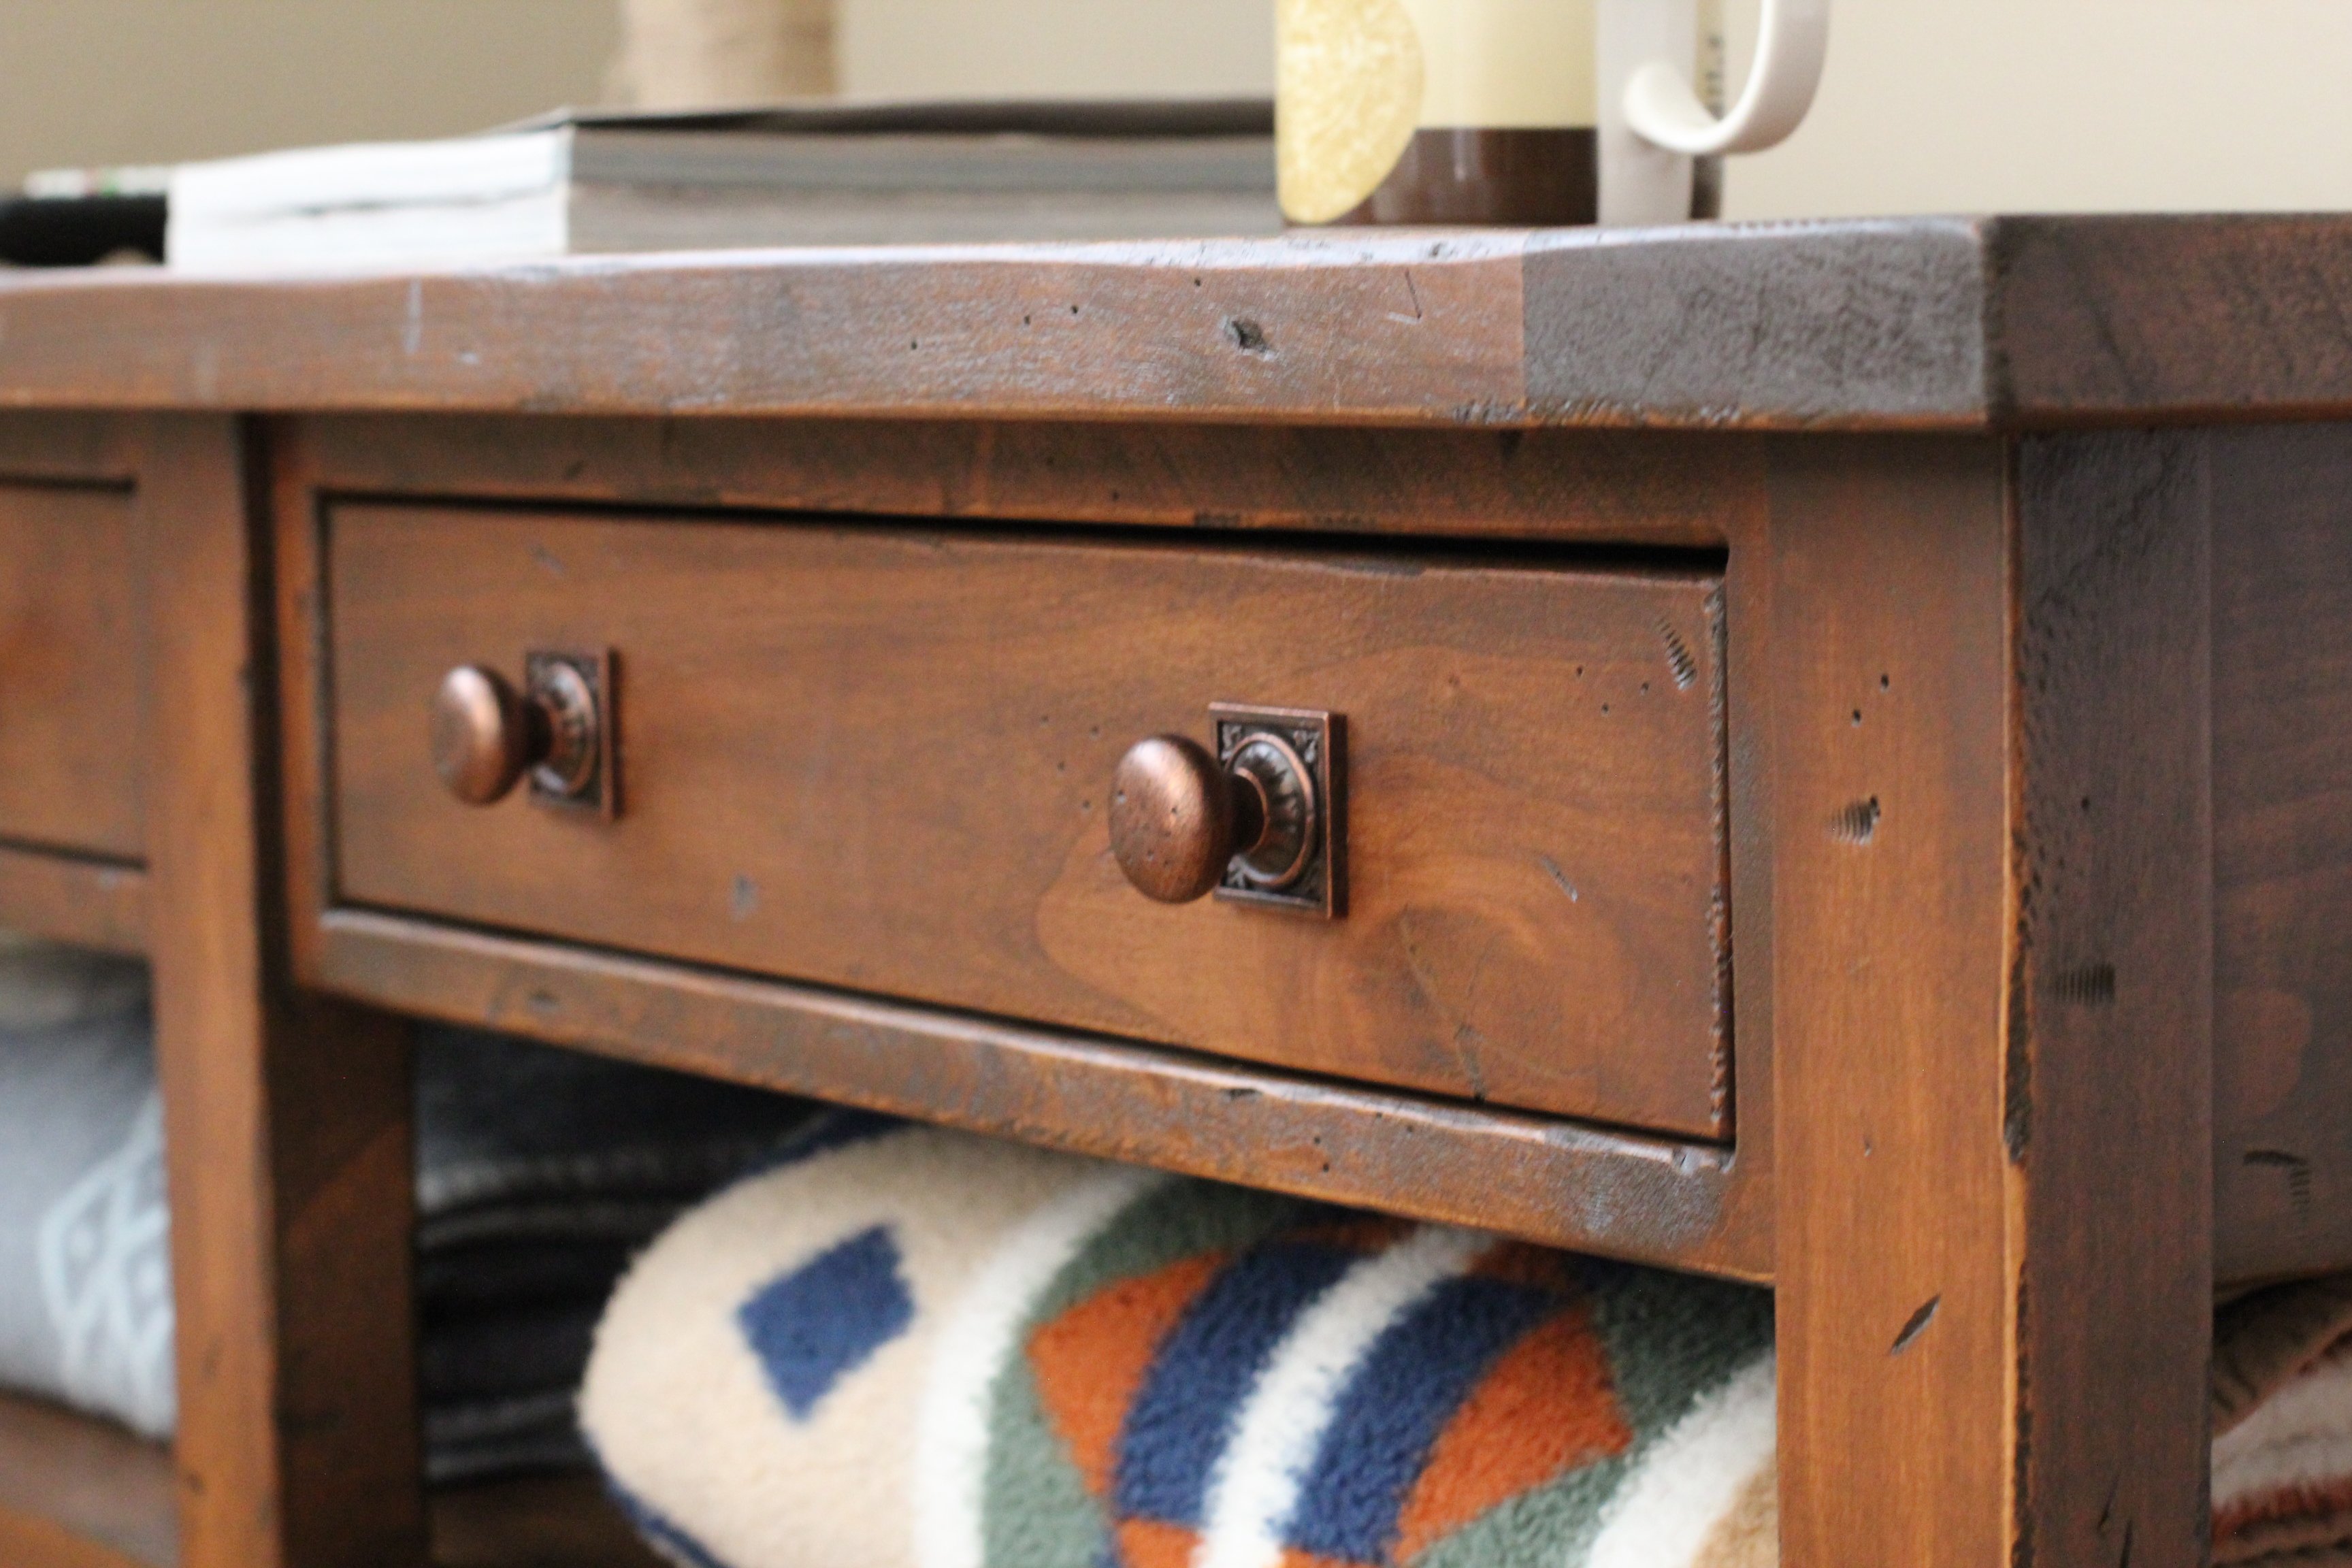
This is a replica of the Pottery Barn benchwright coffee table. I altered Ana's plans slightly by changing the design of the legs to be 2.25" by 2". I added full extension drawer slides. The finish is a combination of transtint shellac base coat, gel stain, transtint dye, and poly.


Wed, 02/11/2015 - 05:37
This looks so professional and just like the real Potter Barn table! Great job!

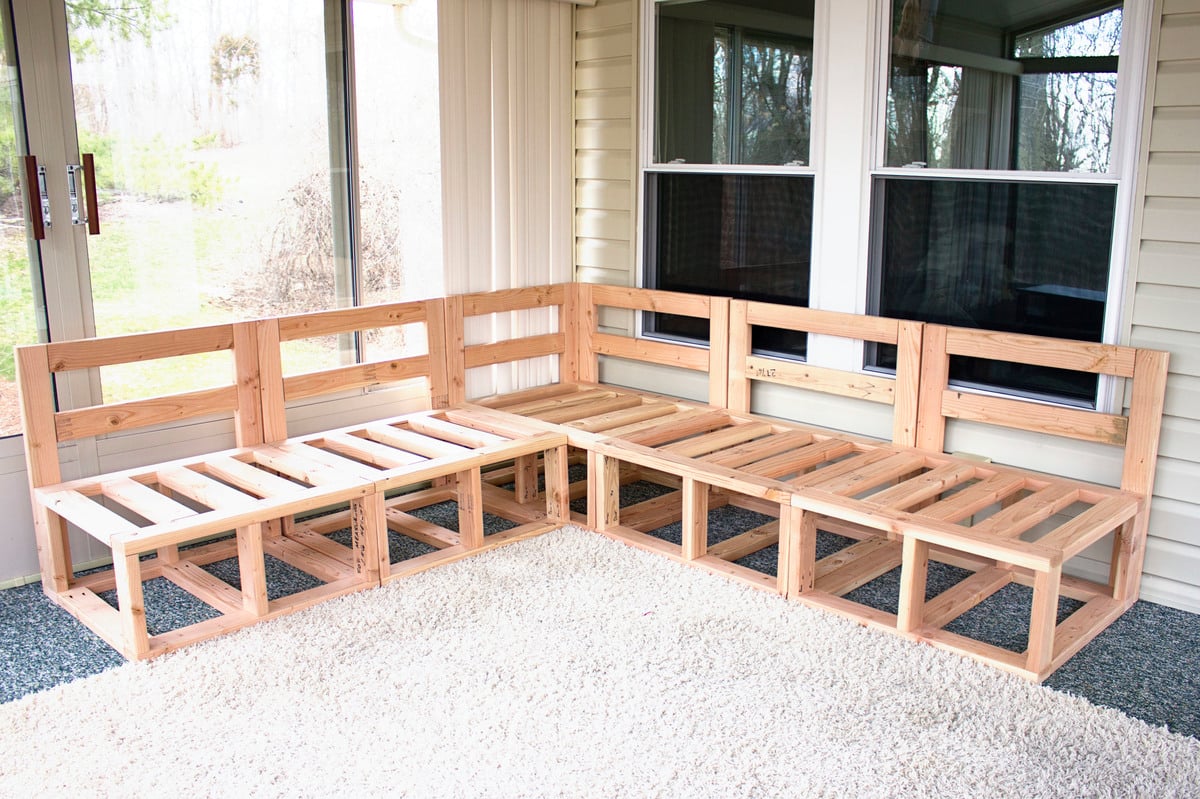
We followed the outdoor sectional plan from Ana Whites blog to create this outdoor sectional. First we bought the cushions and custom built this sectional to fit the cushions. We used 2x4's and the kreg jig for pocket screws, then covered the base in beadboard and some pine trim, gave it a good sanding and a nice paint job.
Fri, 04/12/2013 - 05:46
Thanks! We built the frame according to Ana's design (customized dimensions for our cushions) and then covered the base in bead board and used pine trim around the edges. The cushions are from the Frontgate Outlet in Cincinnati.
Wed, 05/07/2014 - 15:34
Is there a link to the side/corner section of this so I do not have to guess. Thanks.
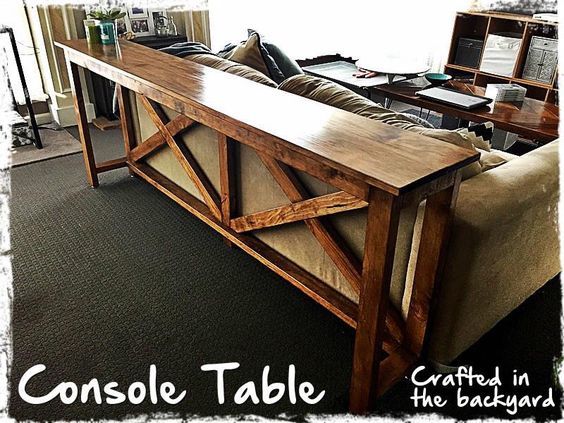
Made from the modified Ana White Rustic X-Console Table.
I made this console table to fit the length of my sons couch. It's about 6 foot long.
It was really easy to make. My only tip is to sand all your timber before assembling. Getting into the tight spots with a sander is quite difficult. I hae now made 4 of these tables and sanding first saves so much time and headaches. The other 3 I have made were painted white and had stained tops.
Wed, 09/09/2020 - 09:03
Plans
do you have the plans for this? i've been looking and looking for what i needed and this is it!!
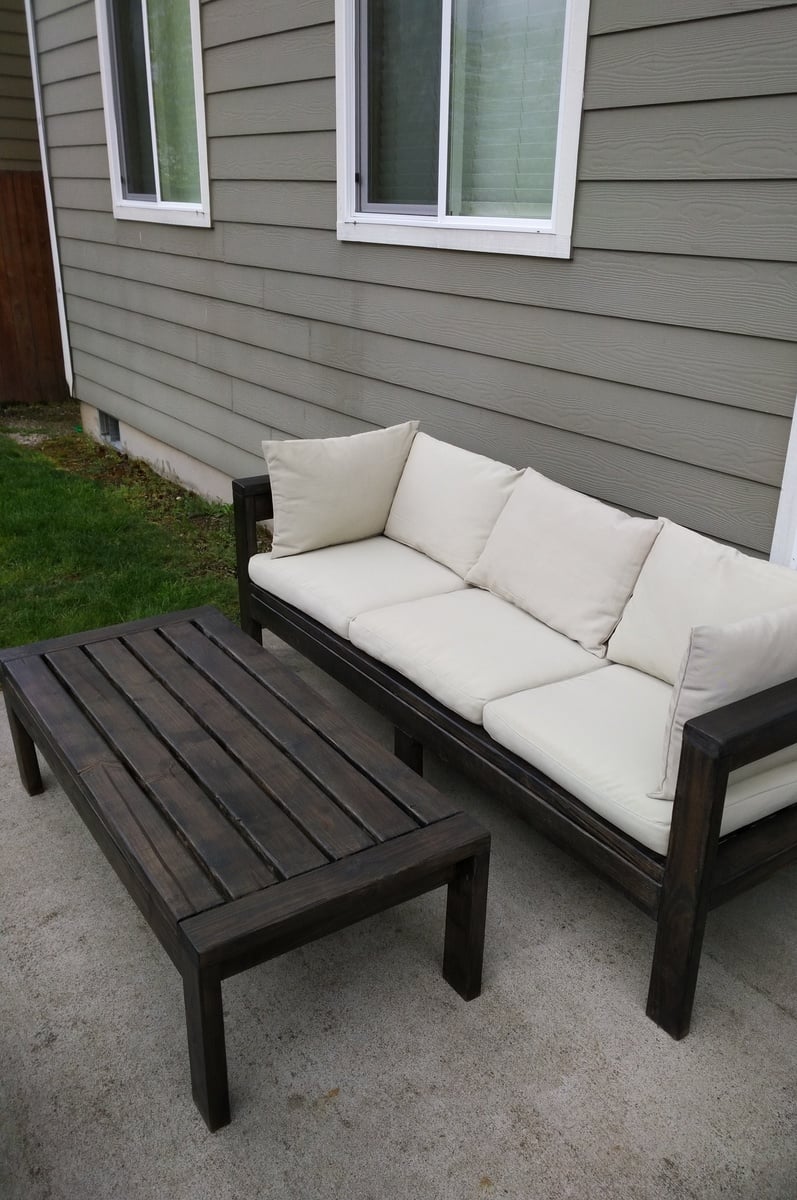
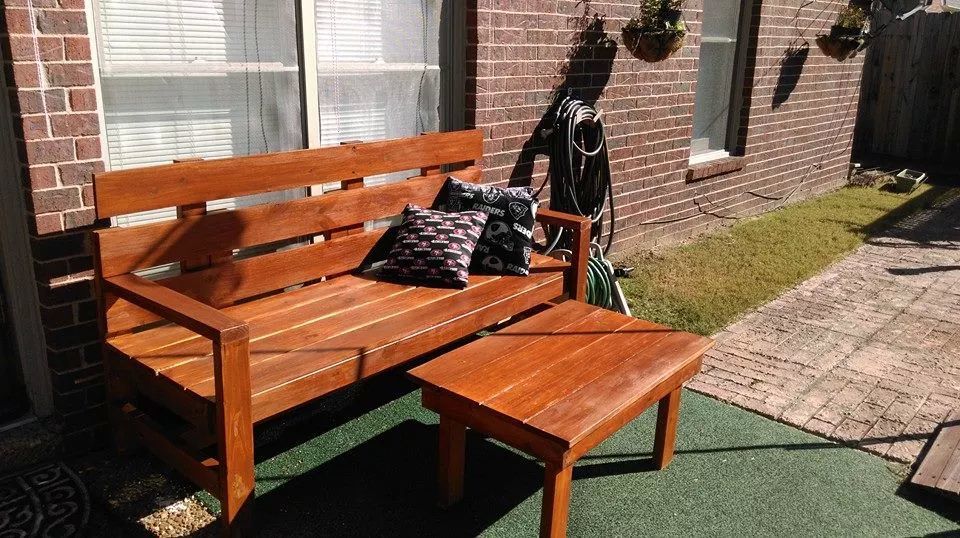
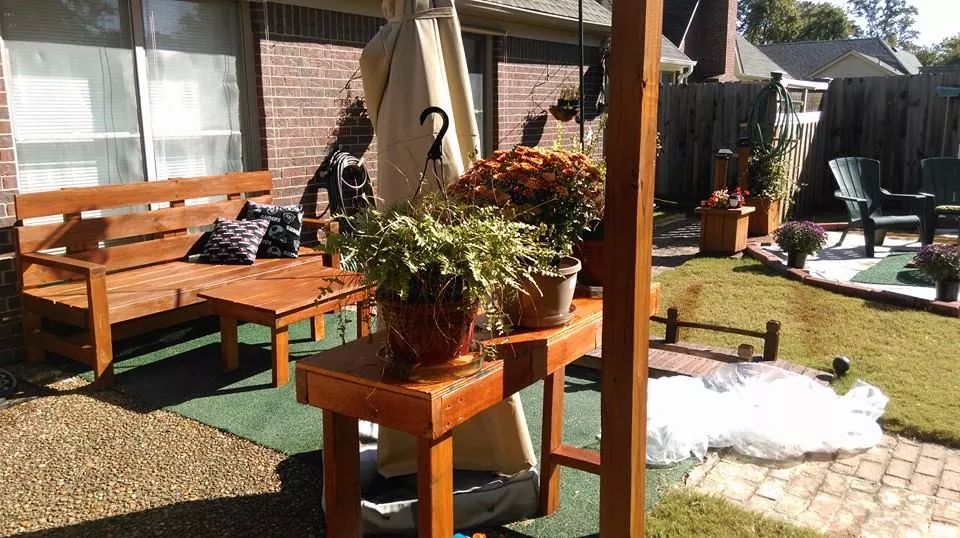
I enjoyed making this outdoor sofa and table combo from Ana's Ryobi series. An inexpensive and easy project that we just love! All construction grade 2x4.
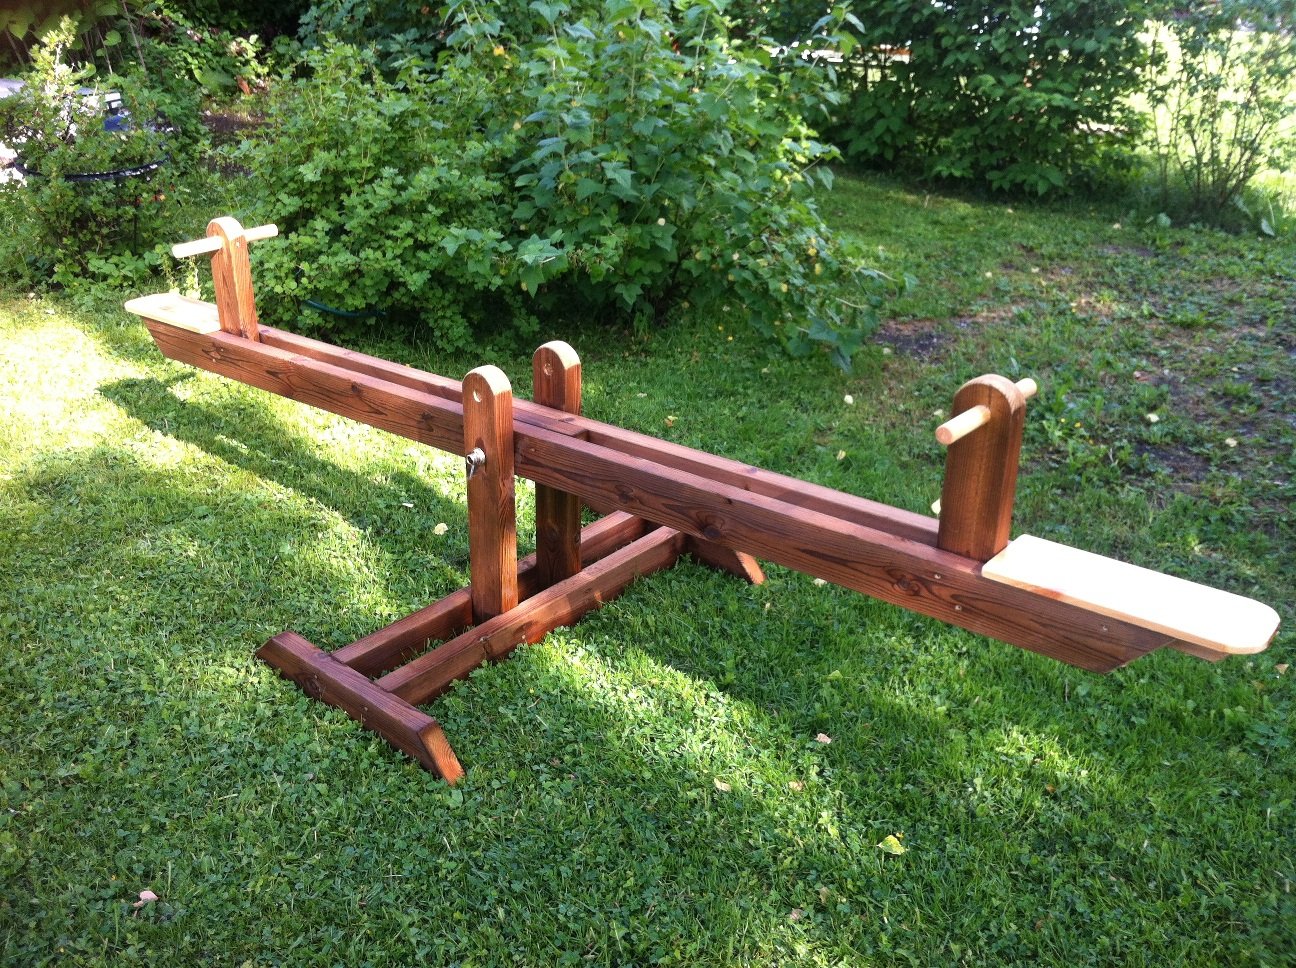
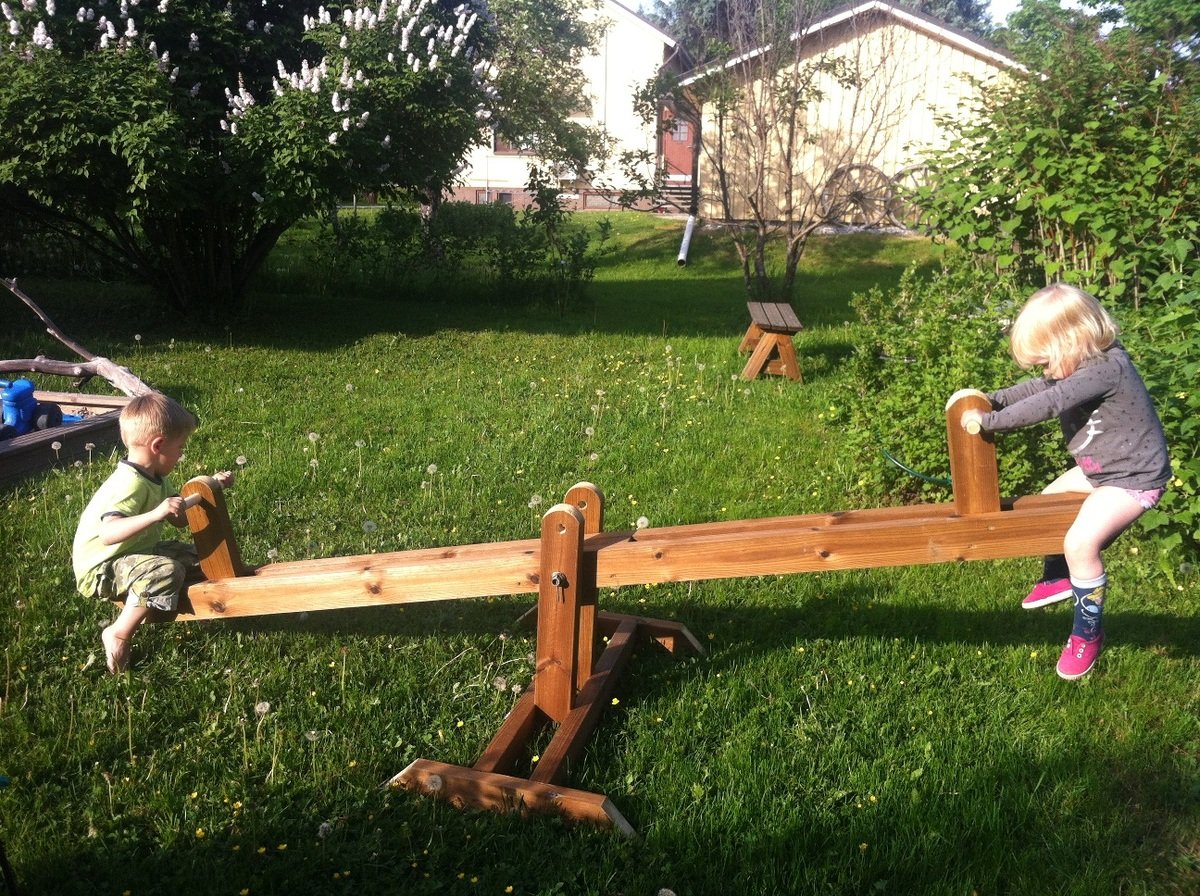
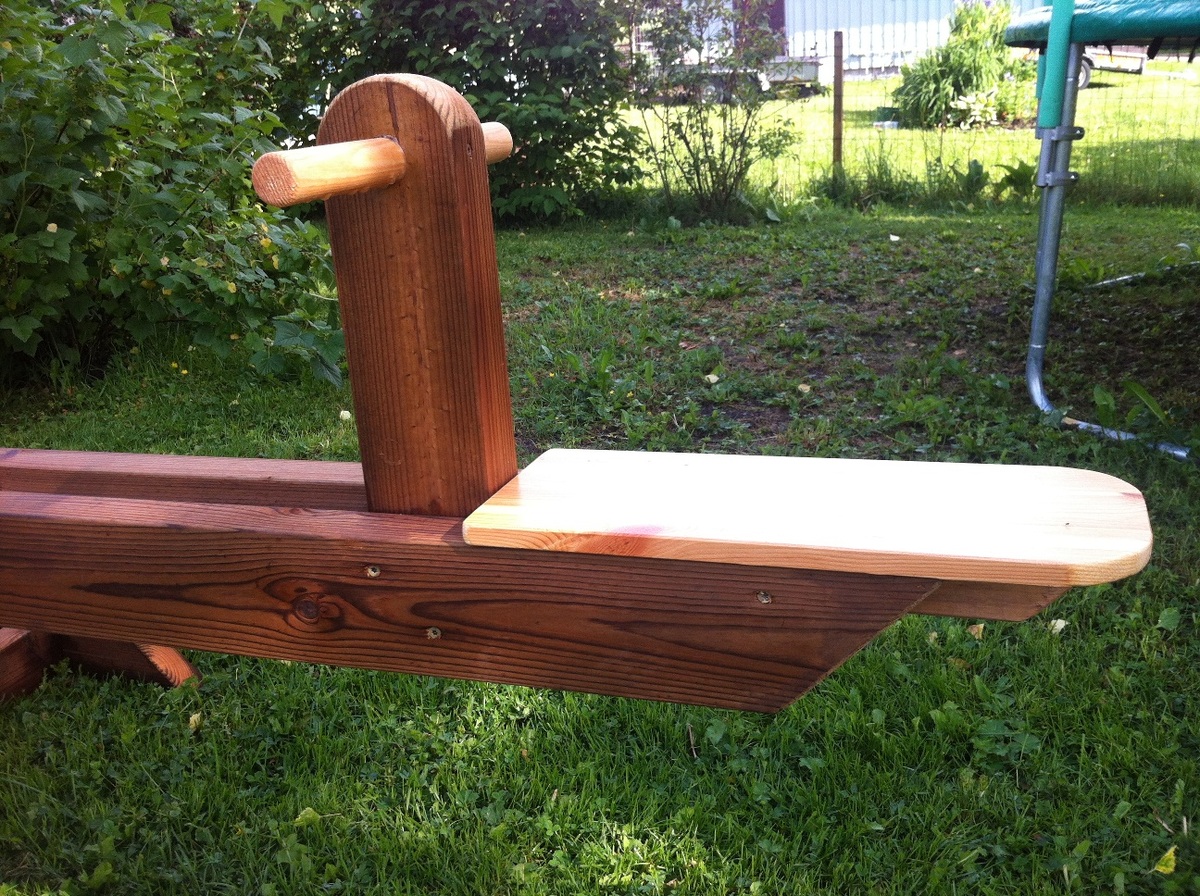
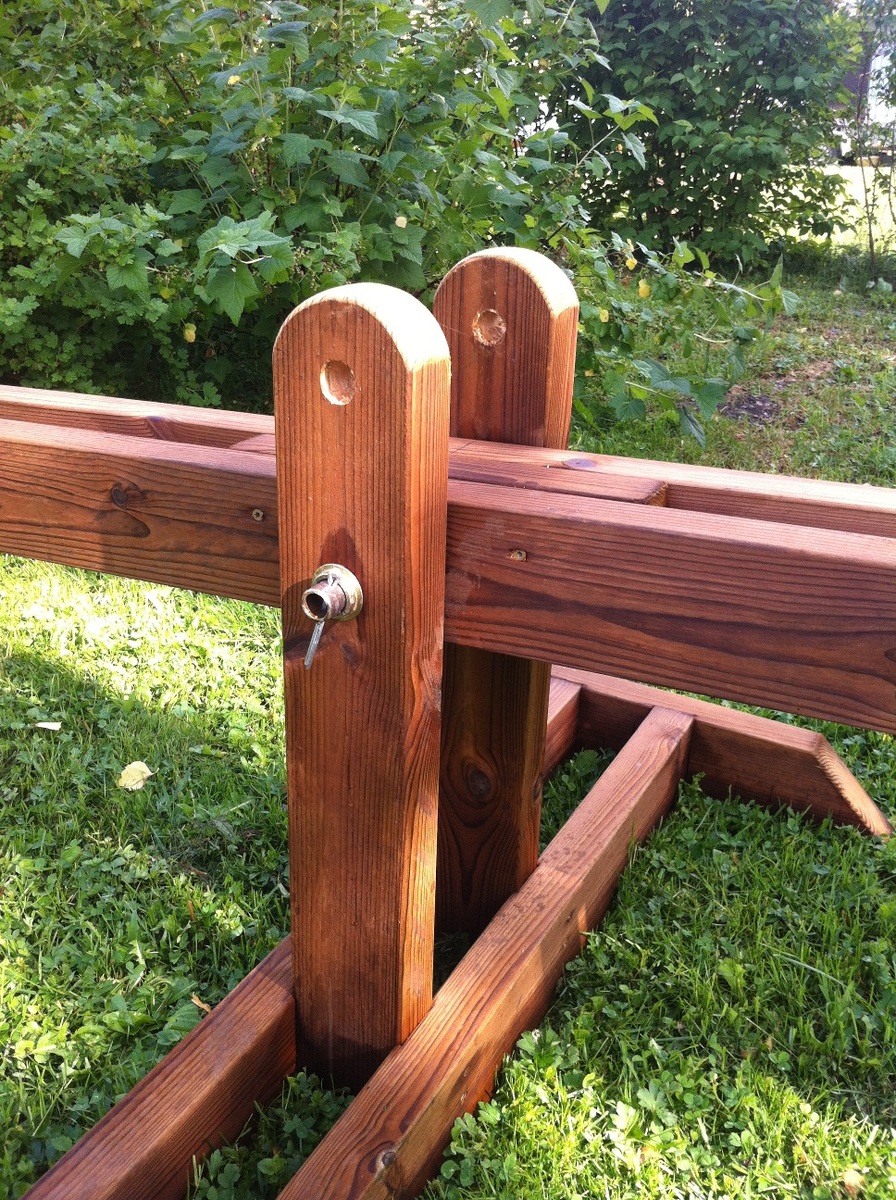
Greetings from Finland. I made teeter-totter from excellent plans Ana has donatet for all of us. I used treated wood, so I didn't need to paint the project (and never will :-) Handles and seats are made from raw wood. Gives also nice twin color look. To add some extra support I embed the beams at foot.

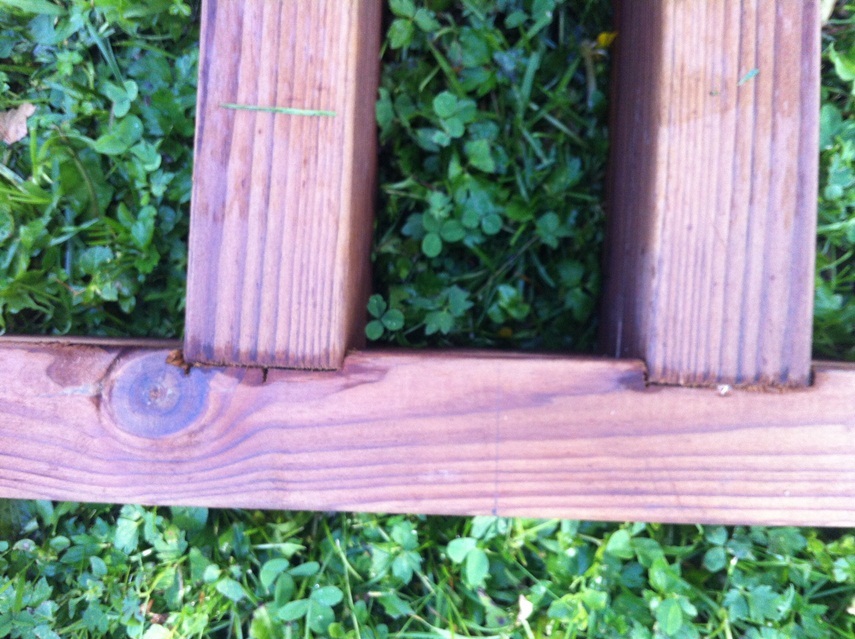
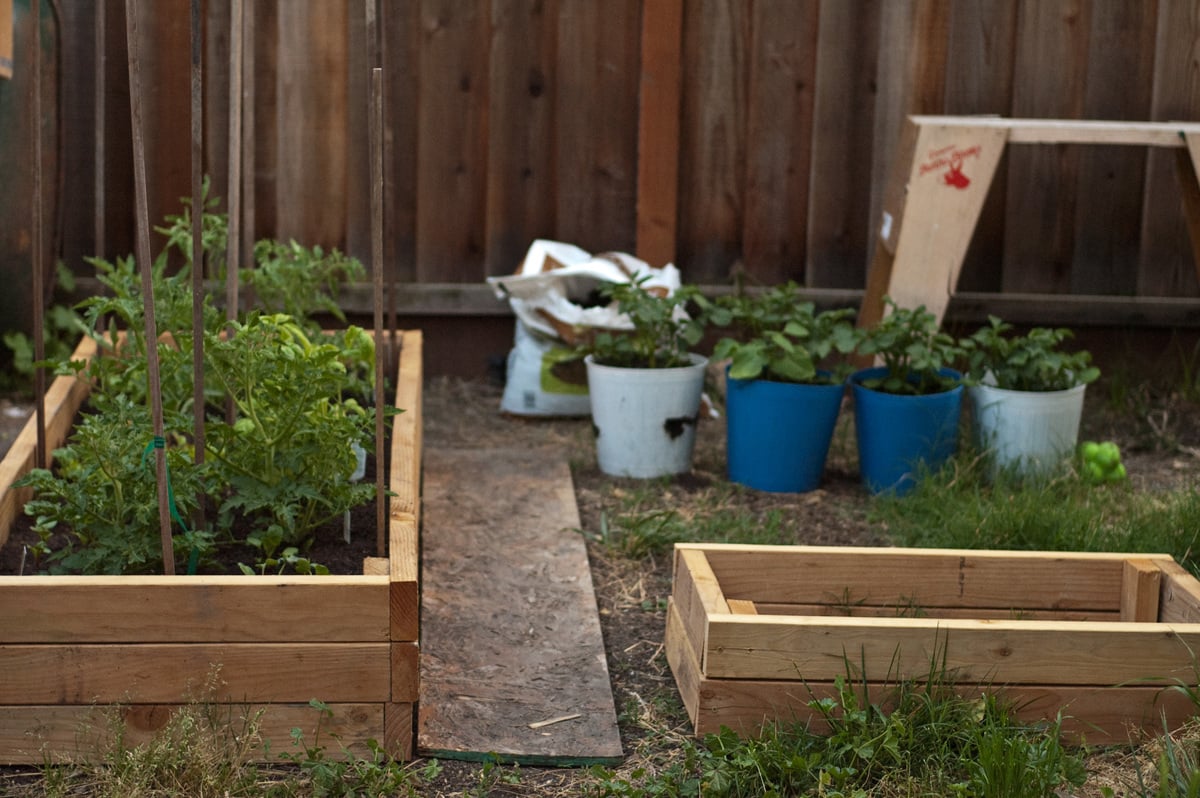
My husband and I were inspired by Ana's plans, but needed to use up some wood we had laying around the garage because it was starting to bend and warp. We made the large box 2x6 ft and the smaller one is made from scrap and is about 15in x 2.5 ft.