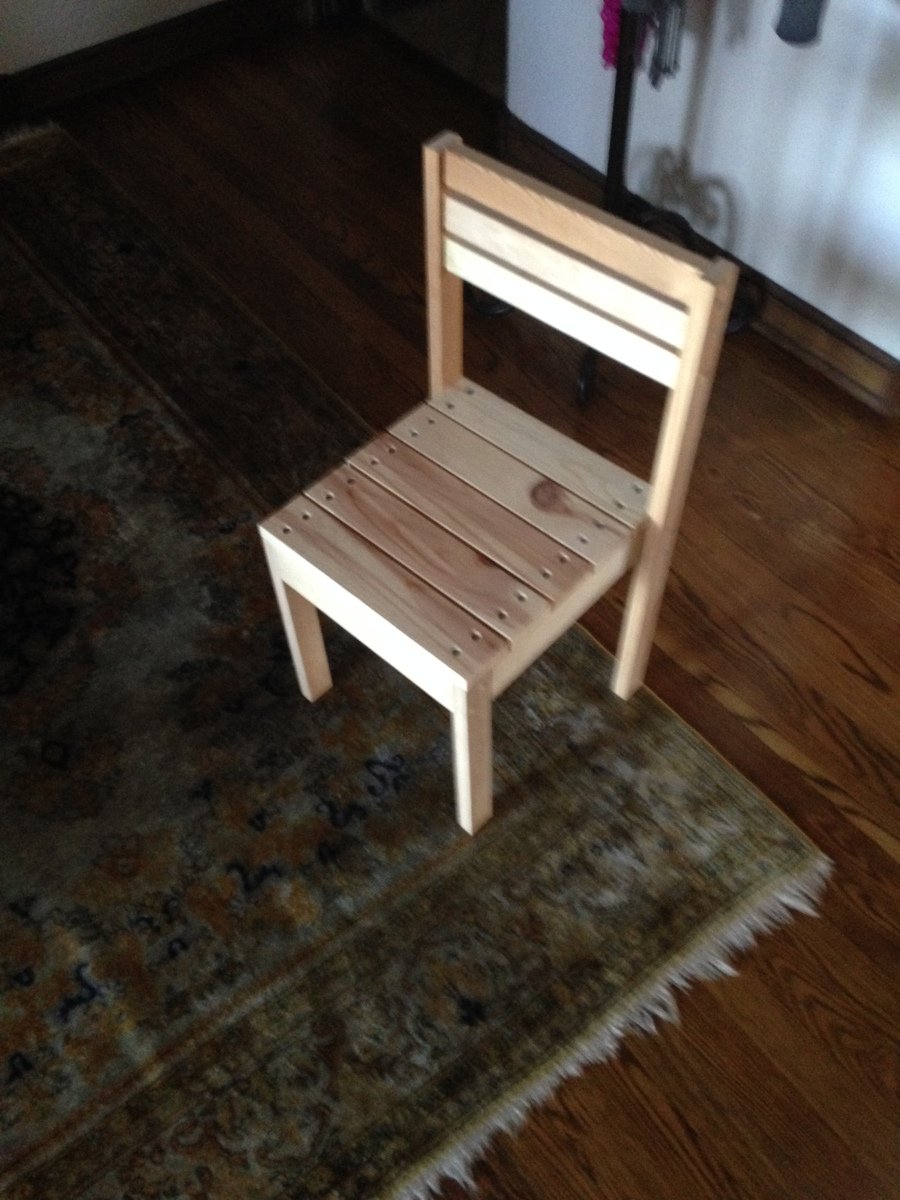
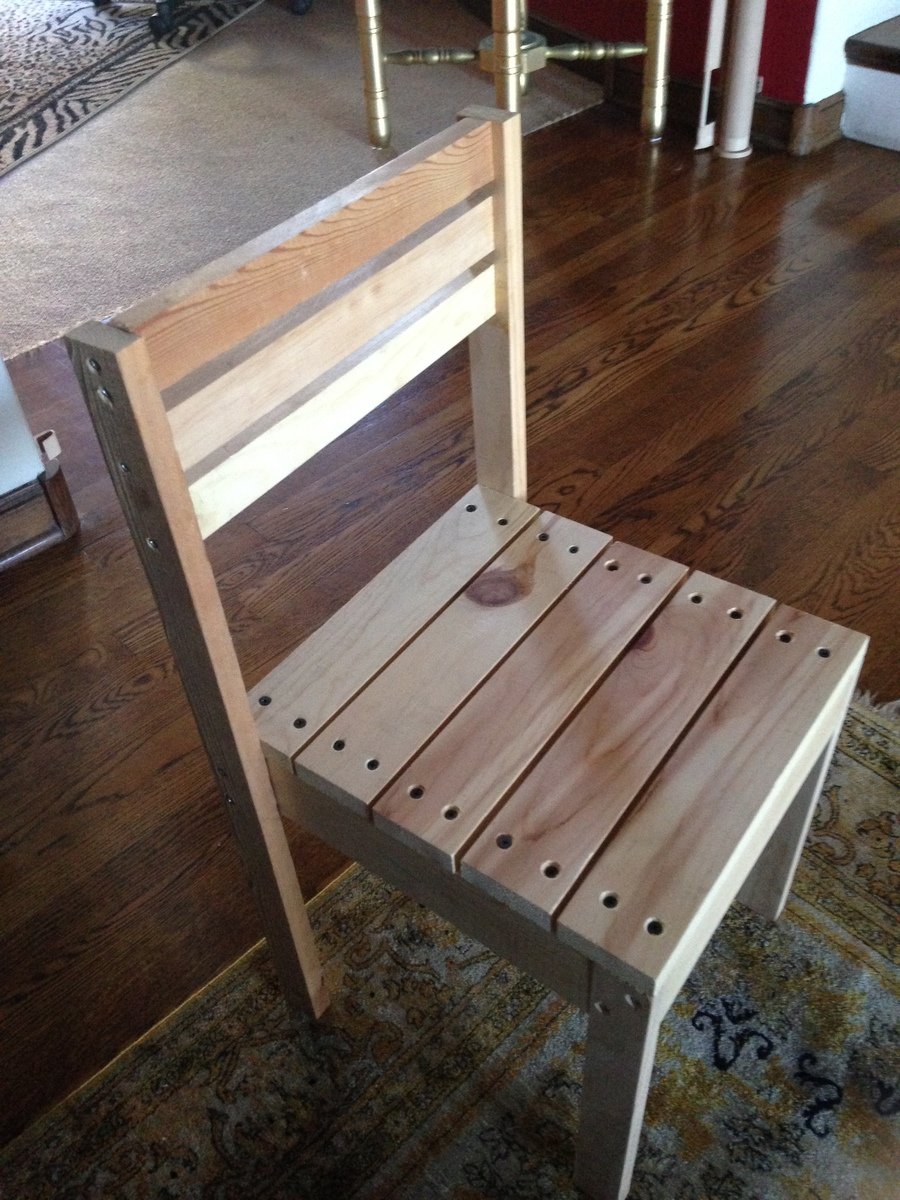
kid stackable chair
easy
easy


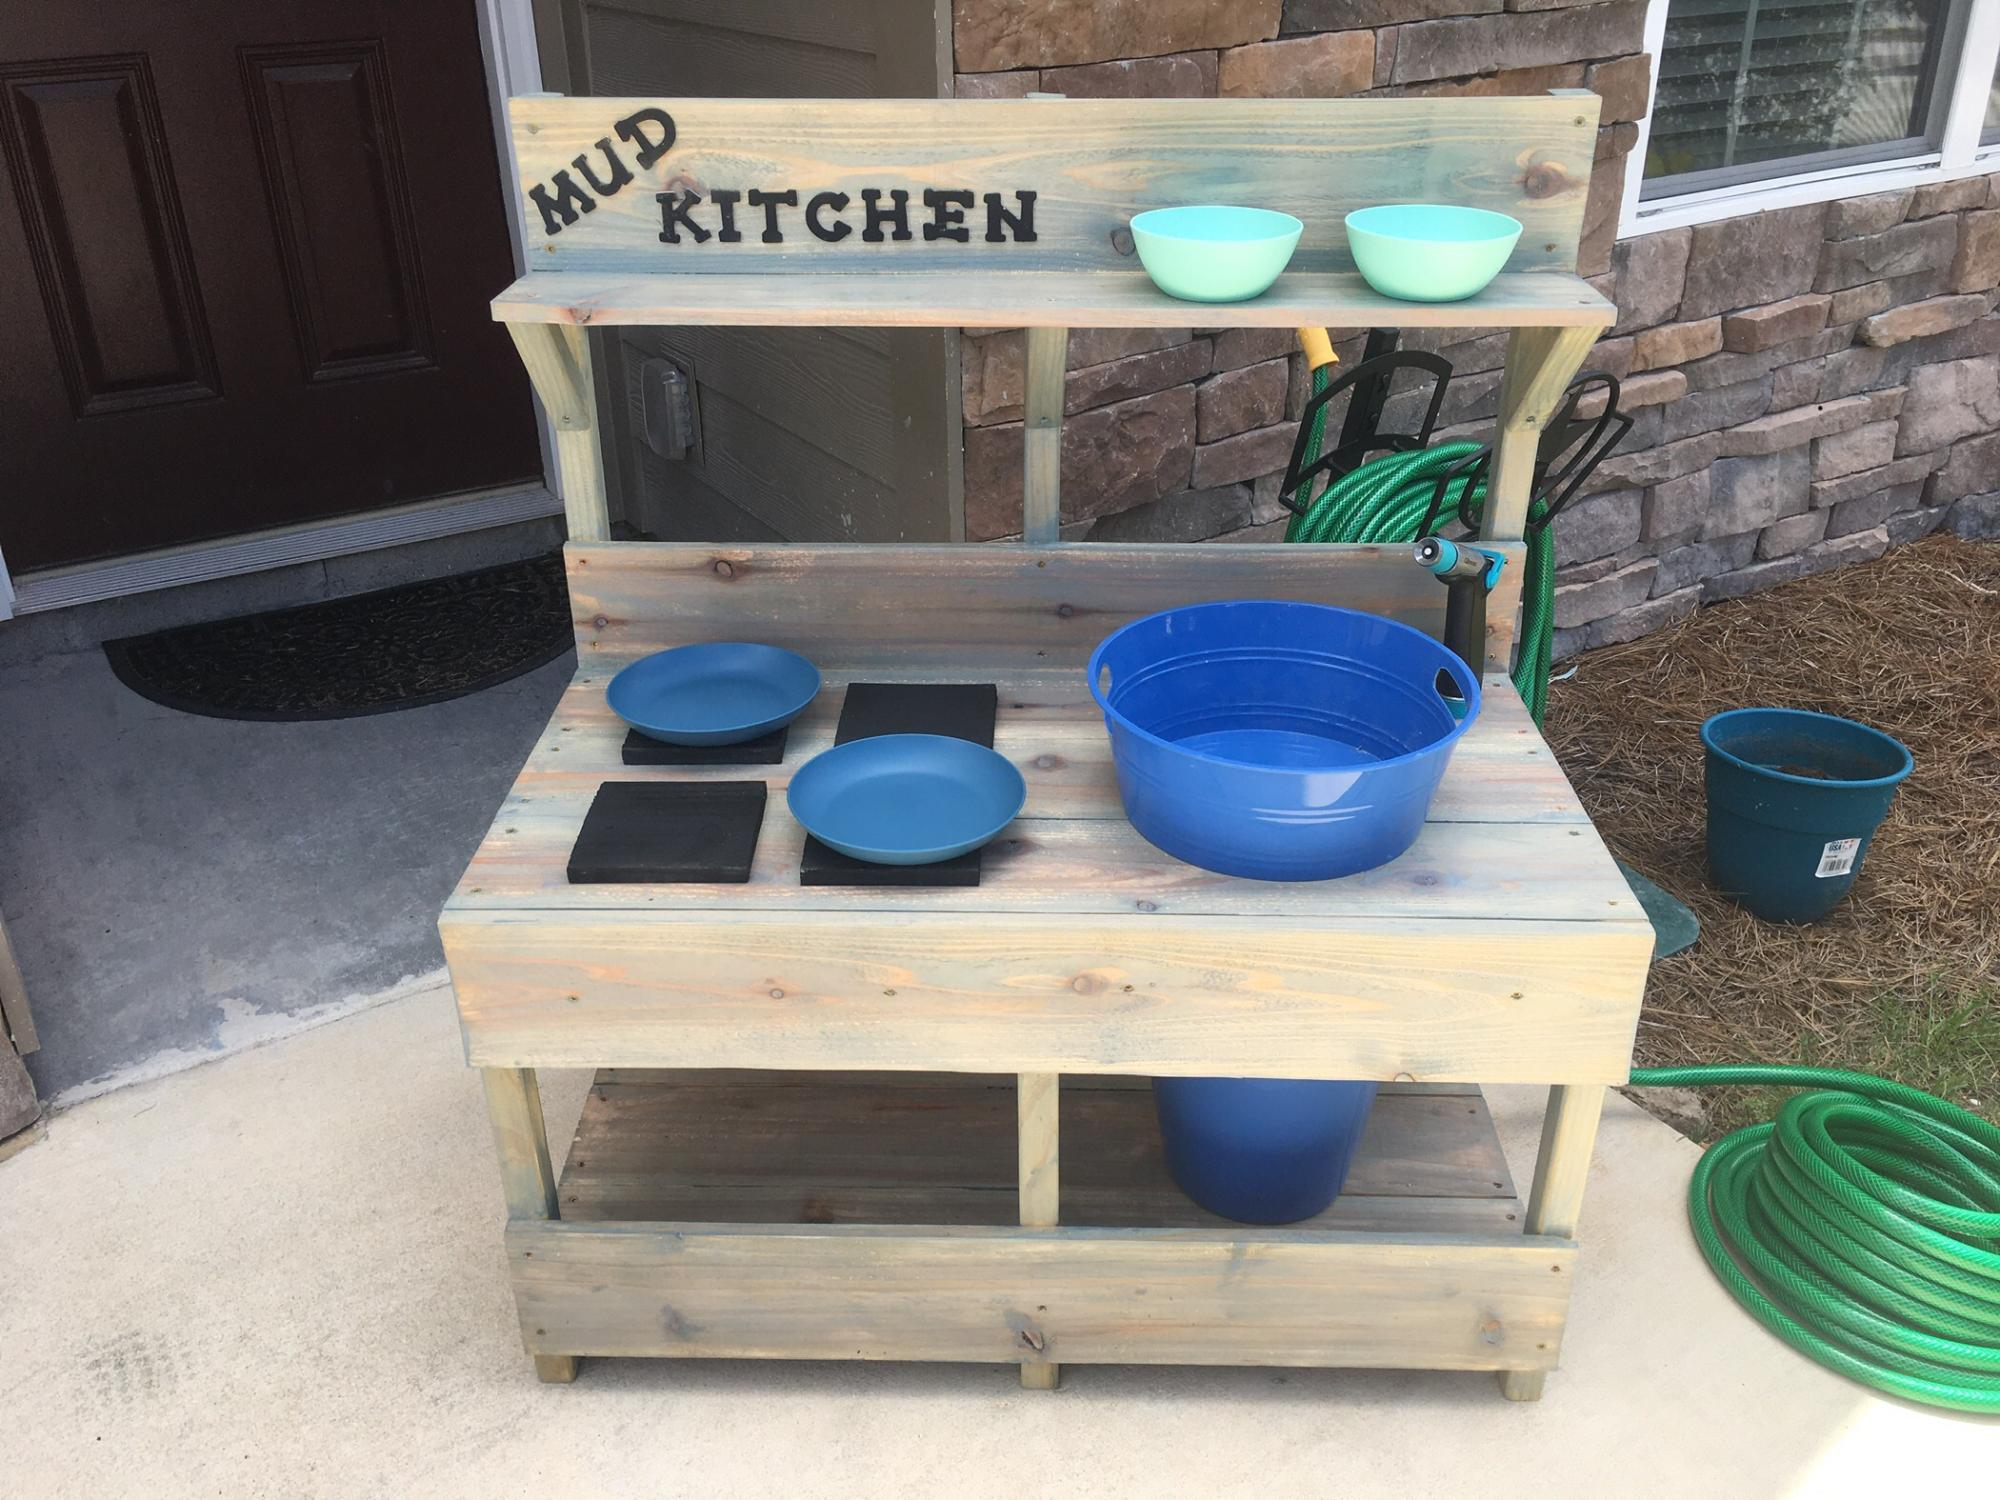
We live in the south so we opted for treated wood. We weren’t able to locate all the connectors to combine sink sprayer and water hose so we ended up just getting another garden hose and sprayer. Works just as well. We used Smokey Mirror exterior stain to add some color. Didn’t have all the tools handy so we opted for a farm style sink that sits on top of the wood. Kids loving it so far, they have been playing non stop. Thanks for the great plan.
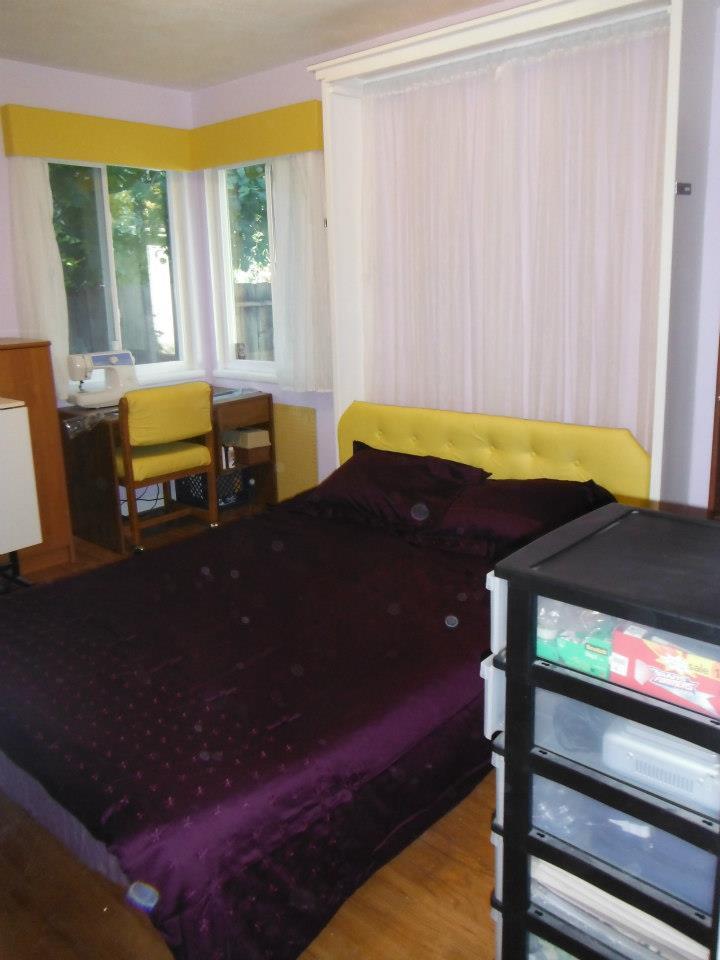
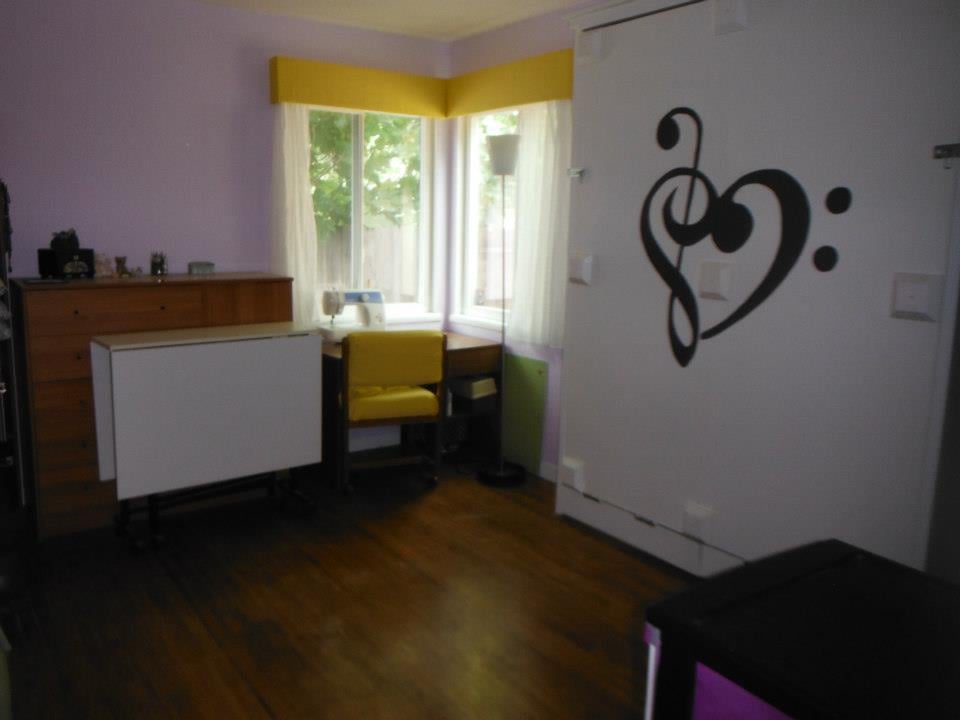
Taking the plans for the full sized Murphy bed (http://ana-white.com/2010/03/plans-a-murphy-bed-you-can-build-and-affor…) I added a few inches to convert to a queen and raised it off the floor 5 1/2 inches with removable fence post toppers.
The yellow head board lifts up and stores inside the frame when up. If I had it to do over again, I would sand and paint as I built. Thanks to Ana, I now have a guest room!
Mon, 10/08/2012 - 11:13
Holy smokes! Great job! I just got my early birthday present - a Kreg Jig Master System!!! One of the first things I will be building is a murphy bed, so thank you for the inspiration.
It looks great!
Fri, 11/30/2012 - 20:18
This is fabulous! What did you use at the backing of the box? Is that fabric? The whole thing looks so nice!
Wed, 02/13/2013 - 11:45
I just wanted to know if you used the jig required or if you used something else? Camille
Thu, 04/25/2013 - 11:44
The jig is not required but it sure makes everything fast and easy
Wed, 04/24/2013 - 19:55
I love your adaptation of Ana's plans. Would you be willing to share the dimension for the queen murphy? Thank you!
Mon, 04/29/2013 - 14:32
I am wondering what king of hinges you used for the bed. Did you use continuous (piano) hinges or regular door hinges? How wide are they? I am not sure what the acceptable width for the hinges is to be safe. Thanks.
Wed, 06/12/2013 - 16:35
What were the altered measurements and exactly how did you raise it? I really like Anas plan except that the mattress was so close to the ground. I want to make this for my apartment and I'm painting the outside like a tardis. (:
Fri, 07/26/2013 - 18:50
I raised it 5 1/4 " using fence post toppers from home depot. The fence post toppers unscrew for upright storage. You could leave them in for a more dramatic look but I liked the cleaner lines with them out until needed
Sat, 11/02/2013 - 15:33
Would you be willing to share the dimensions you used when building your queen murphy? Even if they aren't exact, it would be such a big help to me!
Sat, 12/28/2013 - 22:56
In that same picture, if you look at the bottom 6 inches of the closed bed (under the hinge) there is a storage section where I hide the legs when the bed is raised. It is otherwise dead space and made for an easy storage conversion at the last minute.
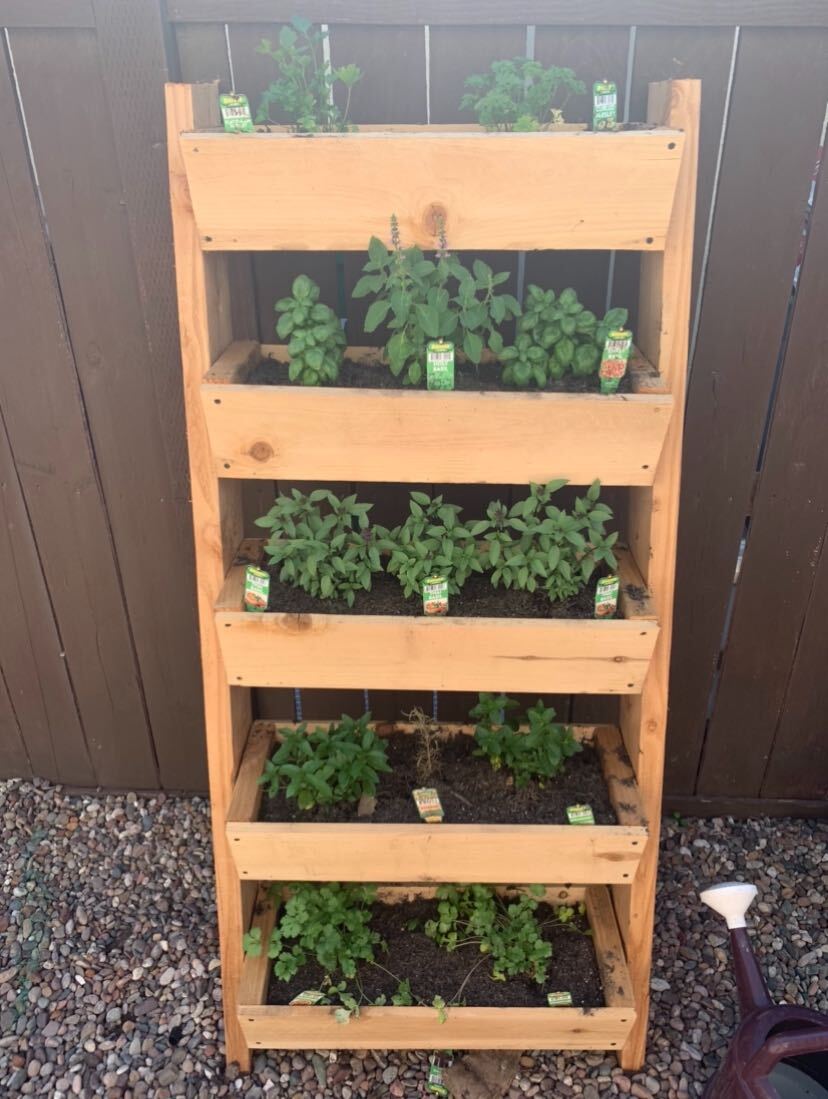
Staying at home during this pandemic pretty much inspired a lot of families to build, discover a new hobby or have their own vegetable garden. Built this ladder garden recently but had to cut it a little short because fences here in California are not as high, at least most I think. We use it to plant different kinds of herbs that we actually use like basil, Thai basil, peppermint, cilantro and parsley and loving it so far.
Sat, 08/22/2020 - 11:36
Hi - This looks very nice!
Are there any plans available?
Best,
Eric
Built this out of old Barnwood Pine !
Sun, 11/02/2014 - 18:27
This is beautiful and I just purchased my first home with my fiance and we have an old farm house. This would be amazing in our kitchen as our pantry. I must attempt to make it! Please help me :)
Sun, 11/29/2020 - 15:26
Where can I find the plans for the barn wood pantry? I NEED to make this!!???
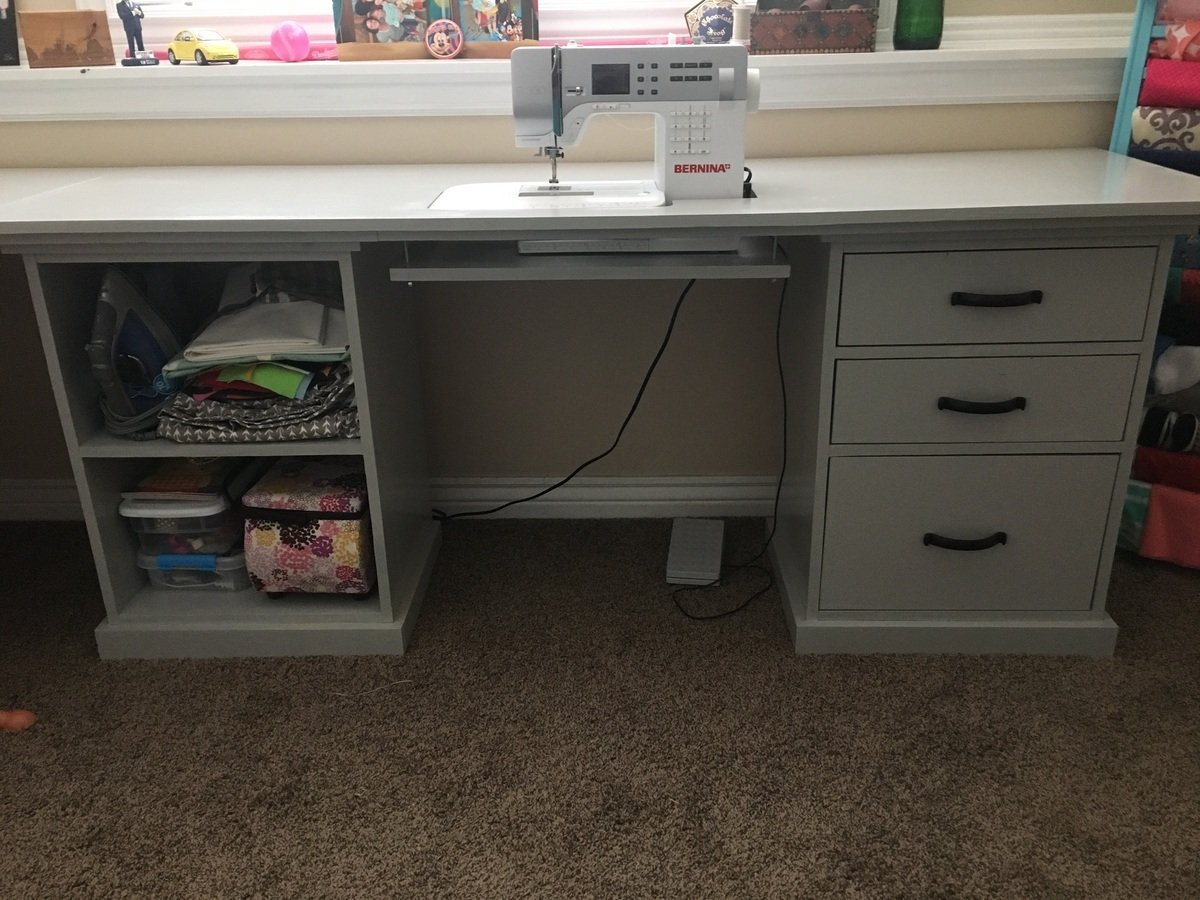
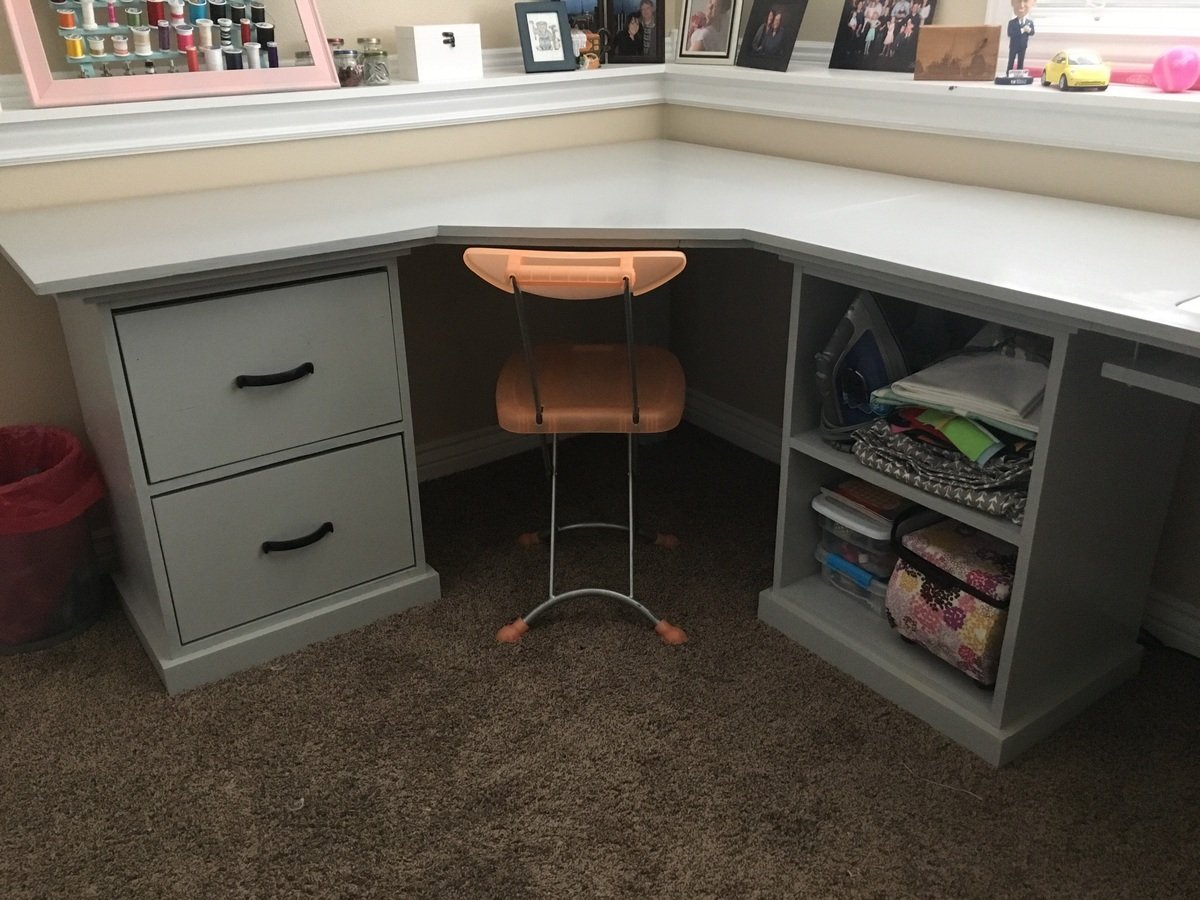
We built three base units-each with different storage options and used the corner desk plans. Then created our own long desk top using a 6ft long board and using a jigsaw to create an open space for the sewing machine.
Mon, 01/20/2020 - 07:49
It seems to me that this room is suitable for yoga or painting.
Mon, 12/27/2021 - 18:28
How did you go about cutting the hole for the sewing machine and what extra building did you do underneath?
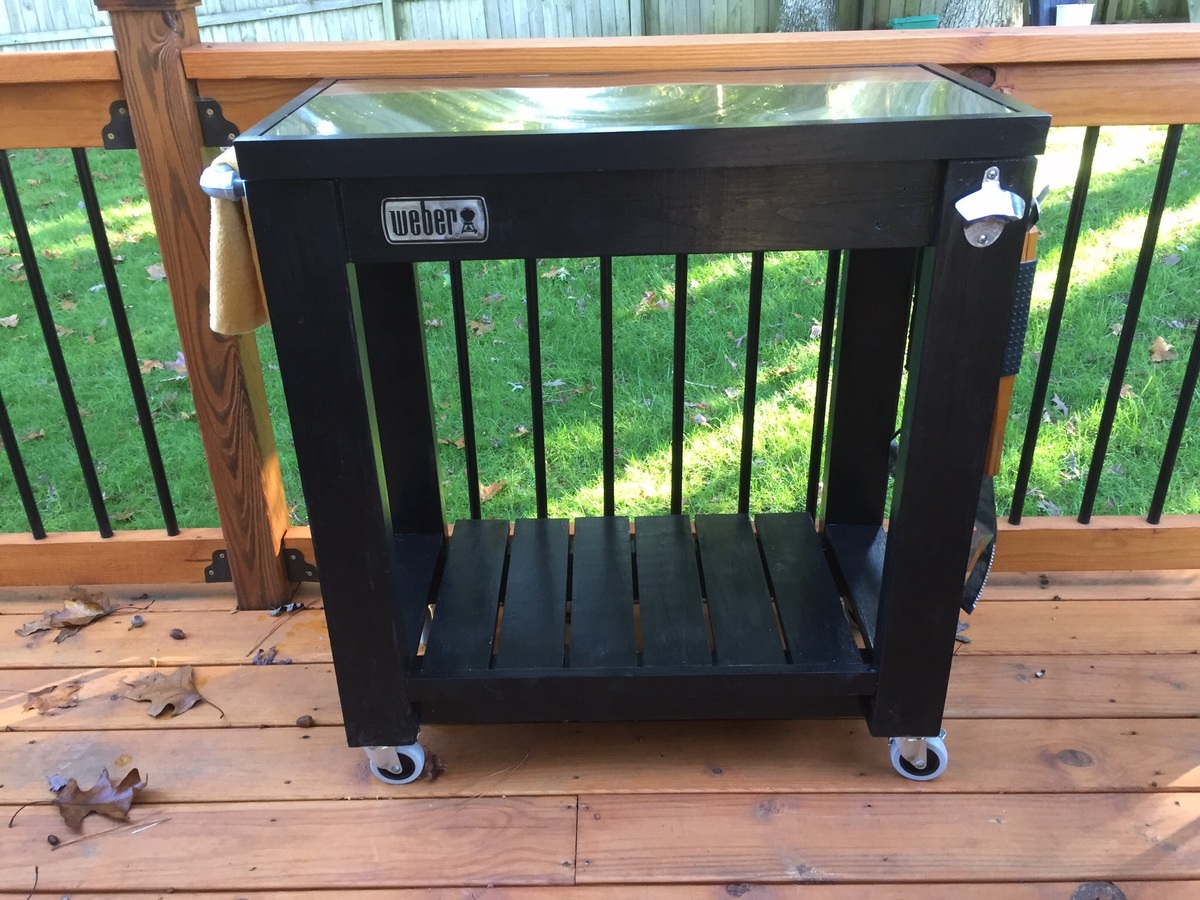
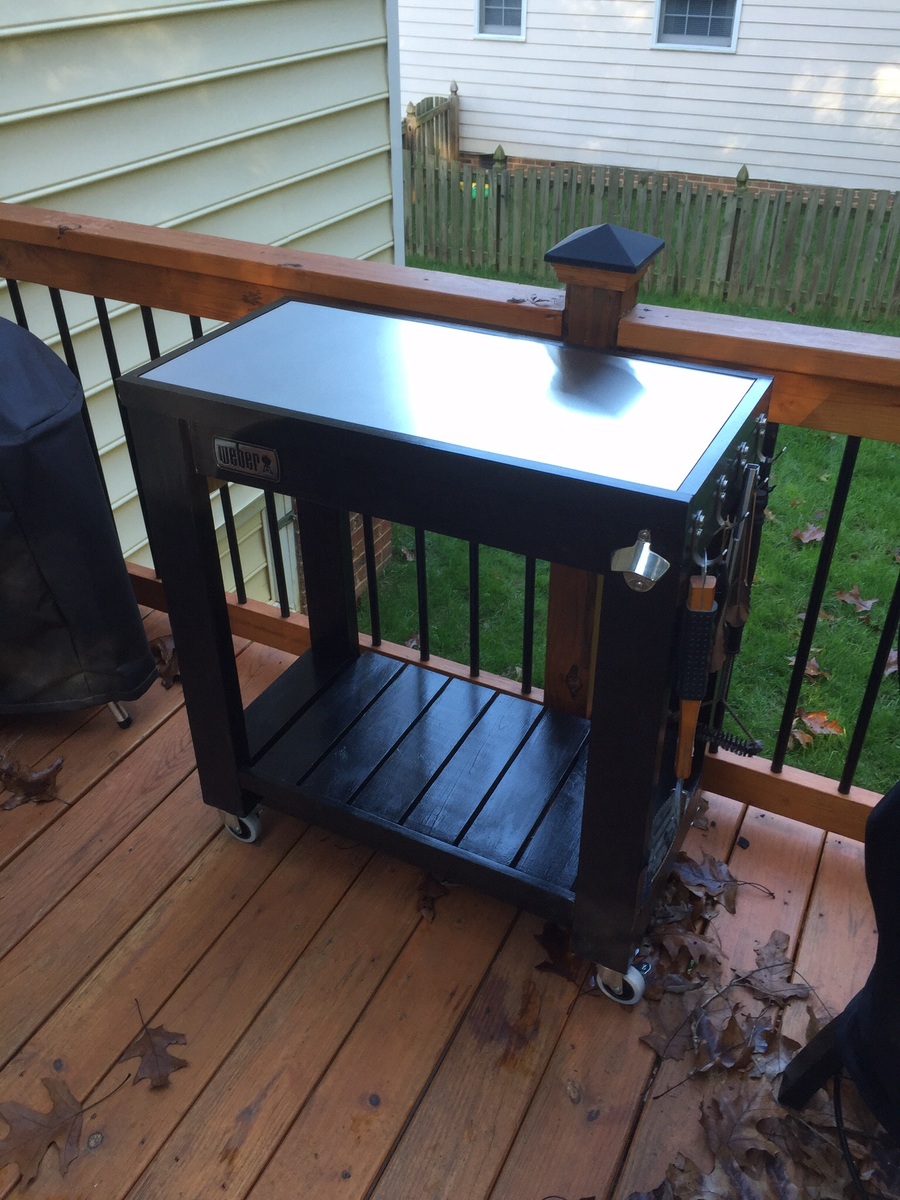
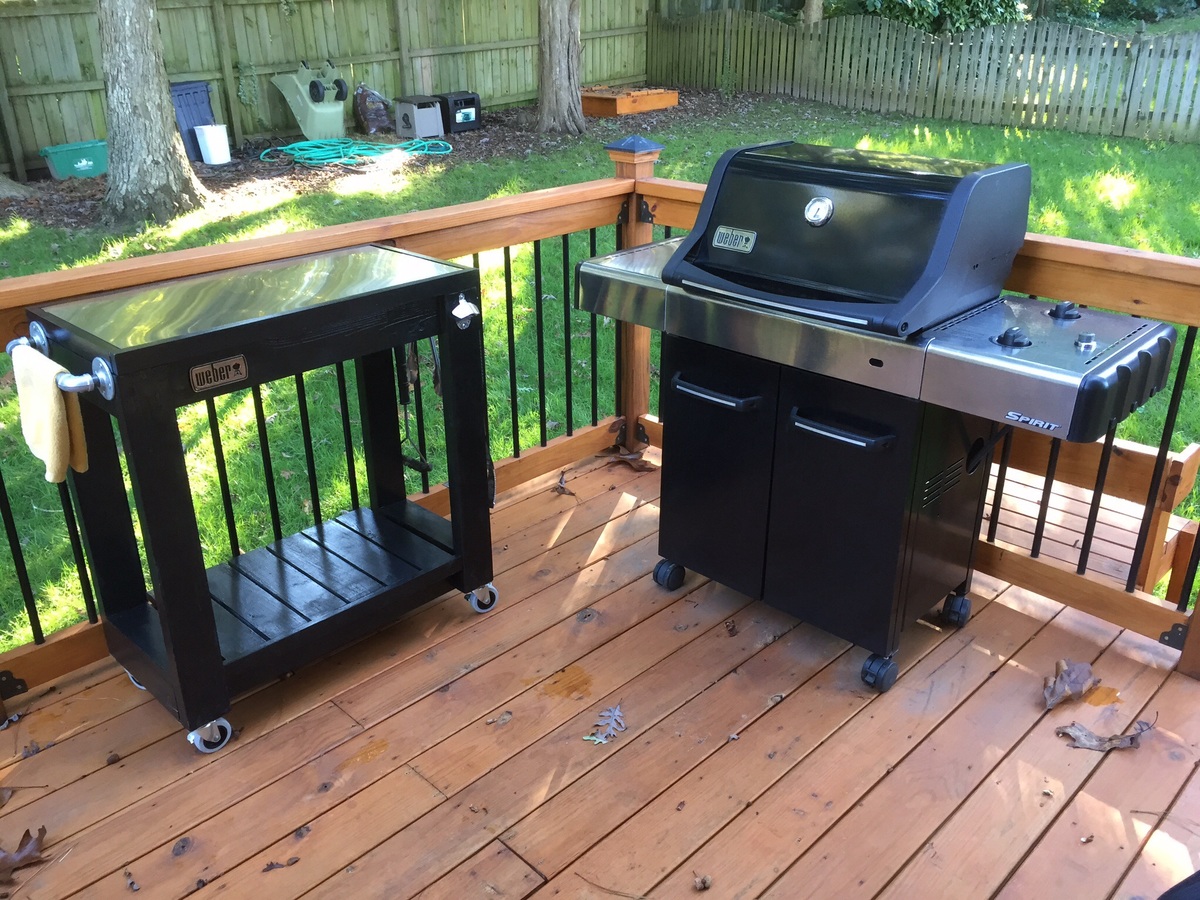
I made the countertop with 2 plywood boards screwed together and topped the stainless steel with heavy duty adhesive. I adjusted the plans a little to accommodate my space. Thanks for the plans! It was a fun build!
I found your plans last summer and loved the design so I decided to build one for my wife for her birthday last August. I didn't get started until the weekend of her birthday in late August so there was little expectation to have it finished before winter. It is now 14 months later and I only have a few trim pieces left to install. We live in a harsh climate and I wanted to be able to use it through the winter so I made a few changes. I built a 2 x 12 base and insulated it with R40 and the bottom walls are 2 x 6 instead of 2 x 4 and are insulated with R20. I used twin wall polycarbonate instead of the corrugated lexan because of the superior R factor. The insulated walls are of course vapor barriered and I covered them with tongue & grove cedar. I also made raised benches out of cedar for growing potted plants on. The floor has ceramic tile on it and the exterior is colored metal. I also ran underground power to the building and installed a fluorescent grow light. Surprisingly a small 110 volt heater keeps the temperature above freezing even during our awesome -40 winter temperatures. If the daytime temperature is anywhere near or above freezing we have to keep the screen open in the door or it overheats inside. I have attached links to a few pictures of the almost finished product, ready for another winter full of flowers and veggies. I initially used clear vapor barrier until the twin wall polycarbonate showed up. This worked rather well.
I have posted this in the comments section as well, but I think it belongs here.
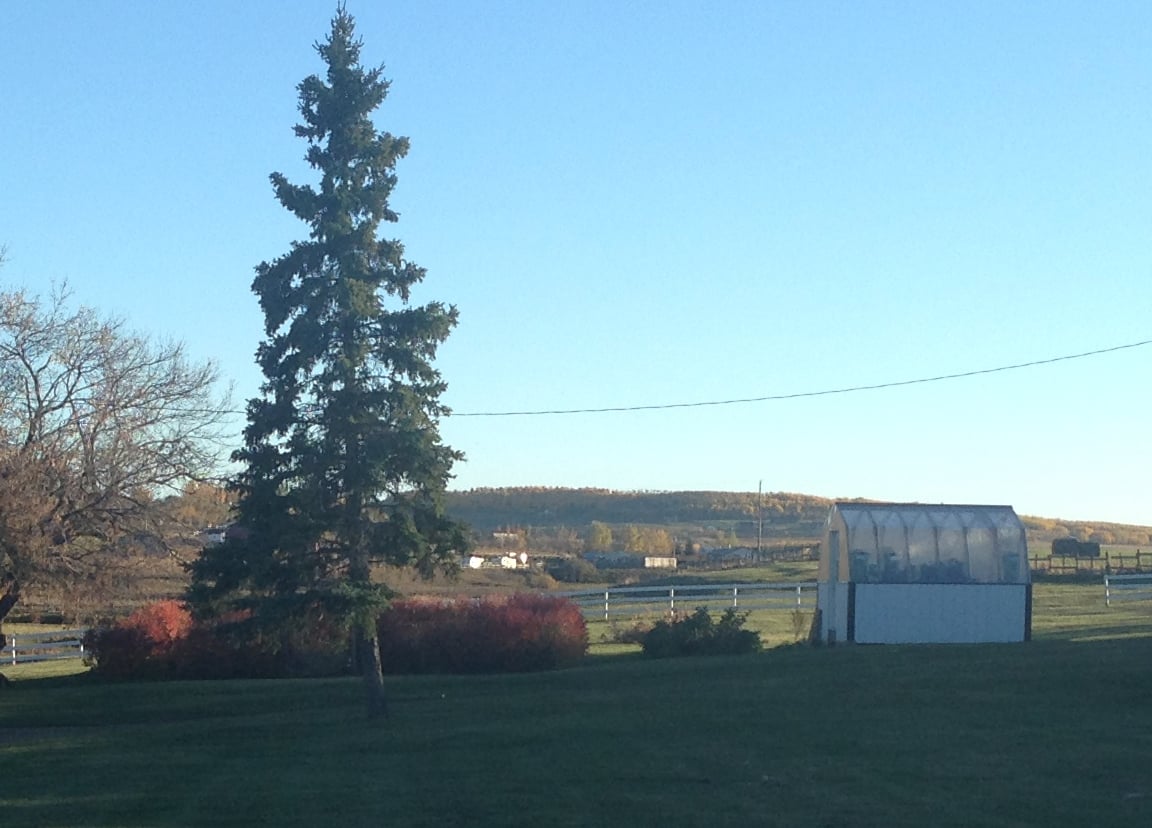
Sat, 03/21/2020 - 09:42
Love your ideas! I have a few questions if you don't mind. Where did you buy the polycarbonate sheets, and what sizes were available? Did you end up changing the plan a bit to accommodate the vertical sheets? Did you seal top and bottom with foil tape and dust tape respectively or poly flashing?
Any help or advice would be appreciated very much.
JB
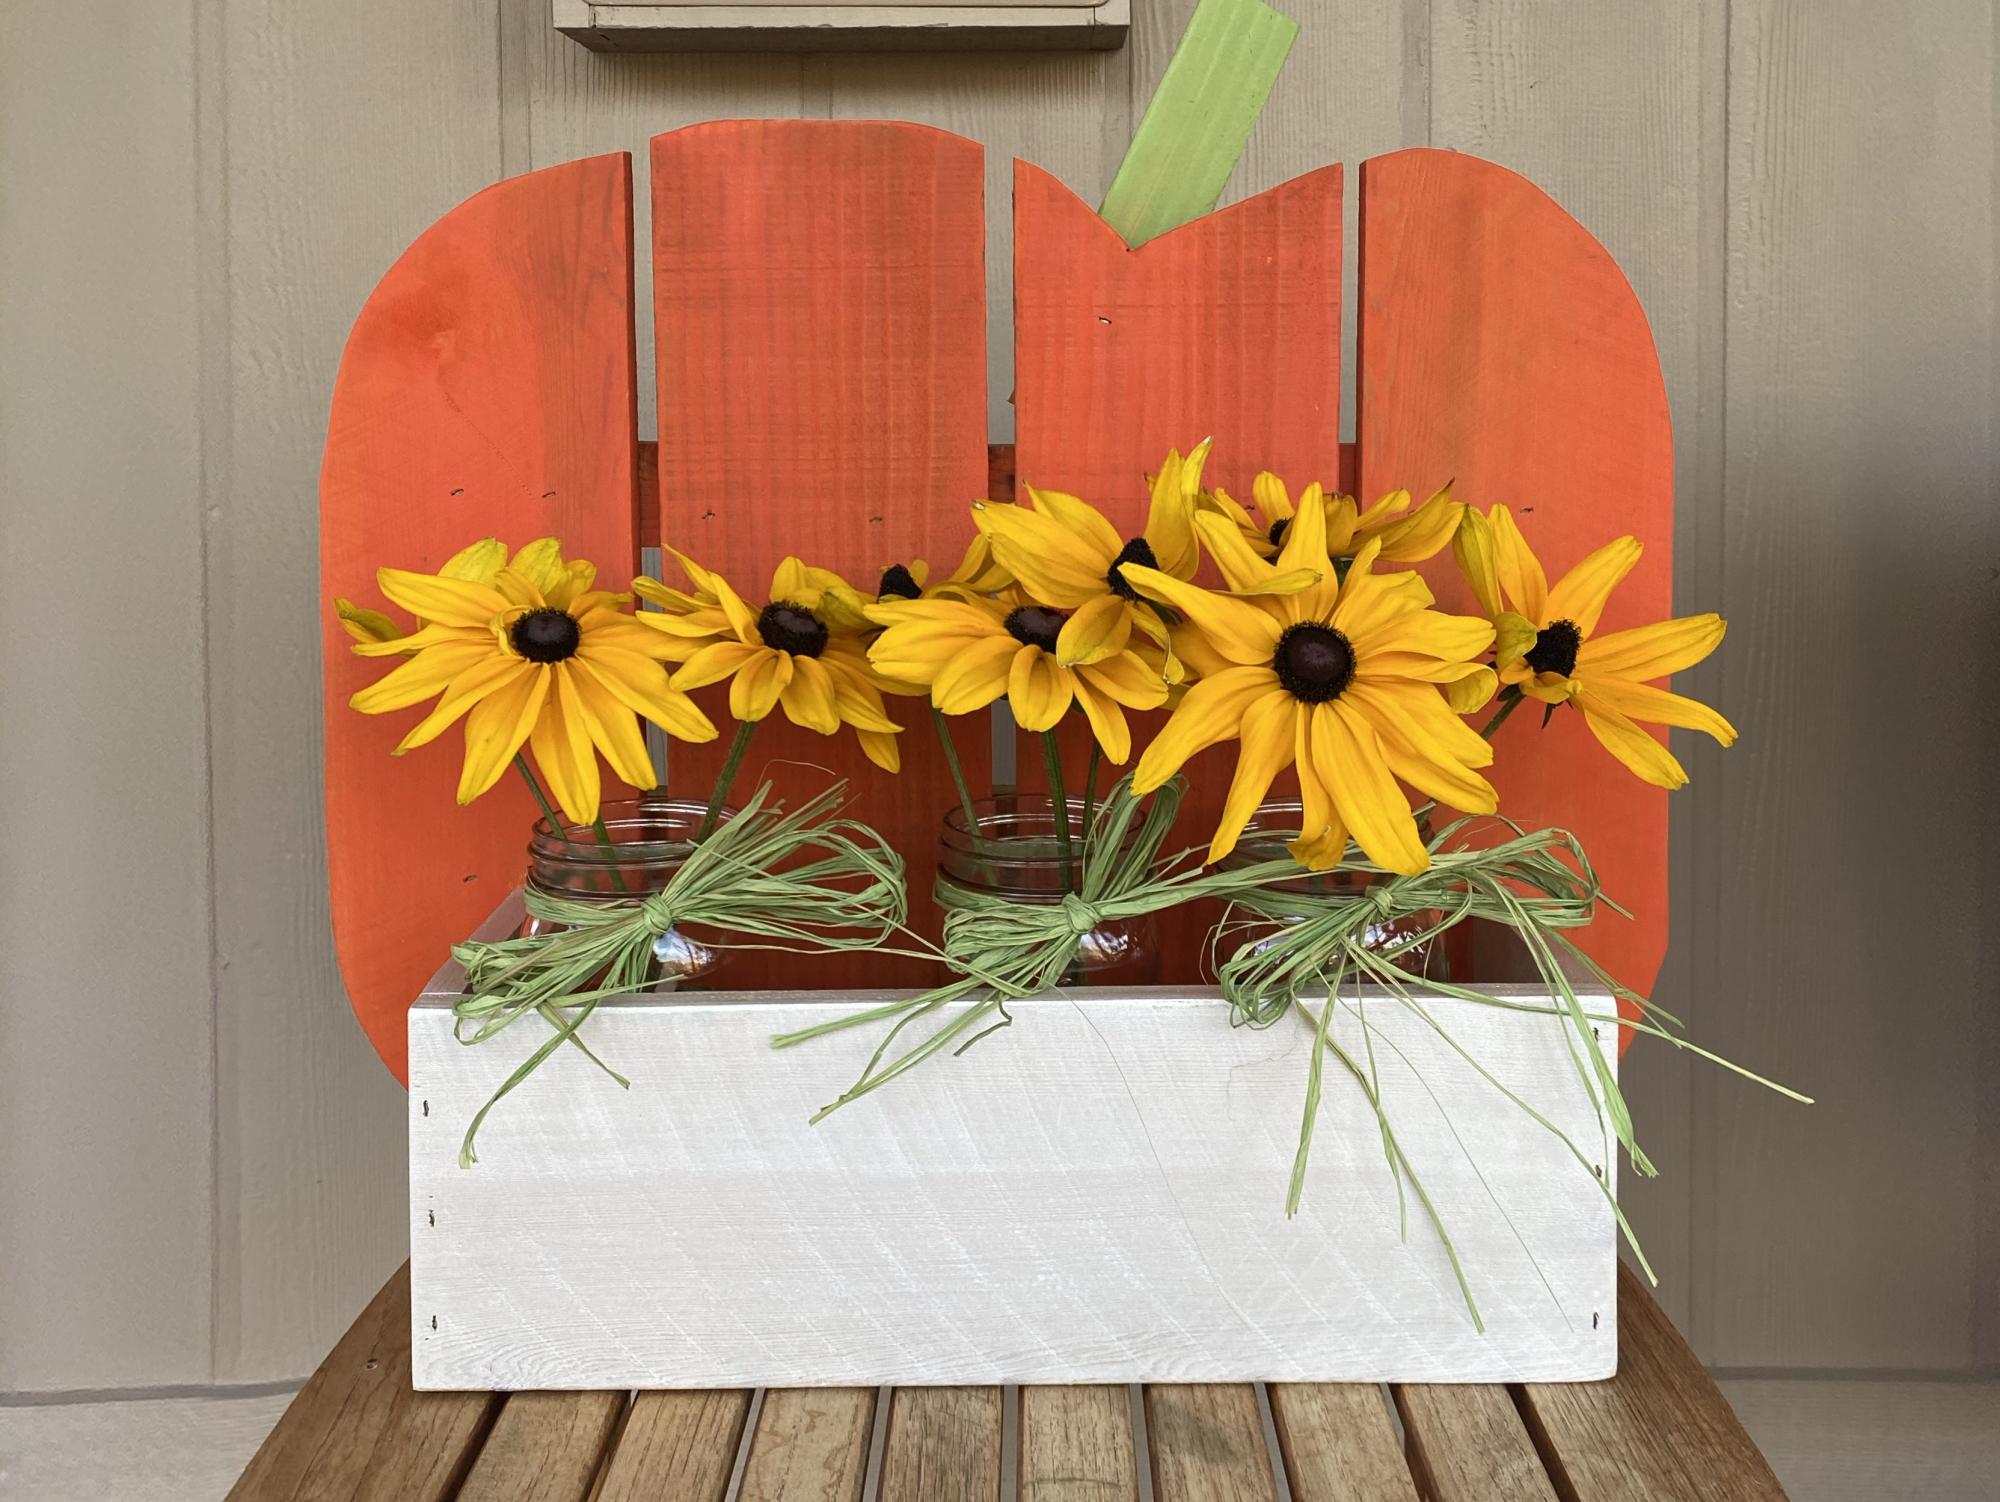
This was my first woodworking project and it was fun and easy. A few words of advice though...painting the wood first is a good idea. I did not so it took a bit more time. Using glue instead of staples would make the finish much nicer as you can see my staples, but it is rustic so that's okay. Thank you Ana!
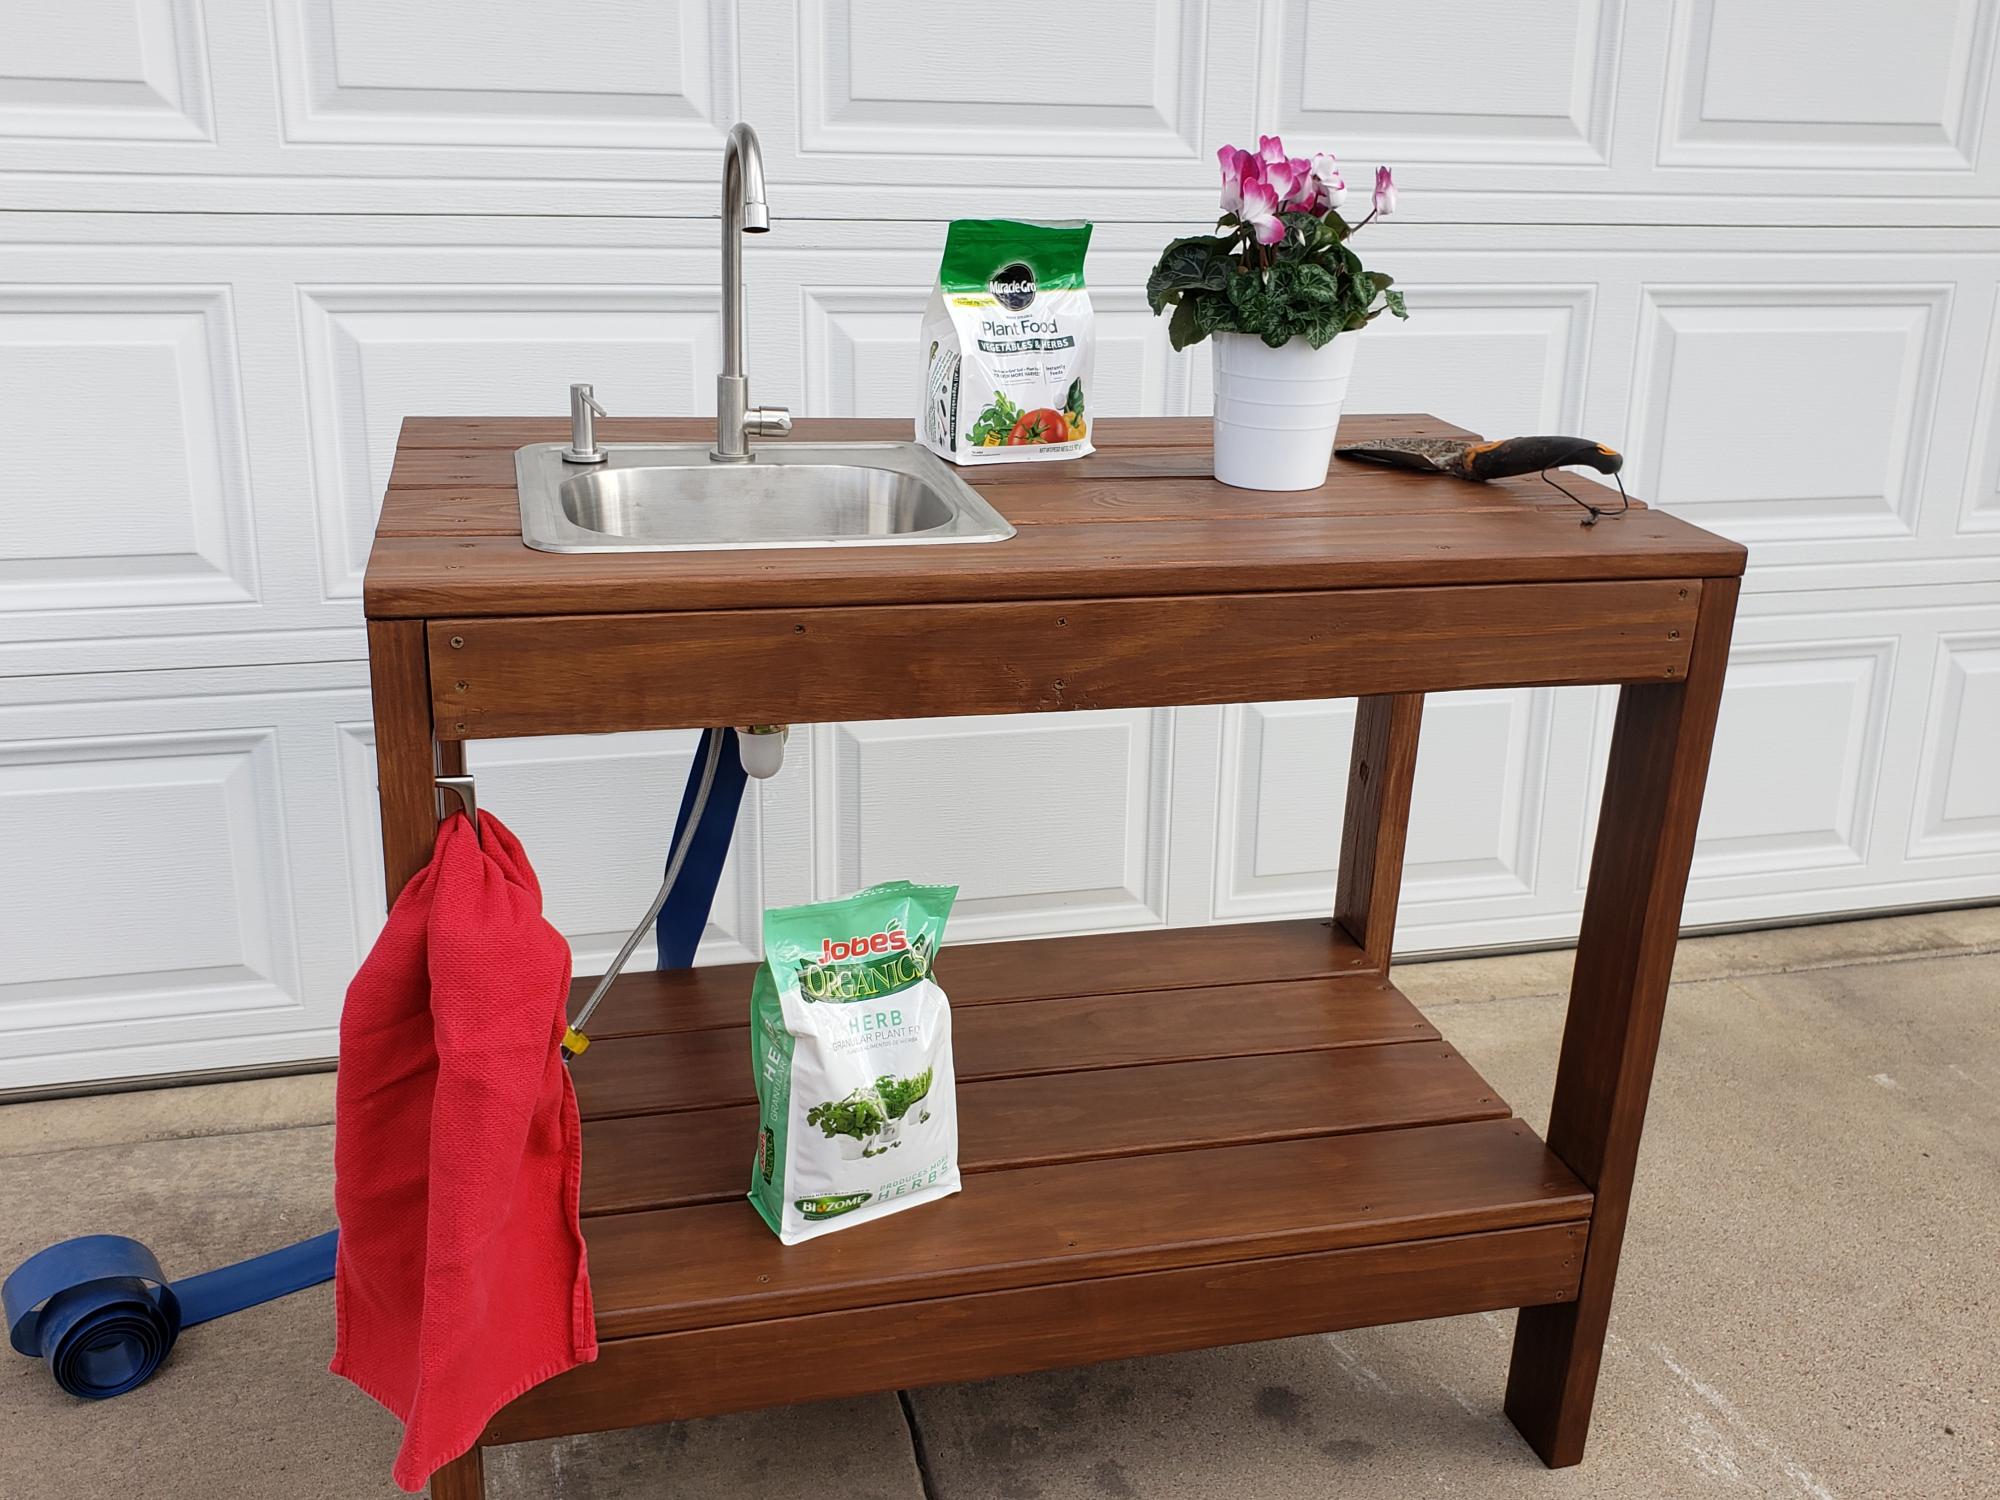
Added an outdoor sink to the potting bench.
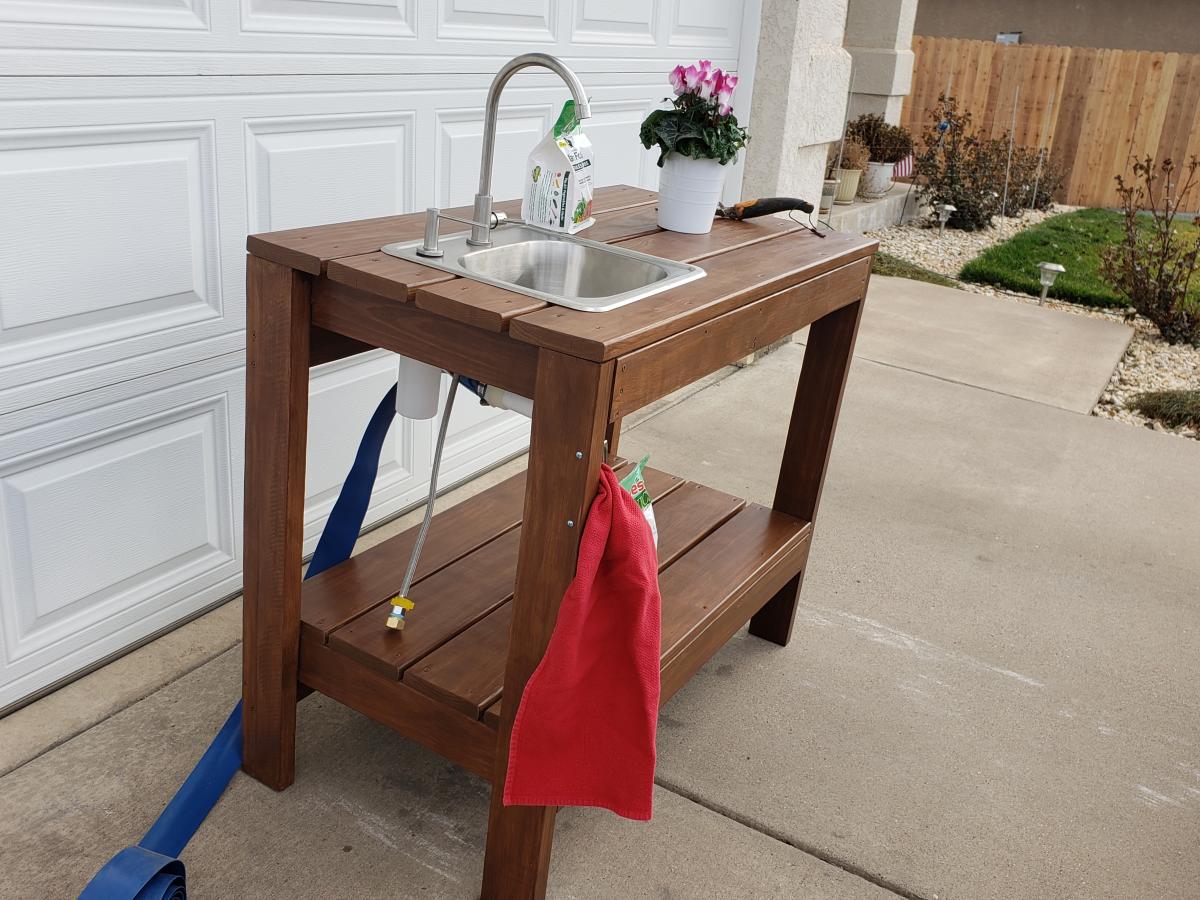
Easy build and looks fantastic!
Mon, 09/14/2020 - 09:42
I love this two seat bench. Are the plans for building such a bench available?
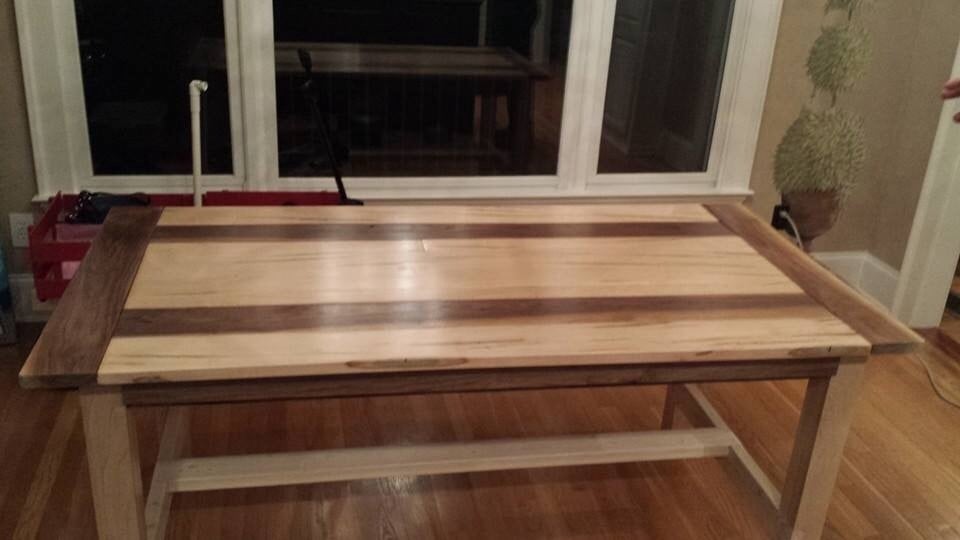
We built this table from Ana's plans using only a circular saw. Yea Ana's plans!
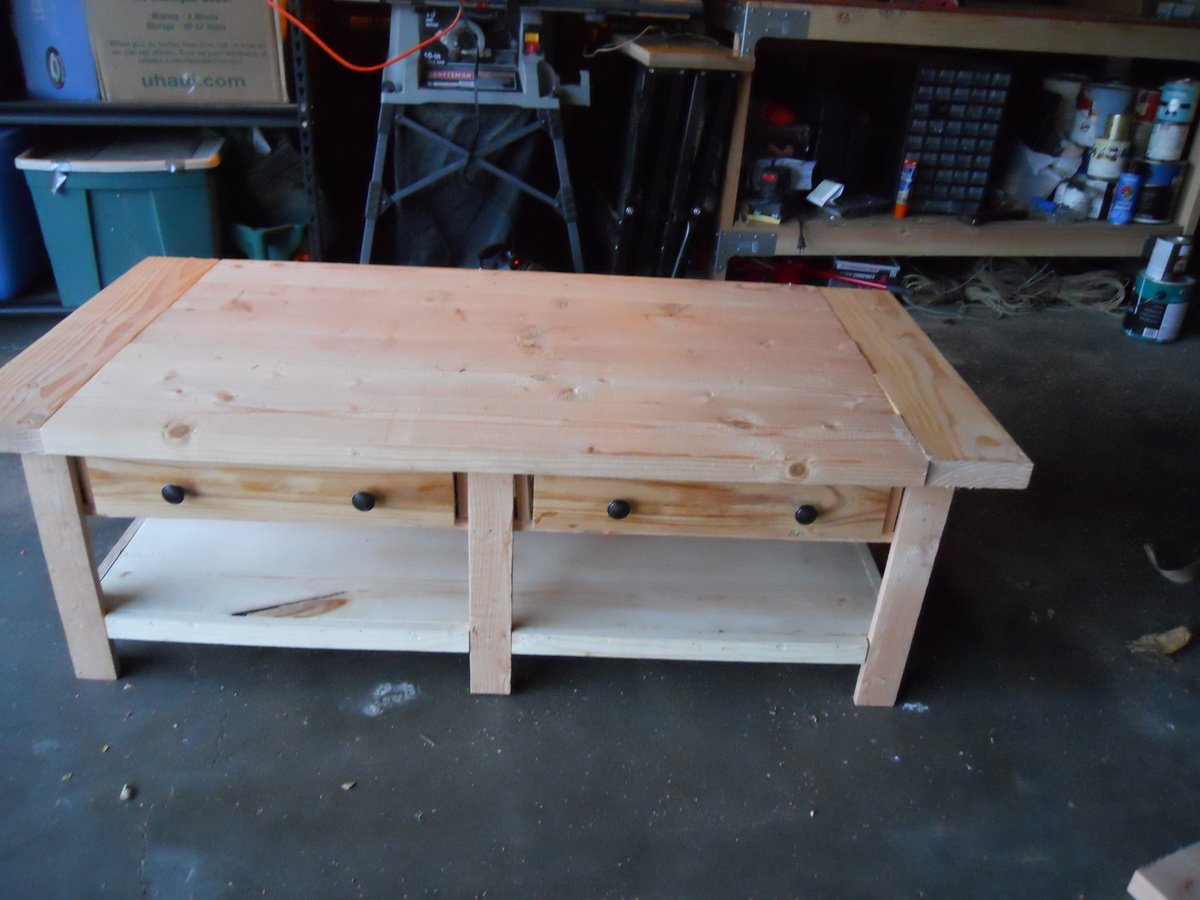
Wanting to finally get rid of our hideous fake wood coffee table, I found these plans to make the Pottery Barn Benchwright Coffee Table. I am so pleased with the result! It's really heavy and sturdy. Took about 4 days total, and around $100. First time making drawers. Overall the plan was very doable. Looking forward to making a pub table and chairs, and built in bookshelves next!
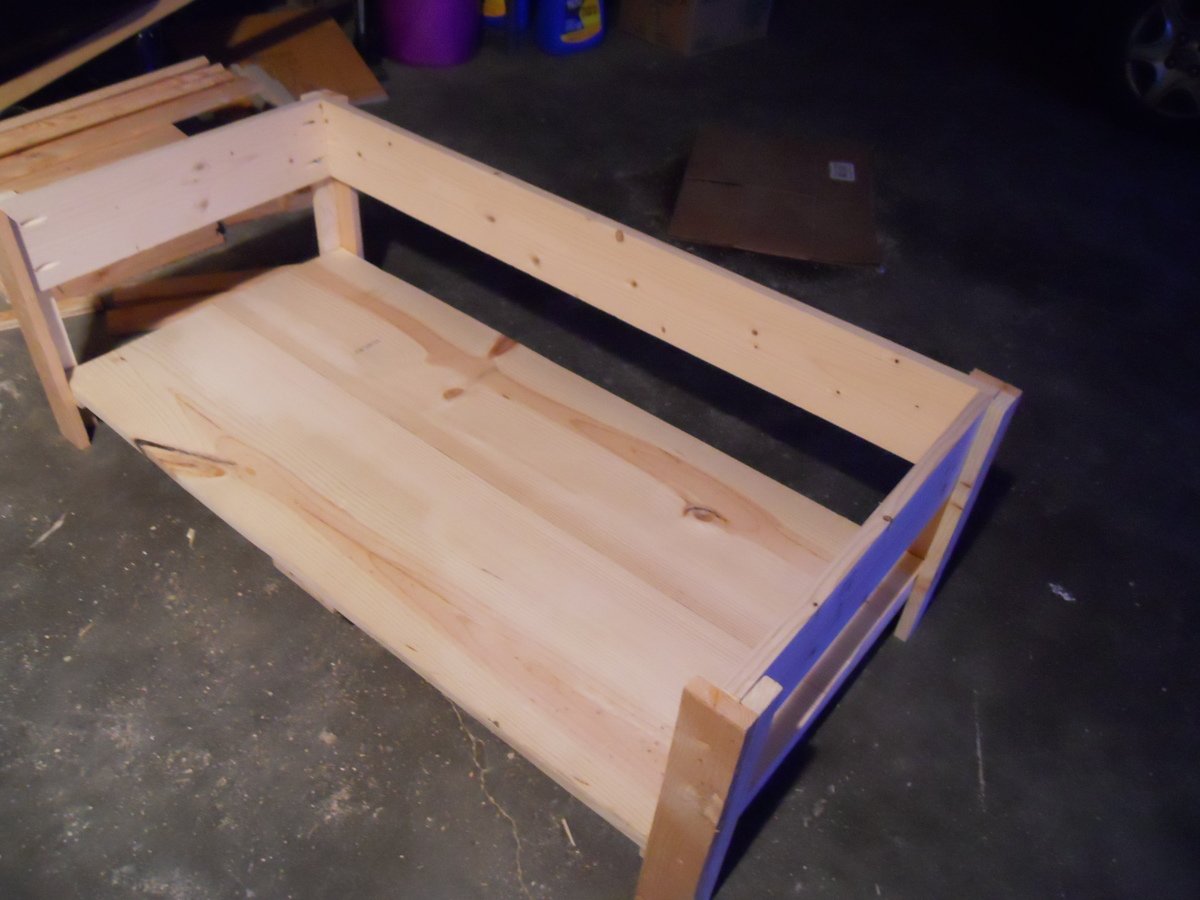
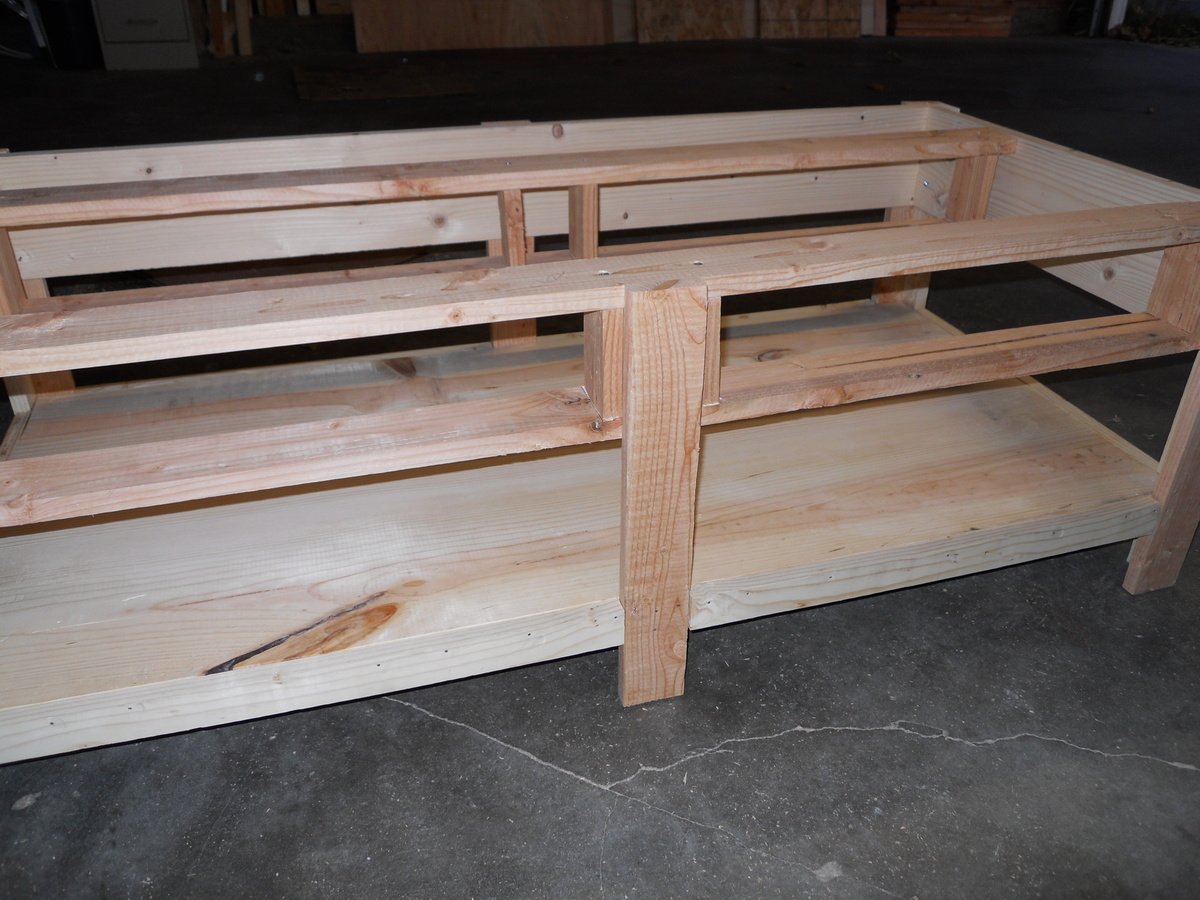
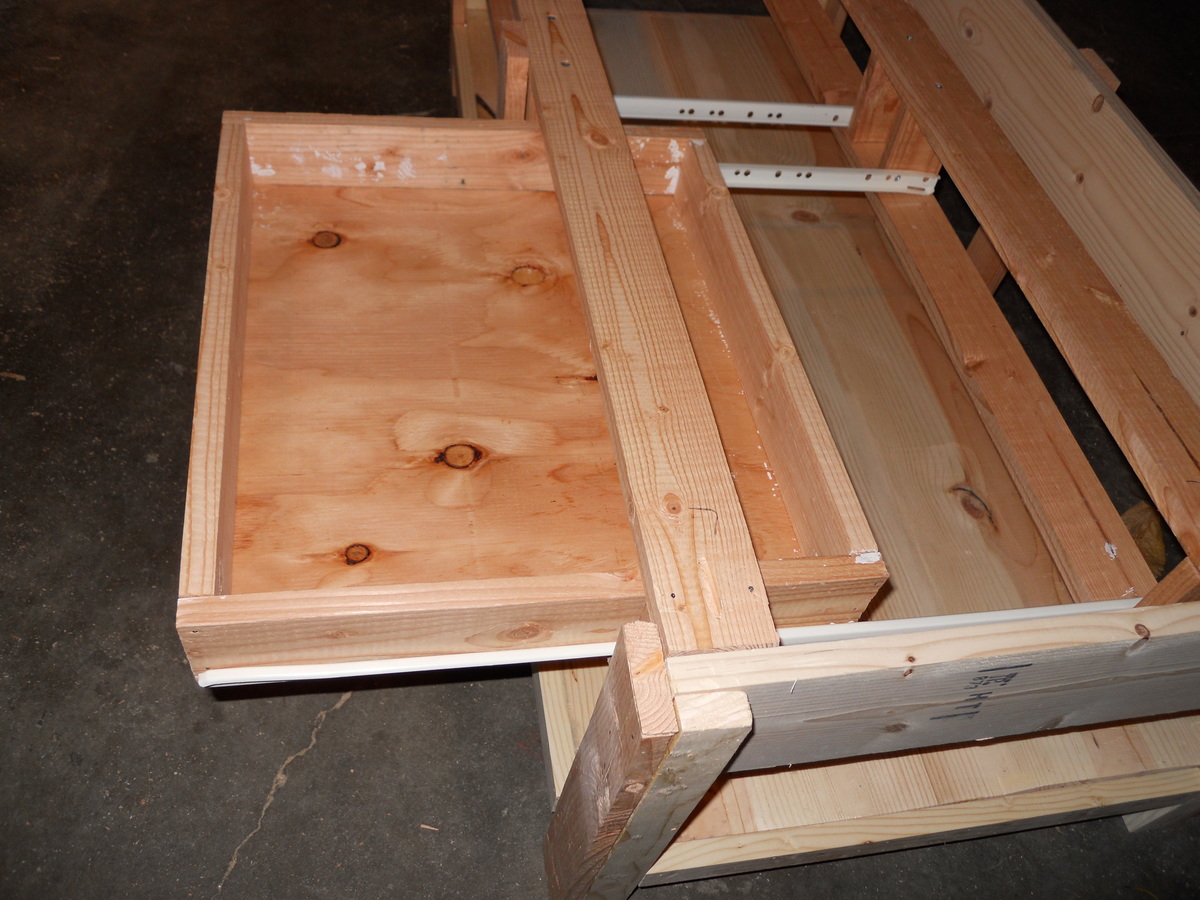
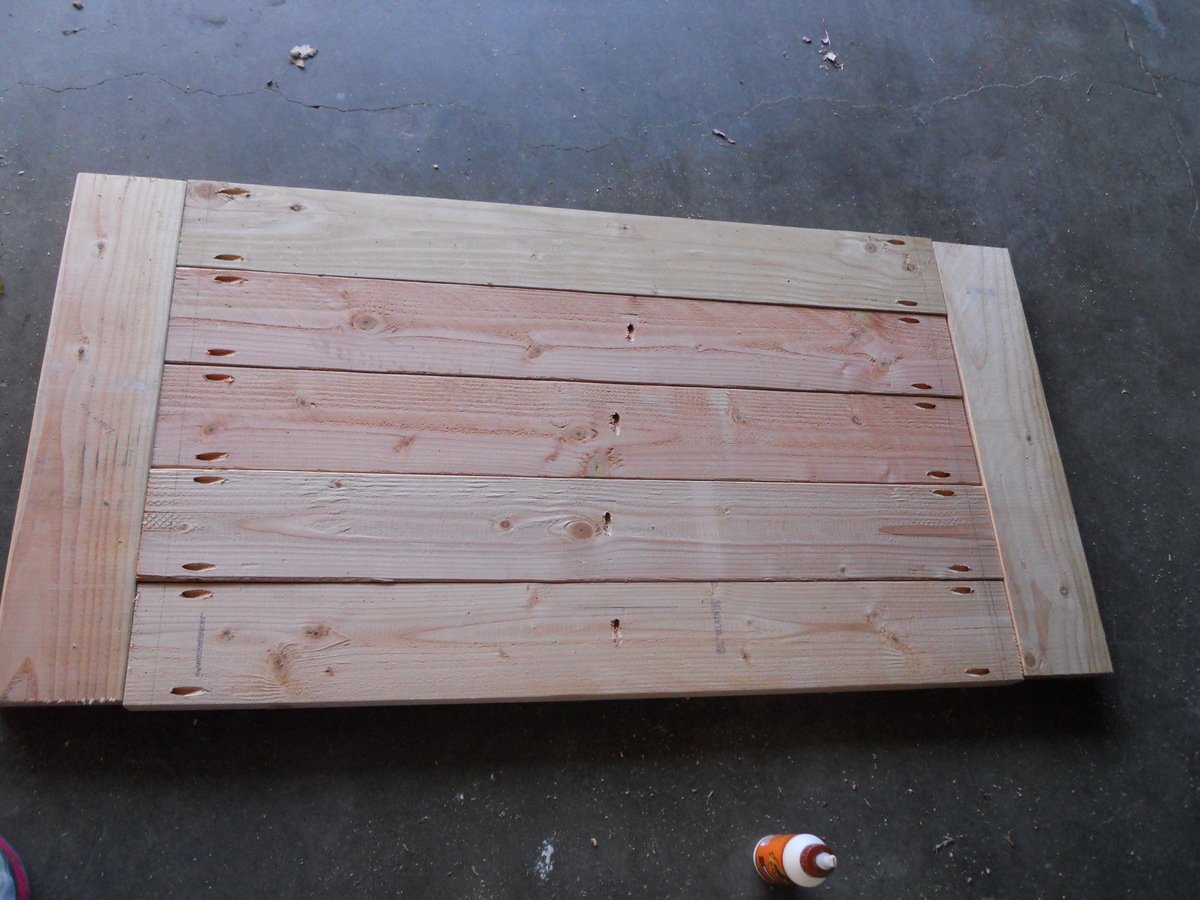
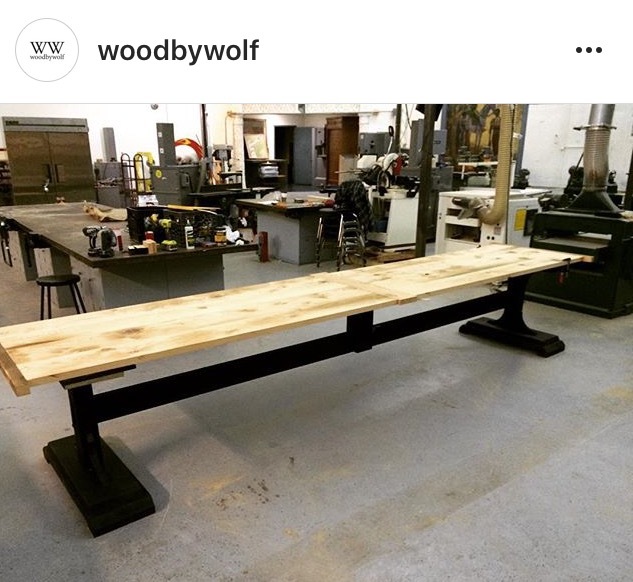
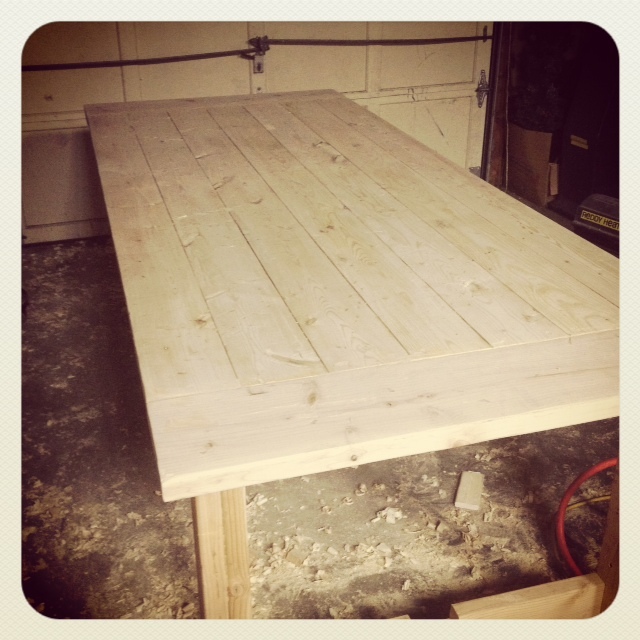
Began with supplied DIY plans from the www.ana-white.com and slightly modified them based on the length and width of the table. Table now resides in Haddon Twp, NJ as a community farm table for a small local business. The plans provide the foundation and cut list and depending on your experience, comfort level, and tools it is fairly simply to elaborate, expand, and modify.
I was so inspired by this site, I just had to try something out for my self! Being a beginner it was a little difficult trying to get the notches perfect without the correct tools! A table saw is neccessary but me and the fiance kept at it! After all assembled we banged up the table with some heavy duty chains, Gave it two coats of Minwax Dark Walnut, and finished with 2 coats of Minwax Poly Satin finish. We left out center support so we could get it in the house and installed once it was in, this is one heavy sturdy piece of furniture!

I wanted to make a black and brown picnic table, this one turned out really nice and it gets a lot of compliments.
I, also, reinforced the 2x6s used for the seats by boxing in 2x4s underneath. I just cut 4 53" (probably could have been 54" honestly) and mounted them to the bottom of the seats and screwed them into the seat cross members. This should keep them from flexing.
Tue, 01/14/2020 - 08:29
I love the look of this, it is great. I'm looking at your estimated cost wishing that was the case where I live .
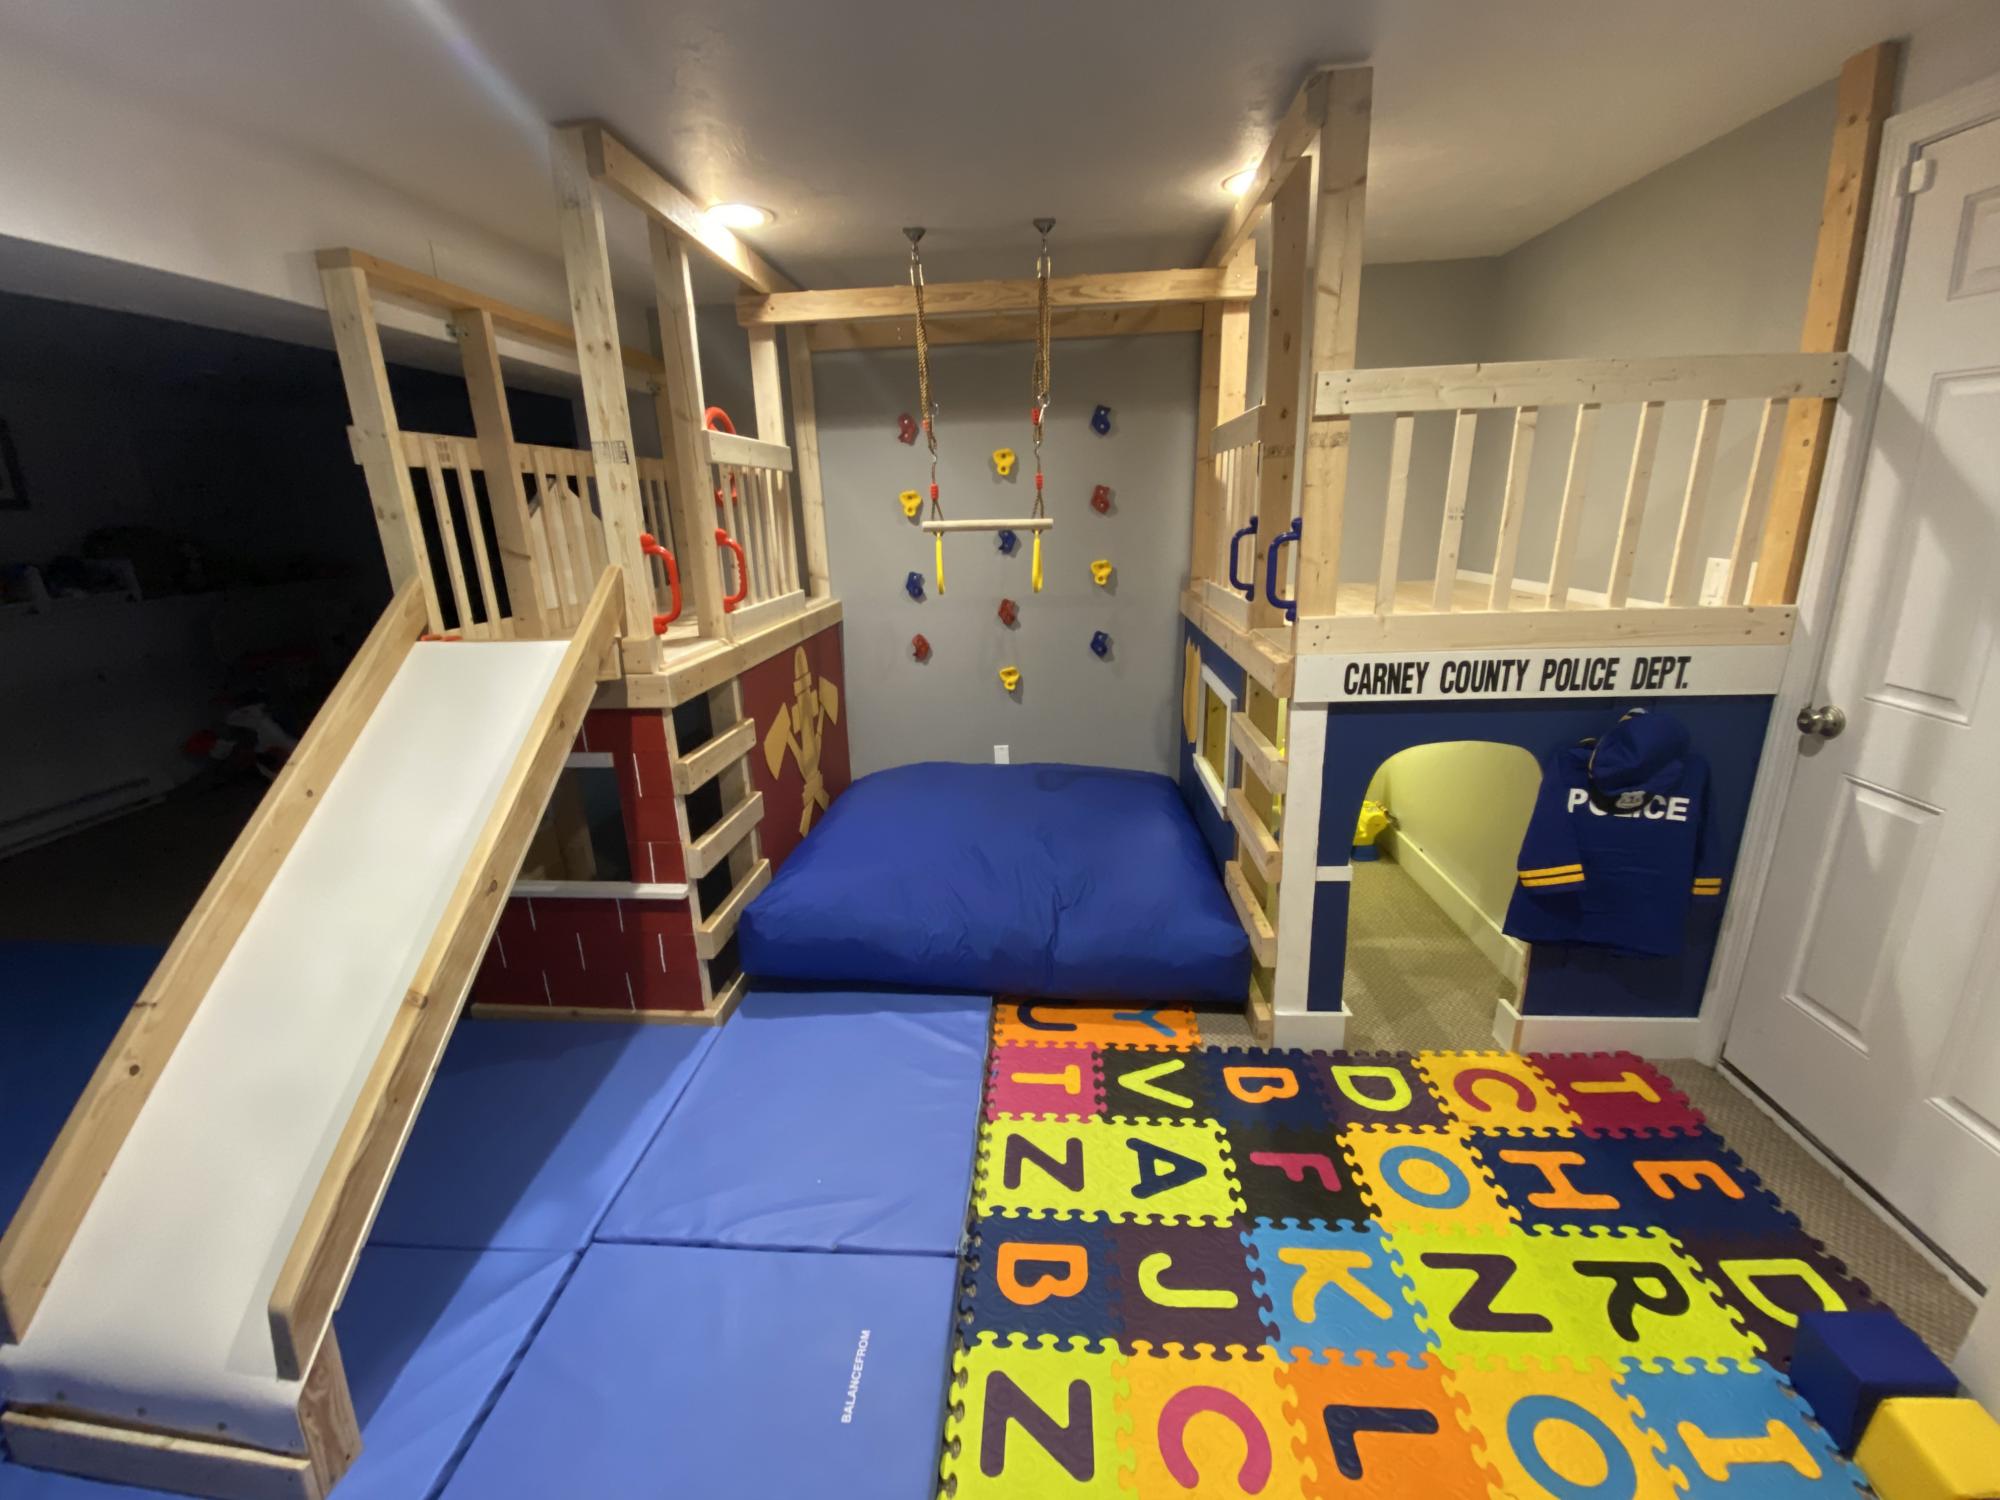
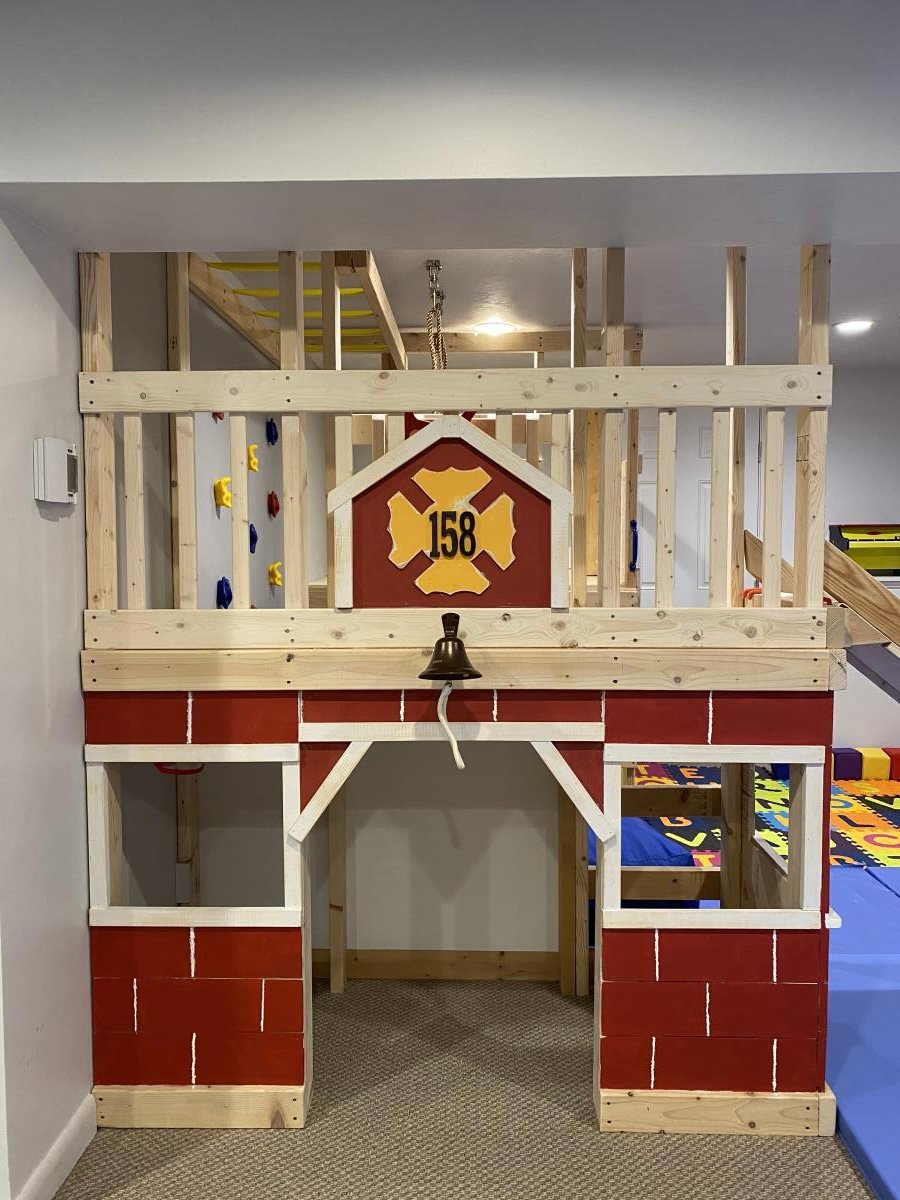
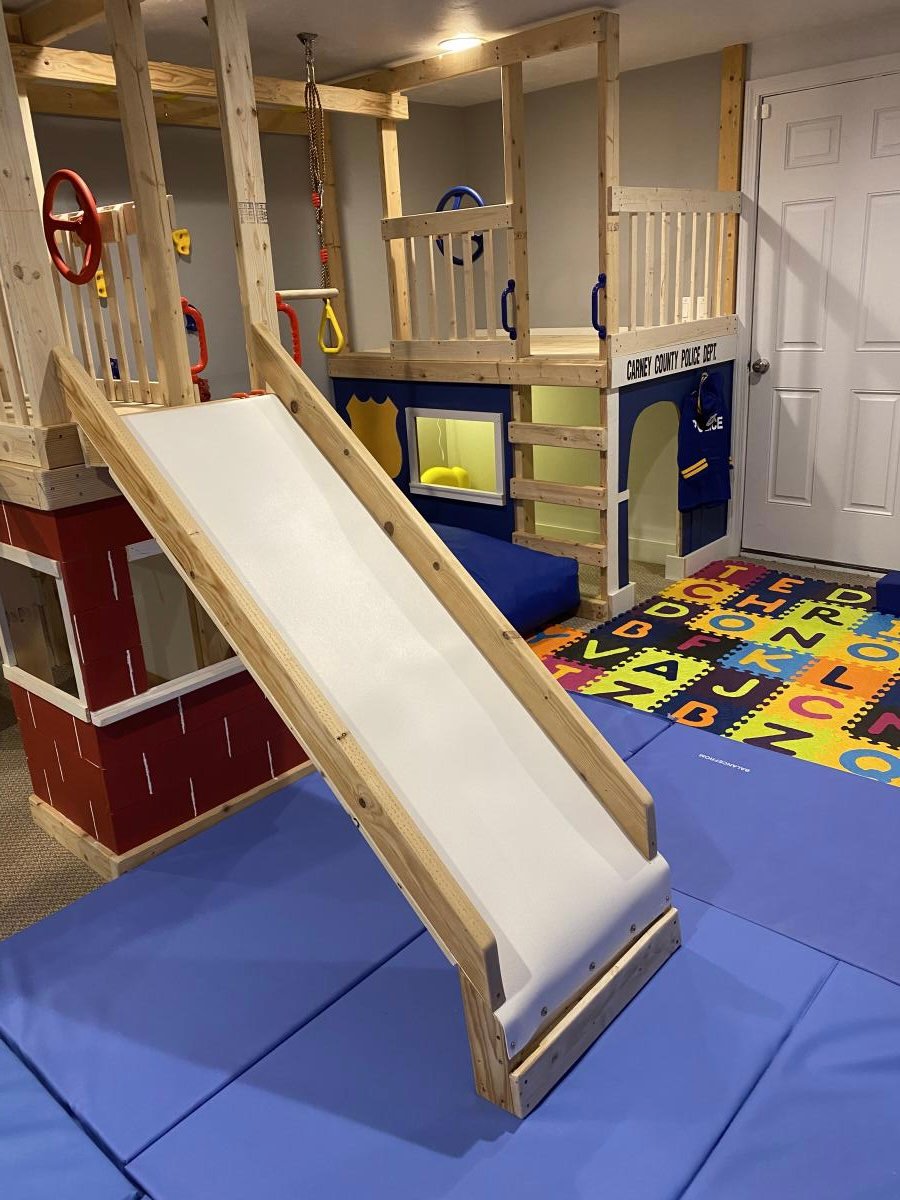
With Christmas approaching and the realization that my three young boys had way too much “stuff”, I enrolled the help of my dad to build this amazing basement play area. When I found Ana’s plans for the play gym with monkey bars, I knew we were in business. I modified the design to fit our space and we were off. Such a fun build and my boys absolutely love spending time down there. Thanks so much for your continued inspiration and the confidence you give us mamas to build with the big boys, Ana!!
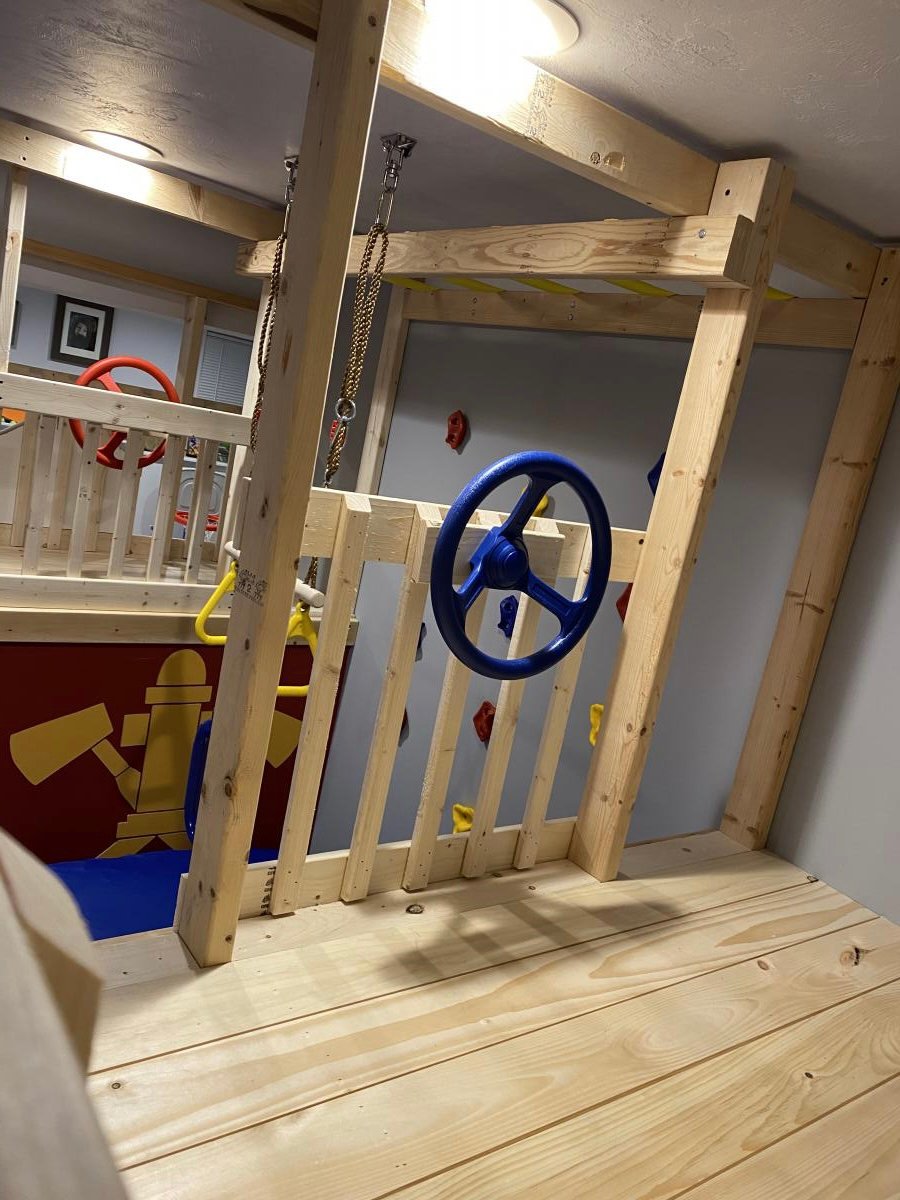
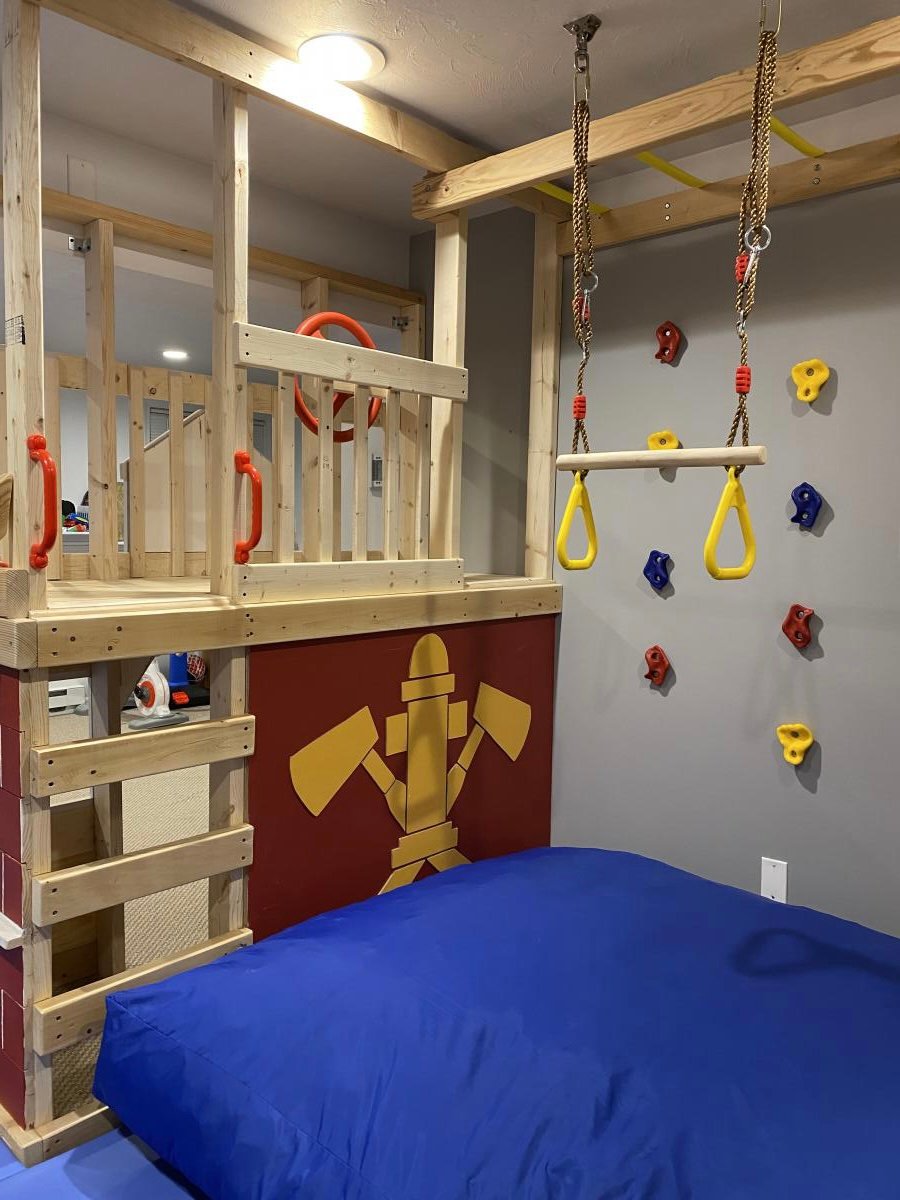
In reply to Fabulous! by Ana White Admin
Fri, 01/08/2021 - 16:23
Thank you so much!! 🙏
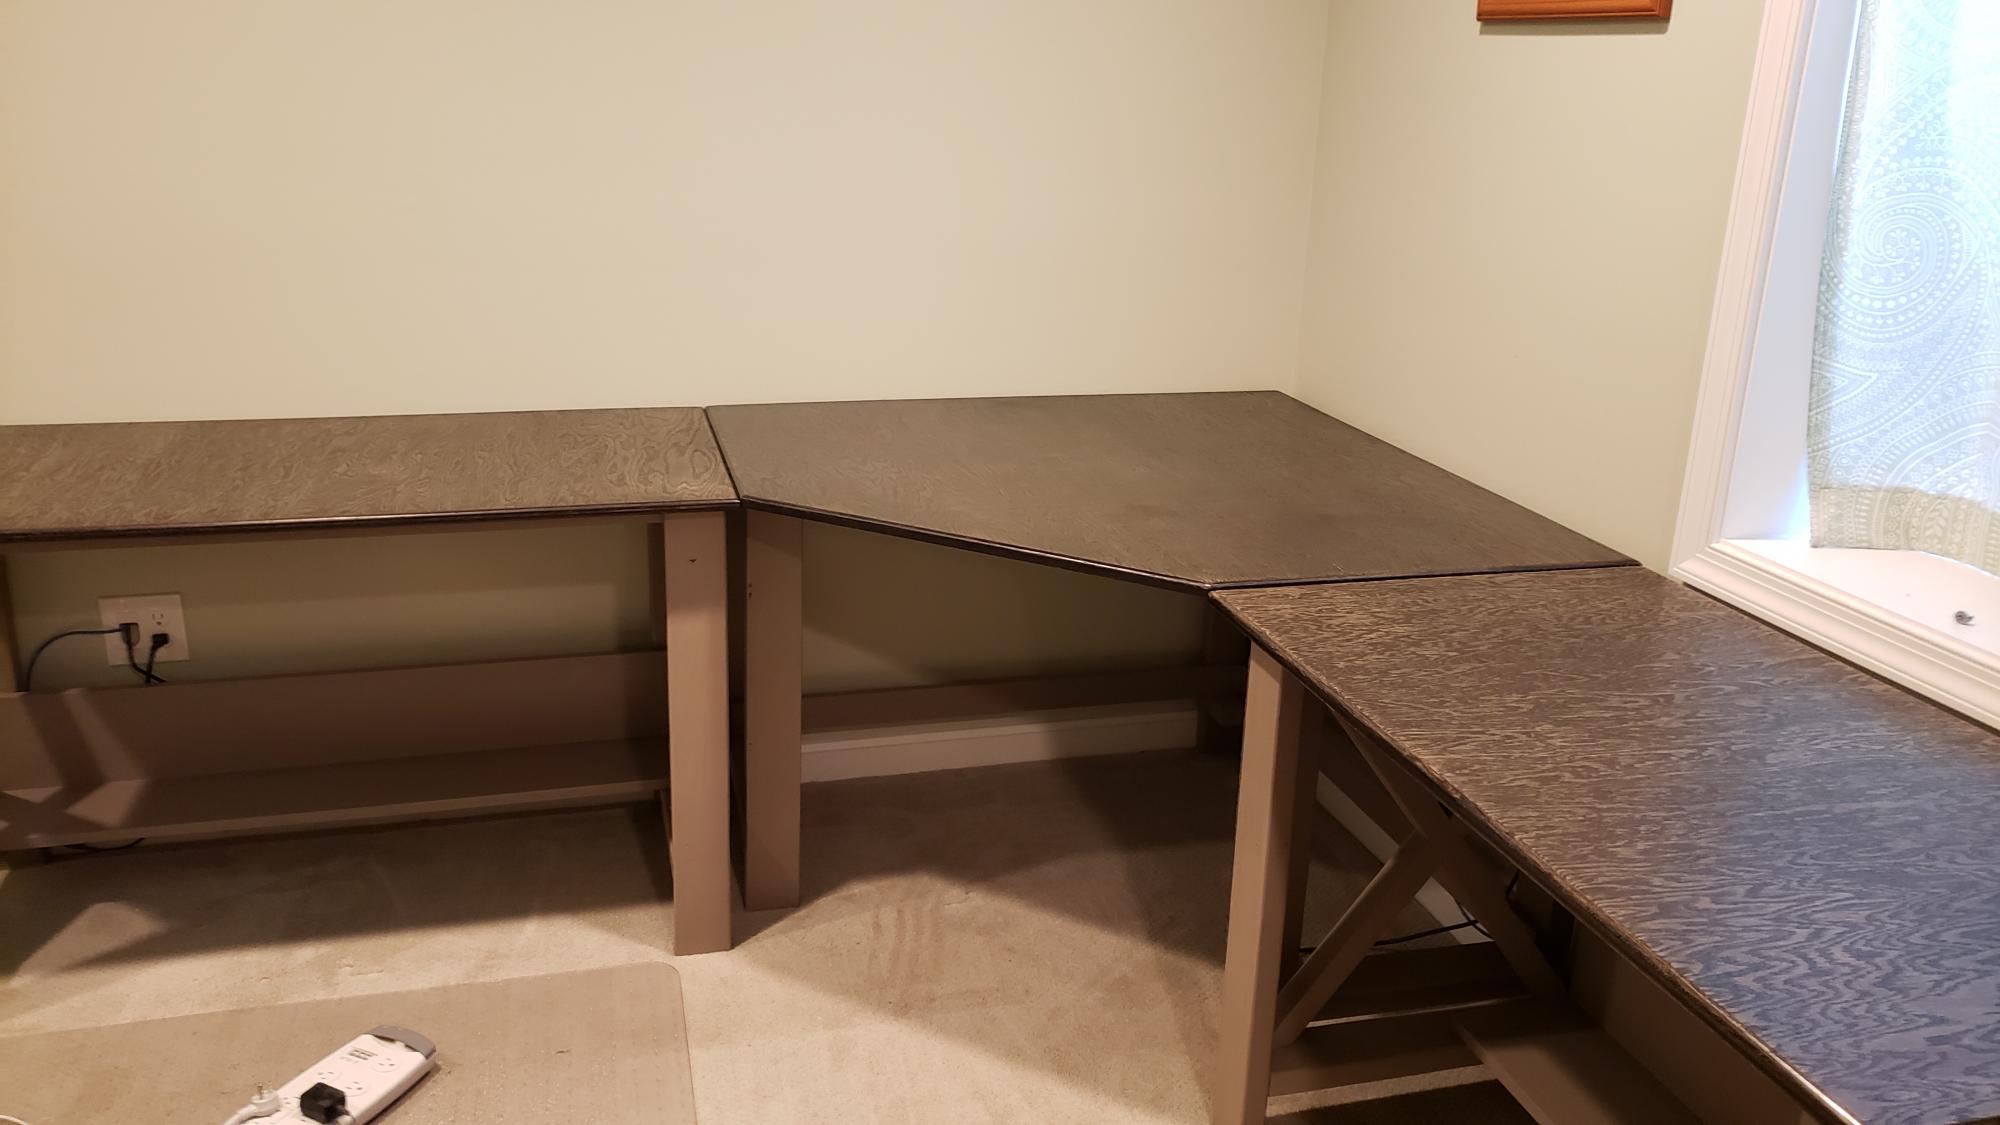
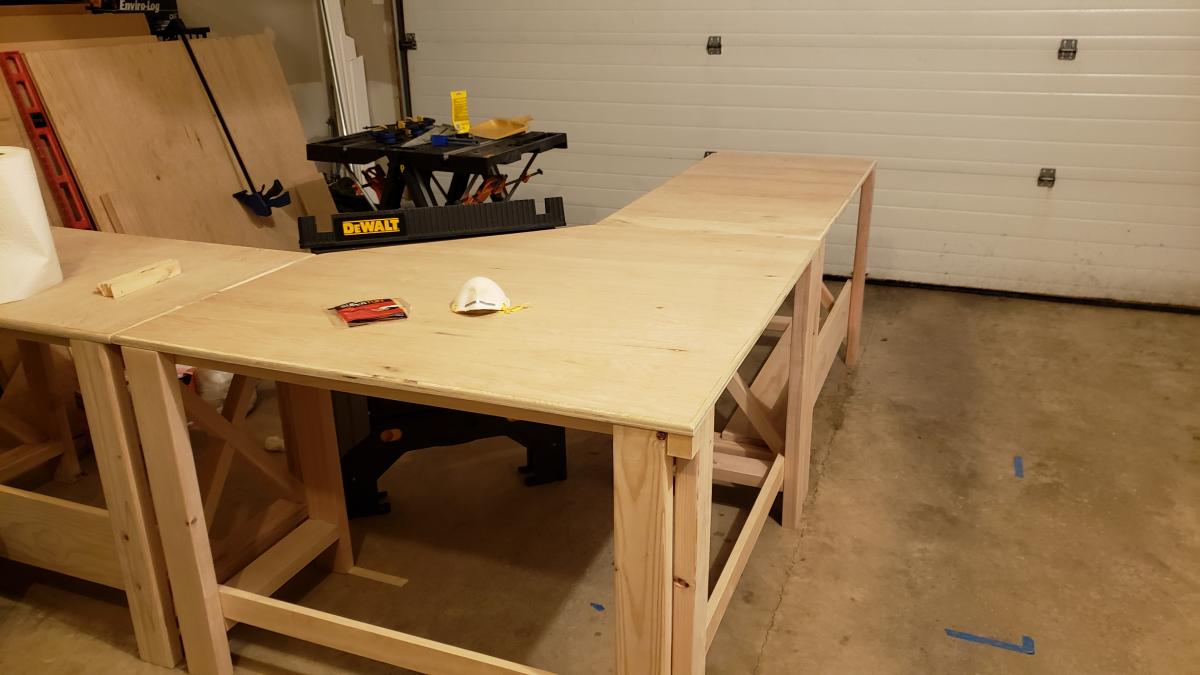
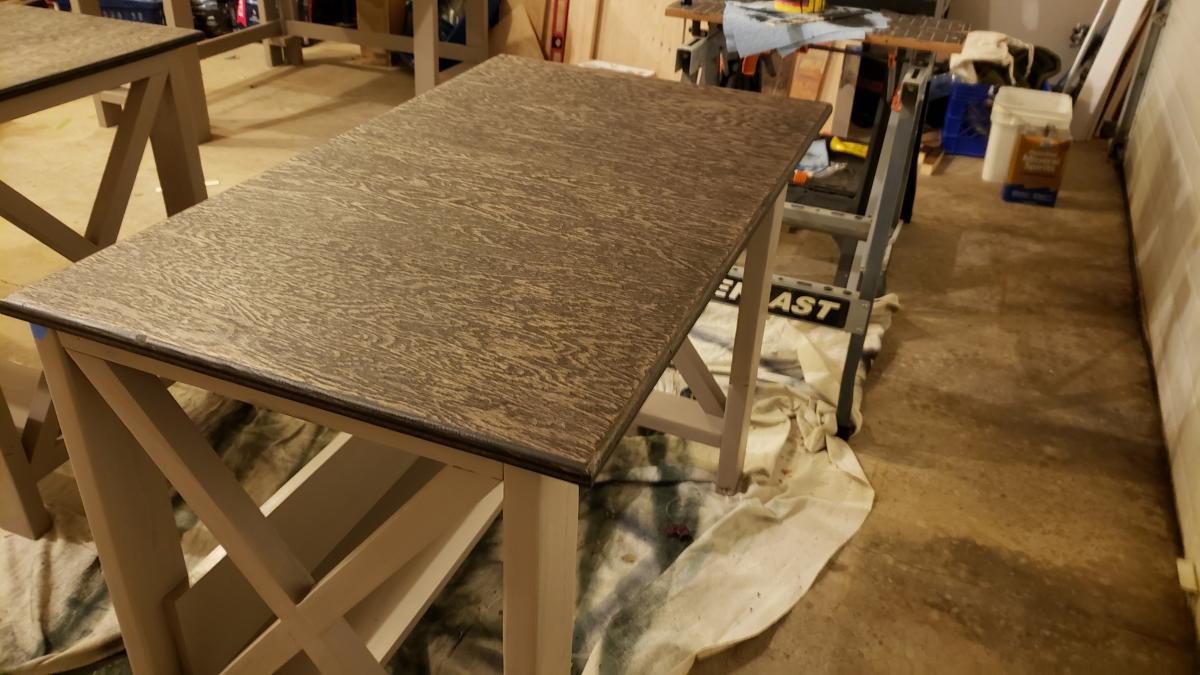
My wrist has not taken well to the work at home requirement of the pandemic. So, I decided to replace my desk with a similar one that I have at work. Only, this one is much prettier.
Essentially, I built two desks using the farmhouse desk plans. One of them I made less wide than the plans by simply making the horizontal pieces 36" instead of the plan's 47 1/2".
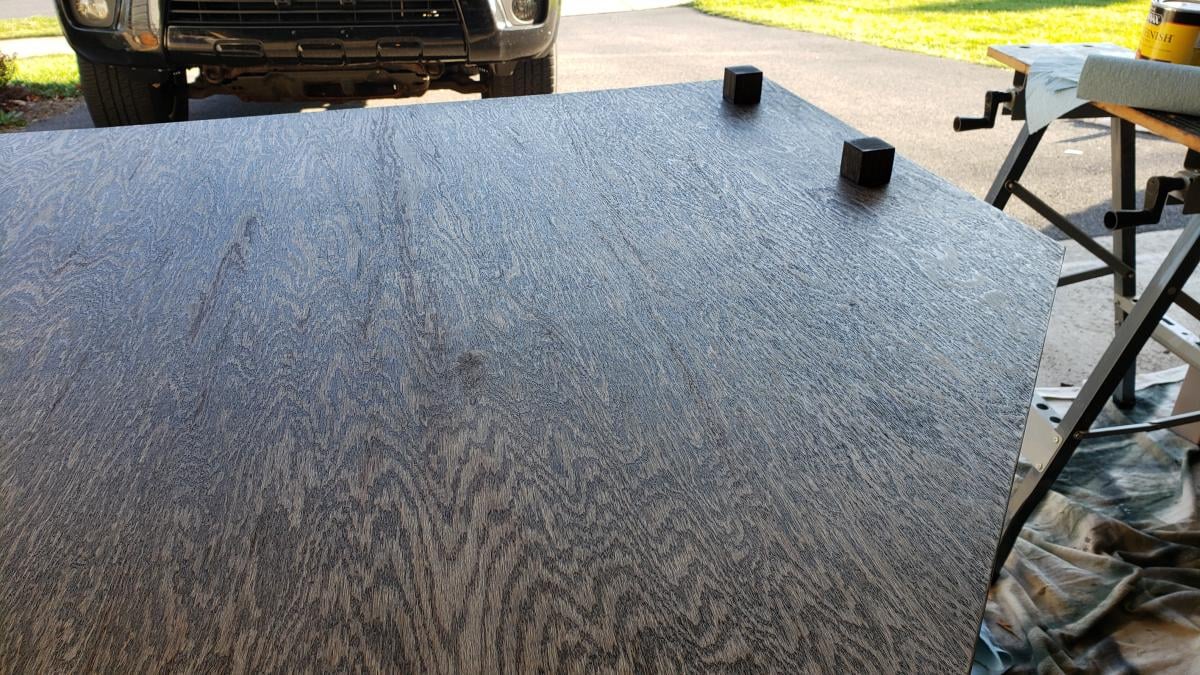
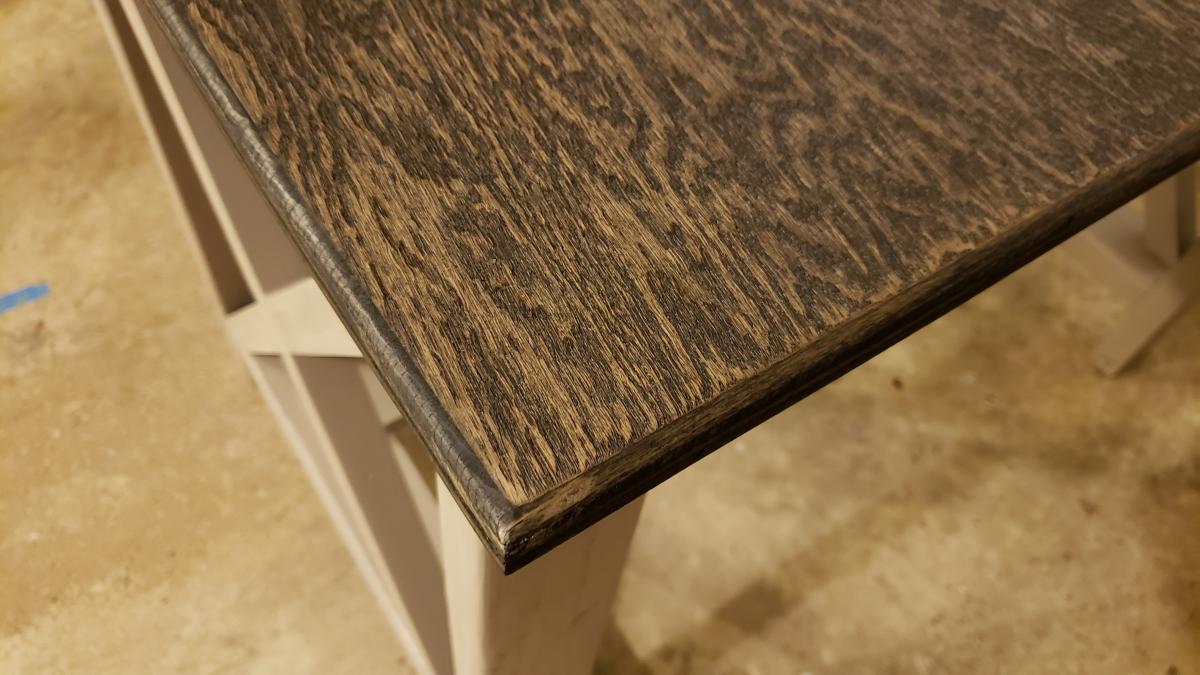
For the middle portion of the corner desk , I based it off of the Office Corner Desktop plans. I made just the middle portion for those plans, but made the edges 46" instead of 38" for a deeper desk as well as to allow more room for my legs not to hit the uprights of the farmhouse desks. I made the corner desktop detachable, so it was easier to fit down the stairs to the office, using some small ~2" cubes placed on the bottom. They just serve to keep the desktop from moving around on the frame. The base of the middle portion I made up using the same ideas used to create the farmhouse desk frames.
I made plenty of mistakes along the way as I'm a software engineer, not a carpenter. I think next time I'll buy a miter saw, most of these cuts were by hand and aren't as straight as I'd like them to be. But, I like to work with my hands and this has made my day job less painful while I'm working from home.
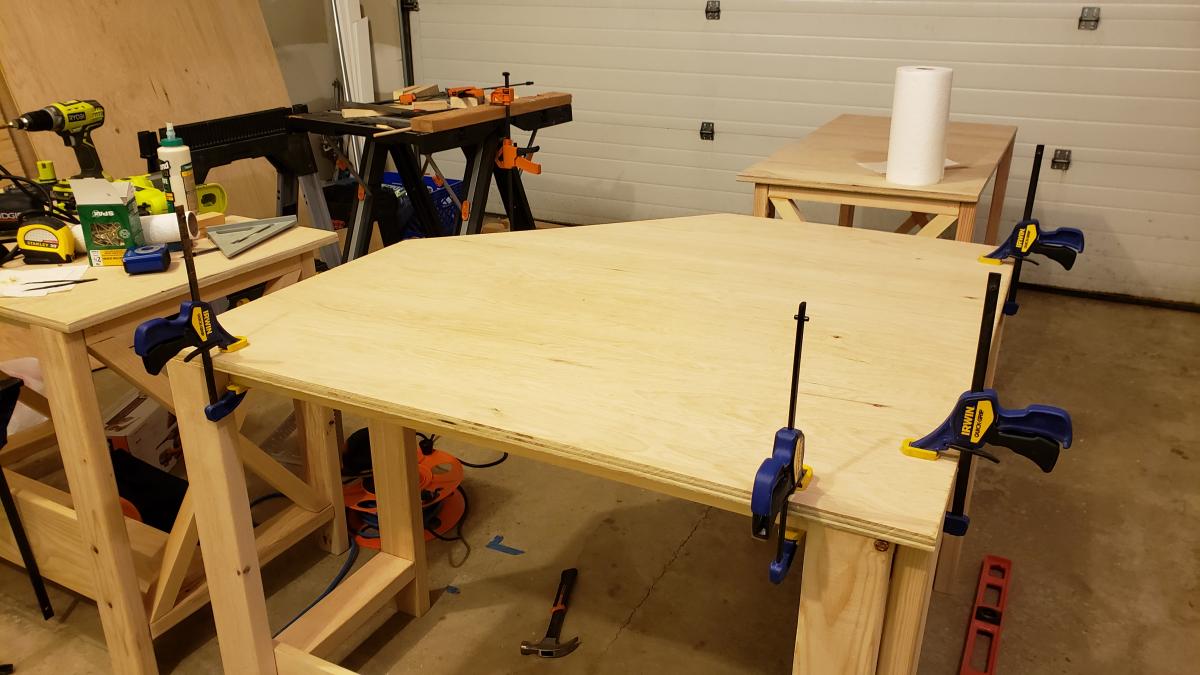
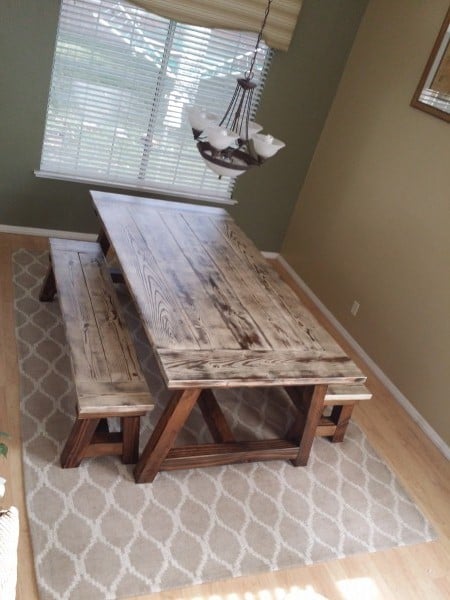
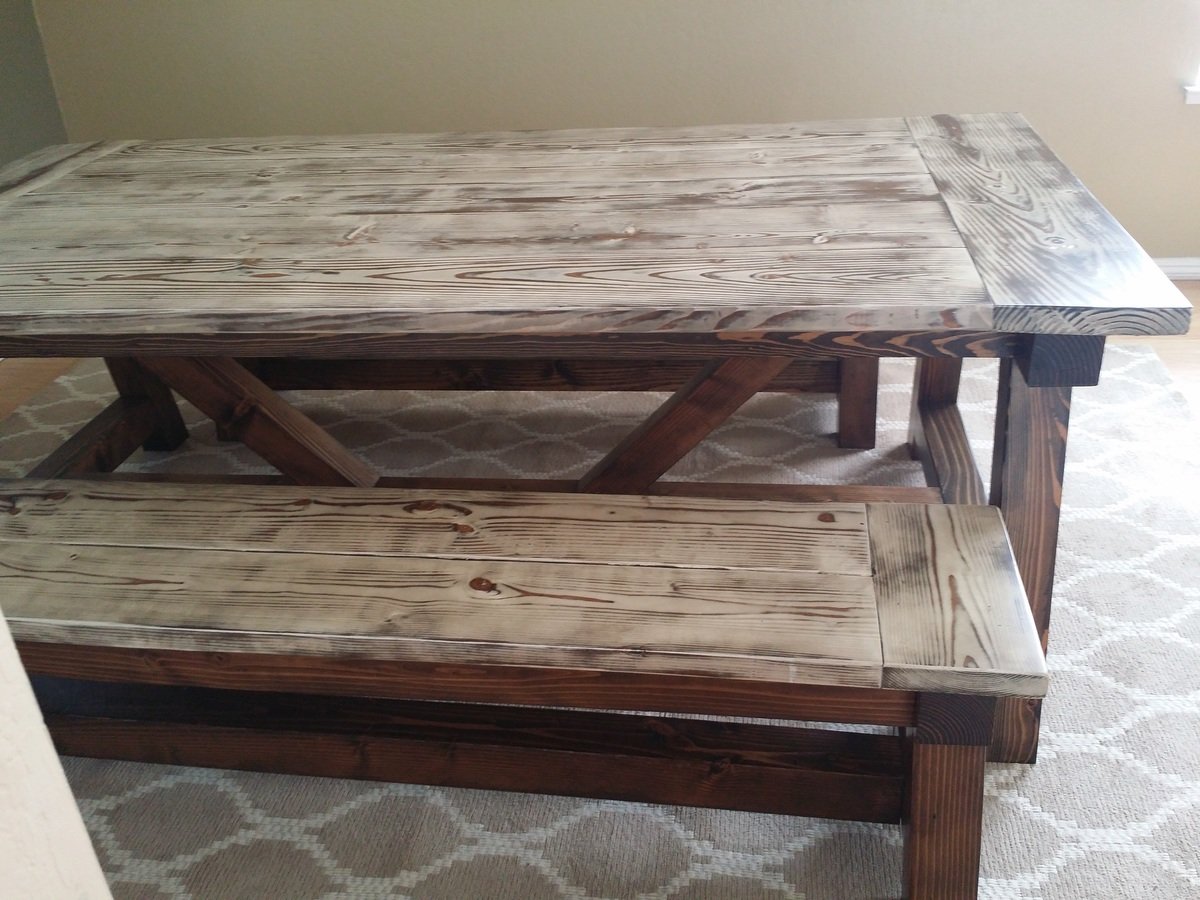
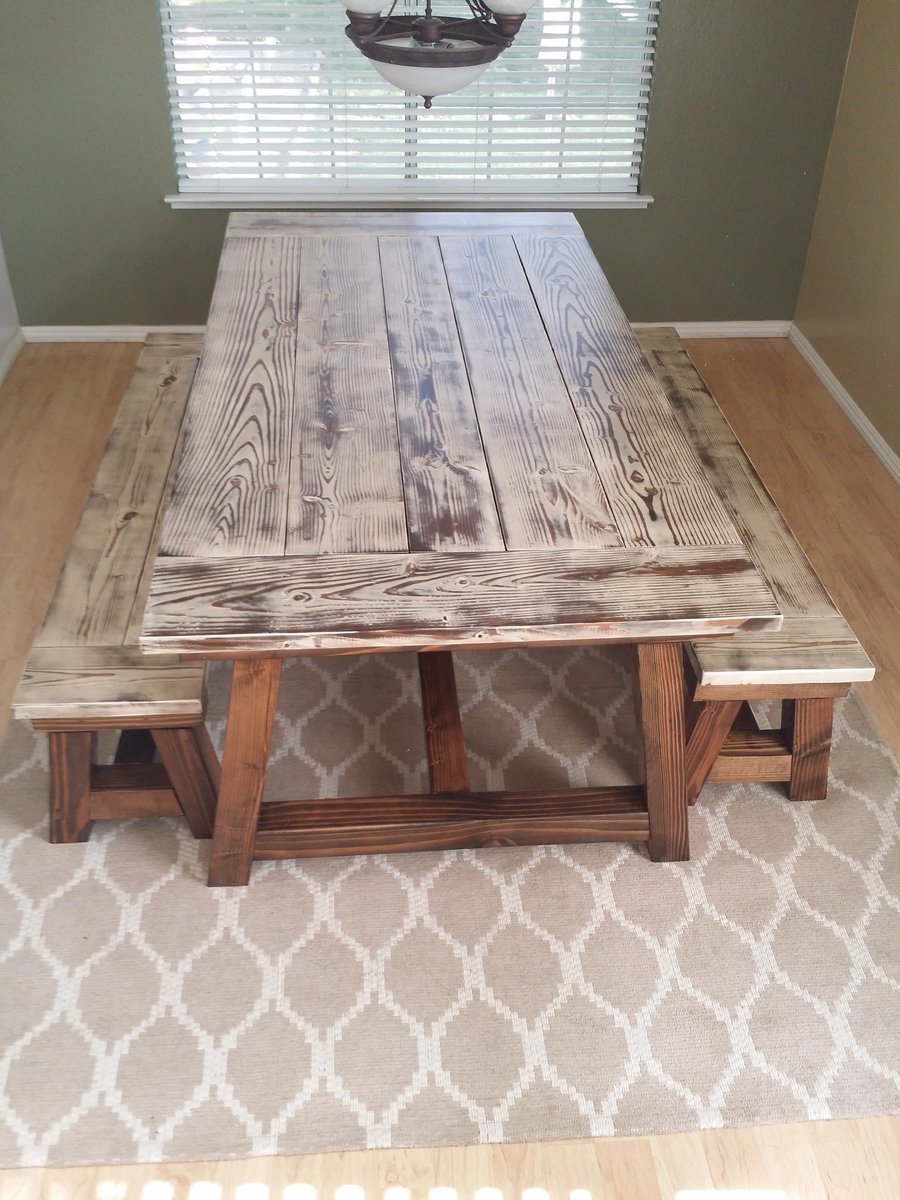
This table is a dream come true. I have always wanted one of these but could never find one I absolutely loved. I have now.
Wed, 12/17/2014 - 16:04
I really like the look of the tabletop. How did you achieve that finish?
Tue, 12/23/2014 - 15:32
My husband painted the top with white paint, let it dry and then randomly sanded it all over and then put a coat of walnut stain on and rubbed it off and then put three coats of minwax polyurethane.
Tue, 12/23/2014 - 23:58
The design of table seems to be simple. However, I do like the color that you made for this. How can you mix the color like that?
http://www.proweb365.com
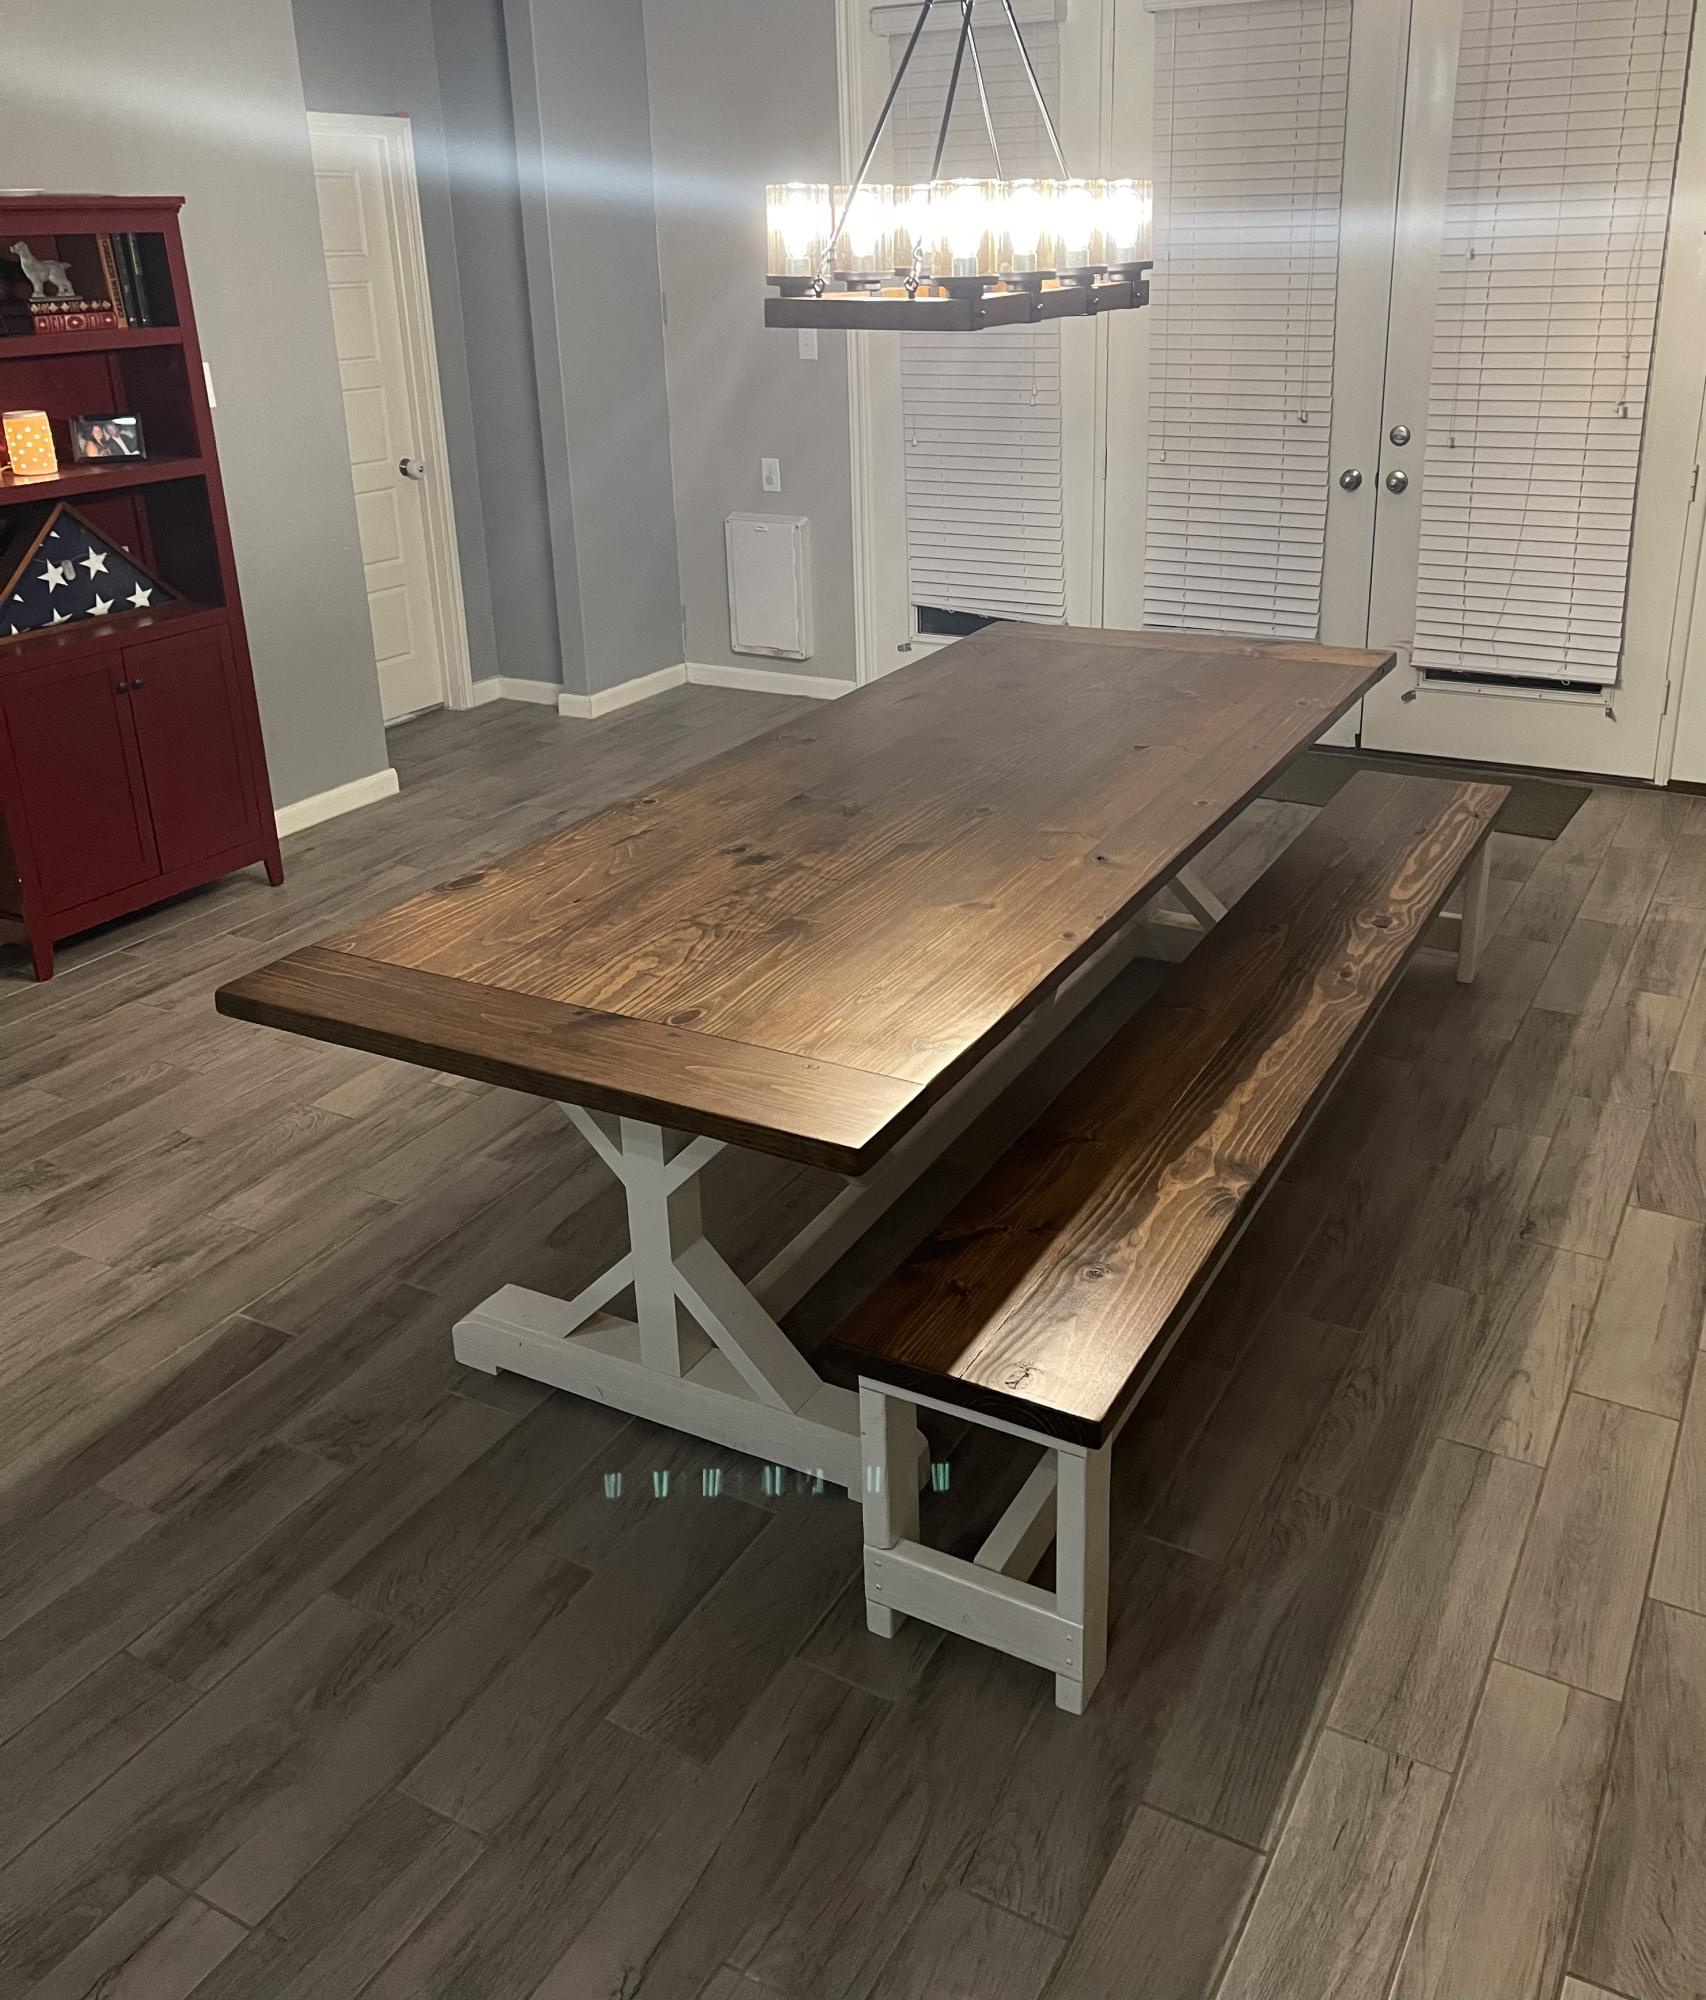
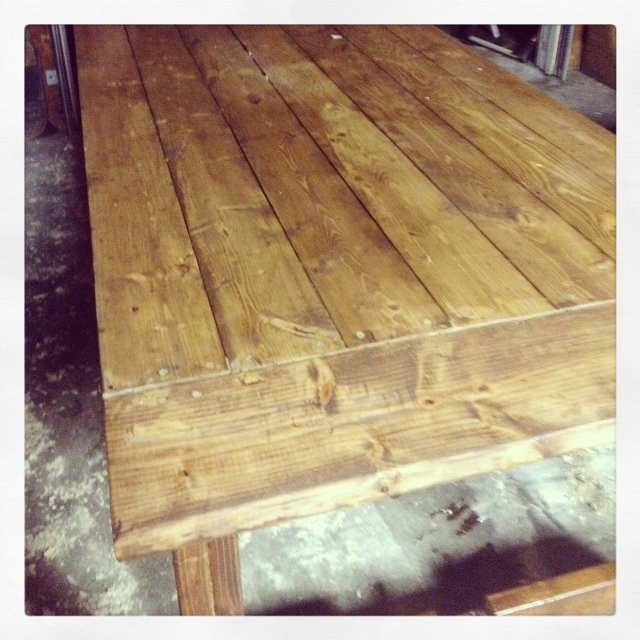
9 ft fancy x farmhouse table with breadboard ends.
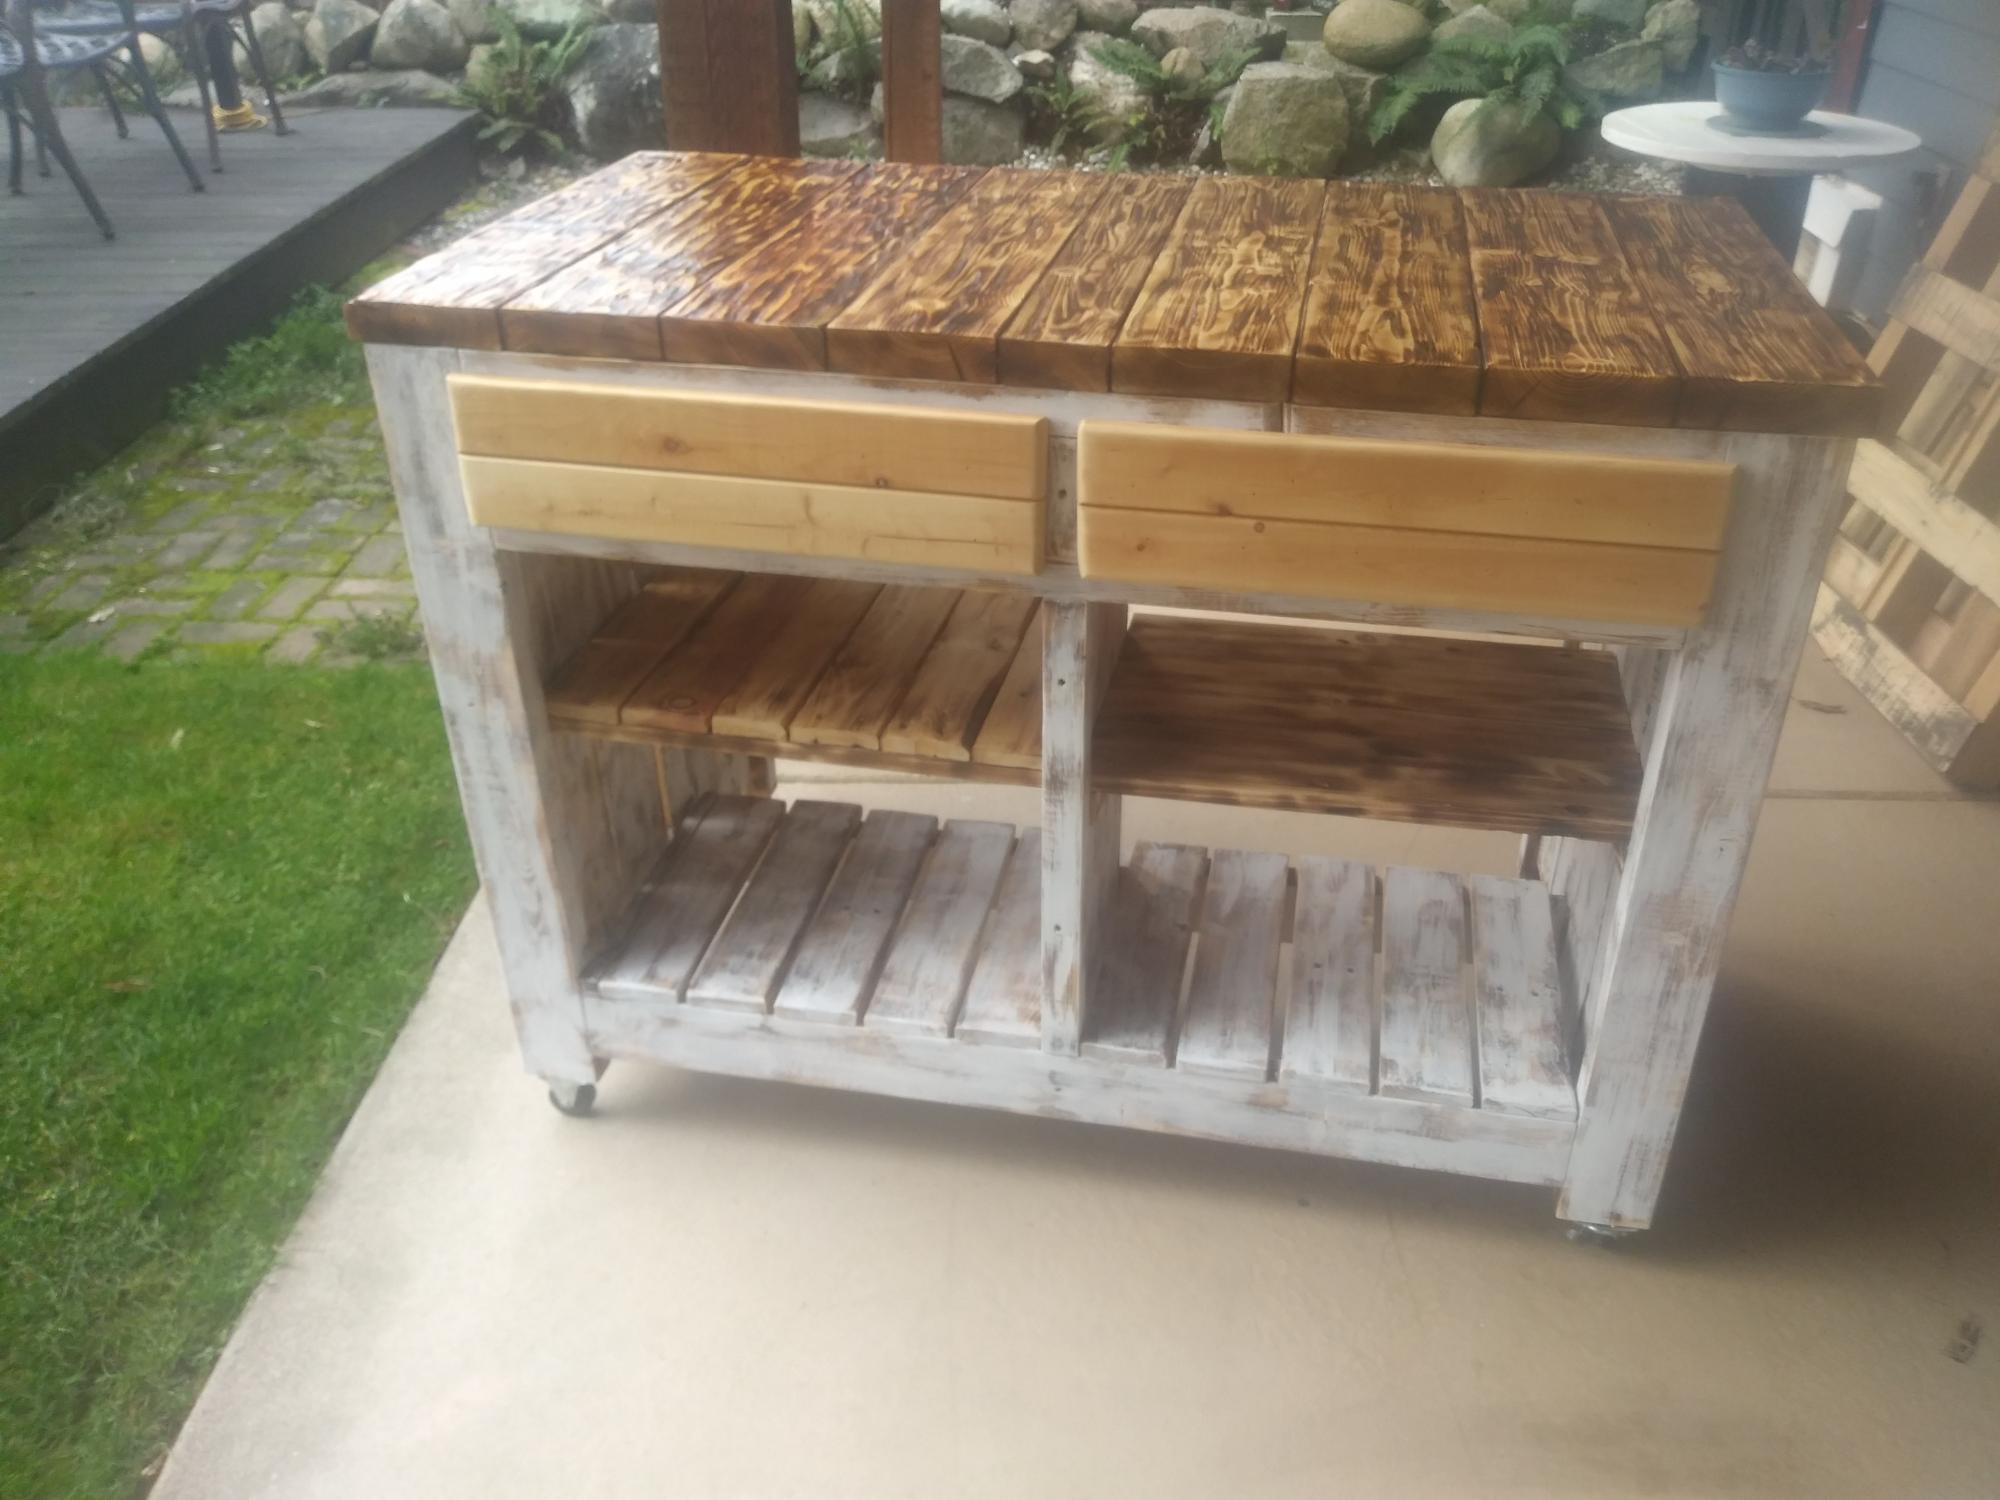
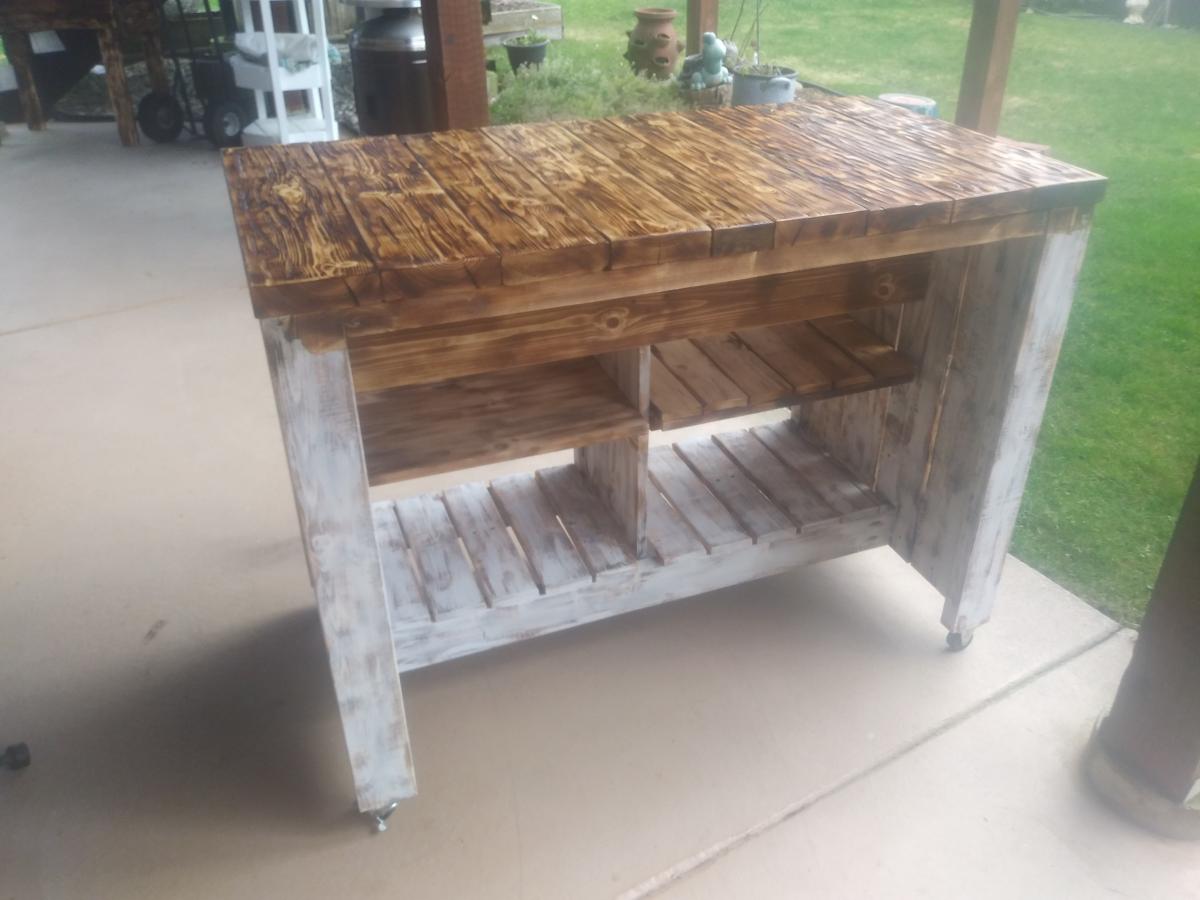
After following Ana Whit and other bloggers for a long time i figured my skills were at a level to try an advanced build like the Kitchen Island.. But i also wanted to challenge myself even more and was determined to make it from as much reclaimed wood as i could, mainly pallet wood.
With a lot of modifications to make it work i think I got a good result from these plans.
While i used as much reclaimed wood as i could, i still needed some clean 2x4's , 2x2's
