Easy Barn Style Greenhouse
Our greenhouse. Long time coming but your plans were easy to follow. Can't wait to try some others.
Charles
Built from Plan(s)
Our greenhouse. Long time coming but your plans were easy to follow. Can't wait to try some others.
Charles
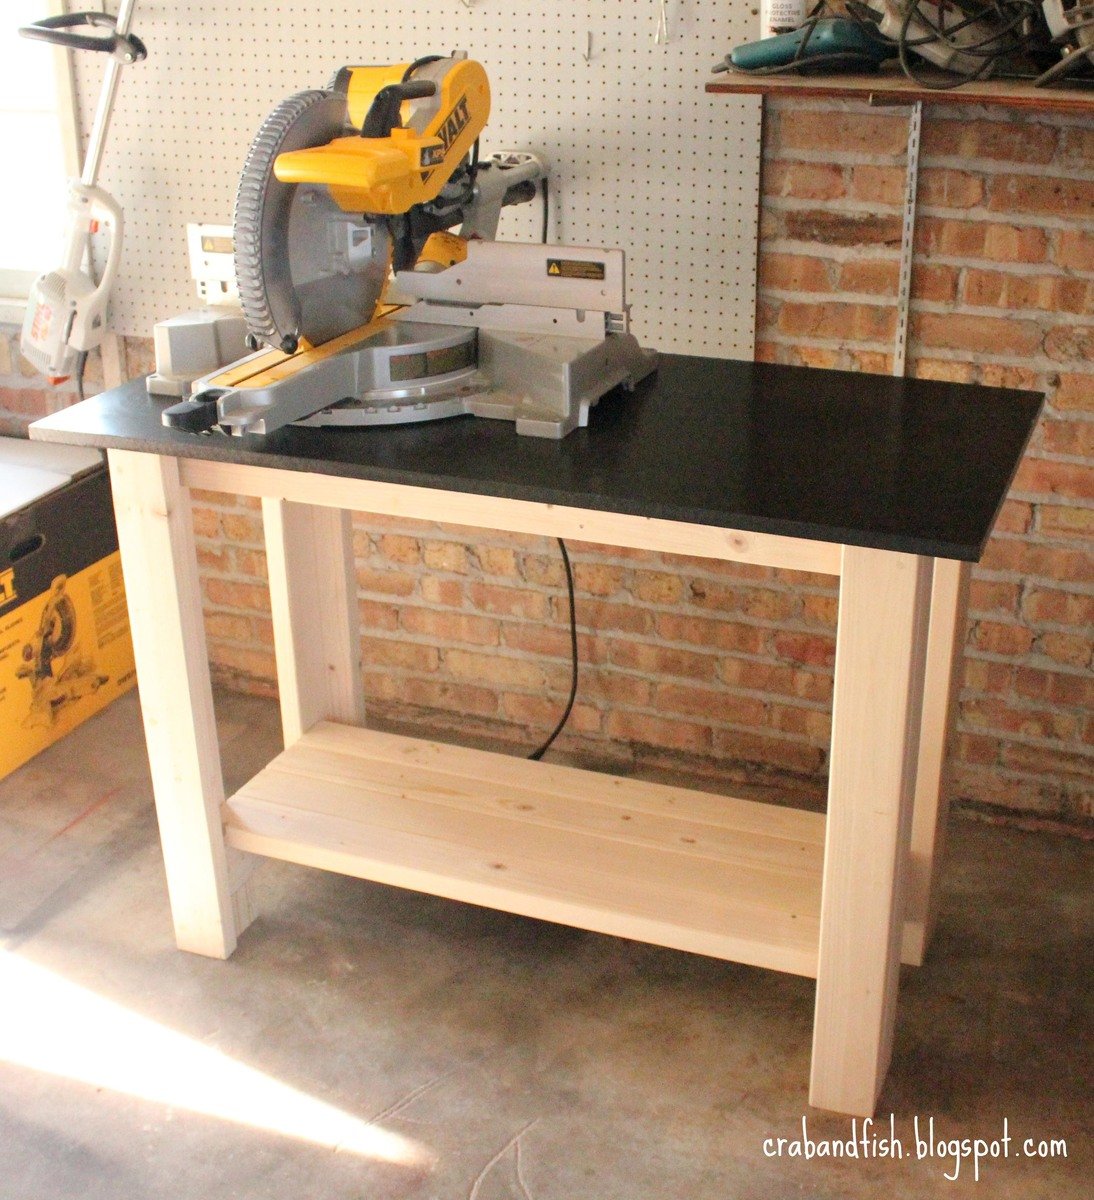
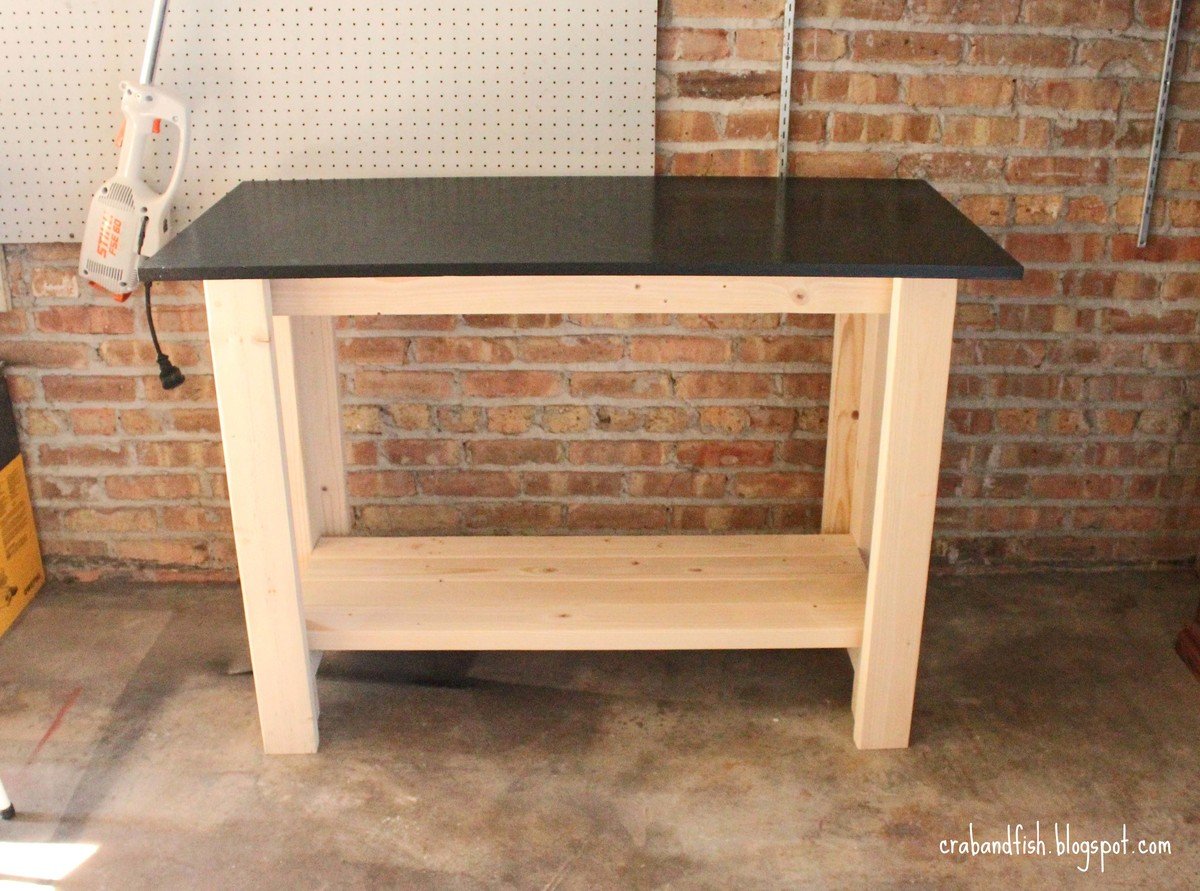
see the full post at:
http://crabandfish.blogspot.com/2012/06/fish-made-work-bench.html
we bought our first home two months ago and have been doing a lot of small improvement projects. we decided to build your sturdy work bench in order to have a dedicated space for cobbling new projects together.

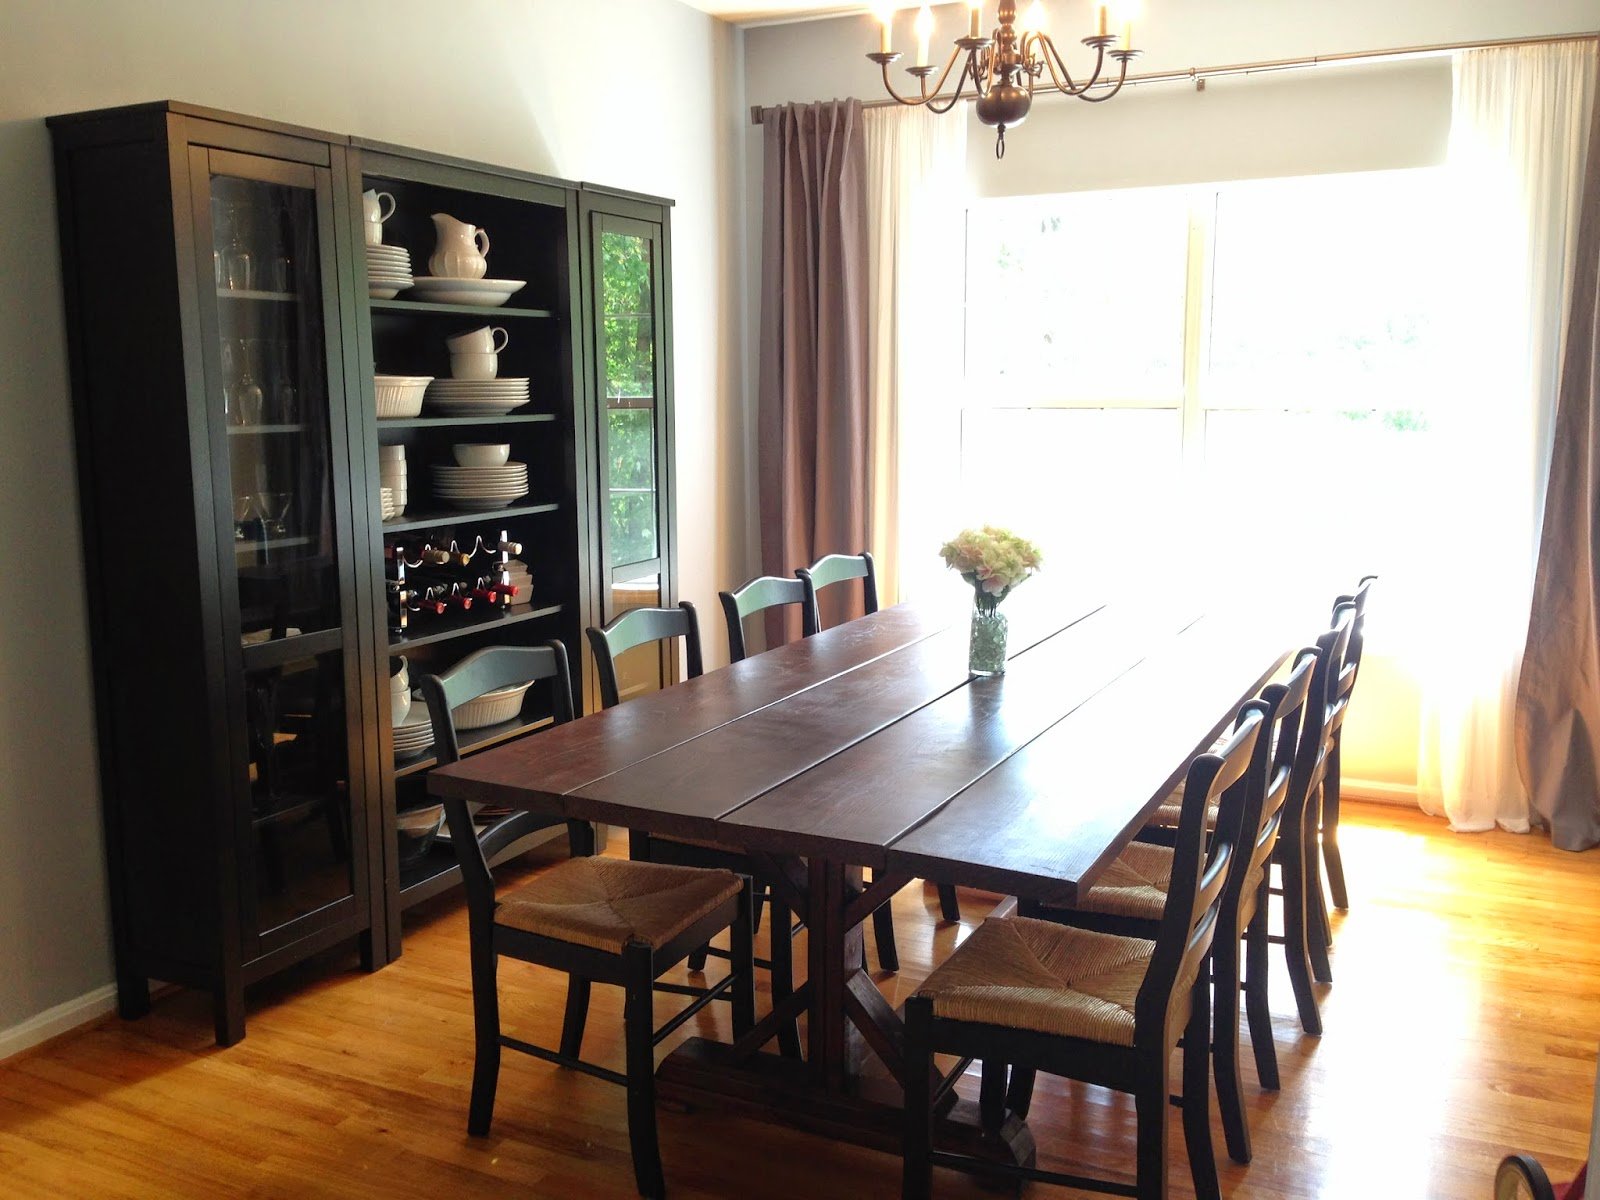
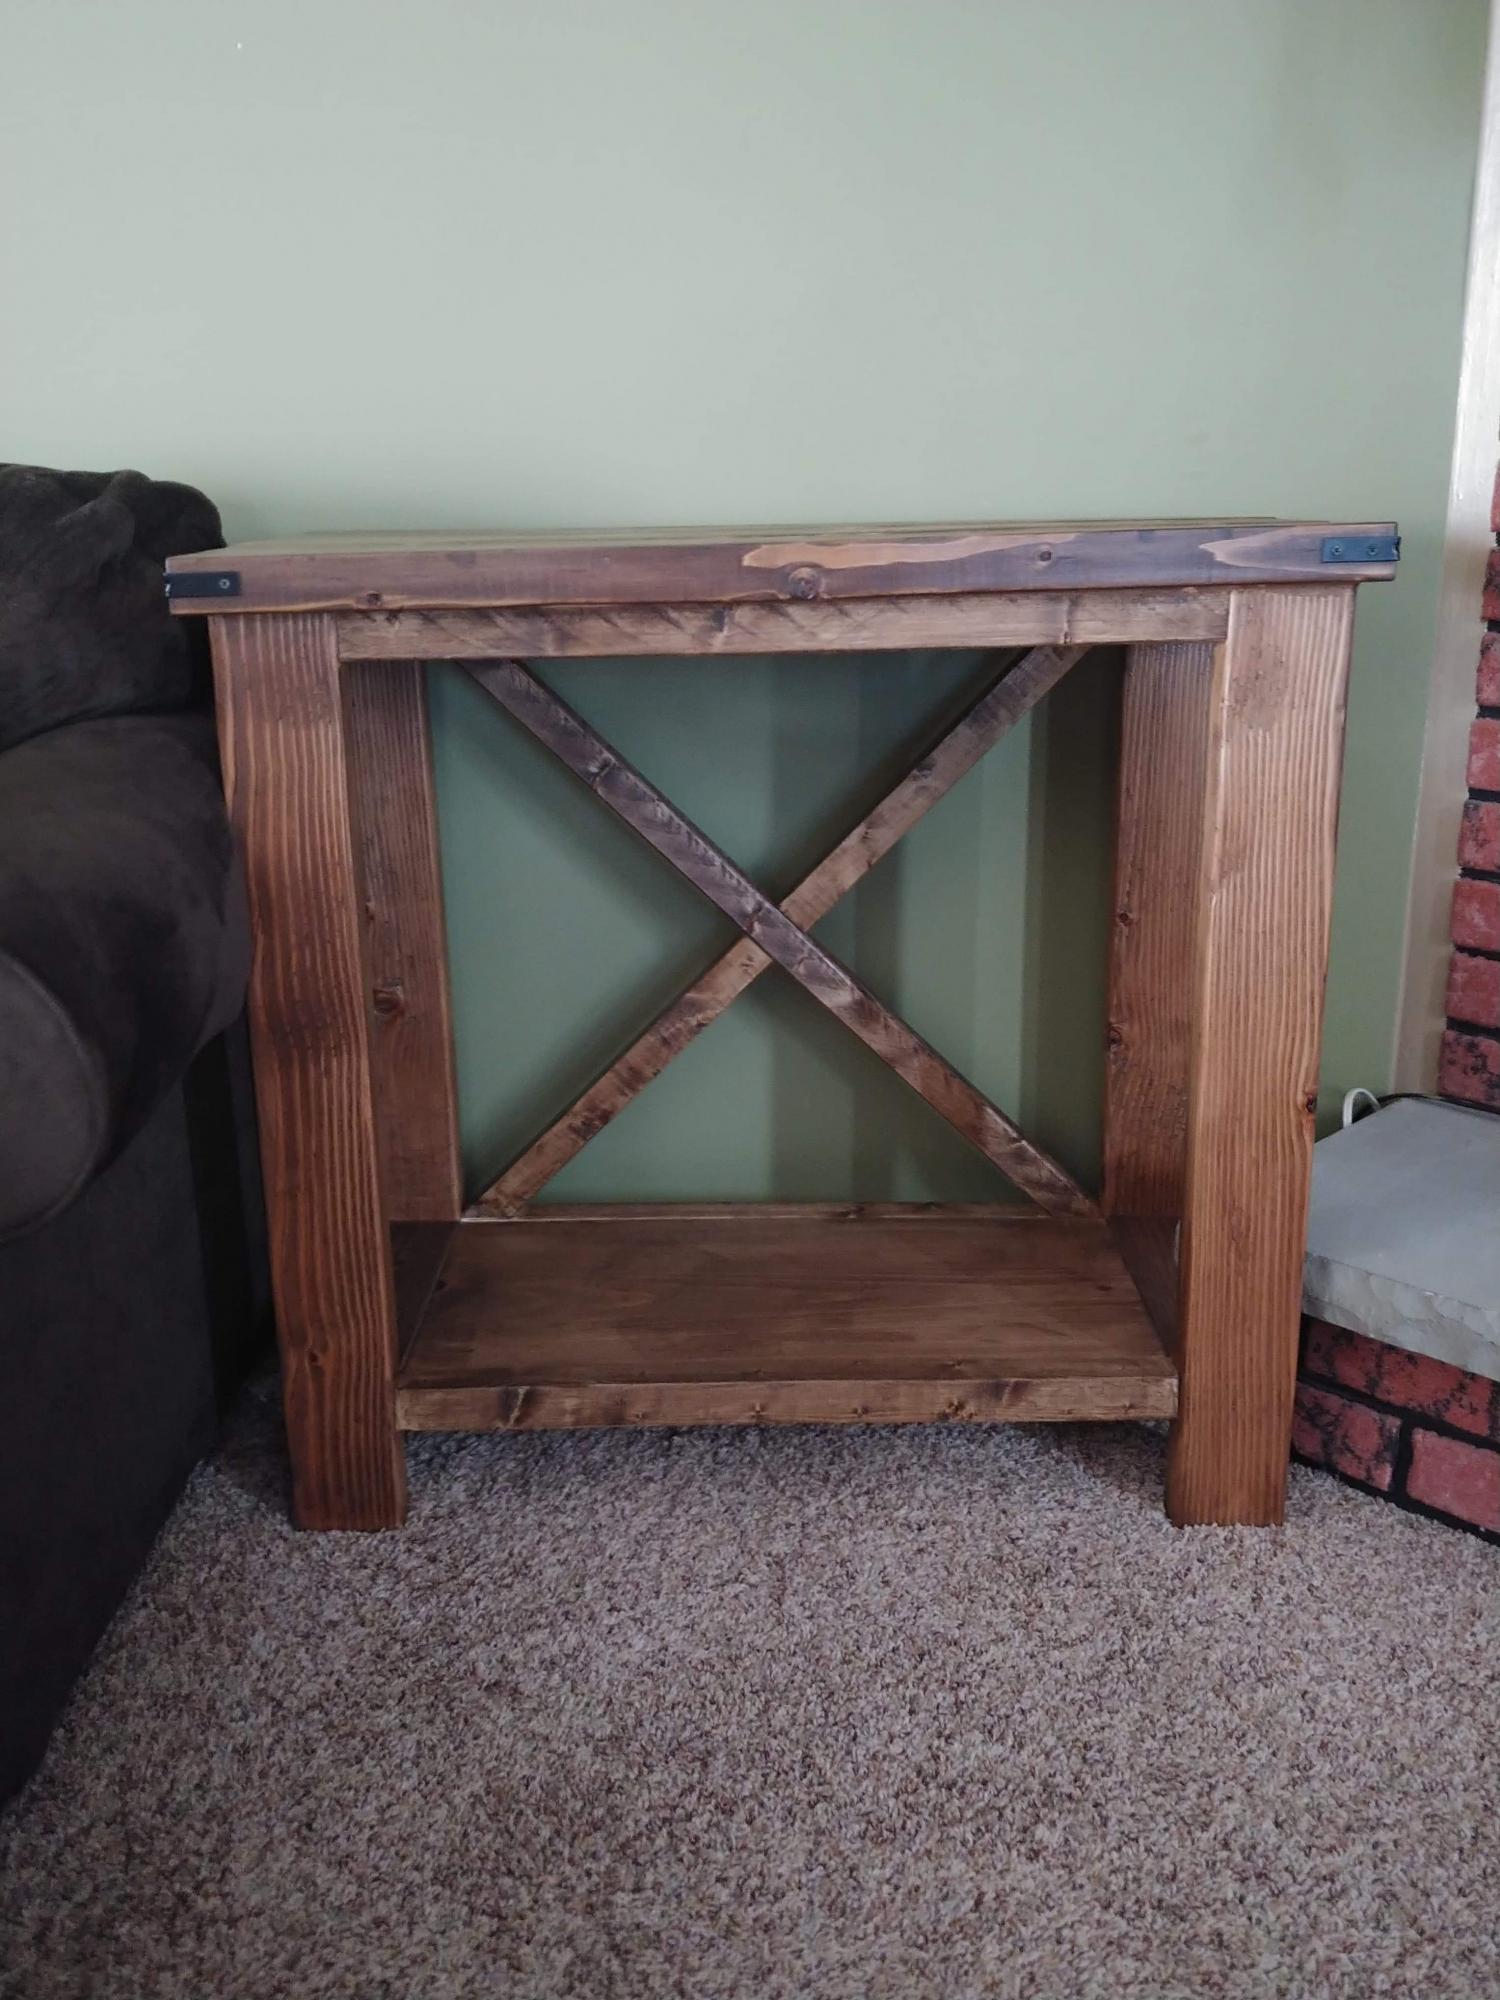
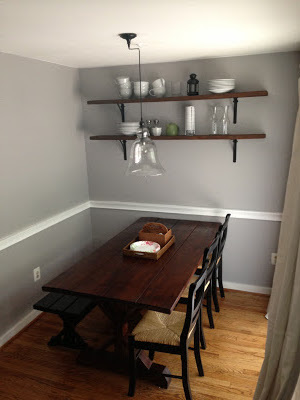
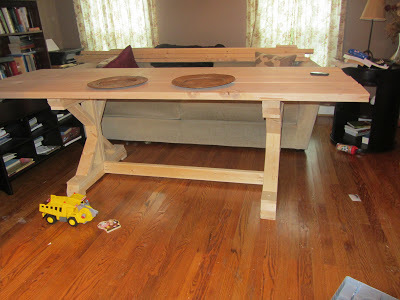
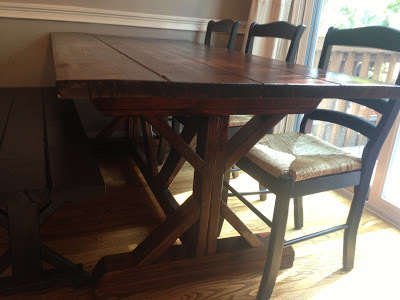
I had admired the x frame table from Anthropologie but knew it was out of my price range. When I saw these plans from Ana White, I knew I had to try to make my own table. This was my first wood working project and turned out that it wasn't too difficult. I constructed the table in a weekend. The first one I built was 5' long (used 4 2x10 boards) so that it would fit in our townhouse kitchen. When we moved to a larger home, I was able to create a new larger top and extended the base. The new table is 8' (used 4 2x12 boards). I absolutely love the table. Thank you Ana!
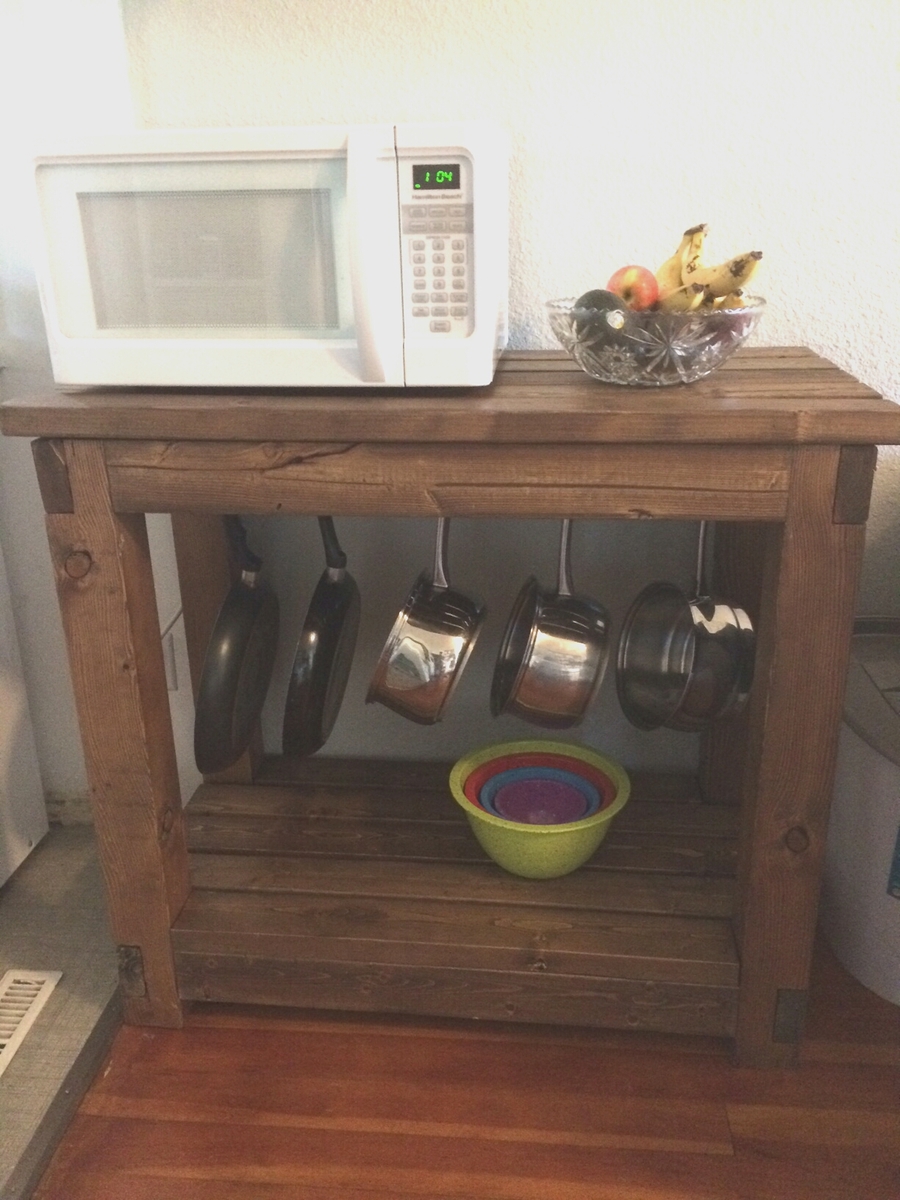
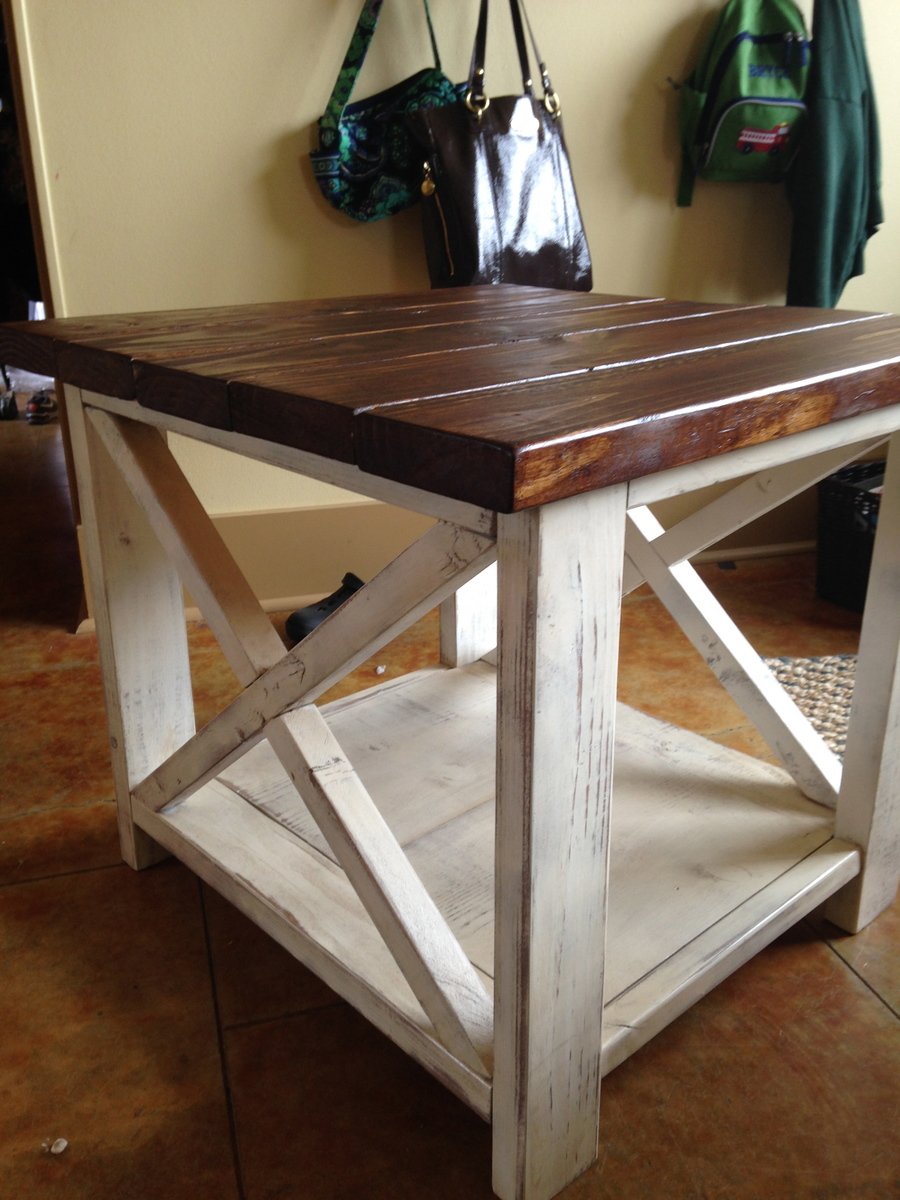
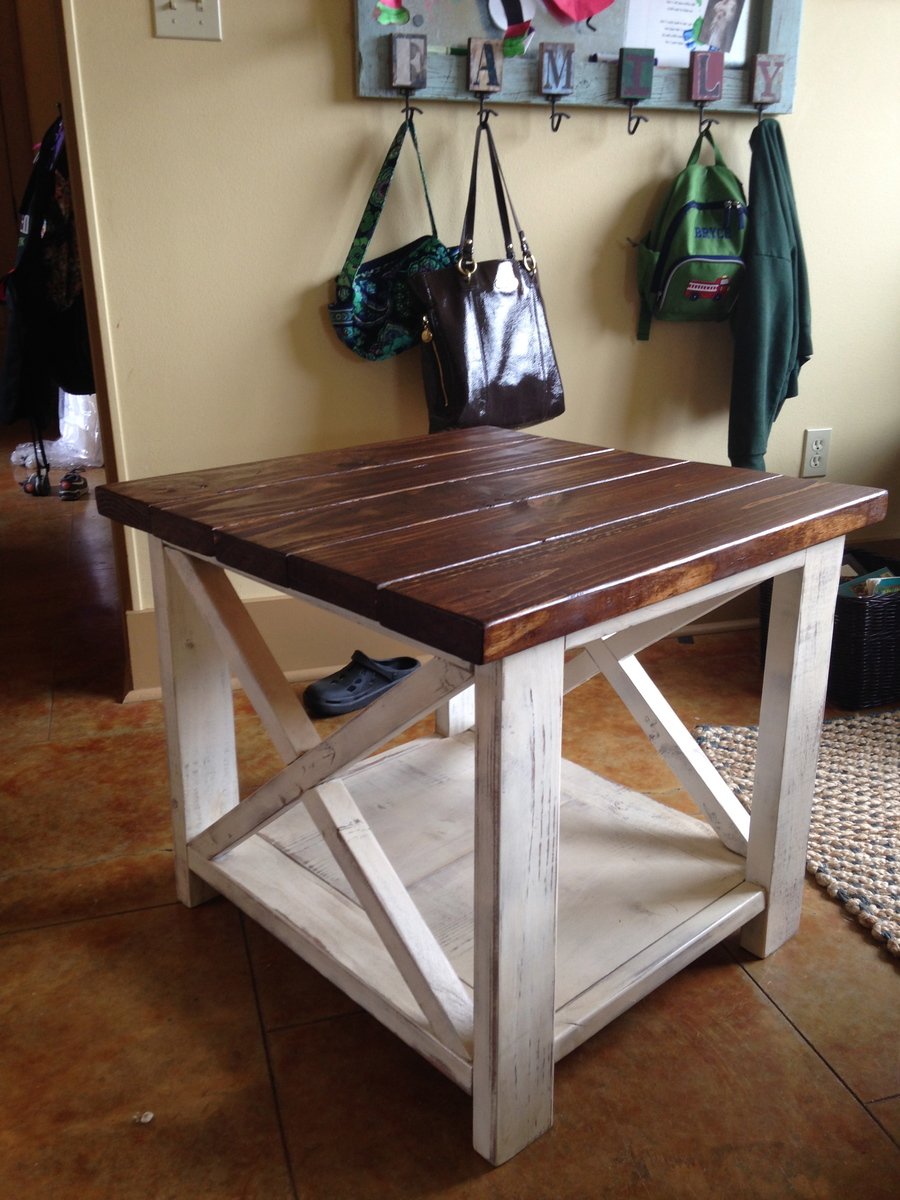
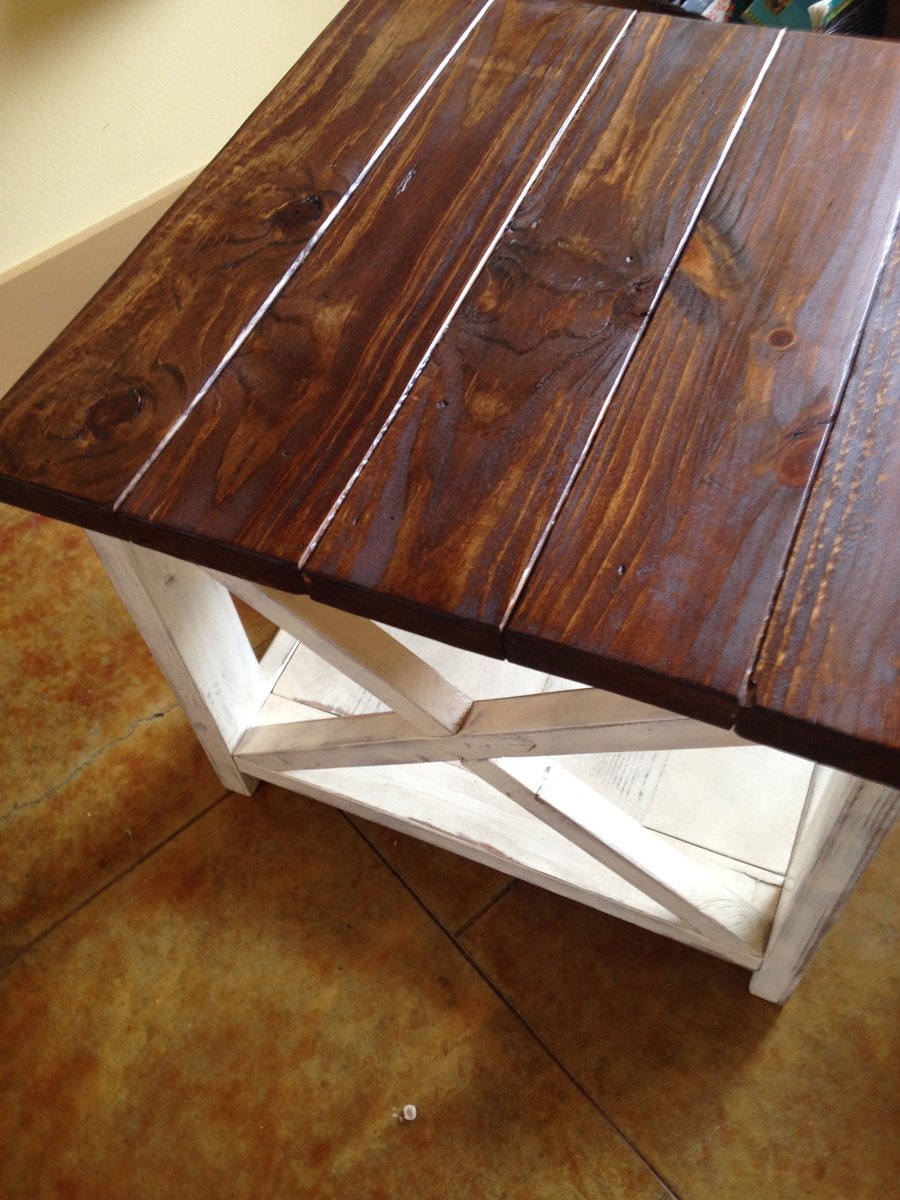
I adapted this from the Gaby Kitchen Island . I loved the design but my kitchen is way too small for an island. I was in need of a table for the microwave so this was the first design I turned to.
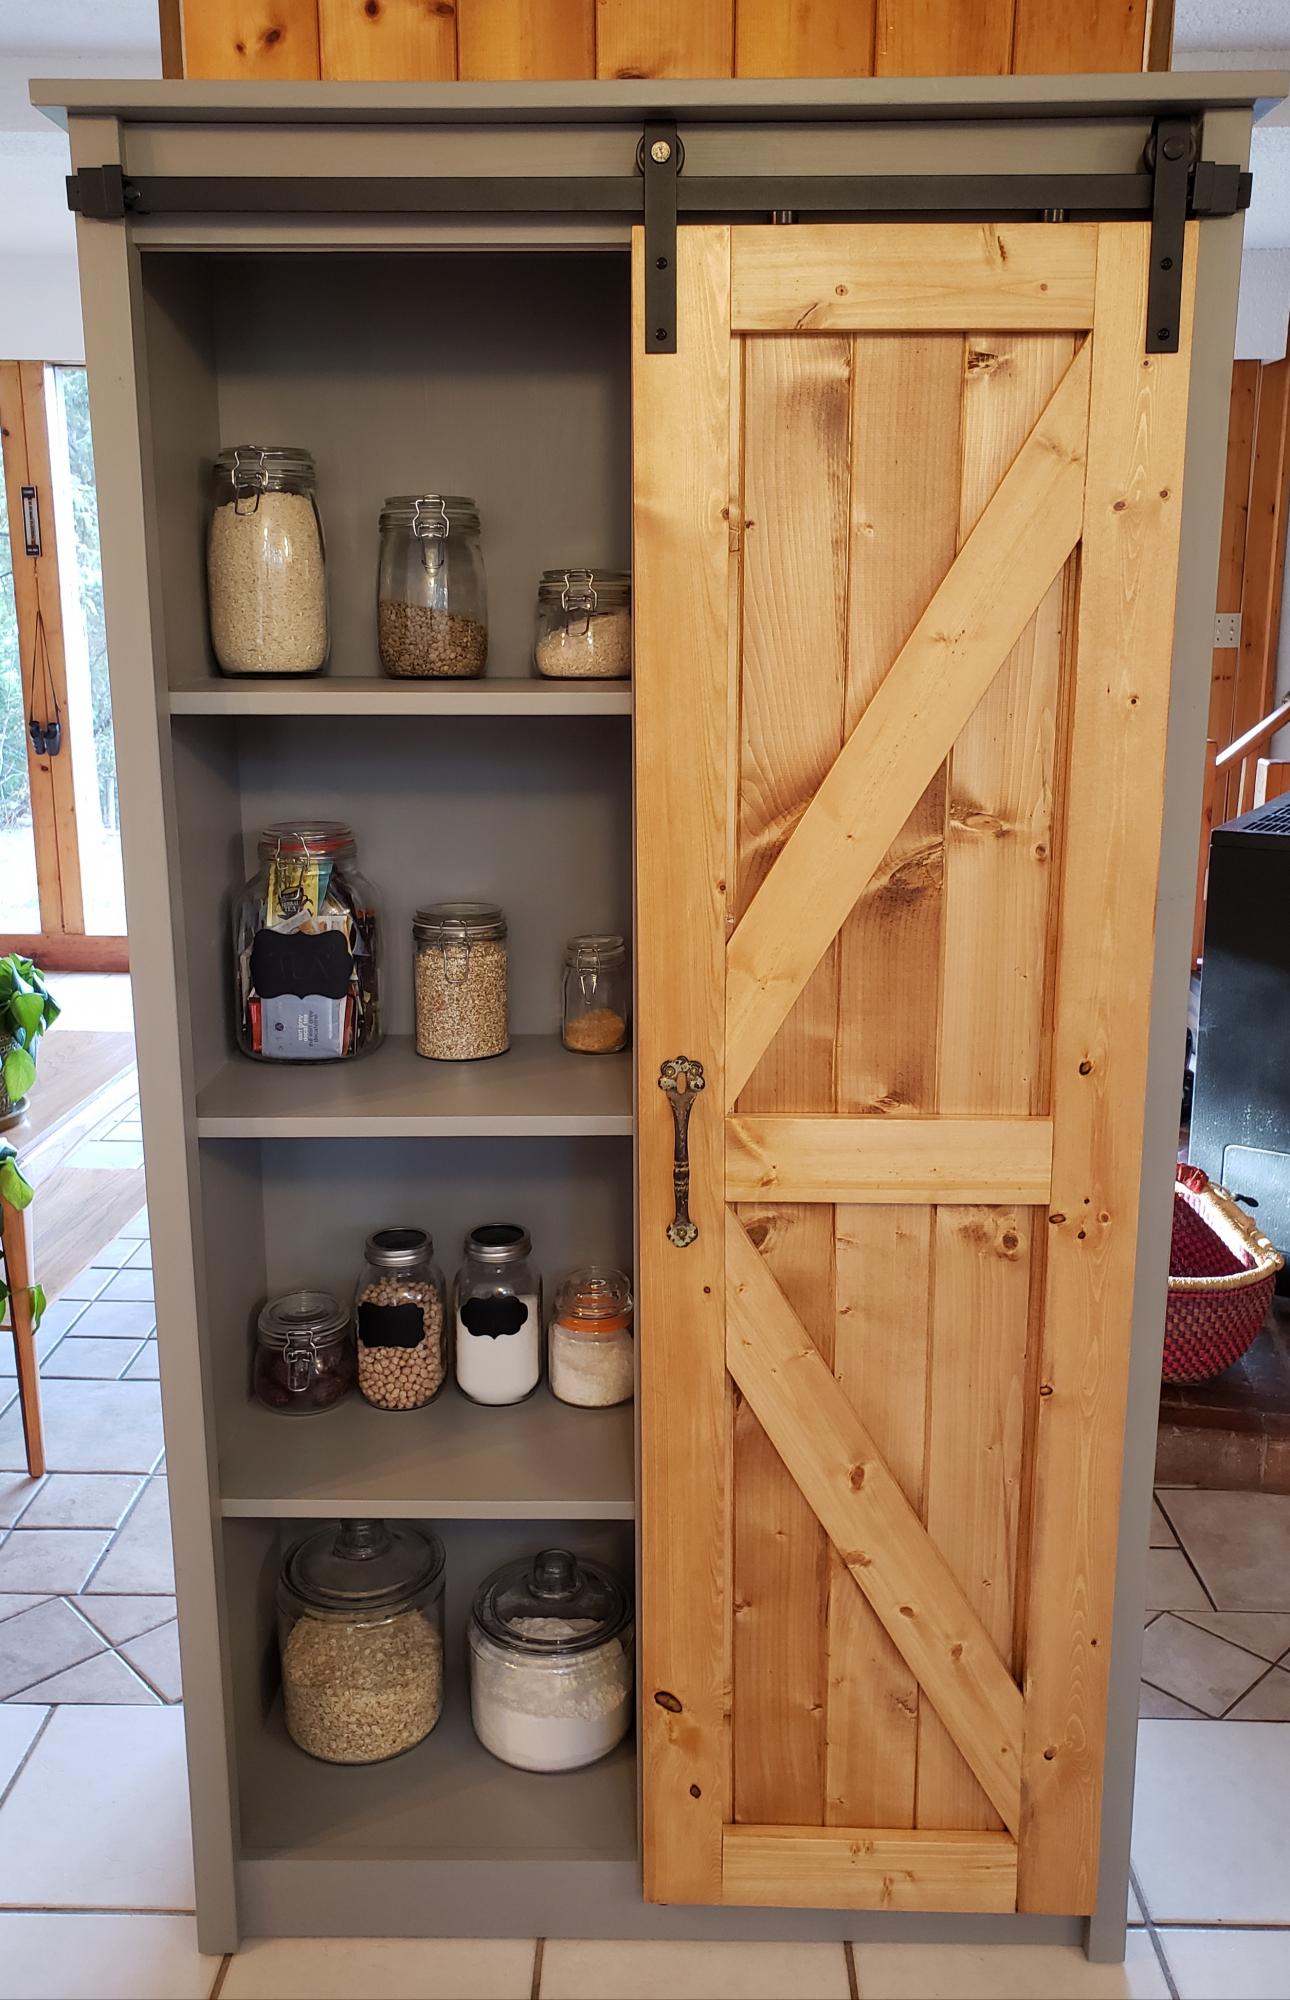
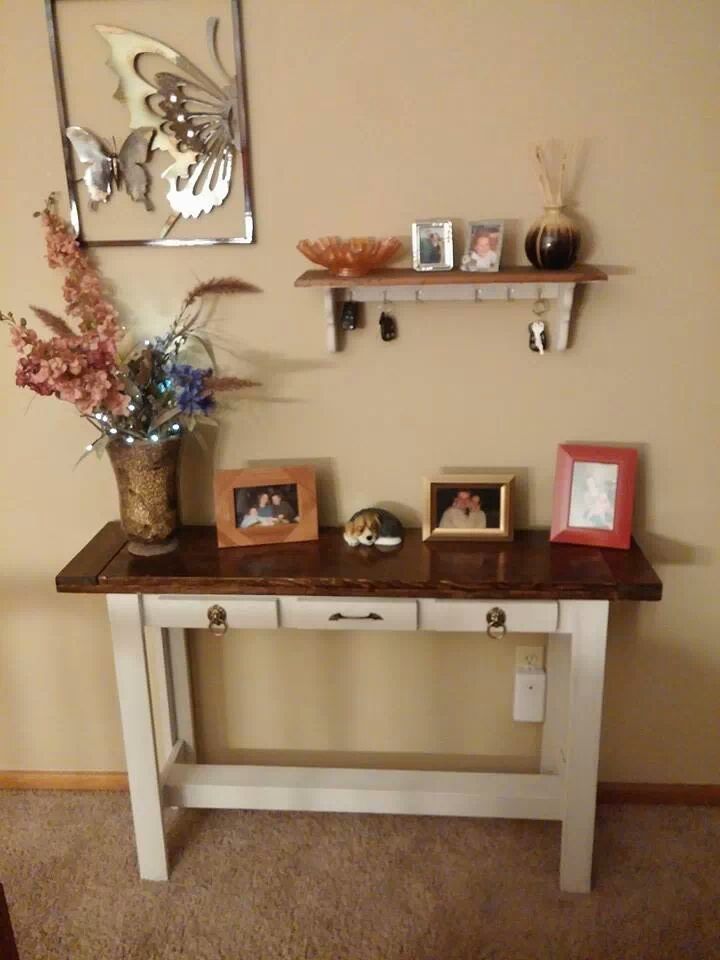
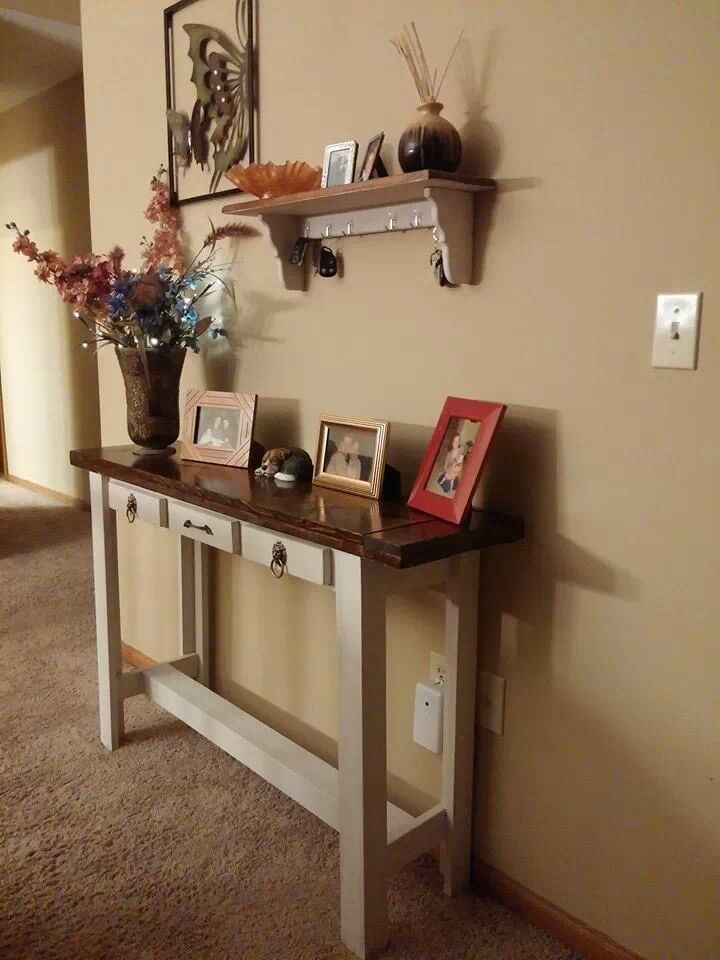
This is my second project and I am really happy with how it turned out! I needed more storage in my kitchen but I only had a 3 foot wide wall to put this up against, so I altered the plans to 5 feet 7 inches tall by 3 feet wide. The handle is an antique from my great great grandmother and dates back to the 1800s. I think it adds some character to the piece.
Thank you for the plans Ana! I can't wait to start my next project!
Fri, 05/15/2020 - 08:31
This looks so beautiful! Similar to you, I have a 3 foot wide wall to place this against. As a beginner here, and my head hurting when I do try to adjust the measurements... Would you happen to still have the measurements that you utilized?
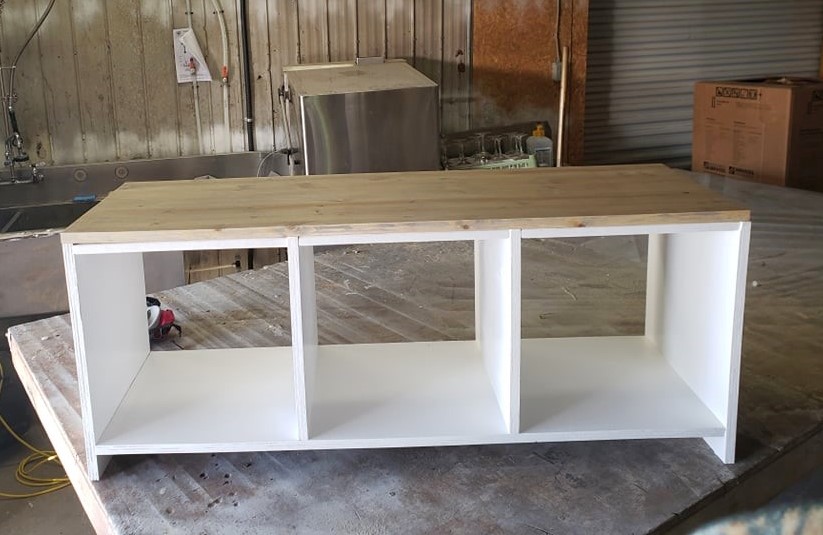
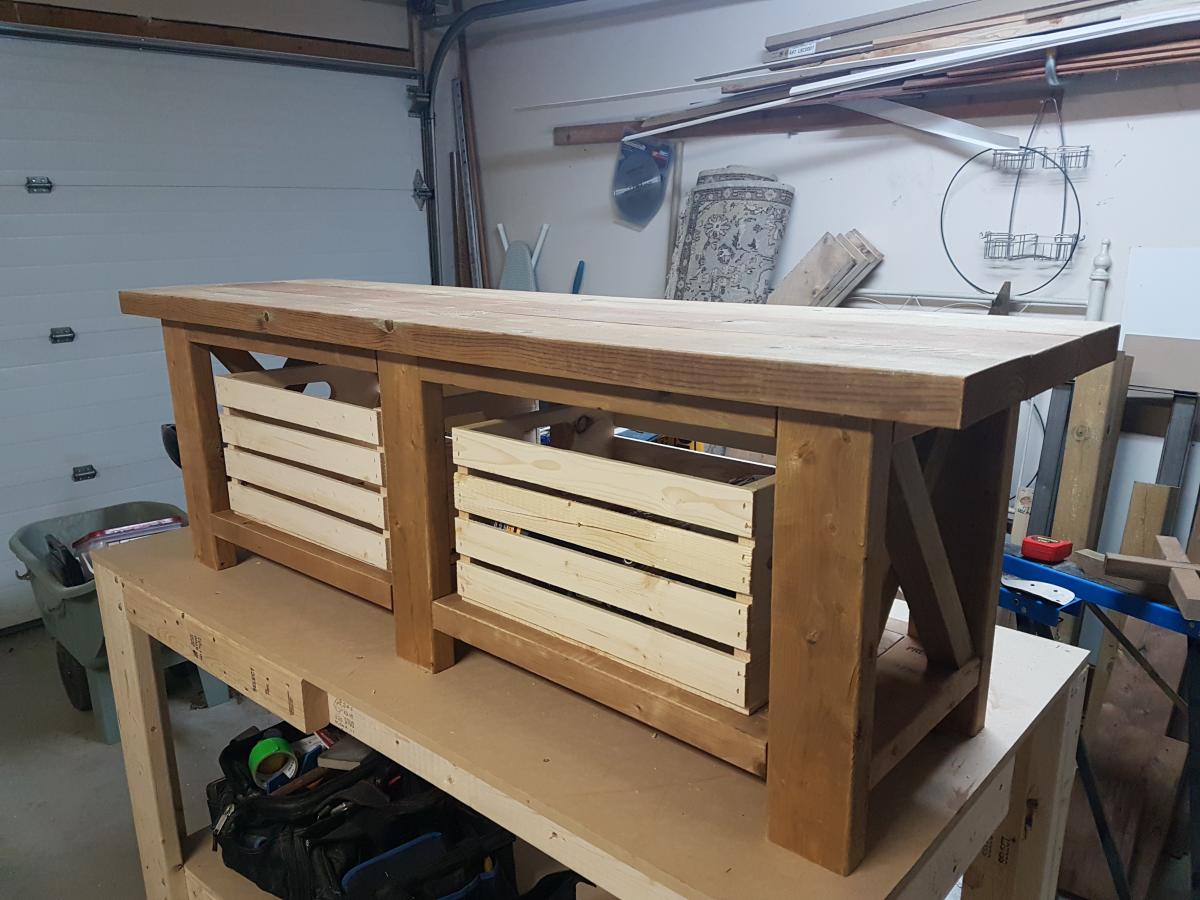
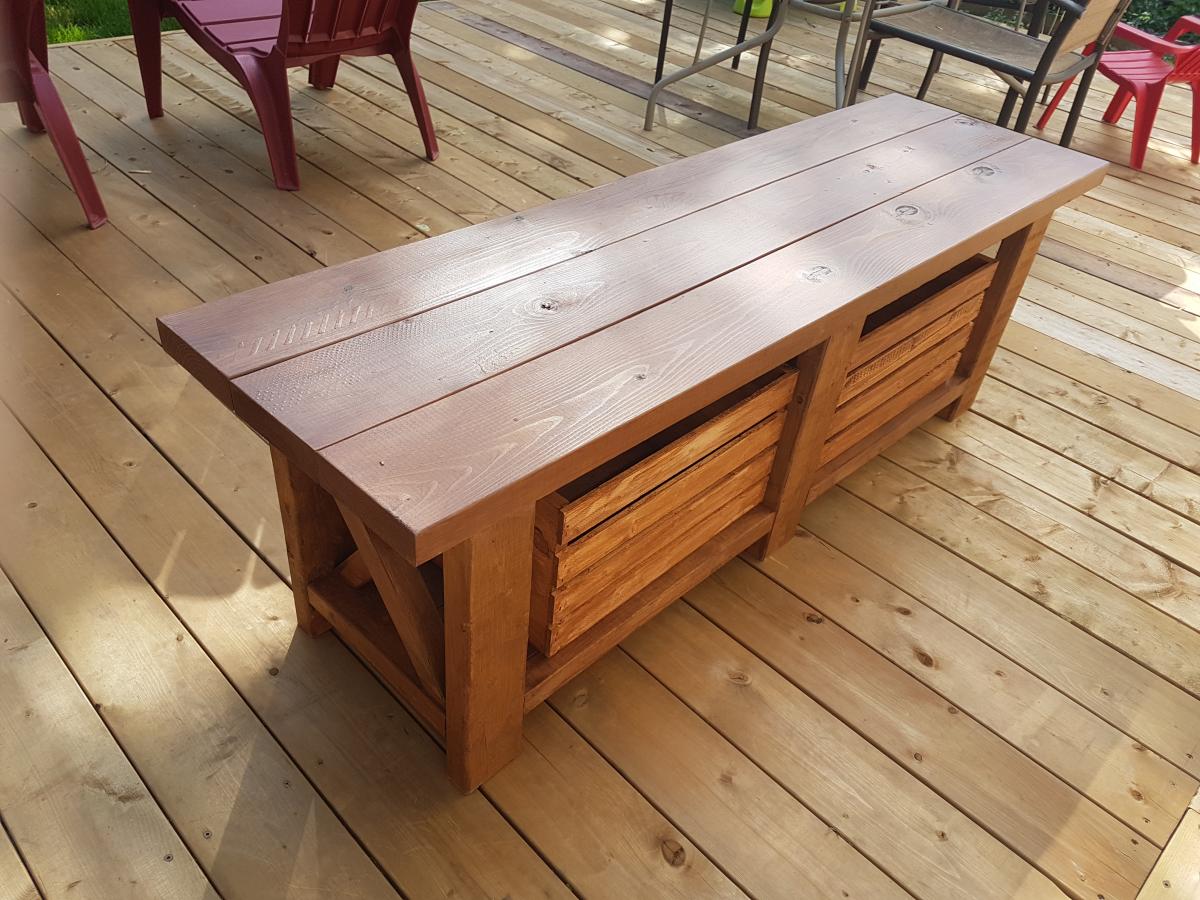
Cubby Bench
by wholistic.kay
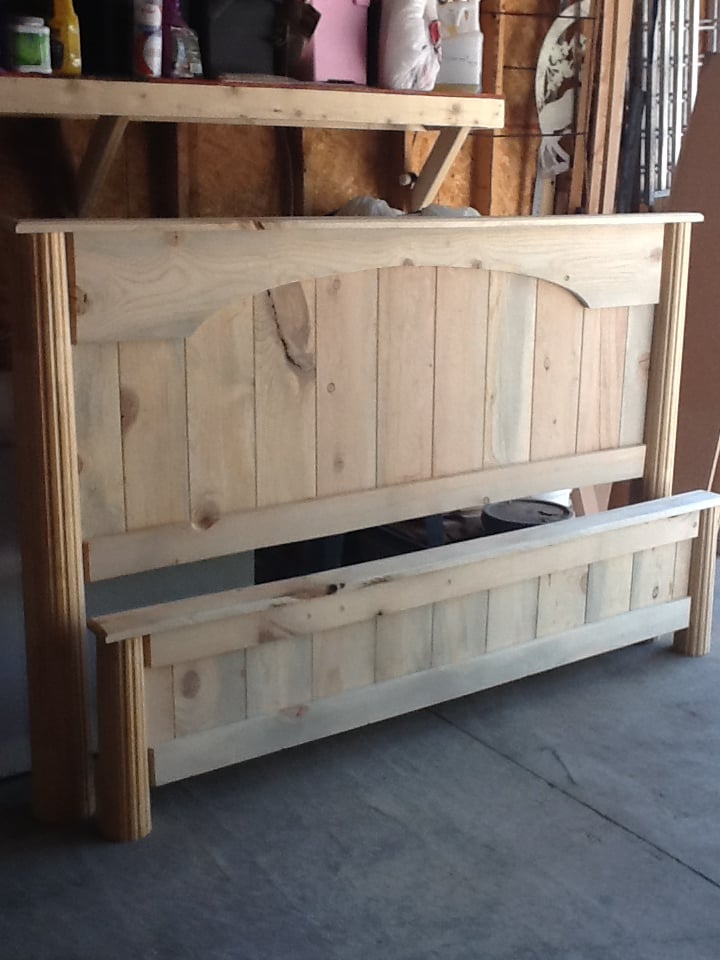
I drove to my dads house to get the wood. He has had rough cut 1X12's sitting in the back yard for several years. They are warped, dirty, cracked..... I think my husband thought I was crazy for wanting to do this. 6 months after getting the wood I finally started. I first took the boards and sanded the caked on red dirt off. Then my 8 year old helped me rip them on the table saw into an 8 inch piece and a 4 inch piece. Then sanded again. The boards turned from red or grey to a yellow color. My husband told me to do it right I needed to use a jointer and he showed me how and I needed to use biscuts to join the planks together, we borrowed one and he showed me how to use the tool. It is so cool, I want to buy one. Then I called my neighbor over to help me, he brought a power planner over and showed me how to use it. It made all the boards the same heighth and REALLY sanded them good (remember these are rough cut boards). Then we used a belt sander to make them really smooth. Then we used a router with a Vgrove bit down the planks where the 1x8's meet. He had two fluted, tapered columns in his garage he has been trying to get rid of so we cut them down and used them as the posts for the headboard and footboard. I cut the arch with a jig saw. Looks pretty darn great! I surprised people with the wood I used! Thank goodness for biscuts, jointers, planners and belt sanders! Best part......cost me a whole $15 to get to this point. I had to buy wood glue, biscuts, and sand paper.
I want to use a laquer finish and try to use a glaze in the grooves. I will try to attach a finished picture when it is done.

Tue, 06/26/2012 - 14:12
That is gorgeous! Such memories you made by building it this way! Priceless!
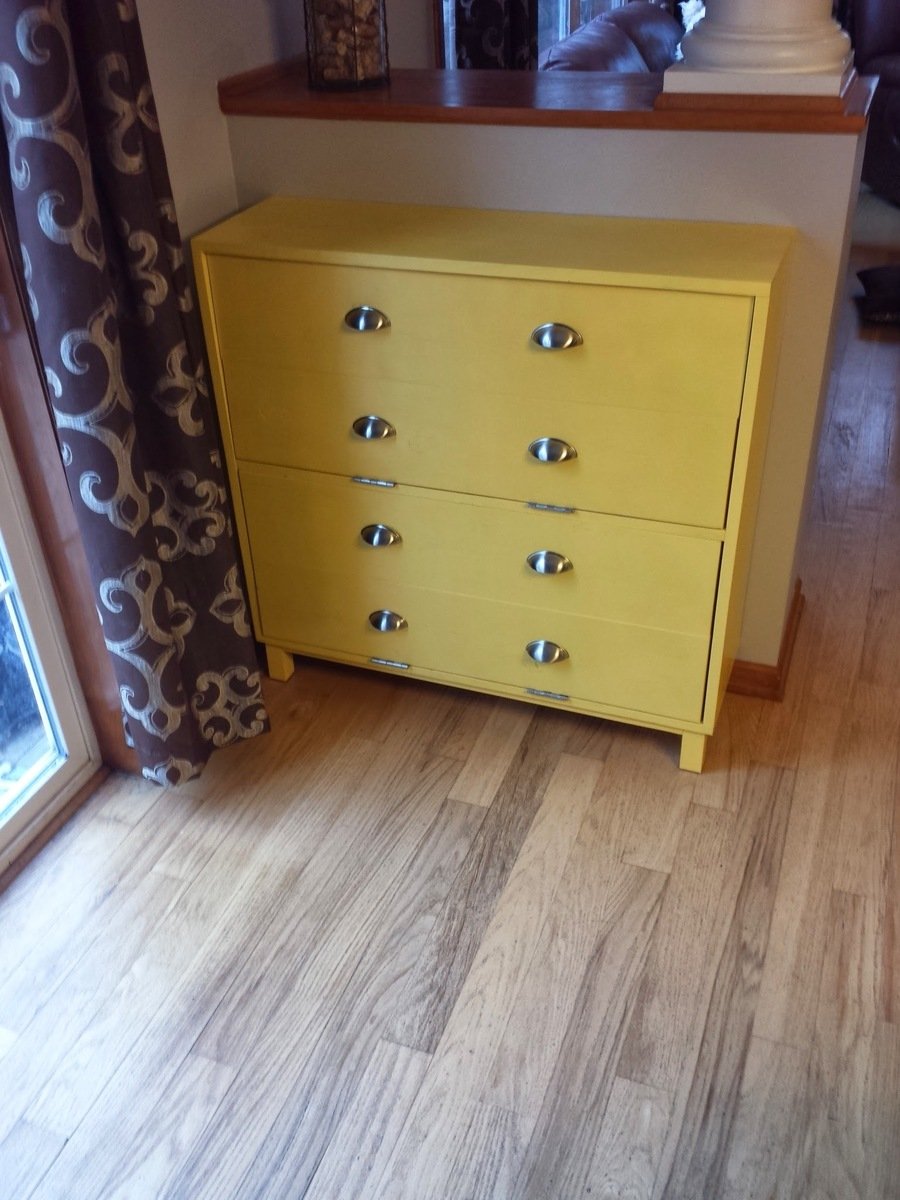
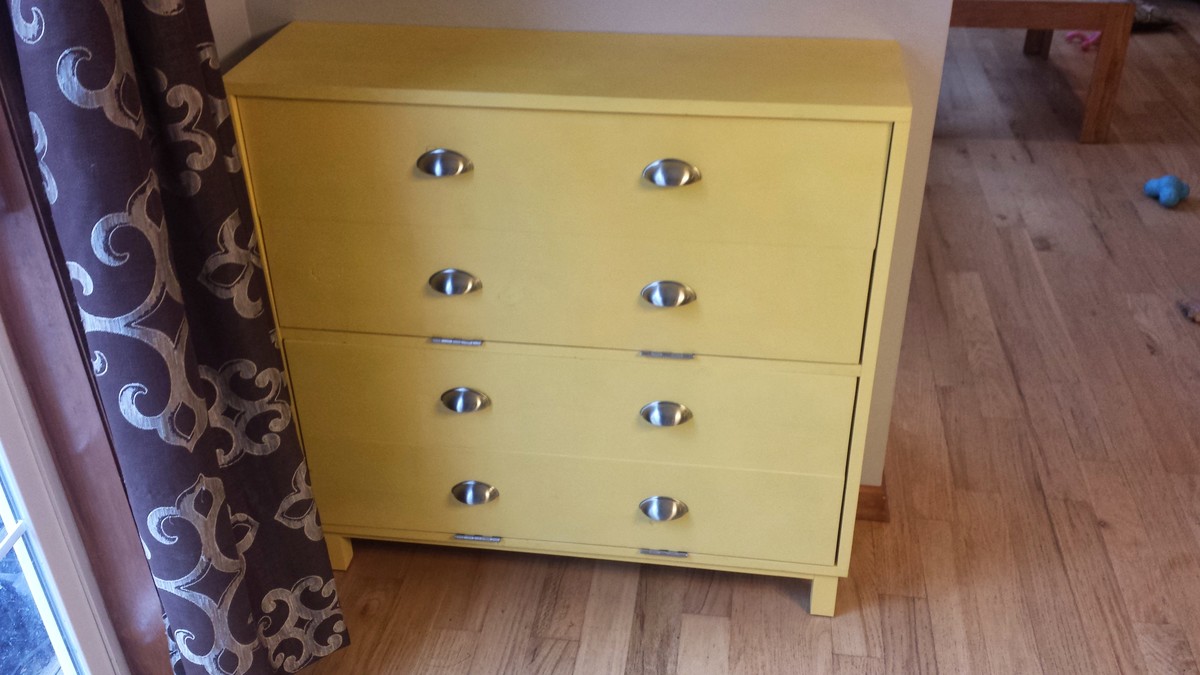
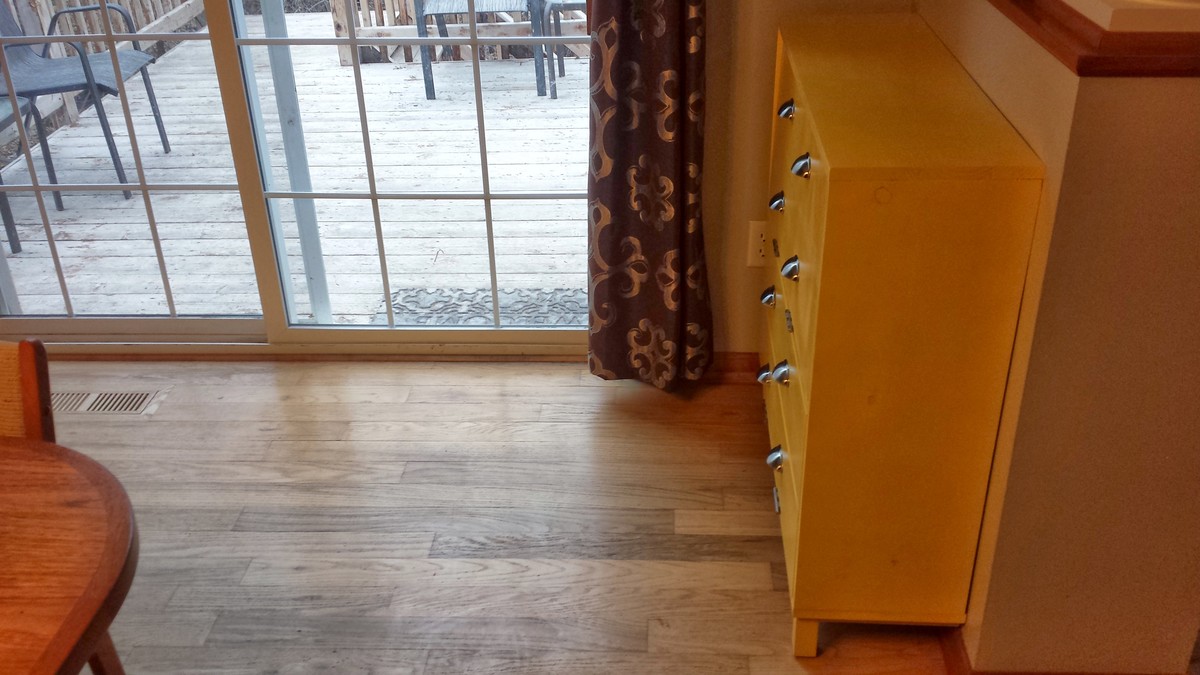
We needed some storage by the back door for shoes and dog accessories so it would be easier for us to take our dogs out for walks. I saw the plan for the shoe dresser and thought it would be great since we would be storing shoes in it. I made it narrower to fit our space and also made it deeper. The cost was mostly in the hardware.

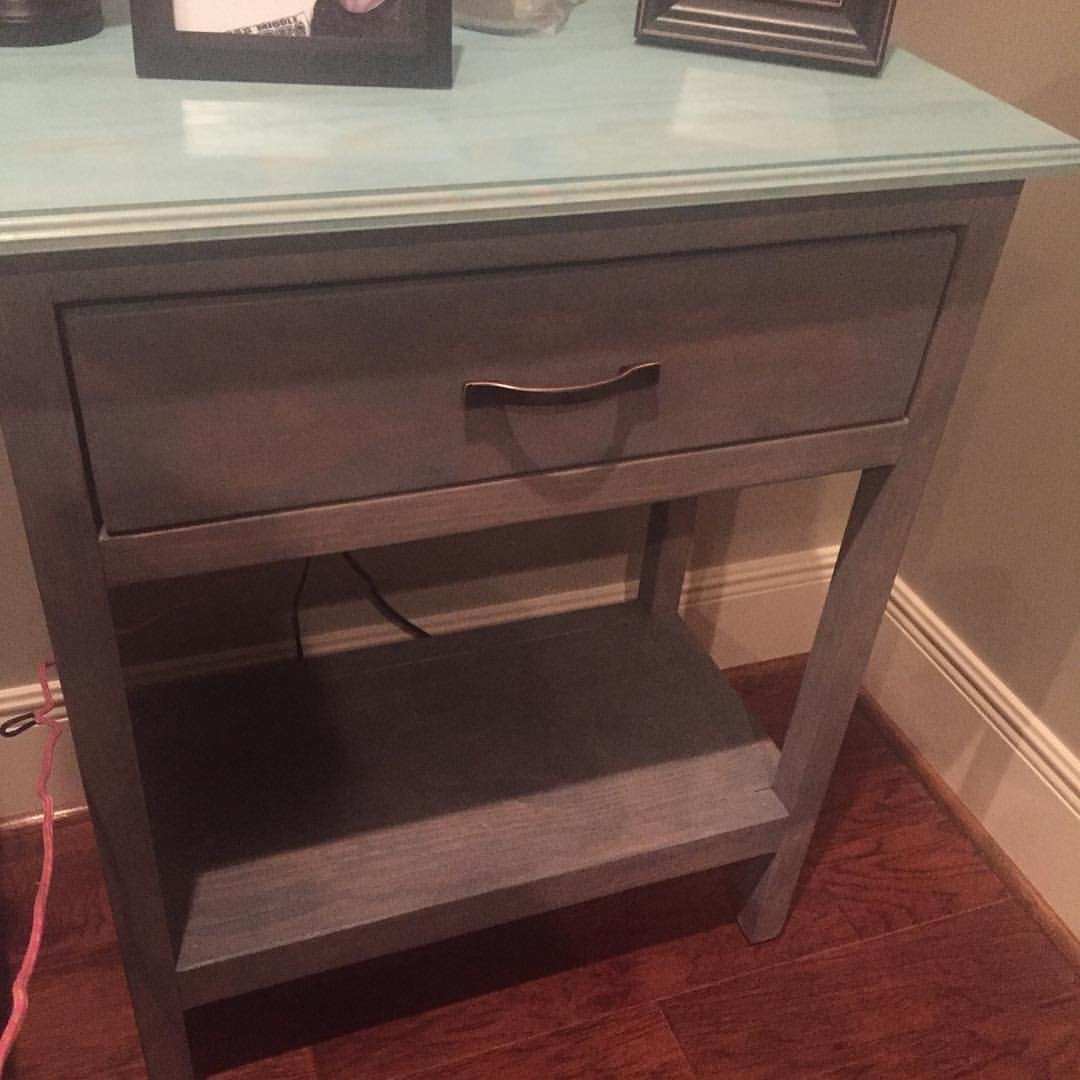
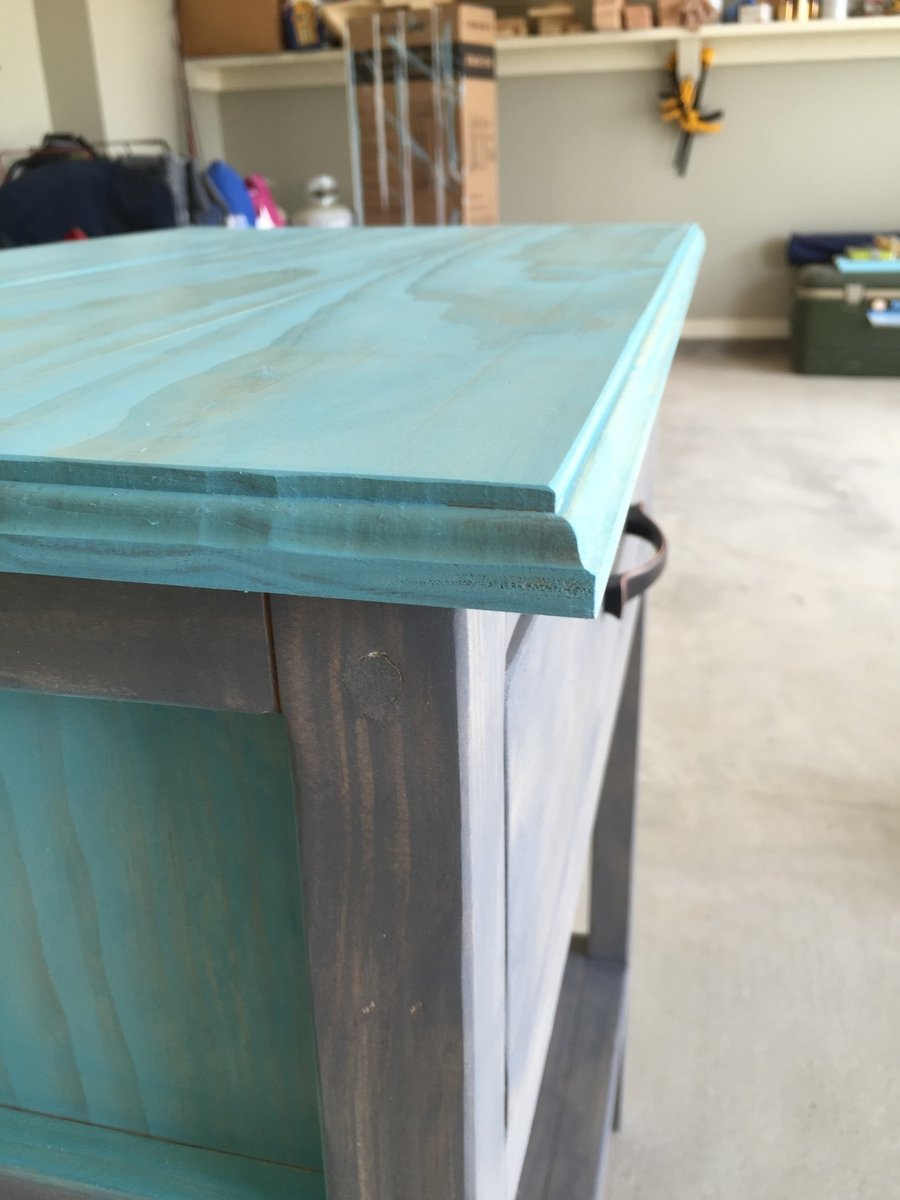
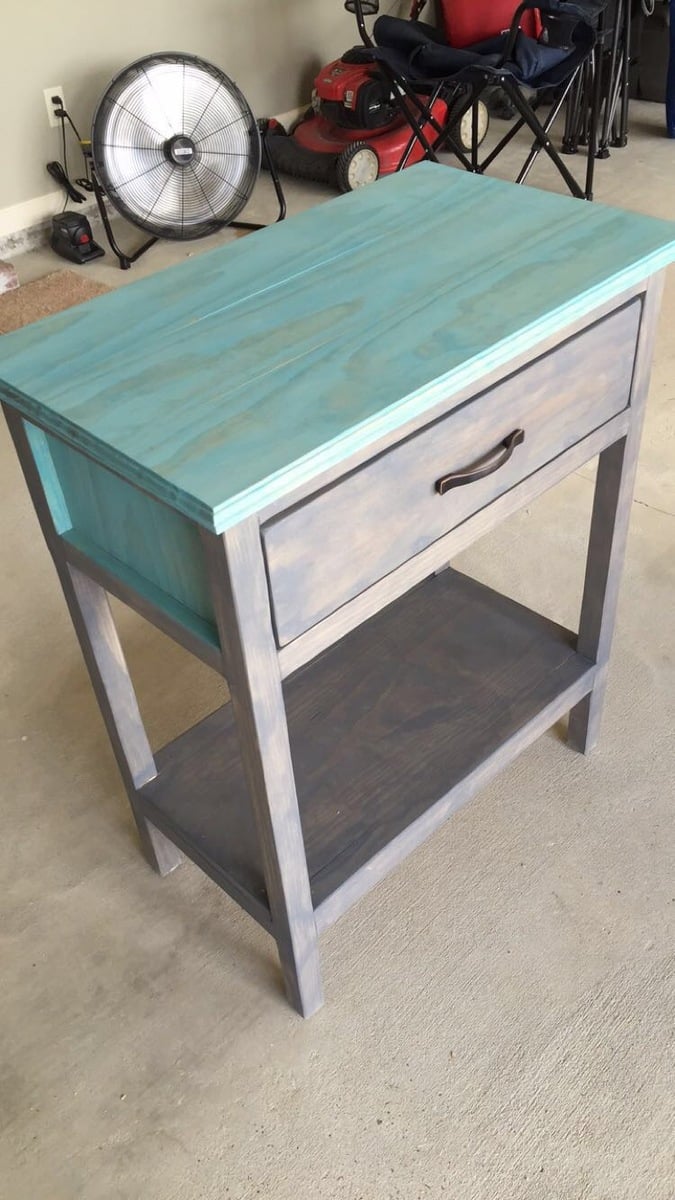
Needed new bedside tables to go with the new bed frame. Loved the outcome.
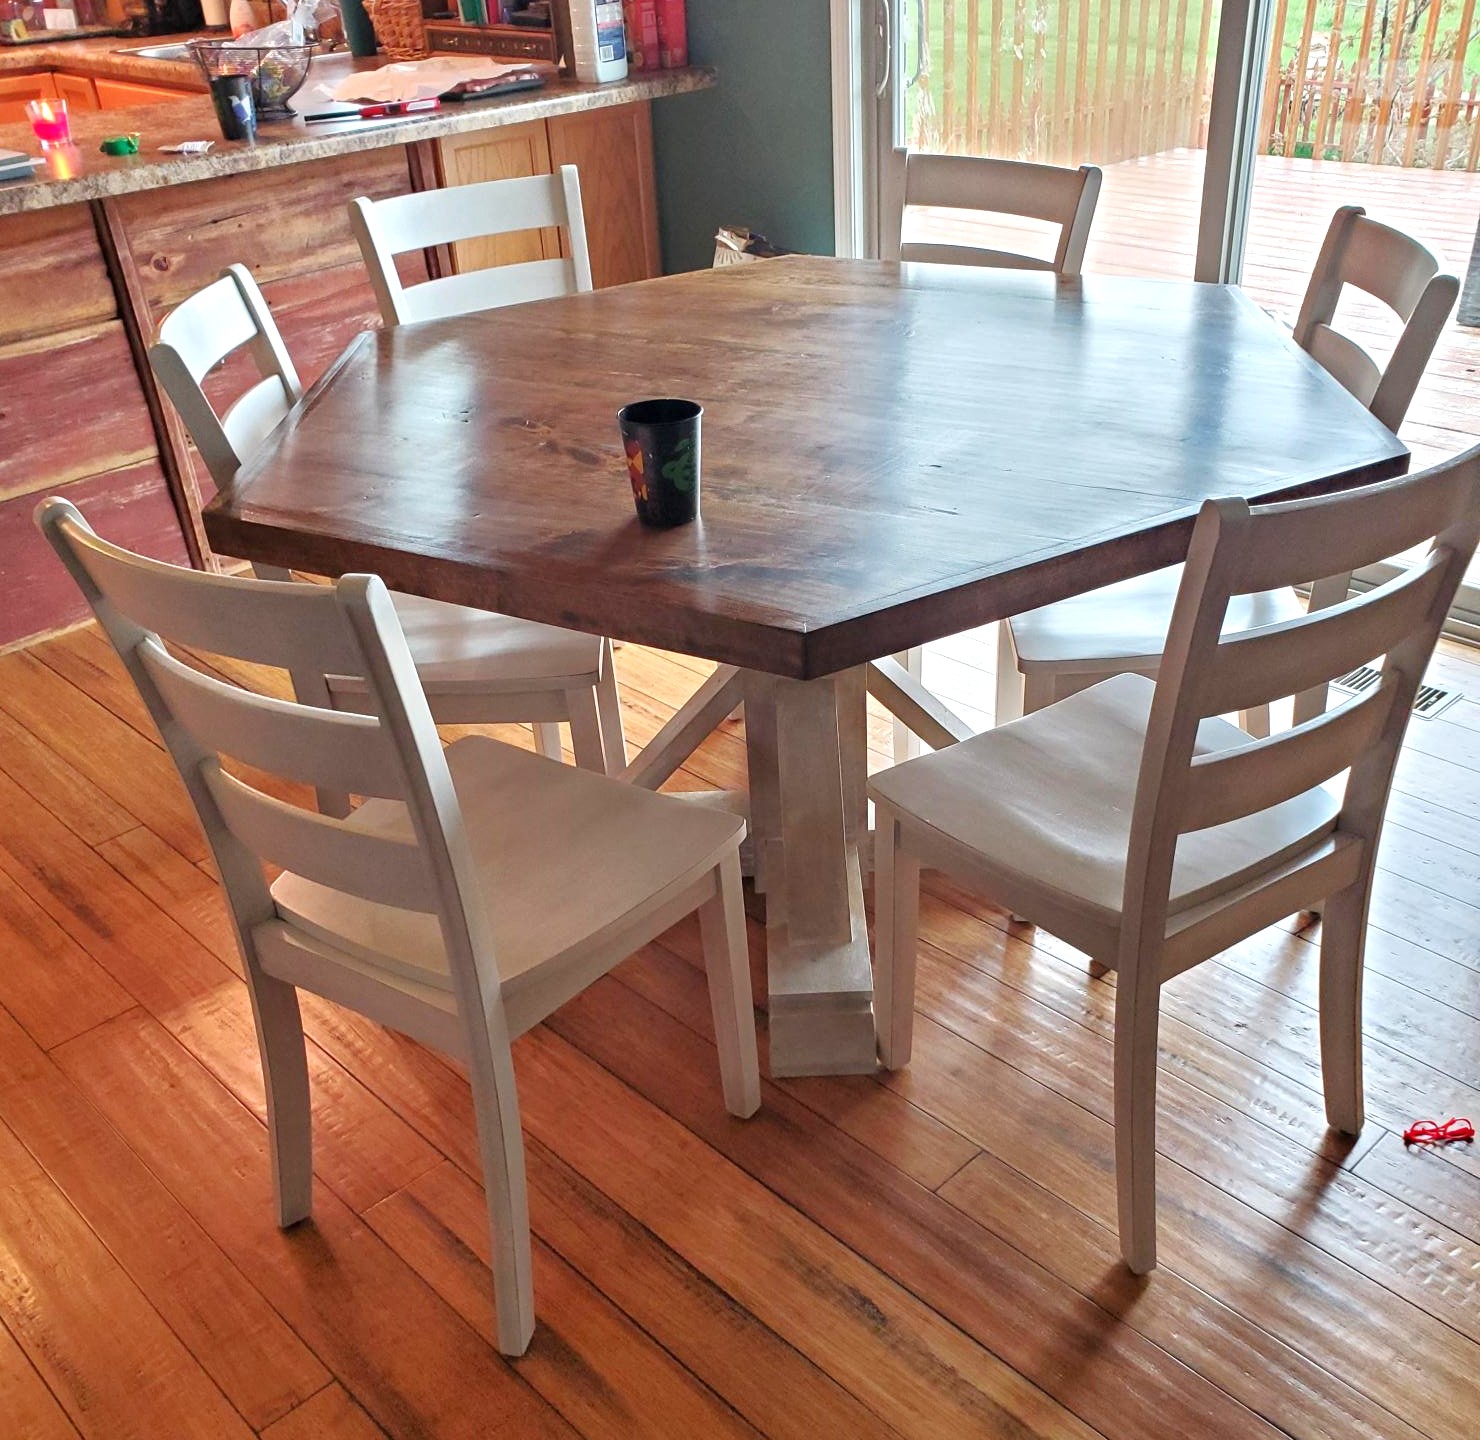
Dad and I milled out a cherry tree 3 years ago. After drying out it was time to build. Google dining room tables for a design and found Ana's site. Found an octagon shaped table and changed to a hexagon. Great plans and had so much fun building.
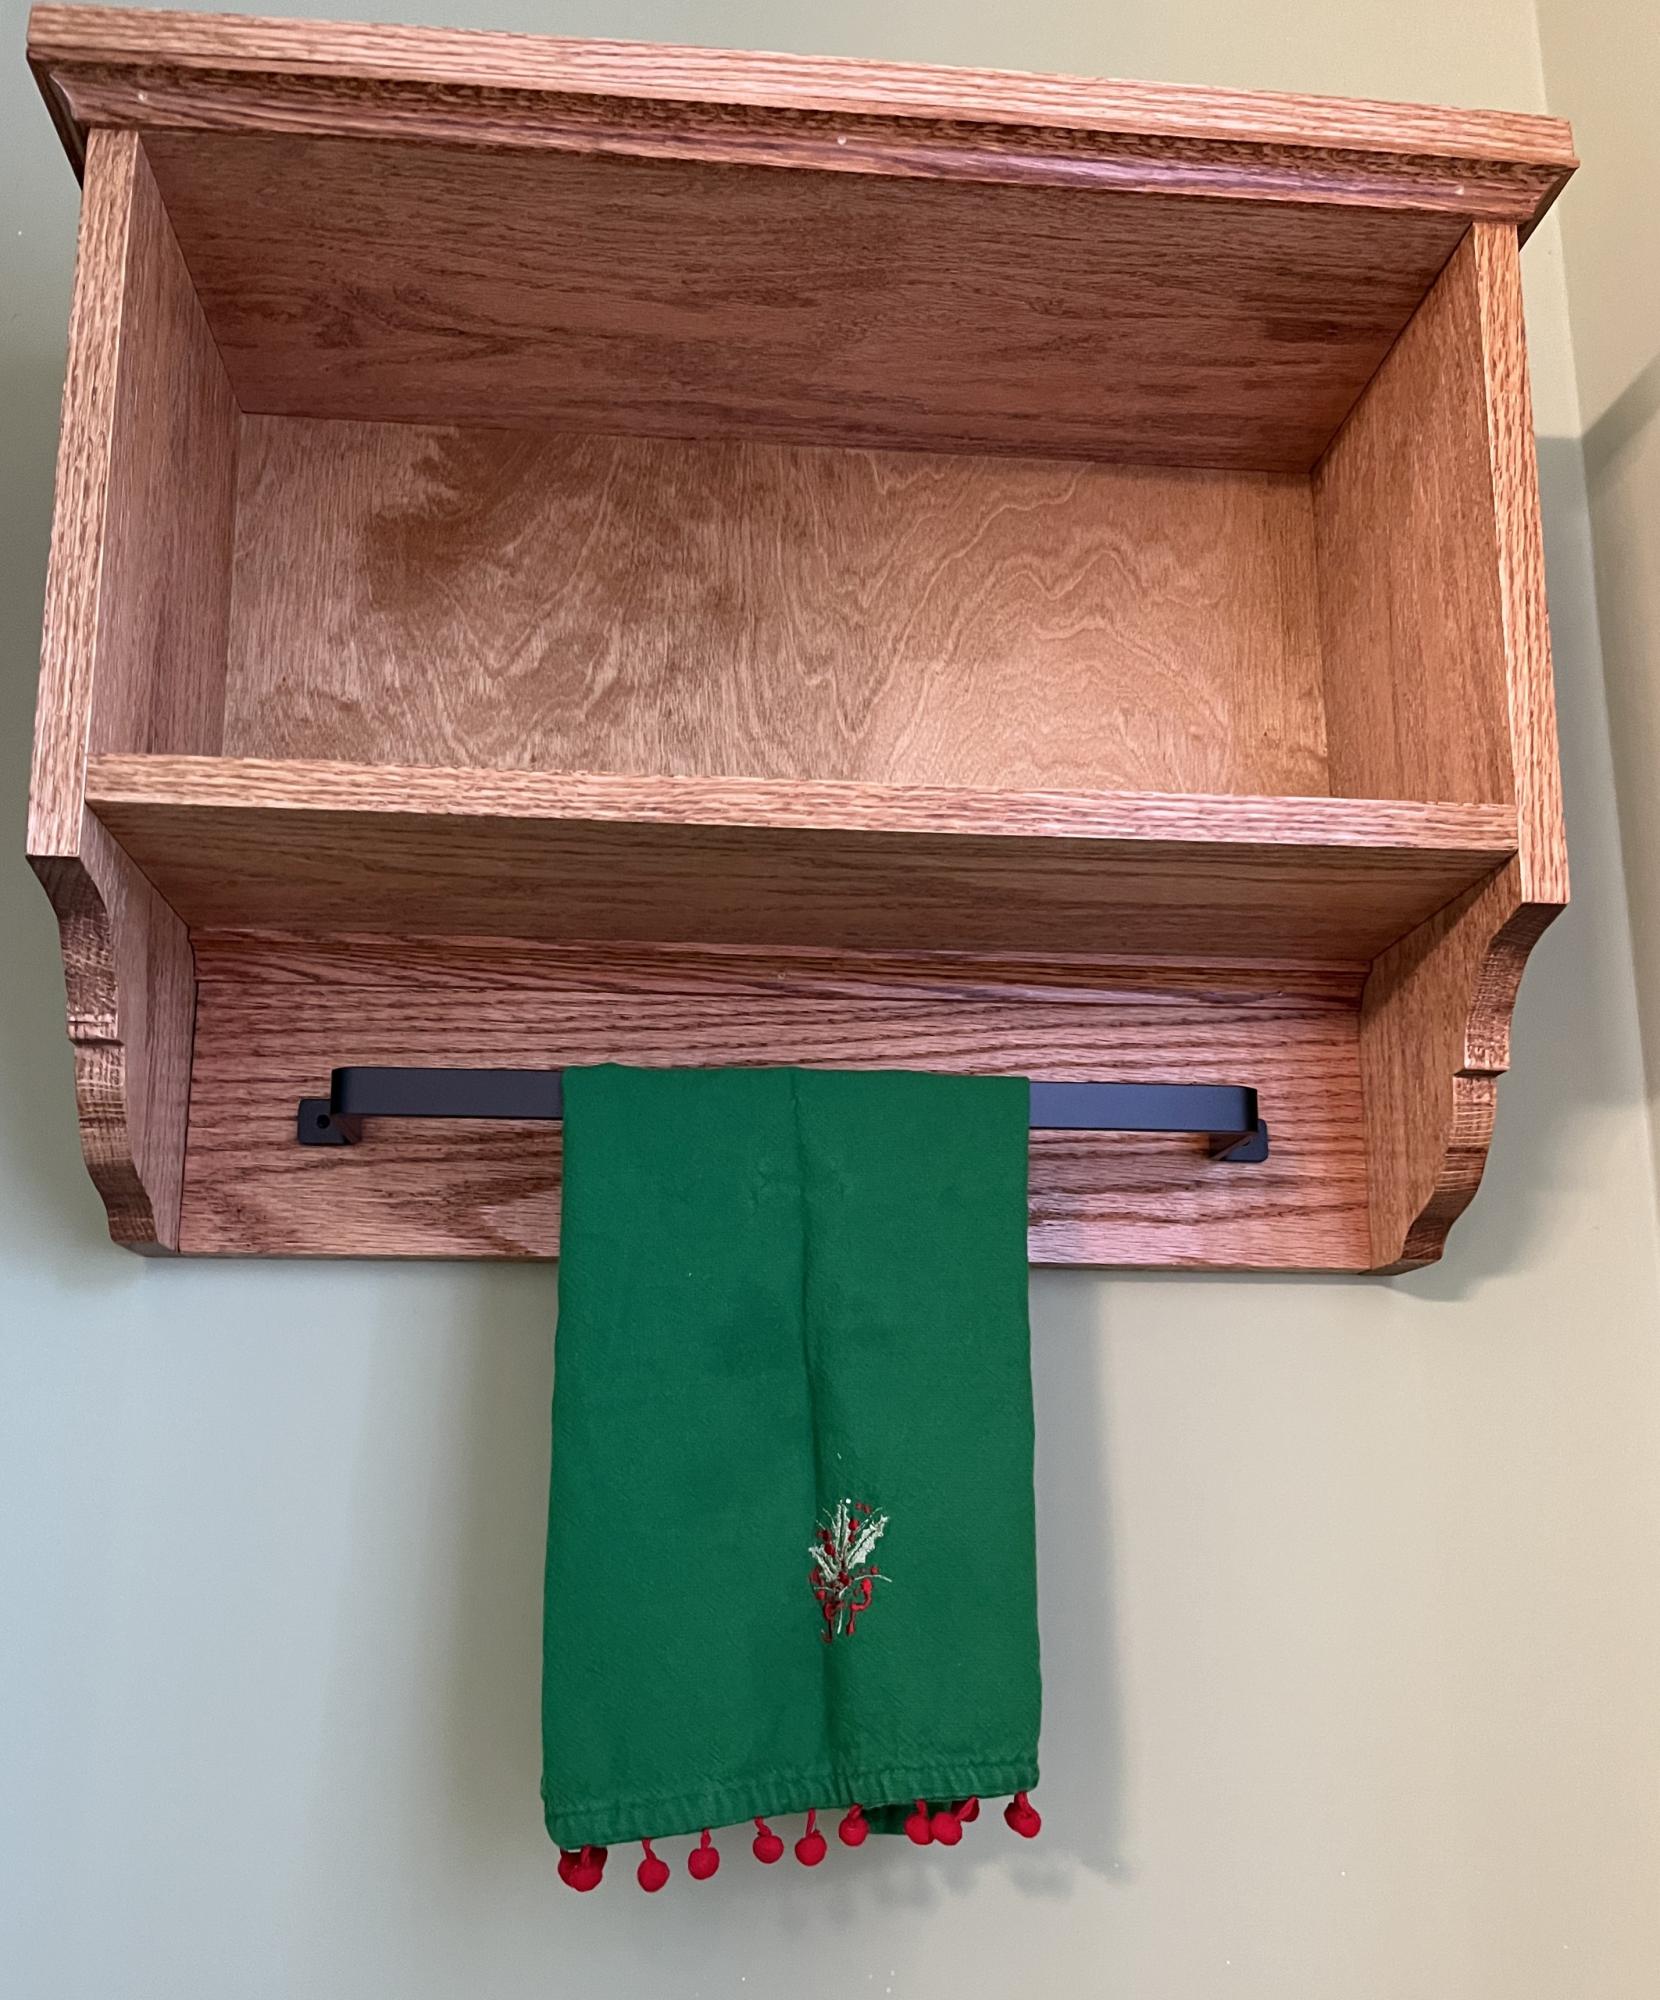
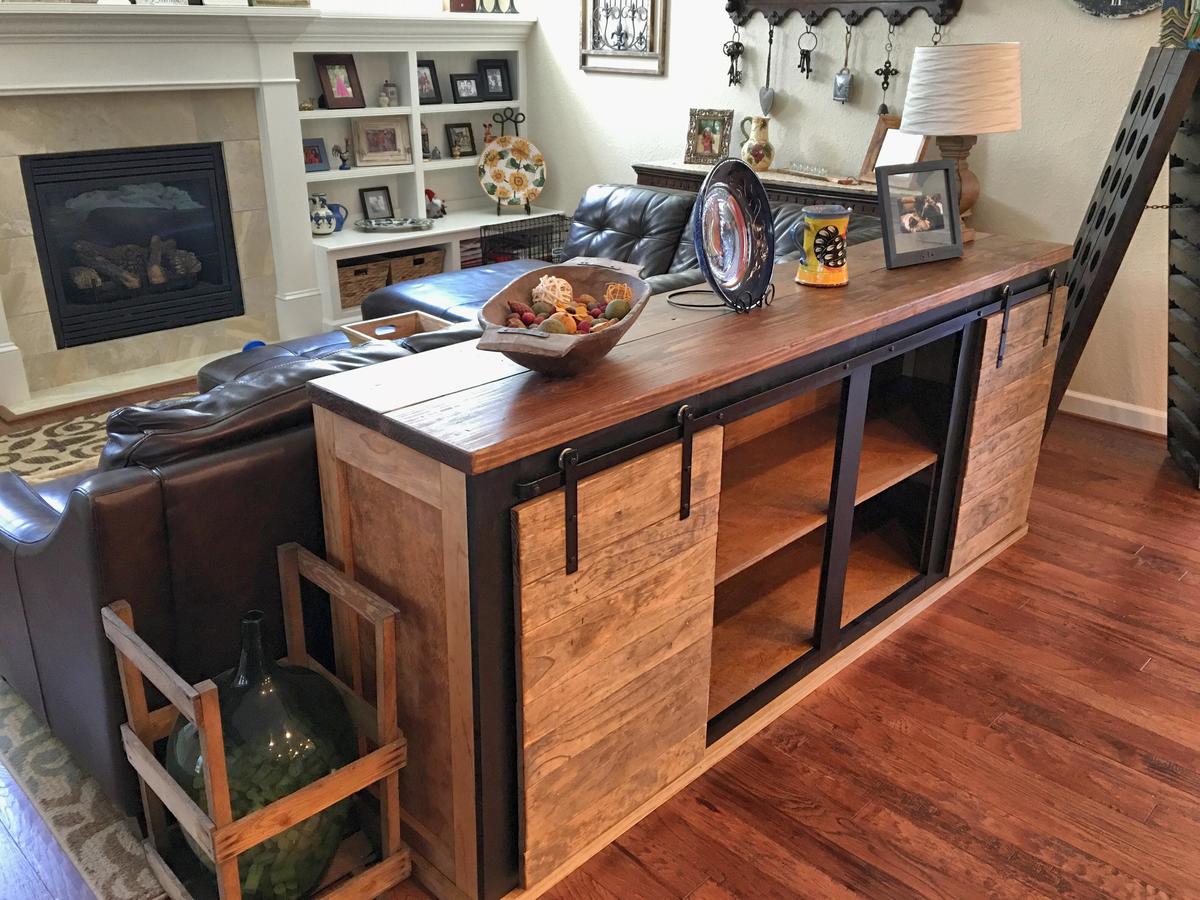
Martina Bath Wall Storage
I proudly made this for my wife for Christmas 🎅🏻. She has been asking for something above the toilet. I enjoyed making the curved pieces on the sides. With the left over coping, I added a piece below the shelf. The most challenging part was squaring everything up. This was my first project like this so I definitely learned a lot along the way. Picking stains is an art upon itself.
Rob Shannon
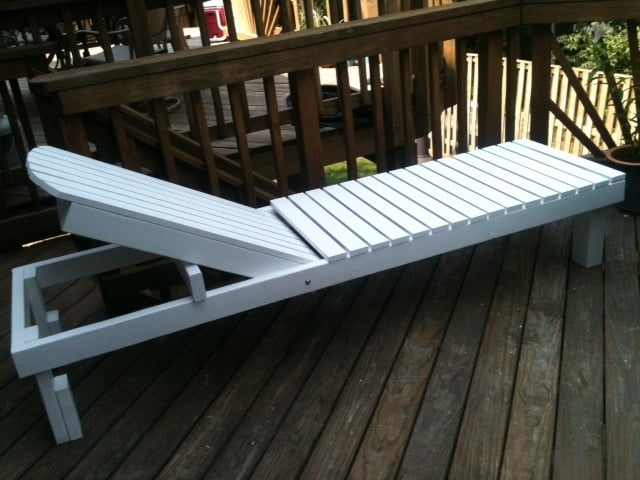
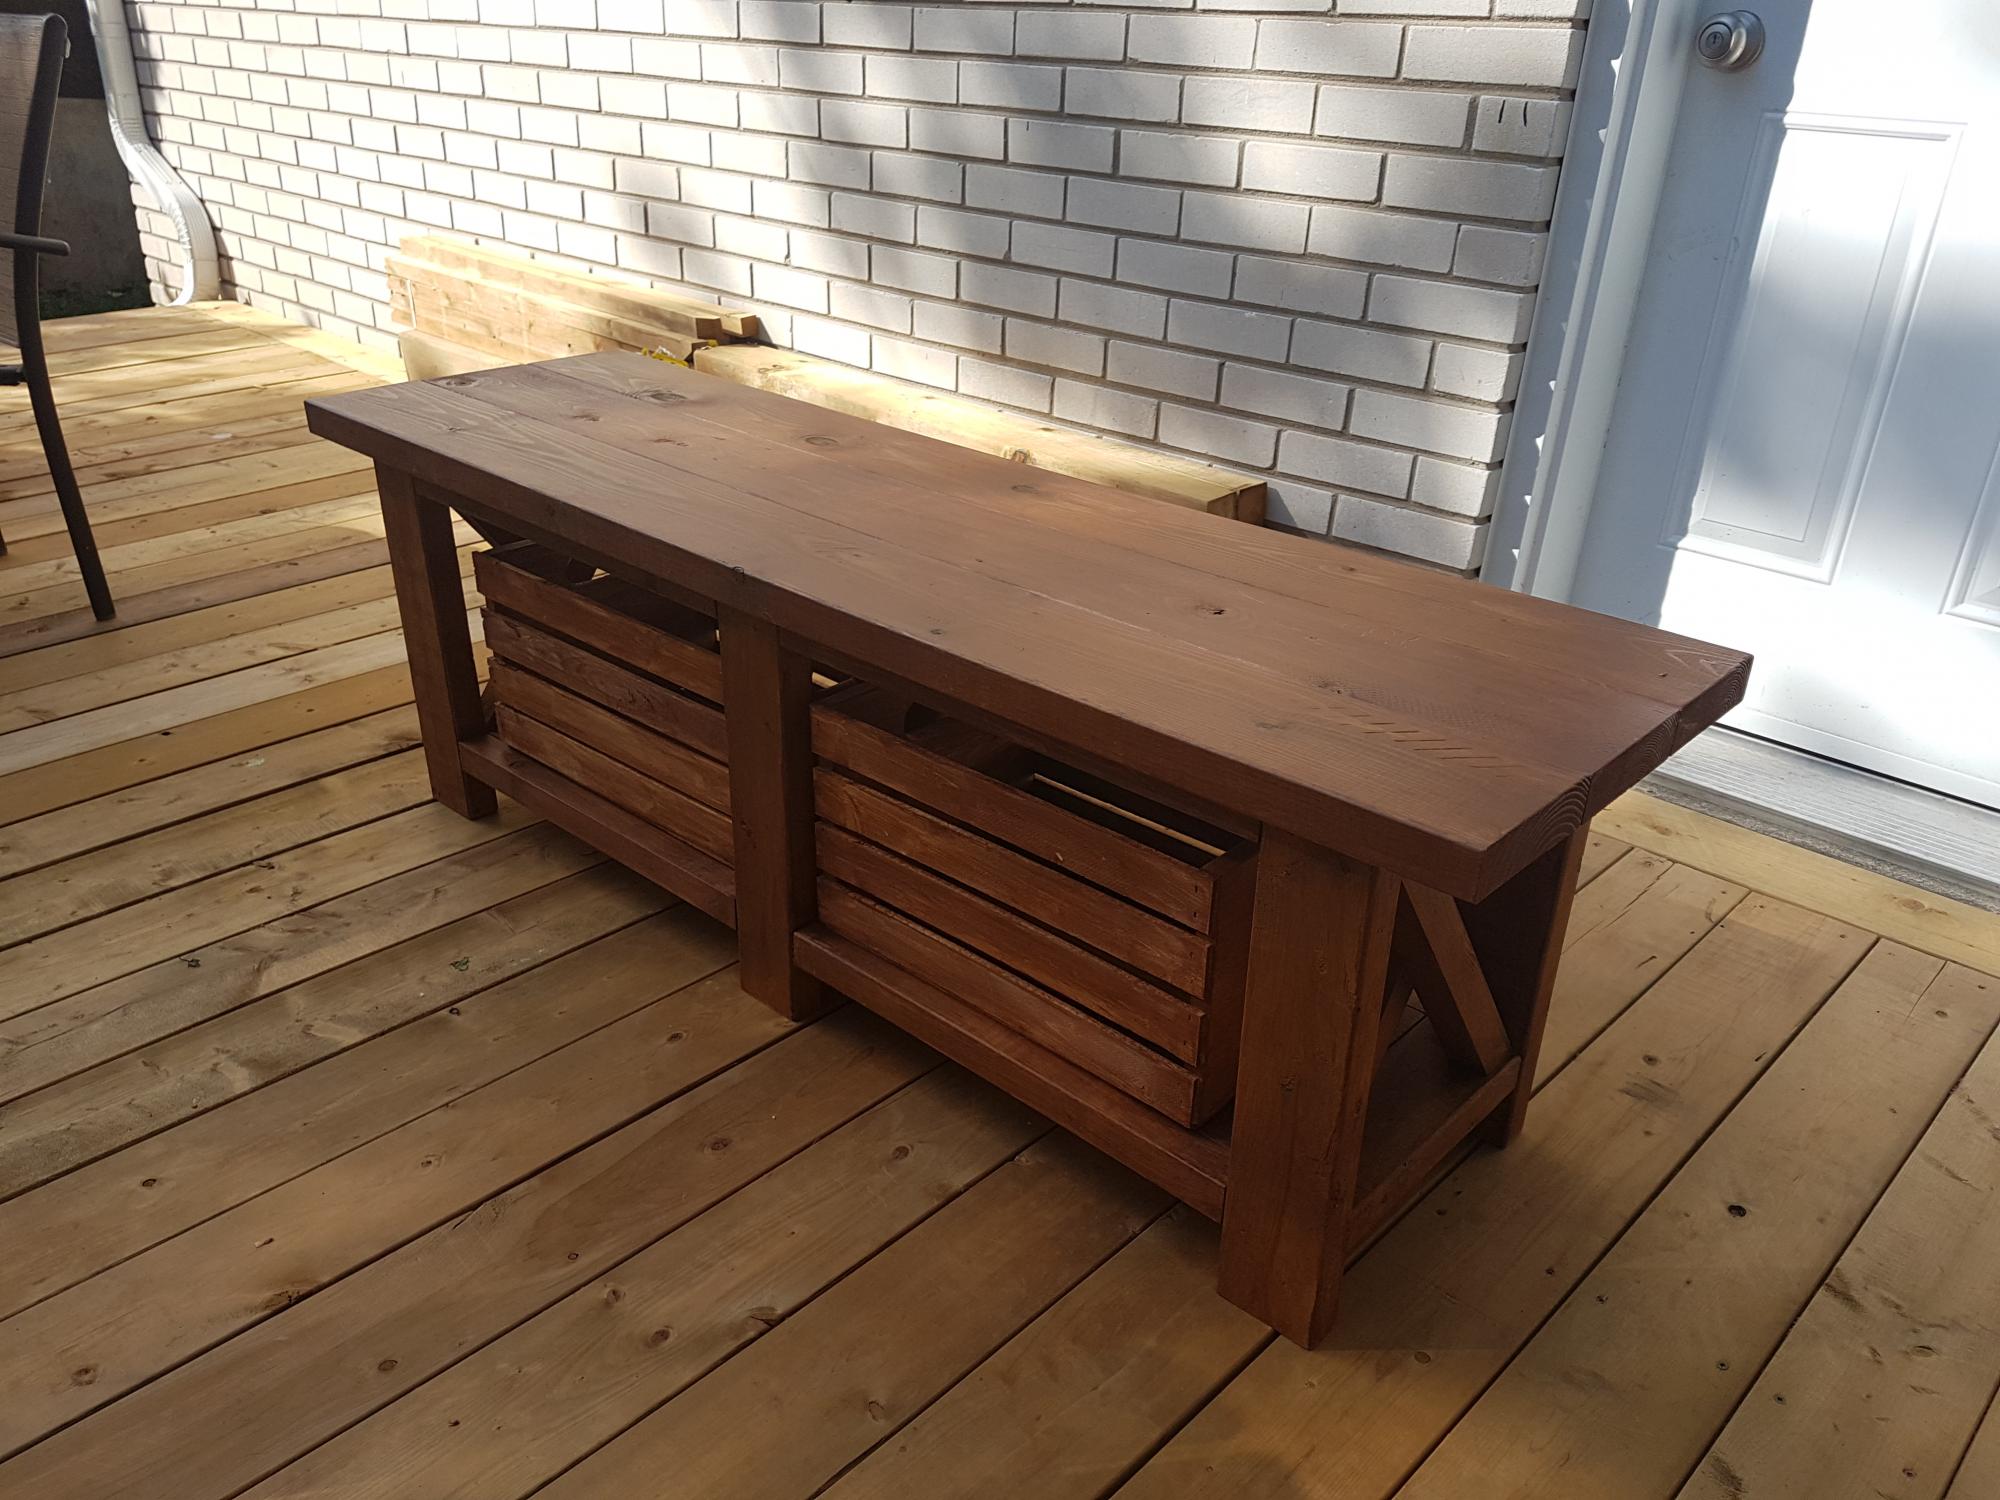
This cost me $55 for wood (pine), nails, and bolts. Additional $7 in paint. It's very sturdy and very comfy with a lounge chair cushion (Walmart had a great price--cheaper than I would have spent to make one myself). This will also serve as bench seating for my deck (I love multi-use furniture). Thanks Brook and Ana for this great plan!
Fri, 05/20/2016 - 11:32
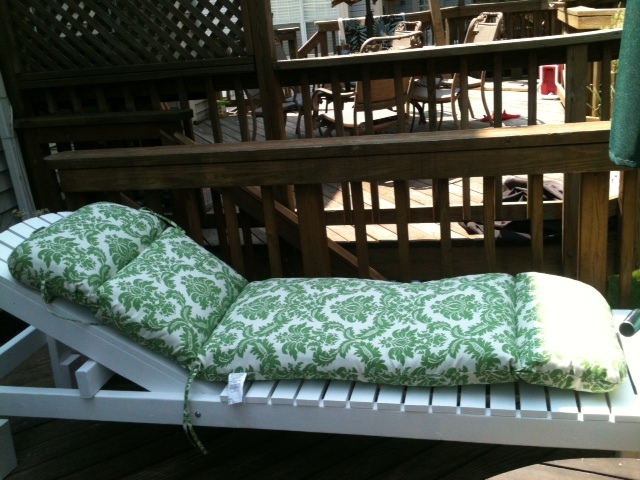
I have my lounge completed except for the slots. It looks great and I am very happy with the results. But, in looking at your finished photos, I notice the 2 X 4 in the horizontal slot is not seated into the space completely. And, melbooker's photo shows the board sitting on top of the rail. So, I'm a bit confused about cutting in the slots. Any advice would be very helpful! Thanks
Very fun! And easy and now all my friends want one.
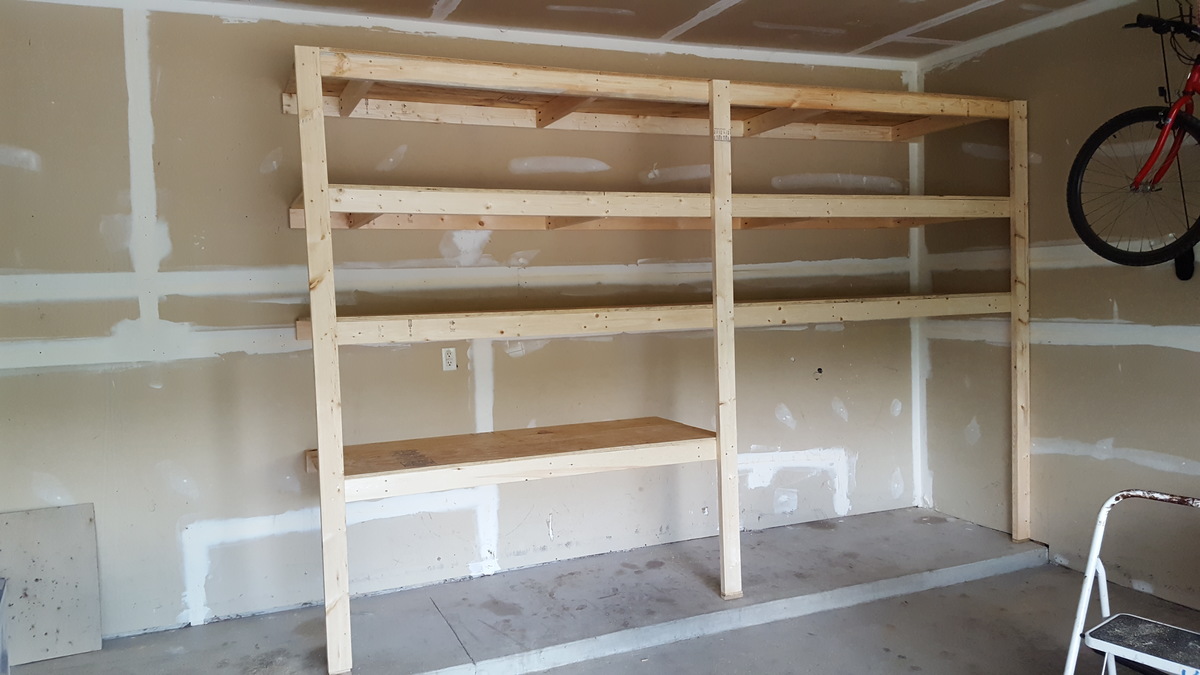
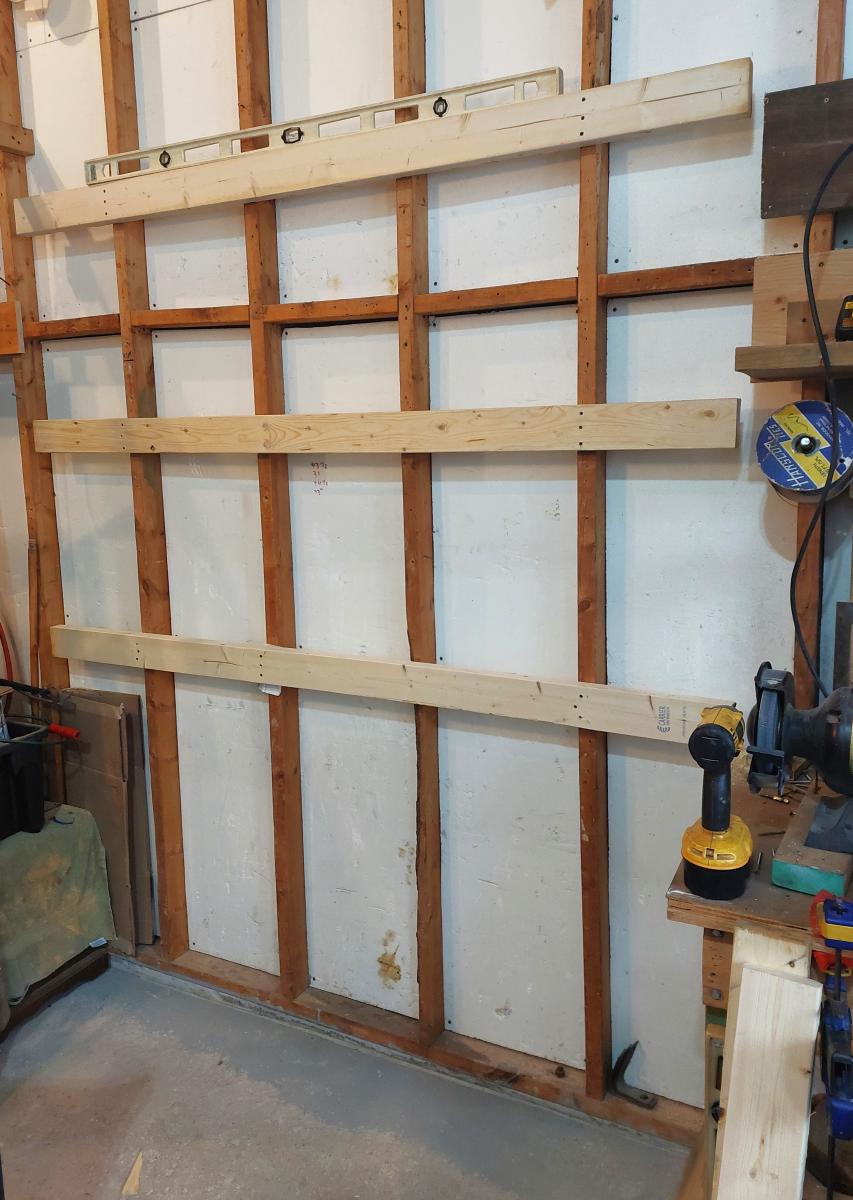
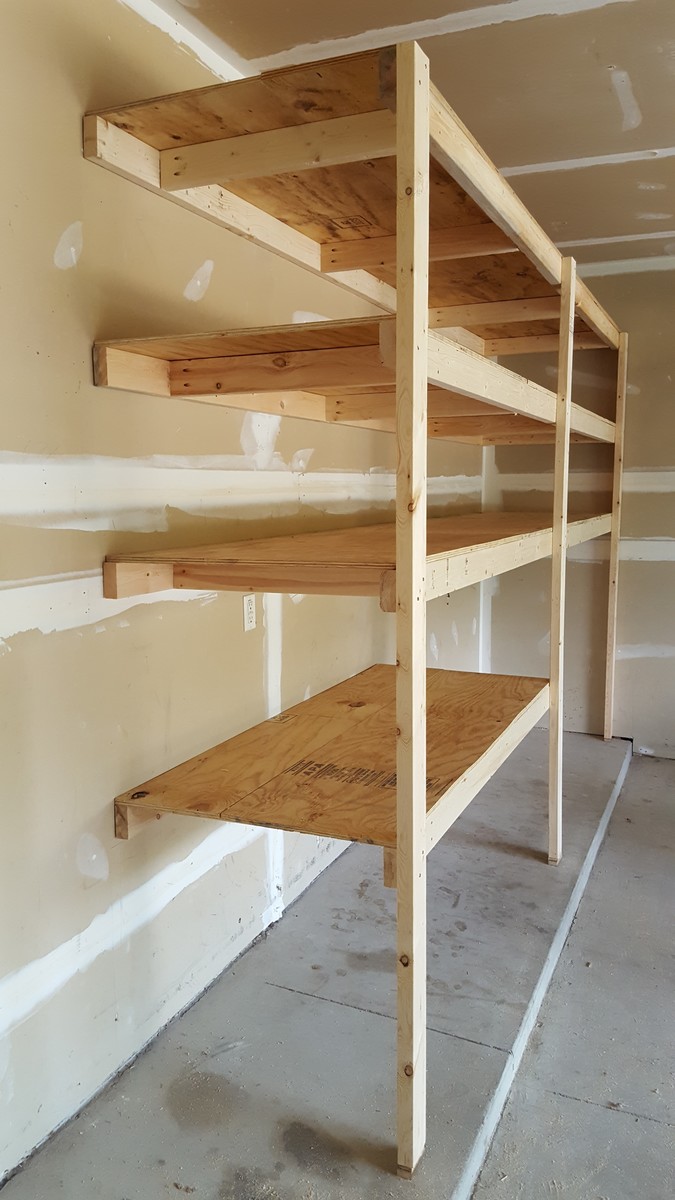
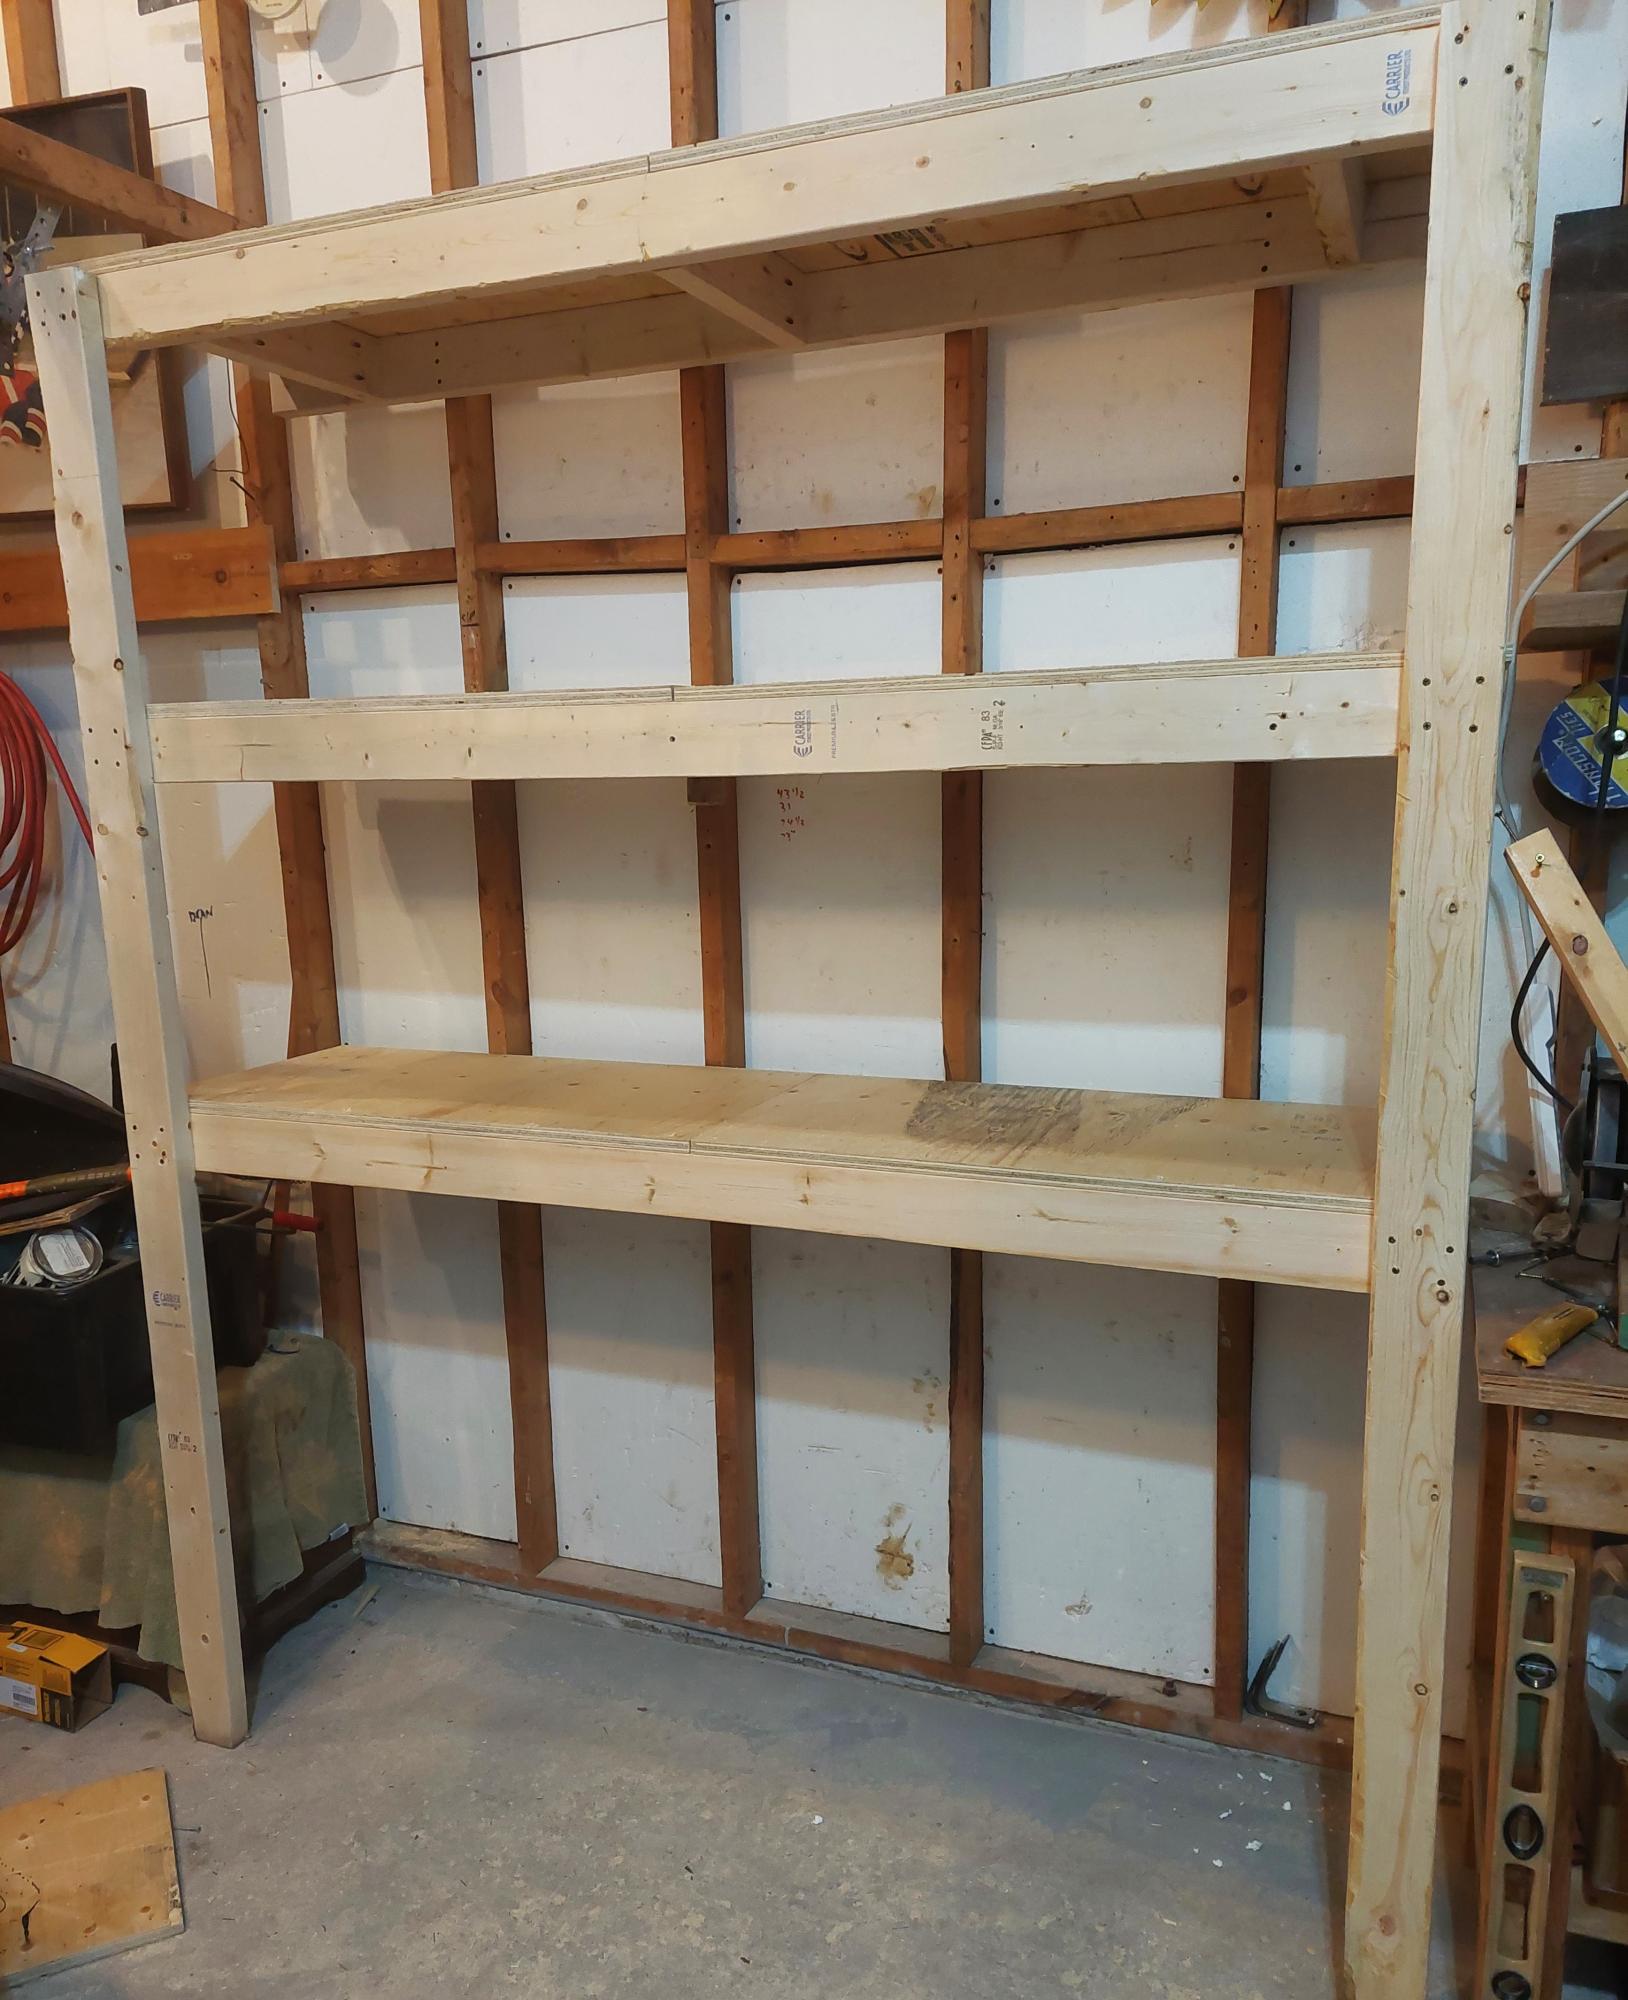
My husband and I built these shelves in our garage this past weekend. This is one of our first diy projects and we are very happy with how it turned out. The shelves are 30" deep, around 8 feet tall and 12 feet long. This was also our first time using the Kreg jig, which we loved!
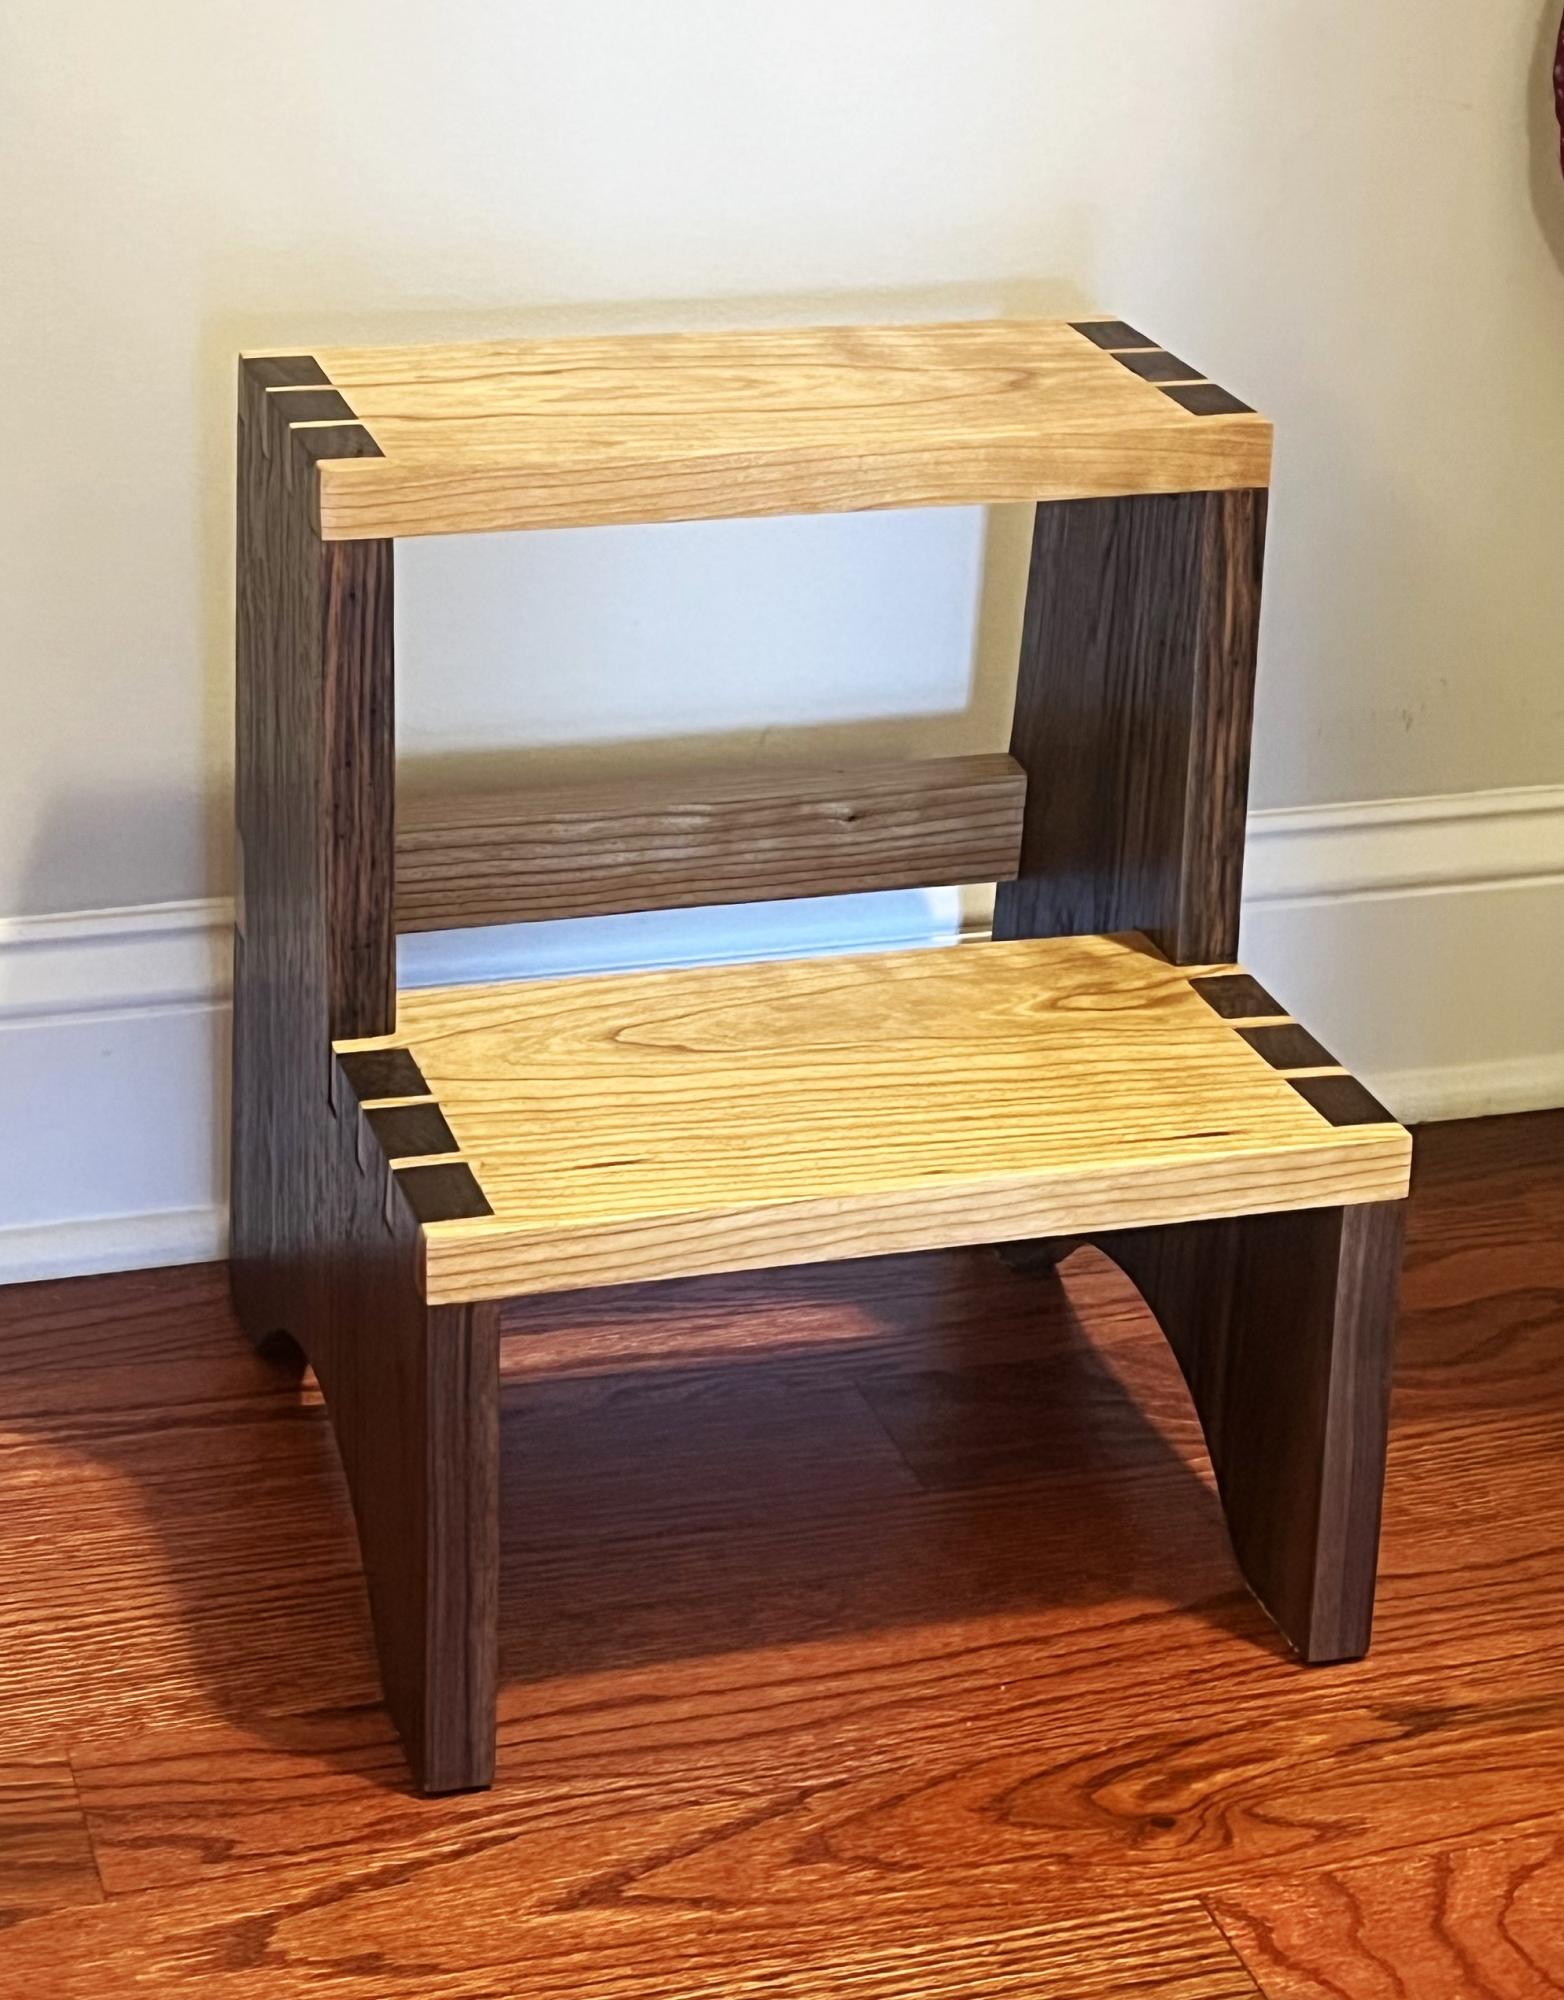
I’m going to make a step stool for the son of good friends in Florida. The design I liked had dovetail joints, which I’ve never cut before. So I made this stool for my wife as a prototype. Walnut sides with Cherry for the steps. 12.5” front to back, 14” tall, and just about a foot side to side.
Mark Johnson
This is my first EVER project, but I have already made several more!! I love this site and the new found confidence I have to make things for my home! Keep the plans coming!!!

Thank you for the plans!
I used the following for the wheels, they are AMAZING and dont require you to tear apart any pulleys. These wheels have bearings in them too, which make them slide super quiet and smooth!
Tony S.
6' long x 18" deep
Dean Clarke in Bobcaygeon Ontario