Community Brag Posts

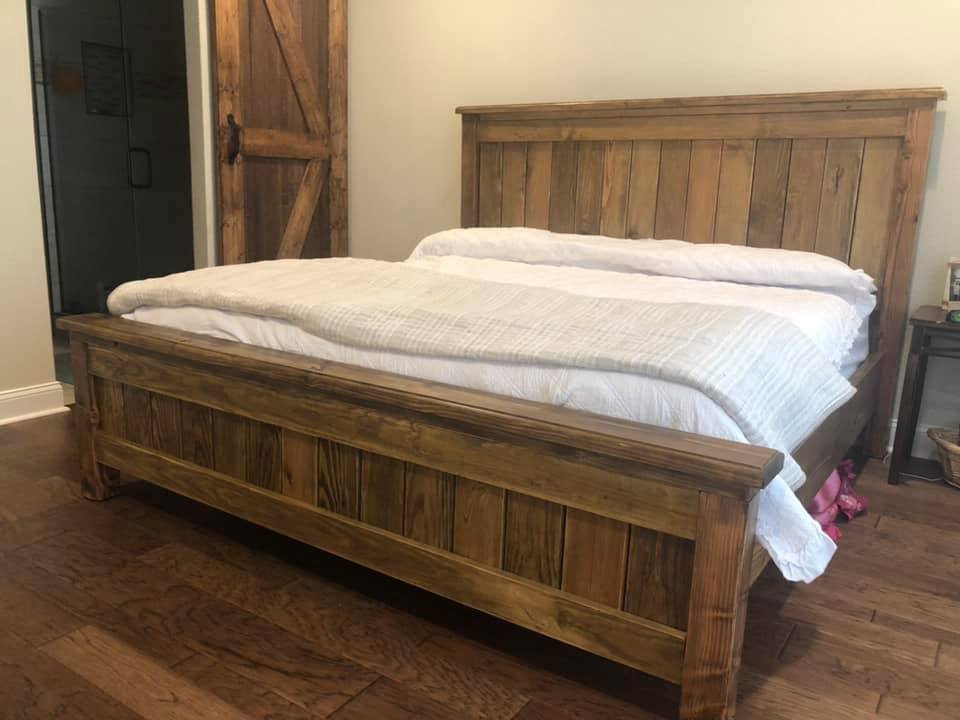
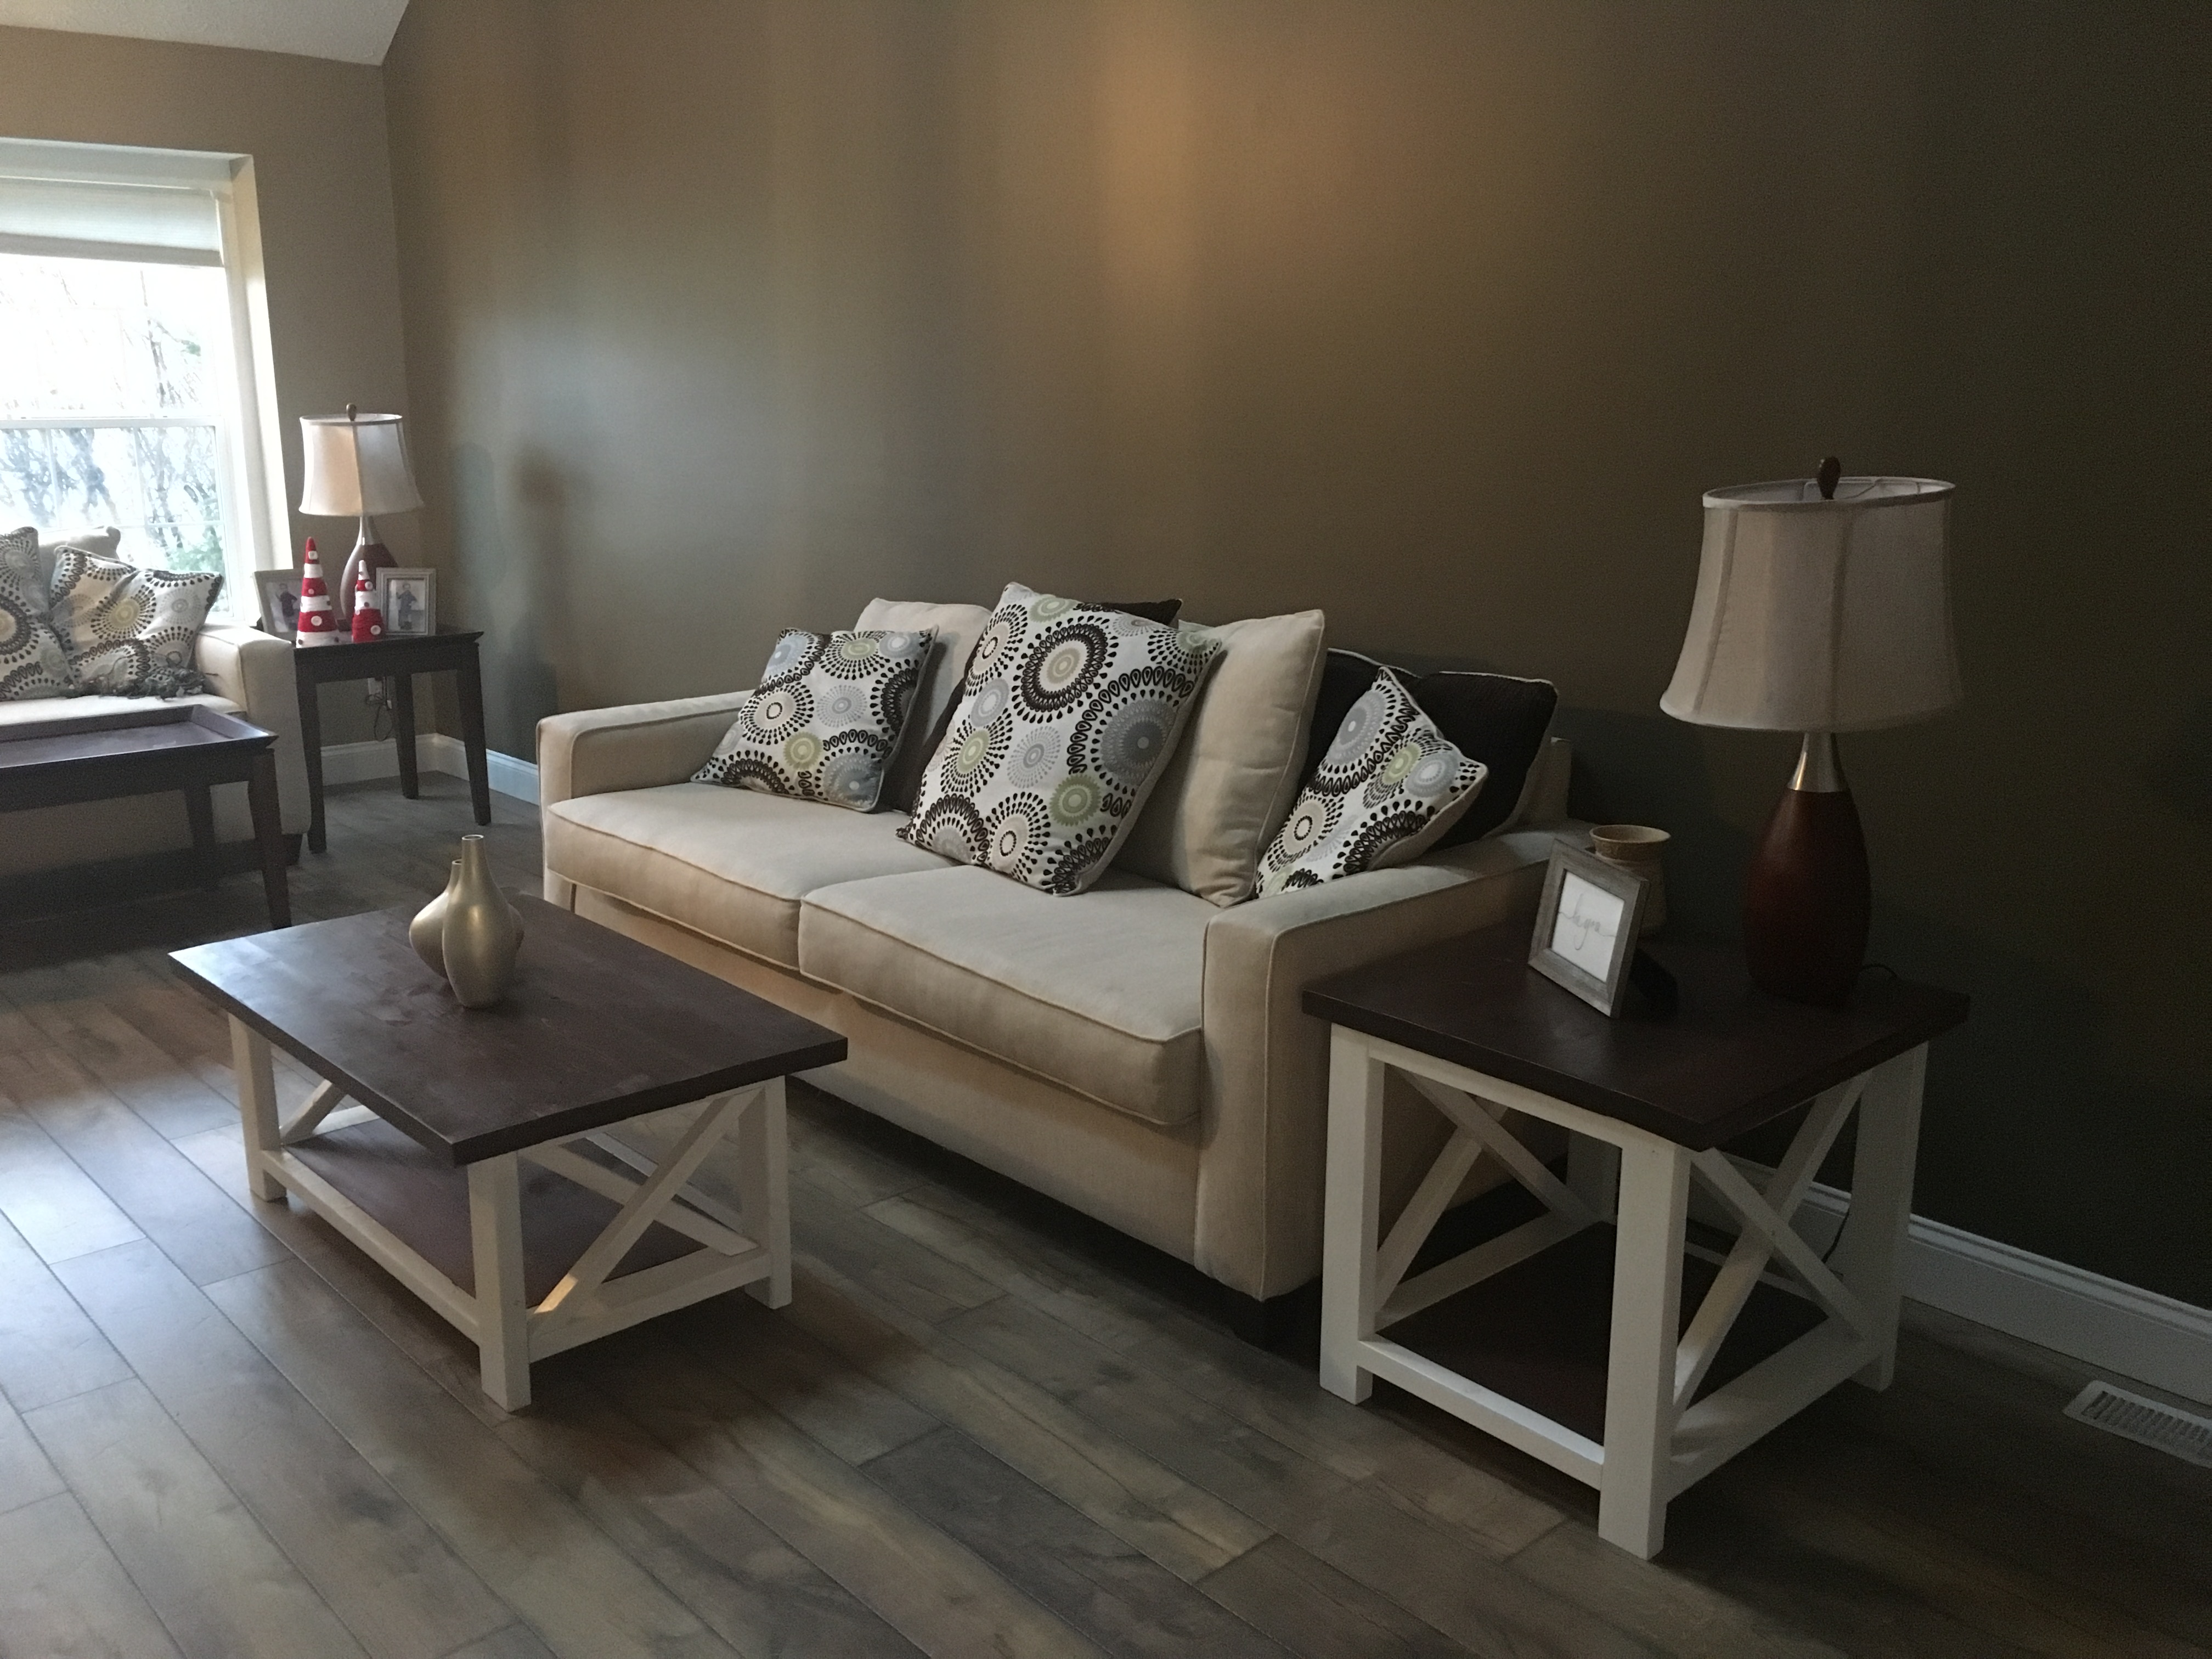
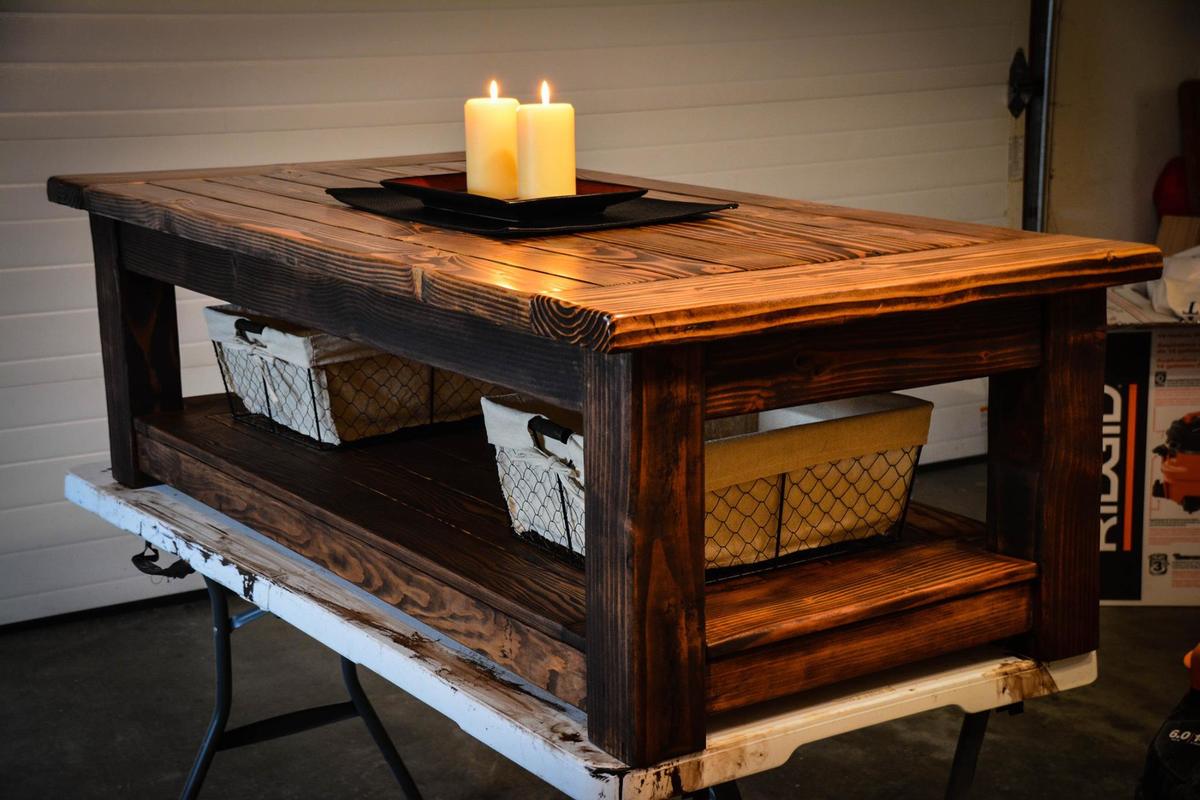
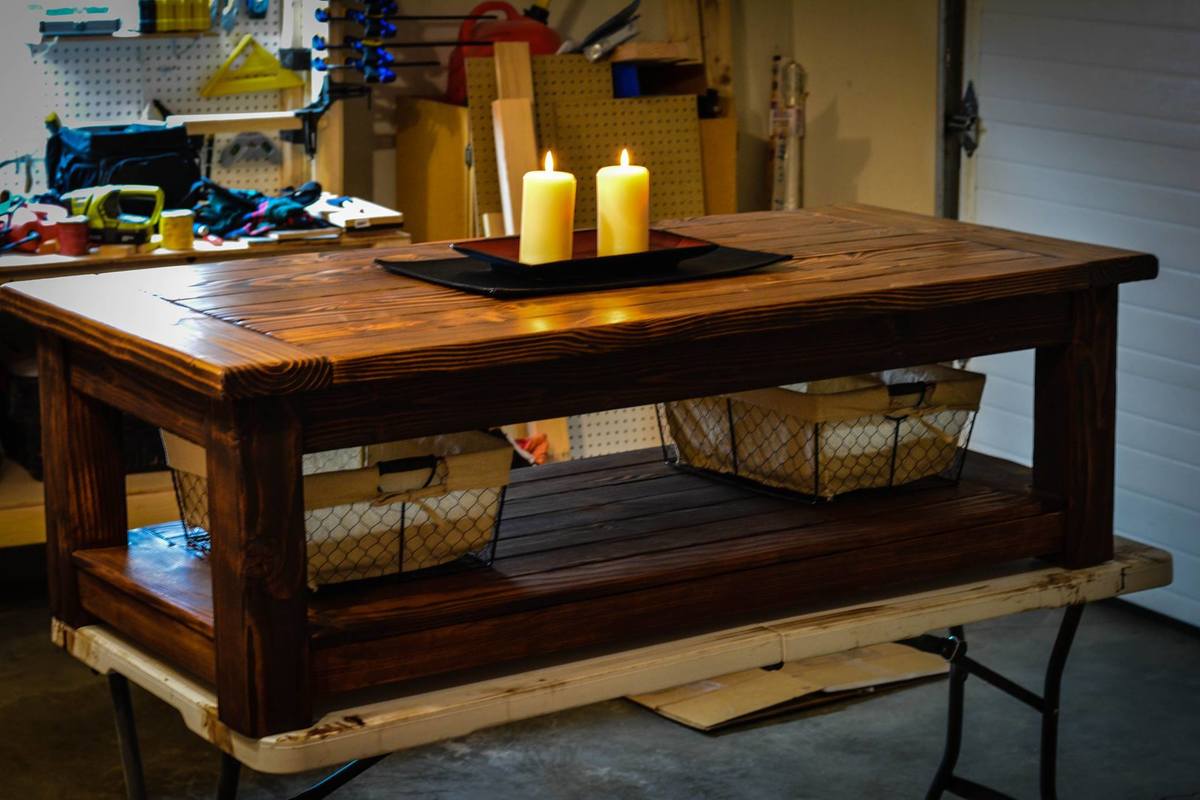
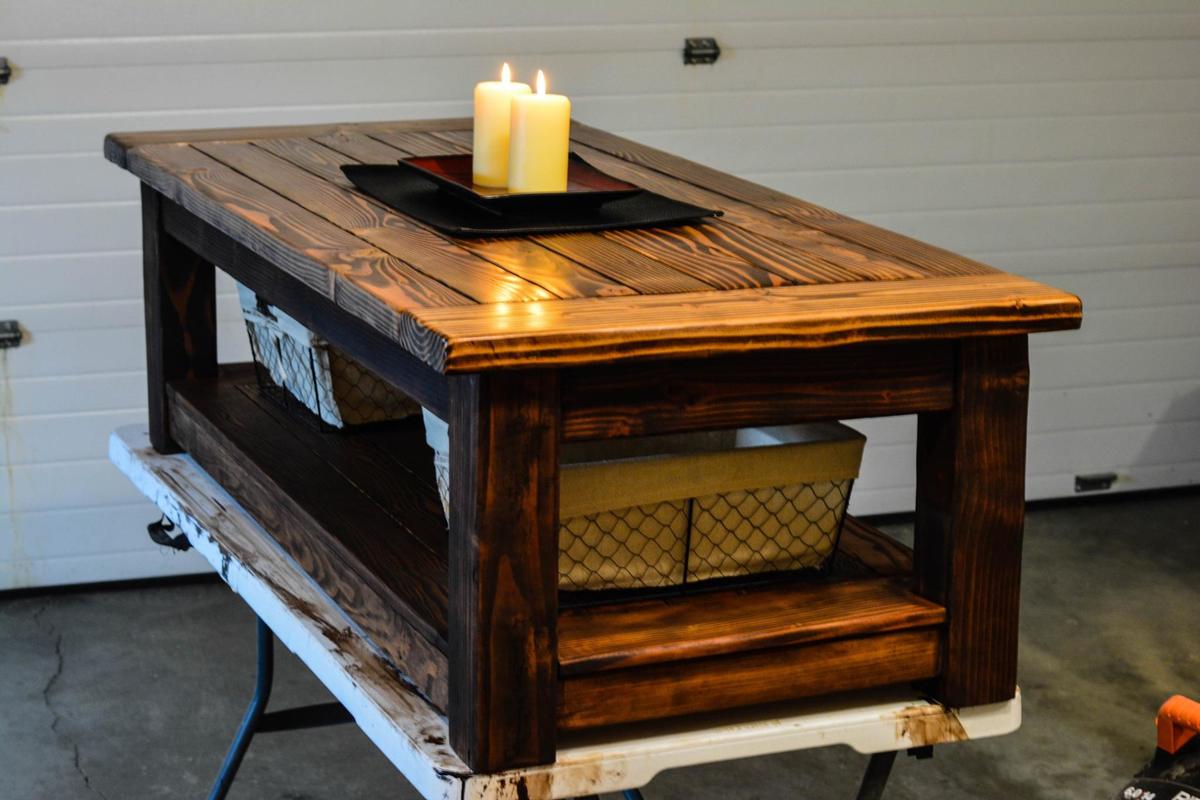
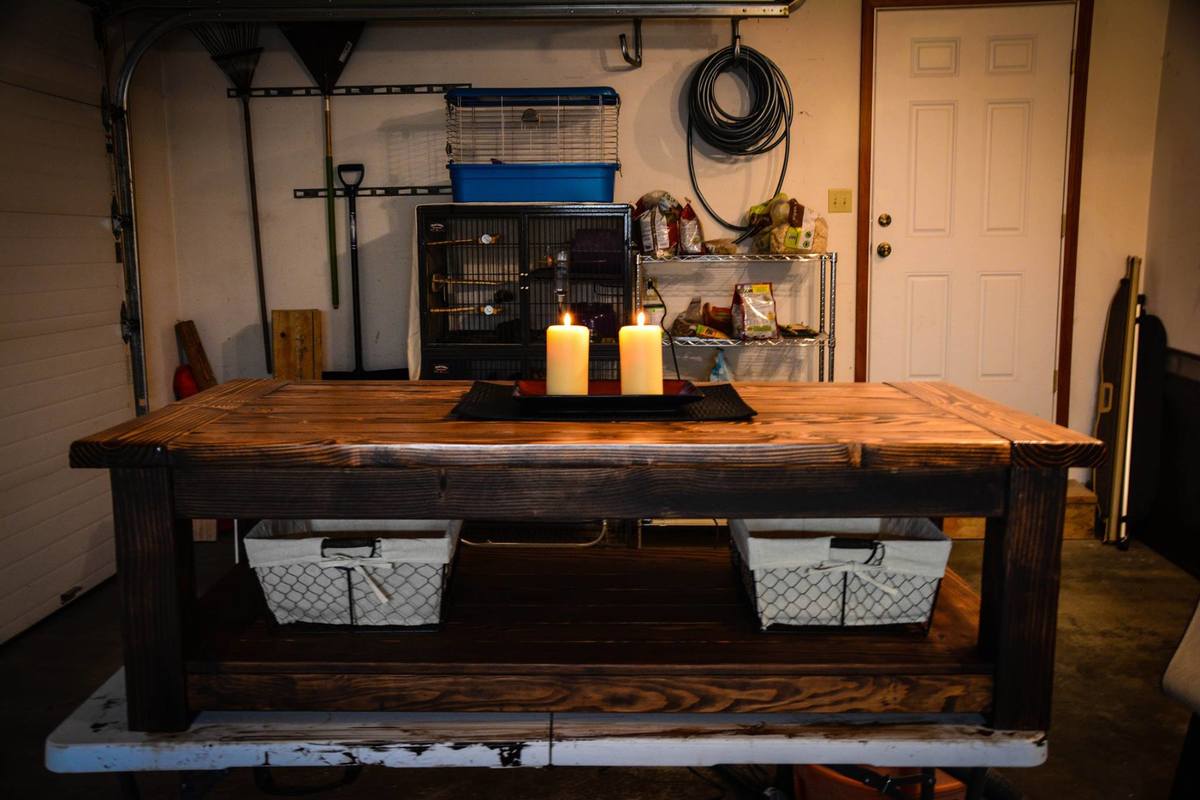
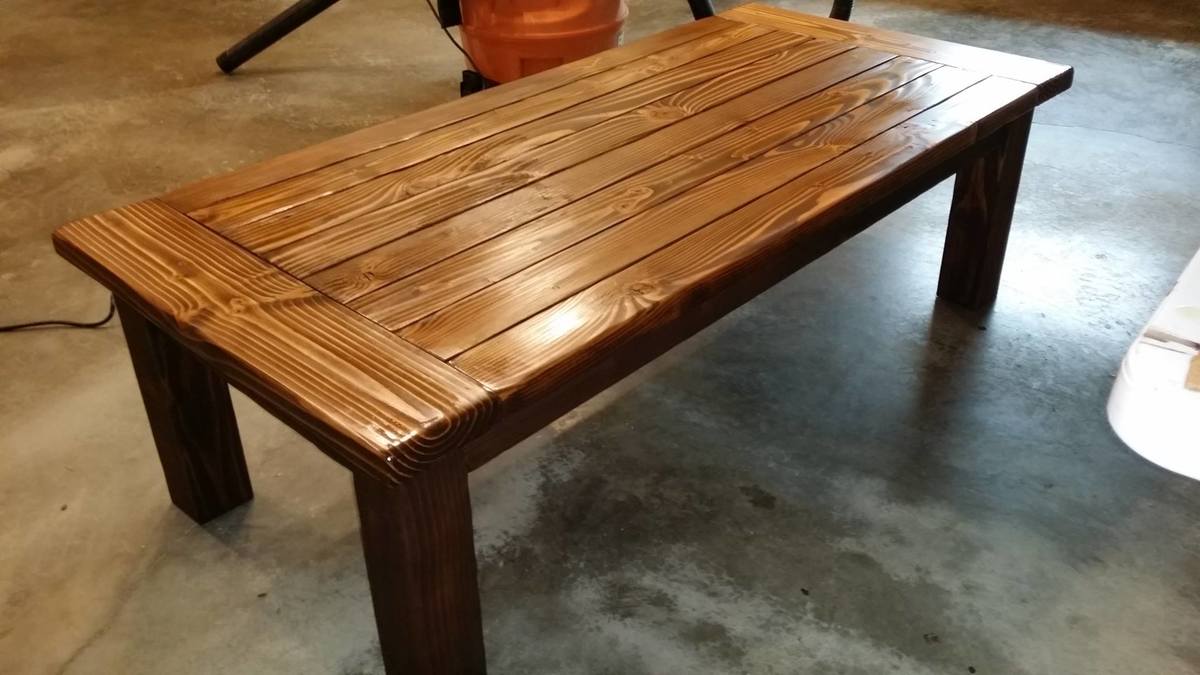
Rustic X Farmhouse Coffee Table

Submitted by Anonymous (not verified) on Mon, 11/16/2020 - 04:48

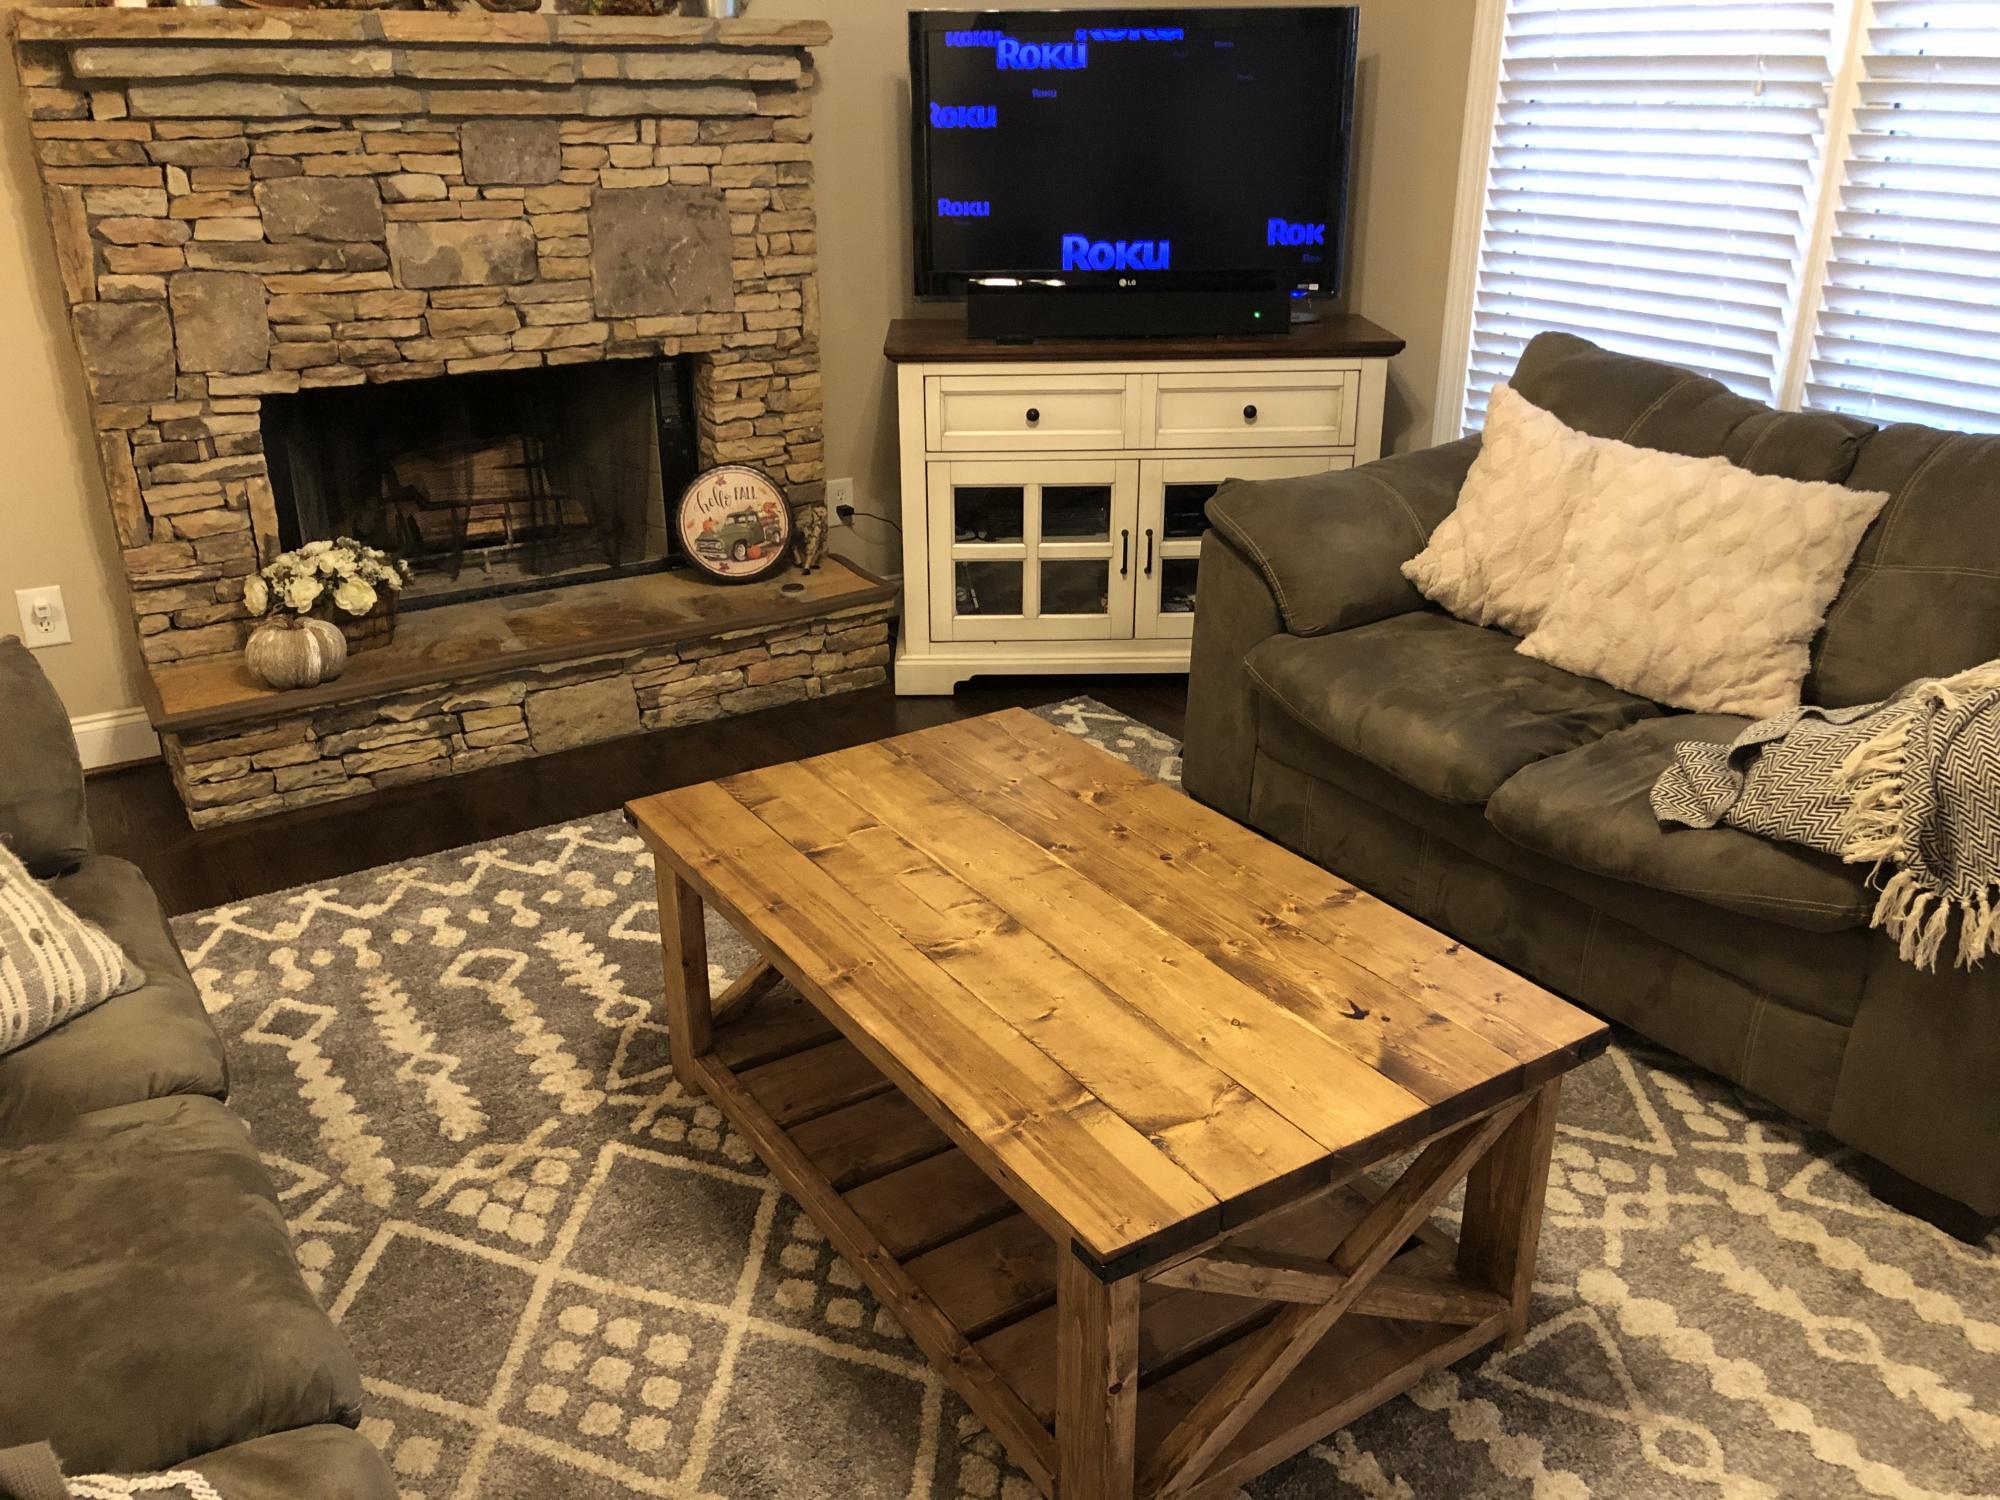
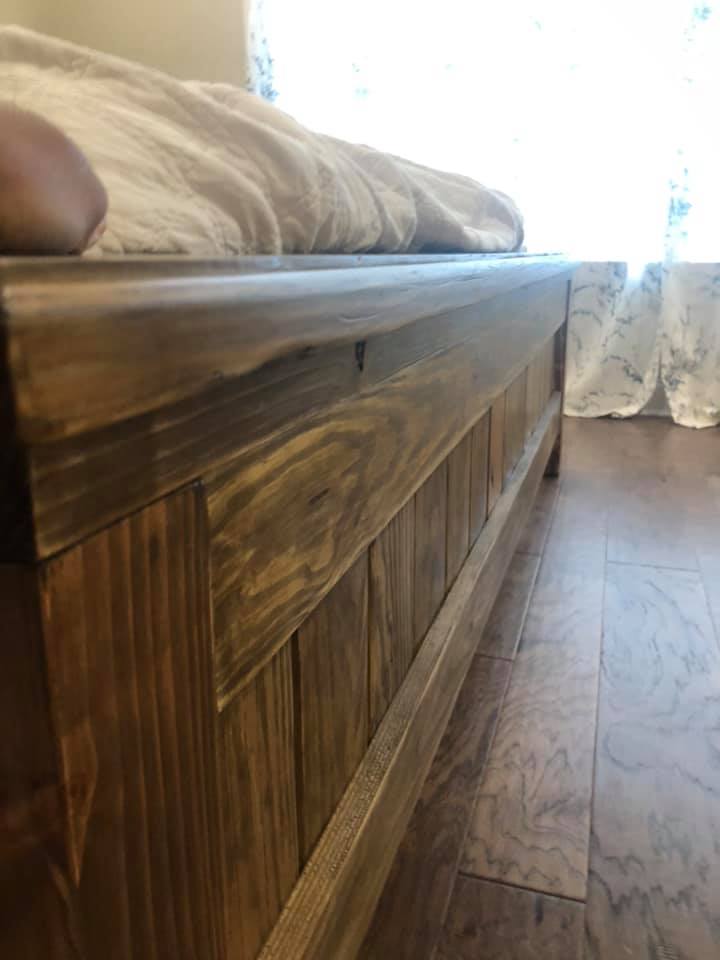
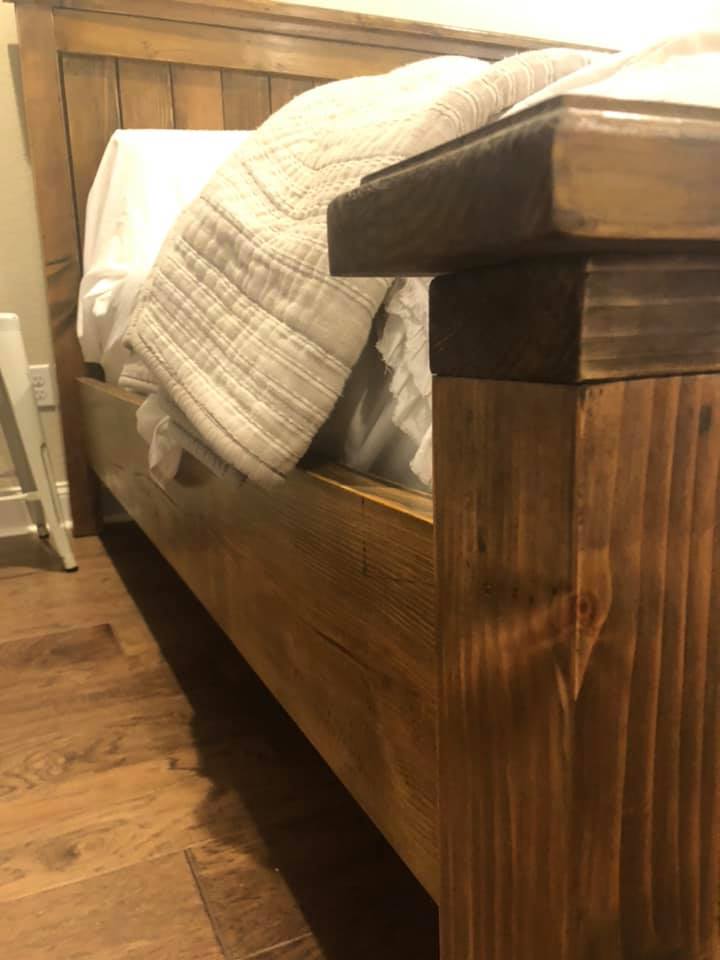
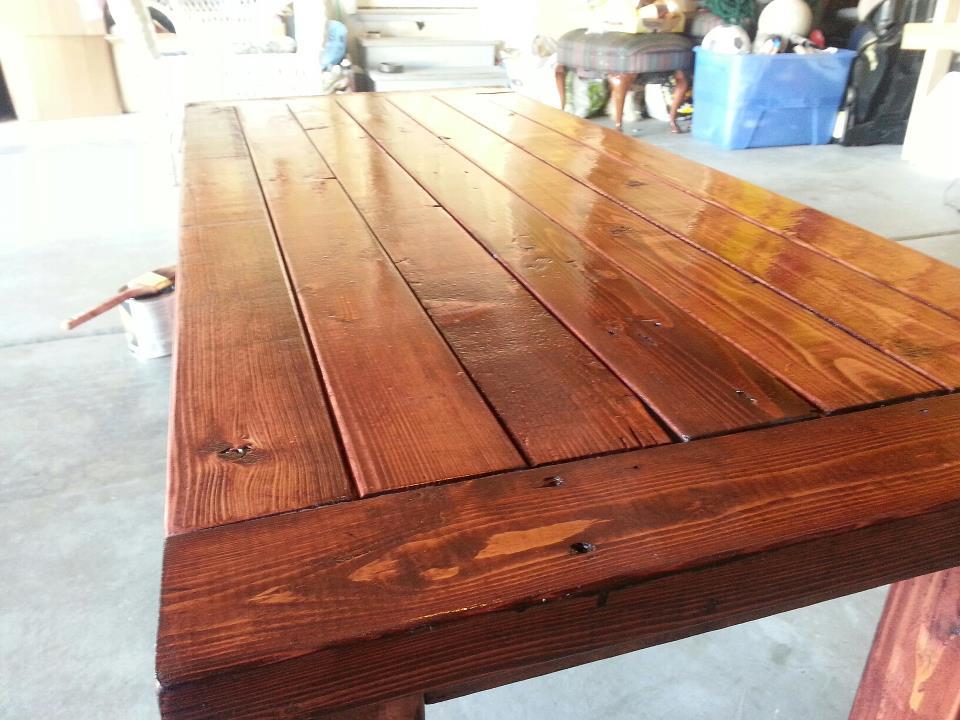
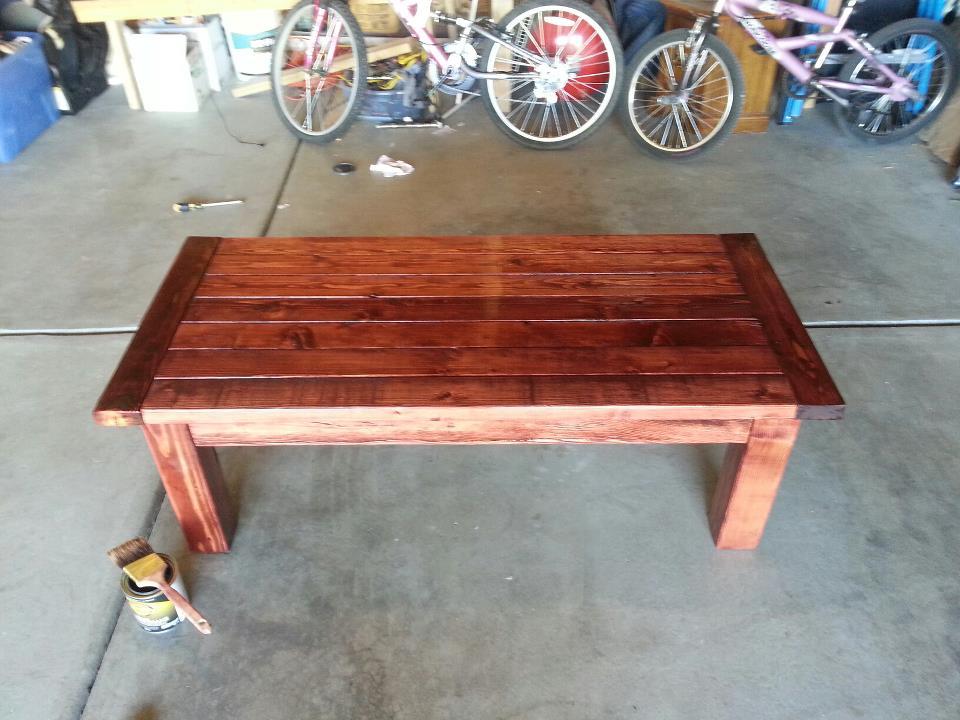
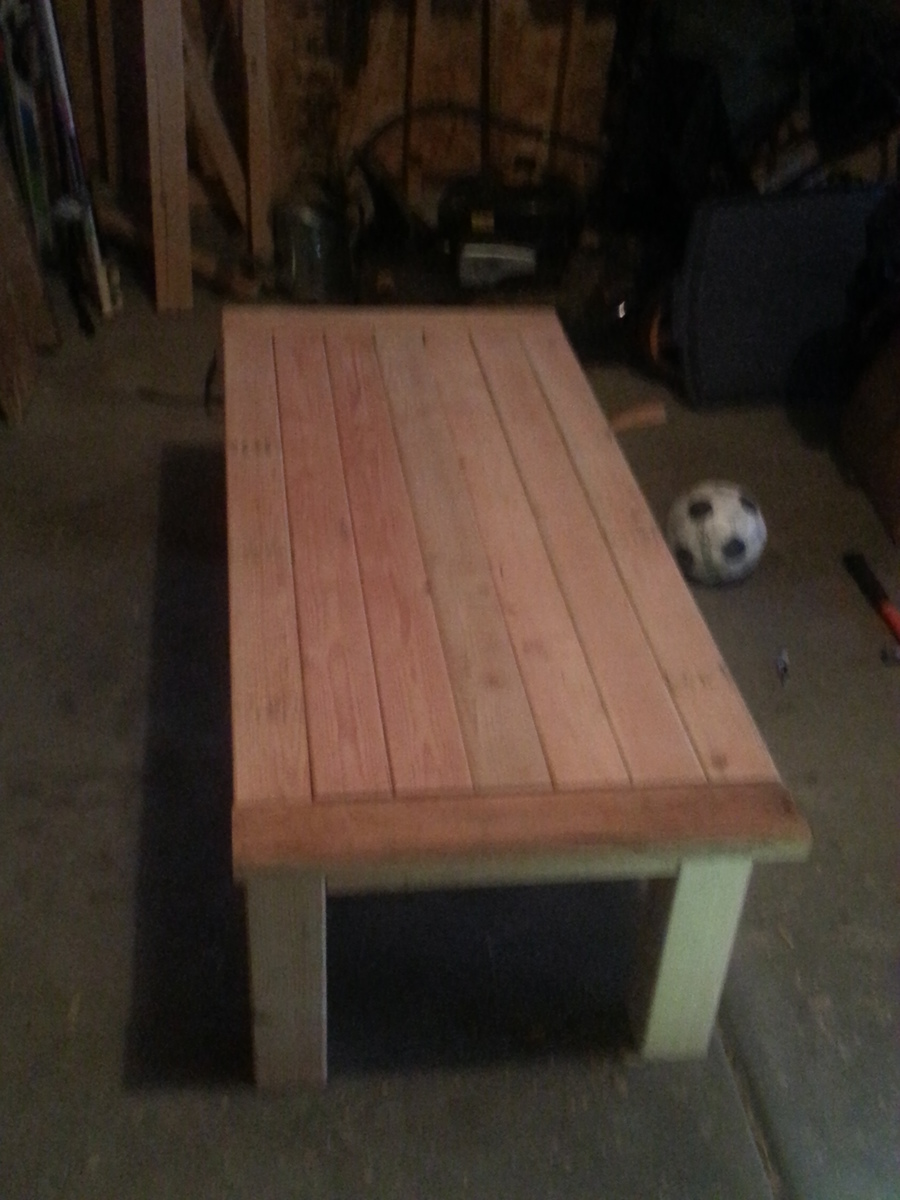
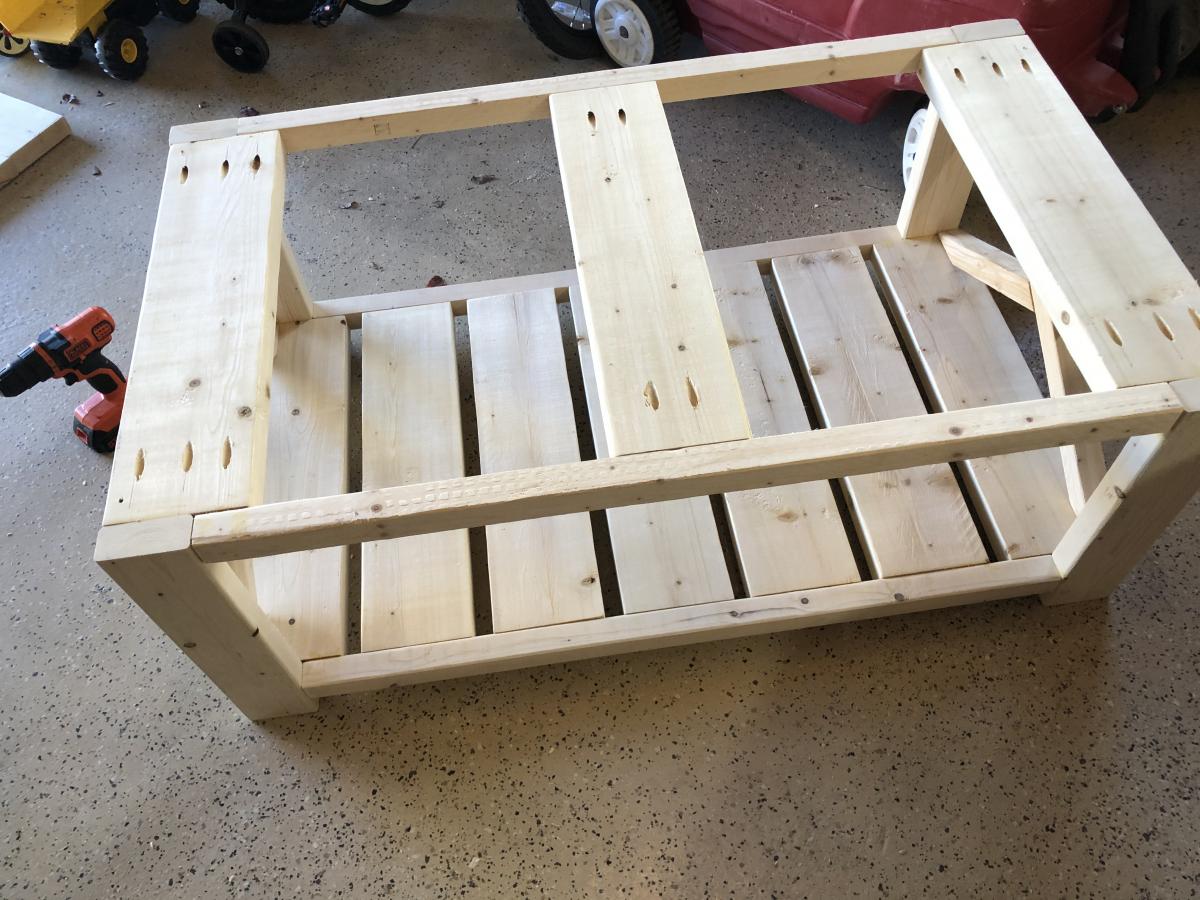
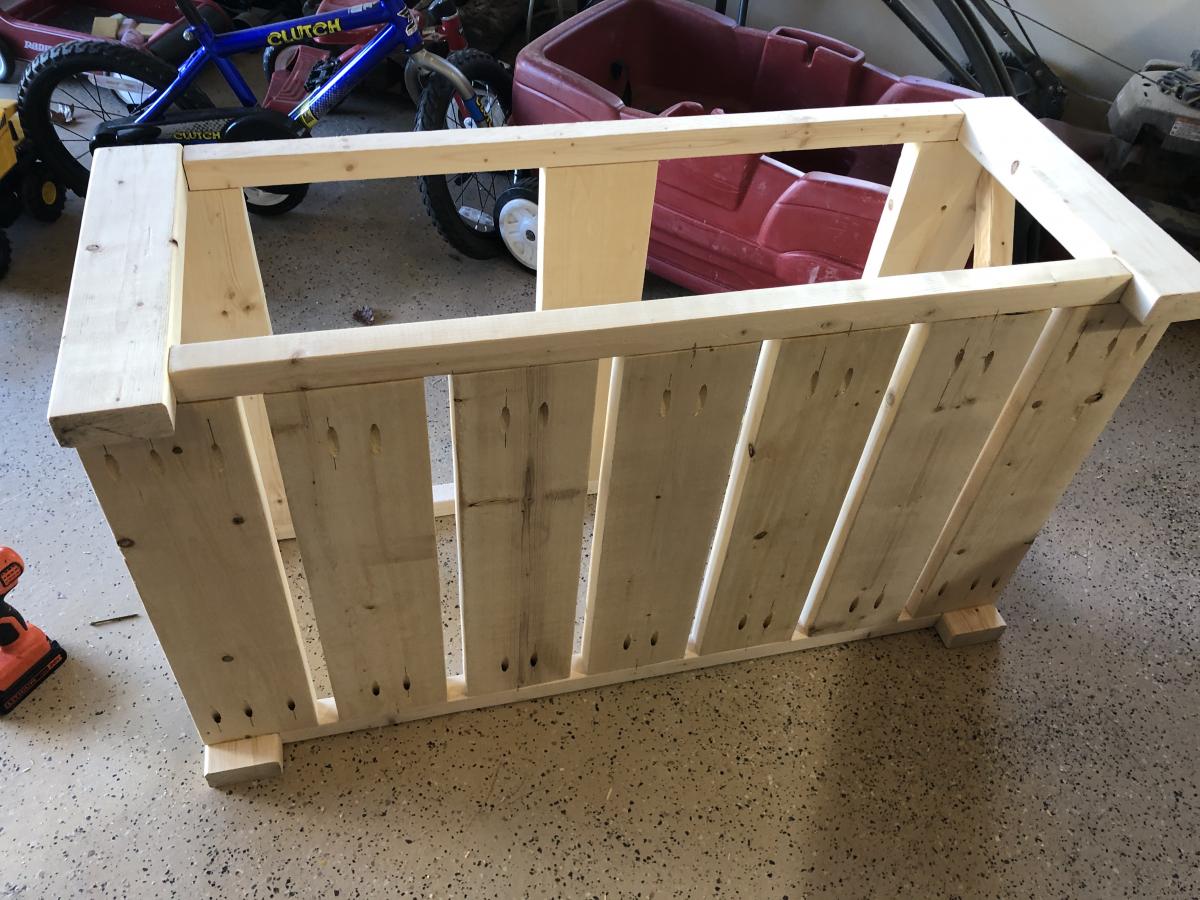
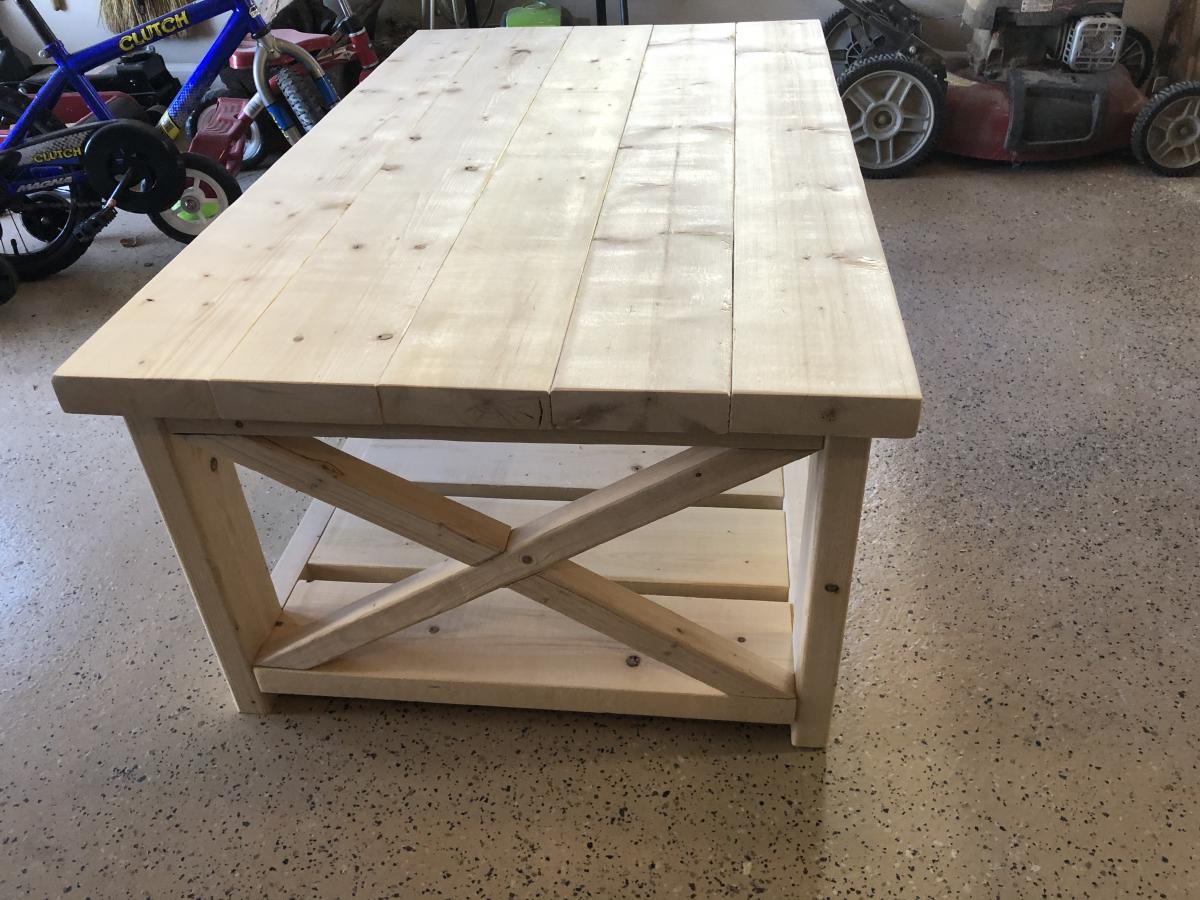
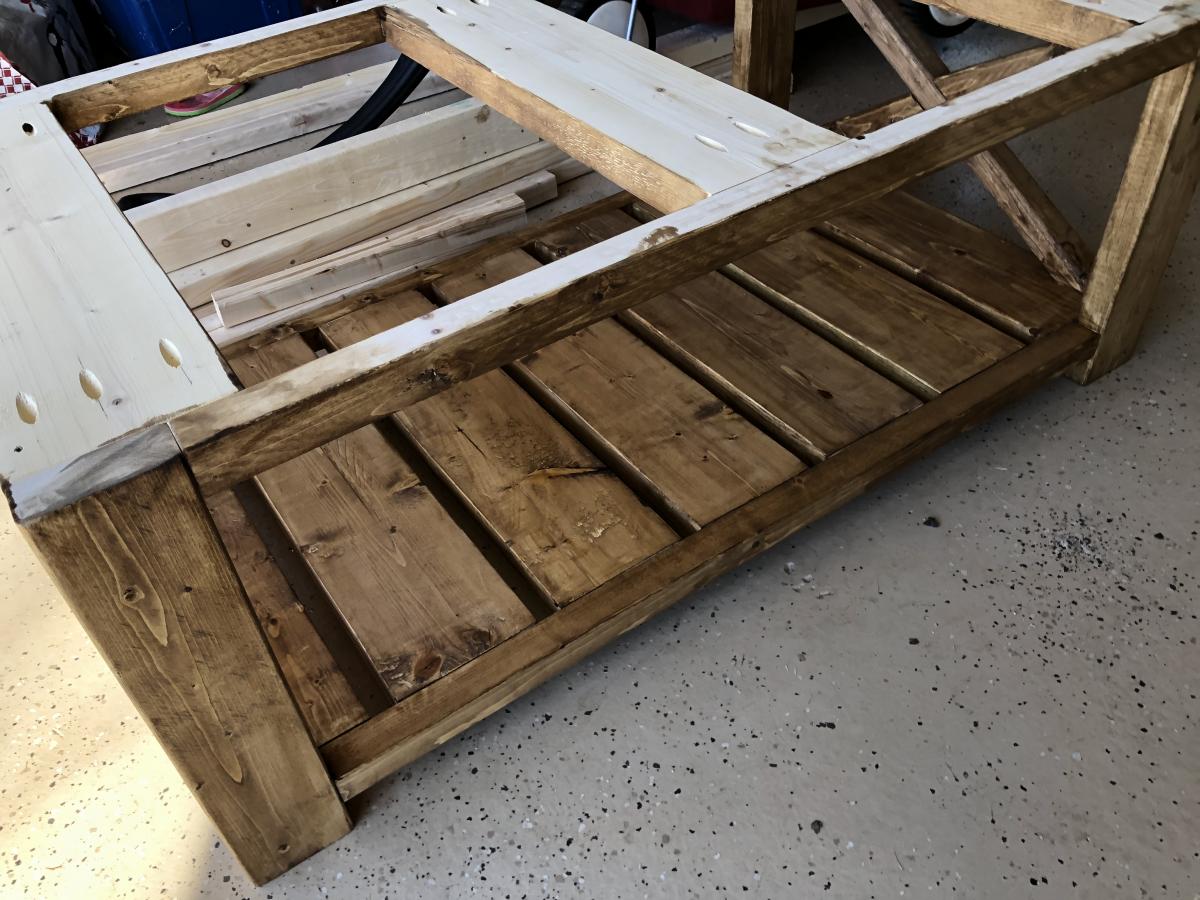
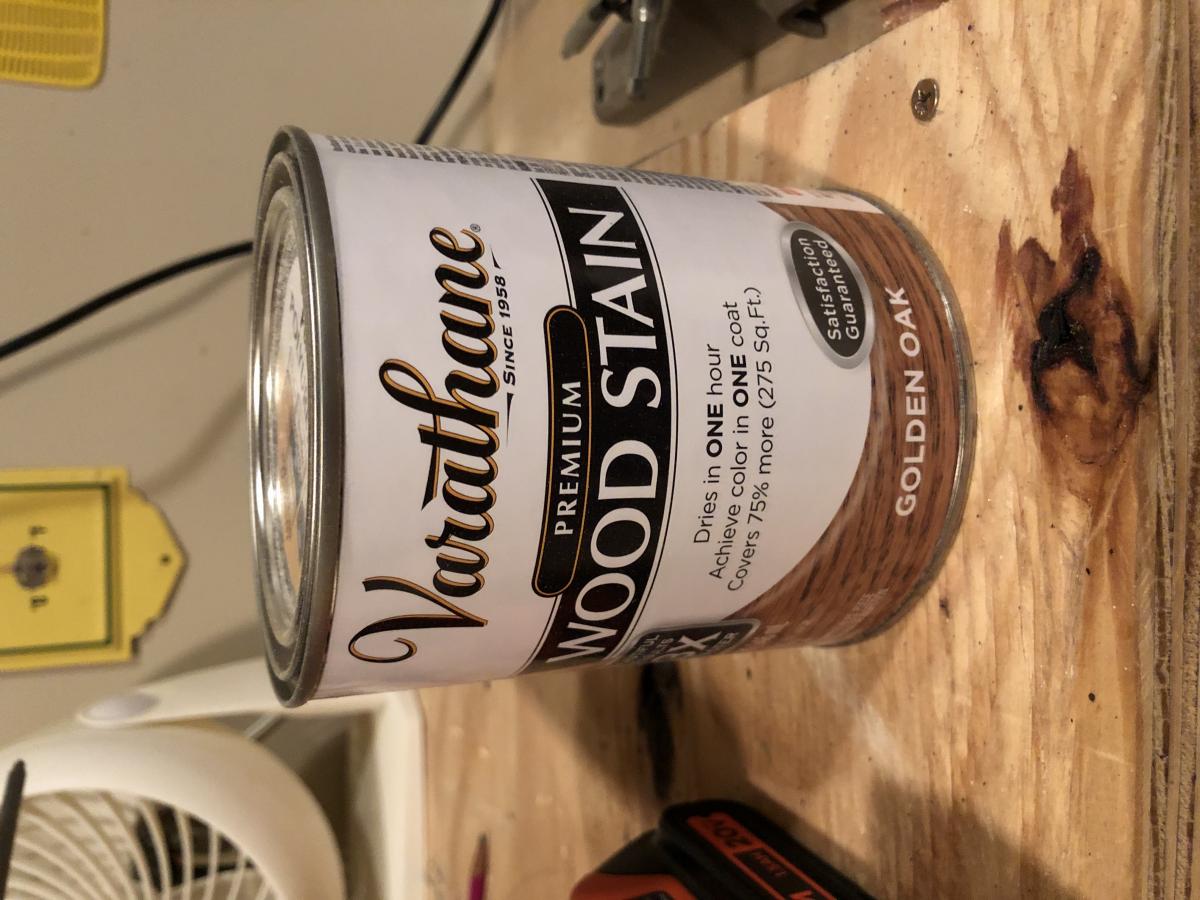
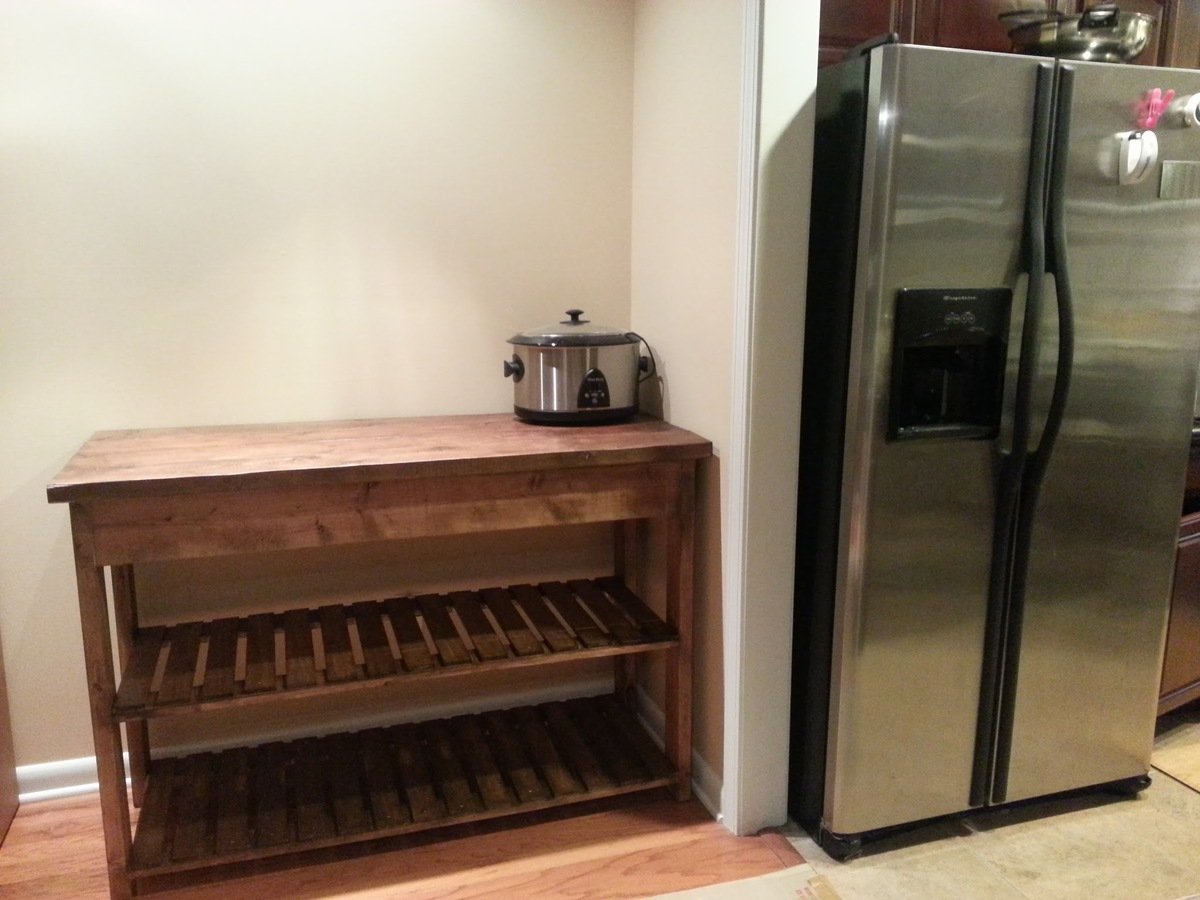
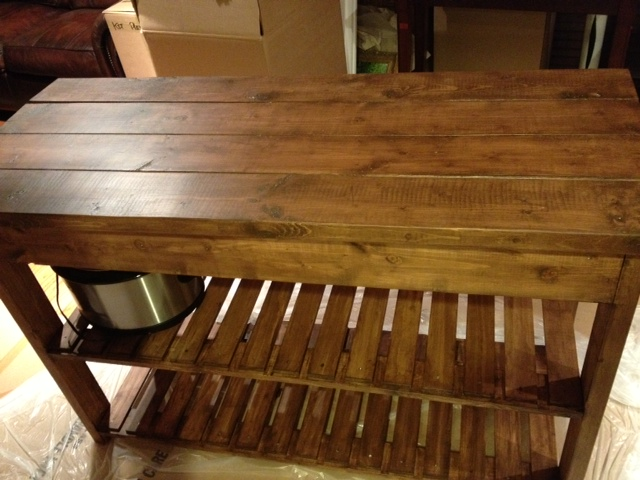
I built the Rustic X Farmhouse Coffee table this weekend. I want to thank Ana for the inspiration. She makes beautiful furniture. I did modify this table just a bit. I used pocket hole screws around the entire table as I didn't want the exposed holes nor did I want to have to use wood filler on them all. It really makes the look seamless. I also wanted a slightly wider table, so I added an additional board to the top. I kept the length and height the same. I also added 2 coats of a clear satin Polyurethane to the top to help protect it against water or heat stains from cups. I used the same Golden Oak Varathane stain. The clear satin poly just slightly darkens the stain on the table top and makes it just a bit shiny. But not too much difference to need to poly the entire table.

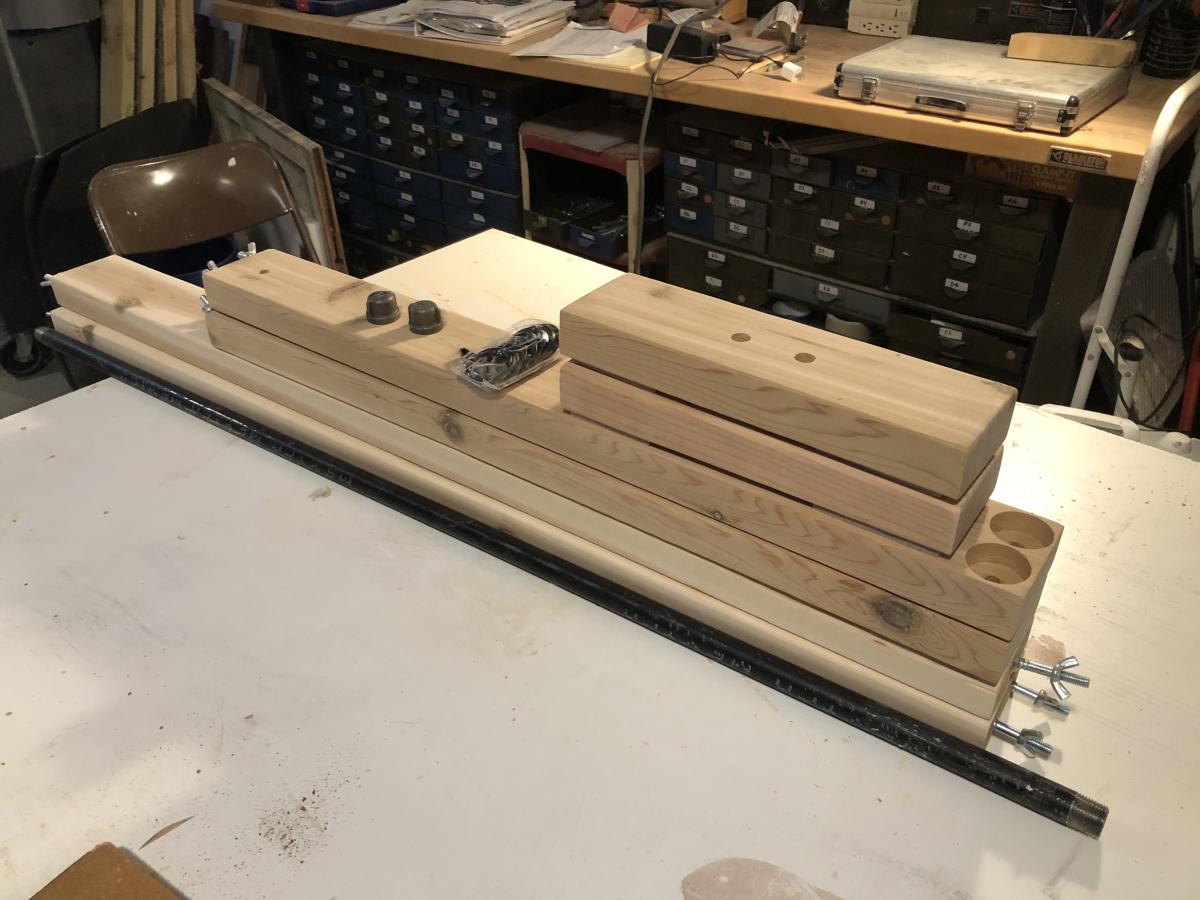
This project took about 8-10 total hours to build over the course of 3 days if you don't count the wait time. With lumber prices what they currently are, it cost about $50-60 in lumber. I also didn't have the stain and had to stock up on screws and glue.

Built from Plan(s)
Estimated Cost
$60-70
Estimated Time Investment
Weekend Project (10-20 Hours)
Finish Used
Varathane Golden Oak; Clear Satin Polyurethane
Recommended Skill Level
Beginner

Easy Kitchen Island

Submitted by tietjen7 on Tue, 01/15/2013 - 15:05

This is my first build ever! Since we recently moved into a place with little kitchen space, I thought this island would be perfect for extra storage we needed. I modified it from 5 2x6 on top, to 4 2x6 so it would fit in the corner we wanted it in. So the overall dimensions were 54" wide x 22" deep x 36" tall. I also changed the 1x2s that make the shelves to 3x5/8 boards, 15 per shelf, with approxinnately 1 inch between each. I predrilled countersink holes and screwed them on using 3/4" wood screws. The stain is a walnut colored water based stain, and I coated the top surfaces with a matte finish poly.

Built from Plan(s)
Estimated Cost
$80
Estimated Time Investment
Weekend Project (10-20 Hours)
Finish Used
I used a water based "Plantation Walnut" colored stain with a Matte finish poly coating on top. I used two thin coatings of stain and didn't wipe off after each coating.
Recommended Skill Level
Beginner

Comments

Vintage Step Stool

Submitted by jlrd13 on Tue, 11/11/2014 - 12:36

I am so thankful, Ana, for your website.  I would have never attempted this without such detailed plans and instructions.  This is the first thing I have ever built.  I even had to watch your video on how to use a Kreg Jig, but I was able to build a solid piece with absolutely no prior knowledge in woodworking using your site!  My grandson absolutely LOVES the step stool.  His new favorite past time is to play at the sink since he can now reach it.  wink  I will be building more as we are in the process of building a house.  I keep telling the men in my life that they are going to build the kitchen cabinets.  They keep telling me no.  While my skillset is not yet to the point I am capable of building my kitchen cabinets, with such a wonderful site available I feel confident to get there.  Thanks again!!!!!  smiley  

Jo Lynn

Built from Plan(s)
Estimated Time Investment
Afternoon Project (3-6 Hours)
Recommended Skill Level
Starter Project

Indoor Garden Boxes for Science Class

Submitted by Anonymous (not verified) on Thu, 02/16/2017 - 19:12

After doing some string art with the Kindergarteners in my class, the were anxious to pound some nails in "all the way." I remembered seeing this plan before on Ana's website, and earlier in the week our science teacher had been talking to the Kindergarteners about how the seeds they had planted were starting to get too big for their containers. The students themselves suggested a bigger box to put them in, and just like that... our next project was born!


The students did every part of this build, except for the cutting of the boards. They loved it, and couldn't believe how quickly they put it together. Here are a couple of tweets to show these little #elemakers at work!

https://twitter.com/JimTiffinJr/status/830163344057327617

https://twitter.com/JimTiffinJr/status/830164086847655936

https://twitter.com/JimTiffinJr/status/830164527304077313


Thanks for sharing some very simple projects and plans that even the littlest of builders can do!

Estimated Time Investment
An Hour or Two (0-2 Hours)
Finish Used
none
Recommended Skill Level
Starter Project

Farmhouse King Size Bed

I just love how this bed turned out. Now I have plenty of space and those 3 kiddos can't boot me out.

Comments

TRYDE COFFEE TABLE

Submitted by makadams on Sun, 01/20/2013 - 18:38

This was my First project i still need to sand and stain.

Estimated Cost
35 or 40 bucks i had stain already
Estimated Time Investment
Afternoon Project (3-6 Hours)
Recommended Skill Level
Starter Project

Rocket Ship Bookcase

Submitted by JoeP on Thu, 11/13/2014 - 16:56

My son loves rocketships so this was a nobrainer.  I made it a bit taller than the plans called for, it's about 6 1/2 feet tall.  It should hold all of my son's books and then some!

Built from Plan(s)
Estimated Time Investment
Weekend Project (10-20 Hours)
Finish Used
Red, white and blue paint and 2 coats of gloss poly.
Recommended Skill Level
Beginner

Comments

Chairs I've made

I came across this plan and decided to make a chair for our patio from some wood that I happened to have in the garage. Well, people saw the chair and just had to have one.  I've made 10 so far. 


People passing on the street would see me working on them and stop to ask of they could order one!   

Estimated Cost
$25
Estimated Time Investment
Afternoon Project (3-6 Hours)
Finish Used
Exterior semi-gloss paint & primer.
Recommended Skill Level
Beginner

Pantry Cabinet

Submitted by 3G1B on Fri, 11/27/2020 - 07:33

Had to re-size from the plans to fit my space, but my wife loves the extra storage we now have in the laundry room. Put in adjustable shelves.

Built from Plan(s)
Estimated Cost
300
Estimated Time Investment
Week Long Project (20 Hours or More)
Recommended Skill Level
Beginner

Comments

Reclaim wood look bed side table

Submitted by asmith7103 on Tue, 01/22/2013 - 14:46

Took a while biting think it came together well. Removed the top drawer so I could use it for the iPad. Then added the bottom shelf to hold the lap top.

Estimated Cost
175.00
Estimated Time Investment
Week Long Project (20 Hours or More)
Finish Used
Pecan
Recommended Skill Level
Advanced

Toy box with upholstered seat

Submitted by Jarvo388 on Mon, 11/17/2014 - 13:16

This was my first project using designs from Ana White, and I am really pleased with how it's turned out. My son loves it! There were a few small errors but it was always going to be a learning curve and the good thing with wood is you can hide most errors. Using the pocket hole system was new to me, as it's not that big over here in the U.K but its a great system if joining wood. Also over here we tend to use different measurements and we pay a lot more for wood. I am looking forward to building more projects if the wife lets me ;) 

Built from Plan(s)
Estimated Cost
£65
Estimated Time Investment
Day Project (6-9 Hours)
Finish Used
White gloss. Next I would try a nicer or different finish.
Recommended Skill Level
Starter Project

Comments

Alexander Penn

Thu, 01/22/2015 - 19:41

Hello,
I am also a first timer and am just about to finish up the final coat of finish. I was wondering what you did to make the cushion on top? my girlfriend really wants to make a cushion for it but does no know where to start. Any tips or advice would be greatly appreciated! Your box looks amazing by the way. i like the lettters on the front.
Thanks
Alexander

Rustic X Coffee and End Table

Great project we did for a local customer. Super happy with the way it came out, and the contrast between the brown top and white base. Making the inset shelf a different color provided an additional later of difficulty, but the result is worth it.

Estimated Time Investment
Day Project (6-9 Hours)
Finish Used
Minwax Toffee and Rustoleum Gloss White
Recommended Skill Level
Beginner

Wood Hall Tree

Submitted by Anonymous (not verified) on Thu, 12/03/2020 - 04:12

Our house has a big, beautiful front porch. The front door opens to our living room, which I’d like to think is warm and inviting. However, we rarely use our front door. Even when guests come to stay with us, we typically enter and exit out the back of the house. So, the first and last thing we see (and anyone else sees when they’re joining us) is the mudroom. The room isn’t unattractive when it’s bare, but in the past two years we have lived here it has become a holding room for shoes, dirty gardening tools, empty flowerpots, and grilling tools. While I do still want the space to store some things, I would like it to be less of a messy catchall.

To replace the storage furniture, I priced hall trees online. My favorites cost hundreds of dollars or more. Most of them are MDF, so set down one growler with some condensation — homebrewers’ wives, raise your hand if you feel me — and now the MDF has cracks and bubbles. Then I thought, can I make one?

Spoiler alert: I made one with my husband using a plan by Ana White that uses six 2x4s and two 2x6s. It cost $90 in materials and equipment.

Built from Plan(s)
Estimated Cost
$90
Estimated Time Investment
Day Project (6-9 Hours)
Finish Used
I used Varathane wood stain in Early American and Minwax Satin Oil-Based Polyurethane to get the finish on the wood.
Recommended Skill Level
Beginner

Comments

Master Bathroom

This was a bathroom remodel. We installed new windows new tub new sicks. Made a tub suround and tiled the whole bathroom with marble tile. Lots to watch for on projects like this. Yu need to watch for tile spacing and gettin everything square. Also watch your cuts. Get fast setting mud for yur walls the slower it sets harder it is to go up the wall. Crown molding watch your angles we used cheater blocks in tge corner one thts what the guy wanted and liked. The pillar is fasted into a rough joice and the bottom is also fastend same with to each ends of rhe wall. Then wrap with trim. Its a long process thtll test your patients but yull get it start small and then go big

Estimated Cost
500+
Estimated Time Investment
Week Long Project (20 Hours or More)
Finish Used
Stain and high gloss finish
Recommended Skill Level
Advanced

Leaning Bookshelf from The Handbuilt Home

Submitted by Shorty on Wed, 11/19/2014 - 18:24

As my husband and I were slowly piecing this shelf together, I began to worry if it was going to end up rather unattractive. Turns out I had no need to worry and the completed project was better than I had imagined! It's extremely sturdy and a good size (I actually brought down the width a notch). I painted the shelves and supports separately which turned out to be an excellent idea.

Built from Plan(s)
Estimated Time Investment
Weekend Project (10-20 Hours)
Finish Used
Glidden Spanish Olive
Recommended Skill Level
Beginner

A nice place for the living room "stuff"

Submitted by Anonymous (not verified) on Fri, 02/24/2017 - 19:14

I followed the plans exactly except I made the legs 5 inches taller to allow more room on the bottom shelf. this was my first project with doors and drawers and my third big project after building a chicken coop and the Ana White triple pedestal table. I couldn't find 2x2s so I stripped 2x4s (the dimensions aren't exactly the same but close enough). Took me longer to build than it would most people because I'm not that experienced.

Built from Plan(s)
Estimated Cost
About $130 for everything.
Estimated Time Investment
Week Long Project (20 Hours or More)
Finish Used
Thalo green satin latex by Valspar. Then I watered down some black latex and wiped it on with a crumpled paper towel and wiped it off with another crumpled paper towel. I had some tintable glaze but I didn't like it as much as my watered-down paint method.
Recommended Skill Level
Intermediate

Comments

Stocking Rack

Submitted by dabsads on Wed, 12/09/2020 - 14:16

Thanks for the stocking stand plan! We have LOTS of people coming in for a Cozy COVID Christmas, and needed room for more stockings.

Made out of cedar. Substituted 4’ black pipe and drapery rings. And built it with hangar bolts and wing nuts so it can be easily broken down and stored between Christmases.

Built from Plan(s)
Estimated Cost
$40
Estimated Time Investment
Afternoon Project (3-6 Hours)
Finish Used
Unfinished for now. May just use some tung oil to highlight the cedar grain.
Recommended Skill Level
Beginner

Comments

Farmhouse Table

Submitted by shackrock on Sat, 01/26/2013 - 08:12

Based off of the Ana White design w/ pocket holes. This was really our first big project, so we made plenty of mistakes. Some lessons learned:

1. Pick non-warped wood to start with!
2. Clamps are pretty important to use when screwing into your kreg jig holes. It is REALLY hard to keep things flush without some strong clamps. Biggest lesson learned!
3. Always do your polyurethane coats in 60+ F temperatures. I did one coat when it was pretty cold, around 40 degrees. The liquid ended up beading and it was extremely hard to get out, eventually I just put many more coats on and called it a day.
4. Sand, sand, and sand some more!

This build is very rustic, but next time I think I could build a pretty perfect one. We're going to use this one, I like how rustic it is.

Estimated Cost
135
Estimated Time Investment
Weekend Project (10-20 Hours)
Finish Used
1 coat of water-based wood conditioner, Some dark MiniWax stain (2 coats), 3-4 coats of water-based polyeurethane.
Recommended Skill Level
Beginner

5 years in the making

first project ever, made a few alterations to both plans and came up with this.

Estimated Time Investment
Weekend Project (10-20 Hours)
Recommended Skill Level
Beginner

Comments

The Full Farmhouse with a 15.5" clearance for under-the-bed storage

Submitted by Anonymous (not verified) on Mon, 02/27/2017 - 08:42

For our small 1960's Master bedroom, I needed more storage for under-the-bed totes. When we were all done, I made a bedskirt with the needed drop-length to hide all of the totes.

Estimated Cost
$140
Estimated Time Investment
Weekend Project (10-20 Hours)
Finish Used
Sherwin Williams Ovation extra-white
Recommended Skill Level
Beginner

Christmas done!

Submitted by Anonymous (not verified) on Sun, 12/13/2020 - 11:22

I made some for me but didn’t use cedar for the 1x2 and 1x2.5. This time I ripped the pickets for those and love how these came out. I may be making me some more in the future.

Built from Plan(s)

Comments