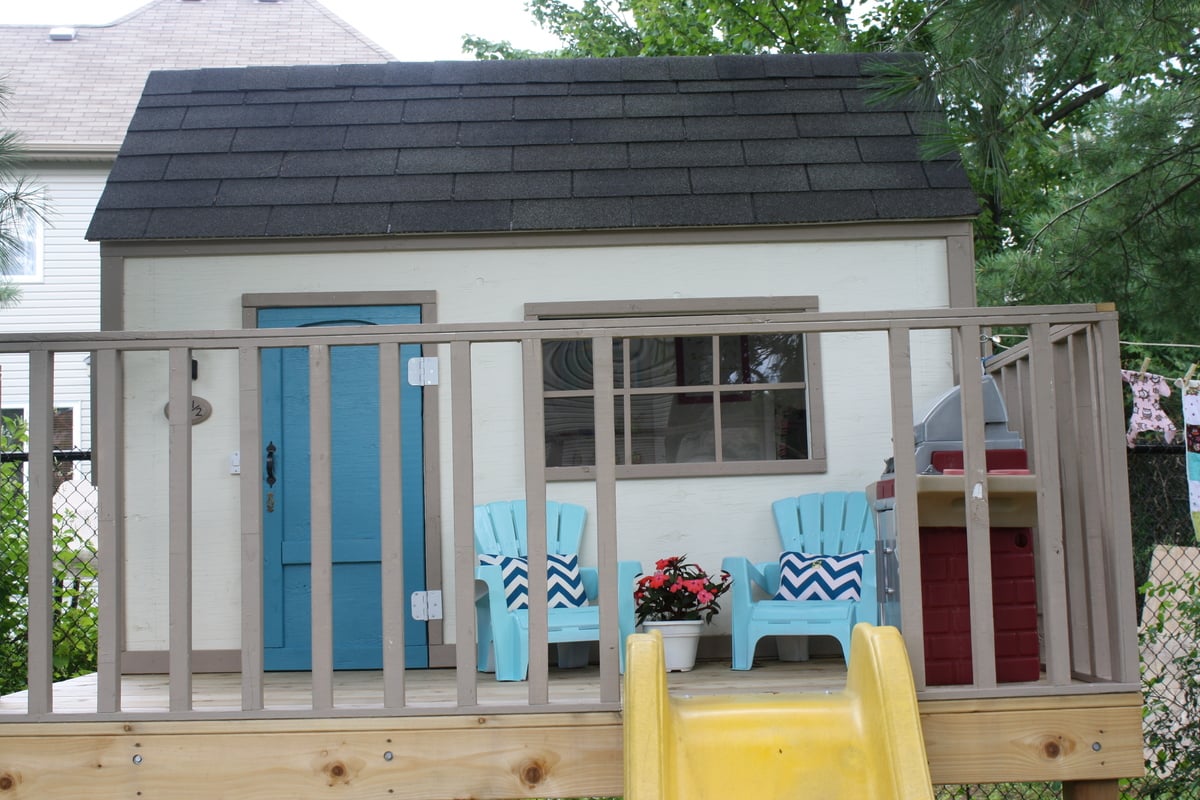
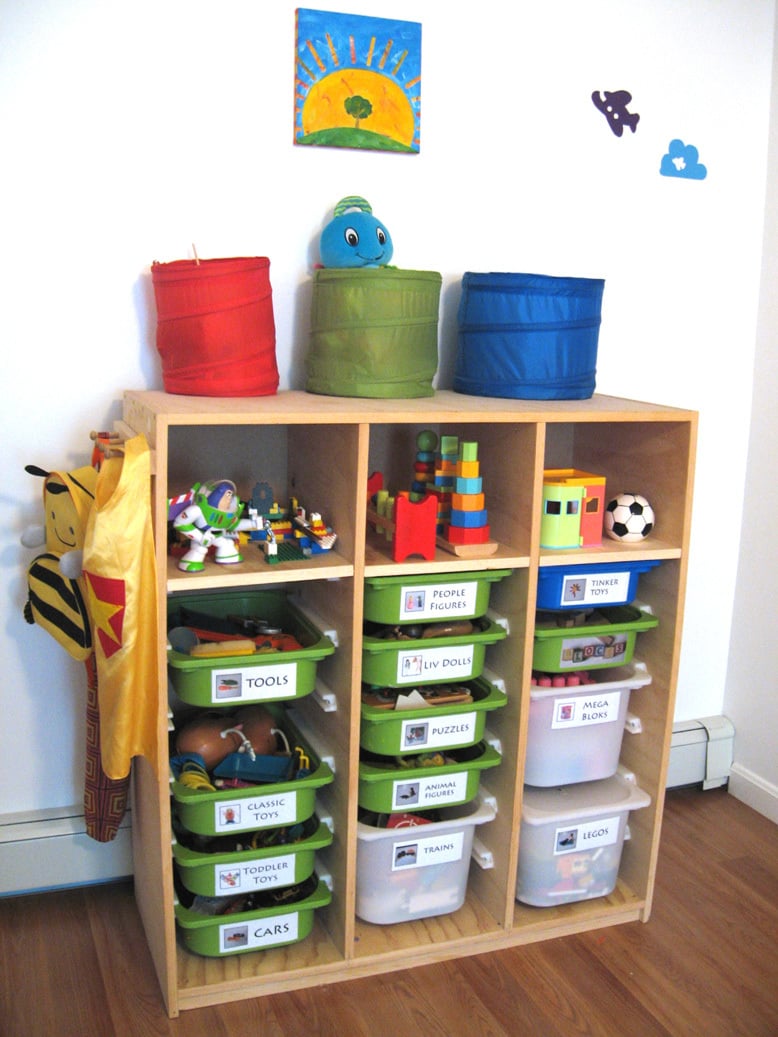
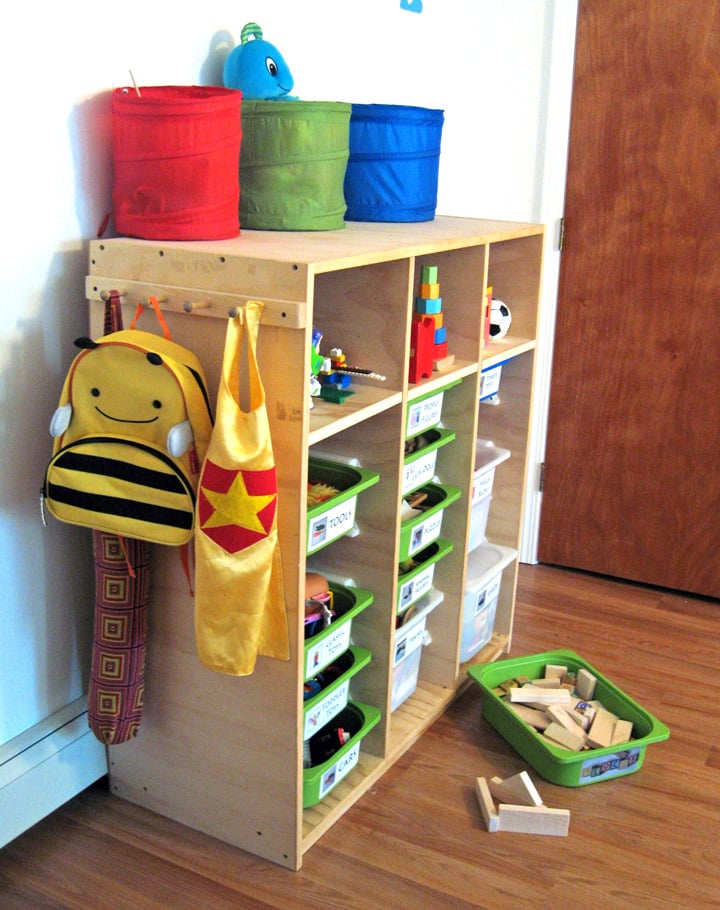
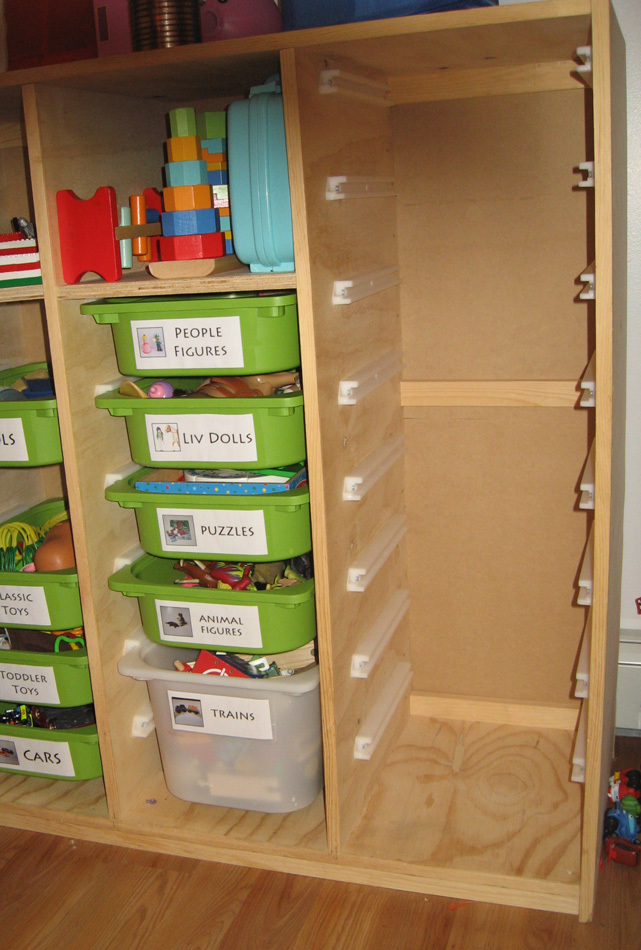
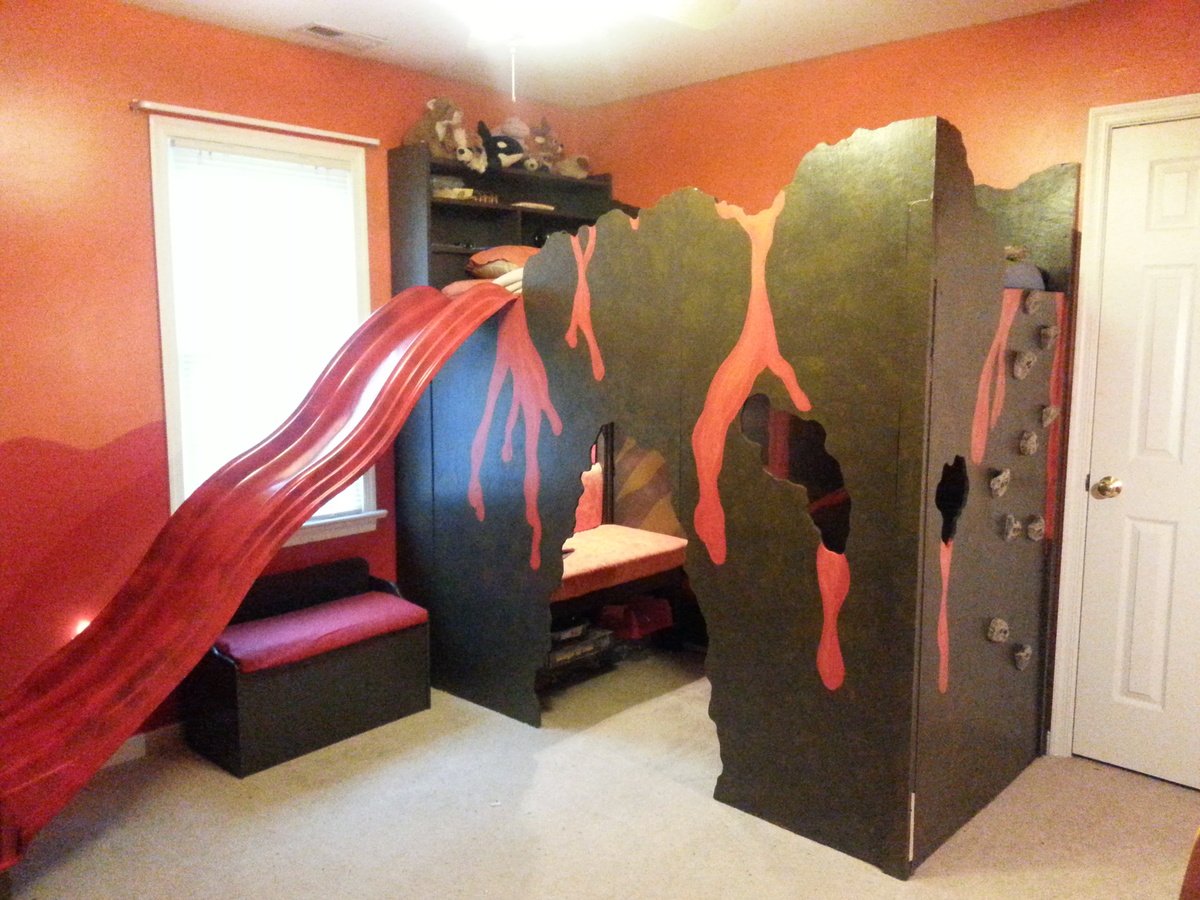
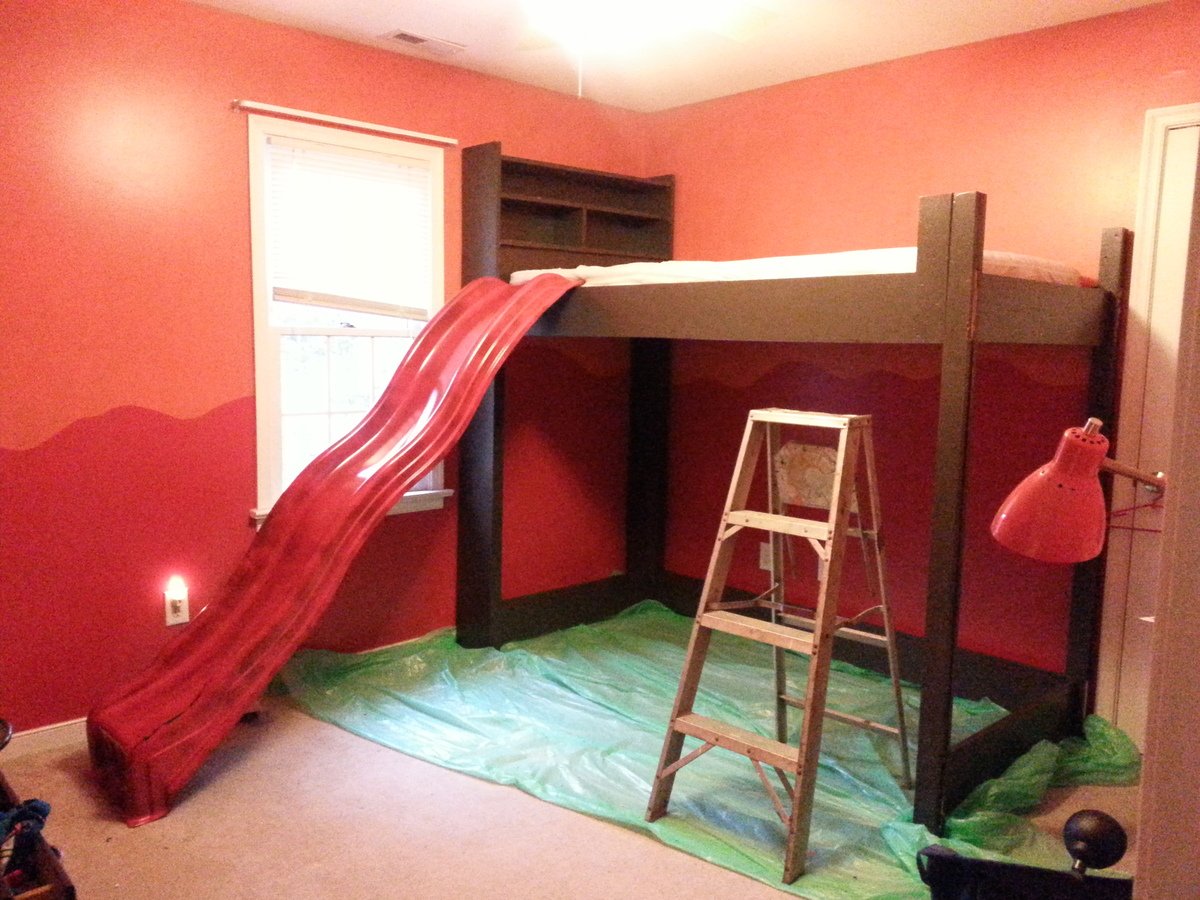
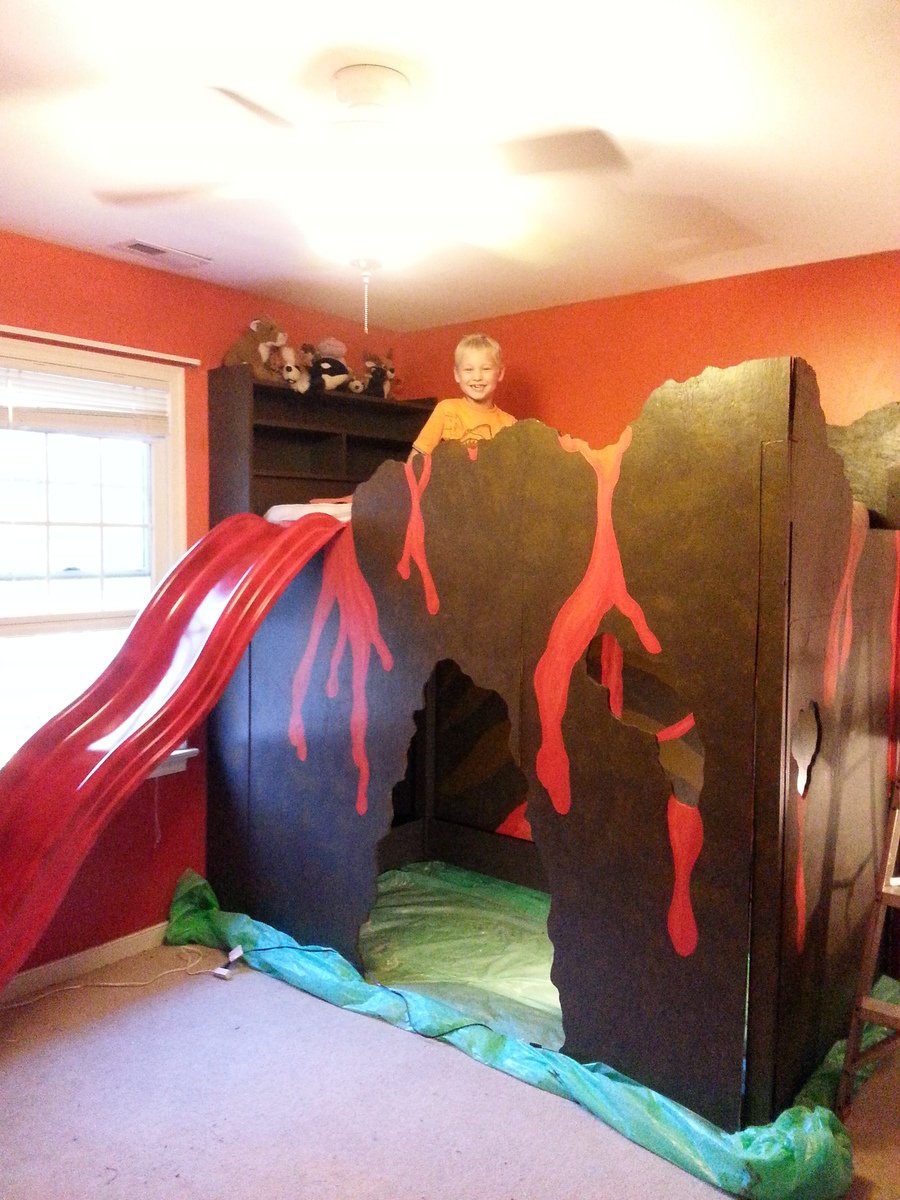
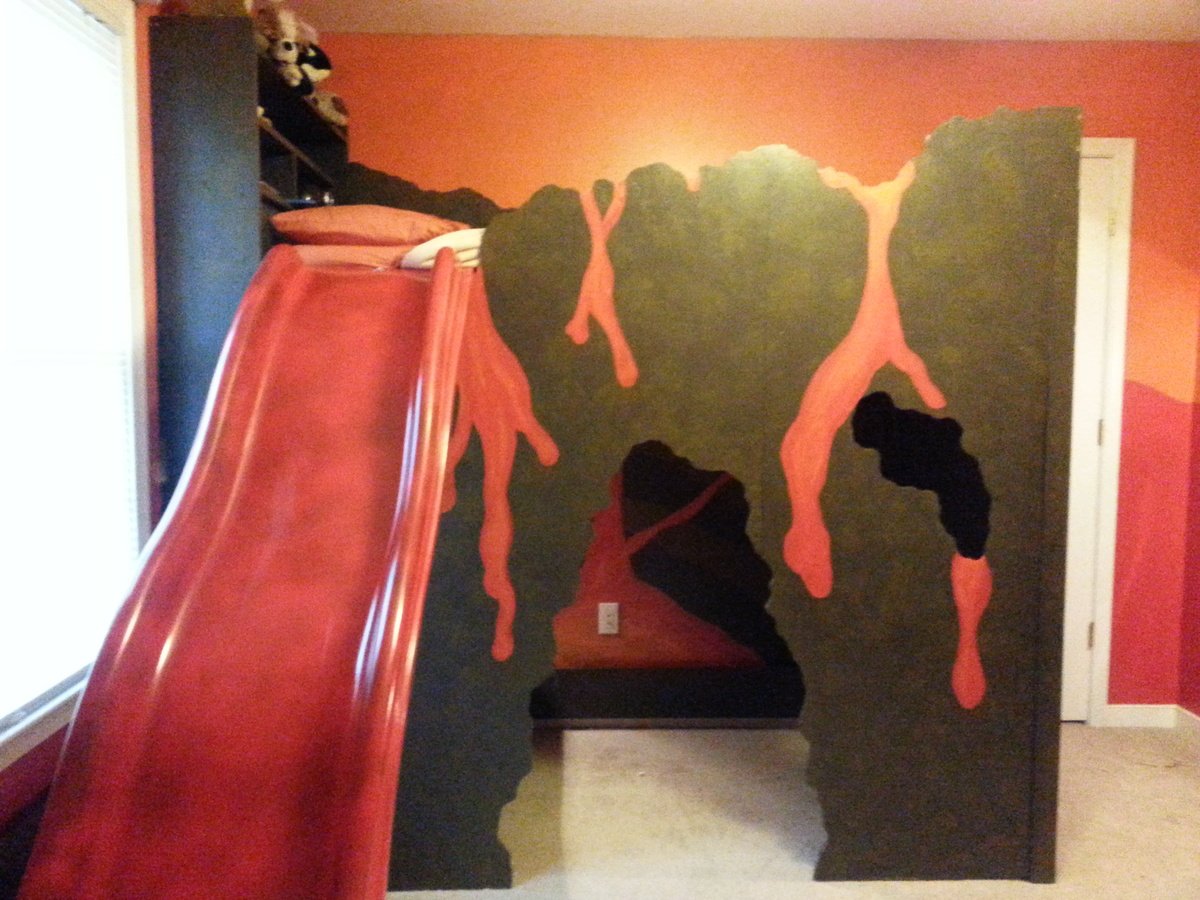
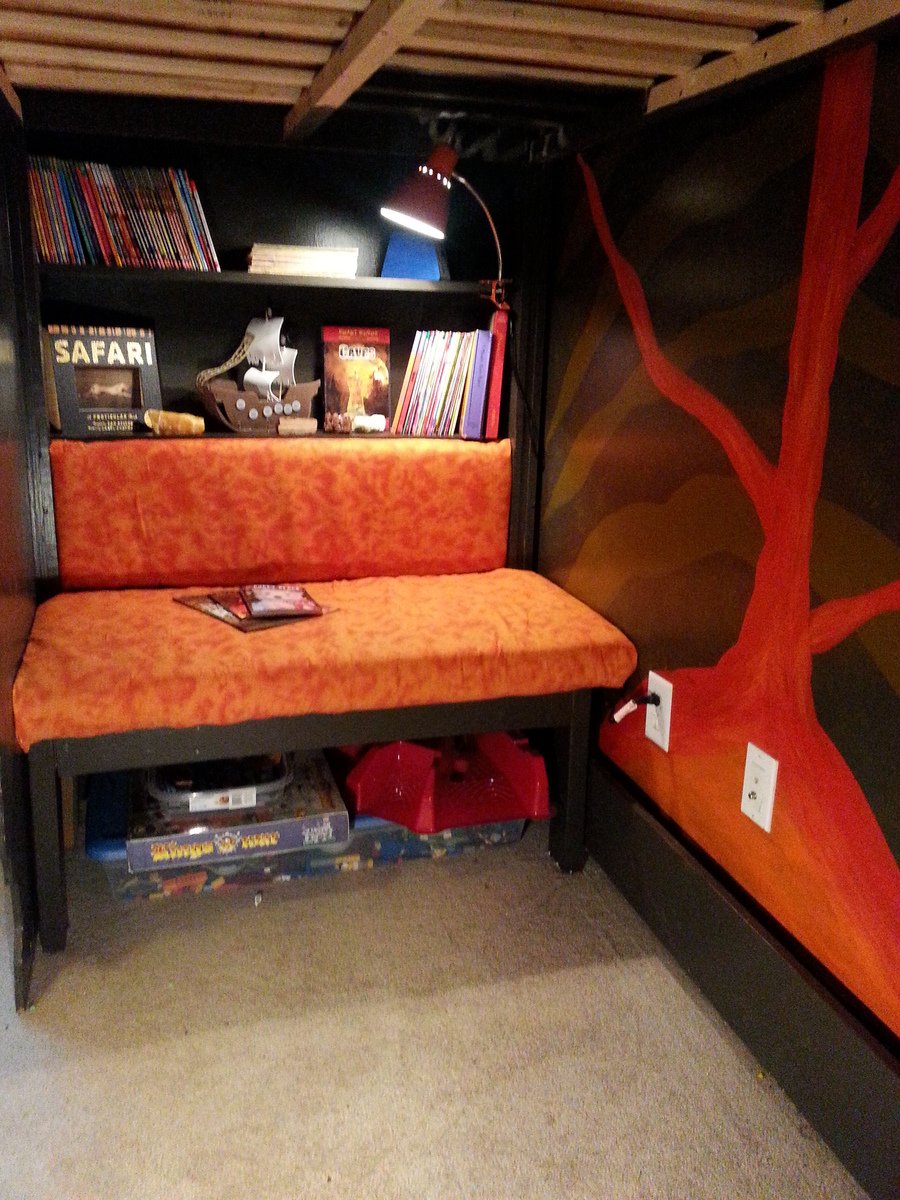
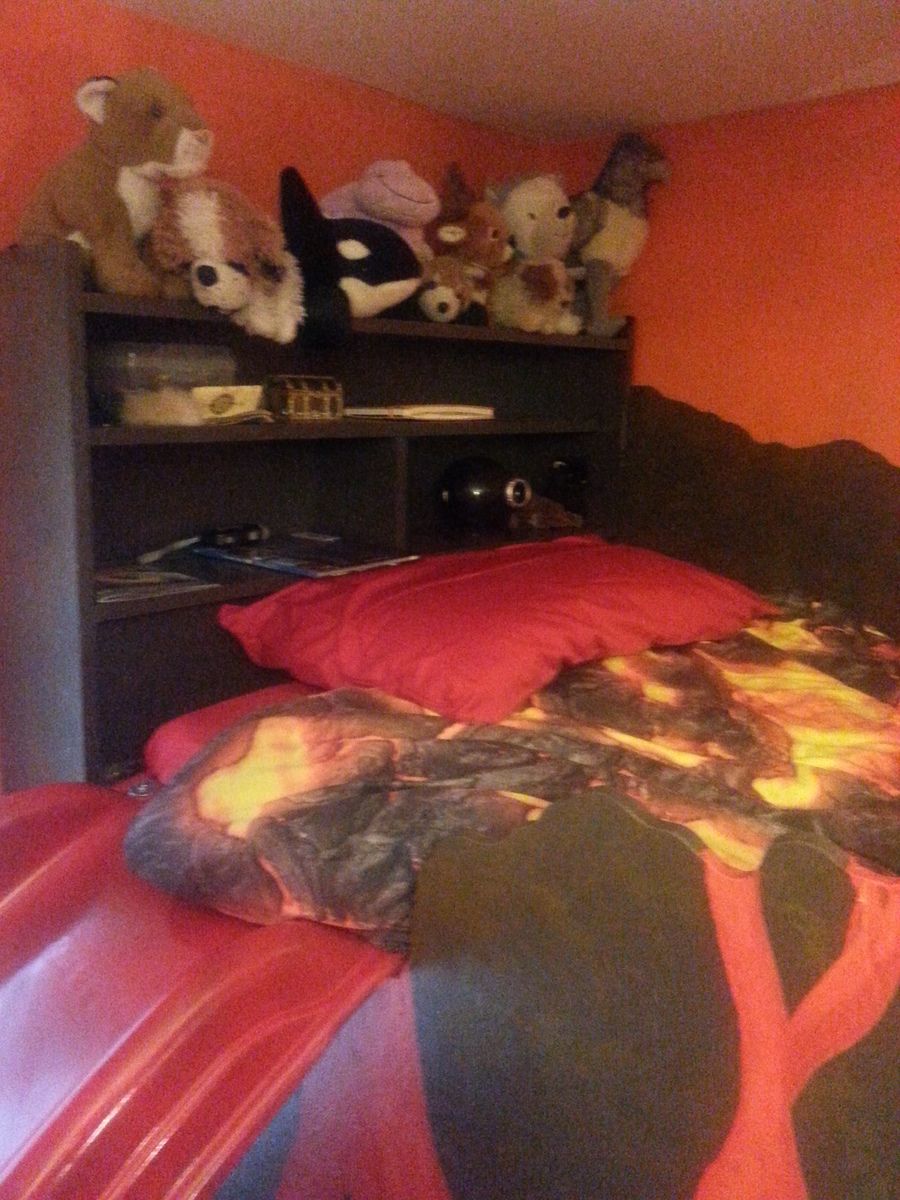
I had been asked a few times for these plans, but as someone else posted a similar one, I'll just stick to a blog post for now and describe my differences. I made this shelving unit January 2010, just after I found out of I was pregnant with my third child, and it's been a lifesaver since then. I desperately needed a toy storage solution (and purging), as shown in the 'eek' kids closet below. I didn't like the shape of triangular Ikea ones, as they spanned more floor space than I cared to give up. Plus, I wanted a place to put *almost* all of my kids toys, so I wanted it to be tall. I'm so glad we did, since we've moved twice (also, 'eek') since than, and it's made packing and unpacking the kids toys super (SUPER) easy. At first, I was afraid that the kids would go crazy and just tear down every bin at once, but it hasn't happened yet. Unlike the other plan that was posted, I used white sliders that ikea sold. I'm not sure if they still sell, as I don't see them online. It cost an additional $24 (they were $1/2), but seemed worth the extra money. I didn't have a router and wasn't particularly confident with our table saw skills. Plus the Ikea version had some really thin areas that made me nervous that it would break easily. I tried to keep it easy and just had to line up and screw the sliders in. Now that I'm a little more confident with a table saw, I'd give the router style a-go. I used two sheets of cabinet grade plywood, each costing about $30. I ripped down some pine boards to cover the front edges, which made the unit look loads nicer. However, I wish I would have used maple, instead of pine as they got dented almost immediately. Not a big deal though. The three shelves were sort of an afterthought, but turned out to be great for puzzles and other type toys. I didn't use backing or cross supports initially, but put some in after we moved. You can see them in the last picture below. The heater in our temporary house caused the slightly-bent sides to become very bent sides. That caused the drawers would spontaneously fall out, which was always quite the shock and disappointment. I put in some supports in the back, which I wish I did initially as it would have made manufacturing easier. Also, If I were to go back, I would put one cross support in the front-middle, as the boards are so tall, it needs something to help maintain the shape in the front. I've found that even in a perfect fitting slider, really heavy buckets would bend just enough to flex out of them to crash... so don't plan on filling one of the large buckets with matchbox cars and sticking it on the top. Regardless, we've learned our lessons, made it work better, and has been a huge success in our house for a while now.


Comments
spiceylg
Thu, 06/27/2013 - 12:16
Wow
Been thinking of building one of these. Yours looks beautiful, nice job!
moosmani
Thu, 06/27/2013 - 18:49
Very, very nice!
Very, very nice!
tara2
Thu, 06/27/2013 - 19:06
really nice!
really nice!
sbelange
Tue, 09/09/2014 - 20:56
Very very nice
Very nice
campbelllsara
Tue, 09/30/2014 - 14:16
Would love to get the exact...
Hello,
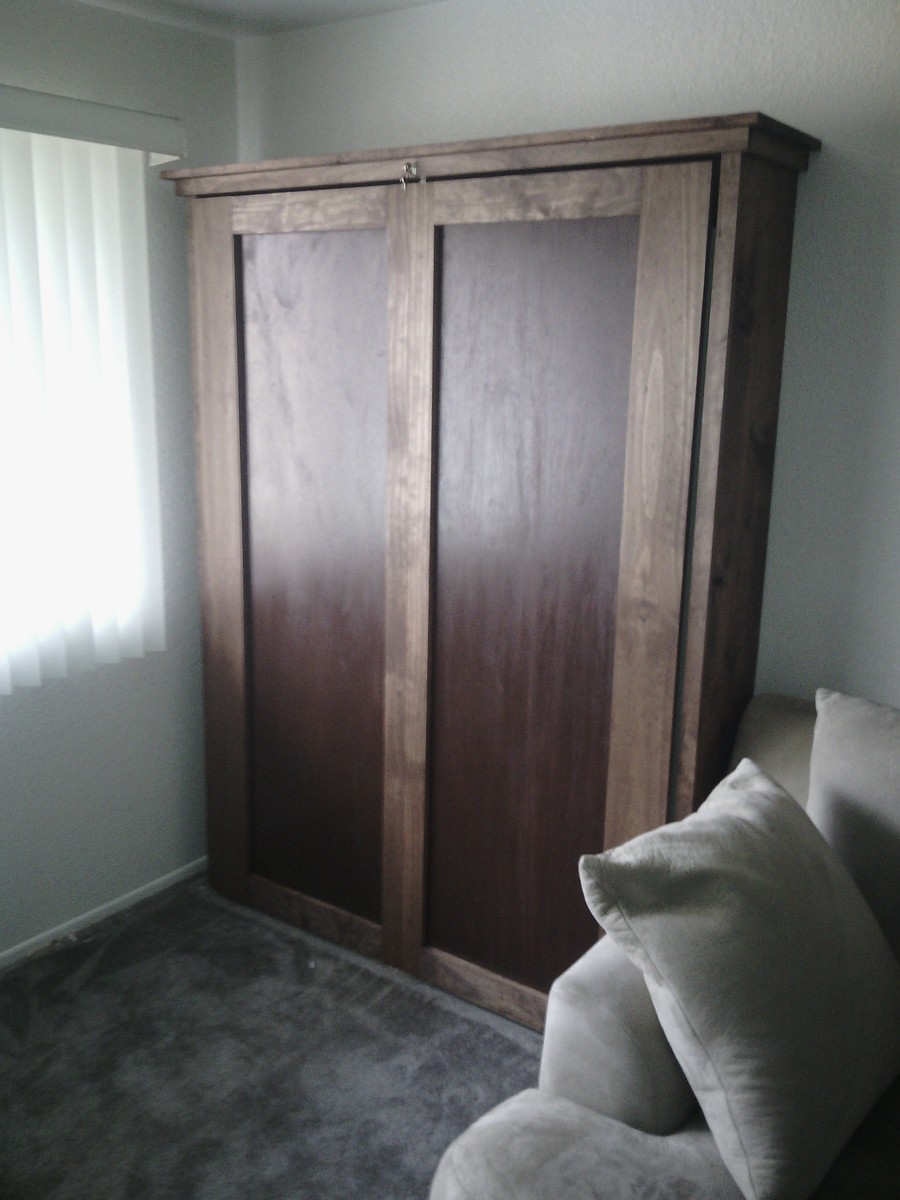
I have been scowering the internet... I too would like to have my murphy bed raised off of the ground and be a full size murphy bed. But everytime I try to do "adjustments" and get "creative" it ends in disaster. I am better at following instructions. Is there anyway that you could give me the exact measurements for your fullsize bed and let me know how it is that you propped the bed up at the end?
[email protected]
Thank you.
mel30
Thu, 06/18/2020 - 20:22
I would also love the exact…
I would also love the exact measurements for a double...is there a copy of the plan for that?
thank you
Cepep
Fri, 10/29/2021 - 02:13
Plans
Can i get the plans @ [email protected]