5 years in the making
first project ever, made a few alterations to both plans and came up with this.
For our small 1960's Master bedroom, I needed more storage for under-the-bed totes. When we were all done, I made a bedskirt with the needed drop-length to hide all of the totes.
I made some for me but didn’t use cedar for the 1x2 and 1x2.5. This time I ripped the pickets for those and love how these came out. I may be making me some more in the future.
My husband built this bed for our son by combining 2 of the plans from here. The Loft bed and the Camp Loft Bed w/ stairs. We knew we wanted to build a loft bed for our son but liked the idea of the platform w/ stairs so it wouldn't block his window. We also wanted to incorporate a bookshelf for his growing collection of Legos to display as well as books, etc. The next project to add to this will be the desk for underneath. I'll add pictures when we build that. Instead of using 2 x 4's for the top rails of the bed, he improvised and created his own version of a panel for the top. I love how it turned out!
Mon, 06/10/2013 - 22:25
absolutely love this, just what I would like to have for my son! Thanks for the inspiration :-)
Mon, 07/01/2013 - 05:14
Just love this, I'm hoping to do something similar in a full size for my 9yr old daughter. She feels a bit sketchy with a ladder so the stairs will be better and I love using my Kreg jig so not having to piece together the supports sounds good to me!
This was the first table we built.
Wed, 11/26/2014 - 12:20
All for only $35!! Thats a good deal and nice work too! I love the two tone color!
I build these basically with leftovers from our new fence. The coffee table is 4x4 post legs with a 2x4 frame attached underneath. For stability, I used a 12" wide scrap of 3/4" plywood on the top before attaching fence pickets. Old tags were used on both sides and ends. The (two) end tables were 2x4 legs with 1x4 side trim pieces, but without the plywood stabilizer, and a single cut down picket for the top.
I ran out of time to stain or paint so it is all natural for now. I will get some stain in it come spring time and warmer weather. When it isn't holding Christmas stockings, it is a great place to hang dog towels. Thanks for another great plan Ana!
This bunk bed project was absolutely perfect for a small cottage bedroom for our son. We selected this plan when noticing that this could essentially be built as 4 flat sections and easily transported.
We were able to construct the bunk beds prior to owning the cottage and were then able to move in and bolt together.
Fri, 03/19/2021 - 01:12
The best way to shop on the internet and get one dealership to beat another’ price.main thing is only pay the cash no extra. I just only share the website which you find the best and also lowest price on a new car review toyota tundra
I completed this project almost entirely by myself. I had a malfunction with the saw & needed assistance from my husband in the beginning, but borrowed a saw from a friend & completed the rest by myself. I made the platform bed one weekend & made the headboard another weekend. Fun project! And it turned out beautiful!! Thank you, Ana White for your awesome plans on your website!!!
Thu, 12/04/2014 - 22:04
I really like the way that this turned out! Great job and thanks for sharing!
Made this over a few afternoons during the interesting year that is/was 2020! First DIY project and really enjoyed it! I used an opaque white stain and it's filled with succulents from our local nursery (Lincoln Nursery in Pasadena, CA). Painting took the longest as one coat of the stain still let some of the knots in the wood show through. Thanks so much for the plan and inspiration!
I chose to make this great looking desk out of Walnut wood. So, obviously its not the $55 dollar fancy X desk that Ana White has posted, but it does share the same design. We were looking for a heavy, sturdy, and large desk for our office and I simply added linseed oil to bring out the natural beauty of the Walnut wood. Thank you so much Ana for giving me the tools I needed to complete this project. Feel free to email me or message me if you have any questions, comments, or suggestions. [email protected]. Thanks
29.5" square, 25" high
Absolutely love this Console! Going for a coastal theme and could not find exactly what I was looking for so decided to make it! Love to use my hands and now I will be off to my next project! Used Cedar board for the top, pine for the remainder. Love the thick, rustic top. This console is two inches less in depth than the original plans due to the shape of my living room. Thank you for the plans and everyone's DIY projects! They were all a big influence on the final design.
Well ... we found this farmhouse bed pattern as two play kitchen set were being constructed. Irresistible design; we decided that we HAD to also make the doll bed! And the bed came together very quickly. Two changes: per other comments, removed one vertical slat from the headboard/footboard (wanted the narrower width), and put an extra brace in the middle of the bed (just in case it gets stepped on or sat on).
Also used the pattern for the 18” Doll Mattress Tutorial. Skipped the buttons for tufting and simply sewed in 8 little Xs with embroidery floss.
This bed is for a granddaughter with a birthday in a few days .... and I’ve already started cutting out a second set for a granddaughter with a birthday in a couple of months. Happy to say that all of the bedding/linens are handmade; the pillows include lace and ribbons from two family weddings. You just can’t help but smile when you look at one of these finished farmhouse beds!
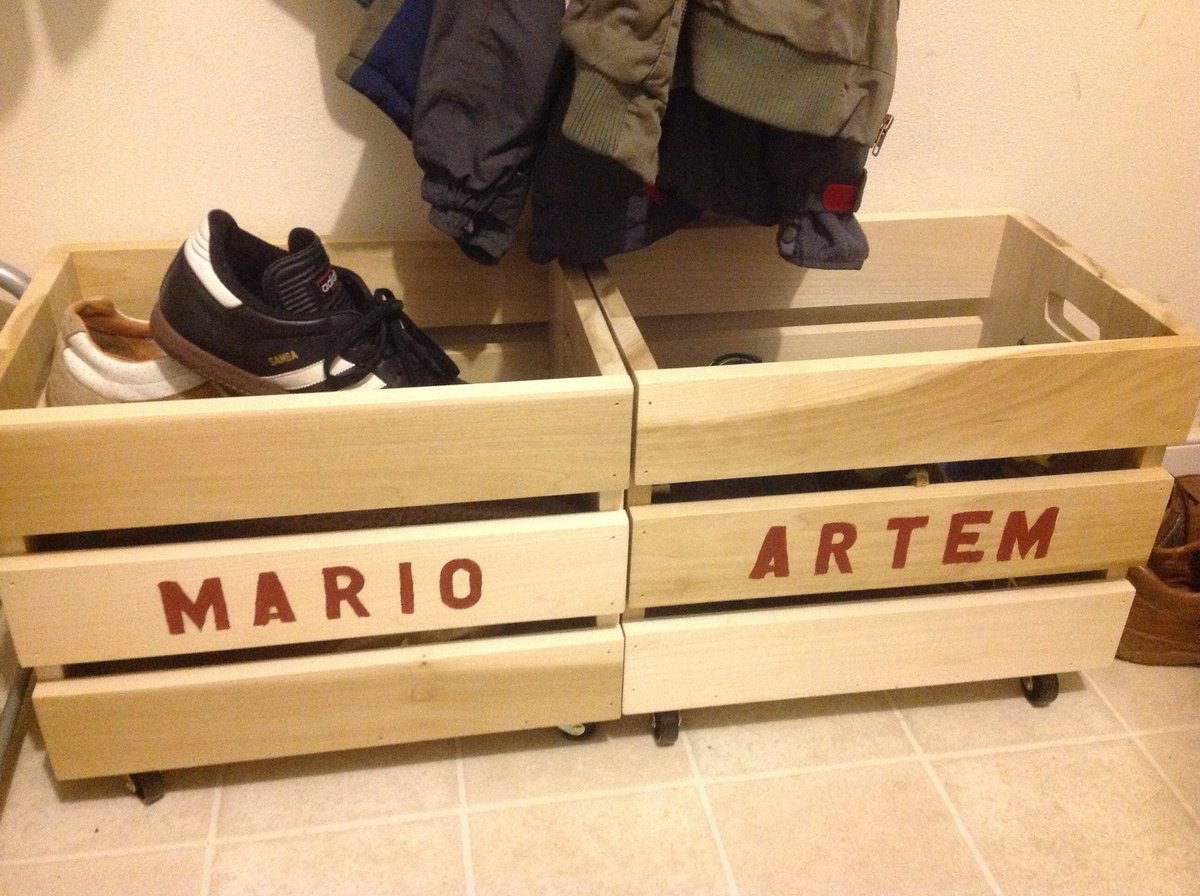
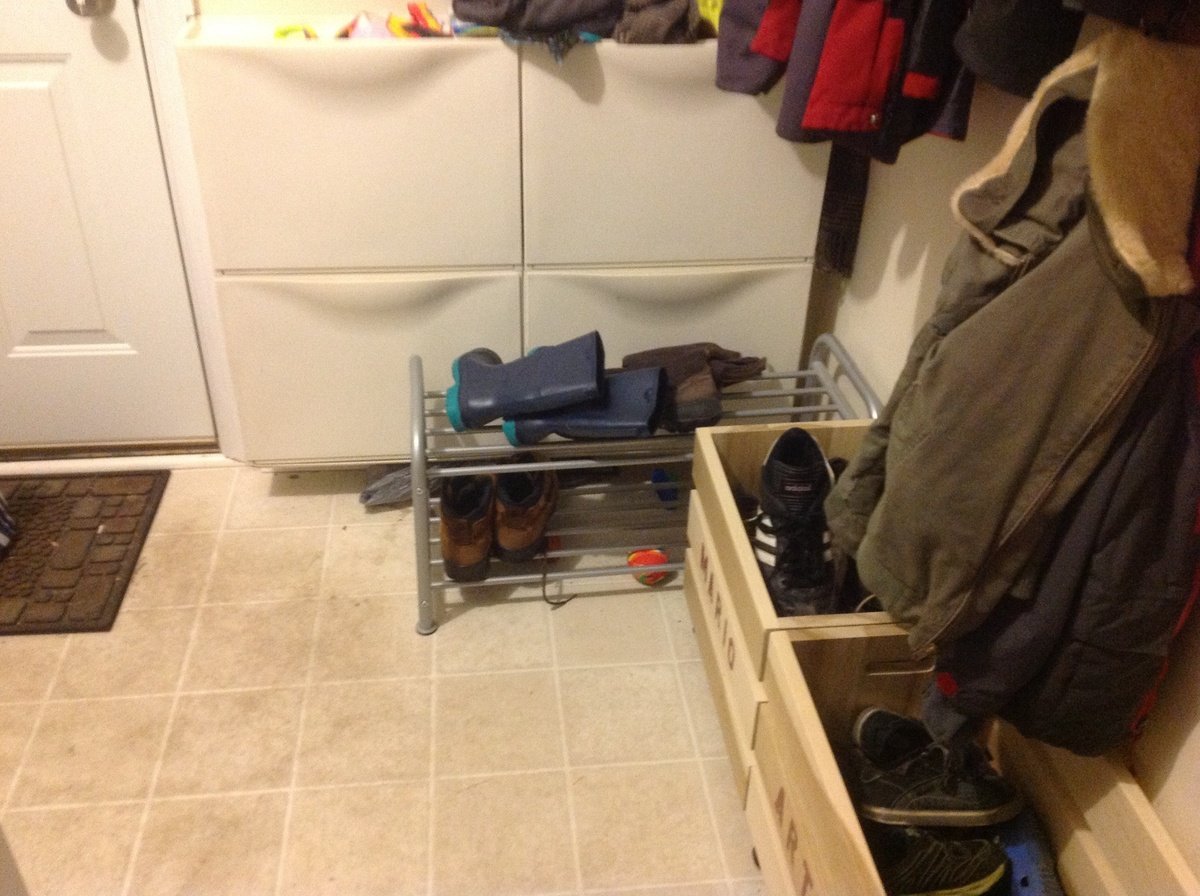
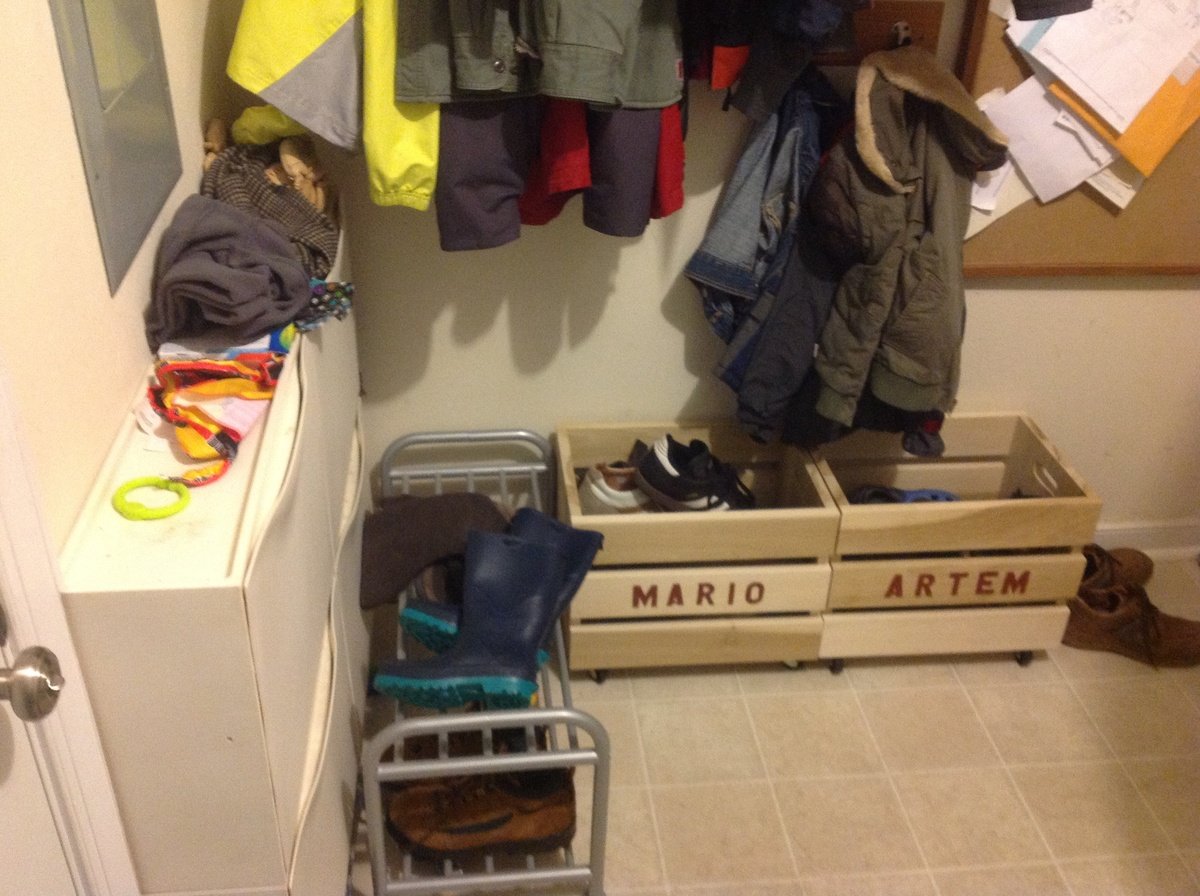
I saw someone's brag where she used this plan for shoe storage. I thought it was a great idea. It sure lets me clean the floor better, just roll it out of the way, clean, roll back. It is so much better than the shoe rack that occupied the space before with such piles of shoes that it was arduous to clean the floor at all. Next month I will take care of the second shoe rack for my own shoes.
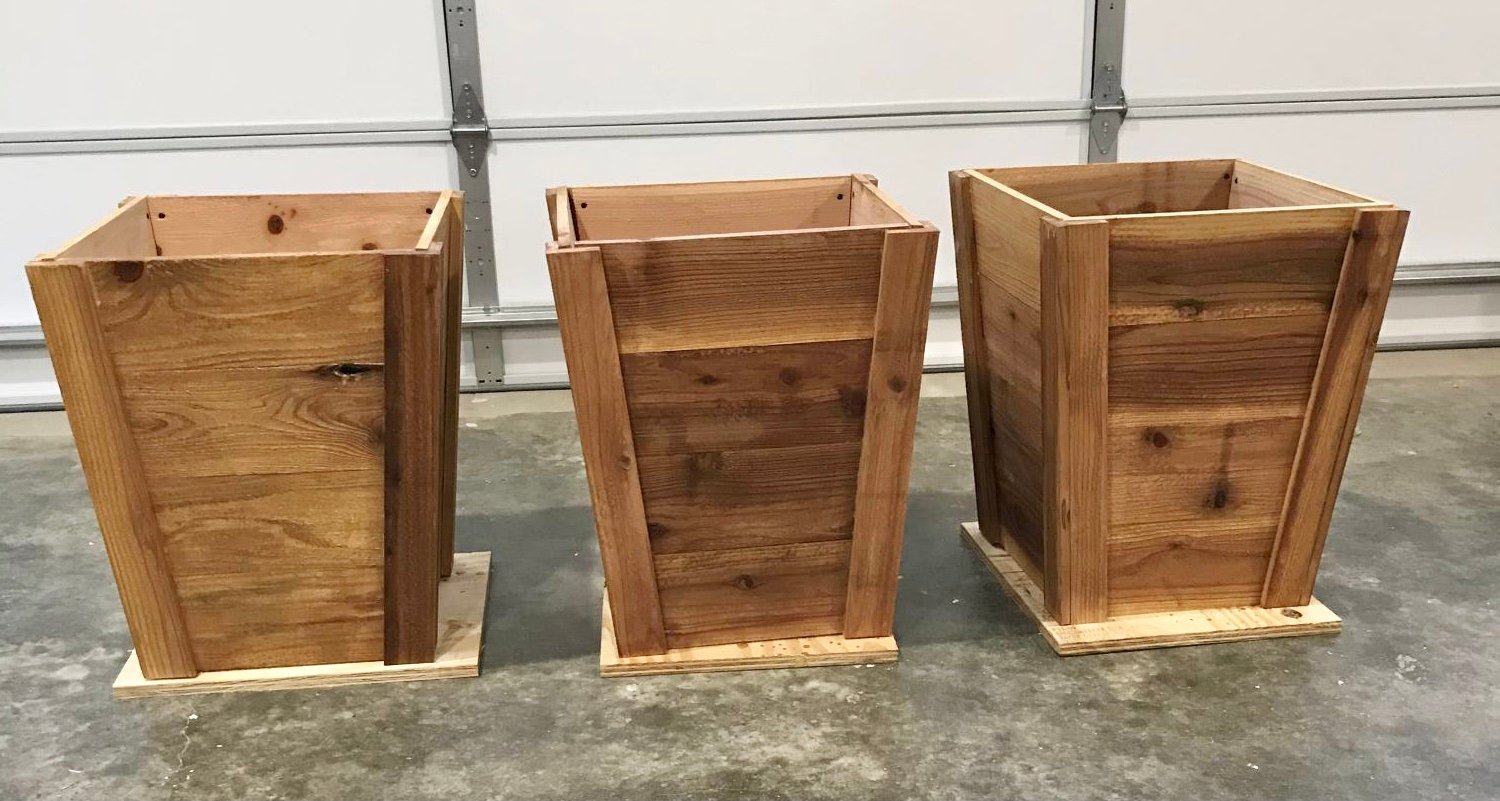
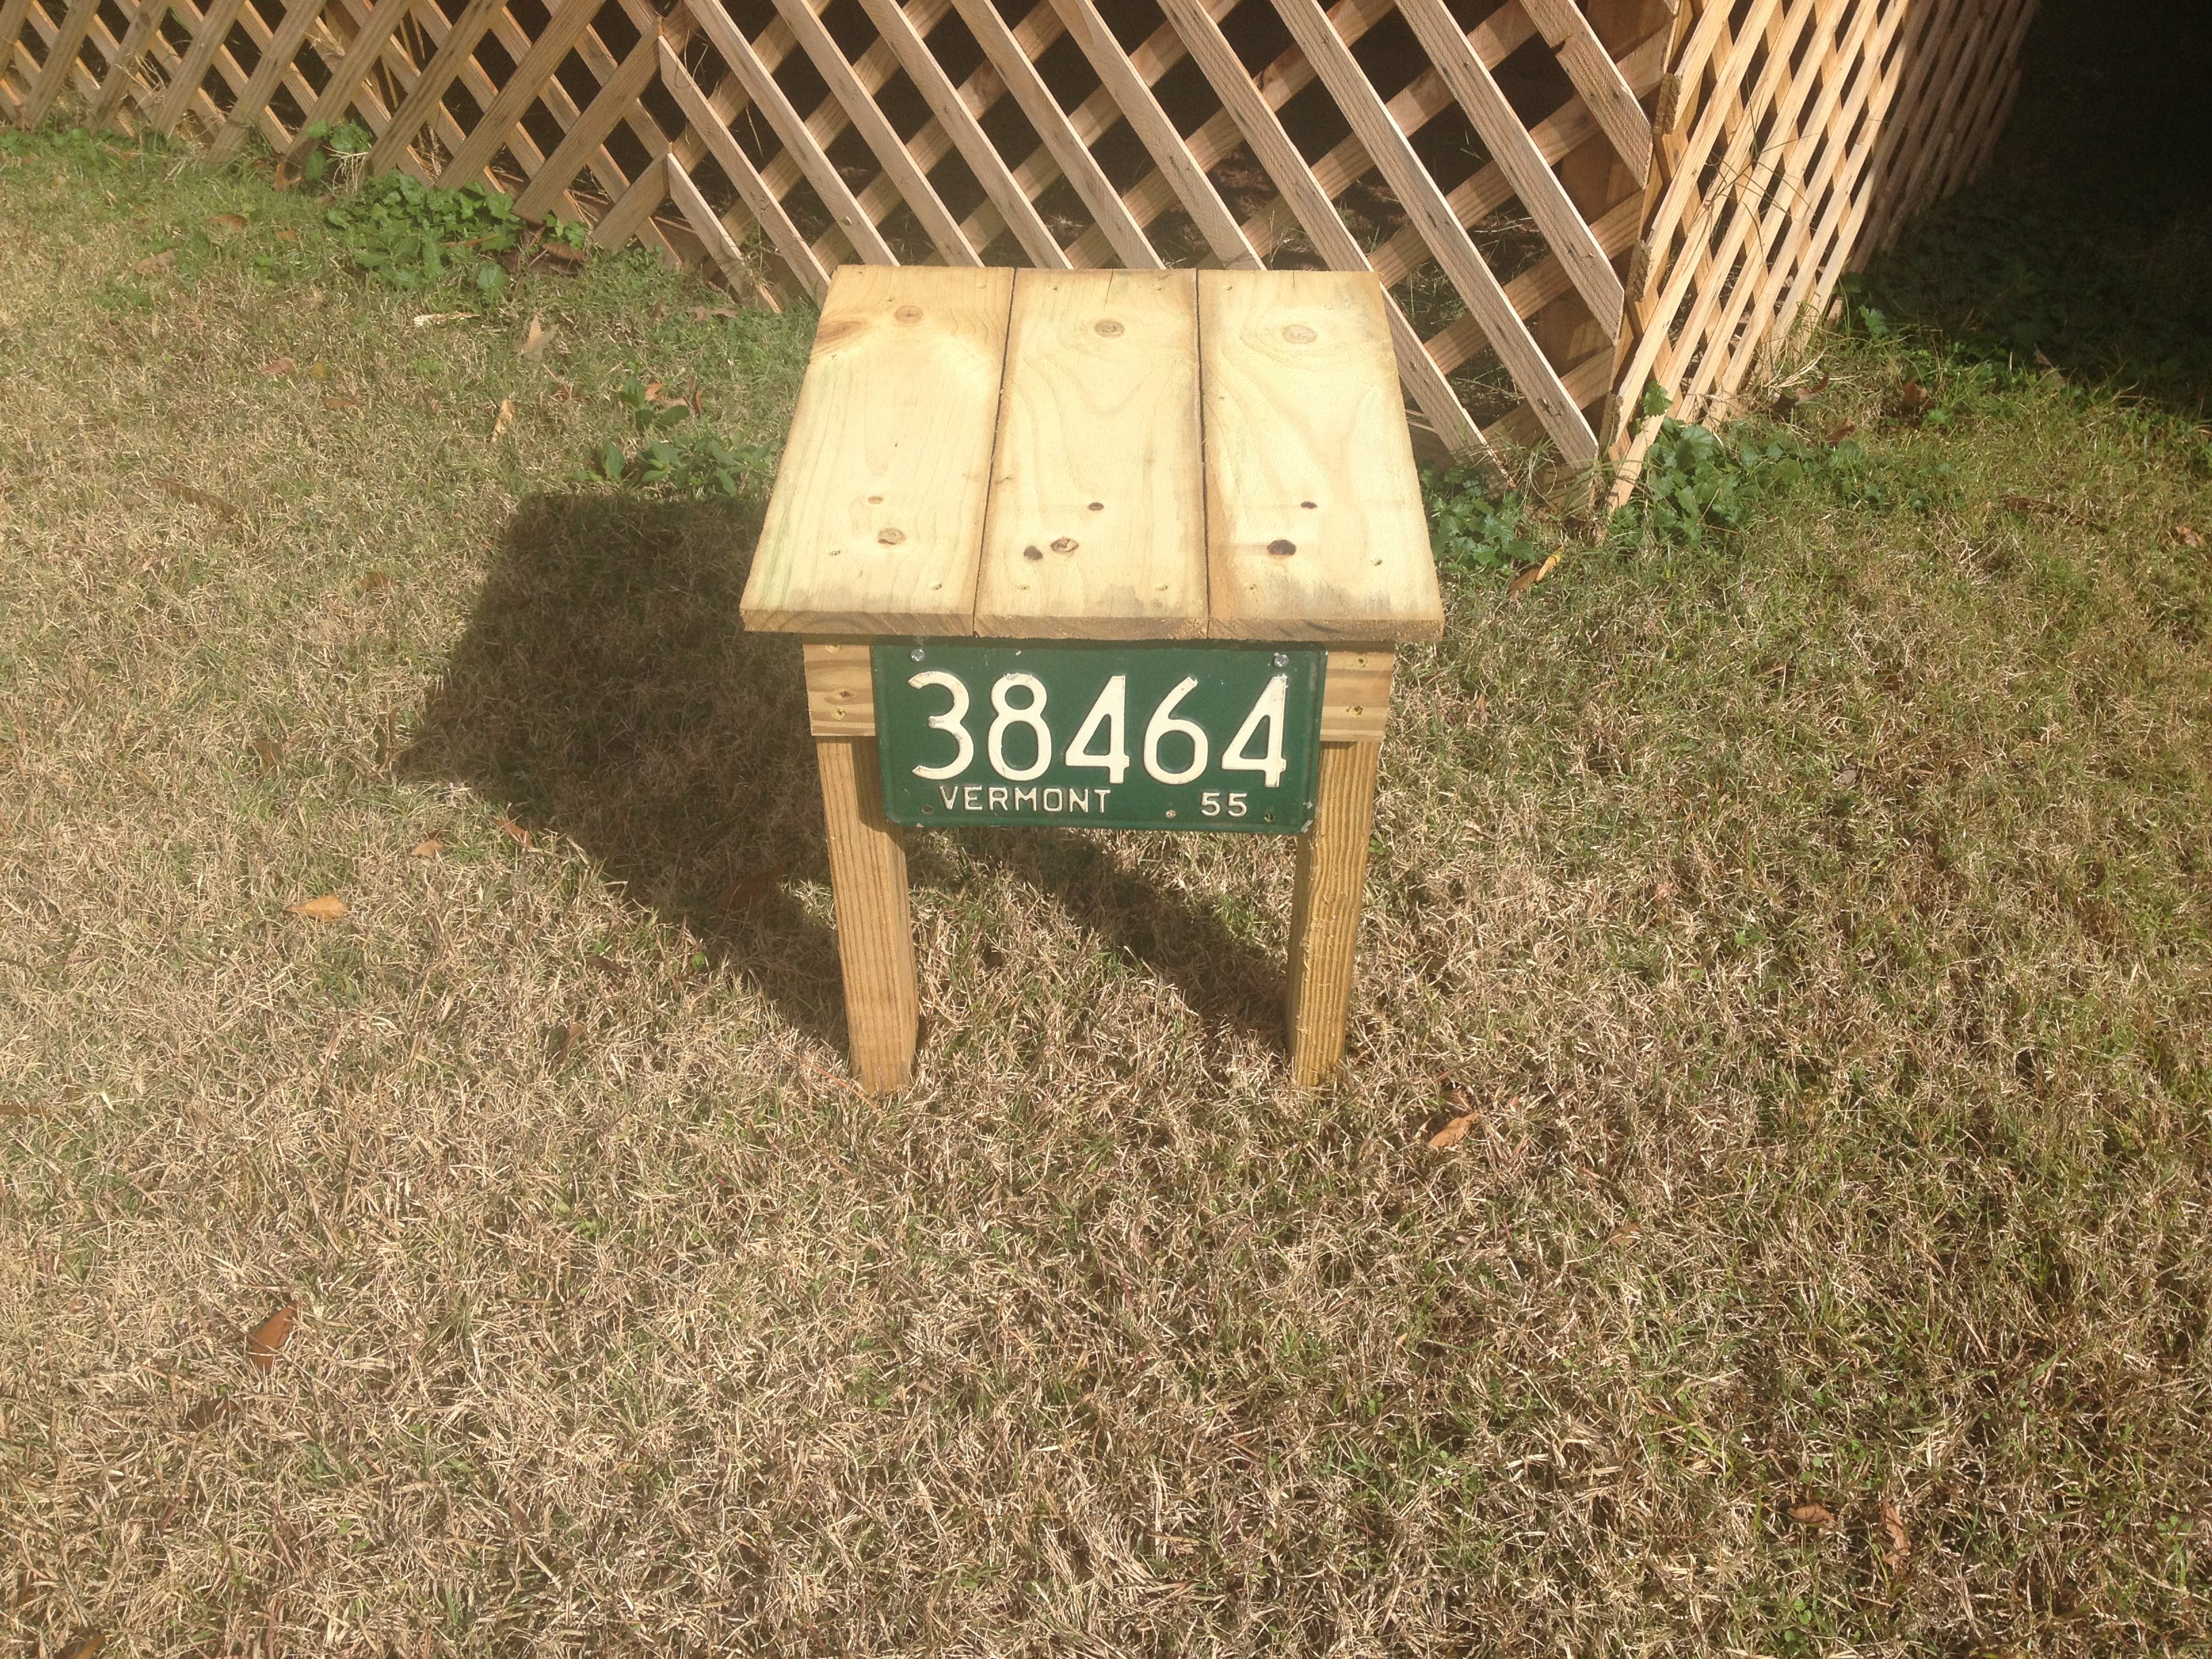
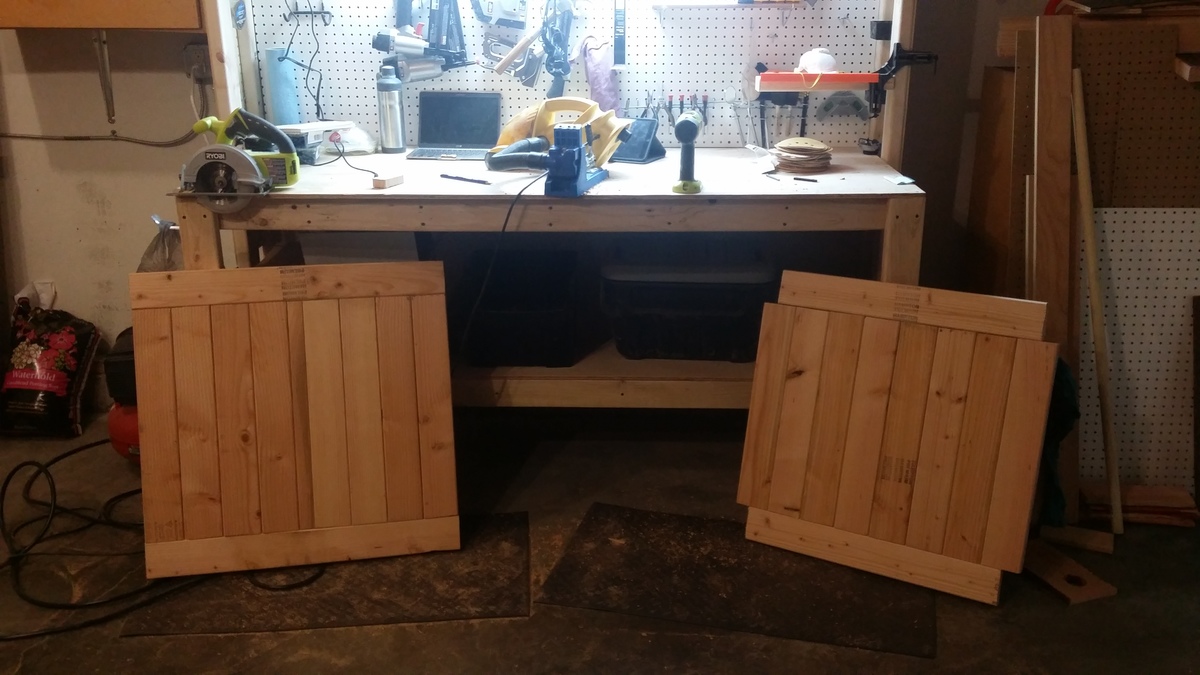
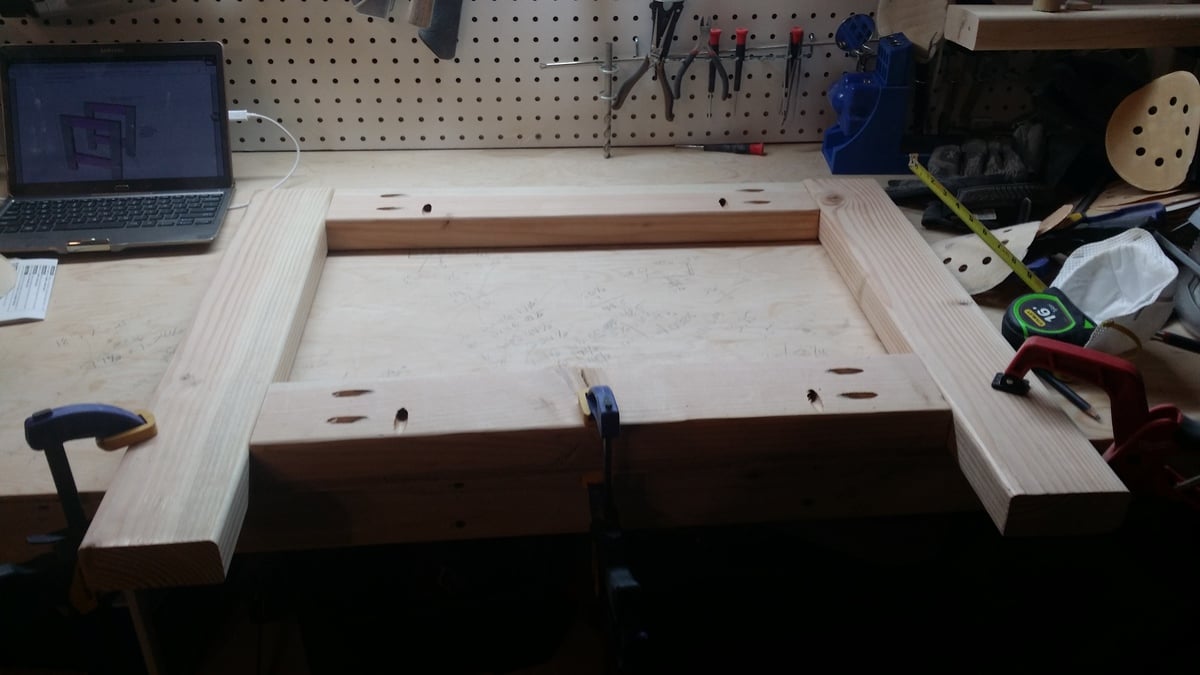
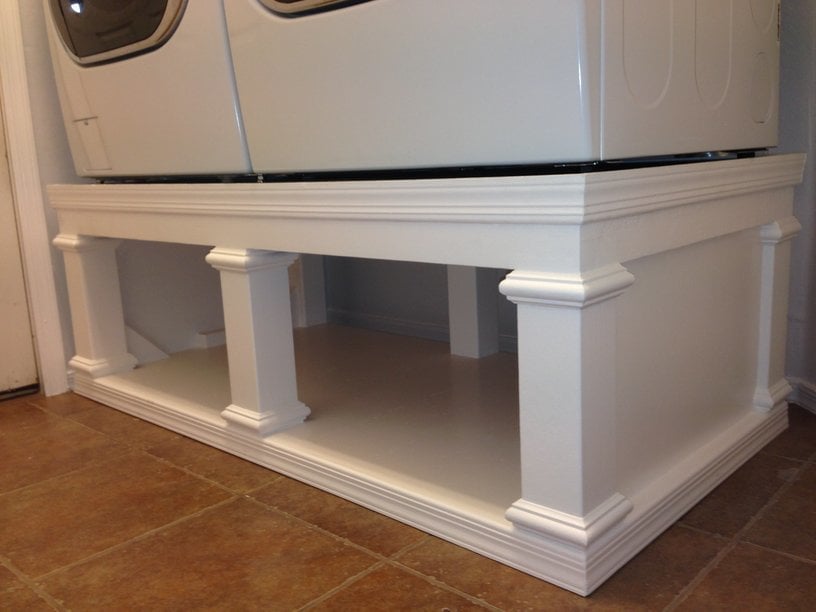
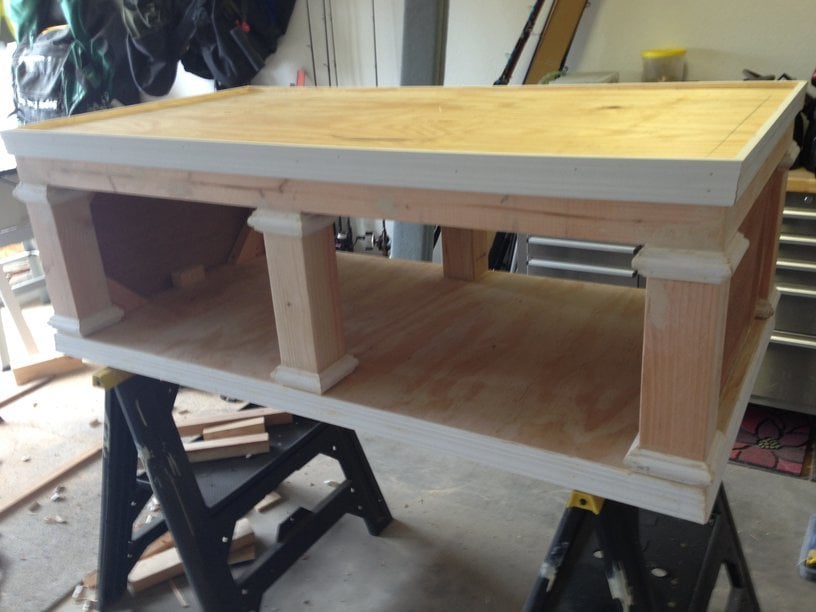
It was so simple, I loved making them. Grandpa and I had fun. The best part, you can make them quick because the don't have to be perfect. And Grandpa's nail gun made quick work of all the attached boards. All boards were also glued and sanded.
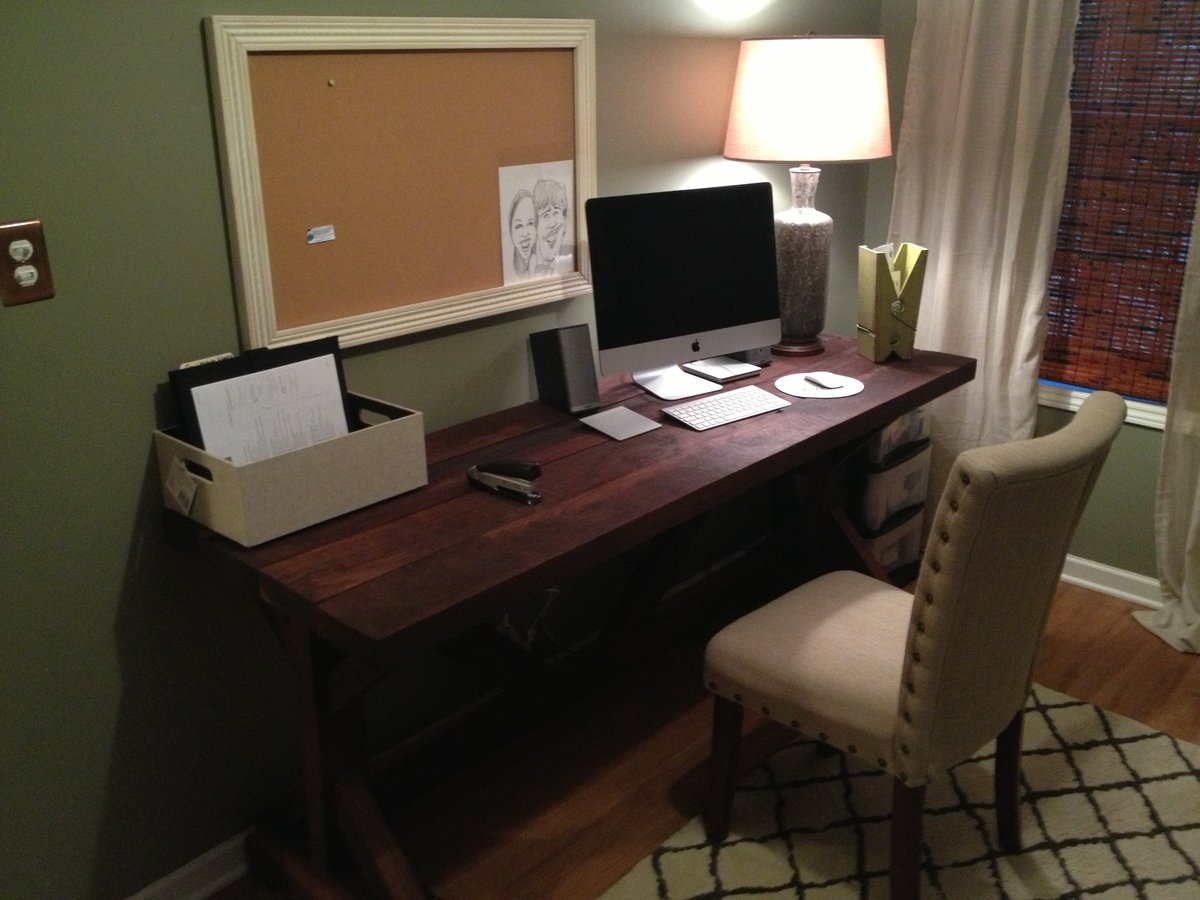
Ana your site gave me the confidence to solve my own furniture problems with custom solutions. Thanks, I can't wait for my next project.
I loved this design. I couldn't believe that they wanted to charge me almost $600 for the pedestals for the washer/dryer set that I bought on black friday, so I decided to give this project a go. I basically used the same construction plans from Sausha's project, but I dressed mine up a bit. First, I chose a bit larger trim for the tops and bottoms of the posts. Then, I bought some 2" baseboards and did the top and bottom with baseboards. On the bottom, I had to use my tablesaw to trim off about 1/2" because I used 1x1" boards on the bottom so that I could have more space for baskets. Then, on the top, I inverted the baseboard and allowed it to overlap a bit so that if it were to vibrate, the washer/dryer could not fall off the edge. I also added some fabric on the top (stuff that I use to cover the bunk boards on my boat trailer...kind of like a very thick and durable felt material) to cut down on vibration and also keep the units in place. Finally, I added sides by using wedge trusses on the inside of my side posts and then I put a 1/8" piece of plywood over top and nailed/glued it to the trusses.
It turned out great. Thanks for the plans Sausha!
In reply to Nice Detail by earthbybike
Mon, 12/08/2014 - 11:42
Thanks. Yeah, I thought that it did really dress things up. I really like the way it turned out.
Mon, 12/21/2015 - 17:38
Did you use sanded plywood? Did you use any veneers for the exposed 2x4's to get a smooth finish or did you paint right on it?
lastly, what is the name of the trim you put on the 4x4s? I've hard a hard time finding it. Thank you!
Mon, 12/21/2015 - 17:44
Did you plane the 2x4s? Because they look really straight.
In reply to Question... by Zlk200
Wed, 06/29/2016 - 13:59
Sorry for the super delayed response. I didn't realize this question was here. I did not plane anything. I did sand the surfaces a bit, but I didn't get too crazy. I put 3 thick coats of paint on it which made it pretty smooth. If you look very closely in person, you can still see a bit of wood grain, but it is only noticable if you really get down and look. I did use a lot of wood putty to fill all of the gaps and crevaces and then I sanded those parts pretty well.
With regard to the trim, the top literally just standard baseboard material turned upside down, and then the little trim on the tops and bottoms of the 4x4s is just another standard strip of moulding that I got from Lowes. I think they call it "Chair Rail" moulding. Its the stuff that you put down if you are doing some sort of paint separation or wainscoting.
http://www.lowes.com/pd/1-625-in-x-12-ft-Mdf-Chair-Rail/3403018
I used woodglue on all of the moulding and tacked it on with a nail gun. Then I filled all of the nail holes with wood putty and also use the putty to fill gaps where the corners came together to make that look smooth.
I hope that helps...you are probably already done with your project by now, but I figured that I would answer anyway. :)
Built this vanity to fit our space in our tiny bathroom. I love the storage increase from having a pedestal sink. All hardware and sink was from Habitat Restore, and the faucet was off amazon for $25, making total cost for this project around $75.
This is a chunky leg farmhouse table I just finished. We wanted to do something a little different with the color scheme, so we did something a little more colonial with a custom stain and paint blended grey top, and painted the legs a deep navy blue.
This is my first project using a Kreg Jig and I'm hooked. Easy build and great storage! Looking forward to doing more projects!
Tools you basic design, made some changes to how the sides were built. I also used Mahogany.
Comments
Ana White
Mon, 11/24/2014 - 12:23
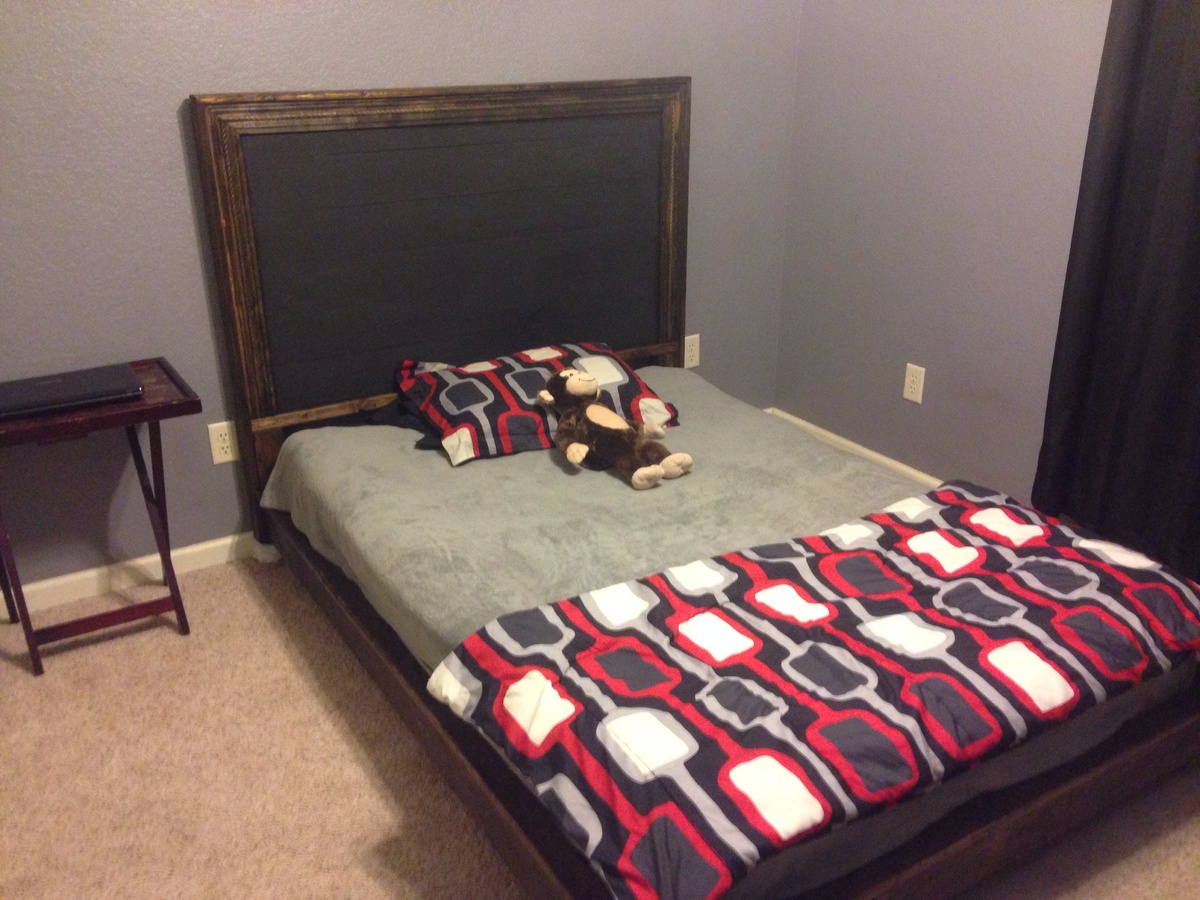
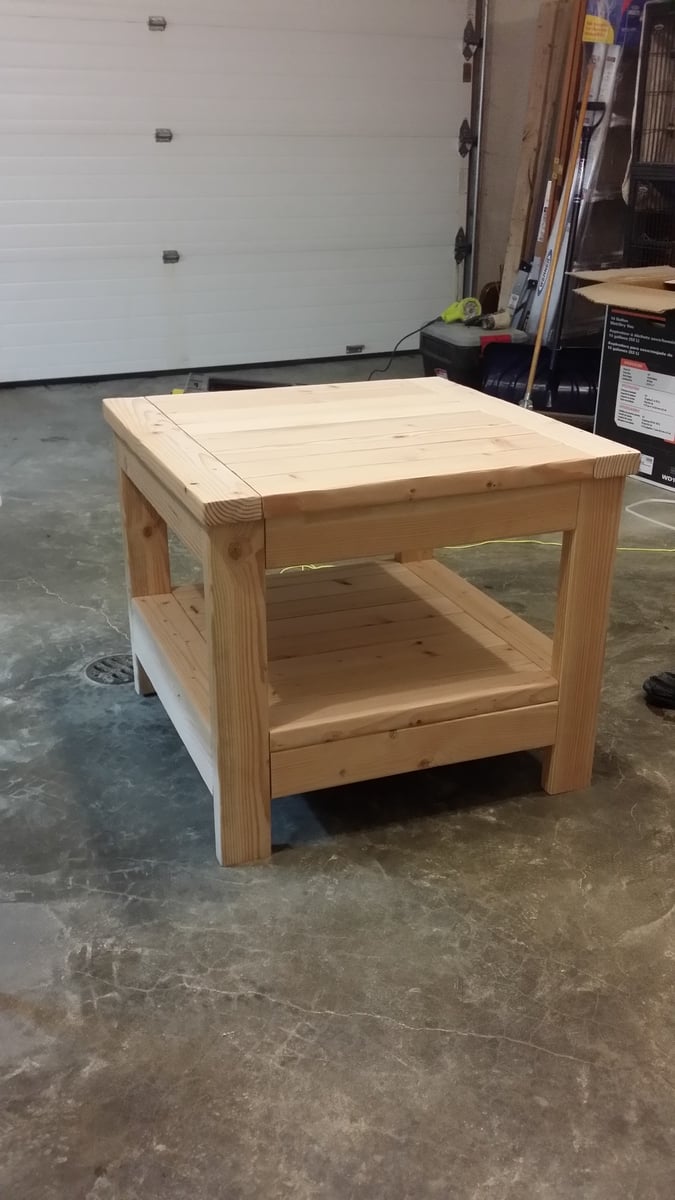
This looks amazing!
This looks amazing!
ciara5545
Sat, 09/02/2017 - 22:02
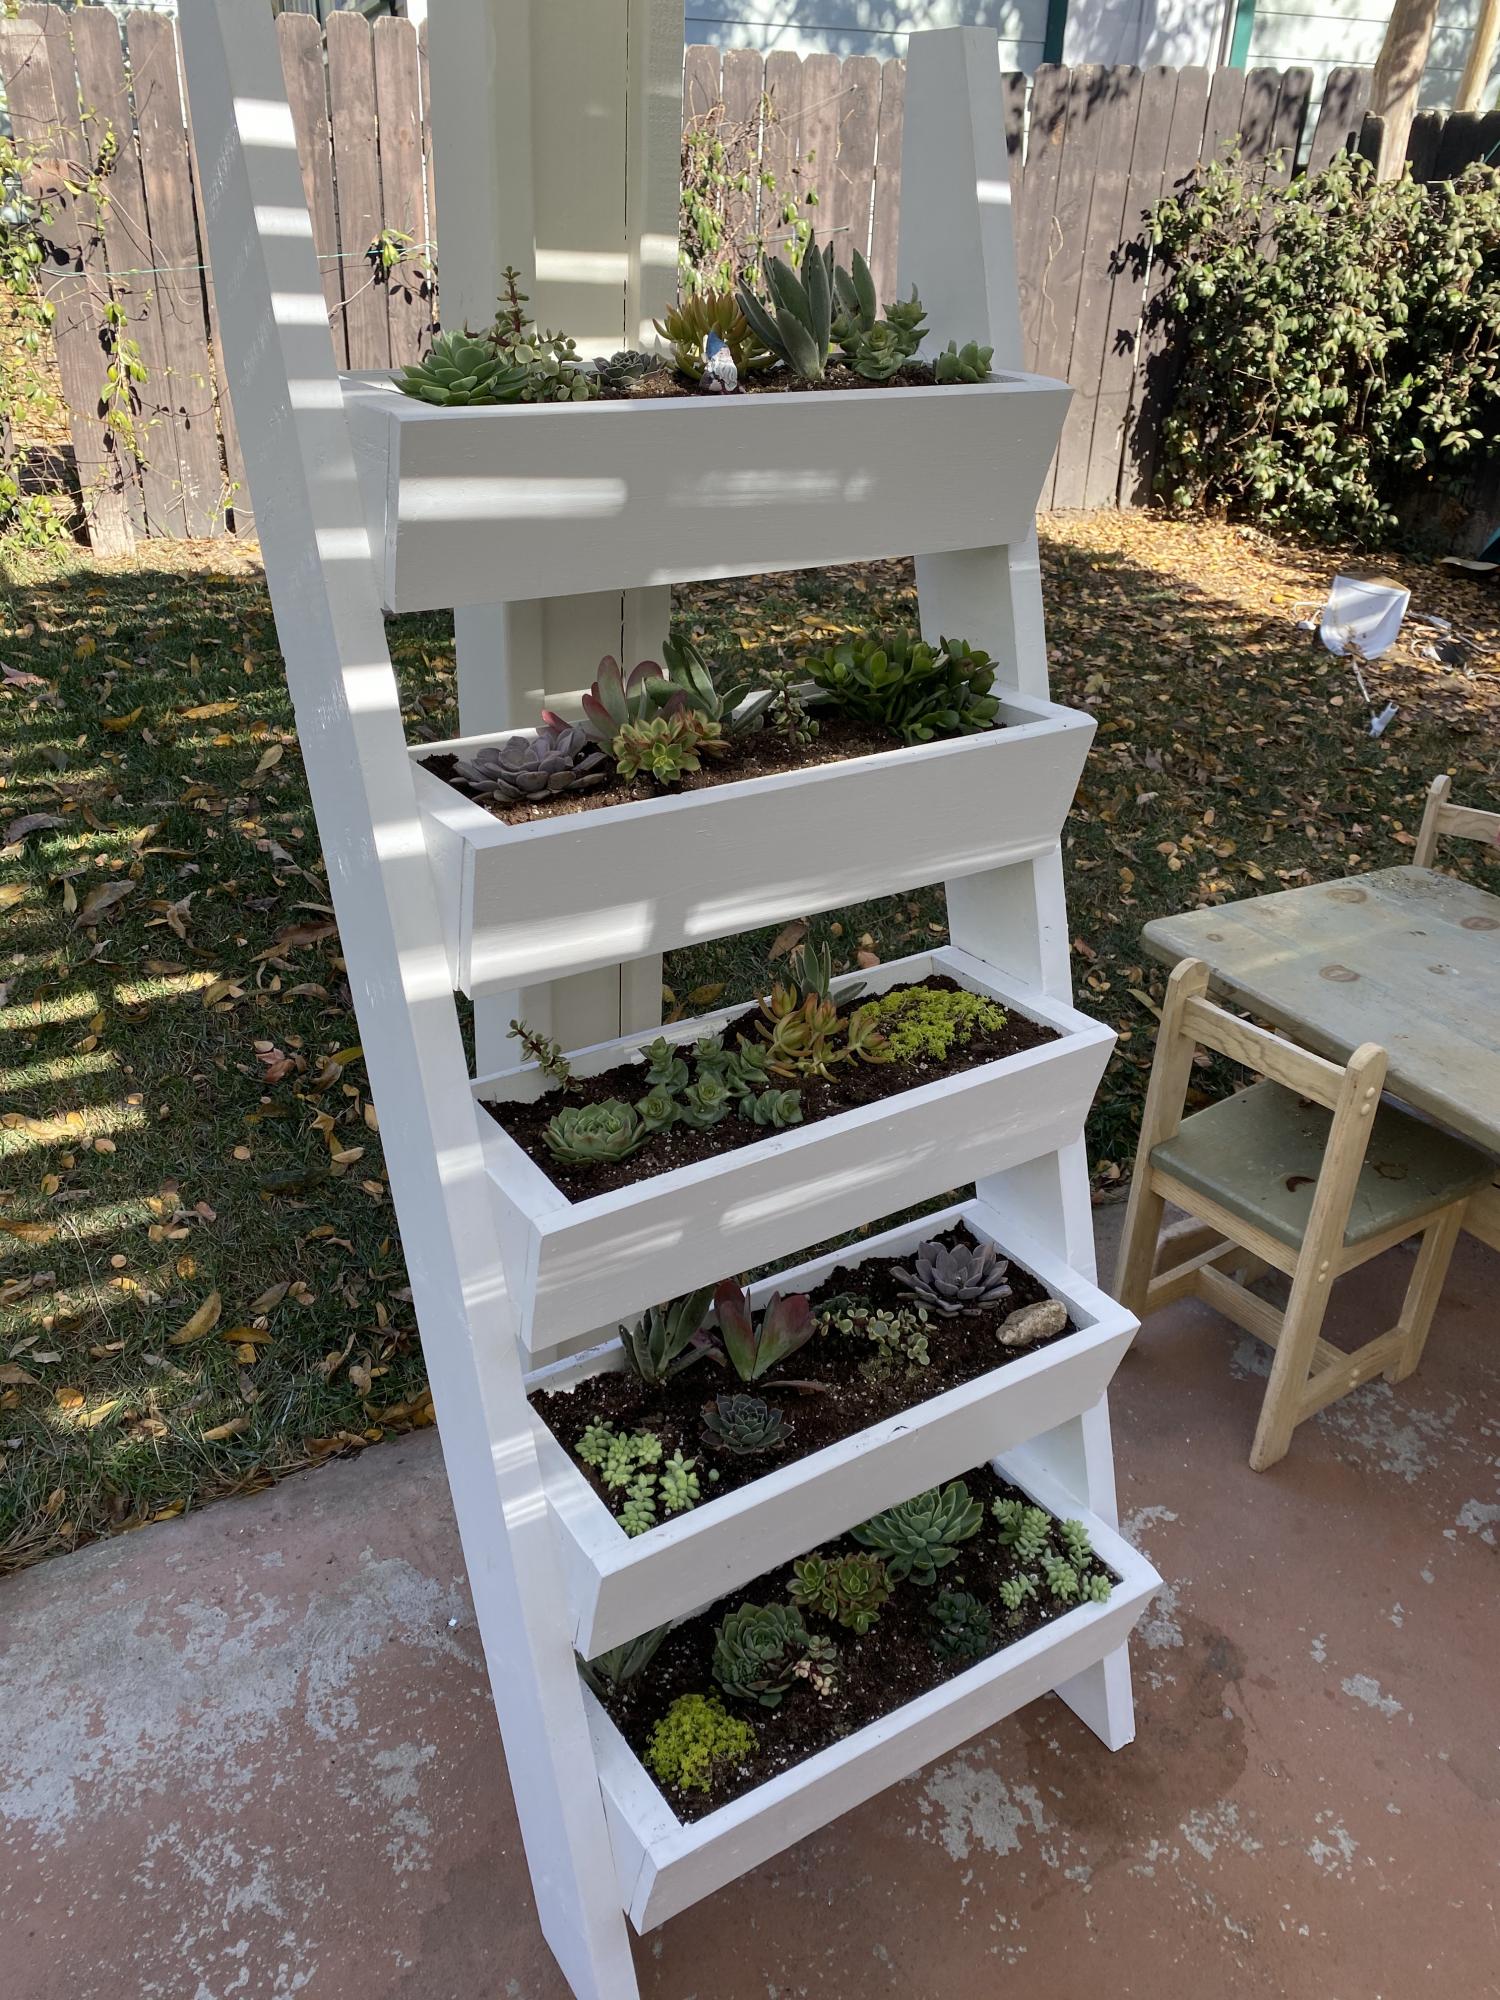
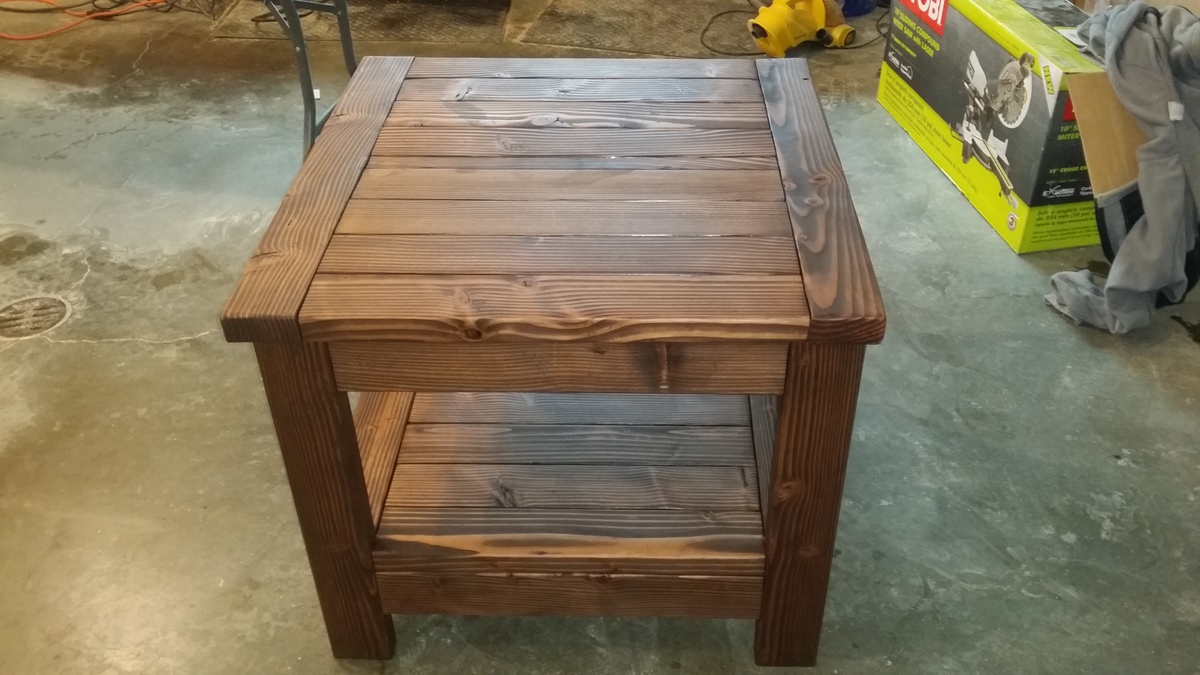
Beautiful!
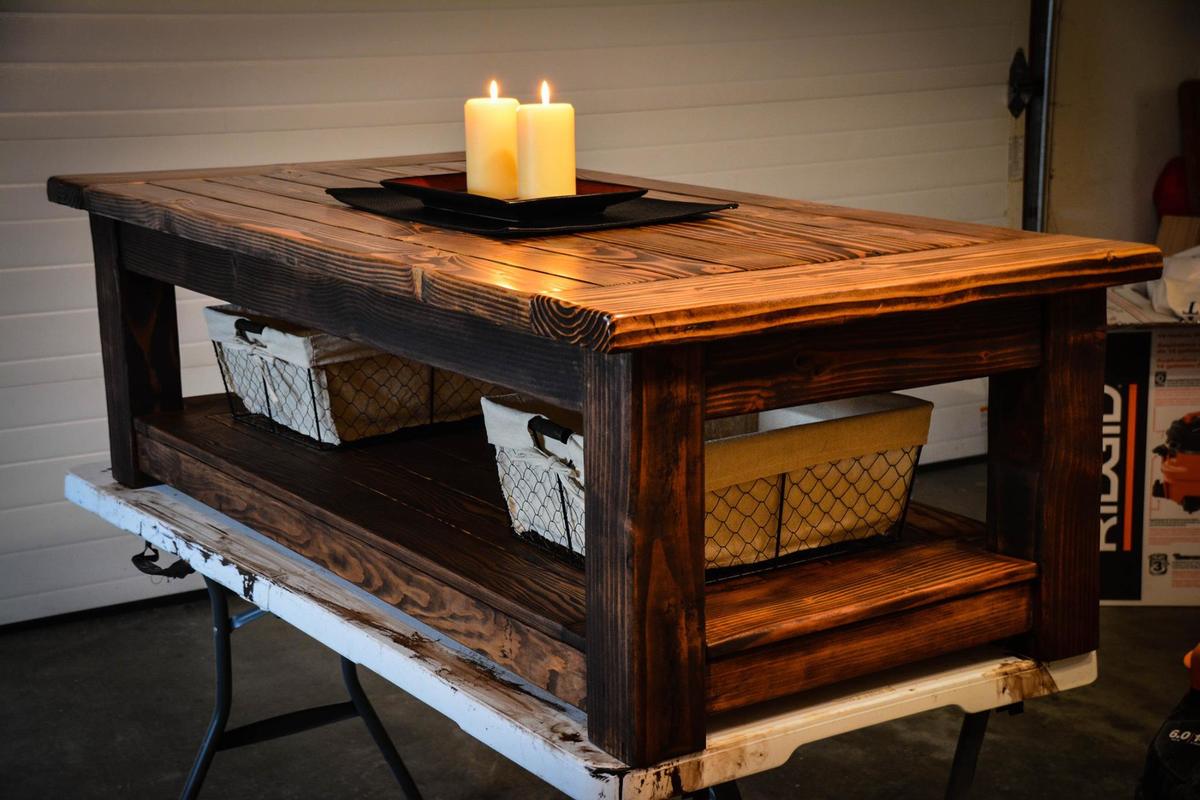
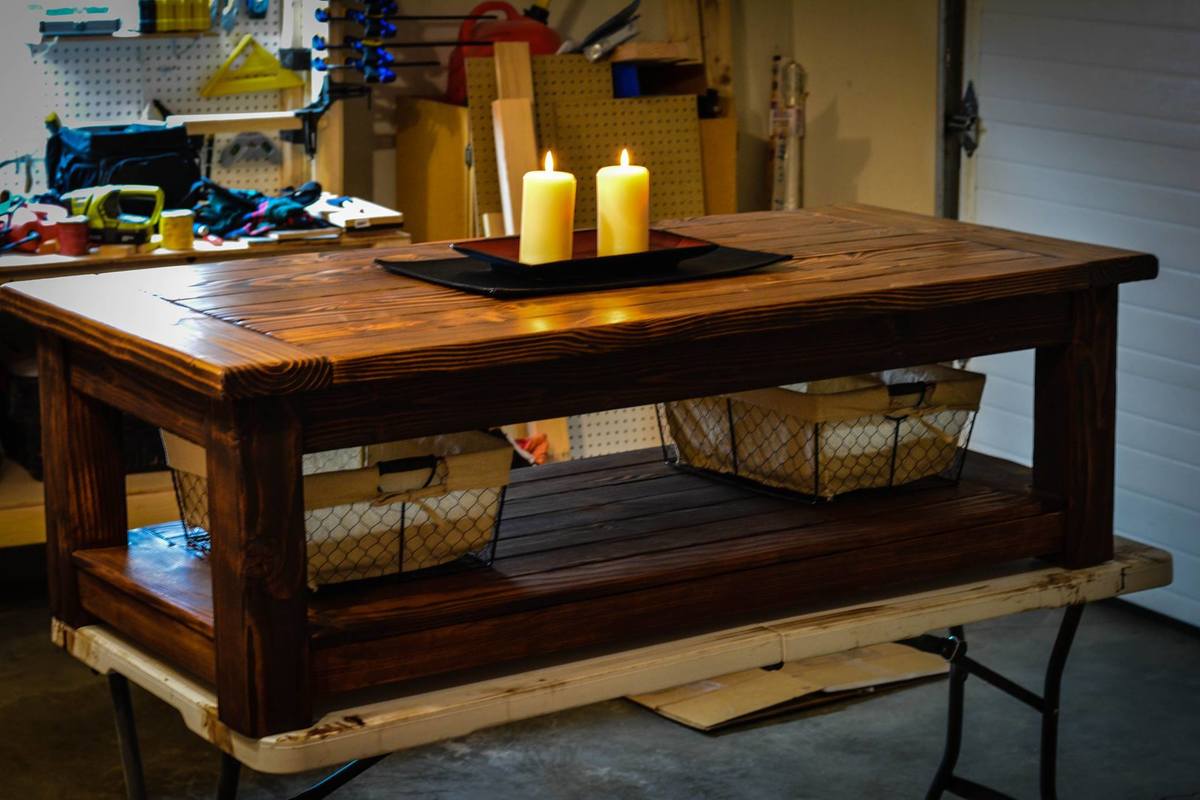
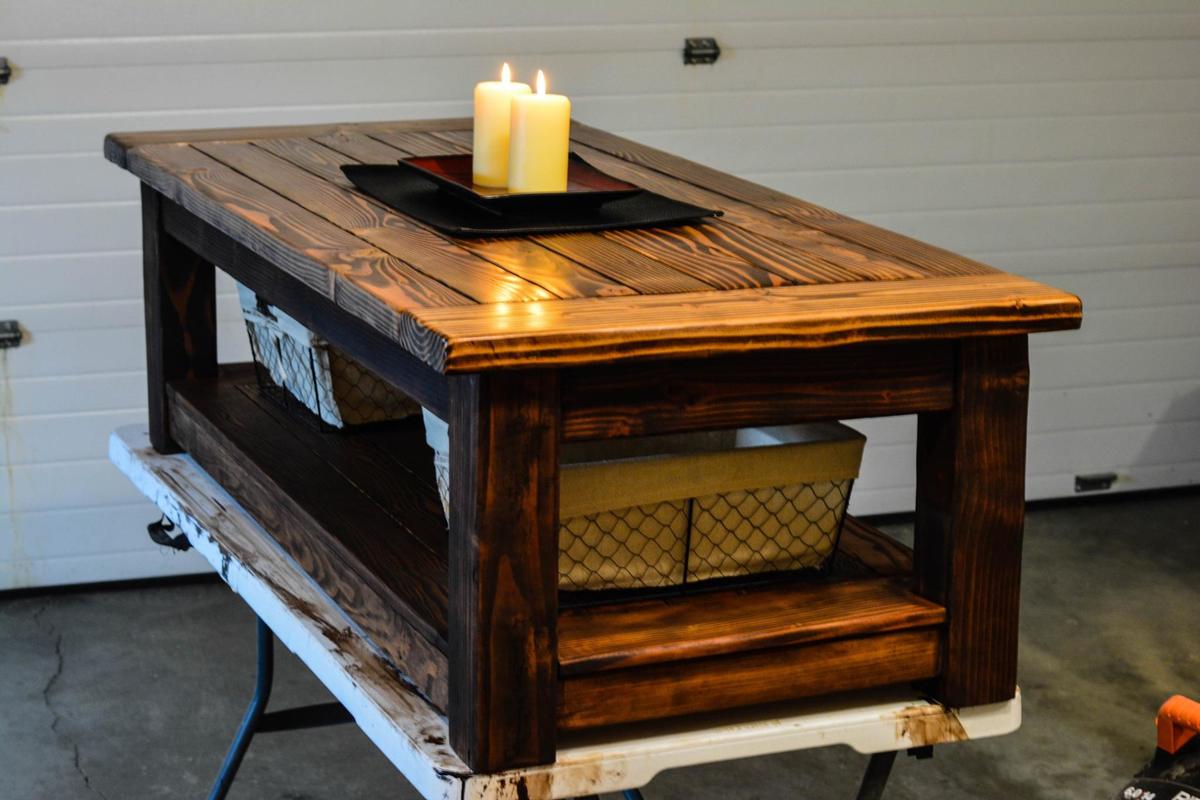
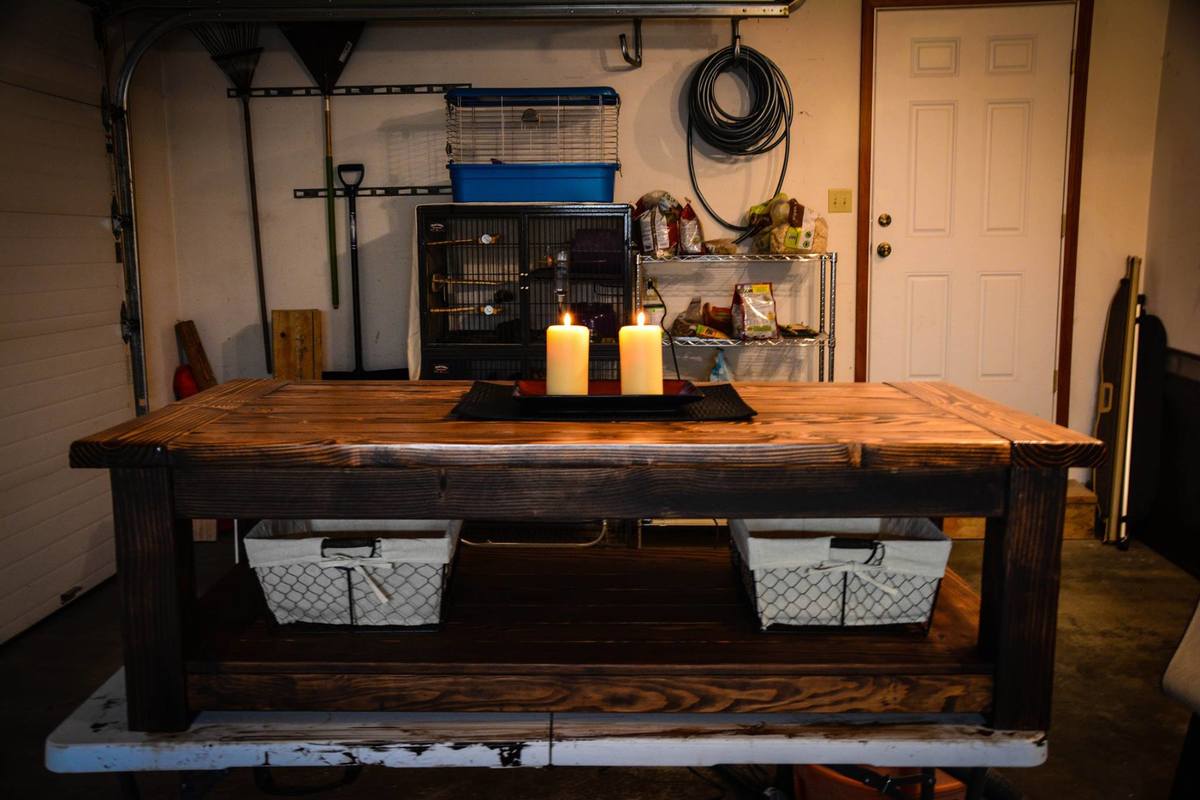
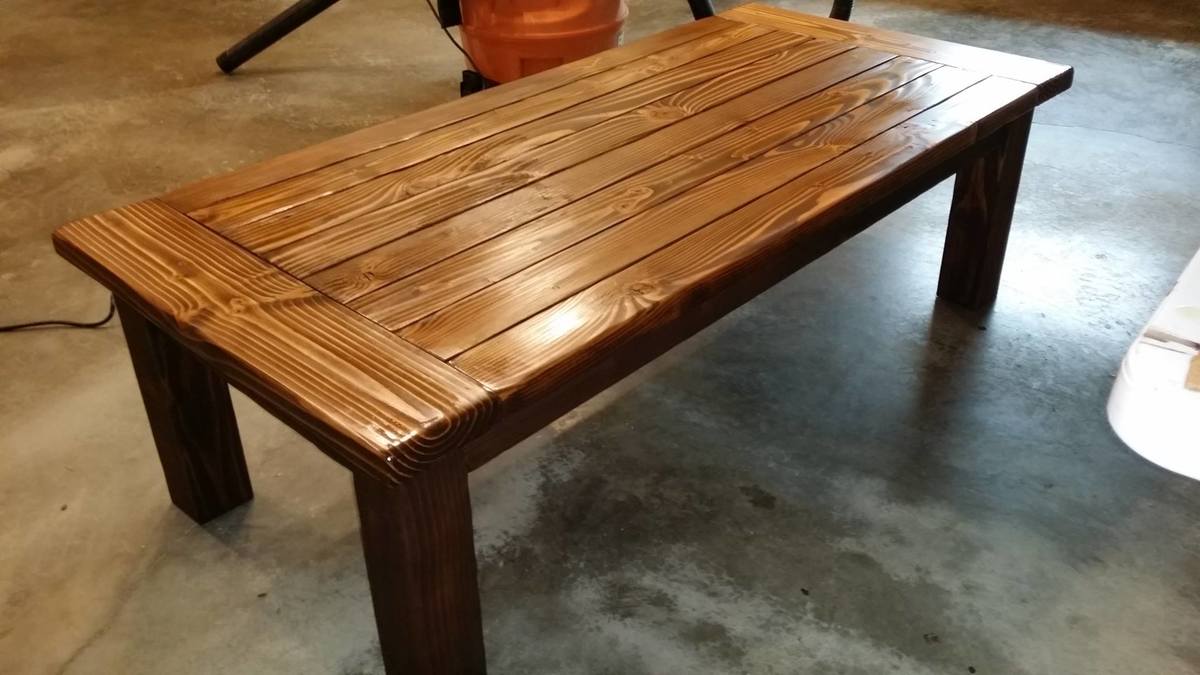
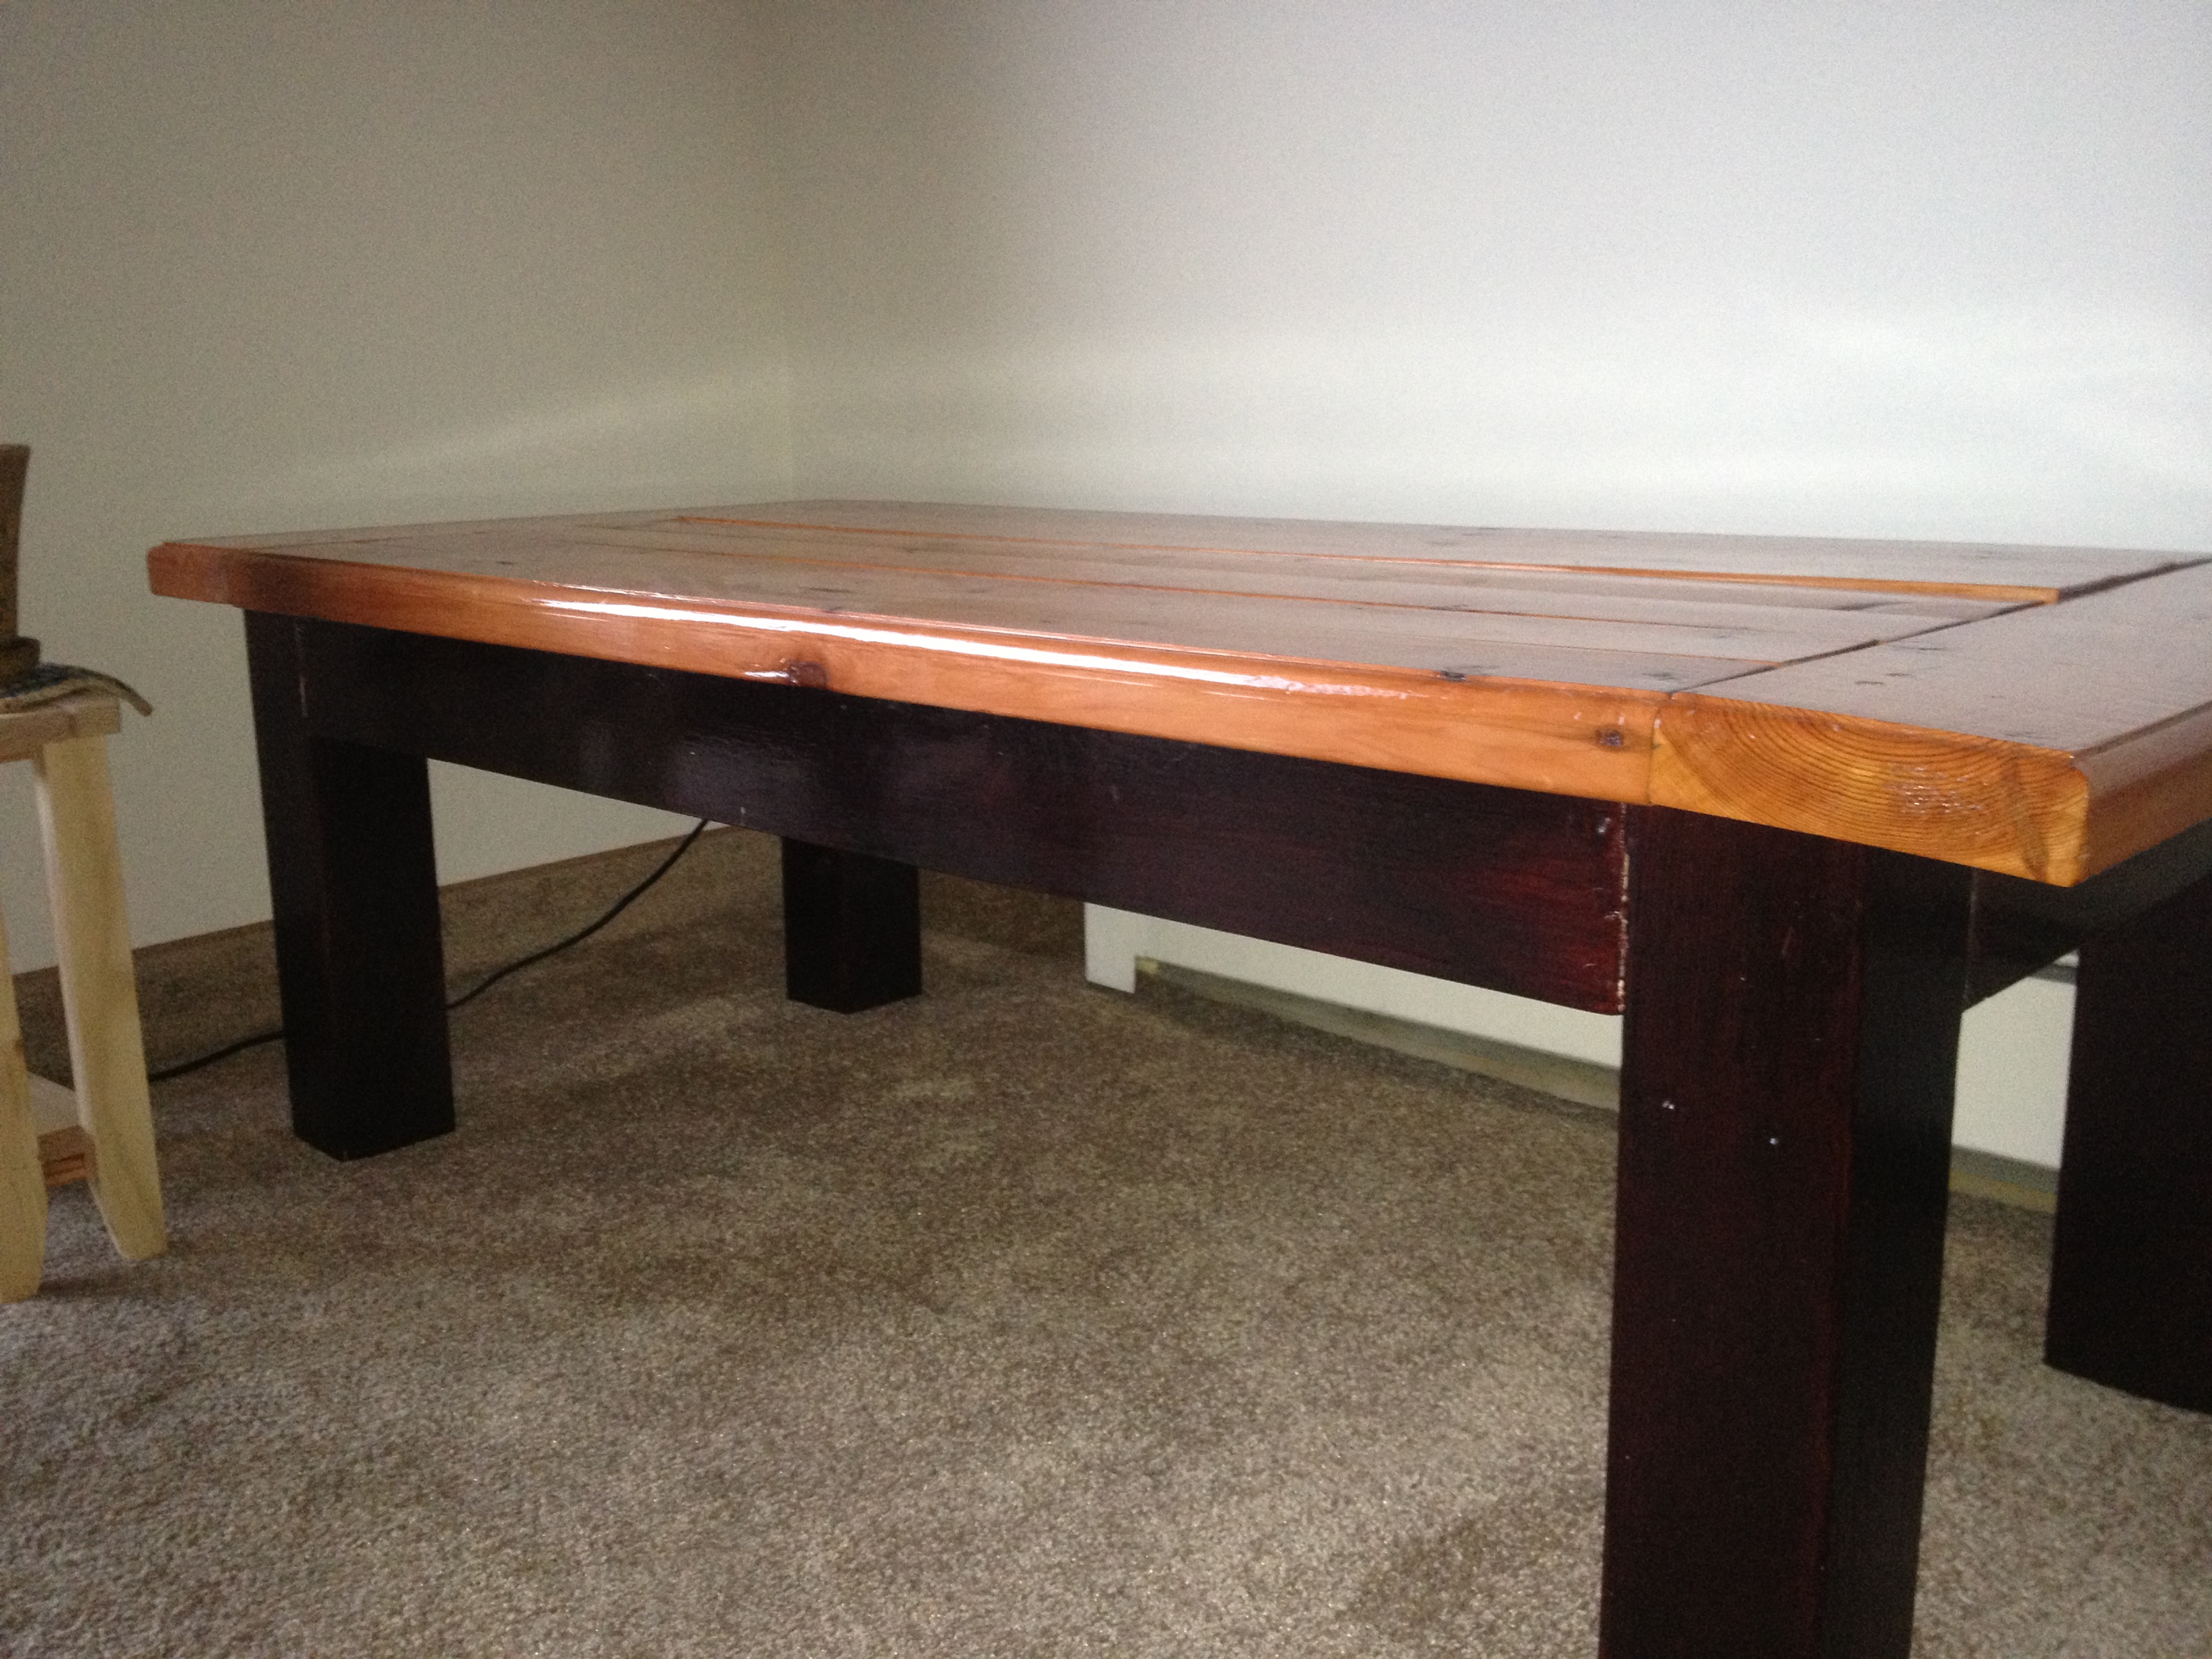
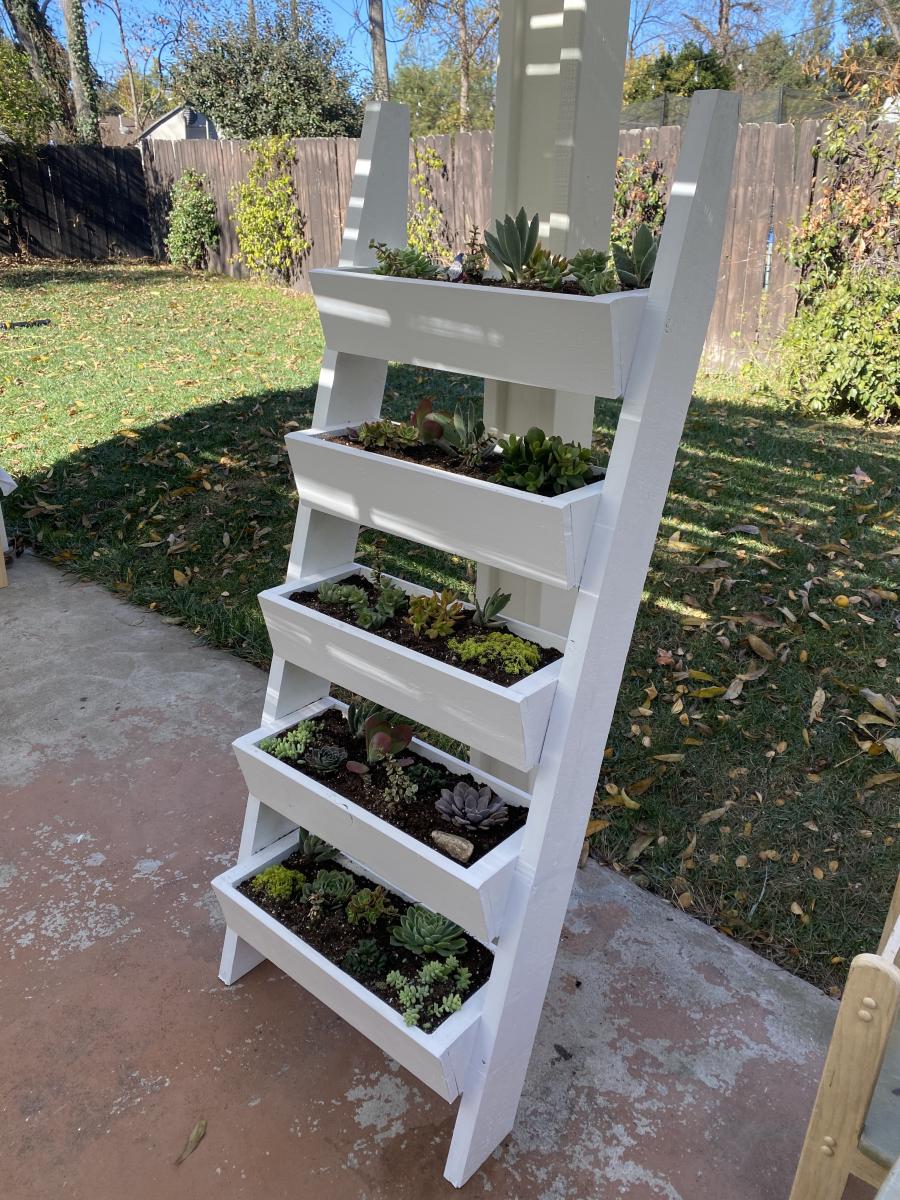
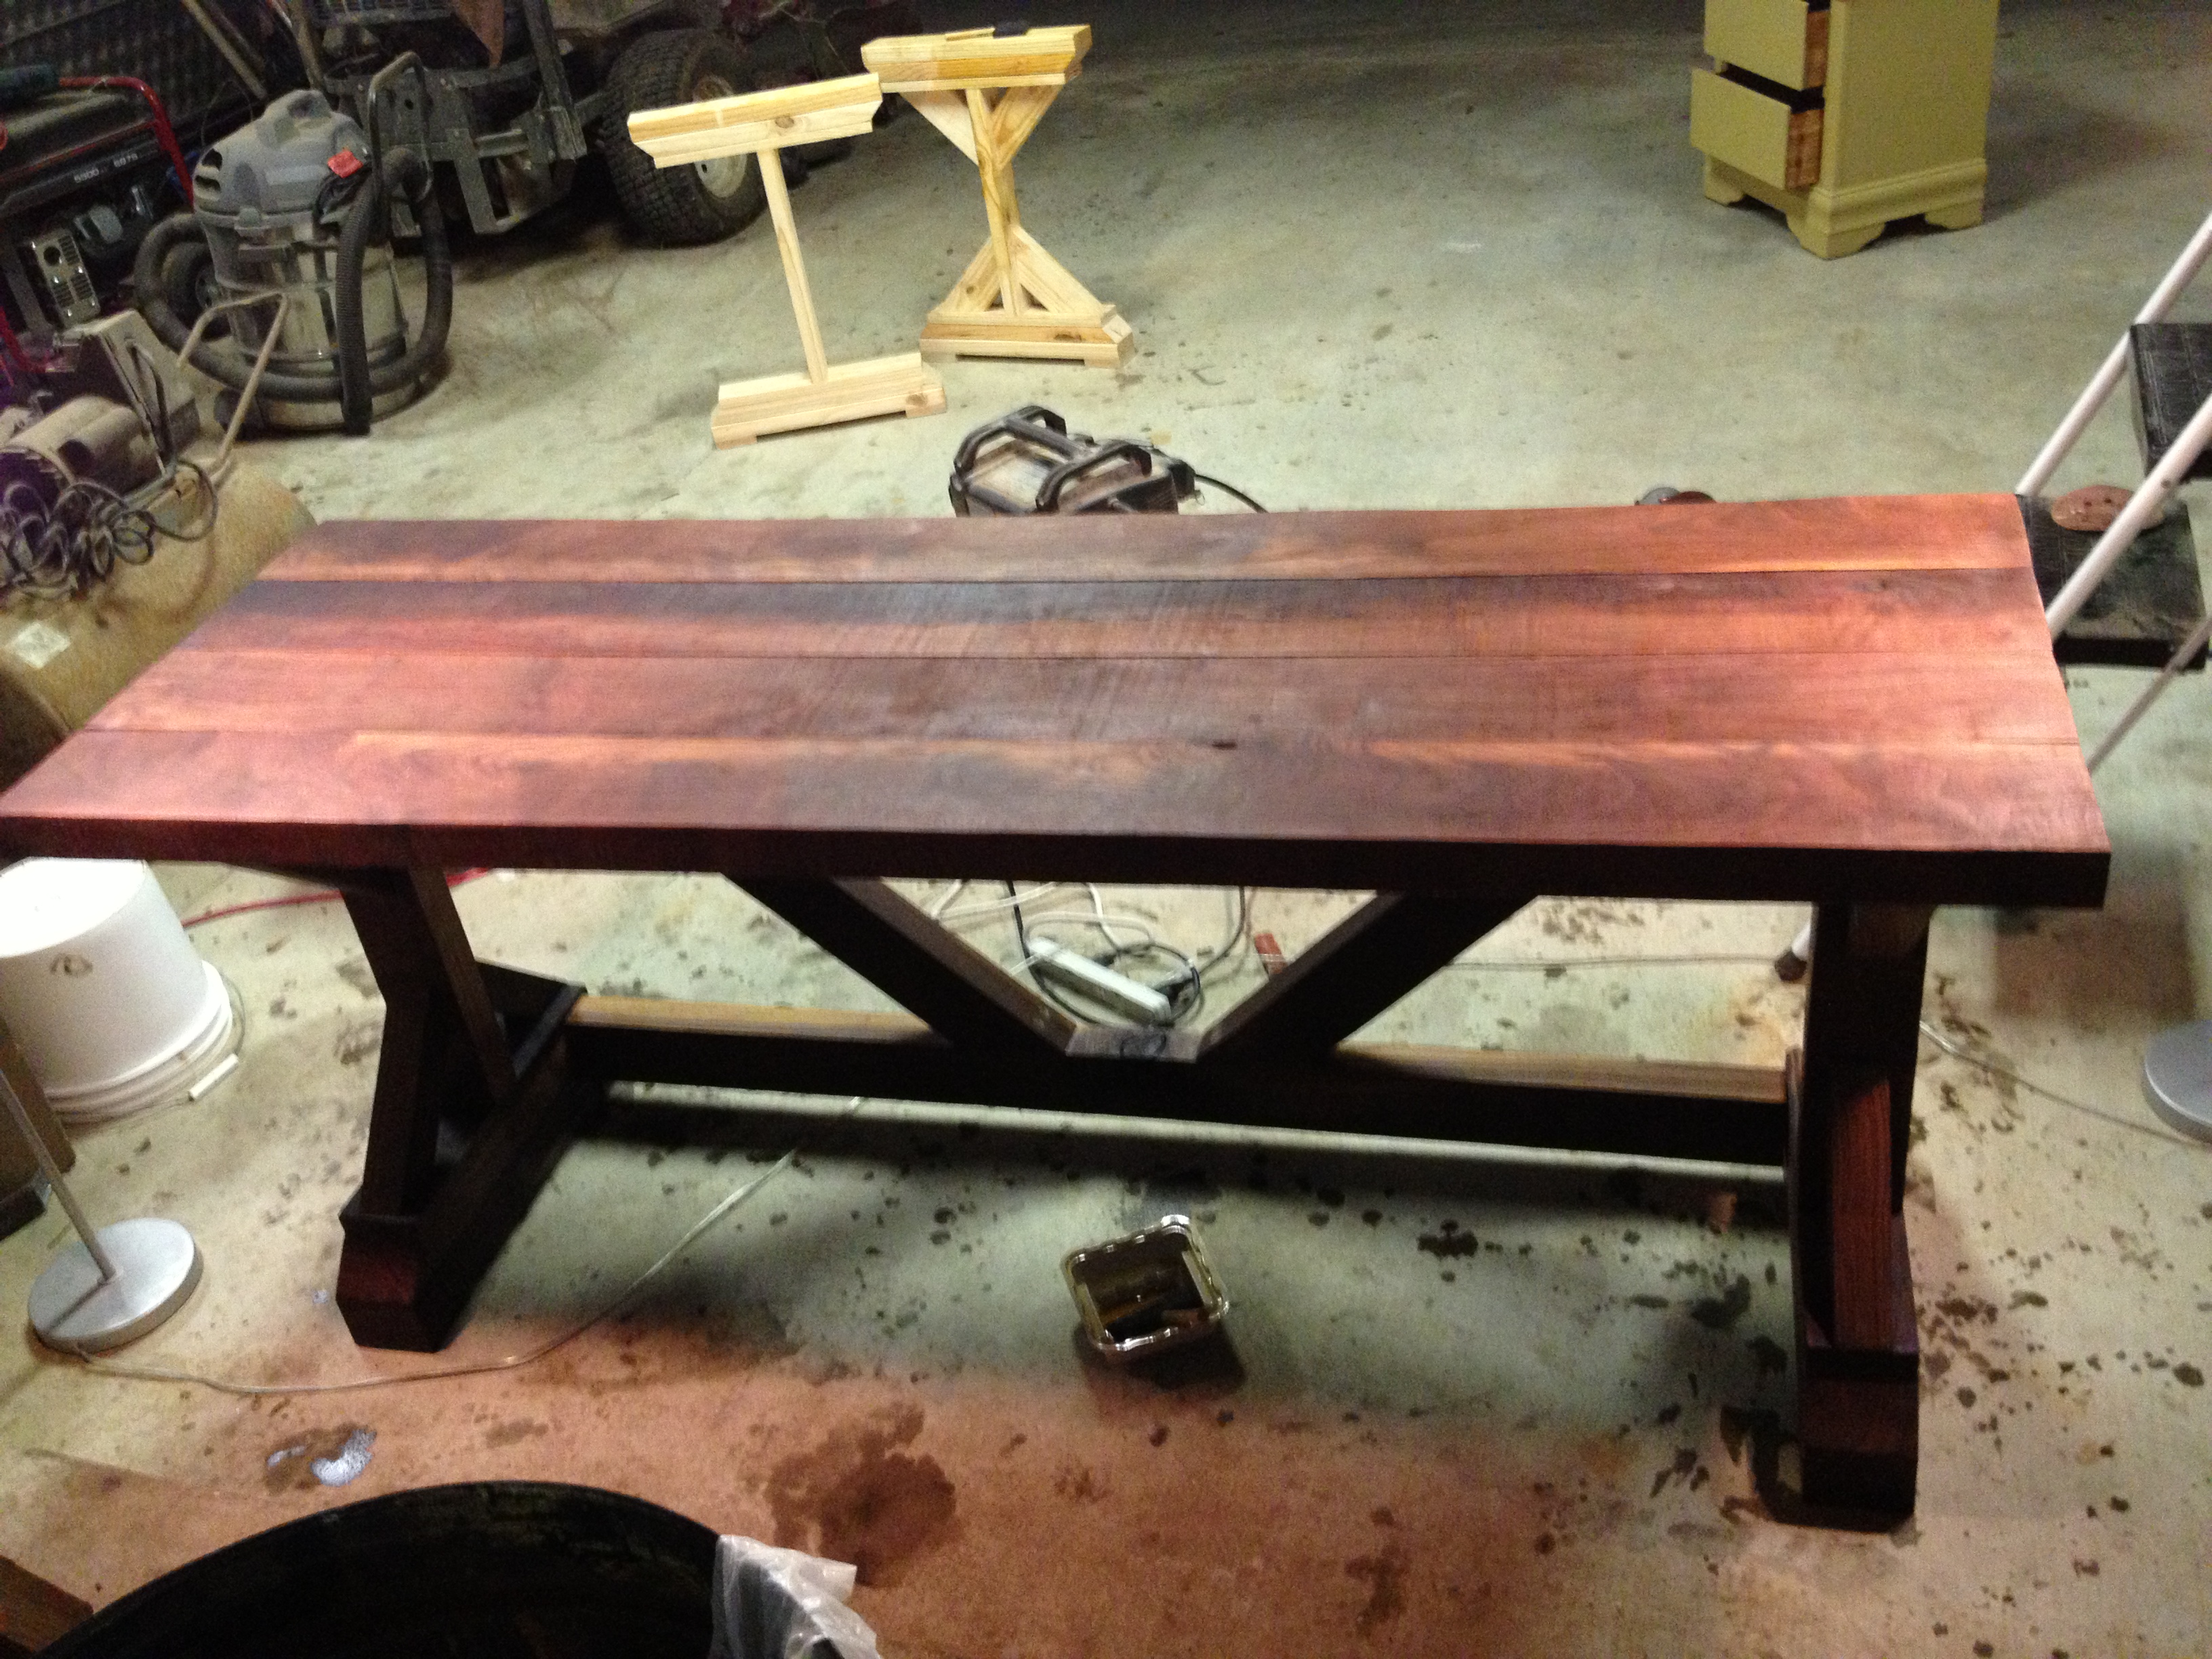
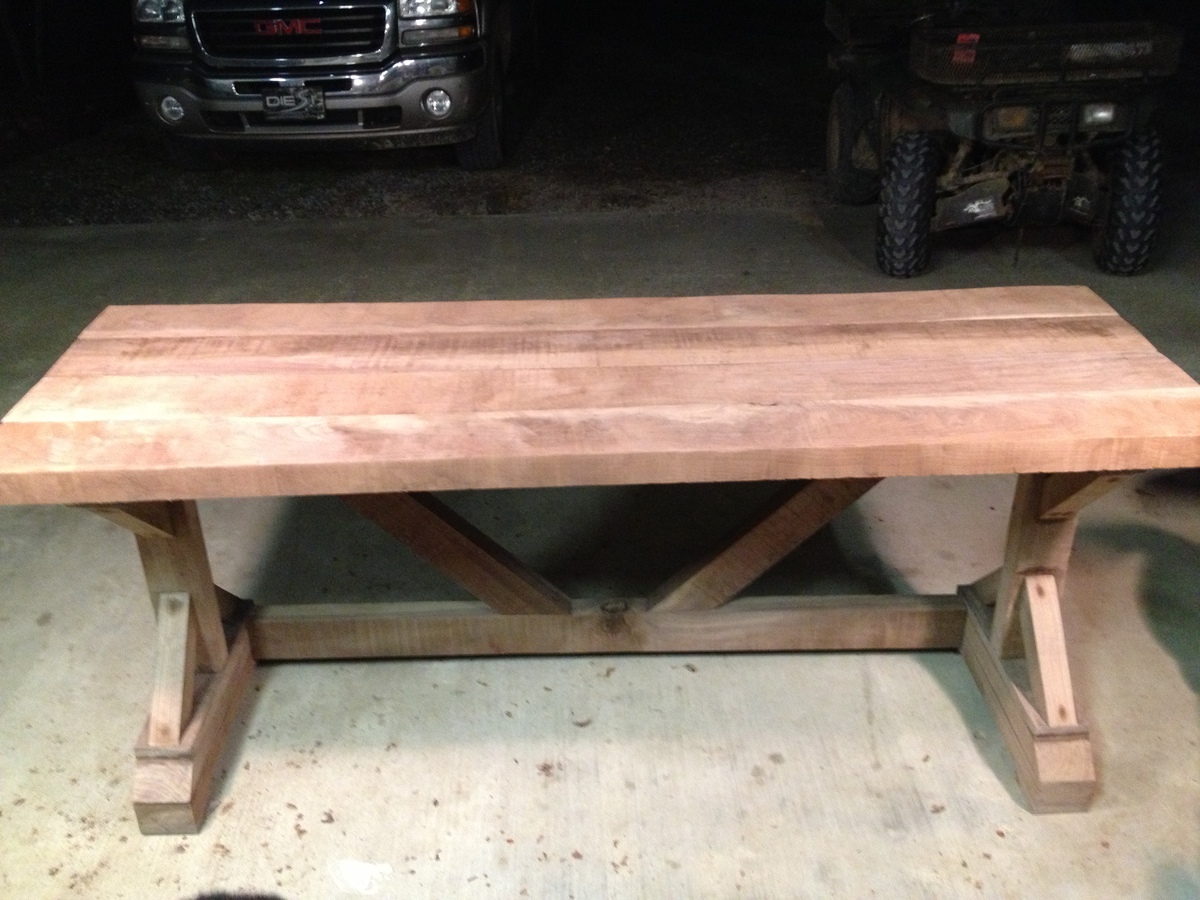
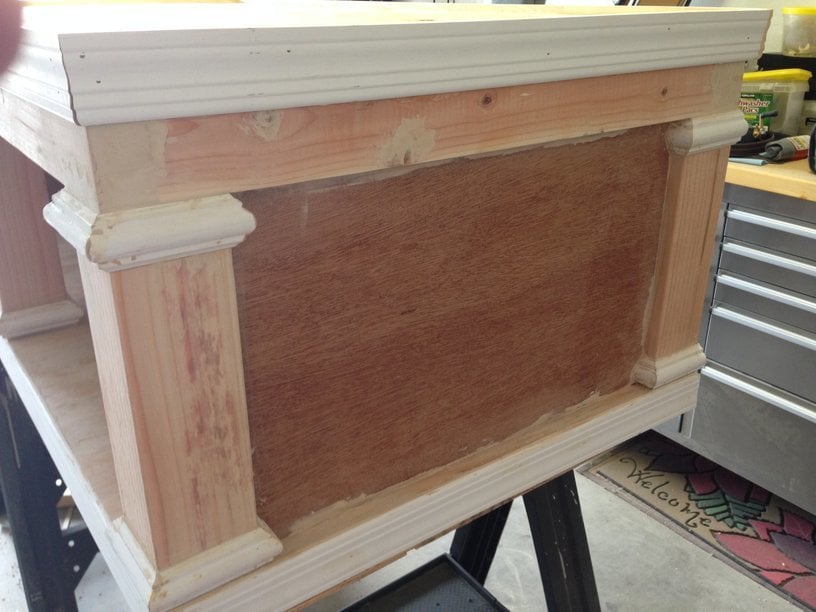
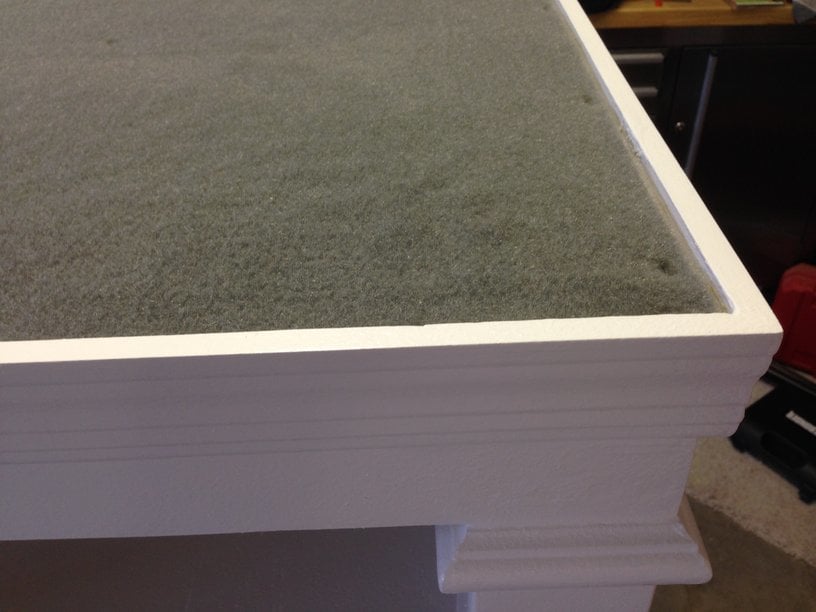
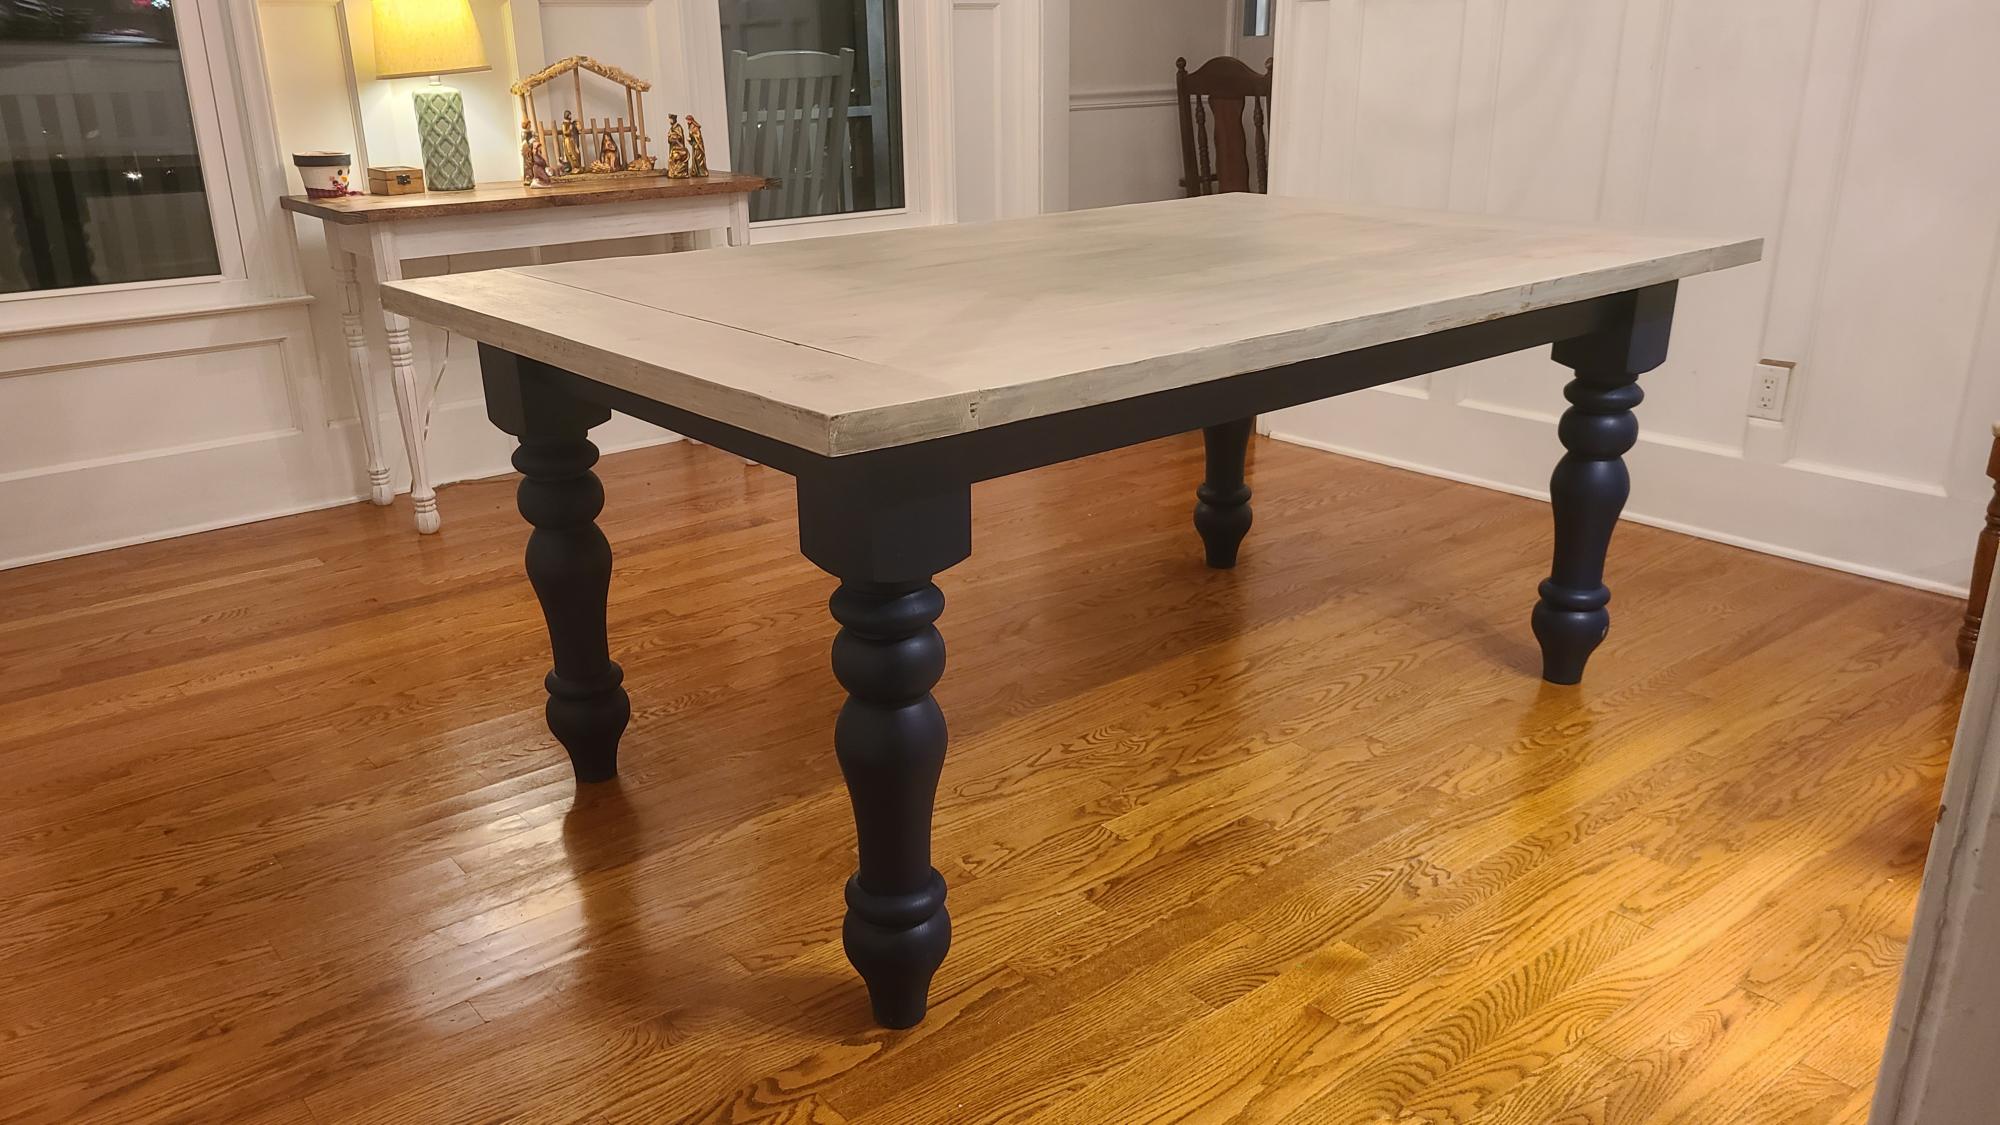
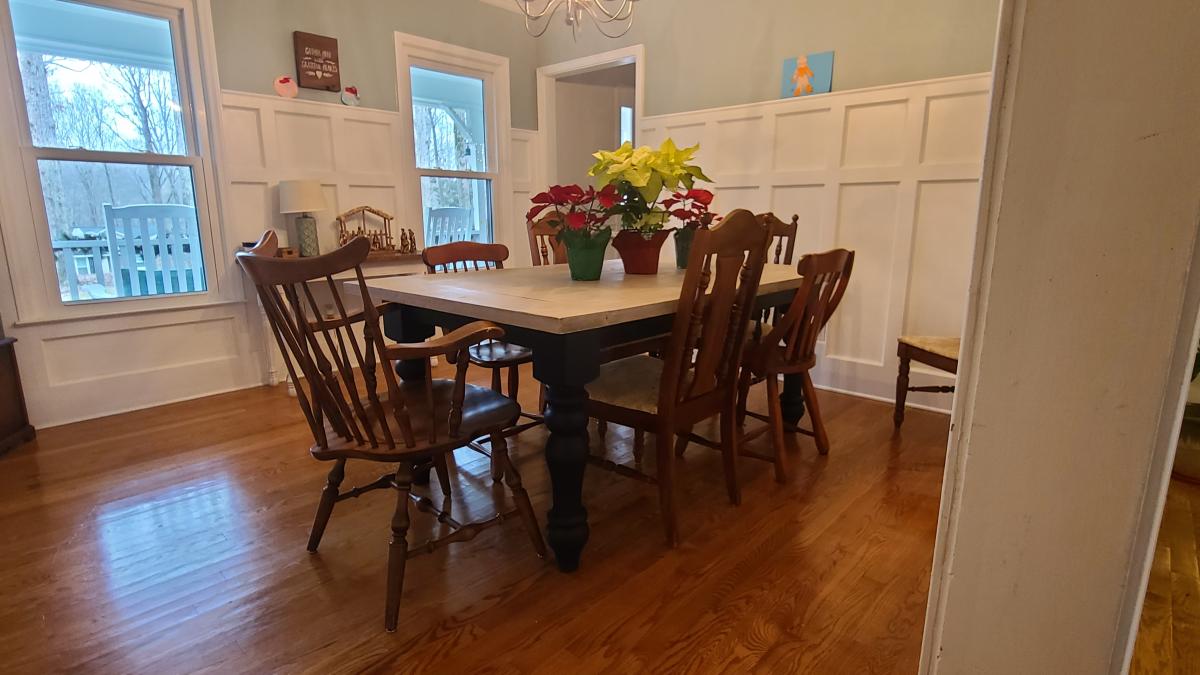
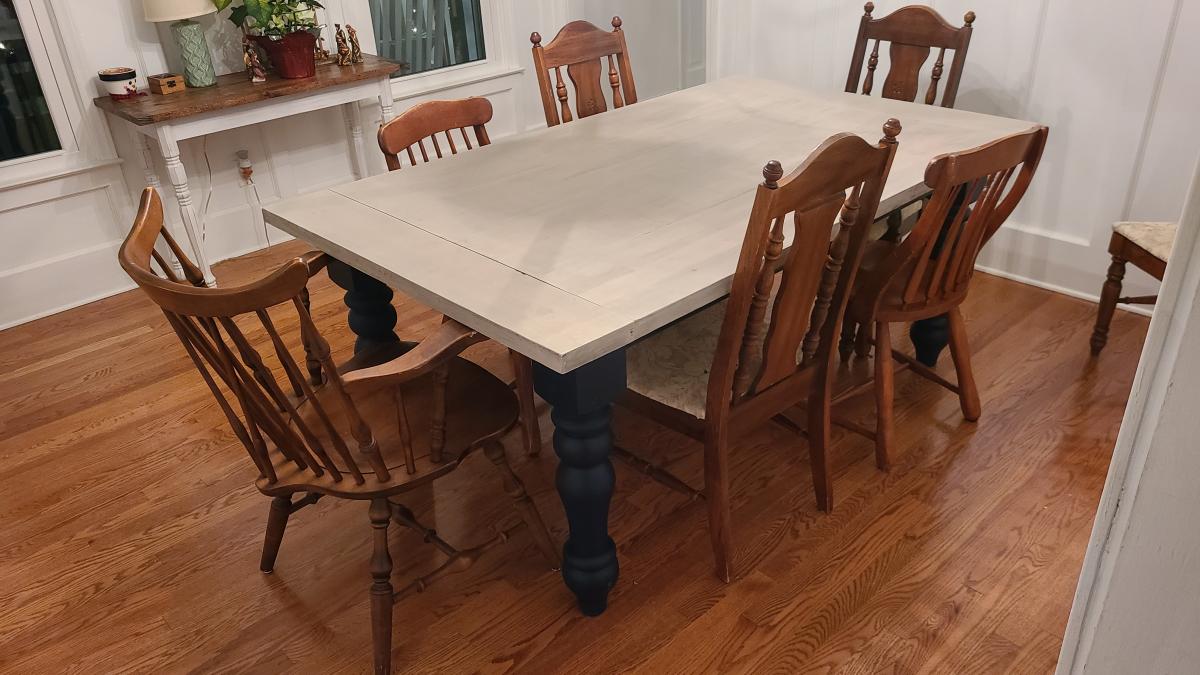
This is a beautiful table. Nice job!