Community Brag Posts

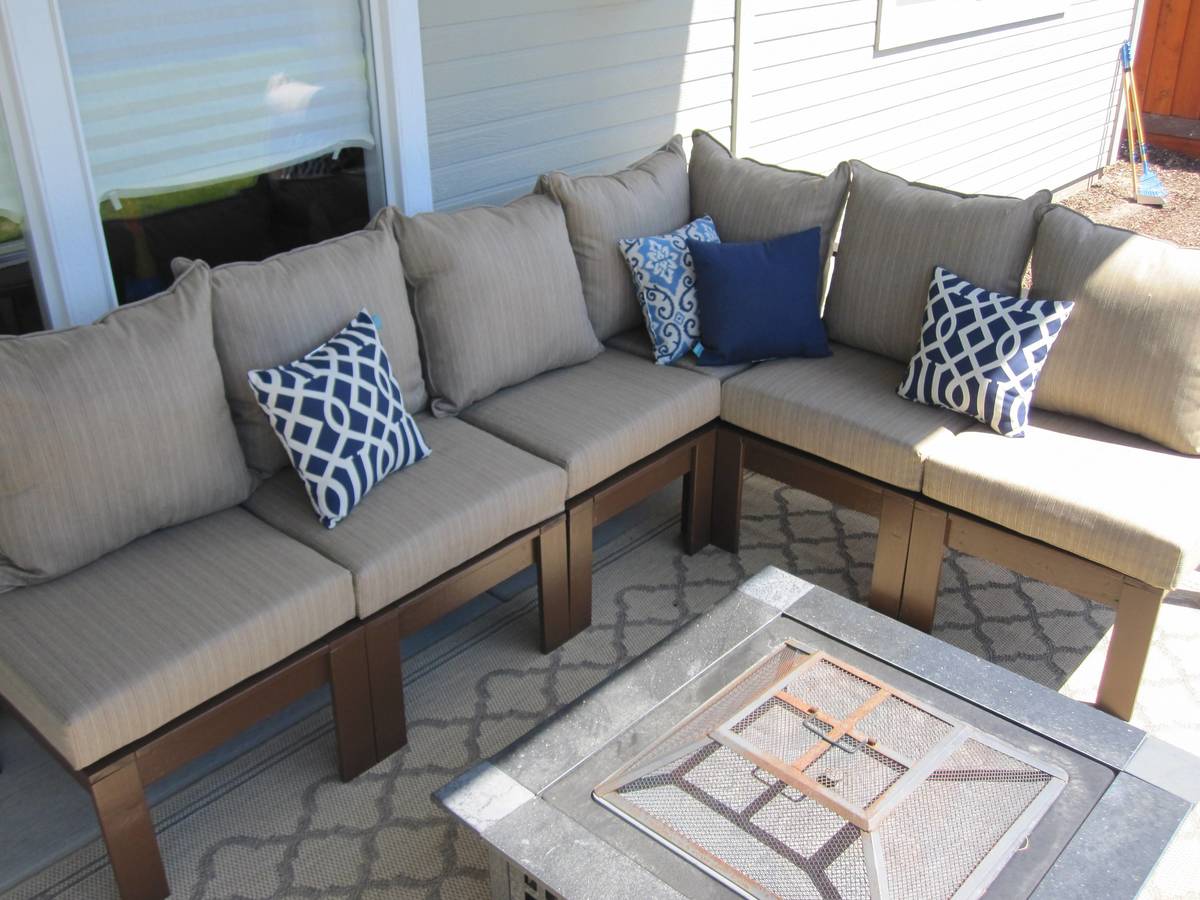
Outdoor Sectional

Submitted by czappia on Wed, 04/27/2011 - 13:54

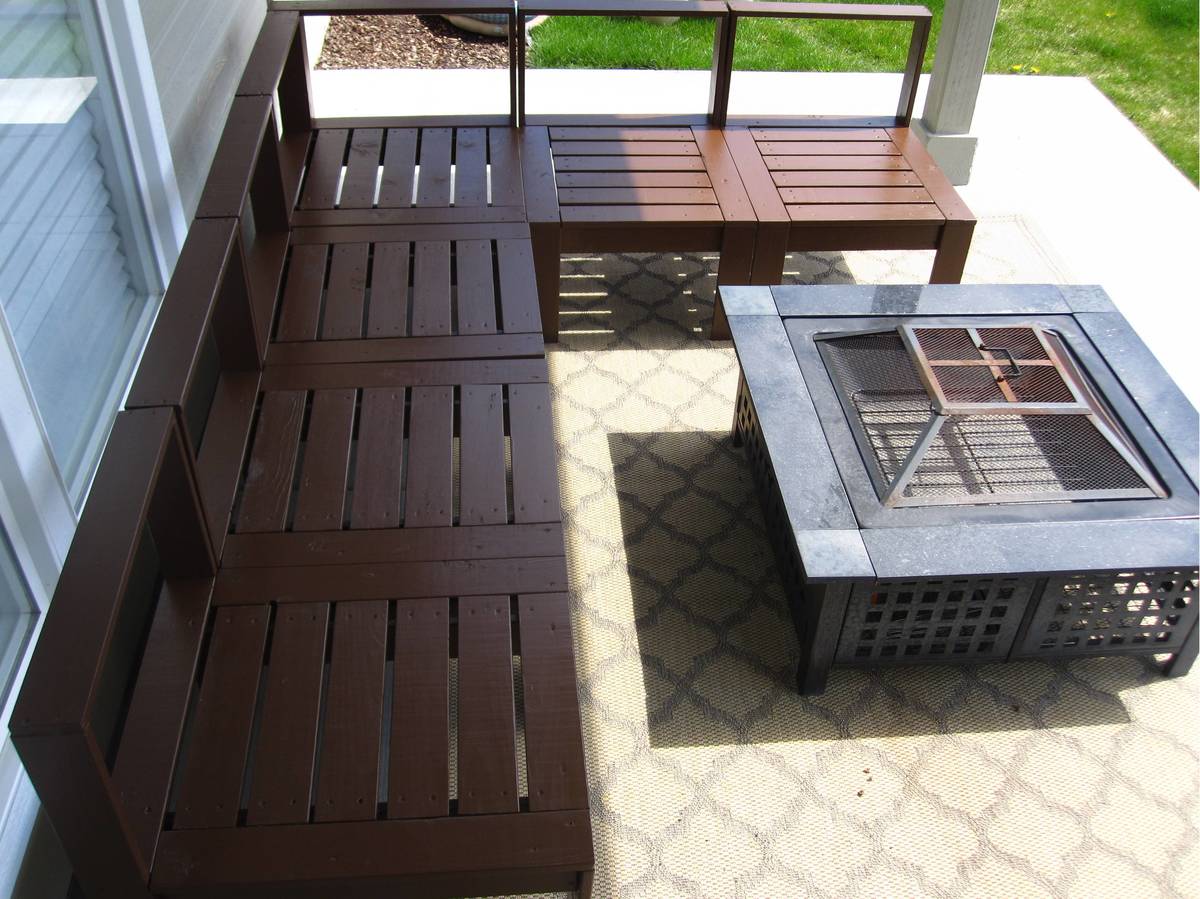
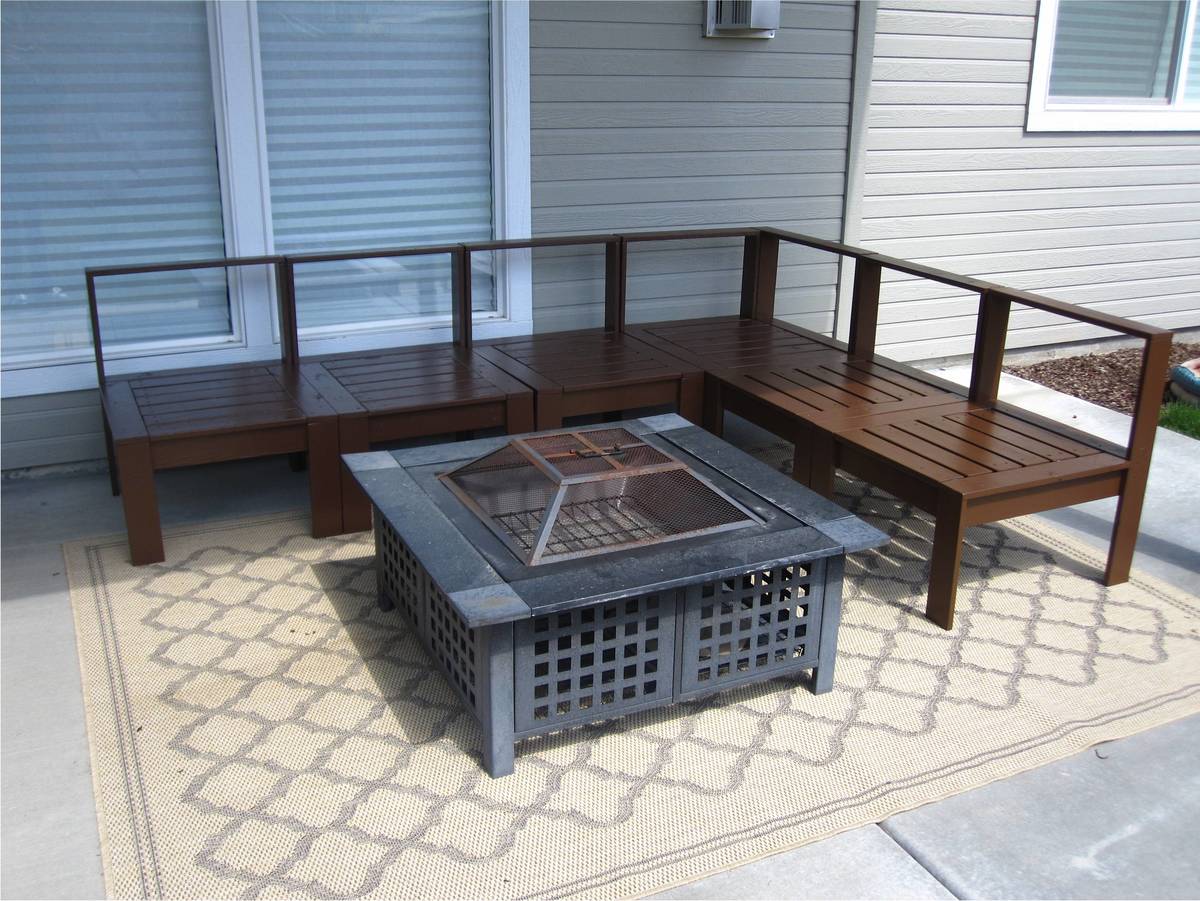
We needed furniture for our back patio and as I was searching for plans online, I stumbled across Ana-white.com. I was so excited to show my husband who built this in a day. I had thought that I would sew the cushions myself but after a few failed attempts at sewing box cushions with piping, I decided to buy the cushions. Buying them is actually a LOT cheaper as foam is very expensive in this size. I bought our cushions and back pillows from Walmart and the accent pillows from Target.

Cost: $355-cushions
$115-Wood
$25-Primer
$20-Paint

Estimated Cost
$500
Estimated Time Investment
Weekend Project (10-20 Hours)
Recommended Skill Level
Intermediate

Comments

Playhouse in-progress

Submitted by DoctorEw on Mon, 05/02/2011 - 06:49

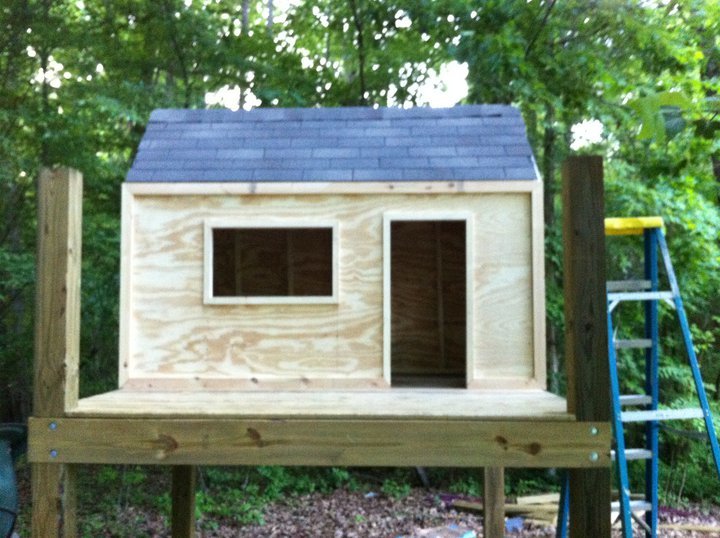
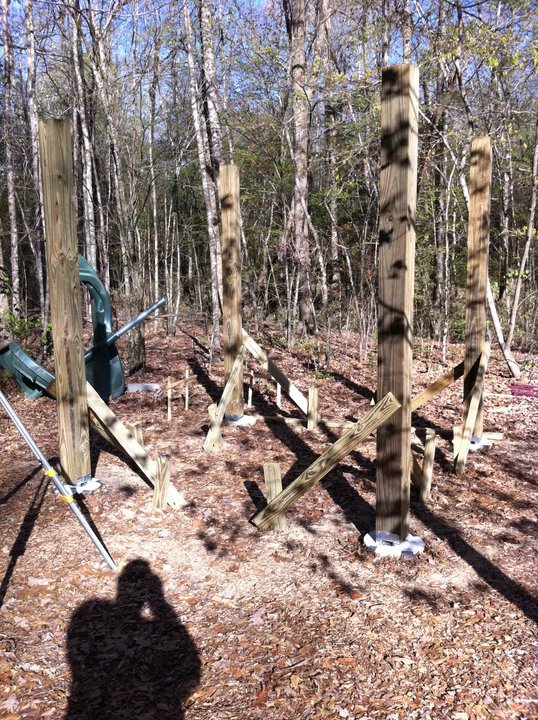
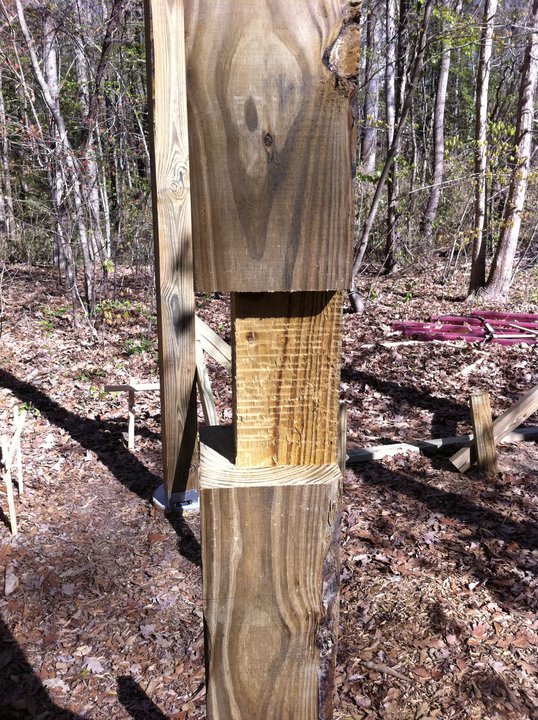
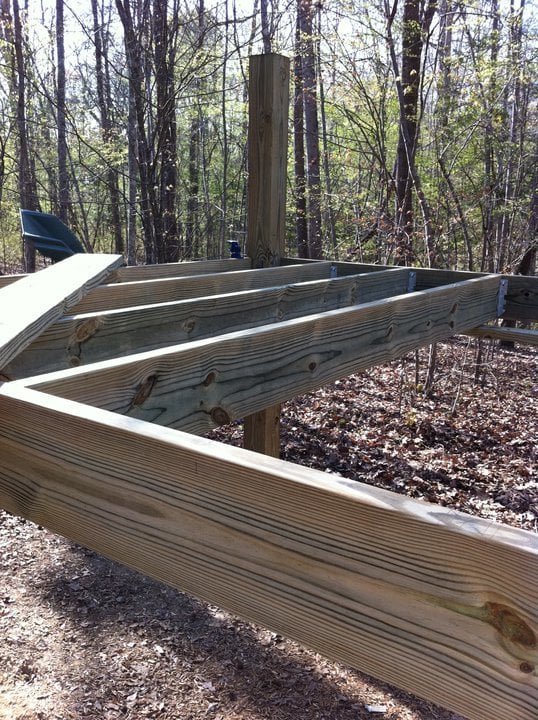
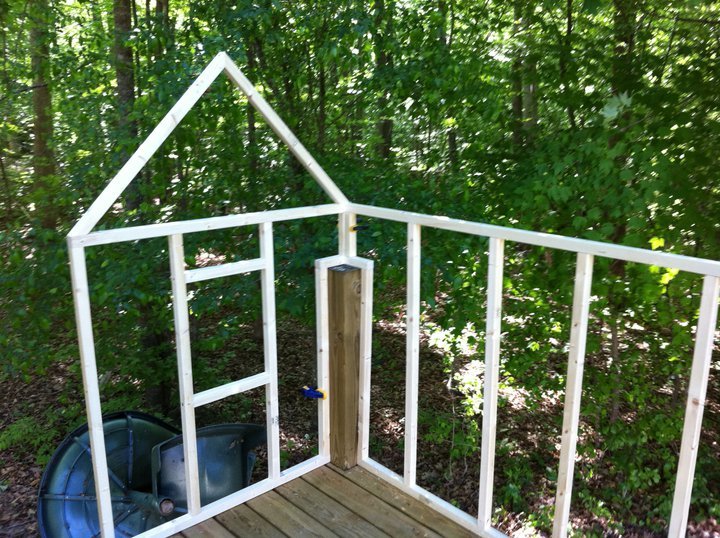
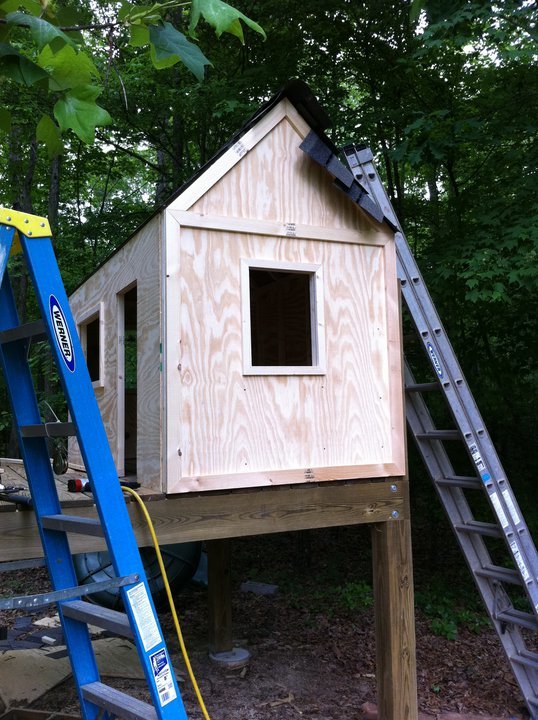
Due to rain (and horrible ability) this project has been taking a LONG time it seems. =) We had one of those "cheap" playsets from one of the warehouse clubs that would scare me to death anytime my girls got to swinging on it. So... we knocked it down and I took some liberty with the details from Ana's playset plans.

Estimated Cost
~$600 so far (concrete, wood, fasteners, shingles, etc..)
Finish Used
Will paint
Recommended Skill Level
Intermediate

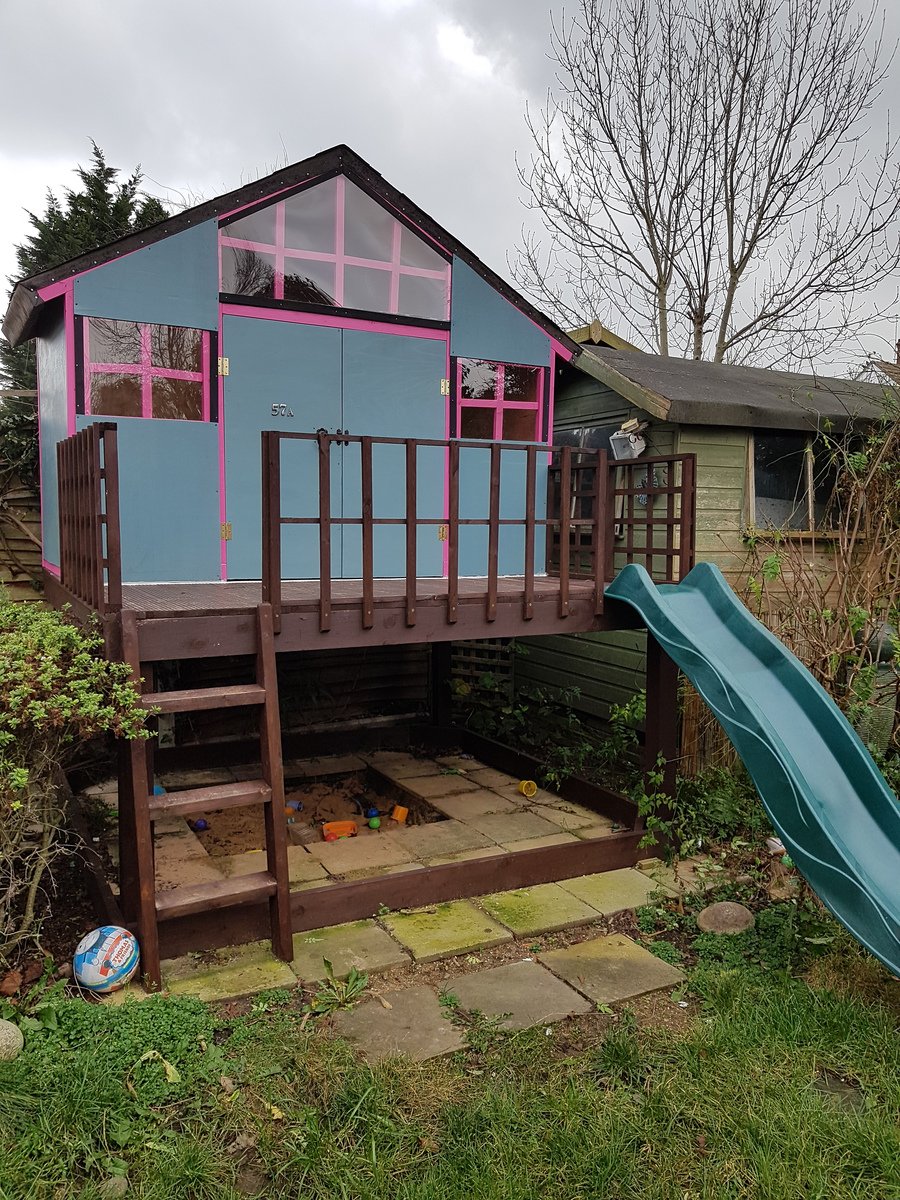
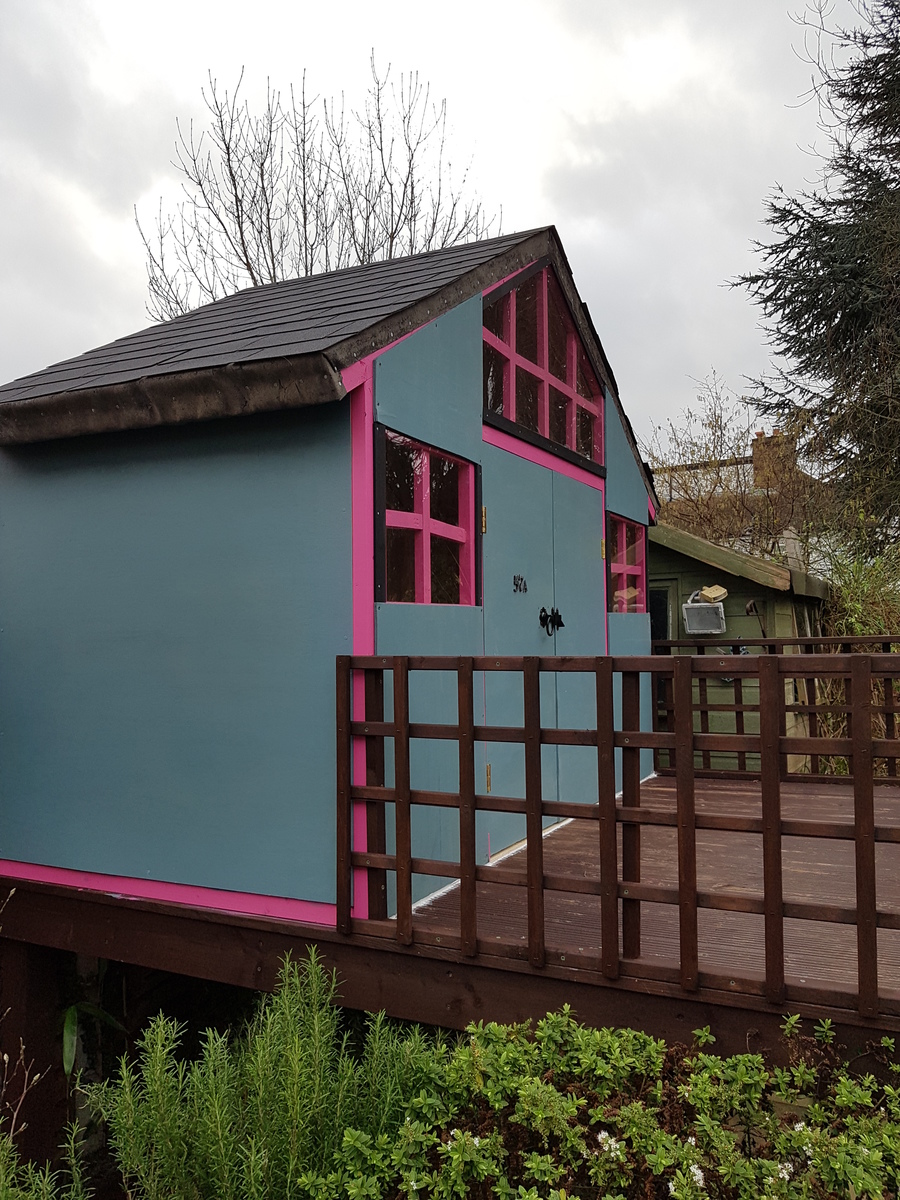
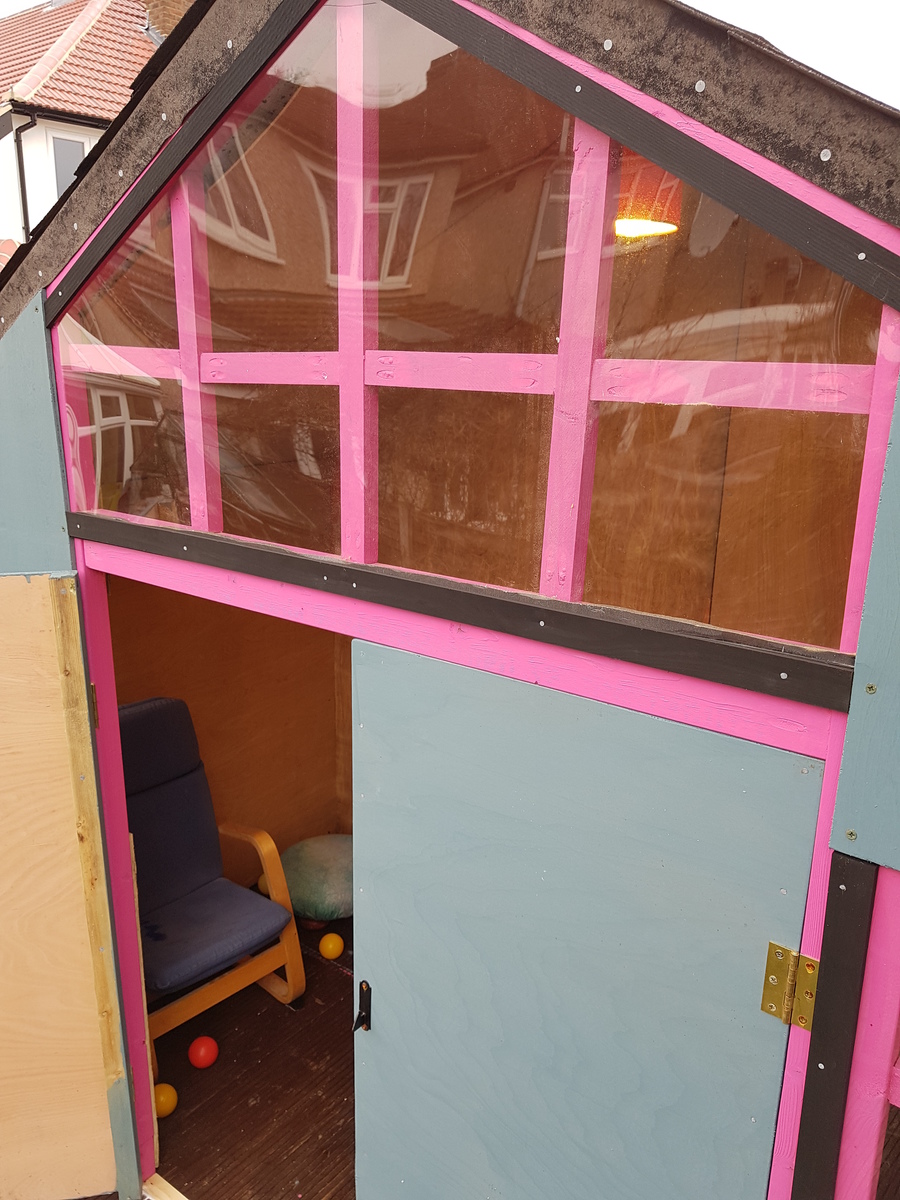
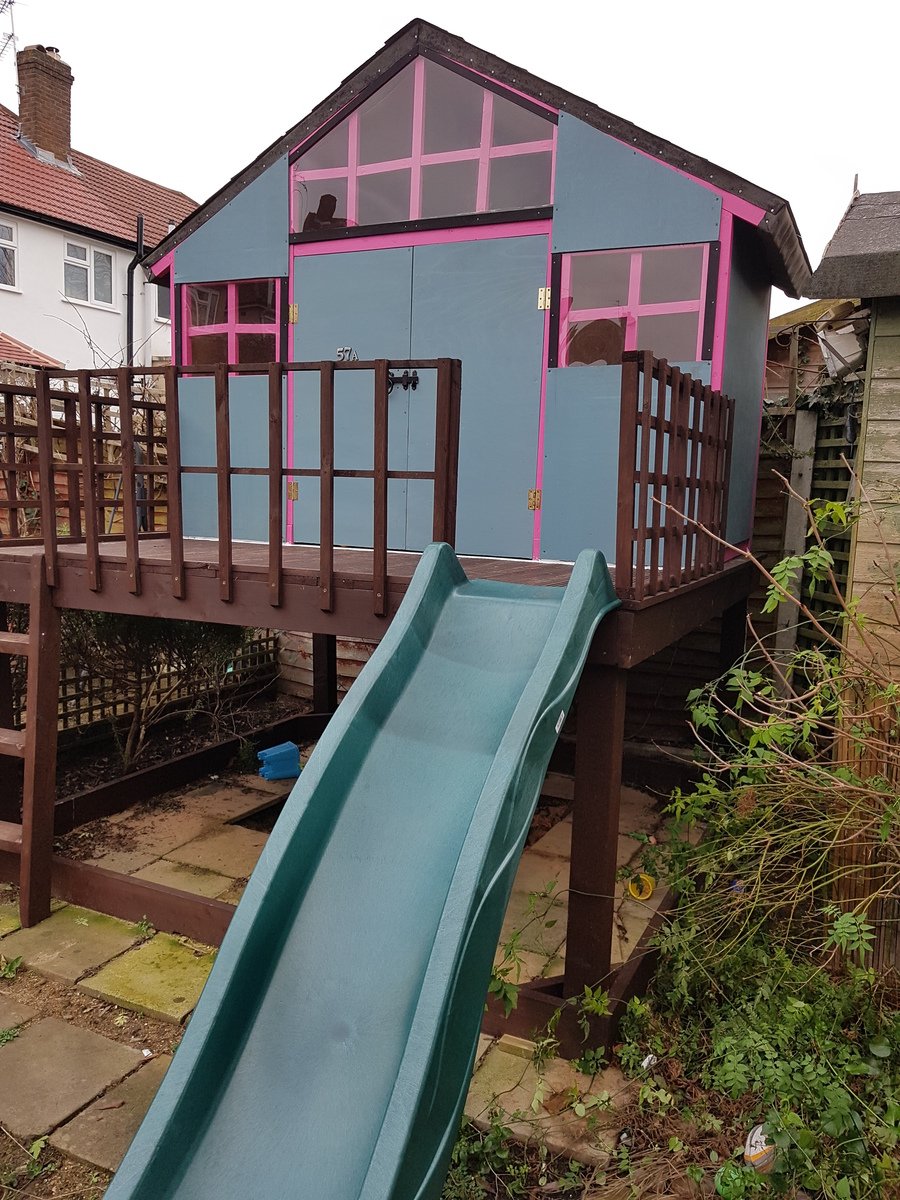
Craftsman style playhouse with raised deck (and power/lights)

Submitted by Ruth Ward on Sat, 01/13/2018 - 06:27

I needed a project to keep me together during 2017, as I took maternity leave after the birth of my second son. I wanted something that both boys could grow into, and enjoy, for many years to come. I also wanted to challenge myself to go big.

Our garden is tiny, so I was really attracted to the idea of raising a playhouse up and gaining the space underneath too. This corner was taken up by a big wooden raised pond, which wasn't wildlife friendly because of the high sides - and that meant you couldn't see the water unless you walked right up to it, either, so it seemed like a bit of a waste of space.

First of all I took out the old pond, and dug up tons of invasive bamboo that was growing around it. Then I lifted and relaid the concrete paving slabs underneath, leaving a smaller pit for a sandpit in the middle. With that all in place, I was ready to start building.

Wood tends to be expensive in the UK, and given the amount of rain we get I wanted to get the roof thoroughly waterproof and the windows covered. I also included a layer of polystyrene insulation behind a additional plywood inner walls, and I painted the whole thing in rot-proof garden paint. Everything added up, and the materials cost was probably £1k or more.

If I'd been able to work continuously, I reckon I would have completed the whole project in a week or so. However, I was mostly only able to get out in the garden when both my sons were napping (about 2 hours a day) or at the weekends when my husband could watch them. Given the time constraints, I was expecting this to be a long project. I started in April 2017 and completed the build late in October.

The deck was finished in June, and the sandpit in the shady space underneath was a great resource on the hotter days of summer.

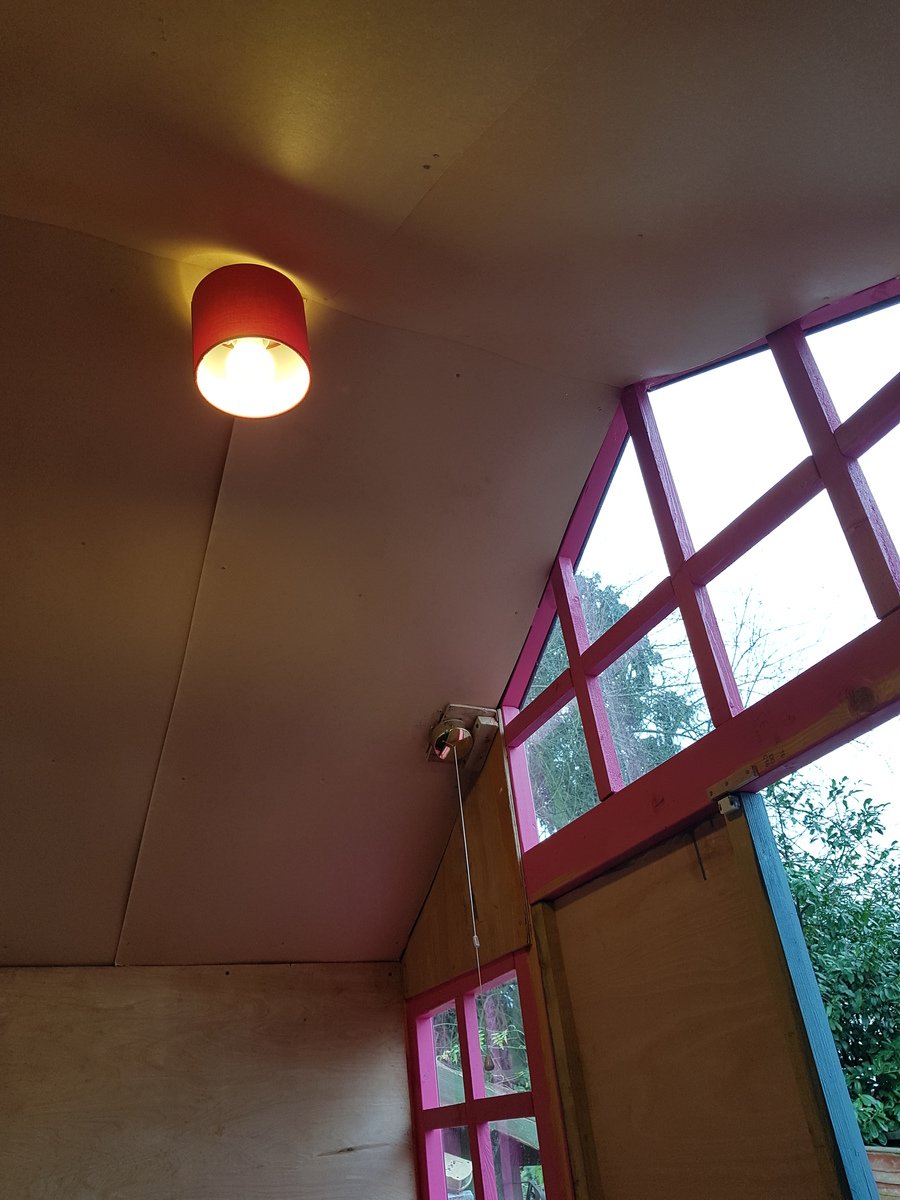
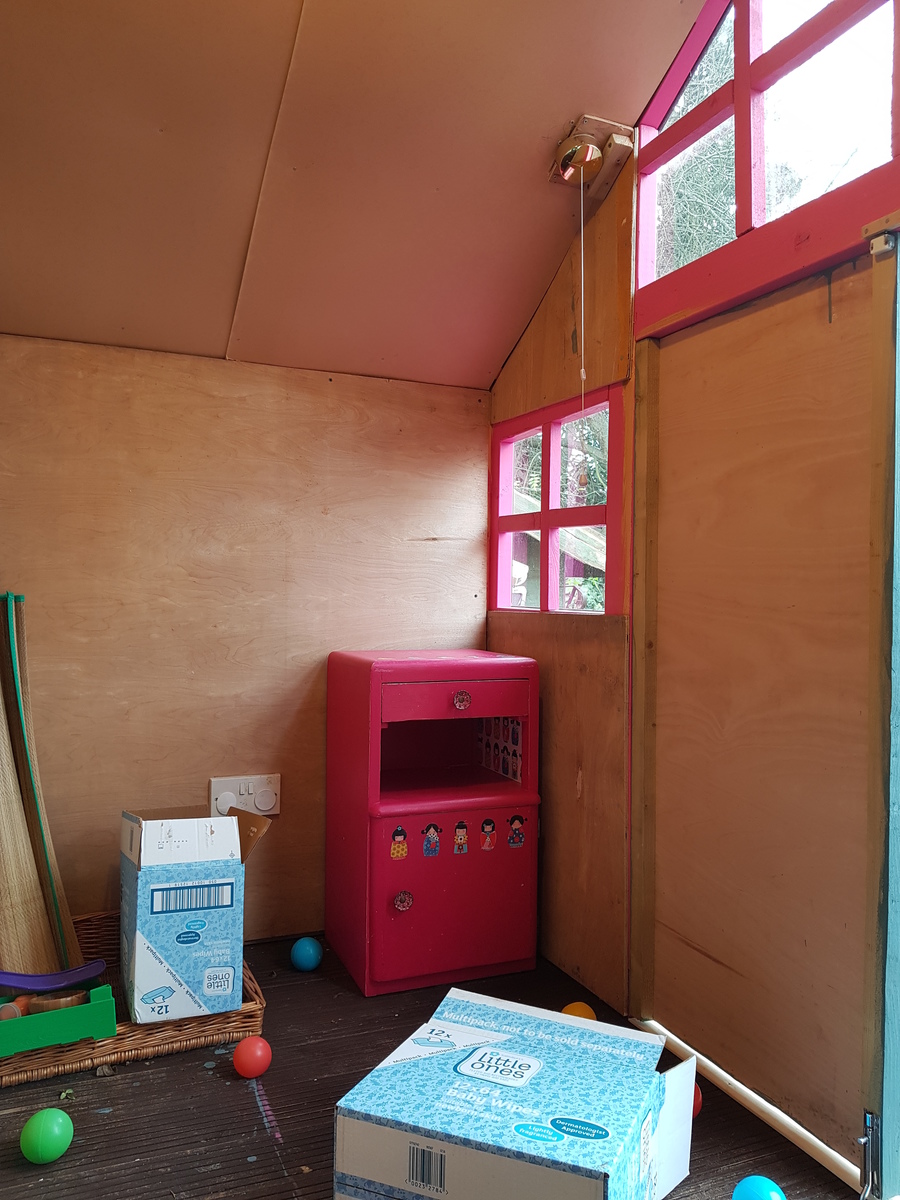
The old garden shed we inherited when we moved in here is rotting away, but it had power and lighting which the electrician told us was sound. I transferred the circuit into the playhouse, securing it behind the inner wall and installing a plug socket and a ceiling light. Having the power socket means that we can take a little electrical heater out there, and (under supervision) the three year old has been able to play in his little house throughout the winter.

One issue has been that water tends to pool on the deck in front of the house, and then seep under and into the house. When a big furry throw got left out there for a couple of weeks it acted as a wick and sucked the water up and into some of the plywood at the back, making it a bit manky and mouldy. We've learned our lesson and I've now run a bead of general purpose sealant along the front of the house, preventing water running in. The decking boards came with grooves for added grip, which helped channel the water along, and this was worse by the doors because I kept the doors a centimetre or so above the floor, leaving a gap. I've added a thin strip of wood for a lintel and sealed that too.

Now that we're on top of the damp issue I'm planning to paint the interior, add some old water-resistant flooring boards that I found in the shed when we moved into the house, and generally spruce things up. I hope this will be a comfortable den for the boys for years to come.

Thanks, Ana!
Estimated Cost
£1k-1.5k
Estimated Time Investment
Week Long Project (20 Hours or More)
Finish Used
Cuprinol outdoor paints (blue and pink); Wickes own brand wood preserver (dark brown)
Recommended Skill Level
Beginner

Nursery Room Book Shelves from $10 Ledge Plan

Submitted by karahart on Wed, 05/11/2011 - 08:42

I built these bookshelves with the help of my husband for our daughter's nursery. They were so simple to build, the finishing work is what took the most amount of time. They're very sturdy, and we get tons and tons of compliments on the 'feel' that they add to the nursery!

Built from Plan(s)
Estimated Cost
$35
Estimated Time Investment
Afternoon Project (3-6 Hours)
Finish Used
I put on a coat of white primer, and then painted quite a few coats of ultra-white paint on each shelf. I sanded between each coat of paint, and finished it off with a top coat of polycrylic. I also filled in the screw holes with white caulk and painted over that once they were all mounted.
Recommended Skill Level
Starter Project

Wood Push Car & Truck

Submitted by Sue Hill on Wed, 01/26/2022 - 07:15

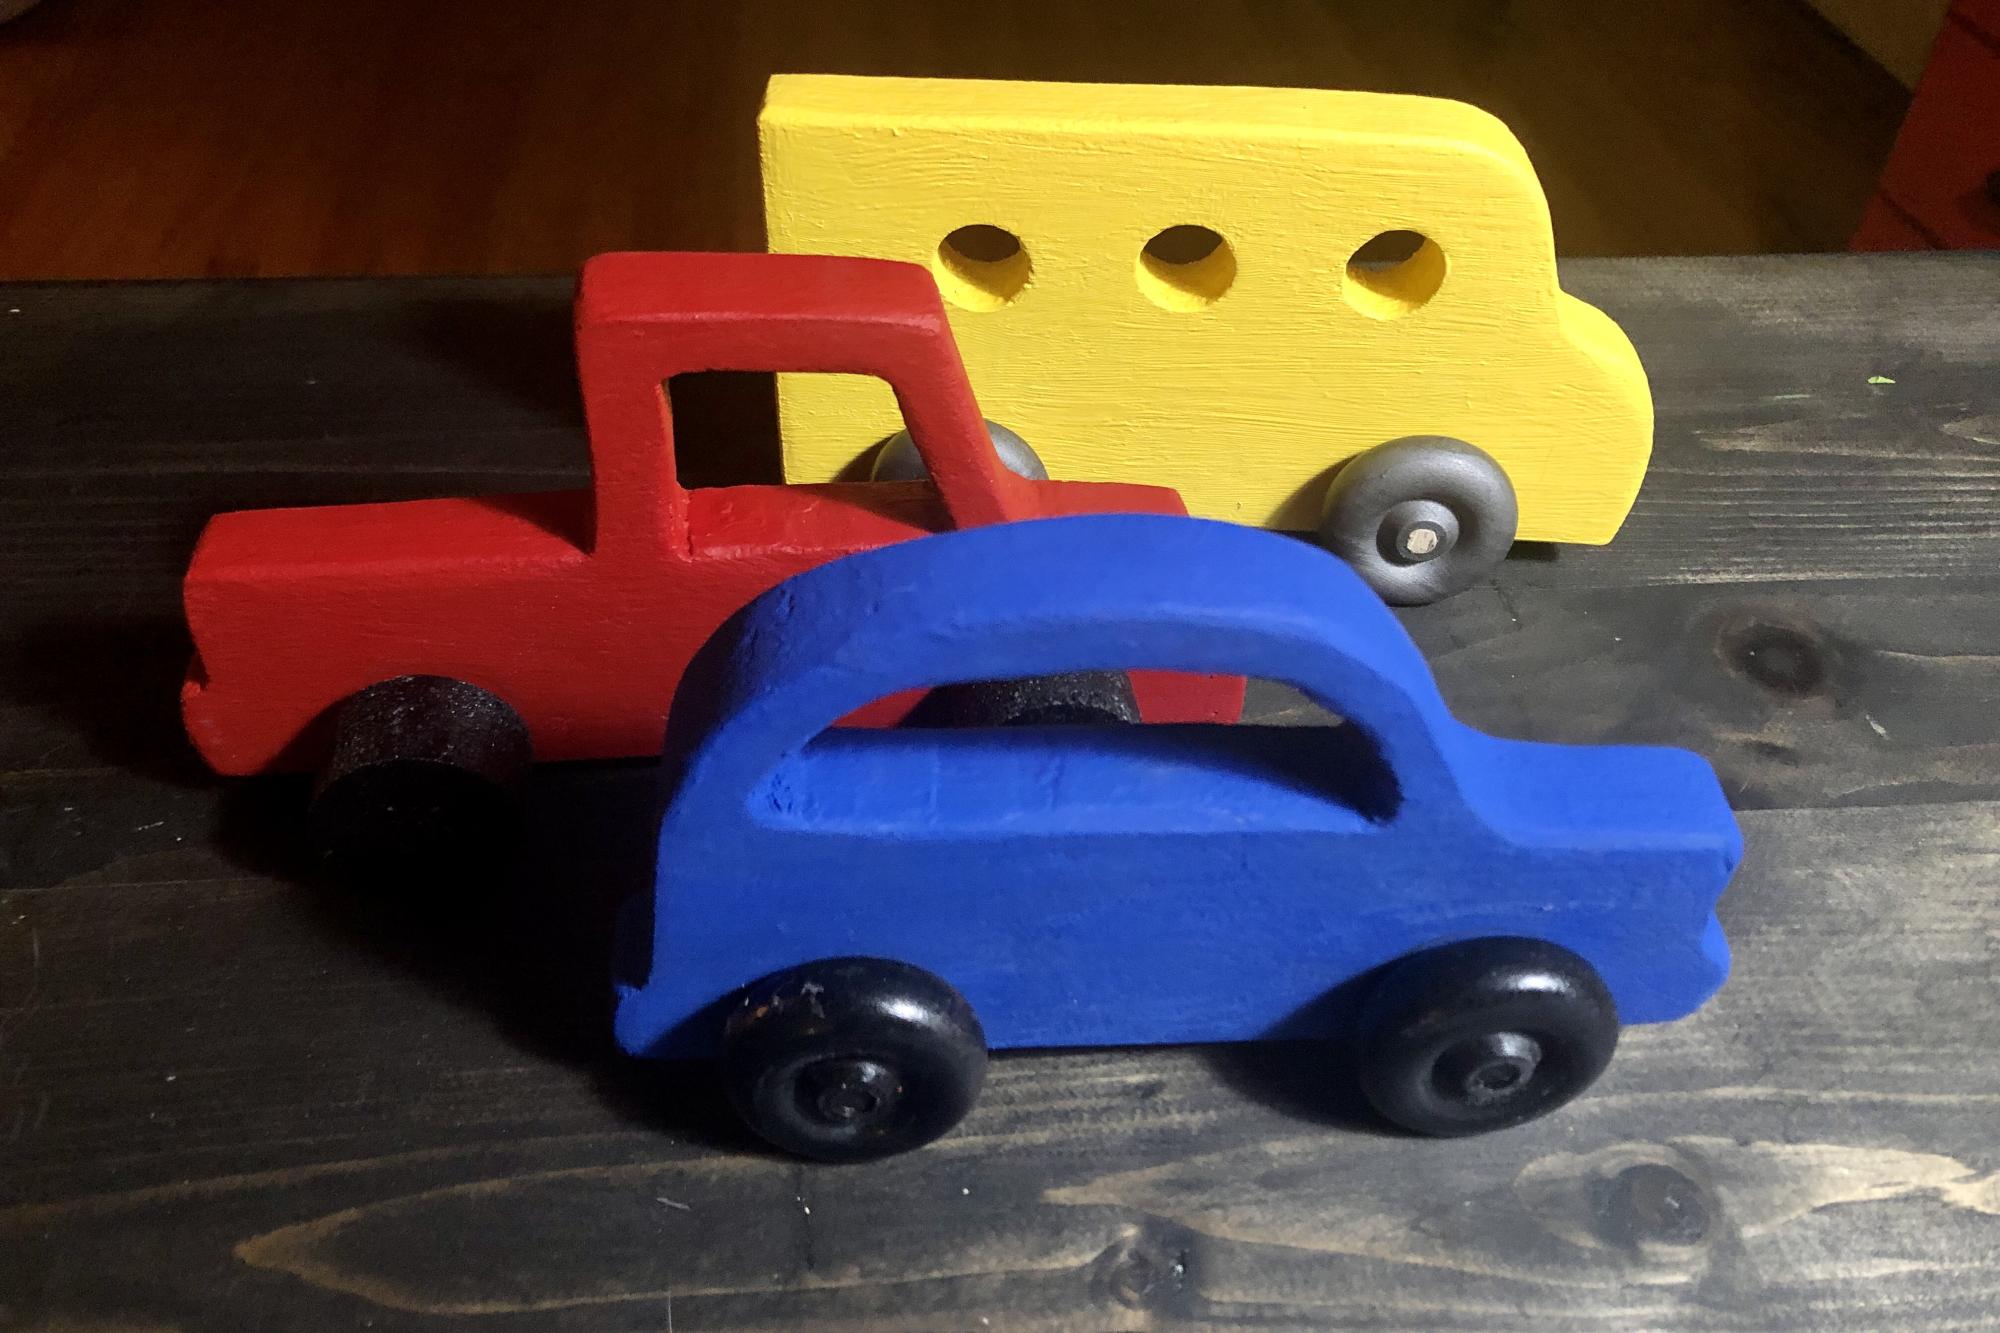
These are fabulous little vehicles that I made for my 18 month grandson when he visits. After making the car and truck, I decided to add a simple bus with round windows.
I used scrap wood, cut out the truck wheels with a hole saw but purchased a package of wheels for the others. My little cars aren't perfect but that adds to the charm.

Comments

Tall Corner Media Console

Submitted by sully777 on Mon, 07/13/2015 - 10:17

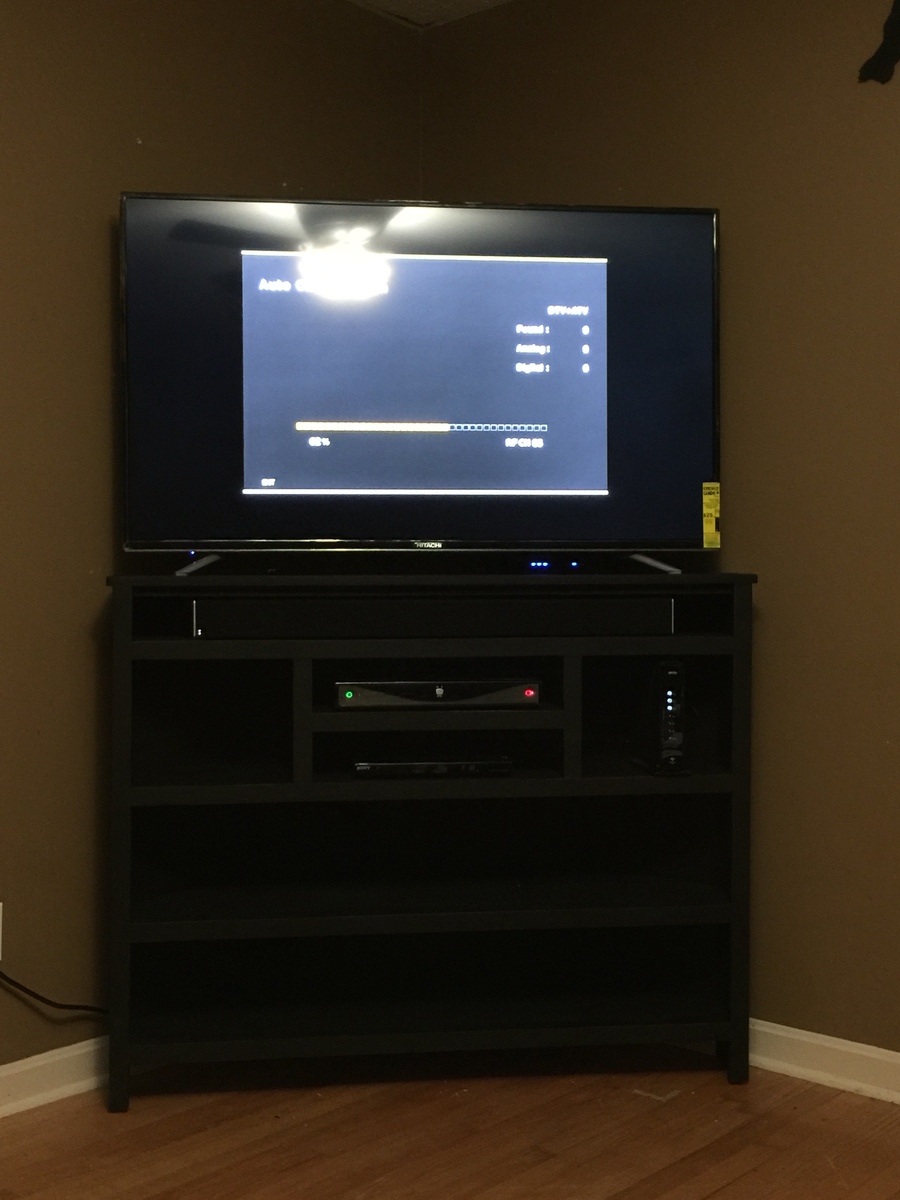
Easy excellent project for That odd room you may have that needs a corner tv stand.

I use pre made 16" wide 3/4" MDF shelving from Home Depot for the Shelves, Used 1" x 3" for the top, and sprayed it all with Rustoleum Industrial flat black which dries in 15min, was the large size cans for $5.40 and and only useds 3.25 cans to paint the whole thing. 


TV is a 55" Class so it actually works perfect, because the tv stand is two legs and not the typical center mounted ones. so  put the tv toward the front of the console and the console is as far as you can go into the corner.

I have two power strips screwed to the back of the console, along with a cable amplifier, my wireless router for the house sits right behind the TV and you can see the blue status lights under the bottom of the TV.

Have  my speaker bar in the added shelf #1 below the tv, comcast cable modem in the right side square, TIVO in the center top, DVD Player in the center bottom, and loads of extra shelf space for whatever else I can think of....

Built from Plan(s)
Recommended Skill Level
Beginner

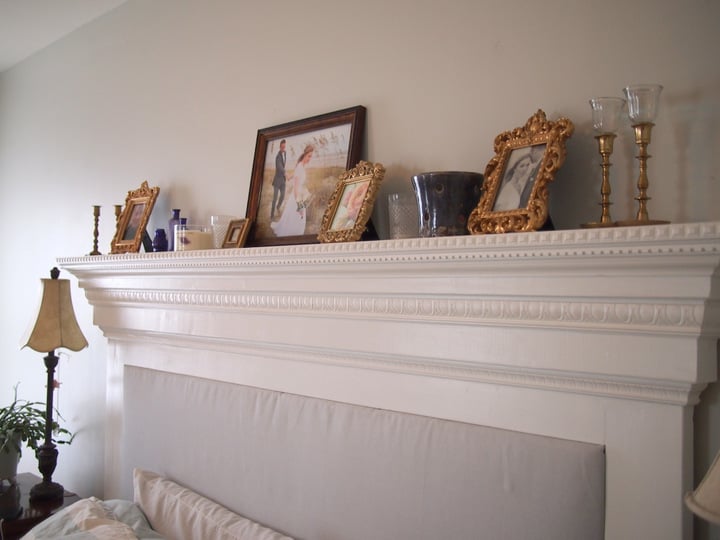
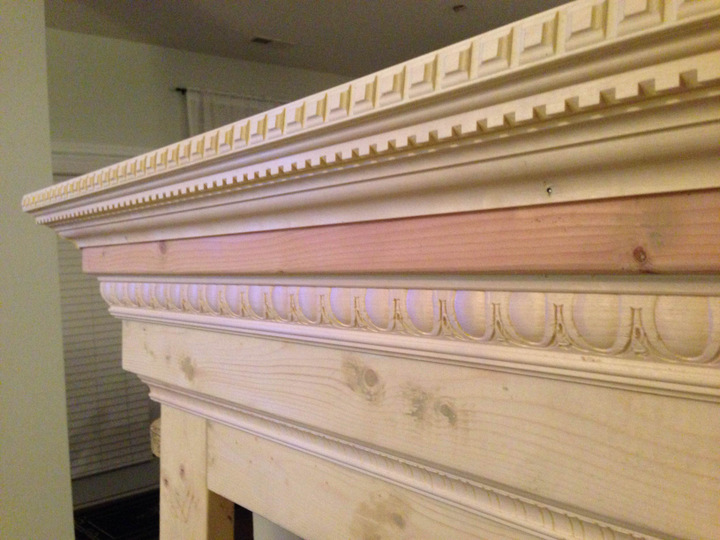
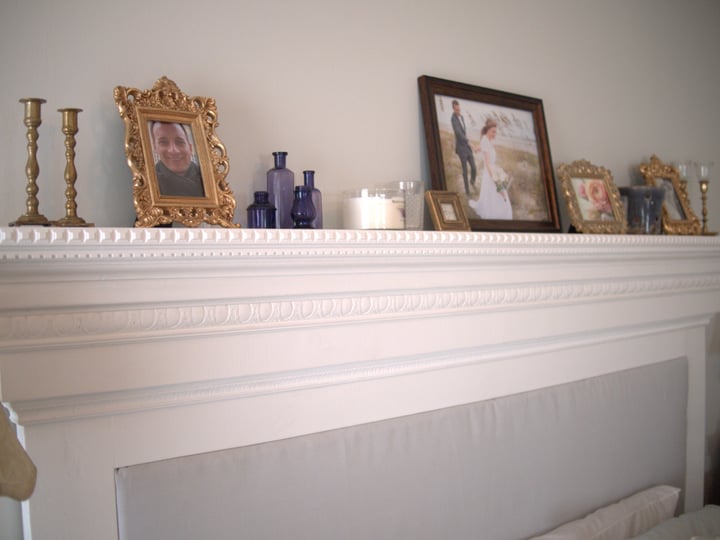
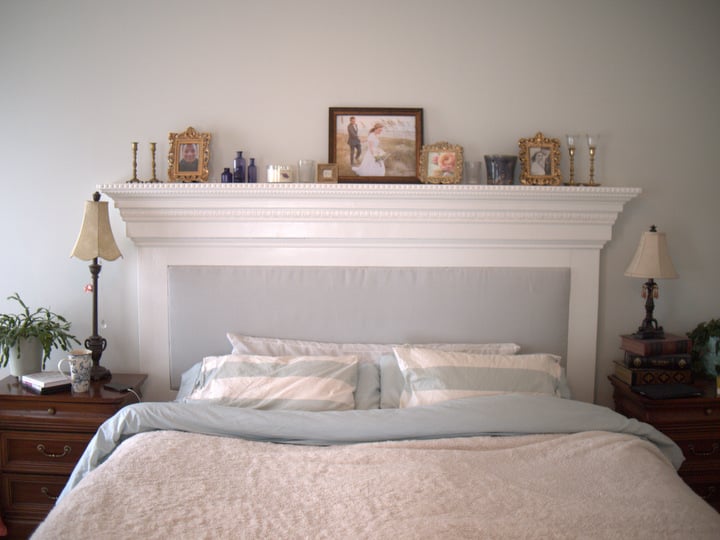
DIY POTTERY BARN "ADDISON" STYLE HEADBOARD

It took us about 2 days to cut, assemble, and paint.  


http://www.whisperingwhims.com/2015/03/diy-pottery-barn-addison-style-headboard/

Built from Plan(s)
Estimated Cost
$150
Estimated Time Investment
Weekend Project (10-20 Hours)
Recommended Skill Level
Beginner

Comments

Mudroom Locker & Bench Completed Version

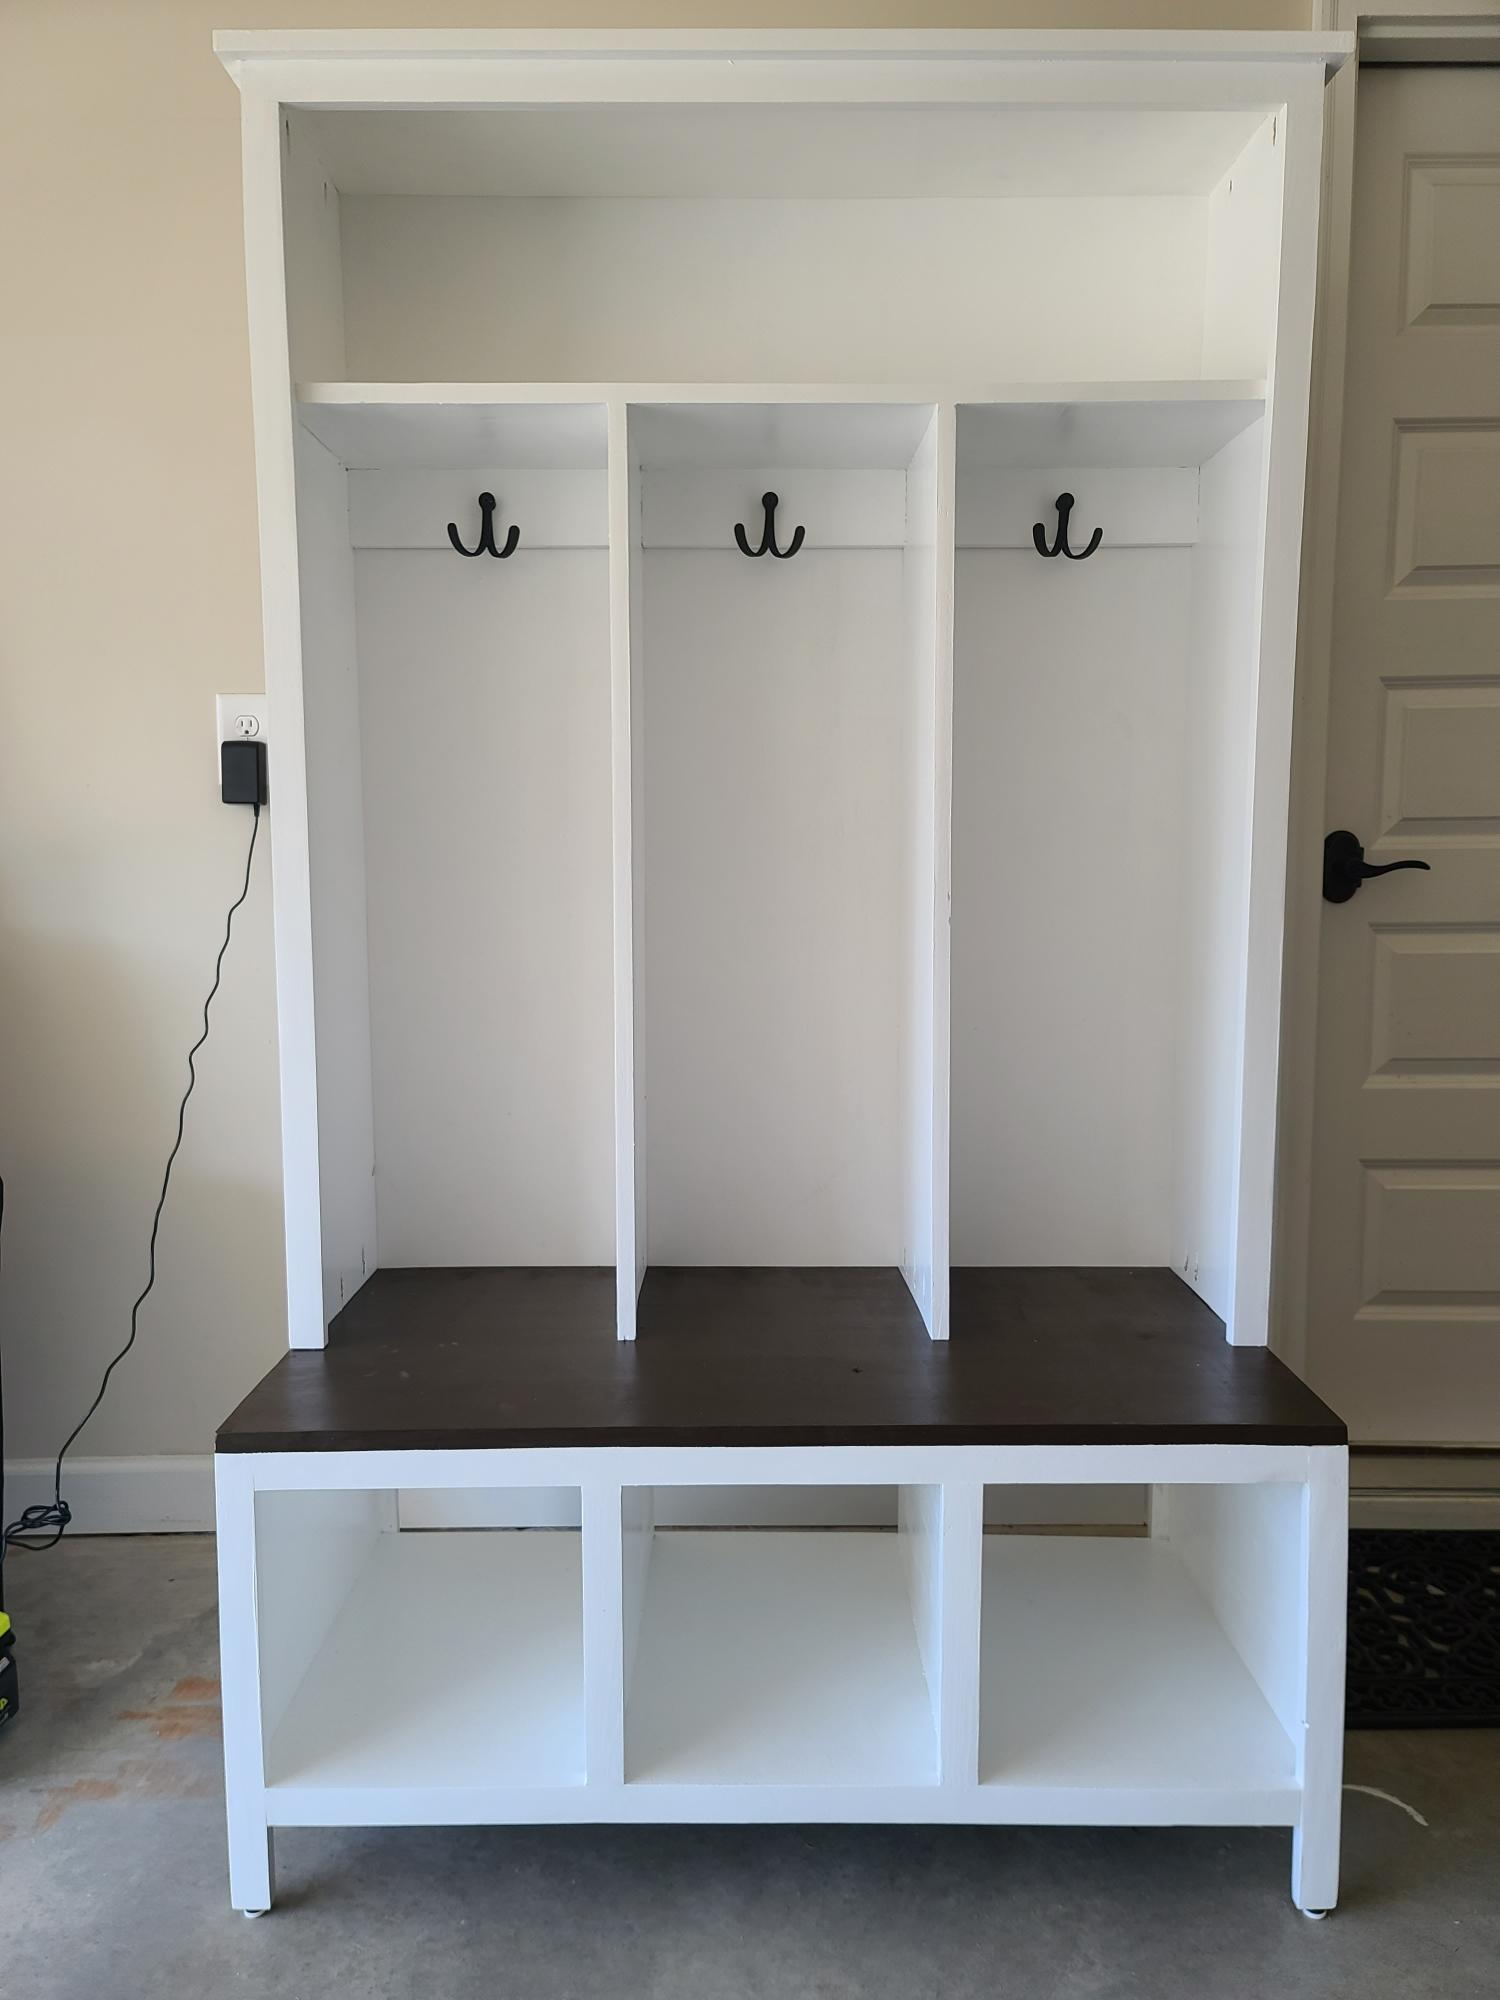
I had previously posted a work in process version, this is the completed project. Very happy with the results of combining the Easy Three Cube Bench and Small Locker Cabinet plans. If I had to change anything, I might widen the dividers to get a little more width, but this suits what we were trying to accomplish.

Learned something on this project, I hate painting! In the future when I know I am going to paint the completed project, I'm going to paint as much as I can before assembling.

Comments

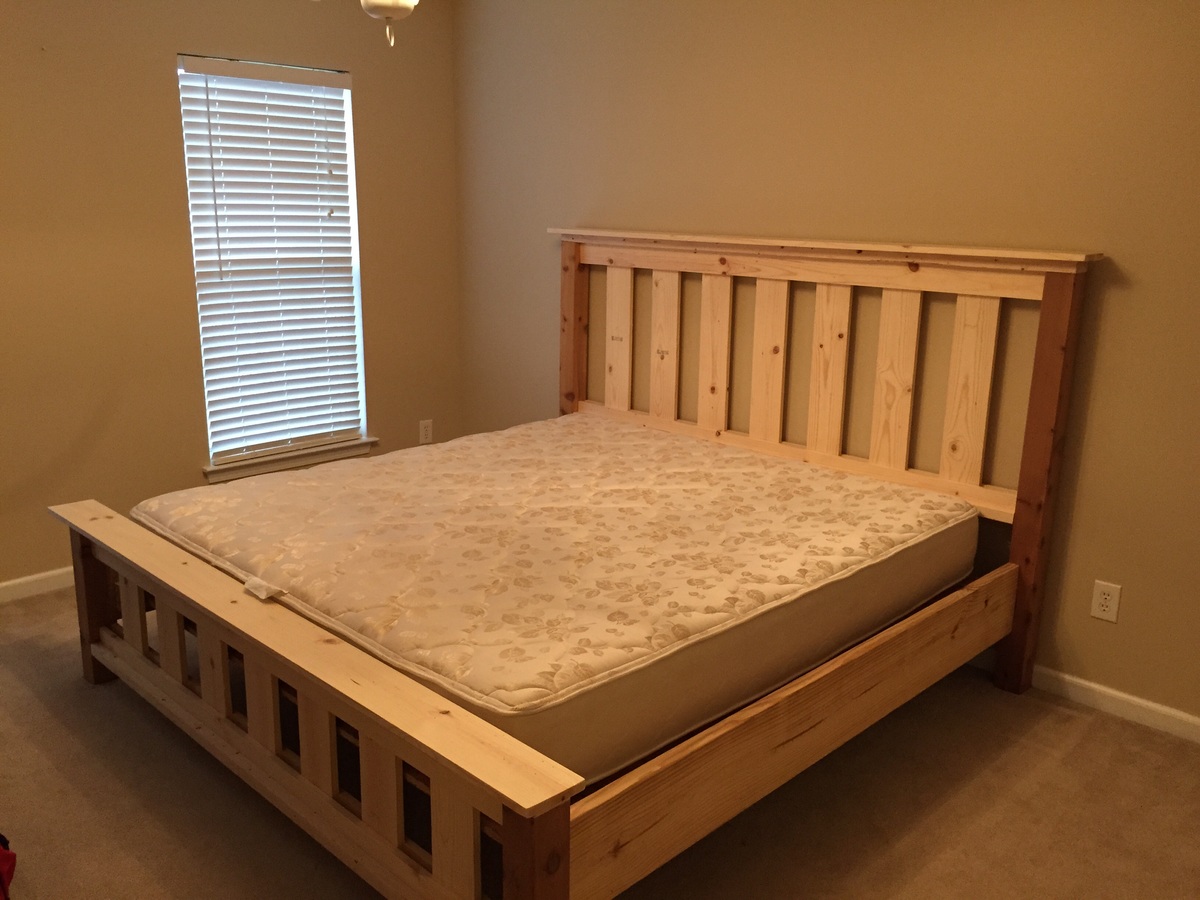
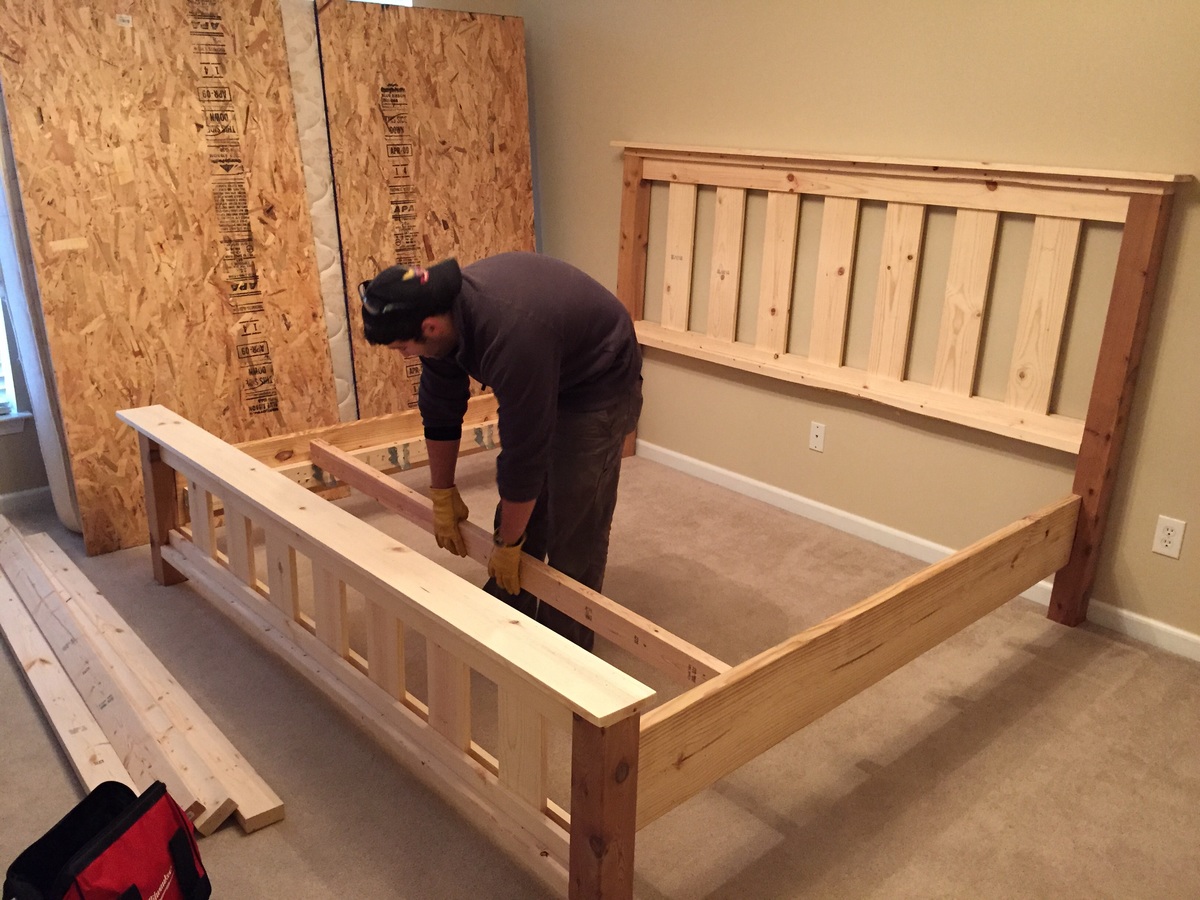
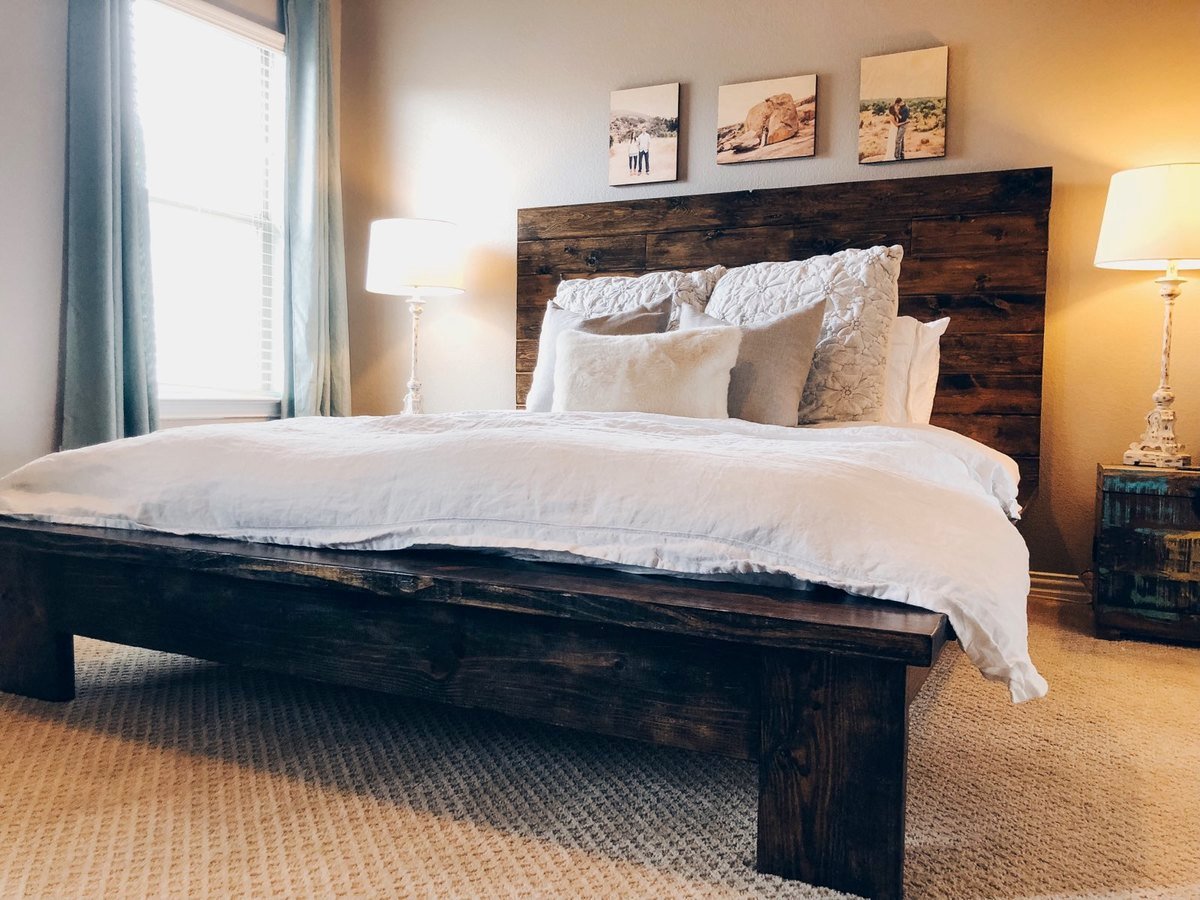
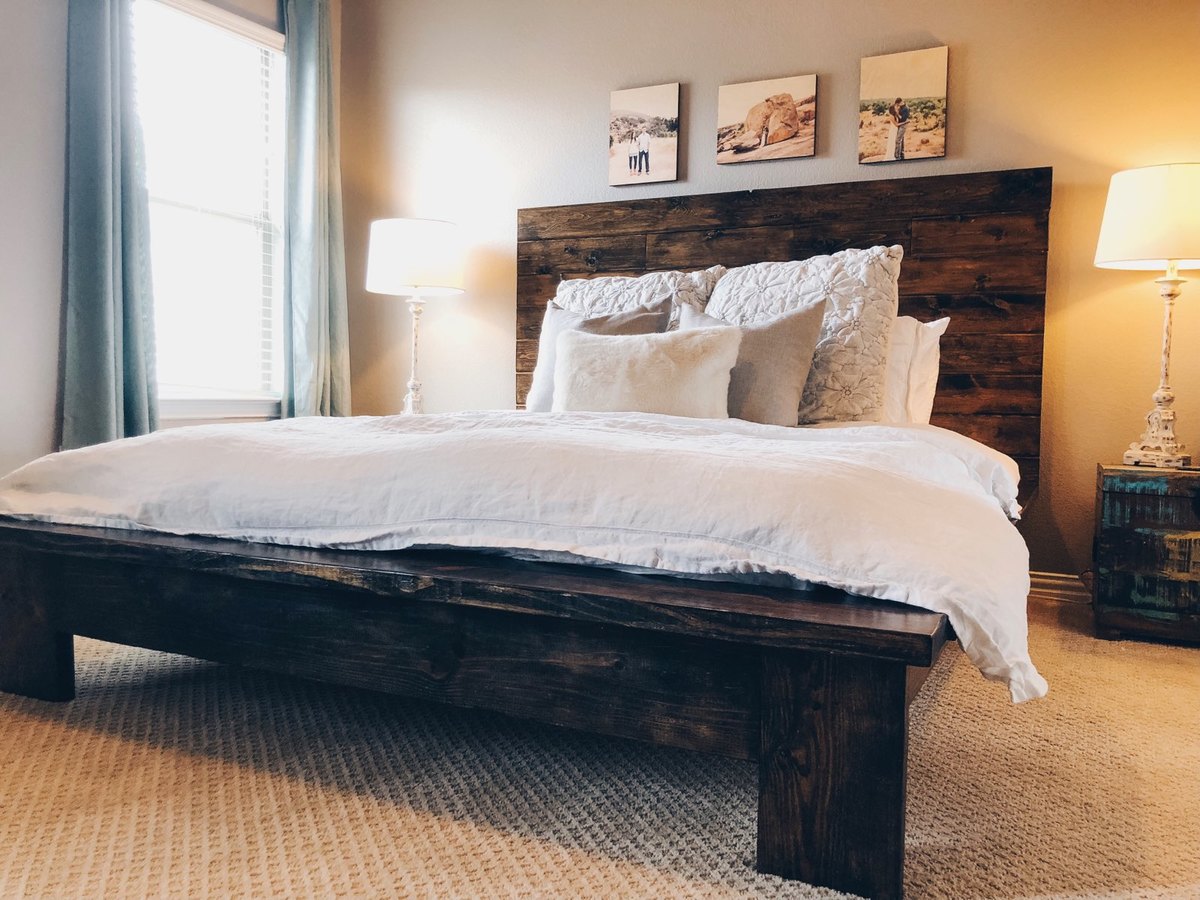
Custom King Bed Frame

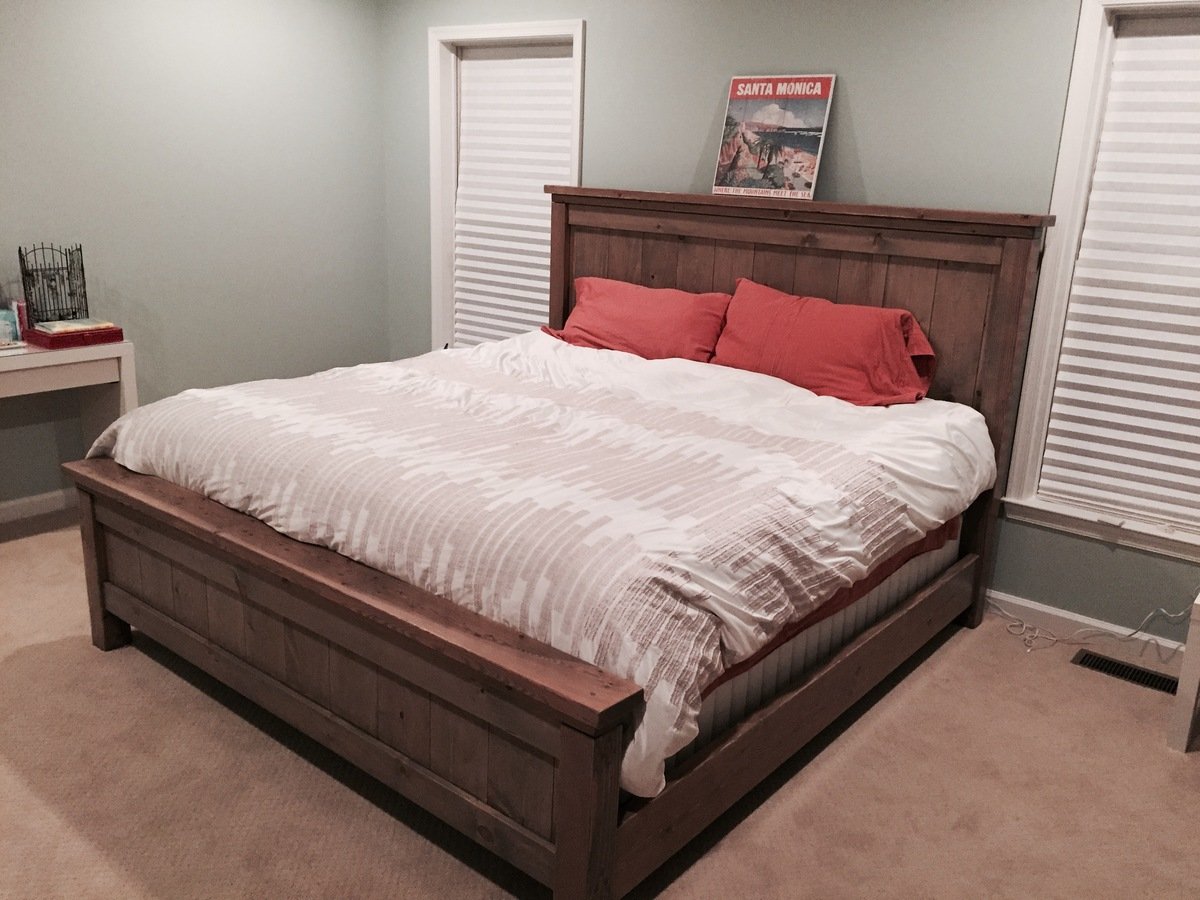
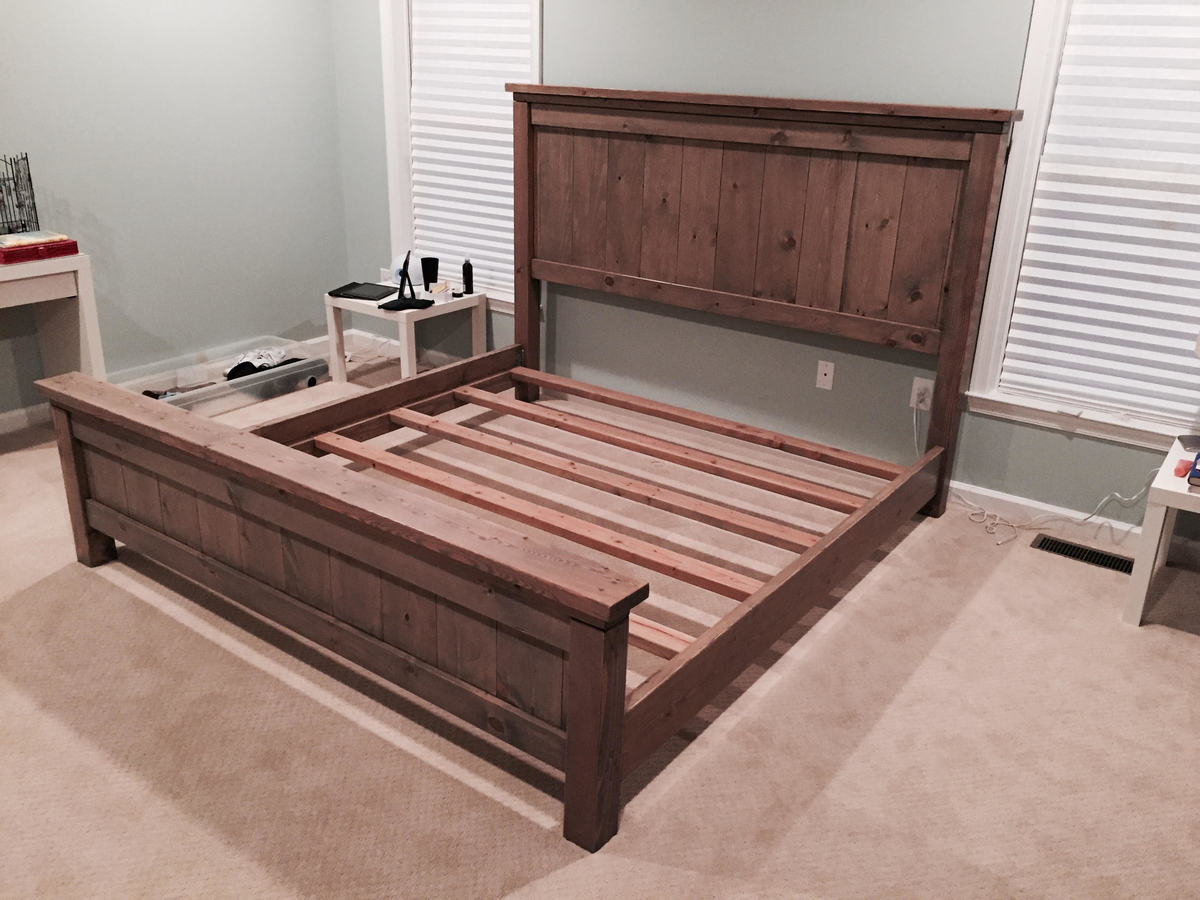
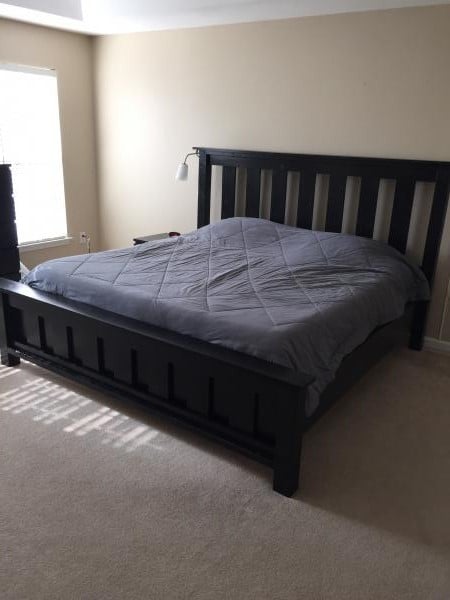
This was my 2nd woodworking project. My wife had been asking for a farmhouse bed for some time, so I figured I'd go for it. The end result was even better than I was hoping. It came together really well and the bed is just perfect. Thank you Ana for the plans!


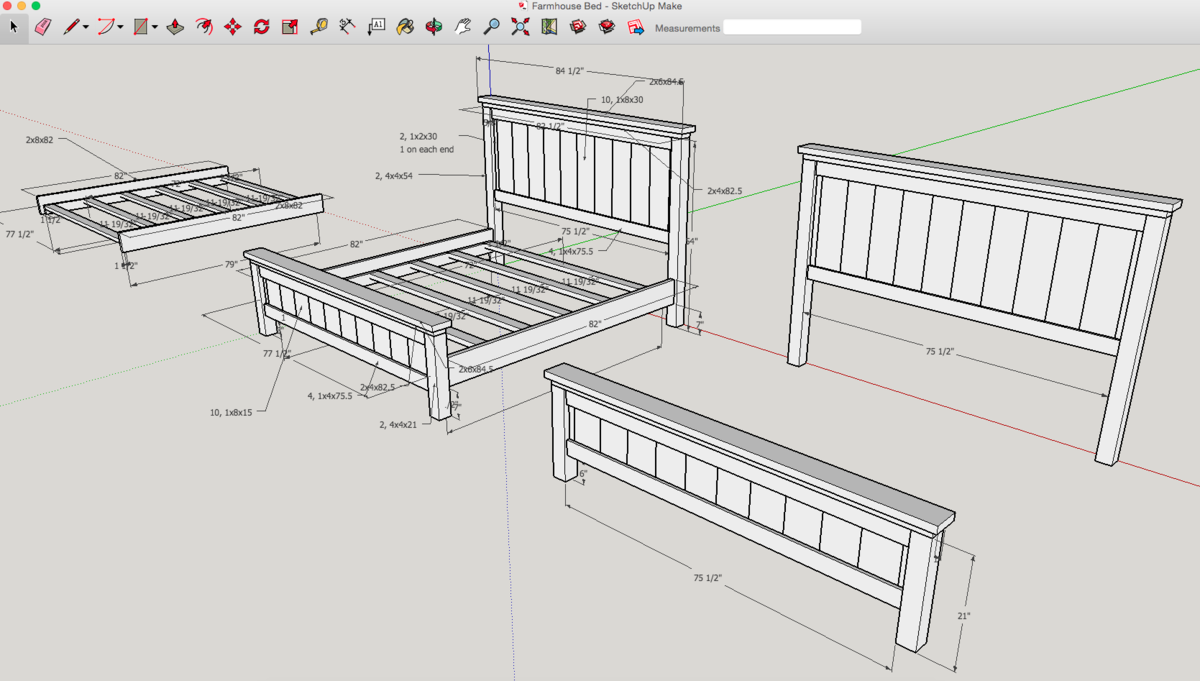
I used the Ana White Queen Bed and King Bed plans as guides, as well as another blog called A Lesson Learned. I modified the dimensions to fit our specific bed, then I drew up the plans using Sketchup and got to work. All the wood is pine from Home Depot. The total project took a couple months because I could only work on it on weekends and didn't have full days to commit to it. In the end though, totally worth it and we love the bed!

Estimated Cost
~$250 (not completely sure of that as I didn't track it, but with the lumber & everything, it was probably $200-$300)
Estimated Time Investment
Week Long Project (20 Hours or More)
Finish Used
Minwax Pre Stain
Minwax Weathered Oak Stain
Minwax Clear Satin Polyurethane
Recommended Skill Level
Beginner

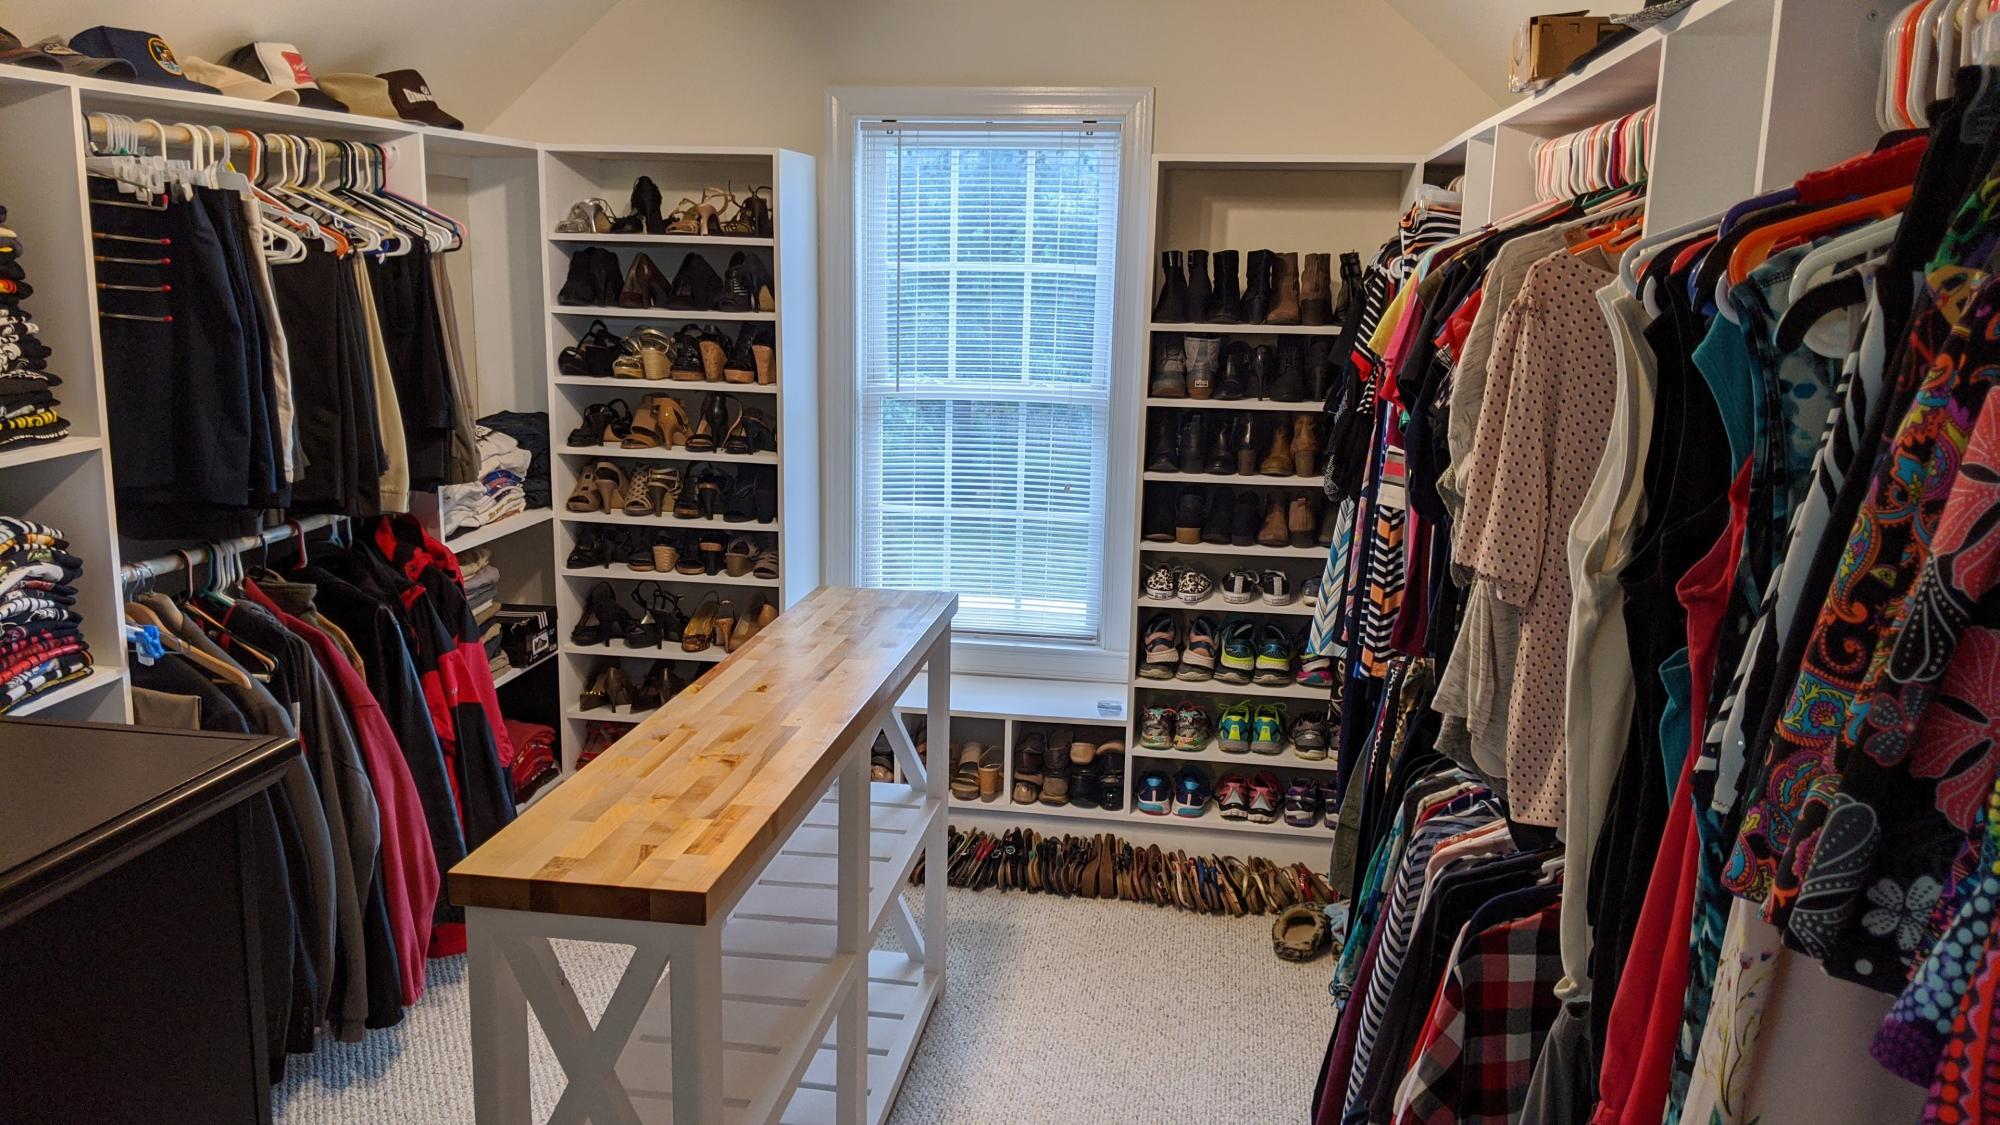
Our New Custom Closet and Table

Submitted by Anonymous (not verified) on Fri, 04/22/2022 - 08:30

Our cheap wire rack in the closet pulled out from the wall...twice. With input from the wife, I took inspiration from the various tower style closet designs and built this epic masterpiece. I still go in and marvel at what I did...two years later. We doubled up the hanging space, provided shelves and cubbies for all the shoes! And even built the table out of scraps from the project (a neighbor gave us the tabletop material as scrap from a project they finished). I had some stain left over from yet another project that was accidentally tainted, but turned out as a great color on the table. Thanks Ana for all the inspiring work!

Comments

Ana White Admin

Fri, 04/22/2022 - 11:36

This is amazing, great vision and execution, thank you so much for sharing! Just shared on our Facebook page:)

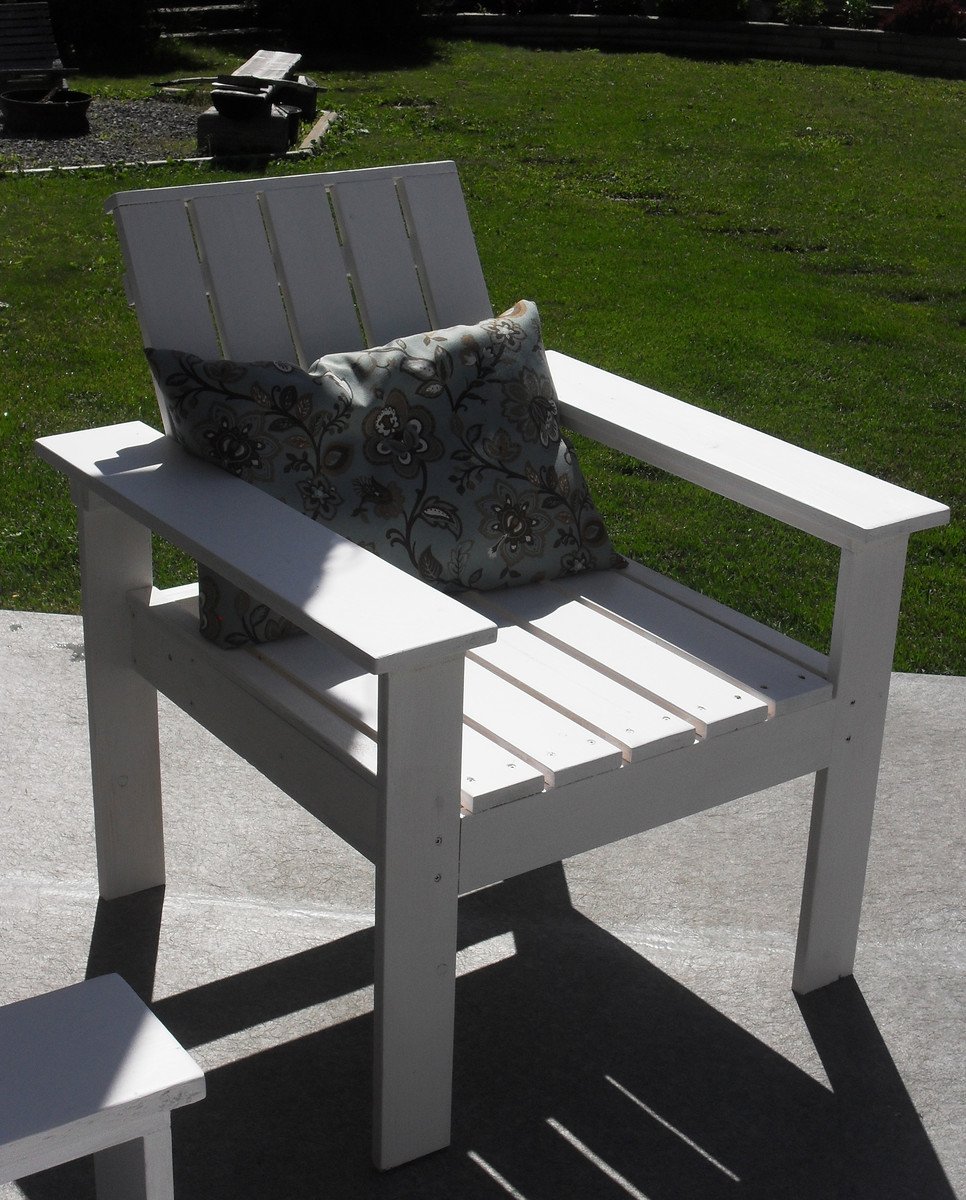
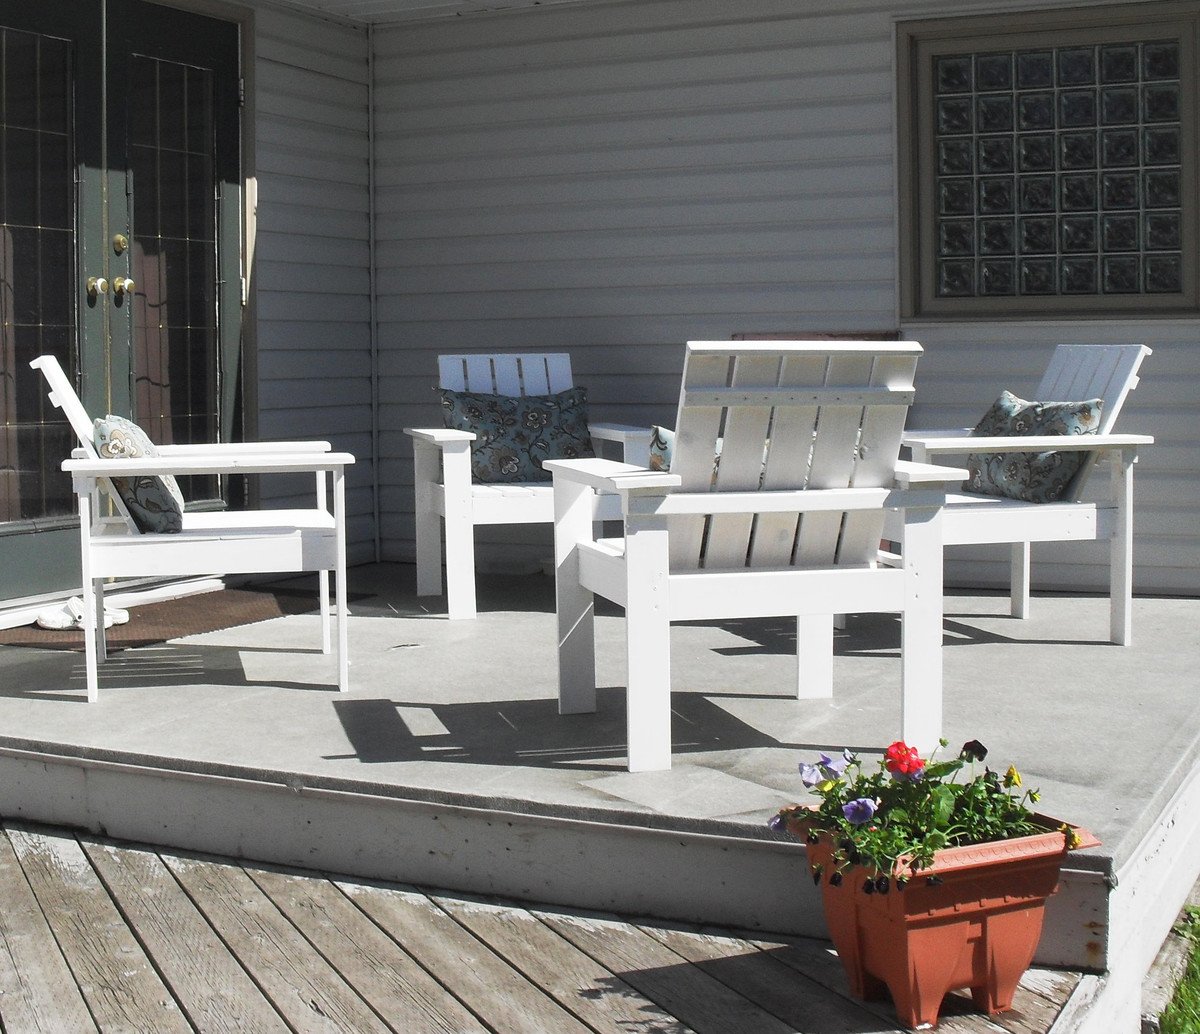
Simple Outdoor Furniture

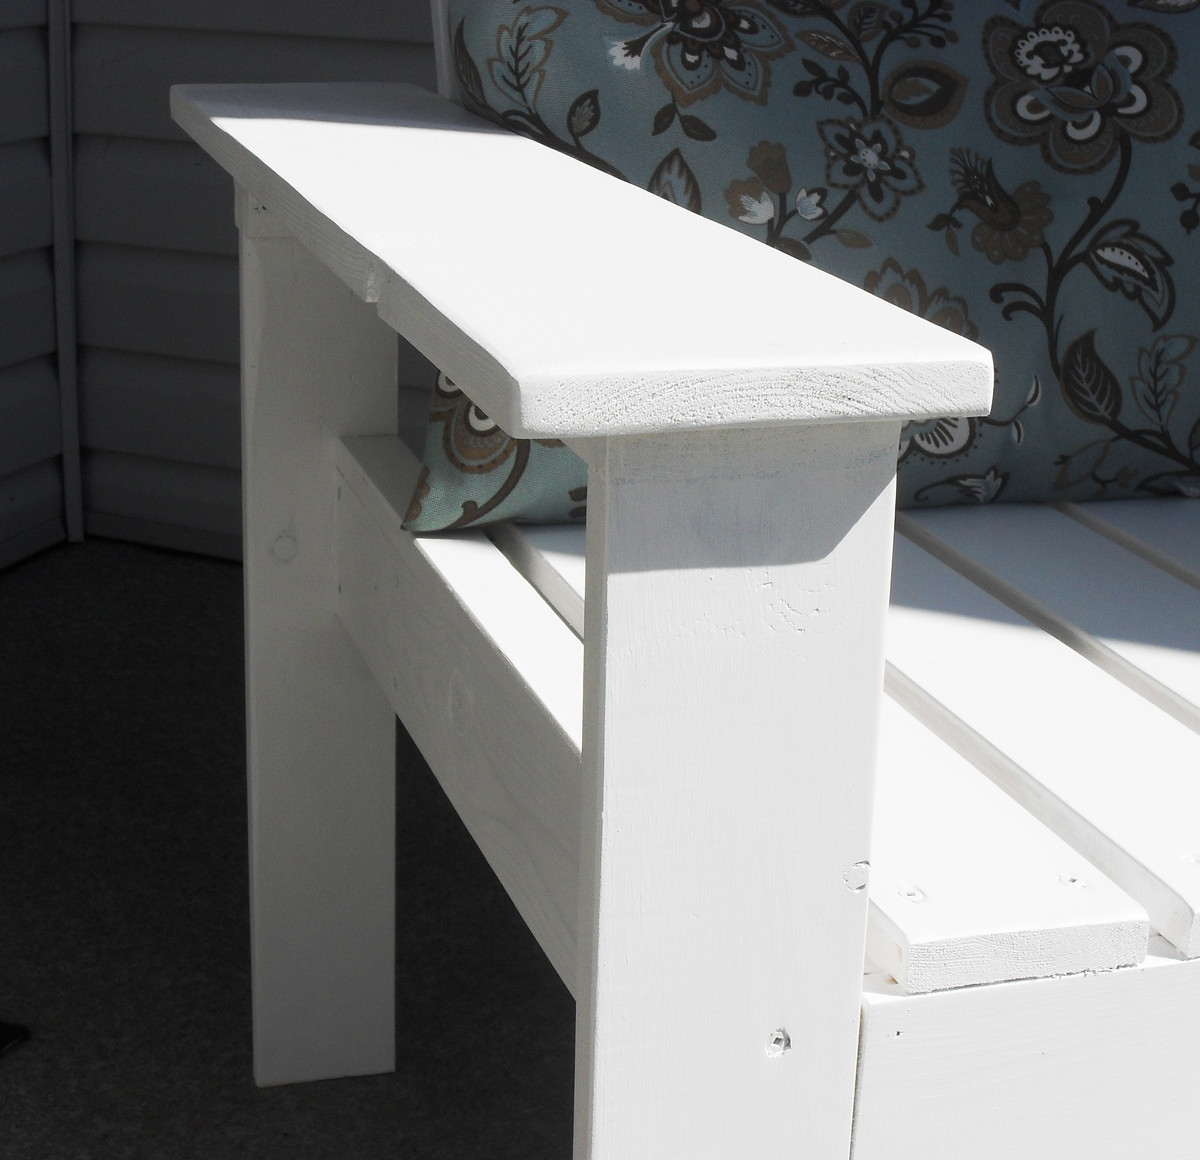
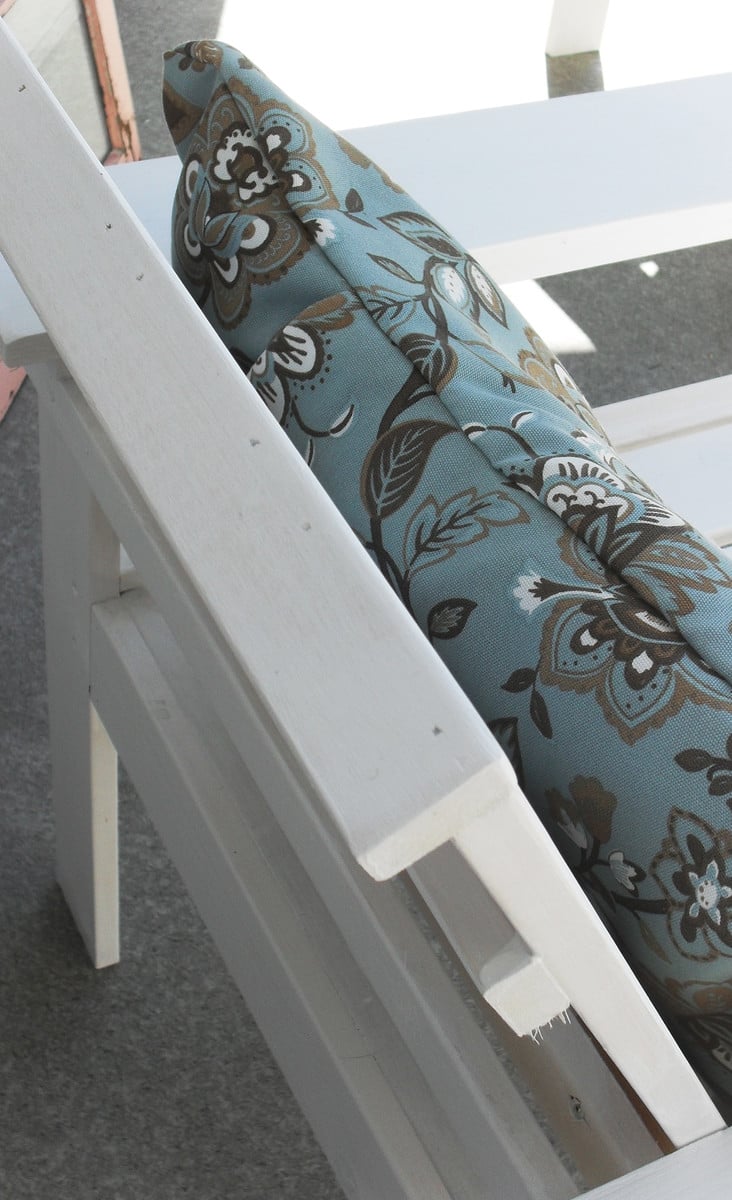
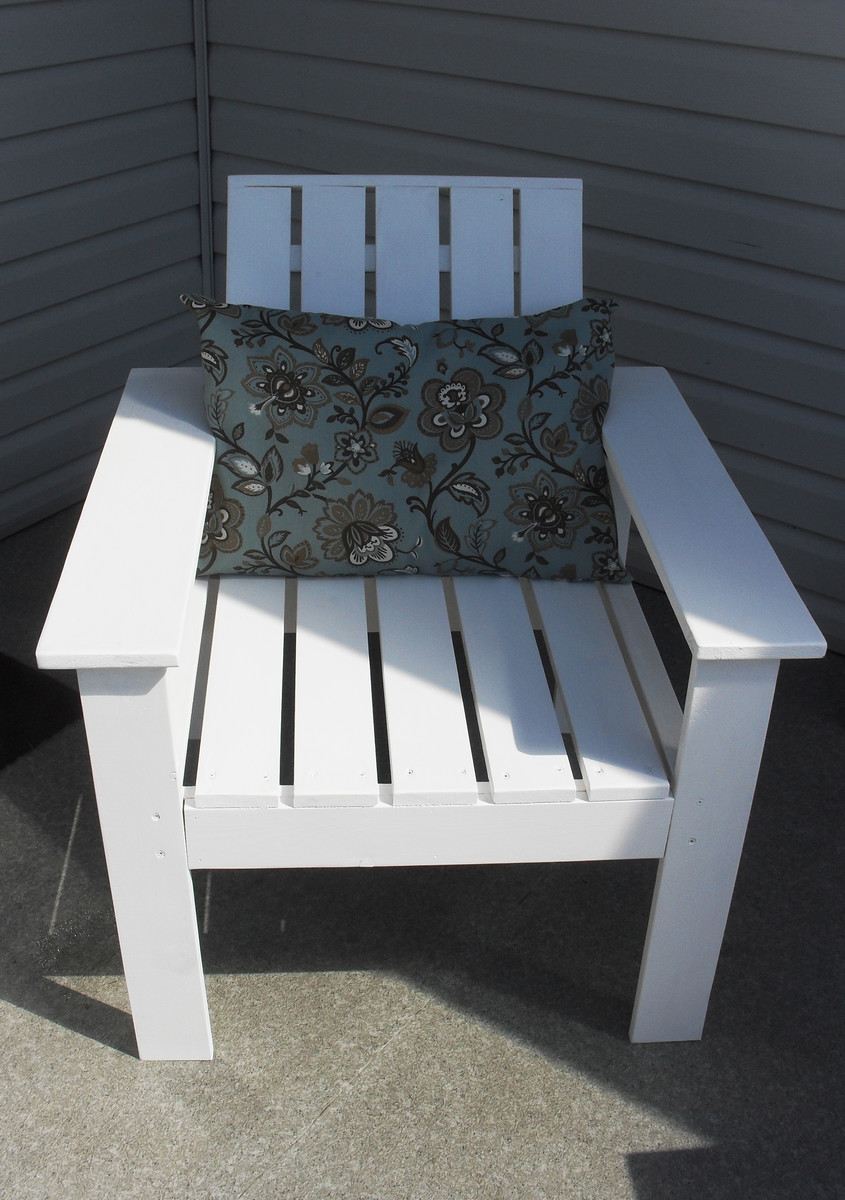
This was a fun, easy and inexpensive project. Ana's instructions are very easy to follow. I modified her plan, only slightly, by adding 1X6 to the arms of the chairs, as well, I added a 1X2 cap to the top back of the chair. I also built four (4) accent tables (not stained yet) and a bench. Now I have a great set of outdoor furniture for my deck!

Estimated Cost
Four (4) chairs, four (4) tables, bench, wood screws and stain - approximately $100.00
Estimated Time Investment
Weekend Project (10-20 Hours)
Finish Used
I used an exterior latex stain, in white, on the chairs and bench. I'll be painting the accent tables in an ice blue color to match my cushions.
Recommended Skill Level
Starter Project

Comments

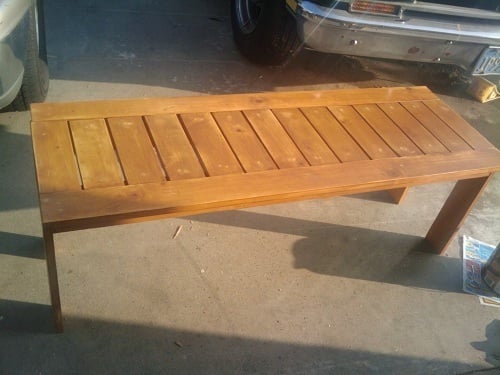
Beginner Bench

Submitted by angiemicn on Sat, 07/02/2011 - 04:29

First Anna project, I needed a bench by the pool, so I did waterproof it, which is holding up well, and it's extremely nice even with my limited skills. Definately worth the time and sanding.
Things I learned, need to measure each cut out. I didn't, so my slats are not all the same length. Still works really good, but I should've measure, cut, measure, cut, because I didn't take into account the width of the blade. I wouldn't use so much wood filler. I really glopped it on there. The sanding and staining pre, good call.
I would've used 2 pieces of wood for each leg.
Well, next one. I've already learned so much from making it and had a great time making it. Can't wait to get started on the table to match!

Estimated Cost
65.00 (big chunk of that was the waterproof deck sealant/stain)
Estimated Time Investment
Weekend Project (10-20 Hours)
Finish Used
Behr Premium Weatherproofing/waterproofing Deck, Paint, Furniture Wood Finisher, Natural 500, 2 coats, 220 sand in between, use the minimal amt of wood filler, because it really shows through....This is nontoxic, and since I have 5 Golden Retrievers, 2 puppies that chew, I couldn't use treated wood
Recommended Skill Level
Starter Project

Comments

Kimmie (not verified)

Mon, 02/20/2012 - 11:11

Love this beginners bench! Saw this on pinterest...will be repinning for future reference! Amazing stuff on your blog!

Kimmie (not verified)

Mon, 02/20/2012 - 11:12

Love this beginners bench! Saw this on pinterest...will be repinning for future reference! Amazing stuff on your blog!

Adirondack stools or end tables

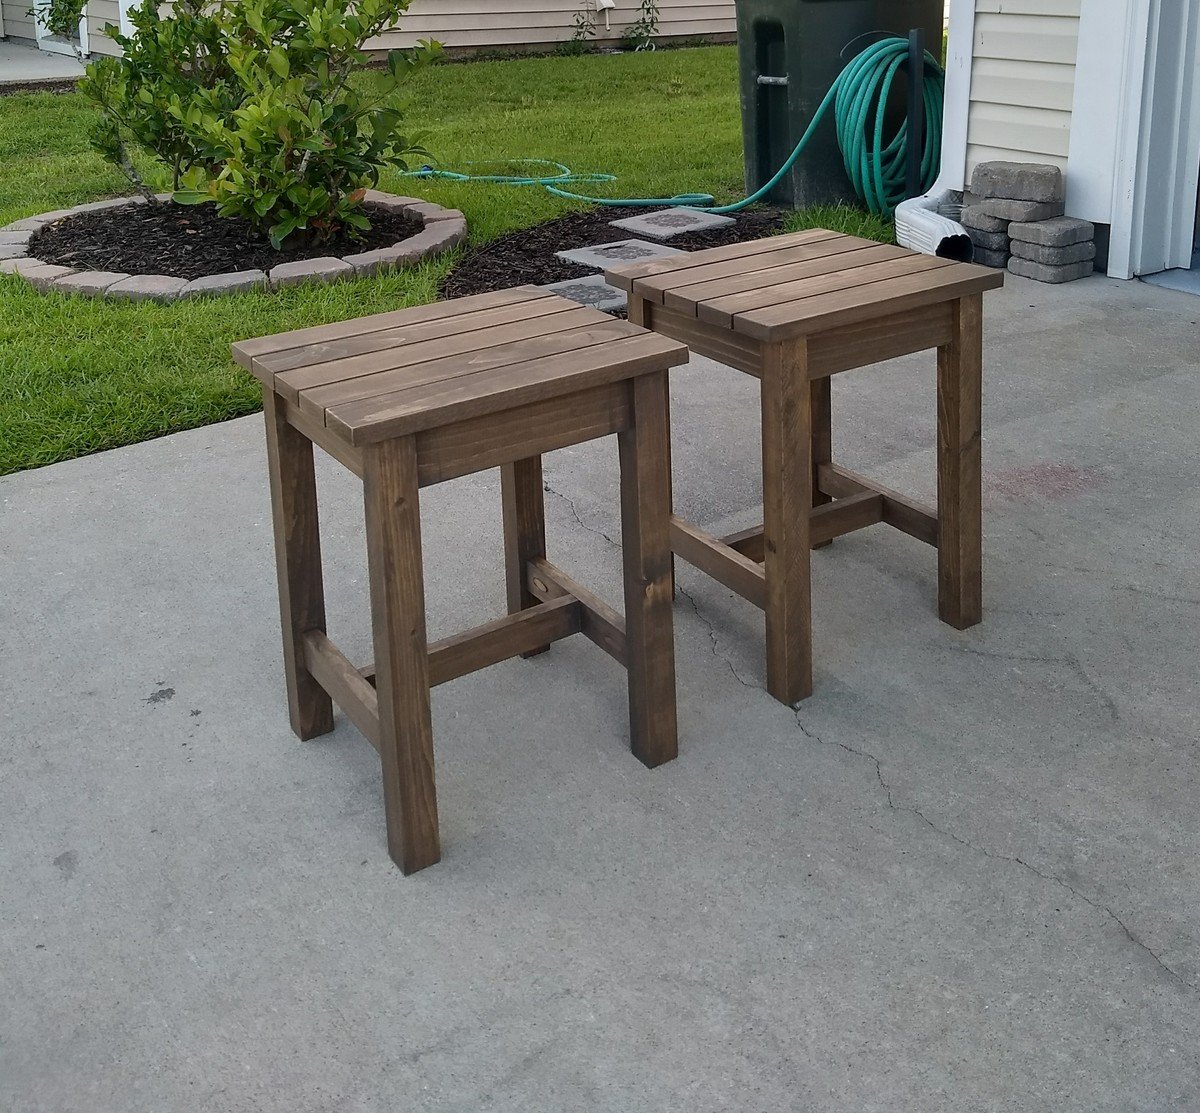
Super strong stools and/or end tables! I LOVE them. Wanted a rustic vibe, stained with Varathane Briarsmoke with Varathane matte poly. The build took no time at all... The only reason this is a day project in my opinion was the true time it takes for drying between finishing coats. They were both built in one evening. Can't wait to build the Adirondack chairs from Ana's book to go with them!  

Built from Plan(s)
Estimated Time Investment
Day Project (6-9 Hours)
Finish Used
1coat of Varathane Briarsmoke + 3 coats of Varathane Matte Poly
Recommended Skill Level
Beginner

Farmhouse bed

Submitted by jphbgsu on Sun, 09/06/2015 - 19:48

The project went relatively well. Had to readjust in order to fit our king. I used 2x4s and 2x4 joist hangers to support the mattres. 

Built from Plan(s)
Estimated Cost
300.00
Estimated Time Investment
Week Long Project (20 Hours or More)
Finish Used
Rustoleum ebony stain and satin polyurethane.
Recommended Skill Level
Beginner

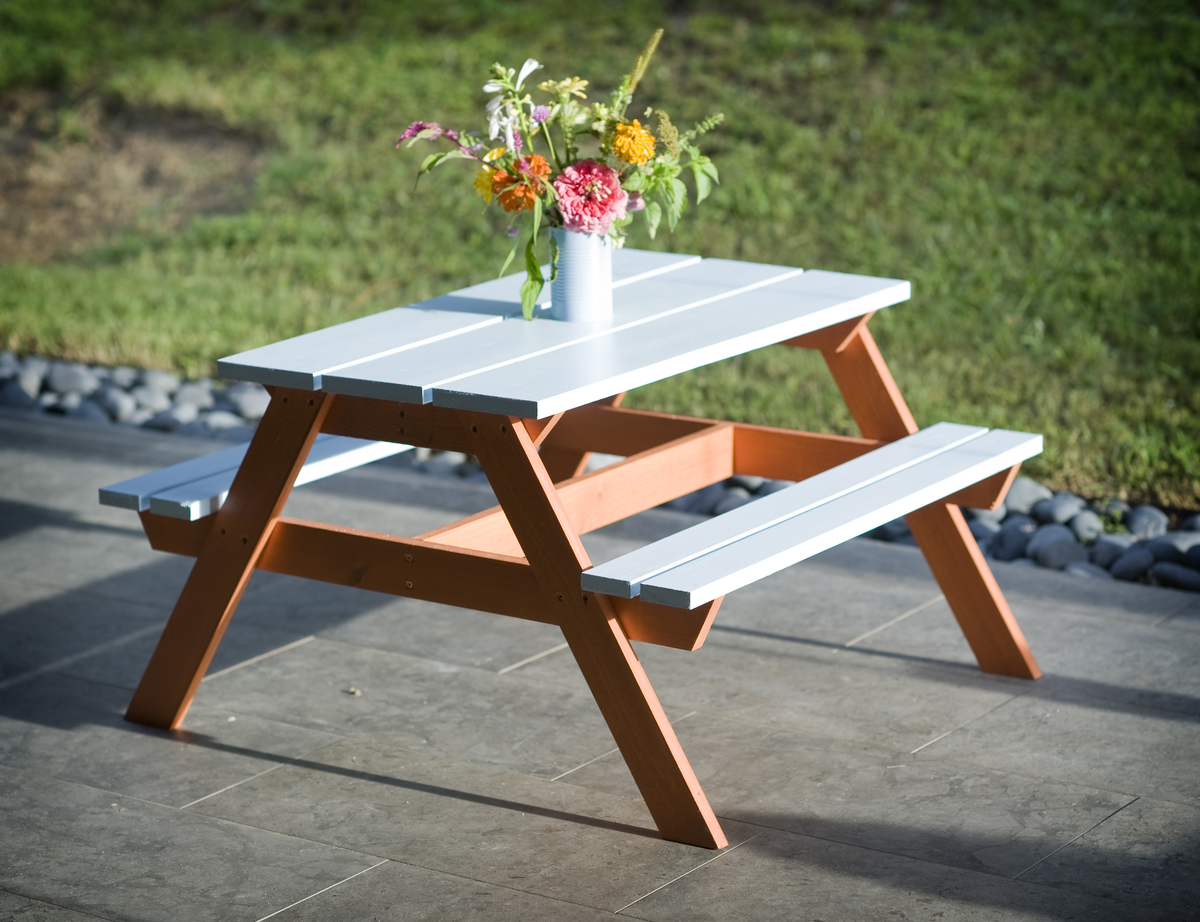
Toddler Picnic Table

Submitted by lmolli84 on Mon, 08/19/2013 - 19:08

My husband and I made 2 of these for my 3 year olds "Picnic Birthday Party", and they worked out great! We will definitely be using them for a while! They took about a week off and on since I just had a little time each day to do them, but I could have gotten them done in a couple easily. Very fun, easy project! We ended up staining the bottom support pieces and painting the top pieces a light blue, I love how it turned out!

Built from Plan(s)
Estimated Cost
$50 per table
Estimated Time Investment
Day Project (6-9 Hours)
Finish Used
Stain/ Outdoor Latex Paint

I ended up cutting out the pieces, and finishing all of them with the stain/paint before we assembled the table. It worked out great! All we had to do after they were assembled is fill in the top screw holes and then paint the table top and bench seat tops.
Recommended Skill Level
Beginner

Comments

JoanneS

Mon, 08/19/2013 - 19:13

This little table is just darling! The picture of your girls at the table is just the cutest thing! Thank you for posting this!

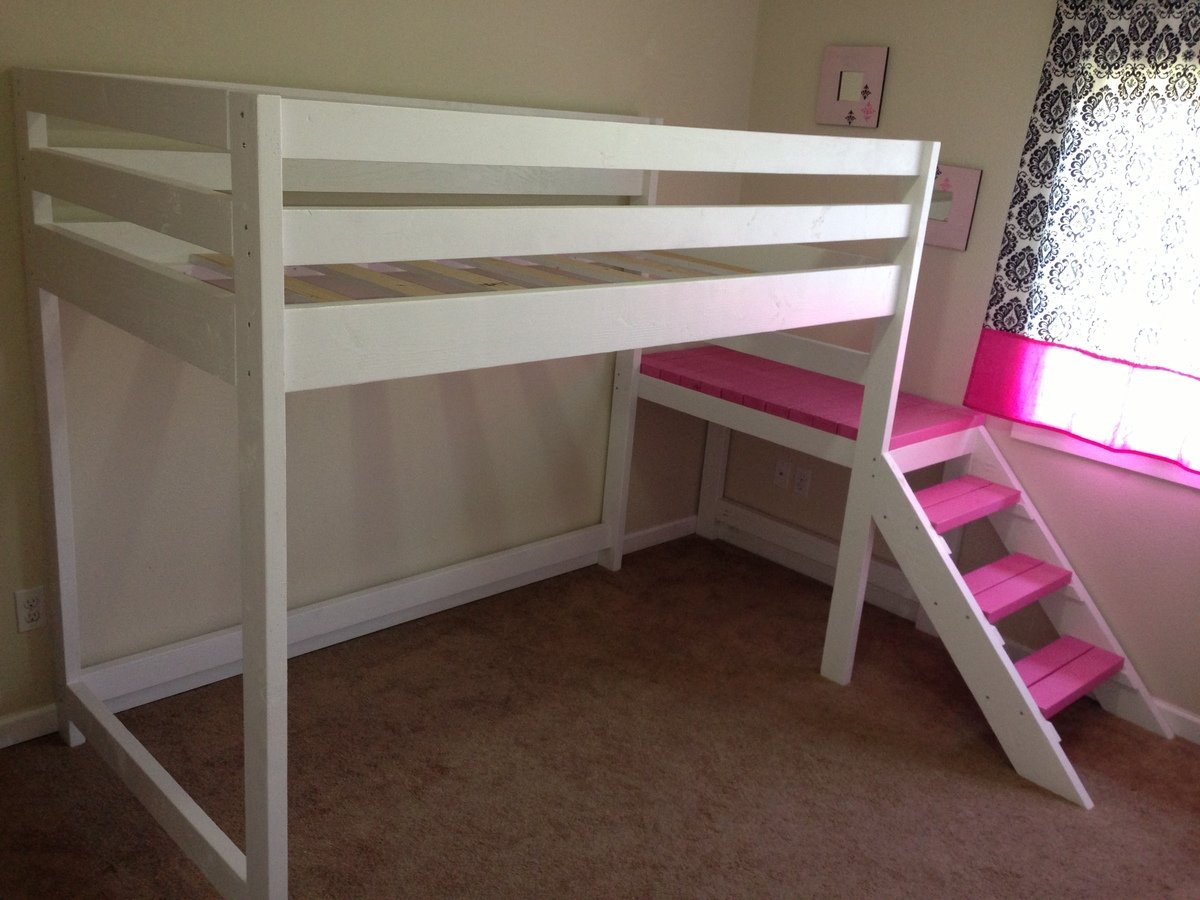
Camp Loft Bed with Matching Doll Sized Loft Bed

Submitted by lisatw on Tue, 08/20/2013 - 17:20

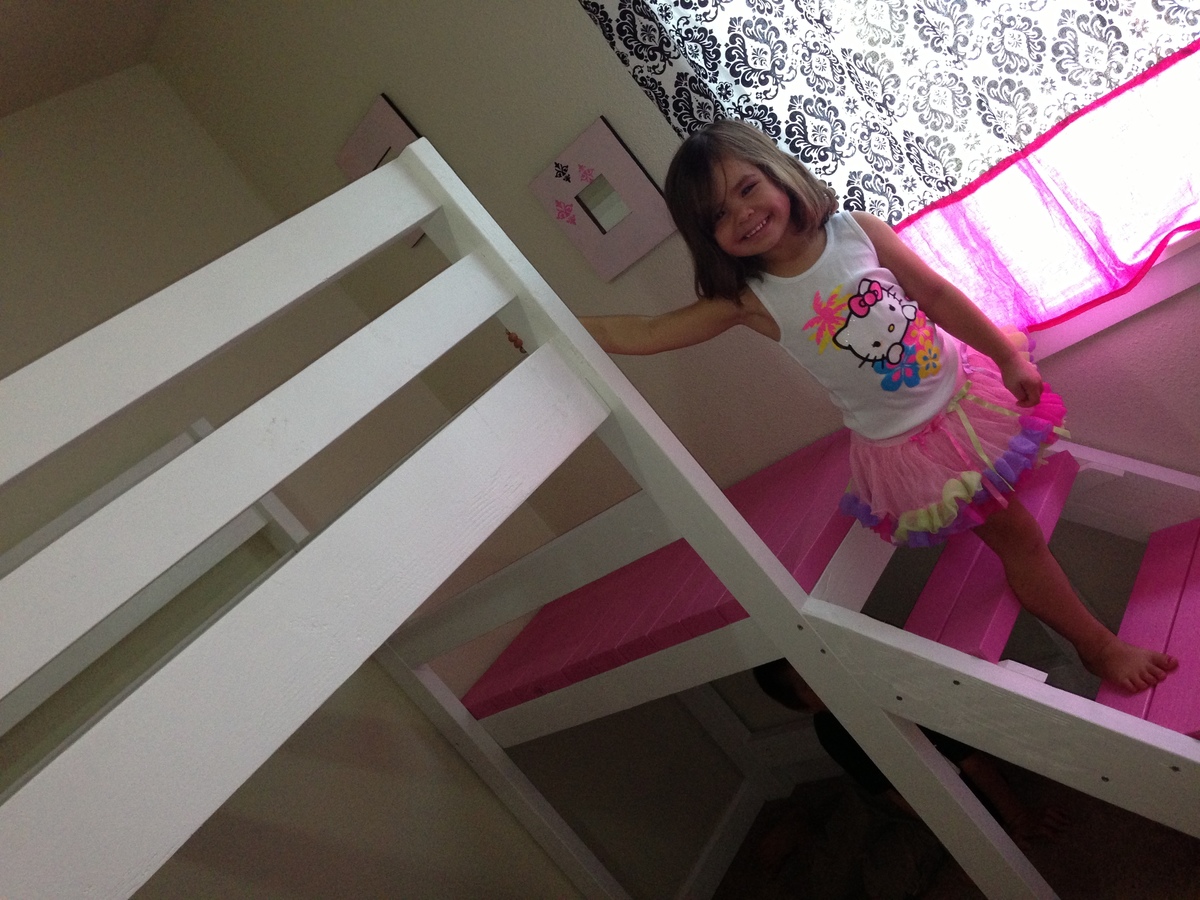
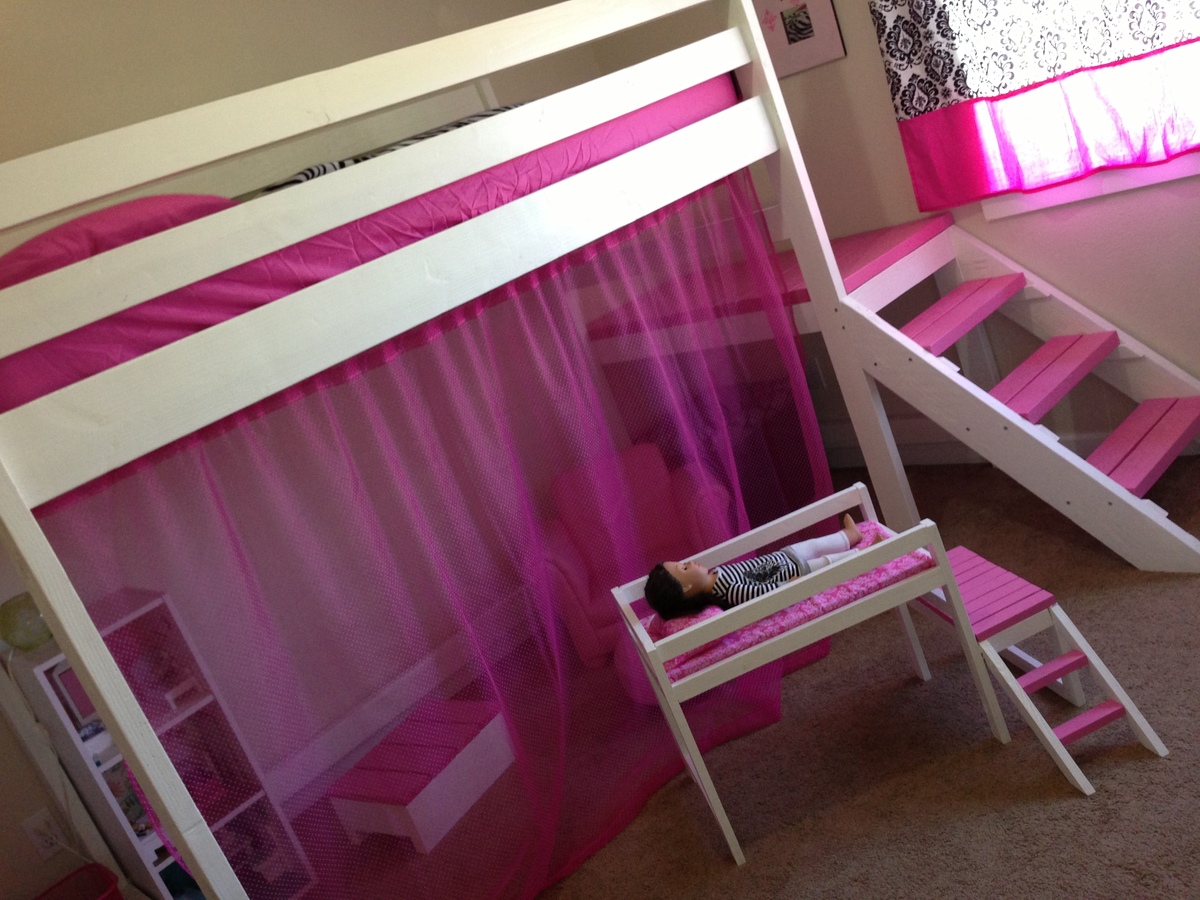
We made this loft bed for my daughter's 4th birthday. I did all of the cuts, sanding, and painting on my own, and had my husband help me with the assembly of the bed. It took us 2 full days to complete this build. The sanding and painting was the most tedious part of the project. I think it cost us about $150 for all of the lumber, paint, screws, etc.

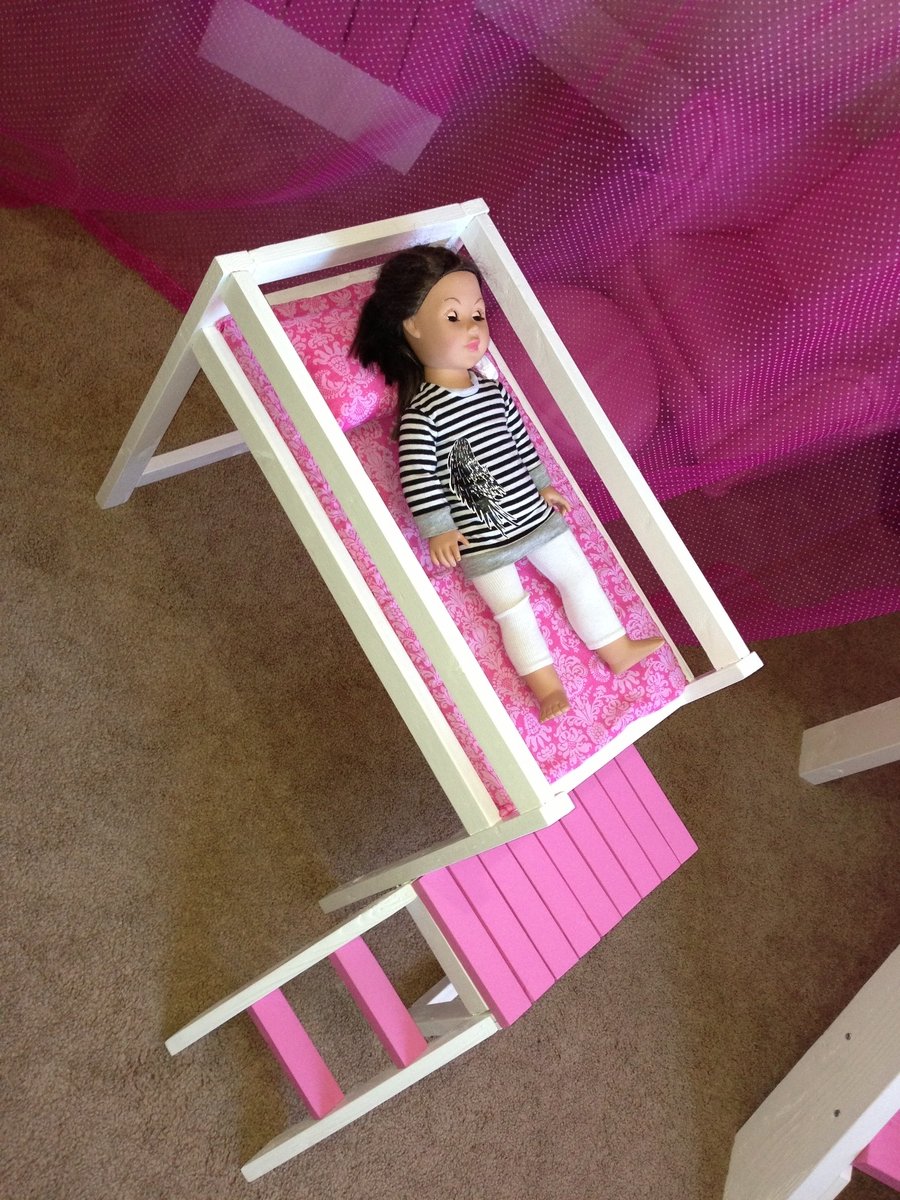
My daughter's really into playing with 18" dolls right now, so I decided to make a mini version of her loft bed for her dolls. I think it turned out really well and she absolutely loves it! The doll sized loft bed only cost about $15 to make (including wood, foam for the mattress and fabric). You can't beat that price for a wooden doll bed...and what little girl wouldn't love a matching bed for her dolls?!?!

I'm so happy with how both beds turned out!

Estimated Cost
$150
Estimated Time Investment
Weekend Project (10-20 Hours)
Finish Used
Semi-gloss paint
Recommended Skill Level
Beginner

Comments

JoanneS

Tue, 08/20/2013 - 18:32

This looks awesome! Love the pink on the steps. And the matching doll bed, how cute is that?! :) Great job!

Farmhouse inspired table

Submitted by adidas30 on Mon, 07/25/2011 - 09:12

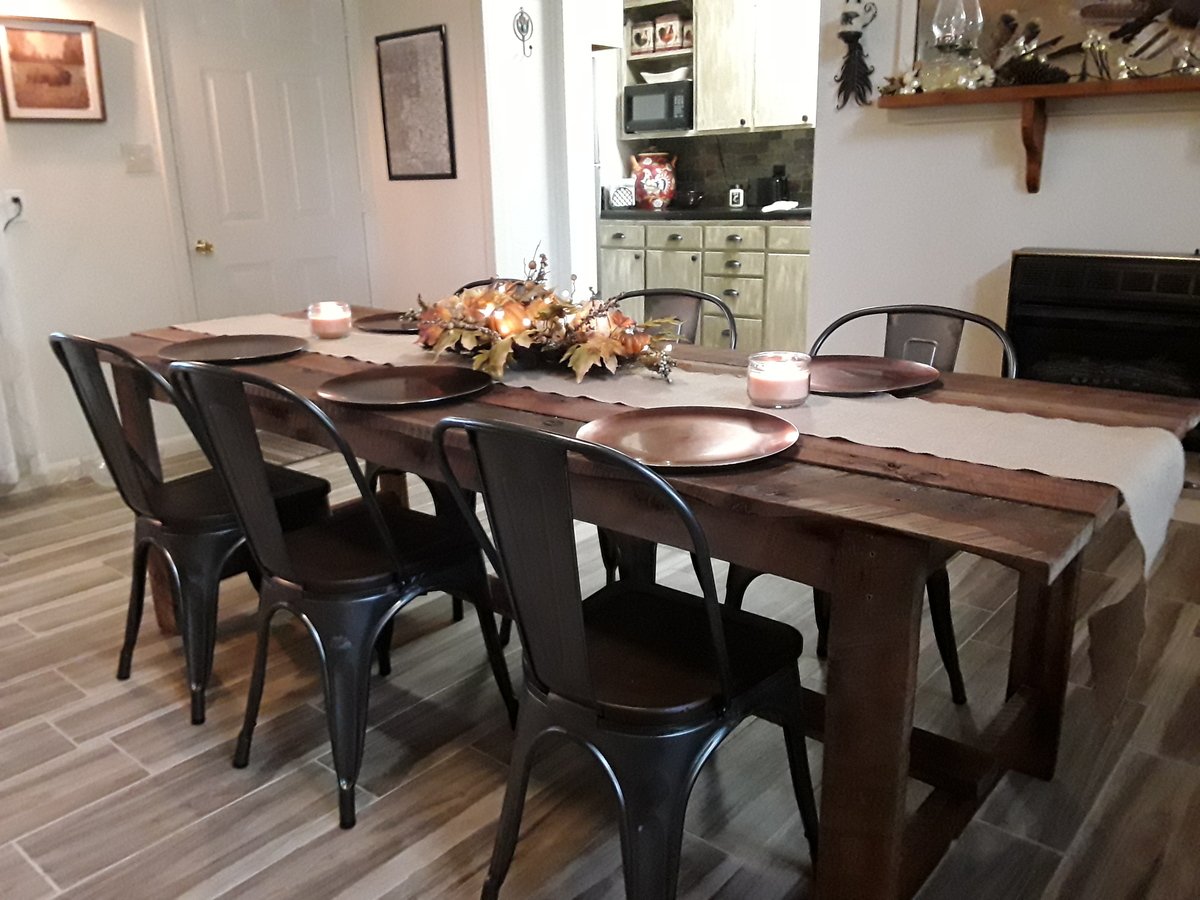
My first furniture project was Ana's Tryde Coffee Table. All along though, the goal was to learn enough to be able to make a dining room table. I love the coffee table, and I love Ana's Farmhouse table plans, but I was worried about getting food and stuff stuck in between the table top boards.

So I decided to embark on the adventure of learning how to make a solid table top that I could rest on top of Ana's base design. The result is below, and although it took about 6 months of learning, practicing, and prototyping, I am finally done!

Because I made a solid top, I was able to skip the support beams on the base, which hopefully reduced the weight a little bit.

I don't have a blog, but I added some additional comments in my Picasa Album.

Estimated Cost
$600 total -- The 2 inch thick ash was expensive -- and still half the price oak!
Estimated Time Investment
Week Long Project (20 Hours or More)
Finish Used
For the stain, I used General Finishes Medium Brown. It is similar to Minwax Special Walnut, which I used on my pine coffee table, but it looked a lot better than the Minwax on the Ash. For the finish, I used Minwax Polyurathane, thinned 50% with mineral spirits (Paint thinner), and wiped it on with old t-shirts. No brushing required (which means no brush strokes), but as it is thinner you need more coats. I have about 3 coats on the bottom of the table, 4 coats on the legs and base, and about 7 coats on the table top. After much research online, it seems that the general wisdom is that if you want a satin finish, you should use the gloss for all coats except for the last 1 or 2 coats, and that is what I did. 2 satin coats on top, and 1 satin coat on the base. The reason is that the satin has "flatteners" in it, and that if you do all coats with satin, it could get a little cloudy. Hope that quick summary helps.

I bought Minwax paste finishing wax, that I plan to run on the top within the next week. I was told that helps protect the polyurathane, and gives it a nice rubbed look. I tried it on a test piece and although it looks good, I didn't think it made a huge difference in looks.
Recommended Skill Level
Intermediate

Comments

Crystal_thenewgirl (not verified)

Thu, 12/22/2011 - 11:52

You said you prototyped and practiced, but what did you actually do to make it a solid top????

claydowling

Thu, 12/22/2011 - 13:53

He did was is known as a panel glue-up. They aren't terribly difficult once you've done one. The first one is exciting though. My technique is a bit simpler than what he used, but everyone needs to adapt a method suited to their available tools and knowledge.

If you want to try something like this, check local sawmills and timber suppliers first. adidas30, around here (Ann Arbor, MI), I can lay hands on a single slab of oak or walnut big enough for that table for half to a third that price. The bigger challenge is finding a friend with a big enough truck who is also strong enough to help me shift that beast. Still, what you paid is way less than what you'd pay to buy a table like that.

adidas30

Wed, 01/04/2012 - 10:46

Crystal: Take a look at the blog link in my post. It links to a picasa photo album that shows a few of the steps along the way. Clay is exactly right. Now that I have done one, the next will not be so bad. It took a long time to learn how to do it right the first time, but it was really fun and extremely satisfying.

Clay -- I'm jealous. I felt silly spending so much on the Ash, but it was half the price of the oak. I think the ash was around 4 dollars per board foot, and the white oak was 7.80 per board foot. Good lumber yards are hard to find in DC. I had to venture over to MD.

Thank you, Ana, for the easy plans for a great table!

Submitted by Anonymous (not verified) on Wed, 10/17/2018 - 13:29

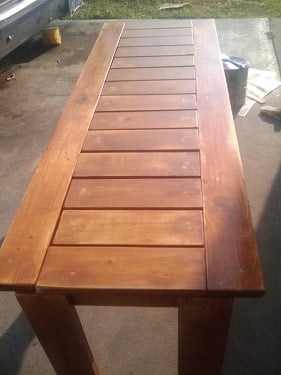
I made the table from rough-cut cedar that was harvested on my father's land. All I spent was $16 on Danish oil and $5 on sand paper but its priceless to me. Thanks Ana!!!

Estimated Cost
$25.00
Estimated Time Investment
Afternoon Project (3-6 Hours)
Finish Used
Danish oil
Recommended Skill Level
Beginner

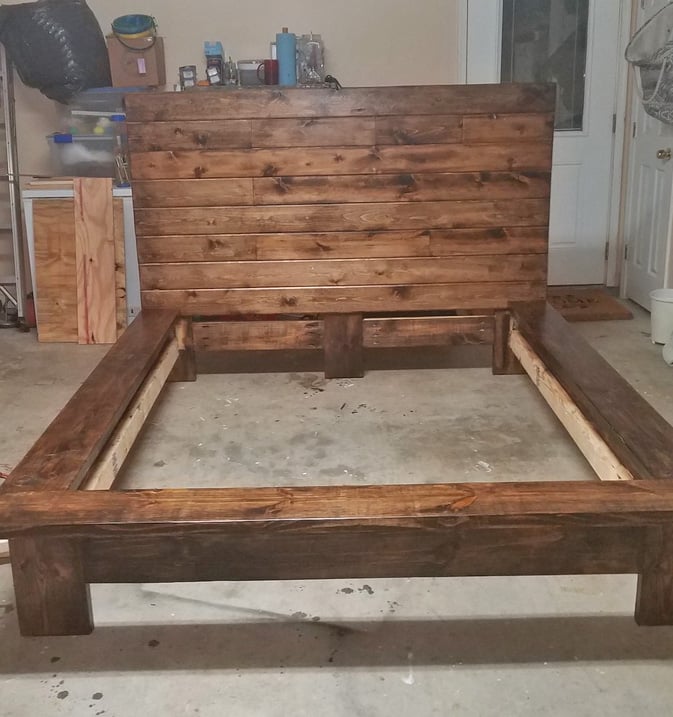
Wide Platform bed

This bed is my first "for profit" bed.  Took some design changes so it could be taken apart and put together easily with metal bed brackets.

Estimated Time Investment
Week Long Project (20 Hours or More)
Finish Used
This finish was MInwax Expresso with several coats of satin polyacrylic lightly sanding between each.
Recommended Skill Level
Intermediate

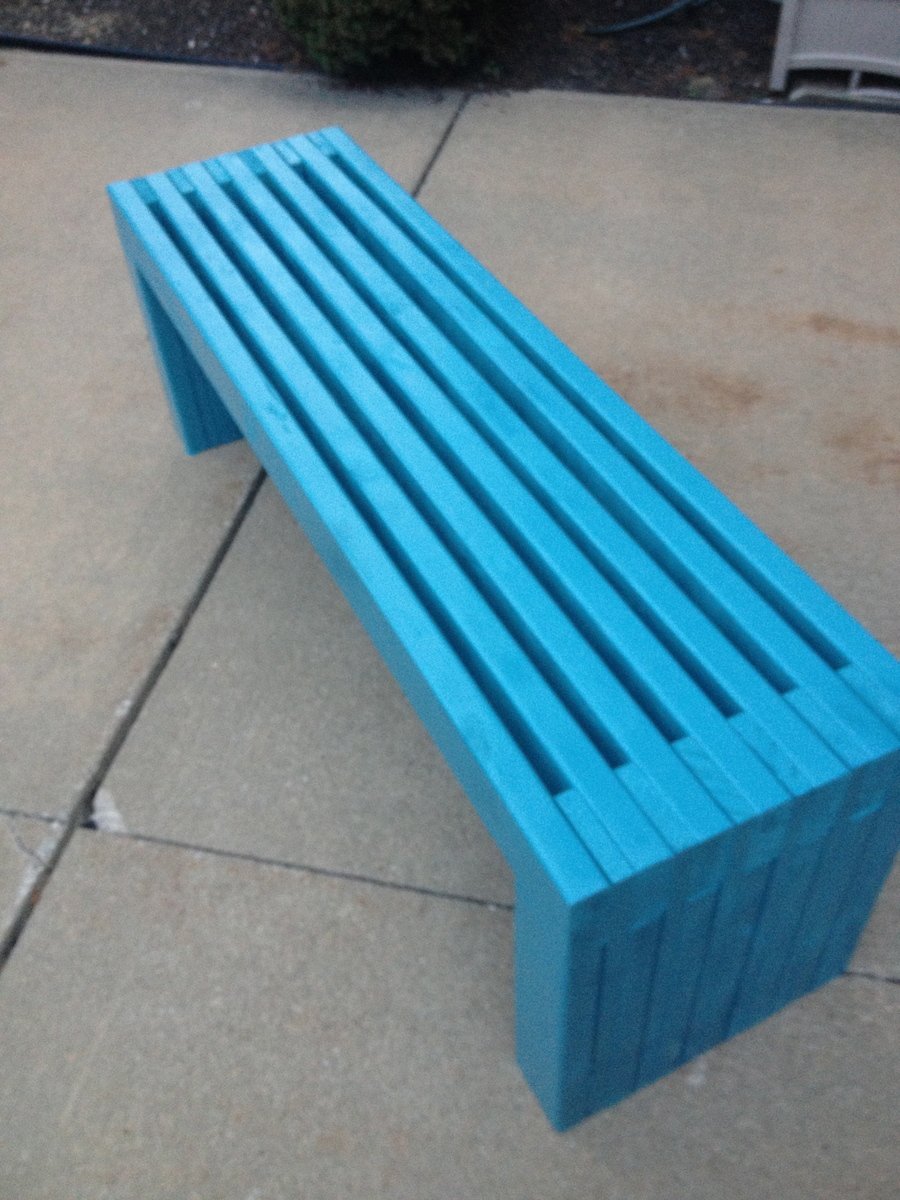
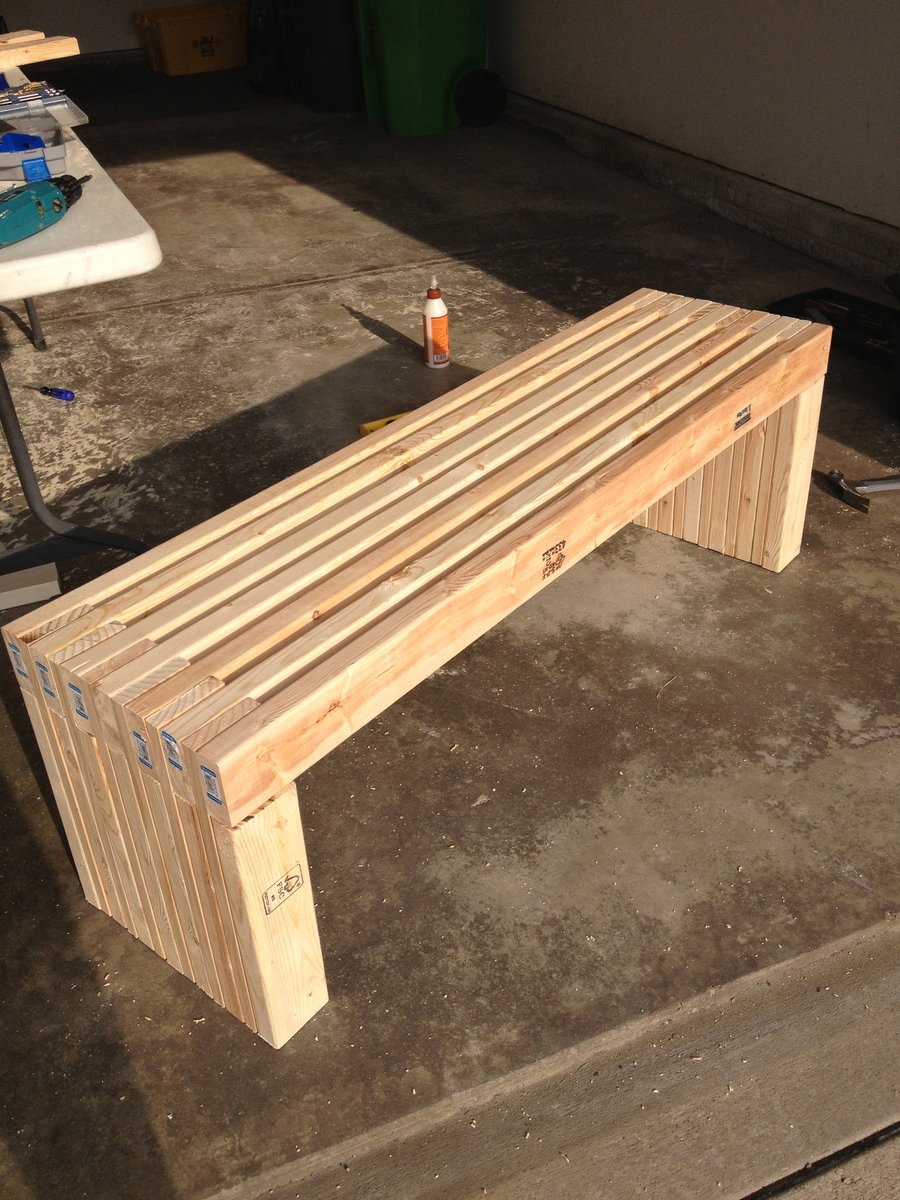
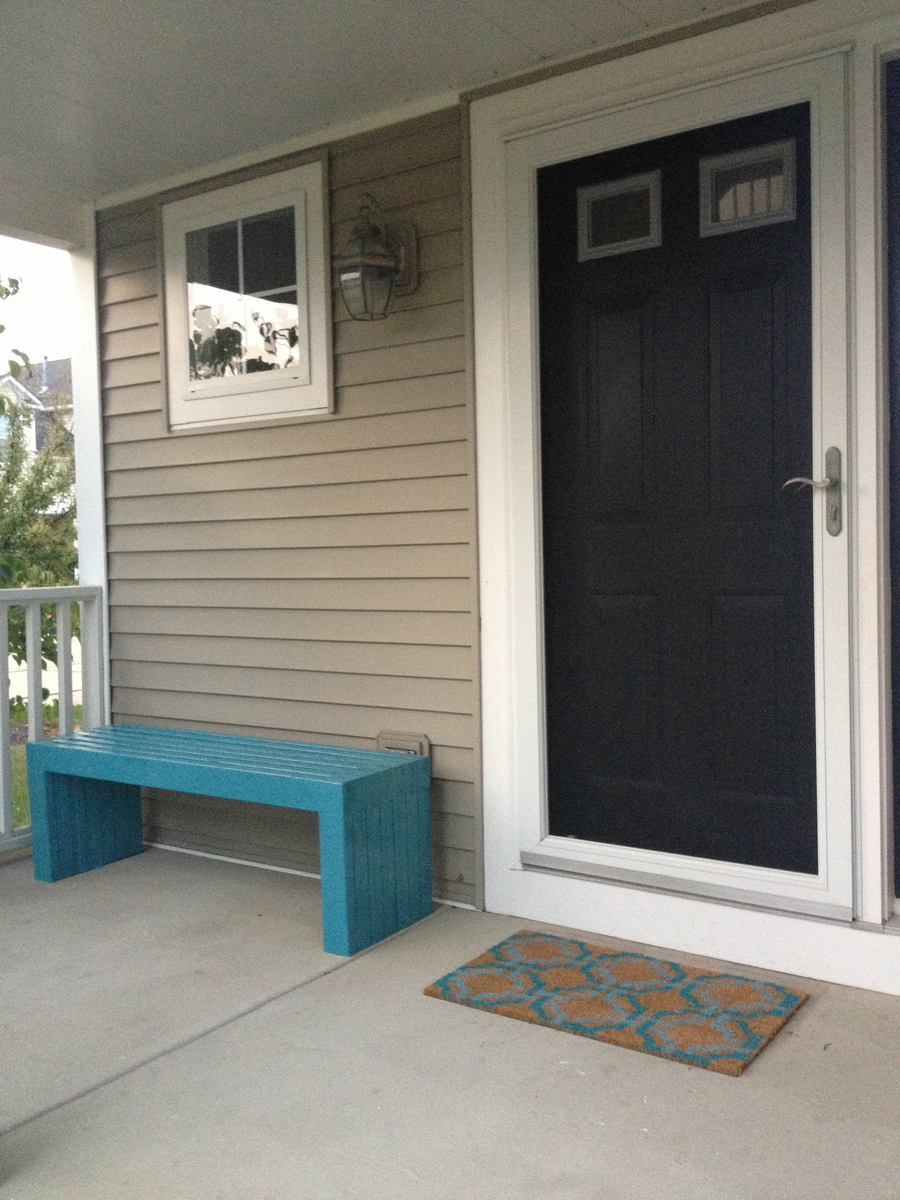
MODERN SLAT TOP OUTDOOR WOOD BENCH

This was my first project. I am pretty excited how it turned out. If I did it again, I would recommend sanding and painting prior to building.

Estimated Cost
$60
Estimated Time Investment
Afternoon Project (3-6 Hours)
Finish Used
Valspar Spray Paint - Oasis
Recommended Skill Level
Beginner

Comments

my new sofa

I built my new sofa!
I am so happy how it turned out. I had to translate all the instuctions in french, and modify the dimensions to adapt them to the lumbers I found in my country (France)
I had to change inches in centimeters too.
It was just a little difficult but I built it!!!
Thank you so much Ana, I am one of your fan.

Built from Plan(s)
Estimated Cost
150 euros
Estimated Time Investment
Weekend Project (10-20 Hours)
Finish Used
ebony gloss paint
Recommended Skill Level
Beginner

Comments

alamanda973

Wed, 08/17/2011 - 08:35

I did not find Kreg Jig, but I found another "mark" who proposes the same system.It is less good than Ana's Kreg Jig, but I had no choice. In any case, that works. Thank you for your comments and sorry for my bad English.

Catherine Lake (not verified)

Fri, 07/27/2012 - 06:44

Did you use a mattress for your cushion? Did the plan fit that for you, or did you have to modify?

Catherine Lake (not verified)

Fri, 07/27/2012 - 06:45

Did the plan fit the mattress exactly or did you have to modify it?

alamanda973

Fri, 07/27/2012 - 17:30

I don't know the size of a twin mattress but my pillow measures 180cm of length and 60 cm deep for a thickness of 14cm. I bought a foam mattress of 90cm of wide and of 190cm of length and I cut it. They are the size of a child bed in France.The size of wood are different here thus the sofa has no same dimensions as on Ana's plans. I adjusted according to the wood available here.