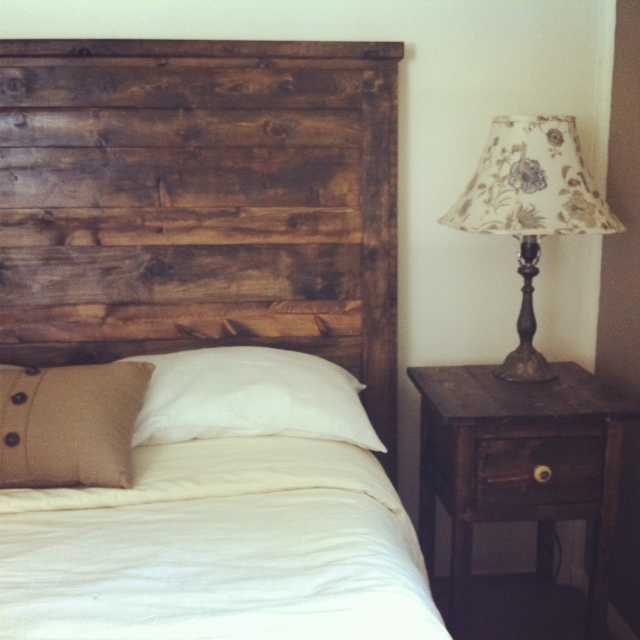
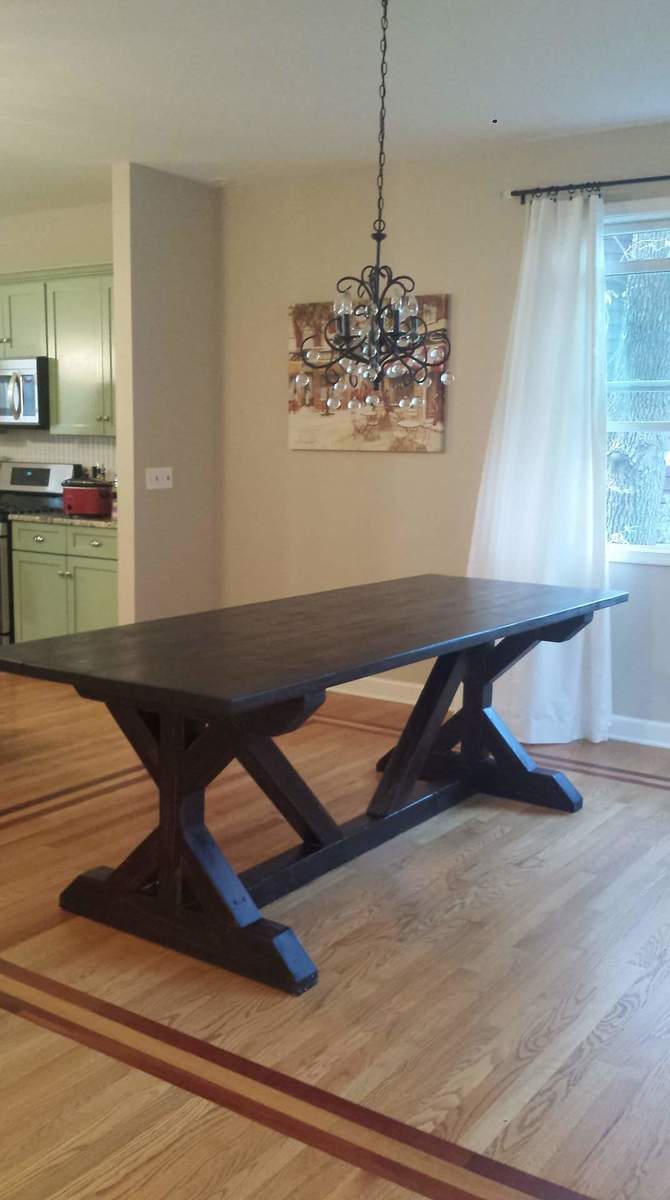
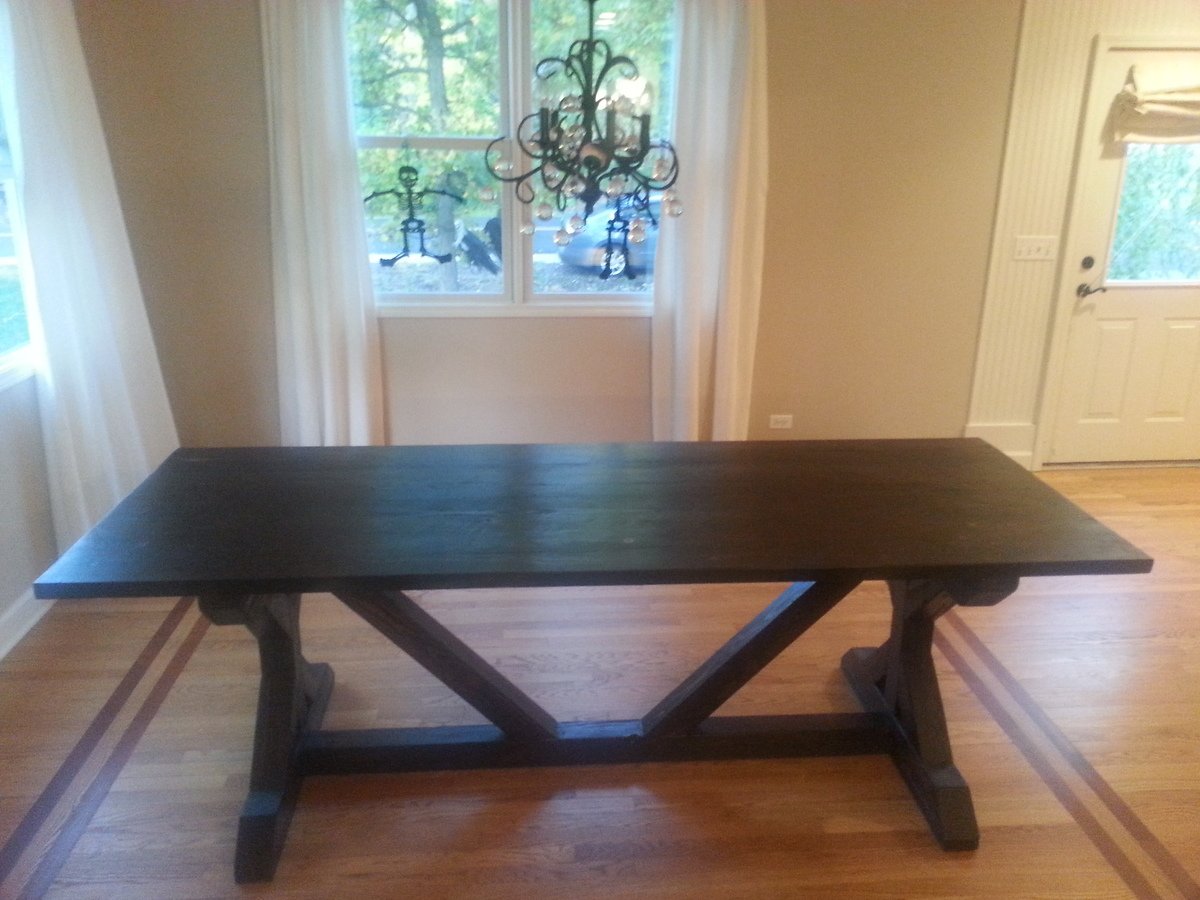
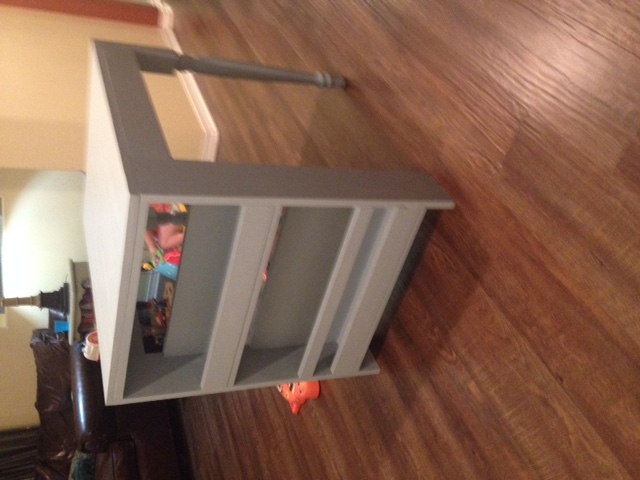
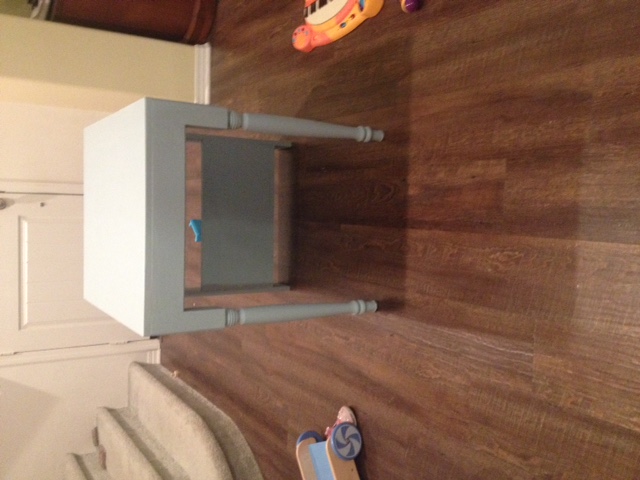
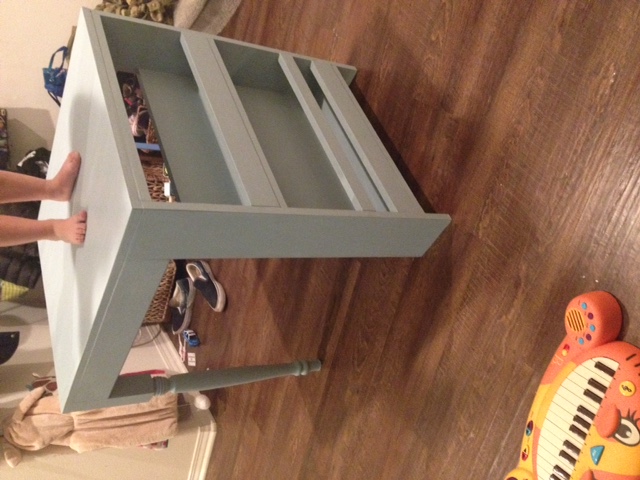
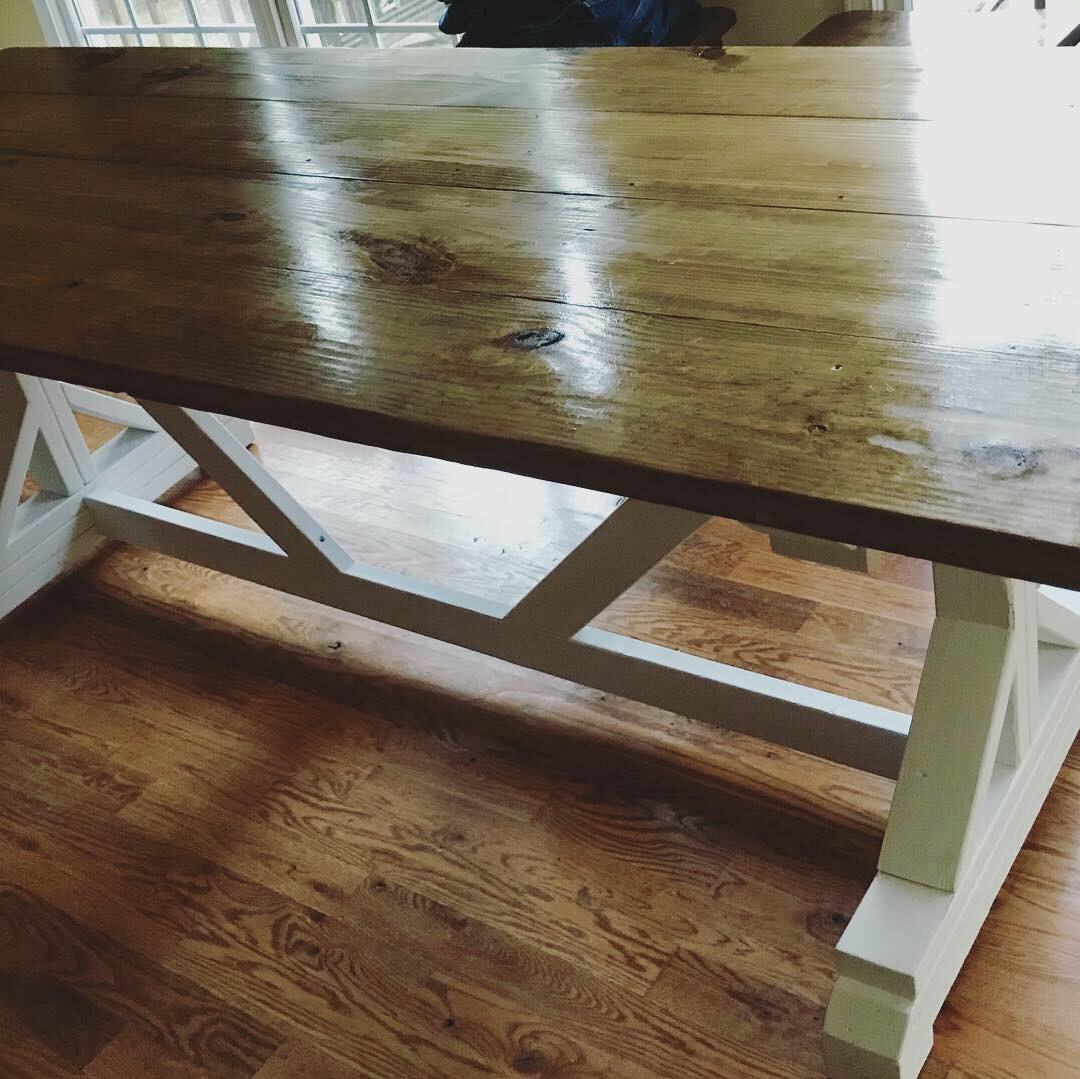
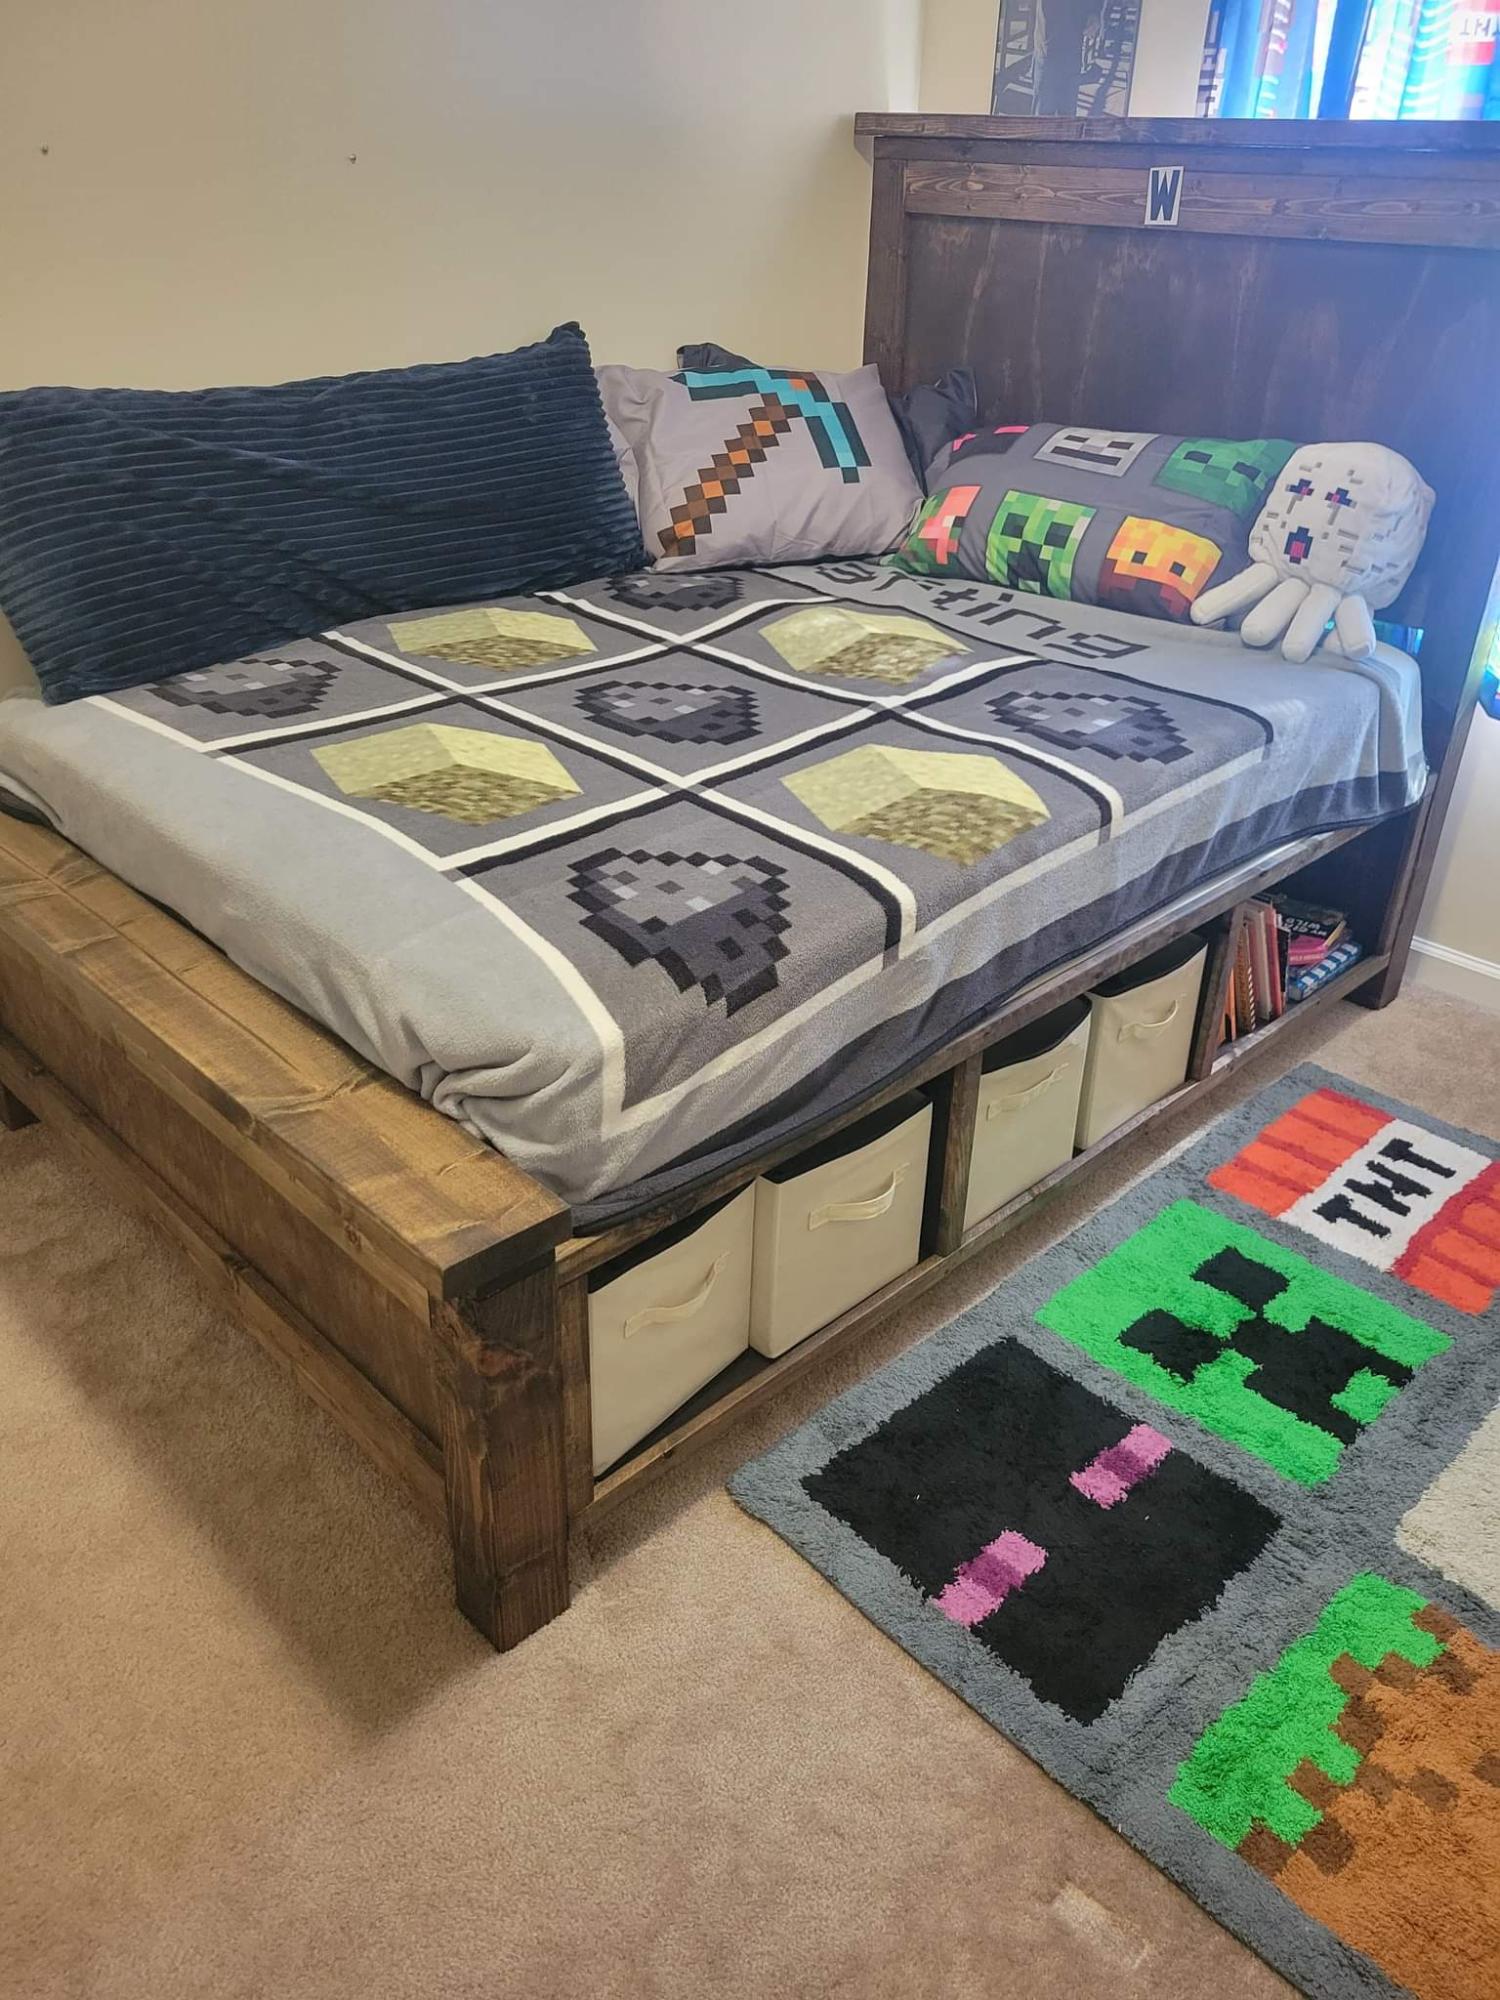
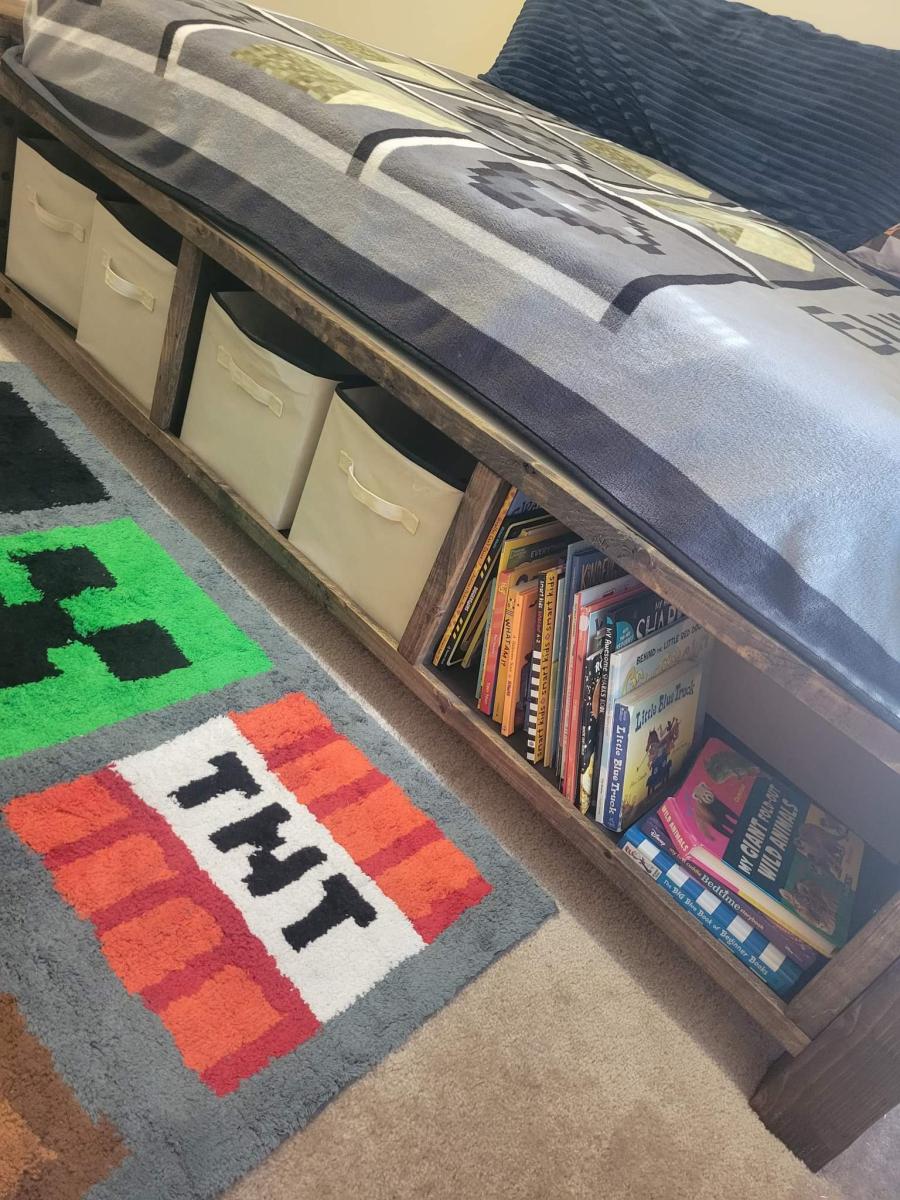
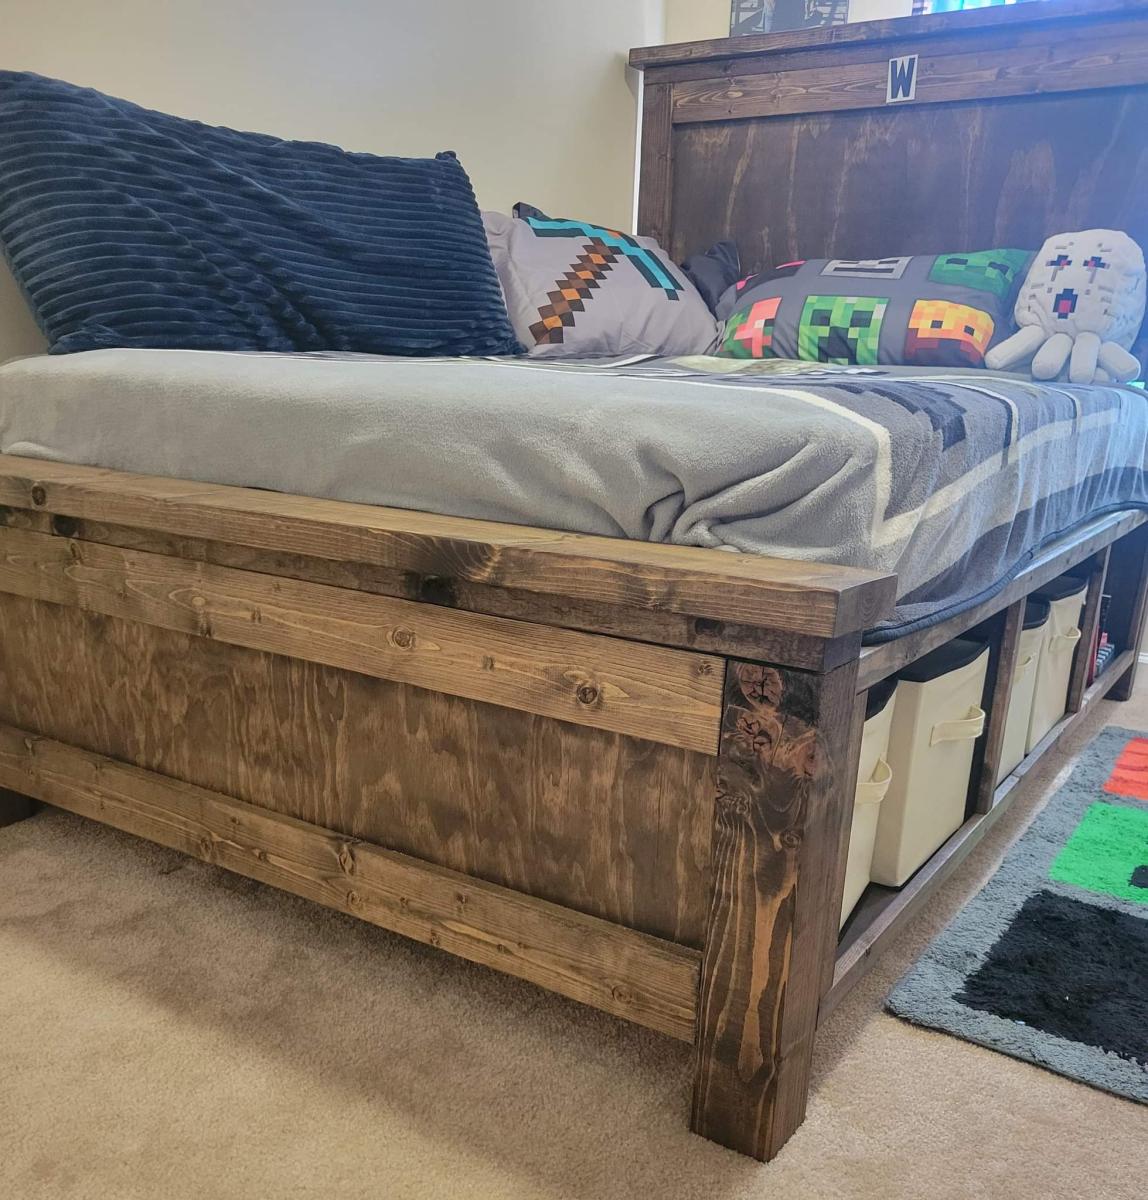
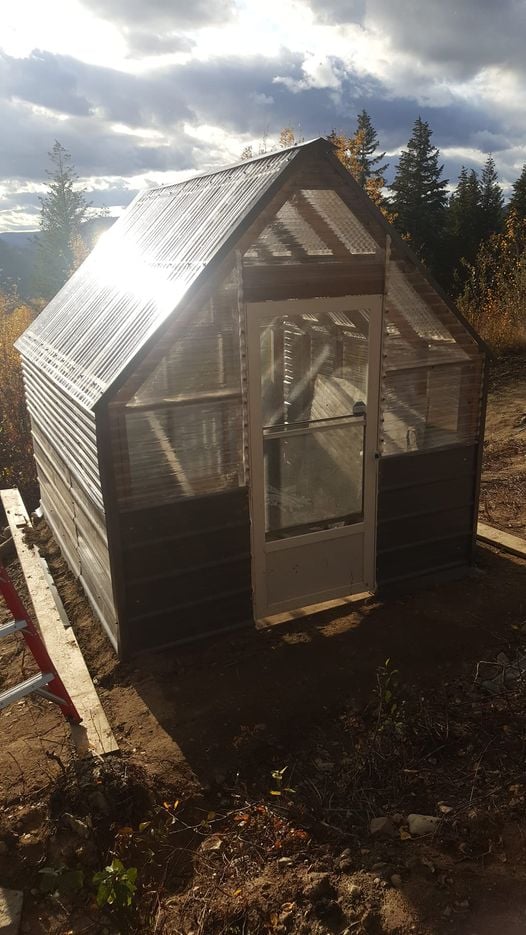
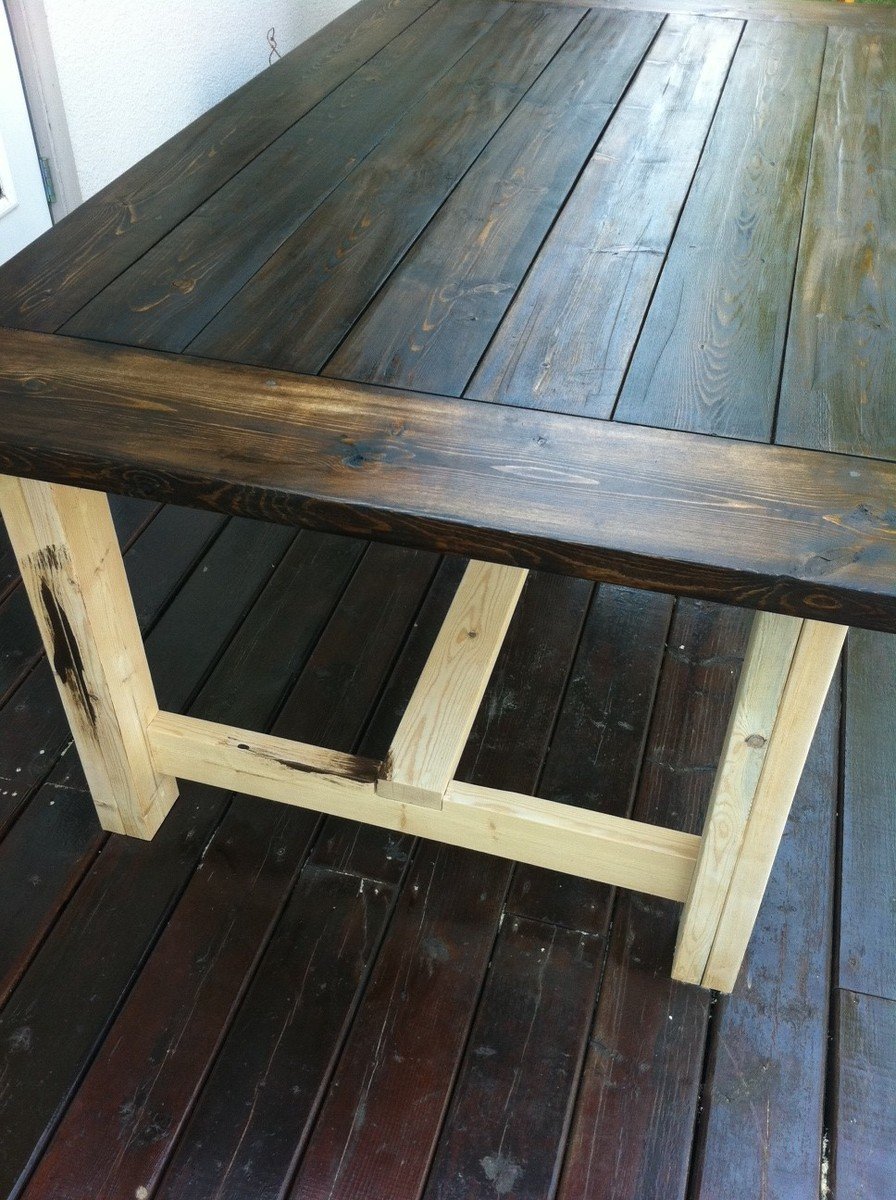
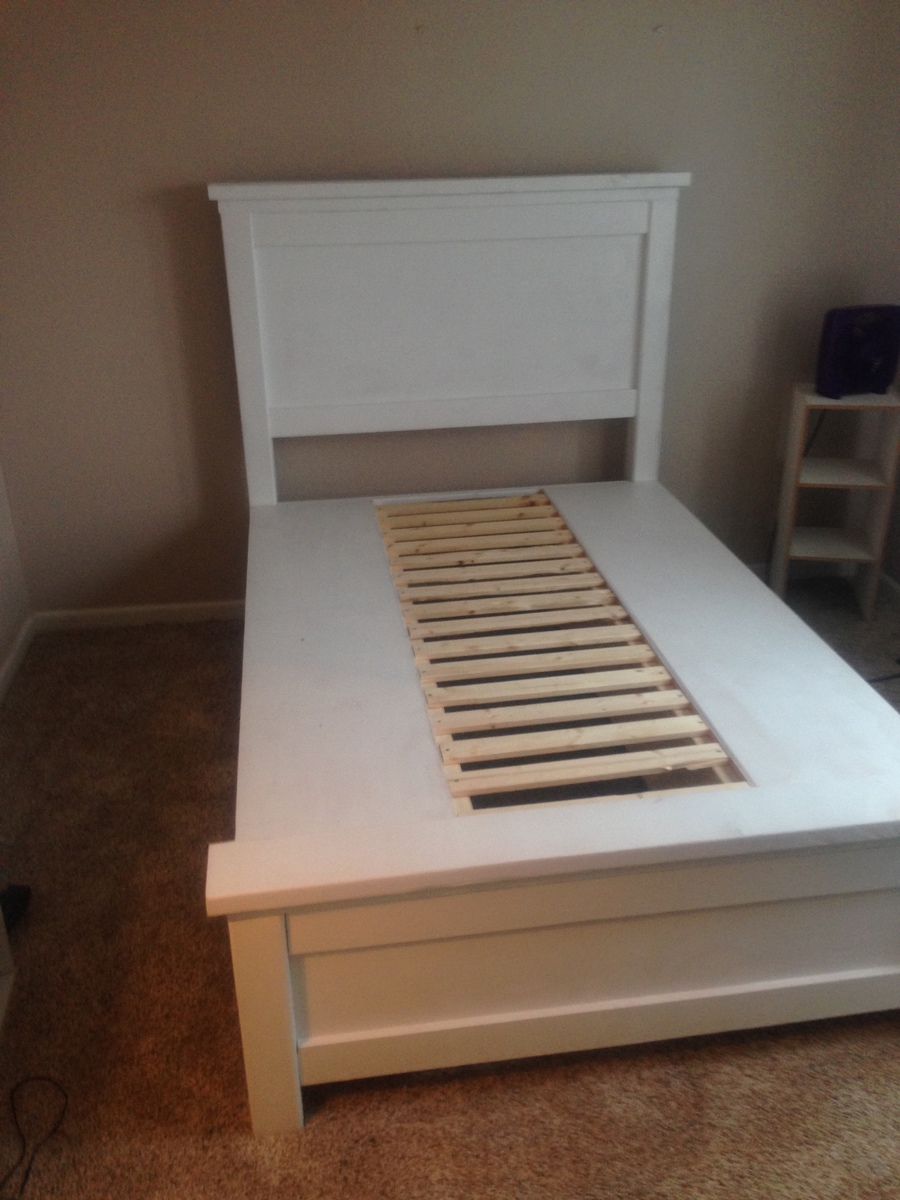
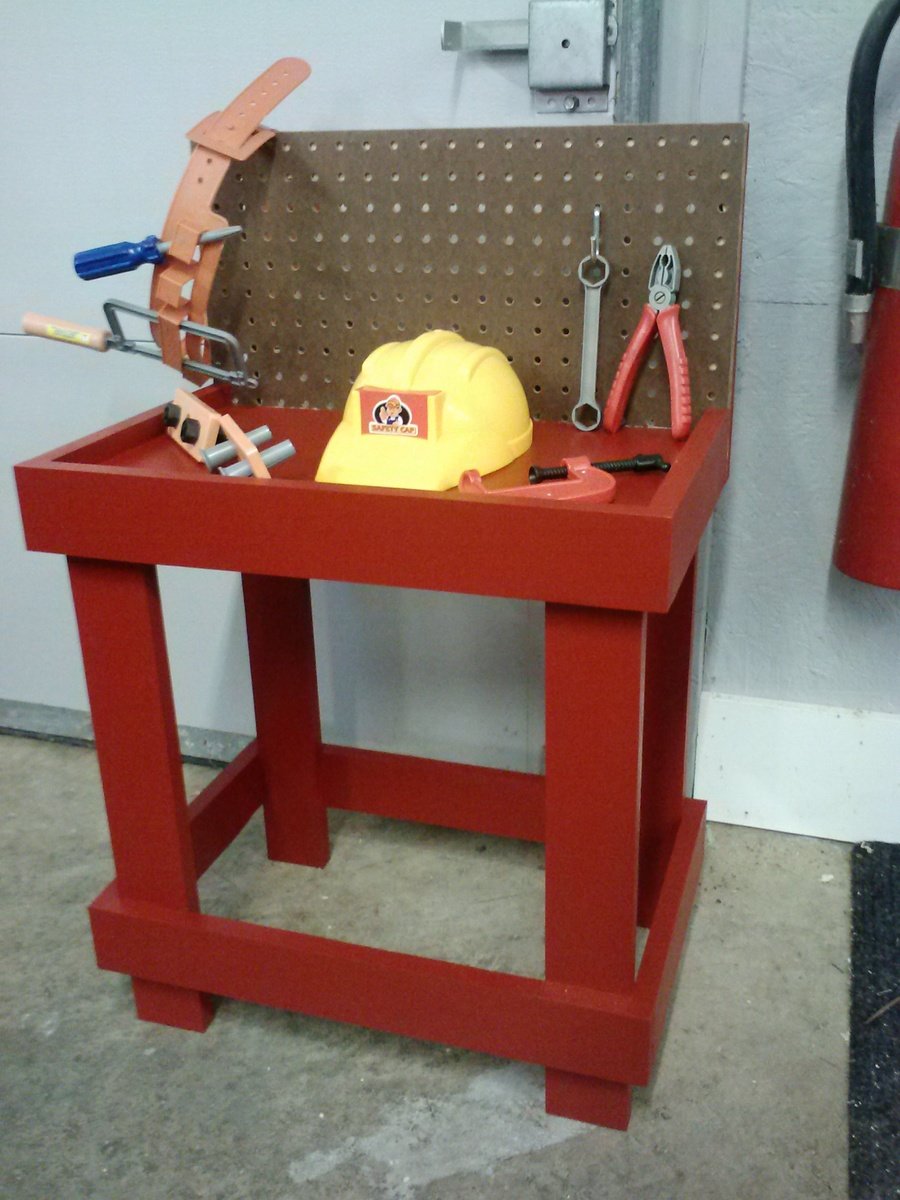
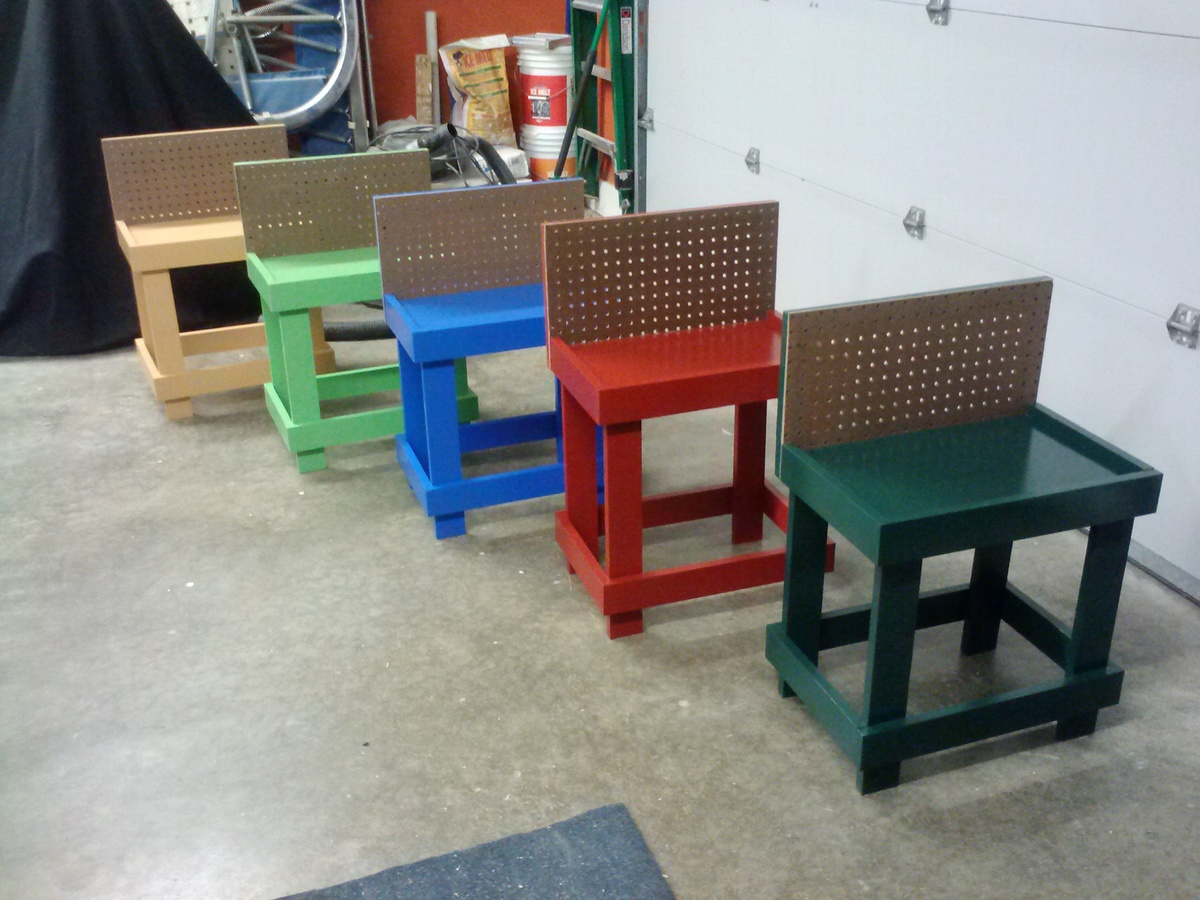
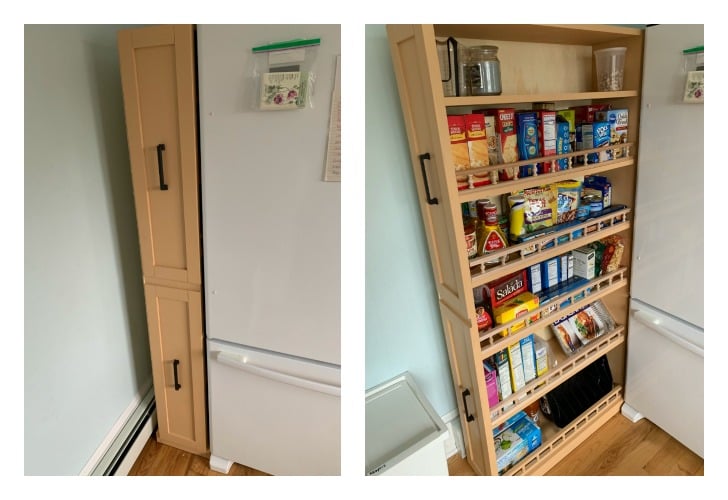
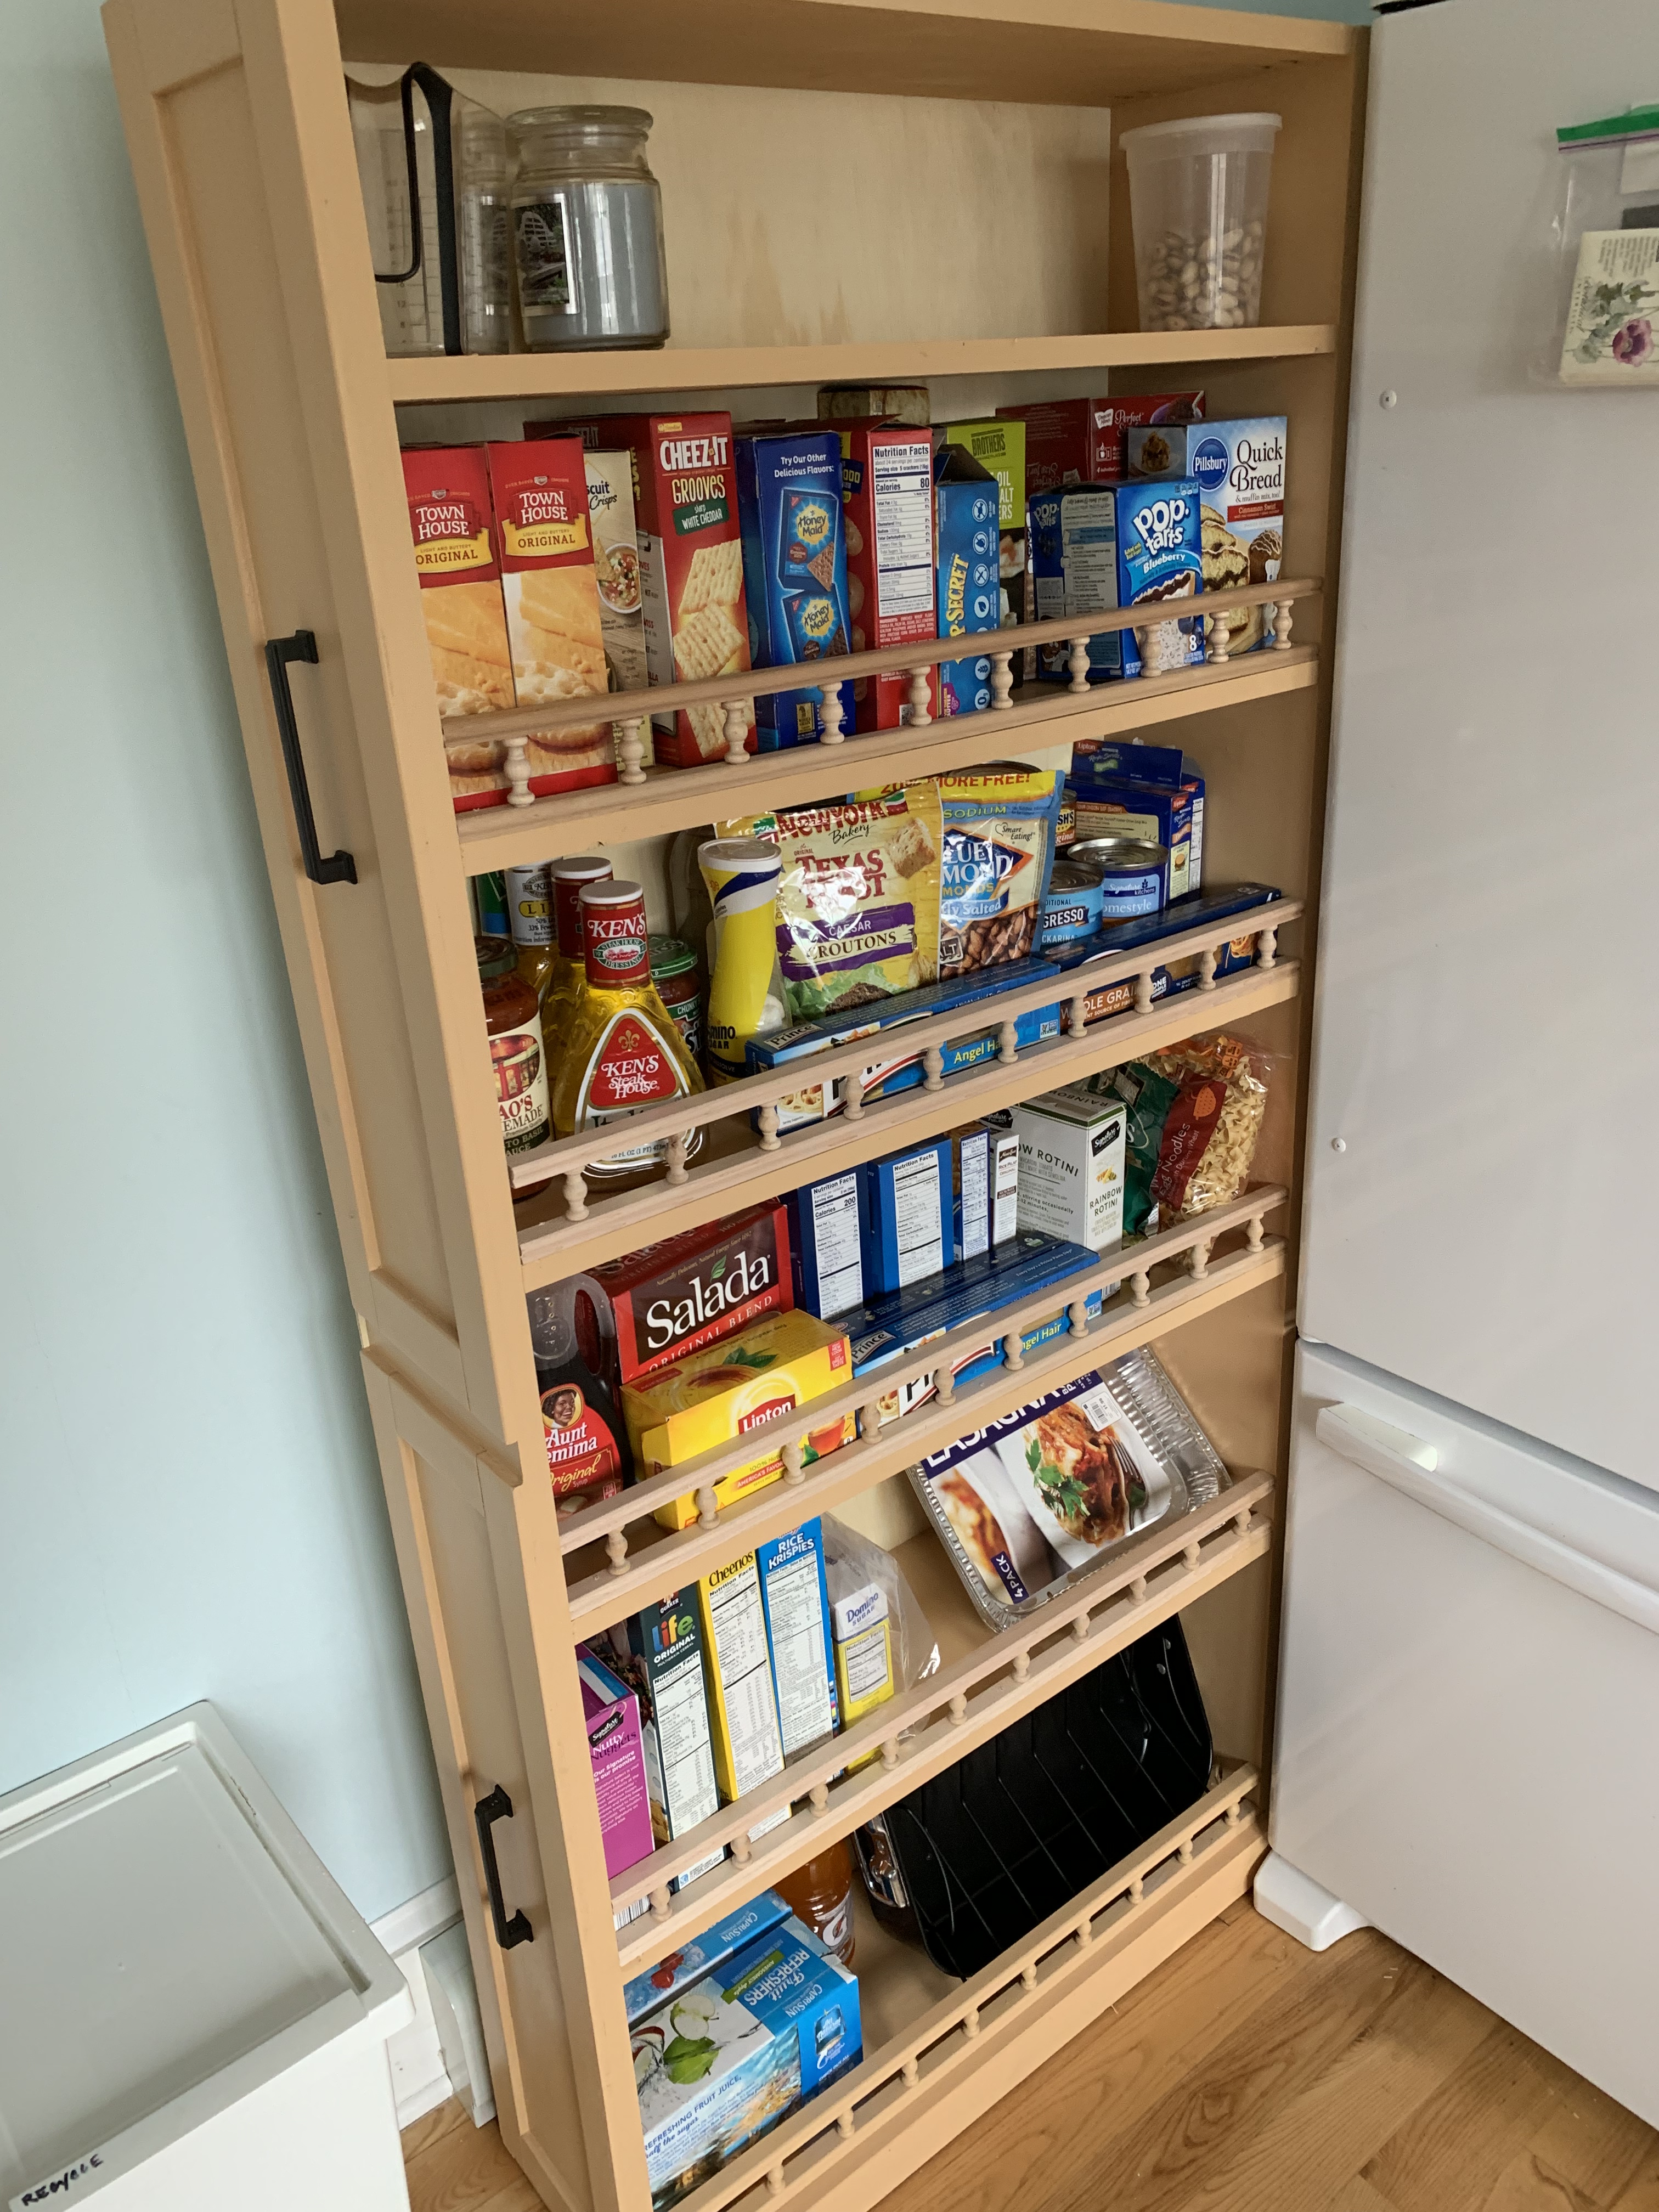
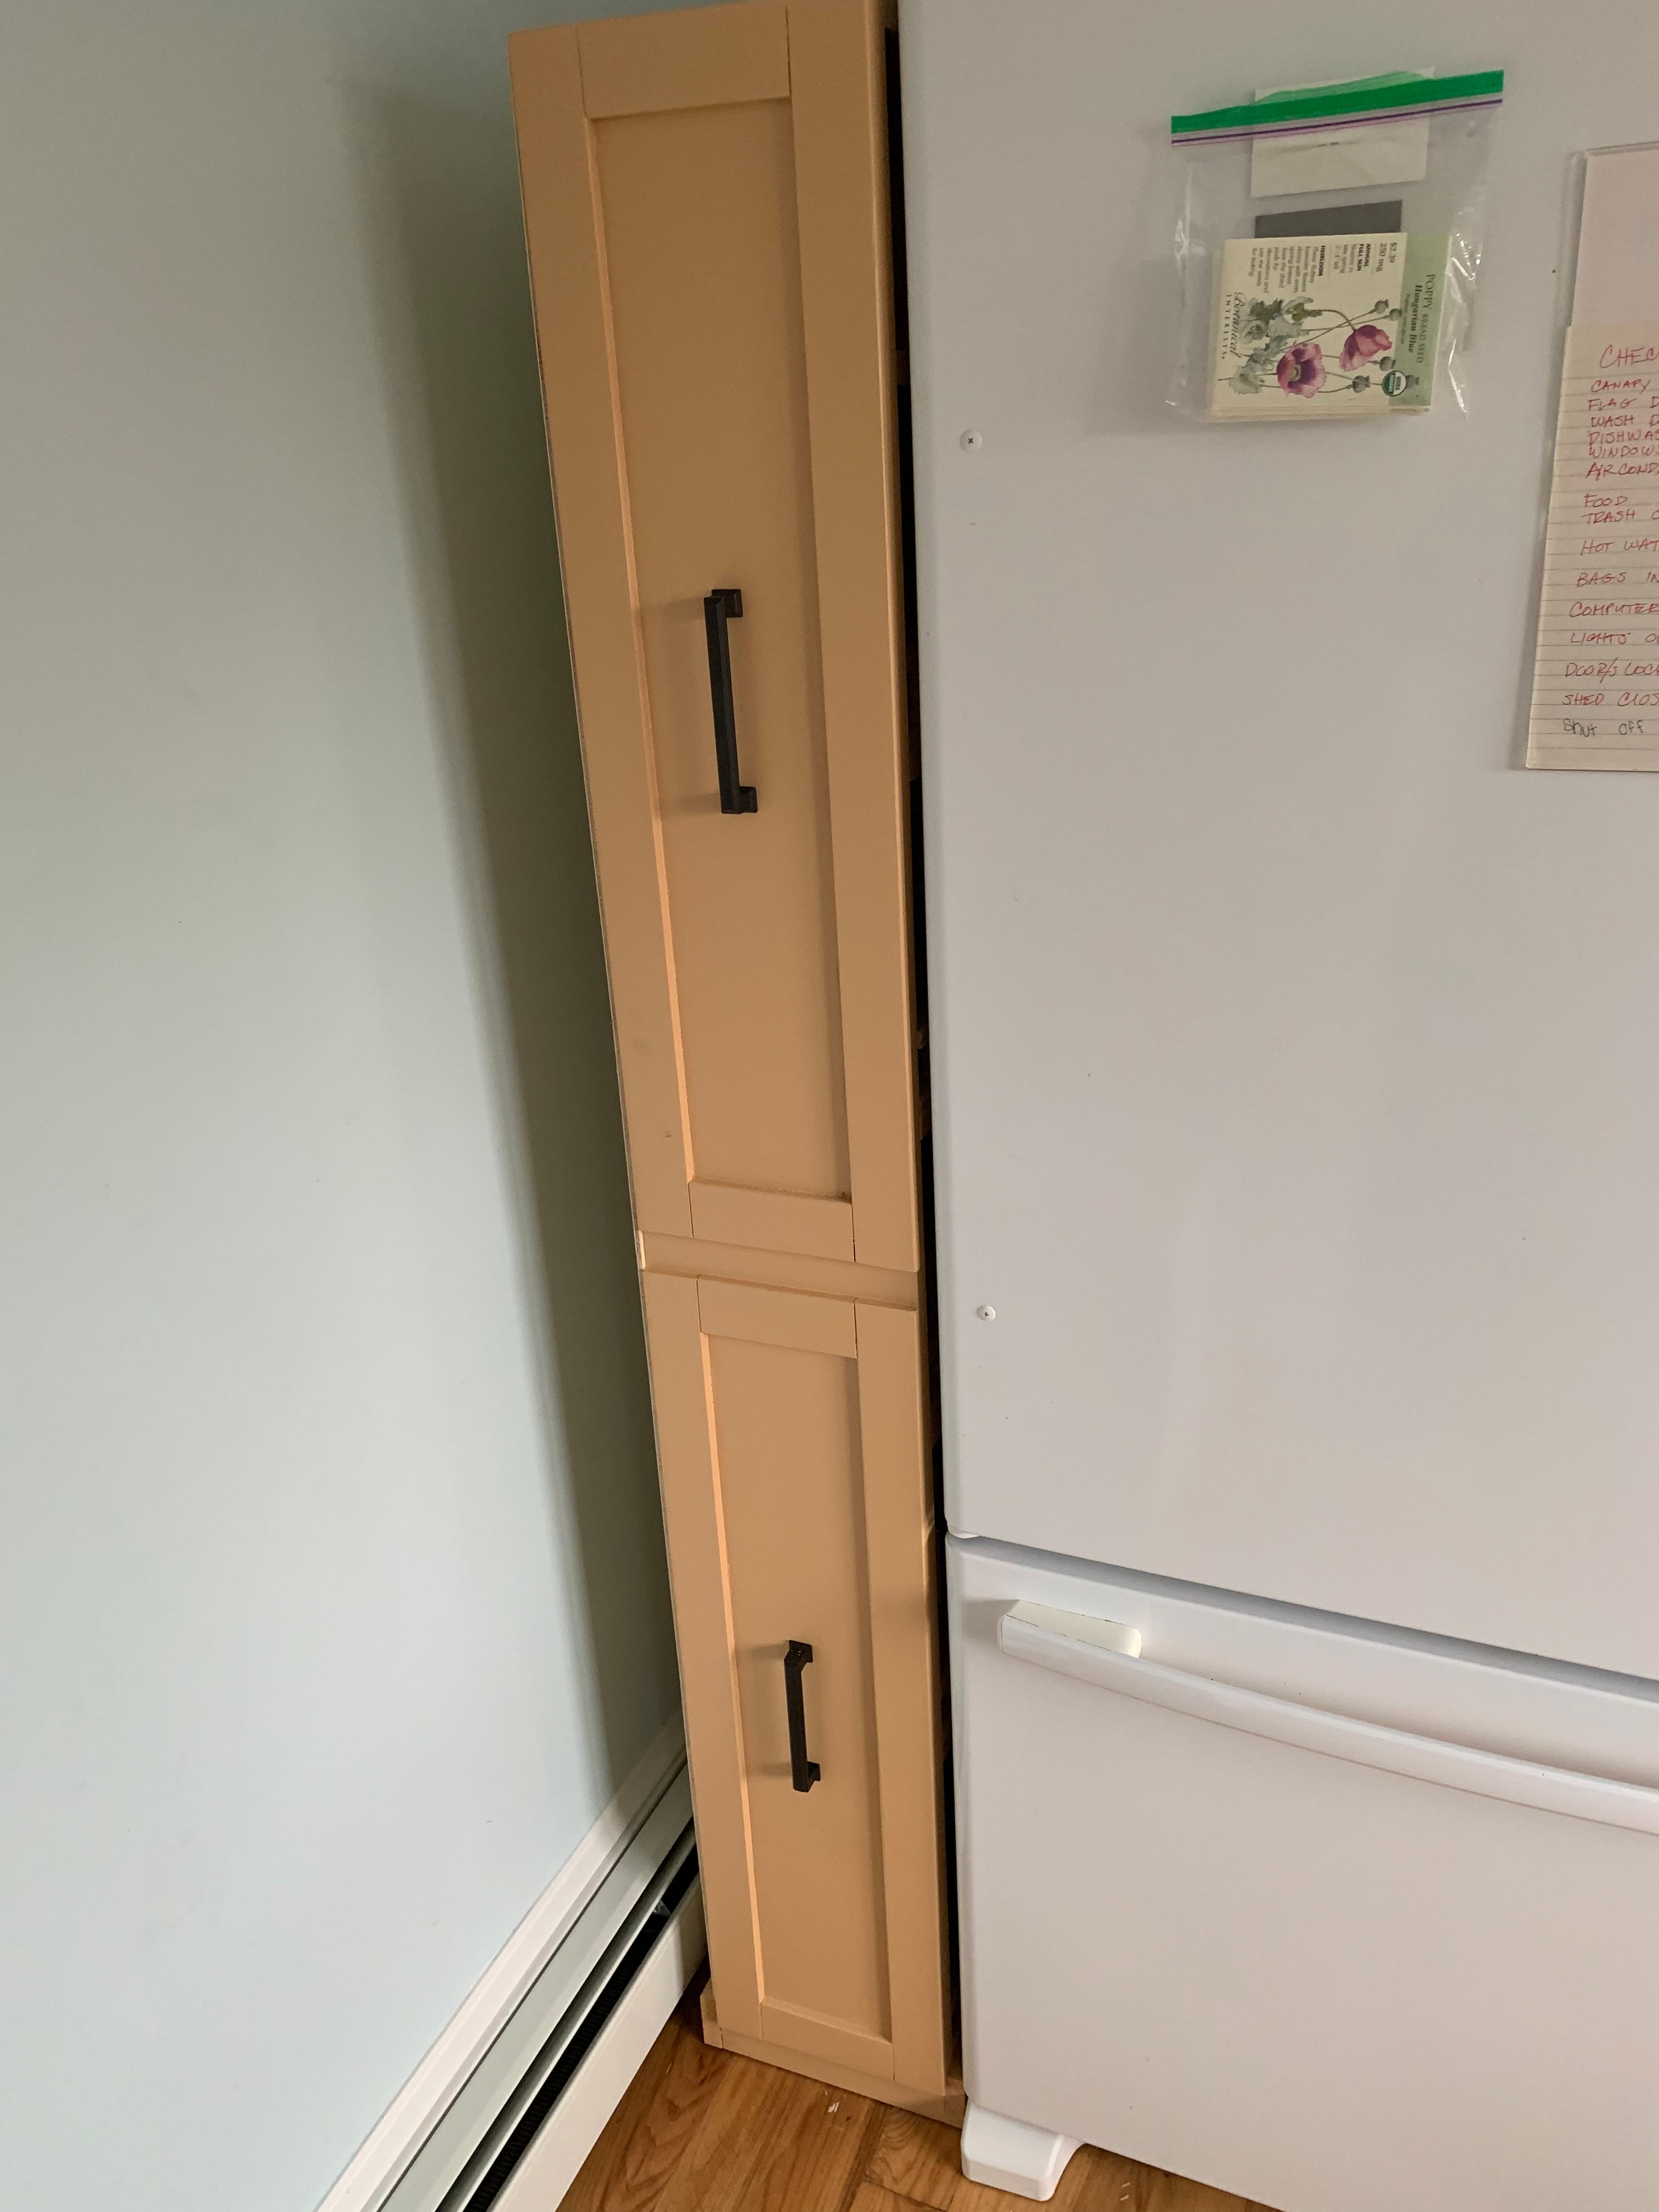
first time builder

Thank you for these plans - they were great for a first time build. Definitley learned a lot building this...and now on to the next project!

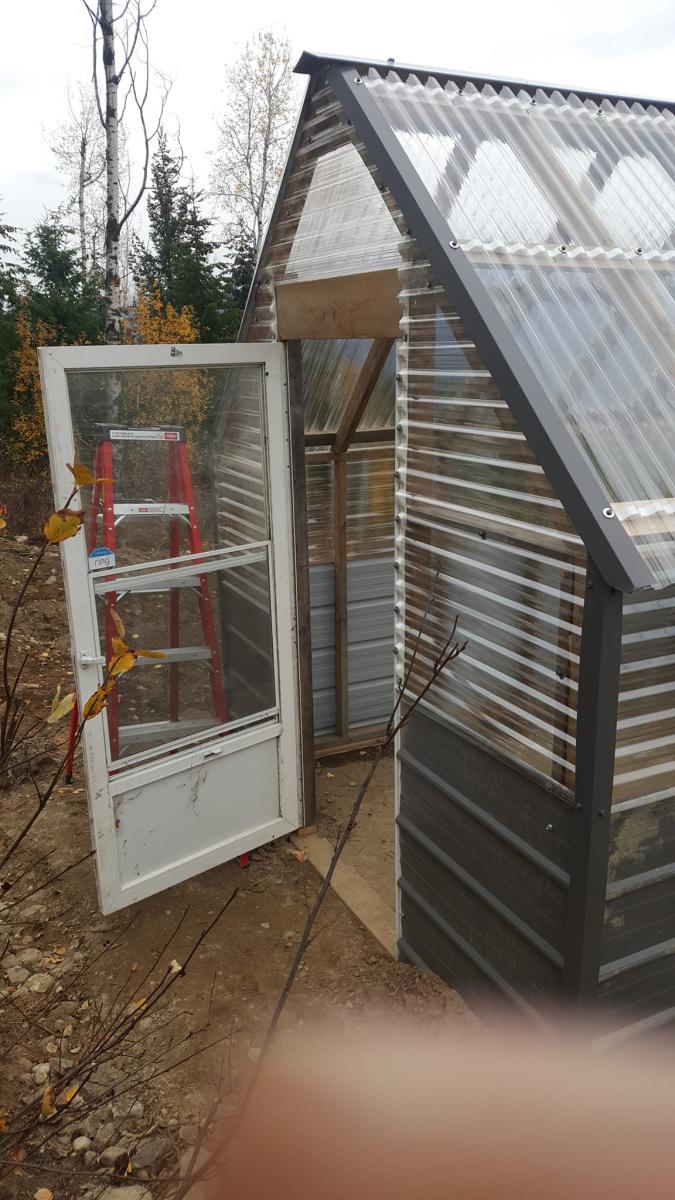
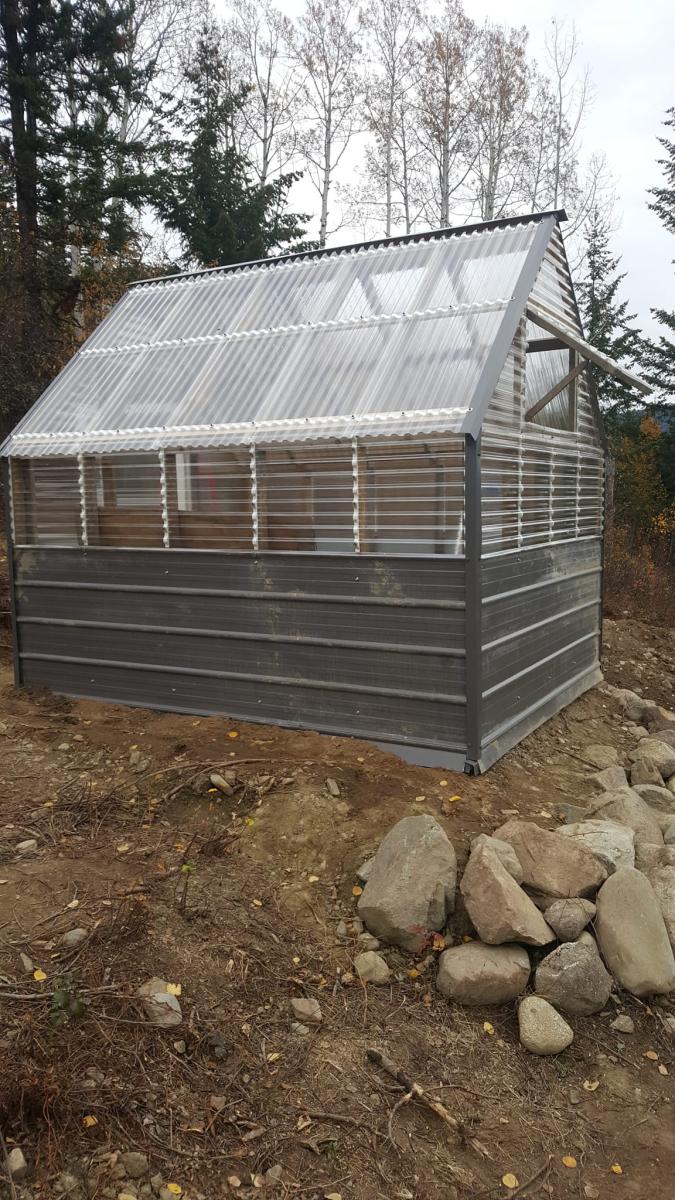
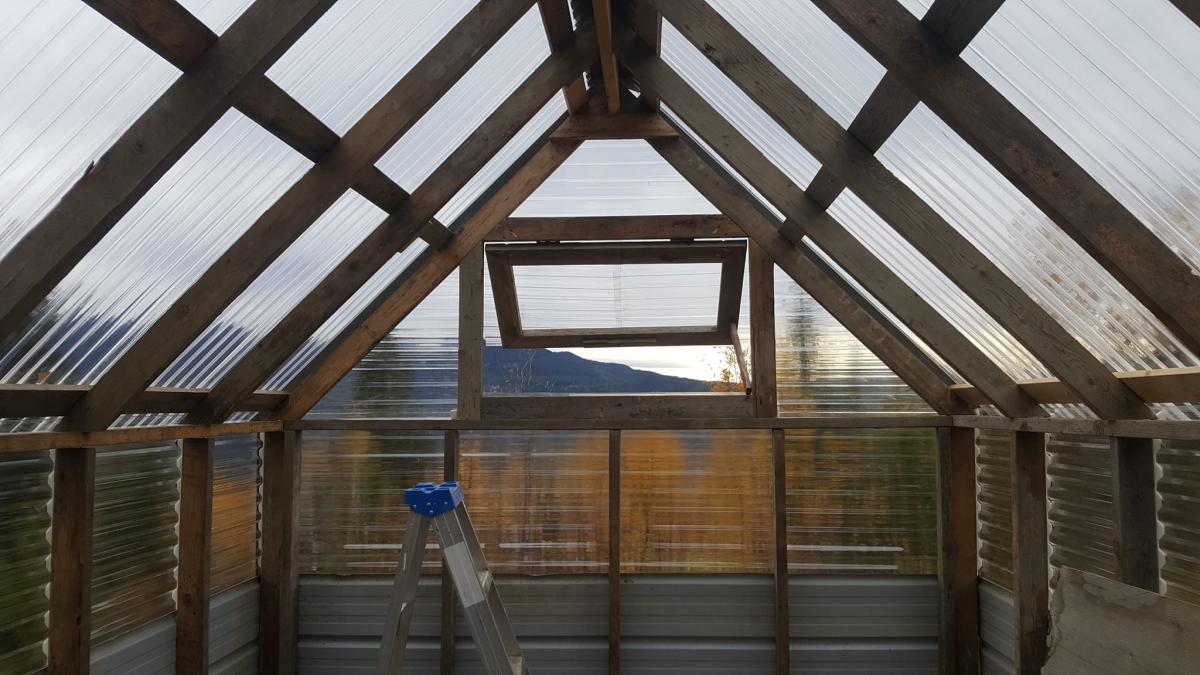
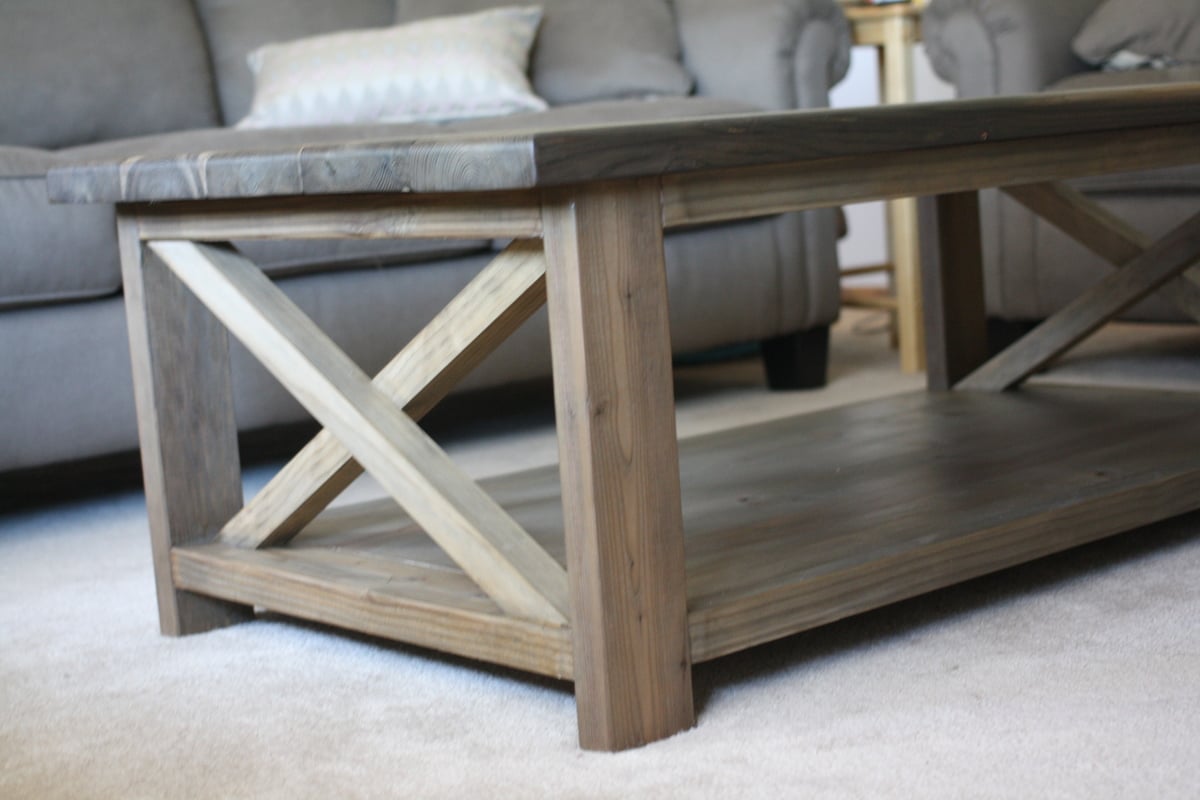
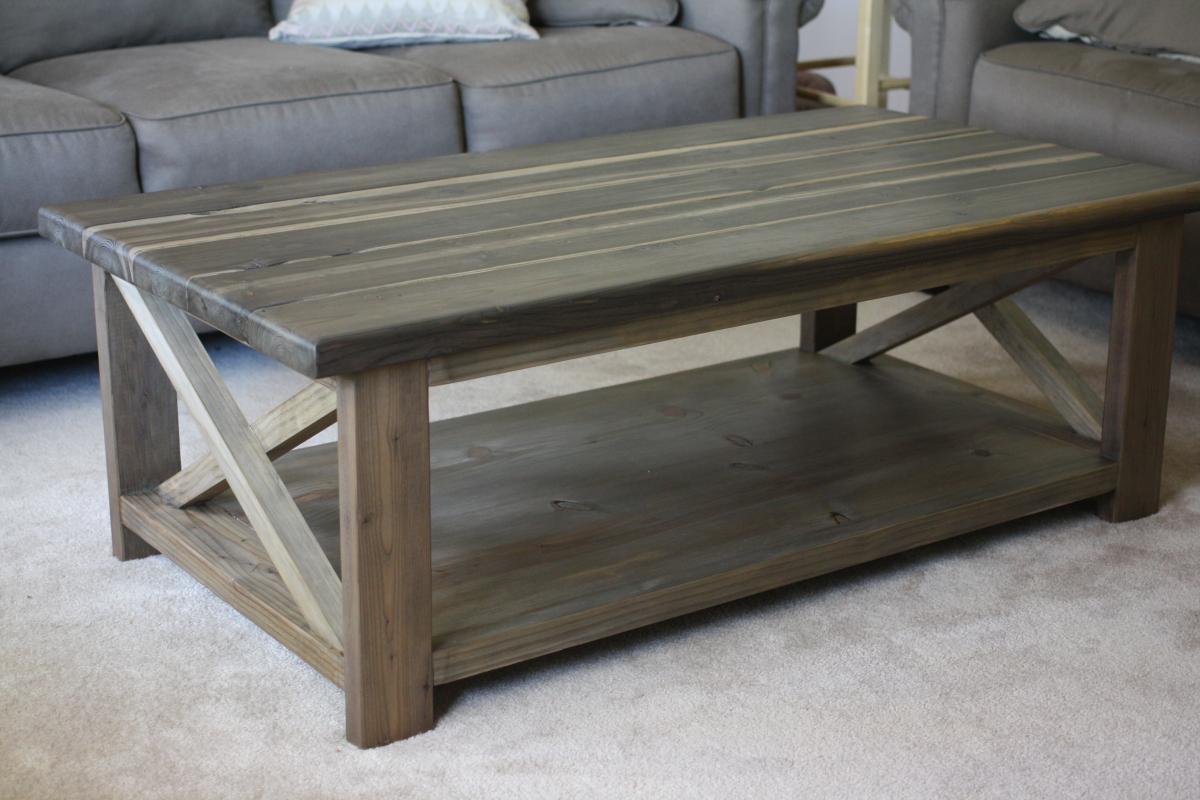
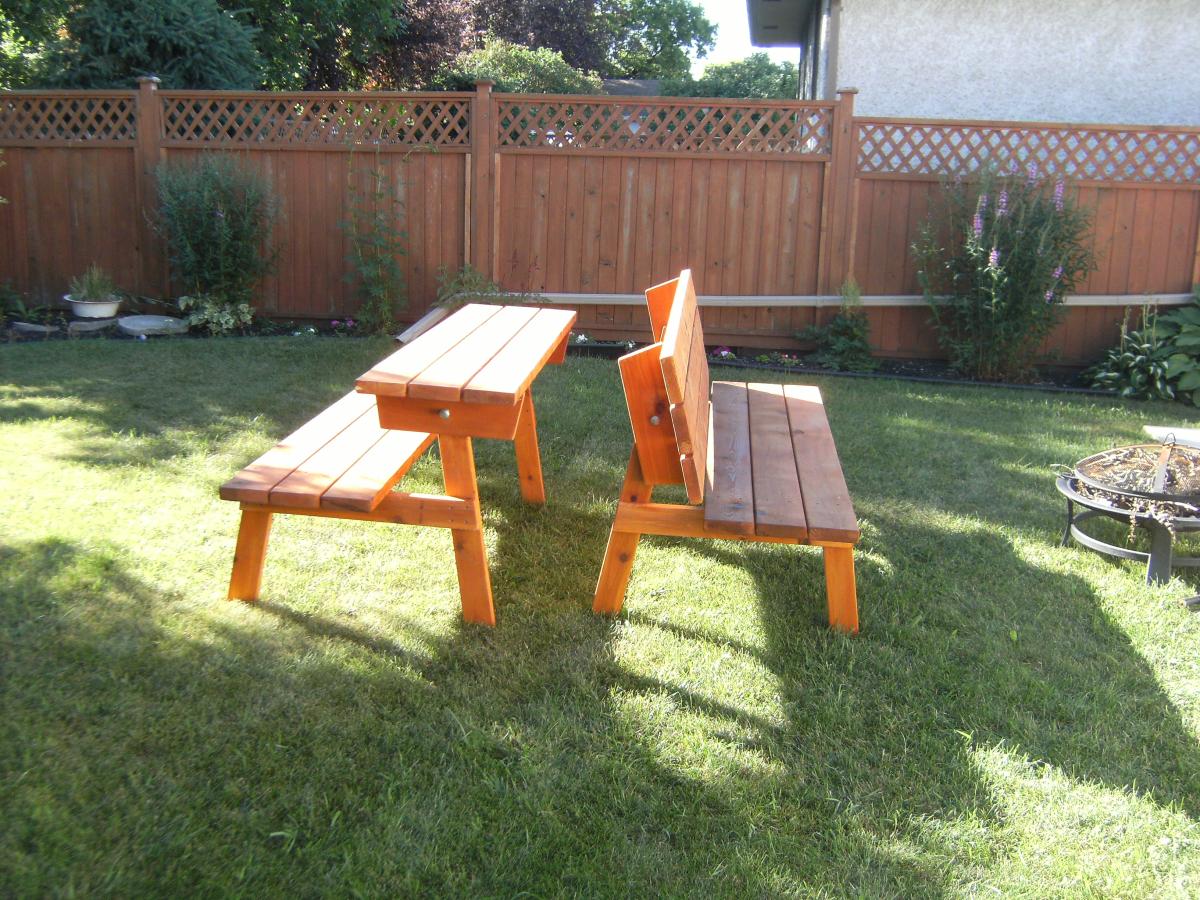
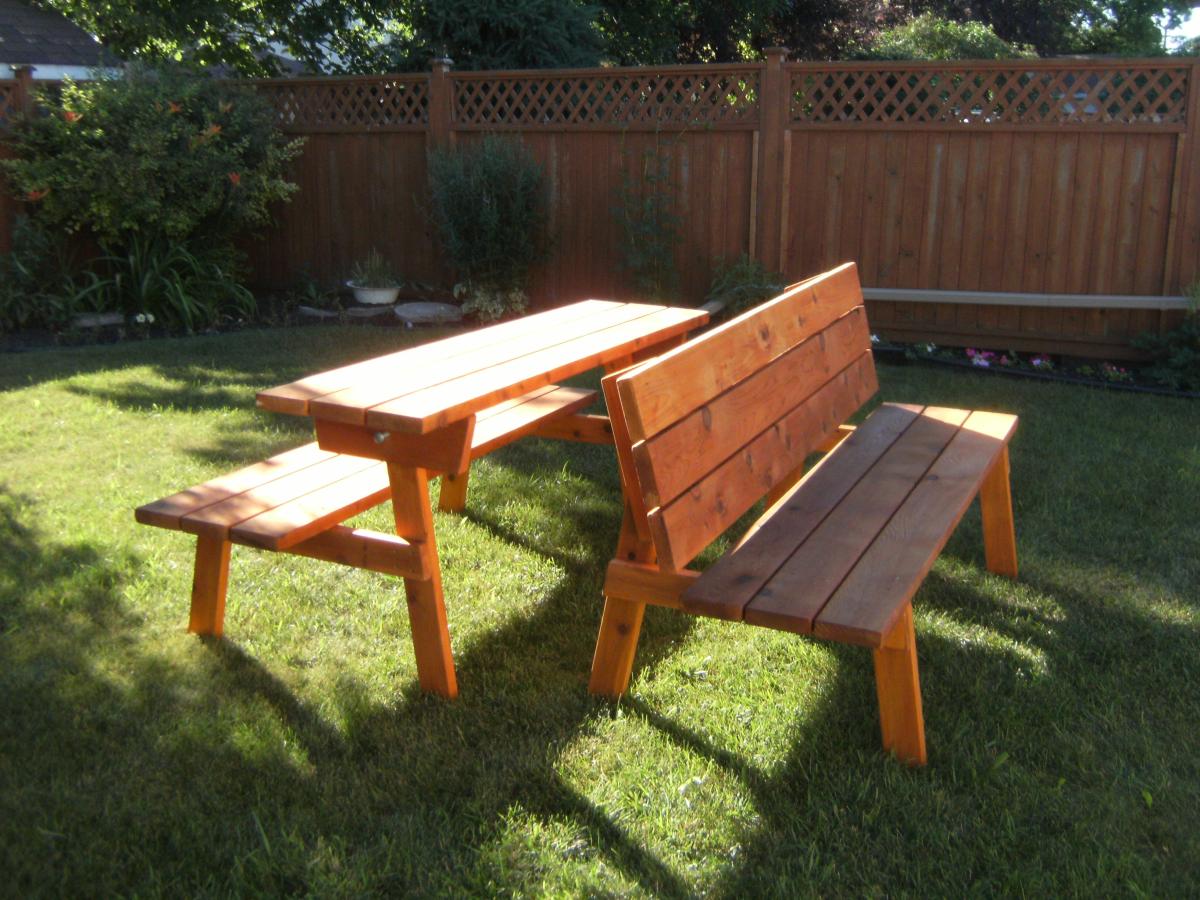
Built from Plan(s)
Estimated Cost
I also built one bench - total cost with stain and some other materials about $100
Estimated Time Investment
Day Project (6-9 Hours)
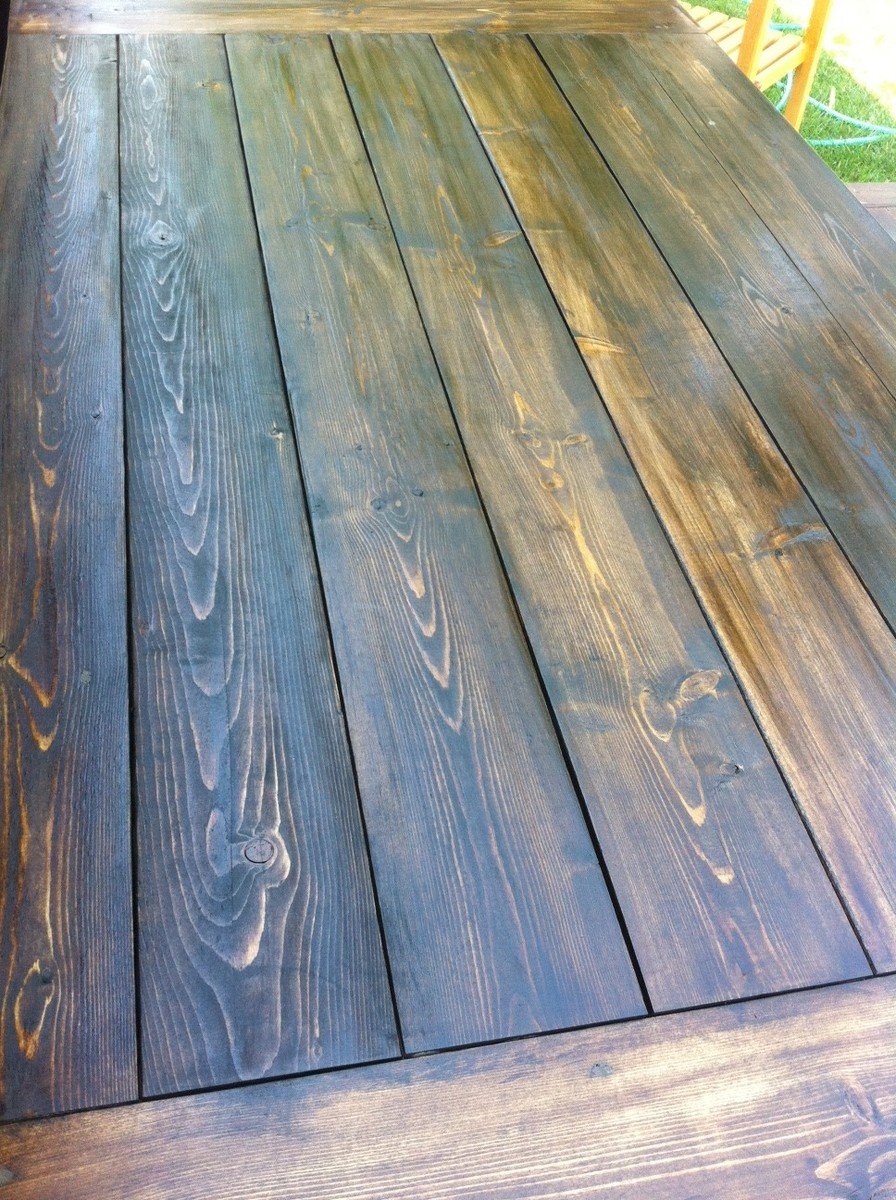
Finish Used
Varathane Golden Oak (One Coat/One Hour dry)
Recommended Skill Level
Beginner