Hanging Bunk Beds
I saw these beds featured in a Sherwin Williams paint mini magazine, fell in love w the idea, and customized them to work for my daughter's room. She loves them! Thx Ana White!!
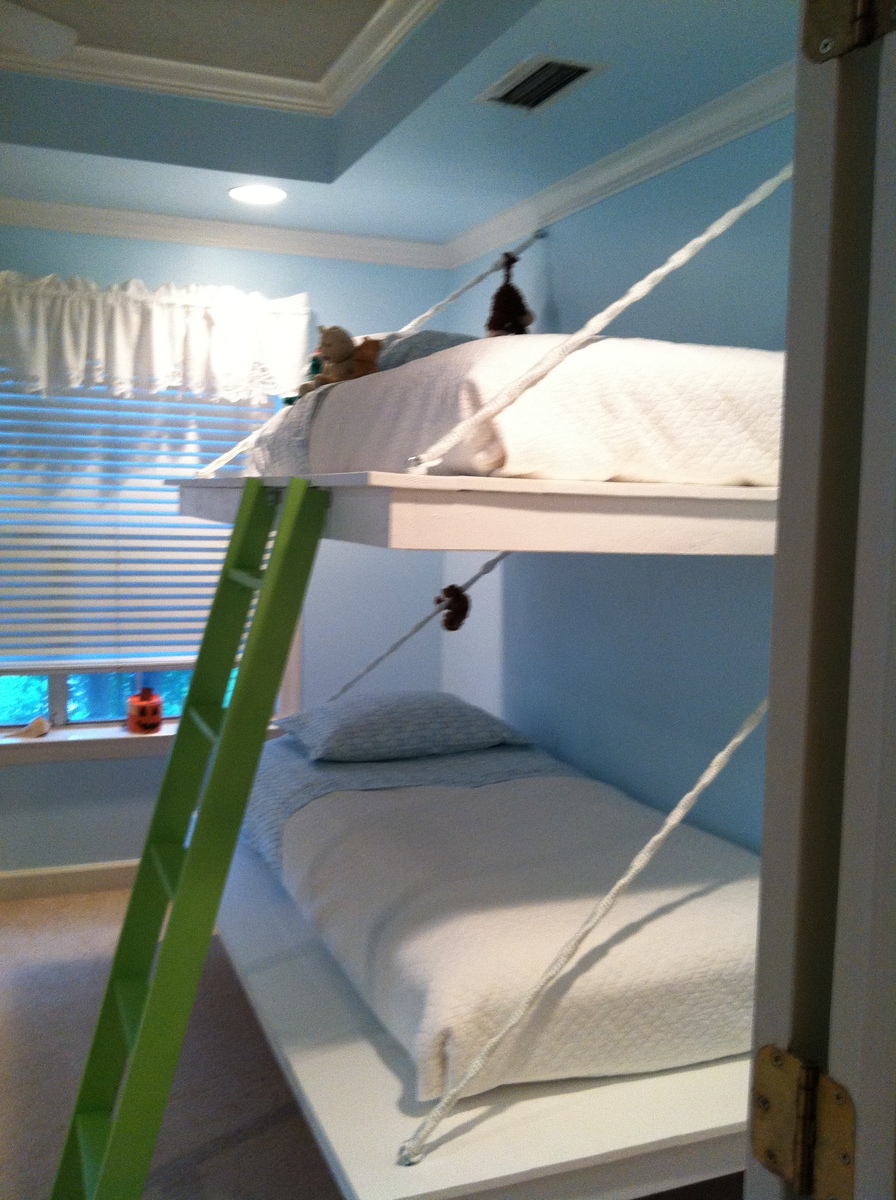
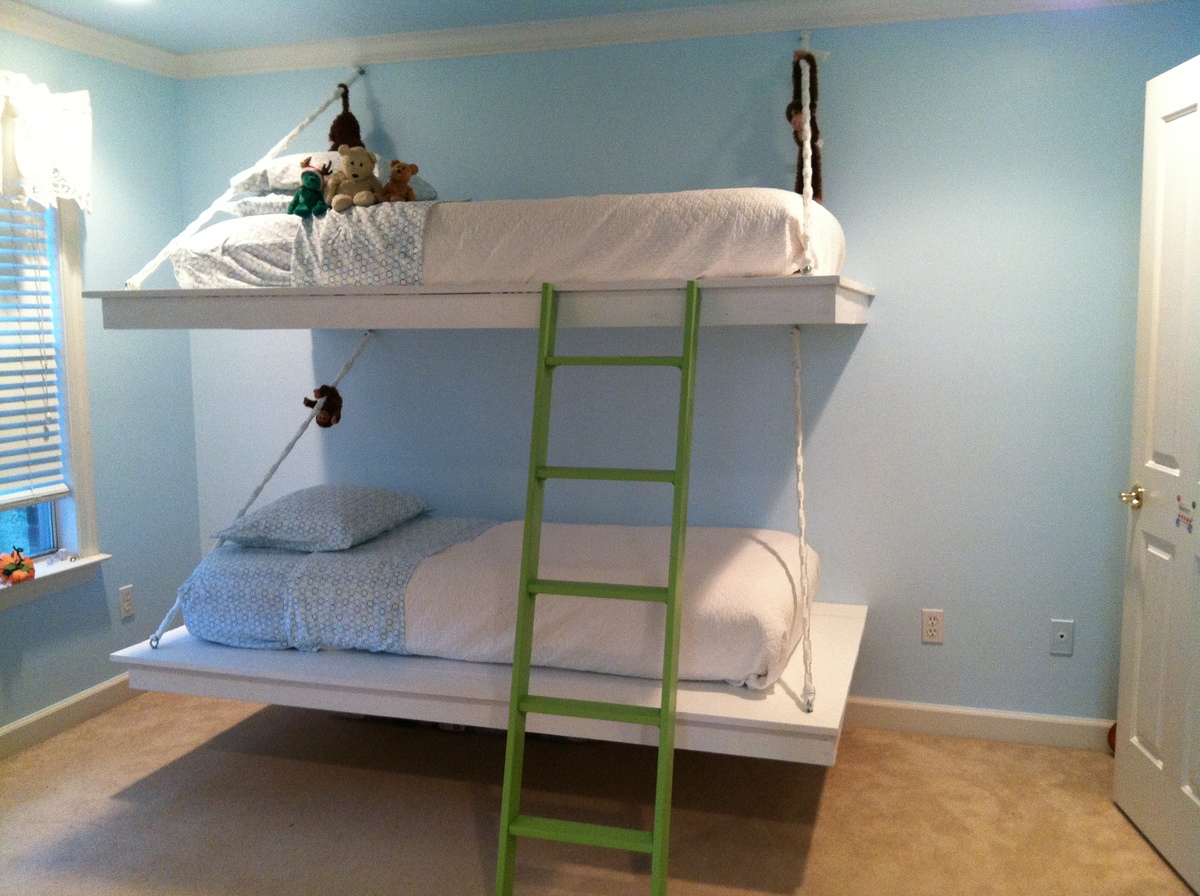
I saw these beds featured in a Sherwin Williams paint mini magazine, fell in love w the idea, and customized them to work for my daughter's room. She loves them! Thx Ana White!!


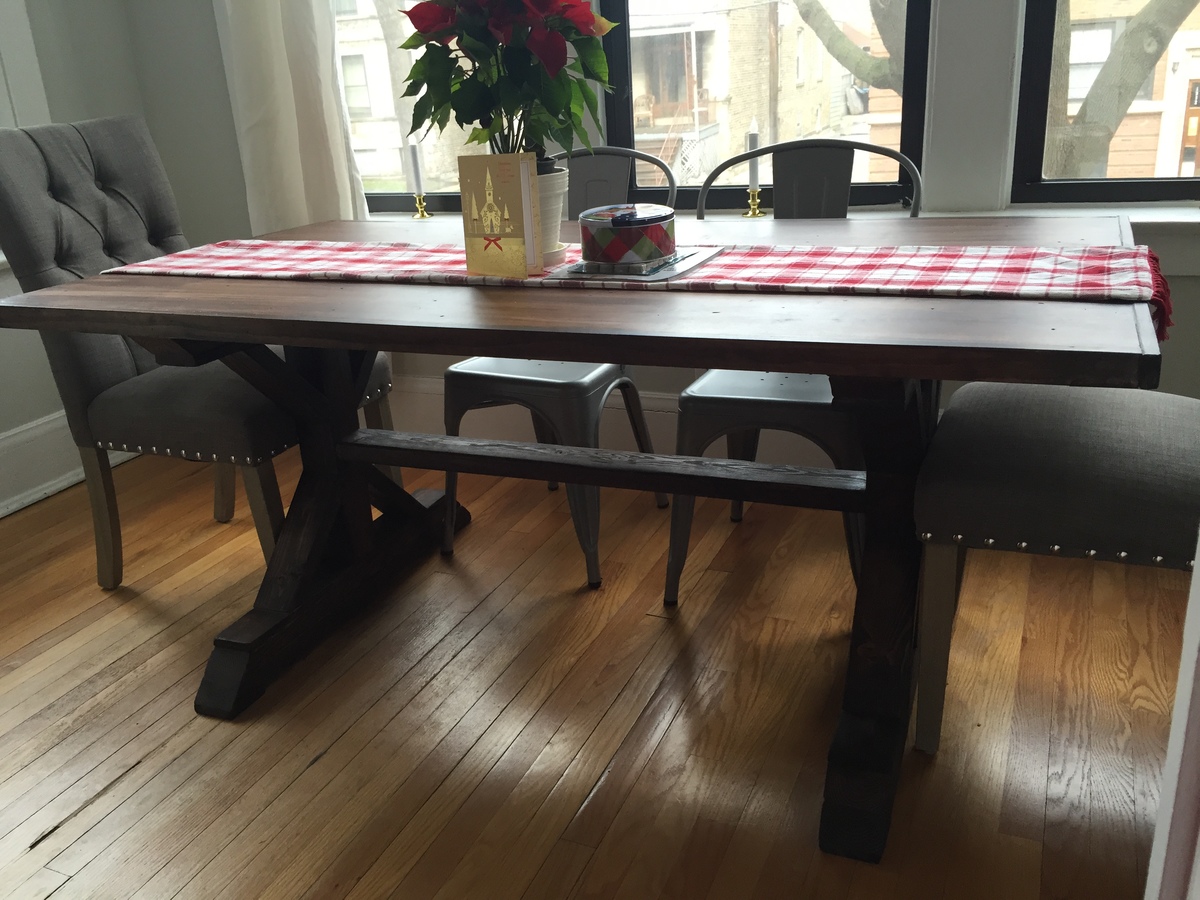
I wanted to make something for my daughter Jaclyn and her significant other Sam for their new condo that would bring memories to the table each and every time they sat at it with memories that would last a lifetime. This was perfect. I made it in a week and was ready just before they moved into their new condo. The top is a slab of maple and the frame is pine 2x4's. I deviated by using a 4x4 center post on each side of the pedestal. I used my keg jig to hide the hole in various places. I used chains, a hammer and nails to distress the top.
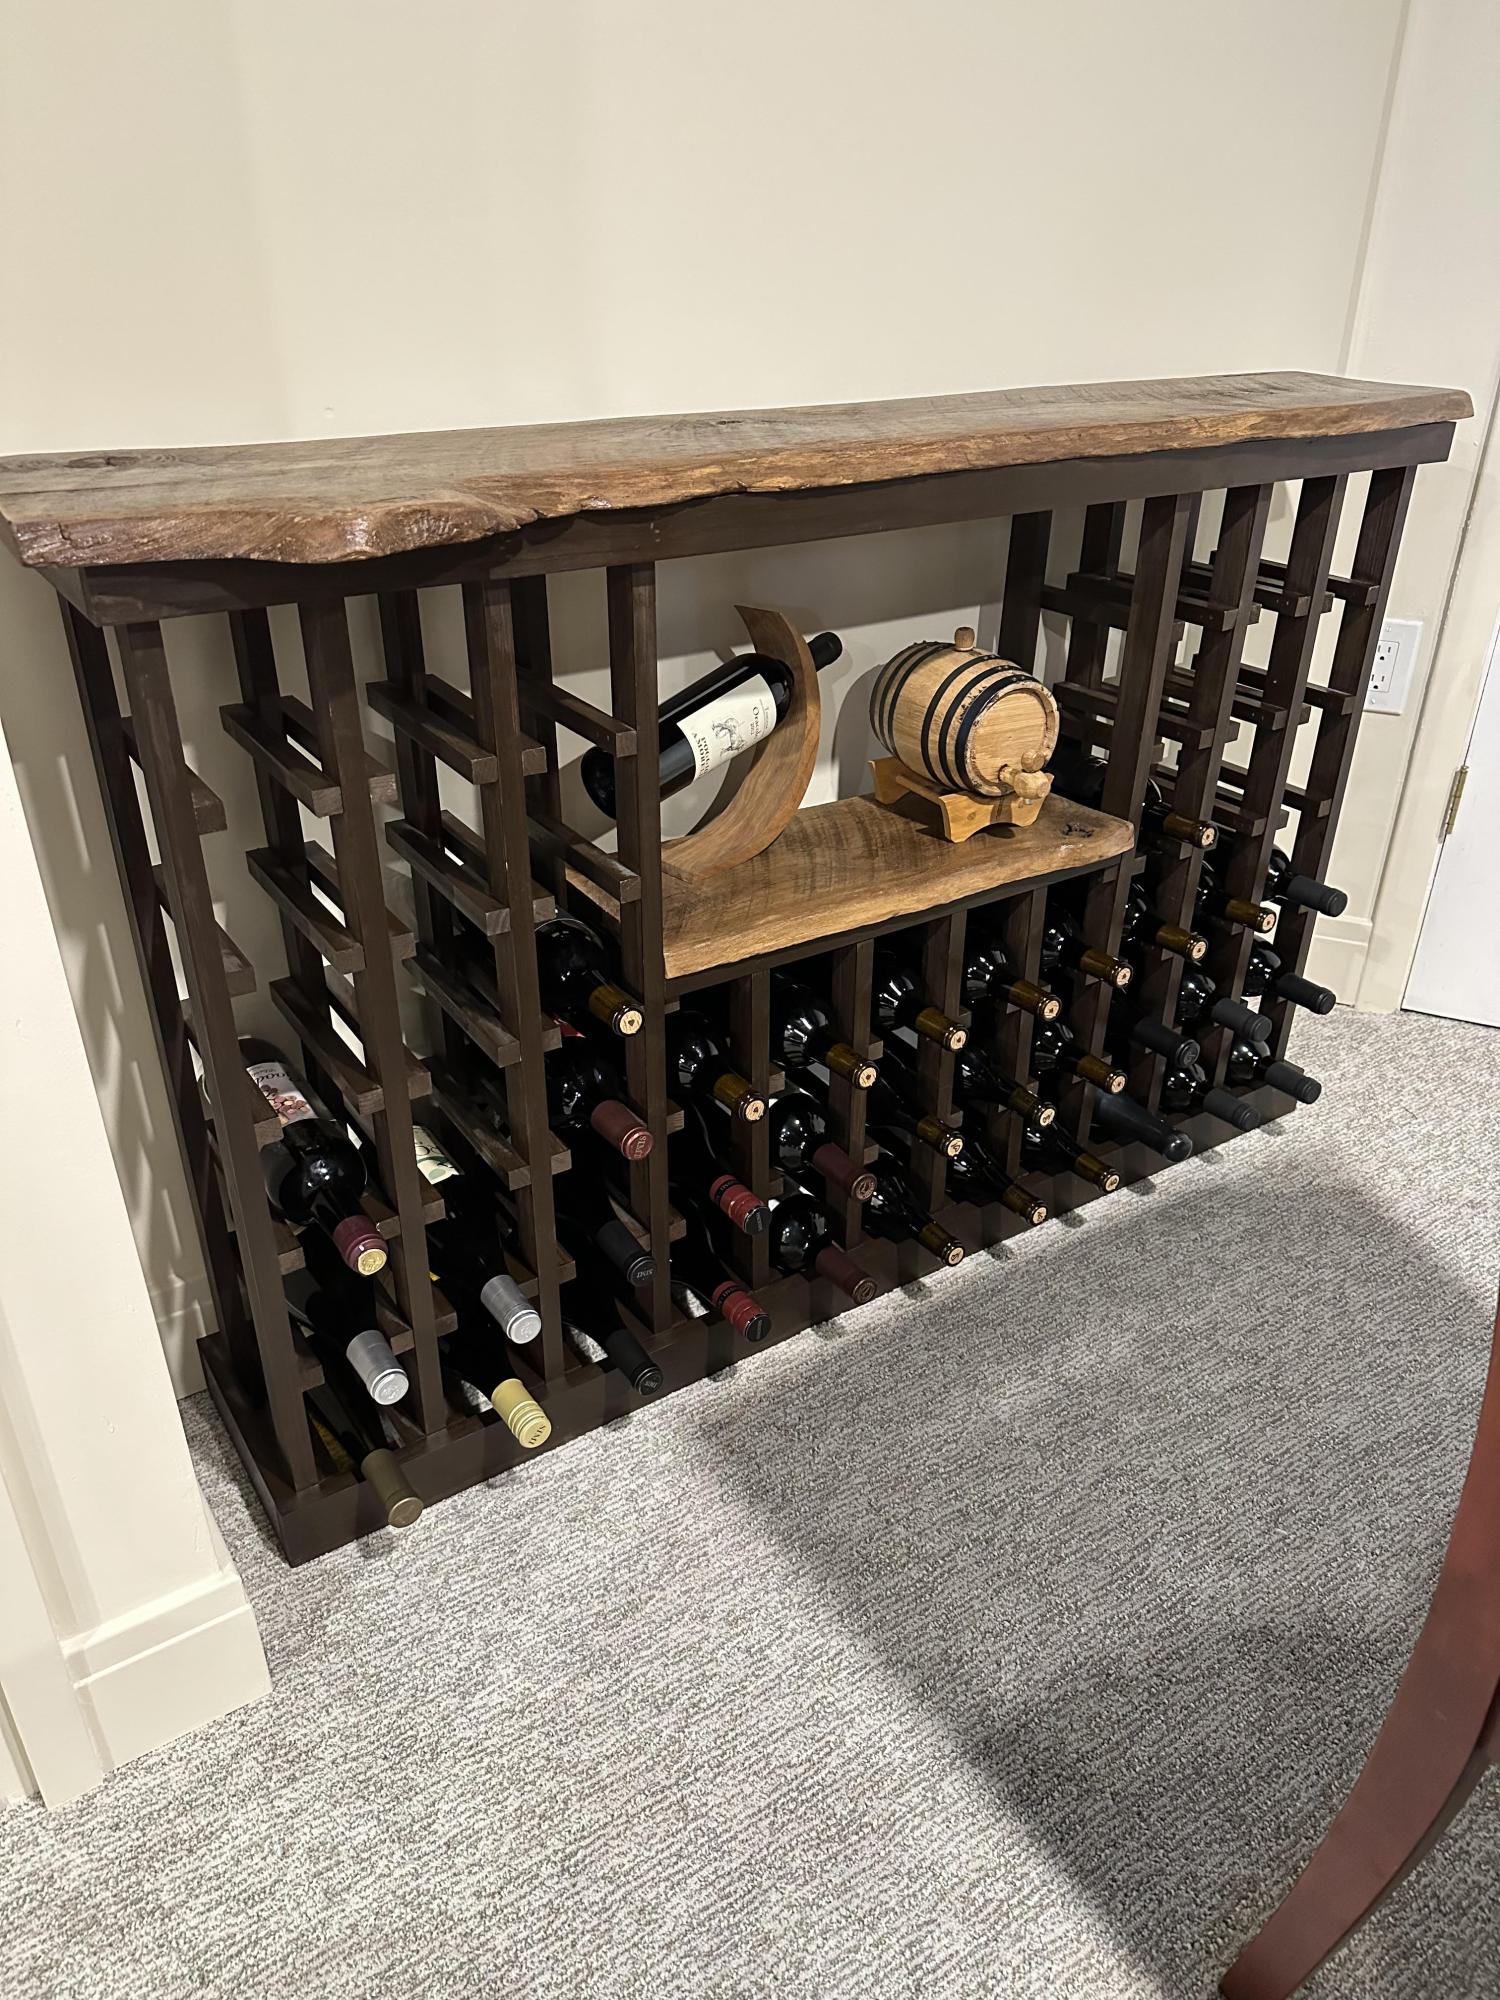
Made this wine rack for our basement rec room using live edge wood, 1x2s, and 3/4in wood dowels. Full dimensions and write up at the link below!

This project was a lot of fun and didn't take very long. Already thinking of making another one with different color finish.


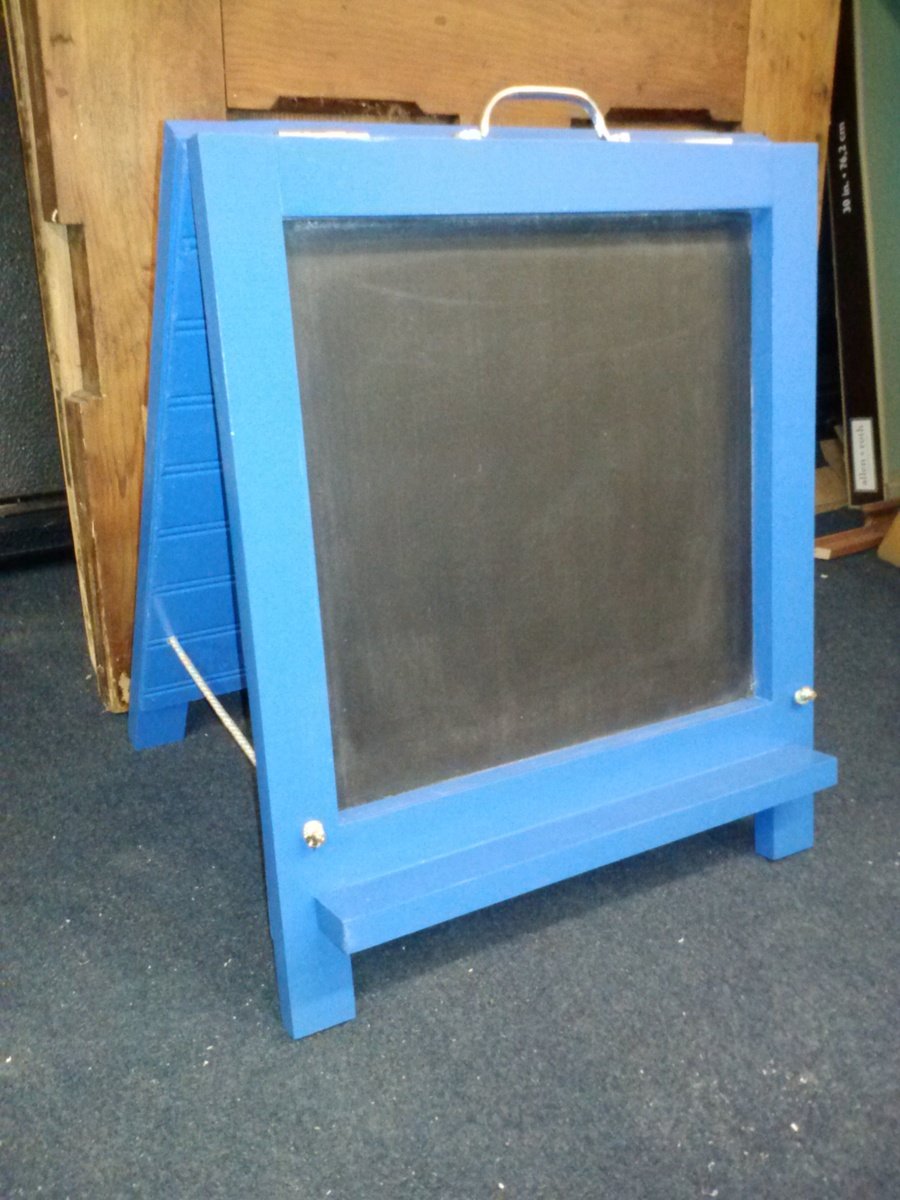
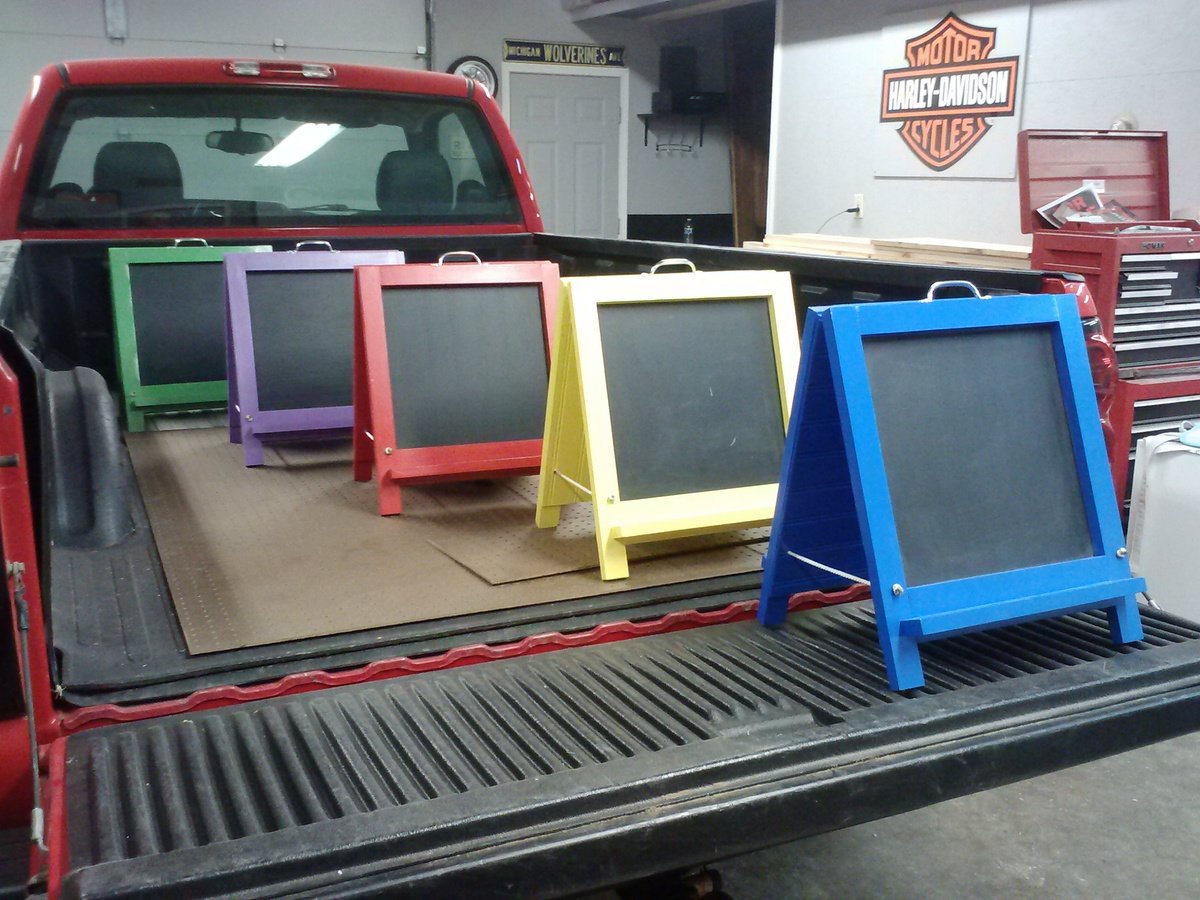
First project for upcoming annual craft show. Guessed on cost as we bought 2x6s and 2x12s on clearance and ripped them down ourselves for a cost savings. Used beadboard for the chalkboard because I got a slightly damaged 4'x8' sheet for just $3.95. Have to say that it's not the smoothest so I'd definitely go with something like luann next time. Still cute!
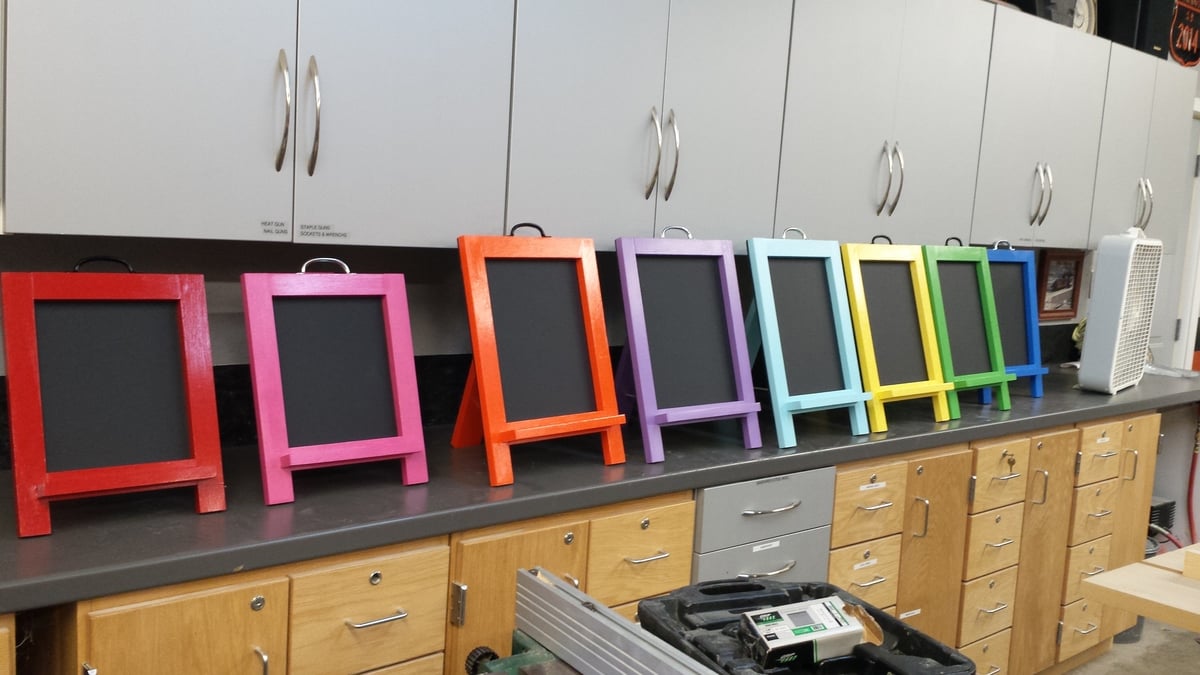
That last picture shows the second batch I made for the following year. I modified the plan to simplify it for me and use less materials by making it just one-sided.
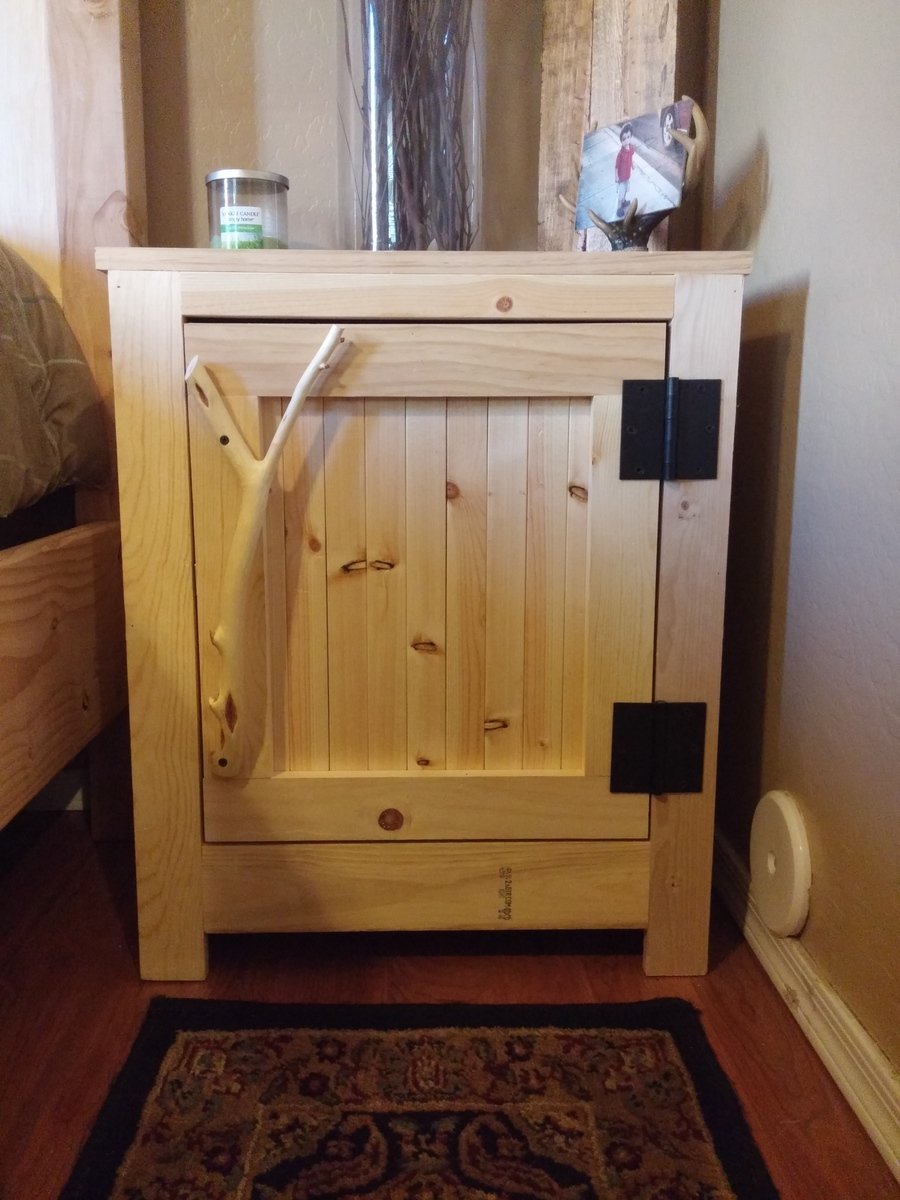
I made this nightstand and one other for my bedroom. I used 1x2's for the door and diamond willow for the handles. :)
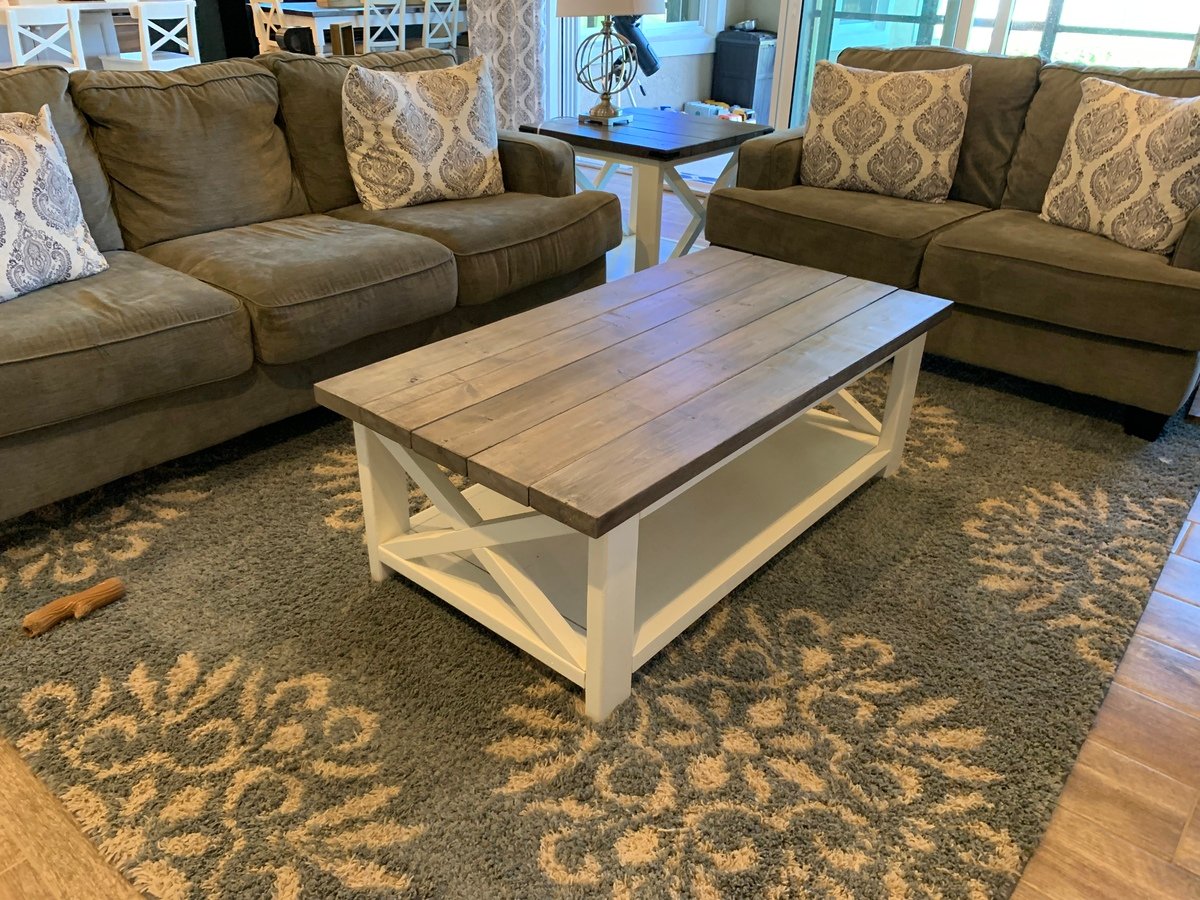
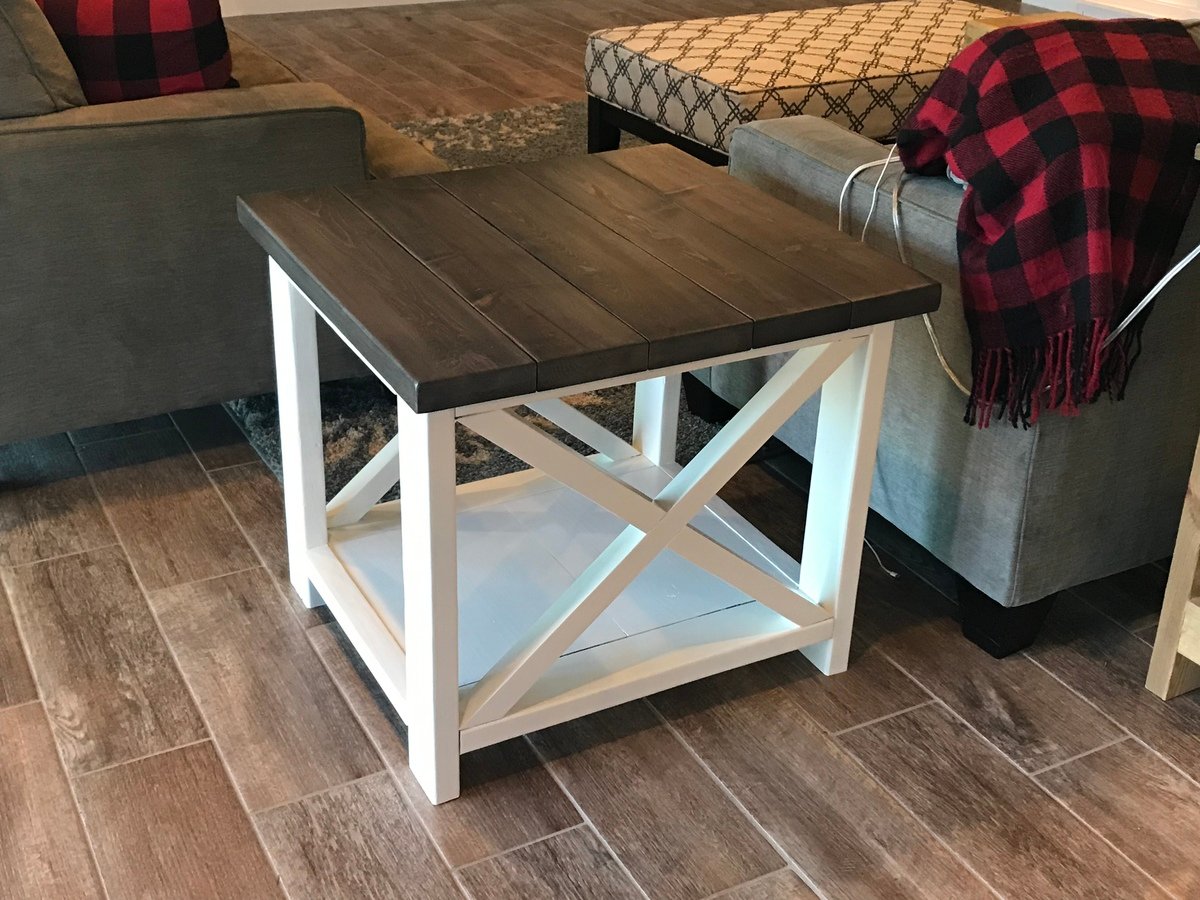
I absolutely love how this coffee and end table set have completed my living room. Each one took me about a day to complete and $80 or less!! Excellent, detailed plans resulting in a gorgeous piece. Thank you!
Thu, 02/20/2020 - 11:28
I love these! Plan to build coffee table, end table and console! Ana, any chance you have or could provide adapted plans for a square 44-inch rustic x coffee table? THANK YOU! :)
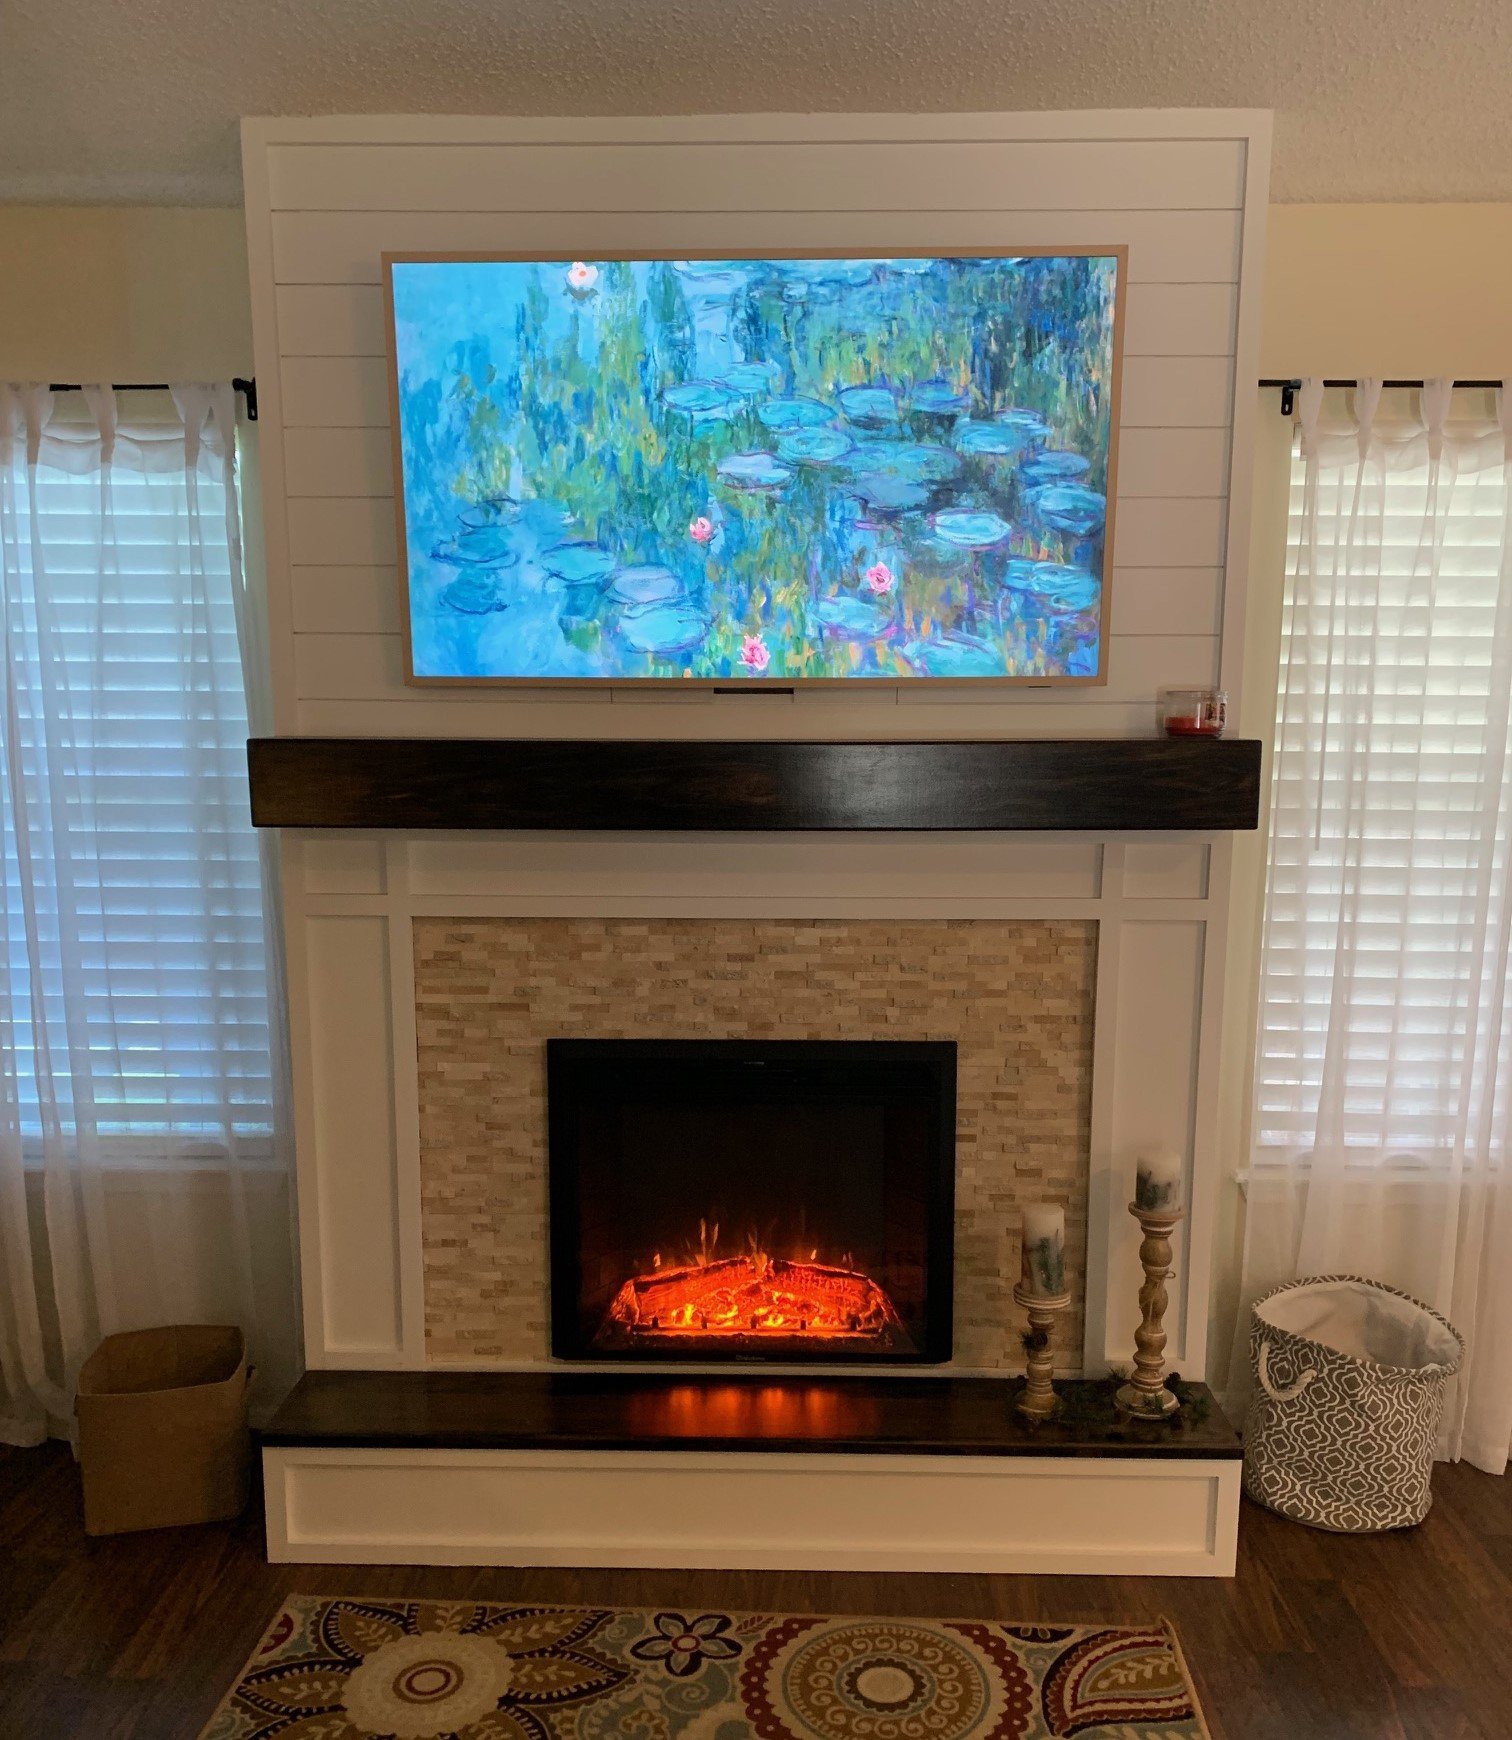
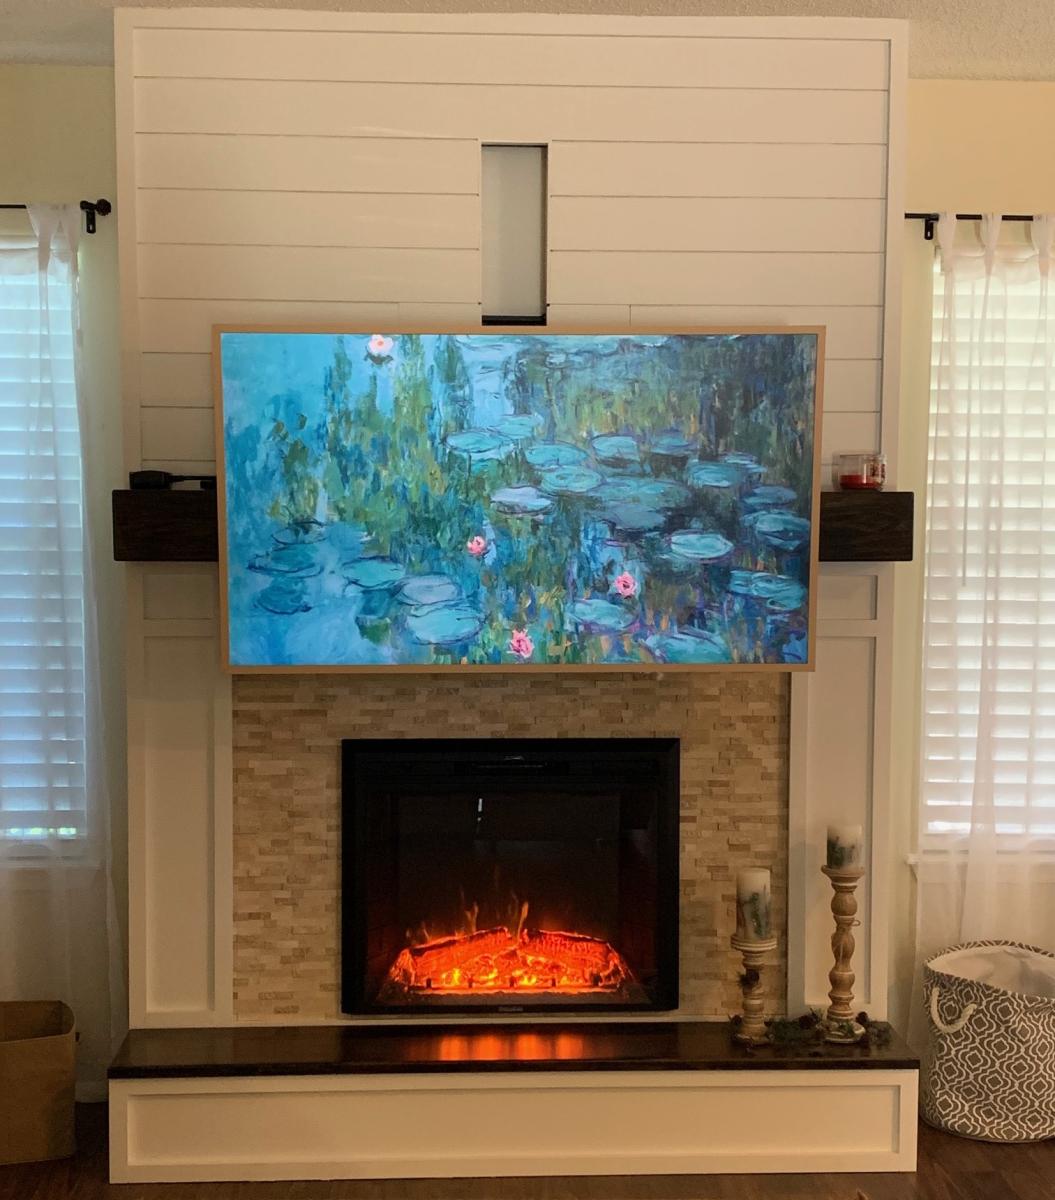
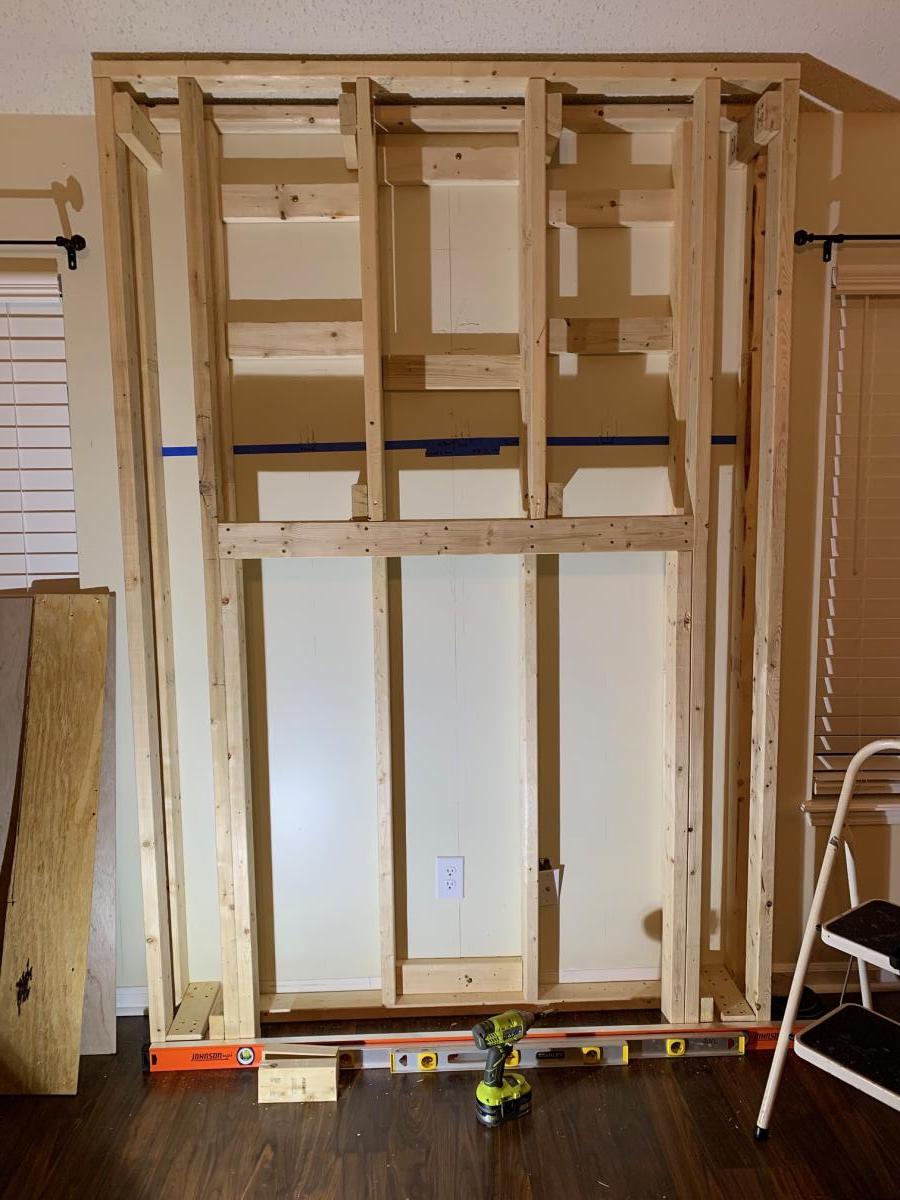
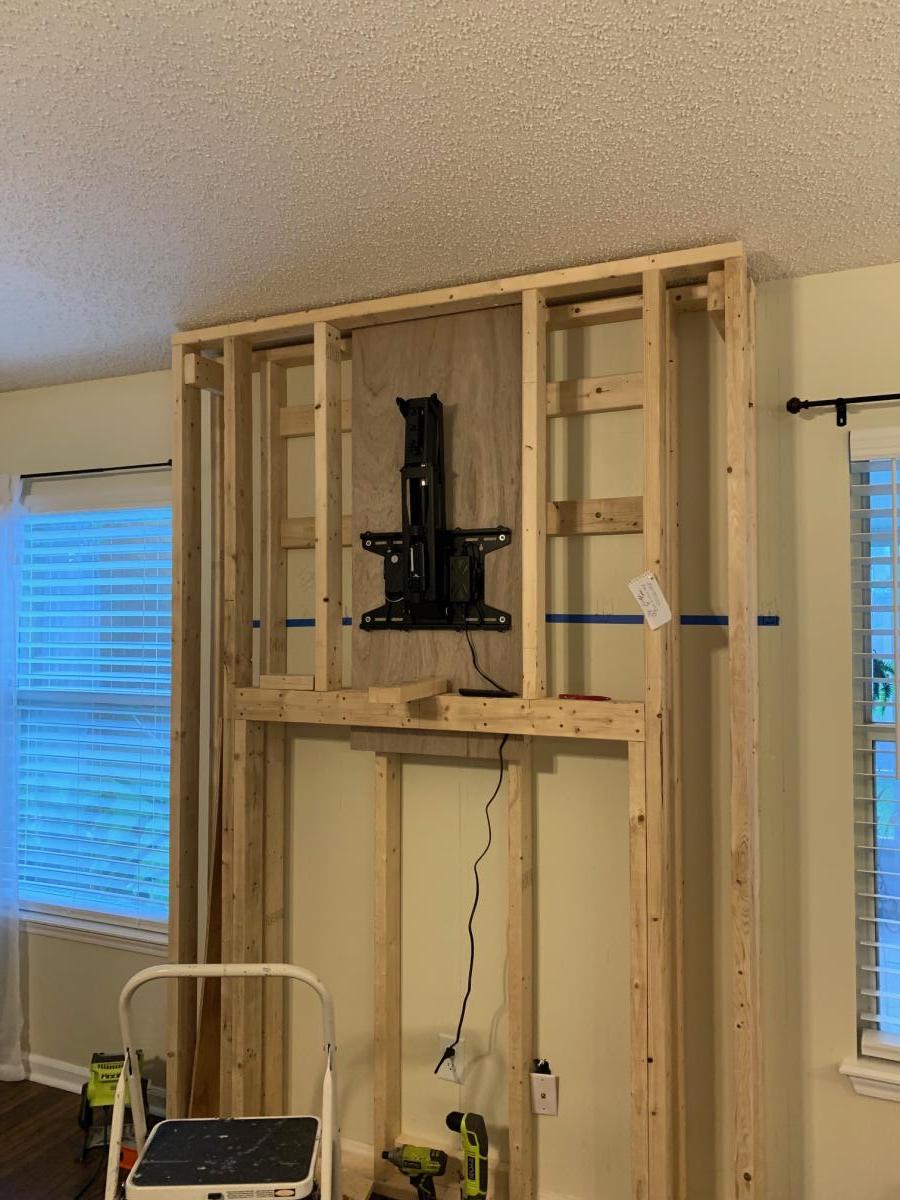
This is a very custom fireplace that I built for my wife as a 40th wedding anniversary gift. It is built around a Samsung 55” Frame TV and a Vivo motorized mount. The motorized mount allows the TV to be lowered to a better viewing height than the standard above mantle position which is usually too high for comfortable viewing.
In order to maintain the flush mount effect with the TV in art mode, I recessed the mount into the fireplace. That required building a “back” frame for the TV mount then the outer frame for the surround. I covered the outer frame with ½” OSB then ship lap. The mantle and hearth is made from Poplar with walnut stain and Polyurethane satin top coat. The hearth opens for storage.
This was sourced from several different plan sets with a lot of customization and input from the Technical Support Staff at Vizo-US.
Thu, 02/16/2023 - 09:46
Happy Anniversary!
This is a beautiful, well thought out project.
I was hoping someone would do the recessed mount, and you nailed it! It's so much better with the tv flush like yours.
Also love the motorized mount.
Thank you very much for sharing photos.
Ana
I loved working on this easy upholstered bench. It was so much fun and so simple. I followed the plan except I raised the bench to 20 inches, because my husband and I are quite tall. I also wrapped the fabric underneath about 1/2 inch and stapled it so it has a tighter look. Thanks for the plans Ana!
Wed, 10/26/2011 - 05:57
That is so cute, you picked a tricky fabric with the lines!
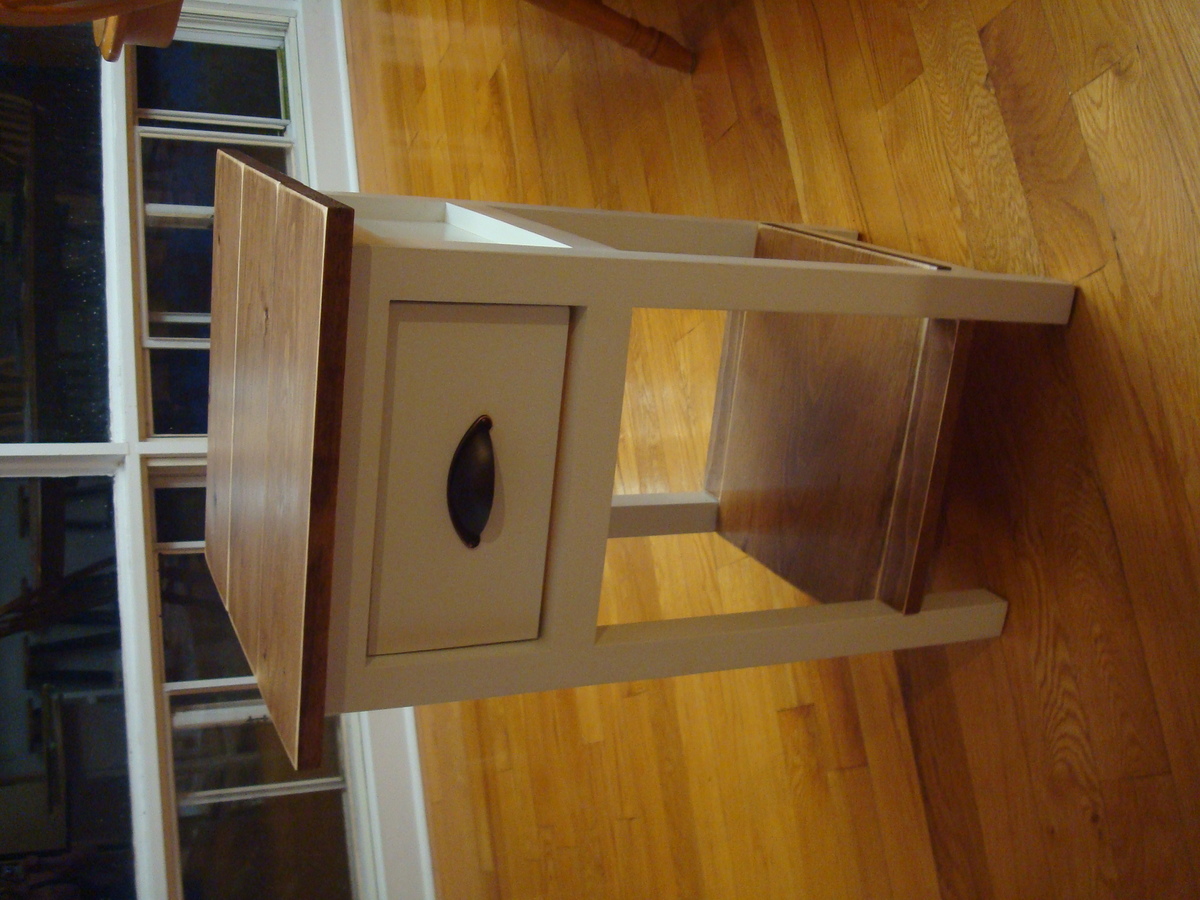
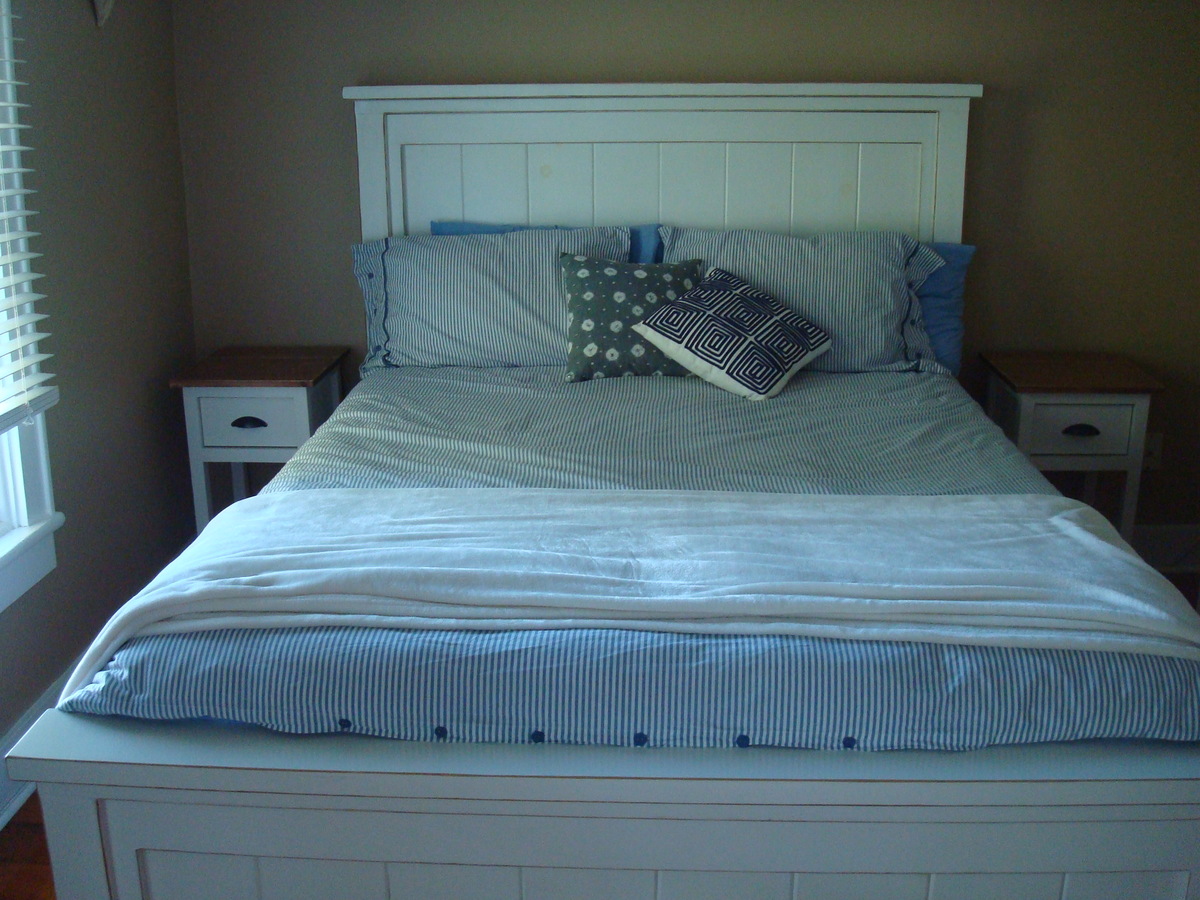
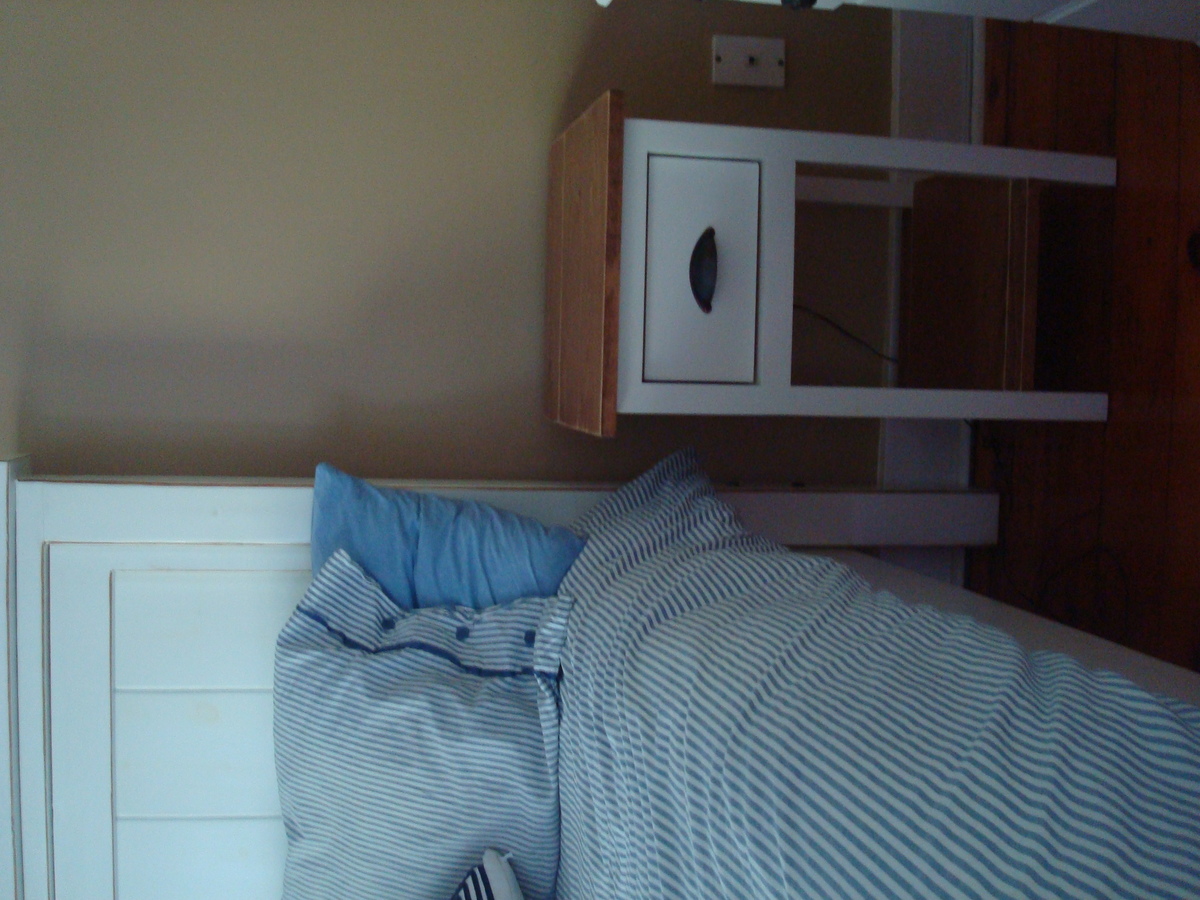
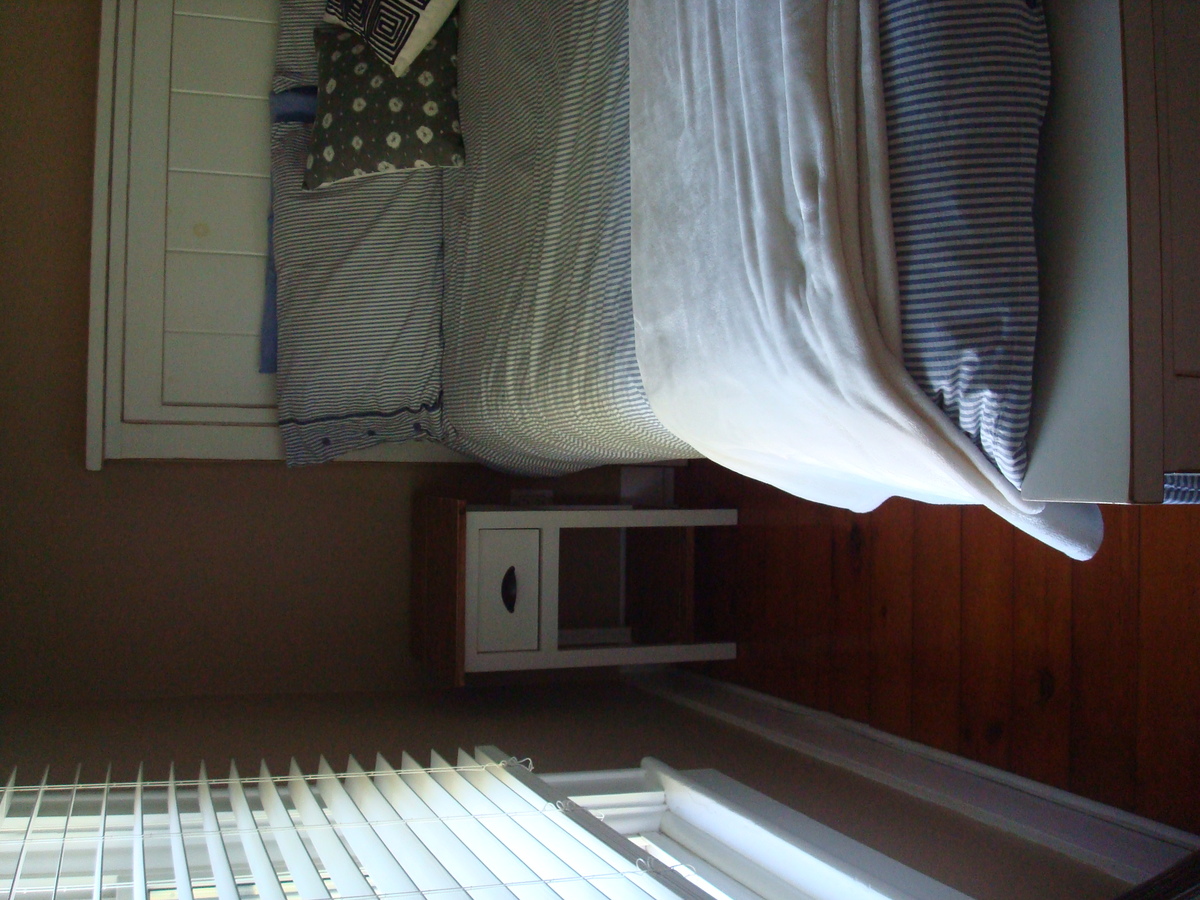
After finishing the farmhouse queen bed, I was eager to start another project. I needed bedside tables and I came across plans for the mini farmhouse bedside tables. After the building the first one, the second one went much quicker. Very happy with the results :)
Tue, 10/22/2013 - 09:21
Really nice work on the bed and the tables. I love the look with white legs and stained top/shelf.
In reply to Beautiful! by mom of 4
Wed, 10/23/2013 - 19:34
I was very happy with the way they turned out. I just finished a storage bench with the white bottom and stained top, I'll post pictures when I get a chance :)
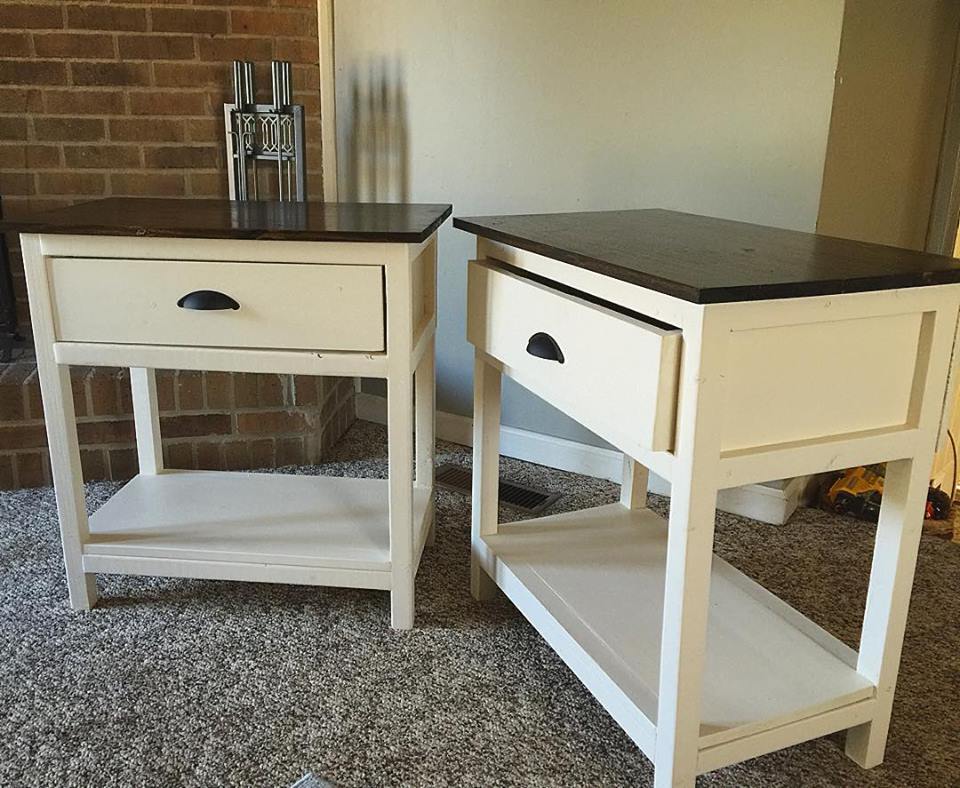
Super easy project. Both tables matched almost identical. Buying wood from Home Cheapo/Nowes makes it a little tougher because they aren't as straight as they should be, but a little sanding never hurt. Plan on making a few more for the other rooms.
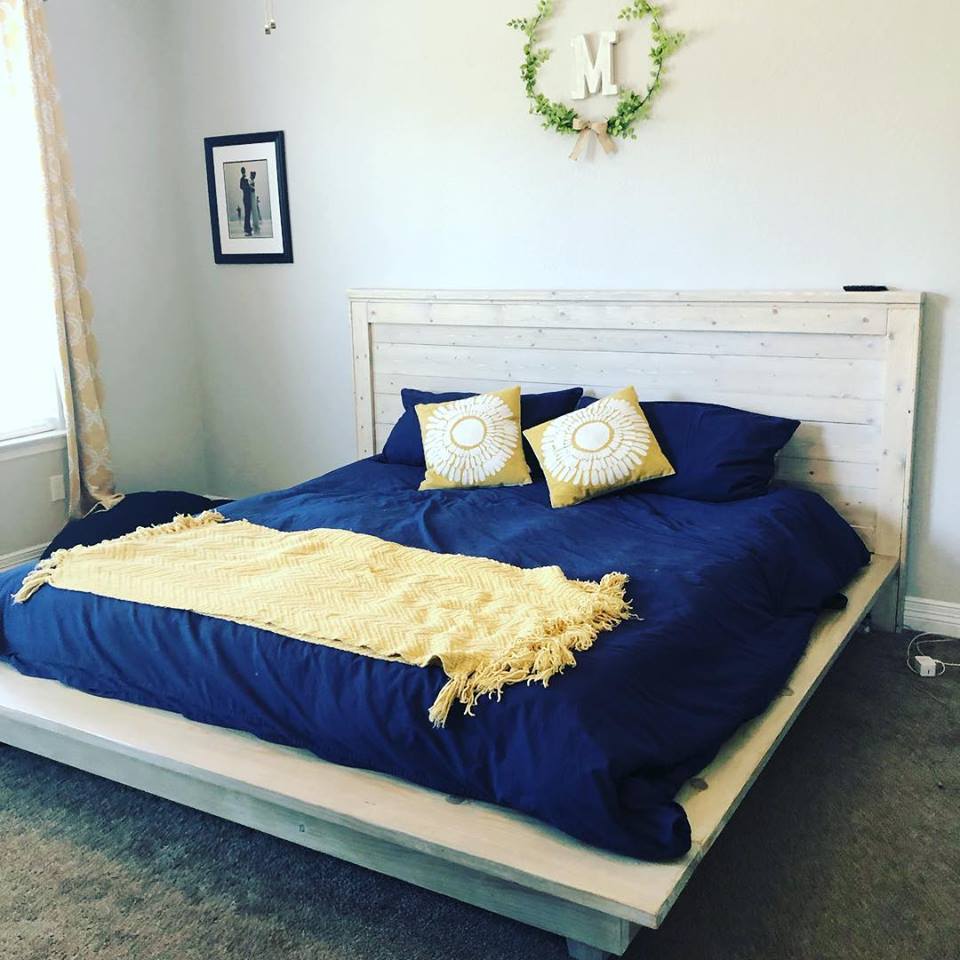
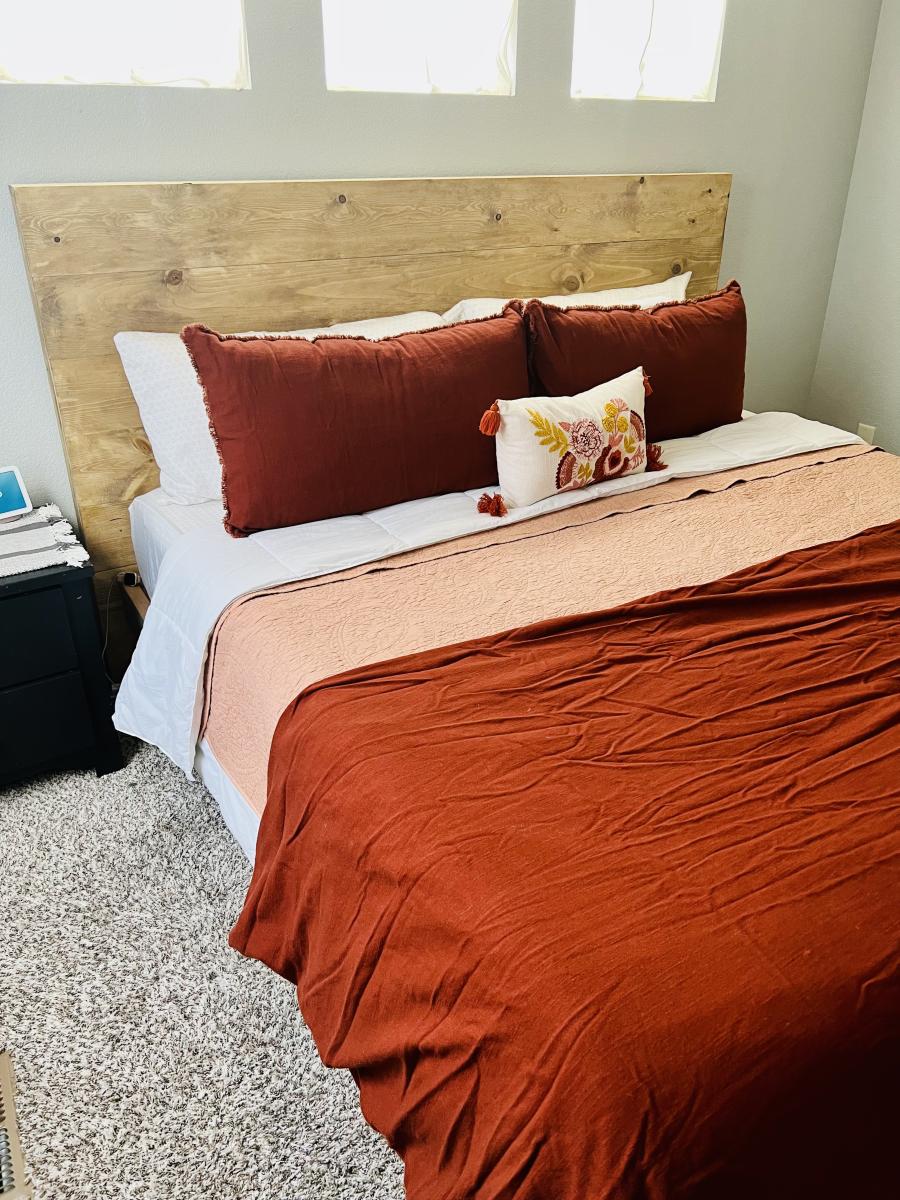
Made wider for a king and modified platform bed. Used a weathered oak stain followed by a 50/50 whitewash.
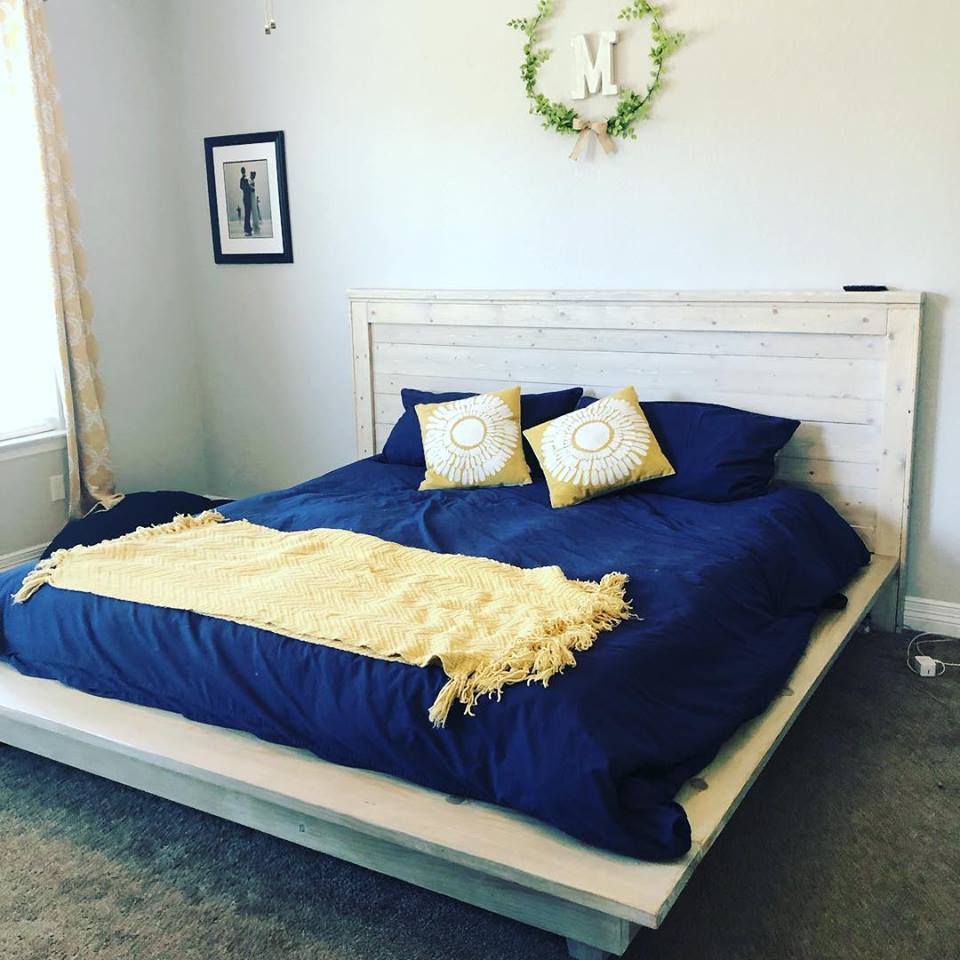
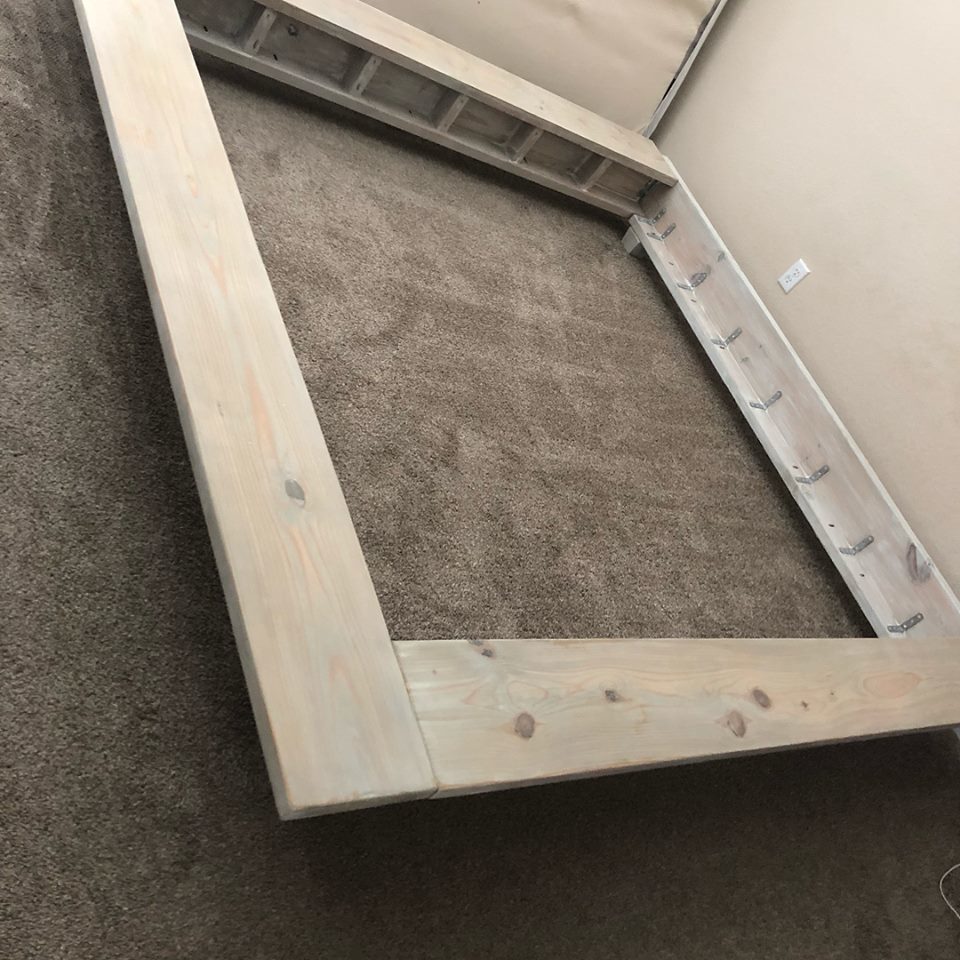
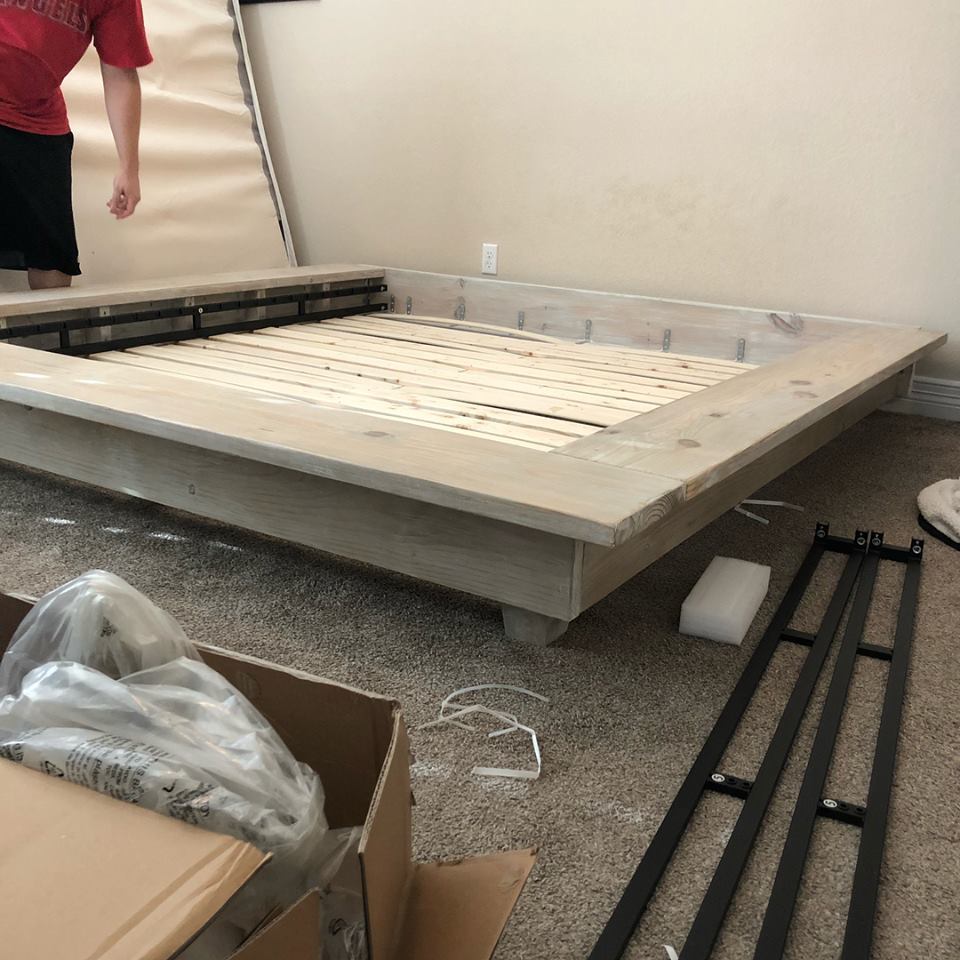
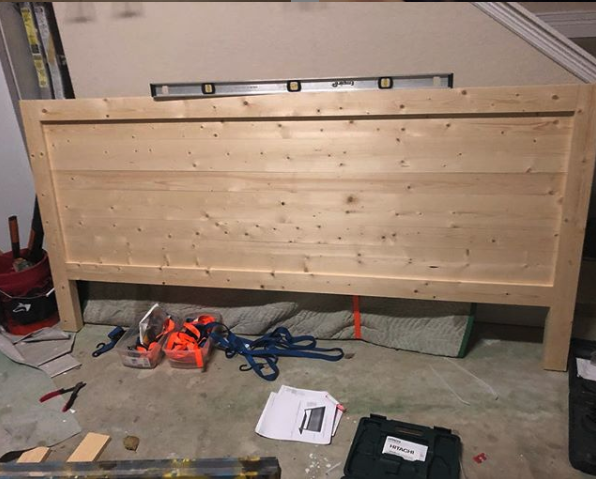
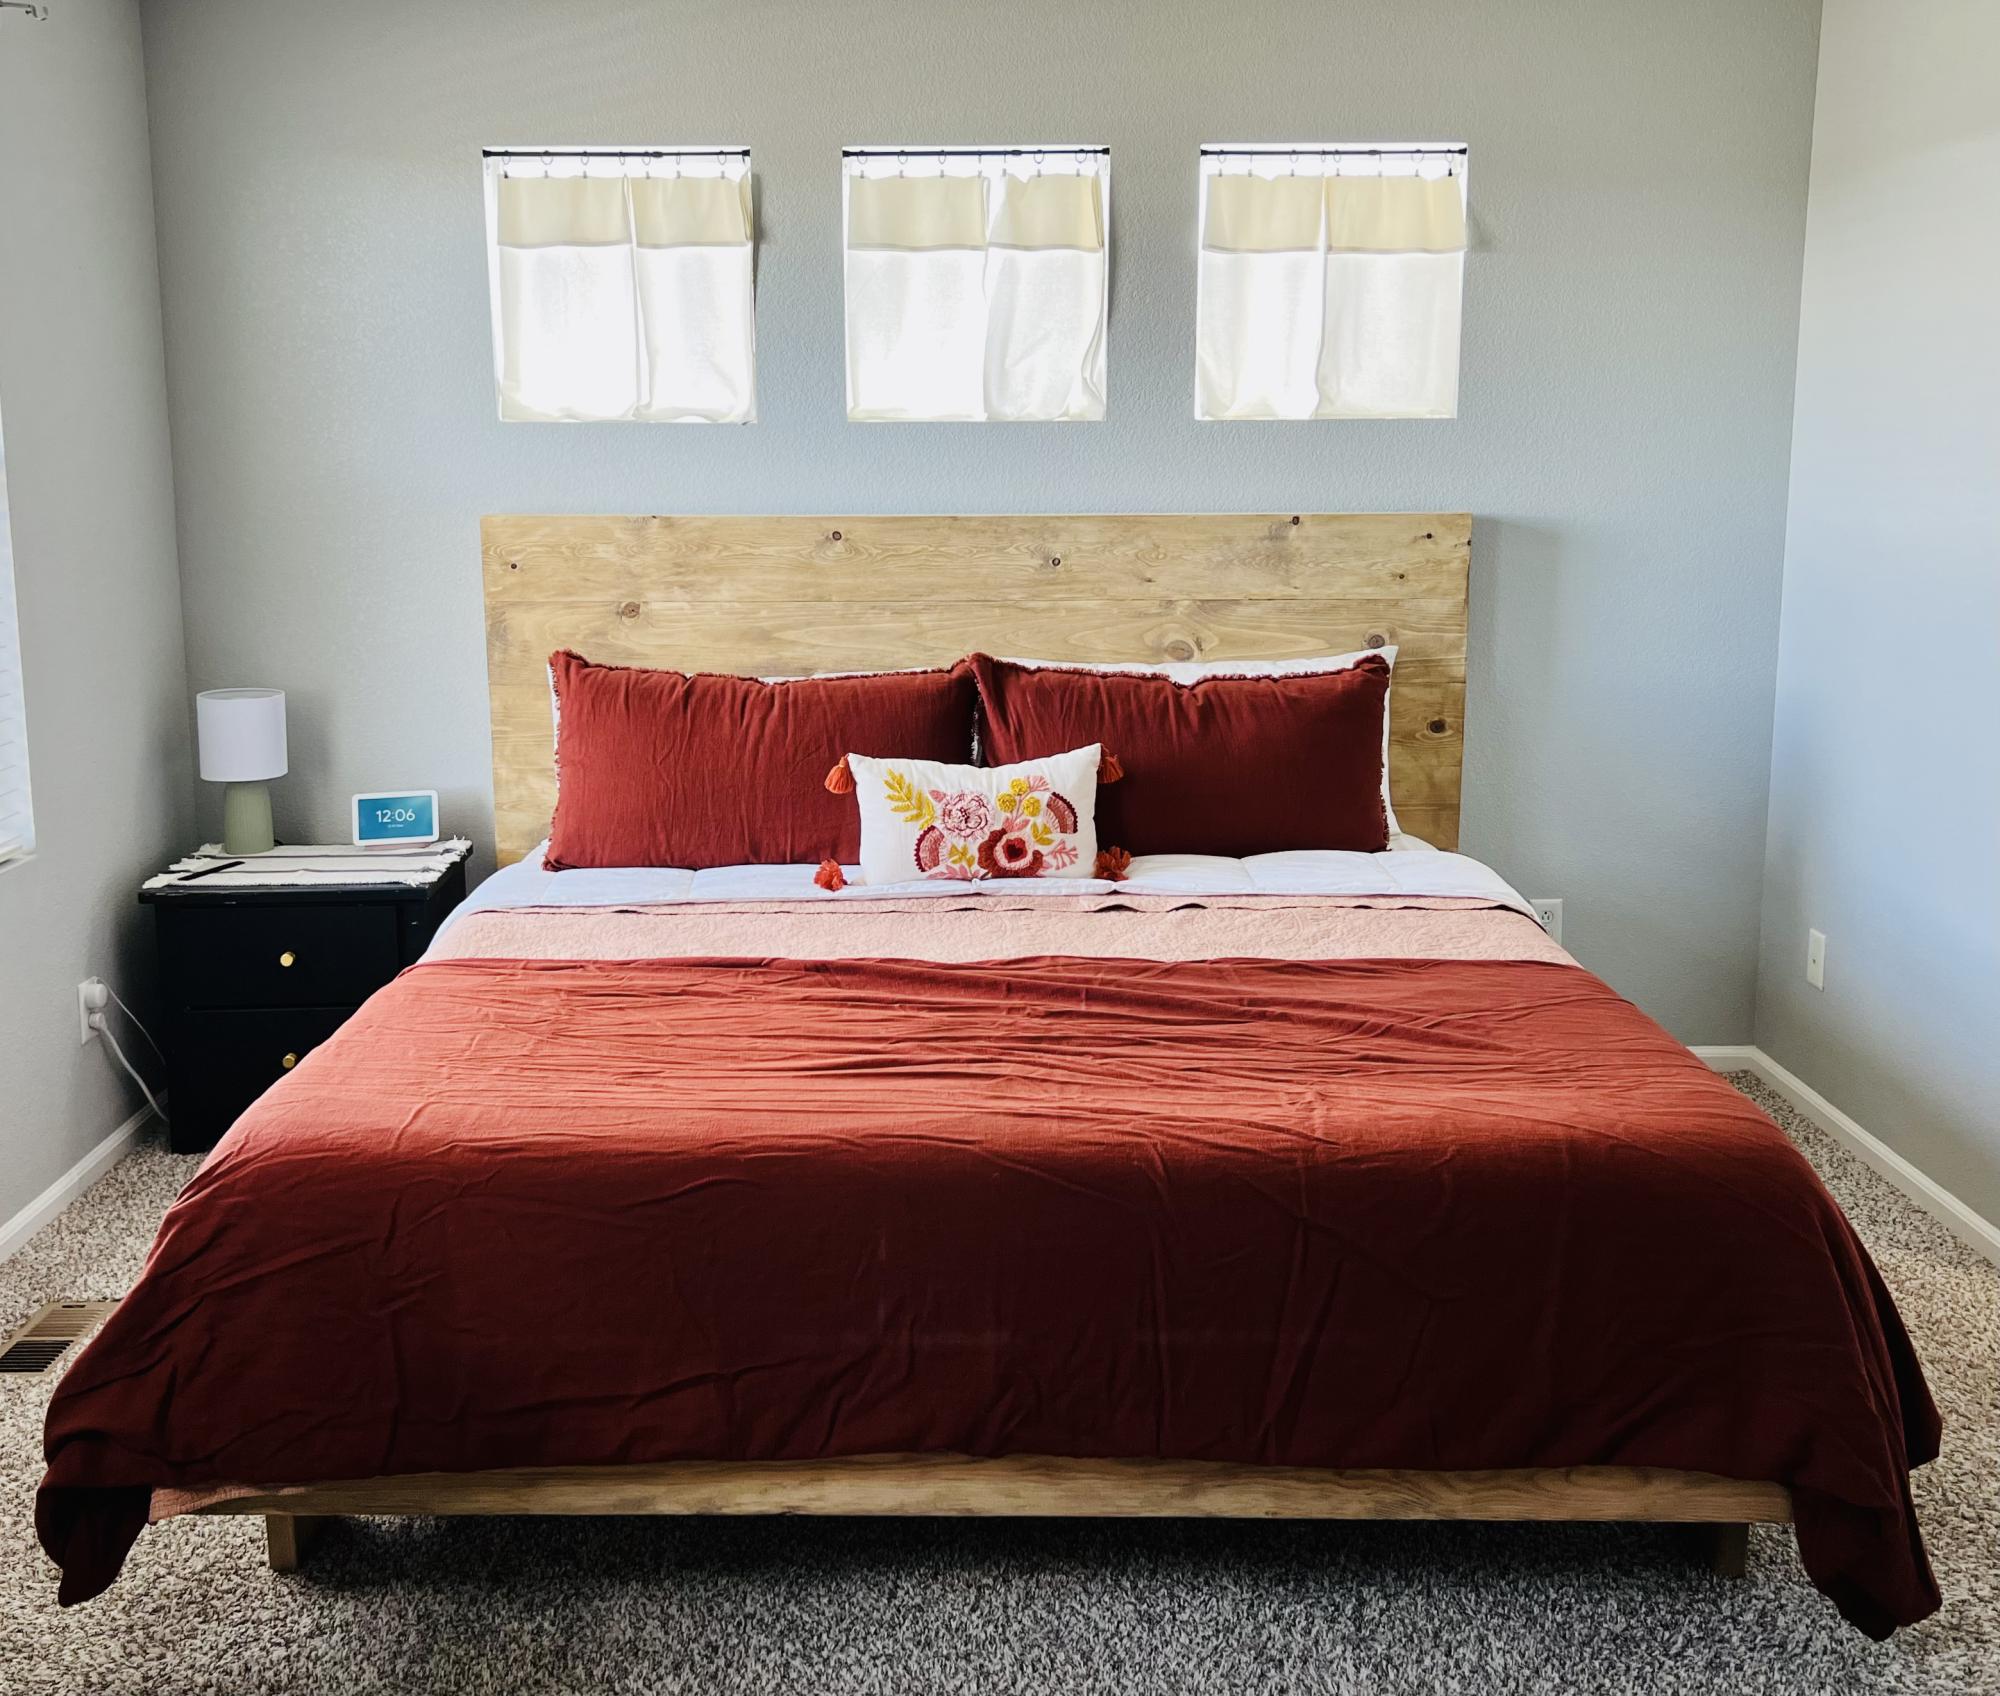
When we needed a new bed frame recently, I began my search online. They were all $1,000 plus, and nothing that really caught my eye. I found this plan from Ana White and immediately fell in love! While it wasn’t an “easy” project, it was fun to do and I’m absolutely in LOVE with the results! Thanks again Ana!
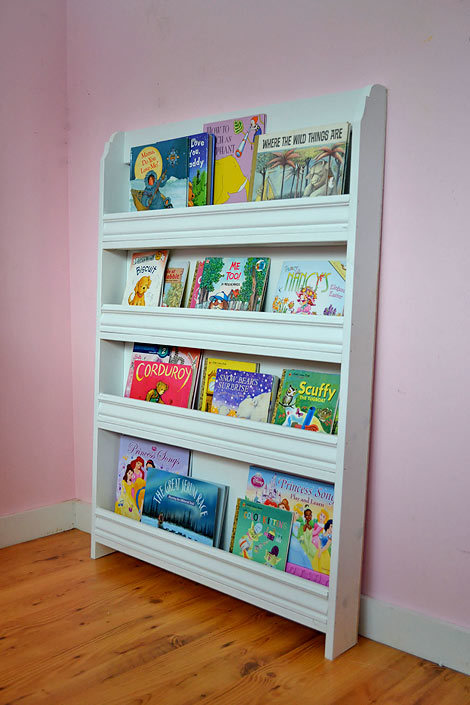
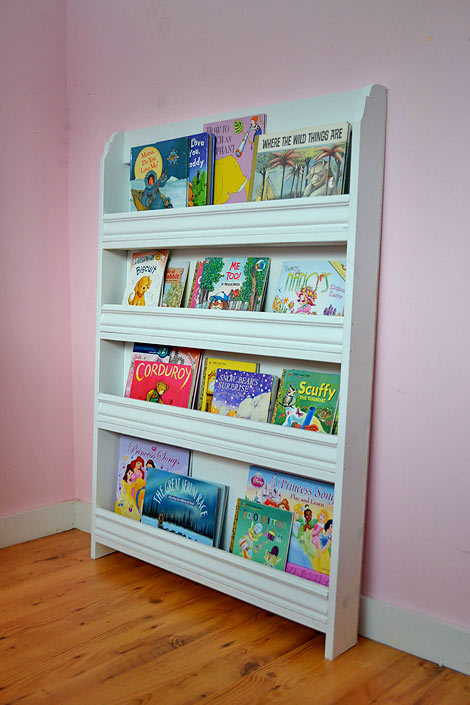
I pinned, I built and today I post!


Source: kidsrooms.co.uk via Ana on Pinterest
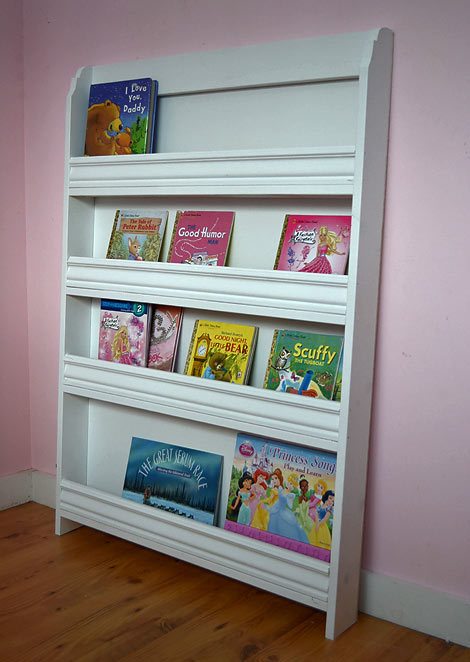
And then here is the plan I designed

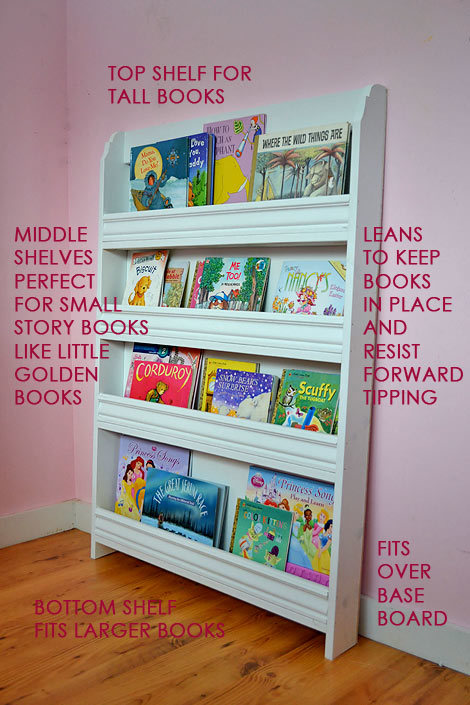
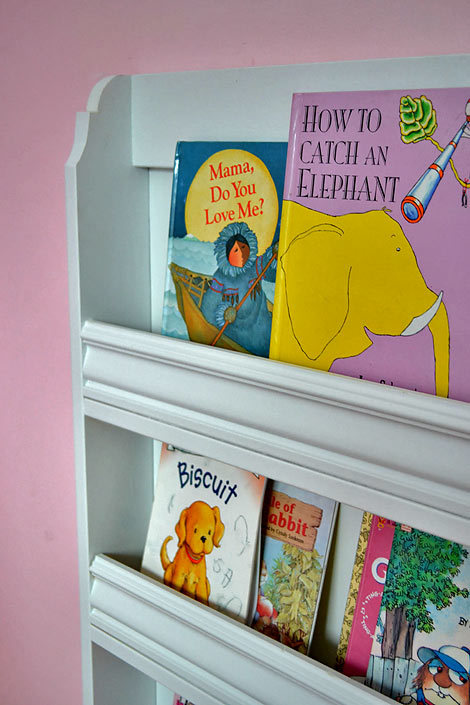
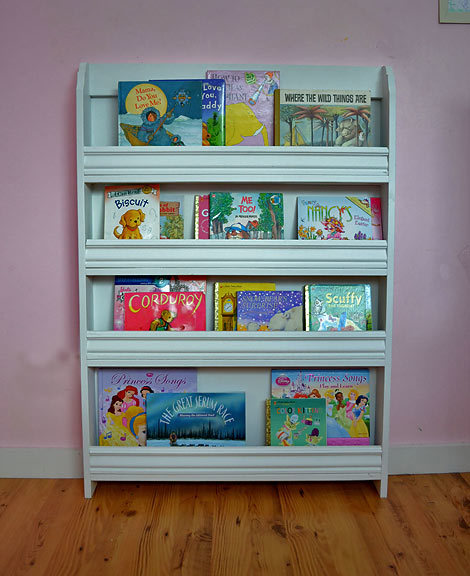
If you've blogged or bragged, you can simply
Can't wait to see your projects!
Wed, 11/02/2011 - 08:47
Makes me wish I had more floor/wall space. I'll just have to drool over yours until I do!
Wed, 11/02/2011 - 20:20
No tools here, but I love the idea. Bookshelves are not working so well for us right now.
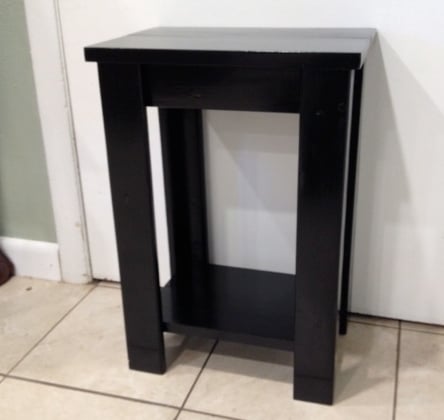
I made this little table for my sister-in-law. She needed a specific size to fit in between some bookshelves. She is going to put a lovely fish bowl on top. It cost me about $10 for the wood and paint. I modified Ana's plans for the "simple, cheap and easy console table" to fit the space.
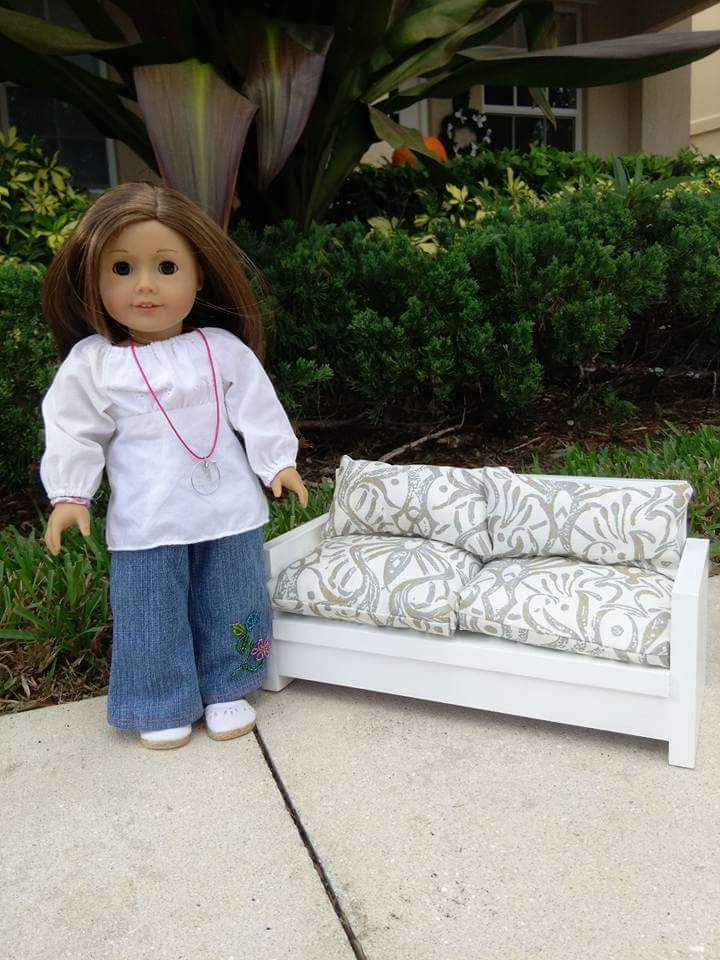
My very first Ana's project, I used the left over baseboards from our house remodel and the extra fabric from our tablecloth for the cushions. And first time using power tools and the kreg-jig I got for my birthday .
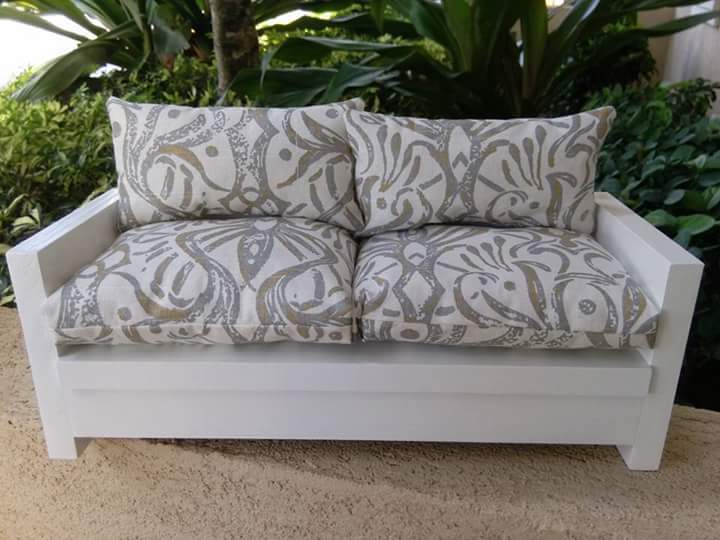
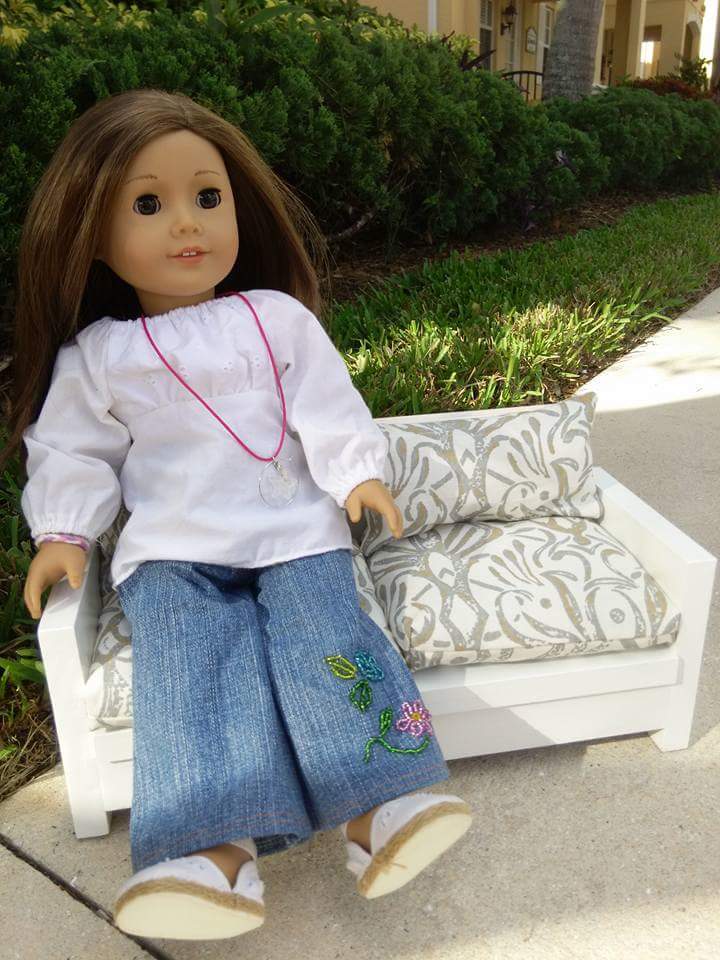
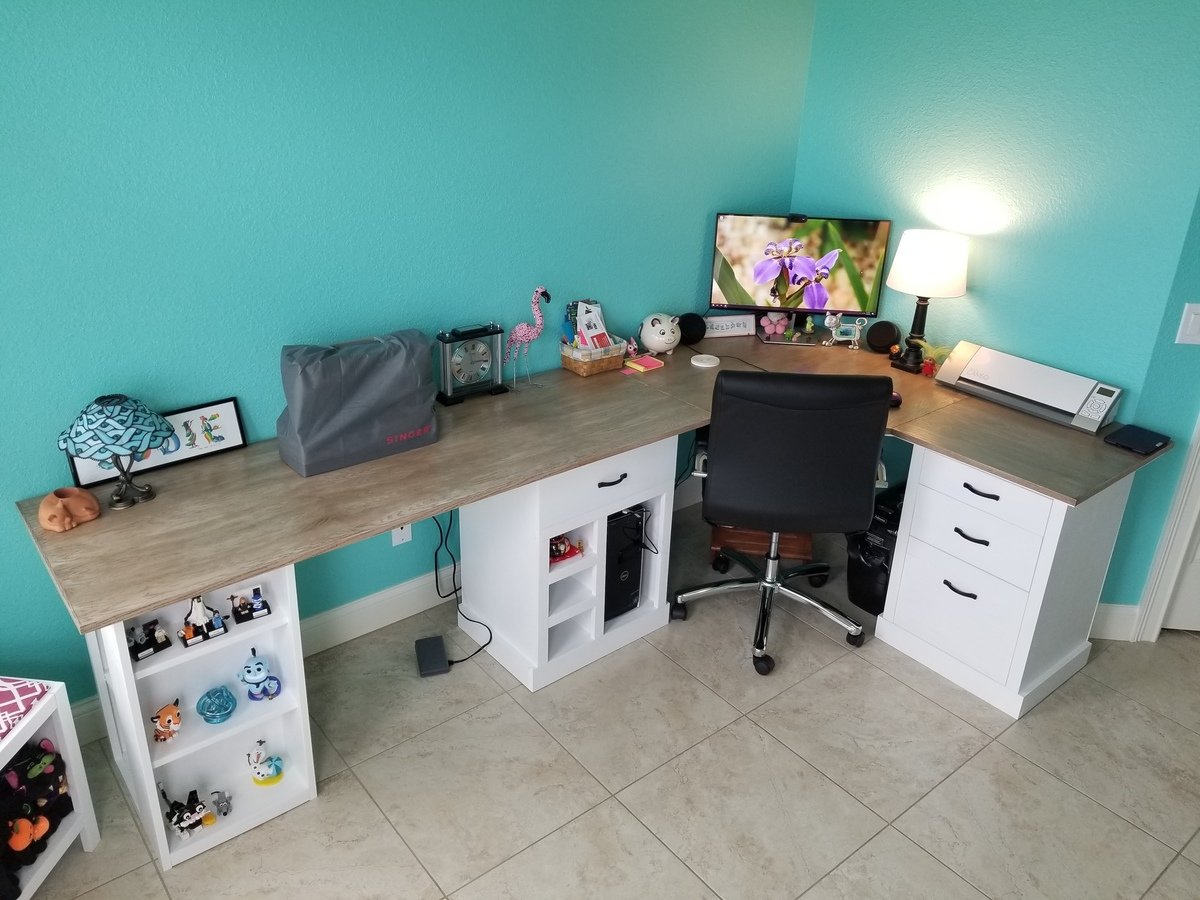
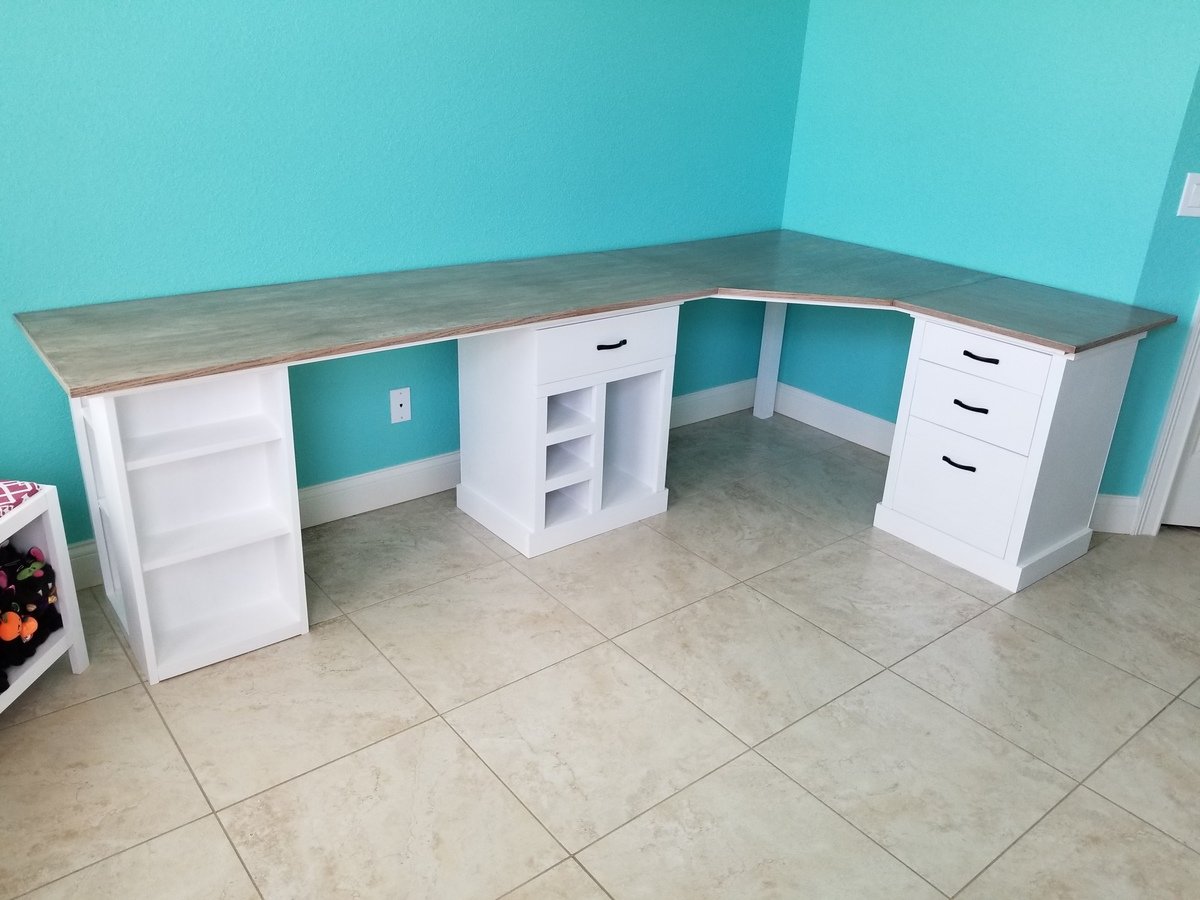
I started creating the furniture for my new craft room by making the Easy Three Cube Benches I found here. I modified them so that my cats could lay on top and look out the windows. The cube benches gave me the confidence to design a printer stand. Using Ana White's technique of "build the box" and then add the rest, I designed a custom printer stand I am so very proud of! After the printer stand, I moved on to the final piece that would complete my craft room, a modular desk with plenty of workspace to complete any craft I want. I modified each module a little to keep with the theme design of the room. I created three modules. The last one being a bookcase that is a modification of the Modern Craft Table bases. I used better quality Oak plywood for the desk top, and good pine and whiteboard plywood for the modules.
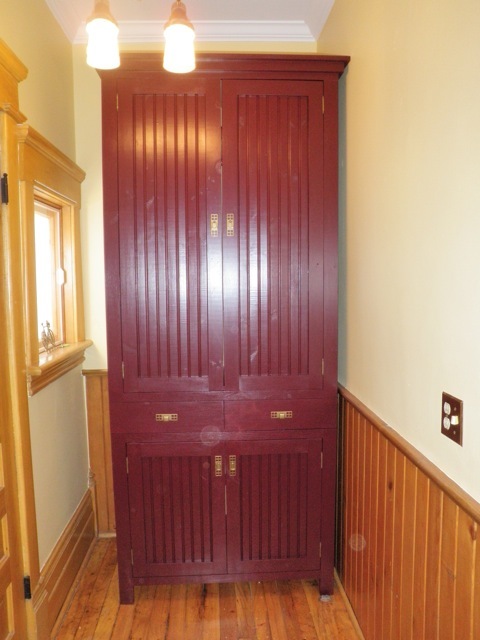
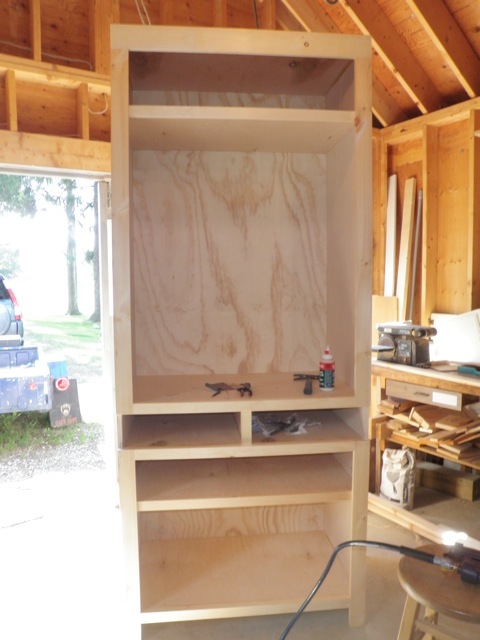
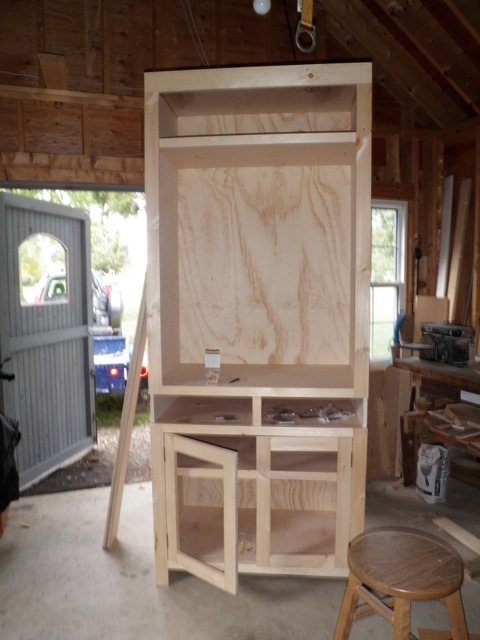
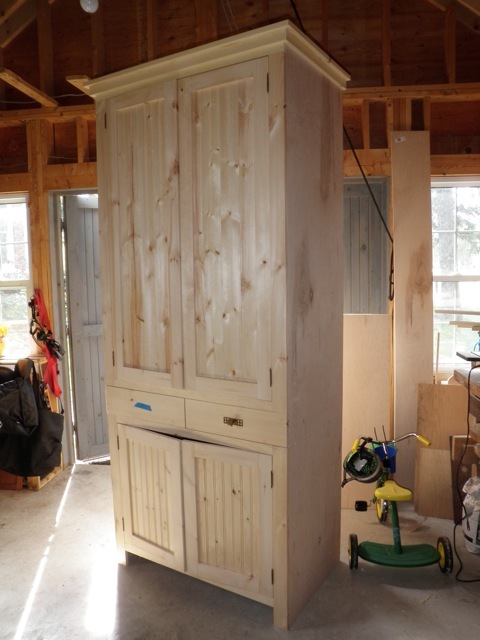
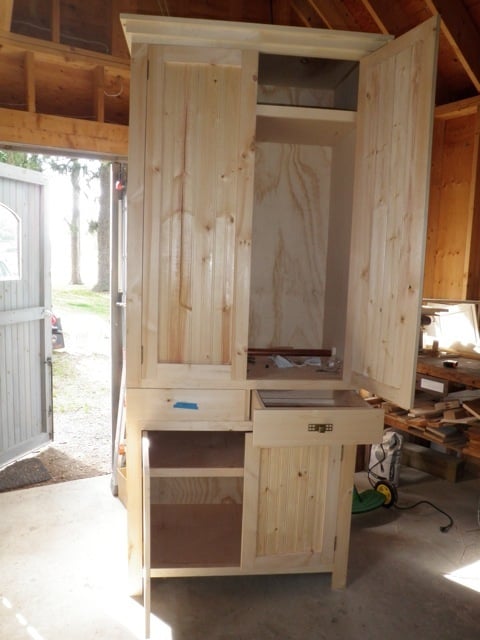
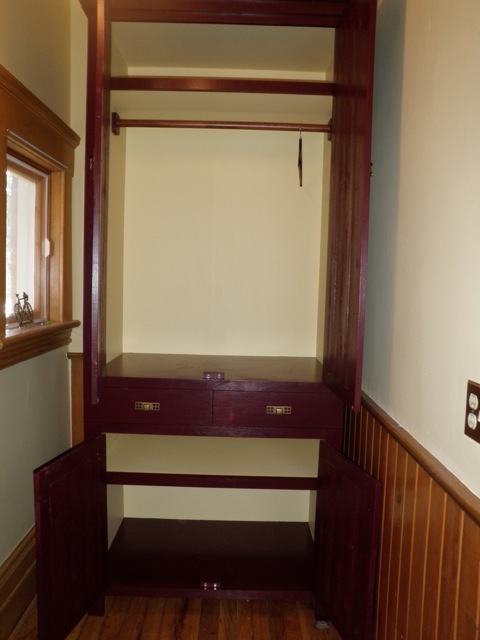
Our big old house doesn't have a front hall closet, so I decided to make the Nursery Armoire for our extra coats and shoes. Since our ceilings are so tall I decided to make it the full 96" that I could get out've the sheet of plywood.
I also modified the plan to adjust the door heights so that the top would make good coat hanging and the bottom can be used for shoes and boots. I also changed the drawers to be on the outside instead of behind the upper doors.
I used 3/4" plywood for the box and pine for the doors and trim.
For the doors I pocket holed the frames and then routed an edge on the backside and stapled pine paneling to fill out the middle. This matches doors I made previously to make cupboards in our full-wall brick fireplace (and the hardware matches too).
I did the top trim as in the plan, and I decided to leave the bottom plain.
It's quite large! But in the space a smaller one would've looked silly, so I'm glad I went with the height.
I decided to paint it so that I didn't have to fuss with staining, but went with the same paint as the walls for the backs and undersides of shelves to lighten it up.
Can't wait to fill it up! ....just have to give the dark paint one more go-over....
Mon, 11/07/2011 - 22:32
And it will add so much function to the space. Don't you love old houses ;)
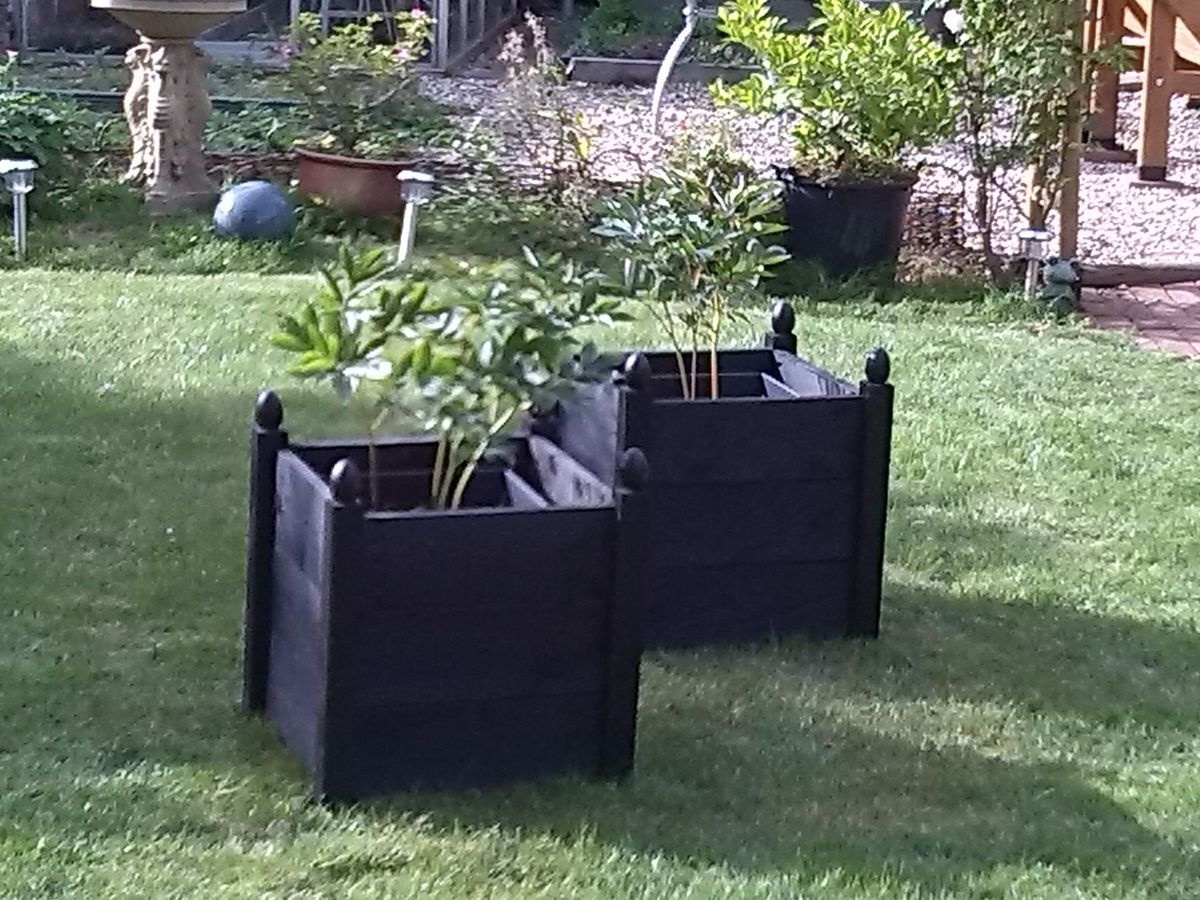
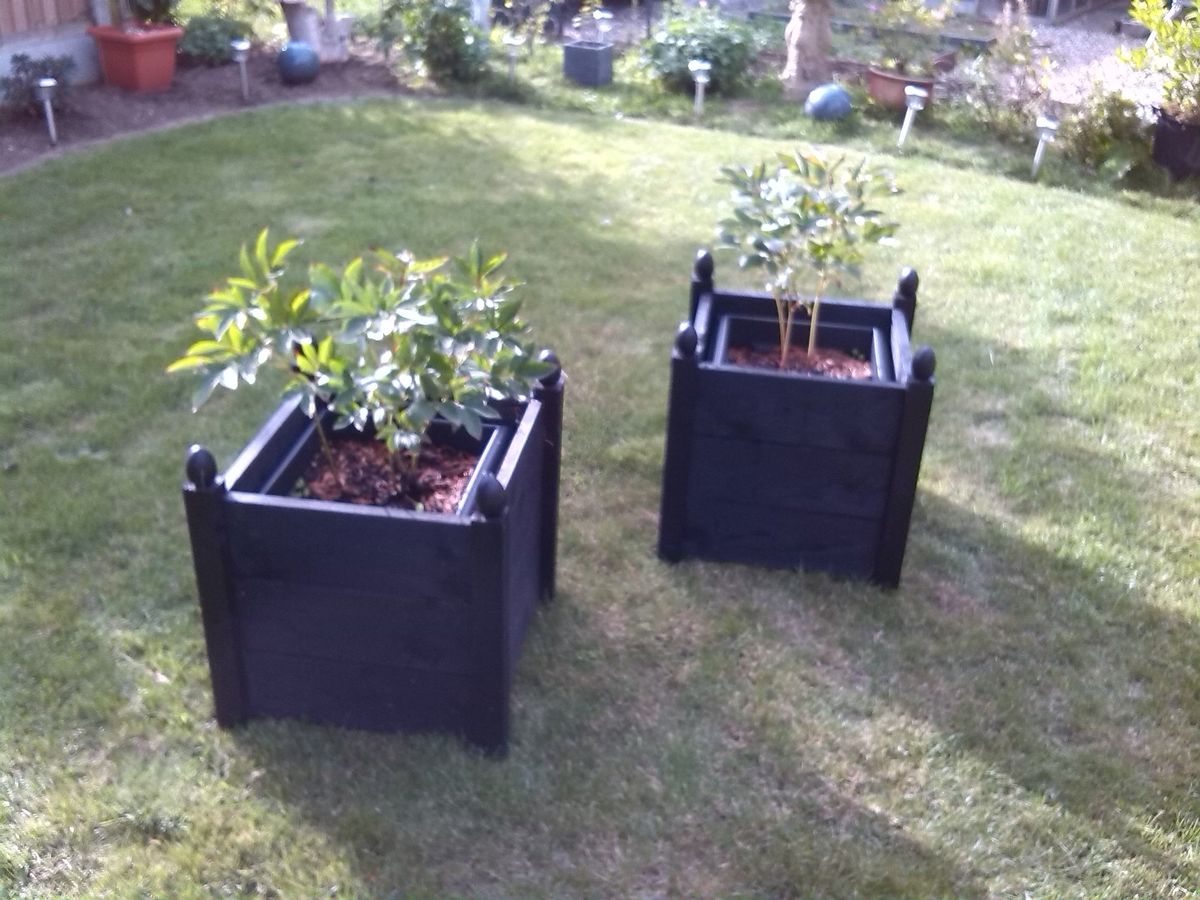
I wanted a fairly simple project to get started with, something I could make use of around my home and to help me get familiar with my new power tools - well, this project did the job nicely!
I'm extremely happy with the way the planters turned out and have already had other people asking me about them as they would like some too.
These planters worked out fairly expensive for me as the materials were extremely good quality and very heavy duty in size, I think I could get away with using slightly less robust materials to bring the costs down next time.
I had difficulty finding finials for the planters so I used some wooden turned eggs that I already had from my collection of pyrography blanks.
I can't wait for my next project now which will be a little more ambitious. I absolutely love Ana's website and can't wait to see what else I can make.
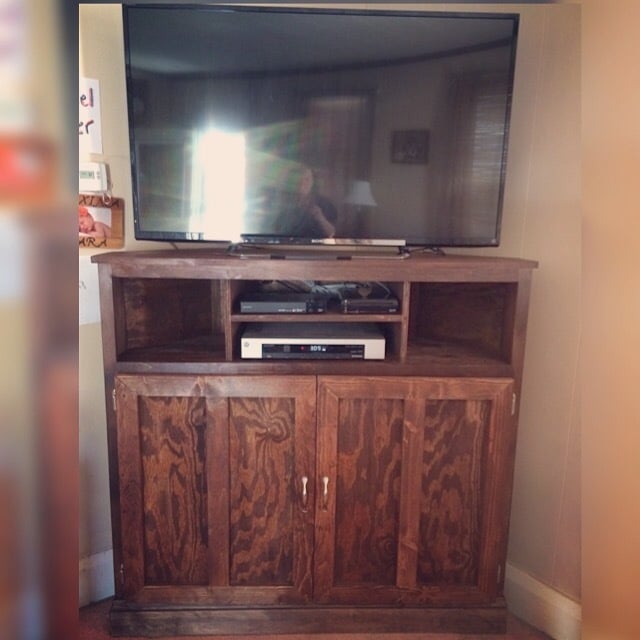
We had an oak armoire for our television and we needed to find something that fit our new 50" tv, an unexpected gift from my brother in law. This was perfect for the size we needed and the small space we had to put the tv.
Comments
joseph.ribecca
Wed, 10/16/2013 - 18:08
Day Bed
What kid of wood did you us for the bed base, and you just ancored them in the wall studs, With screw hooks?
sln3wc
Sat, 03/14/2015 - 12:18
I LOVE the green ladder. the
I LOVE the green ladder. the white bedding is beautiful
Wvchanger
Fri, 10/21/2016 - 20:39
Hanging beds
How did you tie your rope? I made the beds but having a difficult time finding a secure way to tie the rope so it's study and won't slide