Community Brag Posts

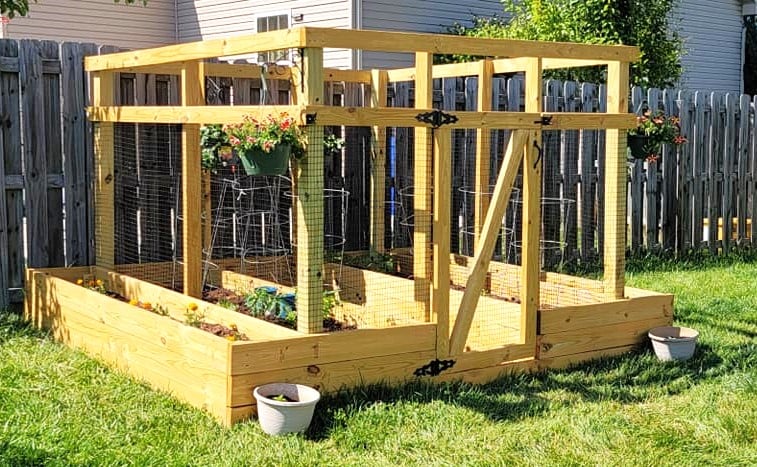
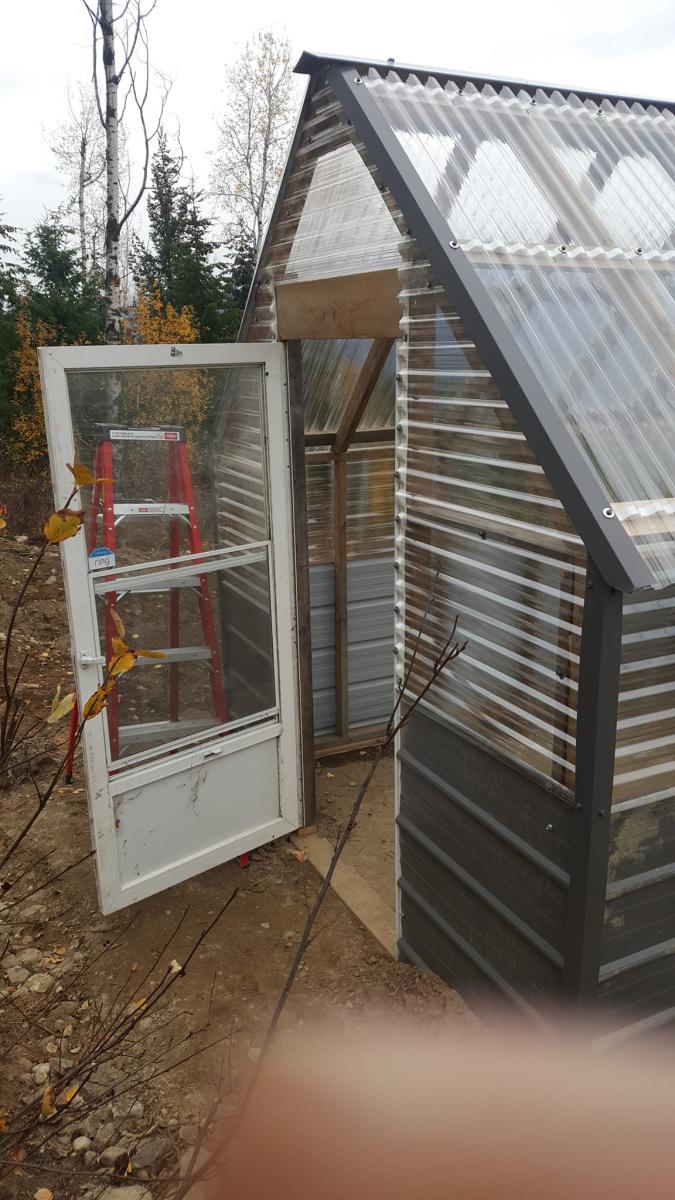
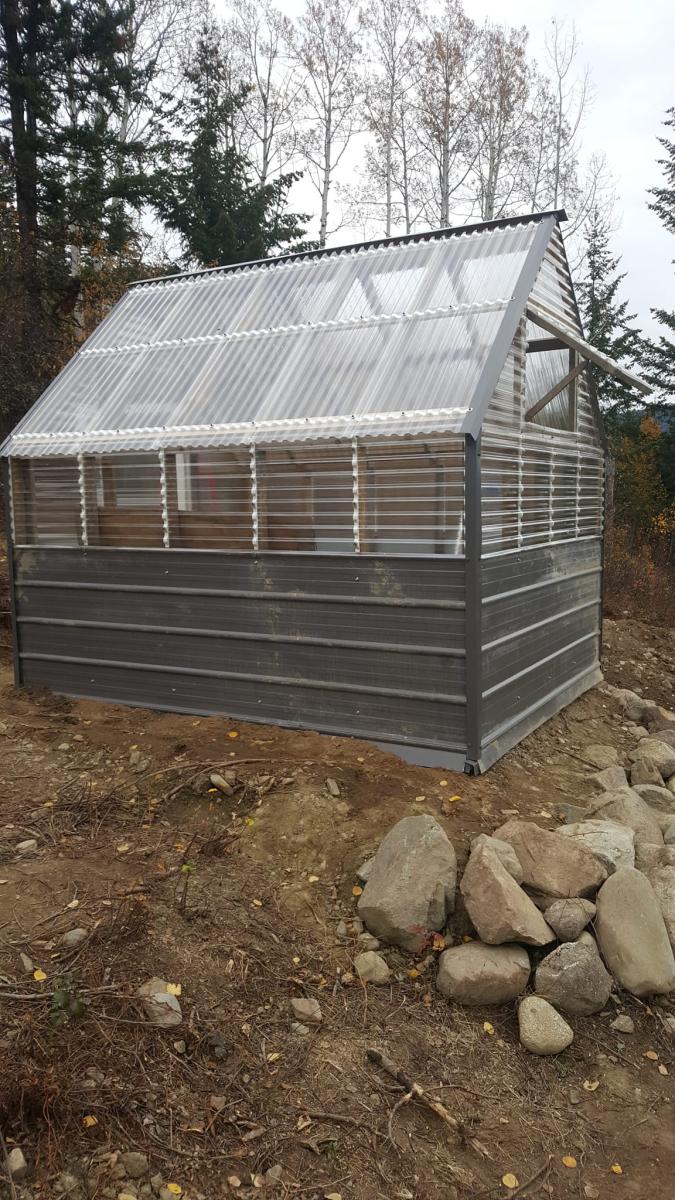
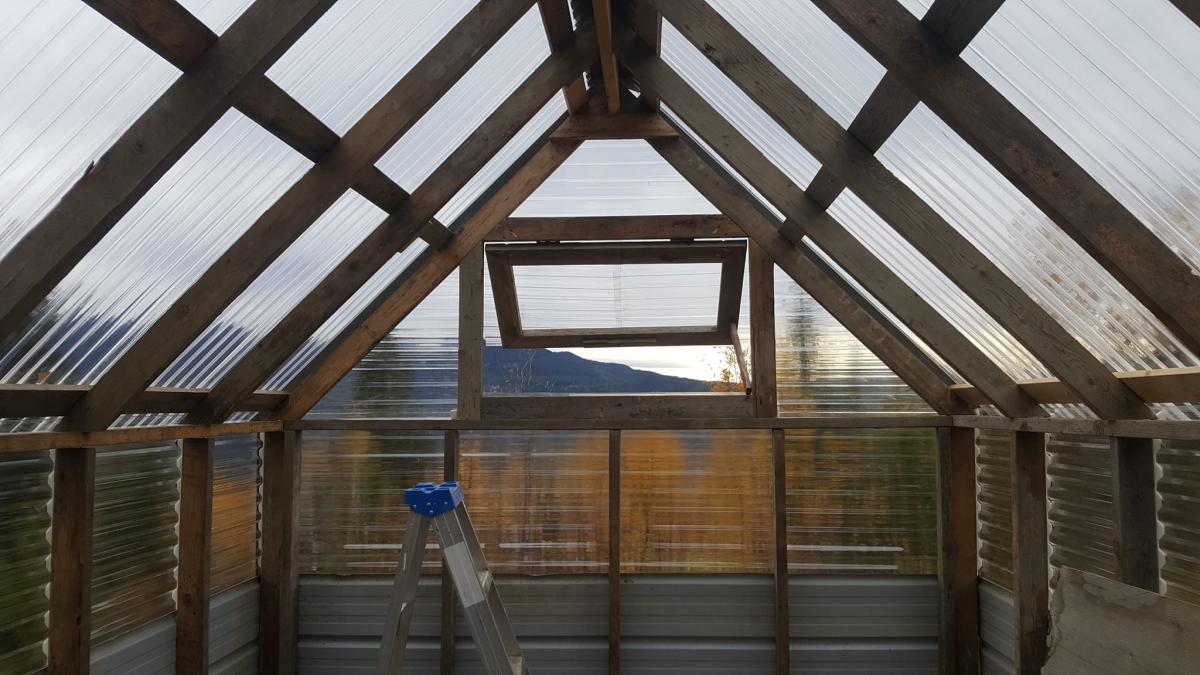
Small Gable Roof Greenhouse

Submitted by Anonymous (not verified) on Sun, 10/30/2022 - 08:45

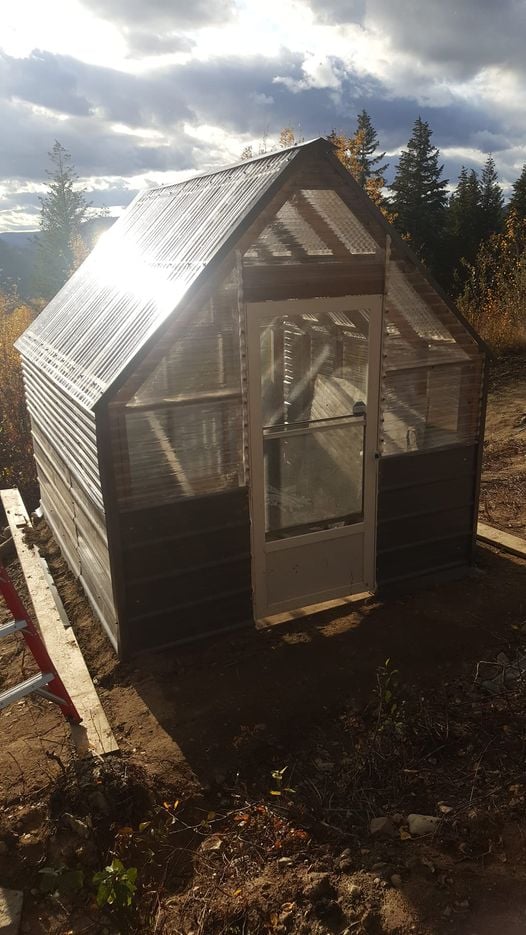
Ana's plans are so easy to work with. This greenhouse was build with all recycled materials from our home build, except for the corrugated plastic (total cost approx. CAN $1,000). I did have to make it a little bit smaller as the area that was leveled was a bit smaller than planned. I'm planning to add raised beds inside, add a solar panel so that I can have light in the evening and a fan during the day. I'm planning to attach some gutters and a rain barrel.
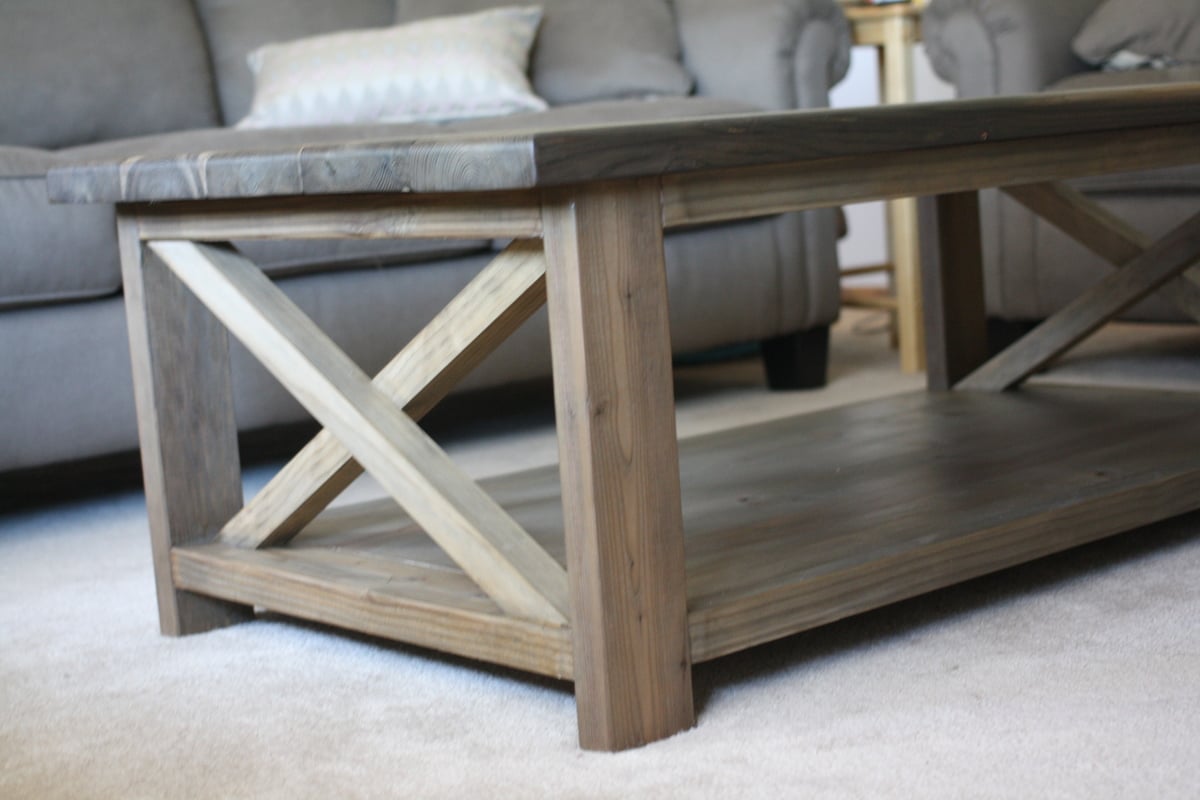
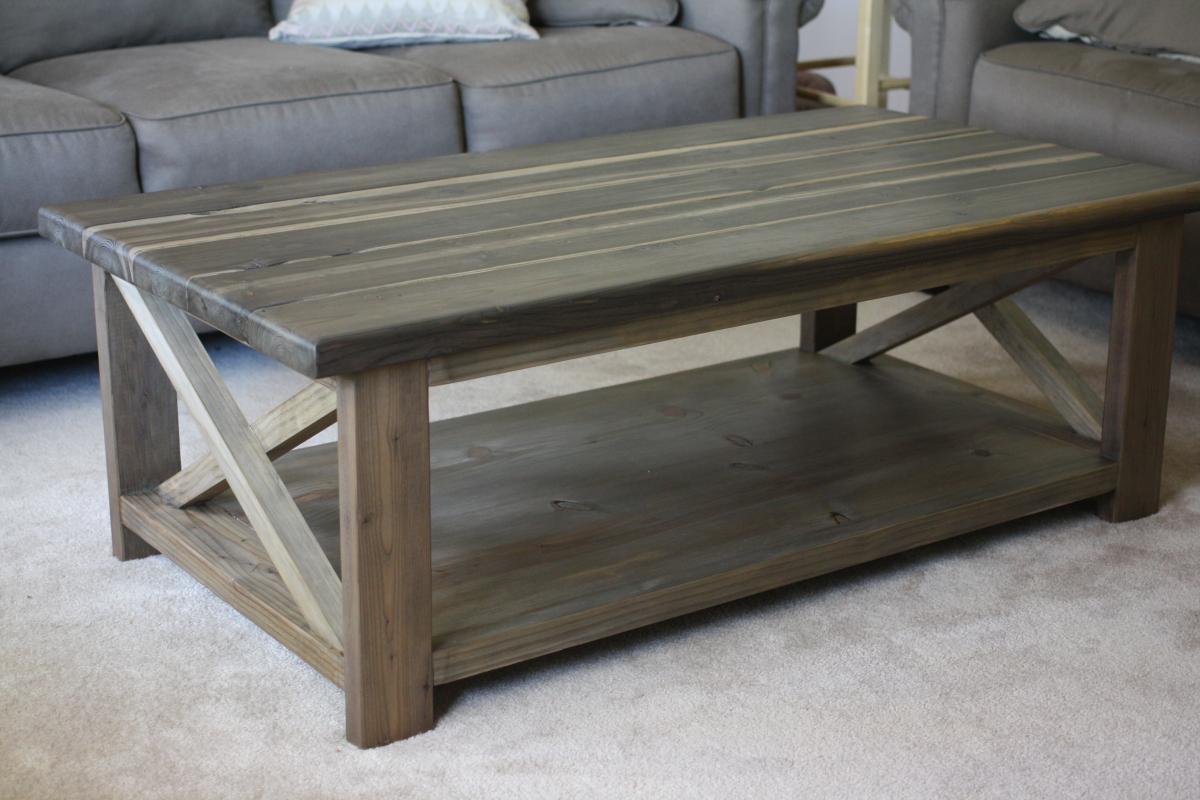
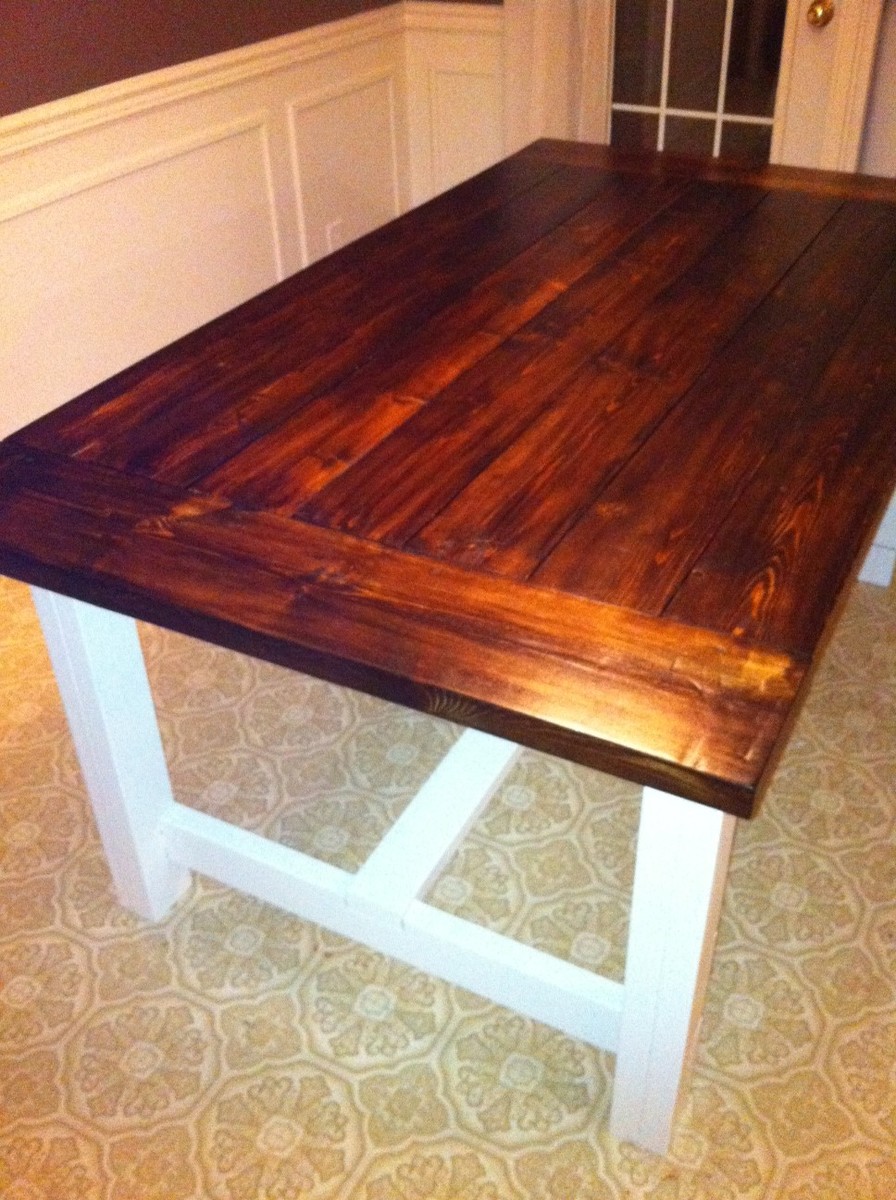
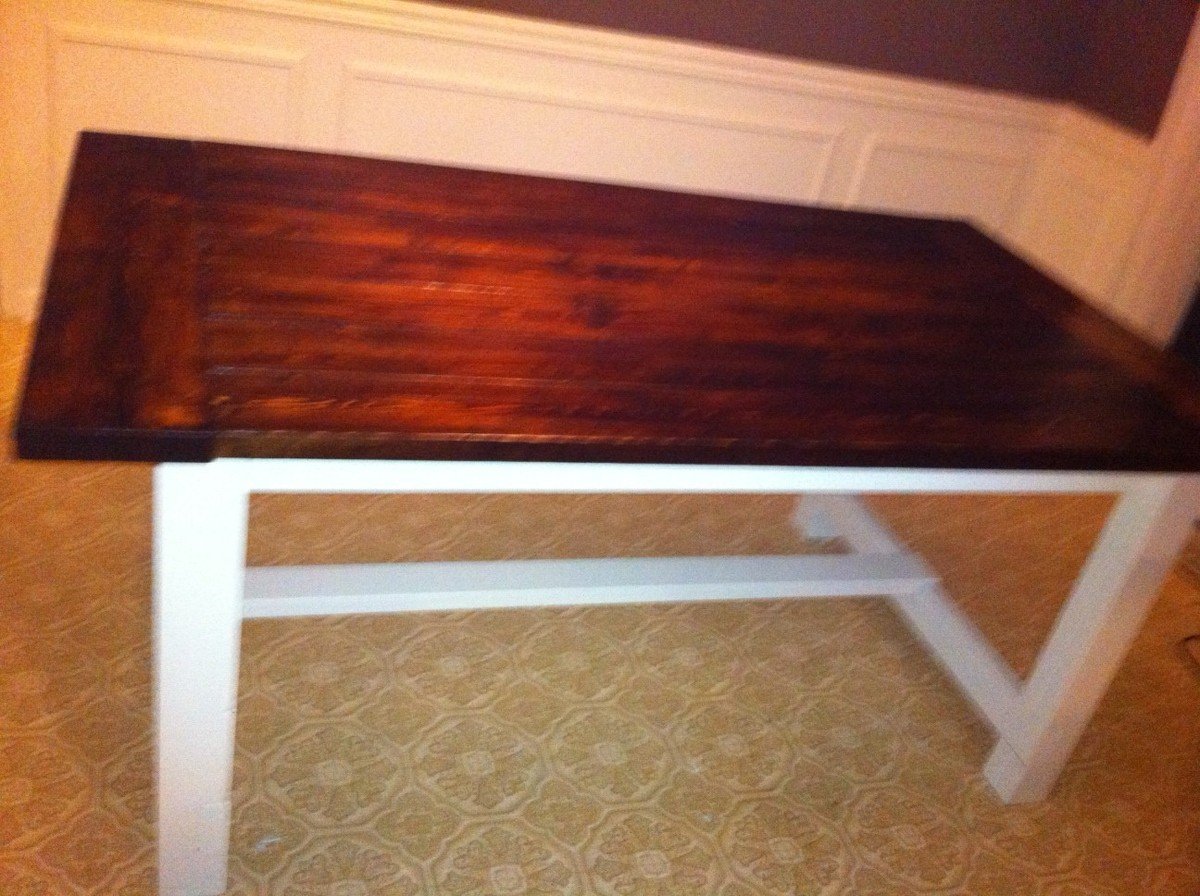
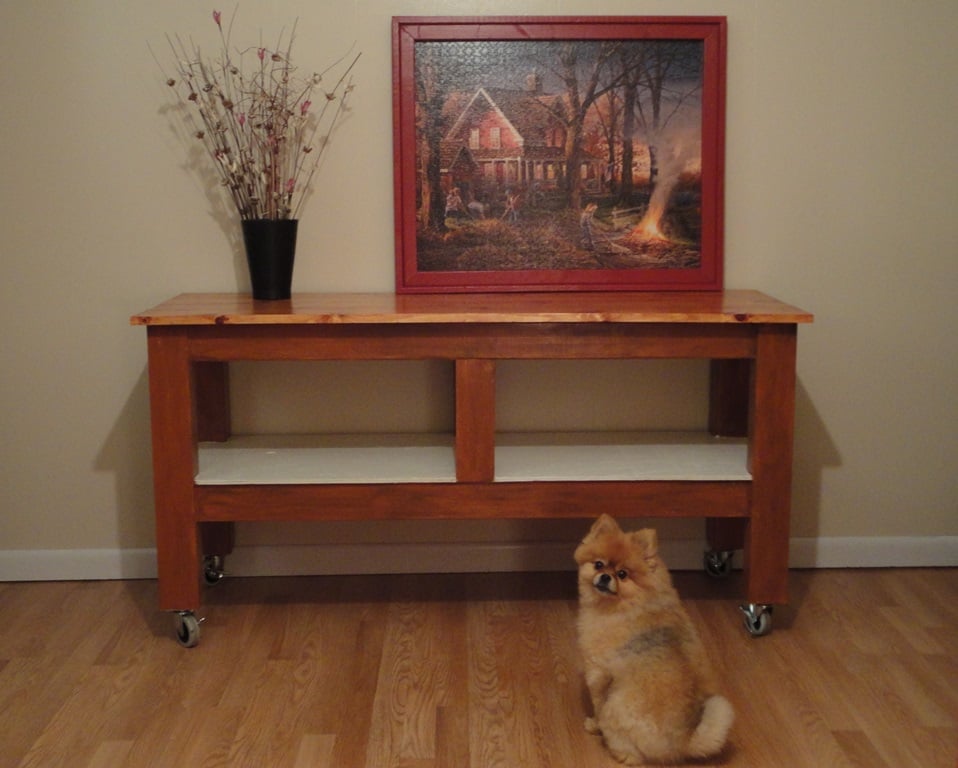
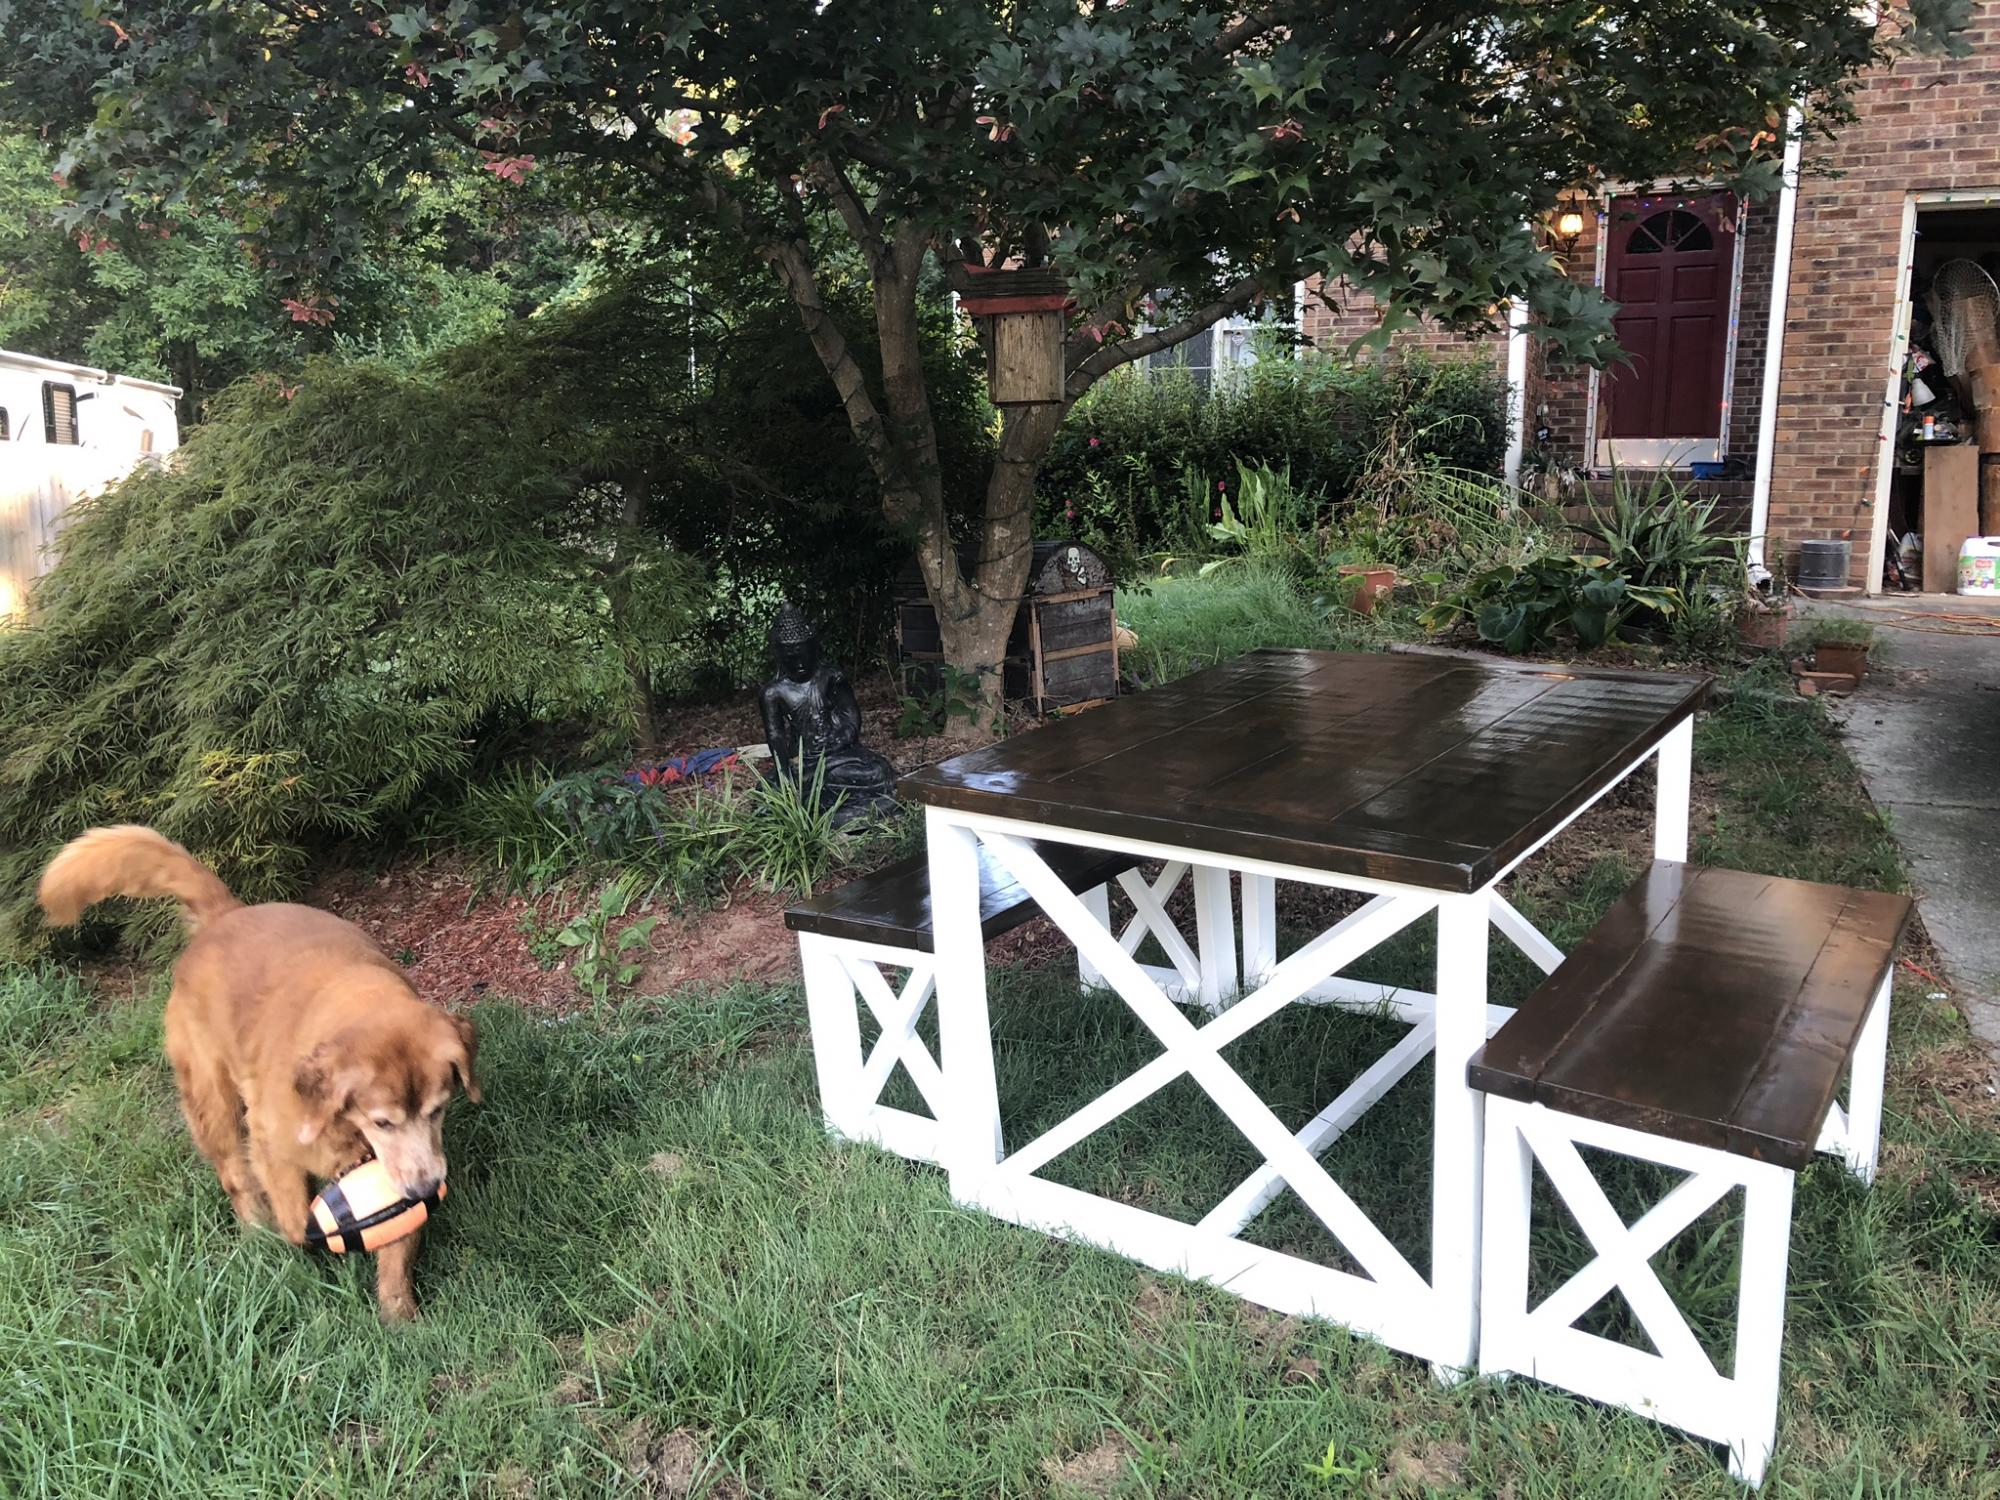
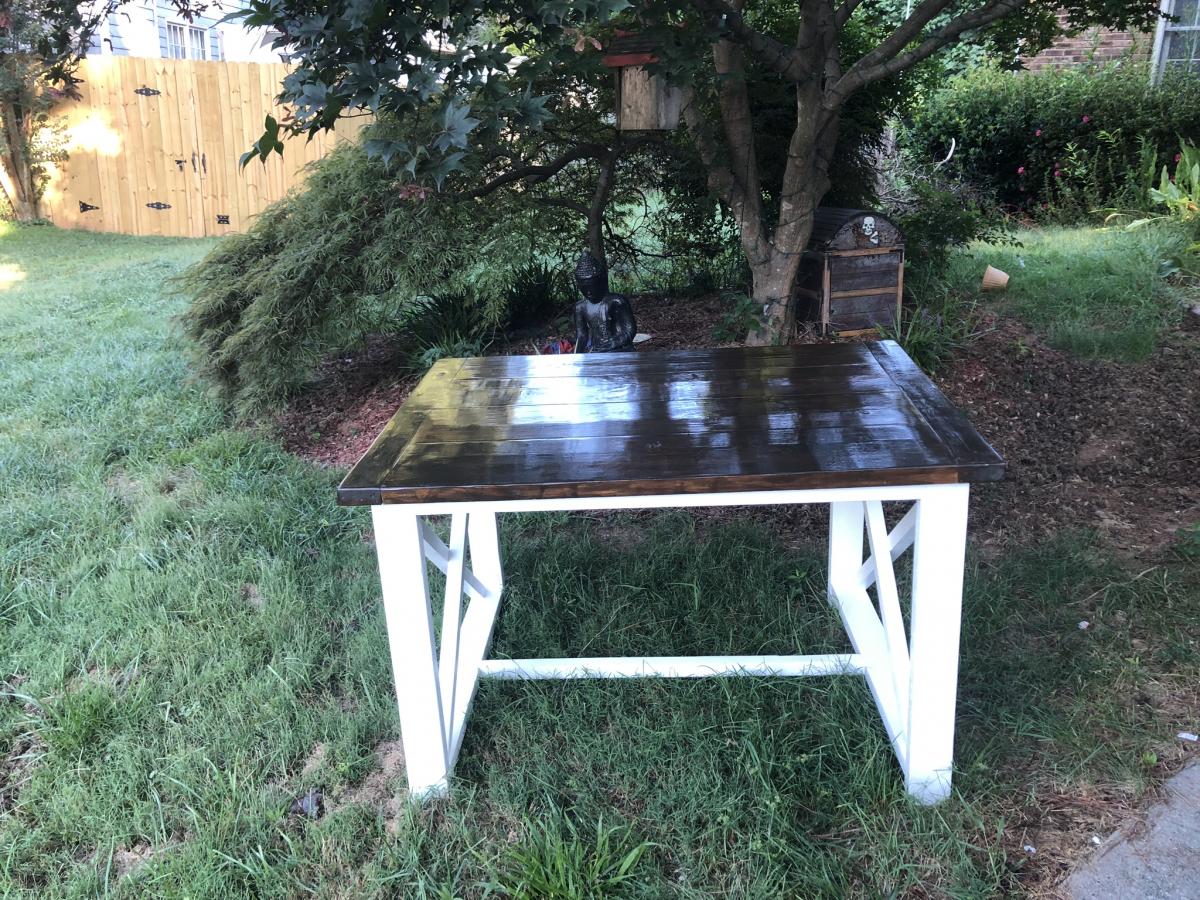
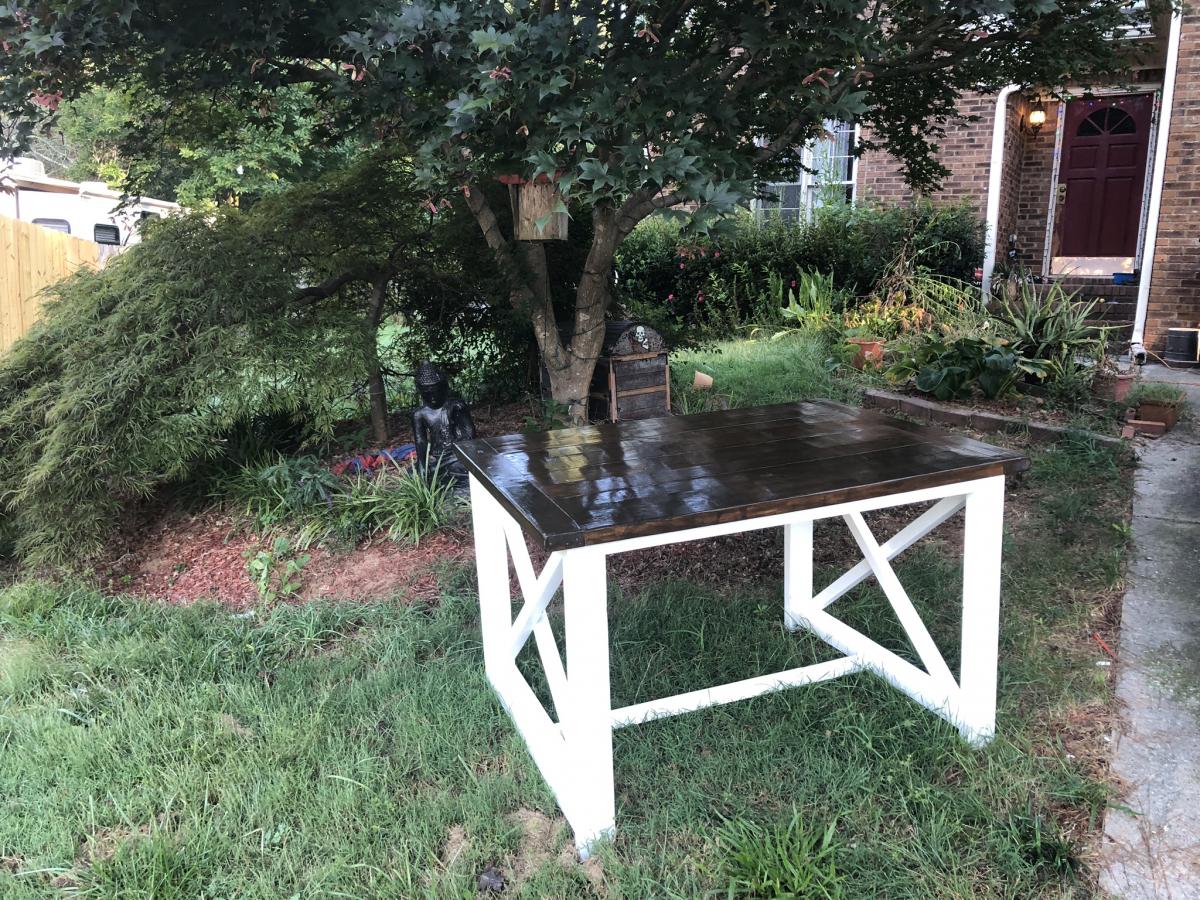
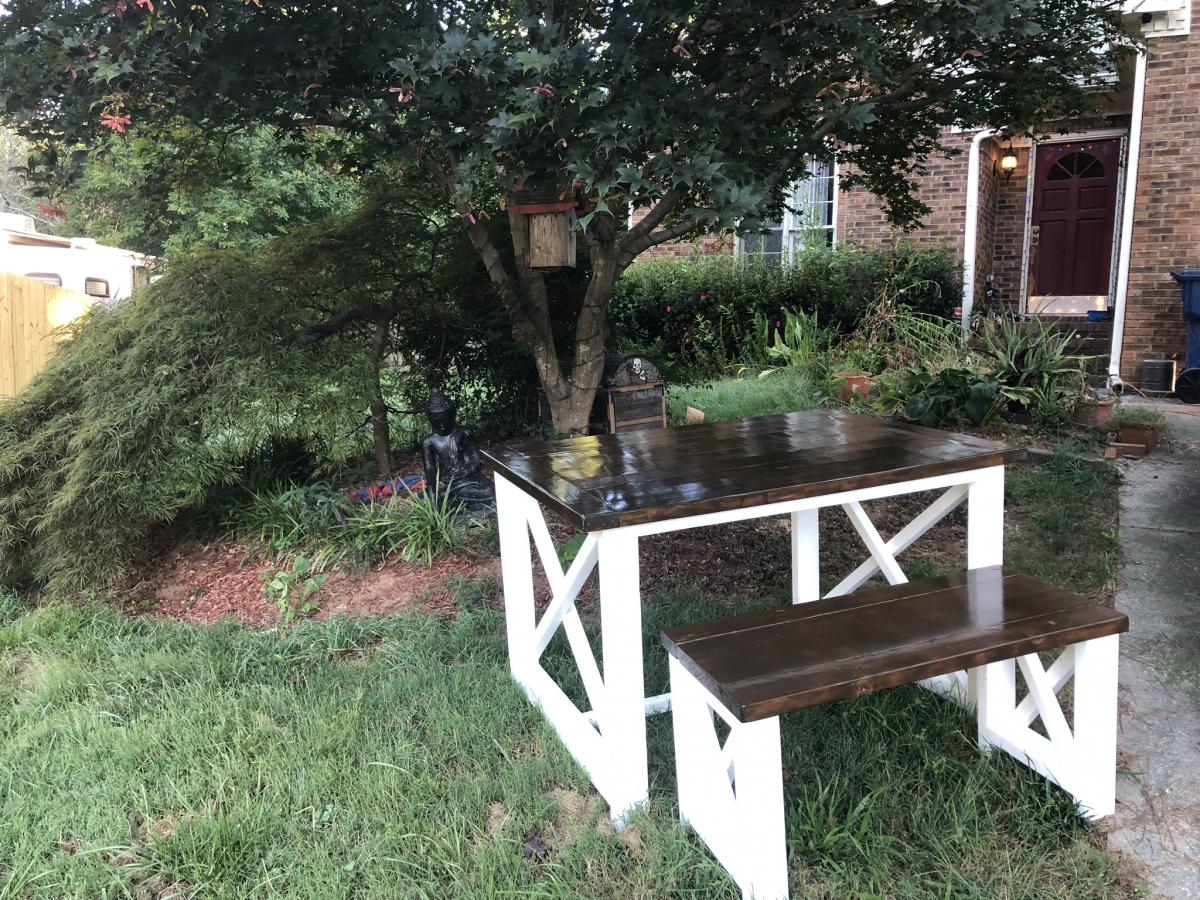
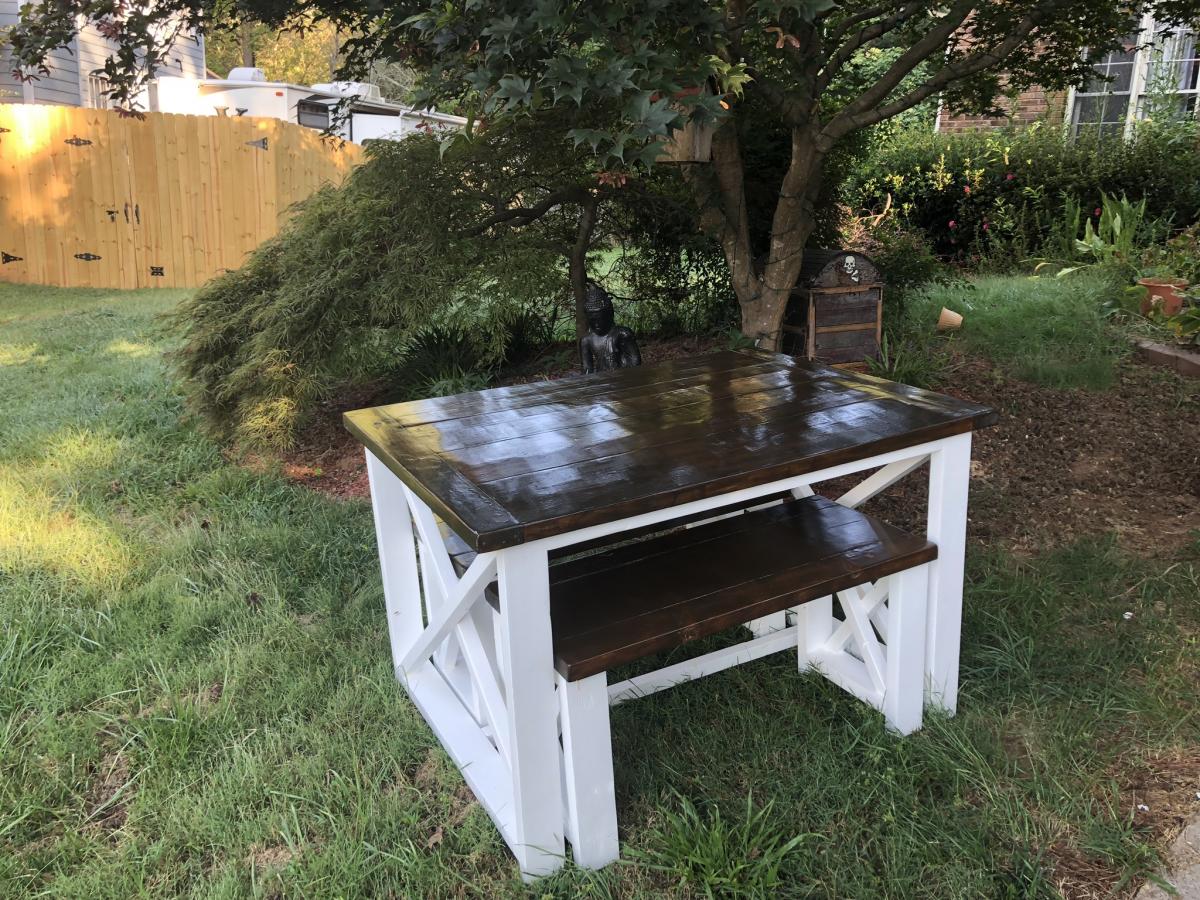
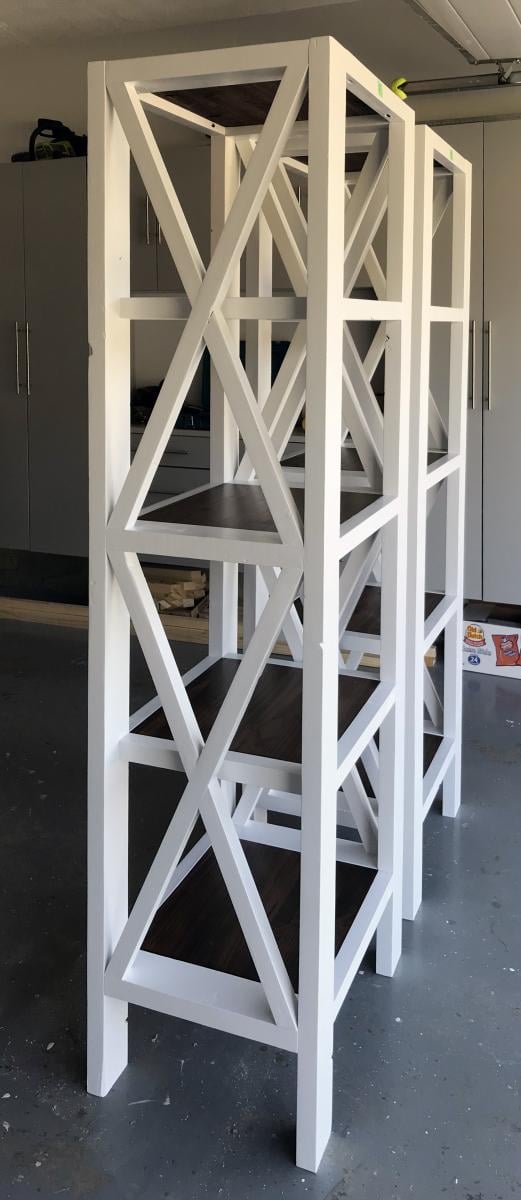
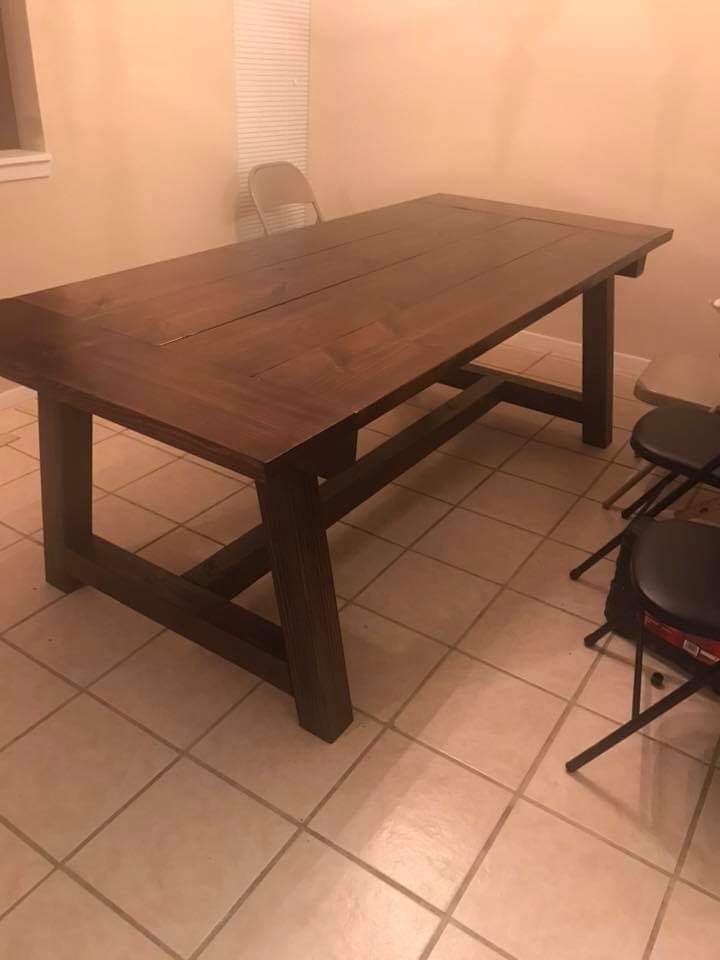
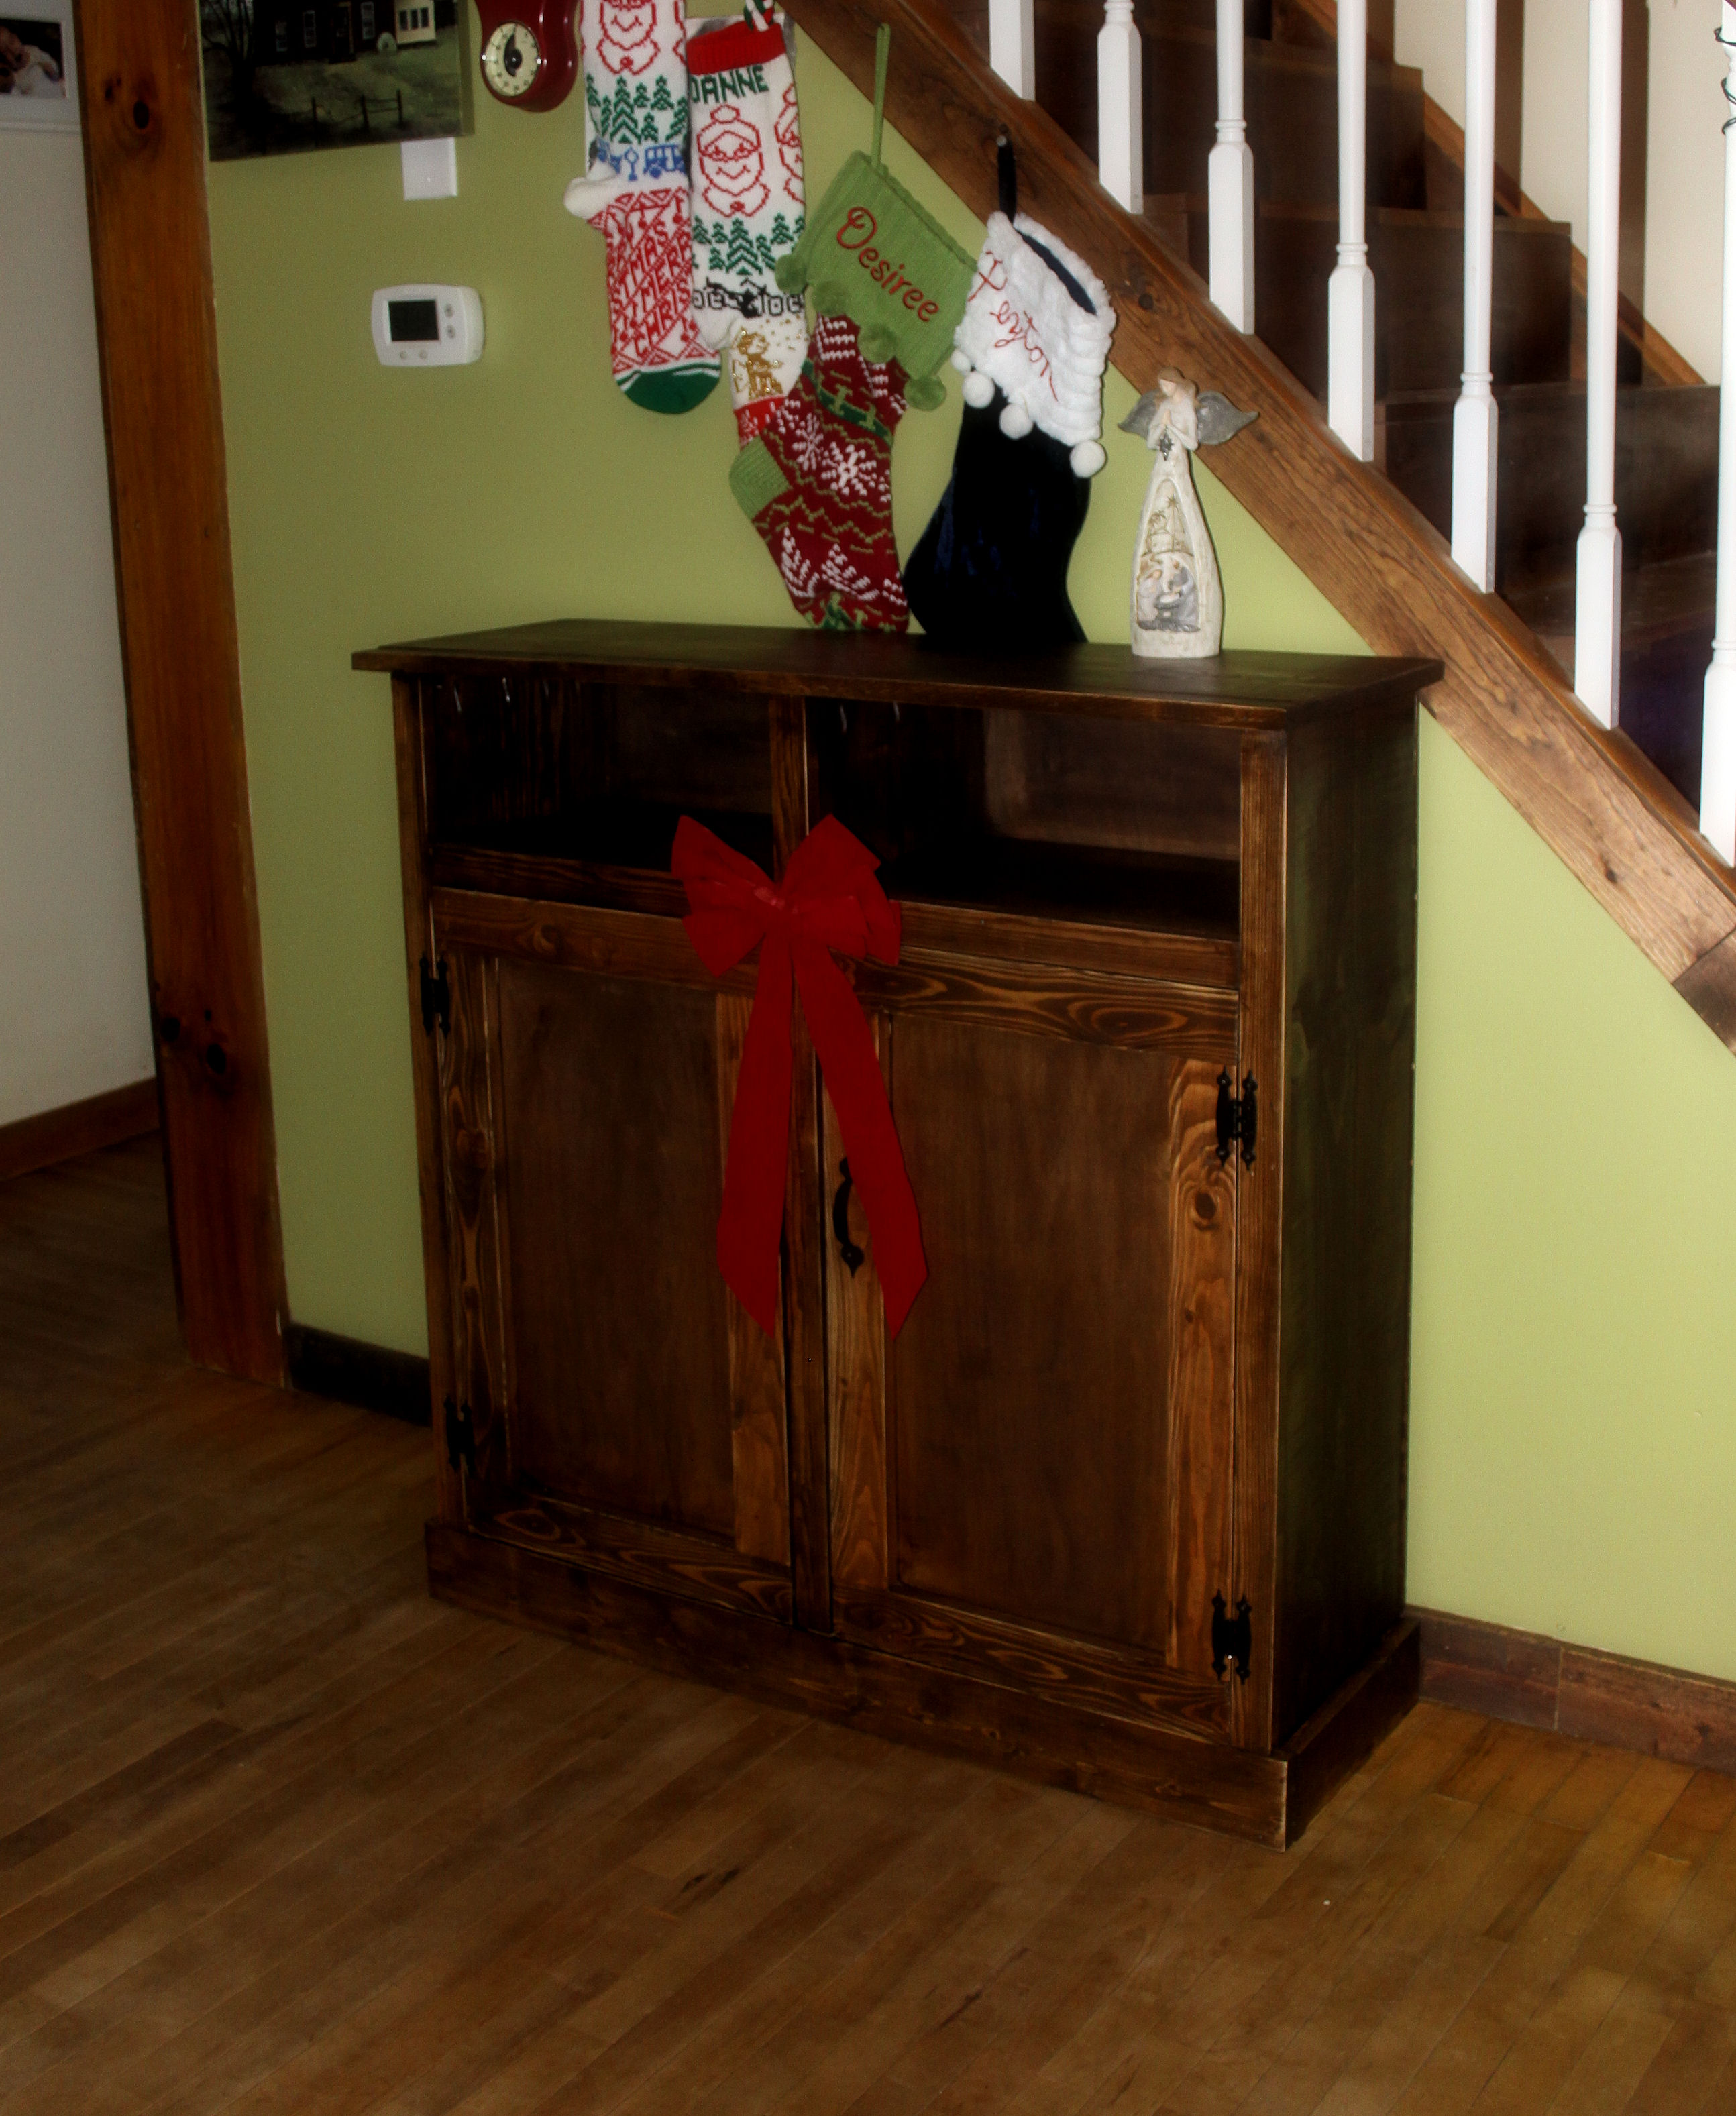
This is my second project, based on Ana's plans (first one: https://www.ana-white.com/community-projects/indoor-firwood-console). Next, I'm planning to make the fancy X farmhouse table and bench with storage. Stay tuned.

Built from Plan(s)

My Farmhouse Dining Table

Submitted by LinzFritz on Wed, 09/14/2011 - 19:28

I love my new table! My wood was a little bit warped for the tabletop, so that's where I ran into the most problems, but I used a hand planer to smooth it down and it turned out perfectly!

Estimated Cost
$150
Estimated Time Investment
Weekend Project (10-20 Hours)
Finish Used
Minwax Dark Walnut, Semi-Gloss Polyurethane, and Sherwin Williams Aesthetic White
Recommended Skill Level
Beginner

Comments

Adam (not verified)

Fri, 12/09/2011 - 06:33

Thats quite nice. I'll bet you spent more than half of the time on the finish. Great color choice.

Feels like Fall

Submitted by MaryMurray on Tue, 10/01/2013 - 09:32

I built this Taylors console table and barnwood frame for my guest room which also contains my double Lydia daybeds! The room that Mary built...

Estimated Time Investment
Weekend Project (10-20 Hours)
Recommended Skill Level
Beginner

Comments

Ana White

Tue, 10/01/2013 - 12:57

WOW! Great job on both. Love the lydia daybeds by the way, they are super CUTE!

Farmhouse Storage bed

Submitted by 1bwalls on Sun, 12/27/2015 - 12:37

I built this in a full size.  Took some time to adjust all the measurements.  I used cheap lumber since I was painting it and it cost a little over $350.  Then I spent another $75 because I screwed up measurements.  :). This was only the 3rd thing I ever built, so I think I did alright.  The plans were great!  Watched several videos on YouTube about squaring drawers and that helped.

Estimated Cost
$425
Estimated Time Investment
Weekend Project (10-20 Hours)
Recommended Skill Level
Intermediate

Benches that Convert to Picnic Tables

Submitted by Steph99 on Thu, 02/02/2023 - 11:14

Simple benches that convert to picnic tables

Comments

Seasonal And Holiday

Made for DUCKS!

Submitted by Anonymous (not verified) on Sun, 03/17/2019 - 08:12

Built in 2017 for our ducks! They use the ramp just fine! I am now working on editing this coop plan to make a coop for 4 chickens we just brought home. I'm going to leave out the planting area, since it's going inside their open run. 

Estimated Cost
$600 with materials for run fence as well
Estimated Time Investment
Day Project (6-9 Hours)
Recommended Skill Level
Intermediate

Toy Workbench

Submitted by spiceylg on Thu, 10/17/2013 - 01:56

Second project for annual church craft show. Loved the idea of using pegboard, so I modified it accordingly. Guessed at cost as we bought 2X6s and 2X12s on clearance and ripped them down ourselves which brought the cost down.

Built from Plan(s)
Estimated Cost
$7
Finish Used
Behr Plus, sorry don't have color name.
Recommended Skill Level
Beginner

Rustic shelves

Submitted by ogie287 on Fri, 03/29/2019 - 18:06

I love the look of these shelves. I needed something for the wall space to either side of the kitchen window and sink. The ceiling slopes down at least a foot on that wall so there's less space for cabinets and putting up cabinets that fit the space wasn't working. Shelves were the answer. The pictures show only the left side of the window/sink, but I did put up a matching shelf on the right side. I used a 1x8 for the shelf and 1x6 for the back.

Built from Plan(s)
Estimated Time Investment
Afternoon Project (3-6 Hours)
Finish Used
1 coat weathered gray stain, 1 coat antique white stain, 2 coats matte polyurethane
Recommended Skill Level
Beginner

Roller Vertical Pantry

Submitted by MikeW on Mon, 05/06/2019 - 08:49

Made my wife happy!

Estimated Time Investment
Day Project (6-9 Hours)
Finish Used
Paint
Recommended Skill Level
Intermediate

Comments

2x4 patio couches

Submitted by Sner77 on Mon, 05/27/2019 - 10:49

I built 2 of the 2x4 couches with slight modifications.  I didn’t like the straight bar across the back so changed it to a leaning high back.

I also added a square box that can be used for a dividing table on the couch or side table when additional seating is needed.  

Plan on scaling down for a love-seat and chair.

Kreg jig for pocket holes was time consuming but well worth it! 

Built from Plan(s)
Estimated Time Investment
Weekend Project (10-20 Hours)
Finish Used
Urathane.
Not pleased with the urathane finish after 2 years. I have begun sanding them down to try a linseed oil finish instead.
Recommended Skill Level
Beginner

Fancy Baby Doll Crib and Hi Chair Set

Submitted by Linda7 on Thu, 01/21/2016 - 15:07

This was a Christmas gift for my youngest grandniece. The doll crib is made from the Fancy Doll Crib plans, slightly modified to be taller and longer. The high chair is made according to plan, except I substituted a 1" x 6" board for the back.

Estimated Cost
Purchased a 1" x 12" x 48" project board for the bottom and sides for about $10.00; the remainder of the wood was scrap, and I had the paint on hand. To make the set similar to the others I built for my grandnieces and granddaughter, I ordered a water-slide decal from Etsy - $13.00 including shipping, but there are several more decals on the sheet for future projects. The finials are from Hobby Lobby; need two pks at $1.99 each . I marked this as a weekend project just because I needed time to sand and dry time for the paint.
Estimated Time Investment
Weekend Project (10-20 Hours)
Finish Used
Valspar "Ultra White" interior paint; spray a clear finish over paint.
Recommended Skill Level
Beginner

Outdoor Loveseat

Still need to stain but this was my very first project and it turned out well!  The directions are very easy to follow and I am very happy with it!

Estimated Cost
$25
Estimated Time Investment
Afternoon Project (3-6 Hours)
Finish Used
Will be using Minwax oil-based stain over a wood conitioner, and a clear flat oil-based top-coat.
Recommended Skill Level
Beginner

Sand and water table

I love this table!  On cool winter mornings we fill it with warm water.  The built in umbrella stand will be essential once the Texas sun comes out.  

Hopefully it buys me some free time to finish some projects!  laugh 

I already have lots of requests to build more of these for friends and family.  I have some edits in mind to make it a little faster and easier next time.

Many thanks to Ana and all the contributers for all the inspiration and tips!

Estimated Time Investment
Day Project (6-9 Hours)
Recommended Skill Level
Intermediate

Enclosed Garden Raised Bed

Submitted by Anonymous (not verified) on Wed, 05/31/2023 - 14:33

My husband and boys made a beautiful enclosed raised bed using your plans. It was modified to include exterior raised beds for flowers.

Built from Plan(s)

Comments

Seasonal And Holiday

Rustic X Tall Bookshelves

Submitted by frmoody on Wed, 10/02/2019 - 09:23

A friend wanted these bookshelves to match the Farmhouse X Desk but she wanted them narrow so they would fit in a small office. This was a very challenging and at times frustrating build getting everything to fit and getting the X's correct but in the end they turned out very well.

Built from Plan(s)
Estimated Cost
$75
Estimated Time Investment
Week Long Project (20 Hours or More)
Finish Used
The wood was painted with a white cabinet paint and the shelves were stained with Varathane Kona.
Recommended Skill Level
Intermediate

Comments

King Size Farmhouse Bed

Submitted by Anonymous (not verified) on Thu, 10/03/2019 - 13:02

This farmhouse bed is a combination of Ana White's Farmhouse Bed/Modern Farmhouse Bed plans as well as some slight modifications. I modified the bed using materials already on hand and leftover from past jobs. The 4x4 posts are 2 - 2×4s glued and filled together. The headboard was made using 2x2's and tongue and groove boards. The side rails, foot board and matress supports are 2x10's since this was old material from a job site my husband was on. I opted for no footboard to make the bed feel less bulky. The finish was done using chalk paint in a light gray, giving it a more modern look.

Estimated Cost
$200
Estimated Time Investment
Day Project (6-9 Hours)
Finish Used
The bed is a painted finish using Rust-Oleum Chalked in Aged Grey. The paint dries quickly allowing for two coats to be applied on the same day. Between coats, I lightly sanded the paint to remove any roughness. I find chalk paint to be durable and easy to apply. I opted not to apply a clear coat as our bed doesn't see a lot of wear and tear.
Recommended Skill Level
Beginner

Comments

King Size Fancy Farmhouse bed

Submitted by Anonymous (not verified) on Tue, 10/08/2019 - 04:04

My hubby and I never really wanted a king size bed until we had grand babies and the bed just wasn’t big enough. I found the Ana White Fancy Farmhouse bed plans, ask if he thought he could make it....he did not disappoint!!! I love our new bed and it’s ready for Honey and Pepe’s first sleepover.

Built from Plan(s)
Estimated Cost
$300
Estimated Time Investment
Weekend Project (10-20 Hours)
Finish Used
Painted
Recommended Skill Level
Intermediate

4x4 Truss Beam Table

Submitted by WolffA on Fri, 10/11/2019 - 08:15

Used Kreg Jig HD screws and pocket holes with glue. Stained in Dark Walnut. 

Built from Plan(s)
Estimated Cost
250
Estimated Time Investment
Weekend Project (10-20 Hours)
Finish Used
Dark Walnut Stain
Recommended Skill Level
Intermediate

Shanty Open Shelf Console

Submitted by carongirls on Tue, 12/24/2013 - 07:55

I had been eyeing this for awhile but, doors scare me. This is my daughters Christmas gift. It was a fairly easy quick build.
I am pleased with it.

Built from Plan(s)
Estimated Time Investment
Day Project (6-9 Hours)
Finish Used
Rustoleum Dark Walnut
Recommended Skill Level
Beginner

Comments

Val Manchuk

Tue, 12/24/2013 - 22:24

Doors scare me too, but seeing what a great job you've done encourages me to give it a try. Looks beautiful. I like how the hardware ties in with your choice of stain. Nice work!

Val @ artsybuildinglady.blogspot.ca

carongirls

Wed, 12/25/2013 - 10:21

The measurements for each door is a bit different because I wasn't careful with the trim. I used shims on all sides of the door to keep it straight and spaced to attach the hinges. Big plus is they open and close :-)