Hotel Room Bed and Wall Project
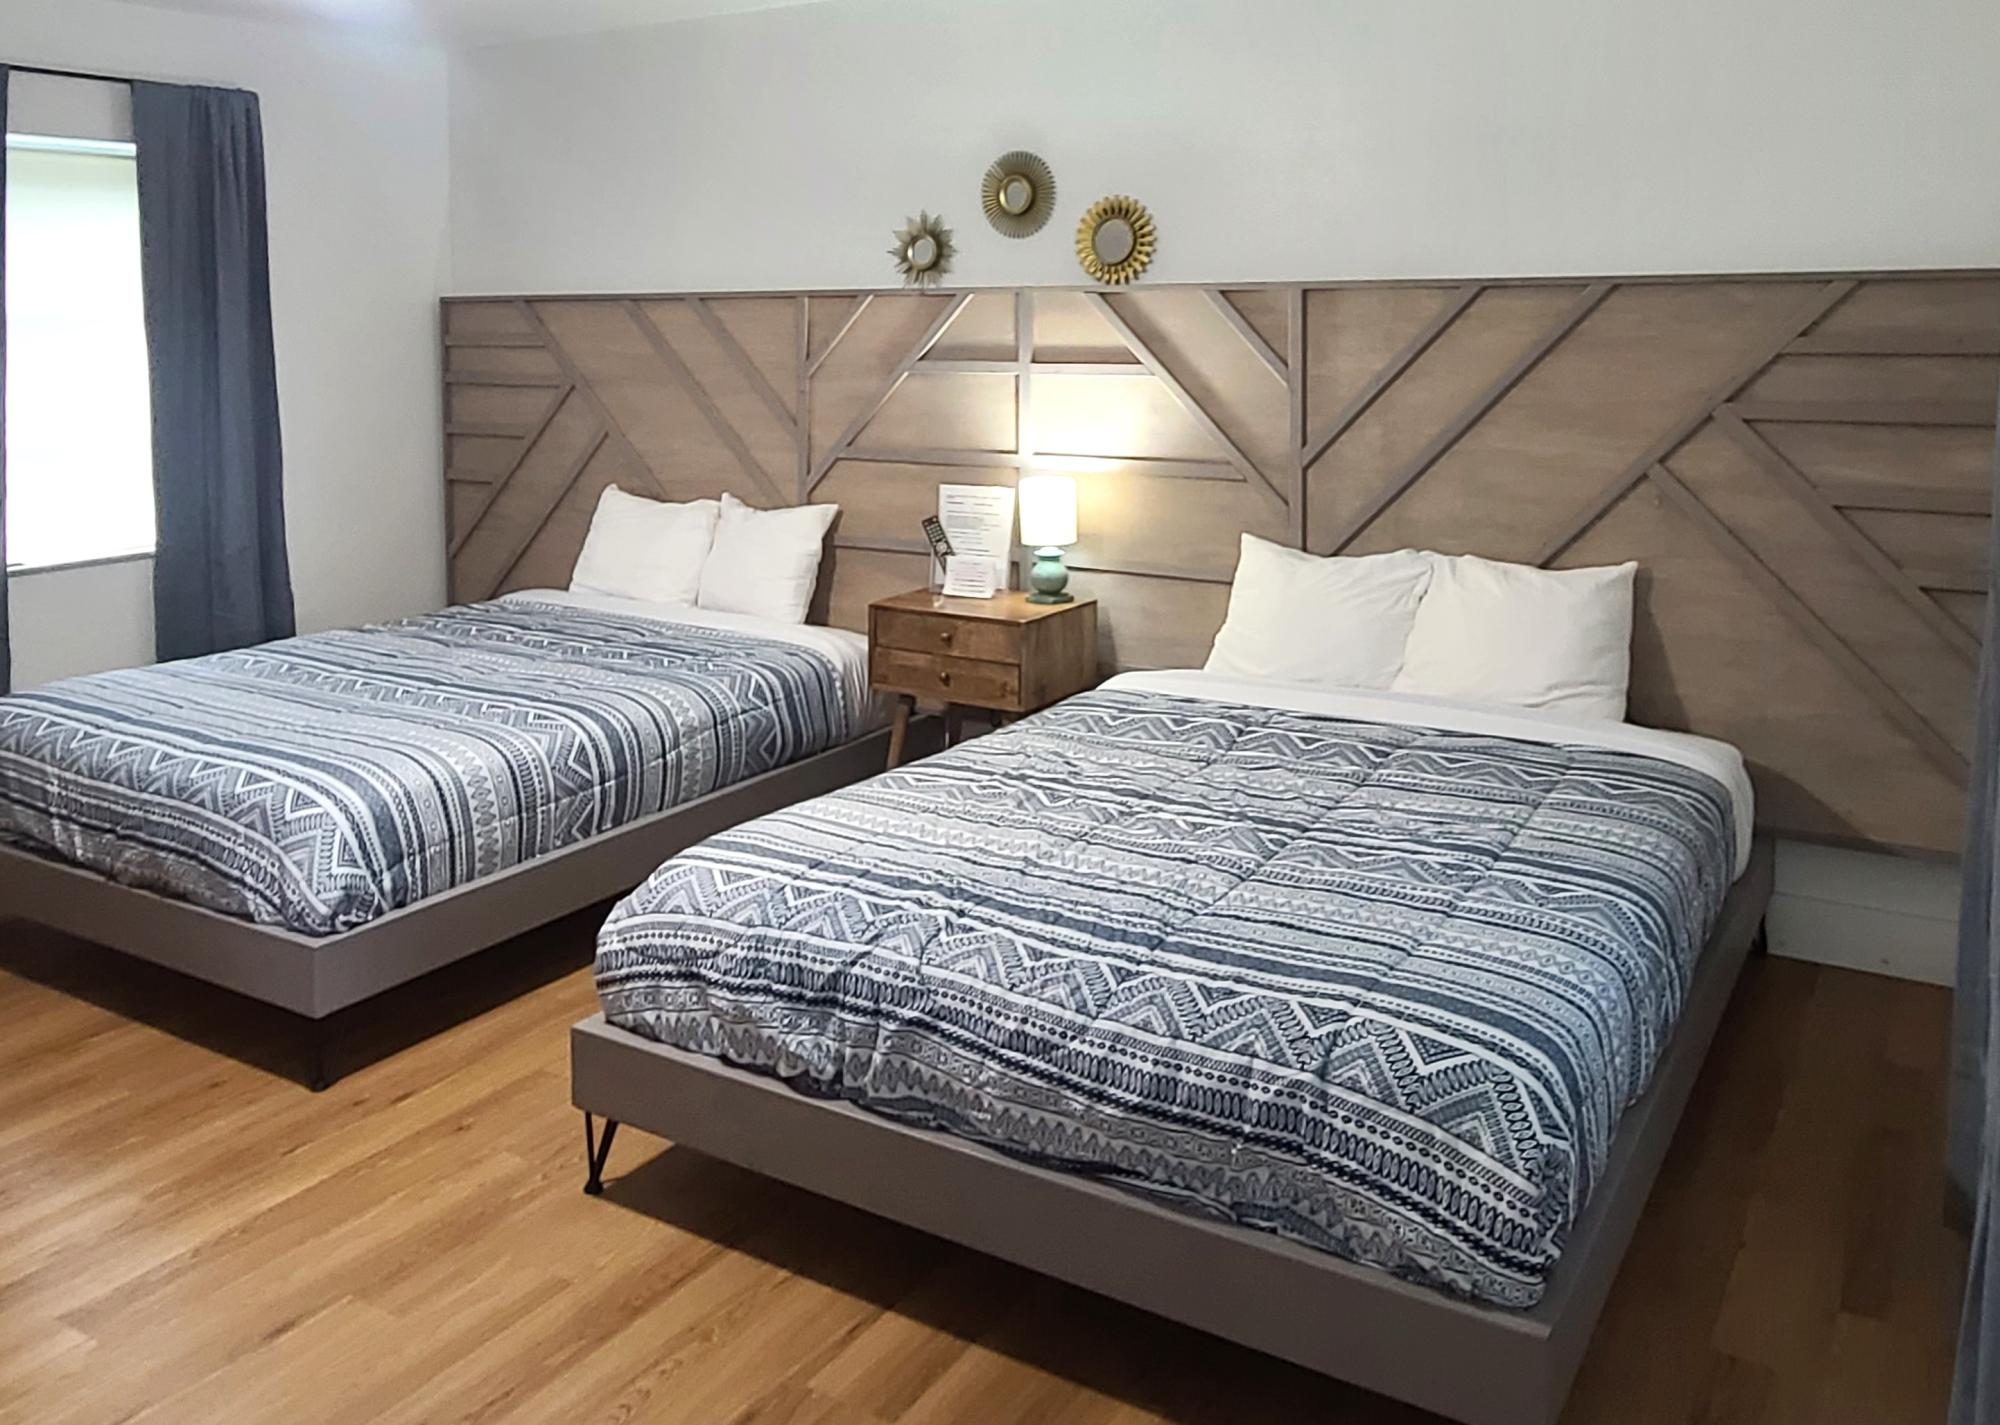
Built these bedframes and headboards for a local motel
Built from Plan(s)
Built these bedframes and headboards for a local motel
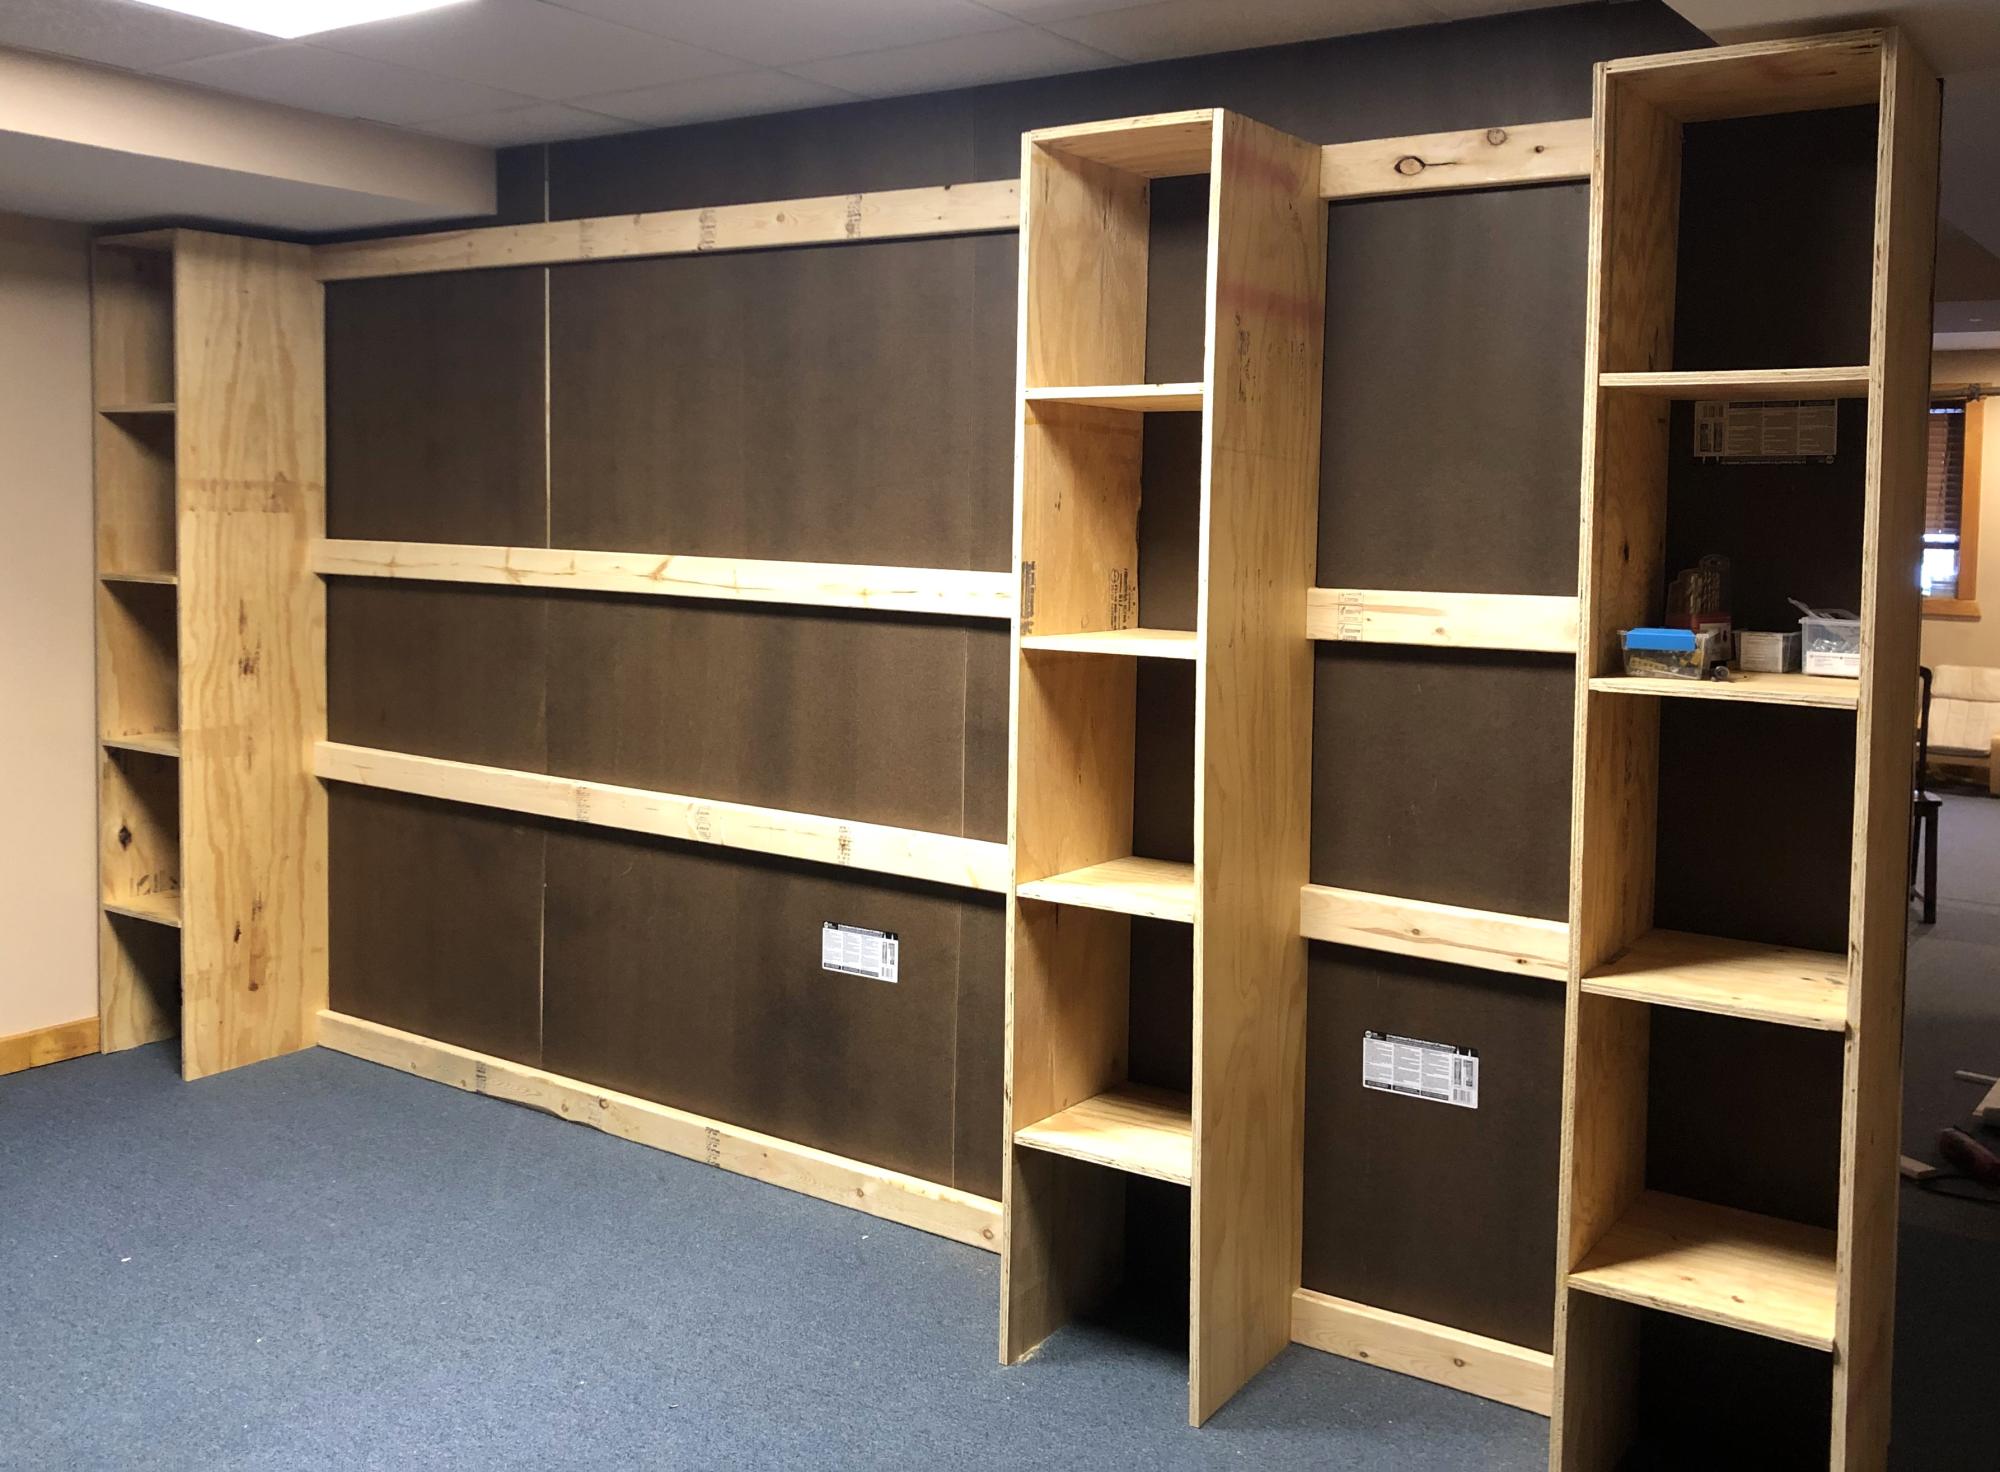
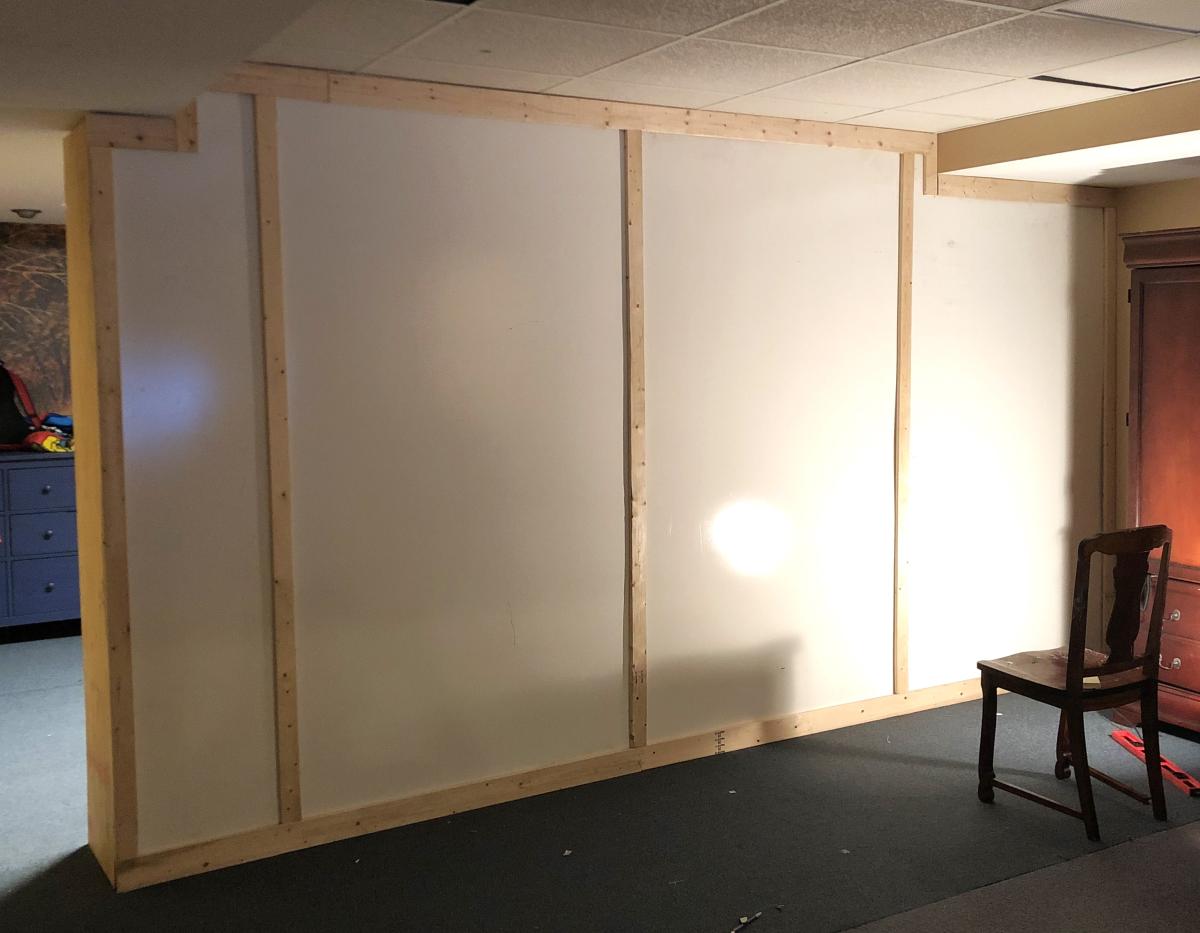
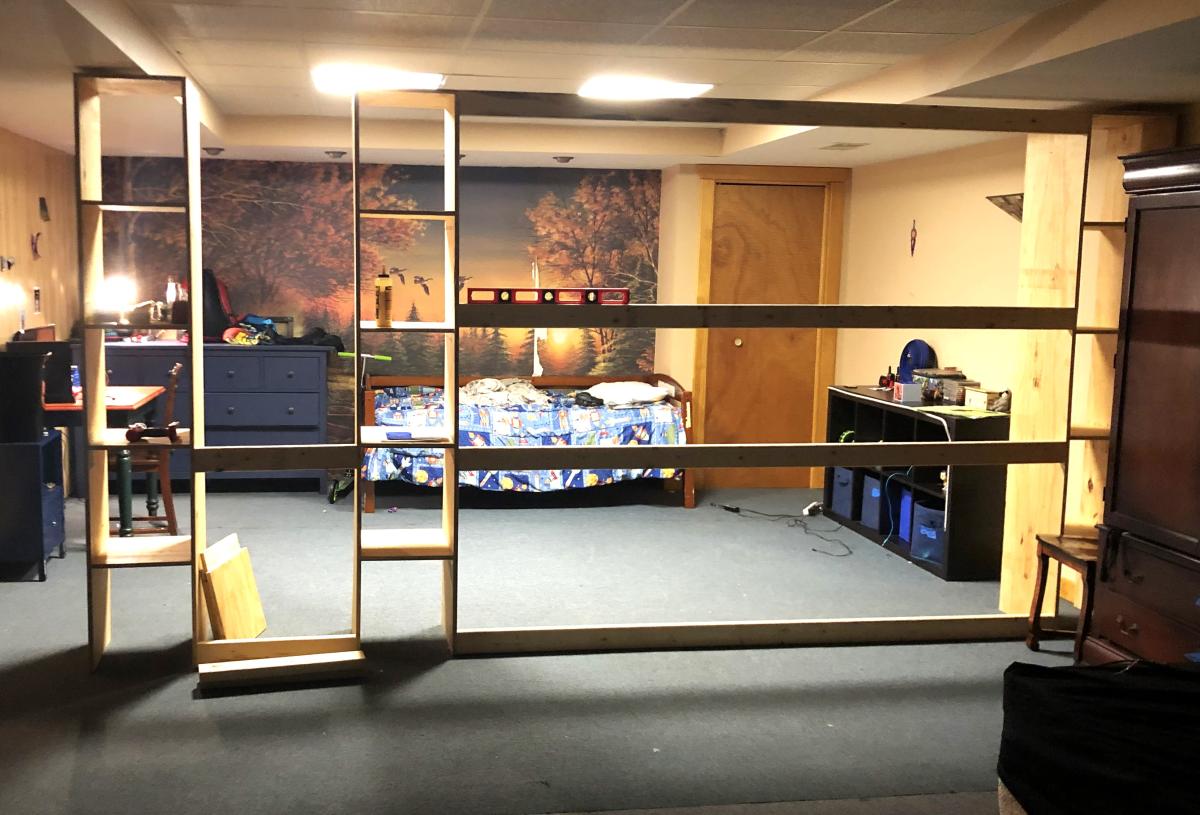
Modified the wall divider closet plan into a wall to serve as an extra bedroom in my basement. The inner wall was subsequently painted.
Grace LeBlanc
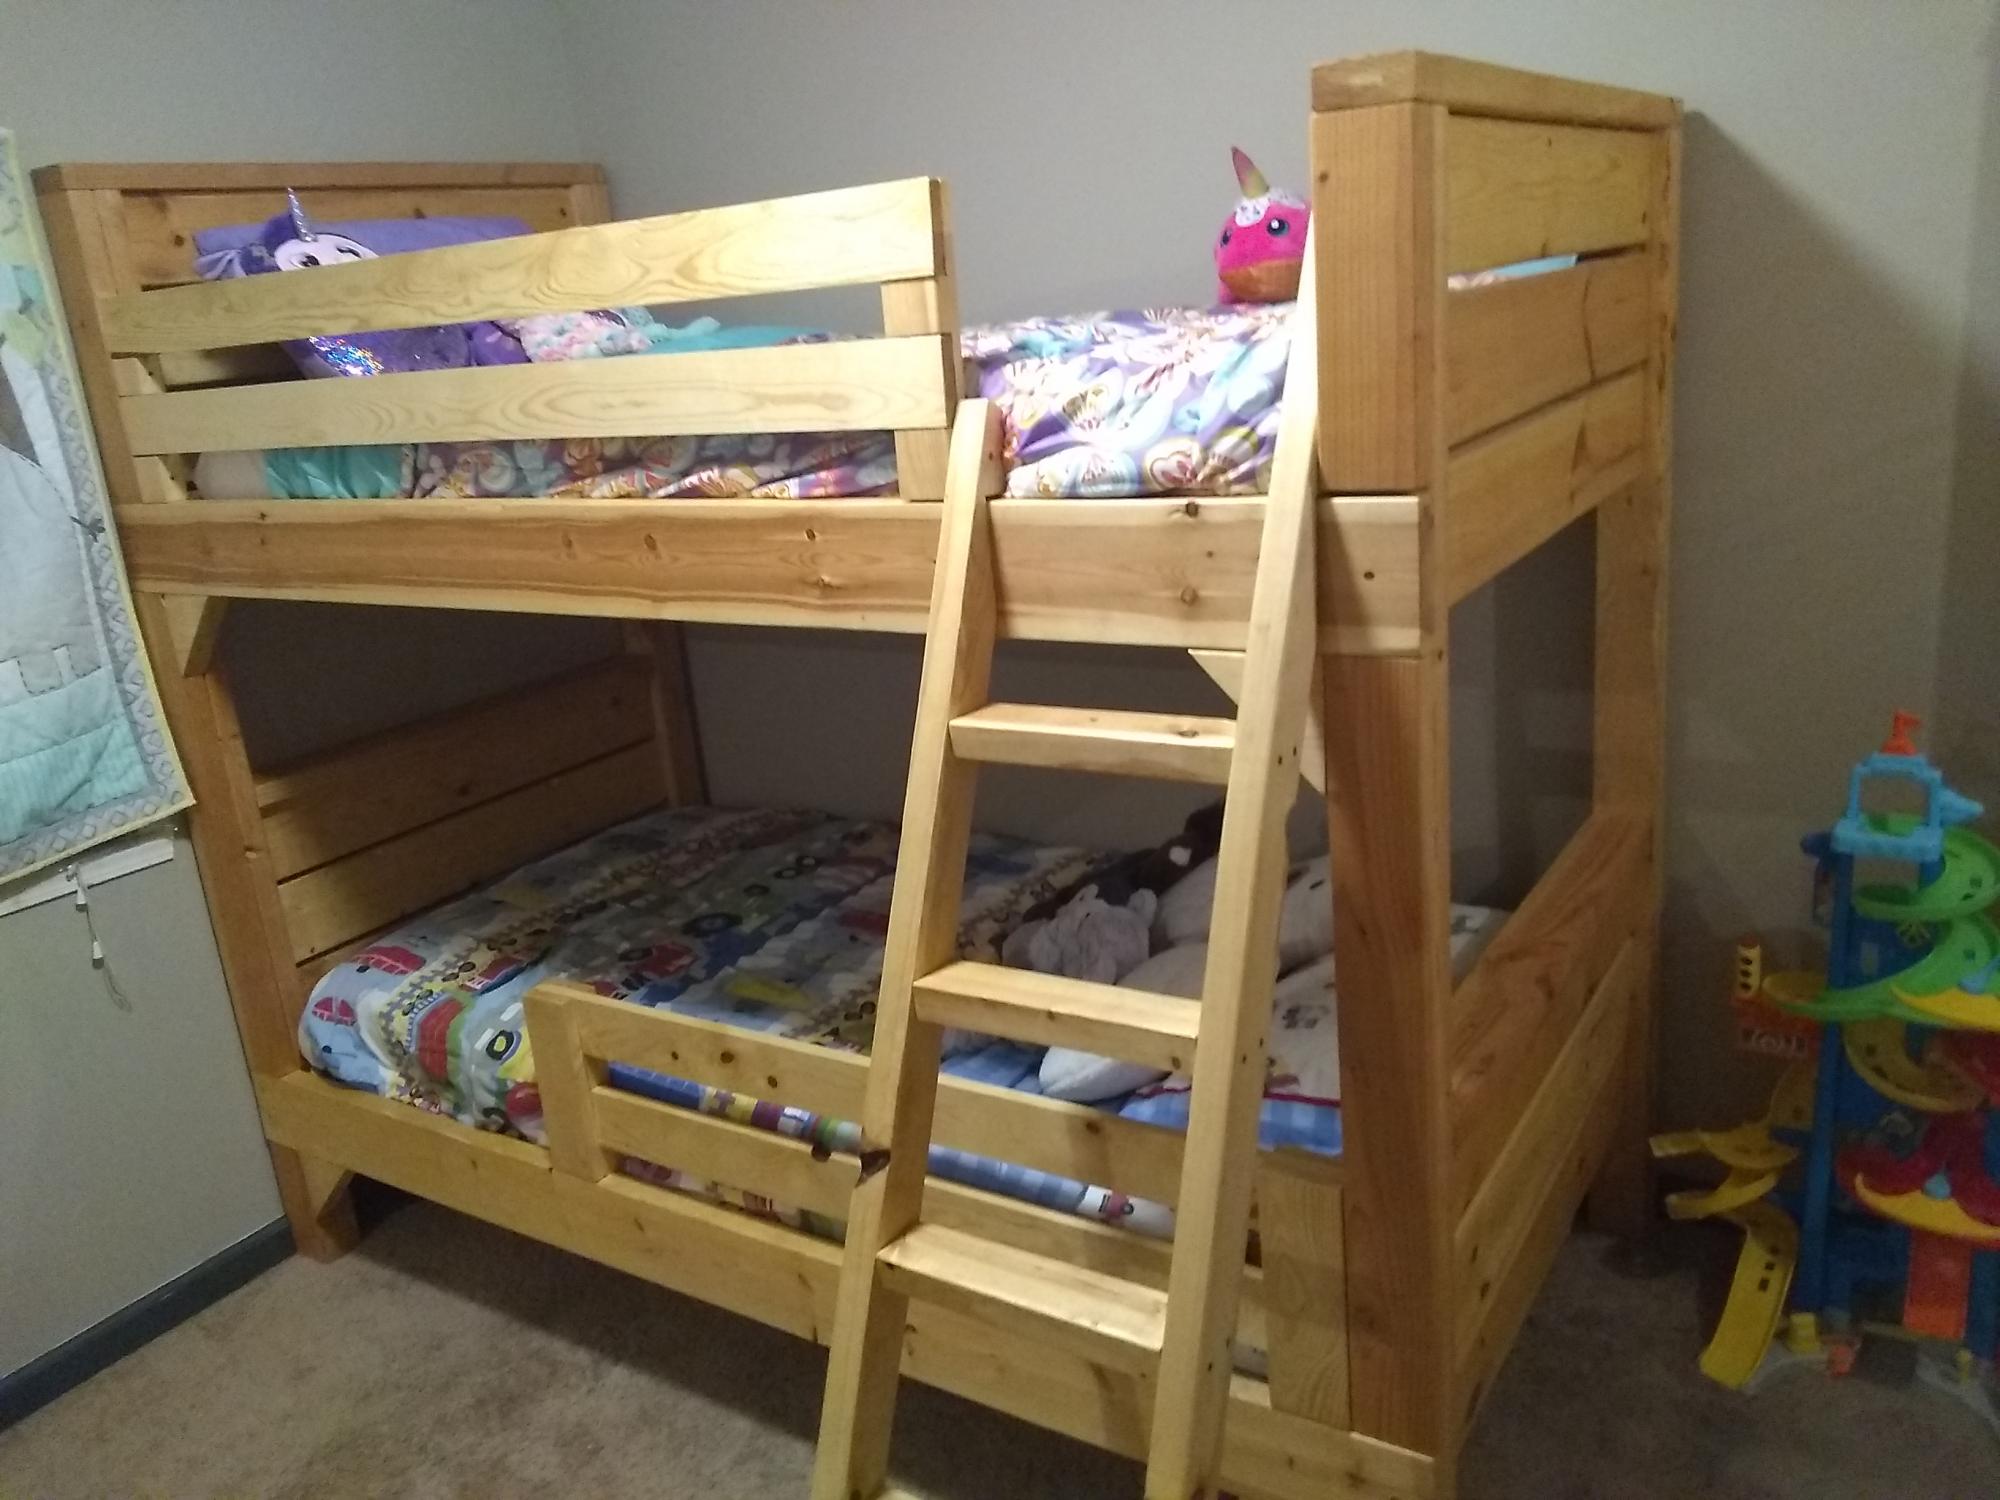
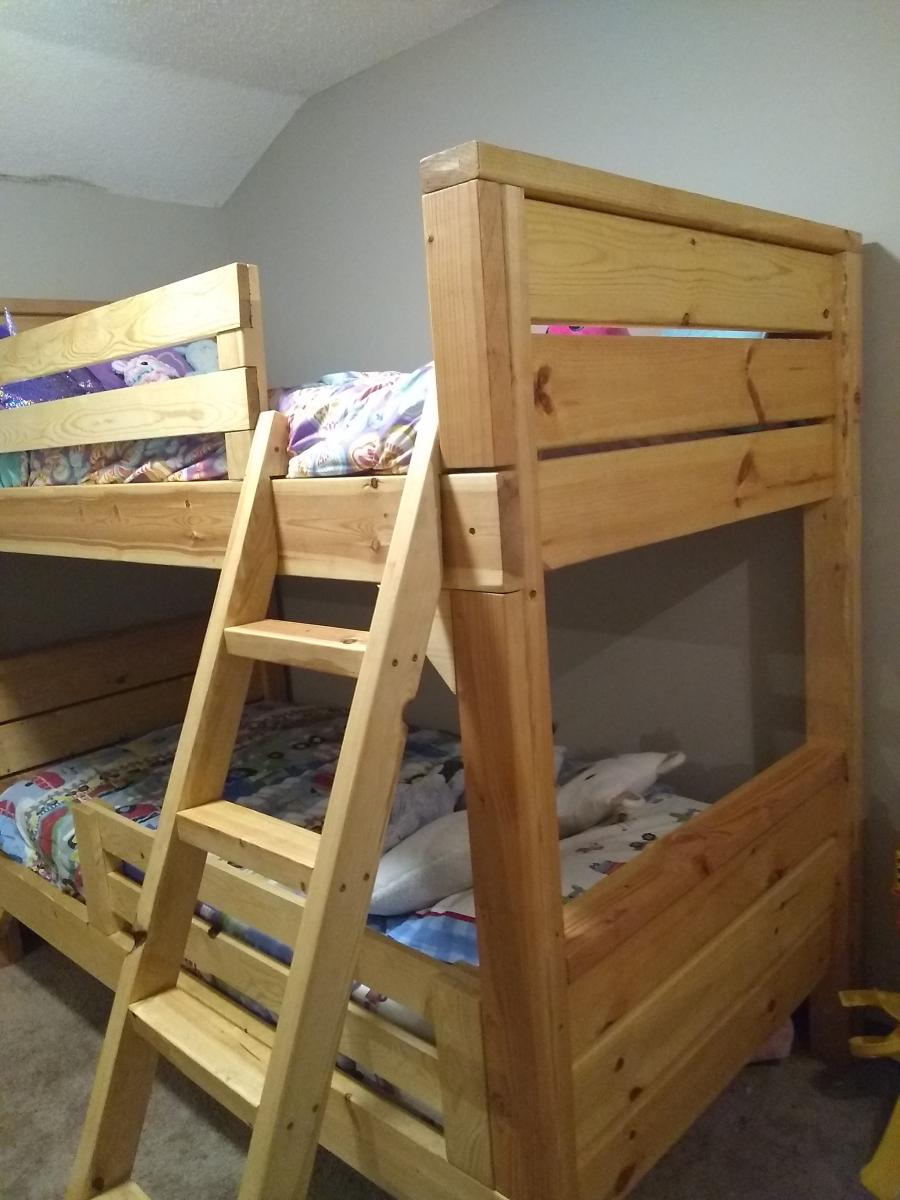
I built this bunk bed from the plans here on Anna white, I love this site. I think it came out really good. It took a little longer than expected because I sanded every piece down, every corner, every side, every end, because it's for my kids.
I devised the ladder myself for my situation and modified the rails I found as well.

A friend needed a raised garden bed for her husband who is in a wheel chair. I searched and found the VegTrug's. It took a lot of trial and error. I based it off Williams Sonoma's pictures. I wouldn't of attempted this with out a plan if it weren't for Ana's website.

Tue, 03/11/2014 - 09:57
Dear CaronGirls, Are plans available for this?
Tue, 05/19/2015 - 06:54
This looks great - I would love to try this...are there plans available?
Sun, 04/24/2016 - 06:25
All the responses say to go to the plan catalog. Link does not work. I looked for an hour. Please help, I really want this plan!,
Wed, 05/18/2016 - 21:45
Not sure what the story is here, Maybe she got in trouble for saying Vegtrug? I would like plans for a DIY Raised planter bed like the above.
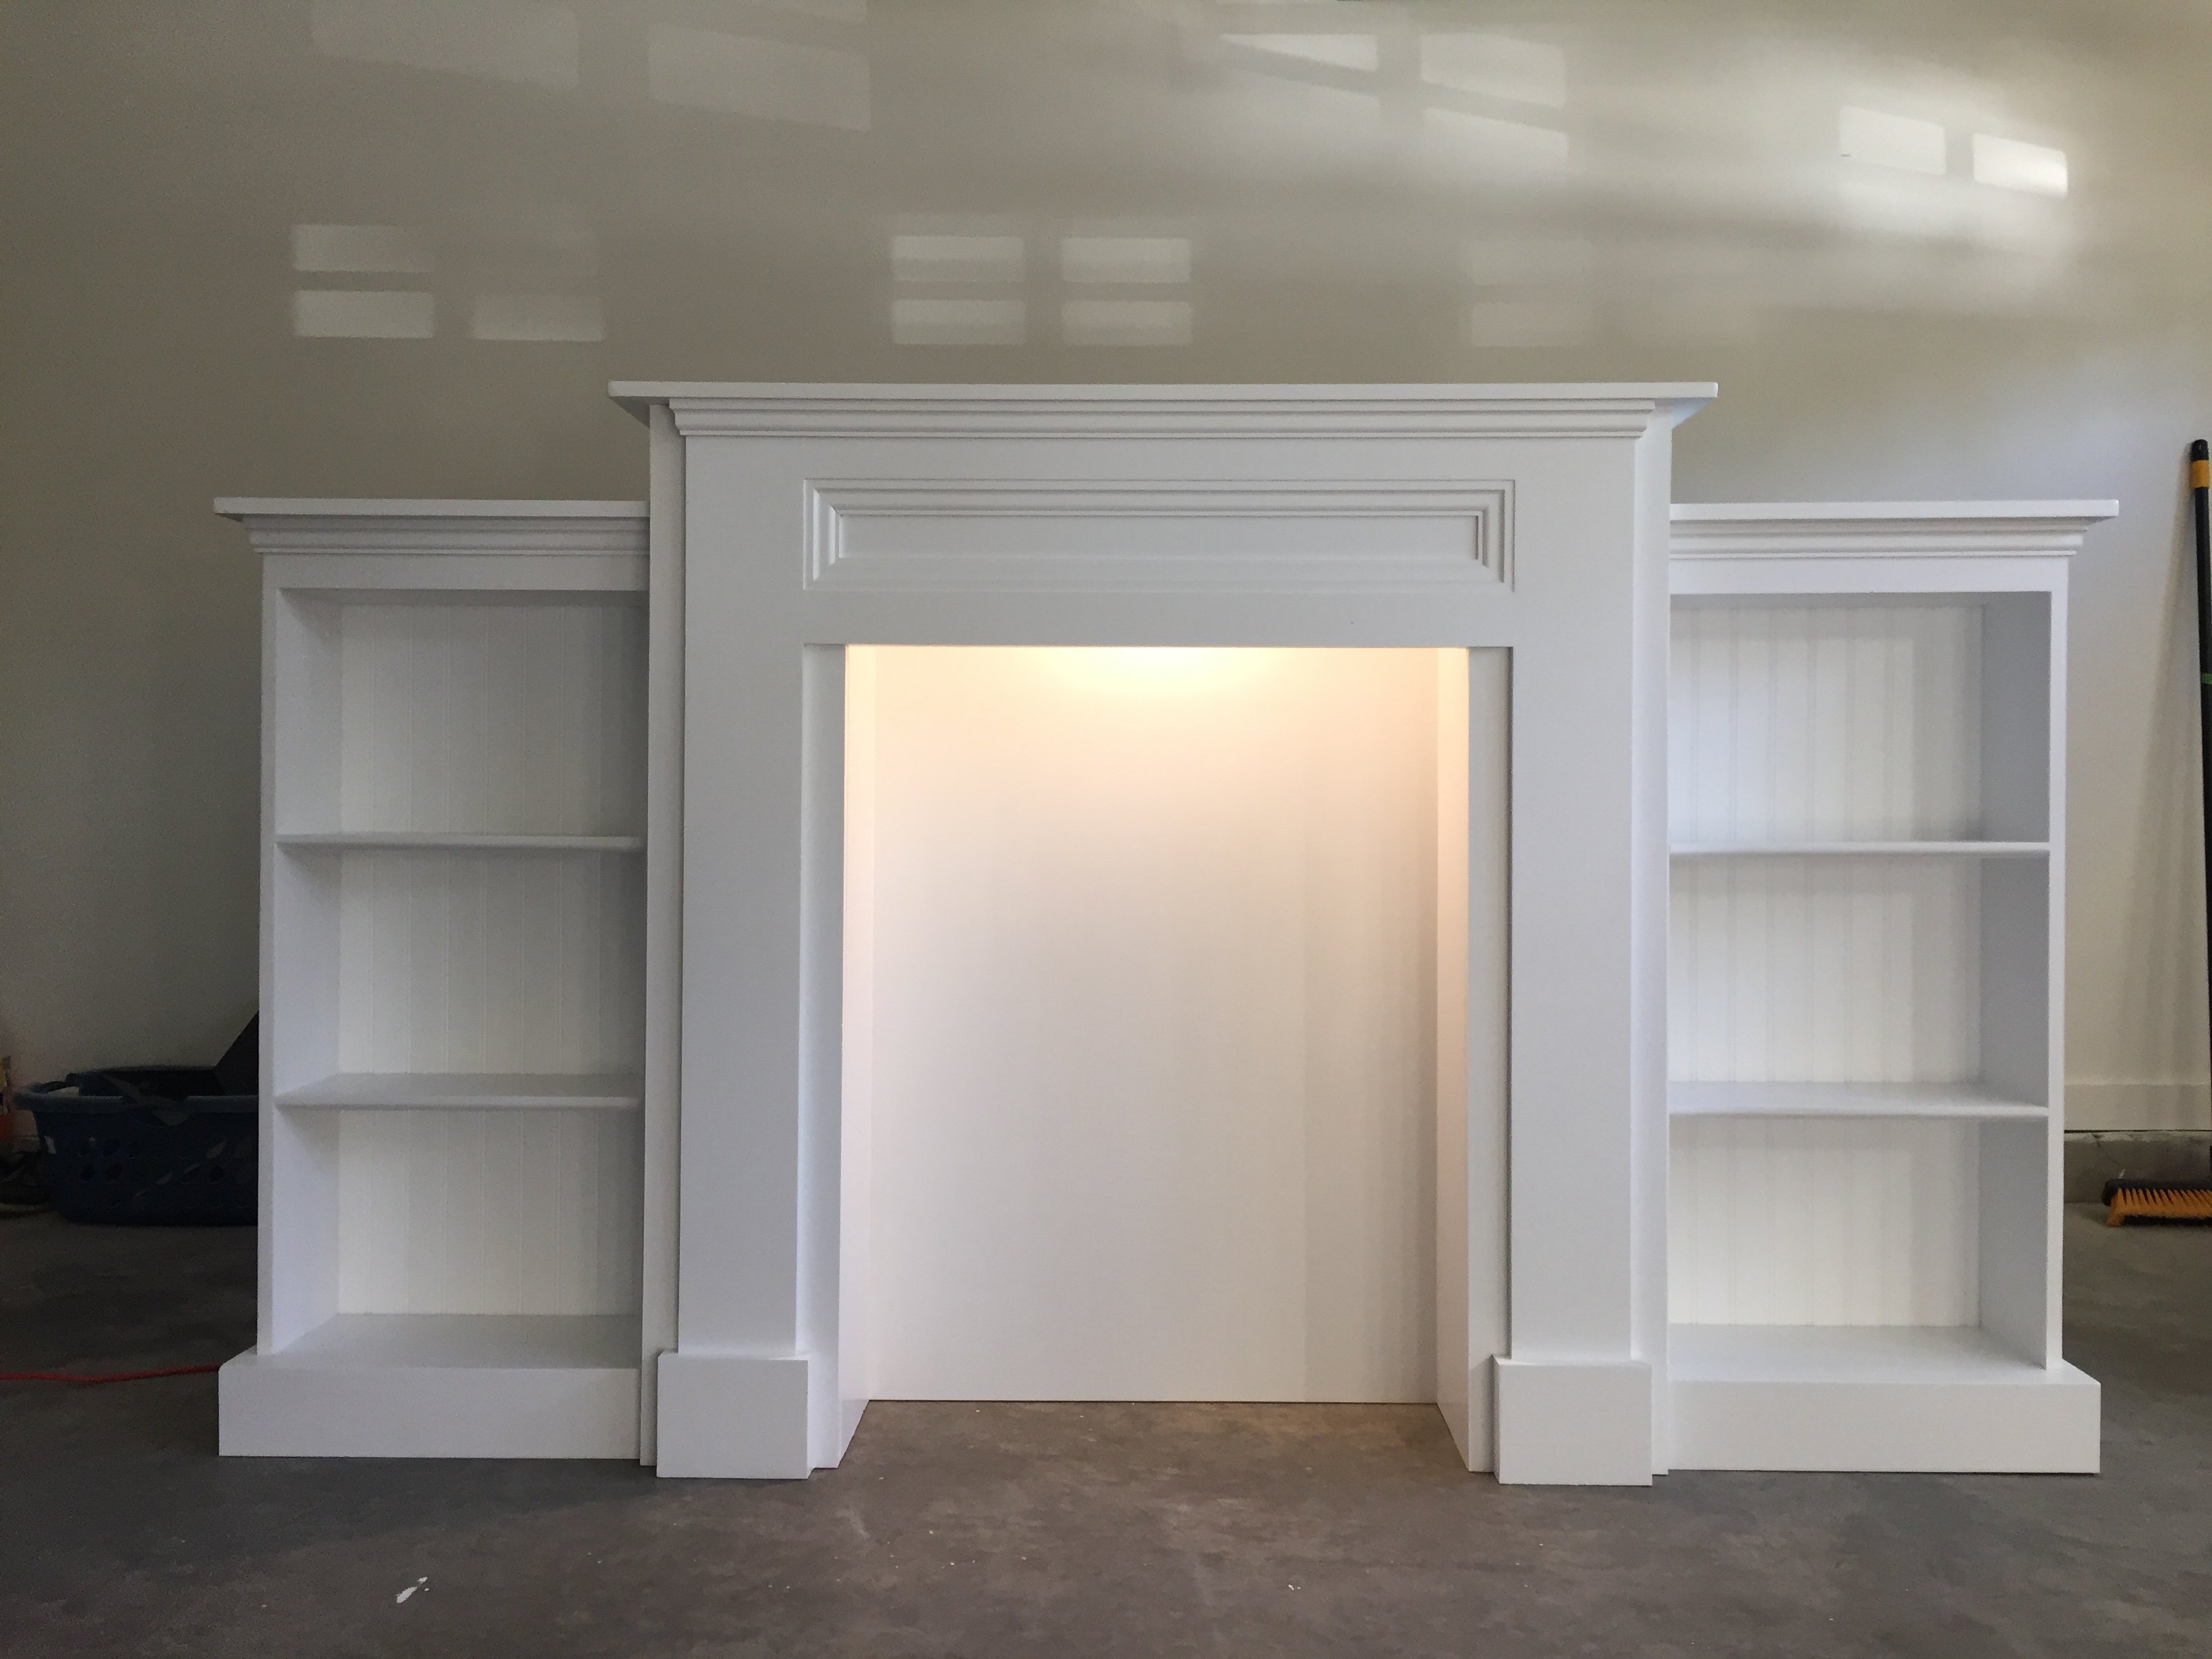
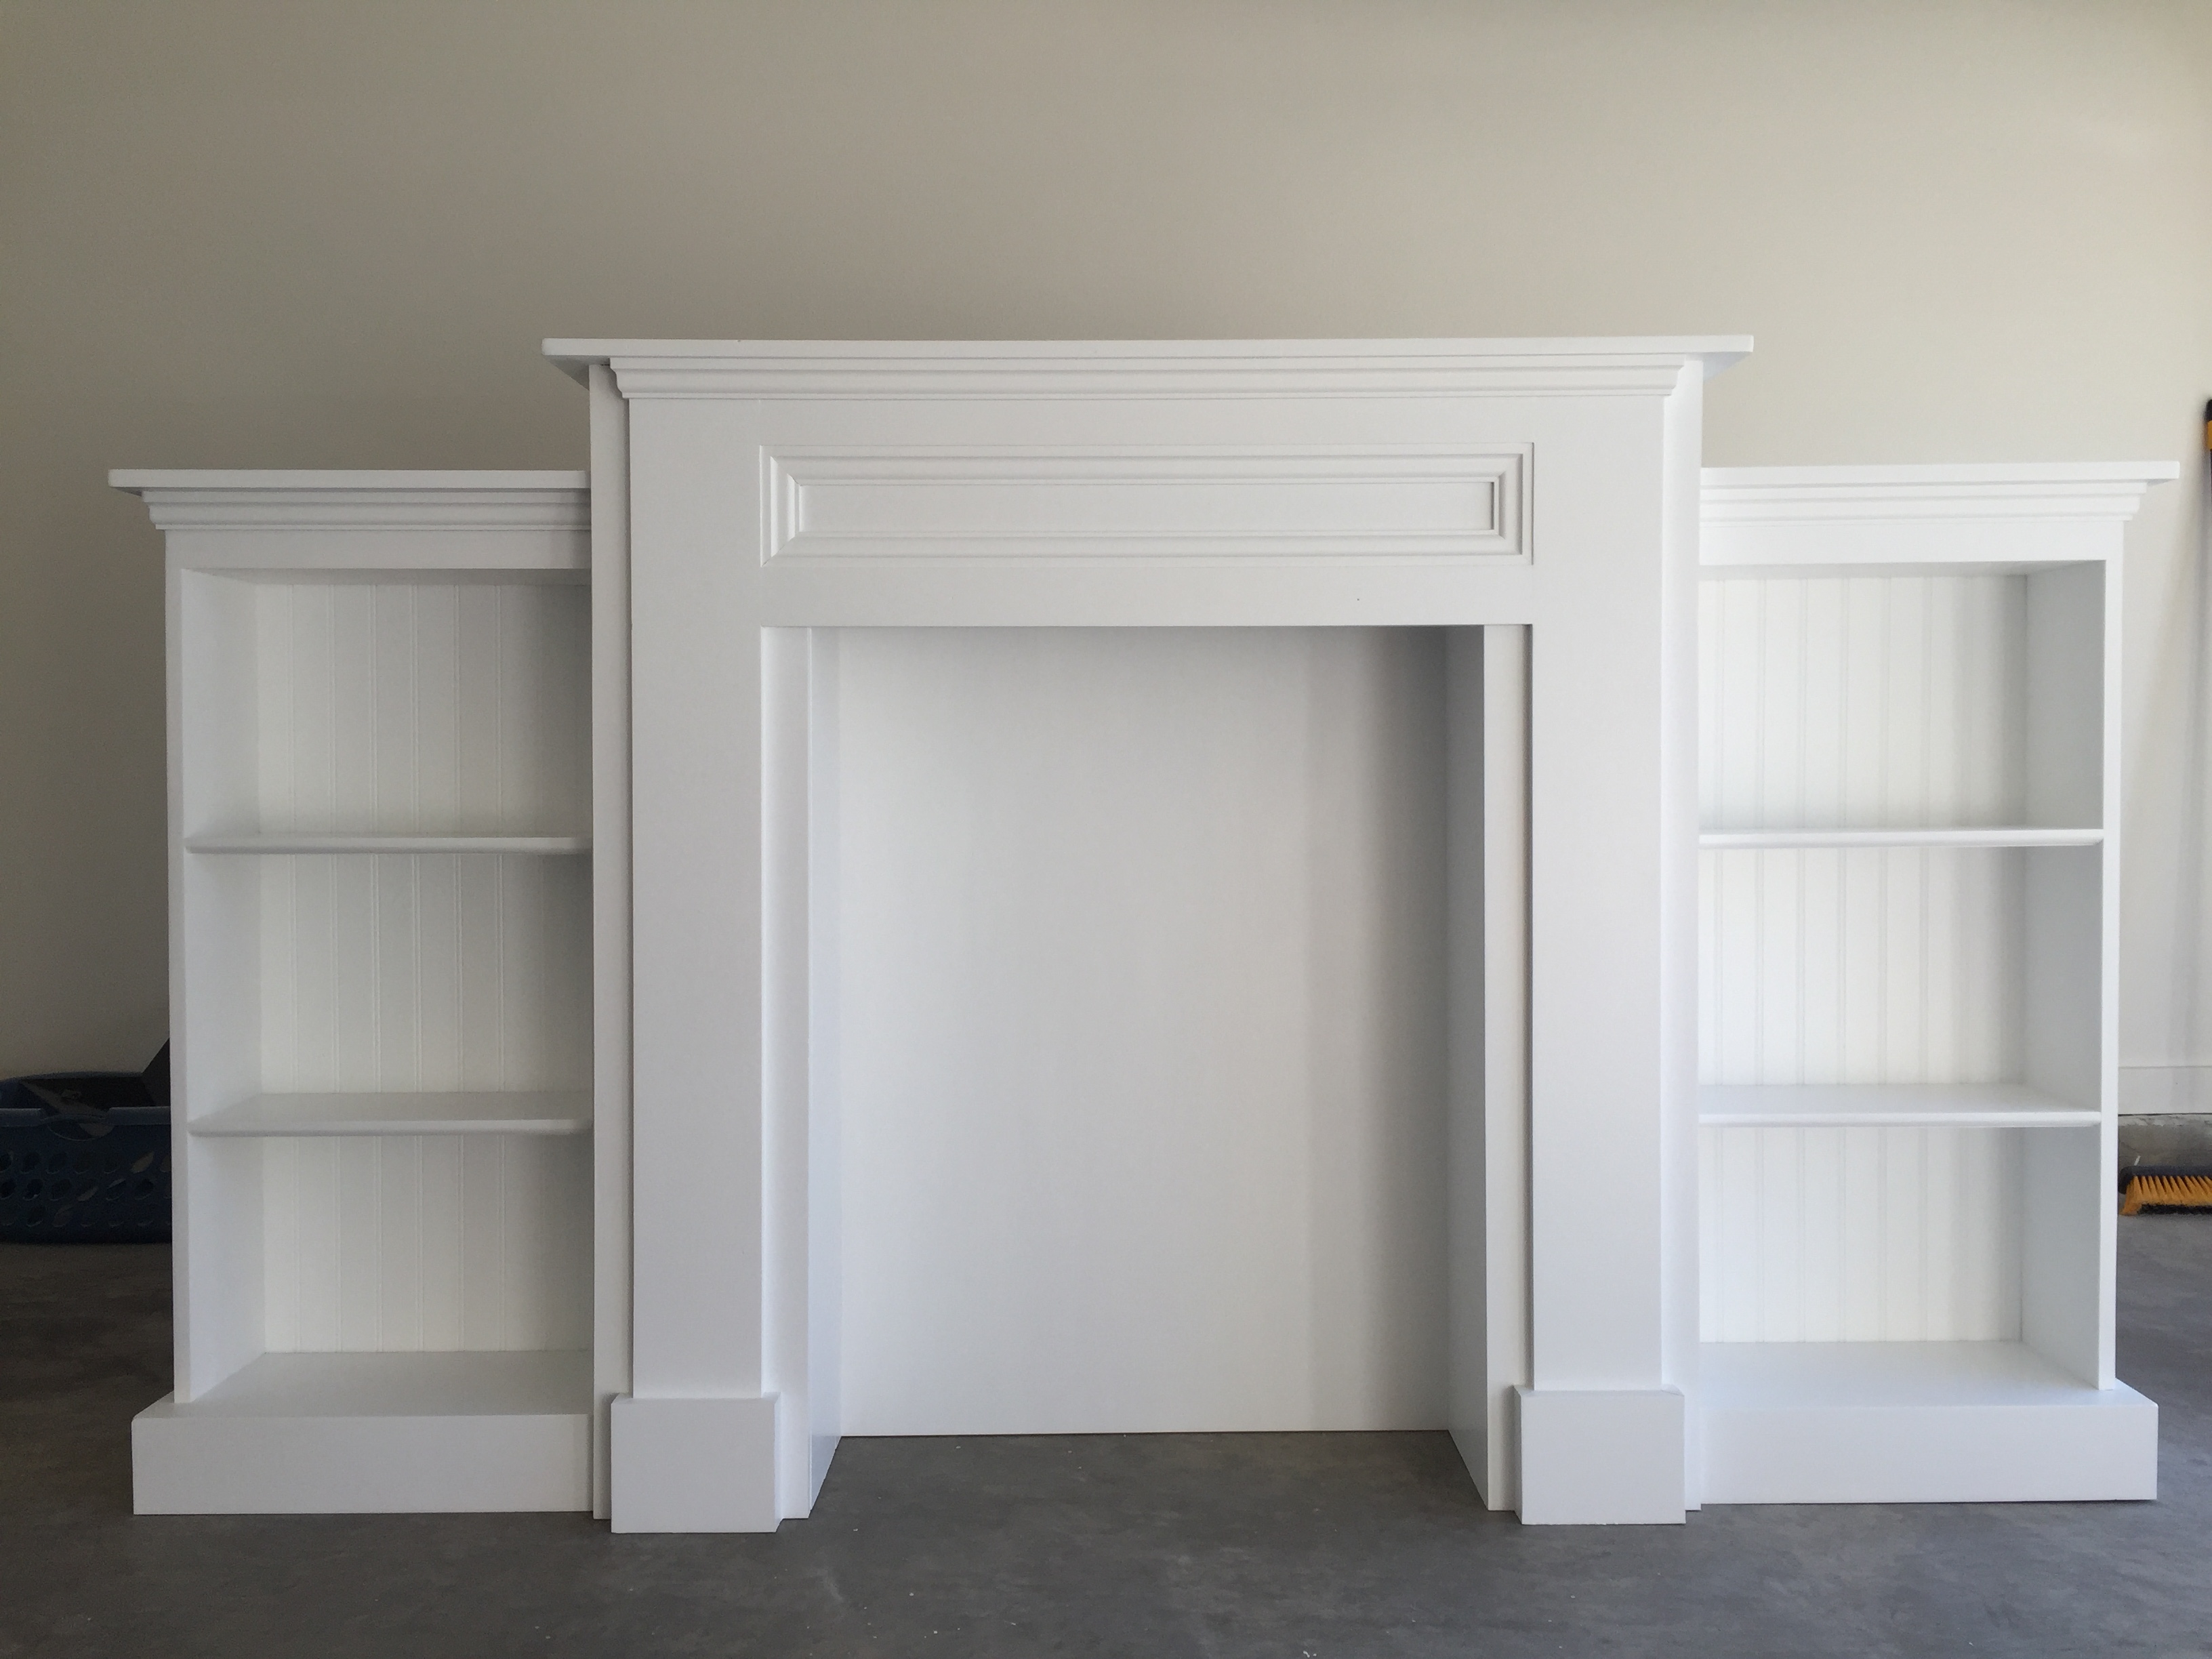
Made from the modified Mimi's Faux Mantle design from another brag post.
Tue, 12/19/2017 - 22:01
Are you able to tell me how wide this is from the end of one bookcase to the other? I'm trying to find out if it will fit in my living room. Thanks!
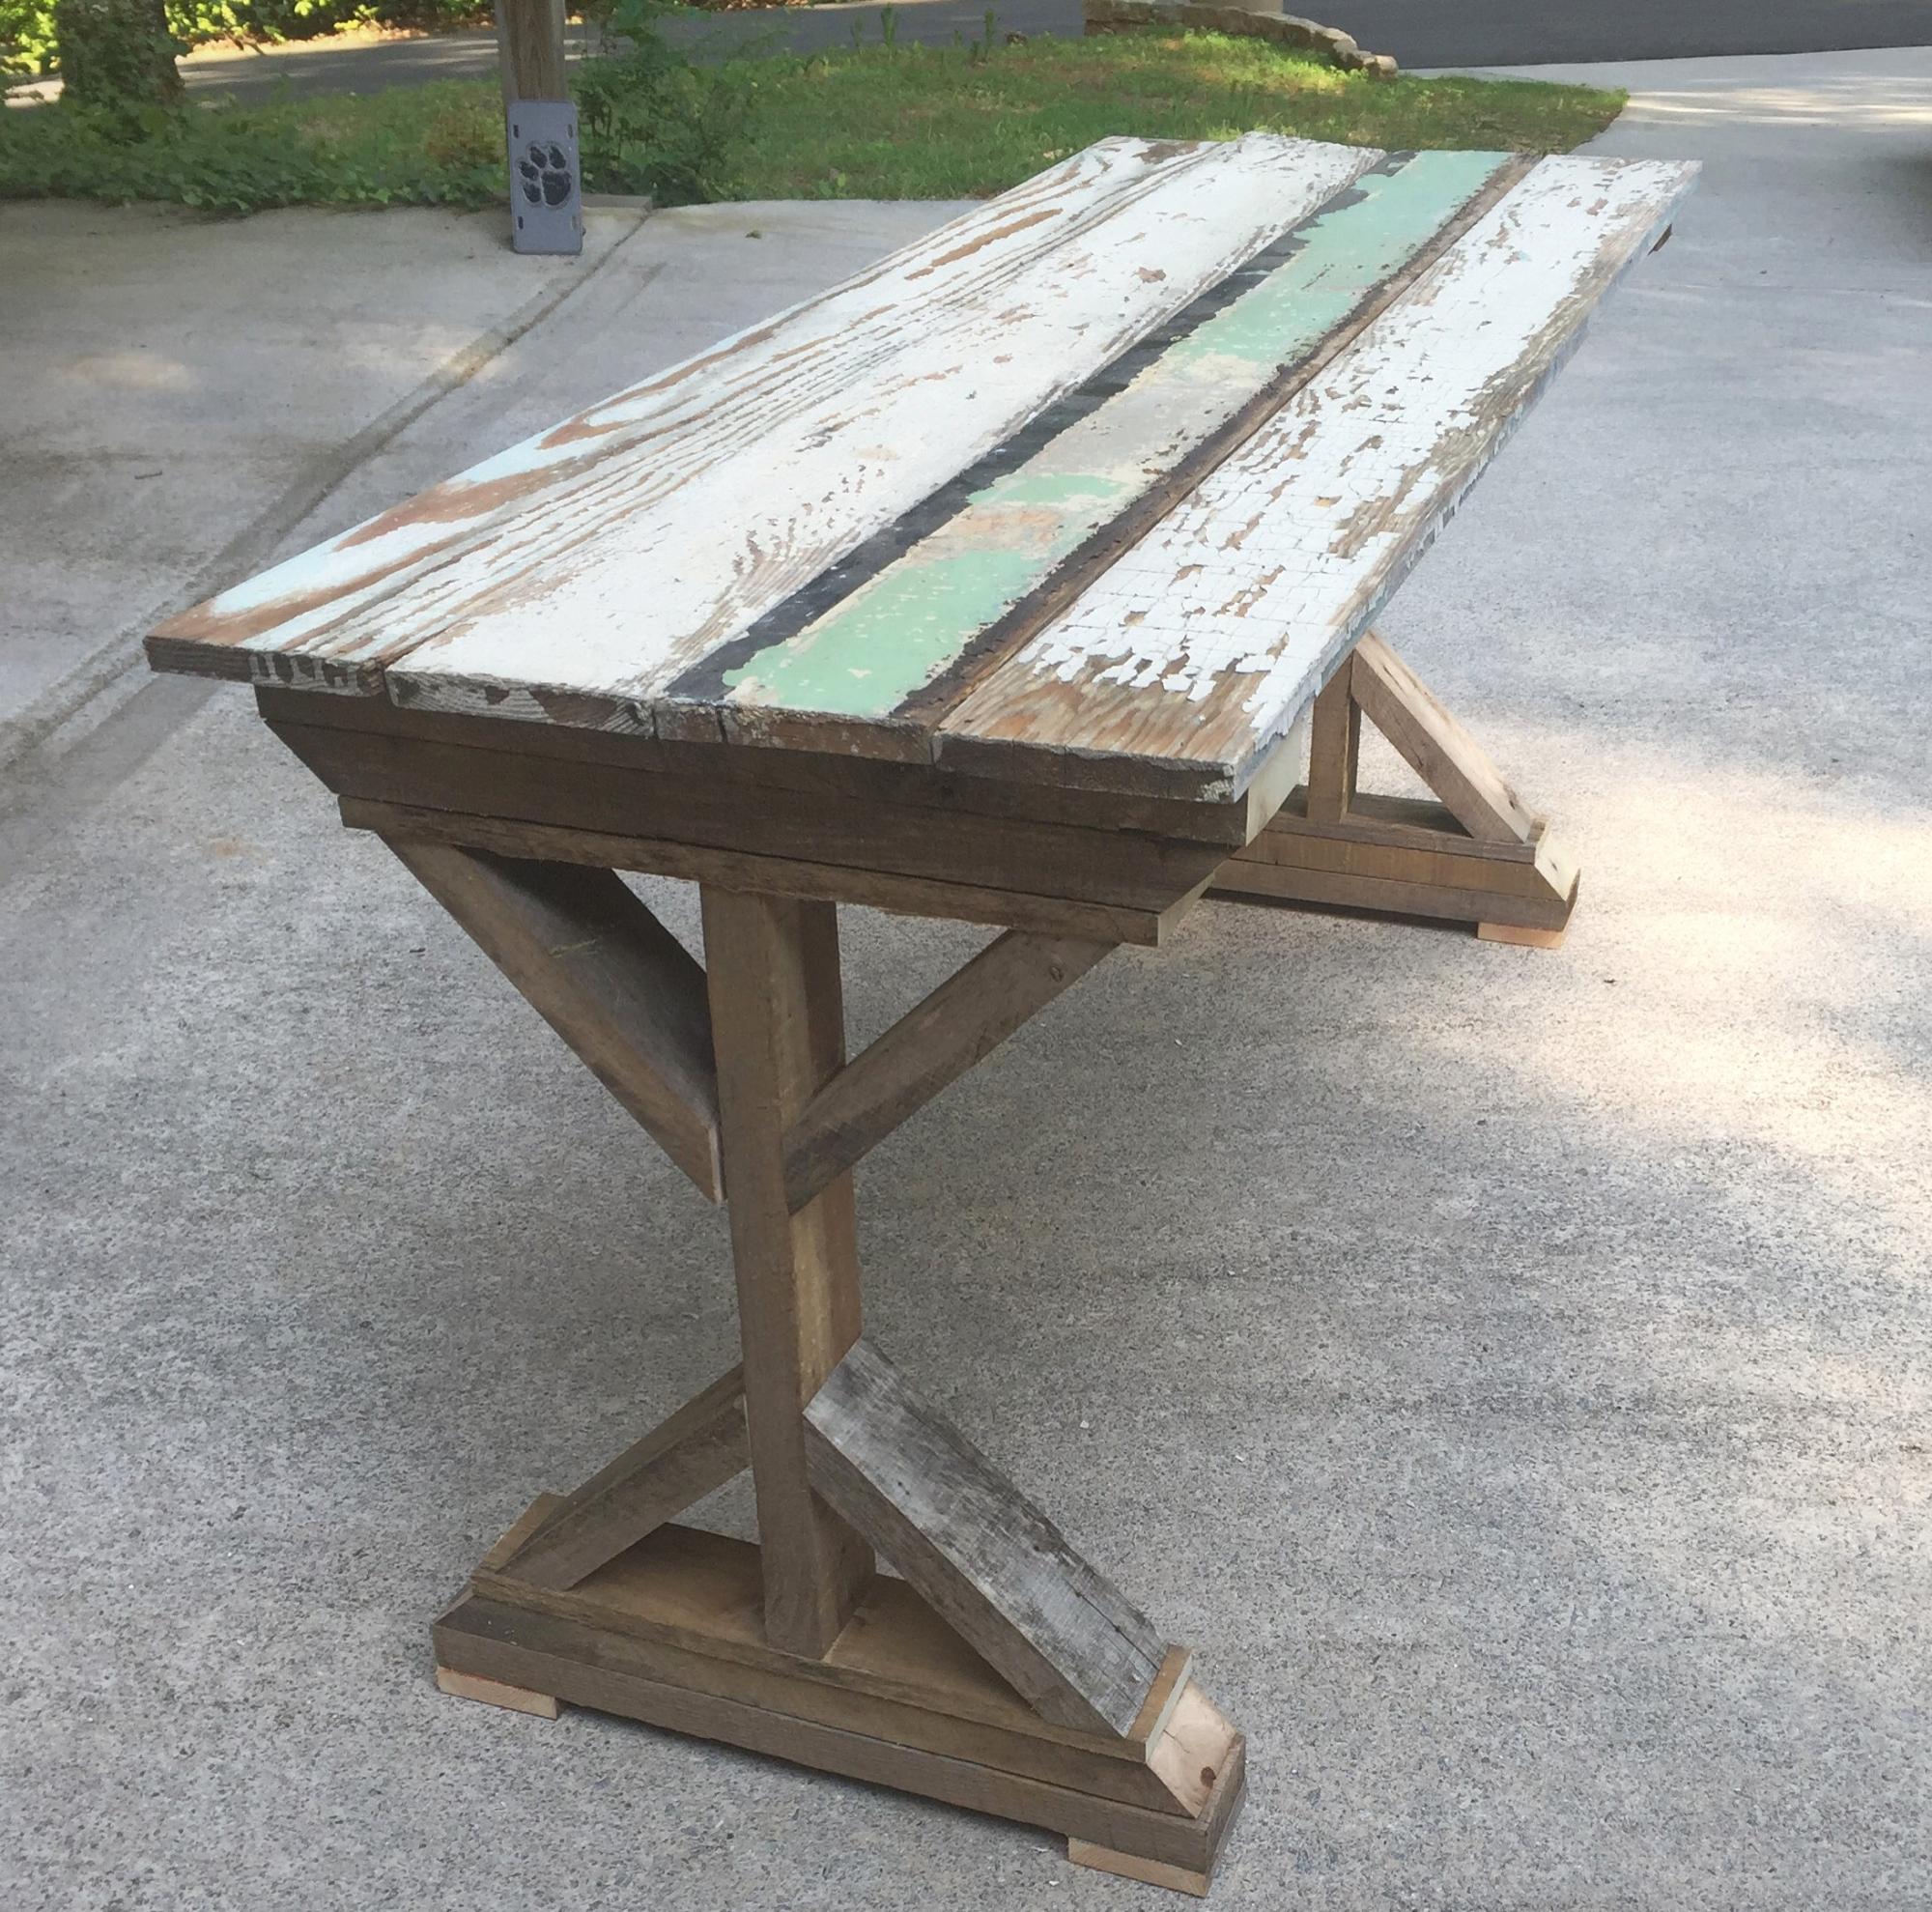
Started this project out of boredom. I had some time and some extra wood laying around. Some was from pallets I took apart, some from a salvage house, and some from an old barn. I built the table in a few hours and worked through any misshaped boards as best as possible. It was a relativley easy project and fun to see the legs turn out with each step. I plan to use cables and turnbuckles for the cross braces on the back and will update the pic when I do. I just need to find a home for it now.
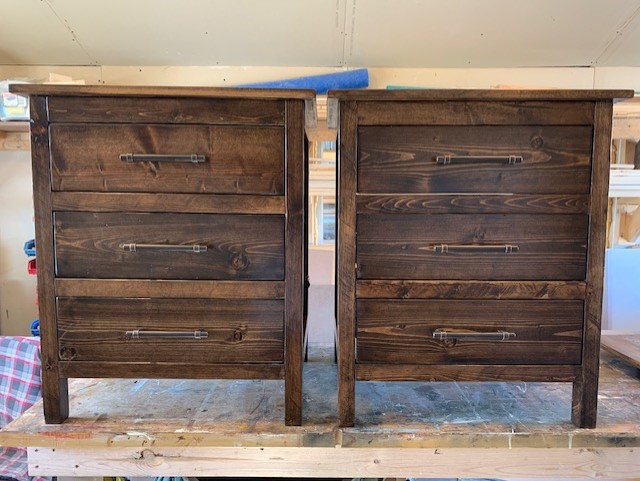
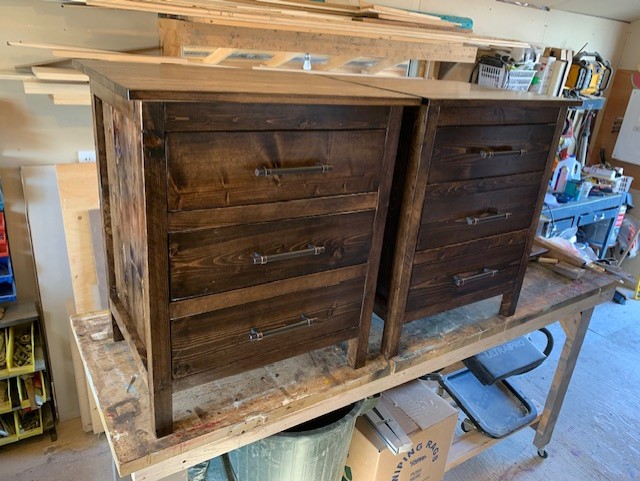
Made these rustic style bedside tables for my master bedroom. I used the Reclaimed Wood Bedside Tables plan, but modified it to make it a little wider- to 24" top width. I wished the plan had exact plans for the drawers, but I made do without them, and all in all, they turned out fantastic! I used pretty heavy duty 100 lb drawer slides, and used 1x6's for the entire drawer square (backer board for the bottoms). I wanted the slides to be able to handle the extra weight, plus all my books etc that will fill the drawers. I used standard spruce/pine from the store, but ripped my own 2x2's and 1x2's from 2x4's and 1x4's. I liked the crosscut look to stay, so I only sanded them minimally. The hardest part was putting on the top from underneath, as I didn't want my tops to have the nail holes in them, but my trusty brad-nailer came to my rescue!
It was a good day or two project by the time I got them built, stained (with Minwax Espresso), and sealed with (Minwax Poly-Acrylic).
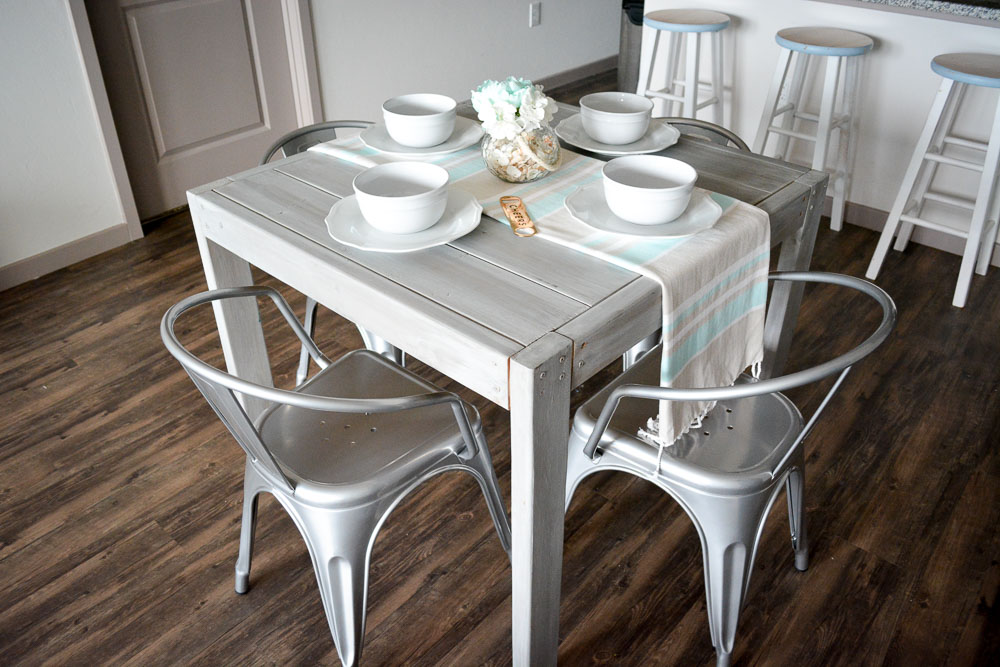
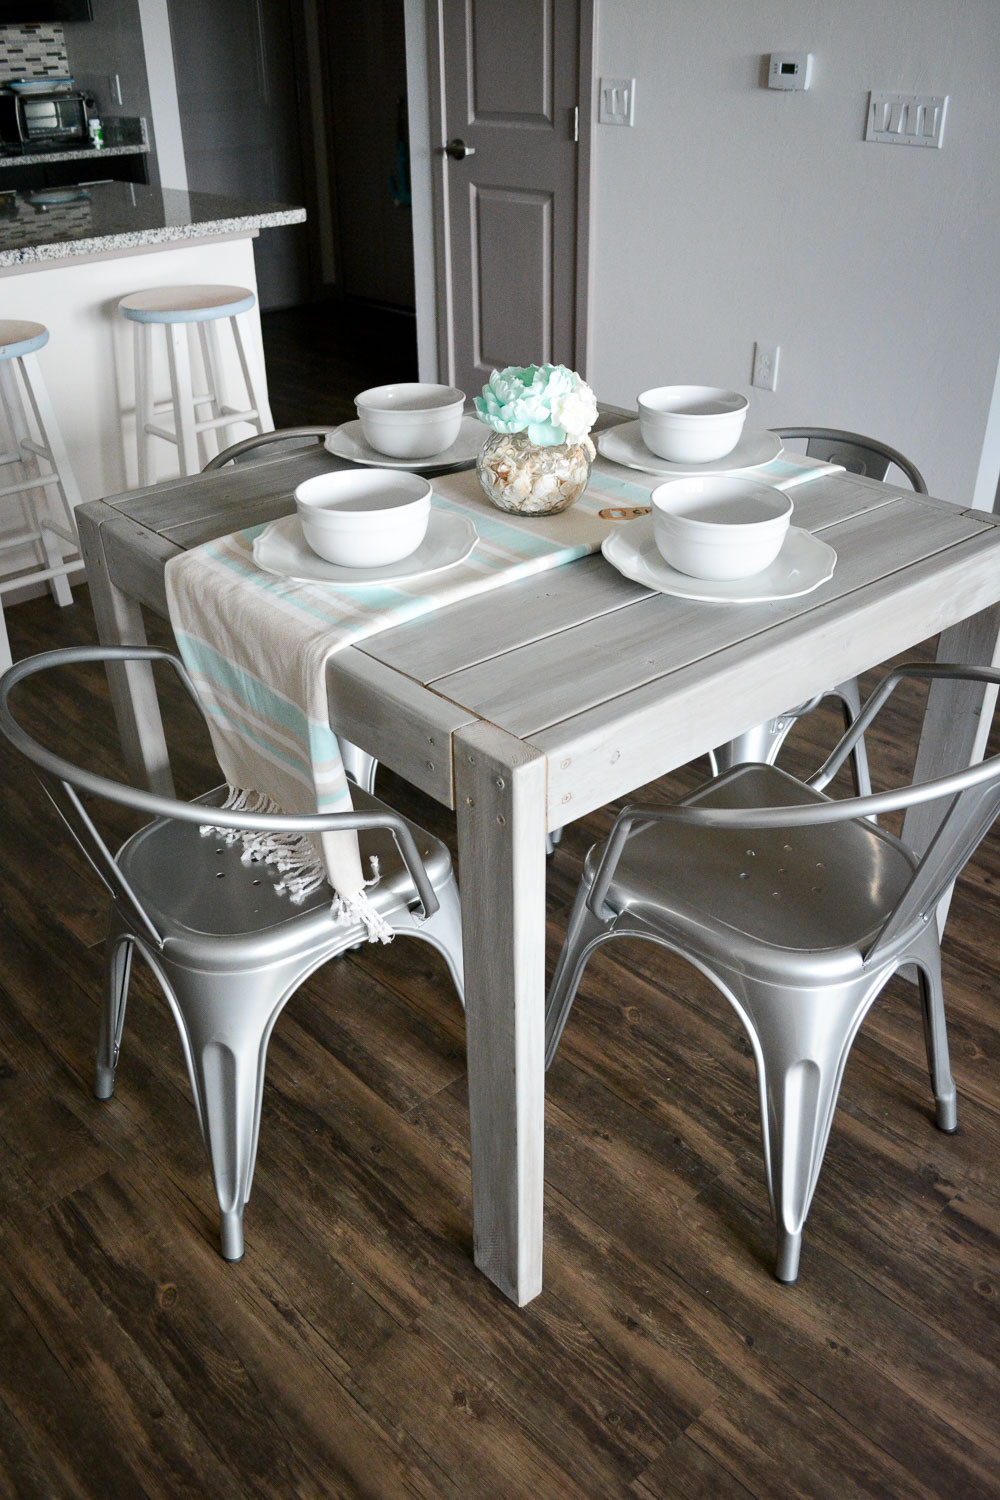
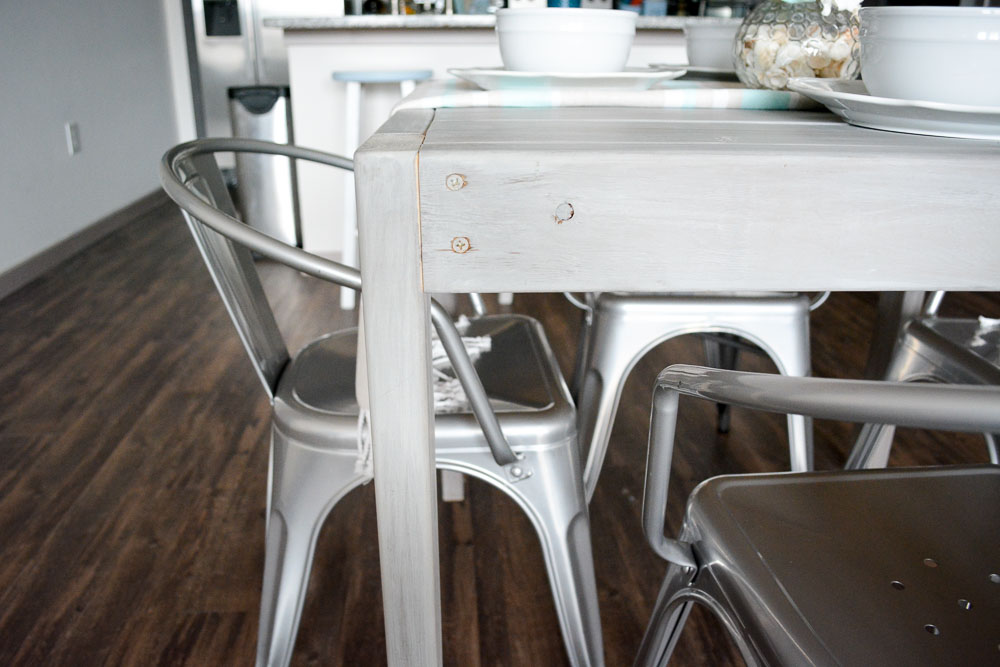
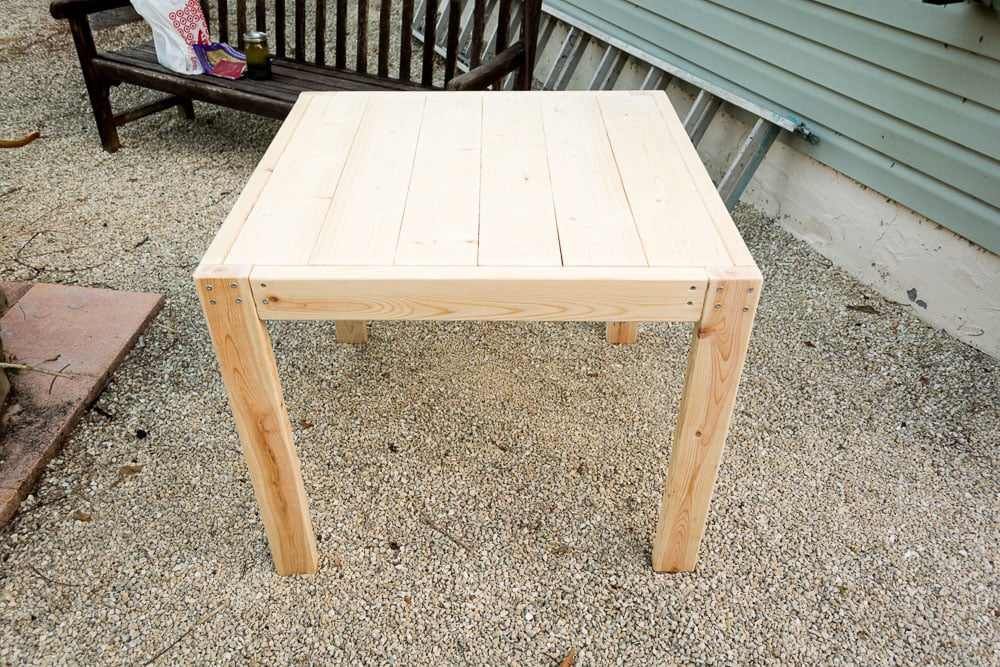
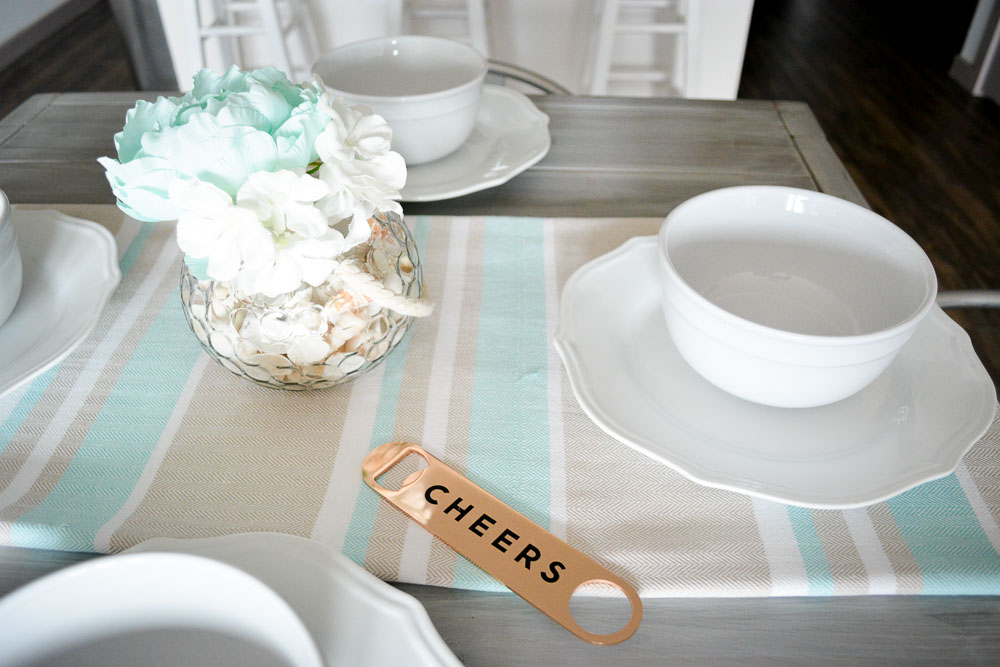
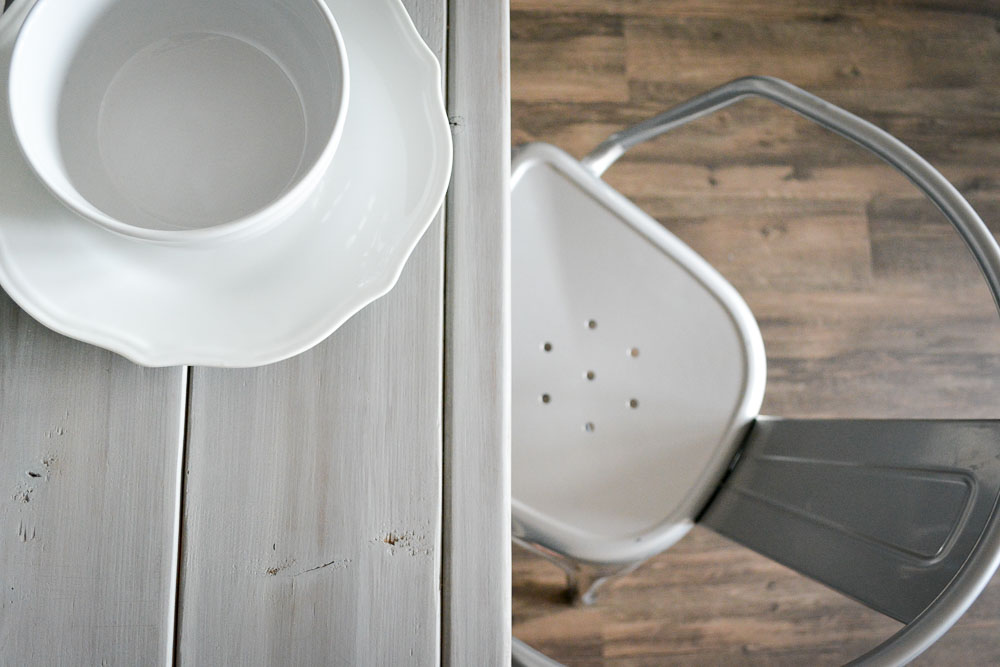
This is my sqaure farmhouse style dining table. It is so easy to make! An important tip is to get good pieces of wood. You don't want any bowing or else it won't be perfectly level. To see more photos and tips, go to SweetTeal.com/diy-farmhouse-table.
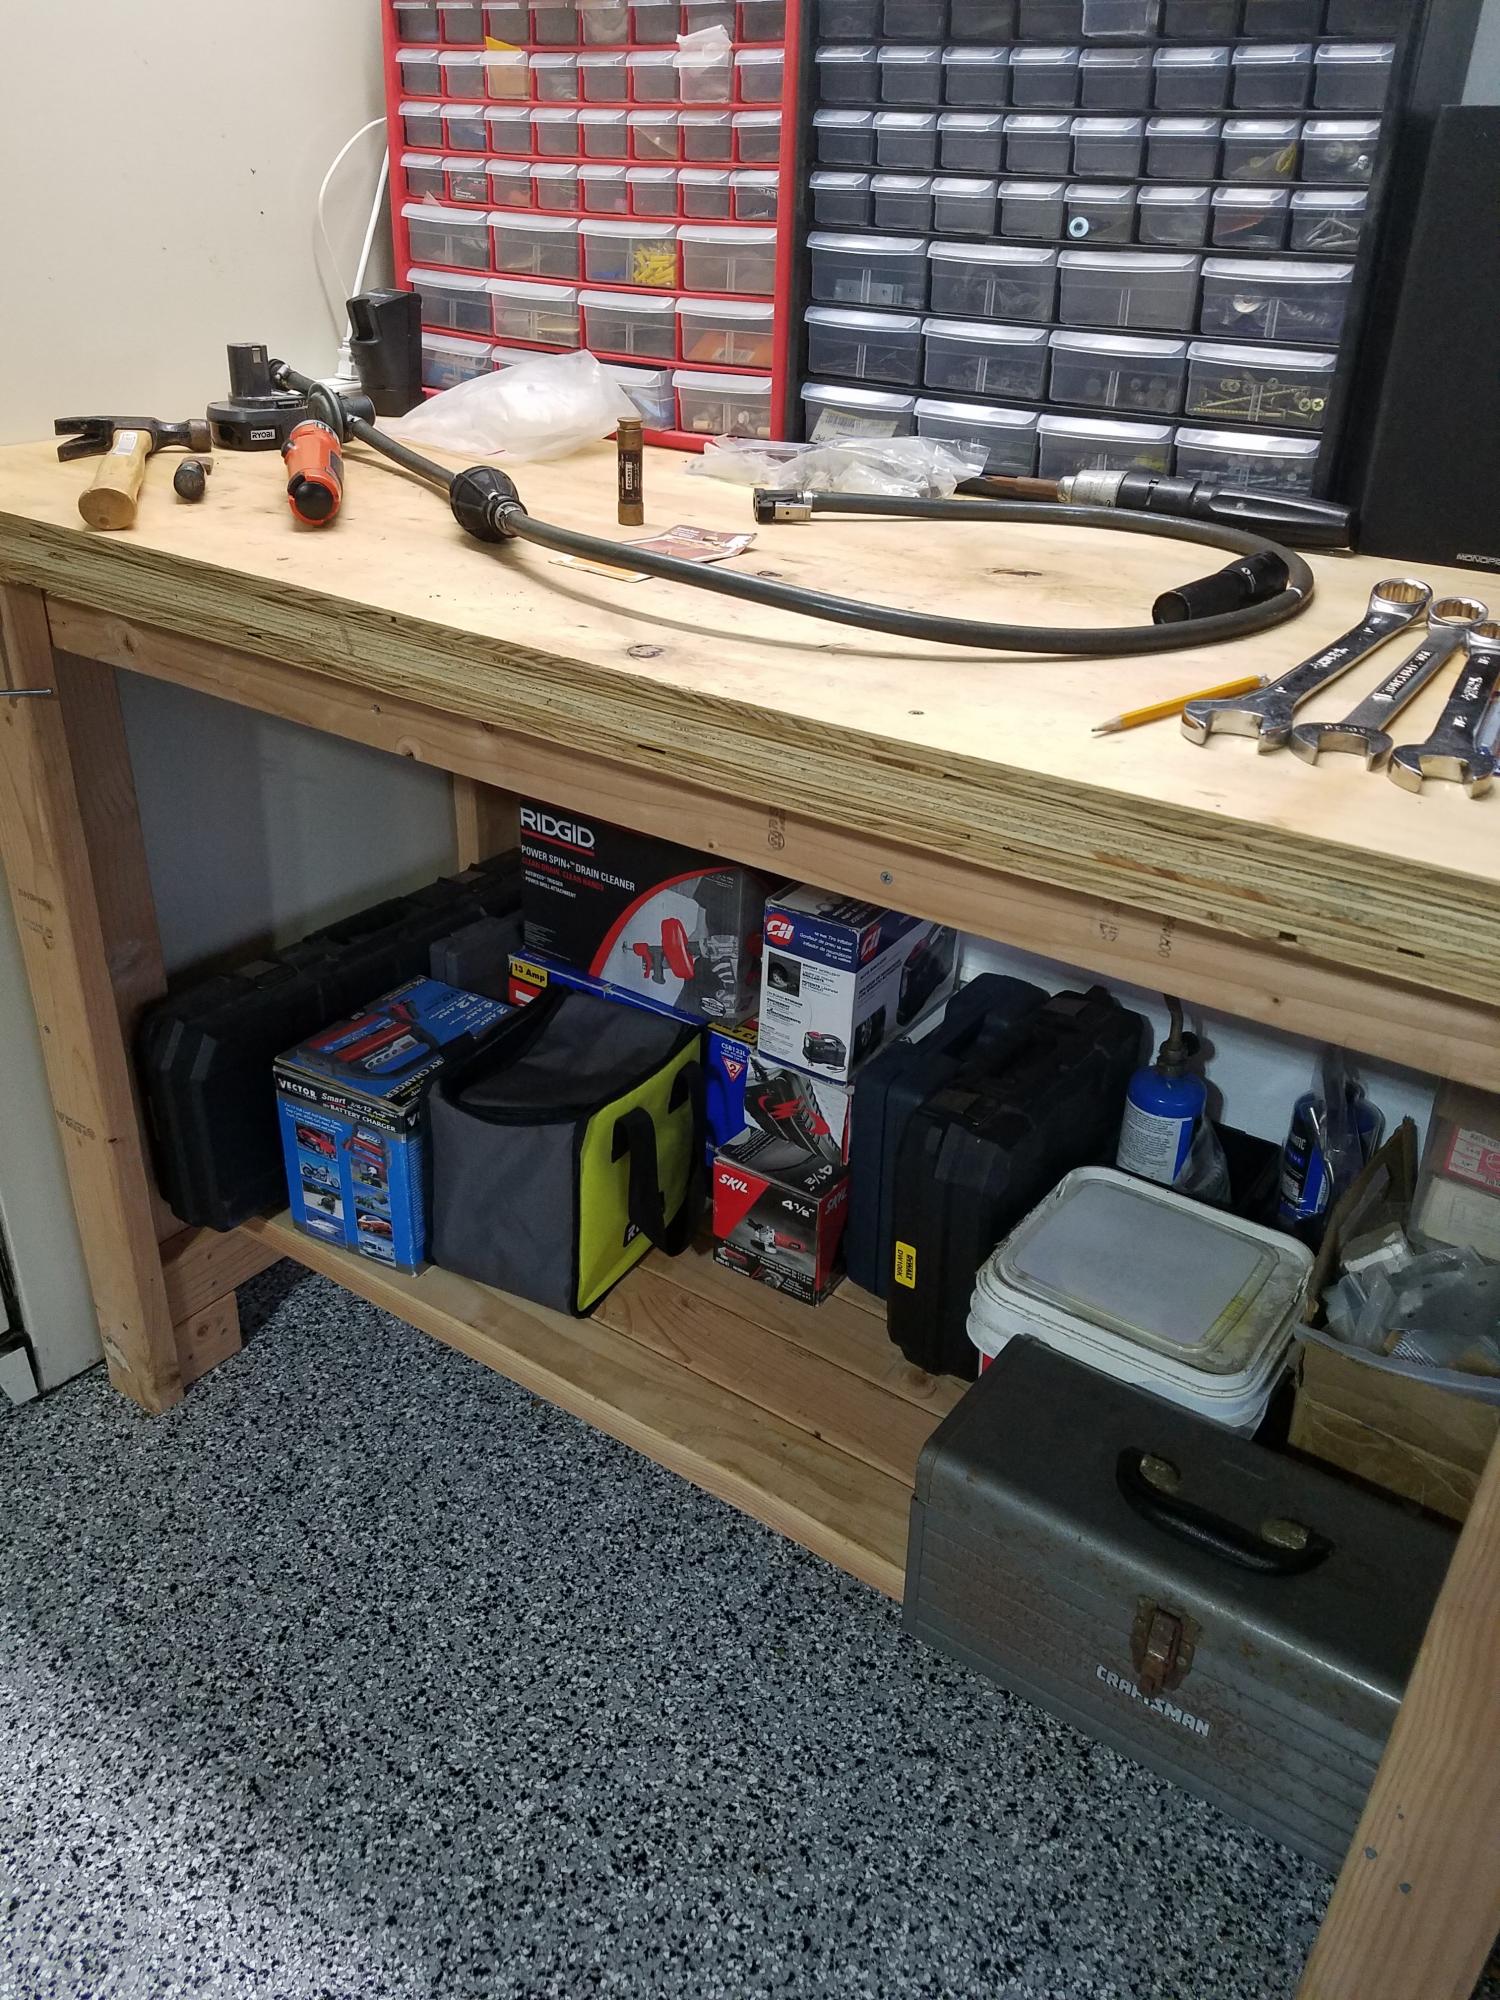
This is the perfect workbench for my garage here in South Florida. I modified the plans using 2x4 actual dimensions so that the outside dimensions were 60" wide x 40" height x 30" deep. I designed it for my husband and he is 6'4" so I wanted it to be taller for him. I used 3 sheets of plywood (3/4" thick each layer) for the top and it is super sturdy. For the bottom shelf, I left one 2x4 off so that it wouldn't hit our shins while standing at the front. I was concerned at first that the wider bench (60") may need an additional bottom shelf support in the middle. It did not need this extra support. The shelf can hold a lot of weight with no concern. See all the tools that are on that shelf in my pic. Thank you Ana White for these great plans - it was my first workbench that I have built. I am looking forward to more woodworking projects.
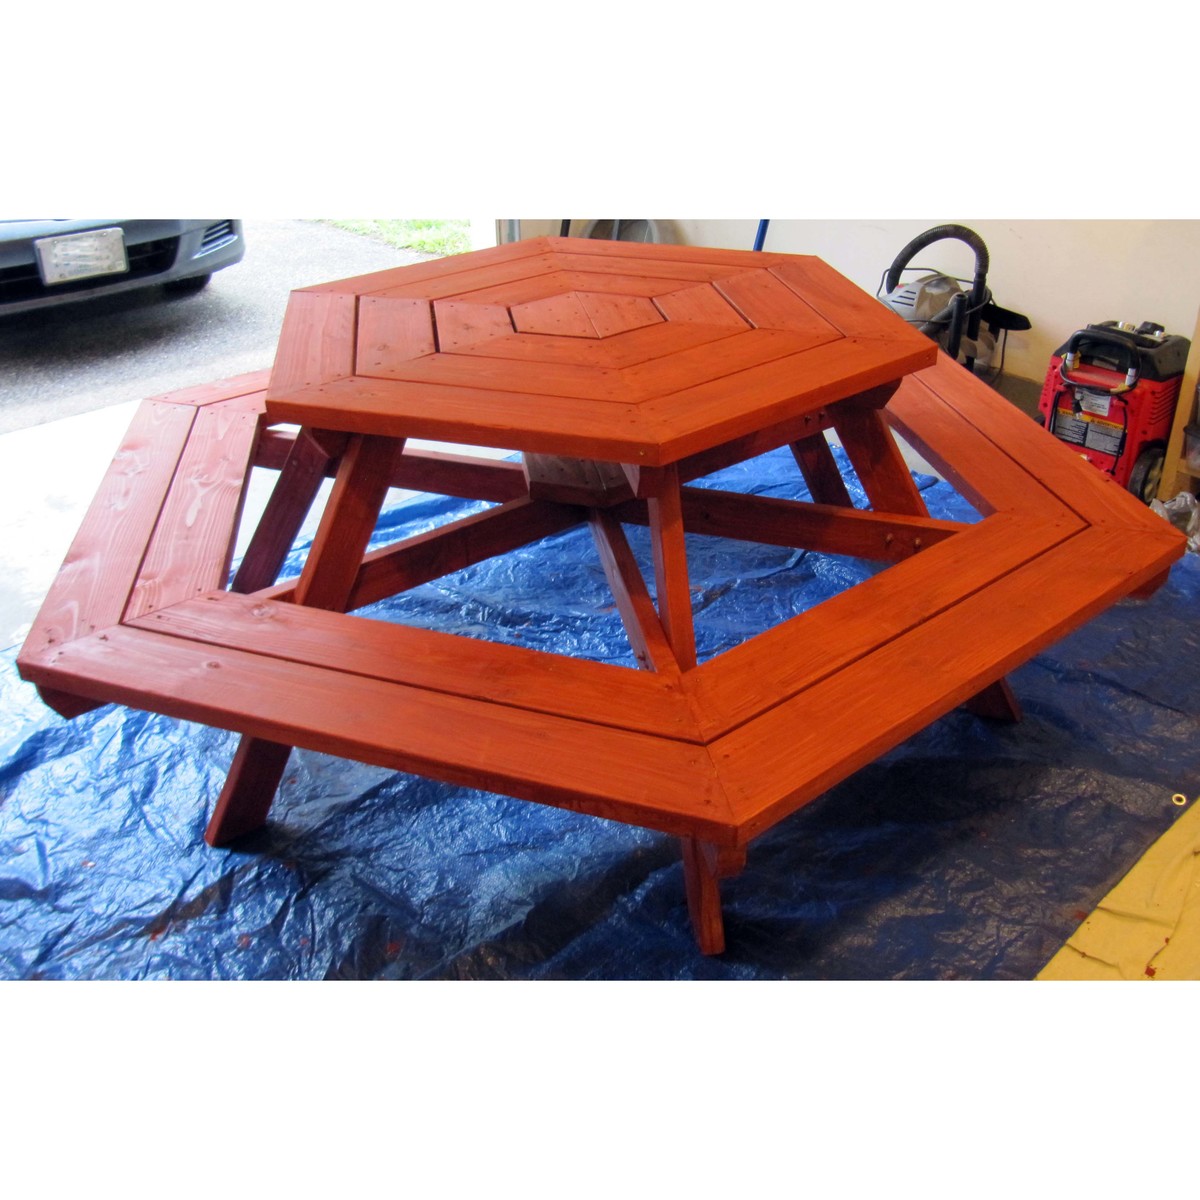
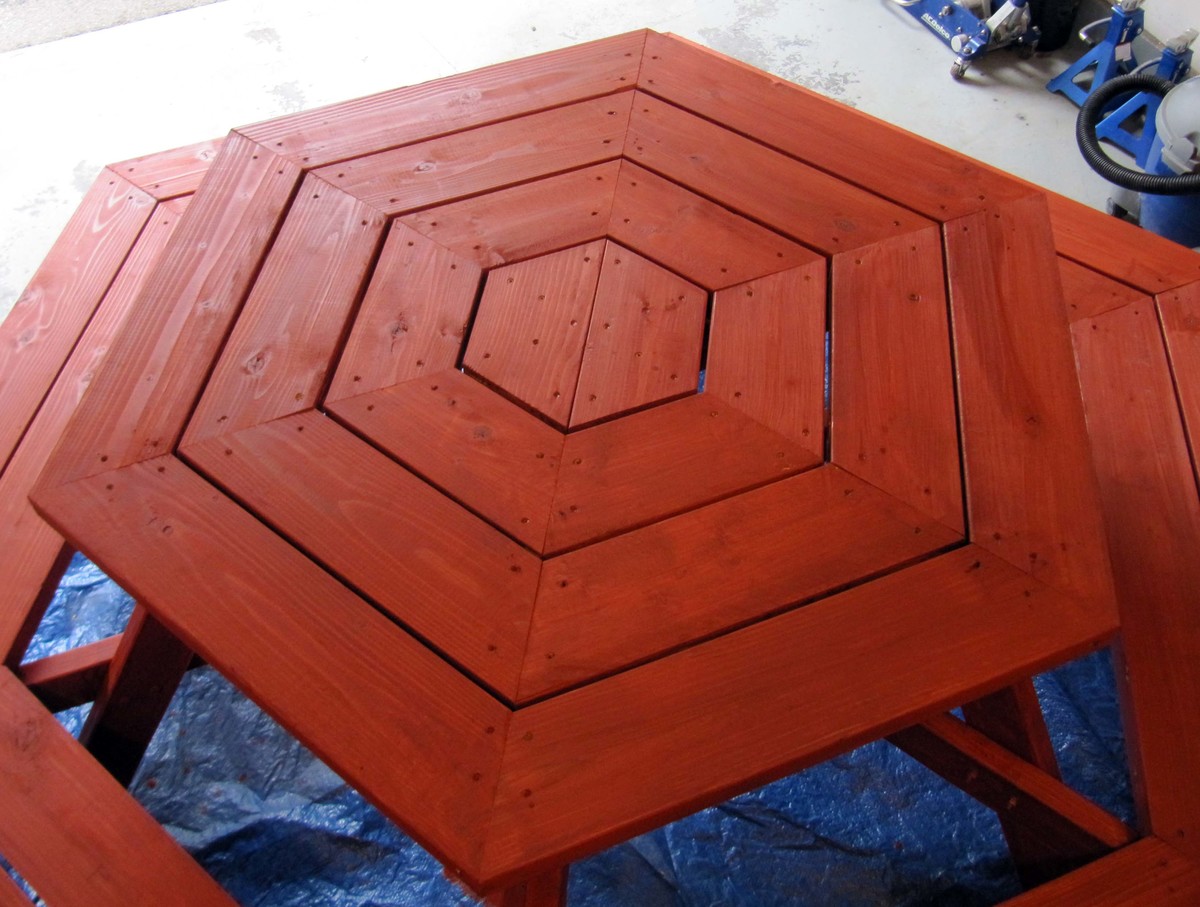
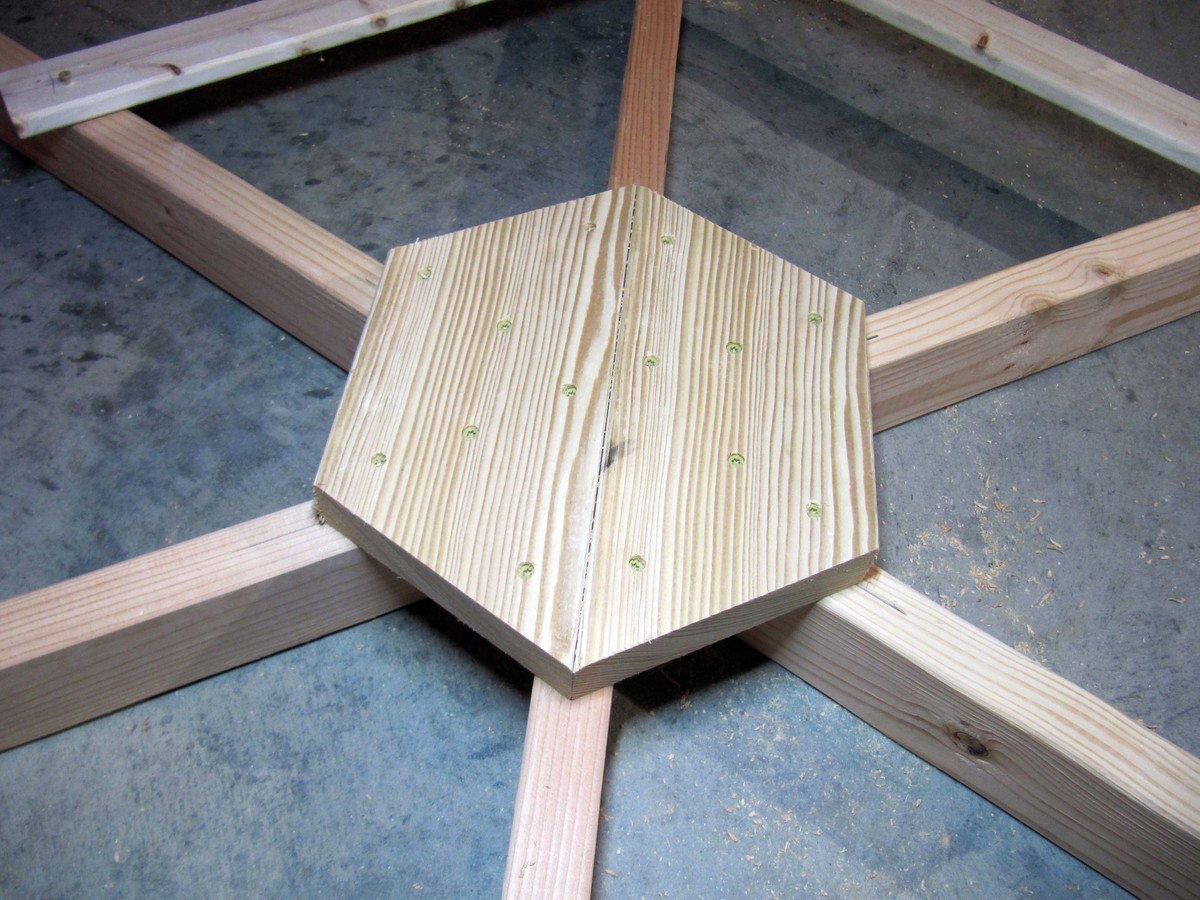
Thanks for the plans. My little brother from Big Brothers Big Sisters and I made this table and had lots of fun doing so. We made a few modifications which might be useful to others:
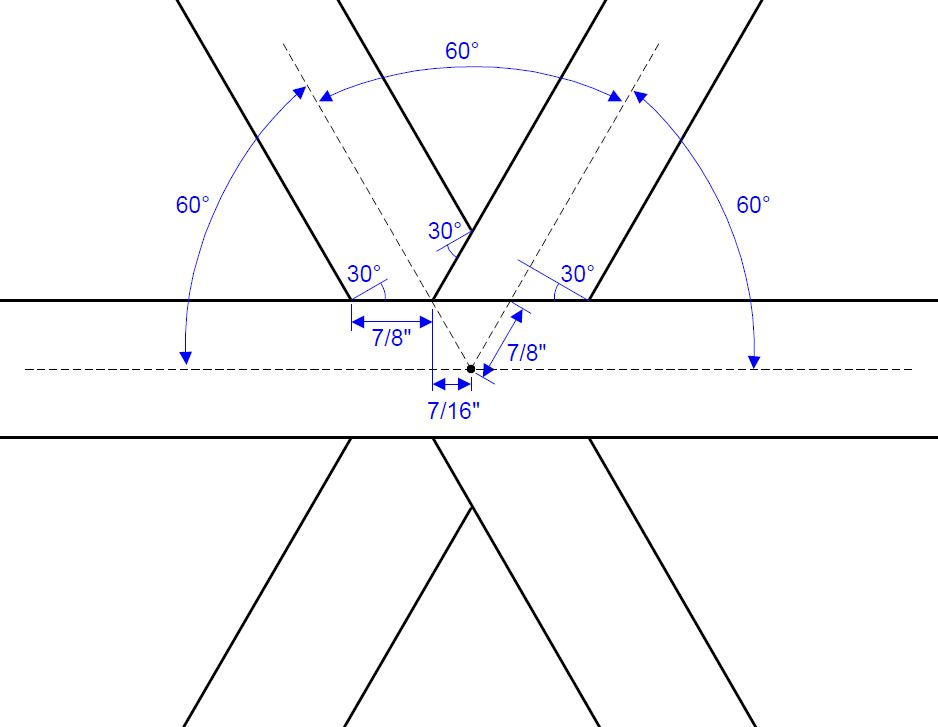
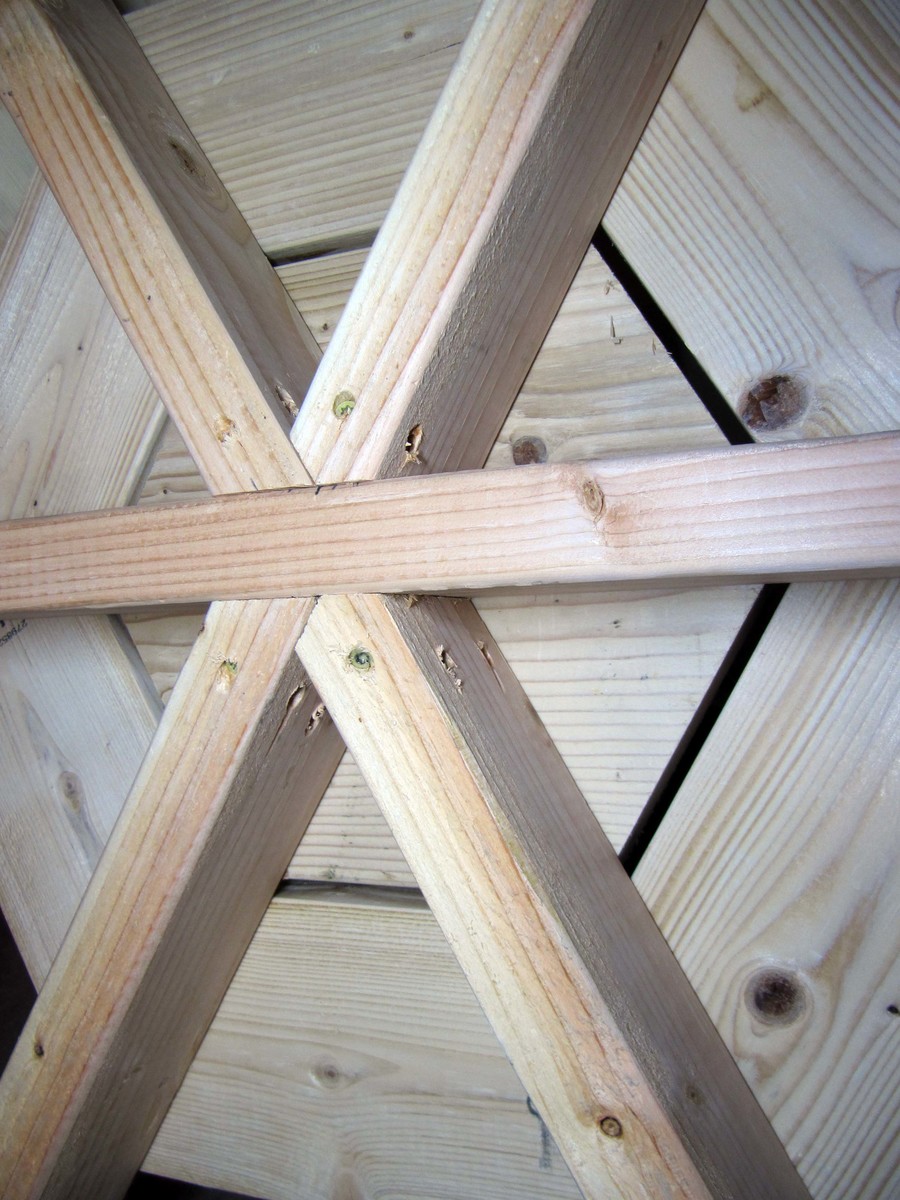
1. We modified the center joints (at the lower and table level) so that one 2x4 could continue across the entire diameter of the table for greater strength (see pictures for details).
2. As recommended we extended the seats out 4". This made it very comfortable to get in and out.
3. We started the center with 2 pieces of 2x6 rather than 6 with the thought being that this would help strengthen the center of the table. (see pictures for details).
4. We added a stiffener at the center 6-way joint on the lower level to help really strengthen that center joint. This was made out of 2 pieces of 2x6 as shown in the pictures.
Thanks,
John

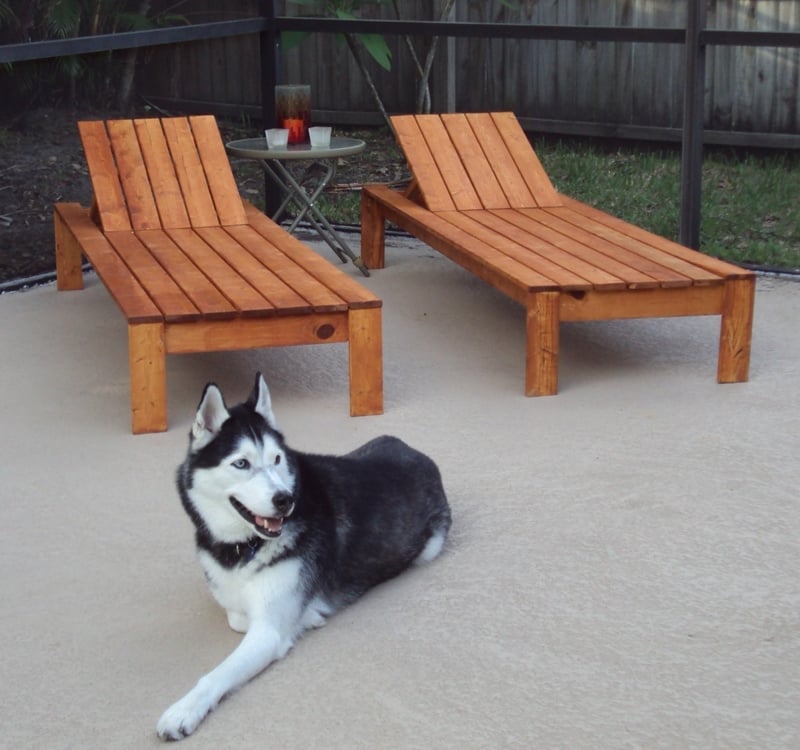
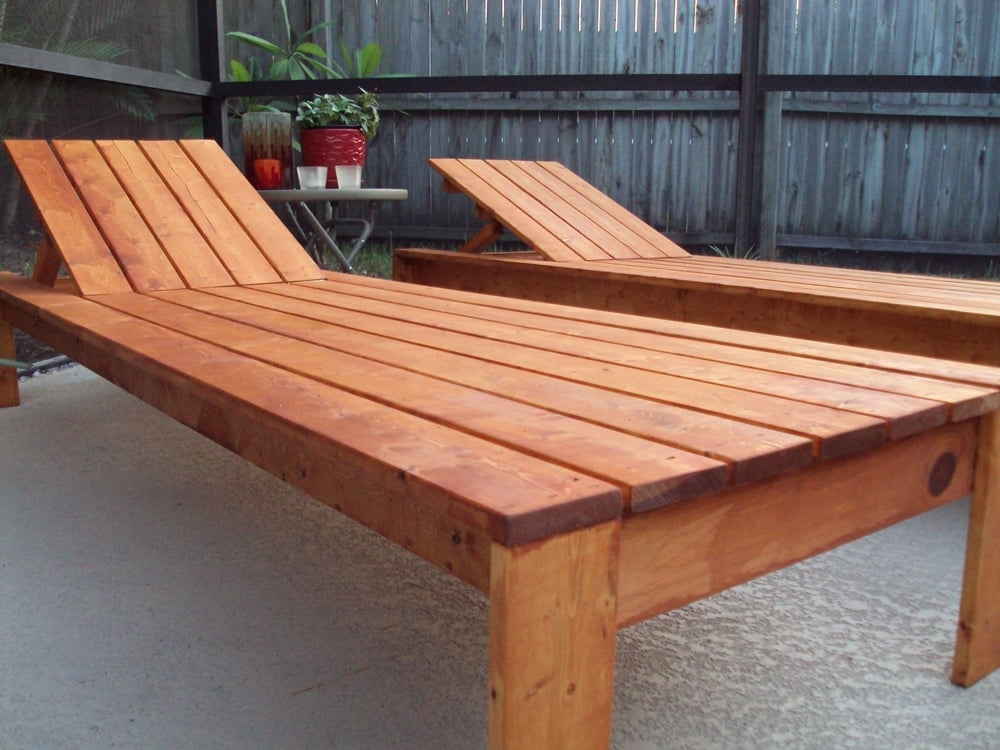
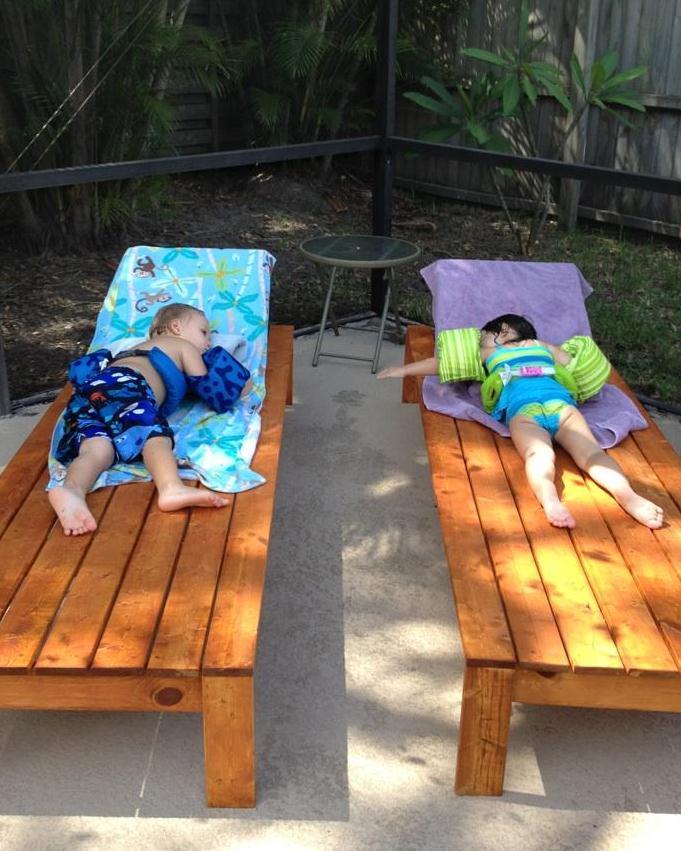
This was a very straightforward and easy build. As soon as they were compled, I wanted a dining table and chairs to coordinate. These chairs were intended to be used without cushins (is there anything better than laying out on a warm lounge chair when stepping out of the pool?) so I recessed the hinge completely below the deck. They were cut adn assembled in two evenings after the little one went to sleep. As you can see, my daughter and her friend approve.

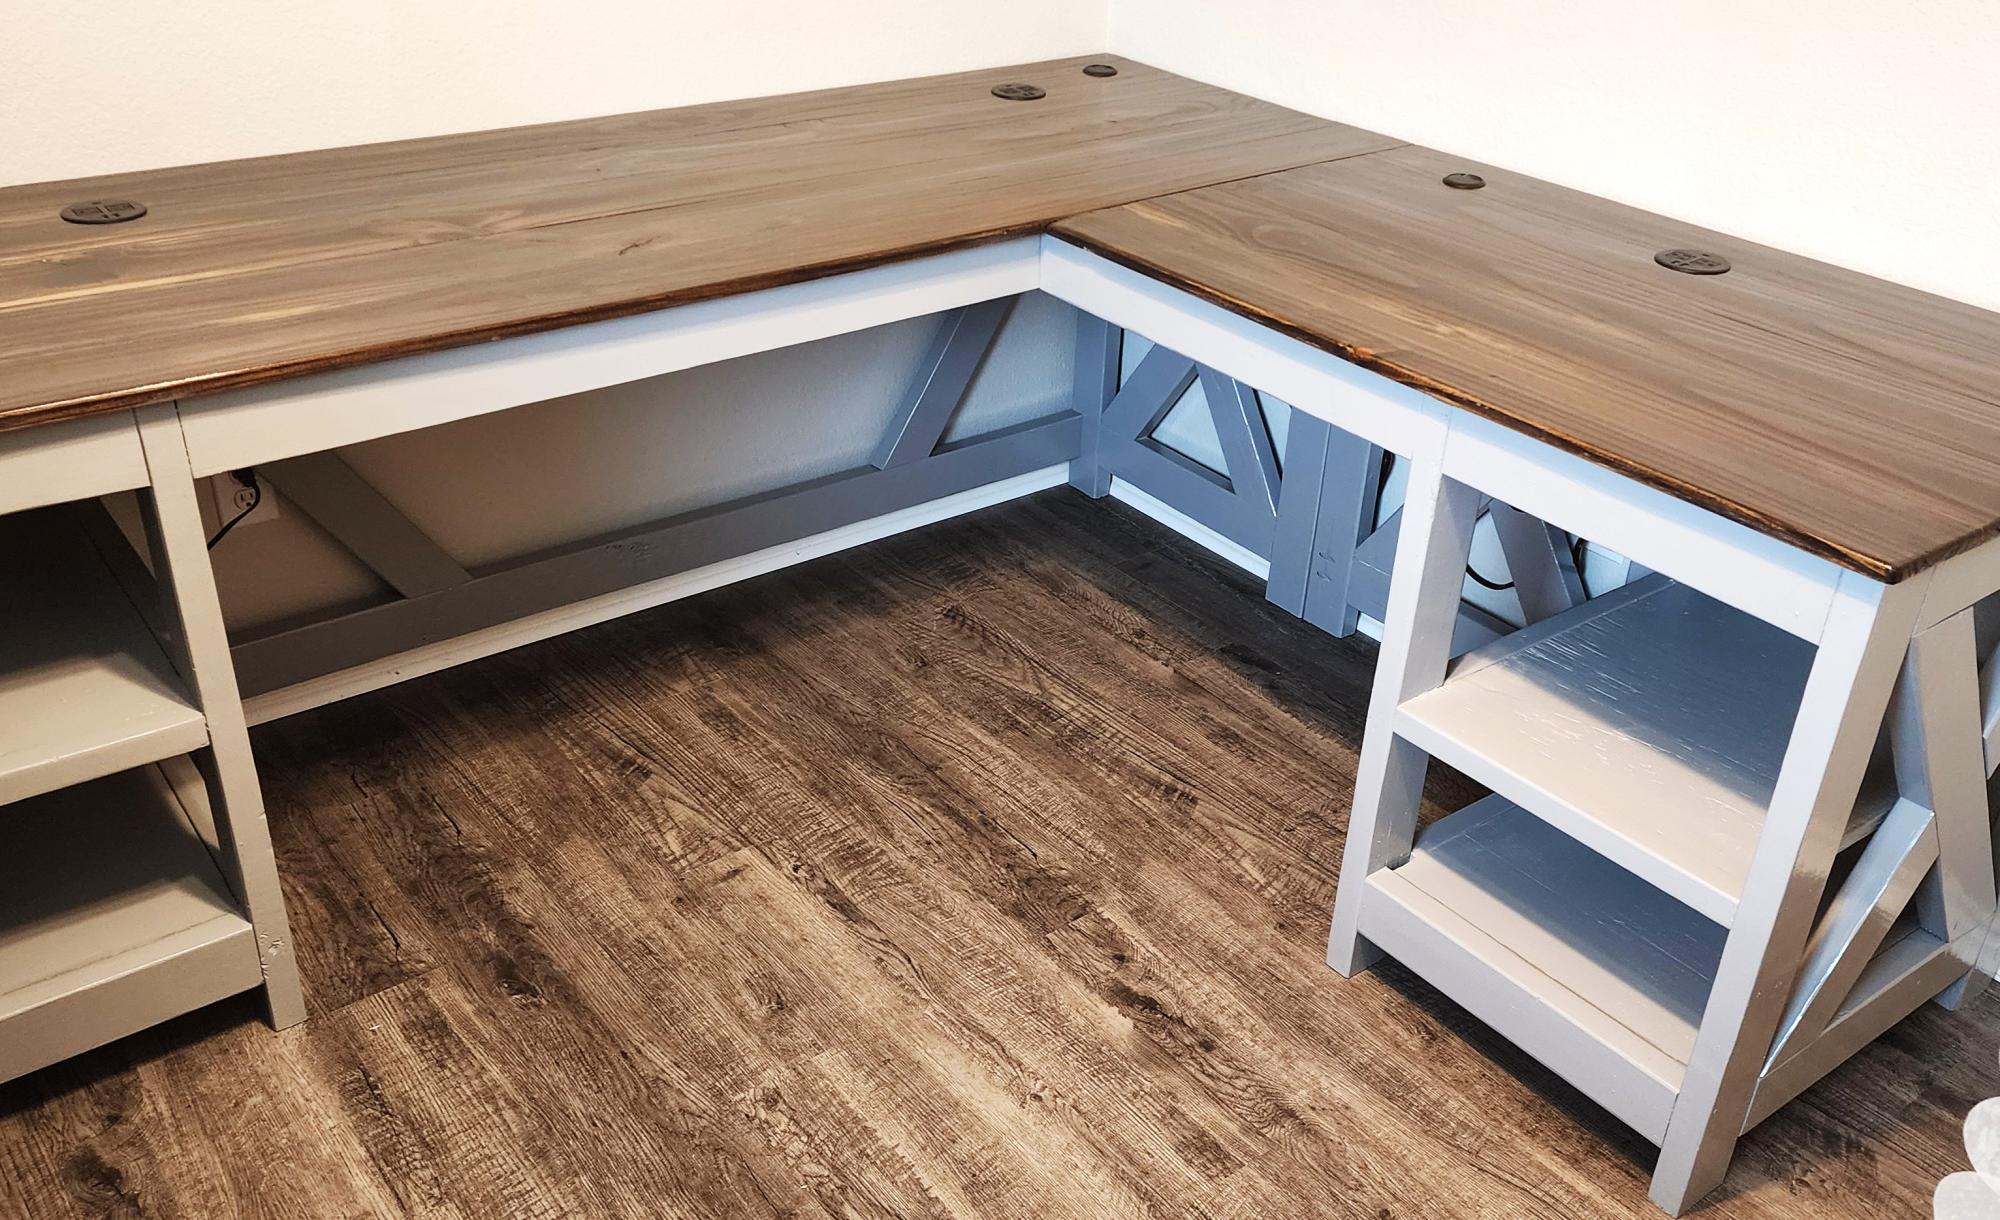
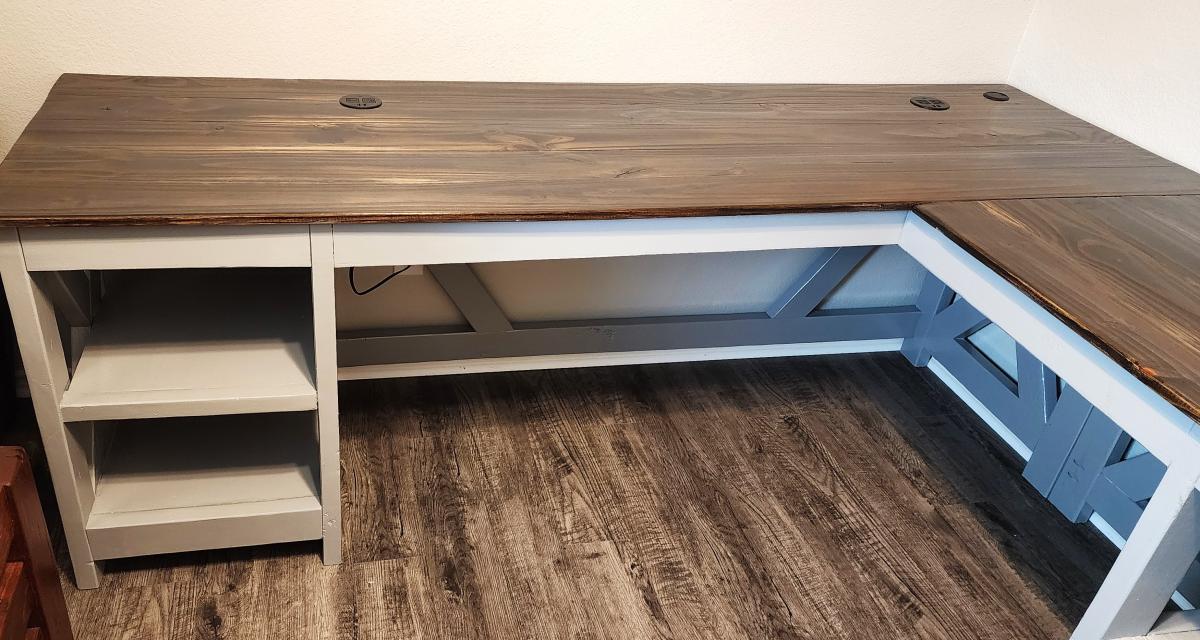
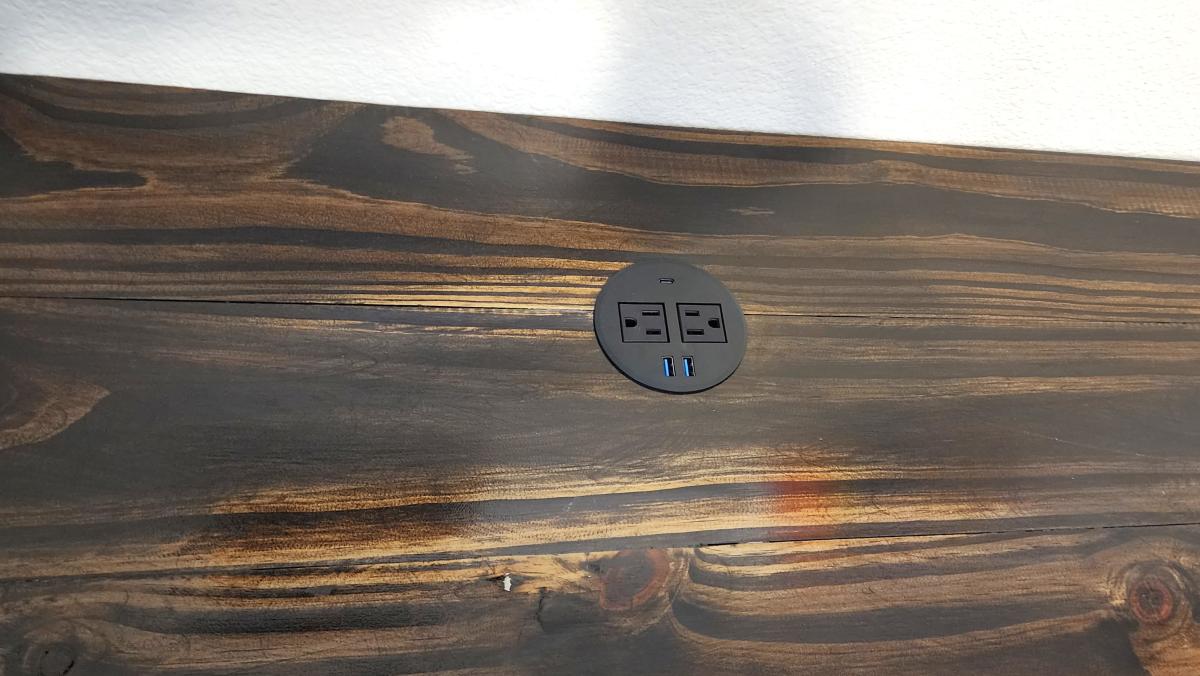
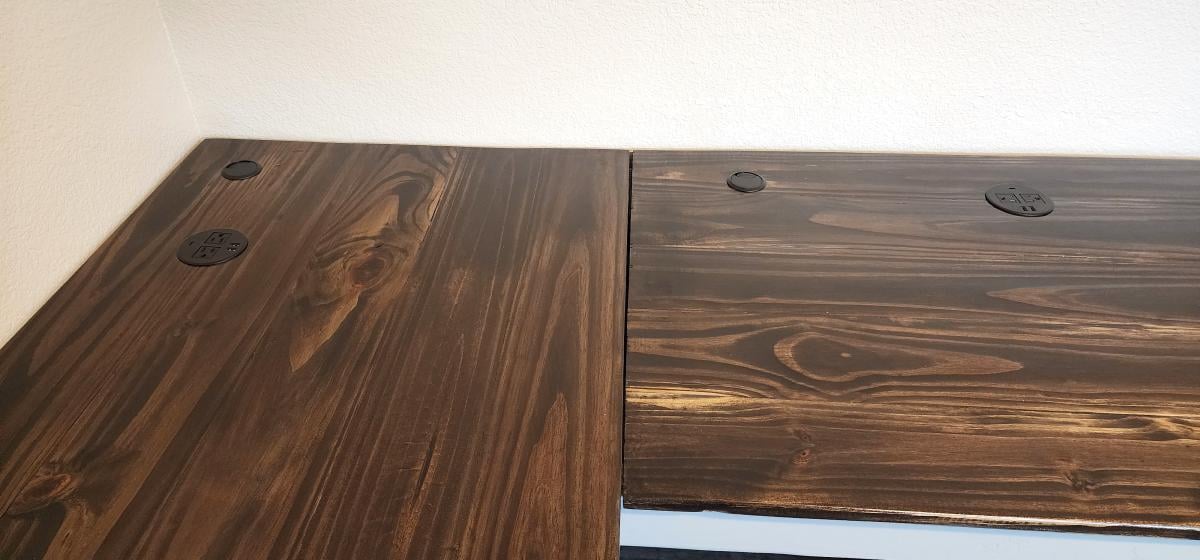
Desk for my wifes craft room.
Joshua Moore
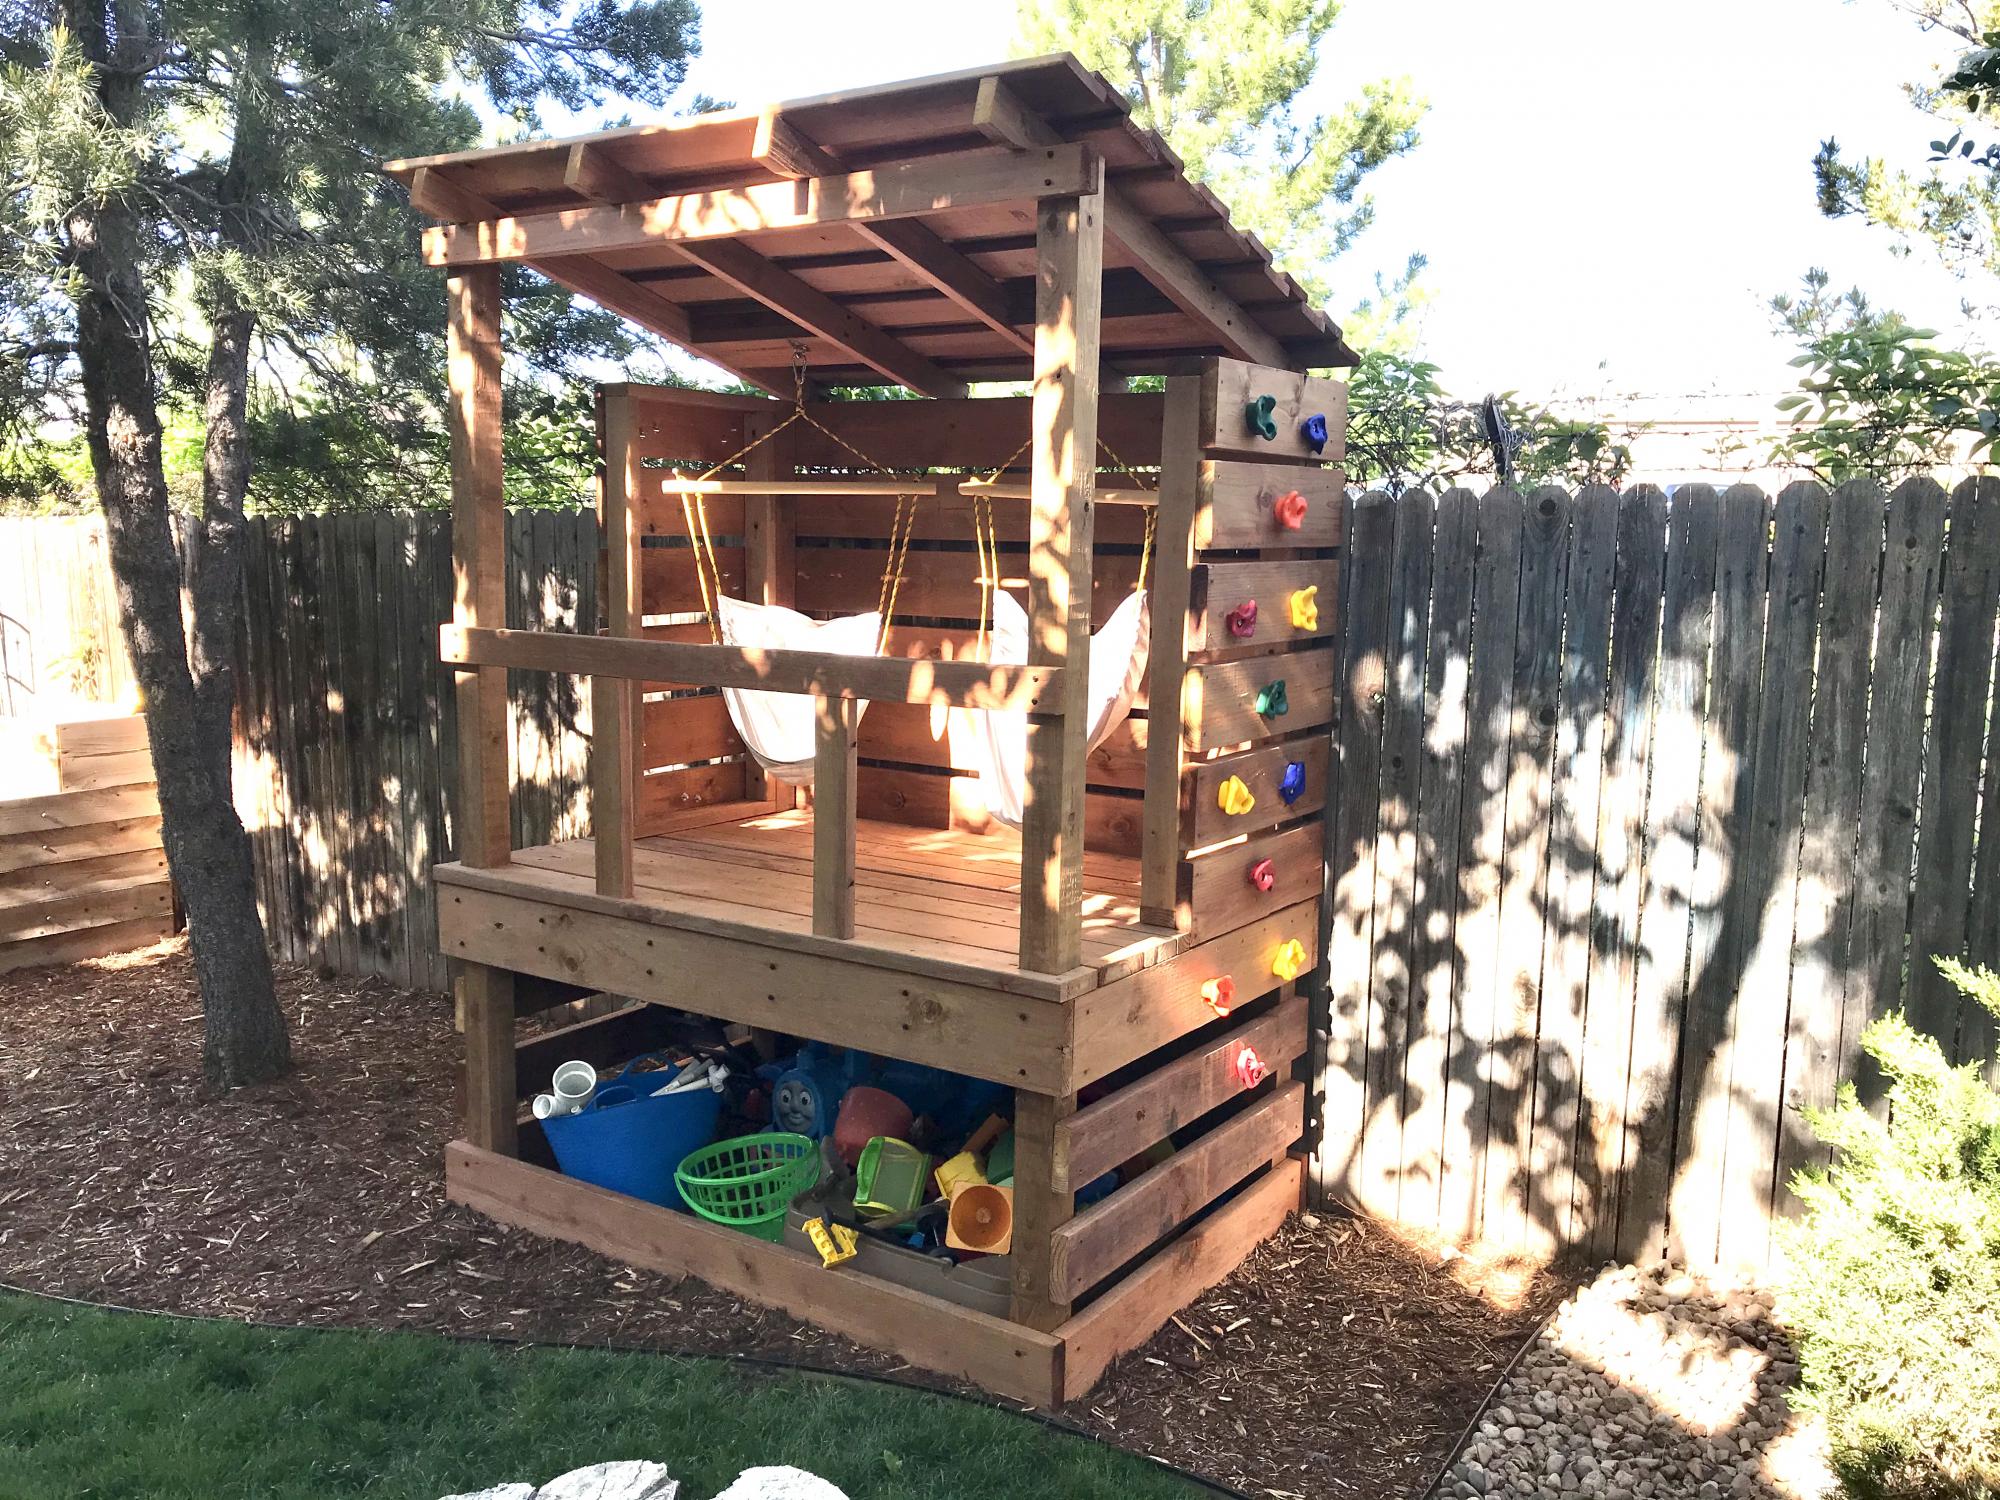
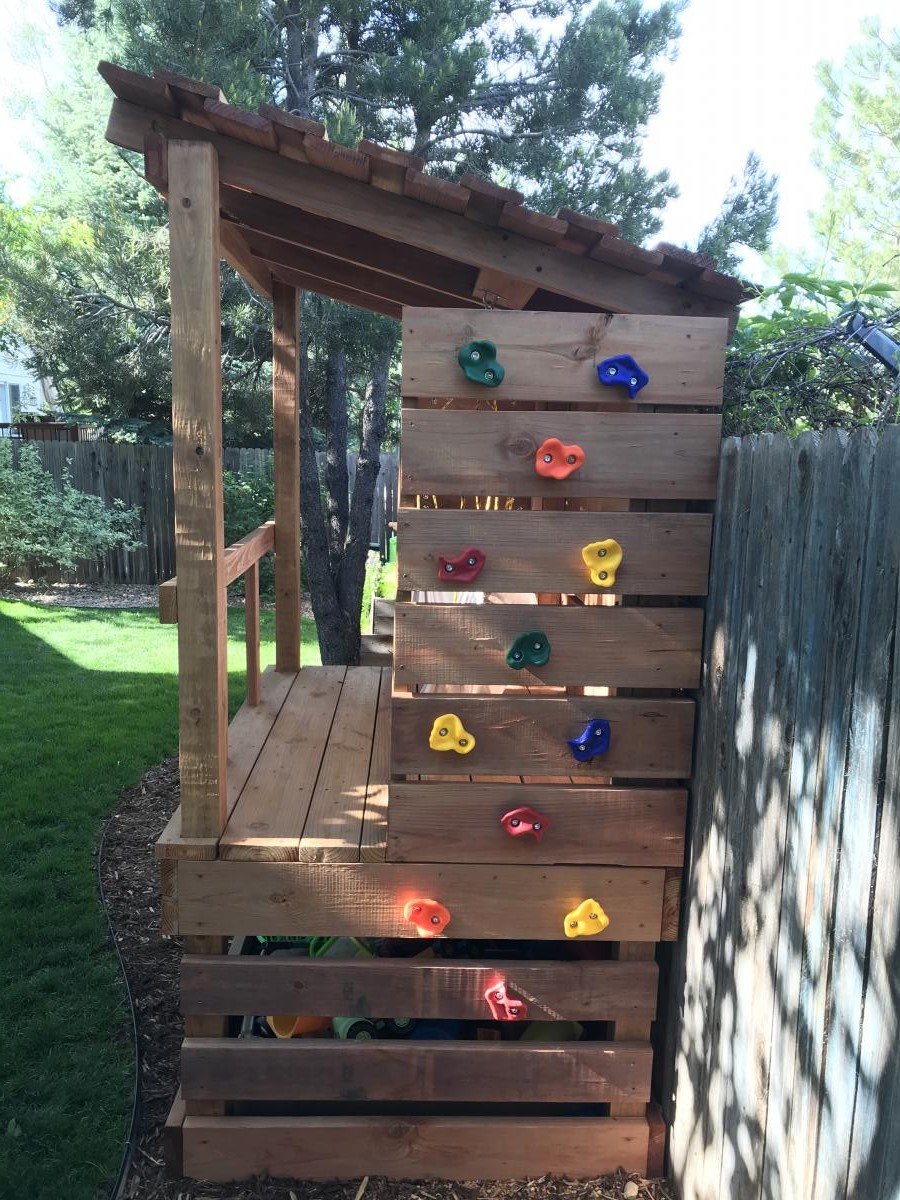
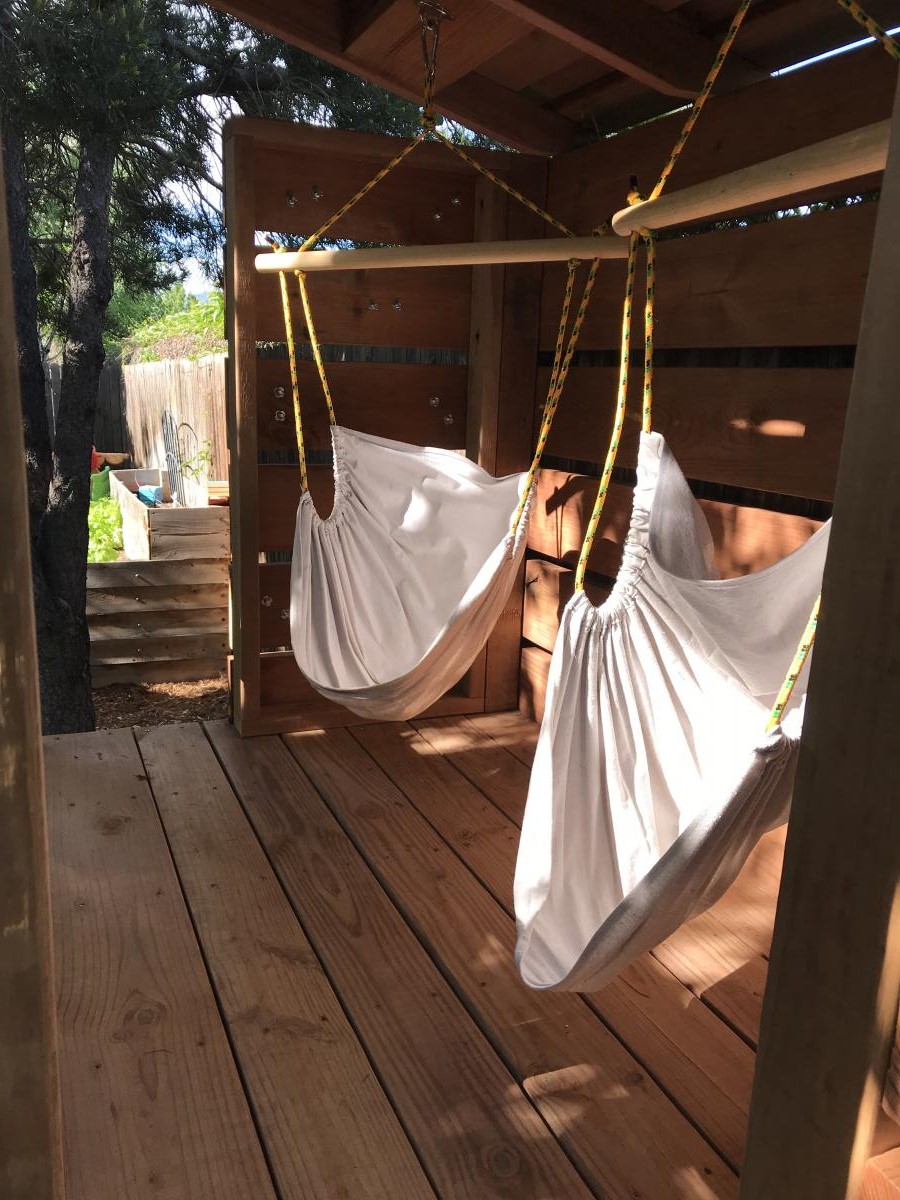
Built a fort for the boys with two climbing walls, a spot for their toys, and added some hammock swings
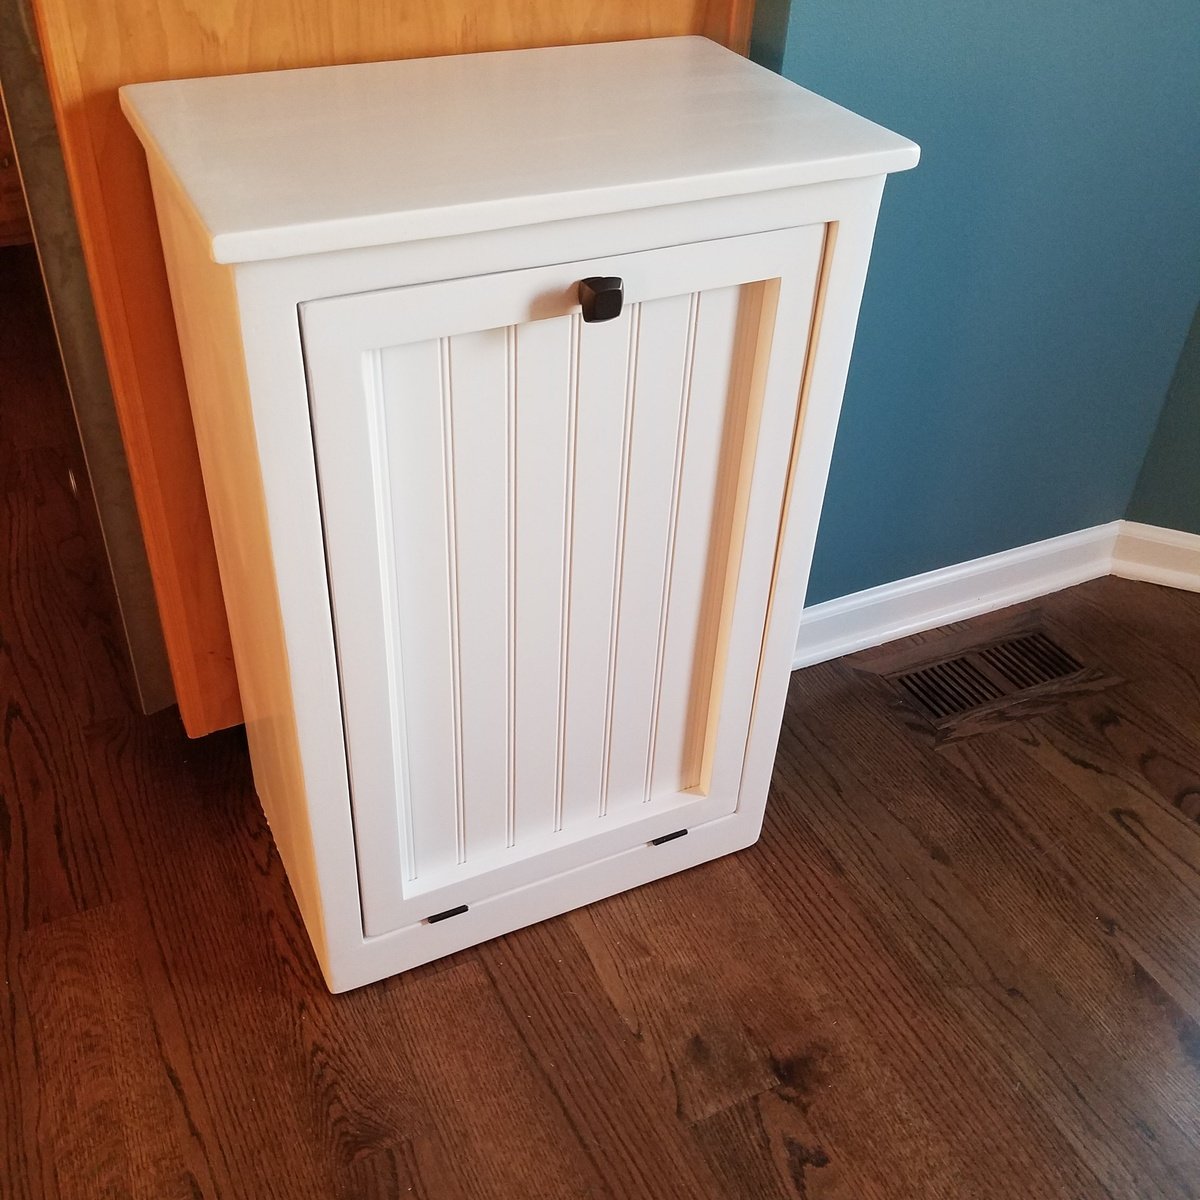
Our Australian Shepard will no longer be digging the trash out all over the floor! I did change the plans up a bit because I wanted a hangover off the sides as well as the front. And we used bead board instead of the solid panel. Thanks for the great plans Ana!

Wed, 09/21/2016 - 14:57
This turned out beautiful!!! I love the beadboard and the added overhang. Can't wait to see your next project!
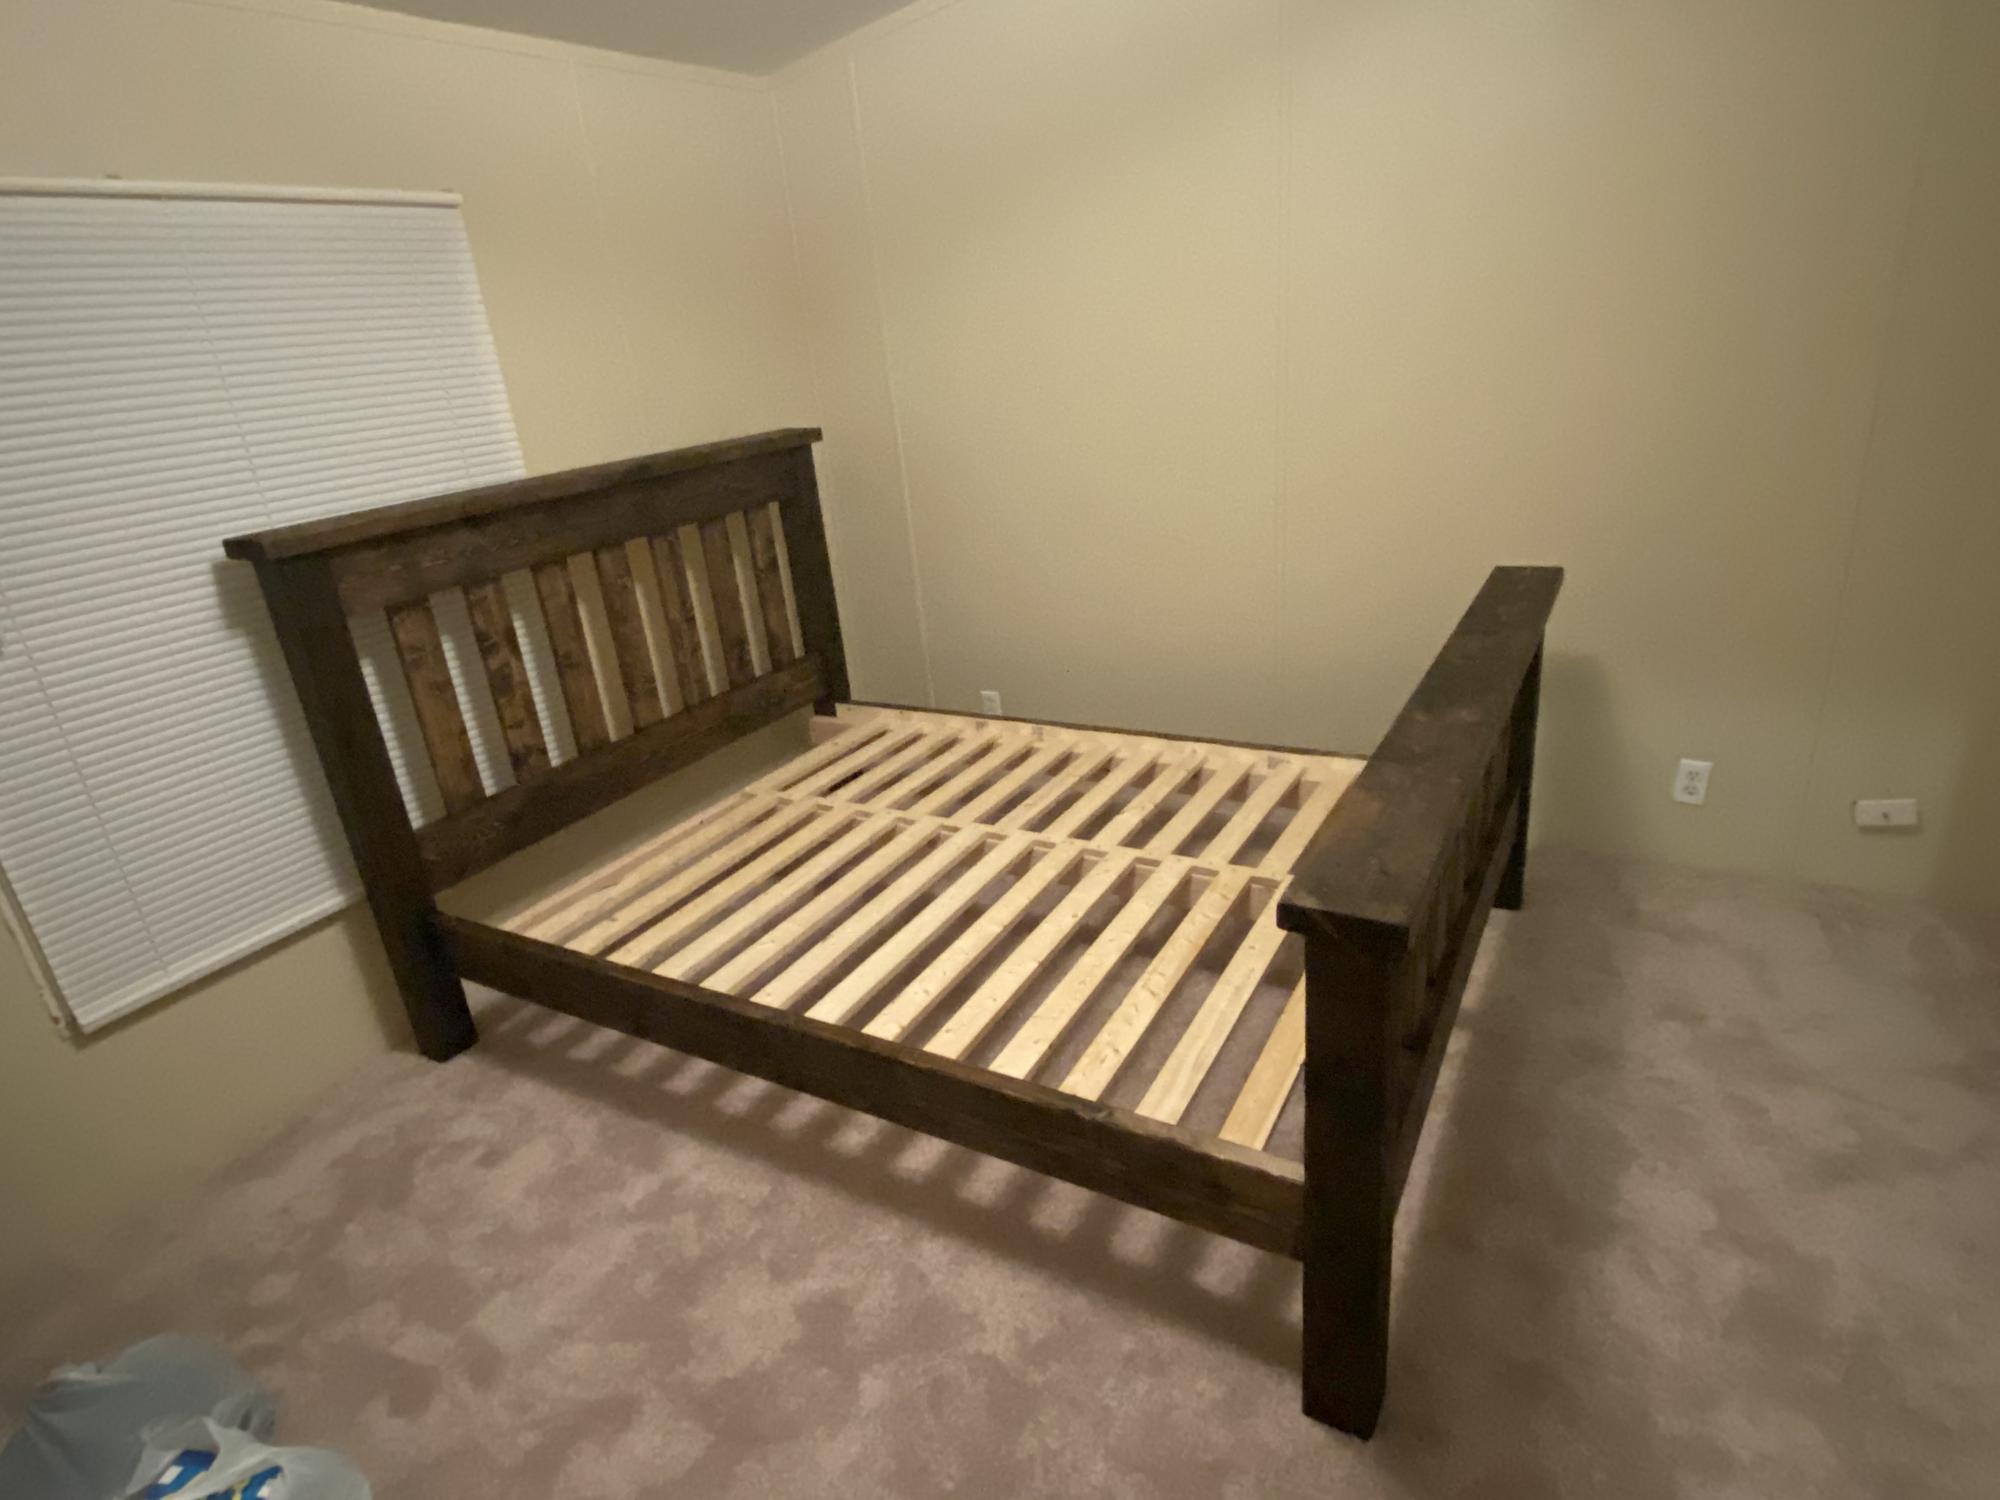
Thanks for great Farmhouse bed plans. Easy to follow material list, cut list and instructions.
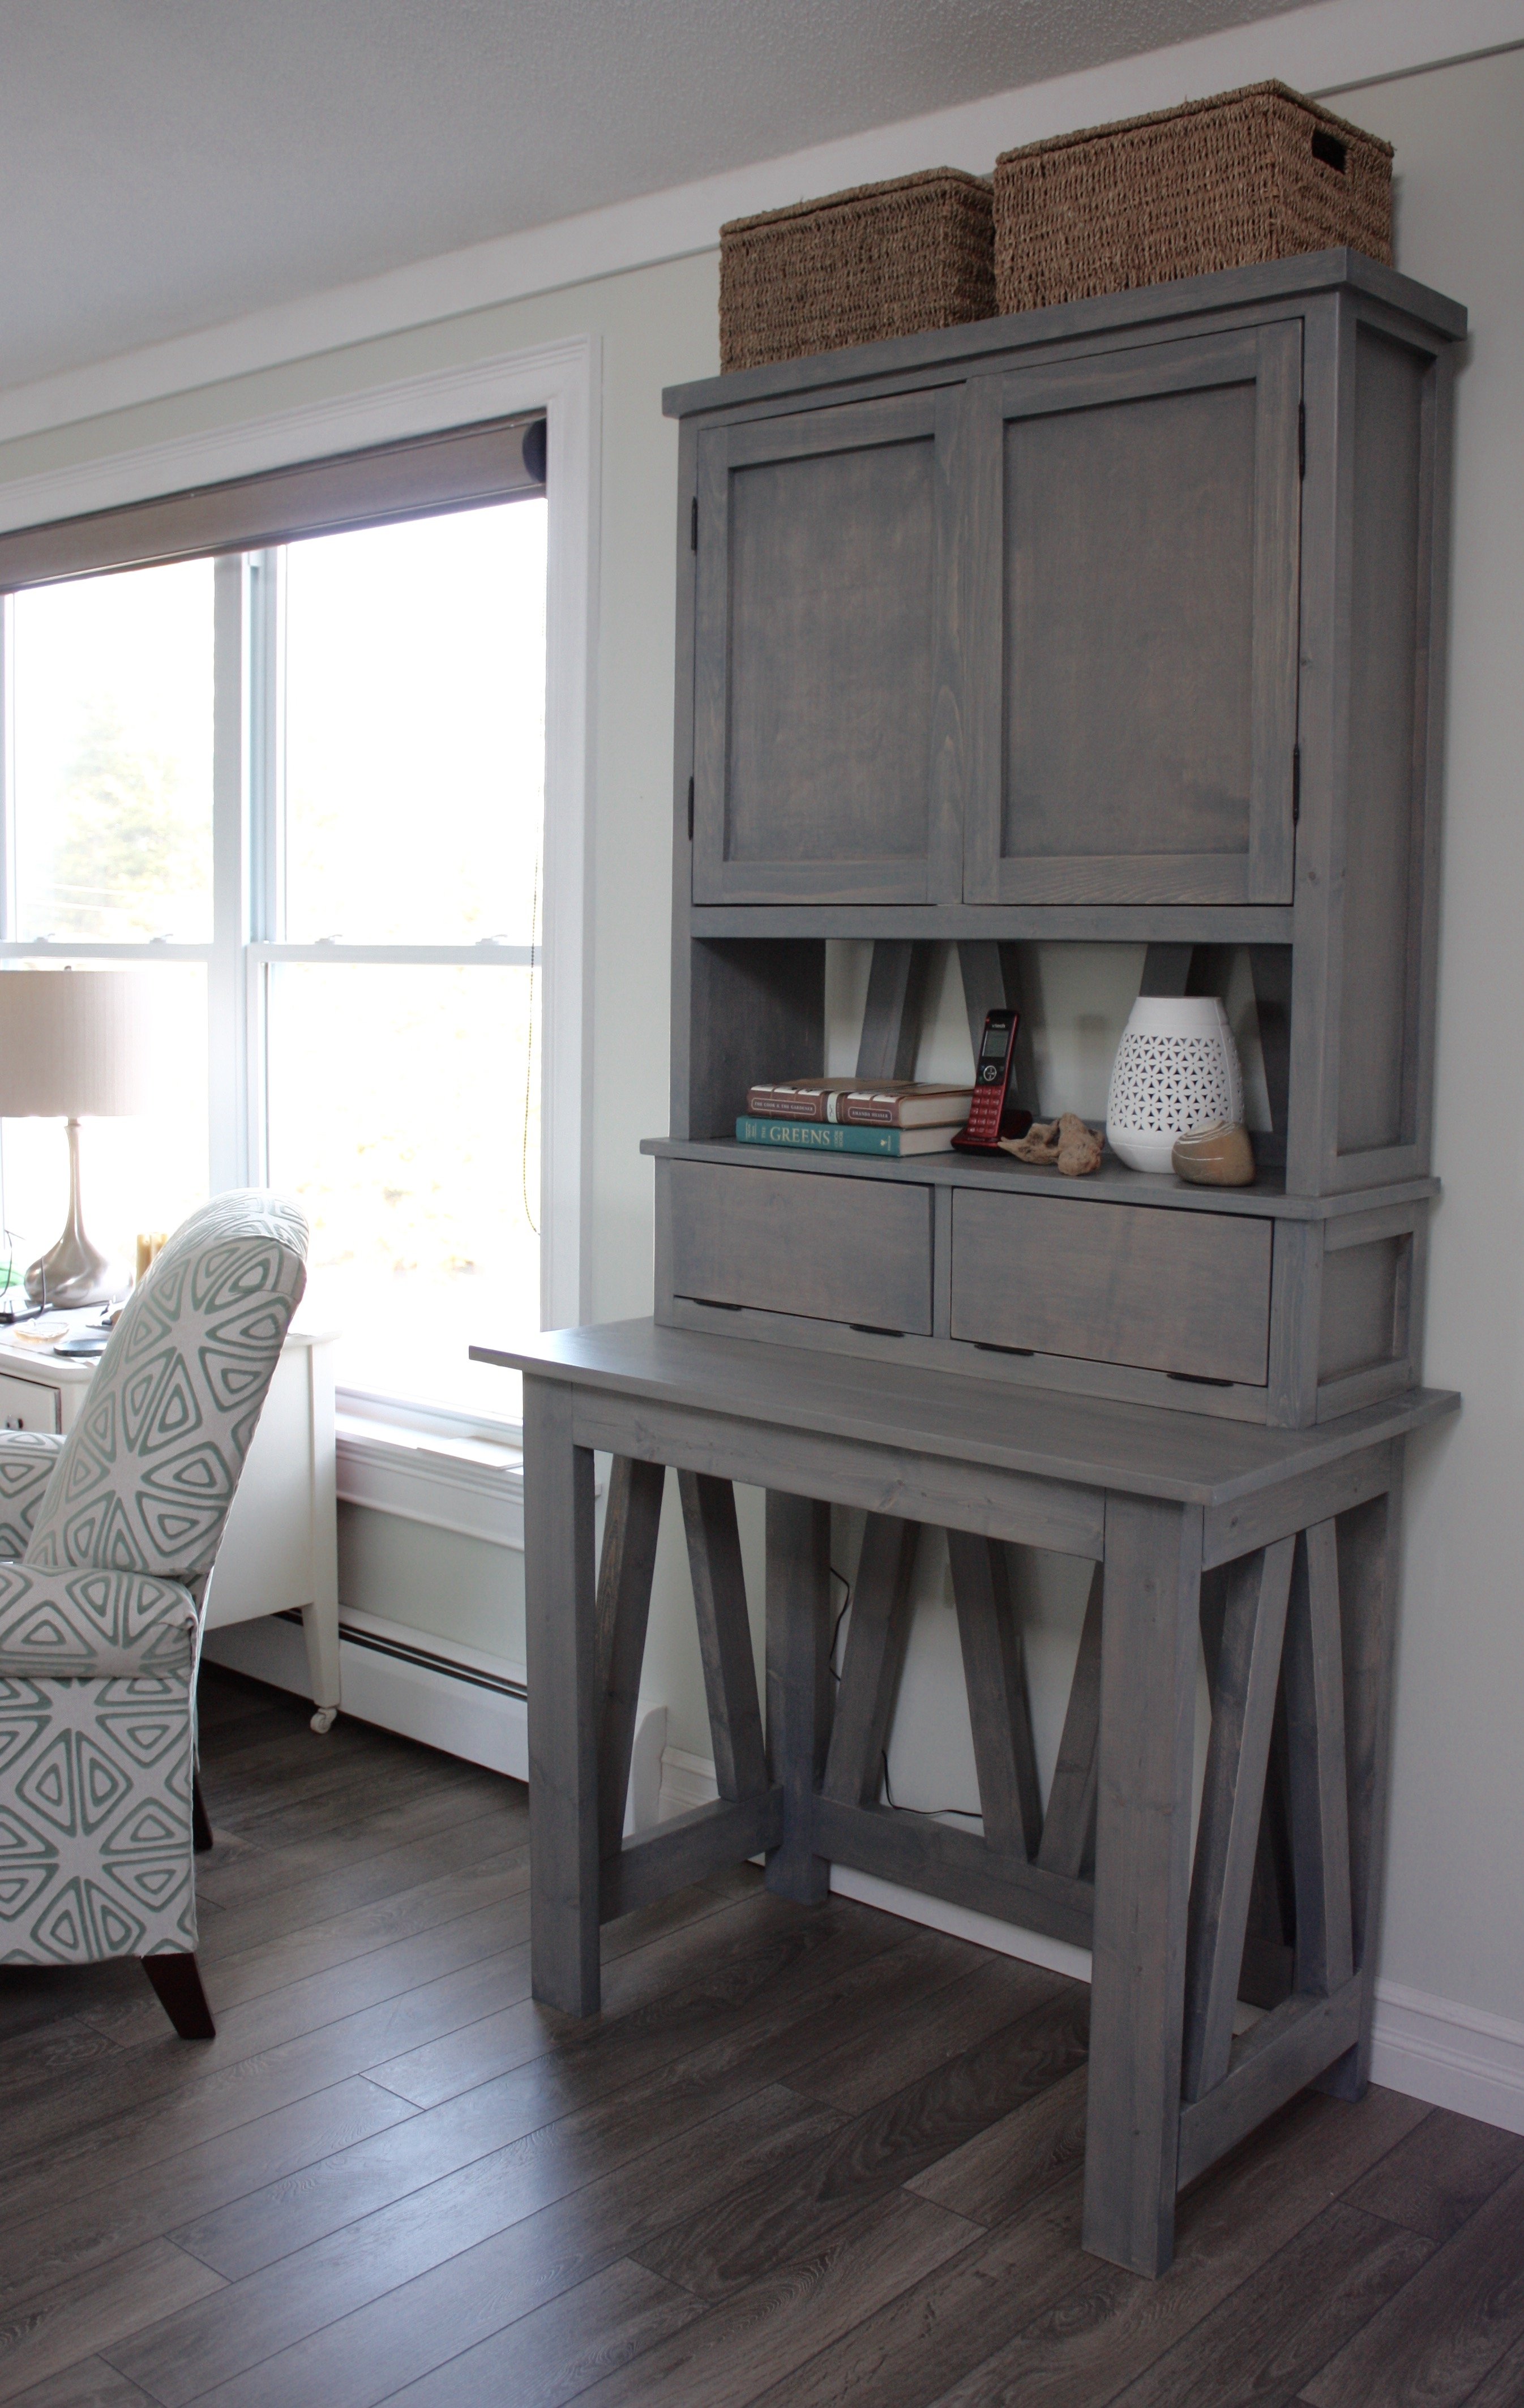
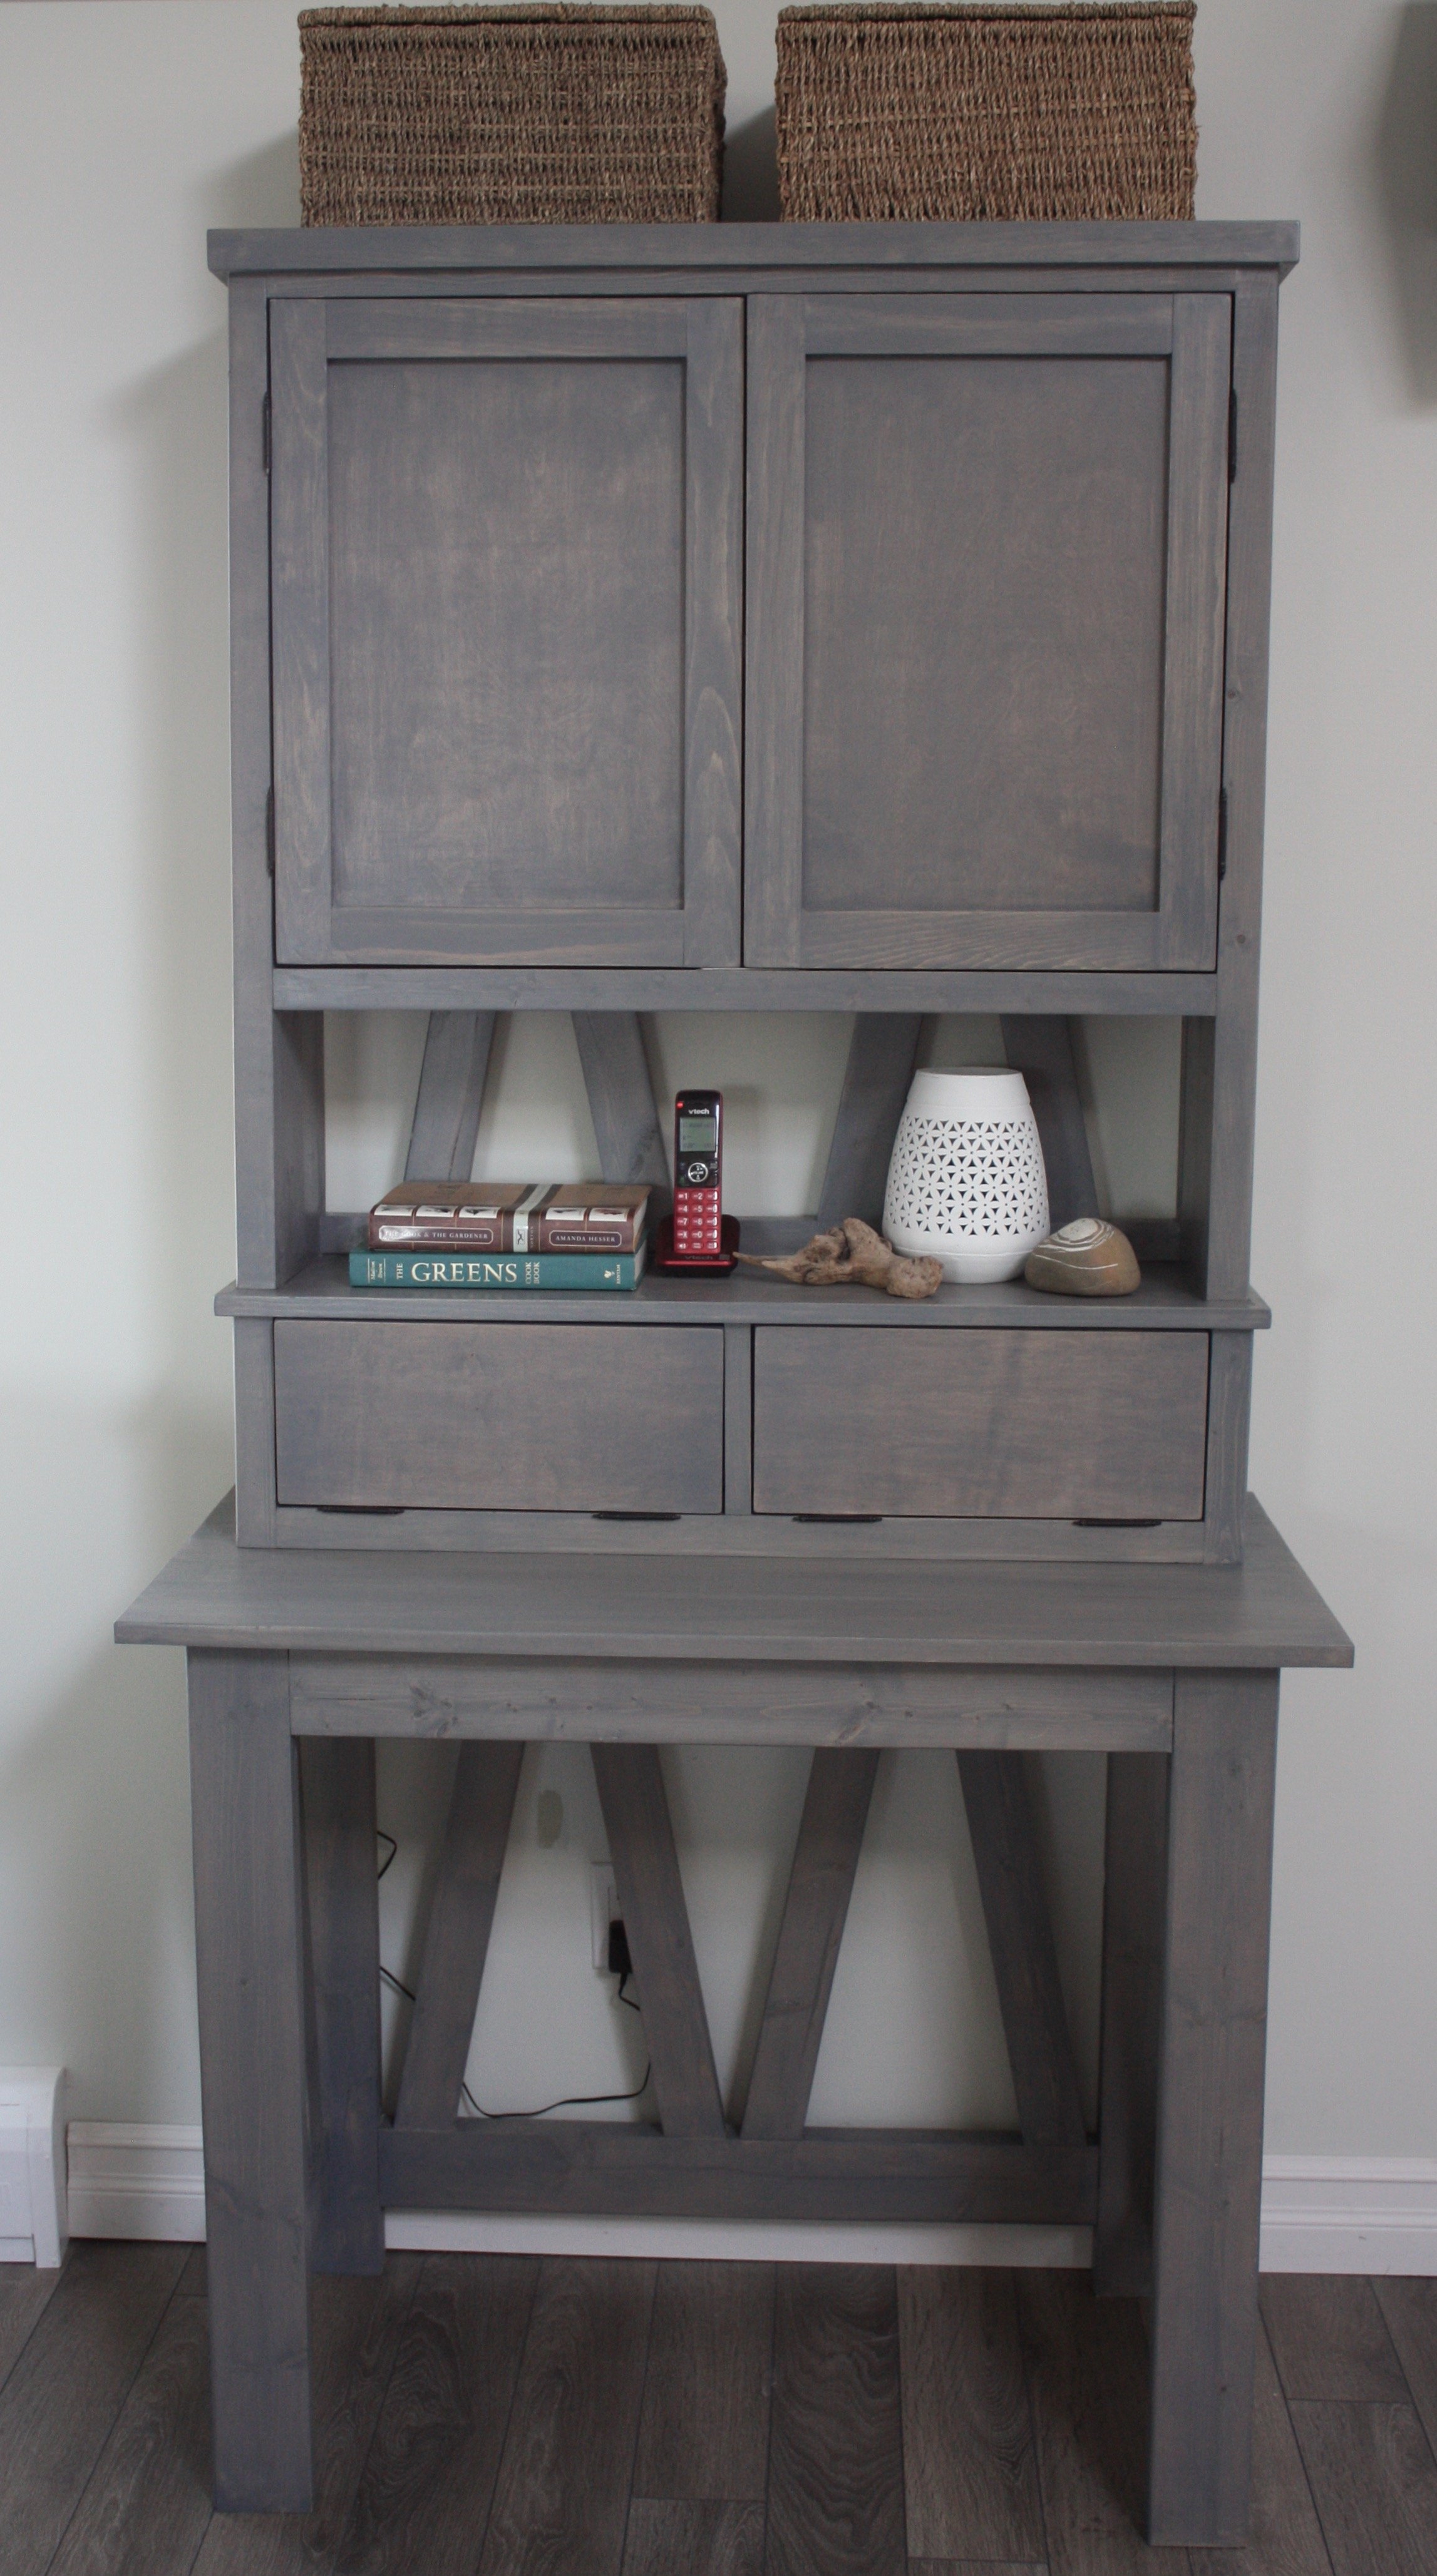
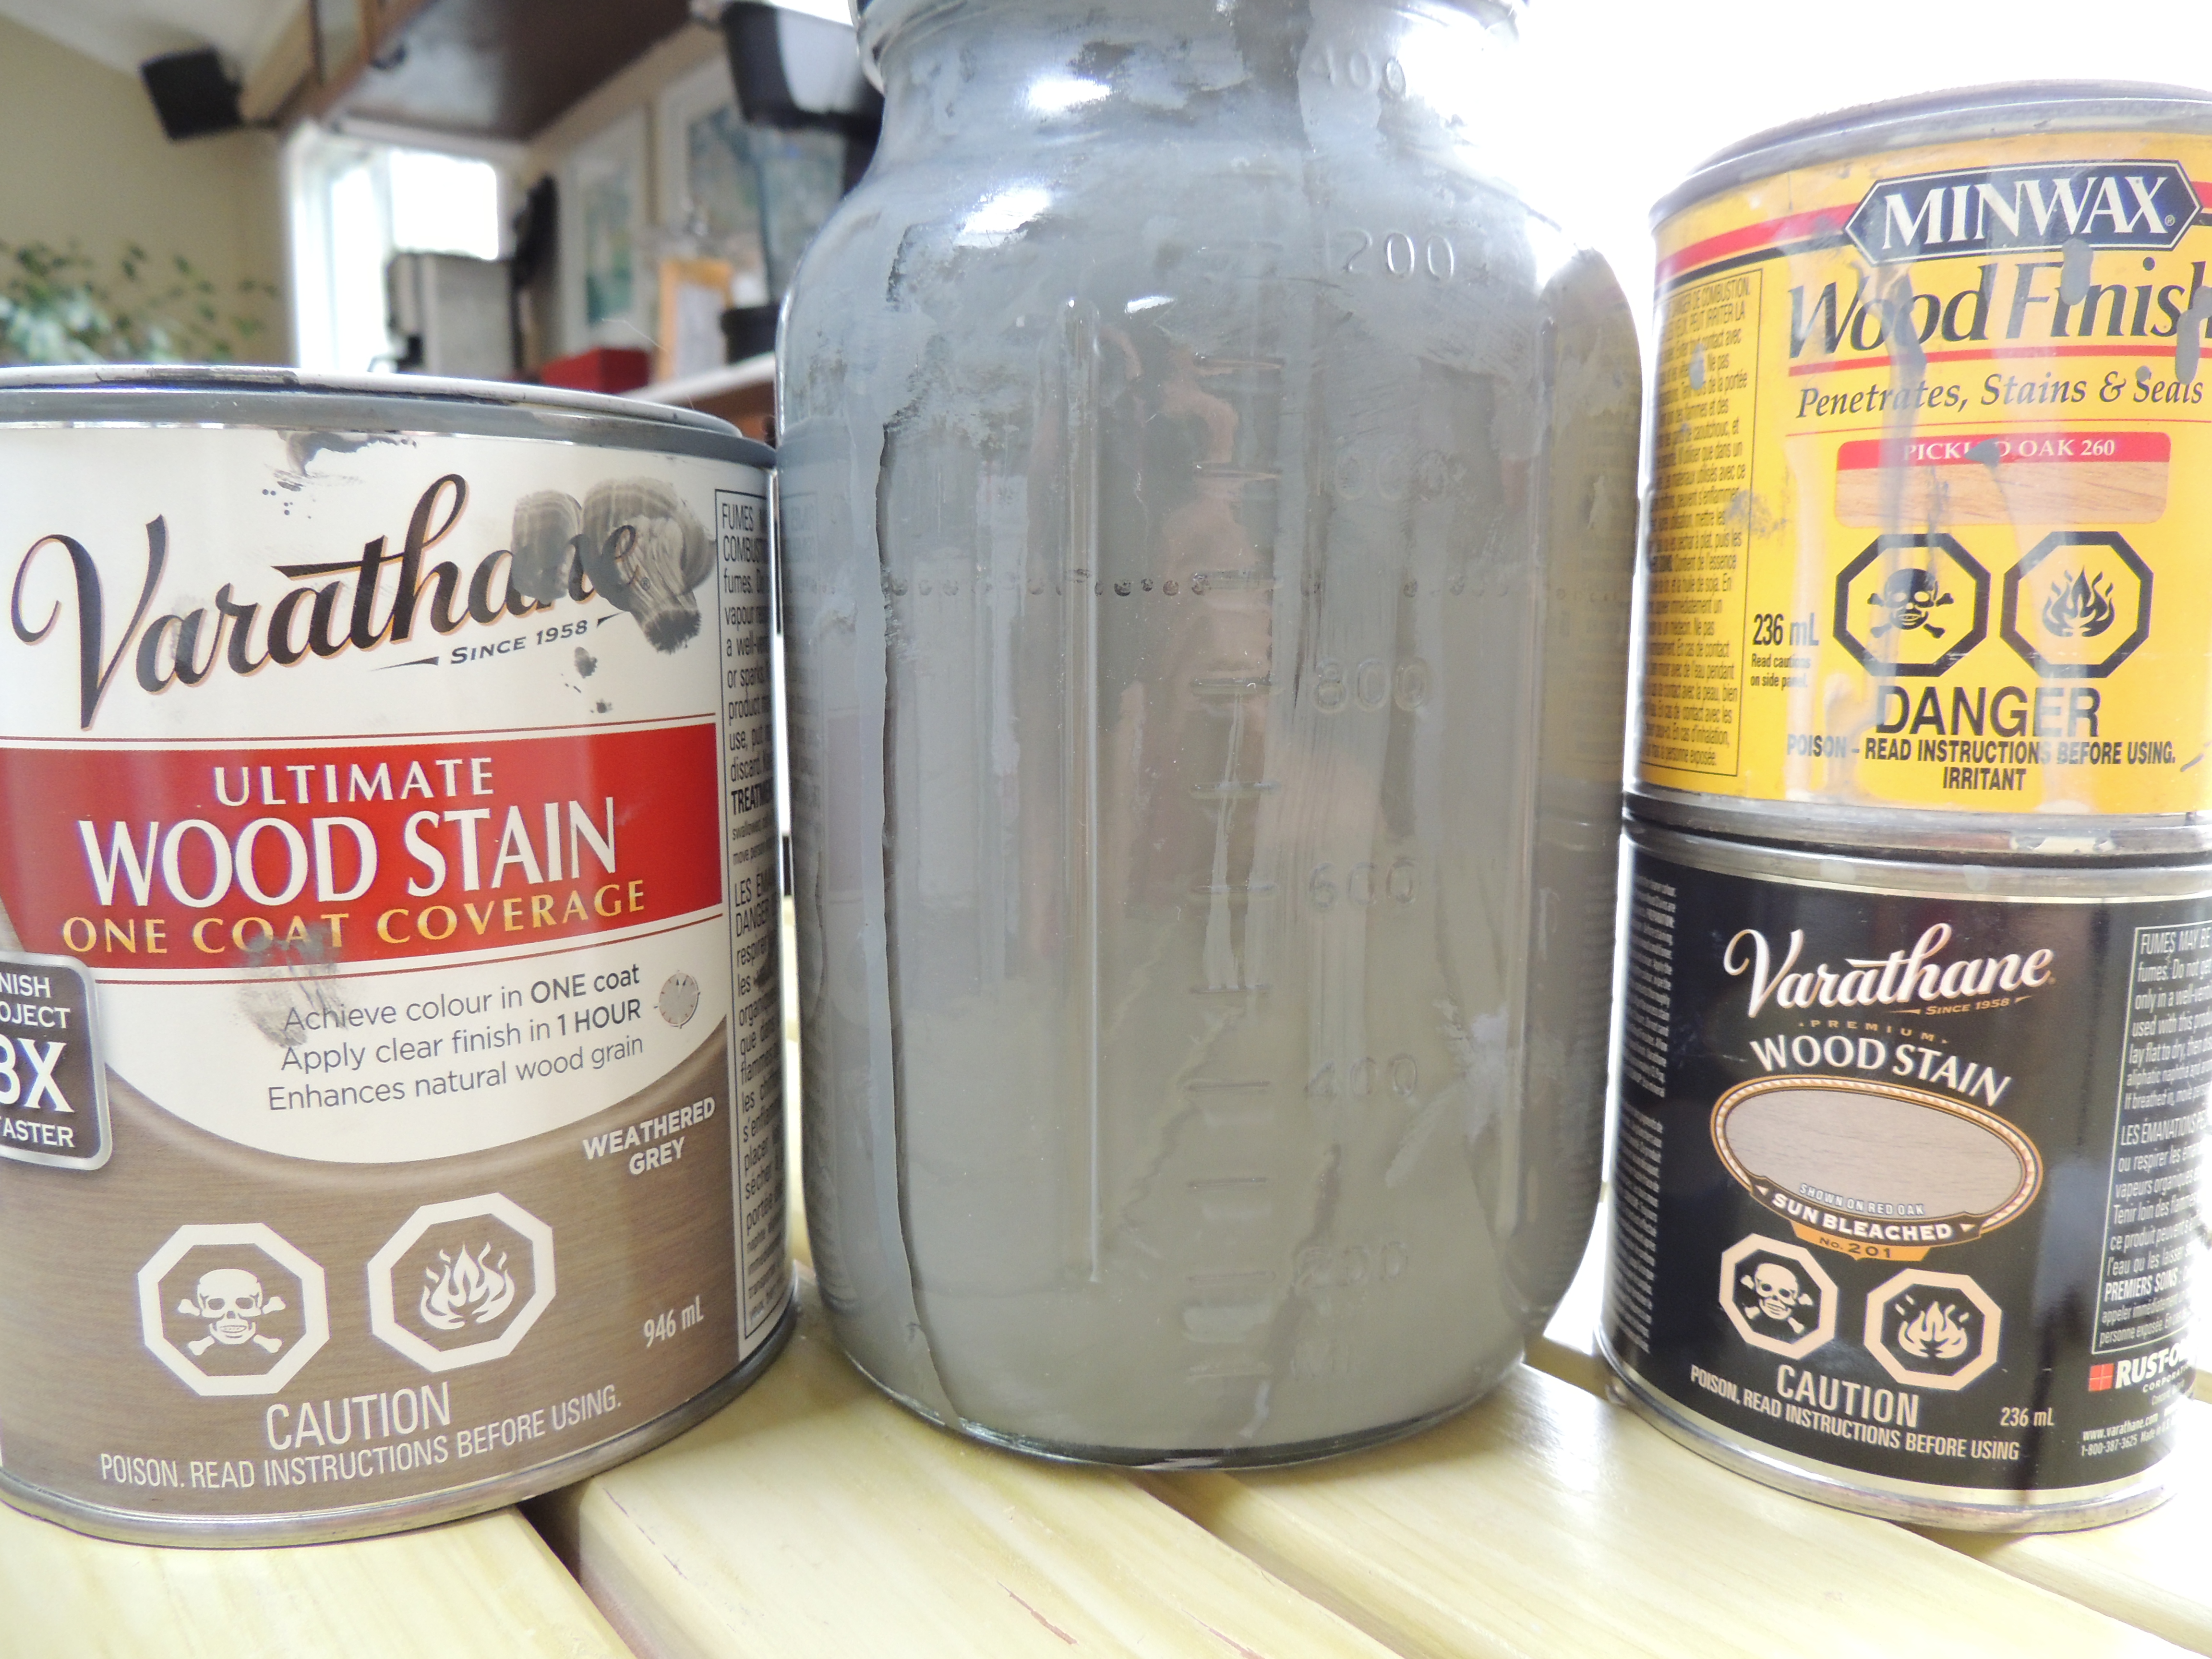
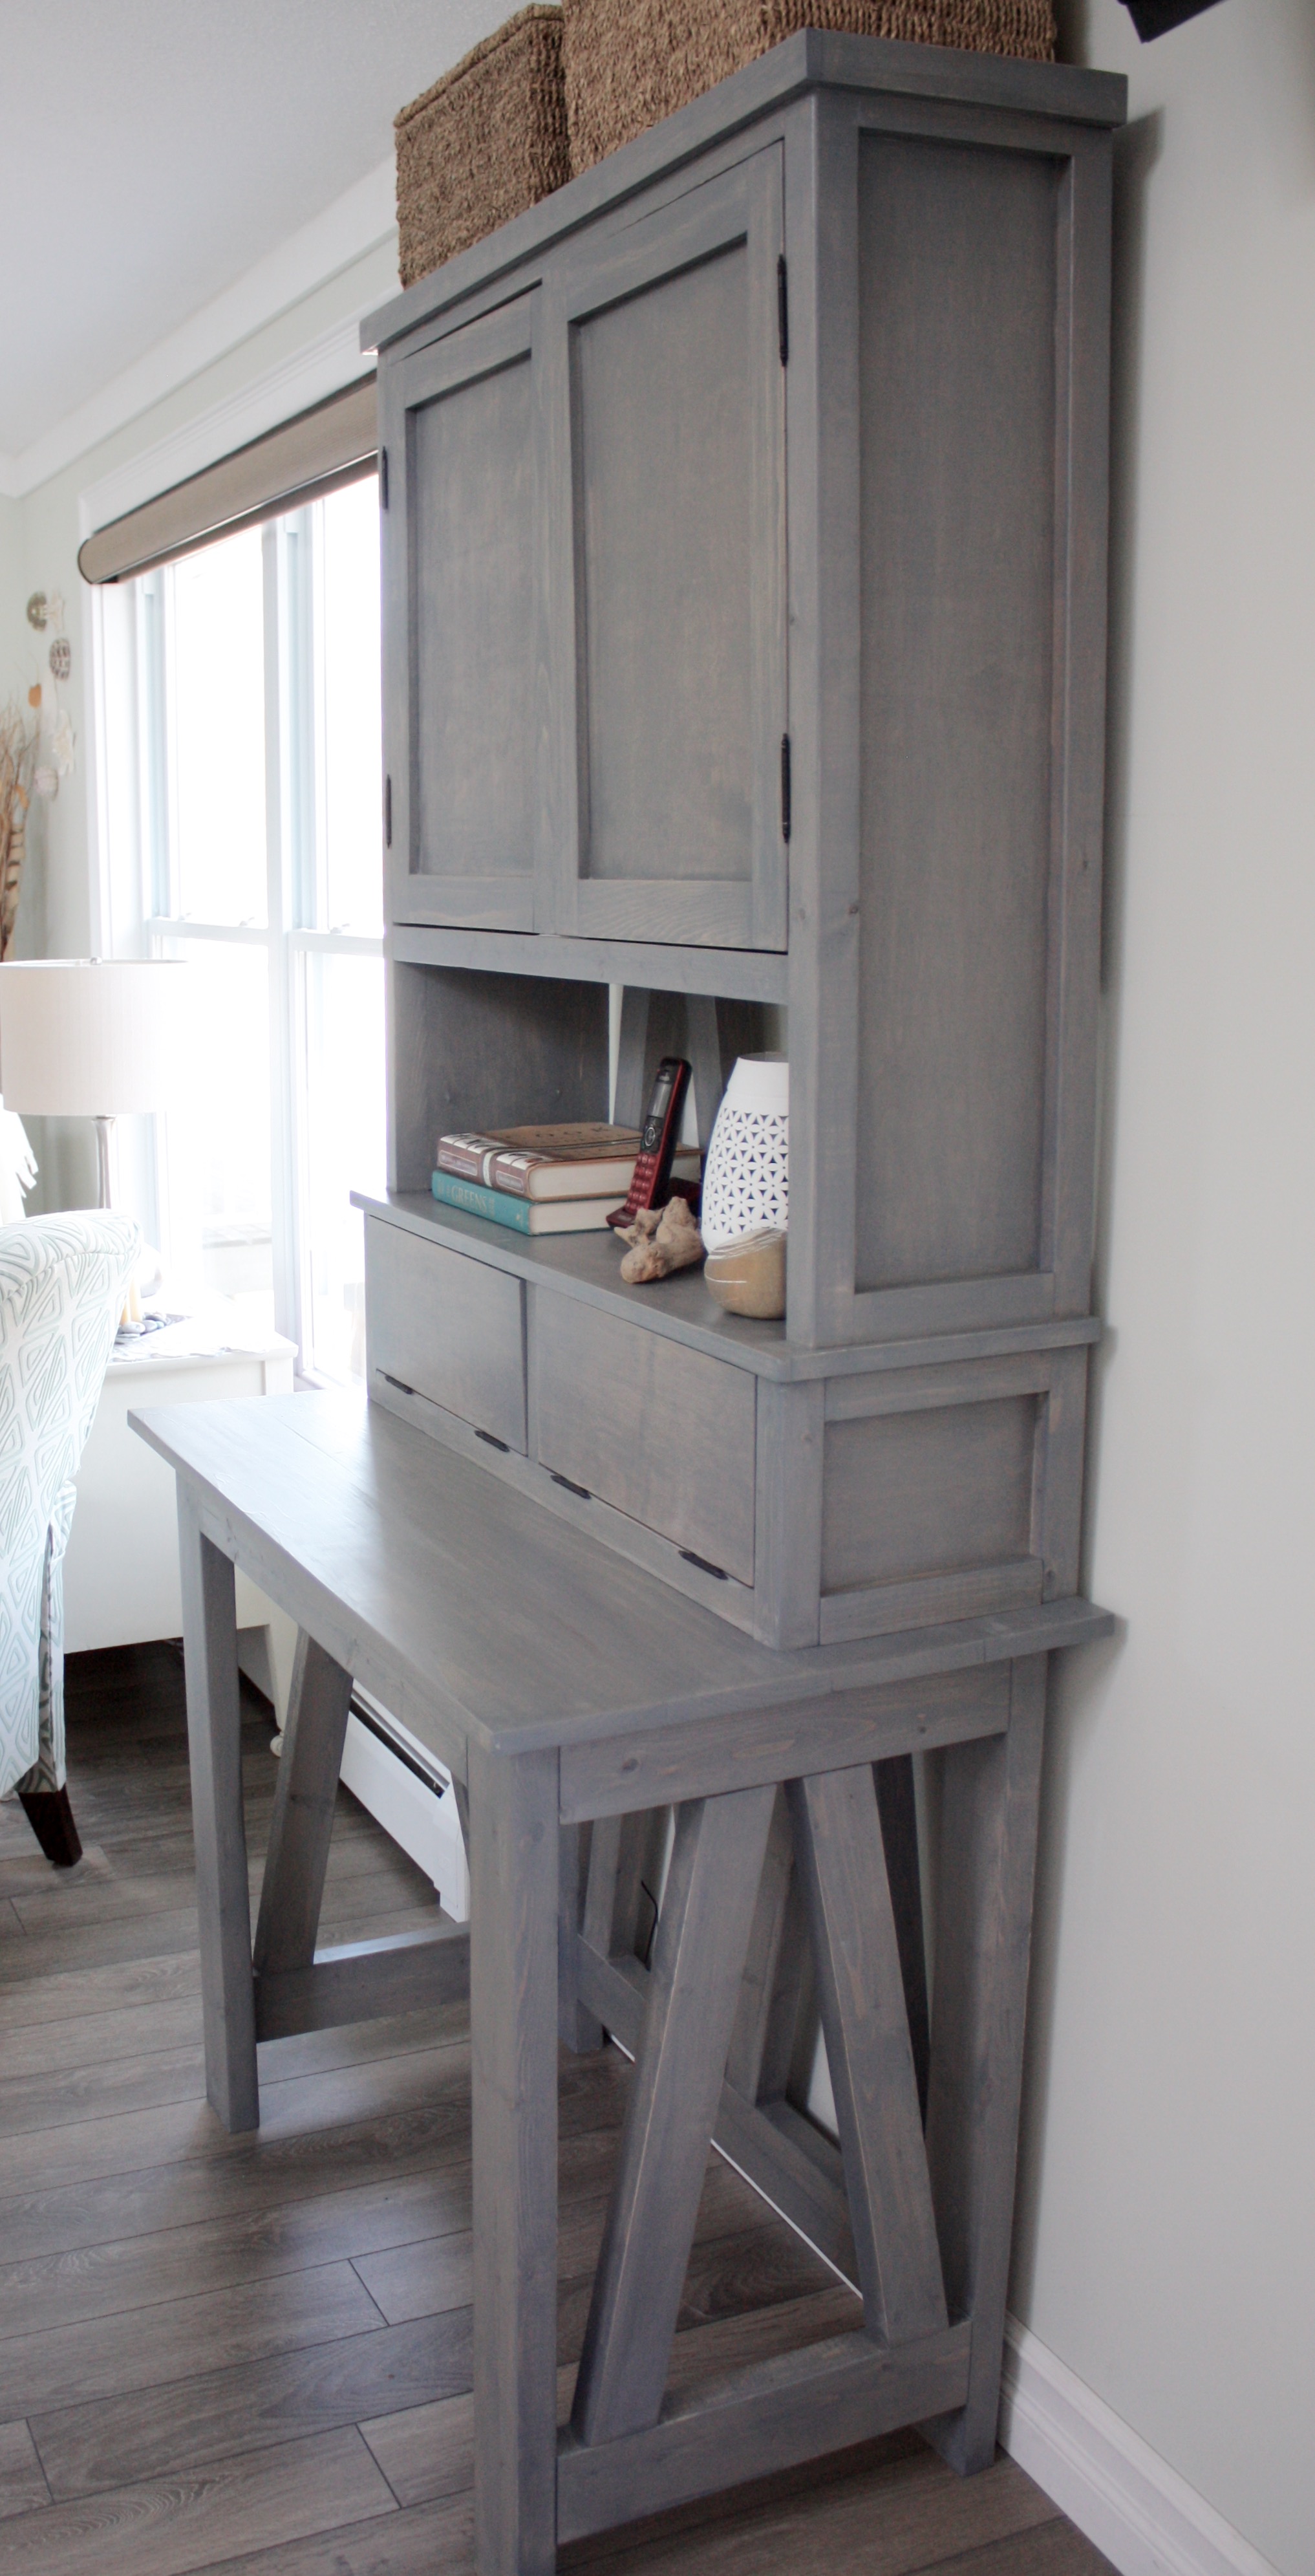
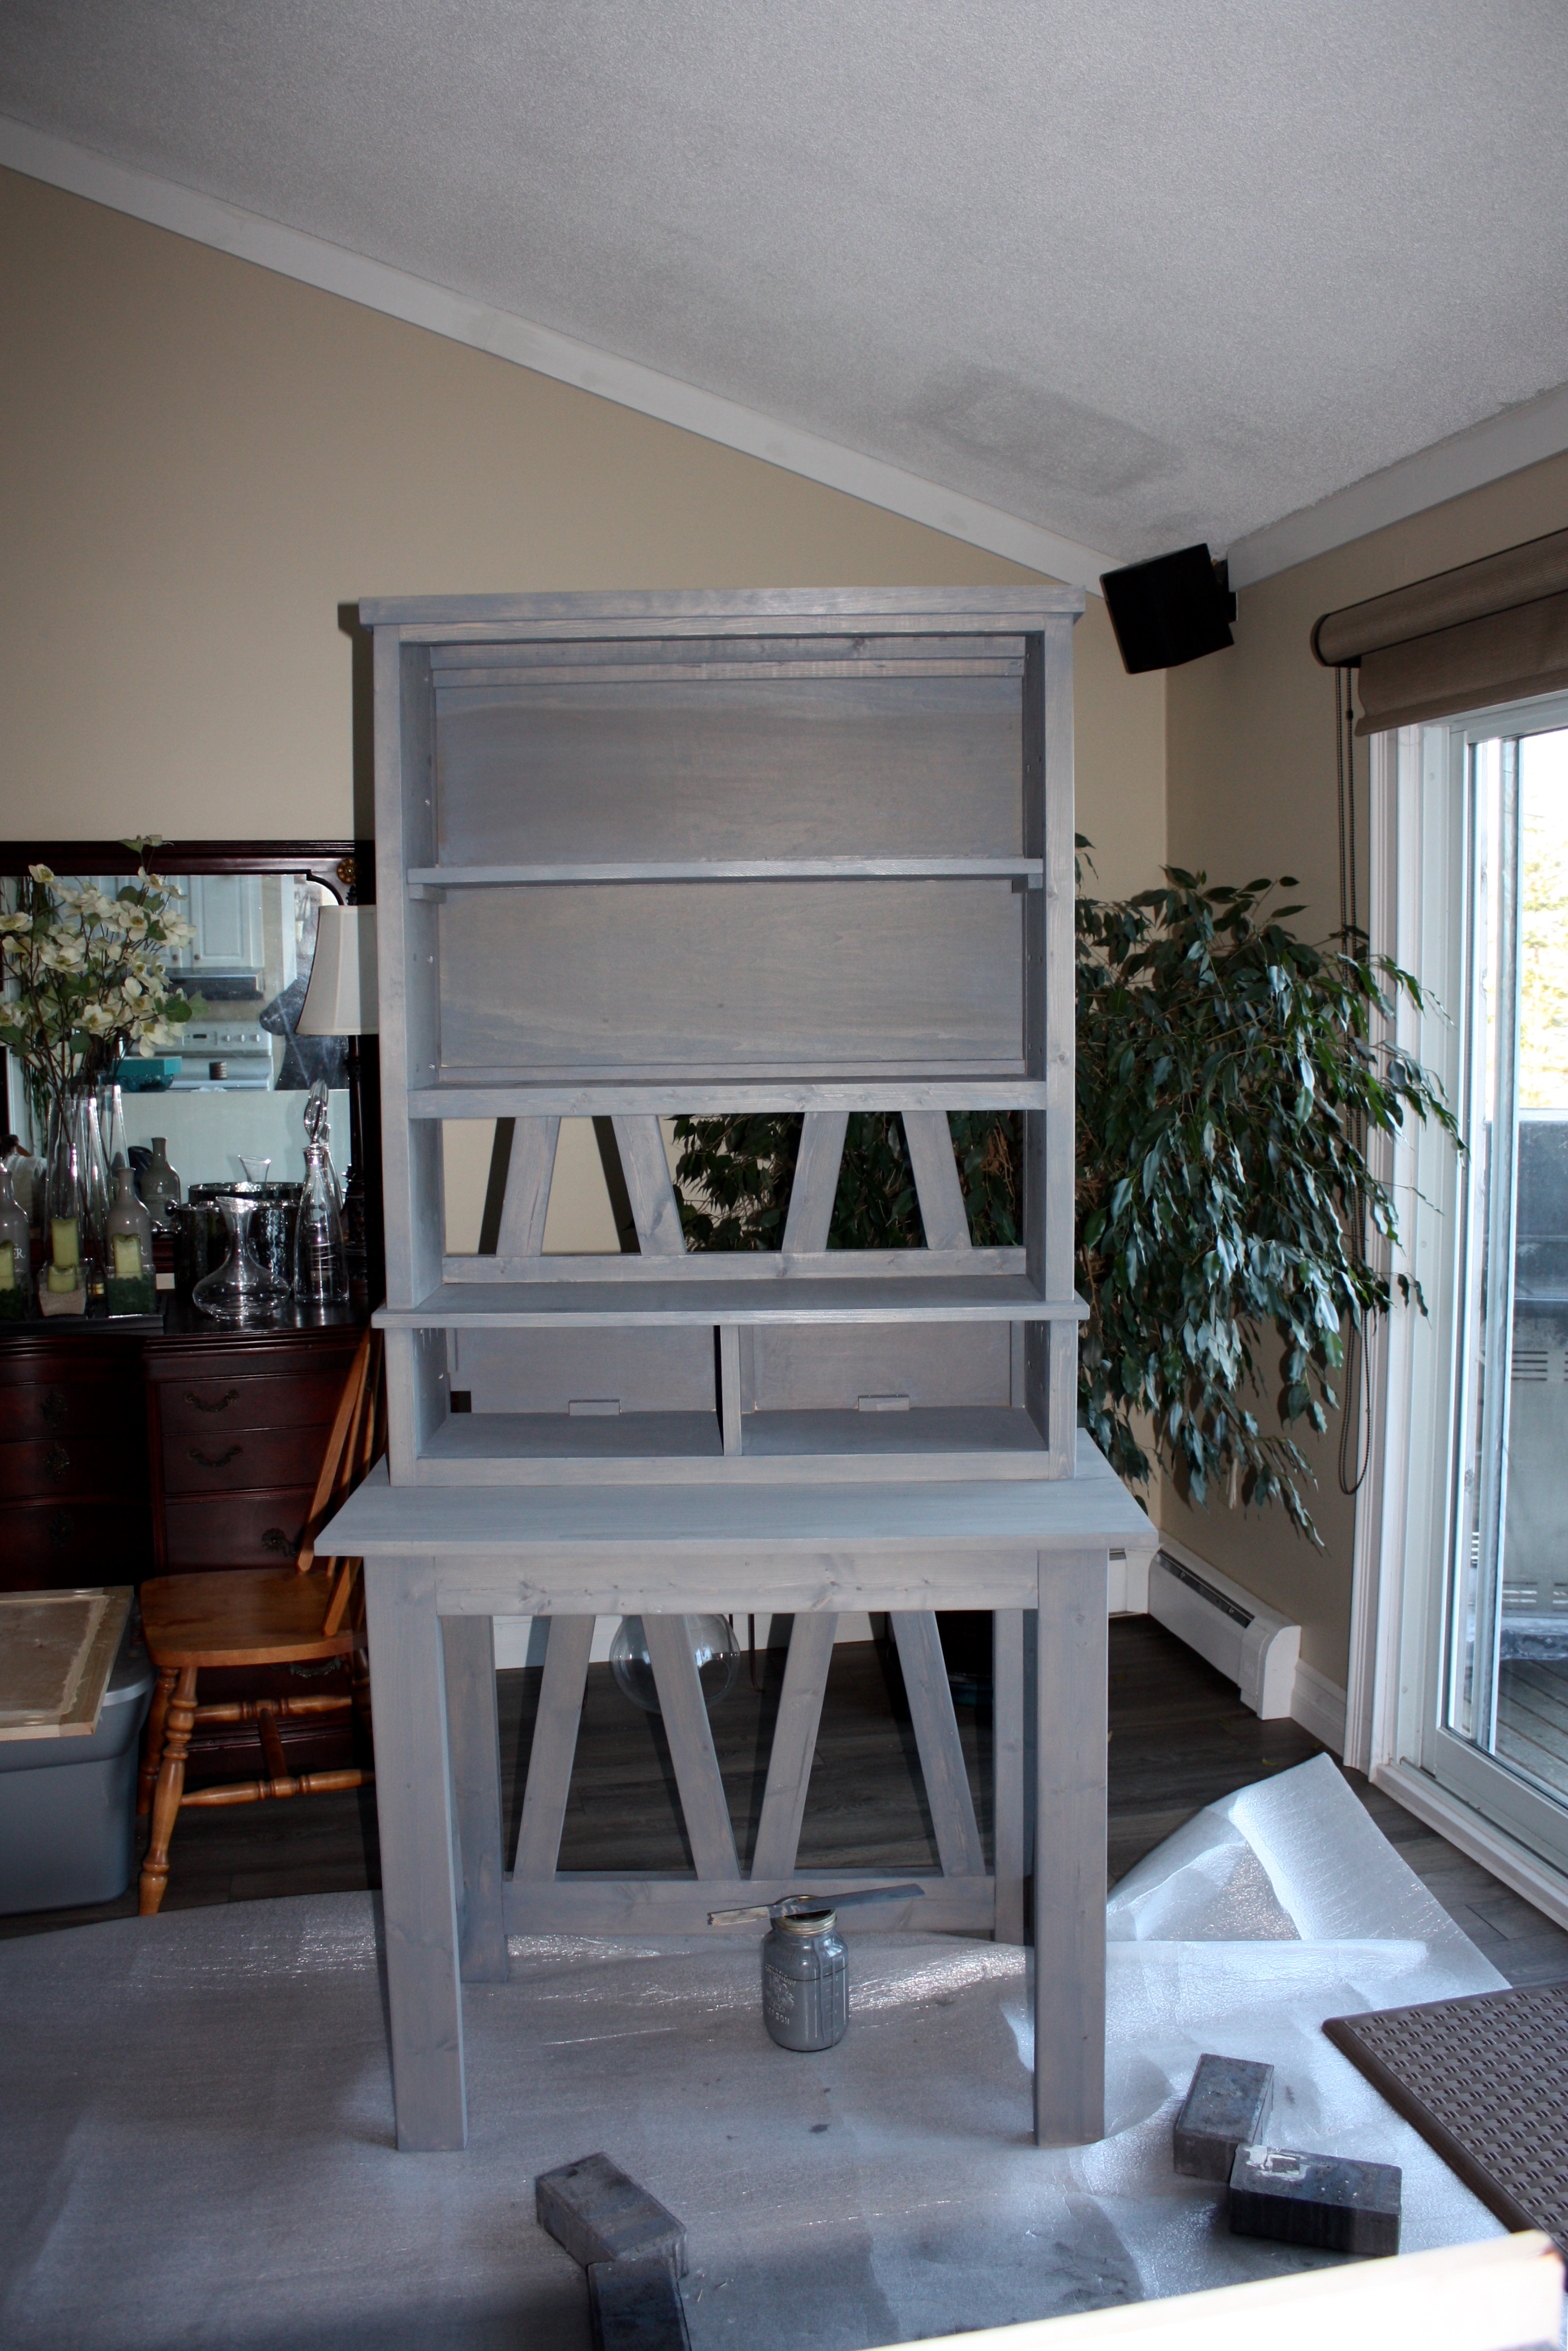
I built this makeup vanity to fit a 40" wall. I was inspired by the design of the DIY breakfast bar. The hutch sits on the top and has plenty of storage. The front drawer fronts are hinged at the bottom, this storage space holds a hairdryer and iron or makeup with a cord pass through at the back. The stain is a mixture of three colours.
Sat, 11/05/2016 - 07:47
Can you link to the plans you based your inspiration off of? I can't seem to find it on the site. Thank you!
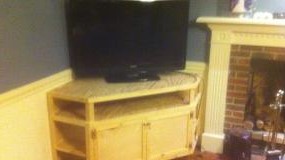
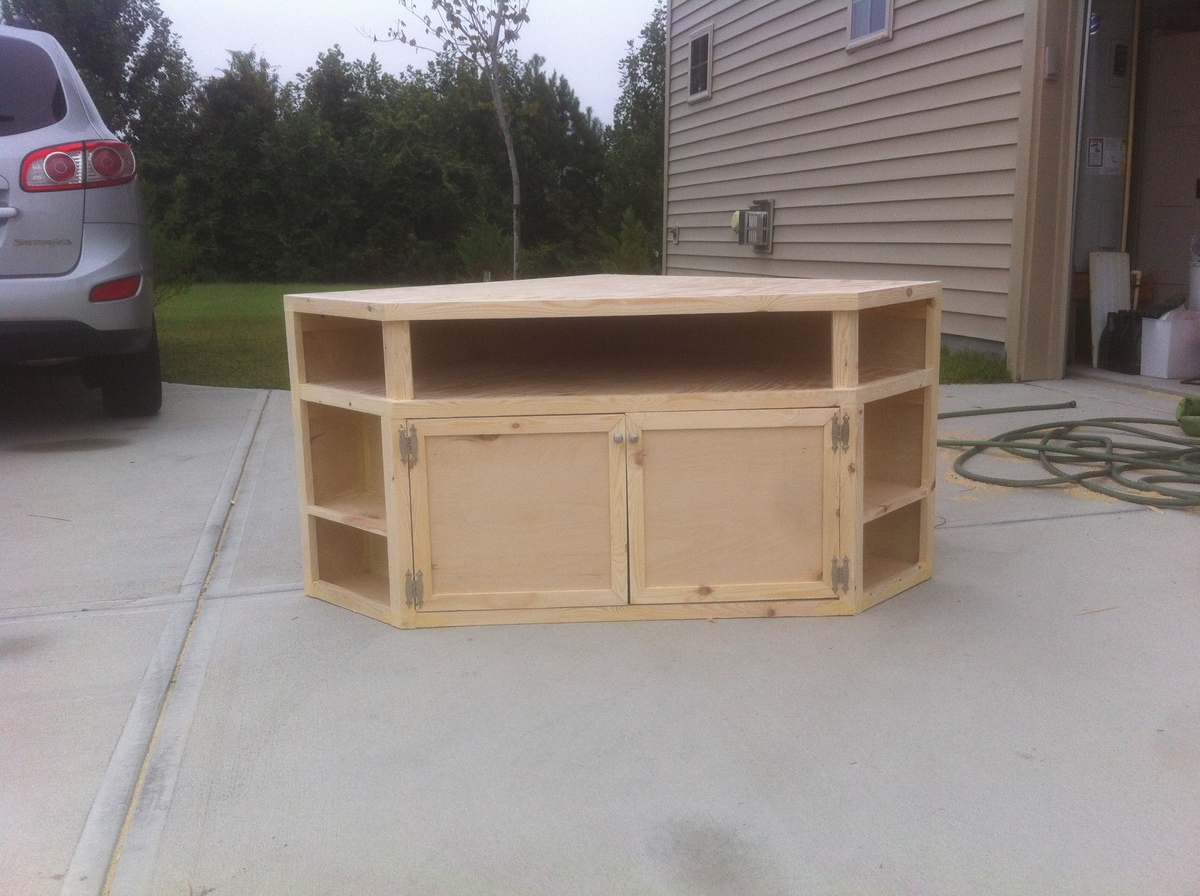
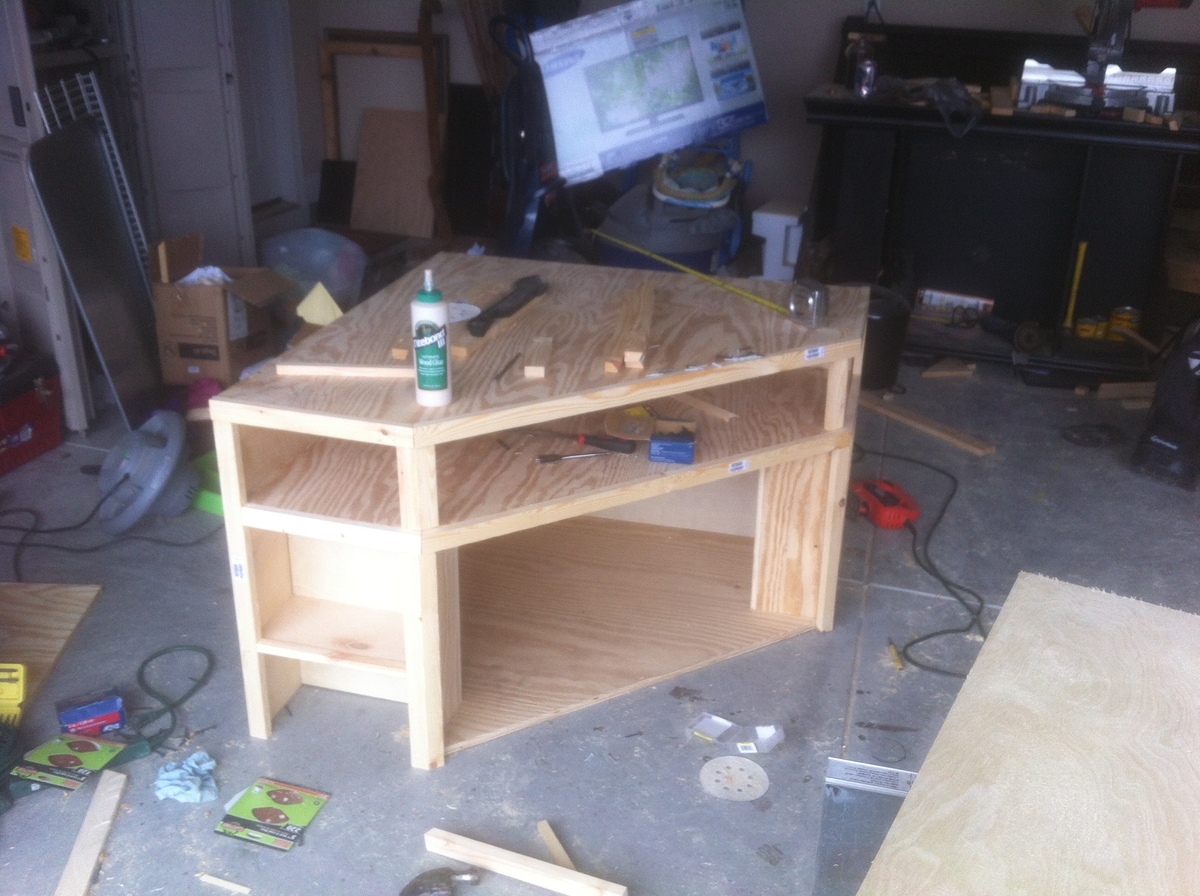
This is a corner entertainment stand. I didn't have a plan to follow so I made it up as I went. The dimensions are 40" L xW and 27" tall. It has a base hidden underneath it help support the weight and is also screwed into wall studs to prevent tipping. The angle for the front cross section is 22.5 degrees. I made this for a friend. She is going to paint it unfortunately. Materials cost only around $120. 3 sheets 3/4" plywood, some 1x2s and a couple hinges and cabinet knobs.
Sun, 01/06/2013 - 04:49
This is REALLY a nice looking corner unit. In our living room, the ONLY place for the tv is in the corner. I have a prebuilt unit now that cost me quite a bit, and we hate it. Its all modern with glass shelves. This corner cabinet is EXACTLY what I want to build. I have a 1 year old so having doors to hide the electronics is a must.
I would VERY much like to build this. Are there any more detailed pictures or a plan I could download? Ive been searching for the last few days an just cant seem to find anything that catches my eye like this one.
Looks great!!
Sun, 01/06/2013 - 06:18
The shelves are made out of premium plywood. For the top, bottom, and the middle shelf, I measured and cut out on pieces of plywood. Then used plywood for the "walls" of the unit. I trimmed it with 1x2s. The doors are also plywood. I just rabbit jointed nice wood for the frame of the doors. Underneath the the TV stand is a 2x4 set back a little bit to give it that floating looking. It is anchored to the wall on the inside of the unit with screws going into the studs of the wall. I hope this makes since.
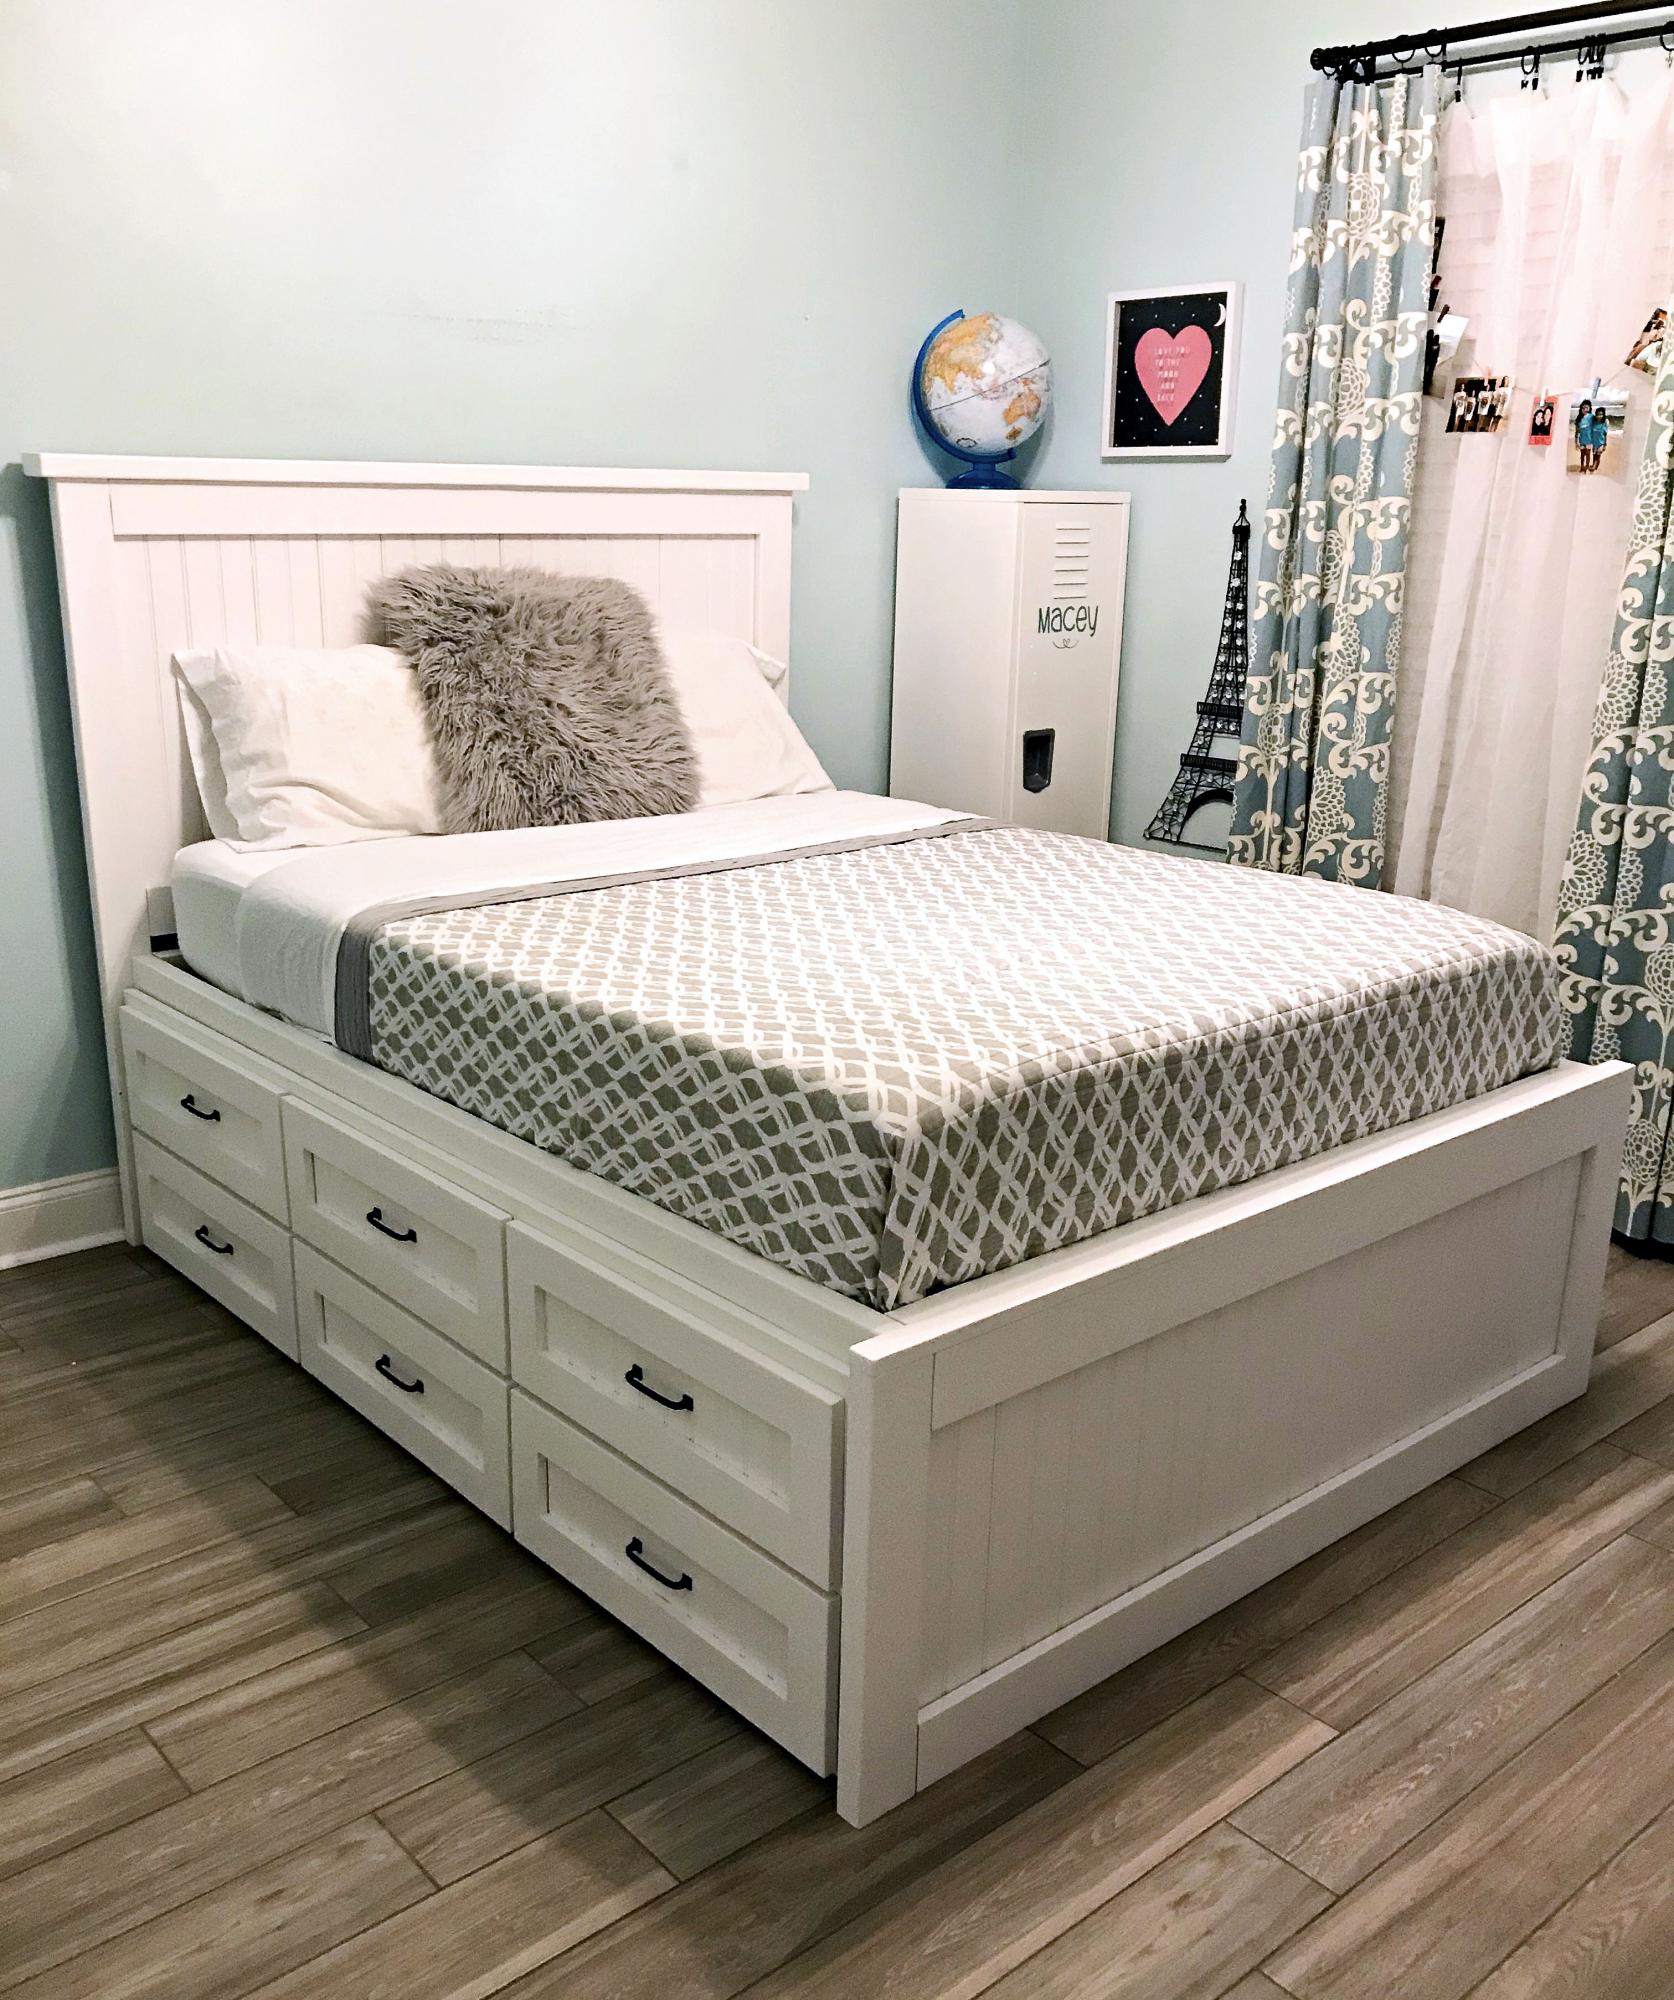
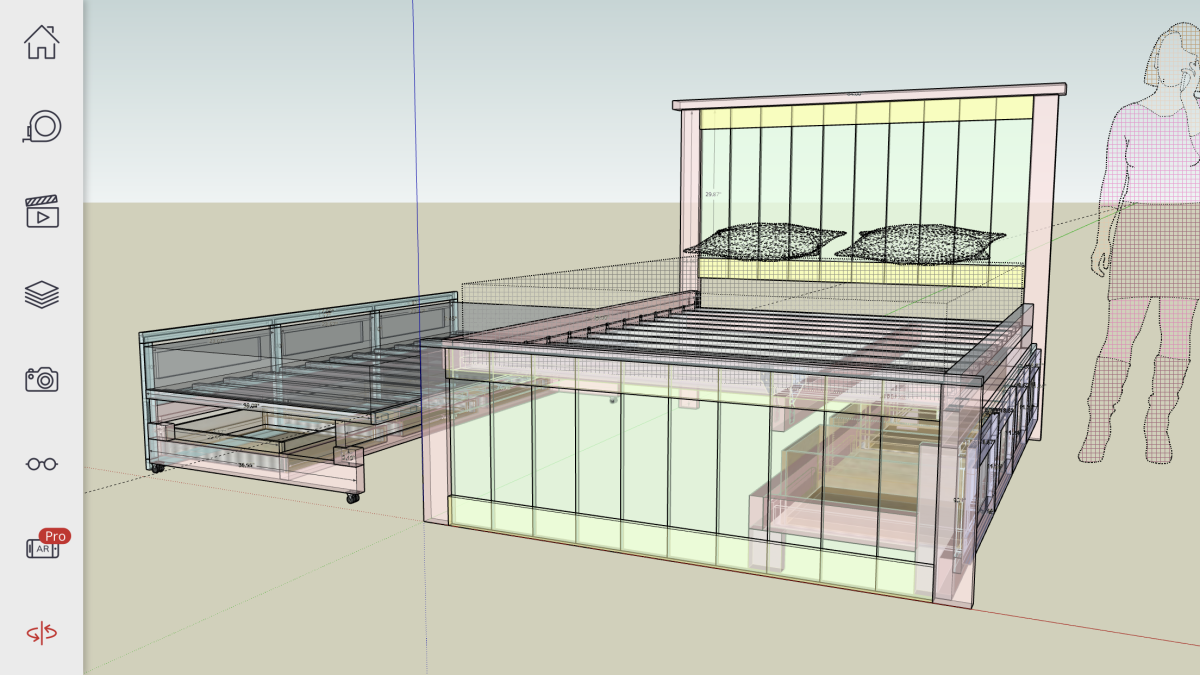
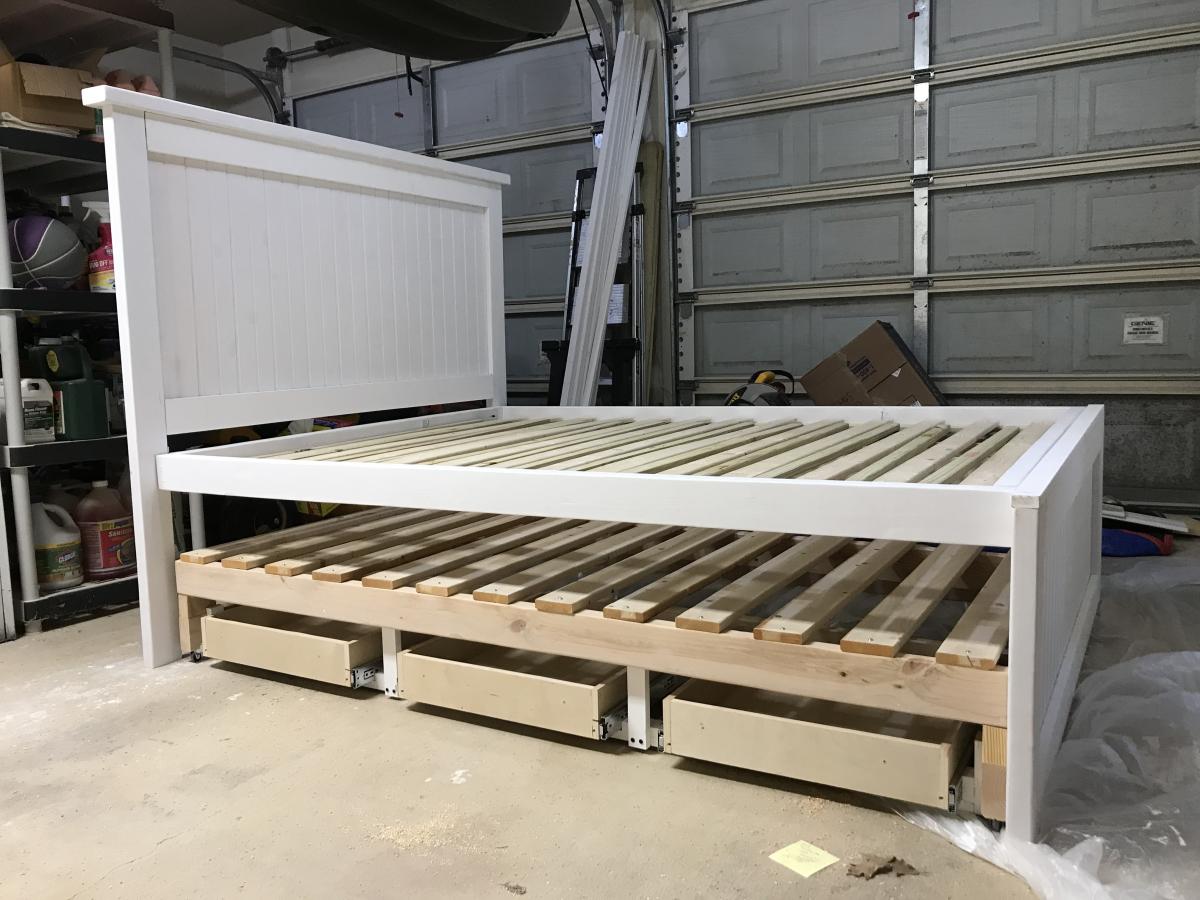
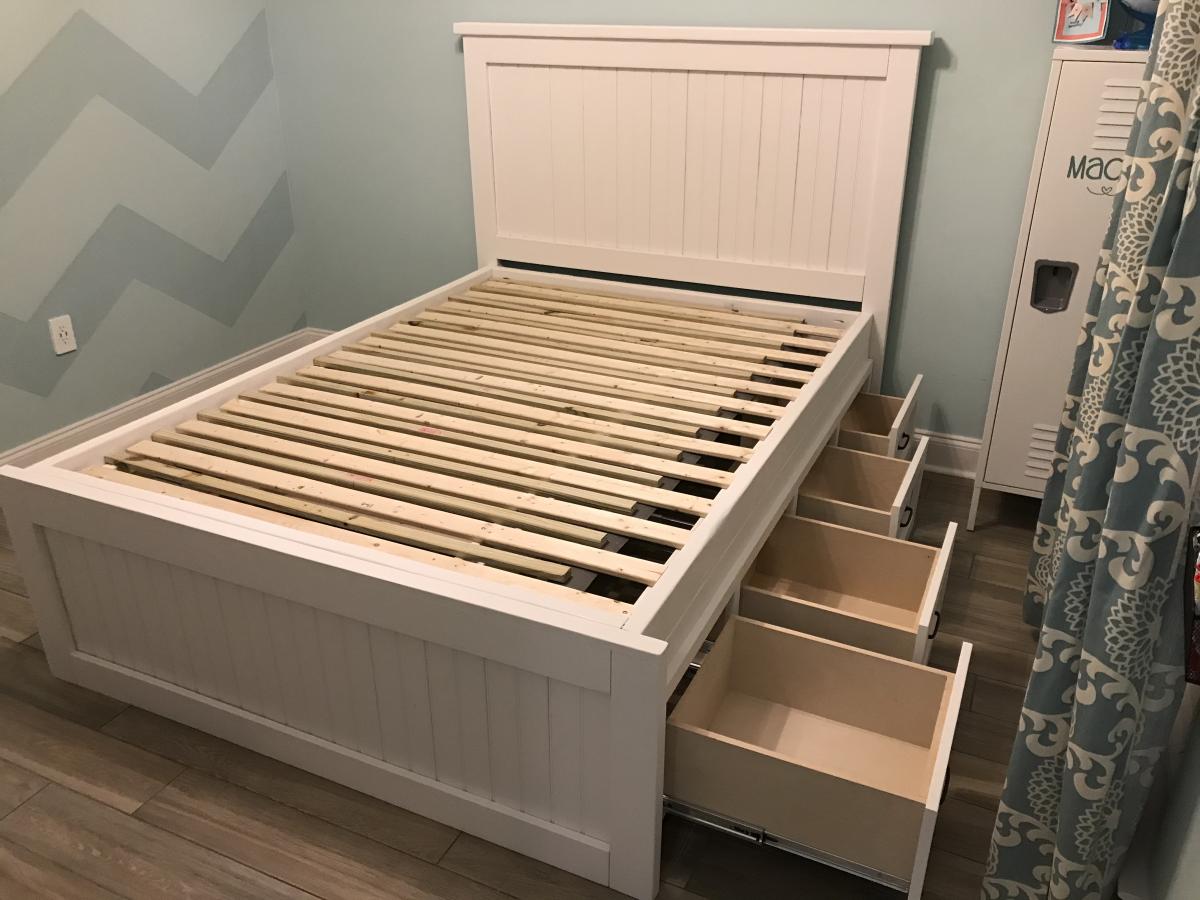
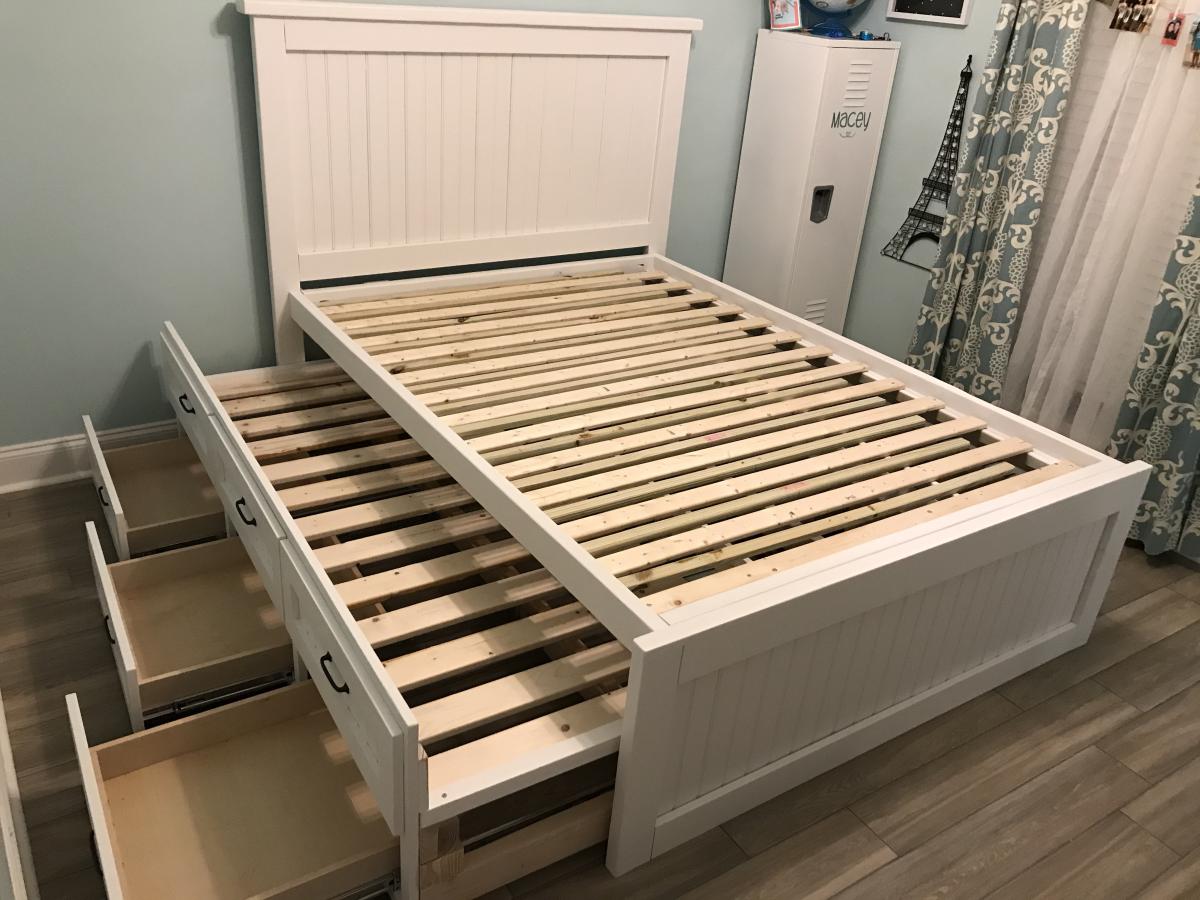
Full size storage bed with trundle. Three drawers and a trundle on one side and four drawers on the other. I started with the farmhouse design (headboard and footboard) and modified it to make it not so heavy and I designed the rest using SketchUp. See more photos in blog link.
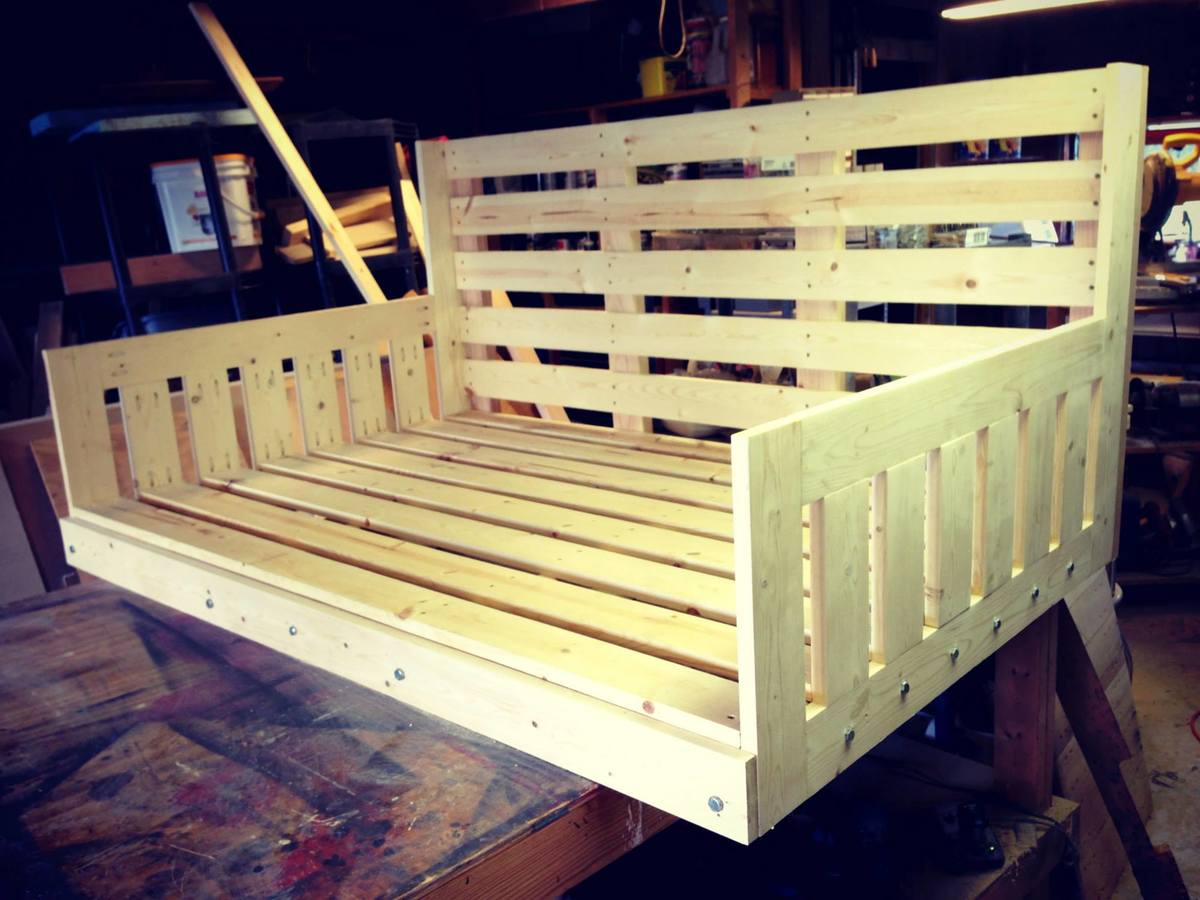
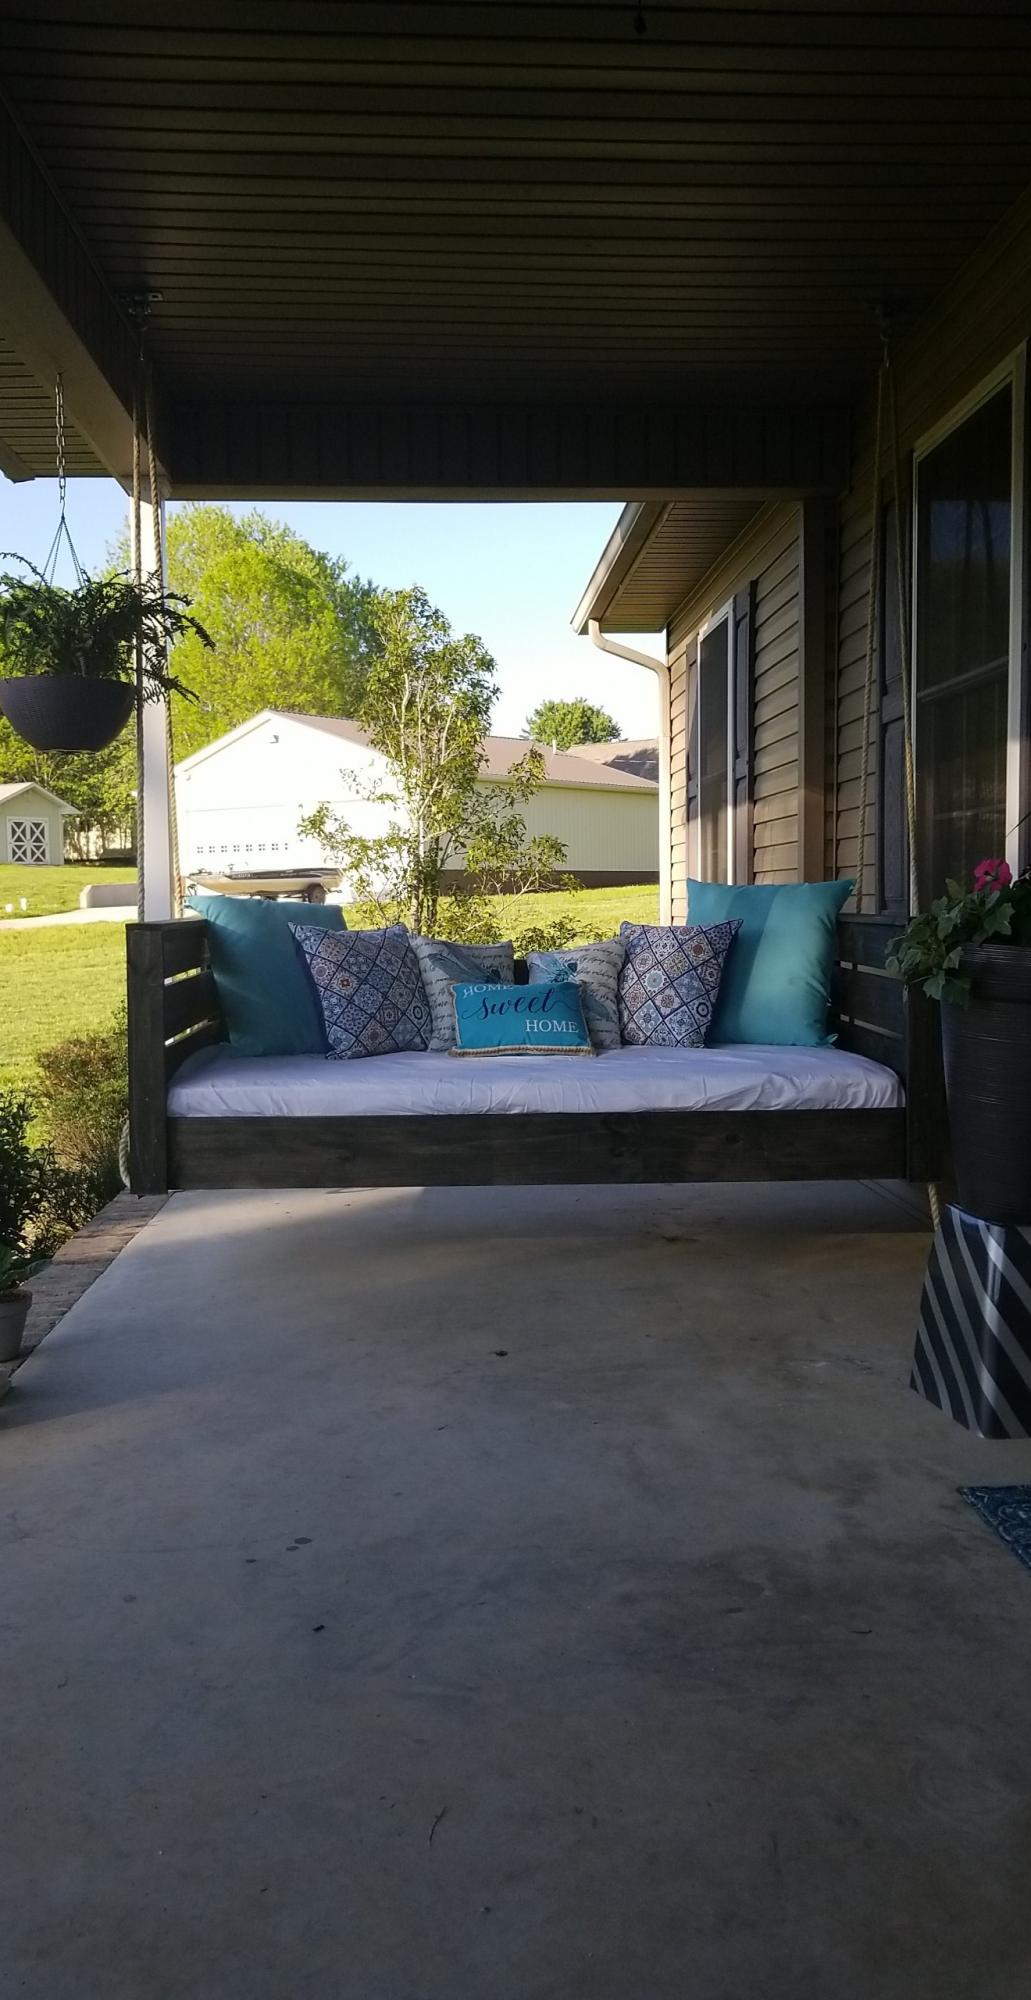
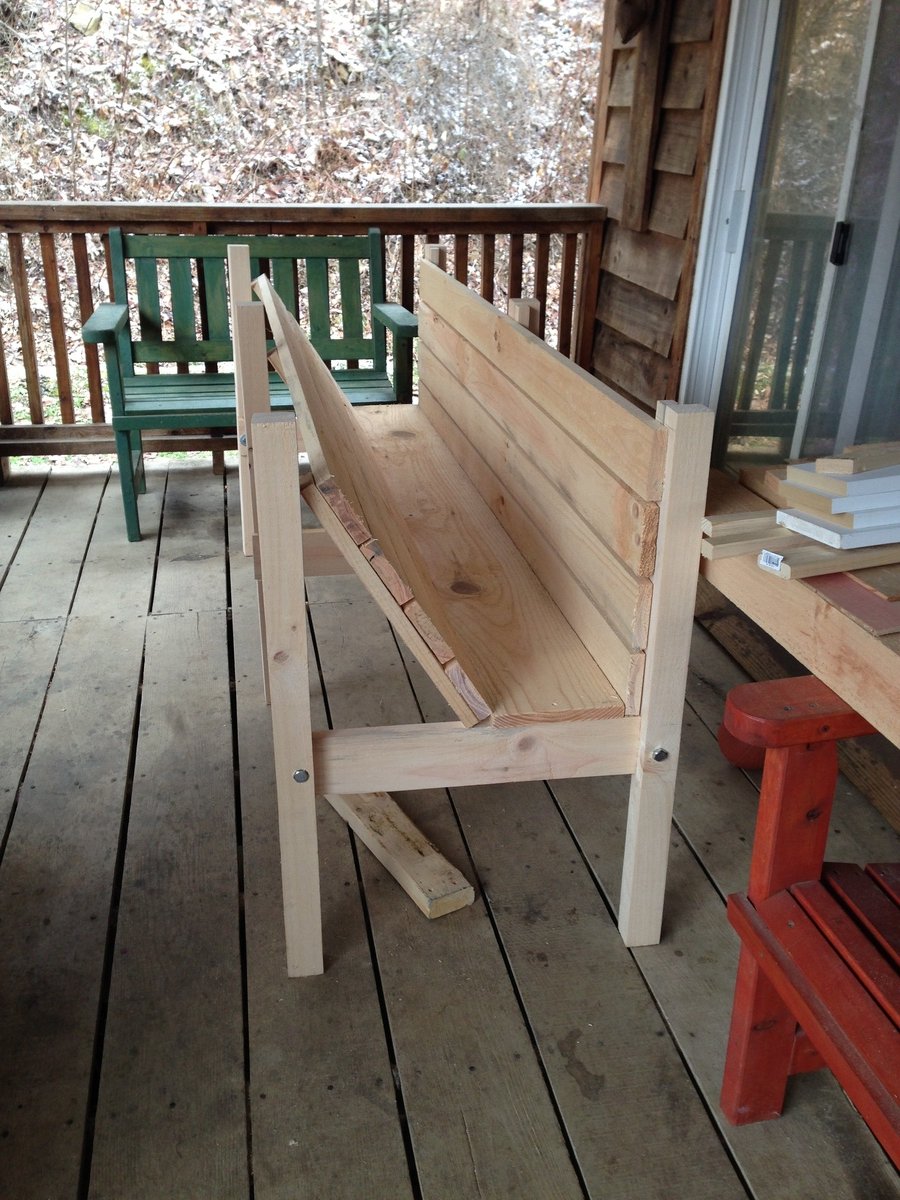
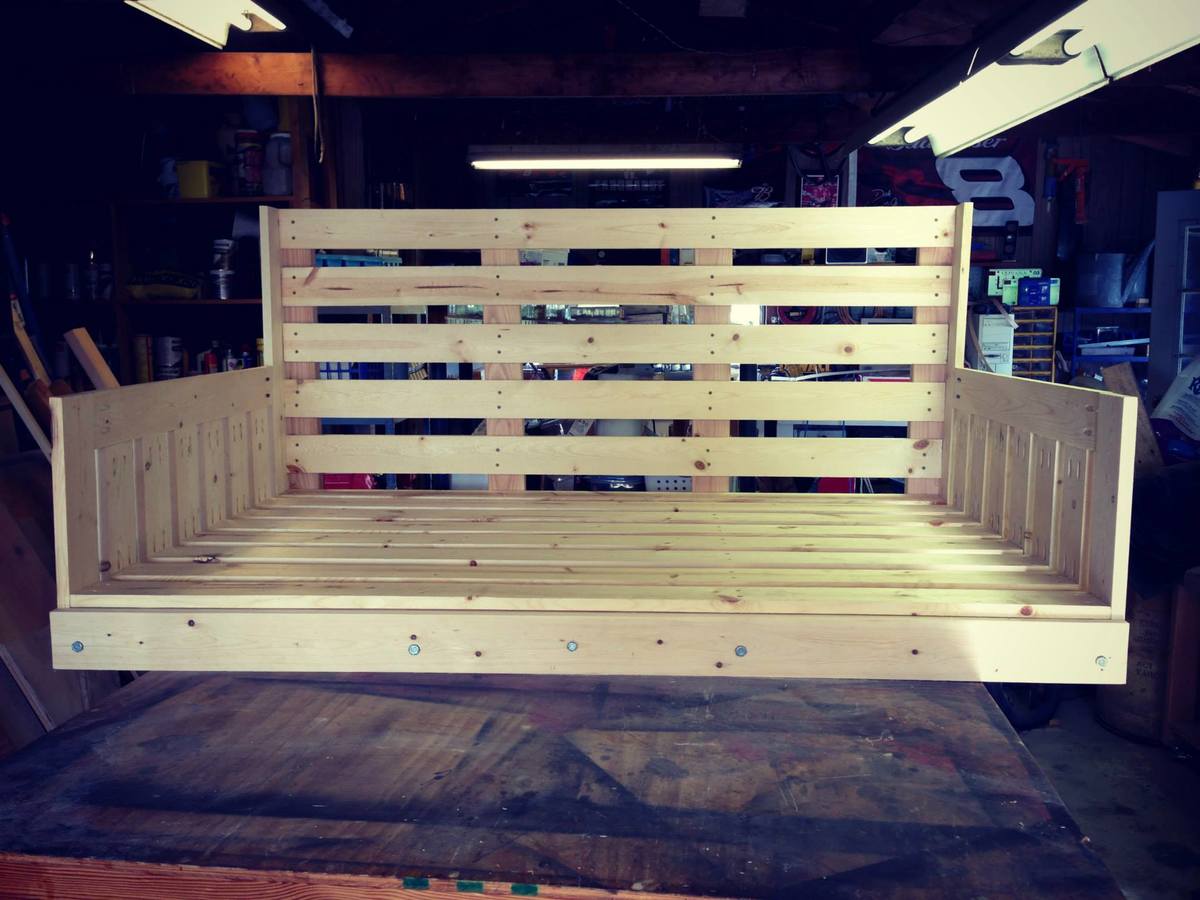
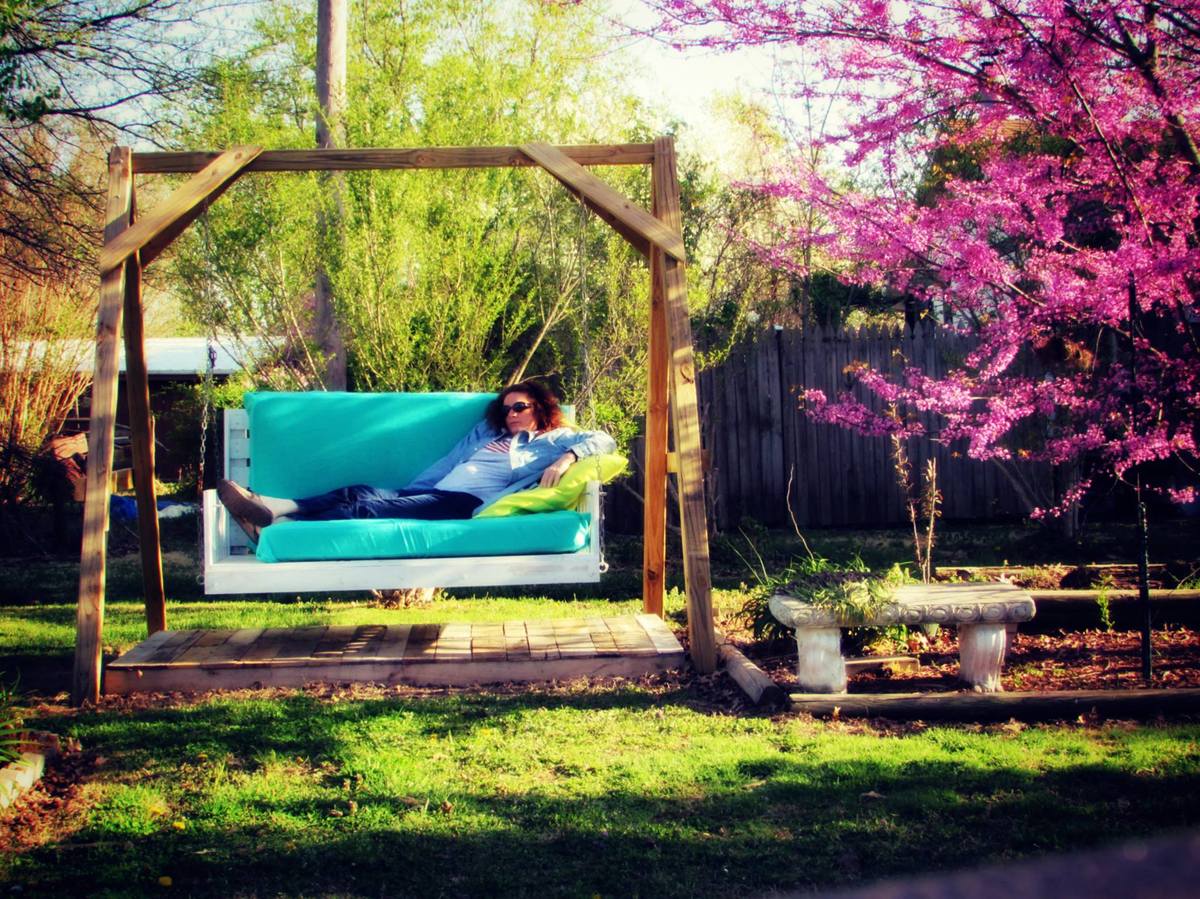
Don't get in this bed swing unless you have time for a nap. This is a modified version of the "large modern porch swing". Very comfortable to lie down and swing. The mattresses are 2 baby crib mattresses that I found really cheap at a yard sale and on Craig's list. I probably should have shortened it several inches to fit the crib mattresses, had I known in the beginning that was what I was going to use. I made the swing myself, but had help with the A-frame. My friends are envious.
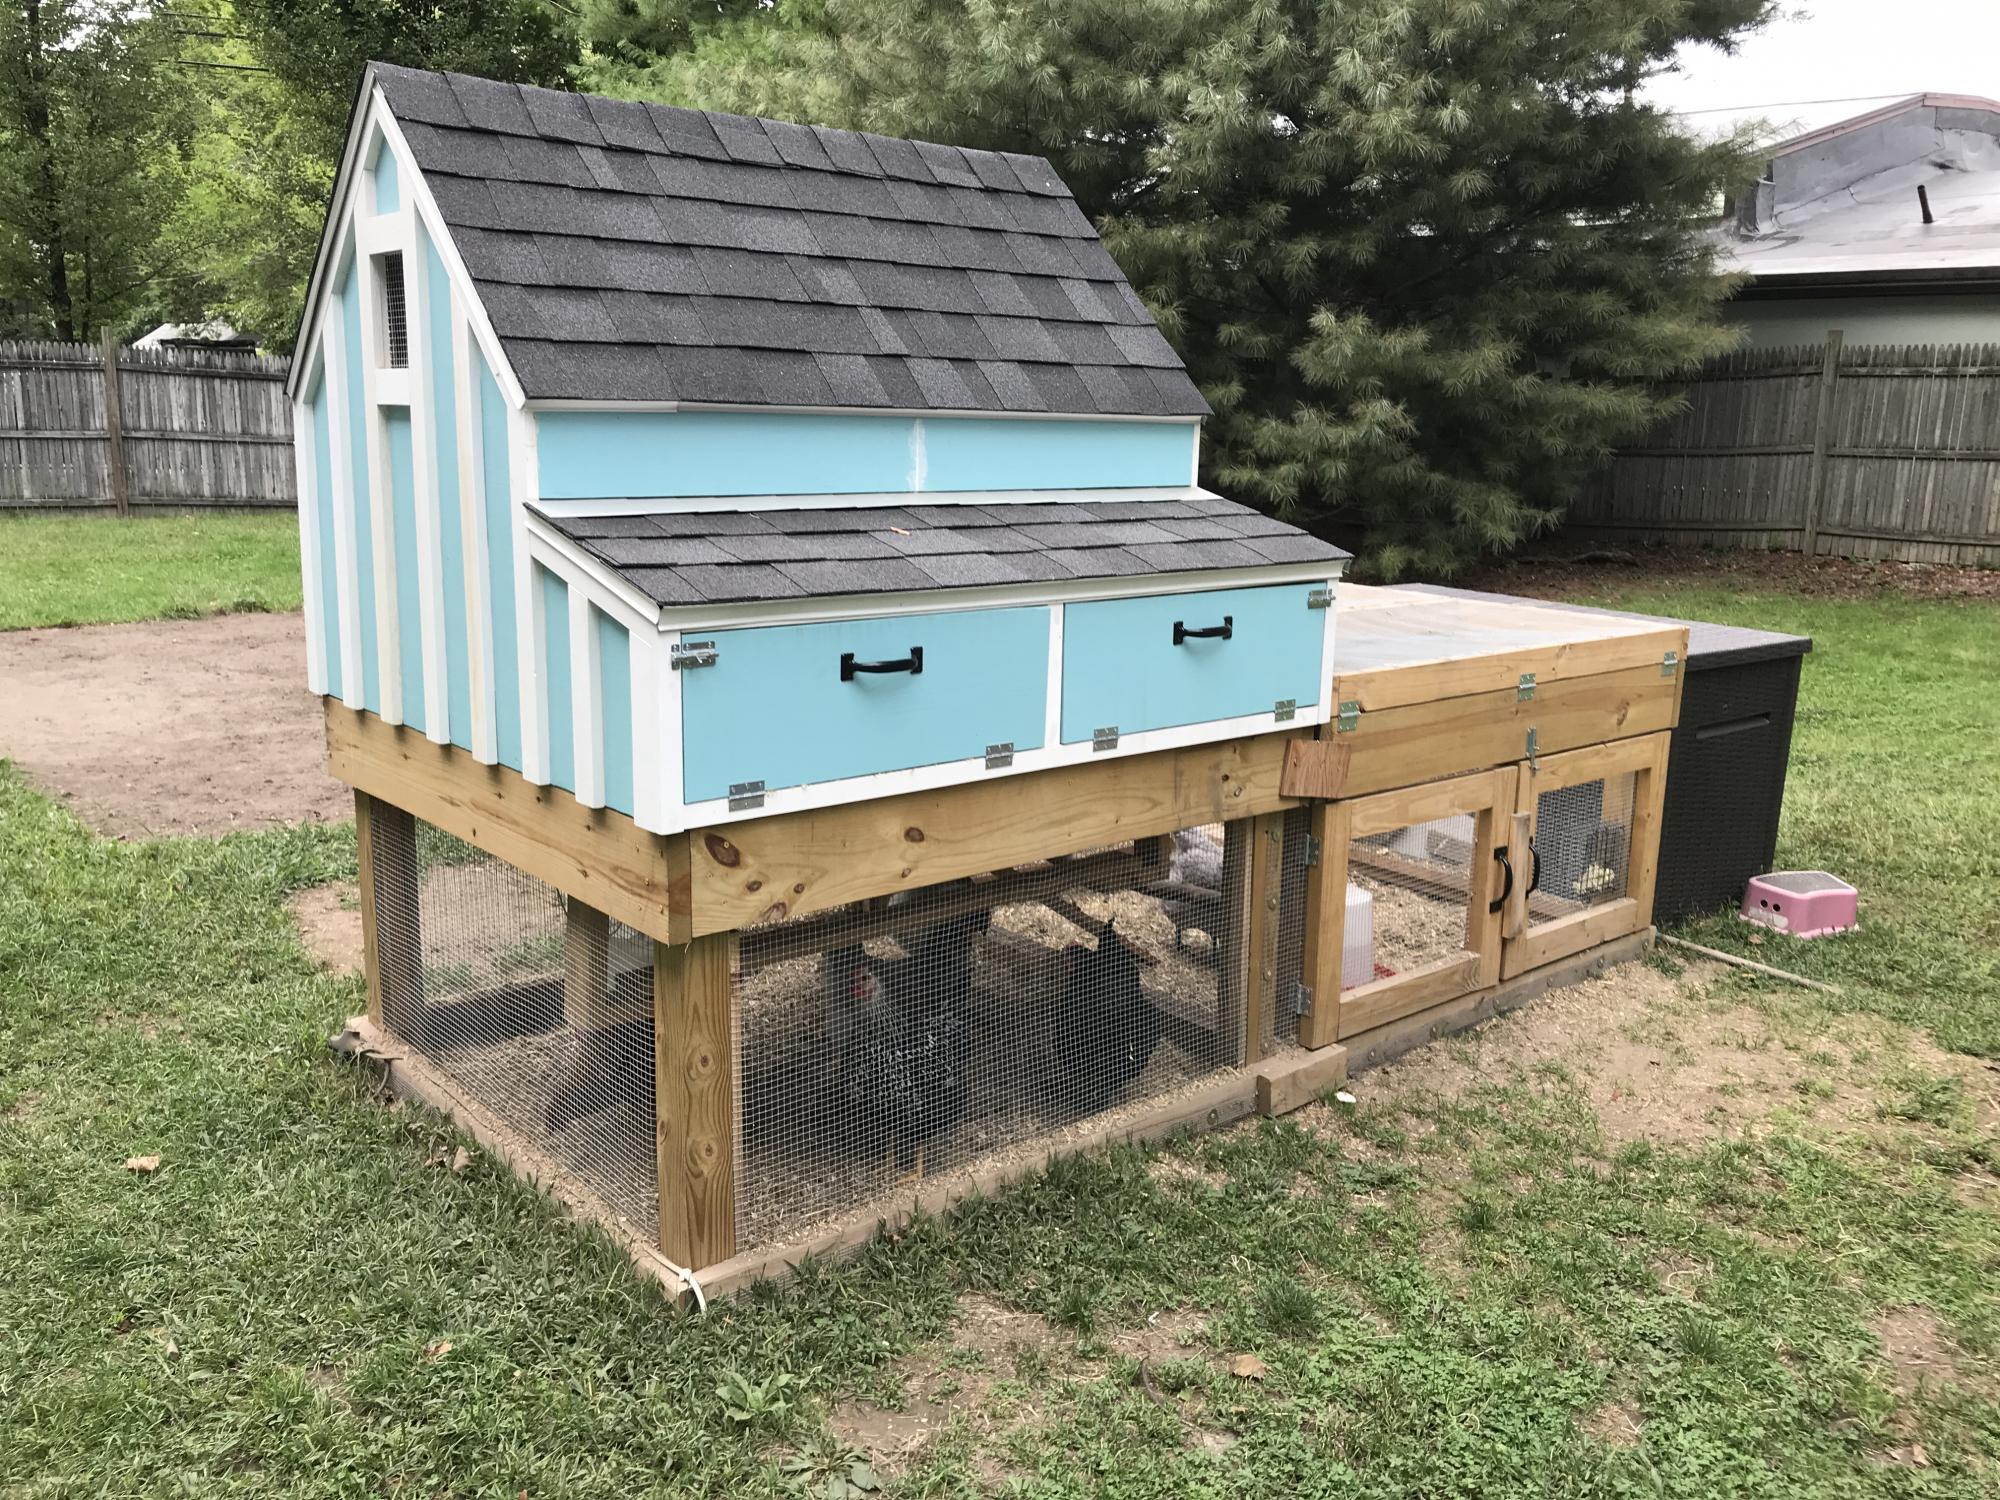
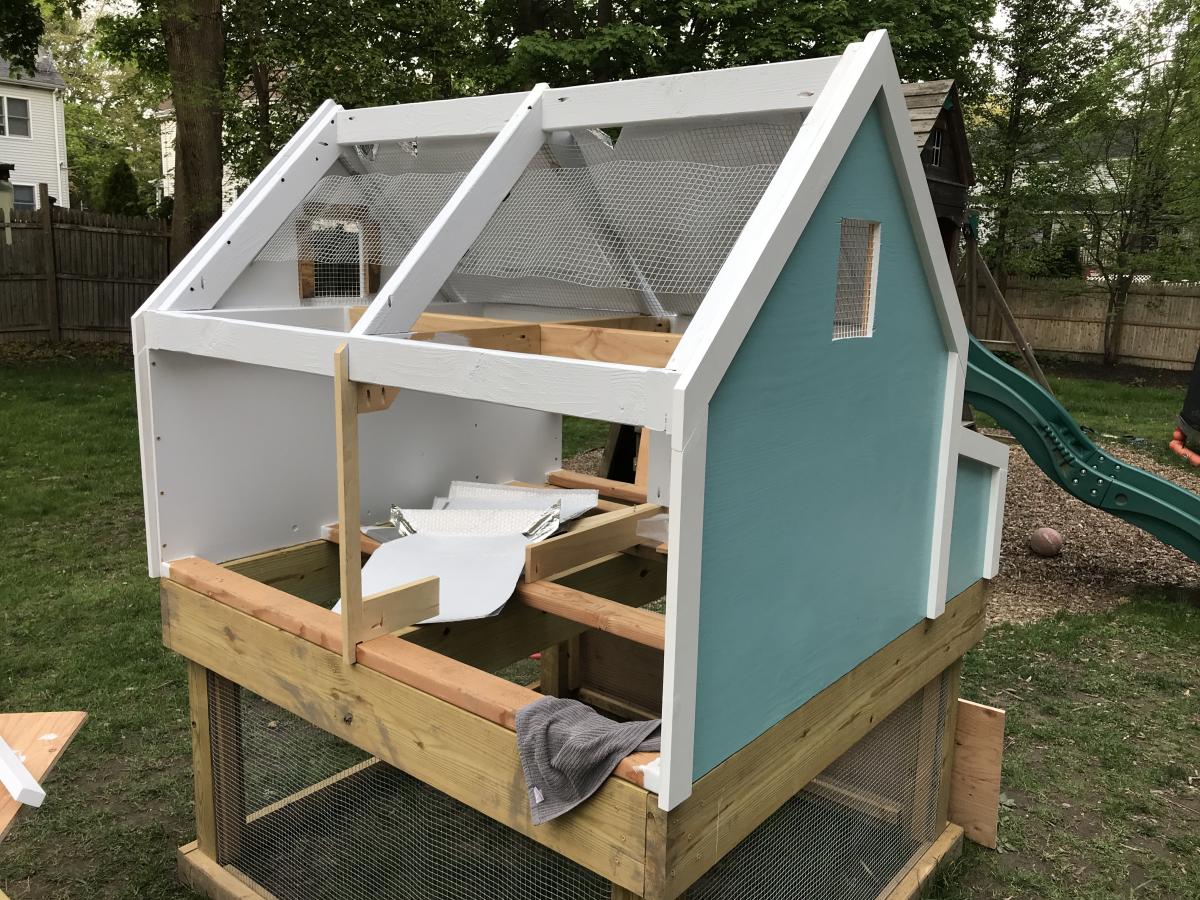
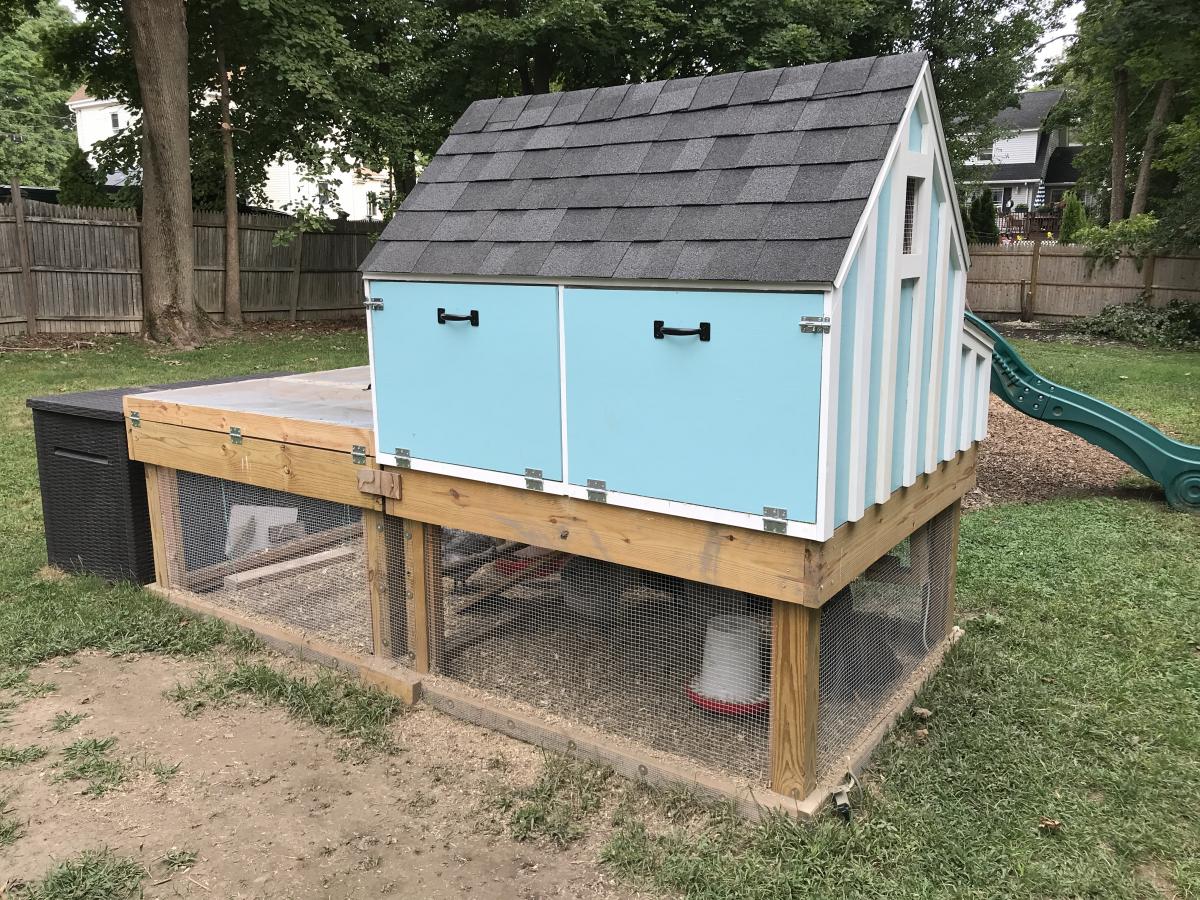
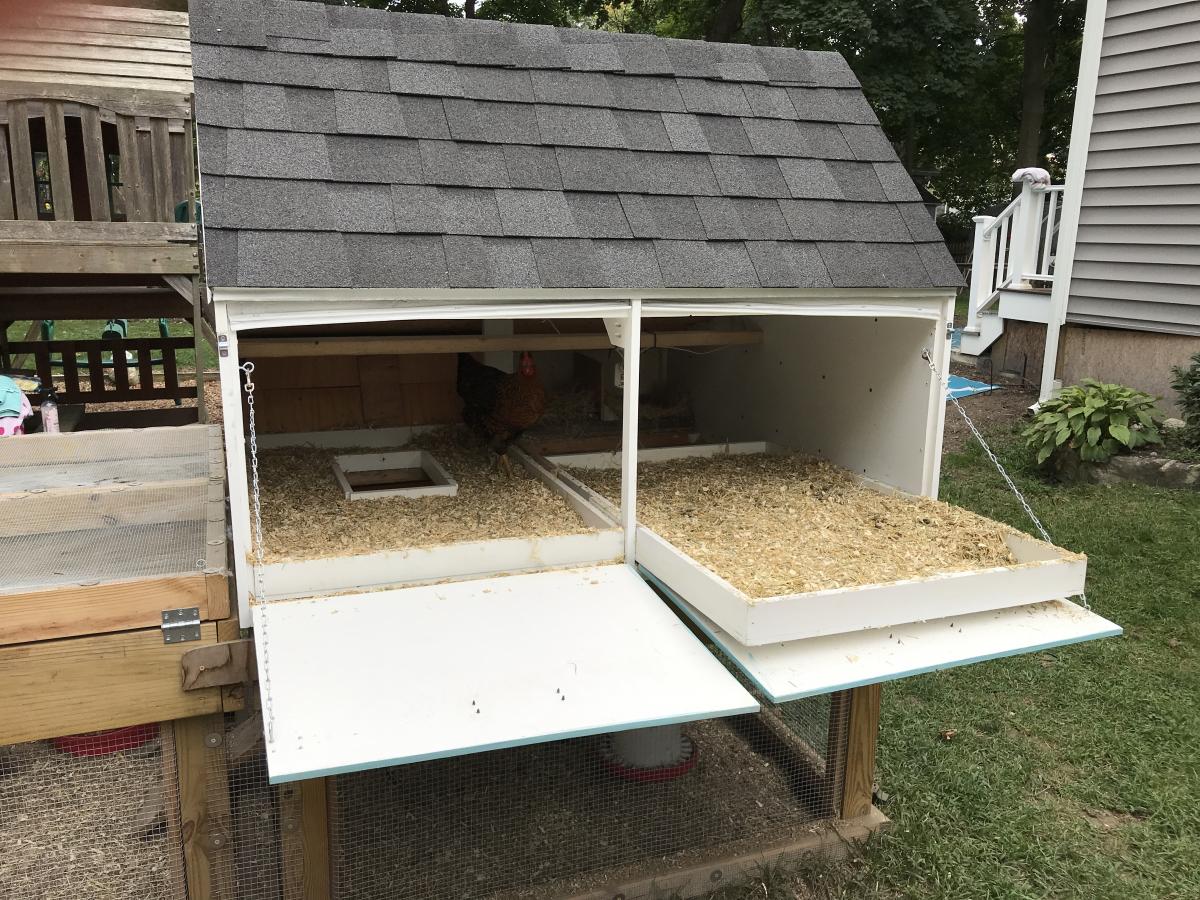
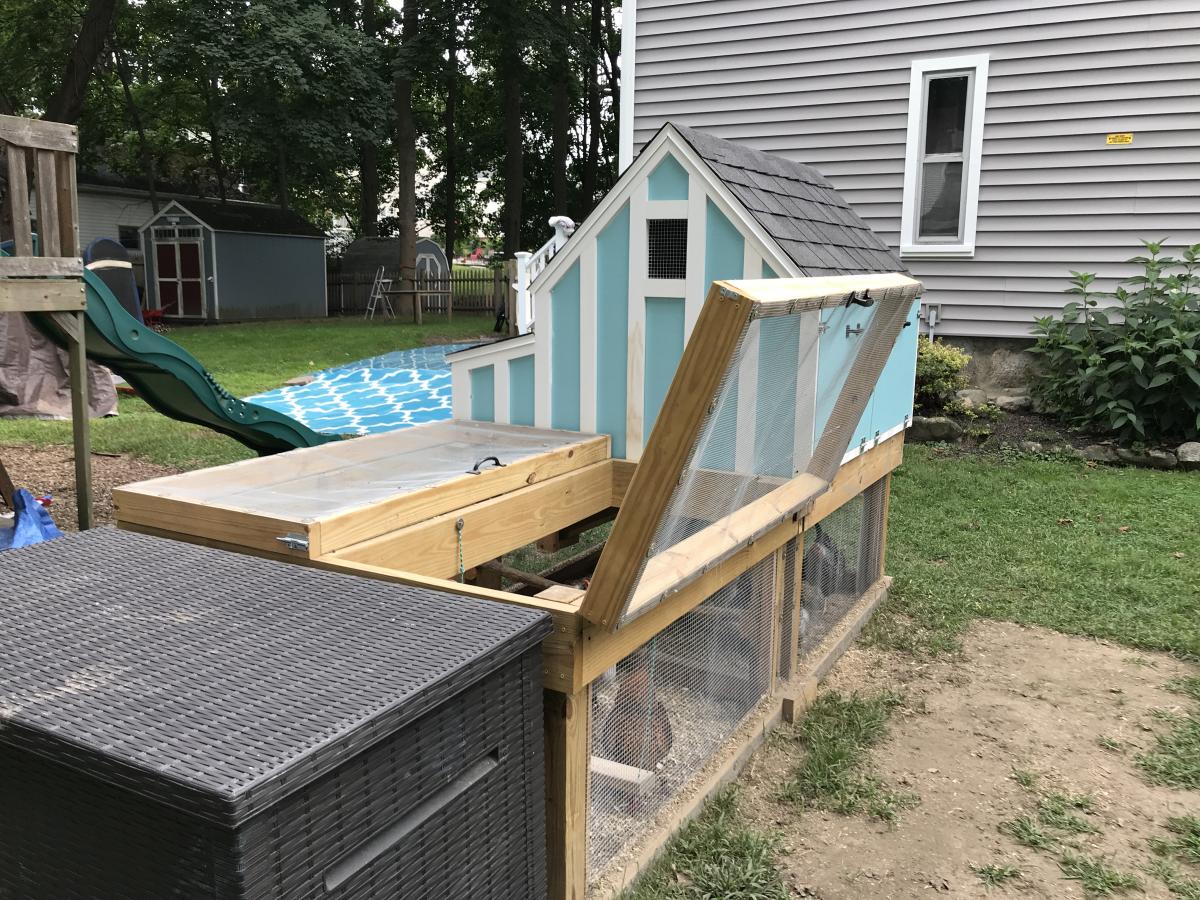
This was a fun build, though it took me quite a while because I decided to paint the interior. I ended up making it twice as wide to accommodate our six chickens. It took some planning but in the end I had essentially two coops side by side with no dividing wall between them. I also doubled the size of the run.
I cheaped out on the plywood and went with 1/2" - there was a big difference in cost as plywood was hard to find at the start of the pandemic. Using 1/2" turned out to be a big mistake. The 1/2" plywood warped quite a bit after I had painted it making it difficult to use the doors. I may have to replace the doors eventually with 3/4".
Overall I'm very happy with the end result. It's been easy to clean and maintain and the girls seems quite happy in it. This is one of the best looking coops I've come across. Thank you for these fantastic plans!

Sun, 09/13/2020 - 11:25
Love the double wide modification plus the extra work on finishing it, is the cherry on top! Thanks for sharing!