Modified "Simple Outdoor Dining Table"
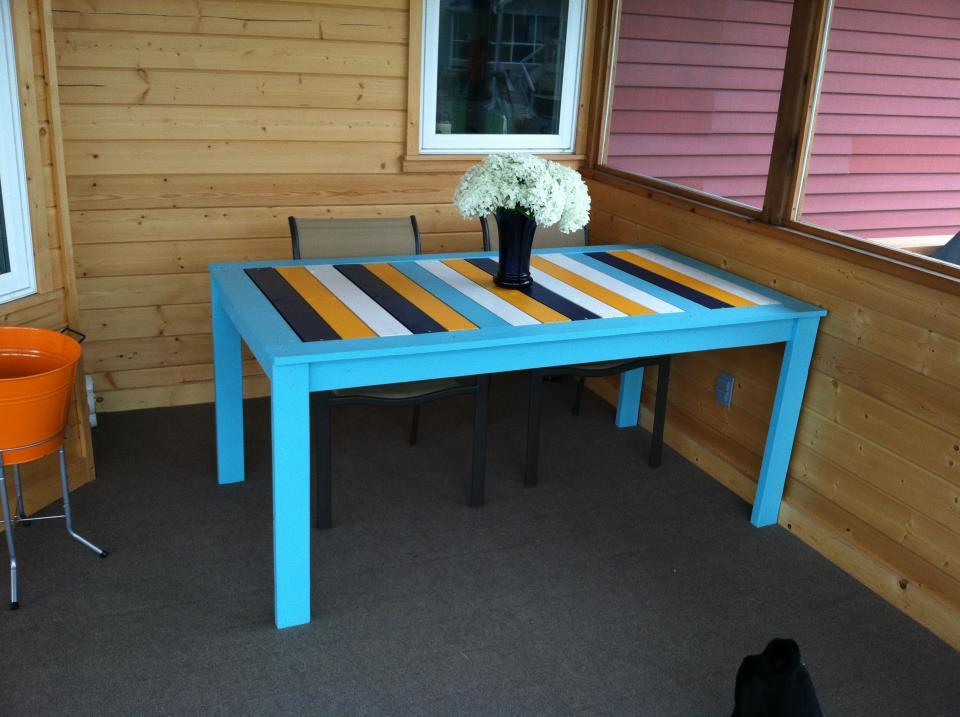
I really loved the look of the benches for this table, so decided to change the top of the table to have a side slat. We painted it to go with our porch.

I really loved the look of the benches for this table, so decided to change the top of the table to have a side slat. We painted it to go with our porch.
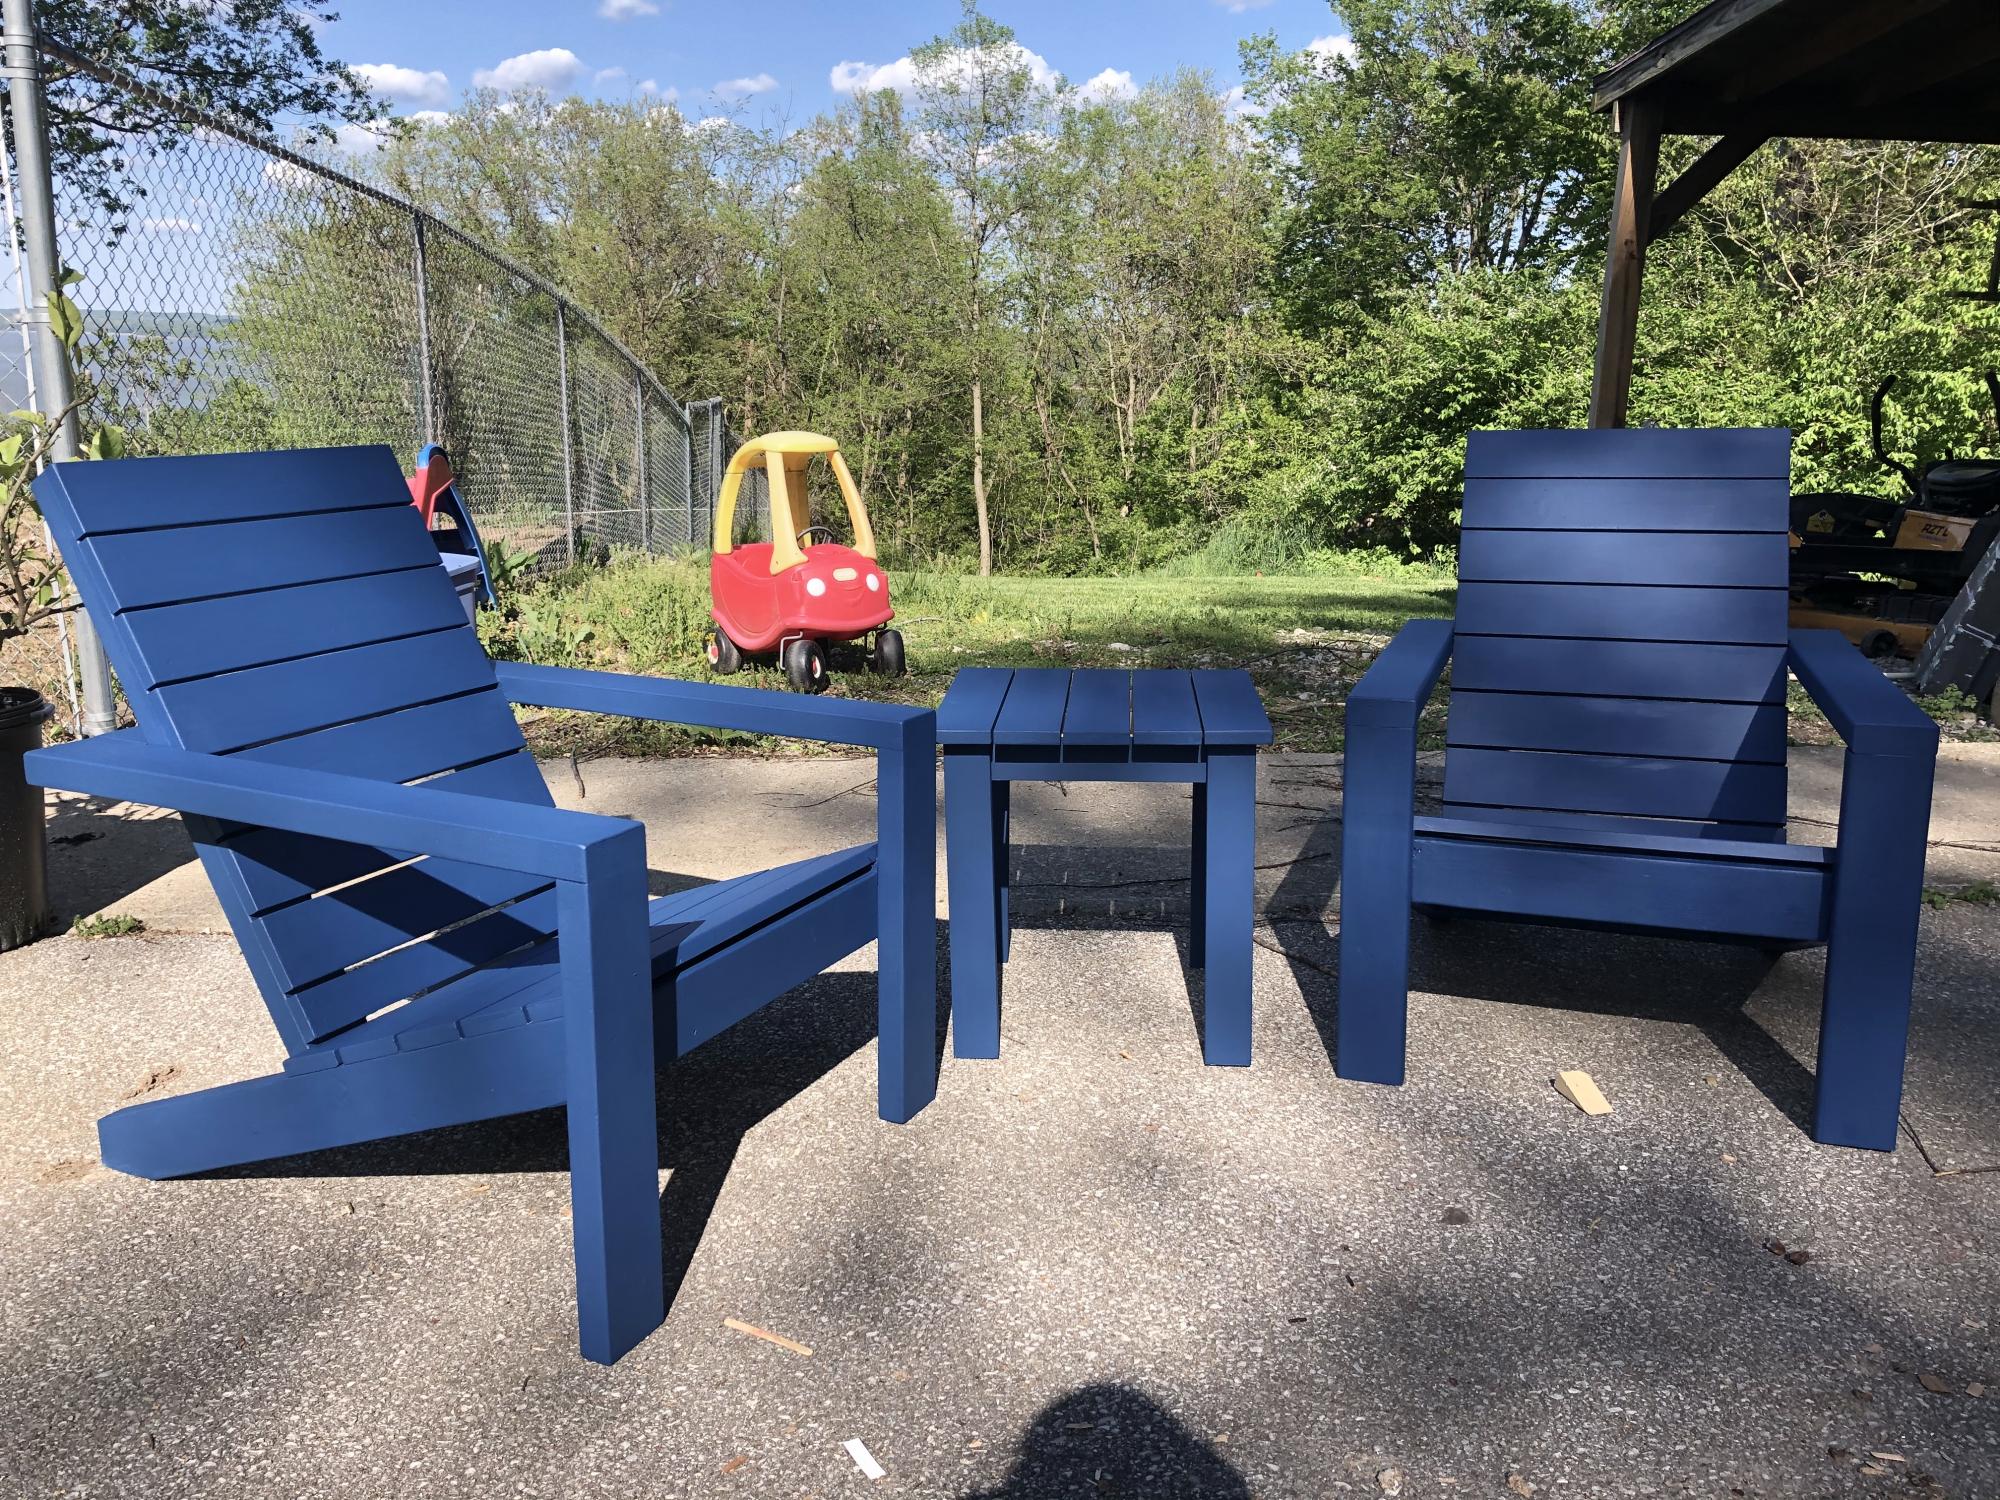
I loved this plan for sturdy, yet economical Adirondack chairs. They were exactly what I needed for one of our Airbnbs. I liked the look of smaller back and seat boards, so I used 1x4s in place of 1x10s. The seat spacing worked out on the seat but on the back I had to rip one of the boards on the back down to 2.5 inches or so for it all to to fit. If I make them again, I’d probably just add a 2 inches or so to the length of the back 2x4s so the back board spacing would work out.
Thanks again, Ana, for proving such great plans for us all.
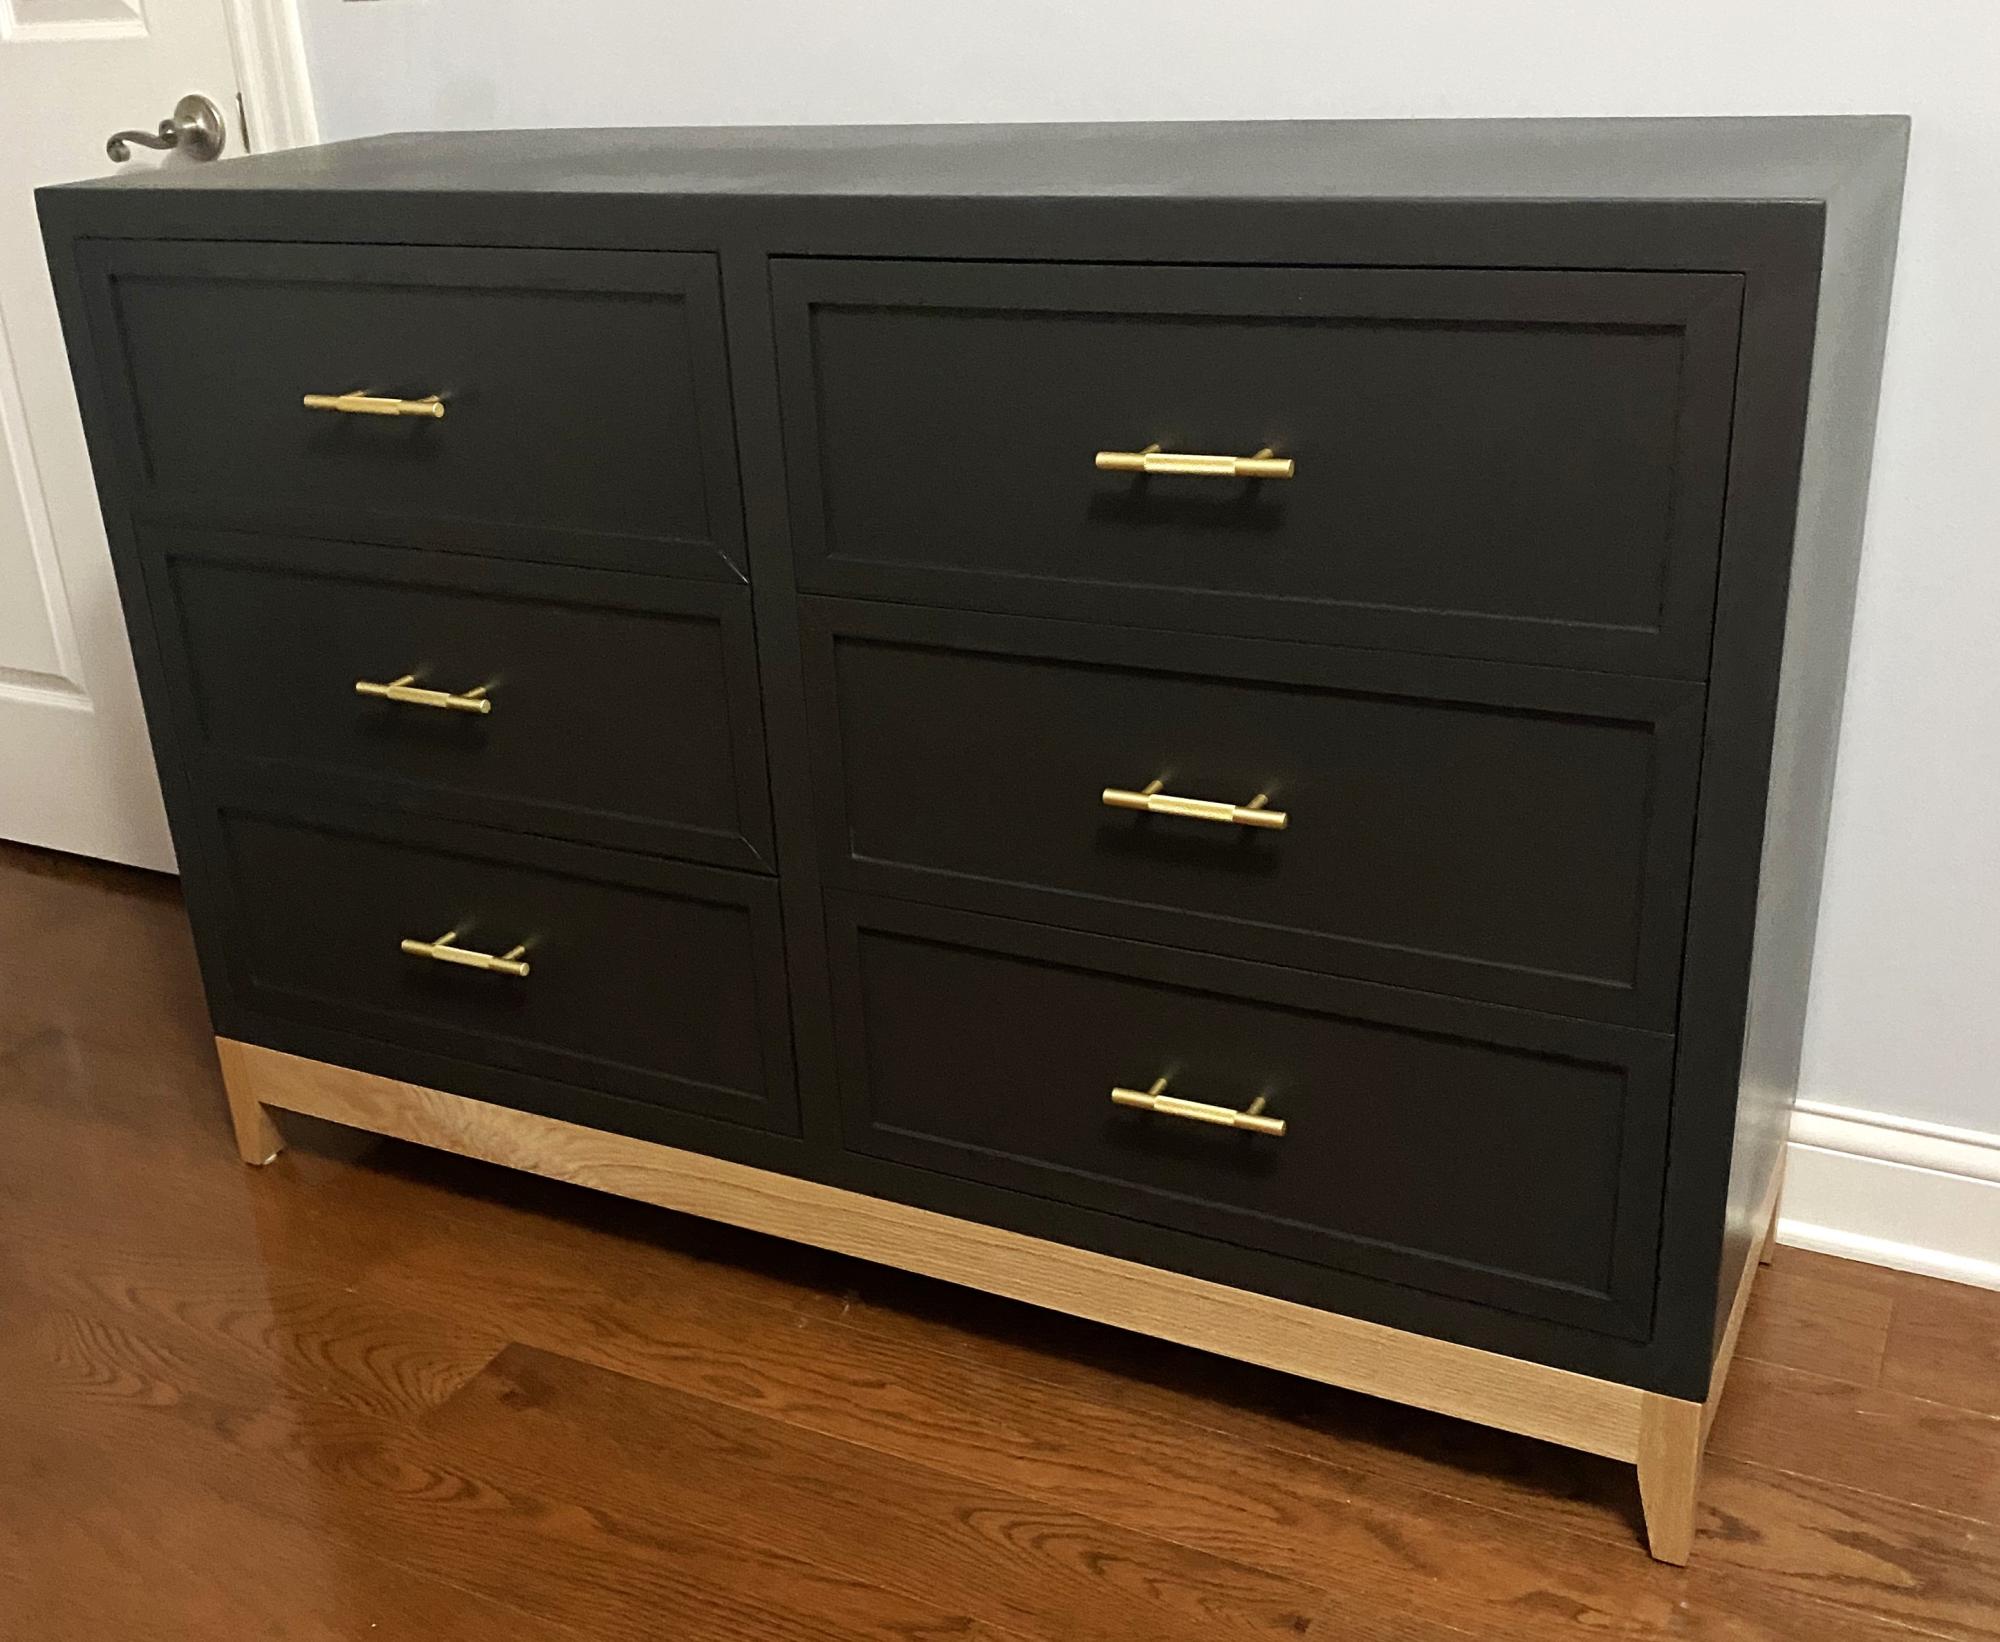
Built this dresser for my daughter’s room and added a modern base!
Kristen Kobeszko
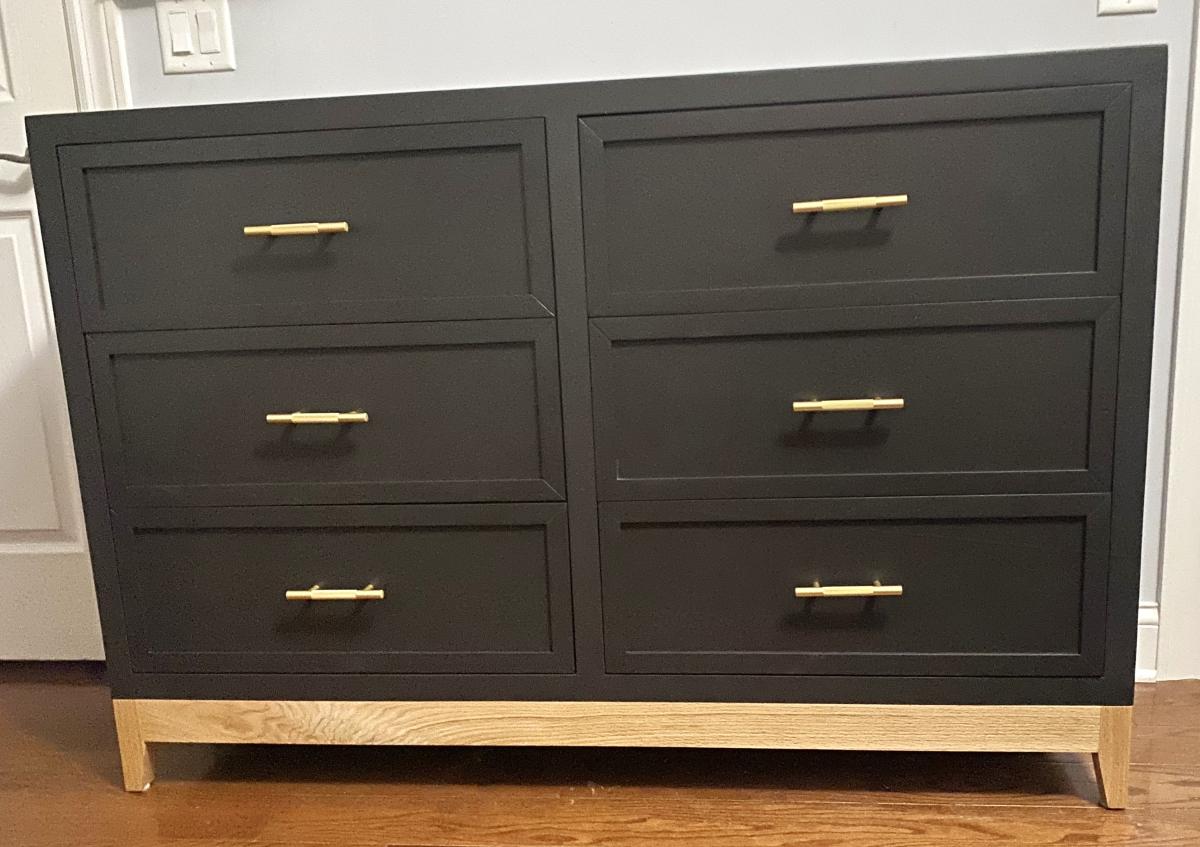
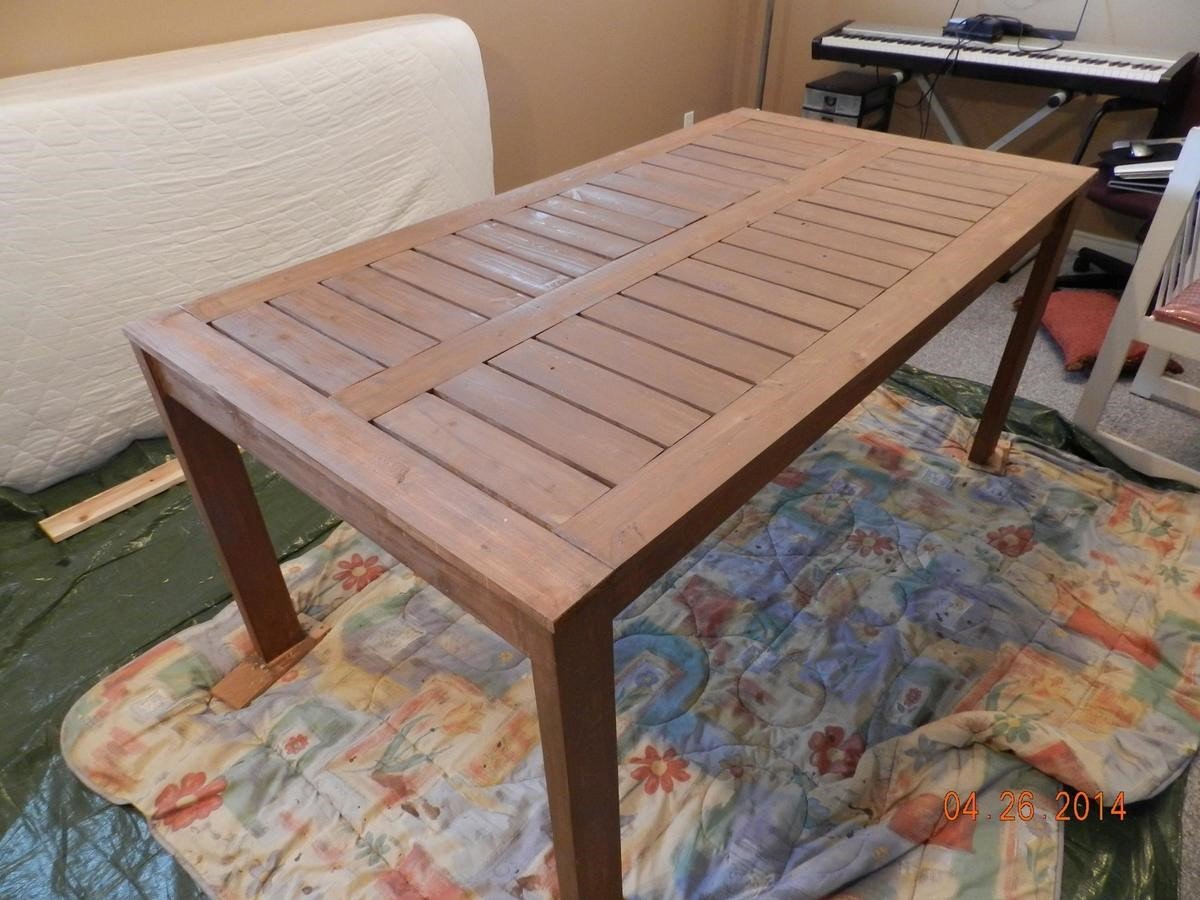
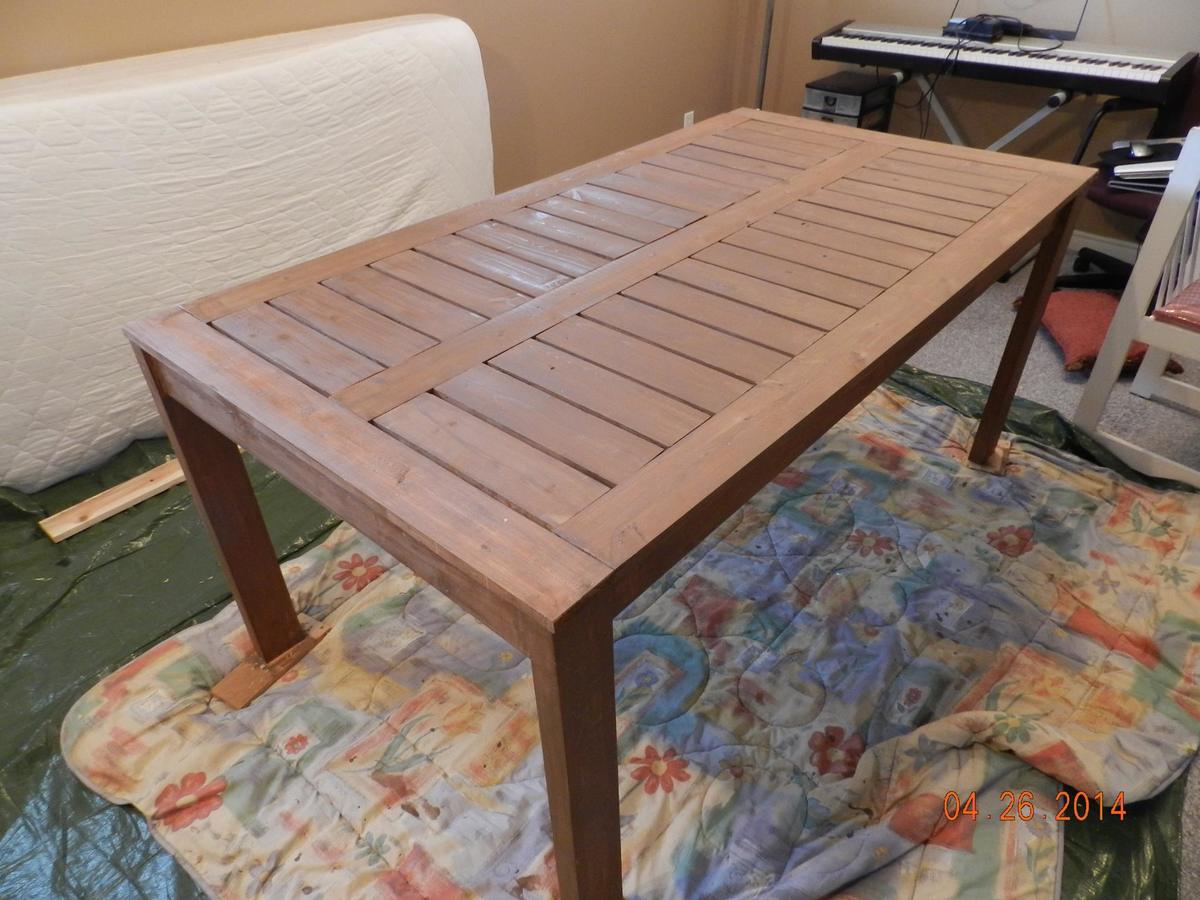
I didn't make any changes , his orginal design was great. Hope these pictures help others. I tried to link to the modified-simple-outdoor-dining-table but wasn't able too.
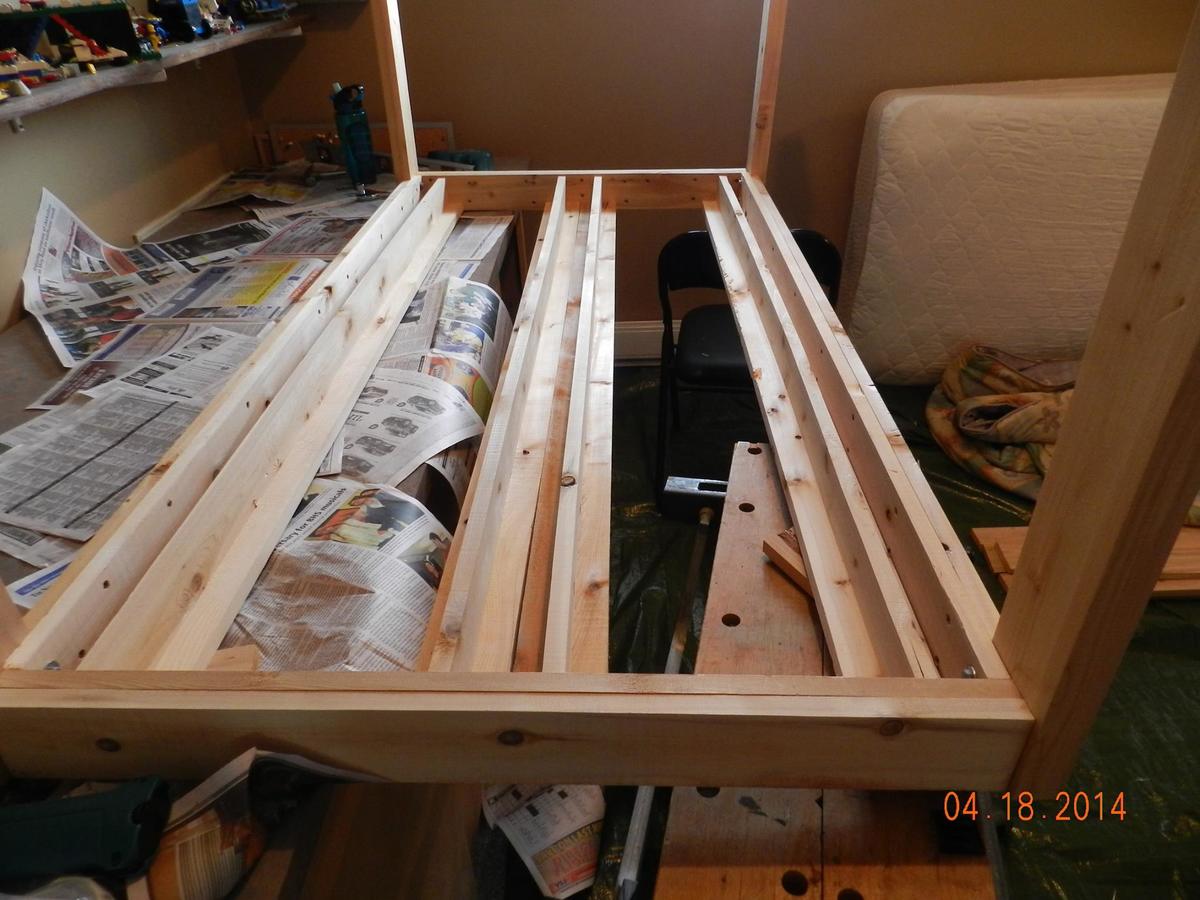
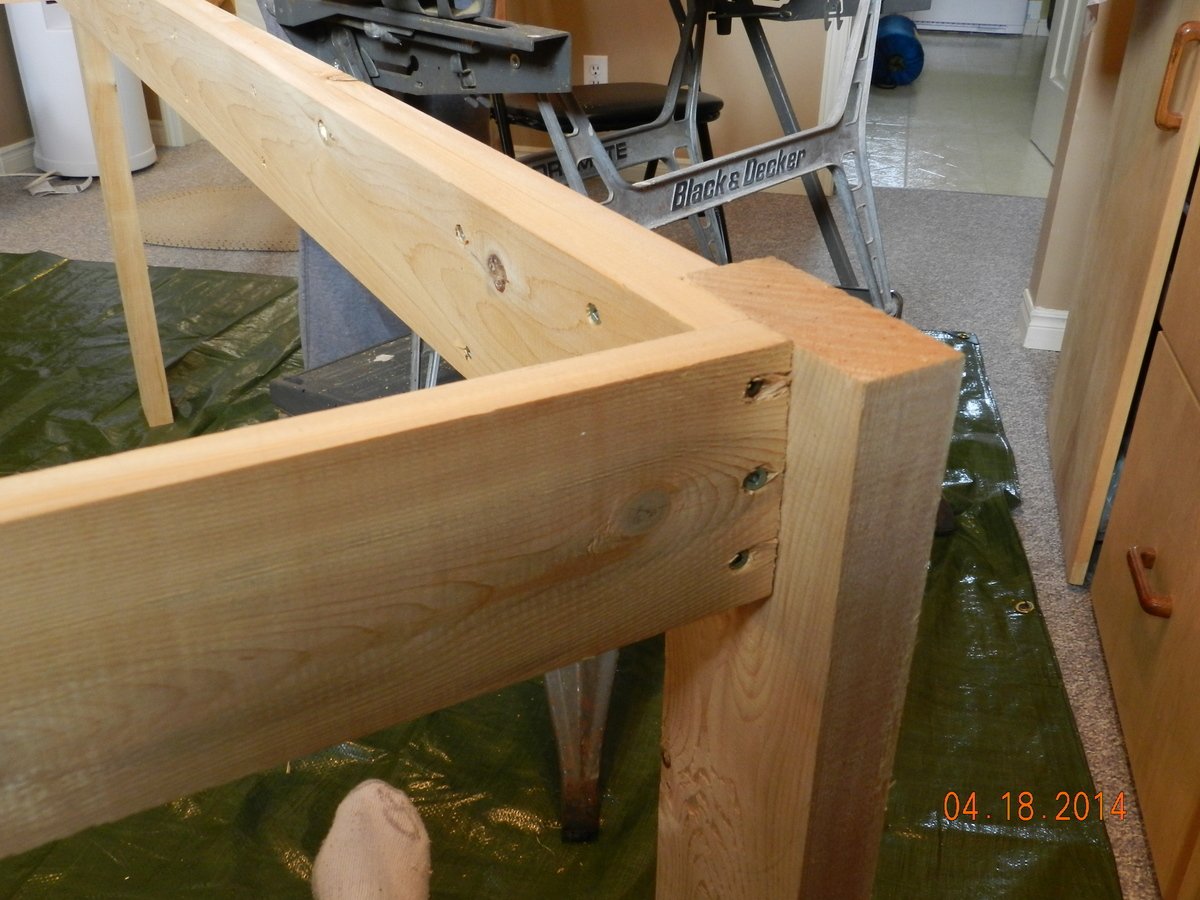
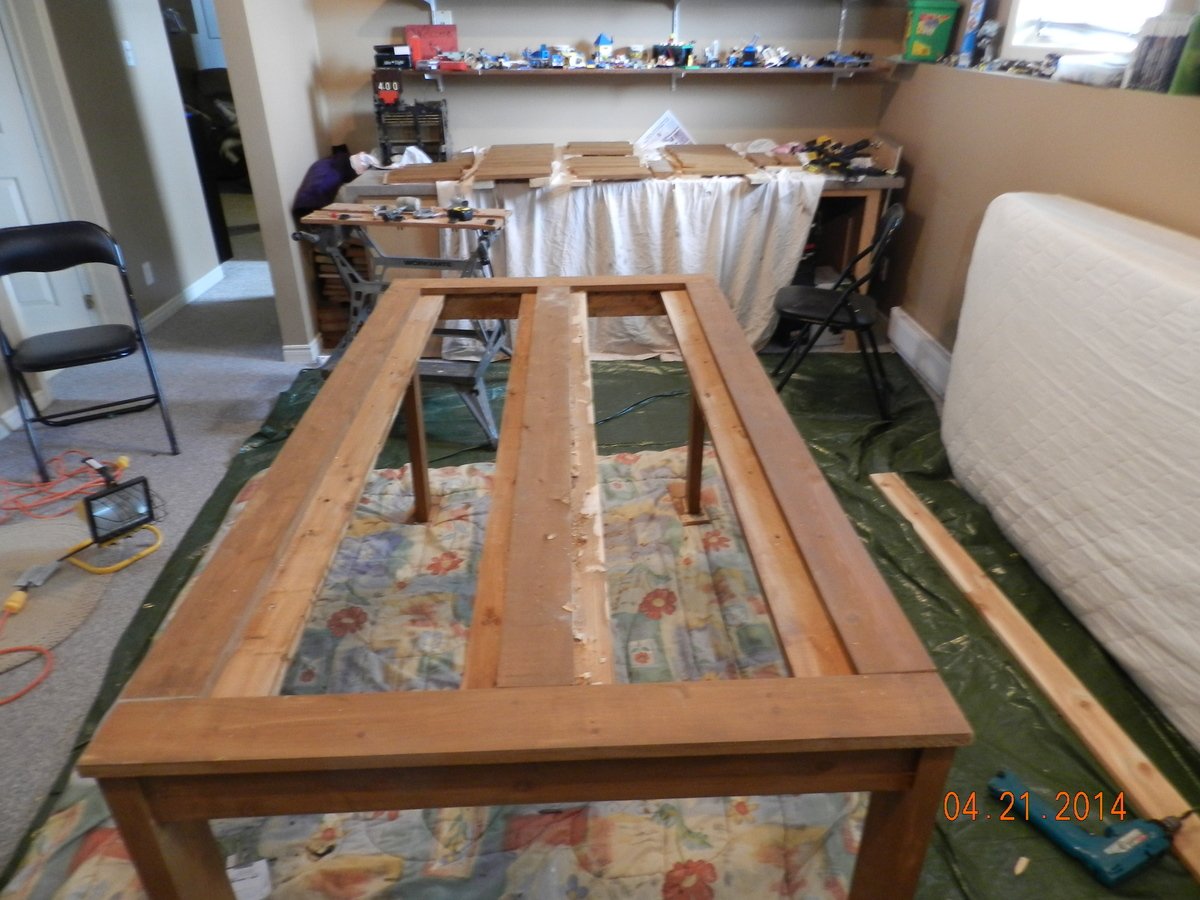
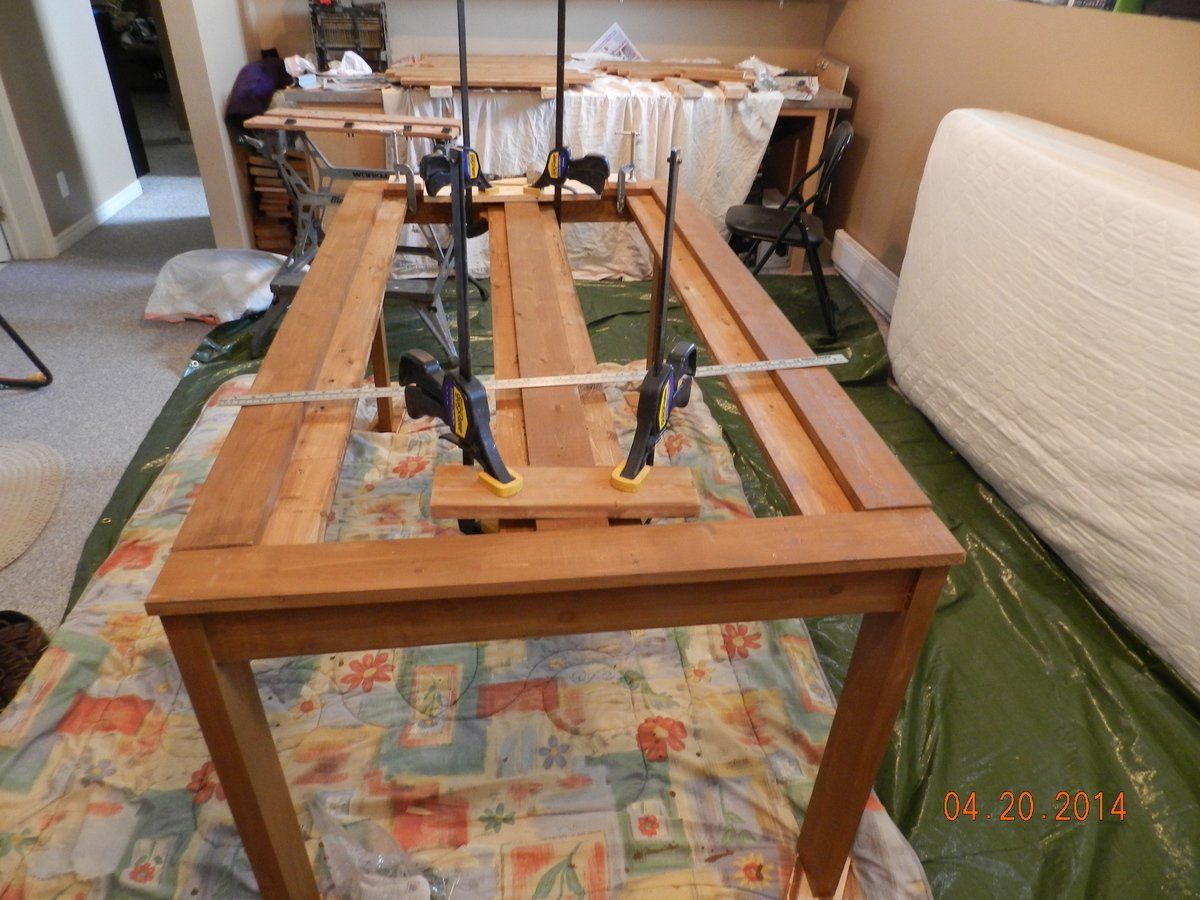
Sun, 04/27/2014 - 14:06
Found the plans "modified-simple-outdoor-dining-table" and I built it. Very nice table, I posted more pcitures to help others
Sun, 04/27/2014 - 14:06
Found the plans "modified-simple-outdoor-dining-table" and I built it. Very nice table, I posted more pcitures to help others
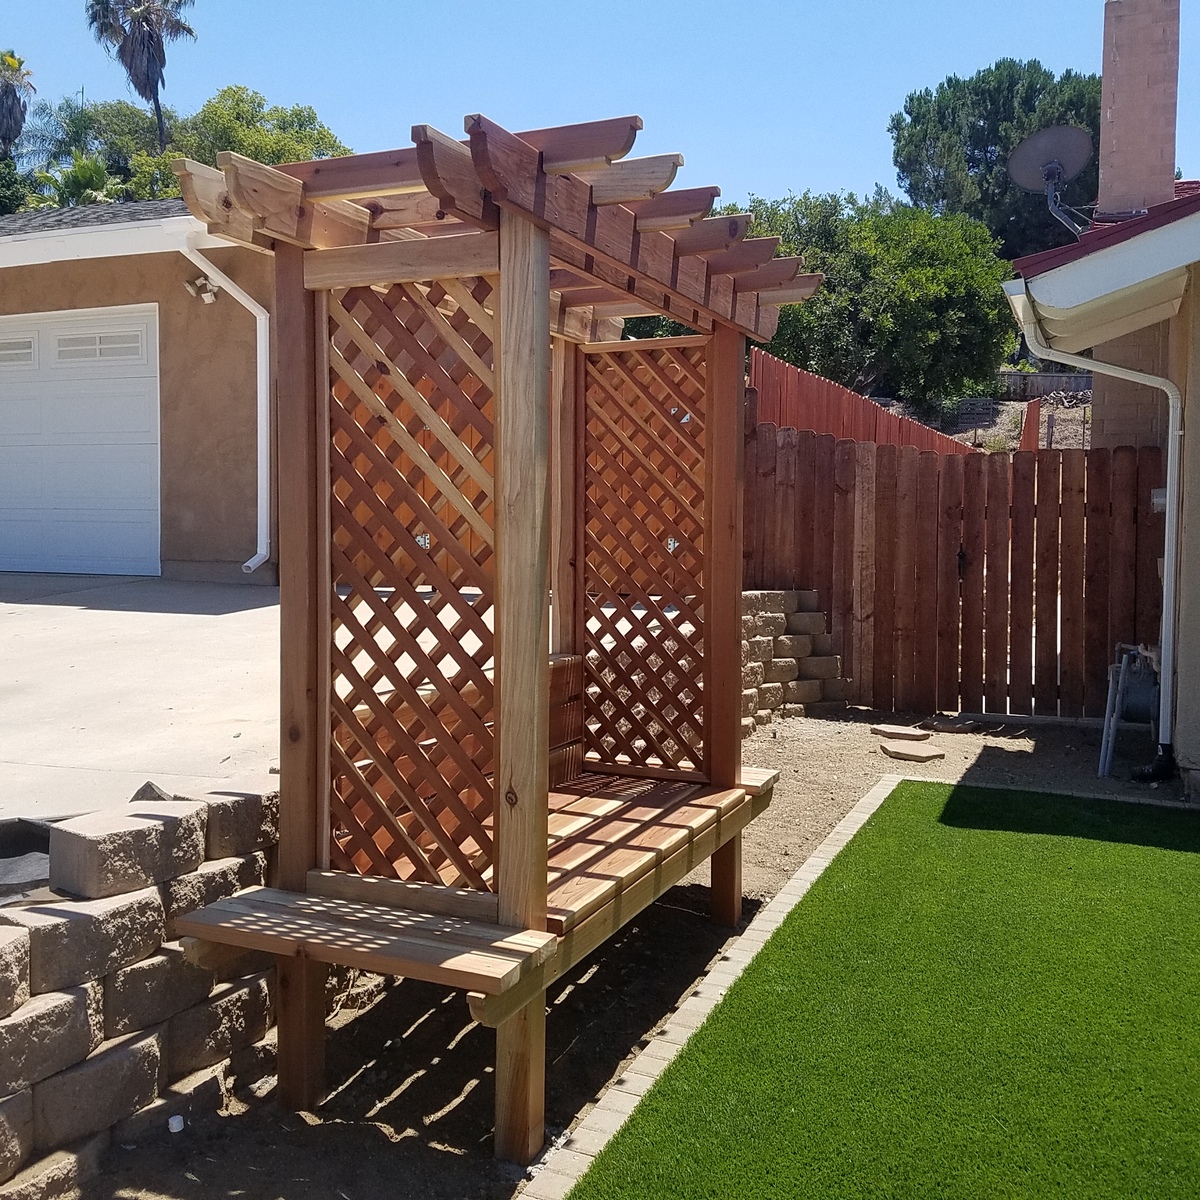
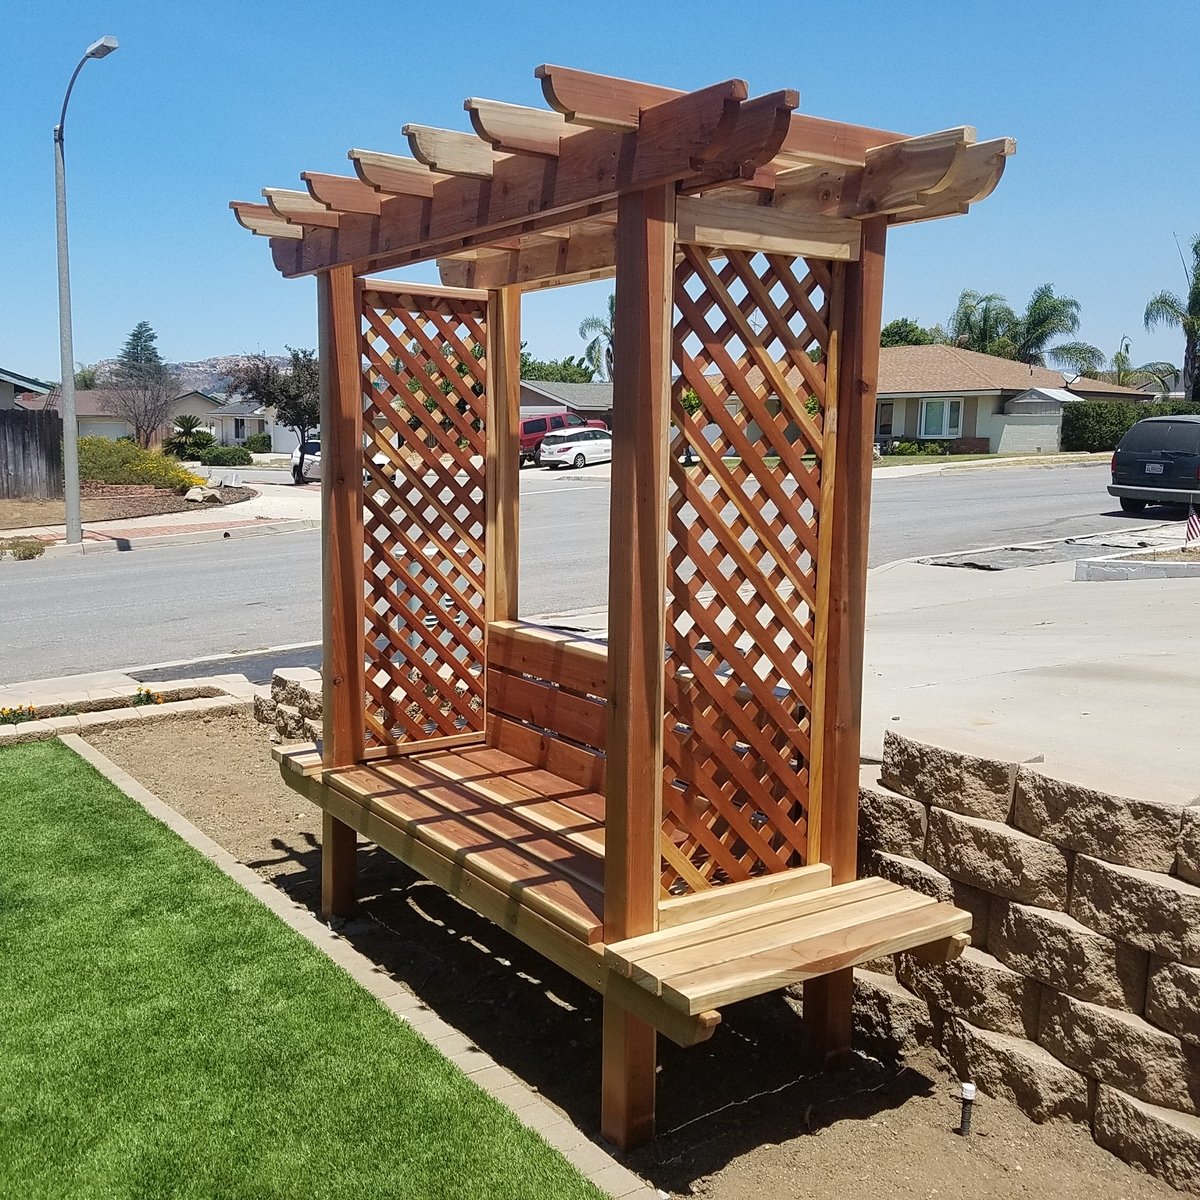
I built this arbor using the plans you provided (http://www.ana-white.com/2014/06/plans/outdoor-bench-arbor). Finish it just in time for my wifes birthday. She absolutely loved it. Thank you!
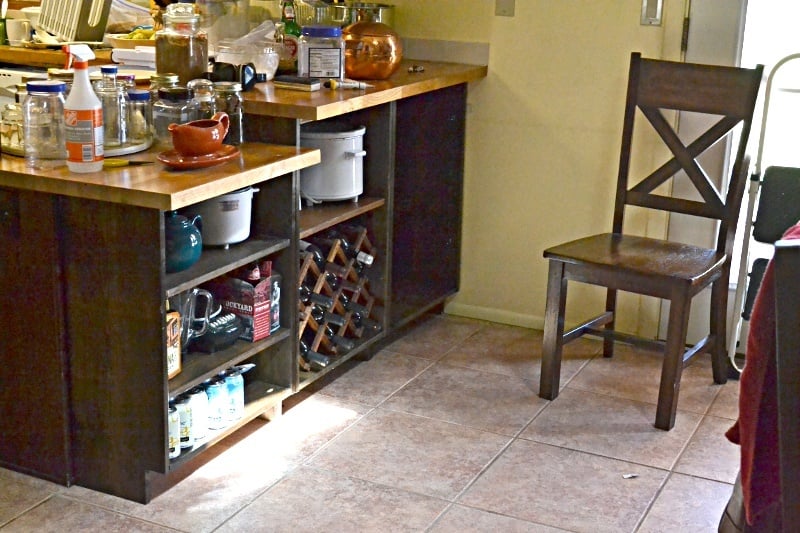
Added kitchen and dining room storage by building bookcases / shelf units to fit under the peninsula breakfast bar overhang. It's the simplest possible "box with a toe-kick", loosely based on Ana's plans for a bookshelf and the closet master system.
Much of the "working time" was stain and finishing time. Actual cutting and assembly time was under 3 hours.
No dimensions: every breakfast bar is different.
1 - The boards were cut to fit under the overhang, with 1/8 or less clearance. Top and bottom of unit is between the upright pieces.
2 - Width of units was also cut to fit. One unit is the width of the lower section of countertop (appx 23 in), the taller section was divided into 2 equal units (appx 21 in)
Shelves were cut about 1/4" narrower than the insiude dimension of the unit, to allow for insertion and the shelf pegs.
3 - Toekick space cut to match the cabinet on the far side of the peninsula. Used a circular saw and then a hand saw to finish the corners.
4 - Drilled pocketholes in the top and bottom boards.
5 - Used Rockler's jig for drilling shelf pin holes in the 6 uprights. Oops! I should have drilled every possible hole. I drilled every other hole and don't have the shelf flexibility I really need.
6 - Stained and topcoated everything, let it dry.
7 - Assembled each shelf unit, using corner clamps and a carpenter's square to make sure it was square. The bottom shelf is screwed at the same level as the toe-kick.
8 - Slid units under the overhang, shimmed them firmly under the countertop.
9 - Added shelf pegs and shelves
DONE!
Doors could be added, using the hinges for inset doors on frameless cabinets.
==========
NOTES:
The units are backless. I considered nailing a 1/8 hardboard back onto them, but because the finished back of the peninsula is visible behind them, and they are shimmed into place to prevent slouching it was not needed.
Cost is low because we had some 1x12 boards in the attic. Already had the tools and stain from earlier projects. 3 1x12 x 6ft boards were new, the rest were salvage.
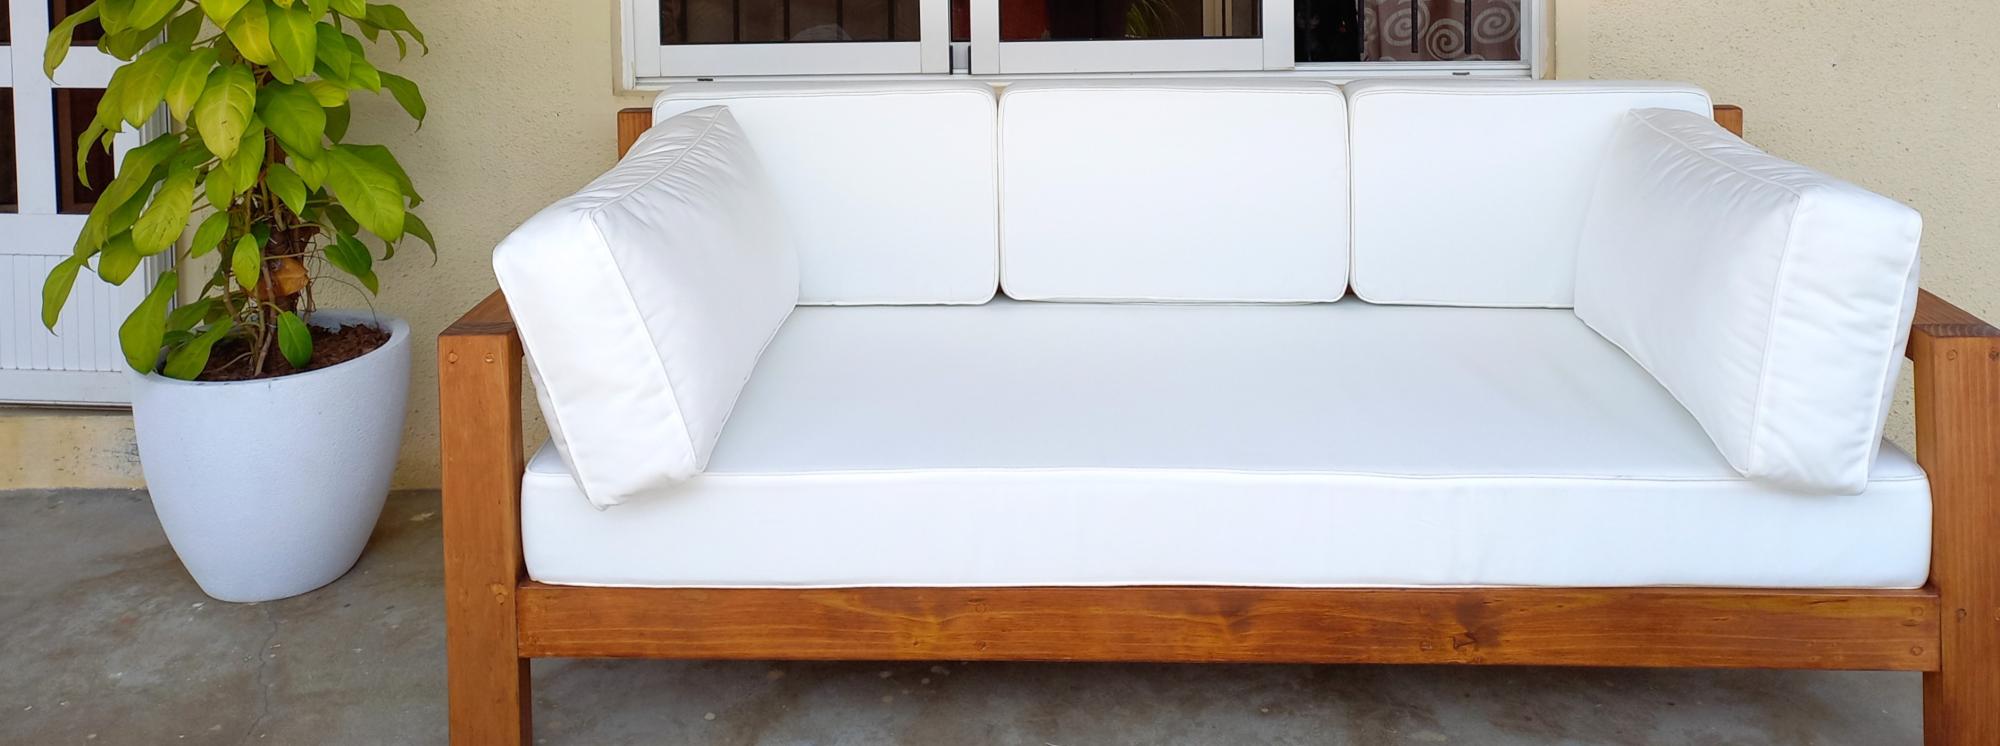
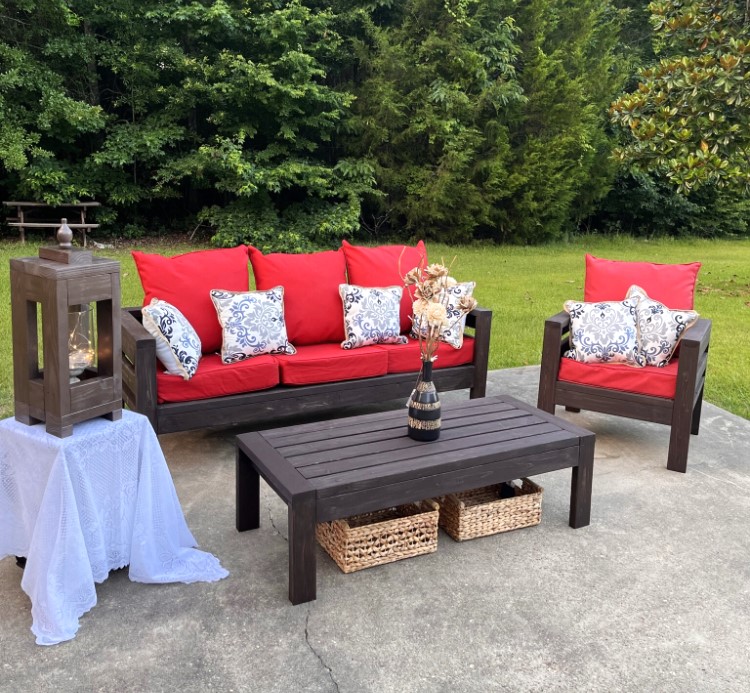
DIY outdoor couch, reader build
Daybed cushions and pillows, modified depth
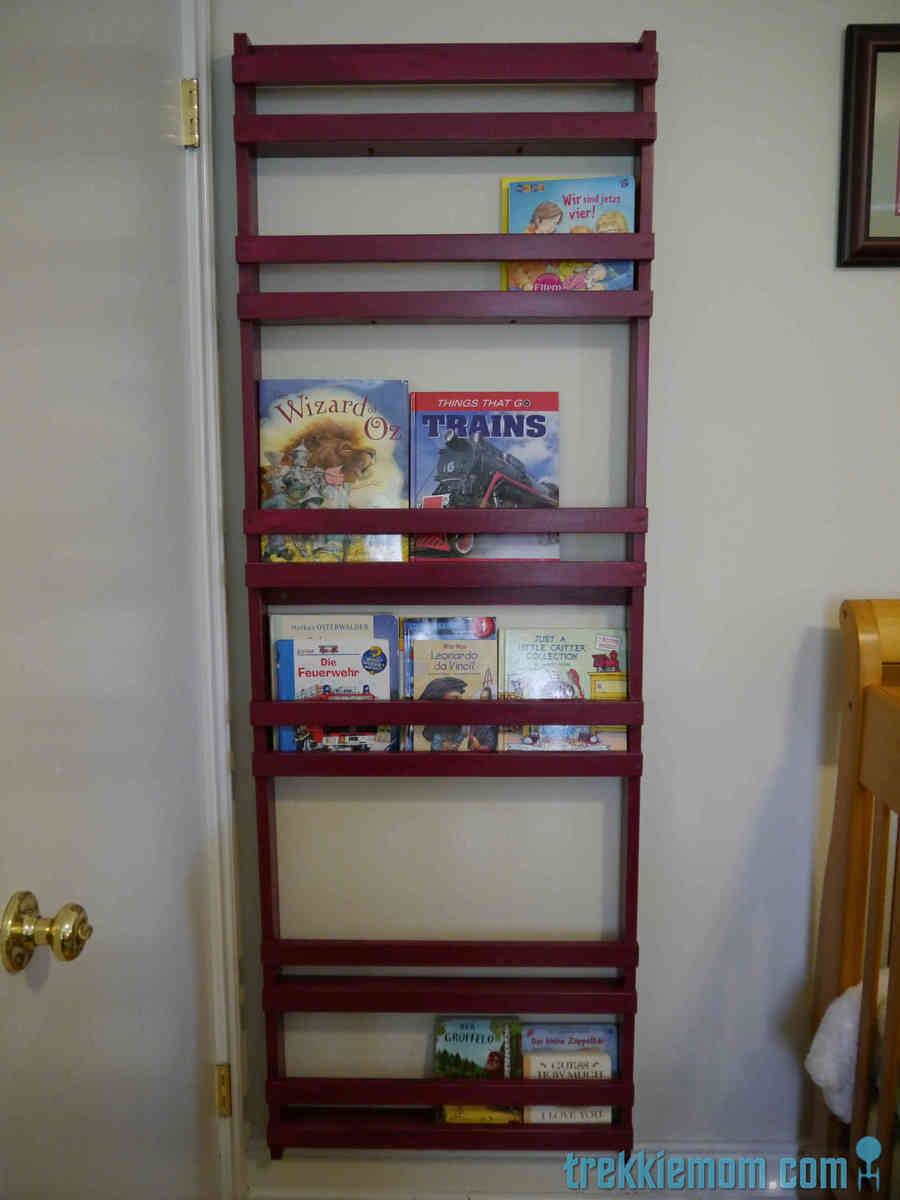
Our home is small, about 1600 sq/ft, so I am on a mission to create as much out of the way storage as possible. It feels like a loosing battle, but I suppose with 2 young children most mothers feel like this with or without more square footage. You might wonder why I don't buy furniture to solve my problems? My answer to that question is that most of the furniture out there is too expensive, it doesn't fit the space available, and just doesn't suit all of our needs. Most importantly, I know that I can make it myself, build it better, and use quality materials. No particle board here, thank you.
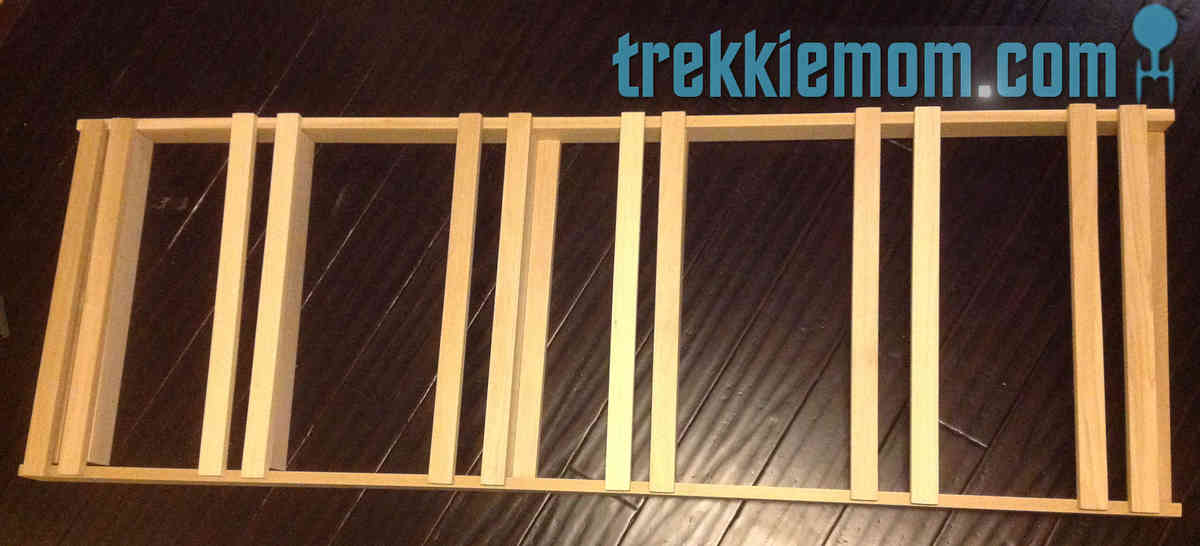
So, my storage solution for my boys books was inspired by the Ana Whites Flat Wall Book Shelves (http://ana-white.com/2010/04/plans-wall-book-racks-easy-and-inexpensive…). I wanted to maximize my storage and make a good use of space in our already cramped home.
Please visit my blog for a complete DIY on my version if you are interested.
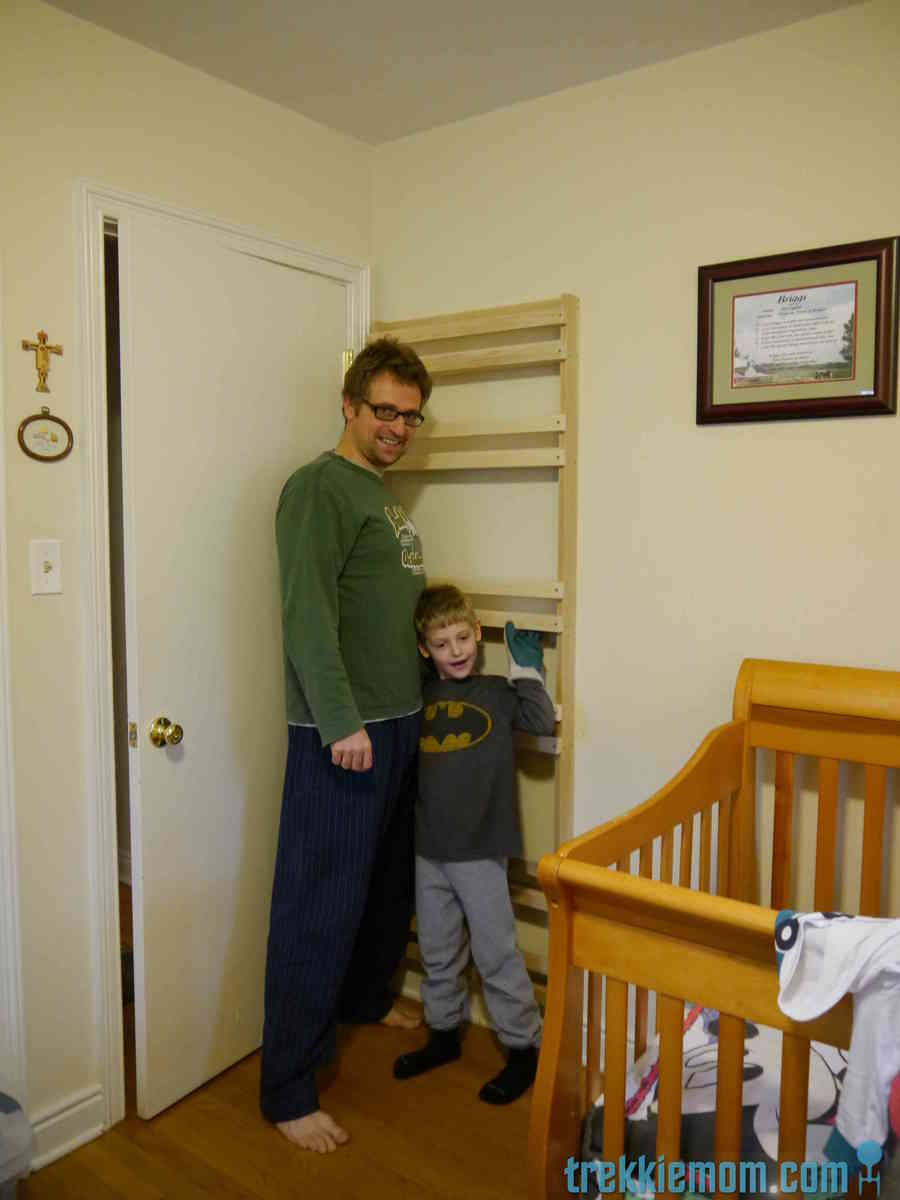
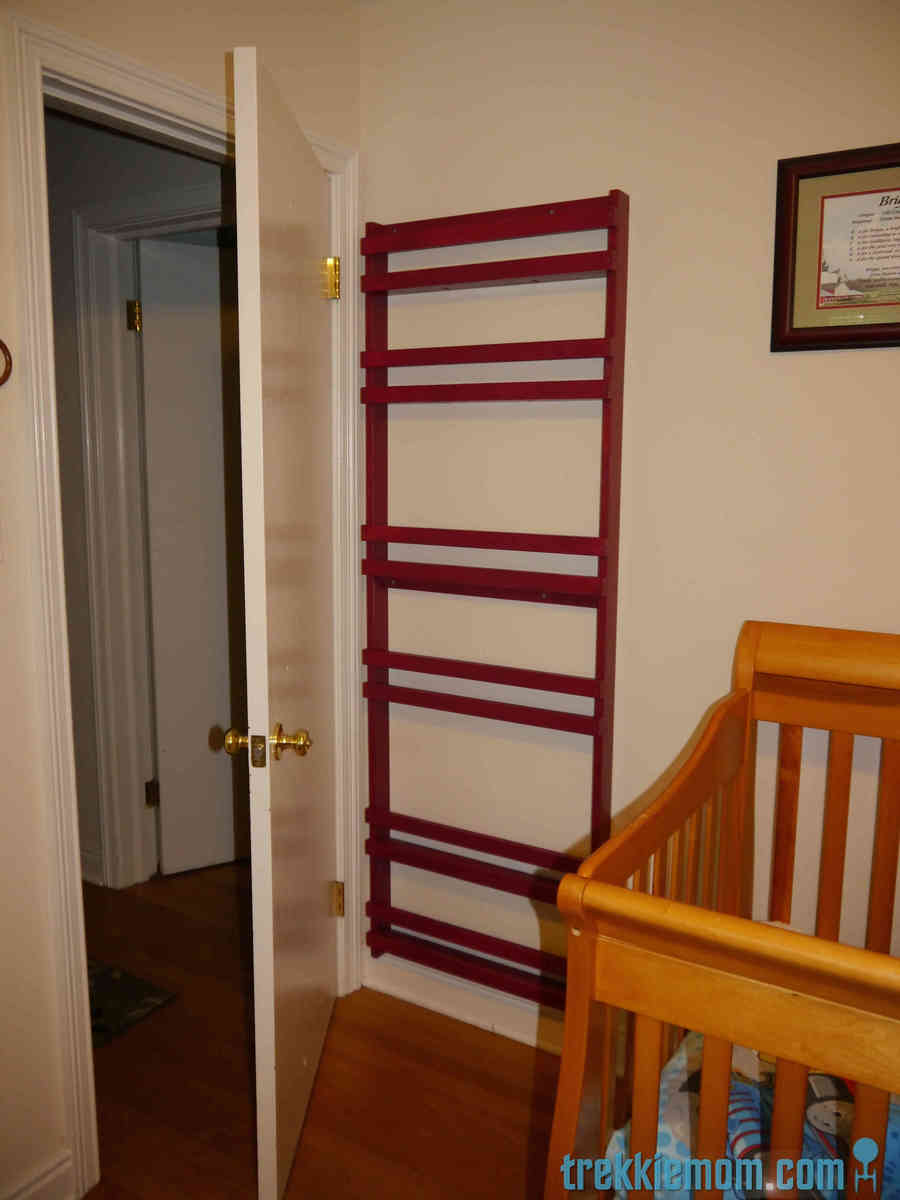
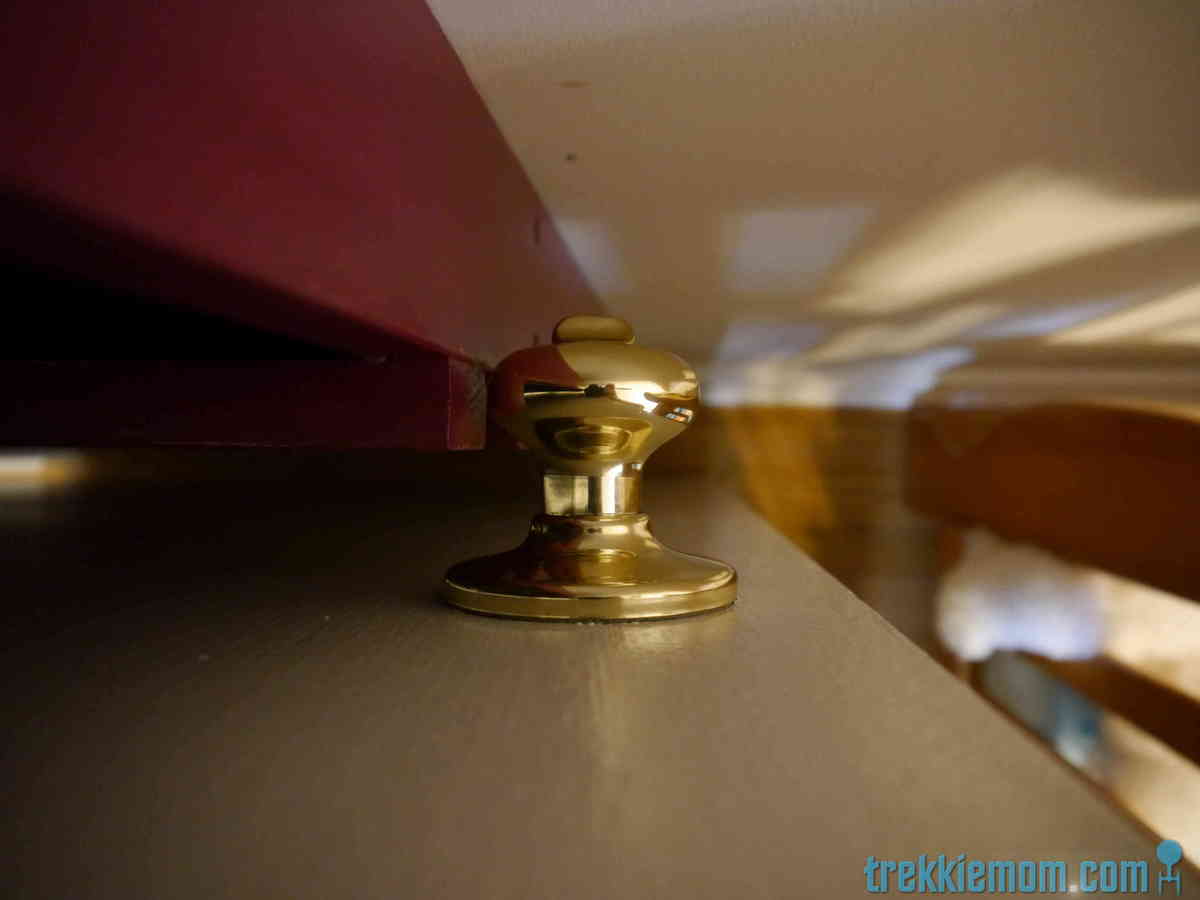
Reader Build
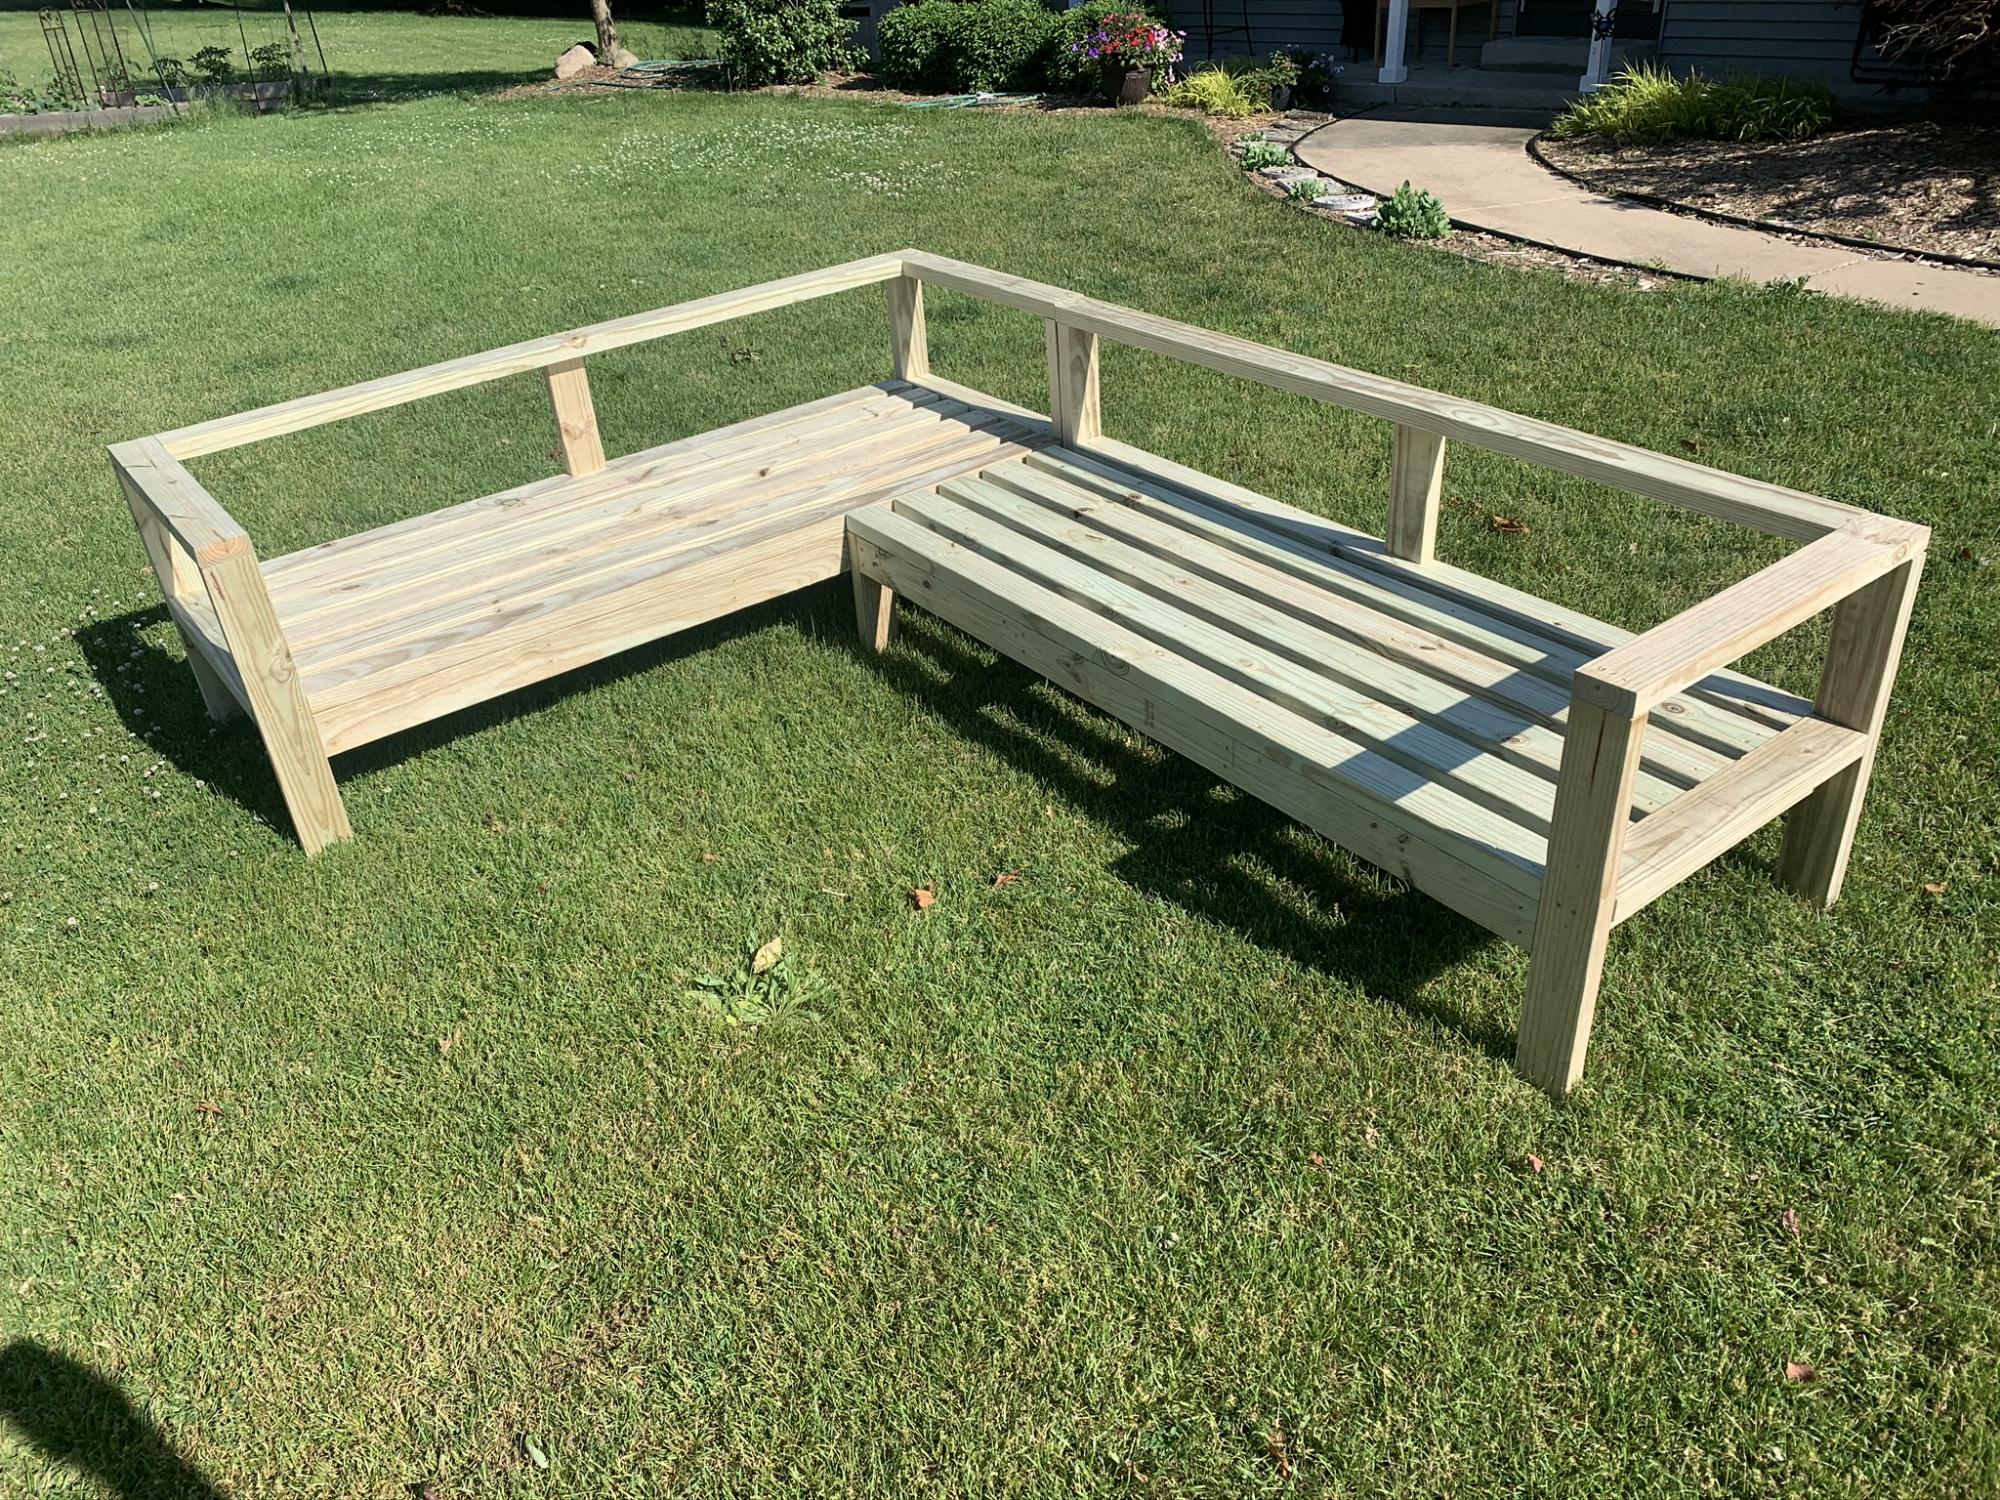
Decided to add extra support between top rail and seat. I envisioned some sitting on the rail while partying so I thought it could use a little strengthening. This is a good build for a beginner.
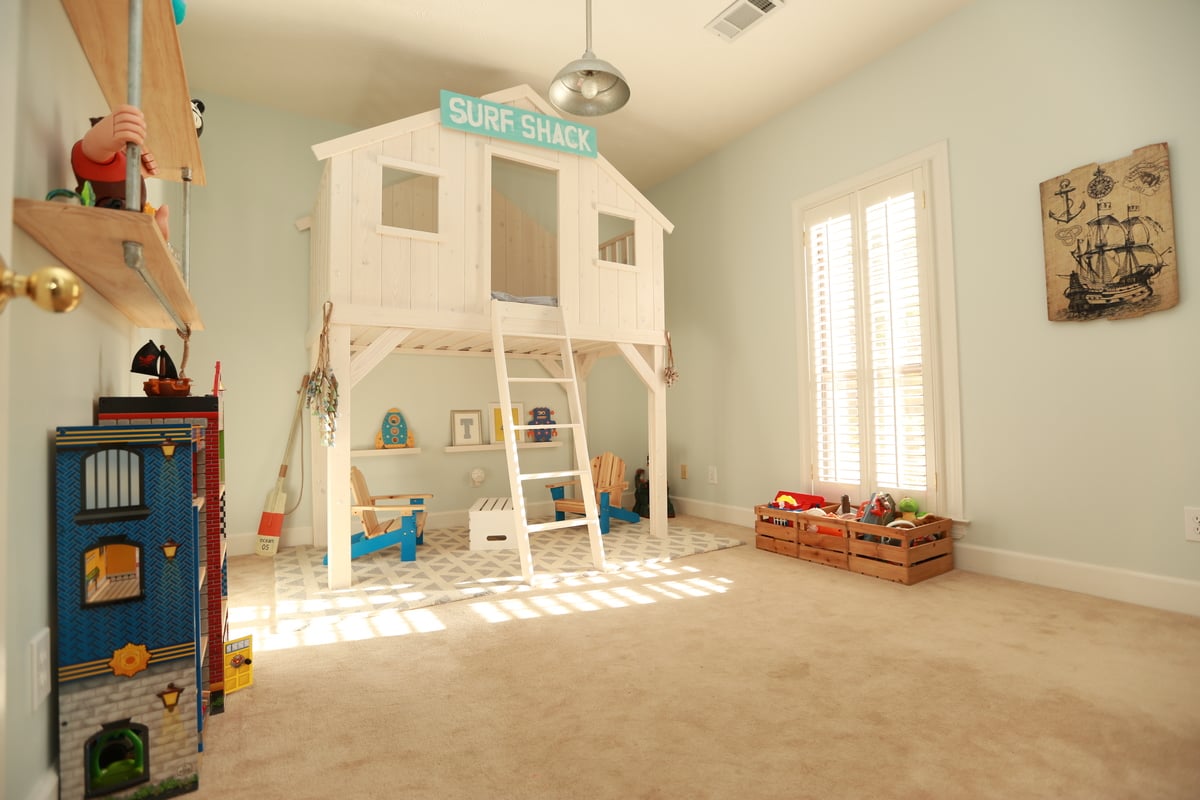
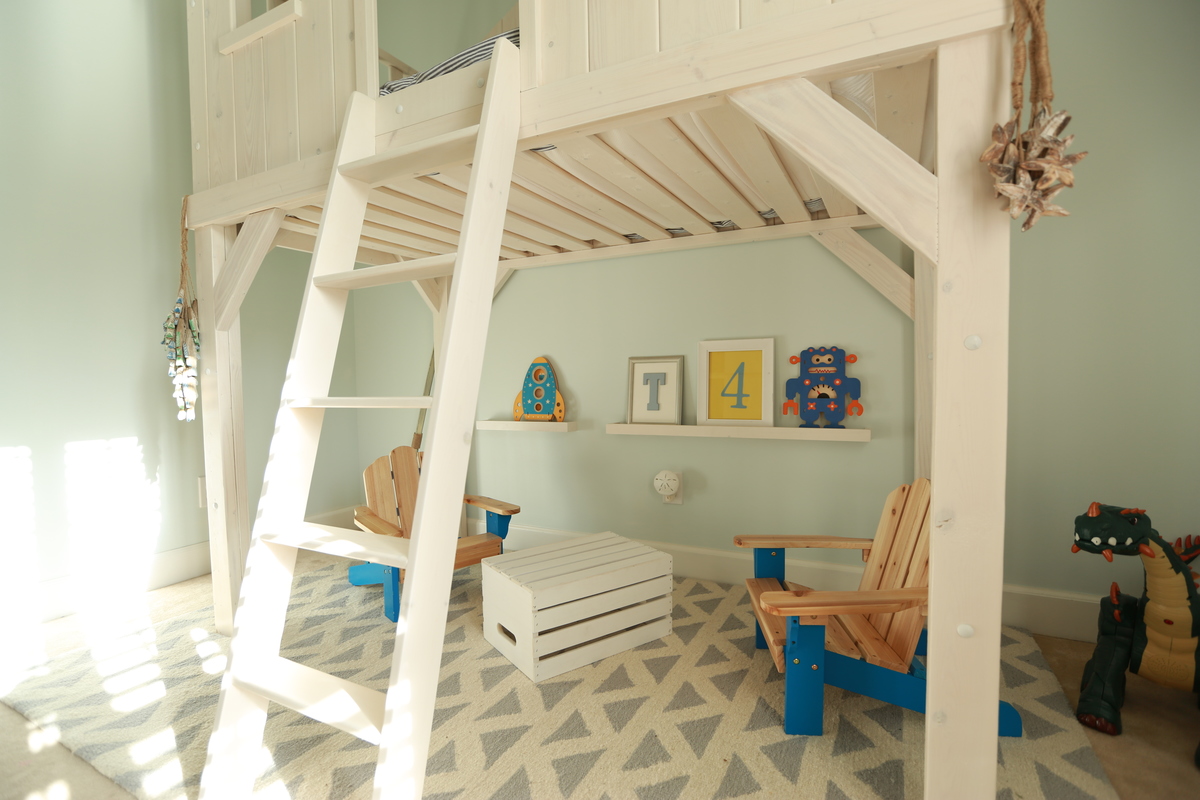
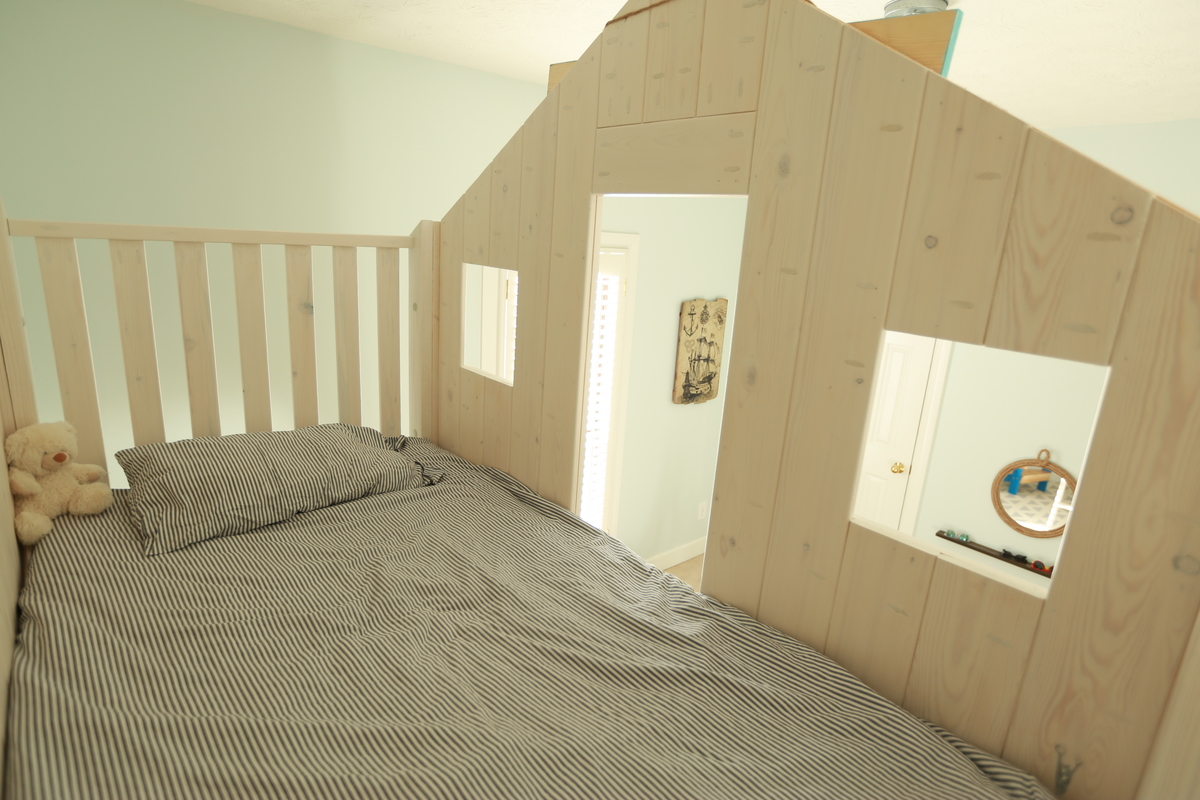
Customized version of the clubhouse bed that is so popular! We went the extra mile on the finishing touches to ensure an awesome bed for our little guy! We made the bed taller for more space underneath and polished up the finished product to create a higher end look. Care was taken to precisely sand all areas of the bed for a smooth finish and polished look. All pocket-holes are filled with plugs and sanded smooth on the inside of the bed for an overall finished product. No shortcuts taken! We went the extra mile and painted the carriage bolts so they would blend in with the whitewash finish and also recessed the nut on the back of the legs for safety and added a cap so they are not visible. Top of the bed, above the door, is filled in and a custom ladder finishes off the look. We went with smaller lumber to build the ladder and it is perfect!! We are over the moon with this project and will be building more items as fast as we can. Also, the sign, under-bed shelves, and industrial shelves were built by my husband. He did an epic job creating this room!! We used better grade wood and spent a lot of time sanding to ensure a great bed in the end. We also went with a Benjamin Moore stain that was a little more expensive and took the time to finish the slats under the bed.
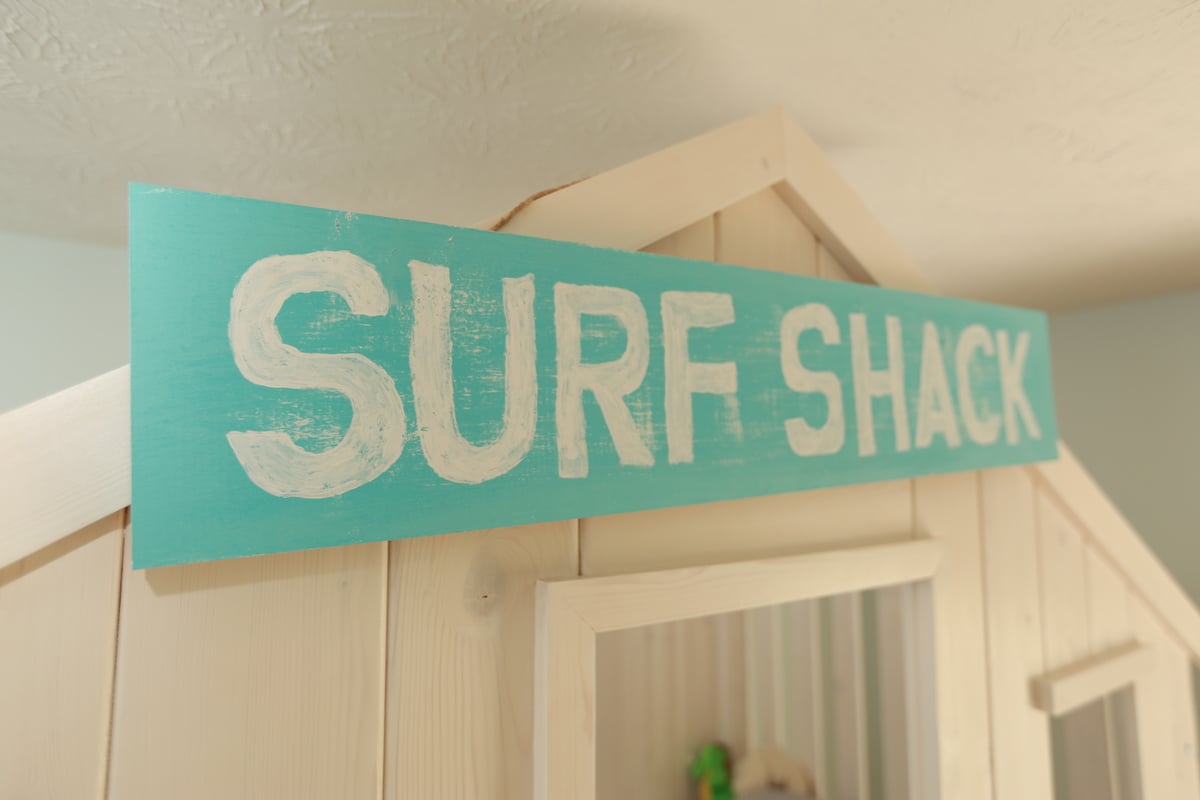
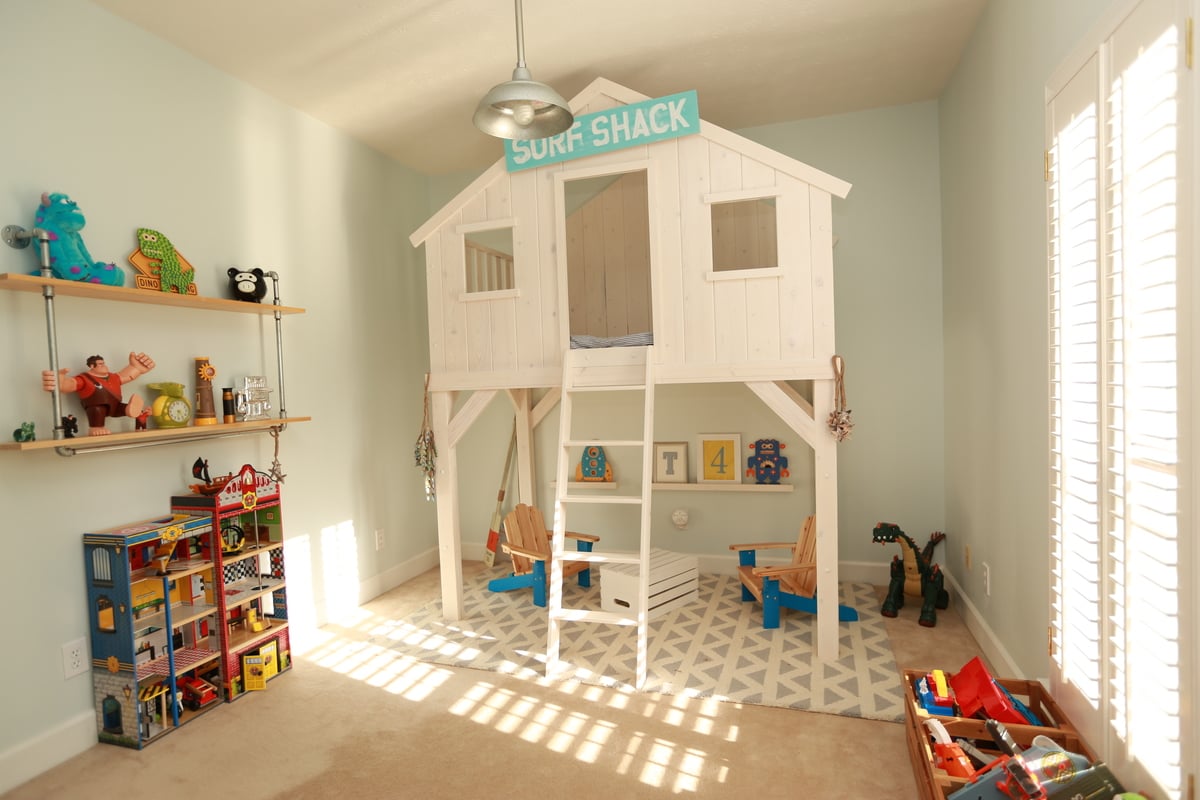
Mon, 02/22/2016 - 07:38
I love this bed! I was looking at the BM site and was wondering what exact stain did you use? there are 5 different opacities & I want to make sure I get the right one. Thanks!!
In reply to what benjamin moore stain? by jeawels
Fri, 08/19/2016 - 05:58
Did you ever figure out what stain was used on this particular bed? I love it.
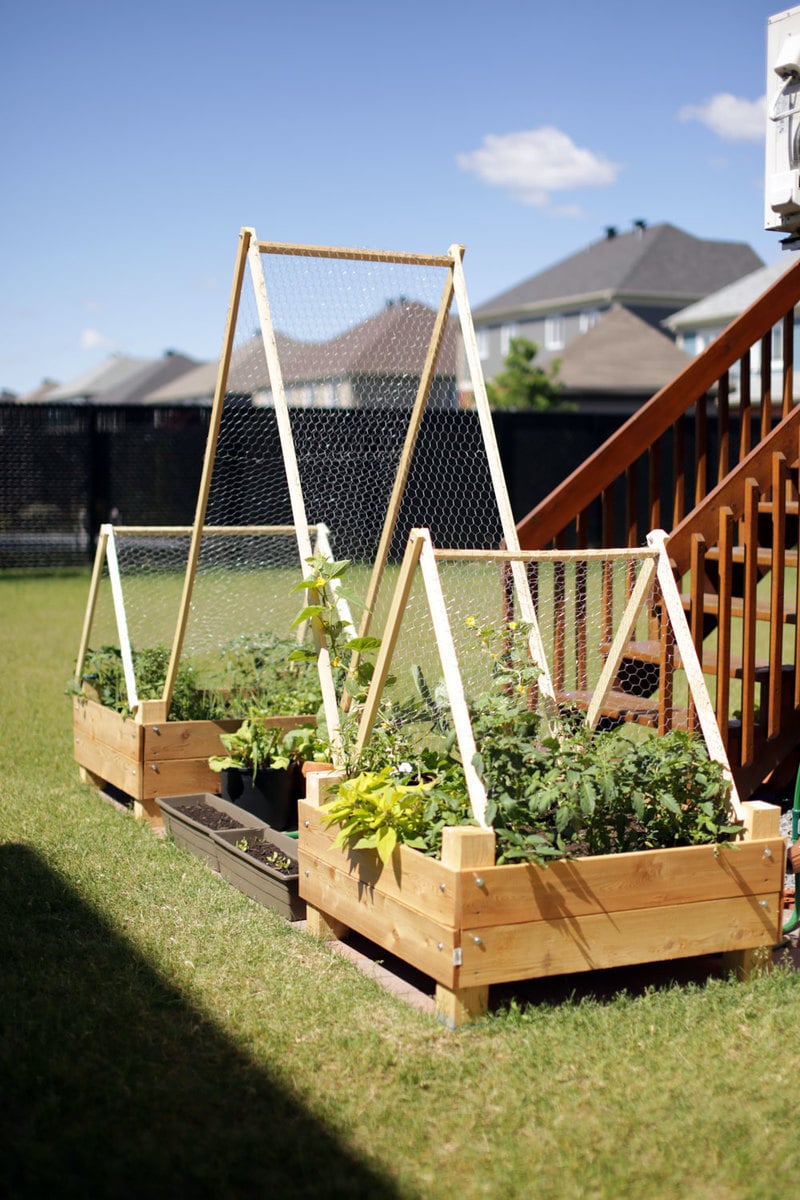
We wanted a small garden to fit on the back patio stones and this plan fit well. We reduced the height because we have 3 small children to "help" water the plants. The trellis was hoping that we could extend the amount of produce we could grow. They're very heavy, sturdy and straightforward to build. Thanks very much!!
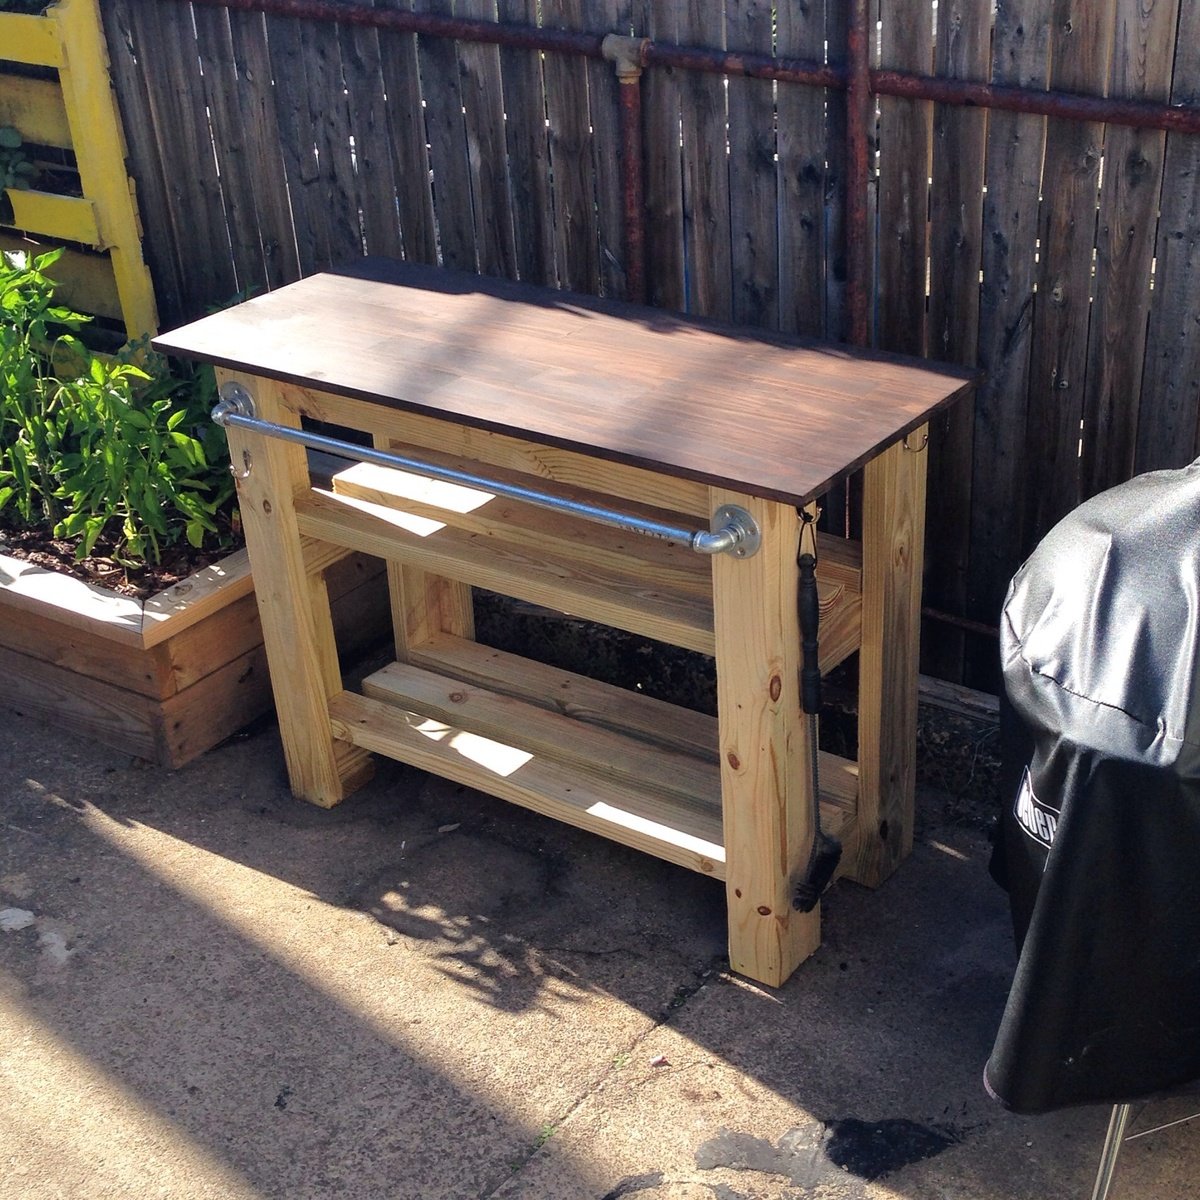
Grill station
Base was completely made from reclaimed 2x4's. Desktop made from Oak plywood
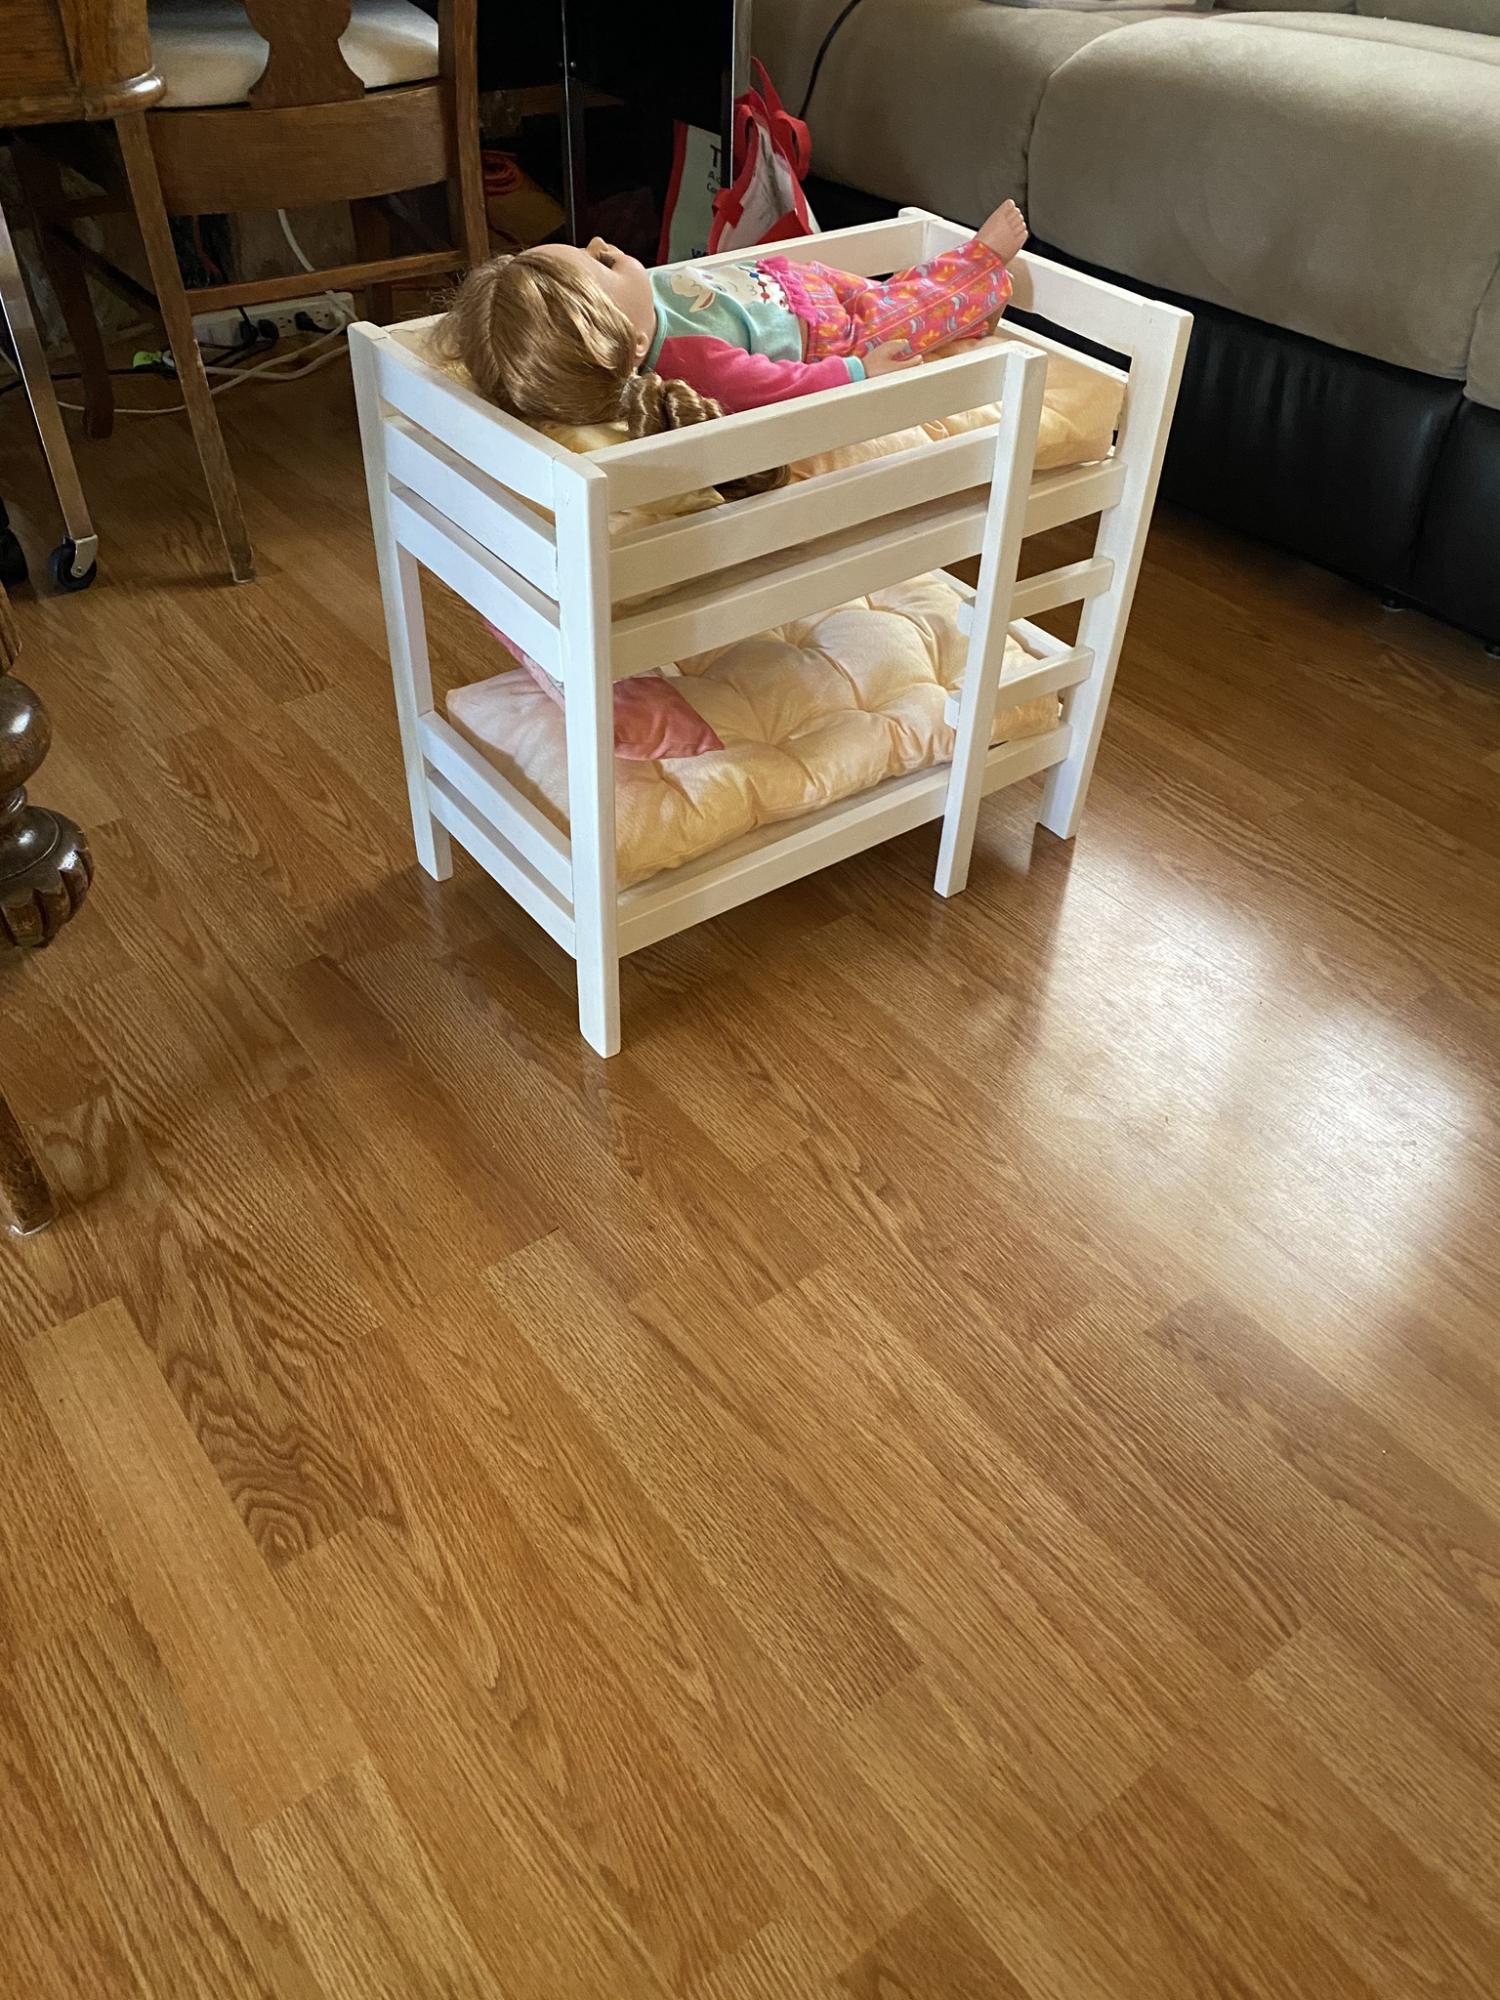
Awesome plans, Ana. Had to fight with not being able to get nice straight 1”x2” boards, and refused to go buy anything bigger to rip from. But overall, it turned out super nice and my granddaughter loved it. Already have a request for another one from her cousins 😊
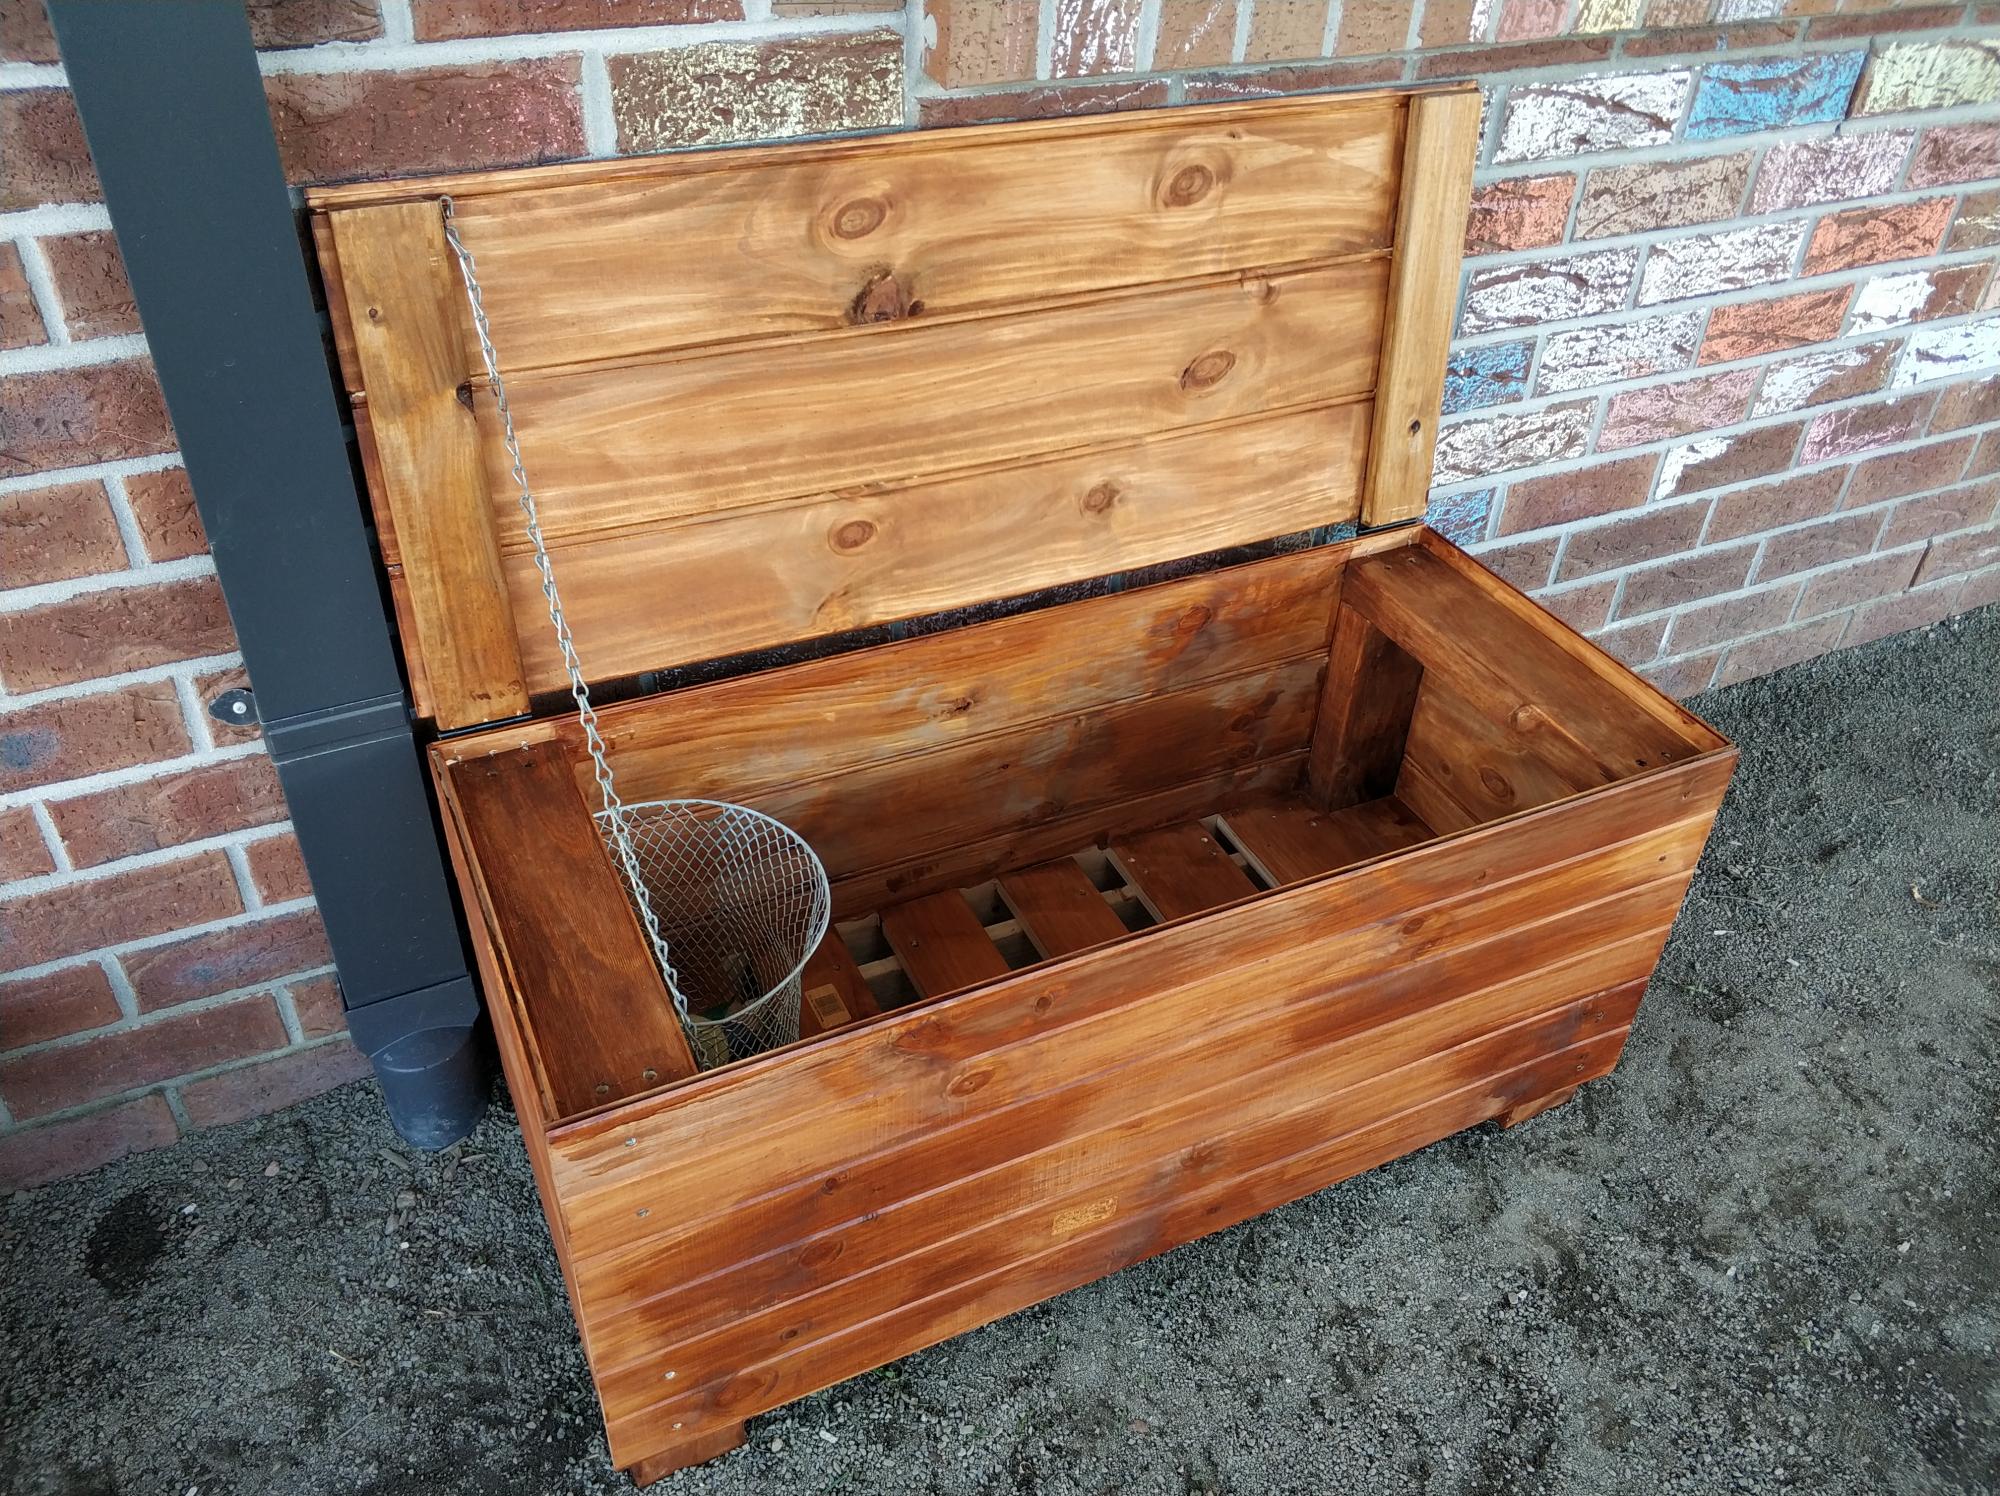
First time making anything half decent and it turned out ok. Followed the Cedar Box plans with a few adaptations. I live in regional Australia so used different materials, also extended the length. Used an app on the phone to convert the measurements to as close as I could. Worked out well, a few teething issues but does the job.
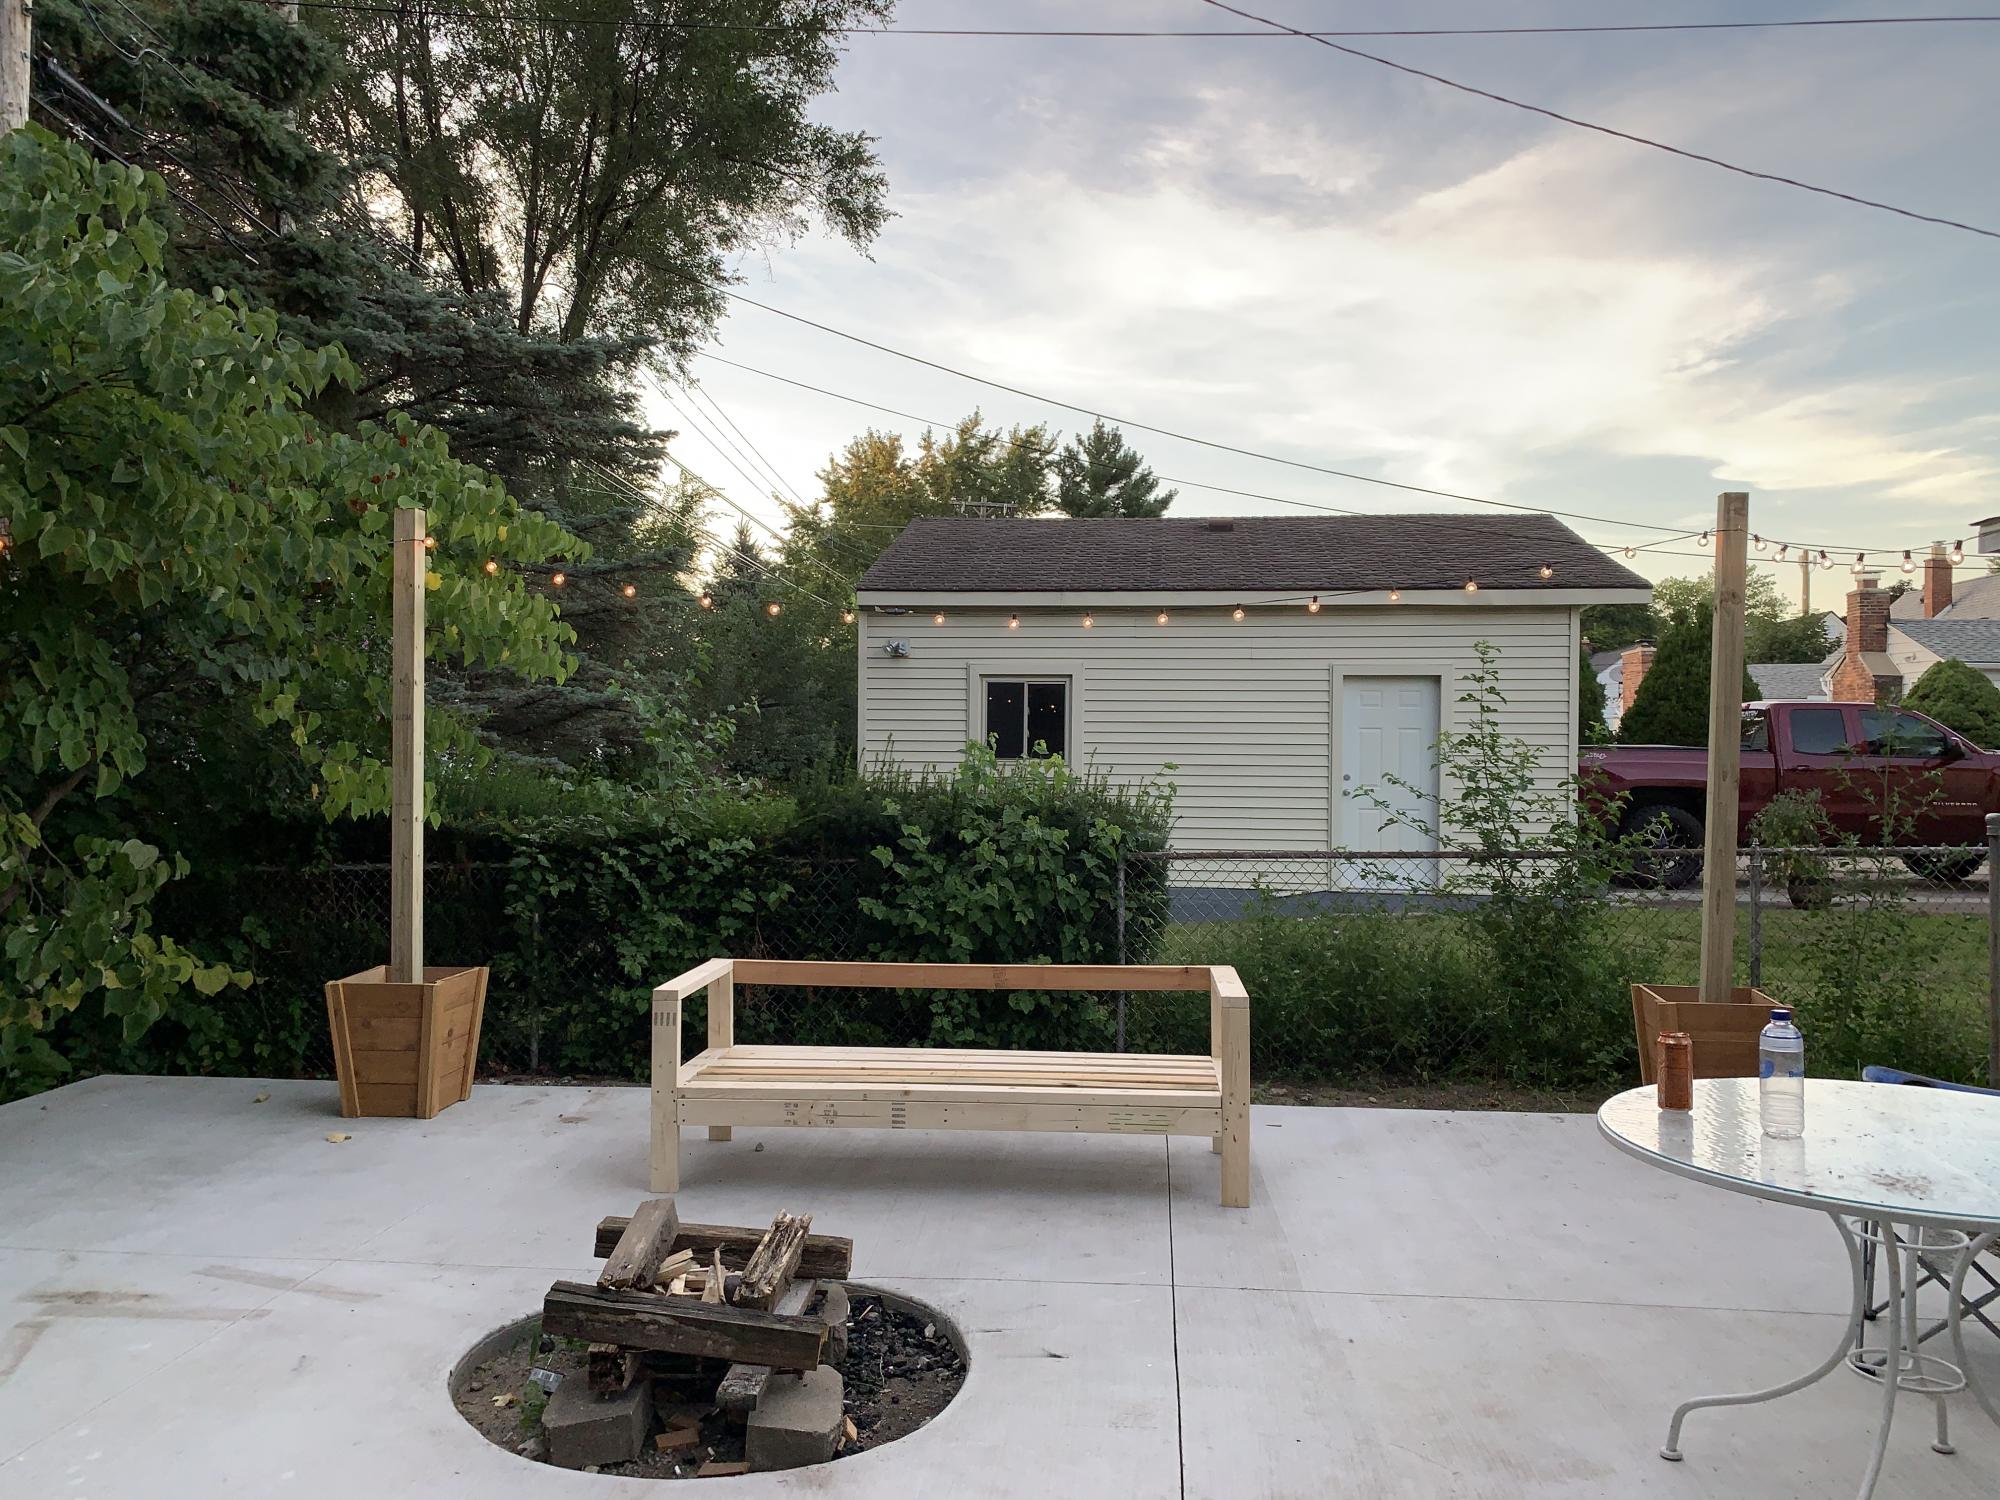
Tall planter that we modified to hold our light post and the bench waiting on cushions. The bench is on the wide side of things and is heavy, but these are good things as we are tall people. The only thing we would change is the seat size maybe not so wide. Otherwise it was an easy and very affordable project.
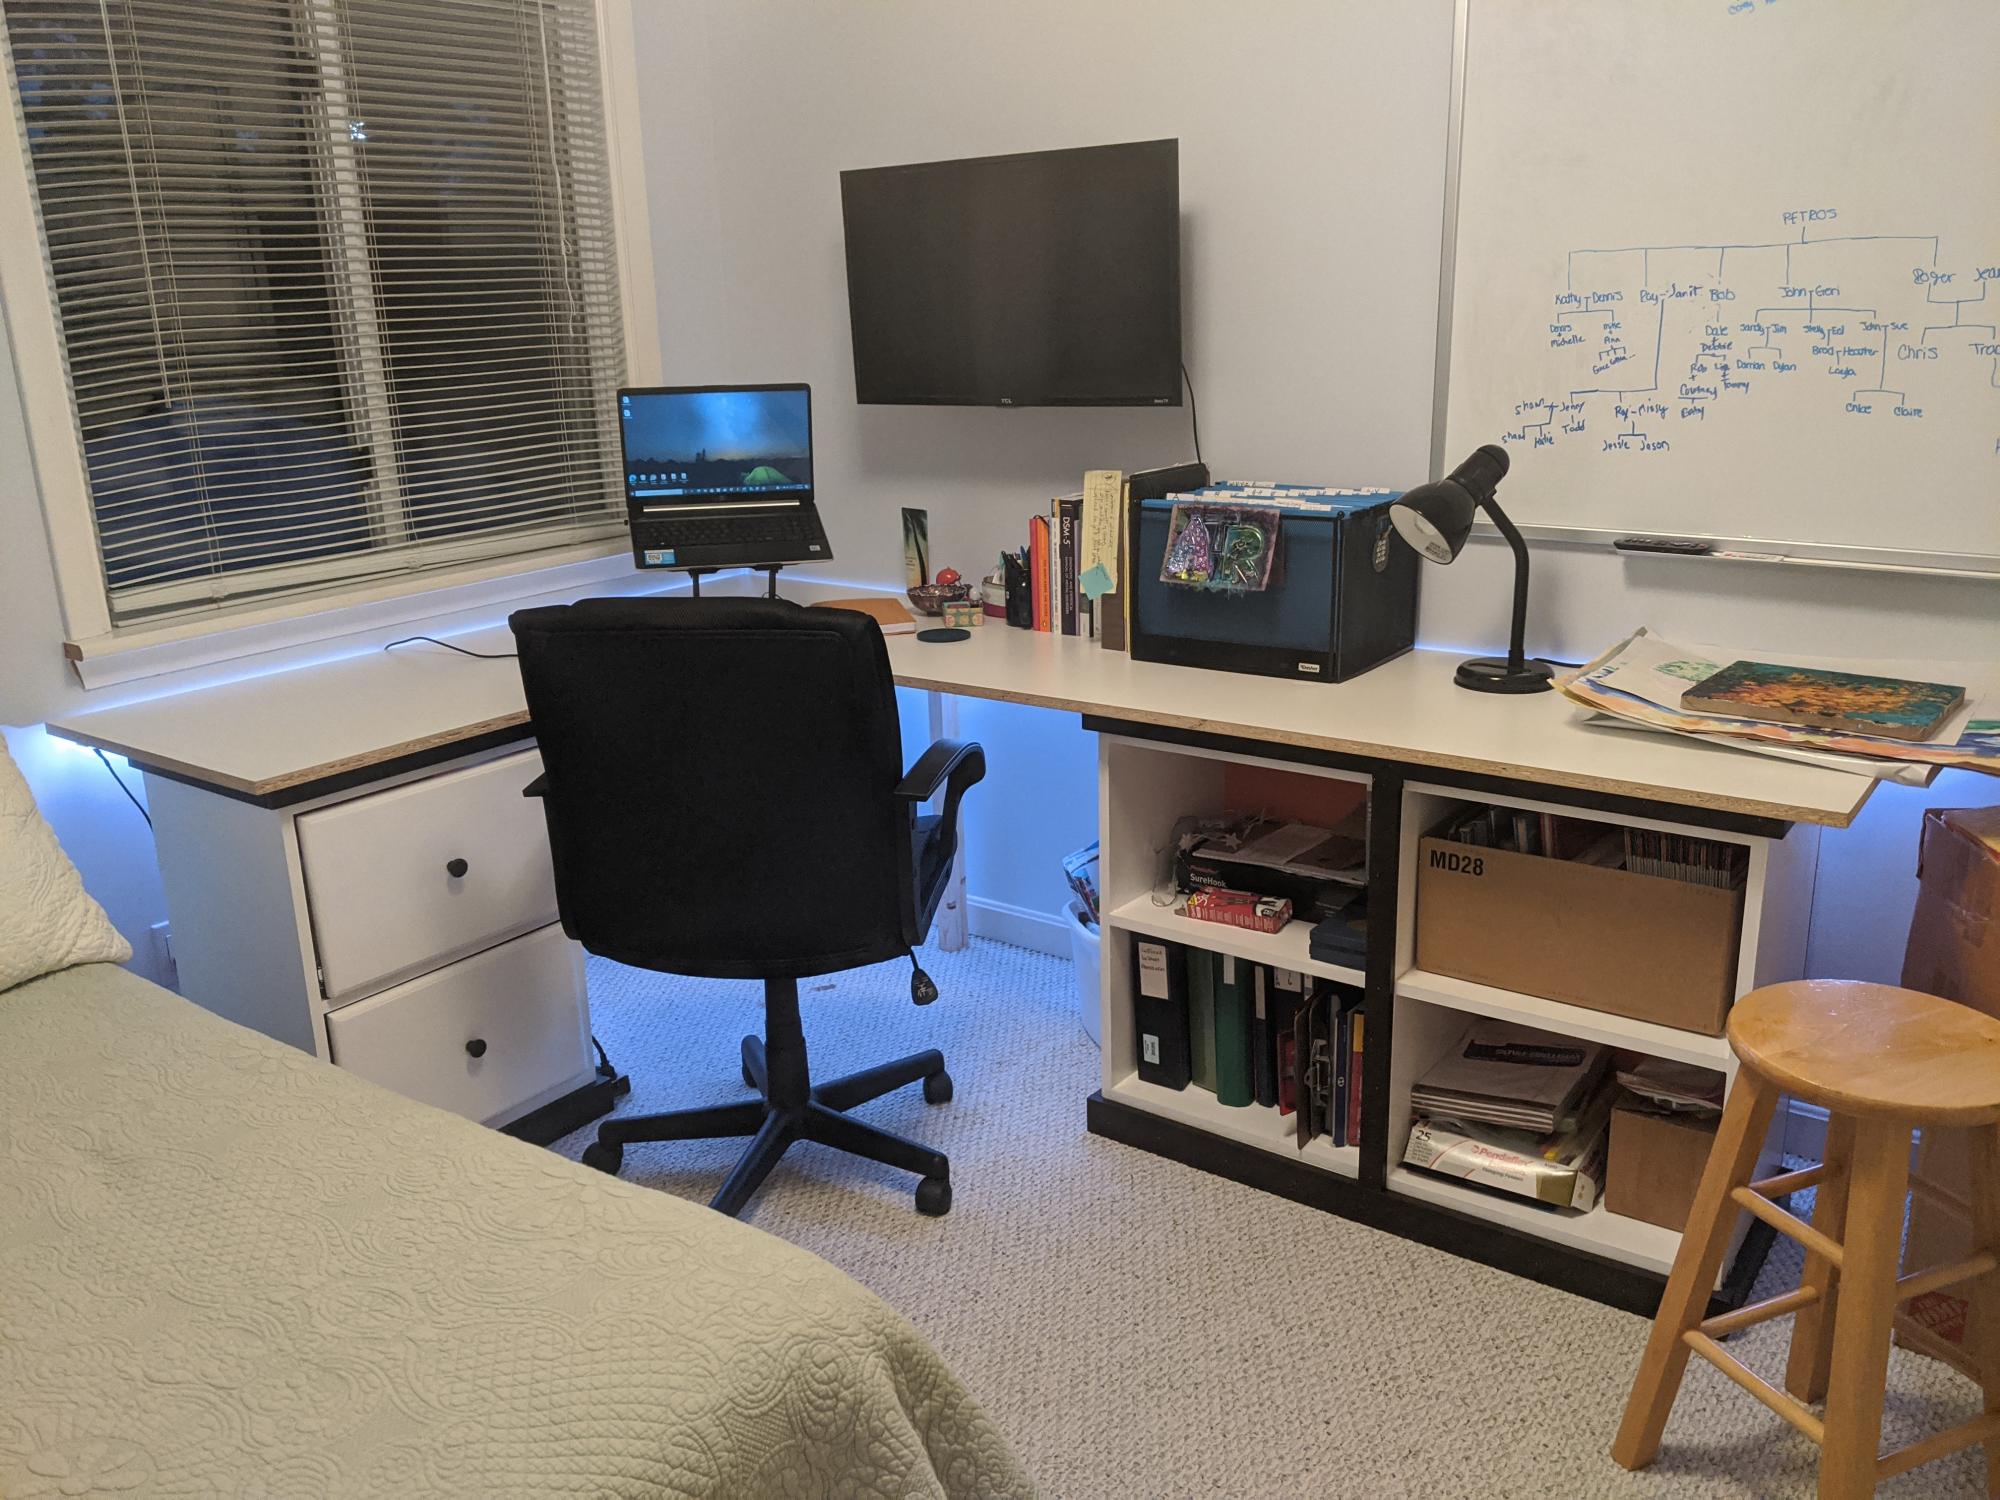
My wife needed a bigger desk for her home office so built one. I used the modular office desk designs. I had to modify it, my wife wanted the 90 degree cut in where the two desk to meet. I built two open shelves and fastened then together and built one narrow shelf with drawers. Built mostly out of MDF with the top being melamine. Waiting on the edge banding to ship. Also, installed some rope lighting for indirect light.
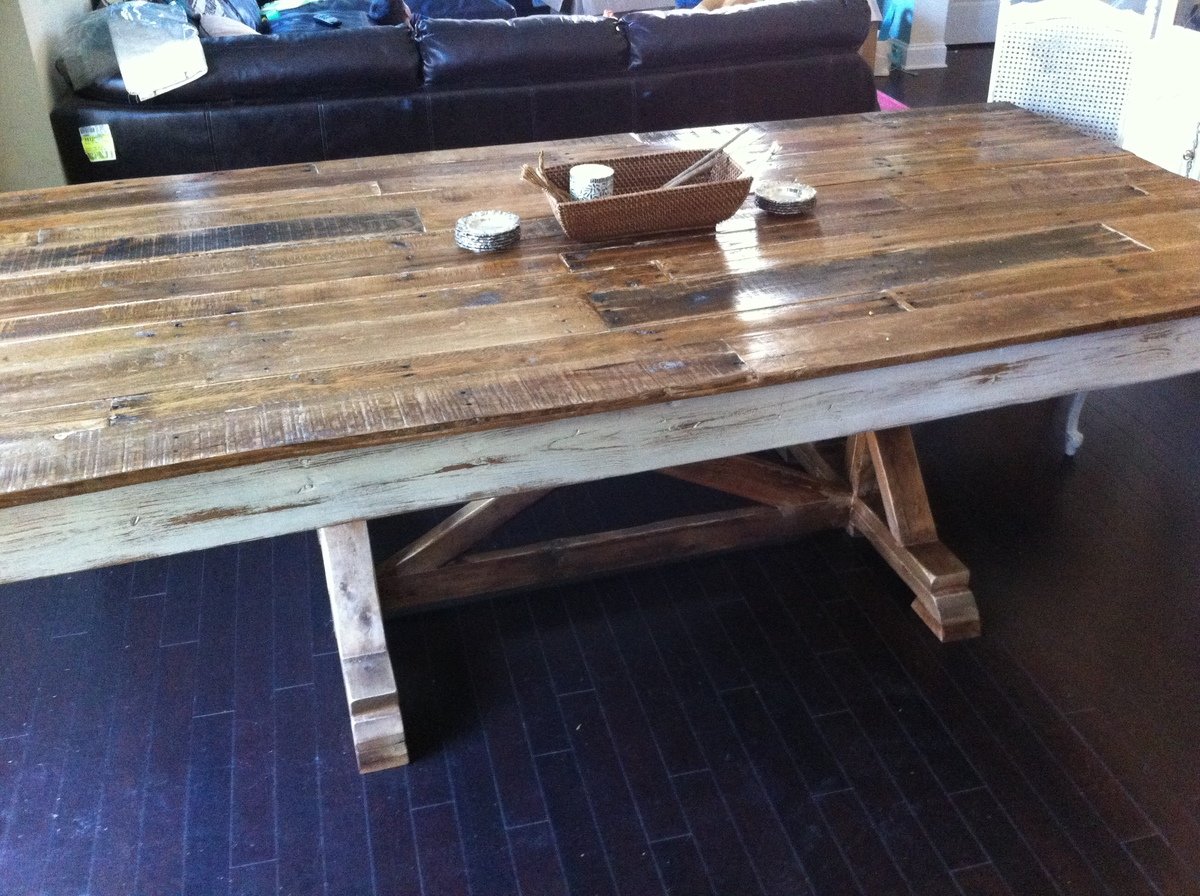
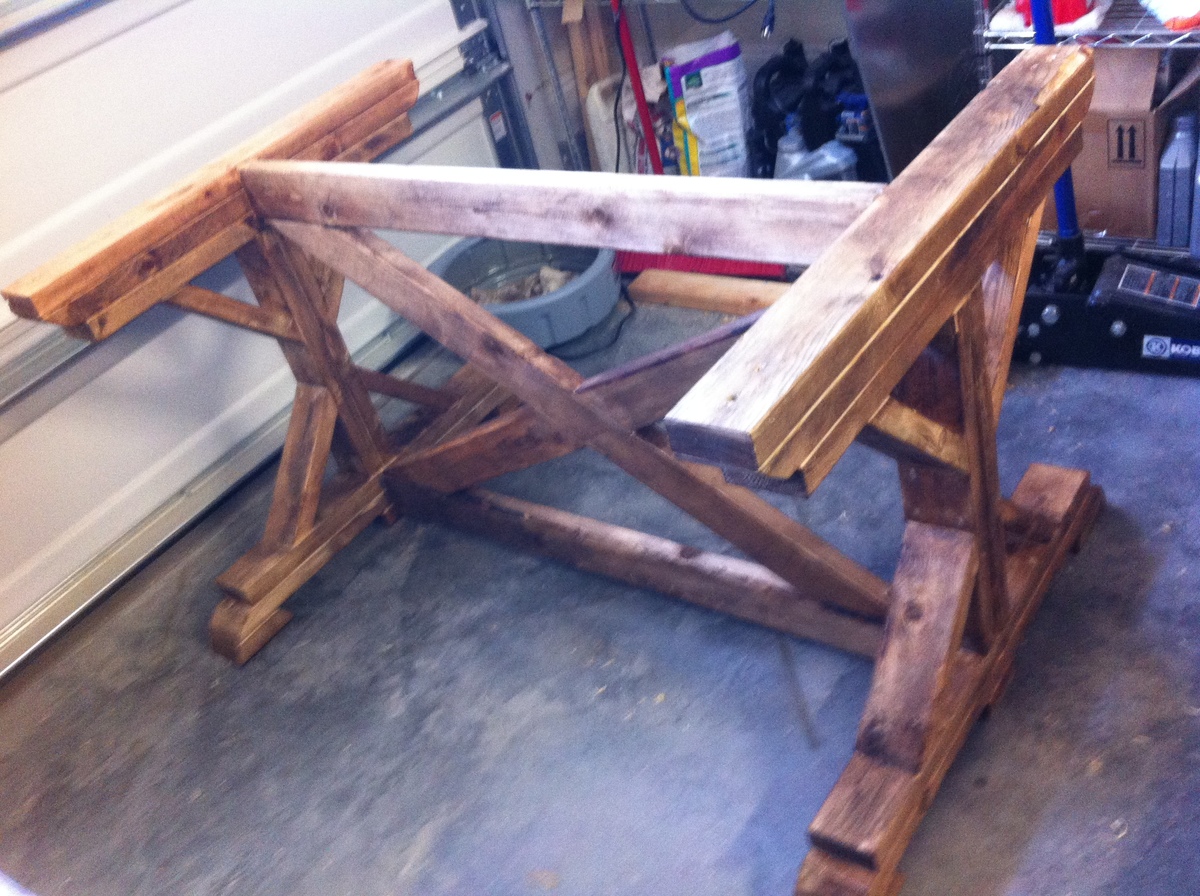
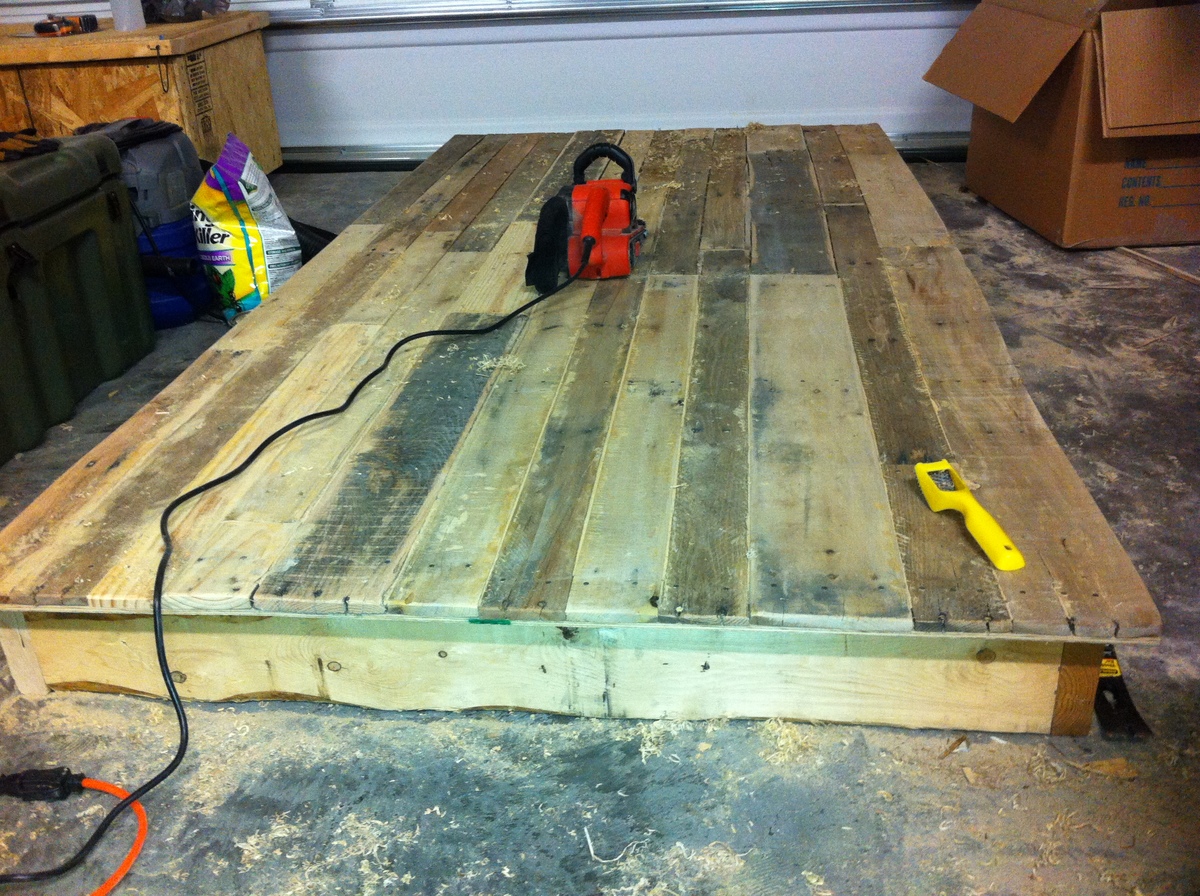
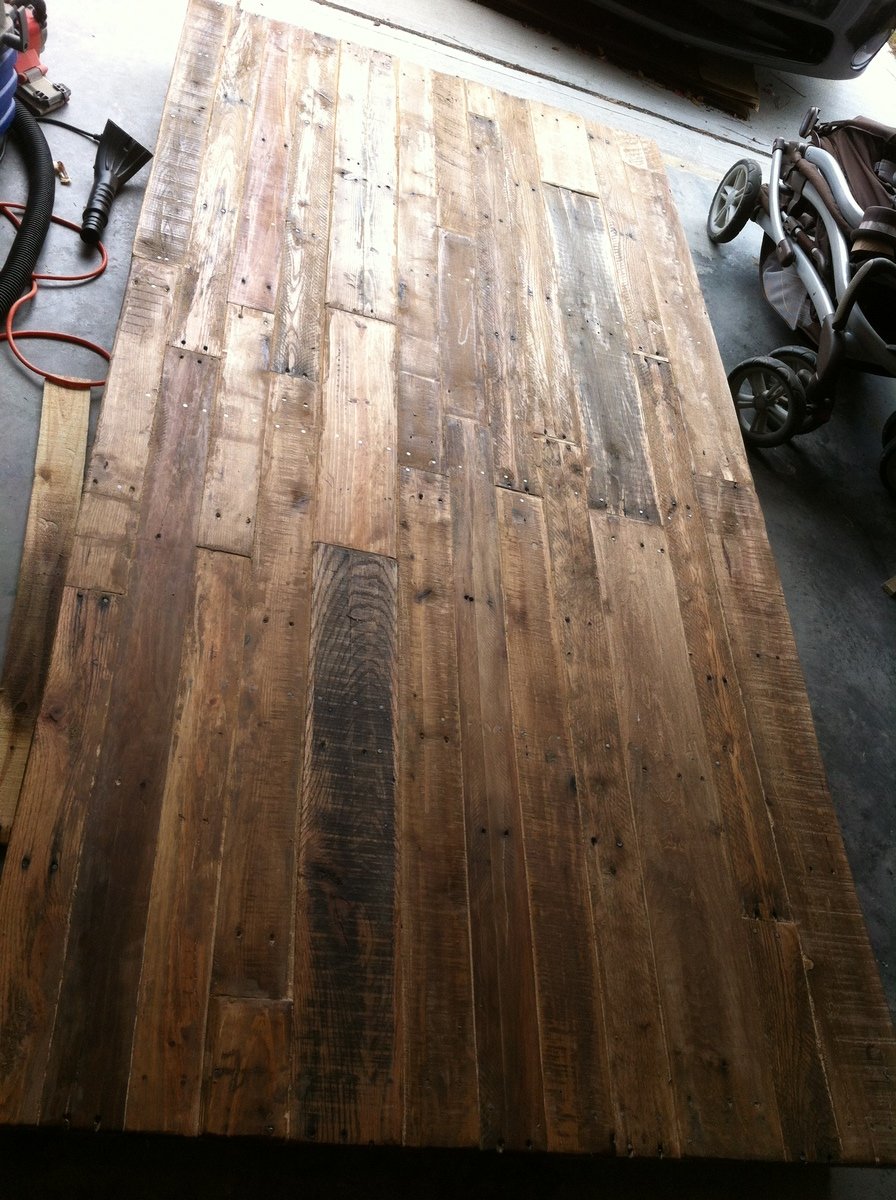
After seeing the Fancy X Farmhouse Table on pinterest we wanted to try and build one ourselves, but using the pallets we gathered from the new construction next door and the scrap lumber they were throwing away. The only thing we had to purchase was a sheet of 11/32 plywood to attach the pallet strips to for more stabilization, Screws, Nails, Wood Putty, Stain, and Polyurethane. I filled in all of the cracks to child proof food messes. We used Minwax Provincial Stain on the top with two coats of poly and a distressed antique white paint around the egdes to give it a more french look. The base was one coat of privincial stain with a good rasp/sanding of the edges to age the piece. Our goal was to build something that looked over 100 years old to match all of the china that will be sitting on it when we entertain! I think it looks very stately! This was our first project! :D
Wed, 11/28/2012 - 11:03
This table is extraordinary! I love the pallet top!
Mon, 04/21/2014 - 10:32
hi there - This is so so cool and I went out first thing this morning and collected a bunch of pallets from all over to start! I was wondering how you got your pallets apart without destroying them? I am finding that very difficult!
Comments
Pam the Goatherd
Tue, 06/26/2012 - 09:57
Looks good! I love the paint
Looks good! I love the paint job!