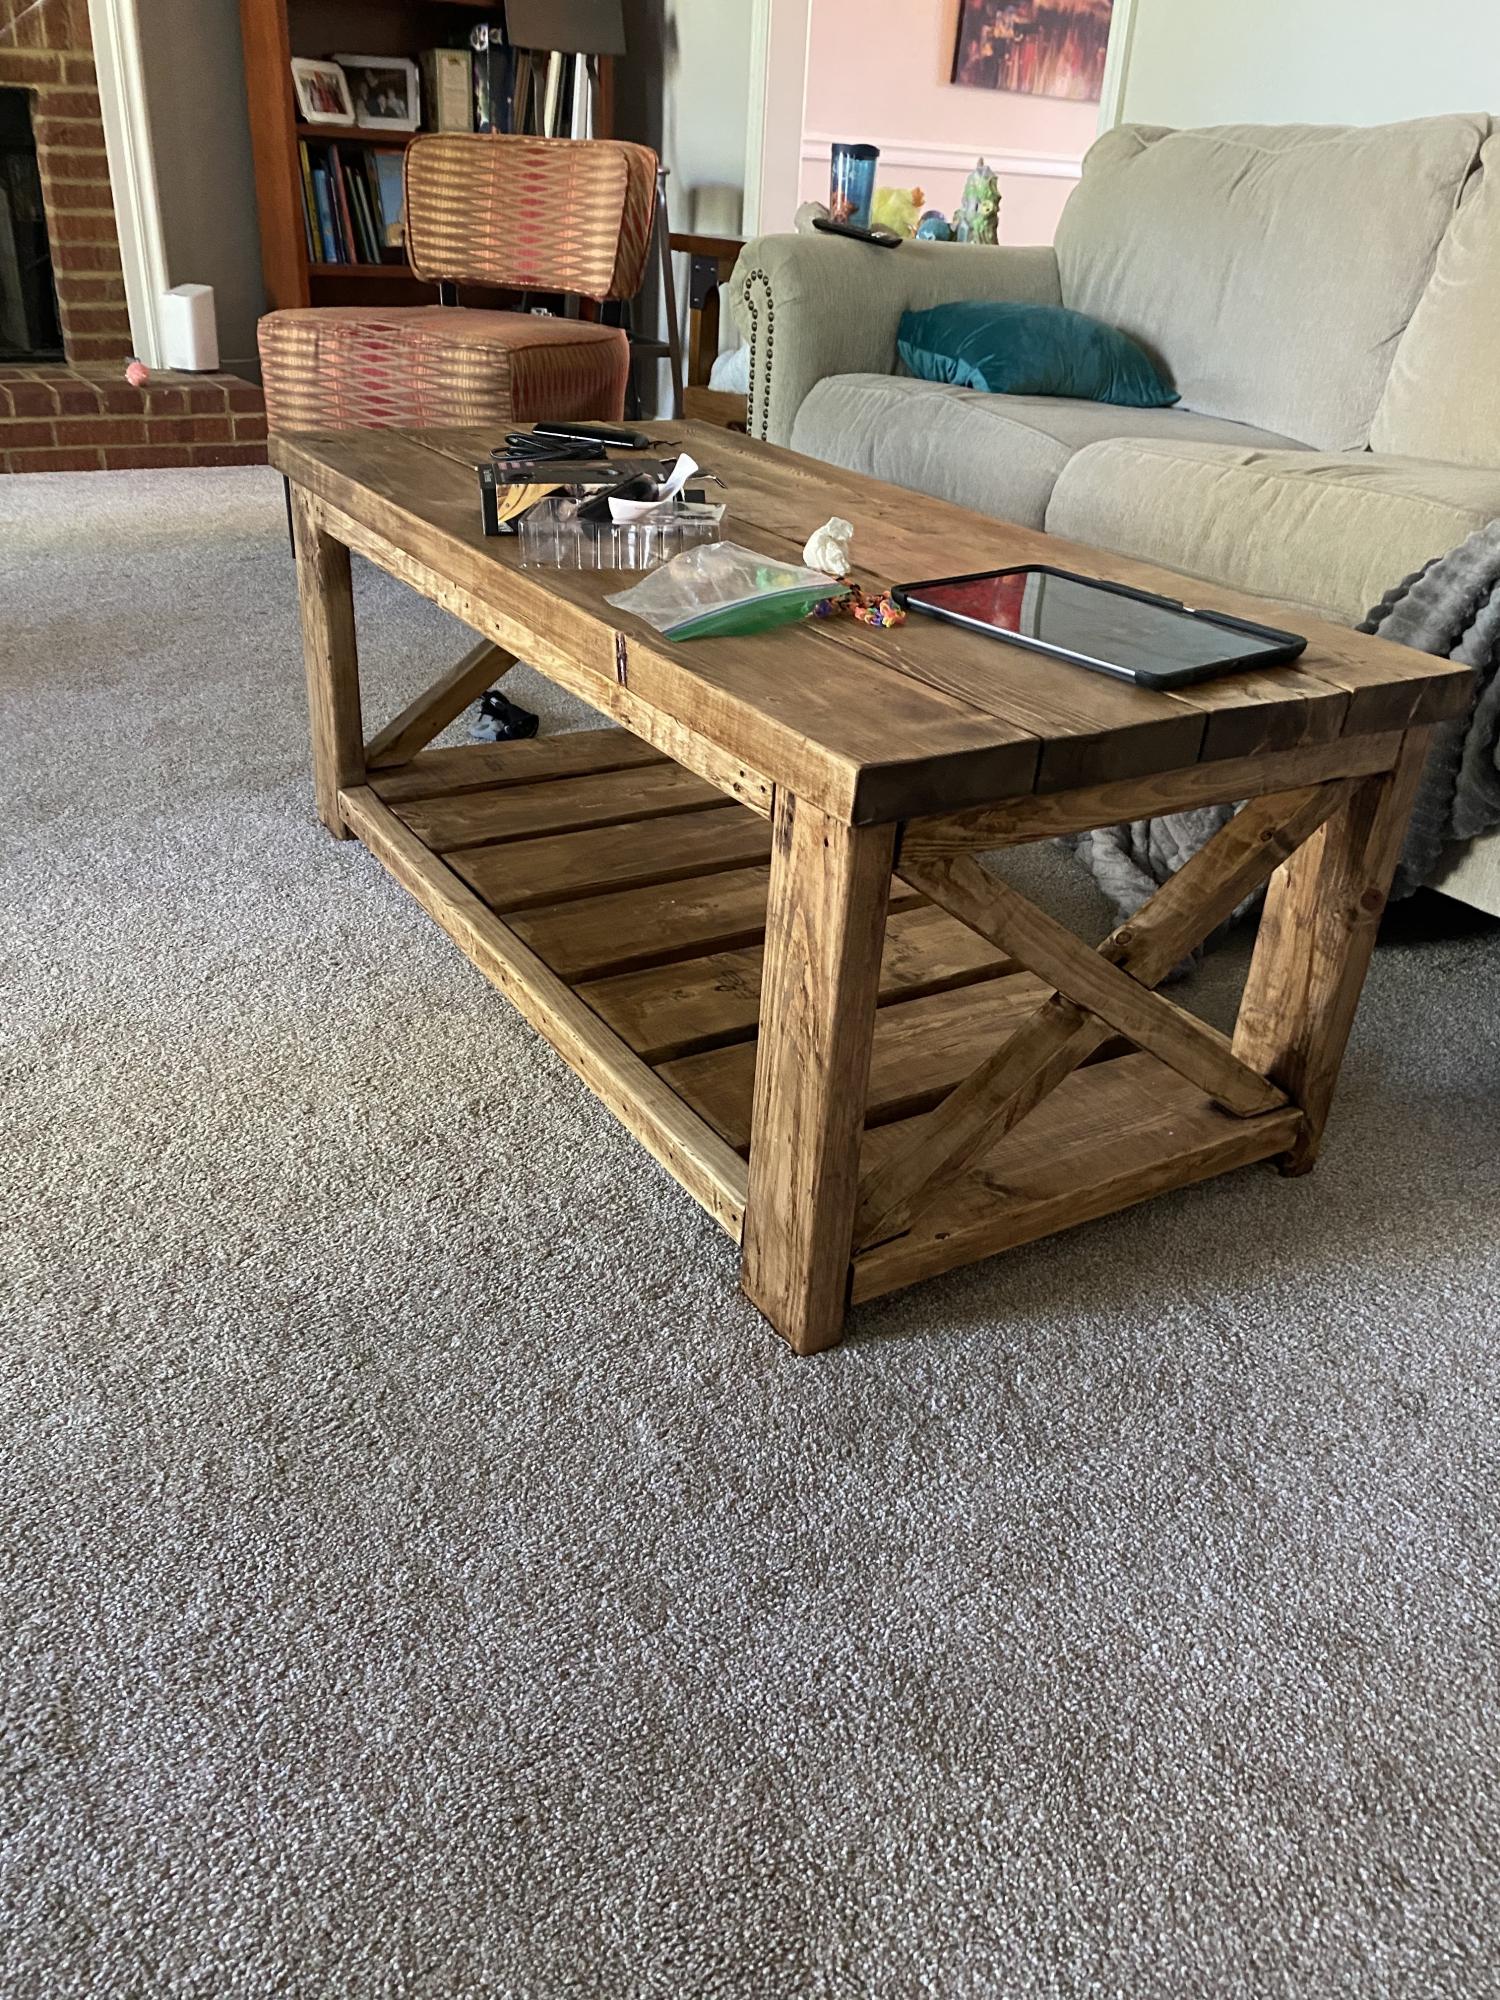
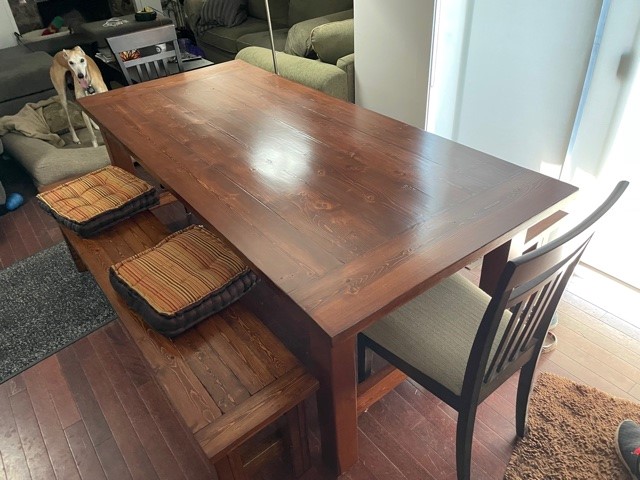
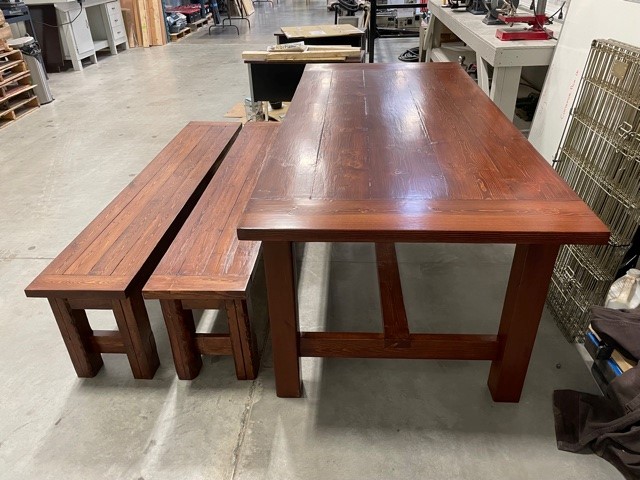
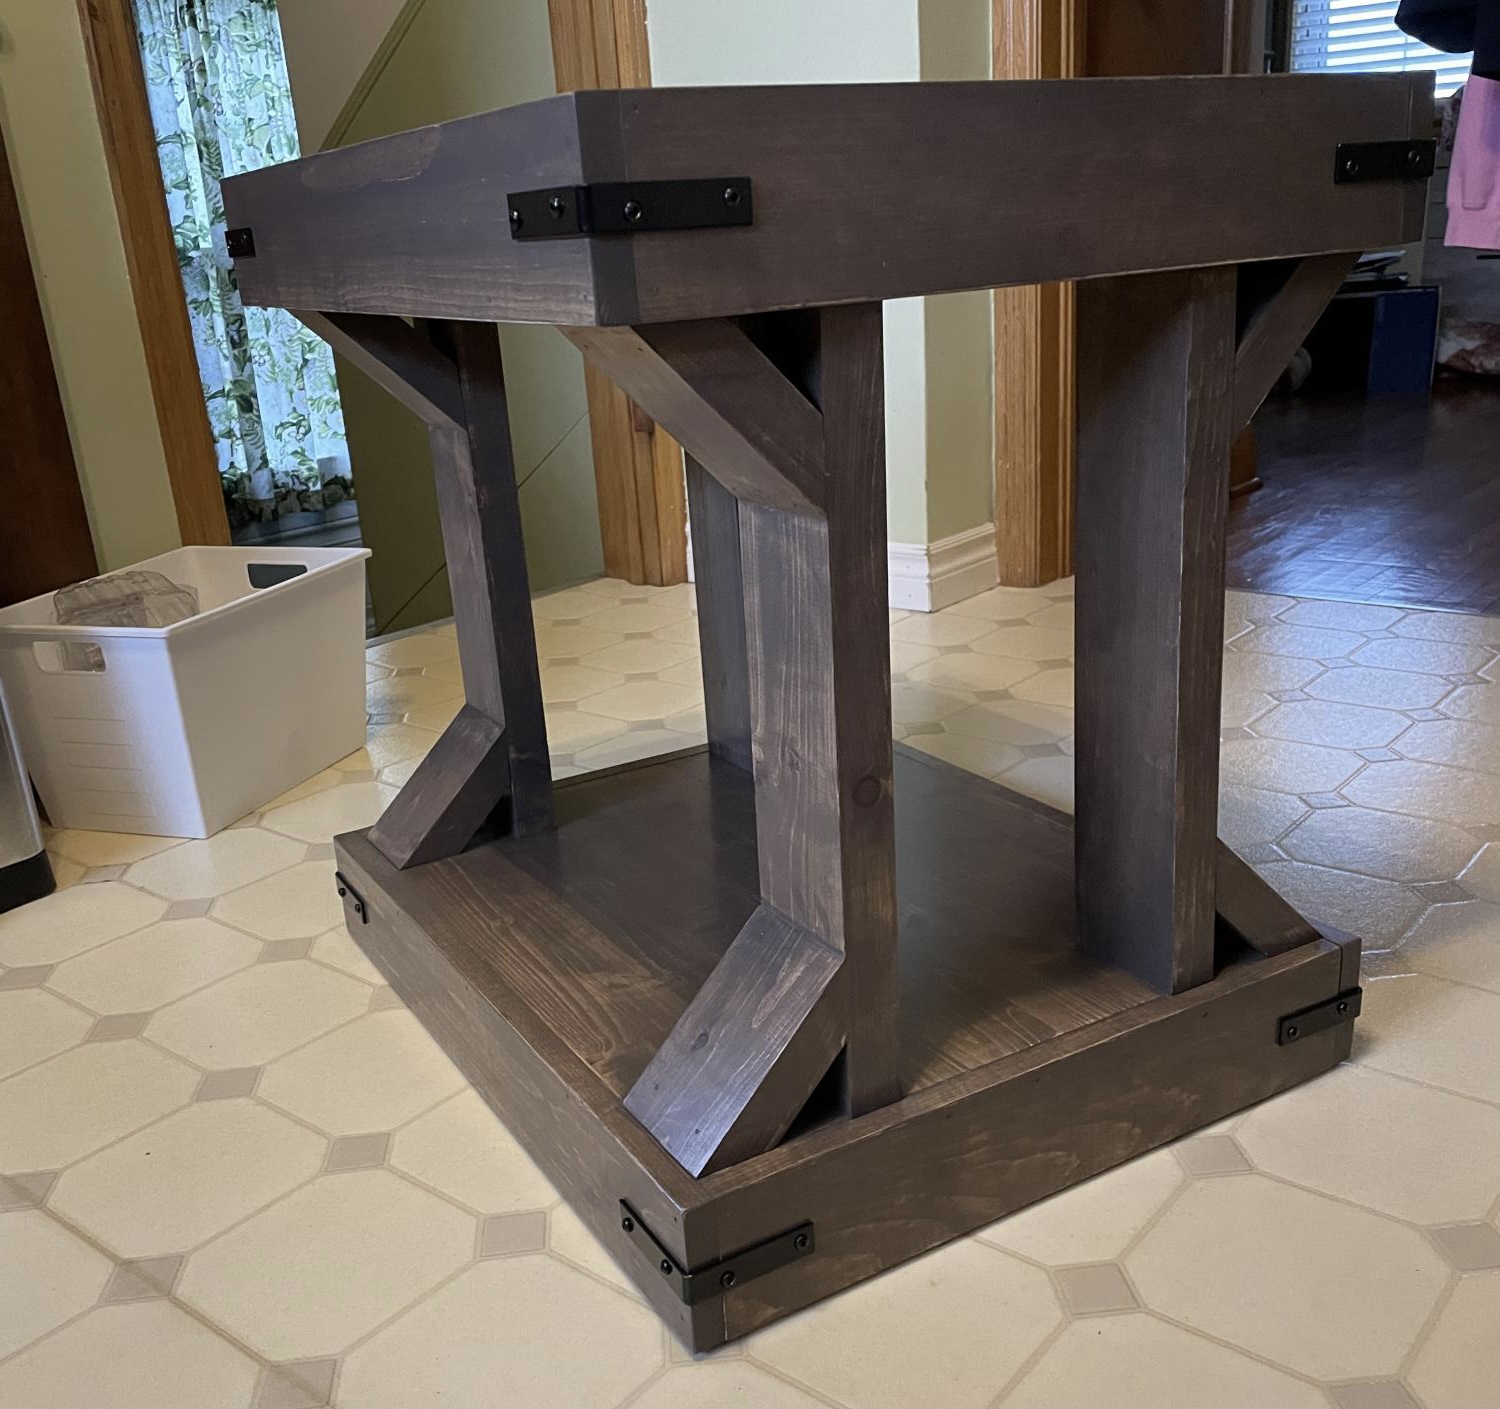
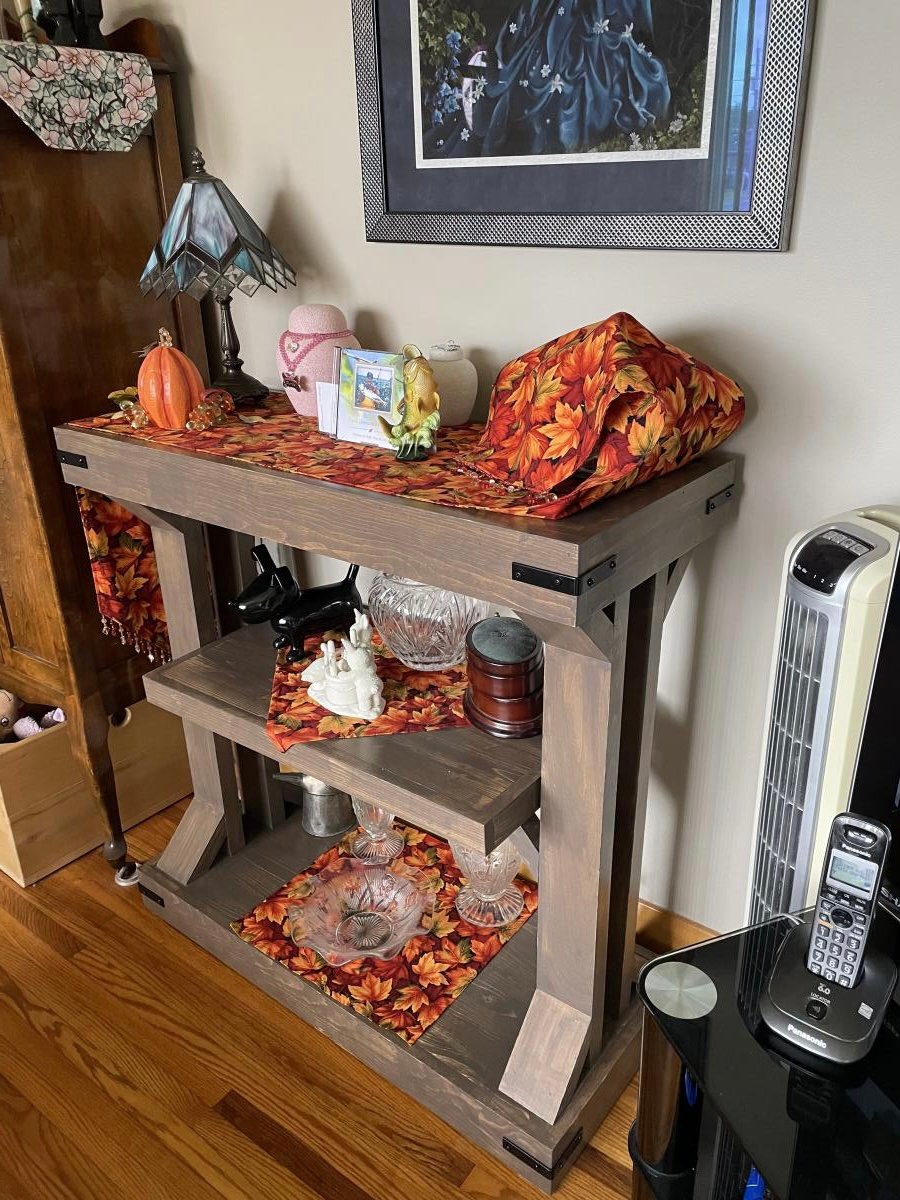
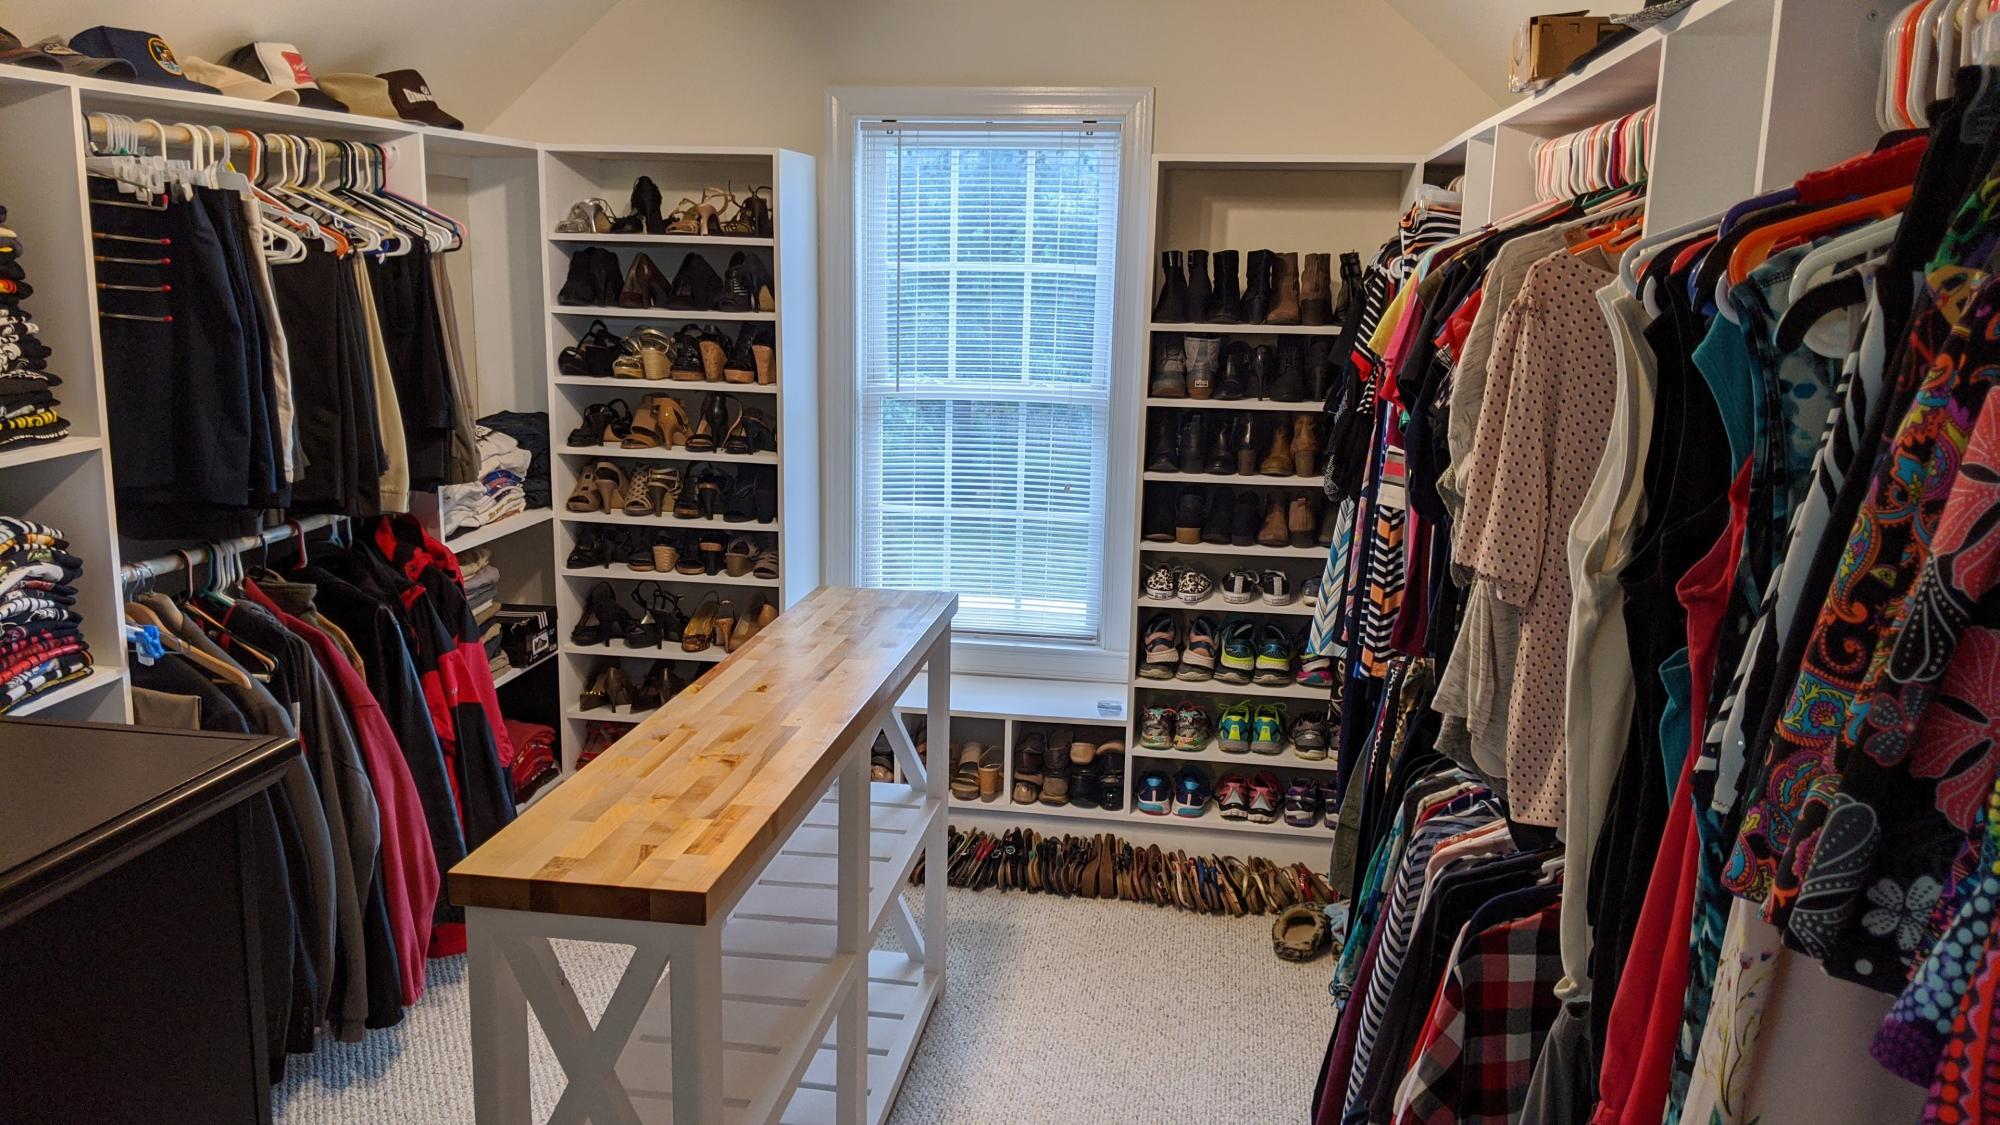
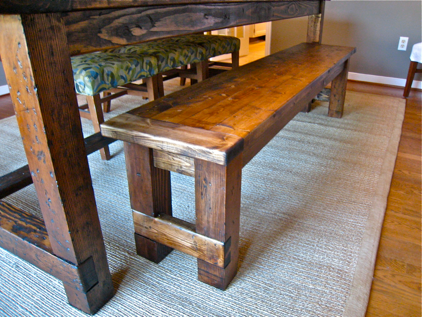
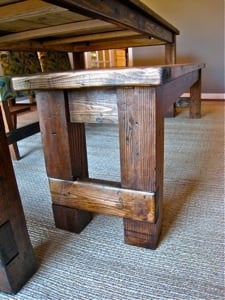
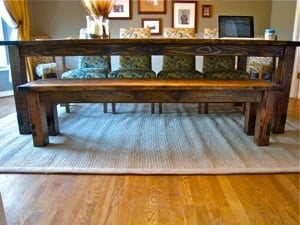
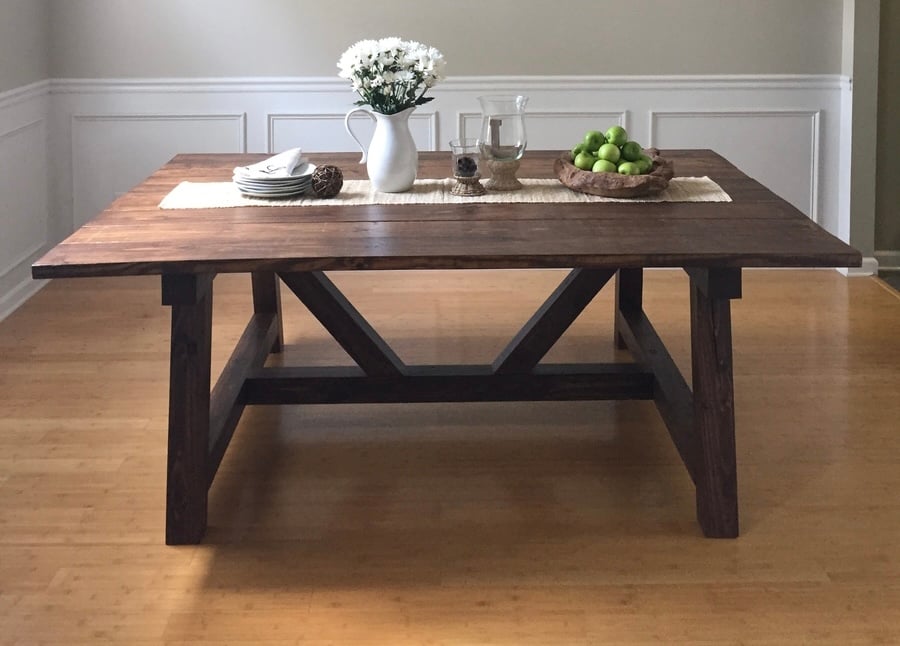
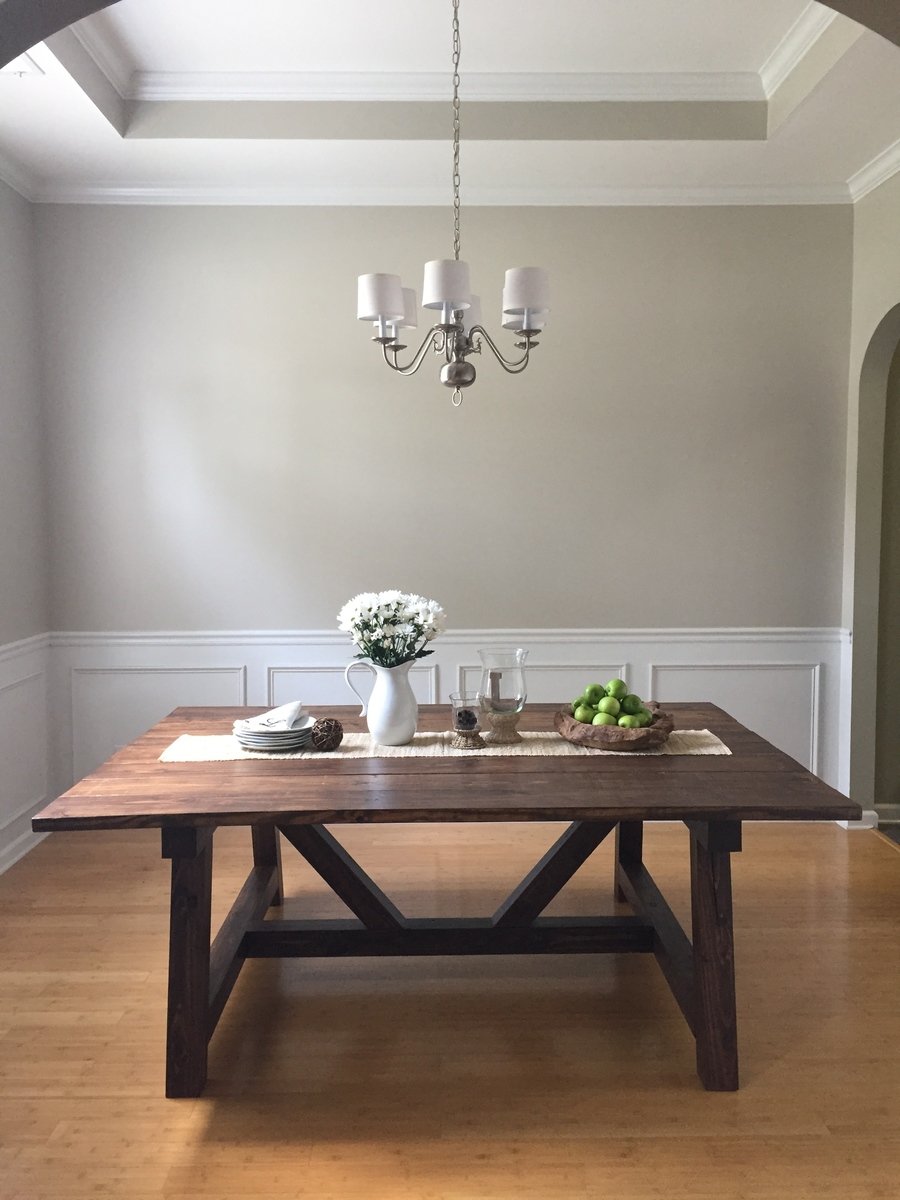
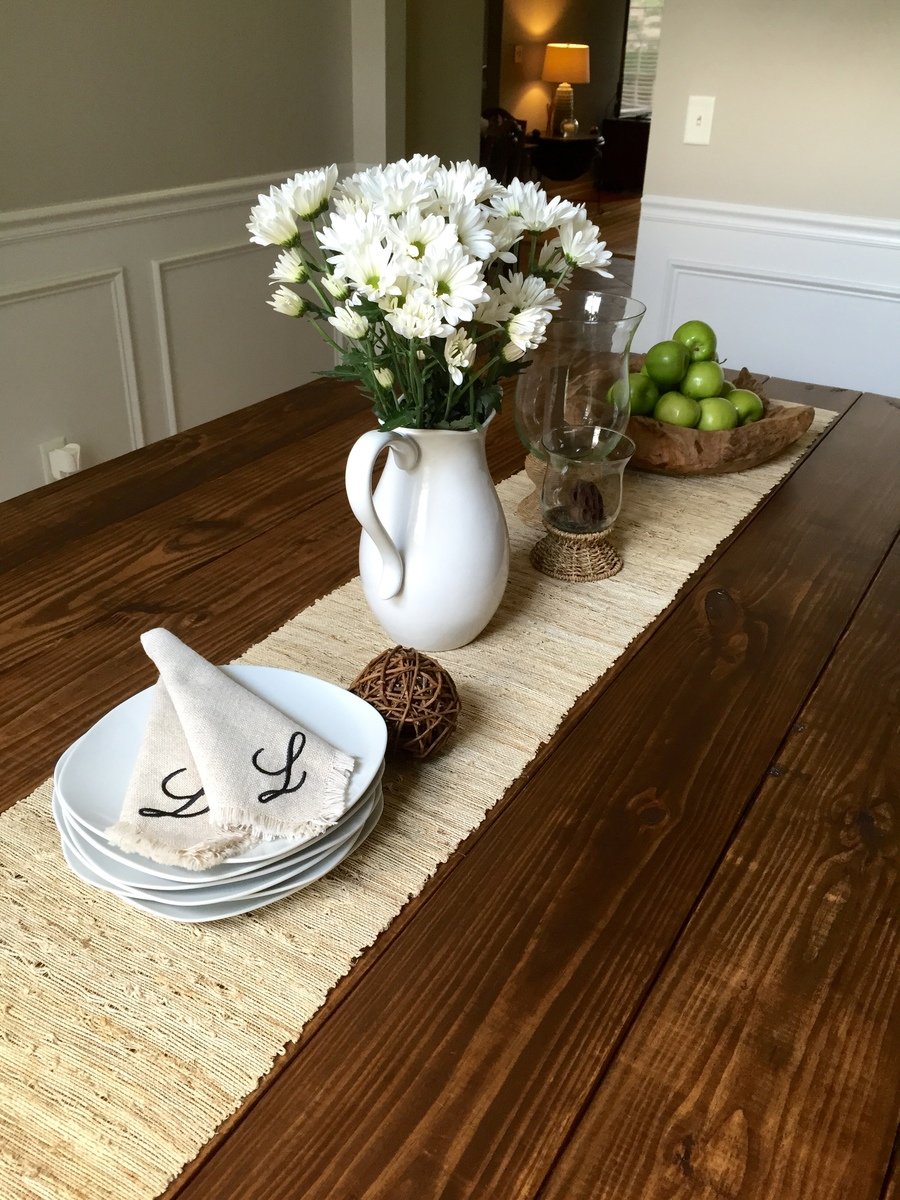
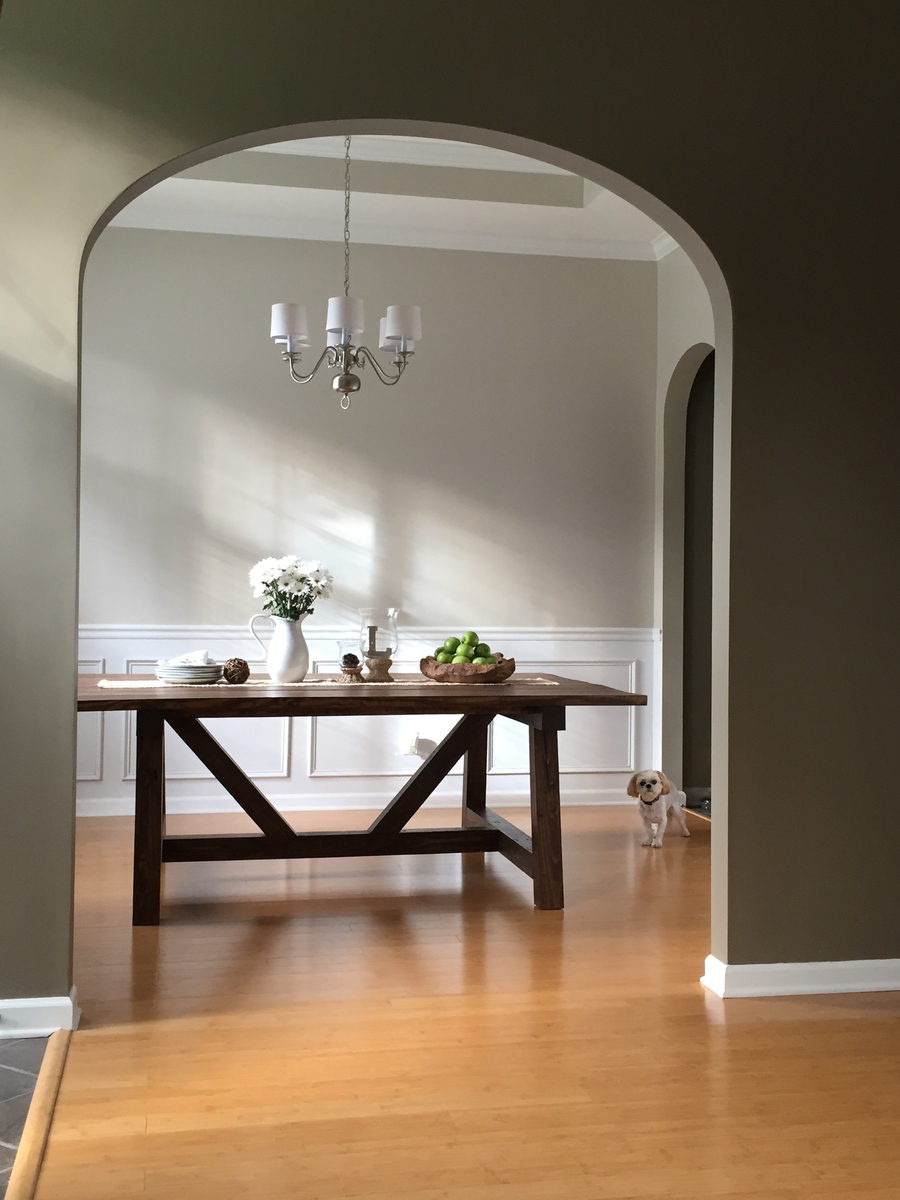
Community Brag Posts

Rustic Buffet Table

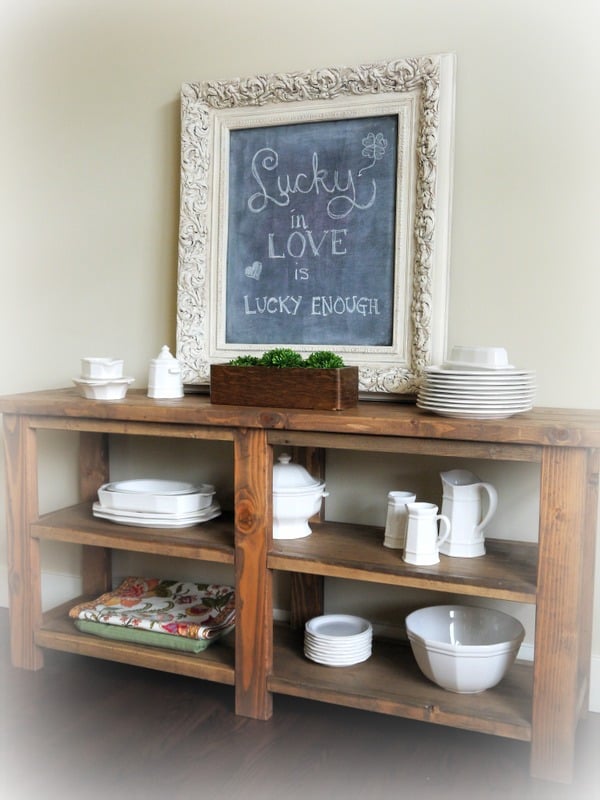
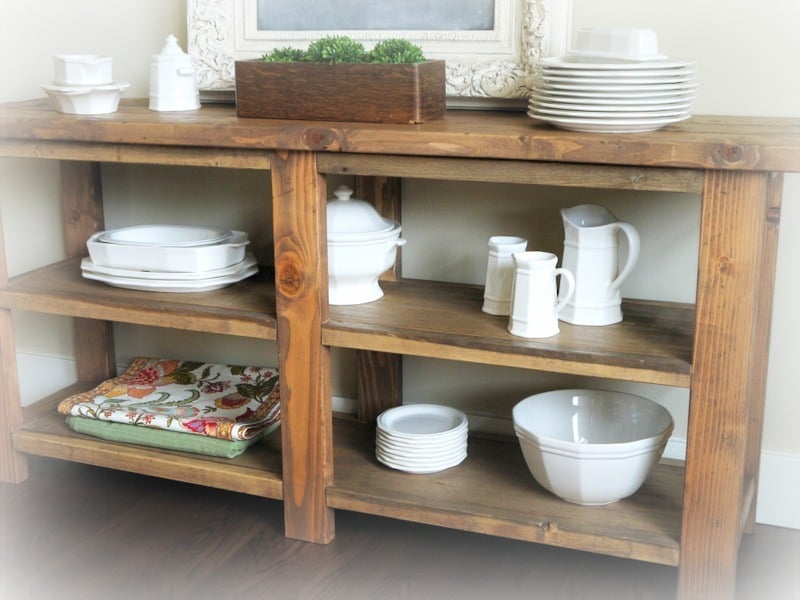
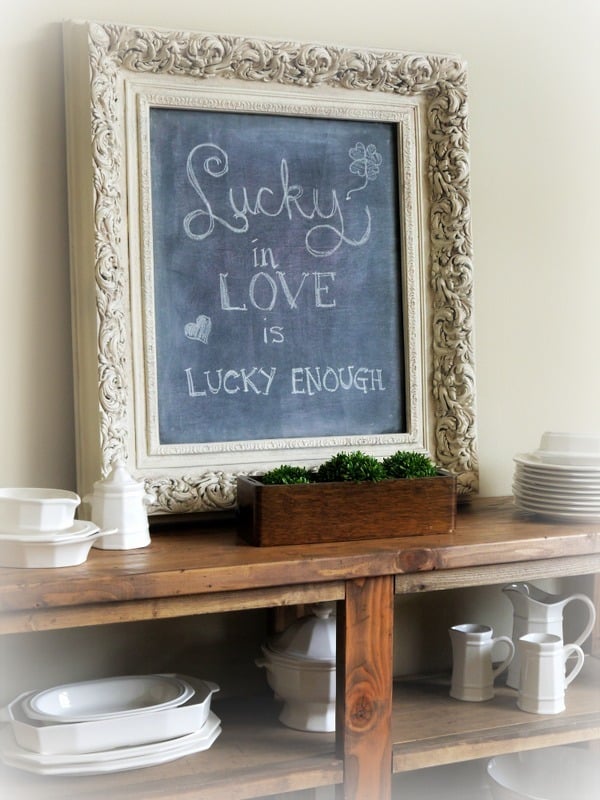
Love how this rustic buffet / console table turned out! It was made as a companion piece for a Farmhouse - style table. Modified to be shorter (64"), and made without the decorative hardware or the "X" detailing from the original plan.

Built from Plan(s)
Estimated Cost
$55
Estimated Time Investment
Day Project (6-9 Hours)
Finish Used
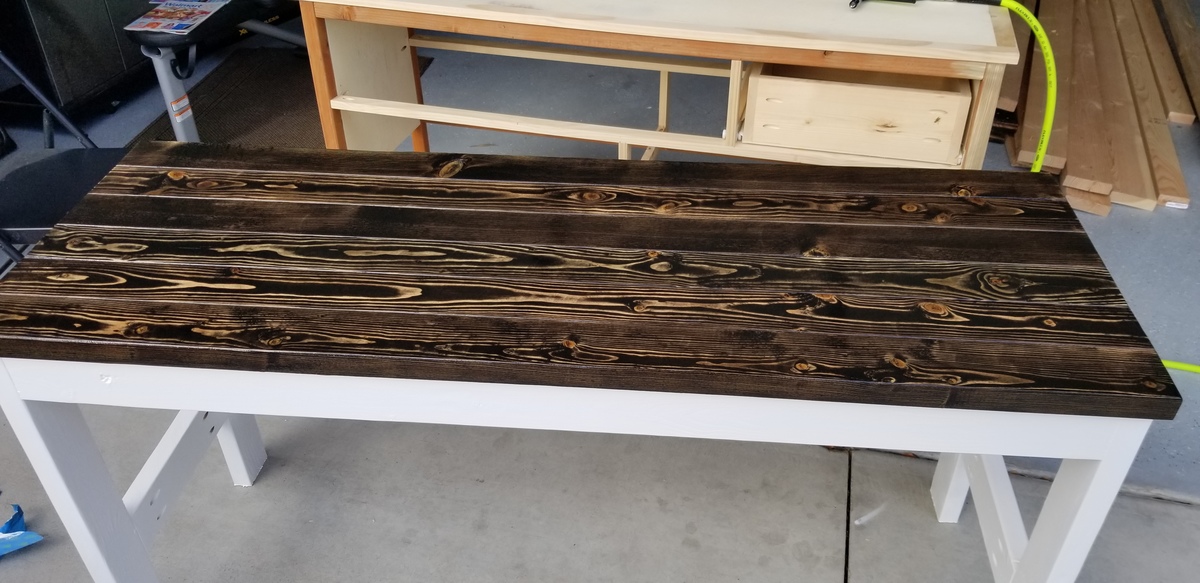
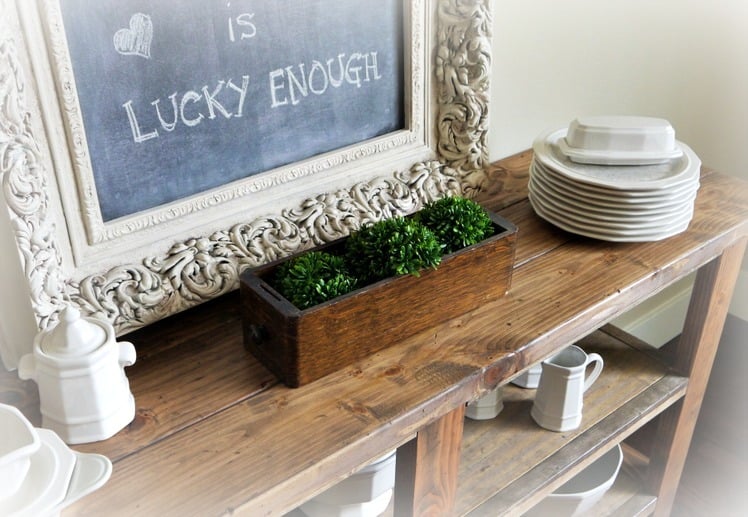
Custom mix of Minwax Weathered Oak + Antique Walnut Stain. Three coats of hand-rubbed polyurethane.
Recommended Skill Level
Beginner

Beginner farmhouse coffee table

This is my 2nd project (first was the open shelves), but my first "bigger" project. Lovethe plans, the X crosses were tricky with just a circular saw. I am investing in a miter and looking to get into some tougher projects as I just purchased a home.

We just did a little stain to keep that natural wood look.

Estimated Cost
$65
Recommended Skill Level
Beginner

Comments

Adapated shoe cubby to on its side with LED lights.

Submitted by forbeskm on Thu, 03/21/2013 - 22:26

This is an adaption of the shoe shrine shelves. Since I didn't have a closet or other room than the bedroom to put these, I put them on their side. I modeled these off the shoe shrine shelves.

Each cubby is 11 3/4 deep x 8 x8 for the long version. The 2nd version I made was only 48 inches wide and did not divide well so I simply left the center cubby wider. I also made the 48" version to have different height shelves for purses in the middle and flats on the bottom.

I basically flipped the shoe shrine's on their sides and added LED lights. This also inspired a tall version for a cubby we had upstairs.

I used a panel saw to cut the plywood and then assembled with a Kreg pocket hole jig for horizontal pieces and biscuits for the top and the dividers. I did not want to fill the holes or I would have used Kreg instead of the biscuits.

I used 3/4" paint grade plywood and a 1/4inch back panel.

LED lights came from LED wholesalers on amazon. This step requires electrical knowledge! Not much more than a wiring a light but do not attempt if you are not qualifed to do so. LED strings required a fine tip soldering iron, wire and heat shrink.

Built from Plan(s)
Estimated Time Investment
Week Long Project (20 Hours or More)
Finish Used
Latex Behr Swiss Coffee sprayed on.
Recommended Skill Level
Intermediate

Comments

forbeskm

Fri, 03/22/2013 - 11:50

The LED's came after we designed them. I was like there is no light where these are going and its hard to see inside the cubbies. This is true for the bottom cubies which are only 5 inches tall. So for 30 bucks a cabinet it was a quick and easy addition that really made them pop. Only downside is it can make the room look like you are in Nordstom's :) so she doesn't leave the lights on regularly.

Kai777

Thu, 09/18/2014 - 01:42

Very nicely done.  Do you mind telling me more about which particular LED product you used and the process to wire them in?  Did you mill out any part of the cabinet to set the lights?  How are they activated?  Thanks in advance.  You can also email me at [email protected].  Much appreciated!

floating shelves

These shelves were easy and easy to customize the size according to your needs.  They are fun to decorate and add a rustic flair to my living room.  

Estimated Time Investment
An Hour or Two (0-2 Hours)
Finish Used
I distressed the wood then used grey chalk paint and dark wax
Recommended Skill Level
Starter Project

My first big woodworking project - a farmhouse table!

Submitted by jfleming on Wed, 06/30/2021 - 12:02

I used the no pocket hole plans and as per someone's great recommendation - I moved the stretcher supports to the inside of the legs to give a little more room when the chair is pulled out and someone is sitting on an end. I also made a planer tool for my table saw so I could square off the edges of the table top boards and the bench seat boards. The boards then sat closer to each other so I don't have places for crumbs to fall down between the boards. I did have a couple of sections that didn't quite match up and used resin to fill those areas after staining the boards. I then used a lacquer finish (Watco clear satin lacquer). The stain is Minwax English Chestnut but I did use the Minwax wood conditioner prior to the stain for a more even uptake of the stain. All great recommendations from folks on this site!

Comments

Adirondack chairs

Submitted by Anonymous (not verified) on Mon, 10/04/2021 - 15:15

I made five of your 2 x 4 Adirondack chairs. Well I started with one and then my wife wanted four more after she saw how it turned out. We absolutely Iove them and they are easy to make! Thanks Ana!

David Knight

Comments

Double Seat Outdoor Chair

Submitted by Anonymous (not verified) on Mon, 10/04/2021 - 16:29

Very easy and quick to build. It is amazingly comfortable. There are no cushions needed. My wife loves it. I took parts of Ana’s Simple Outdoor Lounge Chair and Modern Outdoor Chair with a twist patterns and modified them to be a double seat instead of a single seat.

Built from Plan(s)

Comments

Ana White Admin

Tue, 10/05/2021 - 09:29

That is so cool how you combined the plans and came up with that! It looks amazing, thanks for sharing!

Chicken Coop A Frame

Submitted by mdownie on Wed, 05/22/2013 - 11:54

I built this A-Frame Chicken Coop using the Ana White plans. It turned out adorable, strong, and I am very pleased. Final cost was $250, and it took me 4 days (in real time, as a mom of 3). One Saturday at Lowes shopping, one Sunday afternoon cutting, and two days of assembly. Then a 5th for painting. Give or take a dozen extra runs to the hardware store! My brother-in-law helped cut the angles on his miter saw, and my uncle helped with assembly. I kinda doubt this could be done for $100 - maybe if you have a bunch of scrap materials and spare paint. We even have 7 or 8 hens in there! I only intended 3 to live in it, but my uncle added the extras and they all get along happily. I found the roof cap at Home Depot (didn't find at Lowes).

I would also like to point out that I was very afraid to do carpentry - I was afraid to even buy the lumber. But I asked for a lot of help from a lot of Lowe's and Home Depot people, and resisted the naysayers, and just got brave and did it. And it came out beautifully! If you are new to using power tools, get someone to assist, and you would need help anyway with holding things up while another drills.

Built from Plan(s)
Estimated Cost
250.00
Estimated Time Investment
Week Long Project (20 Hours or More)
Recommended Skill Level
Beginner

Comments

mdownie

Wed, 05/22/2013 - 11:59

As an extra note, I used Hardware cloth, not chicken wire. Wire will not keep dogs or predators out (and my dog immediately tried but failed to claw his way in). I bought I believe 36 inch tall rolls - the standard size that I could tell (not 30 inches like in the plans). But it fit perfectly, so I think maybe the plans had a typo? Lay out the lumber according to the plans and it will fit perfectly.

My Garden box

Submitted by Kabarie on Thu, 05/30/2013 - 13:29

Built this with the help of my Dad! Learned about threads as I've never used them before. Because of all the controversy surrounding having pressure treated wood touch the veggies and because I could not afford or find cedar 4x4's I decided to use the left over cedar to build a little cover around the 4x4's so my soil and veggies will never come into contact with it. Love it and the veggies are growing great!

Estimated Cost
$50/60
Estimated Time Investment
Afternoon Project (3-6 Hours)
Finish Used
I forget the stain I used on the outside of cedar...something natural looking.
Recommended Skill Level
Beginner

Comments

Janettx

Fri, 05/31/2013 - 04:22

I'm glad you were able to follow my plans. I'm not a plan writer so I wasn't sure if I gave good enough instruction. It is a shame you can not get all cedar. Sealing the legs will definitly help them last longer and with all that work you certainly want them to last! Just a hint...you can make 3 for not much more than you spent making one....Great job and thanks for the brag post LOVE LOVE LOVE

Thanks for helping me build this shed!

Submitted by cnllusher on Sun, 09/17/2017 - 16:33

Using your shed plans, modified to use the 2x4s I already had on hand, I designed this 4'x8'x7' shed to match my house.  I replaced the ceder fence boards with a hardiboard, but the construction was pretty much the same.  My husband and I are so happy with this shed,which looks very similar to the $4000+ sheds we have seen, and it cost us less than $400 to make and matches our house perfectly.  Your instructions were great, and I know you saved me a lot of time and trouble.  Can't wait to load it up with our snow and gardening equipment!  Thank you!

Built from Plan(s)
Estimated Cost
$400
Estimated Time Investment
Weekend Project (10-20 Hours)
Finish Used
paint
Recommended Skill Level
Intermediate

Modern Farmhouse Tables

Submitted by Anonymous (not verified) on Sat, 10/16/2021 - 09:43

I made the coffee table, an end table and I modified the console table to add another shelf because I have too much stuff lol! These are my first wood projects and I am happy how they turned out 🥰

Comments

Modern Adirondack Chair

Submitted by Sylka on Mon, 11/08/2021 - 15:39

What a great project! Simple and relatively easy. Very stylish chair!

Comments

Seasonal And Holiday

Cedar Planter

Used repurposed lumber for most of the project. Only thing I bought was the cedar pickets. This project cost less than $9

I also chose to cut the tops off and add mitered boards on top.

Built from Plan(s)
Estimated Cost
Less than $9 as the pickets were the only item I had to buy. Around here they are 2.27 each.
Estimated Time Investment
Afternoon Project (3-6 Hours)
Recommended Skill Level
Starter Project

Rustic Modern Hall Tree

Submitted by Anonymous (not verified) on Wed, 12/29/2021 - 02:48

I made this slightly smaller version of Ana’s Hall Tree to fit smaller spaces. I added beadboard to the back to put an added farmhouse touch. Finished in Golden Oak and white.

Built from Plan(s)

Comments

Weatherly Sectional (L-shaped)

Submitted by OUKerri on Fri, 08/07/2015 - 21:50

When I first saw the outdoor sectional plans from Ana I had to build this! The sectionals at potterybarn cost at least $1500 and that is without the cushions. I chose cedar for the lumber because I wanted a high end stained wood look that would stand up to the pacific northwest weather. I purchased most of the lumber from Orange and some of the smaller boards from a local lumber yard. Every board was cut first then sanded and stained before assembly. This made it look a lot more professional and no drips! There are just too many tight areas to do this after it is assembled. I made 2 Weatherly outdoor sofas and used the plans from the Weatherly loveseat to leave the end off of one of the sofas to make an L-shaped sectional. This fit perfectly for my narrow deck which is the beauty of DIY and Ana's easy to modify plans. I  followed the suggestion of another brag post to attach the 2 sofas together with carriage bolts and nuts. It is important to be very accurate with all of the cuts because they have to fit together perfectly for the final product to look straight and measure correctly. Because there a about a million repetitive cuts in these plans I took the idea of another brag post and youtube and created a stop out of leftover lumber which really helped me keep my cuts accurate and saved me a lot of time. I really enjoyed using my new Kreg K5 pocket hole jig on this project which saved me time and my new Ryobi brad nailer that I convinced my husband I needed. I plan on using it on several projects which "require" a brad nailer! I bought six 25" cushions in turquoise from Pier 1 in mid-July which were on major sale and several pillows to match the color. I am somewhat of a beginner so I didn't adjust te plans to fit six 25" cushions so I had to have one cut down to 22" by a local upholstery shop (I could have purchased a 22" cushion but of course they were all sold out). I suggest at least a 3-4" depth cushion that is fairly firm, which Pier 1 cushion were.

I love the outdoor coffee table with built in beer cooler idea that another brag post had suggested.It uses a planter box as the cooler.  I used the same stain which worked well and adequately waterproofed the table. It also has a cover for the cooler when it is not in use. I thought it was a nice addition.


I loved this project and how it turned out! Thanks for the plans and inspiration!!!


Estimated Cost
$300 for the lumber, sand paper, screws and stain. $300 for 6 cushions and pillows from Pier 1.
Estimated Time Investment
Week Long Project (20 Hours or More)
Finish Used
Behr Transparent Weatherproof Wood Finish in Cedar Naturaltone
Recommended Skill Level
Intermediate

Our New Custom Closet and Table

Submitted by Anonymous (not verified) on Fri, 04/22/2022 - 08:30

Our cheap wire rack in the closet pulled out from the wall...twice. With input from the wife, I took inspiration from the various tower style closet designs and built this epic masterpiece. I still go in and marvel at what I did...two years later. We doubled up the hanging space, provided shelves and cubbies for all the shoes! And even built the table out of scraps from the project (a neighbor gave us the tabletop material as scrap from a project they finished). I had some stain left over from yet another project that was accidentally tainted, but turned out as a great color on the table. Thanks Ana for all the inspiring work!

Comments

Ana White Admin

Fri, 04/22/2022 - 11:36

This is amazing, great vision and execution, thank you so much for sharing! Just shared on our Facebook page:)

Farmhouse Bench

Submitted by tsibiga on Mon, 06/20/2011 - 09:59

I built the farmhouse table and needed a farmhouse bench to match. The building plan helped make it so simple and I couldn't have done it without the inspiration of Ana White. I used leftover 4x4"s for the legs and then pretty much followed everything else that the building plan said.

I've tried to document better at: http://www.tommyandellie.com/Site/Home/Entries/2011/6/14_Farmhouse_Benc…

Estimated Cost
$15
Estimated Time Investment
Afternoon Project (3-6 Hours)
Finish Used
I distressed the wood a little bit and then used Dark Walnut stain and a couple coats of Poly.
Recommended Skill Level
Beginner

Comments

tsibiga

Thu, 06/30/2011 - 04:48

After building it, I realized that this would make a great bench anywhere. I could easily see this as an outdoor bench, around the pool, around a picnic table, along a deck, anywhere.

dmcarwin

Sun, 10/02/2011 - 21:05

It looks so beautiful with your table, great job! I am looking to build a bench for my counter/bar. Do you think it would work to build it counter height? I am totally new to building and building a bench for my counter is my first priority.

tsibiga

Mon, 10/03/2011 - 05:46

Thanks for the great comments! I think you could totally make this at as a counter height bench (approximately 24"). I would be a little worried that if it was too long it could topple over easily. So if you had about a 60" length to cover, I would probably build two 30" benches that can butt up to one another.

One other thought is to make some stools.....I posted some of those from an ana-white plan as well for you to check out; http://ana-white.com/2011/06/simplest-stool-saddle-back-style

Hope that helps....let me know if you have other questions.

Tommy

dmcarwin

Wed, 02/15/2012 - 18:14

Tommy, I appreciate your helpful comments. Like how I just got it today, some priority in getting the bench done! =) I am getting back it now however.... So, I love the stools you made! I am trying however to limit the amount of things (stools/chairs) that my little kids can push around the kitchen. I am considering the two smaller benches at counter height. If I could do one at 24" tall do you think 55" would be too long? I was thinking it would be good to put supports across the length (maybe 10" or 12" from the floor?) to help stability and to use for little ones climbing up. If that makes since? Anyway thanks for your help I really appreciate it!

Casual 2x4 Desk

Submitted by Fanatacysm on Sat, 03/24/2018 - 16:25

Nice, fun project!

Estimated Time Investment
Weekend Project (10-20 Hours)
Finish Used
ebony stain, polyurethane
Recommended Skill Level
Starter Project

Comments

4x4 Truss Beam Table -Modified Size

My husband and I moved in to our new house last fall and we needed a dining table that would seat at least 8. We picked this plan from Ana's site because I love the look of the 4x4 beams. I used Adobe Illustrator and my math skills to modify the size and scale to fit our dining room with exact spacing all the way around. We had difficulty finding untreated 4x4 beams but were able to special order some for a reasonable price from a local lumber company. It is more expensive than combing 2x4s but I did not like the pieced together look of the 2x4s. We stained with Rustoleum Dark Walnut and Matte Poly just like the blog post from Ana's site. We also used the Kreg Jig HD which is SO AWESOME! We love the table. Now we just need to decide: chairs vs. benches. I hate to block the beautiful truss design of the base. Its so gorgeous!

Built from Plan(s)
Estimated Cost
Around $200 including the Kreg Jig HD, screws, sandpaper, and glue.
Estimated Time Investment
Weekend Project (10-20 Hours)
Finish Used
Rustoleum Dark Walnut
Rustoleum Matte Polyurethane
Recommended Skill Level
Beginner

Comments

MrCoffee

Mon, 08/31/2015 - 14:18

I love this table.  The finish came out great by the looks.  My wife and I are moving into a house soon and I think this is going to be the design for our table as well.

jlandttc

Mon, 09/07/2015 - 06:21

What a beautiful table!  Is this table square?  We are also looking to build a table to sit 8 and love the look of yours.  Could you share your cut list or dimensions?  

Spayton821

Thu, 12/10/2015 - 06:59

I am so in love with his table. We have a family

of 7 and are looking to replace our current dining room table and this would be perfect.  Is there any way you could share your measurements. 

Jake'n'Leelo

Mon, 08/29/2016 - 06:08

Thank you for all the kind comments! I did not know that I had gotten any and had not checked back over the past year. The jump drive with my dimensions on it got damaged last year shortly after the build and I lost all of my home decor files including the AI with my cut list and dimensions. I know it had been a while since several of your comments but I will see if my husband can help me measure the table and figure out what the dimensions are and post them on here for you. Happy Woodworking!

topdowndoorsoff

Tue, 11/15/2016 - 18:01

This table really looks great!  I'm about to start making one and would love to know the dimensions you used. I also noticed that you didnt use the bread boards on either end.  How many people does this table fit?

Thanks!