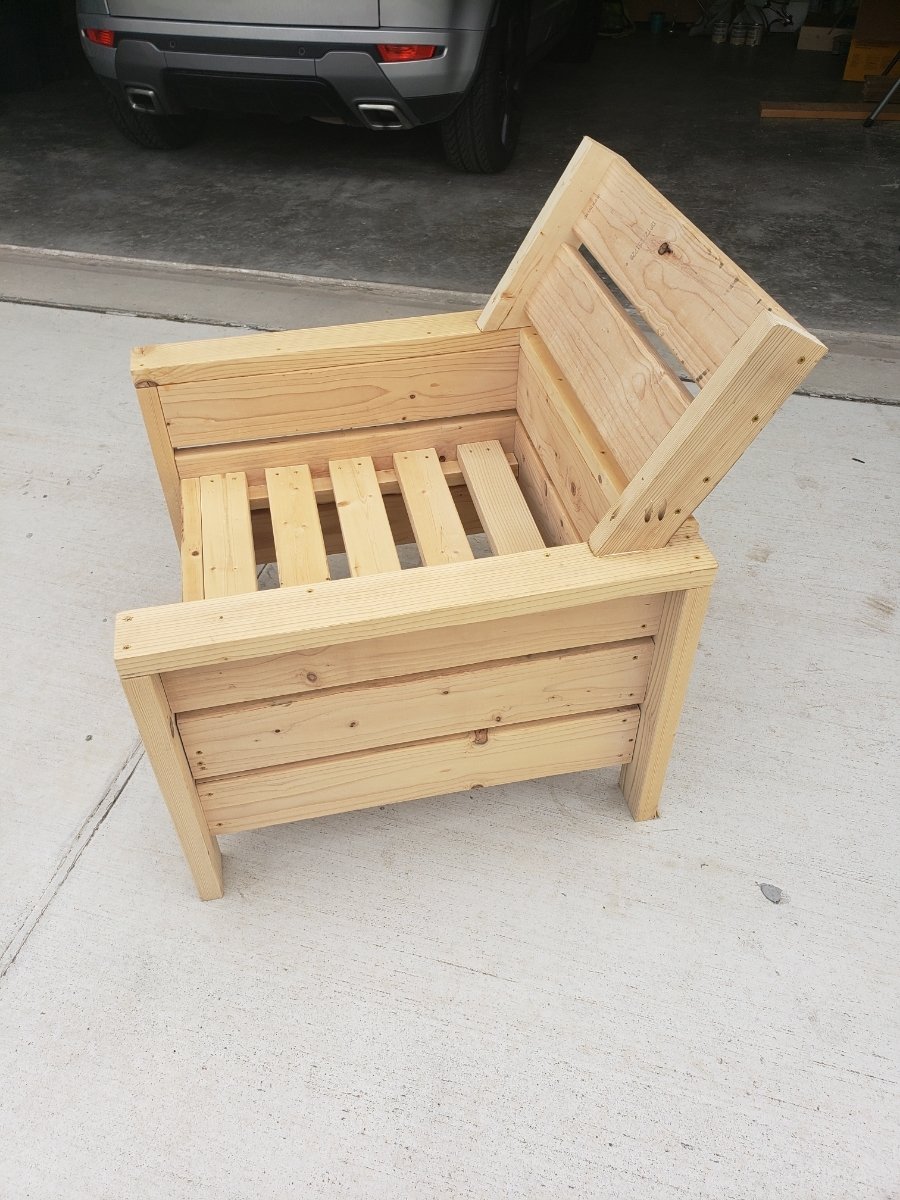
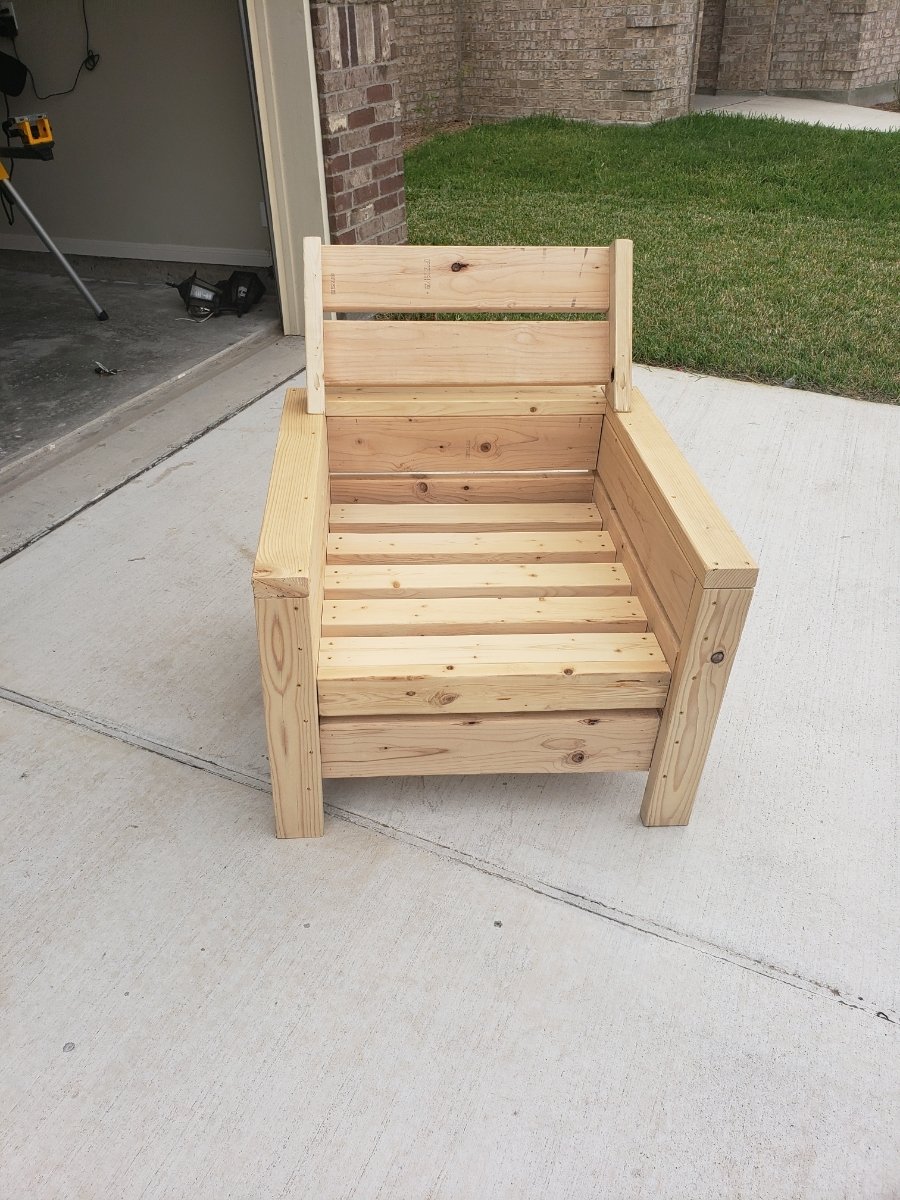
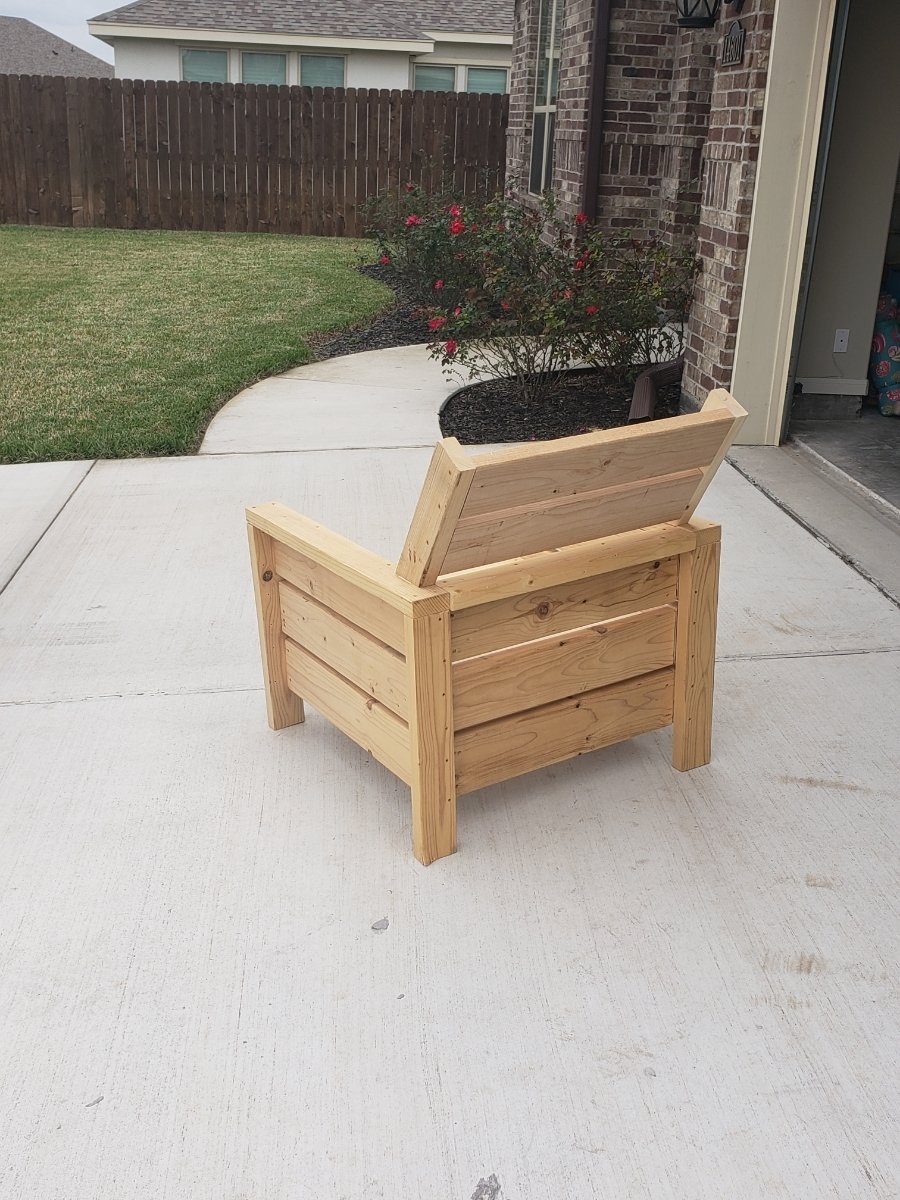
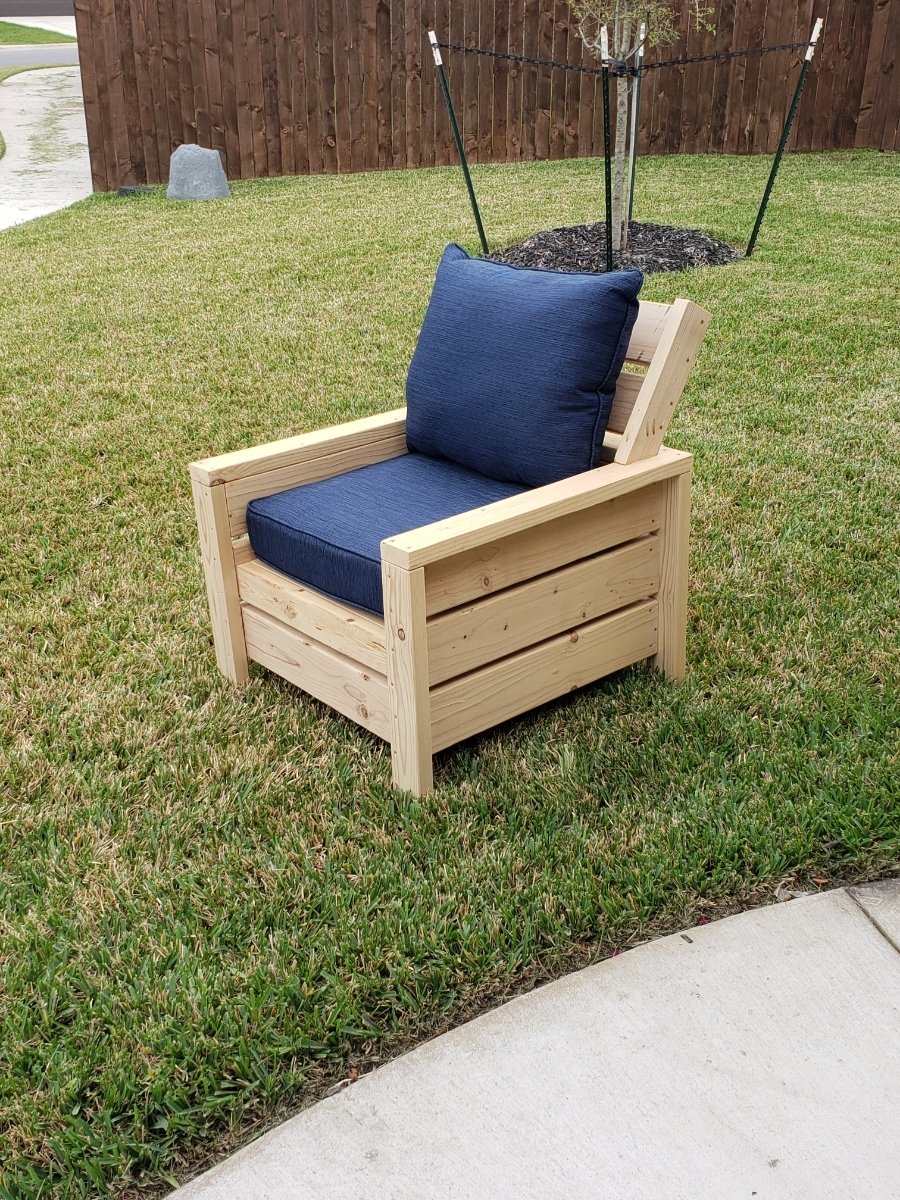
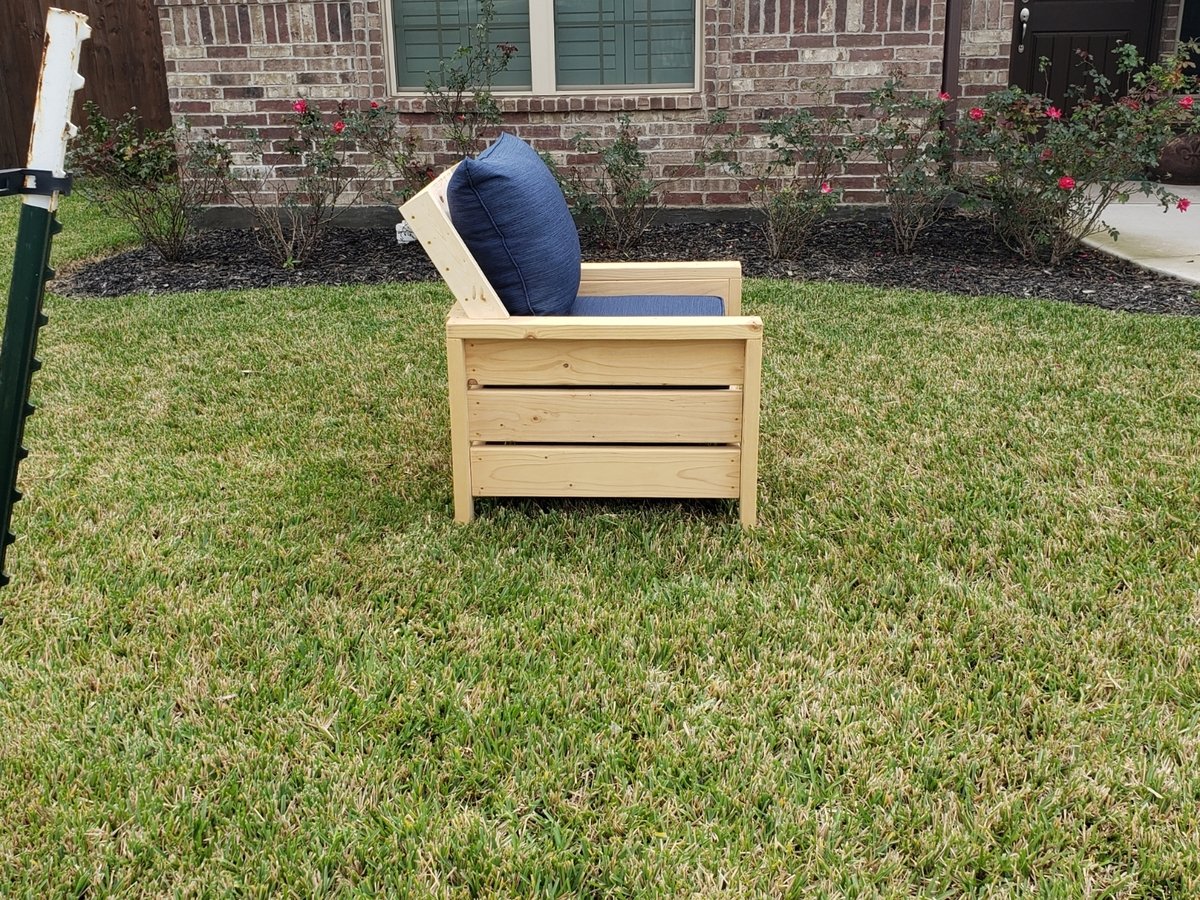
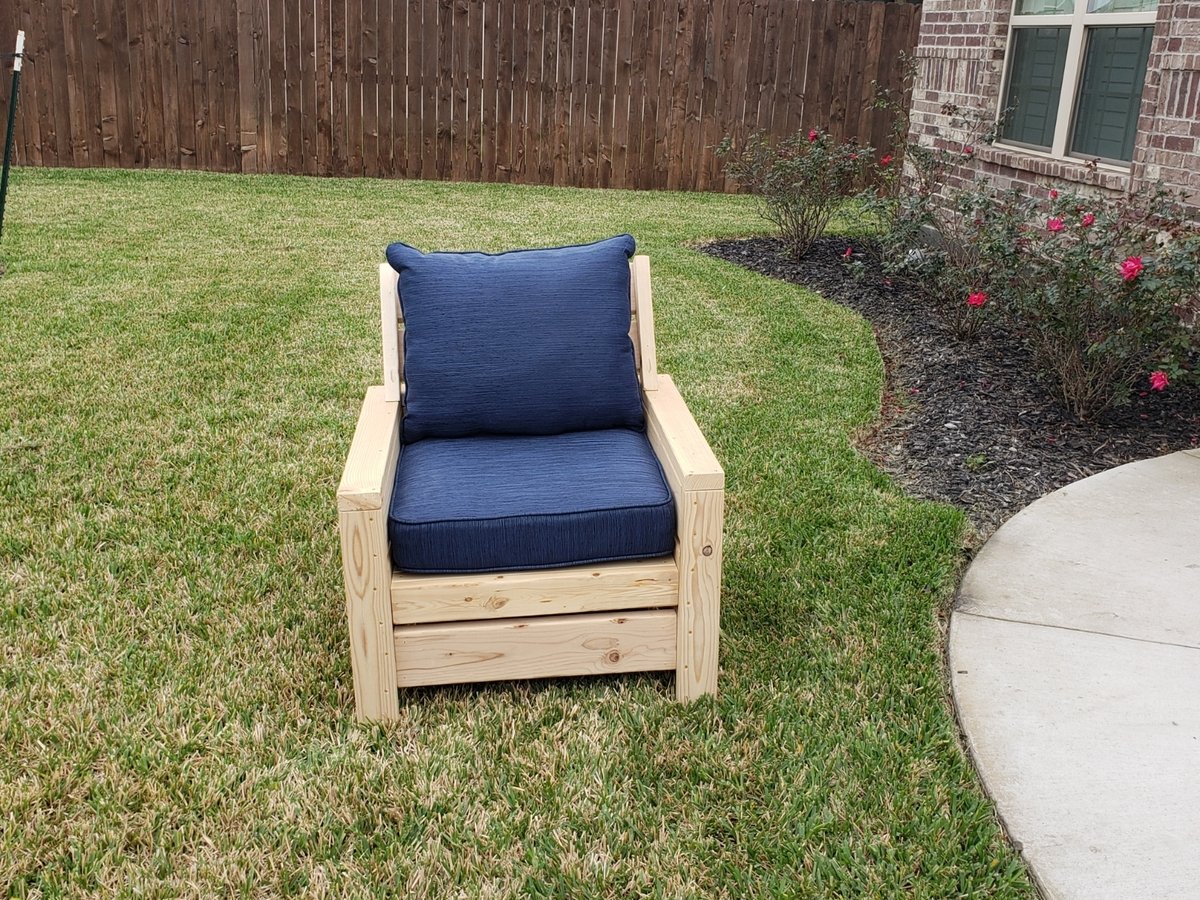
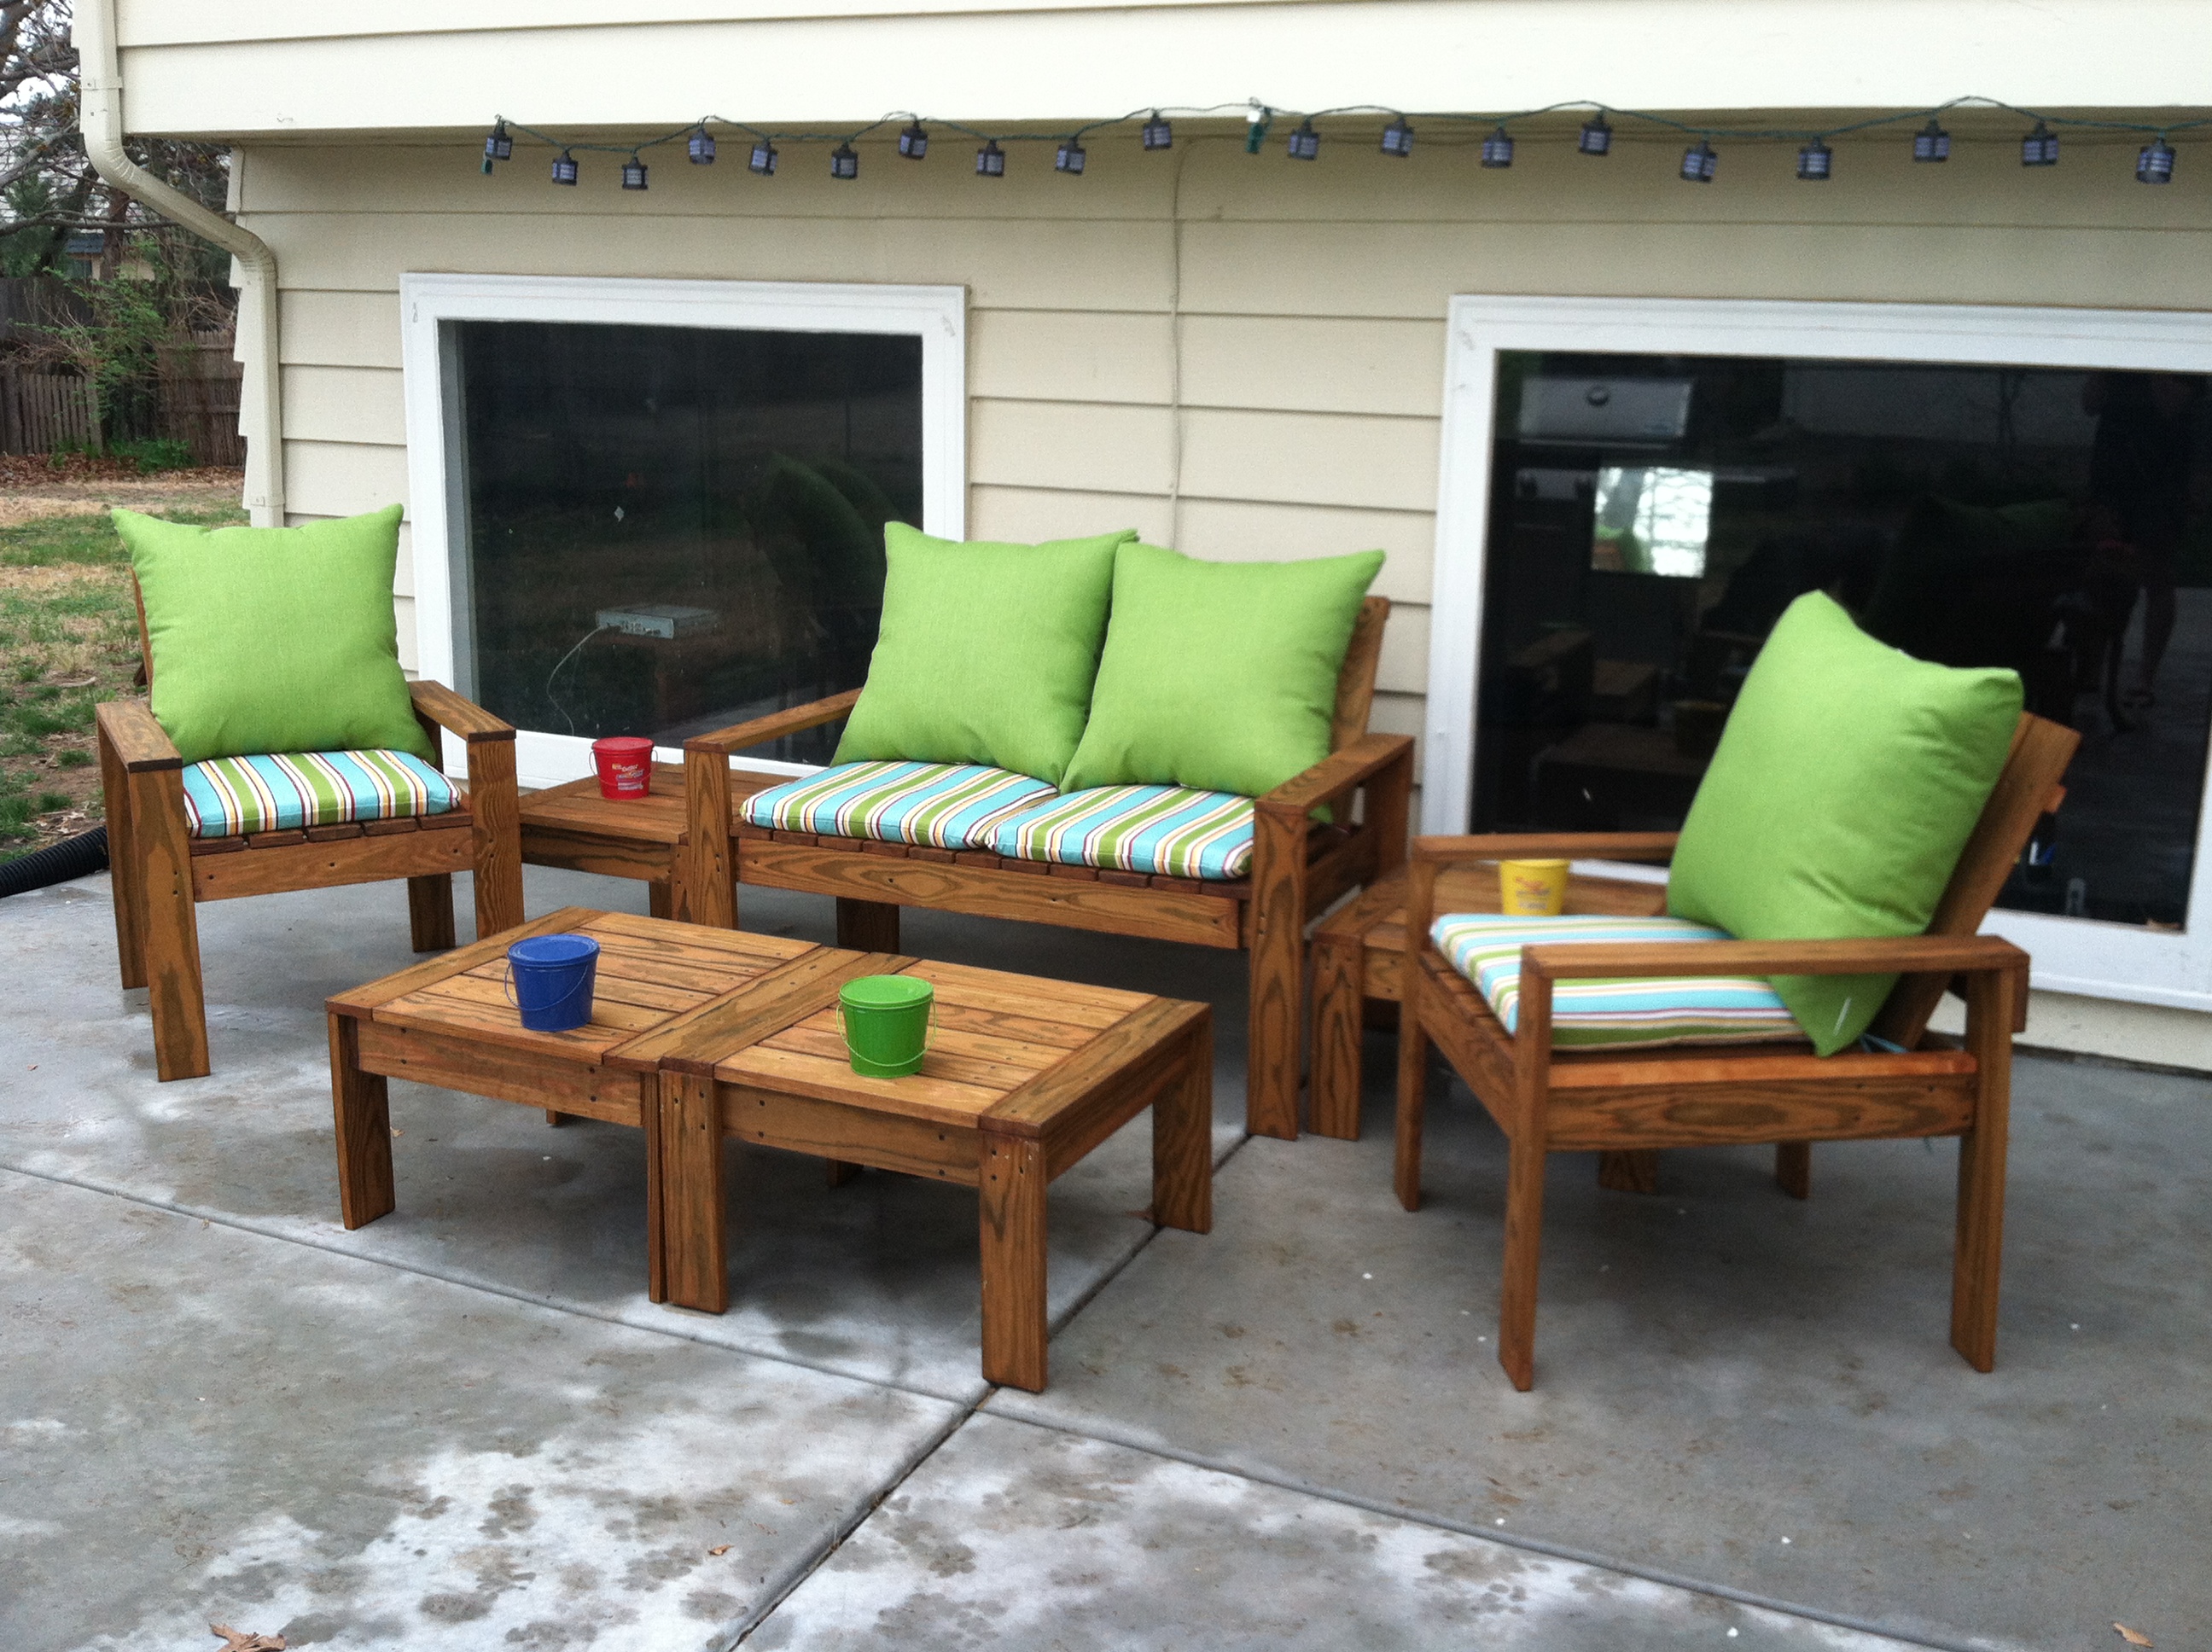
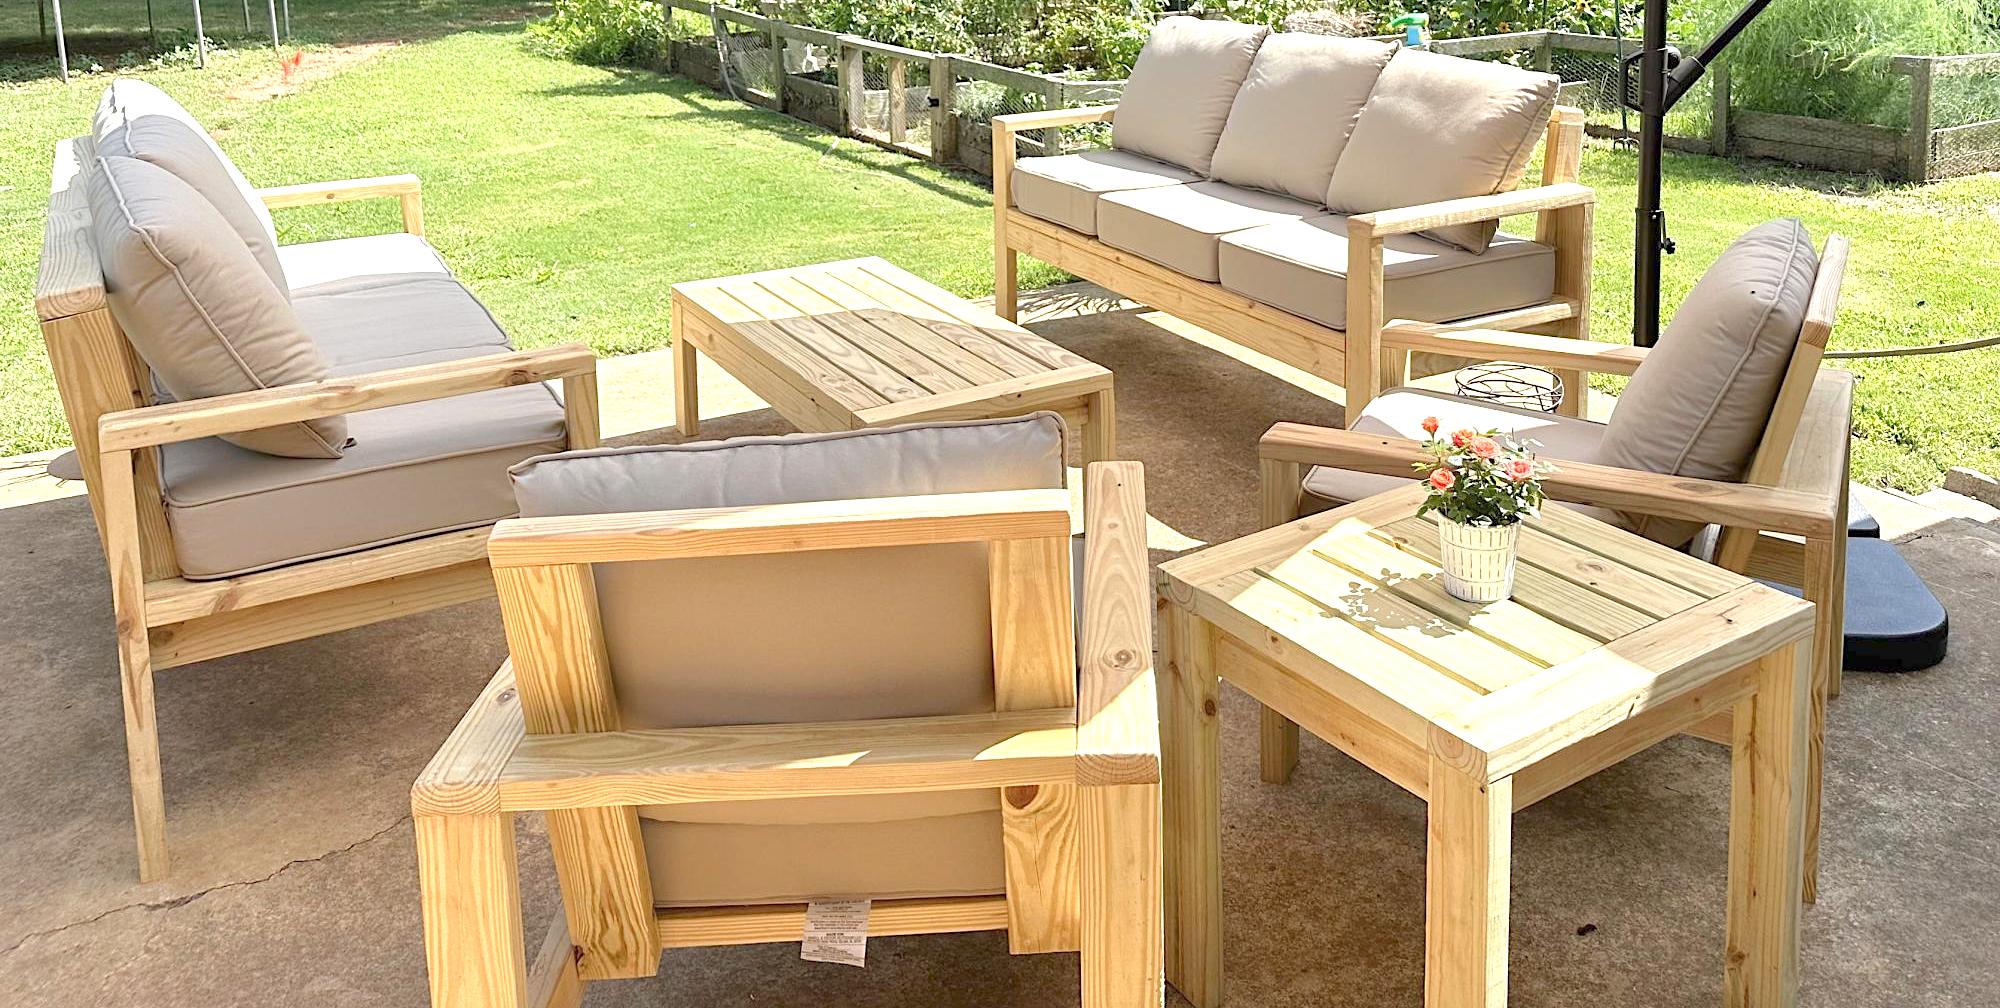
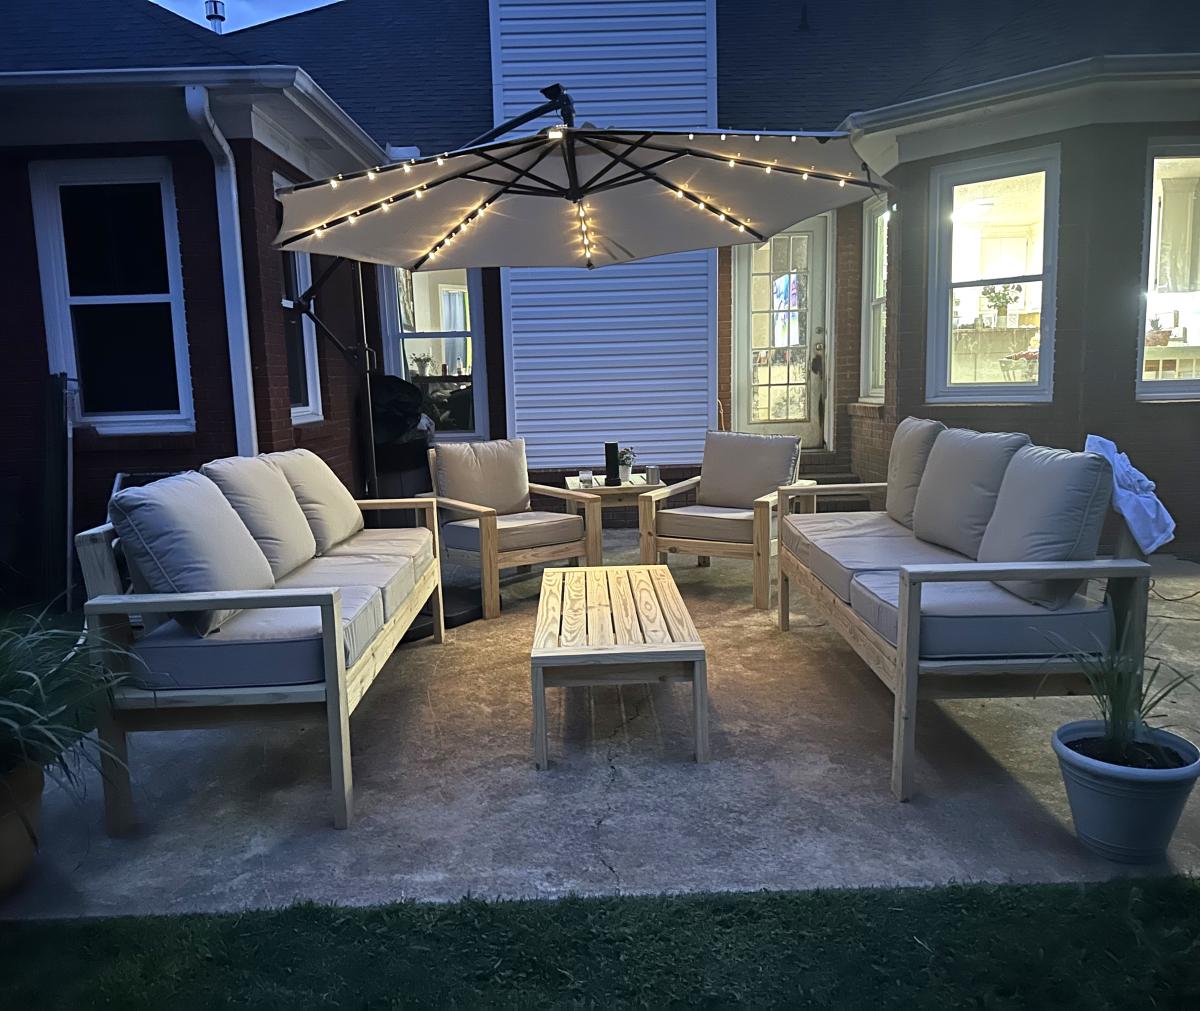
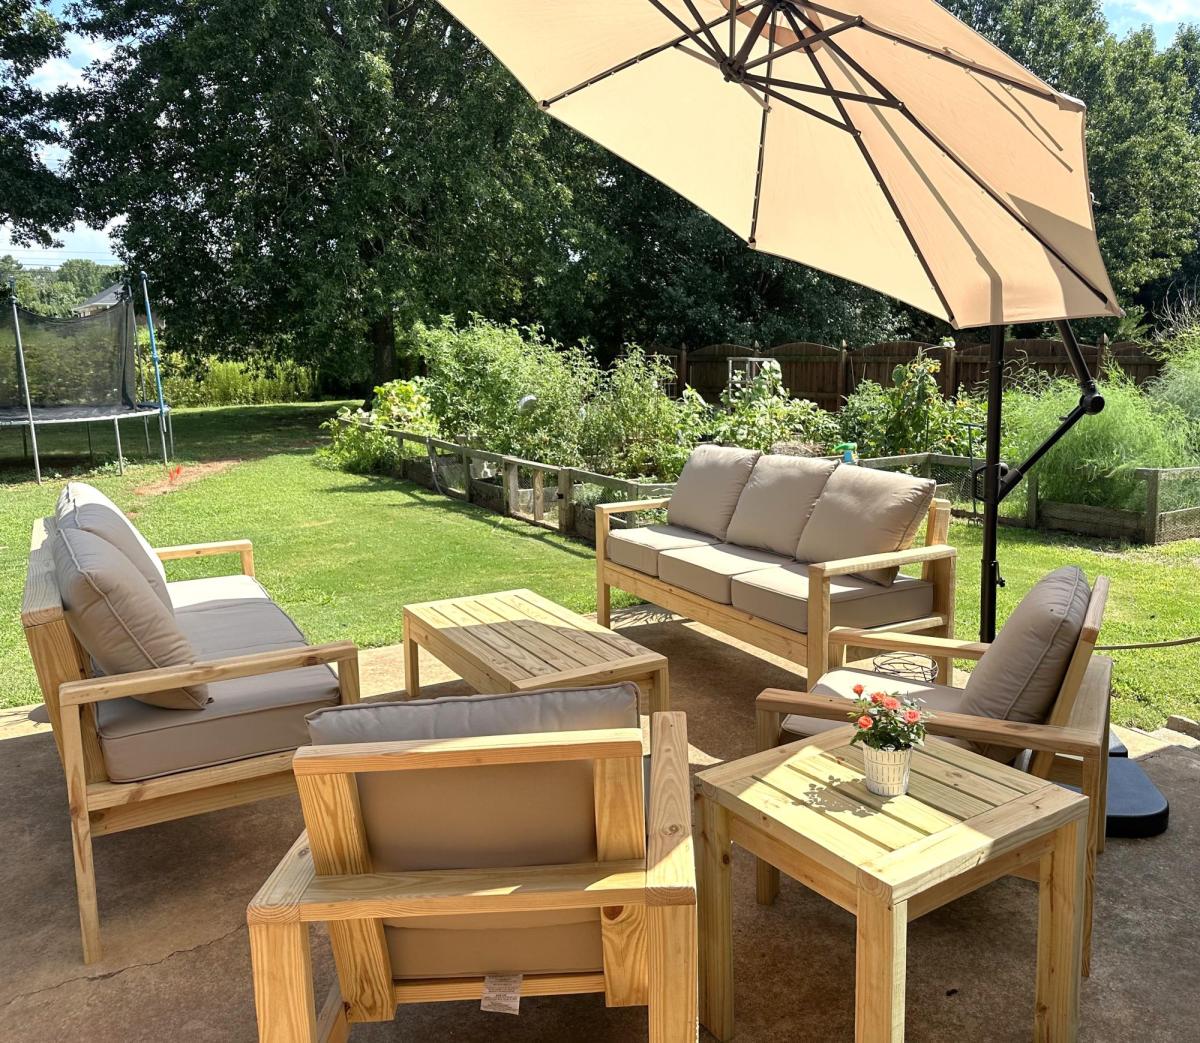
Spring is around the corner and I had no outdoor furniture. My boyfriend had just talked me into a new weber grill, which did not leave much budget for new outdoor furniture. That's when I came across this web site and thought 'I can do that'. So I talked me boyfriend into helping build this Simple Outdoor Conversation Set. We used plans for the Simple Outdoor Lounge Chair and Simple Outdoor Ottoman and then followed the alterations by post for 'My Modern Outdoor Patio Collection' to make the loveseat.
The whole project came together over 5 days.
Day 1: Cut all boards (5 hrs)
Day 2: Sand all boards (5 hrs)
Day 3: Stain all boards (6 hrs)
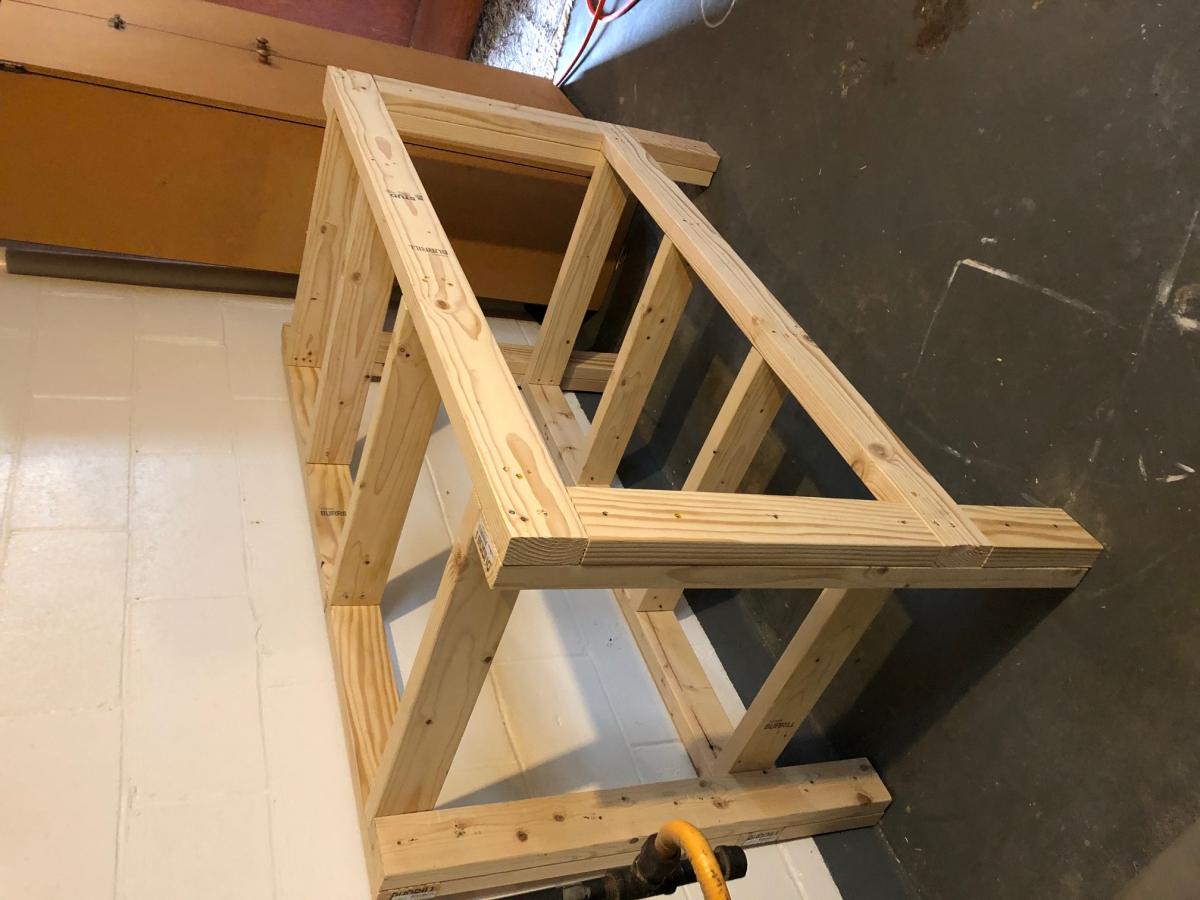
Day 4 & 5: Assemble furniture (9 - 10 hrs)
The total project took about 25 hrs and cost about $350. Here's the breakdown wood and supplies $204 from Lowe's for pretreated wood. $145 on cushions (NOT ON SALE); $60 for the seat cushions from Home Depot and $80 for the back cushions from Wal-Mart. We were originally planning on only having the seat cushions, but the seats were long when you set in them with your back against the bear wood (I was setting so far back, my feet couldn't reach the floor) so we opted for thick back cushions to make it more comfortable. The project finished up just in time for our first BBQ party! (March 2012)


Comments
Ana White Admin
Wed, 08/24/2022 - 09:50
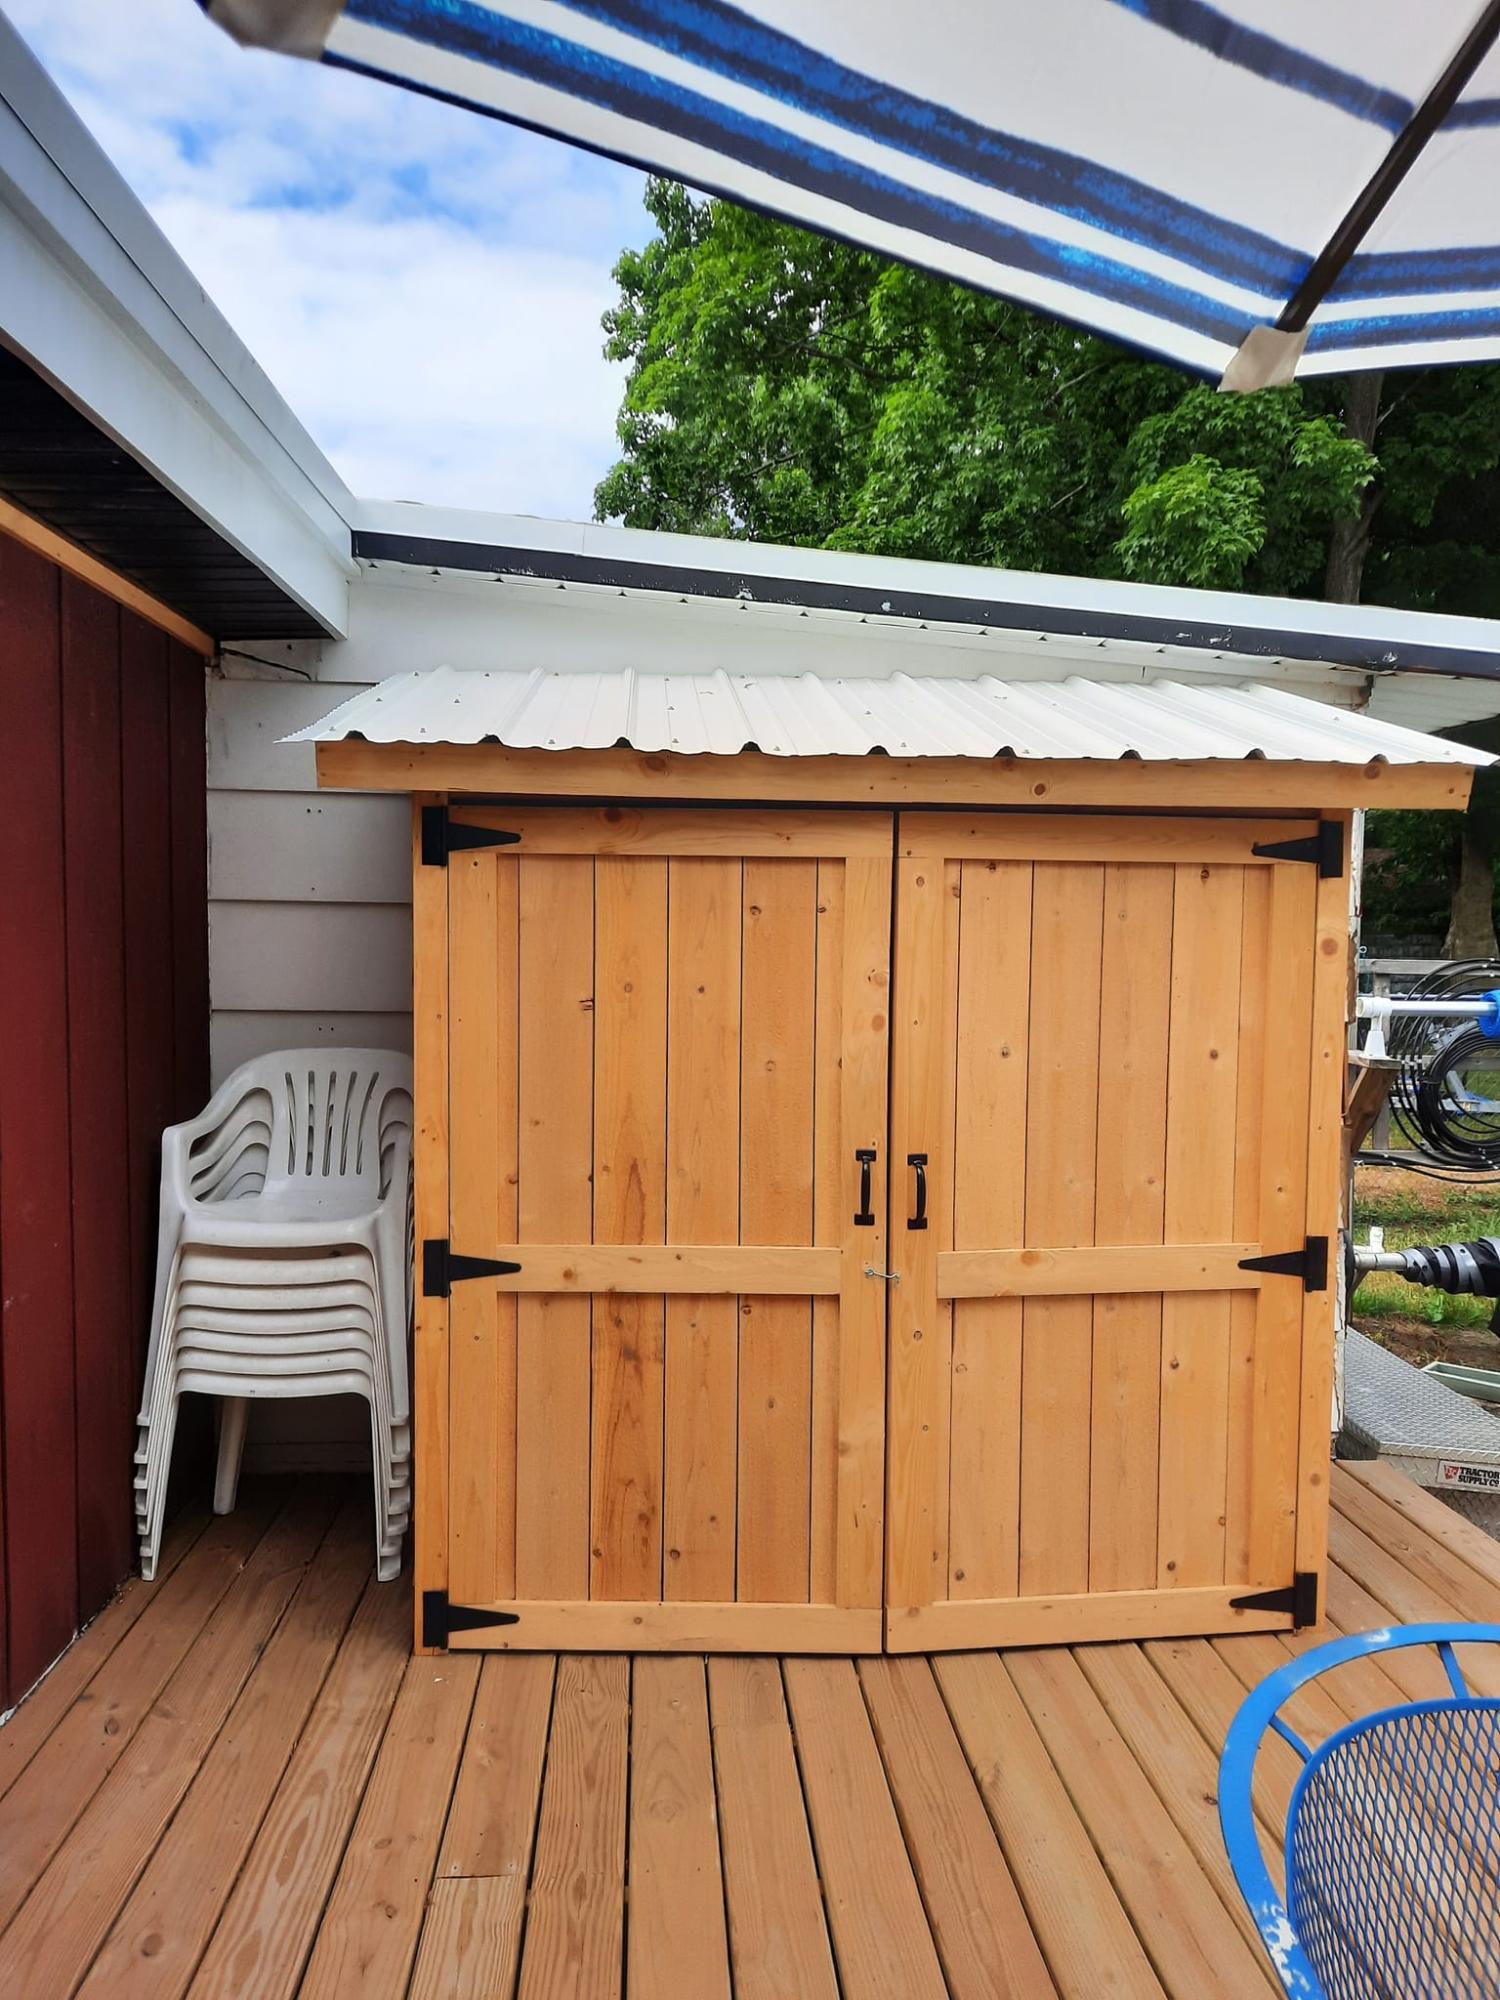
Sweet Lumber Storage!
This looks awesome and that 's great you had so much on hand to make it happen! Thanks for sharing.