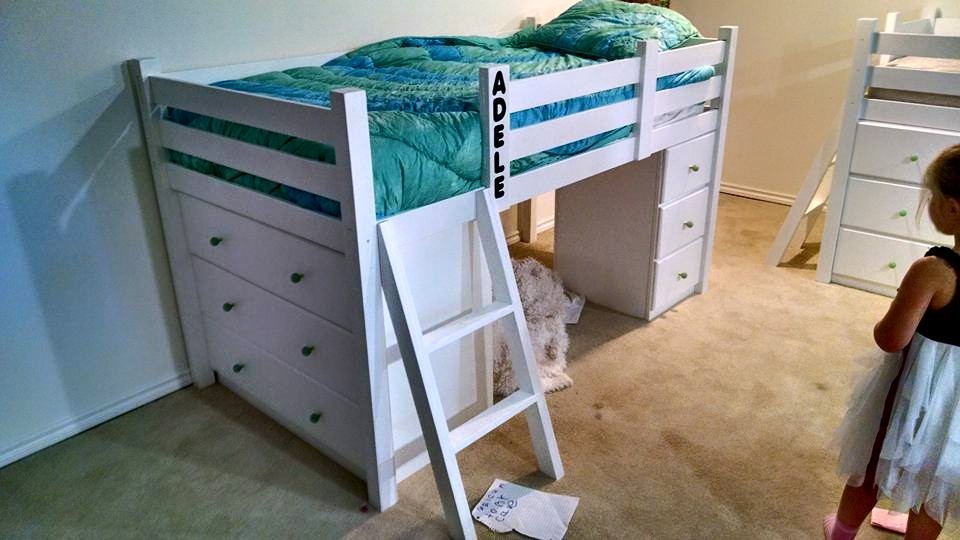
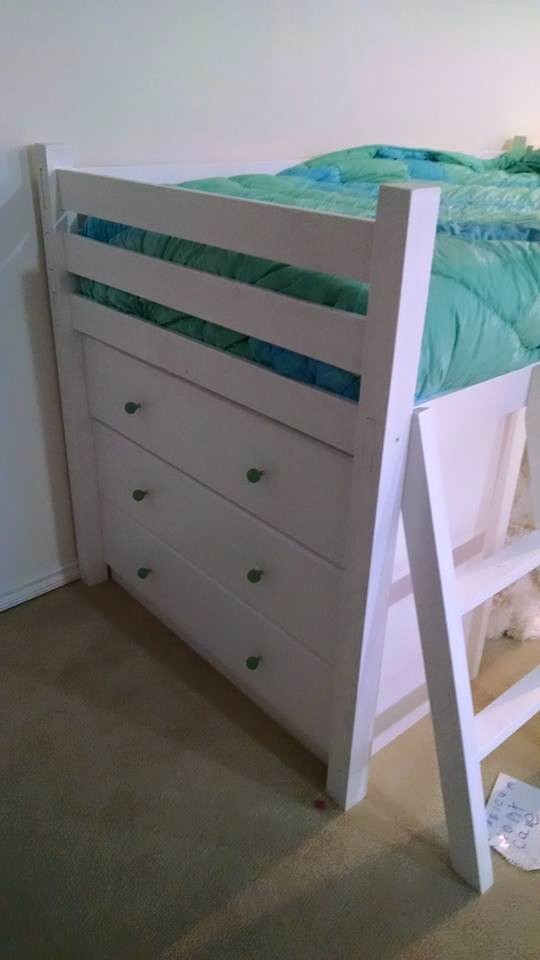
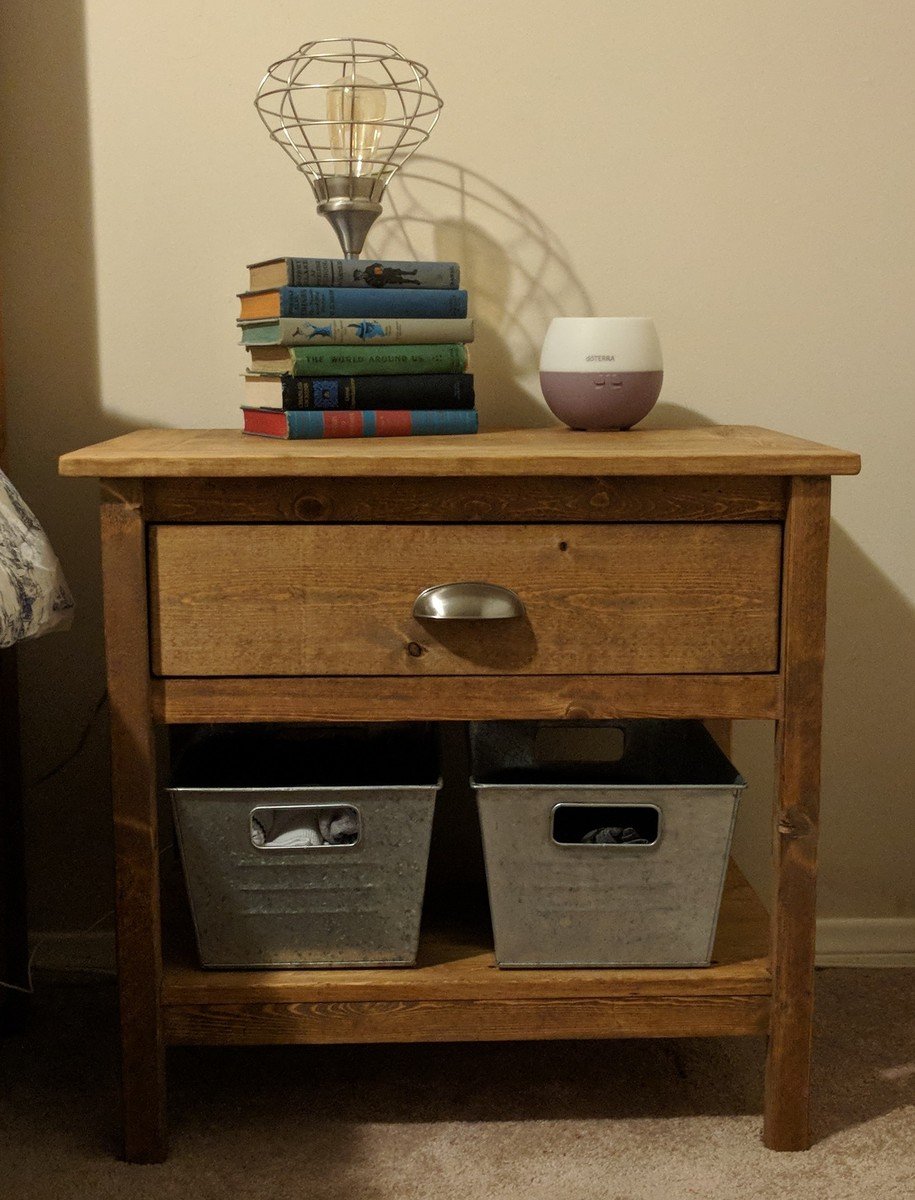
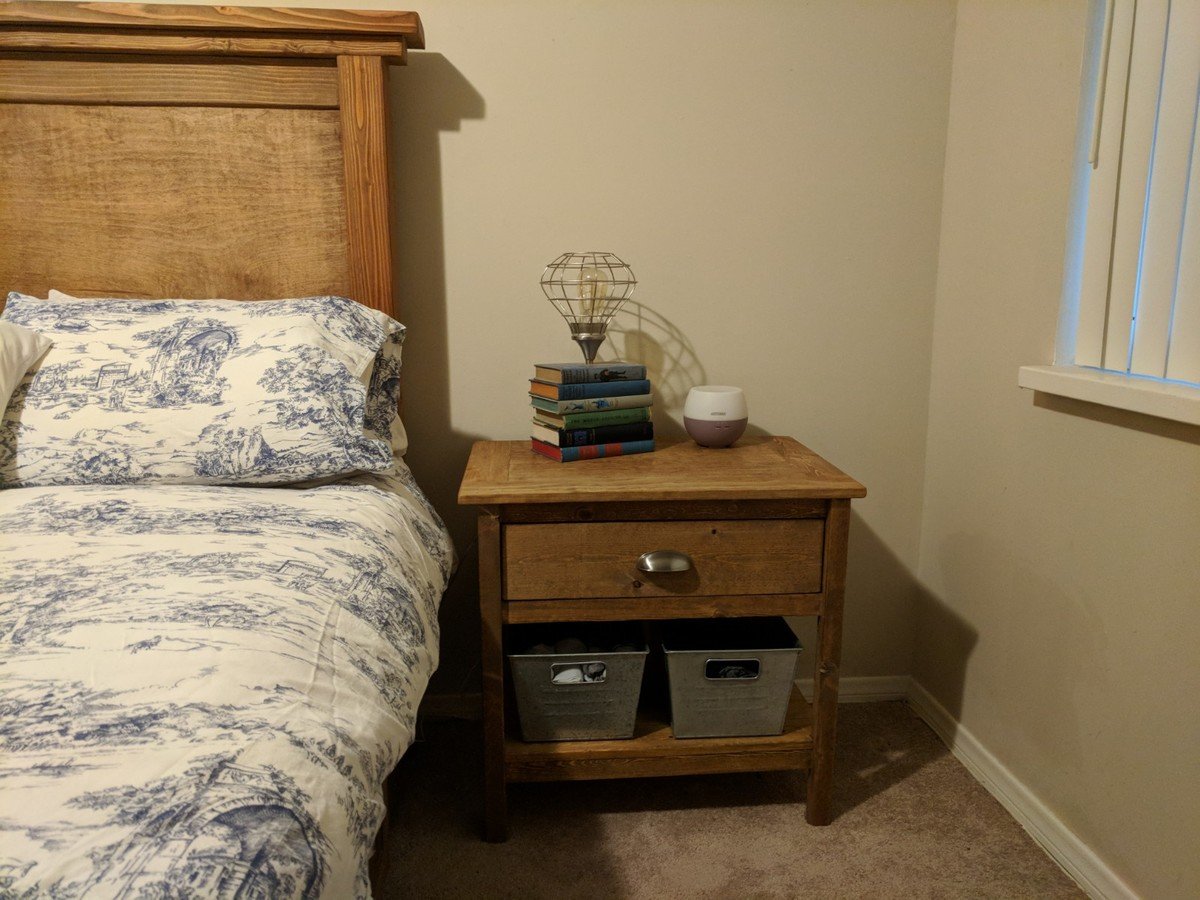
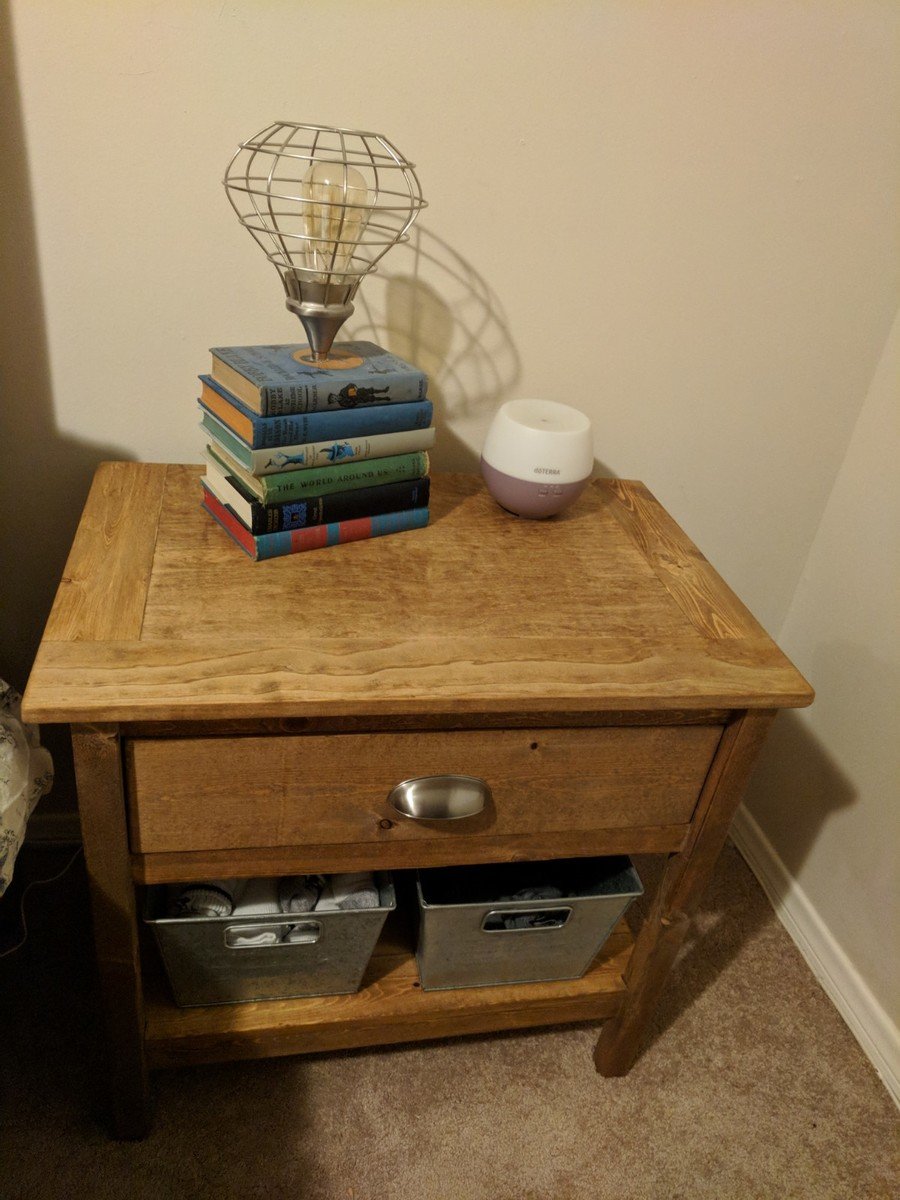
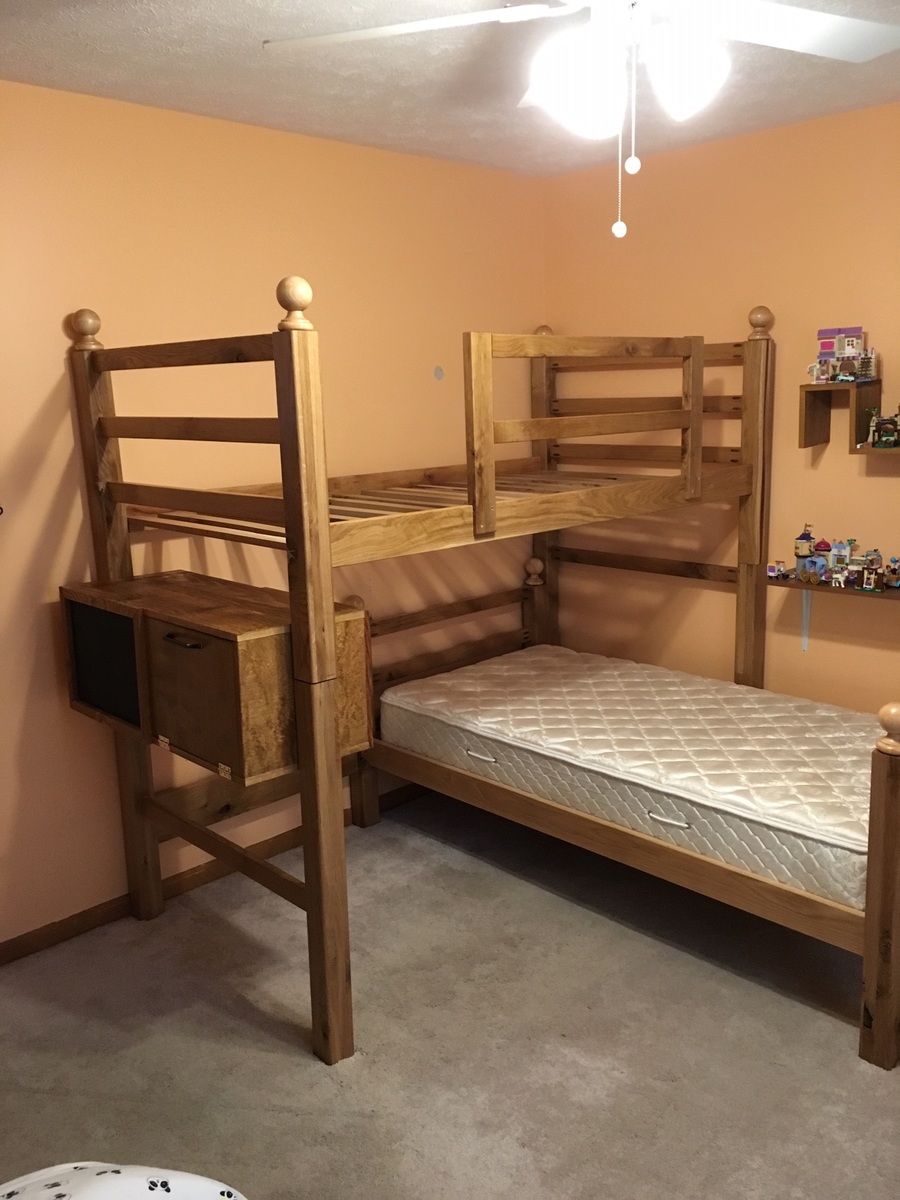
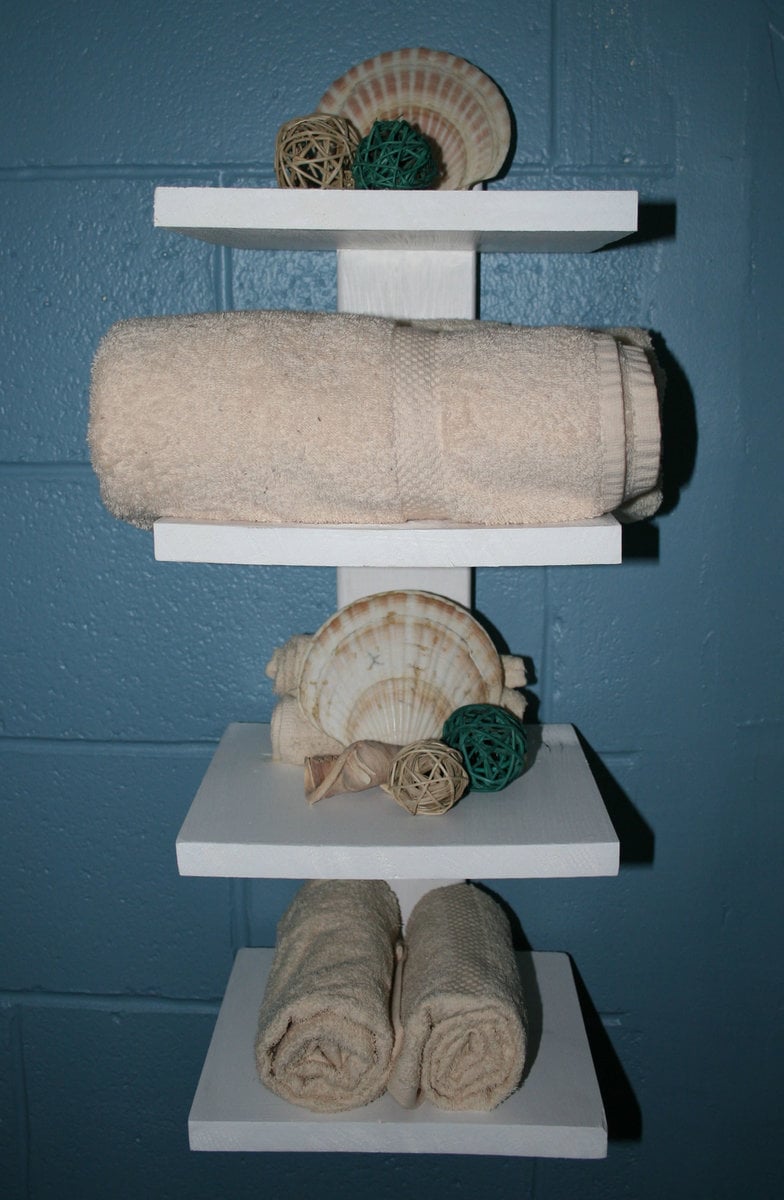
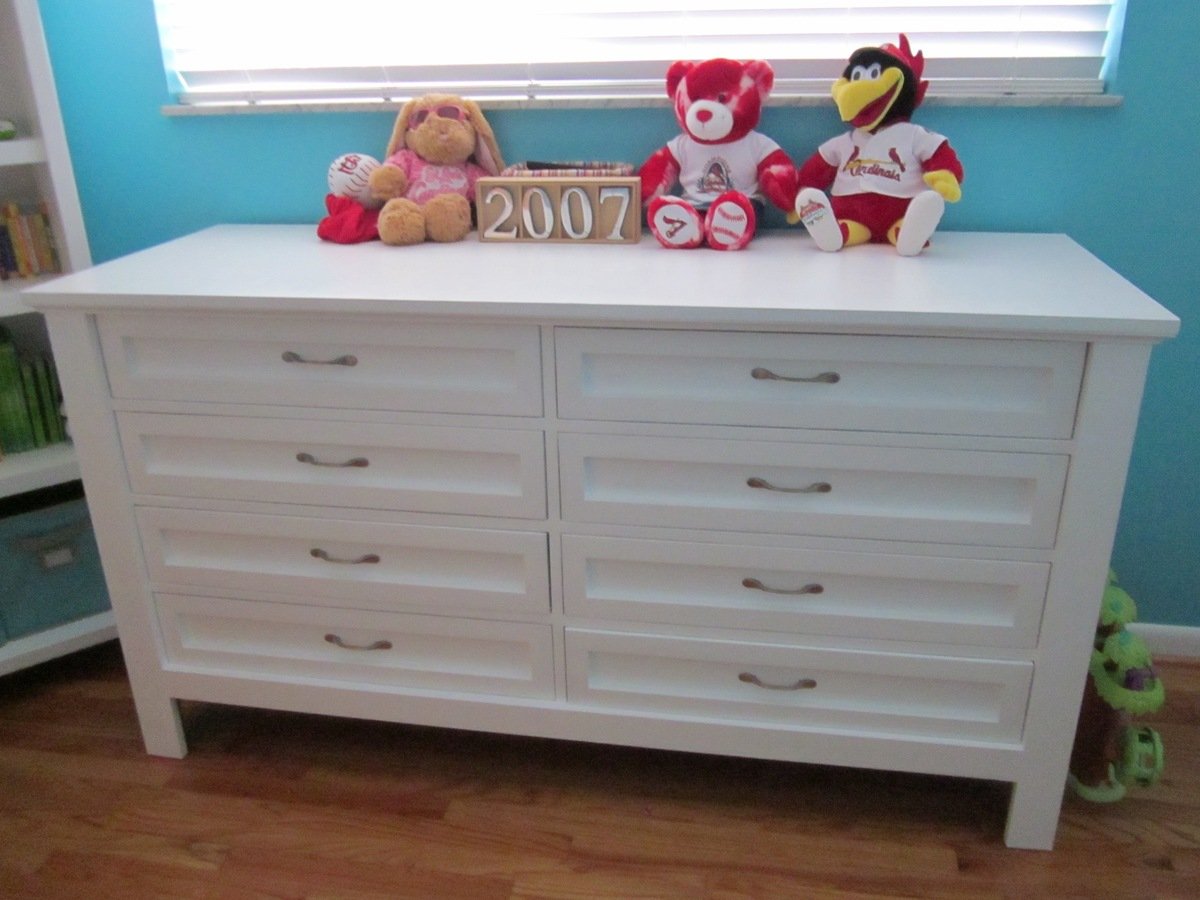
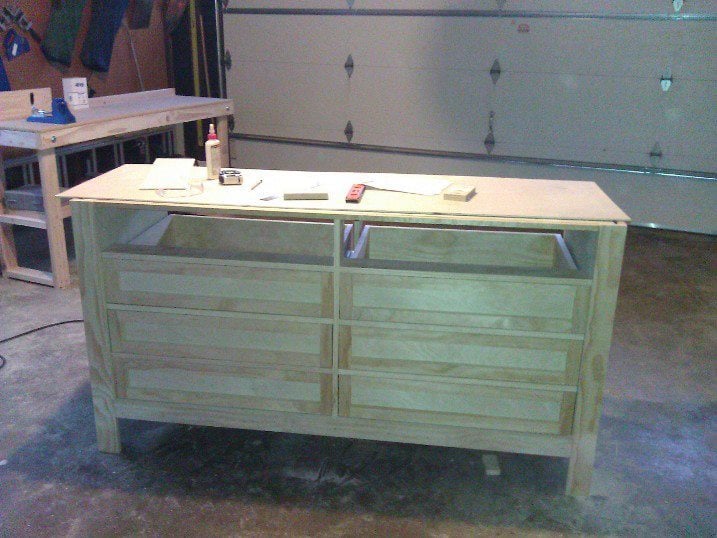
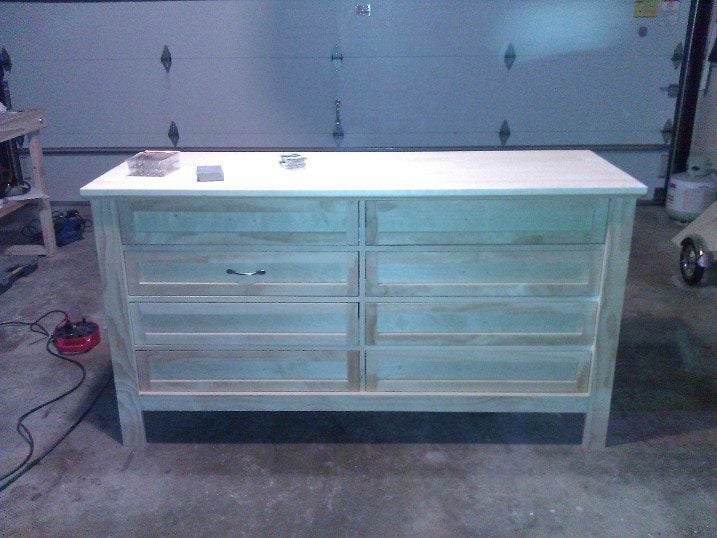
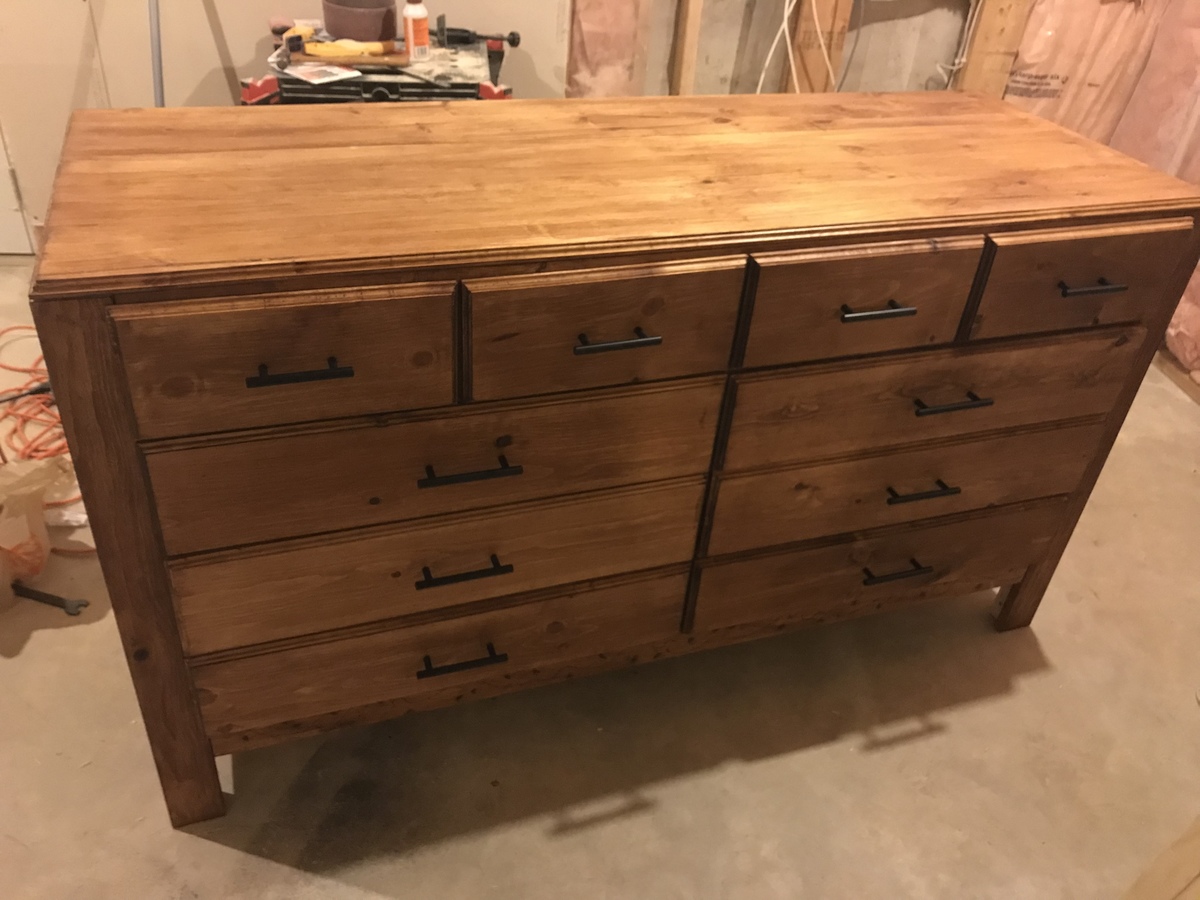
Rustic Hudson dresser
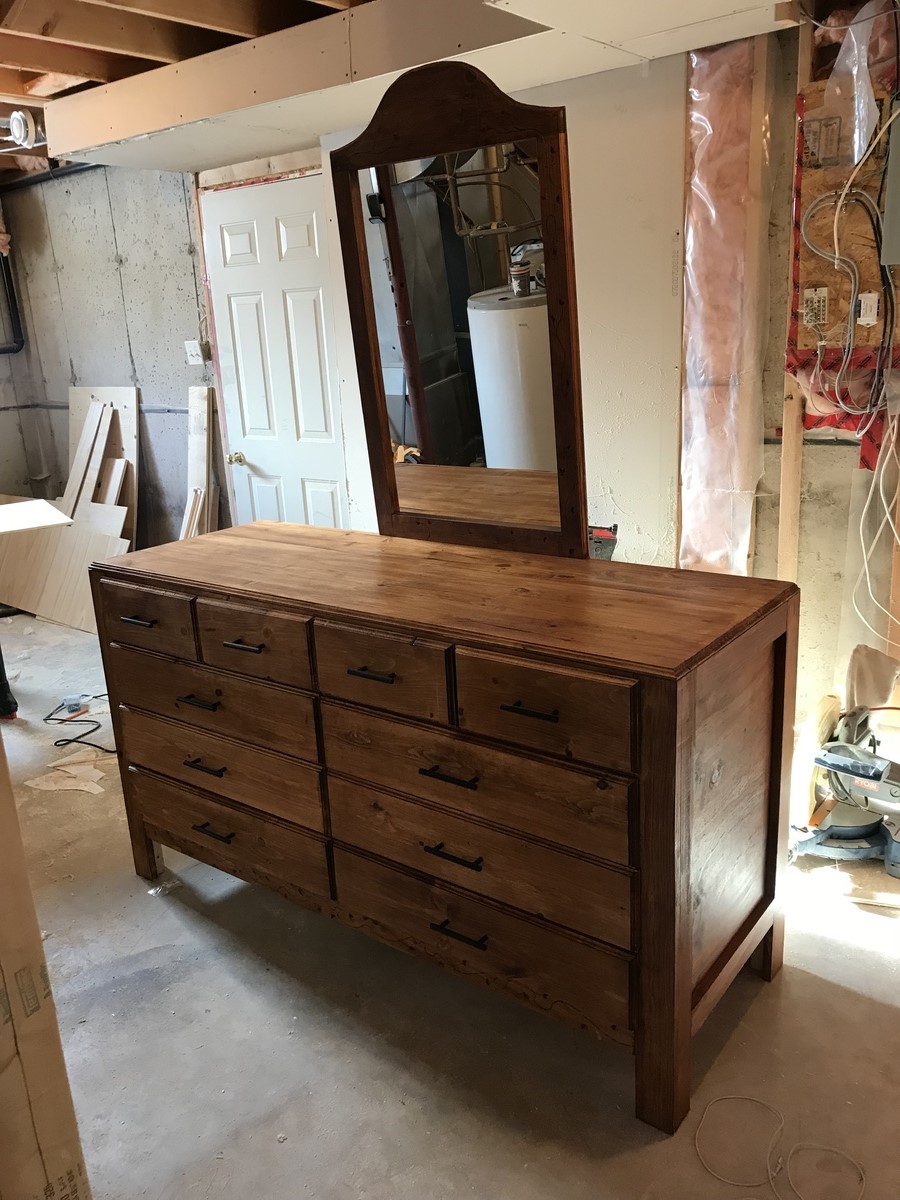
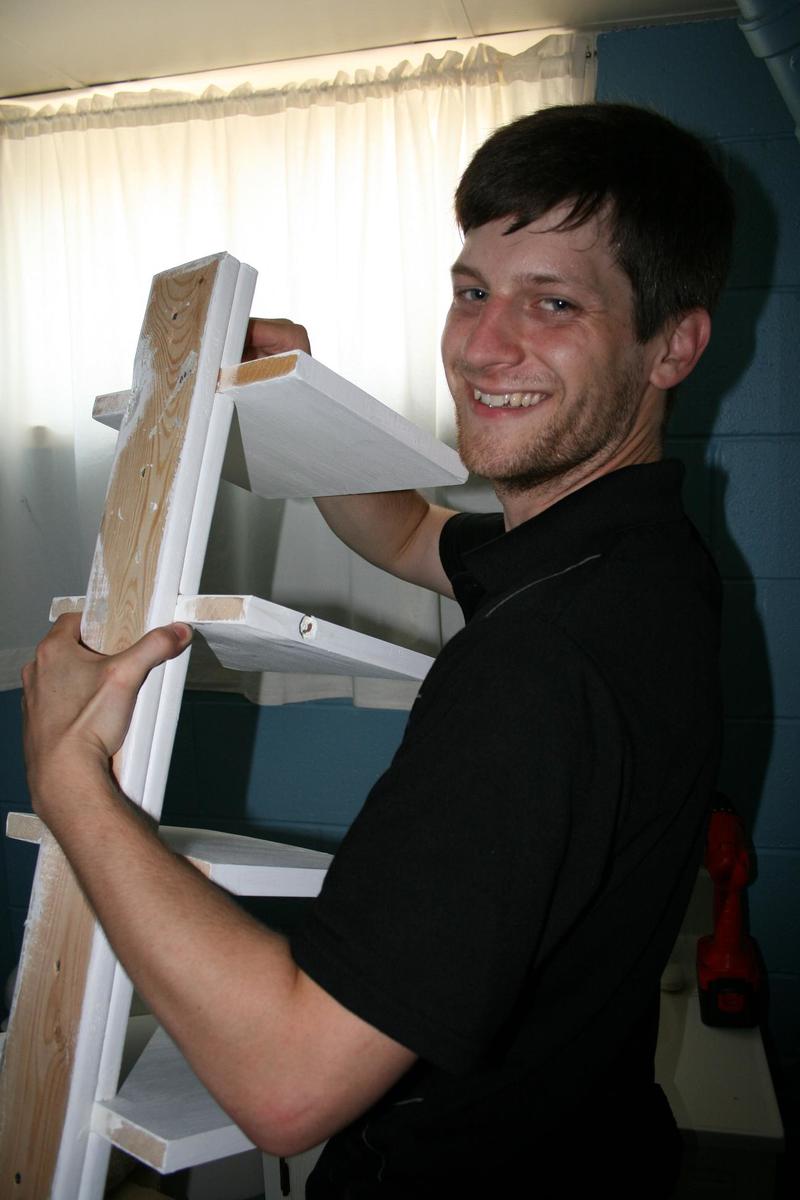
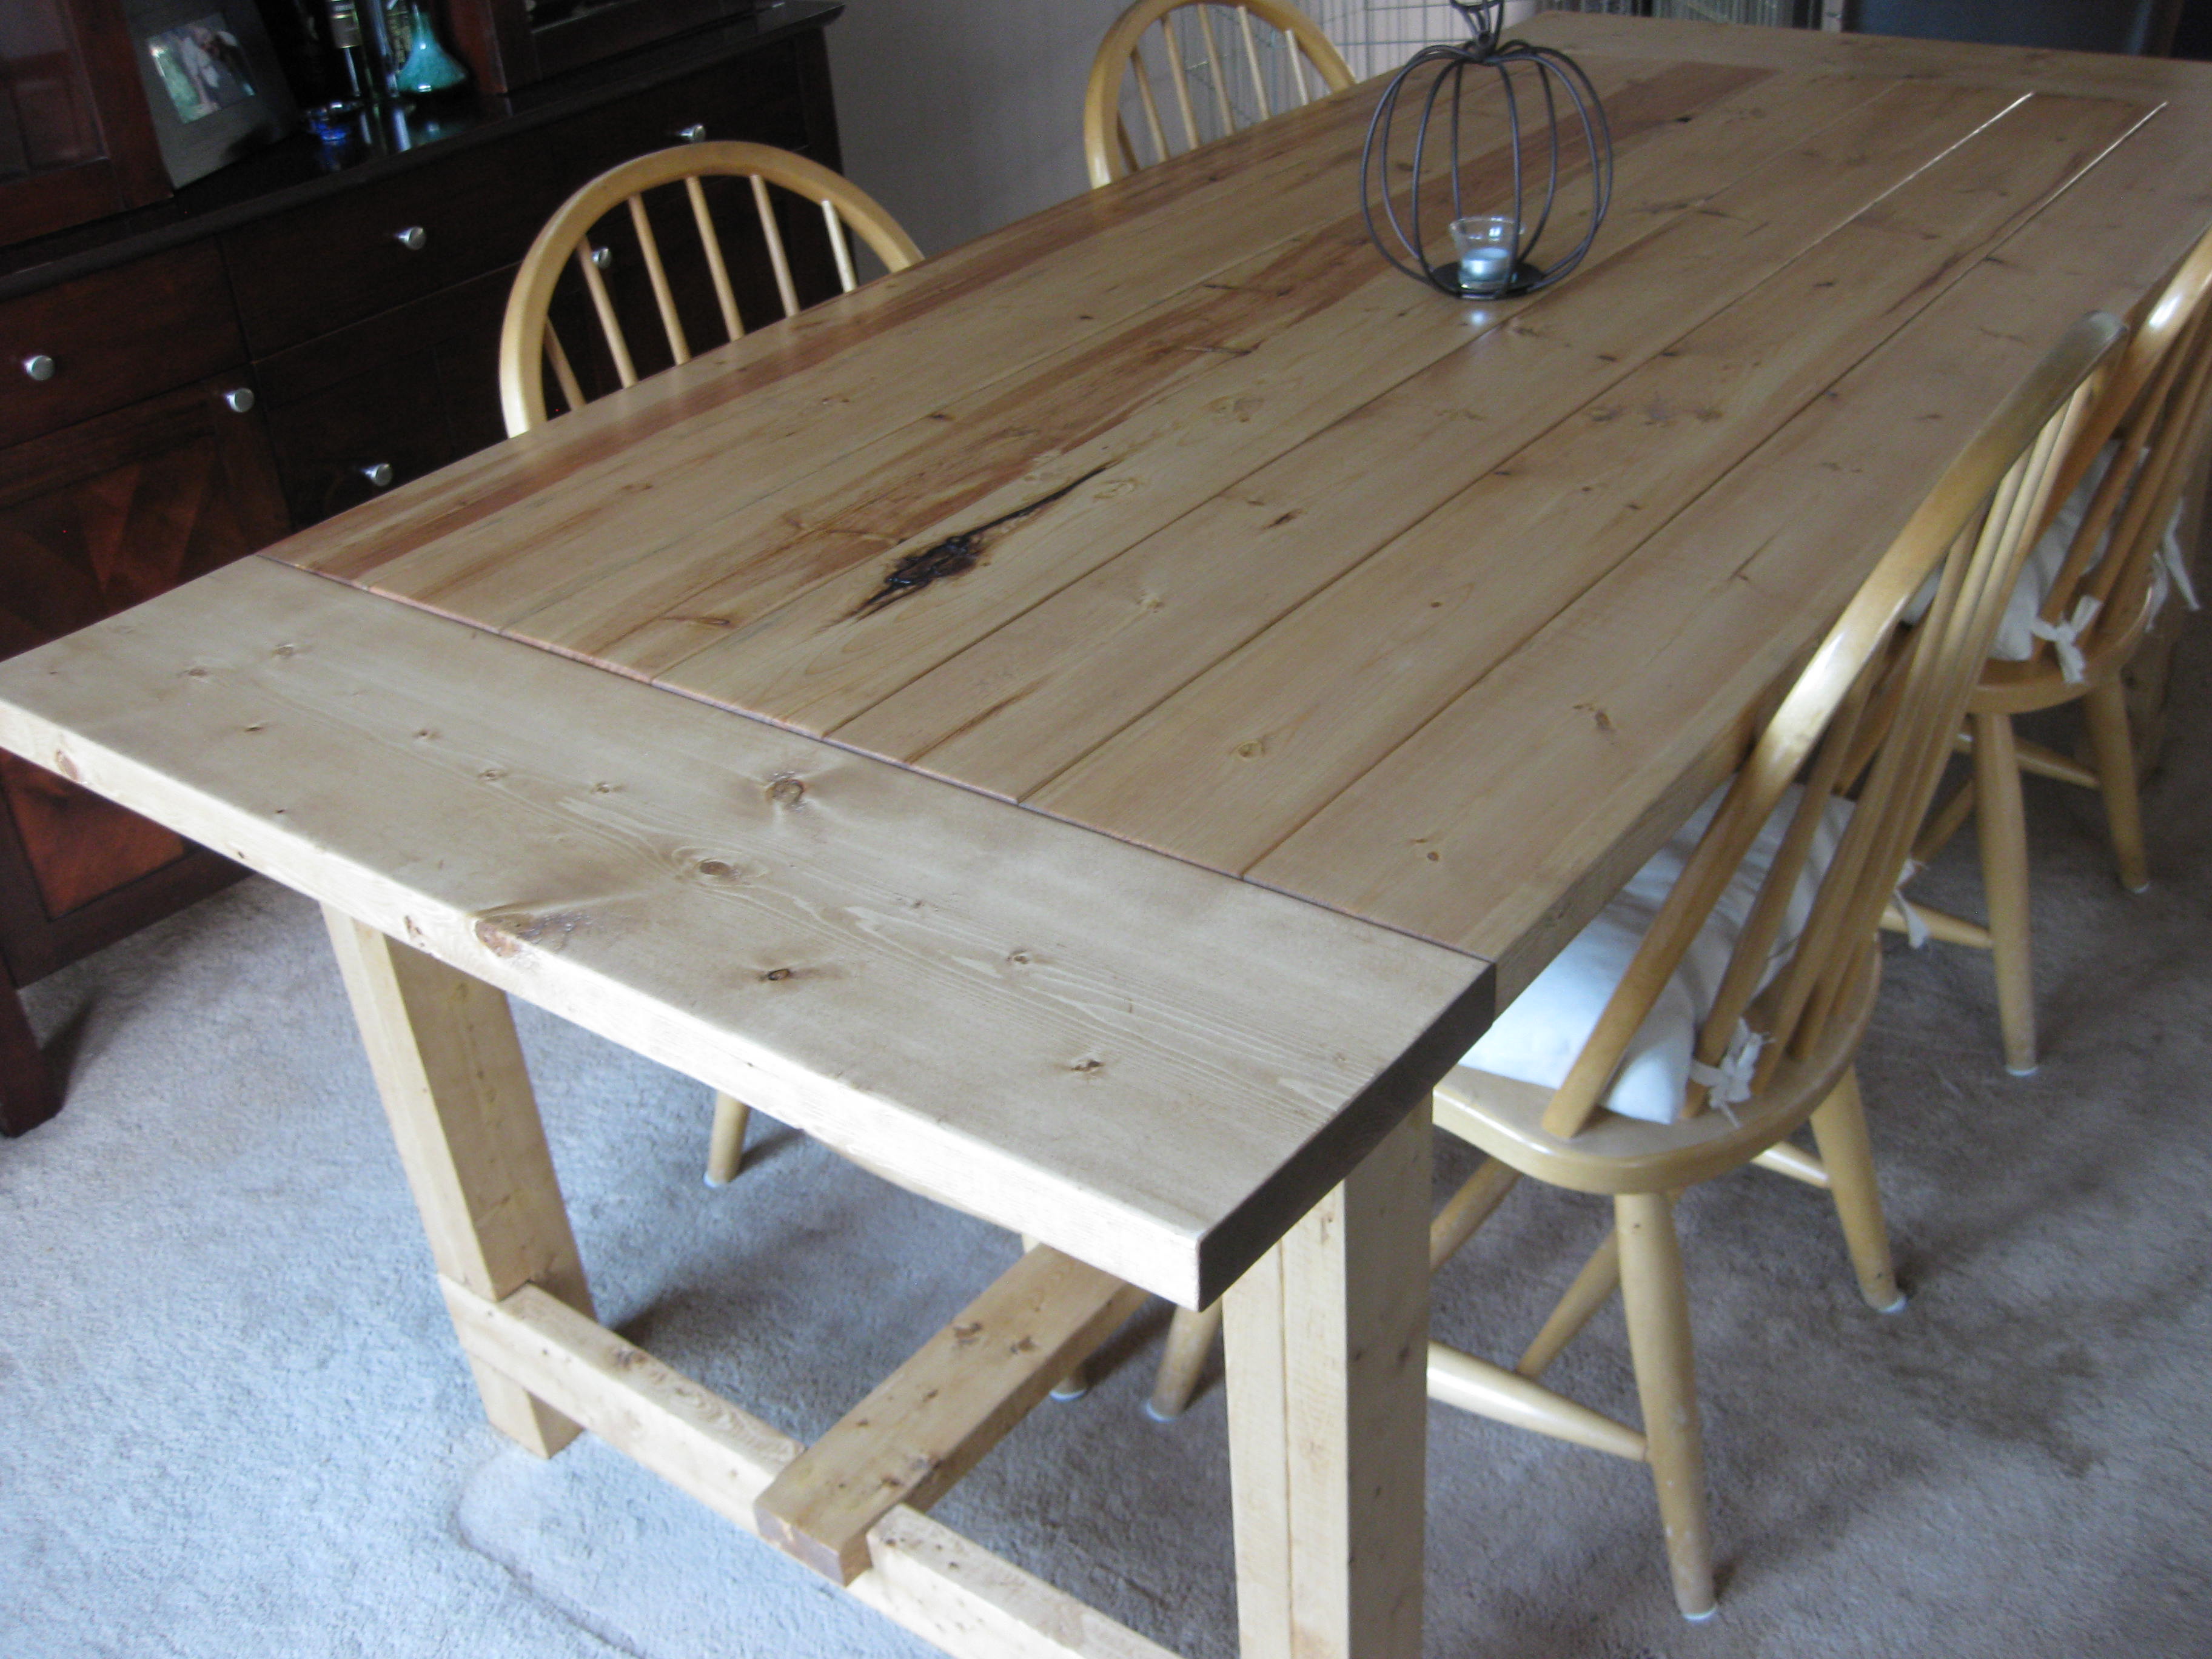
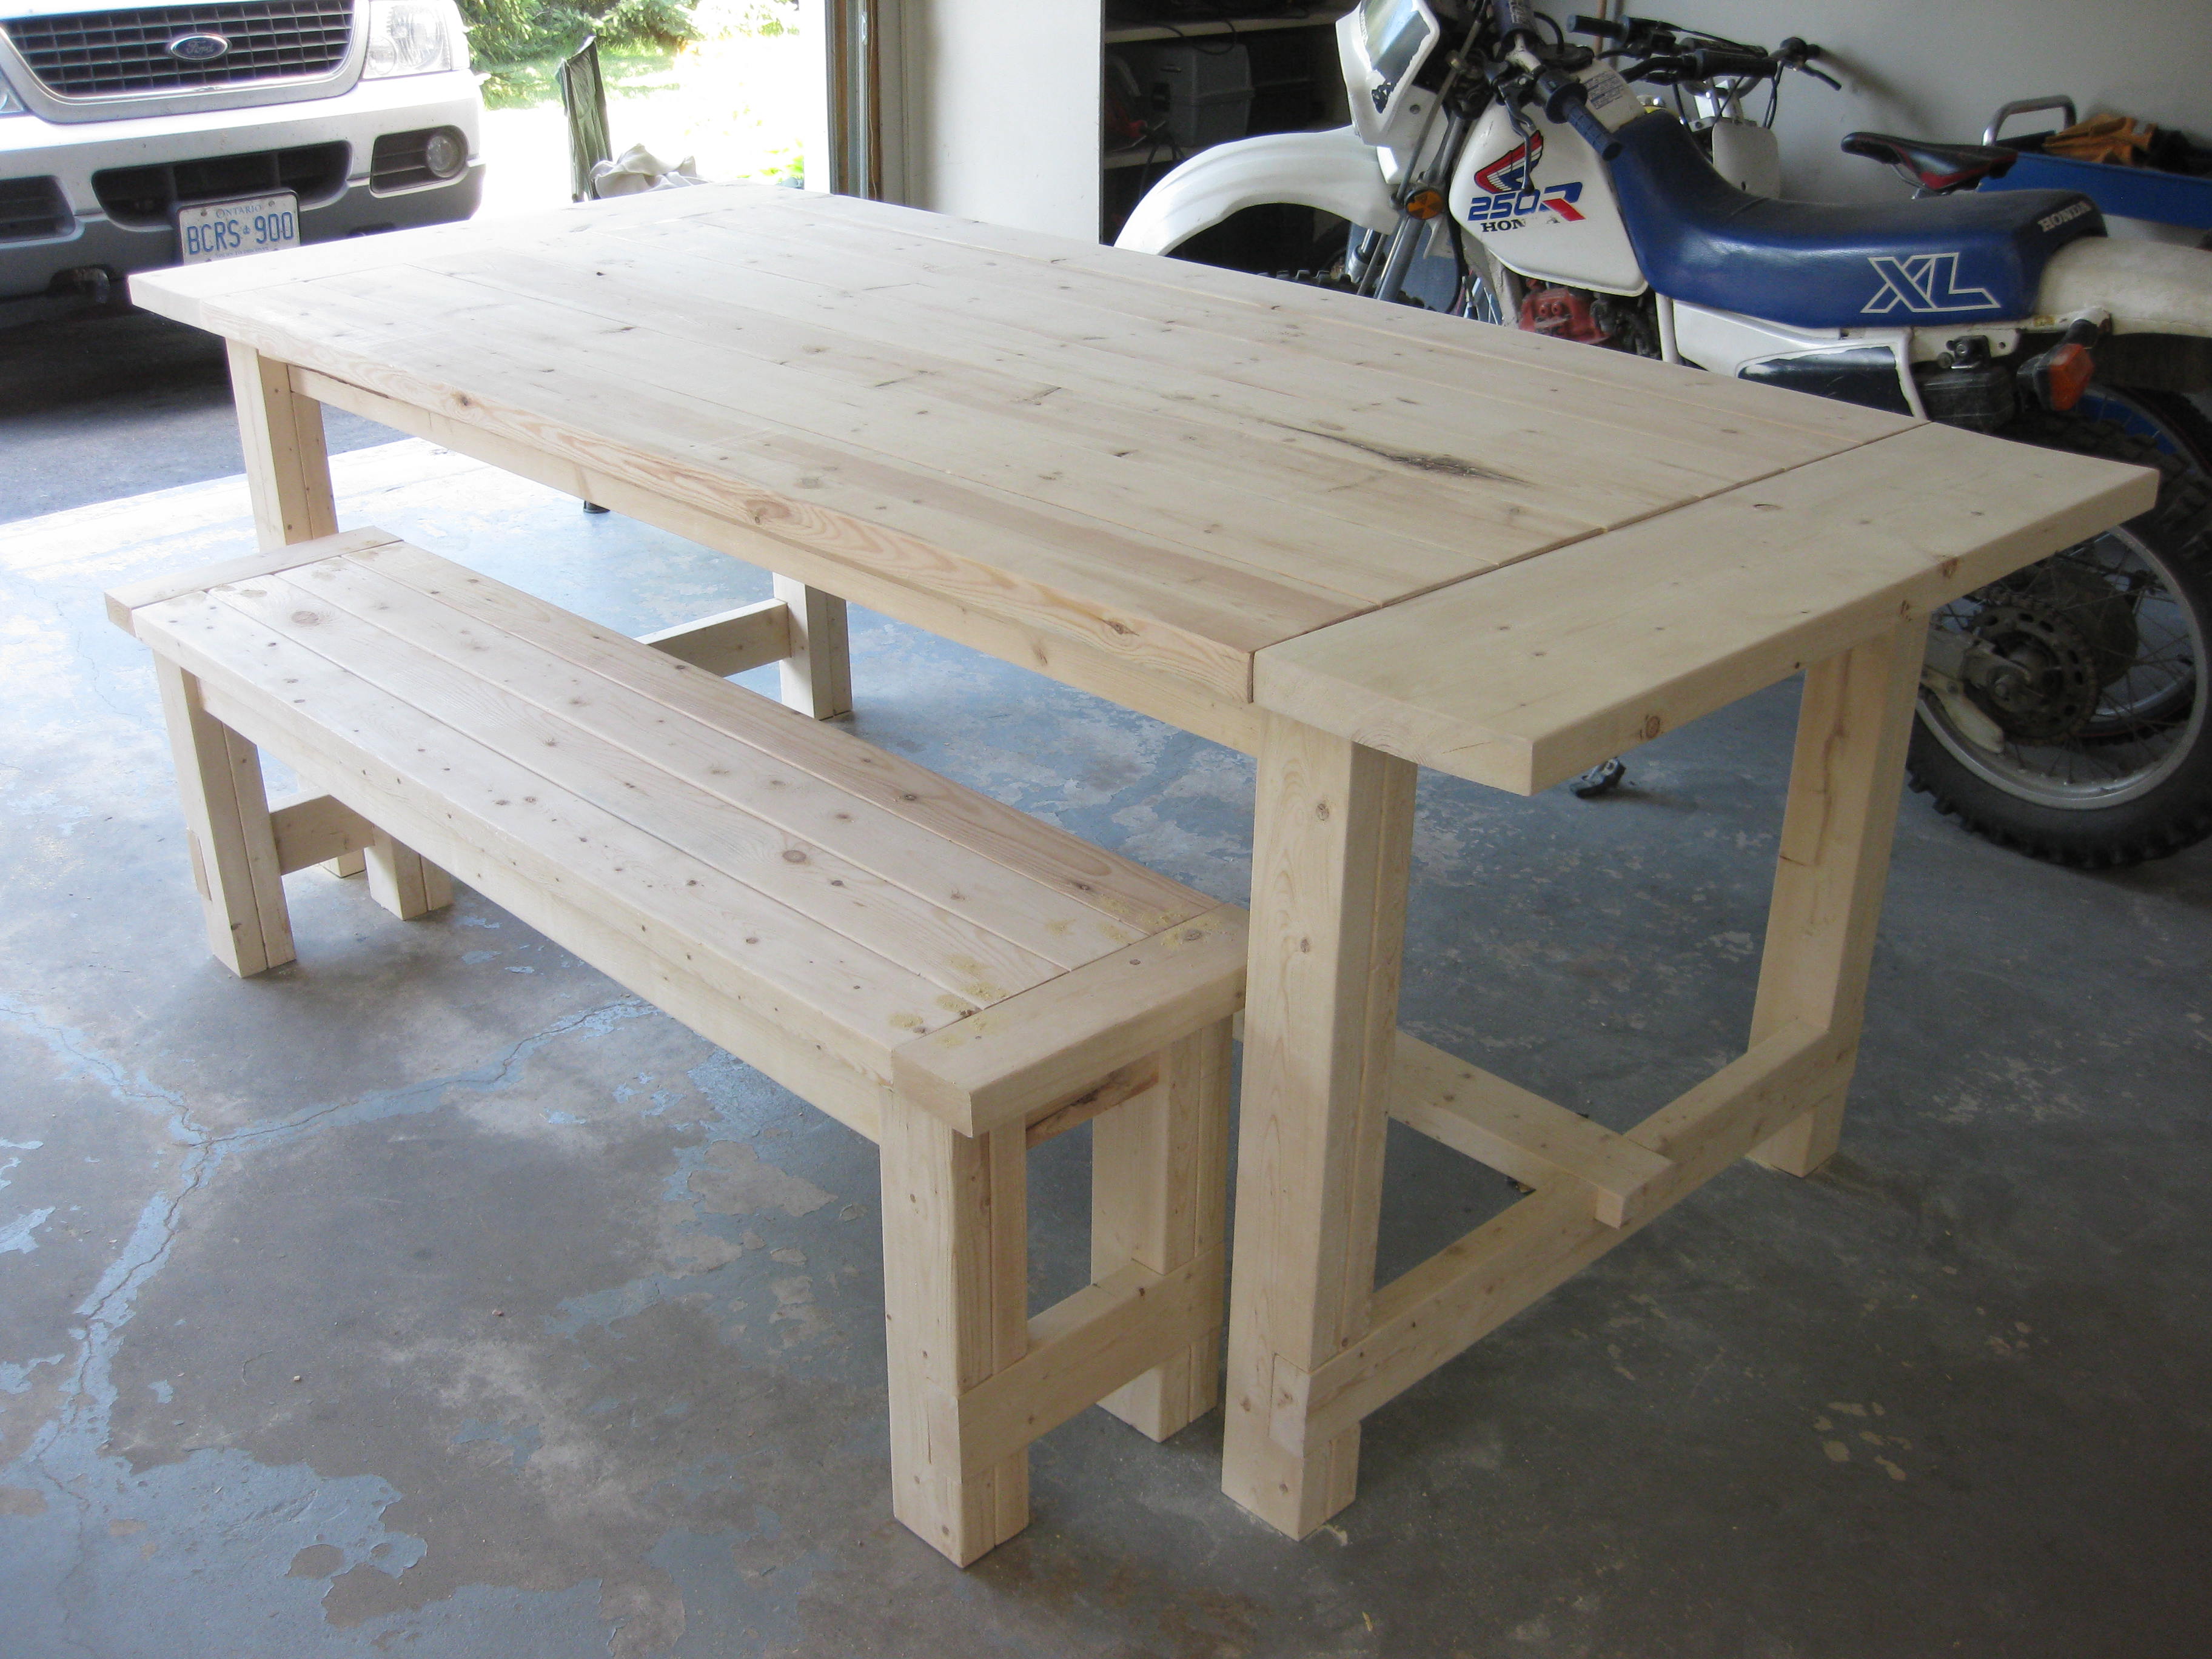
This is my first big project I have done, it was for my wife’s birthday. I enjoyed the challenge though,
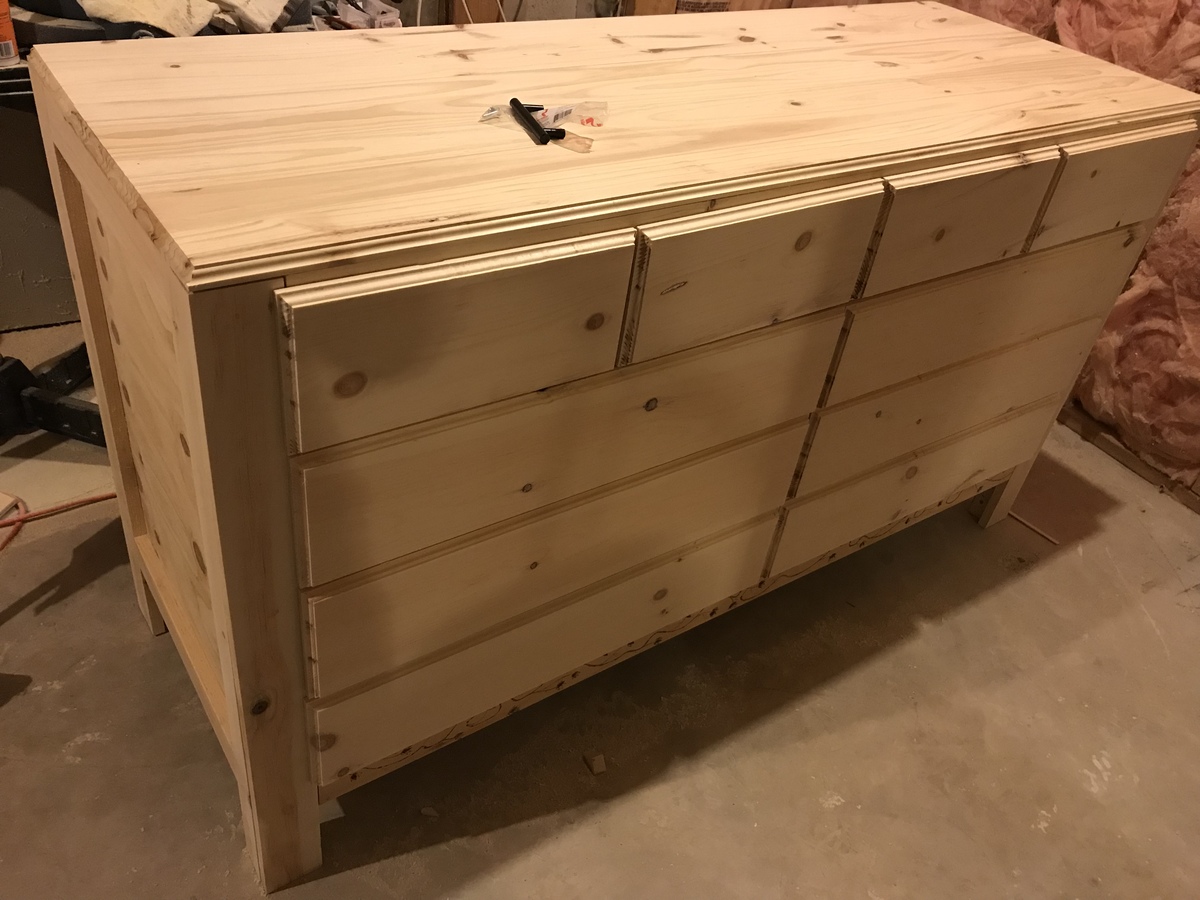
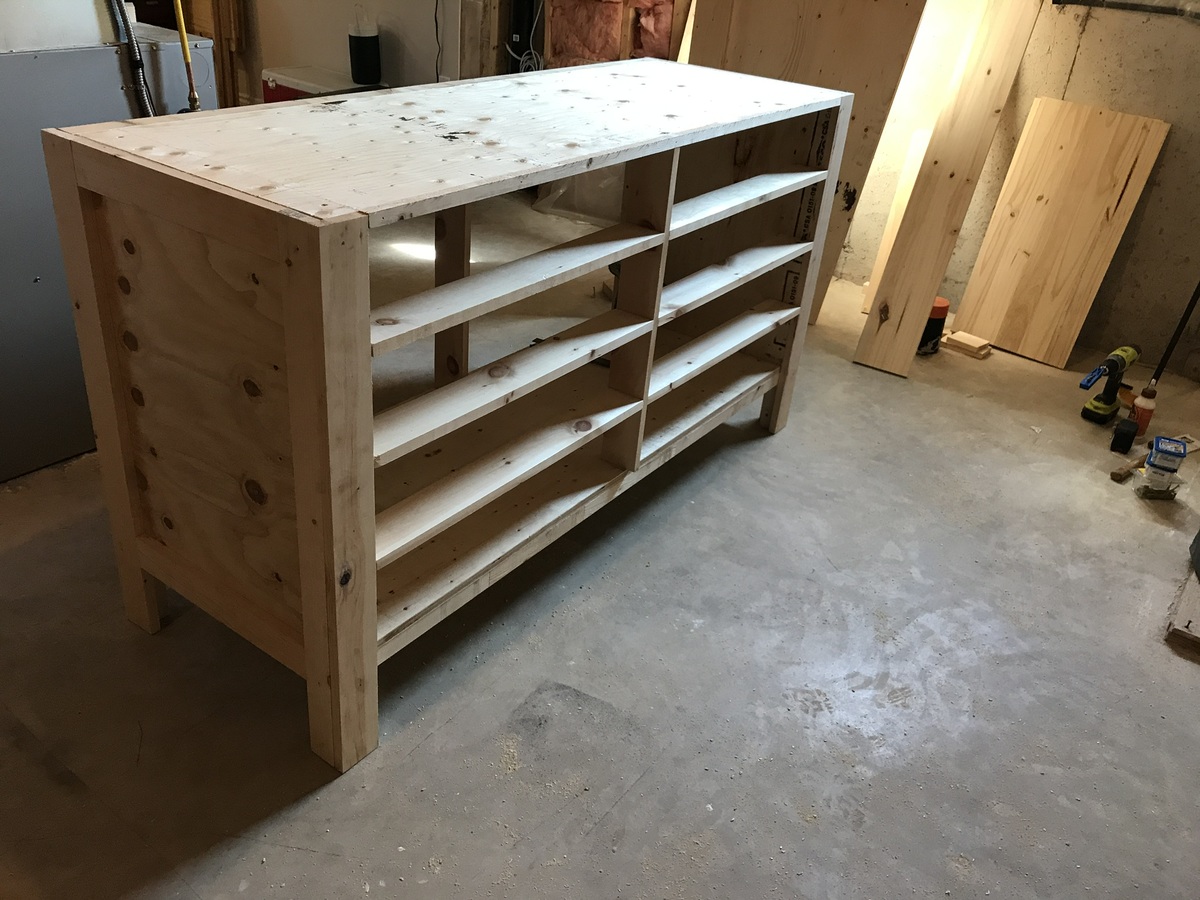
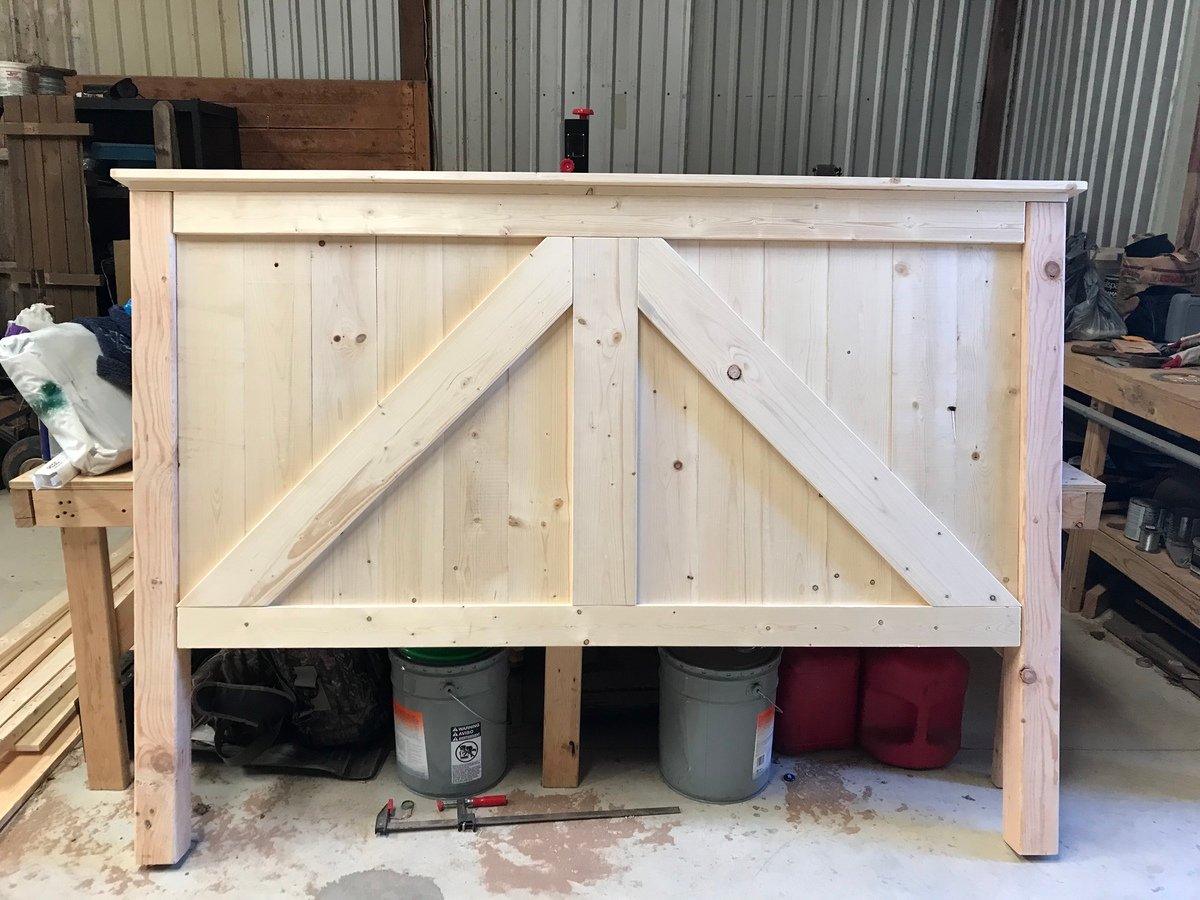
Built from Plan(s)
Estimated Time Investment
Week Long Project (20 Hours or More)
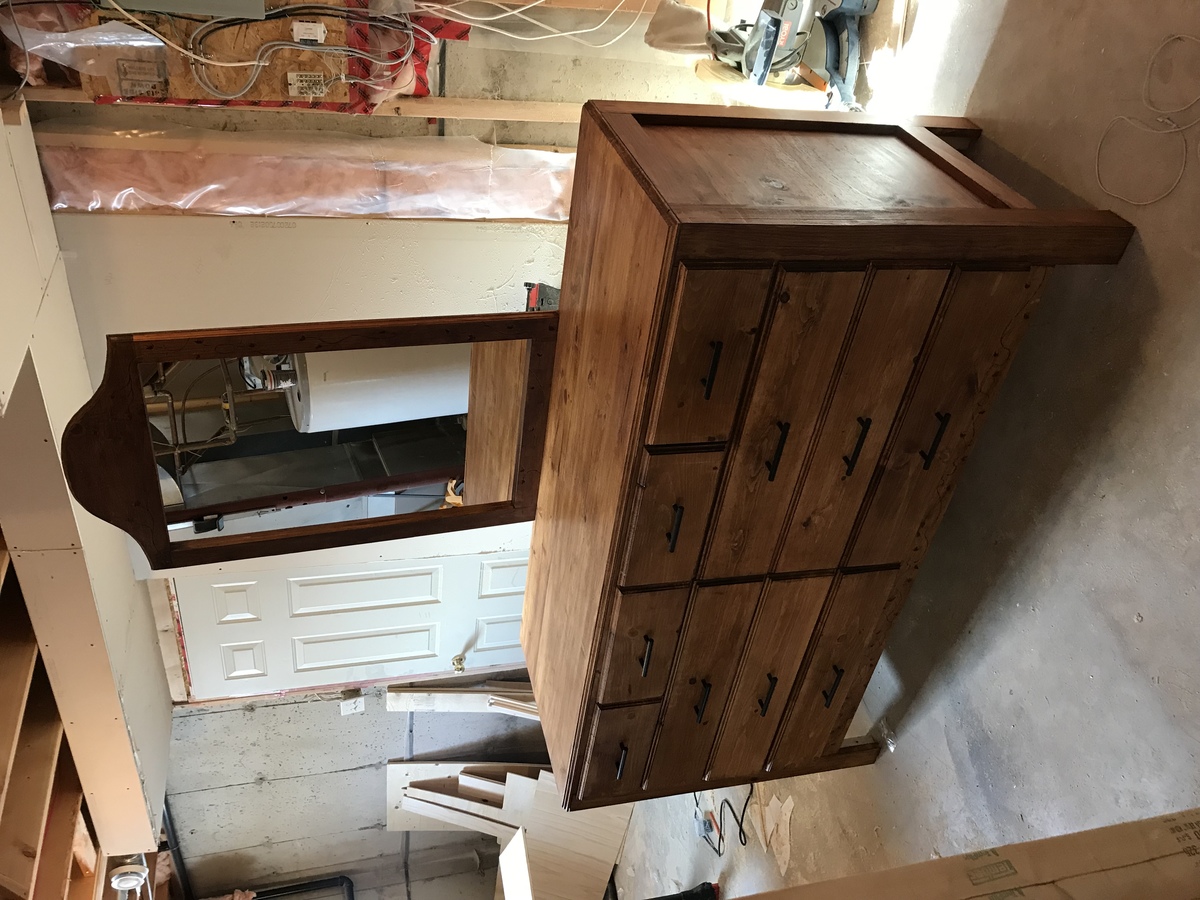
Finish Used
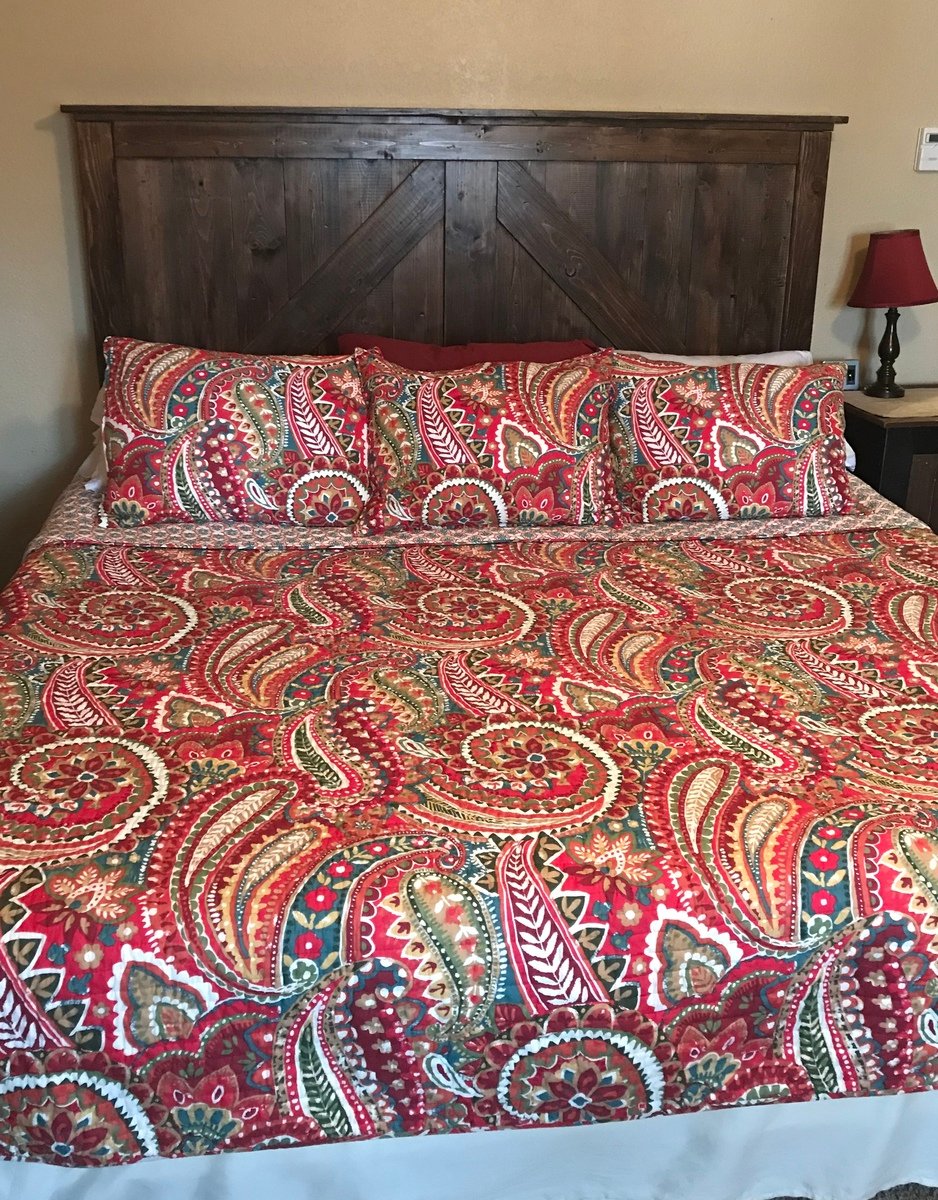
Pre-stain to make sure there was no blotchiness, then pioneer stain with a matte finish. I applied using paintbrush making sure to very little stain on the brush and spread it as much as possible
Recommended Skill Level
Intermediate