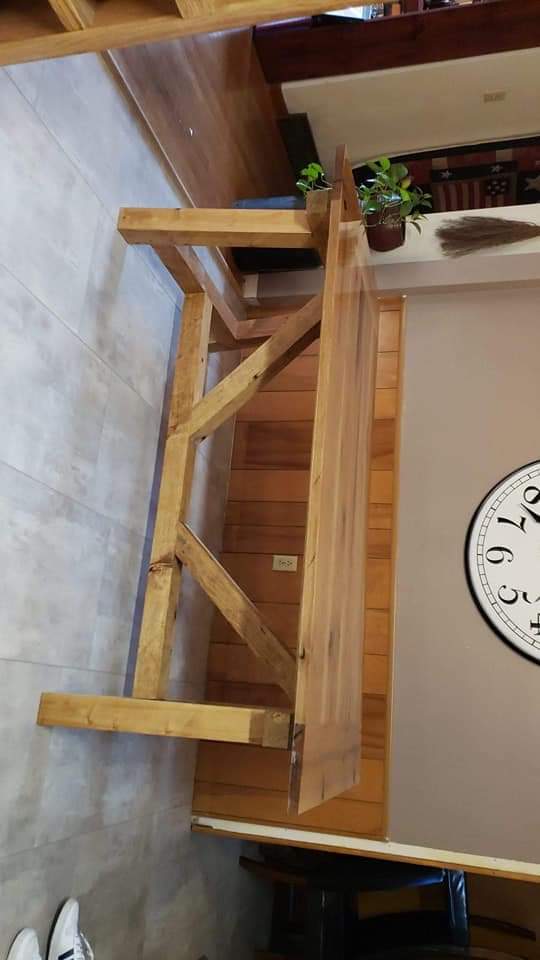
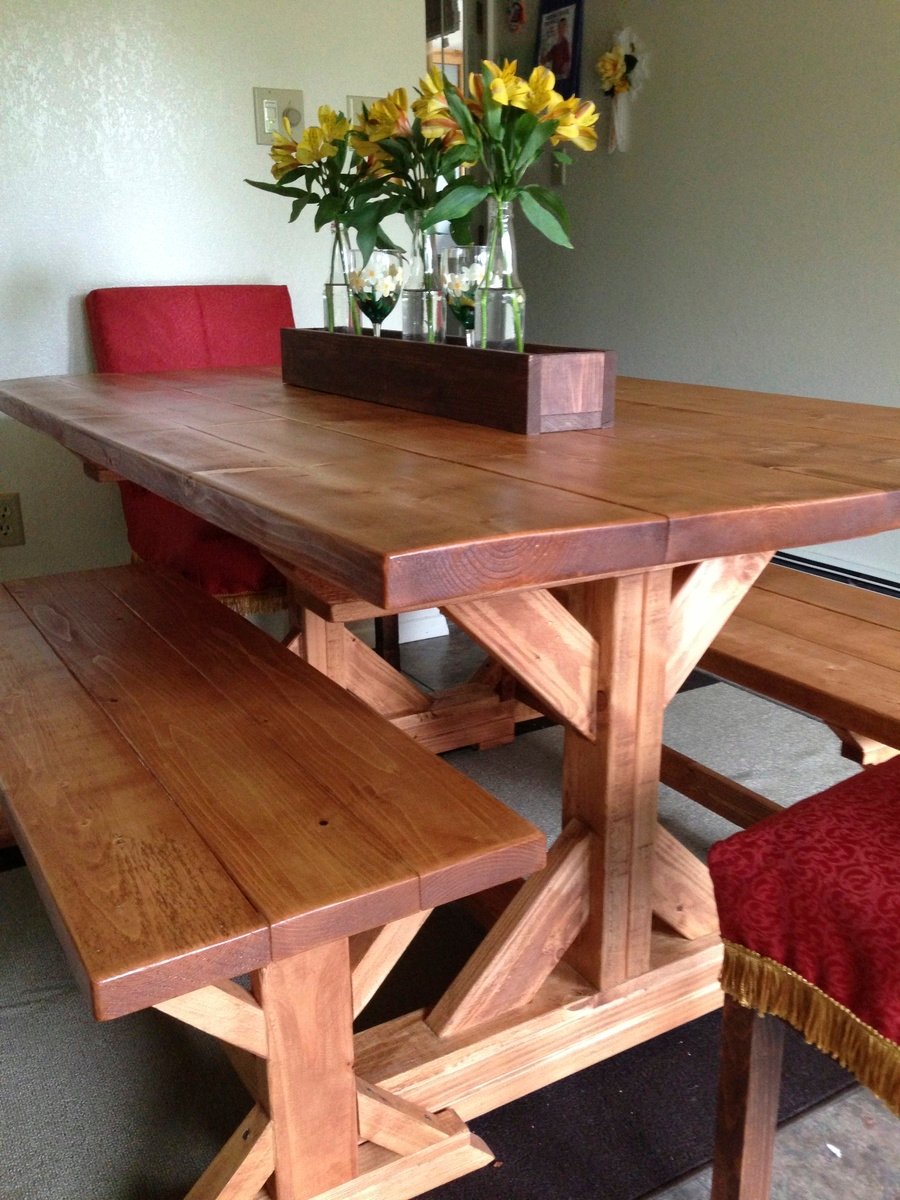
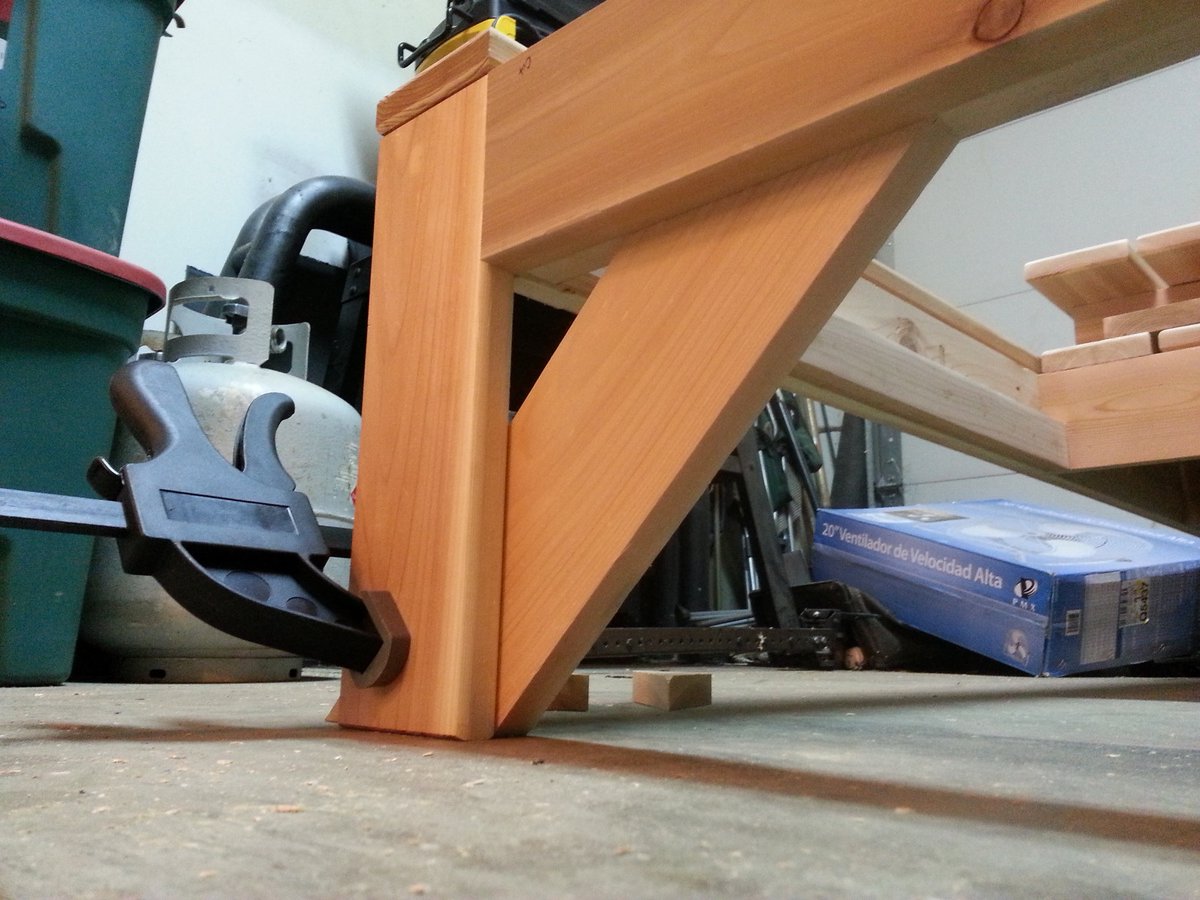
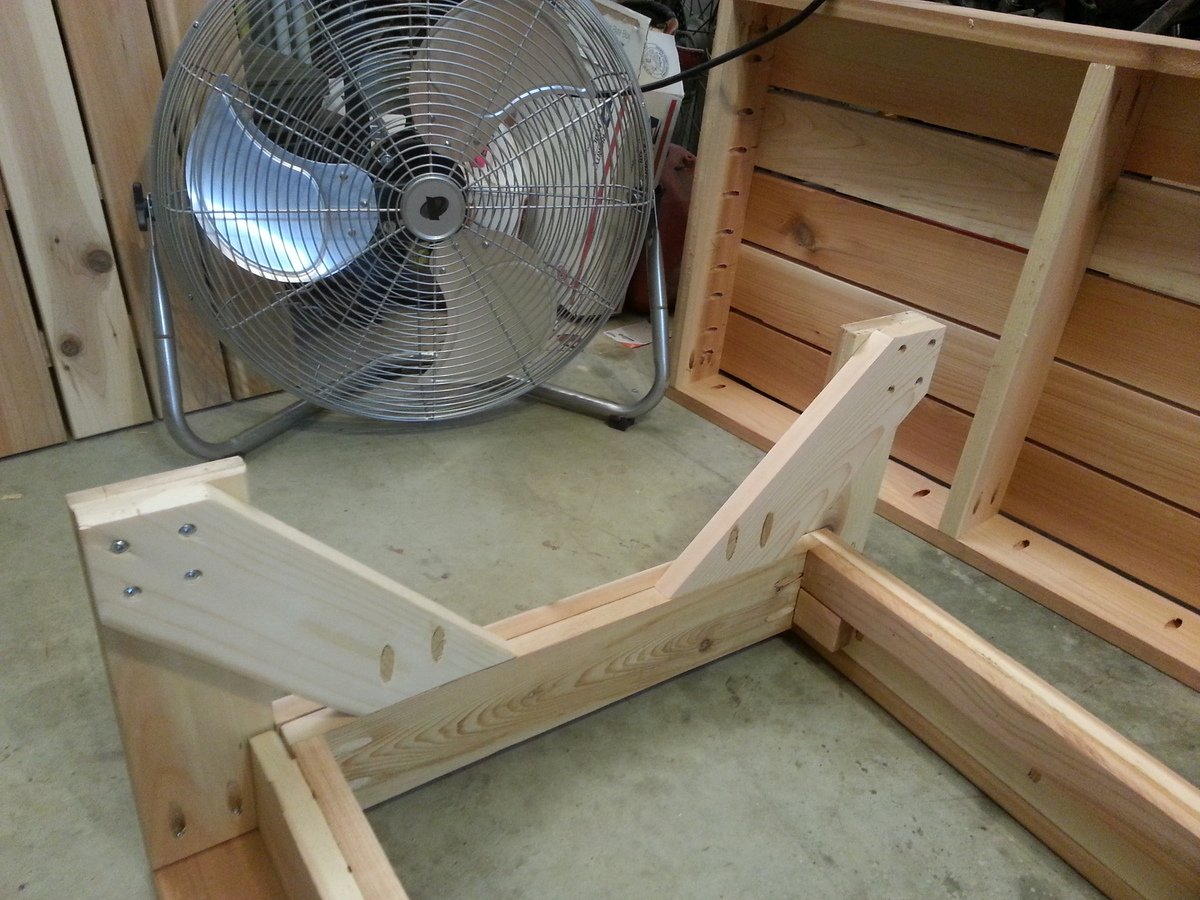
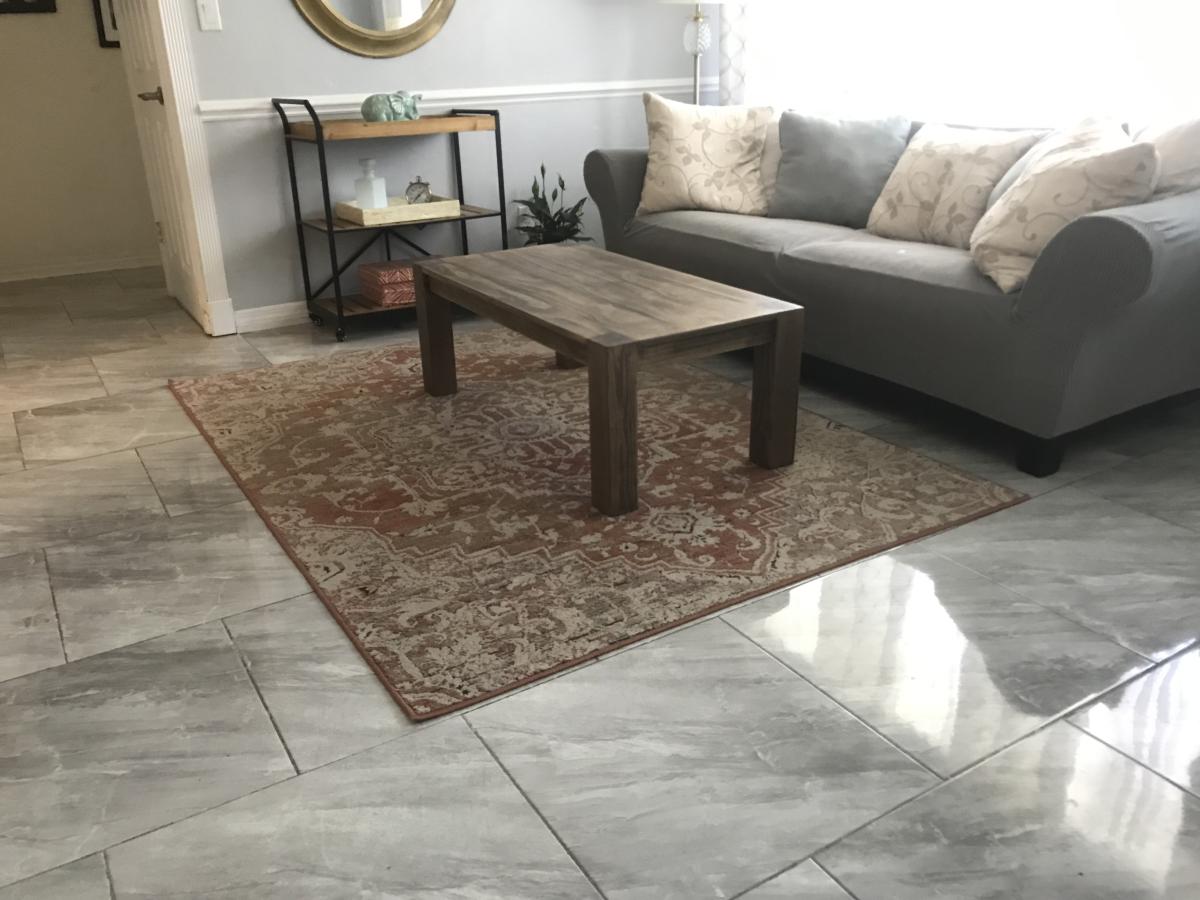
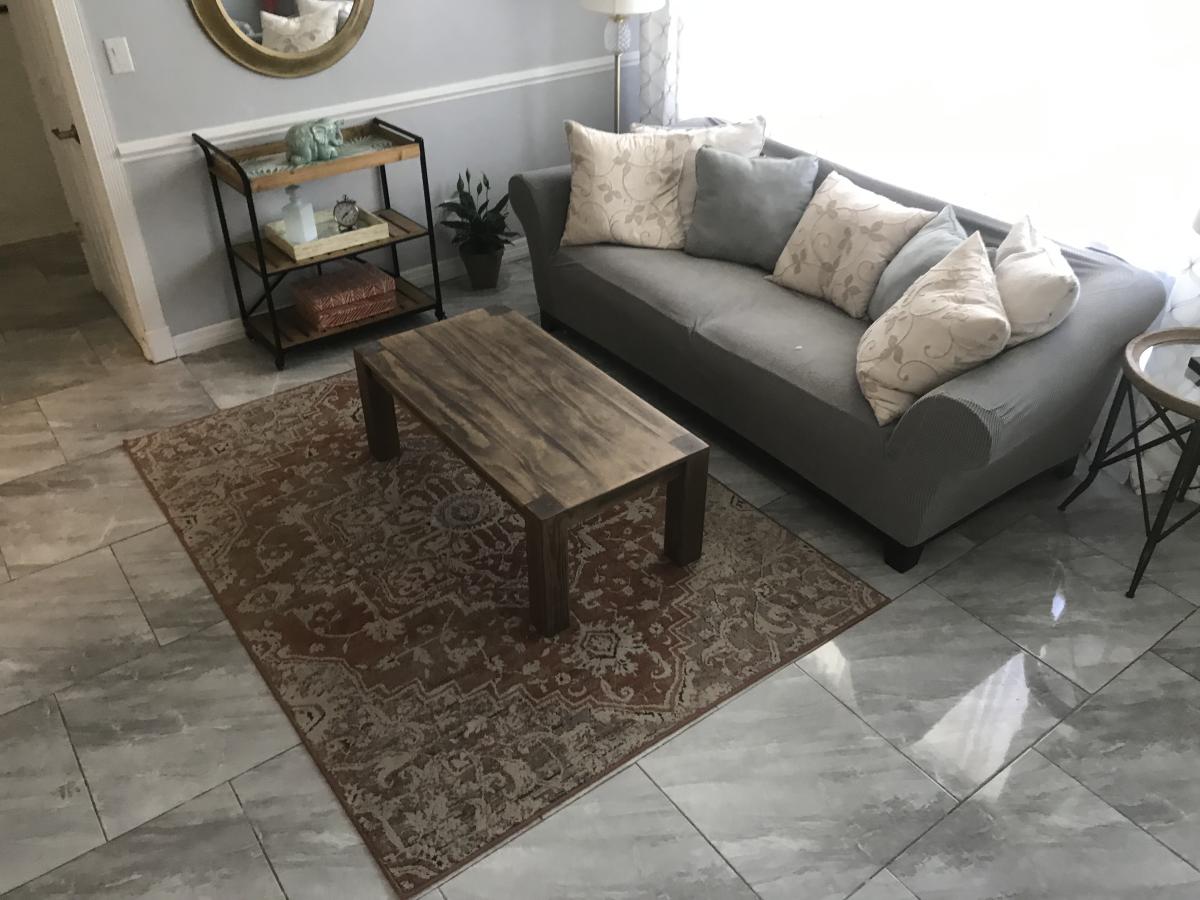
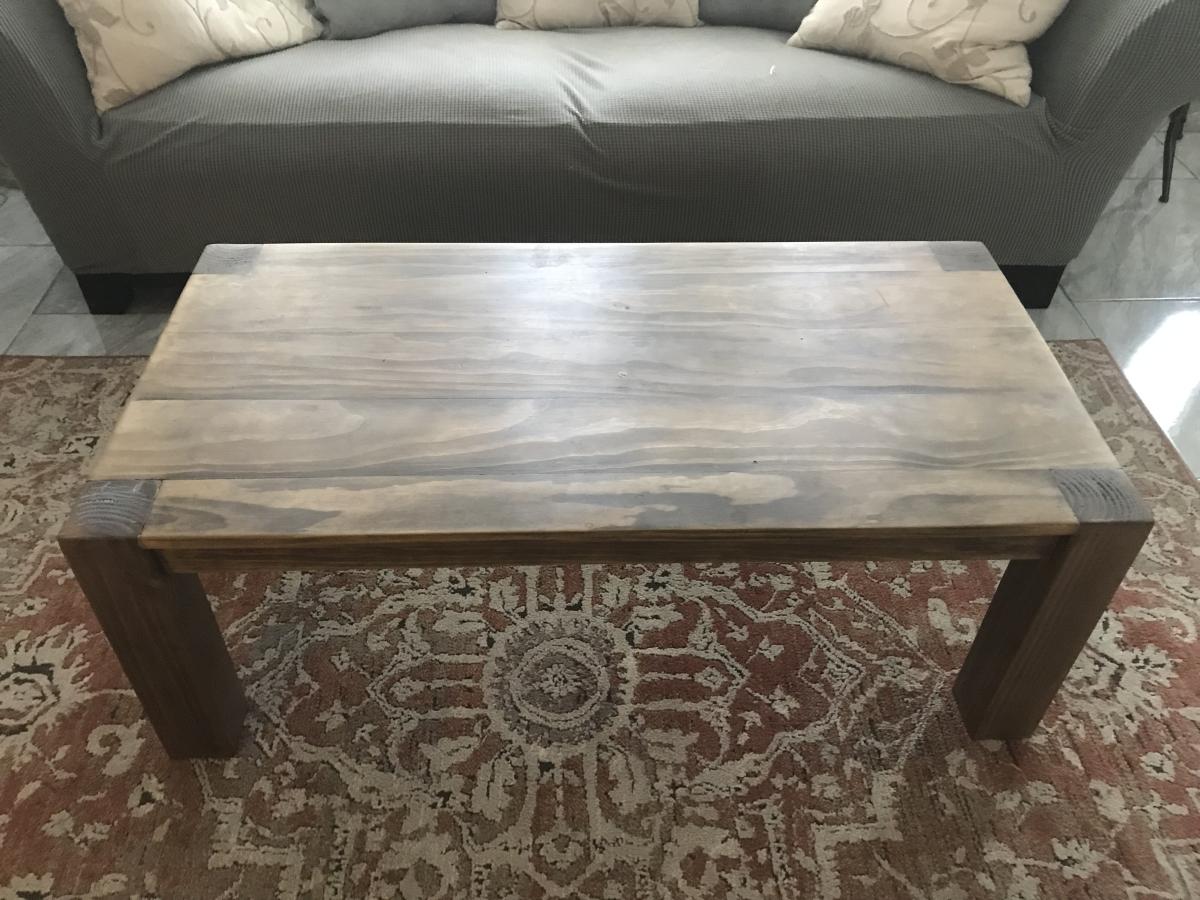
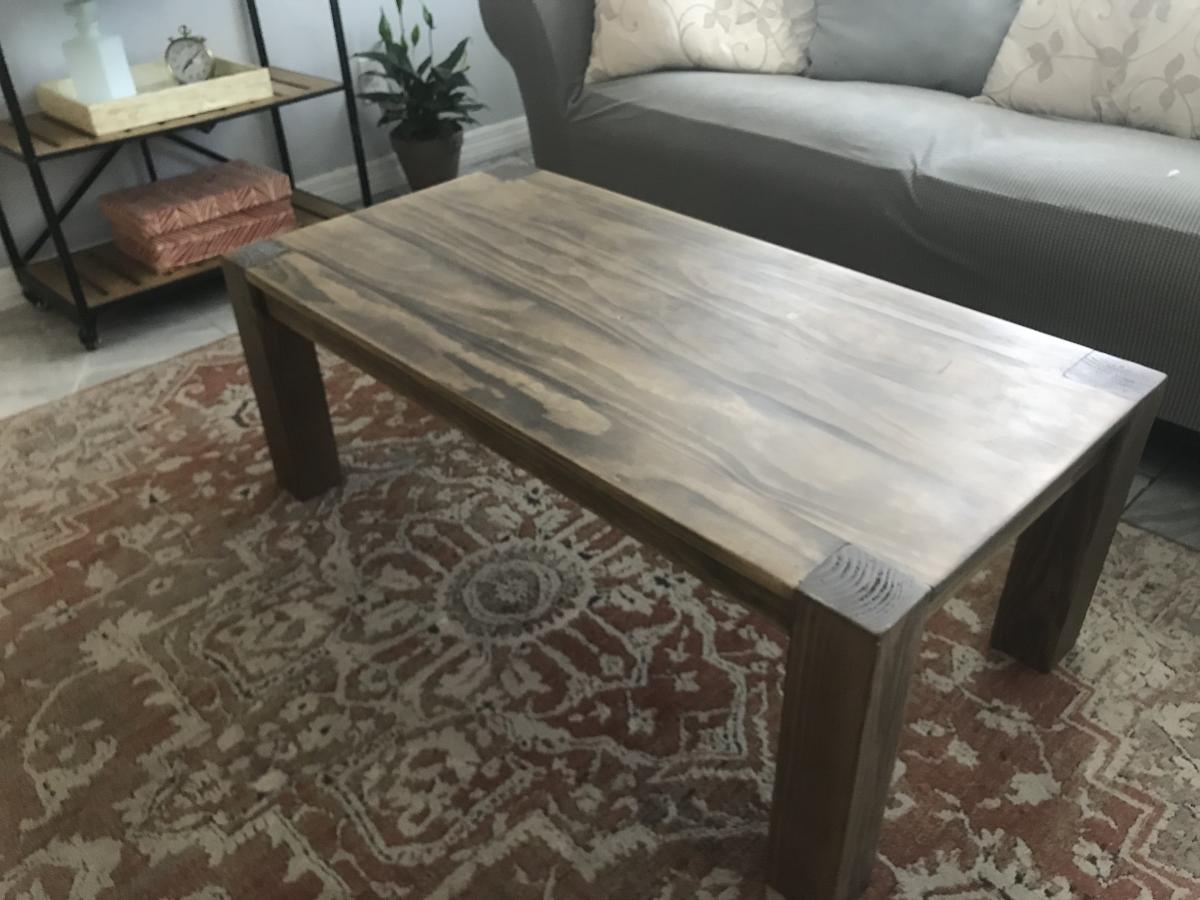
4x4 Truss beam table
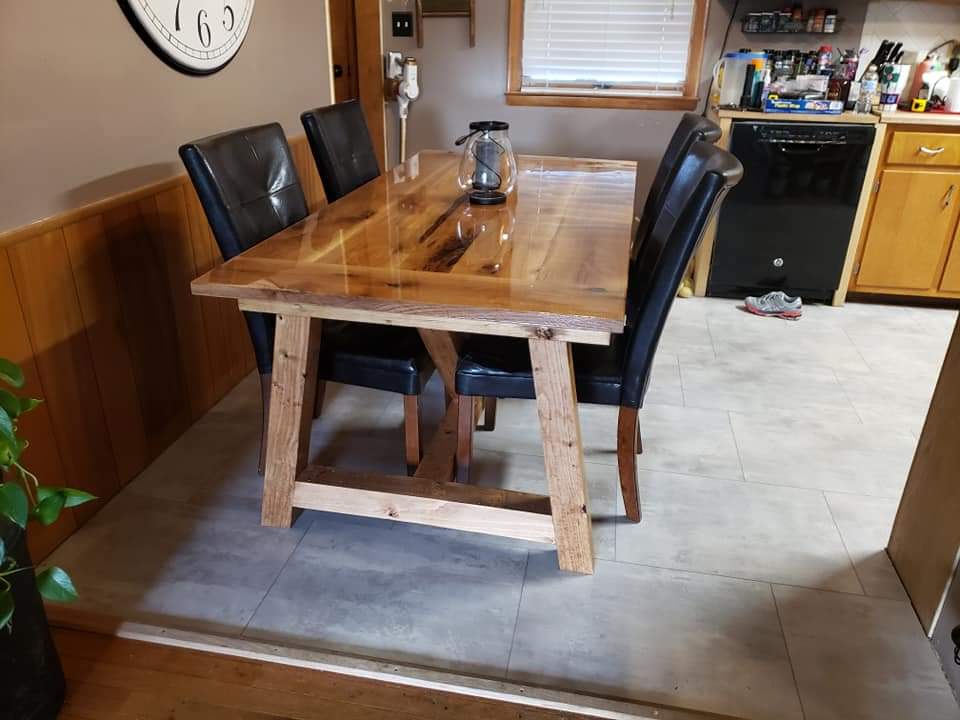
The plans were easy to follow. The family loves it! The top is made of 70+ year old rough cut oak.
Built from Plan(s)
The plans were easy to follow. The family loves it! The top is made of 70+ year old rough cut oak.
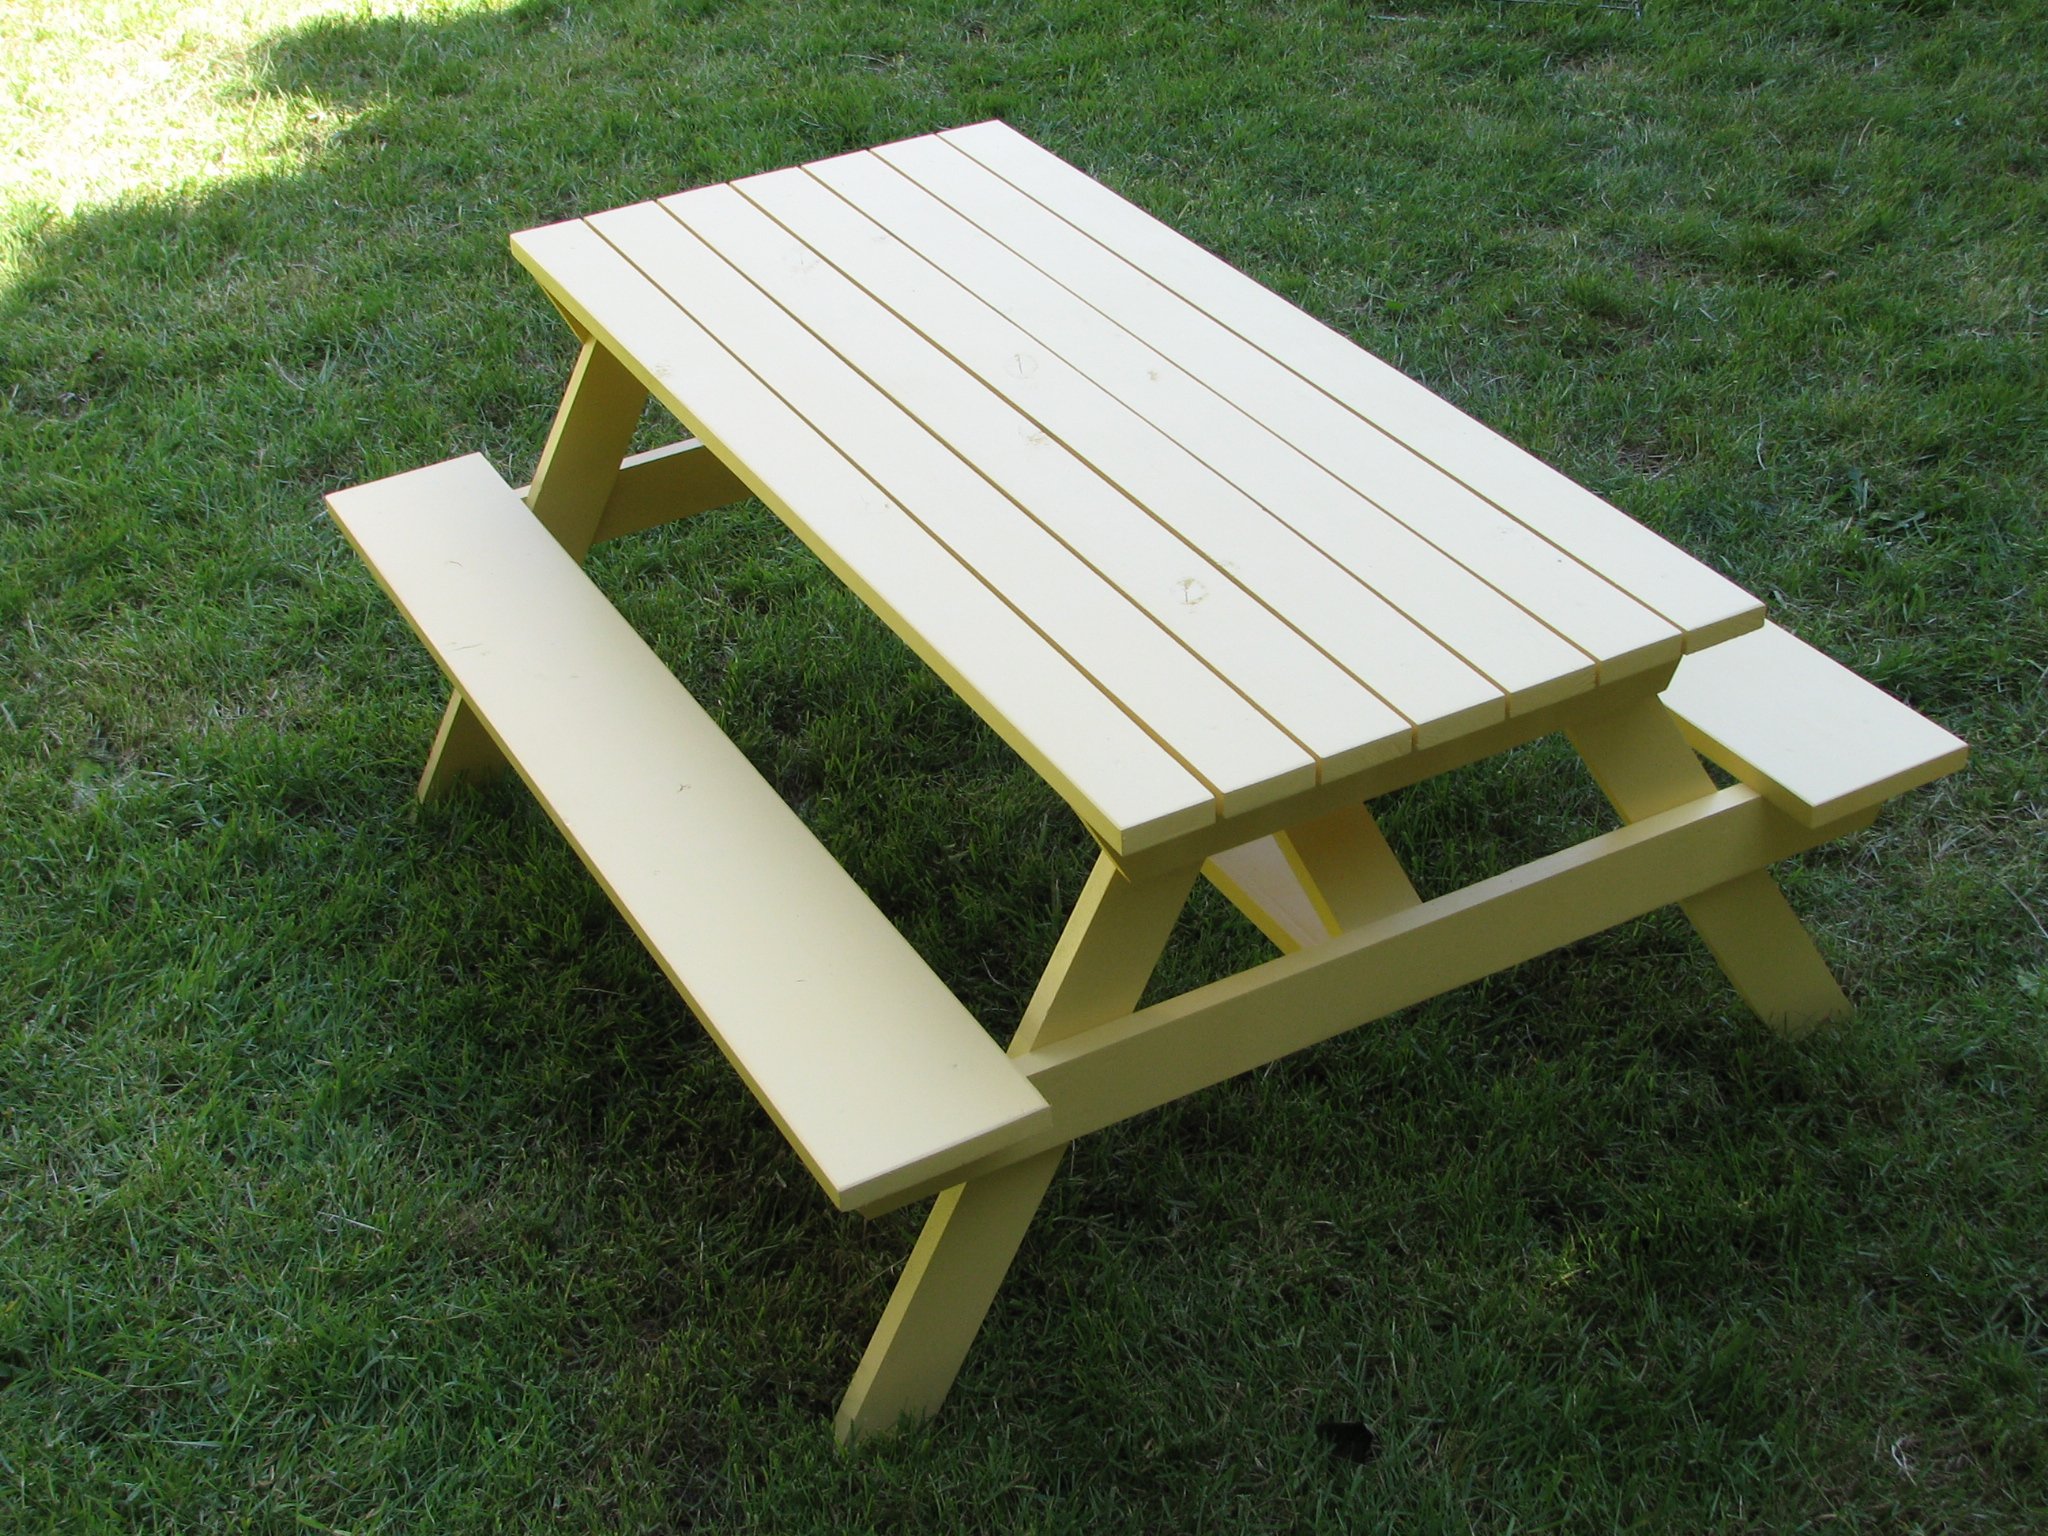
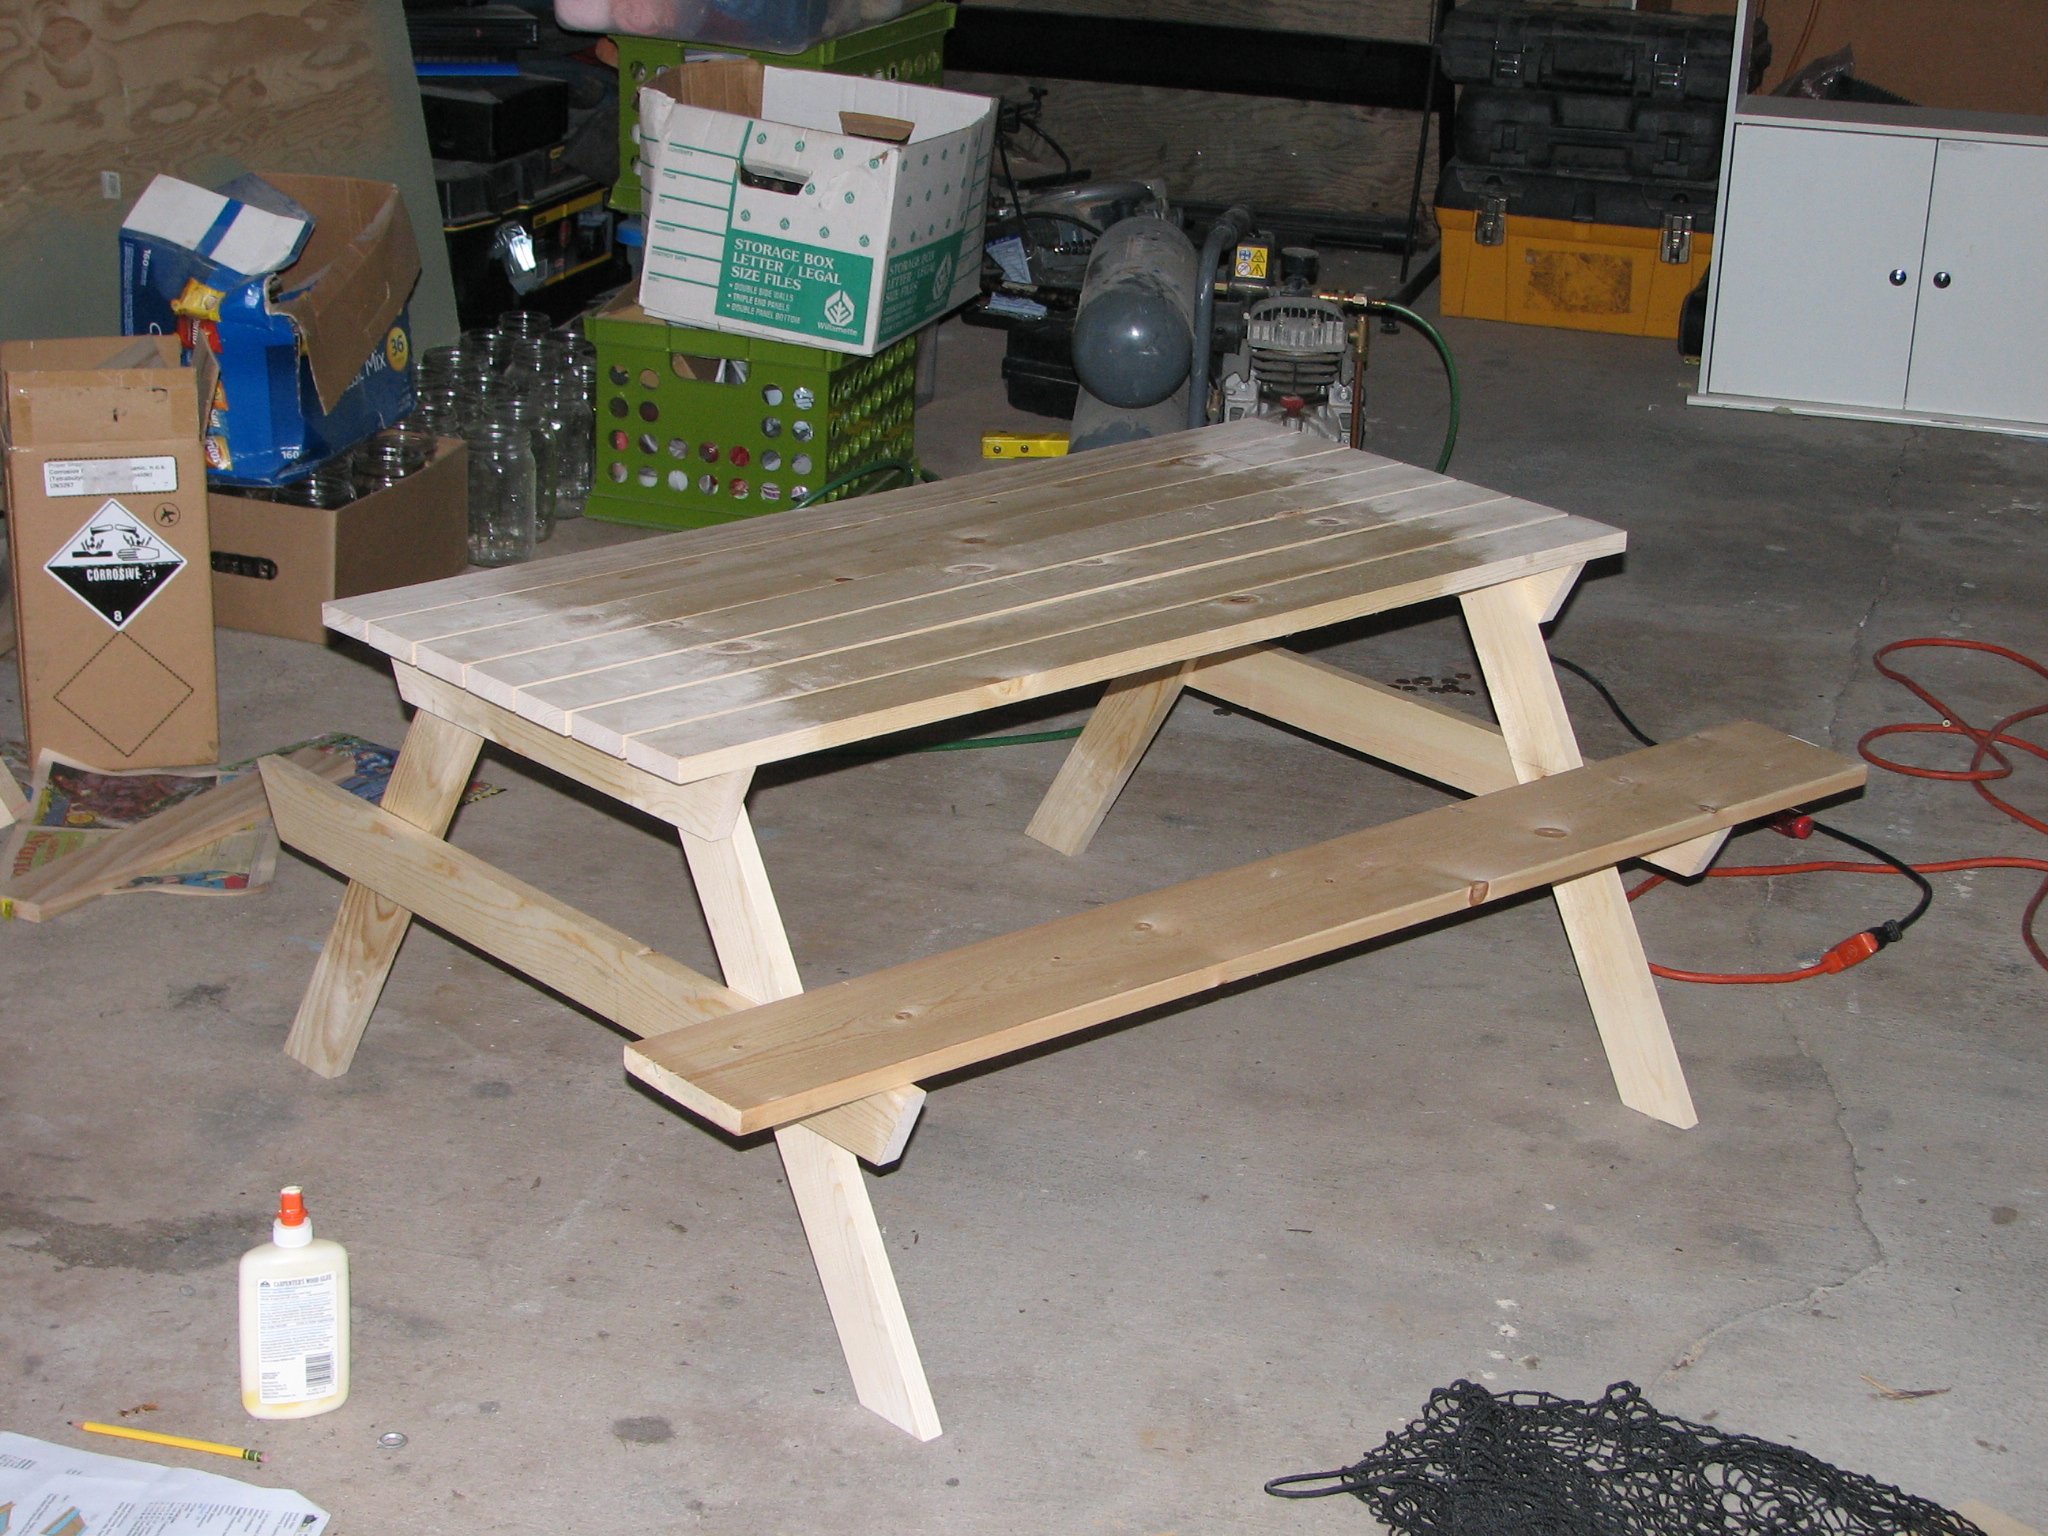
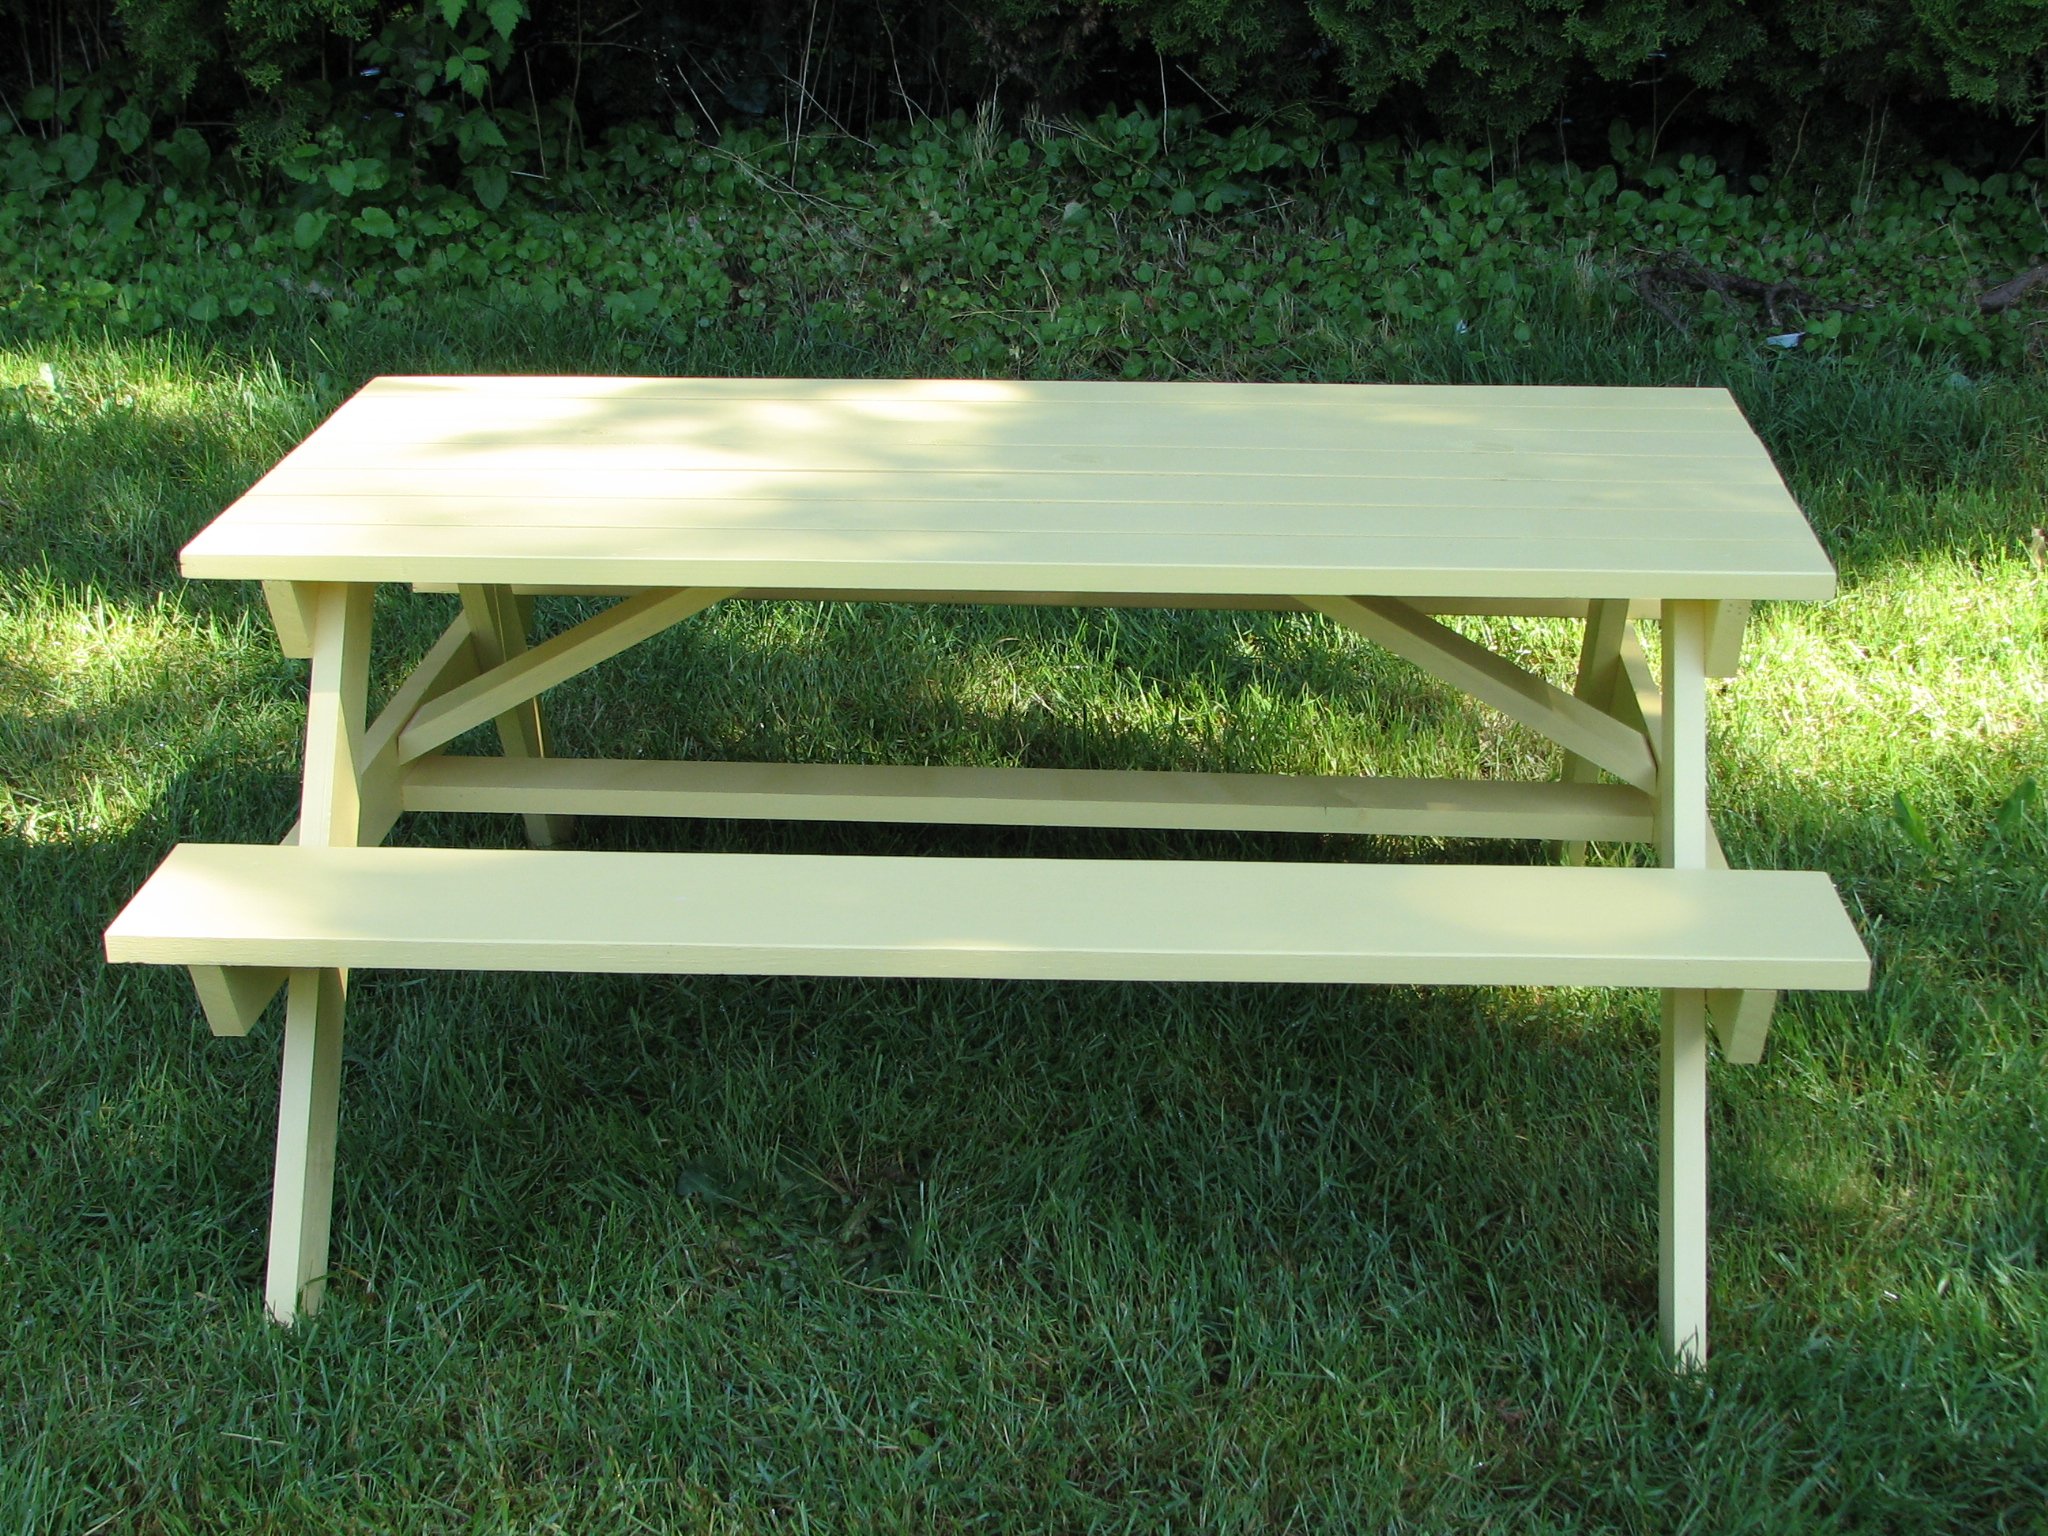
While out shopping with my 4 year old son we came across a picnic table that he absolutely adored. I had wanted to purchase a kids picnic table last summer but never got around to it. After checking out the price tag on this little gem I decided I would check out Ana White’s collection of plans before I spent $80!!! I made a few alterations in size and added extra support for those changes, but even with the added lumber I got it ½ off the $80 store price!!


I was inspired to build this table after taking Ana's Adirondack Chair Class at Home Depot. Living in Fairbanks, AK means that the pickings are slim and pricy for quality furniture.
I shortened the table length to 5' to fit my space and made the benches 4' long and lined the legs up so they would fit comfortably under the table. I also made the chairs based on Ana's Parsons chair pattern.
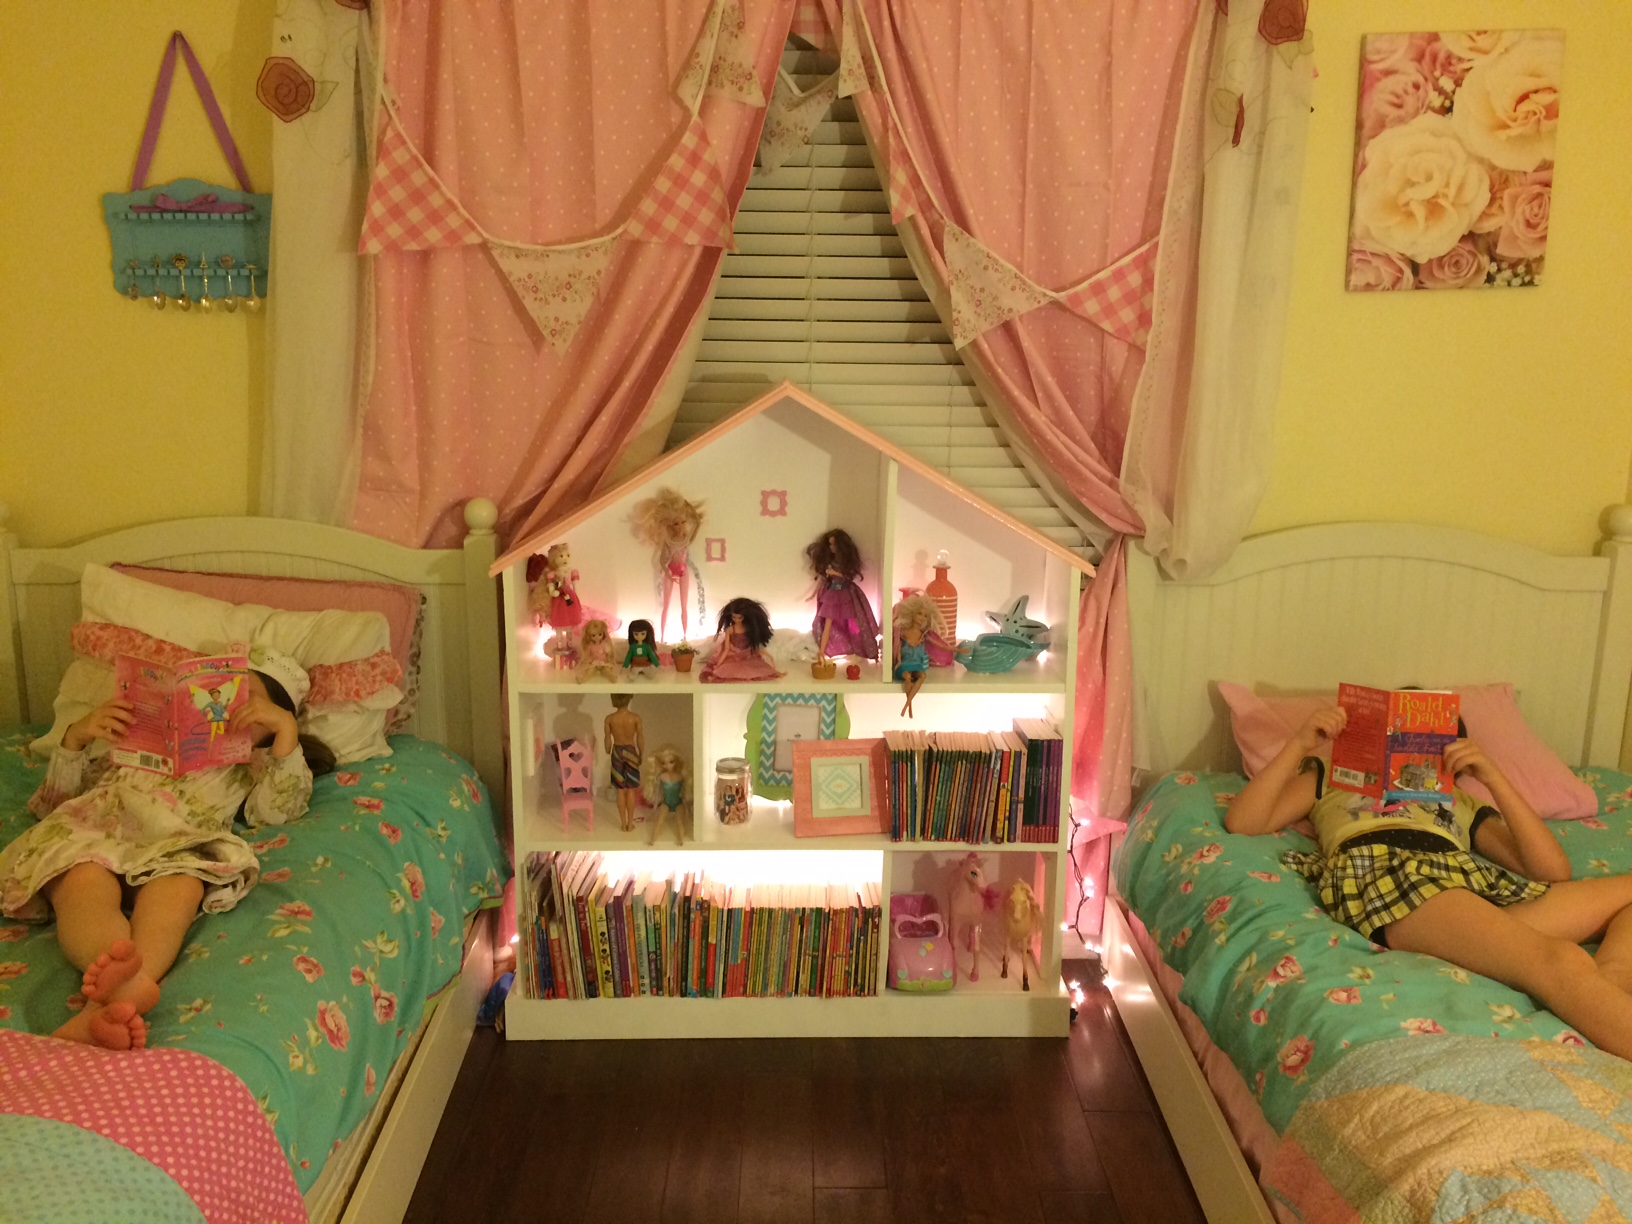
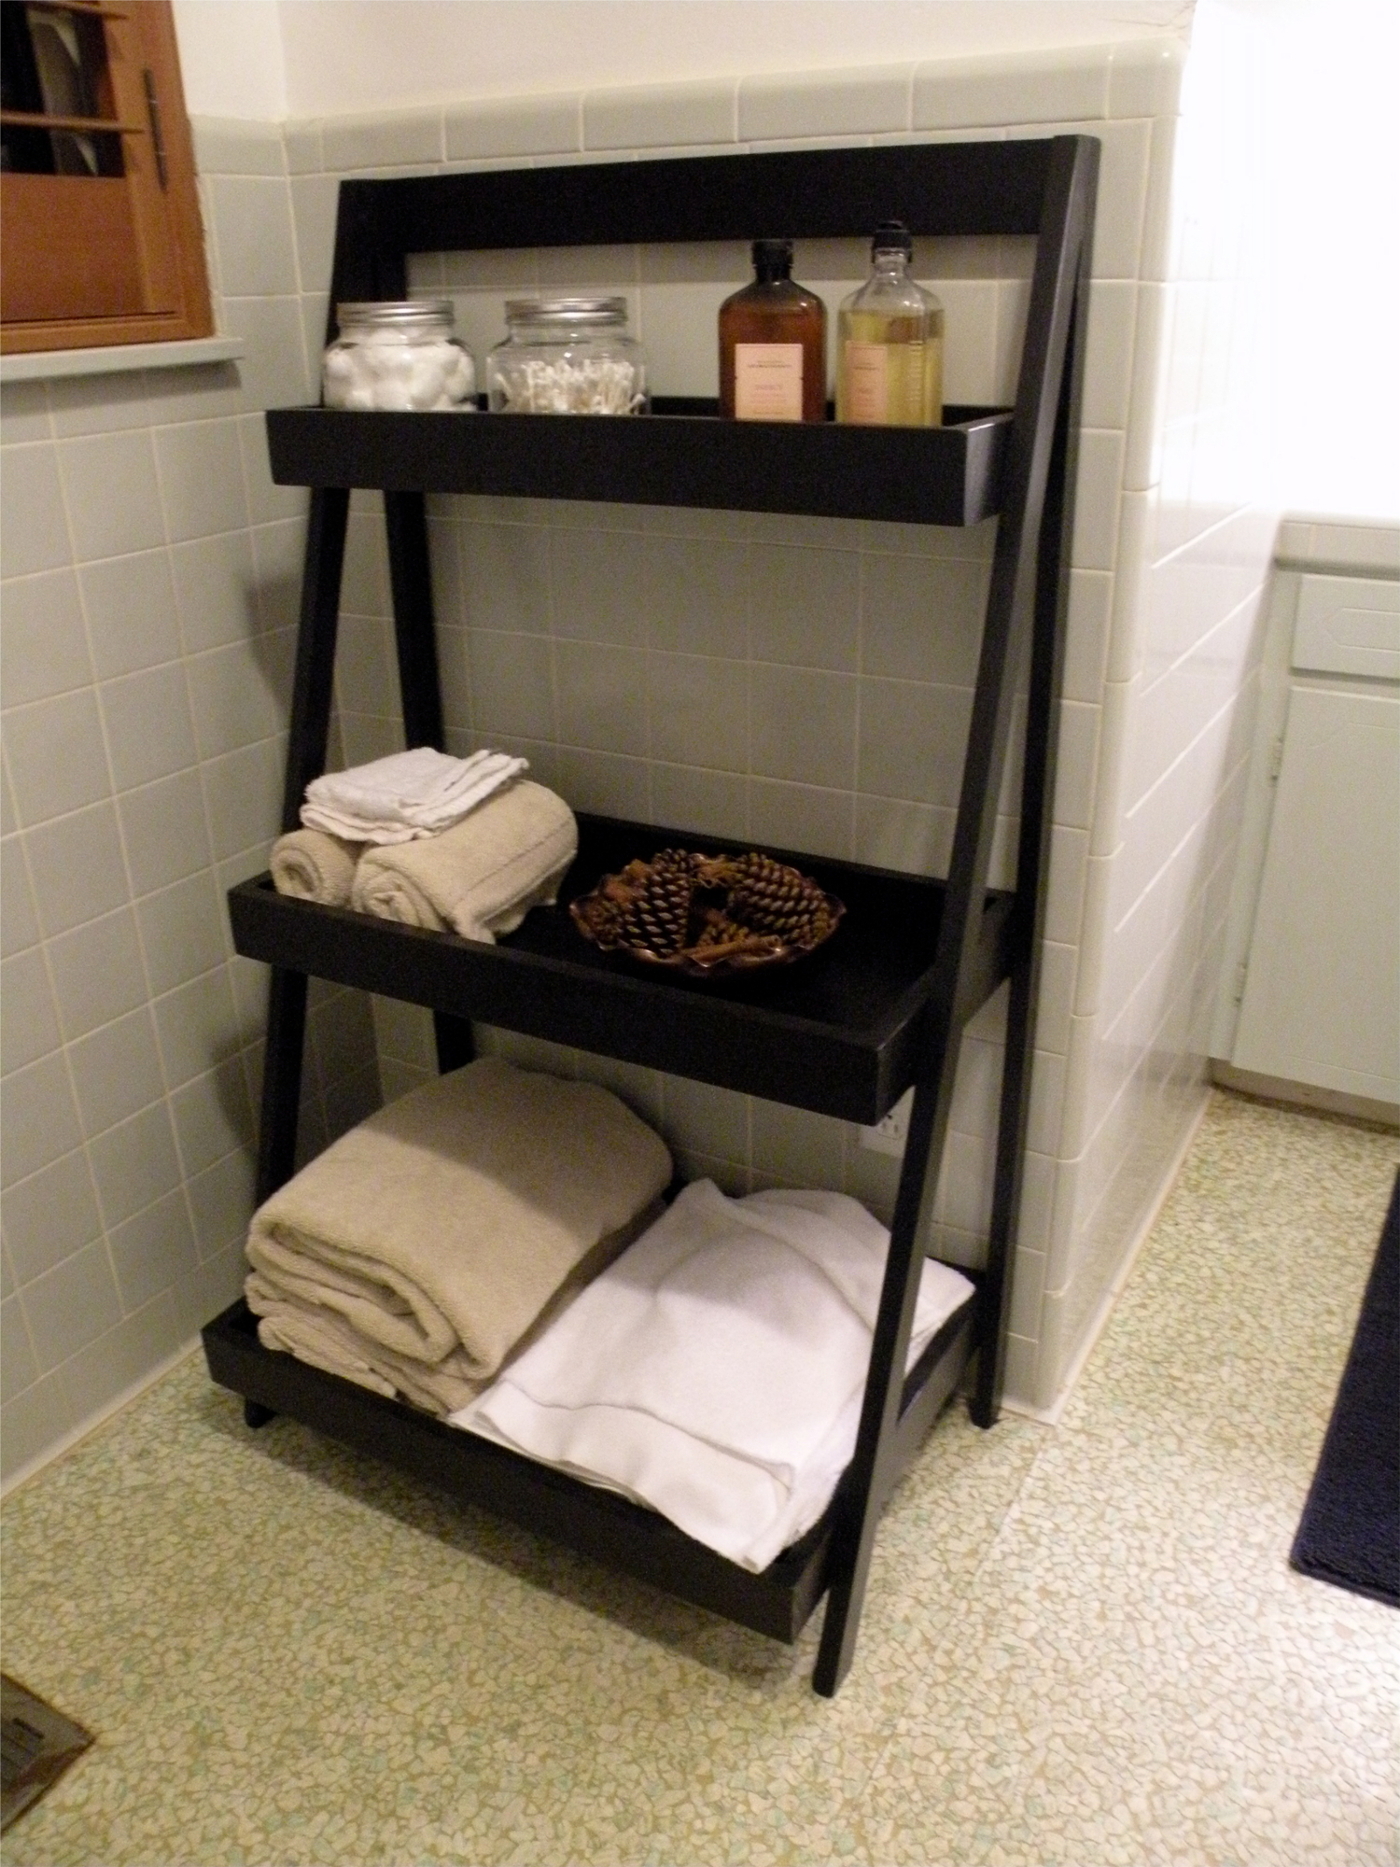
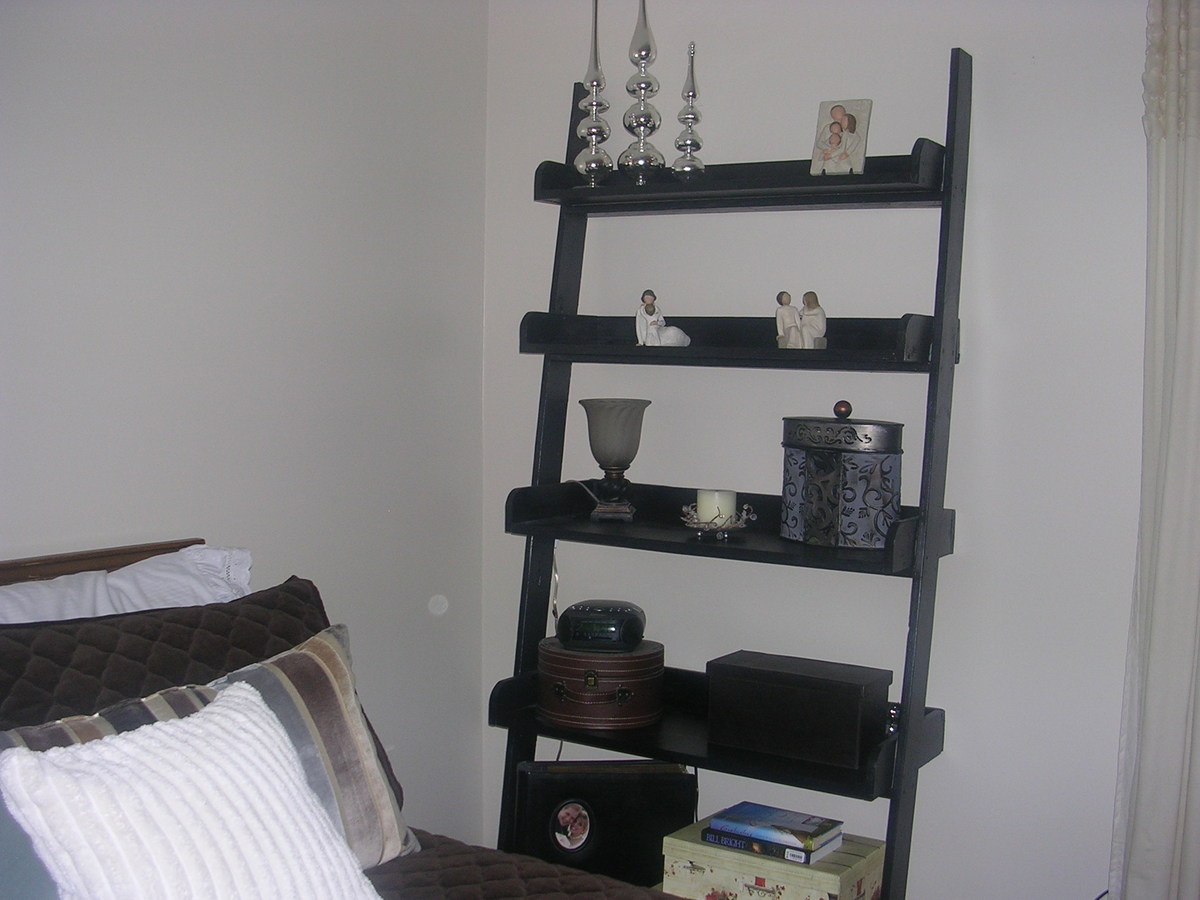
This sweet bookshelf was the perfect summer project. Our girls loved painting it and have already spent hours playing with it. We used High Gloss paint.
Here is a link for a video where you can see the kids painting it and how it looks in their room. https://www.youtube.com/watch?v=3tYXcWxQJ_U

This is the second set of Narrow Cottage End Tables that I have built. Like the first pair I built end a secondary shelf where the drawer would normally ride. This time the secondary shelf is flush with the surrounding support. I used as muched reclaimed wood as possible so instead of solid 1x material I glued up batten panels using pallet slats. I let them run 'wild' on the backside; this will cause some fitment issues when mounting the drawer hardware. Installing a thin cleat along the inside allowed for flush mounting the hardware. The rope handle is 3/8 natural giving the pieces a 'nautical' feel. I drilled the through holes 2/32 smaller in diameter then the rope diameter, or in other words the through holes are 5/16 as opposed of 3/8 of an inch. Make sure to thread the rope from inside the drawer out then back in. I used constrictor knots on the inside to secure the rope ends as well as providing a 'pull' for the handle.
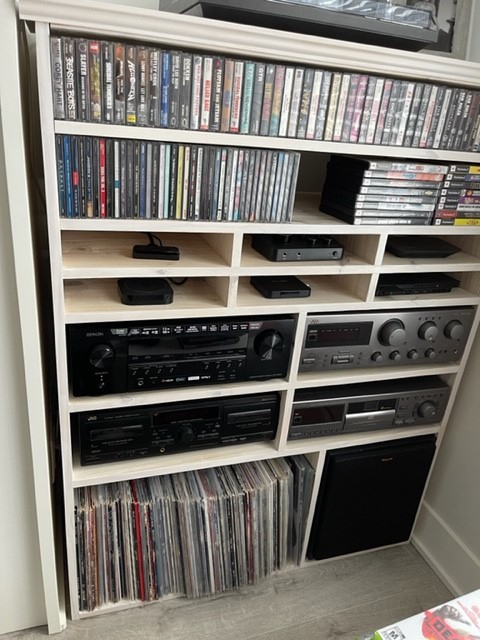
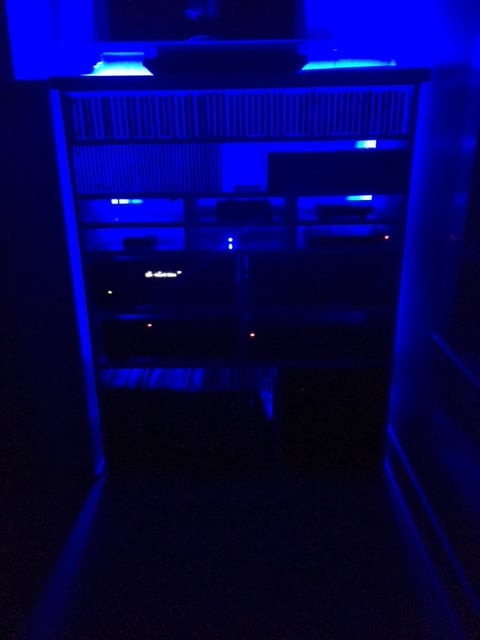
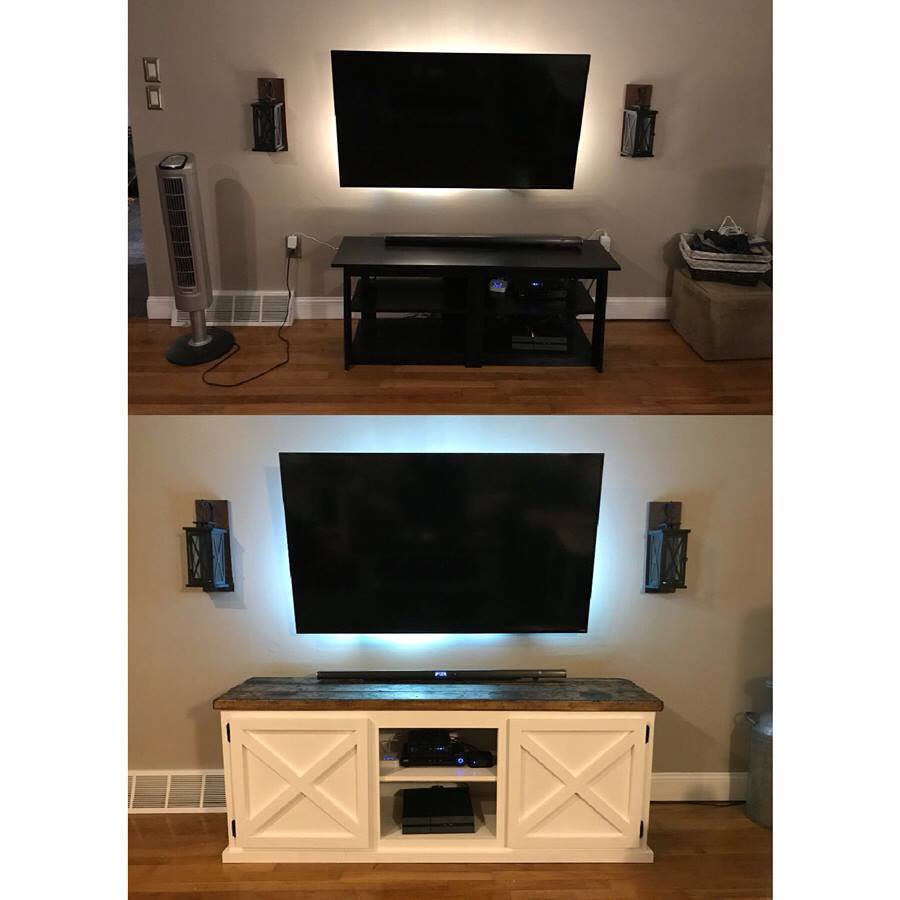
I have a bunch of those streaming boxes, Apple Tv, Roku, a game console and from what I can tell, there is no entertainment console out there that accommodates them very well, so I made my own. I also have a bunch of retro cassettes and CD's that I wanted to display (the cassettes more for nostalgic reasons) and of course vinyl! so I made this very unique console to accommodate everything. The streaming boxes, karaoke, wifi box, game console all get there own little boxes which keeps them all able to connect easily the remotes and all the wires stay hidden in the back. I also put some light strips on it for some additional night time fun! I made this out of a material called Whitewood, which I've found here at Home Depot in Canada. Its really really cost effective and the boards are easy to work with and are nice and straight! Thank you Ana for giving me the confidence to design my own unique project!

Fri, 01/07/2022 - 12:35
That's awesome, way to go, this is where custom DIY comes in!
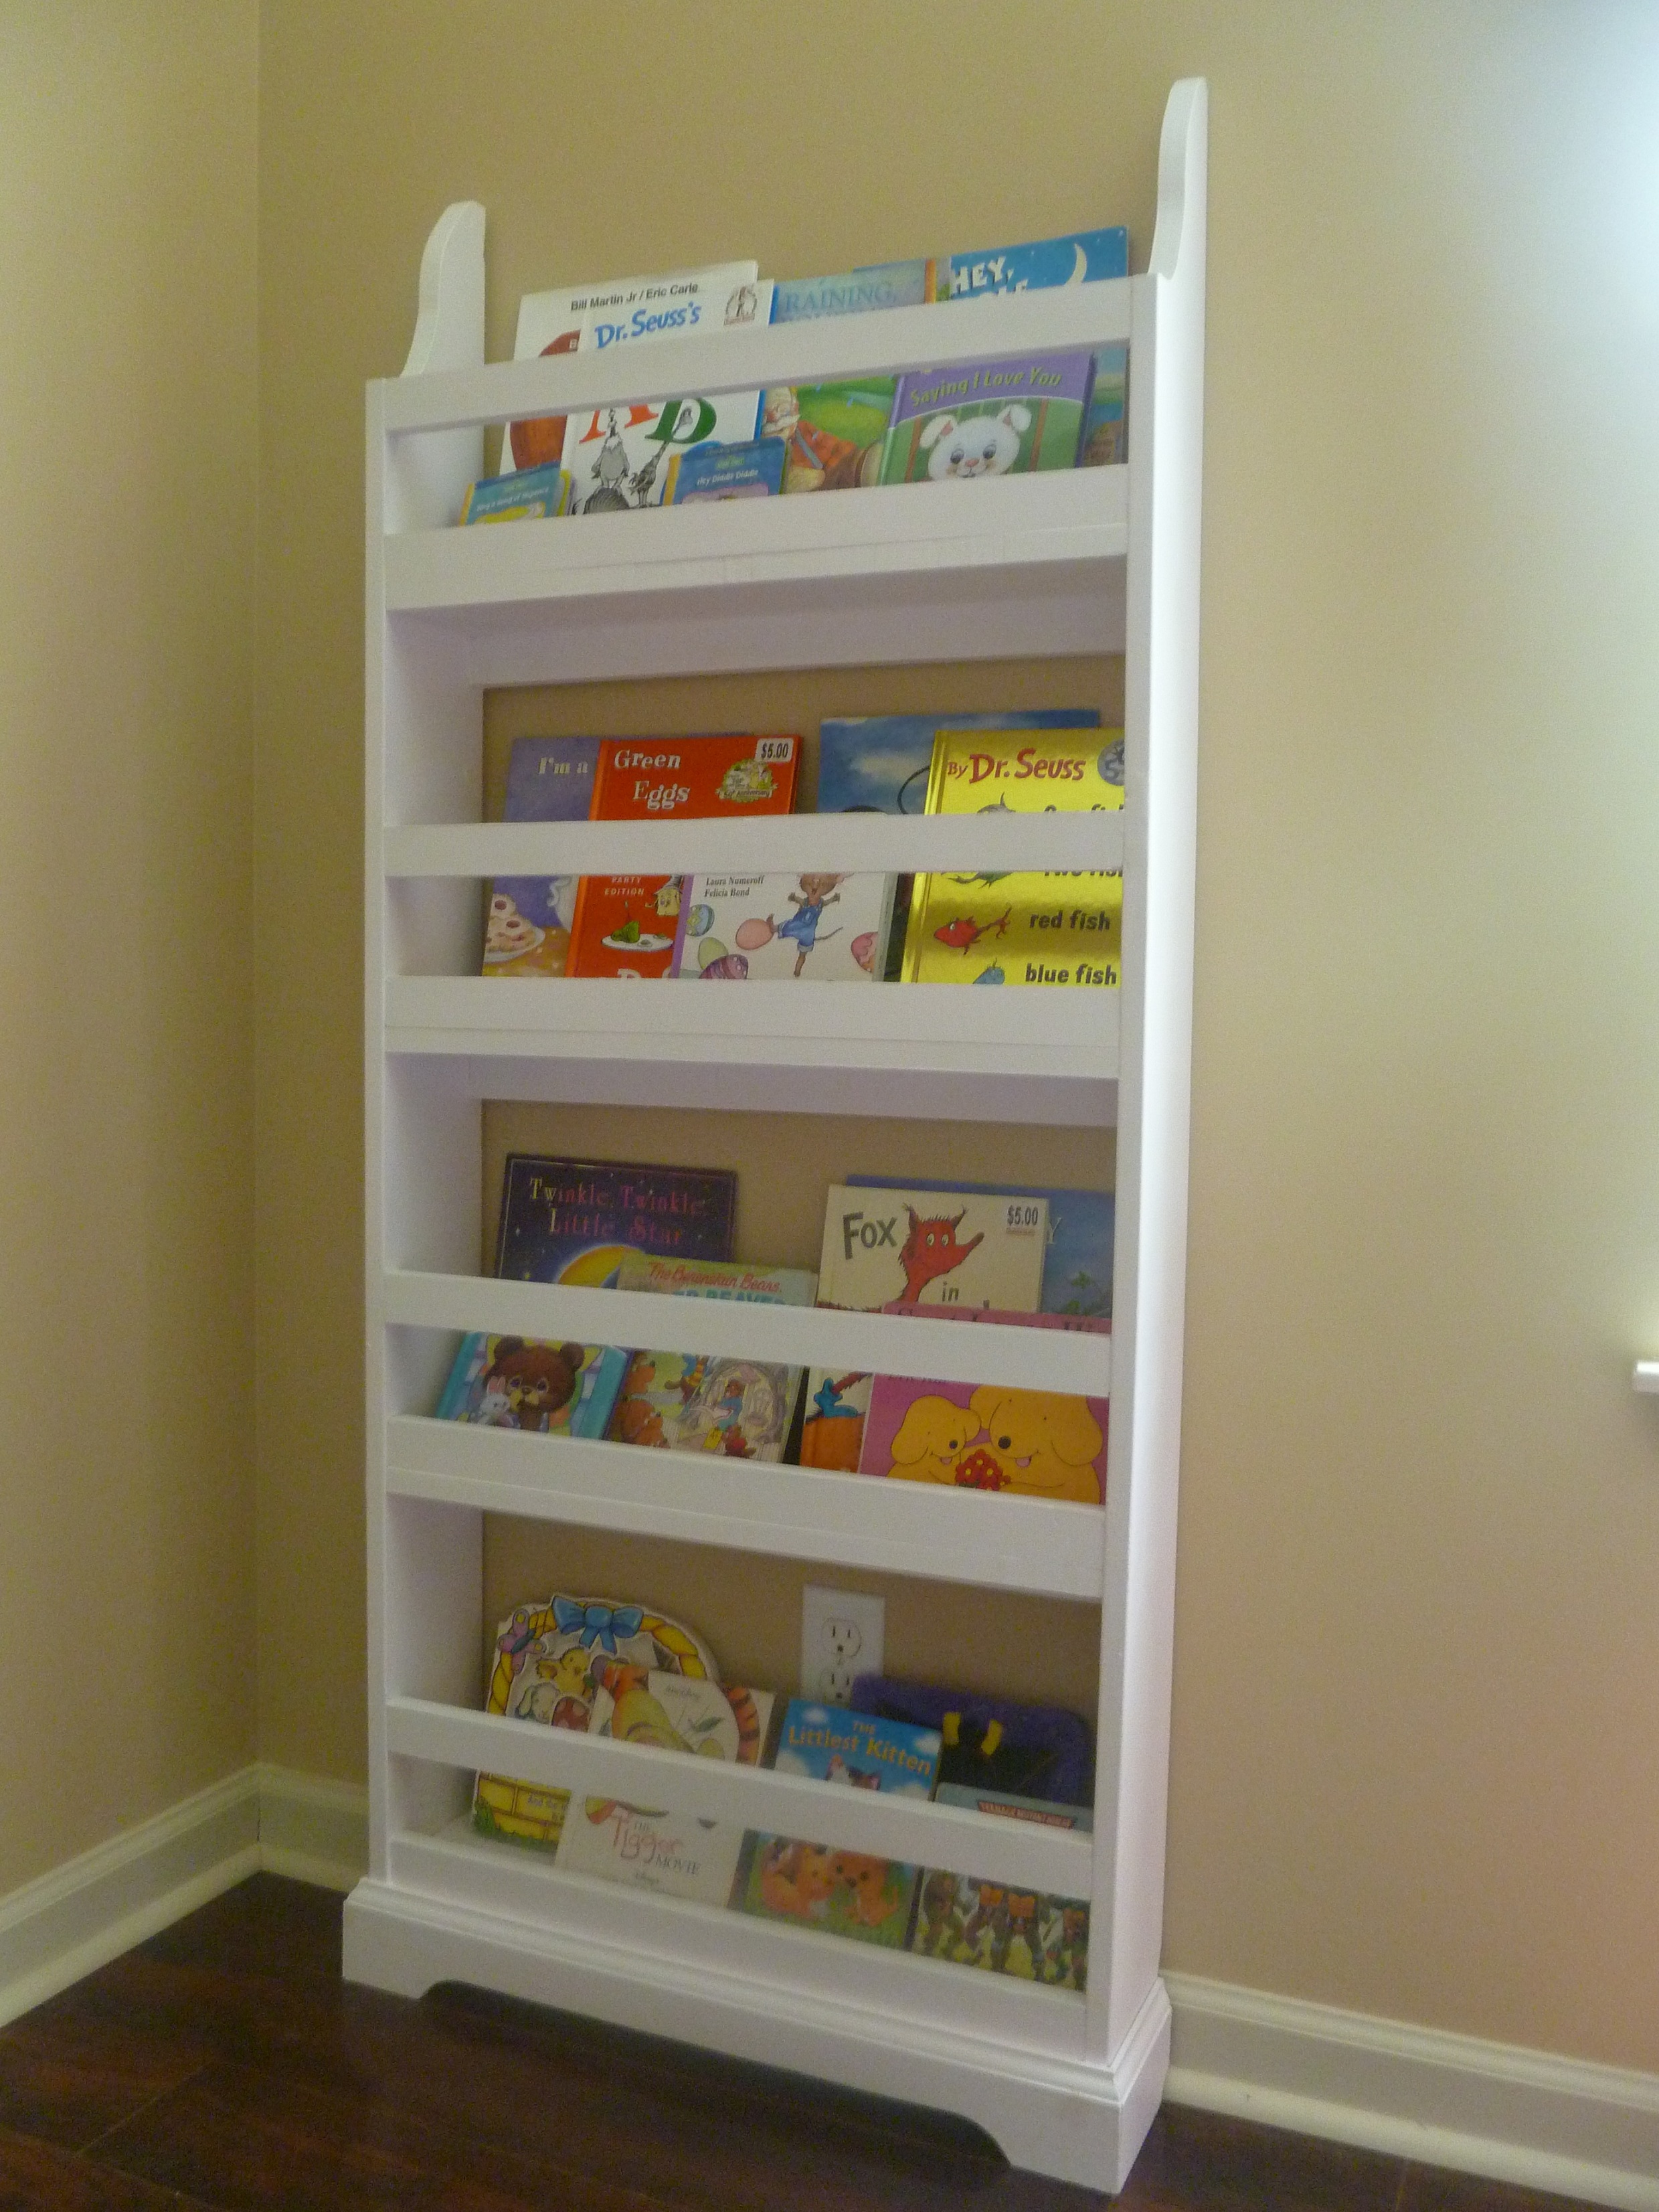
This plan was a breeze to put together (go out and buy some clamps if you don't have any!!) until I finished it, then looked at my wall and saw the baseboards. I really wanted it to be screwed/nailed into the wall, so it needed to be flush. That's where the nightmare being. Eventually (over a week later) I got that finished, however, and am loving my little one's new bookcase! I just can't decide where to put it now, in her bedroom or in her playroom. Maybe I'll make another and she'll have two! :D This plan was very simple to follow, and the materials weren't expensive, so I could definitely do that.

These are solid cedar. They also have several coats of polyurathane. They both got wet sanded and buffed for final coat. They were also modified with leg braces amd braces along side decking. Enjoy!
Wed, 07/10/2013 - 09:38
Sorry first pic got uploaded upside down some how ? Instagram acct is jrh413 for anyone who wants to follow. Thanks!

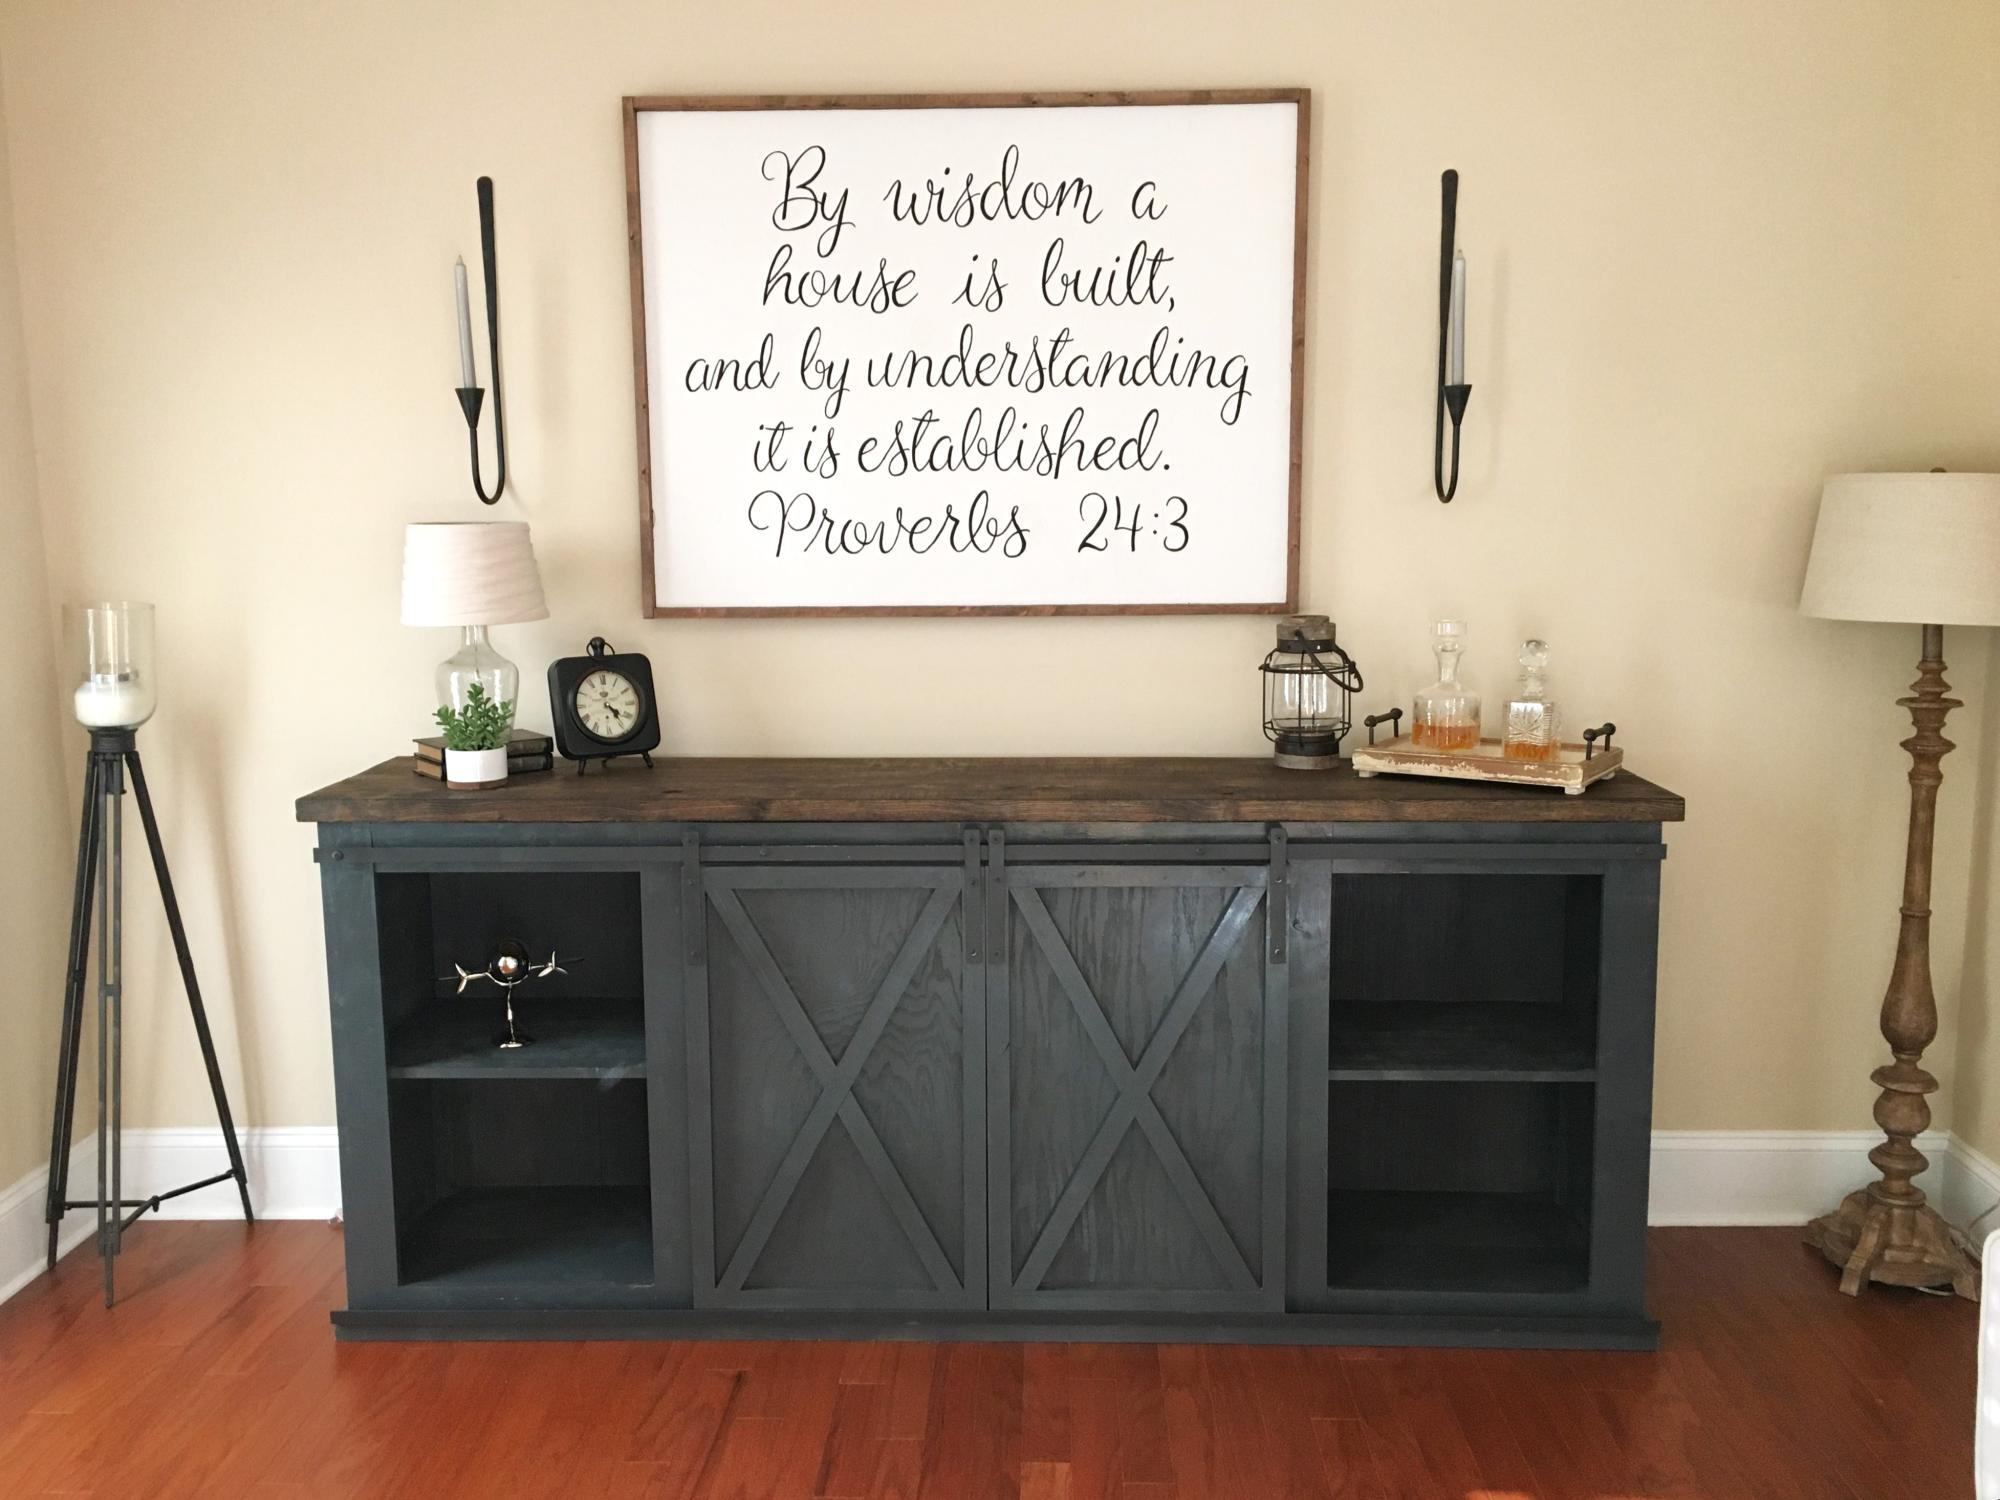
This is the first time I attempted a project with doors, and was rather intimidated by that. I managed to get through it without a square and ended up with a square piece in the end. I installed shelves behind each door so that DVD cases would fit both on the bottom and on the shelf.
I customized the middle section to accommodate our cable box and PS3, while still allowing for storage of controllers in the bottom portion.
This was a fun project.

I pretty much followed the plans to the T. I did use 3/4" plywood for the middle shelf instead of the suggested wood. The hardware was the hardest part and mostly followed the previously posted DIY from Jamie's website with a few modifications.

Cool project. Loved doing it. Turned out well.
We modified this project to fit our space. We also made the shelves sturdier by cutting a groove for the bottom of the shelves to slide into. This project is much easier when completed by two people.
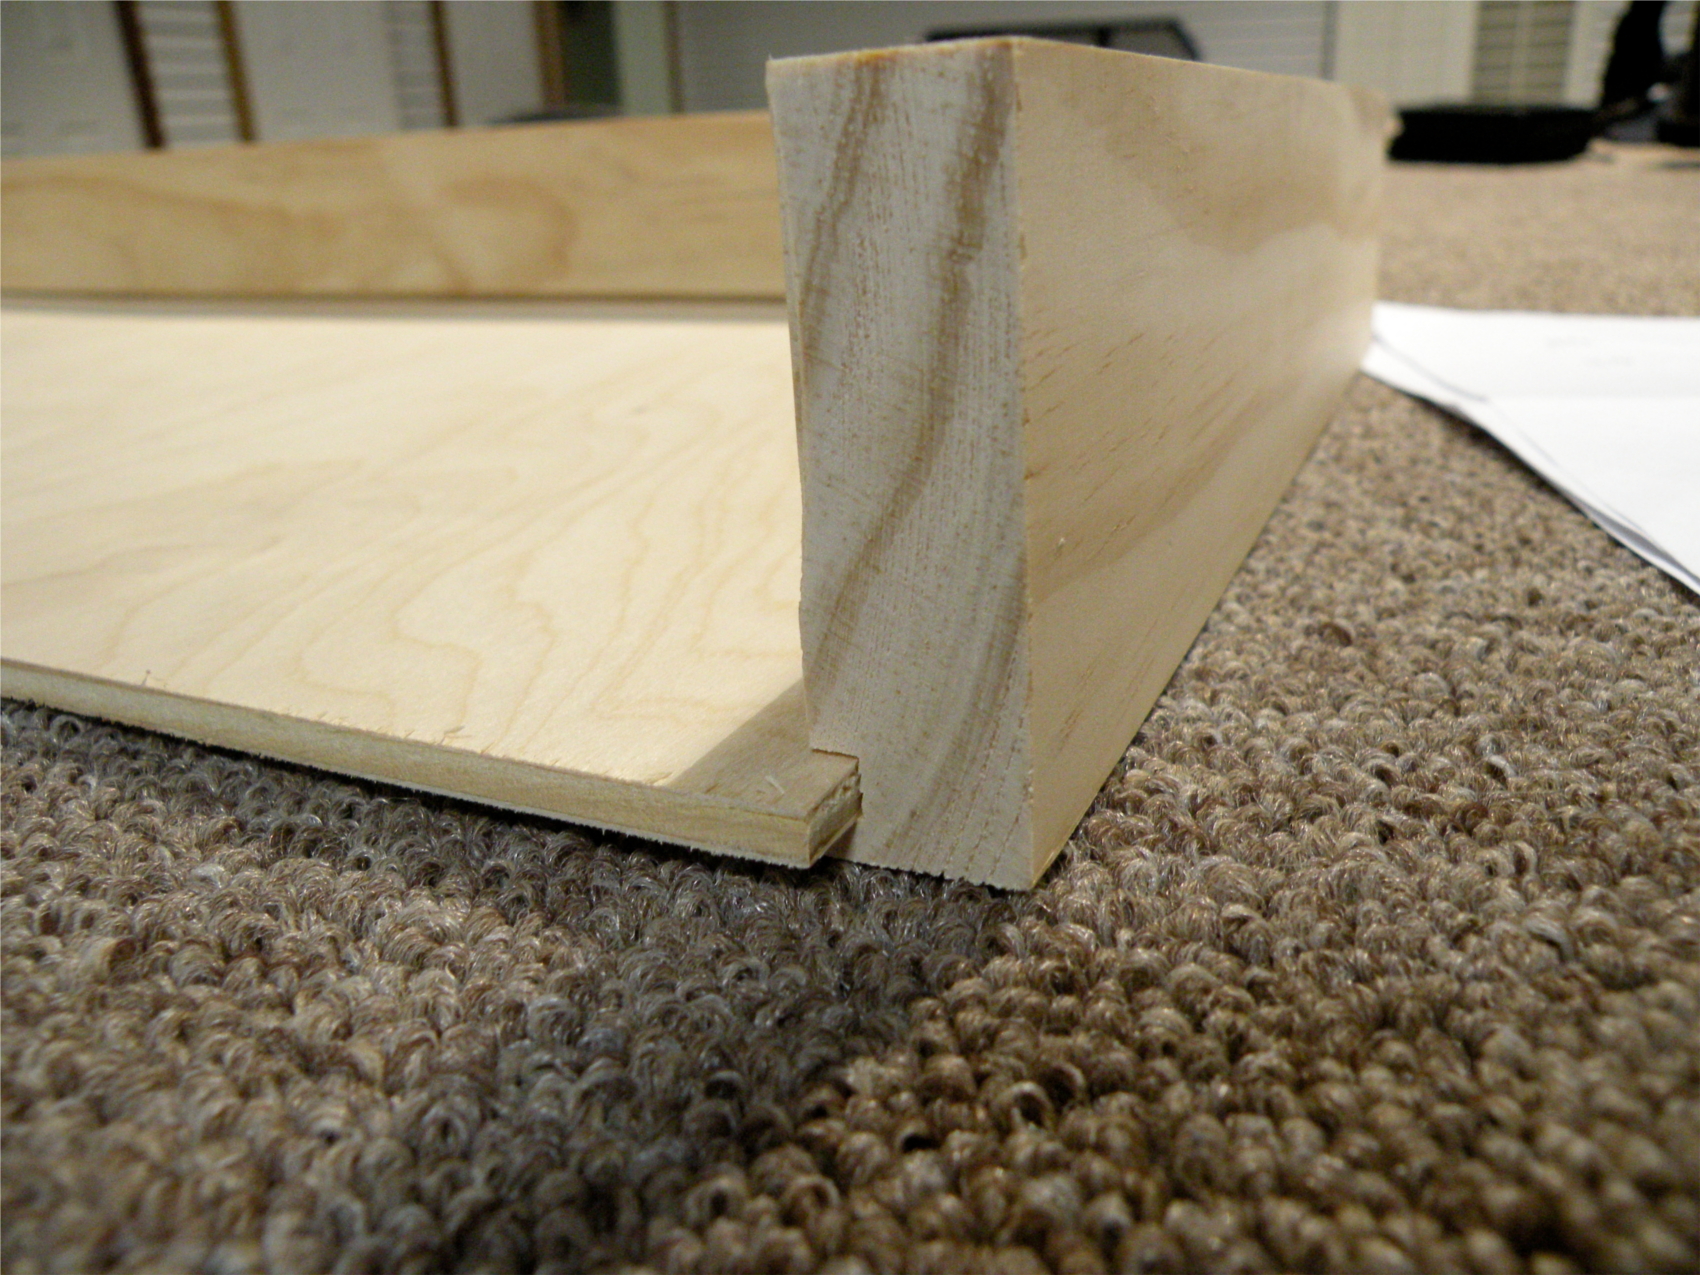
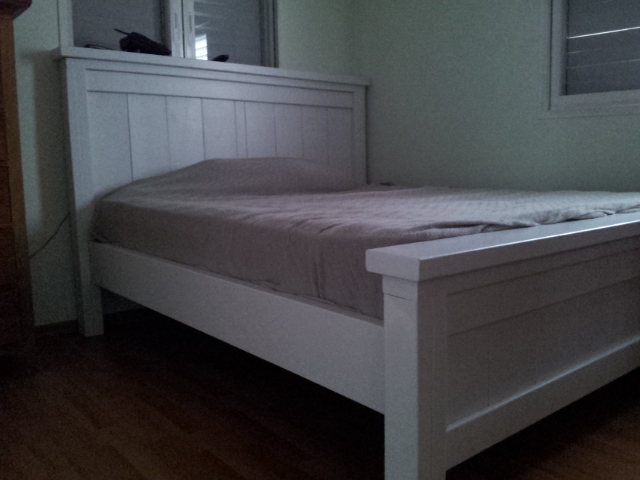
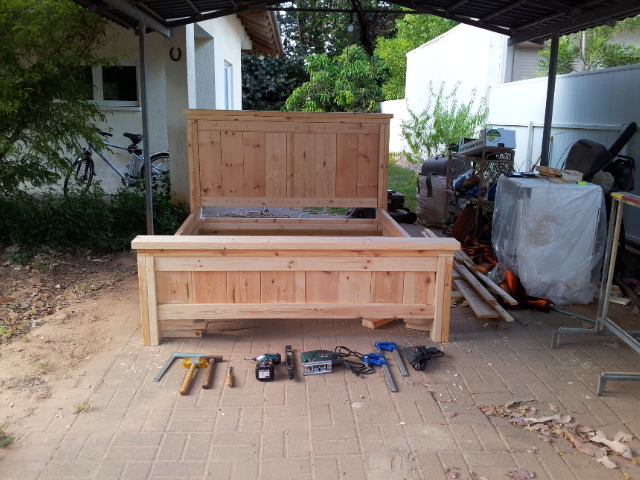
I'm done building my first ever bed. It was a little expensive (Around 350$).
I had a lot of fun; I made some changing in the connection between the bed frame and the footboard.
I also had to convert the measurement to centimeter and to the European mattress measurement.

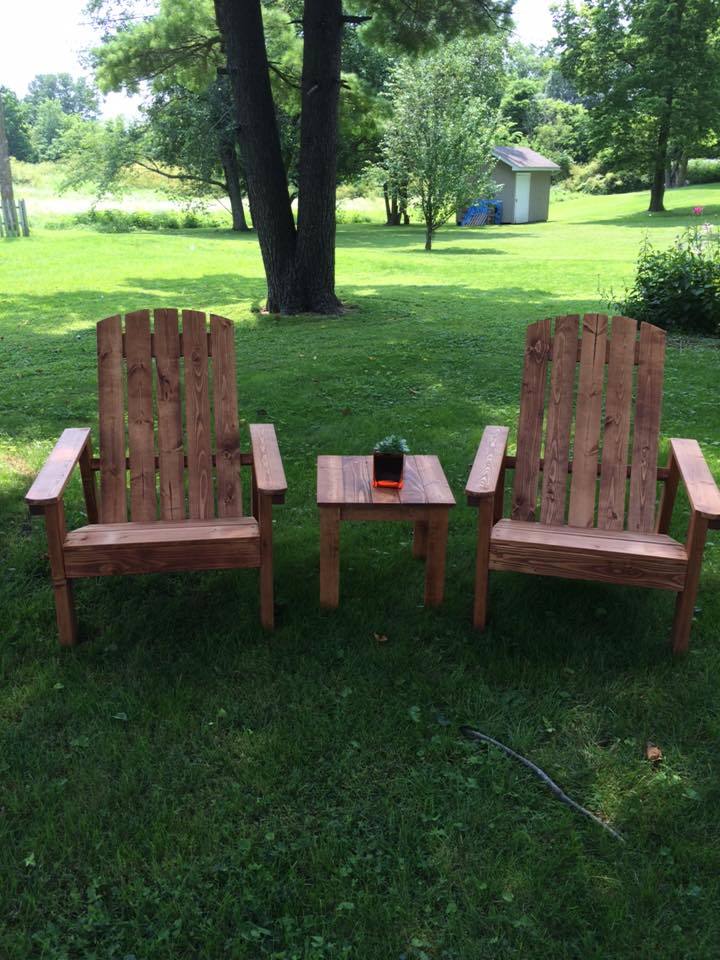
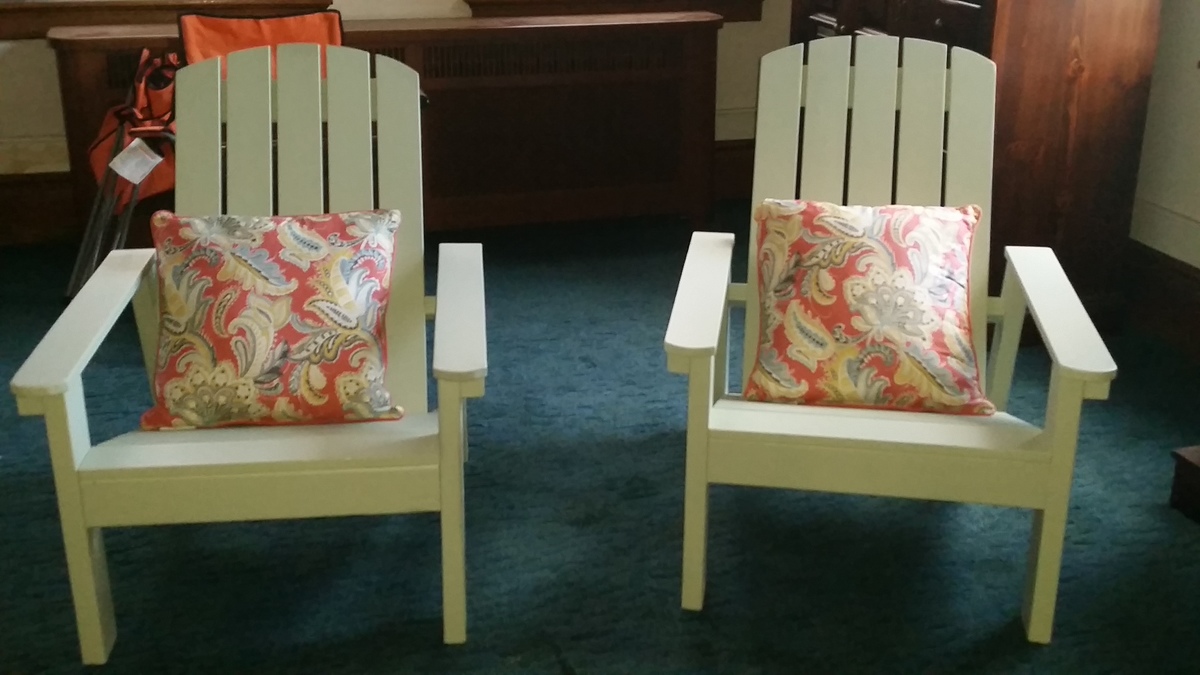
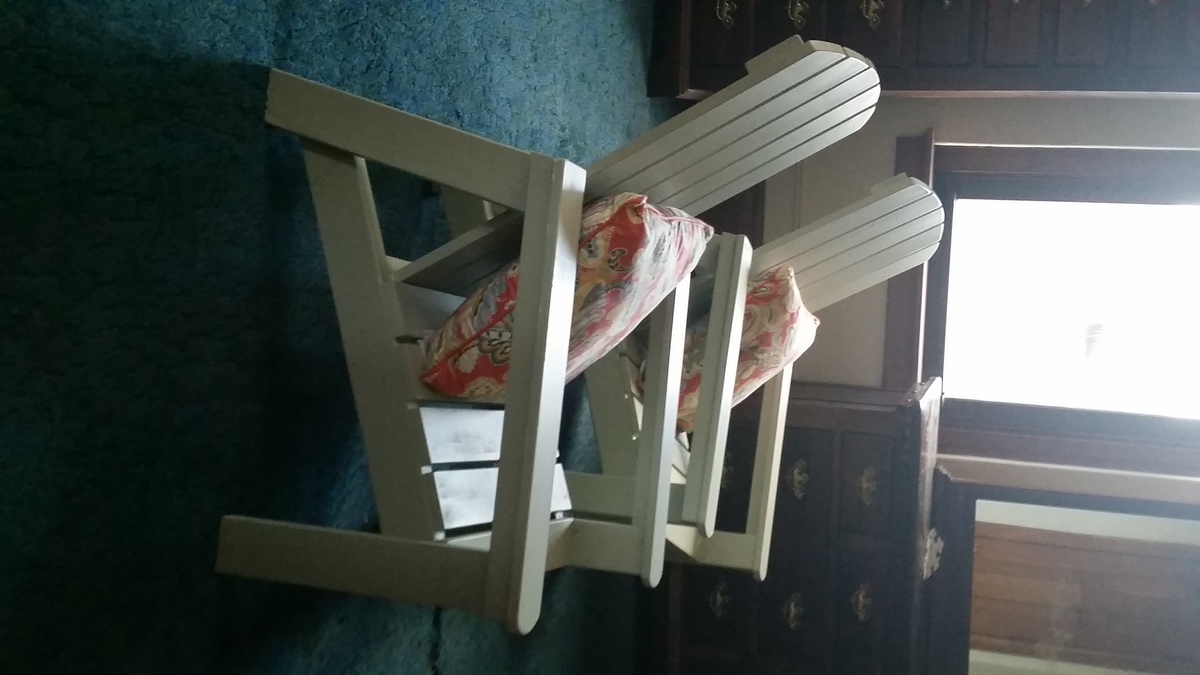
I built 4 chairs total. A set for my mother and another for my mother-in-law for Mothers Day. The first set I built are the green ones with the cushions. The second set are the stanined chairs. The second set went a little easier than the first because I learned from my mistakes. What I did differently on the second set was mainly to sand and stain before assembling. I had a hard time getting in between all of the nooks on the painted chairs. I ended up using my paint sprayer to paint them because it was just going to take forever otherwise. The side table was very easy and straightforward. No issues there. All in all a pretty easy project. Both moms were very pleased with their gift! Thank you Ana and Home Depot once again for the awesome plans!!

After building and hanging a barn door, I realized I did NOT want to do that on a piece of furniture. It looks cool, but getting it to work right wasn't worth it.
I altered the dimensions a bit to 25"H x 16"W x 61" L
I also used 1x3's instead of 1x4's since I was doing a smaller scale

Love the result! Your plans for this is fool-proof for someone like me. Easy to build… only after attempting use (4) 1x6 for top and messed up the corners to attach legs with my terrible jigsaw skills, I scratched the 4th board and went with the (2) 1x4’s on each side surface. I’m now in love with this style and plan on (finally) having matching new furniture, once I build some of the other pieces in this Parson style collection! Thank you for the plans
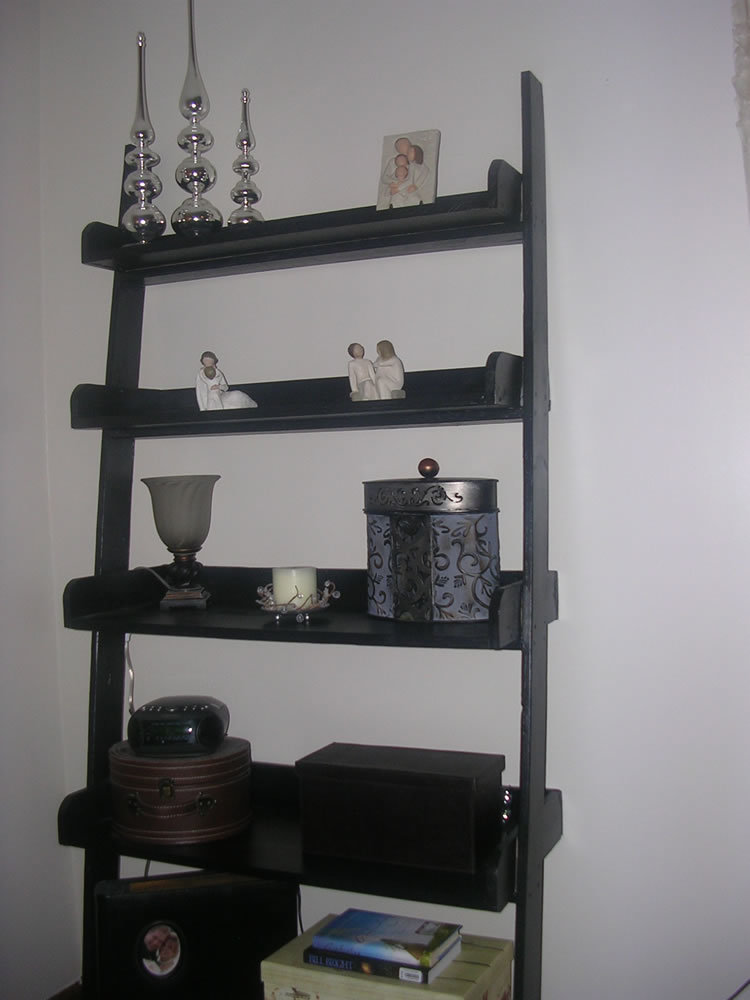
Finally I drummed up enough courage to try a project ... the leaning wall shelf. My husband and I had a great time working on it together.
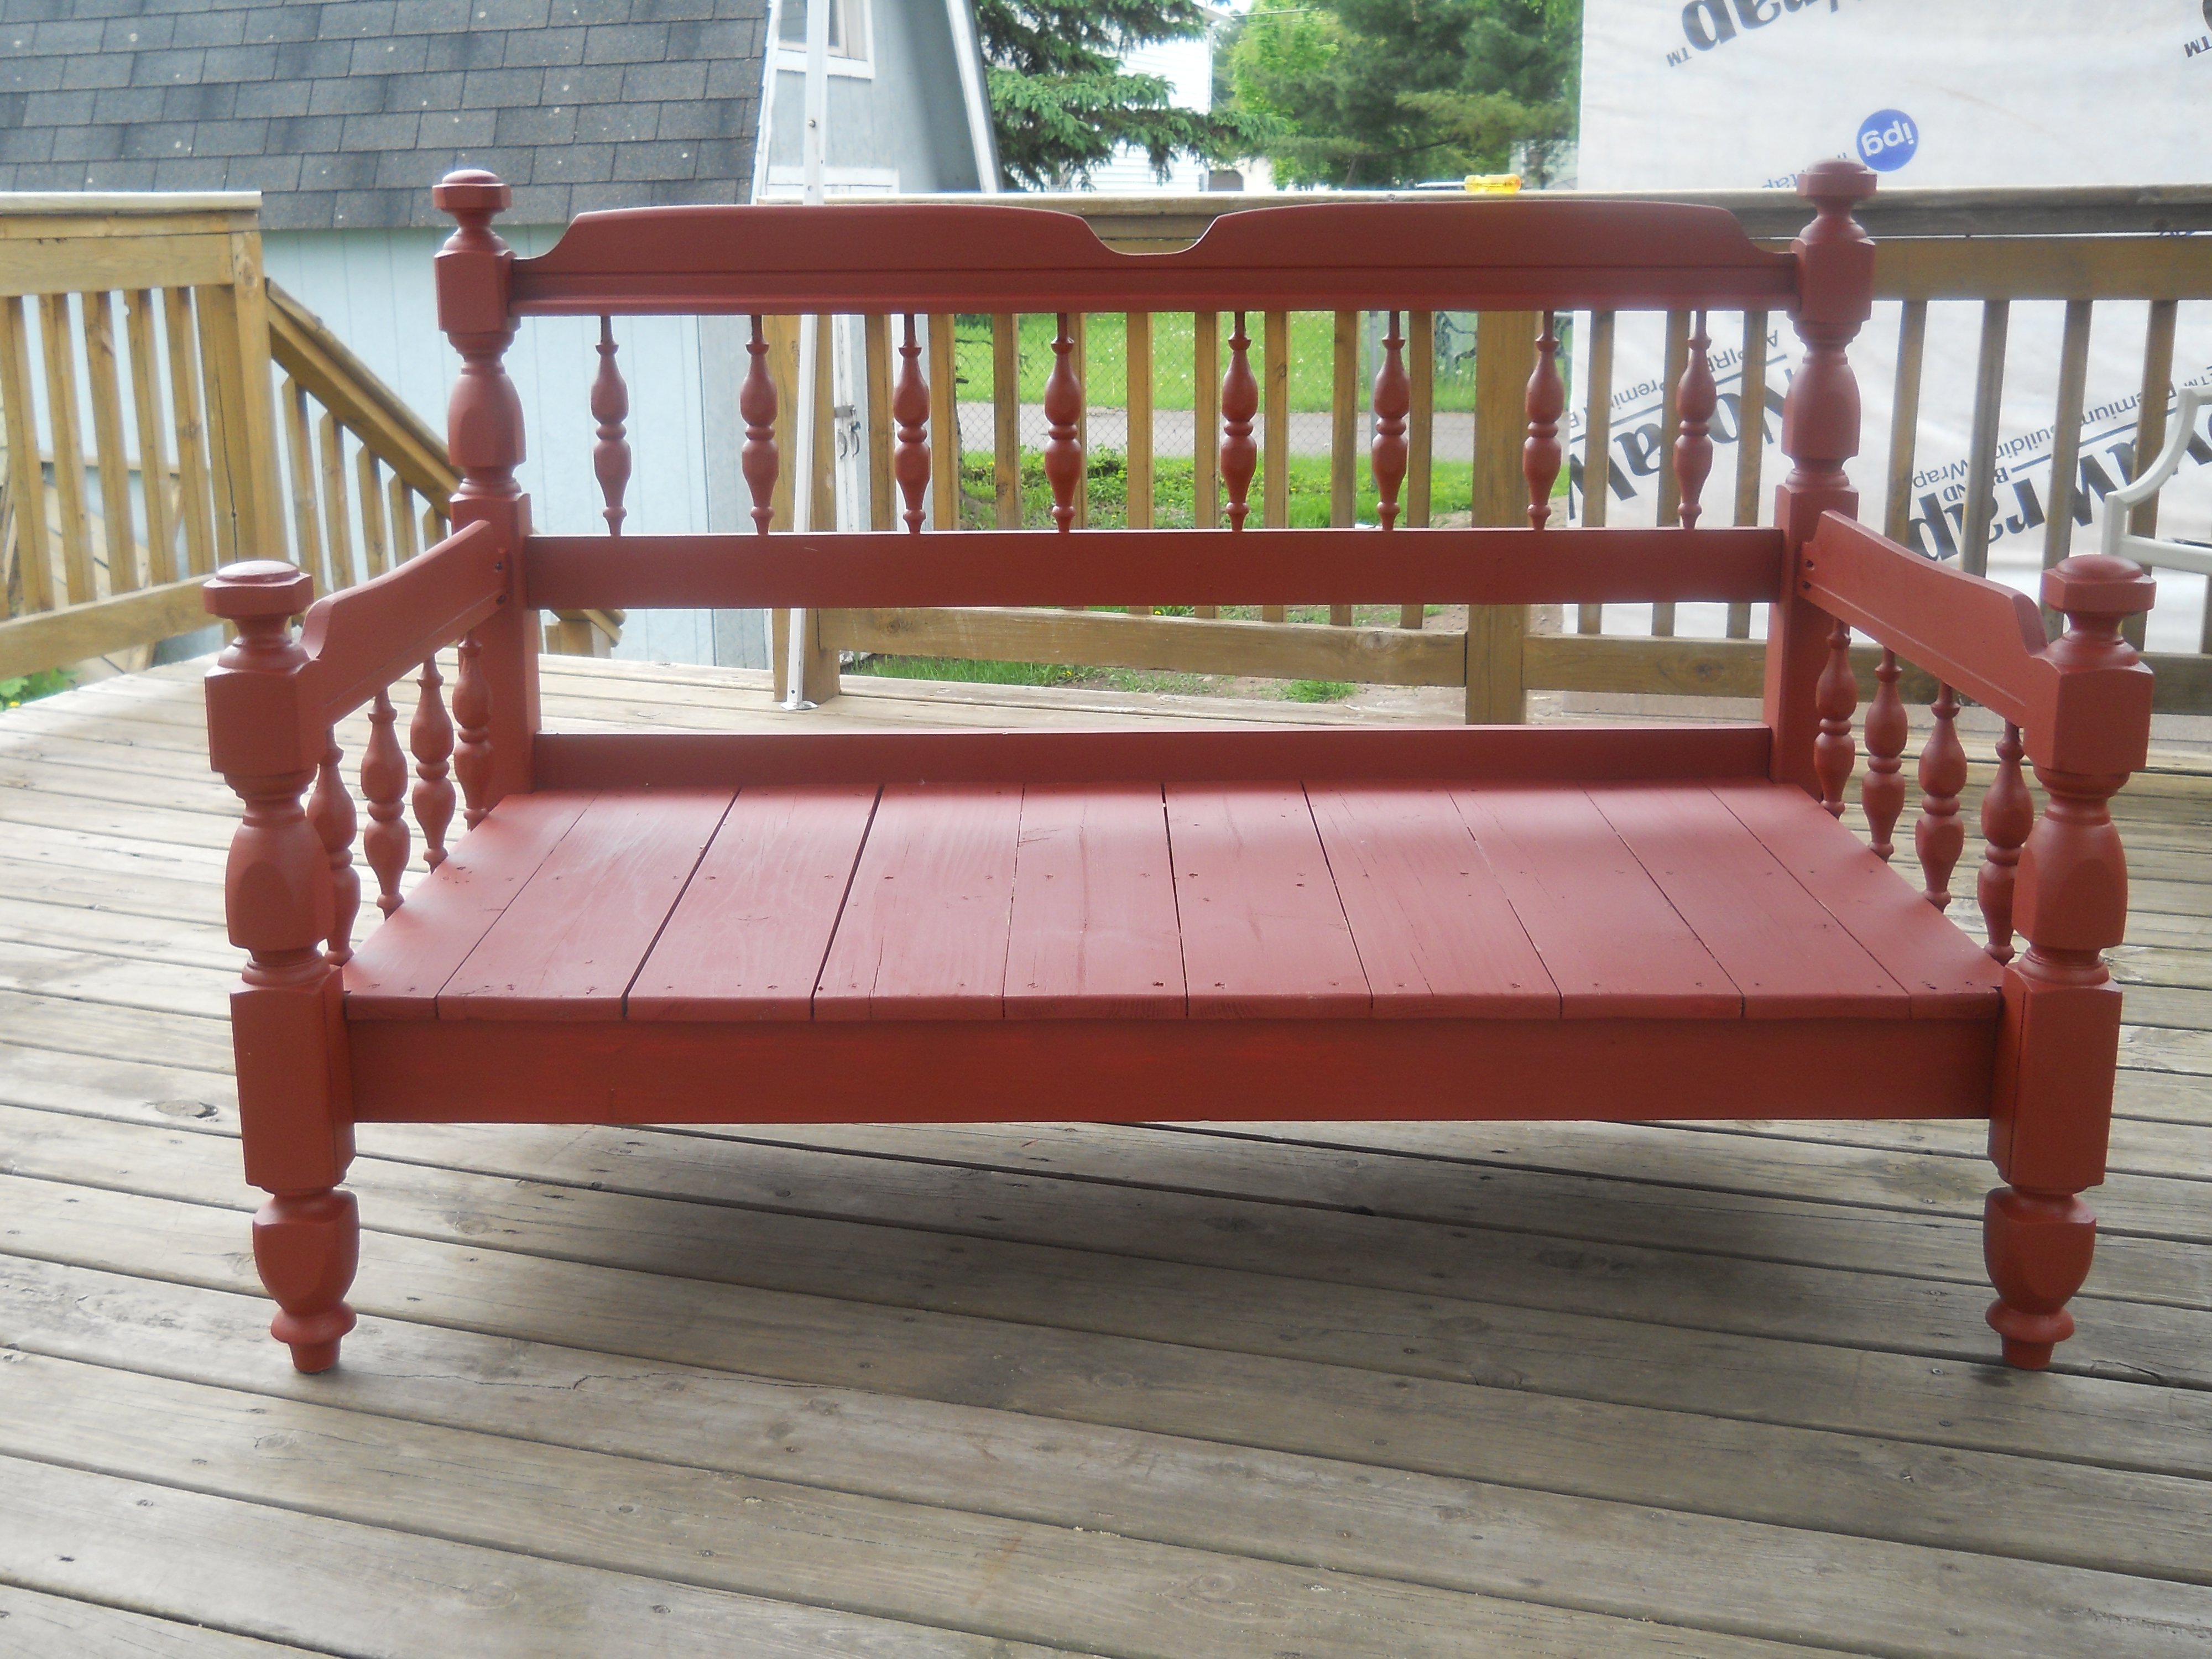
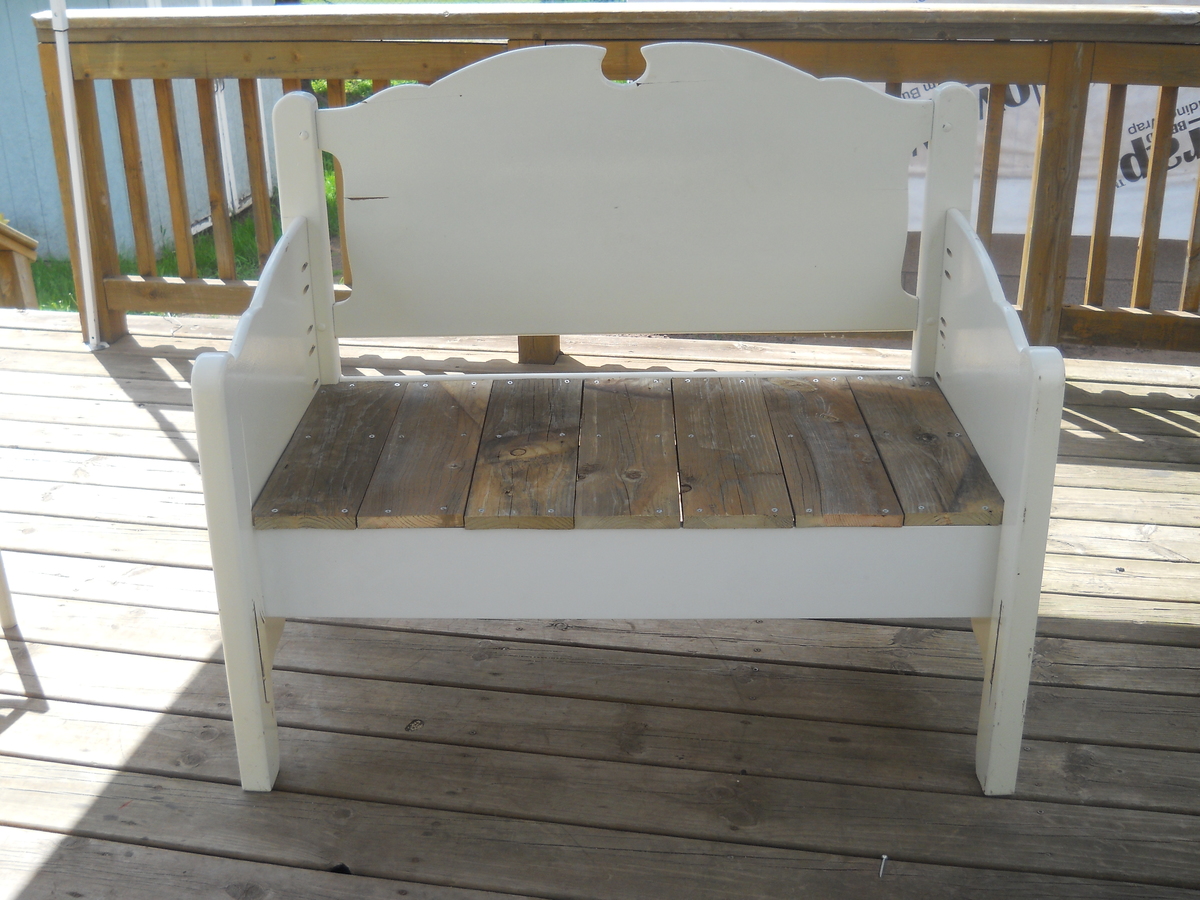
Both footboards were cut in half attached with Kreg jig frames built for the seats out of leftover 1x2 and the seats were from leftover 1x6 fence boards cut to fit. Both headboards were oak the first was stained using 3 coats of pittsburgh exterior stain . The second was originally painted white so I left as is and added the seat as the other and left it rustic looking.
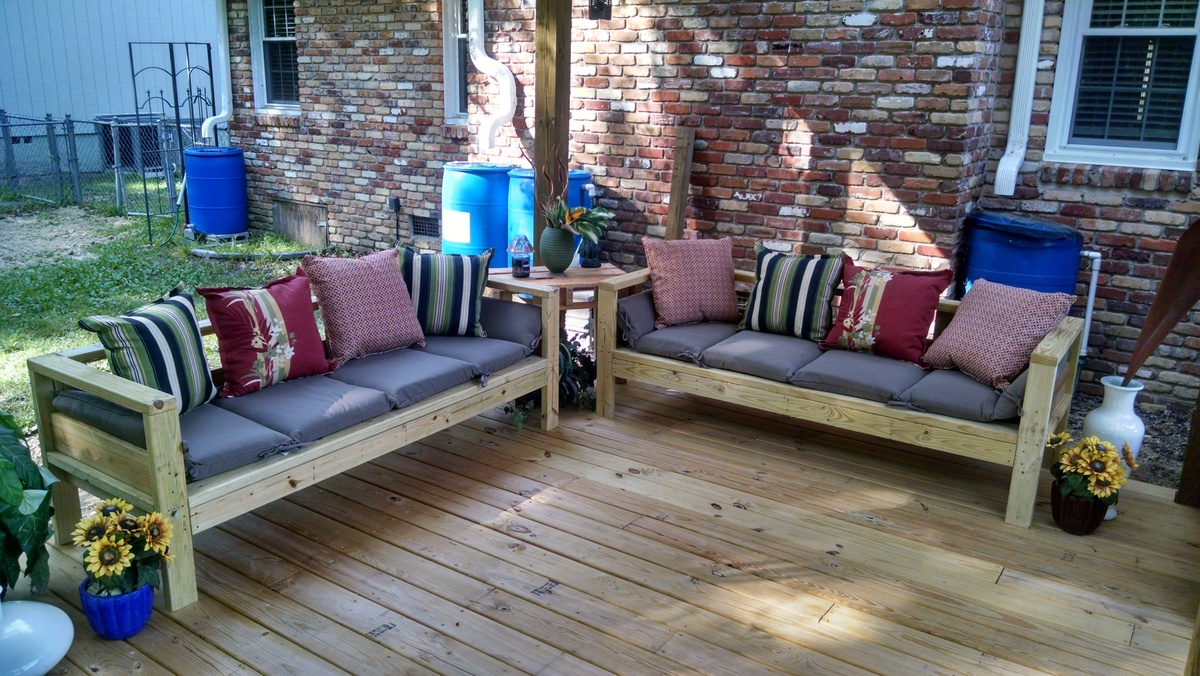
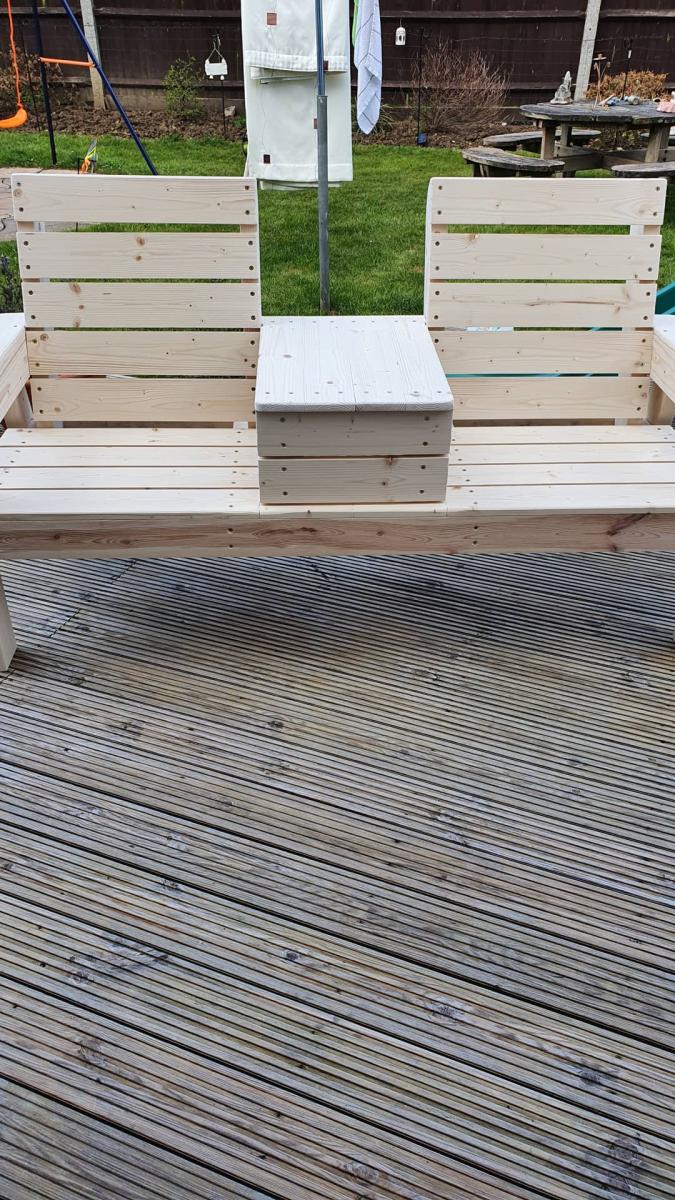
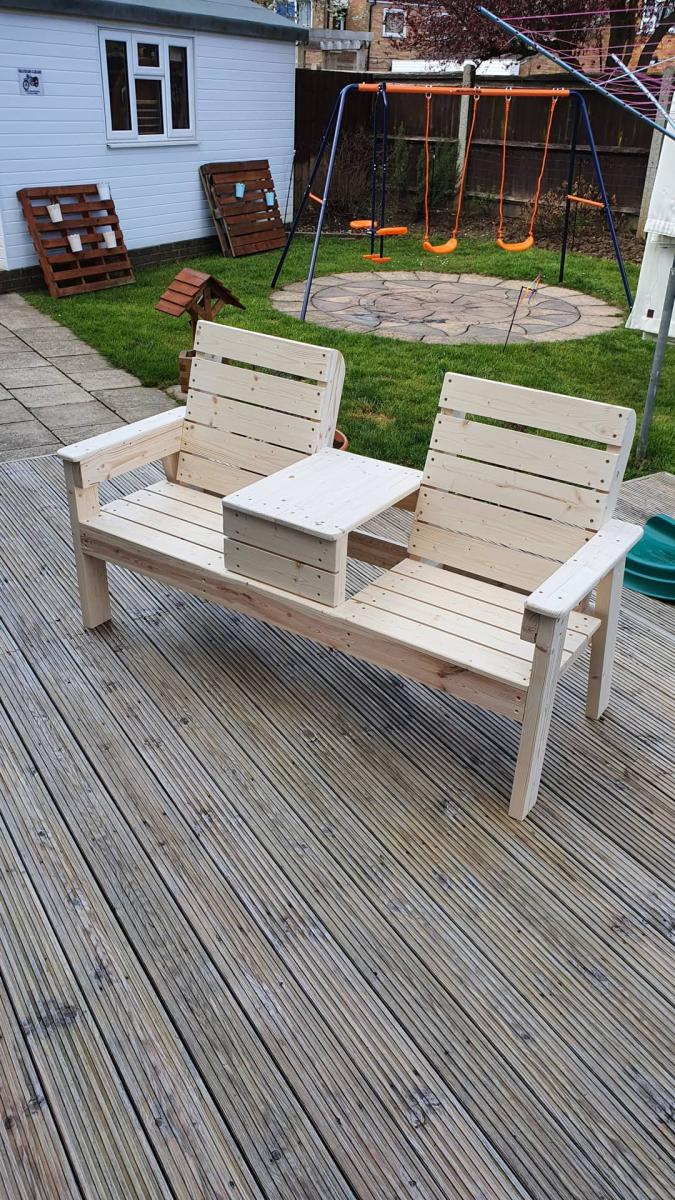
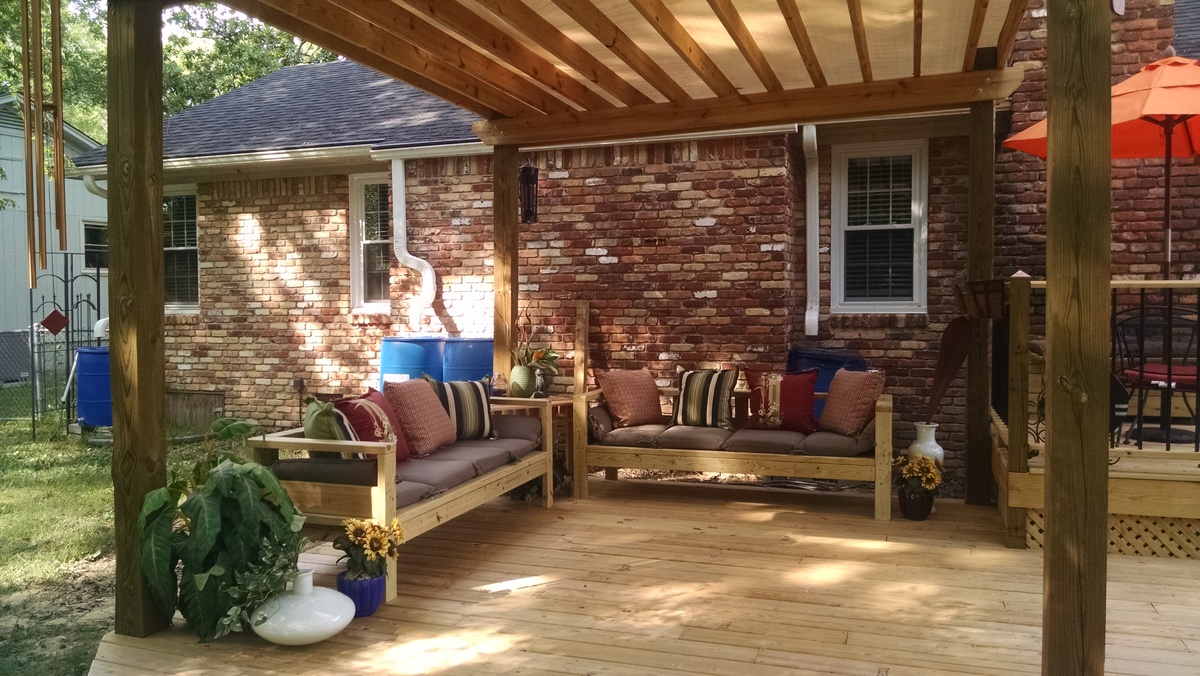
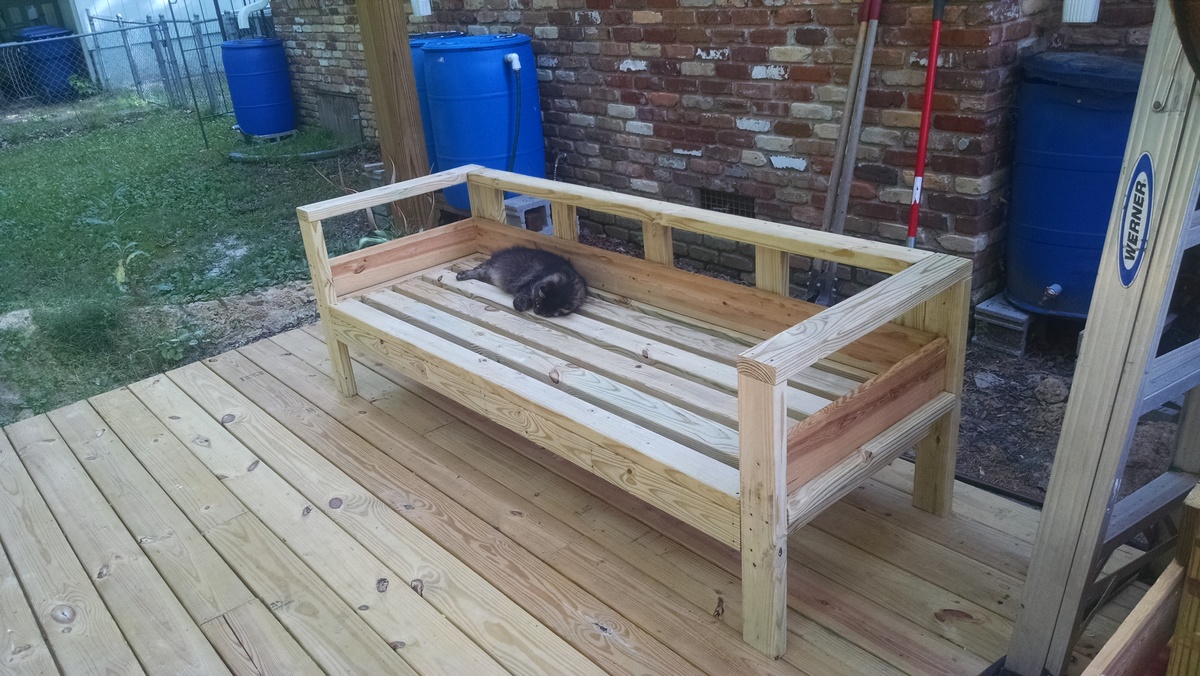
I did add slats to the back as well as the sides as you can see in the photos. This was to hold the cushions in place and make sure they didn't fall out. Worked out very well. The 5 additional verticle slats were 11 1/4 inches and required no further purchase as they were made from the scraps. I also added the additional horizontal slat on the sides using 5/8 decking board left over from building the deck. The sides measured 25 1/2 to fit inside the arm and was 1 1/2 inches from the inside of the couch. I simply screwd them in from the front and back. The rear horizontal piece measures 75 inches and create additional support for the back cushoins, which in this case I used 17x17 inch pillows. I simply screwed this piece into the rear verticle slats. I finished all of it off with a 1/16 roundover bit with my router to make "soft" edges. All-in-all I think that the small changes made for a very polished looking and stout piece of outdoor furniture!
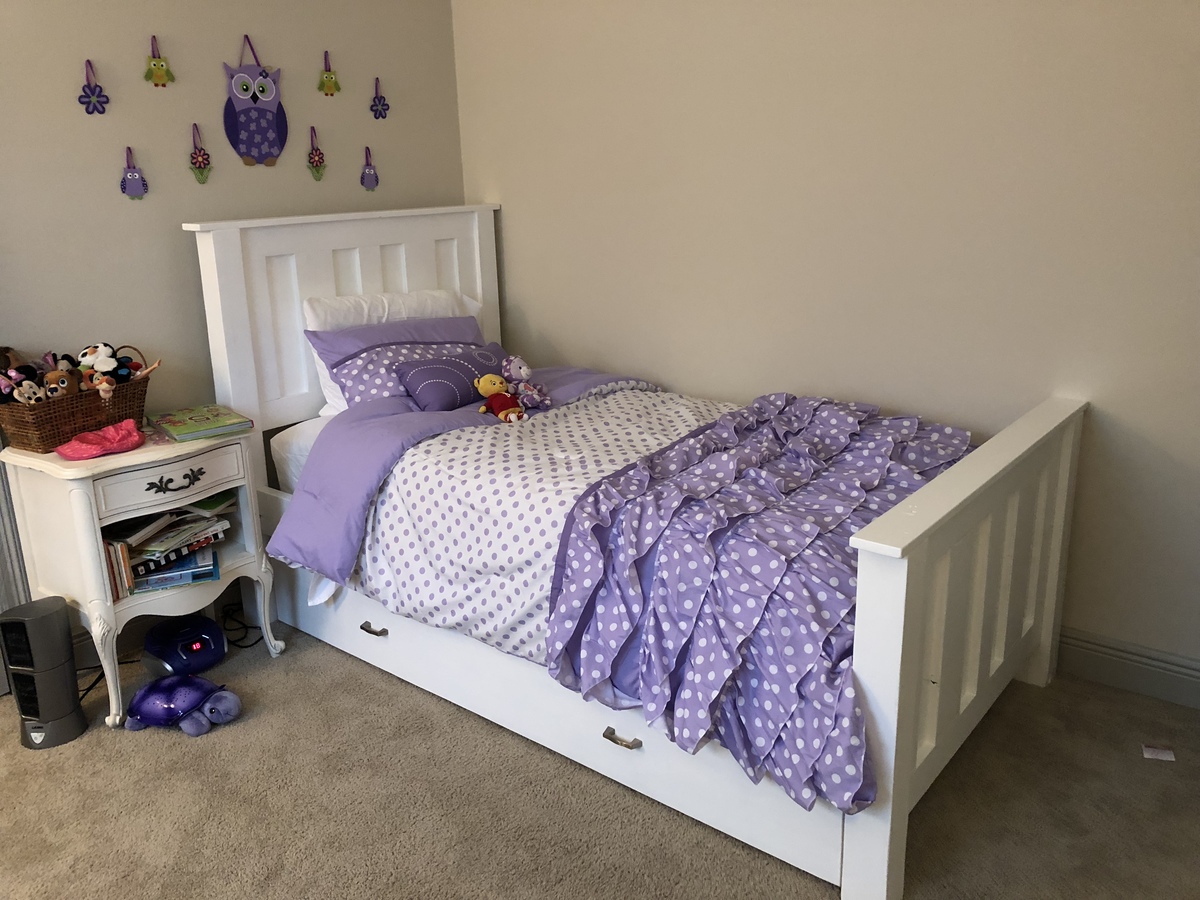
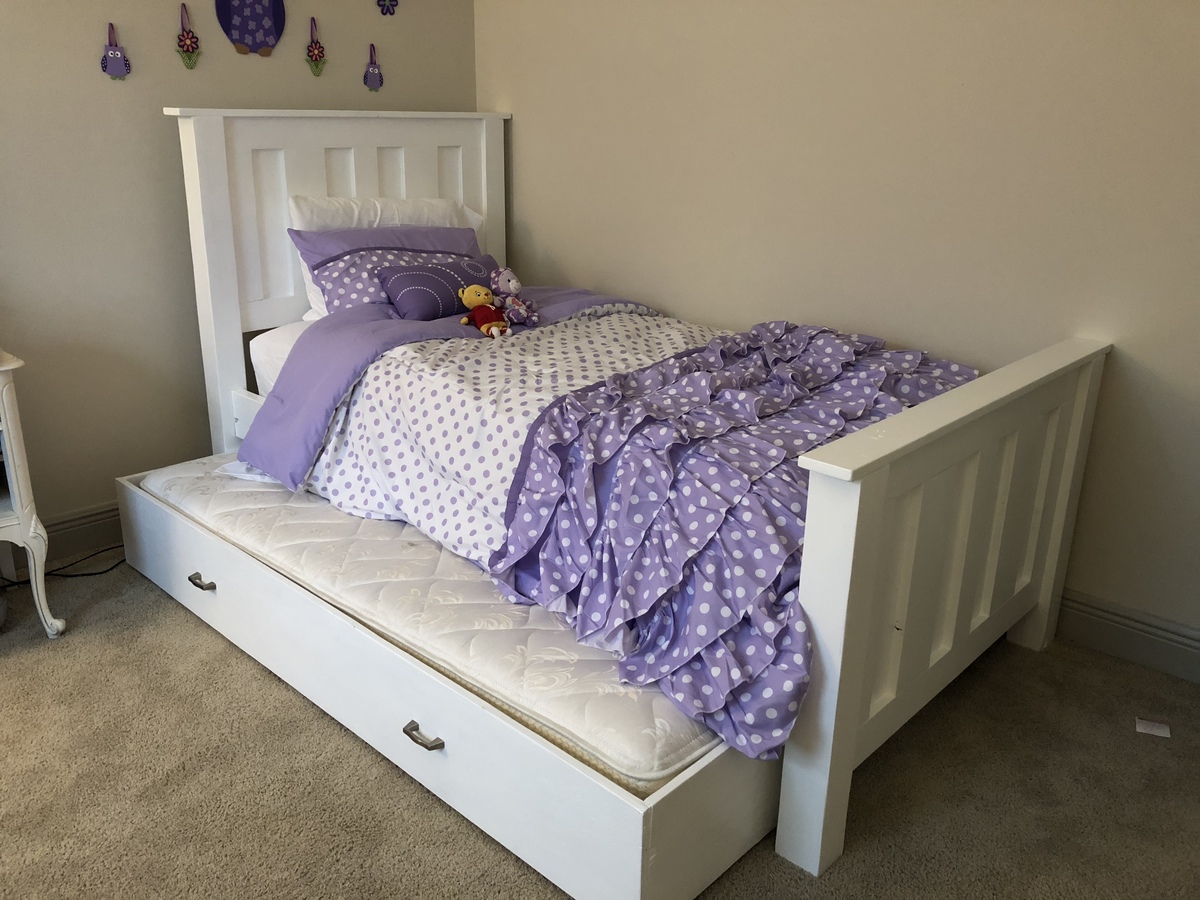
It was time for Addison to get a big girl bed. We used the Kentwood design and the trundle bed plans.
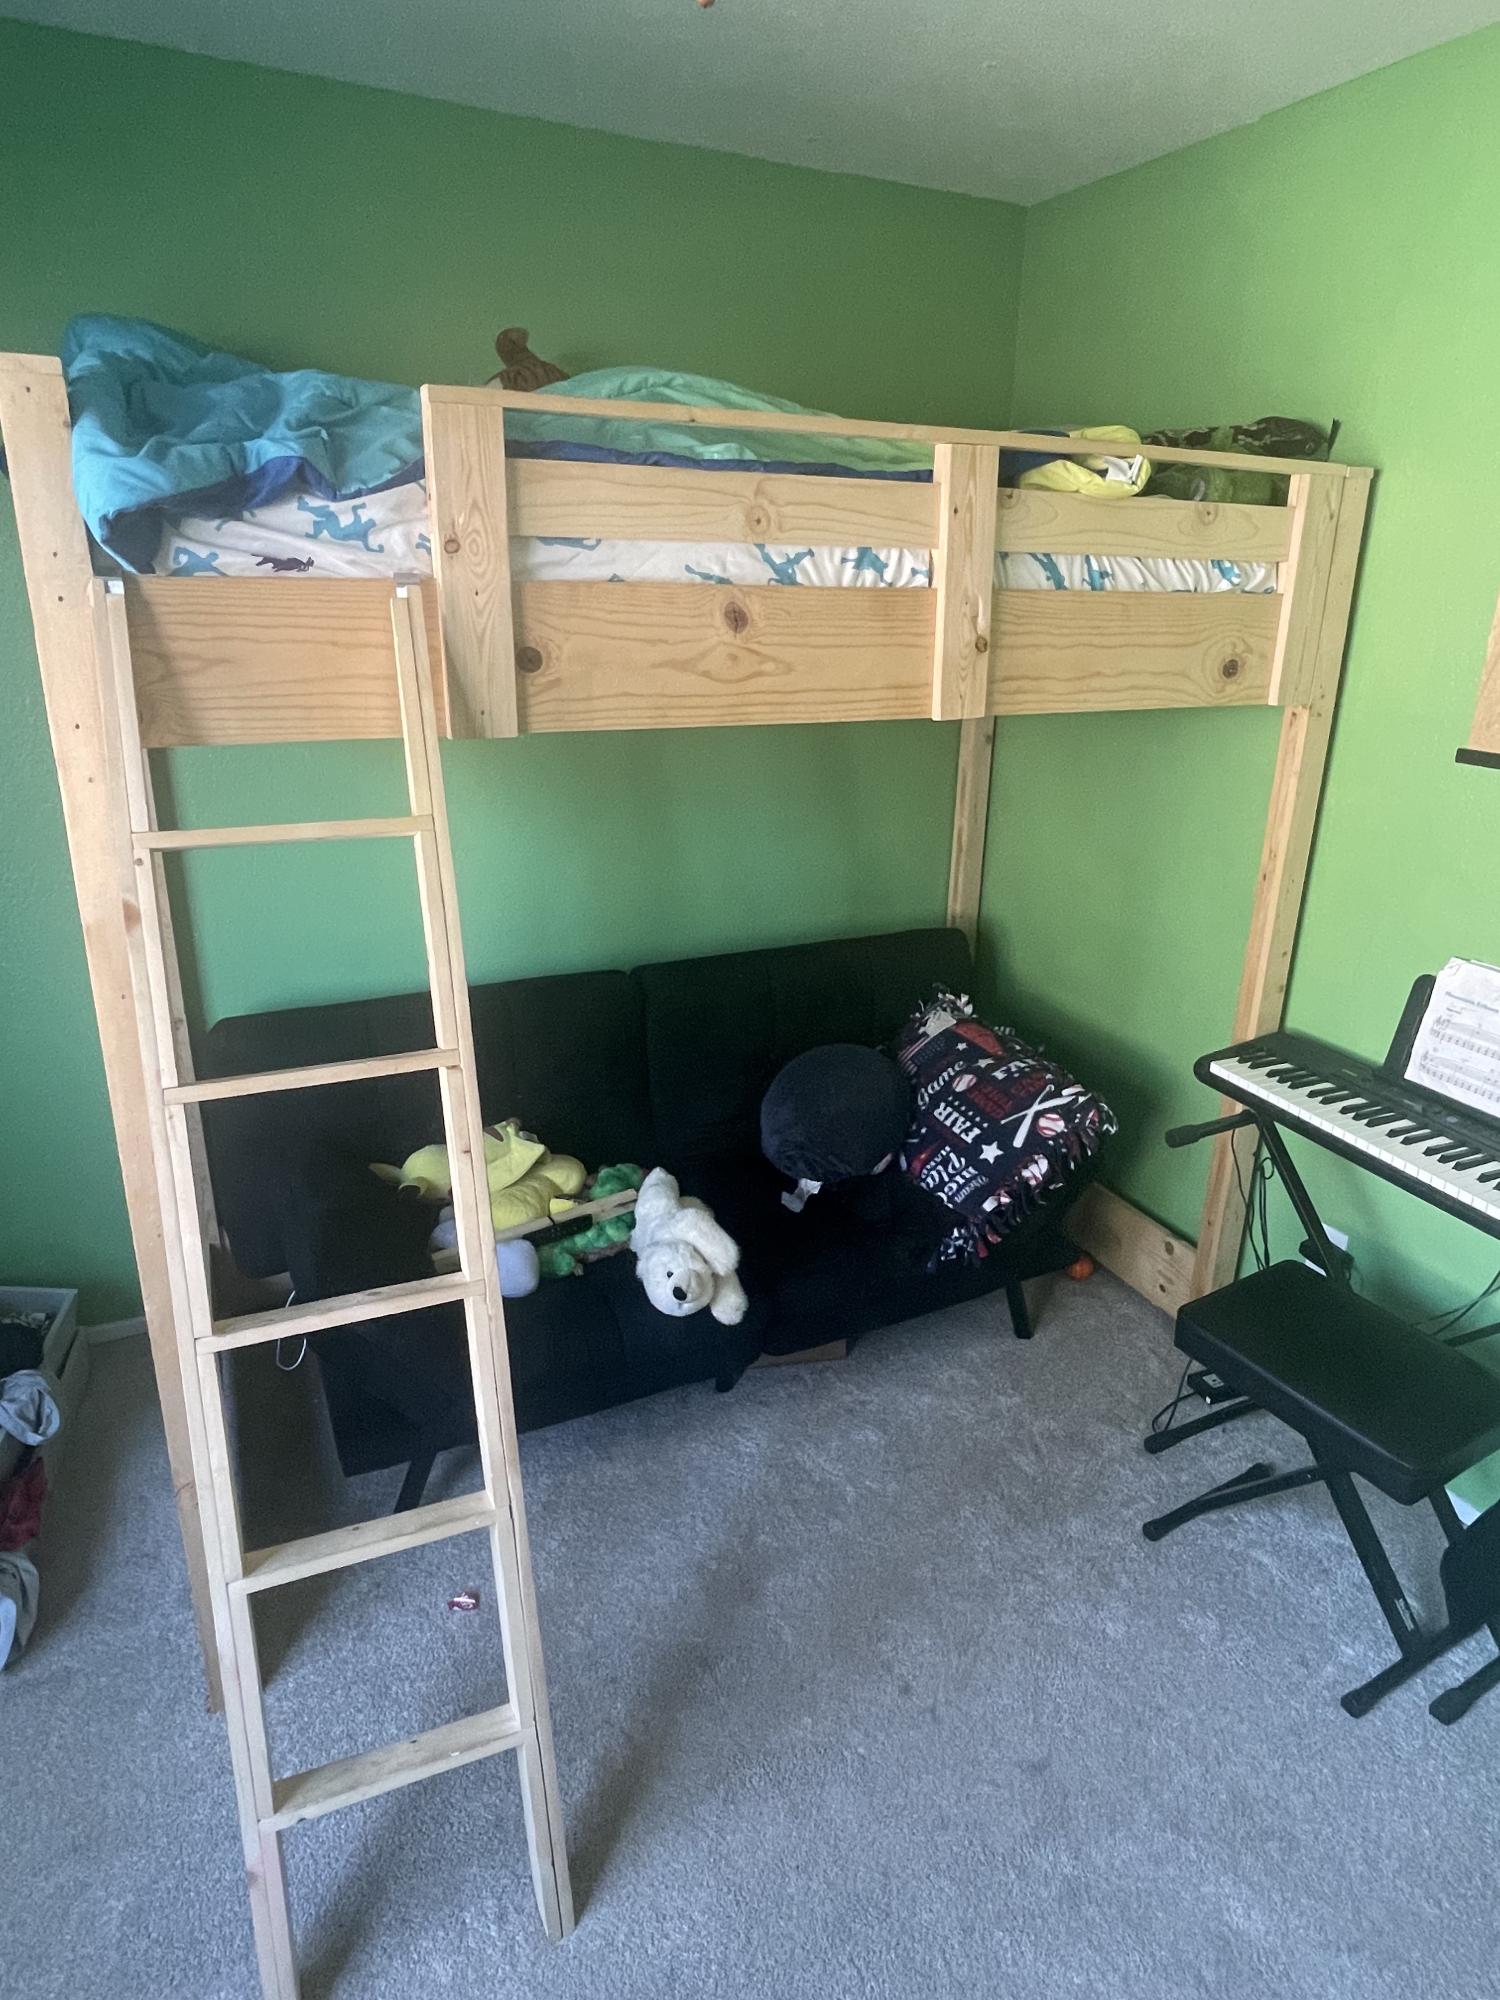
The rooms in our house are not as big as we would like; so, we needed to maximize the space in our son's room. This was an amaze plan and not too difficult to build.

Comments
Ana White Admin
Mon, 01/03/2022 - 11:58
Stunning work!
Gorgeous table, well done, thank you so much for sharing!