Community Brag Posts

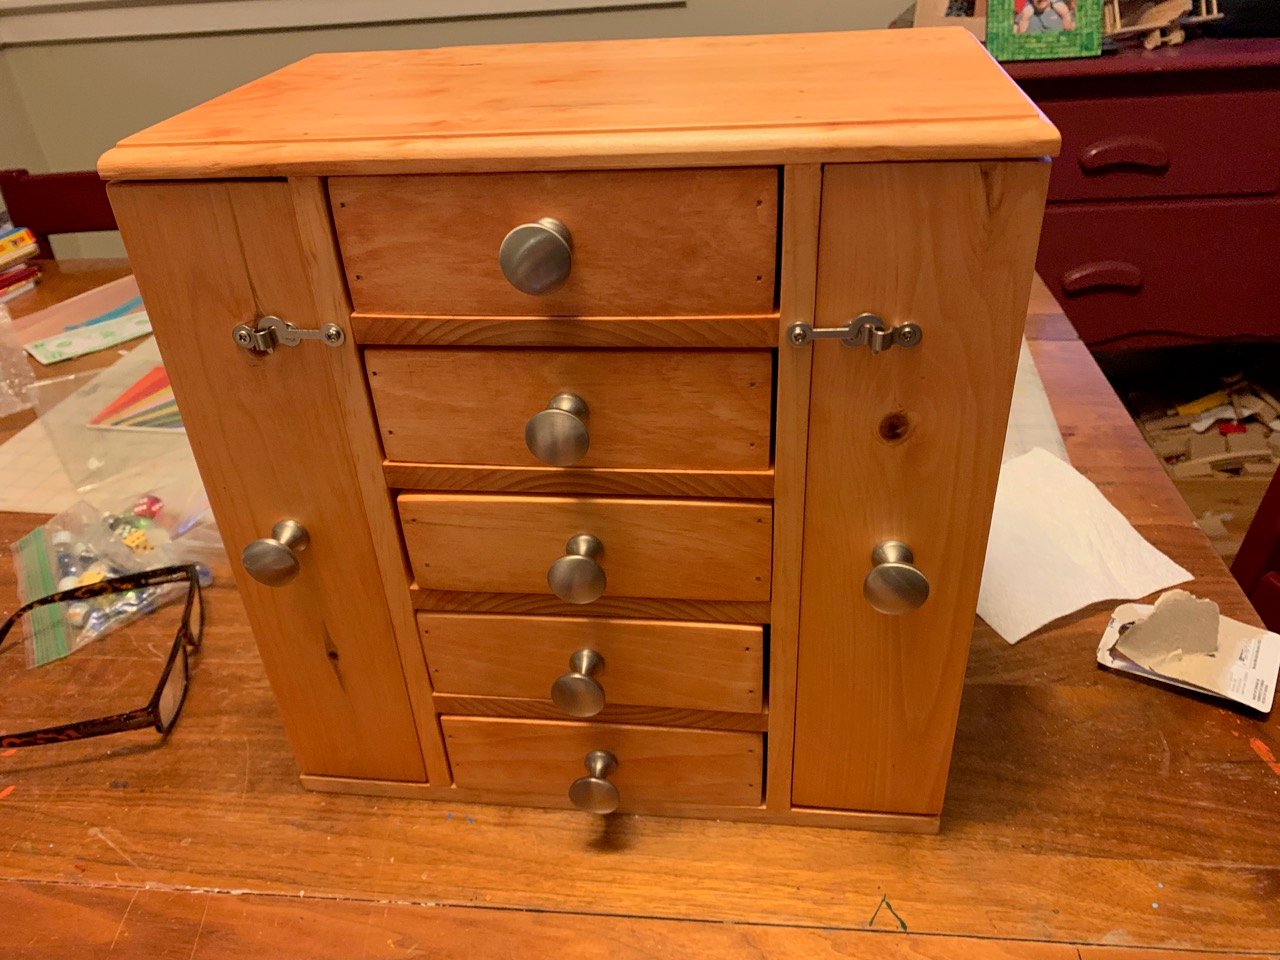
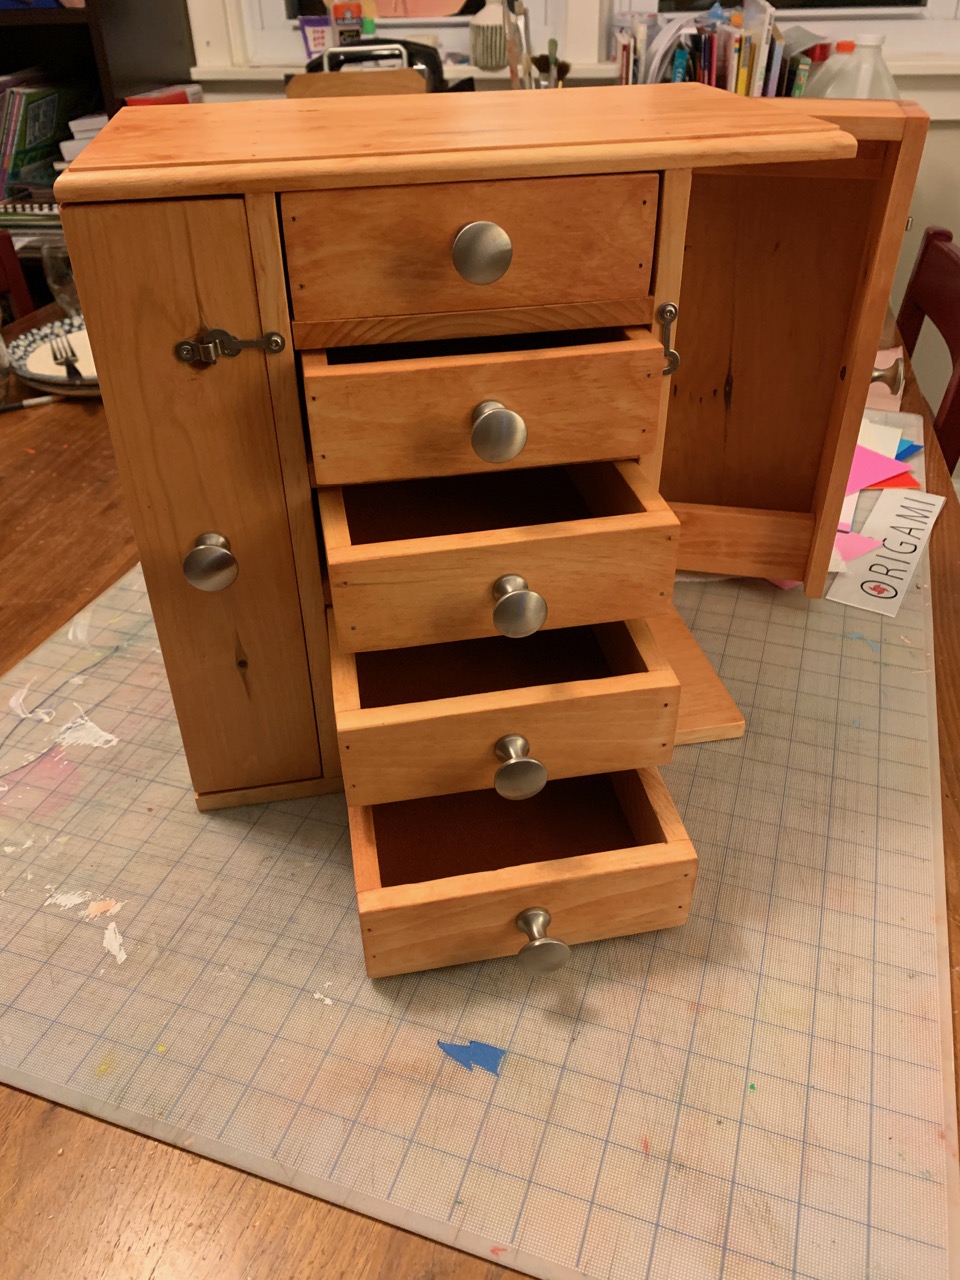
Fancy Jewelry Box built by my daughter and me
Submitted by wowmom_cs on Tue, 05/07/2019 - 09:25

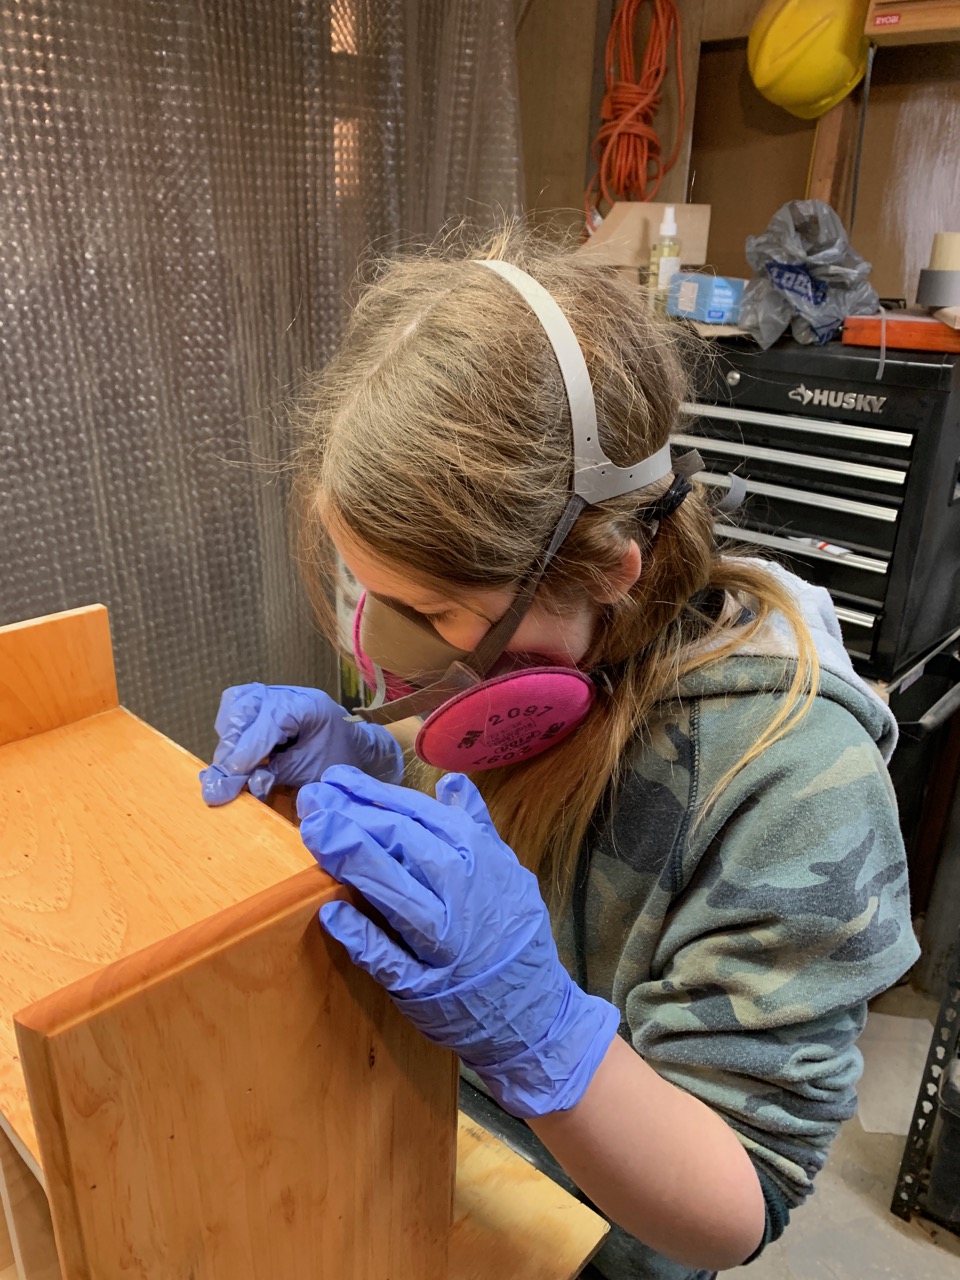
My 10 year old daughter is always creating. She recently decided that she wanted to do a woodworking project with me. We started by searching online for a design that looked doable and came up with the Fancy Jewelry Box from the Ana White website.

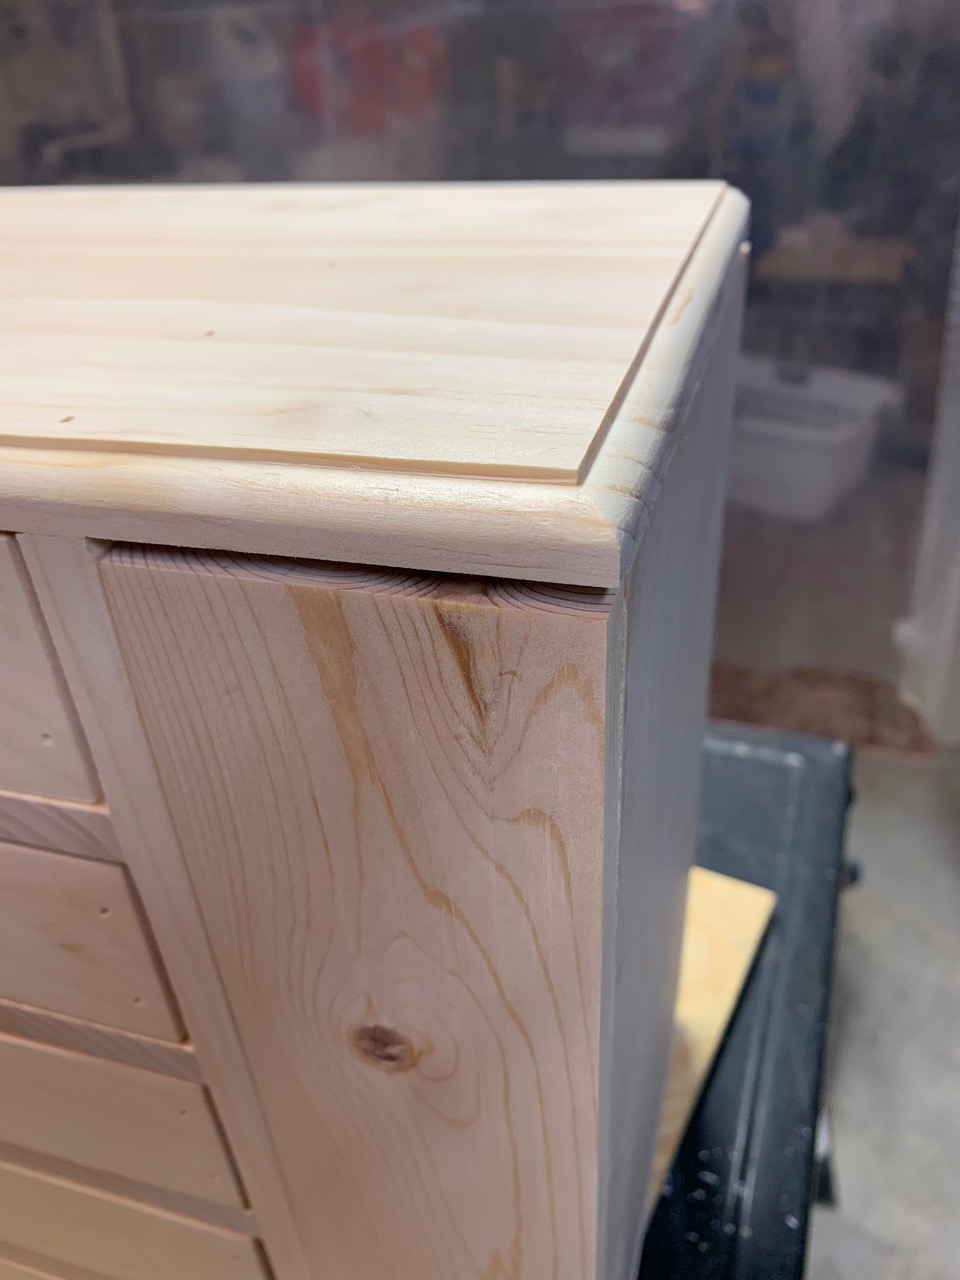
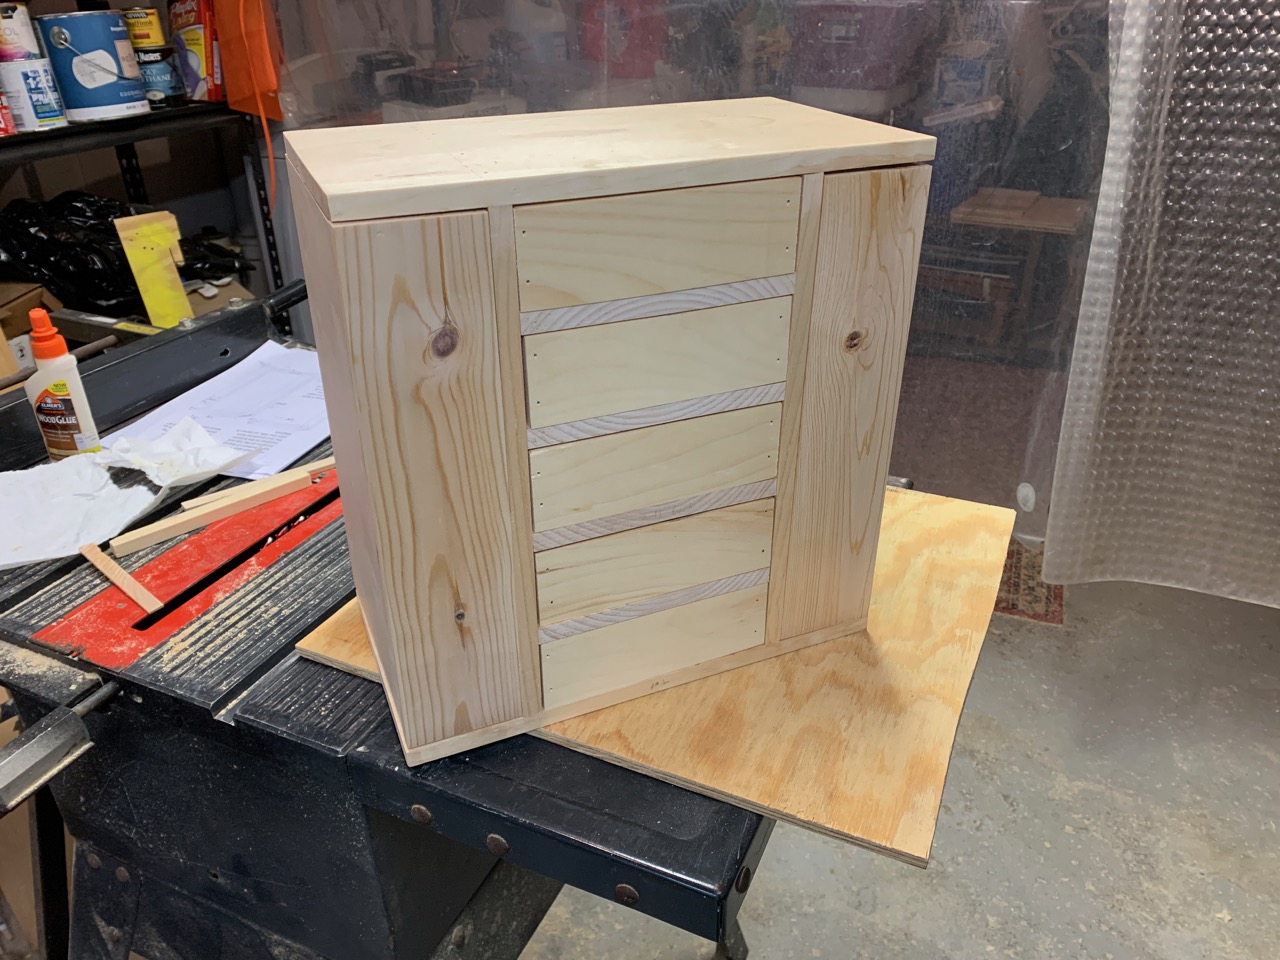
We decided that using the full thickness of 1x stock gave the piece a bit more of a clunky look than we were after. And since I have a thickness plainer, we milled our stock down to just under 1/2”. But that meant that we had to rework many of the measurements on the plan. This also made the drawers deeper and wider. Which is nice. A happy mistake happened when, while rough cutting the individual pieces before milling them down, I inadvertently cut the pieces between the drawers too narrow. We ended up turning them 90 degrees which allowed them to fit. This is why you see the end grain on those pieces. But we like it.

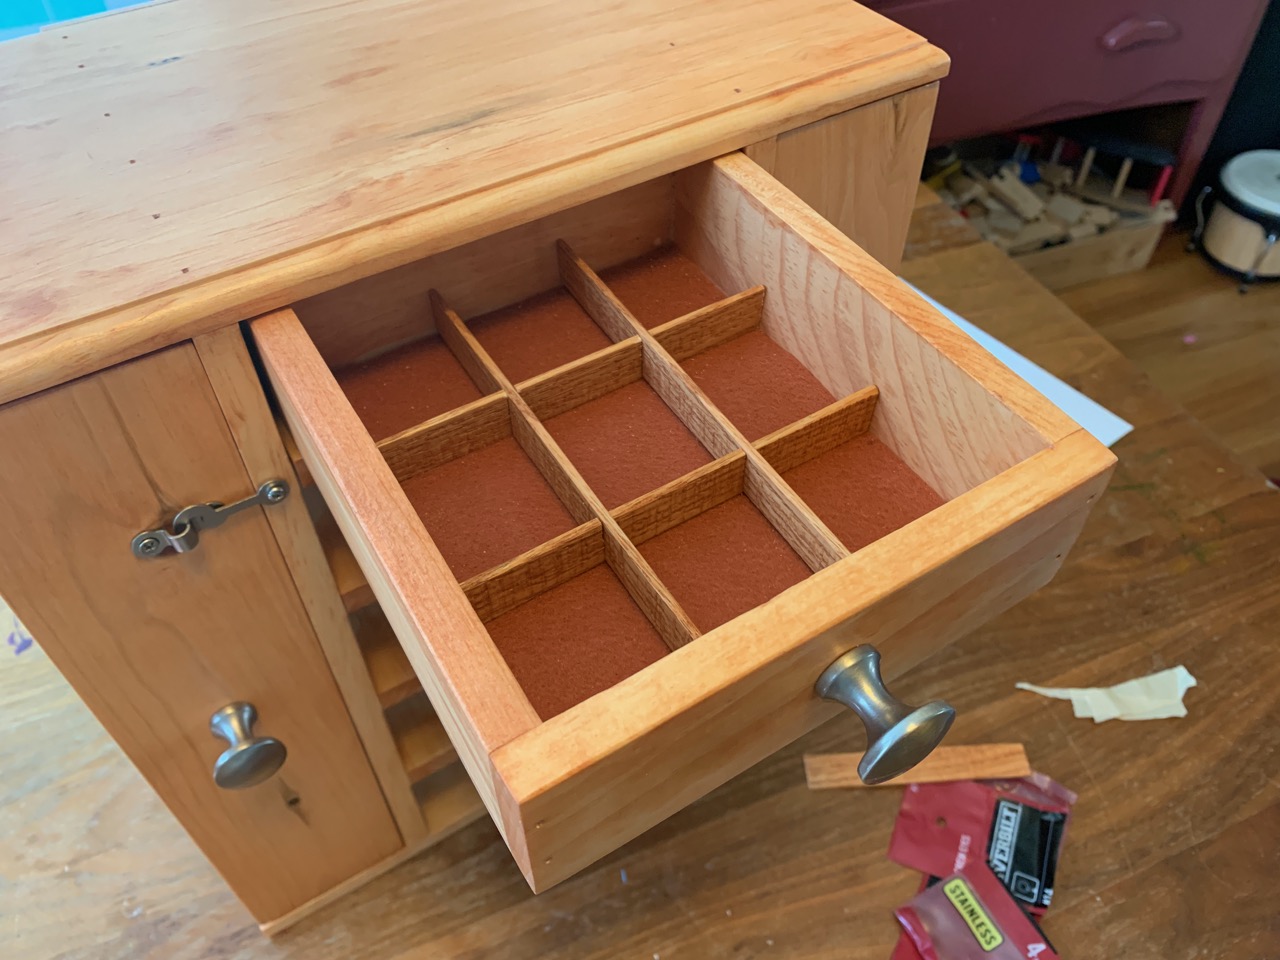
We also altered the plan a bit so that the edges of the plywood on the faces of the drawers and doors do not show. We added a nice border to the top of the box with a curved router bit. We lined the drawers with felt and then added some dividers here and there using some scraps of oak which we sawed thin with a bandsaw.

The original plan was to paint the box, as opposed to staining it. It wasn't until after I had nailed on the top and the drawer fronts that my daughter decided she wanted to stain it. That's why you can see those nail holes!

We had such fun making this Jewelry box. 
Built from Plan(s)
Estimated Cost
I don't remember. Not much.
Estimated Time Investment
Week Long Project (20 Hours or More)
Finish Used
Stain and water based polyurethane. We used 2 coats of poly "sanding" it between coats with fine steel wool.
Recommended Skill Level
Beginner

Comments

Barn Door Pantry Build

Submitted by Anonymous (not verified) on Sat, 03/18/2023 - 14:54

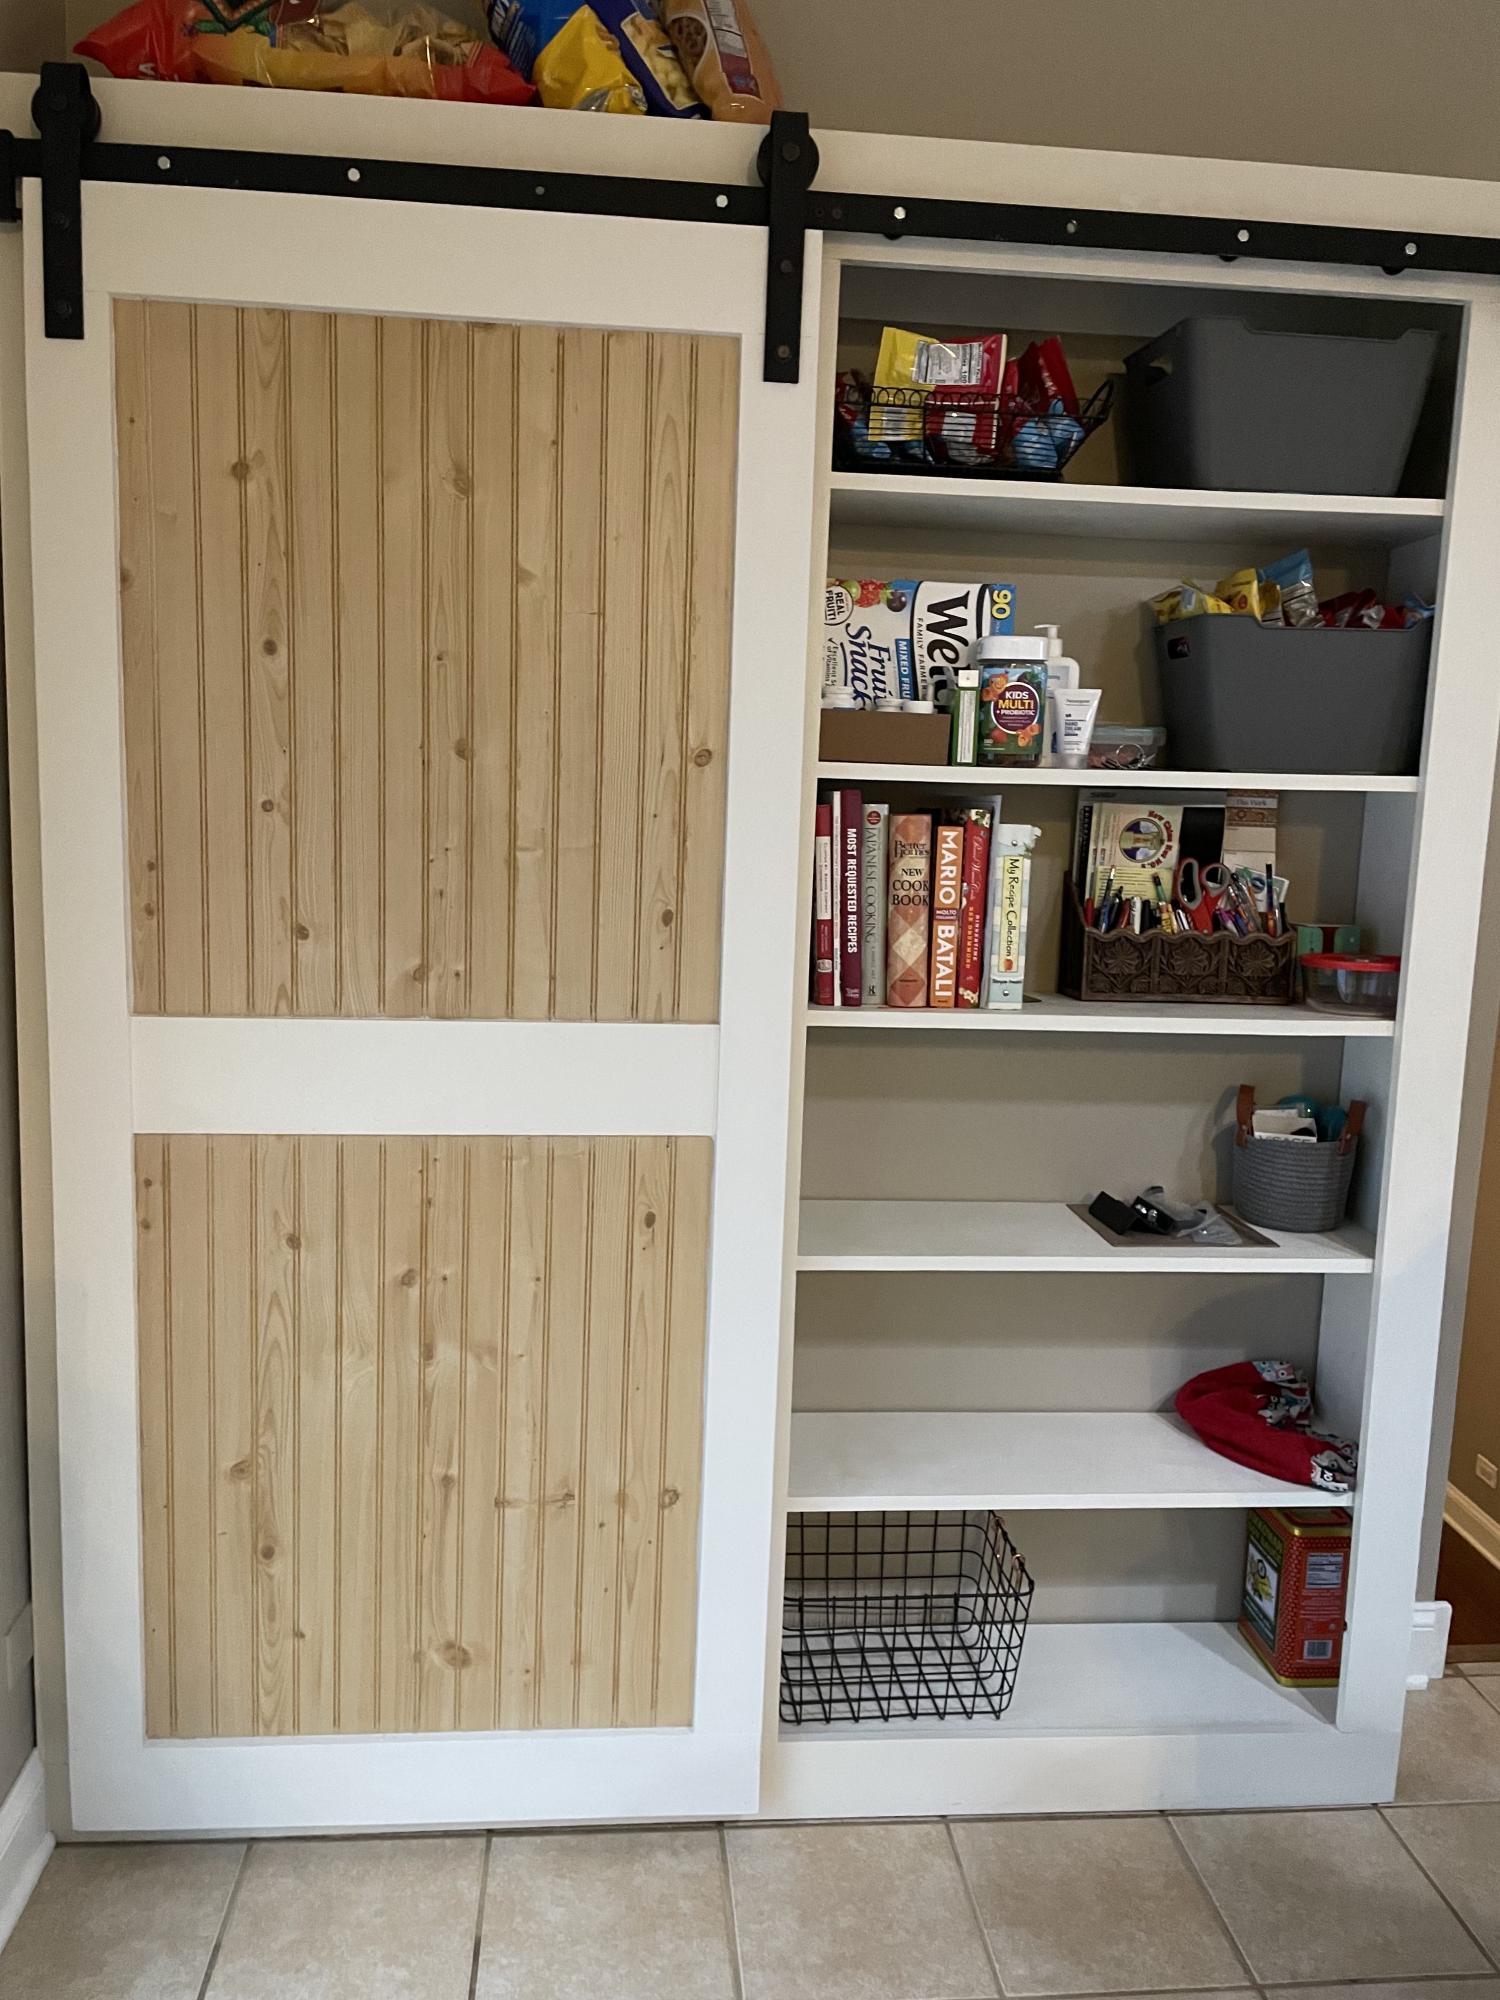
Using the Barn Door Pantry plan, I partially built this in my shop then took it apart and transported it to my son's house where we reconstructed it. This is a massive project and I recommend that you have enough room (and help) to build it and move it. The door is built with 1/2 inch plywood, framed with 1 by 4's with bead board inserts.

Built from Plan(s)

Comments

Storage Day Bed

Submitted by SophieW on Thu, 01/05/2012 - 07:34

My first project using Ana's plans. Quite a learning experience with a few rookie mistakes but all in all I think it turned out pretty ok.

I followed the plans to the T. Trusted my lumber yard to make most of the cuts since I was not really equipped and that was a HUGE MISTAKE. So I went out, bought some tools, recut some boards and whatever mistakes I made, at least they were mine.

I followed other people advice on this site and added some casters under the boxes after I screwed them together. Makes it a lot easier to move around.

Thank you Ana - your website is truly inspiring.

Built from Plan(s)
Estimated Time Investment
Weekend Project (10-20 Hours)
Recommended Skill Level
Starter Project

Comments

SophieW

Fri, 01/06/2012 - 07:35

Thank you:) I ordered the mattress online - Futon mattress - can't remember where from though... But for $118 I'm REALLY happy with it!

Washer Dryer Pedestals Bases

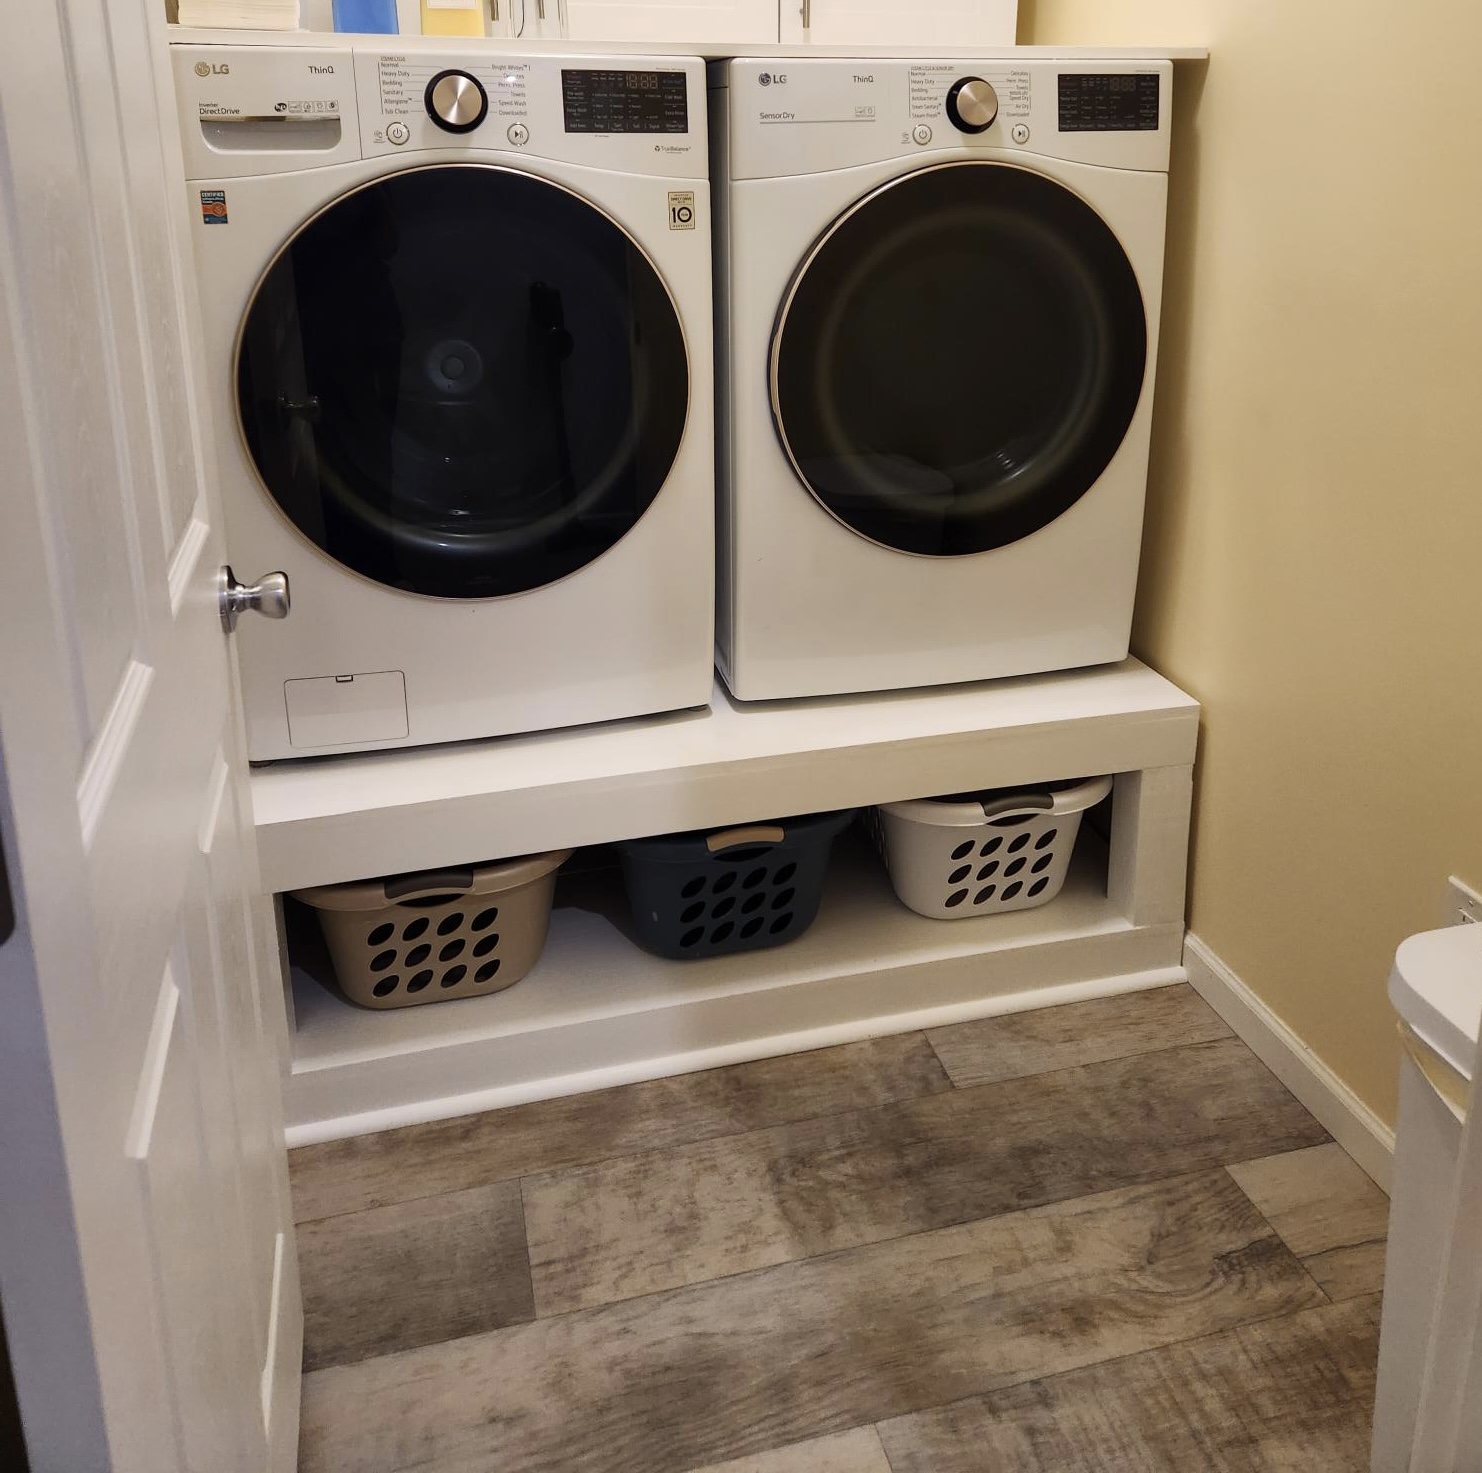
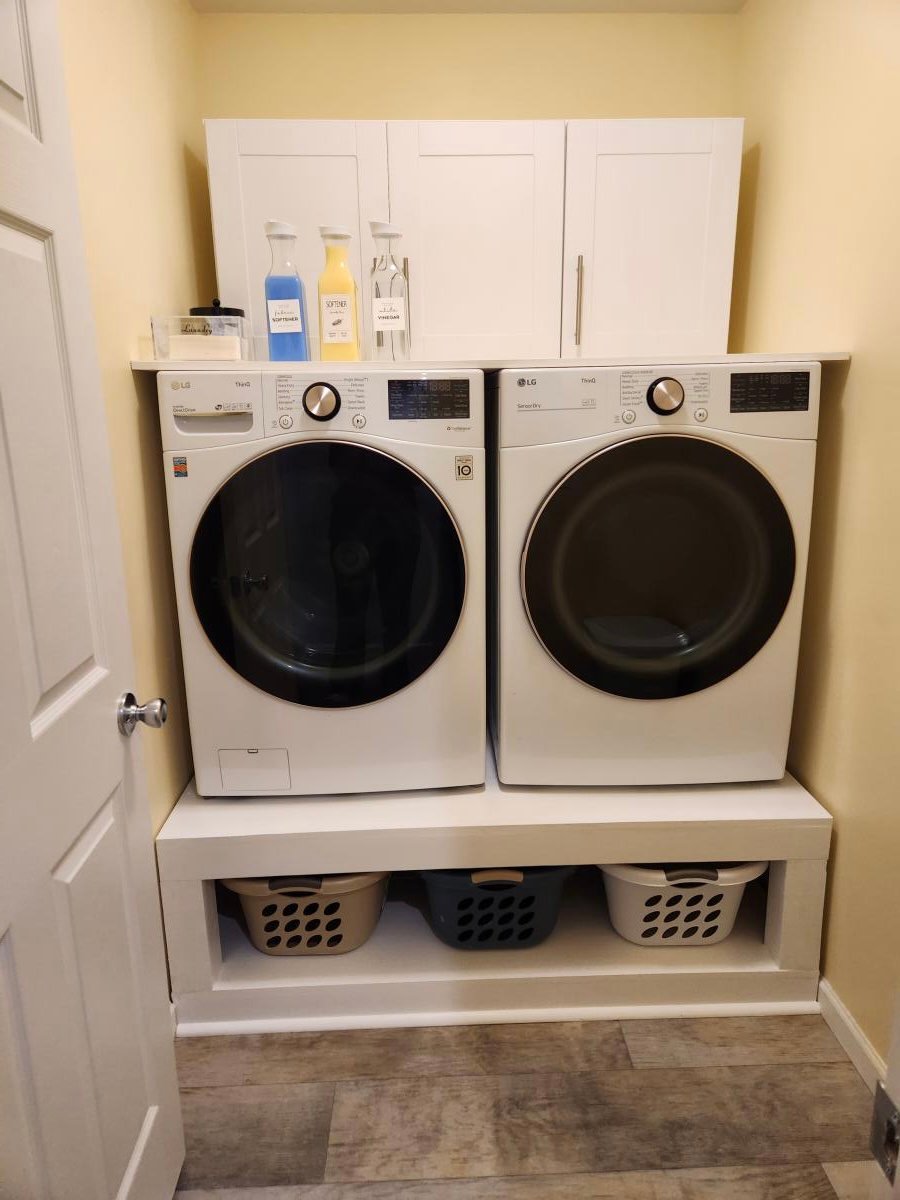
This pedestal base for the washer and dryer really created the perfect opportunity to organize and declutter our tiny laundry room. Had to resize it a bit to fit the space but it turned out perfect! I added a super easy top for an even counter space and bought some stock laundry room cabinets to sit in the back for extra storage. Such an upgrade!

Slatted Sofa Table

Submitted by raybwright on Sat, 02/13/2016 - 09:36

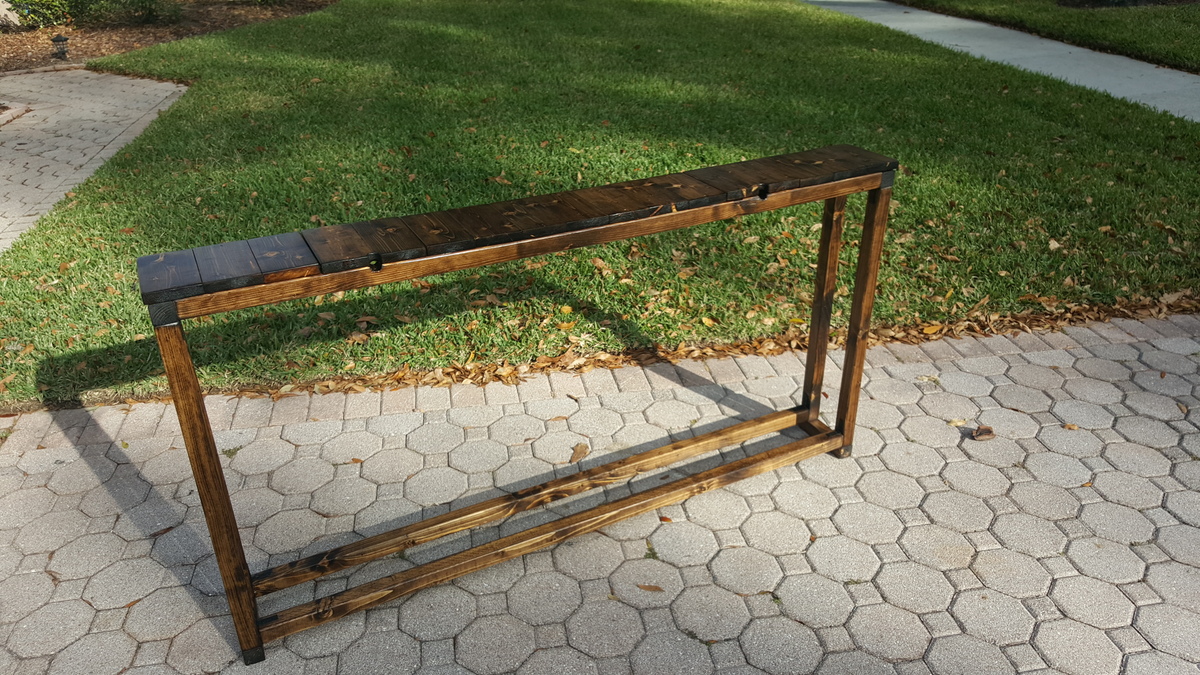
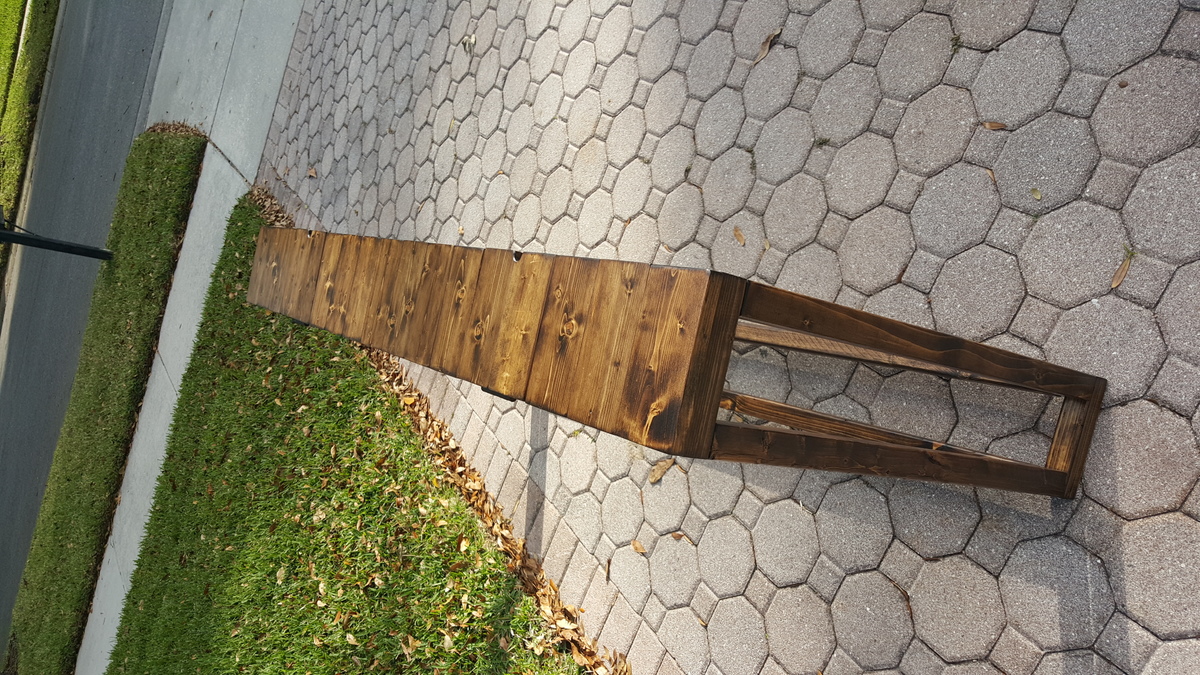
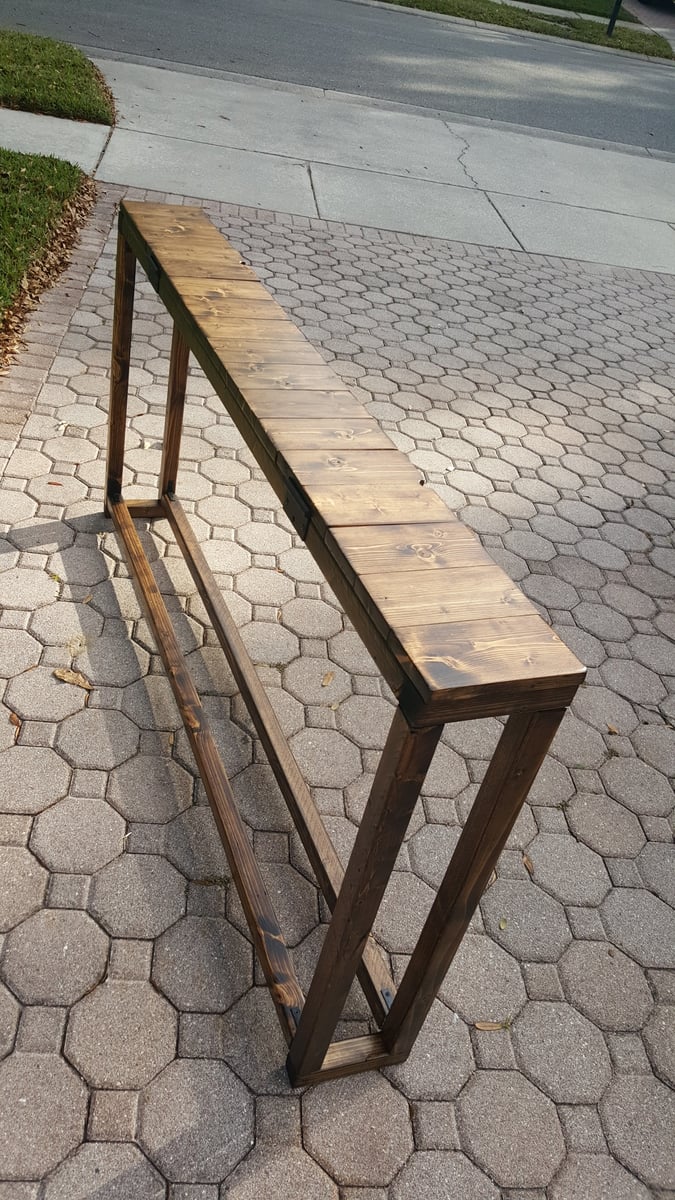
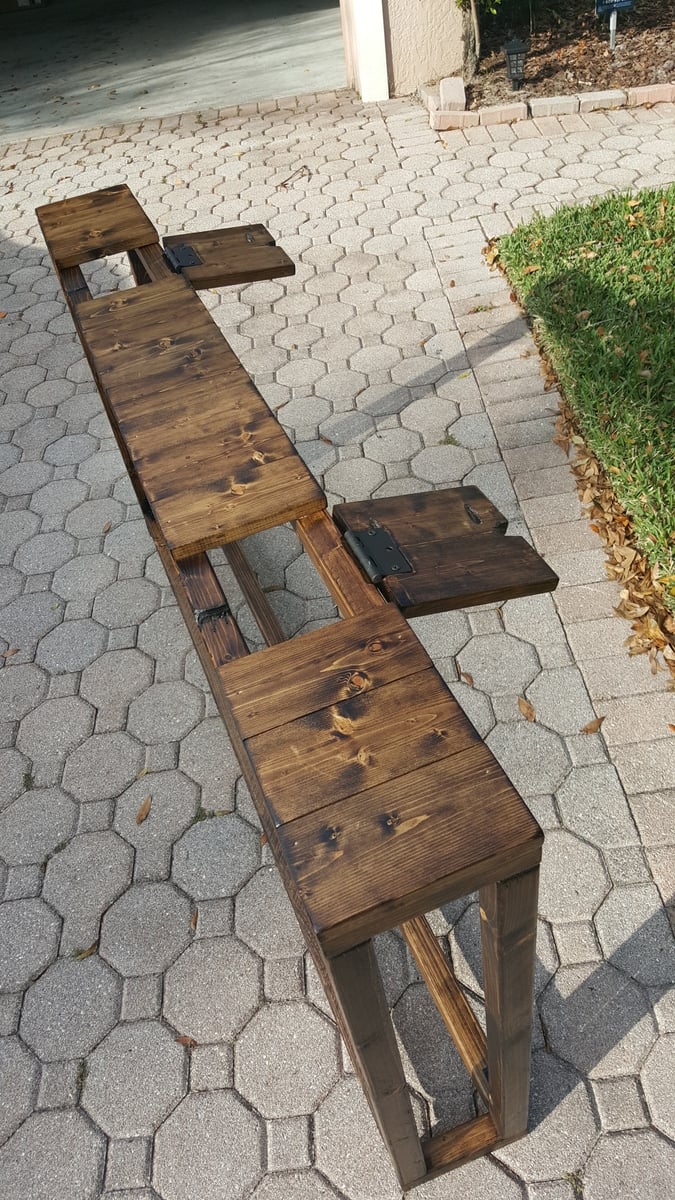
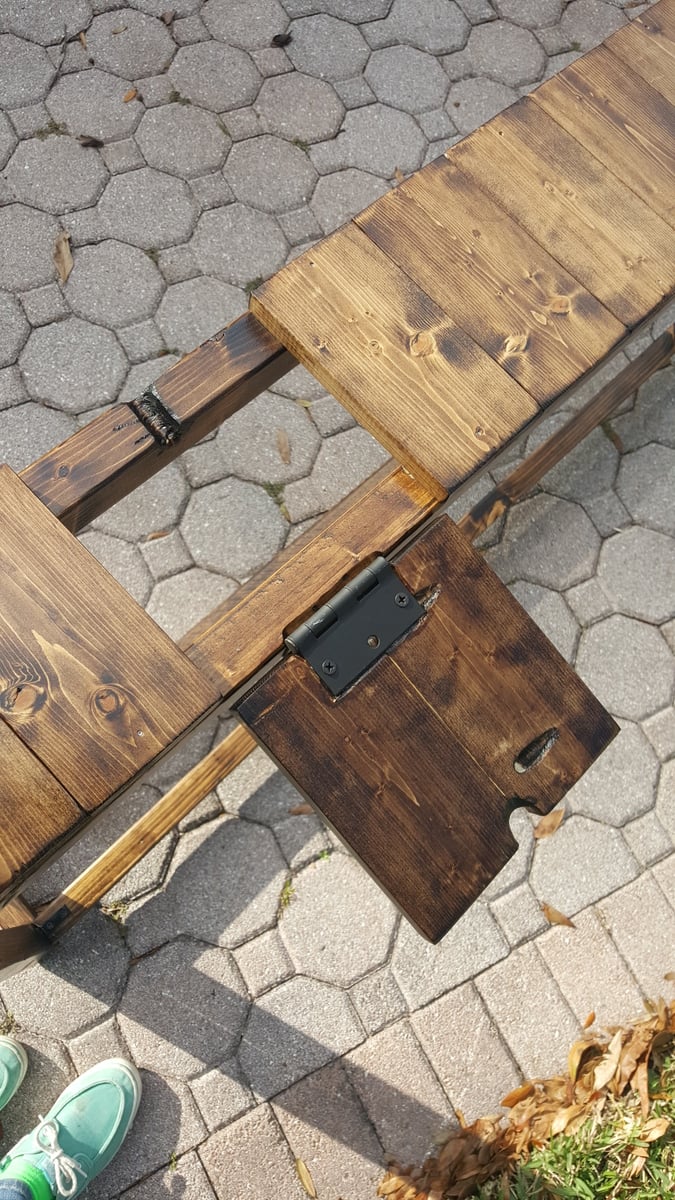
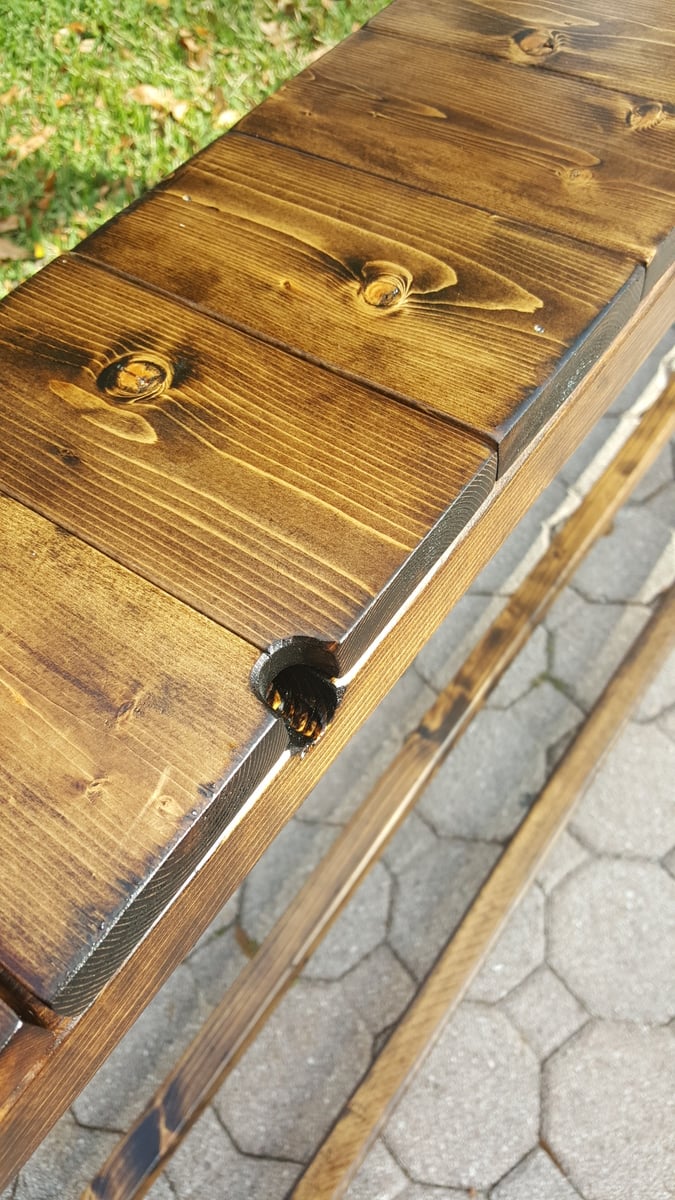
I based this design of the simple Sofa Table by Jenna Sue. Instead of a 2x8 across the top, I opted to use 1x4s side by side. This slatted look matched some of the other items in the house and to allowed me to create two hinged sections. These sections allow for easy access to wall plugs and include small notch for the cables to come through.

Estimated Cost
$35
Estimated Time Investment
Weekend Project (10-20 Hours)
Finish Used
Minwax Wodd Finish Dark Walnut Stain with Minwax Clear Satin Polyeurethane
Recommended Skill Level
Beginner

Full Size Bunk

Submitted by Anonymous (not verified) on Fri, 07/07/2023 - 11:30

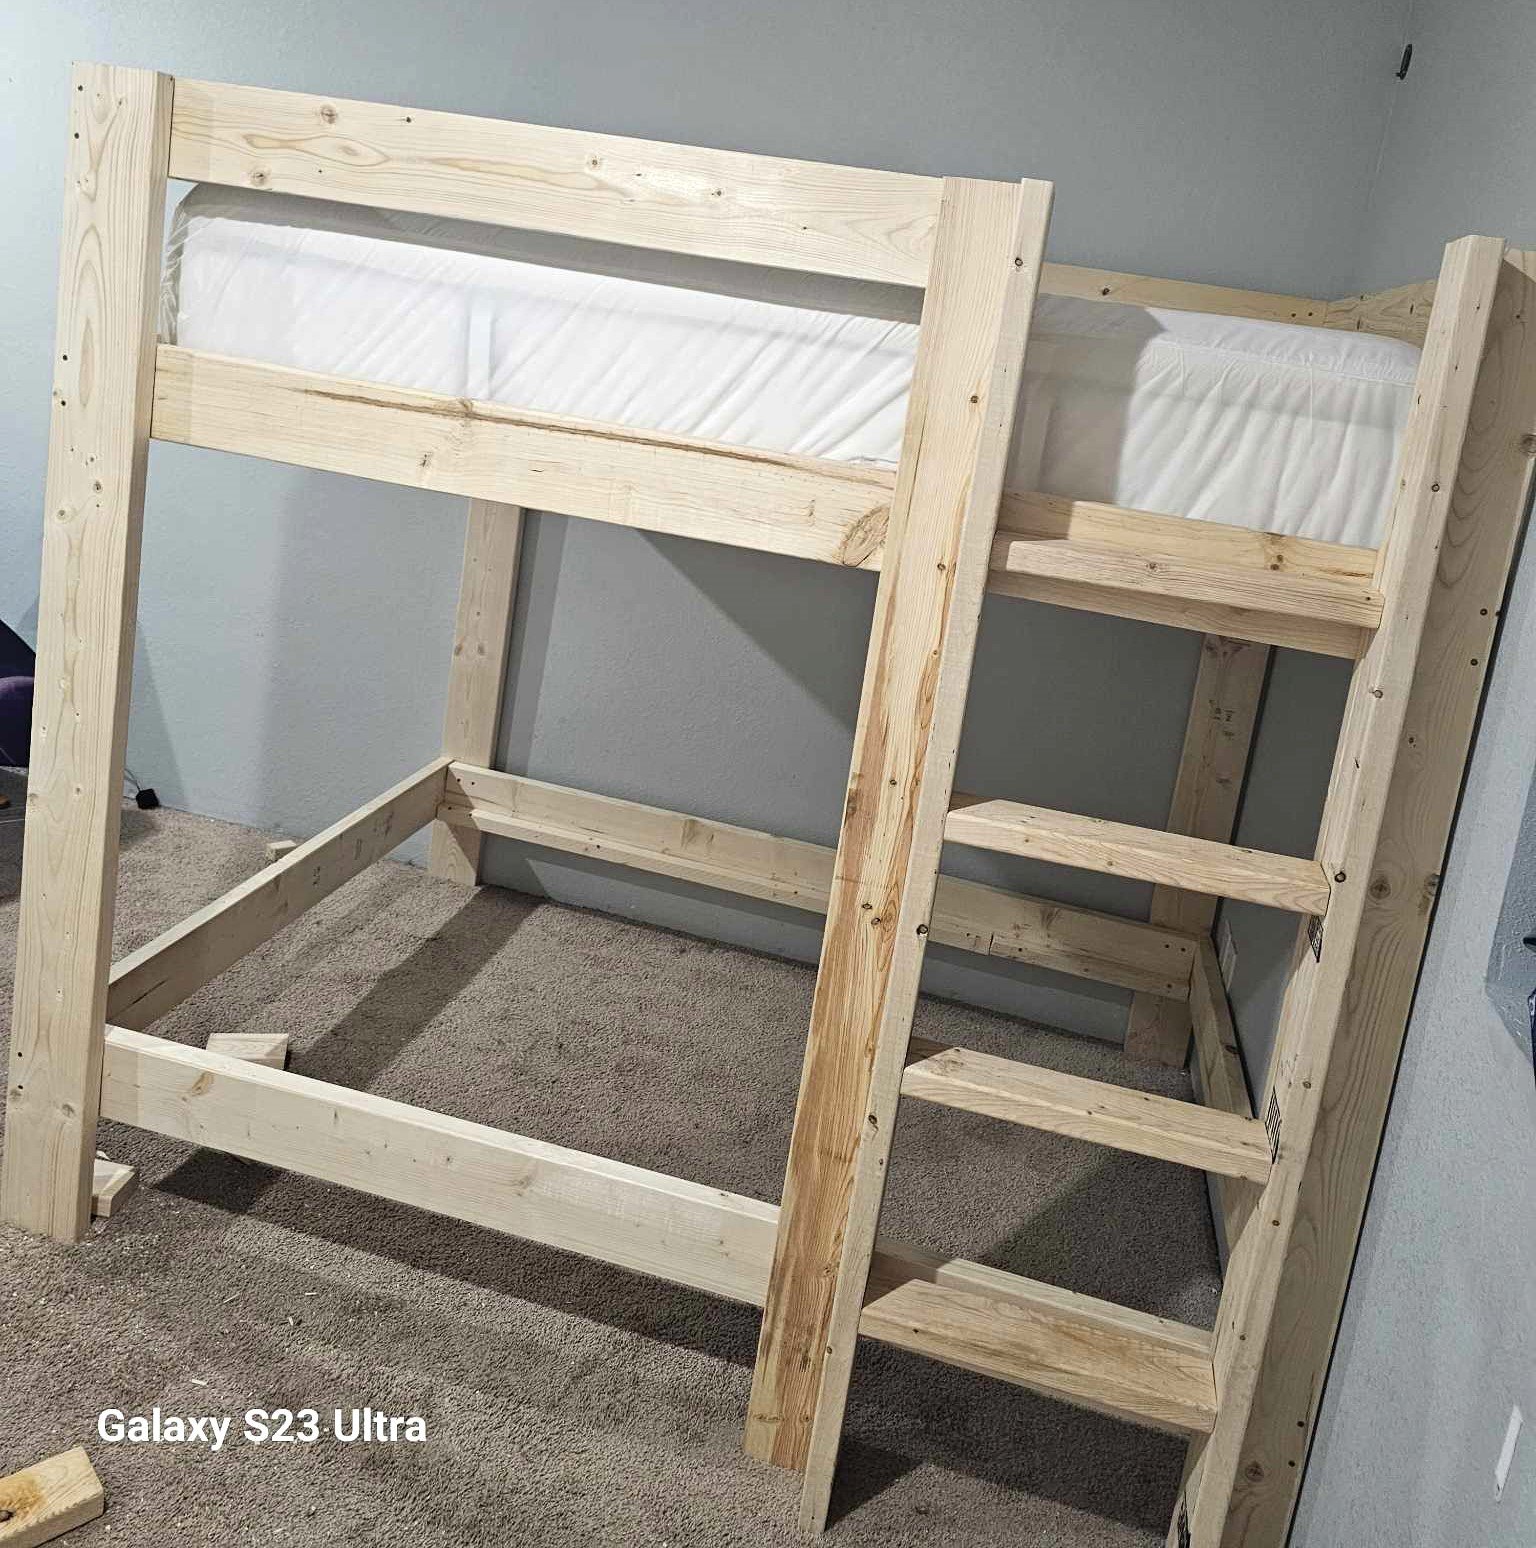
Almost finished but I managed to alter the plans into a full over full! Just use 2×4 instead of 2×1 and use 2×6 for the legs.

Antonio

Built from Plan(s)

Toddler bed

Submitted by Anonymous (not verified) on Wed, 10/23/2019 - 09:35

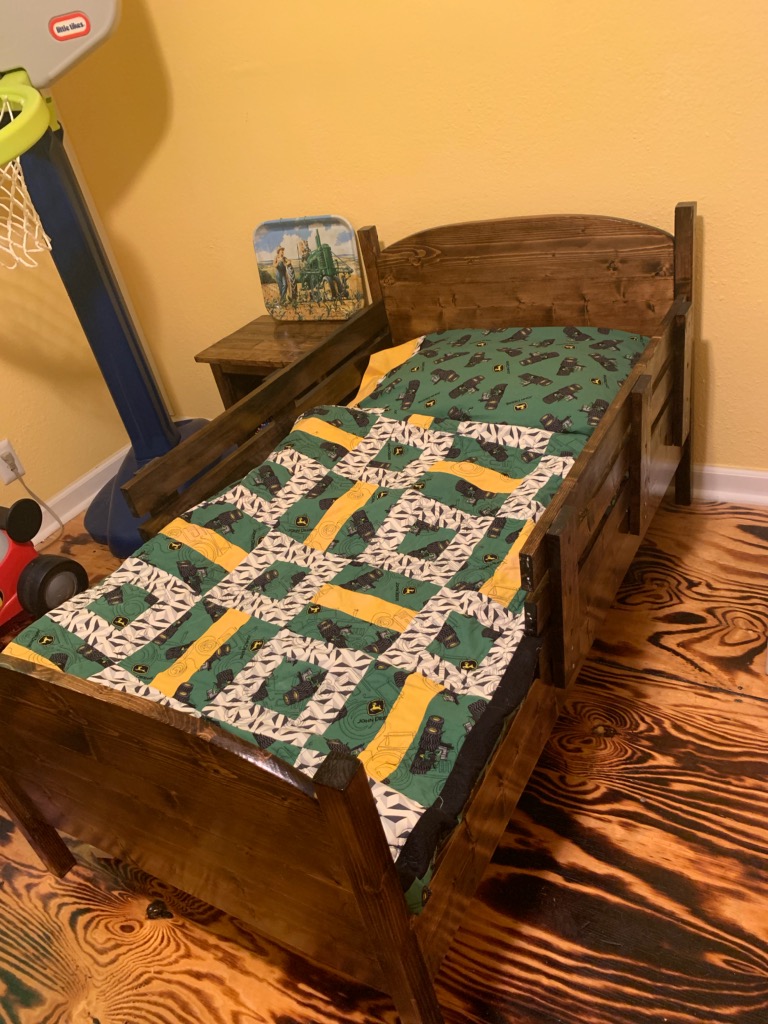
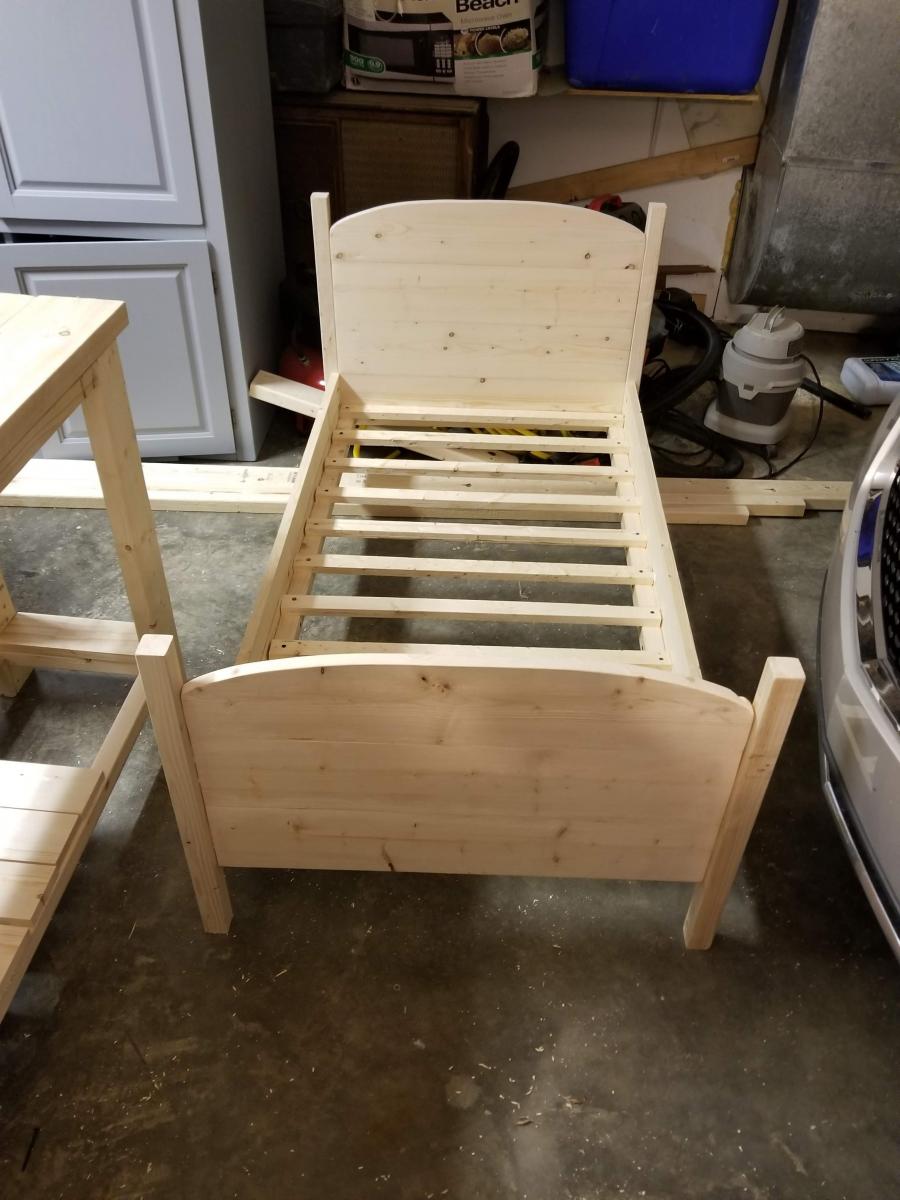
Built this classic bed for my grandson. It was one of the easiest builds yet. All of Ana White's plans are super user friendly.

Built from Plan(s)
Estimated Time Investment
Day Project (6-9 Hours)
Finish Used
Minwax, dark walnut stain, polyurethane
Recommended Skill Level
Beginner

Comments

Console entry table

Submitted by Anonymous (not verified) on Thu, 07/20/2023 - 12:07

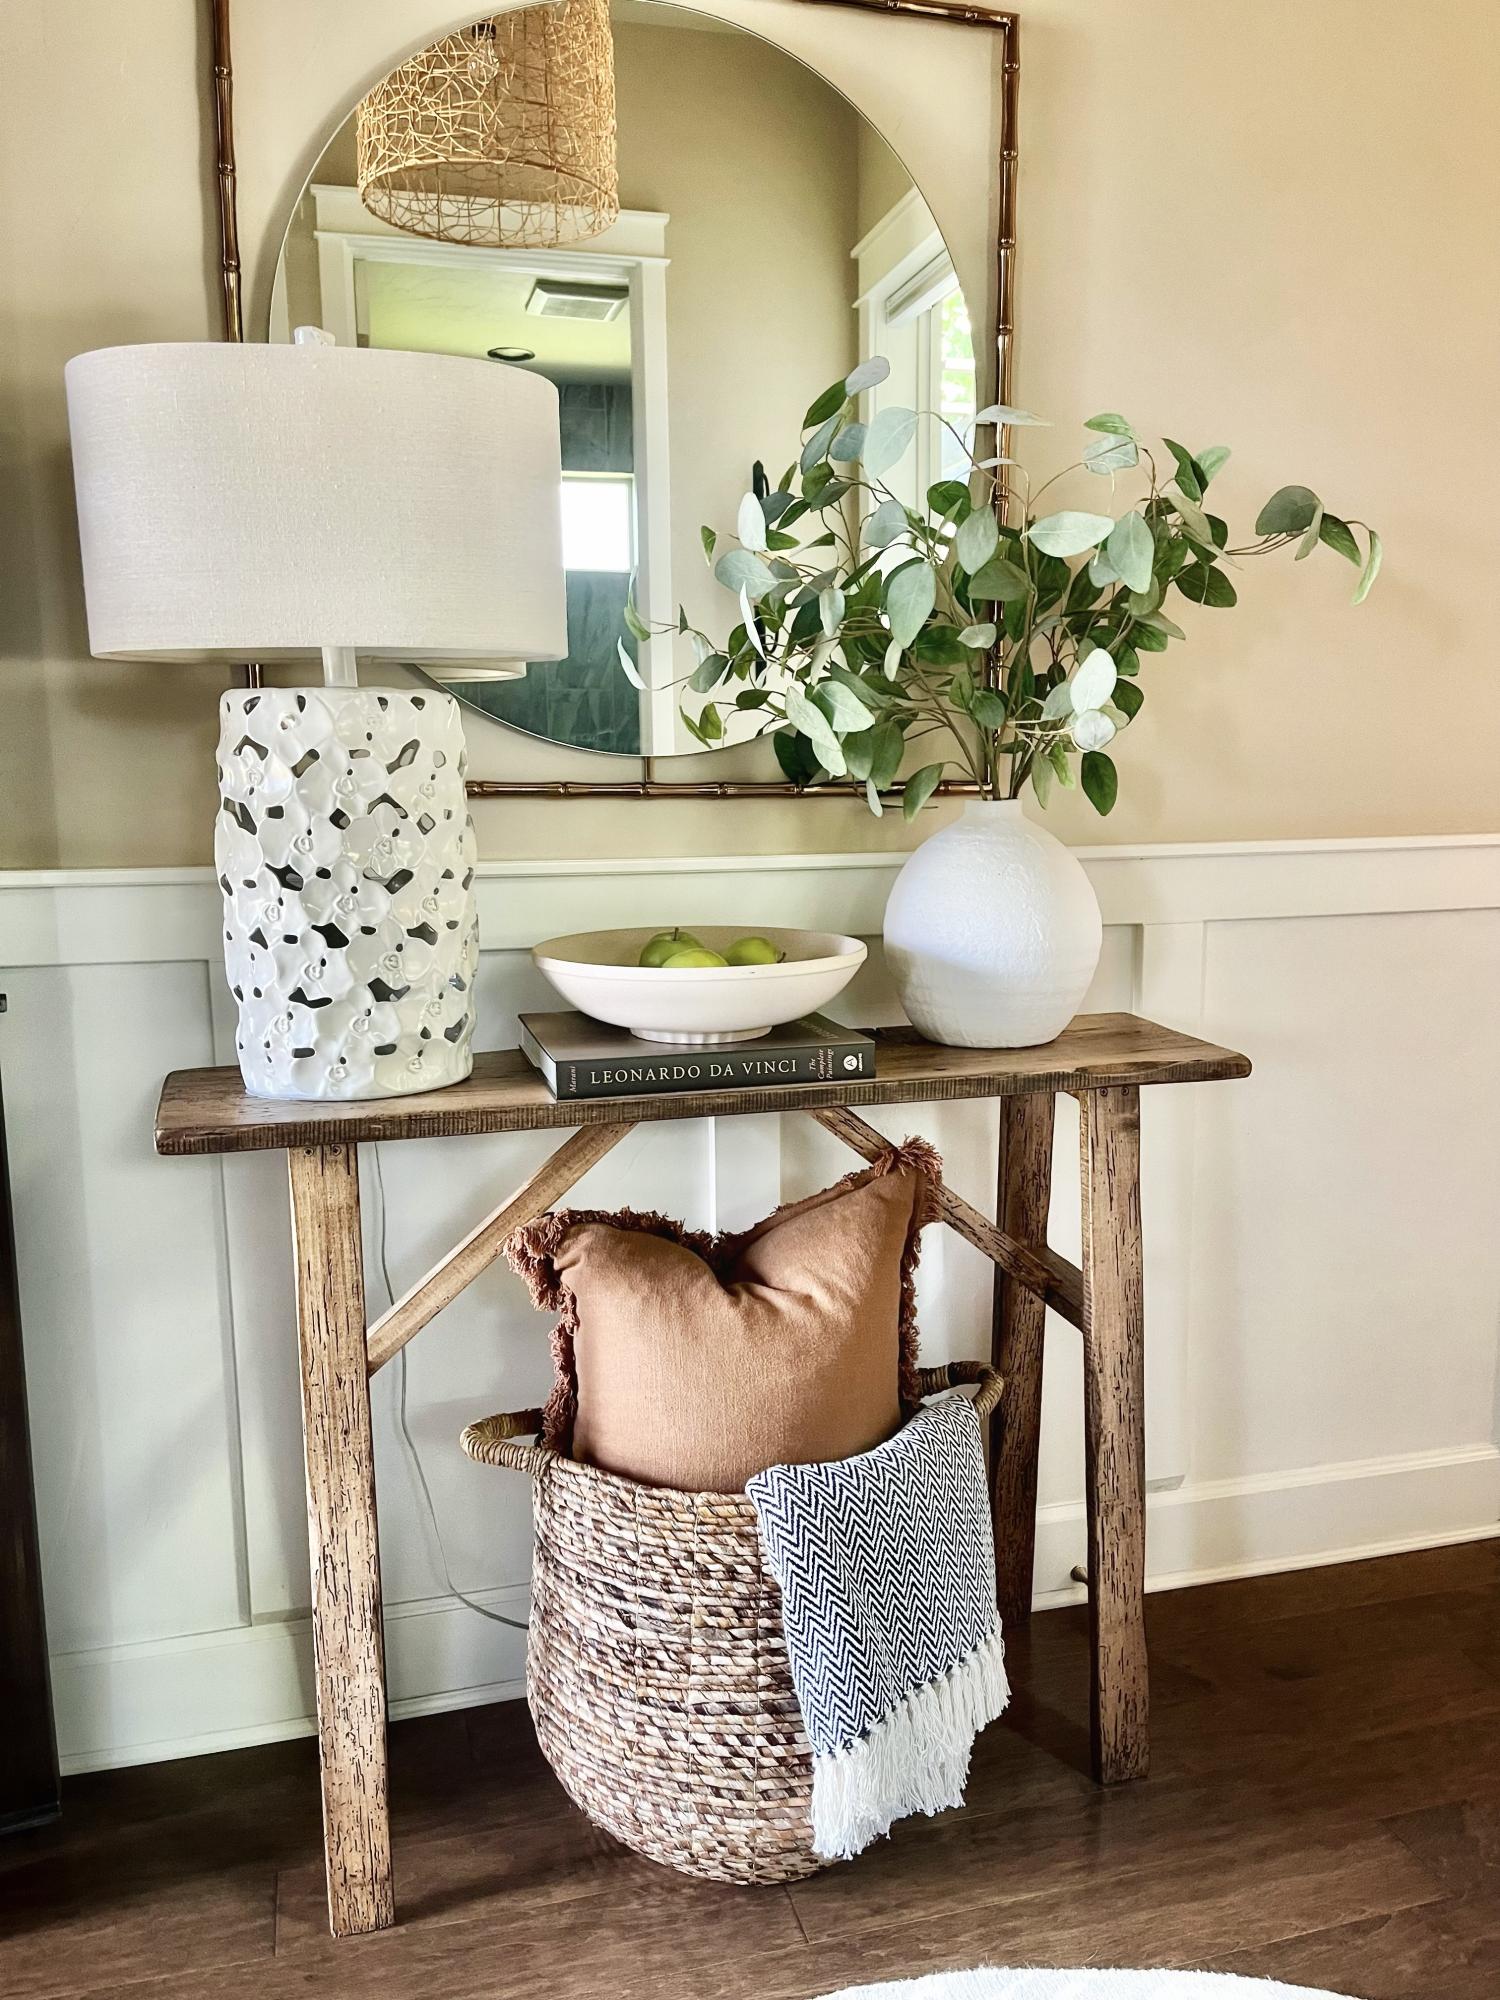
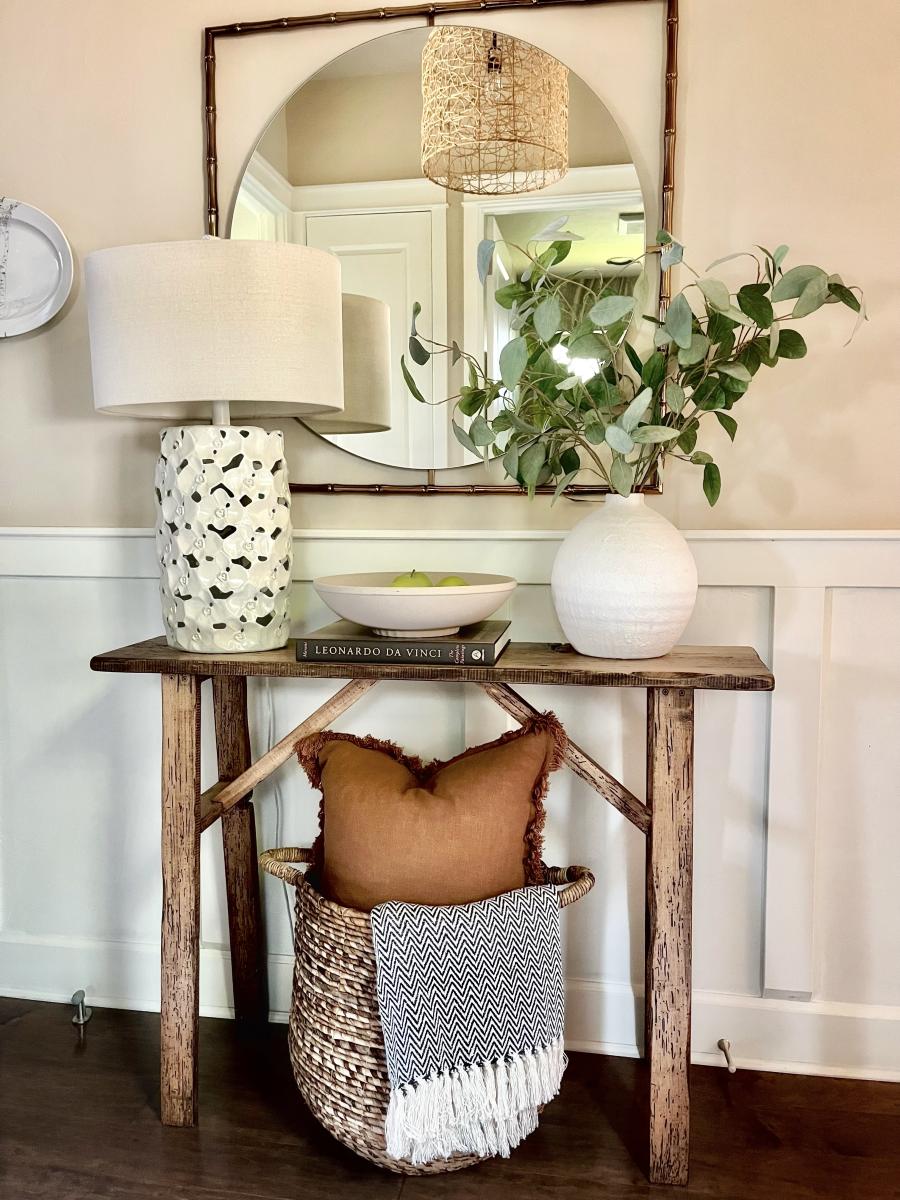
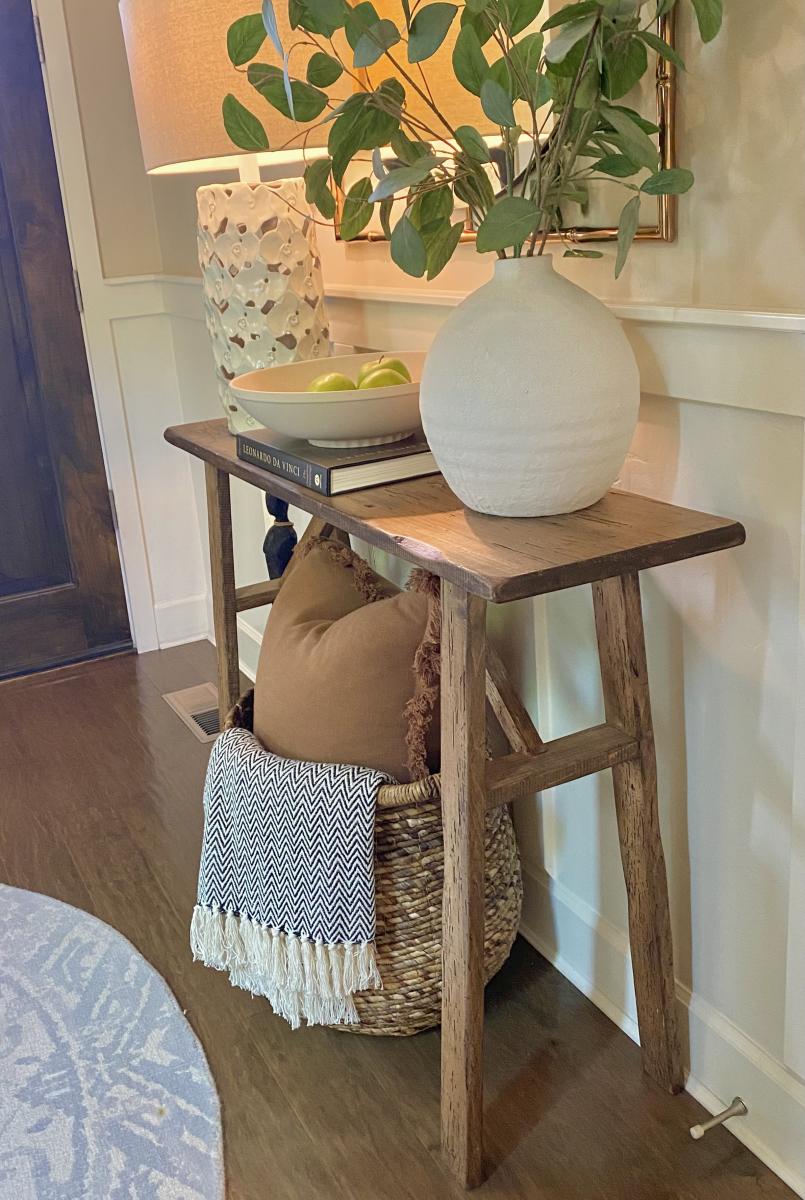
This entry table I made from wood I got from a recycle center of wood products. It’s been in our entry now for several years. I have only basic tools-no planers and jointers, etc. I do have a fold up table saw that I use once in awhile. I enjoy working with natural /live edge and or construction grade materials. Always impressed with the items Ana has built. Good job Ana😁👍

Built from Plan(s)

Square Turned Leg Farmhouse Kitchen Table

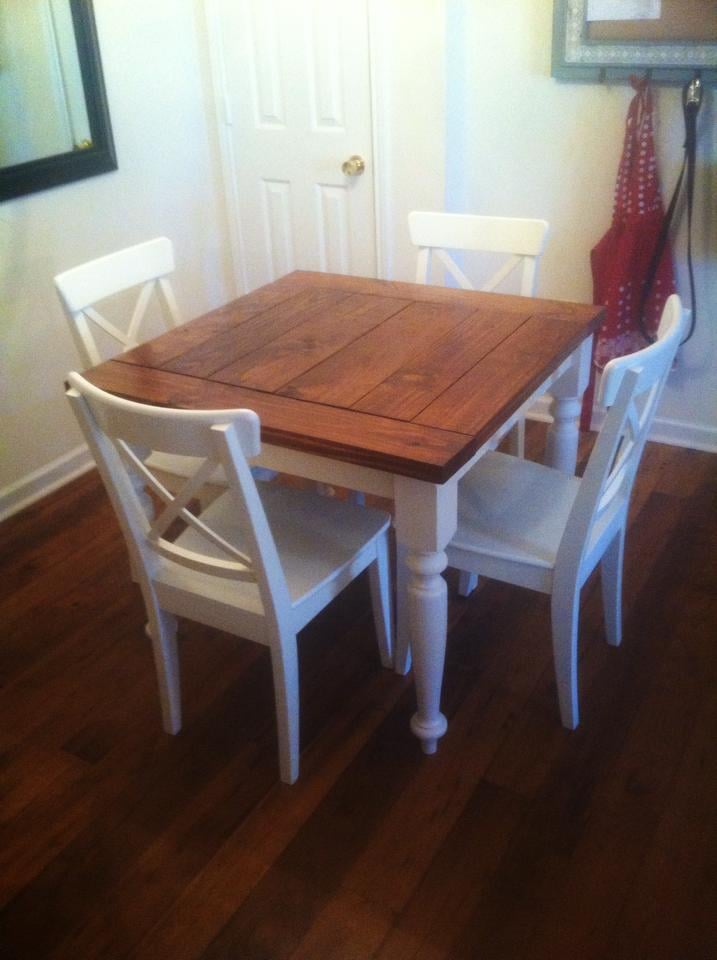
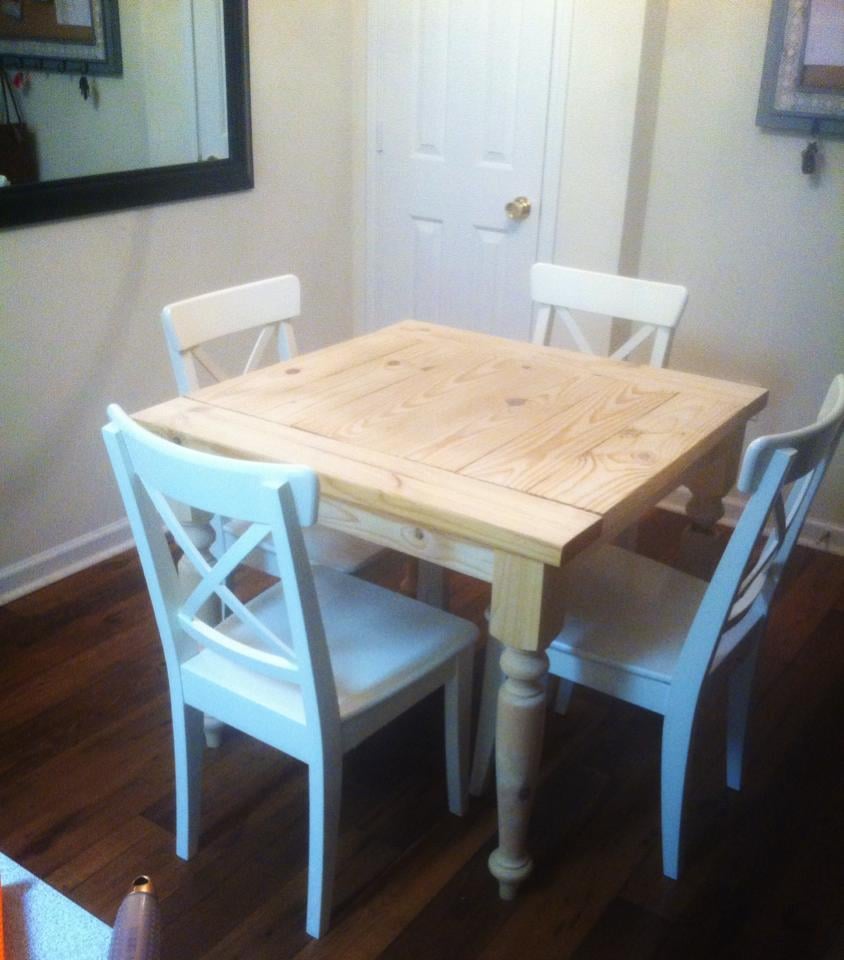
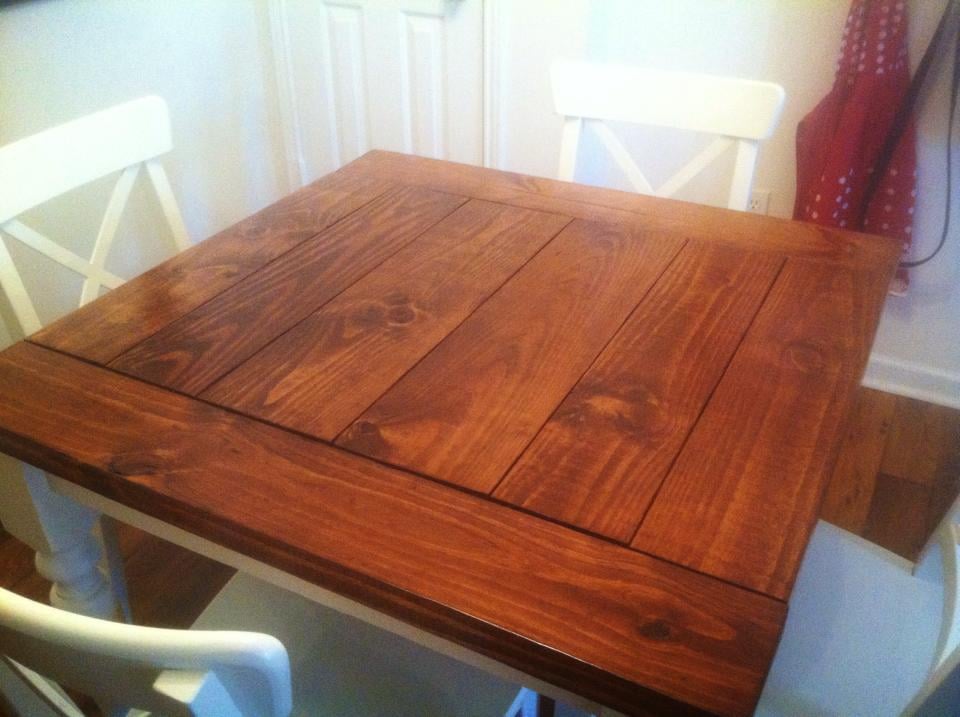
I had to do a 3ftx3ft square table since our eating area in the apartment isn't big enough for a dining table, but I really like how it turned out :) I also added breadboard ends because I can't stand how the cut ends look. I got the legs from osborne wood

Built from Plan(s)
Estimated Cost
$160
Estimated Time Investment
Weekend Project (10-20 Hours)
Finish Used
Minwax English Chestnut, Antique Beige Paint, and Helmsman Clearcoat
Recommended Skill Level
Beginner

Comments

Ten dollar ledges

Submitted by Spolitte on Wed, 03/21/2012 - 20:50

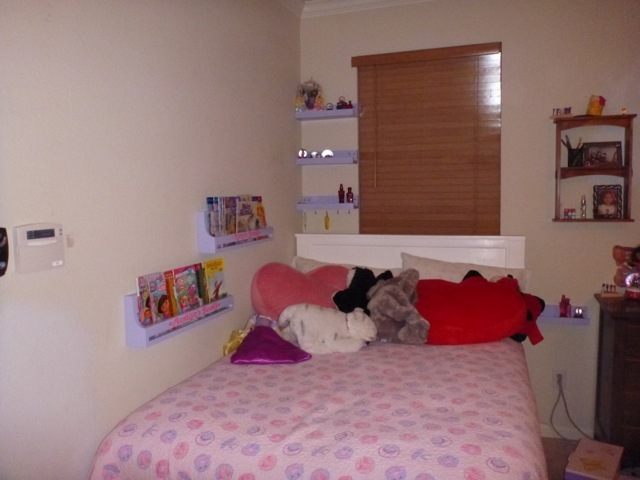
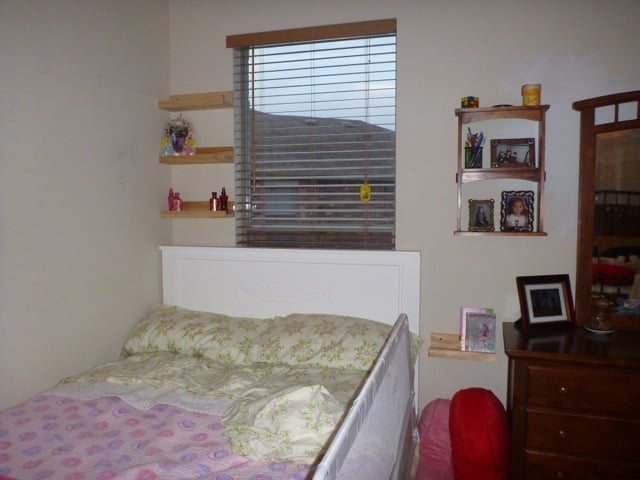
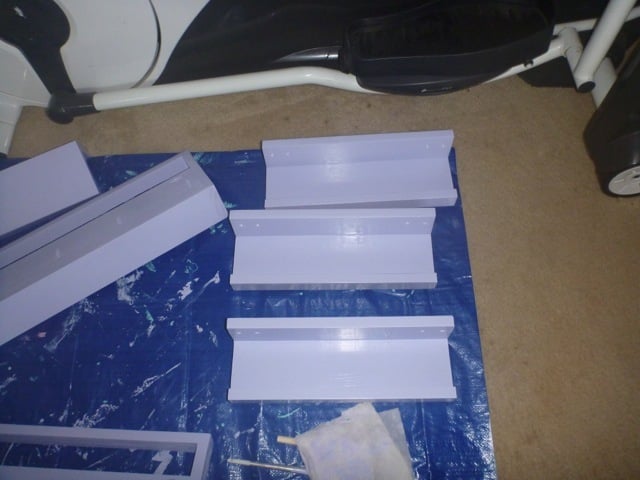
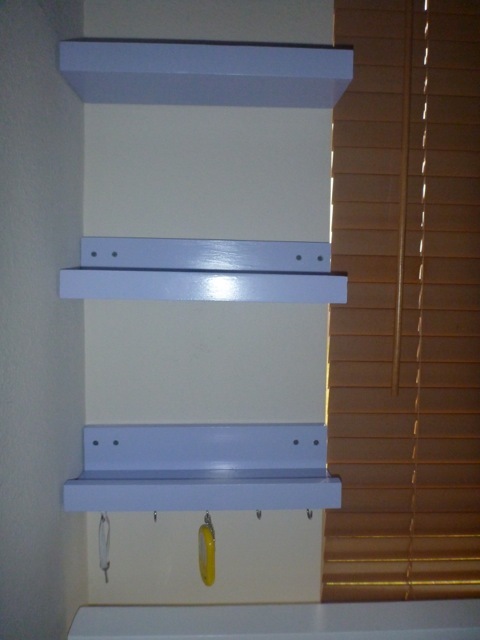
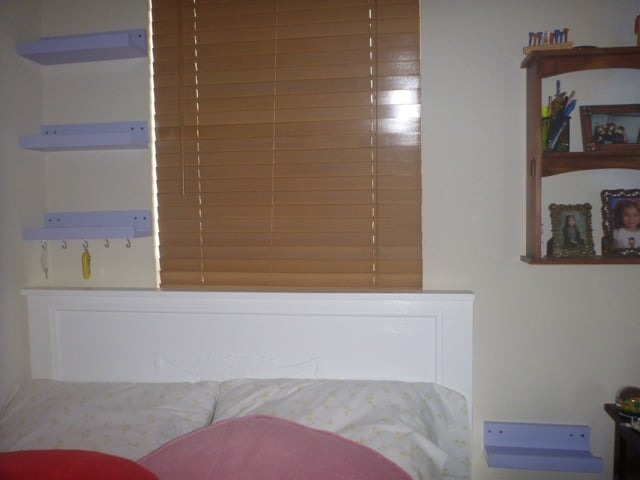
Here are a few of the ten dollar ledges we added around the girls bed. We had no room for tables so we thought we would give this a try. It's working beautifully. We hung the ledges in studs and they are standing up to constant use perfectly. The girls have space for their most cherished nik naks and a drink in case they wake thirsty in the night. We couldn't be more pleased. Now I'm seeing the possibility for ledges in every room.

Built from Plan(s)
Estimated Cost
6.00 minus the paint.
Estimated Time Investment
Afternoon Project (3-6 Hours)
Finish Used
No voc semi gloss for easy cleaning
Recommended Skill Level
Beginner

Comments

garryh (not verified)

Thu, 04/19/2012 - 19:01

If converting existing floor space into a half-bathroom, such a renovation can cost as little as a few thousand dollars, making the addition of a powder room one of the few home improvement projects where the value added to the home exceeds the cost of the renovation.water damage Pearland tx

hannah22 (not verified)

Sat, 04/21/2012 - 00:28

Before you go to use it...if it's been sitting for awhile...give it a good shake. As you can see in this picture...it does tend to separate a bit. But after a quick shake it's good to go. To use: spray on stains as you normally would. I usually let mine "soak in" for a few minutes at least. Then launder as usual.water damage Temecula CA

bobp22 (not verified)

Fri, 05/18/2012 - 19:54

I used to be more than happy to seek out this internet-site.I wanted to thanks in your time for this glorious read!! I positively enjoying each little bit of it and I have you bookmarked to check out new stuff you weblog post. Water Damage Anaheim CA

peak22 (not verified)

Fri, 06/01/2012 - 04:59

Quite insightful submit. Never believed that it was this simple after all. I had spent a very good deal of my time looking for someone to explain this subject clearly and you're the only one that ever did that. Kudos to you! Keep it up. Water extraction Lakeline OH

kim22 (not verified)

Sun, 06/17/2012 - 20:37

I'm so excited that I have found this your post because I have been searching for some information about it almost three hours. You helped me a lot indeed and reading this your article I have found many new and useful information about this subject. Paint Contractor Glendale AZ

milep (not verified)

Mon, 07/16/2012 - 22:55

The program is designed under the same model as new homes built for Habitat families where the veteran will repay the zero interest loan necessary for these repairs, which is then deposited into a revolving fund to assist additional families in need of decent housing. Mold Inspection Covington LA

ricky17p (not verified)

Wed, 08/01/2012 - 22:13

If you're involved in a head-on crash, the windshield must stay in place to keep you inside the car and to keep flying debris out. If the windshield flies out, so too may you or your kids. Improperly installed windshields can easily be dislodged during a crash. Architectural Engineer NYC

ricky17 (not verified)

Fri, 08/17/2012 - 06:48

You have to put efforts in home maintenance to make sure everything is in right condition. If any part of your house needs repairing then have it repaired immediately. If you neglect the problem for too long then it might become even more complicated. Masonry contractor West Hartford CT

ghikh (not verified)

Tue, 11/20/2012 - 00:17

This is represented partly in the significantly higher frequency and register neutrality of connectives such as tak or totiž when compared with the English so and therefore but primarily by the nature of the mental spaces set up by the Czech lexemes. water damage Anaheim CA

Waylanderman (not verified)

Fri, 11/30/2012 - 03:19

The contemporary strategy is often focused on the development of specific skills and abilities. As a result, it fails to provide with the broader education and, instead of the formation harmonious, balanced personalities, it breeds specialists trained to work in a specific field. This is a good example like the ones http://bestsamplepapers.com does. People prefer more broad basis.

Leaning Shelf Project

Submitted by bknjohnson on Thu, 01/16/2014 - 10:17

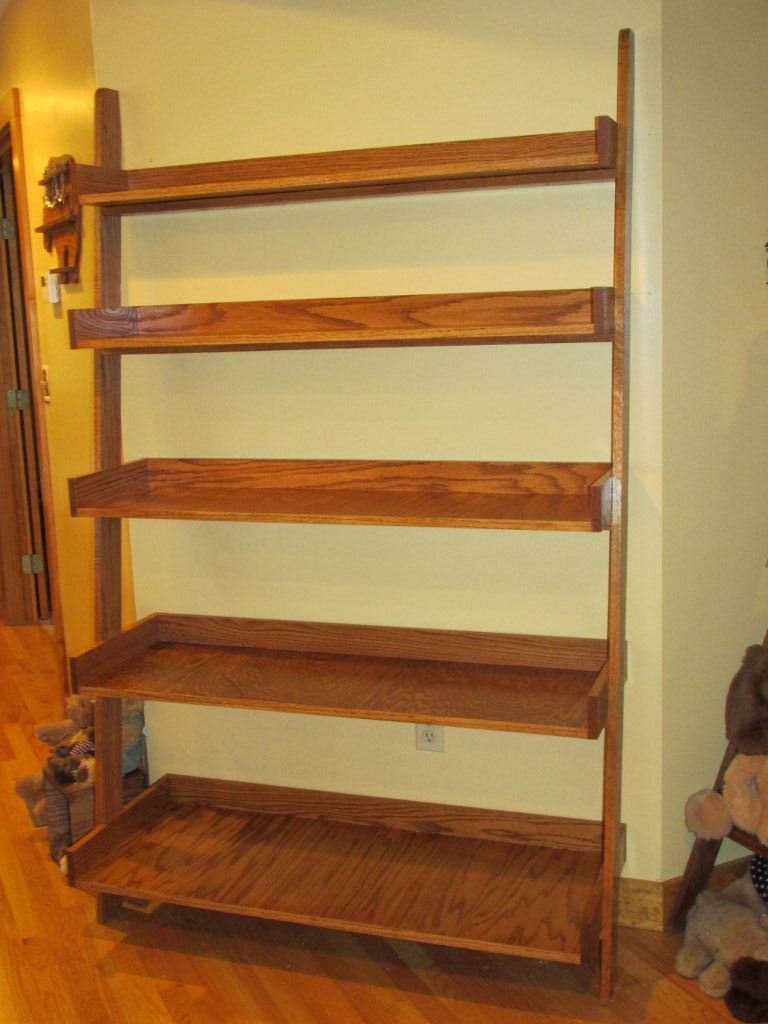
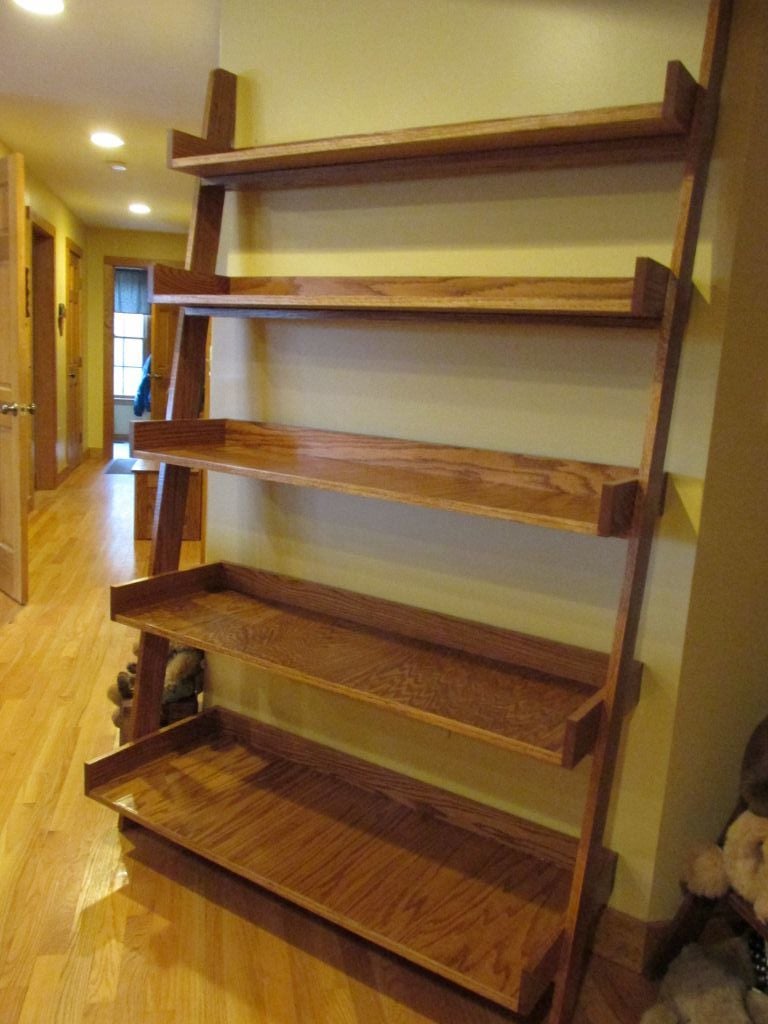
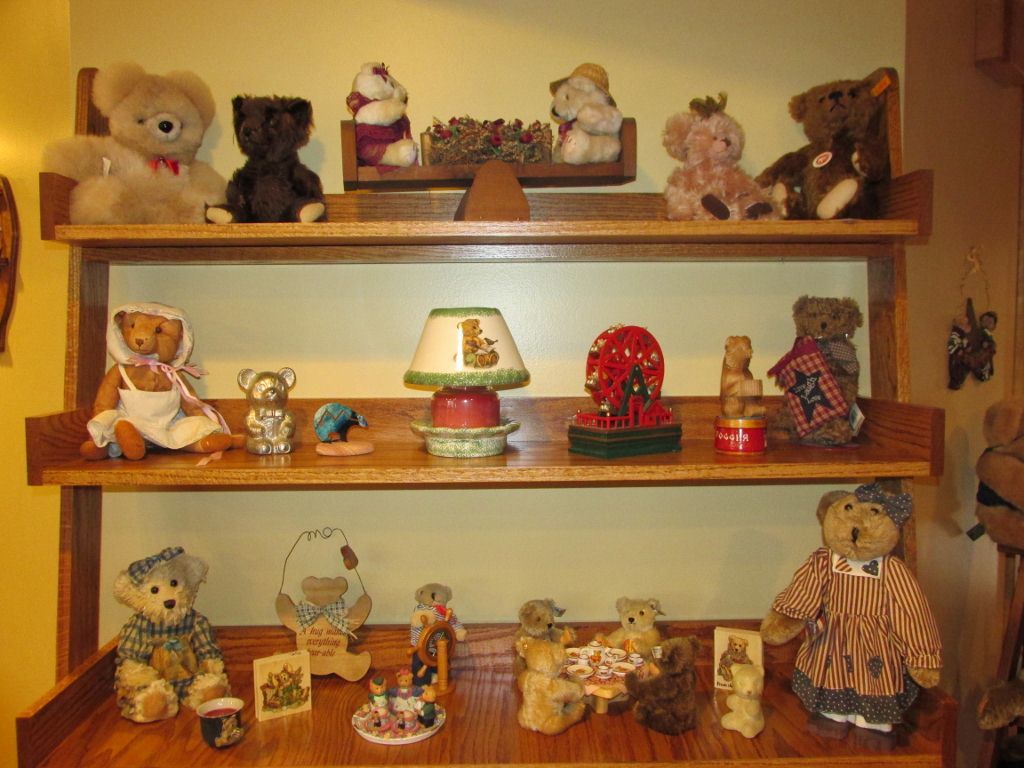
I started with Ana's plans and modified them for our specific needs.  We have a corner in our hallway very well suited for a shelf system like this, and my wife wanted to fill that area.  So, my finished project is 4 feet wide. Other than adjusting the plans for the width and then the lumber needs accordingly, all of the remaining dimensions and measurements in Ana's plan remained the same.  

I built everything using oak 1x4s and oak plywood, and pocket screws to build each shelf and the ladder portion.  

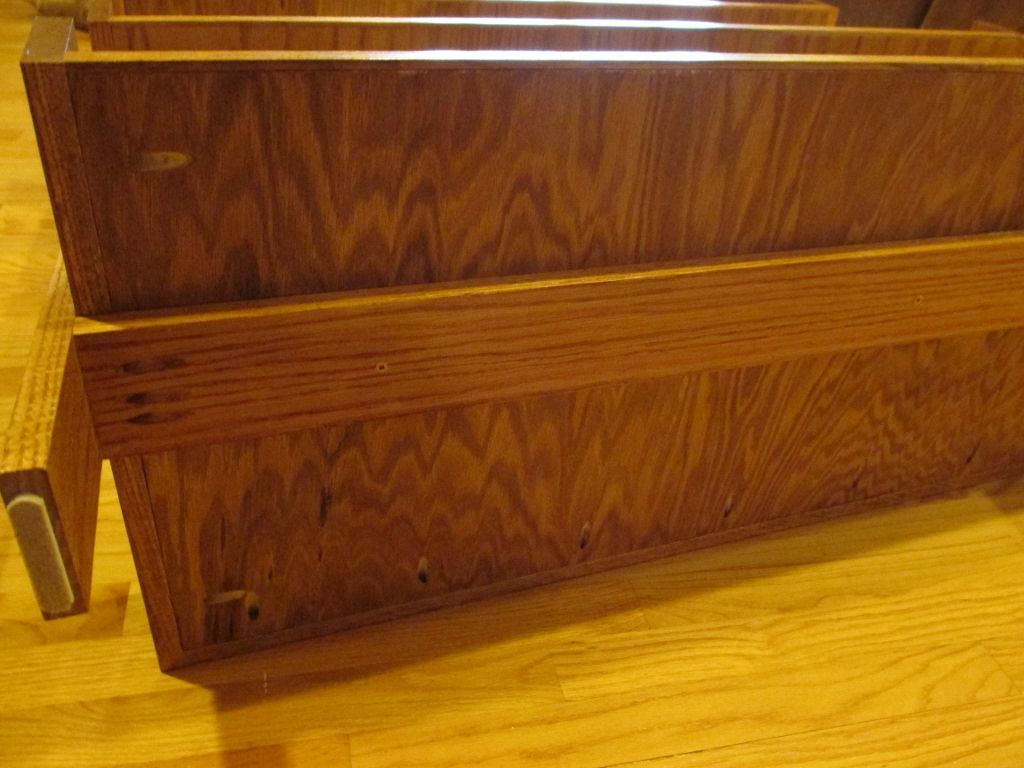
I read the comments here about attaching a piece of oak to the front of the shelves to hide the plywood layers, and wish I had read that before cutting all the pieces. I was able to make that modification without causing too much rework, I just had to cut the trim a little to match the new depth of each shelf.  

This piece is very heavy when fully assembled!  I decided to leave the ladder assembly separate from the shelves during the finishing process, and then carried everything to the living room.  I attached the bottom shelf first and worked my way up.

Each shelf is attached to it's respective support and to the ladder legs by wood screws, and each shelf is screwed to wall studs. Thanks for the plans Ana, this was a nice Christmas gift for my wife. :-)

I listed this project as Intermediate only because I modified the plans to fit our particular needs.  The measuring and cutting were relatively straight forward, attaching with the pocket screws took some time to get everything right.  Finishing took time to allow each coat to dry thoroughly.  Assembly also took me some time, just to make sure each shelf was level and ensuring I was drilling into studs and not sheetrock.

Built from Plan(s)
Estimated Time Investment
Weekend Project (10-20 Hours)
Finish Used
All Minwax products: 1 coat of Pre-conditioner, 2 coats of Golden Oak stain and then 3 coats of Polycrylic. I only put one coat of the Poly on the wood surfaces that I knew would be hidden such as the back of the trim against the wall, and the tops of the shelf supports.
Recommended Skill Level
Intermediate

My farmhouse dinning room table

Submitted by BthAnn08 on Fri, 01/24/2014 - 17:45

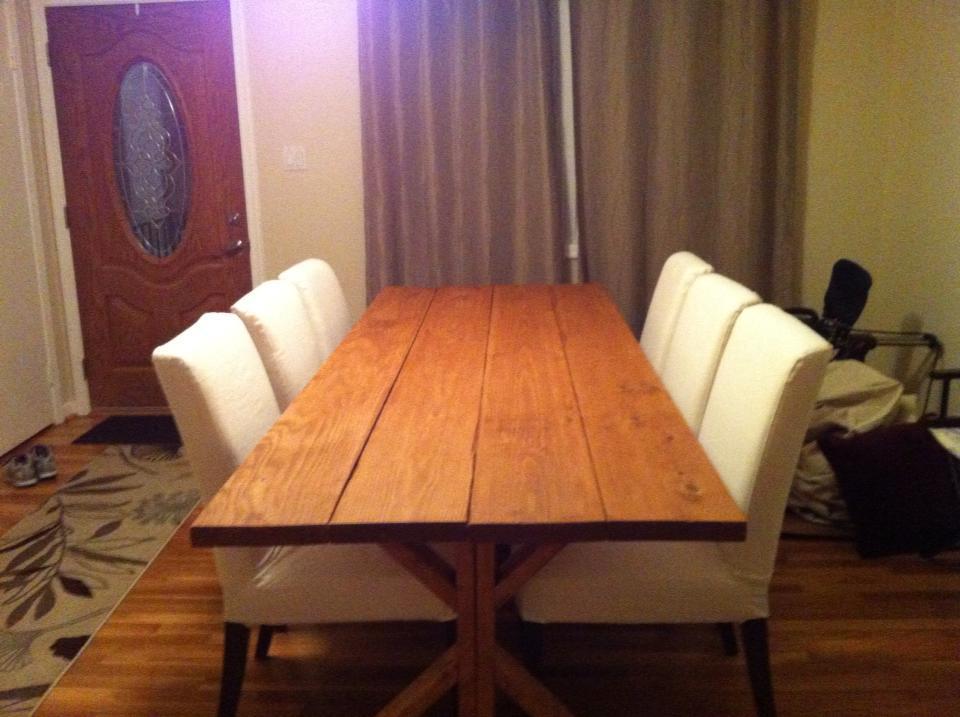
I loved working on this project! This was my first real building project! My friend Jody and I had a blast working on it together. It can seat up to 8 people which I love when my family and friends come to visit.

Built from Plan(s)
Estimated Cost
$80
Estimated Time Investment
Weekend Project (10-20 Hours)
Finish Used
Minwax Stain in Early American and a Rust-Oleum polyurethane matte finish
Recommended Skill Level
Beginner

Queen Farmhouse bed

Submitted by mediccac on Mon, 04/16/2012 - 21:19

This is a modified Farmhouse queen bed. This was the first thing I have ever made from wood by myself for my wife and I.

Built from Plan(s)
Finish Used
Milk white paint sanded to distress.
Recommended Skill Level
Beginner

LEGO Play and Storage Table

Submitted by Bradnag on Sun, 01/19/2020 - 14:13

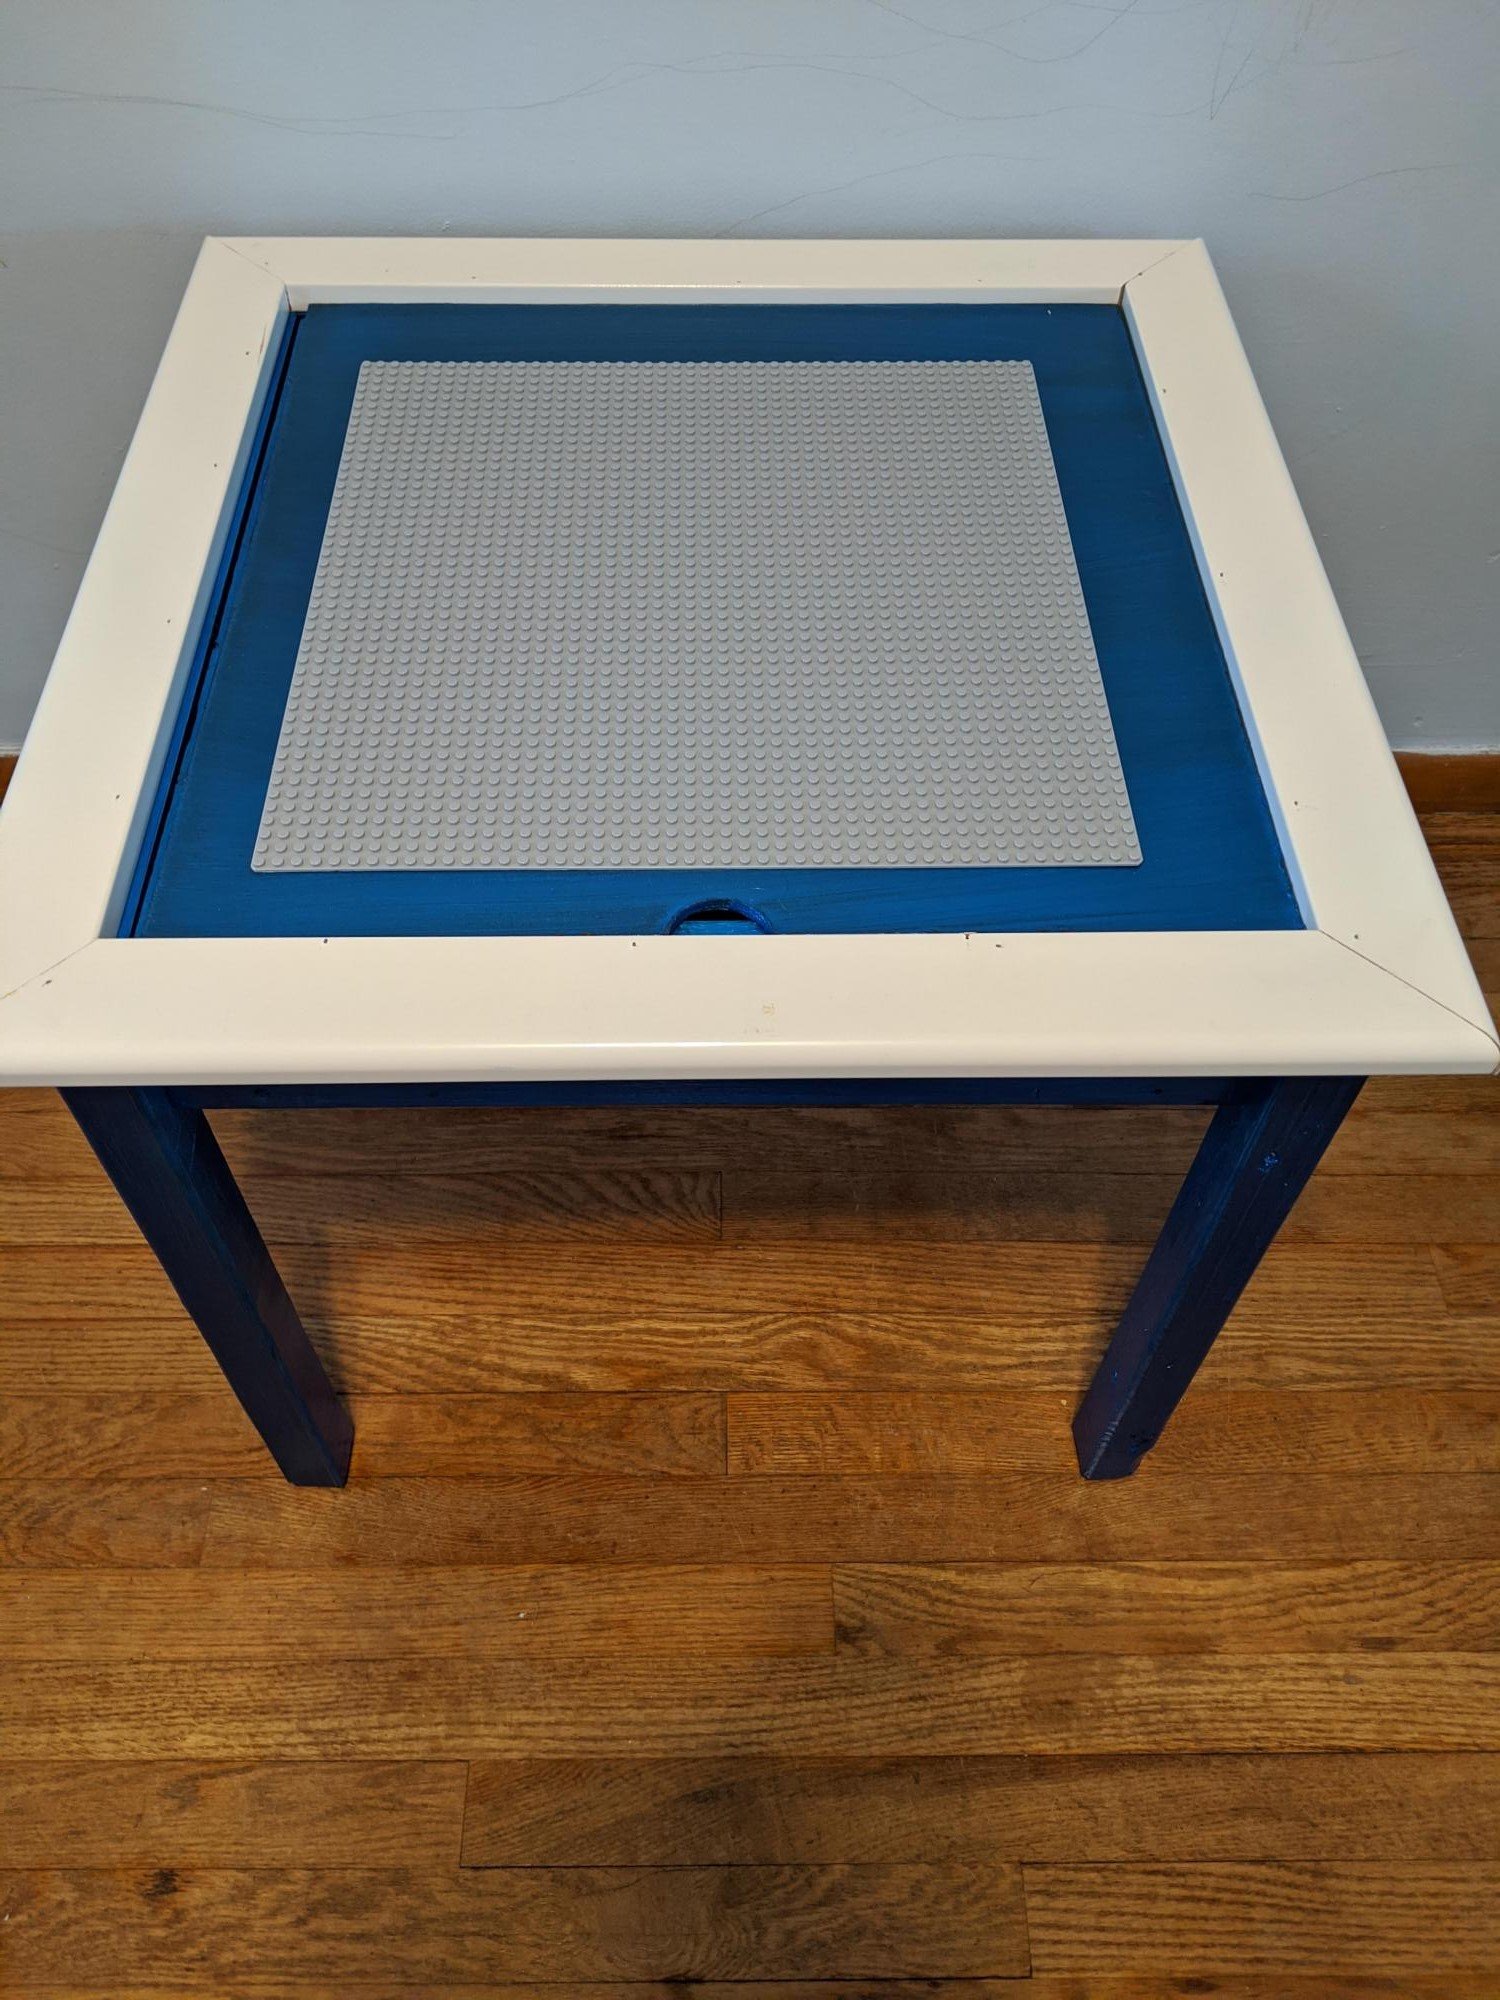
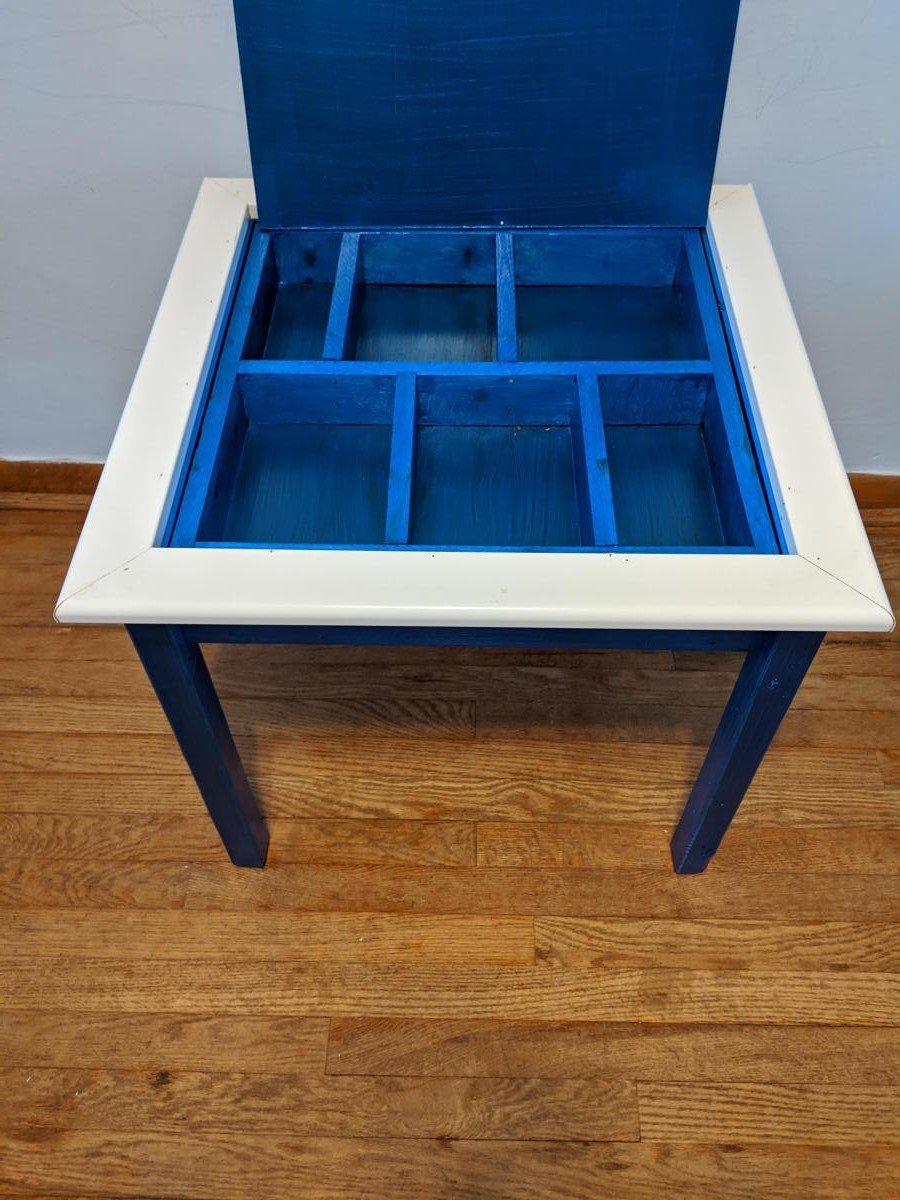
Used the plans for the Arts & Crafts Play Table, but ditched the angled legs (the squared off legs have no stability issues at all), and used a regular piece of 1/4" fiberboard instead of acrylic for the lid. On the lid I glued a 15x15 LEGO baseplate, and compartments underneath are for LEGO storage. The local REStore had an 8ft length of 3" laminated MDF trim for $2, which worked perfectly as the trim for the top of the table with no sanding or painting required.

I know the paint in the photo looks super-streaky, but I used some leftover Rust-Oleum cobalt blue metallic floor paint, so it's shimmery and glossy. Unfortunately the visual effect photographs poorly.

Built from Plan(s)
Estimated Cost
$15
Estimated Time Investment
Afternoon Project (3-6 Hours)
Finish Used
Rust-Oleum metallic floor paint, cobalt blue
Recommended Skill Level
Beginner

Comments

Cubby Shelf with Ironing Board Top

Submitted by PinnSB on Sun, 02/02/2014 - 11:56

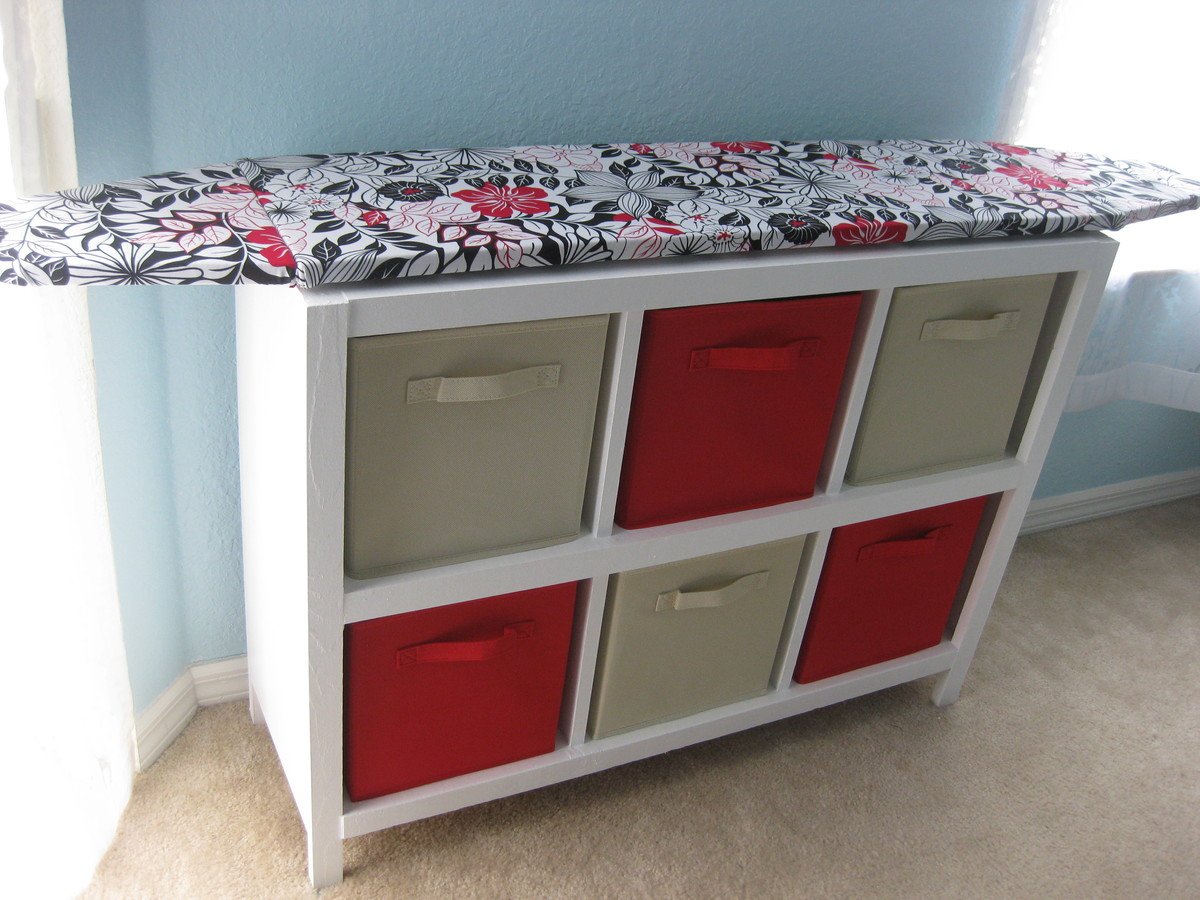
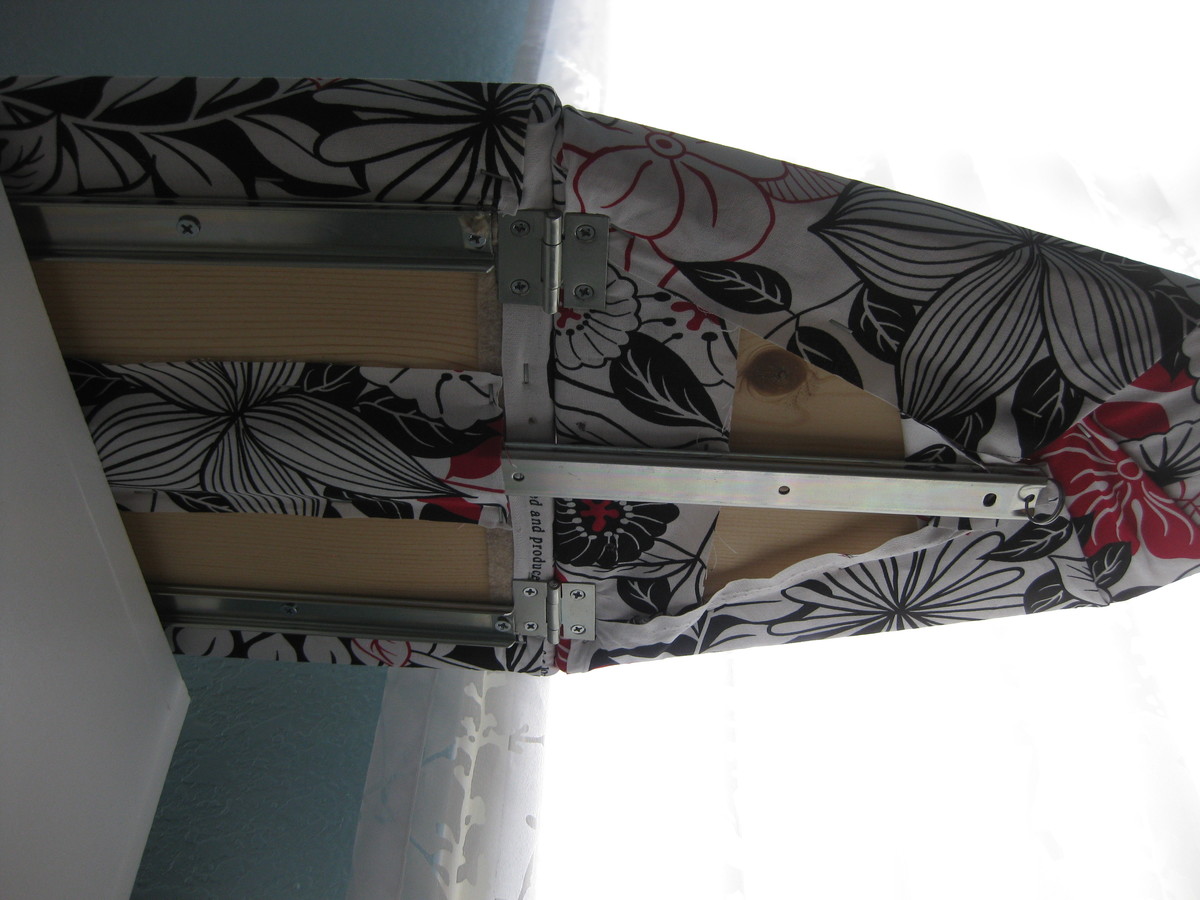
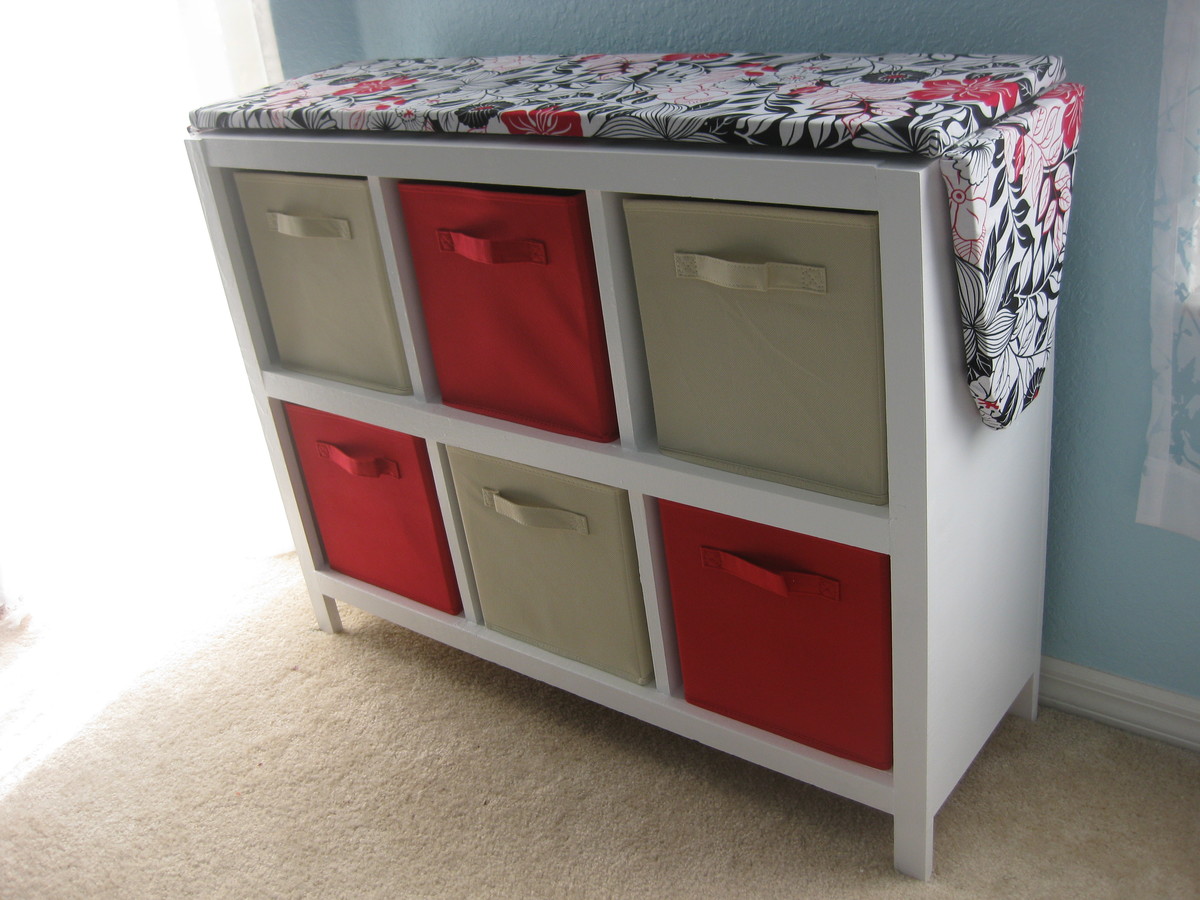
Originally I wanted a cubby shelf for the empty space between the sliding door and window in our master bedroom. However, that is also where the ironing board always sat out and I got tired of looking at it. So this project evolved and I decided to add an ironing board to the top of it. I used a 41" 1x12 for the top and 2-11" scraps for the flaps on either side. I covered each piece with one layer of felt and one layer of fabric. Flaps were attached to main board with hinges. Under-mount drawer slides were used to both allow the board to shift left and right and to support the flaps in open position.

Built from Plan(s)
Estimated Cost
$85
Estimated Time Investment
Day Project (6-9 Hours)
Finish Used
Valspar Ultra White Satin Paint
Recommended Skill Level
Starter Project

Comments

rlmilam3

Wed, 02/03/2016 - 21:07

Are there more specific plans for building the ironing board part of this? The other builds are so specific, having everything laid out even the amount of screws needed. But this one is definitely lacking. Is there further directions elsewhere that I'm missing?

itzann

Thu, 02/04/2016 - 09:24

Hi, this particular project was submitted by a reader, who modified the plans of the cubby shelf to include the ironing board top. It is not part of Ana White's project plan, so that is why there are no specifics. Perhaps you could try contacting the person who posted, and he/she could tell you more details. 

-Ann

Laundry basket dresser with a drop-down ironing board

Submitted by getcz on Sun, 04/22/2012 - 18:35

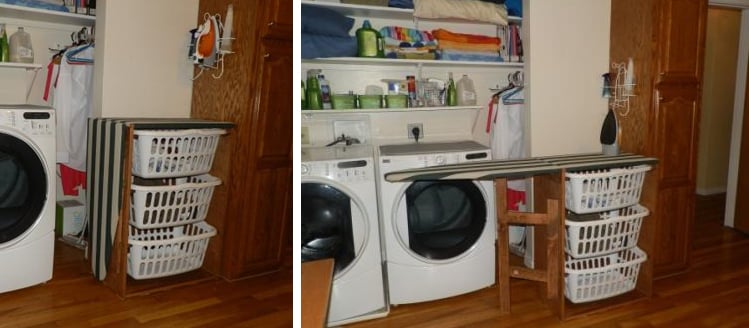
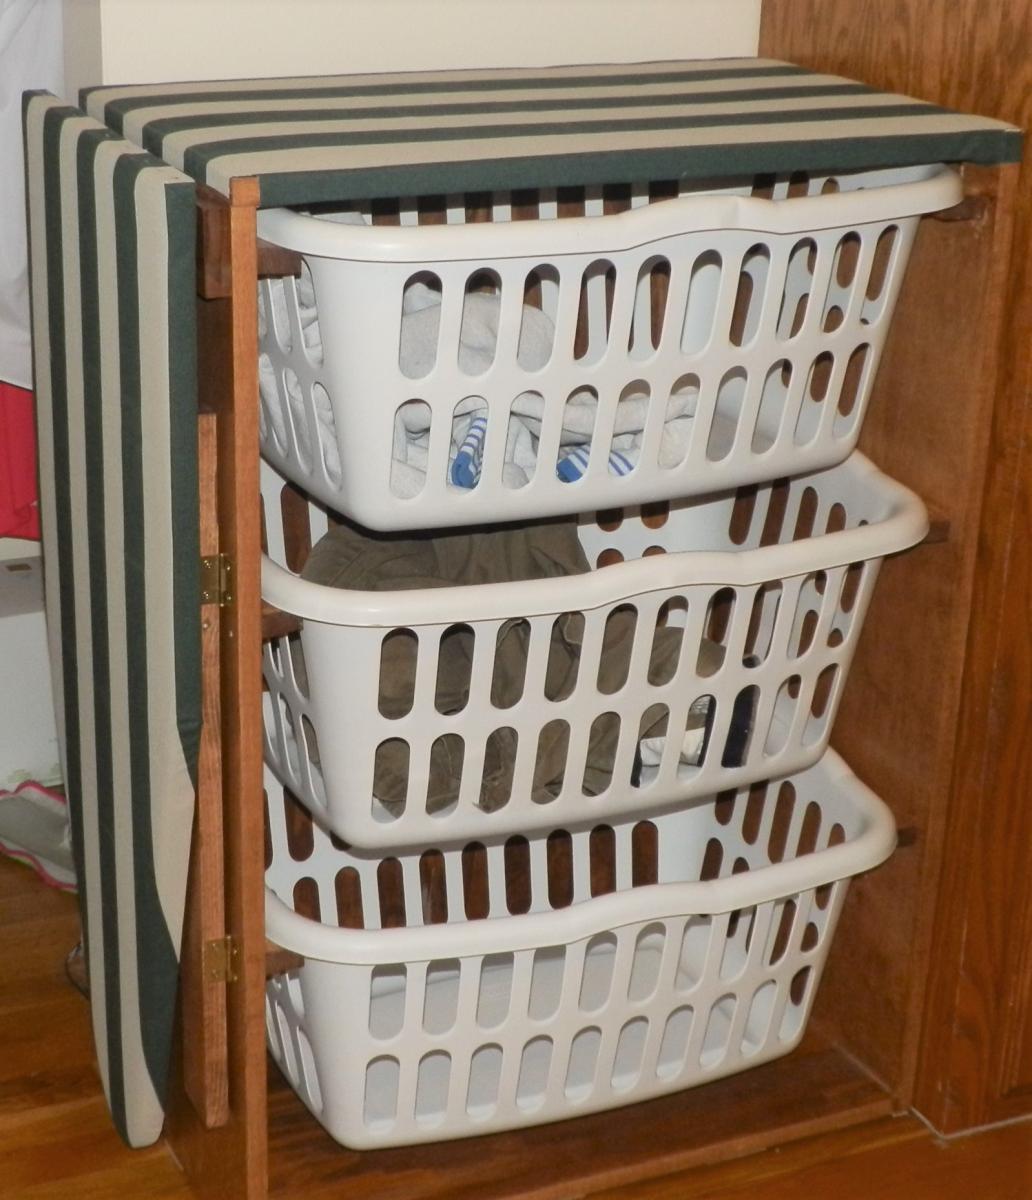
I used Ana's Laundry Basket Dresser plans but I added a drop-down ironing board and and made the entire top surface ready to iron on. A swing-out leg under the ironing board helps to stabilize while ironing.

Built from Plan(s)
Estimated Time Investment
Weekend Project (10-20 Hours)
Finish Used
Laundry
Recommended Skill Level
Intermediate

Comments

Shiplap Fireplace

Submitted by Anonymous (not verified) on Fri, 09/22/2023 - 08:13

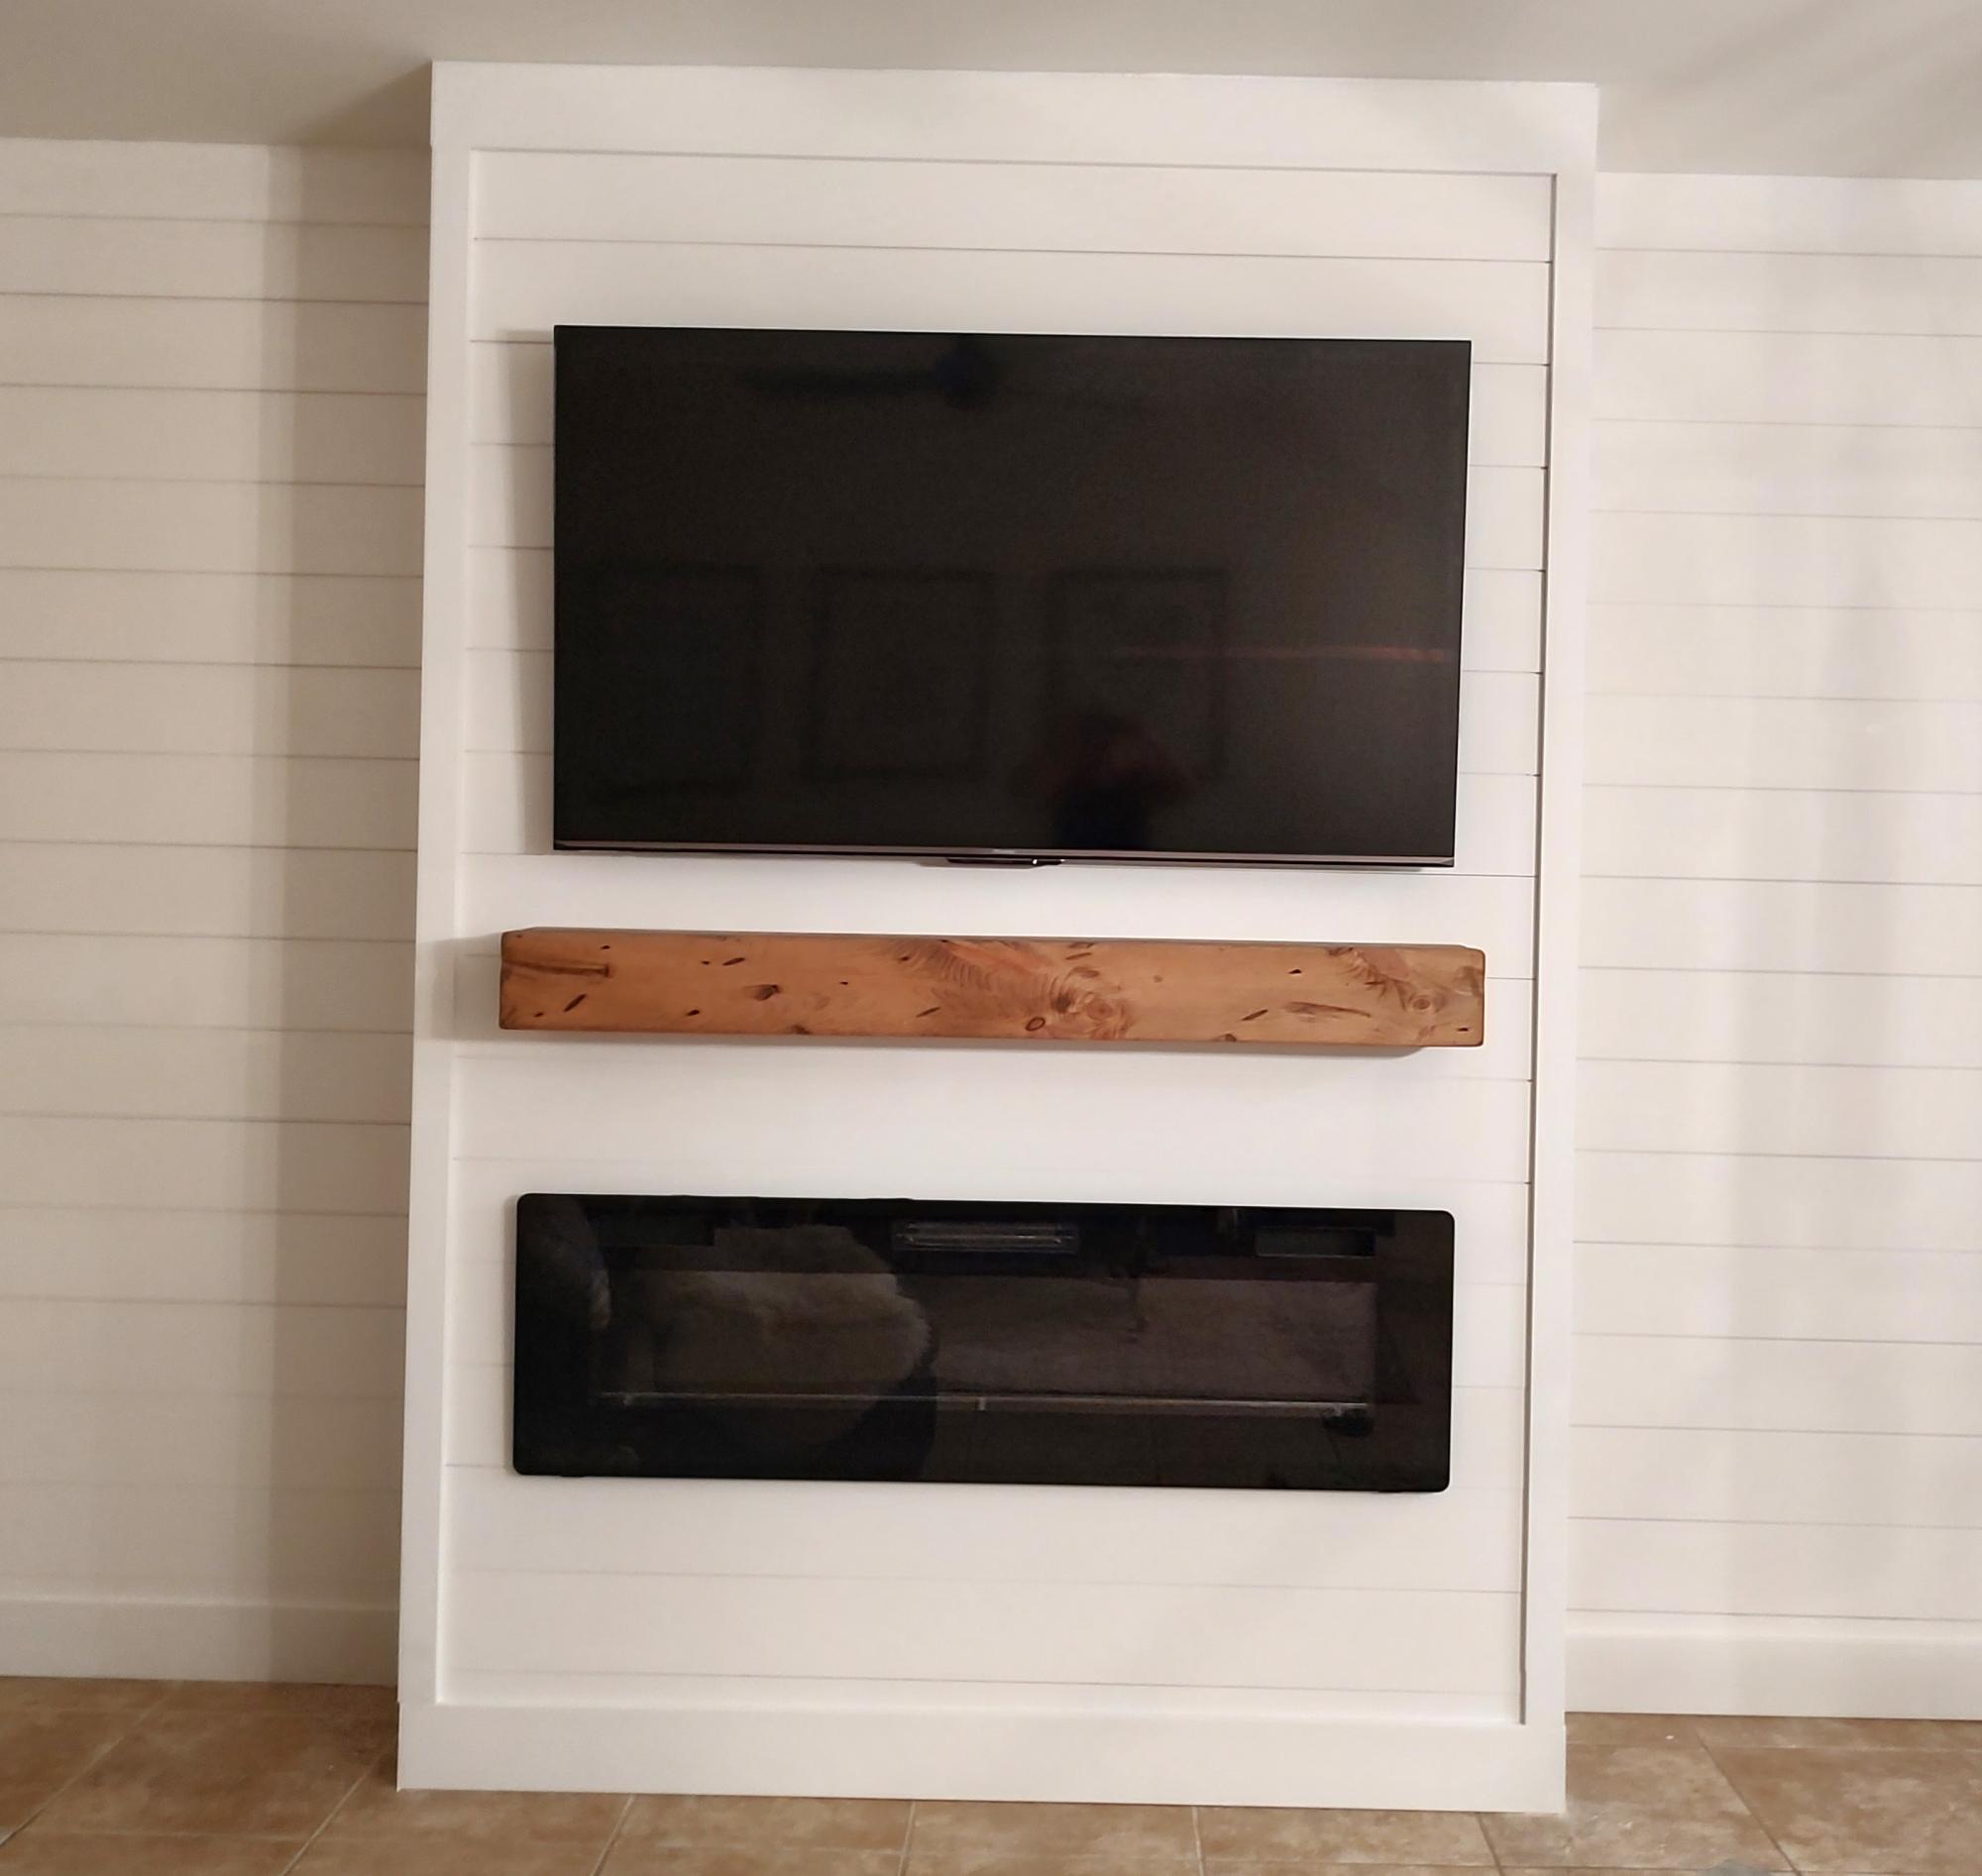
So excited for my new living room space thank you for your great tips!

Kandis white DeCarlo

Comments

Rustic hall tree with alterations

Submitted by Anonymous (not verified) on Wed, 02/19/2020 - 11:36

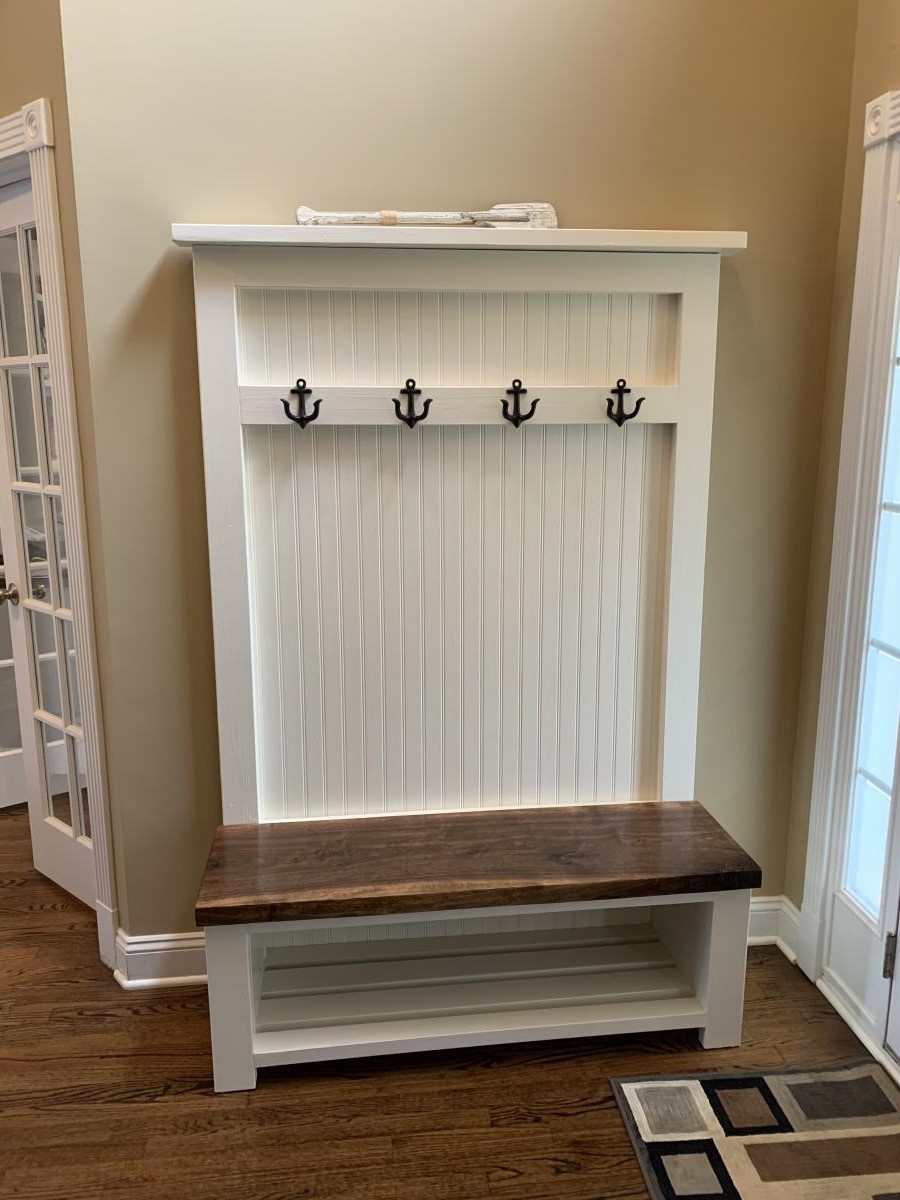
A few alterations I made to your original design plans:
1. I went with 1/2” plywood and bead board for the back. This gave it a little more stability and a complimentary design element to match other pieces I’ve built.
2. I used 2x3’s instead of 2x2’s since the selection was much better at the lumber store.
3. For the bench top I used a black walnut slab cut to size finished with a danish oil and satin poly top coat.
4. Instead of the X, I enclosed the sides and used a pair of parallel 2x3’s backed with poplar boards cut to size.

Thanks! I hope you enjoy.
Chad Cote

Built from Plan(s)
Estimated Cost
$150
Estimated Time Investment
Weekend Project (10-20 Hours)
Finish Used
Watco walnut danish oil
General Finishes satin top coat
General Finishes Antique White milk paint
Recommended Skill Level
Intermediate

Comments

Little Helper Tower

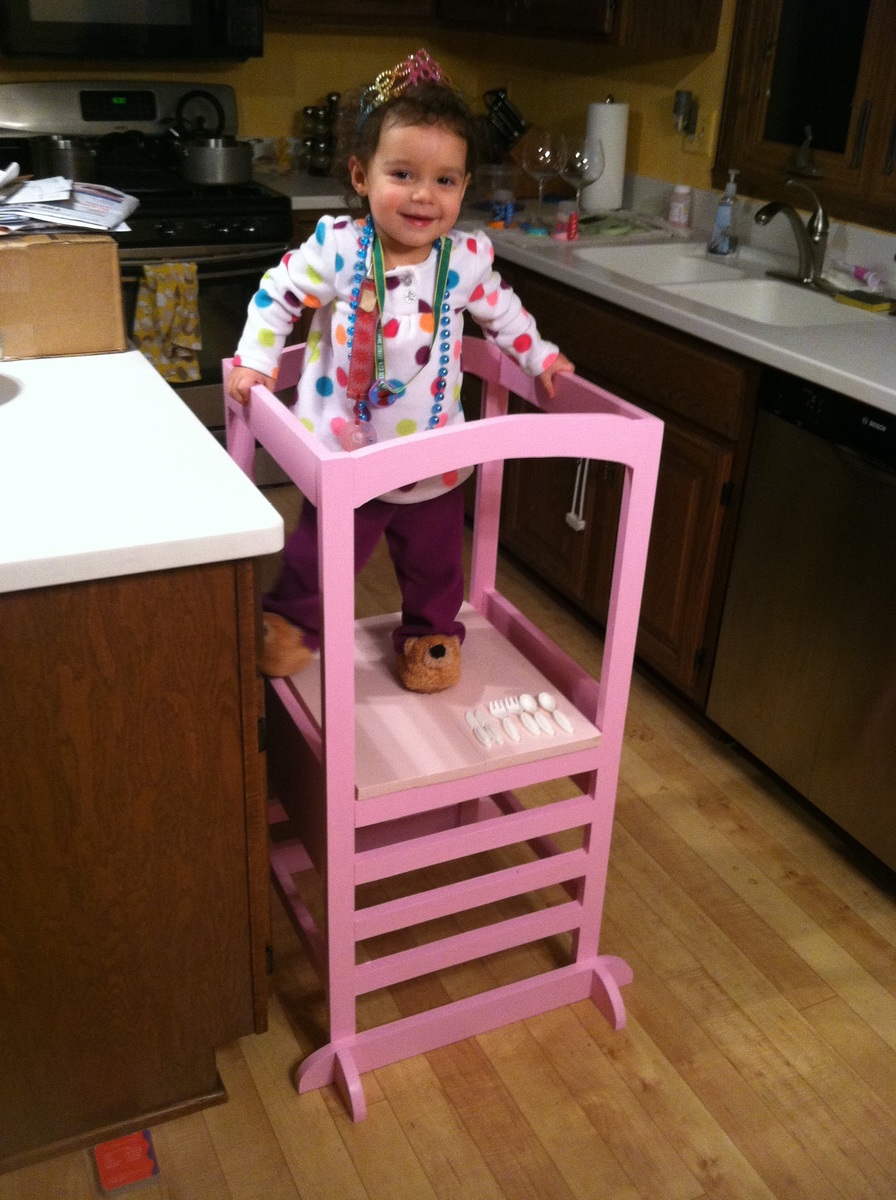
Submitted by pde00311 on Mon, 02/24/2014 - 23:16

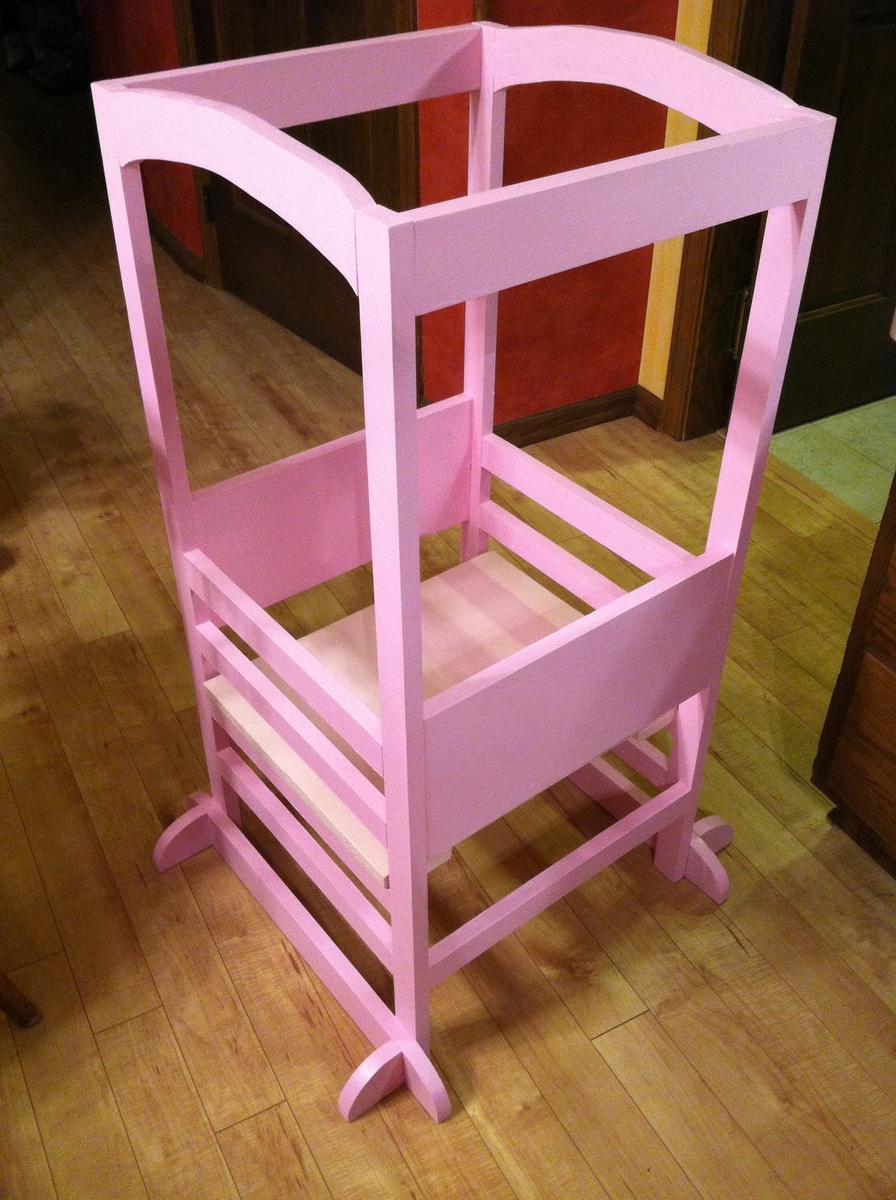
While our daughter initially freaked out at the thought of standing on this, she is starting to come around. The adjustable level will make this a mainstay next to our kitchen island for the next few years.

Built from Plan(s)
Estimated Cost
50
Estimated Time Investment
Afternoon Project (3-6 Hours)
Finish Used
Behr Sweet Taffy paint, step in Behr off-white #1873
Recommended Skill Level
Beginner
Back