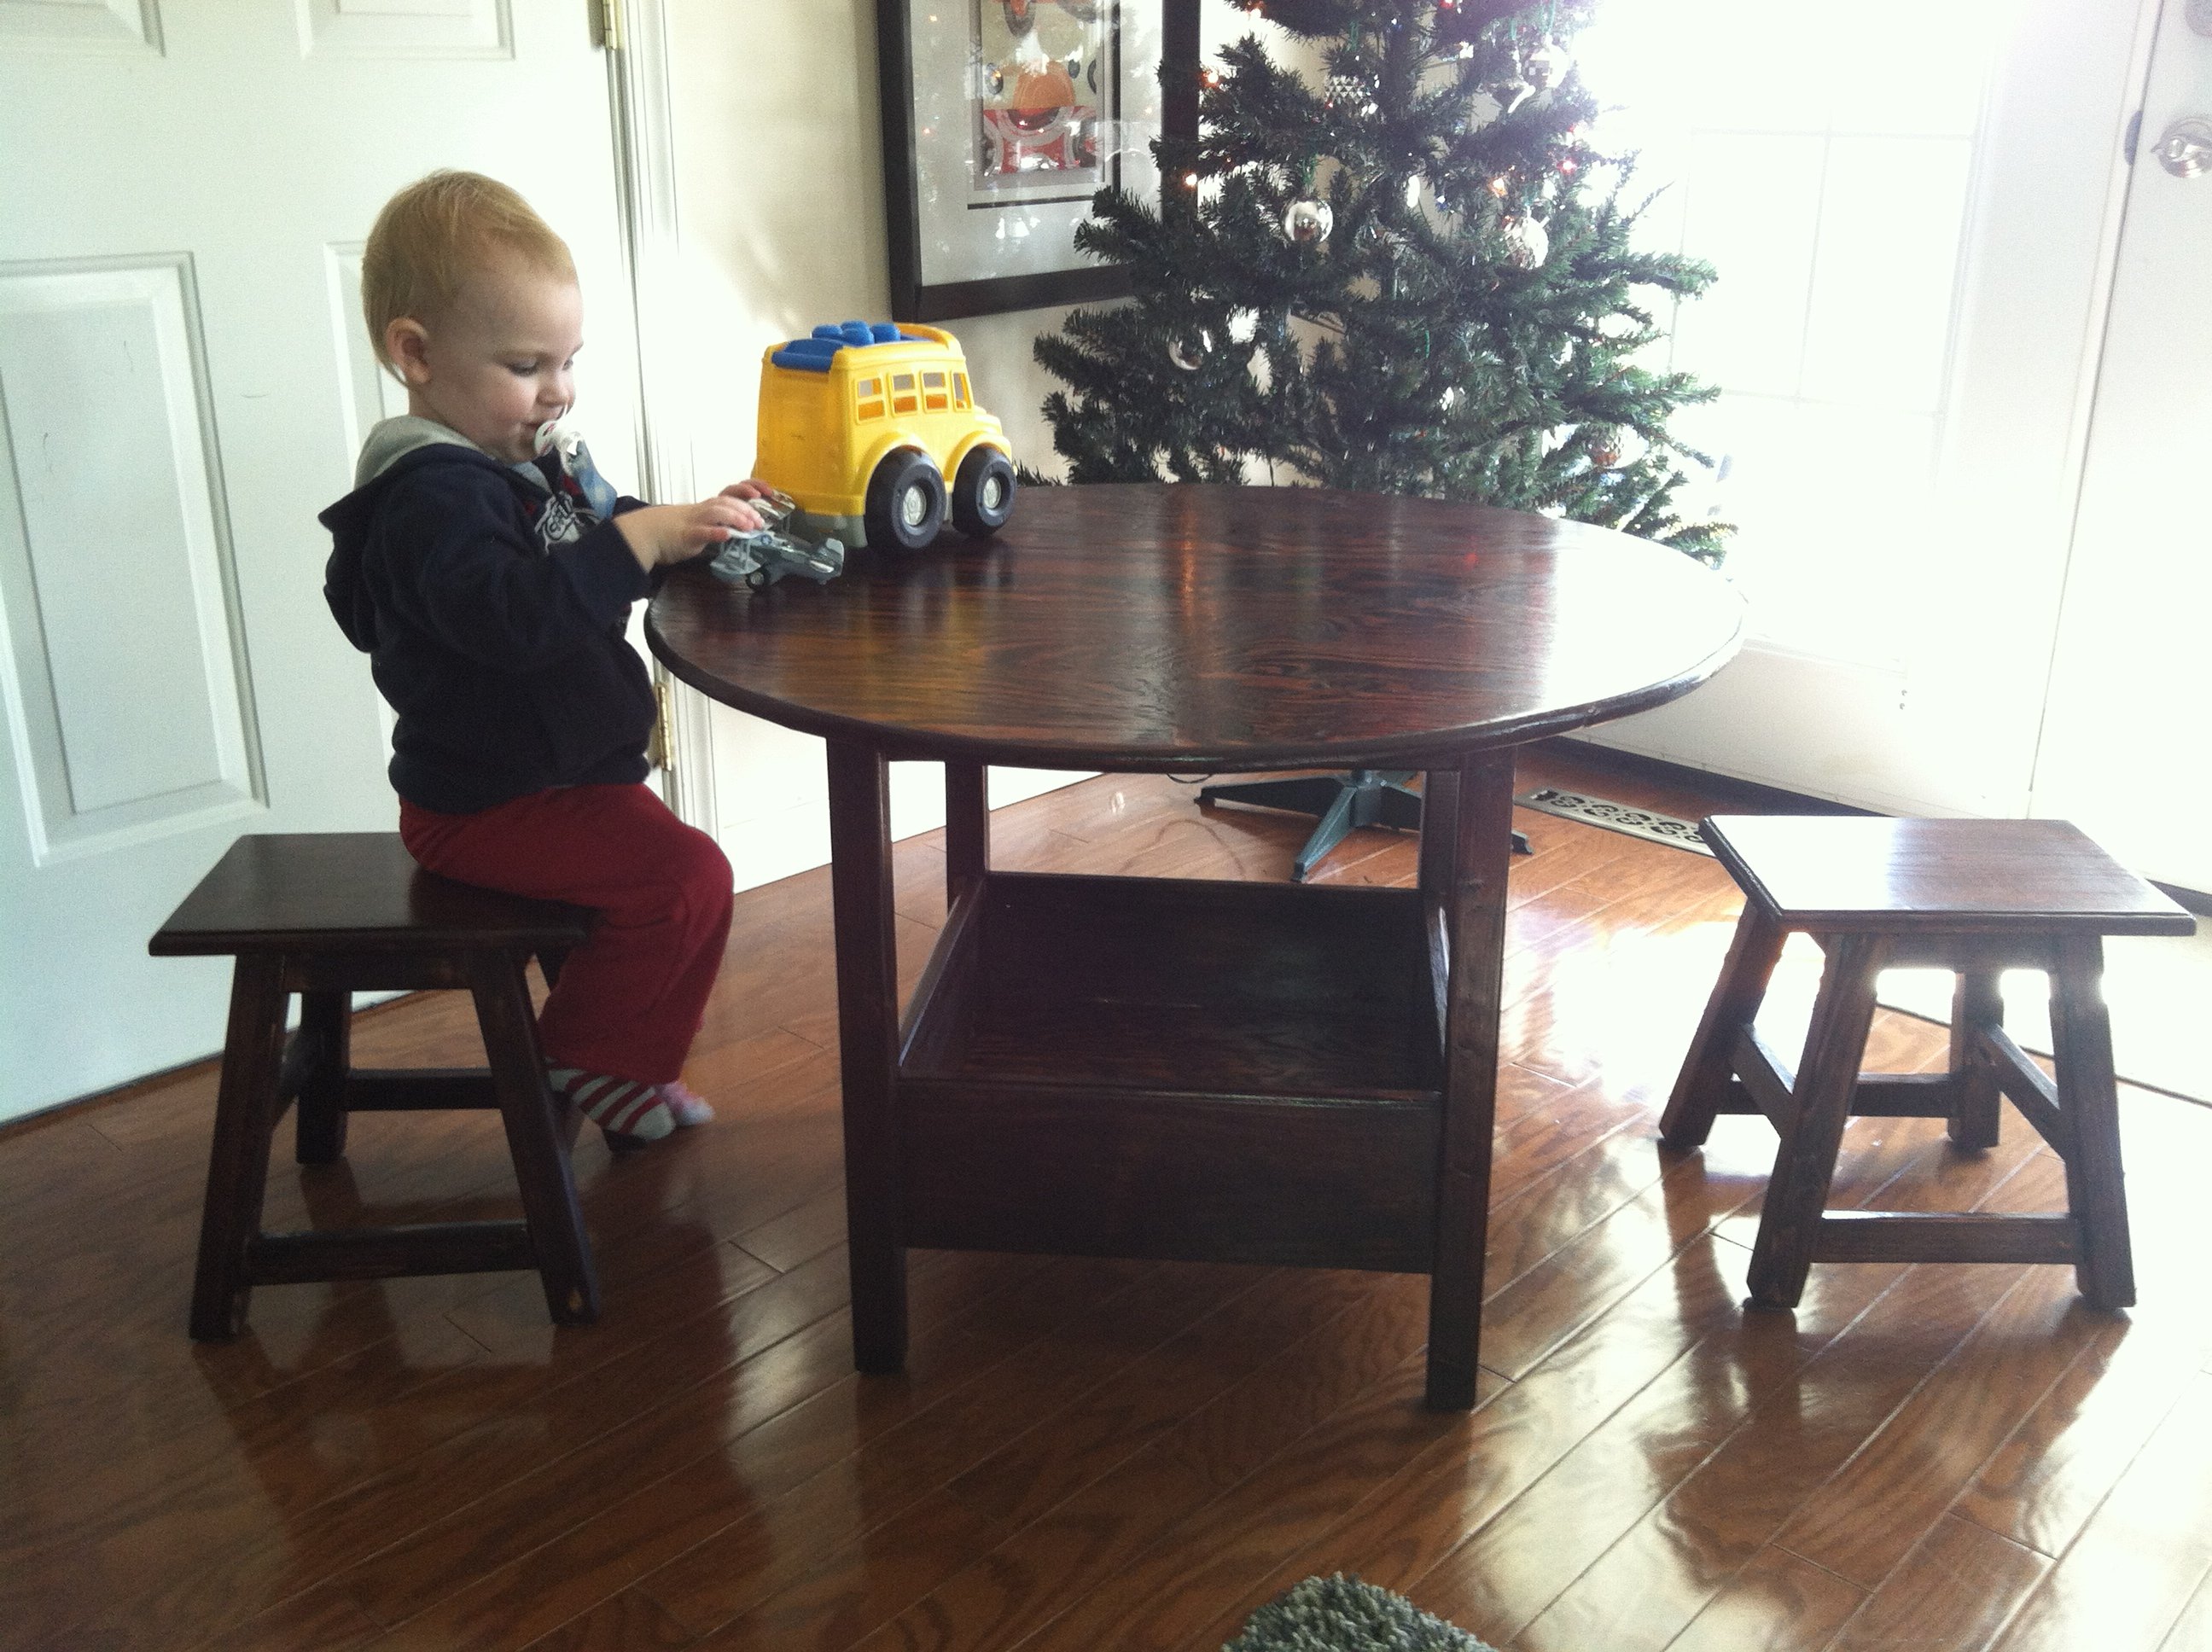
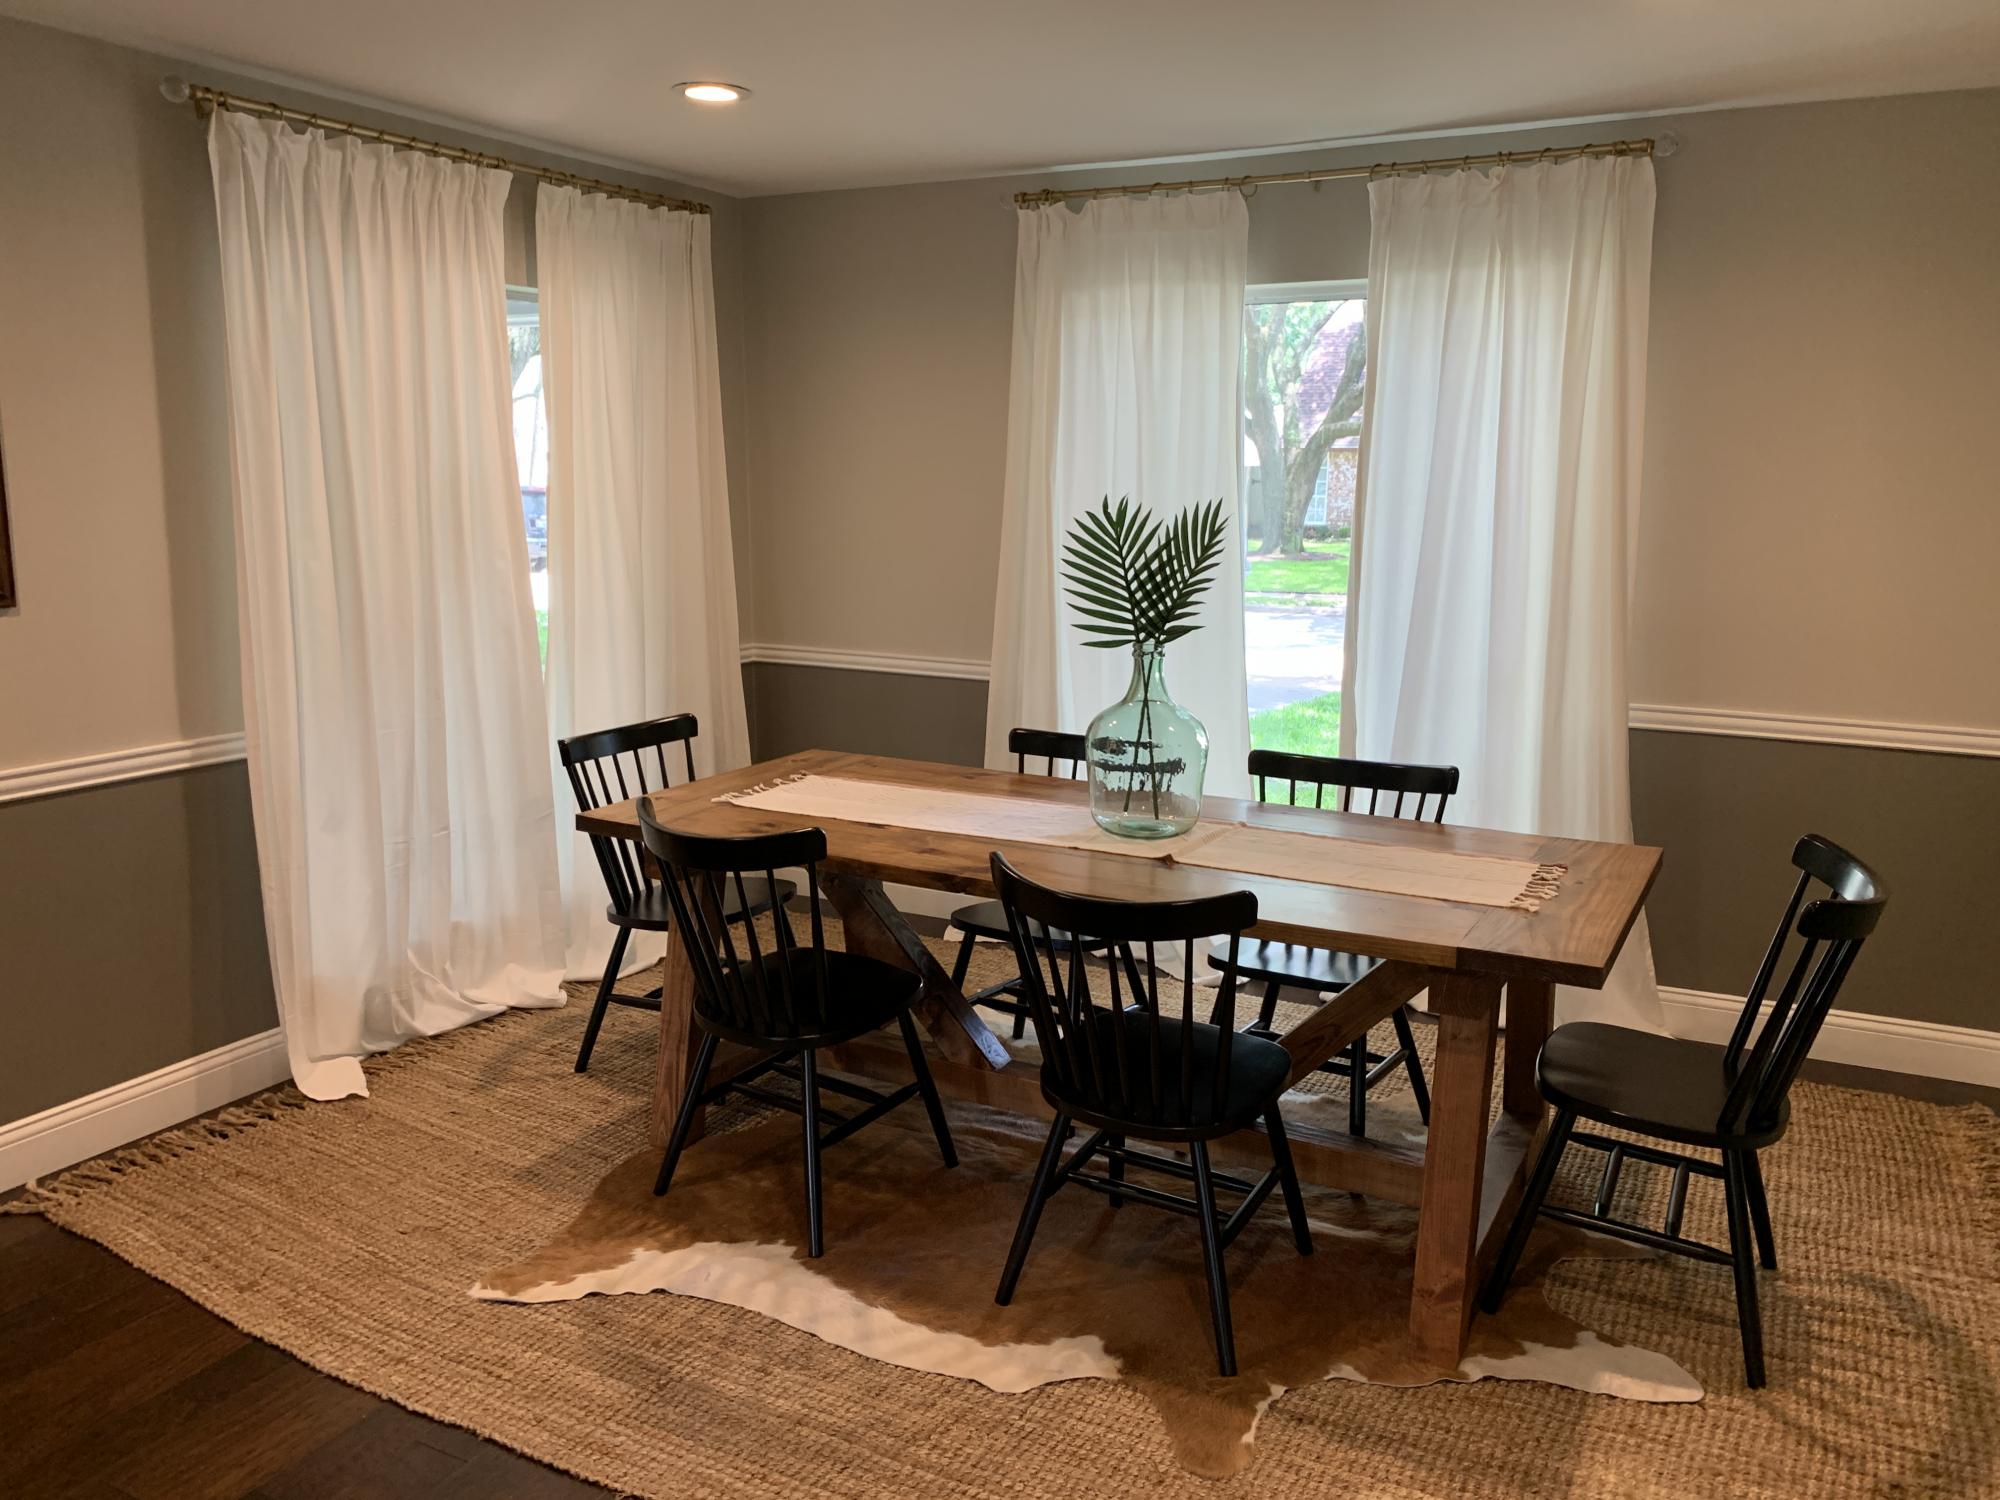
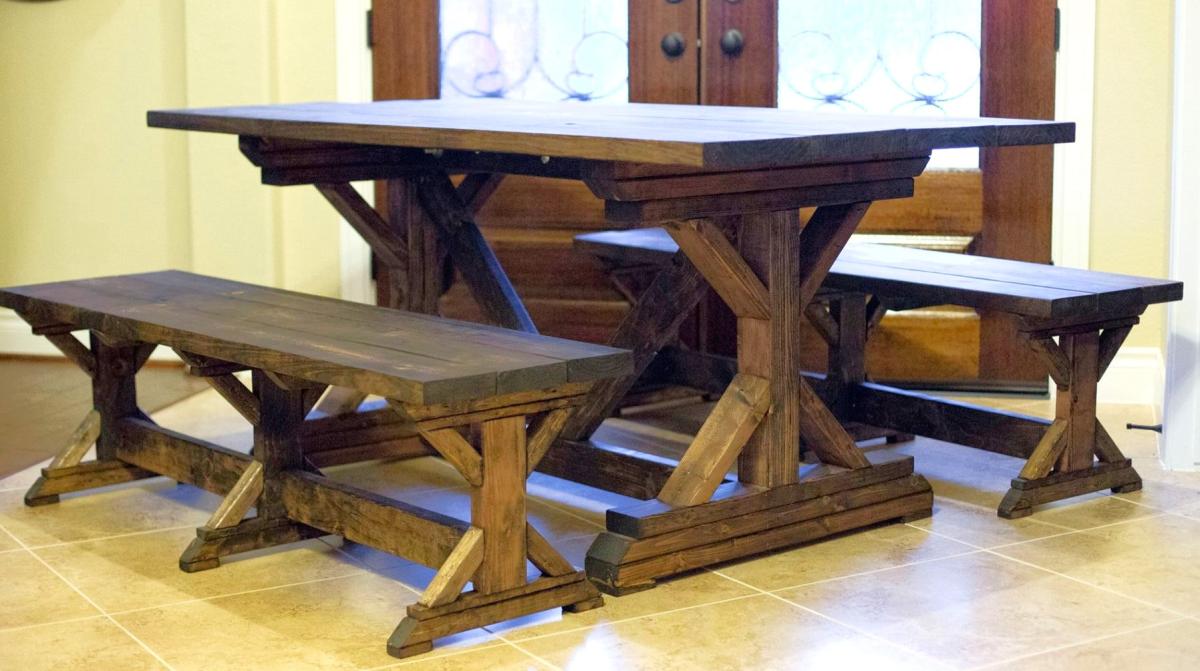
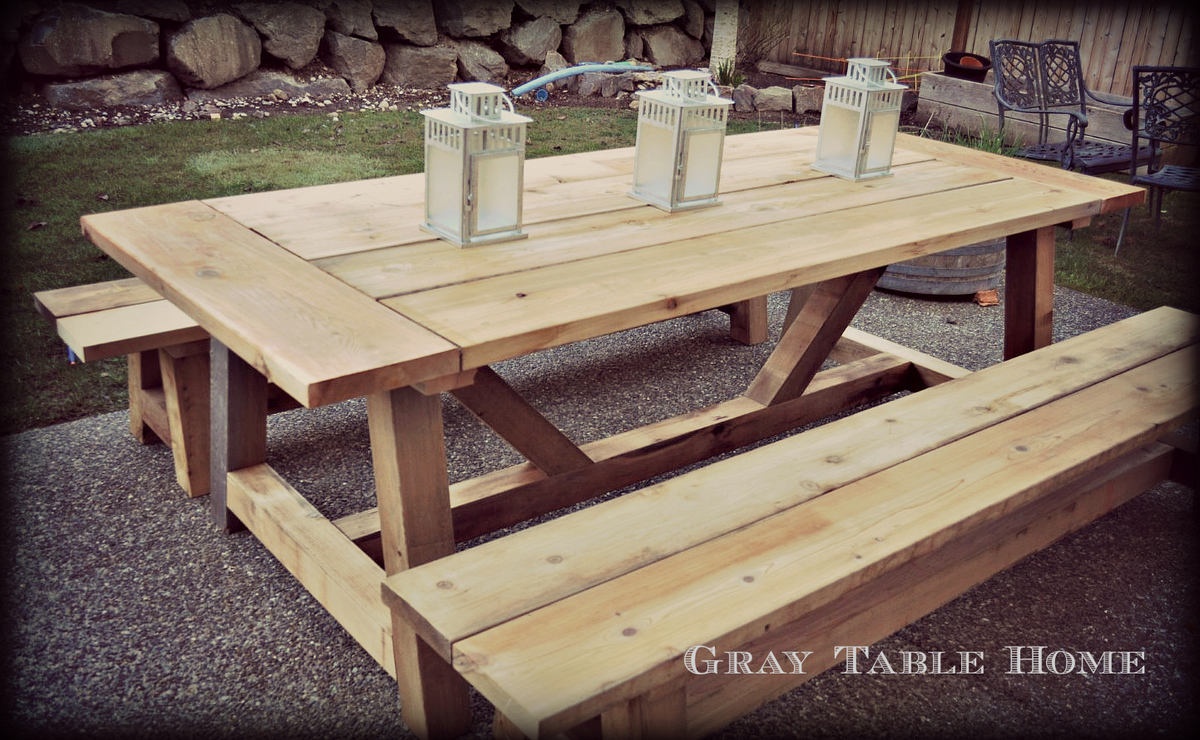
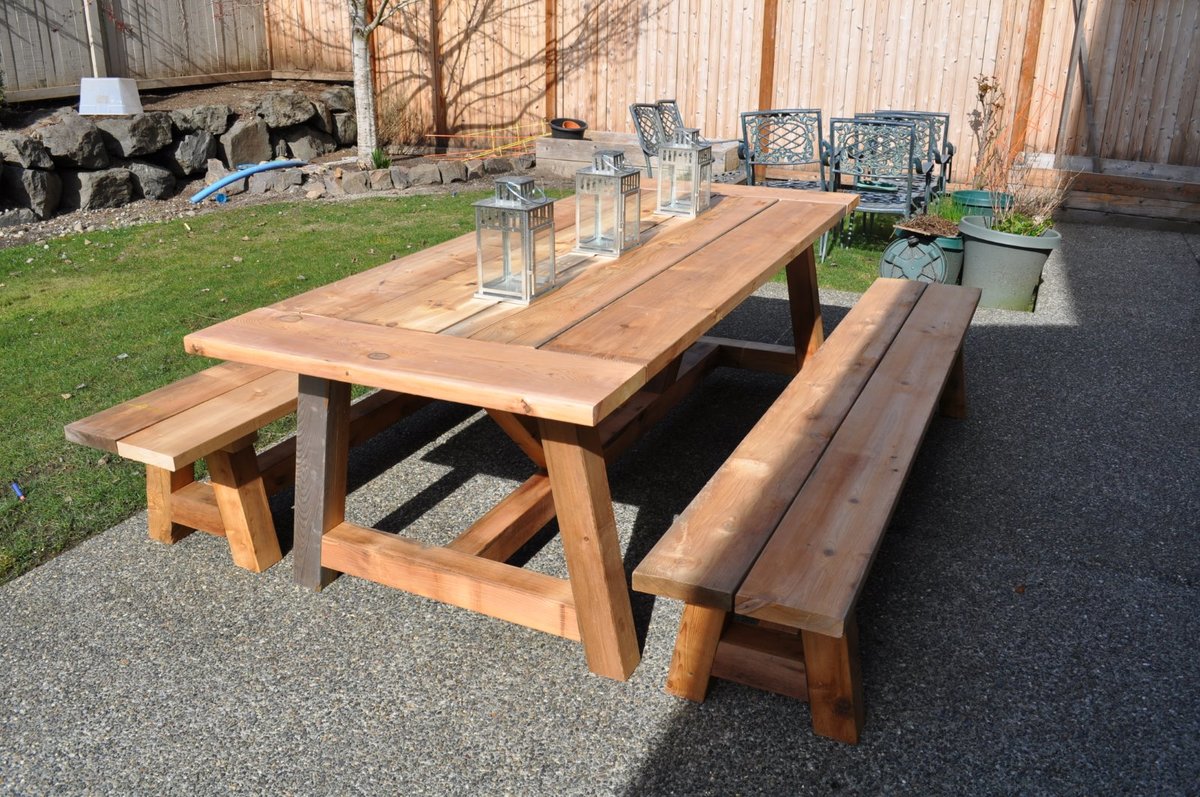
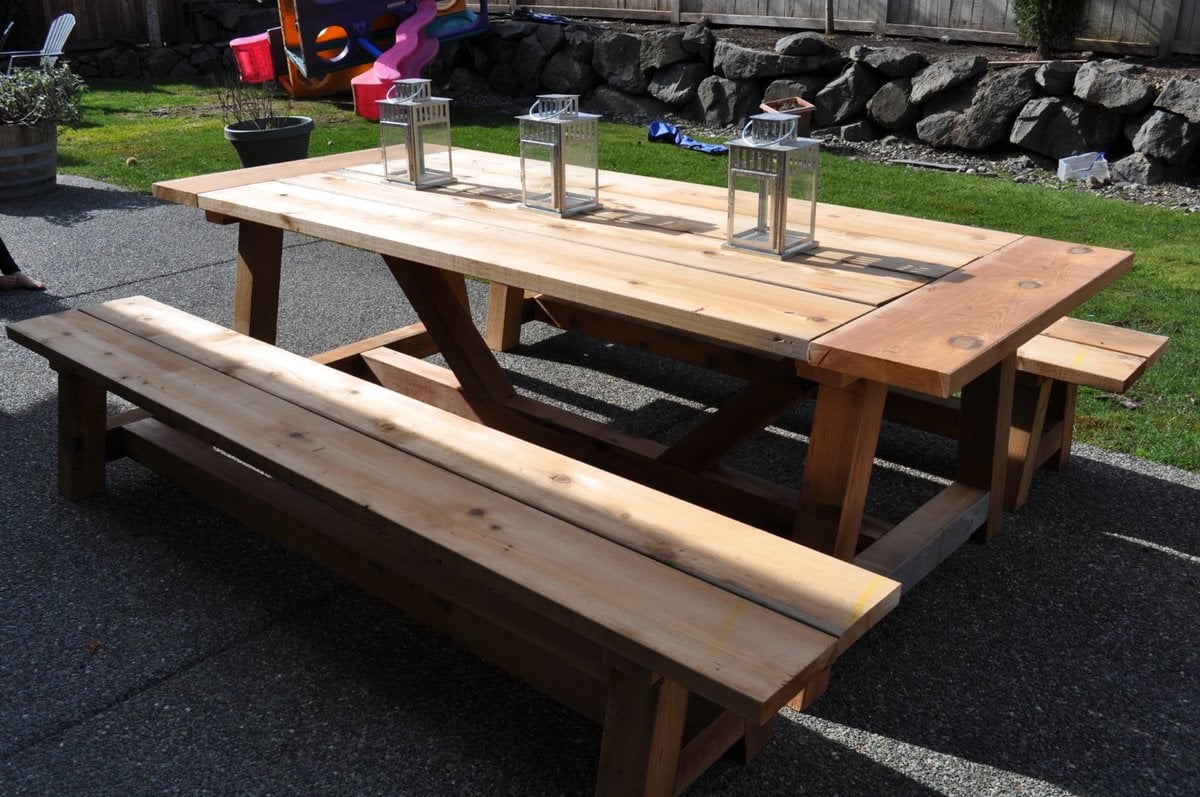
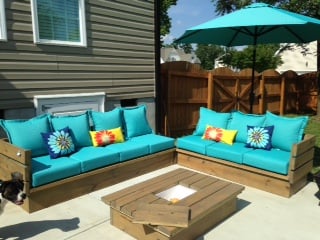
Hi! I was truly inspired by the plans I found at this site and the many brags that I saw! I have now built this table set a few times (first for myself, then for friends & family) and learned a lot each time. The things I have modifiied include...
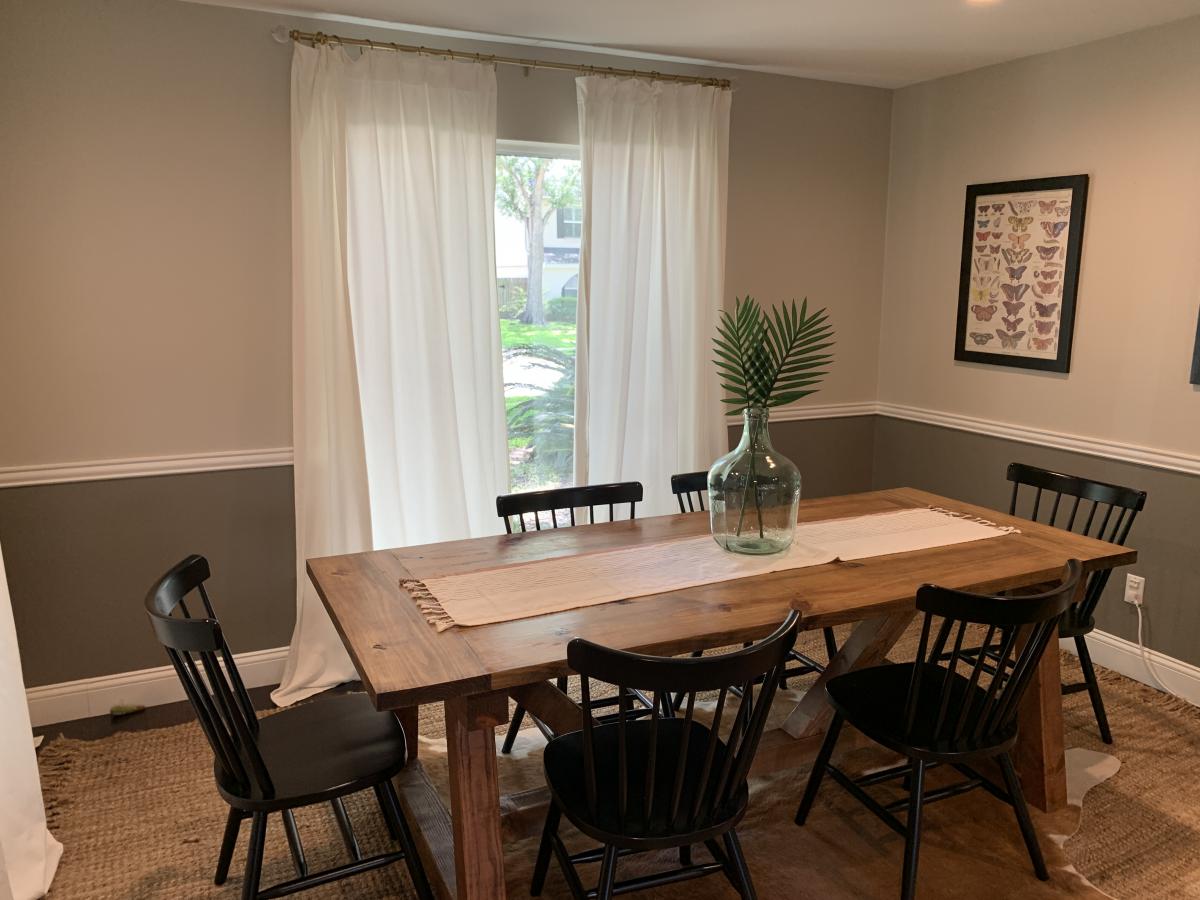
1) Length = make it longer or shorter as space allows (I've done tables from 84" to 108" long)
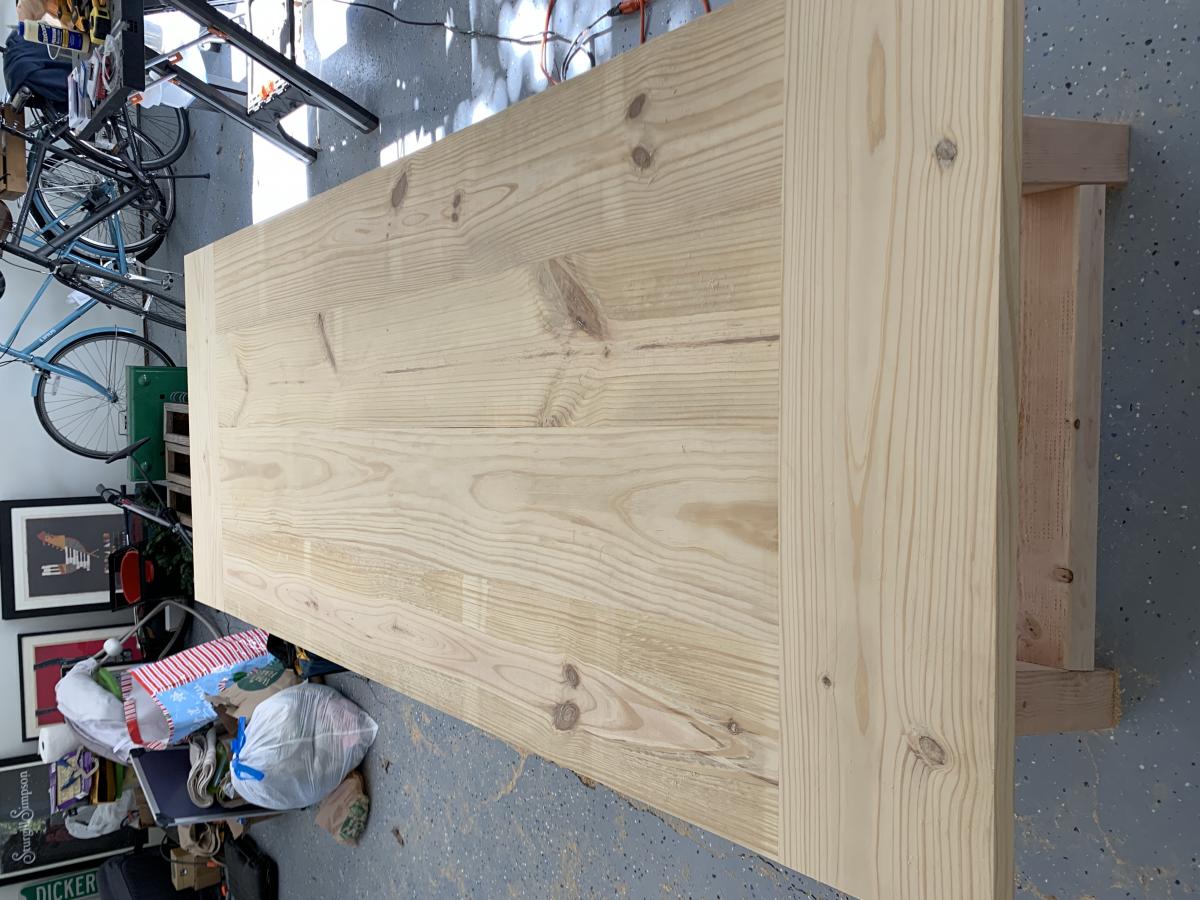
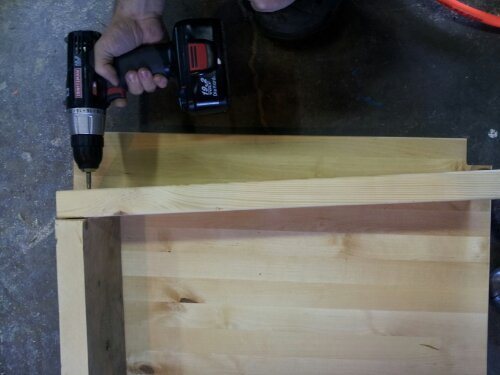
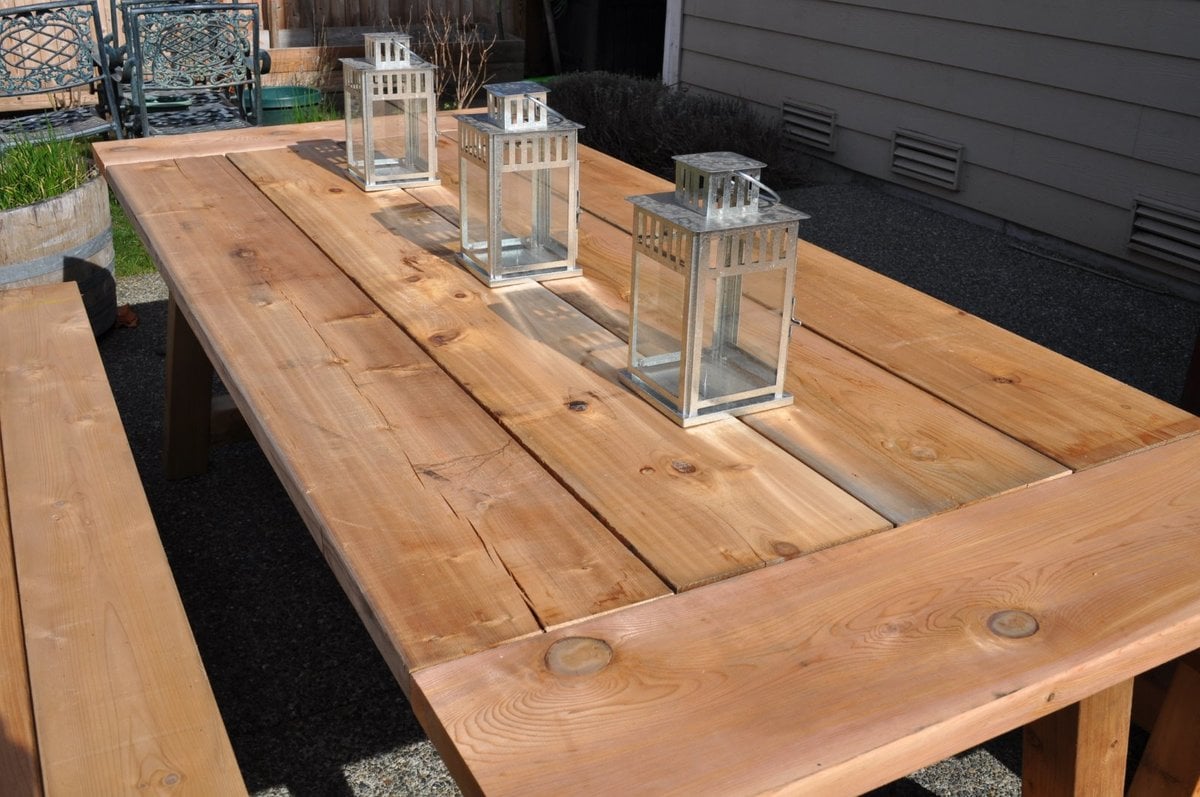
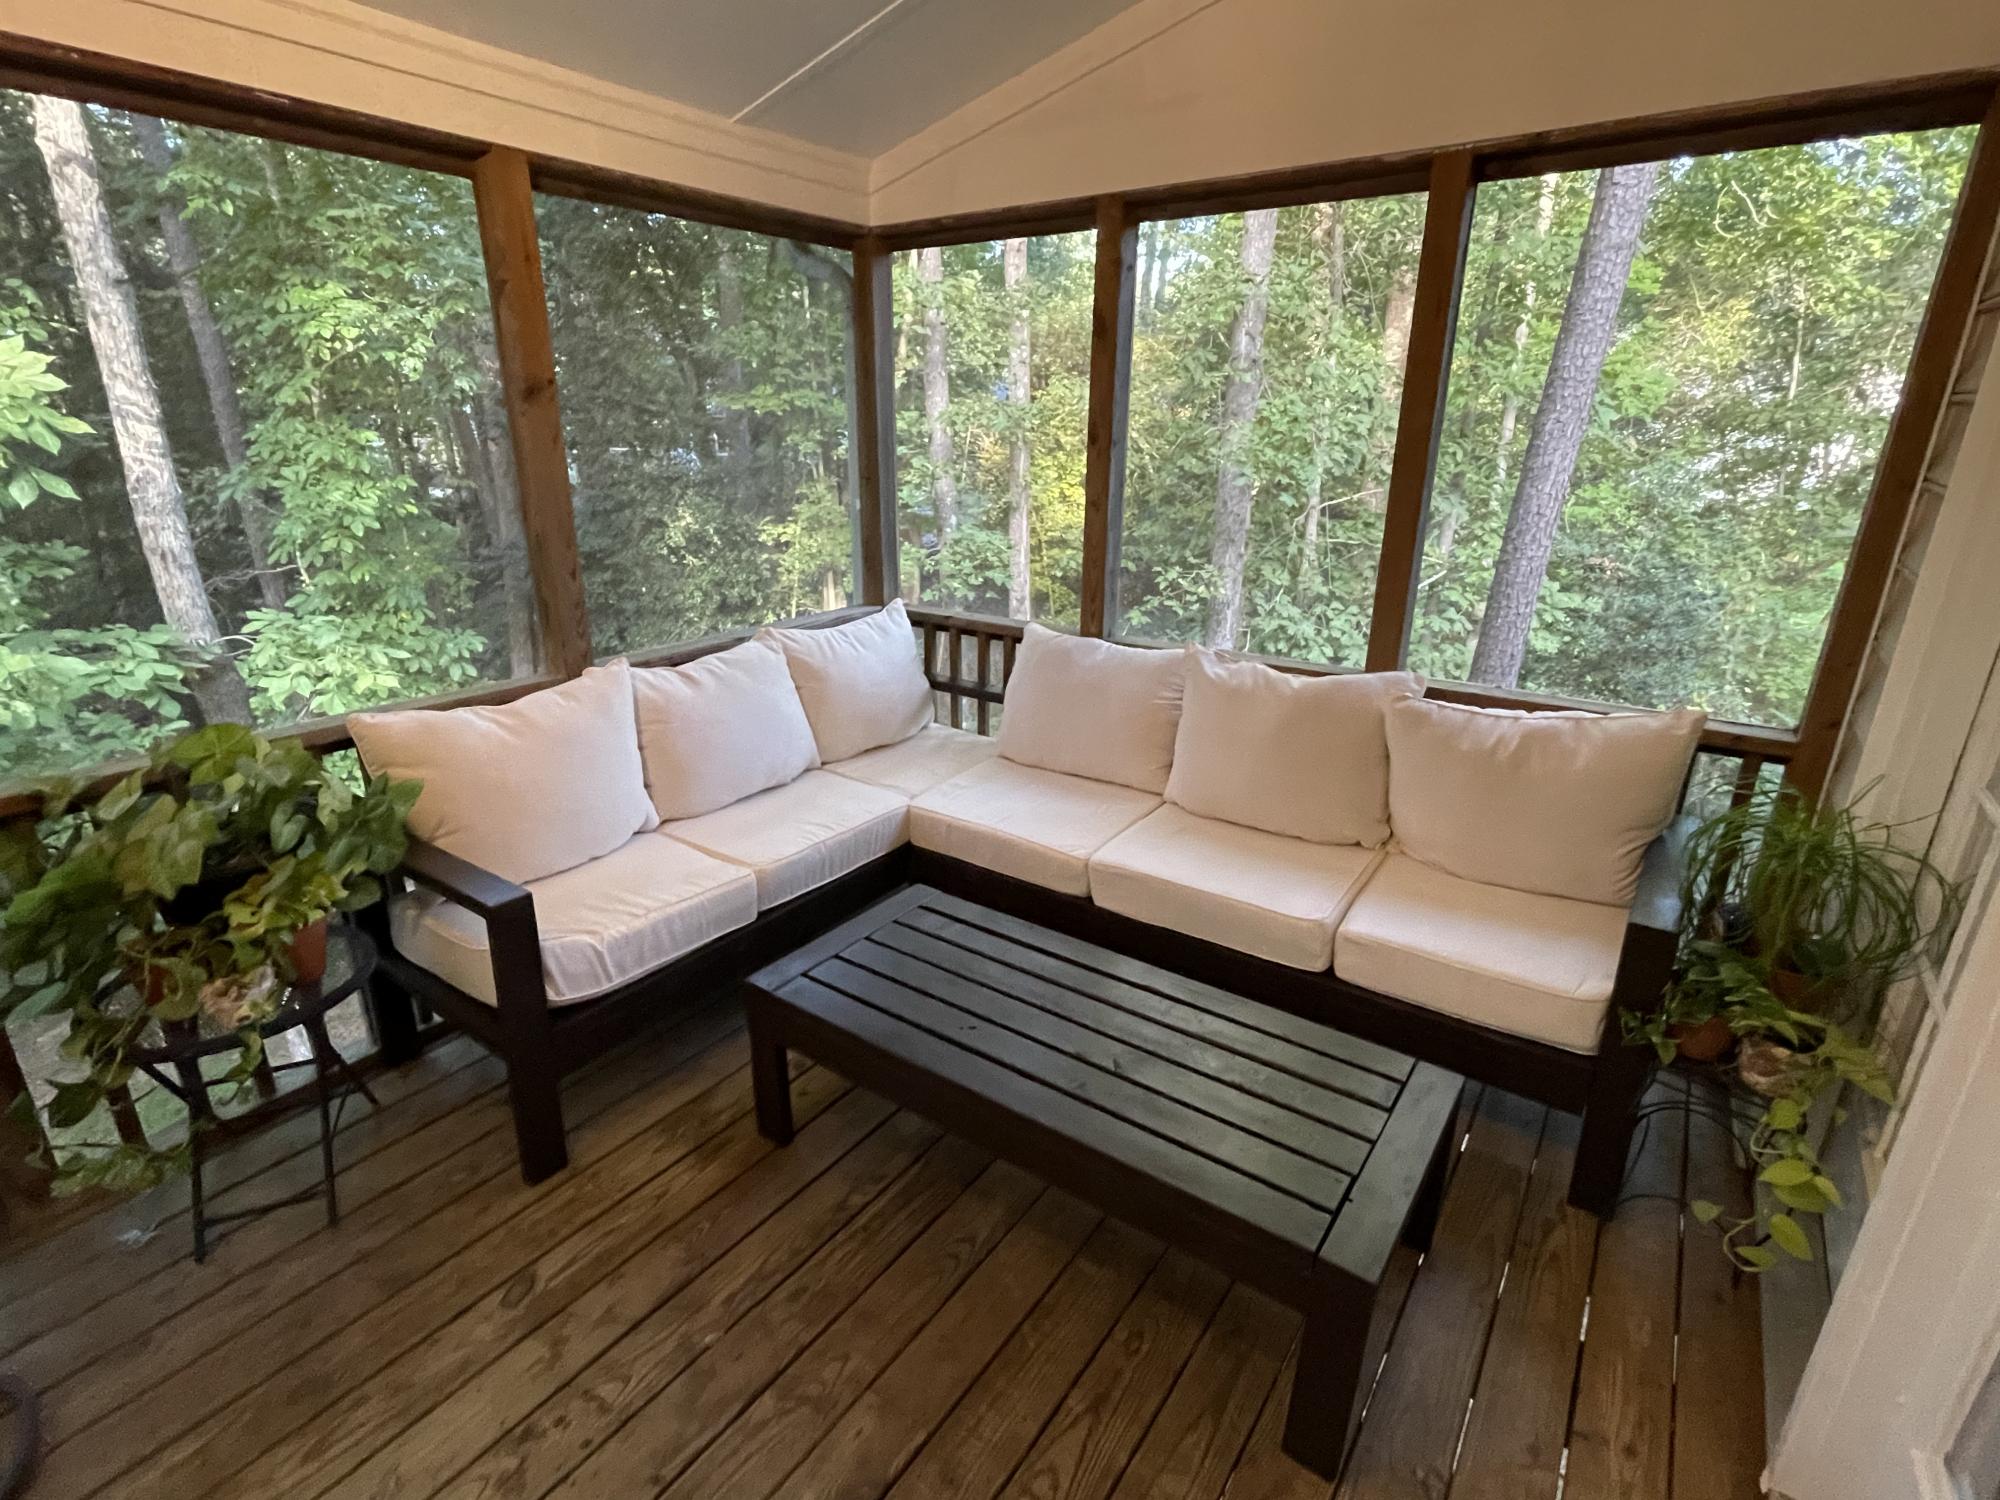
2) Outdoor table top = because these are being used outdoors, I use screws as spacers between boards so that they have a 1/8 to 1/4 gap to allow for water to run through
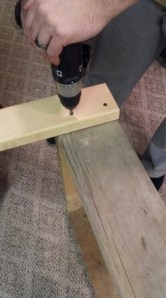
3) Breadboard end support = I found that with just the pocket hole screws, my breadboards were a little 'wobbly' so I added Simpson Stong Tie metal plates underneath to reinforce the ends.
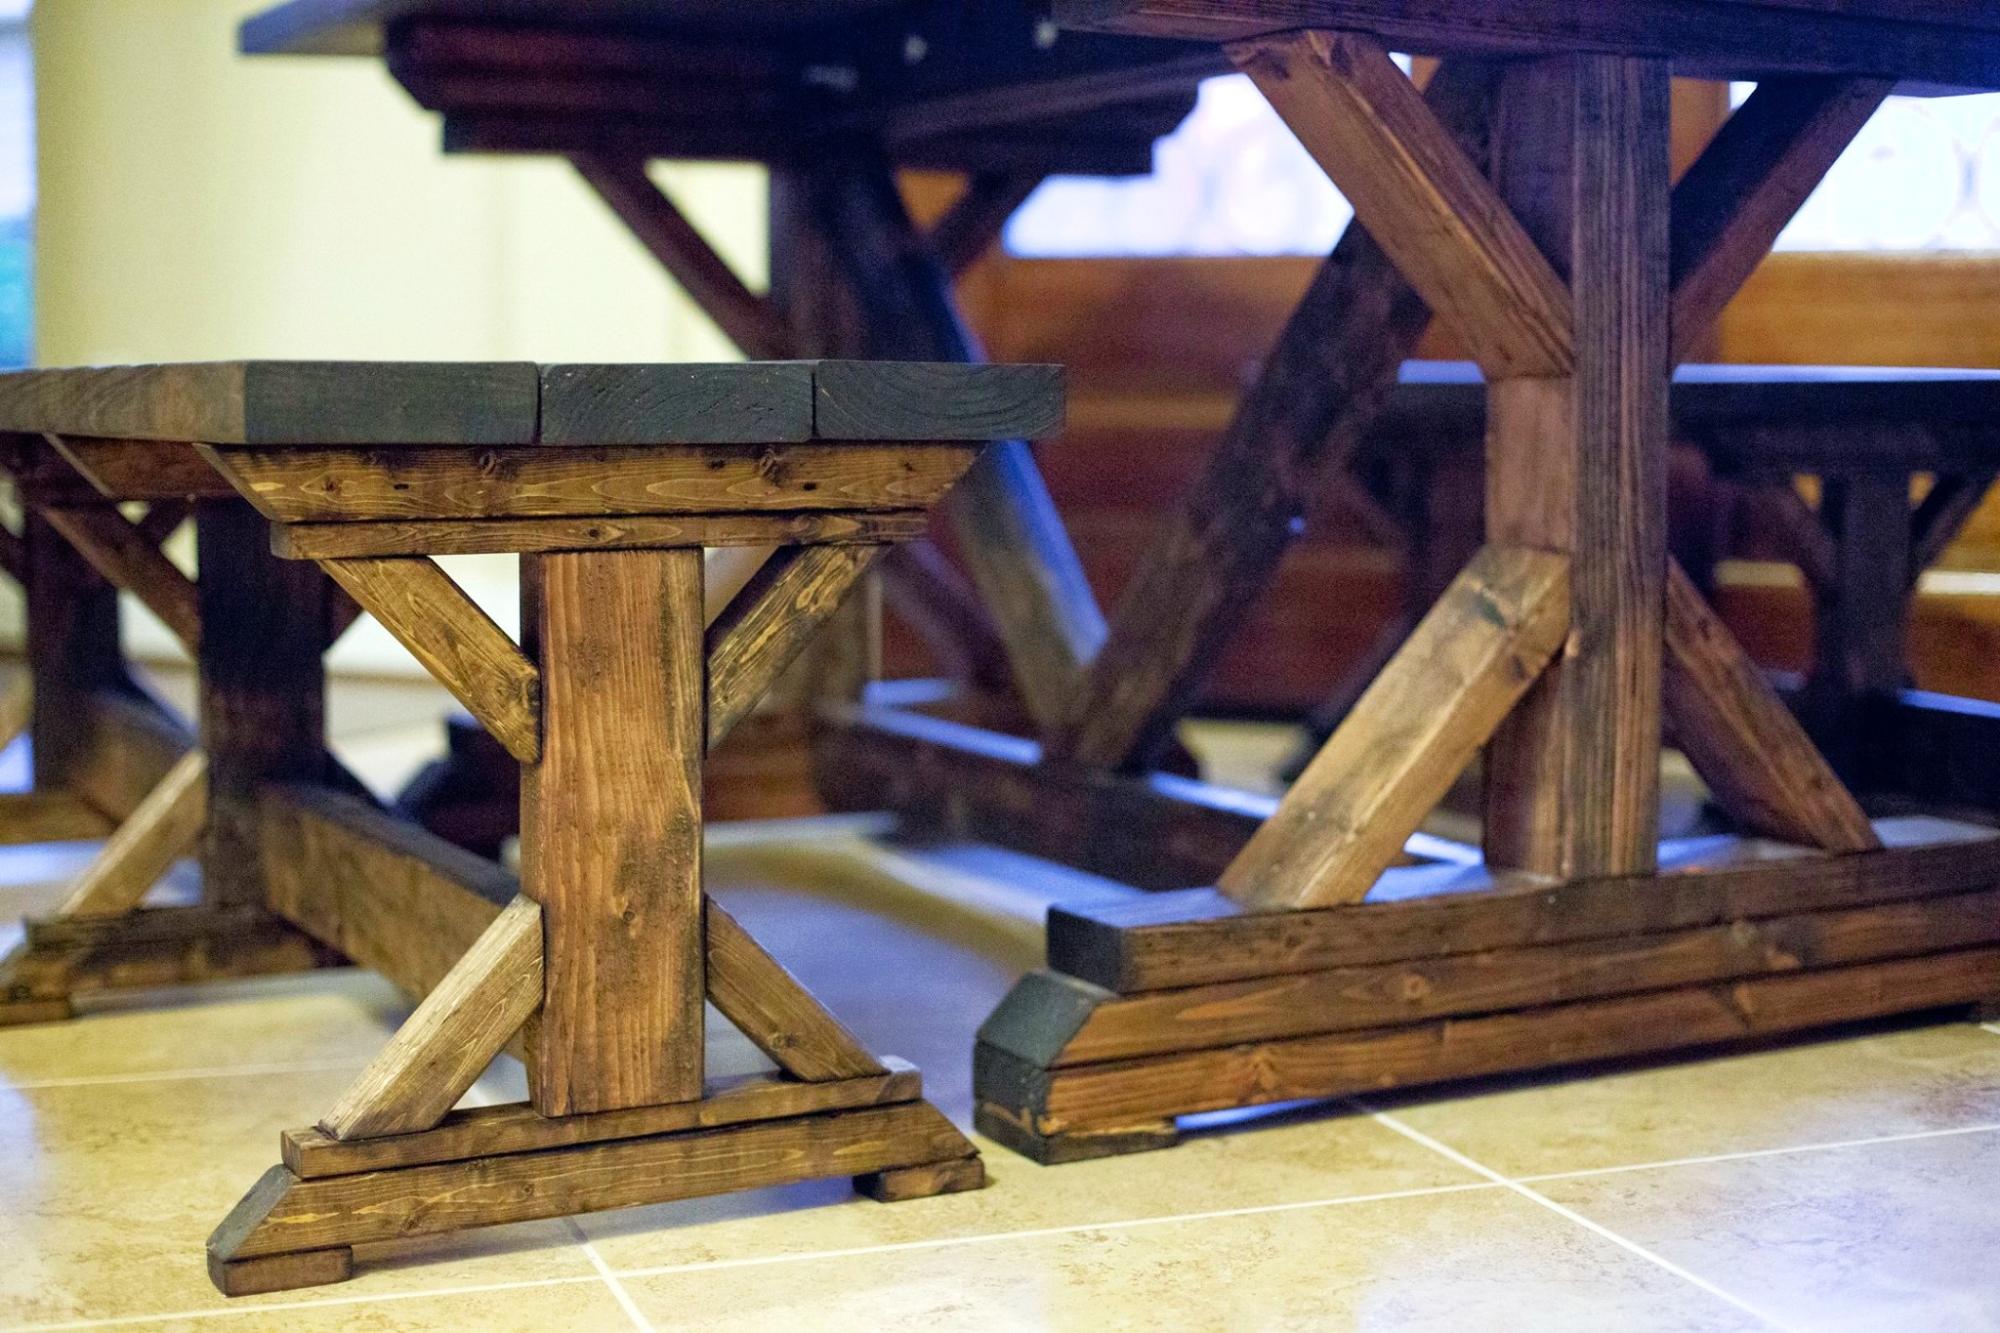
4) End length = in order to provide a little more legroom to those sitting at the end of the table, I recently changed the plan so that I would have at least 15" from the table base to the end of the table top (although this pic shows the regular plan with the ~8" overhang)
I really appreciate all of the plans and brags which have been shared by users of this site. Thank you!!!


Comments
Ana White Admin
Sat, 10/17/2020 - 17:17
Nice work!
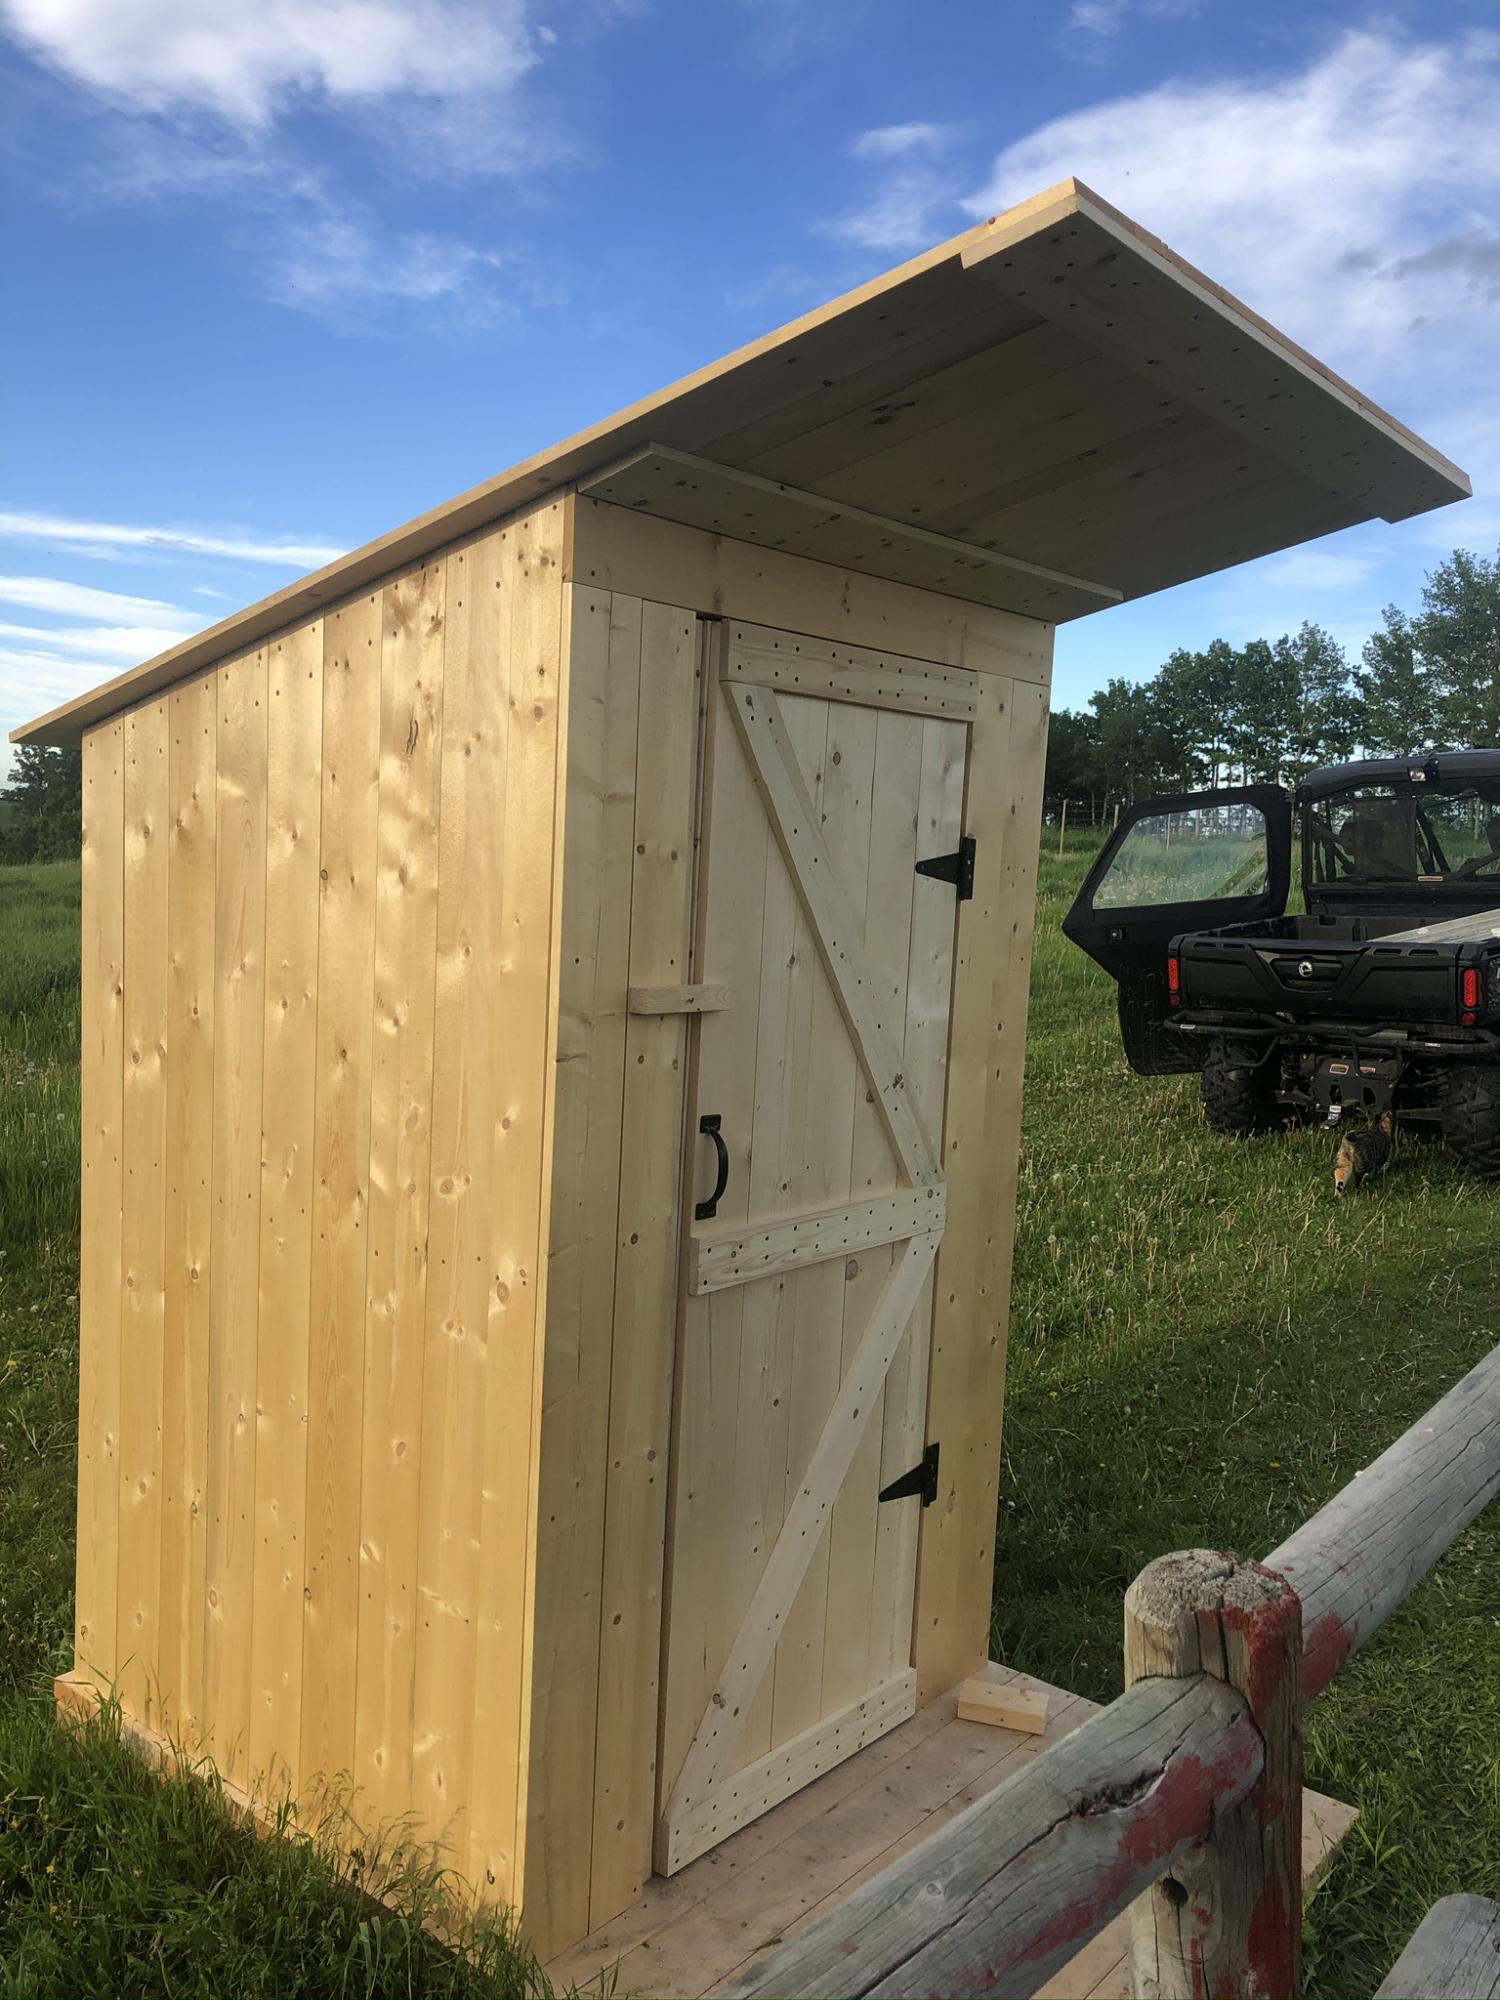
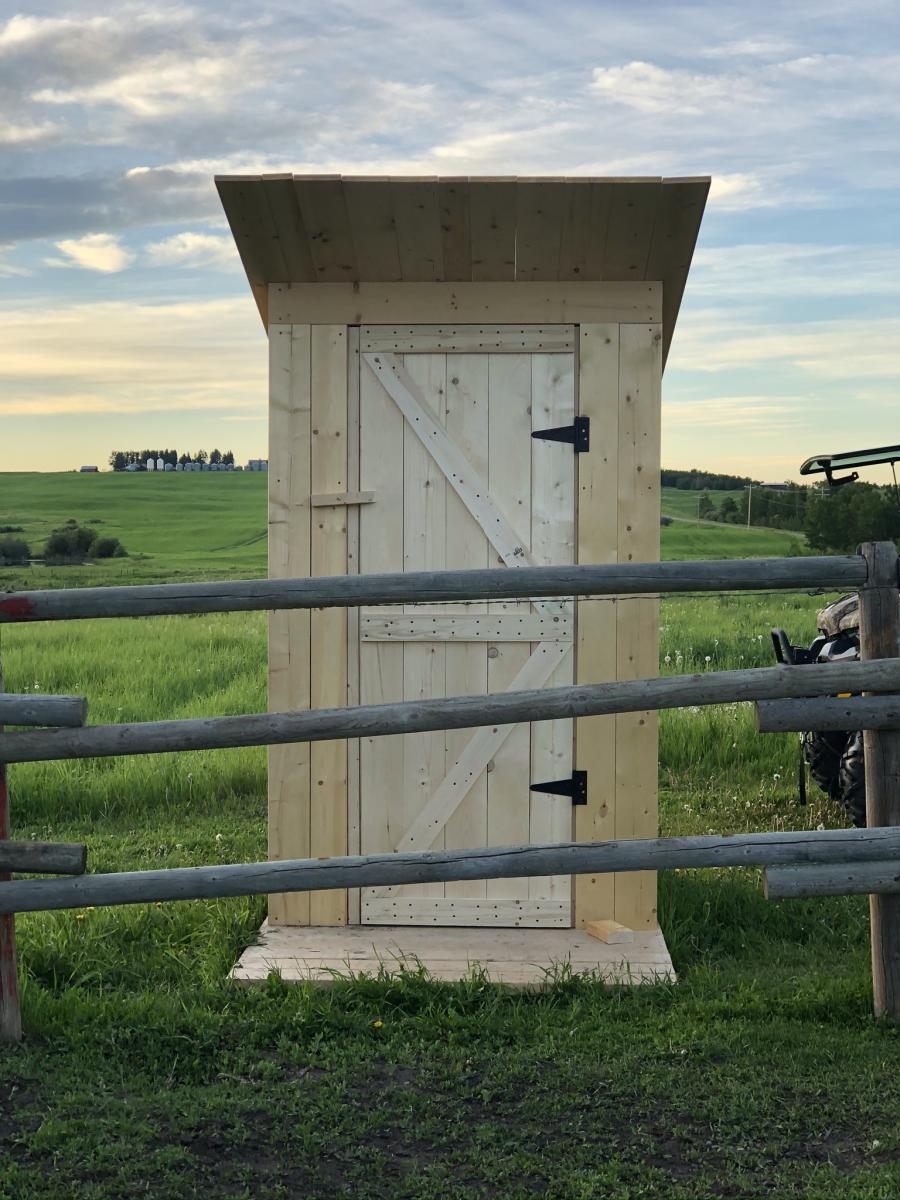
Yes, outhouses can be pretty too!