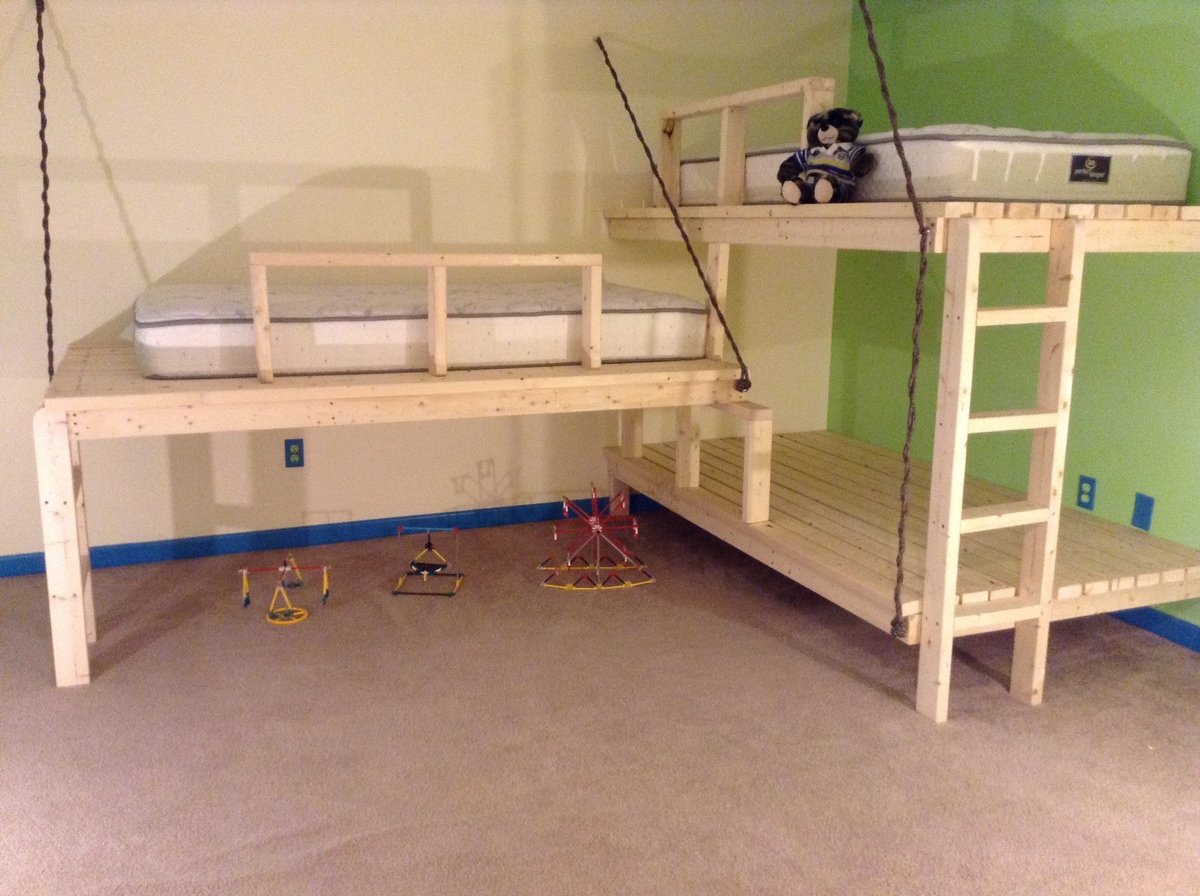
Eco office work space
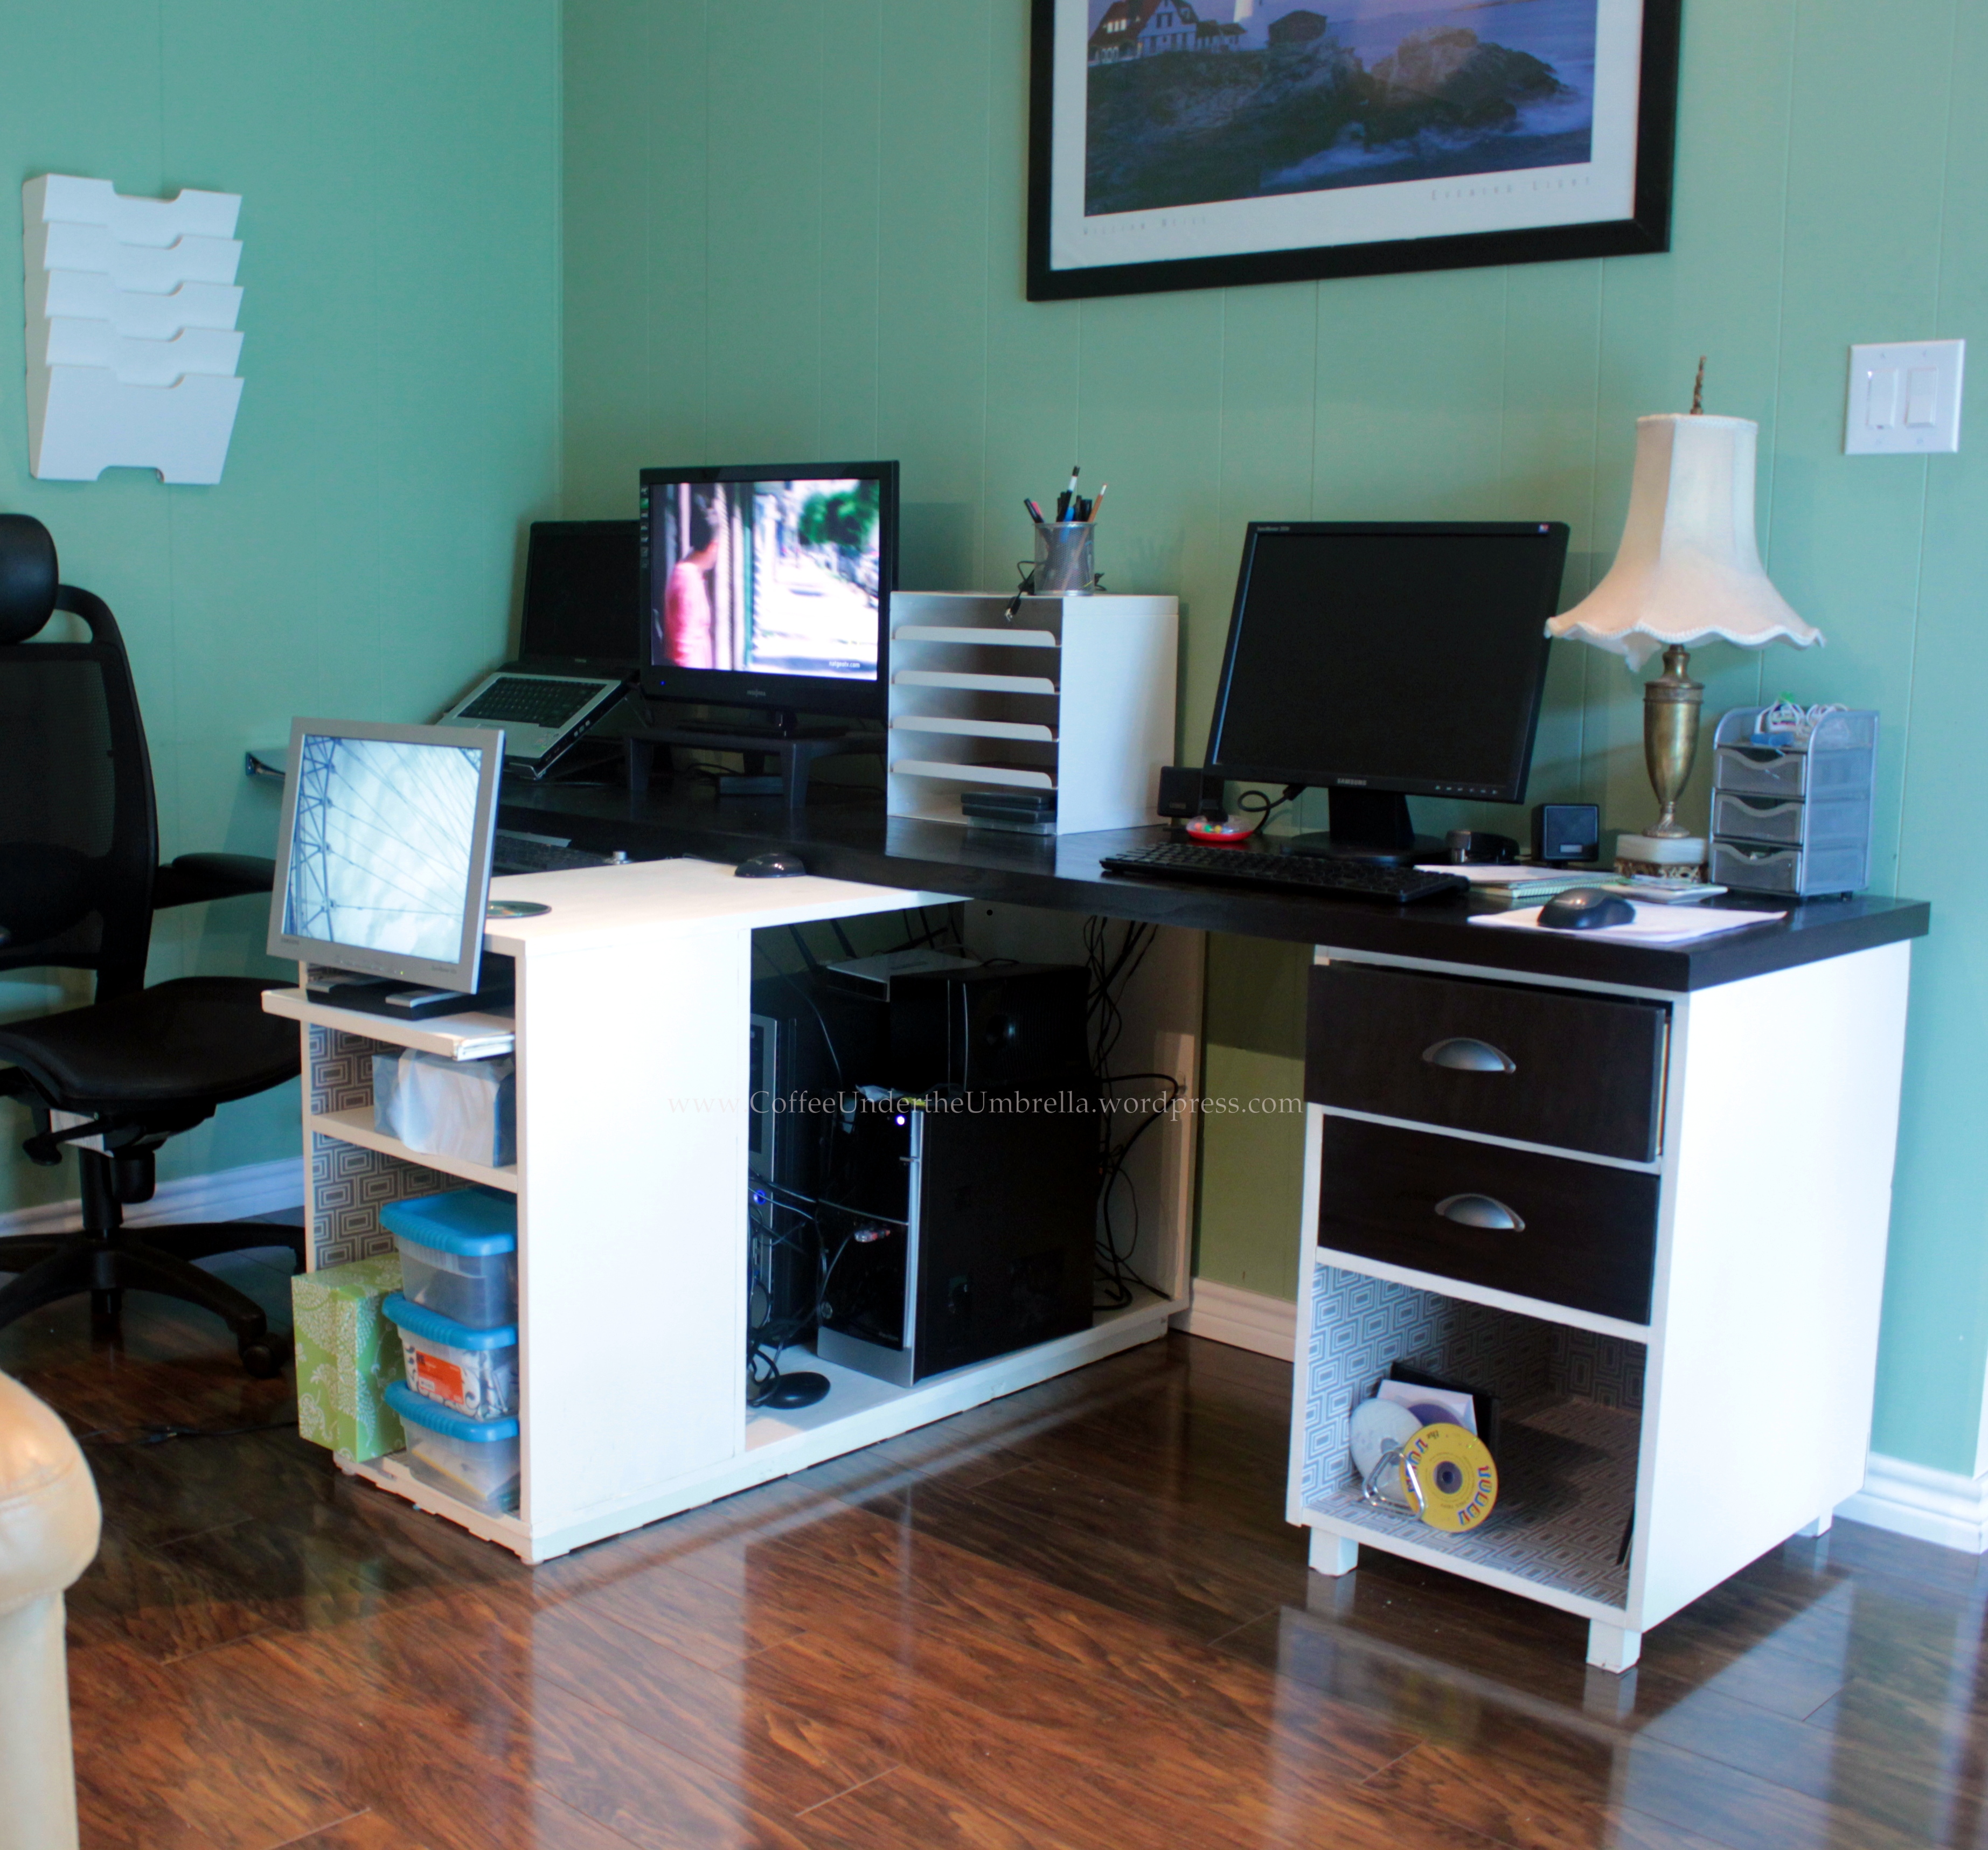
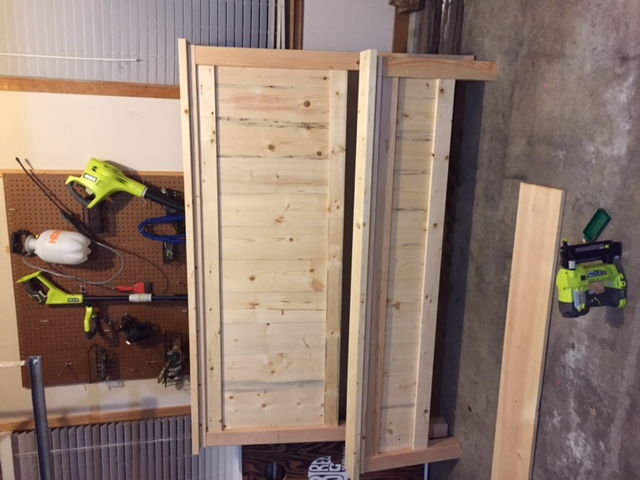
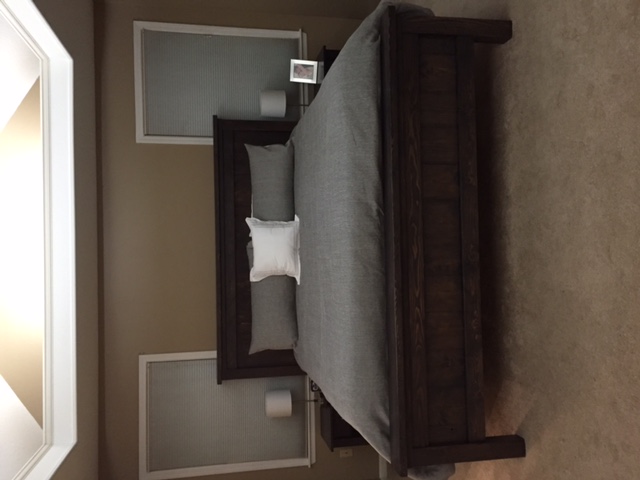
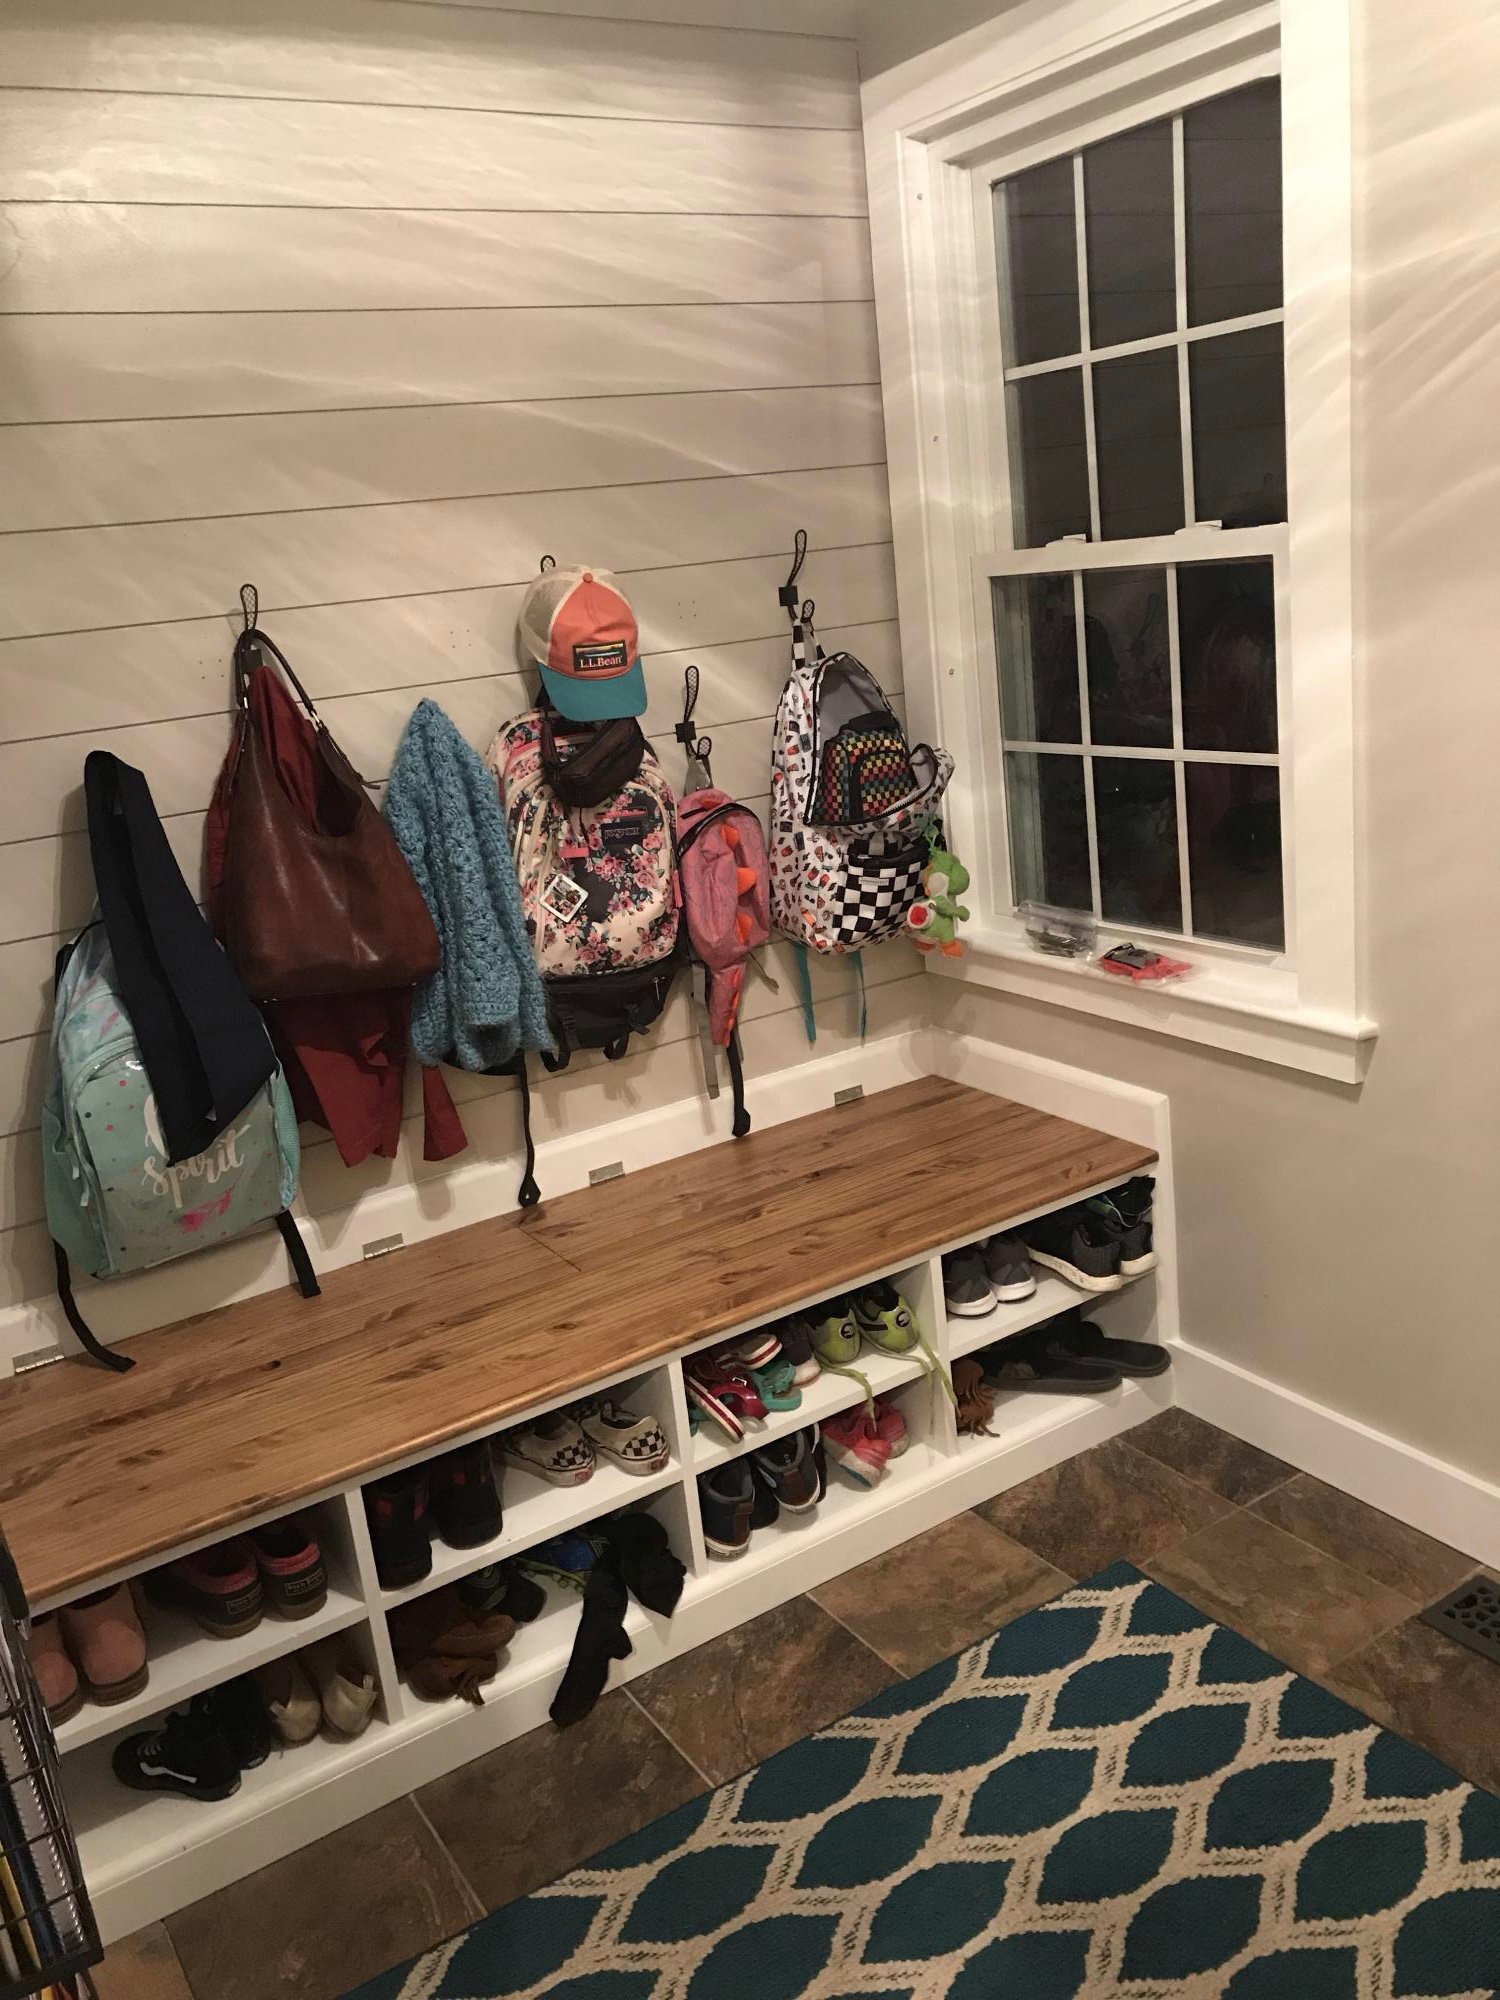
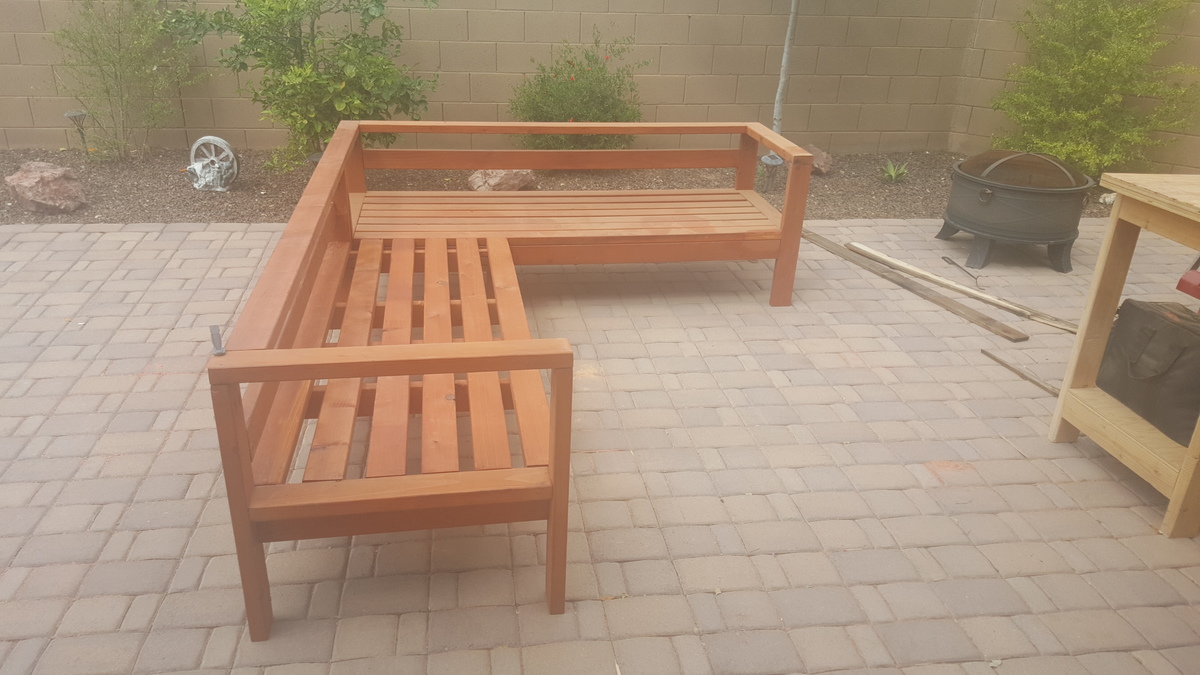
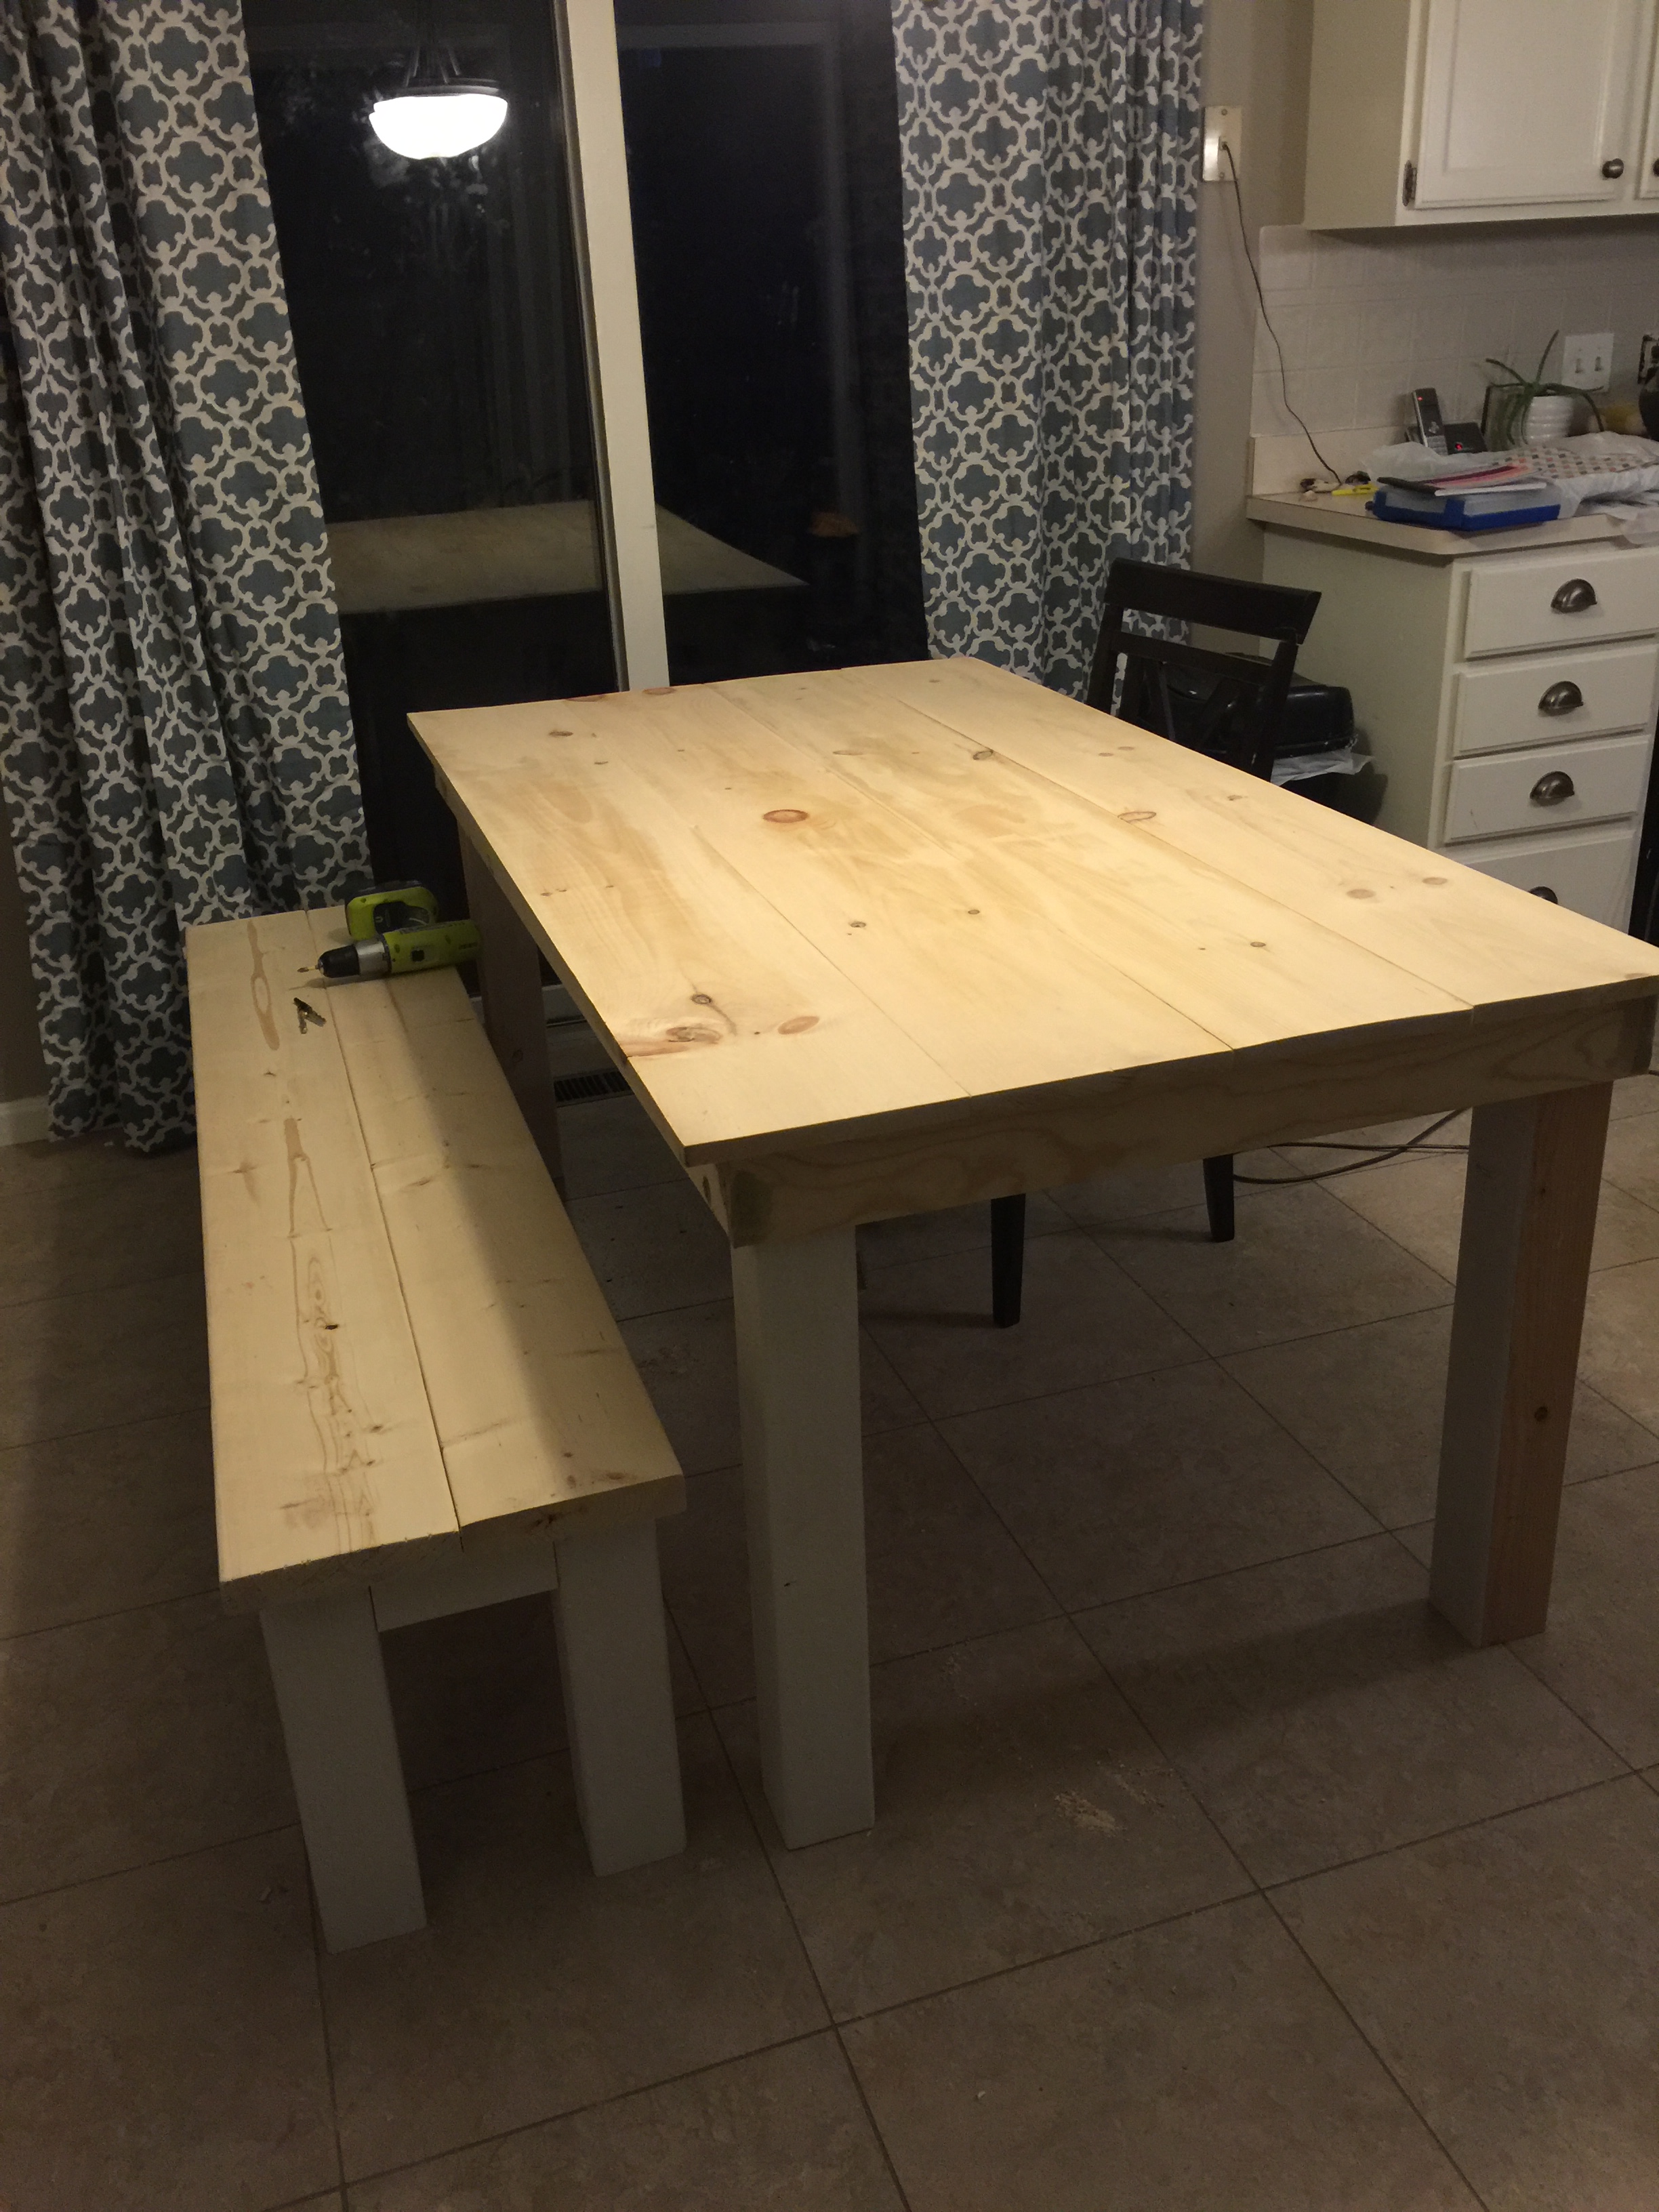
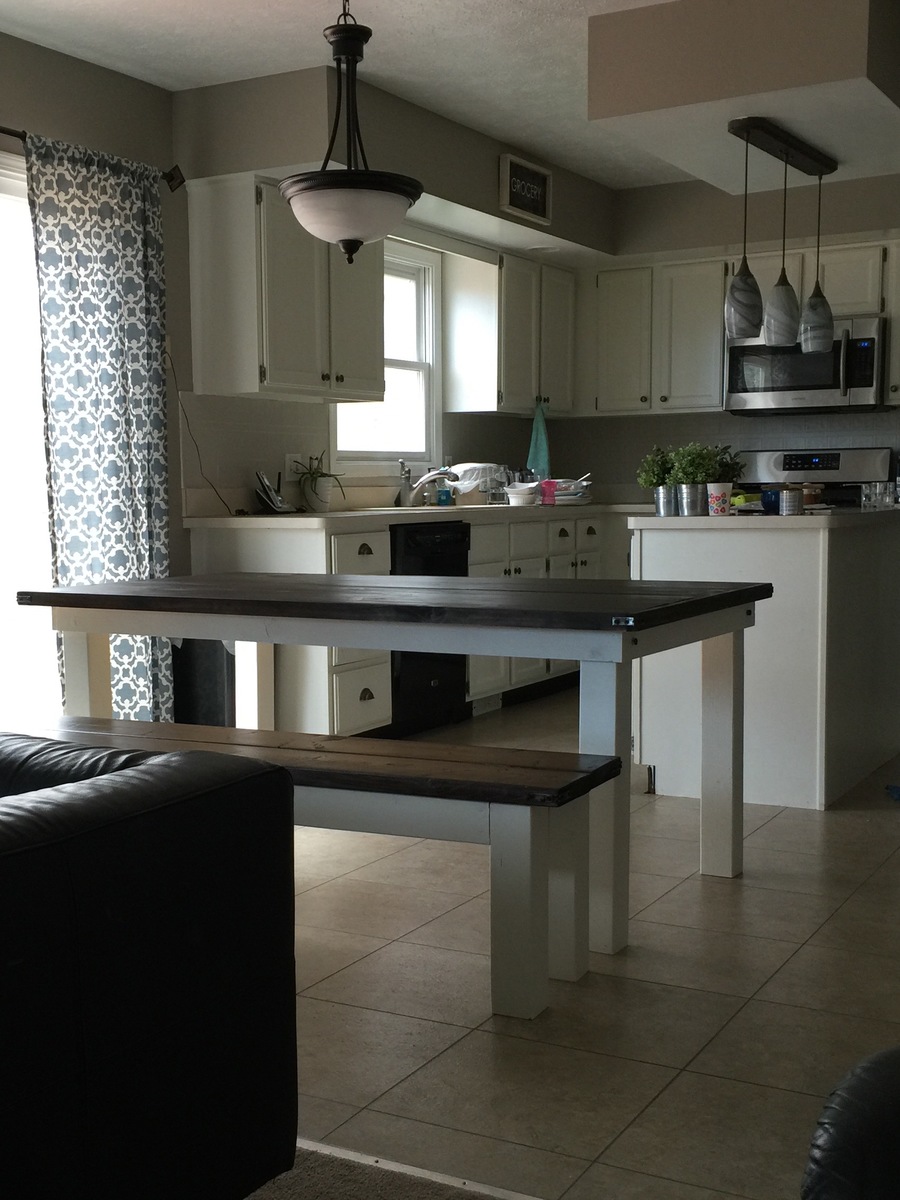
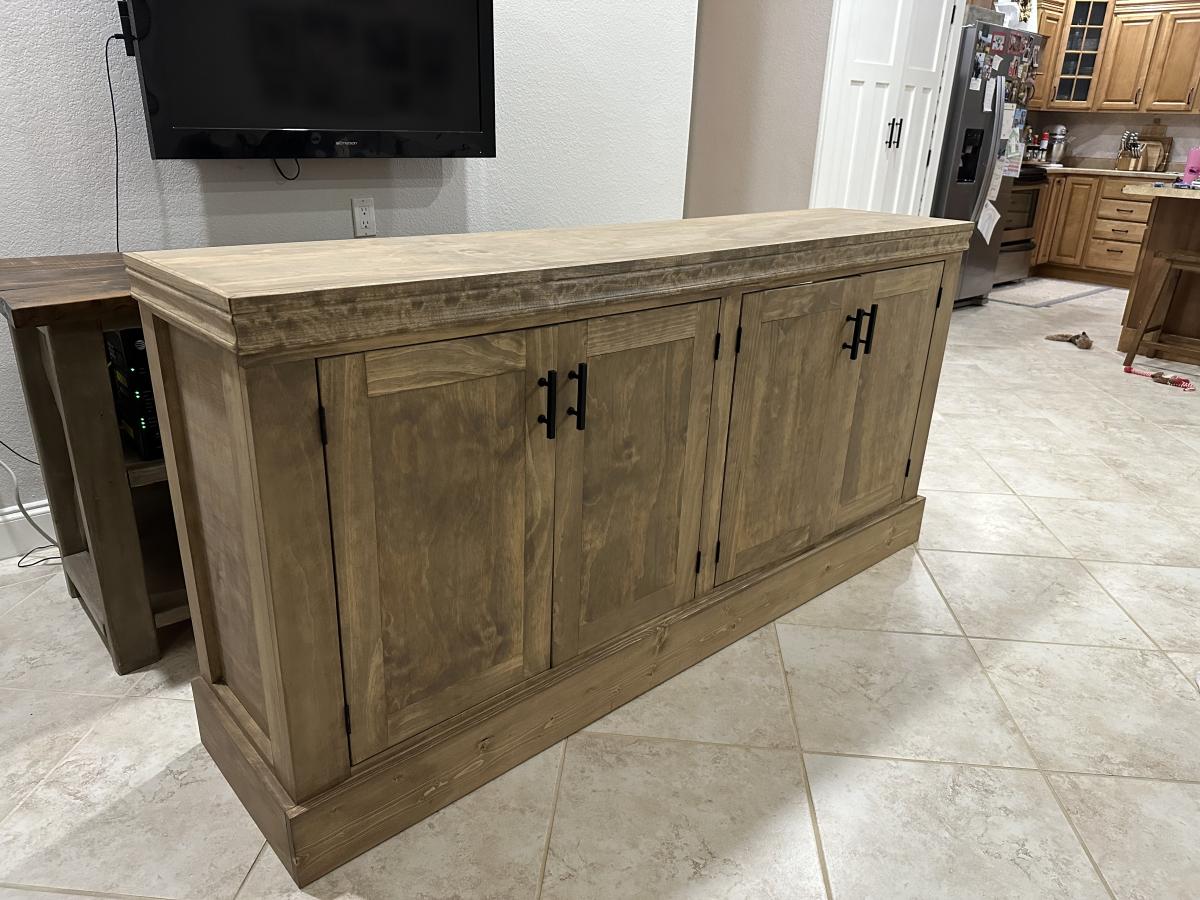
We (my husband and I) were in desperate need of a better work space, and this was perfect.
Built from Plan(s)
Estimated Cost
$150 (for the whole desk)
Estimated Time Investment
Week Long Project (20 Hours or More)
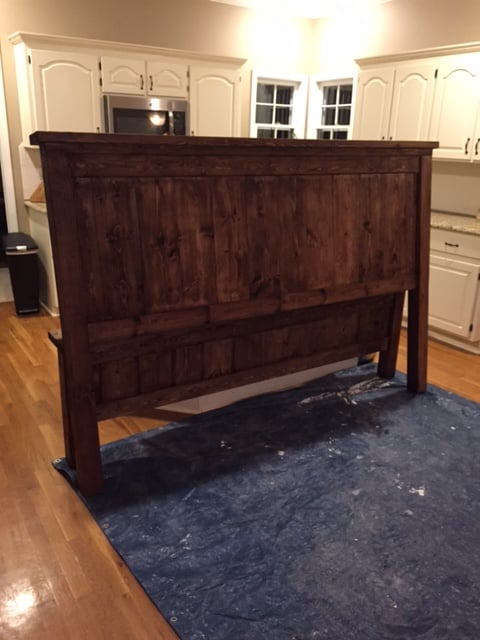
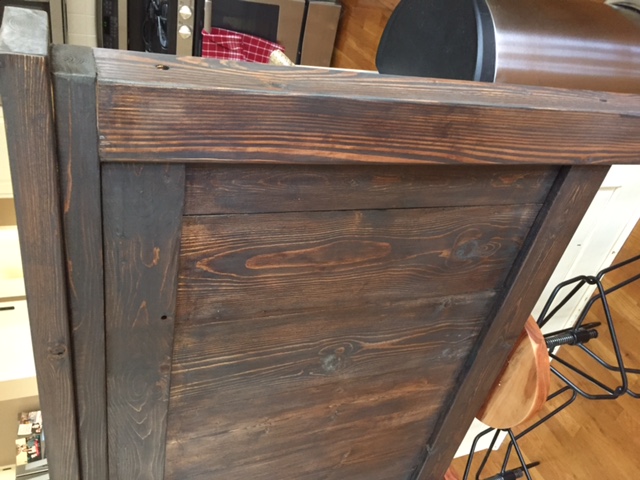
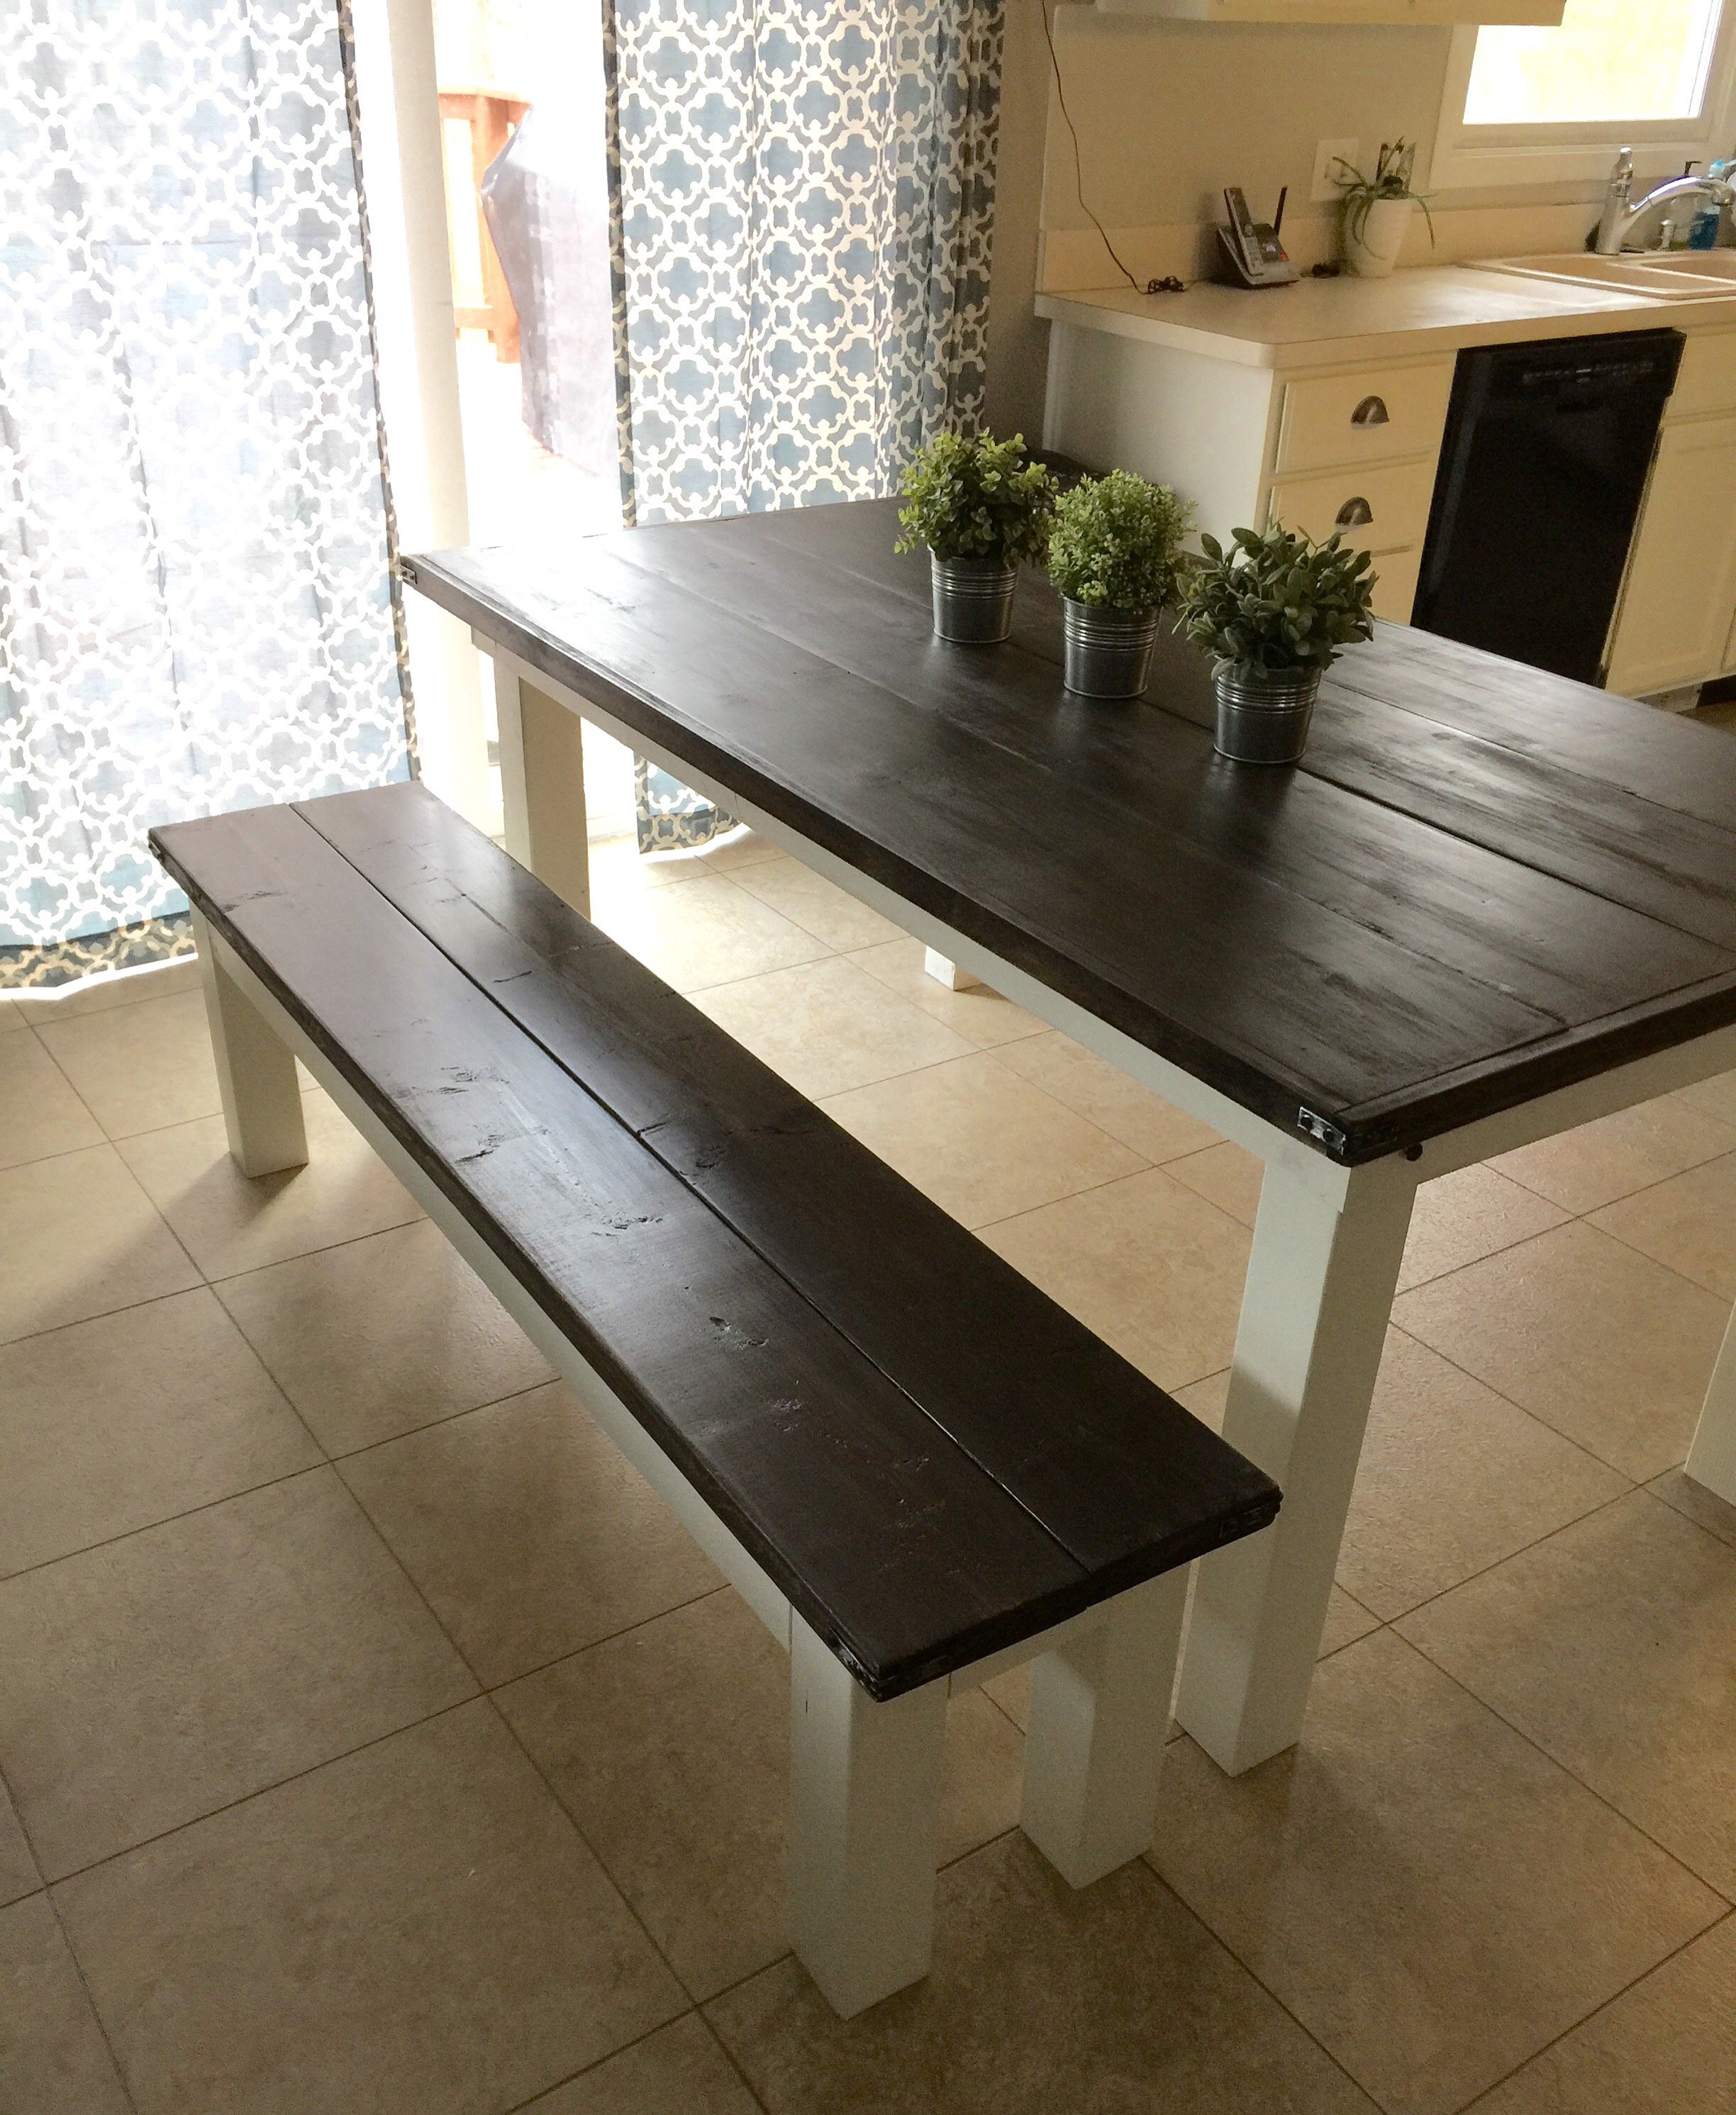
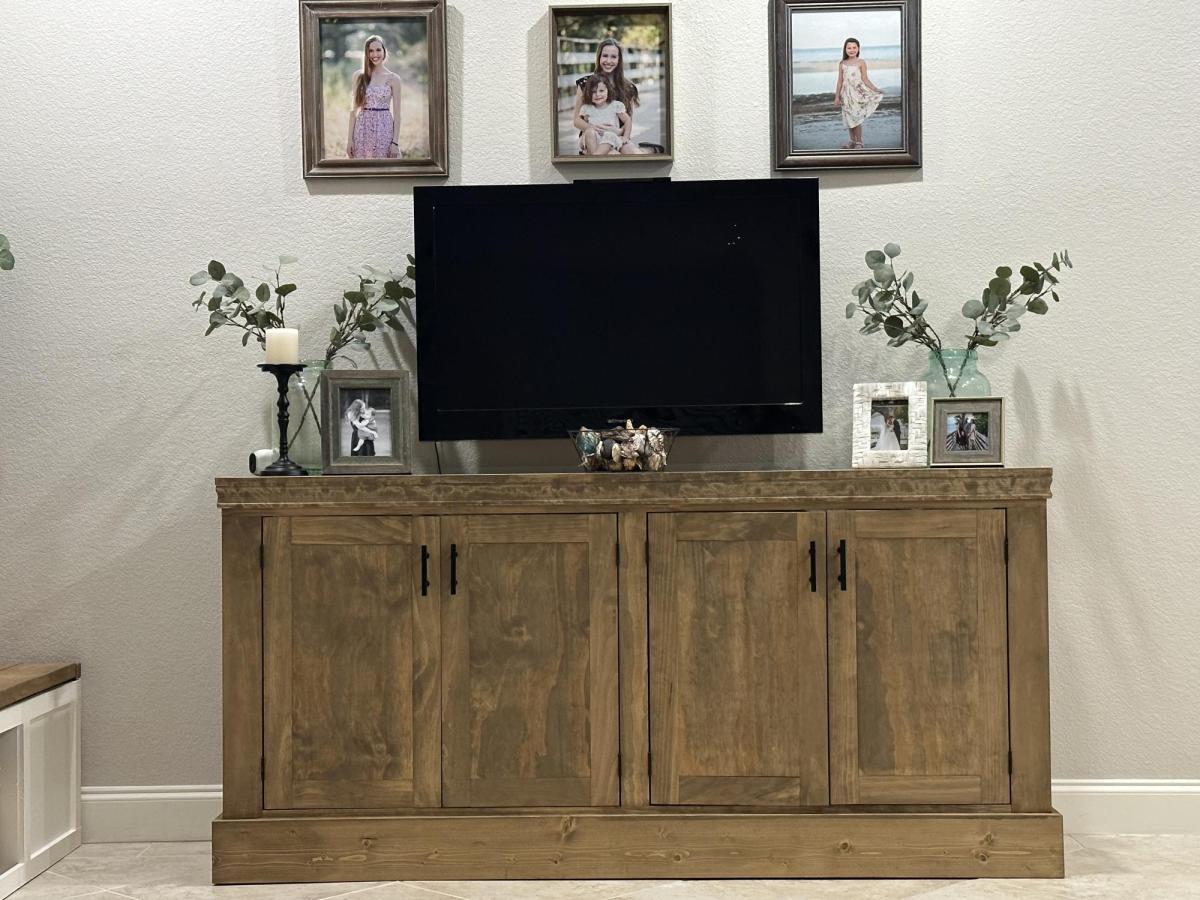
Finish Used
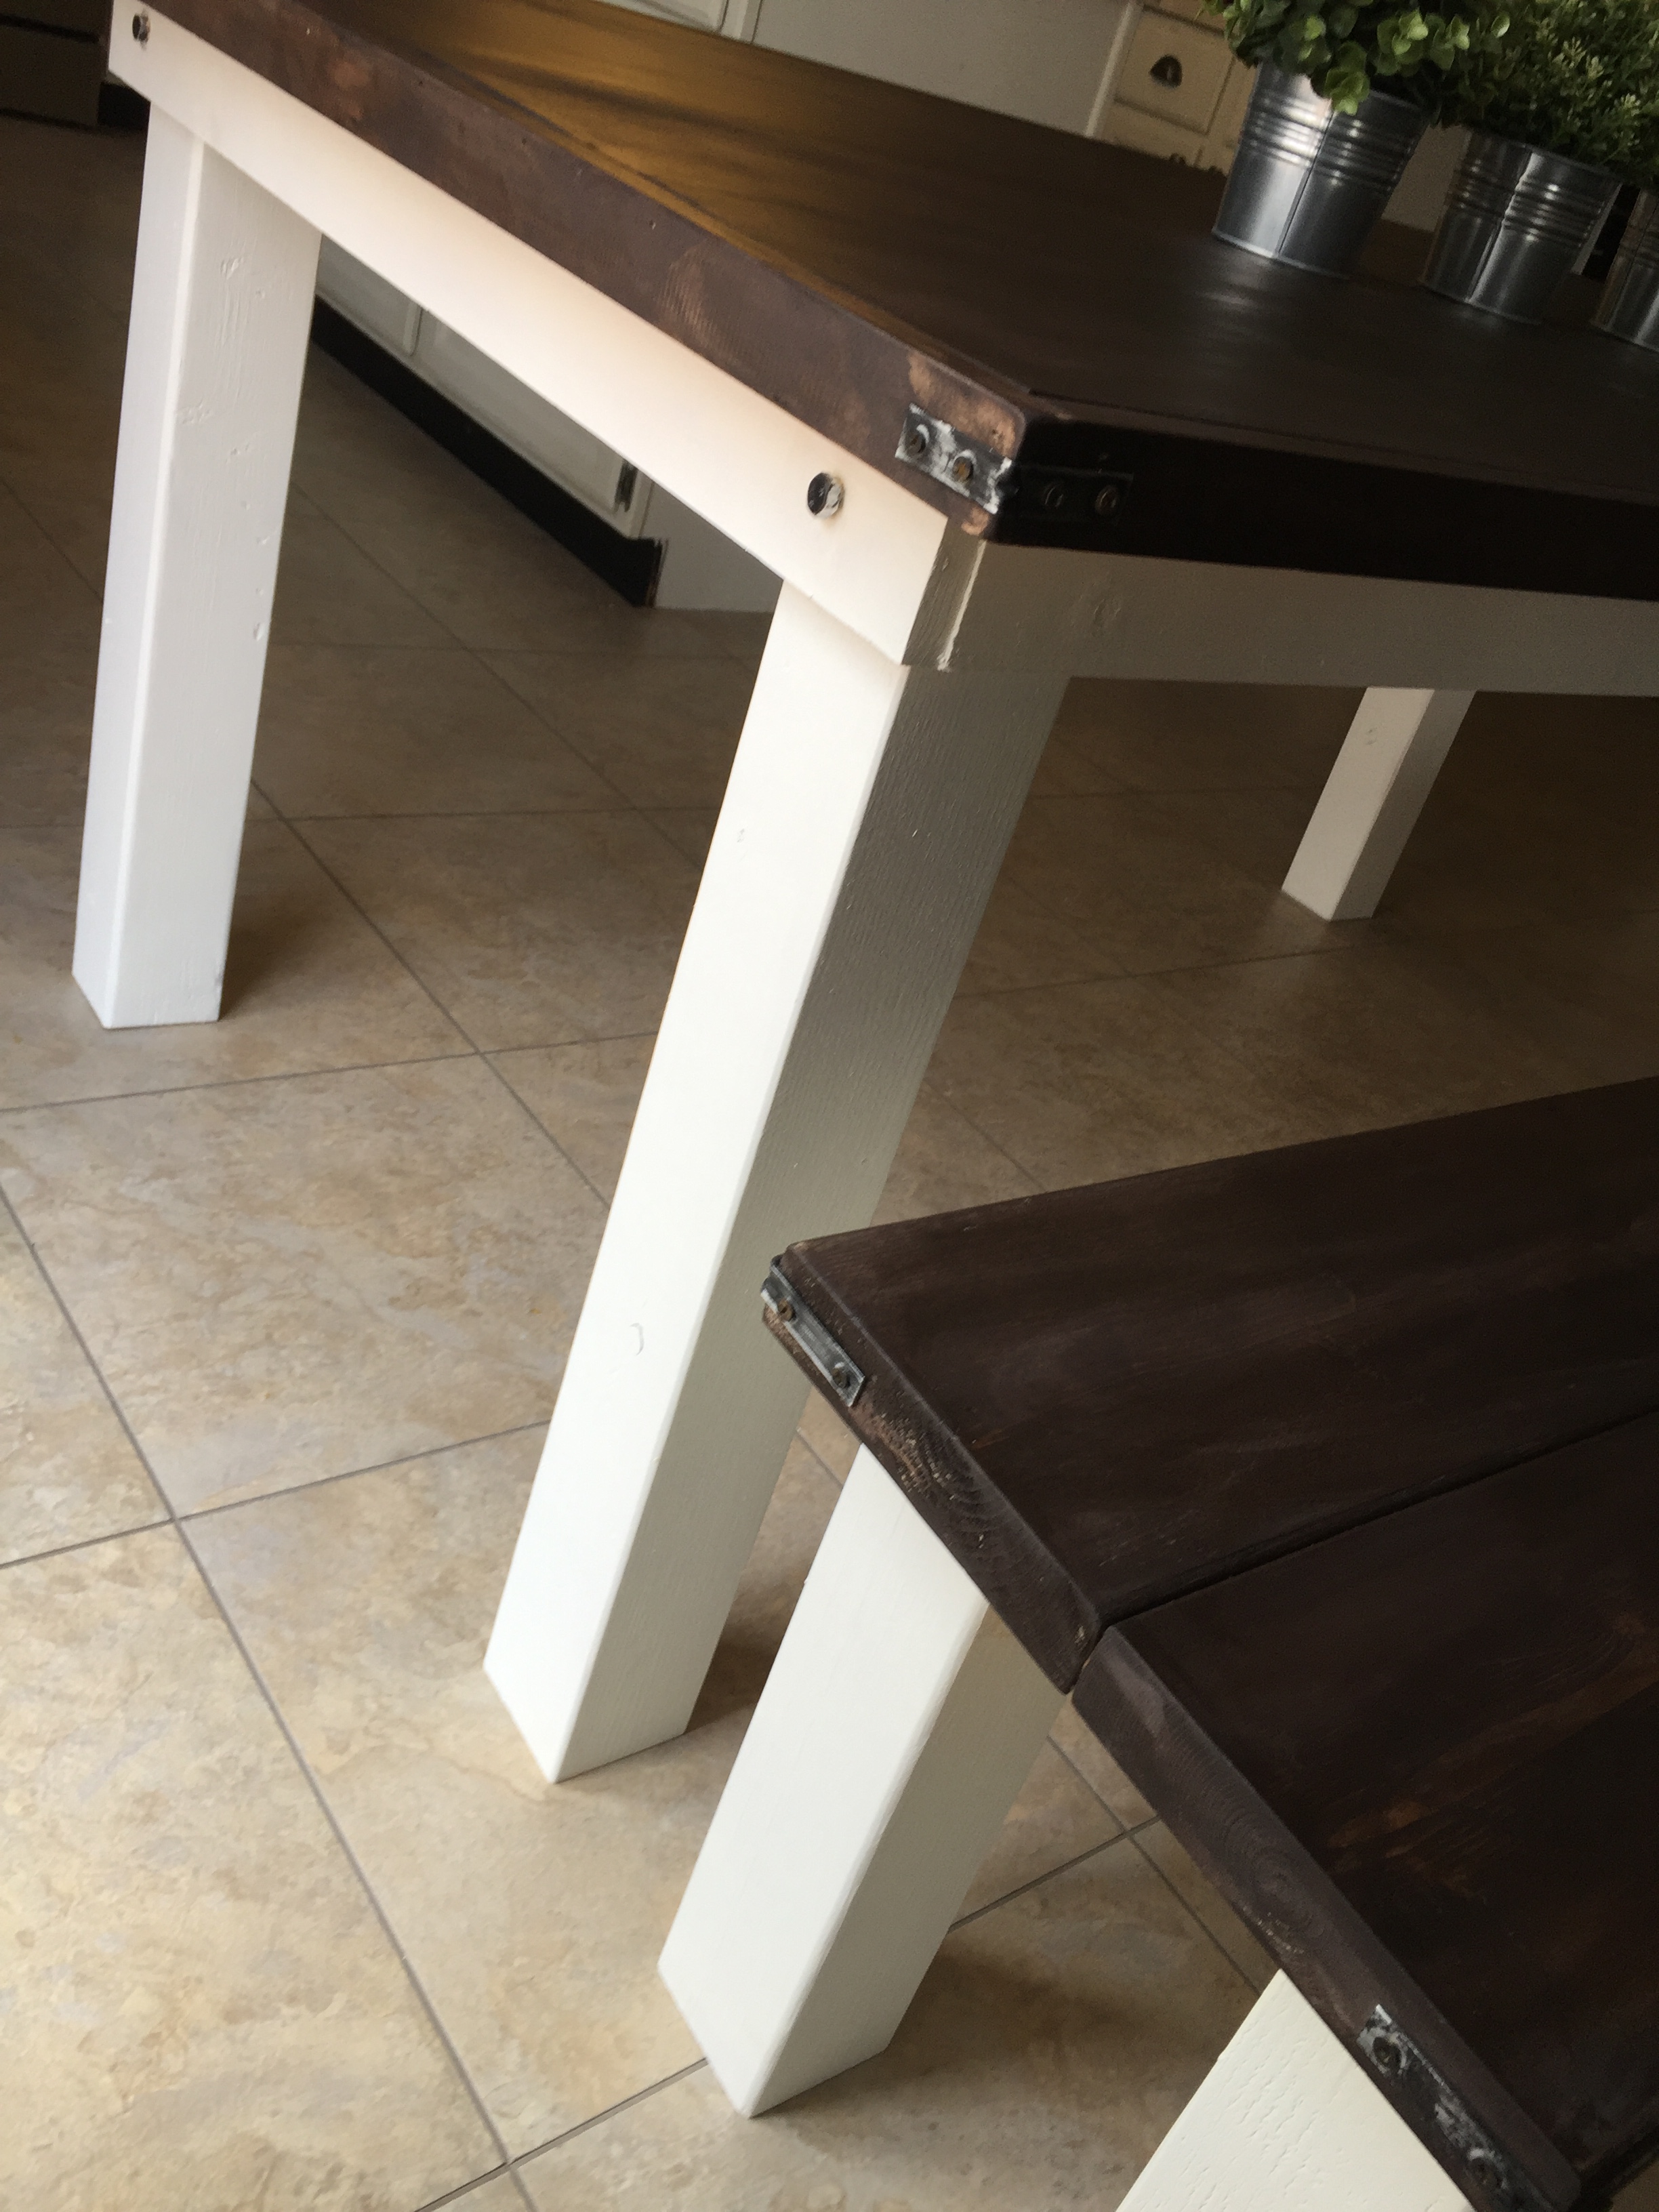
Bases - Valspar's paint+primer in one in Antique White from the oops bin. Desktop - General Finishes water based stain in Espresso. Top coat - I used Minwax's spray-on polycrylic for the bases and GF's water-based polycrylic in Gloss for the top. Contact paper from Blue for the insides. Paint was rolled and brushed, stain was applied with a rag. Polycrylic was rolled and brushed. Use good brushes (I used Purdy) and you'll never see a brush mark.
Recommended Skill Level
Intermediate