Community Brag Posts

Easy DIY Garage Workbench with modifications

Submitted by kimsteps on Thu, 01/13/2022 - 14:30

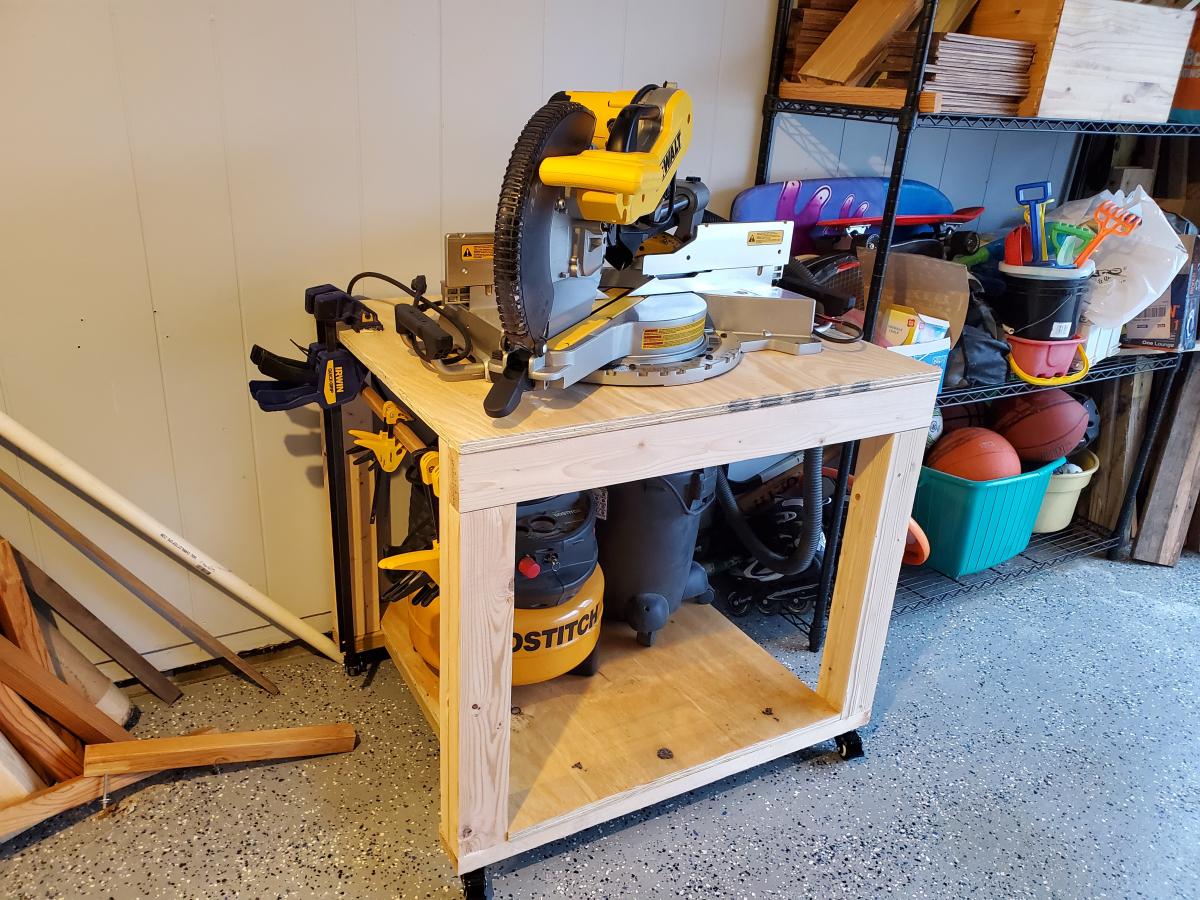
My fabulous husband bought me an awesome new miter saw for Christmas, and it is way too heavy to lug around! So my first project with the new saw was a workbench to mount it on! I added wheels so it can roll anywhere. I'm also very short and wanted to store a very tall shop vac on the lower shelf so I made modifications to accommodate that. I also made it 30" x 36" to make it just the right size for my saw. I will be using this piece as the center of other work tables I will build in the future!

Comments

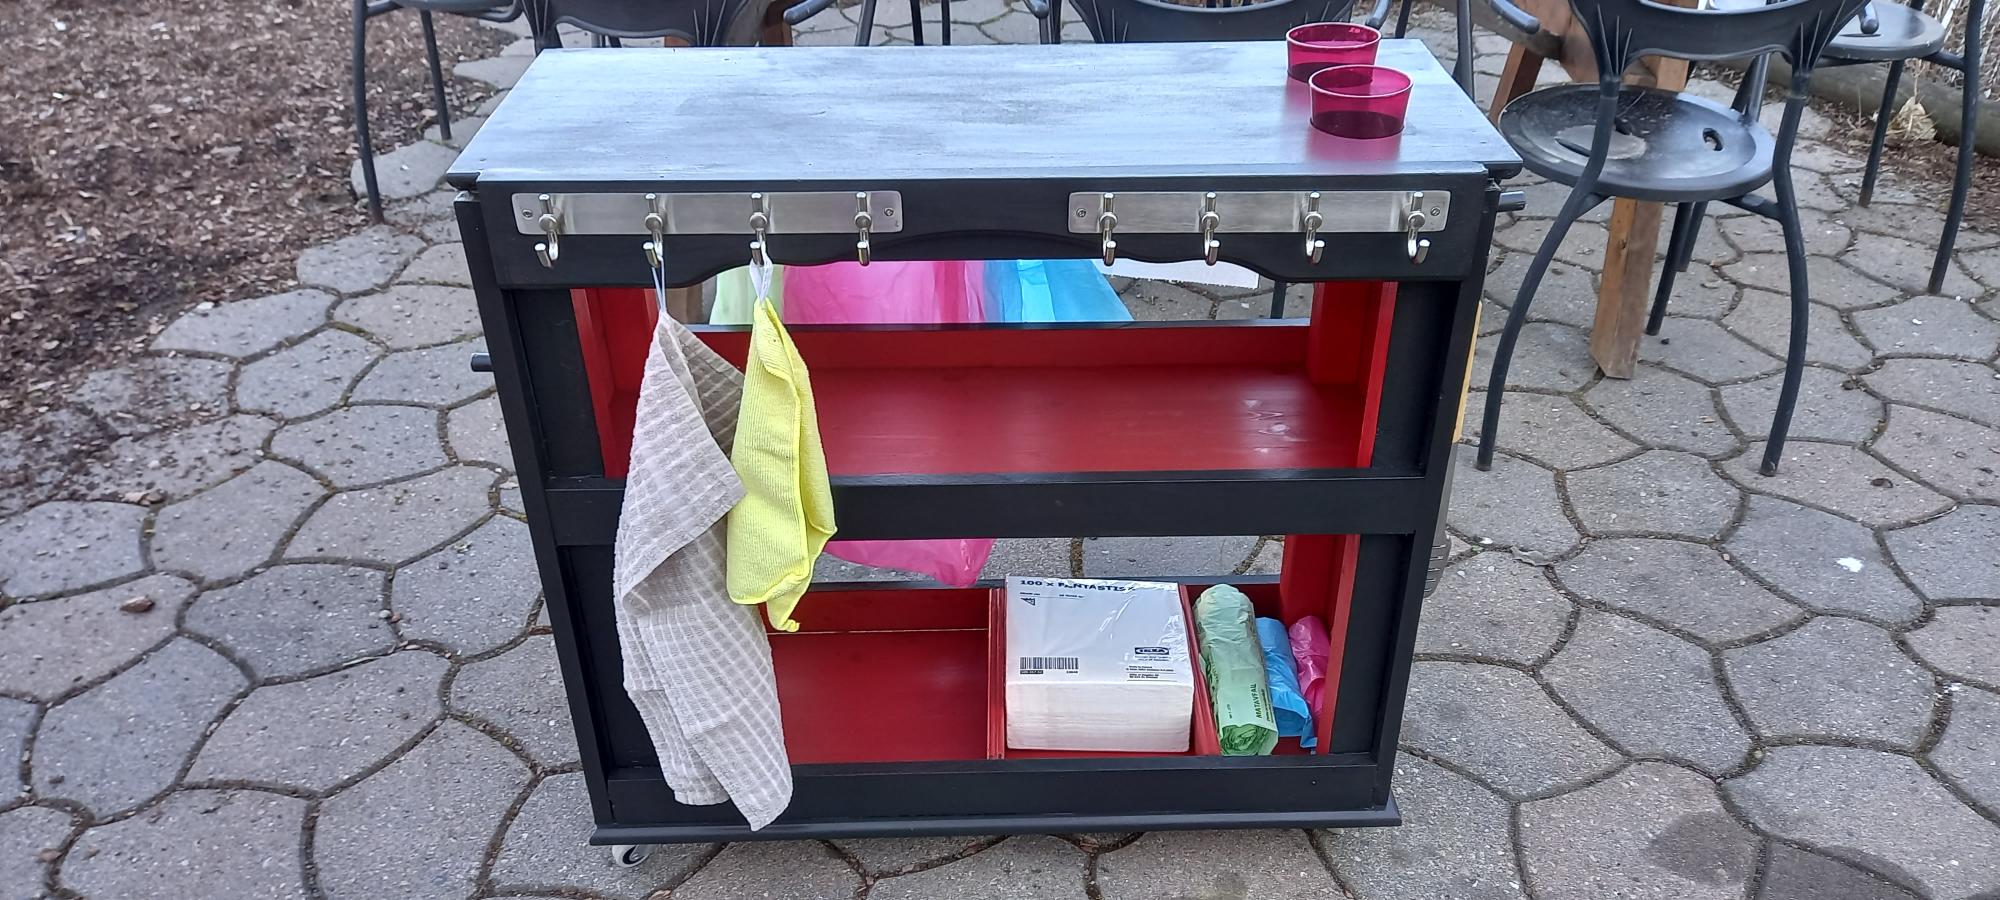
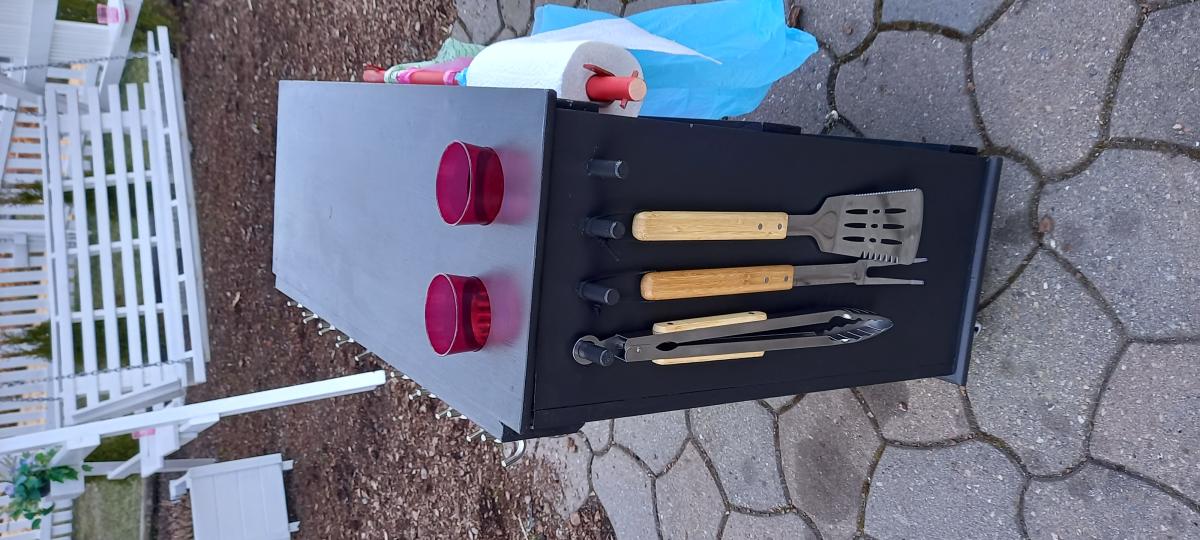
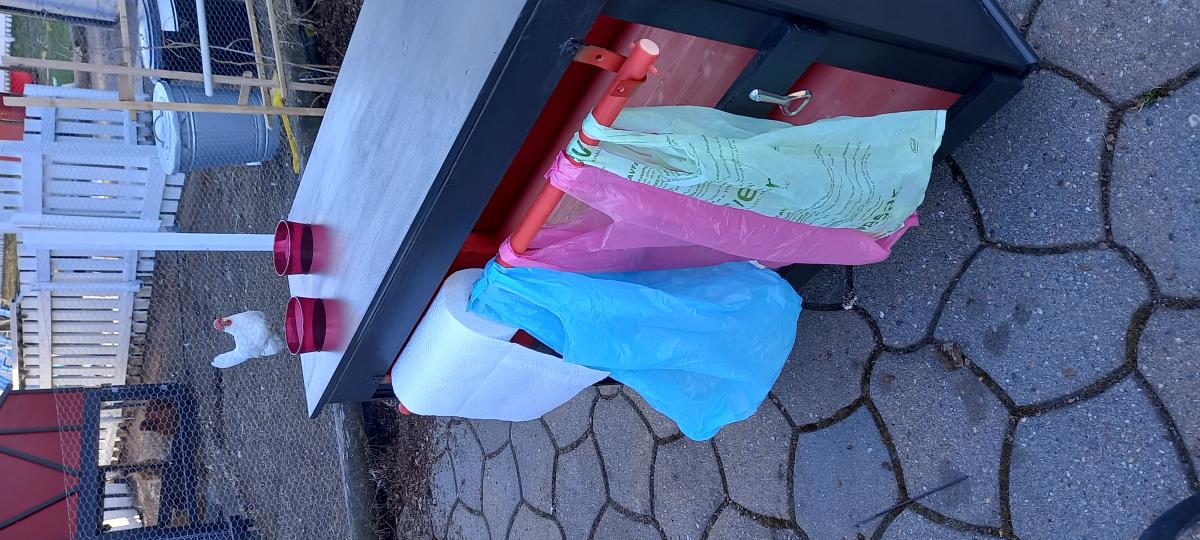
Outdoor BBQ-help table

Submitted by Anonymous (not verified) on Thu, 04/21/2022 - 12:43

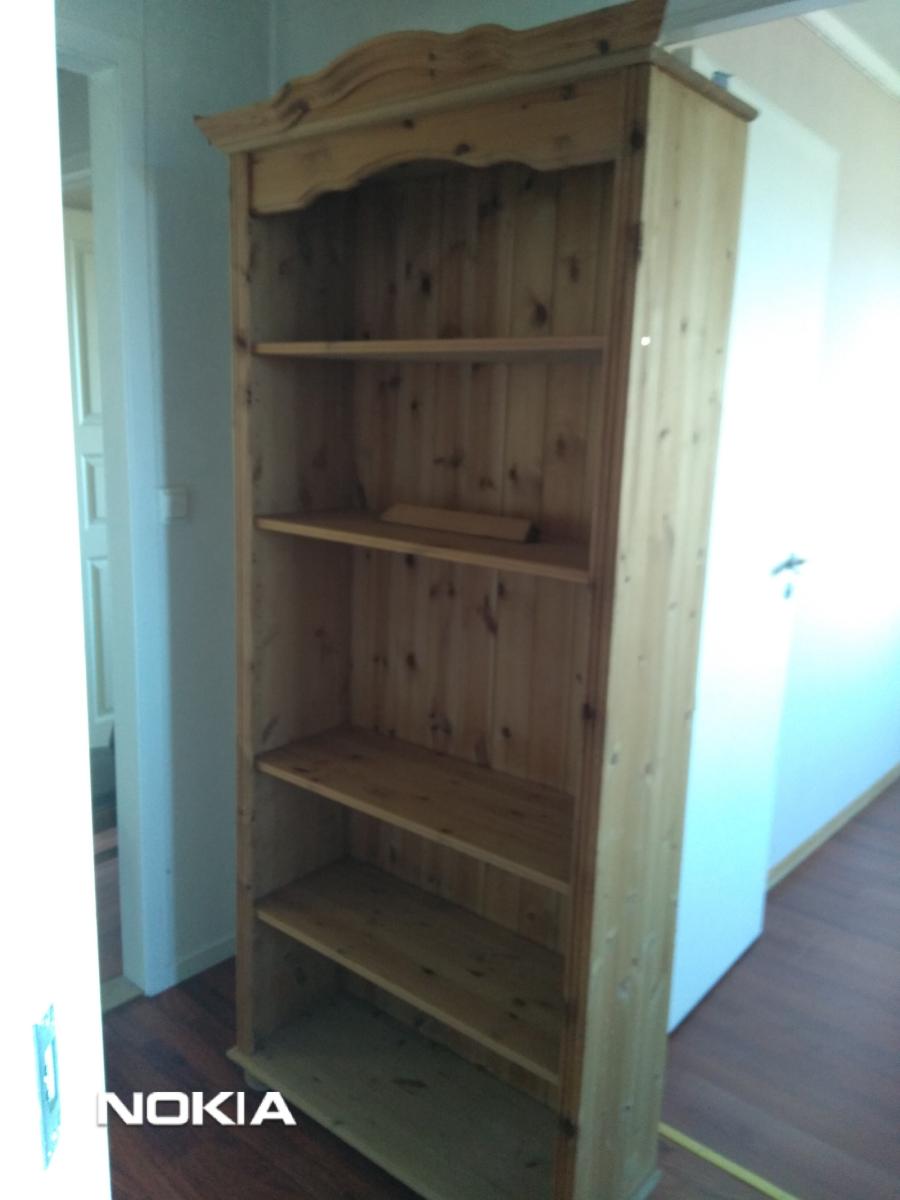
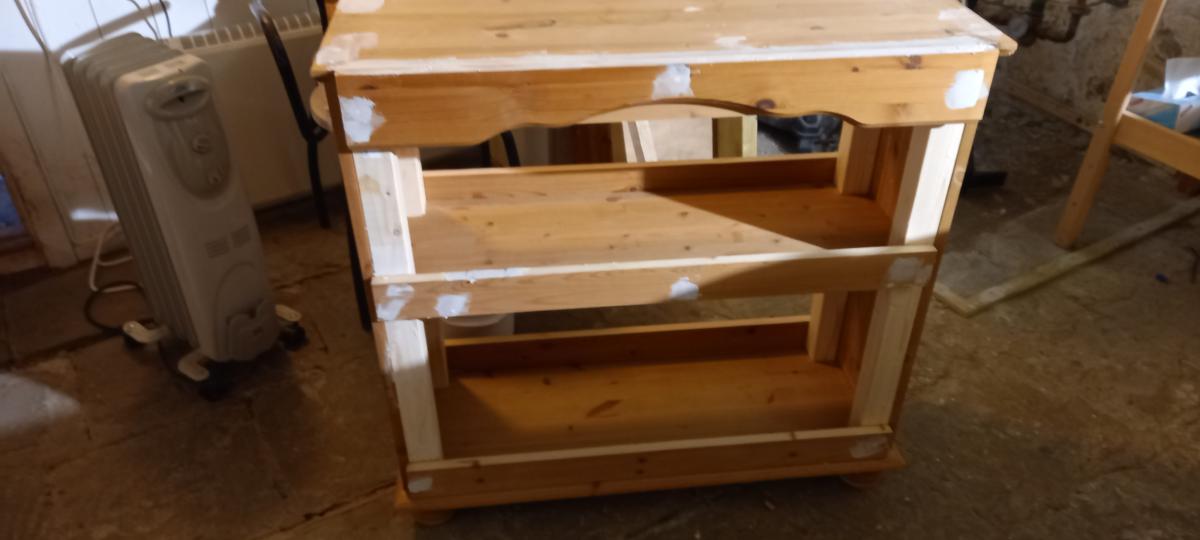
I love you and your site and have learned tons from it. Last week I picked up this old bookcase on a website for free. I then worked on it to turn it into a BBQ-help table. I'm very happy with it and hope the weather in Norway will soon be hot enough to get out in the garden and BBQ!
Love and best wishes,
Pauline

Comments

Deluxe A frame chicken coop

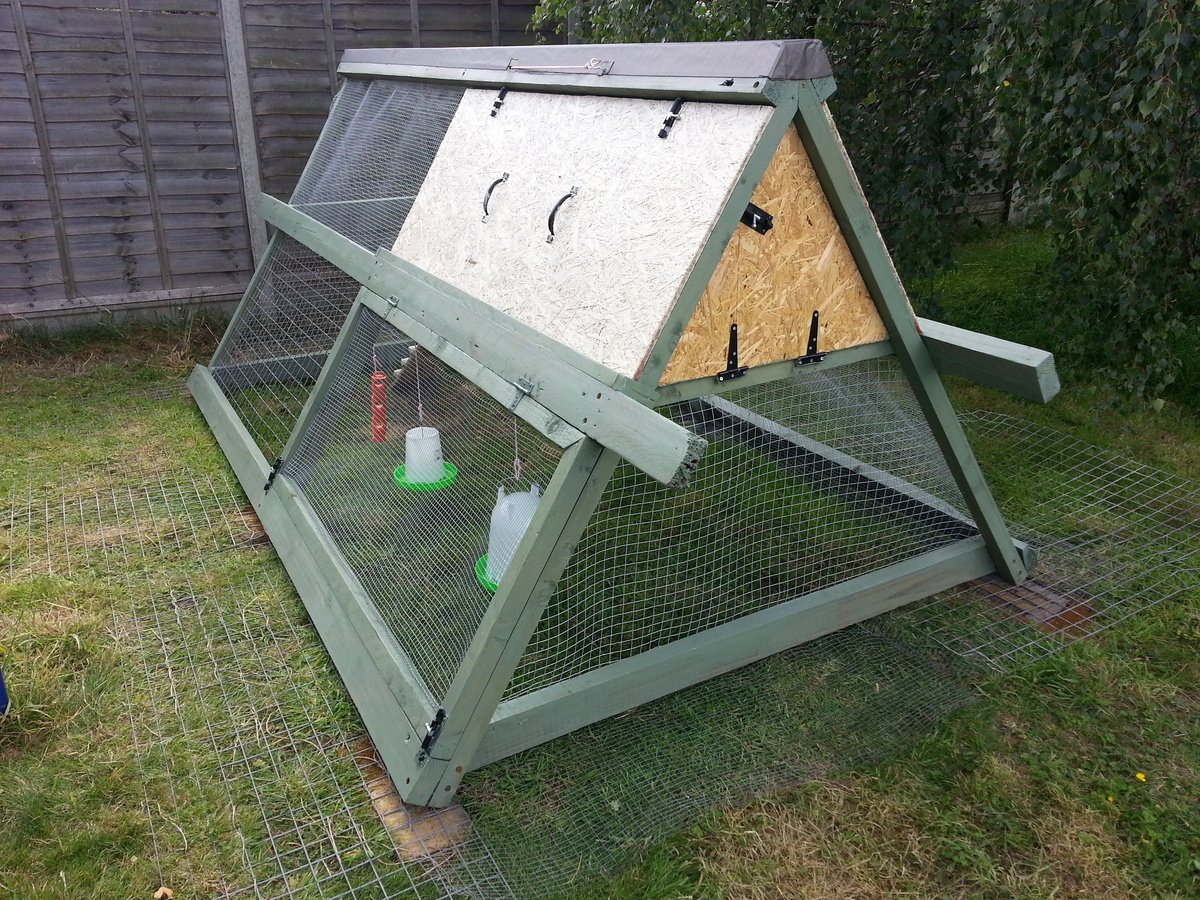
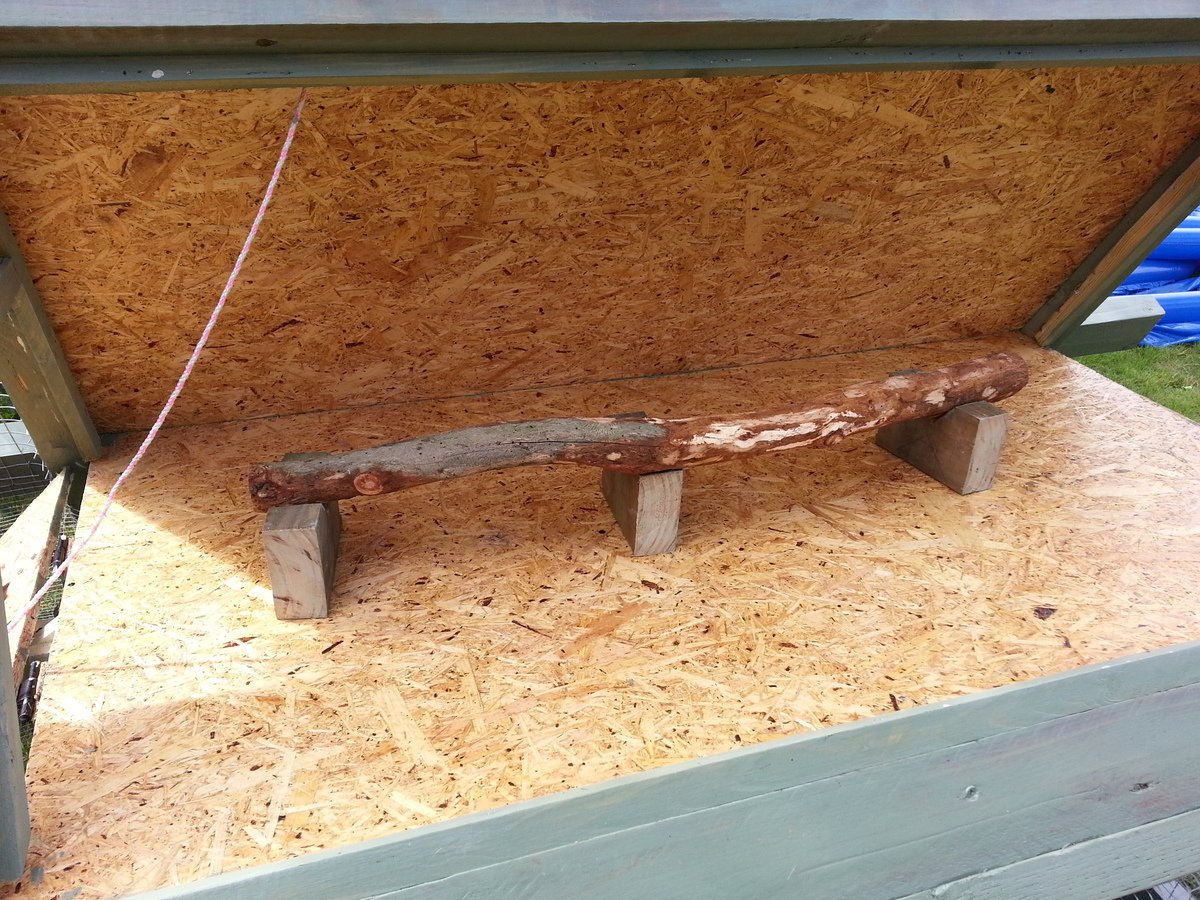
This project was based on the A frame chicken coop. I changed the dimensions  to metric with the main frame being 3m long and each side of the frame being 1.7m. The 2x4 was from reclaimed decking with new 2x2 for shorter pieces.

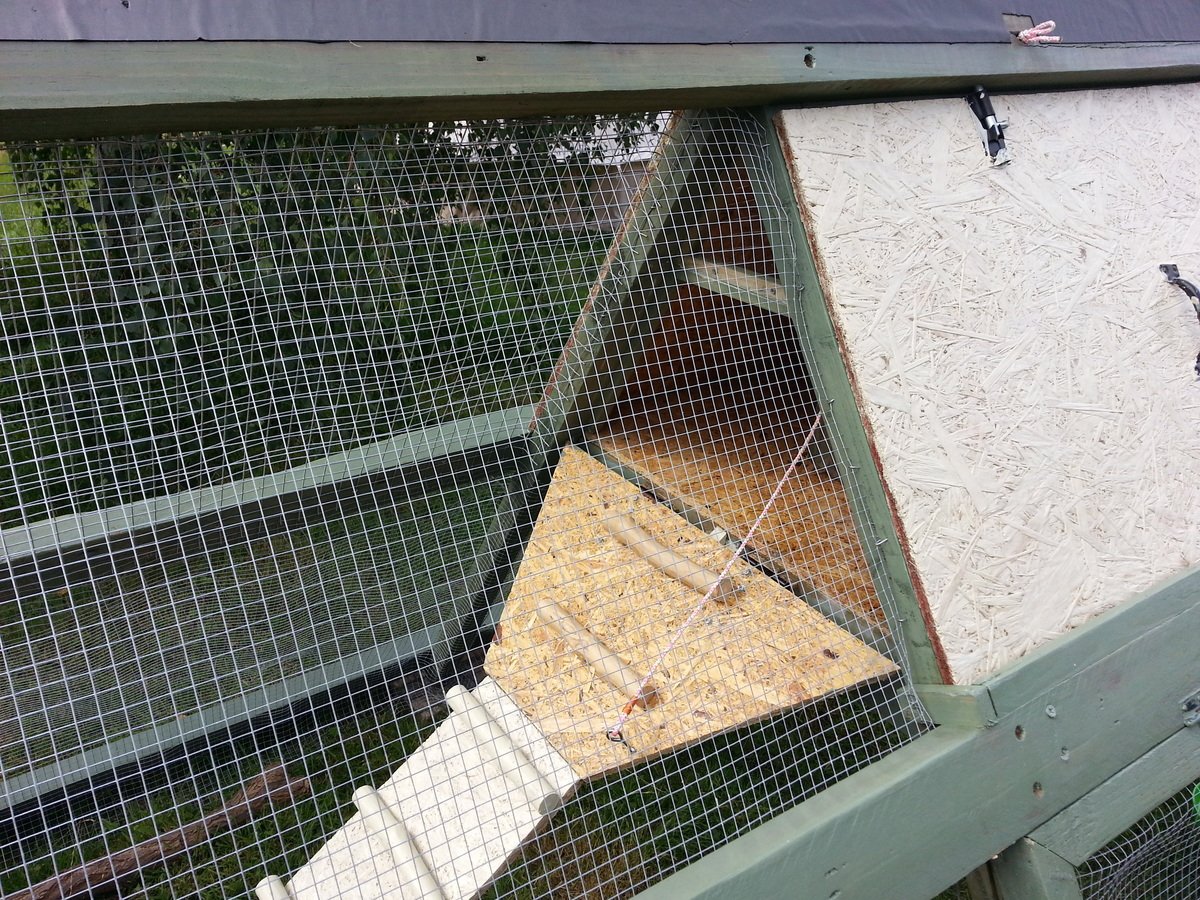
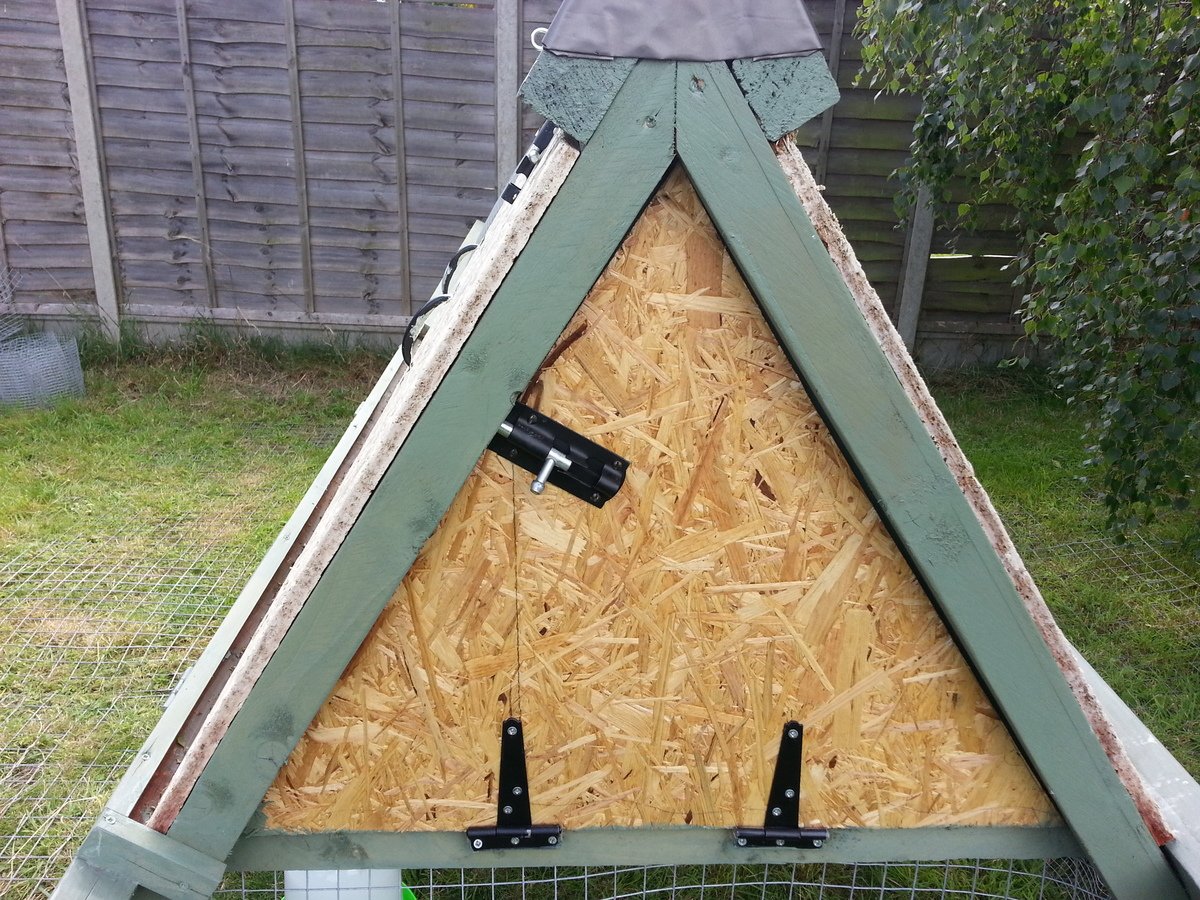
I added a chicken door (with a rope to open and close) and an egg door (with a tower bolt)  at each end of the enclosed chicken house section at the top. The chicken house has a removable roosting bar and space for the nesting boxes.  One of the bottom sections has a hinged frame to allow easy access to the run.
The hardest part was fixing wire netting to the inside as there wasn't much room to swing a hammer to put the fixings into the wood. I used a mix of 13mm and 25mm mesh and welded 50mm framing. There is wire mesh all the way round the outside to stop foxes digging into the run.


Built from Plan(s)
Estimated Cost
£150
Estimated Time Investment
Week Long Project (20 Hours or More)
Finish Used
Water based preservative
Recommended Skill Level
Beginner

Farmhouse Table

Submitted by Kkmcbryde on Thu, 07/12/2018 - 05:42

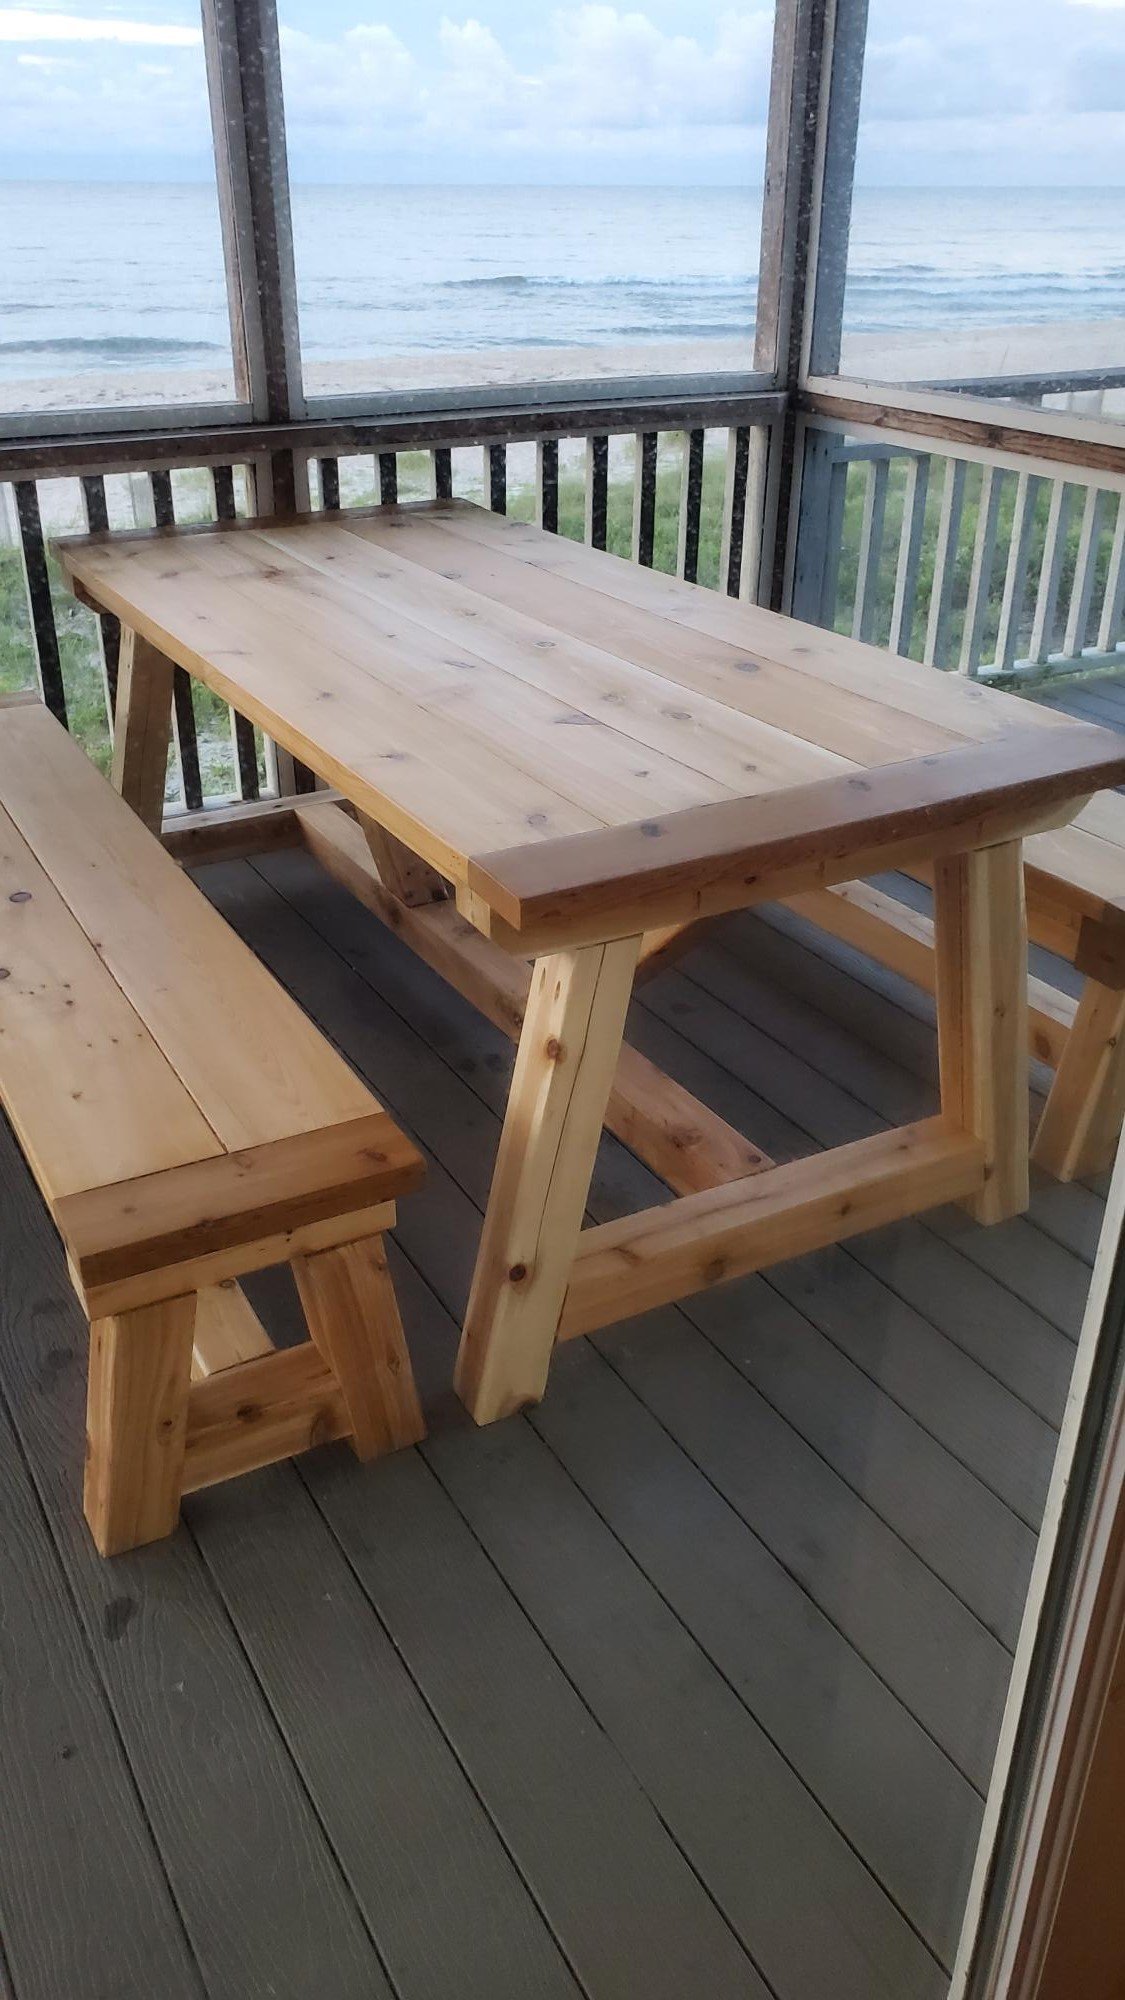
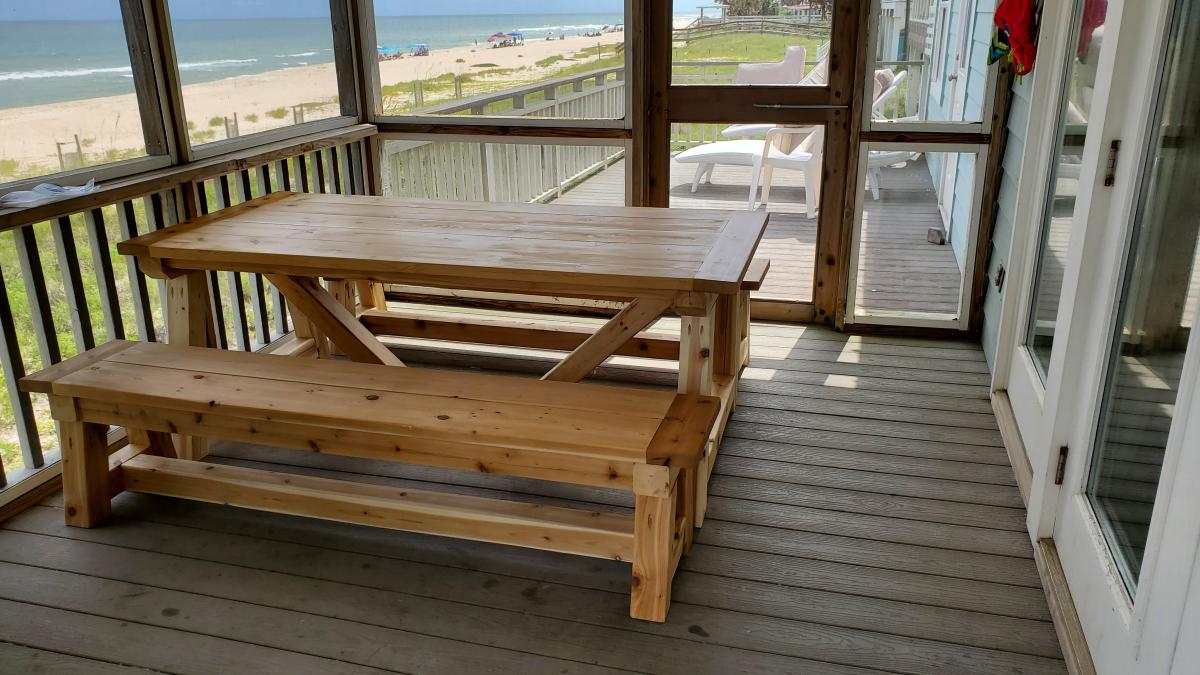
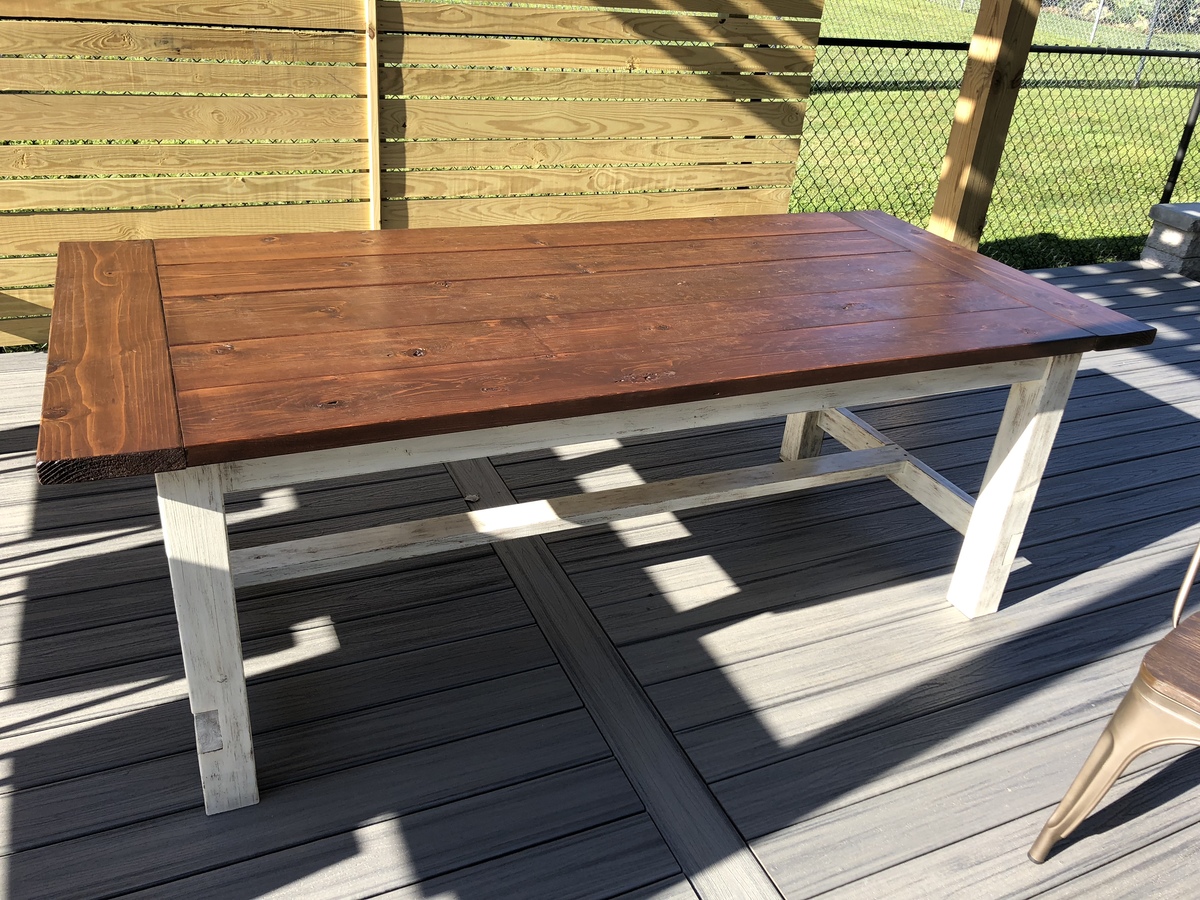
My husband and I built this table from the farmhouse table plans (Kreg-jig). I wanted a farmhouse table for our new patio and couldn’t quit find one to buy-so we made it! We used red cedar because it is an outdoor table and we wanted it weather resistant. 

Estimated Cost
Our cost was higher due to the red cedar we used. It costs $350. Time completed also includes staining time as well.
Estimated Time Investment
Weekend Project (10-20 Hours)
Finish Used
Top table- I used special walnut and dark walnut stain.
Legs I used special walnut stain. Then painted it with Acadia white outdoor paint. I then scrapped with steel wool.
Recommended Skill Level
Beginner

Garage shelves

Submitted by Joy on Sat, 09/08/2018 - 18:12

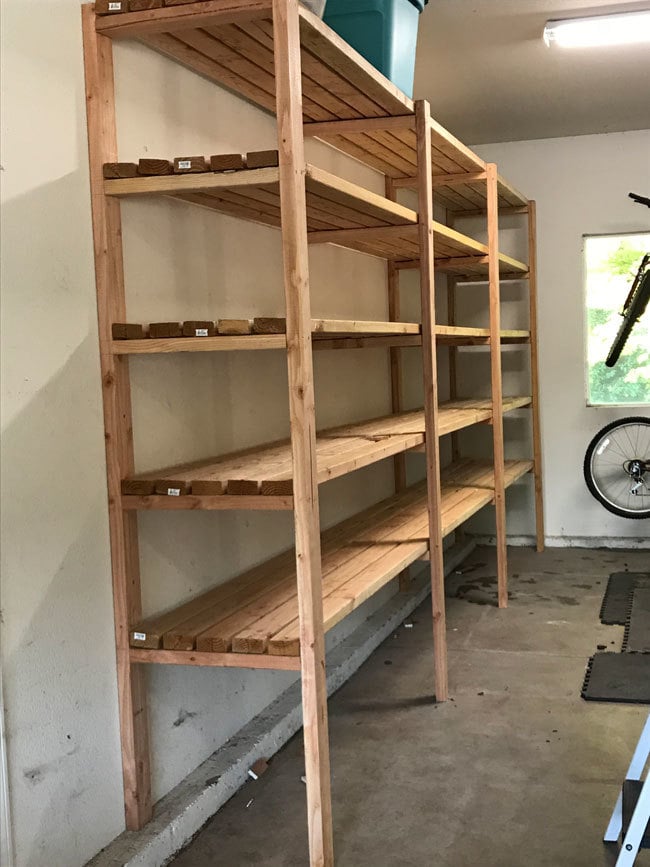
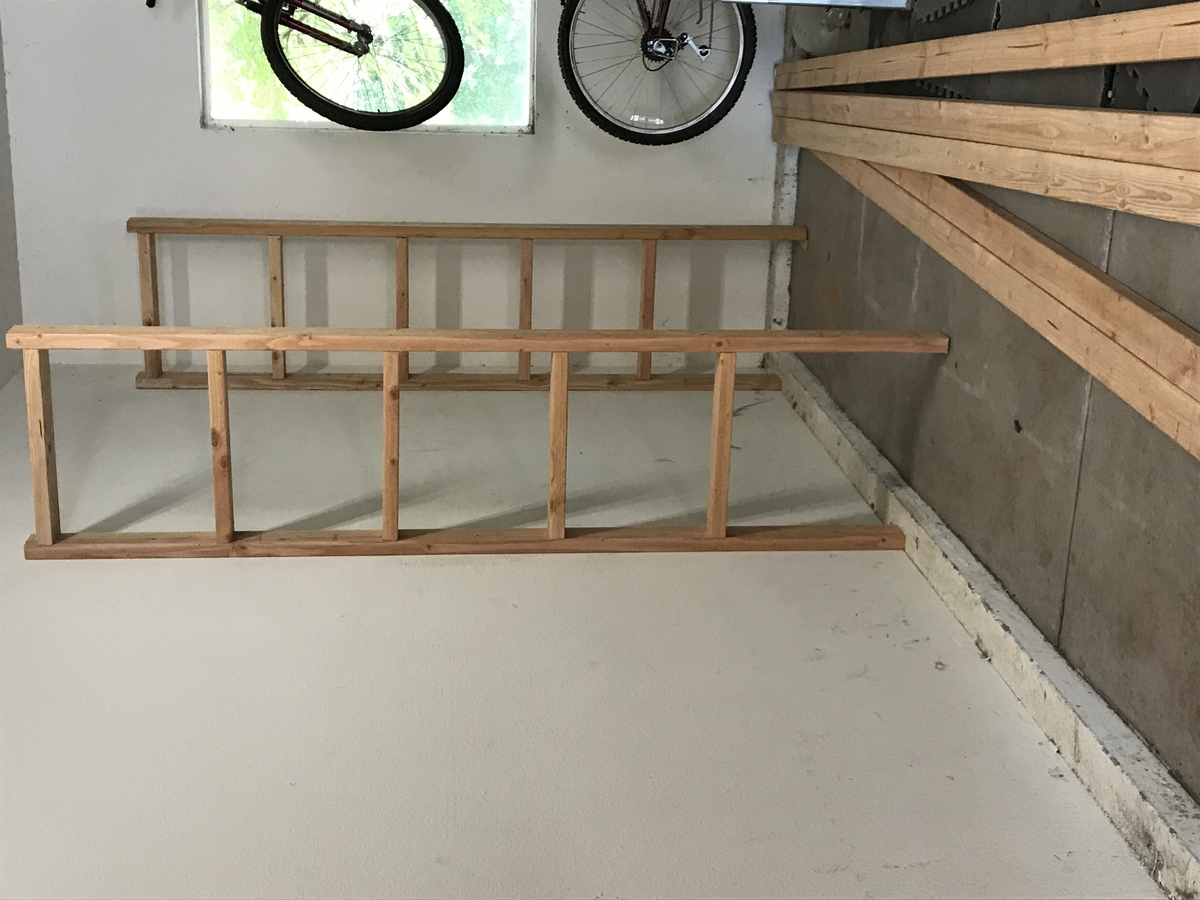
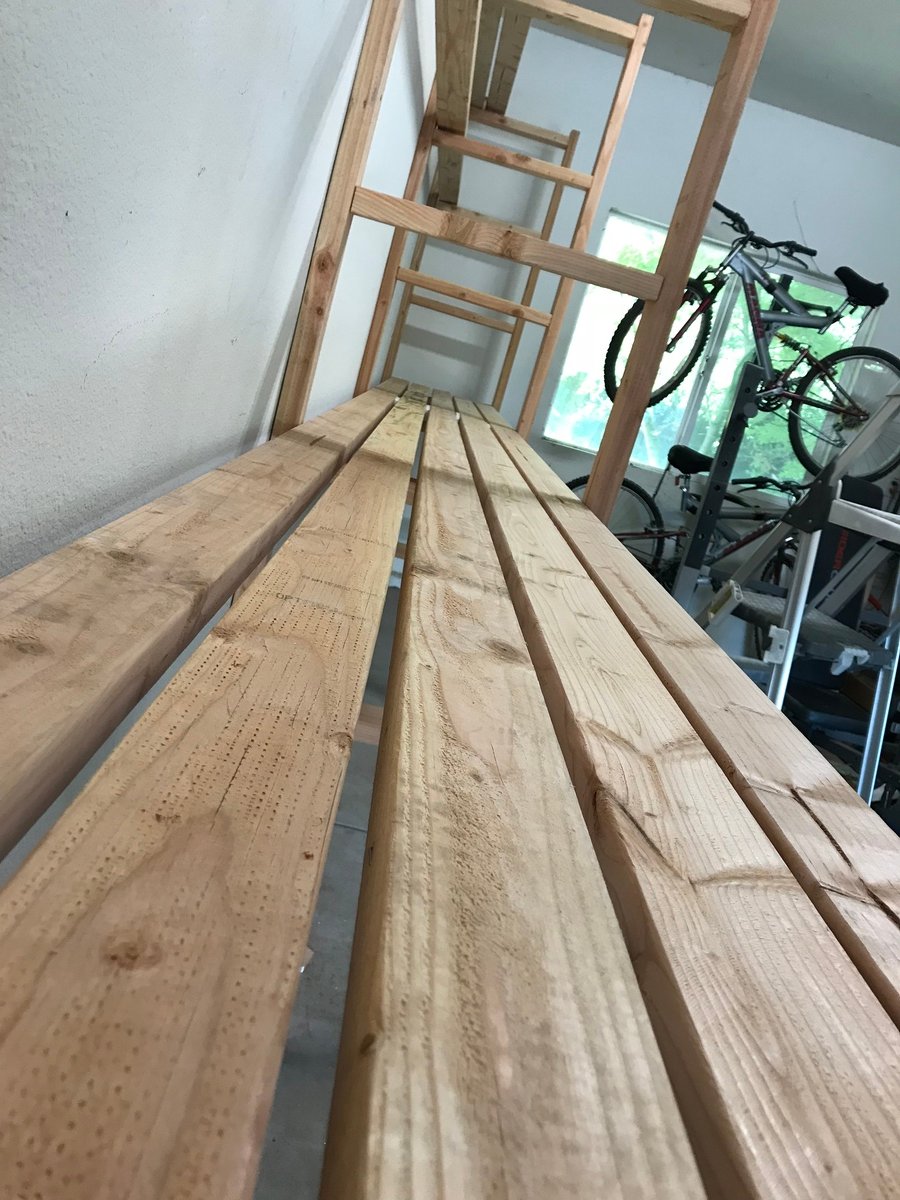
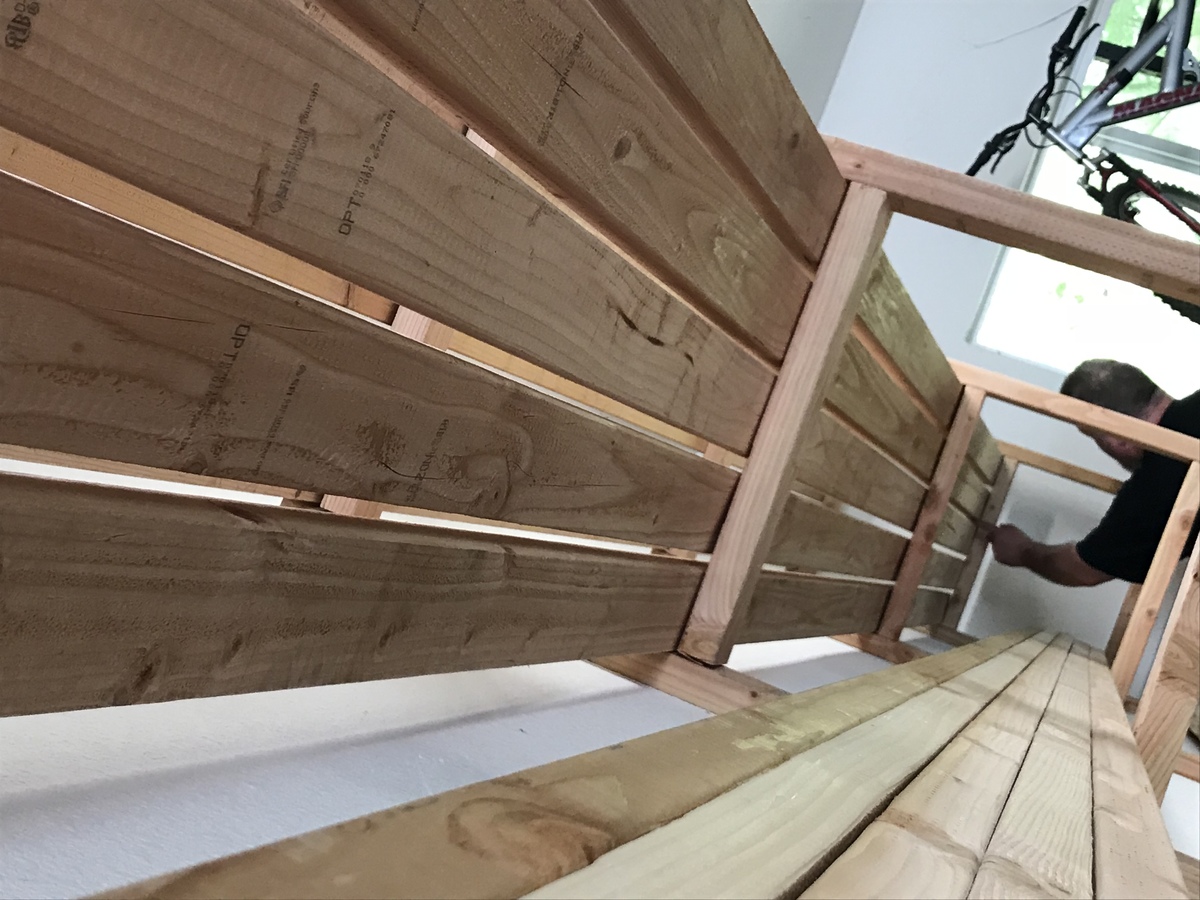
Designed to store 56 qt clear sterilite totes. Spaced 17” apart and used 5 2x4s so 23” deep. We have a lip of our foundation that sticks out so we had to adjust for the difference in leg heights. 

Estimated Cost
Lumber was $8.25 per board (2x4x16) and we used 32. 3 boxes of screws. 2 1/2 for the frame, 2” for screwing down the shelves and 3 1/2 to screw into the wall studs.
Estimated Time Investment
Afternoon Project (3-6 Hours)
Finish Used
None
Recommended Skill Level
Beginner

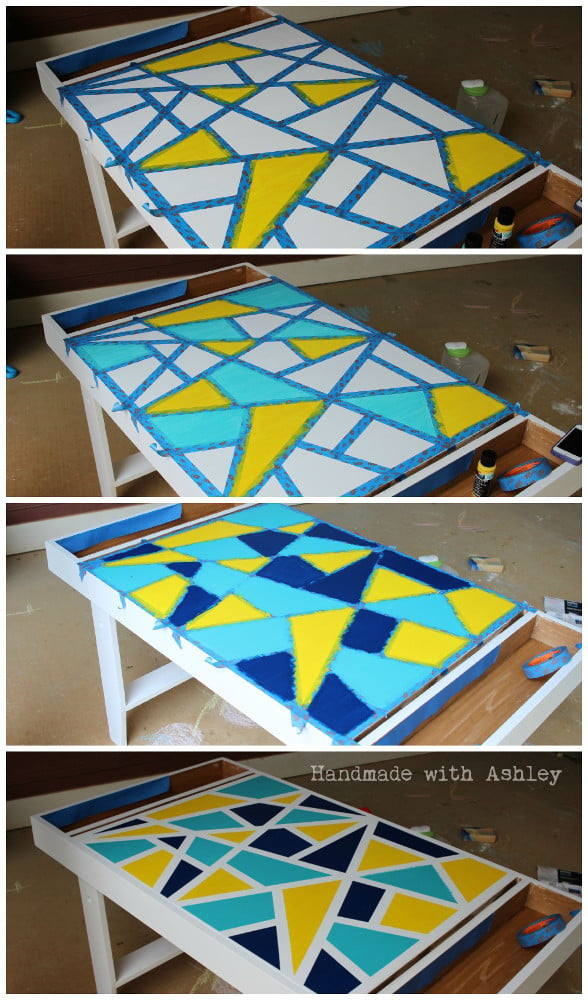
DIY Kids Art Table

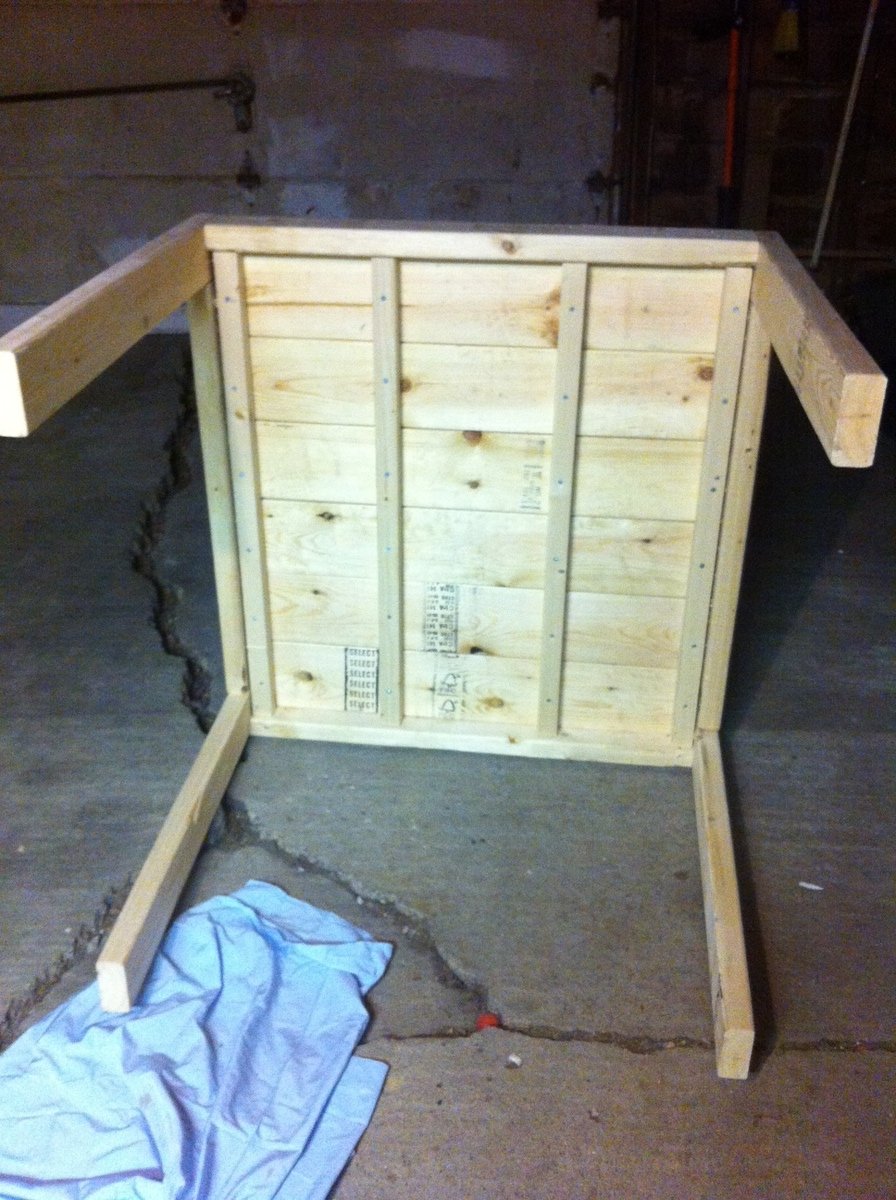
I'm so excited Ana created plans for this table!  When I first came across it on Pottery Barn Kids it was love at first sight. :D  I built it over the weekend for my little toddler.  Unfortunately, he's too short for it, but he'll grow into soon enough. :)  (I secretly wished it was an art table appropriate for my height!)

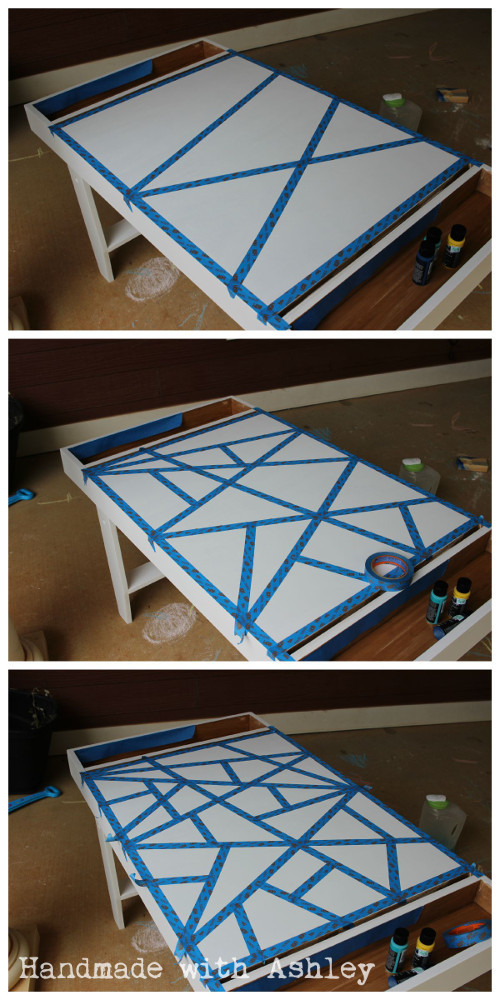
It cost me about $75 to build.  I splurged and bought select pine boards for the project.  The art table was also my submission for September's Fab Furniture Flippin' Contest.  September's sponsor is General Finishes and the theme was geometry!

Now, I just need to build matching seats! I love the little stools Ana built; maybe I'll do something sorta like that. :)  


Thank you Ana for inspiring me to build!


Built from Plan(s)
Estimated Cost
$75
Estimated Time Investment
Weekend Project (10-20 Hours)
Finish Used
General Finishes Milk Paint (Snow White), Acrylic craft paints for the geometric pattern, ECOS Paints Woodshield in Pine Needles for the cubby stain, and ECOS Paints Gloss Varnish
Recommended Skill Level
Beginner

Comments

Outdoor chairs

Submitted by Anonymous (not verified) on Sun, 07/17/2022 - 13:23

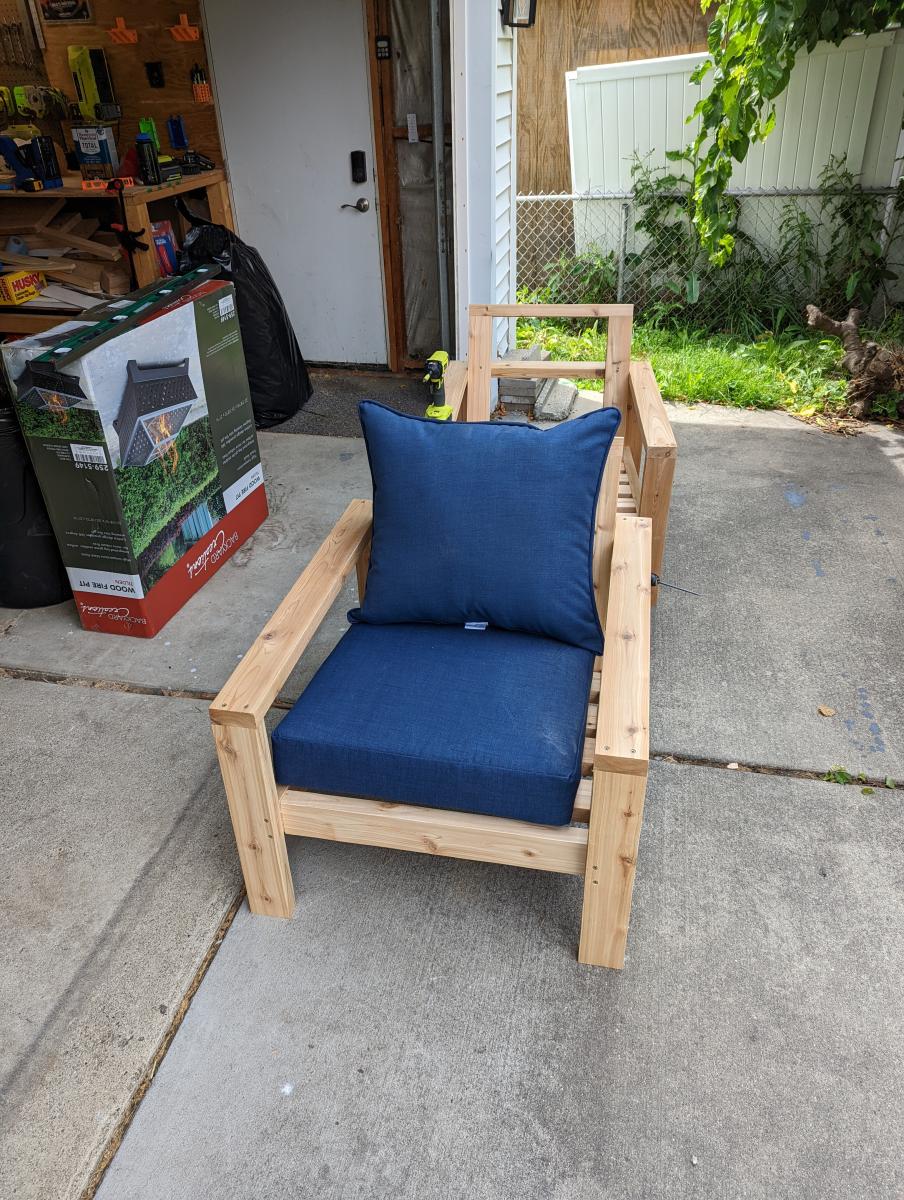
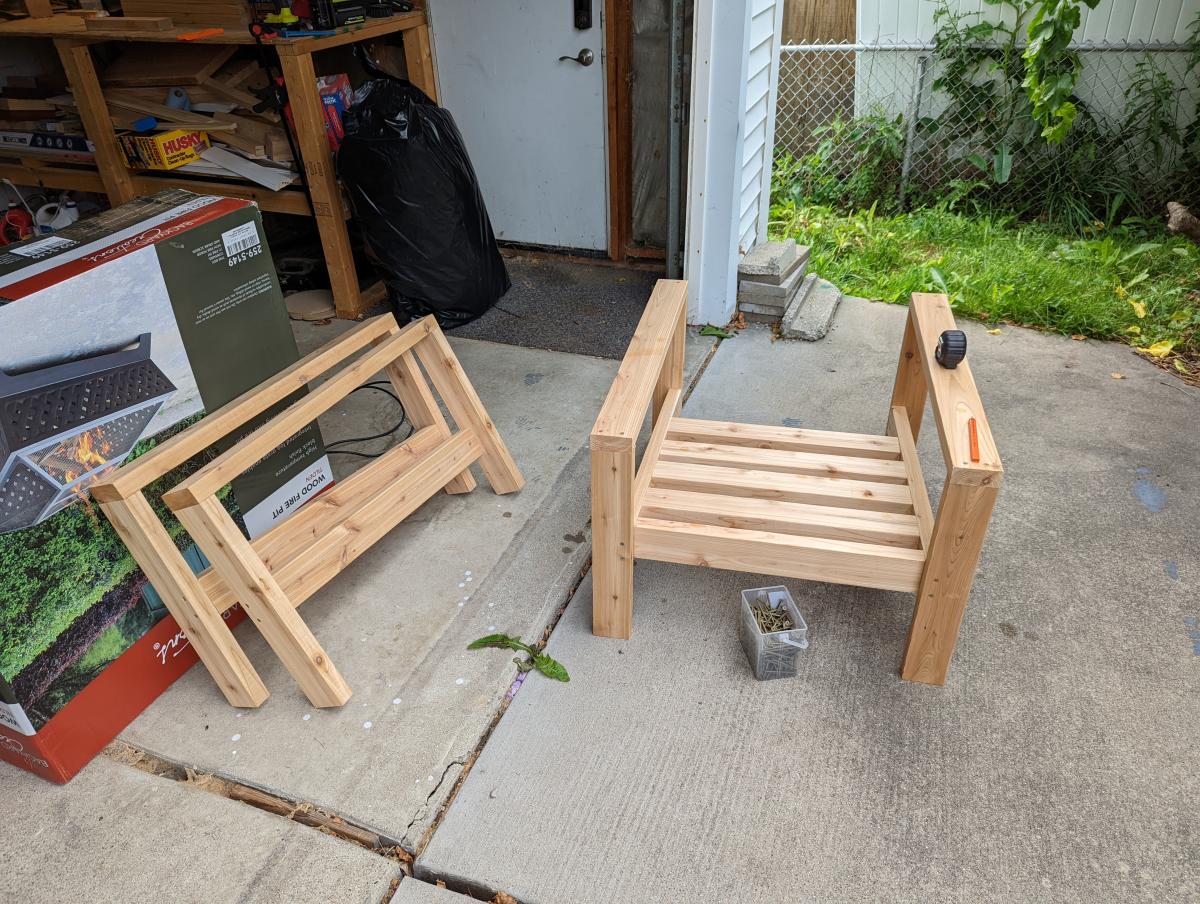
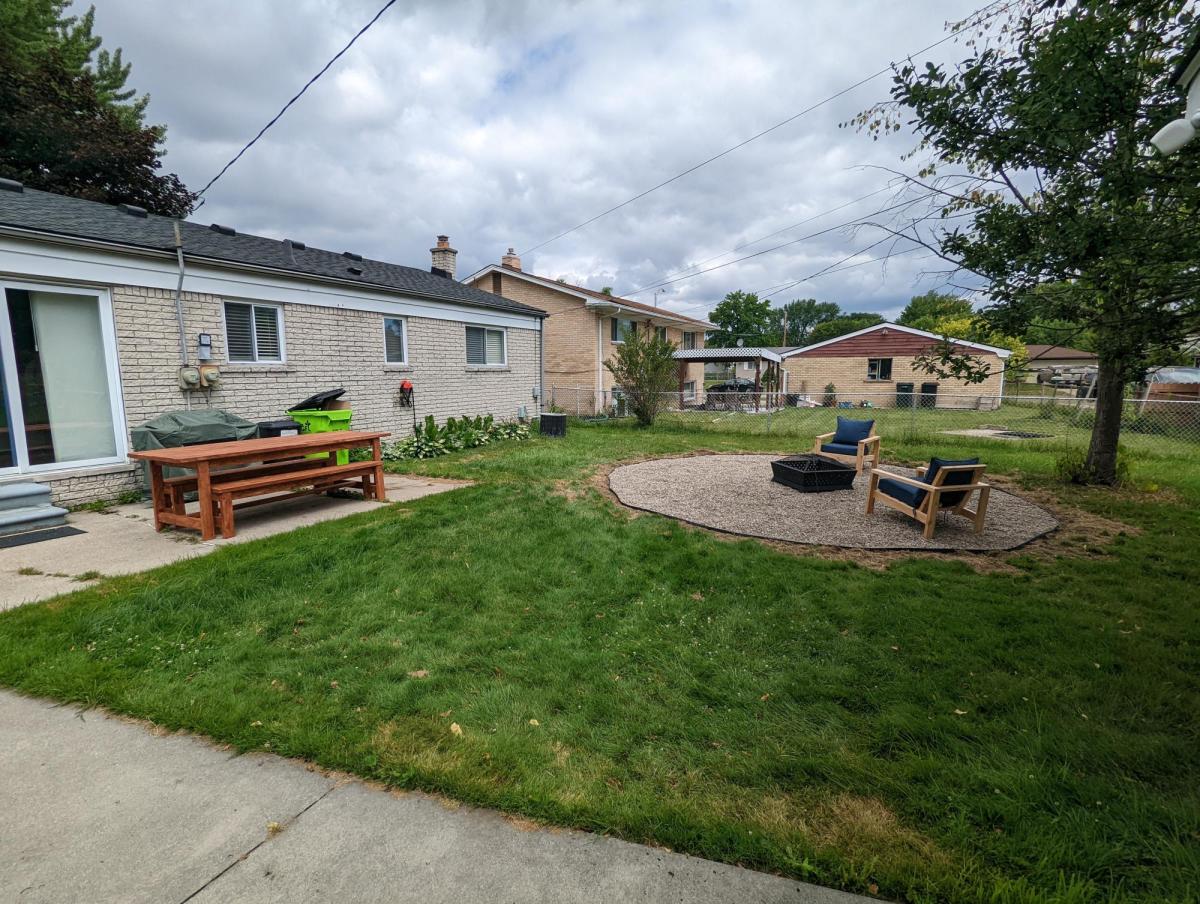
built straight from ana's plan. Used cedar 2x4s. super easy to make really happy how they came out. Cushions were like $52 per set at home depot.

Comments

My indoor Bristol chair

Submitted by rstieber on Thu, 09/05/2013 - 23:31

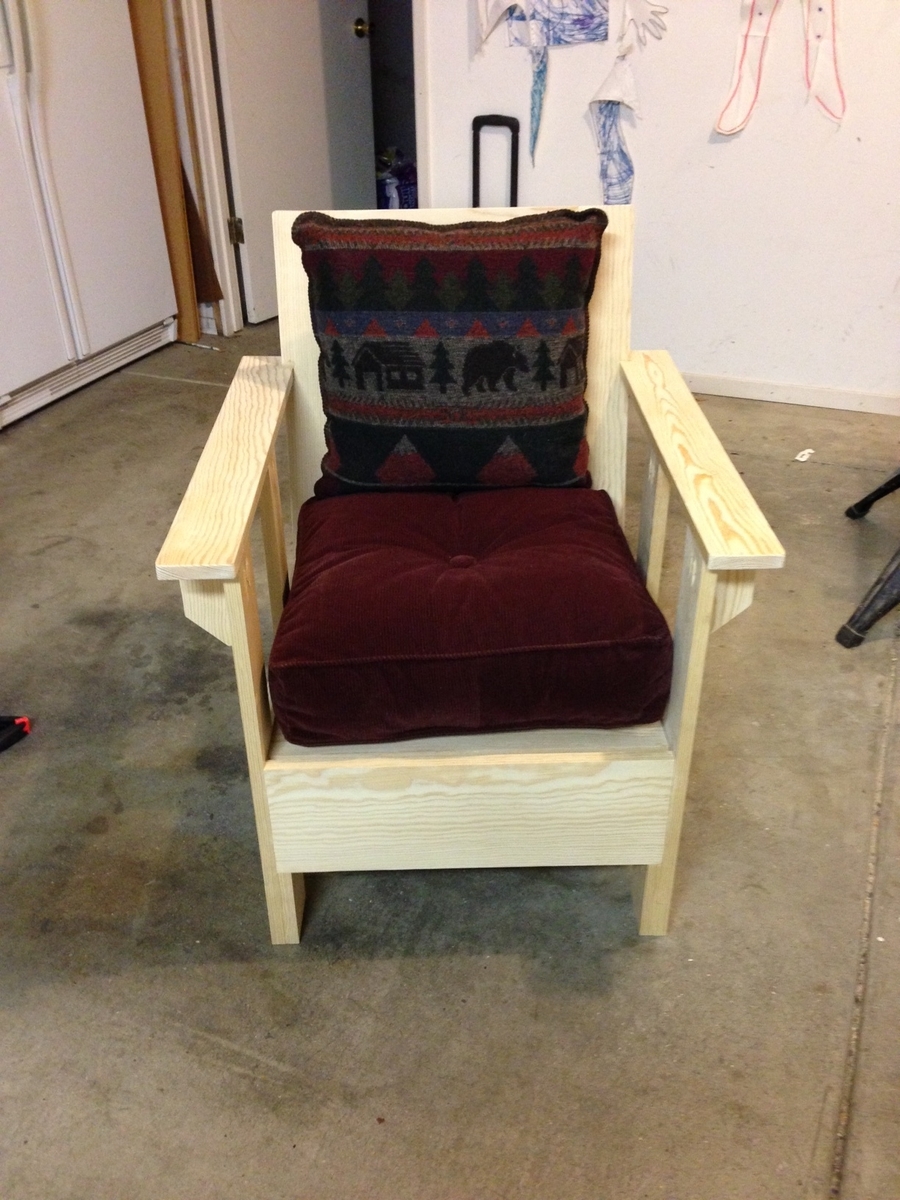
I made this chair in pine based on the plan for the Bristol outdoor lounge chair. But I changed the dimensions to fit my pillow (21"x21") and I raised the seat (increased the length of the legs by 3.5"). I modified the armrests so that they don't cover up the pillow since I didn't want to lose 7" from the seat. I plan to use this indoors at our mountain cottage. It still needs to be sanded and stained, but I'm pretty pleased with the result. I may have to make a matching ottoman next.

Estimated Time Investment
Weekend Project (10-20 Hours)
Recommended Skill Level
Beginner

Comments

JoanneS

Fri, 09/06/2013 - 02:54

Great job converting the Bristol Chair for indoor use! I love the mods you made. It looks really comfortable too. Where did you find your cushions? What finish did you choose to go with that beautiful red?

rstieber

Fri, 09/06/2013 - 07:13

Thanks! I found the cushions on Amazon. The bottom one is the Greendale square floor pillow. I haven't picked a stain yet, but maybe something oaky with some gold tones. All the furniture in the room is fairly light so I don't want to go too dark.

Modified Trestle

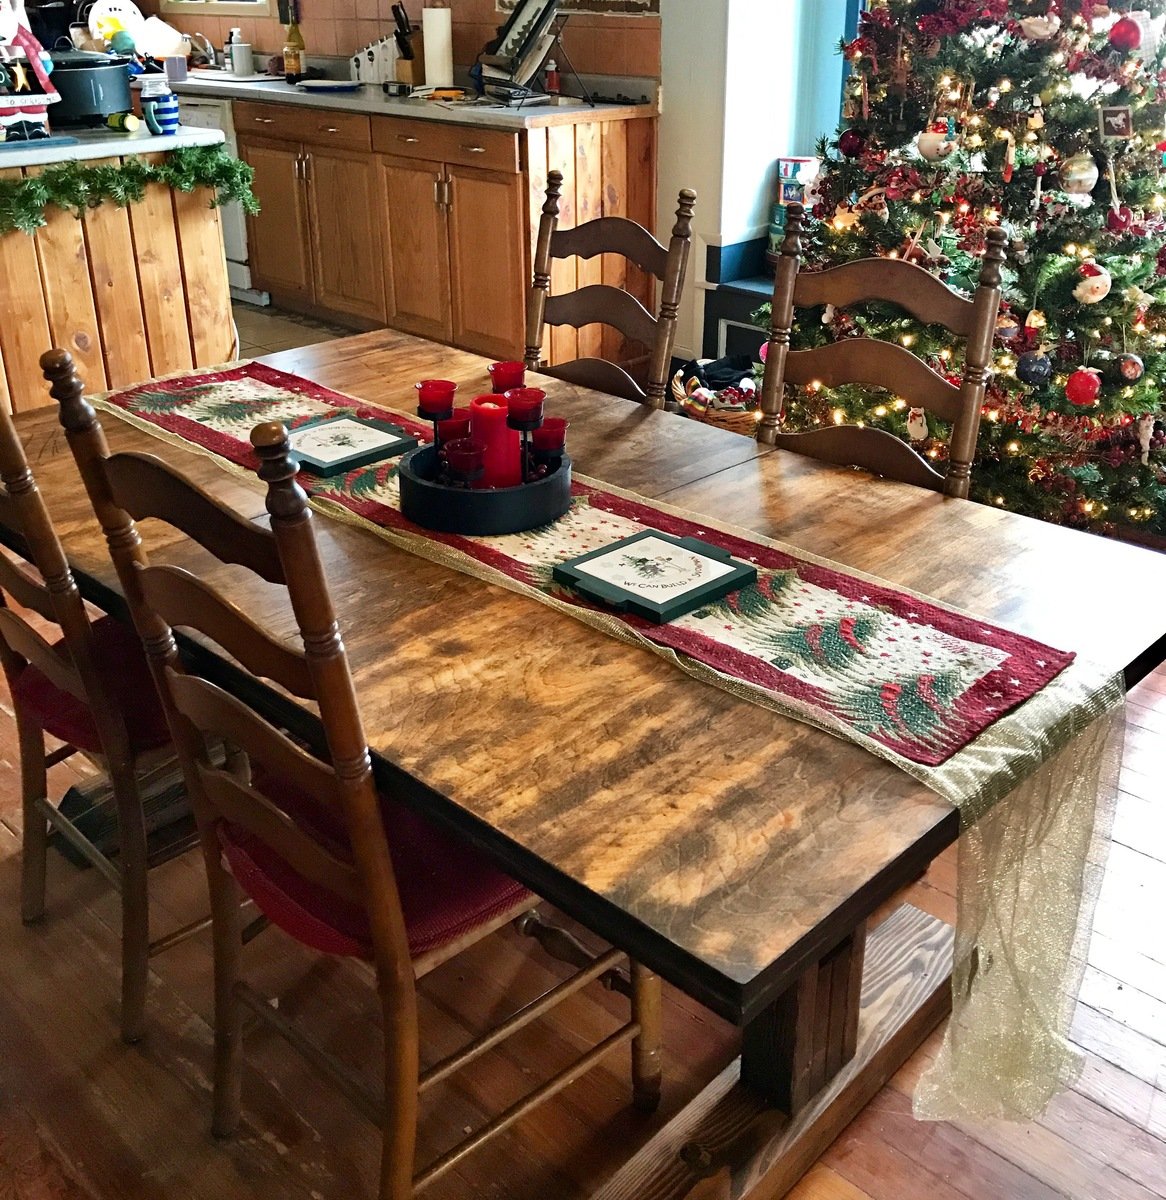
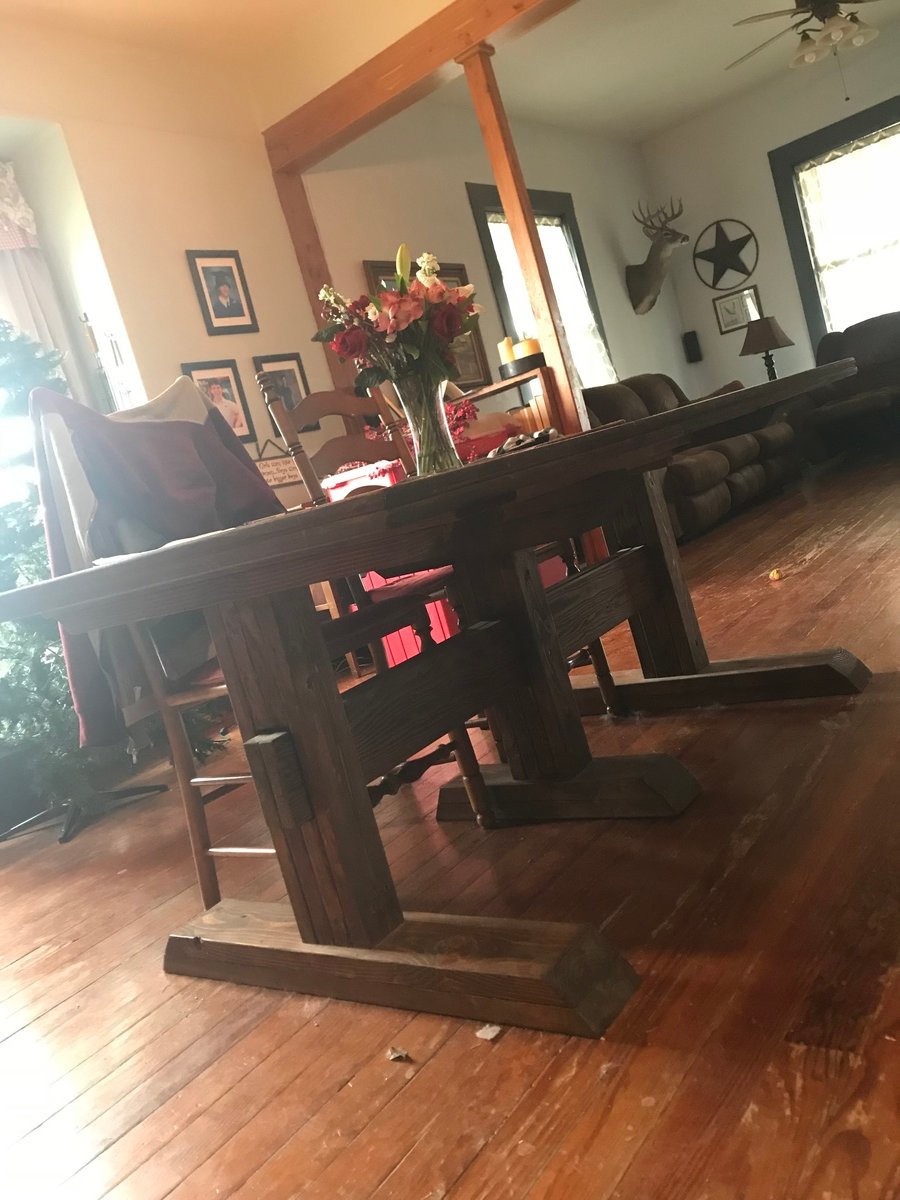
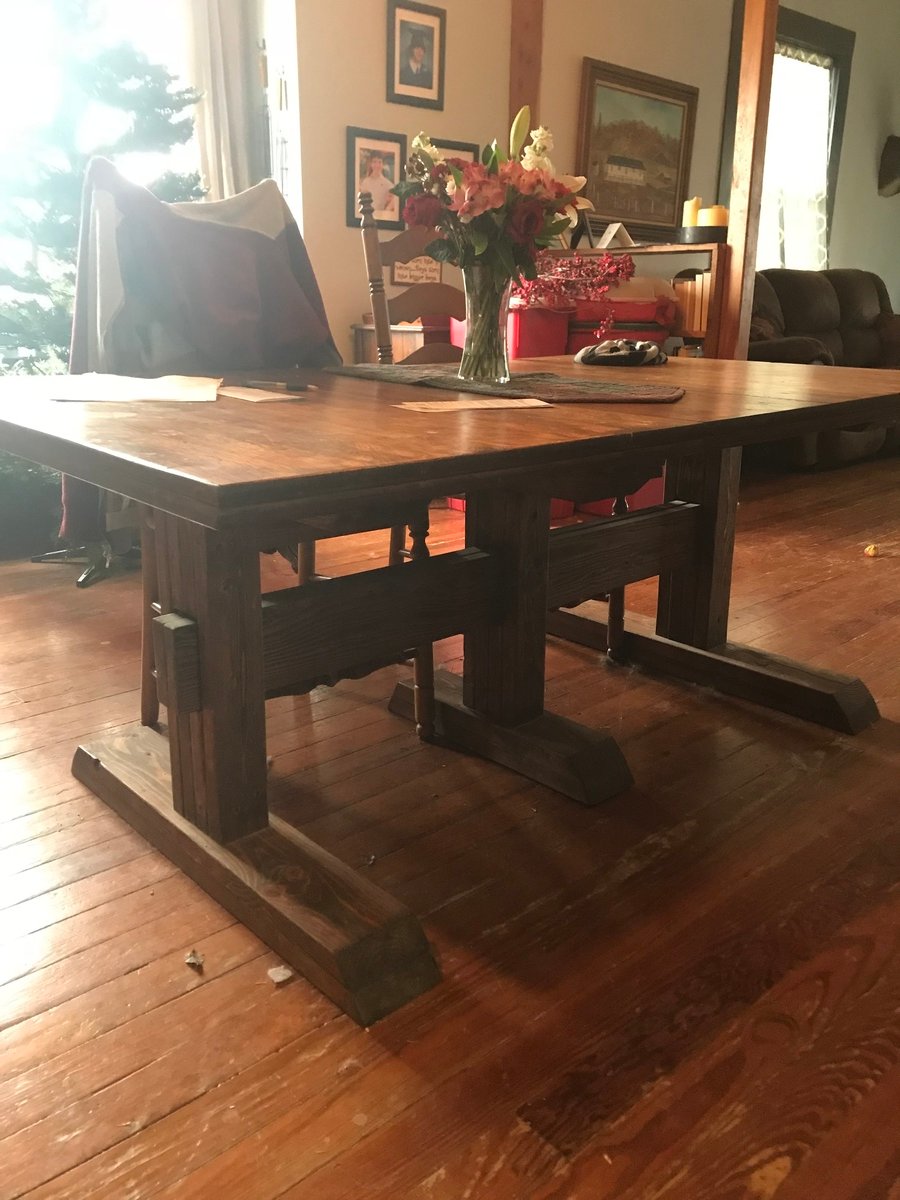
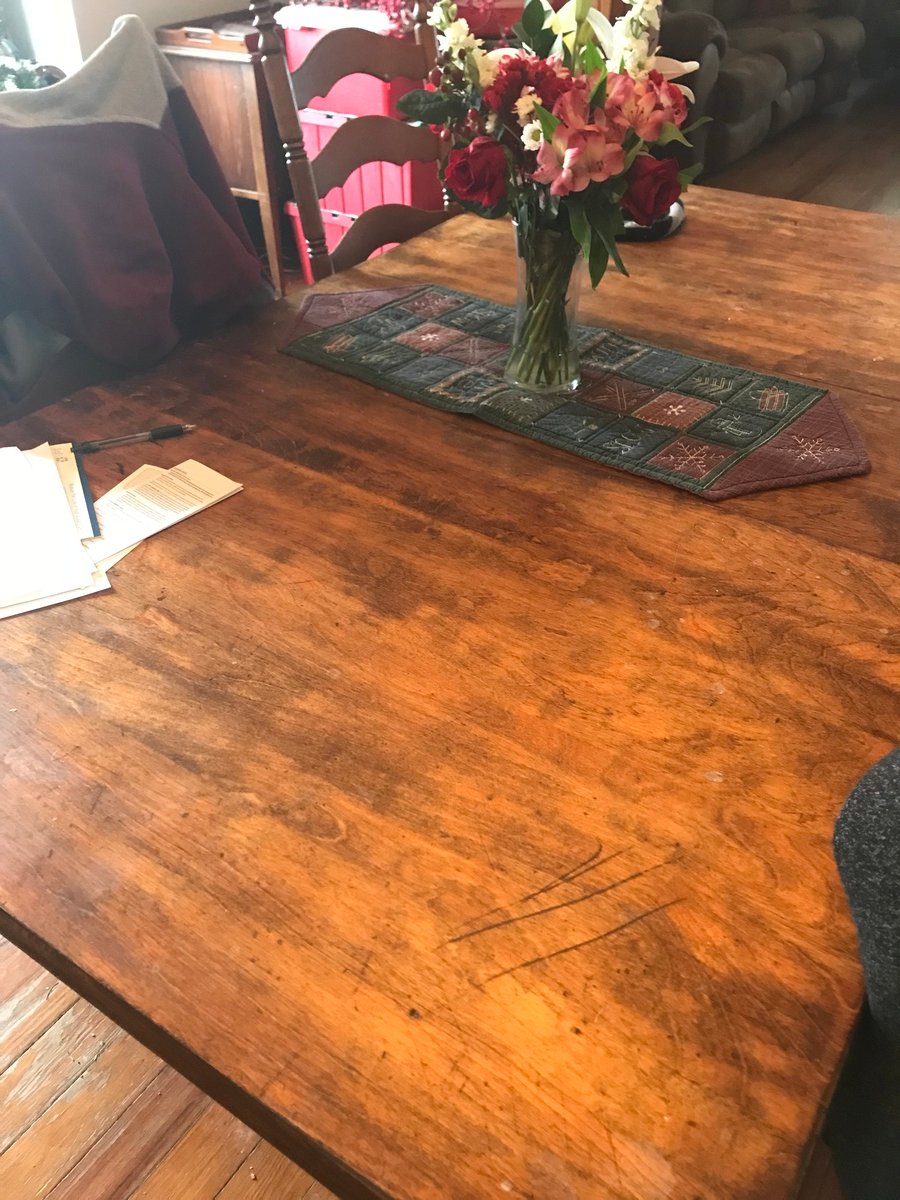
My vintage table collapsed, so I built it new legs using the farmhouse plans. I didn’t want to lose the expandable leaves however, so I decided to reuse the top and add a second trestle so the table can still expand. I sanded and restained/polyed the top and leaves and cut a space in the center support to hold the spare leaves. I’ve never seen a table like it and I’m very proud.

Estimated Cost
$50
Estimated Time Investment
Weekend Project (10-20 Hours)
Finish Used
Provincial
Recommended Skill Level
Intermediate

Farmhouse table- love it!

Submitted by DogDoc25 on Sat, 09/21/2013 - 13:26

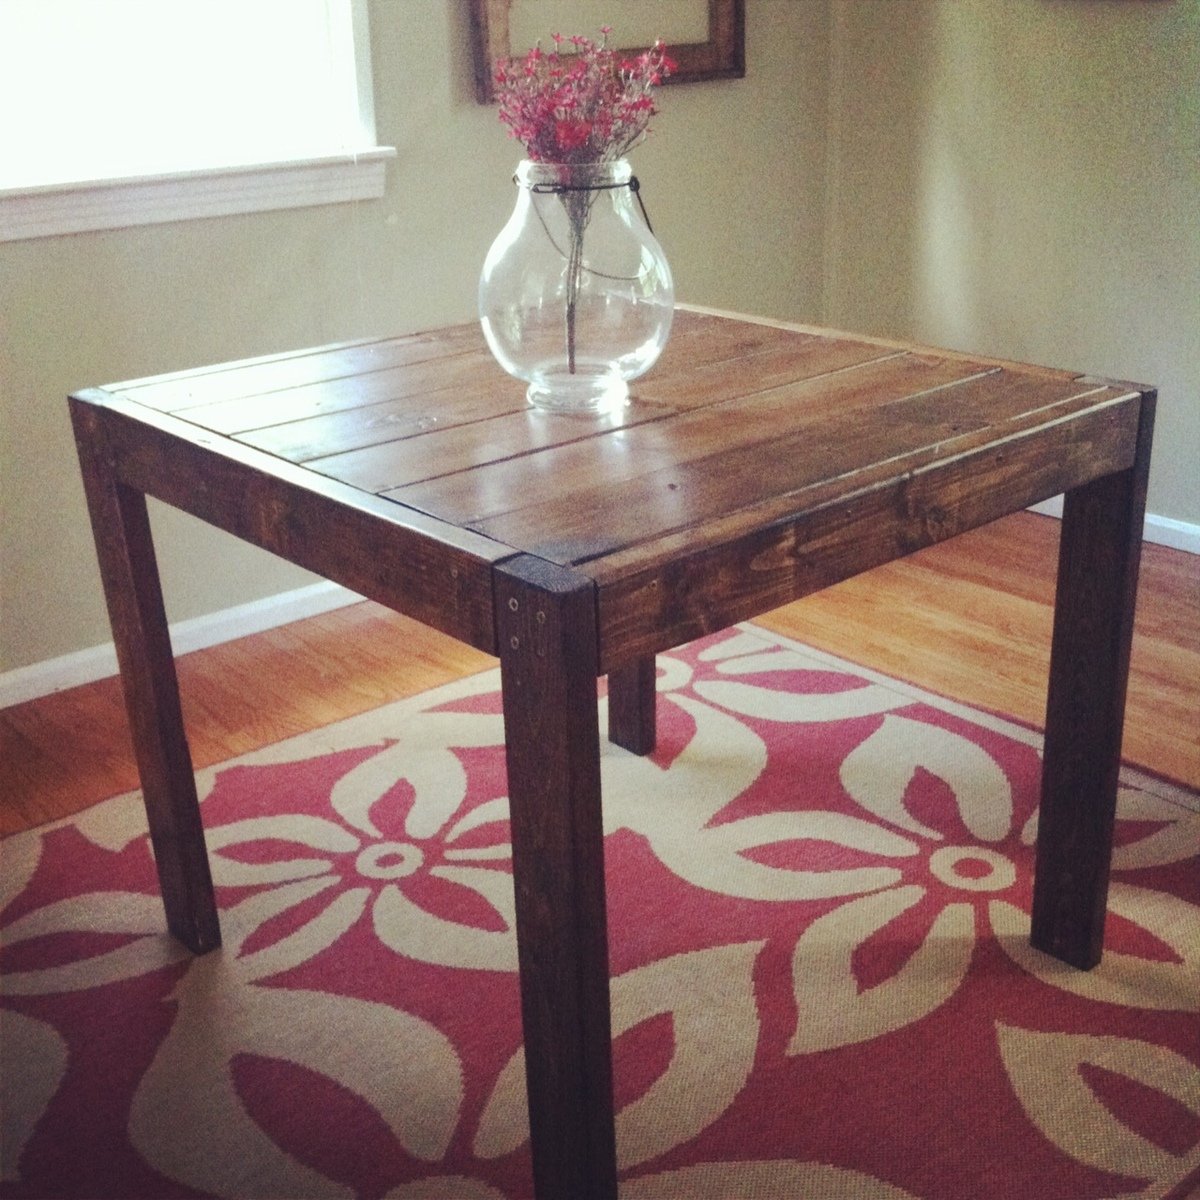
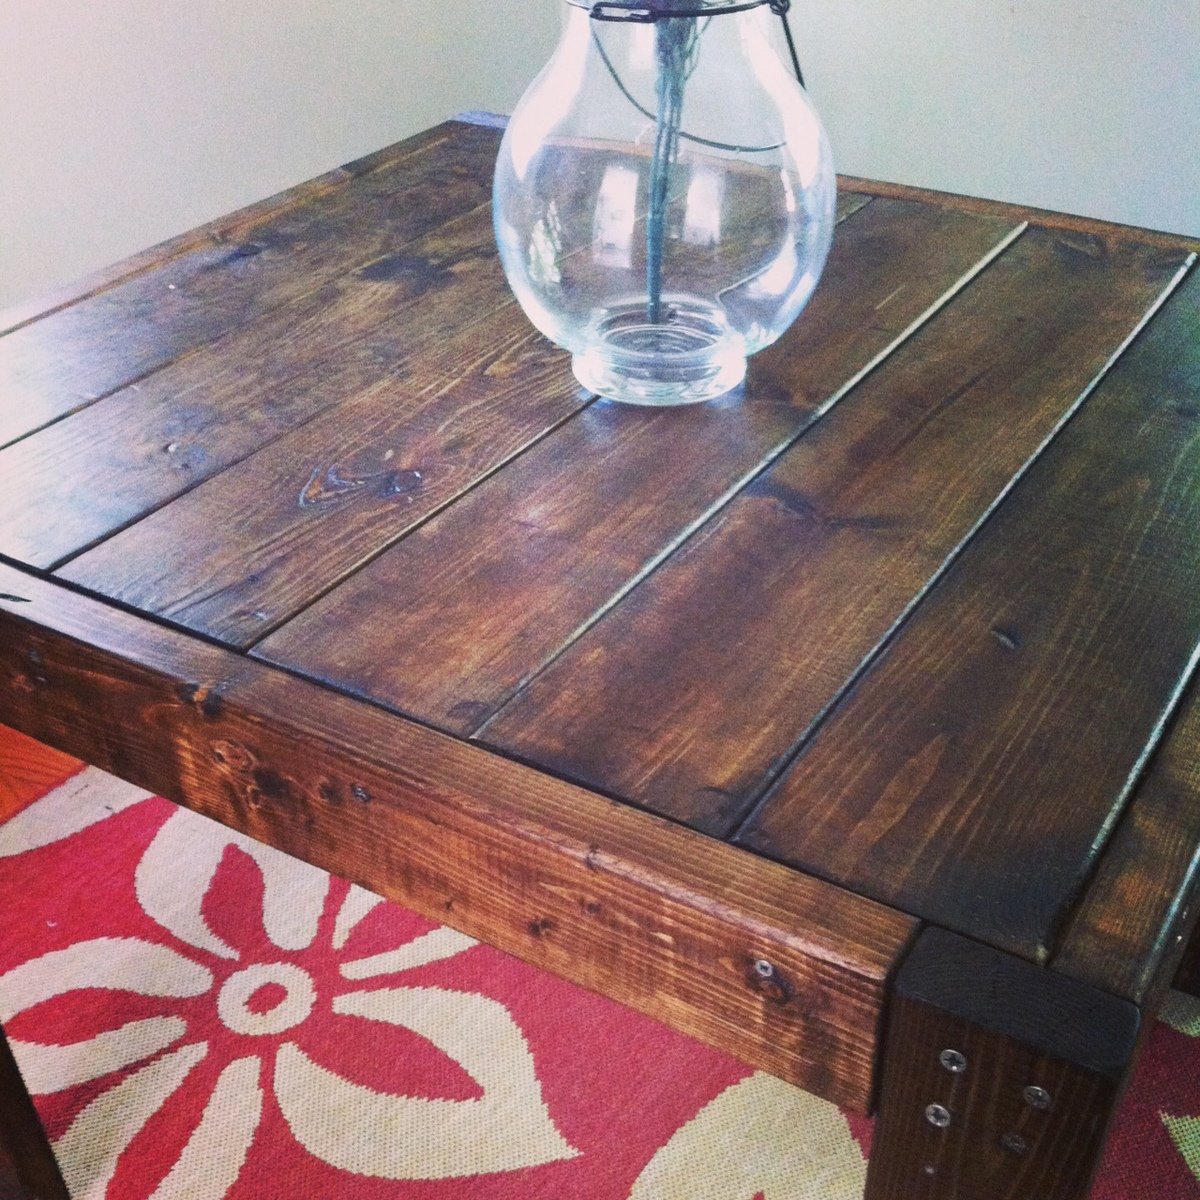
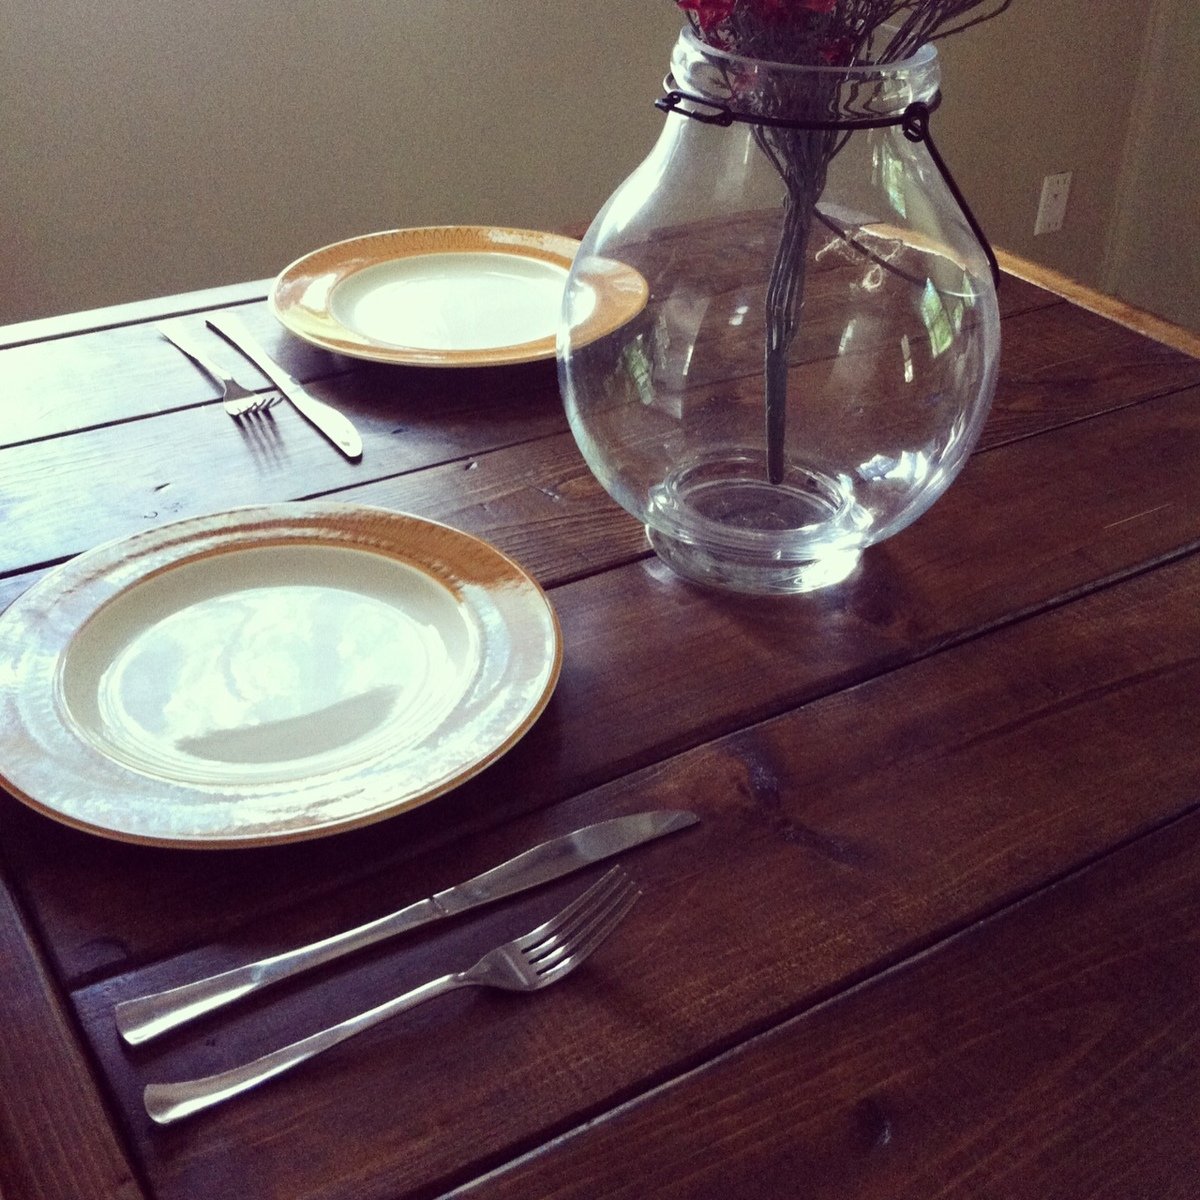
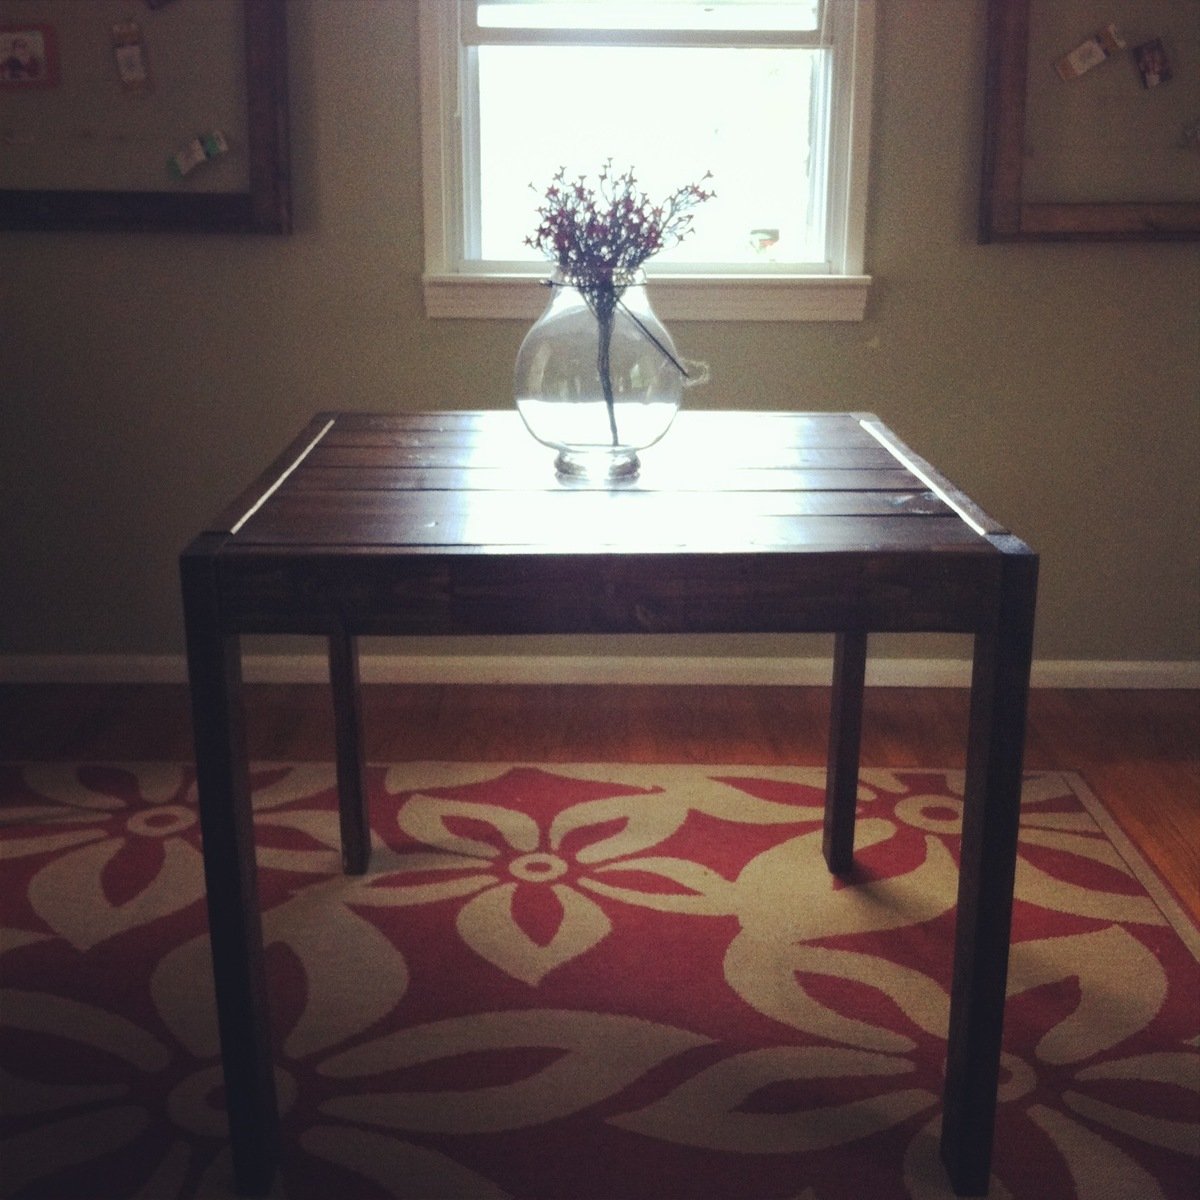
I made this table because I have a very small house and needed a table that was more of a compact size. This table was perfect for that. I also love the farmhouse style. Originally, I didn't realize how much my screws were going to show on the outside, but I actually like how it looks, with the mix of hardware and wood. This table is very heavy and thankfully ended up sturdy! I used a compound miter saw (which I LOVE!) to cut the wood for this project which made it a lot faster than cutting with my jigsaw like I started out with. I bought the wood from home depot, and it took about a whole afternoon to cut the wood, sand, and construct and then about 2 more hours to stain and put the polycyrlic coats on. I did have a little trouble getting the legs on by myself since I had to hold them in place while I was screwing them on, and it was awkward and more difficult than if I had someone to help me hold them while screwing them on. But overall, not too difficult and love how it turned out!

Estimated Time Investment
Day Project (6-9 Hours)
Finish Used
1 coat of wood conditioner- let it dry for about 30 minutes
1 coat of minwax dark walnut, (which I loooove) let sit for 20 minutes then wiped off, let that dry overnight
2 coats polycrylic
Recommended Skill Level
Beginner

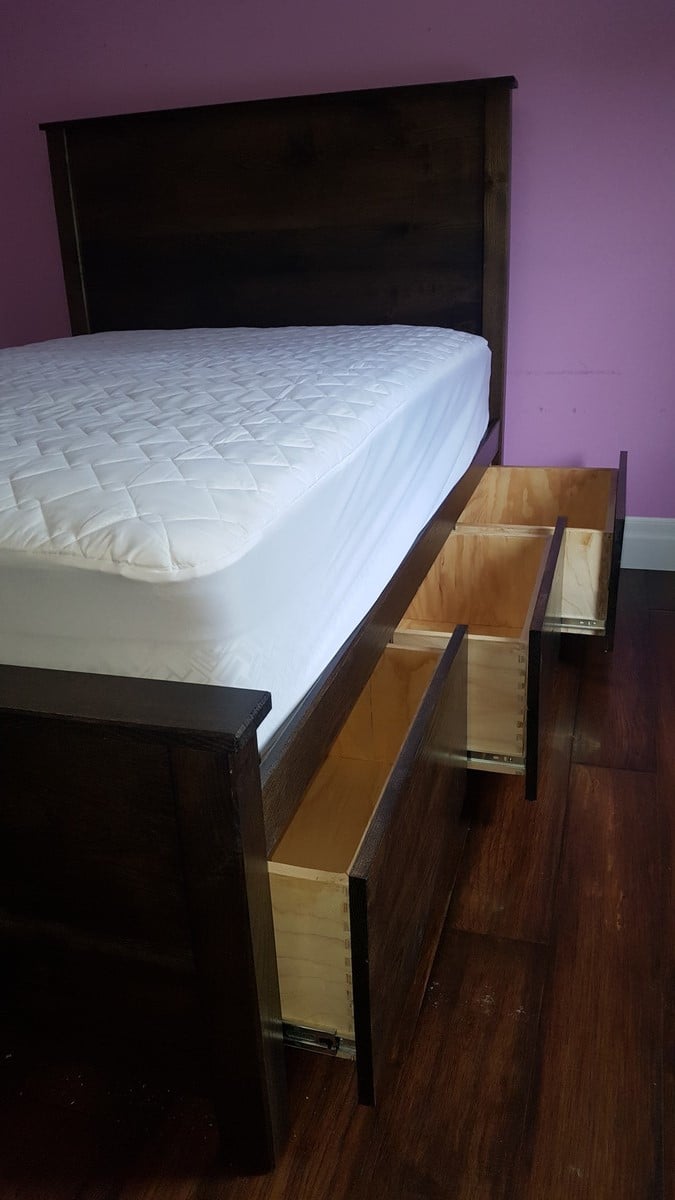
Storage bed - Twin

Submitted by Anonymous (not verified) on Wed, 01/30/2019 - 12:41

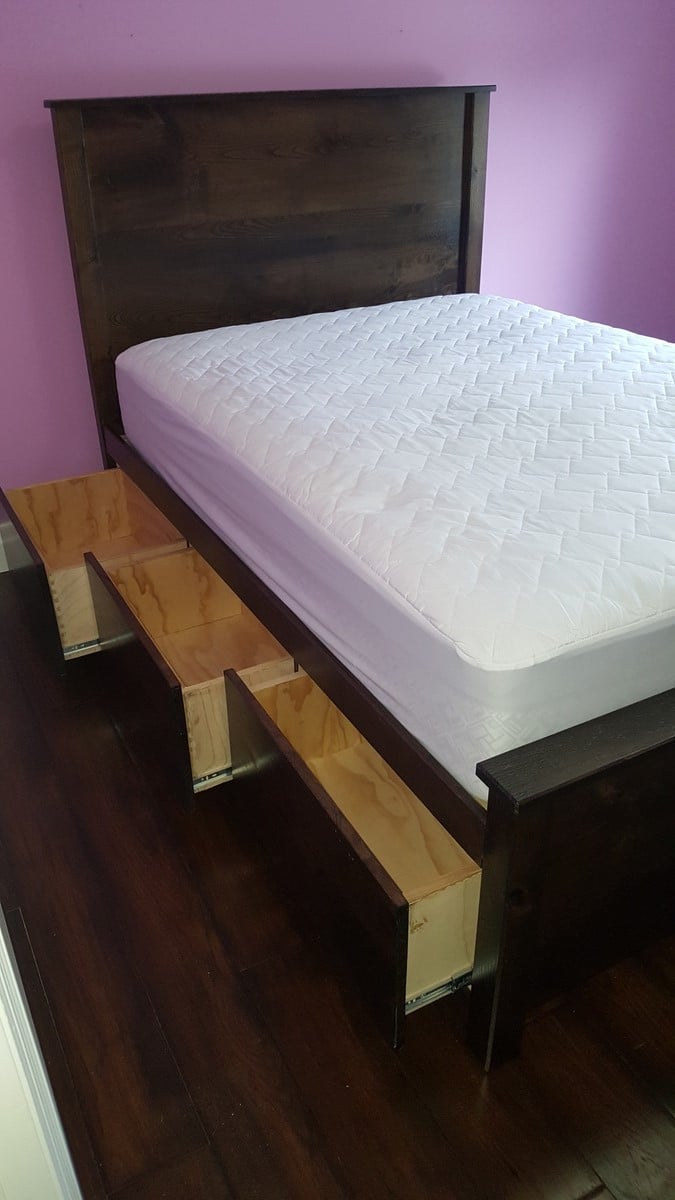
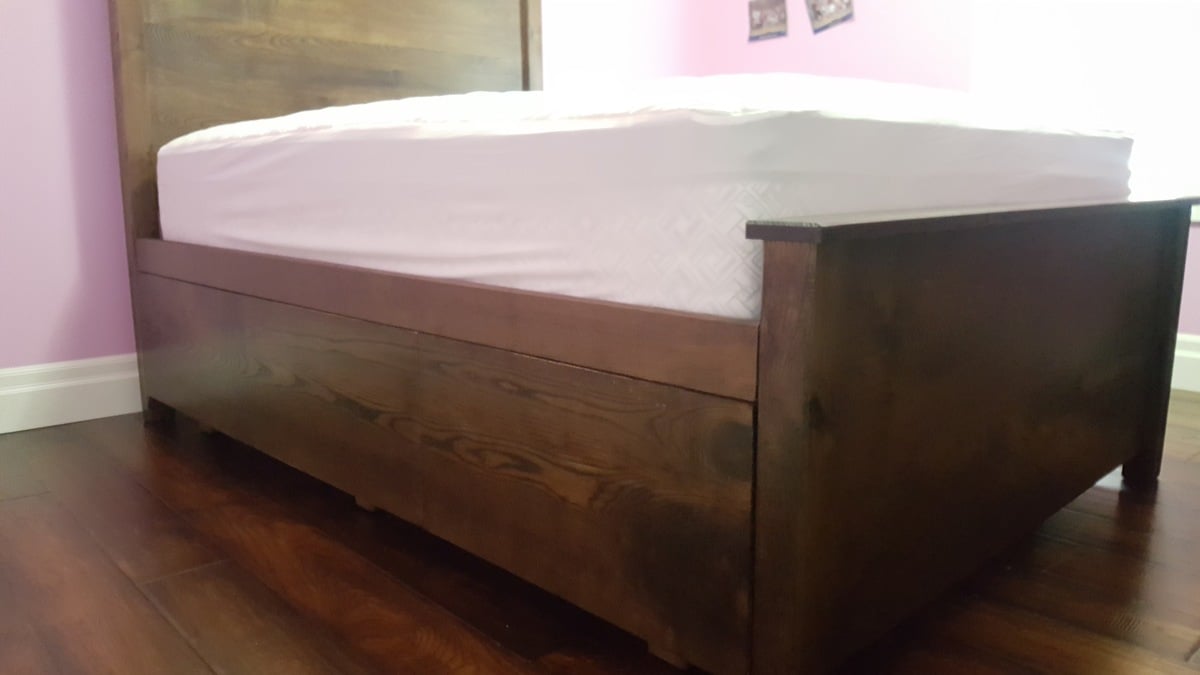
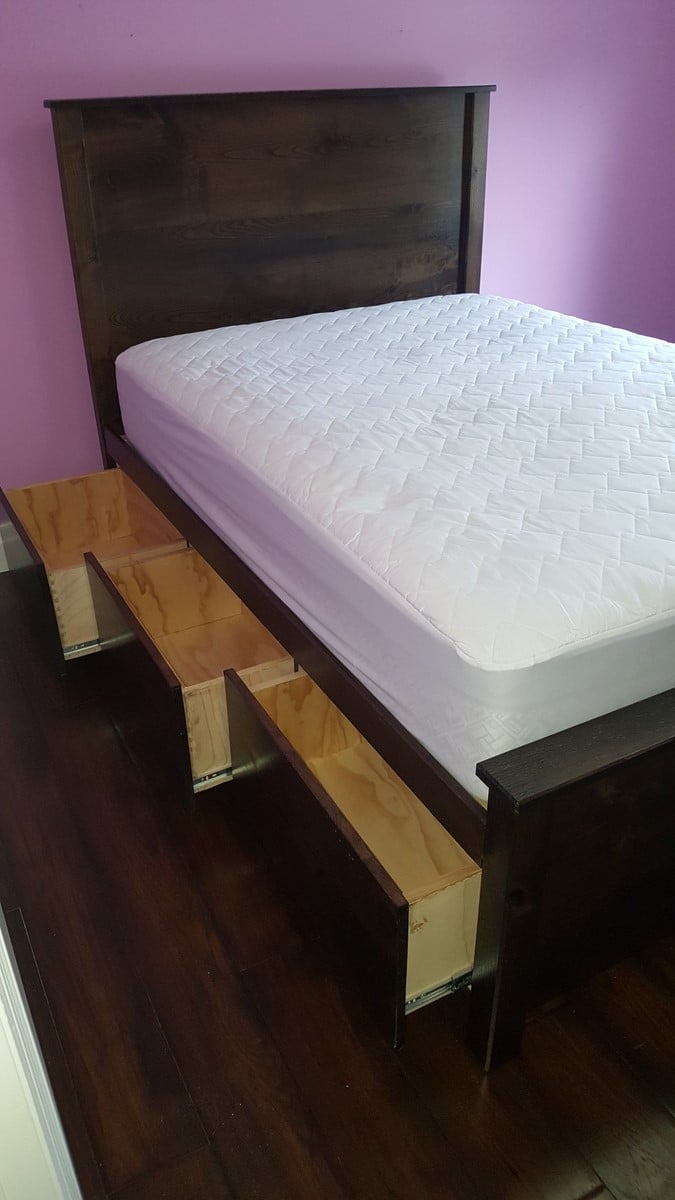
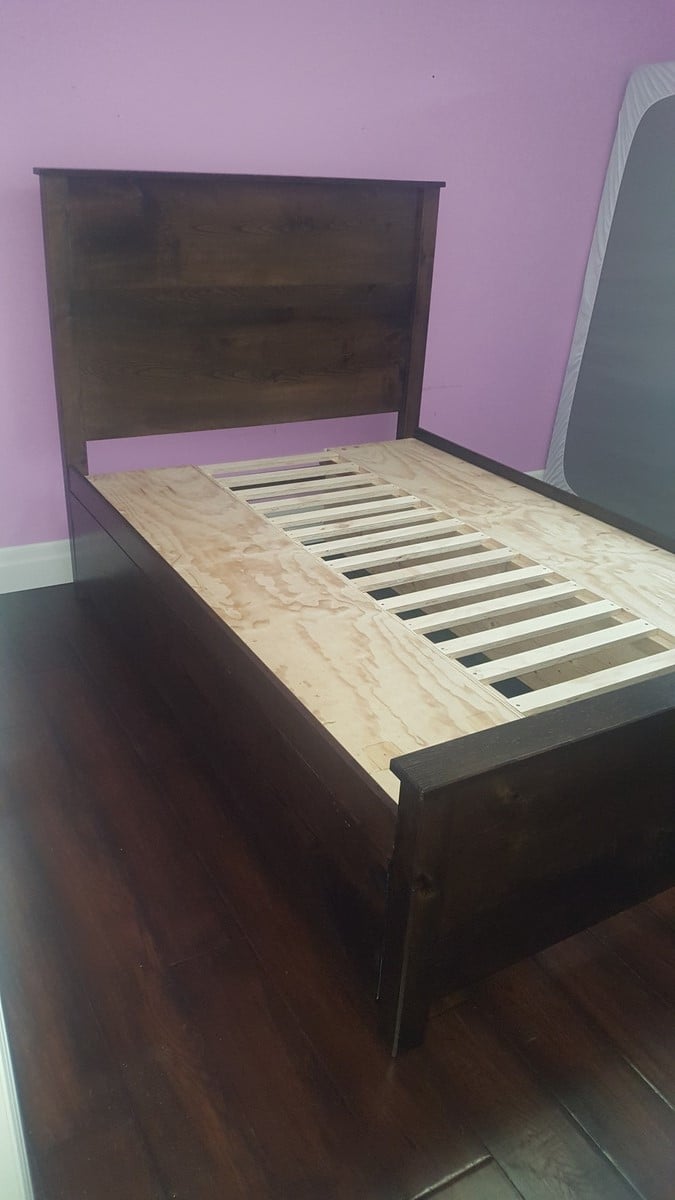
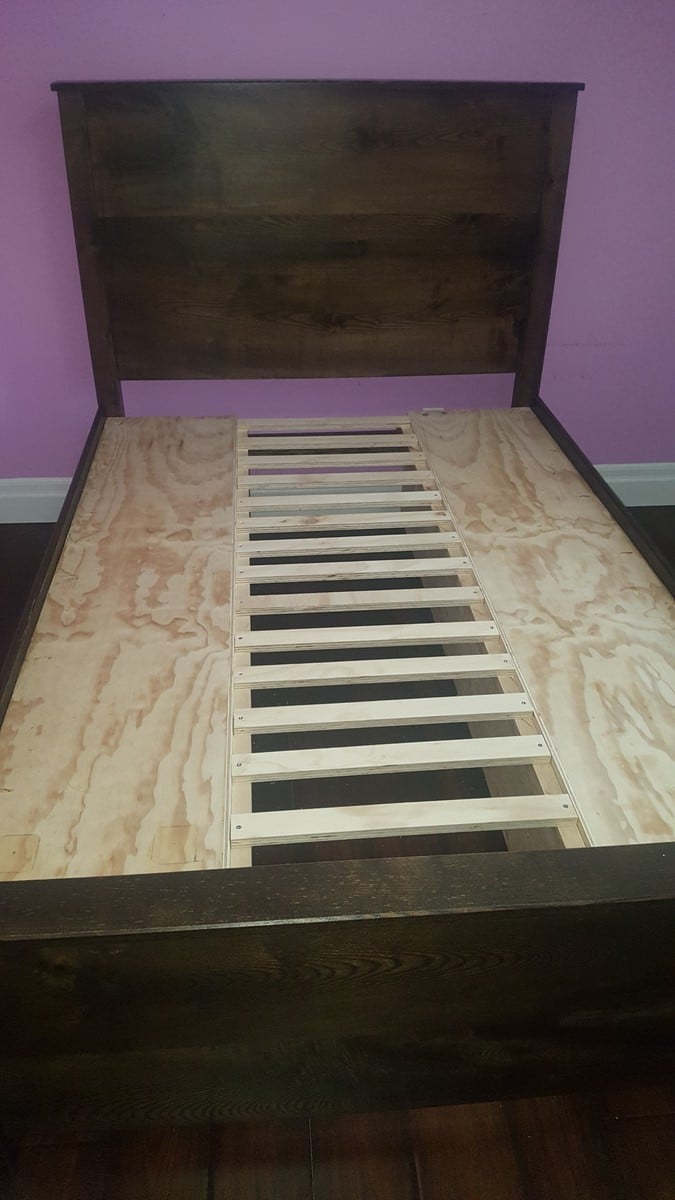
I made this bed from Ana's http://www.ana-white.com/2011/09/farmhouse-storage-bed-storage-drawers.

We have an abundance of Ash wood here (result of Emerald Ash Borer). Although the bed is very heavy, it'll sure last! I made a few changes from Ana's plans only as I had dovetail jig etc for drawers.

Estimated Time Investment
Week Long Project (20 Hours or More)
Finish Used
Minwax Walnut stain and Minwax polycrylic finish
Recommended Skill Level
Intermediate

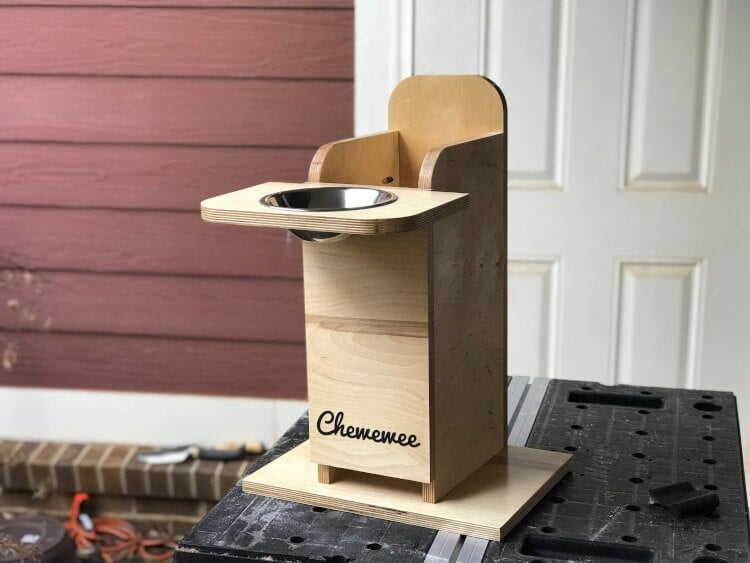
DIY Bailey Dog Chair for Dogs with Megaesophagus

Hello everyone, today I’m sharing details on something I built recently: a Bailey Chair for dogs suffering from Megaesophagus.

Dogs with megaesophagus have an enlarged esophagus. This makes swallowing food difficult. Eating while in an upright position helps and the task of keeping the dog vertical is easier when the dog is sitting in a Bailey chair.

This blog post is less of a detailed how to and more of showing in progress photos. Adam, over at Lazy Guy DIY, has put together a great tutorial on how to build the Bailey Dog Chair. I followed his instructions with very few modifications.

CLICK HERE to read my build details and see more photos!

Estimated Time Investment
Afternoon Project (3-6 Hours)
Finish Used
clear spray
Recommended Skill Level
Beginner

Trofast Toy Storage Solution

Submitted by CassieD on Fri, 09/30/2011 - 17:27

I had been asked a few times for these plans, but as someone else posted a similar one, I'll just stick to a blog post for now and describe my differences. I made this shelving unit January 2010, just after I found out of I was pregnant with my third child, and it's been a lifesaver since then. I desperately needed a toy storage solution (and purging), as shown in the 'eek' kids closet below. I didn't like the shape of triangular Ikea ones, as they spanned more floor space than I cared to give up. Plus, I wanted a place to put *almost* all of my kids toys, so I wanted it to be tall. I'm so glad we did, since we've moved twice (also, 'eek') since than, and it's made packing and unpacking the kids toys super (SUPER) easy. At first, I was afraid that the kids would go crazy and just tear down every bin at once, but it hasn't happened yet. Unlike the other plan that was posted, I used white sliders that ikea sold. I'm not sure if they still sell, as I don't see them online. It cost an additional $24 (they were $1/2), but seemed worth the extra money. I didn't have a router and wasn't particularly confident with our table saw skills. Plus the Ikea version had some really thin areas that made me nervous that it would break easily. I tried to keep it easy and just had to line up and screw the sliders in. Now that I'm a little more confident with a table saw, I'd give the router style a-go. I used two sheets of cabinet grade plywood, each costing about $30. I ripped down some pine boards to cover the front edges, which made the unit look loads nicer. However, I wish I would have used maple, instead of pine as they got dented almost immediately. Not a big deal though. The three shelves were sort of an afterthought, but turned out to be great for puzzles and other type toys. I didn't use backing or cross supports initially, but put some in after we moved. You can see them in the last picture below. The heater in our temporary house caused the slightly-bent sides to become very bent sides. That caused the drawers would spontaneously fall out, which was always quite the shock and disappointment. I put in some supports in the back, which I wish I did initially as it would have made manufacturing easier. Also, If I were to go back, I would put one cross support in the front-middle, as the boards are so tall, it needs something to help maintain the shape in the front. I've found that even in a perfect fitting slider, really heavy buckets would bend just enough to flex out of them to crash... so don't plan on filling one of the large buckets with matchbox cars and sticking it on the top. Regardless, we've learned our lessons, made it work better, and has been a huge success in our house for a while now.

Estimated Time Investment
Weekend Project (10-20 Hours)
Recommended Skill Level
Intermediate

Comments

Supermom77 (not verified)

Sat, 10/01/2011 - 14:22

Great work. Love the colors. Do you have directions on training the kids to put the toys back?
In reply to by Supermom77 (not verified)

CassieD

Tue, 10/04/2011 - 19:42

Haha, I guess a little. Picking up when they aren't motivated is an ongoing battle. However, I did find having a specific place to put items with labels helped a lot, albeit with screaming. Actually the labels would probably be the best motivation of all of it.

The ideal is to have the kids only play with one bin at the time, but with more than one kid, that theory very quickly gets muddled... One child wants to play with one toy and one wants play with another, then "lego houses can't be broken down" and "polly pocket is using those blocks for the house" and so on. So it's more of a end-of-the-day(week/month/year haha) pick-up routine.

However, there seems to be a light at the end of the tunnel. My oldest (almost 6) seems to have caught on that the faster she picks up, the sooner she can move onto other activities besides playing (coloring, playdough, etc.), and is starting to pick up as soon as she's done without us even asking. I think getting an allowance has also helped with that.

That was way more than I thought I was going to comment, but I guess it goes to show you should never ask a Mom her opinion on something, unless your ready for a lecture :)

birdsandsoap

Thu, 10/13/2011 - 21:44

I love that your labels have pictures on them! I thought I should have done that way back when since my children are too young to read. Easy to find and easy to put away. Good job, Mom!

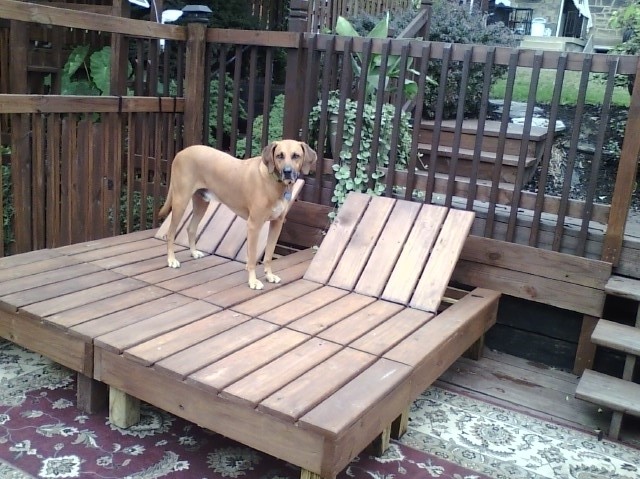
Double Double Loungers

Submitted by Gimbler on Tue, 10/04/2011 - 15:10

I had an idea in my head of what I wanted for deck seating/lounging in my mind but just couldn't seem to get to the "nitty gritty" of creating workable plans. Then, while googling through images of double loungers I stumbled onto Ana's site. Wow! I felt like a fish that had just found the water! With the detailed plans generously provided for a double lounger I was able to create my "vision" with just slight modifications. The loungers are actually two chairs and two ottomans that fit together or come apart depending on how much "togetherness" the situation calls for. And best of all - almost all the materials were left overs and cut pieces from another deck and fencing project. For cushions (not in this photo) I used two inexpensive "Hide A Mats" folding beds from Costco that I covered with waterproof duck fabric. I can't thank you enough, Ana, for taking the time to share your talent so freely. I'm truly grateful. As is Jake, the Redbone Coonhound, who insisted on being in the photo!

Estimated Cost
About $150 for hardware and cushions - lumber was scrap and leftovers from another project.
Estimated Time Investment
Weekend Project (10-20 Hours)
Finish Used
Olympic semi transparent deck stain.
Recommended Skill Level
Intermediate

Comments

Gimbler

Tue, 10/11/2011 - 06:34

We really enjoyed these over the summer - and if Buck is anything like Jake I'm sure he'll take advantage of any available "creature comforts". :o)

Dog Crate

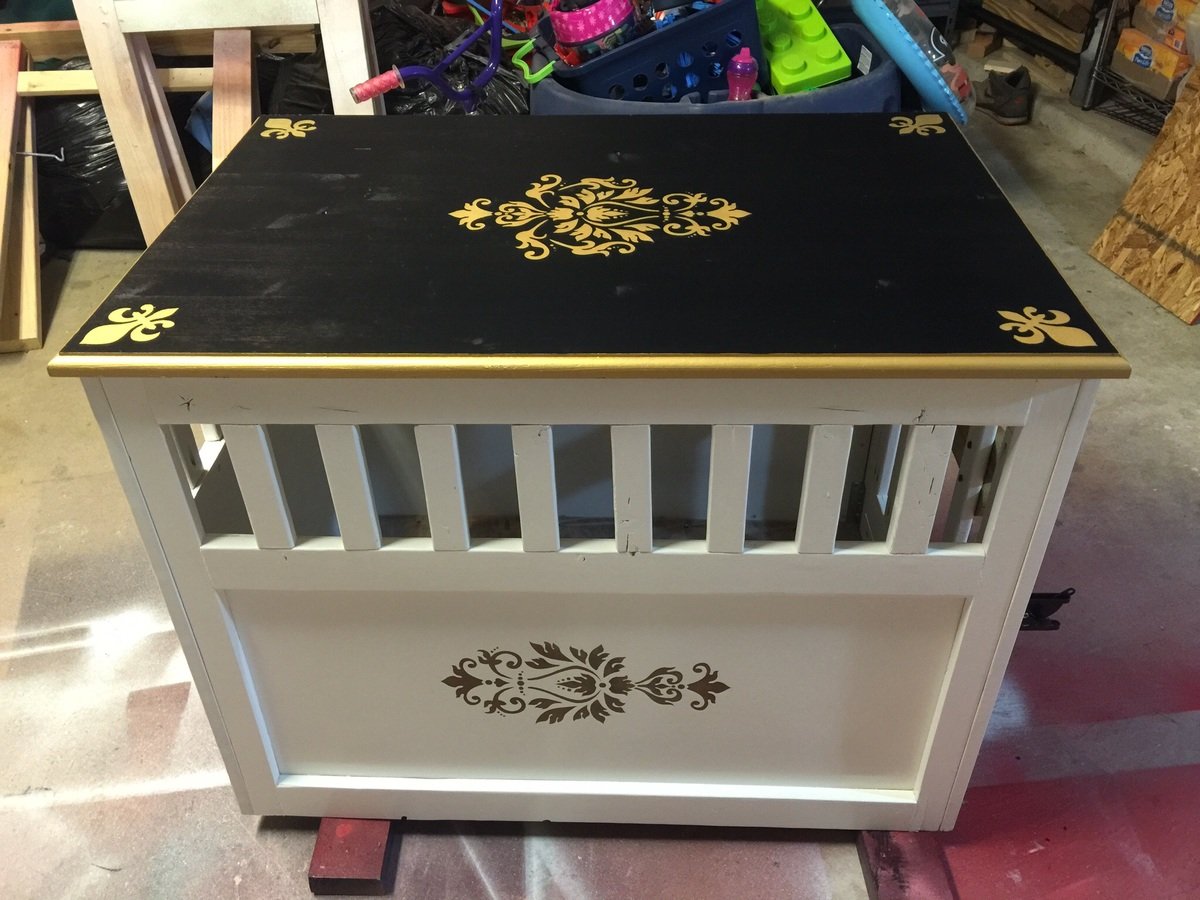
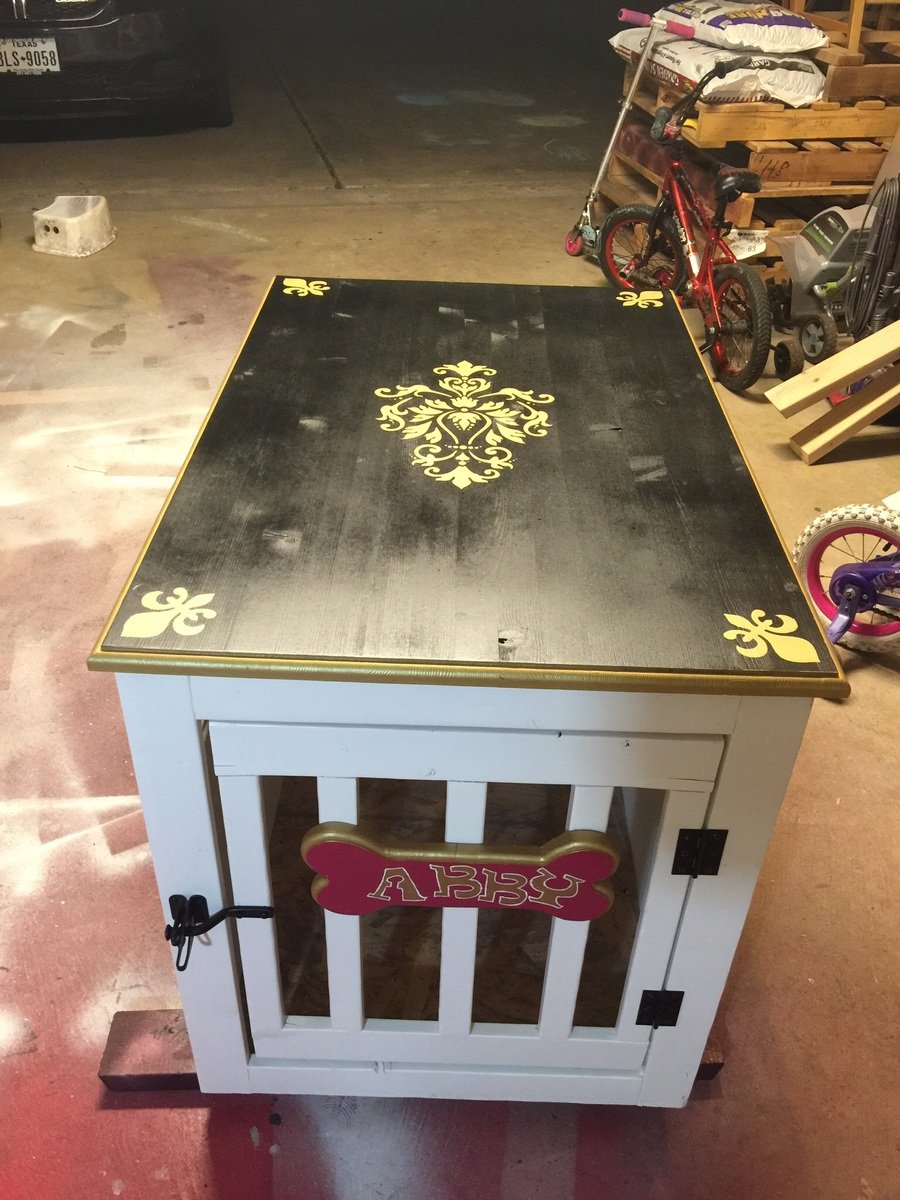
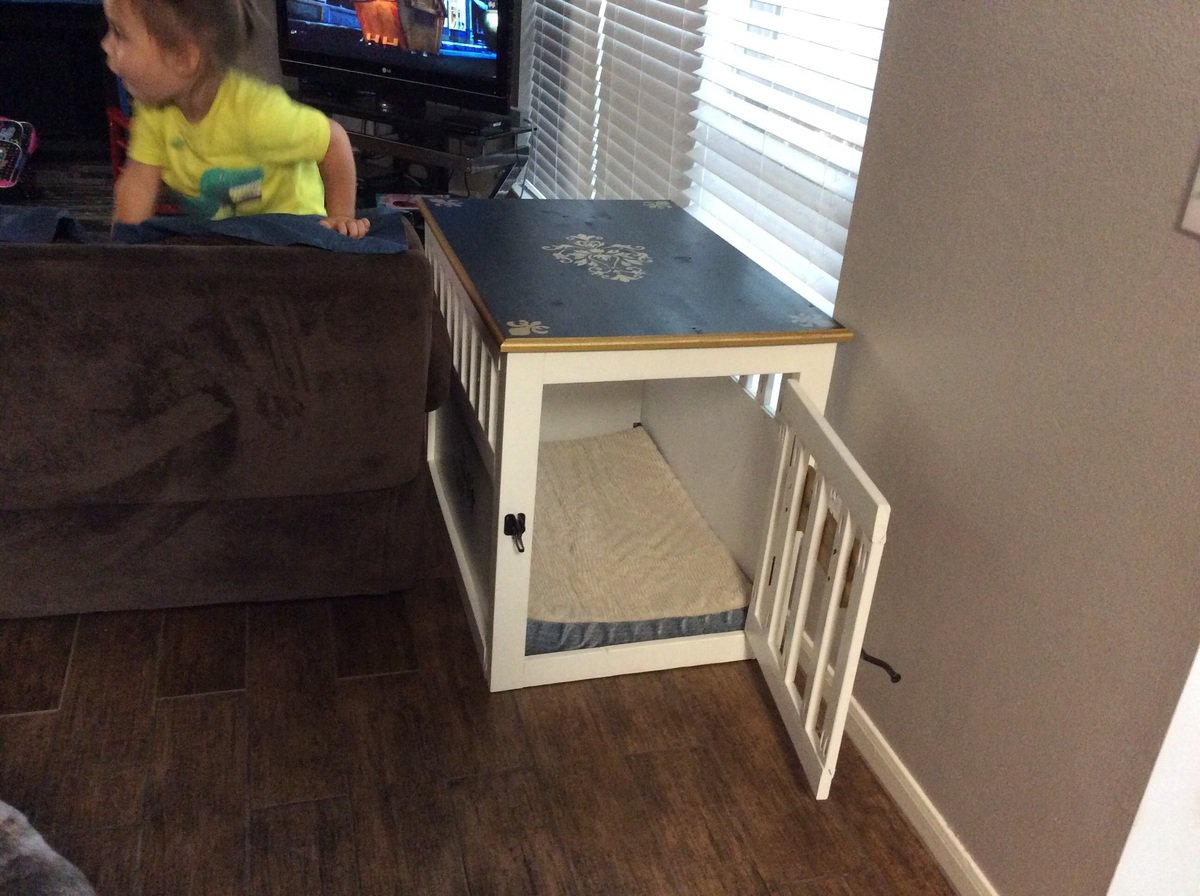
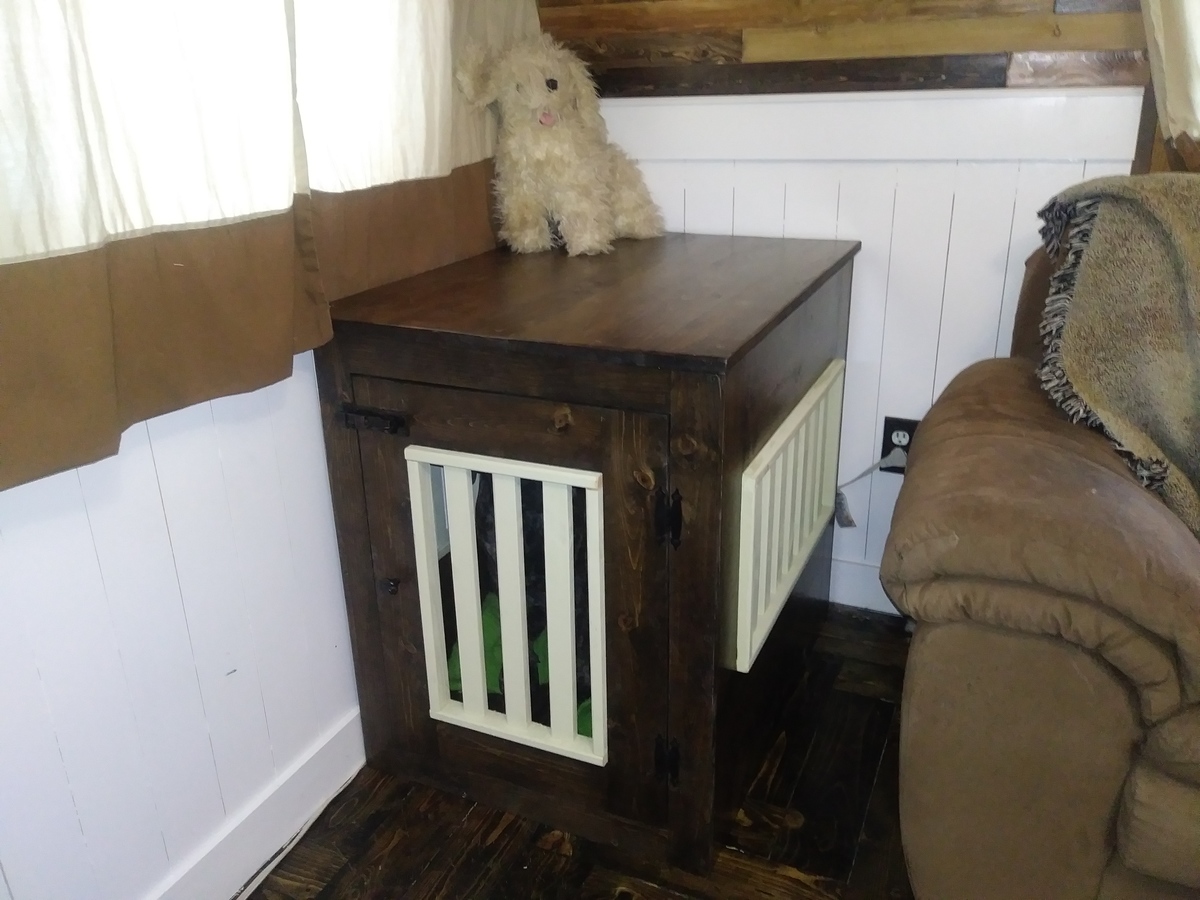
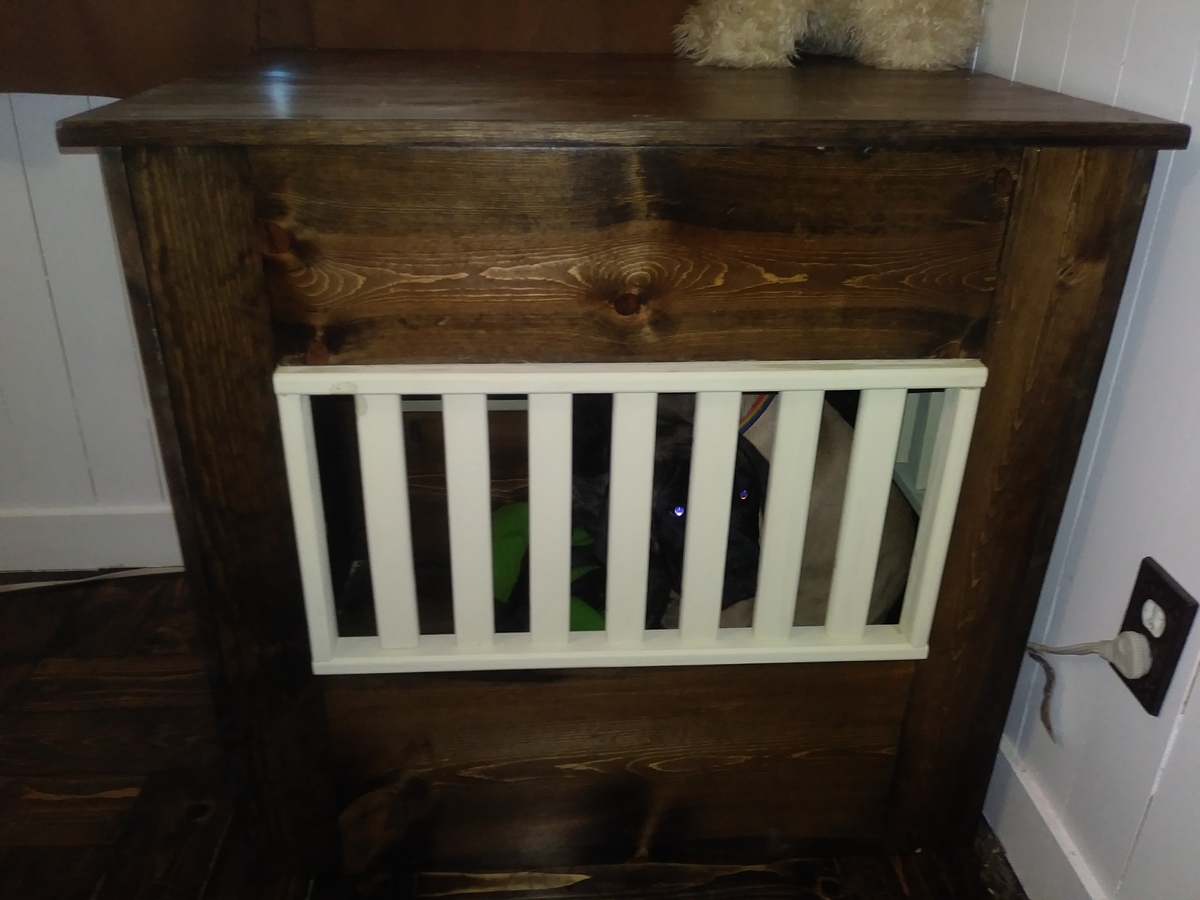
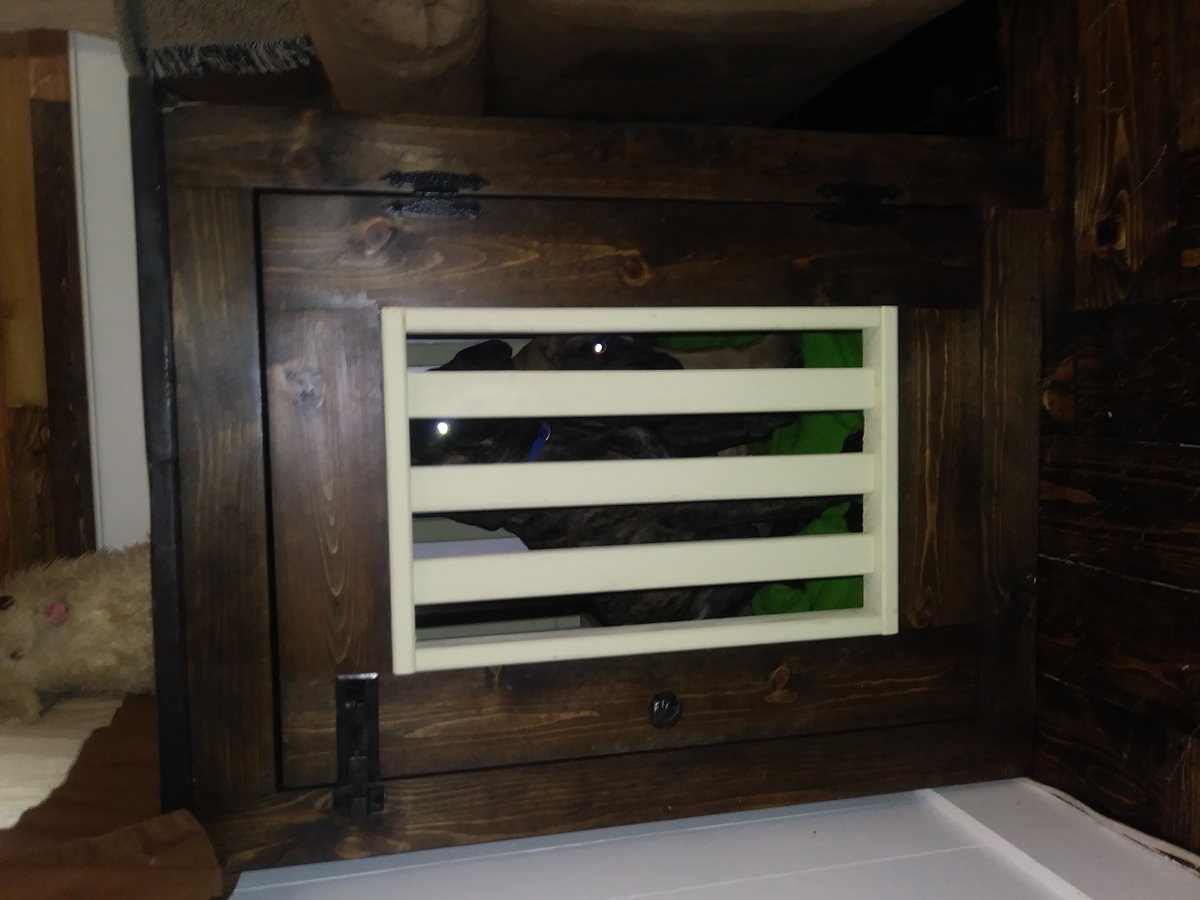
I got a puppy. A joyful, full of energy and fun-loving English mastiff puppy. Best way to potty train a 40 lb puppy is crate training and the entry way's wall was getting eaten. So I made this in a couple of days. Mostly just waiting for the stain, paint and poly to dry and it's up and working. 

Hinges on sale at Lowes going out of business =$0.99

Latch on sale at Hobby Lobby 50% off = $5.50

Knob purchased at ReStore =$0.50

Built from Plan(s)
Estimated Cost
$60
Estimated Time Investment
Day Project (6-9 Hours)
Finish Used
My fav... Jacobean and am giving chalk paint a shot with Americana Vintage from Hobby Lobby (40% off coupon costs $5.39)
Recommended Skill Level
Intermediate

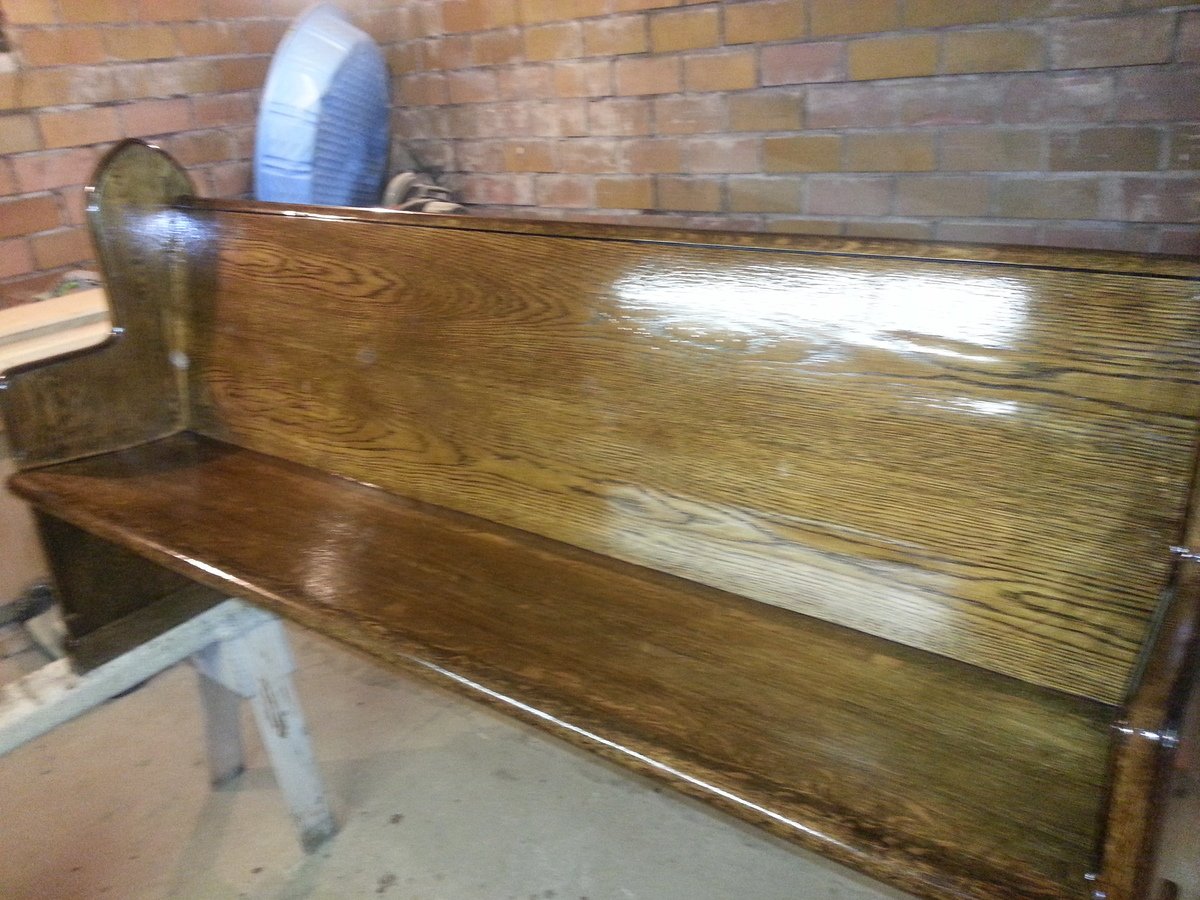
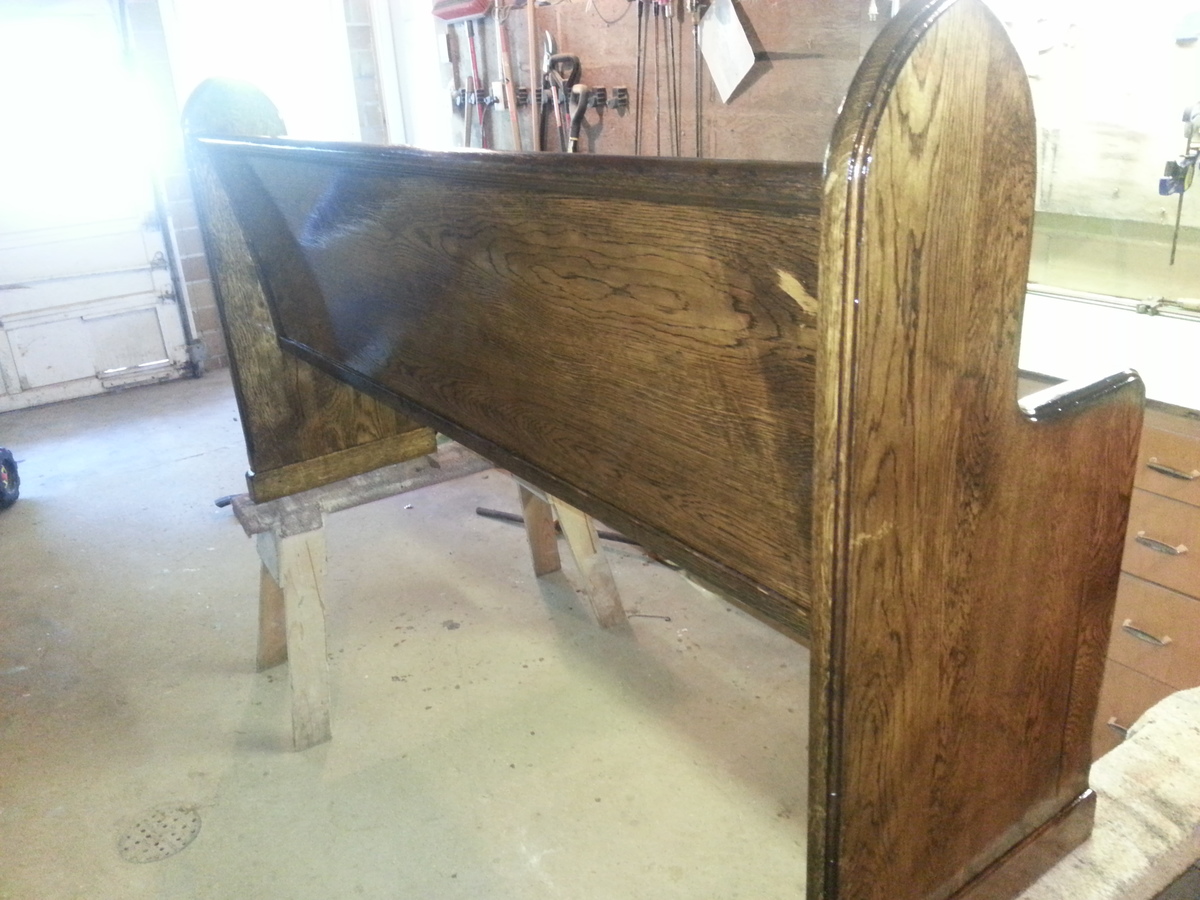
Church Pew

Submitted by ndetermann on Fri, 10/18/2013 - 01:58

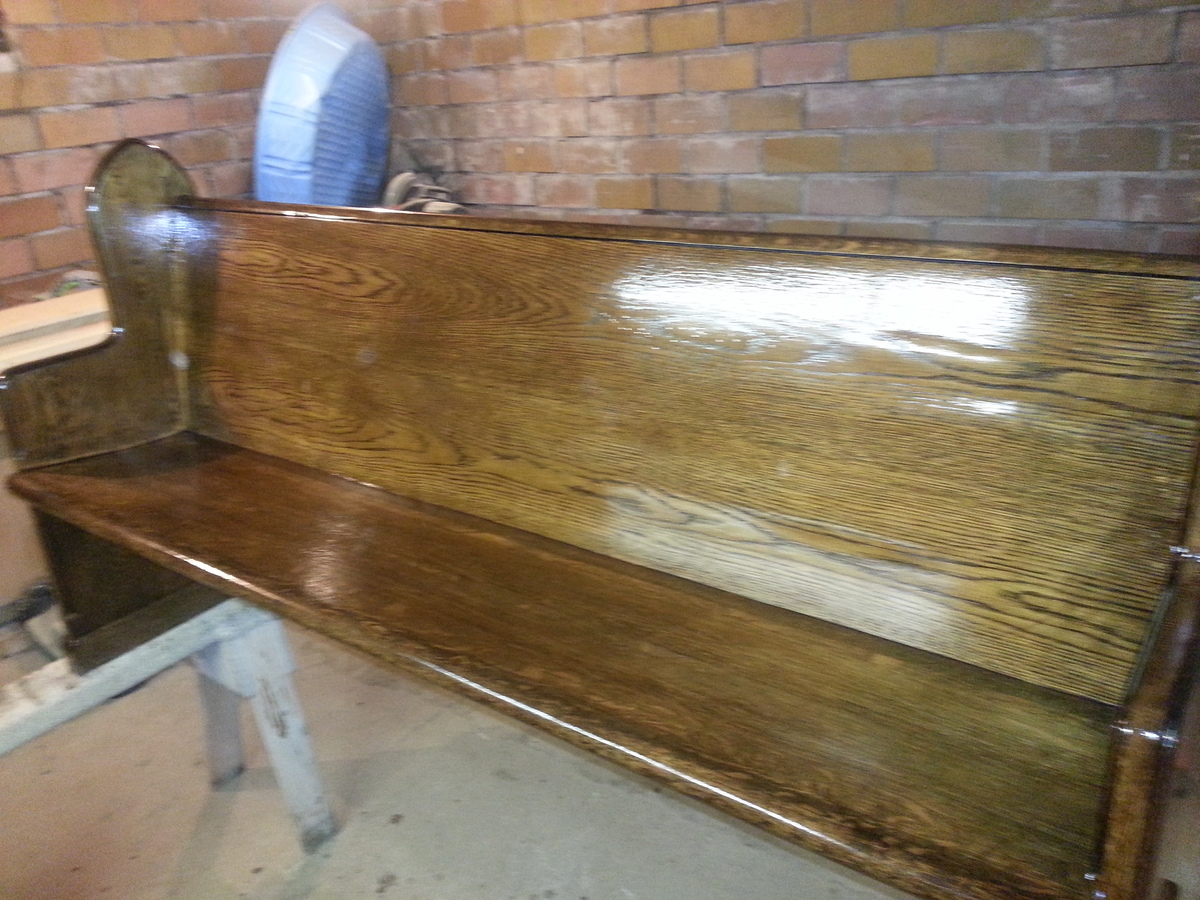
I redid a very old church pew fro one of my friends. It's origins is from one of the original churches in our home town. (There was SO much lacquer on it) This church pew was in bad shape, I had to take it totally apart and re-glue and pocket hole jig every wooden piece together because it was falling apart.

Estimated Time Investment
Day Project (6-9 Hours)
Recommended Skill Level
Beginner

Pergola (Modified Weatherly)

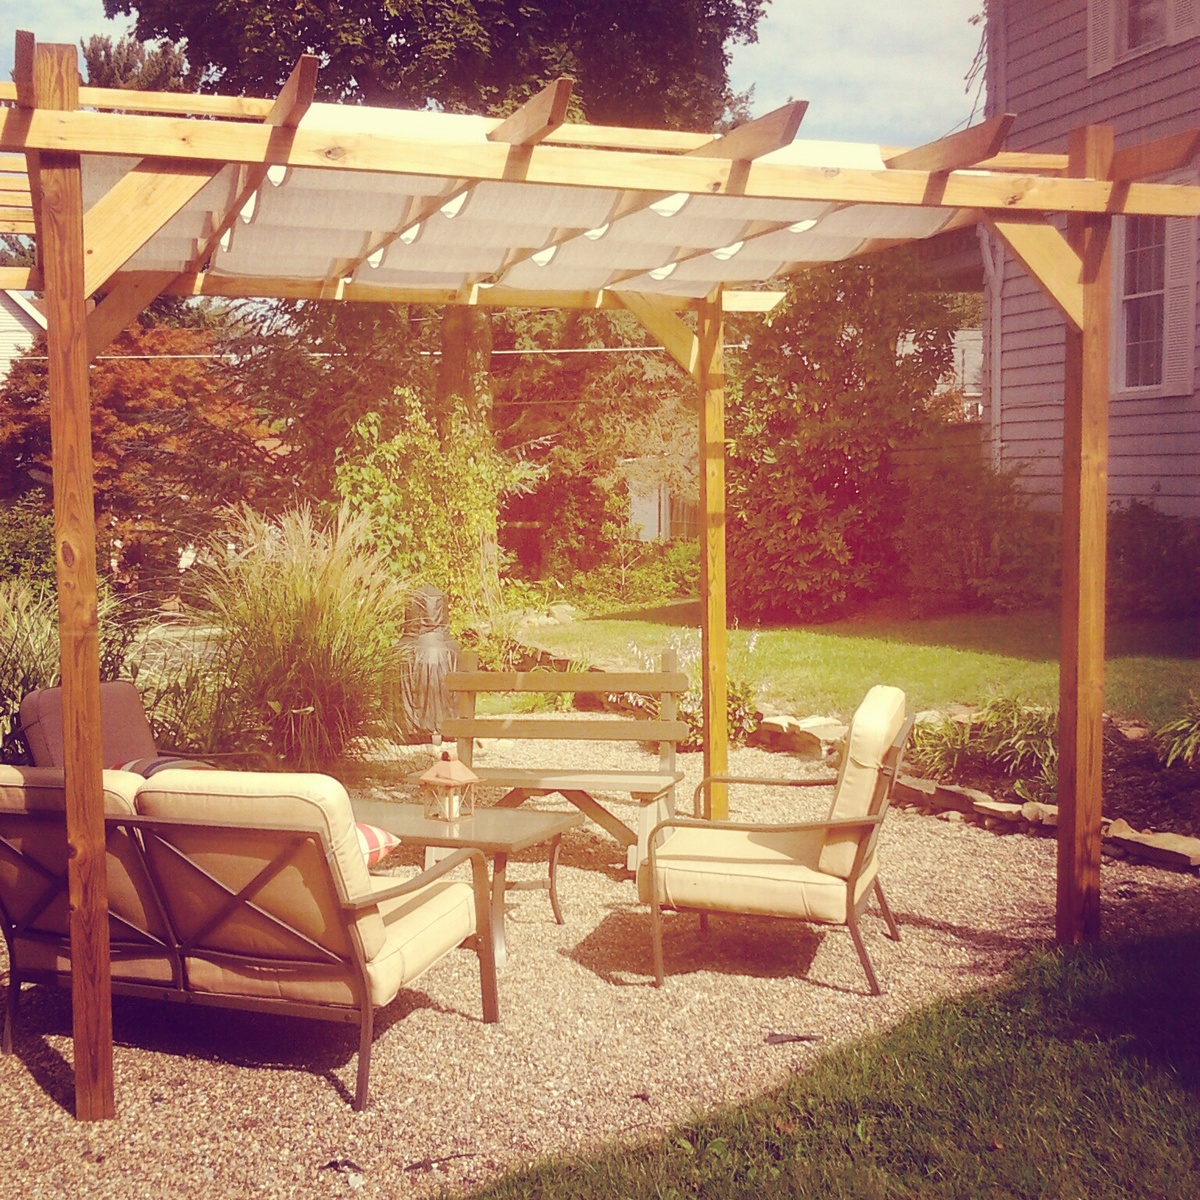
This Pergola cost around 200 to build for lumber, concrete (poured around posts) and an additional 50-60 for fabric used to create shade.

It went up in about 8 hours from start to finish with the help of a novice friend.

I omitted some of the column details to save time and money.

Built from Plan(s)
Estimated Cost
250
Estimated Time Investment
Day Project (6-9 Hours)
Finish Used
None. I later spoke to a painter who suggested that if I were to paint or finish this project that we give it a month or so in the sun to properly dry first. Just an FYI for anyone contemplating something similar but with a finish.
Recommended Skill Level
Intermediate

Fancy X Farmhouse table

Submitted by rjgold on Tue, 05/21/2019 - 12:47

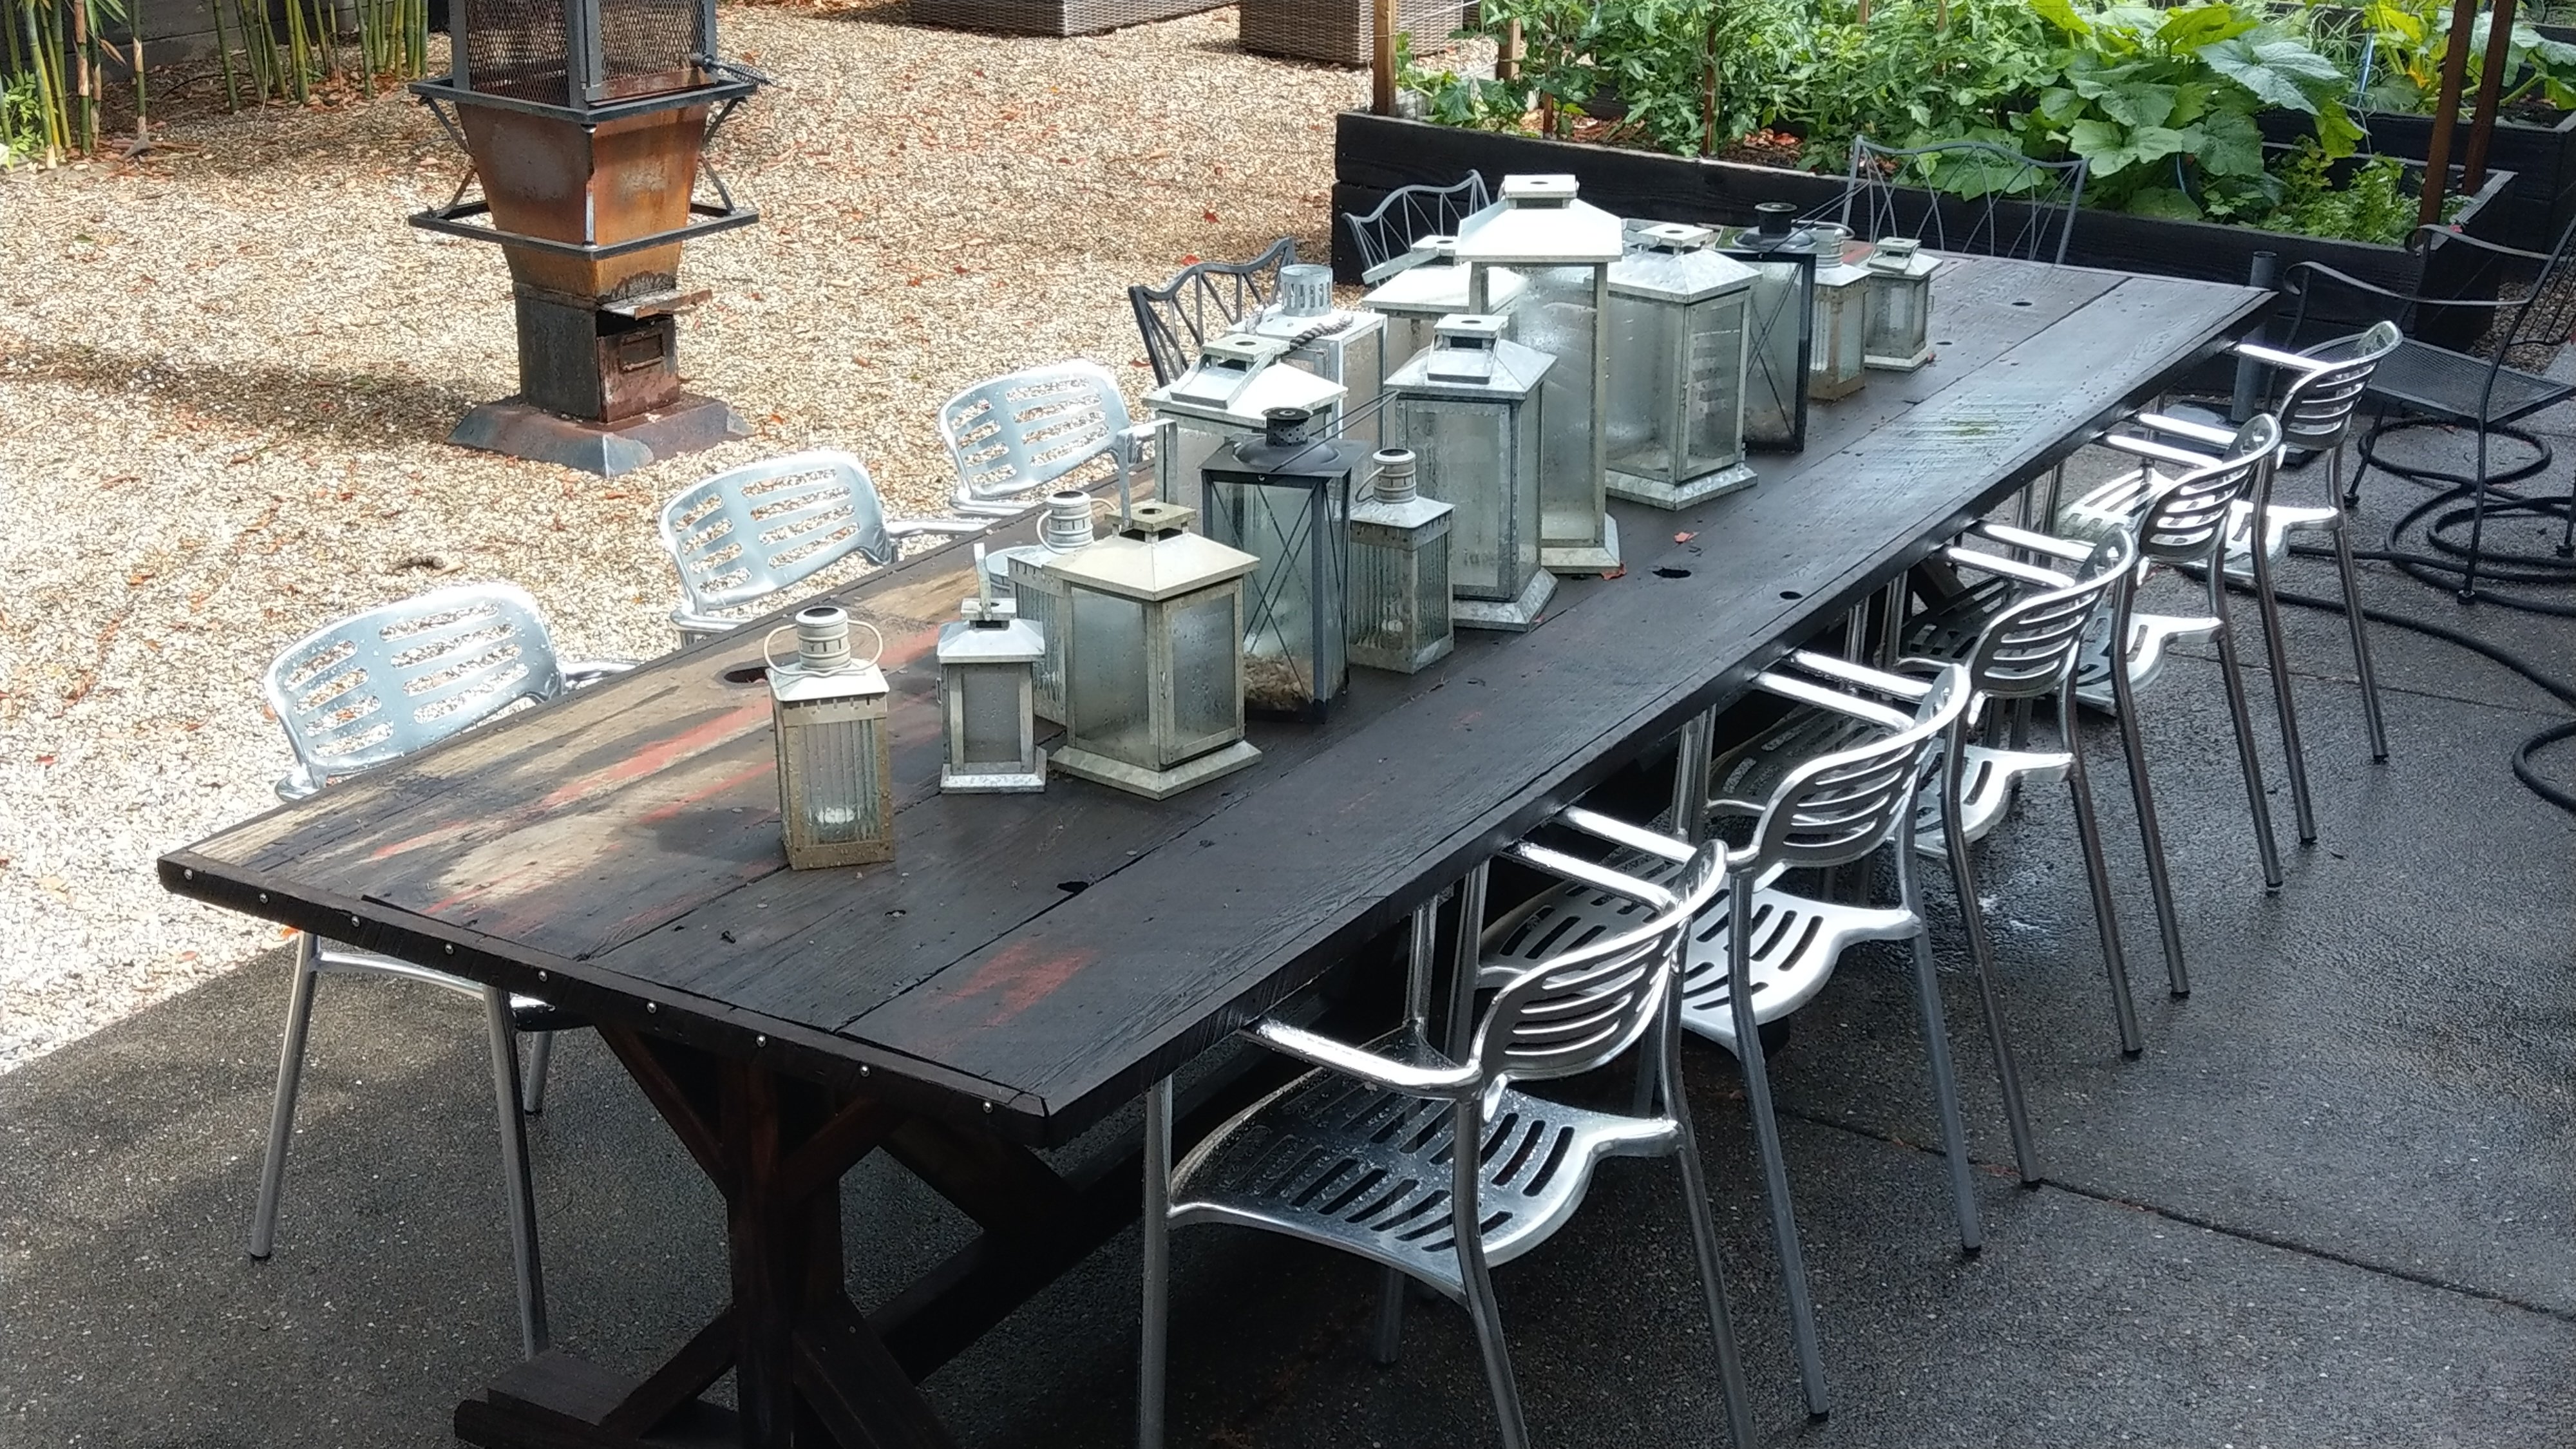
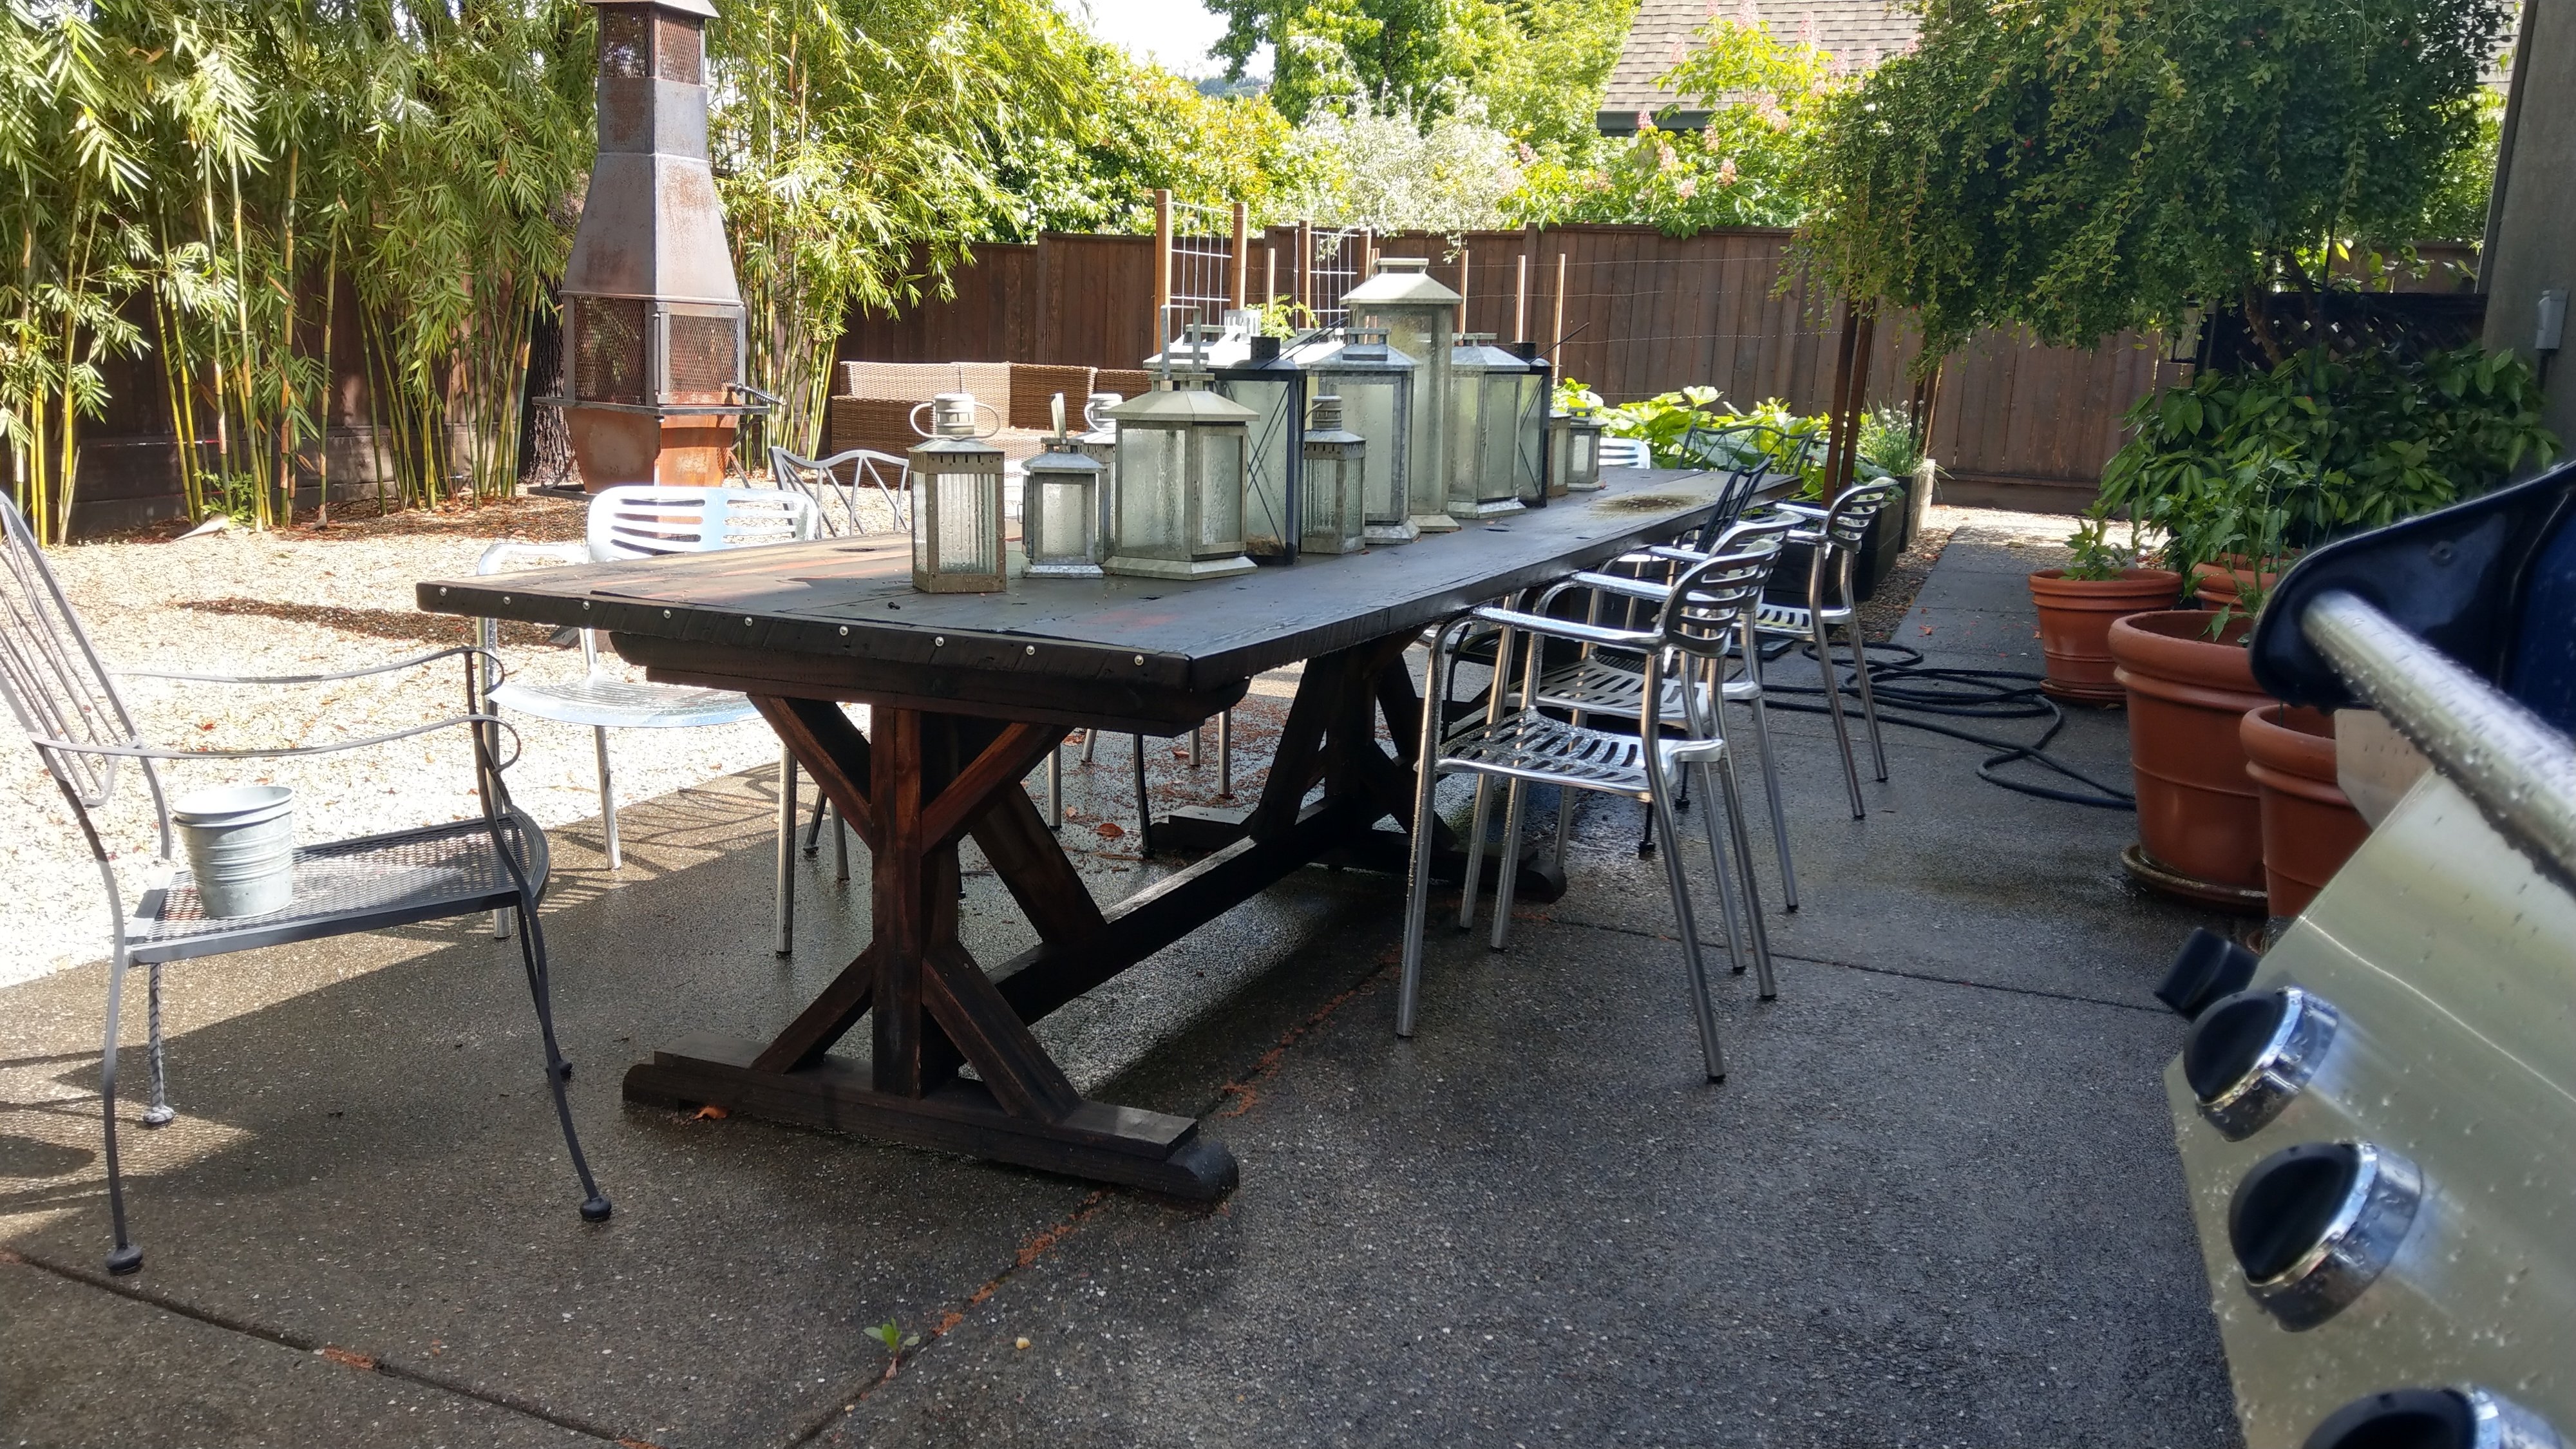
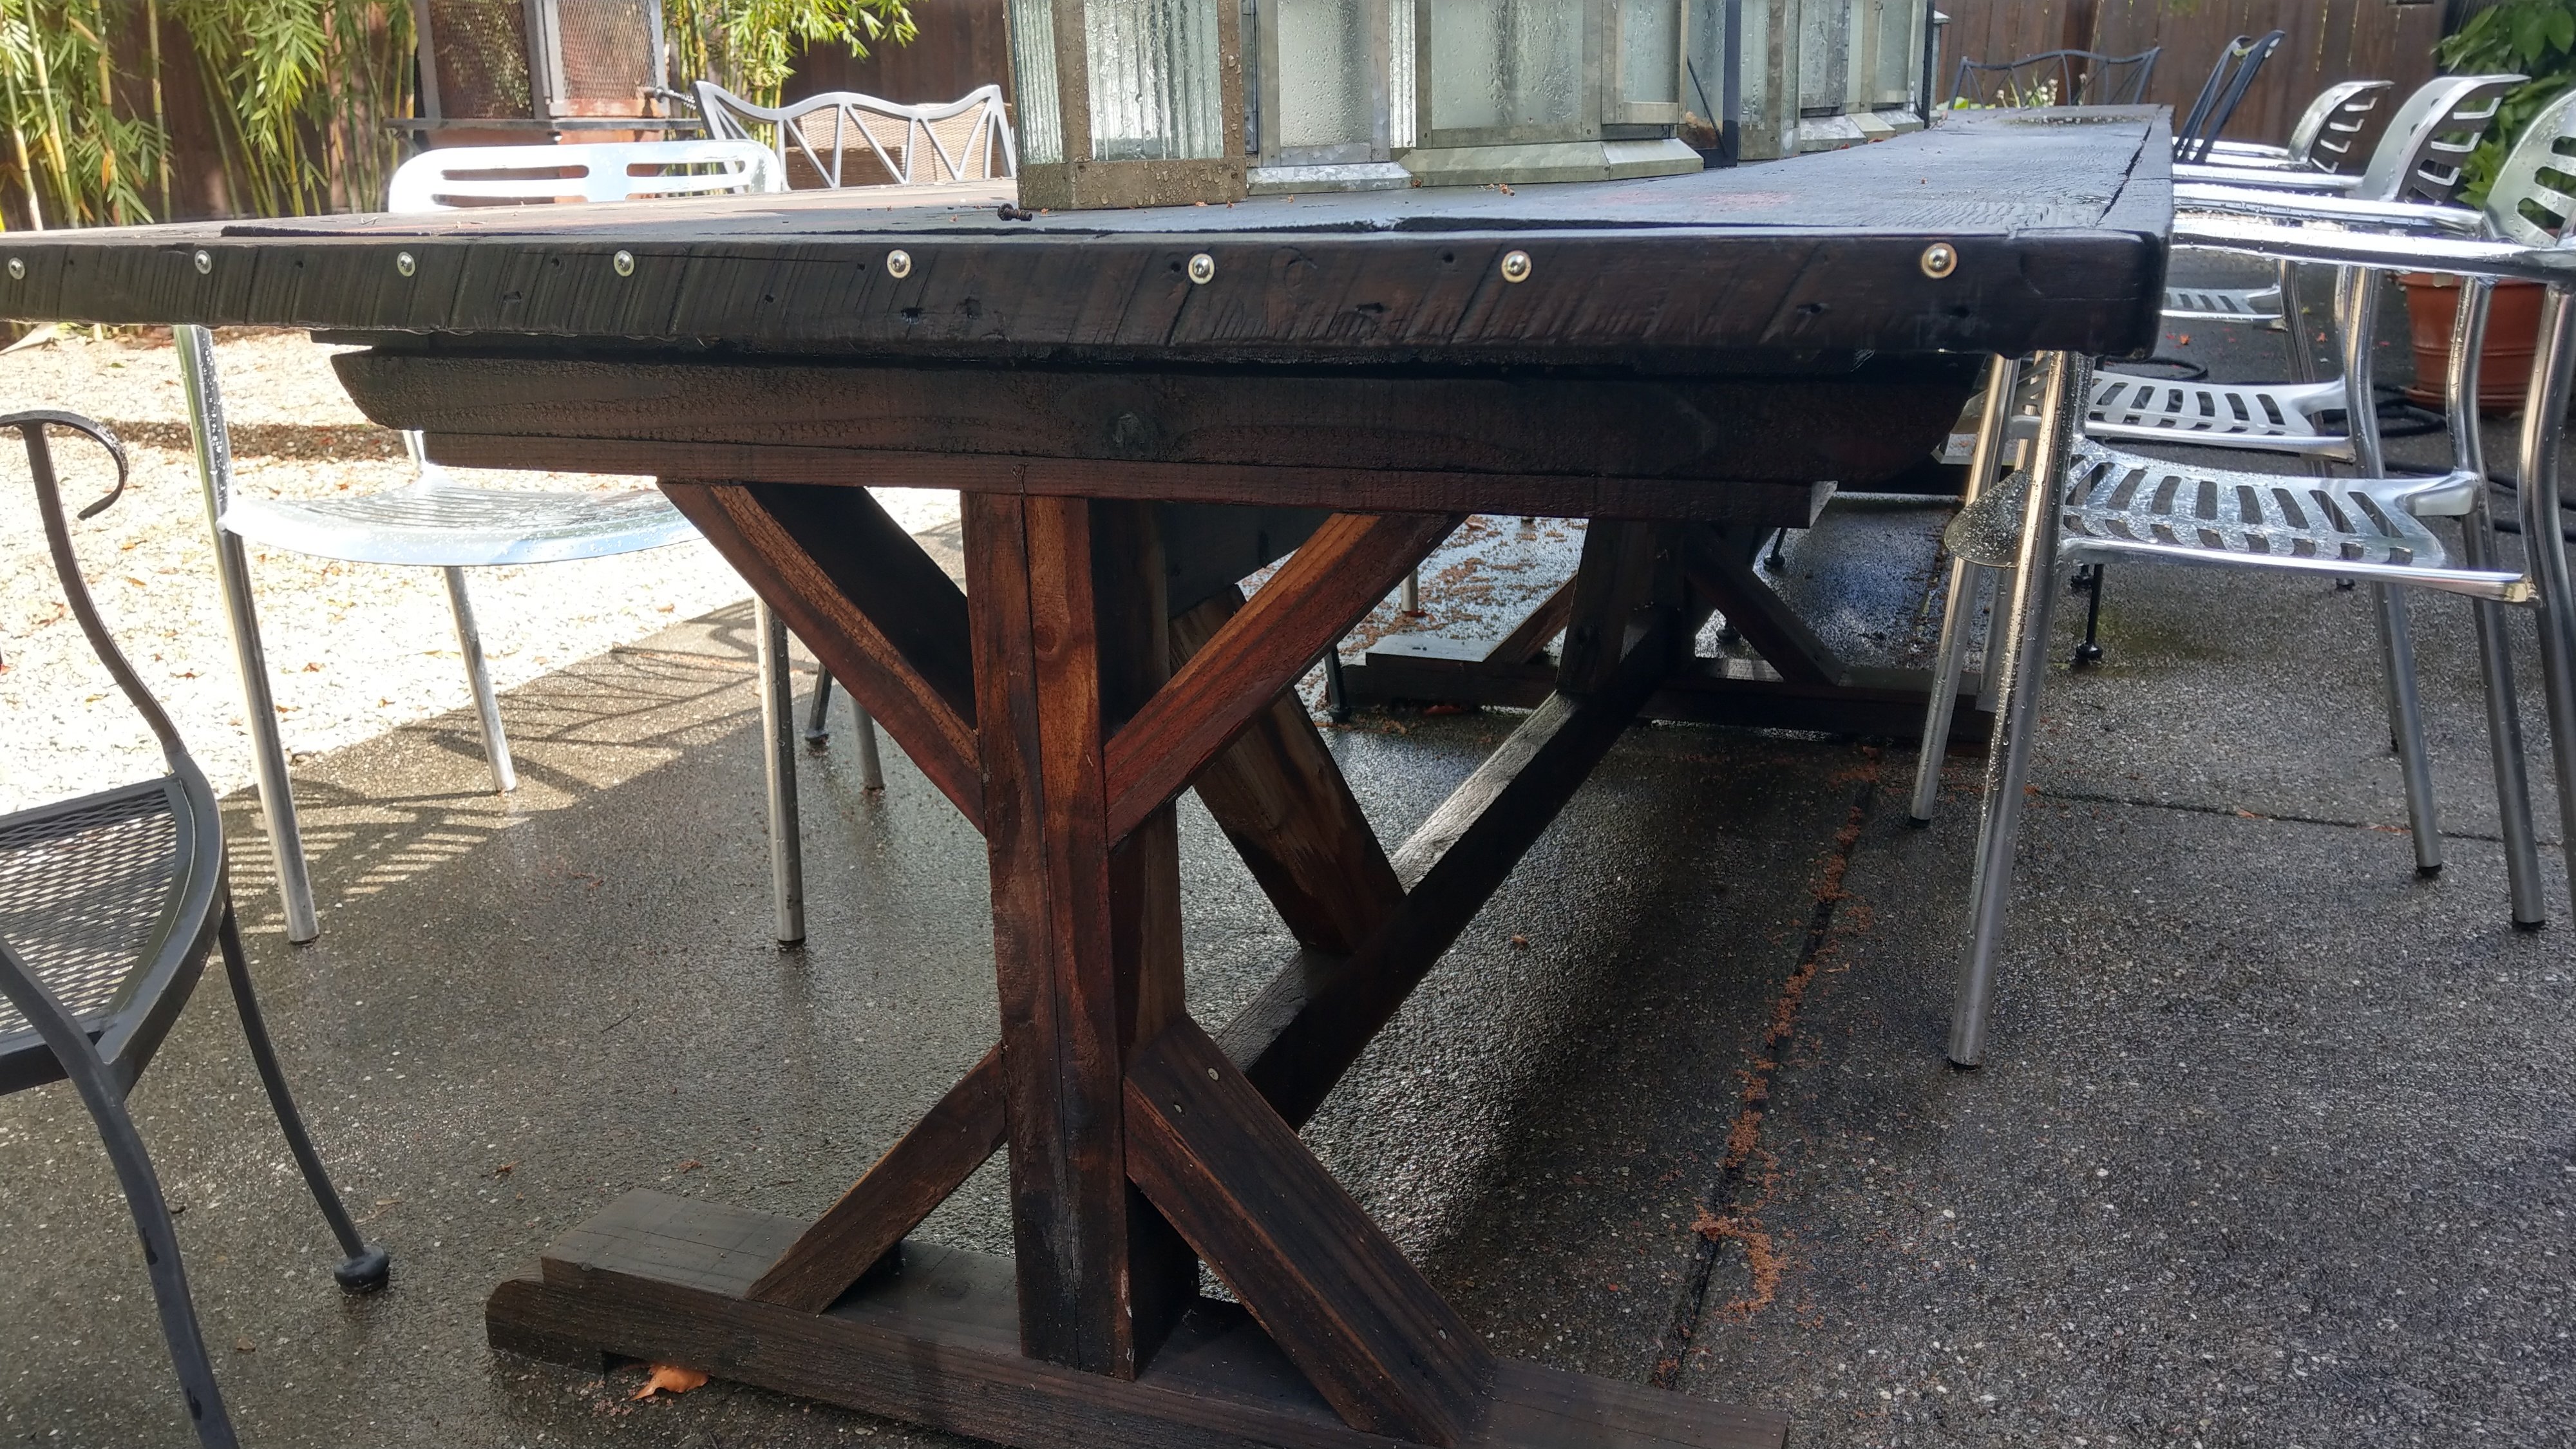
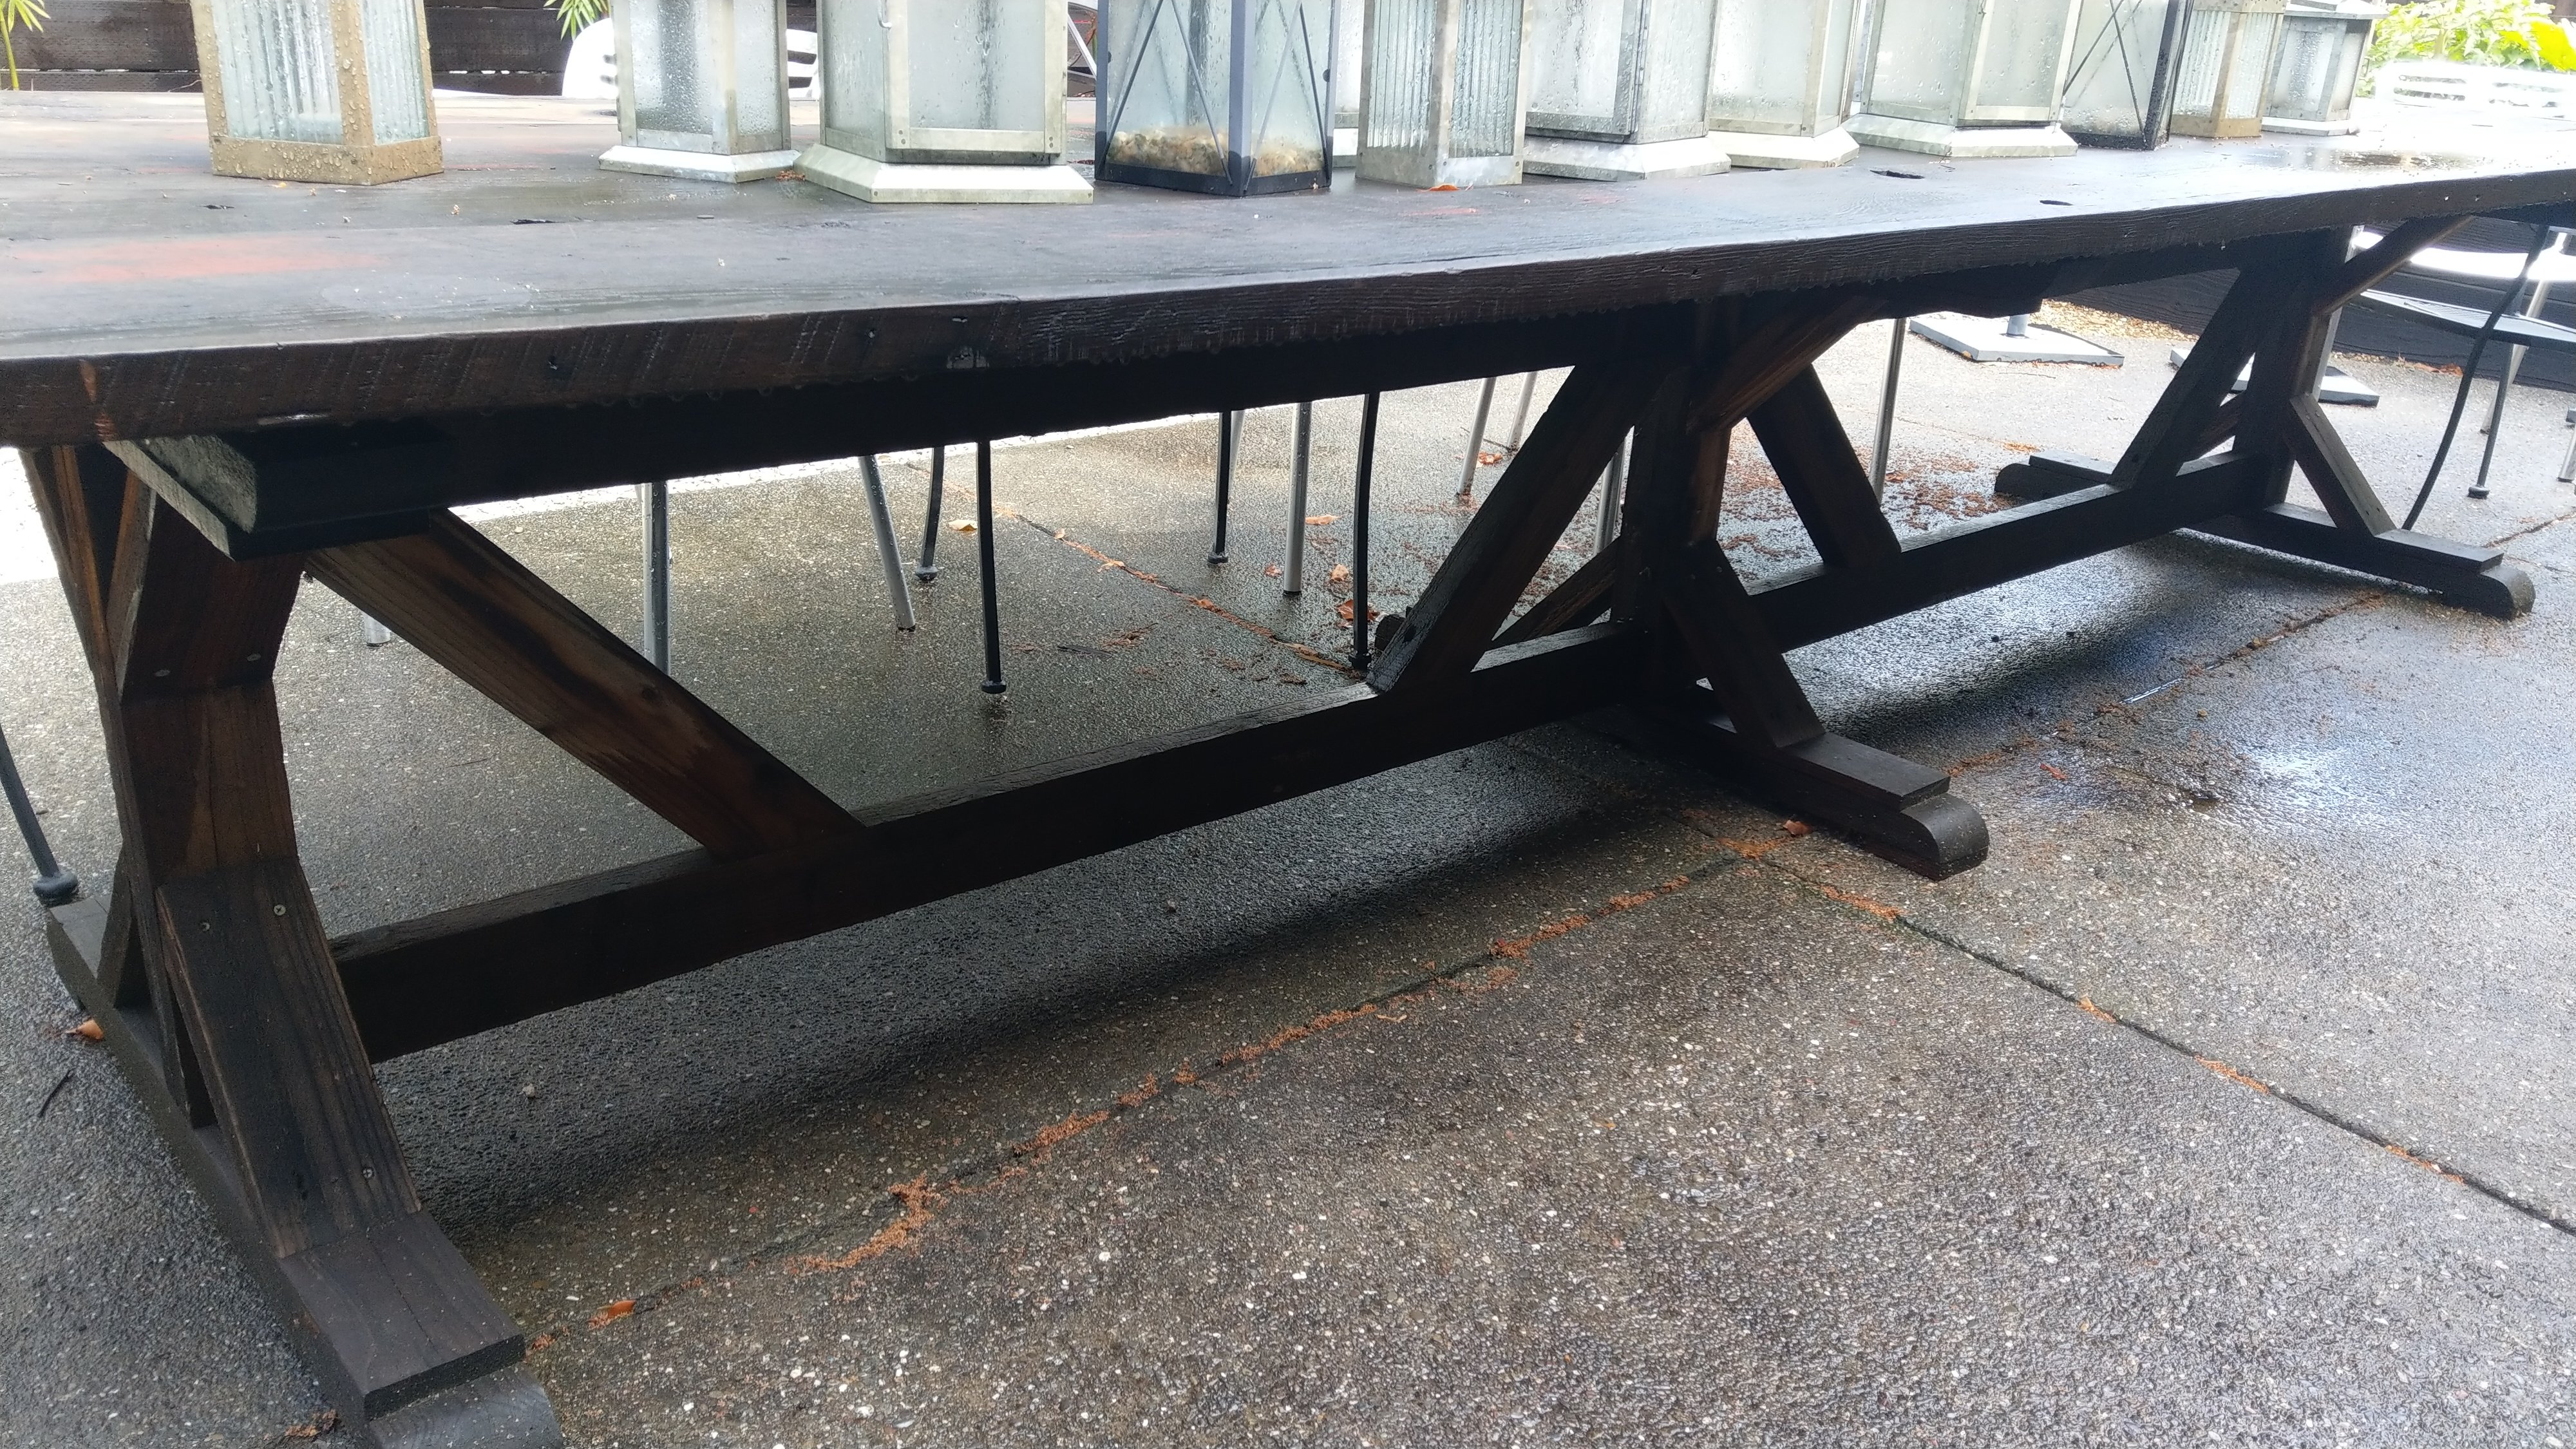
I came across some 18'x12"x1" (actual size) boards that were milled around 1870.  These planks came out of the roof for the building.  Rather than cut them down I just built a "double frame"

I used 2x redwood for the frame.


Built from Plan(s)
Estimated Cost
$40
Estimated Time Investment
Week Long Project (20 Hours or More)
Finish Used
Thompsons water sealer
Recommended Skill Level
Intermediate