Community Brag Posts

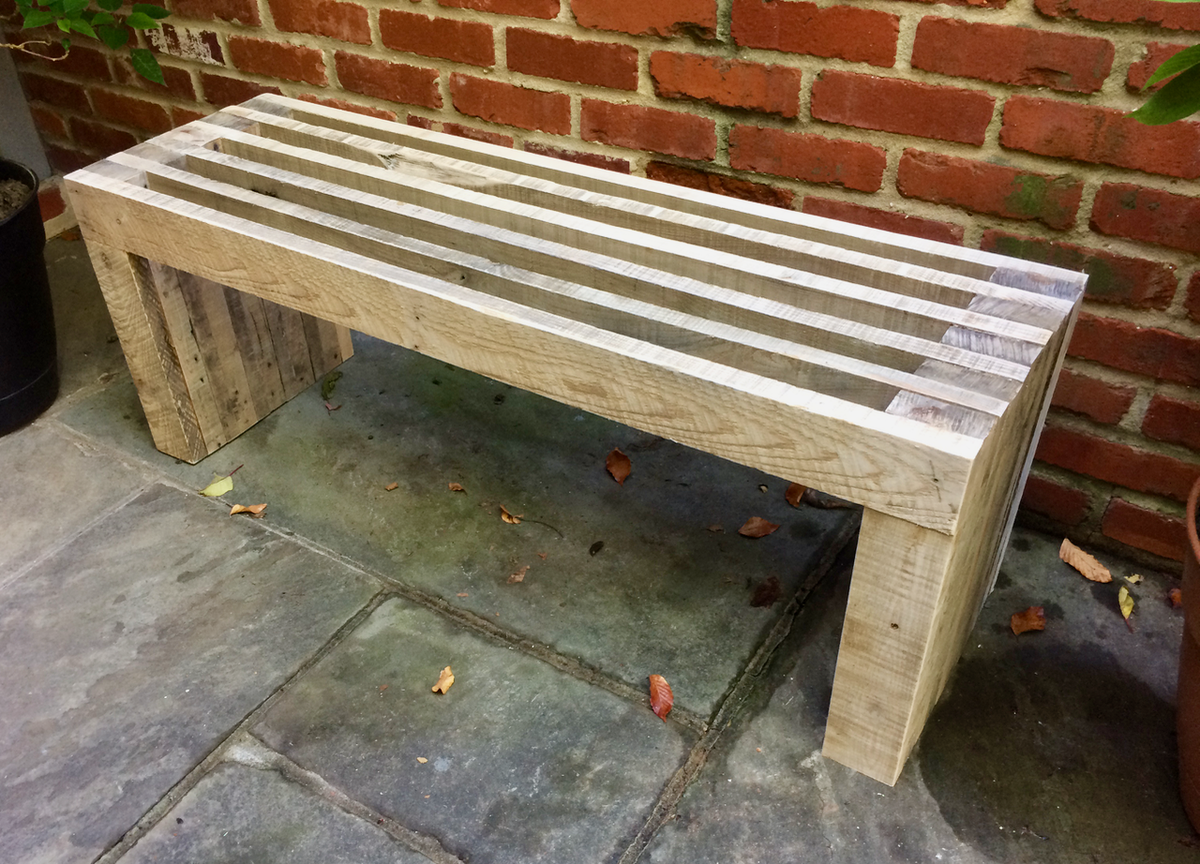
Slat Bench from Palettes

Submitted by jetpad on Fri, 09/15/2017 - 06:32

This was made from several heavy duty palettes that were used for delivering stone. Because of the wood I could get off the palettes, I switched the thin and thick pieces so that the slat gaps were where the 2x4 pieces were missing instead of the 1x4s. 

Estimated Cost
$10 (for glue and screws)
Estimated Time Investment
Afternoon Project (3-6 Hours)
Finish Used
None
Recommended Skill Level
Beginner

Garage Shelving

Submitted by NLough on Thu, 12/16/2021 - 08:42

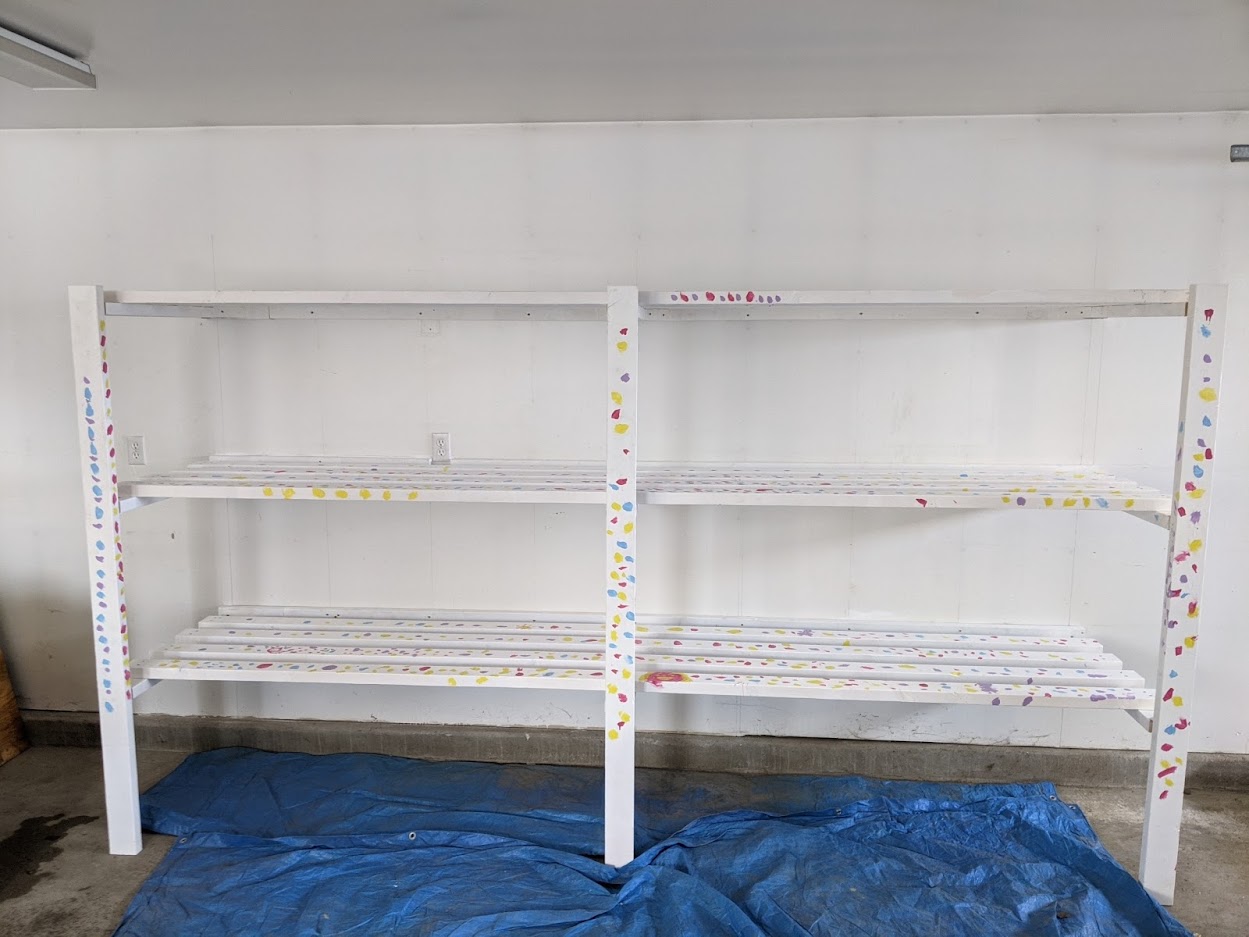
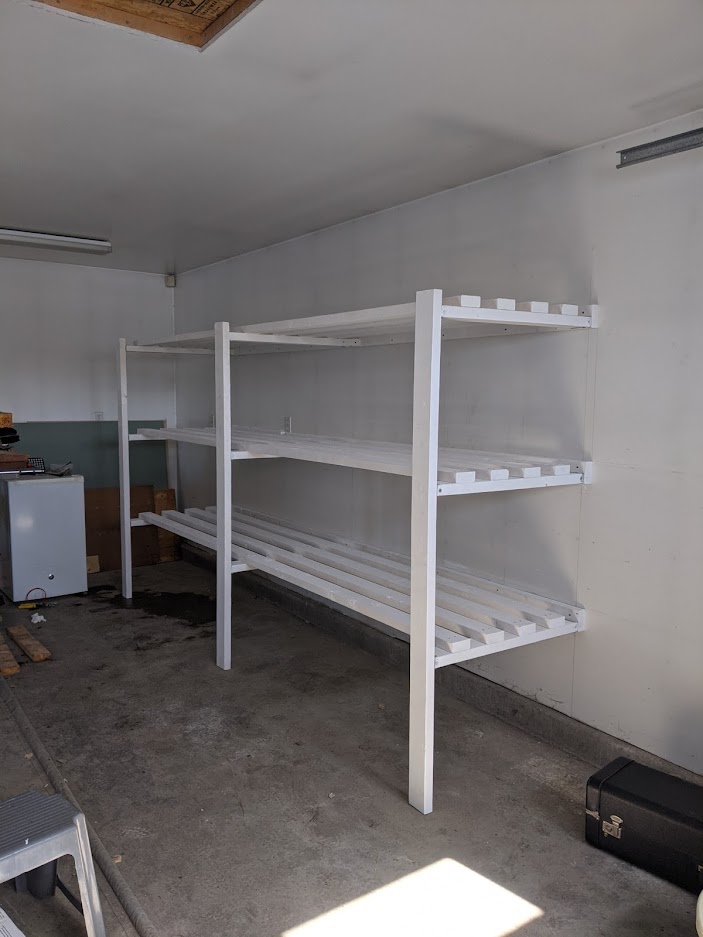
I made these shelves - following the plans on the site - with my kids who helped with the painting. What a straight forward way to organize the garage and have fun introducing kids to building. The shelves are deep enough for storage tubs, access items easily and are very sturdy. I would fully recommend this plan to get things sorted in your garage and have more room for other projects!

Comments

Shou Sugi Ban (Yakisugi) Cornhole Boards

Submitted by Anonymous (not verified) on Sun, 12/26/2021 - 14:48

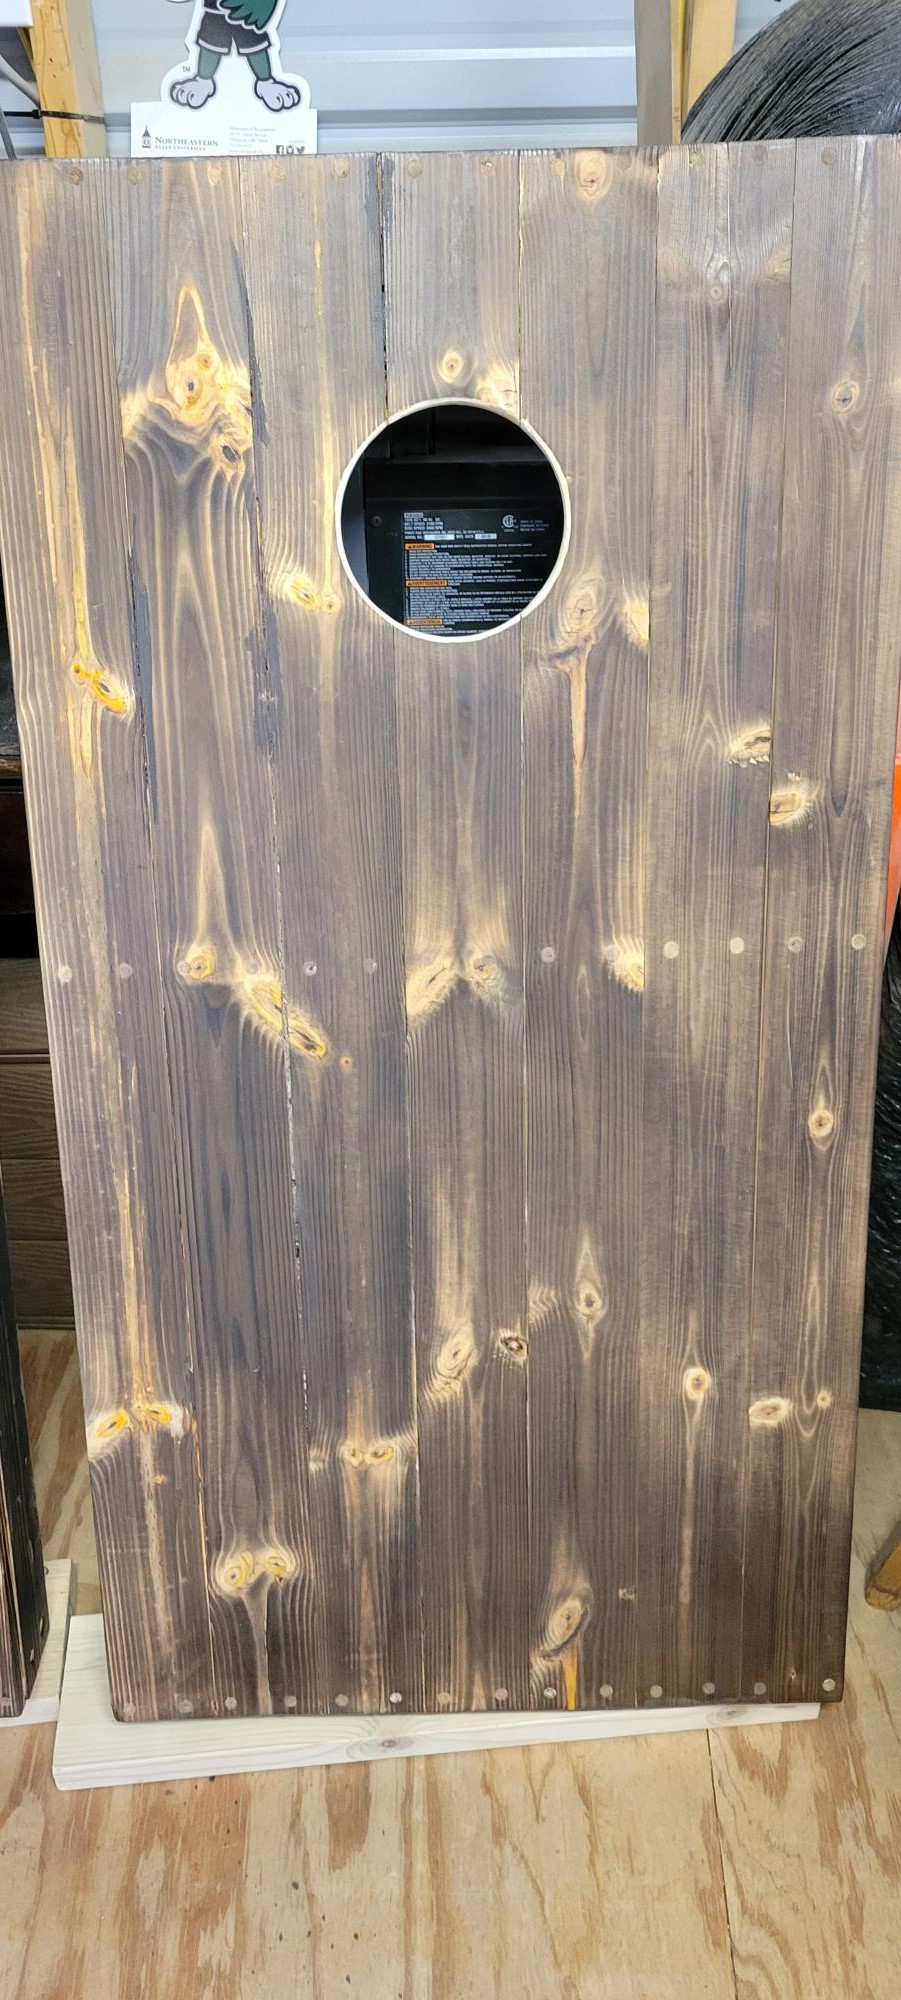
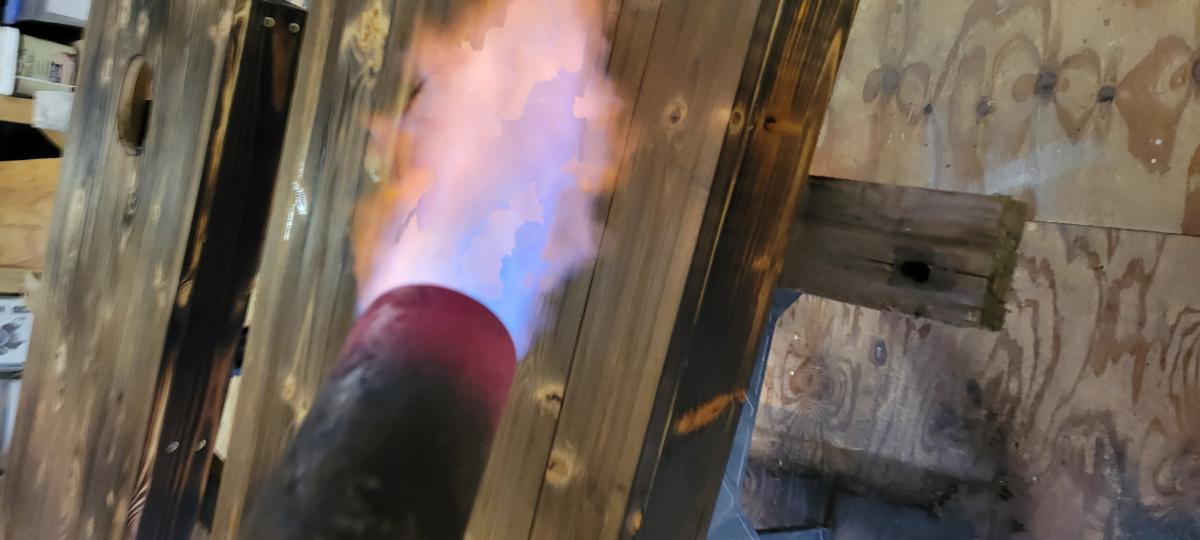
I'm James Farquhar, designer, and fabricator. This is the second set of cornhole boards I built this year. This set is the regulation size of 48" x 24" according to the American Cornhole Association. It is made from fir 2 x 4 s and pine 1 x 4 s (6 per board). Each board is glued with Titebond II and countersunk Torx top screws (#8 1-1/2 inches). It is coated with Minwax polyacrylic (8 layers sprayed on) and Howard's bee's wax (3 layers). The boards are secured with 3-inch toggle latches in pairs. Kayak carrying handles with four screw ports; I used the same Torx Screws I used to put the boards together, extra for strength. The total weight of the boards is 60 pounds. I used a Texas Flame Thrower to Shou Sugi Ban (Yakisugi), as a finish.

Comments

1st time project!

Submitted by The_big_al on Wed, 06/24/2015 - 19:10

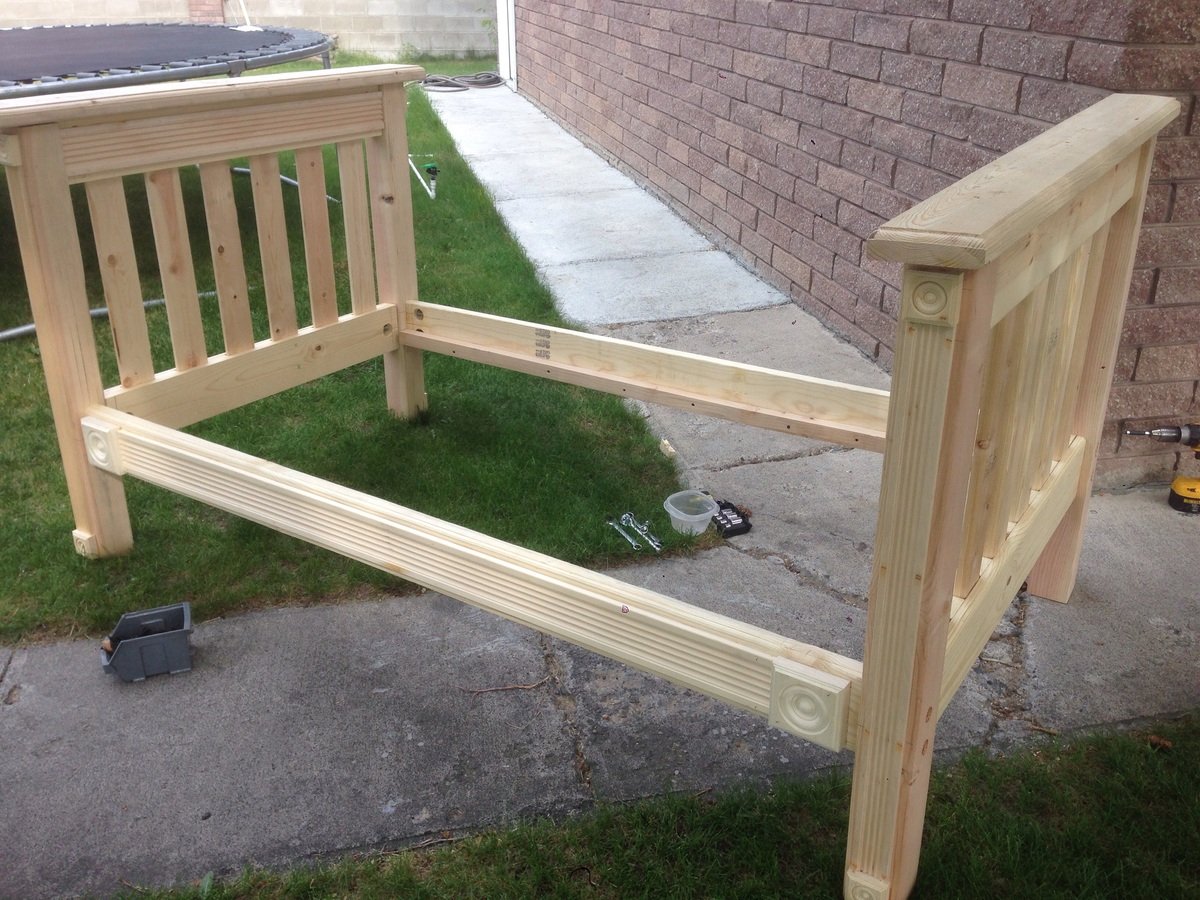
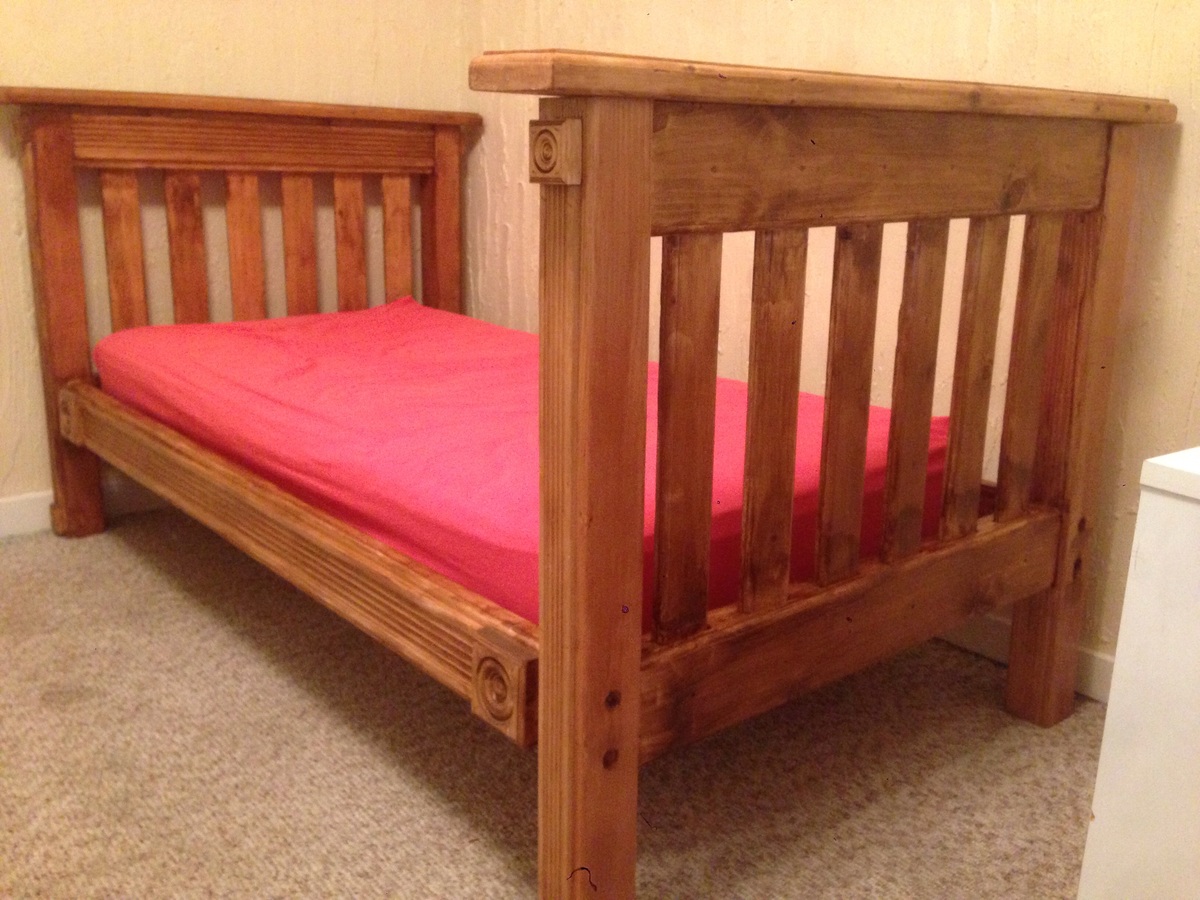
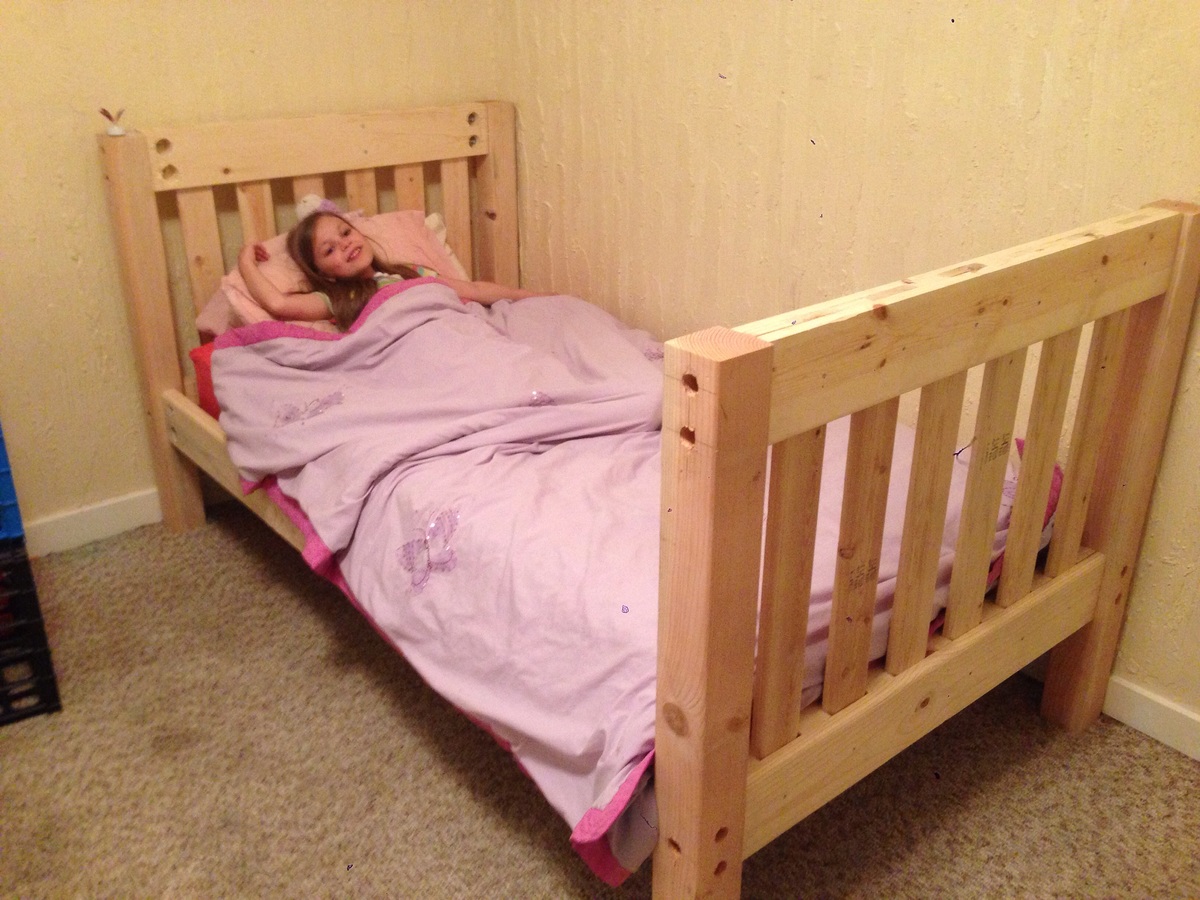
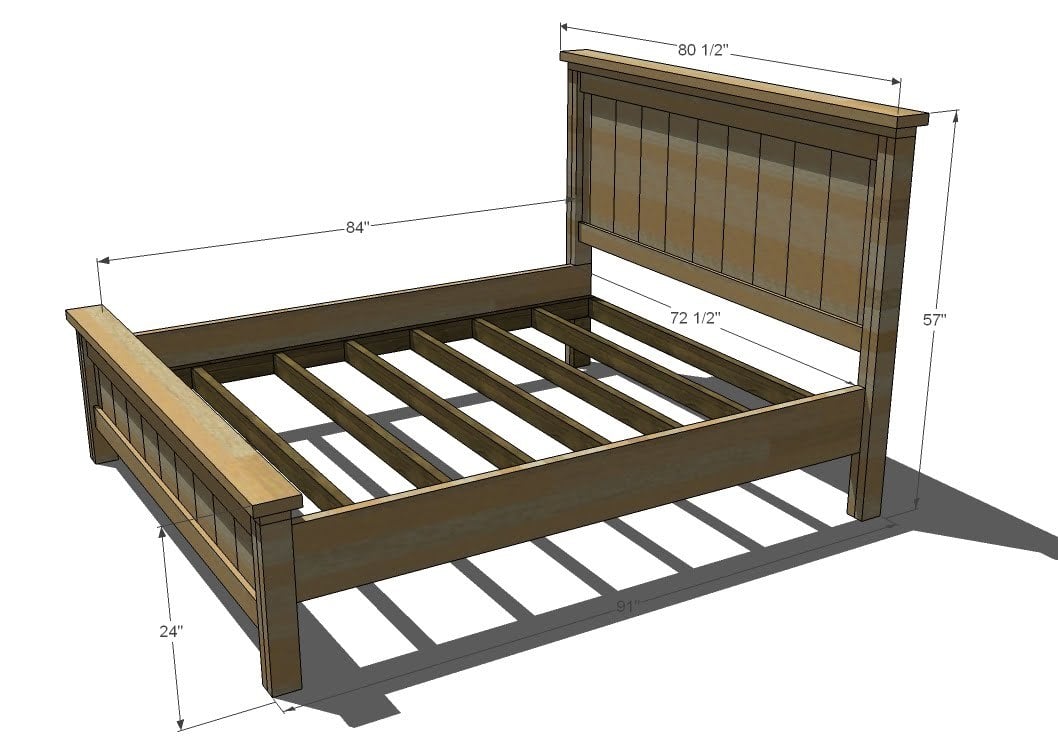
This was a pretty easy build. This was my first project and this looked like a pretty straightforward plan. I read over it several times before deciding what to do. I didn't like that it was held together using only screws. I anticipated that these beds will be moved several times over their lifetime and I did want to hassle with the screws stripping out the wood. Instead I used a 3/8 bolt and washer/nut set up so I could take the bed apart without worrying about stripping out the wood with screws. This necessitated drilling several large unsightly holes at the connection points. To help disguise this I trimmed it out using door casing and finished it out by staining the whole bed. The result was a classic look that will last my daughter's lifetime.

I will note that I changed a few parameters. I routed and the edges including the slats with a rounded corner edge. I used a 2x6 for the top cap of the head/footboards. With the addition of the trim work and bolt hardware, this did change the overall cost of the project. Total cost was probably close to $200. Had I stuck strictly to the plans I would have been closer to $100.

Built from Plan(s)
Estimated Cost
Because I changed a few parameters total cost was a bit higher. I think it was about $200 including hardware and stain.
Estimated Time Investment
Weekend Project (10-20 Hours)
Finish Used
The Simple Bed plans work great. They were easy to follow. They were also simple enough I could make modifications without too much issue.

To make the bed I made, I made two headboards (in anticipation of making a bunk bed). Instead of using screws to hold the bed together I used a 3/8 4" bolt and nut combo. 4 bolts to hold the 4x4 posts to the head/footboard and 8 (2 on each end) to hold the side rails. I countersunk the bolts into the posts to hide the bolt head. I drilled 1 1/2 inch holes on the inside of the side rails and headboards to access the bolts and attache a washer and nut. Once tightened,the bolts holding the posts to the headboard will never have to come apart. Only the bolts for the rails have to be left accessible to take the bed apart for moving. However I was then left with huge unsightly holes in the outsides of the side rails and the insides of the head/footboards. I was going to leave it thinking it wouldn't look that bad but after assembling the bed I realized how unfinished it would look. That is when I decided to add the trim work which not only really made the bed look finished it hid all holes I had to drill. I did leave the holes in the backs of the posts uncovered since access to them is needed for assembly and dis-assembly.

Dimensions for the holes were calculated based on using the 1x6's in the headboard and the 2x6's in the side rails. If you want exact dimensions I can give you those. Just email me, however it was simple enough to figure out where to place them. The trickiest part is getting the holes drilled in the posts to line up with the headboards and rails.
Recommended Skill Level
Intermediate

Northwest Ohio Pergola

Submitted by russell_h on Sat, 06/27/2015 - 17:57

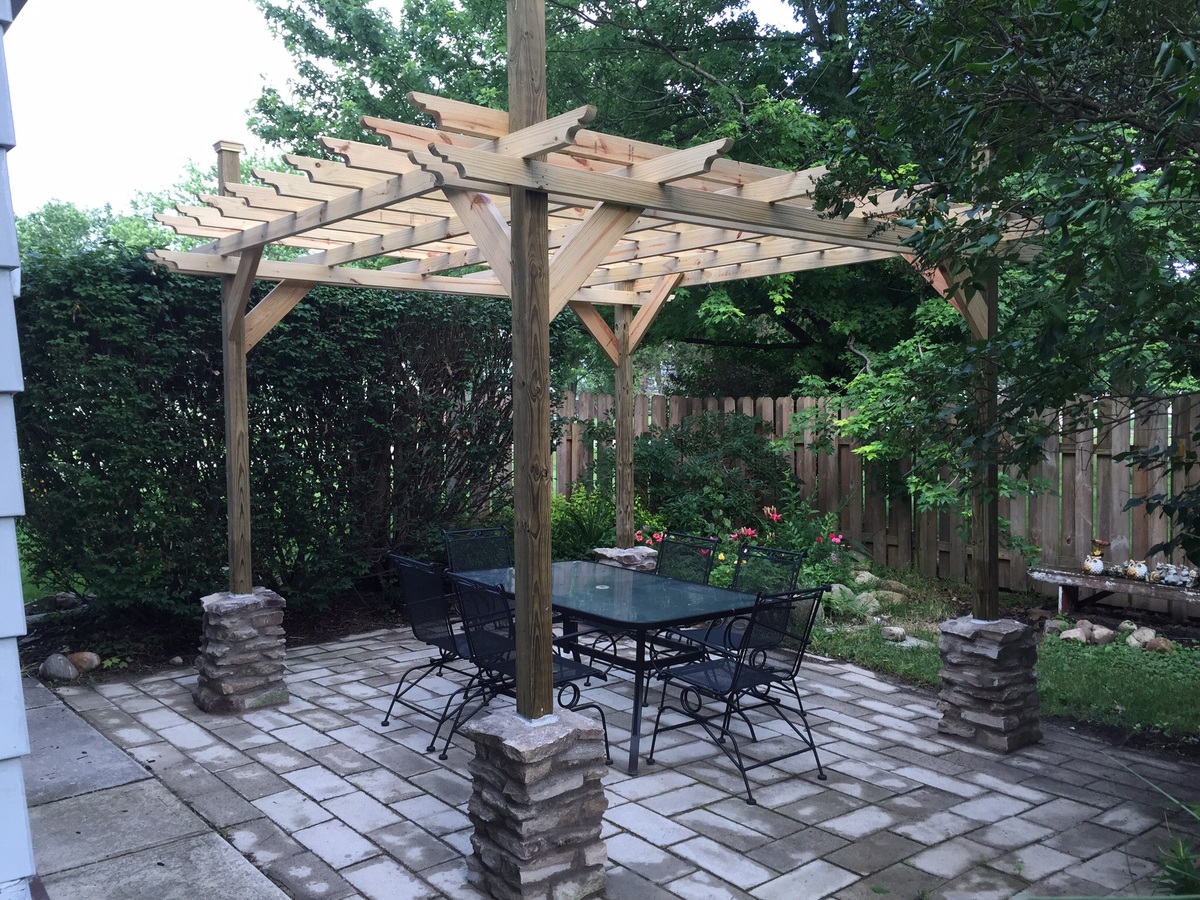
I used flat stone and a masonry circular blade for the base of the corner posts. I also used 2 x 4's for both layers of the top boards. It was a lot of fun to build.

Built from Plan(s)
Estimated Cost
$250.00
Estimated Time Investment
Week Long Project (20 Hours or More)
Finish Used
I will stain and seal in a year
Recommended Skill Level
Intermediate

Pottling bench/greenhouse/water collector

Submitted by richvide0 on Tue, 03/15/2022 - 08:58

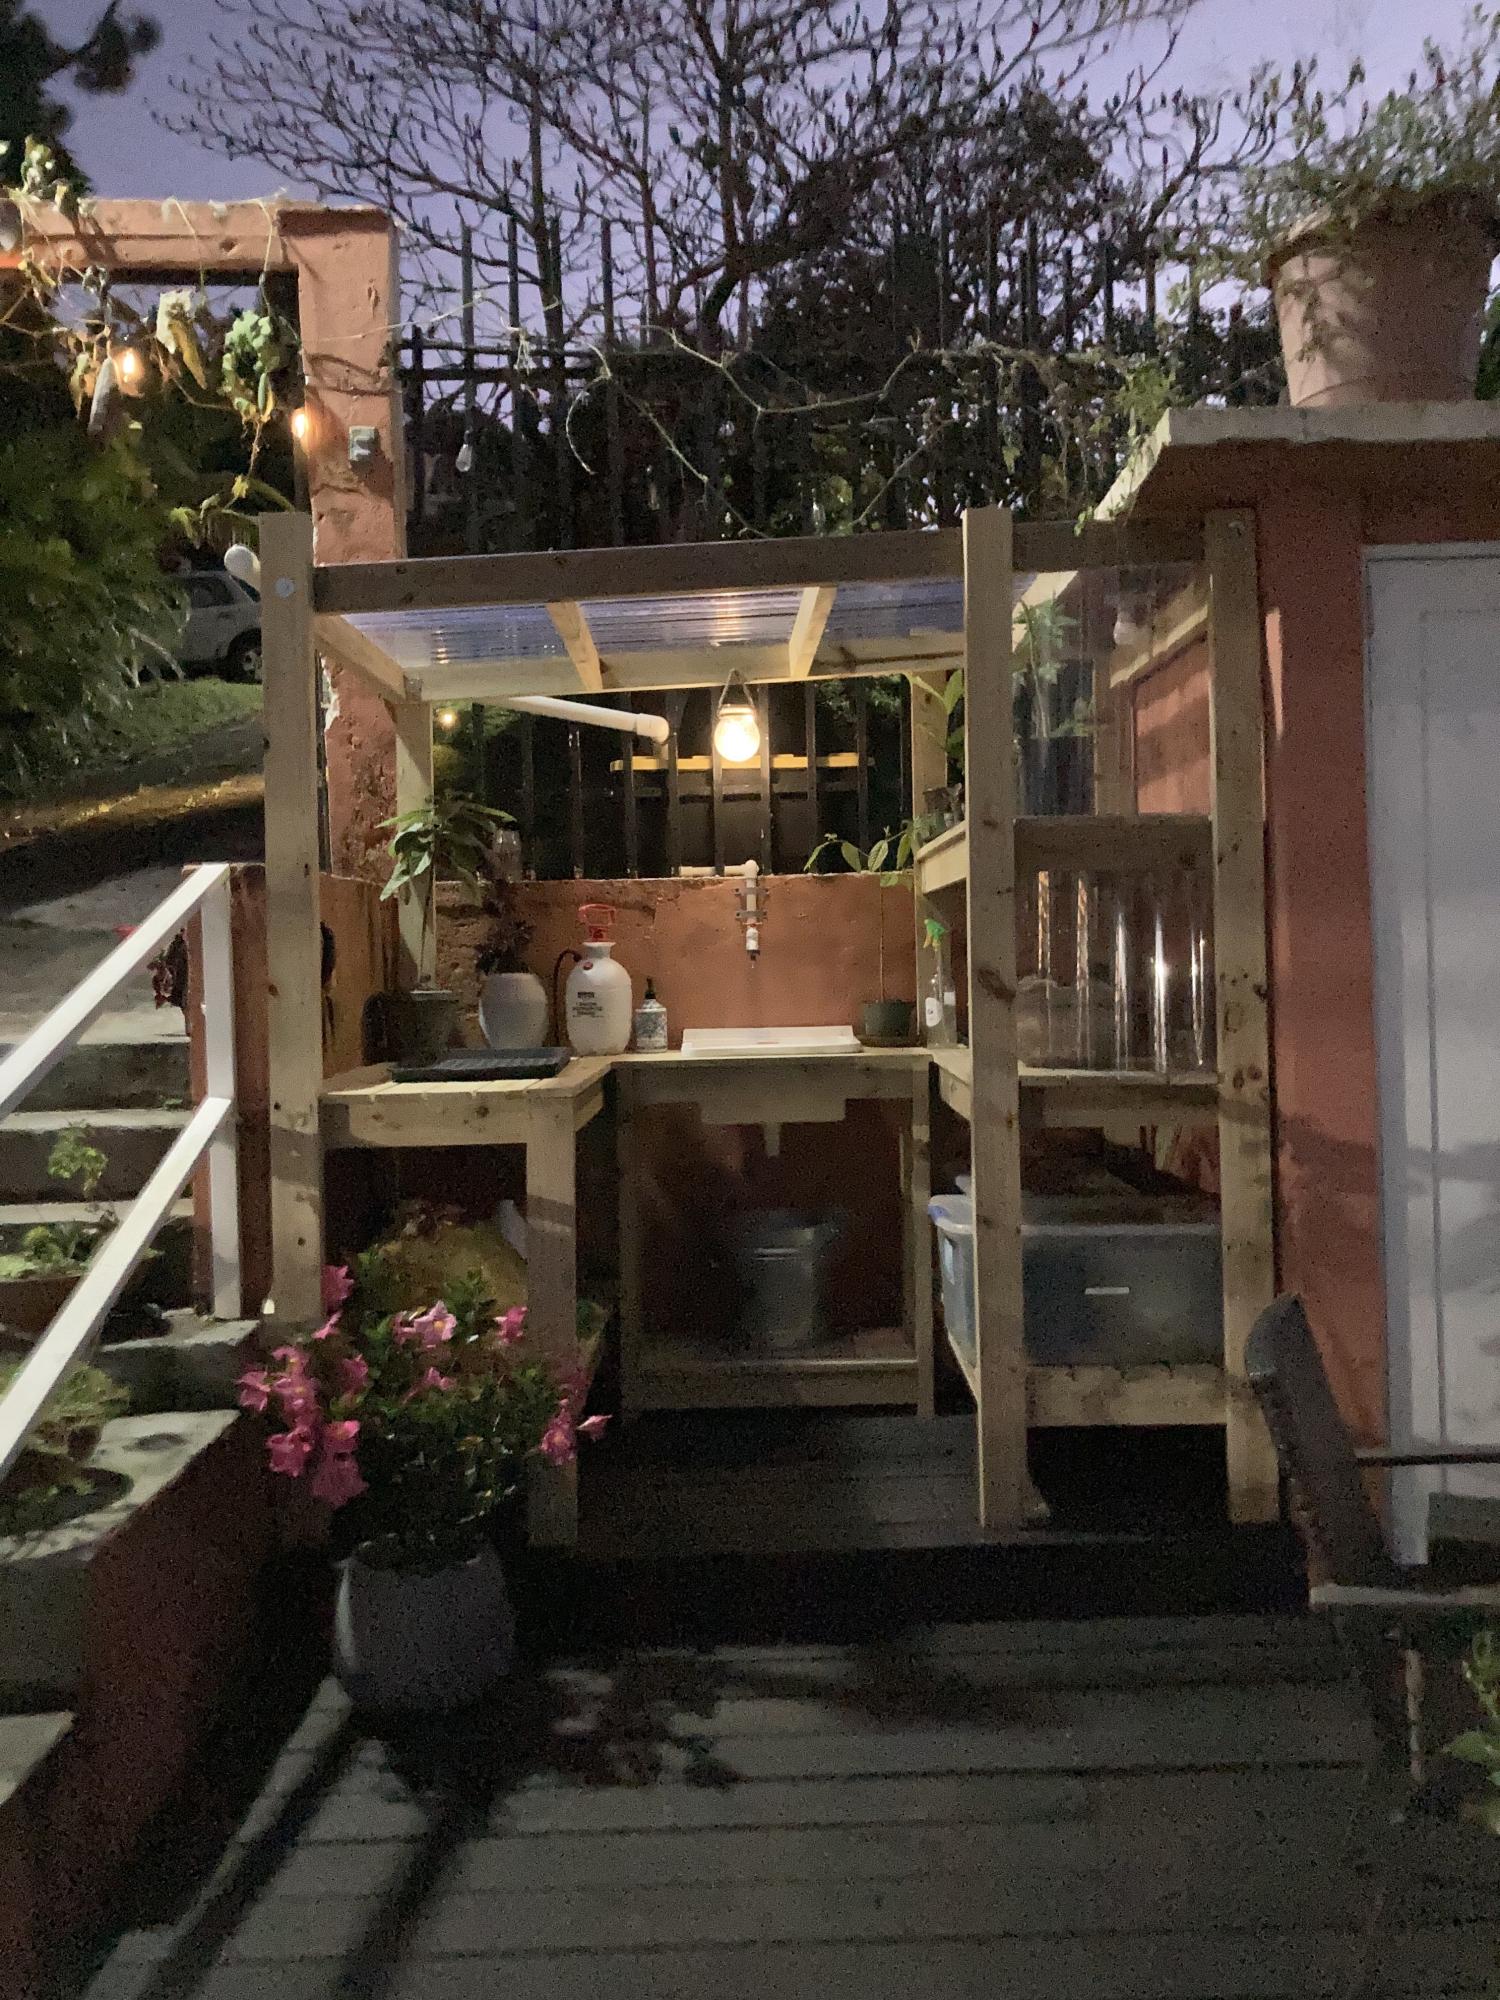
I modified the simple potting bench into 3 components. The potting bench, a place for seedlings and a sink.

We get a ton of rain up here in the mountains of Puerto Rico. So much so that it tends to drown seedlings if they aren't covered. So I took the Simple 2x4 Potting Bench plans and modified them to fit the space I had picked out for the project. Since we get so much rain I wanted to collect it. So I added a clear pvc roof and with a gutter made with pvc pipe which flows into a 27 gallon storage container. This disperses into the sink. There is a bucket under the sink to collect the water.

Note: I had to add a 2x4 support under each shelf. I made the two big shelves a little longer so it needed it to support the 1x4s.

I am an avid gardener so I should have given myself this gift after years of not having any level/proper space to work.

Comments

Glider

Submitted by Seansg5 on Sun, 08/09/2015 - 20:24

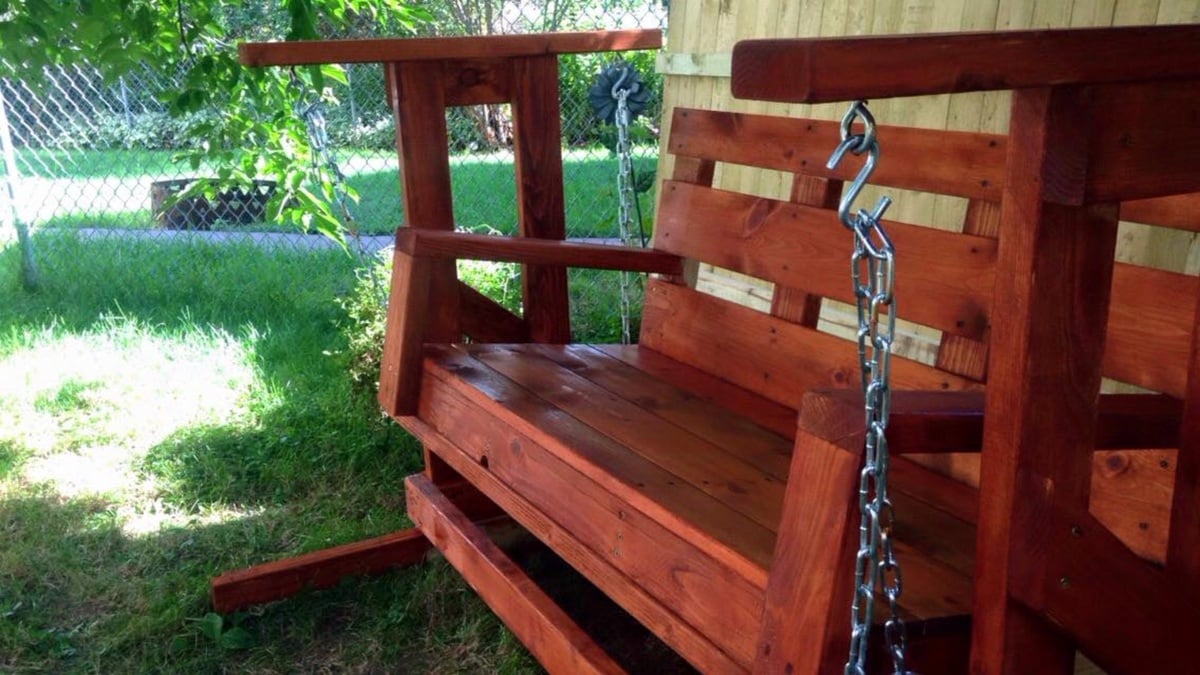
The bench was easy to build with great instructions. I had Home Depot make my cuts for this first project and then I went and bought a miter saw and other power tools for future ones. So much fun. 

Built from Plan(s)
Estimated Cost
$100
Estimated Time Investment
Afternoon Project (3-6 Hours)
Recommended Skill Level
Beginner

Comments

Cross35

Mon, 03/14/2016 - 08:35

Great work.  DId you do anything different to the swing itself?  How did you build the frame.  I'm looking to do this exact thing for my patio.  I don't have anywhere to hang the swing.


Thanks for sharing any info.

mbarland

Sat, 06/13/2020 - 16:54

Made the chair and then built the glider frame for it just eyeballing the picture. I can't figure out how to upload a photo of my design, but can try to describe it.

I made mine with a 4x4 on the base of each leg, but a 2x4 would work as well, it was just what I had on hand. The base board on each leg I made 48". From there I put two 48" vertical boards. The vertical boards were centered and from the front edge of the first board to the back edge of the second board. Two 16" boards were then used at the top and bottom of the vertical boards to hold them in place. Cap it off with a 30" board on top of the verticals. This is where you'll attach your eye bolts. I put both eye bolts 3 1/2" back from the front (a scrap of 2x4 works well as a guide). To join the two legs, I used two 52" boards on top of the base 4X4 of the verticals (one in front of the legs and one behind).

Farmhouse Doggie Daybed

Submitted by jkjackson on Sun, 04/24/2022 - 18:42

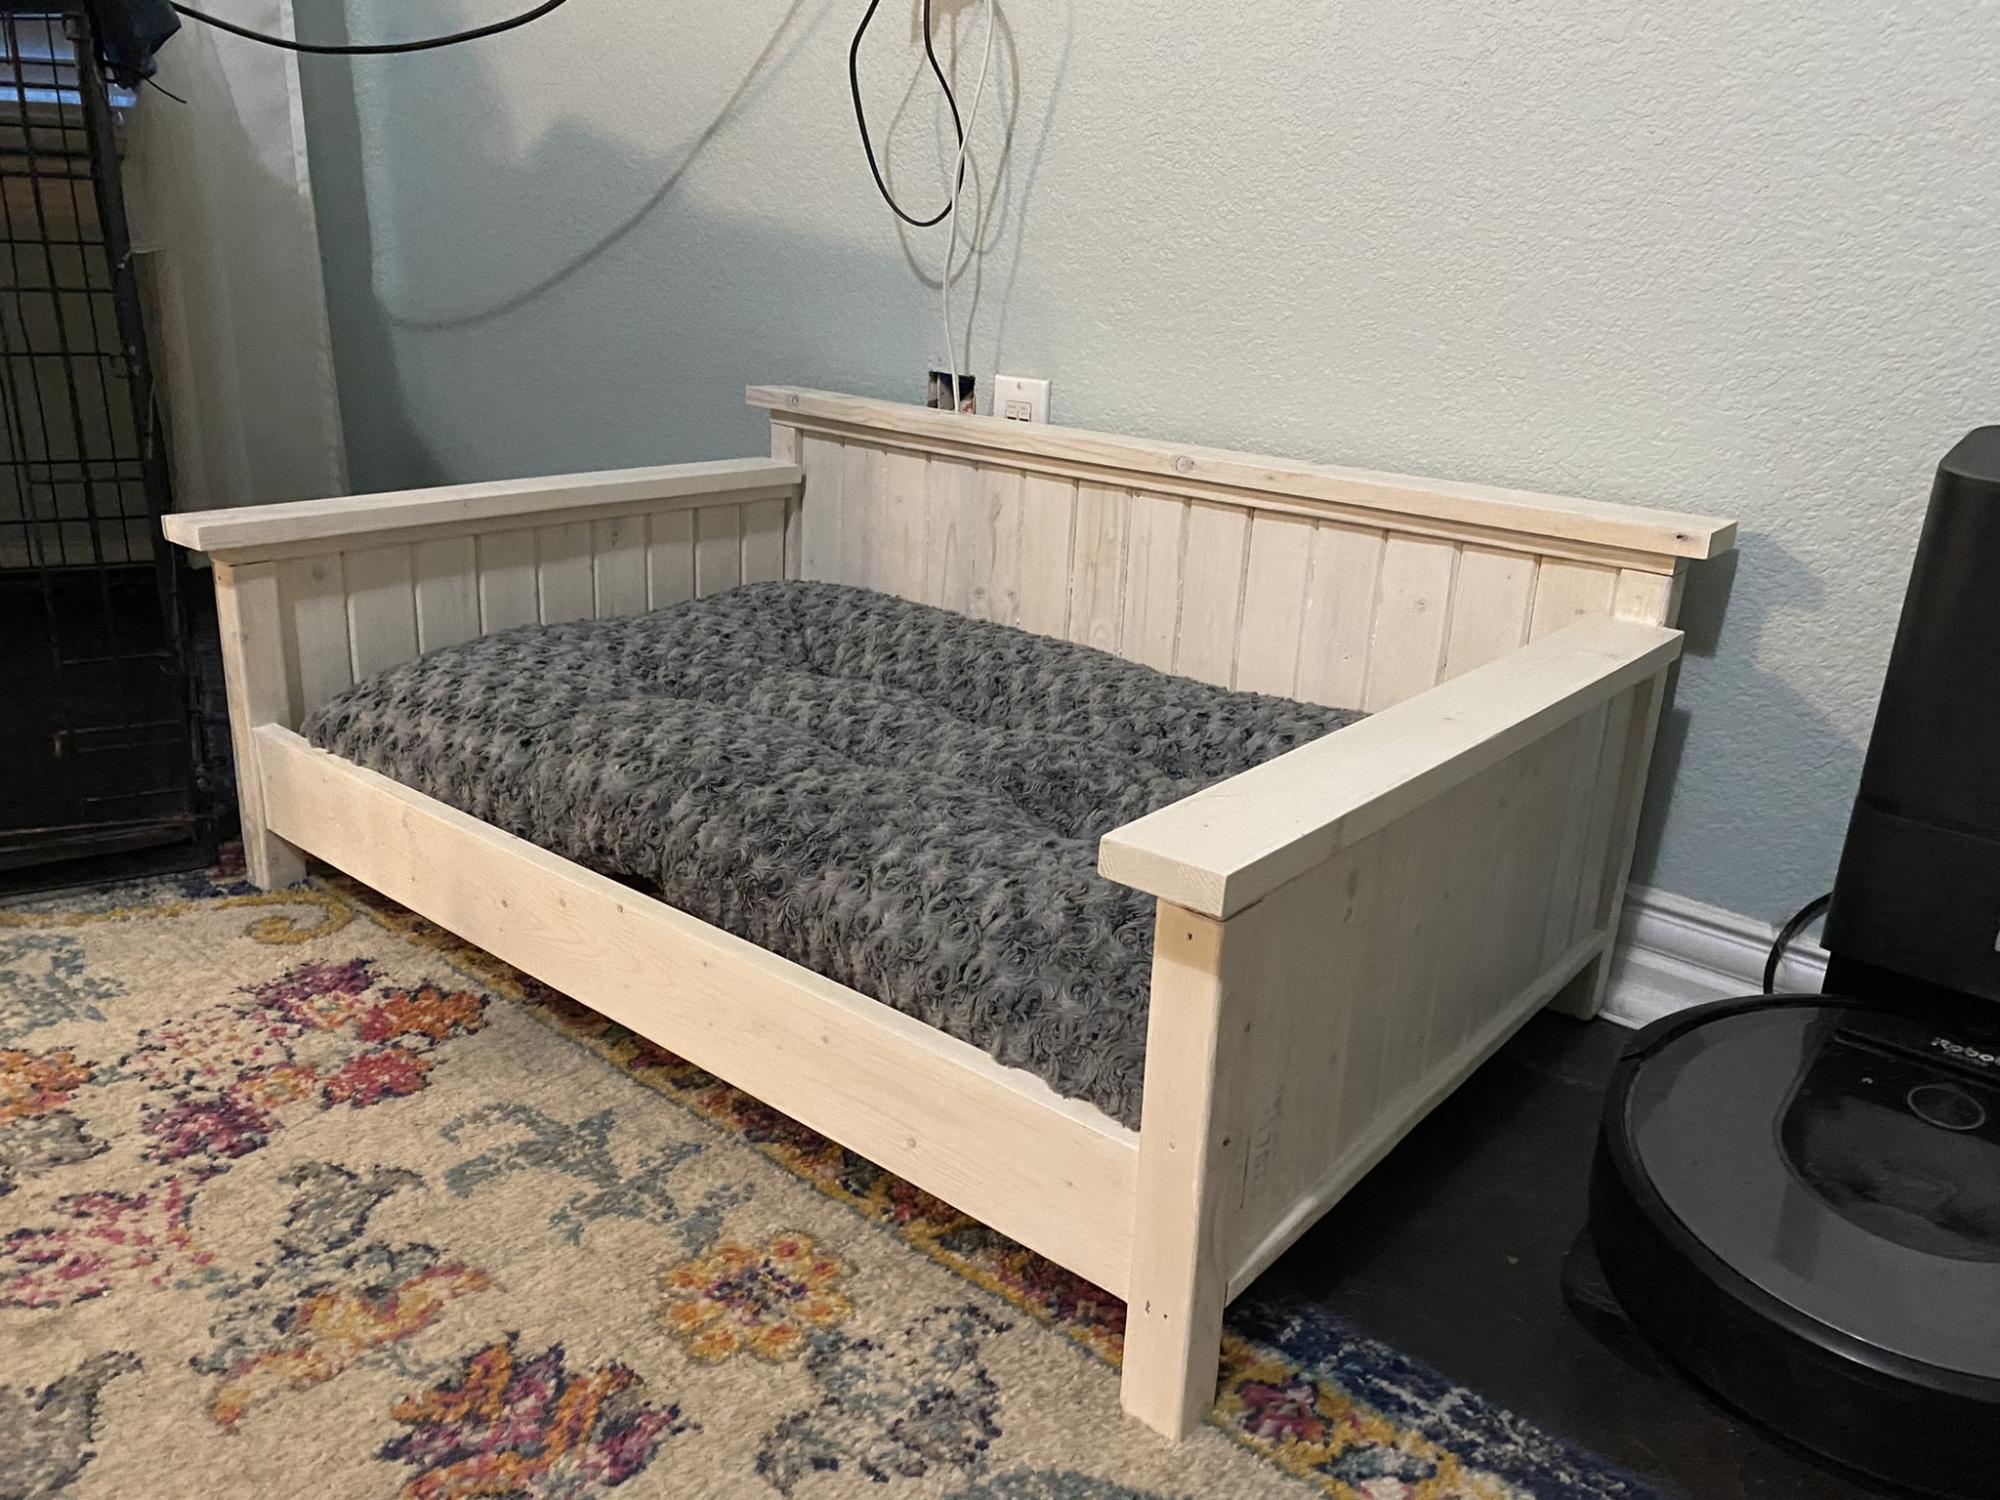
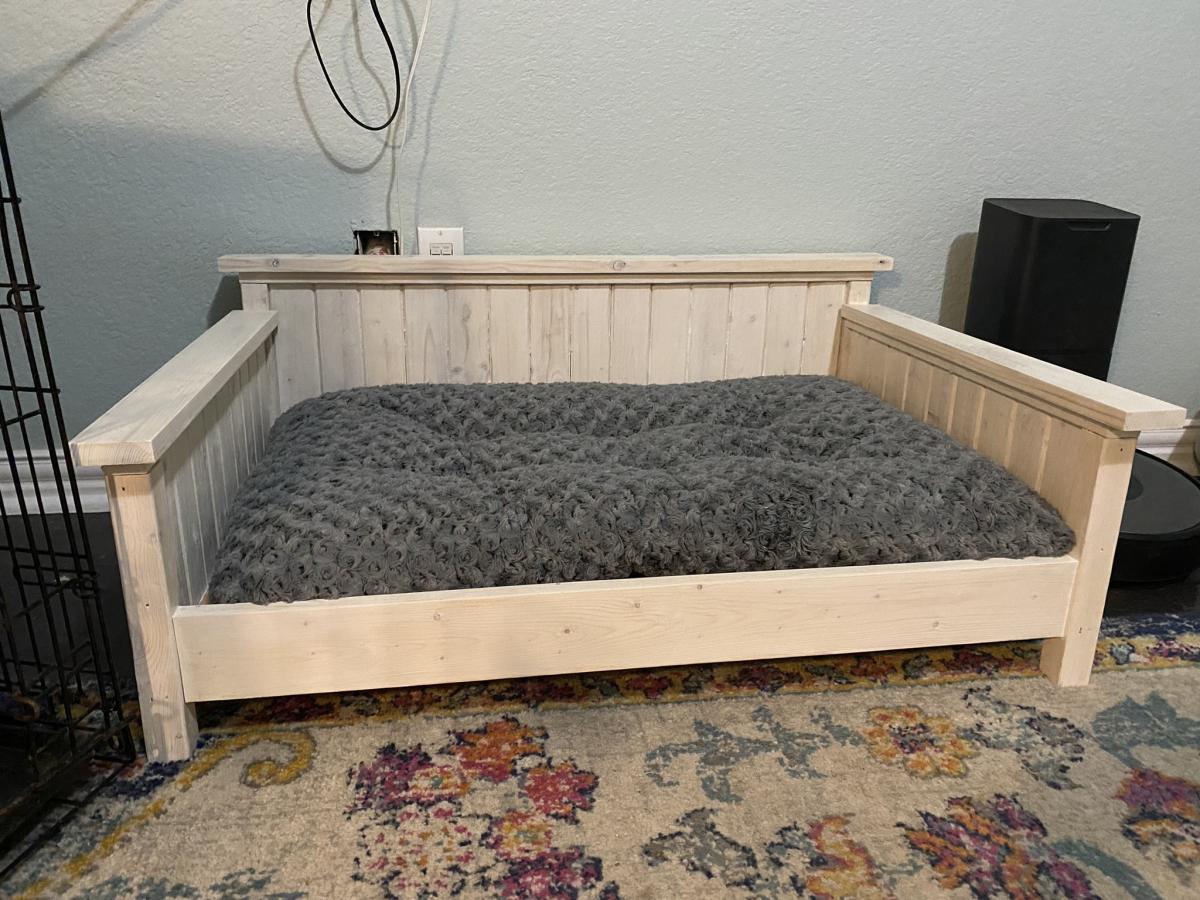
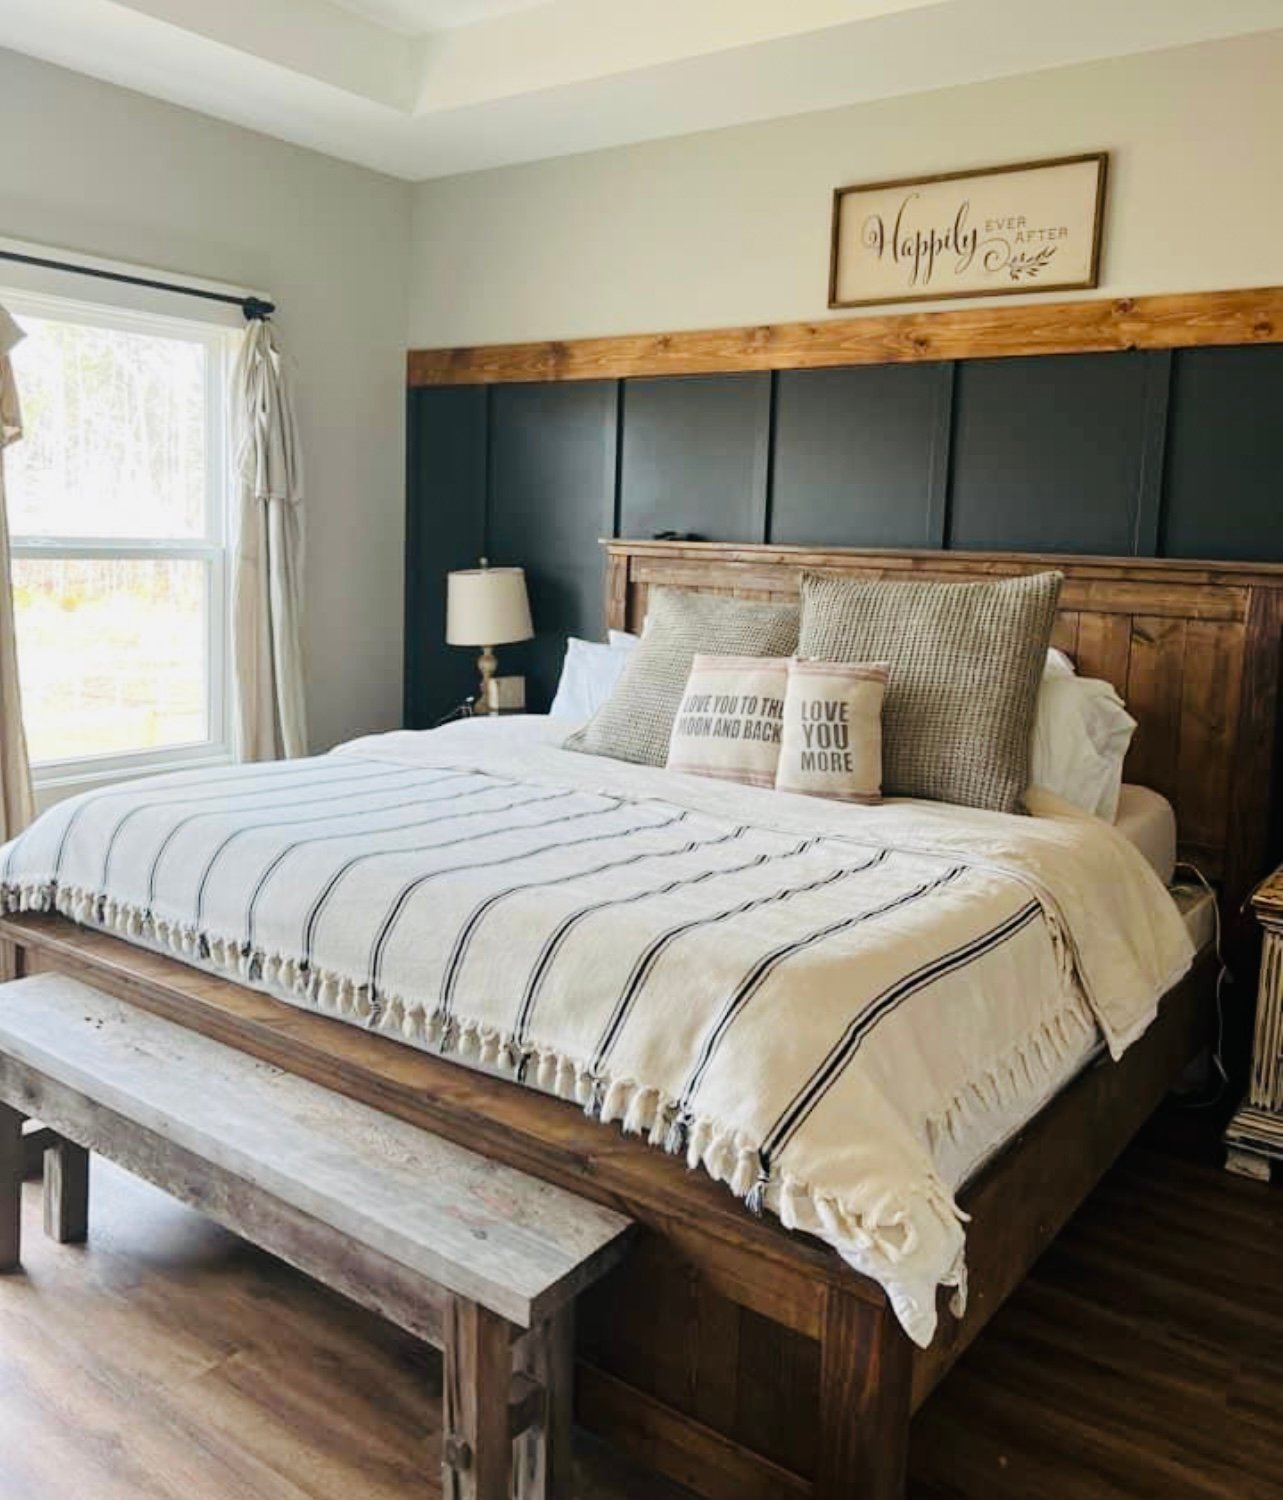
This was adapted from the Farmhouse bed plans to match our king size farmhouse bed.

Comments

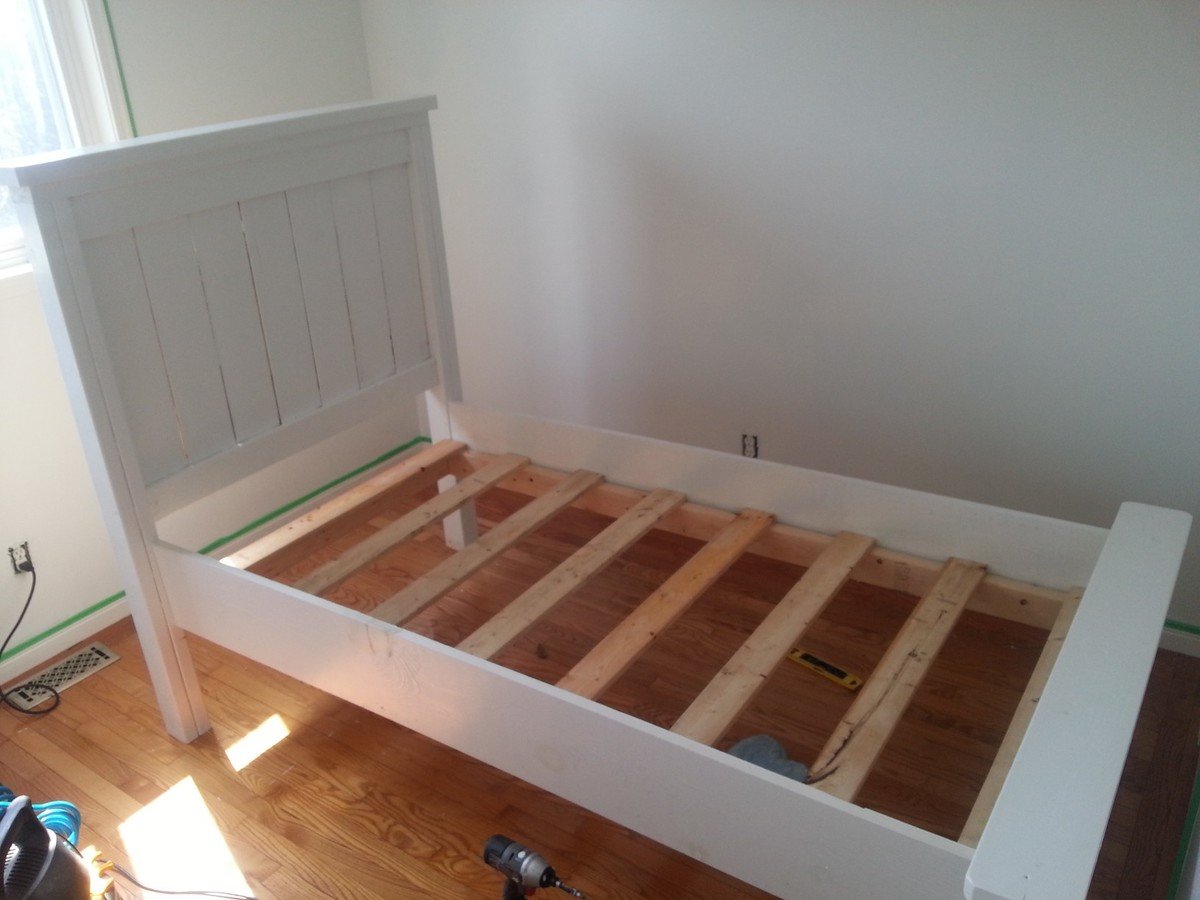
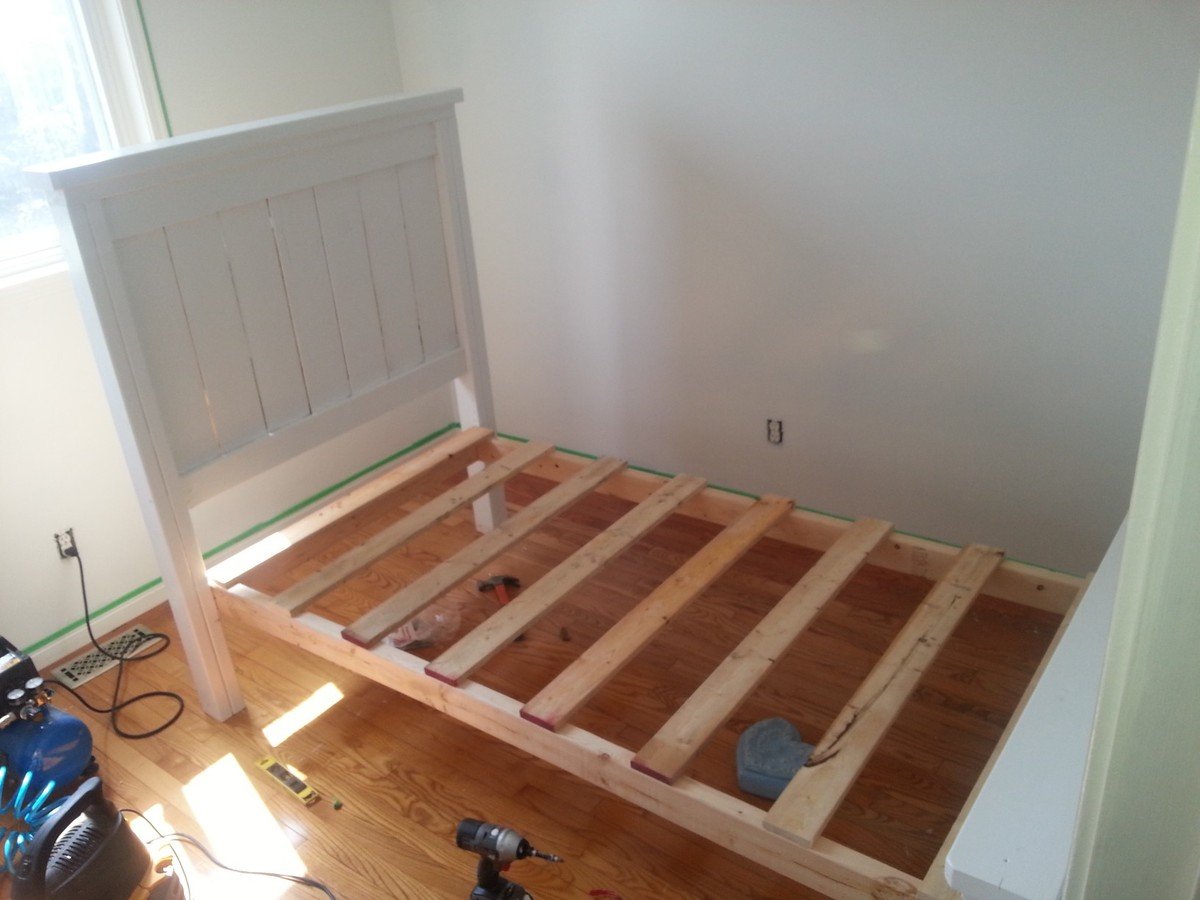
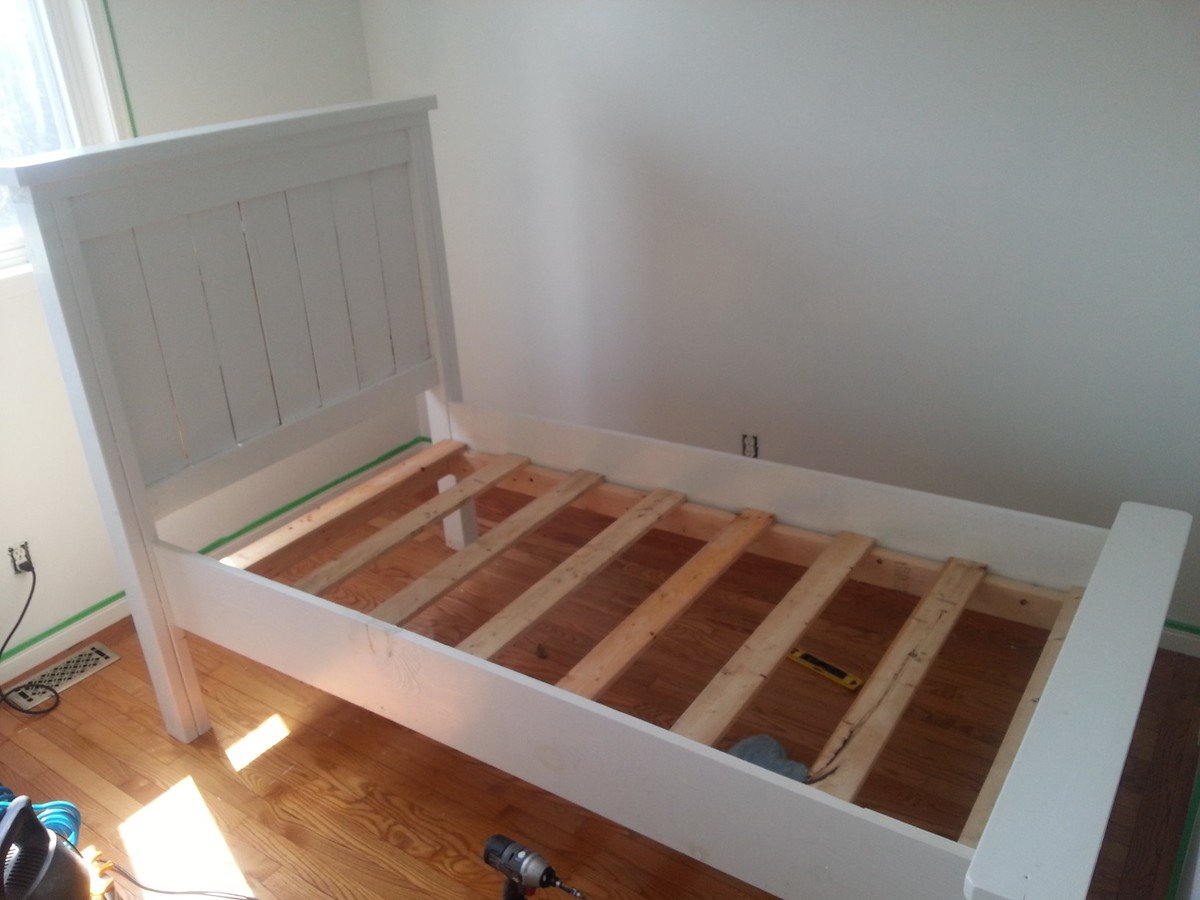
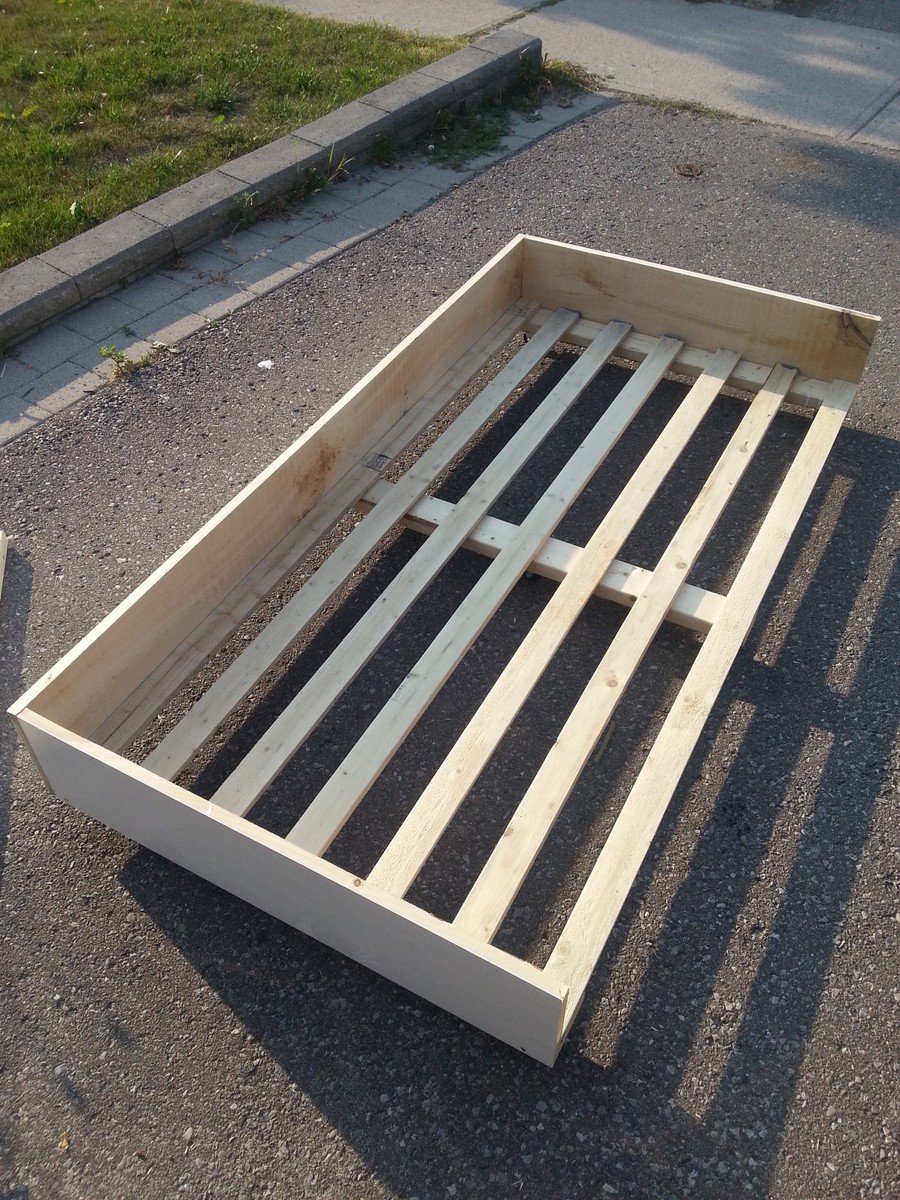
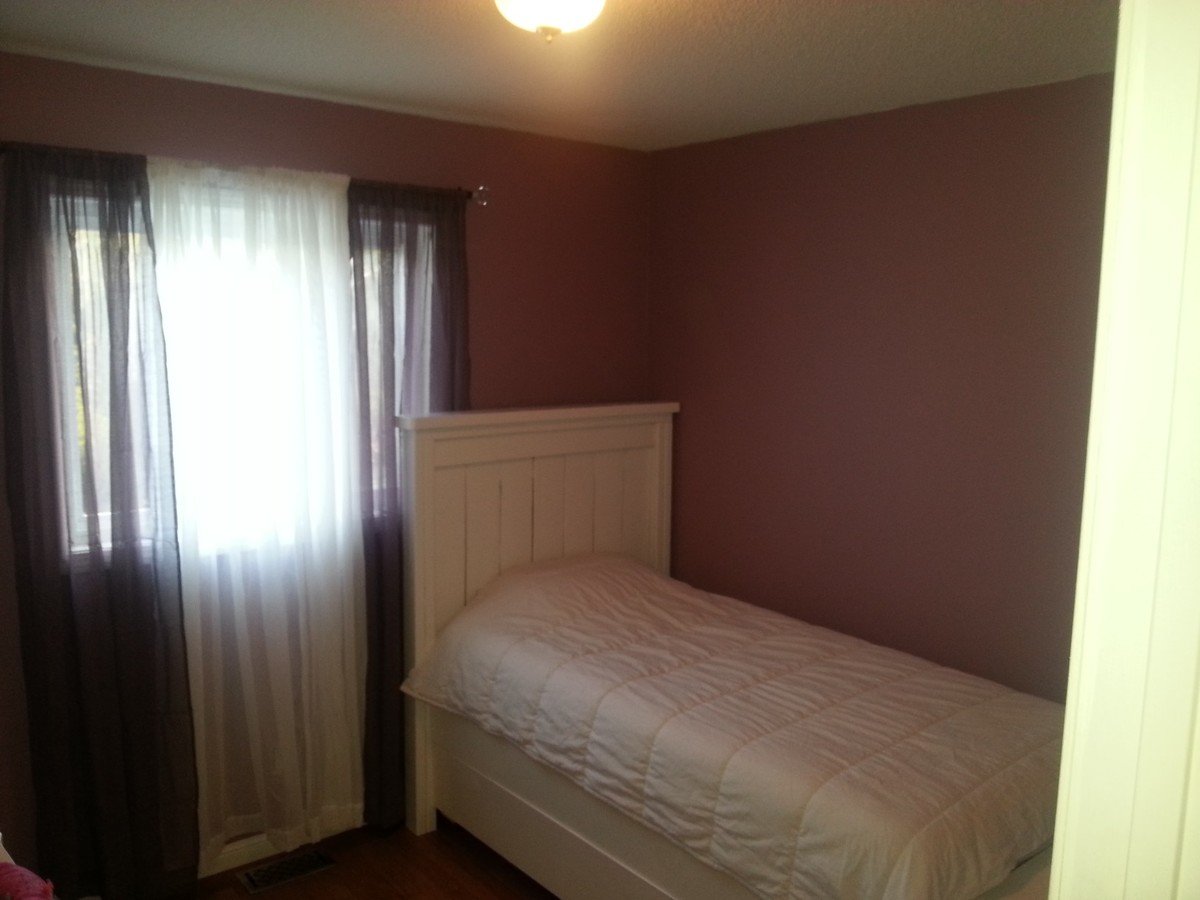
Twin Farmhouse Bed with Trundle

Took the farmhouse plan and added a Trundle.   Was initially going to build two farmhouse beds for my two girls, but thought adding the Trundle would free up some much needed floor space.  The girls love it!

Estimated Cost
$150
Estimated Time Investment
Day Project (6-9 Hours)
Finish Used
Latex paint
Recommended Skill Level
Intermediate

Rustic Farmhouse Table

This table was quite simple to build. The hard part was the sanding and the painting/staining. It is sturdy. I also like that I can sand or touch up stain if it is ever damaged. Most store bought tables don't have that ability since the table top is usually a veneer.
Step by Step Summary on my blog - http://thequaintcottage.blogspot.com

Built from Plan(s)
Estimated Cost
I think it cost under $50 with all the lumber, stain and screws. Me likey!
Estimated Time Investment
Day Project (6-9 Hours)
Finish Used
The base has a faux-aged paint finish. Top is Red Oak stain.
Recommended Skill Level
Beginner

Comments

JES

Sat, 07/09/2011 - 18:47

Your paint job for the legs is awesome. I went to your blog to look at the whole process. Great work. The colors for the legs and top go together beautifully. Wonderfjul job! :) J

The Quaint Cottage

Sun, 07/10/2011 - 17:45

Thanks! I really didn't know if all the colors were necessary or if it would turn out how I pictured it in my head, but I just posted a close up pic of the finished leg and hints of the colors show. It is as close to I could get to weathered boards without waiting years to make them.

grandeb3660

Tue, 08/30/2011 - 14:52

Would really LOVE to have the step by step for this table. Love, love, love it!

Outdoor Grill Trolley

Submitted by angiemicn on Sun, 07/24/2011 - 05:39

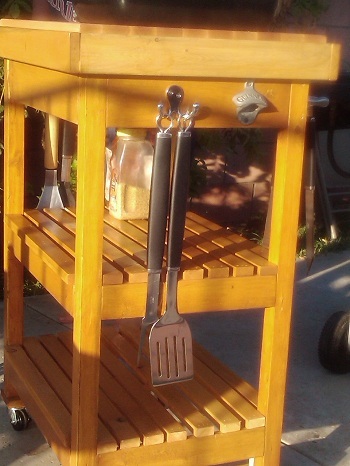
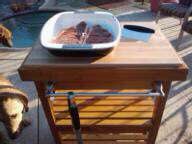
This started out as the Outdoor Multipurpose Cart....and after my hubbies evergrowing wishlist, it quickly become THE GRILL TROLLEY EXTRAVAGANZA!!!! I added the bulk and the height which he wanted, a John Boos butcher block 24x18, which is removable. Funny thing is, I also sampled Ana's Farmhouse frame to cradle the butcher block! I didn't want to put any holes in the 100 clam butcher block so it has it's own little bedframe. It's totally waterproofed and stained since it's new home will be beside the pool. I used all Kreg joints, so you could sit on this it's so sturdy. I also added 2.5 inch locking casters for the bottom. There's a stainless steel bathroom towel rack which doubles as a handle, lots of hooks for his BBQ paraphenelia, and the most important addition...The Guinness bottle opener. Totally hubby customized. And the best thing> I did it myself, setting it aside whenever a problem arose, but always coming back to it. This was originally a Papa's day present

Estimated Cost
150. (100 of it was just for the upgraded John Boos outdoor reversible butcher block! well worth it!)
Estimated Time Investment
Week Long Project (20 Hours or More)
Finish Used
Thompson's Waterseal, Minwax Puritan Pine, 2 coats, but wiped it off very quickly, didn't want it too dark. I didn't want a uniform appearance, so I wet it down, heavier in some areas than others, with water, wiped the stain on, and was taking it off with the other hand.
Recommended Skill Level
Intermediate

Comments

Simple Teenager Desk

Submitted by vendo on Thu, 08/04/2022 - 20:33

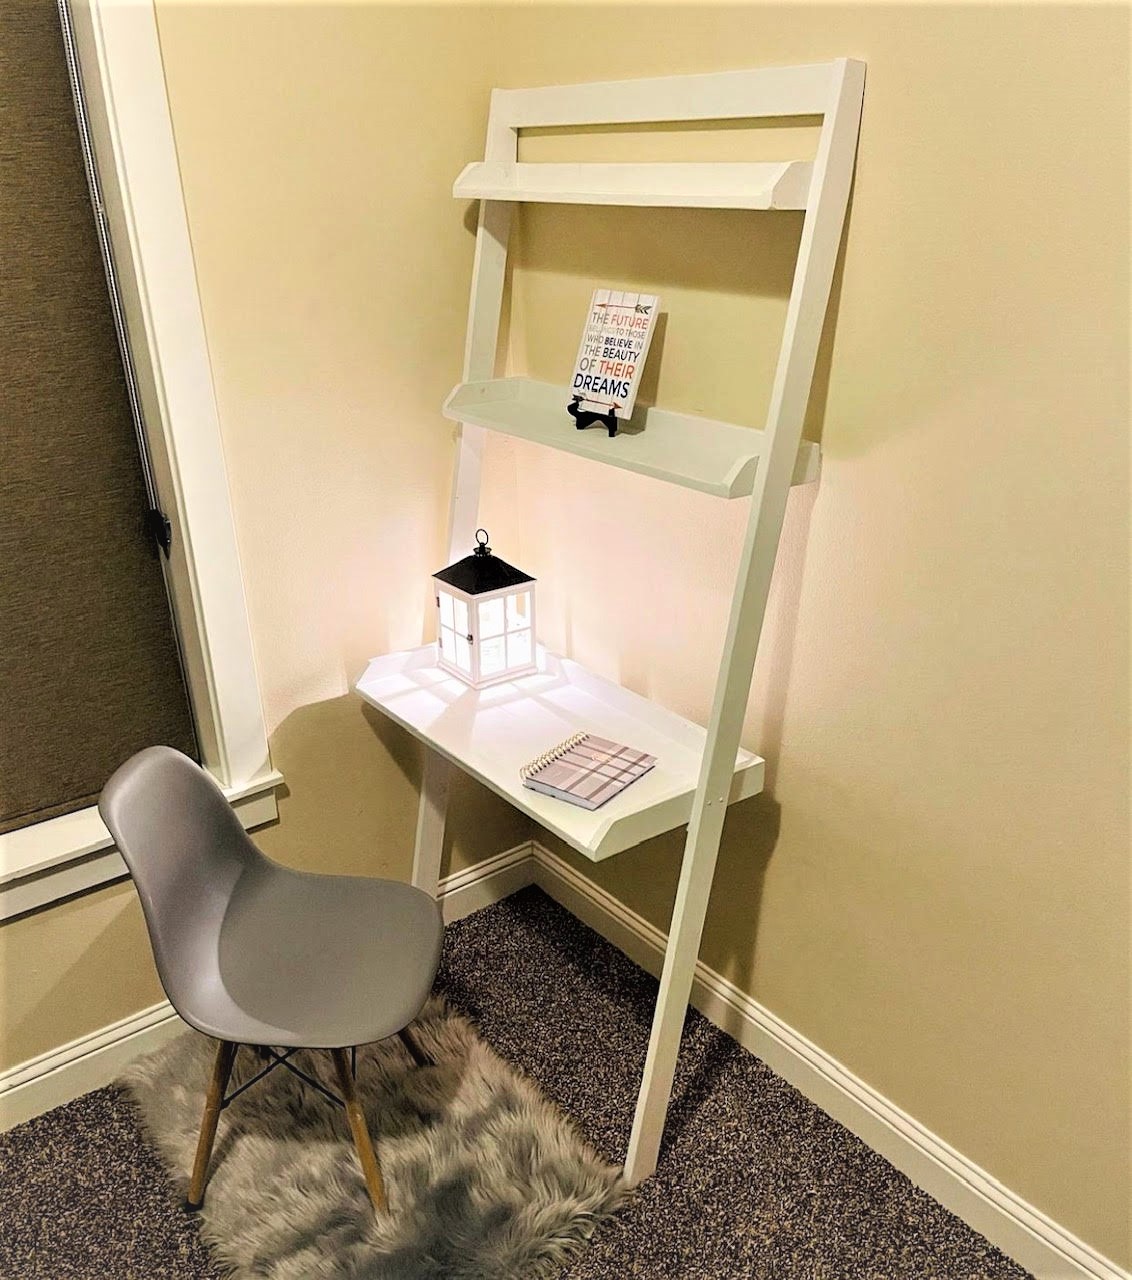
Loved this simple desk project for my teenage daughter. She has spent many hours here with her school work. My favorite part is that it only took a couple of hours to build, is lightweight and doesn't take up much room. I think it would be perfect for a dorm room or small space. Thanks for the great plans Ana!

Built from Plan(s)

DIY Wall Mounted Concealed Jewellery Organizer

The idea for this project (and the final image that you see) came from the Whiskey Drink Studio ! Cheers to them for the original design. 

So, this is a really fun project that has to solve the following problems: 

  • Be a handy place to store jewellery
  • Feature a custom layout / organization system 
  • Be concealed, meaning it shouldn't be directly obvious it's a container, or if so that it contains jewellery
  • Be mounted on the wall (just because where else would you really put it)
  • The cover should be a painting on a canvas or another form of artwork. I mean not really SHOULD, but this was the original idea, you can modify it for your purposes
  • Should be styled to match the decor and interior design

Great, lets start with the:

Materials 

Materials for the concealed jewellery organiser

The sizes are entirely up to you, but if you're going to be using a canvas as a cover, you should first pick the size of your artwork and then scale everything else to size. 

They go as follow: 

1 x A3 Canvas Painting (420mm x 100mm)

1 x Same size hardboard cover (420mm x 100mm)

2 x Wooden Boards (420mm x 100mm x 50mm)

2 x Wooden Boards (287mm x 100mm x 50mm)

1 x Bundle of nails 

1 x Bundle of screws

1 x Bundle of screw hooks

1 x Magnetic catch set

3 x Standard cabinet hinges or 1 x Piano Hinge

This a very very beginner level build, so we're using the easiest techniques possible. Advanced users, who want to make the strongest box possible, can use alternative materials and methods. 


Step 1: Assemble the box
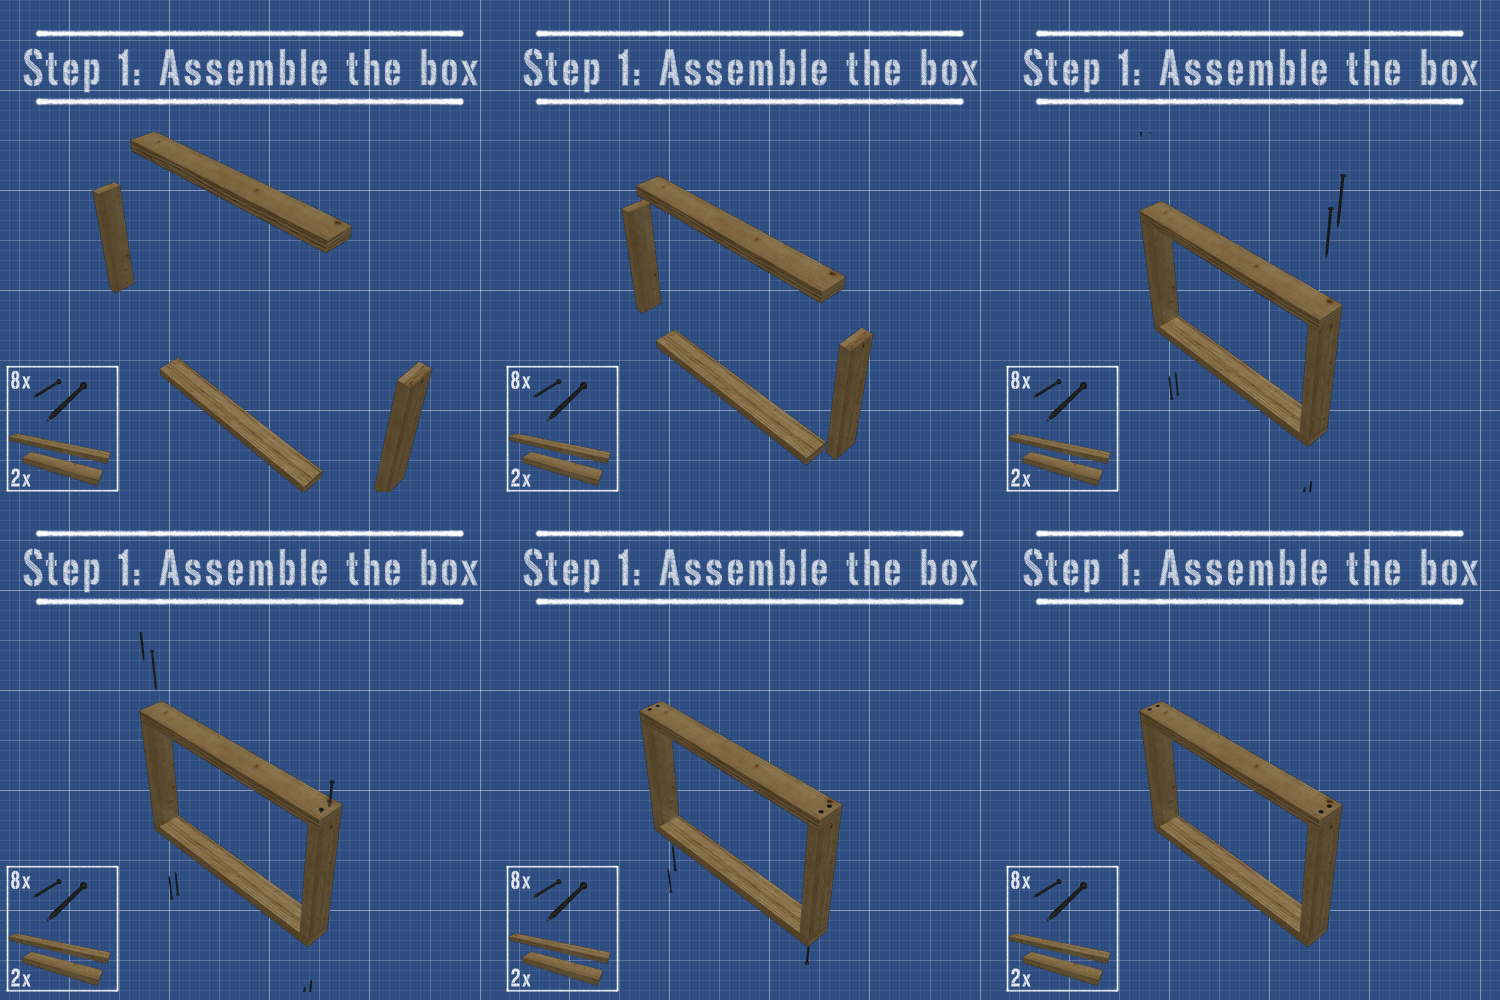
step 1 assemble the box - start with the frame

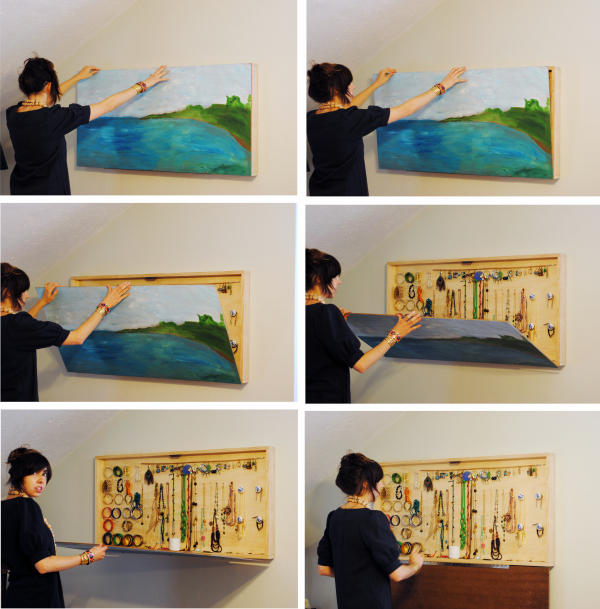
So, very straightforward, just start building the box, starting from the frame. In the GIF above you see how we put the shorter boards in between the longer ones and just nailed them together. 

If you want this to be extra strong, you can use corner braces on the inside. 
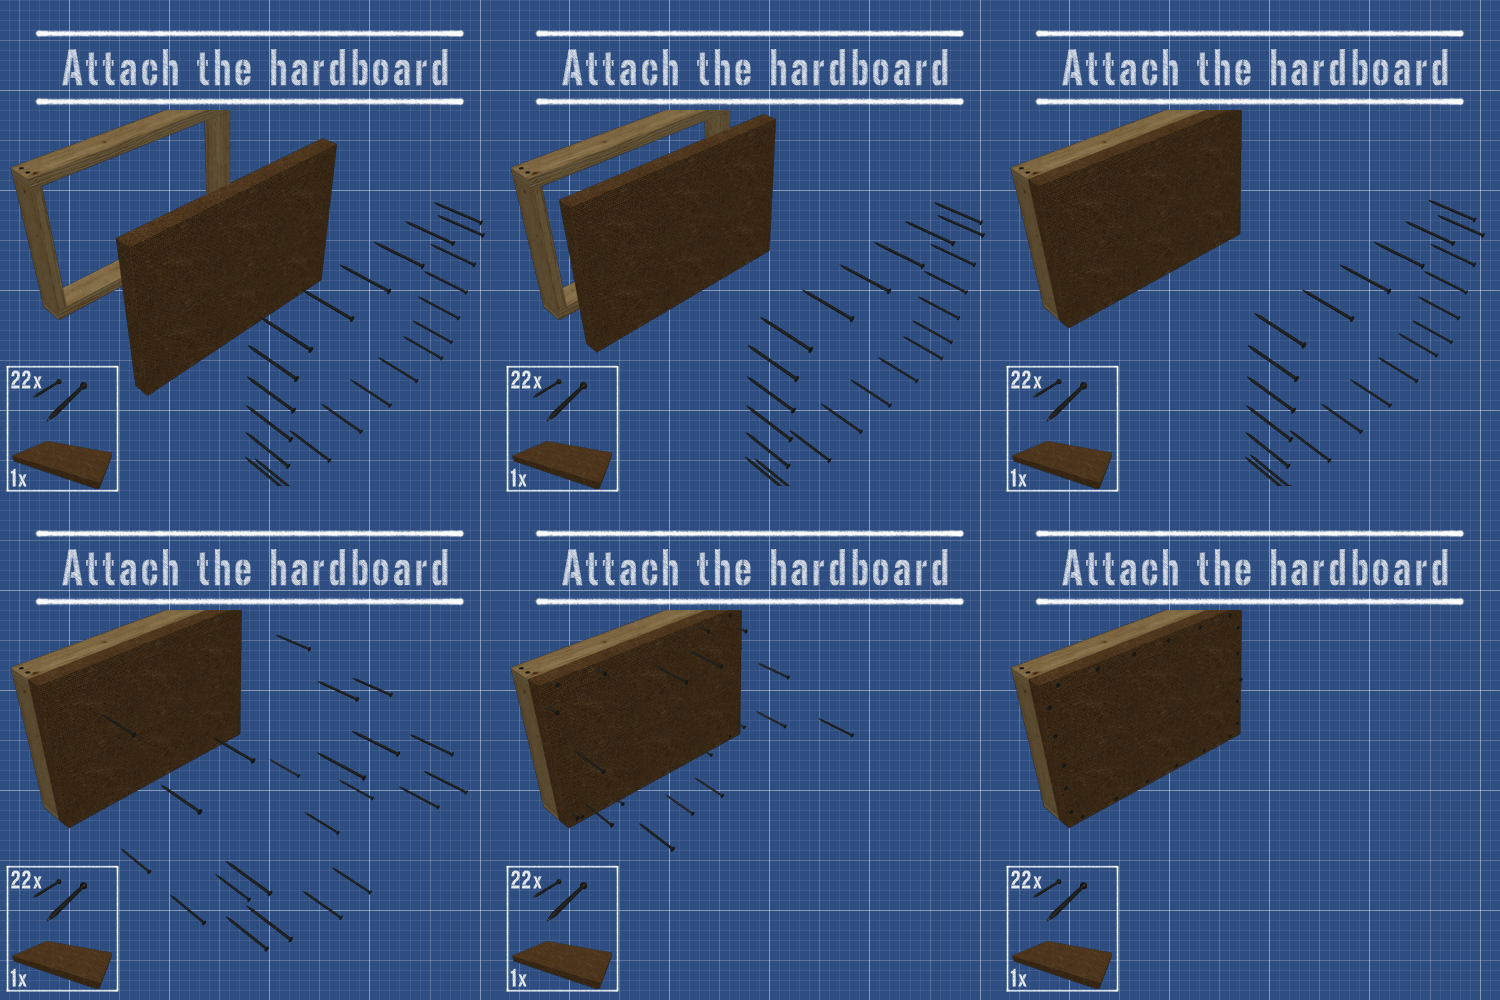
attach the hardboard

After the frame is ready, flip it on it's face and nail in the hardboard. The hardboard should be thick enough so it holds the screw hooks and your jewellery. It should also be pretty sturdy and well attached to the frame so use plenty of nails (well, don't go overboard).

Step 2: Attach the cover

step 2, attach the cover

Take your canvas (or whatever other cover you picked) and mark equidistant locations on the lower back side. Take your measurements and mark the same locations on the bottom of the frame. Put the two together and see if they match. 

Now screw the hinges in the cover and then, into the frame. 

At this point the door should open and close, lining up perfectly. 

Step 3: Screw the hooks

step 3 add the hooks

The next step is to think about the internal layout. Using a pencil plan and divide your space to represent your needs for storage. Then simply screw the hooks in. 

Step 4: Attach the magnet catches

step 4: magnet catches

The last part is attaching the magnet catches. They will hold the cover tighly close, with no accidental falls and issues. This can be substituted for a hydraulic arm, but we chose the simplest options. 


Special thanks to Rachel at Whiskey Drink Studio for the inspiration ! 

Check out the full tutorial over at my blog - DIY Wall Mounted Jewellery Organiser
Estimated Time Investment
Day Project (6-9 Hours)
Recommended Skill Level
Beginner
Comments

American Girl Dollhouse with Farmhouse Bed, Bunk Bed, and Furniture

Submitted by Anonymous (not verified) on Tue, 01/08/2019 - 08:46

I've been building Ana White American Girl doll furniture for my two daughters for the last three years, culminating with my biggest build of all - a modified version of Ana's dollhouse.
My wife kept telling me it would end up being huge, and she was right.  The great news is that it doubles as storage when the girls aren't playing!  2 Bedrooms, kitchen, living room, bathroom, and upstairs bonus room for dance and gymnastics.  78" tall x 76" wide, mounted to the wall studs for safety.   Lots of joy in our home on Christmas day.  Thanks Ana!

Estimated Cost
$300
Estimated Time Investment
Week Long Project (20 Hours or More)
Recommended Skill Level
Intermediate

Comments

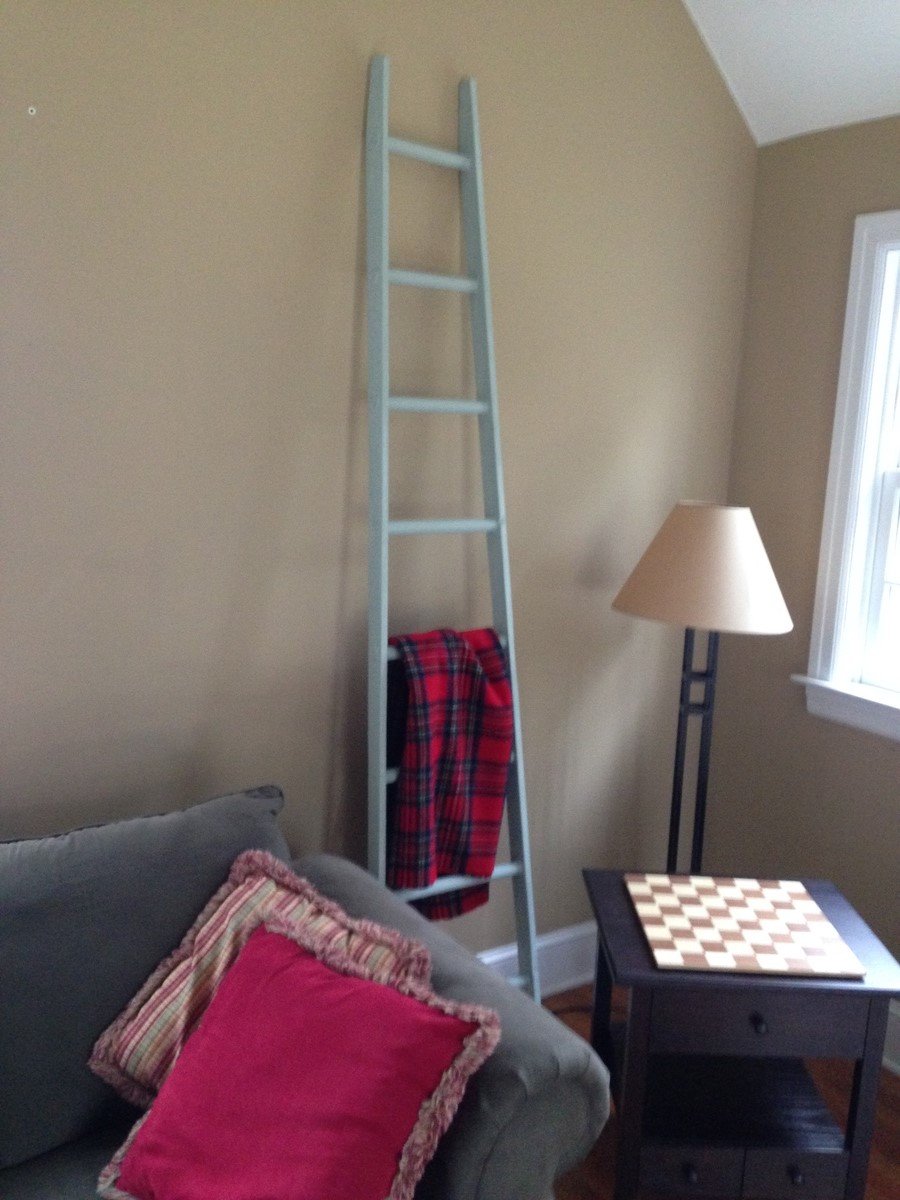
Leaning orchard ladder

Submitted by Anonymous (not verified) on Sat, 01/02/2016 - 04:43

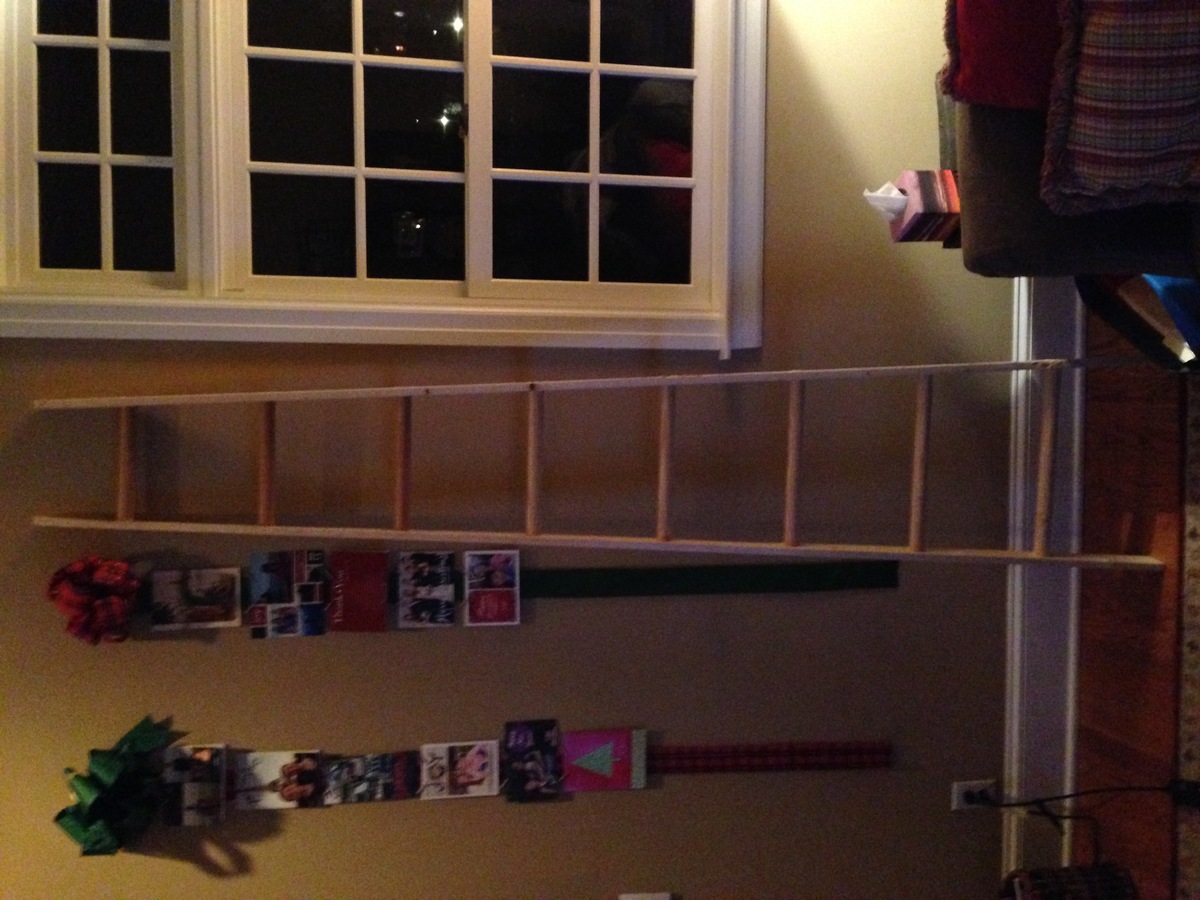
I wanted something quick and easy to display or hold magazines or blankets. I used two 3x5x8, cut the bottom at 5 degrees and the top that leans against the wall at 85 degrees. You don't have to do this, but I liked the look. Last, I drilled 8 holes at 1 1/4" diameter to fit 1 1/4" dowel cut in inch increments: 18, 17, 16, 15, 14, 13, 12, 11. I used a brad nailer to hold the dowels in place from behind.

Estimated Cost
$30.00 - the dowels are the most expensive.
Estimated Time Investment
An Hour or Two (0-2 Hours)
Finish Used
Old flat wall green/blue.
Recommended Skill Level
Starter Project

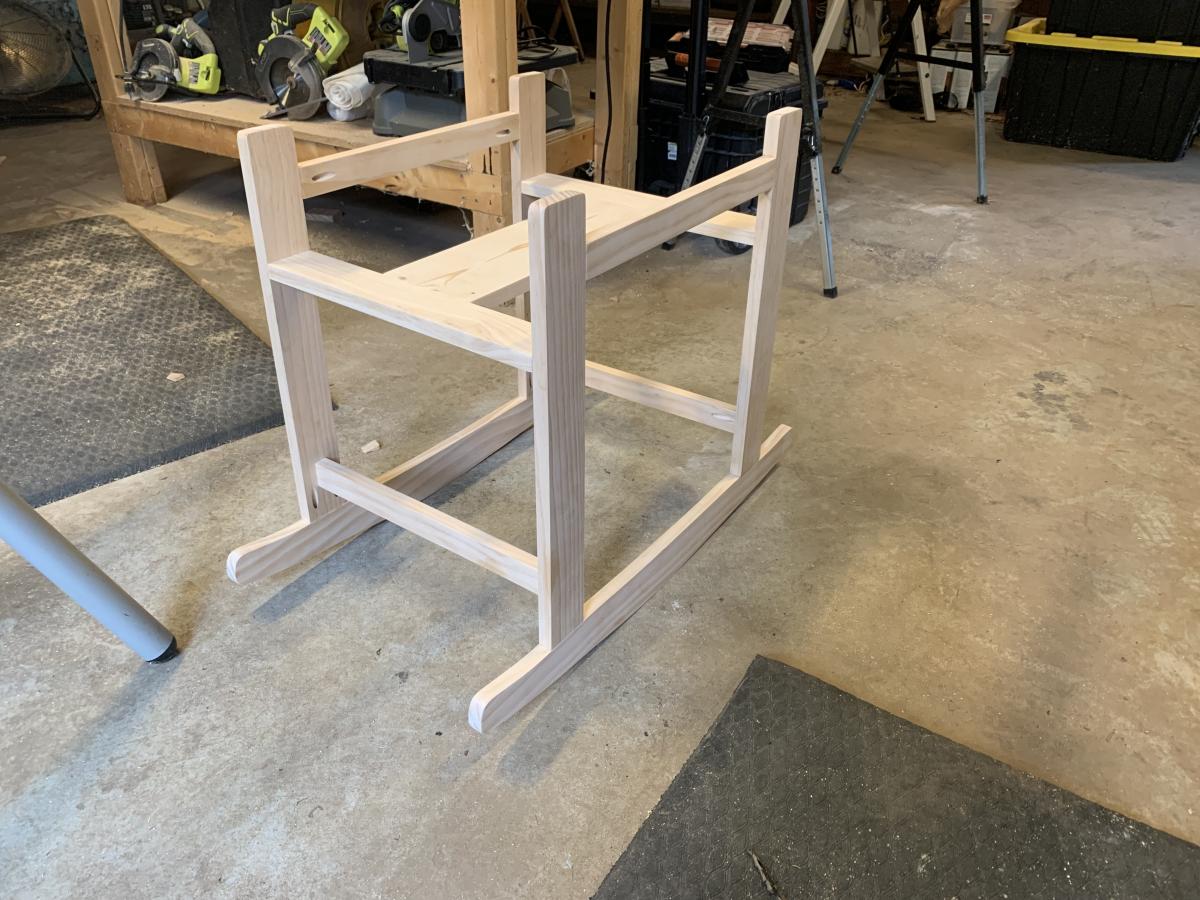
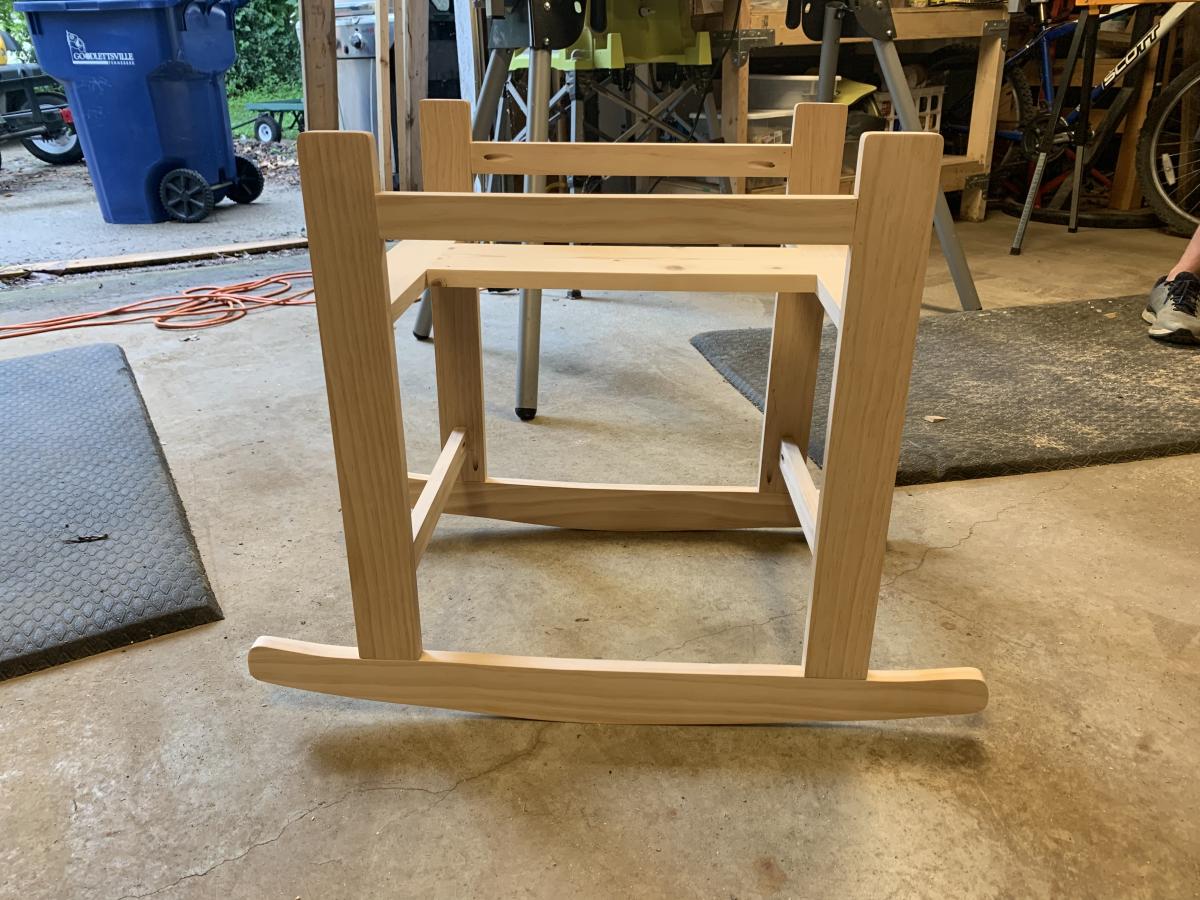
Moses Basket Stand

Submitted by Tbacks on Sun, 07/07/2019 - 19:34

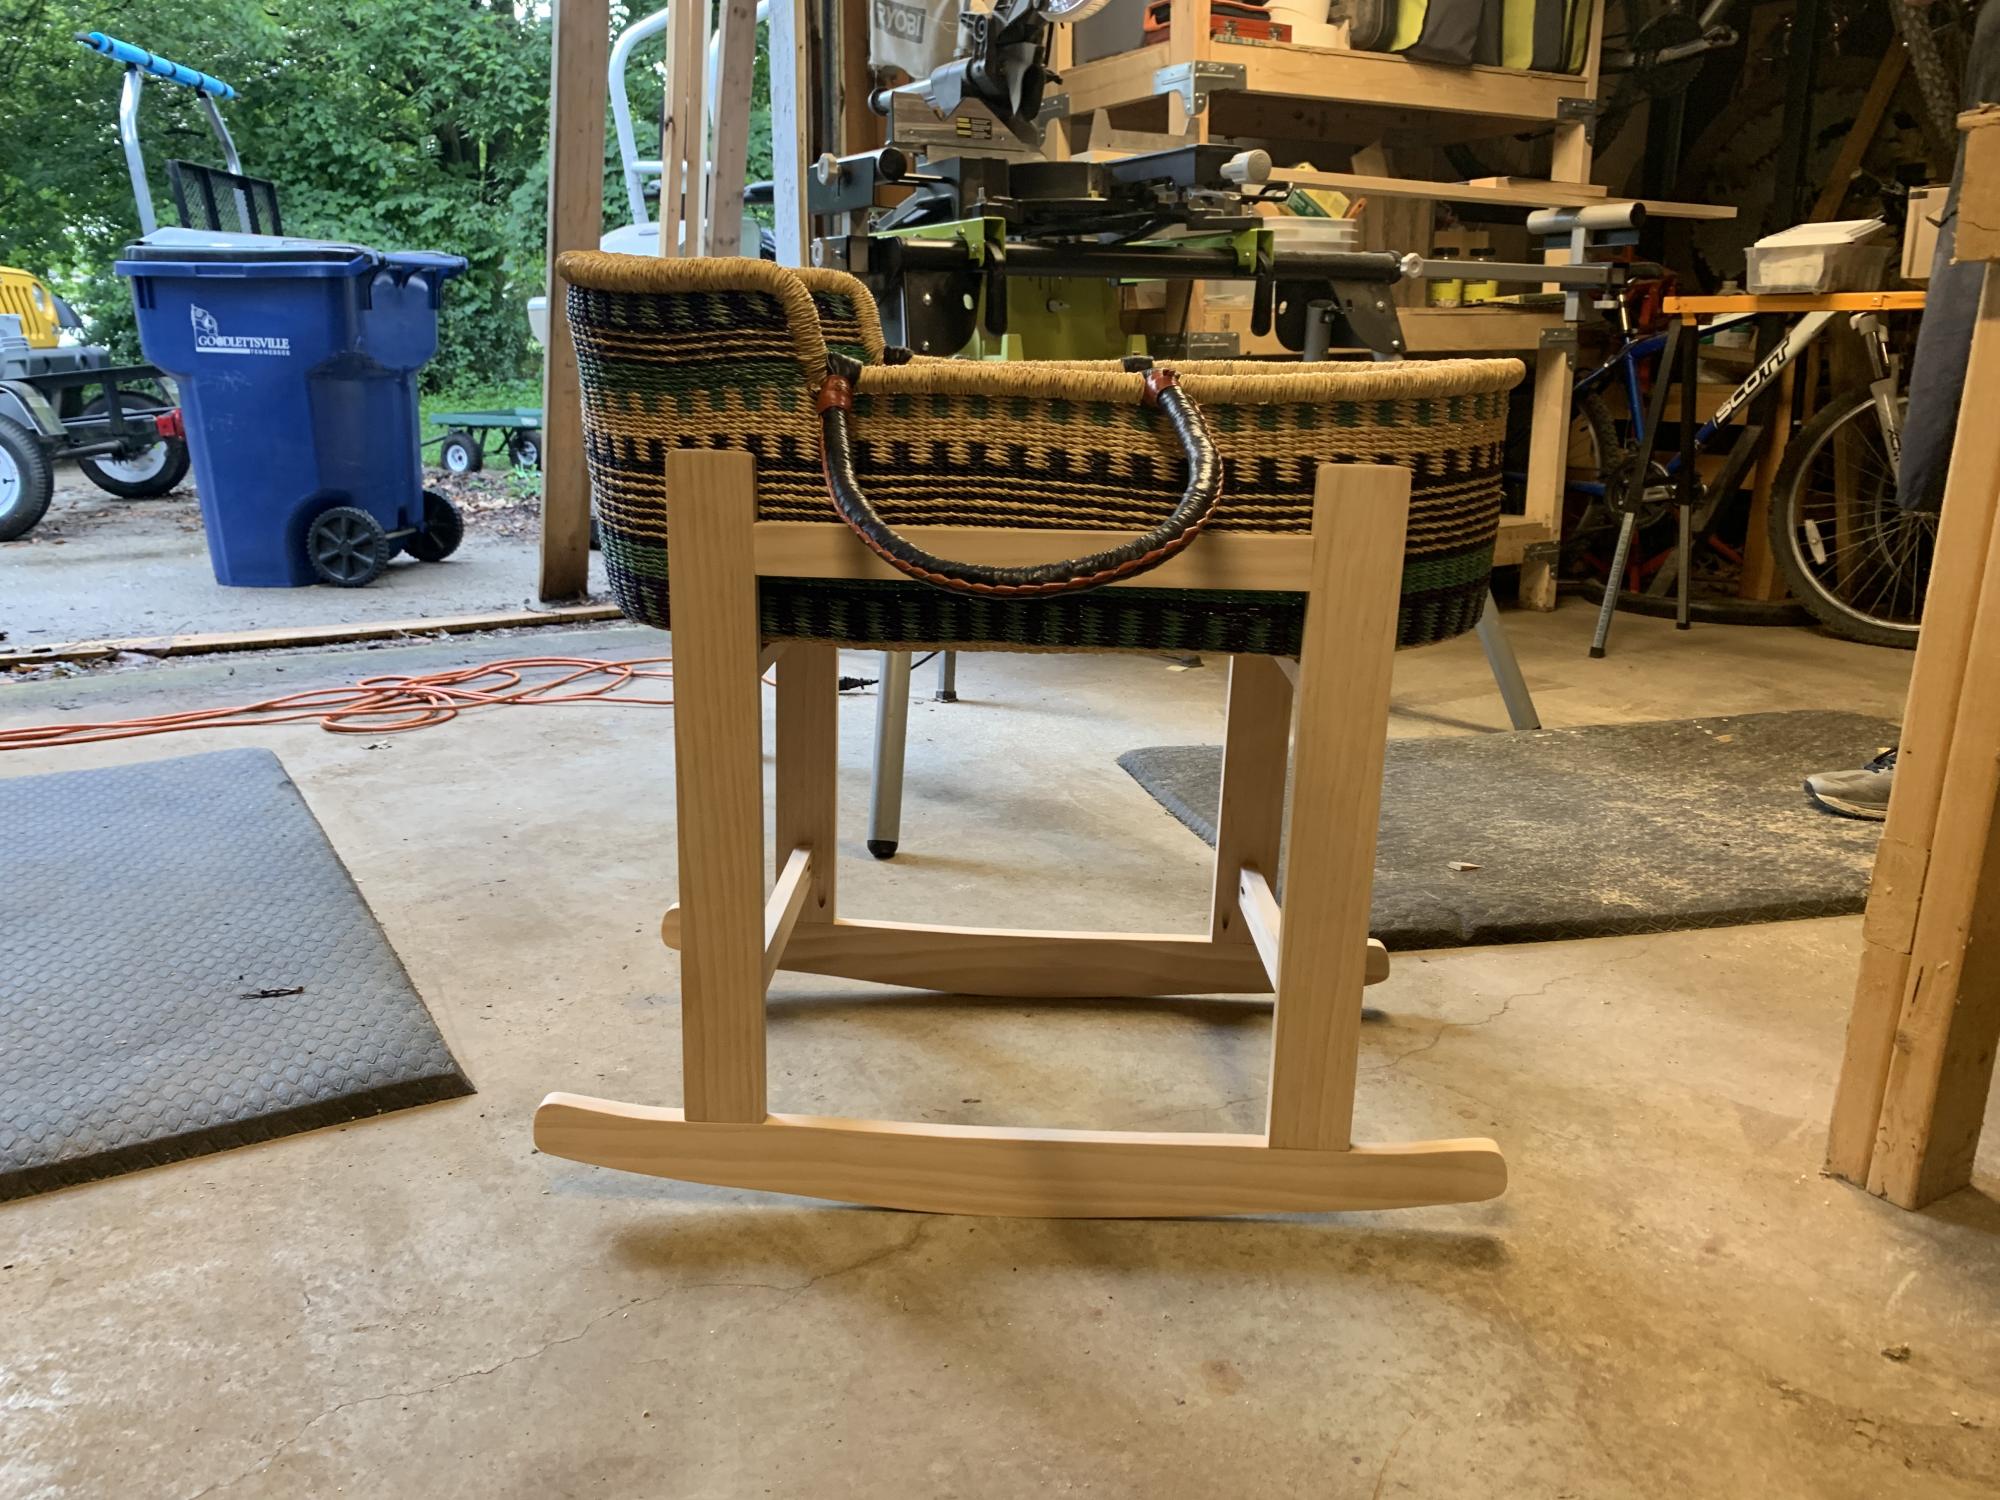
Thank you Anna!!  We have friends who are adopting and they were given a beautiful mosses basket.  Your pattern allowed me to make this gift for them.  

The rockers were a bit complicated but I pulled it off.  

Built from Plan(s)
Estimated Cost
$85
Estimated Time Investment
Day Project (6-9 Hours)
Finish Used
Natural with semigloss clear coat.
Recommended Skill Level
Intermediate

Comments

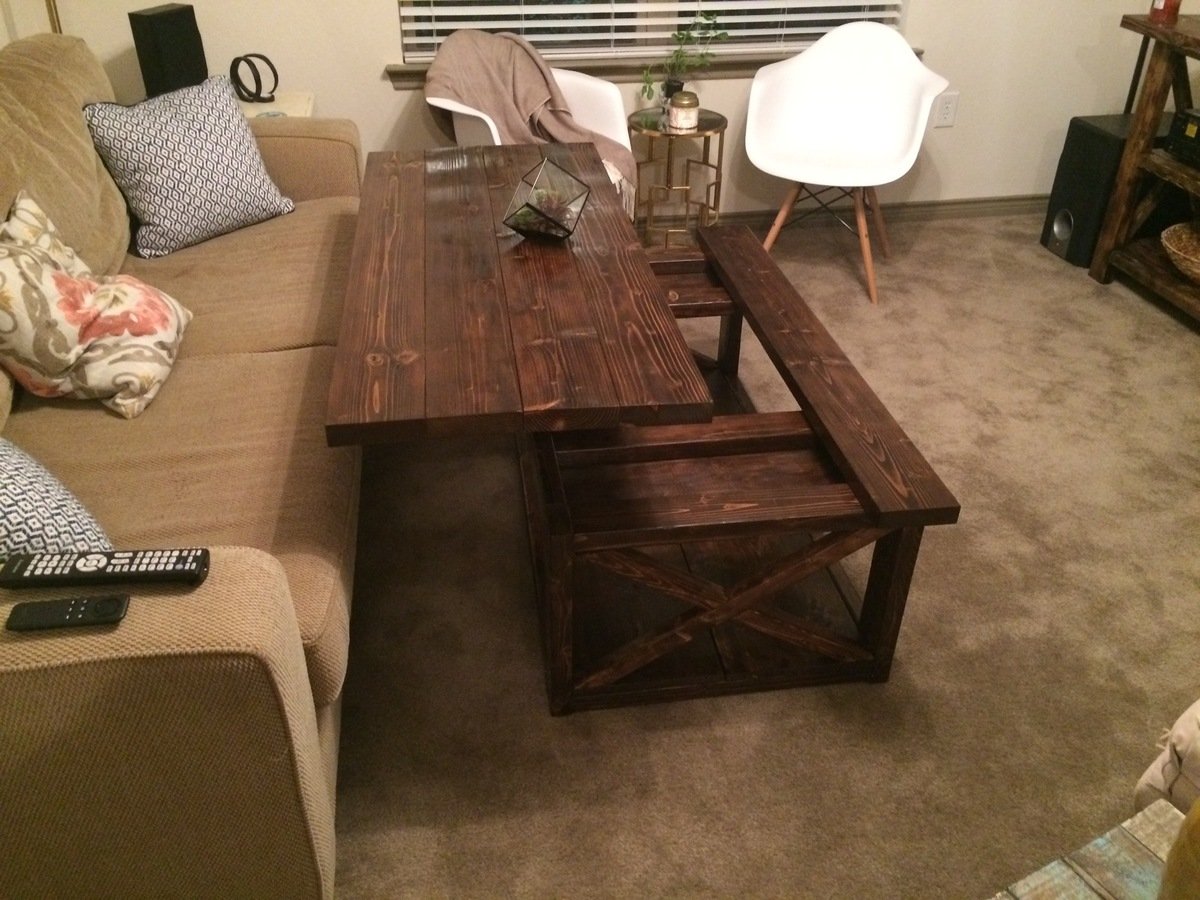
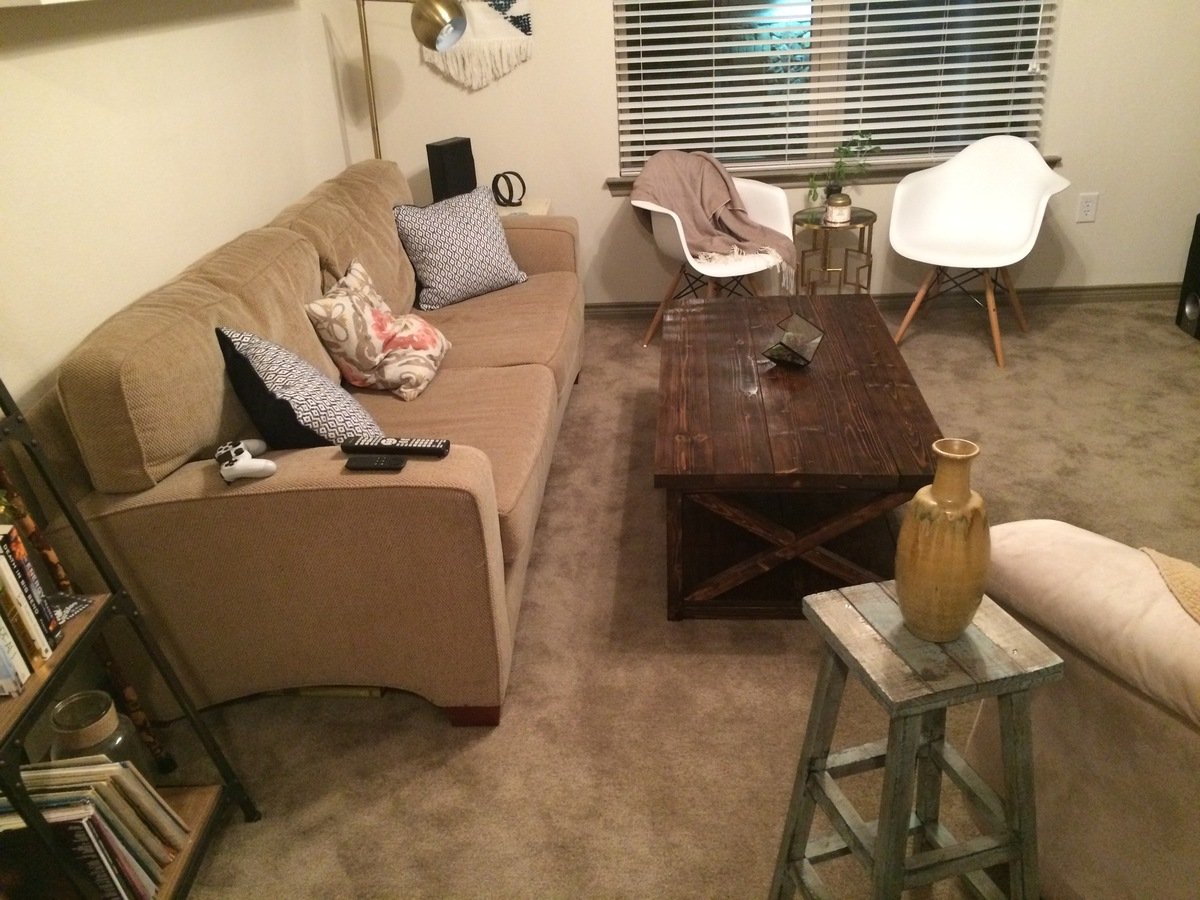
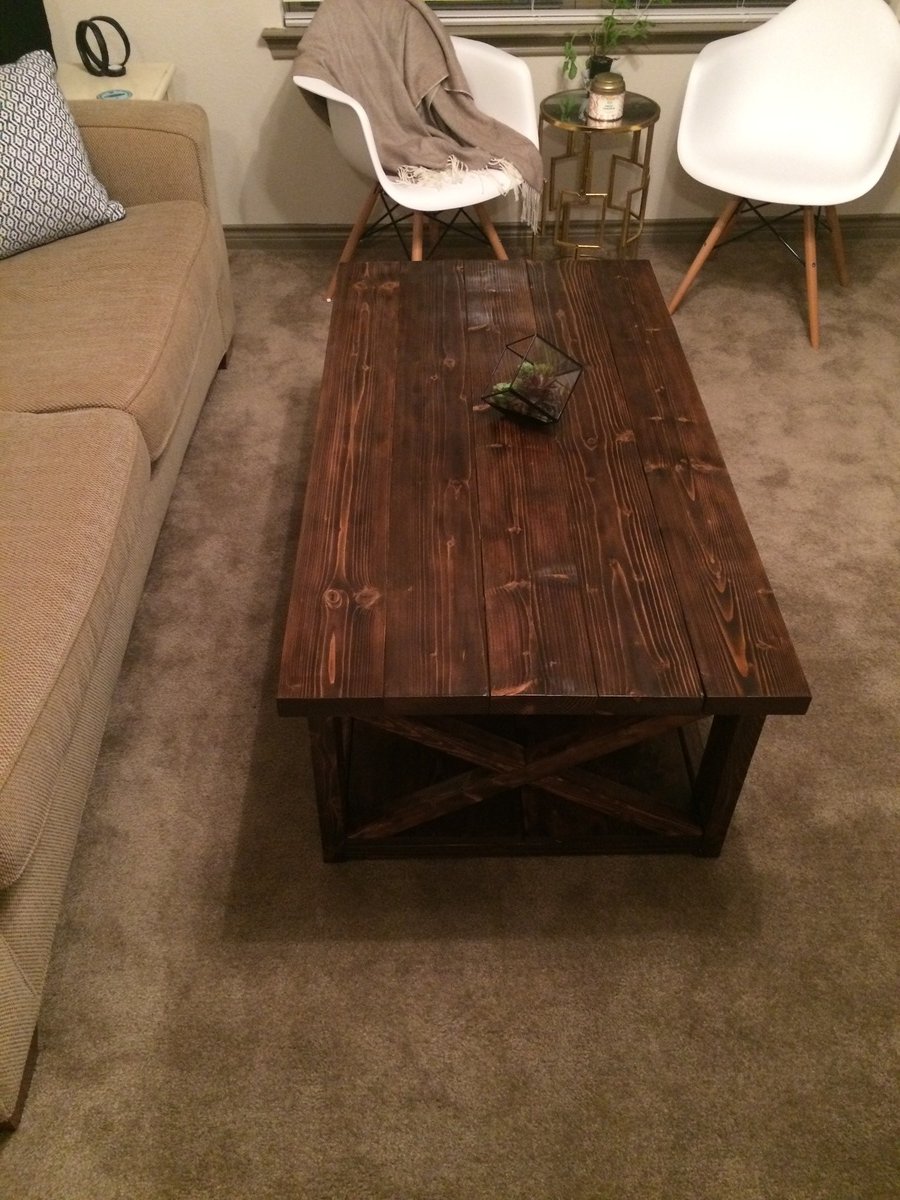
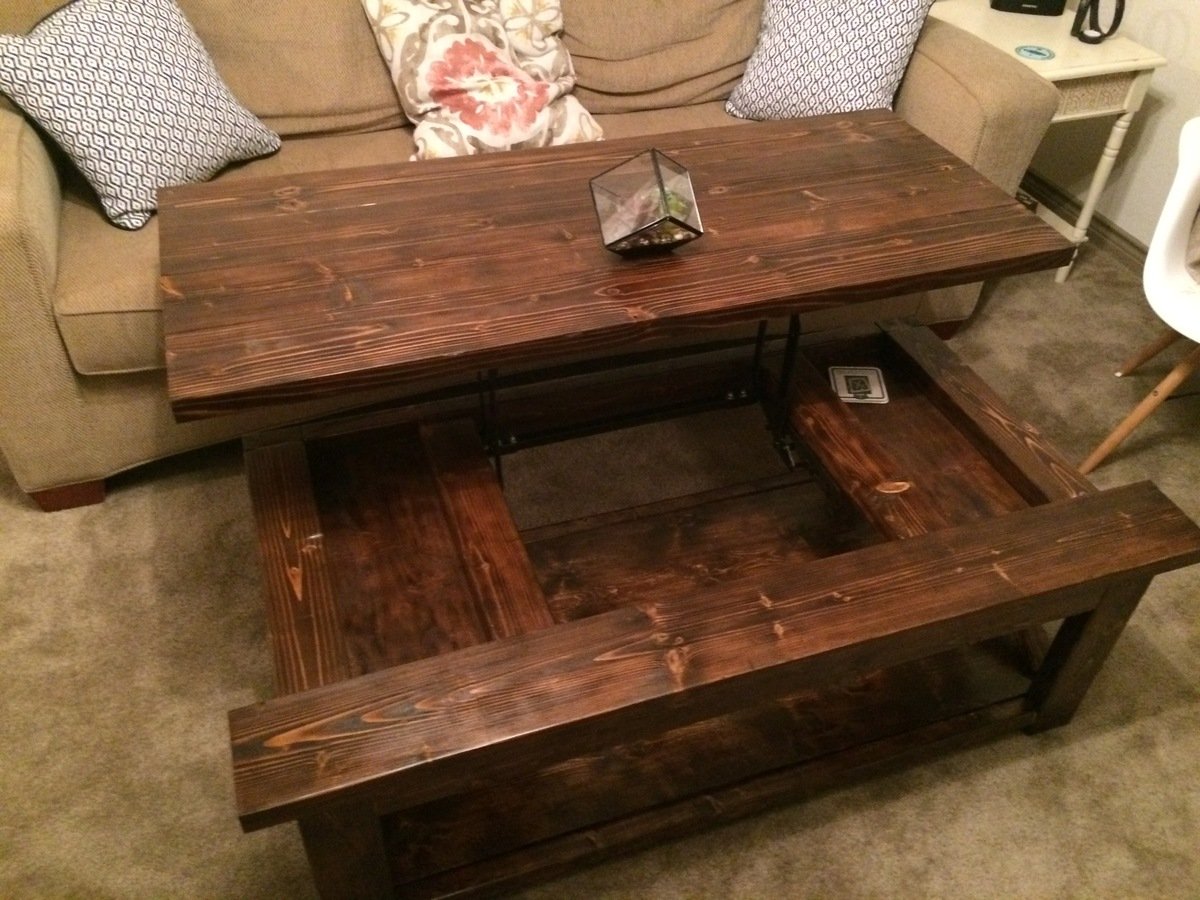
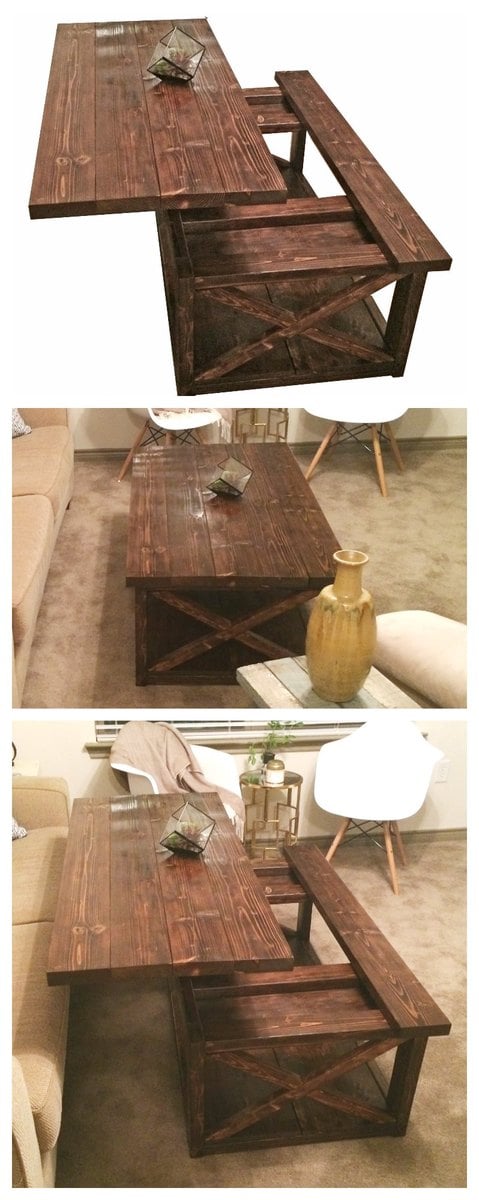
DIY Lift Top Coffee Table - Rustic X Style

Submitted by Anonymous (not verified) on Thu, 02/04/2016 - 18:55

Just wanted to do something a little more original.


Built from Plan(s)
Estimated Cost
$230
Estimated Time Investment
Week Long Project (20 Hours or More)
Recommended Skill Level
Intermediate

Comments

kitteny

Tue, 02/07/2017 - 06:33

Could you please provide the plans for this table? Looks perfect for what I need. Thanks!

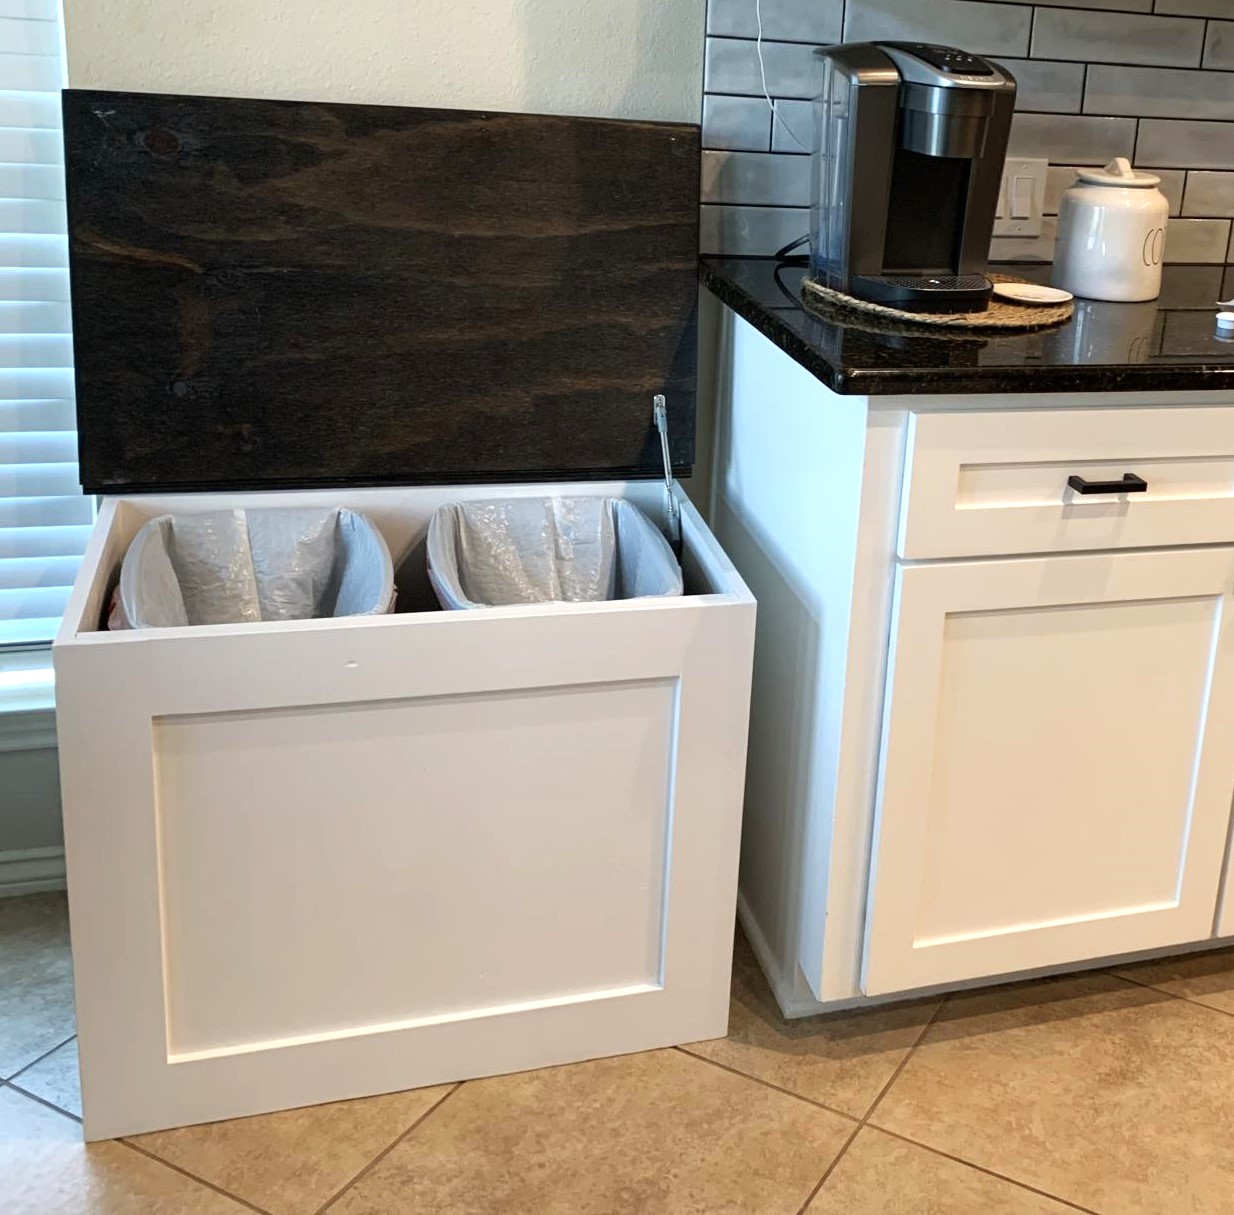
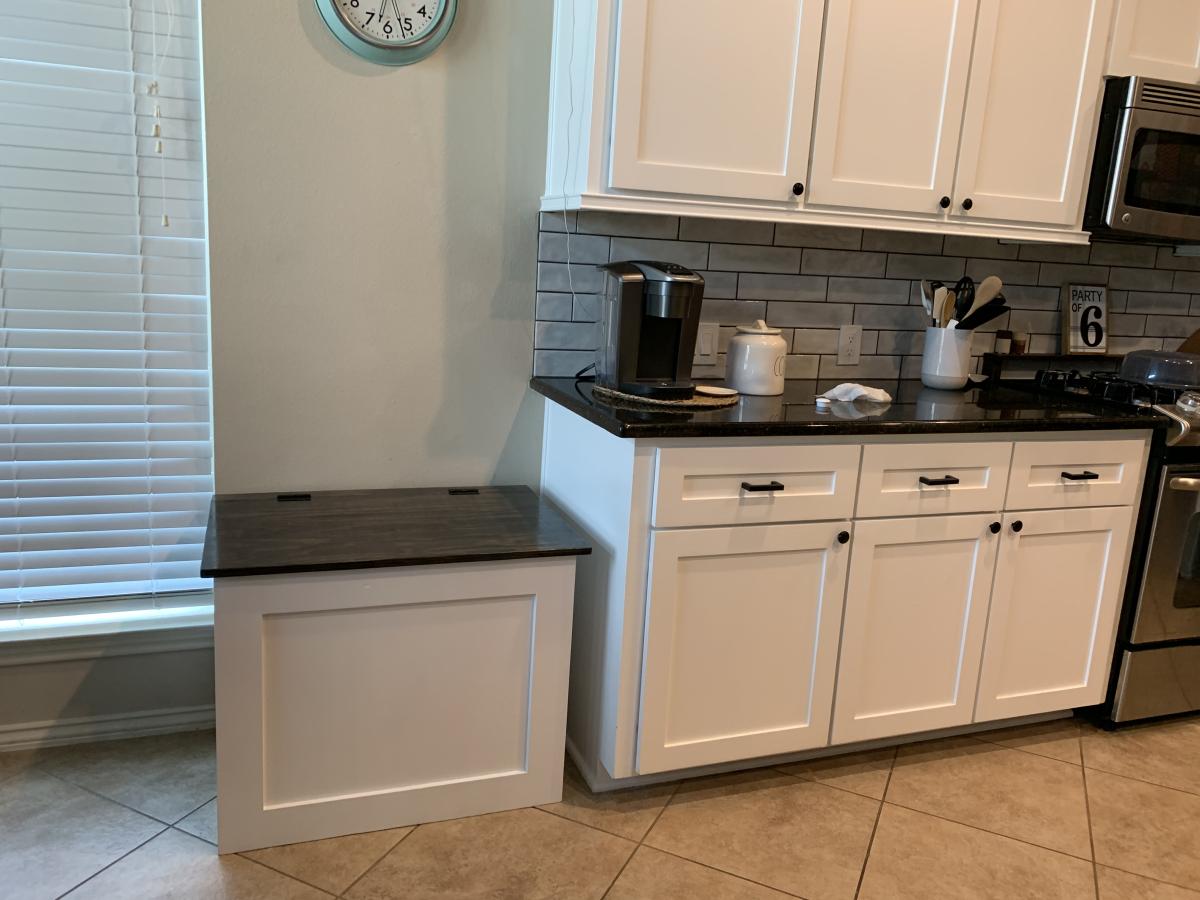
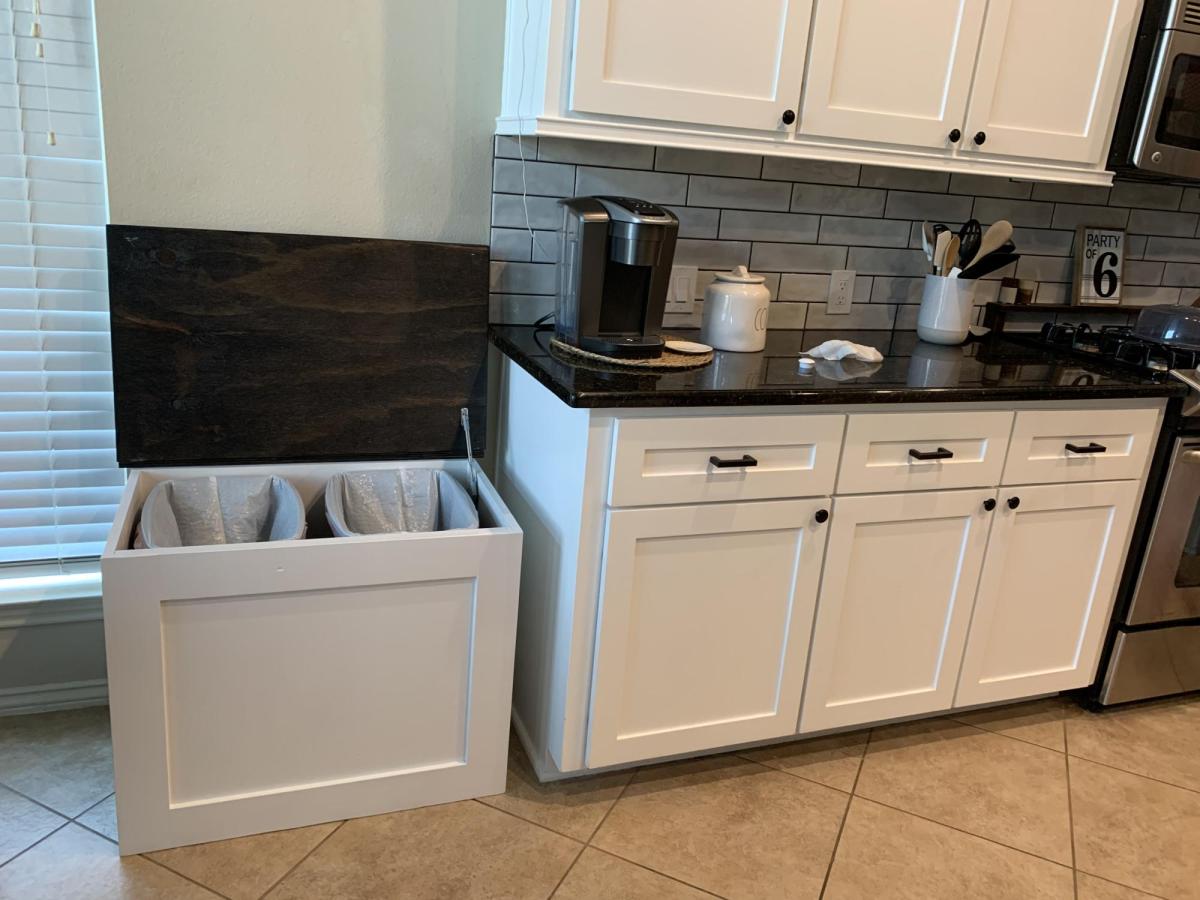
Double trash can cabinet

Submitted by jenklase on Thu, 05/04/2023 - 15:43

Double trash can cabinet made of plywood. Included soft close hinge. Holds 2 13 gallon cans.

Comments

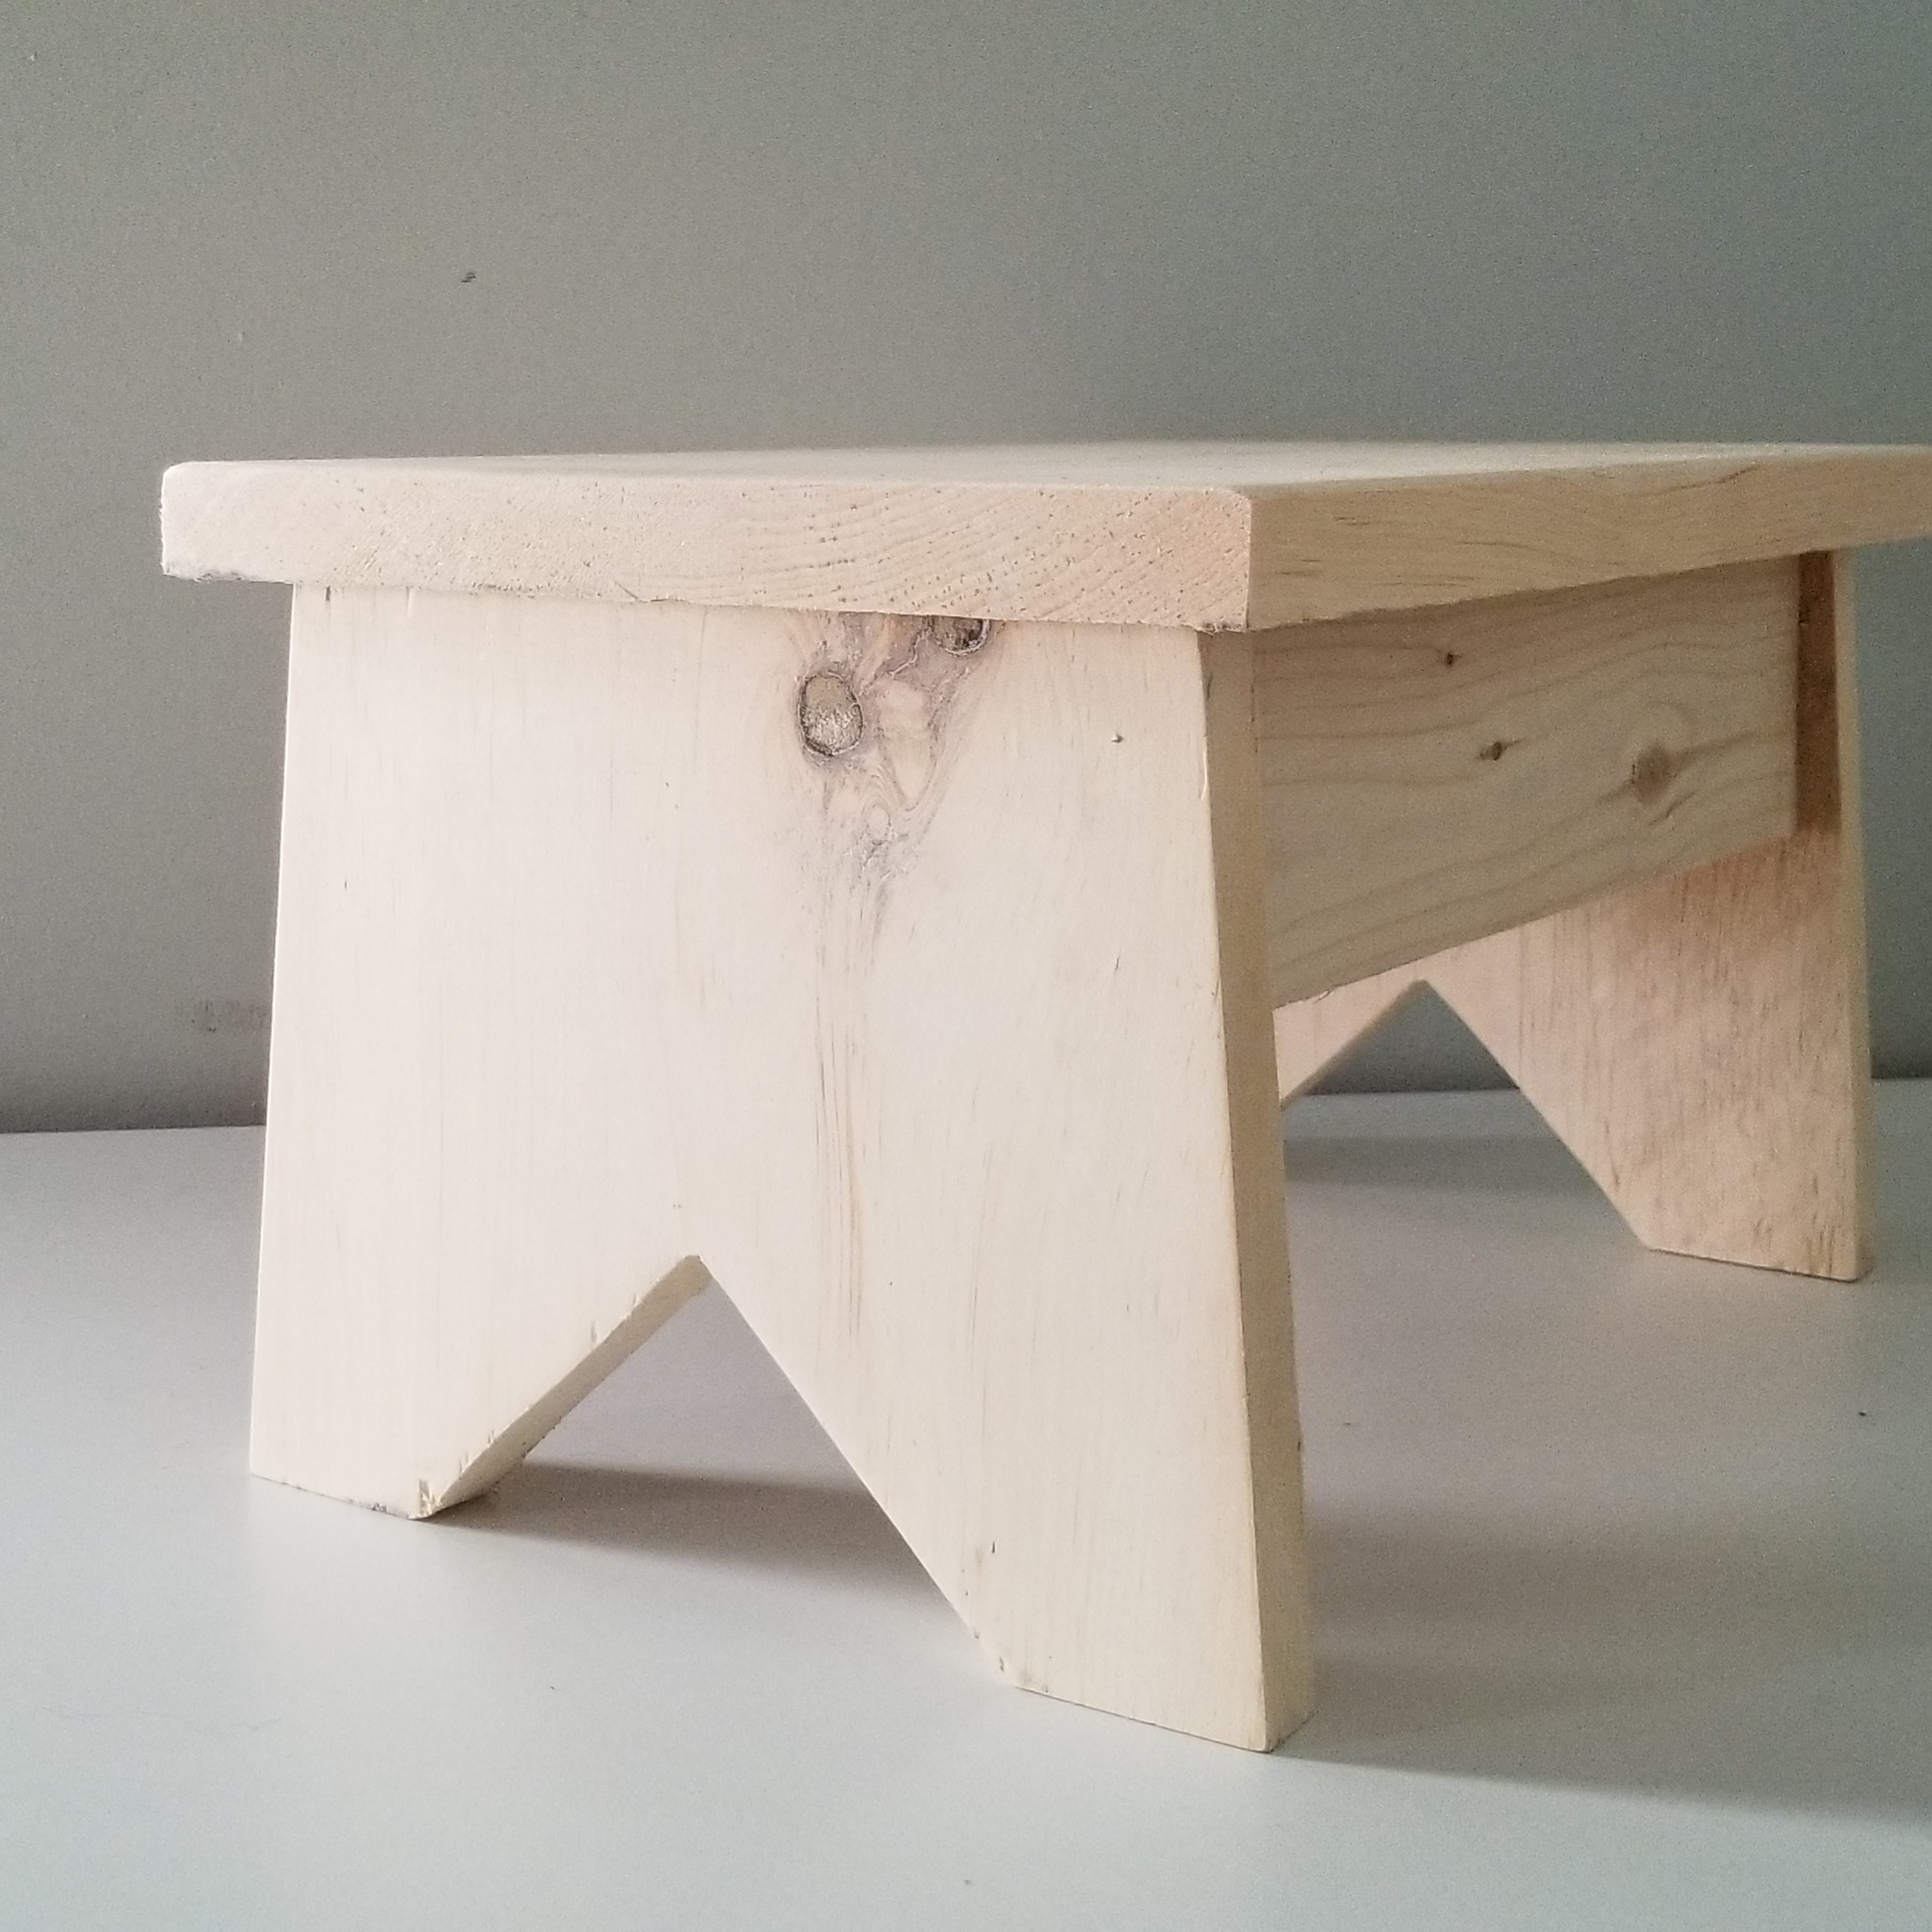
Stepping Stool

Submitted by Anonymous (not verified) on Wed, 08/28/2019 - 04:49

I love the ease of your plans.

Comments

Bypass Closet Doors for the hallway and master bedroom

Submitted by AlohaMama on Thu, 01/26/2012 - 12:00

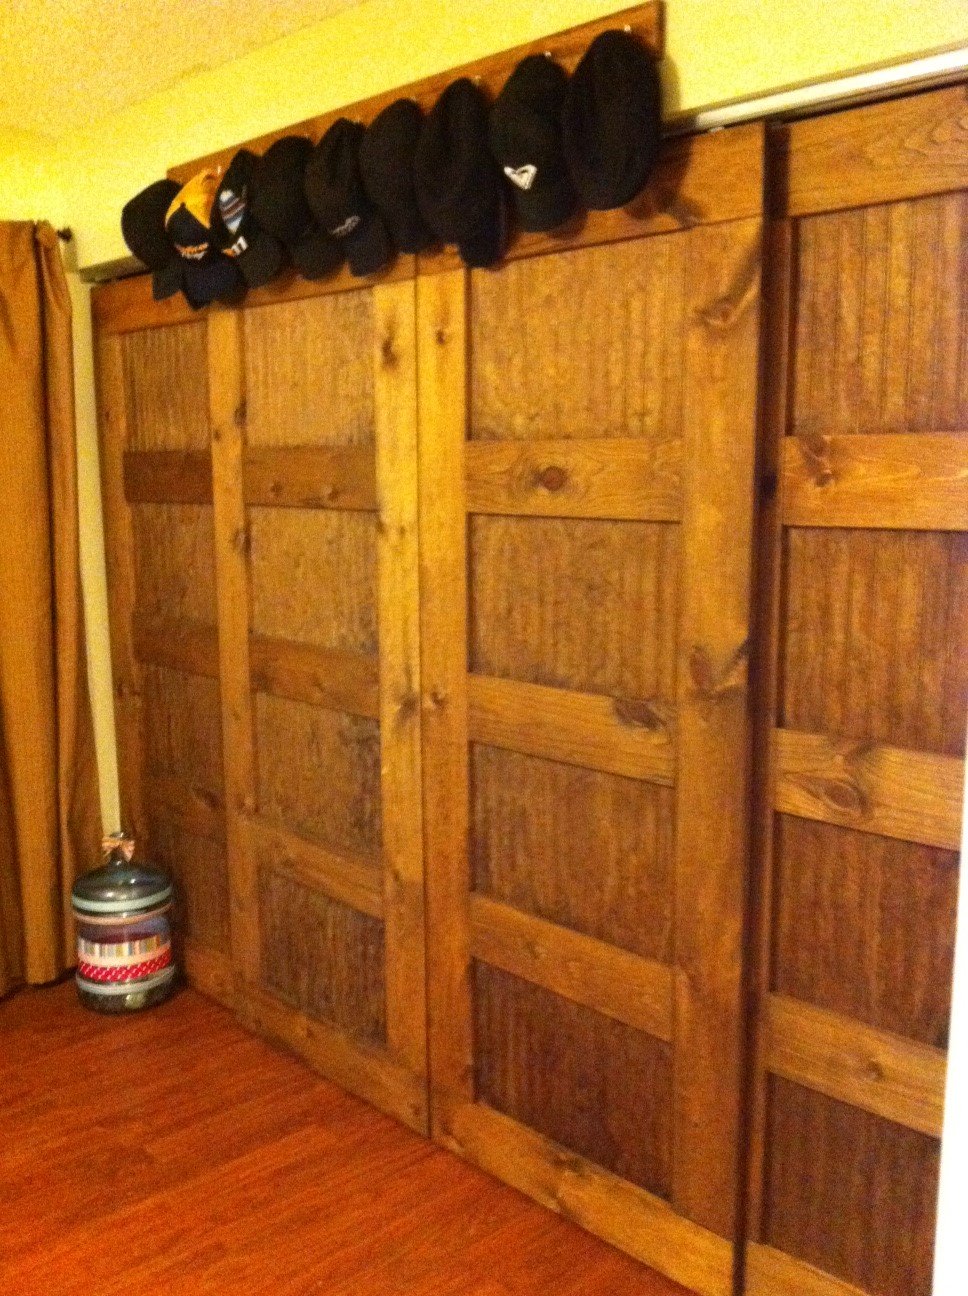
I loved the Idea of new closet doors and hated the idea of bi-folds. My house is crooked it seems. The doors don't sit straight and bi-folds always fall off their tracks. When I came upon the plans for Bypass Doors from Old Paint Designs I was hooked! I made 4 doors for the hallway in 1 day, oiled it with Danish Oil in Dark Walnut, hung it the next day and what a difference!! Glass is rather expensive in Hawaii and so is plexi-glass so I opted for Bead Board which gave it a more "country" feel instead of a more modern feel. I wish I could have used glass but the $150 price tag just wasn't fitting into my budget very well. My hubby loved the bypass doors so much he asked me to build them for our open closet. 2 days of work, 8 doors, 2 closets done!

Built from Plan(s)
Estimated Time Investment
Day Project (6-9 Hours)
Finish Used
Danish Oil
Recommended Skill Level
Beginner

Comments

Jilley27 (not verified)

Tue, 08/28/2012 - 15:27

Great job on the doors! I am interested in doing this myself. I will have to make 4 doors for my closet as well since I have such a large opening. Can you tell me what the measurments of your closets are? Also what are the dimensions of the pine that you used? Thanks a bunch!

In reply to by Jilley27 (not verified)

AlohaMama

Tue, 08/28/2012 - 18:44

My closet opening is about 8' across. Each door is 26" wide and 79" tall. I made them so the would have a 1" overlap on each side...

I used 1x6 @ 8' lengths of pine. I like the really knotty pine with lots of character! Have fun building! These were pretty simple to make once you get all the boards cut.