Vinyl Record Storage
I've made another record cabinet, this time with a nice dark walnut stain. To see more details and plans visit my blog.
http://www.woodworkingfourdummies.com/
Cheers,
Ian
I've made another record cabinet, this time with a nice dark walnut stain. To see more details and plans visit my blog.
http://www.woodworkingfourdummies.com/
Cheers,
Ian
So I was complaining to my wife that our one closet in our bedroom was becoming too cluttered. She asked me to build her one. I told her that if she found the one she wanted me to build, then I would build it. She found this one and so I built it for her. Let me just say that she is very happy with it and it came out very great. I did find a couple of shower curtain rods that were brown to used instead of the iron pipe. It made the whole project cost around $80.
Sat, 11/07/2020 - 11:42
So happy that worked out for you and your wife, thanks for sharing:)
This was built mainly as a place to bring our pond plants in for the winter. After looking at various kits we decided this was the best option for us and much cheaper.
The size was increased to 12 X 12 and the walls/ceiling were increased another 15" in height over the original plans. An entryway was added to block the cold wind as our original barnstyle door wasn't tight enough and ended up being too drafty. Also added an RV type autoswitching propane system and blue flame heater for backup. For the winter months we insulated the lower portion of the interior walls with spun fiberglass and 6 mil film stapled over it.
This is a very utilitarian version that serves our needs well. Great original plans and easy to build.
Tue, 11/11/2014 - 14:34
We didn't change the angle from the plans. 22 degrees I believe was the cut.
Tue, 11/11/2014 - 16:04
Wow, this looks awesome! I love the arctic entryway (thats what we call them up here in Alaska) and all the mods! Thanks so much for sharing!
I’ve been following Ana for almost a decade and this was my first build. I loved this design plan so much I made two versions in a week! It was easy to modify the dimensions for both to accommodate the baseboard heating behind the double cabinet. I wanted a flush alignment along the wall. I love how it turned out! I definitely learned from my mistakes and the second one came out much better than the first. I made both cabinets from one 4 x 8 sheet of plywood. So cost effective!!
I built this table for my wife and I love how much space this table saves when it's all folded up.
More pics and details on our blog: http://bendrea.wordpress.com/2013/03/04/andreas-sewing-table/
Wed, 03/06/2013 - 09:22
I really like the way you used the brackets instead of legs. I've wondered about the legs getting in the way, too. Obviously when you changed the measurements to fit your space you also made the "wings" of the table top shorter than in the original design. How big are they? What is the finished width/length of the tabletop when it is opened up?
Wed, 03/06/2013 - 18:34
Yep, I made the table a bit smaller to fit our place. I only made them 12in x 24in. But if I had more room, I wouldn't hesitate extending the wings to 18+in x 24in. The brackets are very stable and could easily handle larger leaves. The table fully opened up is 39.5in x 24in.
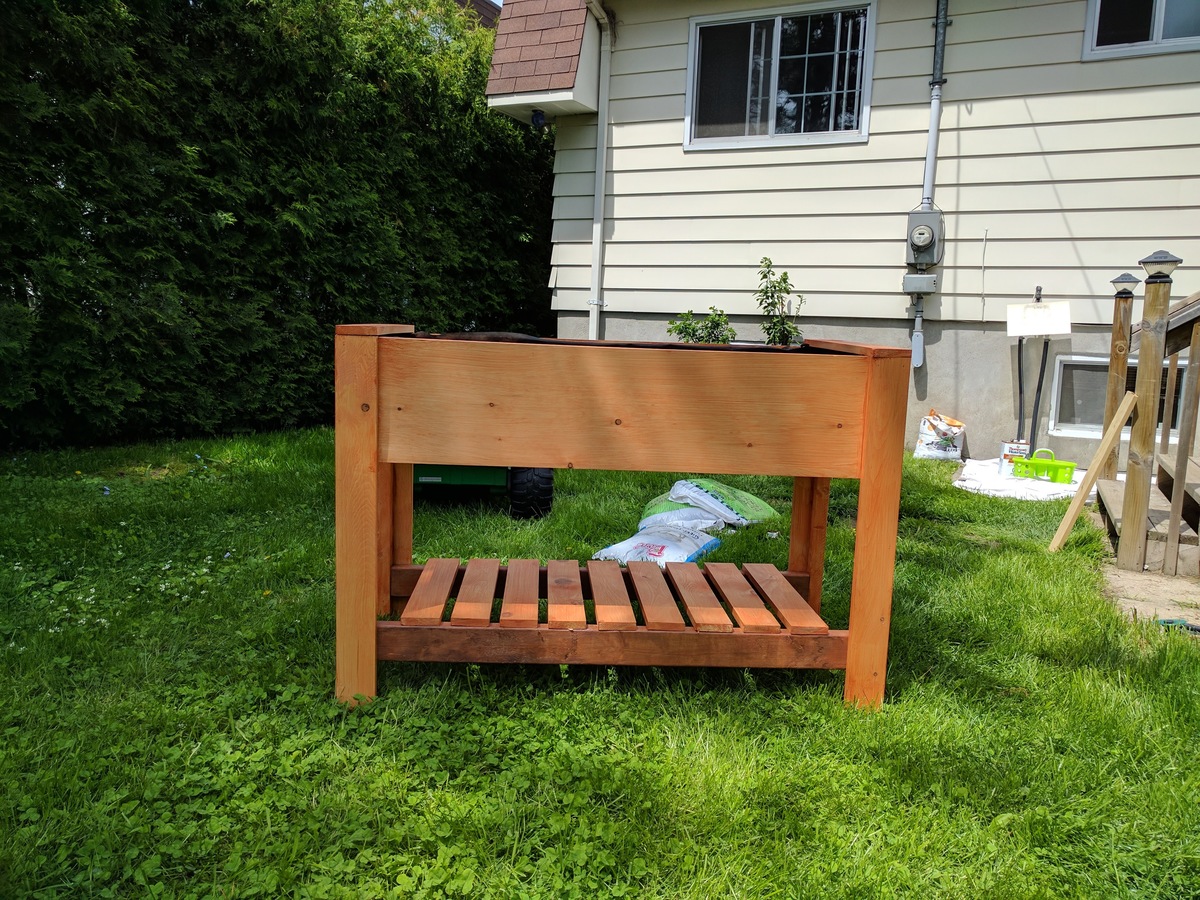
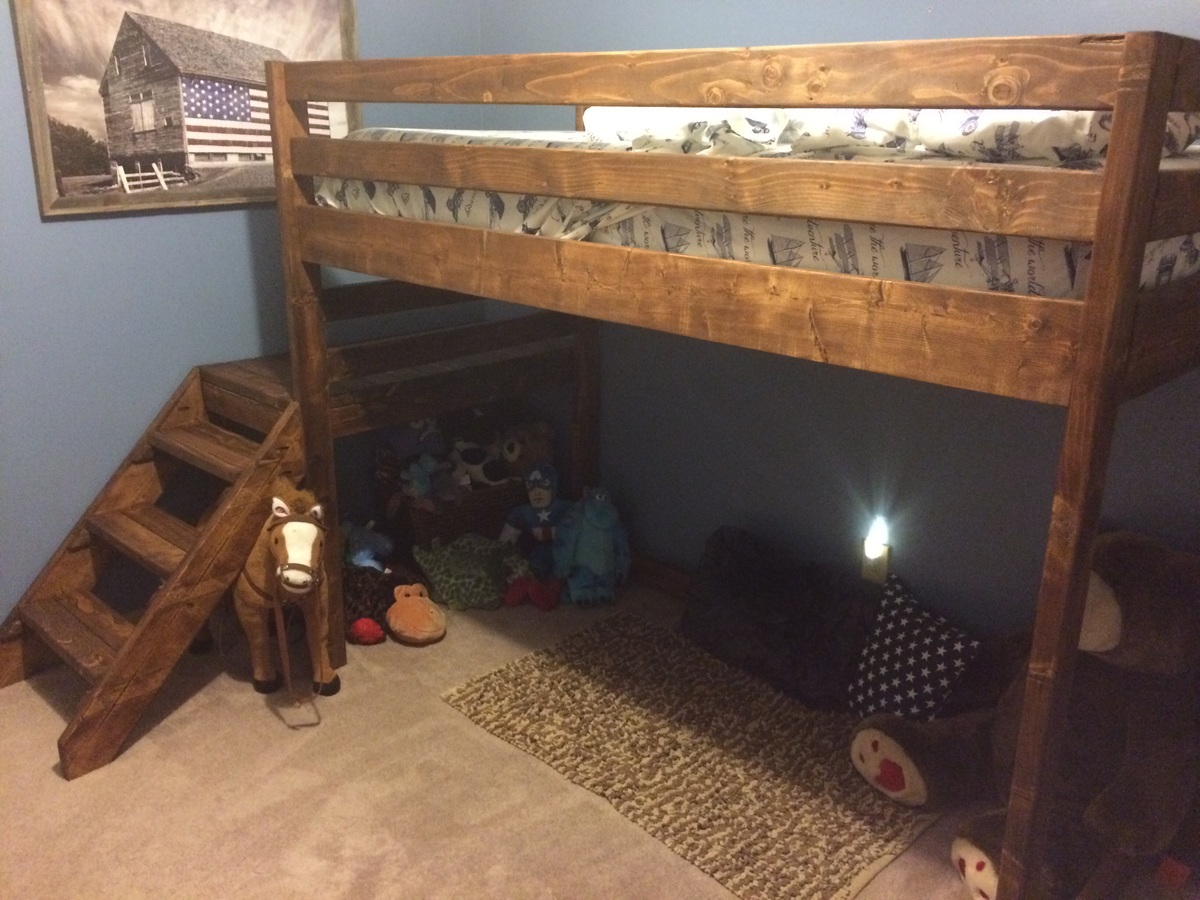
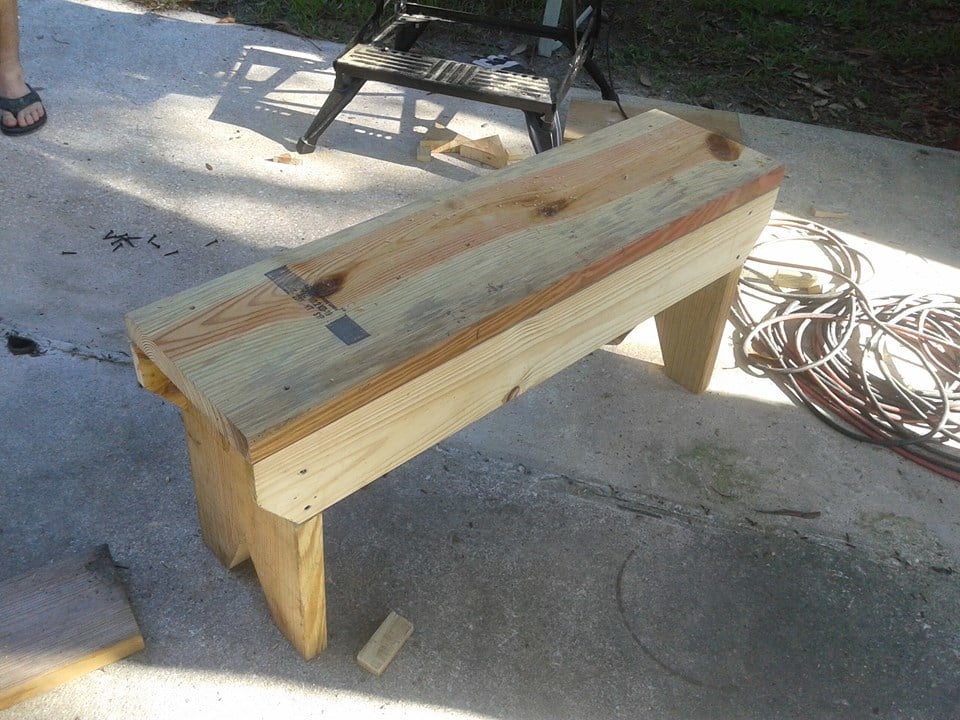
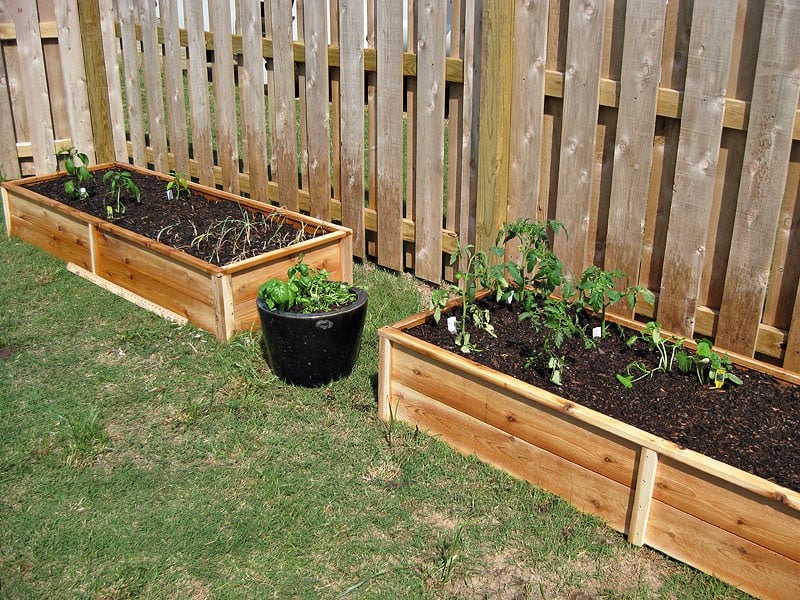
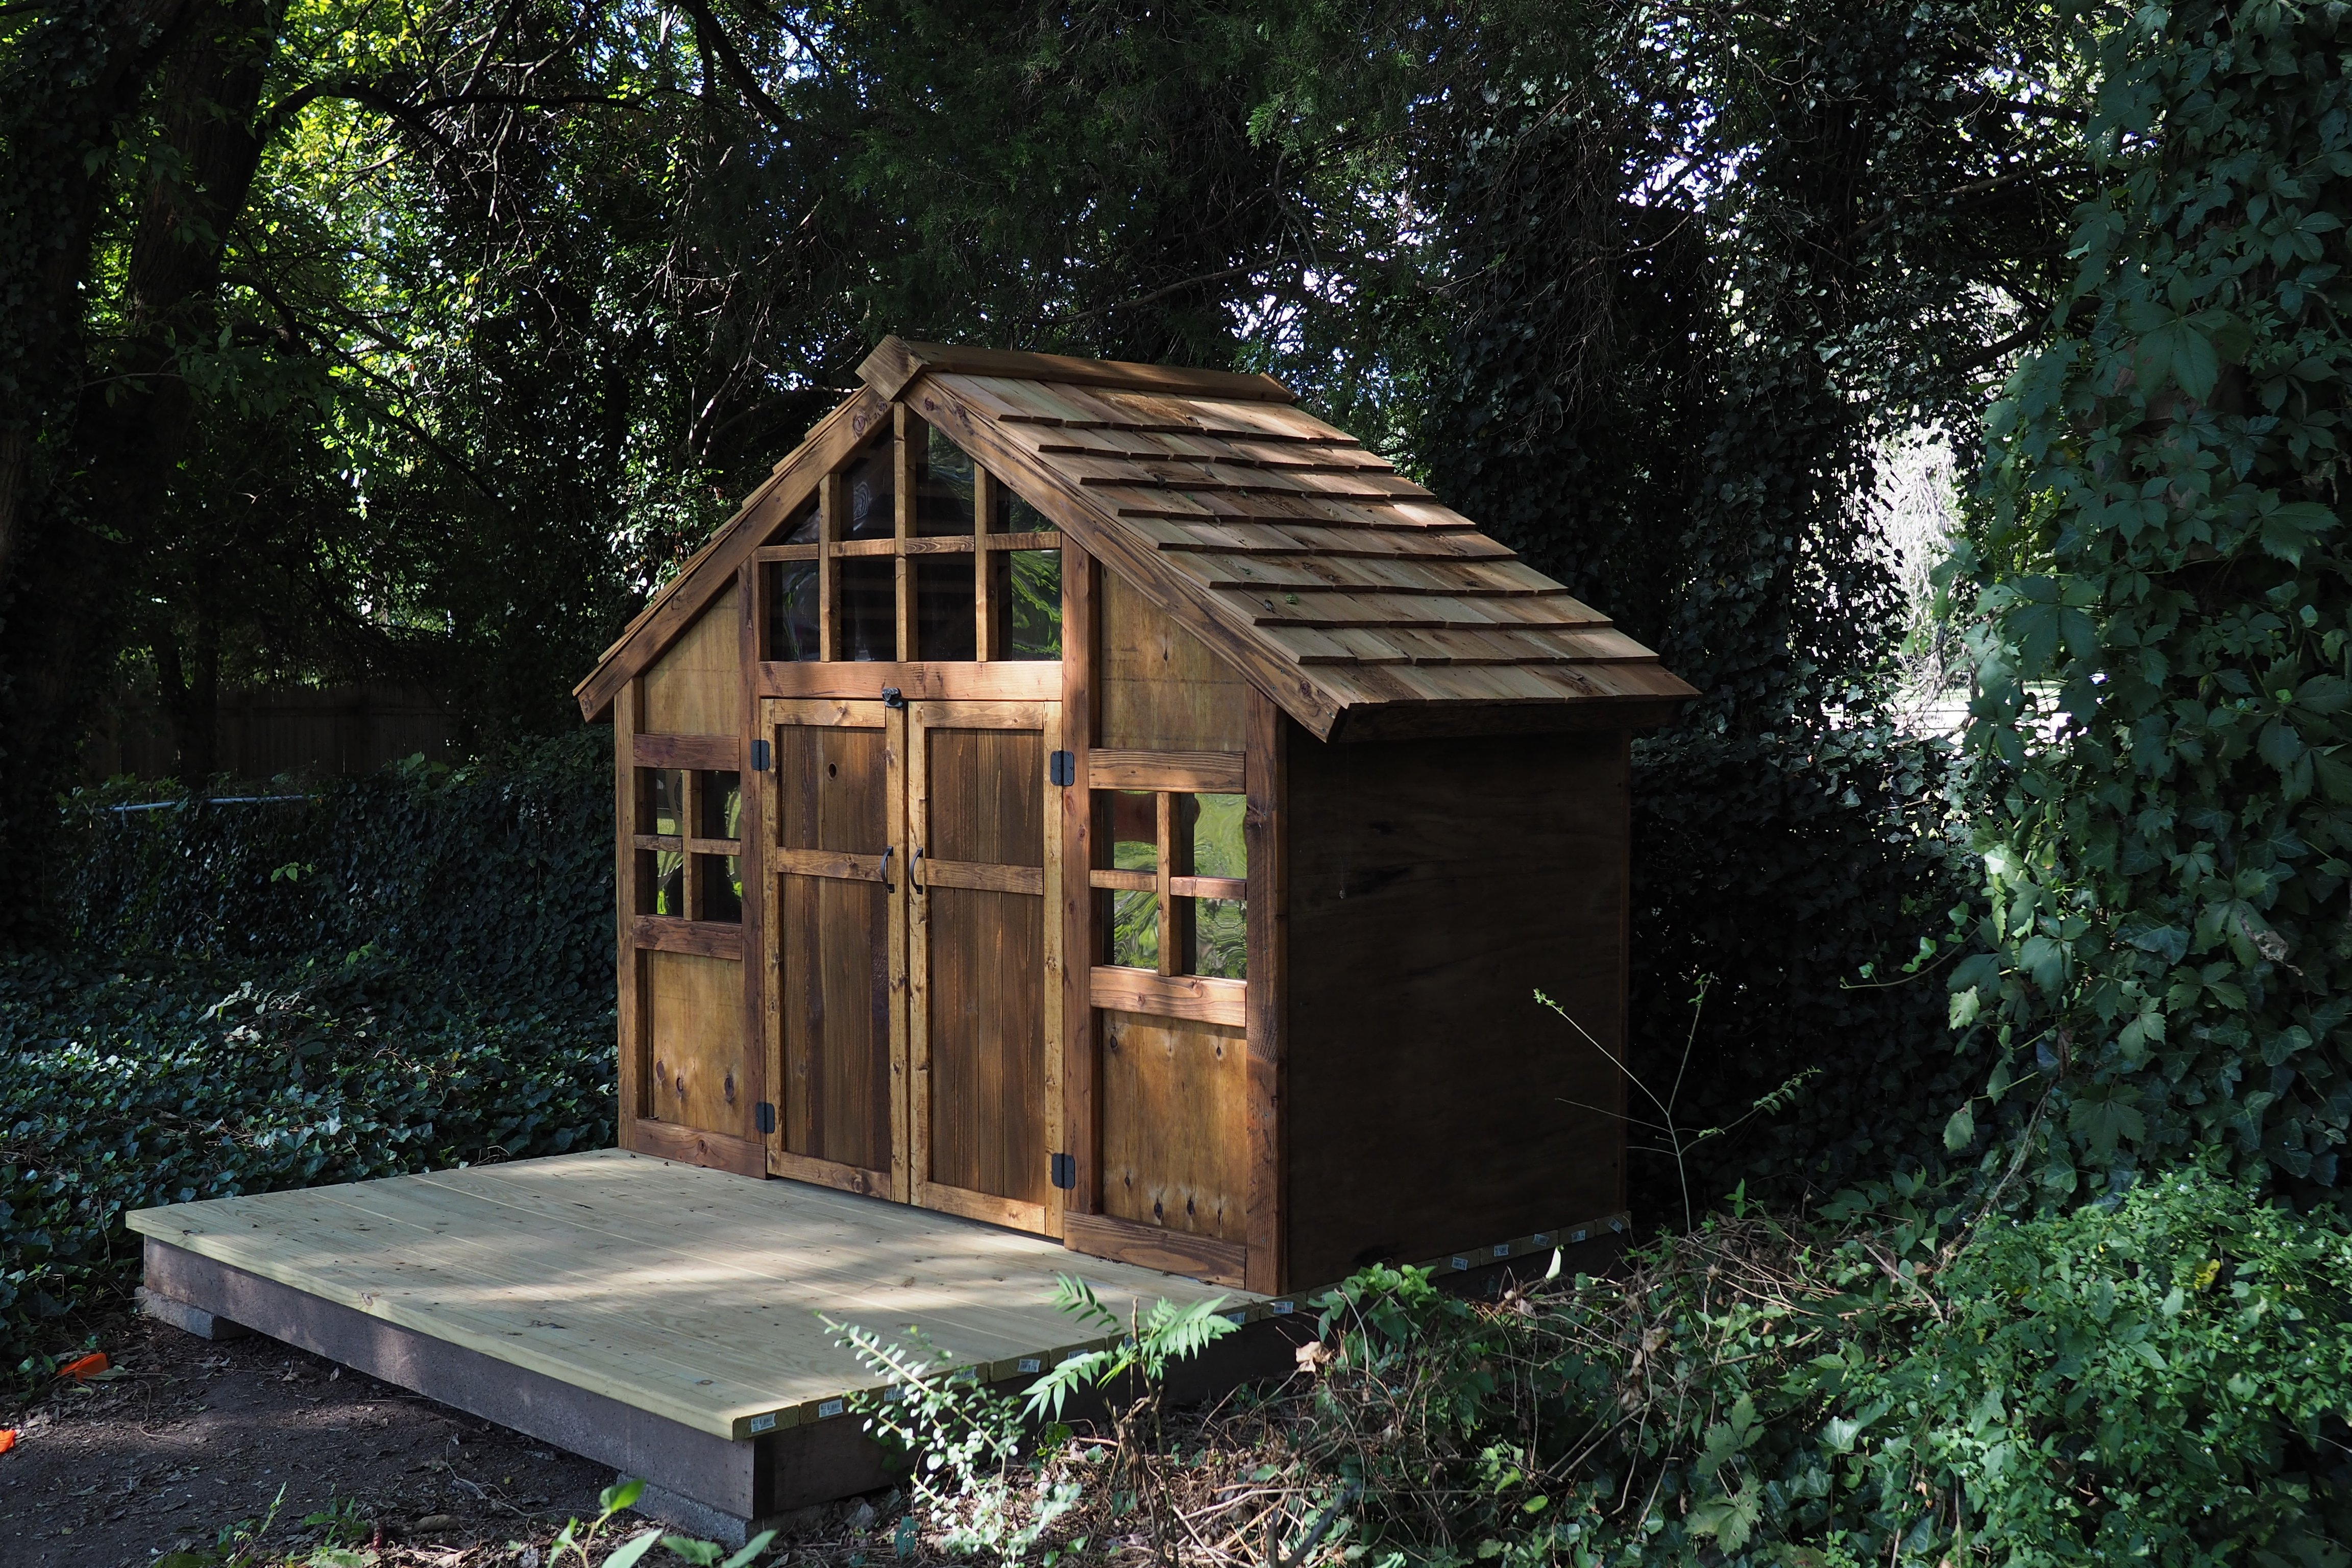
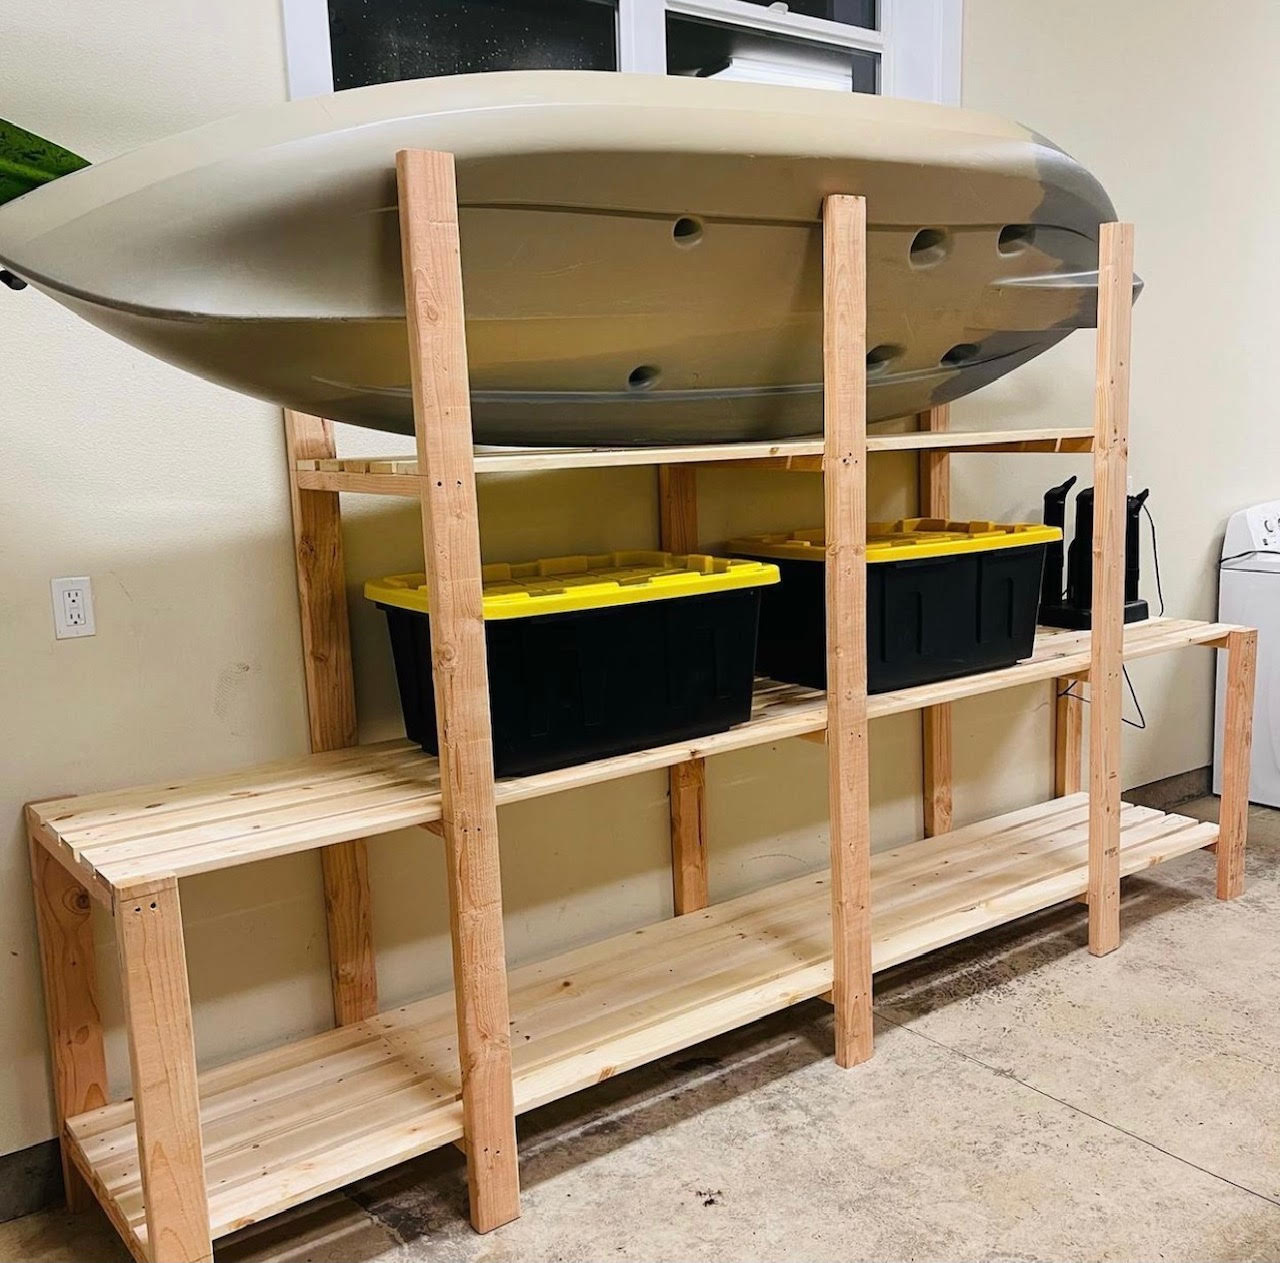
Completed the project in about 4 hours including pre-staining the cut lumber (Thompson's water seal). I made a few changes on the fly.
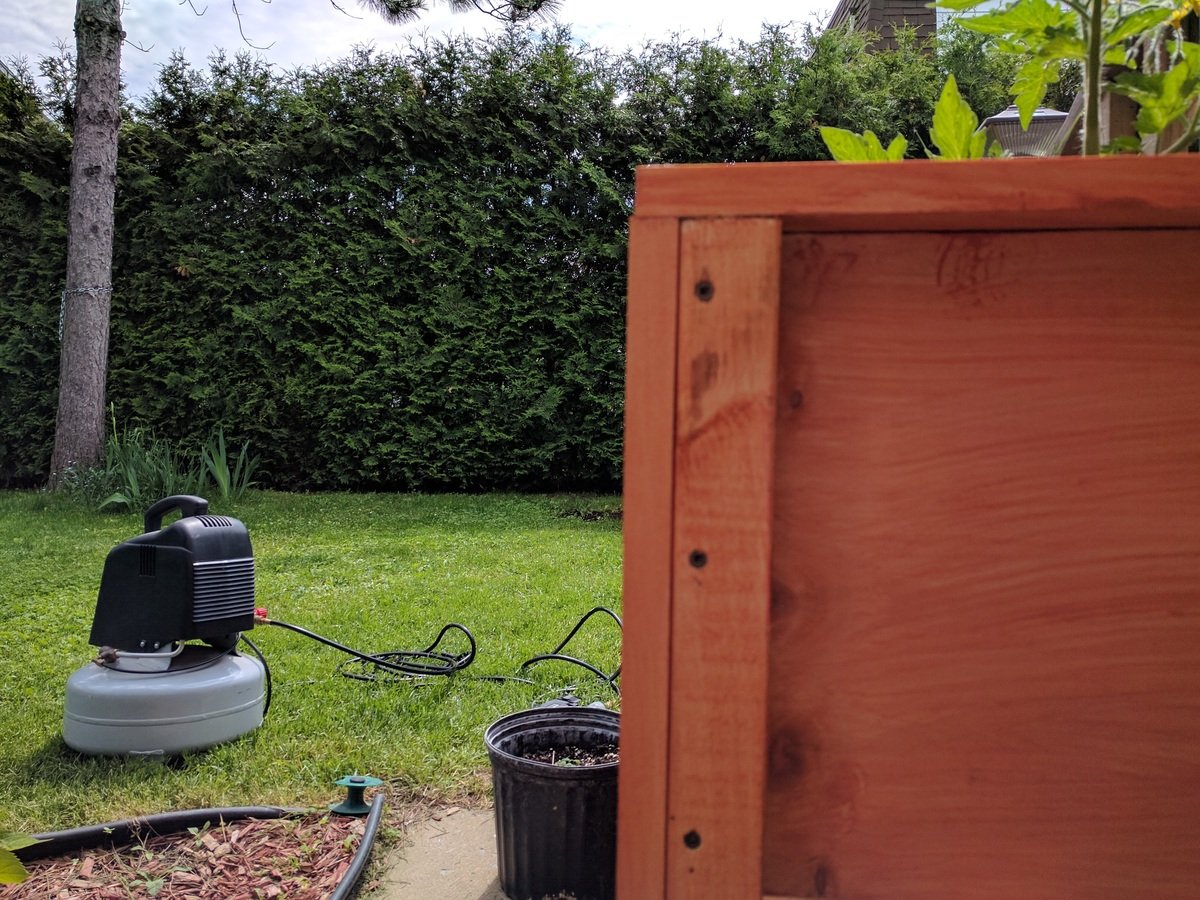
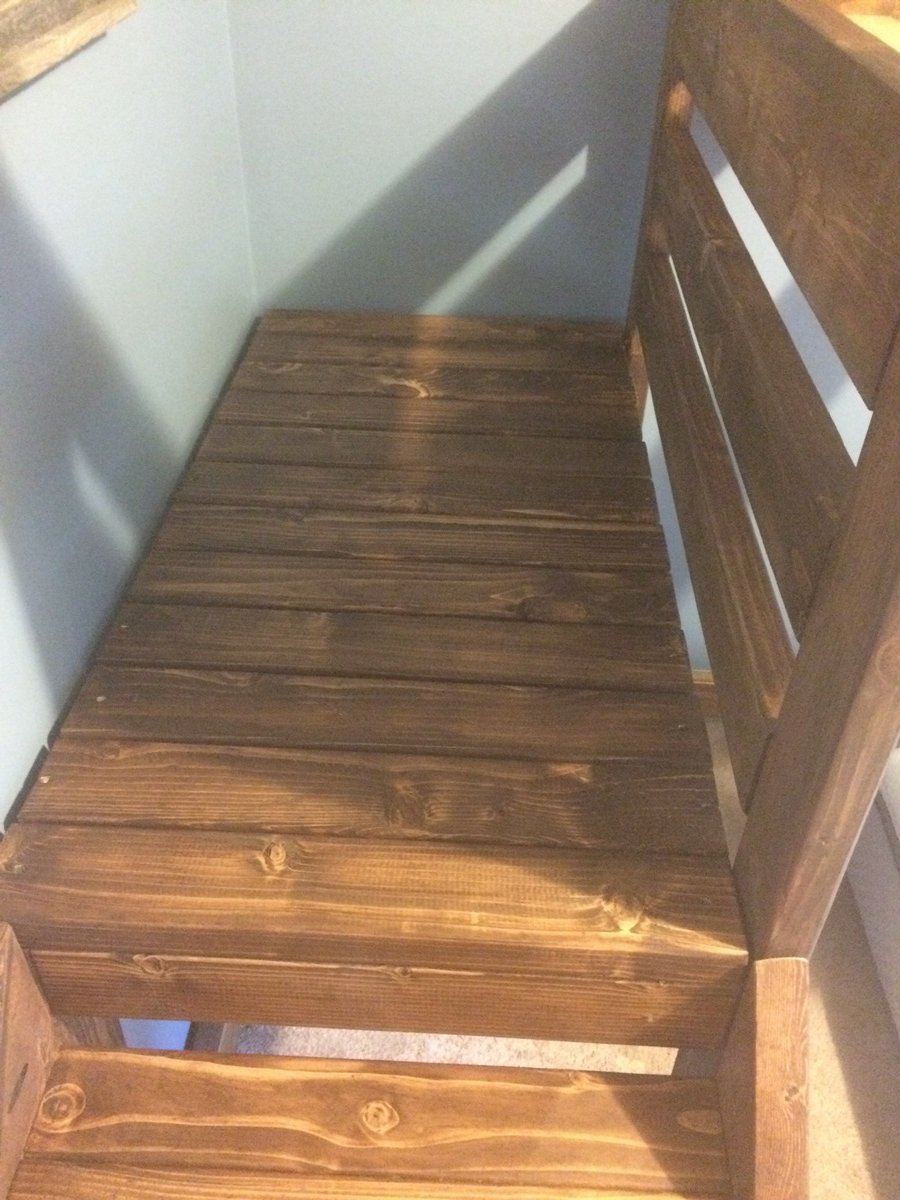
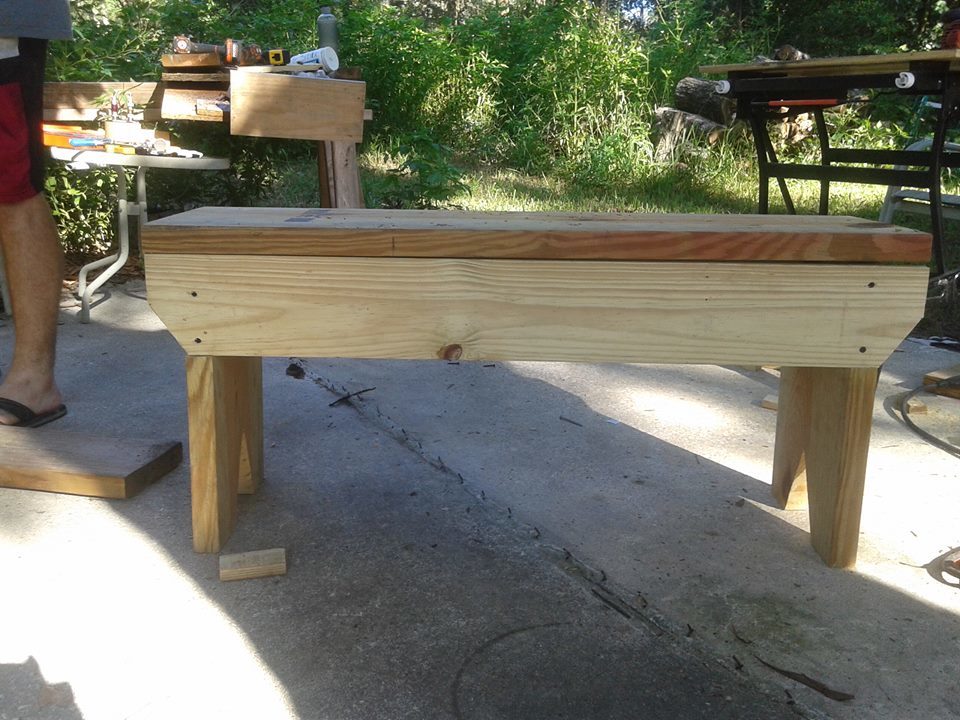
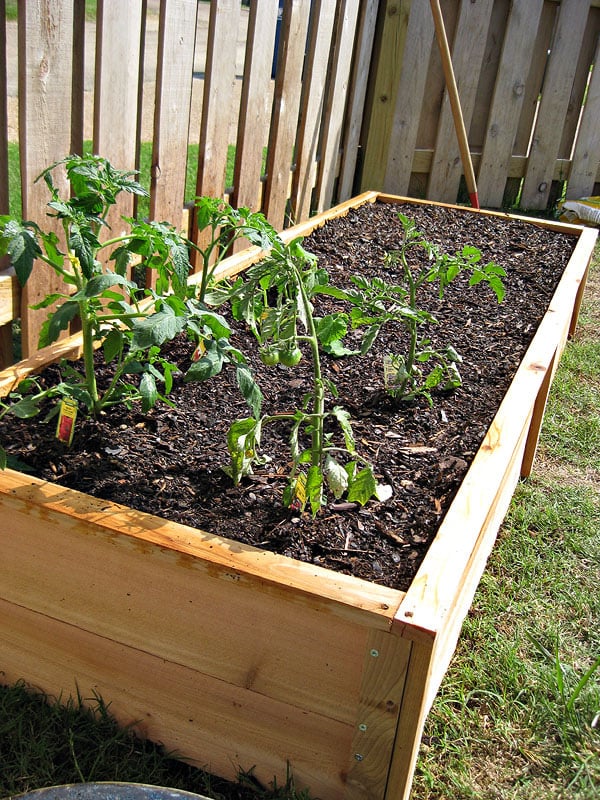
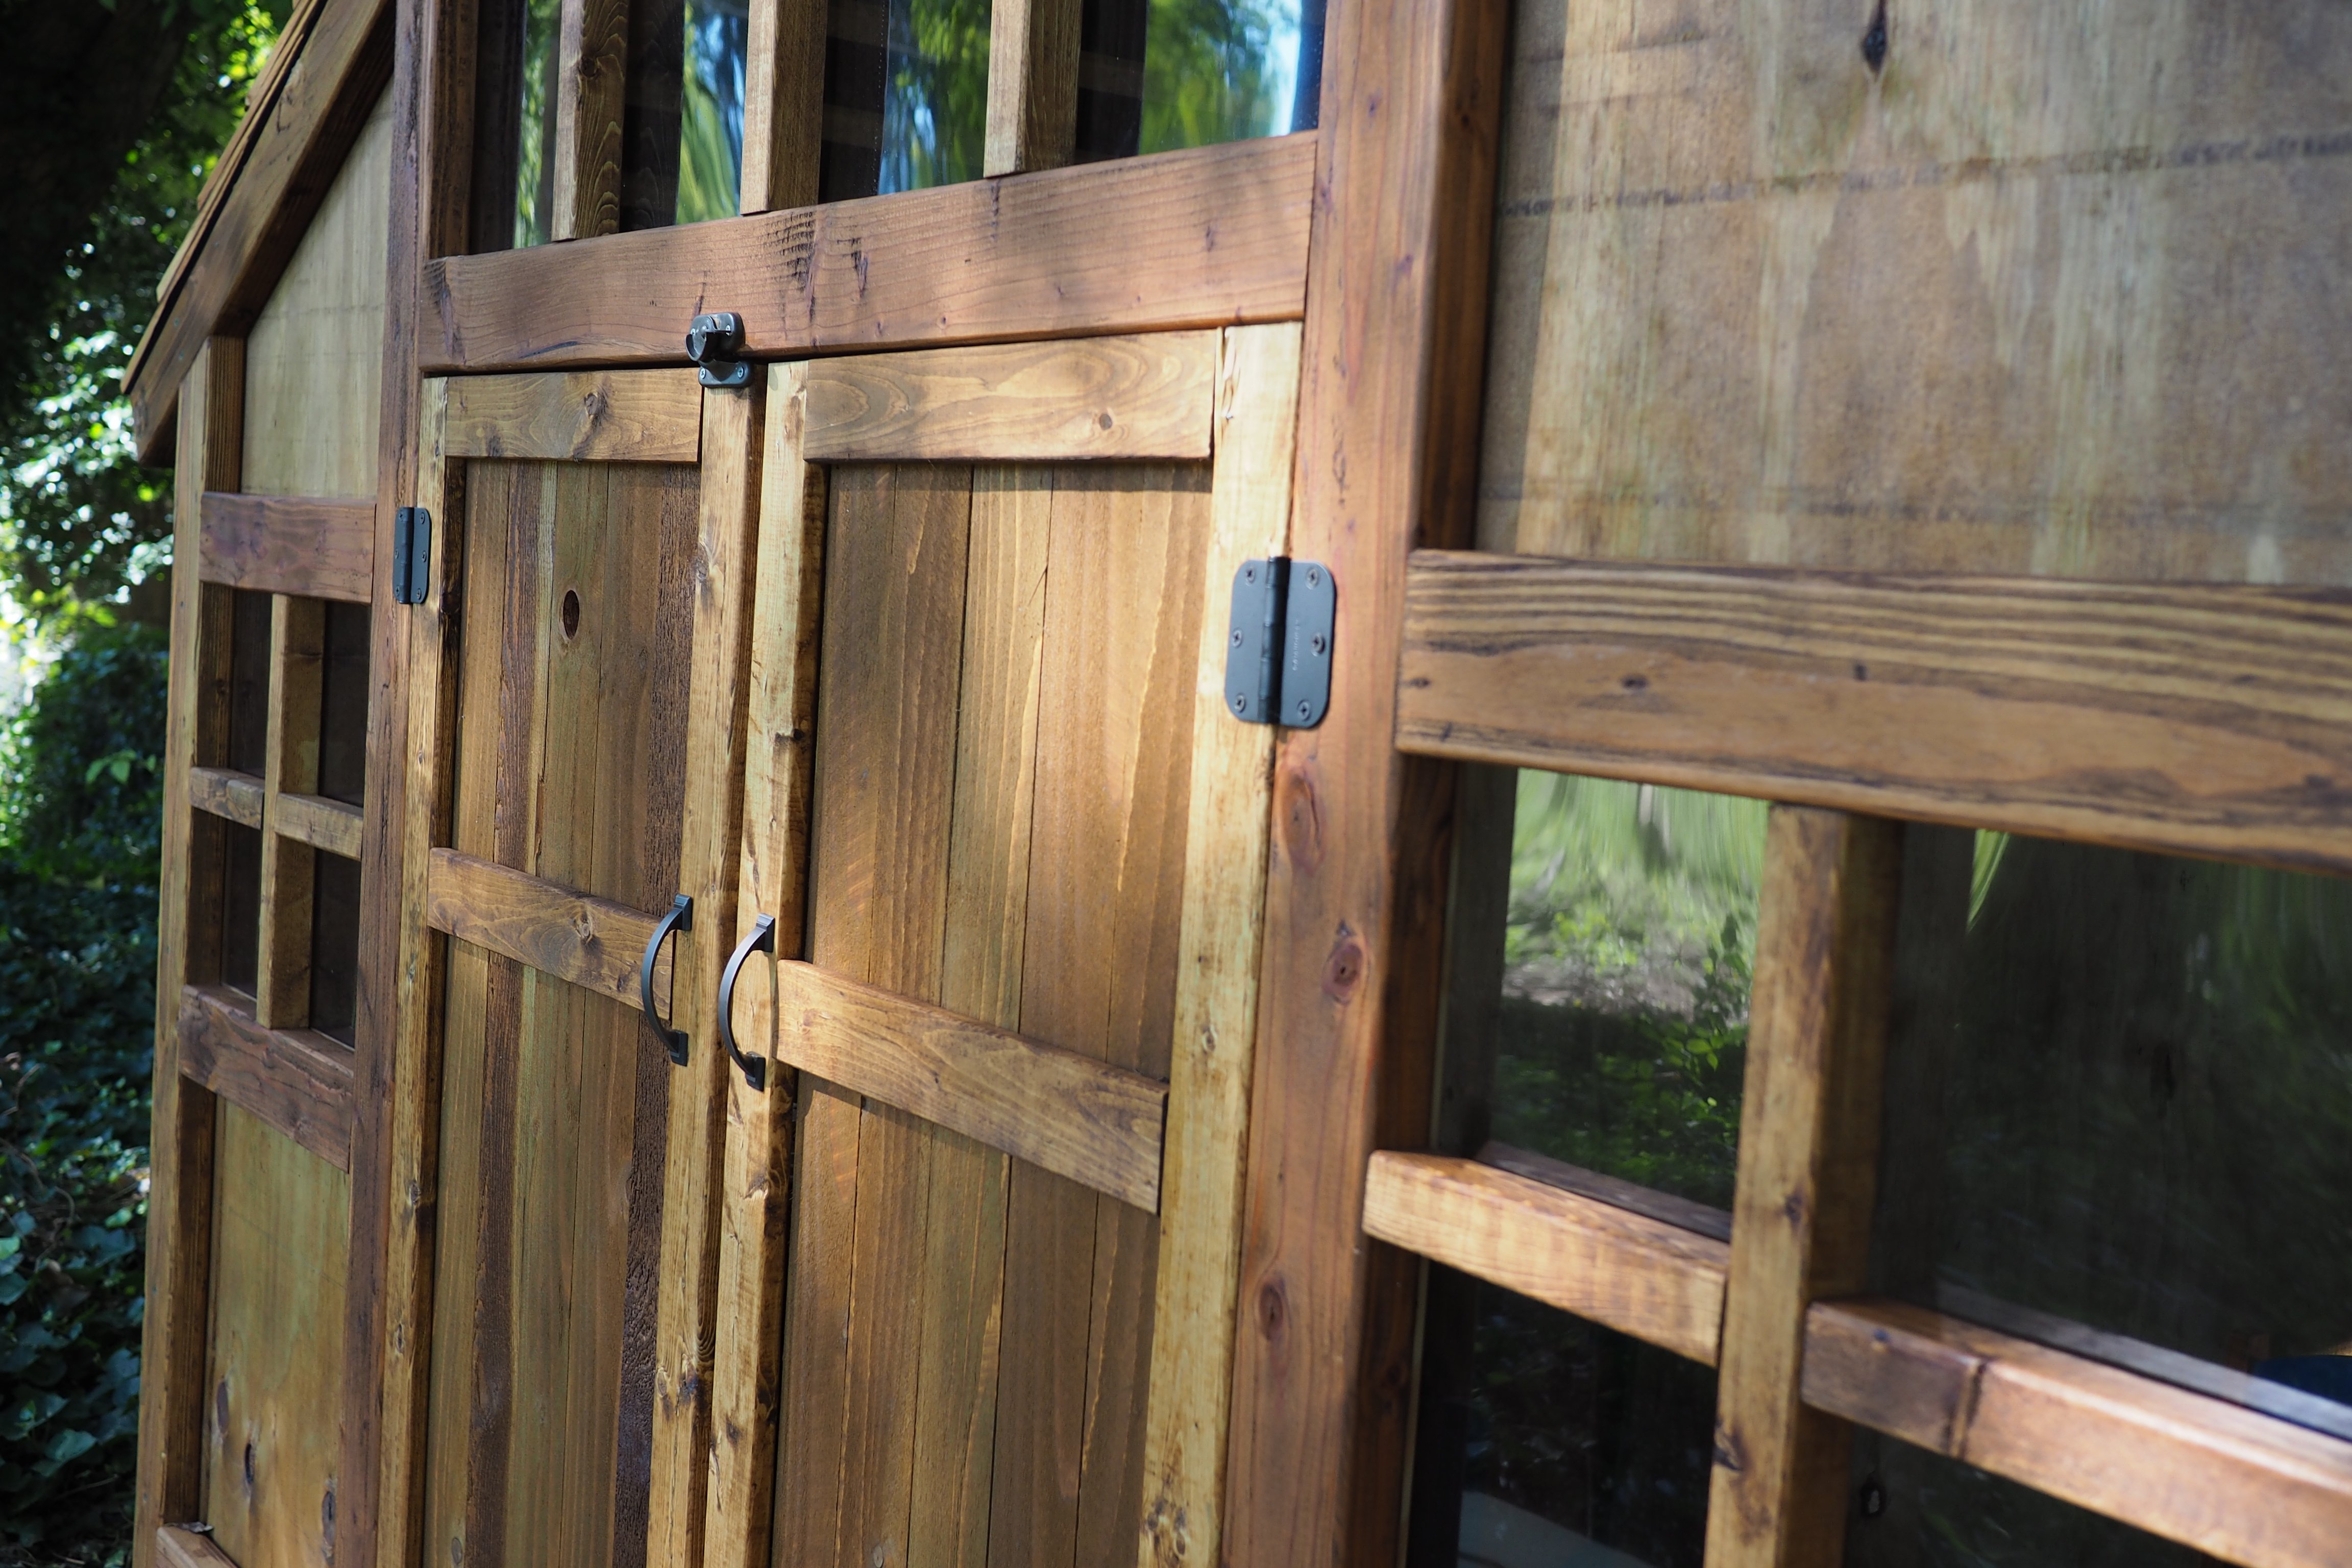
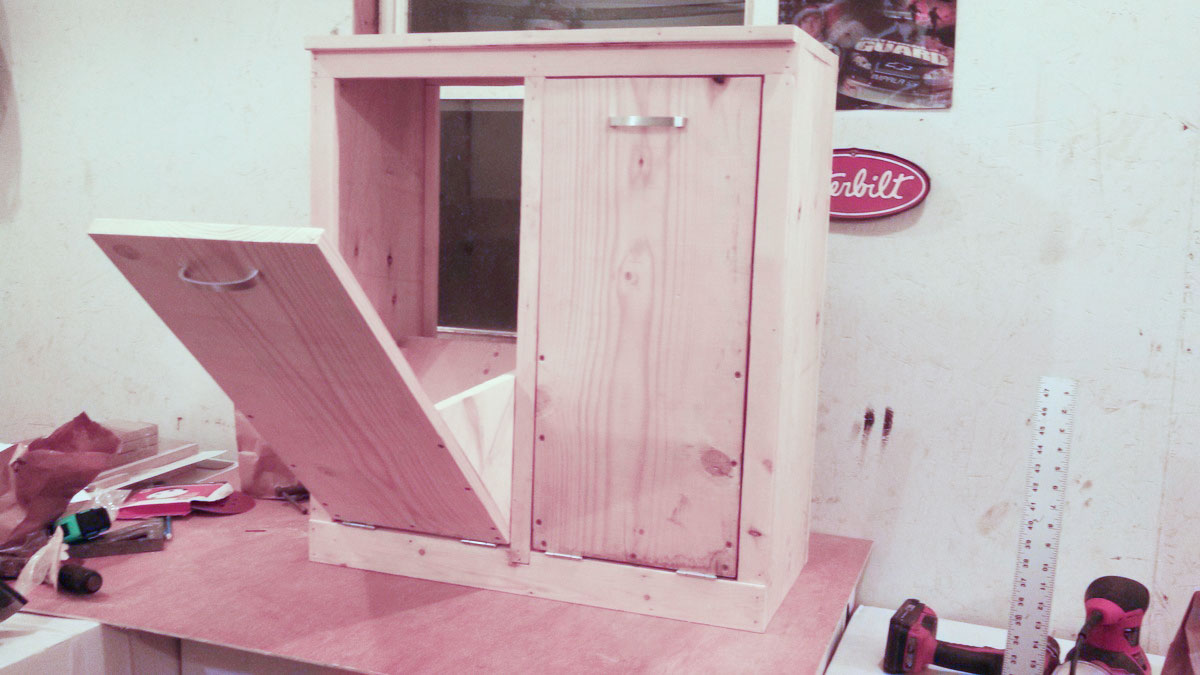
1: I assembled the front and back panels by tacking them together with a nail gun using 2 1/4 inch finishing nails. This allowed me to forego the drilling of pocket screw holes and instead drill pilot holes through the 2x2's and into the 1x12 panels then securing them with 2 1/2 inch deck screws (see the second picture).
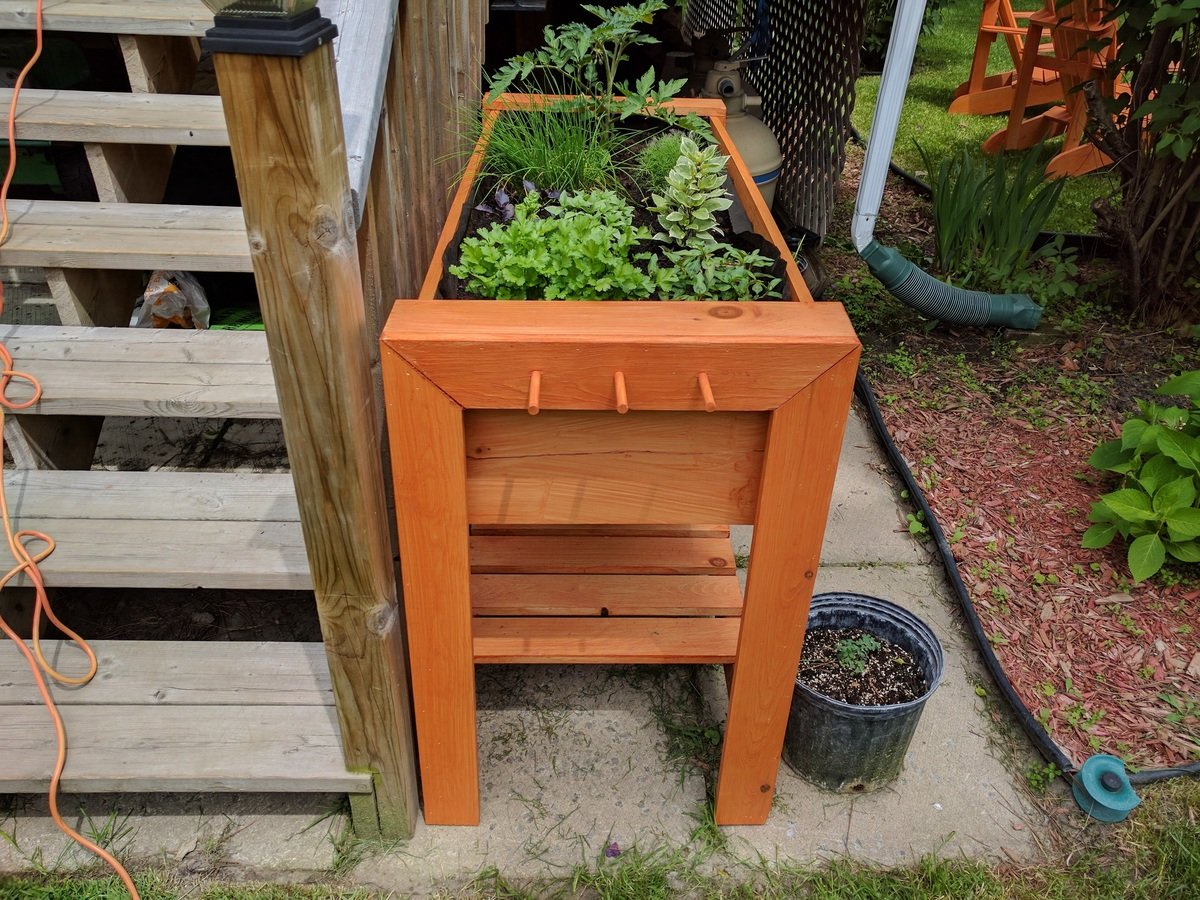
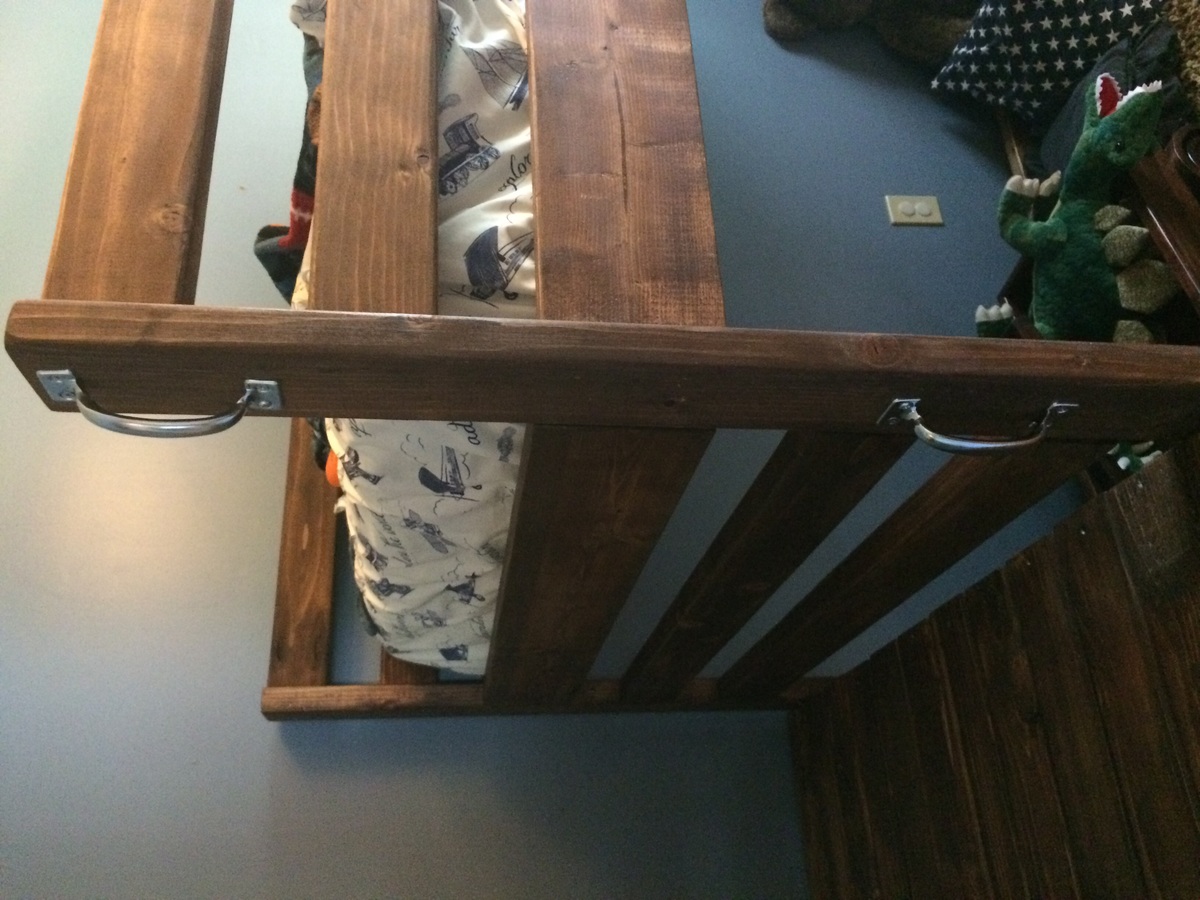
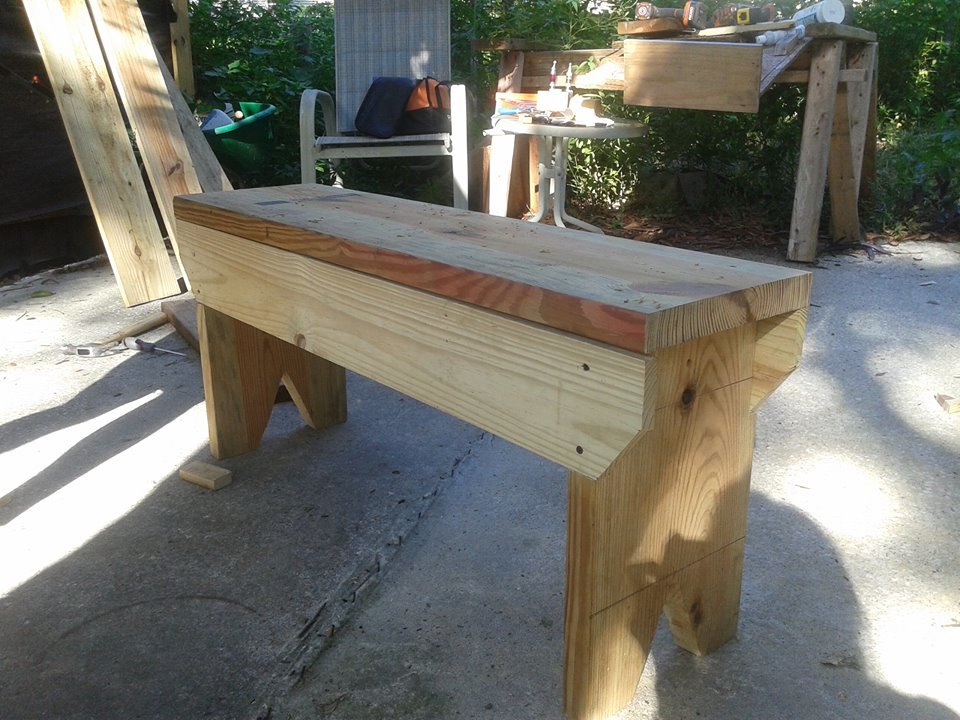
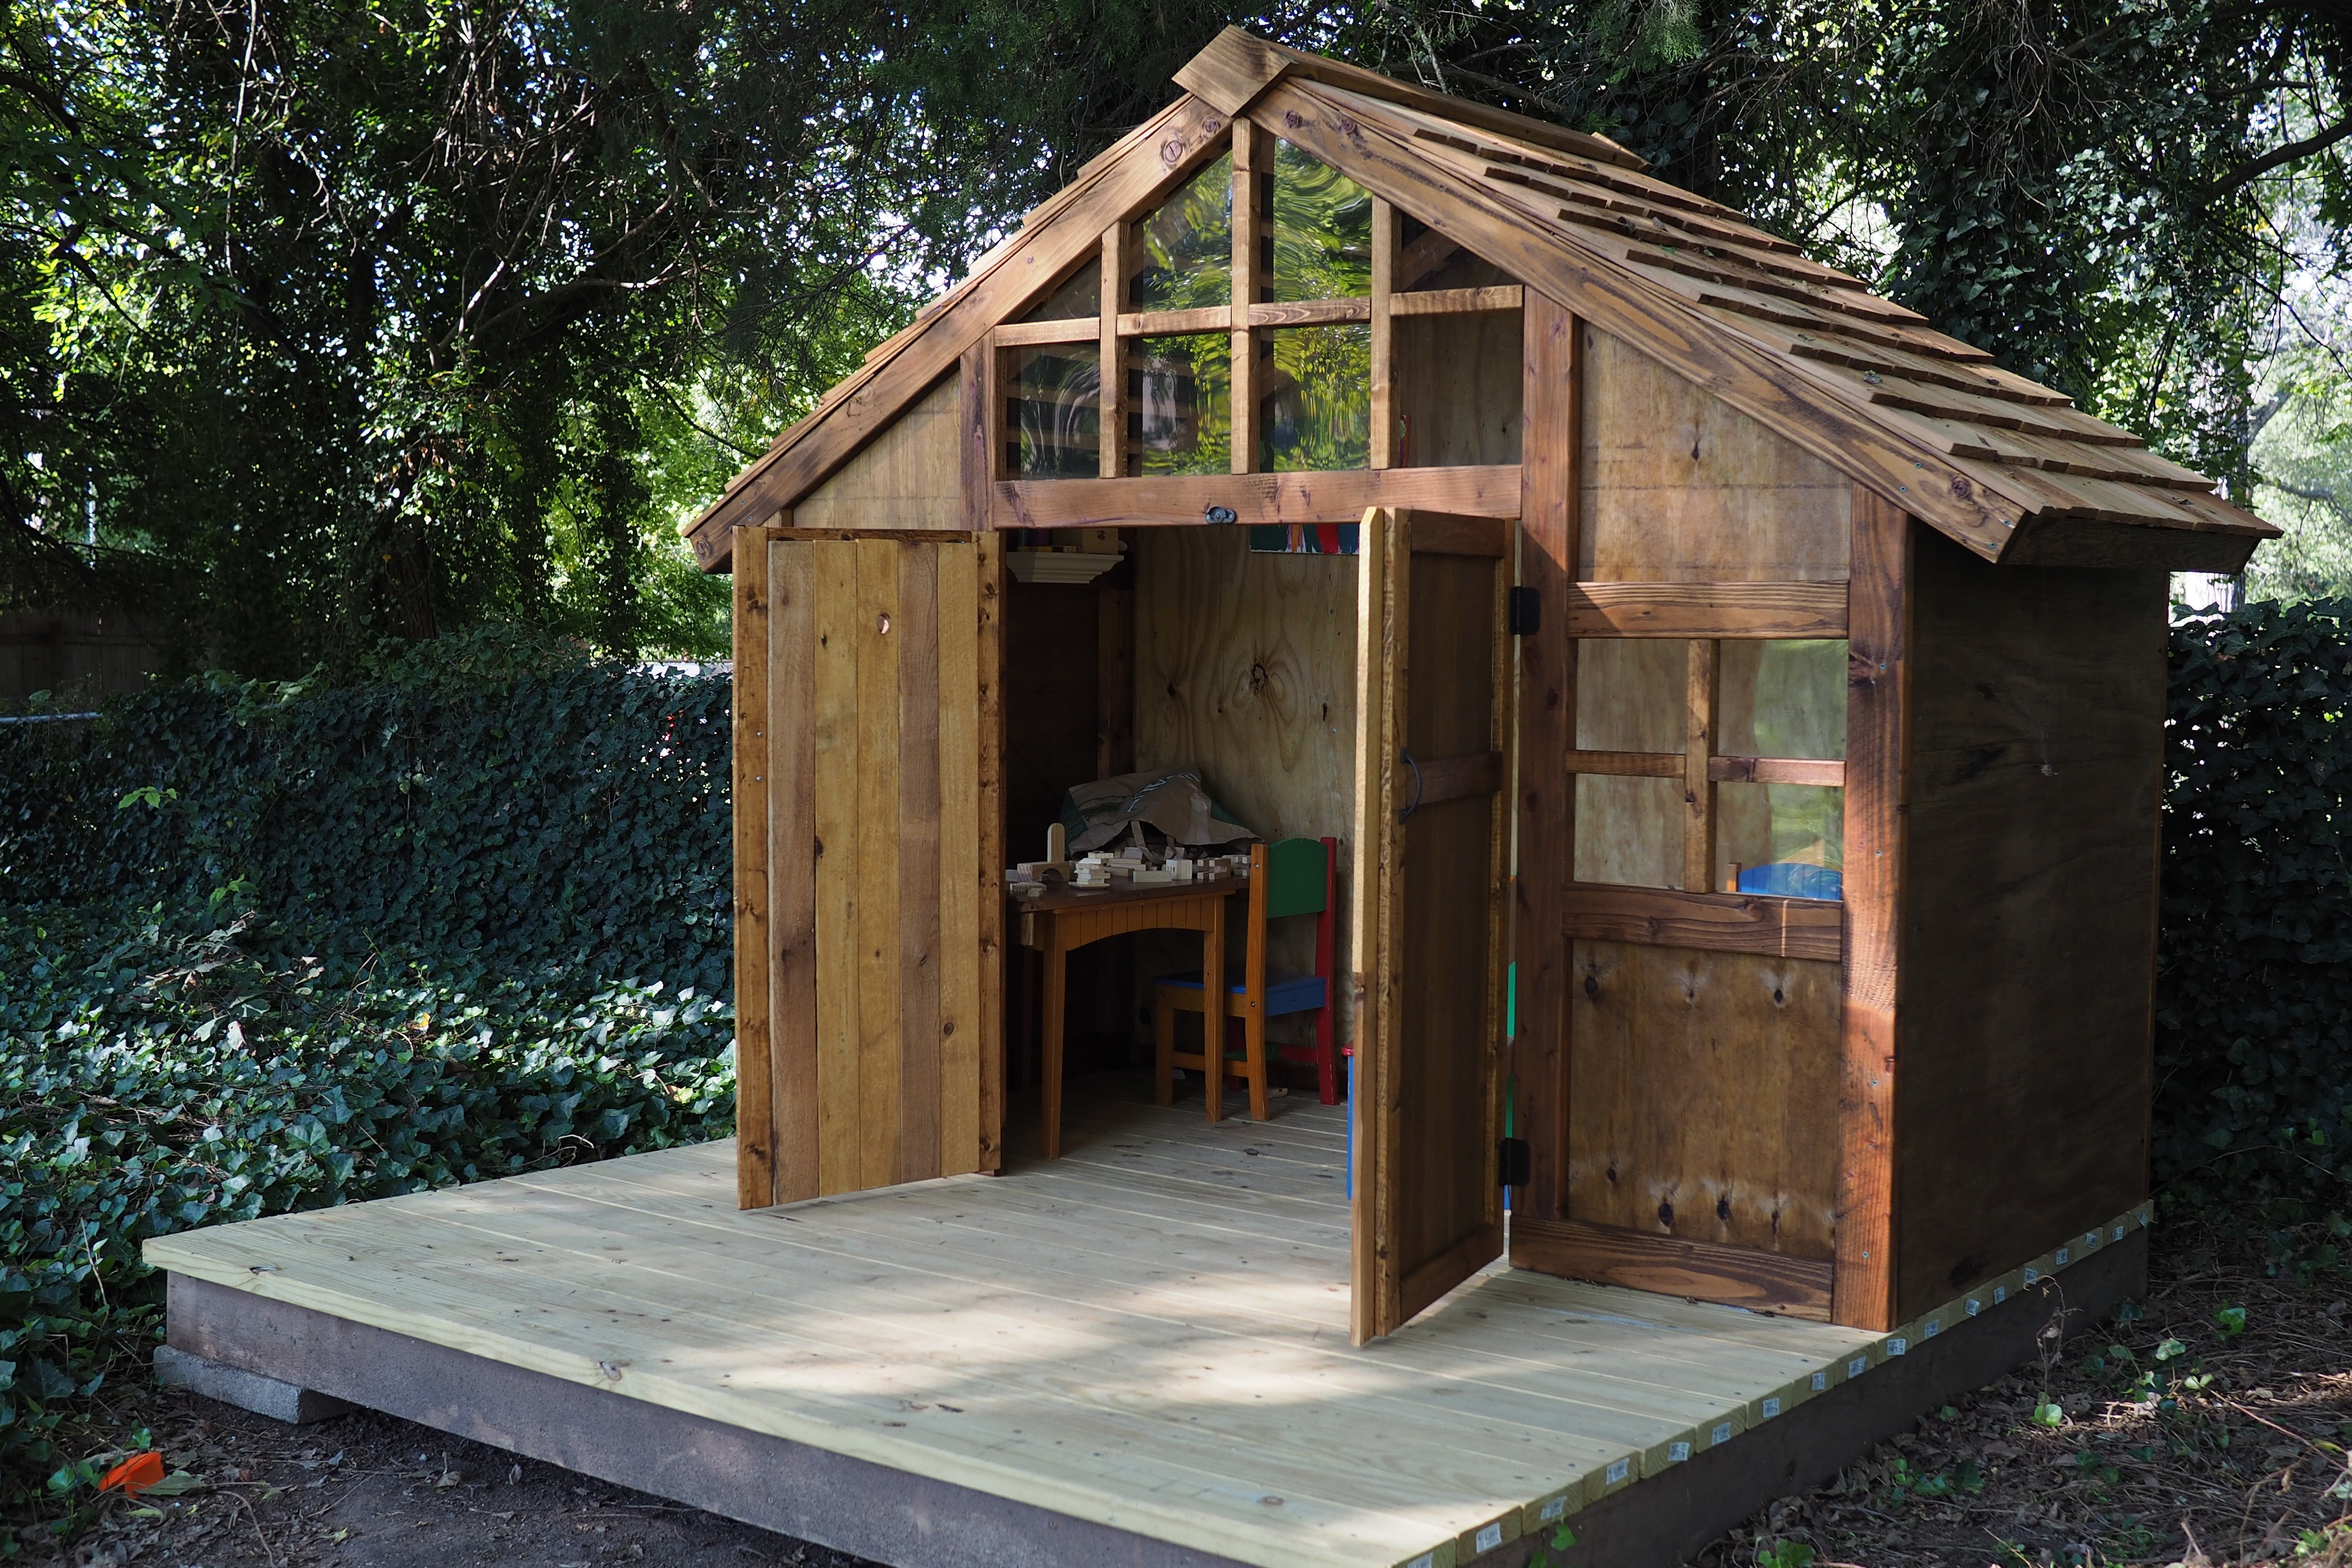
2: after completing assembly I found that I did not like seeing the 2x2 legs from the side. I cut some more 1x4's at 45 degree angles and nailed them to the sides in order to conceal the legs (see third picture).
3: I decided to add some pegs to one of the sides to hang garden implements (third picture). I used 7/16 round dowel stock, drilled holes for them using 3/8 bit with some tape wrapped around it at 1/2 inch mark in order to avoid drilling completely through the board. I slightly whittled the first 1/8 inch at one end of the pegs which I had cut to 3 inch lenghts. Applied some wood glue to the holes and gently hammered the pegs into the holes.
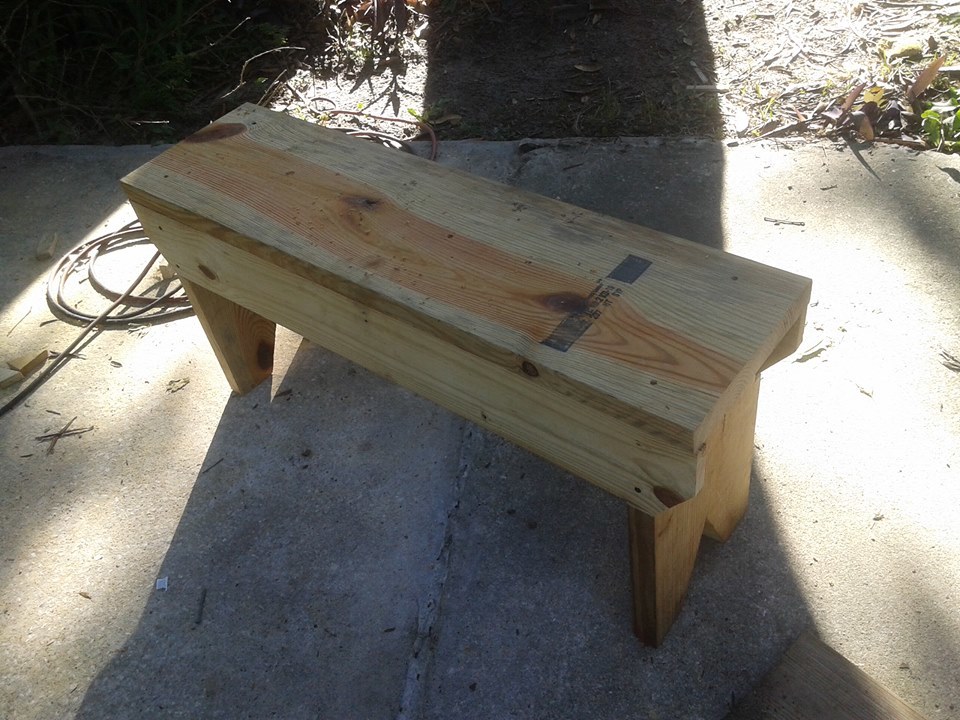
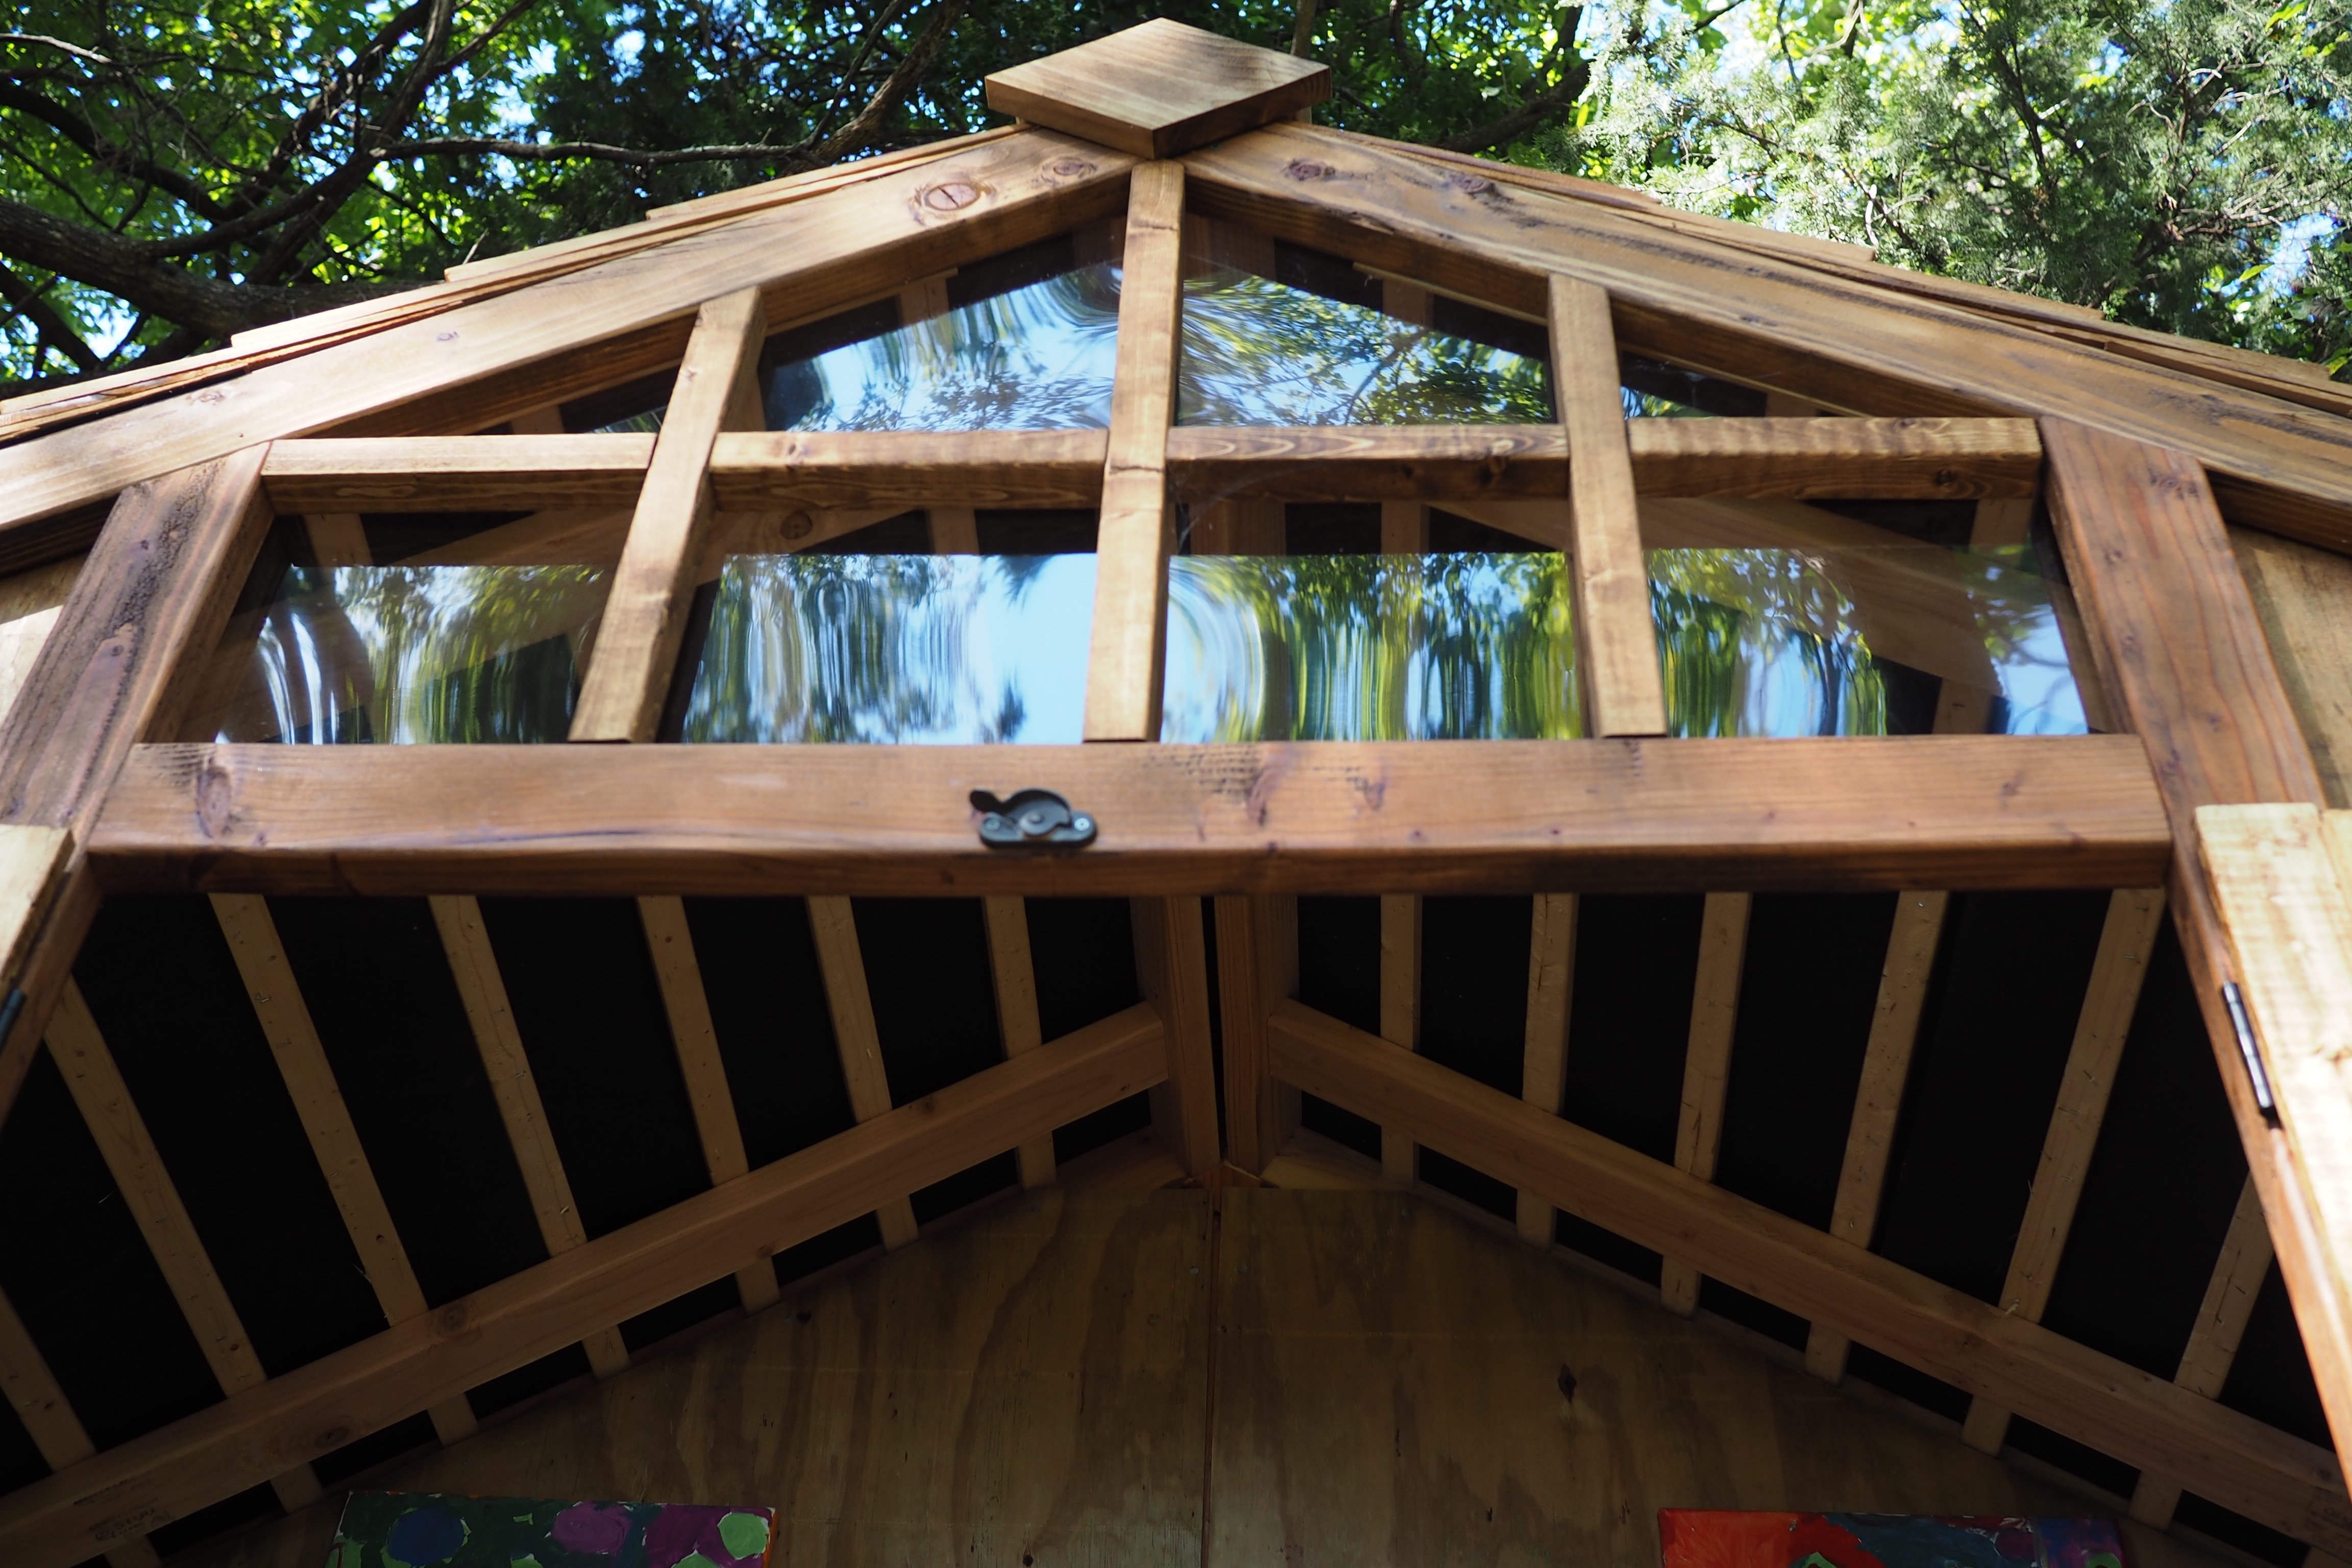
All in all a good looking planter.
Having already built a rustic bench to go with my Farmhouse Table, I knew it would be the perfect guest "book" bench for my wedding. For only $15 (I had the lumber for the top on hand), and the help of all my bridesmaids during my bachelorette weekend, we built this bench in just about an hour. Everybody had a hand in it, which makes it even more meaningful. It sits at the foot of the Farmhouse Bed my husband and I built from reclaimed barnwood from my father. I love that we have something so hand-made and sentimental to commemorate our wedding celebration. It makes me smile every time I look at it!
My first build, easy and fun. Finished in a weekend . Added handles to help my little man. He loves it, and so do I
I've wanted a pergola for a long time. I liked some parts of the Weatherly Pergola, but needed some different aspects because of my deck, property and locale. I did some research, laid out a modified design and plan - and voila! Easy as pie - you just need 2 people (or more) because of the weight of the cross beams support. I did it myself using clamps, but I don't recommend it.
My current project is designing cabinets and a bar for an outdoor kitchen to go under the pergola! :D
I took the 25 cubbies plan and changed the dimensions to fit shoes. I made a simpler version for my husband too. This project went together quickly and was so fun to build.
This was my first project so I picked one from the starter section. My fiance helped me to get familiar with the tools and learn to make the cuts. I am hooked. My goal is to learn well enough to get to the point where I can build built ins to make the most out of the small space in our home and maximize it. Since we started late in the day and it's Sunday, I will putty, sand and paint it next weekend. Gives me an excuse to go to Home Depot for materials for my next project We made some modifications though, we subbed 2x12 for 1x12 and 1x6 for 1x4. I wanted a thicker seat, and the local Home Depot was out of 1X4's. We had 1x8's but instead of ripping them in half we just made the jigsaw cuts a little deeper. We also used the 2x12 for the legs so those were a little thicker and sturdier. We'll likely make another and an outdoor table eventually. Thank you for a wonderful site!
Since moving and finding Knock Off Wood, we decided now would be a good idea to try some gardening (again...after failed attempts!) These beds are so simple but beautiful out in the yard and for the first time I actually have vegetables growing. We used the cedar fence posts just as Ana suggested.
I reworked the dimensions for the Farmhouse Doll Bed to accommodate my 20 lb Japanese Chin, Delilah, and reinforced the bottom to support her weight with an additional center leg and 3/4" plywood. I used 4" foam for the mattress and fleece fabric to make her "bed spread" and pillows. She loves her new fancy bed!
Second project we under took after stumbling over this blog. The armorie fit well in our bed room and has enough space for all my Indian sarees. Added a jewelery drawer in the middle. Love your blog Ana, thanks for the great work you do. Next project is to build a bed to match the armorie.
Sat, 07/09/2011 - 18:42
Love the finish and detail, beautiful inside and out. The jewelry drawer is a super idea! Super job- Love it! :) J
Sun, 07/10/2011 - 09:34
It's beautiful! I had posted a comment earlier, but the site must have eaten it.
I mainly followed ana's plans for this playhouse. Instead of a plywood roof I used cedar shingles. I also added plexiglass to the windows.
I used Ana's simple freestanding garage shelves plan. I made a couple modifications and left the top open to also store a kayak, it works great!
Cute Corner Cabinet by Thrifty and Chic Decor!
From watching Olympic gymnast Simone Biles on the television to running, flipping and twirling all around our living room — my girls LOVE everything gymnastics. Both girls began competing with a local gymnastics club. Now that my oldest has moved up and is pretty serious about practicing her beam handstands and dismounts, she begged me to build a raised balance beam with suede covering so it would have a similar feel to her beam at the gym.
If you can relate to this, or even if you have a new gymnast (like my youngest in the pic above) wanting to improve their skills at home, then this comprehensive tutorial on how to build a raised balance beam is for you.
Full plans available on my blog The Creative 'Carr'penter. You can also find and pin this tutorial on Pinterest here.
I have made six of these so far. Starting to become an expert on this one. They look great in the yard and will look even better when I make the table to go with them.
Wed, 12/23/2015 - 11:06
Thanks for sharing, you have become quite an expert with this build!
Tue, 01/05/2016 - 13:48
Hi Ana - We love the chairs design and the video. We bought all the materials, but are having difficulty without the plans. Is it possibe to share the plan or the link to the Adirondak chairs you built with Home Depot?
Thanks - Phillip
Tue, 06/14/2016 - 05:29
Ana White inspired Rustic X Coffee Table finished with dark walnut stain and Annie Sloan graphite chalk paint.
Really wanted one of these but everything I found was way too expensive so I found these plans, tweaked em a bit to fit the space I had and voila, double tilt-out trash bin. Thanks for the wonderful plans!
Sat, 05/02/2020 - 14:36
This is the exact Style I've been looking for!! I see that you made this ages ago - any chance you still have the dimension modifications you made somewhere?
Comments
jackeymackson
Sat, 03/14/2020 - 21:17
Looks like your site doesn’t…
Looks like your site doesn’t work any more :(