Community Brag Posts

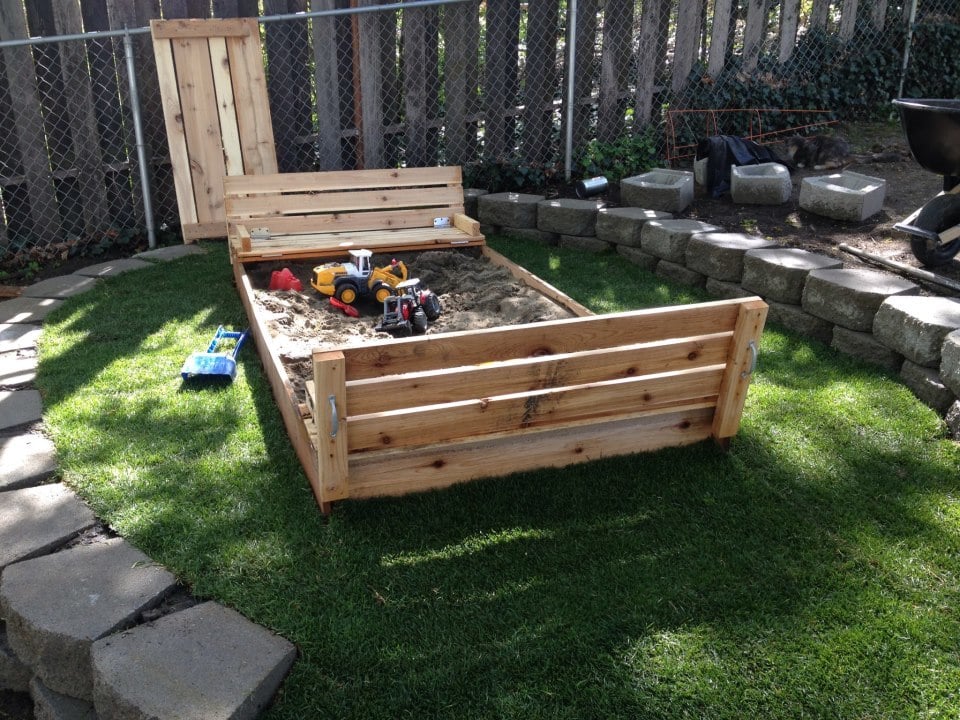
Sandbox with lid

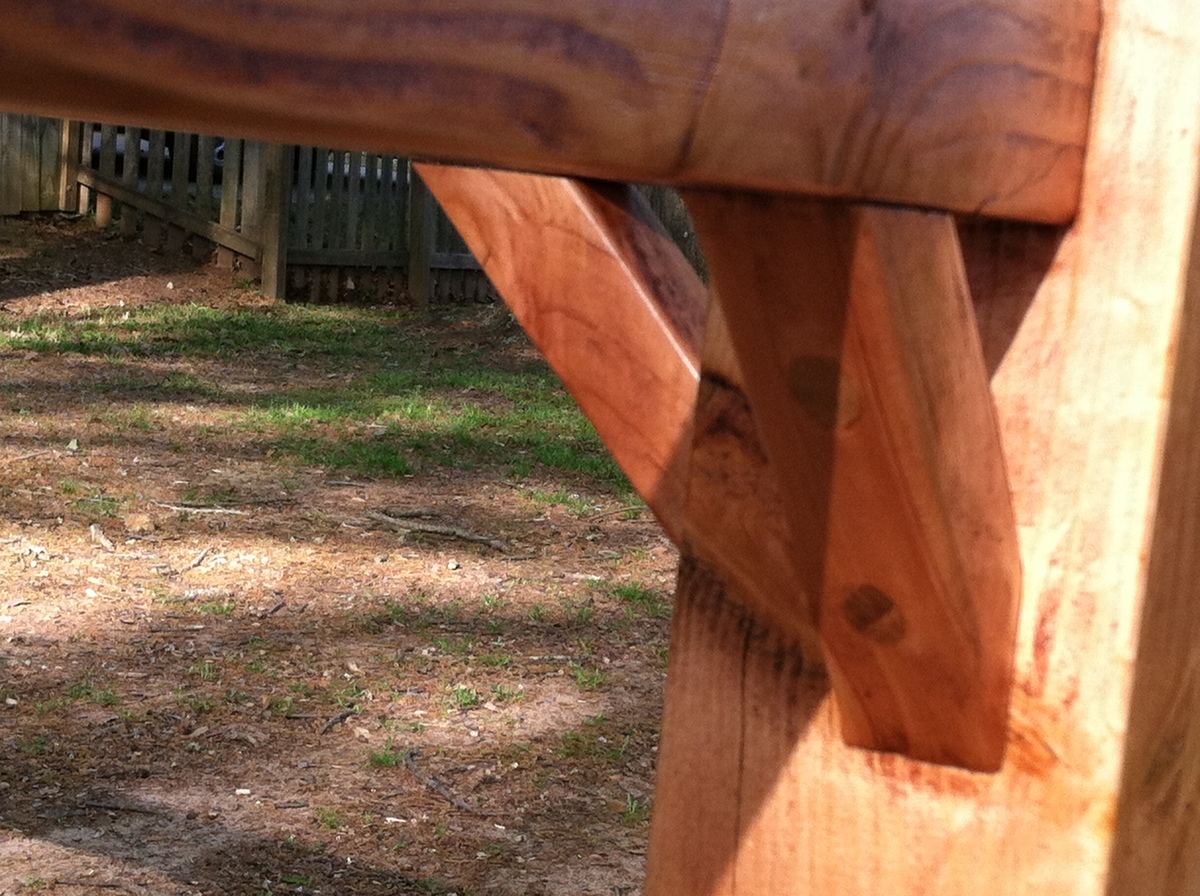
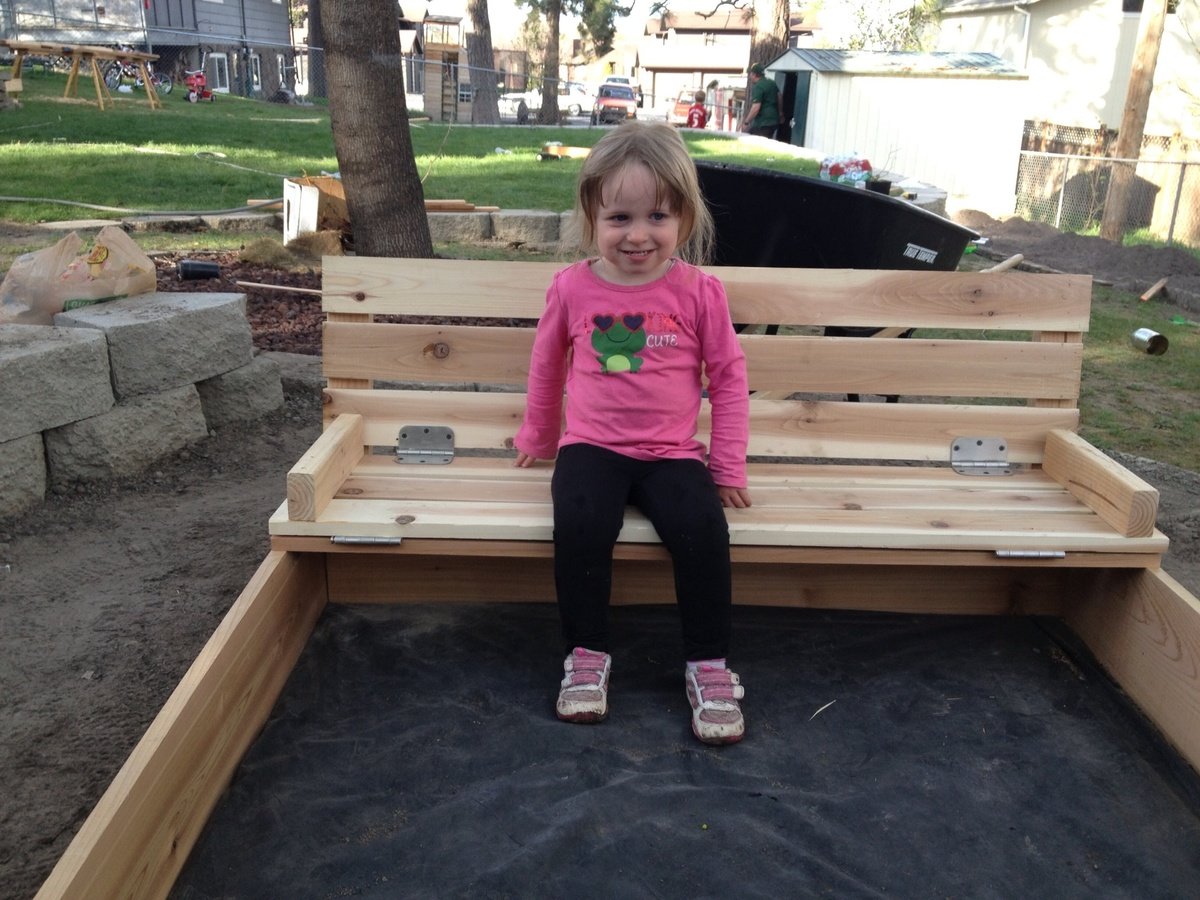
This was my first EVER wood working project.

With that being said, it took me more than just an afternoon.
I used cedar, and all the materials on the cut list had to be sanded , since I didn't like the roughness of the cedar.
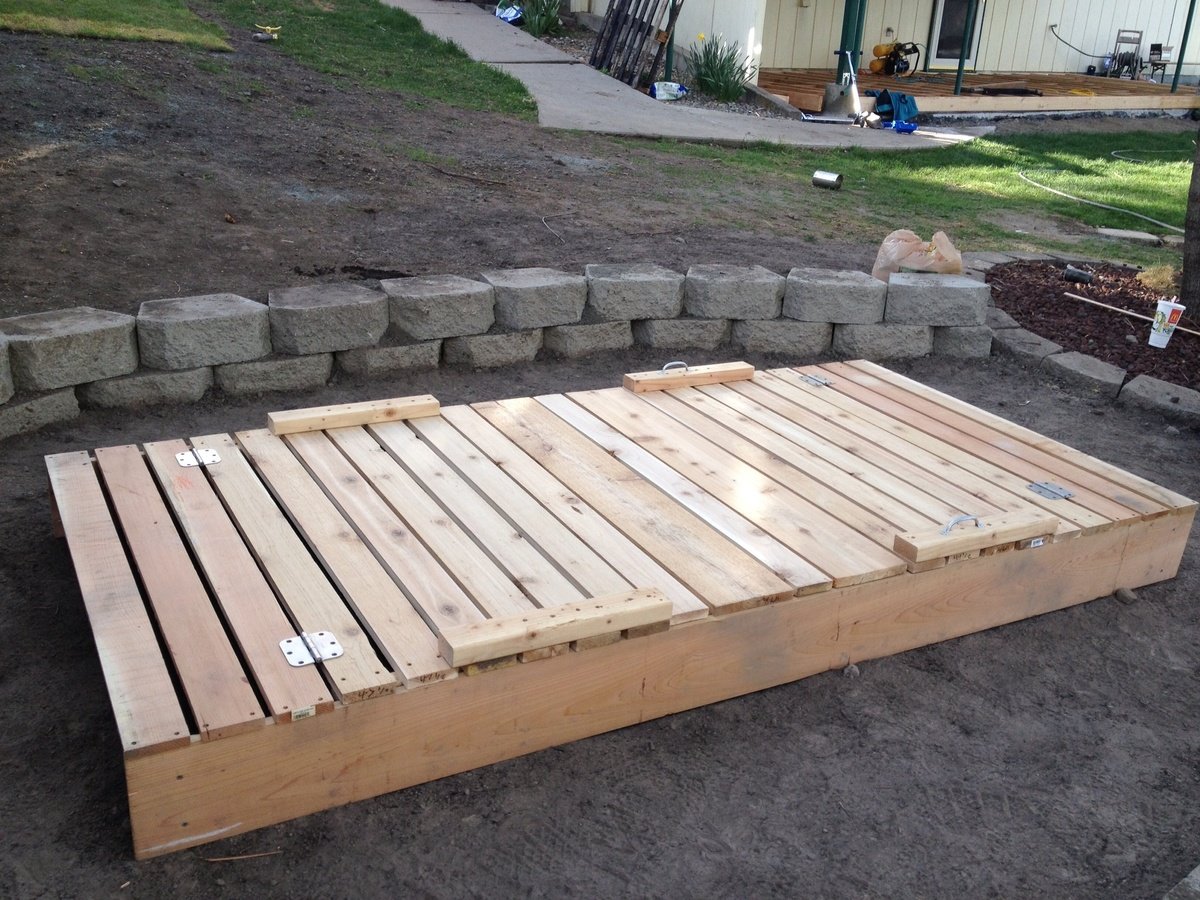
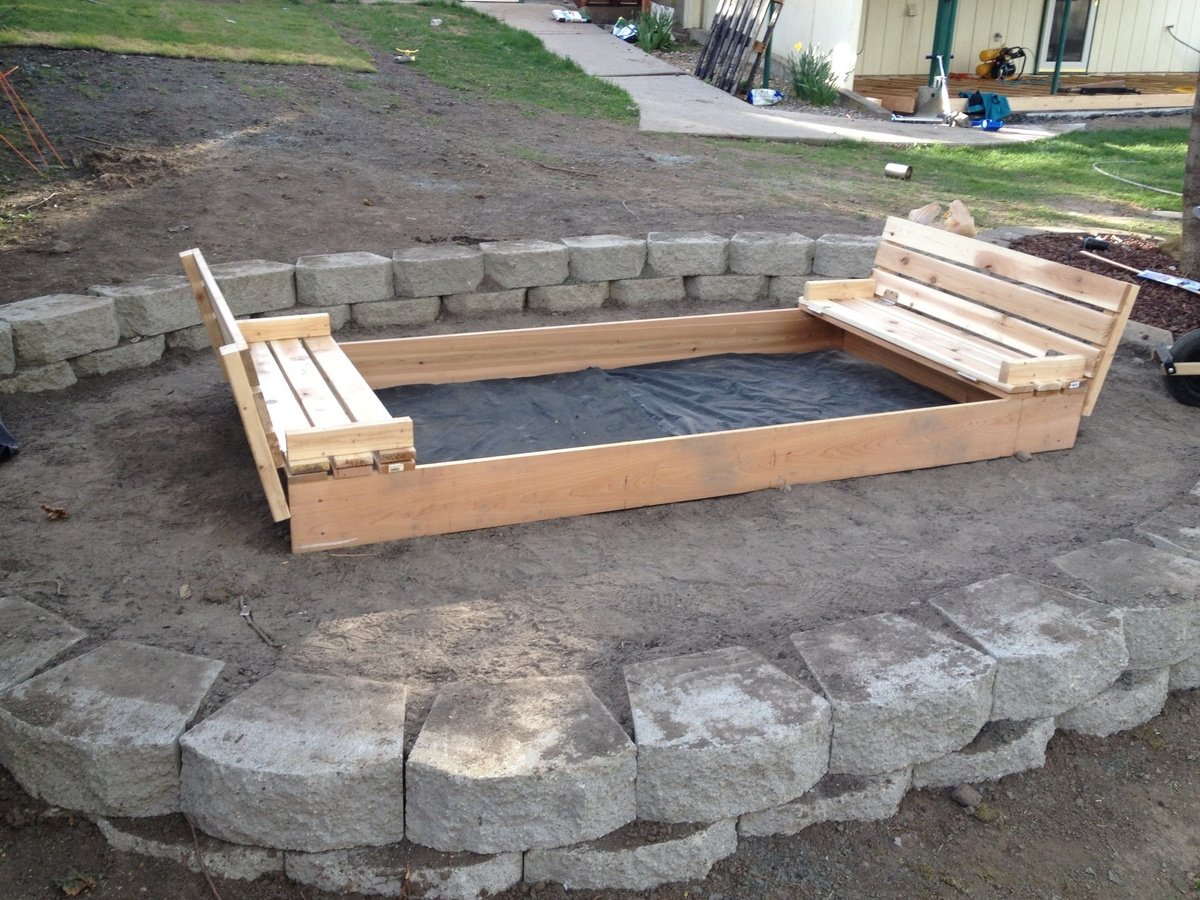
I also made the box 4x8. I didn't take into account that that would require a minimum of 48 inches for the top planks. So, some of my top planks are shorter.

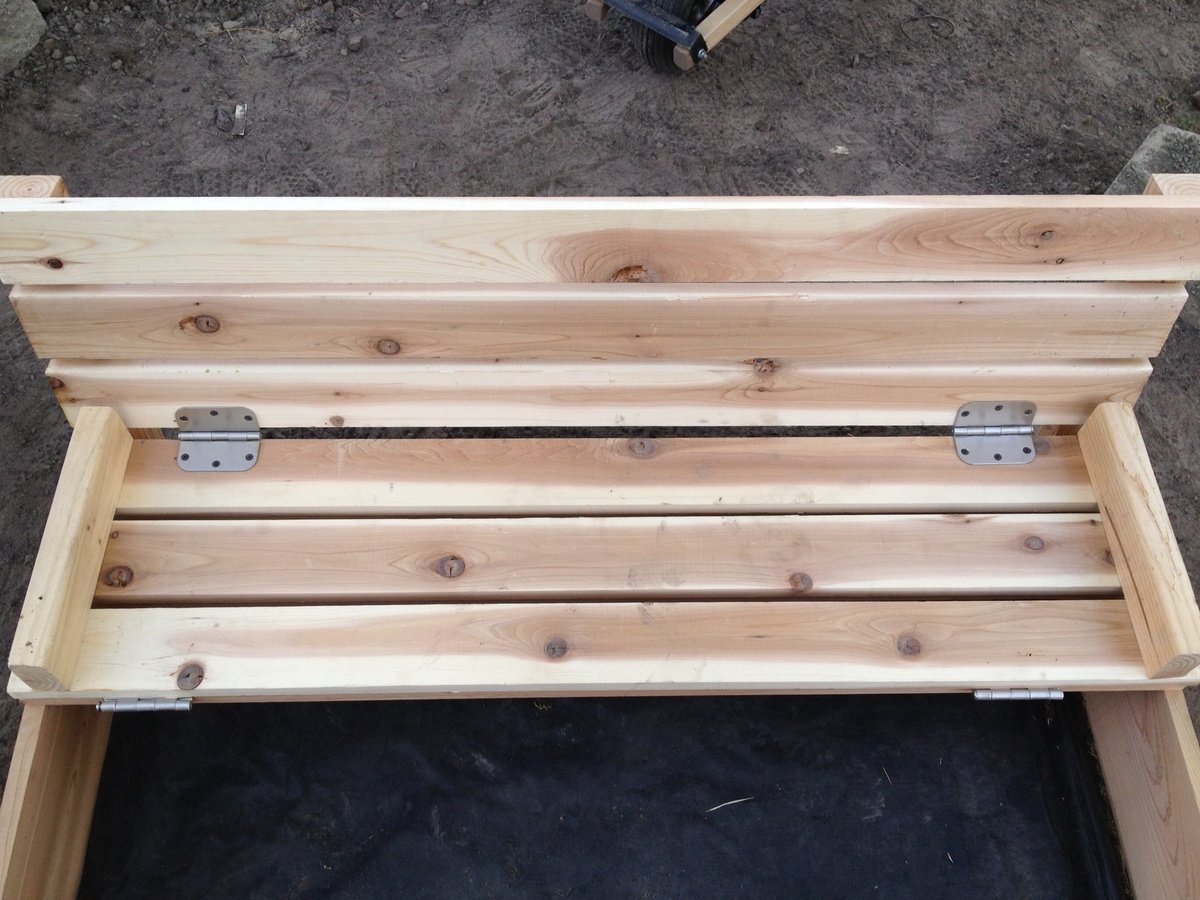
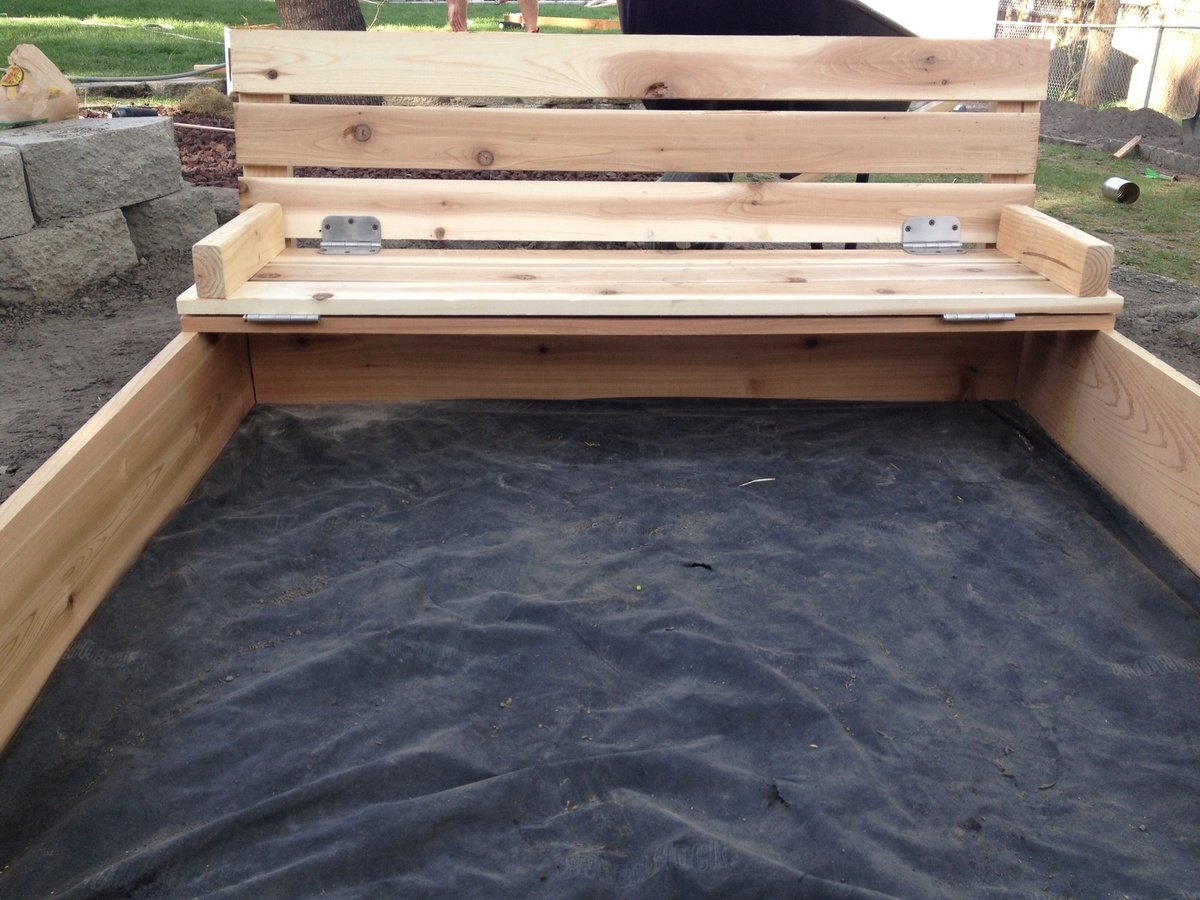
I also wished I had a little more instruction from which side to screw the screws in. May sound a little needy for some of you, but I never did anything with wood before. The instructions simply read attach top planks to arm rests (or something int that manner) and I wish it would have told me from which side to screw in (or give me a picture). Looking at some of the brag posts helped a lot.

Because its larger size, I decided to make the seats 3 top planks wide (and also the back rest) and made another middle cover piece to bridge the additional gap when both seats are folded down.

Also, the cedar was VERY expensive, and all the screws, hinges, and handles almost cost me as much as the wood.

The sand to fill the box ran us another $80 (for good plays and), but that was because we made it so big.

All in all, a rather pricey sandbox, but worth it because of the large custom sizes, and the cute little seats.

Pictures show the sandbox without sand, and with some of the handles still missing. I also still need to fill the holes.

Will add a picture of finished box filled with sand when it is available.
Built from Plan(s)
Estimated Cost
$250
Estimated Time Investment
Weekend Project (10-20 Hours)
Finish Used
None
Recommended Skill Level
Beginner

Farm House Table

Submitted by Luke2220 on Sat, 05/11/2013 - 07:22

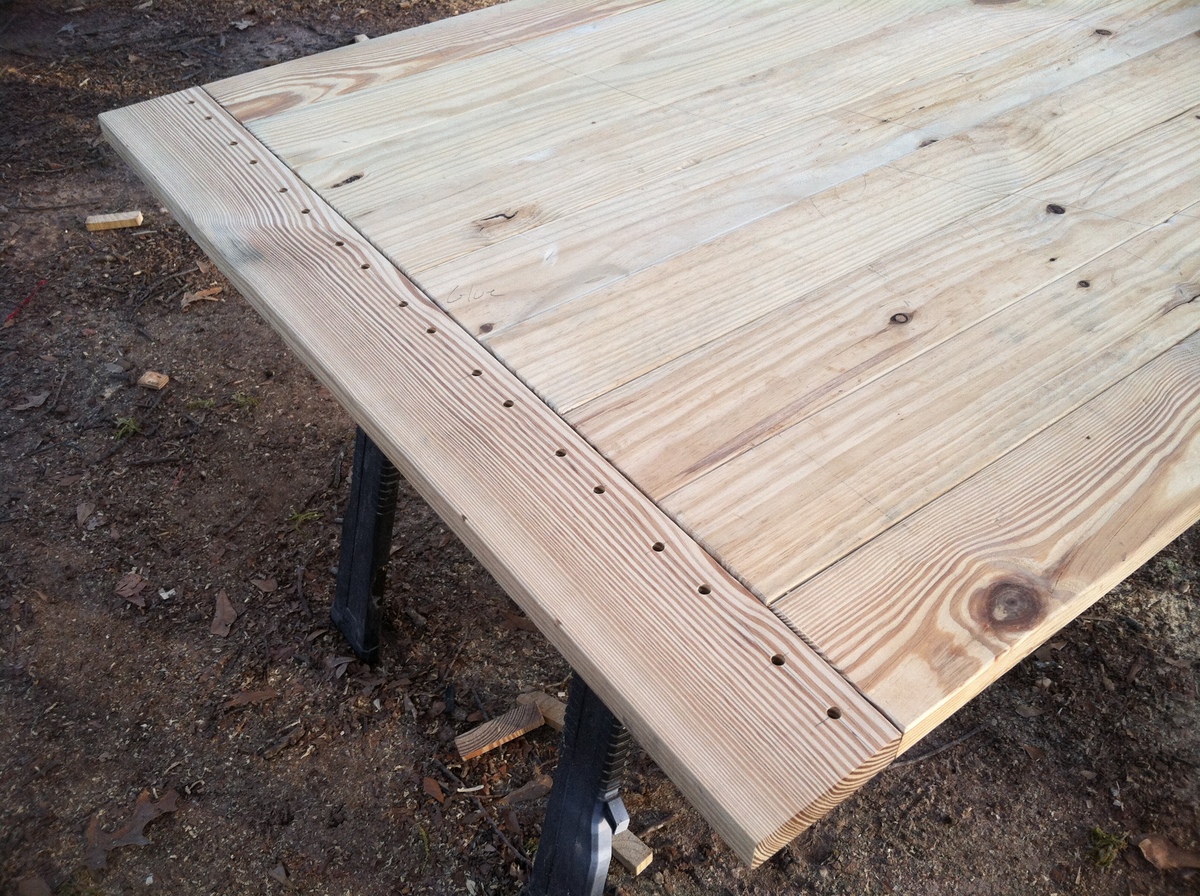
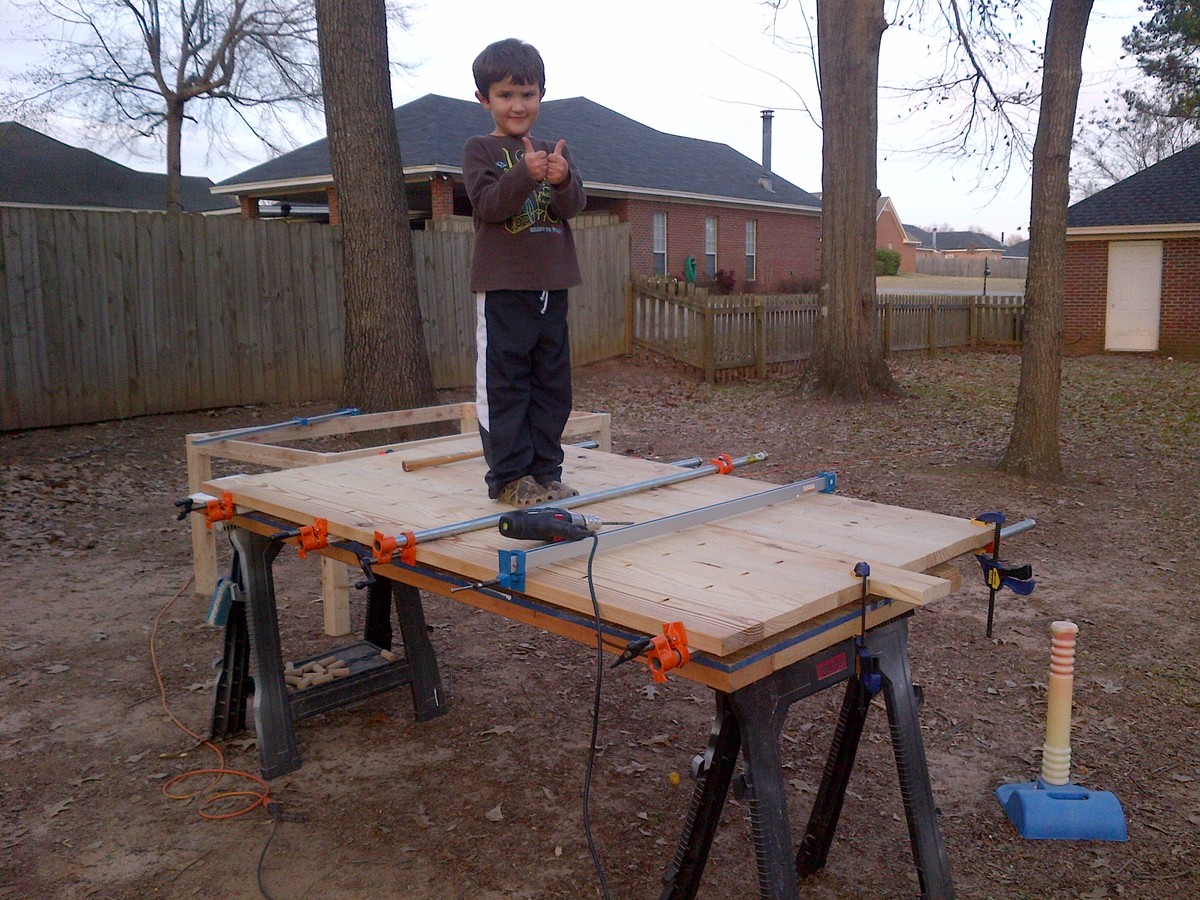
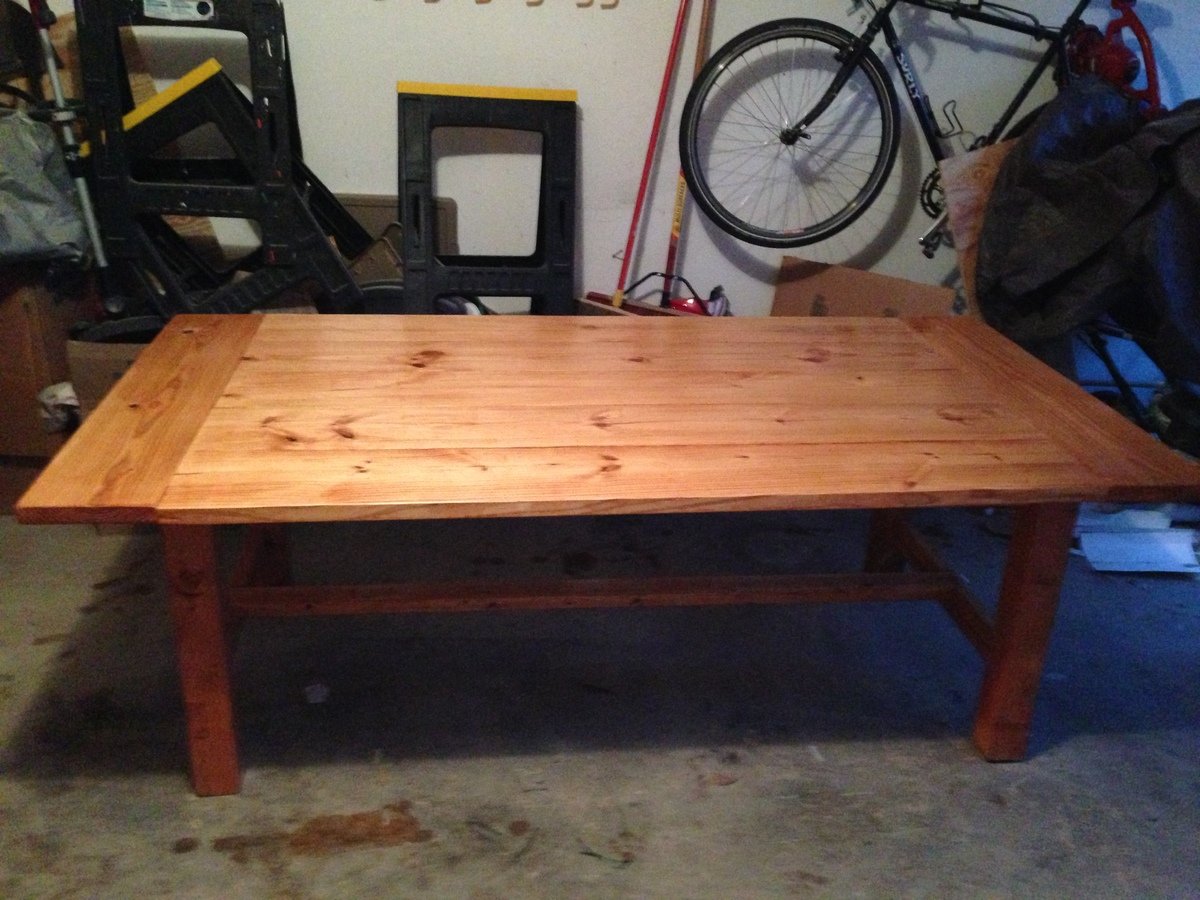
My wife and I love this table: http://www.woodlandcreekfurniture.com/graphics/DT00100NEW.pdf so I took the Farmhouse Table plan and modified it just a little bit. I used pocket screws to join the table top and eventually wound up installing 2x4 runners on the underside to sturdy the top even more. I also used my son to help keep the boards flush while I screwed them together. He though it was wonderful to help his dad out this way.

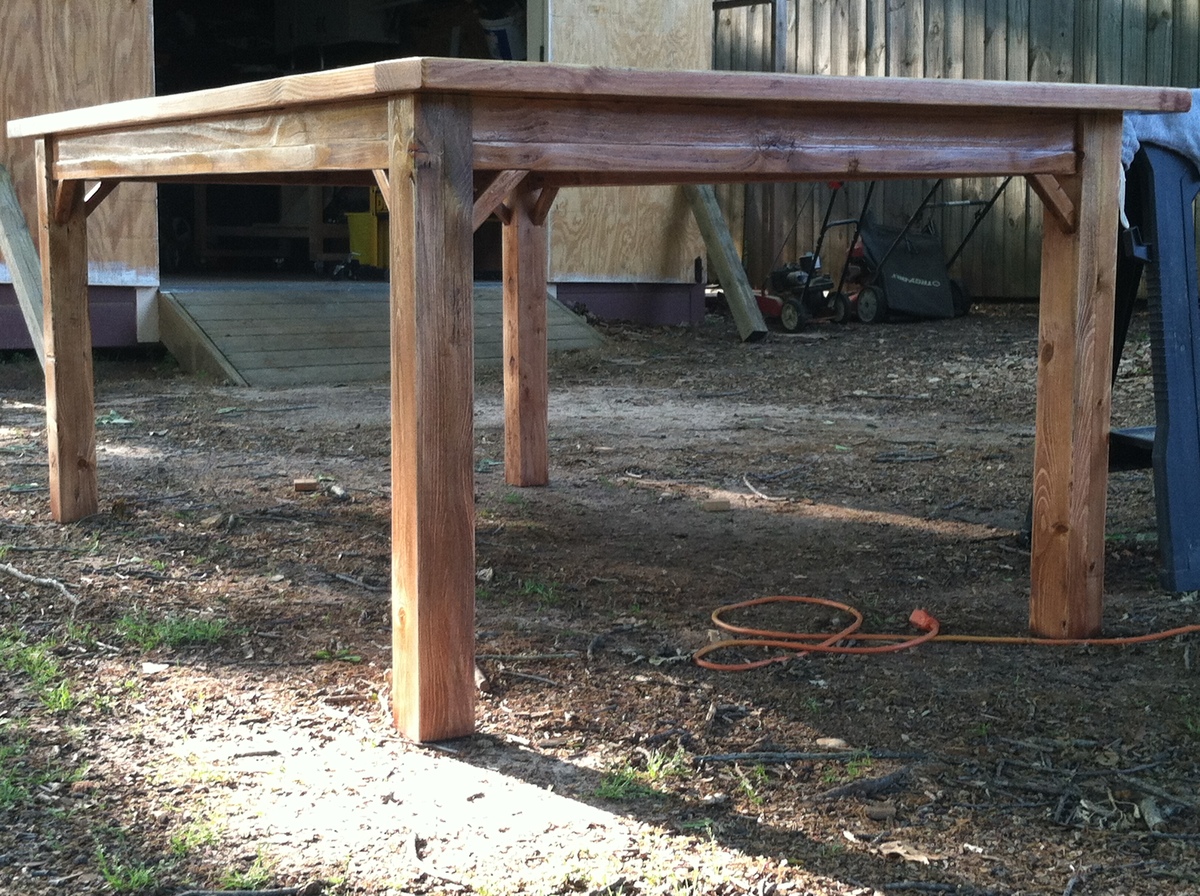
For the table frame I used a 1" straight bit in my router to put a little "flair" on the rail. The leg bracing is 1x1 scrap that I had left over from ripping the rail to size. I used my drill press on the bracing to make the recessed hole for the screws at the correct angle. I then covered the screw hole with a 5/8" red oak dowel.

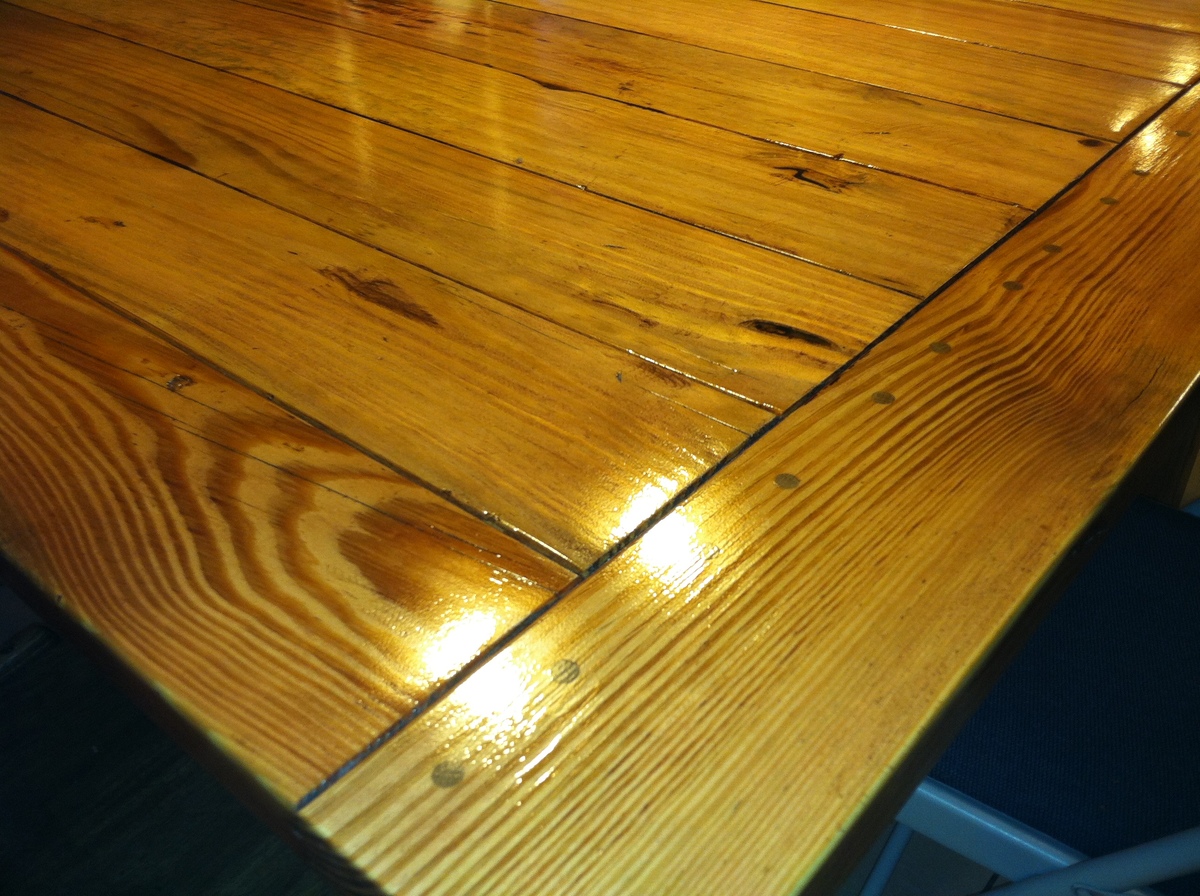
I decided to go a little more traditional on the breadboard end just to see if I could do it. Its really not that hard just more time consuming. I used a 5/8" red oak dowel that I bought at the hardware store for joining the breadboard to the rest of the table top.

My table is made of a mixture of pine and spruce. I used shellac to seal the wood before staining. Shellac keeps these softwoods from splotching when they are stained. I then used Minwax Red Oak stain. I let the stain sit for about 15 minutes before wiping it off. The color turned out great. I used my Christmas money to buy an LVLP spray gun to hook up to my pancake compressor. I used the Spray-It 3000 to apply polyurethane. I put 5 coats on the frame and 10 coats on the top itself. In between each coat I used 0000 steel wool to buff the surface. The very last coat I left alone so it would shine. It left it with a little bit of an "orange peel" finish but I thought it made the table look more rustic so I left it alone.

All in all it took me about 60 hours over a 6 month period to get the table done. When you have a real job, kids, and a house to take care of it takes a while to do stuff like this.

I've got a plan for some chairs so I think I'm going to try chairs next. They say if you can build chairs you can build anything. I've built just about everything but chairs so maybe this saying will work in reverse. If the chairs go as fast as the table did, it might take another 6 months to get one done.

The wood for this table I got for free. My brother-in-law works in the lumber business and this wood was the throw away that none of the contractors wanted. All of it had been sitting in the sun and was warped, gray, and cracked. A friend from church who does woodworking for a living planed and jointed the boards straight and square for me. The lumber is construction grade pine and spruce. Most of the money I spent on this was for the spray gun, the finish, and the hardware that I used for joining the tabletop to the frame.

A help hint I found out after the fact. If you're sanding pine and spruce with a random orbit sander or any electric sander you are going to leave little "swirlies" throughout the wood. Either sand the wood by hand to prevent the "swirlies" or learn how to use a card scraper so you don't have to mess with sandpaper. The "swirlies" showed up when I applied the stain. Before then I couldn't see them. My wife thought the "swirlies" added to the rustic-ness of the table, so I left them alone.

Estimated Cost
$150
Estimated Time Investment
Week Long Project (20 Hours or More)
Finish Used
Clear Shellac
Minwax Red Oak Stain
Clear Gloss Polyurethane
Recommended Skill Level
Intermediate

Comments

Cedar picket shed

Submitted by CMeerman on Sat, 04/11/2015 - 12:16

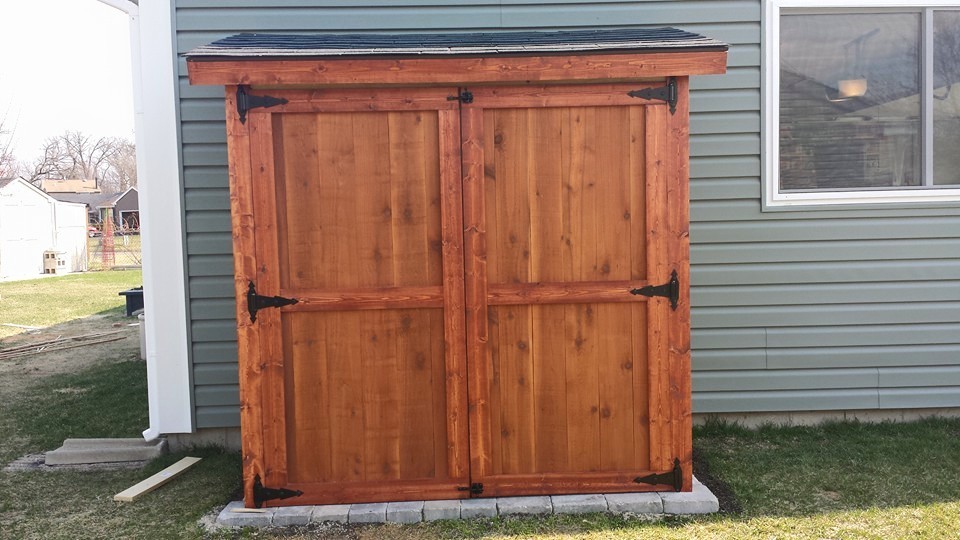
I poured a 3 1/2" concrete pad first then bolted the completed shed to it.
Shed was easy enough to make, the plans were well done. Spent about 25 total hours on shed, including staining. Hinges were very expensive ($20 a pair with latches), spent about $400 NOT INCLUDING gravel, sand, & concrete for the pad or clamps. 


Built from Plan(s)
Estimated Cost
$400
Finish Used
Flood UV on cedar, minwax gunstock on pine.
Recommended Skill Level
Beginner

Comments

Jewelry Box Retirement Gift

Submitted by JoanneS on Mon, 04/20/2015 - 17:19

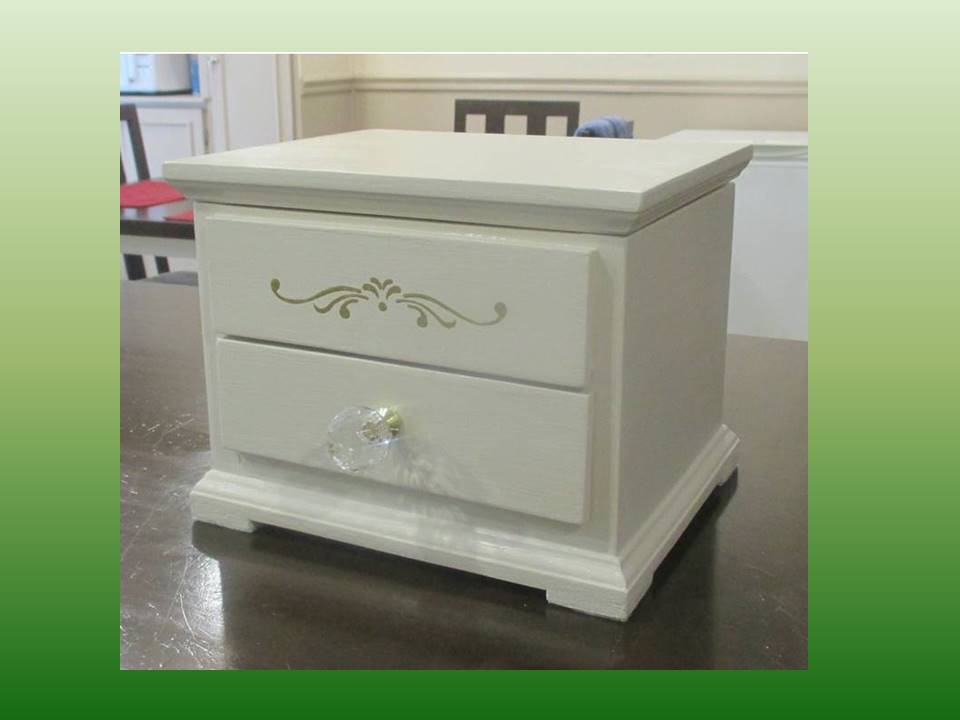
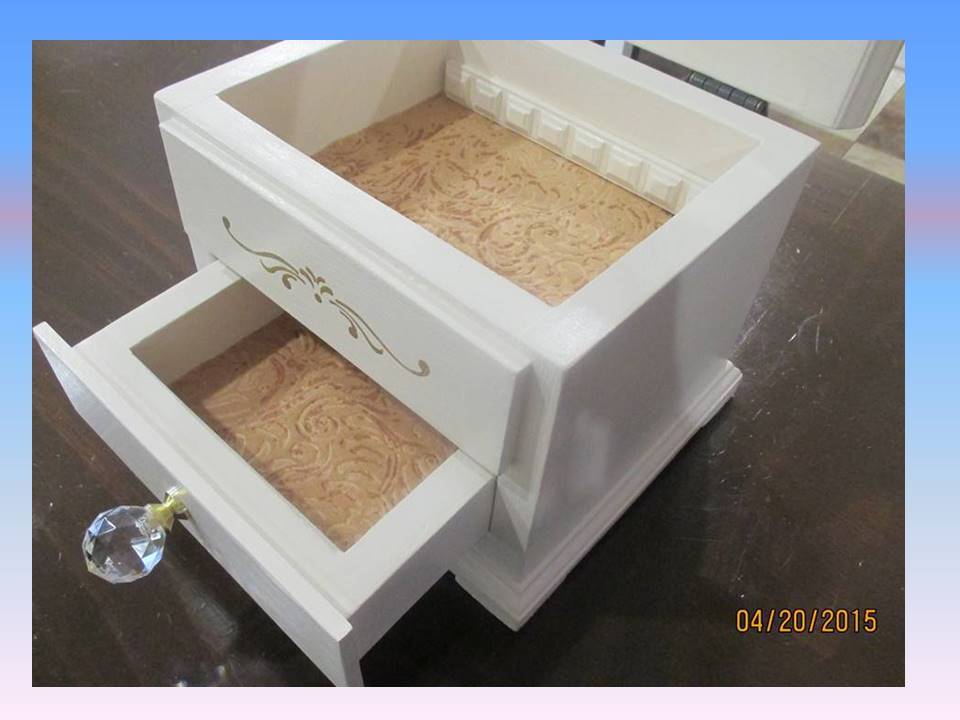
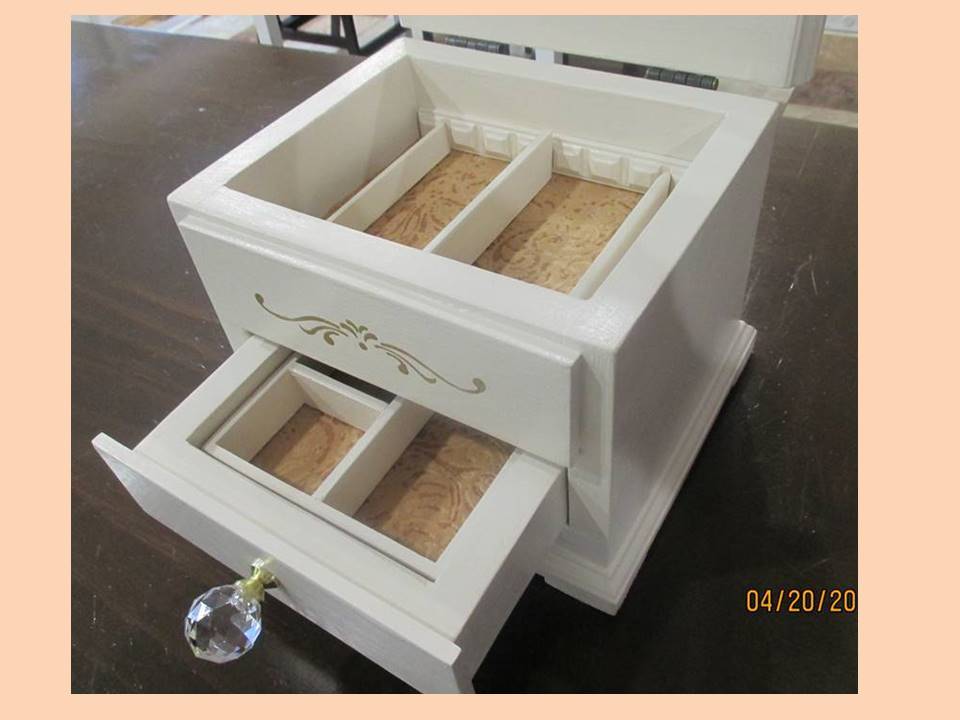
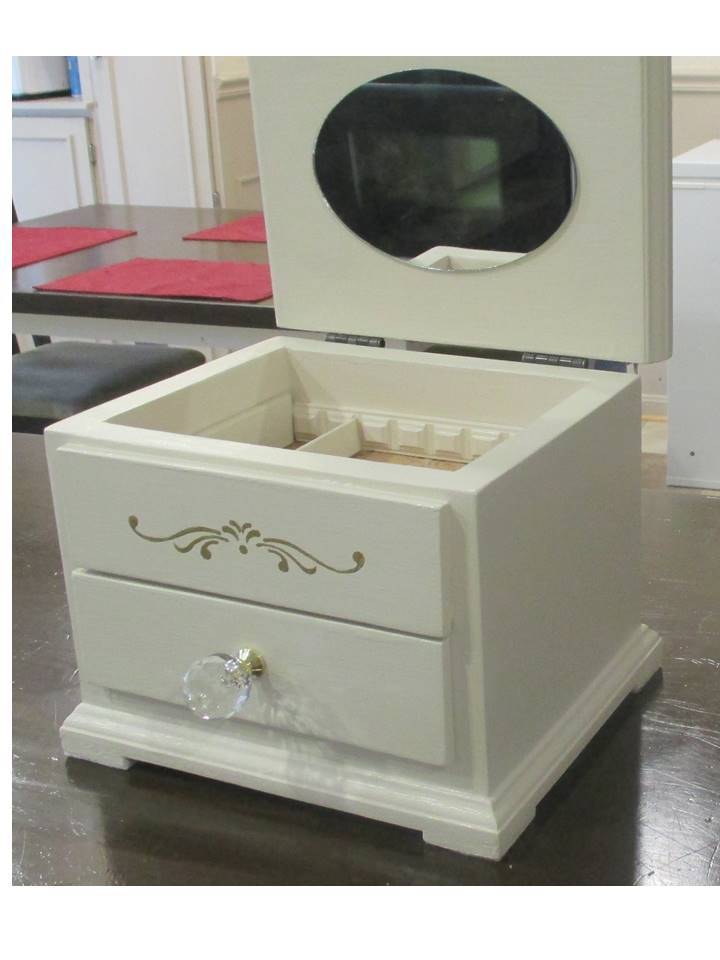
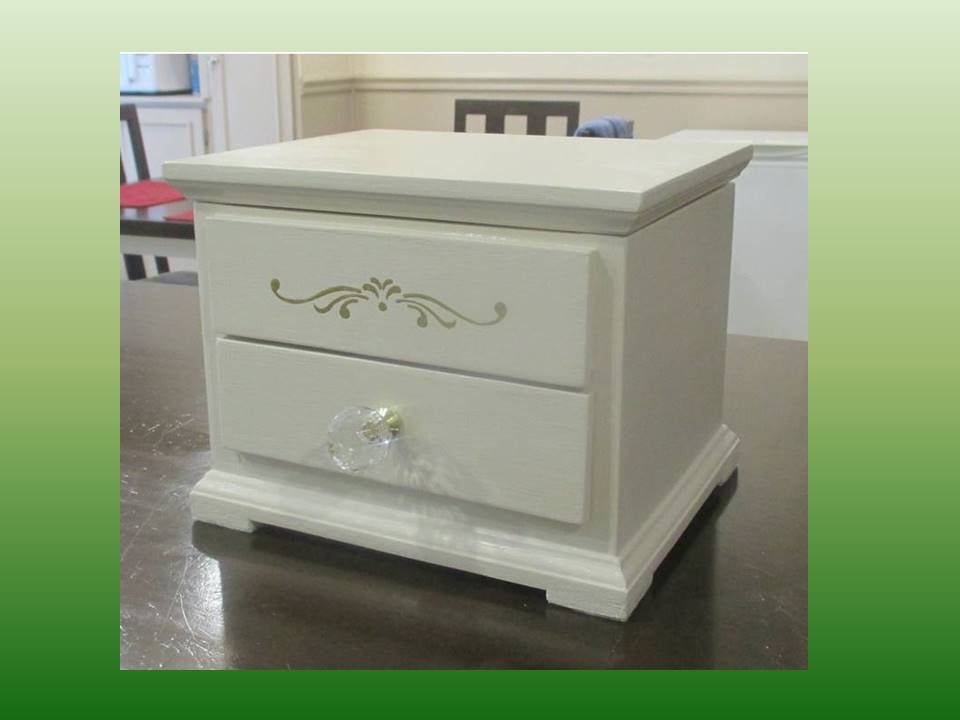
This jewelry box is a gift for a friend at work who is retiring.   It is a variation of the Easy Jewelry Box, with the following modifications:

Hinged lift-up top with mirror

Overlay drawer fronts from ¼” craft wood (Gold stencil on top false drawer front, and drawer boxes are 1/8” shorter than the shelf from front to back, to ensure the fronts sit flat against the box front and drawer back doesn't touch the box back at all)

The bottom is 2 pieces thick, to allow space for the drawer overhang and attaching the bottom moulding.

Solid wood back (instead of plywood)

Top and bottom edged with mini stop moulding to make the overhangs, and added feet made from lattice

Removable drawer divider tray and 2 heights of removable dividers for the top, made from dentil, lattice and screen bead mouldings

I really took my time on this build to get everything just right with the build and the finish.   Probably spent about 6 hours spread out over the last few weekends. 


Built from Plan(s)
Estimated Cost
Cost: 1x8 and 1x2 Lumber and finishes were already on hand (left over from other projects) and I spent about $25 for the mirror, hardware, felt, mouldings, and craft board.
Estimated Time Investment
Day Project (6-9 Hours)
Finish Used
3 coats Clark & Kensington semi-gloss paint + primer in Crushed Peanut, sanded between coats. Stencil: 1 coat Americana Gloss enamel metallic in glorious gold. Soft wax on the shelf and drawer bottom.
Recommended Skill Level
Beginner

Comments

Linda7

Tue, 04/21/2015 - 18:57

This is your best one yet, Joanne. Love it! :-)

JoanneS

Wed, 04/22/2015 - 18:29

Hi Linda, thank you for the nice comment! This was a fun build, and I'm very glad to say the gift was a big hit! :)

Farmstyle Table based on Ana's plans

Submitted by NaasMarais on Tue, 09/12/2017 - 02:03

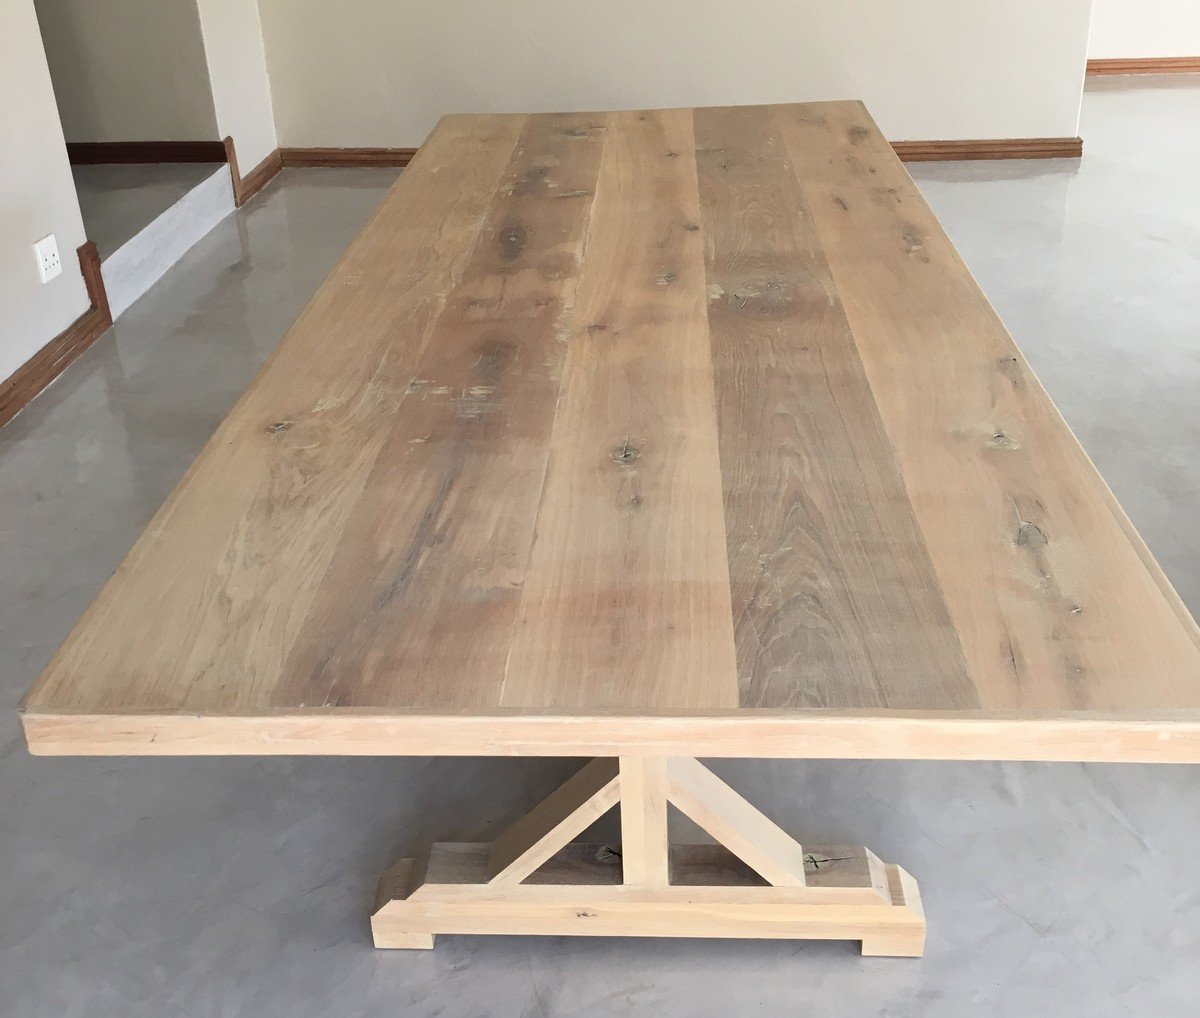
This table is made out of Solid Oak and took me +- 6 weeks to complete.

Thanks to Ana White for the plans as I followed them to the "t" with some minor changes in the size

Final size is 10ft long x 47 1/4 inch wide and 29 9/64 inches high

Built from Plan(s)
Estimated Time Investment
Week Long Project (20 Hours or More)
Finish Used
Rubio Monocoat Oil 2C - Natural Color
Recommended Skill Level
Beginner

Harriet Chairs (by me)

Submitted by Medickep on Fri, 05/01/2015 - 09:01


I'm pretty happy with the way these chairs turned out.  It was a fun project as I did a few first, which included going to the fabric store (long waits) and got to tackle some upolstery for the first time!  I did end up with a few glue drops that did not take the stain, so I'll be researching tips and tricks to prevant that in the future!  


Also, I made these out of Popular, which pre stain was a must for cherry stain.  Next time, I would use Cherry!

Thanks to Joanne S for the original post and consults regarding the upolserty!!

Built from Plan(s)
Estimated Cost
80-100/chair (depends on materials used)
Estimated Time Investment
Weekend Project (10-20 Hours)
Finish Used
Golden Oak Wood Classics stain from Sherwin Williams. Tinted to match my existing chairs.
Recommended Skill Level
Intermediate

Comments

JoanneS

Fri, 05/01/2015 - 13:29

These are spectacular! Beautiful build! Love the finish and the upholstery. Also I'm super impressed that you can't see any of the filled screw holes. Would love to know the technique you used to hide them so well - I'm going to copy that! :)
JoanneS

Medickep

Fri, 05/08/2015 - 12:48

Thank you both for the nice comments. I was please with the way these turned out too, despite some glue spots not taking up the stain. I plan on getting more disciplined in this area. For hiding the screws, I finally upgraded to a real countersink like this one: http://www.rockler.com/8-pro-tapered-countersink-bit at Rockler.

Instead of always forcing a dull one in and getting a crooked openings, this razor sharp one cuts beautiful holes with no effort! But watch out, I cut myself just adjusting the depth of the drill bit. I discovered these the last time I made some wine oak barrel chairs!

Medickep

Fri, 05/08/2015 - 12:53

Since I use Kreg screws for almost everything, (even non-pocket hole stuff)because they are self tapping and won't crack the would I sure my countersink matched the head of the Kreg screws and than purchased a plug hole bit. Can be used on a drill, but better on a drill press. You have to keep the drill perfectly straight or the plug can break and get stuck in the bit!

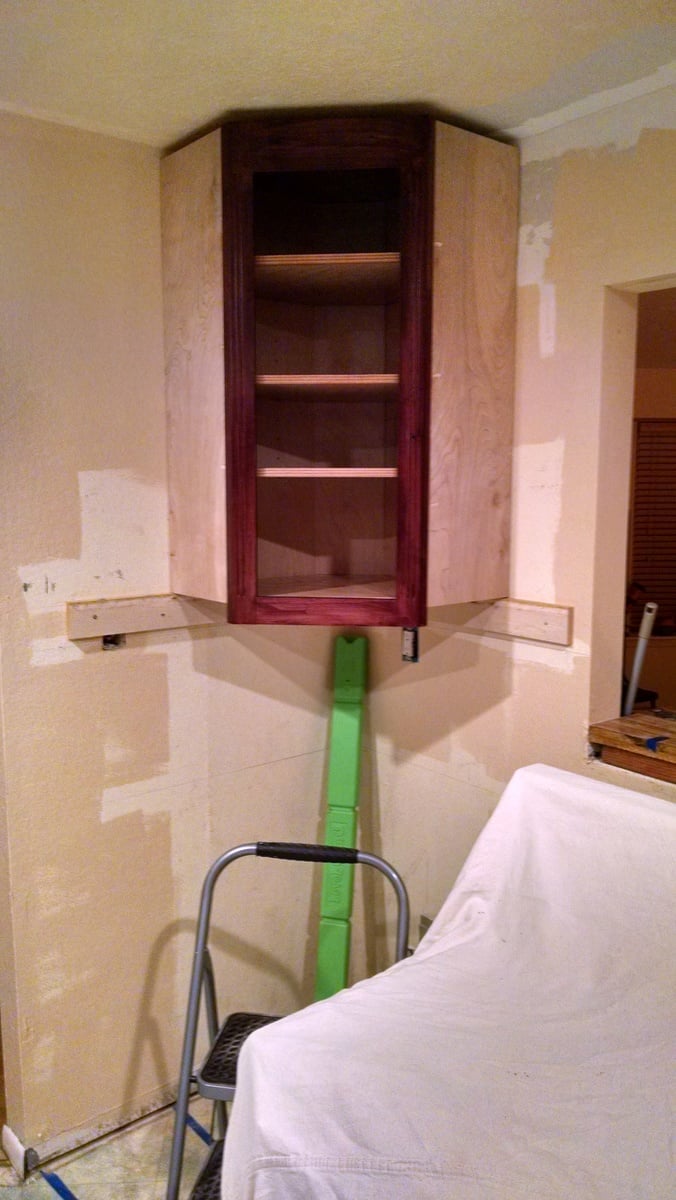
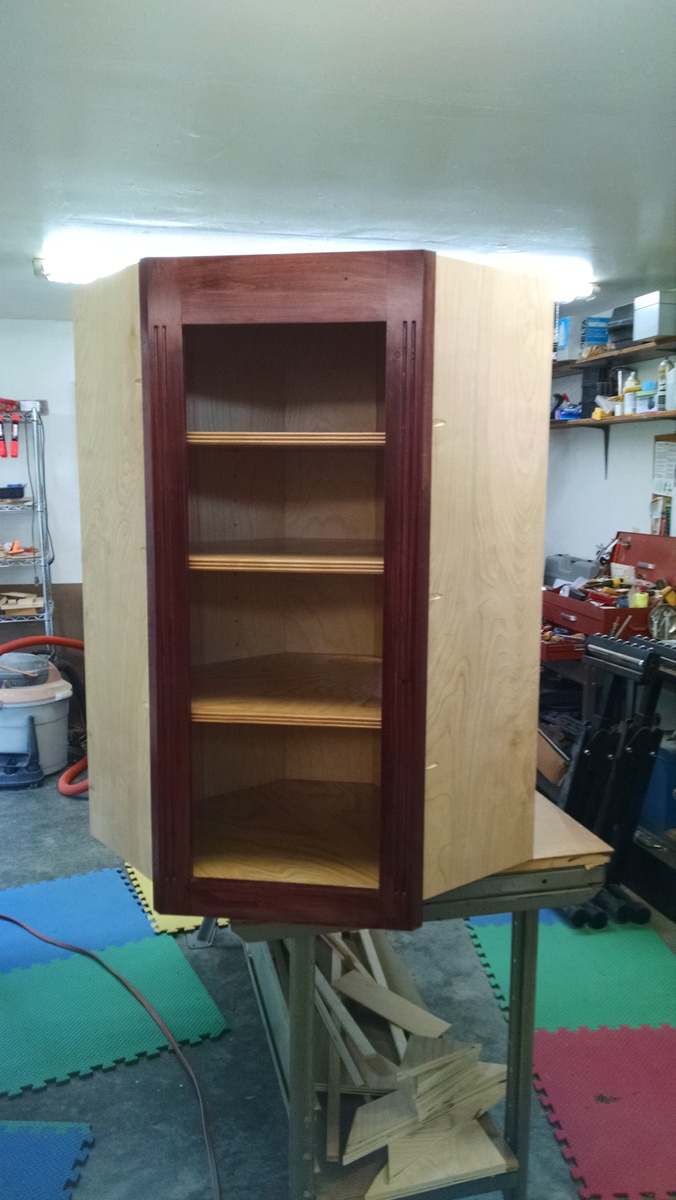
inside corner wall cabinet

First cabinet in my kitchen remodel.


Built from Plan(s)
Estimated Time Investment
Weekend Project (10-20 Hours)
Finish Used
Sherwood by Sherwin Williams. Special purchase 5 gallon minimum. Water based lacquer. Dark Mahogany stain, HVLP sprayed on lacquer.
Recommended Skill Level
Intermediate

Beautiful Cedar Patio Table

Submitted by NeoMoses on Wed, 06/19/2013 - 13:48

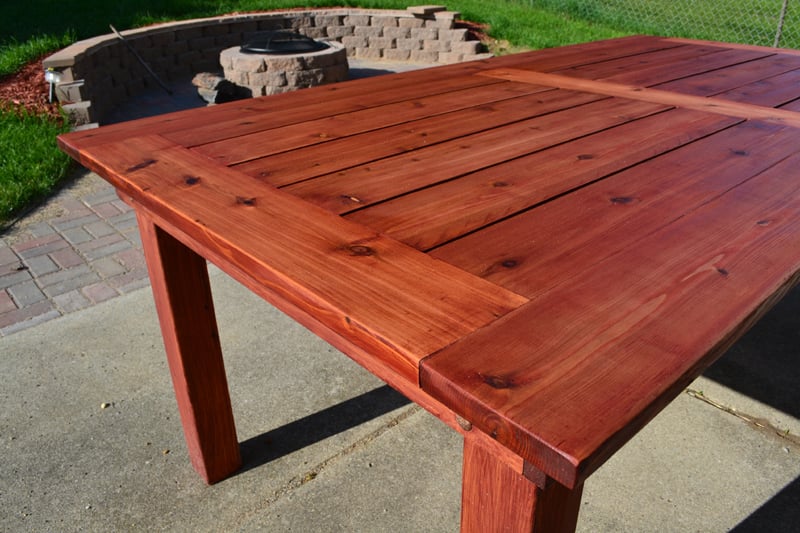
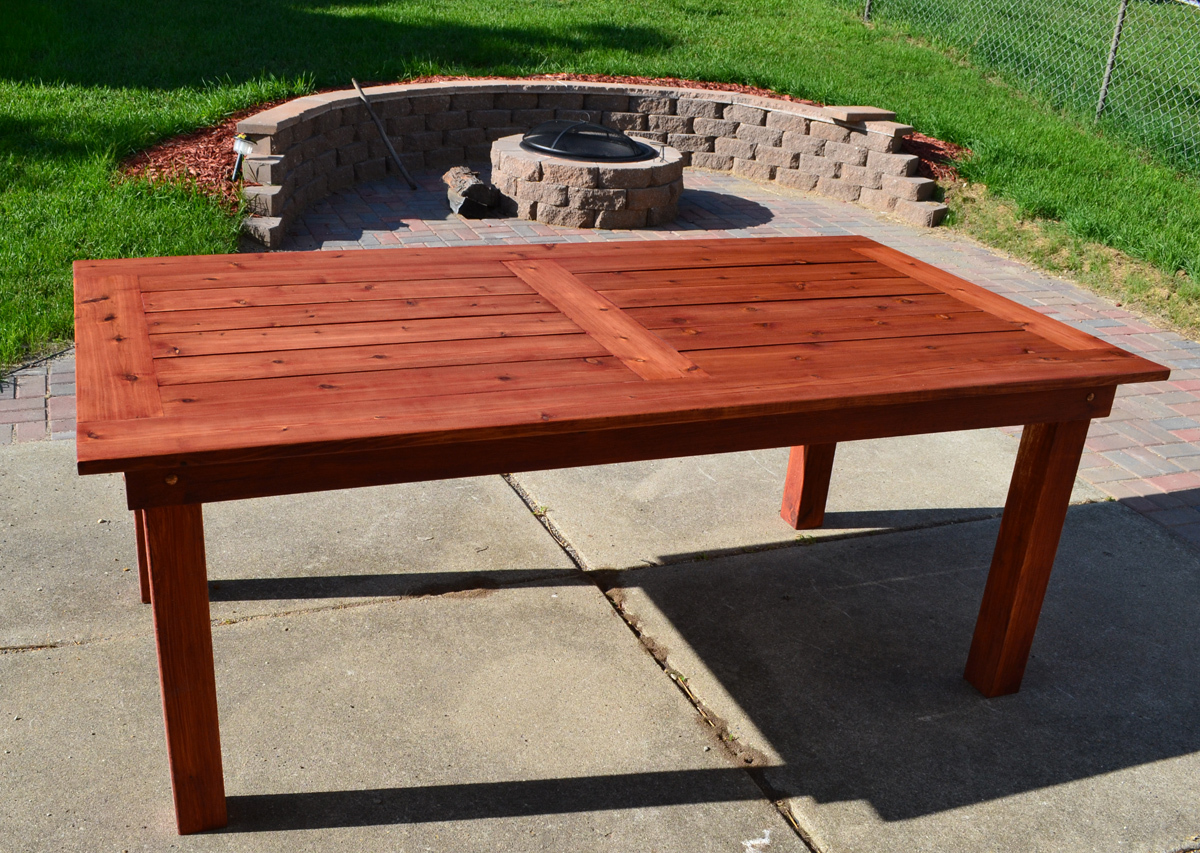
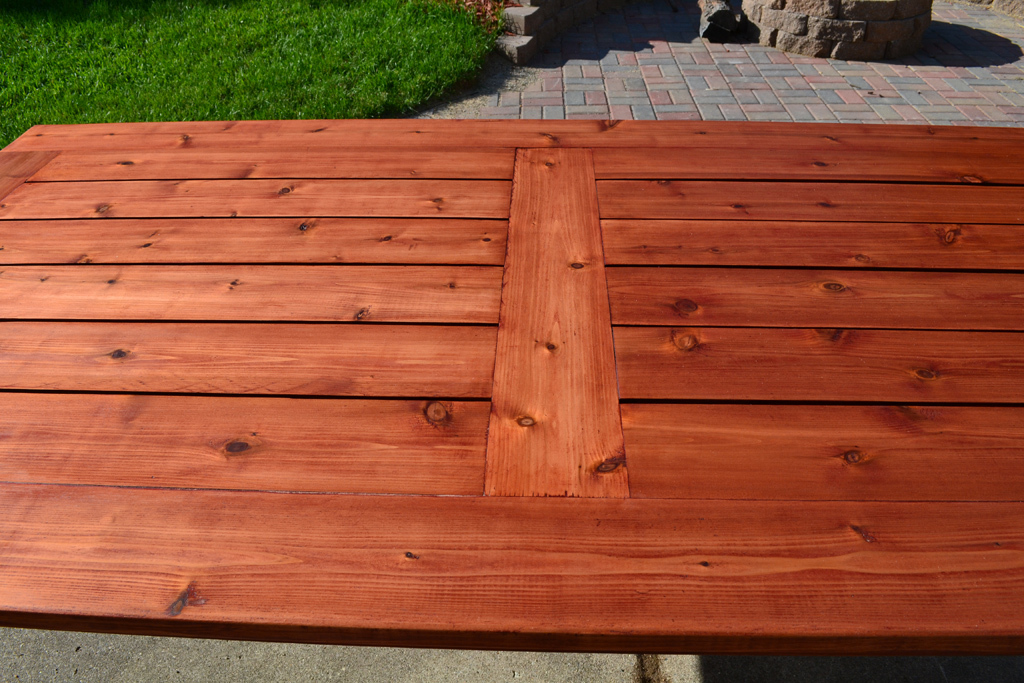
Slightly more elegant version of an outdoor cedar patio table. This is made from 100% cedar and joined using Kreg pocket hole screws. The finish is 2 coats of Sikkens Cetol MRD that has been hand rubbed on using a cloth, with 24 hours of dry time between coats.
Built from Plan(s)
Estimated Cost
$140
Estimated Time Investment
Weekend Project (10-20 Hours)
Finish Used
2 coats of Sikkens Cetol MRD, hand rubbed with cloth.
Recommended Skill Level
Beginner

Comments

odpdxo

Wed, 06/19/2013 - 23:22

I really like the way you modified this design and I would like to duplicate it. I am curious about how you changed to framework to accommodate table top with the boards running lengthwise. The original design has the framework running lengthwise, so I am assuming you added framing that runs perpendicular. Is there any way you could include pictures and measurements of the framework under the tabletop? Thanks. Great work!
Fantastic Garden Beds

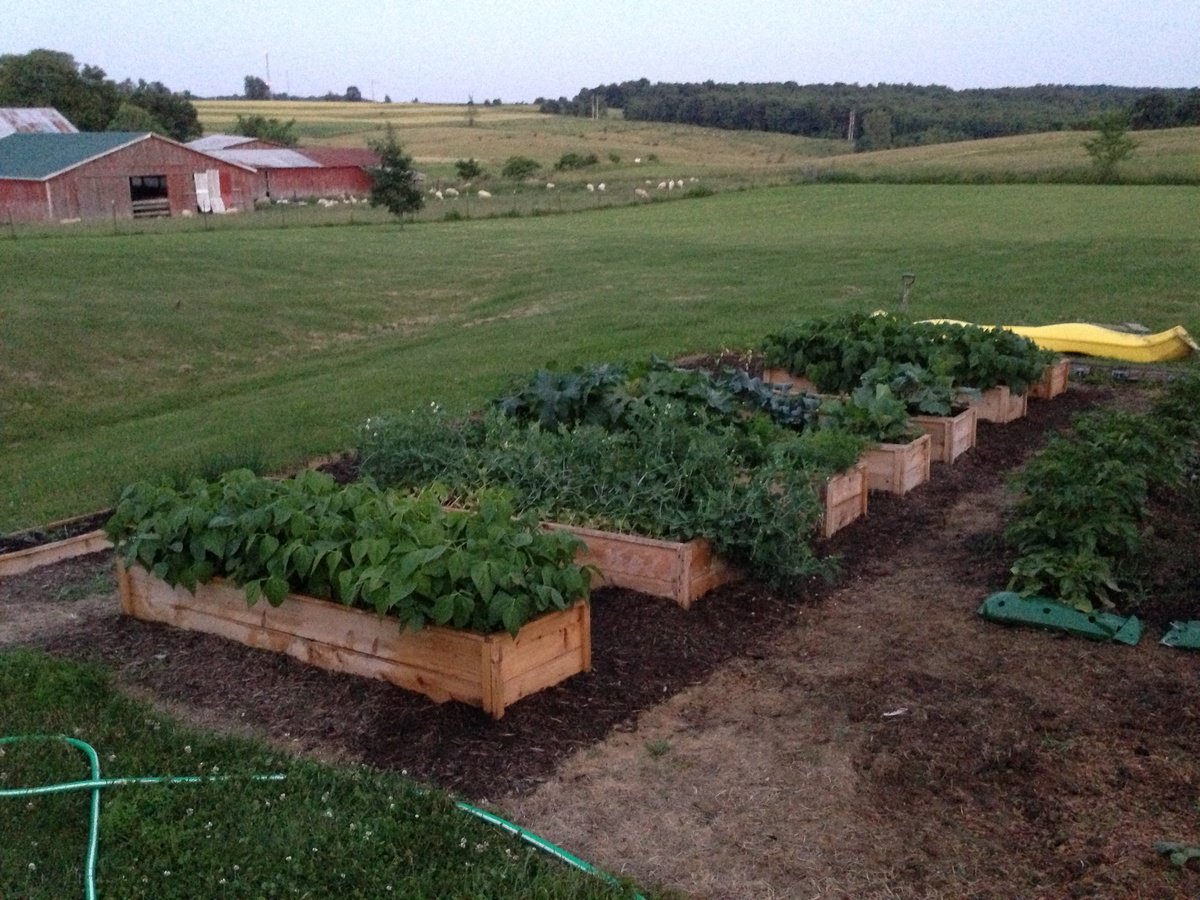
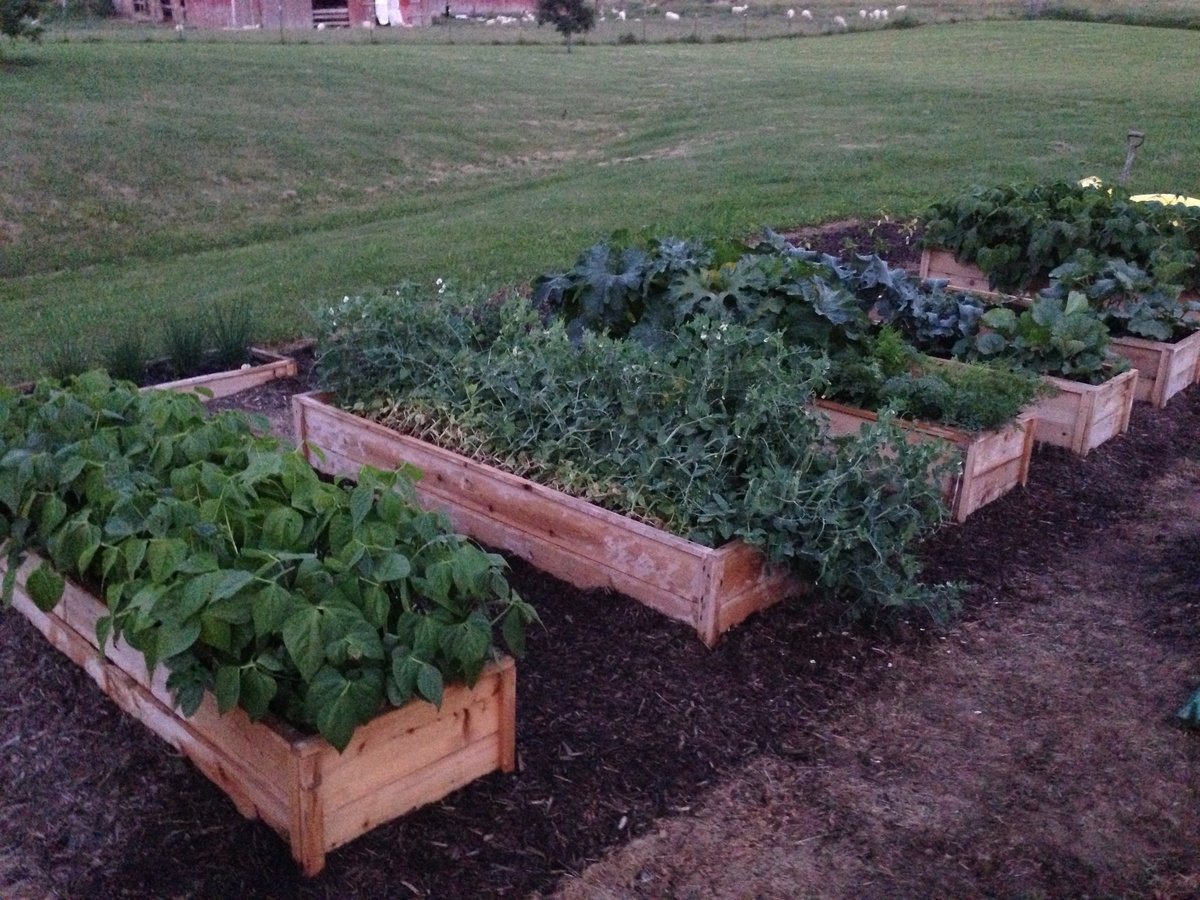
These garden beds are fantastic! They were so easy to build and look great in our backyard. We have always found ourselves with a garden covered in weeds or plants out of control. Our garden this year looks wonderful and we have hardly any weeds in the beds. Thanks for the great plans!

Estimated Cost
$15 each
Estimated Time Investment
An Hour or Two (0-2 Hours)
Finish Used
None
Recommended Skill Level
Starter Project

Comments

Seasonal And Holiday

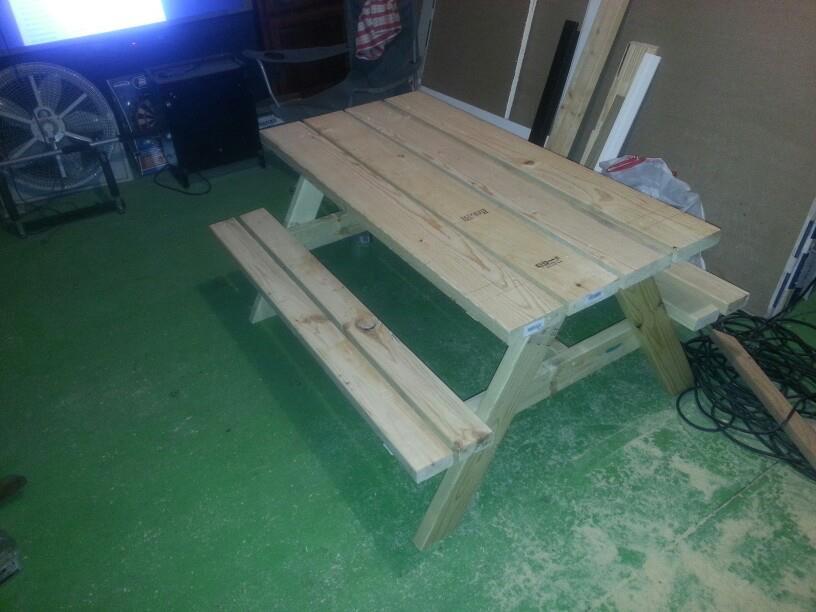
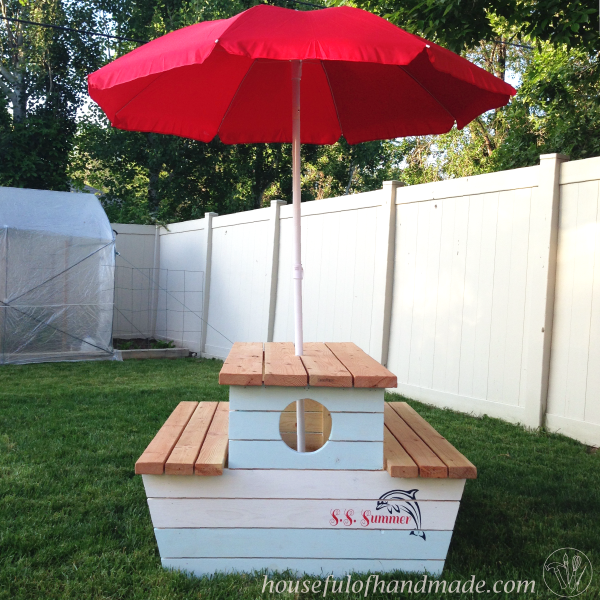
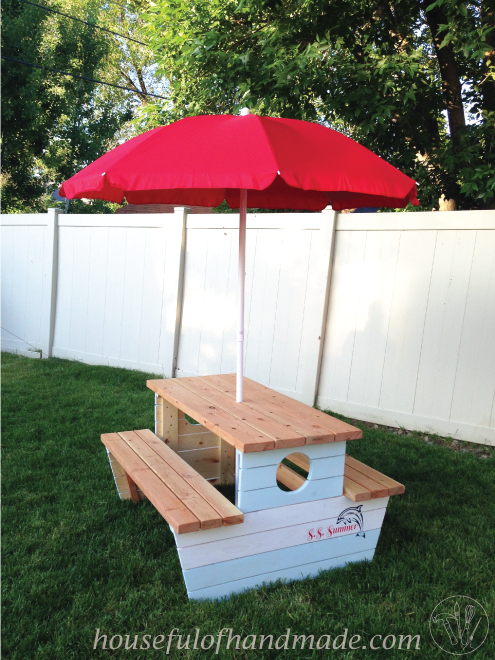
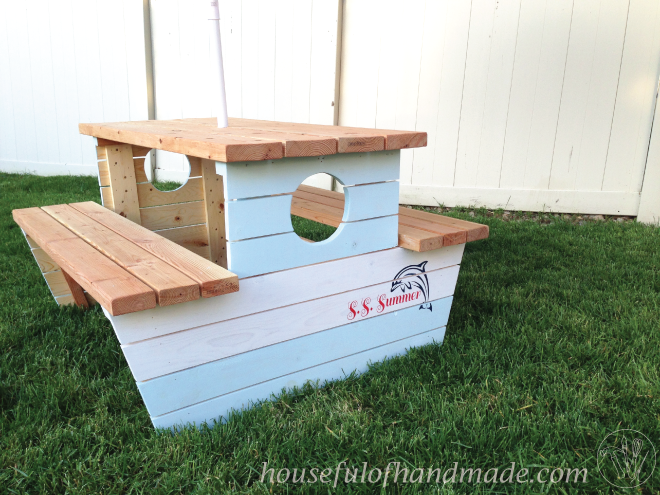
Nautical Picnic Table for Big Kids

I needed a picnic table for my kids to enjoy summer meals outside and when I saw the plans for the Pirate Picnic Table, I knew we needed it! But it was made for toddlers and my kids are 4 and 6 so it wouldn't work for us for very long. I decided to combine the plans for the Pirate Picnic Table and the Picnic Table for bigger kids. I turned out awesome! And then I finished it off with a nautical paint job to look like a bit of the beach was left in the backyard.

Estimated Cost
$50 (without umbrella)
Estimated Time Investment
Day Project (6-9 Hours)
Recommended Skill Level
Intermediate

Comments

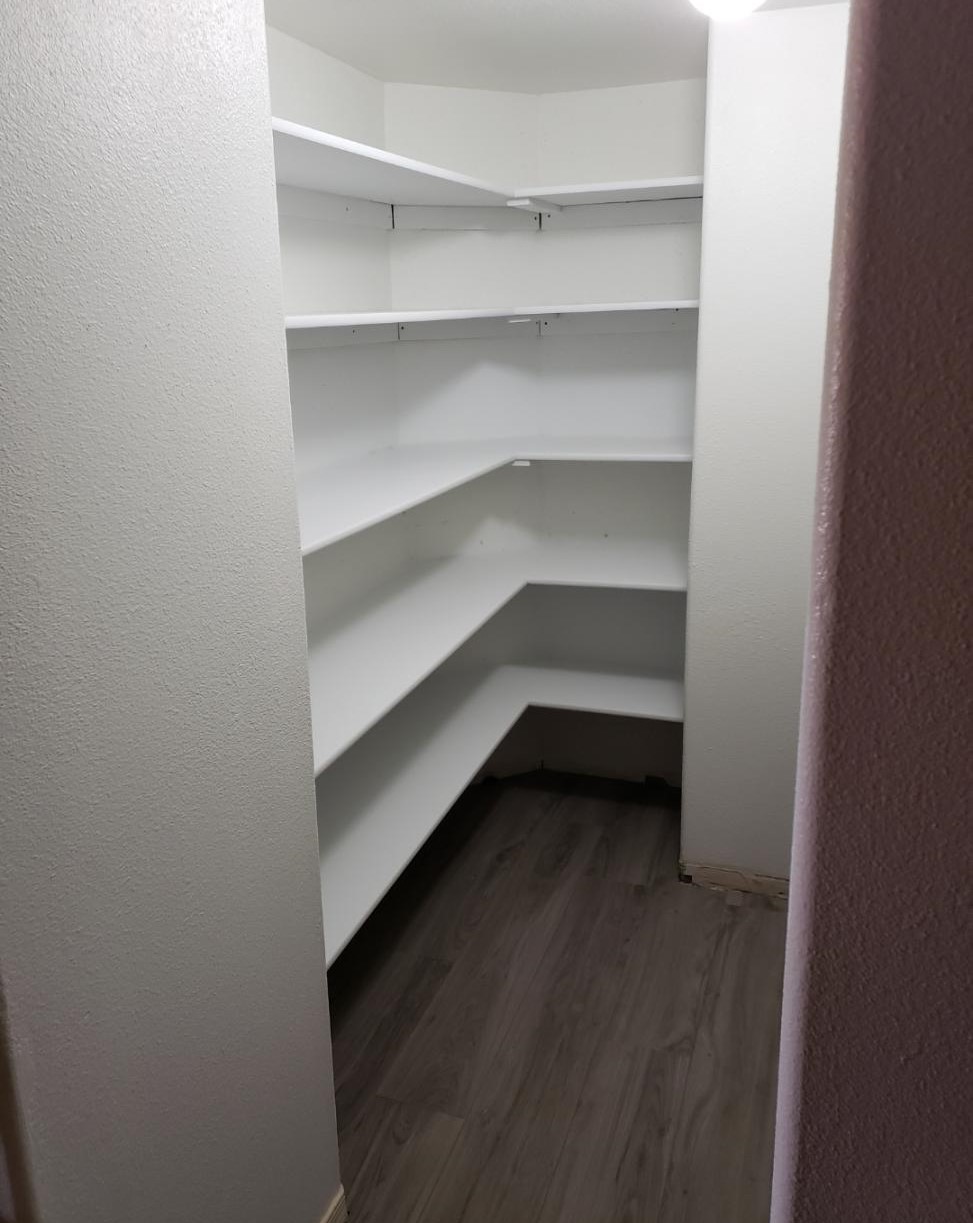
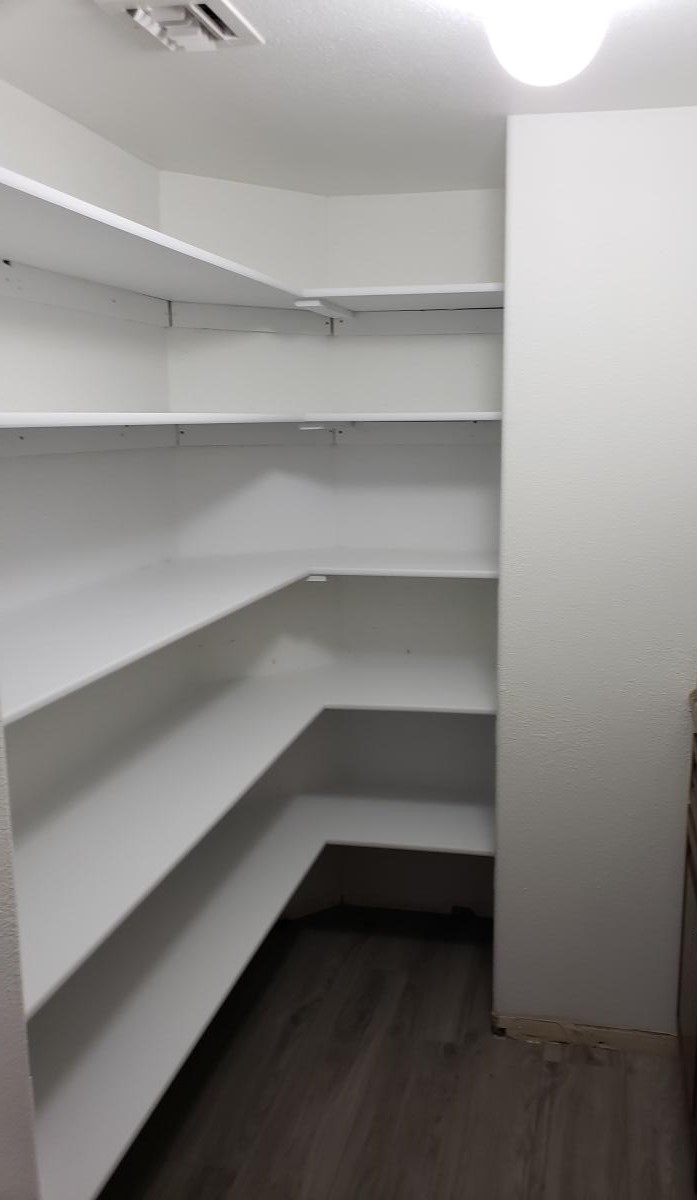
Pantry Shelves

Submitted by DIYAZMOM on Wed, 12/29/2021 - 09:03

We enclosed an unused wet bar and then I built the shelves to make it into a pantry.

Built from Plan(s)

Comments

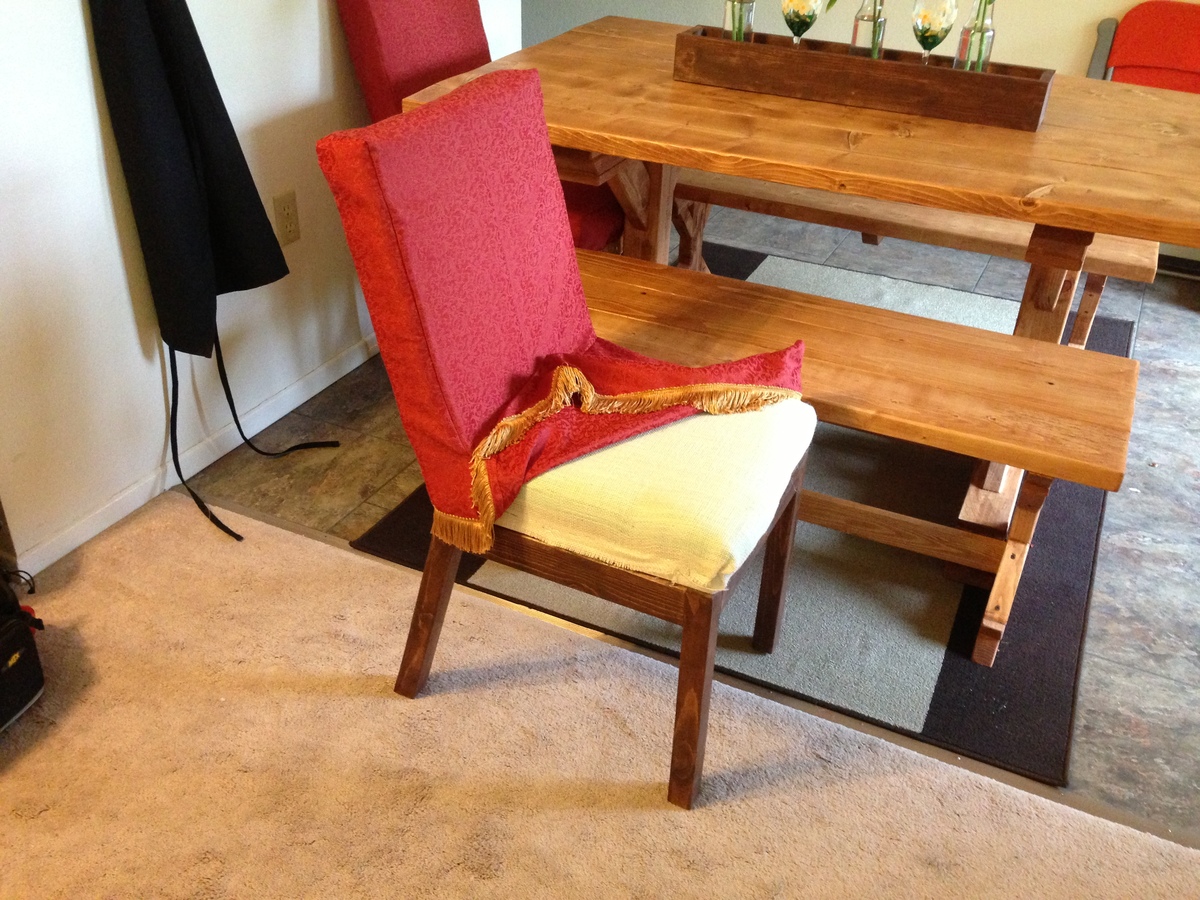
My Parson Chair

Submitted by LeaG on Mon, 07/08/2013 - 17:55

I loved the Parson Chair plans on this site and wanted them for my dining room! I modified the plan simply by making the chair 2" narrower and the seat back 2" taller. I also made the slipcover removable (and with fringe), so that I could change it up as I wish.

Built from Plan(s)
Estimated Cost
$75 for two
Estimated Time Investment
Afternoon Project (3-6 Hours)
Recommended Skill Level
Beginner

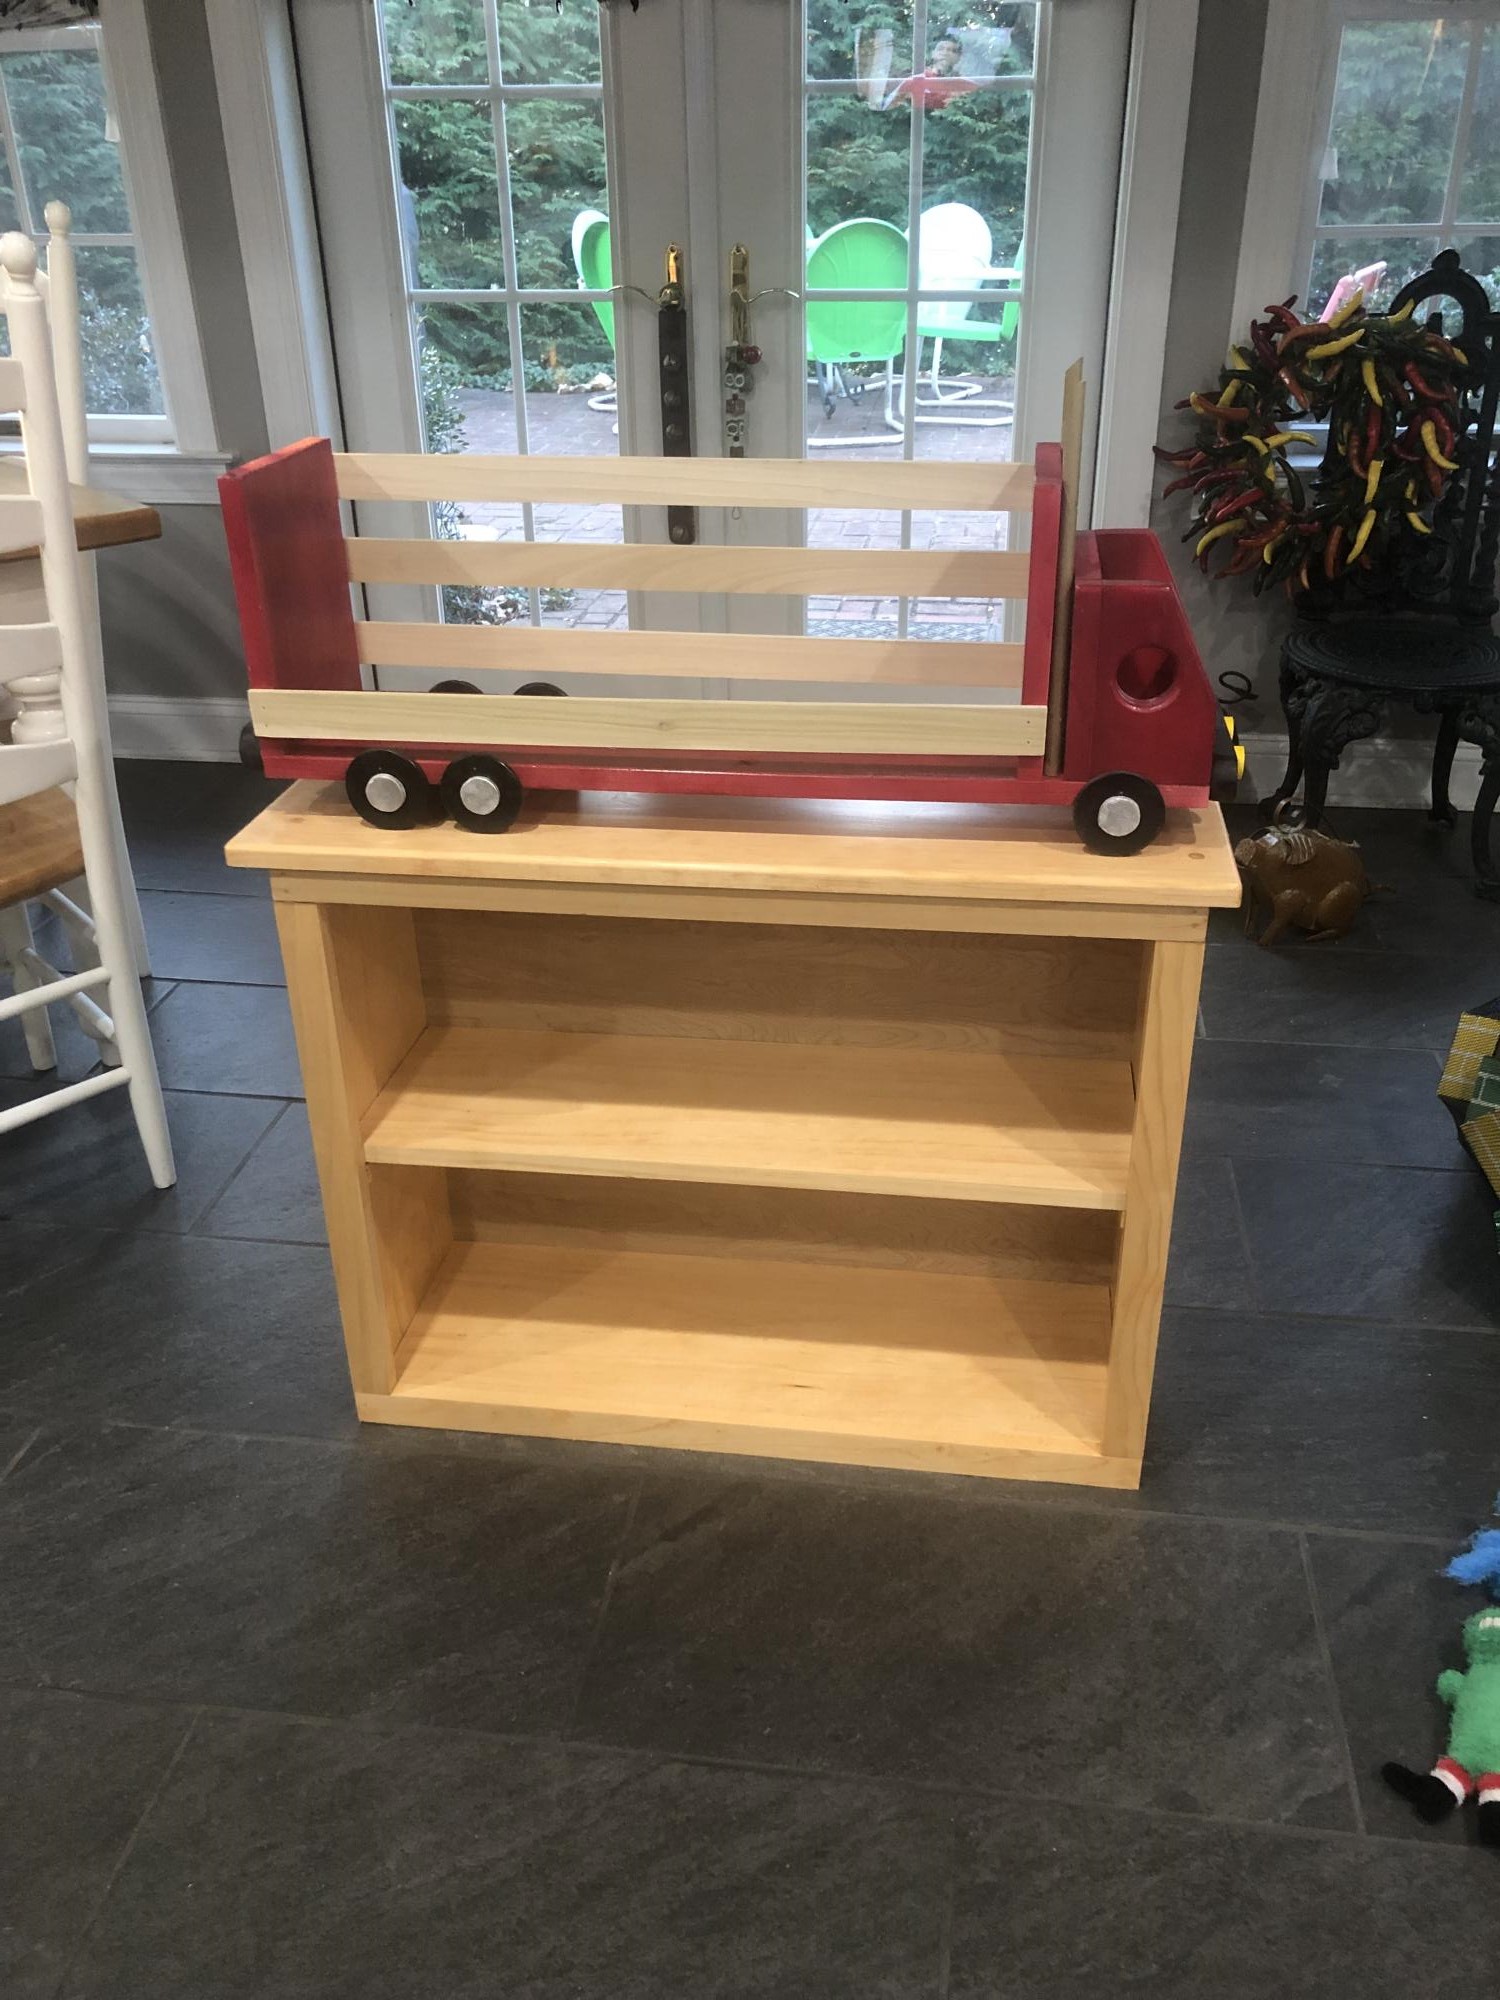
Toy truck bookshelf

Submitted by Anonymous (not verified) on Sat, 01/08/2022 - 13:12

I made this bookshelf for our 2 yr old grandson who is crazy for all vehicles!

Built from Plan(s)

Comments

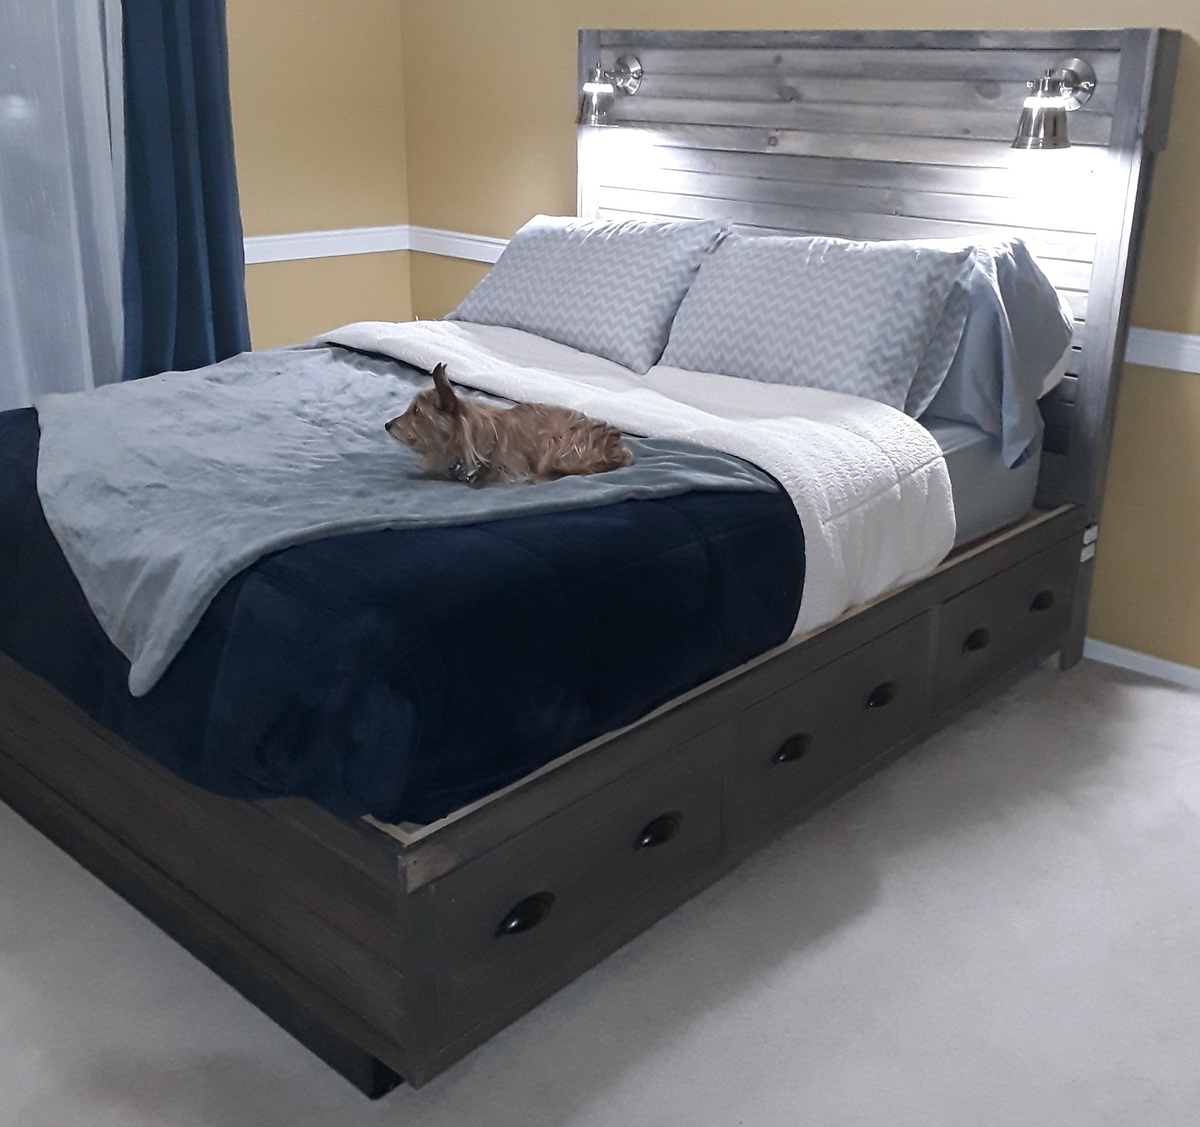
Queen size storage bed with headboard storage

Submitted by Cranky on Mon, 01/29/2018 - 12:49

There was some deviation from the original plans..  We made the storage boxes a bit taller and the headboard has several new features.

First off, the under-bed storage takes up the whole size of the bed.  So the drawers (six of them) are nice and deep.  One of the drawers is actually the dog's bed now.

The picture doesn't show it but behind the headboard there are cubbies for storing books, tablets, phones, glasses, etc.

On both sides of the headboard there are four electrical outlets plus two USB charging outlets for charging tablets, phones, etc.

There are two reading lamps on the headboard as well.

I did the construction portion while my talented wife did the amazing paint job.


Estimated Time Investment
Week Long Project (20 Hours or More)
Finish Used
FAT paint, charcoal colour.
Recommended Skill Level
Advanced

Comments

Axel

Sun, 06/09/2019 - 04:28

That's awesome! Do you have notes on how you did the modifications and the additional features?

Scrap Wood Cart

Submitted by Scrivman33 on Sun, 02/25/2018 - 13:45

Saw the other project and based everything off of that. I made some adjustments on the shelf side to ensure I could lay down 3 layers of 2x6's without it hanging off too far. At first I wasn't going to go with the rail shelf system, but I couldn't find anything that I liked at the store to make actually shelves. I did cut a 2* angle on the bottom and top of the shelf framing. I figured if I put enough weight on those shelves, I woudln't want it messing with the frame of the cart too much. On the bin side, I decided to just do different heights instead of angled because I know I'll have plenty of 3' plus. I chose to put a scrap bin on the end for anything smaller than a foot. Many of those joints were done with my Kreg setup, but not all of them. The last fix I did was add a 2x4 to the insde of the shelf frame. This was to move the shelf hangers in so that an 8' board wasn't just edge to edge (I found that to be a problem when I put some of the 1x4's on there...they would be on 2, but not always all 3). So moving each side in around 1.5" gives you about 3" to play with as far as 8' lumber goes. This enabled me to turn my old storage into bench and shelves and I'm ready to get moving on projects!

Estimated Cost
$200-$250
Estimated Time Investment
Day Project (6-9 Hours)
Finish Used
None
Recommended Skill Level
Beginner

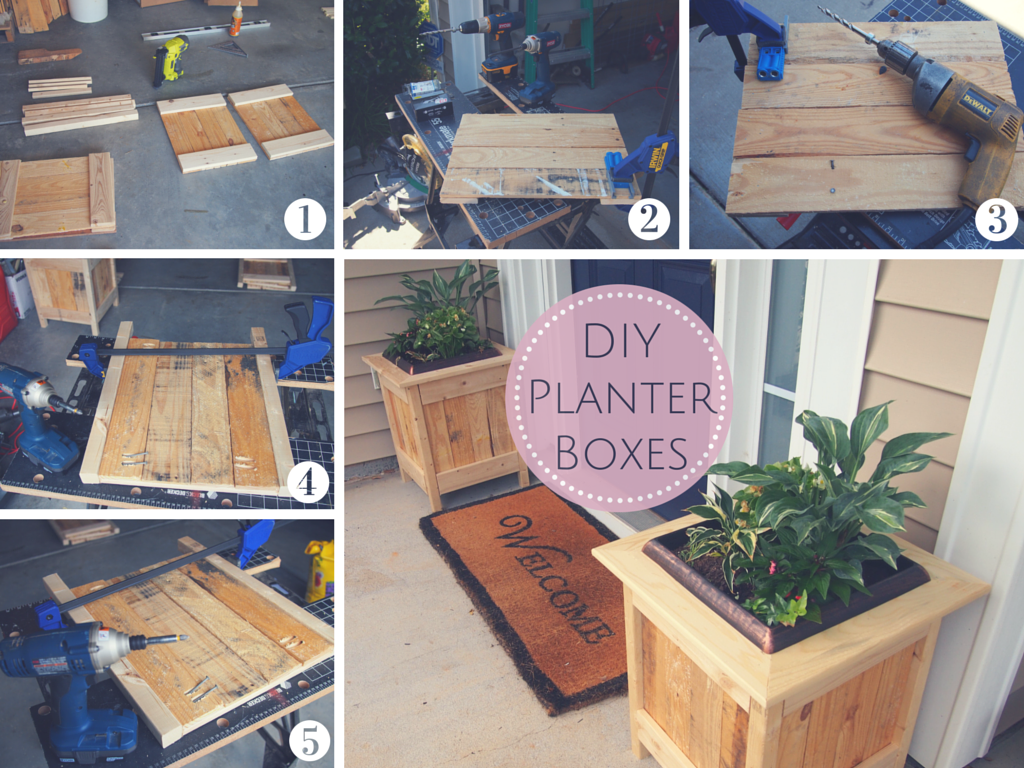
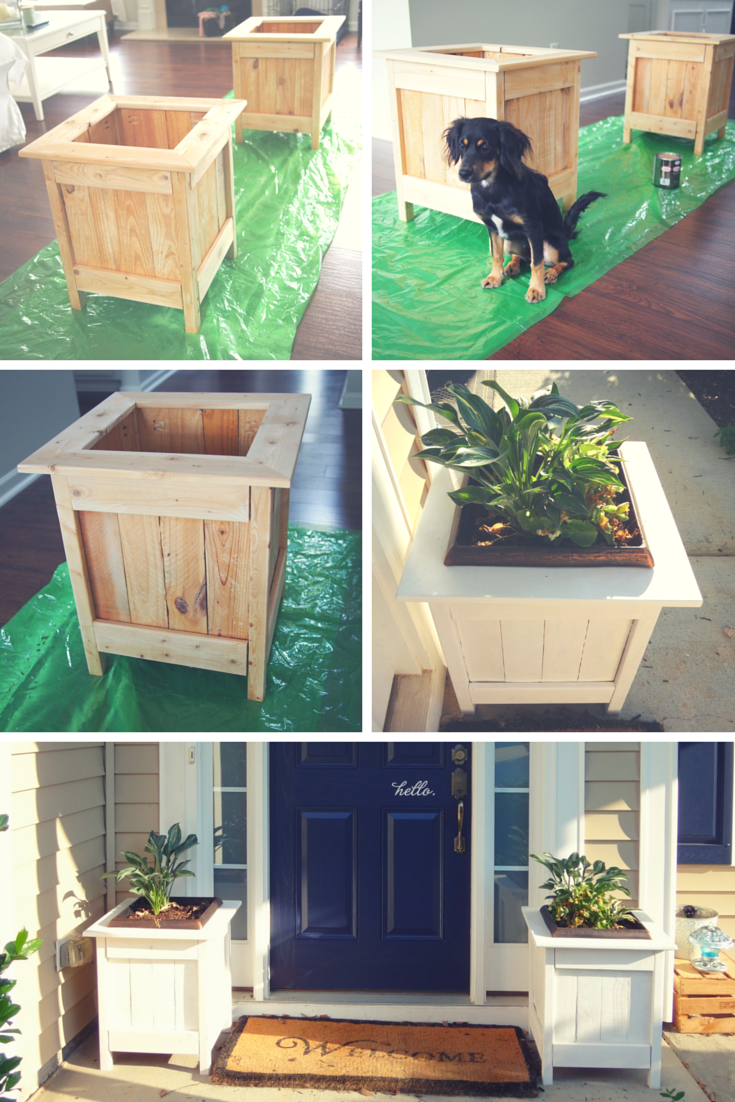
DIY PLANTER BOXES WITH PALLET WOOD

We picked up a couple 14.9" square plastic garden planters from Home Depot and ended up creating some wood planter boxes from pallet wood for them to sit in. 

I didn't add up the cost of these boxes, because we had most of the wood and only needed a few pieces, but I'd say they were definitely less than $10 a box. 

We altered our dimensions to fit our HD planters so they would slip in for a snug fit and made the legs flush with the top of our sides. We build a simple frame for the top, which allowed the lip of our HD planters to sit firmly on top. 

Something I didn't do, but wish I did: fill in the cracks with wood filler.  There were a couple places that really could have used it, but I was in a rush and decided to skip it.  They turned out great, but could have been even better had I taken an extra 30 minutes.  On an off weekend, we are going to use wood filler in the seams, sand them down, and do a second coat of white paint. 

Can't wait to plant these with some mums for Fall! :)

Built from Plan(s)
Estimated Cost
$20 total for 2 boxes.
Estimated Time Investment
Day Project (6-9 Hours)
Finish Used
White Semi-Gloss outdoor paint
Recommended Skill Level
Beginner

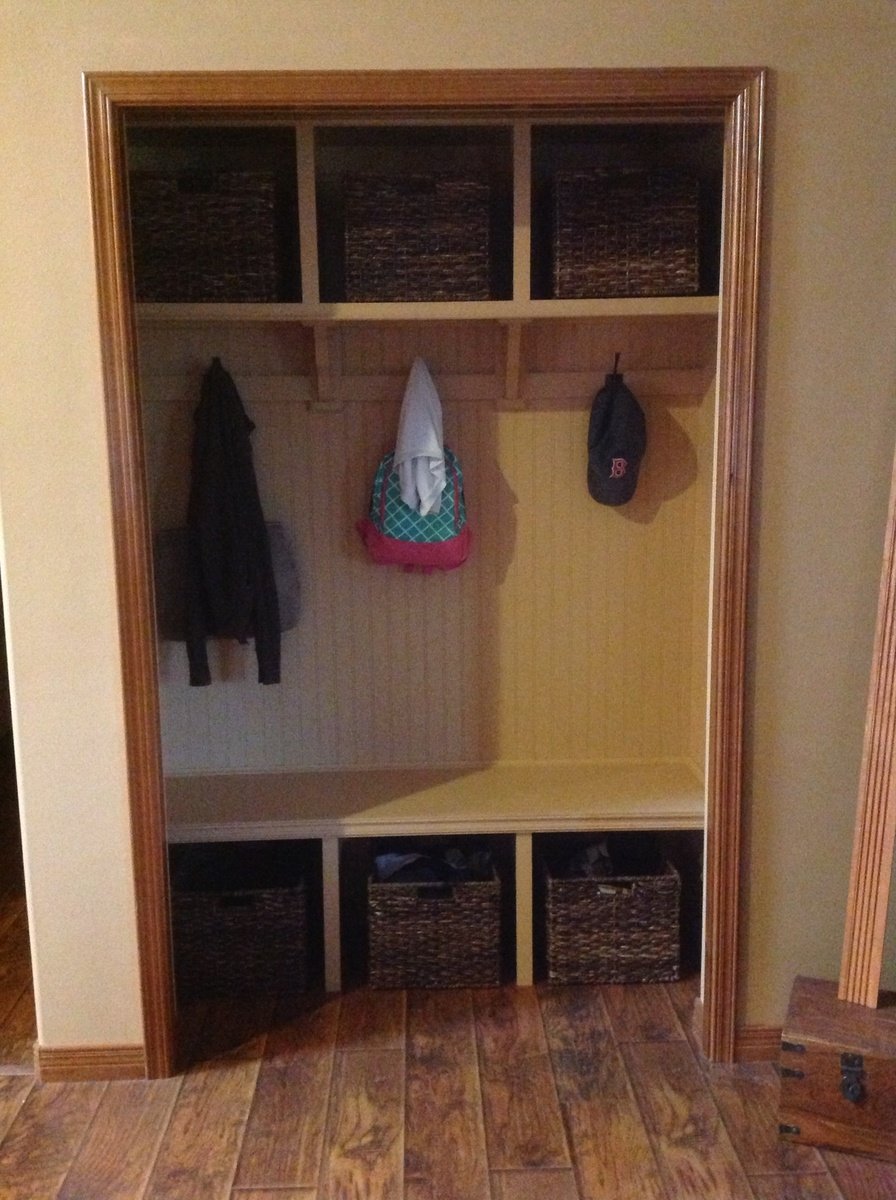
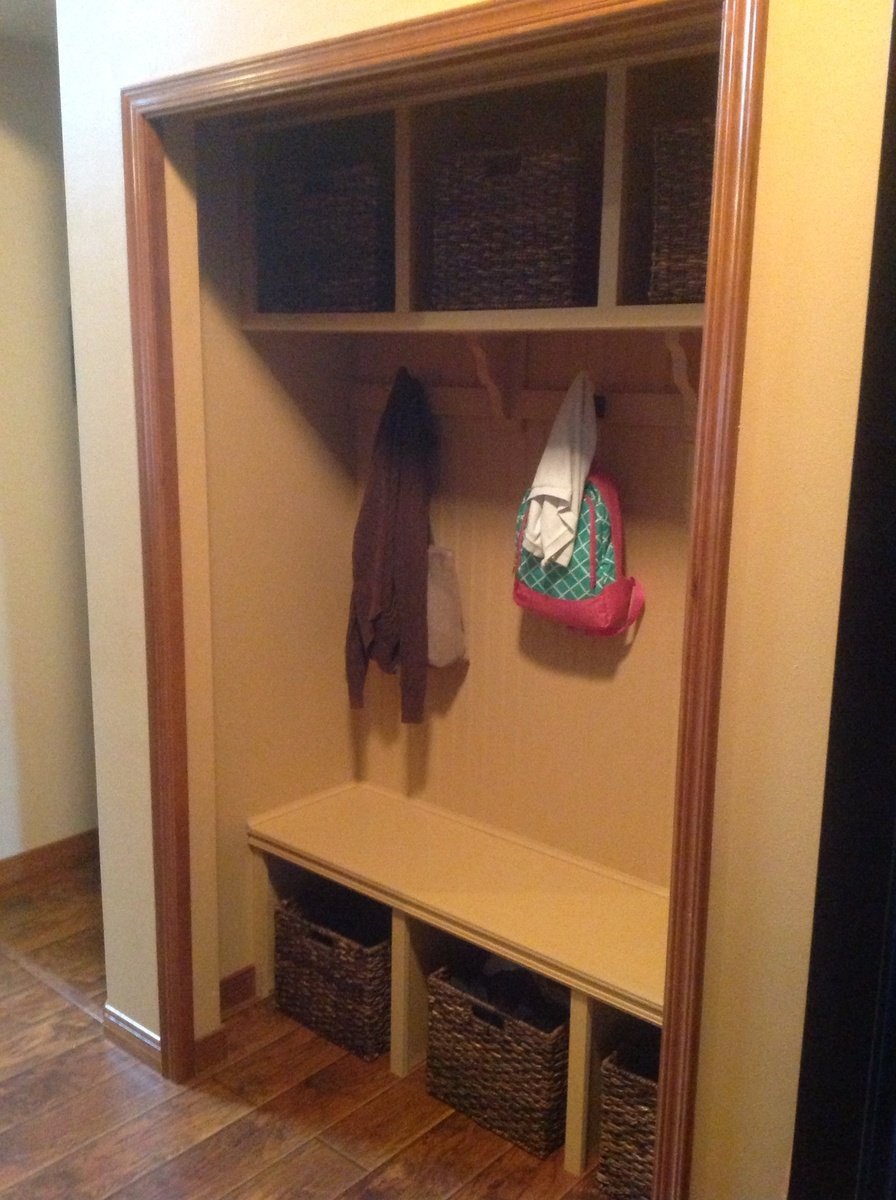
Closet mud room

Submitted by Smaynes on Wed, 07/31/2013 - 08:44

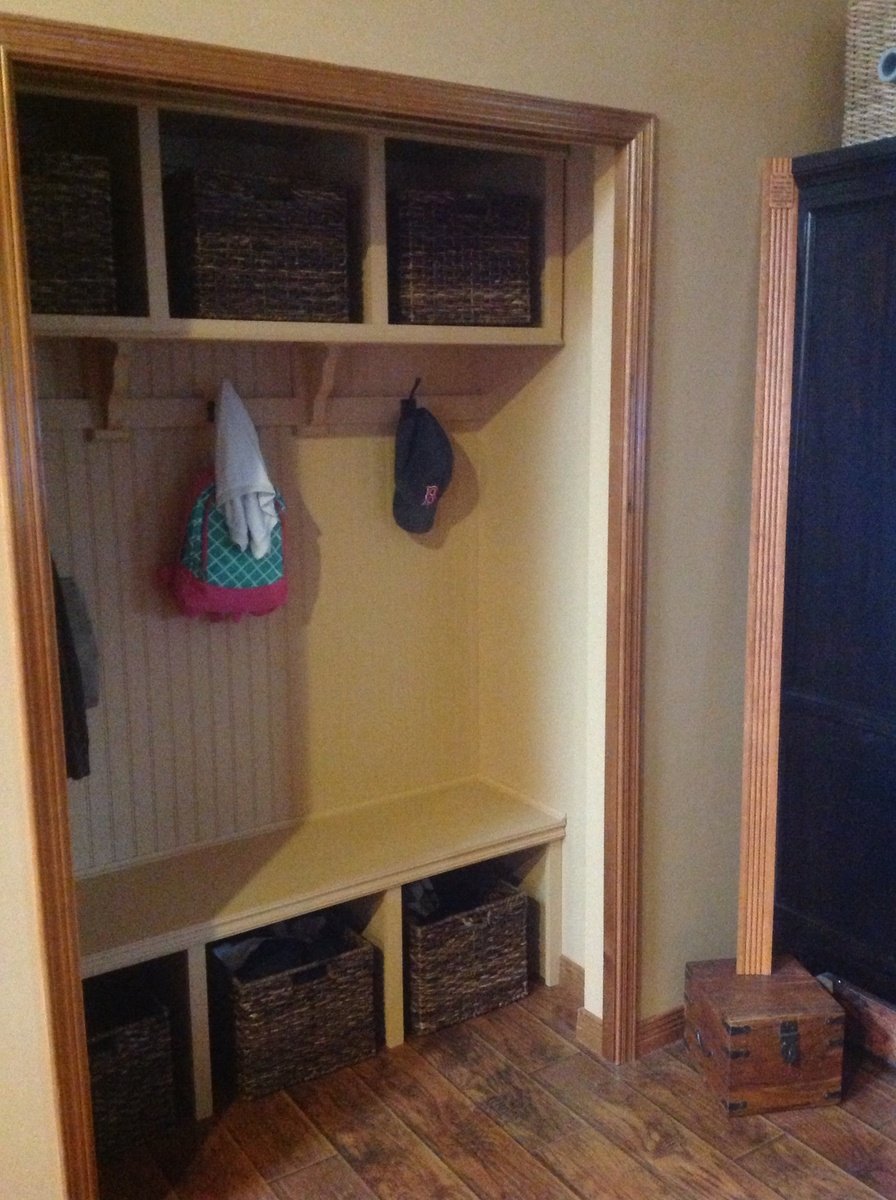
We were replacing the floors in our house so we decided to build a closet mud room. We used the plans for the smiling mudroom and altered them slightly. We didn't end up building the partitions because the left and right seats would have been too closed in. We installed bead board on the back wall and used moulding on the shelf and bench. The only hard part was that we had to actually assemble the shelves and bench in the closet because they wouldn't have fit in once built! The Kreg Jig was extremely helpful and well worth the purchase.

Built from Plan(s)
Estimated Cost
$150
Estimated Time Investment
Weekend Project (10-20 Hours)
Finish Used
Paint / Matte Polyurethane
Recommended Skill Level
Beginner

Comments

mandiebuth

Thu, 01/02/2014 - 13:37

I am going to do this in our laundry room which you walk into from the garage - what do you suggest doing when you remove the doors for the current closet? I do not want to install all new trim since that was just done recently, before the mudroom idea came! Thanks!

Modern Farmhouse Dining Room table with 2x4 chairs

Submitted by NeekosMac on Thu, 08/01/2013 - 13:28

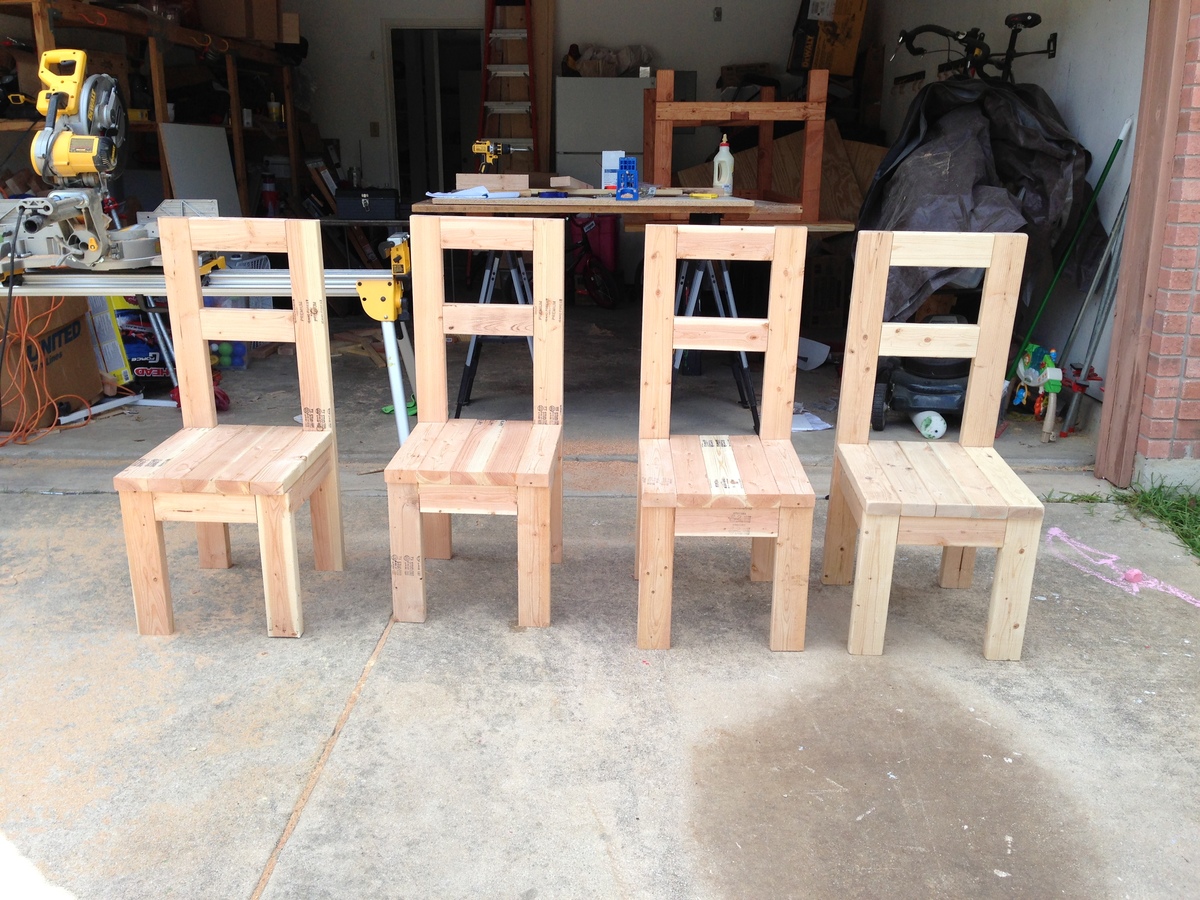
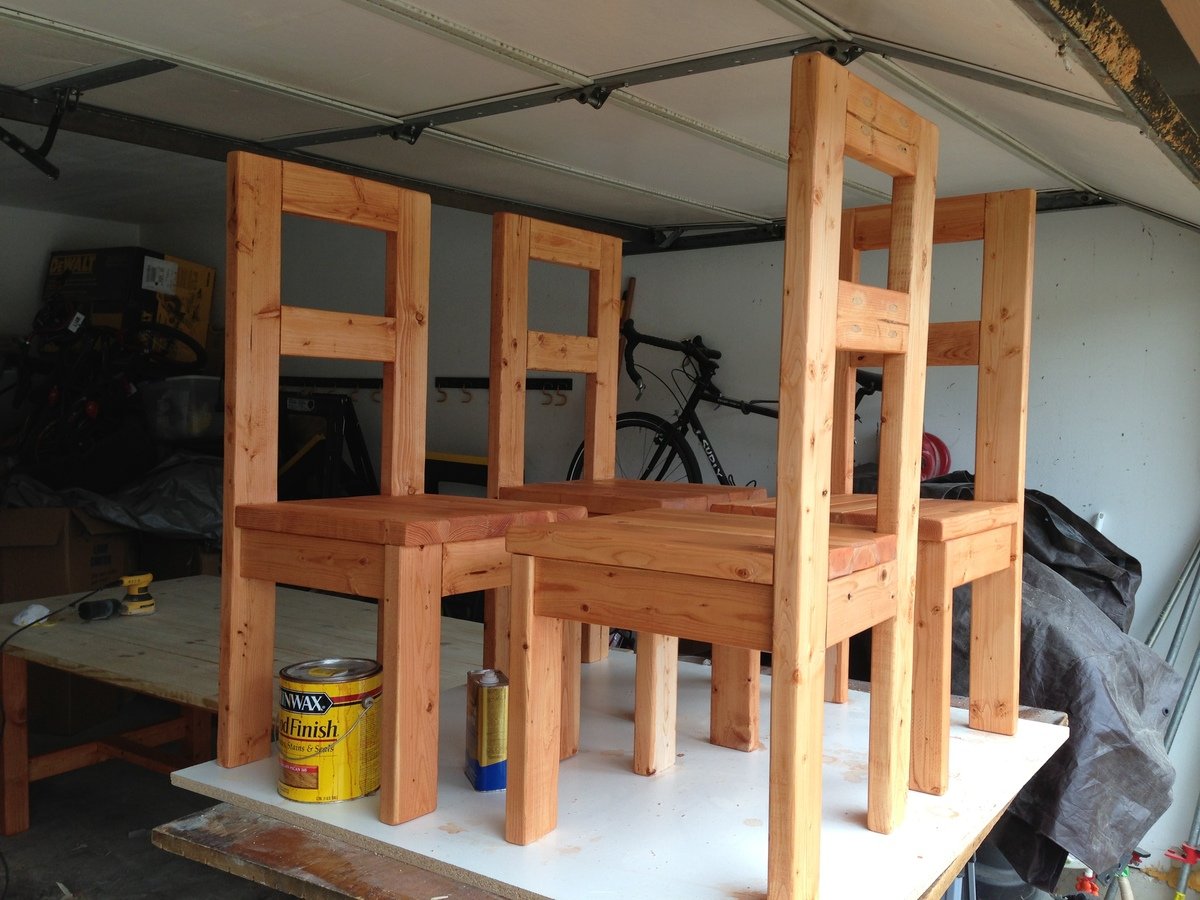
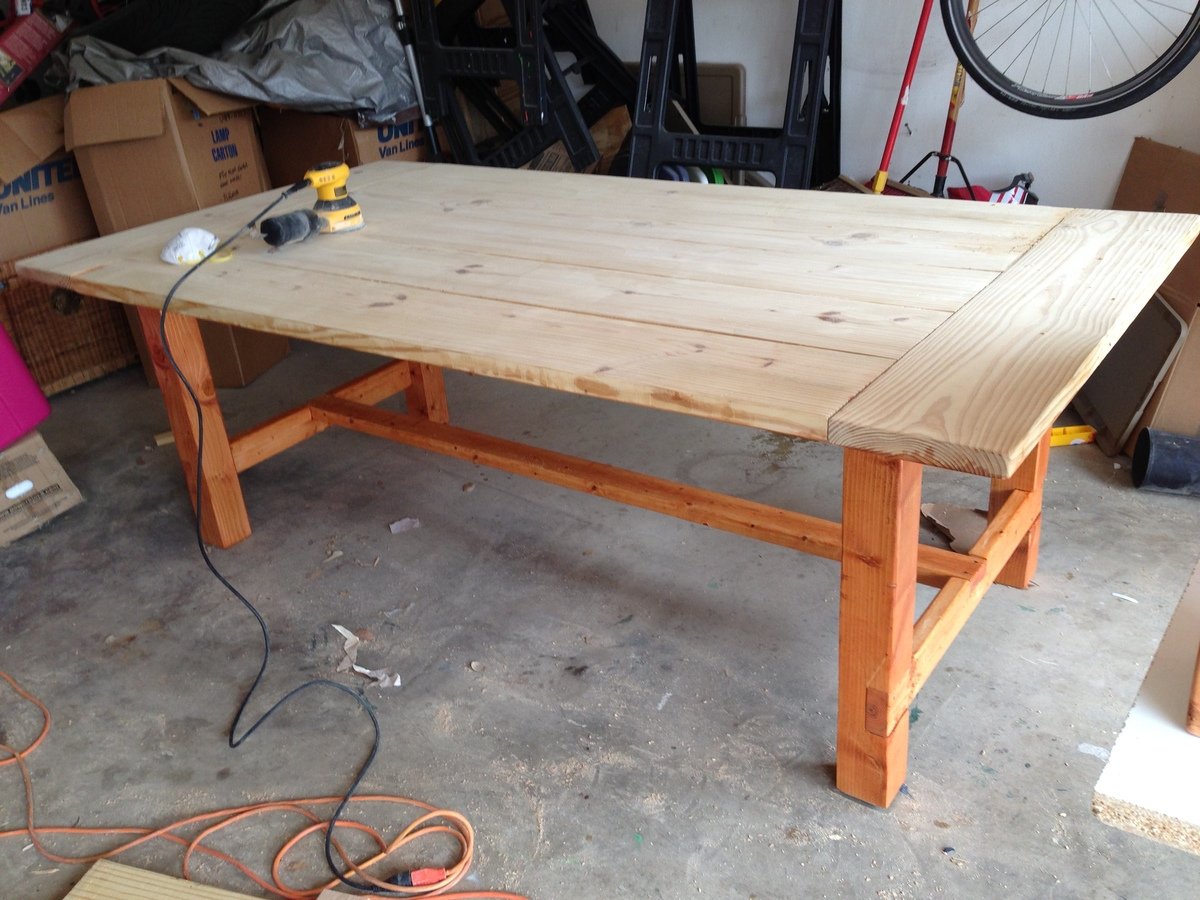
Modern Farmhouse Dining Room Table (with pocket hole) and 2x4 chairs with plans reposted from morelikehome.net.

Surfed the site for the right plans and dove right in. Thank you for the inspiration all!

Estimated Cost
$200
Estimated Time Investment
Week Long Project (20 Hours or More)
Finish Used
Minwax Golden Pecan and Poly coat.
Recommended Skill Level
Beginner

Comments