Barn Door Bookcase/ Side Pantry
This took a lot of time and money but I like the way it looks. We have 4 kitchen cabinets and one drawer and no room for more so storage is tight.
My honey built this farmhouse potting bench in a few hours. I needed it to store all the junk that was laying on the ground. It's so cute!
A Christmas gift for my G- kid!!!!
I Created this closet system because I have a basement bedroom with no closets. The bar I bought from target was falling over from the weight of all my clothes so I needed something more sturdy. I found this plan and it was perfect. I got shelves and clothing bars out of one build. I modified the plan a bit to fit the room. I also wanted it to have a bar that could hold dresses so I eliminated one of the lower shelves. I also made it a tad wider because I am rather tall and wanted it to comfortably fit folded sweatshirts.
This was my first time building anything! The plans were so easy to follow along! Once I master some things like this, I can work on fine tuning things a bit more so I can build some more intricate plans. Thanks so much for your website! My kids are loving the BBQ's outside at the table!
Tue, 06/02/2020 - 15:09
re the farm table. your cut list calls for 8 2 x 4 at 28 1/2 inches but the plan actually only needs 4 of them. The pics do not show you doubling the 2 x 4s for legs. Am I missing something.
With the arrival of our first baby in 10 days, the wife wanted a changing table. My only vision of a changing table was the ones in public restrooms. With the help of Google, I came across all the great diy ideas on this site. I combined 3 plans into 1 and came up with this. The project took 2 days to build. Next step is to prime and paint.
Tue, 12/24/2019 - 11:37
I live this changing table. I made the "Simple Changing Table" but would like to make this one. Are there plans for this one? Thanks!
This was my first project and I had SO MUCH FUN doing it! Can't wait to make nightstands to match. The only reason it took me so long and that I'm not sure of the final cost is because it took me a while to finish it due to work/life getting in the way. Plus we have no garage, basement or any indoor work space so were dependent on the weather to behave. I went back and forth to the store so many times for little incidentals I really couldn't tell you what the final cost was however, I can tell you that the wood came out to be about $50.
My wife and I were looking for a way to make our deck more enjoyable. I came across Ana's plans a year or so ago, and after building the couch and chairs, I decided to make a loveseat, add a rug and outdoor curtains. Hopefully one day I'll add some lights and an outdoor fan to complete the look.
Our 4x4 Truss Beam Table made by my husband for our new house. Stain is Minwax slate gel stain.
So Fun!! My first ever wood build!! I’m completely addicted now ha! Thank you so much! I’m learning so much from watching your videos.
This is a modified butcher block kitchen island built from ana white's plan. Instead of using doug fir (2x4) material for the top, I used hard maple to build an edge grain butcher block top that if knife friendly and food safe. I also altered the dimensions to fit my space.
Sat, 05/10/2014 - 11:05
Yet another beautiful kitchen island. Love the finish and butcher block top on this one! Thanks for sharing!
Just built this today, very easy build. I used cedar tone treated lumber for the frame and the cedar pickets. I modified the size some, little smaller than the plans. Total material cost about $70.
I made a workbench for my garage it was pretty easy. I also made an instructional youtube video if you want to learn how to make it. #diy #workbench #bench
I made two lounge chairs and two chaise lounge chairs for my pool deck. I think they look great as a set! I did use a 1 x 4 for the back brace instead of a 1 x 2.
Fri, 06/26/2020 - 20:53
I love them. How can i get the plans to build this?
Thank you..
Modified the loveseat plans and created a sofa as well. No one that sees these thinks I built them. They look so much nicer than anything you can buy!
We modified the farmhouse table plan and made office desks from reclaimed lumber! Check out the full post on my blog: http://livingvintageco.com/category/do-it-yourself/woodworking/.
Toil paper holder
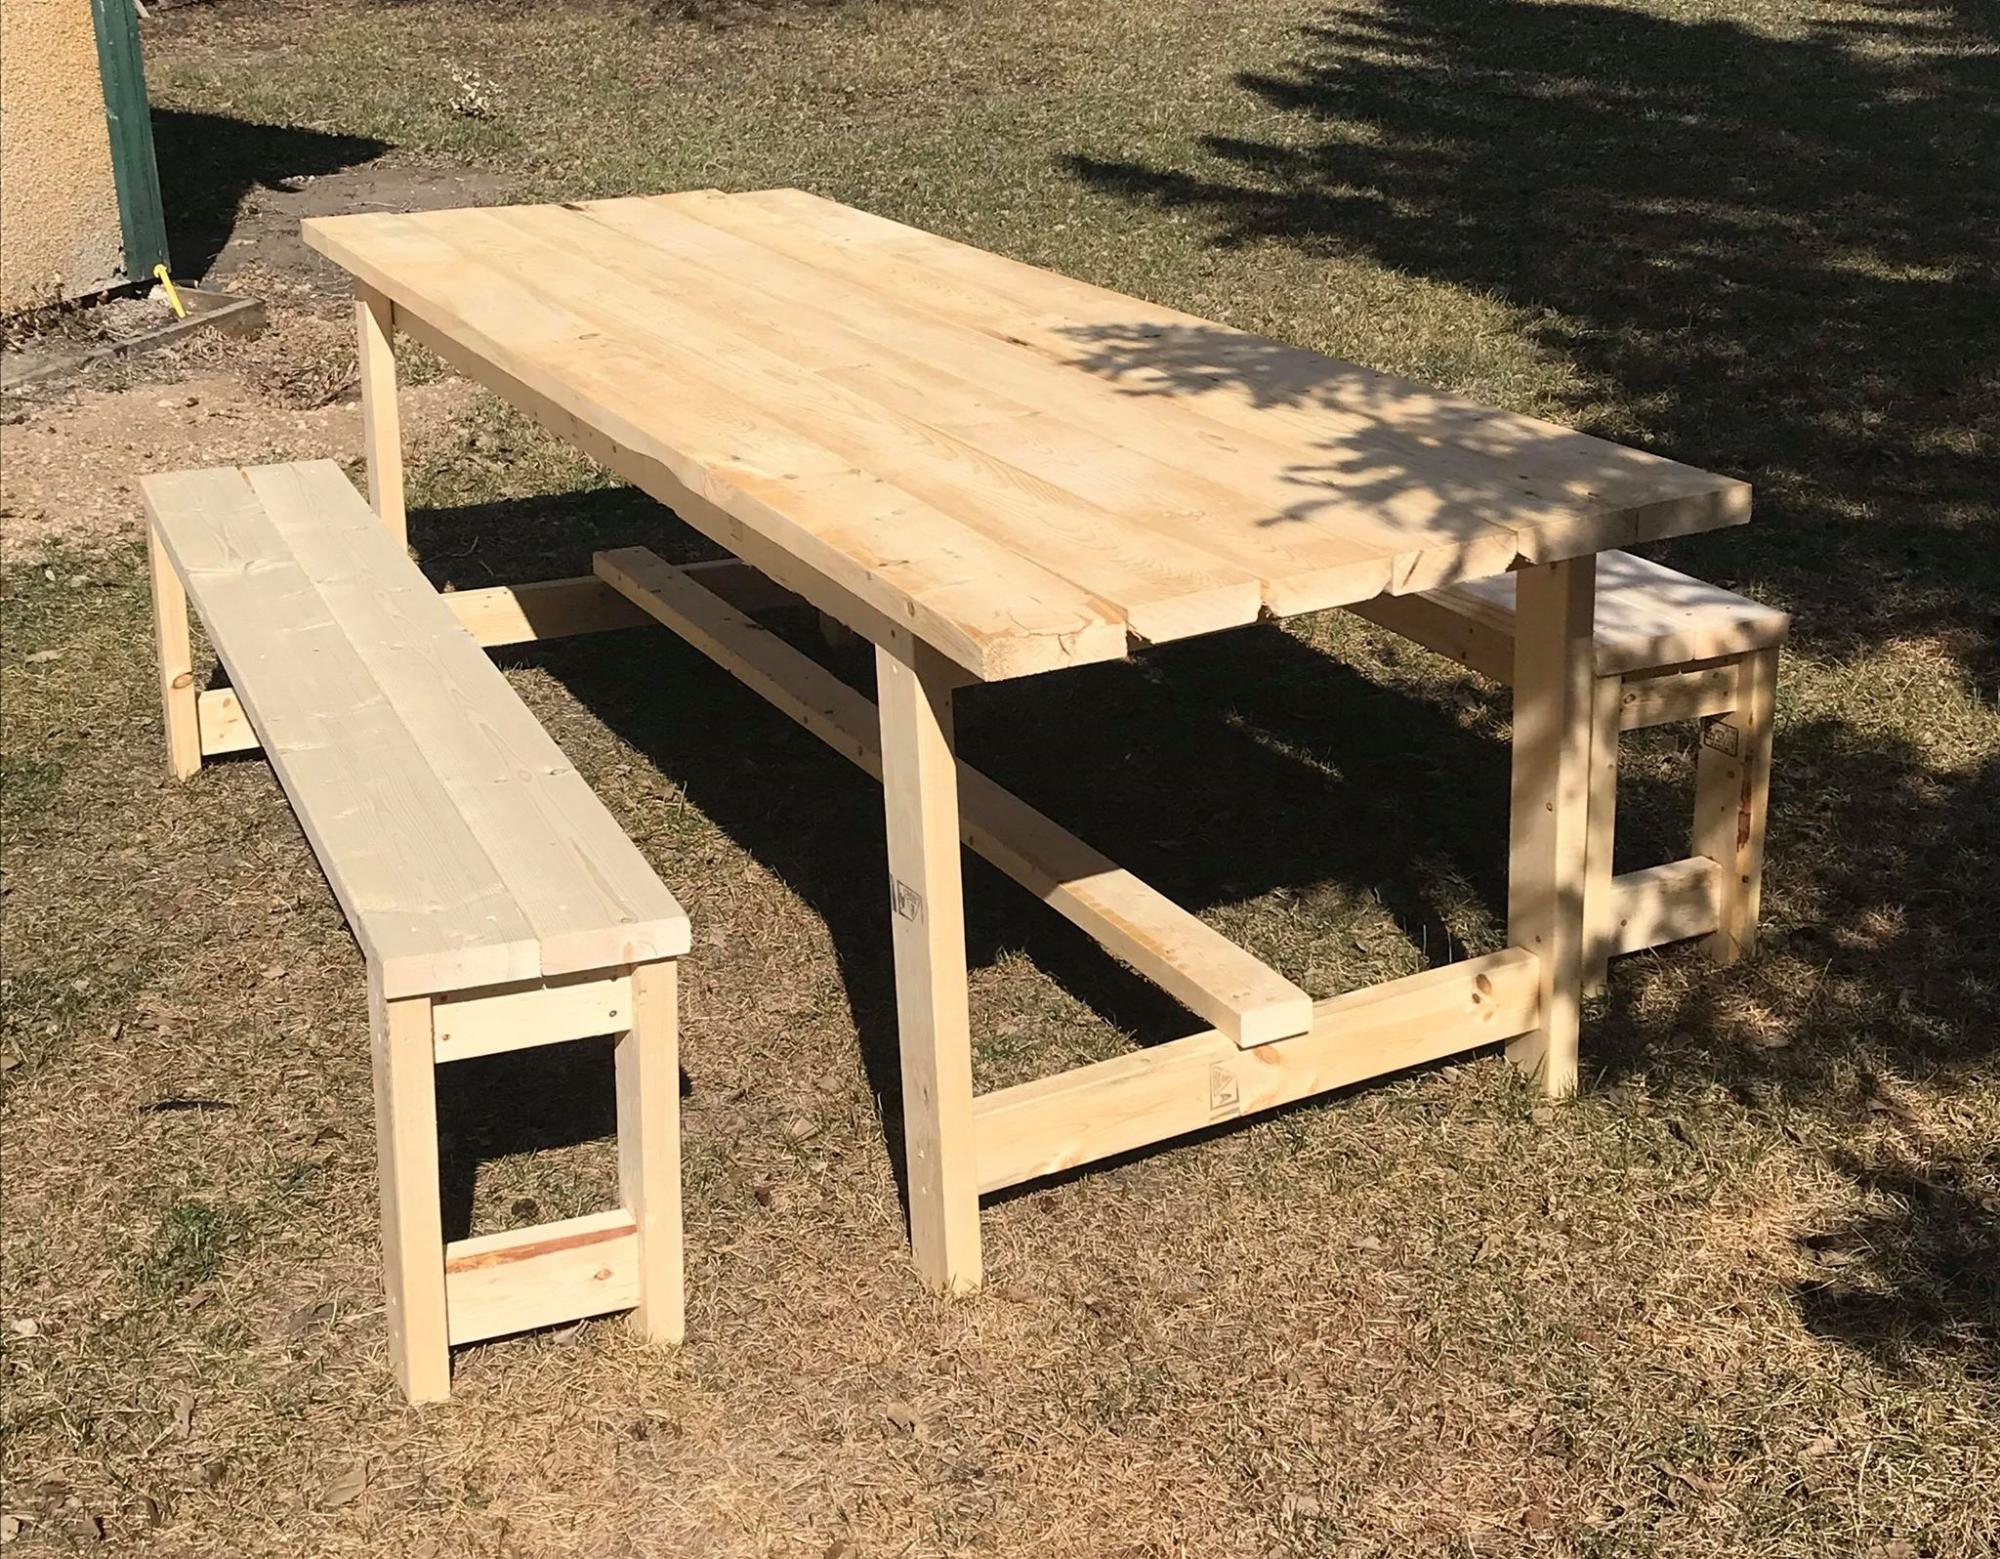
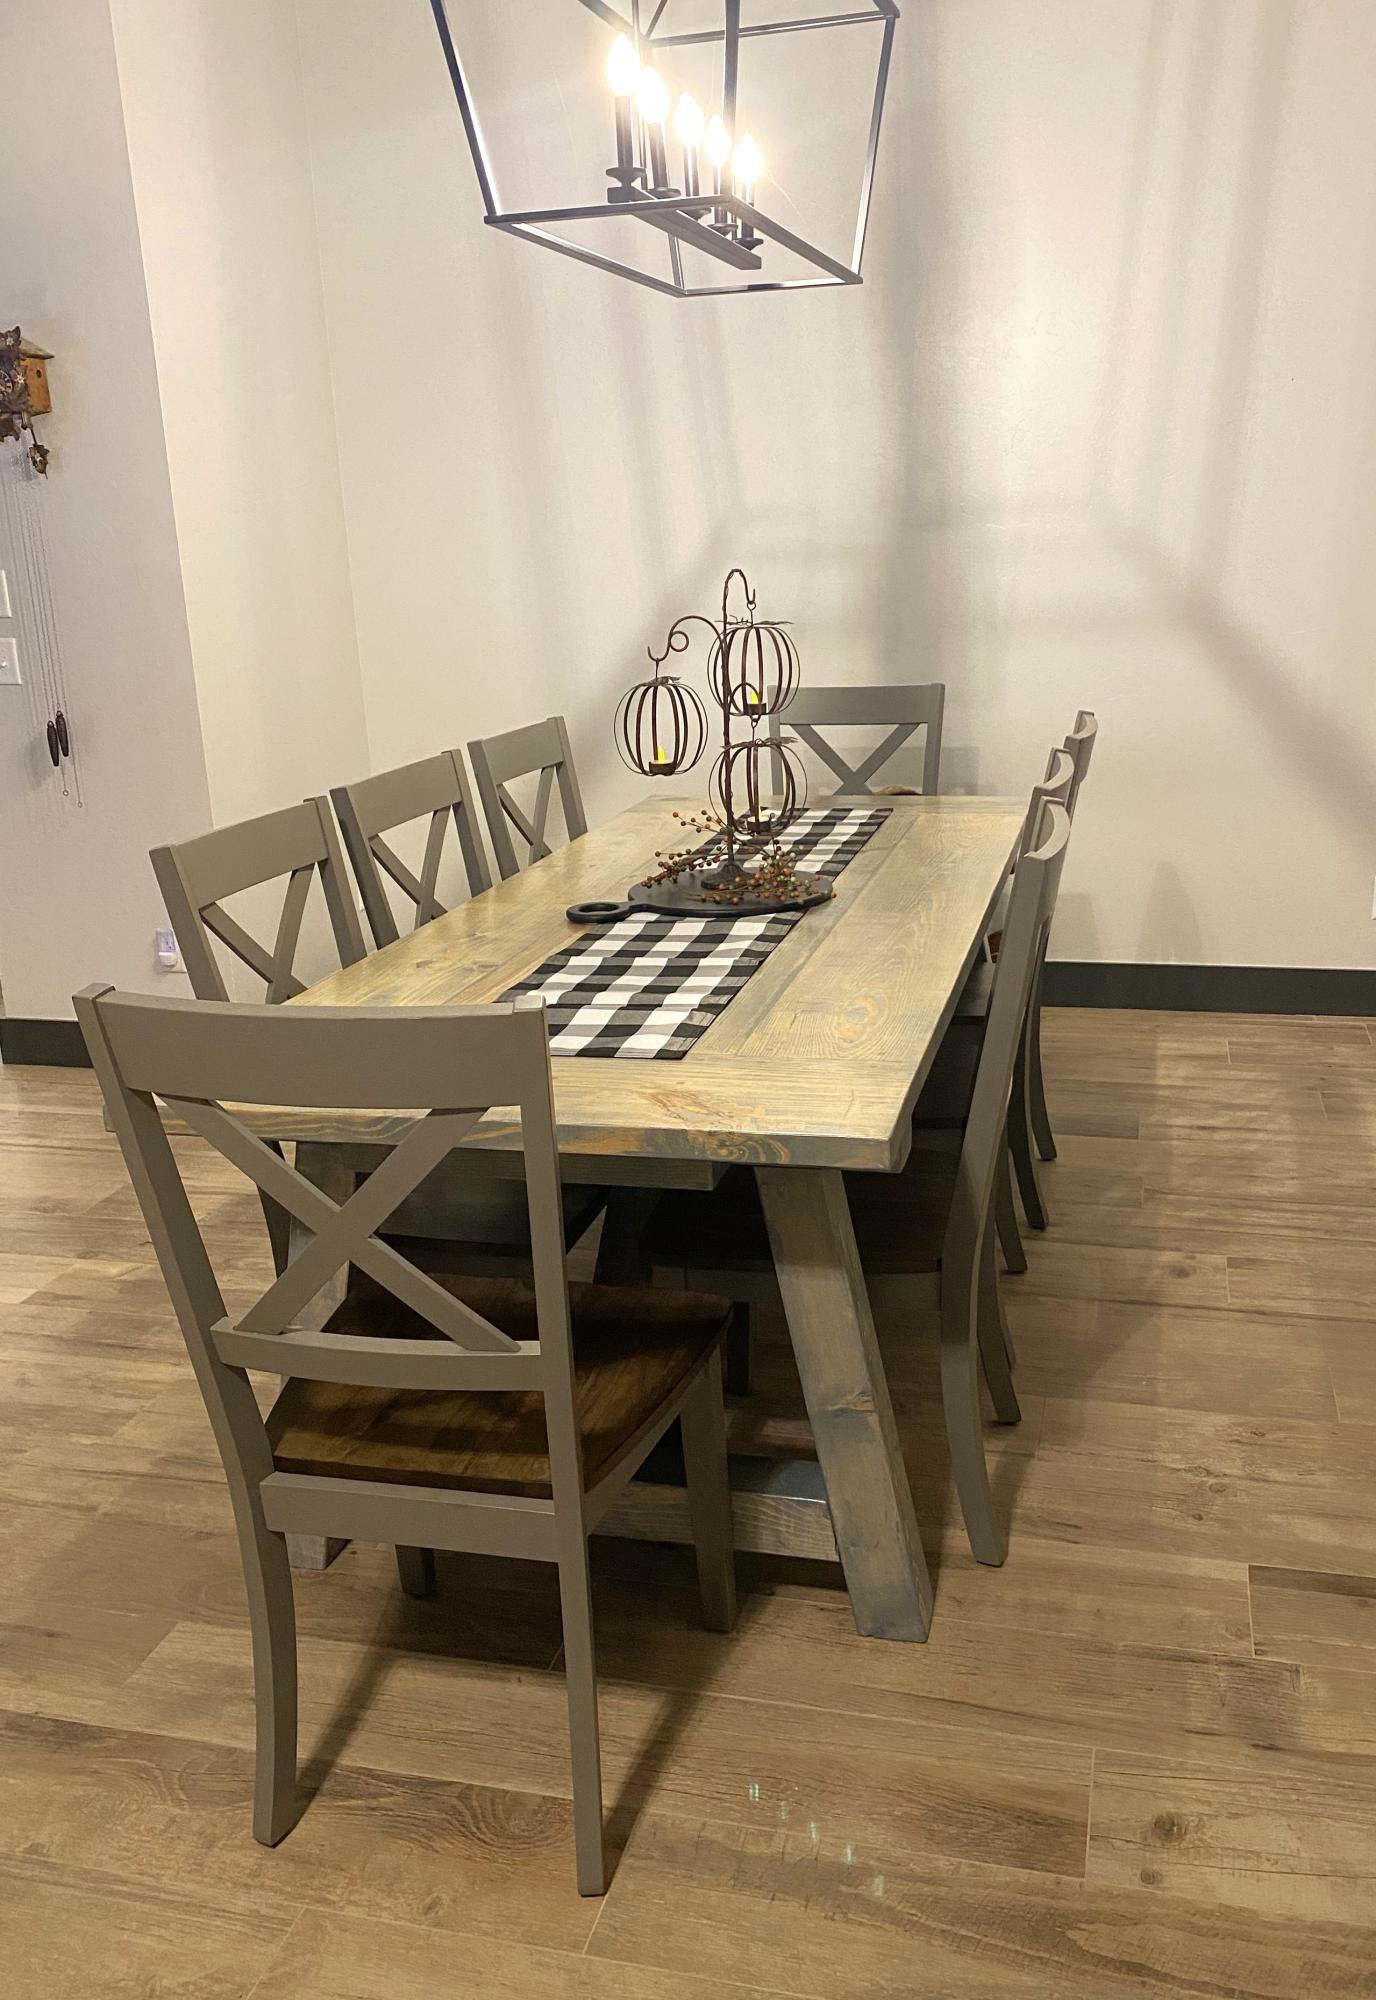
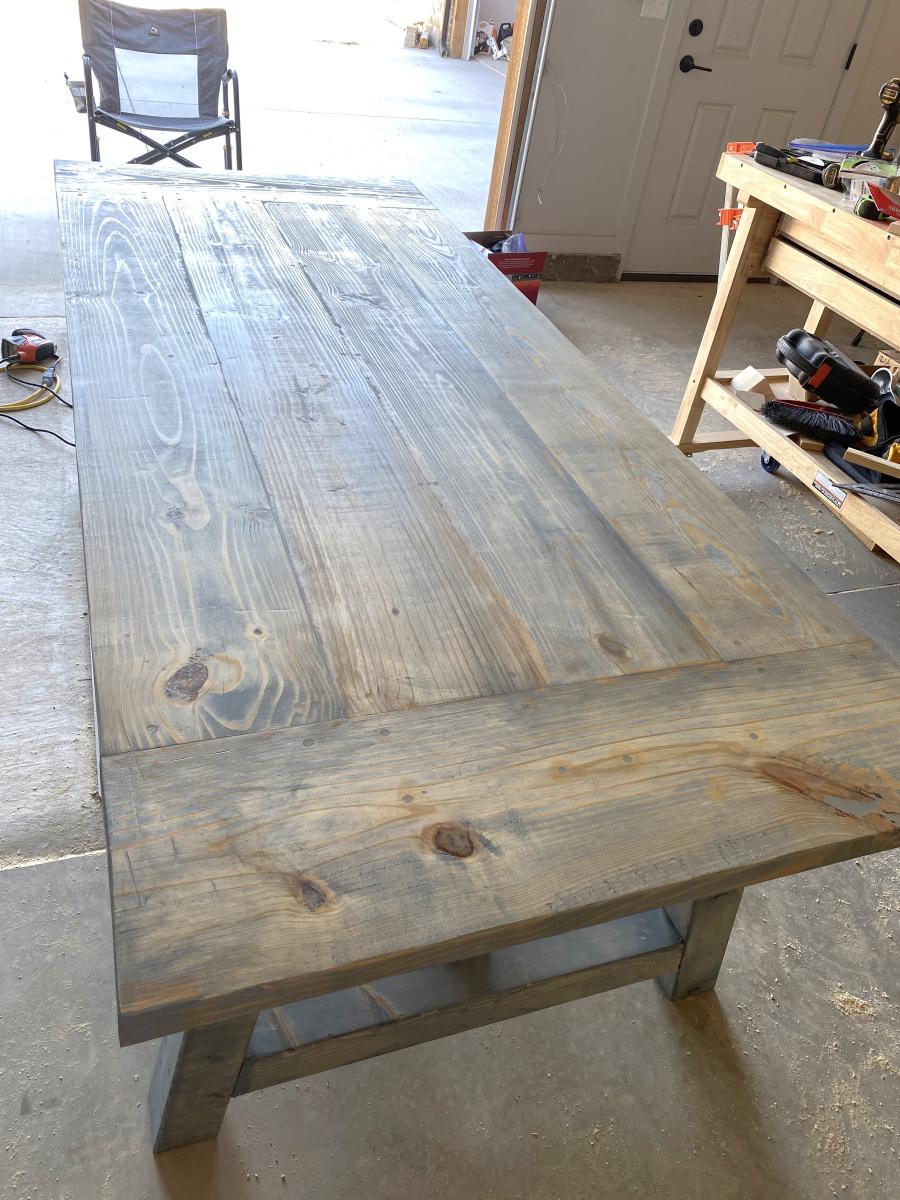
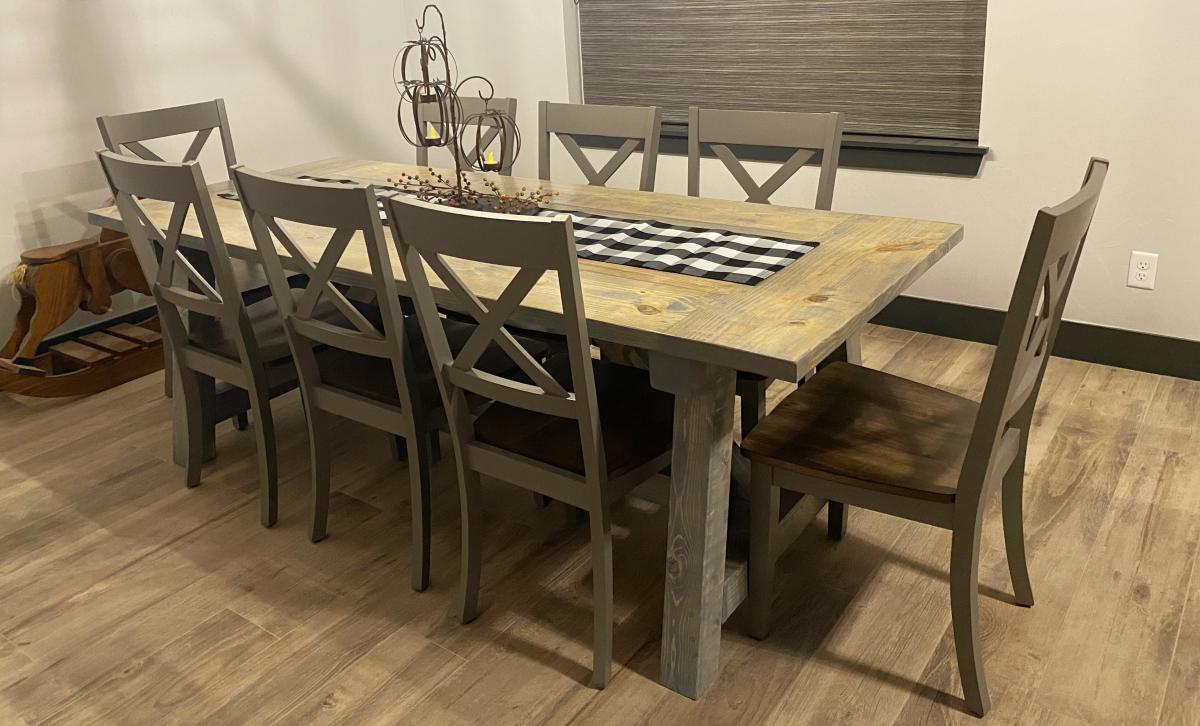
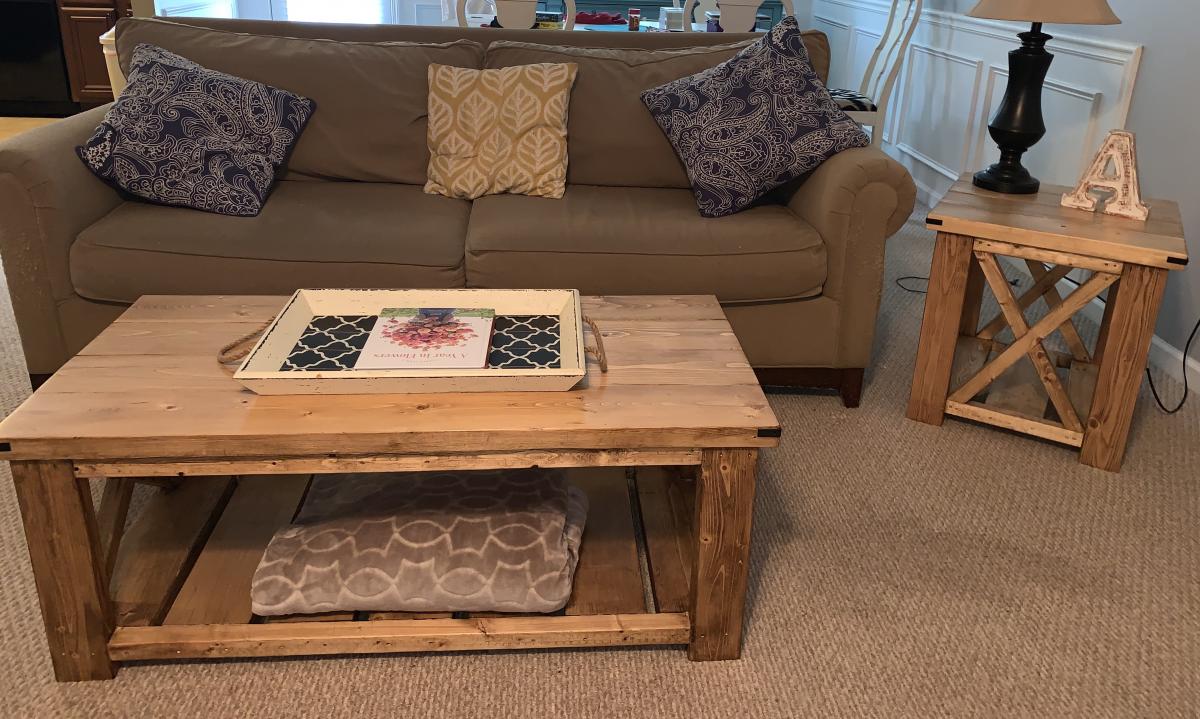
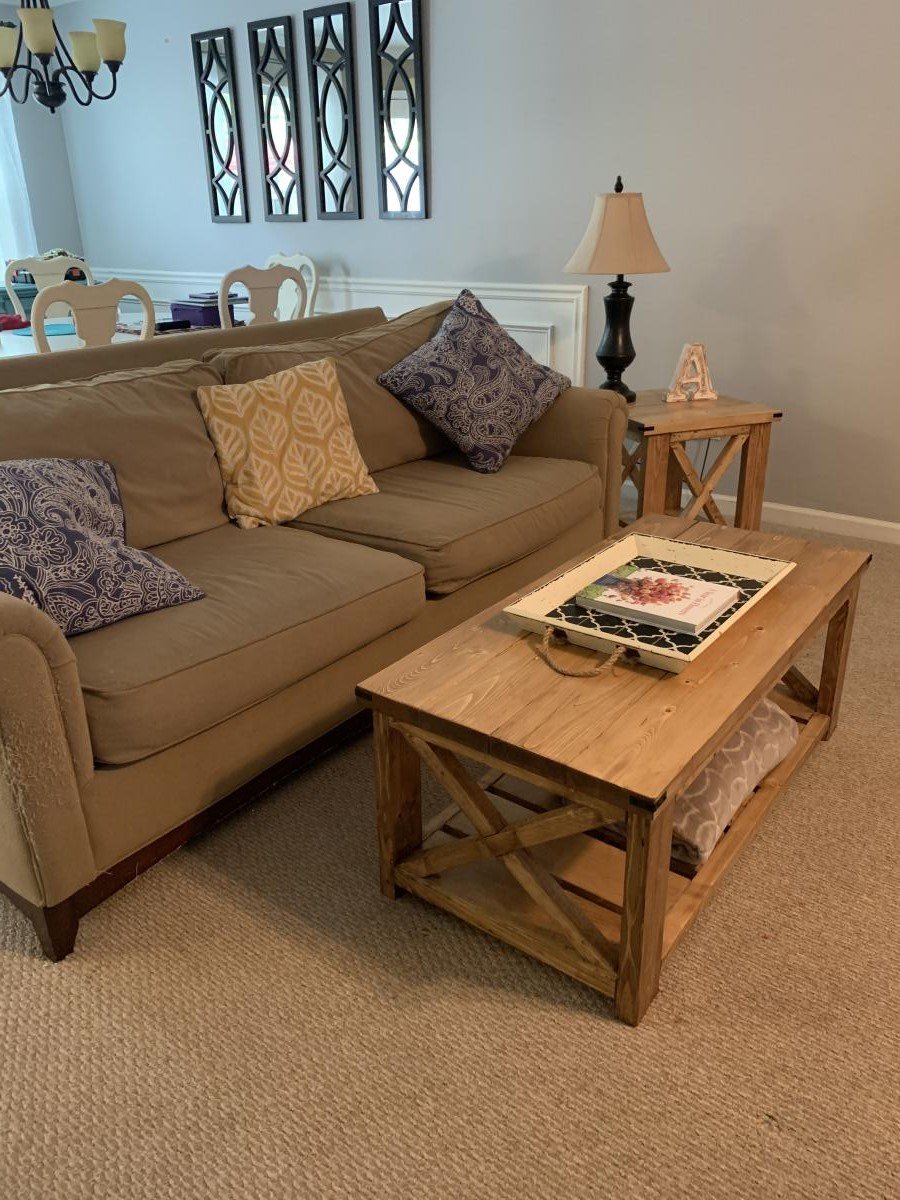
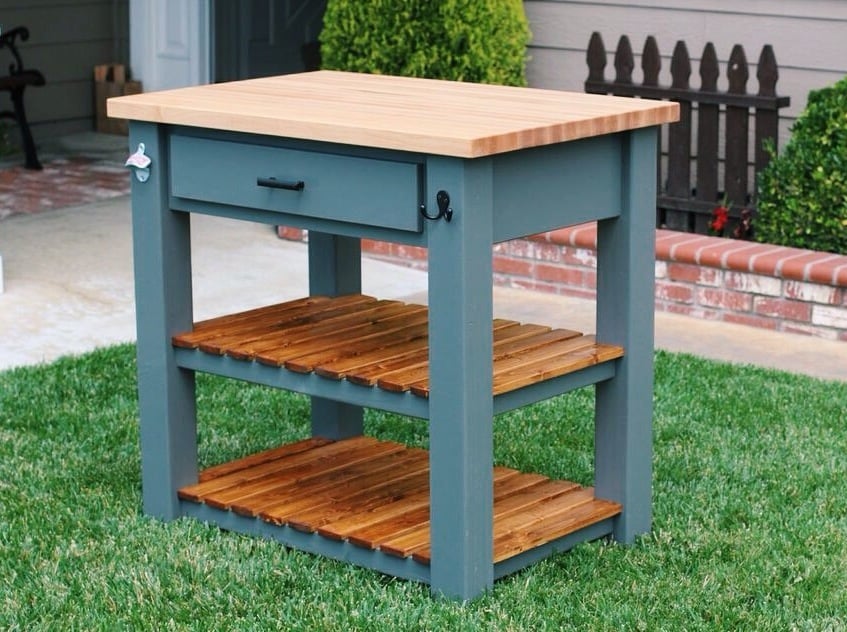
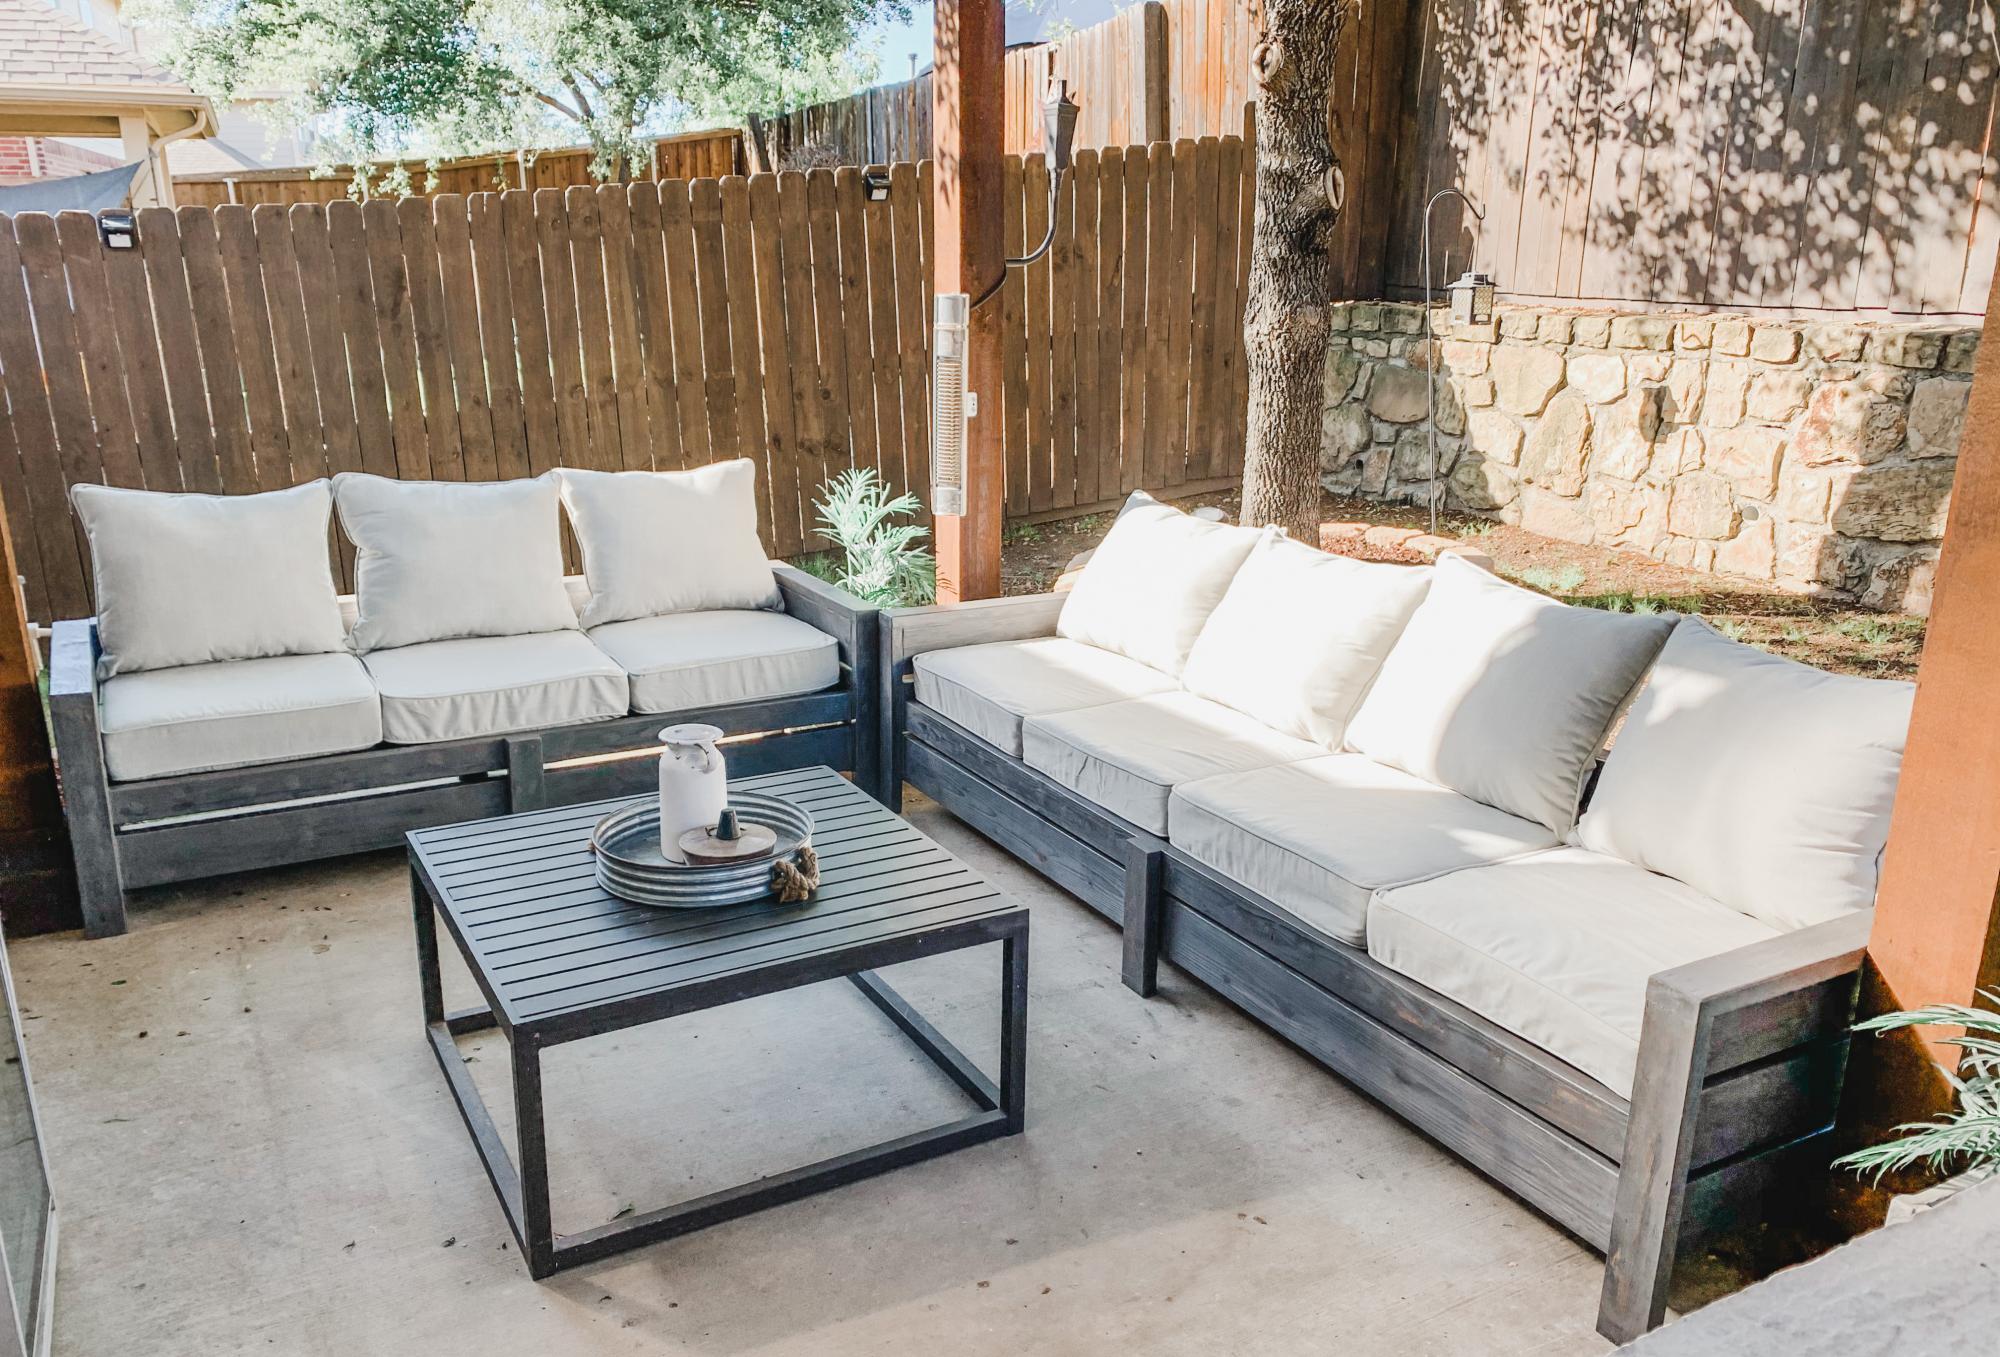
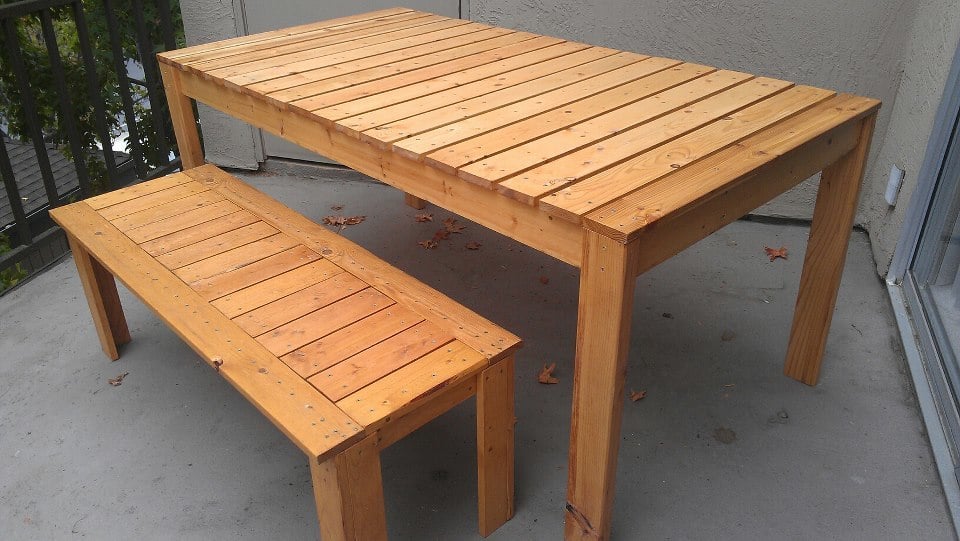
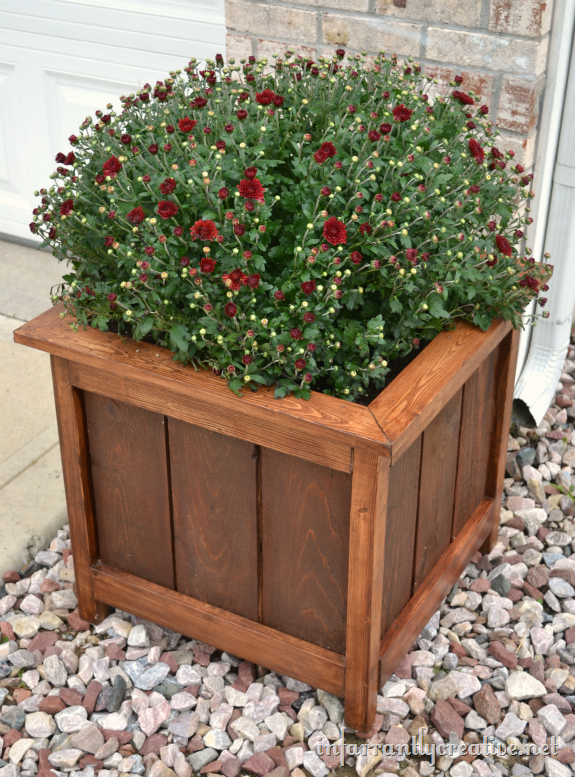
I'm slowly working on building the whole Simple Outdoor Dining Collection.
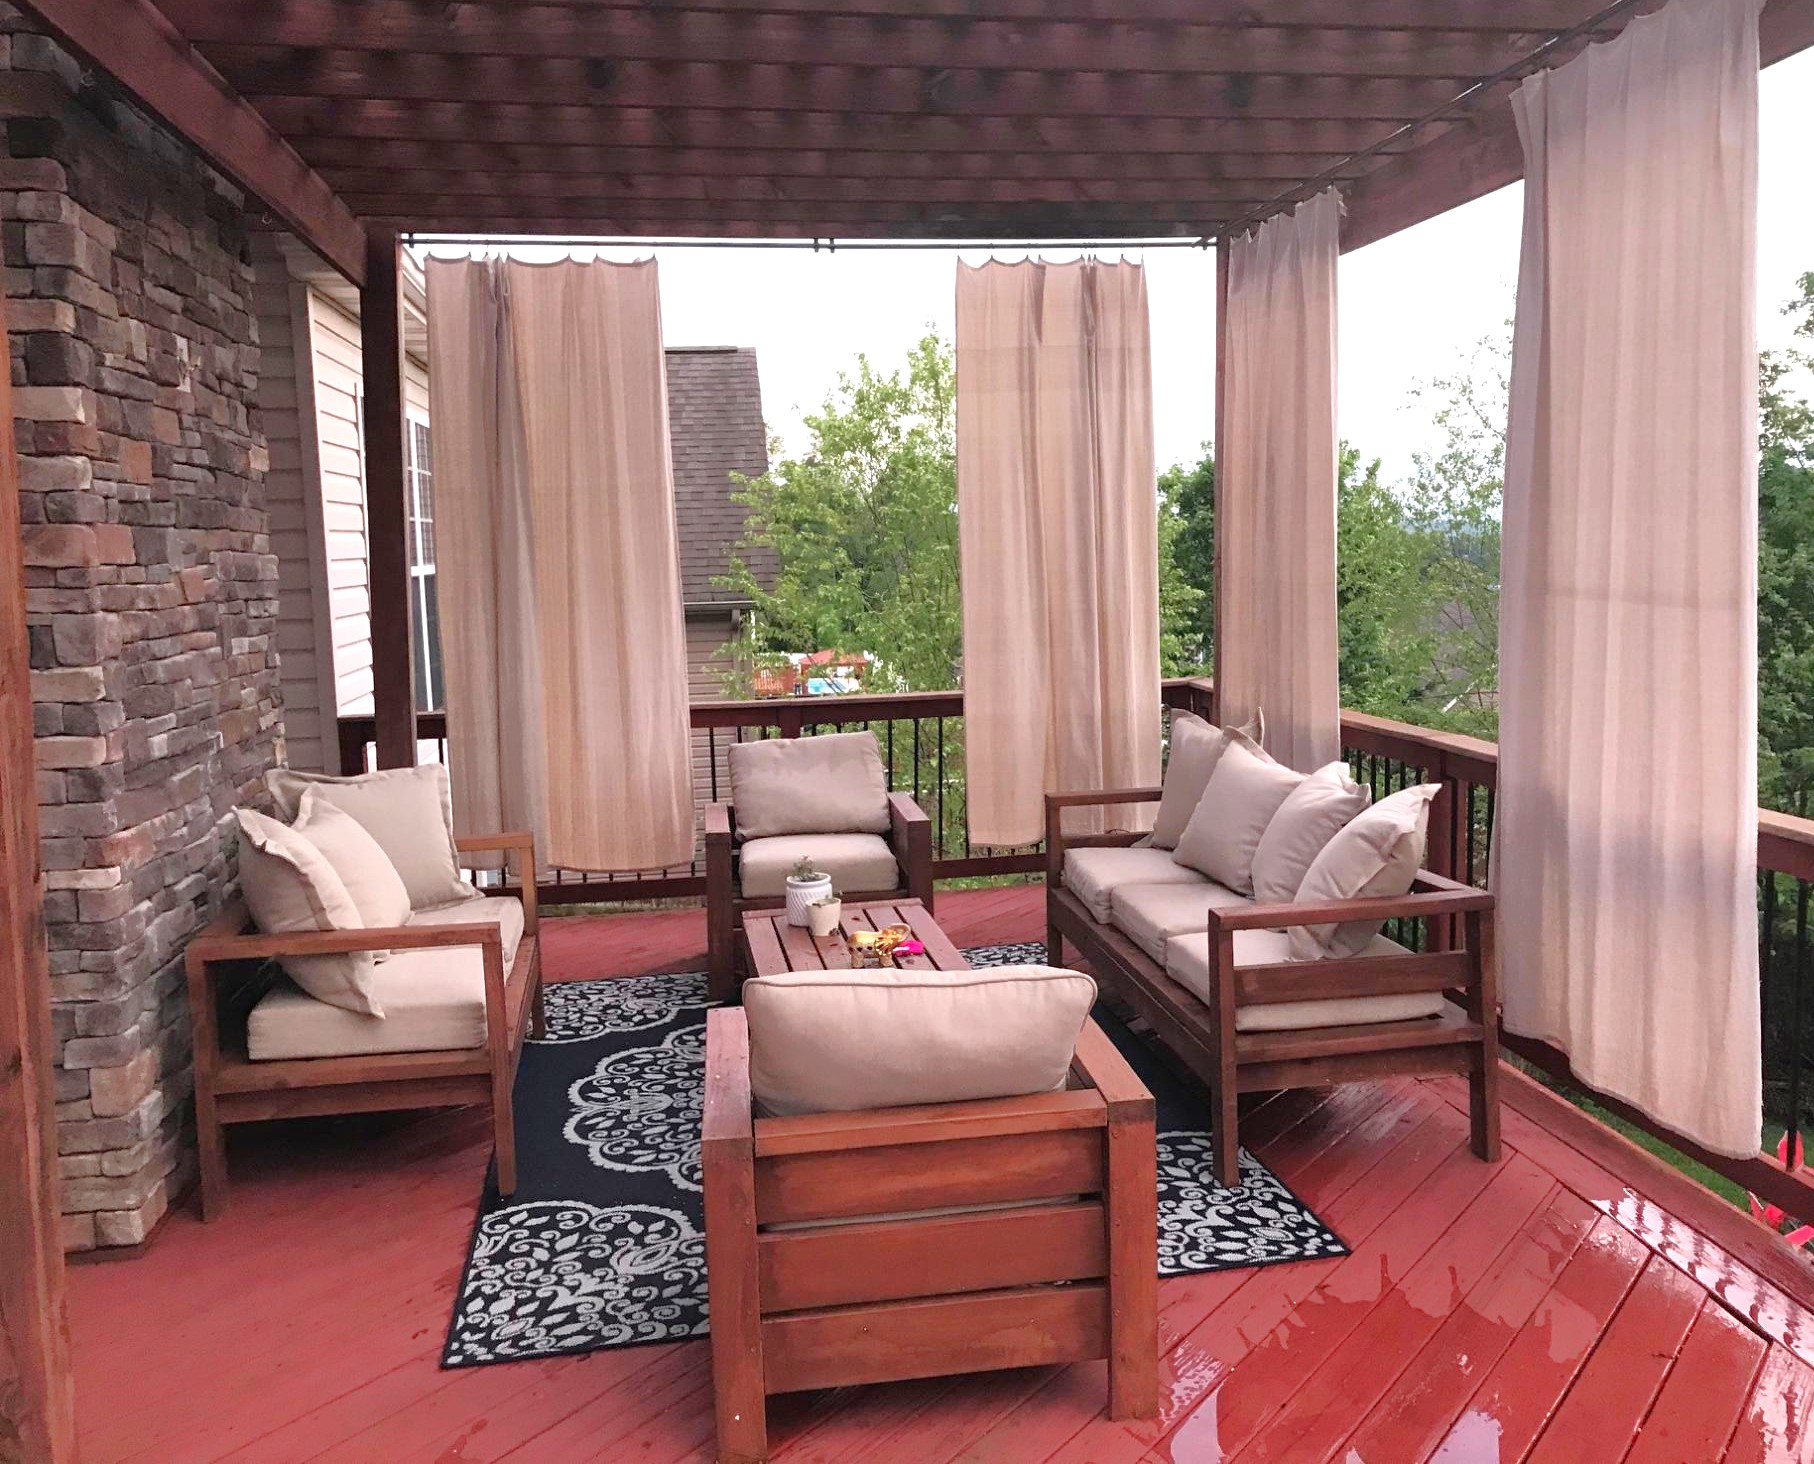
When my Mom and I moved into our new apartment, we spent all our money on new indoor furniture, and we have this really huge porch with a nice view and nothing to put on it. So as a surprise after we moved in, I made her the bench. She loved it so much that I decided to make the matching table for her birthday. The stack-able chairs will be her Christmas present, so stay tuned for that if you'd like to see how they turn out.
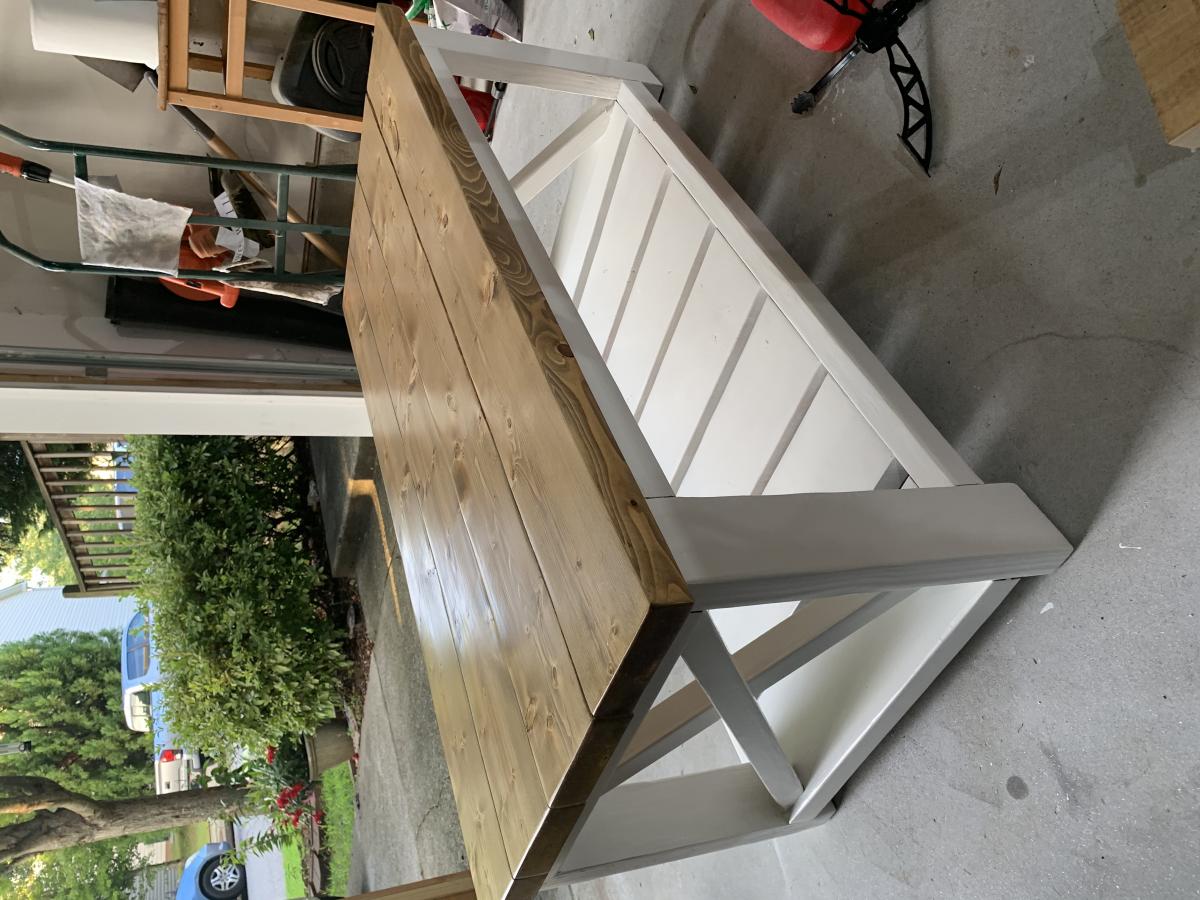
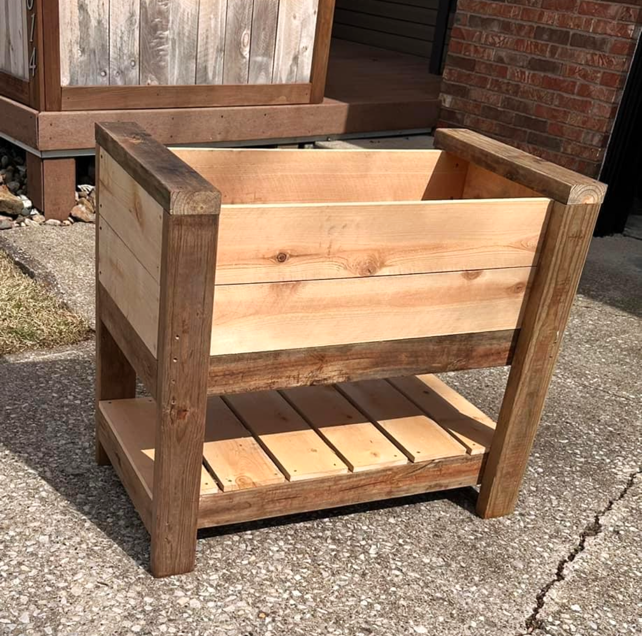
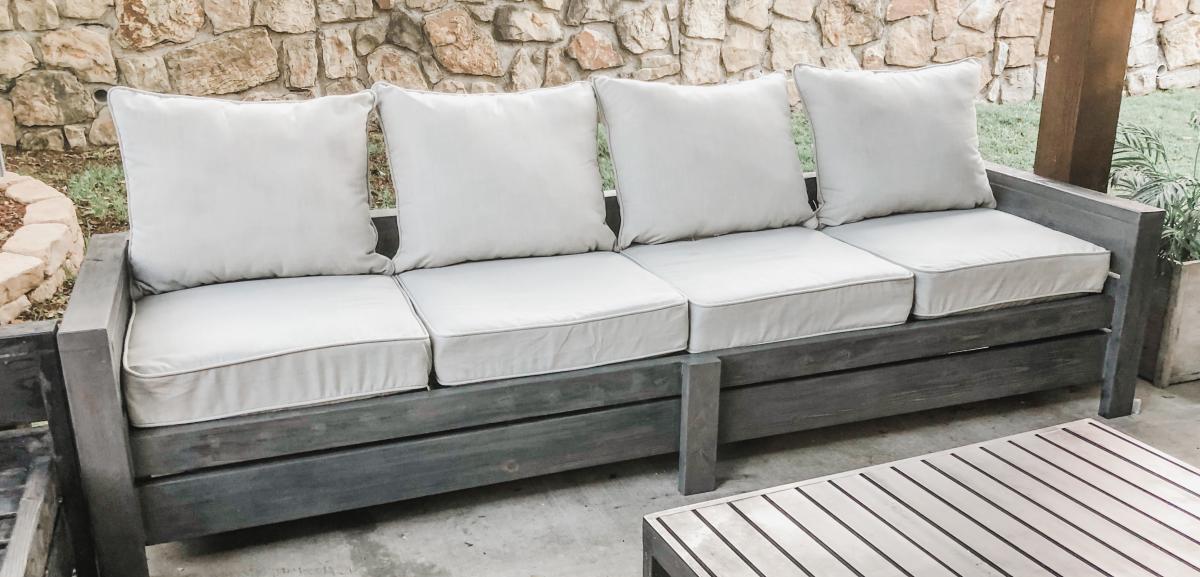
-The bench was about $20 for lumber, a total of $40 or so with stain and screws and everything.
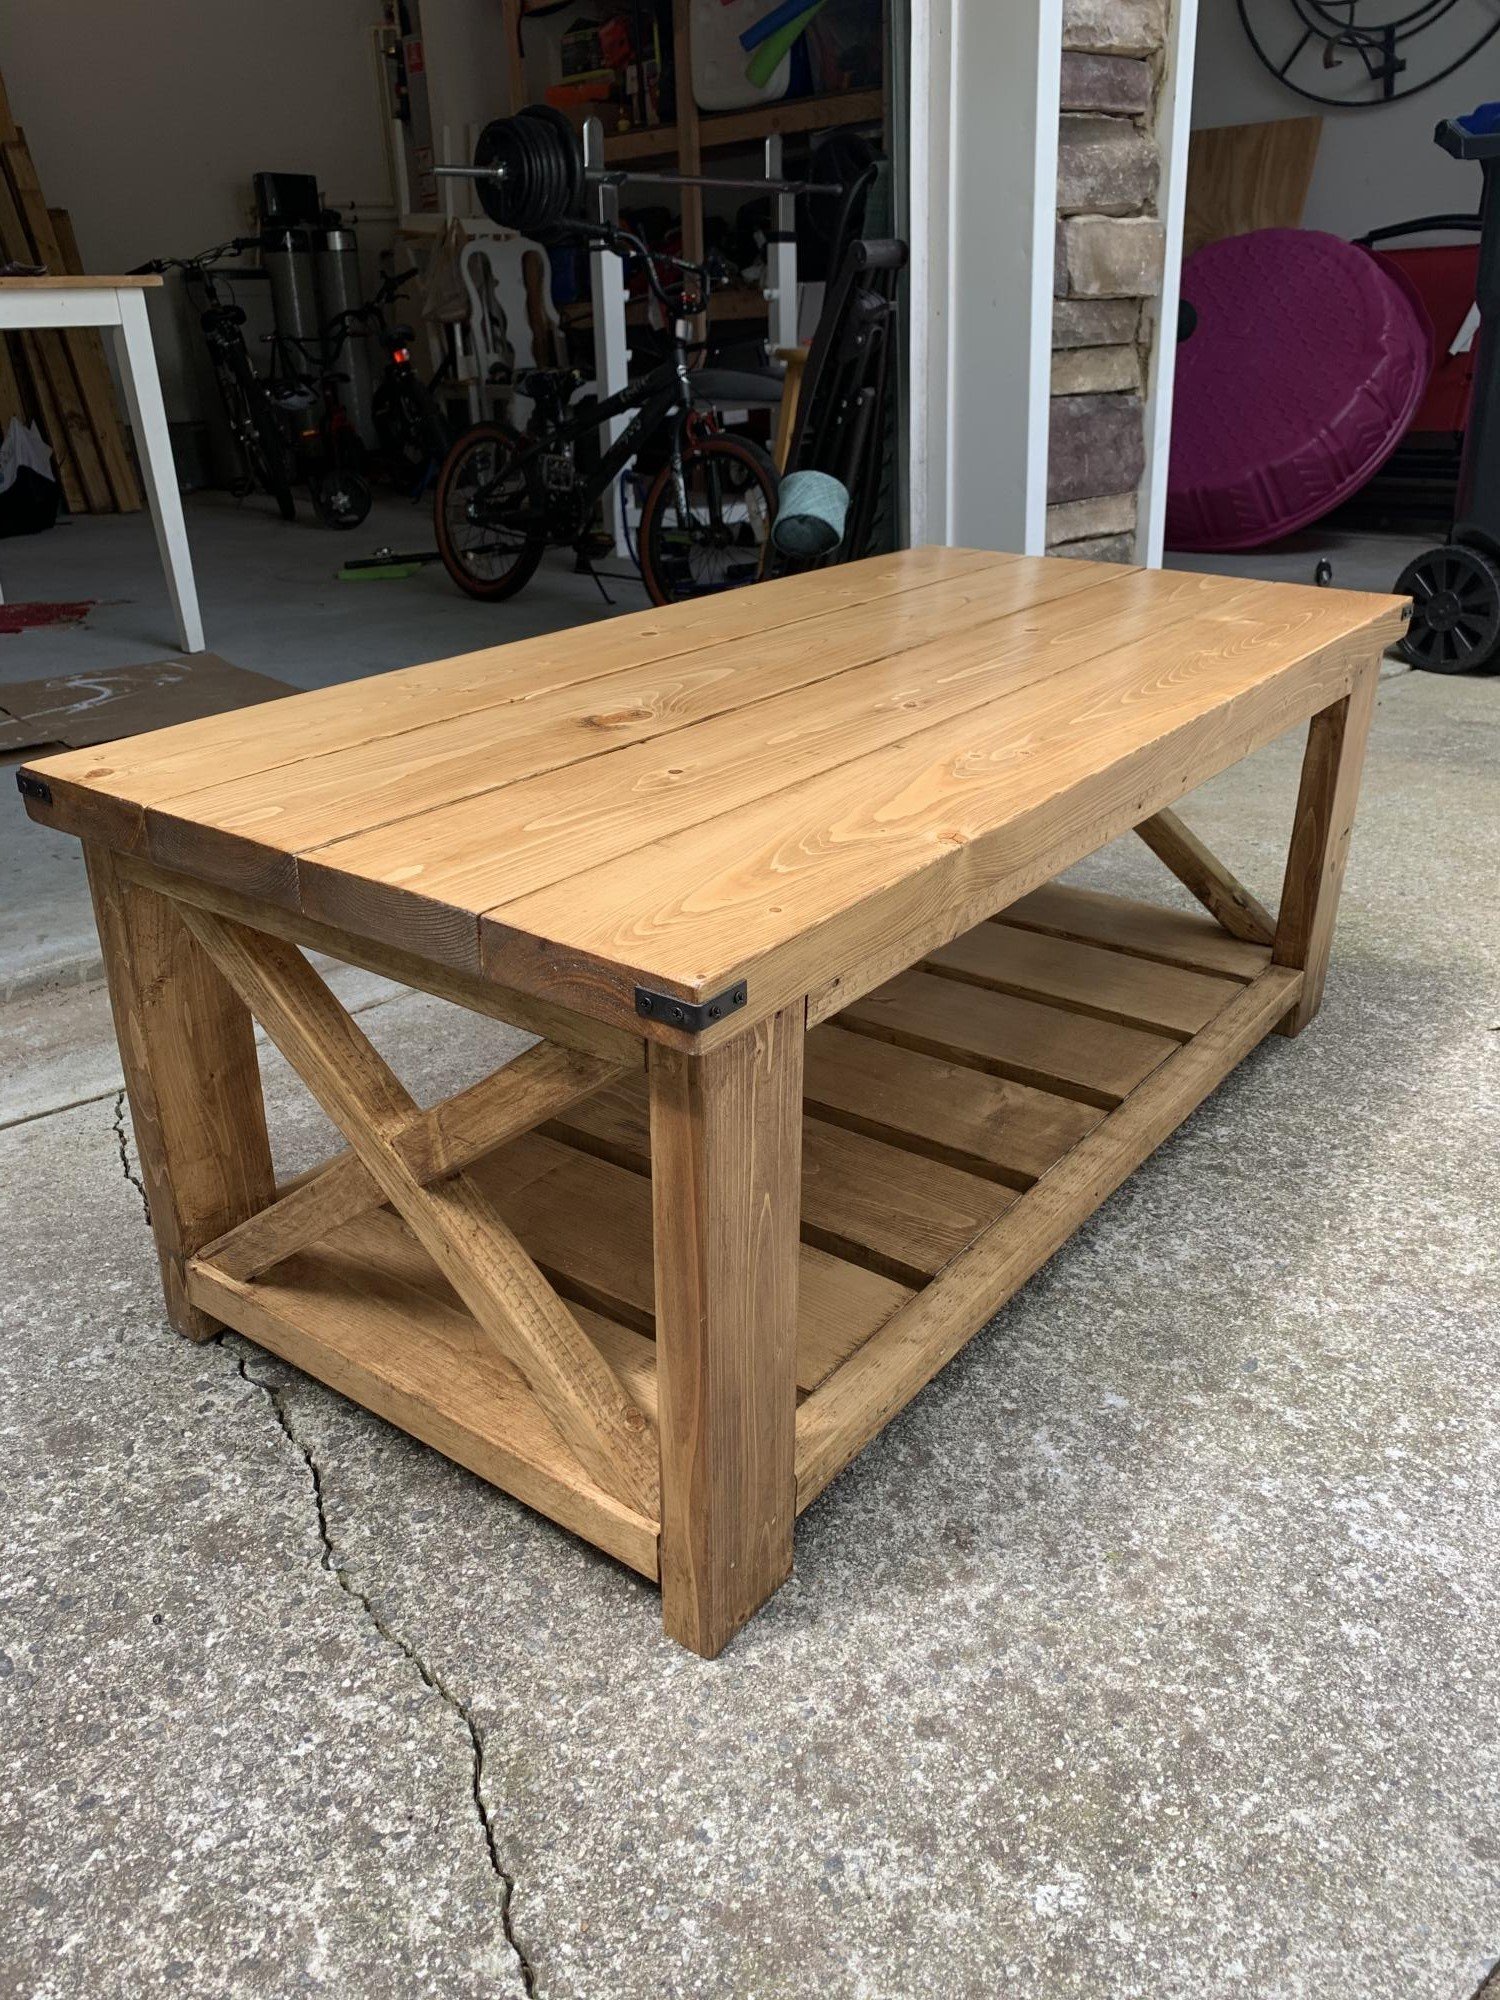
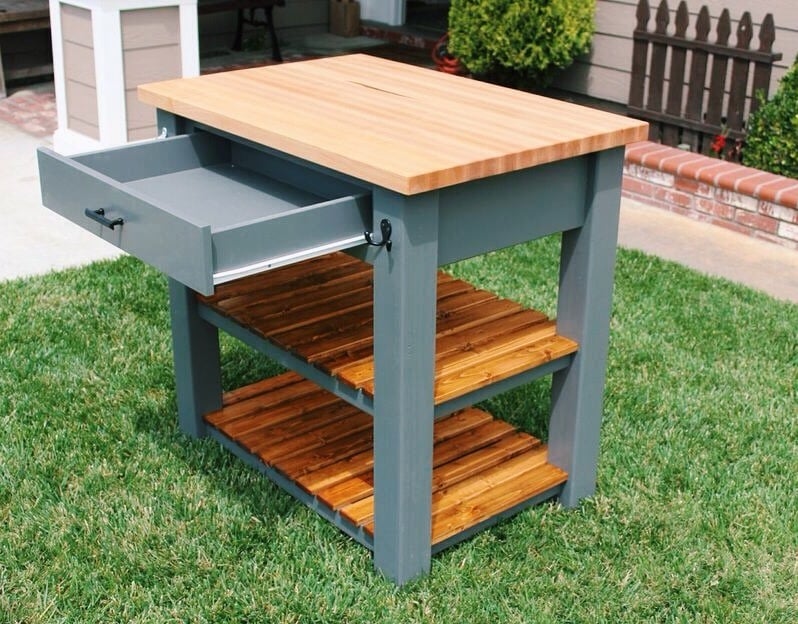
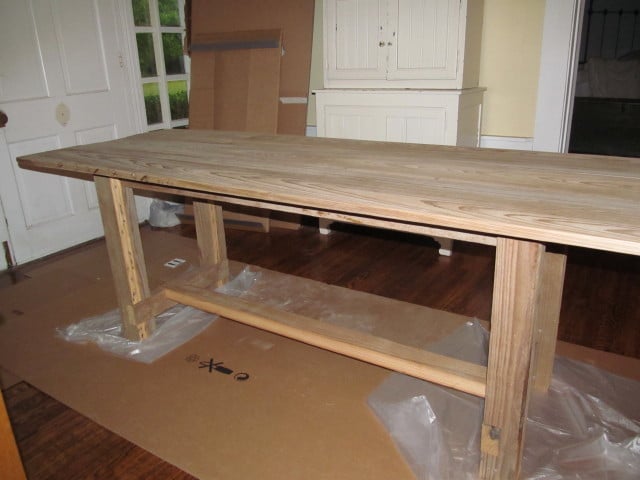
-Table was about $60 for lumber since I couldn't fit the the 12-footers in my car. I probably spent a good amount extra on a bunch of 8 footers instead. Also wasted a lot of wood that way, but I will find a use for it. Definitely get the 12 footers if at all possible. No need to buy the rest of the materials again if you have left-overs from the bench.
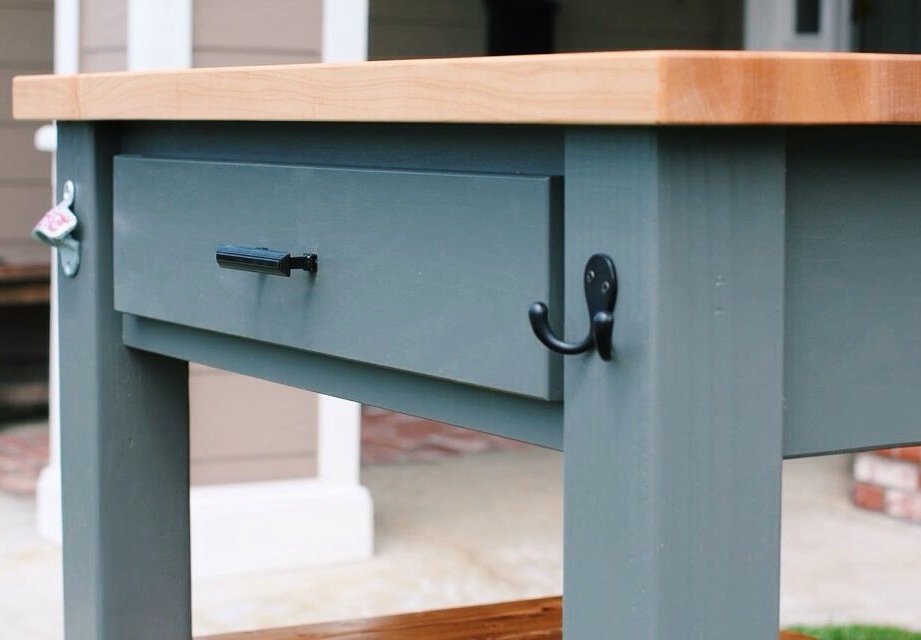
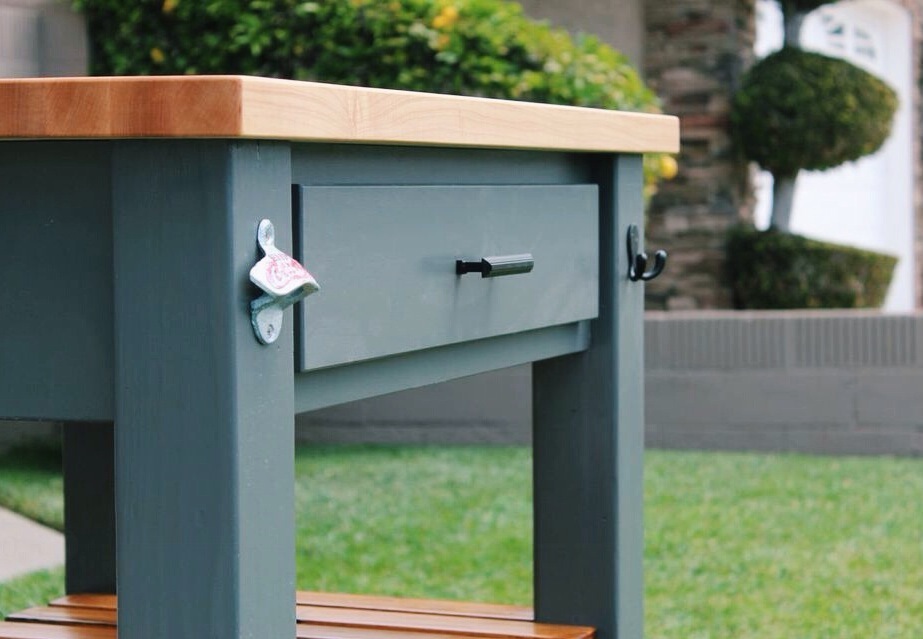
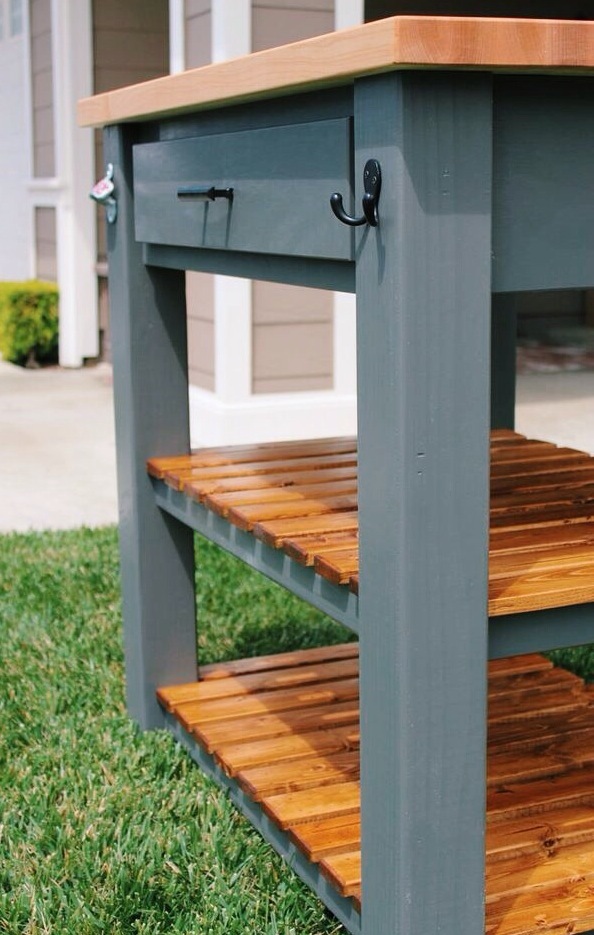
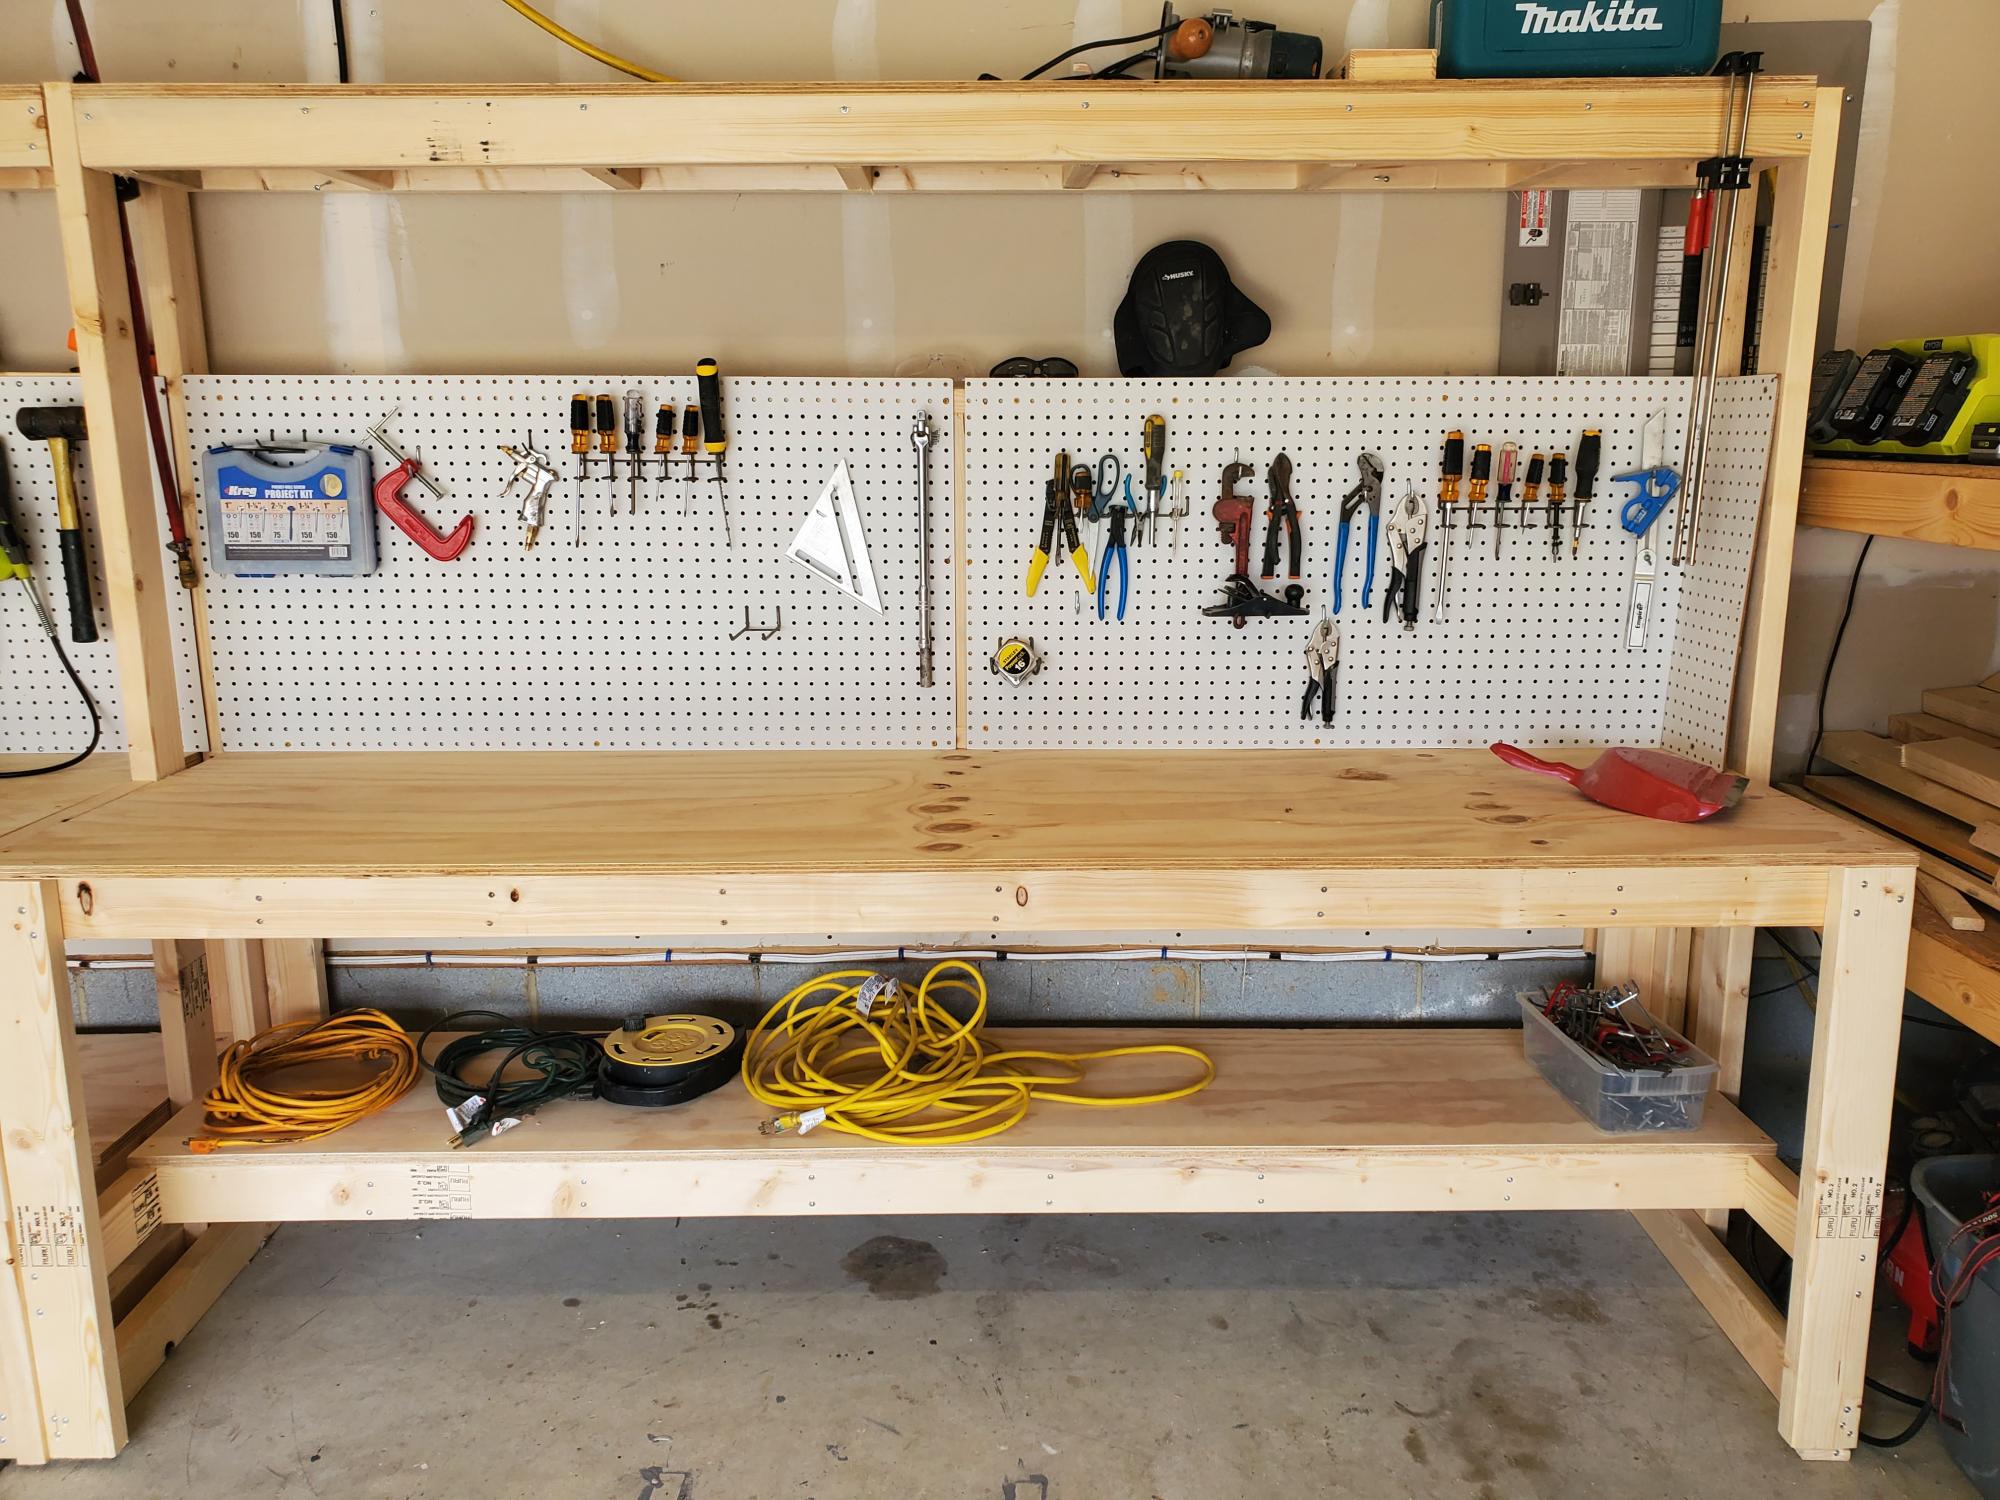
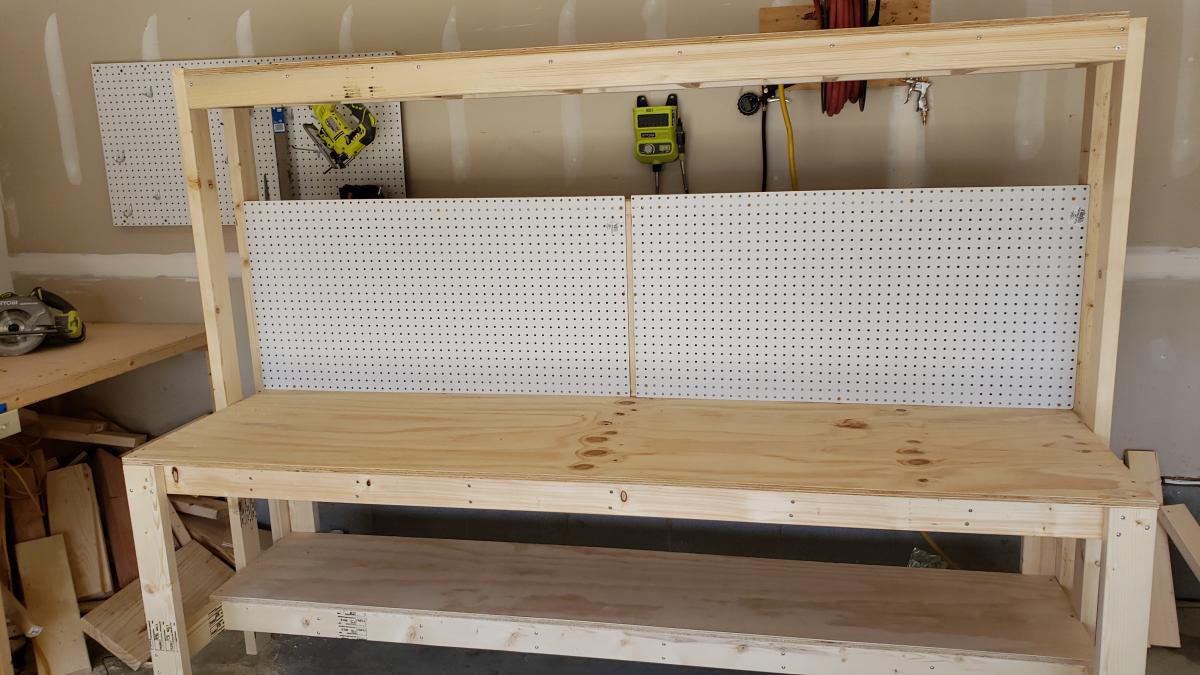
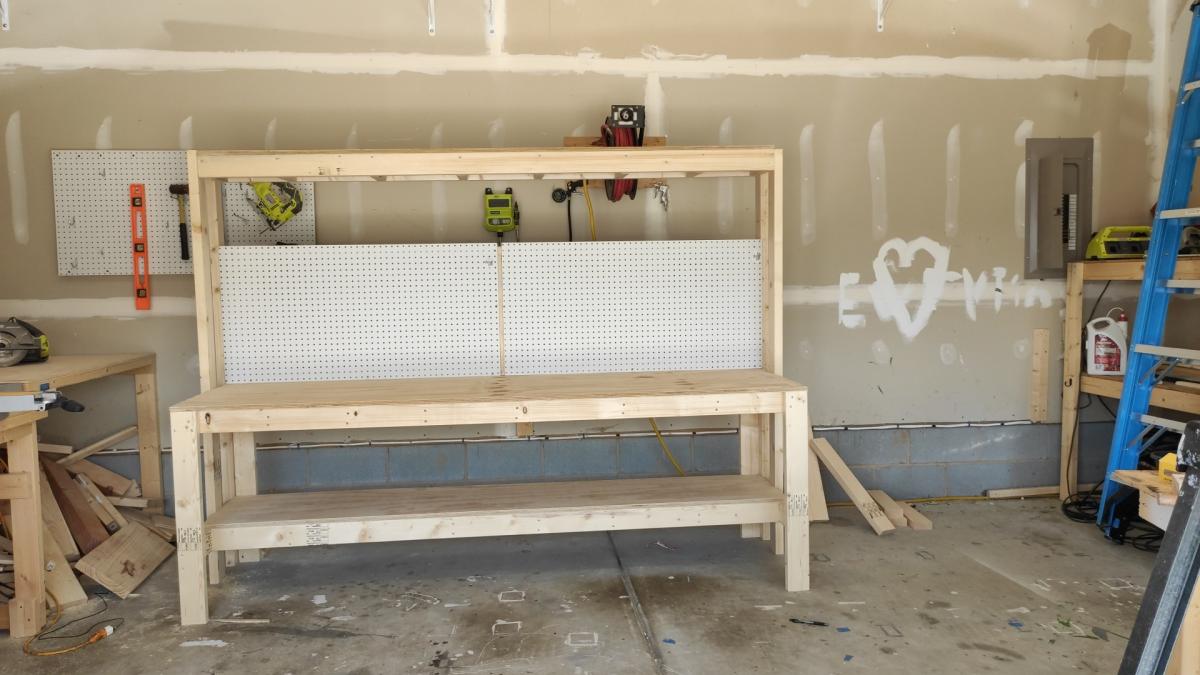
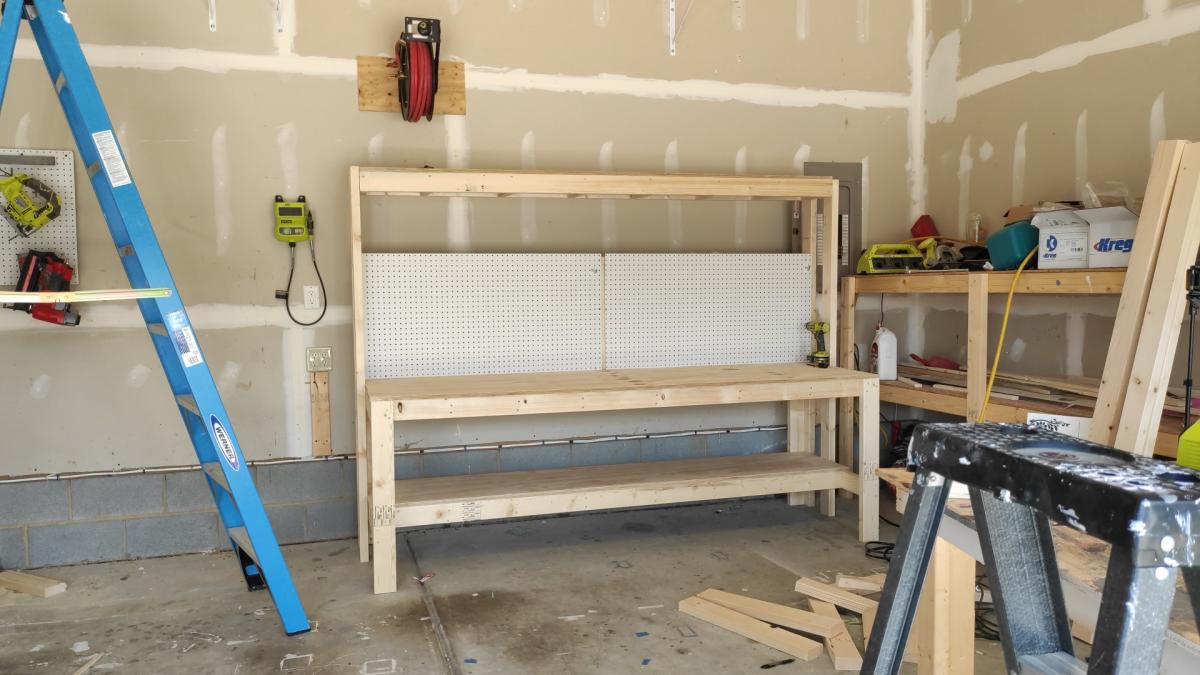
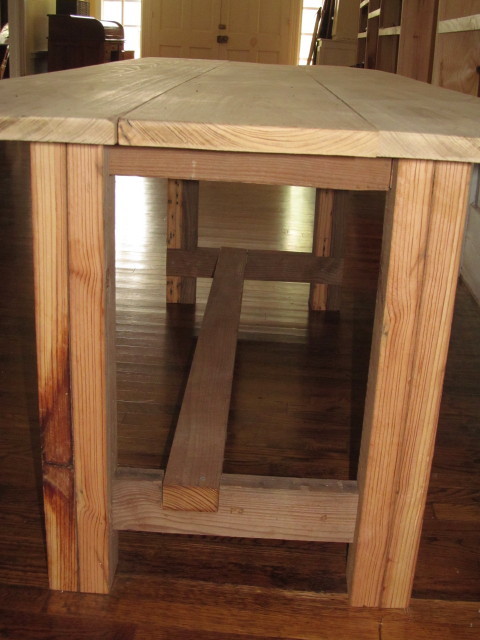
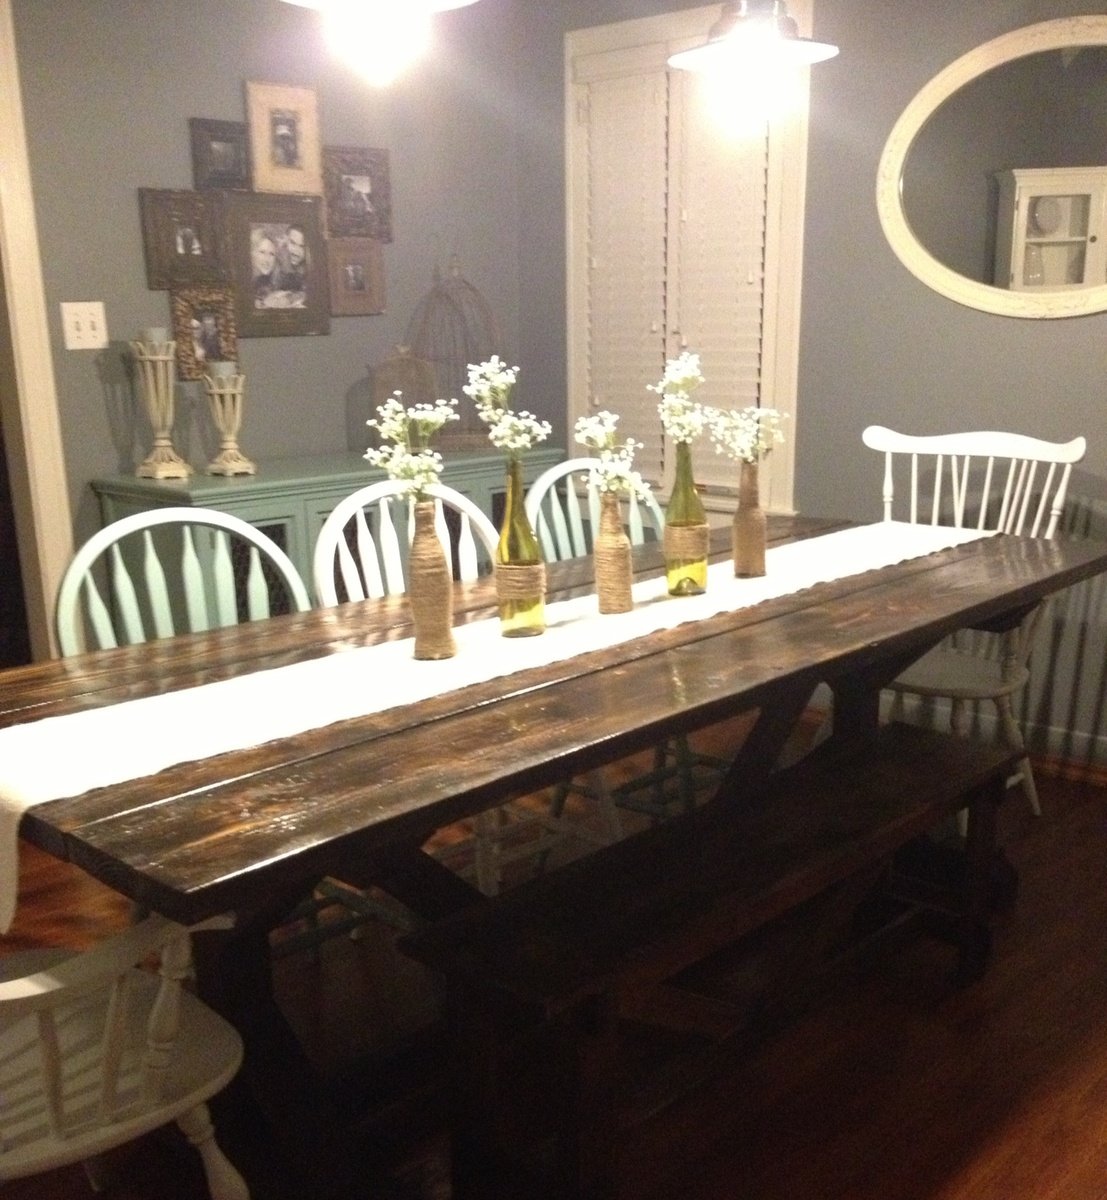
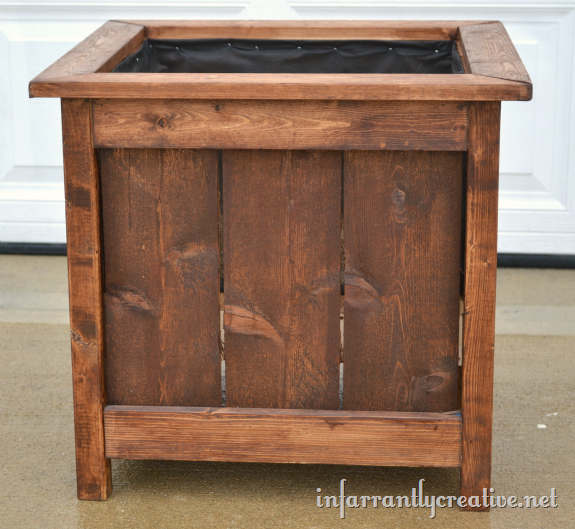
I didn't modify anything on this set at all, it was pretty much perfect the way it was designed. Although I did add some 1x3's to the legs on the bench to make them sturdier- notice the corner leg rather than just a 1x4 by itself. Thanks for these plans Ana, you make me look good!
Fancy X table and bench
Fri, 10/12/2012 - 09:10
That second picture looks like it's straight out of a magazine! Everything looks beautiful!
This was by far the easiest project. This planter is HUGE as well and makes a great focal point for your curb appeal. I didn't extend the sides but rather created a mitered edge for the top creating a nice clean finish.
Mon, 10/29/2012 - 23:02
This looks beautiful! I just made one too, I will have to do the top like yours it's pretty that way. I love how the stain too!
:) Valerie
Sun, 09/22/2013 - 20:25
how exactly did you attach the mitered top?? Finish nails or is there a way to use the kreg jig to hide joinery? These are beautiful, BTW. Thanks :)
Comments
BmoreITguy
Wed, 04/22/2020 - 06:00
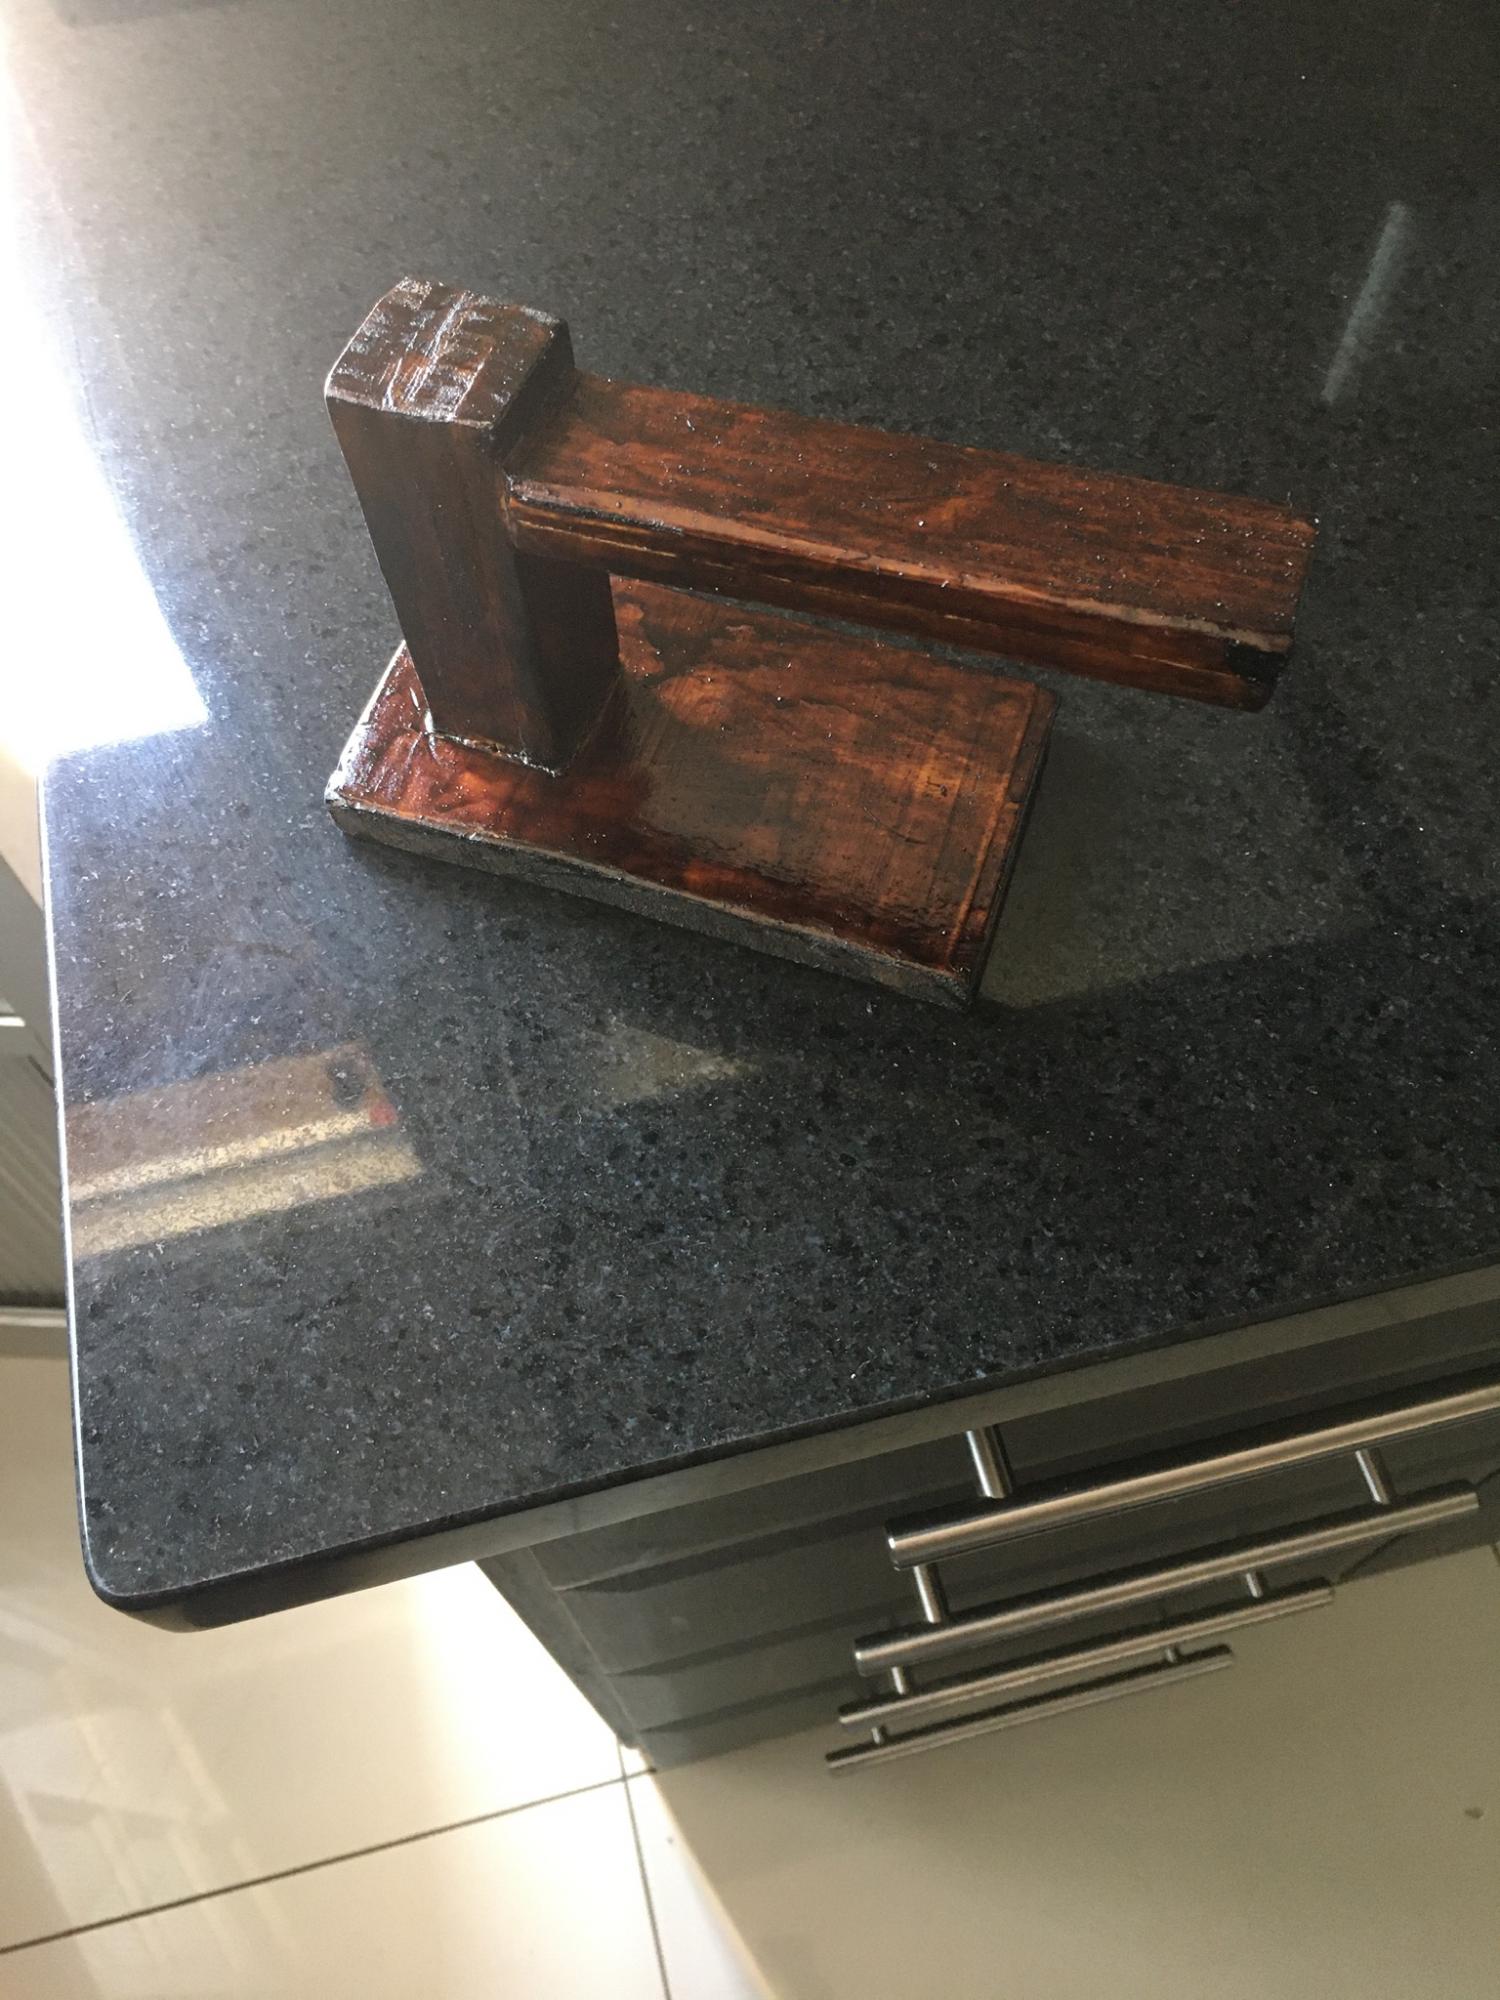
Grrr
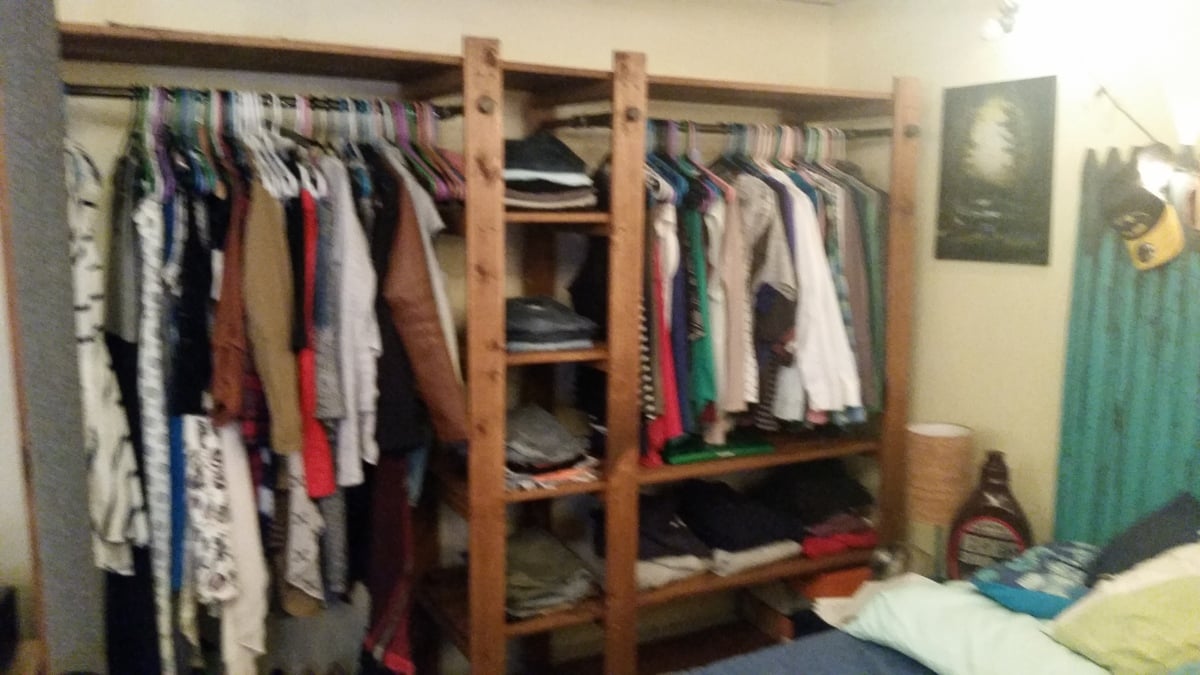
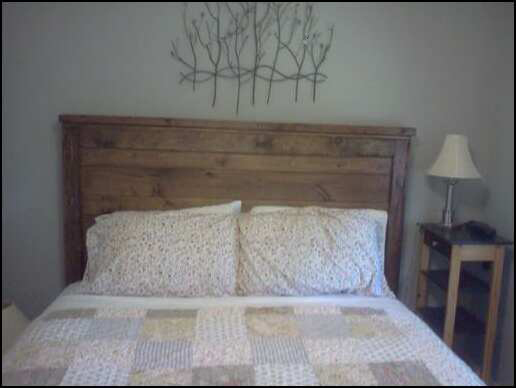
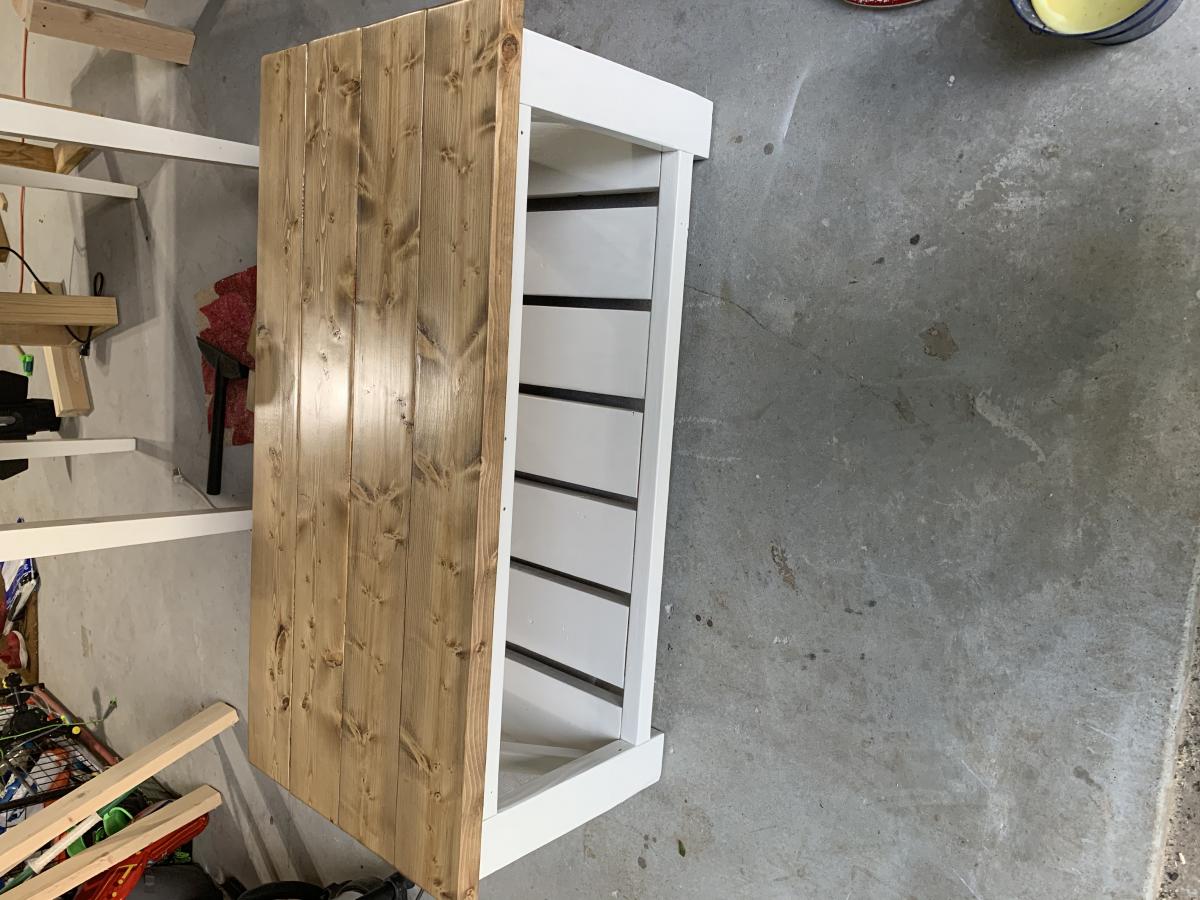
Why is my picture sideways? Ana, one of the most frustrating things with this build was the mobile version of your site. Very laggy, typing lags, pages crash in the middle of typing or viewing and persistent ads are a nightmare
Ana White Admin
Wed, 01/12/2022 - 13:02
Amazing!
This is stunning, way to go!